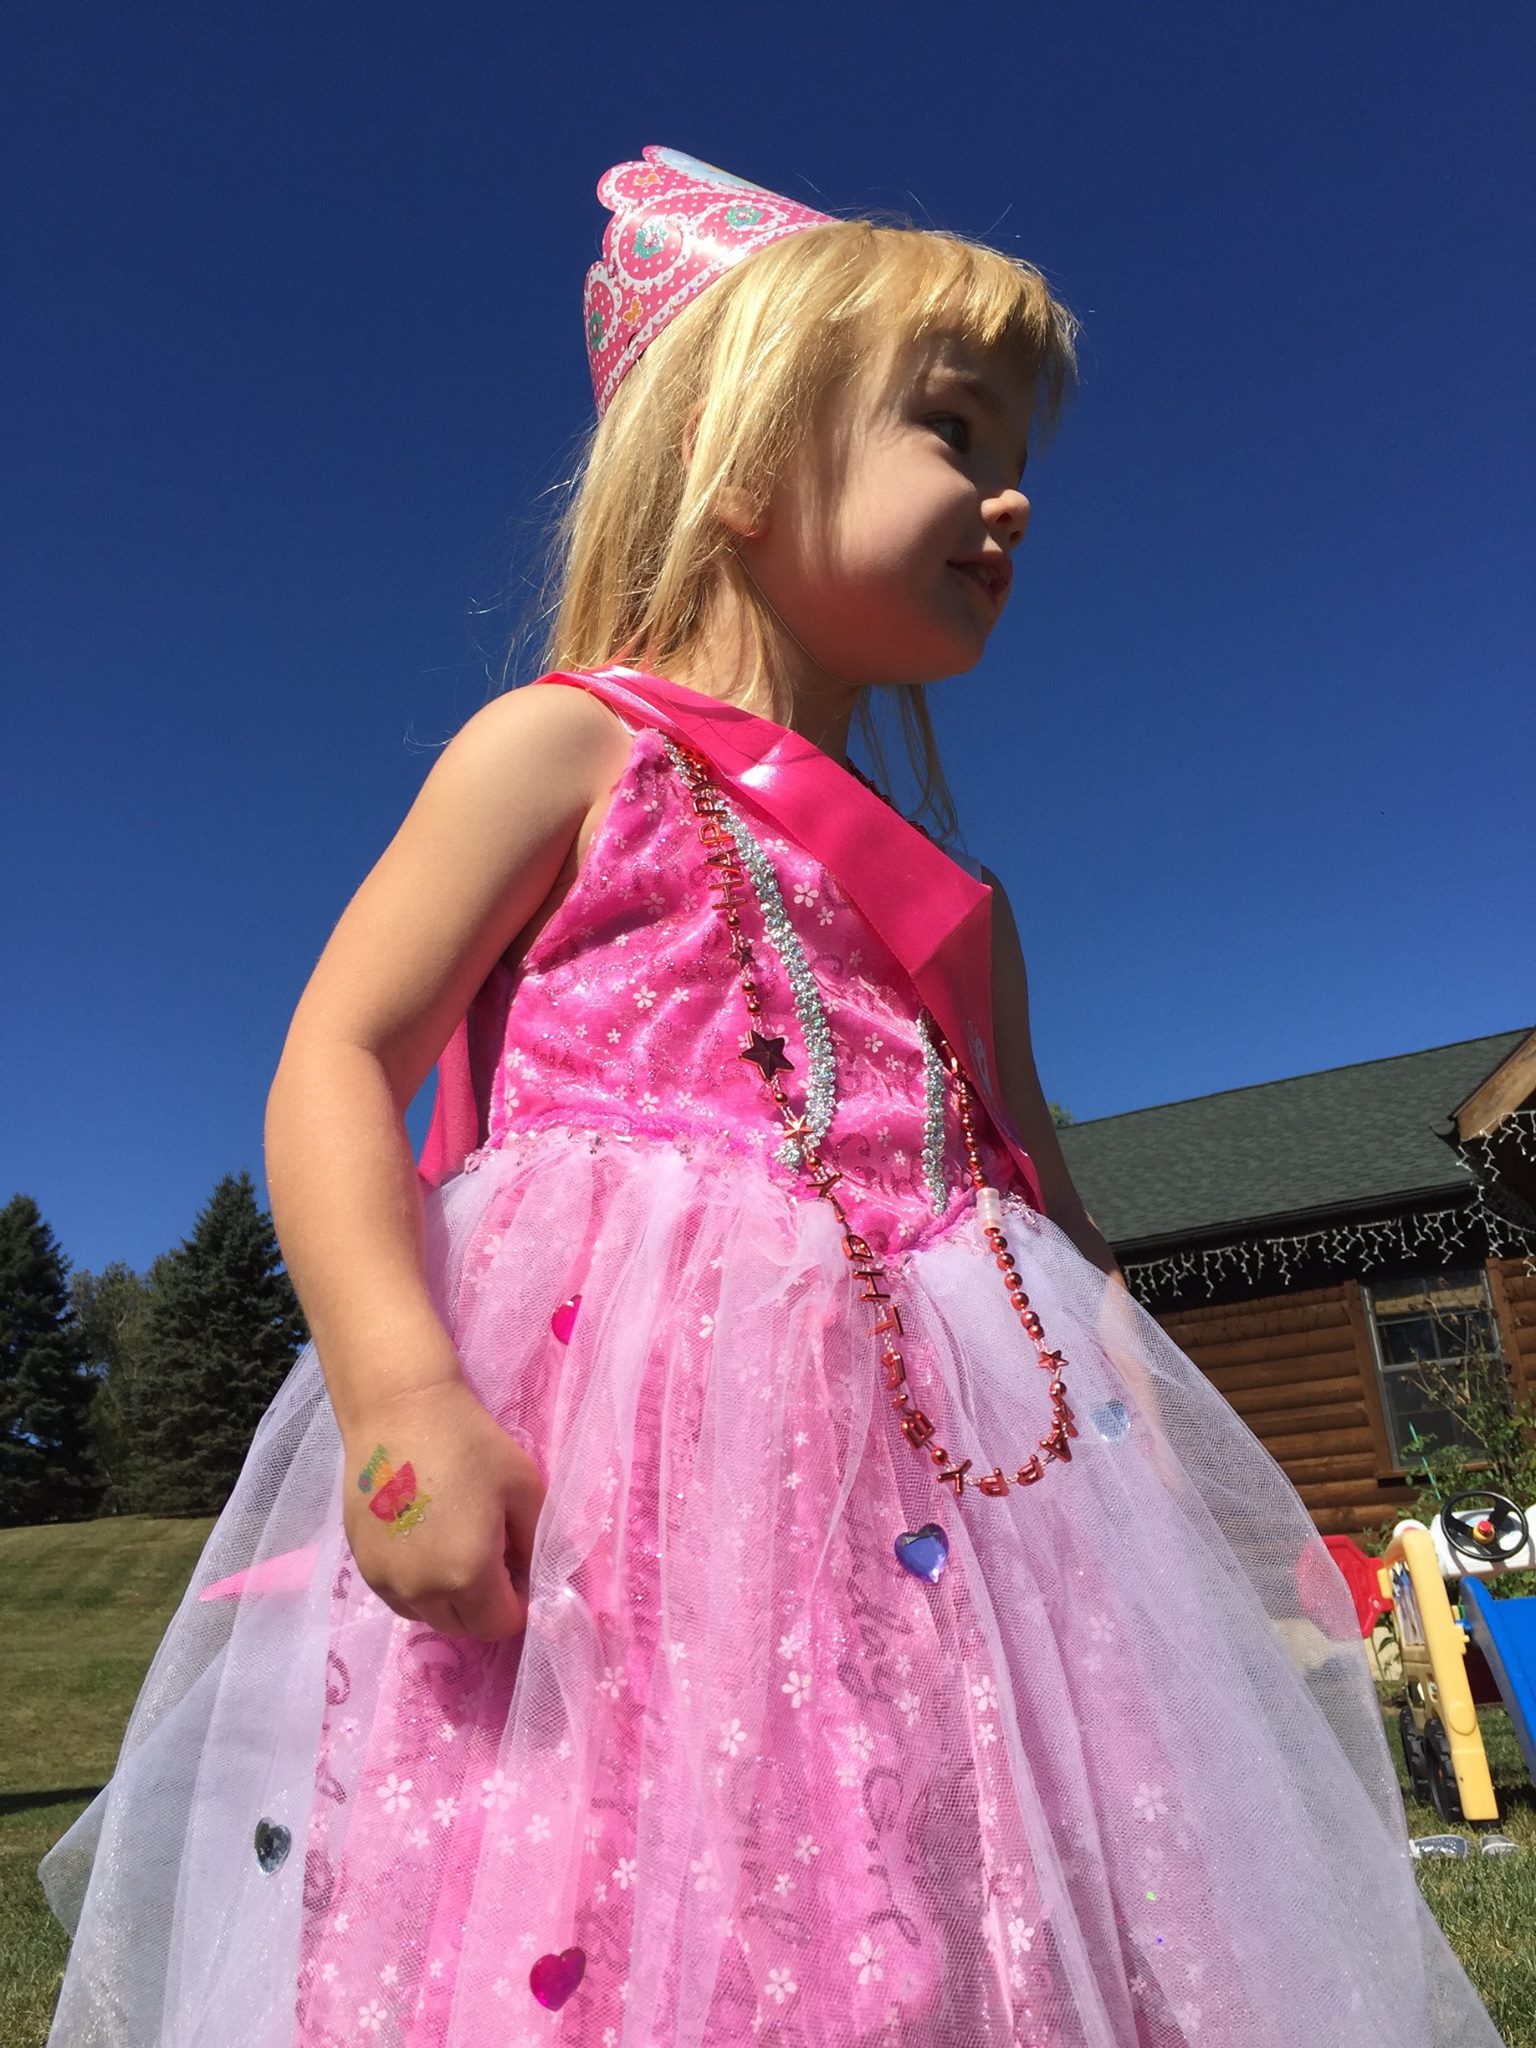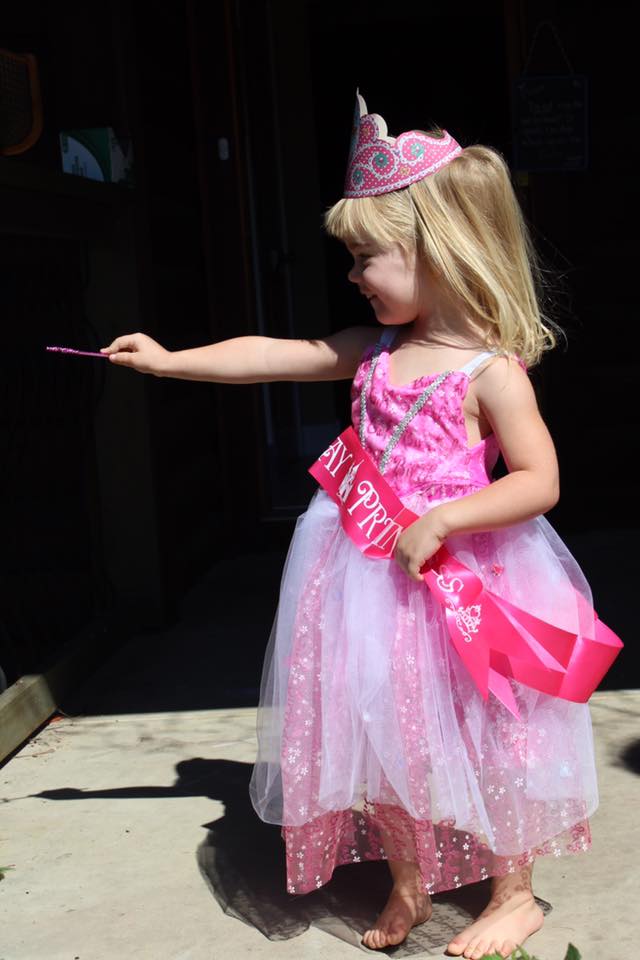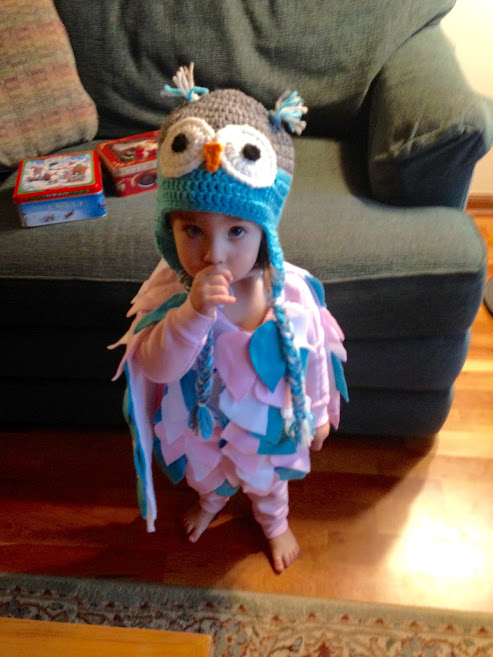
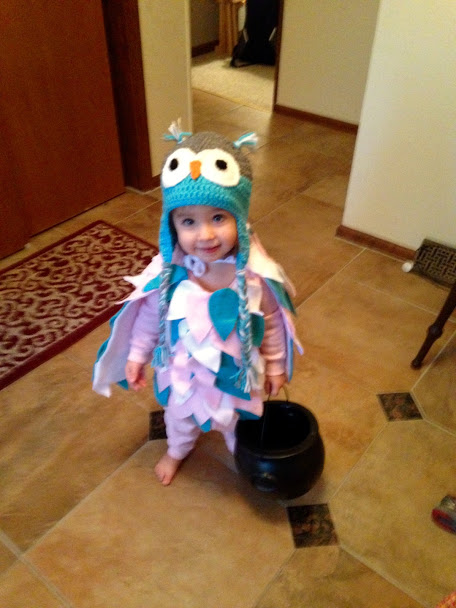
What a hoot! I made this owl costume for my toddler girl for Halloween. This costume can be adapted for any age! Not only is it soooo cute, but it’s also soft, comfortable, and easy to make!
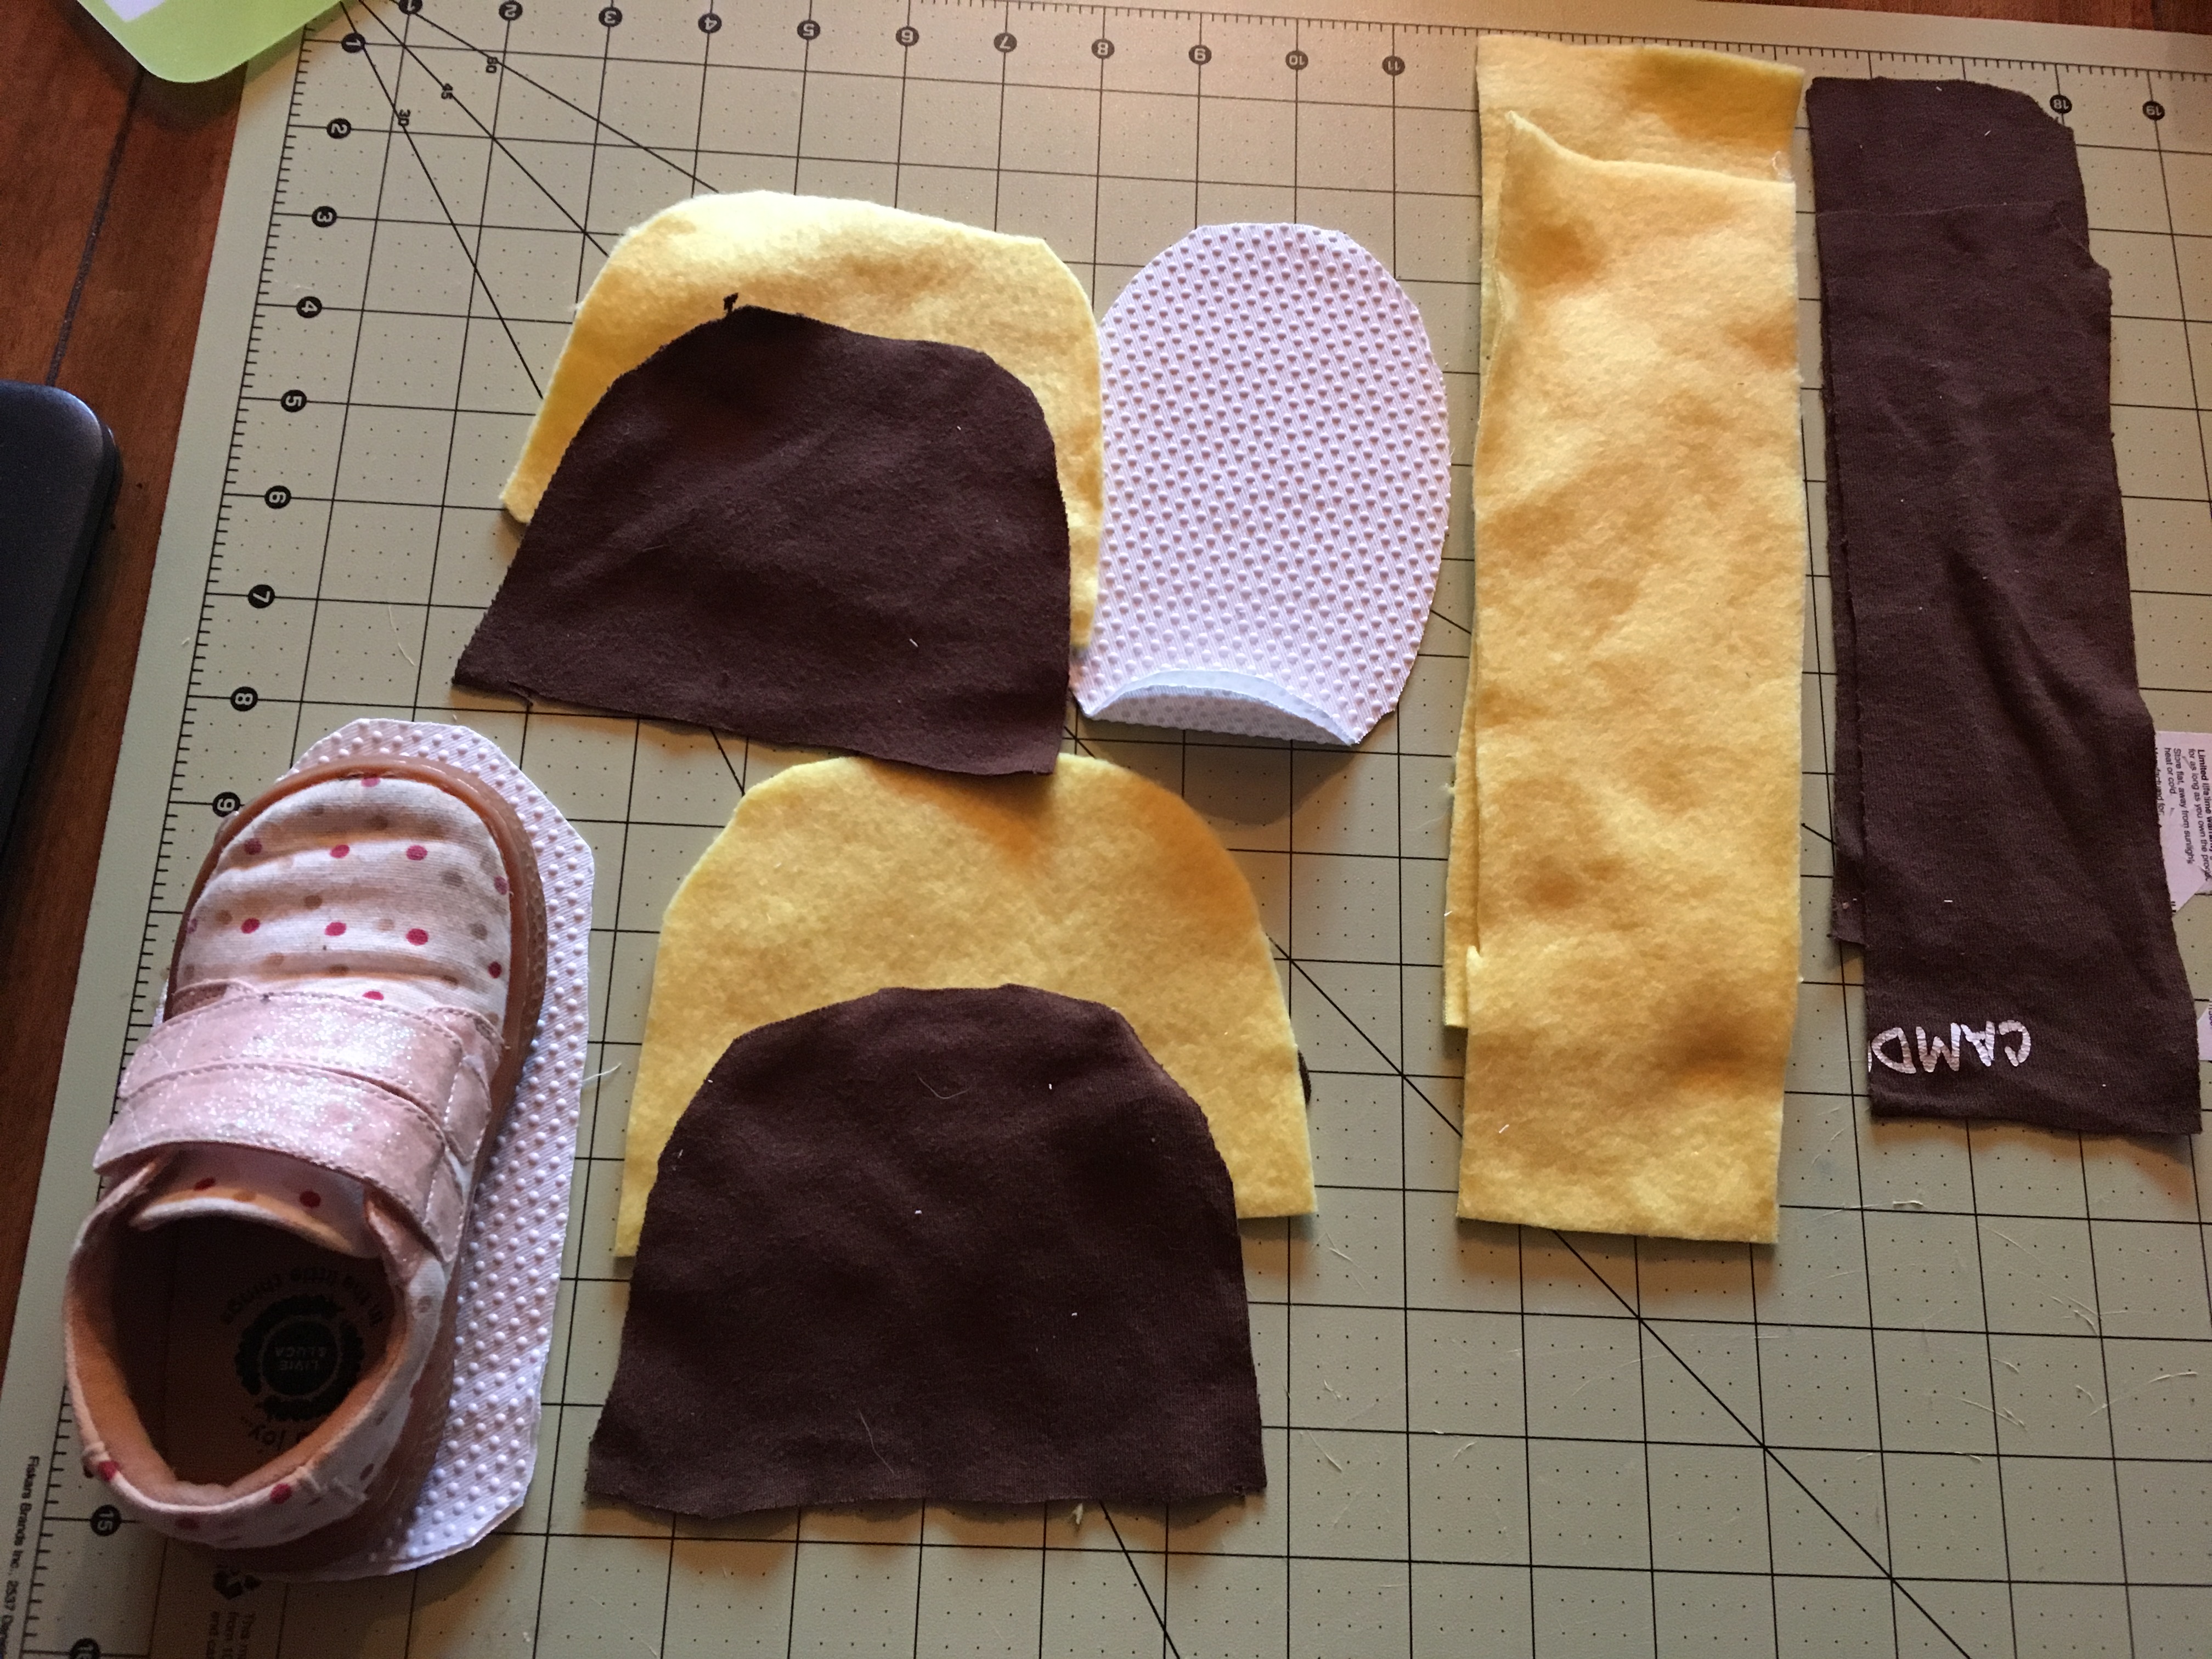
Let’s start with the materials. If you are making this for a larger toddler, child, or adult, you will need more material. You will need:
- Felt, 3 or 4 colors or more, I ordered half a yard of each and it was more than enough
- Hot glue and hot glue gun (I got a cheaper version at Michaels and it worked great!)
- Scissors
- A piece of cardstock or thicker paper
Let’s start with the cape (aka wings).
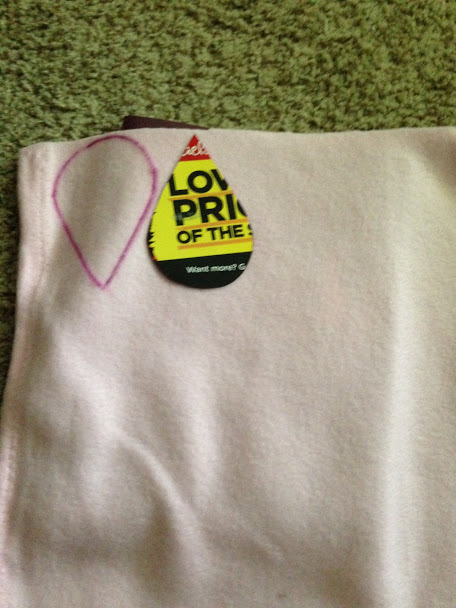
I didn’t have cardstock so I used a flier in the mail for my pattern. I simply drew a teardrop design and cut it out. To make all of the feathers for the owl, you must trace the teardrop design over and over.
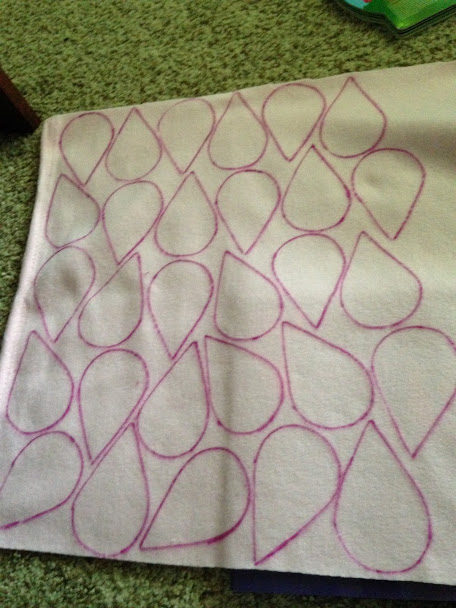
I ended up tracing over 80 feathers in each color. I did this because I wanted to do wings (the cape) and put feathers on the front of the sweatshirt (optional). Trace the feathers in each color and cut them out.
I used 3 colors, but I recommend 4. If you have 4 feathers it will be easier to vary the pattern the feathers are glued in, so that there is no repetitions. 3 colors definitely works though.
Next, measure the wingspan of your toddler (or adult). You can use a measuring tape or eyeball it with the fabric like I did. I held up the white felt with my daughter’s arms outstretched and make a mark from fingertip to fingertip. You can also adjust and cut the cape when you are finished, so if you are unsure make it a little larger.
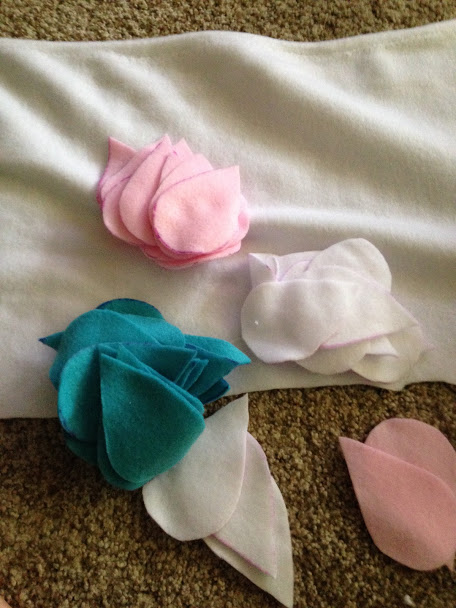
Next, warm up your glue gun and choose a pattern for your feathers and glue them on. I put glue on the top half of the feather, so that when I did the next row I could snuggle a feather underneath the bottom of the feather. Check out the picture to see what I’m talking about.
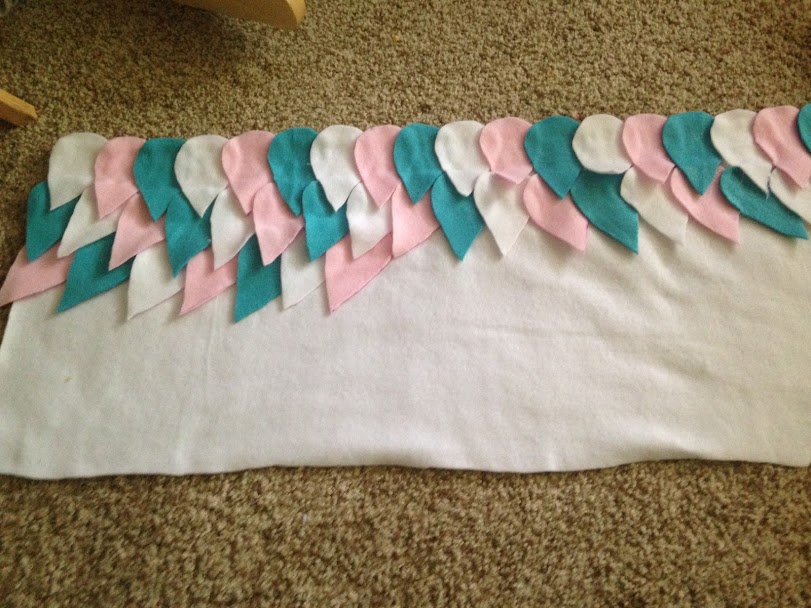
The feathers overlap so don’t put glue on the bottom half of your feathers. You’ll notice the first row I did very straight, as I was working I realized I wanted to tilt feathers a bit to the side so they looked more natural. Continue gluing until you have filled up the wings!
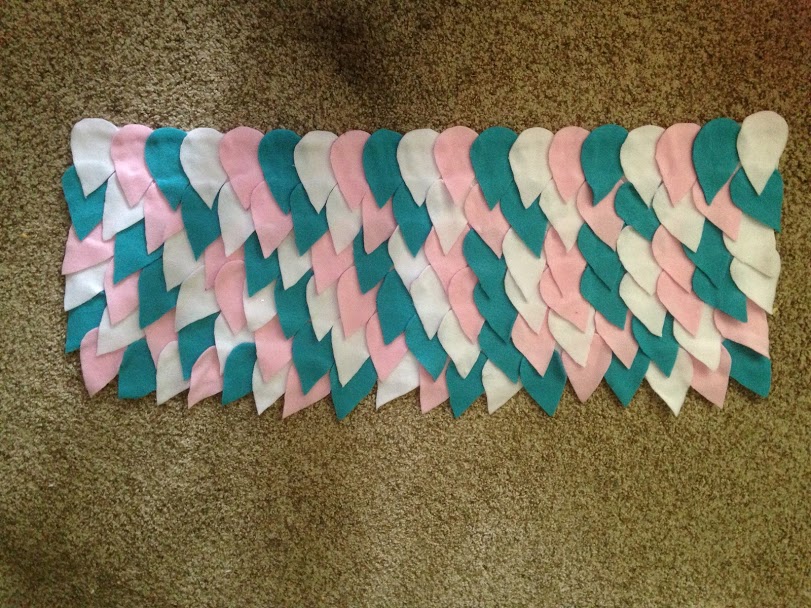
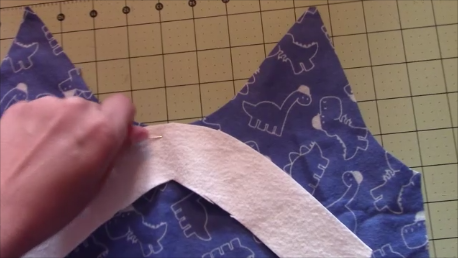
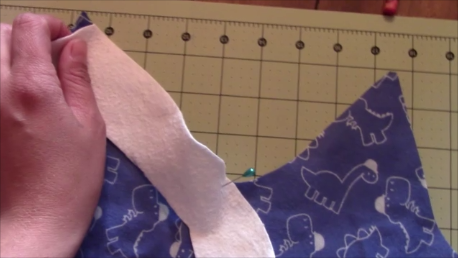
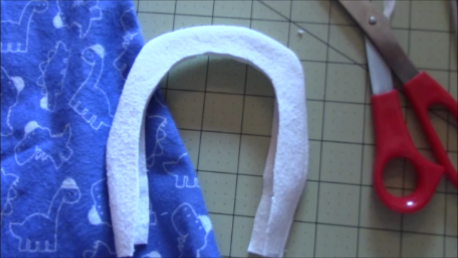
Beautiful! Now it’s time to add a tie to the top sides. You want the wings to be able to tie around your toddler’s neck. I wanted something that wasn’t tight, would hang down, and very comfy, so I used felt. I cut some extra pieces of felt. I simply used my scissors and in the upper right and left hand corner of the large piece of white felt (that the feathers are glued to), I made a hole with the scissor. I tied the shoelace type felt piece on each and wallah! Then I could tie the cape together.
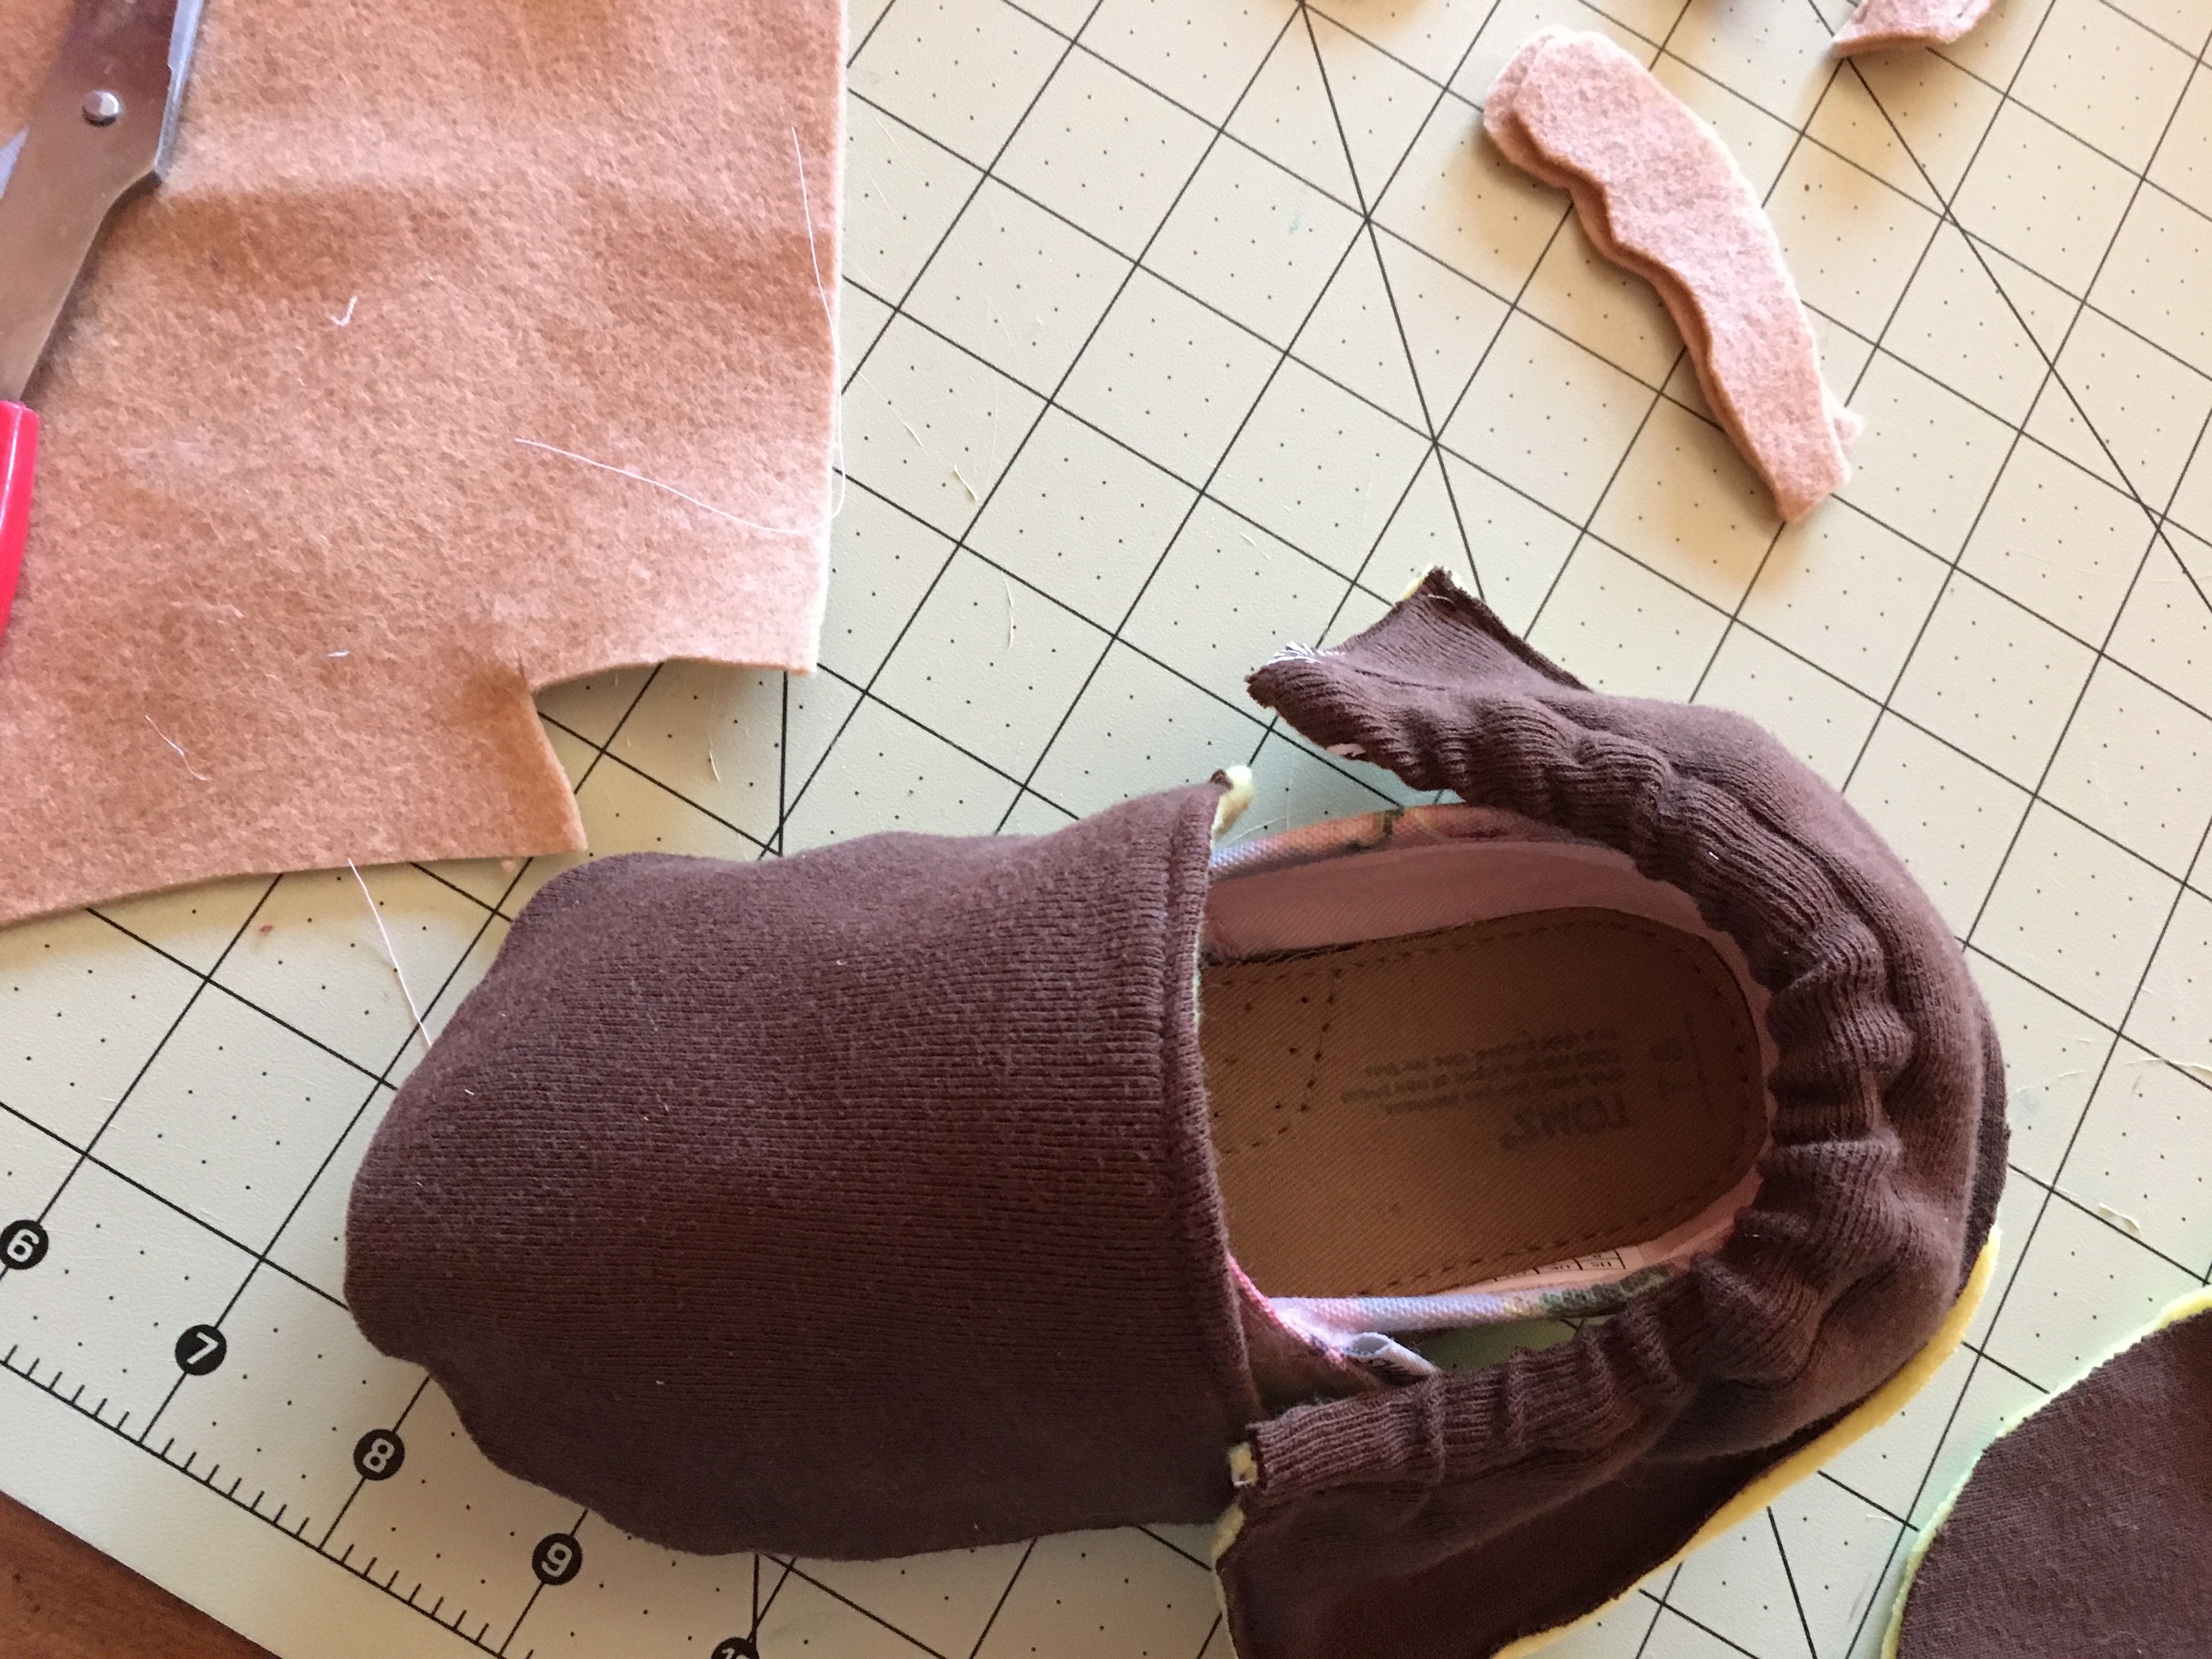
The cape is done. I happened to have an owl hat. If you don’t have a hat, you can make one. If you like to crochet, then simply google and find a video and pattern. If you want to make the hat from felt (which is easier), then simply google “diy toddler owl felt hat.”
Here is where options come into place. You can do the wings and hat and leave it at that. I bought a pink sweatshirt and pants at walmart for $10 for the costume, but you can use any clothes you like.
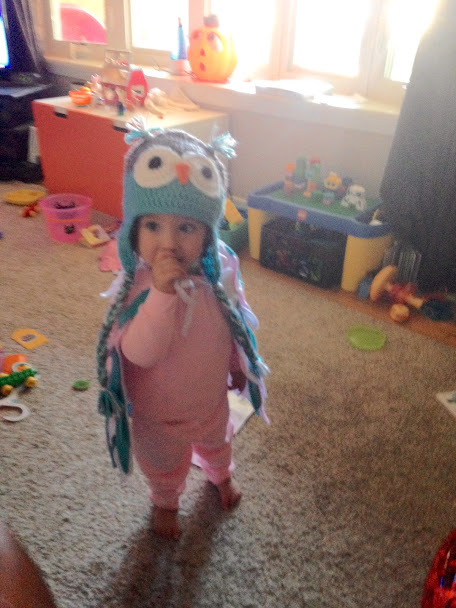
This is a picture without doing the feathers on the front of the sweatshirt. This is very cute and if it’s cold weather in your area, will work great with a winter coat.
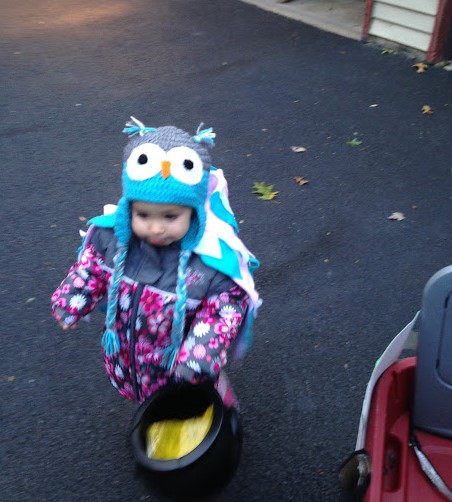
I went ahead and did the front of the sweatshirt, but as you can see in the picture below, ended up covering it anyway because of the cold weather. The cape (wings) can easily go over a large winter coat.
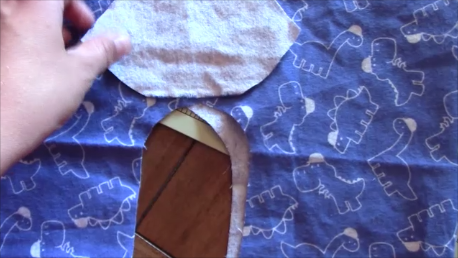
If you want to cover the front of a shirt, then simply cut out more feathers. I wanted to reuse my sweatshirt, so I didn’t glue the feathers to the sweatshirt. I measured the front of the shirt, used a large piece of white felt and glued feathers to the felt (just like the cape). Next, I put it on top of the shirt and sewed it on in the corners. This way I can simply cut the thread and take the felt off and use the sweatshirt again. If you don’t want to use the shirt again, gluing is easier.
Happy Halloween! I hope you have a hoot of a time!!!
Follow


Share
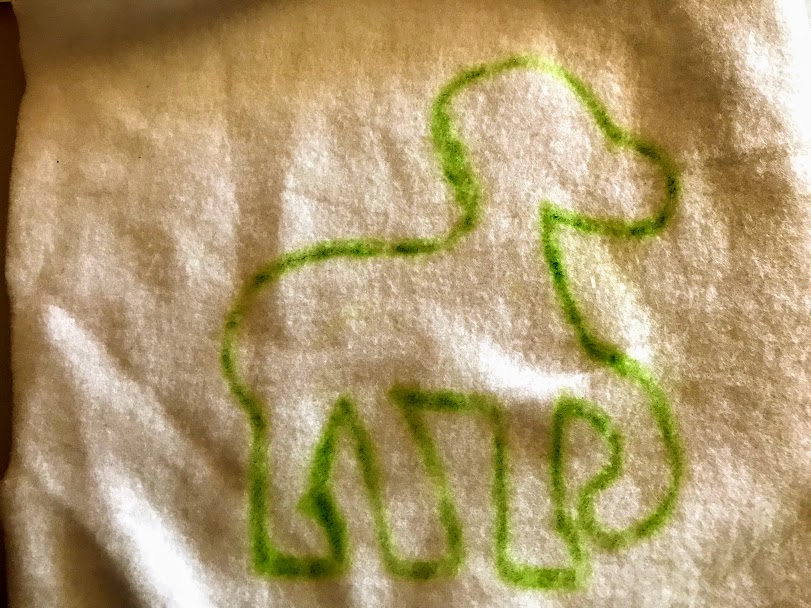


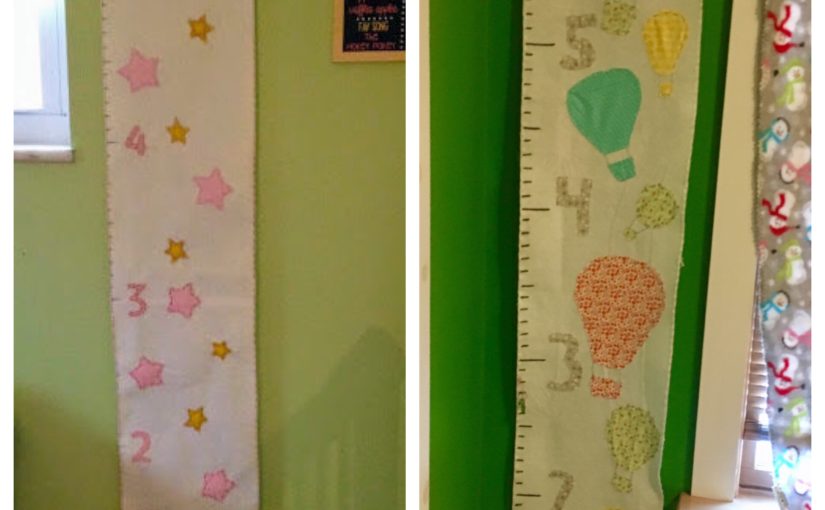
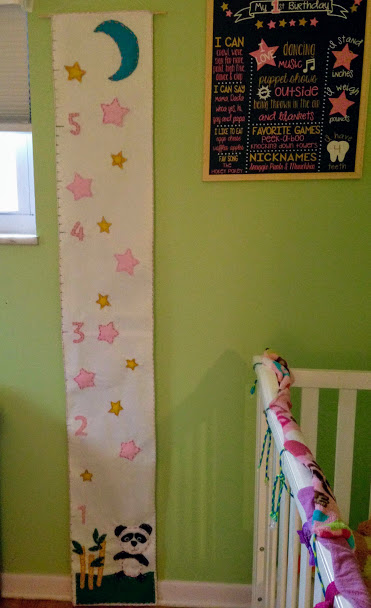
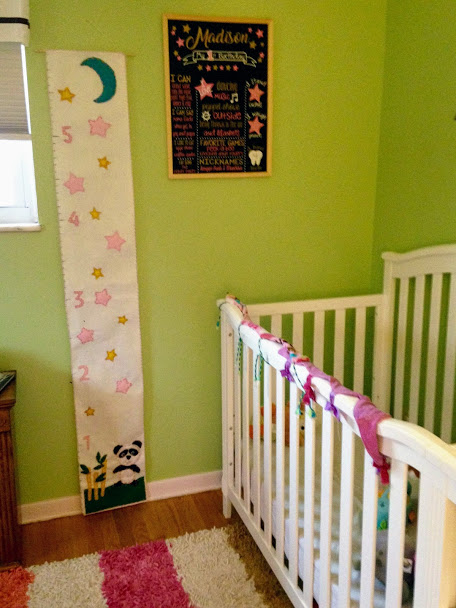
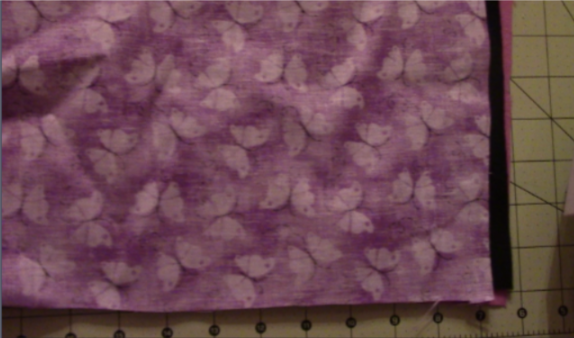
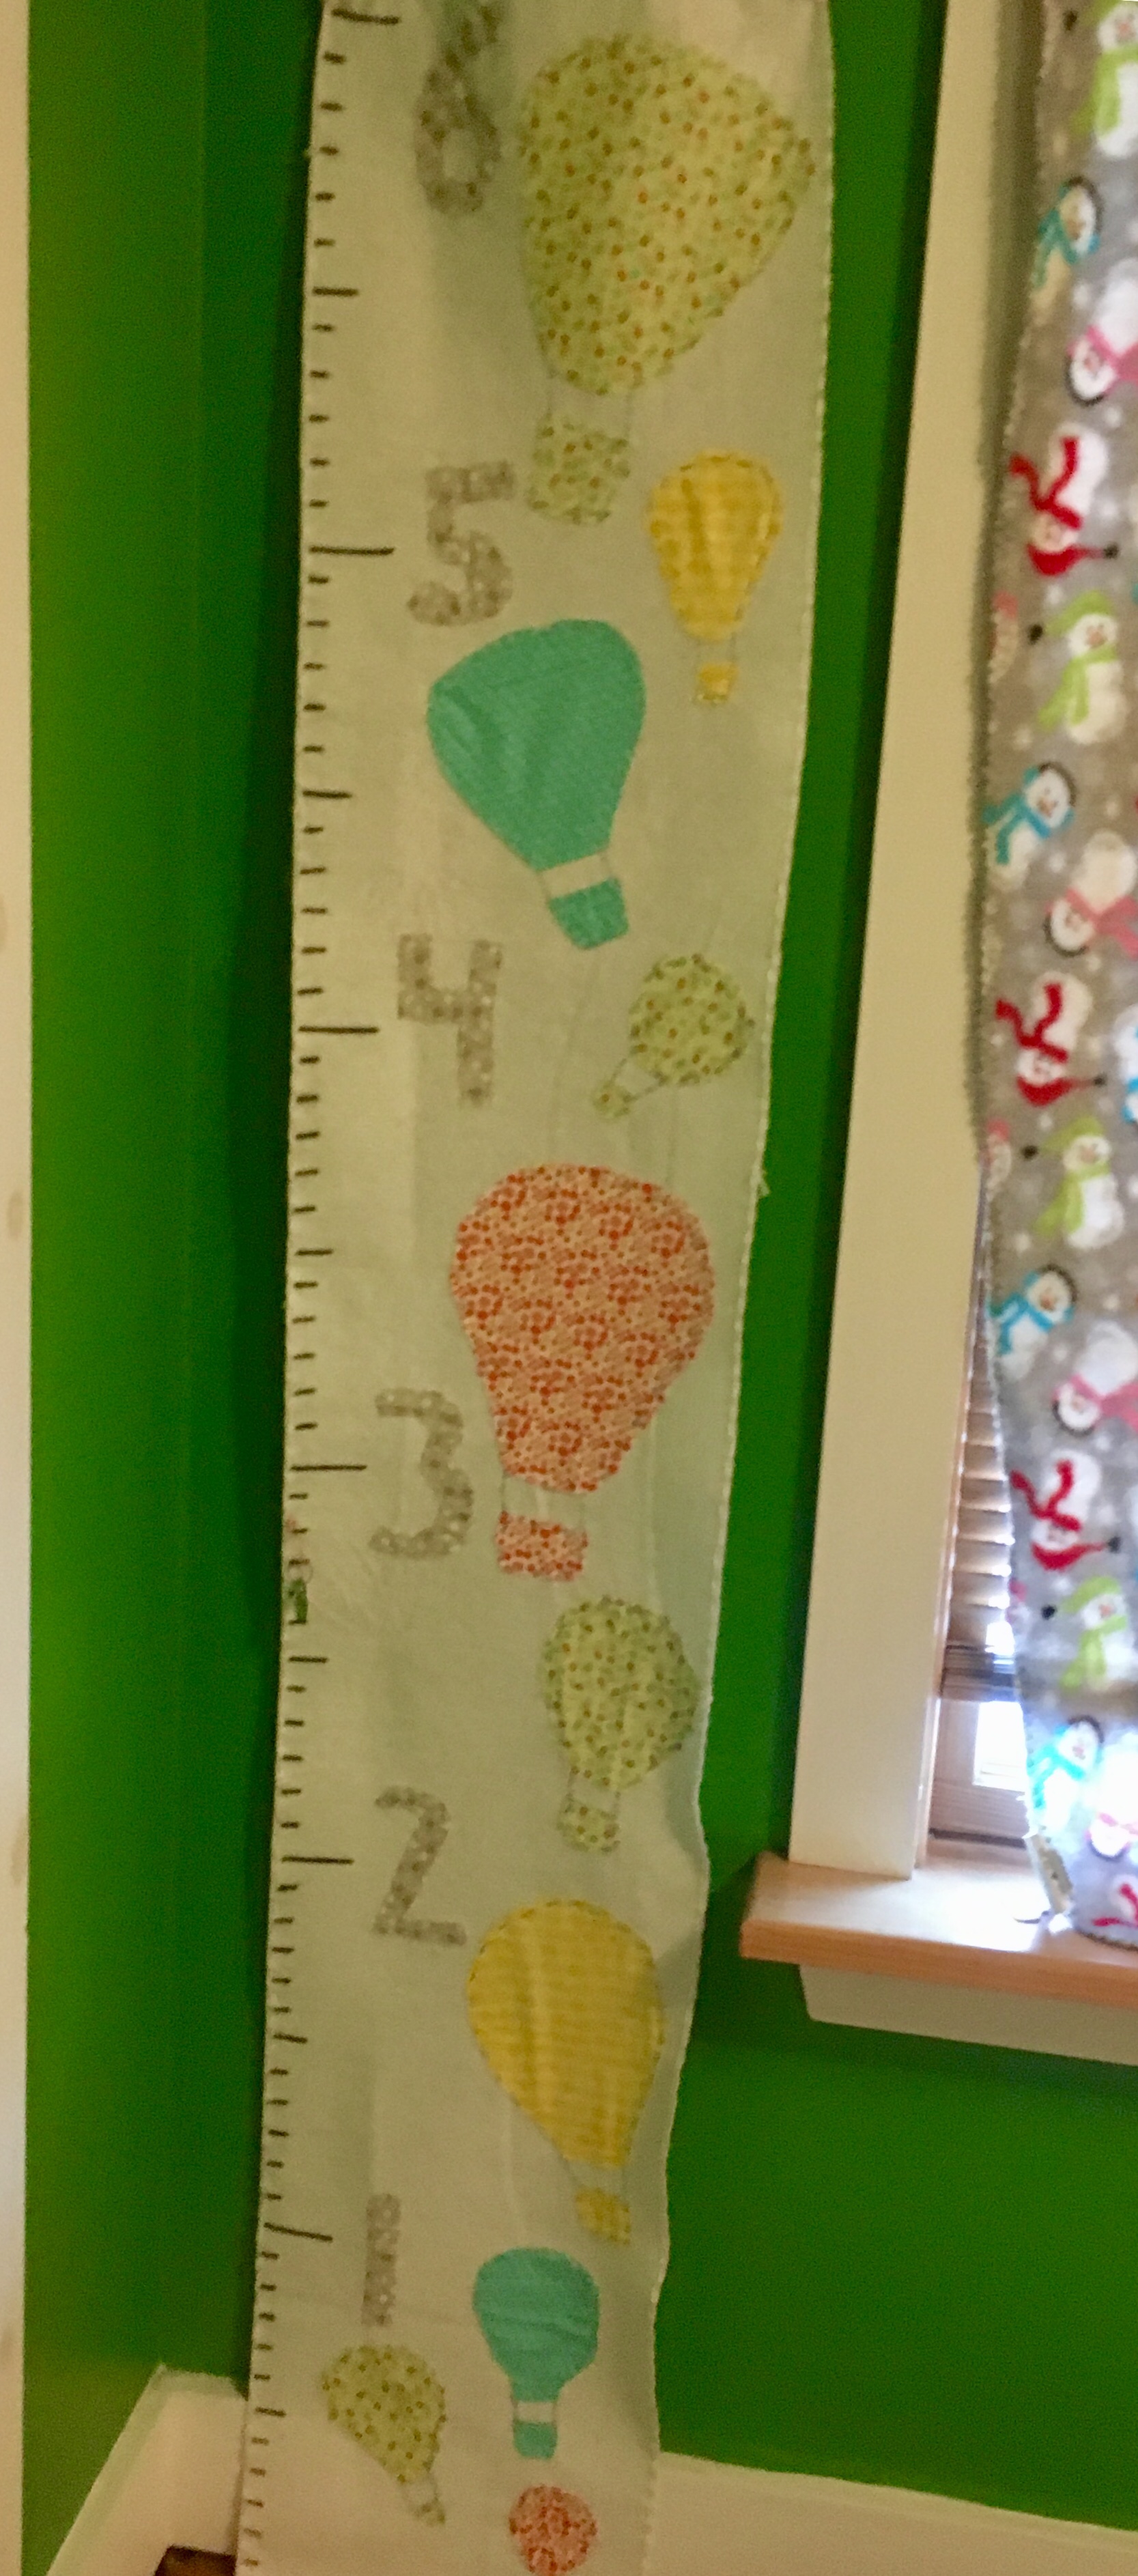
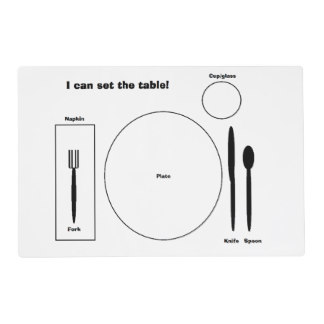
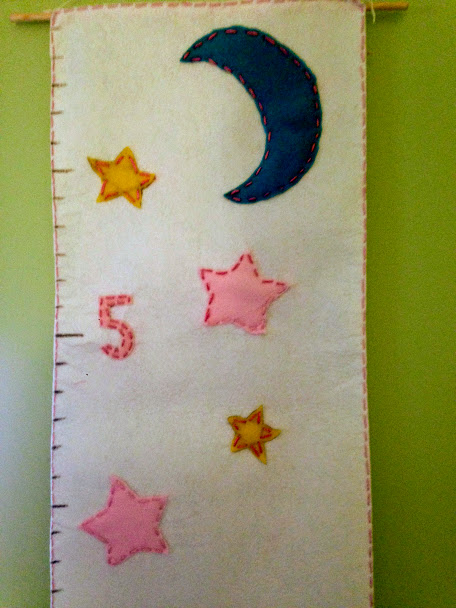 Next, I used a measuring tape and ruler to draw the lines for each inch. I made each foot line a bit longer, and the 1/2 foot a little longer too. For the numbers, I decided to use stencils. Again, you could free hand or trace. I used the stencils on the pink felt fabric
 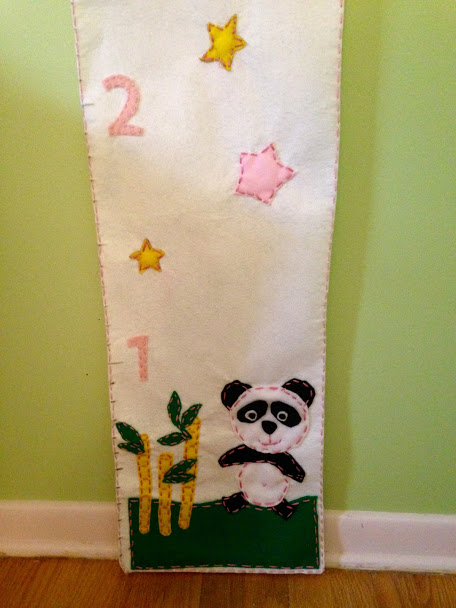 squares and cut them out.
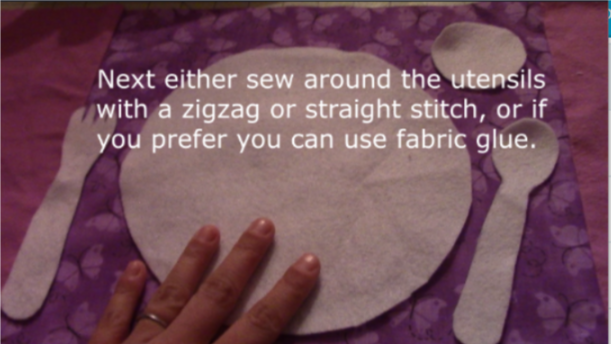
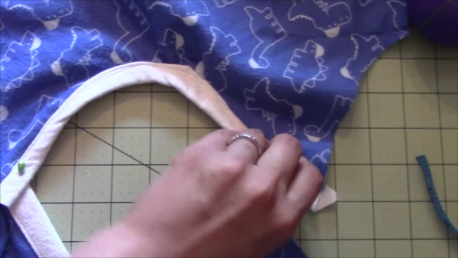
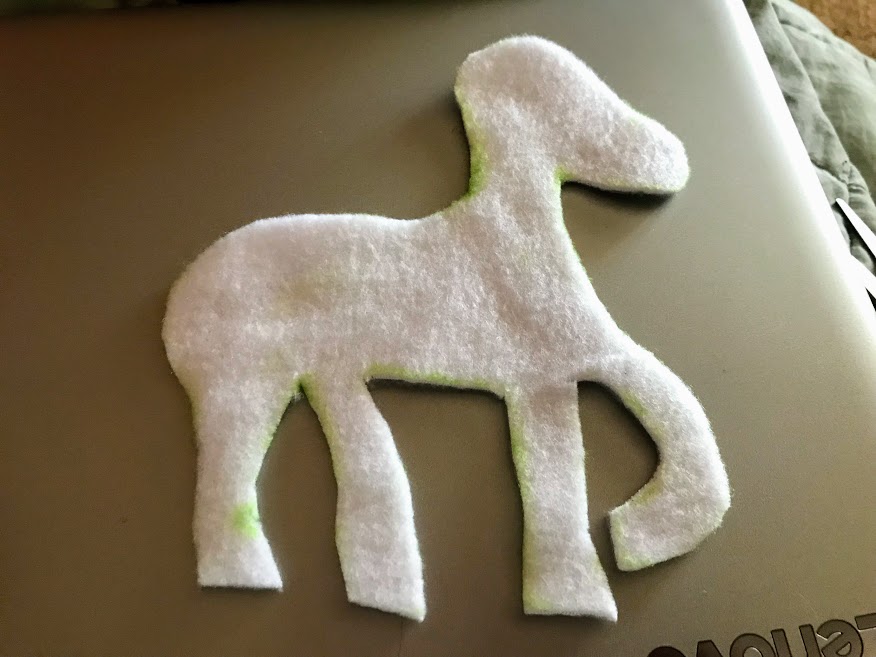
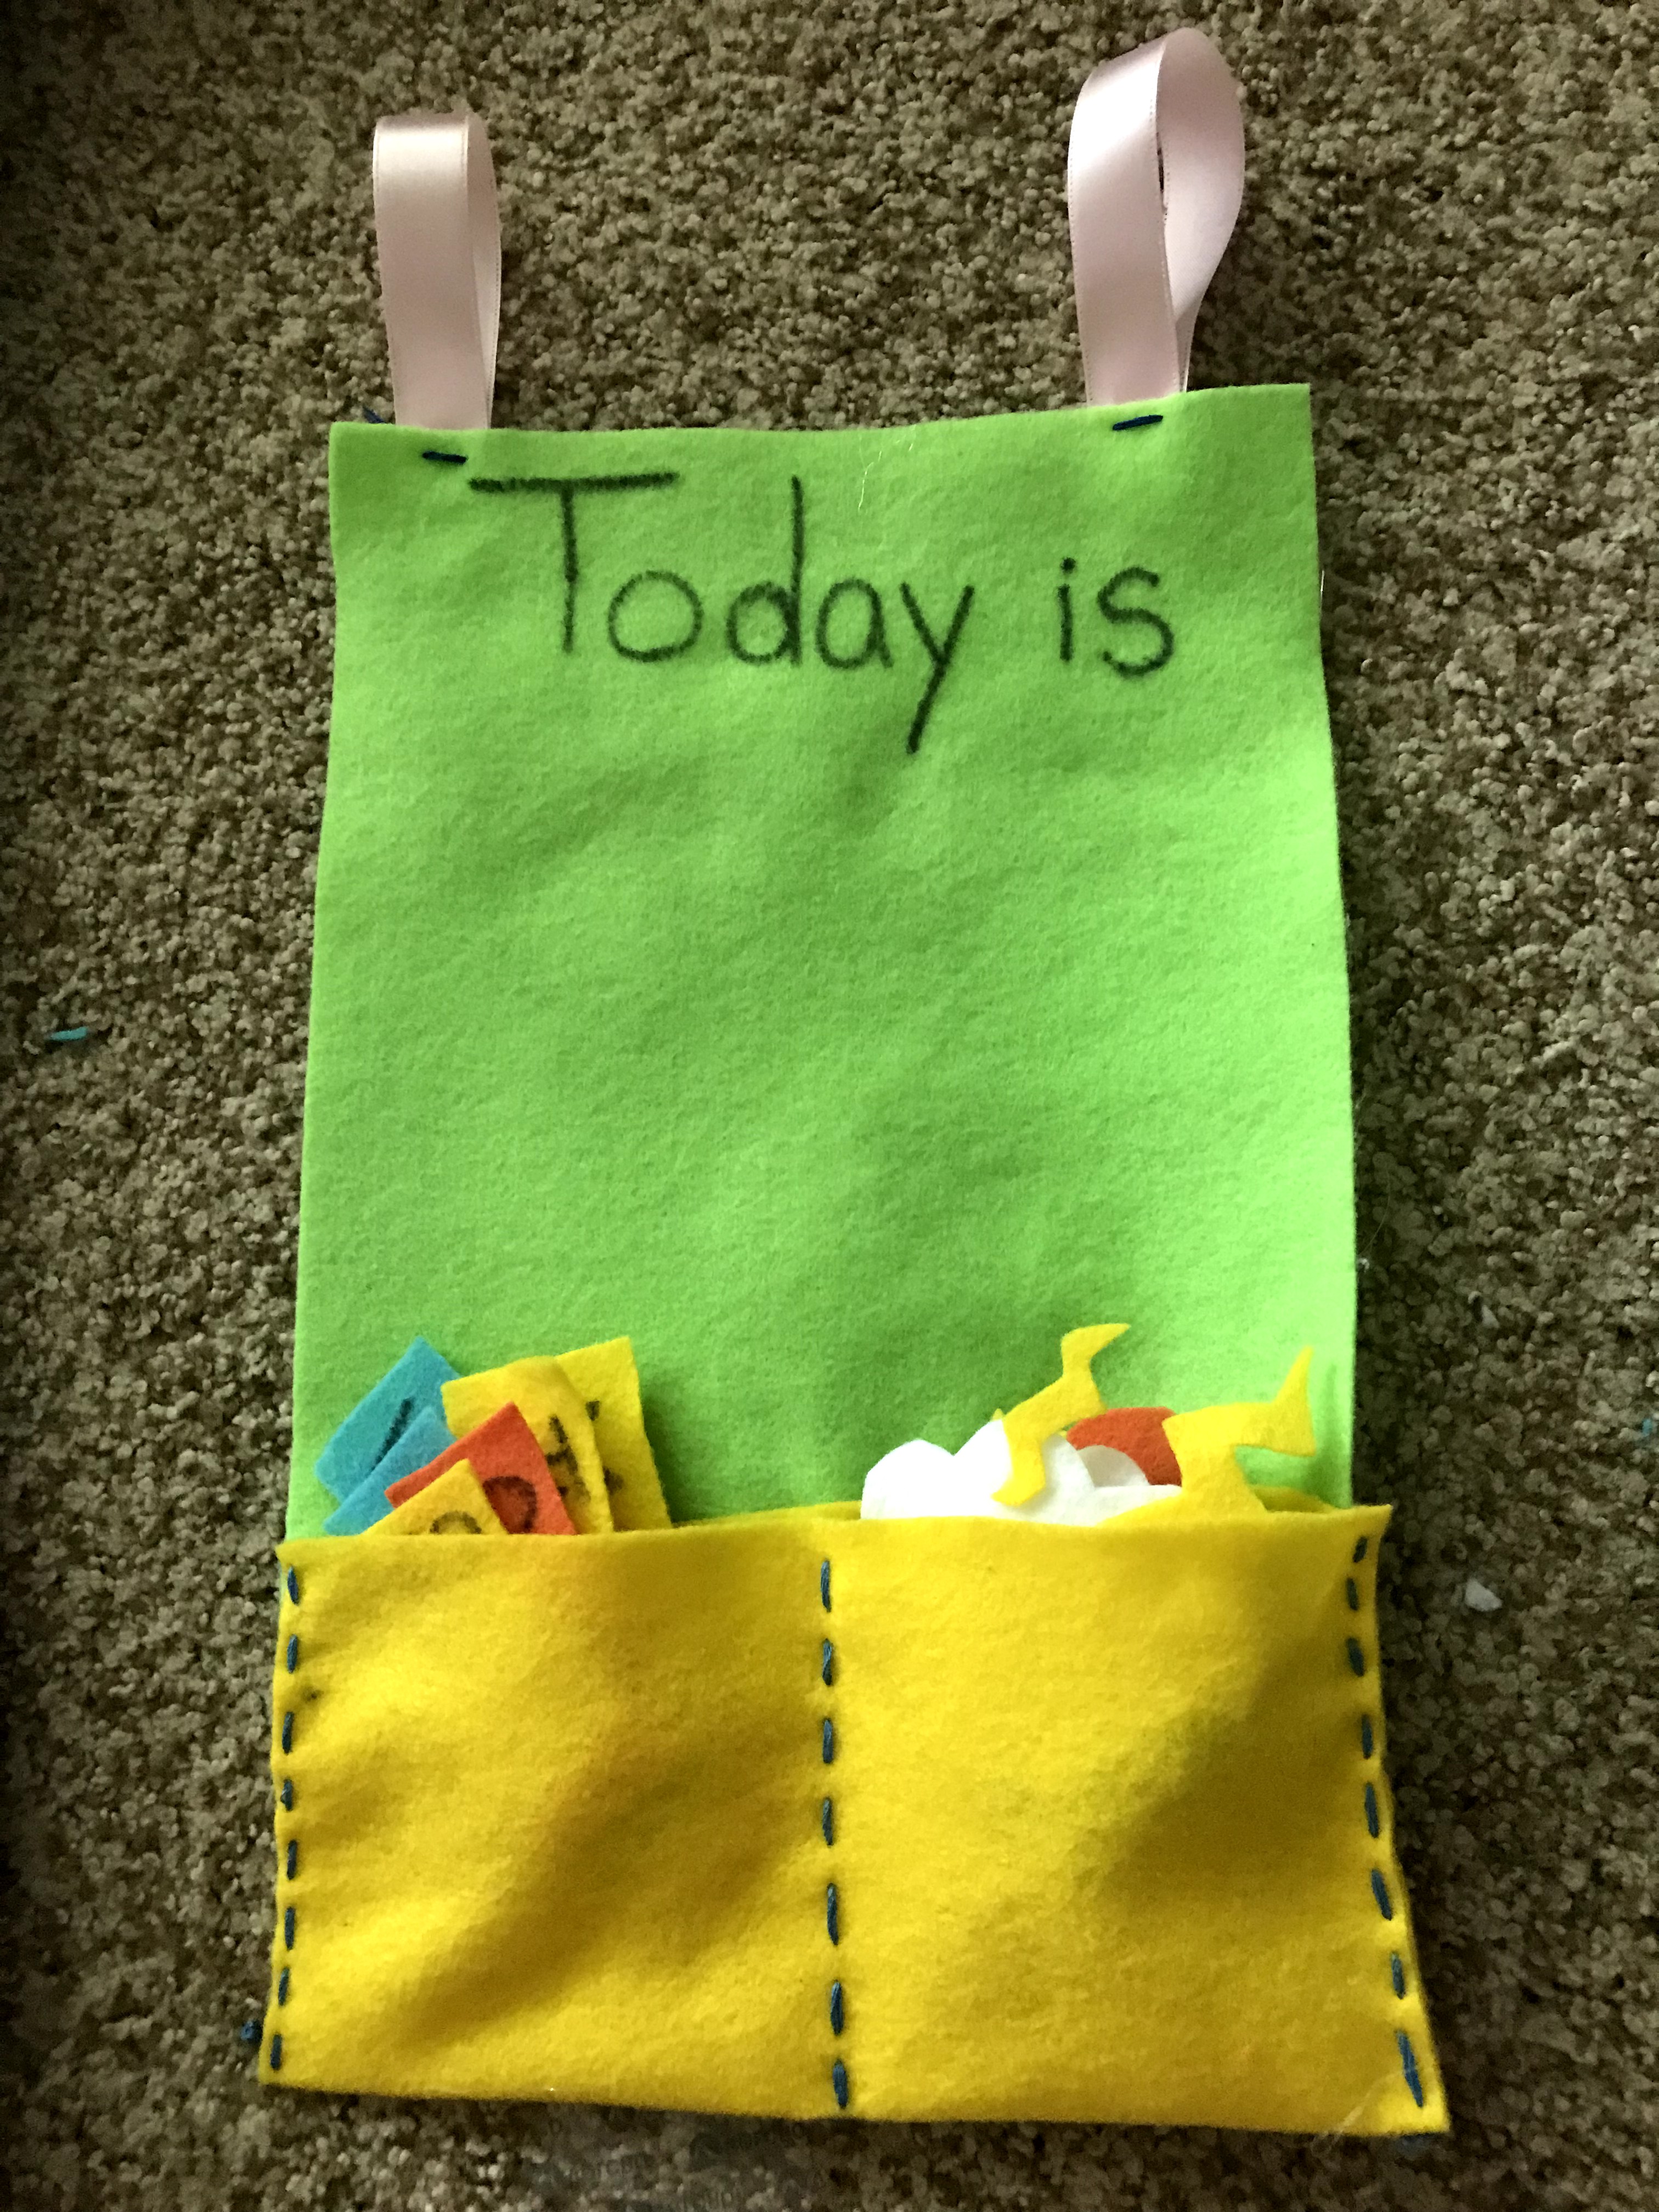
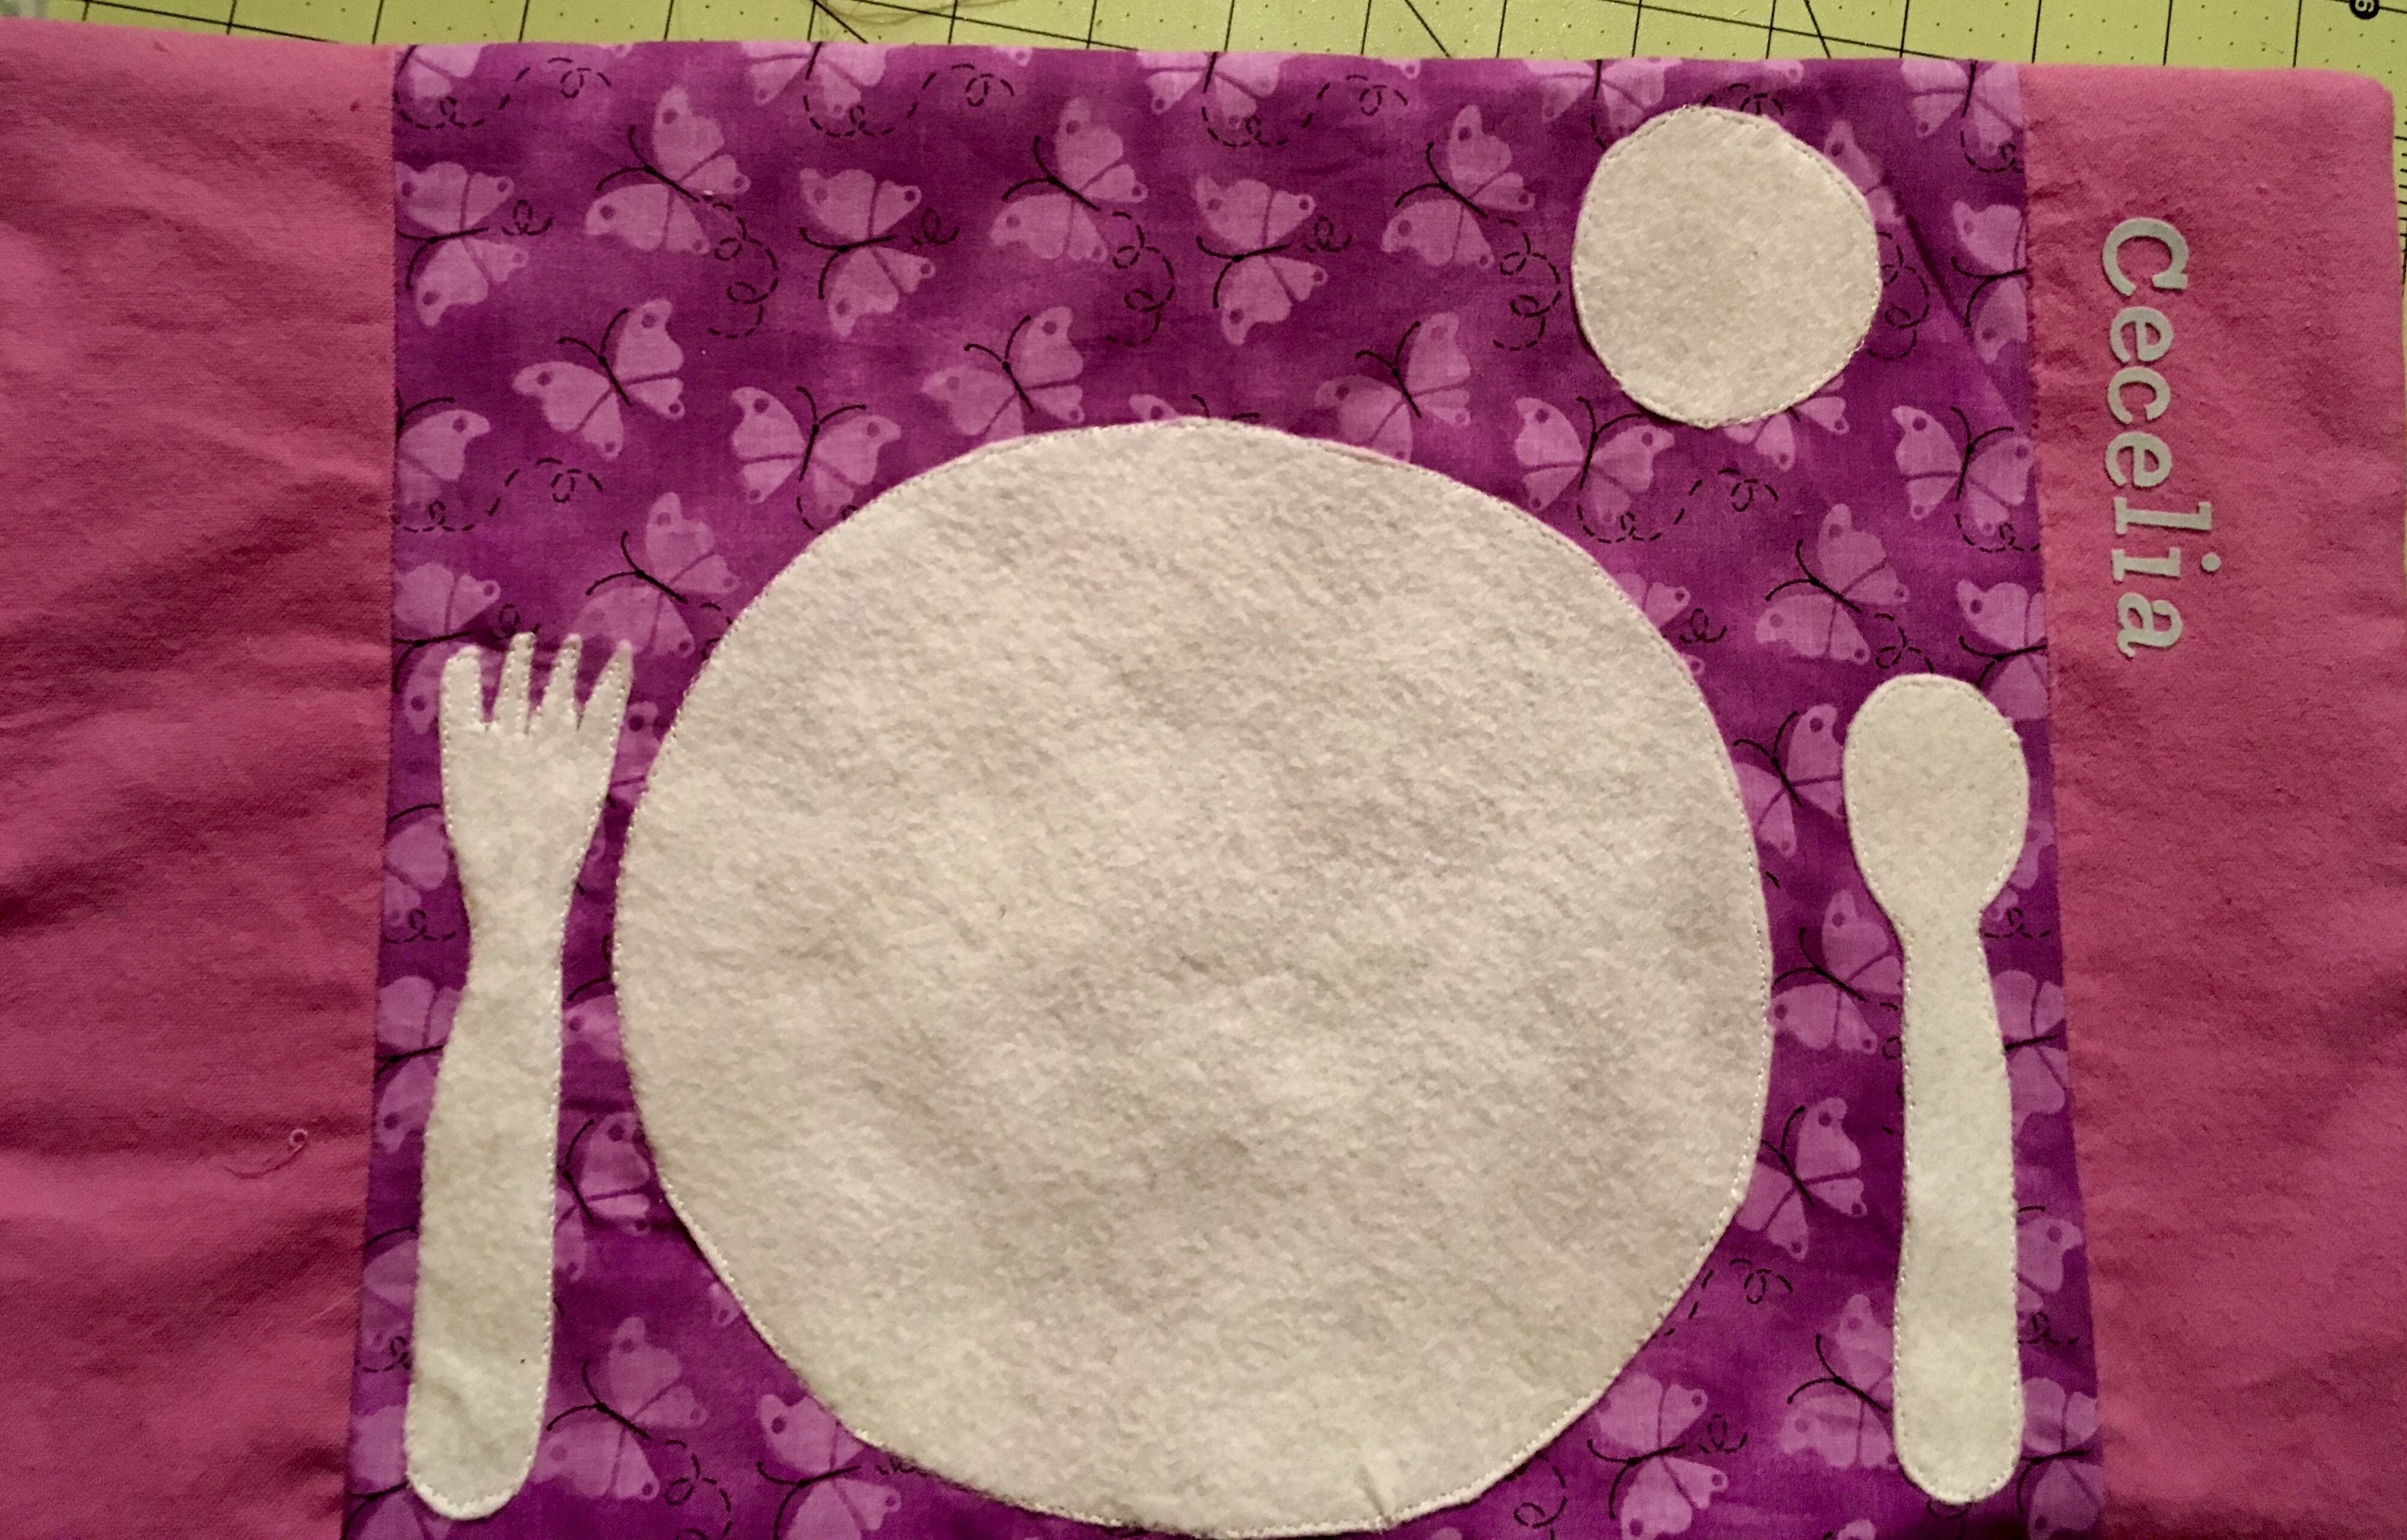
 This can be used for many different designs. You could sew on your child’s name, different animals, shapes, and so on.
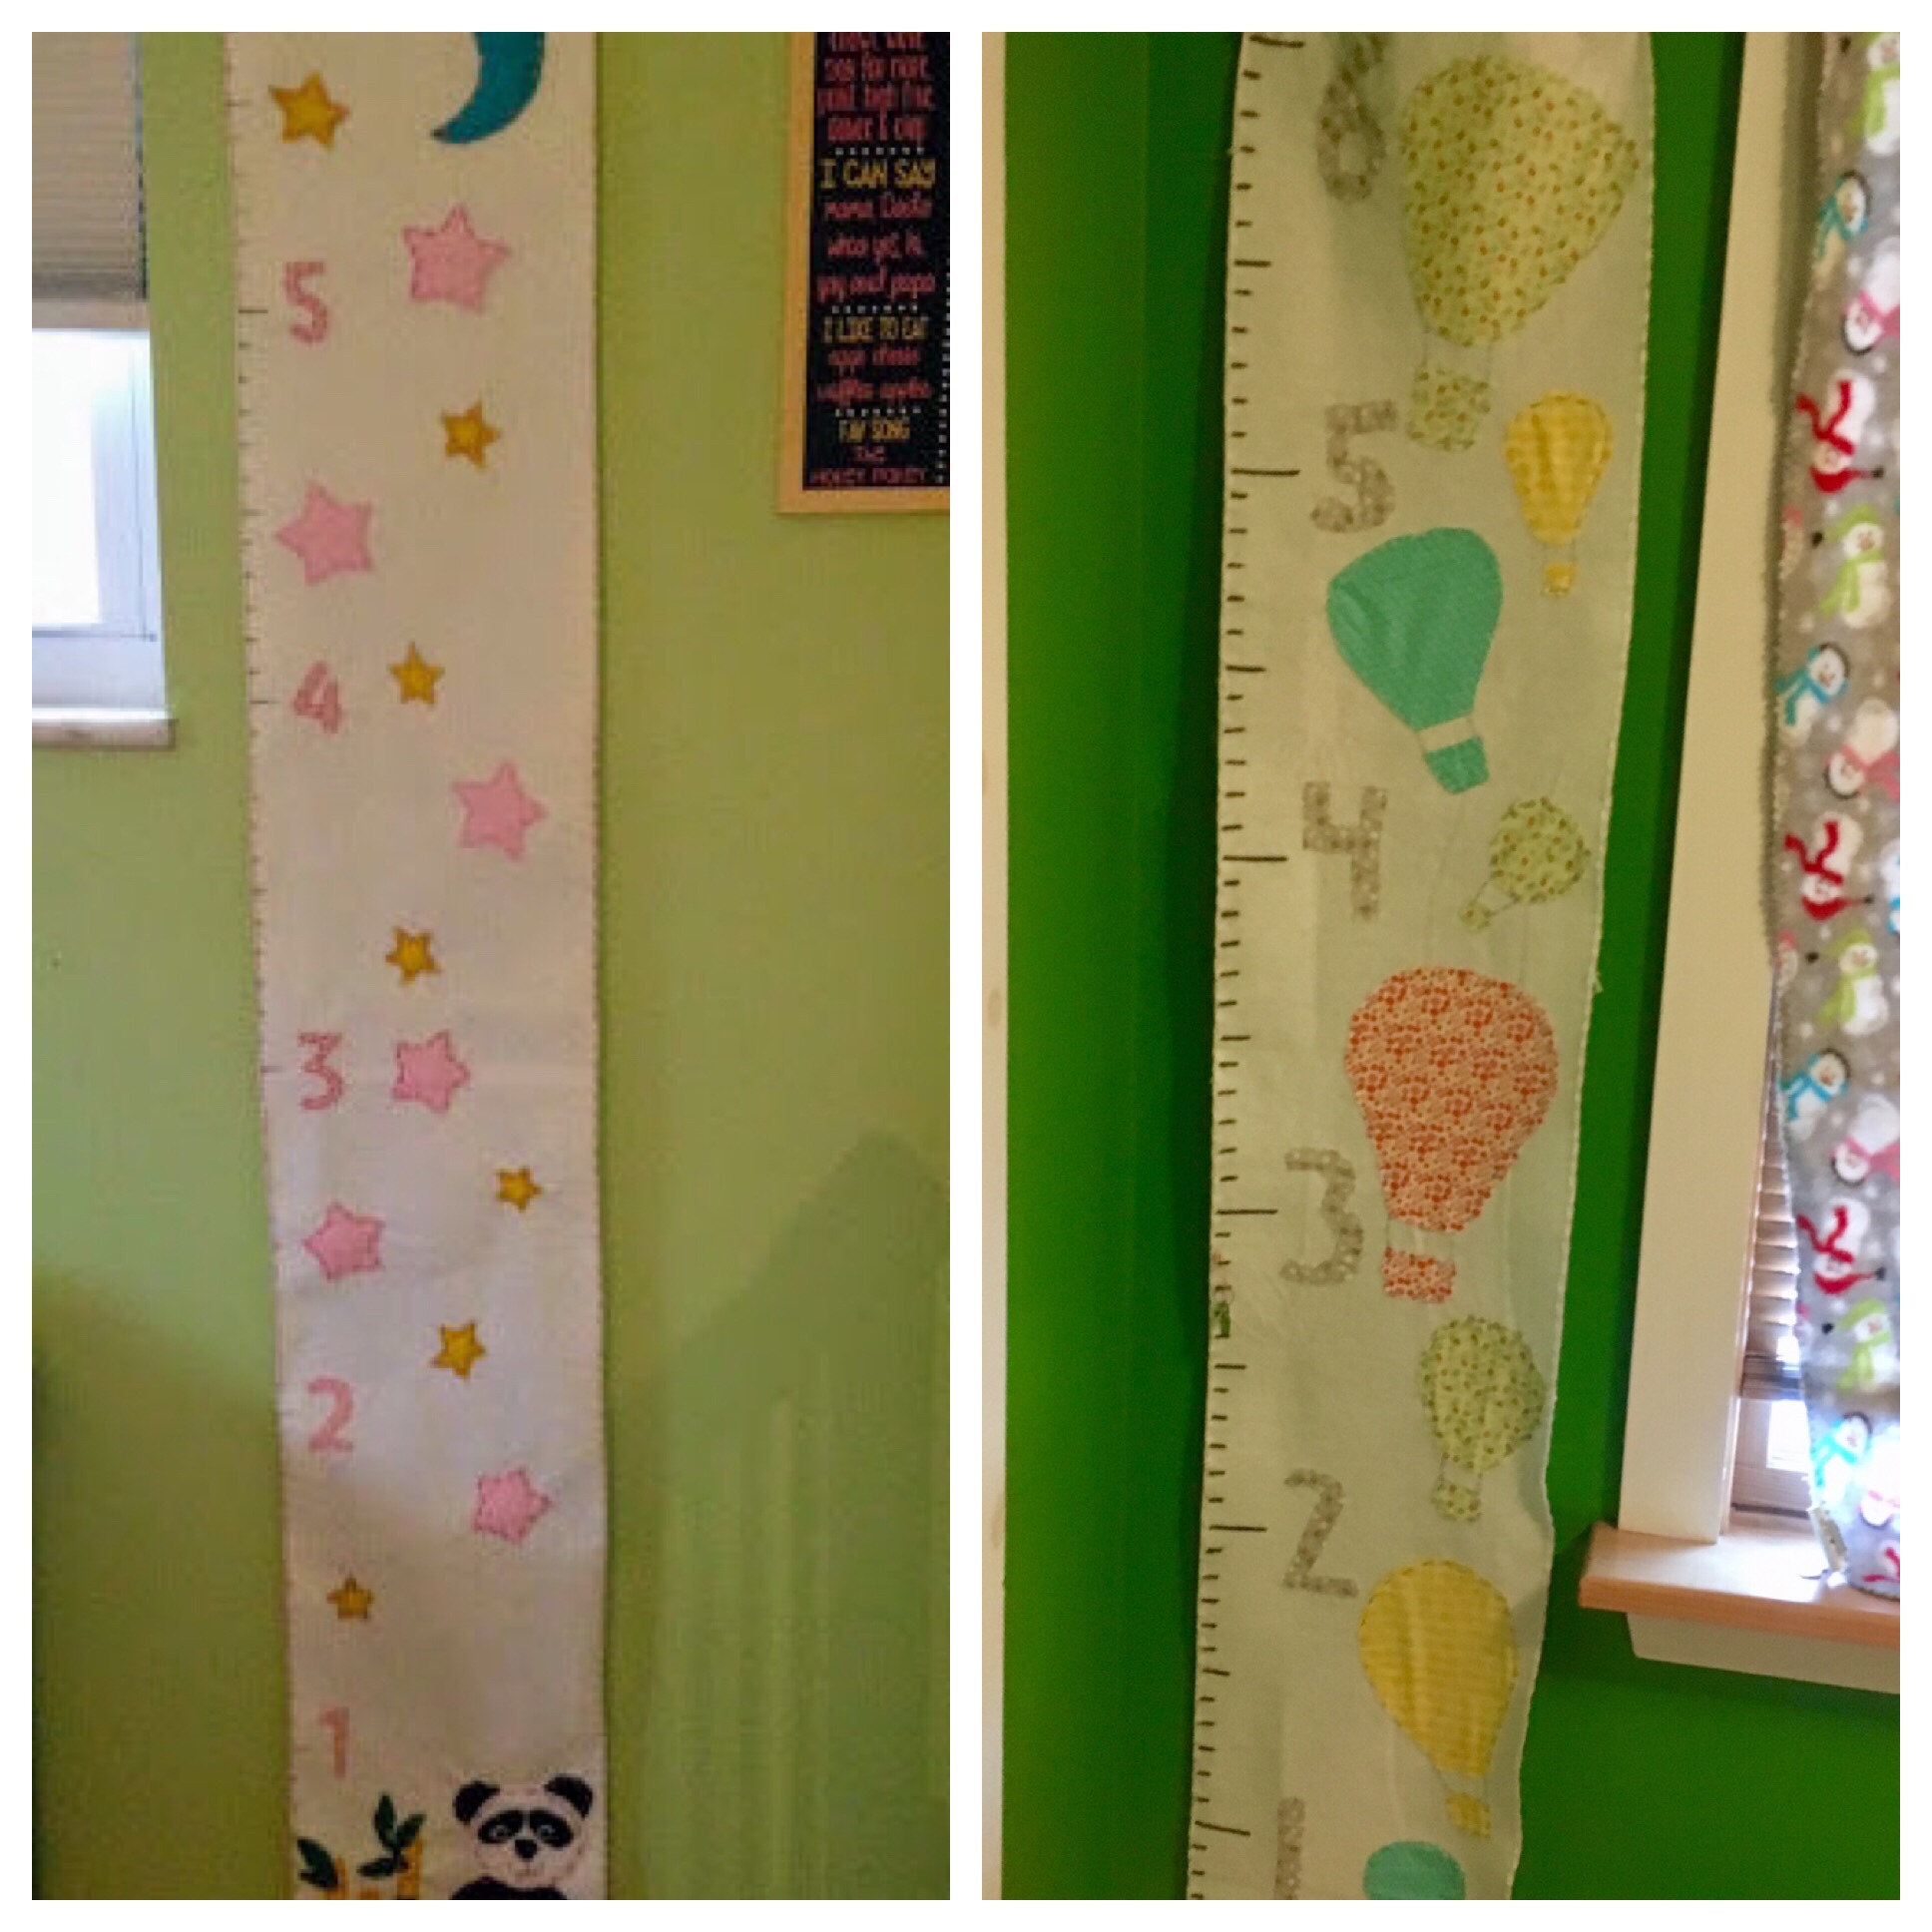
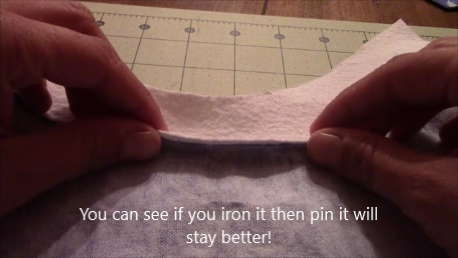
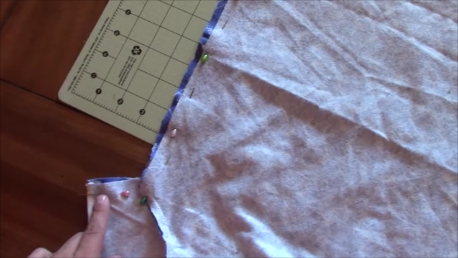
 with safety pins. This will allow you to use this again, or use for more than one child.

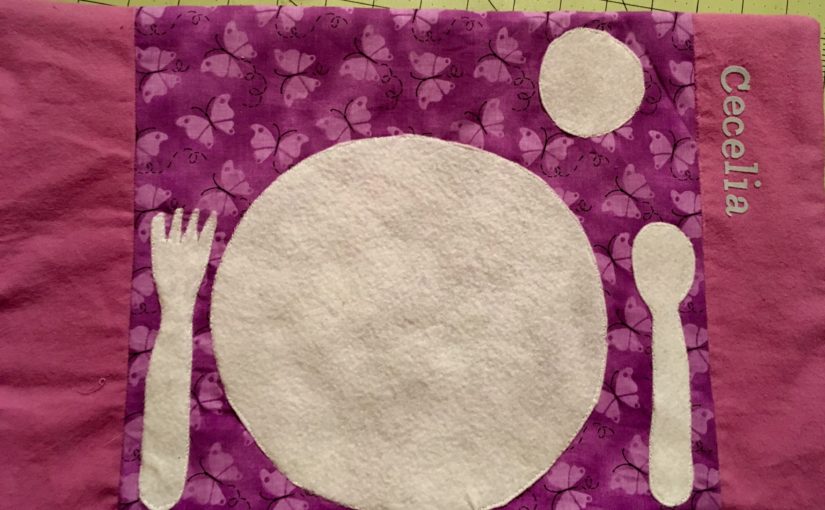
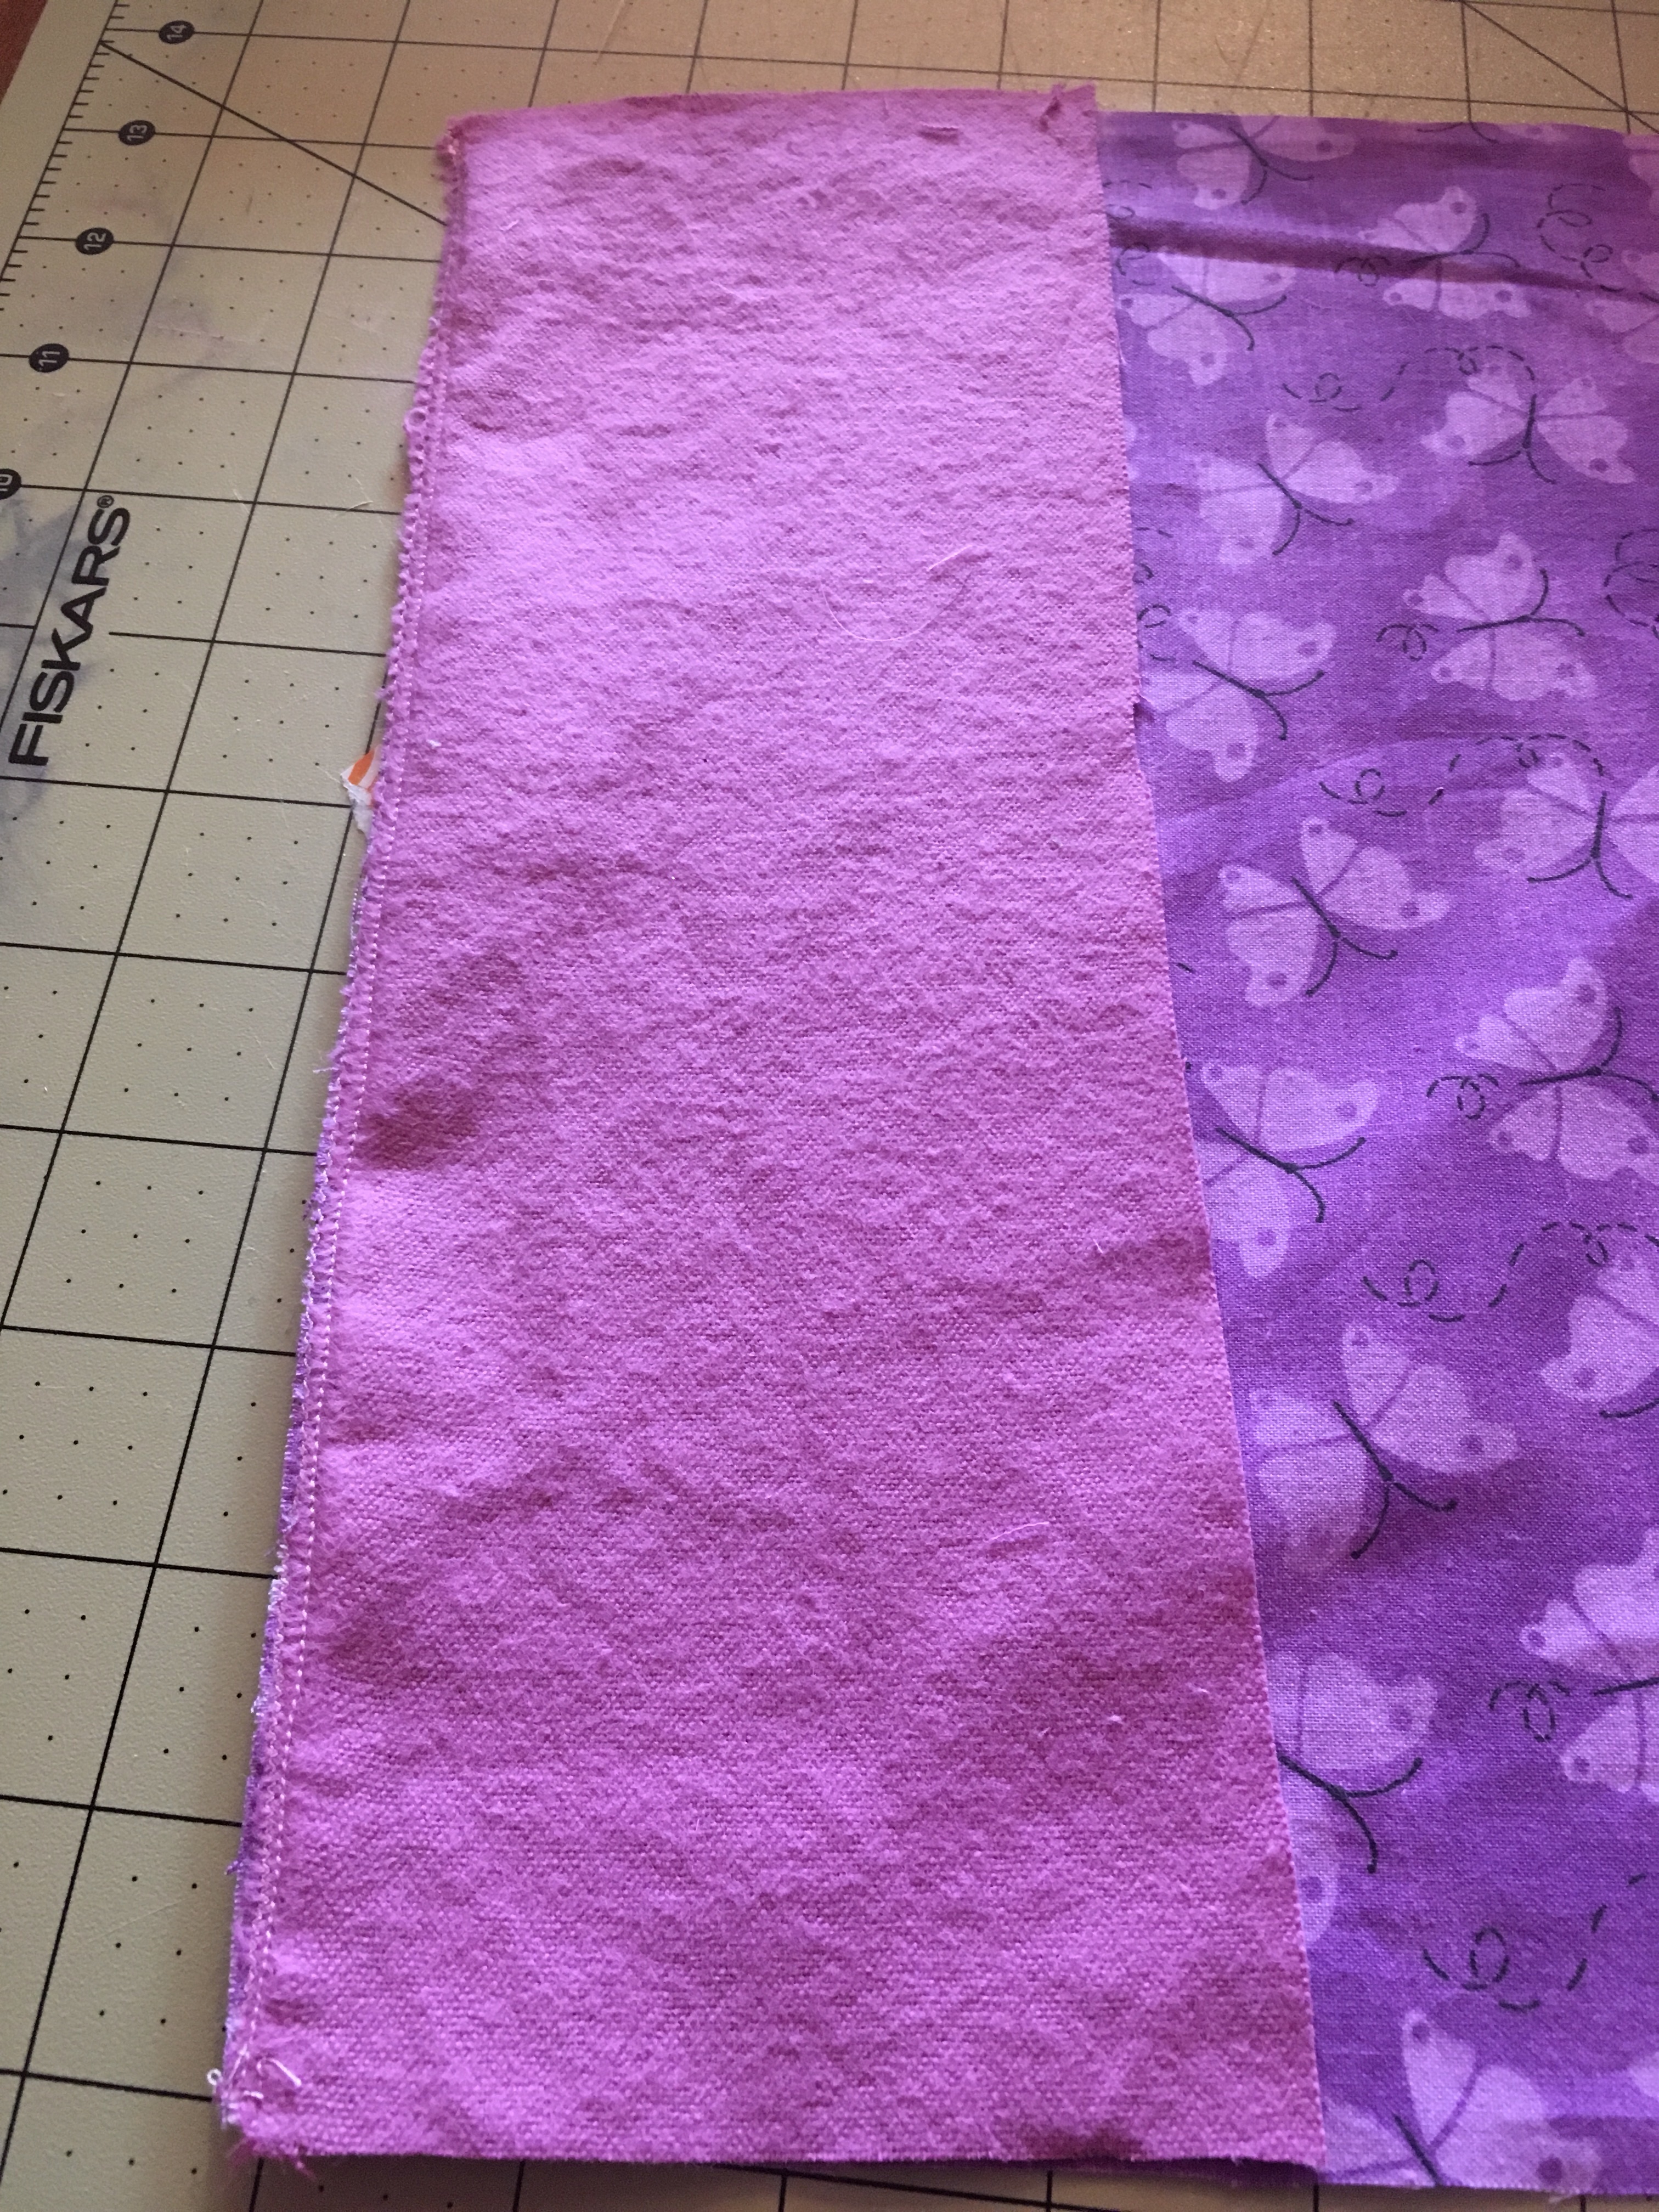
 However, my laminator is only big enough for a regular printer sized paper. You can take it to your local staples or office store to get laminated. You can even make your own placemat out of fabric and have it laminated.