Cloth baby book!

Cloth baby books are an easy sewing project that your little one will enjoy!  You can also embellish and make it more interactive.  Cloth books are great toys as well!

IMG_2101

There are several places to purchase panel fabric for cloth books; however, it is very hard to find in actual stores.  They are mostly sold online. You can also make your own cloth book!  The following tutorial is how to make a panel cloth book. If you would like to make your own cloth book that is not from printed panels, I would suggest the following sites for ideas: Color book , animal book ideas


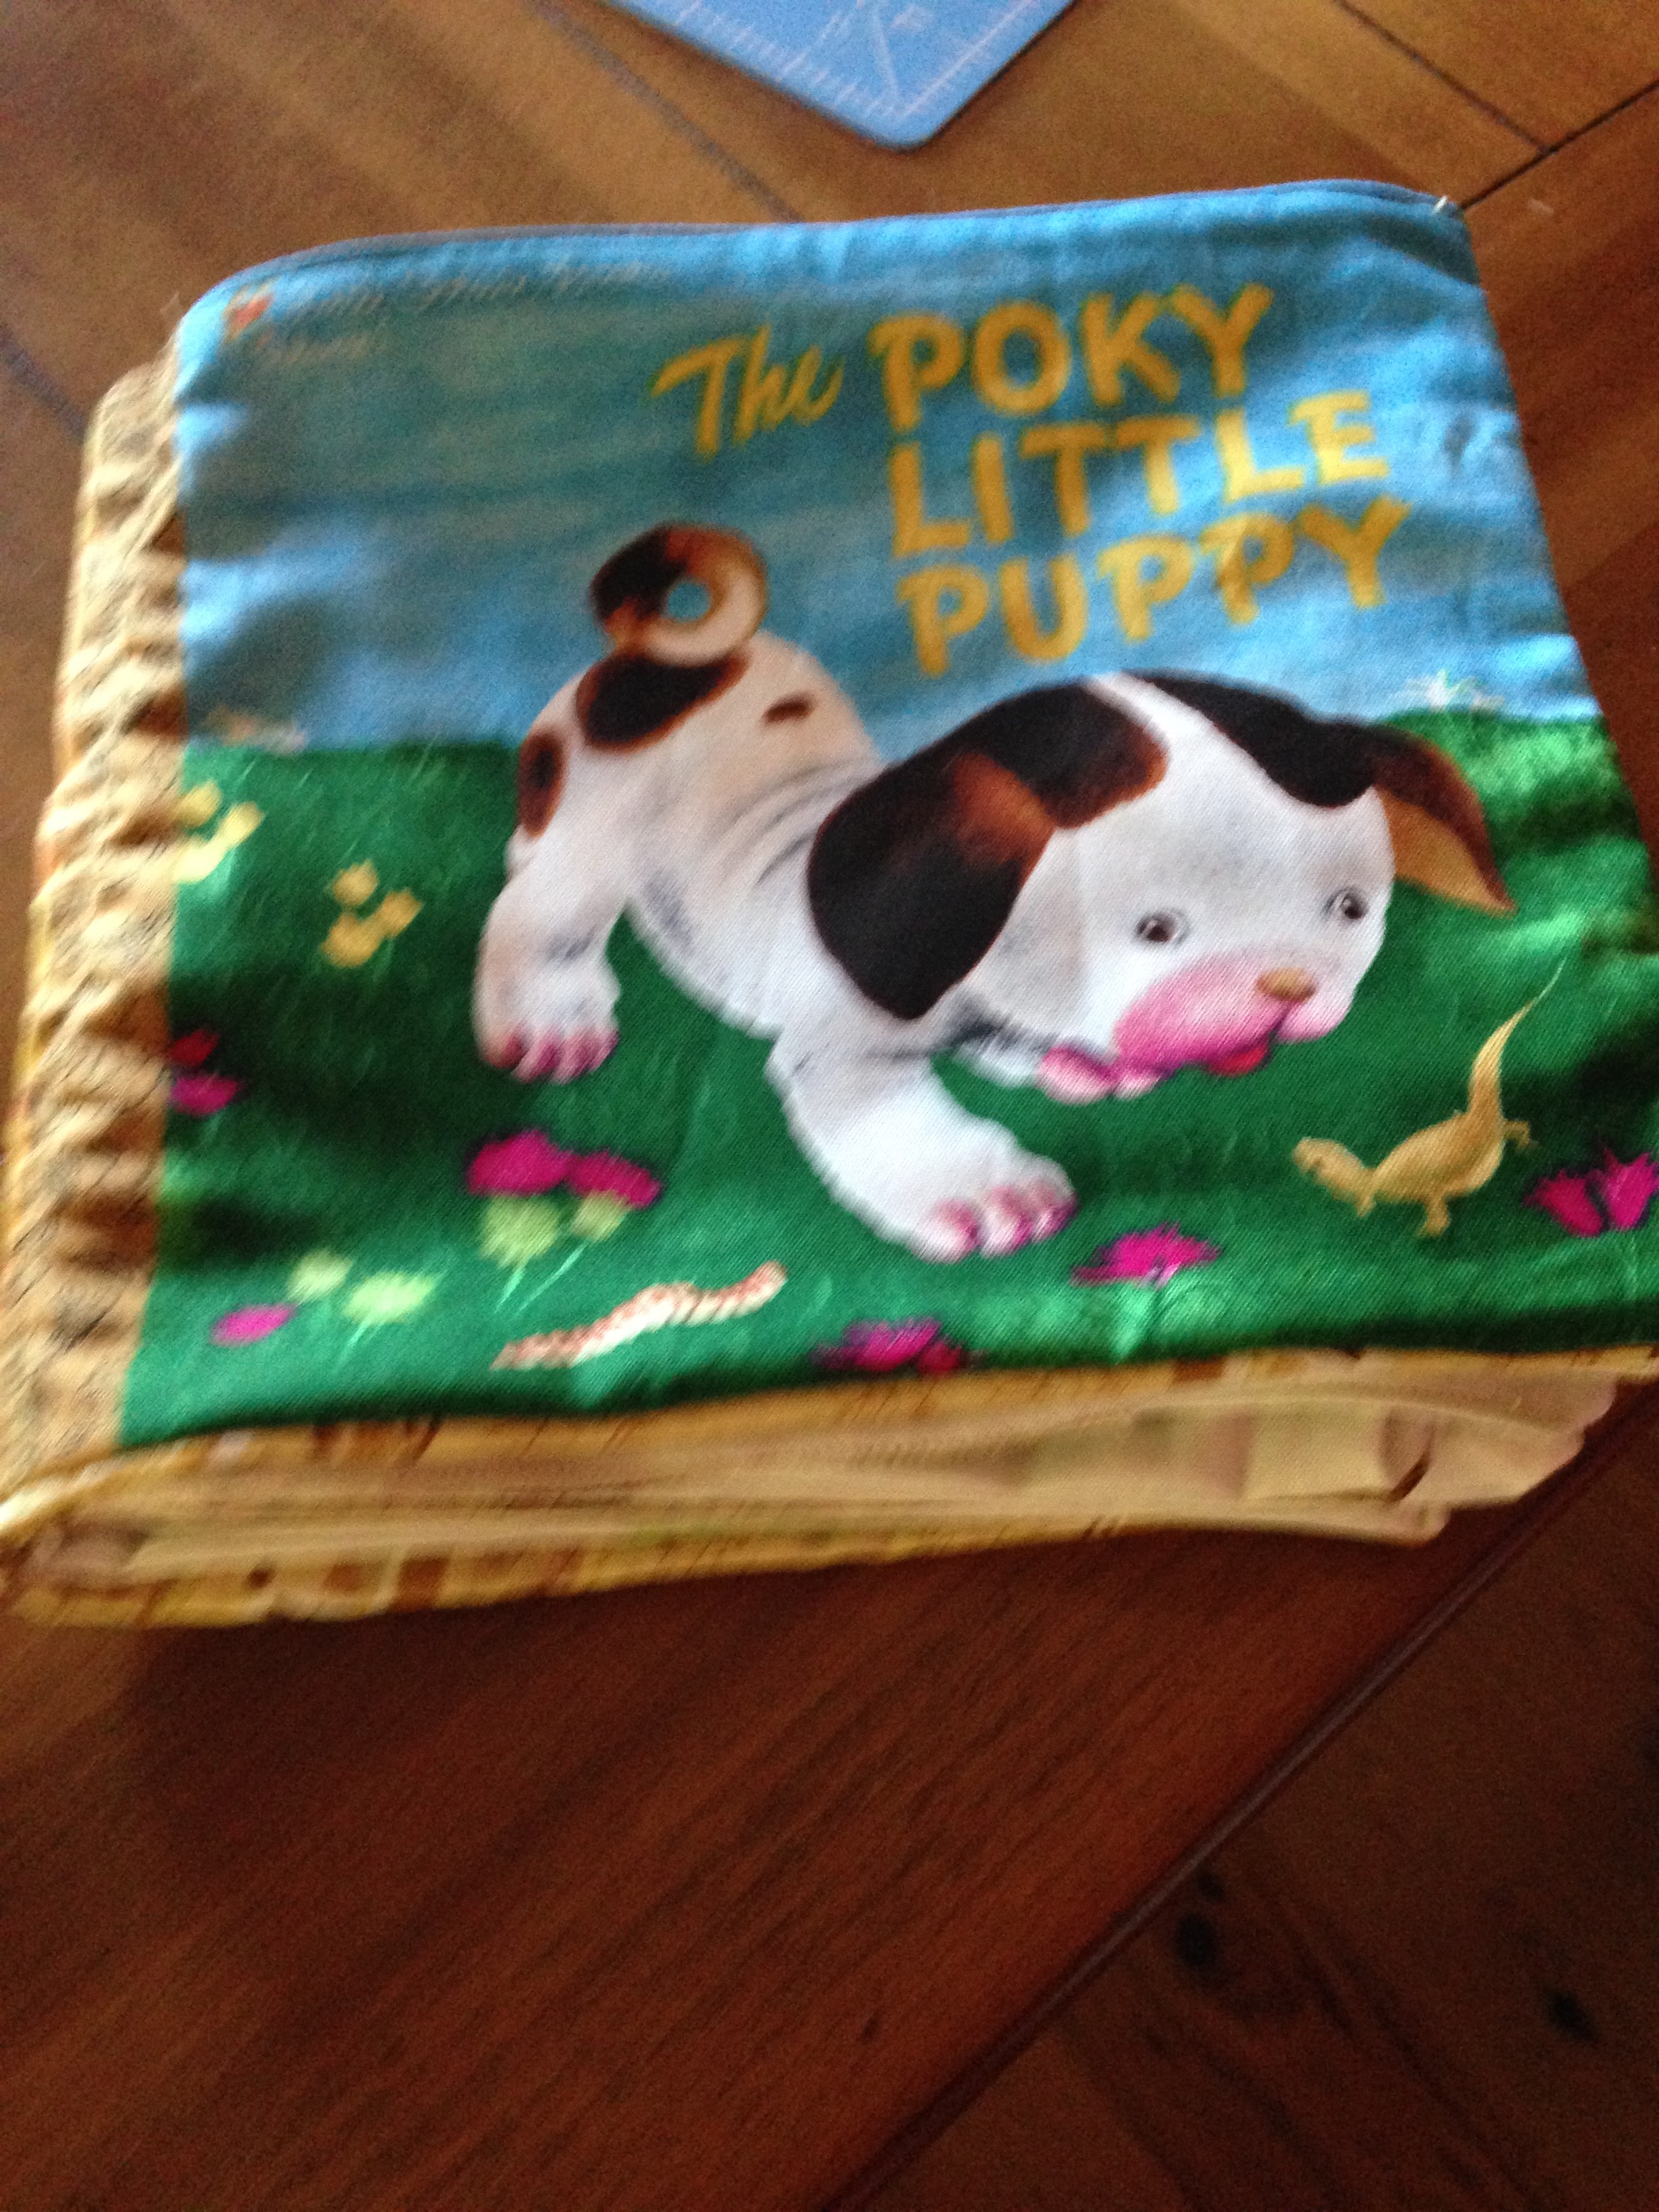
Today, I put together the classic The Poky Little Puppy cloth book. It is quick, easy, and you can customize it as well!

Here’s a quick Youtube tutorial for all those audio visual learners (and below is the written method):

Okay, so let’s get started!  You have your panel, you have your scissors, thread, machine, and batting for in between.  Now as far as batting goes, you can use almost anything!  It depends if you like your cloth books thicker or thin, crinkly or quiet.

IMG_2067

I actually used leftover fleece I had from another project which made my book nice and thick.

IMG_2093

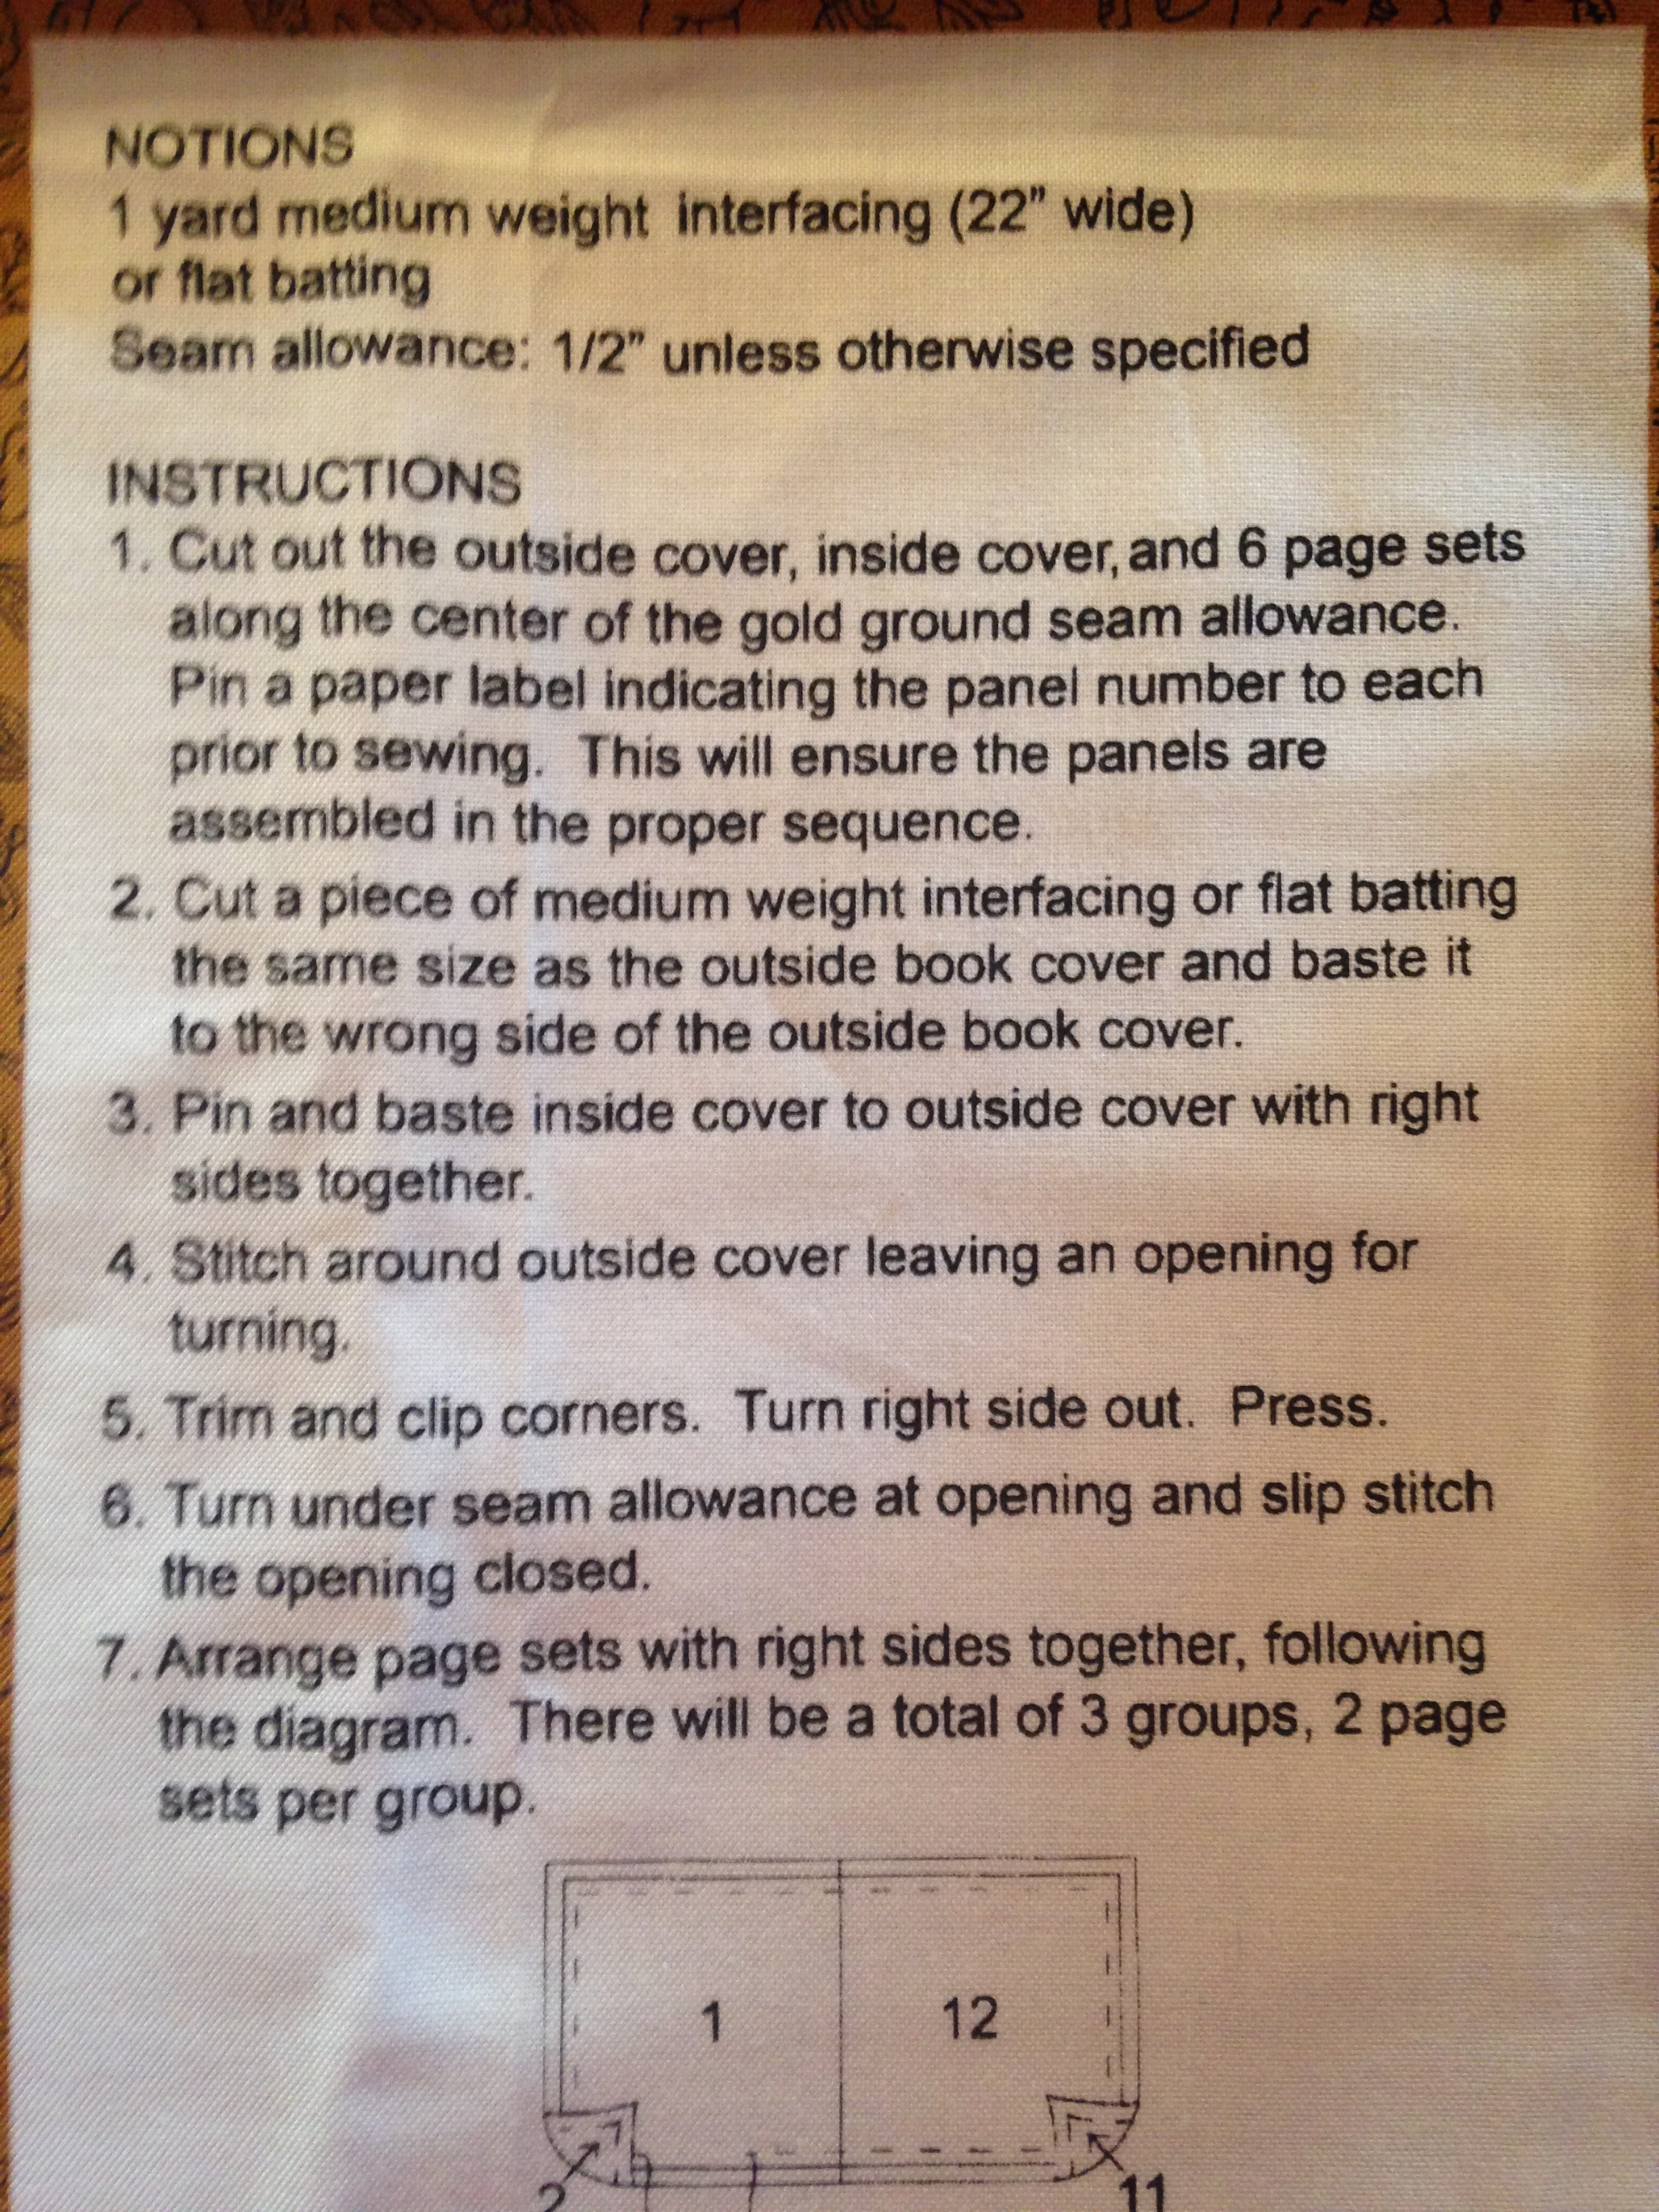
You panel will most likely come with instructions that are easy to follow.  Just make sure you remember to mark your page numbers so when it’s all cut you know which page is which.

IMG_2068

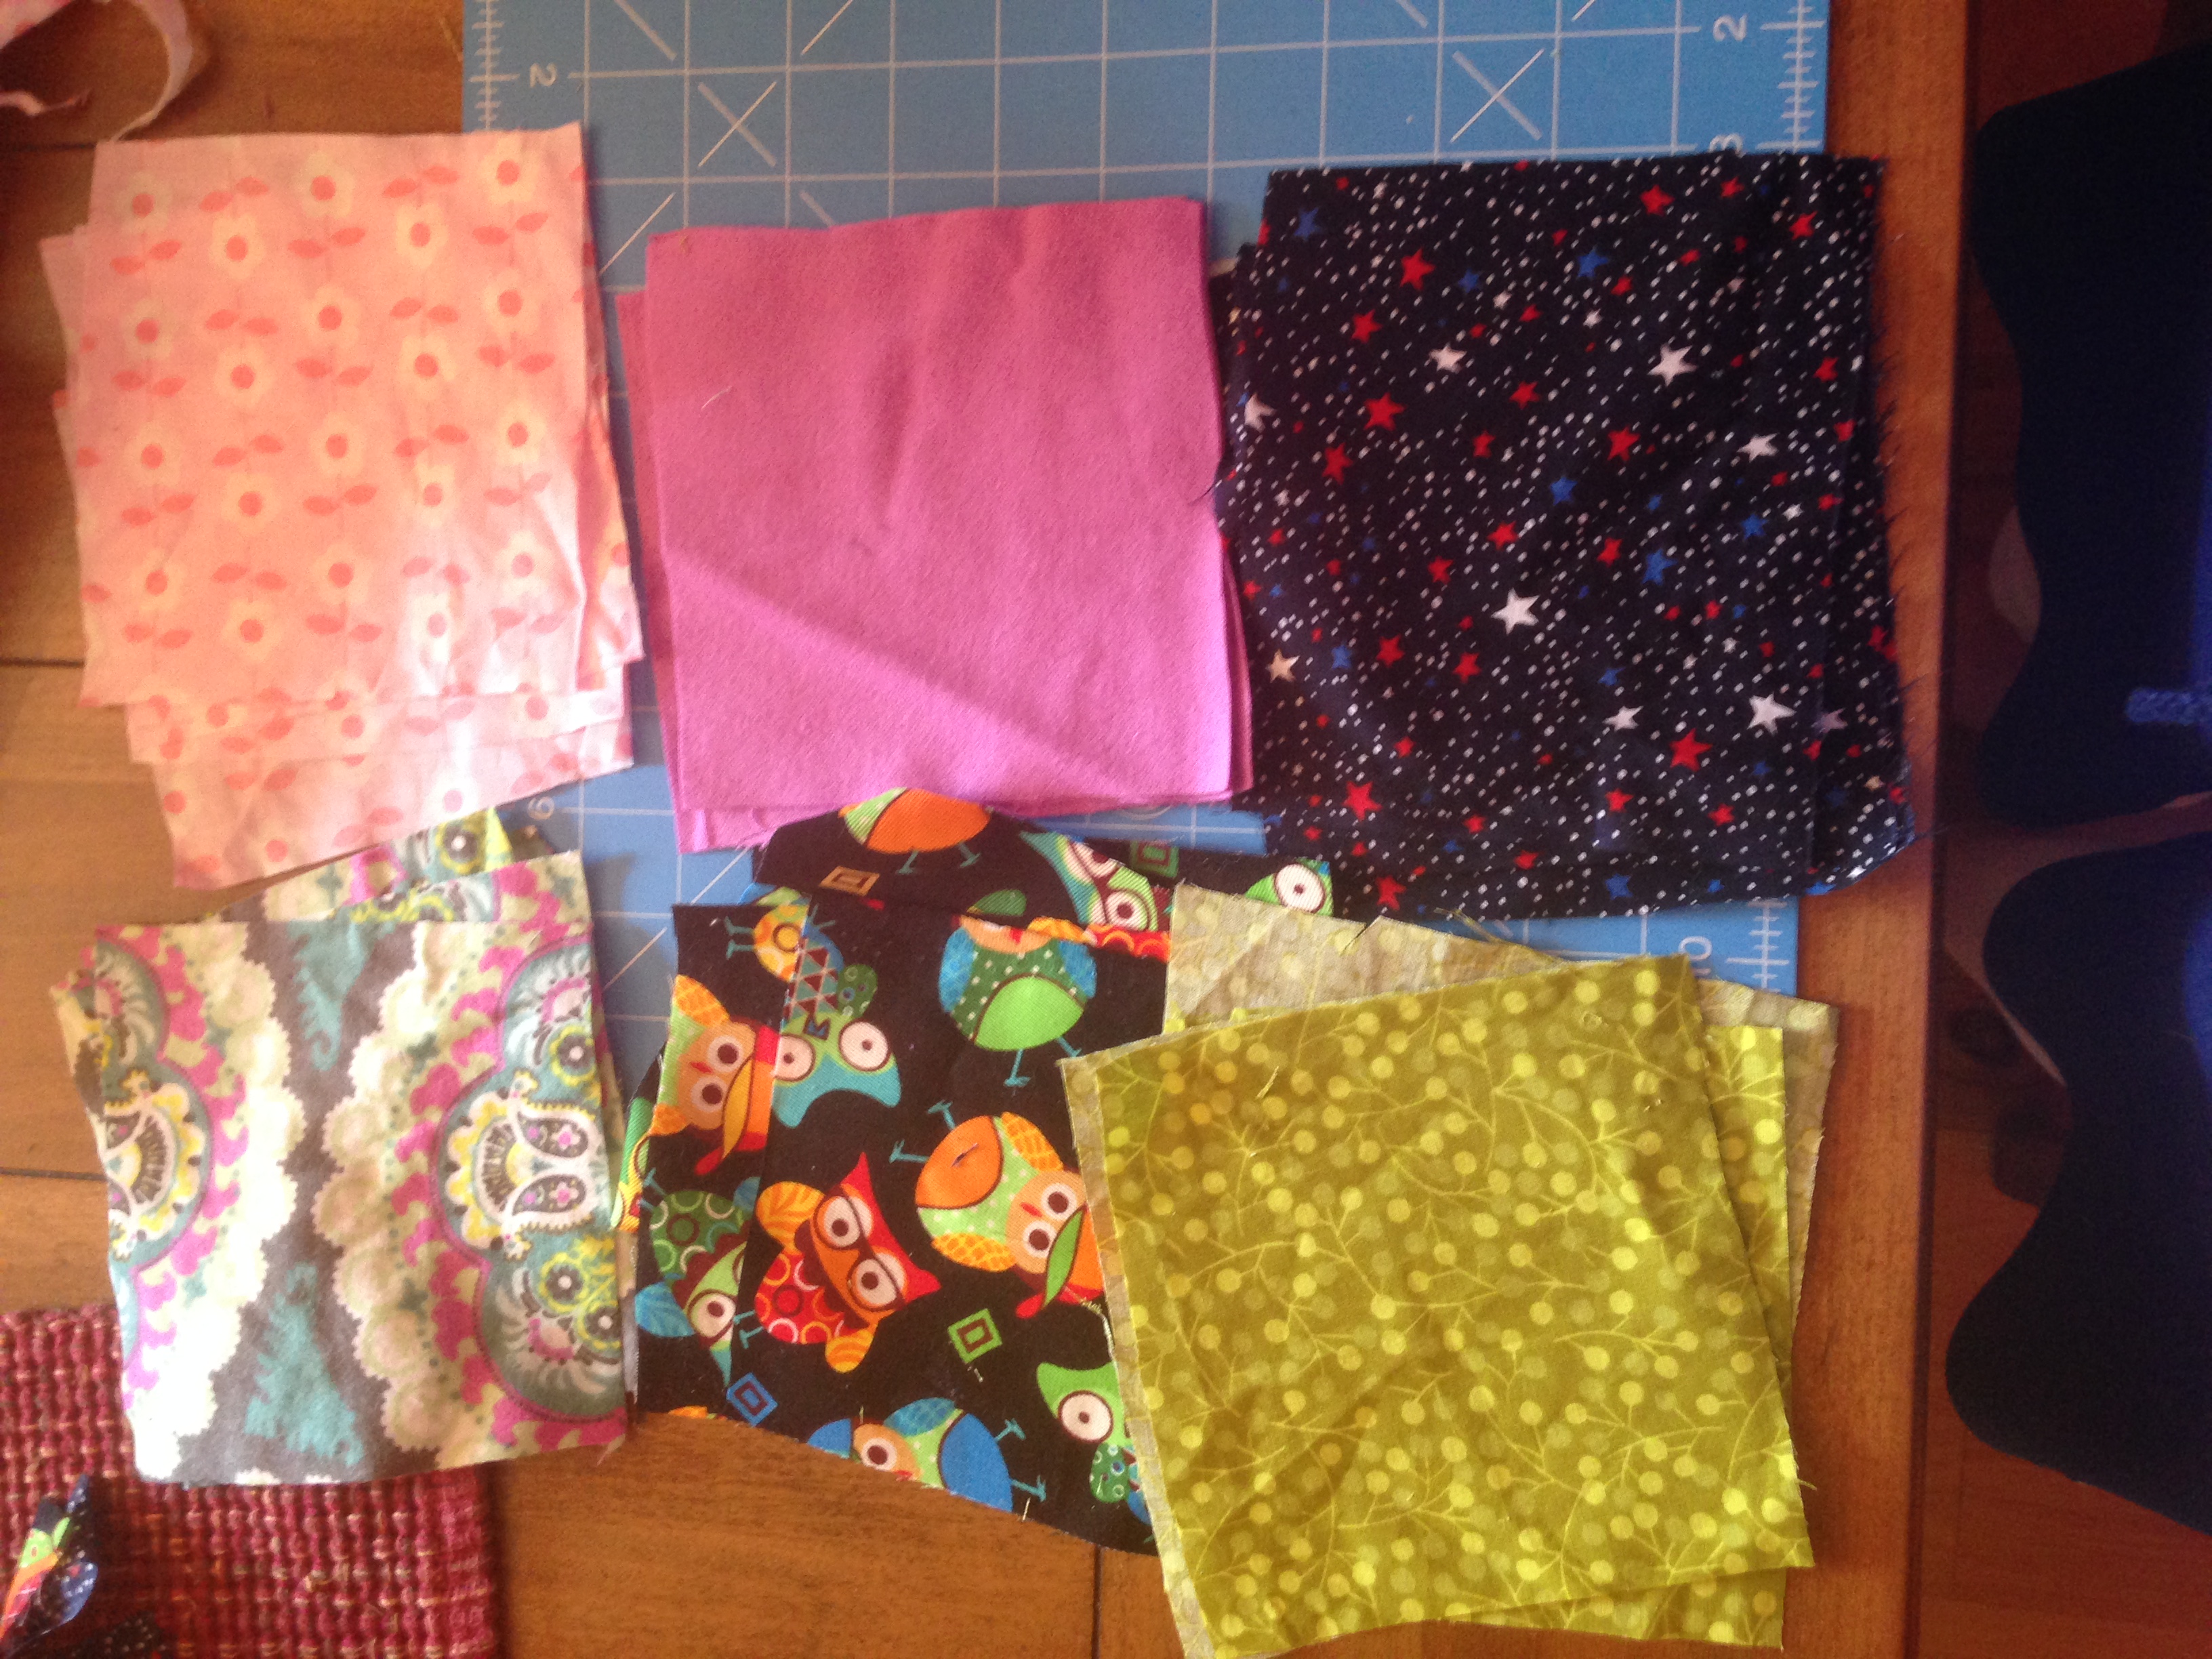
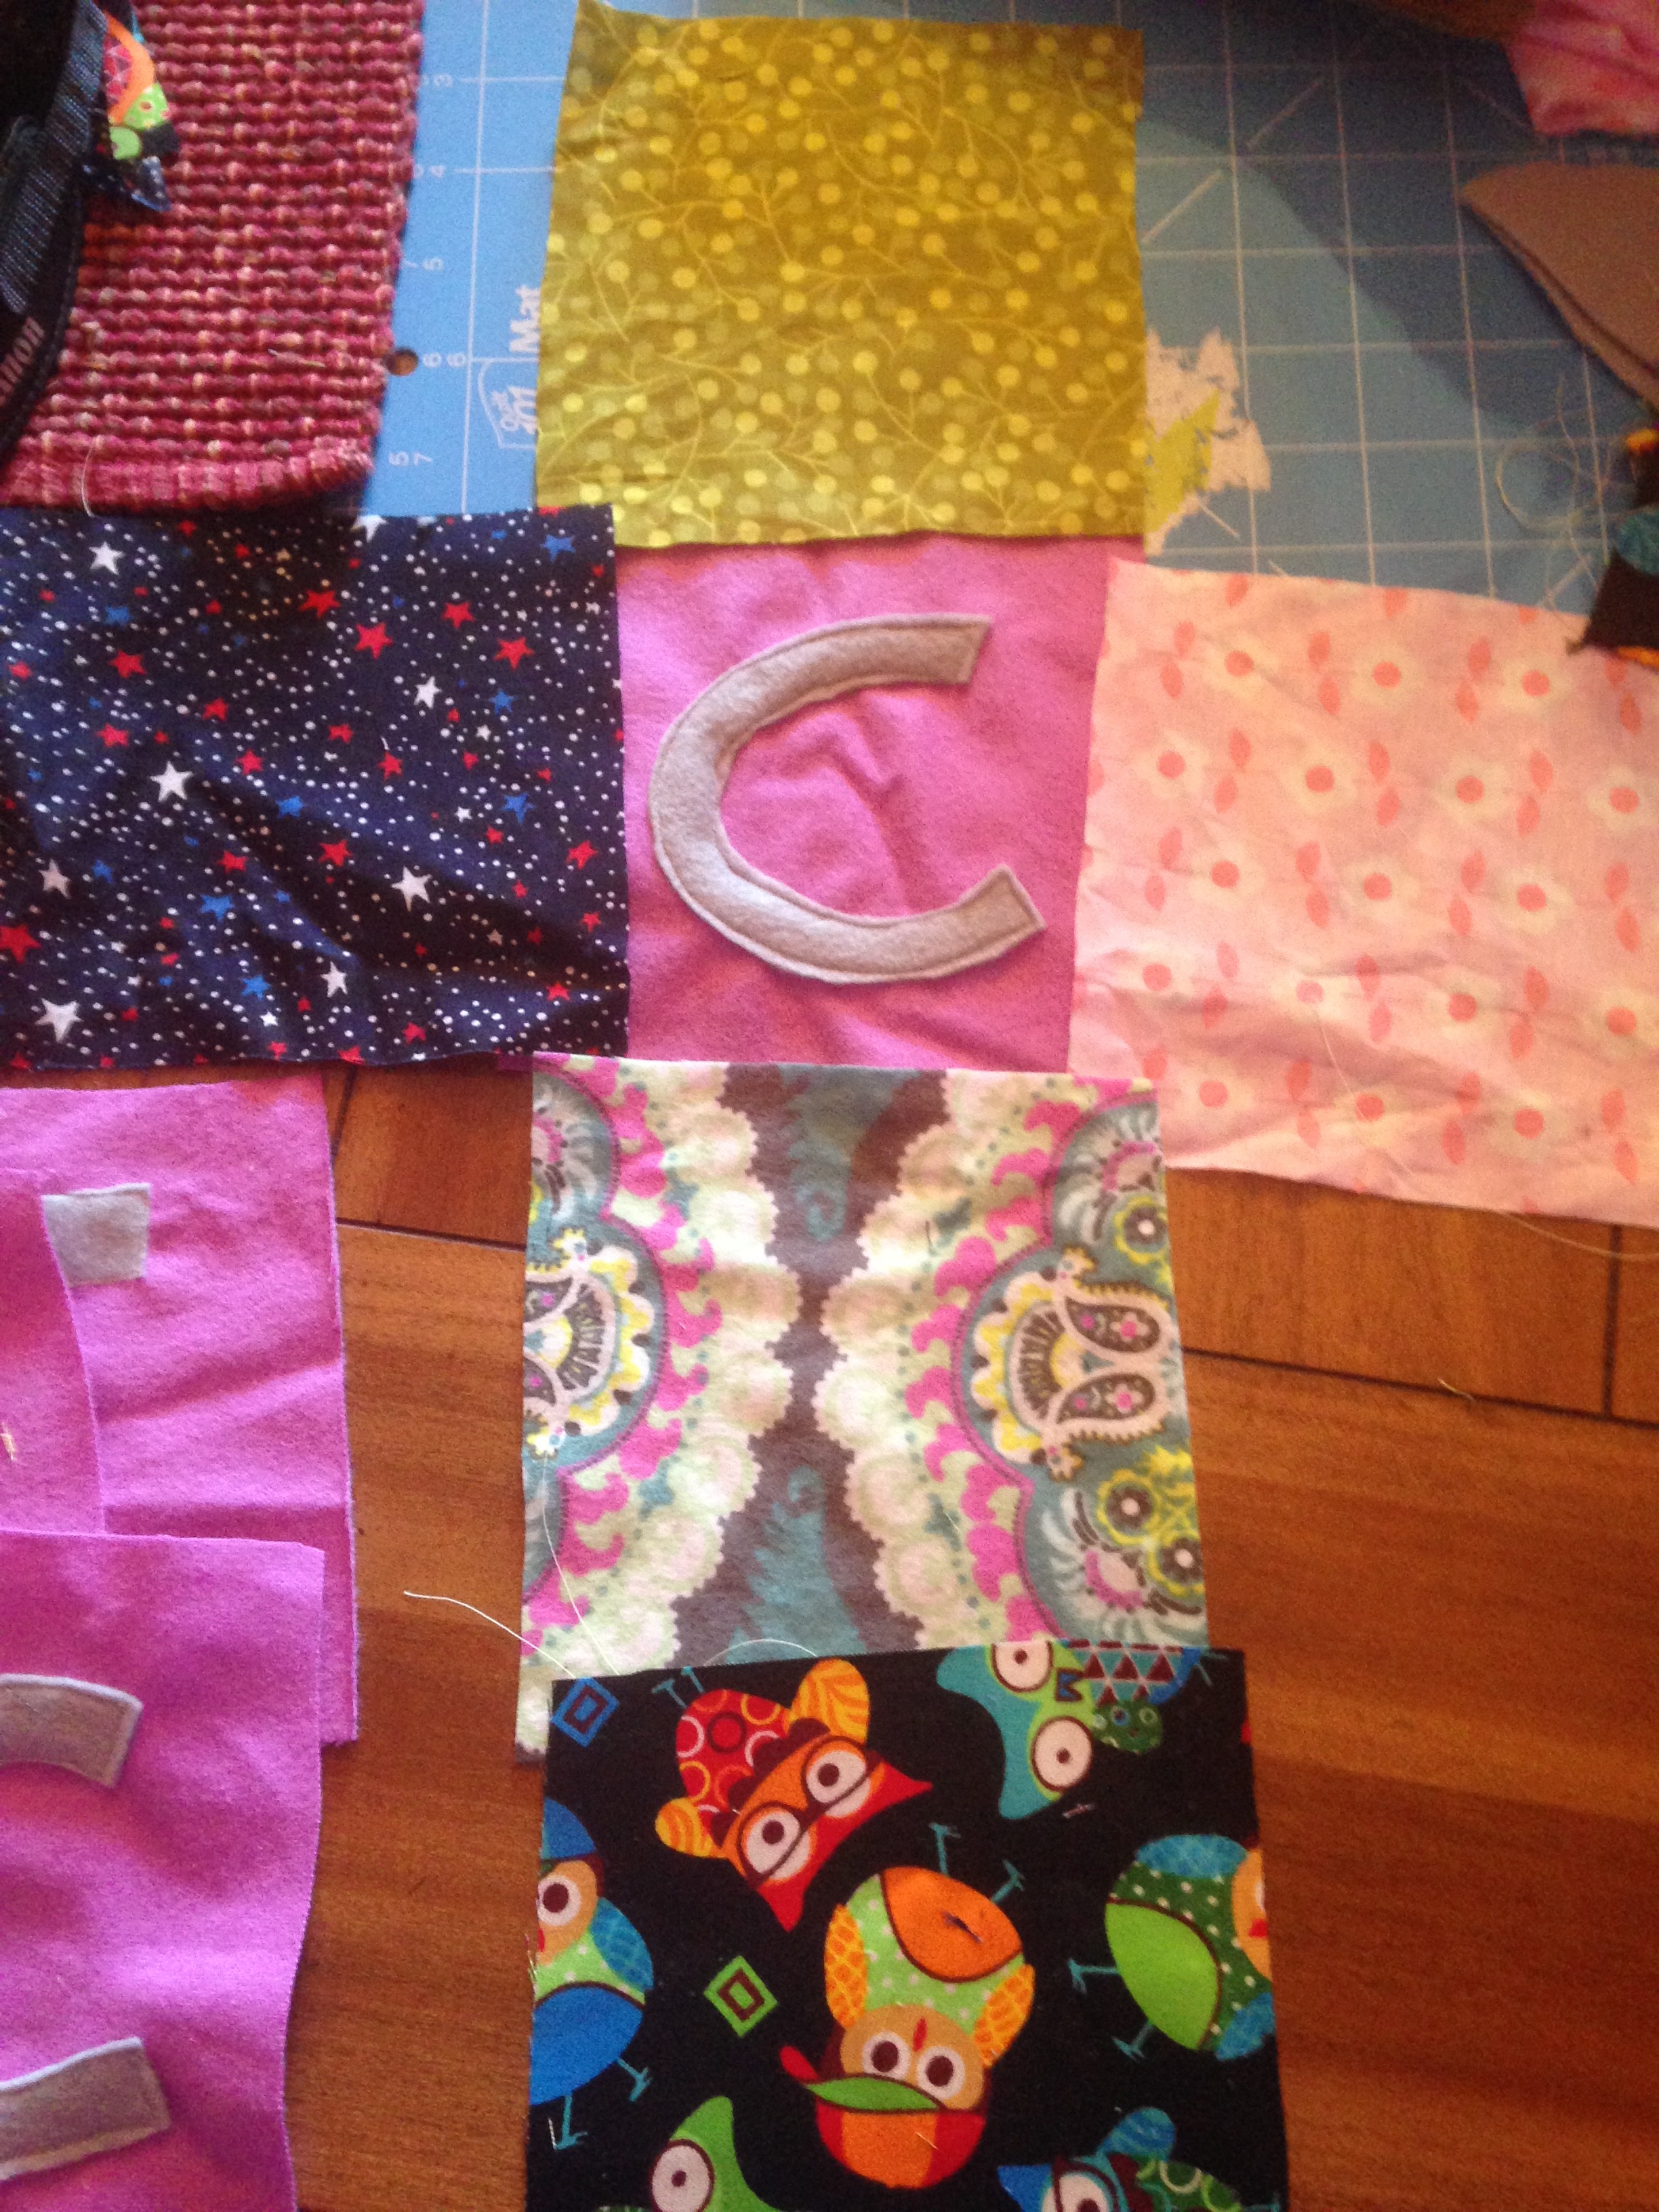
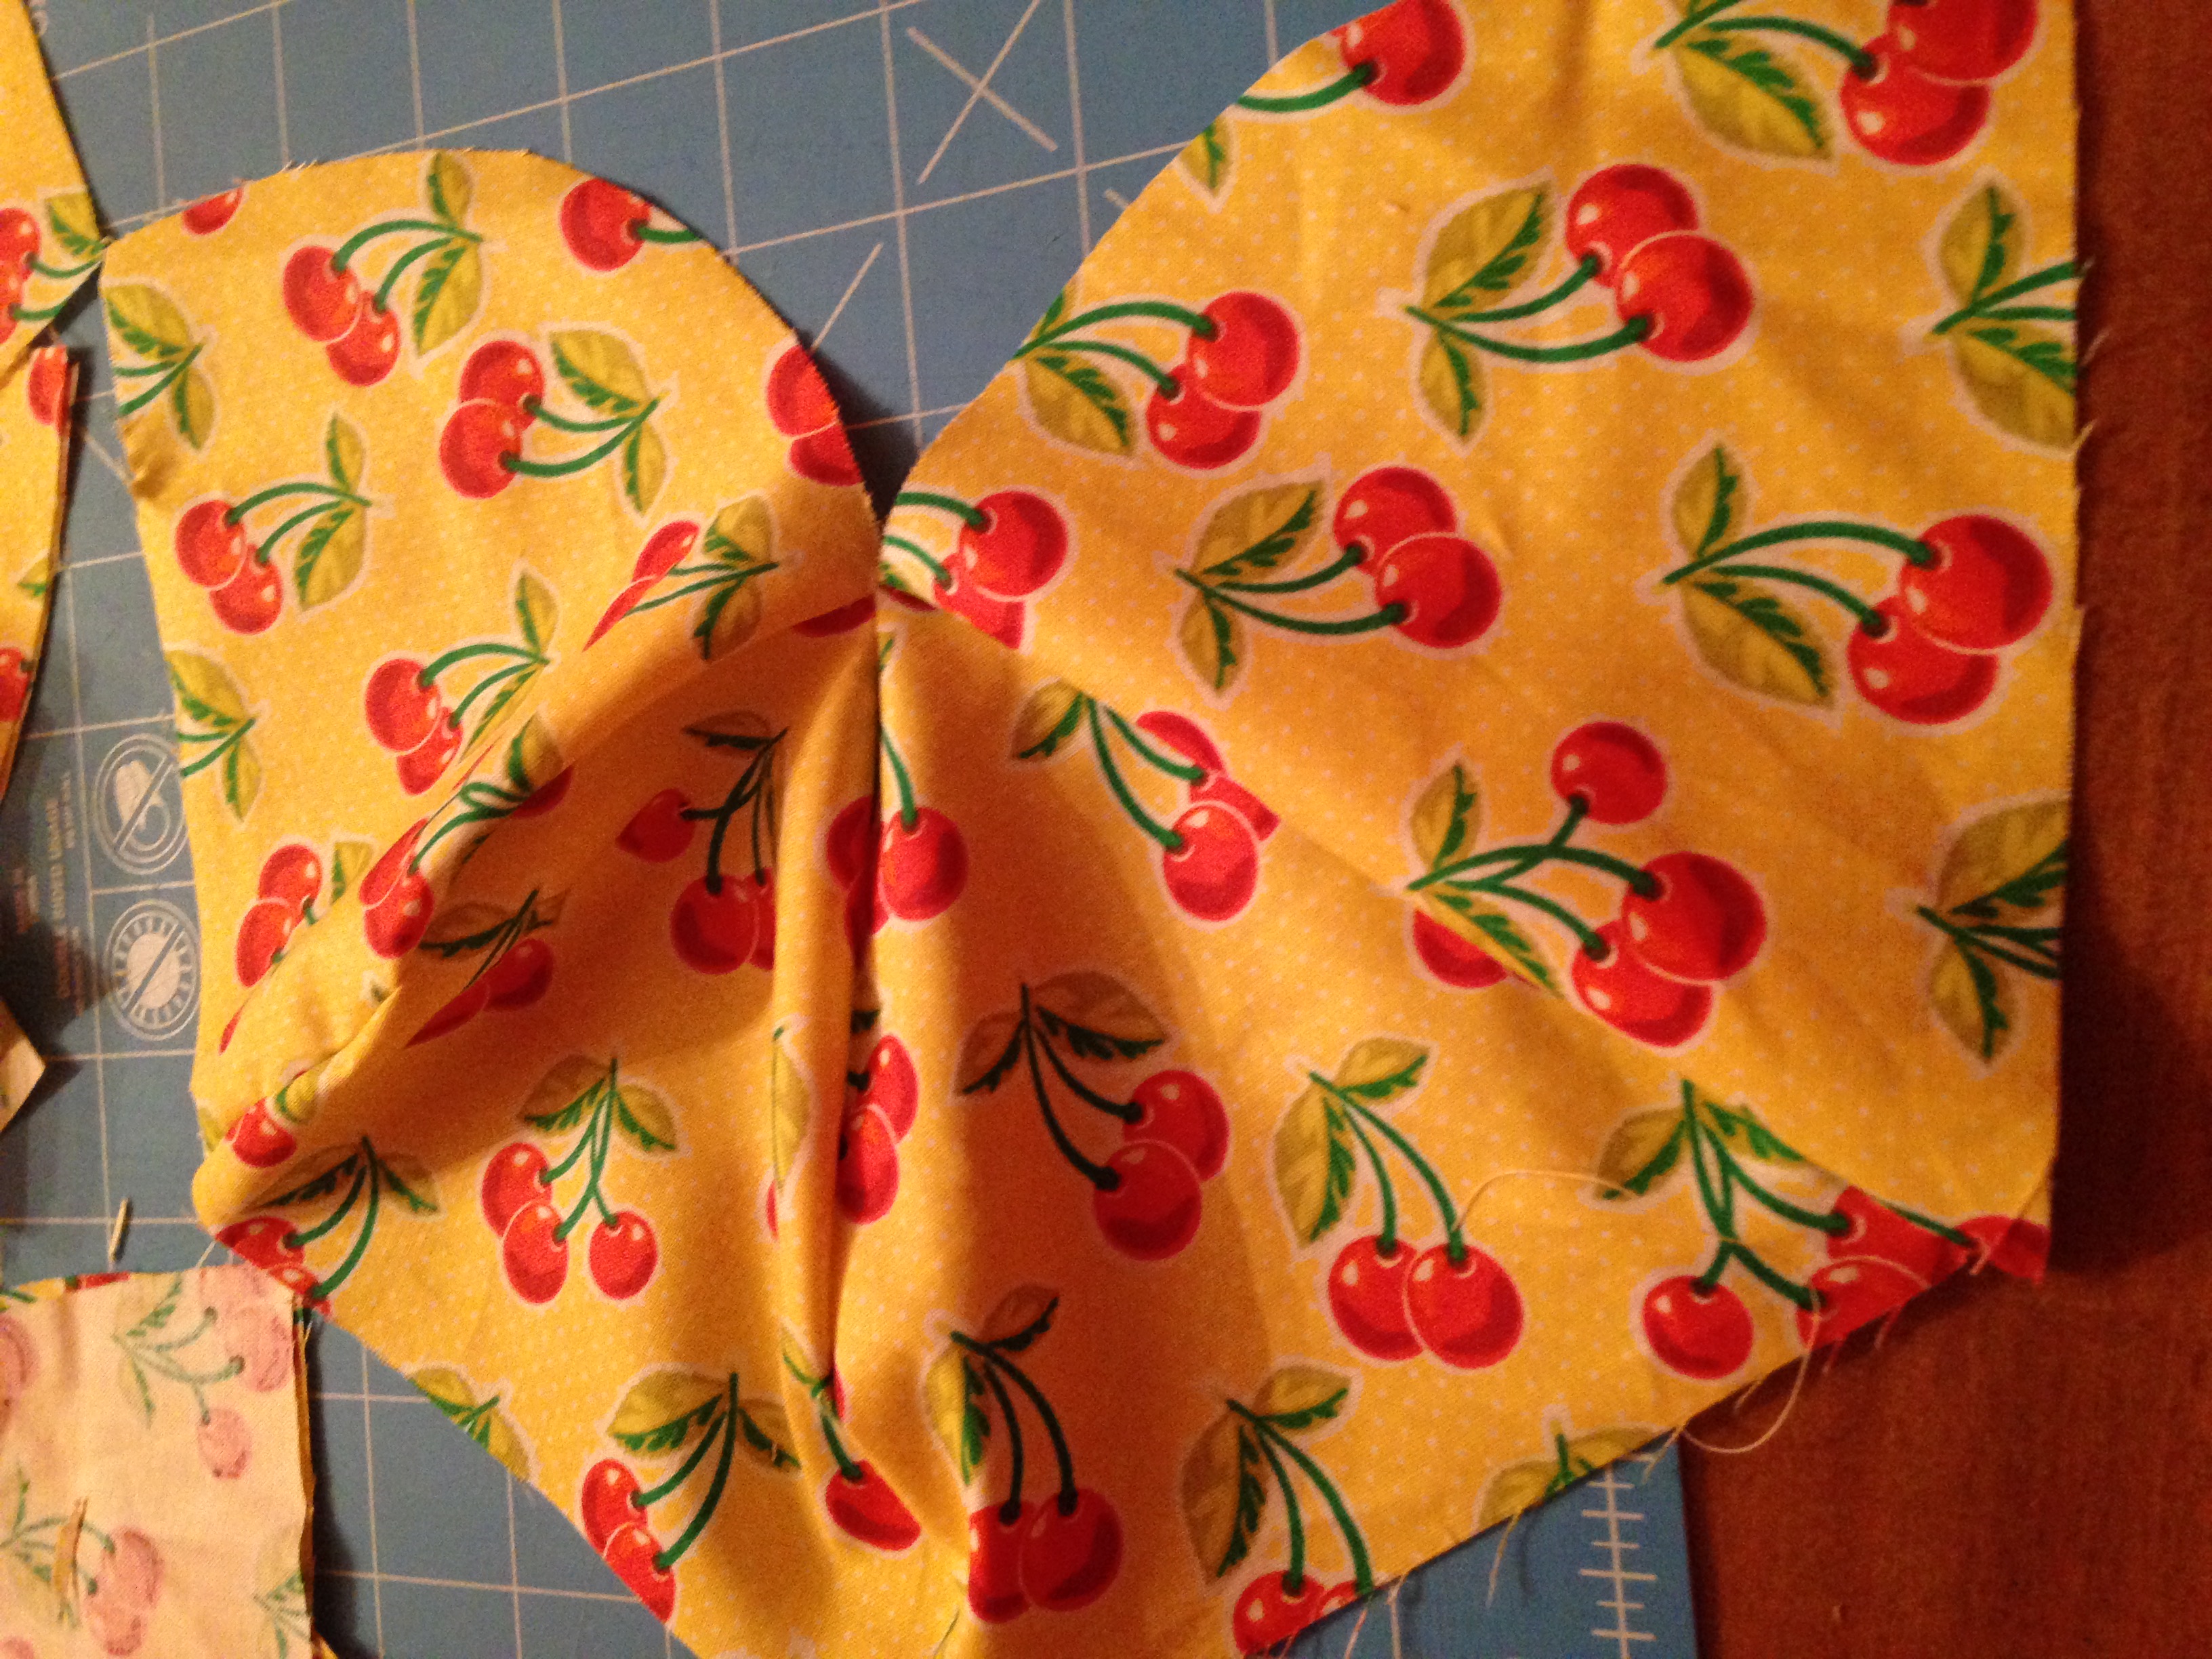
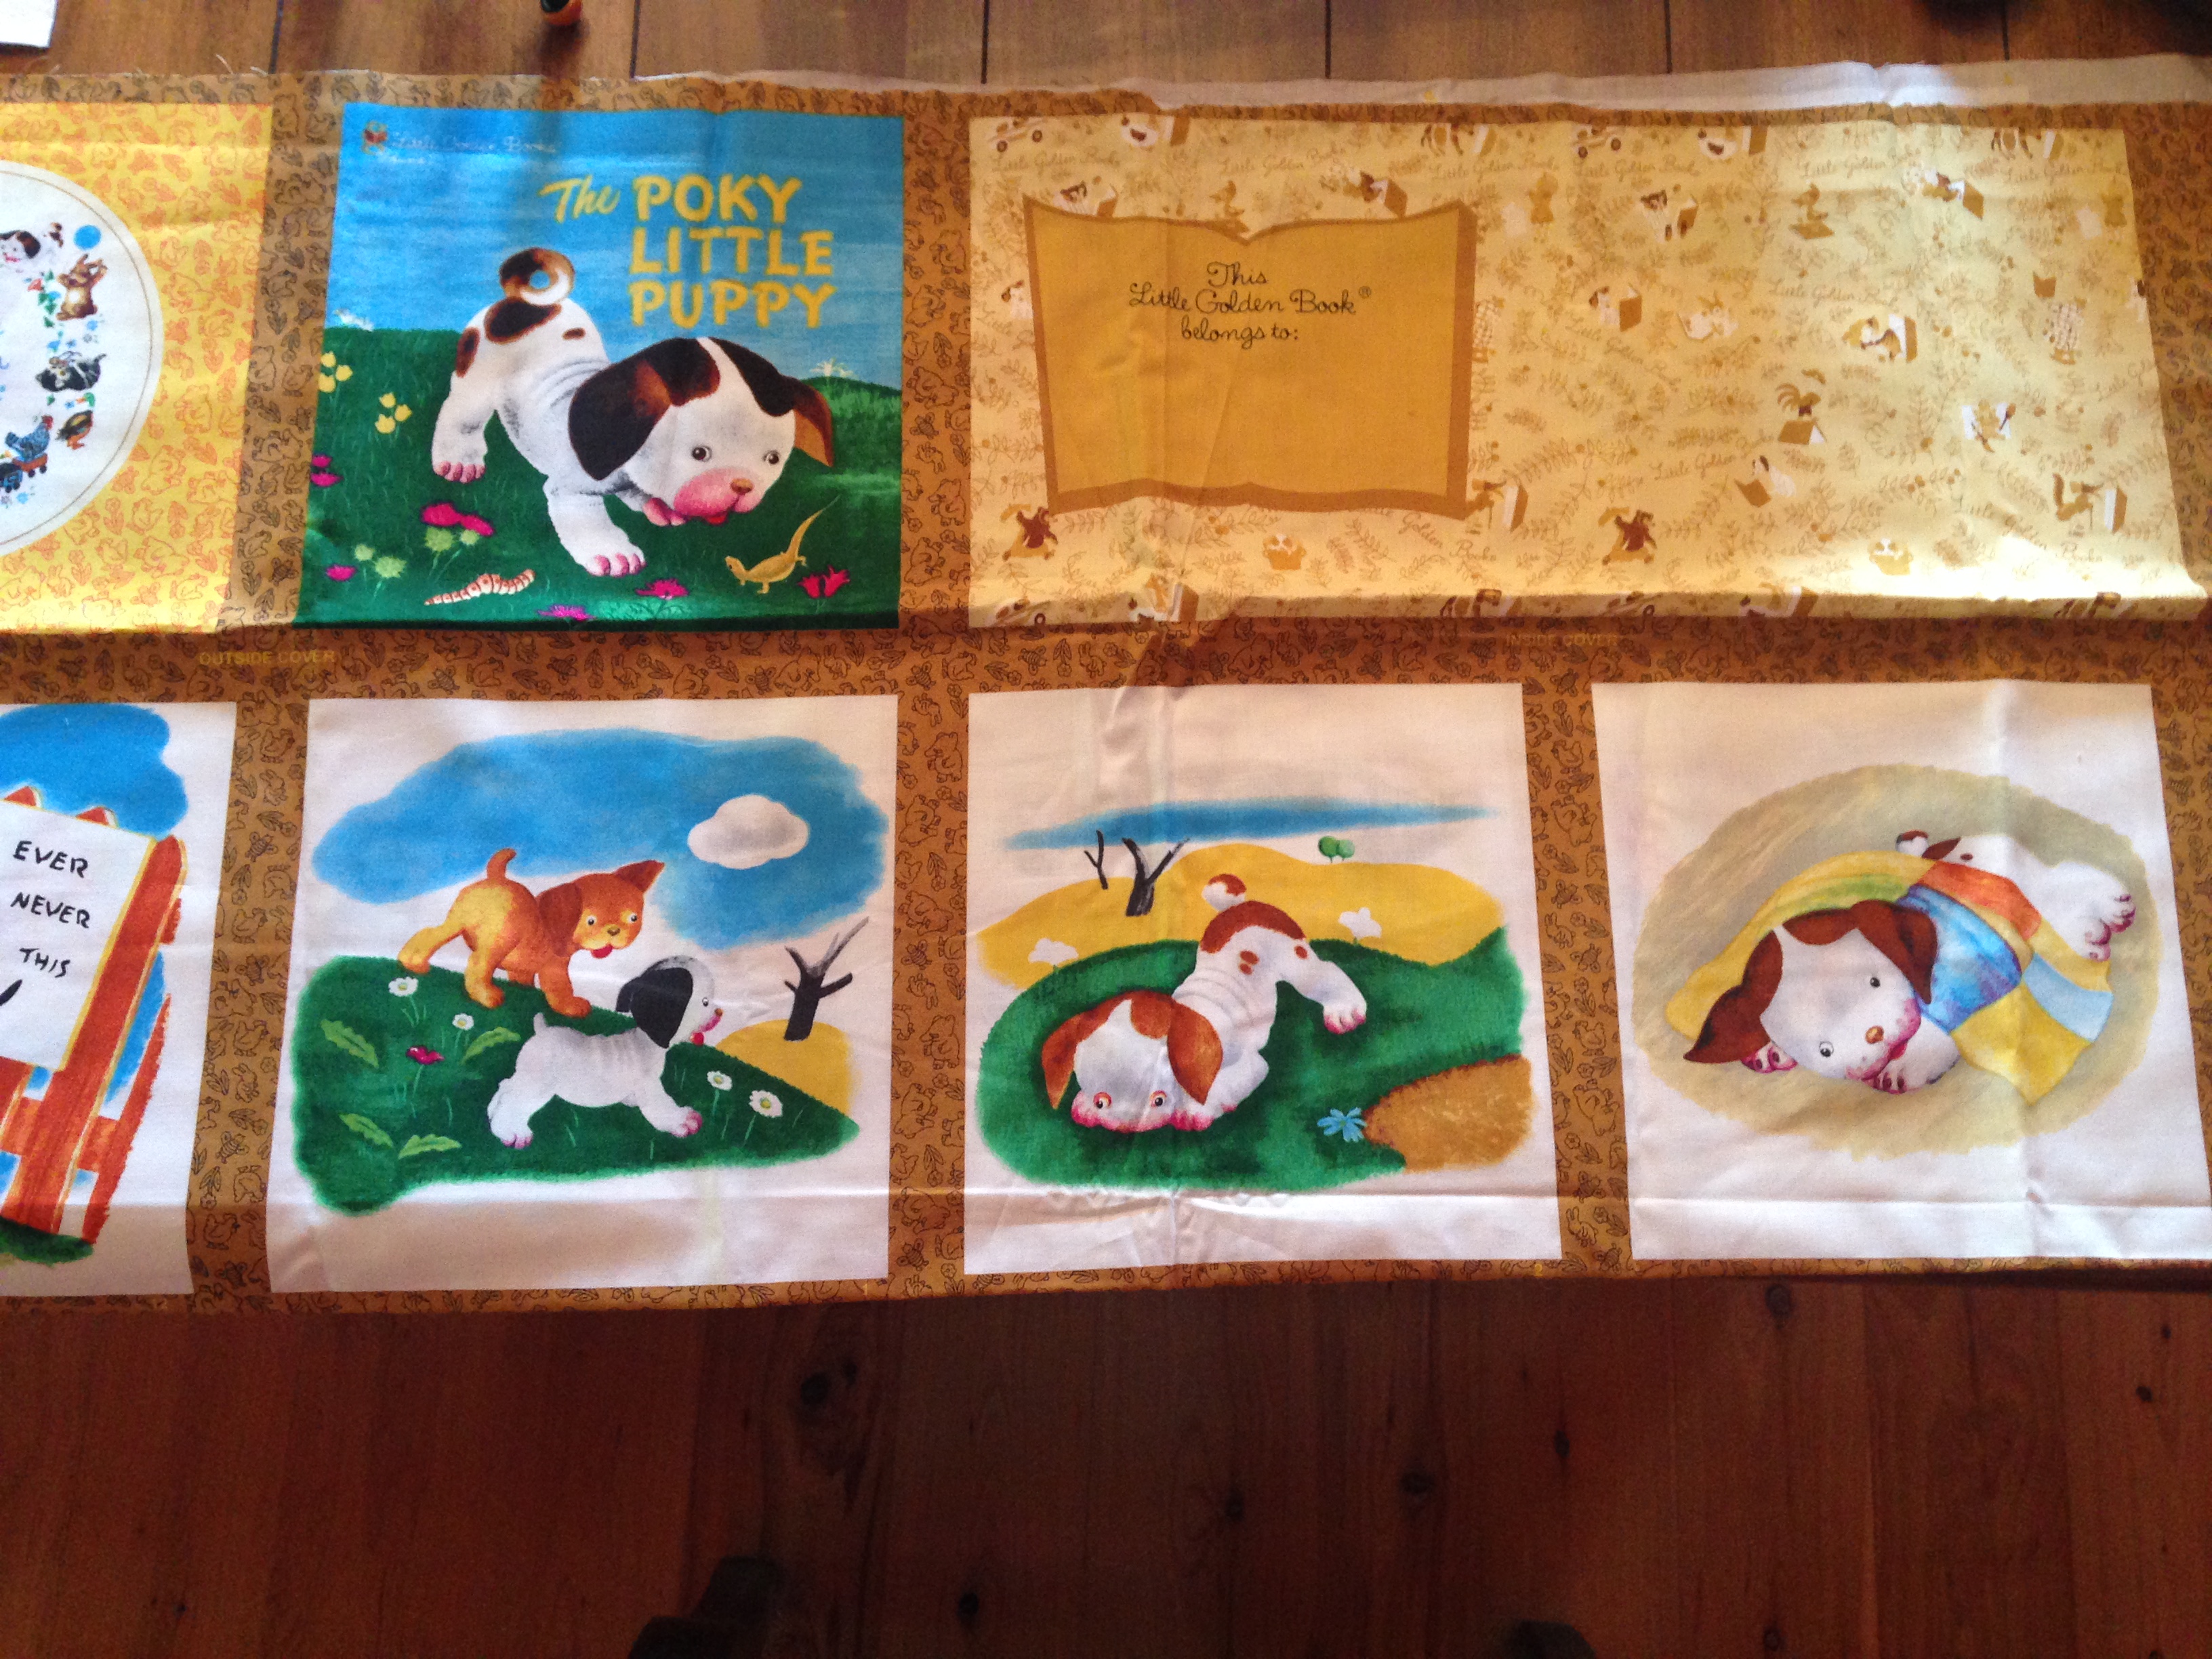
So cut the panels out as instructed.  Usually you want to cut two of the panels (pictures for the book) out in one large rectangle.  Do this for all the two pages as instructed.

IMG_2093

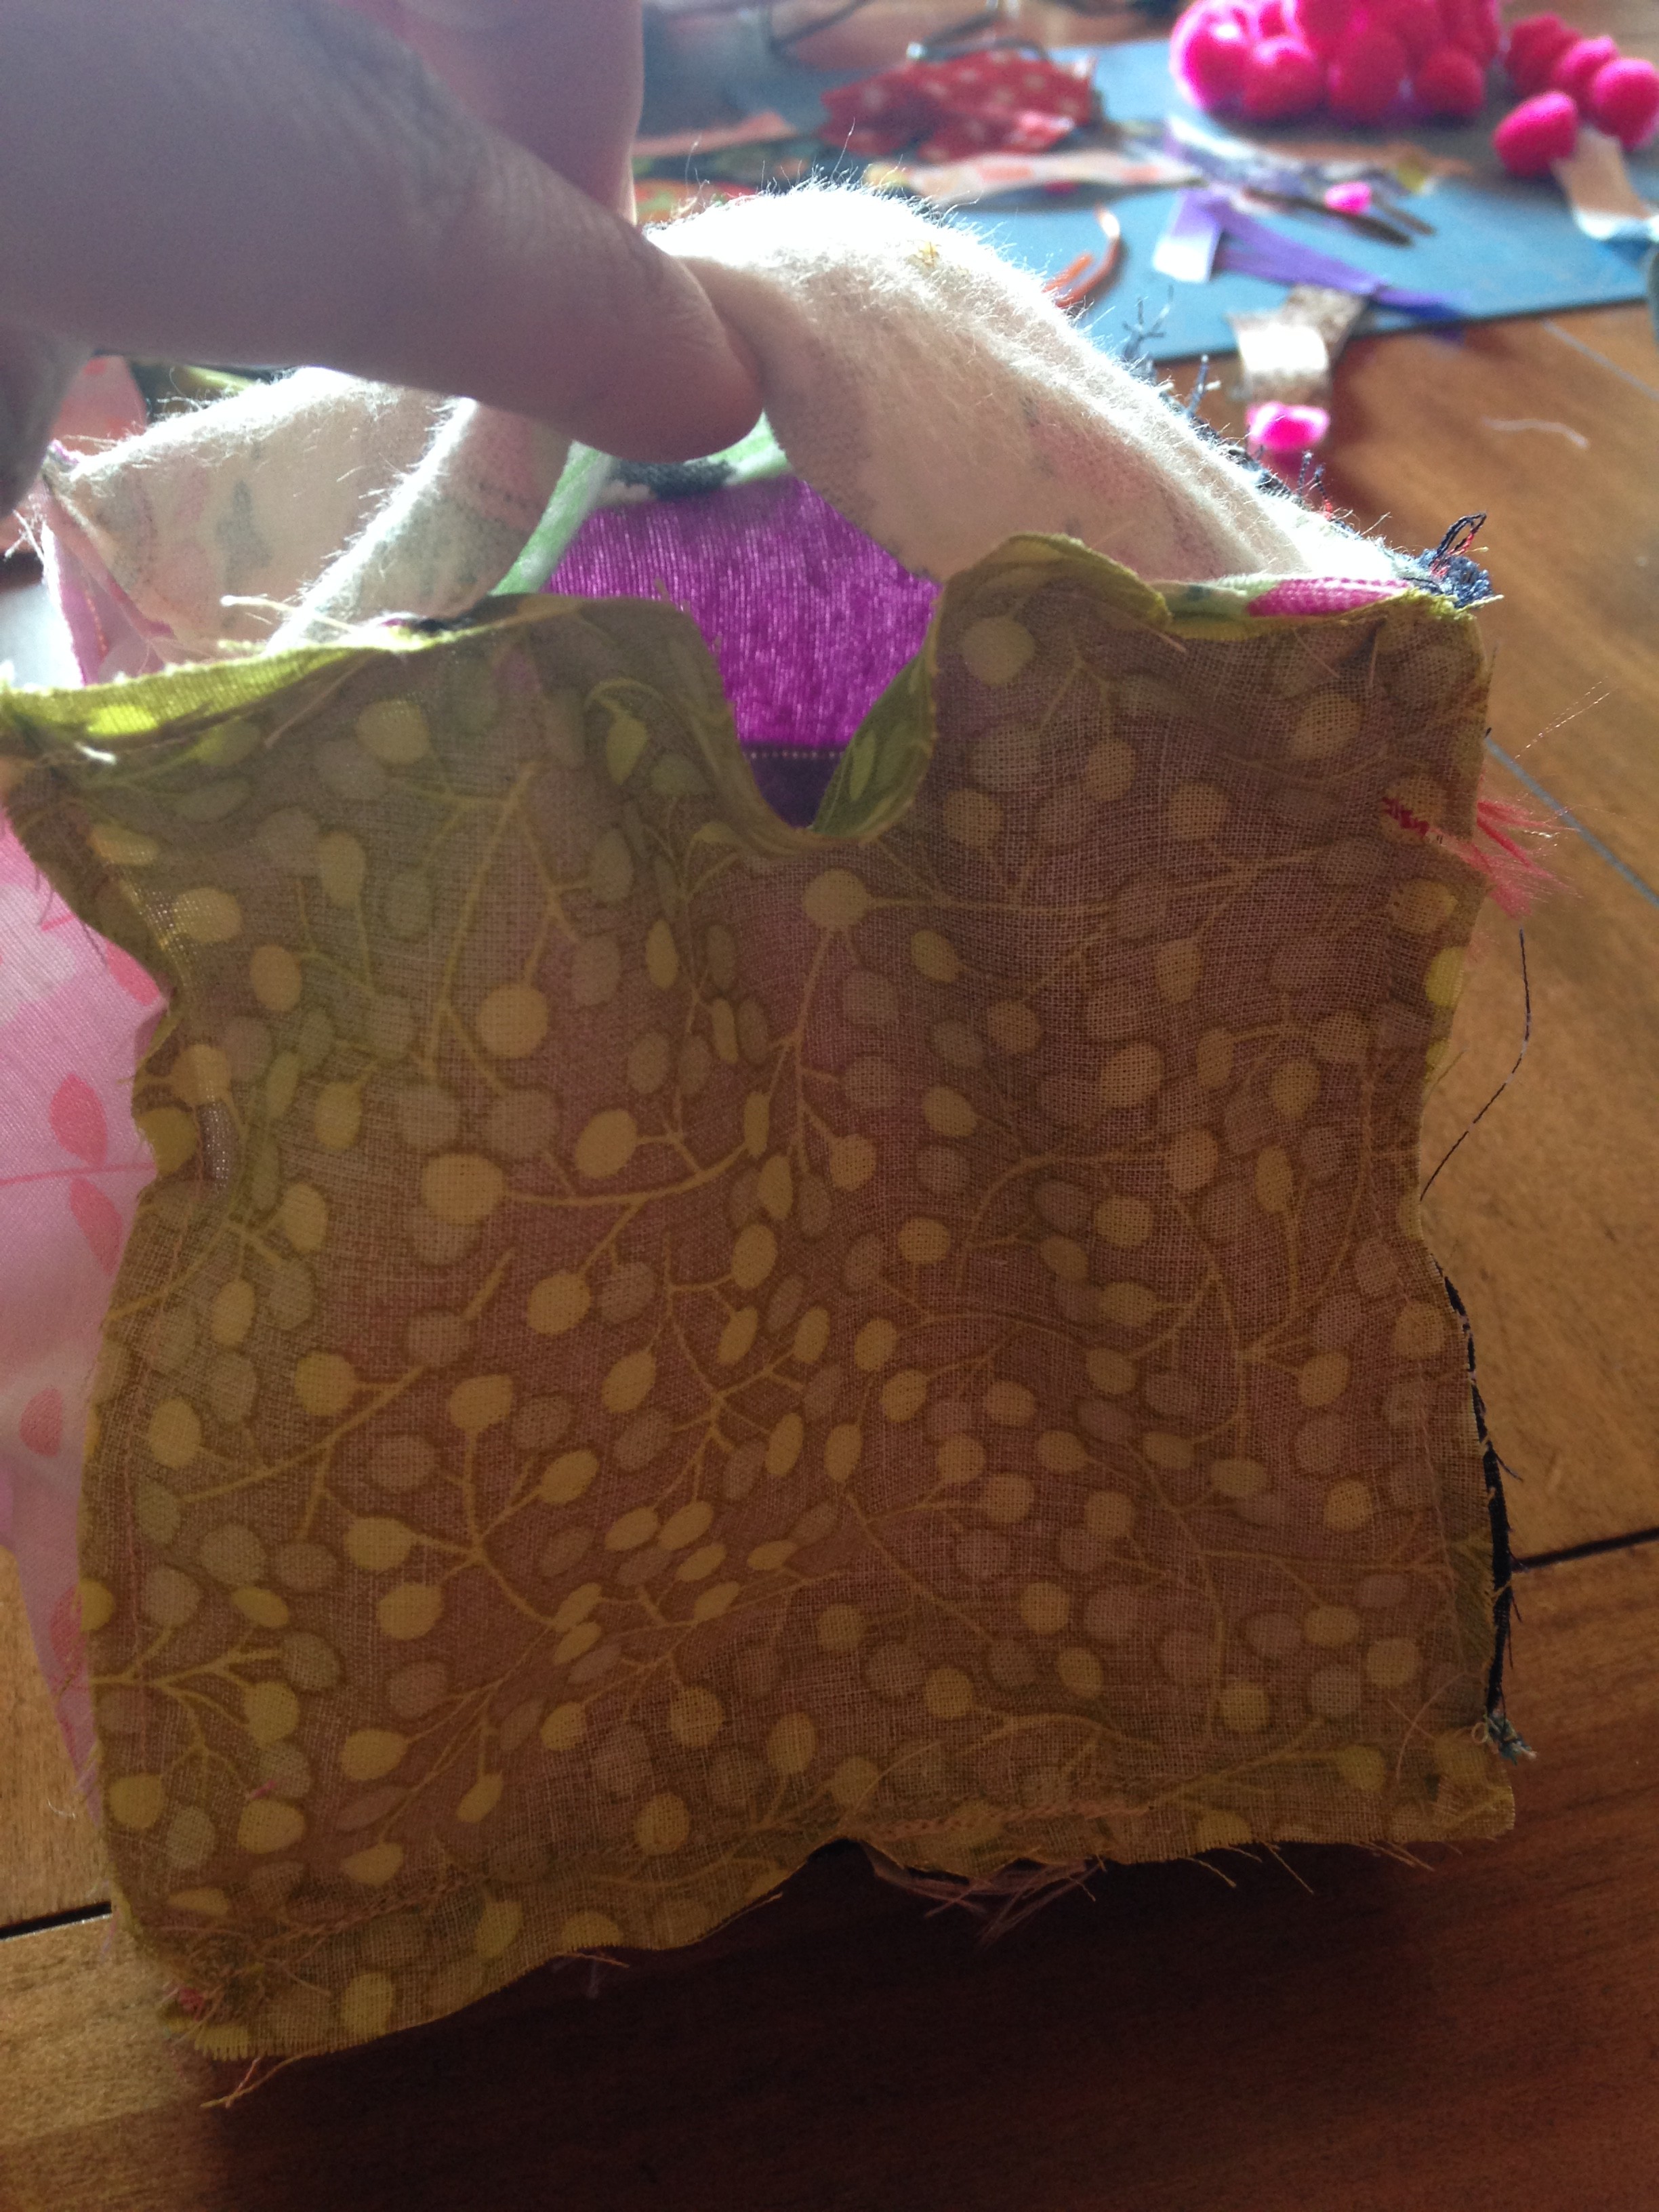
Next, you want to cut your batting or interface to the same size as one of the two page sets.  You usually cut one batting per two sets of panels cut (follow your instructions).  You want to take your batting or interface then and sew it on the back of the panel piece (Sew all the way around it will be the backside of the panel pages).  So you should have half of your panel sets that are cut out with batting sewed to the back.

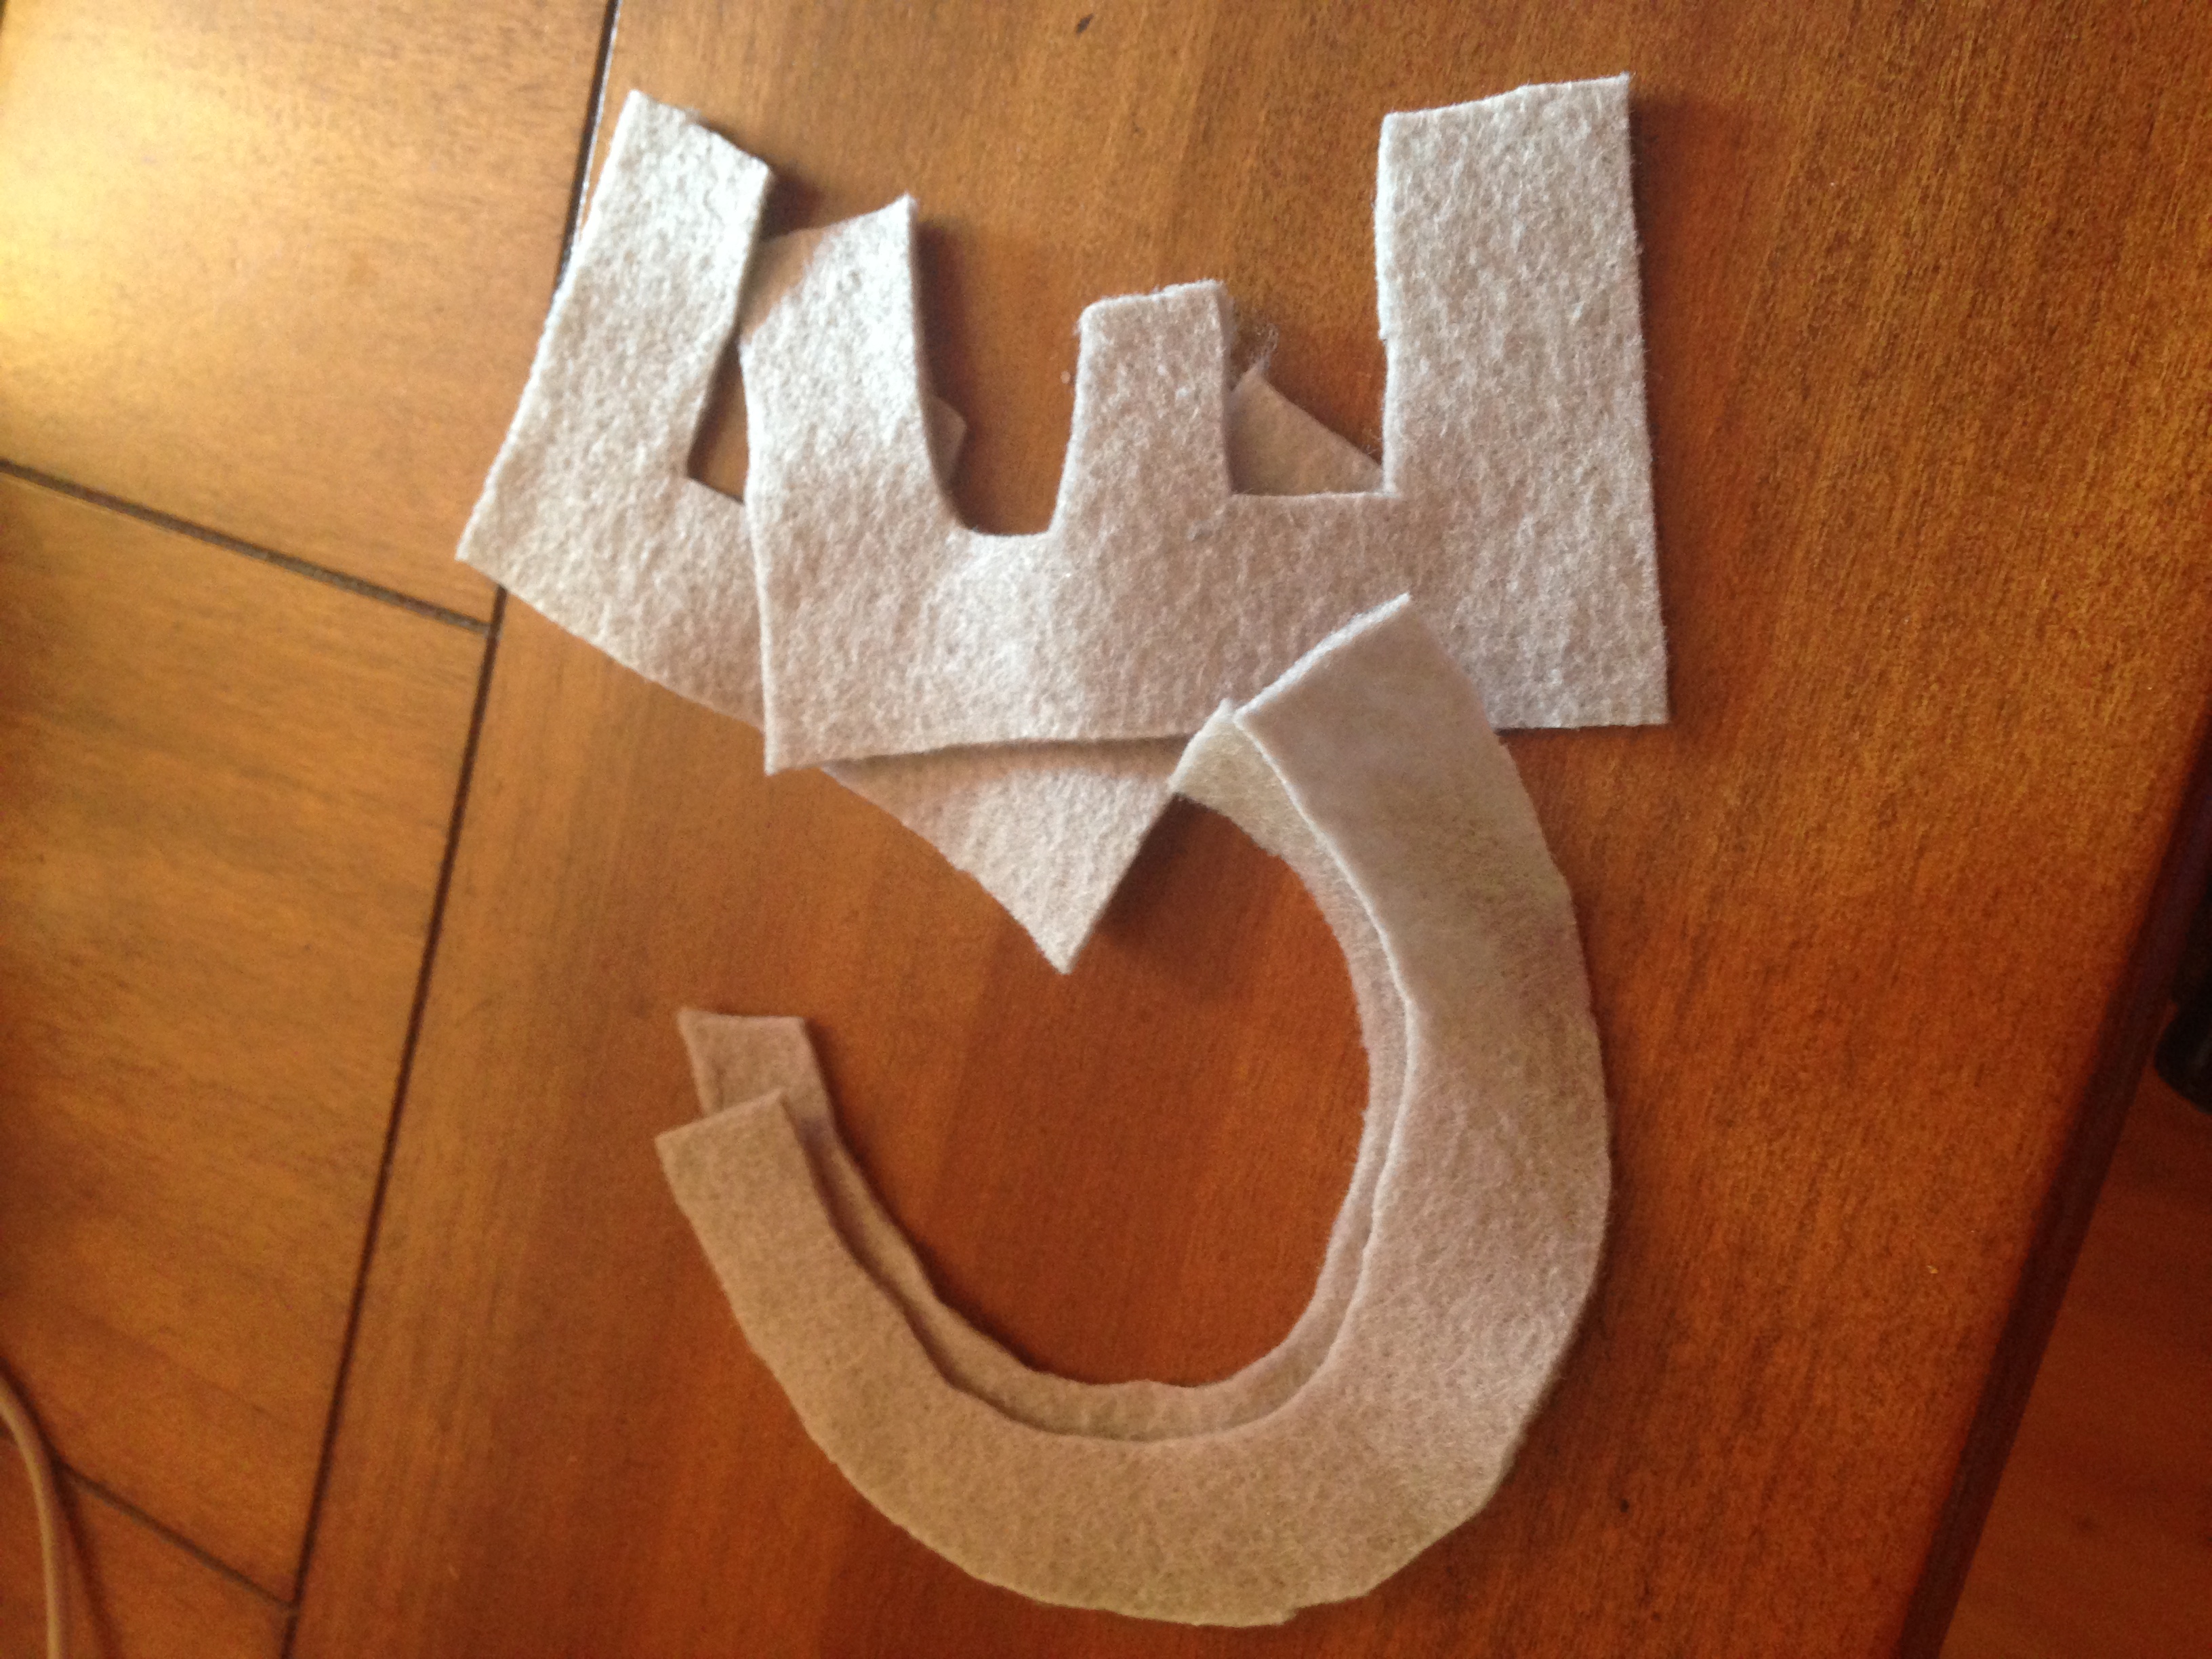
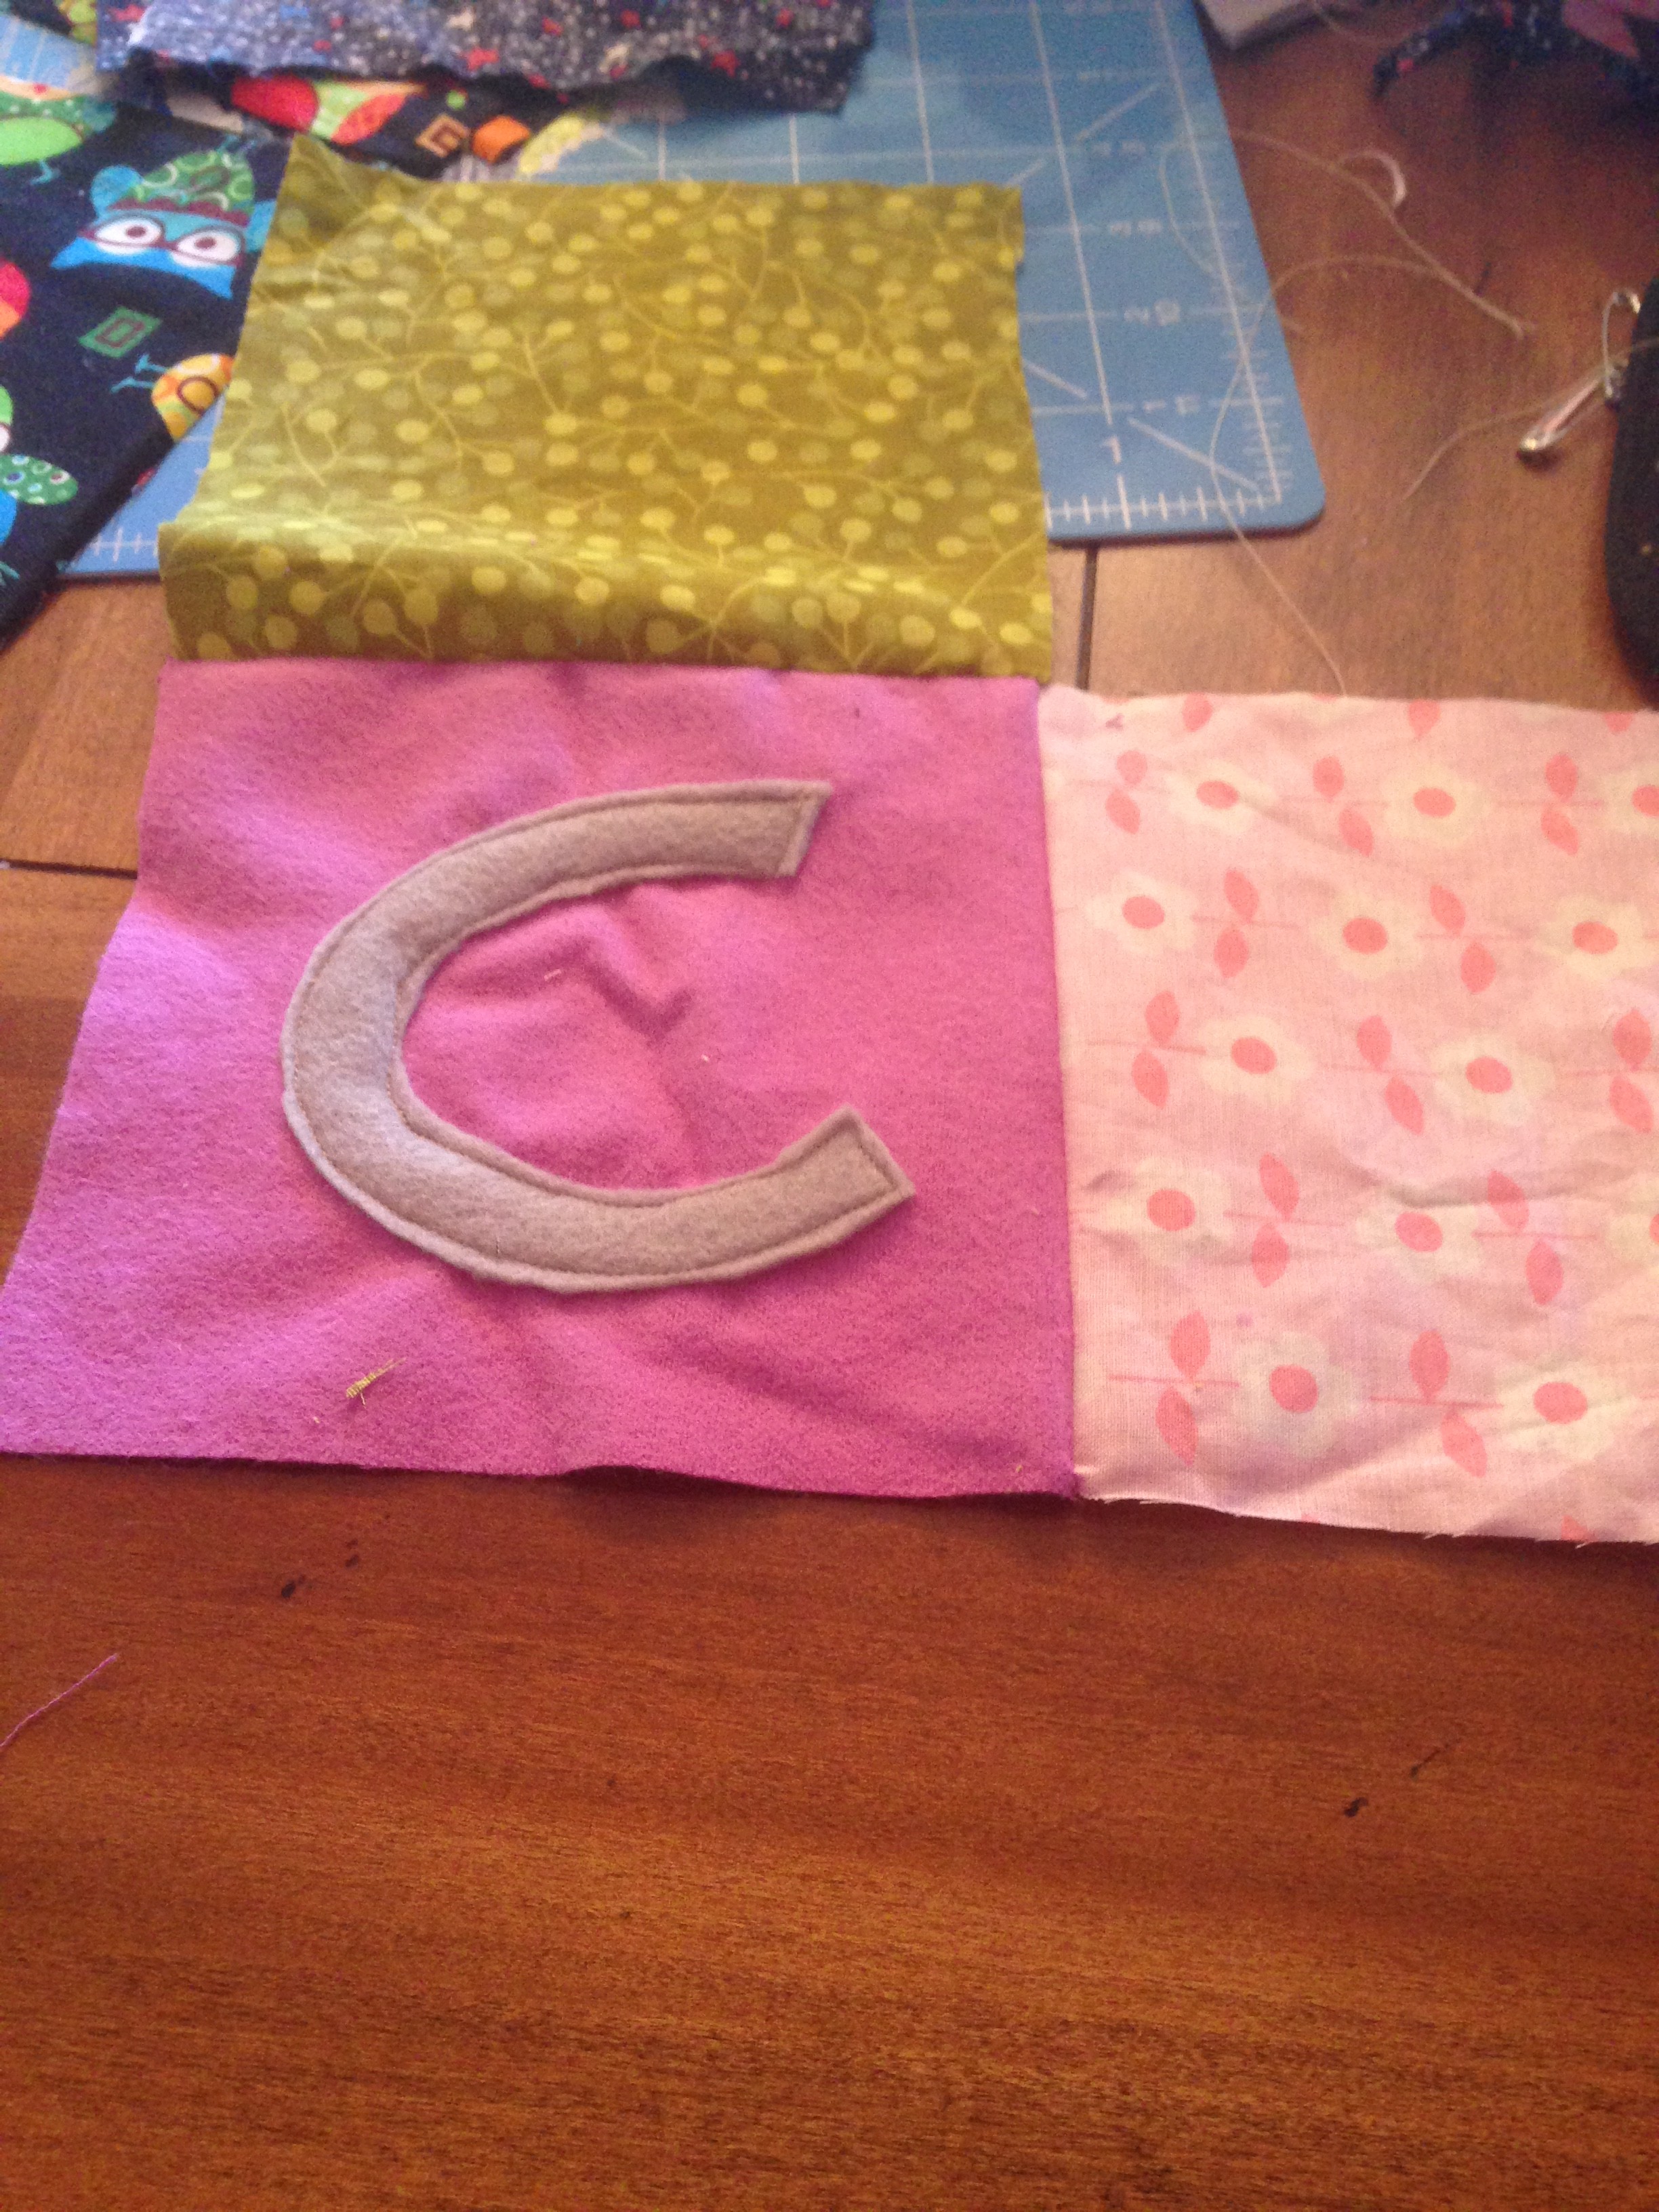
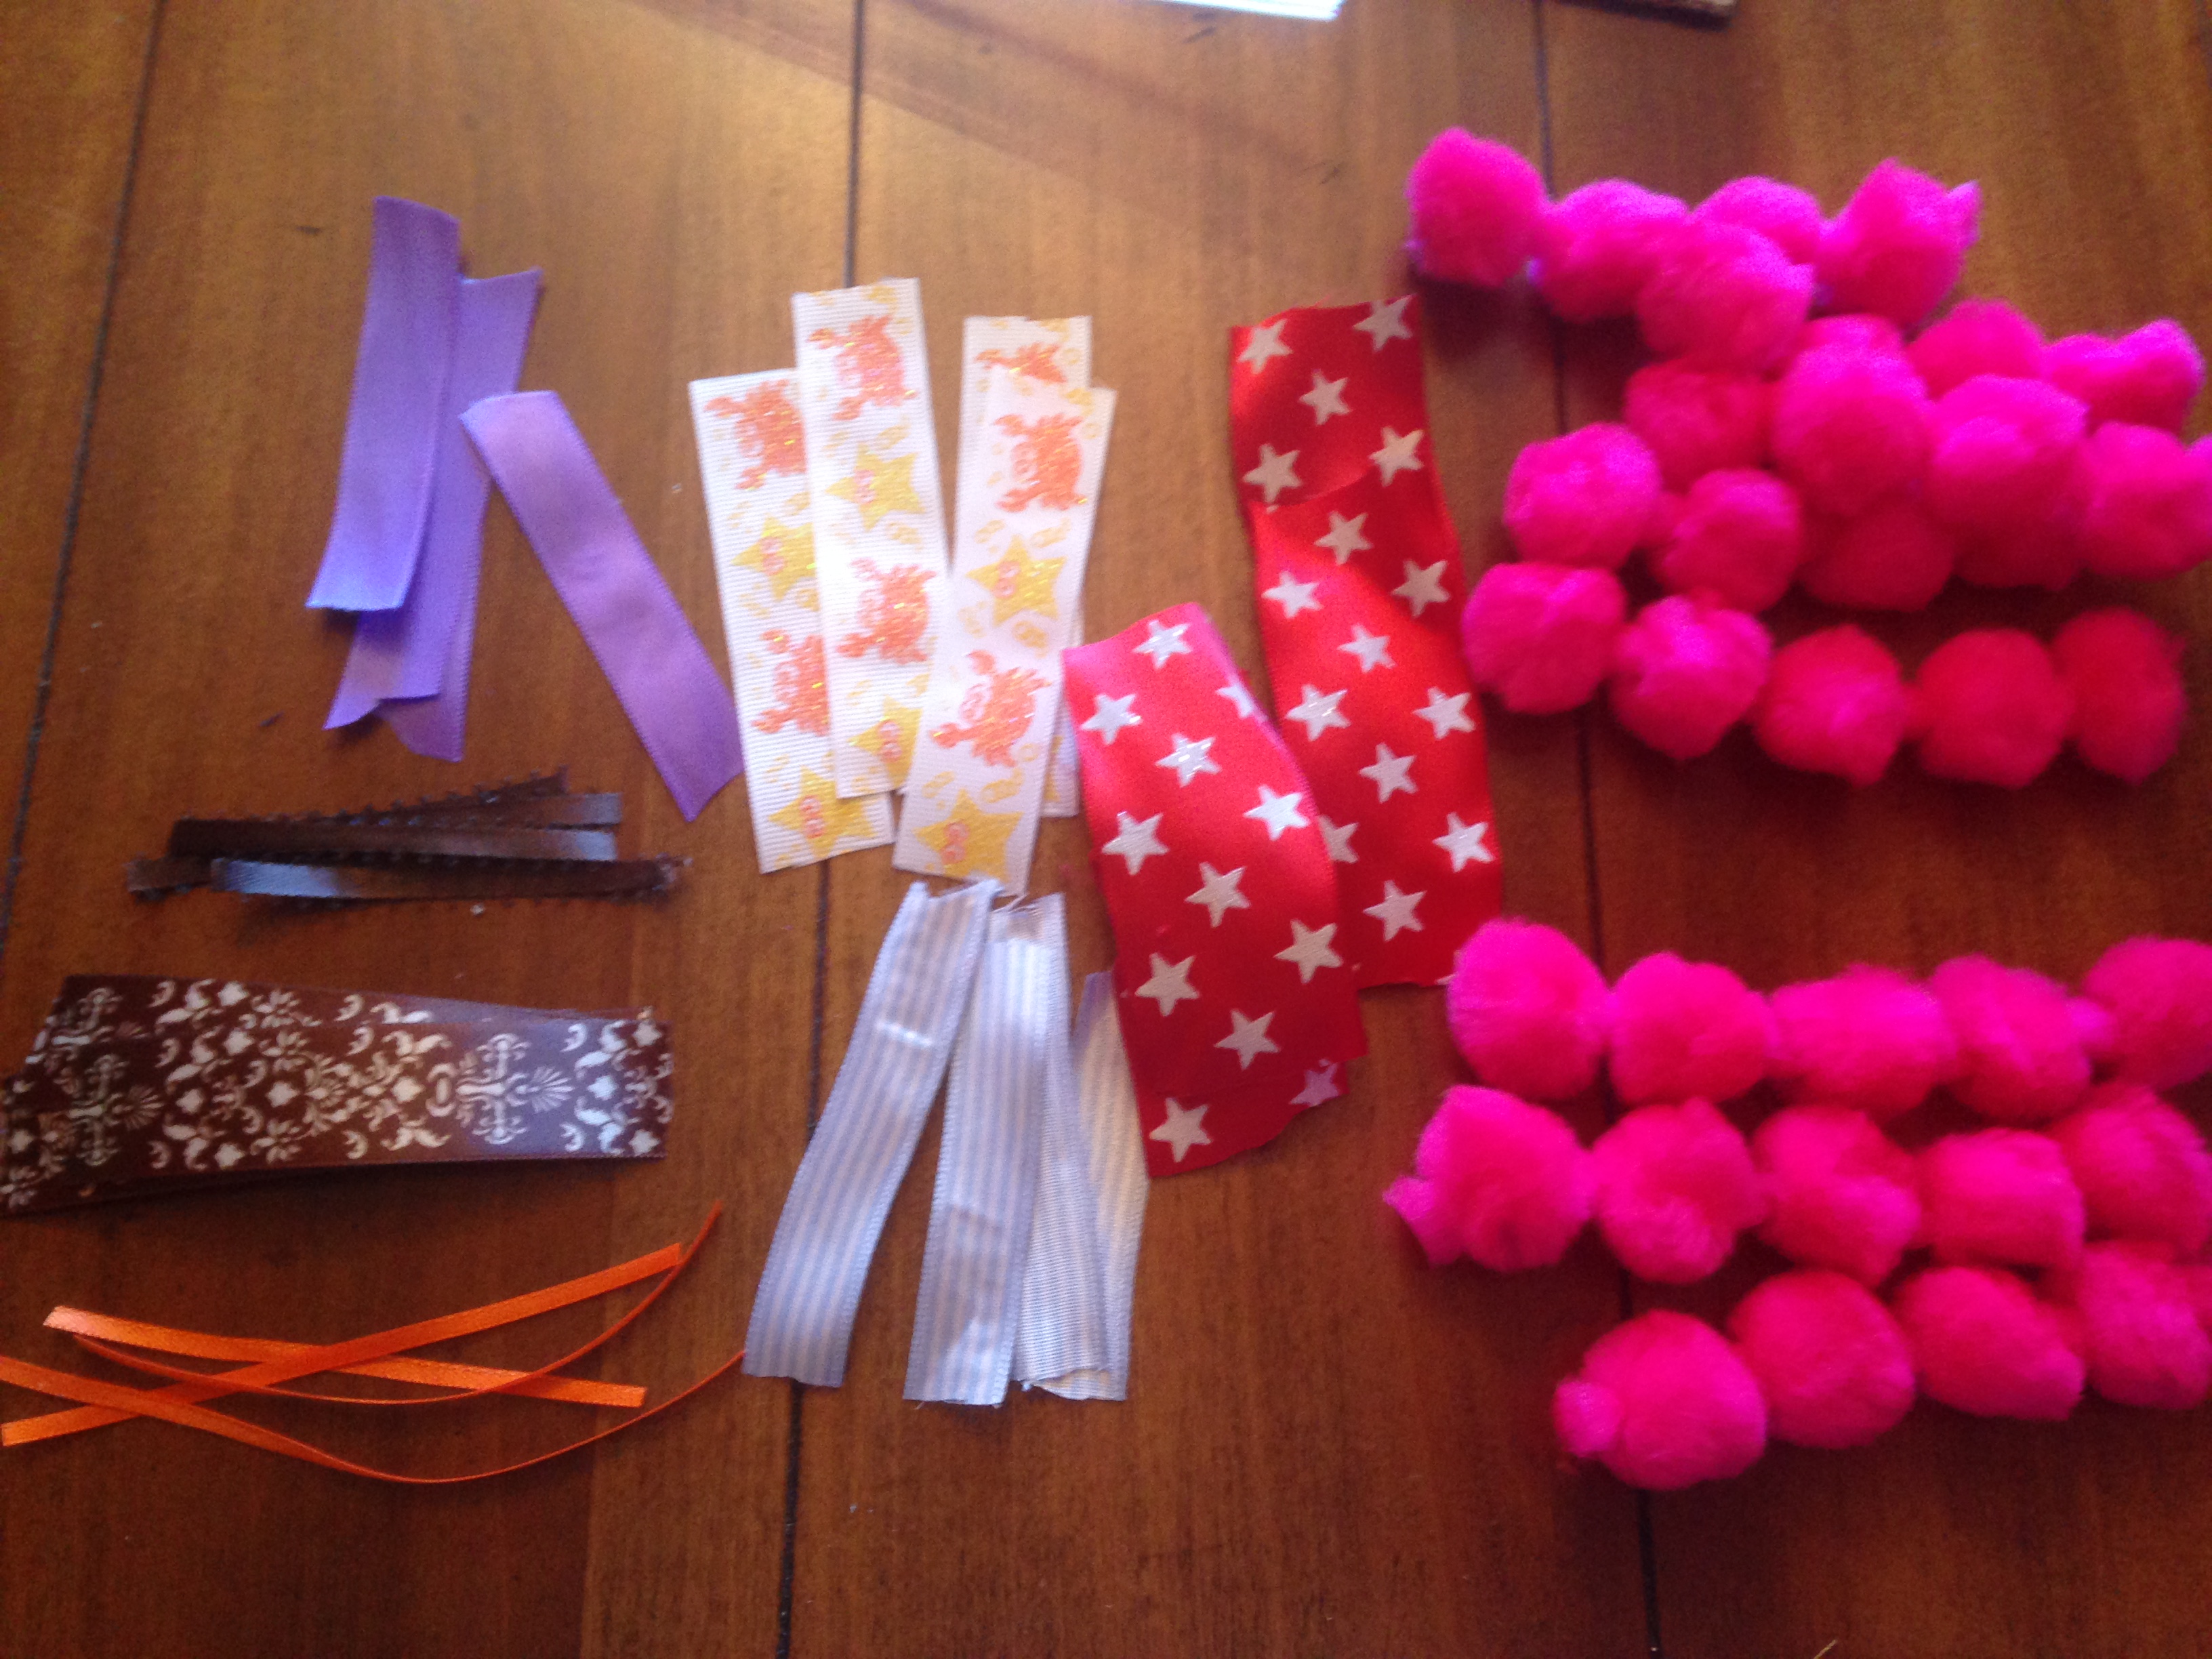
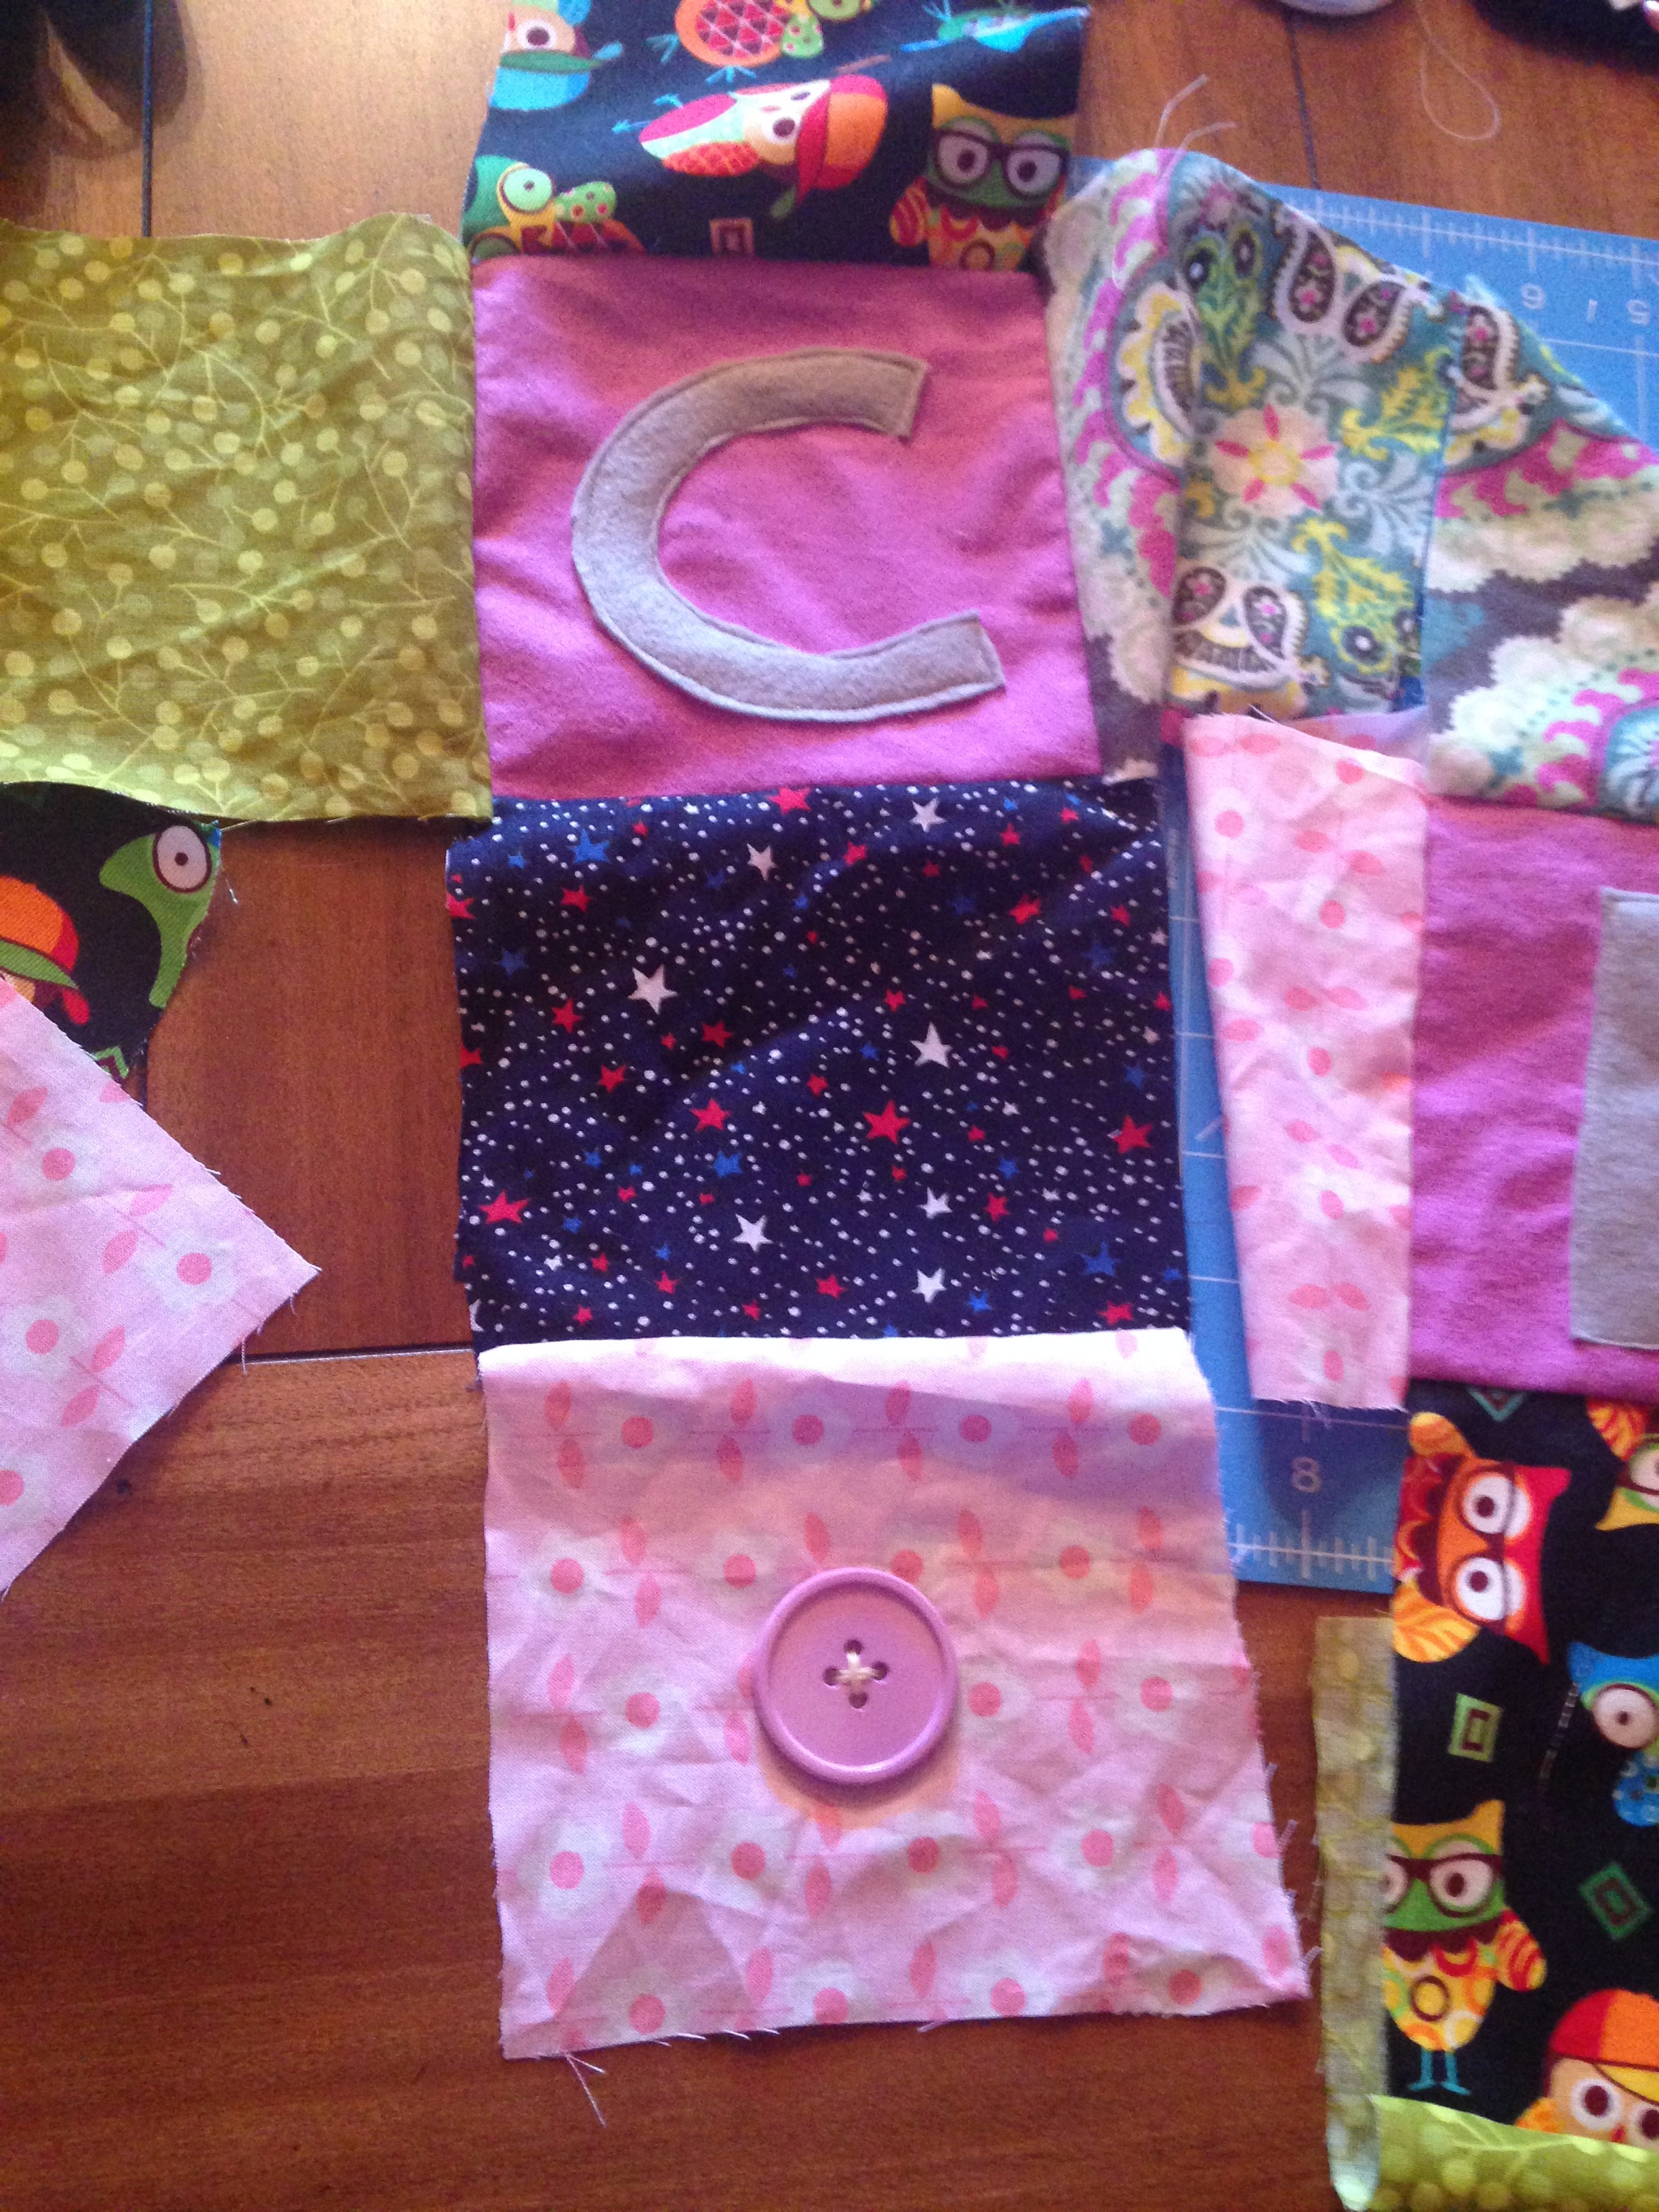
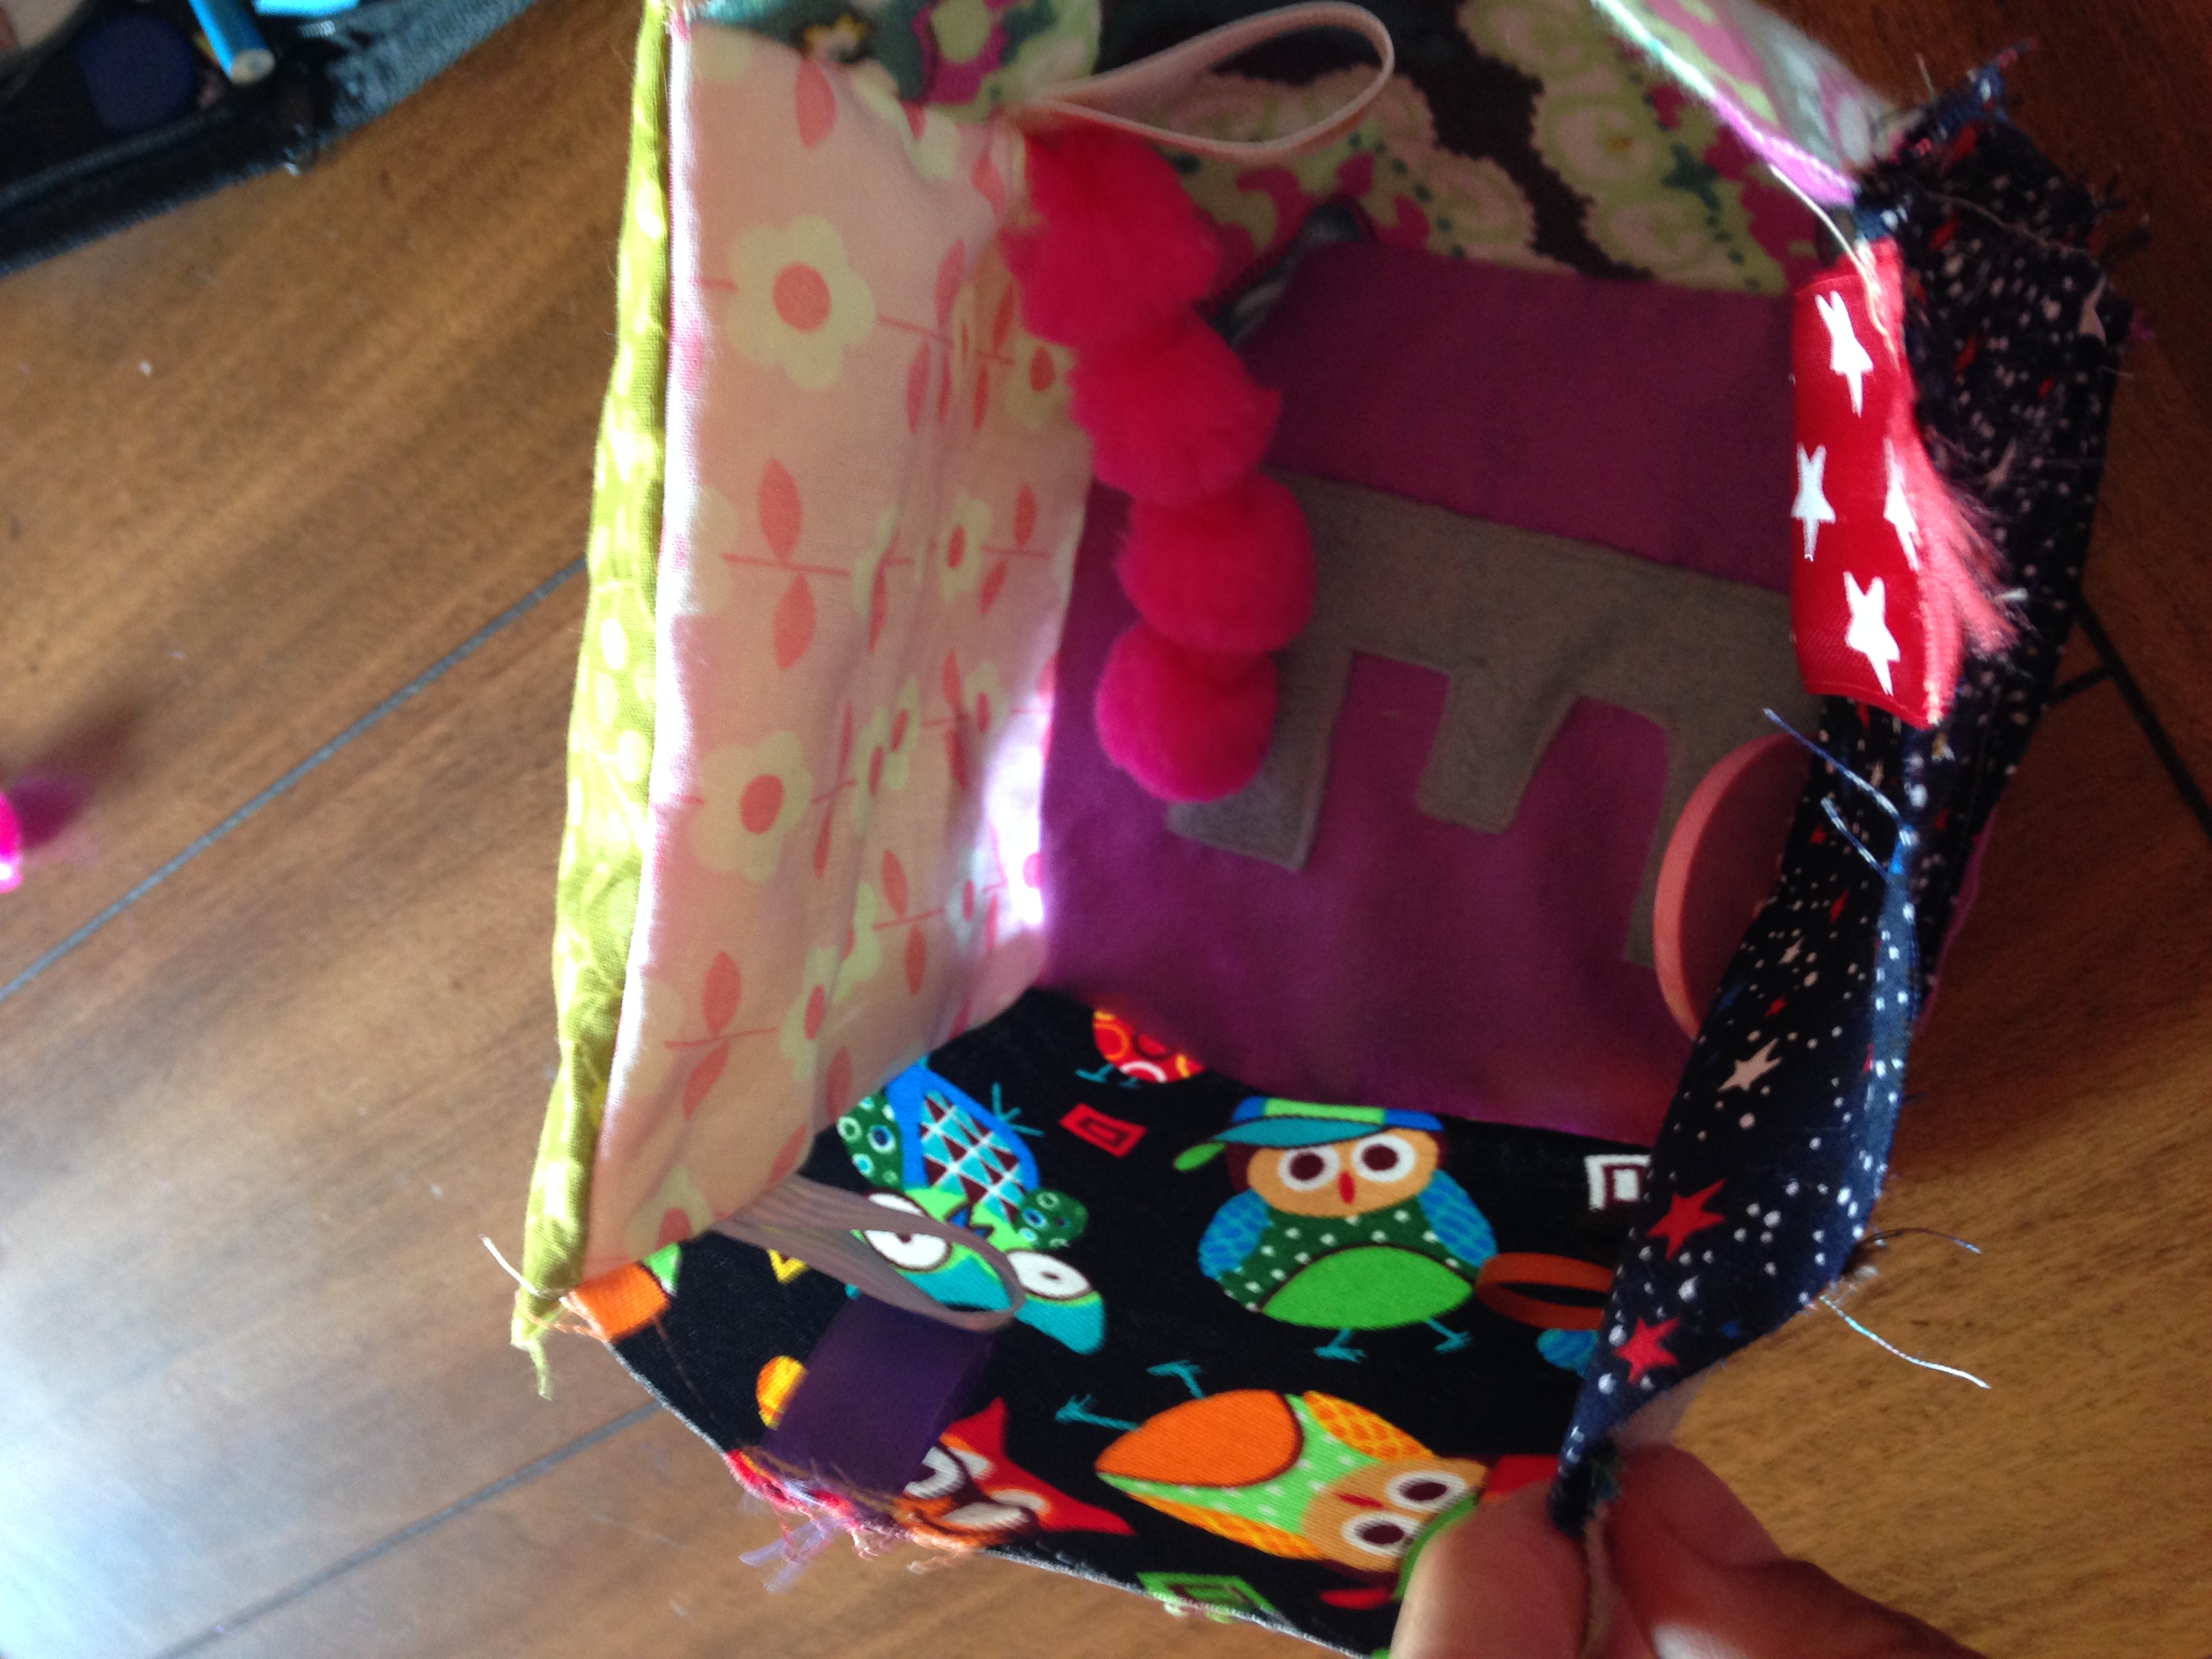
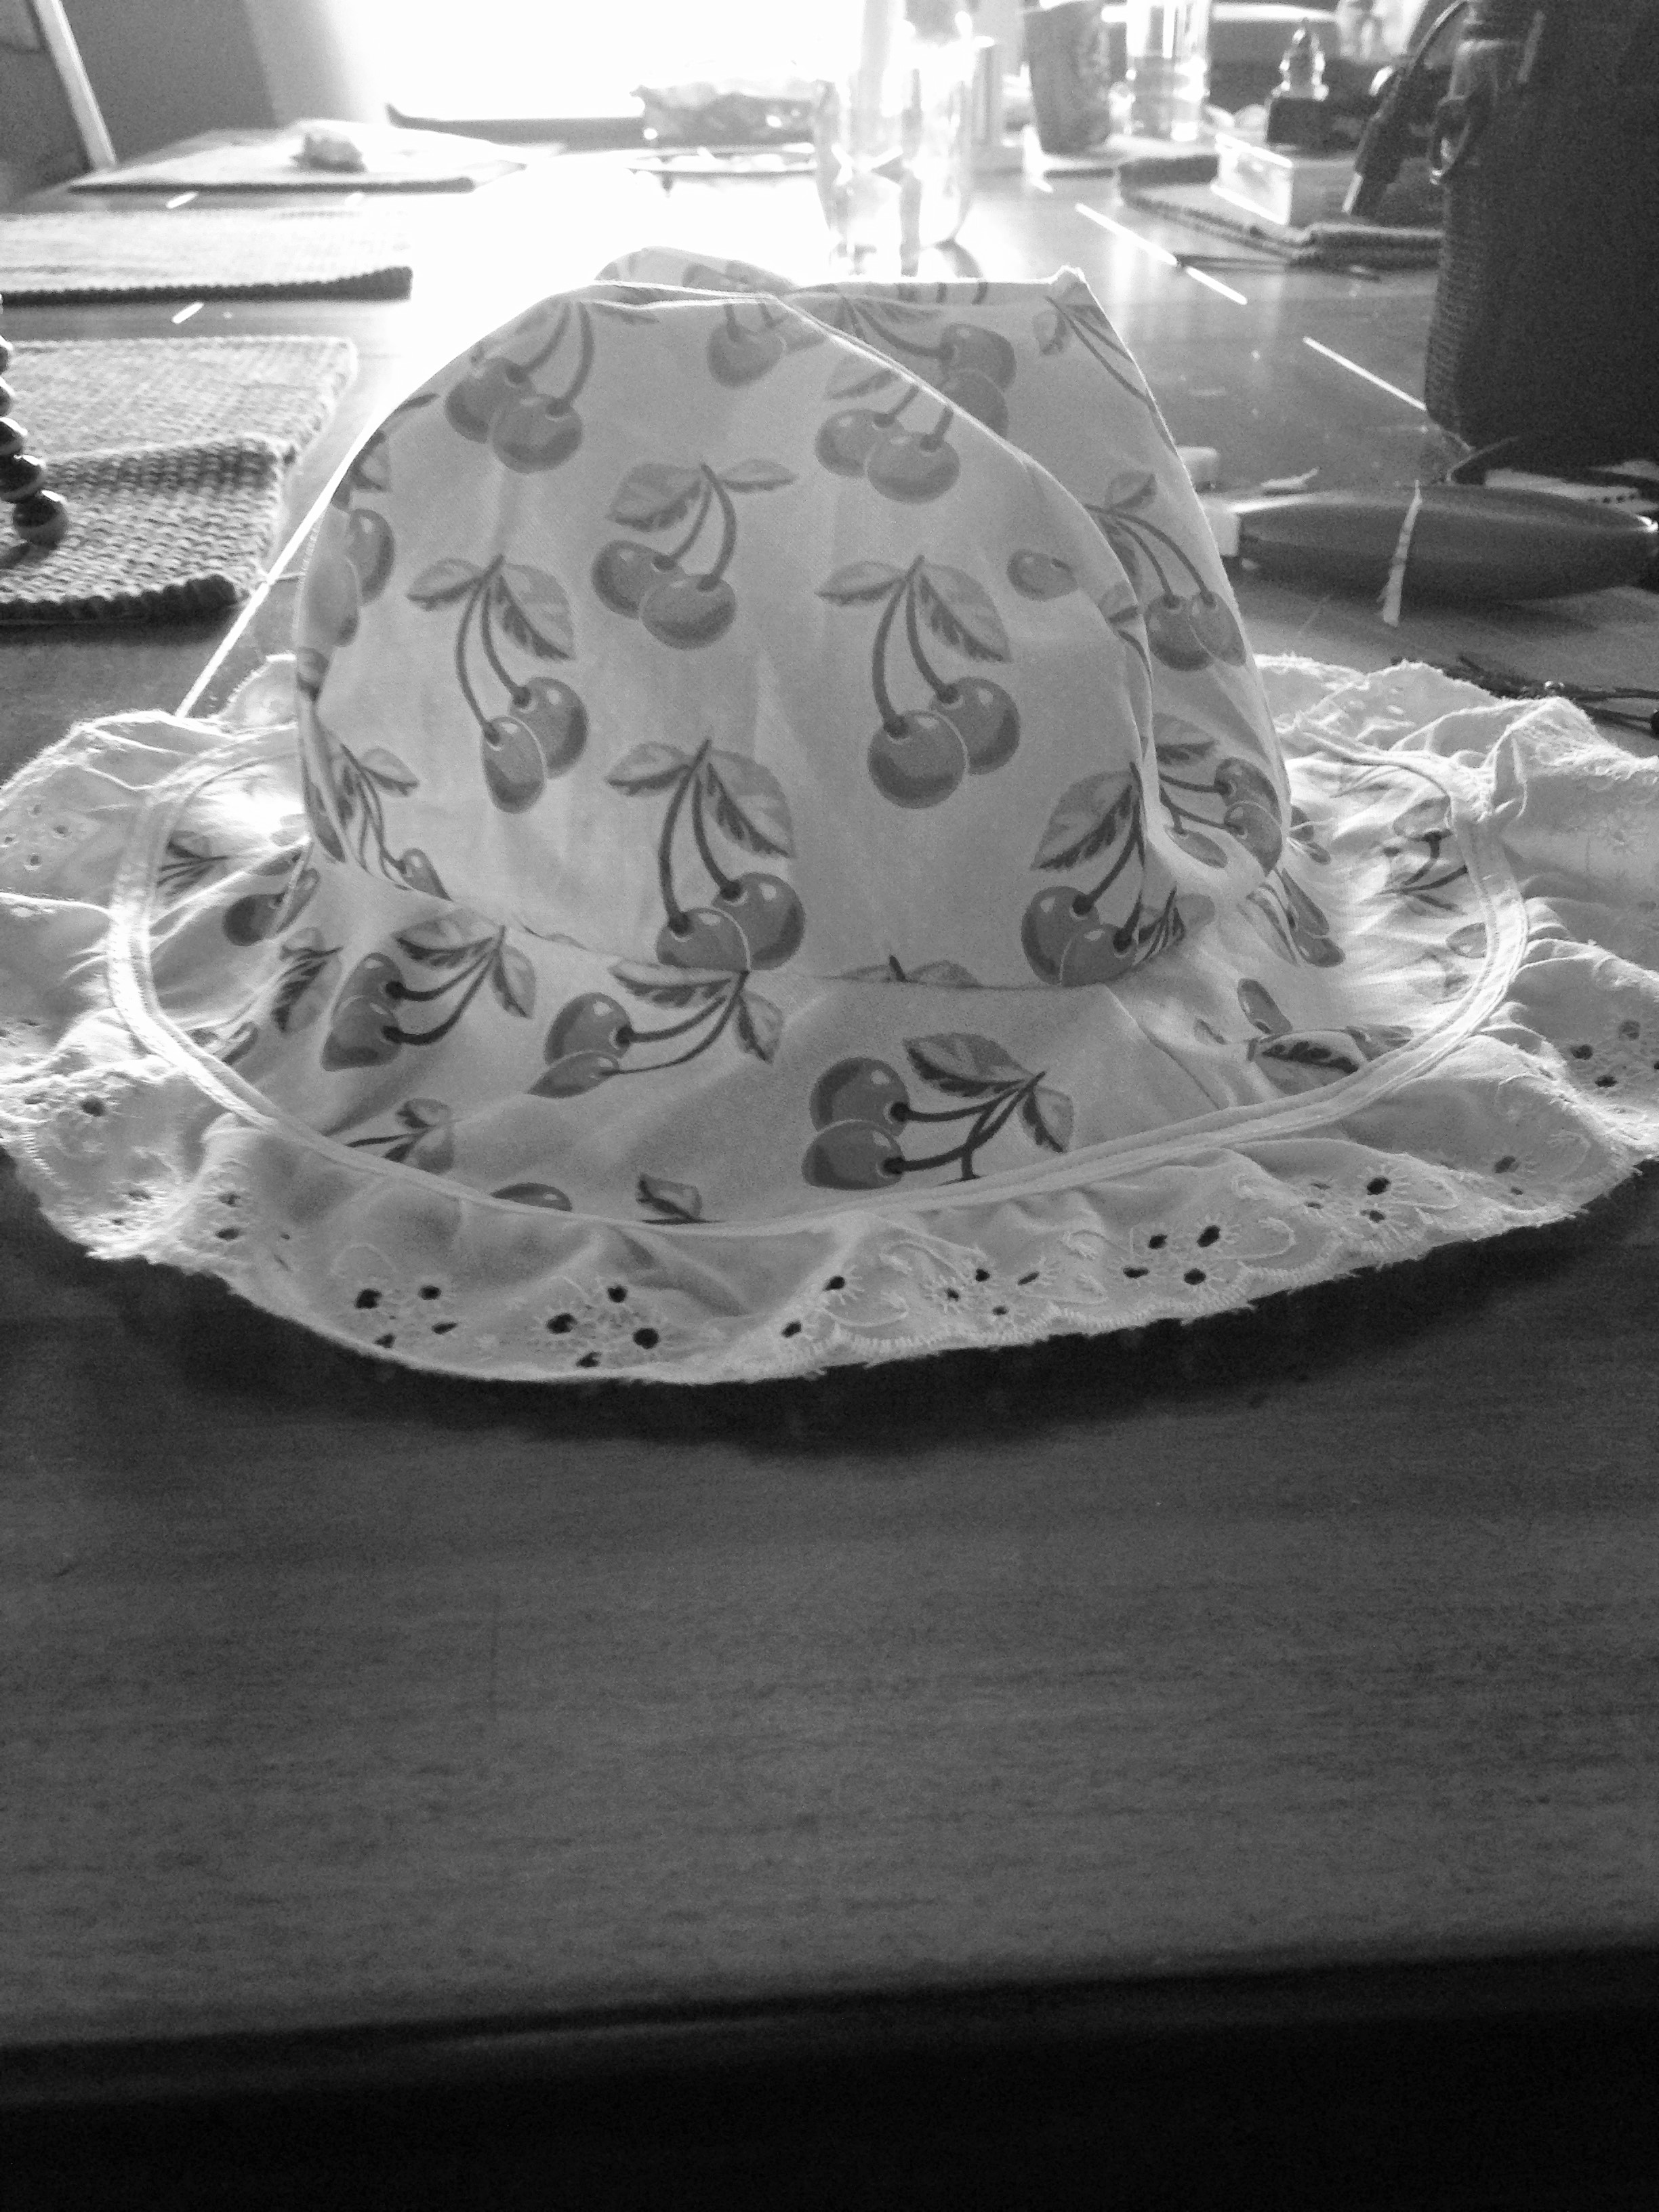
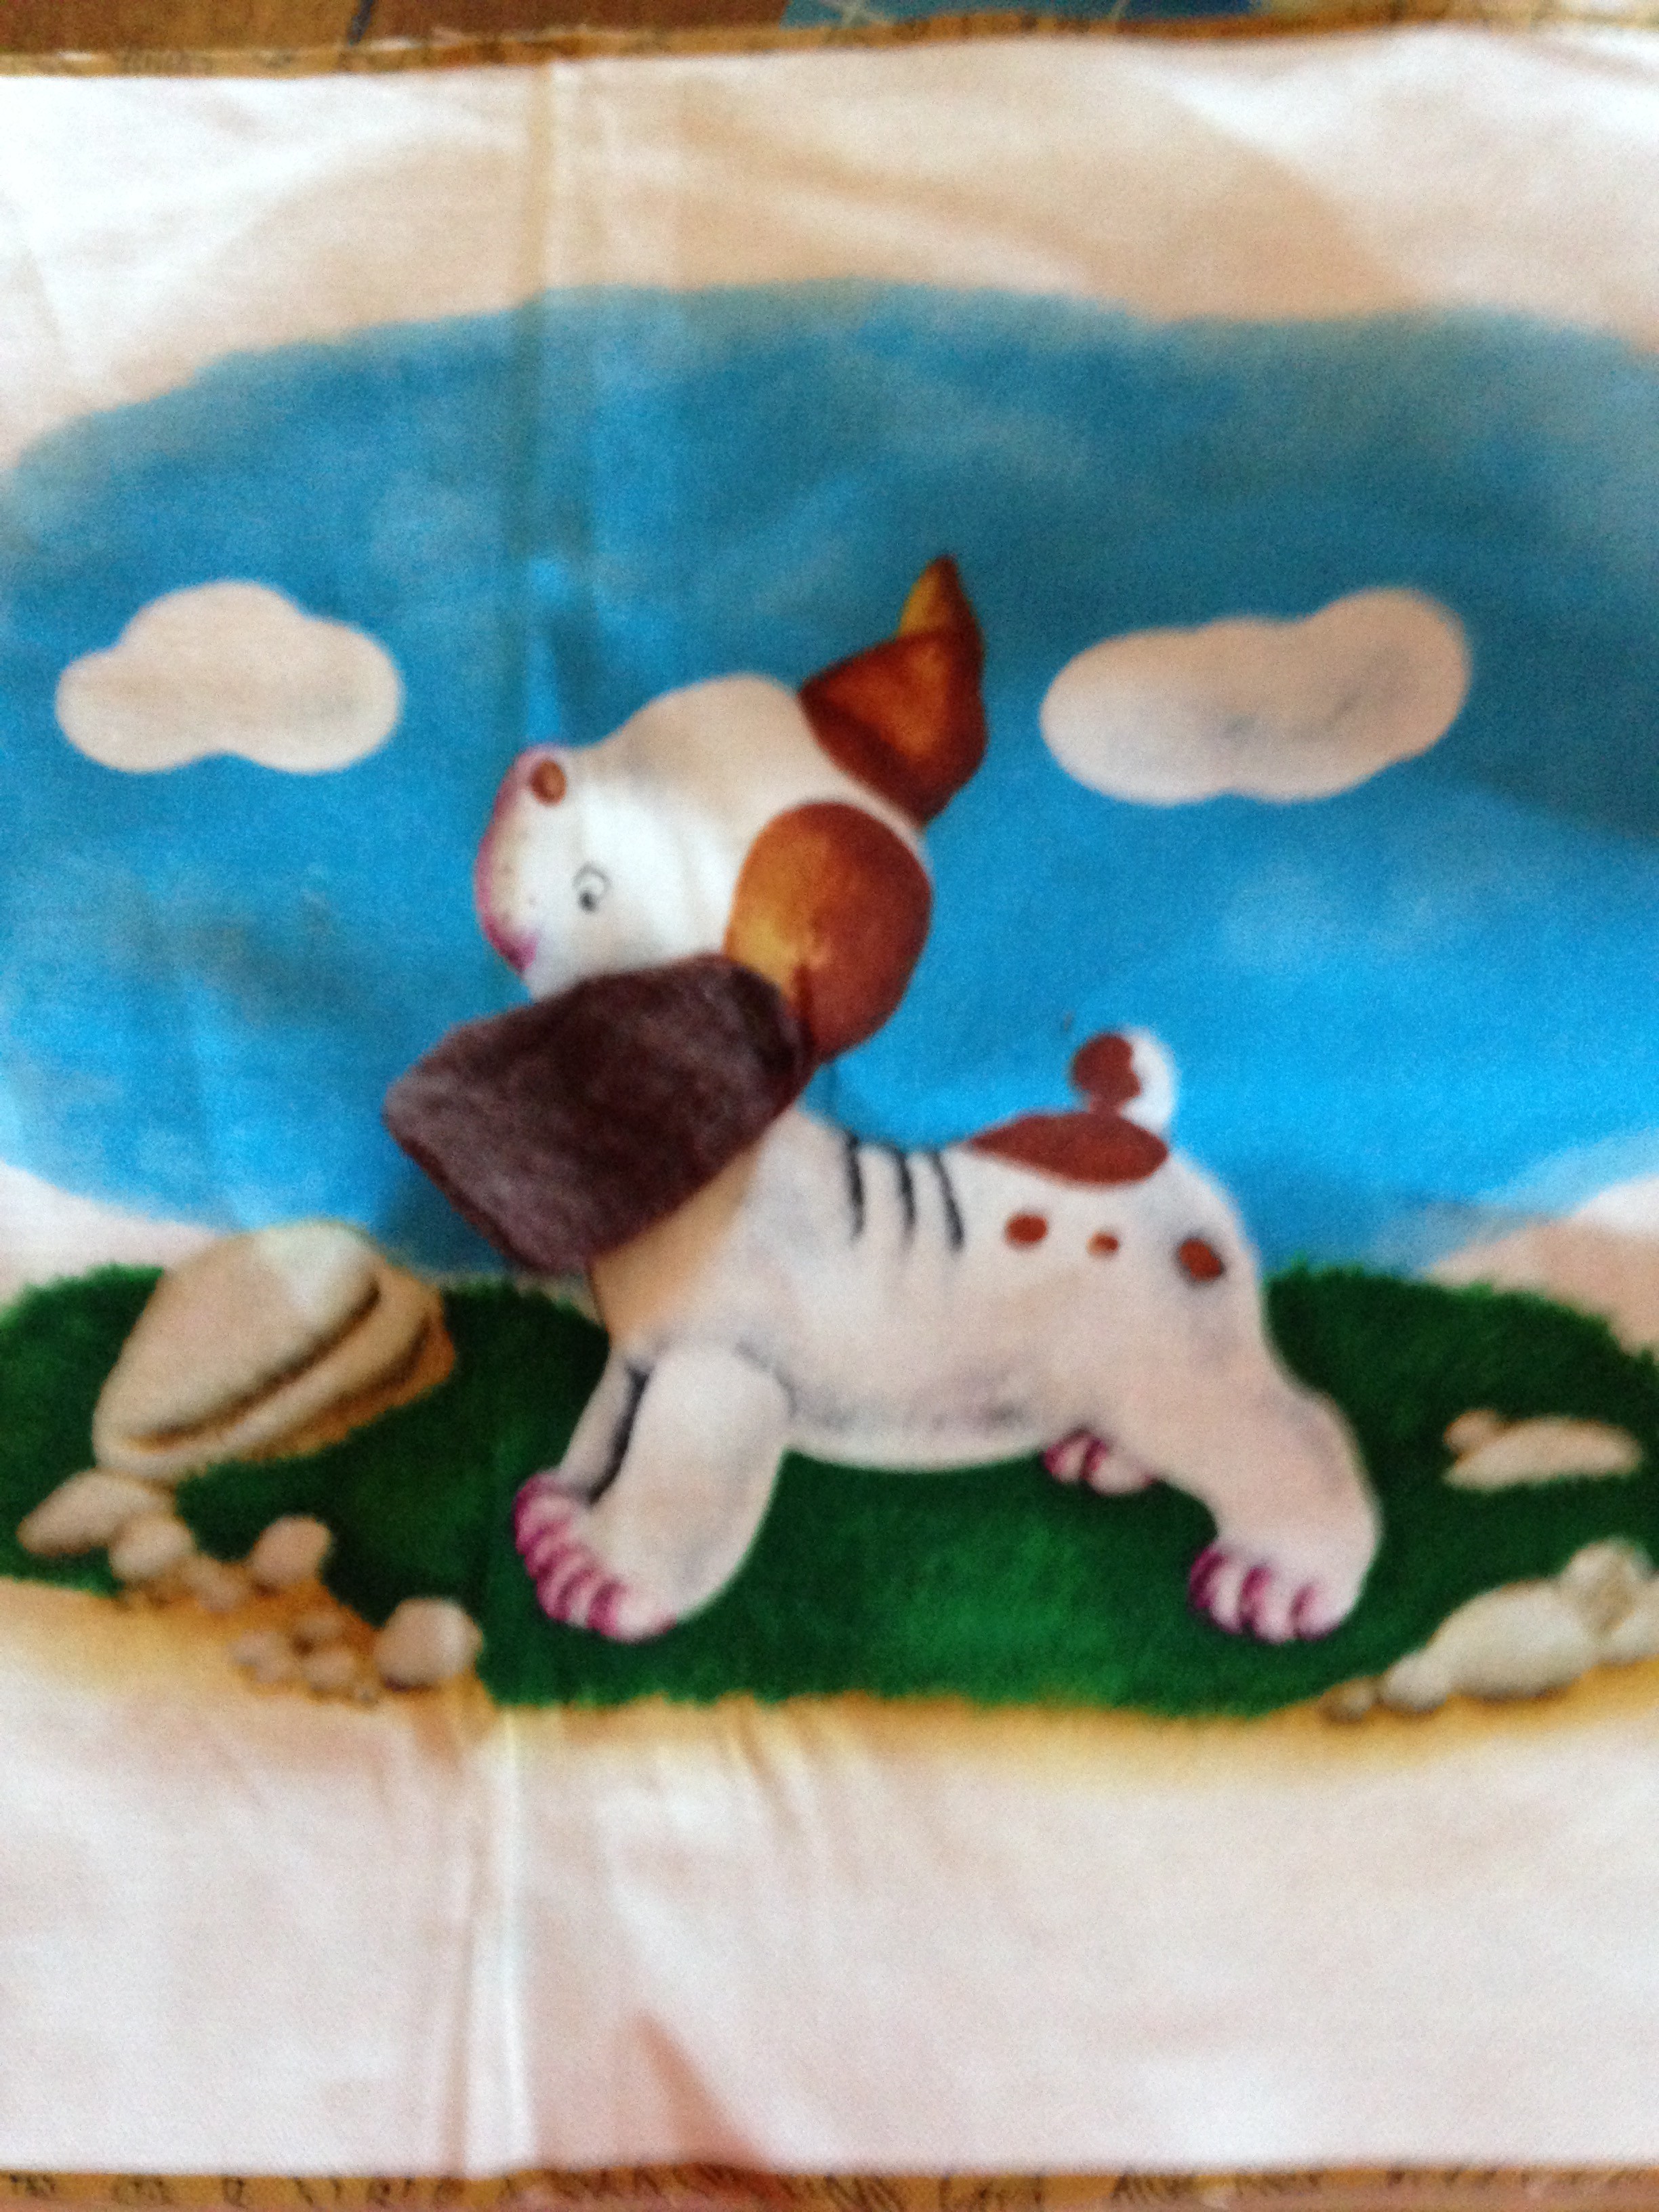
You may also want to add some interactive pieces to the cloth book such as large buttons, ribbons, or other pieces of fabric.  This is the time to do this.  Just make sure it is sewn very tight and secure.  Also use very large buttons or pieces.  For this project I just cut out some of the fleece and attached it to the dogs ears so my little one can pull at the ears in the book.

IMG_2098

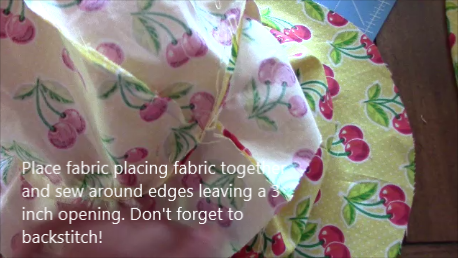
Then, you want to sew the page that corresponds as instructed face down to the other page cut out with batting sewed on.  You want to sew all the way around but leave a 2 inch opening so you can pull it right side out.

IMG_2094

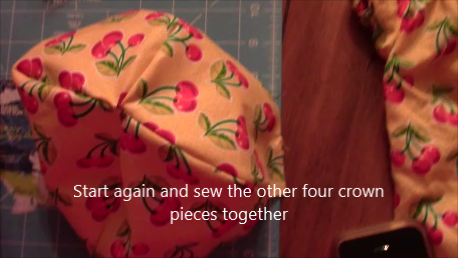
Then pull right side out and close the hole with a simple loop stitch or your stitch of choice.  And WALLAH you have four pages complete!  Good job!  Follow the rest of the instructions as to what pages line up with sewing and complete them.

IMG_2099

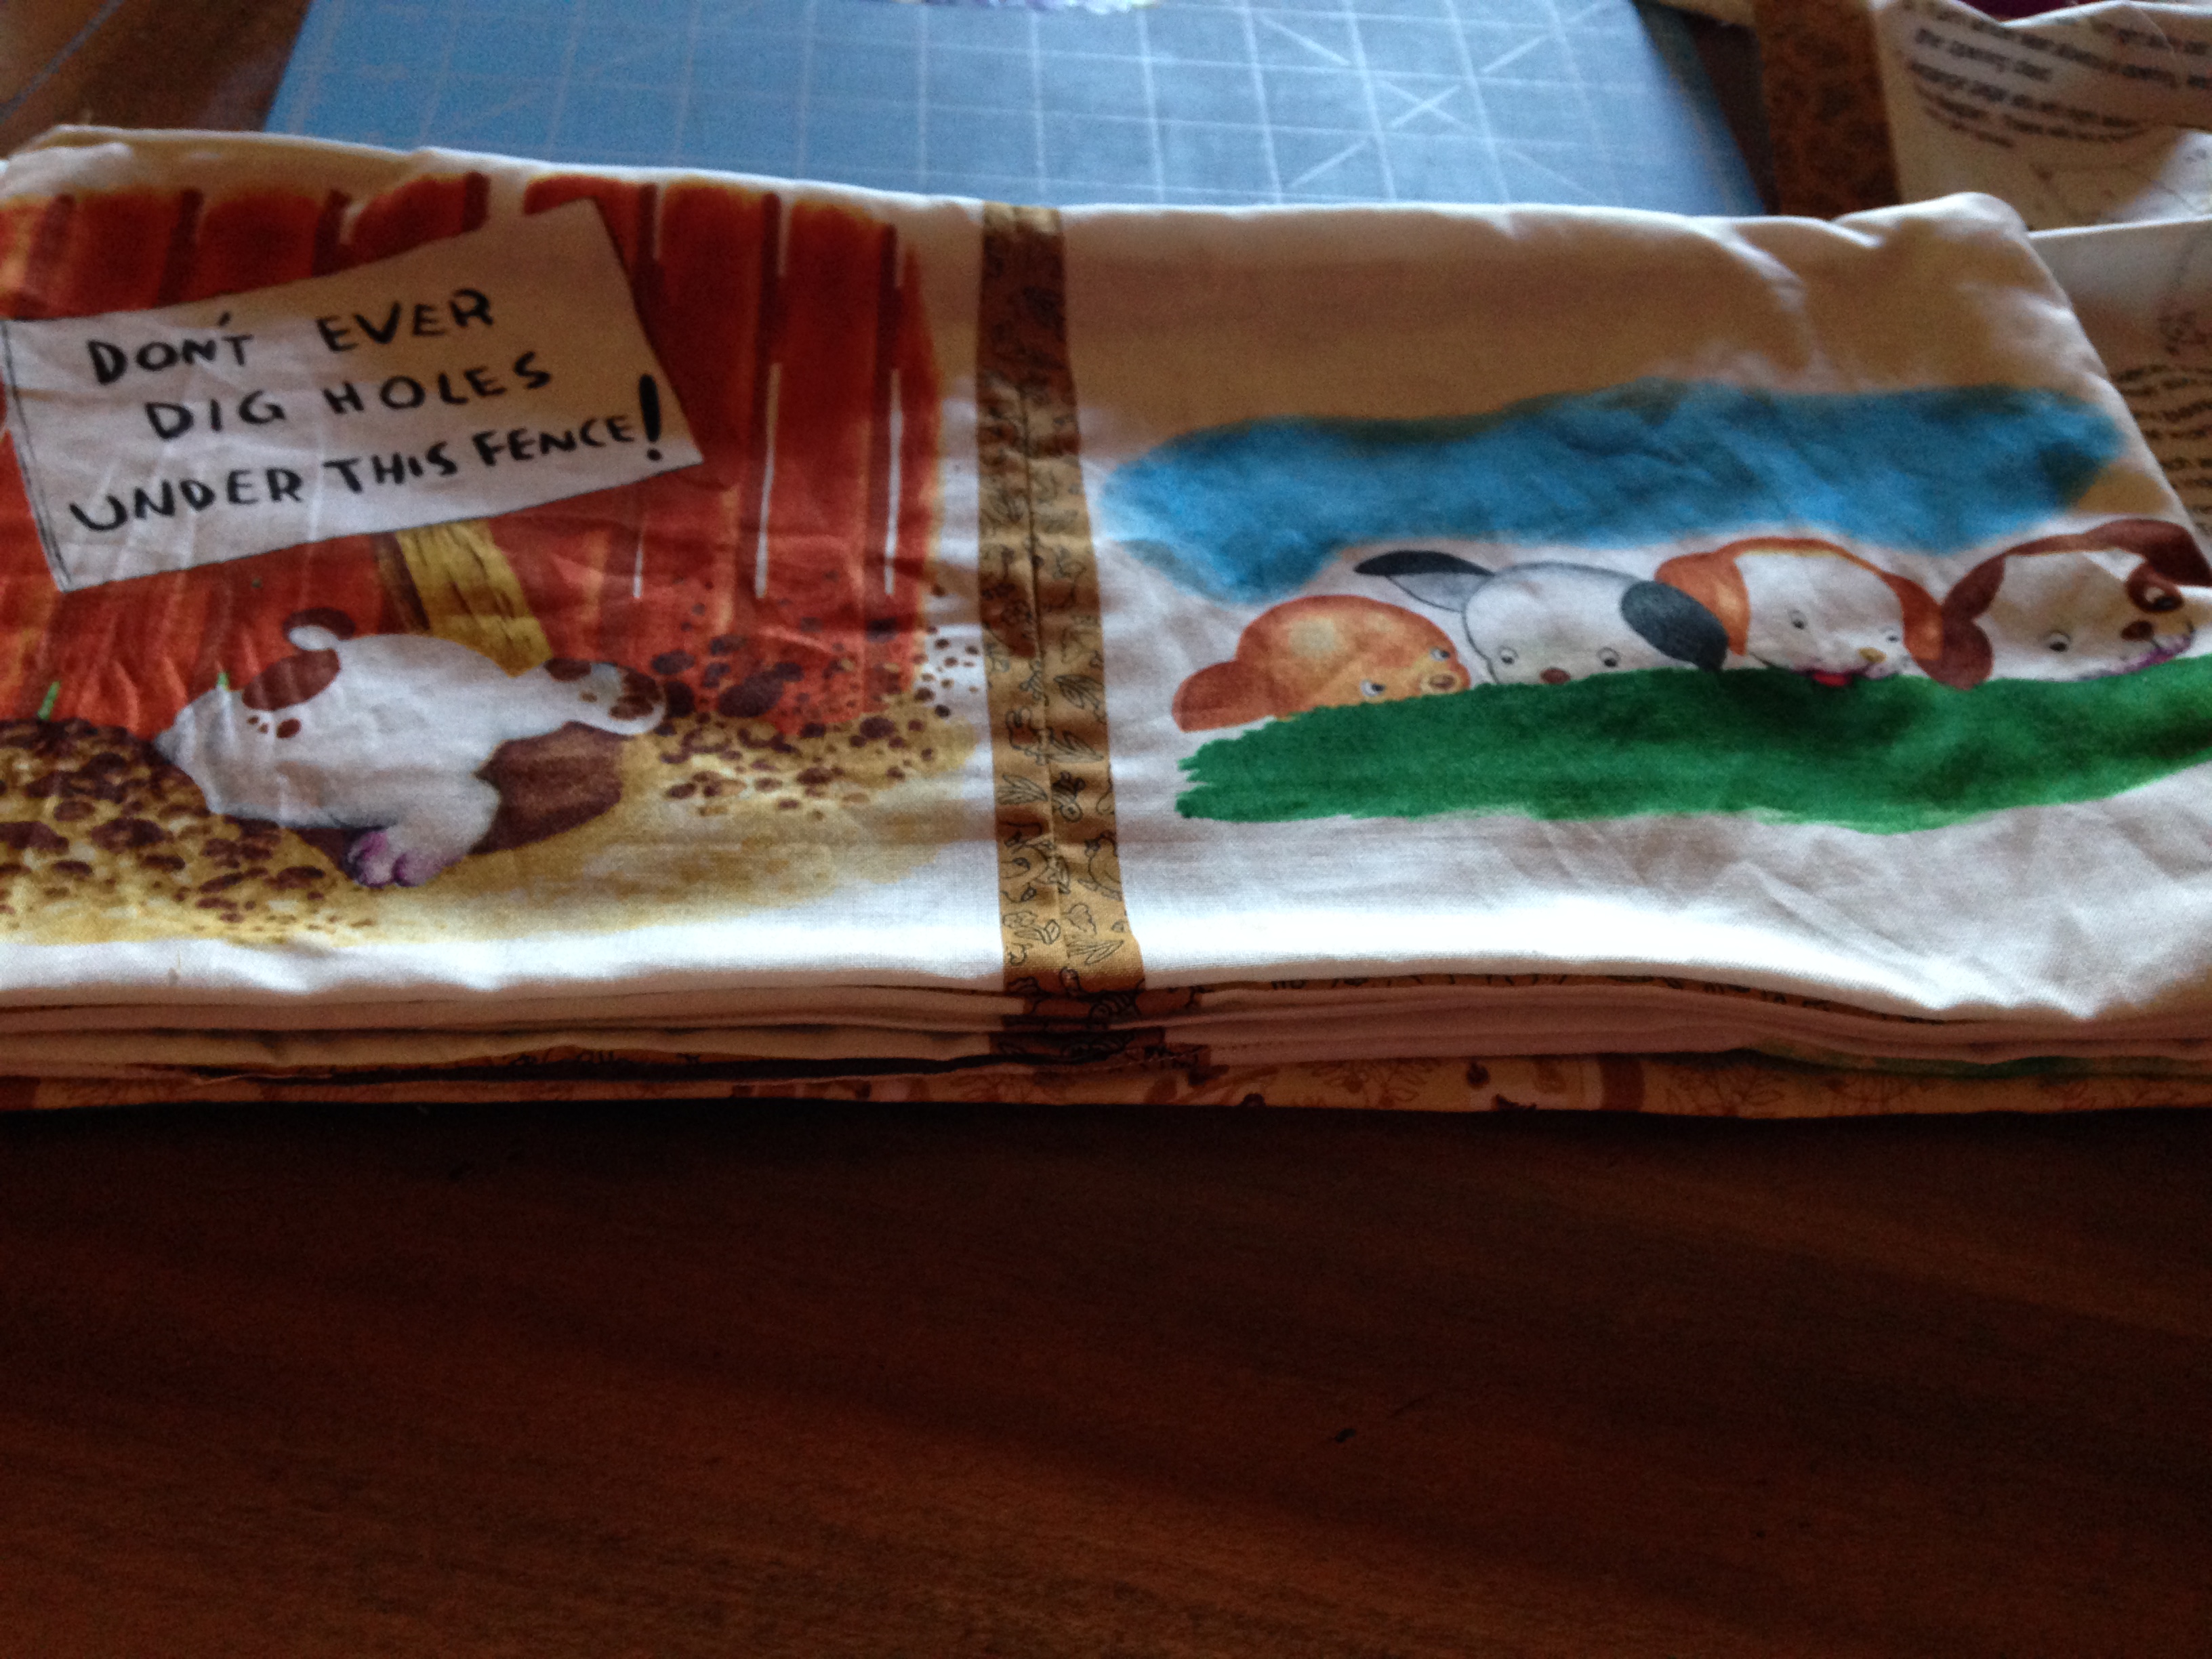
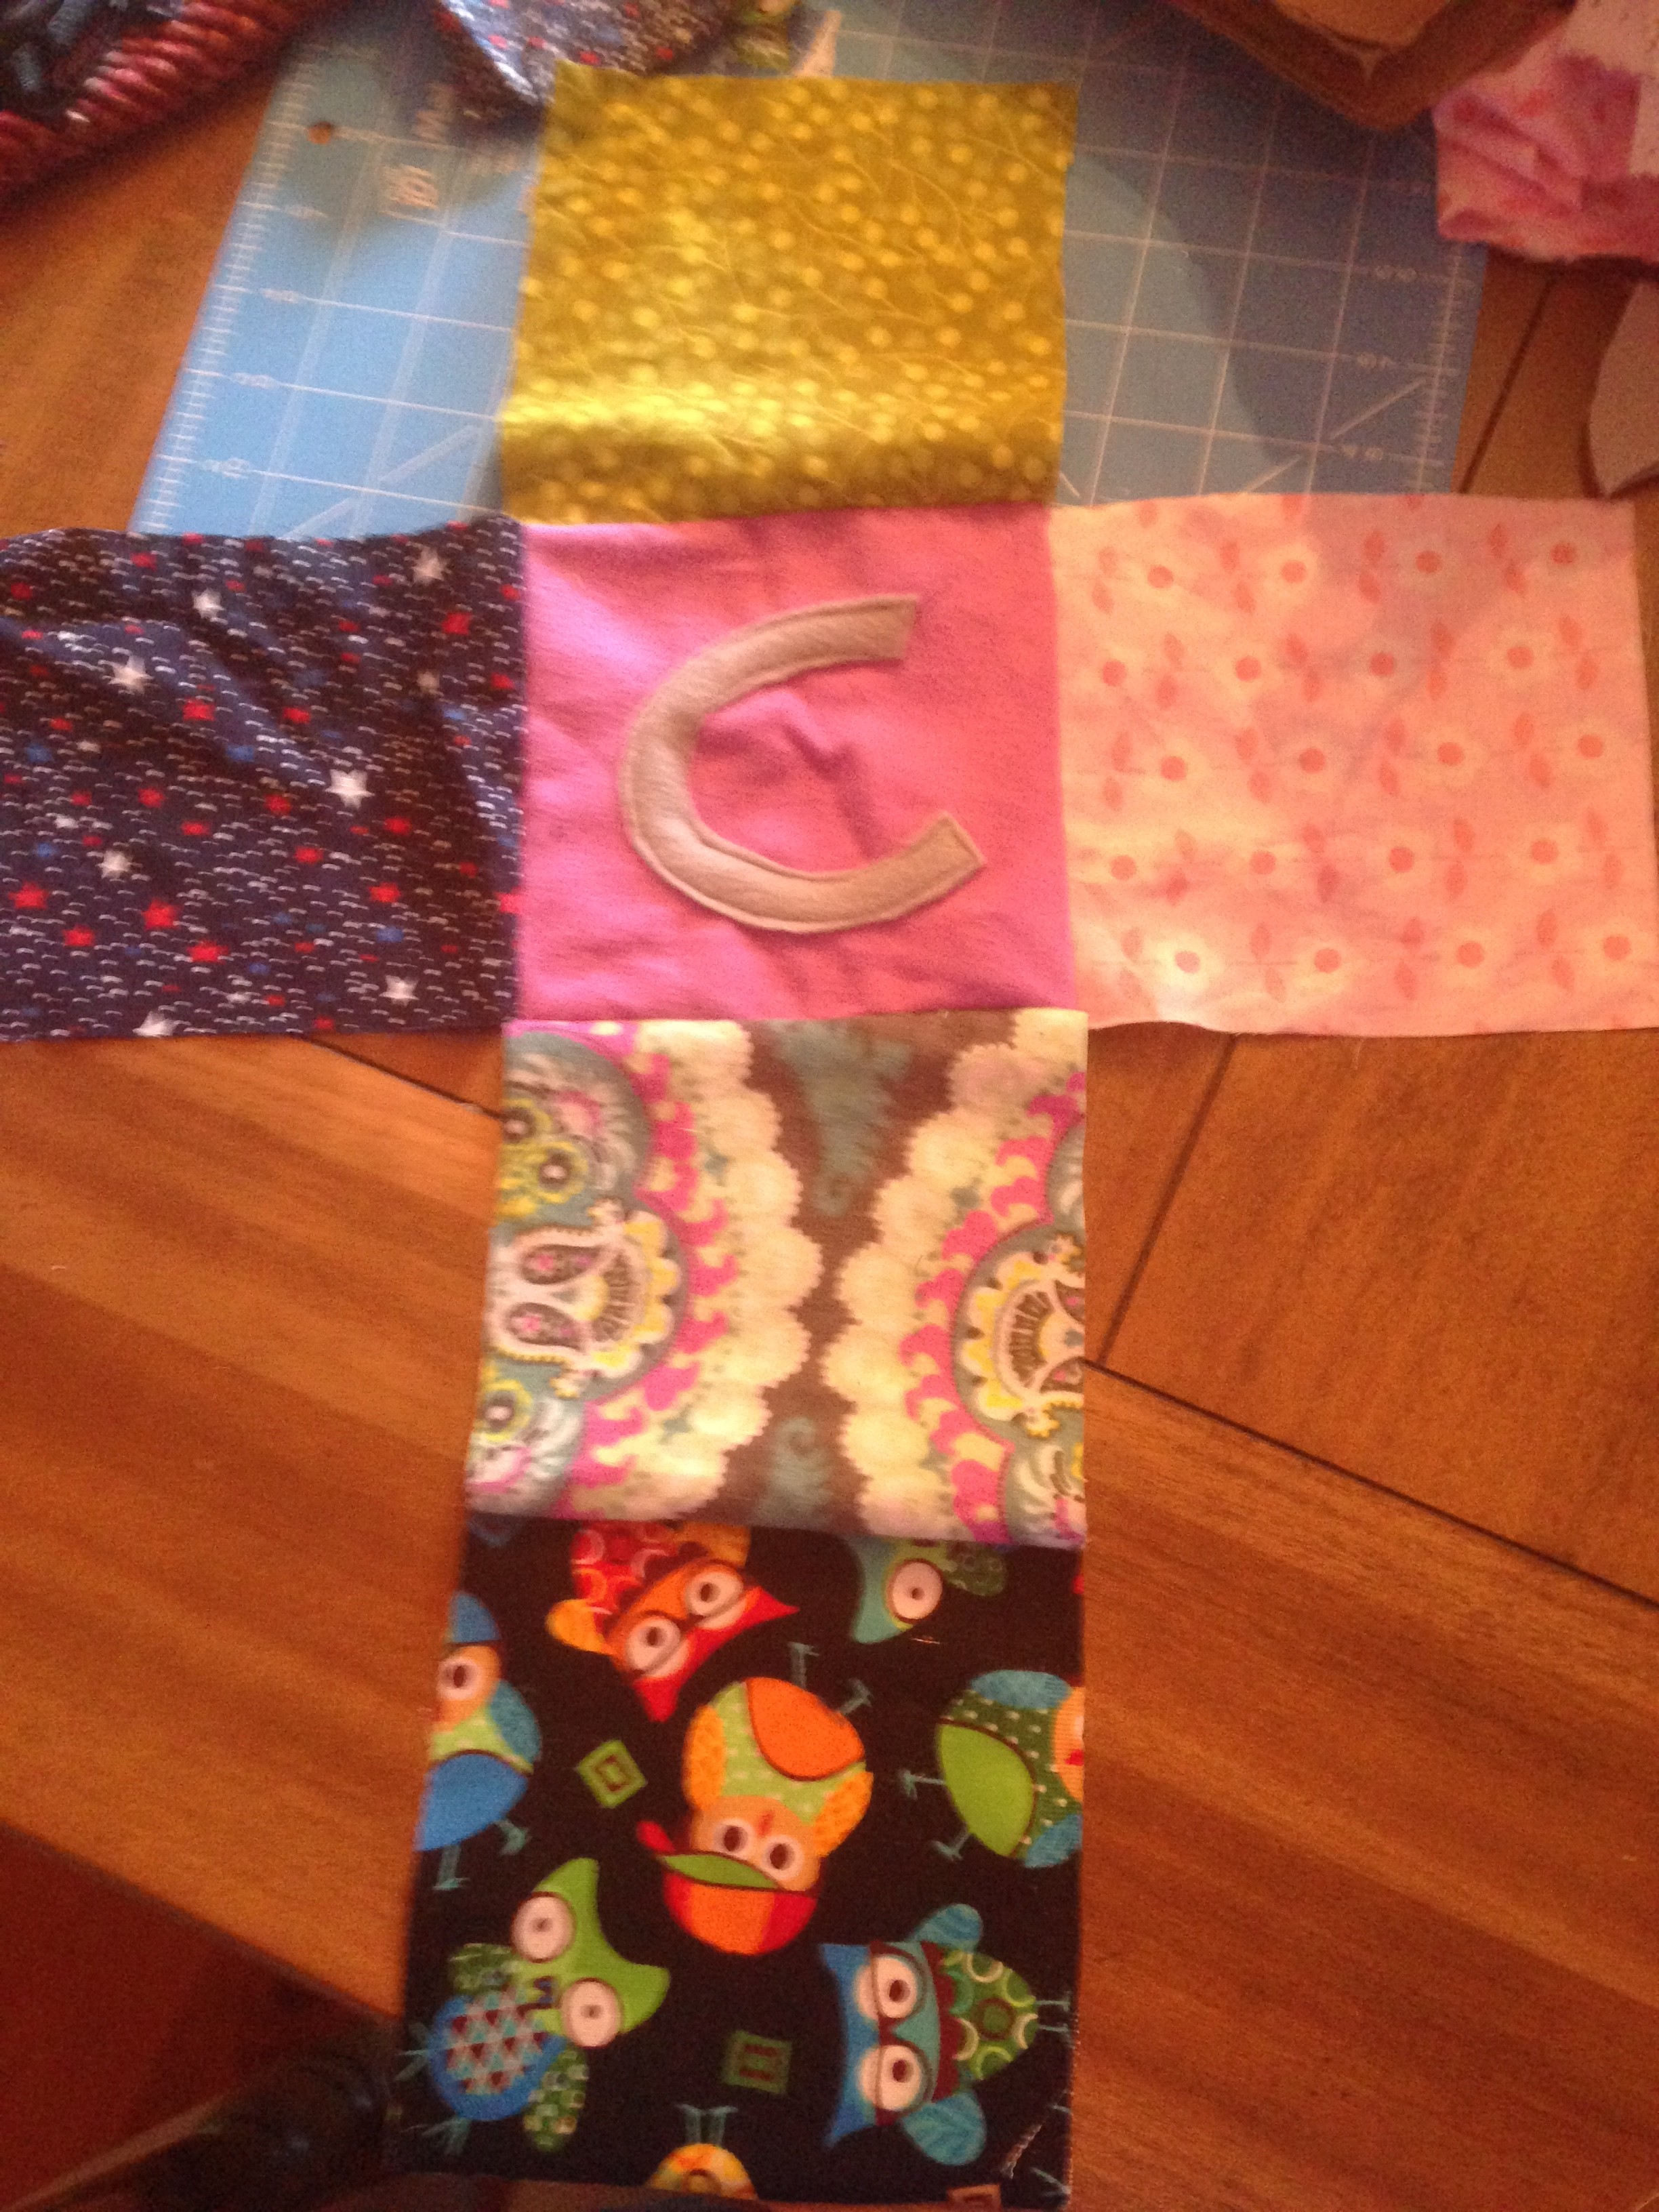
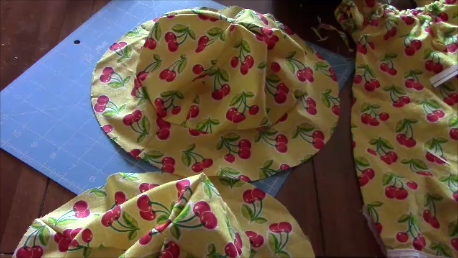
Lastly, you want to line up your pages as instructed by your instructions.  Lay them all flat as shown above and you will sew right down the middle.  Don’t forget to backstitch!  Your cover tends to be larger than the inside pages.

IMG_2101

That’s it, very simple, quick, easy, you just have to follow instructions! Good Job!  Now go enjoy it!


FollowFacebookpinterestrssyoutube
ShareFacebookpinterest

Fun and Stimulating Toy Name Blocks!

I’ve been looking for a toy that offers a variety of sensory activities through textures, sounds, and touch.

IMG_1968

After making these squares, which by the way are FABULOUS for pictures, my little one couldn’t stop playing with all the ribbons, buttons, and laughing at the fabric and textures while sitting in her car seat.  What a great toy not only for entertainment, but for learning and increasing intelligence!  Not to mention it makes an amazing gift!

IMG_1999

Here is the Youtube tutorial:


If you would also like to follow the written then here goes:

What you will need: FABRIC, buttons, ribbons, polyfil, optional bells or rattle

  1. fabric: There are six sides to each square.  You can chose your colors and textures. You will need six squares for each letter you are making.  In this case, I used four letters for four blocks and six different pattern pieces with all different textures and patterns.  This is the fun part!  You can of course color coordinate for a boy or girl; however, I chose to do fun patterns that I knew my little one would love to look at, catch her attention, and also advance her imagination.
  2. IMG_1933
  3. So there are six sides to the blocks so I picked those fabrics and chose my size for the blocks to be 6×6 and cut out four of each fabric I wanted to use.   This is also great if you have extra scrap pieces you want to use up.
  4. Next, you want to cut out your letters.  I did this free hand.  I used extra felt I had sitting around!  Once completed, sew them on the fabric you would like for each block.
  5. IMG_1936IMG_1937
  6. Now you want to setup your pieces to
    make your block. Put the letter in the
    center and surround it as shown with your
    other fabrics. You may want to have the same pattern
    for each block or different spots for each
    fabric square
  7. IMG_1939
  8. Start sewing pattern pieces facing
    each other.  Take top piece and put pattern facing inside on the letter and sew the top edge, then continue until they are all sew together as shown below. Do this for all your blocks.
  9. IMG_1940IMG_1941IMG_1942
  10. If you want to add ribbons, buttons, or
    any other accessories this is the time to get
    those together! So now you want to decide where to sew them.  You can choose different spots on each block or the same!
  11. Sew the ribbons on facing towards the inside of the block.  If you do the opposite they will be on the inside instead of the out!
  12. IMG_1943 IMG_1944
  13. Start by sewing right sides together of two
    blocks. Take the top square and fold down and to the left. You will line up the left side of the top block to the top side of the left block.  Then sew.  Continue this around using the letter piece as the bottom part of the block.  The pattern of the fabric should end up in the inside of the block.
  14. IMG_1953 IMG_1955
  15. Continue around until you have all sides except one sewn together.
  16. For the last square, Sew each side around but for one side leave a 2-3 inch opening so you can pull the right side out.  Don’t forget to back stitch well!
  17. IMG_1956
  18. Okay!  Almost there!  So now you want to turn your block right side out.  So reach in there and pull the fabric through.  Then use a pencil, pen, crochet needle or what not to poke out the corners and make them shapely.
  19. Next, grab your stuffing, in this case polyfil, and start filling.
  20. You can put a bell or rattle in the inside of the block!
    To do this I put it in a small ziplock bag that is sealed with some air so that it has room to rattle around instead of being stuck in the polyfil. I actually have been saving the twist off tops of the food pouches and used them in a bag to make some noise!  So if you are going to do this try and put this in the center of the block then stuff around it.
  21. IMG_1966
  22. Lastly, close up that hole!  You can do a whip stitch or invisible stitch or even use your machine.
  23. IMG_1976
  24. Ta-Da you are done!  Great job….take some pictures and share!


FollowFacebookpinterestrssyoutube
ShareFacebookpinterest

Reversible Lace Baby Sunhat!

IMG_1868

Are you looking for a cute sunhat to shade your little one from the sun?
Well, this matching reversible hat is the perfect one!  It works great for pictures and photo shoots as well.  The hat is also an easy pattern that can be completed in under an hour.  The hat really completes the outfit as you can see above!!!

You can look back at my last tutorial on how to make a peasant dress to make a matching dress.

IMG_1885

What you will need:

  • The free pattern here:    sunhat 001
  • fabric (can do one color or two)
  • lace and or buttons (optional)
  • scissor
  • matching thread

For the people who enjoy a visual demonstration, below is the YouTube video.  Following that, is the written and picture directions.


Okay, first you need to cut out your pattern pieces.  You need 8 crown pieces and 4 brim pieces.  If you want two different colors for each side then its half in one color half in the other!

IMG_1829

Next, you take two of your crown pieces and place them together with fabric patterns facing each other.  Pin and sew down one side.  This is what it will look like unfolded.

IMG_1830

Then take another piece and place on one of the two pieces sewn together.  You again want fabric pattern to fabric pattern facing each other.  Then sew the one side.  Do this until you have four pieces.  Once you have all four pieces sew the four side together as well.

IMG_1832

And WA-La!  You have your first crown hat completed. Now start the process again with either the same color, or if you are using a different color scheme on the other side of the hat use that.  Complete another crown.

crown

One you have the two crowns, you want to line up two of your brim pieces with the patterns facing each other.  Sew the small short ends together as indicated on the pattern pieces.  Then do this for the other two pieces as well so you have two full circle brim pieces.

Next, you want to connect the brim pieces to the crown pieces.  You do this by magic.  Hah, no just kidding, you face fabric to fabric again and sew around the edges.

hatpinned

Then you will end up with two formed hats!  Trim around the seems.

hats

Next you want to make 2 into 1!!!  So to do this, you need to place fabric to fabric again. So put one hat inside out and line up the outside brim pieces again.  Remember to match up the seems of the crown and brim to each other.  Pin, then sew around the outside leaving a 3 inch opening.  This opening will allow you to turn the hat right side out.

hatss

Once completed turn right side out by pulling the fabric through the opening.

hathat

Now, you want to sew that hole closed.  To do this, fold in the edges and either press or pin to stay.  Then sew it closed baby!  Press the seems

So this is your hat.  If you want to add a button or lace continue on.

I decided to add lace to match the peasant dress tutorial completed last week.

Line the lace up with the brim and pin.  Then just sew on!  AND WA=la!  Beautiful matching hat complete!

IMG_1886 (2)IMG_1863IMG_1885

FollowFacebookpinterestrssyoutube
ShareFacebookpinterest