Summer Yum

Summer is a wonderful time to pick fruits and veggies! Kids love picking (or eating them as we are picking like my daughter).

To start off the summer we went strawberry picking: yum!

Some things to remember when you go picking are:

-Call ahead or check online to make sure they are open. Sometimes they get picked out.

-Don’t forget to bring a bowl, sunscreen and hats!

-Bring cash. Many local farms don’t accept credit cards.

-If you have a little one don’t have them wear their best clothes! If it rained the night before, wear boots!

Blueberry picking is currently in season and bring the same things to pick those blueberries as you did strawberries! There are so many wonderful things you can make with blueberries from smoothies and pies to different things you can try like cooled blueberry soup (yum)!

Try going with friends or cousins to have even MORE FUN!

We are excited for raspberry picking and peaches. Have fun!

FollowFacebookpinterestrssyoutube
ShareFacebookpinterest

Alternative Trick or Treating 2020

We all love trick or treating! I can remember trick or treating in high school with a group of my soccer friends! I personally think trick or treating is great for older children as well (as long as they behave and aren’t too scary for the little ones!). There were neighbors who said, “How old are you?” or “Don’t you think you’re too old for trick or treating?” NO is the answer. If a teenager is responsible and behaving, then by all means go trick or treating instead of the many other negative things that could be done.

I remember running home and spreading the treats all over the floor with my brother and sister. We would compare our stockpile and trade our treats! Oh what fun trick or treating was! However, 2020 is different. With the COVID virus going around (rate dependent in your state/county), we are minimizing this high risk activity by avoiding the traditional trick or treating. As disappointing as this is, there are some other super fun alternatives (and hopefully next year we can do the old school trick or treating)!

This image has an empty alt attribute; its file name is img_4586-1024x821.jpg
  1. Mini Party!!!!!! Mini party essential means a small party, usually under ten people, with trusted low risk covid people. This can encompass many activities such as
    1. A Piñata
    2. Movie night
    3. Campfire night with smores
    4. Fun Halloween snacks and food
    5. Carving/painting pumpkins
    6. Halloween crafts/face painting
    7. Board games
    8. Crafts
    9. How many candy corns are in the container
    10. And any of the other activities on the list!
  2. Scavenger hunt time! Who doesn’t love a good scavenger hunt? Well, maybe your kids if they don’t want to work for their candy! There are many scavenger Halloween hunts, I made one for kids who aren’t quite reading yet so they can look at the pictures and words and understand. The one below you can download. If you need another type you can find many online!
This image has an empty alt attribute; its file name is scav.png

3. Halloween Egg Hunt: You can easily use marker and draw faces on eggs, or you can use puffy paint! Another option is glow in the dark eggs and a night egg hunt…SPOOKY! You can also paint eggs with glow in the dark paint. Put your favorite candies, stickers, tattoos, rings, or whatever you child enjoys in the eggs! Use your pumpkin or usual trick or treat bags to collect them.

Halloween party games for kids - Upcycle plastic Easter Eggs for a Halloween Egg Hunt.

4. Trick or Treat Stations: Setup stations in your yard, or at each of your doors. Each adult is dressed up and has a scene behind them. For example, one adult has spider webs behind them and the kids come up and say trick or treat. The idea is that its safe since it is your mom and dad or family member you live with and its similar to trick or treating. We may do the door idea. So the kids can run from door to door (maybe more than once), and knock for trick or treating.

5. Family trick or treating: this is similar to the one above. However, you can drive to grandparents house or aunt or uncle house and do trick or treat at just a select couple houses to lower the risk.

6. Family Ideas: So besides all the other ideas, there are many other Halloween things that can be done. Family board games, campfires, Halloween movies, pin the spider on the spiderweb, mummy toilet paper roll game (although you may not want to waste the toilet paper!!), painting pumpkins or carving them, Halloween bingo, ring witch hat toss

17+ Halloween Party Games for Kids
Halloween Bingo - Perfect halloween party games for kids

7. Yard Parade: have your little ones dress up and walk around the yard and do a parade! You can walk down the road dressed up as well (not on trick or treat day of course!). Kids love dressing up and having a pretend parade!

8. Zoom party! So have a family/friend zoom party. You can vote on the best costumes, each show off your spooky treats and your pumpkins. Do crafts together or drawing contests

FollowFacebookpinterestrssyoutube
ShareFacebookpinterest

Face painting fun!

It all started with my daughter using a marker on my son’s face. She said she simply wanted to paint his face! Well, obviously, this wasn’t going to work. So I searched for face painting supplies. At first I thought face paint would be way too messy and not worth the money. However, I found that face paint is super fun, easy, and the kids just love it!

An easy and fun activity is face painting! My daughter loves painting faces and my son loves having his face painted.

img_3547

We got this easy set from amazon. Bowitzki Face Paint Kit

Bowitzki Face Paint Kit with 10 Colors,32 Stencils,2 Brushes,2 Chunky Glitters,2 Sponges,1 Body Glue

When we first started I had to remind my daughter not to go near the eyes, but since then no problems at all!

Daddy even got his face painted by Cece!

img_3505

Grammy did a little face painting as well…

They love this activity and it’s fun, easy, and inexpensive! I hope you try it too!!

FollowFacebookpinterestrssyoutube
ShareFacebookpinterest

Salt dough wreath, ornament, or garland!

So we have done the salt dough ornaments before, but this time we made garland and a wreath out of our painted Easter ones!

img_3244-1

All you need to make salt dough ornaments is flour, water, and salt. So, start with two cups of flour, 1 cup and salt and mix. Then add water slowly until it is a play dough like consistency.  We ended up using our hands to mix it up. If it is too sticky, add more flour, too dry add more water.

img_3147

Then we rolled out the dough to a 1/4 inch thin, and used some Easter egg halves, including a bunny, chick, and jelly bean shape. You can of course just use cookie cutters as well. Use a straw to make a circle hole at the top of each ornament so you can add string later.

img_3148

Turn the oven on at 200 degrees and put parchment paper on the tray and leave in the oven for 2-3 hours. If you don’t have parchment paper just move the ornaments with a pie lifter to make sure they don’t stick about an hour in. Time depends on how thick the ornaments are. Once cooled and dried, paint them as you wish.  You can add sparkles if you want. Once all dried, use string or ribbon through the hole and tie.  After that hang them up!

img_3249

Or, you can make garland by putting one ornament through the string and then tying it in place and continuing until desired effect.

img_3249-1

If you want to make a wreath, we just used 2 paper plates glued together and cut out the inner circle then used a hot glue gun. Of course you can use cardboard or other material, but this is what we had on hand with the quarantine.

img_3242

We used the glue gun to glue on some ribbon and add pom poms.

img_3244FollowFacebookpinterestrssyoutube
ShareFacebookpinterest

Crushed Chalk Paint

Have any old pieces of chalk laying around? If you have lots of chalk, you are bound to have small pieces here and there. Take those pieces and make chalk paint for the driveway or sidewalk! Your child will have fun mixing colors, smashing chalk, and painting up the driveway!

First, take the chalk and crush it into a powder. You can do this by putting it in ziploc bags and smashing it with a hammer. We did it by simply putting it in a bowl and smashing it with a rock (neanderthal style).

IMG_5335

When you have all the chalk crushed add water to the consistency you like. BOOM! There you go! Mix it up. If you want to get rid of the smaller chunks you can use a whisk, but we just kept it simple and mixed it with our paintbrushes.

IMG_5339  IMG_5343

You can use all different sizes of paintbrushes and mix colors. My daughter played with this for over an hour and a half! She probably would’ve done it longer if it wasn’t getting dark outside.

IMG_5350

You might not think your child will love it, but give it a try! While painting the color is not very bright but dries brighter than regular chalk! Enjoy!!FollowFacebookpinterestrssyoutube
ShareFacebookpinterest

Explore…get out there!

Today, when walking down a hill with my two children, an older woman and her dog passed by (don’t worry it was over 6 feet away!), and the woman said, “Oh, don’t go down there it’s treacherous down there! I just smiled and nodded as my son ran up the dry creek bed and tripped on a rock landing face first.  What I thought in my head was, “It’s more dangerous going to the food store these days.”

img_3134

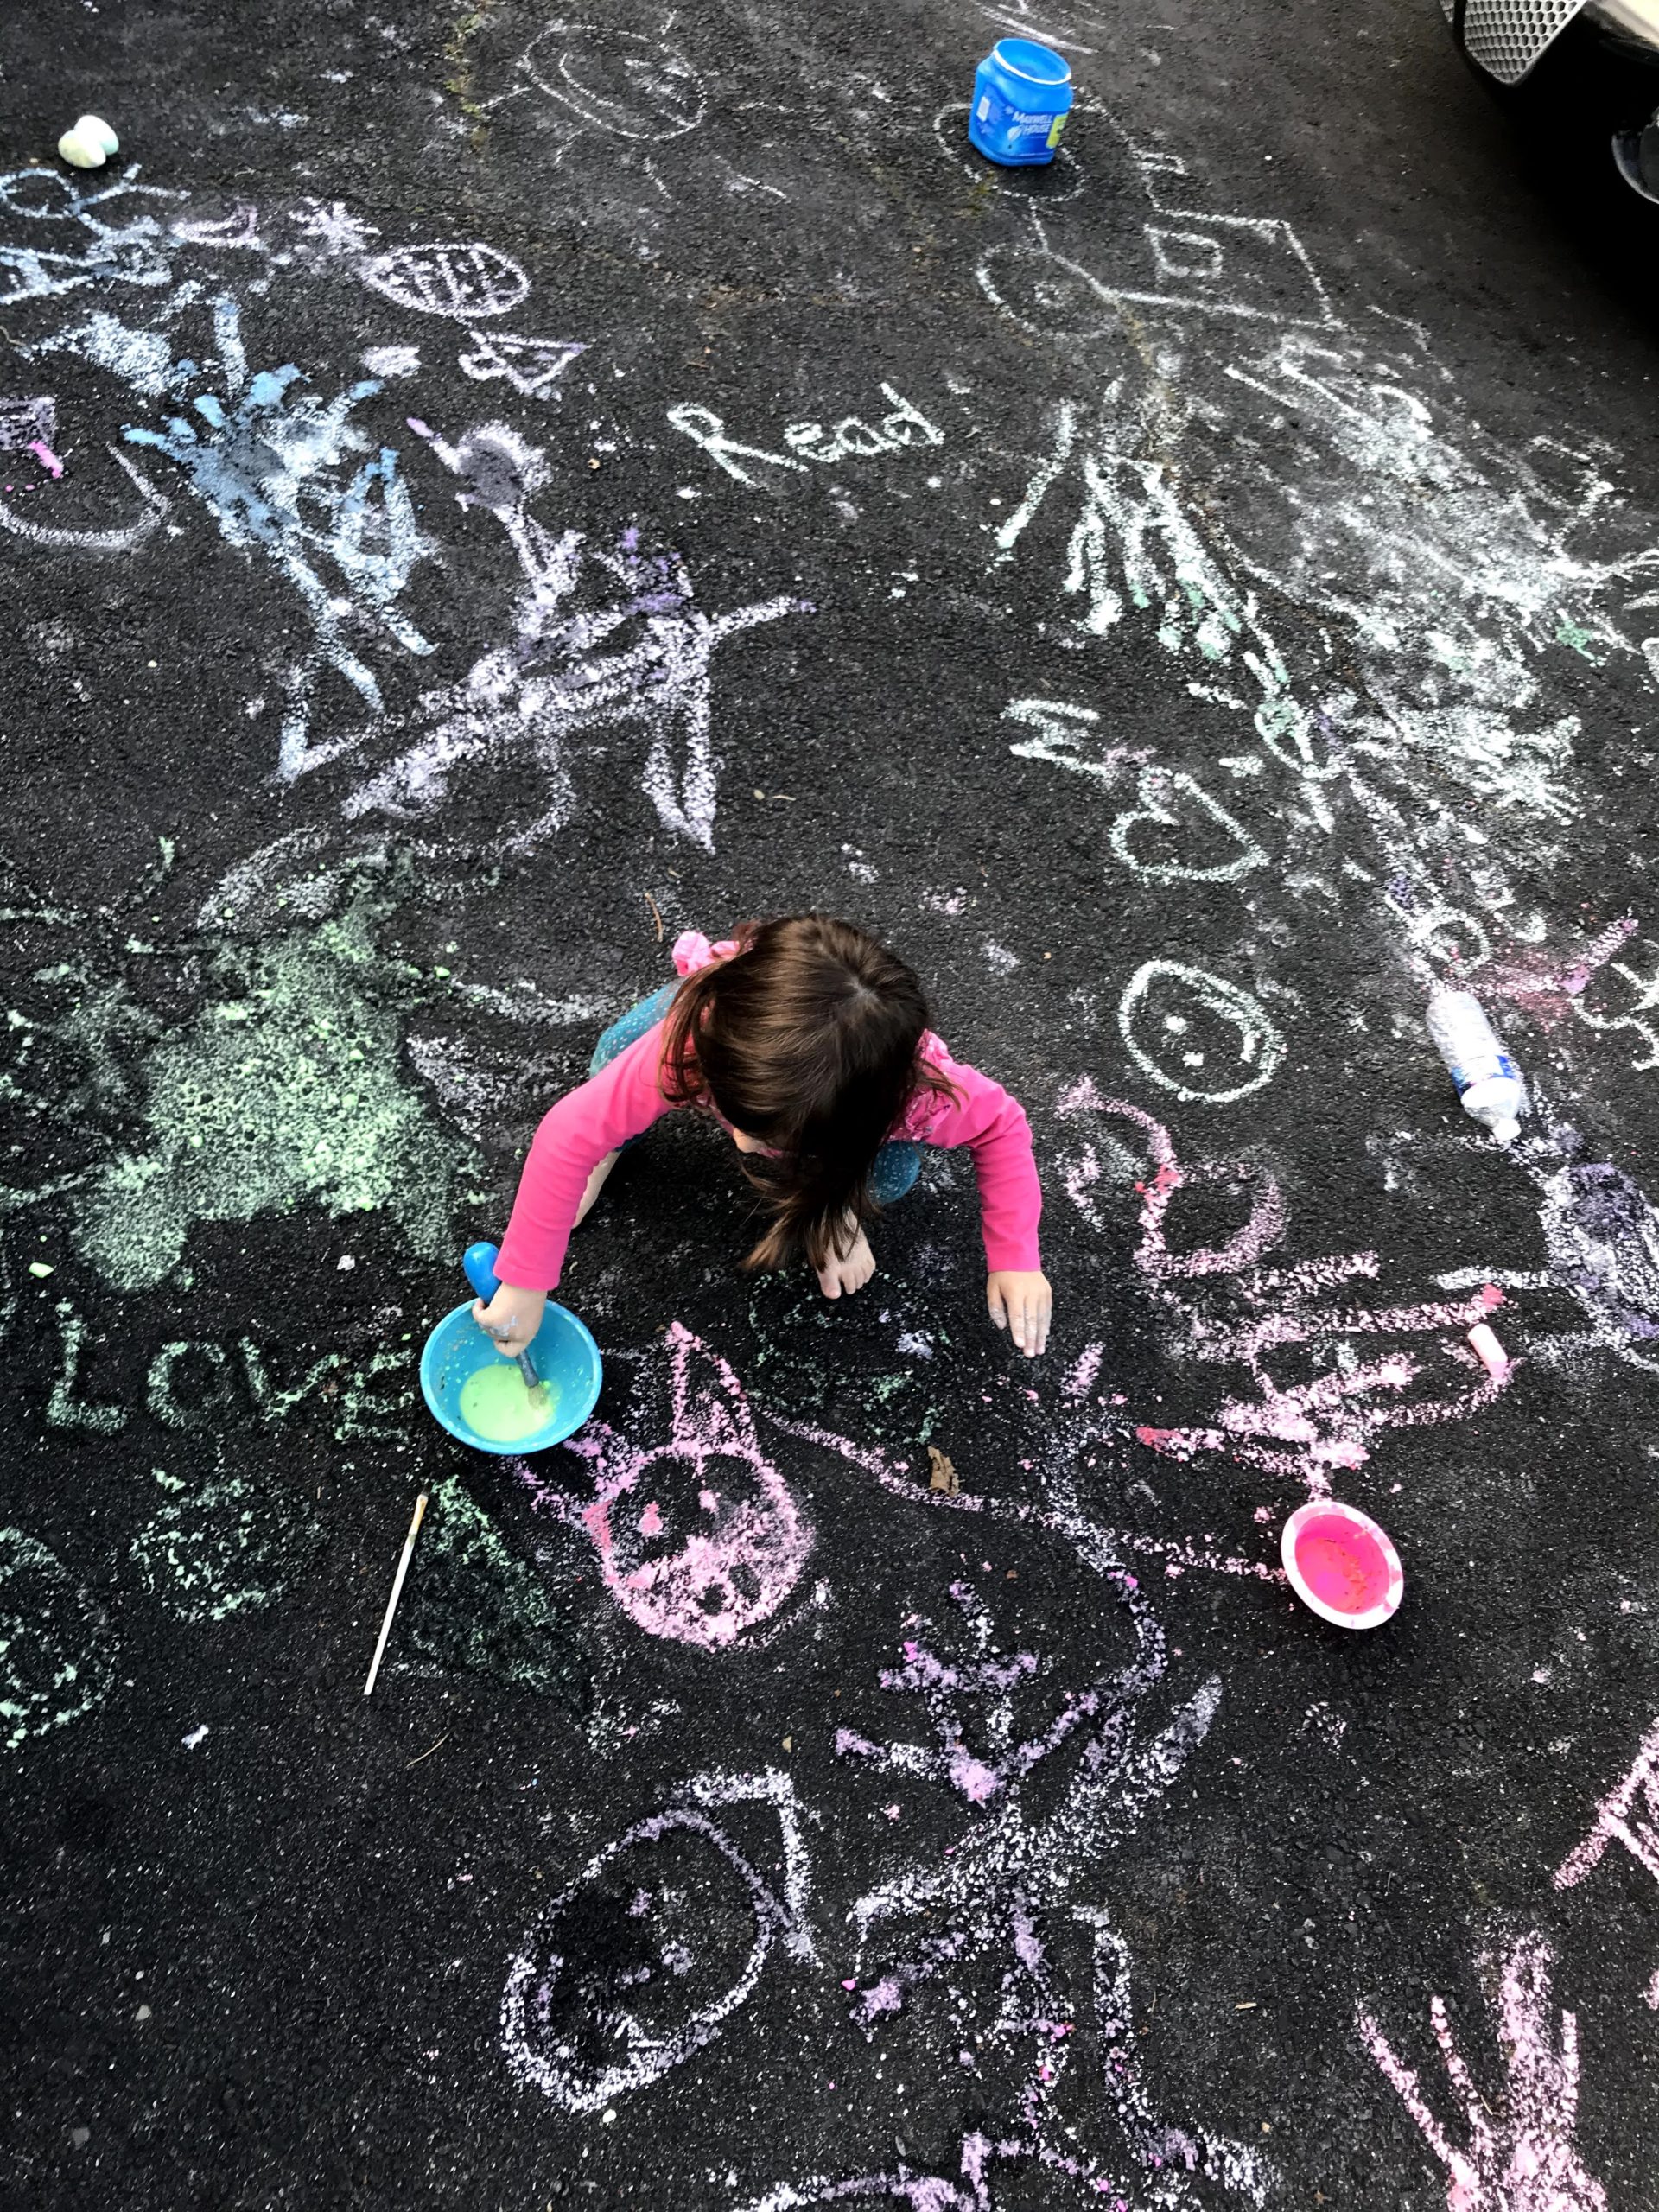
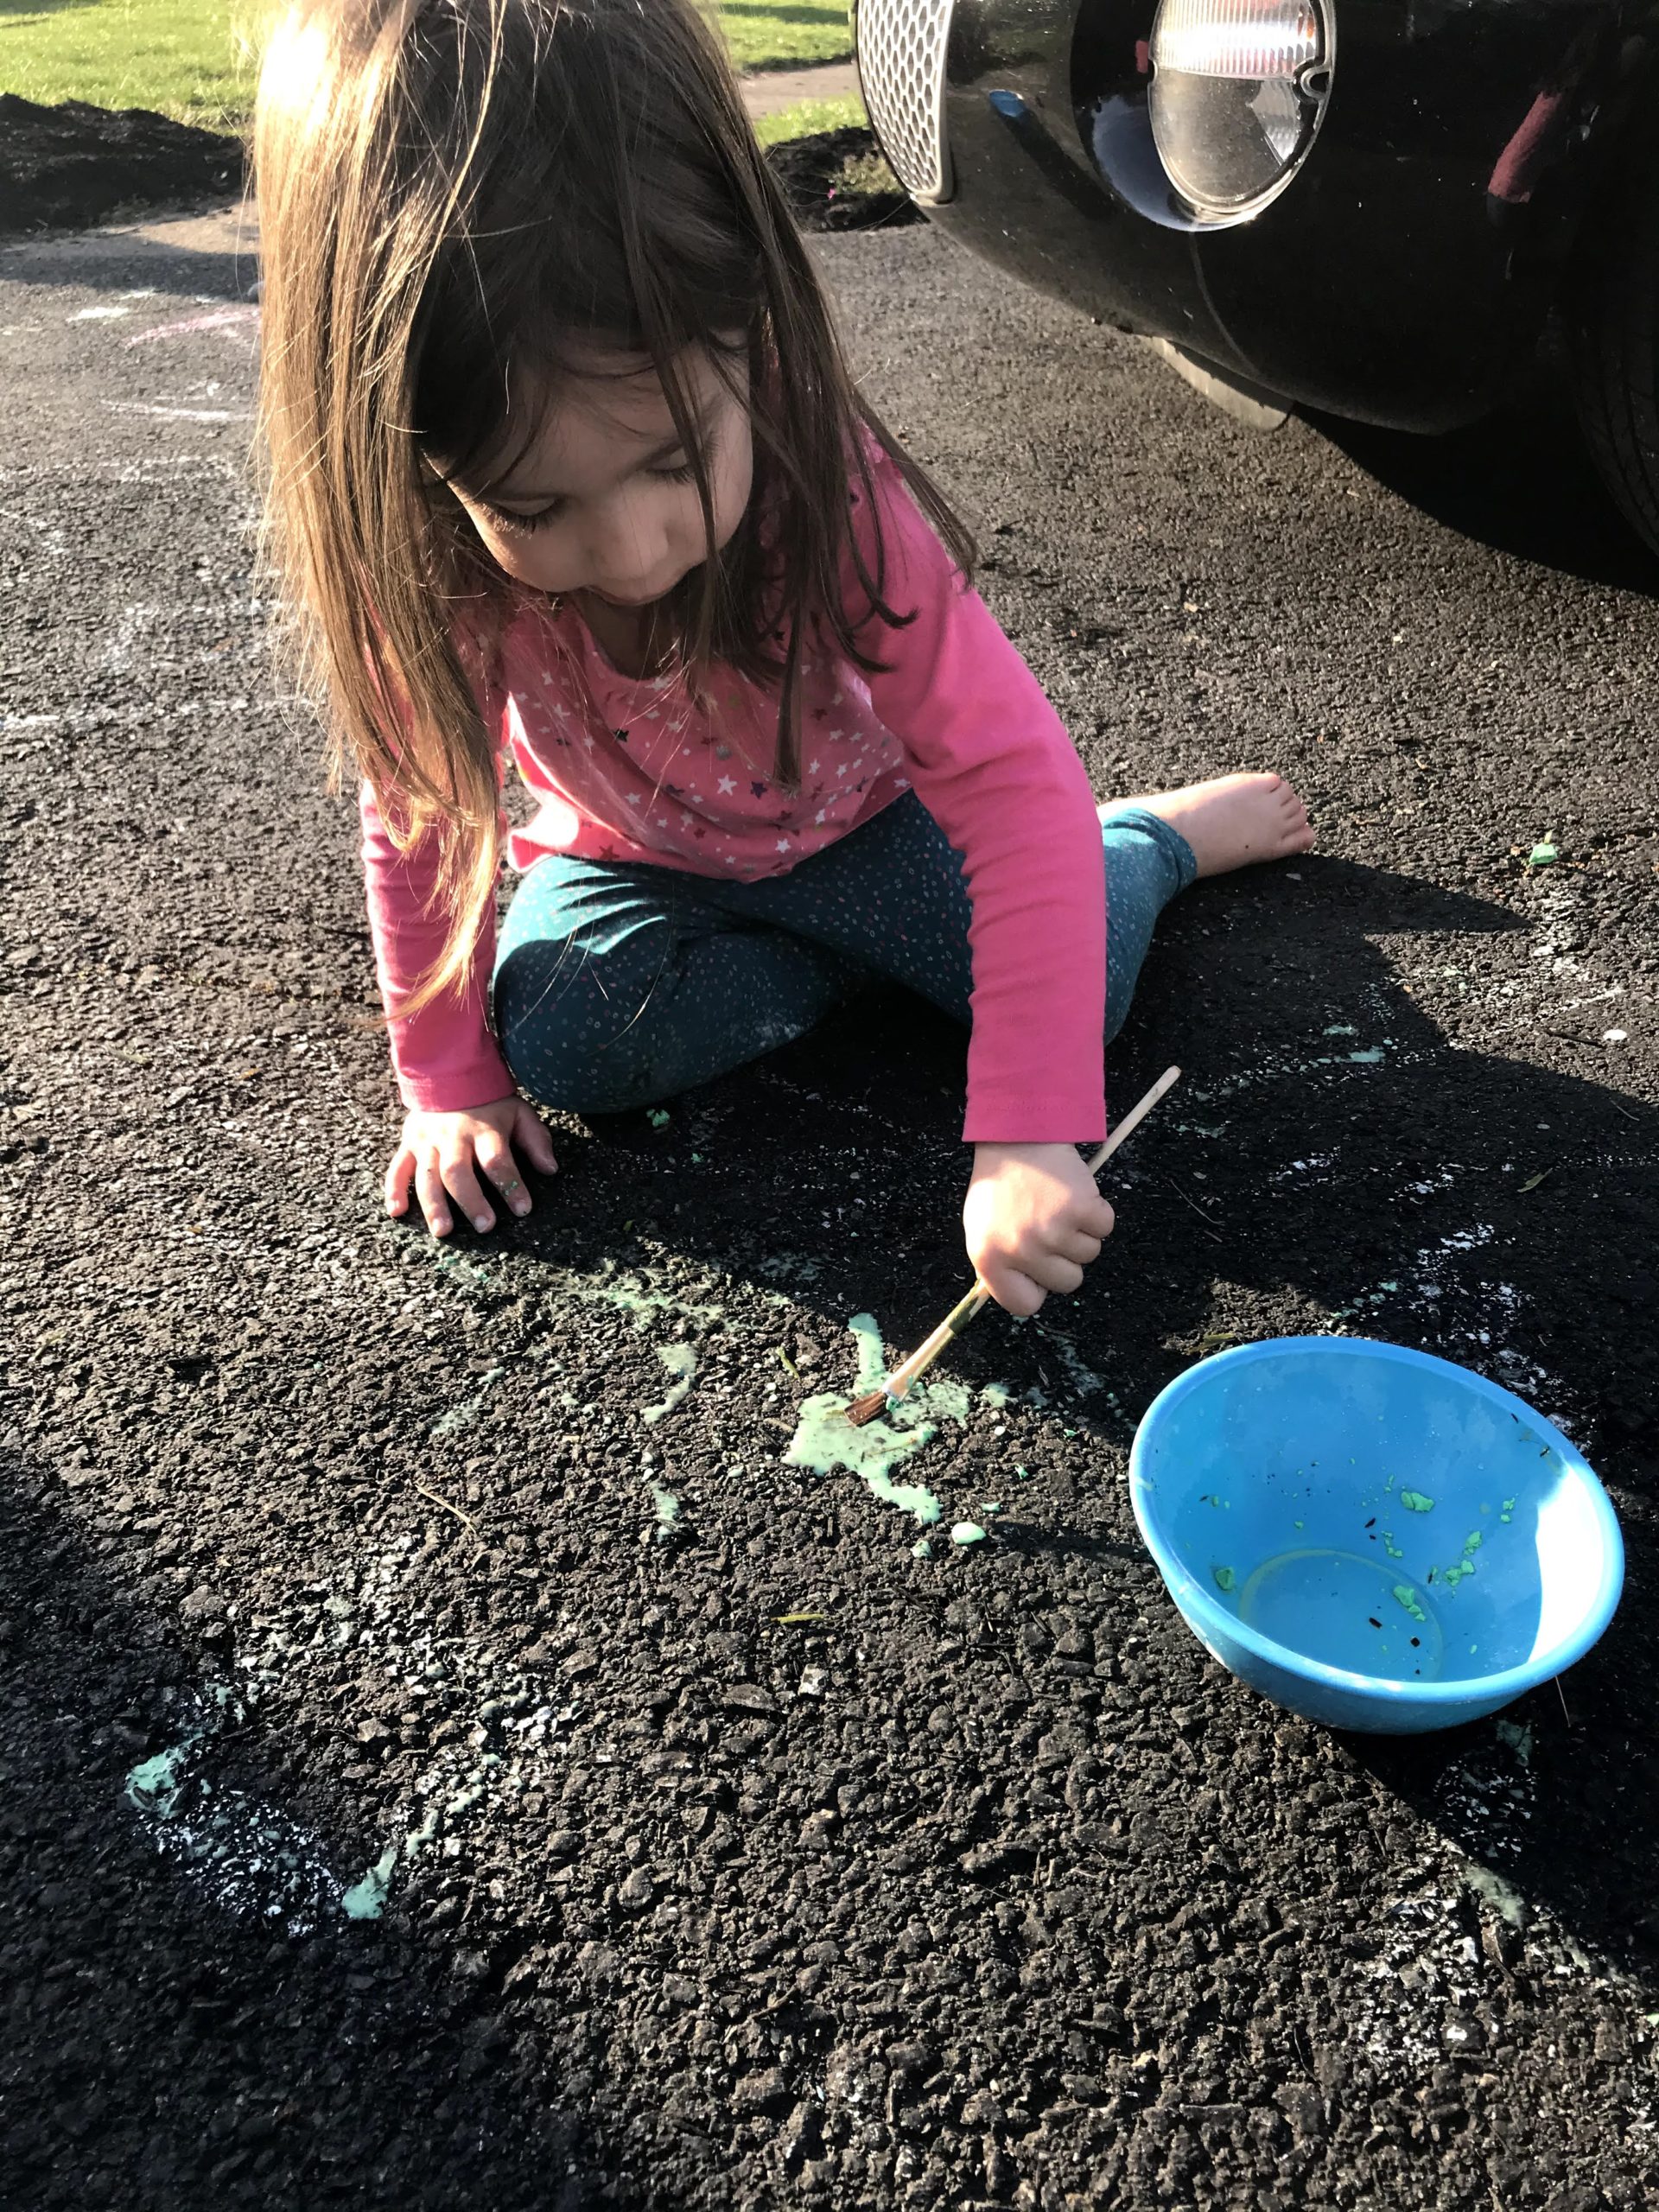
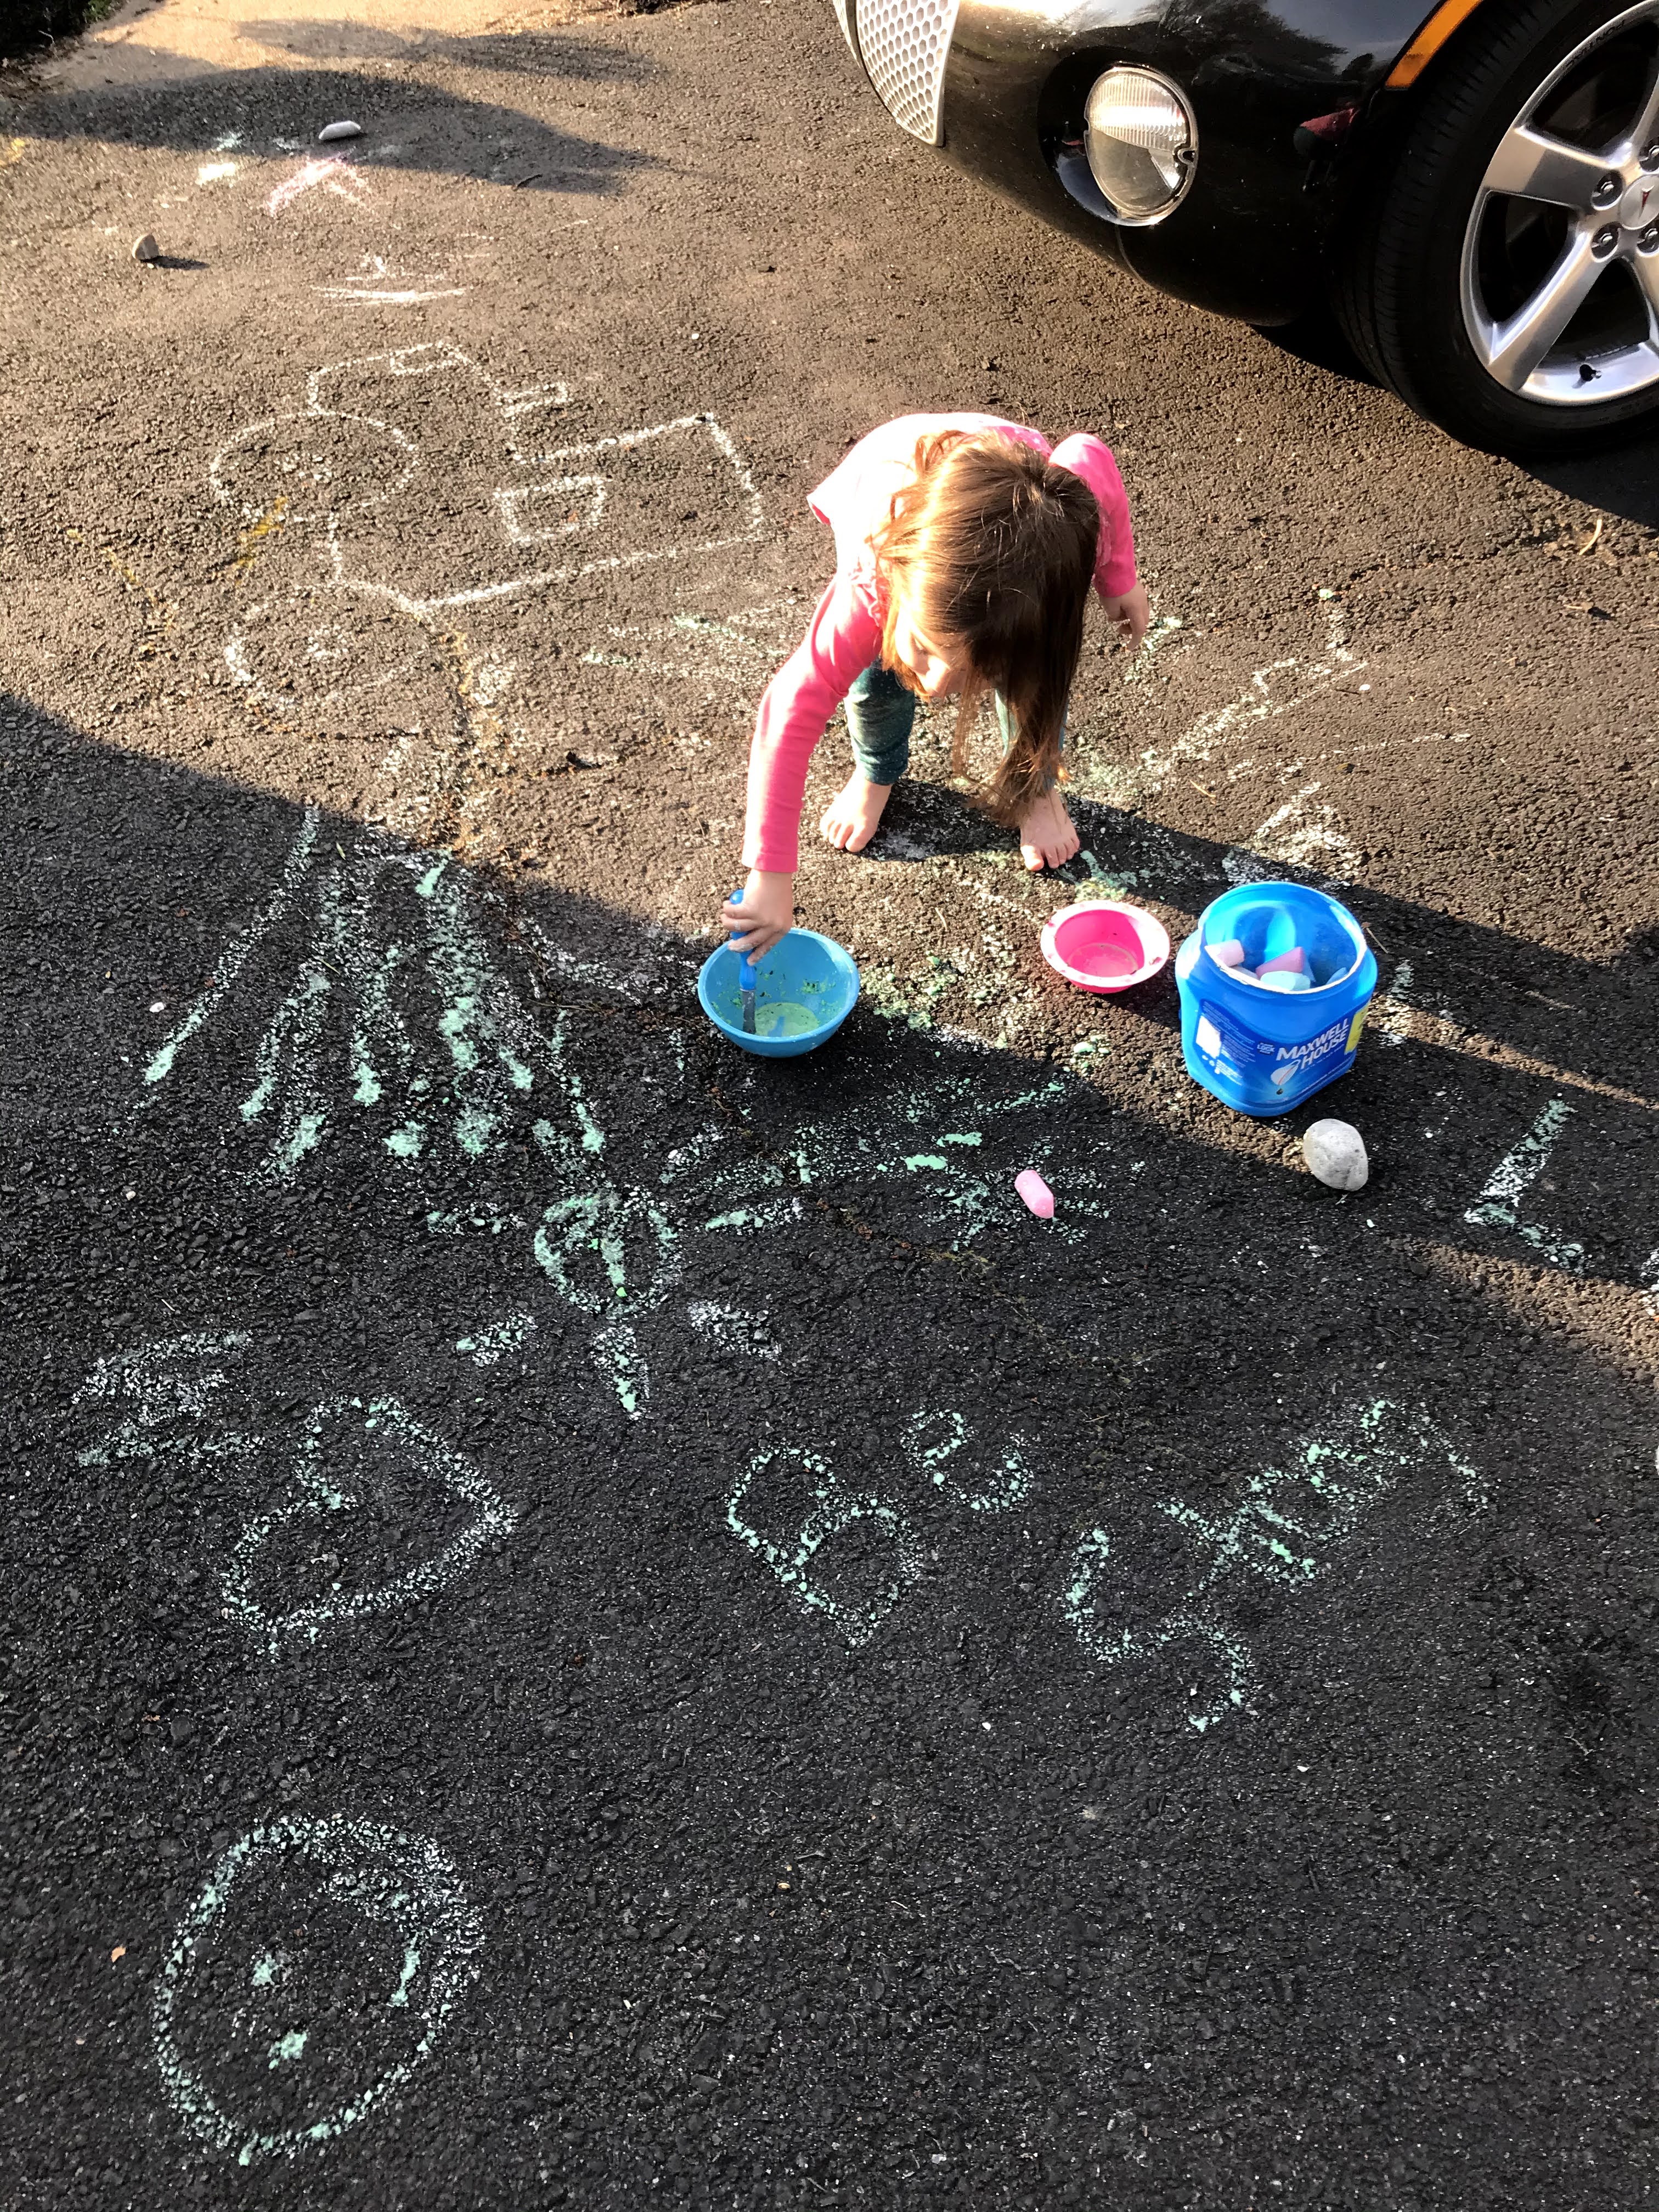
I’m not about to lock the kids in the house, but I’m not going to take them to a crowded park.  Getting outside is important for children’s brains to develop, grow, and learn; not to mention, to have fun and explore!  So get outside and find new paths, hear new bird calls, have a picnic, get wet and jump in puddles for goodness sake! This is the times you and the kids will remember.  In fact, after all this, the kids were exhausted.  My daughter said it was the best day ever!

img_3130

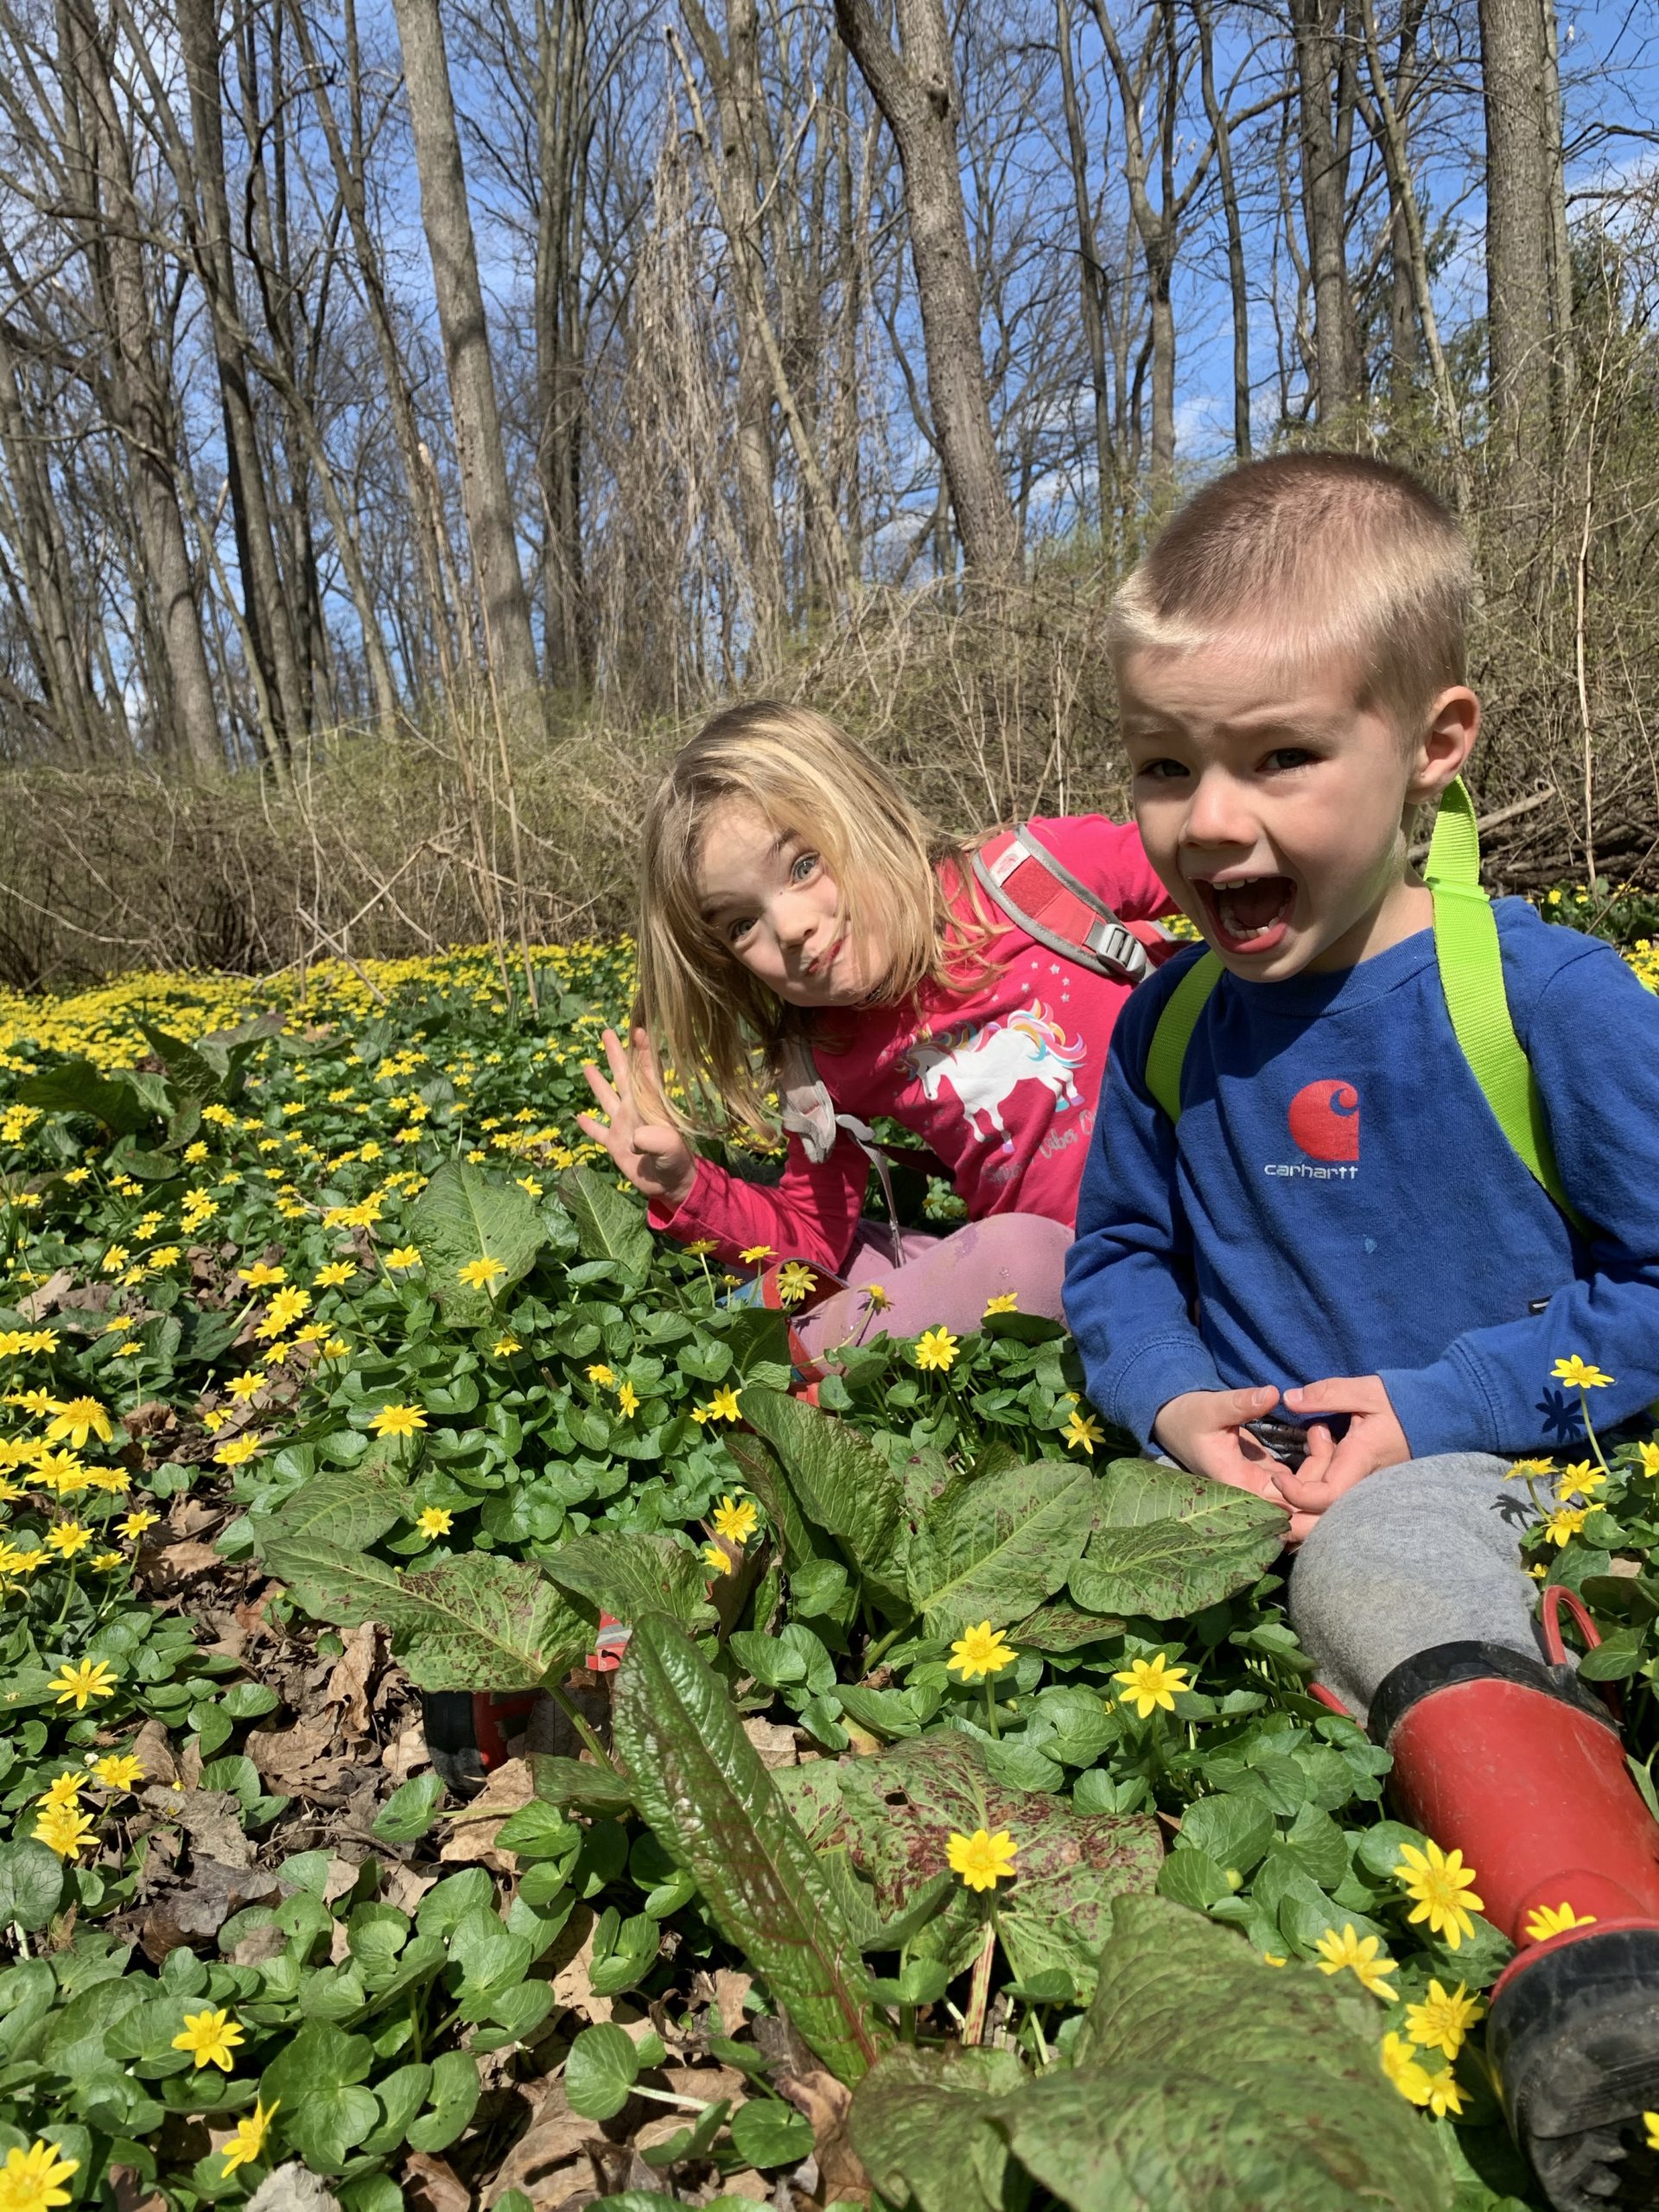
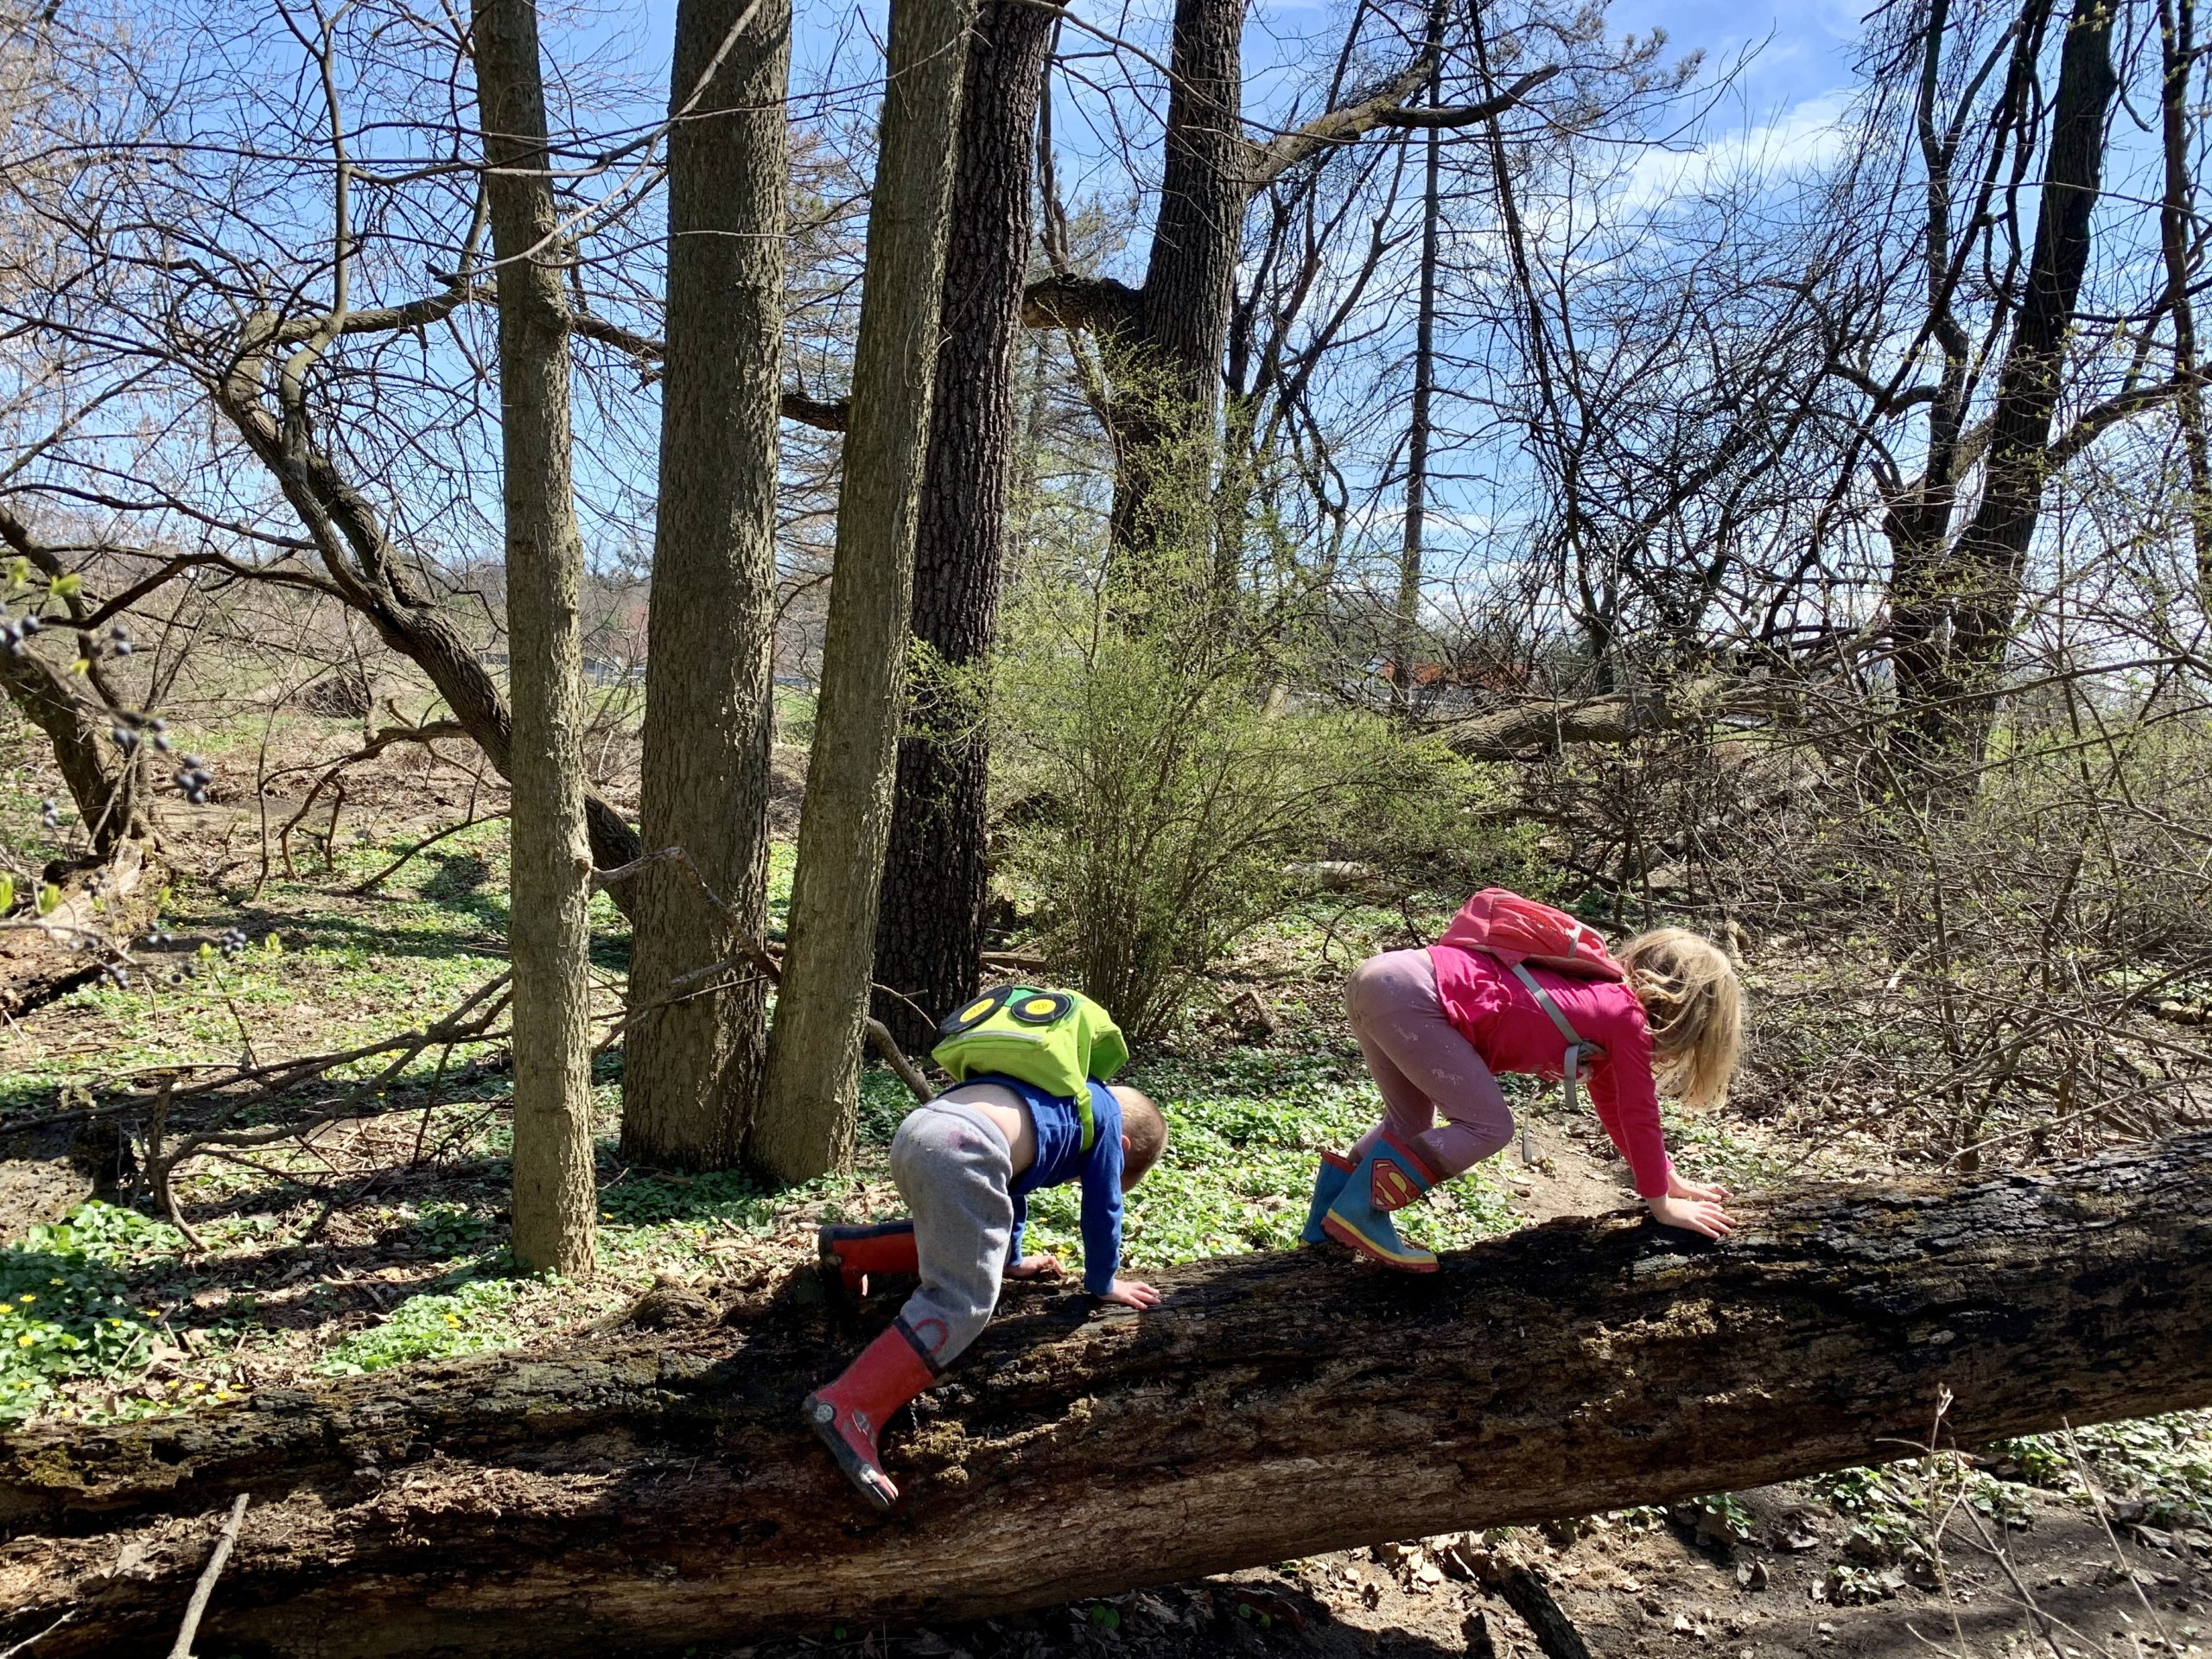
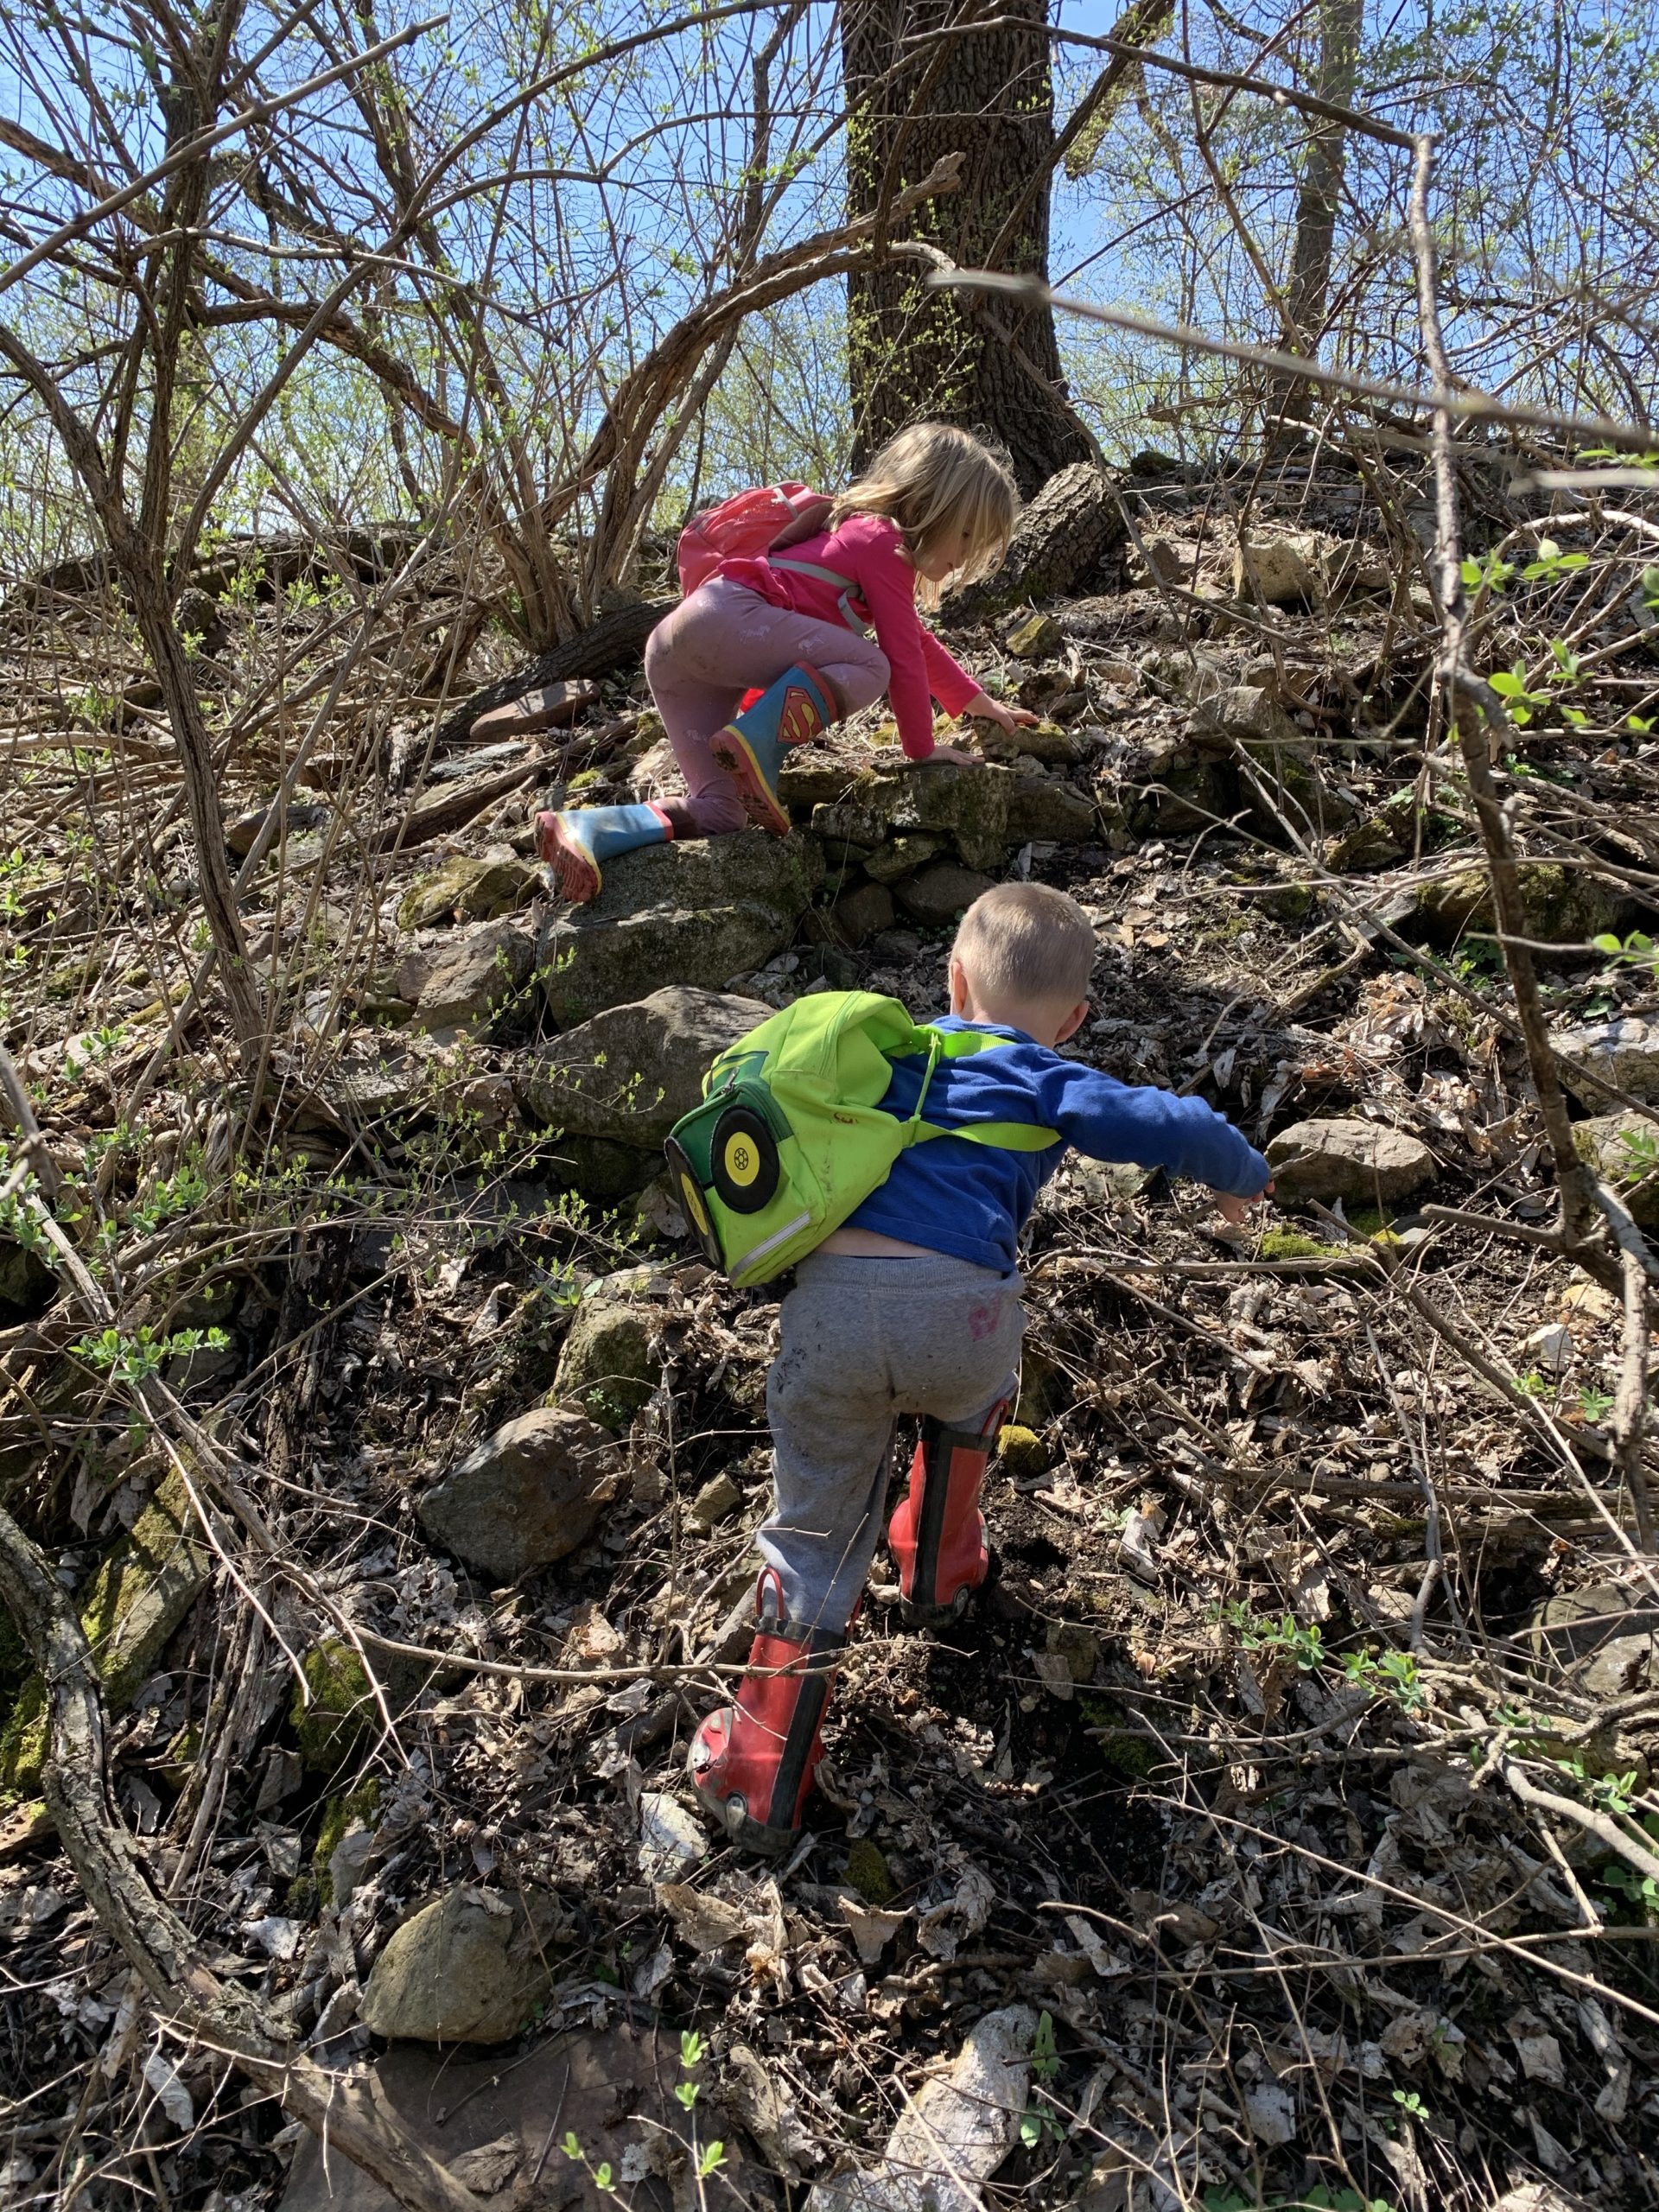
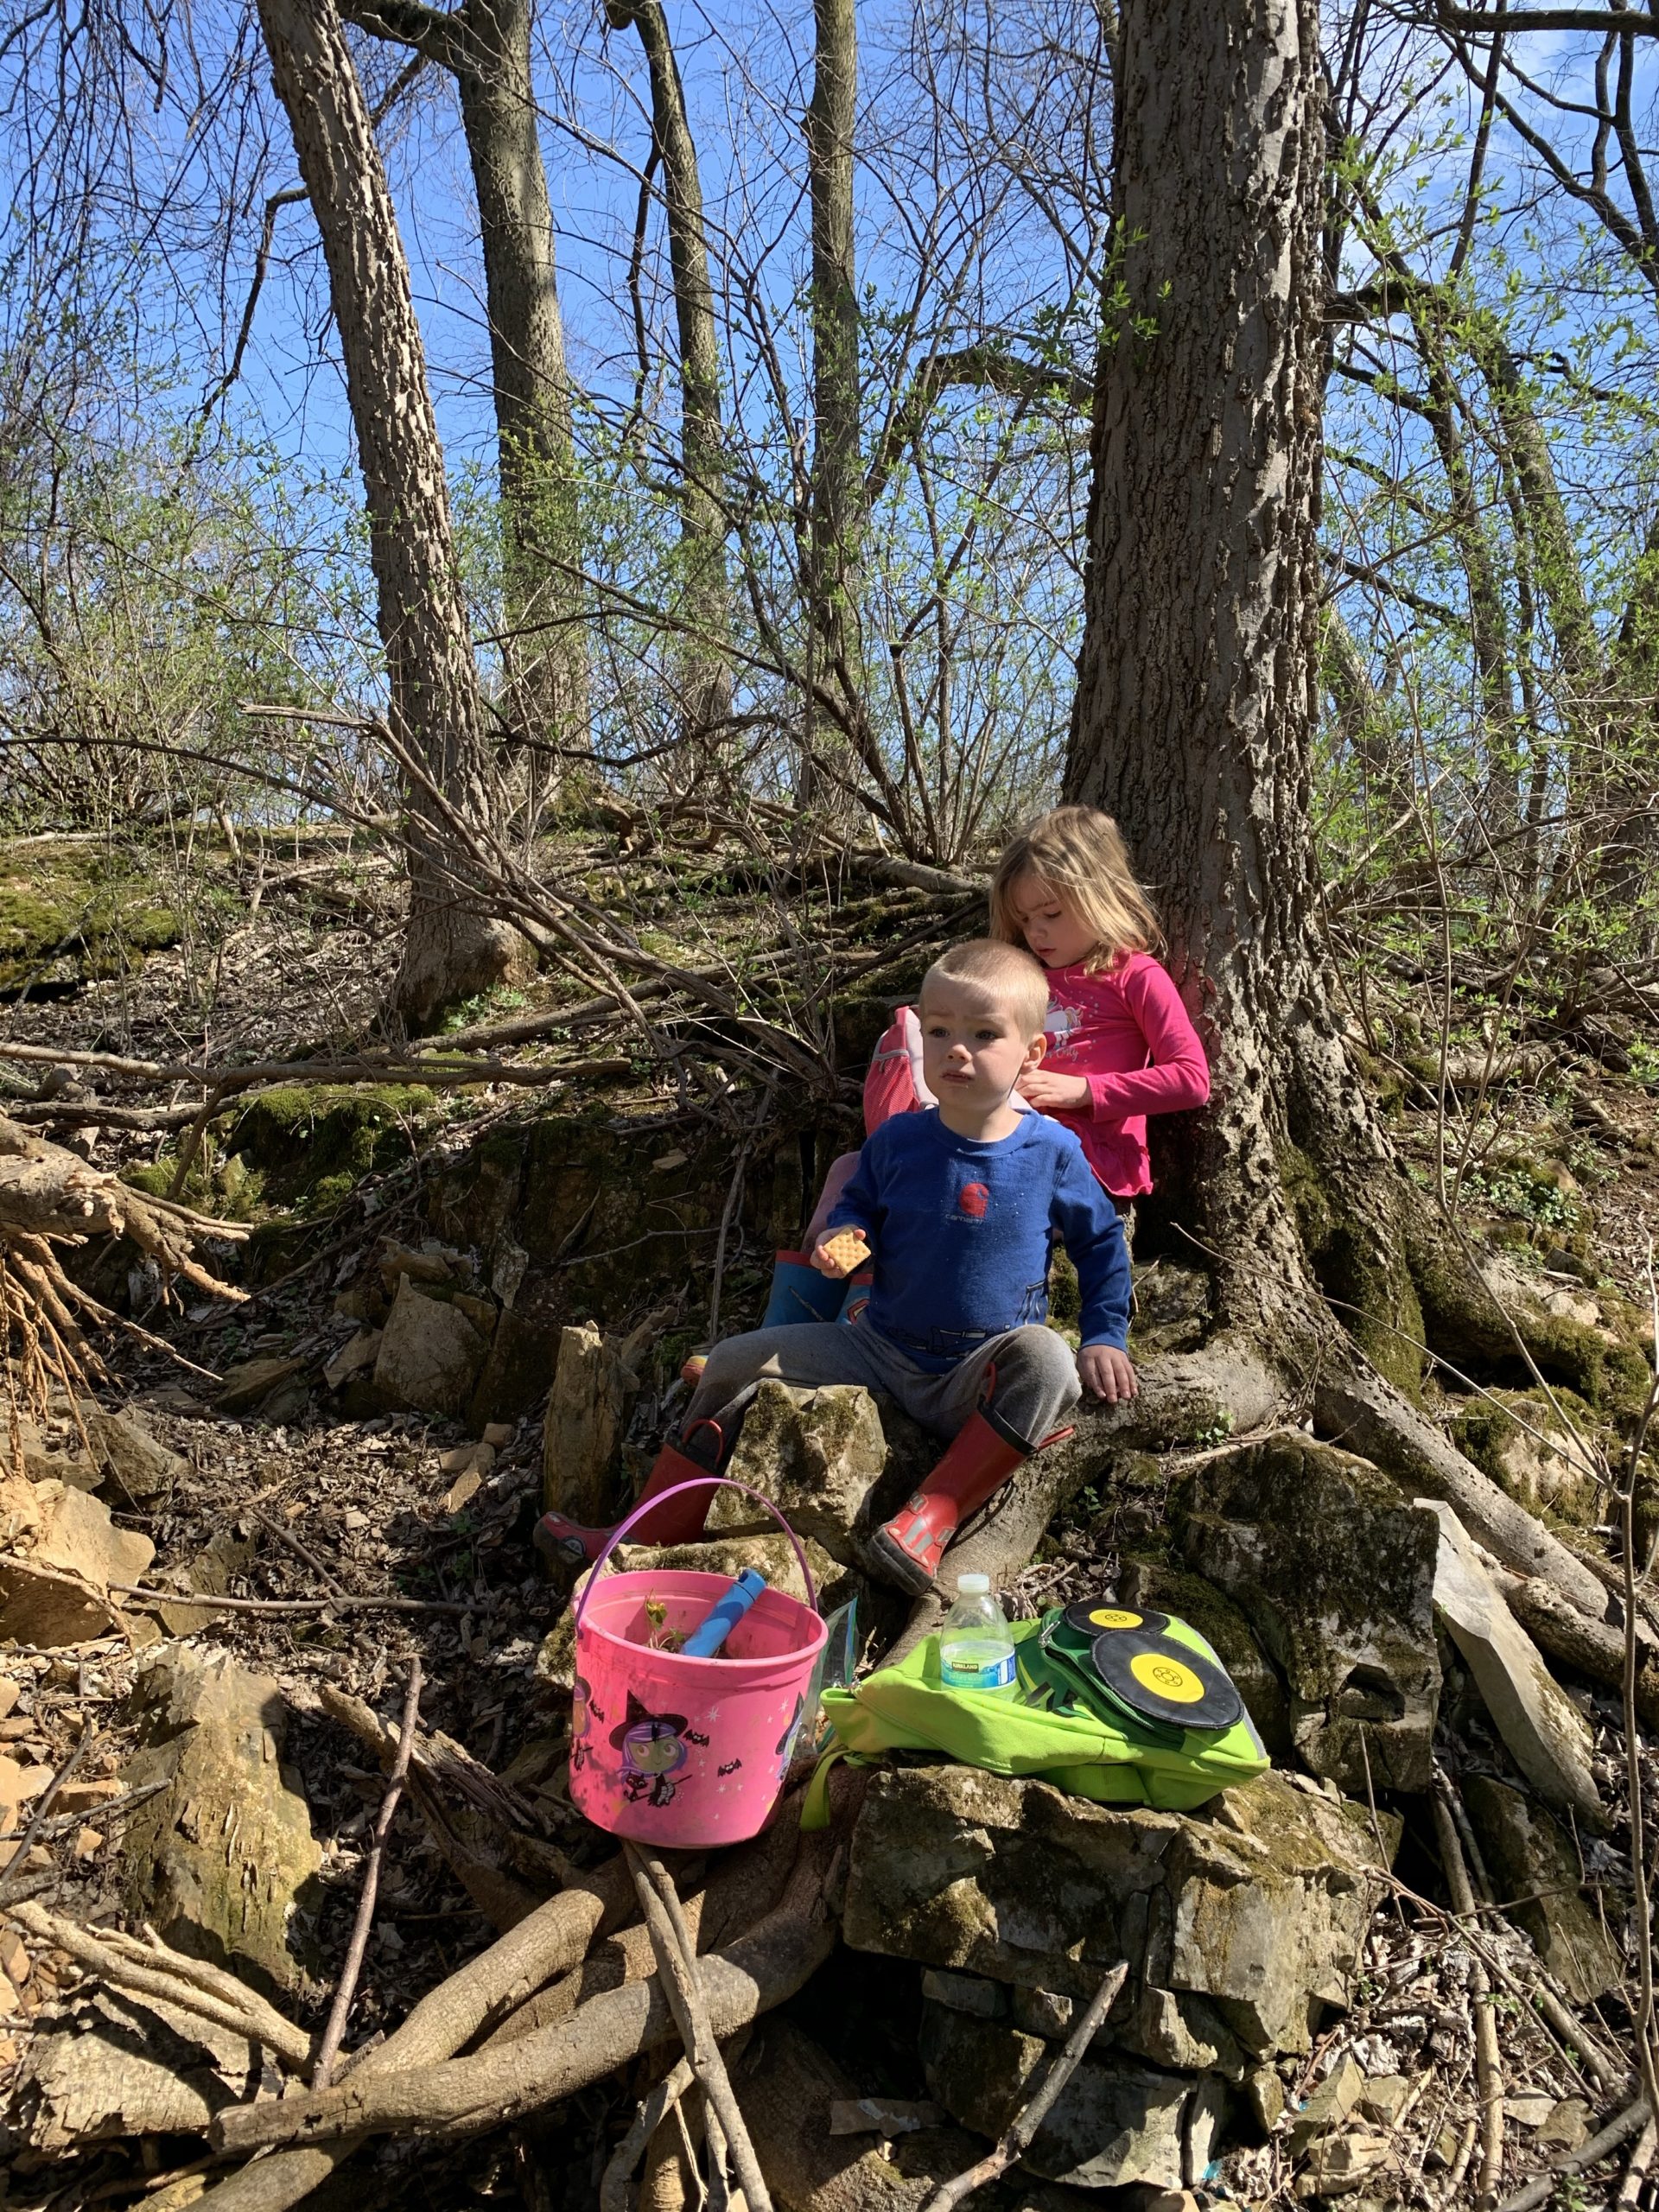
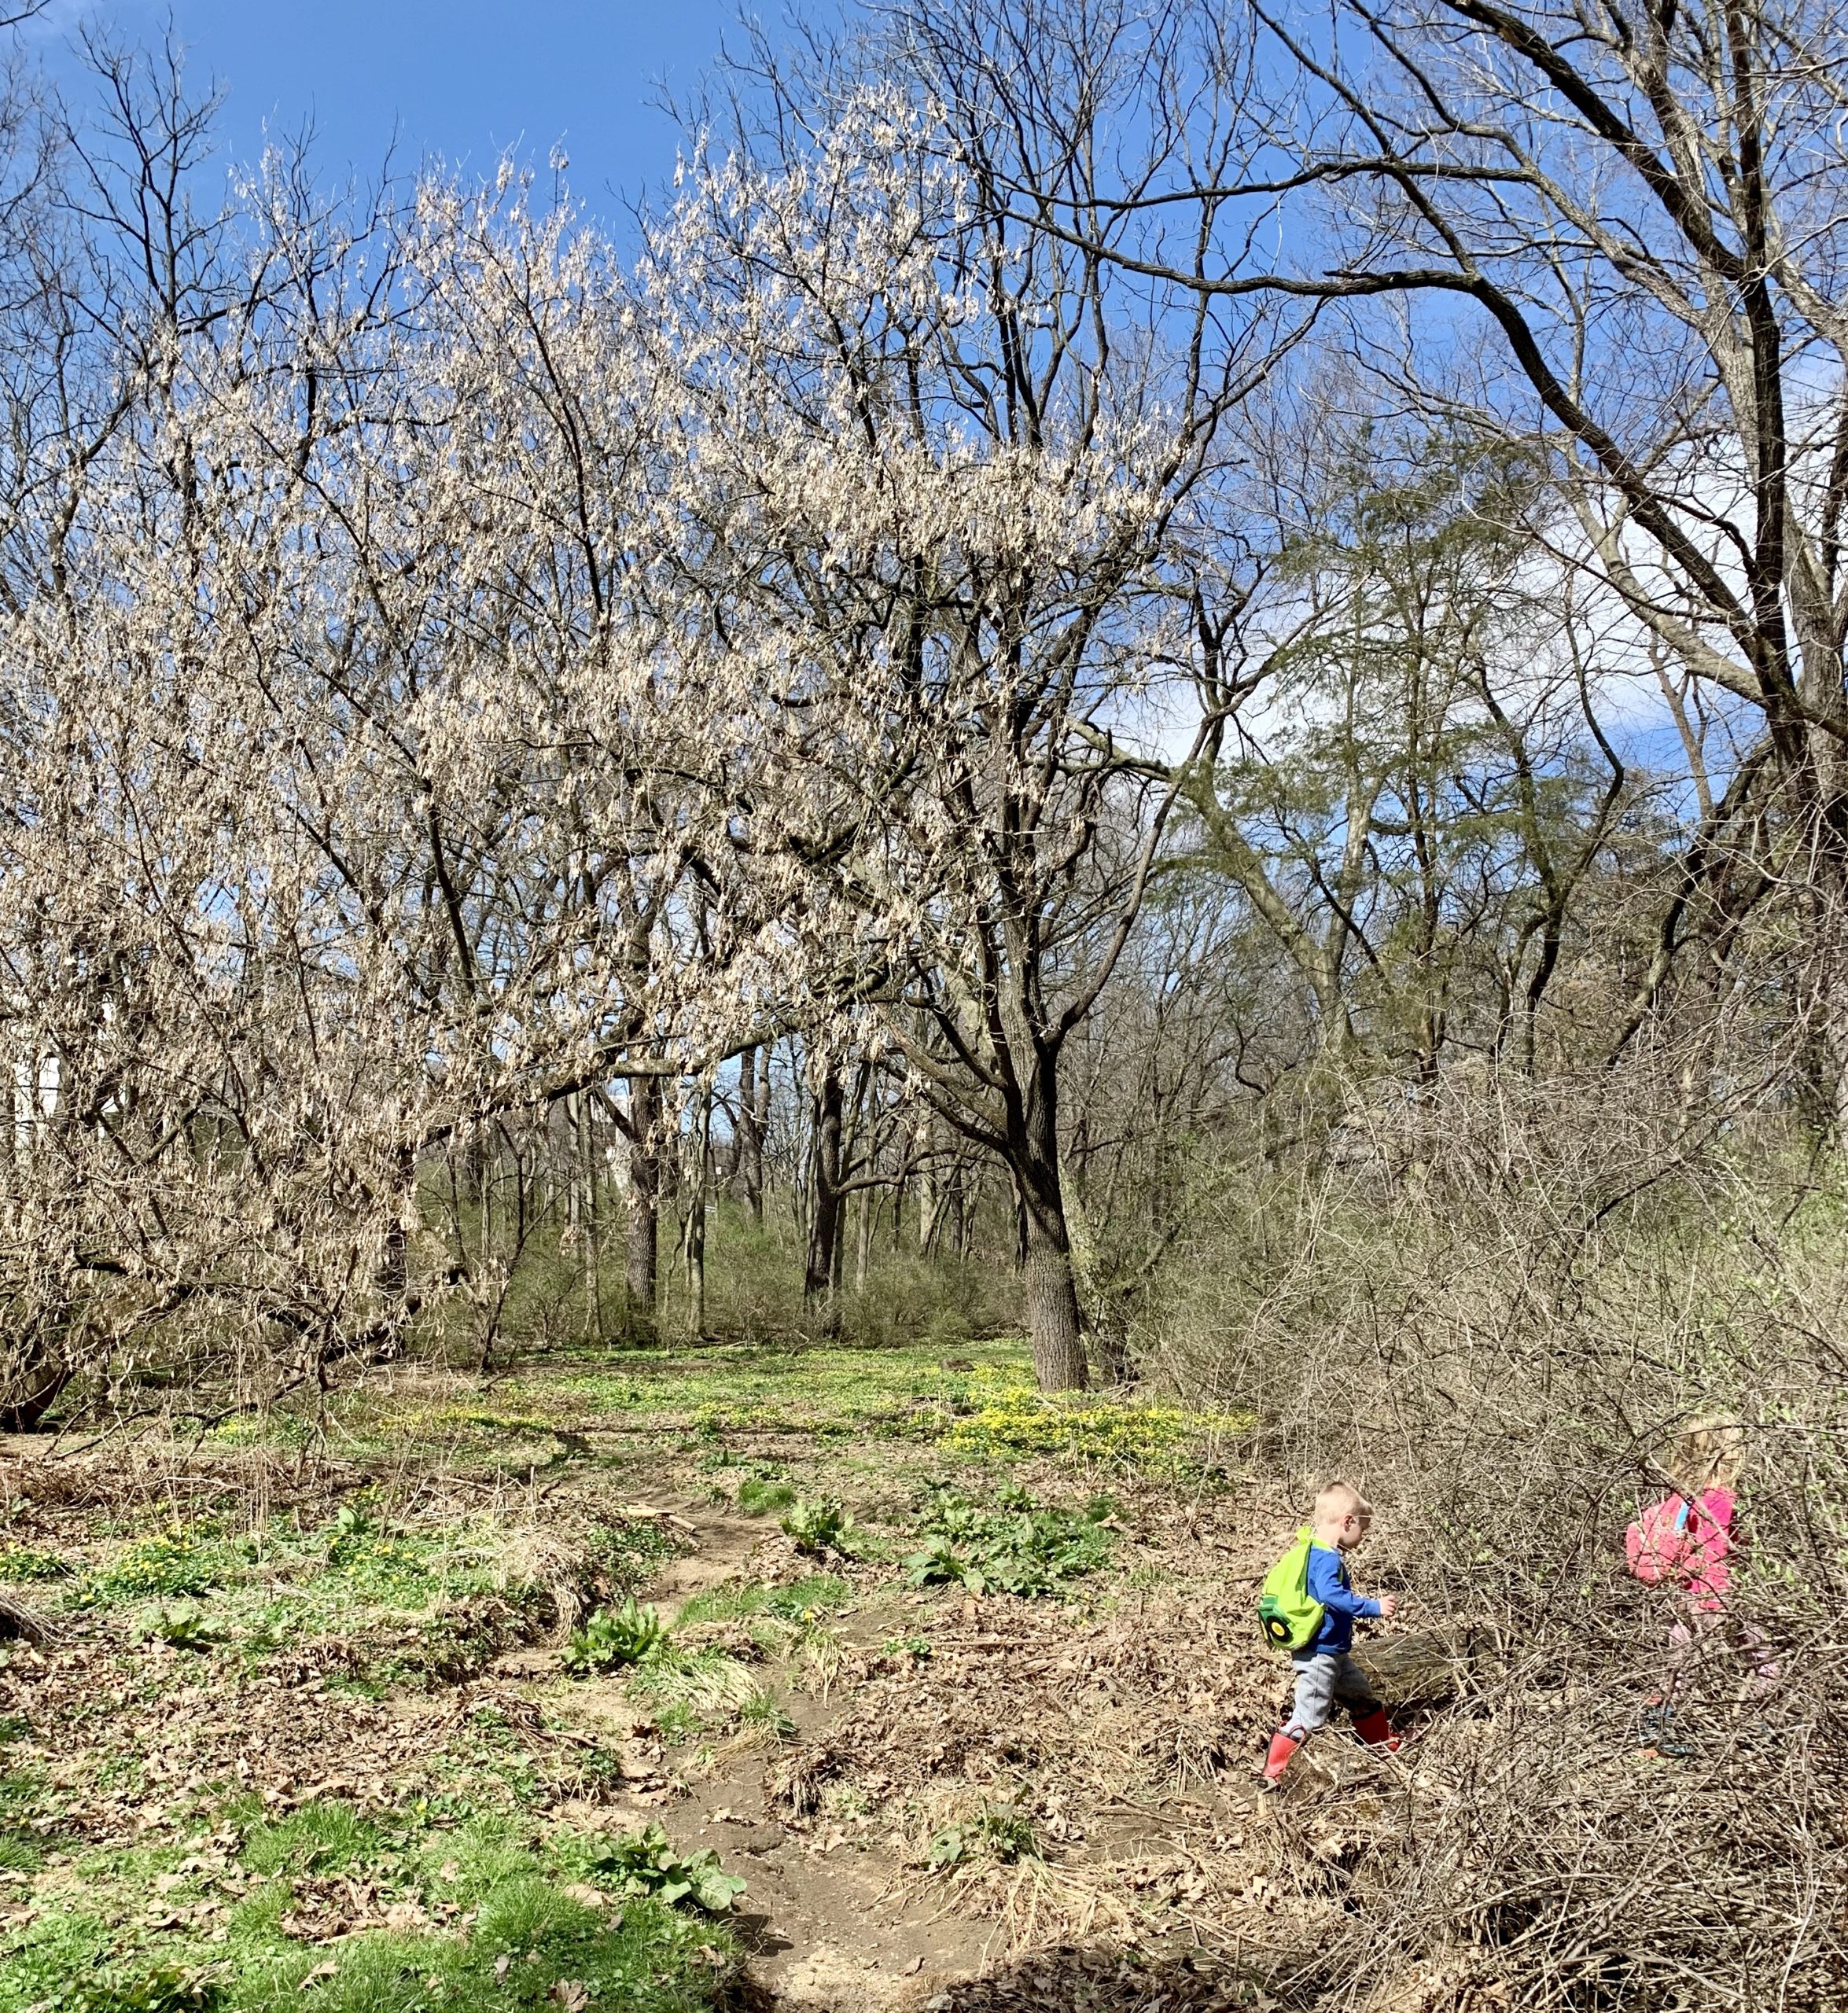
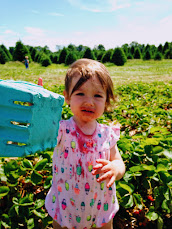
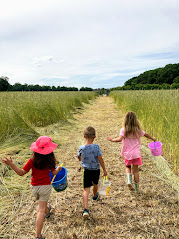
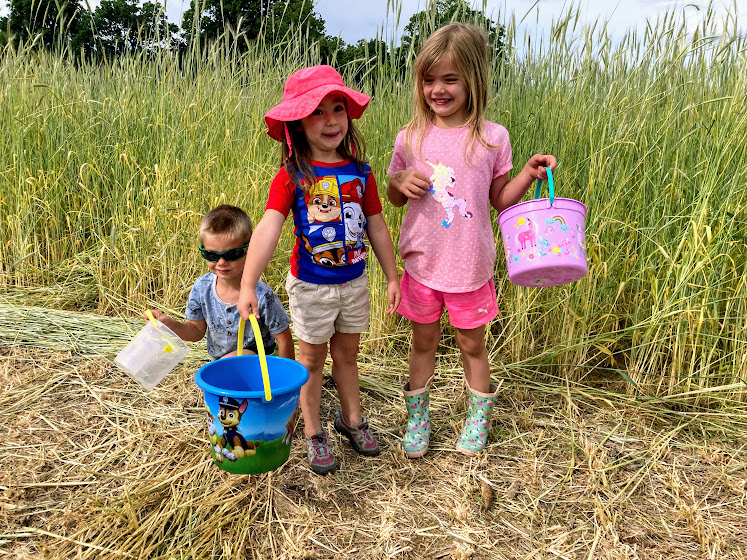
We saw frogs and toads, explored dry creek beds, found “hideouts” (make believe hideouts), looked for fossils under tree roots, climbed mountains (to a kid its a mountain), balanced and walked on logs (with mommy’s hand of course), jumped in puddles, and went through tunnels (under bridges).

img_3135

So pack a backpack, even better, have your kids pack theirs with extra socks, a dish towel (to dry off their feet), snacks, water, magnifying glass, zip-lock bag or bucket (to hold things), binoculars and any other things they want to bring (but that their backpack wont be to heavy and you will end up with it!),

img_3133

When we moved from a less populated wooded area to a more populated neighborhood, I didn’t think we would find so many fun outdoor activities for free this easily!  Behind the baseball field that is near our house is a small woods with boy-scout paths and a creek, and this is fun for days for the kids to explore and play!  I can’t wait for tadpoles!

img_3132

So get out there and explore your surroundings!FollowFacebookpinterestrssyoutube
ShareFacebookpinterest

Mixing fun

If you’re looking for an activity for your little ones to enjoy and also learn try this mixing fun. You can also use whatever you have in your kitchen! Just as an update, the kids ask to do this almost daily they love it that much!

img_2705

You need a container, preferably a tall see through one such as a large mason jar as shown. Fill the mason jar half way up with water.

Then you will need something to stir with (we grabbed a chopstick!)

Lastly, you need items to put in this mixture, so food coloring or natural coloring (we also used washable paint one time!

Coloring from beet juice etc.

Sprinkles can be used to see if they float or sink!

Ice cubes

Salt versus sugar-do they dissolve

Olive oil or any type of oil to see if it mixes with water

Croutons, cereal, some scraps from the compost bucket, lettuce leaf, onion (although you may want to hold off on too many food items with the quarantine right now!)

img_2707

We even tried jelly to see if it would sink or mix into the concoction. Then have your child mix it real fast in a circle and see a cyclone happen!

Dish soap and the bubbles it causes is fun as well!

img_2704

Pretty much try anything!


Vinegar and baking soda which you want to save for last! The acid base pair will cause a volcanoes explosion! We did those outside then to have a huge overflow!

img_2708

You can keep adding more vinegar to make it continue exploding!  Just bring it outside lol. img_2709

img_2710

ENJOY!!!!

 FollowFacebookpinterestrssyoutube
ShareFacebookpinterest

+Pomander Ball: A fun fine motor experience

A craft using fine motor skills, creativity, and your child’s senses is making a Christmas Pomander Ball!  There are several ways to make them and we will go through some examples!

img_2460

Pomander Balls were originally used to ward away illness with the strong scents of cloves and other spices.  Today, we make pomander balls with citrus fruits and cloves as a decoration, gift, centerpiece, or for scenting the room.

What you need:

Citrus fruit: clementine or oranges work best (make sure they are on the harder side)

Whole cloves (you can get a large bag that will last for years at the food store)
Ribbon for decoration

To make holes you can use a fork, pushpin, or toothpick (optional): my kids like to use a small fork to poke several holes at once

  1. Pour some whole cloves into a small bowl for the kids to chose fromimg_2440-1
  2. Next, have your child use a fork to poke holes
  3. img_2442-1
  4. Take the whole cloves and poke them through the holes
  5. Make a design as you chose, and hang with ribbon
  6. img_2453
  7. Dry out in a dark place, preferably in a brown bag for a week or two until dry then hang them or decorate with them!  If you chose not to dry them, then they usually last a week before they brown and get moldy. You can also place them in the fridge at night if you want them to last a little longer.
  8. img_2459
  9. If you fill the whole fruit with cloves completely, it will dehydrate the fruit and you wont need to place it in a bag at all (my kids don’t usually have the patience for this yet)

img_2458

My kids wanted to law shapes on their clementines with the cloves!

img_2460

Enjoy and let me know how they turn out!!!

 FollowFacebookpinterestrssyoutube
ShareFacebookpinterest

Sparkle Pumpkins!

IMG_2254

It’s finally fall and pumpkin time! Toddlers LOVE holidays and what a great way to get ready for trick-or-treating by decorating pumpkins! Obviously, toddlers shouldn’t be holding knives to make jack-o-lanterns so there are many fun alternatives!

You can have your toddler paint a pumpkin, add stickers, pom-poms, and many other accessories instead of the normal jack-o-lantern.

Or….you can have them make sparkle pumpkins! My daughter LOVES glitter, I mean who doesn’t? Okay, maybe we don’t, especially when you have to clean it. However, this is a perfect activity for outside in the cool, crisp fall weather.

IMG_2244

What do you need for this activity?

A pumpkin of course! Other materials you need are paint, glitter, glue, and brushes. You may want a paper plate or something you are using to put the paint on to mix it with glue. Glitter is a very important part of this activity! We used various colors.

First ask your child what color they want to start with! Add HALF glue and HALF paint concoction together. Mix them with the brush. The glue helps the paint stay on the pumpkin and not flake off. It also helps the glitter stay on. Your child can have fun painting their pumpkin!

IMG_2247


Let them paint to their heart’s content, then have them pick a glitter color or two.


IMG_2257


Madison spread the paint pretty thin, so I went ahead and put some liquid glue on the plate and had her brush the glue over the paint. This allowed the glitter to stick better. She just shook the glitter over the pumpkin (and all over the sidewalk).


I recommend you keep the pumpkin out of the rain!

IMG_2261

ENJOY!FollowFacebookpinterestrssyoutube
ShareFacebookpinterest

DIY Rudolph Slippers!


DIY RUDOLPH SLIPPERS

This easy DIY sewing project can be made for any size shoe!  All you need to do is trace the shoe (or foot) size and create!  Easy peezey Christmas fun! Also makes a great gift!

IMG_0405

As always, there is a video tutorial on the ceceliasspot channel and here is the link… 

rudolphslippers

Baby Slippers Tutorial! this has a pattern for baby slippers if you don’t want to trace a shoe or foot

And there is the written format below.  ENJOY AND HAPPY HOLIDAYS!


First, what you need for this project:

  1. Non-skid fabric
  2. Fabric colors (I used cotton and fleece)
  3. 1/4 or 1/8 elastic
  4. Sewing tools, googley eyes, red cotton ball, and any accessories you would like to add

IMG_0299

  1. Next, trace your subject’s shoe or foot (if you are using their actual foot add 1/2 inch all the way around).


2. Trace the top of your childs shoe to make the front of the slipper. Cut four of these pieces. Then trace the back and cut 4 of these (add 1 inch to the long length side so you can overlap)

IMG_0387 - Copy - Copy


3.  Take pattern facing pattern and sew the two front pieces together only on the straight side as shown (do this for both slippers).

IMG_0332

4. Trim excess and turn right side out, iron right side out and sew across the top you ant on outside (this makes it look nicer.

5. Take pattern facing pattern for both back pieces and sew across one long side for both slippers.

6. Take your elastic and cut it about 2.5 to 3 inches shorter than the length of the back piece and pin it and pull it tight while sewing across to the end. This is still on the wrong side. Sketch

7. Flip the fabric over the elastic with right side out and iron and then sew right below the elastic and down the sidesSketch2

8. Freehanded antlers by looking at a picture of antlers. cut 4 sew around except bottom and stuff it.

IMG_0331


9. Check sizing and put front and back piece pinned together with pattern facing down (right now you should only see (the side that is up) what will be on the inside when you are finished done).

Sketch3

10. After pinning the front to the back and the antlers in between the front and back piece, sew across front to attach front and back piece

IMG_0389 - Copy - Copy

This is what it should look like now.

11. Line up the sole two pieces with the patterns on the outside (not the usual, but it doesn’t matter since its on the bottom) You can see it in the back there with the nonskid on top.

Sketch4

12. Line up the sole with the top piece (nonstick sole facing upwards to the reindeer face) by finding the middle of the front and back (you can fold to find this). Then sew all the way around. And turn right side out and WAH-LA!!IMG_0398 - Copy.JPG

I sewed on the red cotton ball nose and hot glue gunned the eyes on.  If you have a little one then please don’t use googely eyes since they might try and eat them!

Don’t forget to check out our facebook site and subscribe to our youtube videos!  ENJOY! MERRY CHRISTMAS!FollowFacebookpinterestrssyoutube
ShareFacebookpinterest