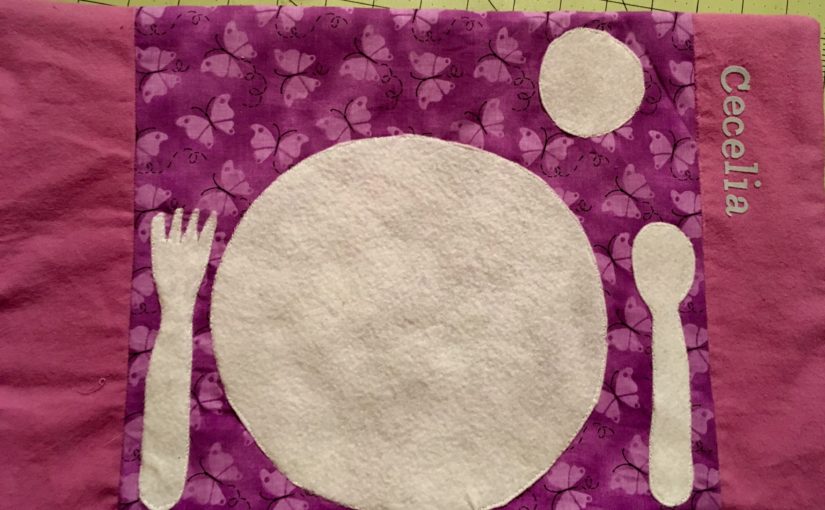
My daughter loves to assert her independence, even at meal time! So I thought, why not make a placemat that she can set her own place setting at? There are many ways to make placemats.
One way is simply laminating a printed out version of a placemat setting such as this…
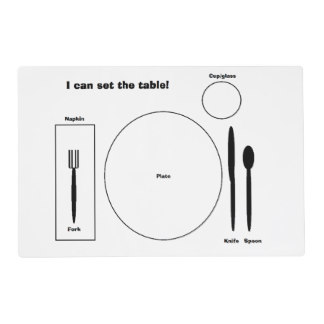 However, my laminator is only big enough for a regular printer sized paper. You can take it to your local staples or office store to get laminated. You can even make your own placemat out of fabric and have it laminated.
I decided to go with the fabric version and just use the washer to clean it.
So you want to prewash the fabric to make sure it does not shrink.

As always there is a video youtube tutorial and a written one below.
What you need for this placemat place setting is…
1) fabric: it will end up being 12×16 inches.
- 1 batting or felt for the middle or back side 12×16
- 1 center front piece 12×12
- 2 outside front pieces 4×12
- 1 back side
- felt or non fraying material to cut out fork, spoon, cup, and plate
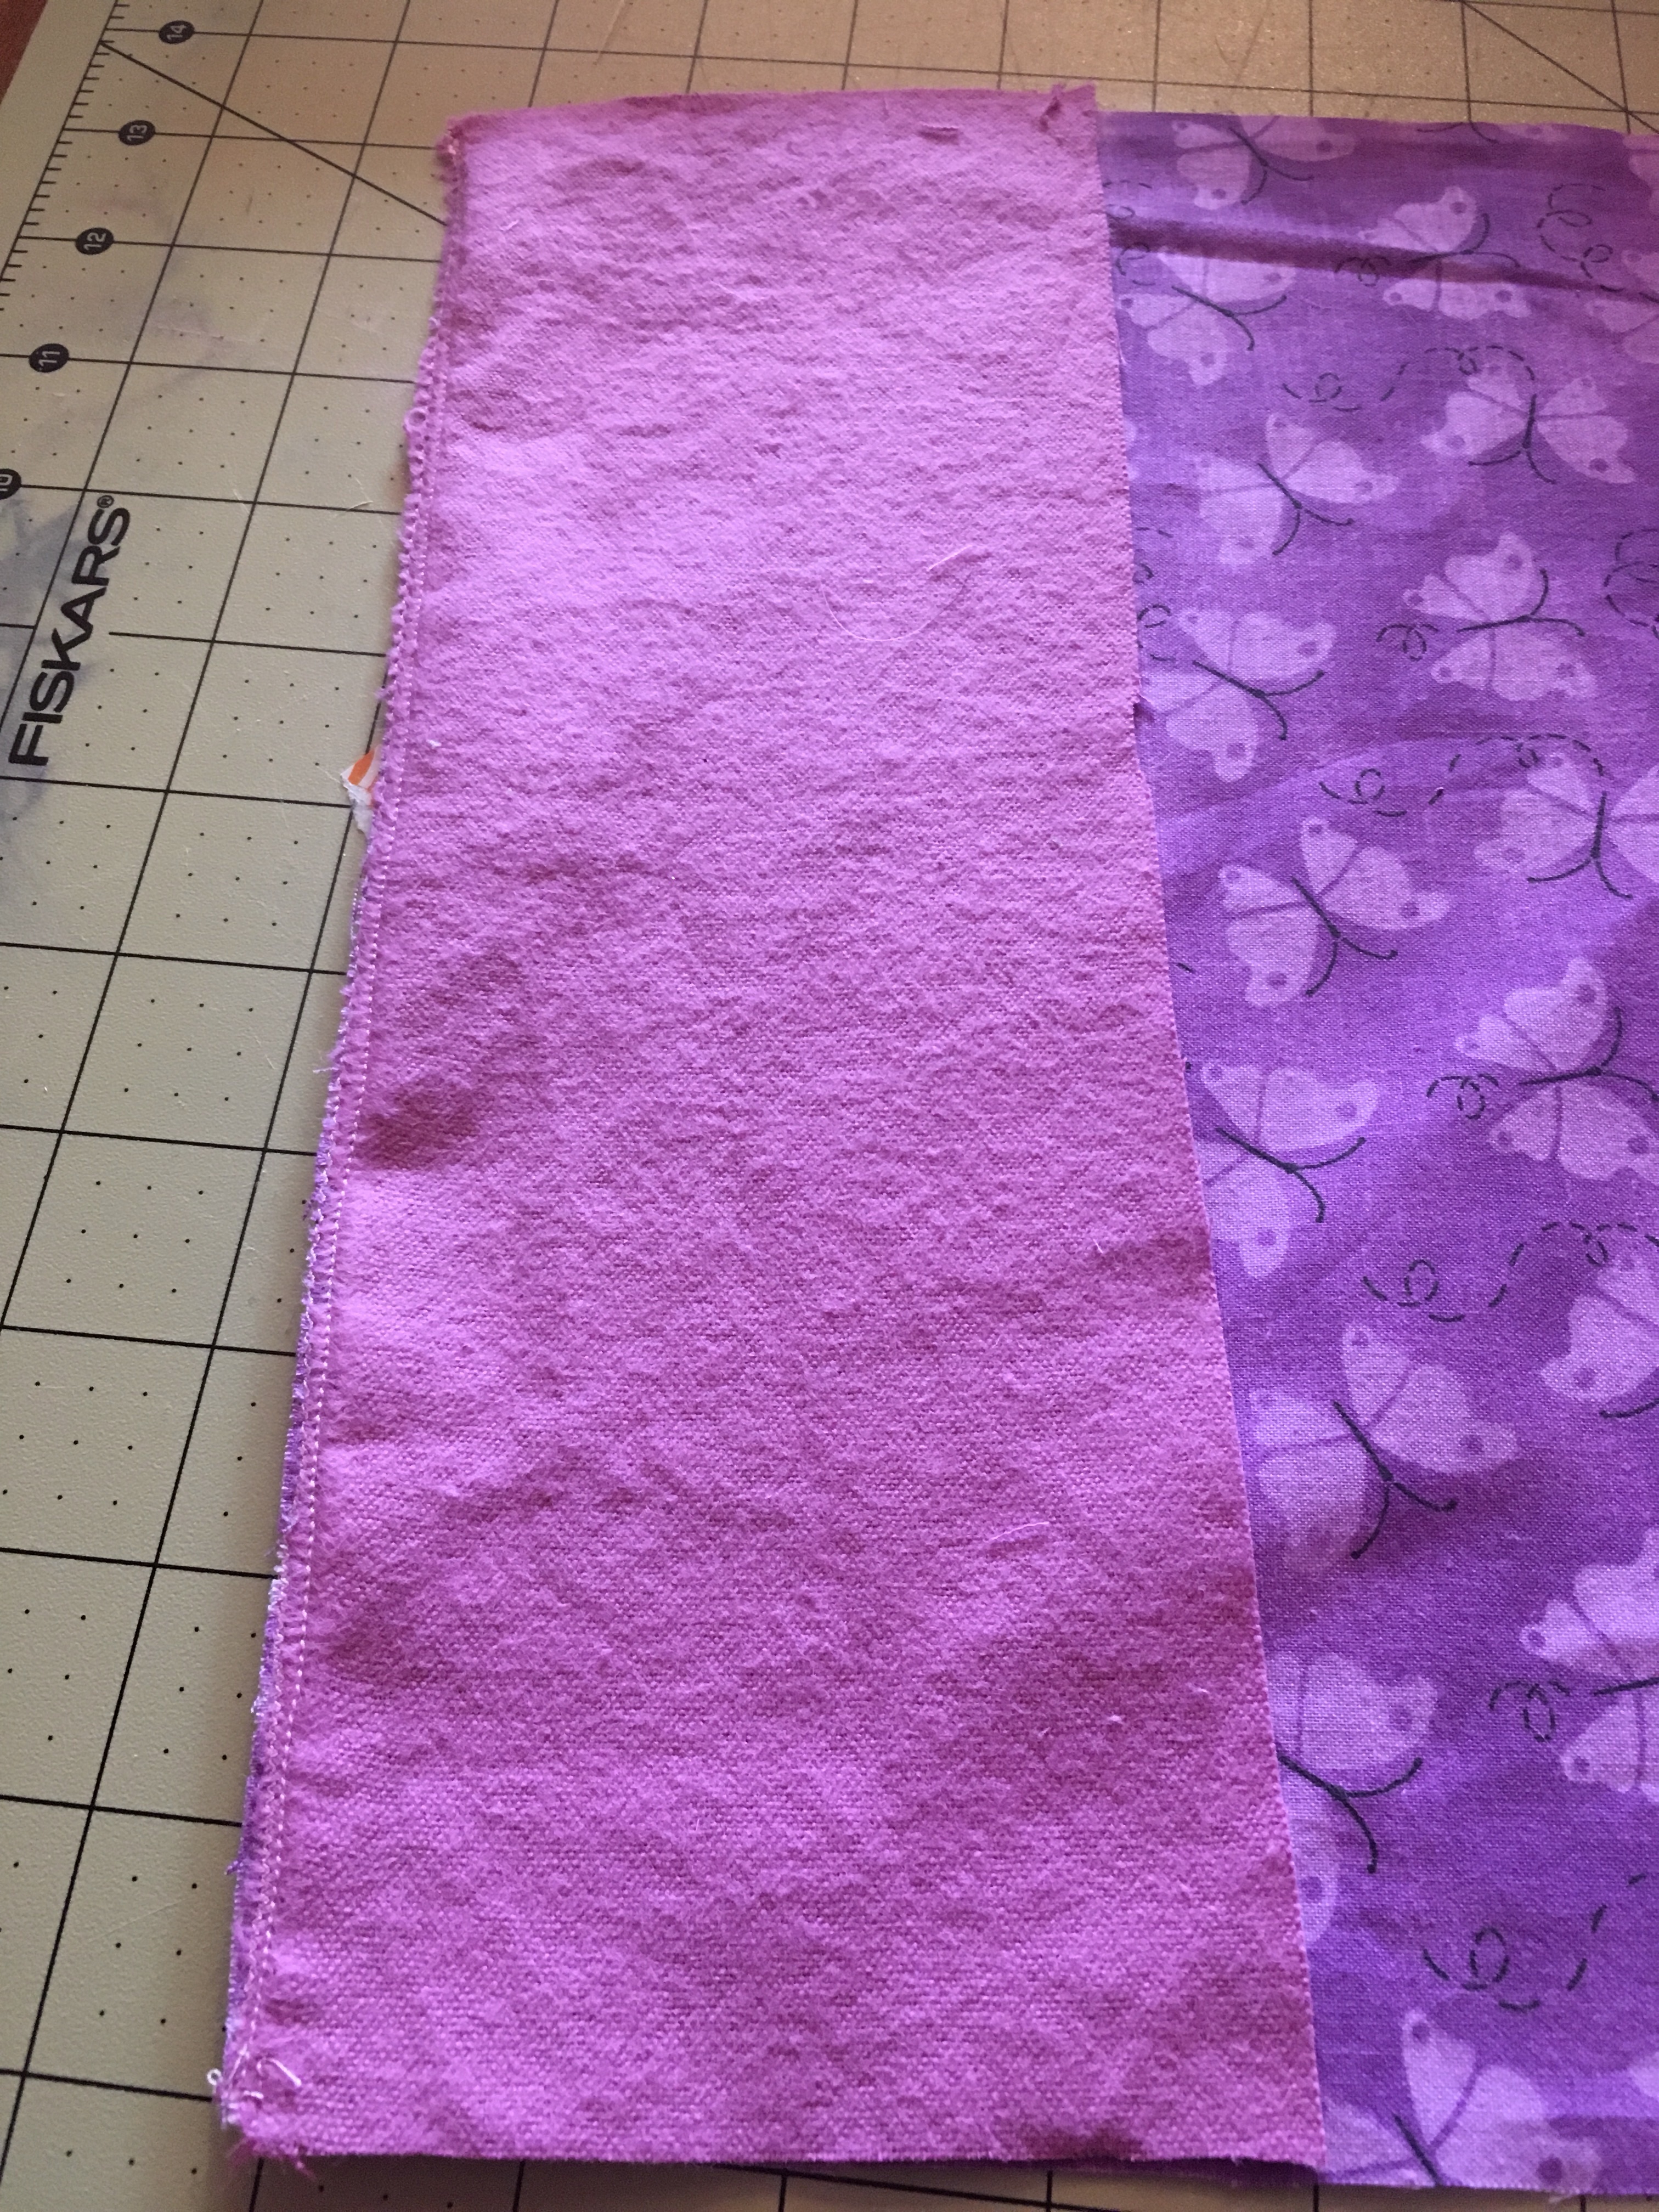
2) Next, take your front center piece and your side front pieces and pin them fabric facing fabric on the sides and sew. Then iron the seems.
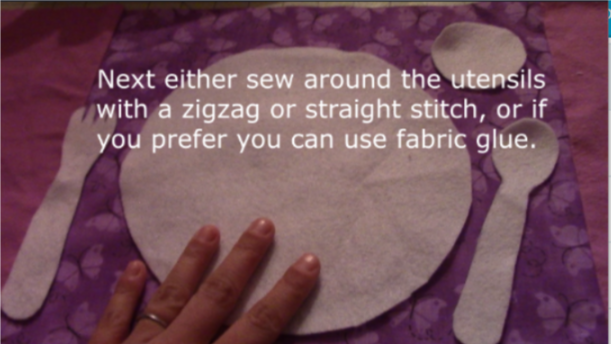
3) Following that, you want to use your felt or nonfraying material to outline a plate, cup, fork, spoon, and any other utensils that you want on your placemat. Then cut them out and sew them directly on the front piece. You can also use fabric glue if you like.
4) ***You want to put the piece of fabric you want as the backing down first facing the front fabric and then the basting or felt behind that (as you can see I did it opposite and ended up with my black fabric as the back outside as you will see). However, if you are using felt, it ends up rather nice as a backing since it prevents sliding.
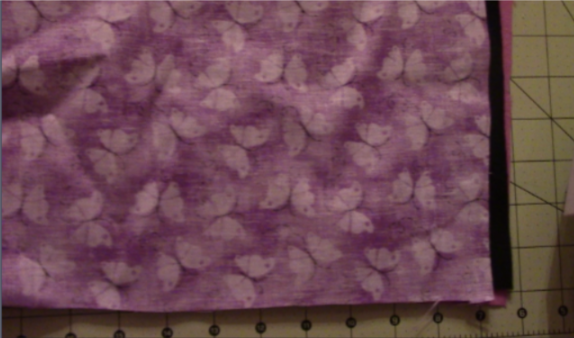
5) Sew all the way around leaving a 3-4 inch opening so you can pull it out the right way. Don’t forget to backstitch. Once this is done, pull the inside out and make sure all the sides and corners are all the way out. Iron it all out and sew the remaining opening with either a hand stitch, or if you want to use your machine then sew around the whole placemat to give it that look.

You can add any other embellishments, I used my daughter’s name on the side. Enjoy and check out the other videos and tutorials! Let me know if you have any questions!
Follow
Share
