Lights in the Lehigh Valley: Horvath Holiday House

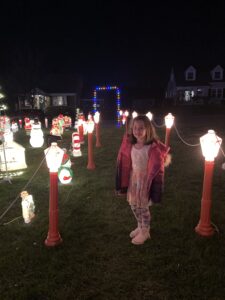
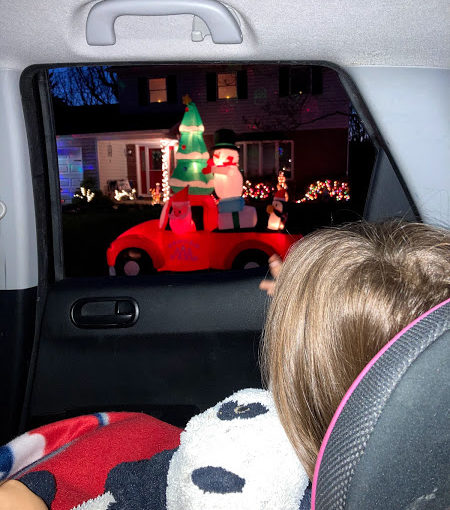
If you live around the Lehigh Valley you know that driving around with a tin full of Christmas cookies and a cup of hot chocolate is a great way to enjoy the season! In the coming weeks I will feature different houses and their wonderful light displays on the blog! Feel free to share your favorites!

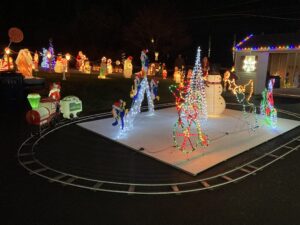
Horvath Holiday House :

4244 Briarcliff Road, Allentown Pa 18104

Reasons to love:

-Walk through display to the side and back of the house where you can meet Santa. Check their Facebook page for times that Santa will be there!

-There is a mailbox where you can write to Santa and he will send you a letter back (be sure to include a return address).

-You can see a blow mold Santa train go around in the backyard!

-They have an awesome area to take family pictures!

FollowFacebookpinterestrssyoutube
ShareFacebookpinterest

Christmas Milk Magic Experiment

If you want an experiment that will have your kids screaming, “MORE,” this is it!

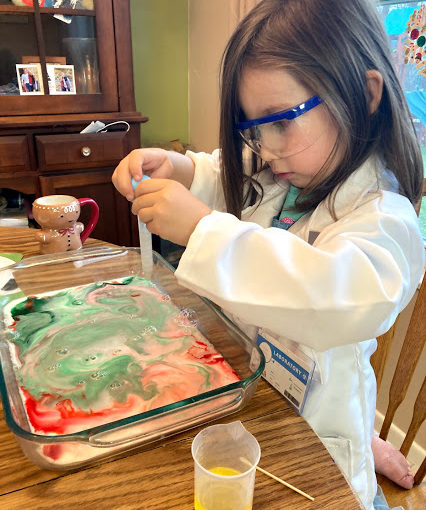
Materials: Shallow dish, red & green food dye, milk, dish soap, cotton swabs

First, pour a thin layer of milk in your dish.

Next have the kids or yourself put in drops of food coloring.

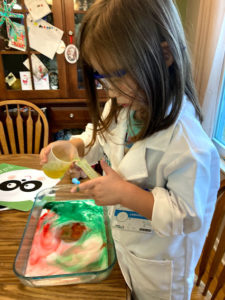
Third, have your child dip the cotton swab into the dish soap. Finally, have them press it down in one spot and hold it for 15 seconds. An alternative action is to have them let it drip down into the milk/food dye and observe what happens.

My daughter had other questions and we talked about what she thought would happen if she did something in particular (hypothesis). She wanted to use a dropper and see what happened. She also wanted to pour the dish soap in to see what would happen. We did this 3 times emptying & refilling the dish. She would’ve done more if I let her (but we wouldn’t have any milk left)!

My daughter doesn’t understand exactly why things happened in this experiment, but that’s okay. Doing experiments at a young age breeds curiosity and helps them learn to observe.

The explanation is that milk has fat in it. When the dish soap enters the milk, it breaks apart the fat. The soap molecules try to attach to the fat molecules in the milk. You can see what’s happening because of the food dye. Here is more information from Steve Spangler. 

Have fun!!

FollowFacebookpinterestrssyoutube
ShareFacebookpinterest

25 Ideas for Advent Calendars (&Crafts)

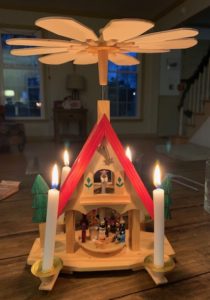
Today there are many advent calendars that can be bought, ranging from simple chocolates to complex lego advent calendars.  There are wine, book, superhero, and just about anything advent calendars that can be bought for a price.   I remember having certain Christmas traditions in my home as a child and want my children to experience similar fond memories when they are older. So I purchased a German Christmas pyramid second hand (as they can be very expensive and knowing children, it most likely will break).

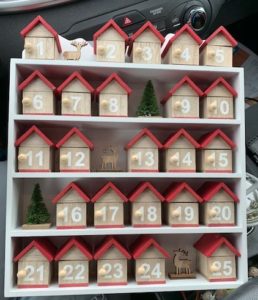
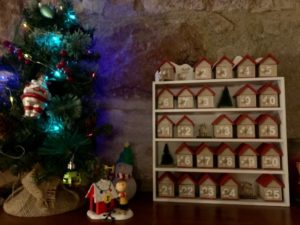
I also decided to buy an advent calendar for my children.  I decided one sturdy wooden advent calendar would do the trick!  I saw many beautiful lit ones for higher prices; however, I felt they could easily be broken.  I finally decided on one I purchased at Lowes.

Now, the big question is, what should I fill each day with? So many options, but such a SMALL space. So, only very small items fit, such as two Hershey kisses or two small mini candy bars and the door wont completely shut. I didn’t want to start off with something too grand in the first door. My kids were excited about chocolate, so that’s what I did, two very small pieces of chocolate.

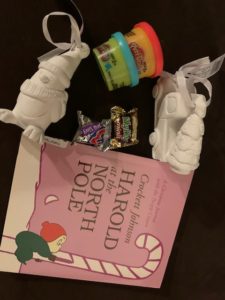
For the other doors, I will have some small chocolates in a couple, but I have many other cute and fun items for the kiddos. I’ll leave a very small piece of paper in the day that will have a clue to where their item is located. I was going to go into scavenger hunts, but lets be real, I would rather relax for a couple minutes after bed (or do this post), instead of trying to come up with an elaborate hunt they will be done with in 5 mins!  Since my children can’t completely read yet, I decided using pictures might be best.  So in day 2 I will put a picture of a christmas tree. They will run to the tree and see a pack of fruit flavored candy canes under the tree to hang up on the tree.

Here are some other ideas of items you can leave notes for:

  1. Candy
  2. Christmas books
  3. Plato
  4. wooden /ceramic projects
  5. Felt snowman fun
  6. any kind of christmas project including photo ornaments, easy glitter ornaments, and many other ones on this website
  7. ornaments for the tree
  8. Christmas clothing
  9. Christmas lights
  10. coloring books
  11. Christmas cookies
  12. Baking recipe to make cookies
  13. Sprinkles for cookies
  14. Hot cocoa packet/marshmallows..or homemade hot cocoa
  15. Christmas movie
  16. Christmas mask (2020)
  17. Christmas headband, clips, socks
  18. Small stuffed Christmas santa, elf etc.
  19. Sock Snowman (either made or have supplies to make)
  20. Felt Christmas tree (can make one, or if child is old enough they can make it!) or just an ornament to add to their current felt C
  21. Christmas tree!
  22. Tree Prints!
  23. Salt dough wreath, ornament, or garland!
  24. +Pomander Ball supplies
  25. Felt Snowman Fun!
  26. Singing holiday card/toy/Christmas solar bobble head

ENJOY AND HAVE FUN!!

FollowFacebookpinterestrssyoutube
ShareFacebookpinterest

The 12 Days of COVID Christmas Ideas

It looks like we will all be quarantined from our extended families for the holidays again as COVID is raging in our area. Having small children in the family makes it extra tough. Instead of the kids remembering not being with their uncles, aunts, cousins & grandparents, let’s have them remember the wonderful time they spent at home. Let’s have them remember it as a special time with the family.

Here are some ideas to try to make the time leading up to Christmas special.

The 12 Ideas of COVID Christmas…
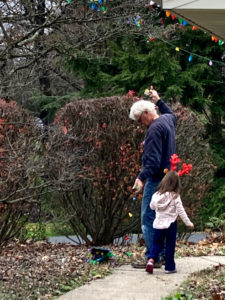
On the 1st day of COVID Quarantining Christmas…

  1. Put up extra Christmas lights to add to the holiday cheer! Add a fun blowup or blow mold to surprise your kiddos! Have your kids help you place items or string the lights-they will LOVE it!
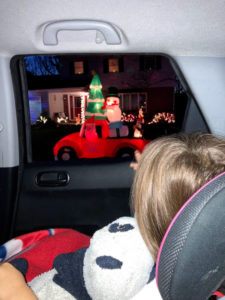



On the 2nd Day of COVID Christmas…

2. Do a light tour! Drive around to neighborhood displays. Take some hot chocolate in a thermos and cookies! Our local newspaper always features a light tour so we follow them. Many time local news also shares different homes to see. Check out to see if there are any light displays you can drive through in your area. Definitely a de-light!
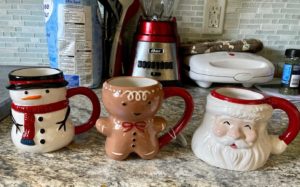
On the 3rd Day of COVID Christmas…

3. Get family Christmas mugs! My daughter woke up to run into the kitchen for a surprise. I let her pick which one she liked. She picked the gingerbread man mug and called him “cutie.” She told me she would leave him out for Santa to have milk in and he would LOVE it! We had hot chocolate as a family immediately!
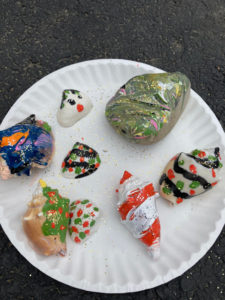
On the 4th Day of COVID Christmas

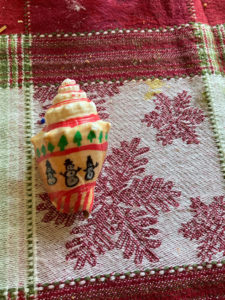
4. Paint Christmas rocks! My daughter and I have been painting rocks with regular acrylic paint for a while since COVID began.

The other day I discovered acrylic markers for painting rocks and shells and this was a game changer. They are so easy to use, less messy, and much better looking! Fun for the whole family!
On the 5th Day of COVID Christmas…

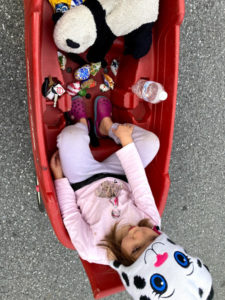
5. Give out the rocks! We love going around the neighborhood and leaving them on people’s doorsteps or tables in the front. Madison gets a thrill knowing she is making someone’s day.  They also teach kindness and that everyone can make a difference. Another option is to leave them in places around the community like parks. Many people trade rocks too.


On the 6th Day of COVID Christmas…

6. Make some special breakfasts! You must excuse my poor pancakes, I am a newbie at this. Madison loved them and they did taste good. Kids will LOVE your snowman pancakes…even if they turn out like mine!
 

On the 7th Day of COVID Christmas…

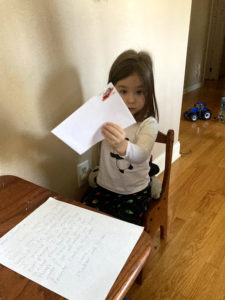
7. Write to Santa! Check with your local community, post office, and online to find where to write. Our local community has Santa write back! There are also many services online you can pay for and they will have Santa write back to you. Another option is a zoom or digital call with Santa!
 

On the 8th Day of COVID Christmas…

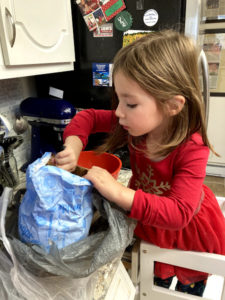
8. Make cookies! Each year you might make cookies-but try some new ones! Your little ones will love to help. Yes, we ended up with flour all over us and bellies full of yummy cookies, but it was great! As an extra bonus get your Christmas mugs and cookies and have a movie night!


On the 9th Day of COVID Christmas…

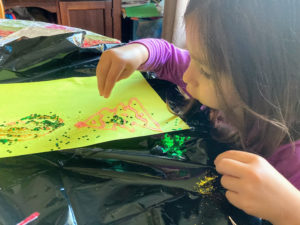
9. Make lots of crafts! Kids adore crafts and family loves getting them! Look up crafts on blogs and pinterest. Make ornaments, fun photo crafts, and smelly playdough! For extra fun make more for family and deliver it on their doorstep for a nice surprise!
On the 10th Day of COVID Christmas…

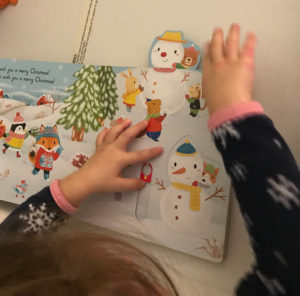
10. Read, read, read! Get more Christmas books! There are so many interactive, smelly, sound, and regular Christmas books! Madison has her favorites and talks about some of them year round!


On the 11th Day of COVID Christmas…

11. Wear matching PJS! It’s so much fun! They not only make matching pjs now, but matching sweaters and hats. It’s fun to wear cheesy and cute clothes and now you can match with your entire family! Turn on some Christmas music and dance in your matching clothes to a Christmas dance party!
 

On the 12th Day of COVID Christmas…

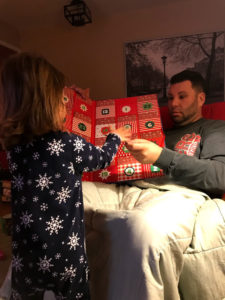
12. Get creative with your advent calendars! Some people do 24 days of books. Check a thrift shop online or marketplace to find cheap books. Stores & online sell all kinds of fun advent calendars with toys, chocolates, cheeses, and just about anything you can imagine. This year I have a wooden advent calendar with drawers. I plan on have a clue for a craft I will complete with Madison each day leading up to Christmas. My sister is going to have something similar for her kids, but have scavenger hunts to find their gifts. The first clue will be in the wooden drawer on the advent calendar.

No matter what you do for the holidays, stay safe and make the most of a crummy situation by turning it into a gift. You are home and make home a special place for you and your family this holiday season!
FollowFacebookpinterestrssyoutube
ShareFacebookpinterest

Super Simple Glitter Ornaments

It’s a day after Thanksgiving…you know what that means! Christmas time!

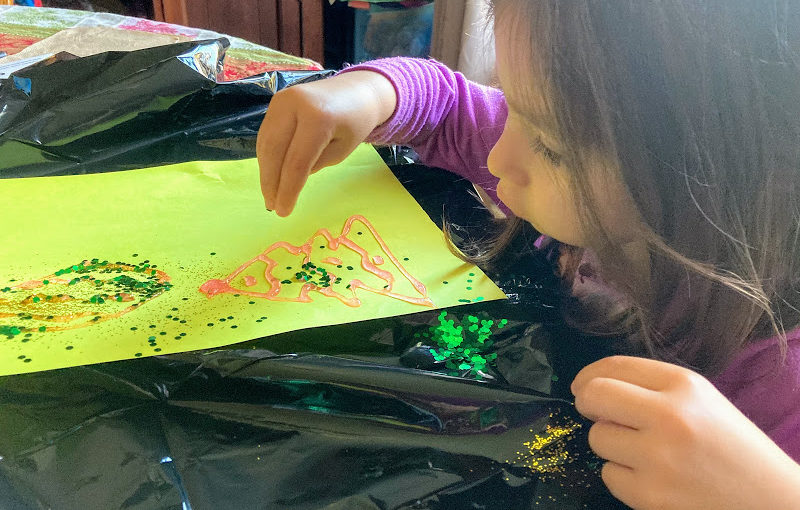
My daughter wanted to make ornaments already. I had glitter, glue, and card stock on hand, so this is what we came up with:


Materials:

-glitter glue, glitter, cardstock or thick paper & yarn


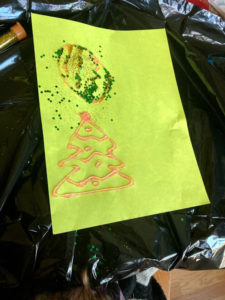
Use the glue to make your designs. Madison made the round ornament with the glue, while I made the tree for her to decorate. We used a trash bag underneath it for quick glitter cleanup.

When you are done with the glitter, simply let it dry! Cut out the shapes, hole punch, and tie on the string. Simple! A keepsake for many years to come!
FollowFacebookpinterestrssyoutube
ShareFacebookpinterest

+Pomander Ball: A fun fine motor experience

A craft using fine motor skills, creativity, and your child’s senses is making a Christmas Pomander Ball!  There are several ways to make them and we will go through some examples!

img_2460

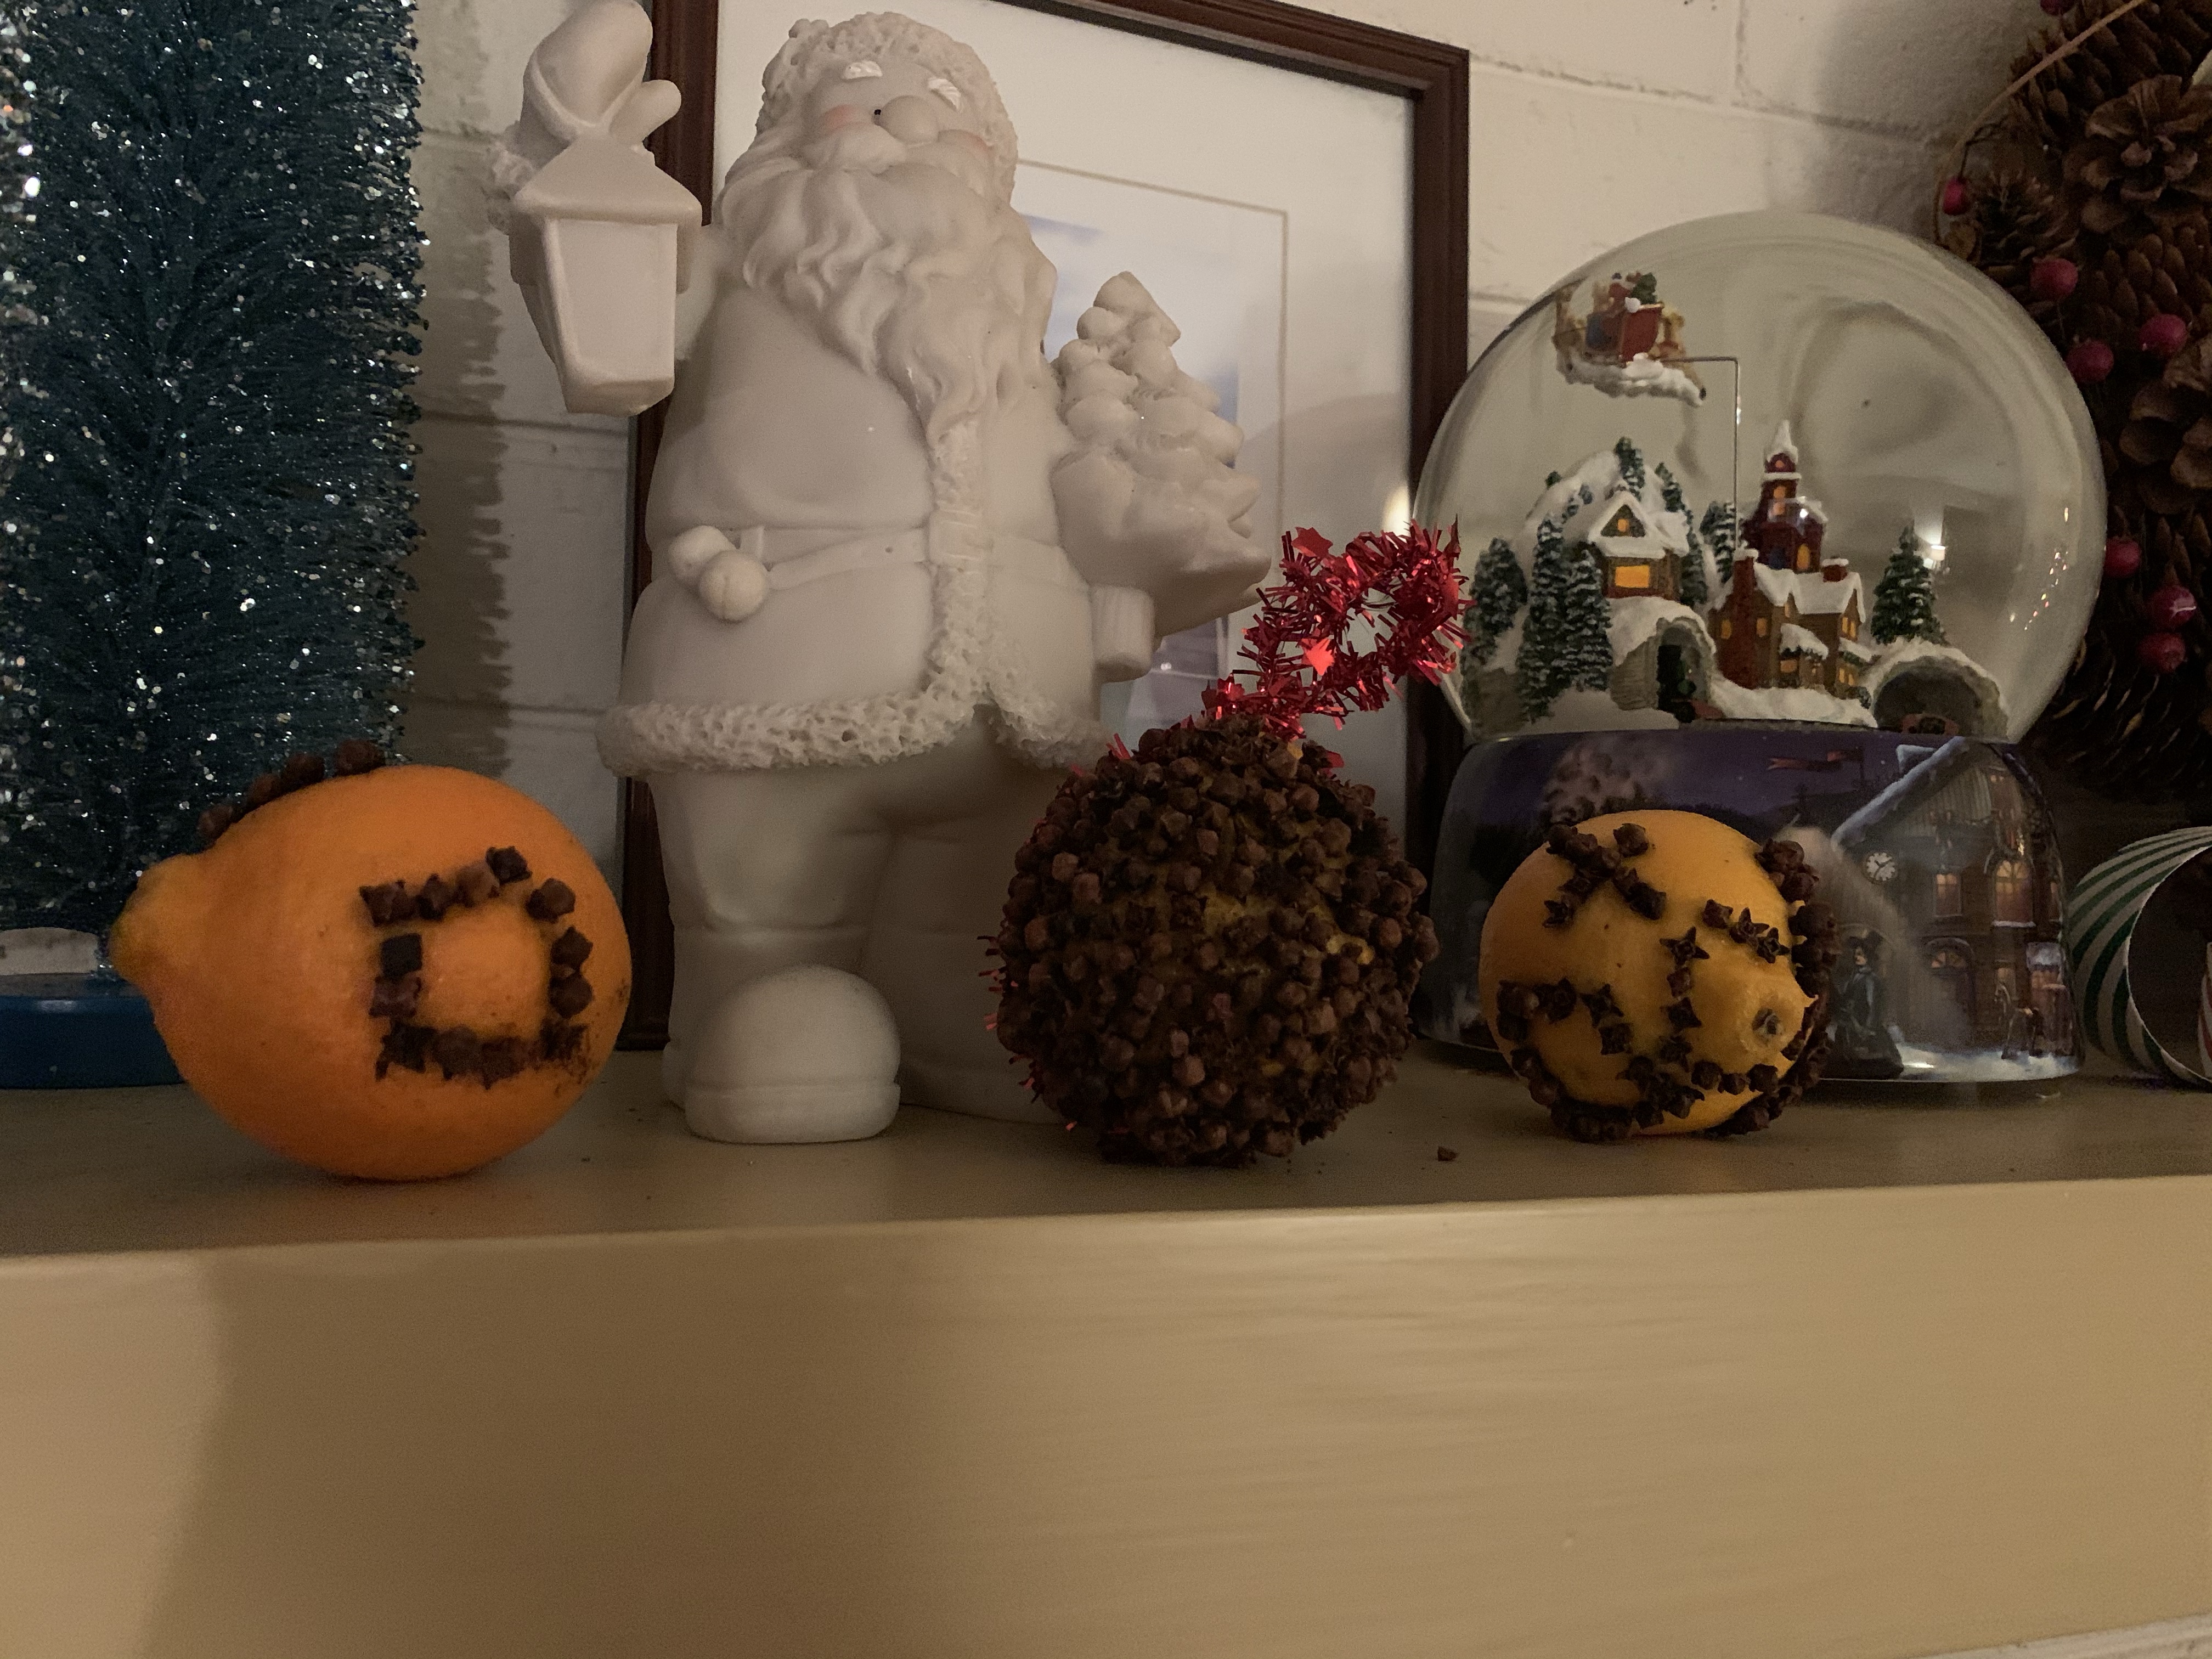
Pomander Balls were originally used to ward away illness with the strong scents of cloves and other spices.  Today, we make pomander balls with citrus fruits and cloves as a decoration, gift, centerpiece, or for scenting the room.

What you need:

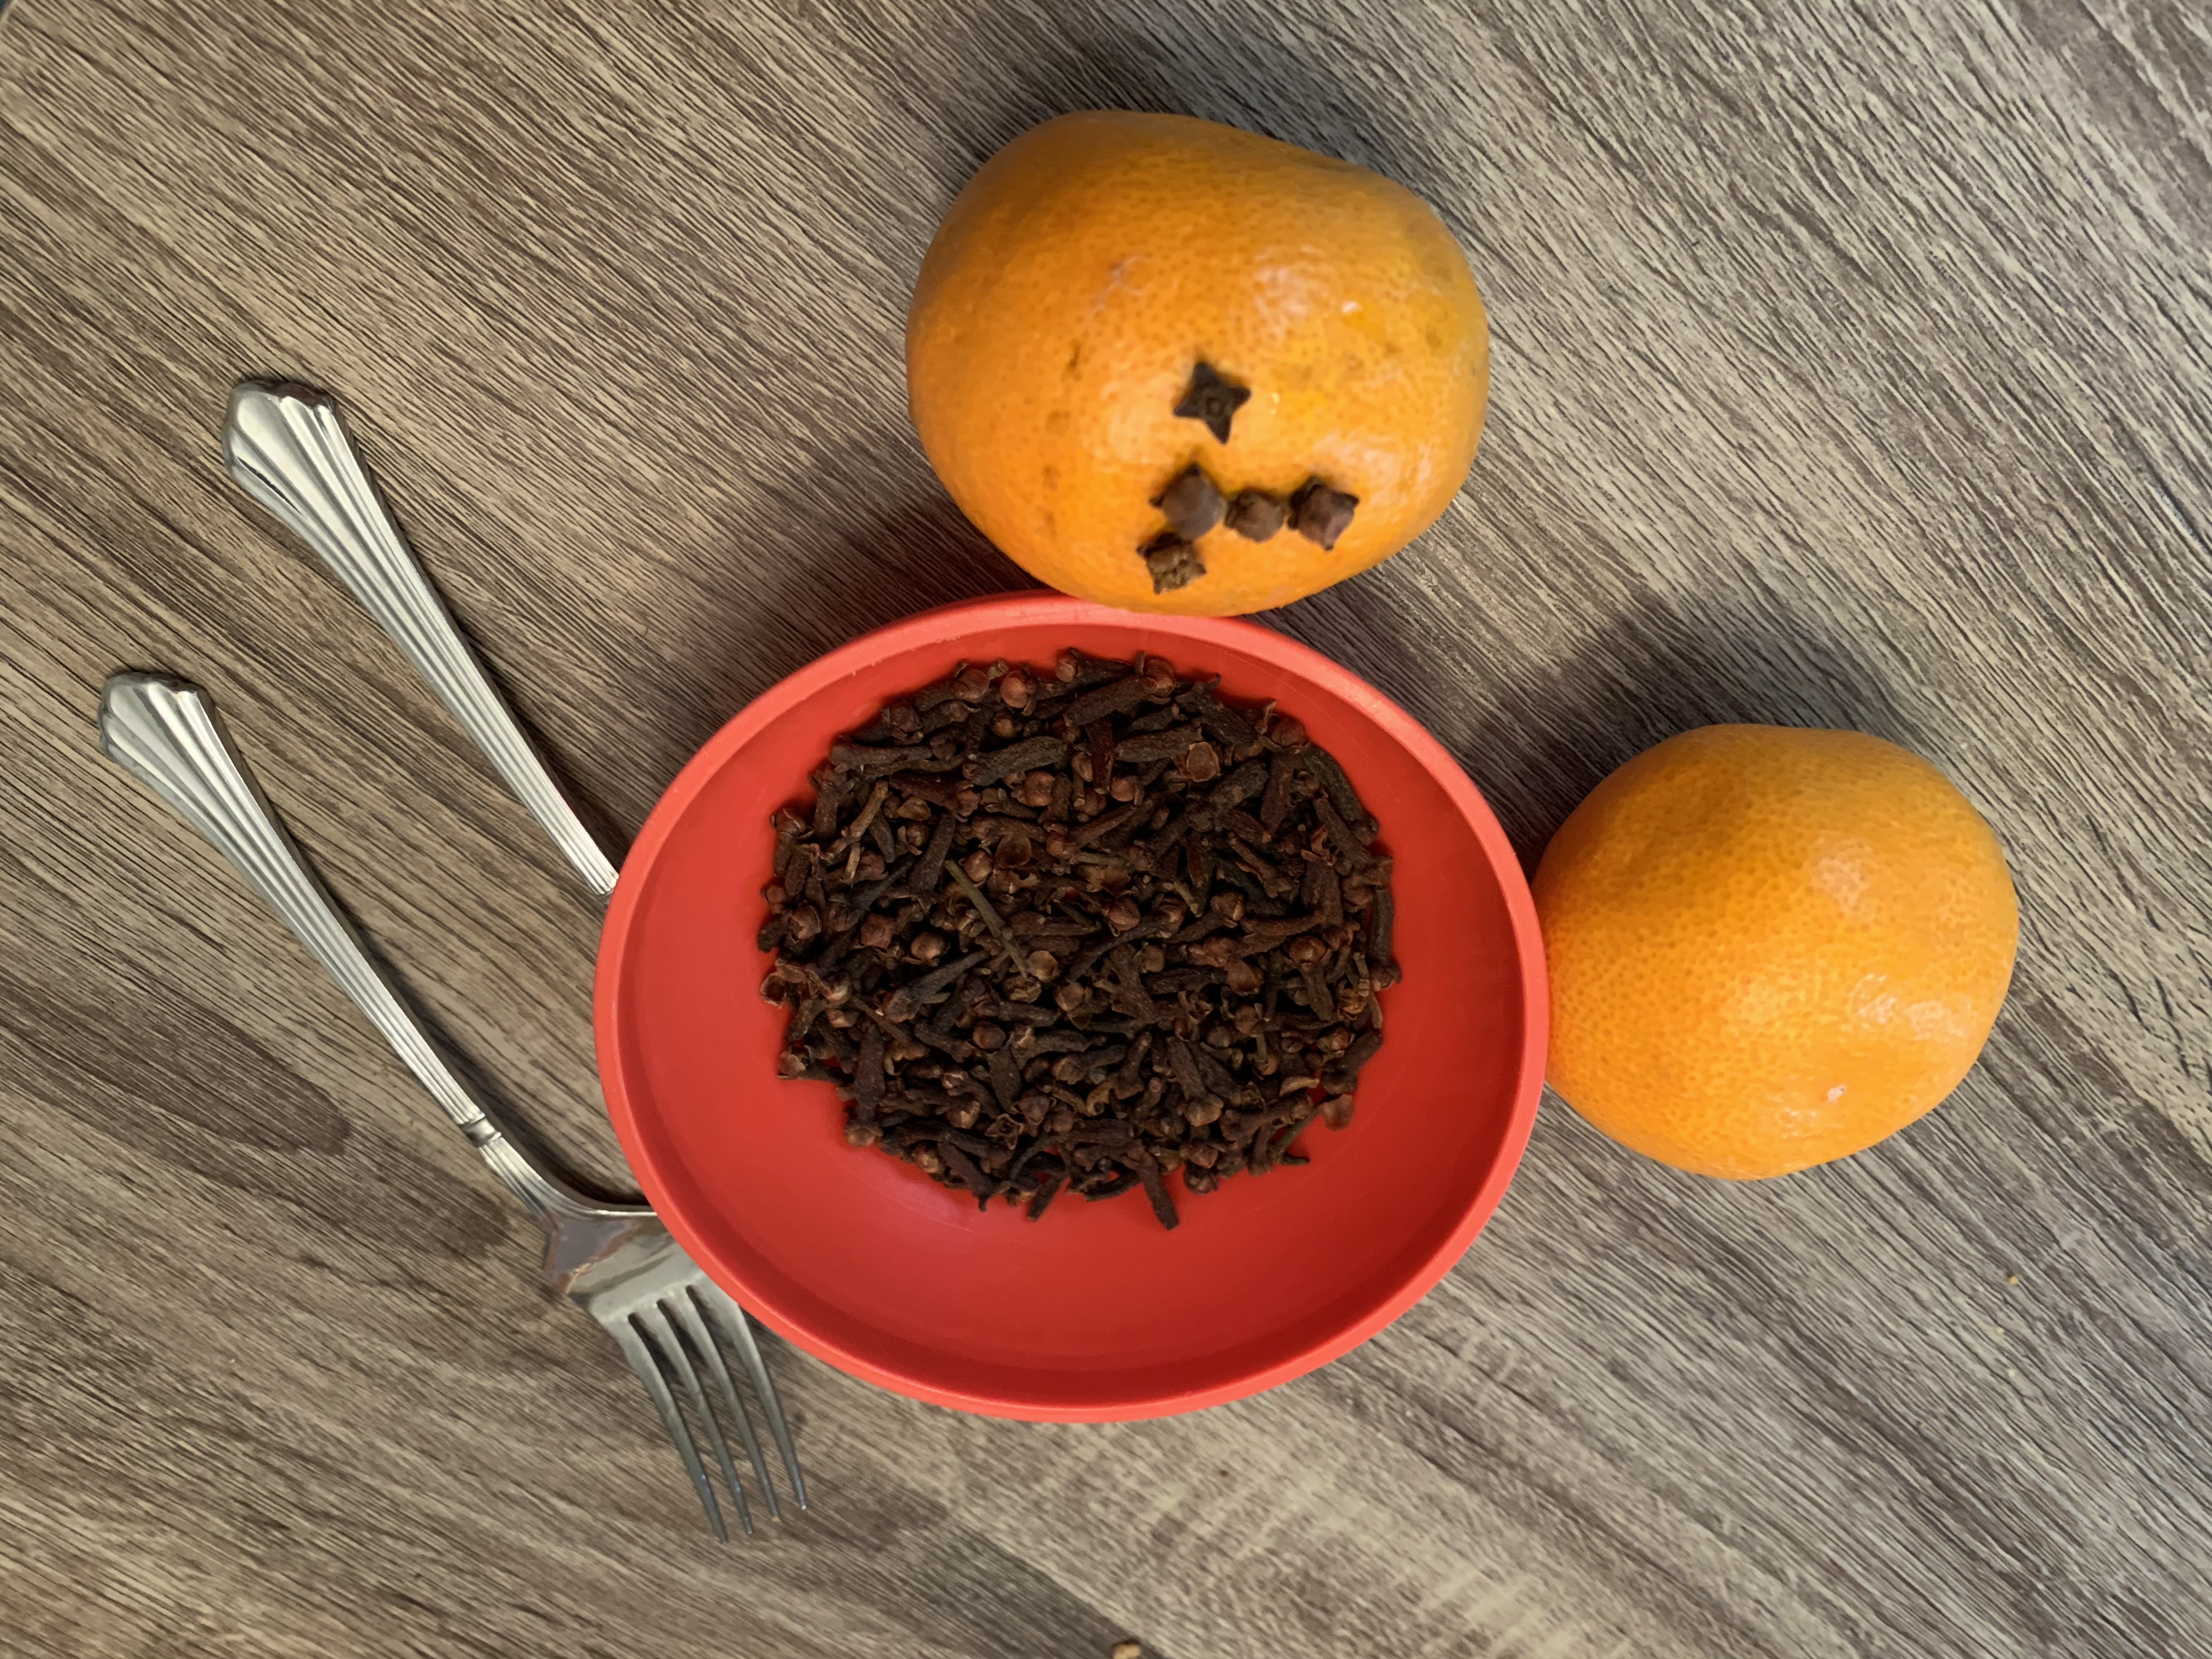
Citrus fruit: clementine or oranges work best (make sure they are on the harder side)

Whole cloves (you can get a large bag that will last for years at the food store)
Ribbon for decoration

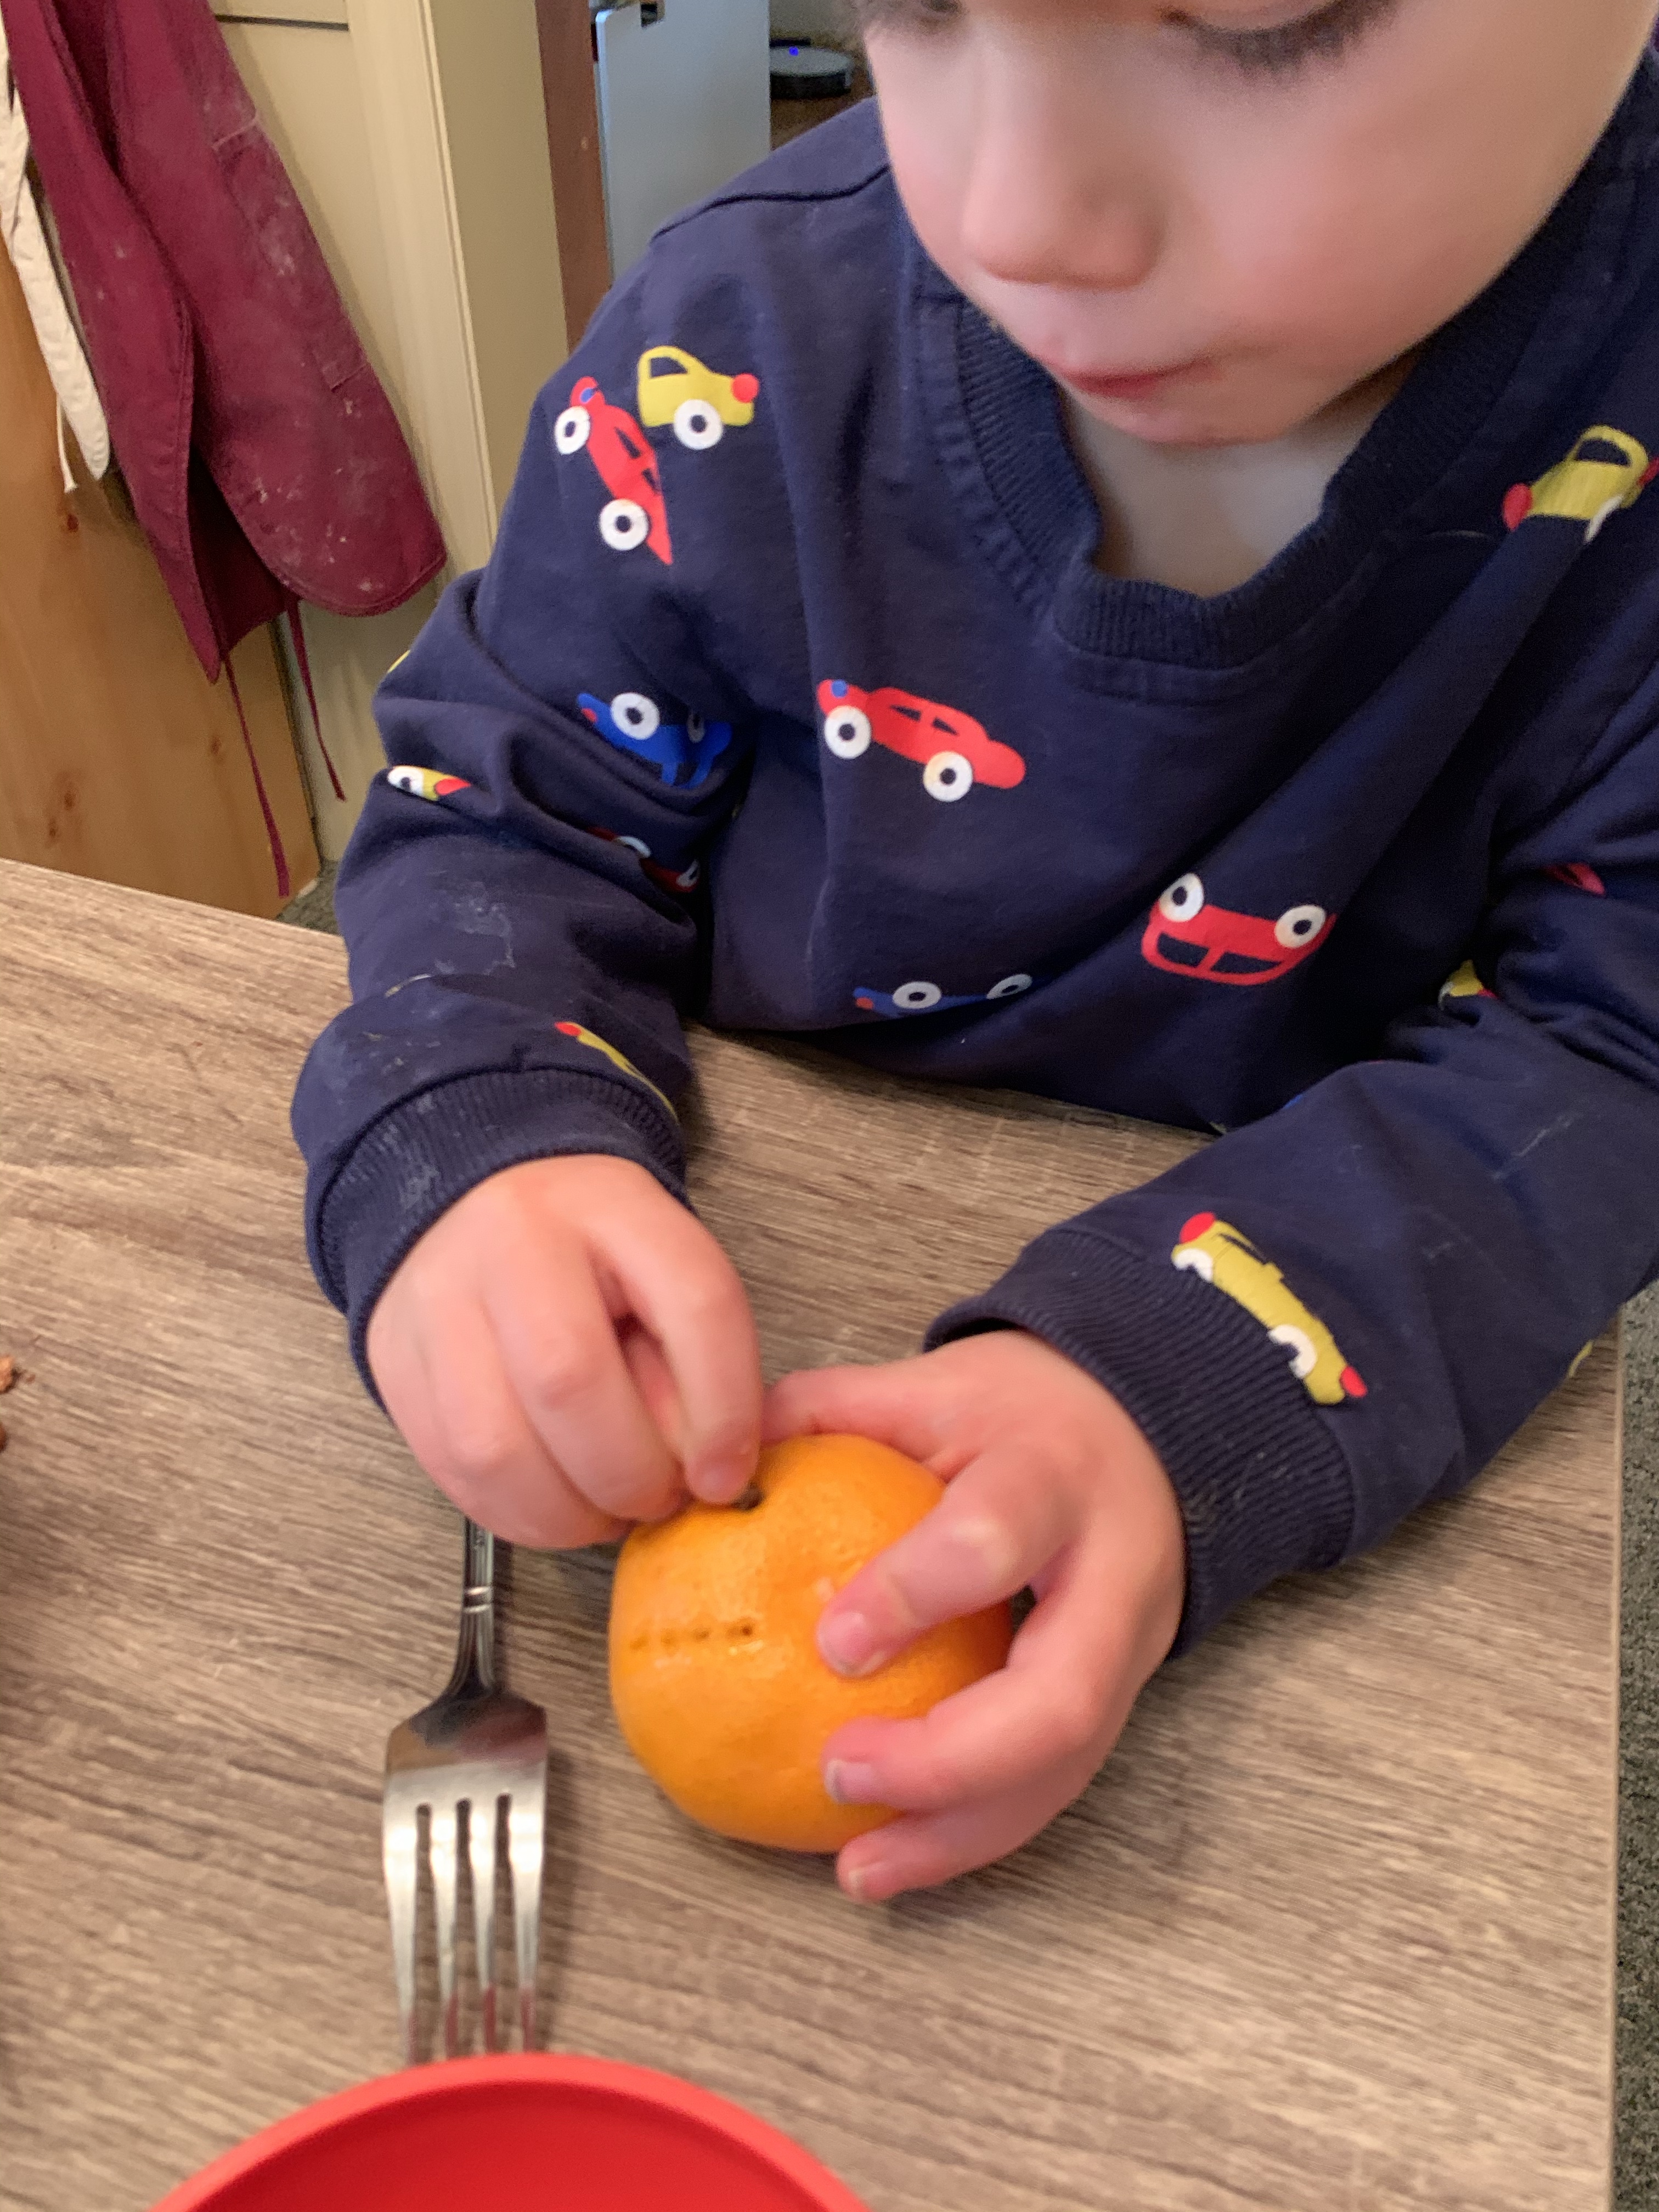
To make holes you can use a fork, pushpin, or toothpick (optional): my kids like to use a small fork to poke several holes at once

  1. Pour some whole cloves into a small bowl for the kids to chose fromimg_2440-1
  2. Next, have your child use a fork to poke holes
  3. img_2442-1
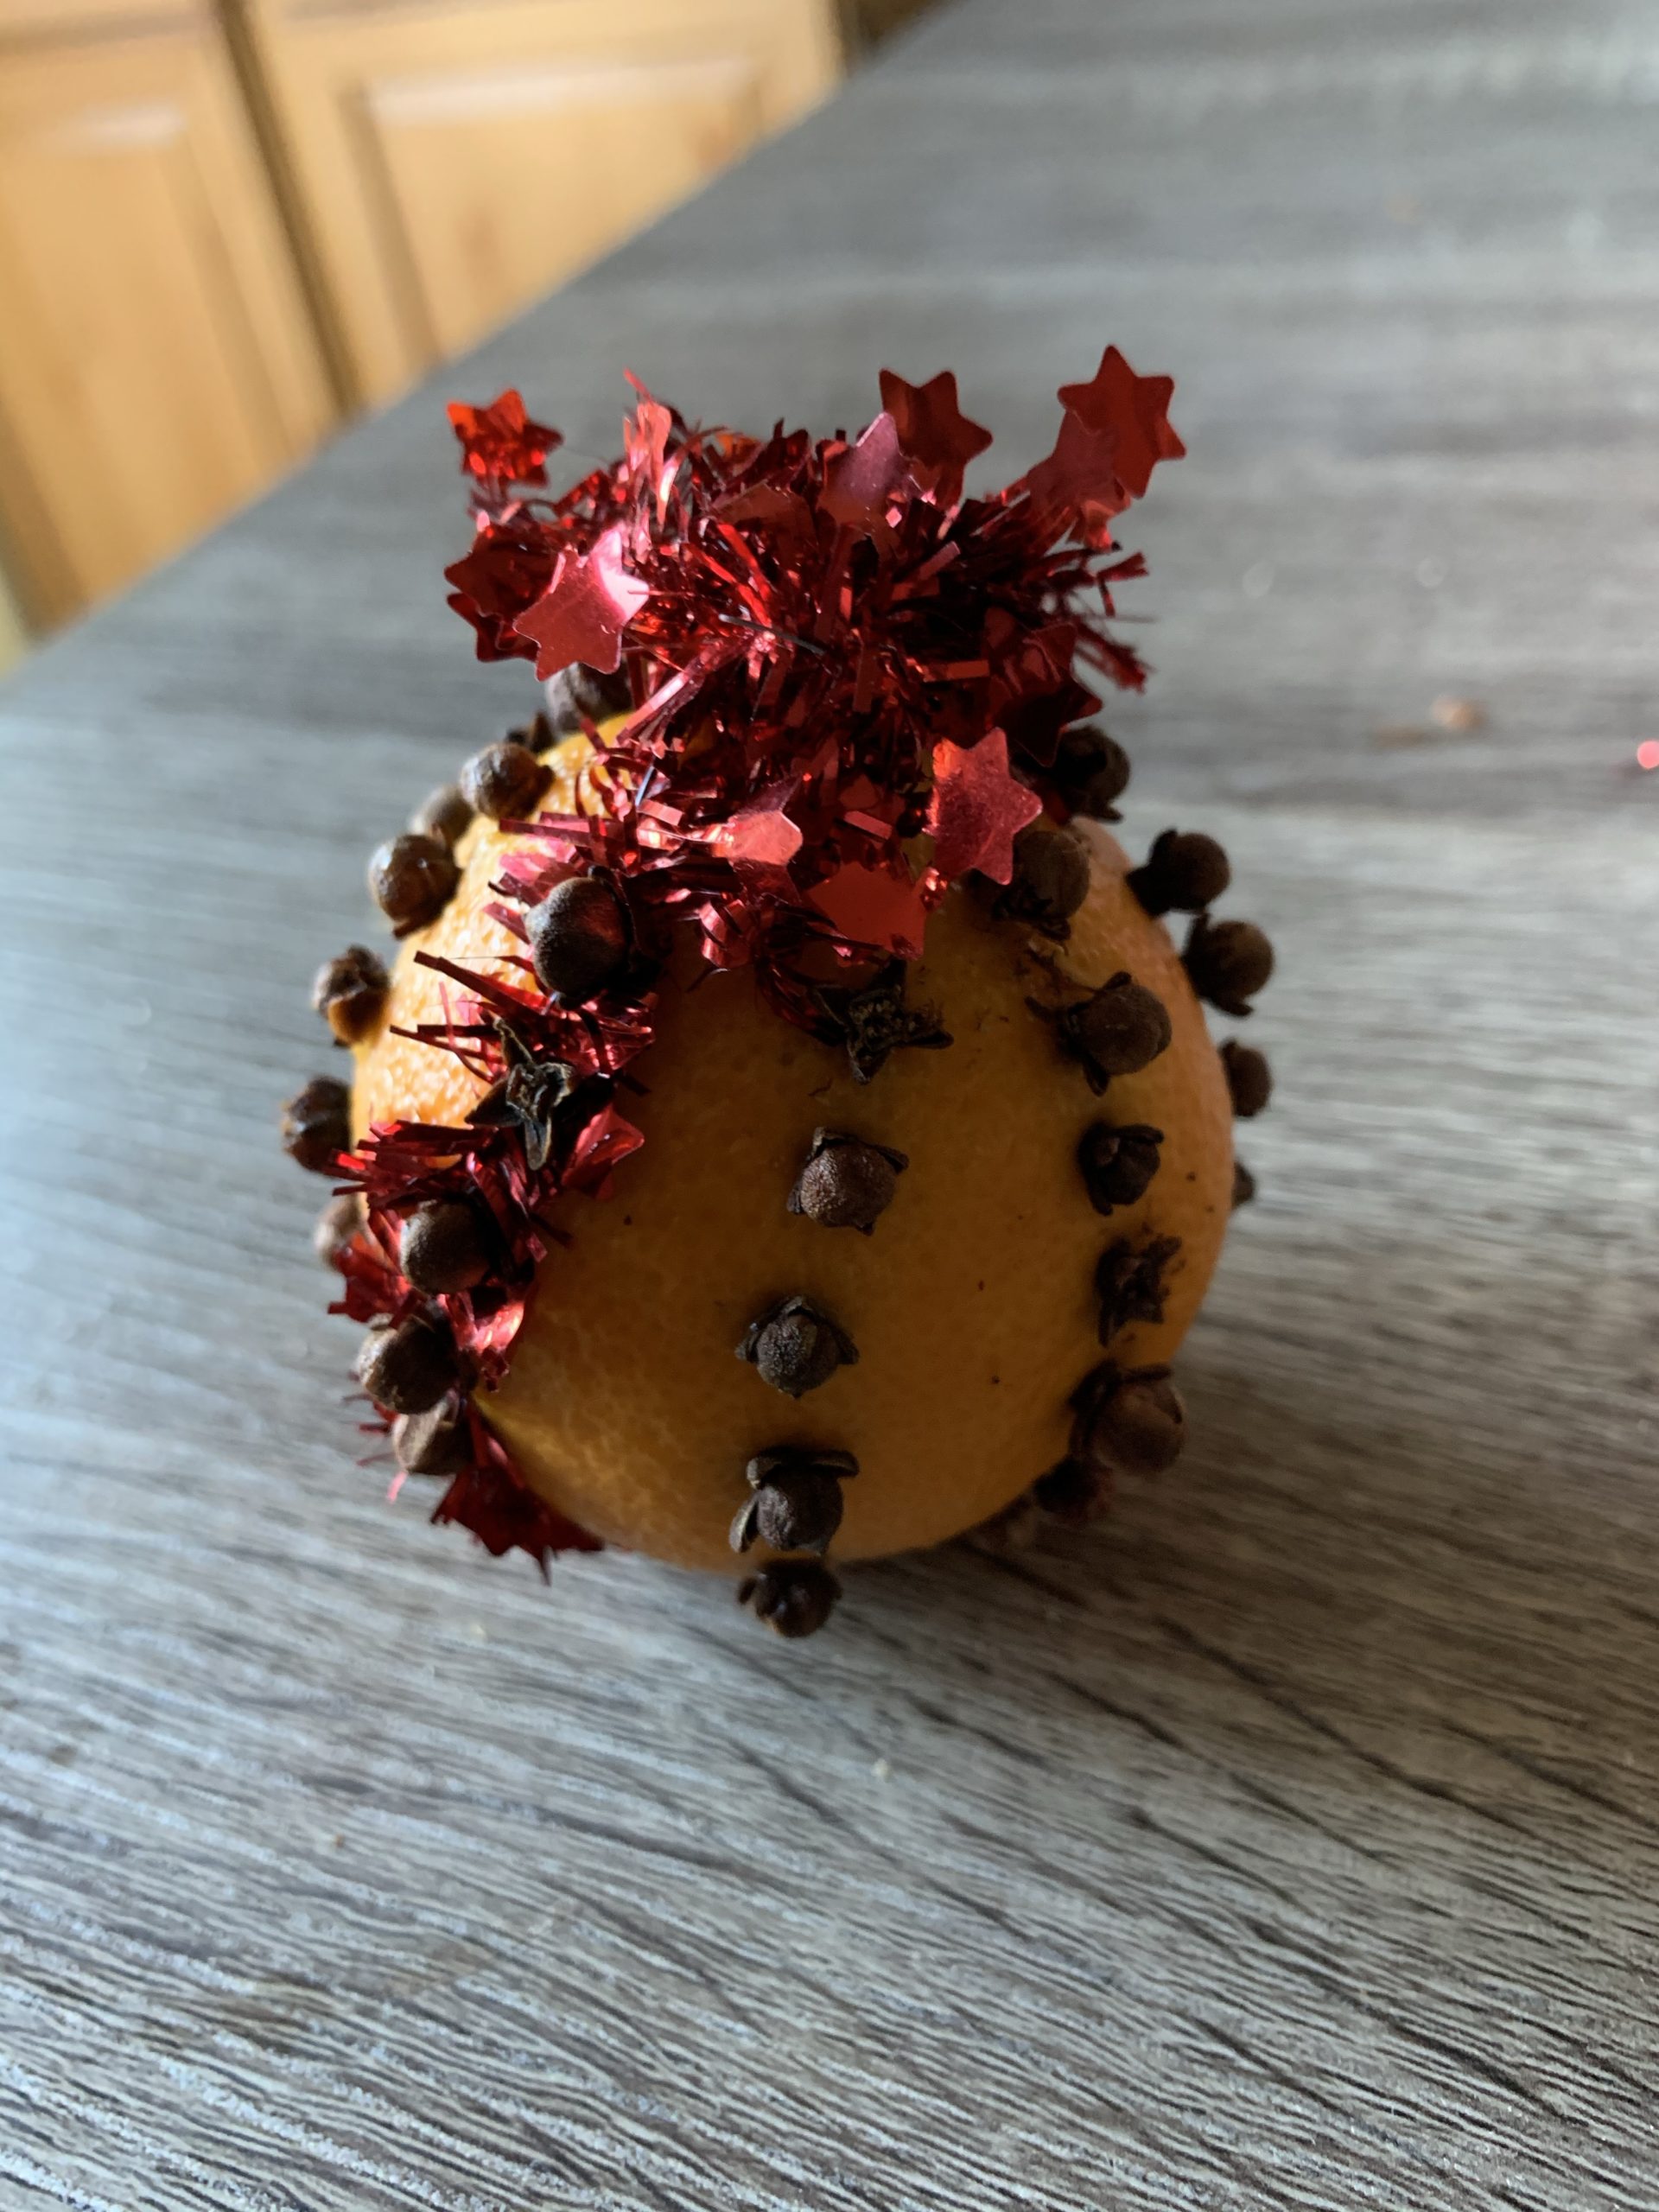
  4. Take the whole cloves and poke them through the holes
  5. Make a design as you chose, and hang with ribbon
  6. img_2453
  7. Dry out in a dark place, preferably in a brown bag for a week or two until dry then hang them or decorate with them!  If you chose not to dry them, then they usually last a week before they brown and get moldy. You can also place them in the fridge at night if you want them to last a little longer.
  8. img_2459
  9. If you fill the whole fruit with cloves completely, it will dehydrate the fruit and you wont need to place it in a bag at all (my kids don’t usually have the patience for this yet)

img_2458

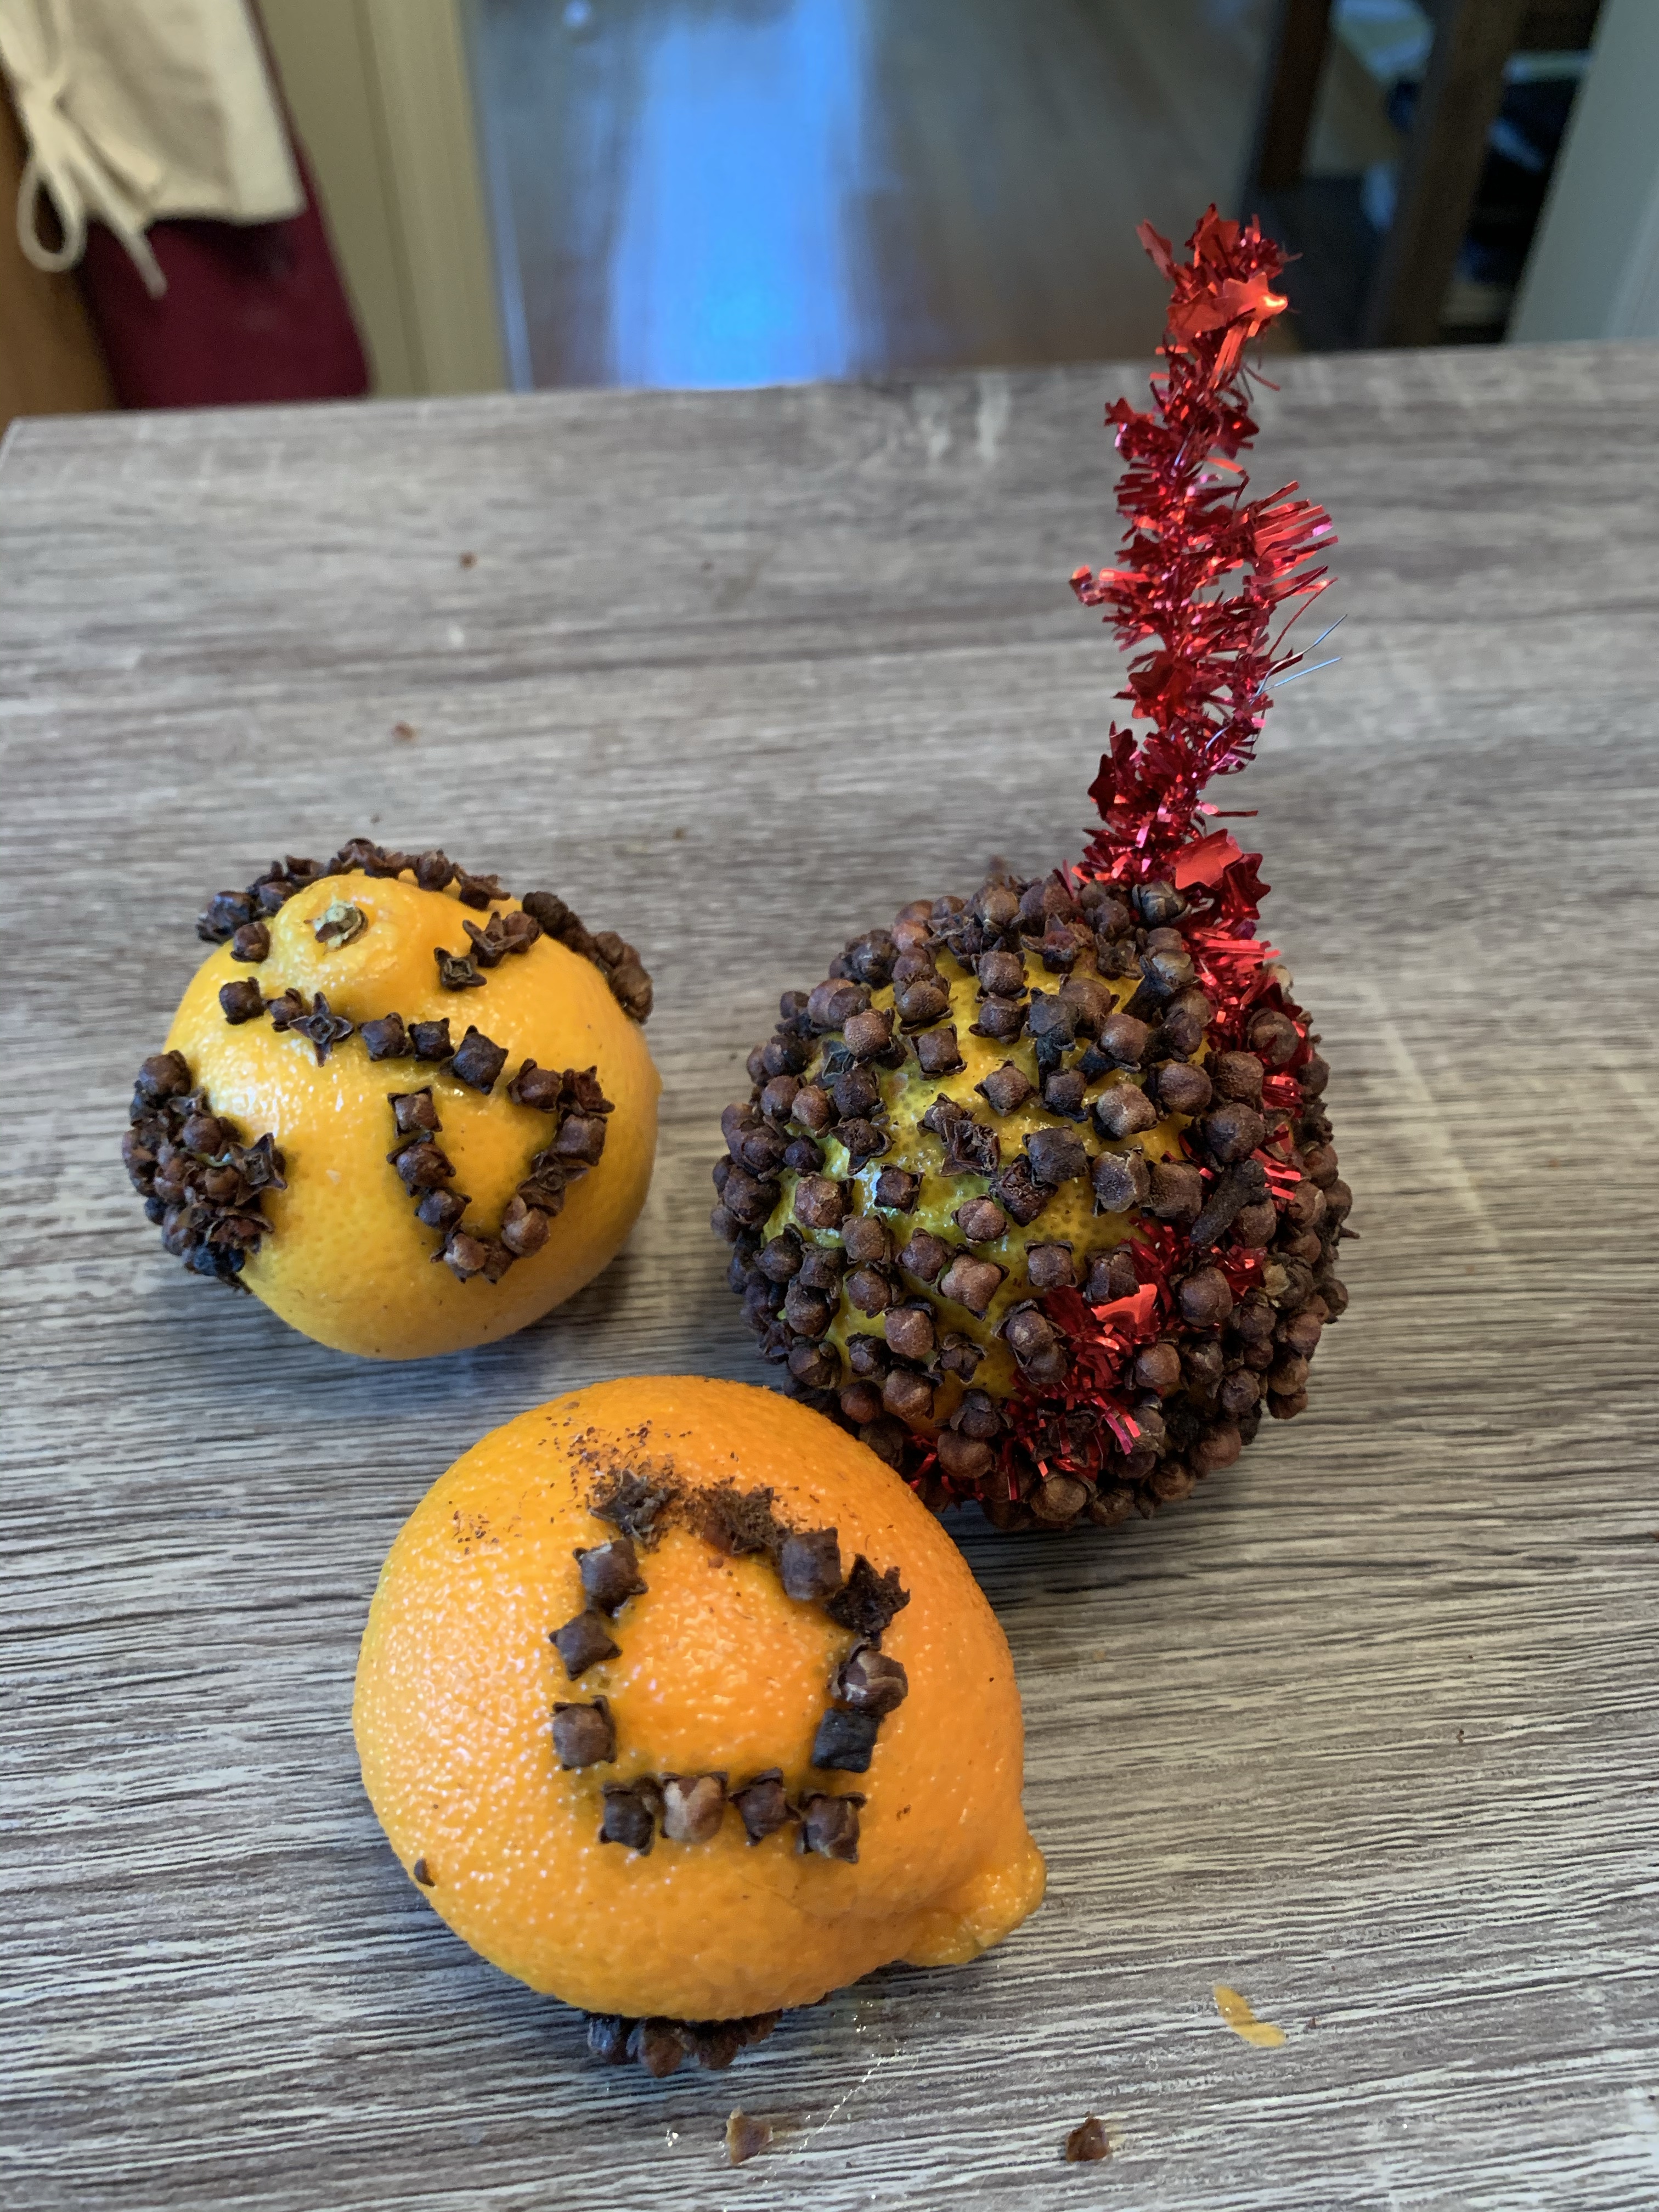
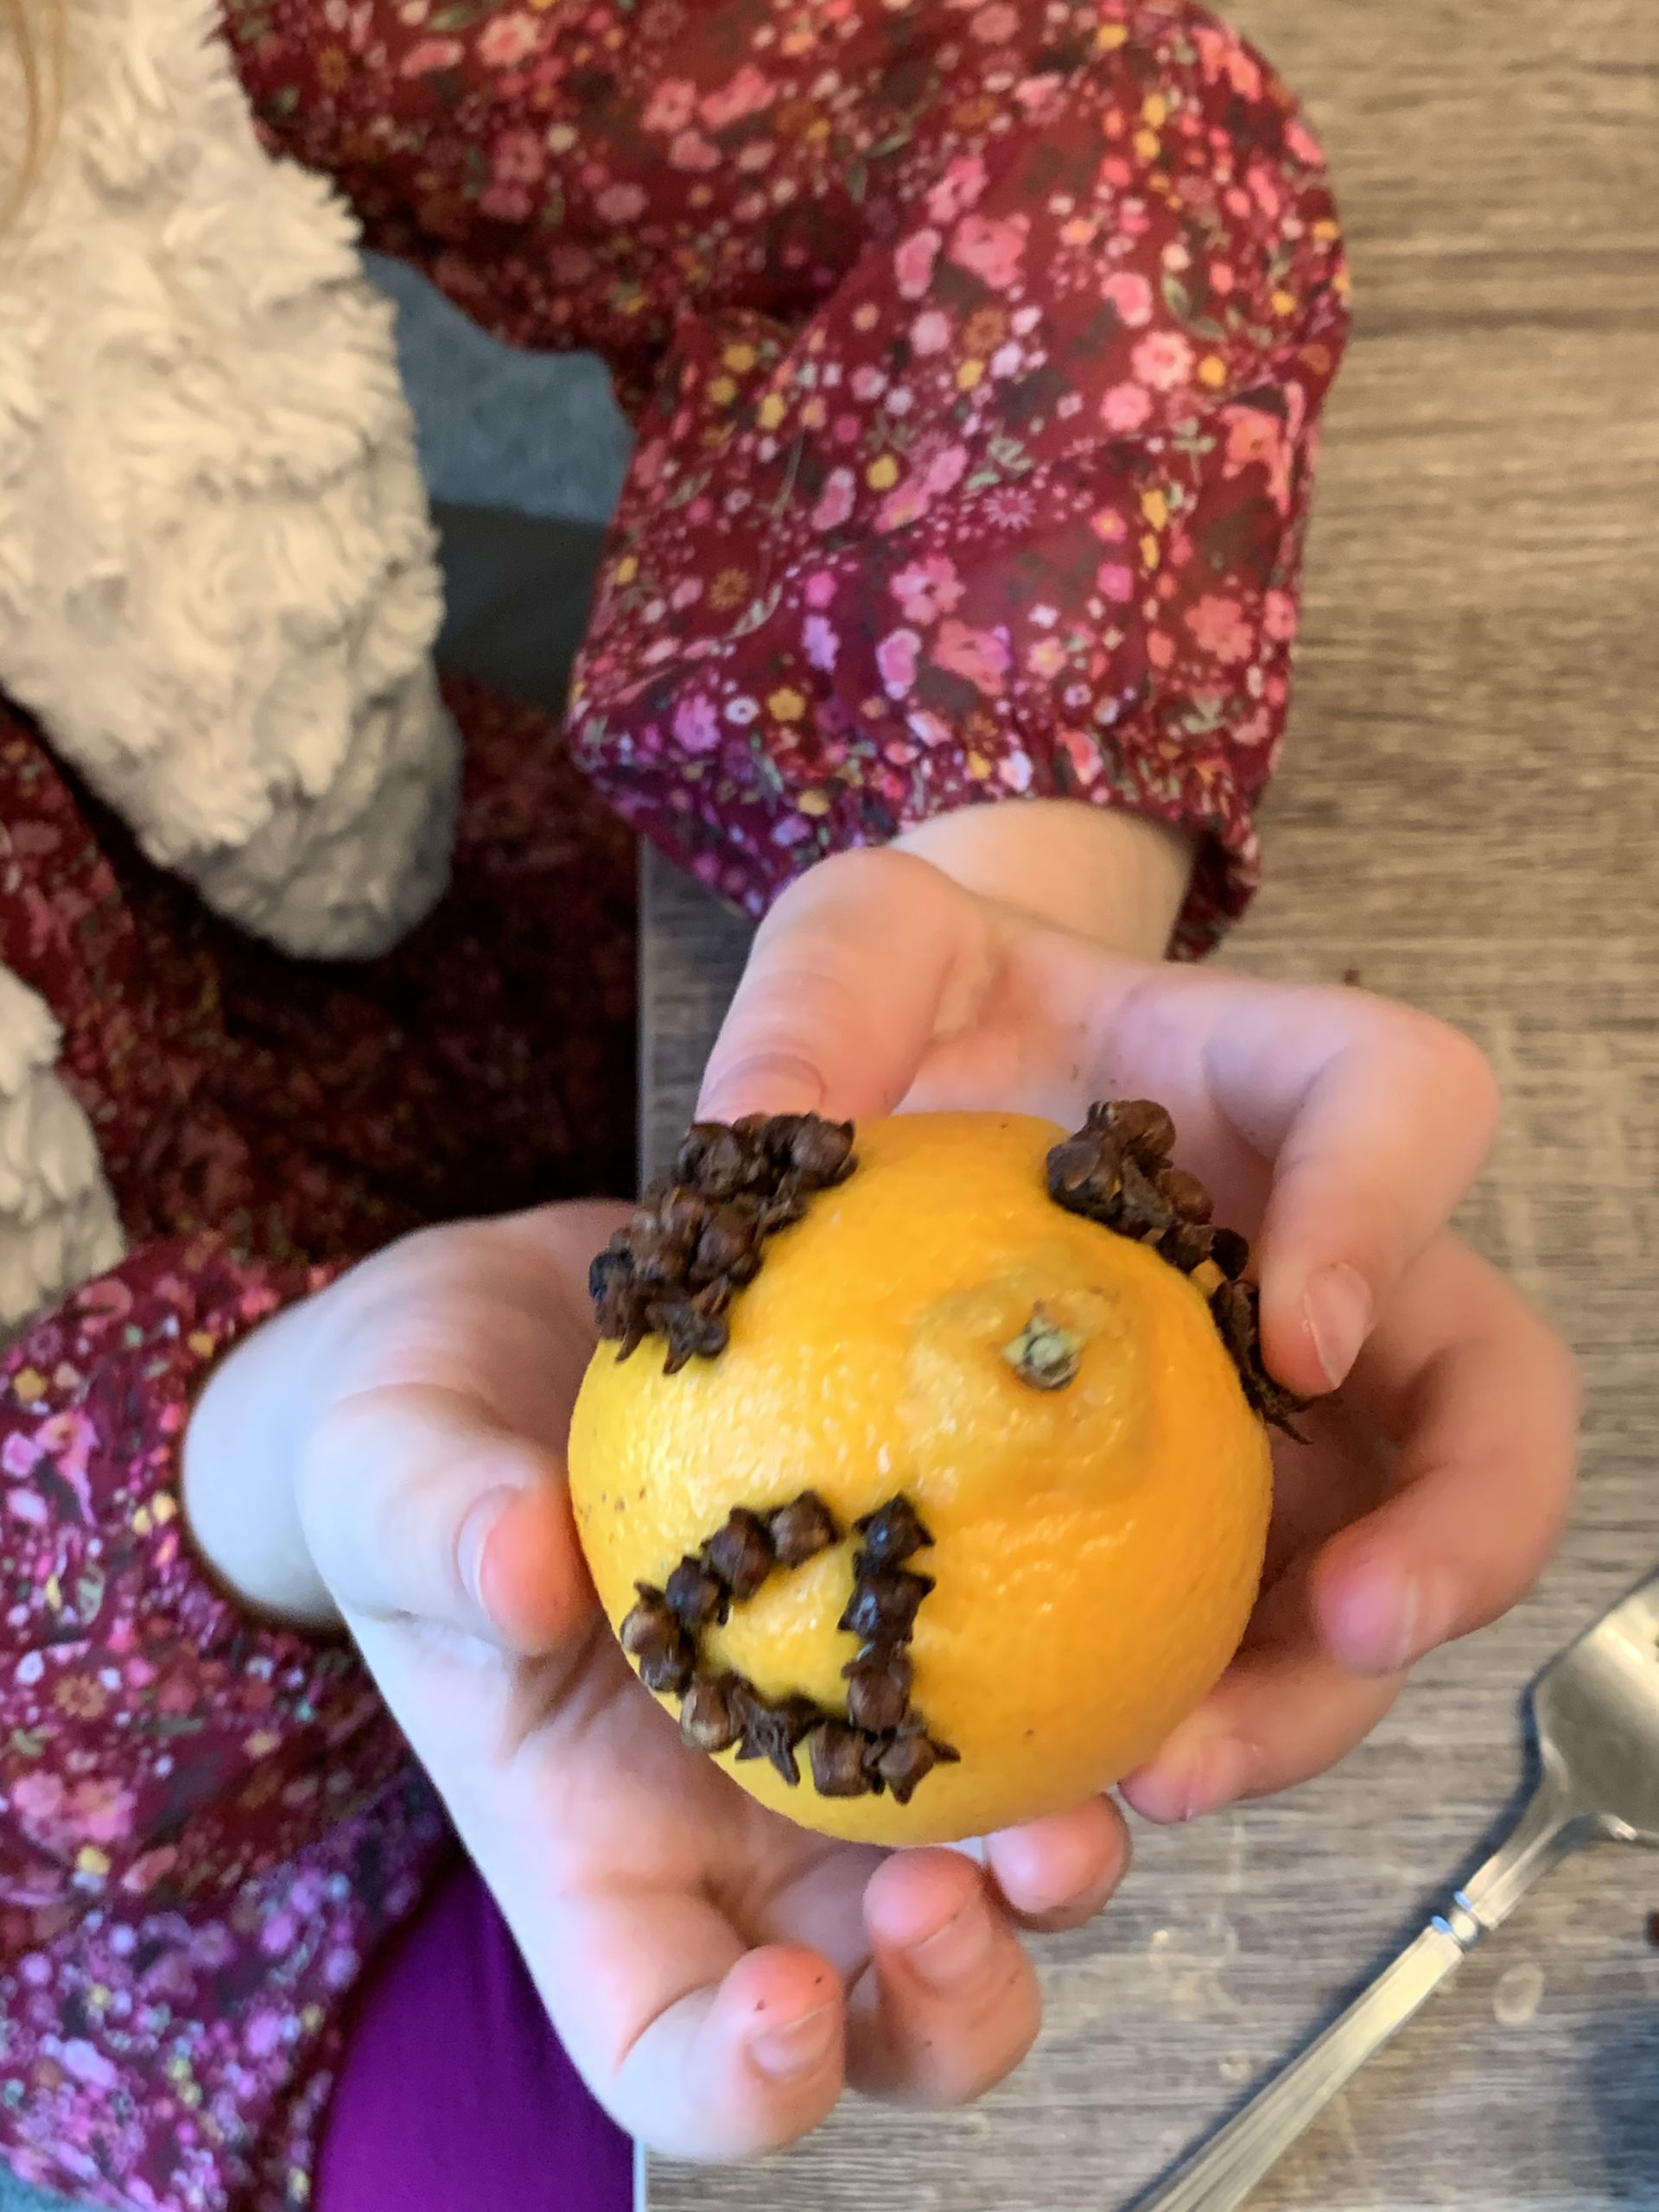
My kids wanted to law shapes on their clementines with the cloves!

img_2460

Enjoy and let me know how they turn out!!!


FollowFacebookpinterestrssyoutube
ShareFacebookpinterest

DIY Felt Unicorn Ornament

My daughter saw the cutest ornament at Boscov’s the other day…a unicorn. It was made from felt and I thought, “I can make that!” If you know anyone who loves unicorns then this simple felt ornament can be made for Christmas, or enlarged as a stuffed animal!

Materials needed:

-Felt in various colors: I used leftover felt I had from other projects. Any colors will work. I used white, yellow, blue, and pink.

-scissors, needle, thread

-hot glue gun, felt marker, cotton for stuffing

11 - Copy

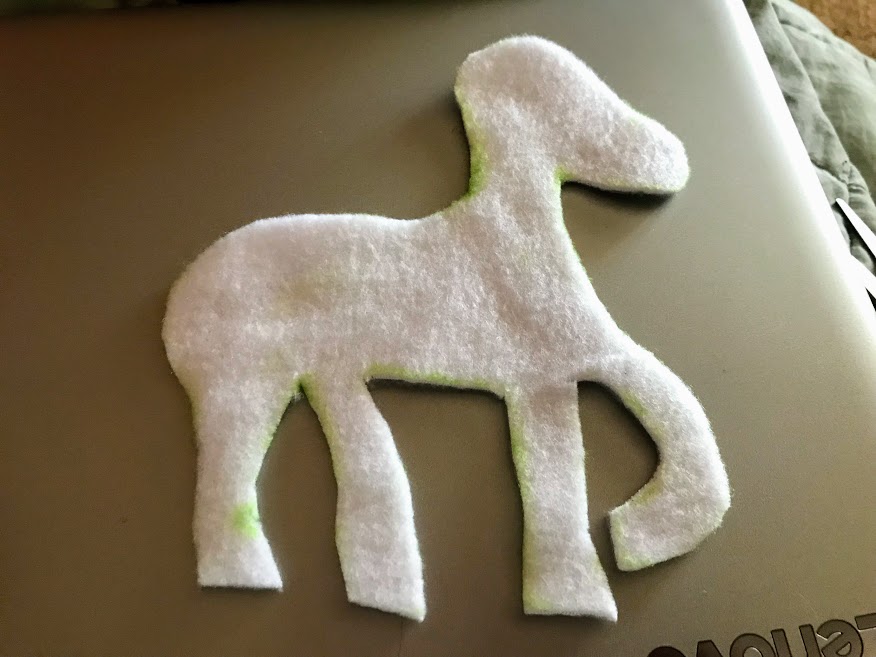
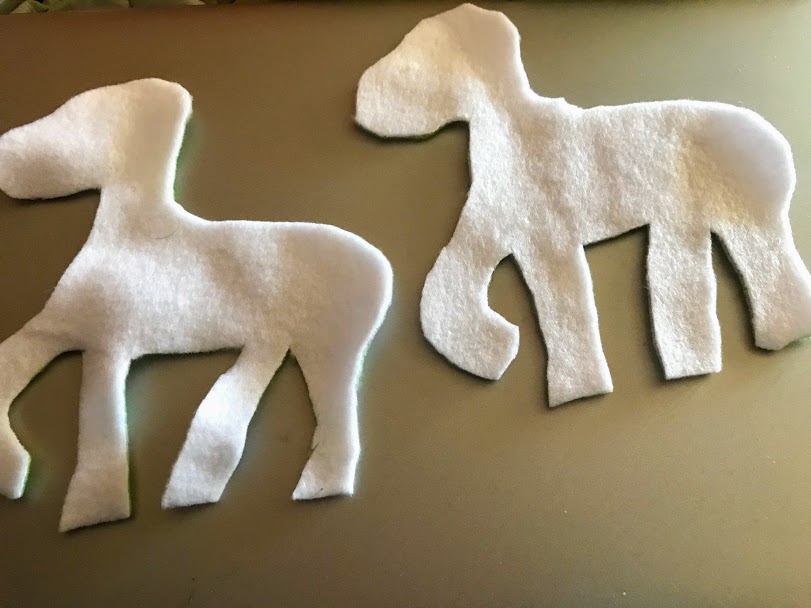
First I laid out a white piece of felt and drew the body. I didn’t use a printout or pattern, I just eyeballed it by looking at pictures. I cut it out, then laid it on top of another piece of white felt to trace and again cut out. This way I had both sides of the unicorn’s body.

11 - Copy

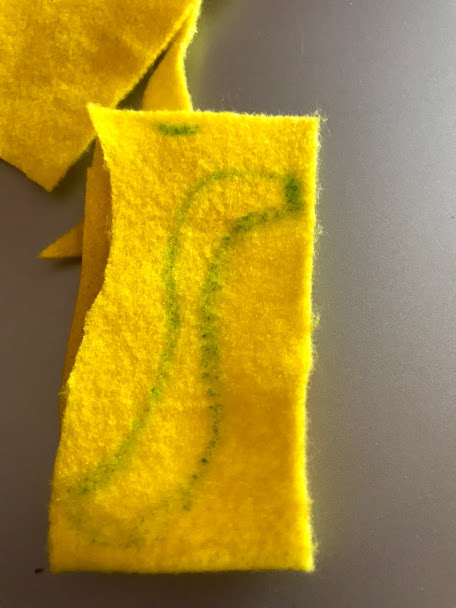
The second cut out of the unicorn body ended up a little larger, but I just cut and adjusted the size as I was sewing it. Next, I moved onto cutting out the hair for the mane and tail. I also cut out an ear and horn. I looked at pictures and drew it freehand on the colors of felt I desired. They ended up looking like little worms.

1 - Copy1 4

I placed my tail pieces on the back to make sure they looked okay and hot glued them to the back piece of the body. I did not glue them to BOTH body pieces, just the front of the back piece of the body (see picture).

3 2

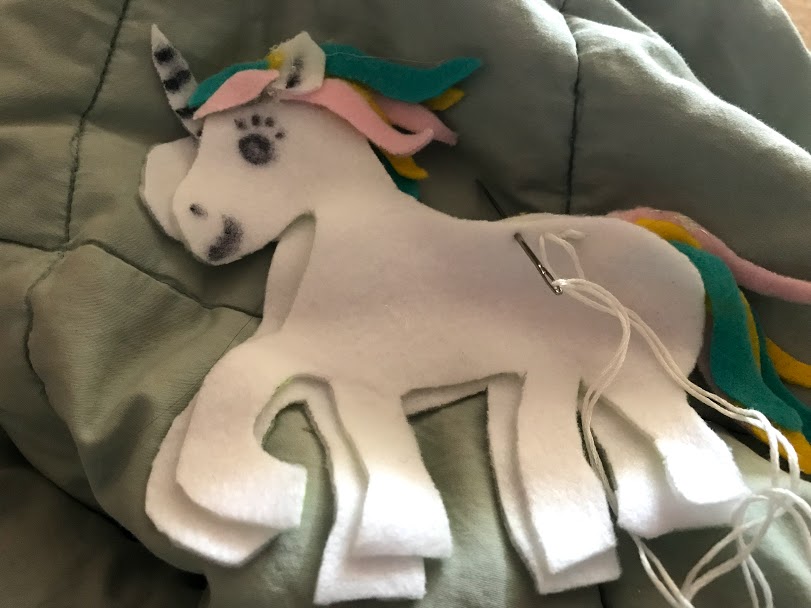
Next,  I placed the hair and ear on the unicorn to make sure it looked correct. I didn’t glue it, but just placed it there to make sure it was to my liking. I drew on eyes, a mouth and nose with a felt marker.

51 - Copy

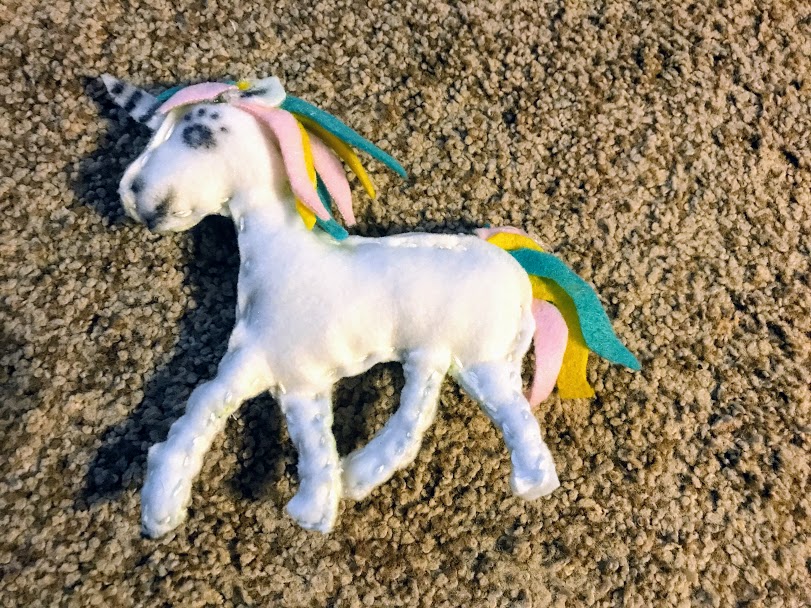
I hot glued the horn onto the front of the back piece of the body. I hot glued the mane and ear onto the front body piece. Next I sewed the unicorn together. As I was sewing, I stuffed it. Don’t wait until the end or your won’t be able to fill the smaller spaces like the legs.

1 - Copy.jpg

After sewing and stuffing the unicorn, I cut a piece of ribbon and hot glued it to the back of the unicorn.

21

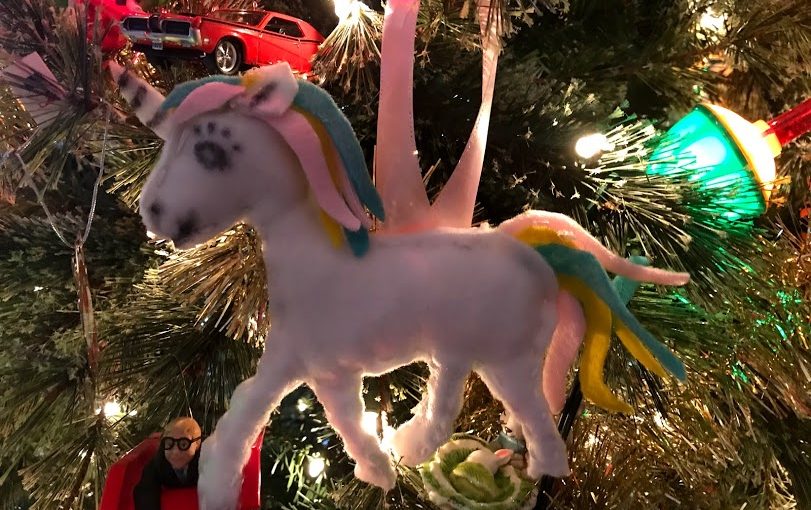
Next, I hung it on the tree. Wallah! DONE!

4

3

Happy Ornament Making!!!!


FollowFacebookpinterestrssyoutube
ShareFacebookpinterest