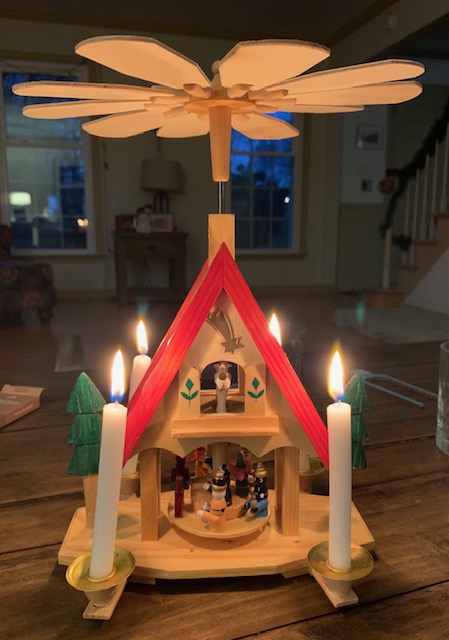
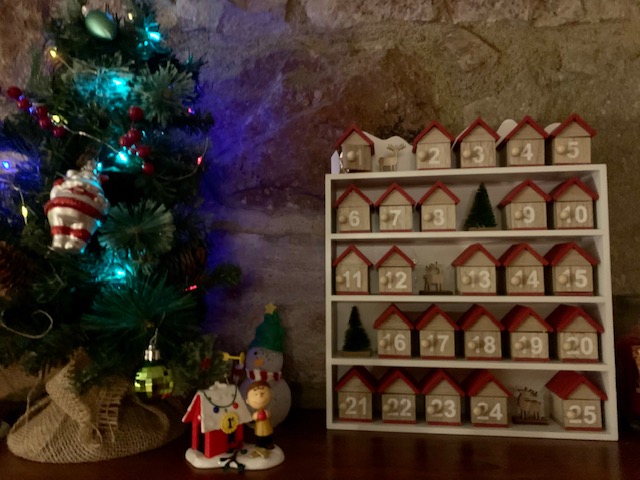
Today there are many advent calendars that can be bought, ranging from simple chocolates to complex lego advent calendars. There are wine, book, superhero, and just about anything advent calendars that can be bought for a price. I remember having certain Christmas traditions in my home as a child and want my children to experience similar fond memories when they are older. So I purchased a German Christmas pyramid second hand (as they can be very expensive and knowing children, it most likely will break).
I also decided to buy an advent calendar for my children. I decided one sturdy wooden advent calendar would do the trick! I saw many beautiful lit ones for higher prices; however, I felt they could easily be broken. I finally decided on one I purchased at Lowes.
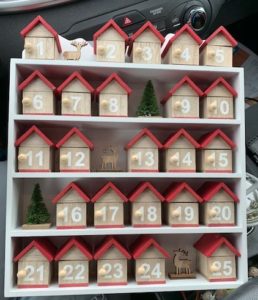
Now, the big question is, what should I fill each day with? So many options, but such a SMALL space. So, only very small items fit, such as two Hershey kisses or two small mini candy bars and the door wont completely shut. I didn’t want to start off with something too grand in the first door. My kids were excited about chocolate, so that’s what I did, two very small pieces of chocolate.
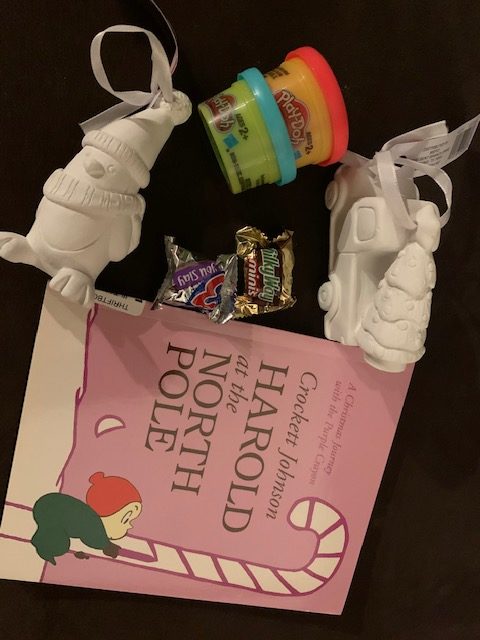
For the other doors, I will have some small chocolates in a couple, but I have many other cute and fun items for the kiddos. I’ll leave a very small piece of paper in the day that will have a clue to where their item is located. I was going to go into scavenger hunts, but lets be real, I would rather relax for a couple minutes after bed (or do this post), instead of trying to come up with an elaborate hunt they will be done with in 5 mins! Since my children can’t completely read yet, I decided using pictures might be best. So in day 2 I will put a picture of a christmas tree. They will run to the tree and see a pack of fruit flavored candy canes under the tree to hang up on the tree.
Here are some other ideas of items you can leave notes for:
- Candy
- Christmas books
- Plato
- wooden /ceramic projects
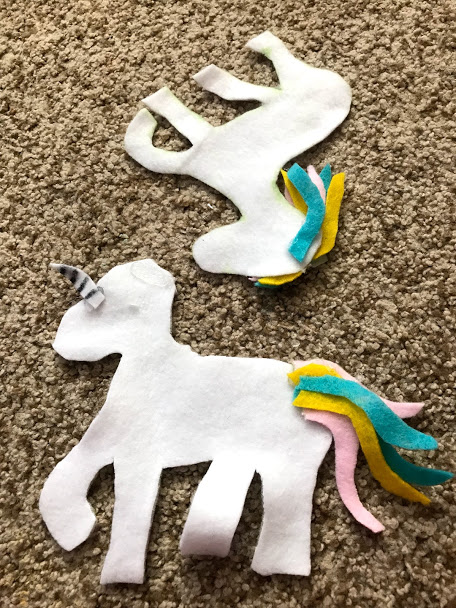
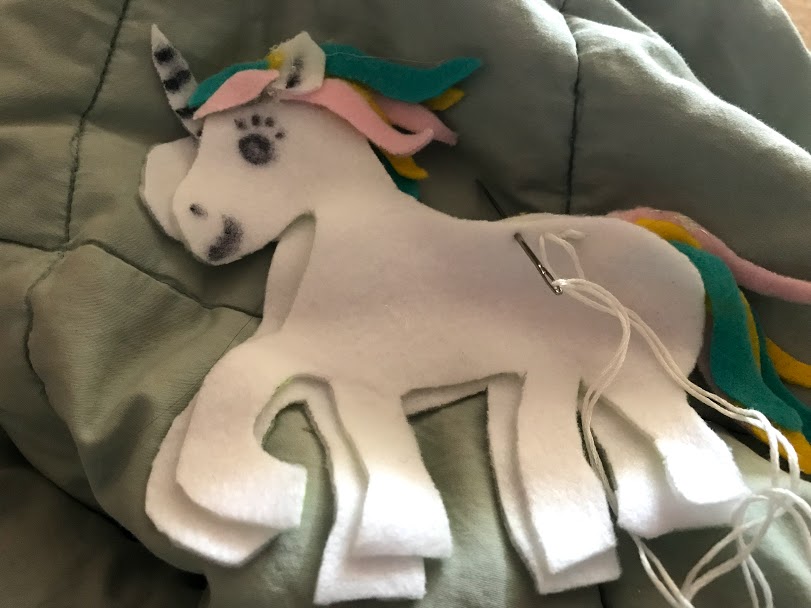
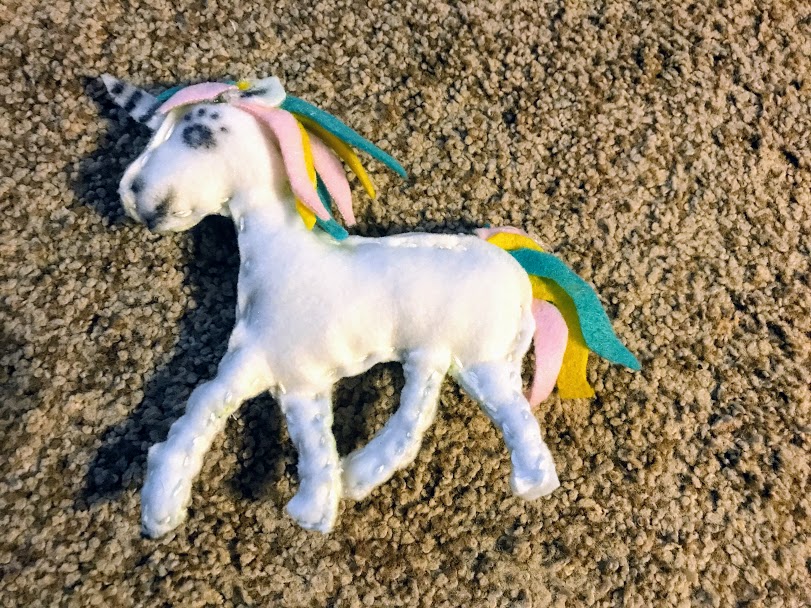
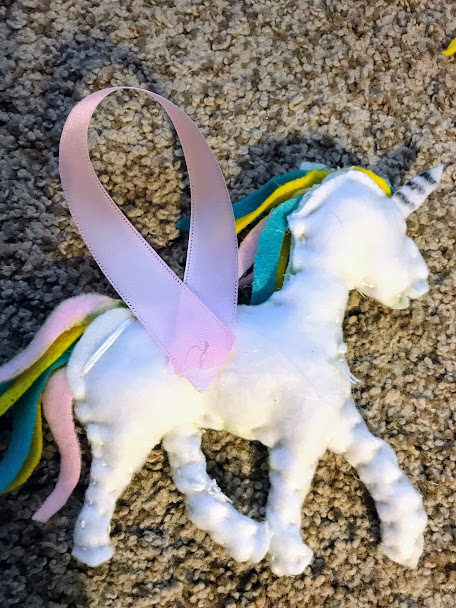
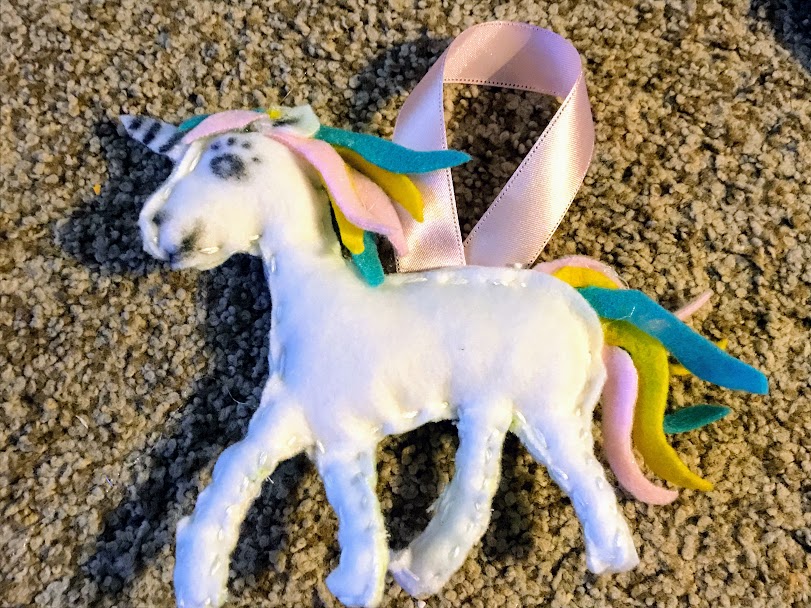
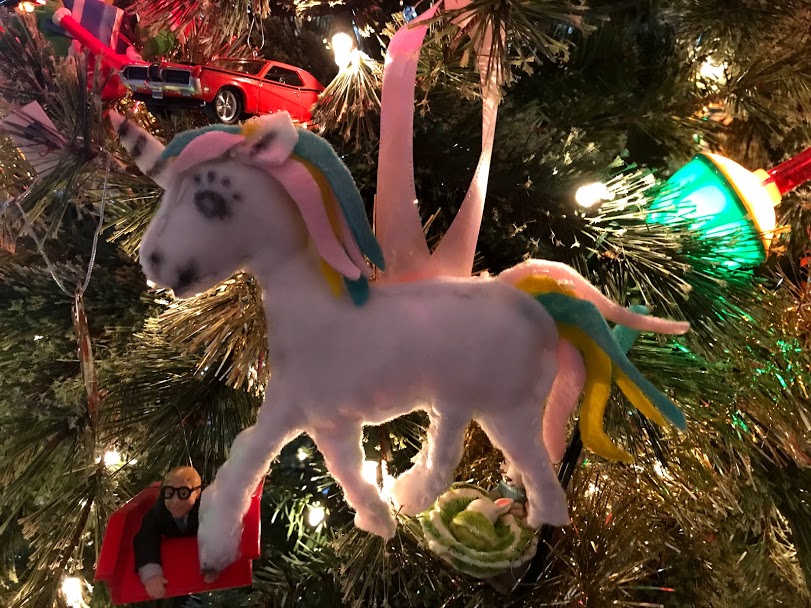
- Felt snowman fun
- any kind of christmas project including photo ornaments, easy glitter ornaments, and many other ones on this website
- ornaments for the tree
- Christmas clothing
- Christmas lights
- coloring books
- Christmas cookies
- Baking recipe to make cookies
- Sprinkles for cookies
- Hot cocoa packet/marshmallows..or homemade hot cocoa
- Christmas movie
- Christmas mask (2020)
- Christmas headband, clips, socks
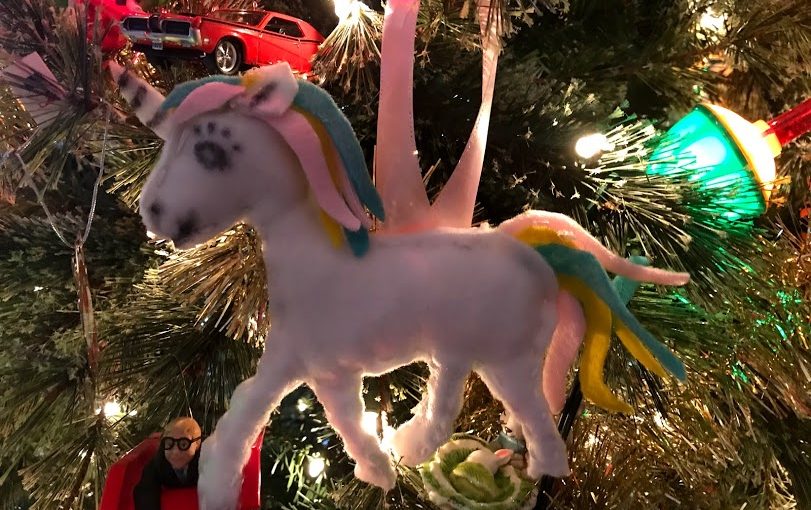
- Small stuffed Christmas santa, elf etc.
- Sock Snowman (either made or have supplies to make)
- Felt Christmas tree (can make one, or if child is old enough they can make it!) or just an ornament to add to their current felt C
- Christmas tree!
- Tree Prints!
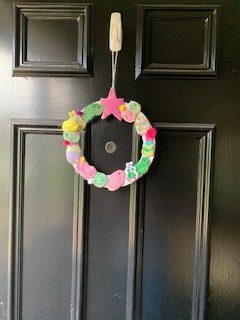
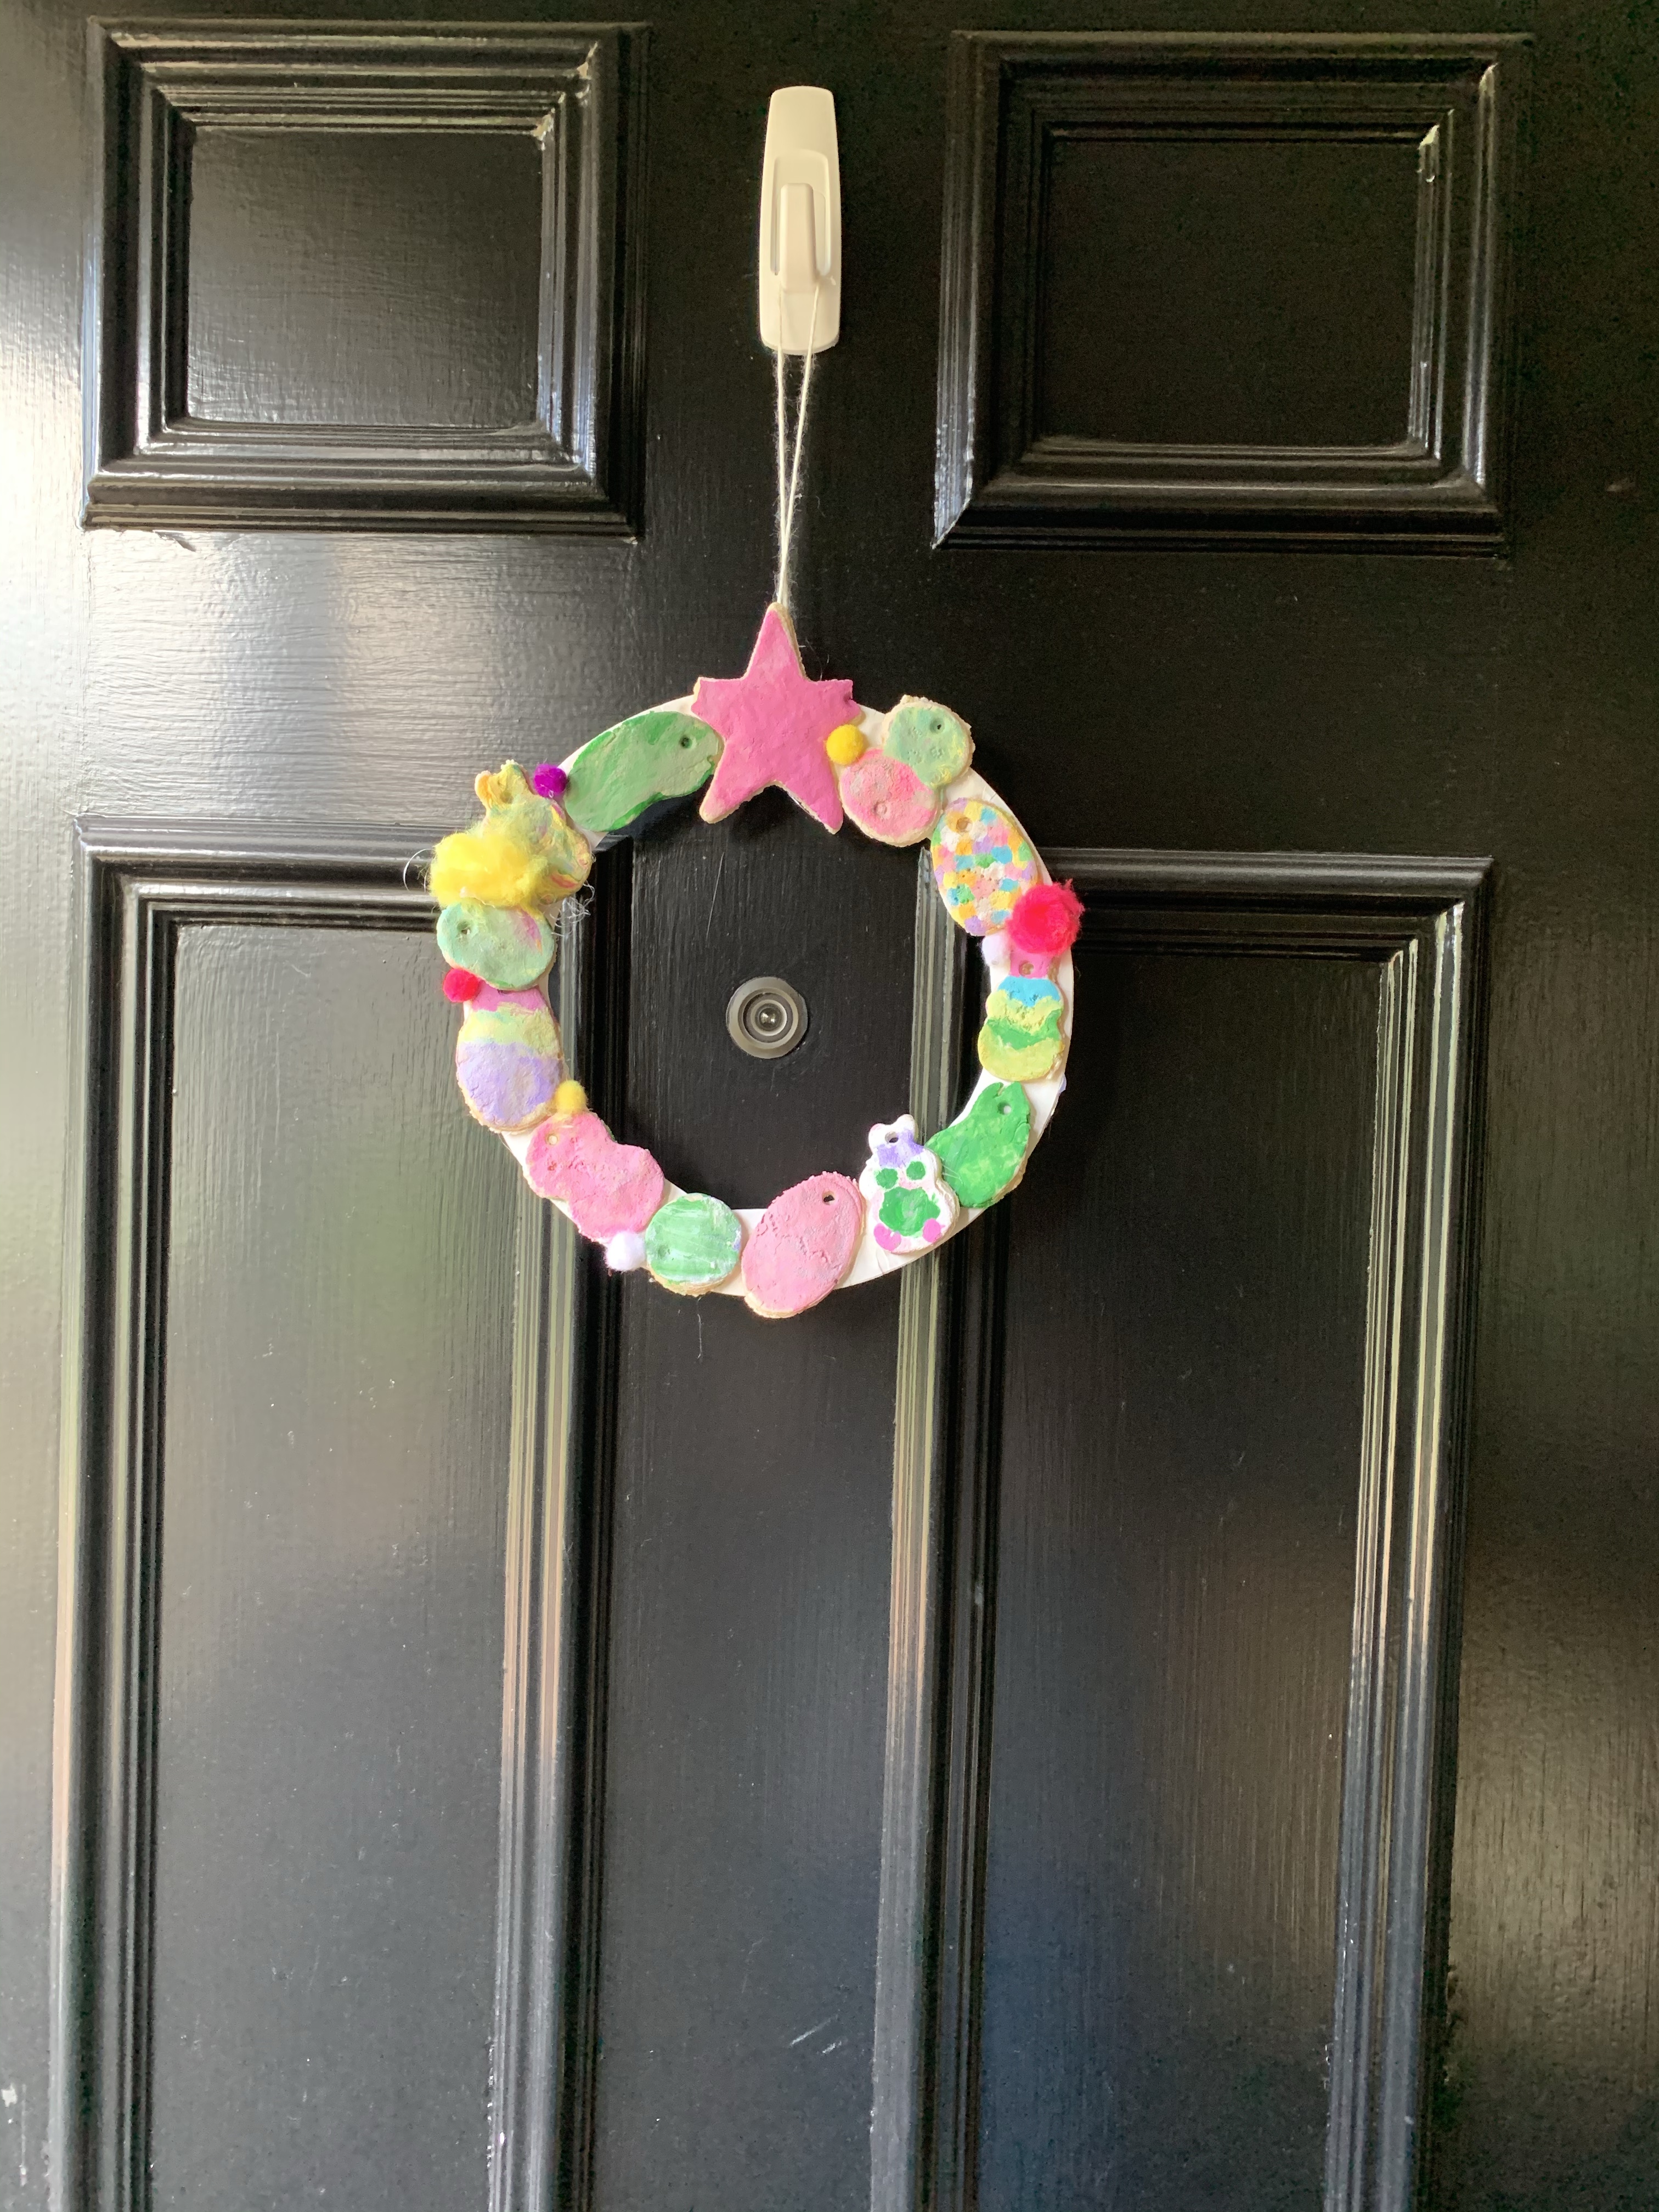
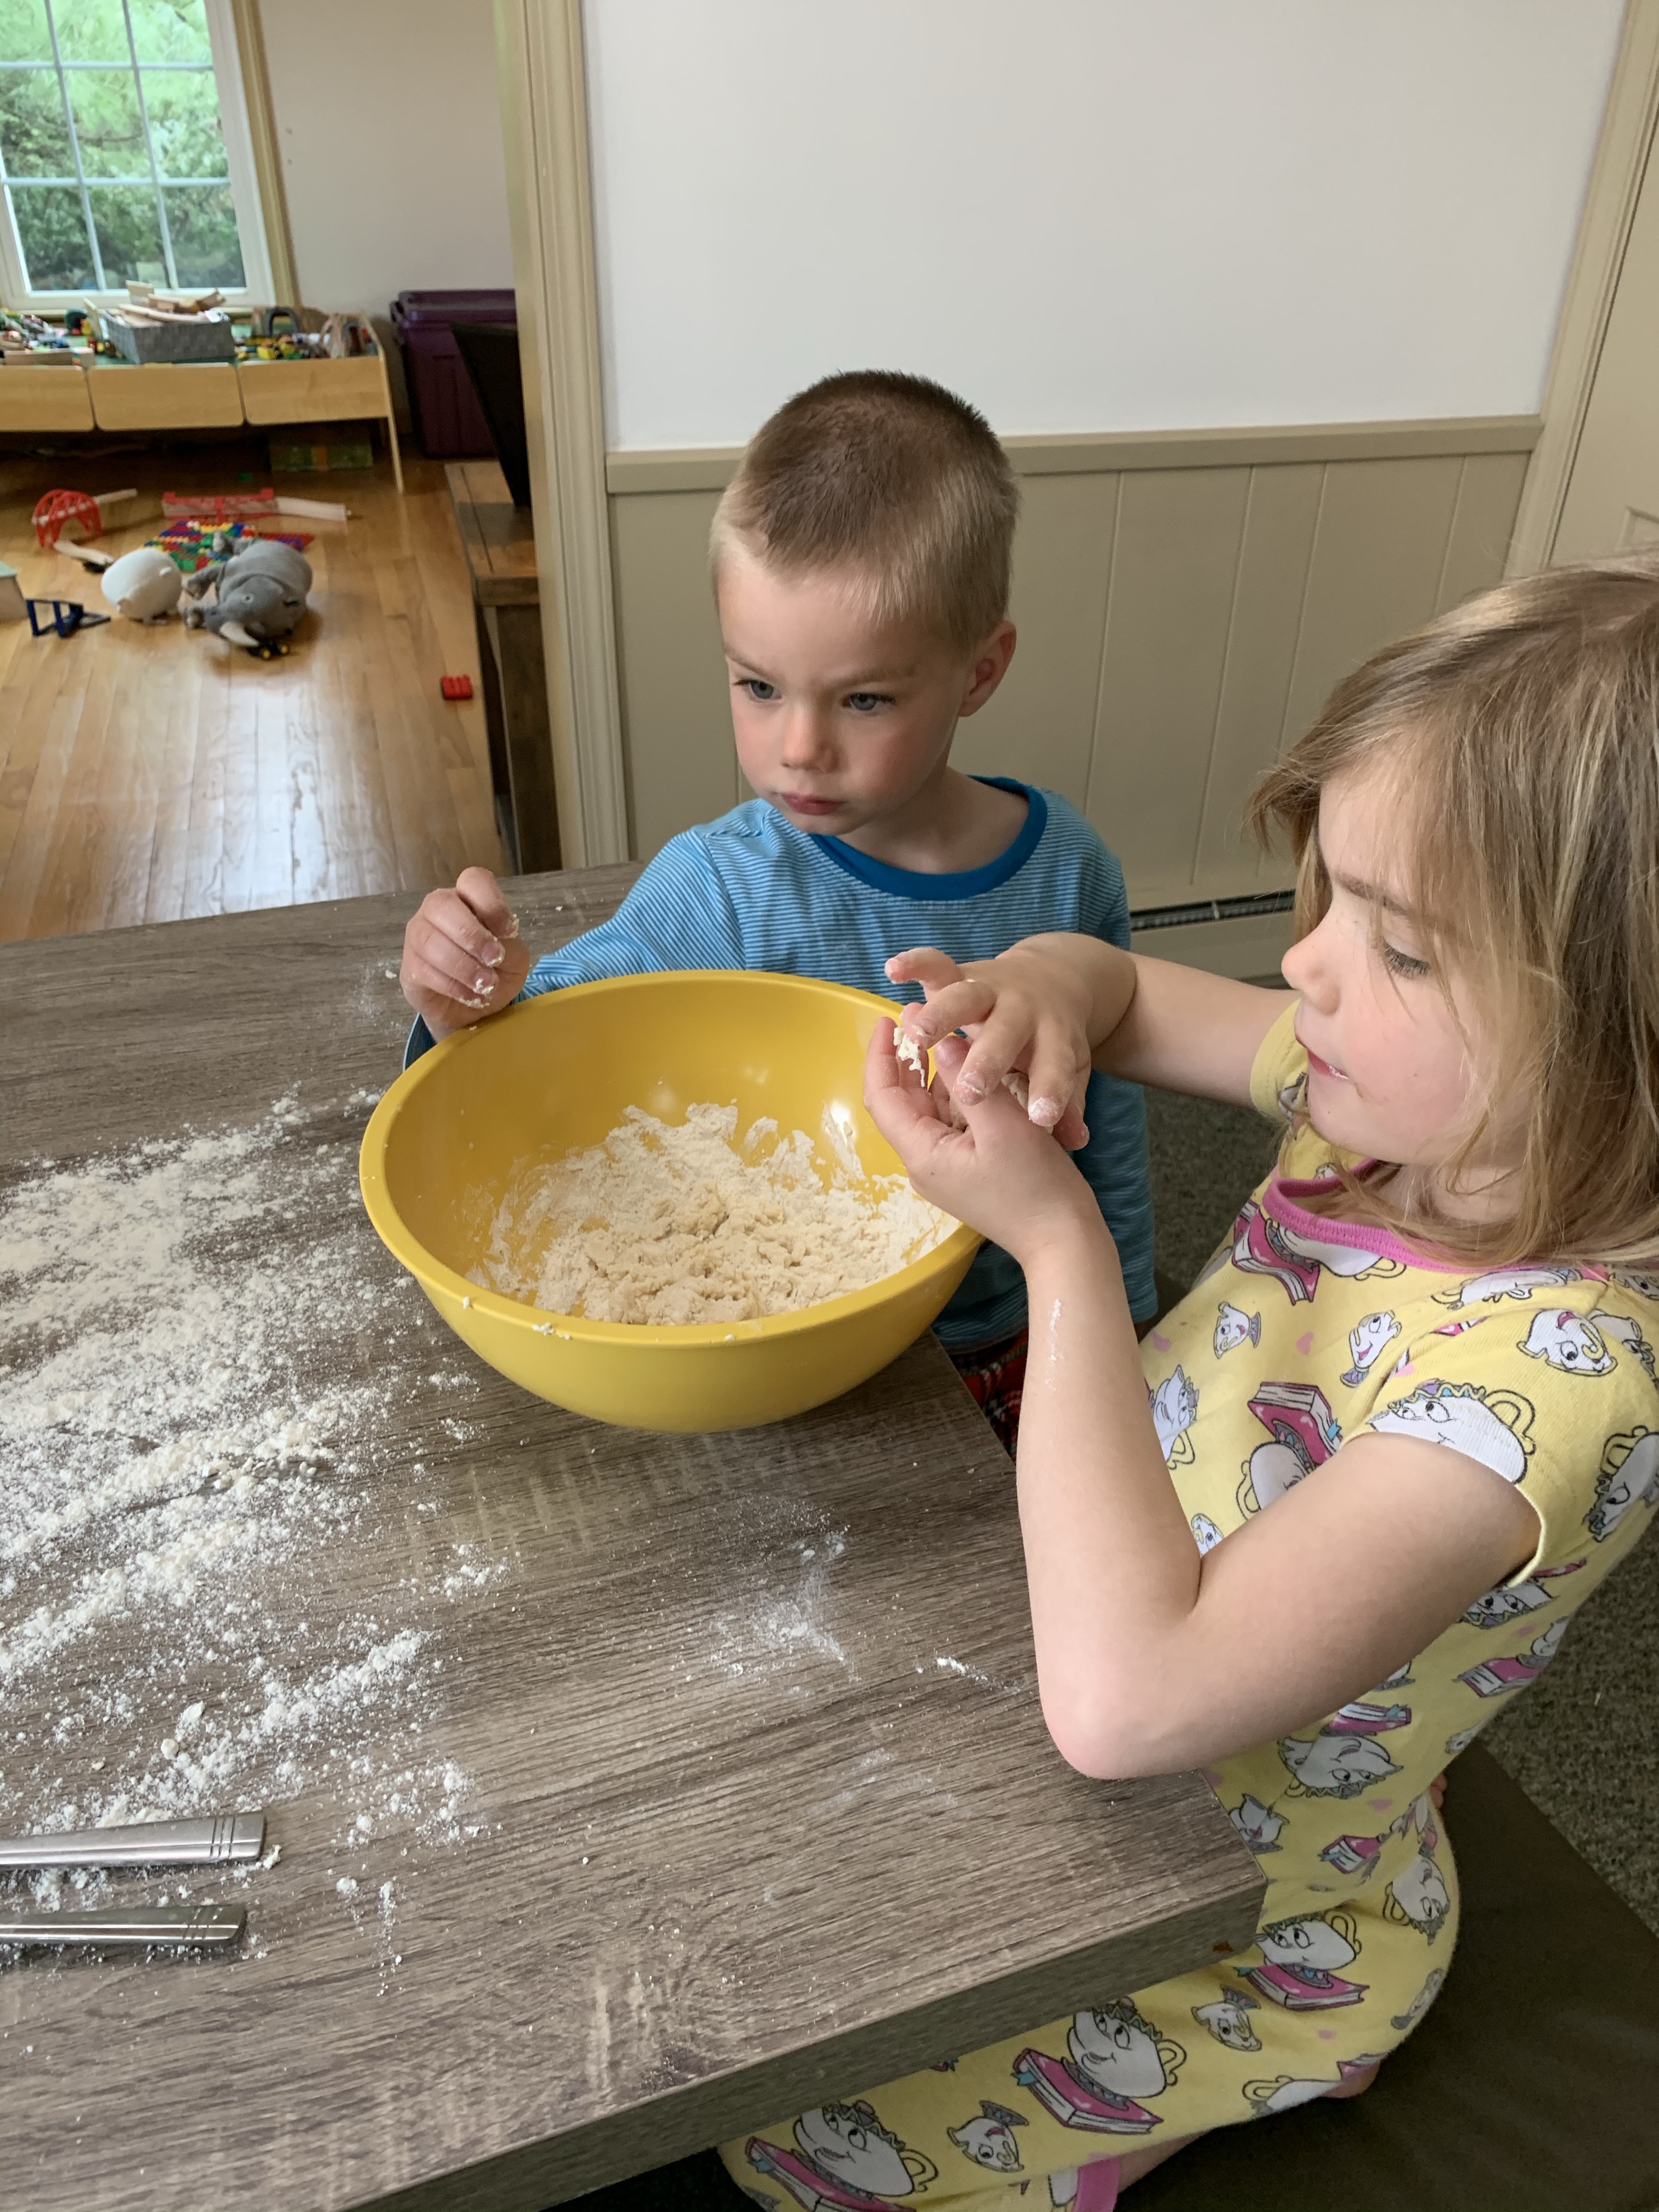
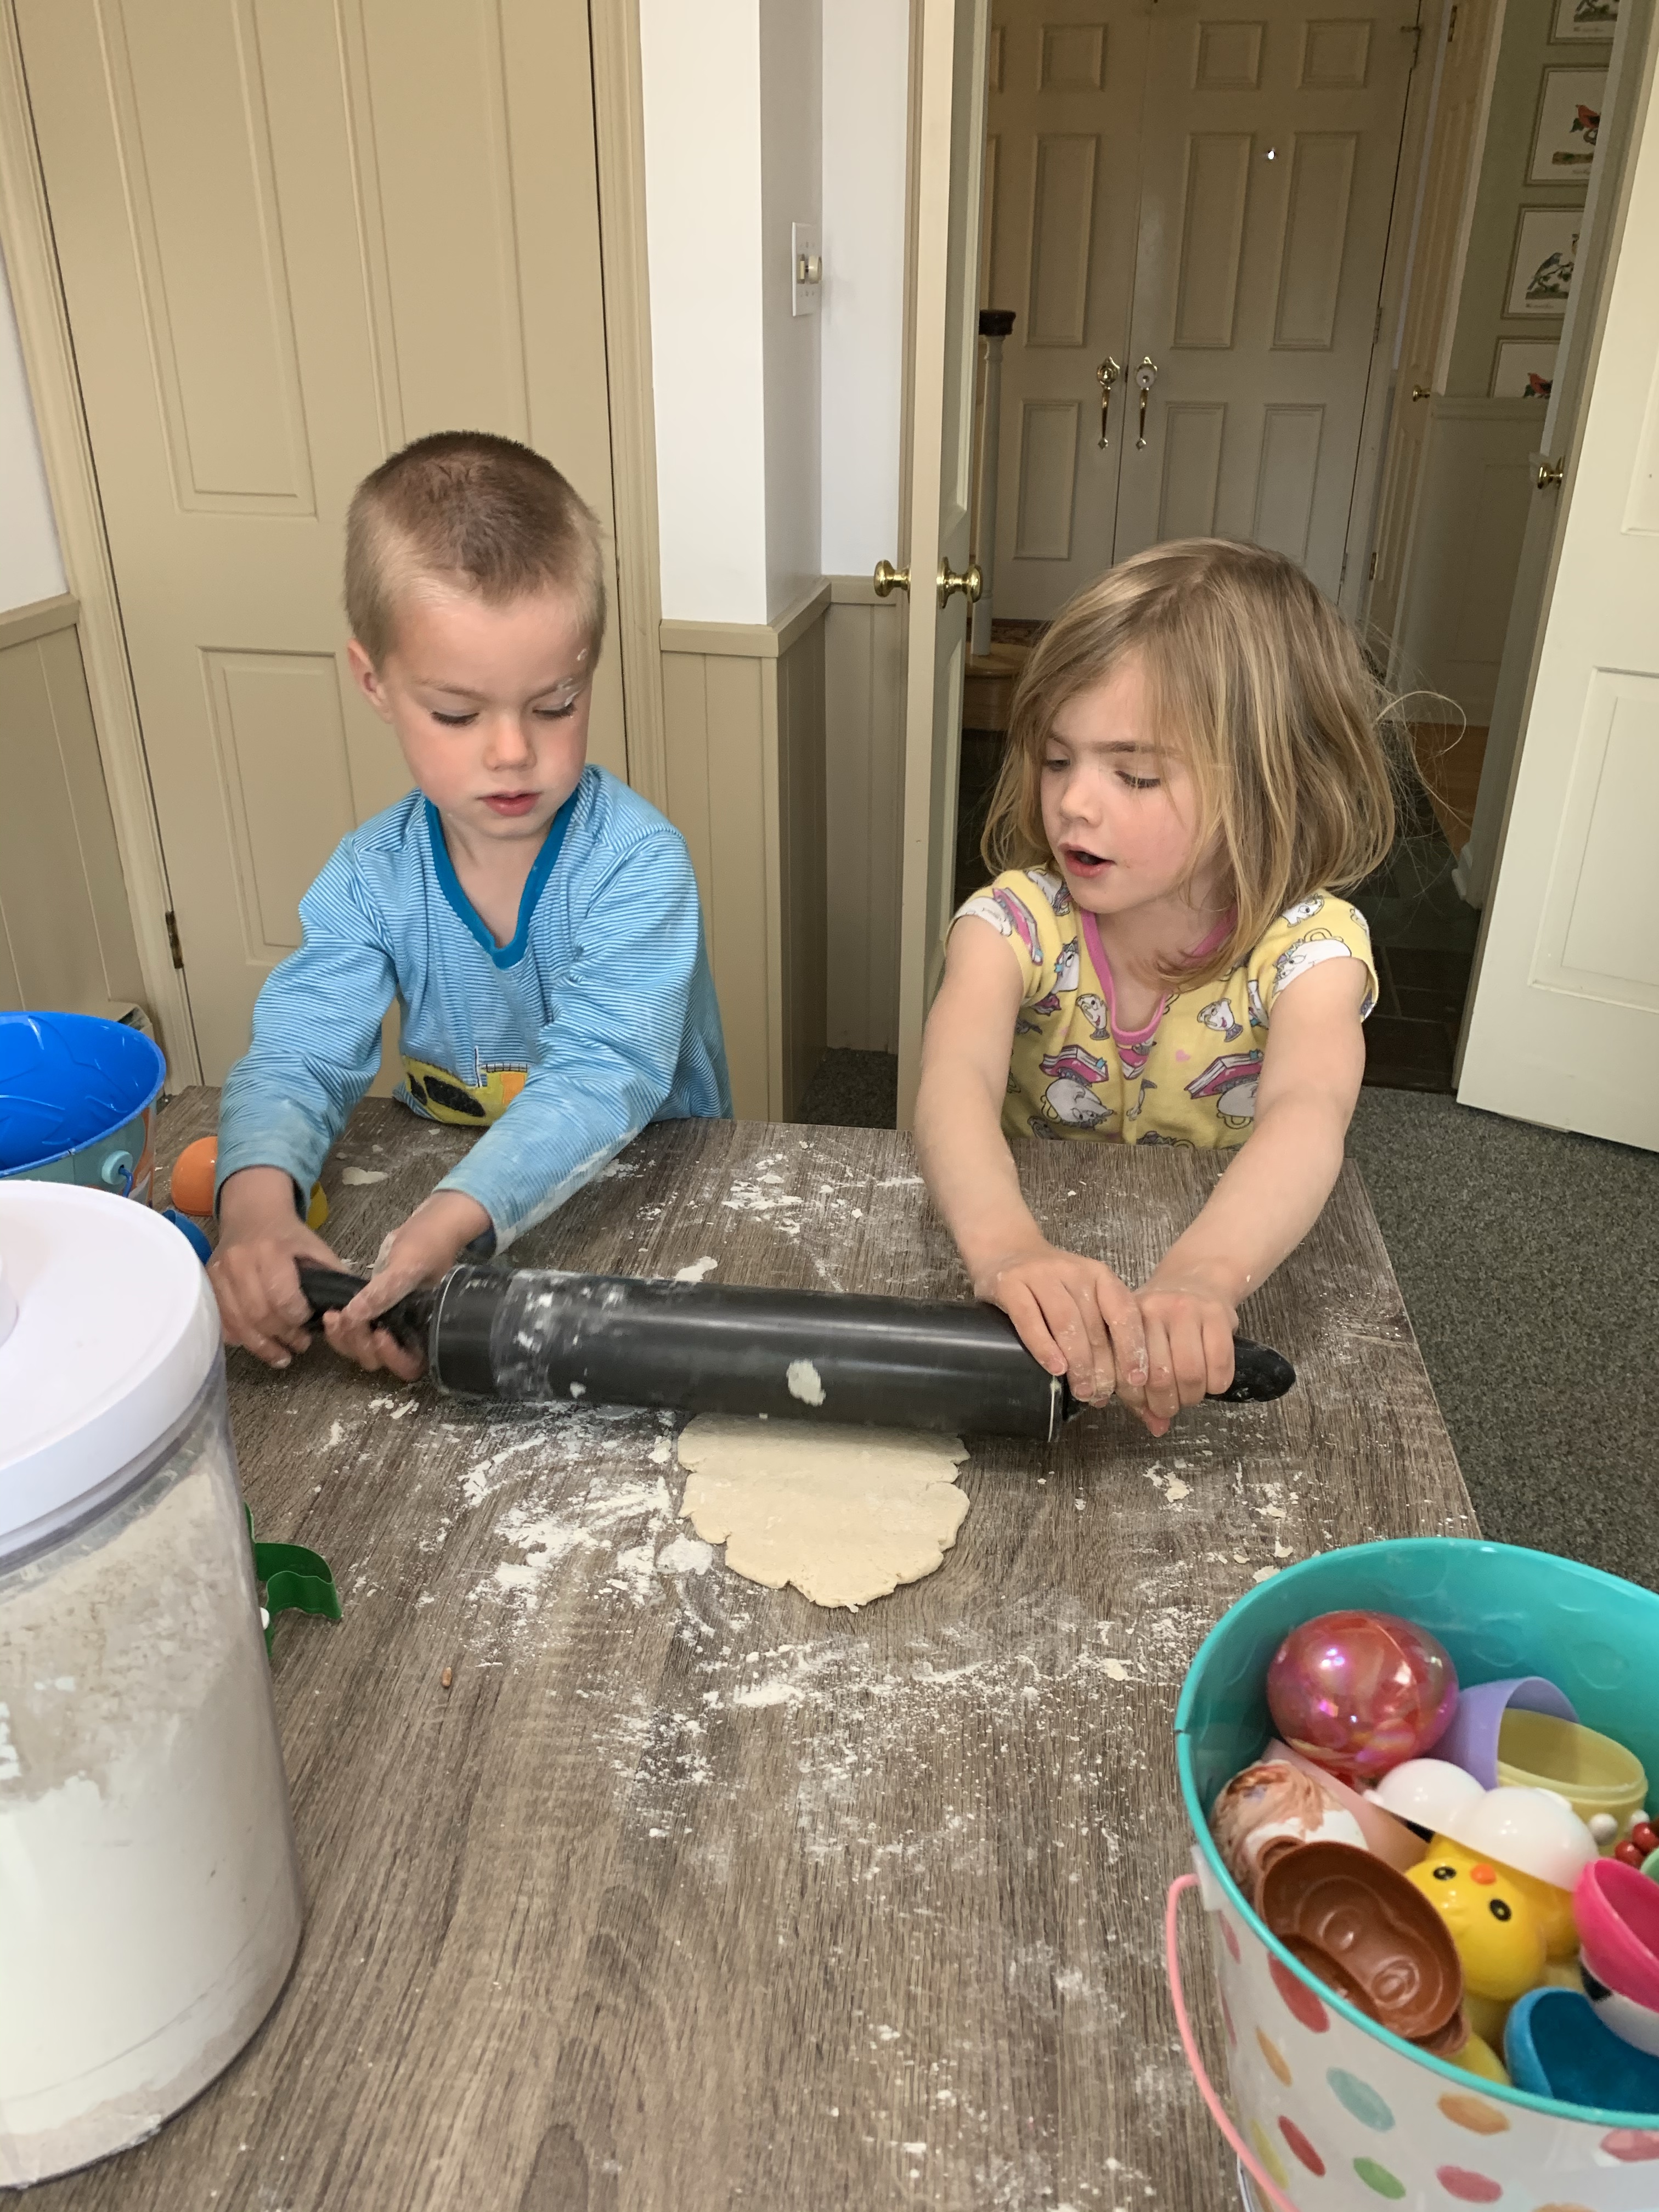
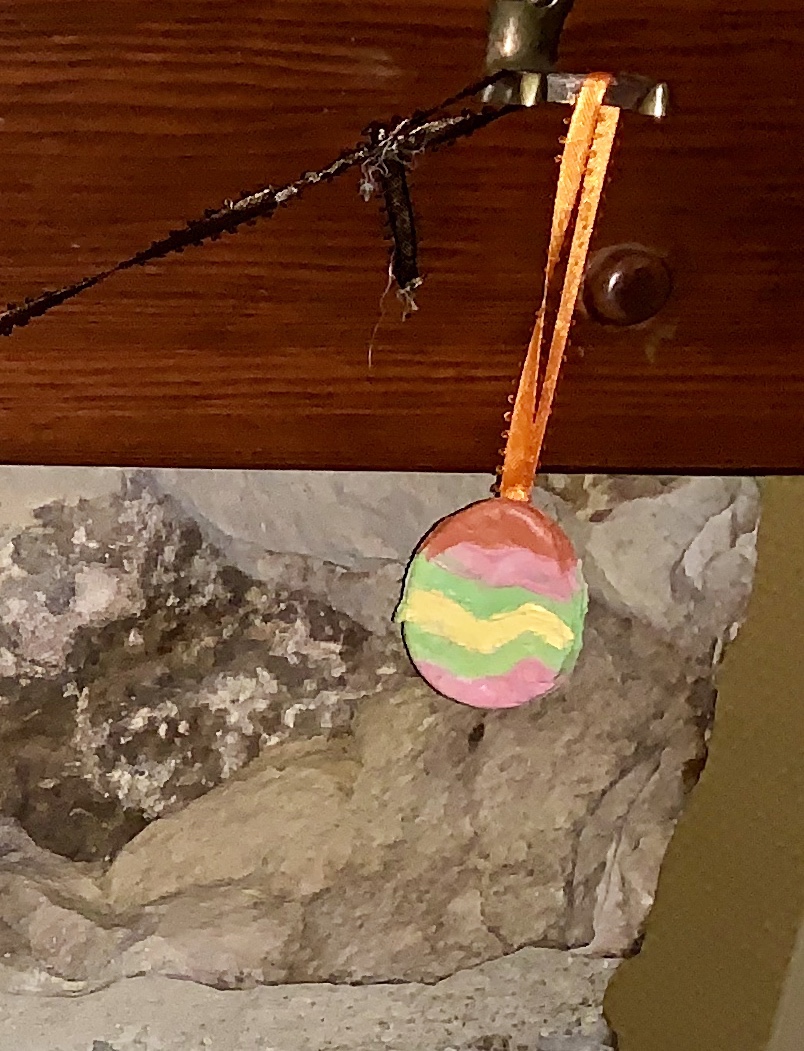
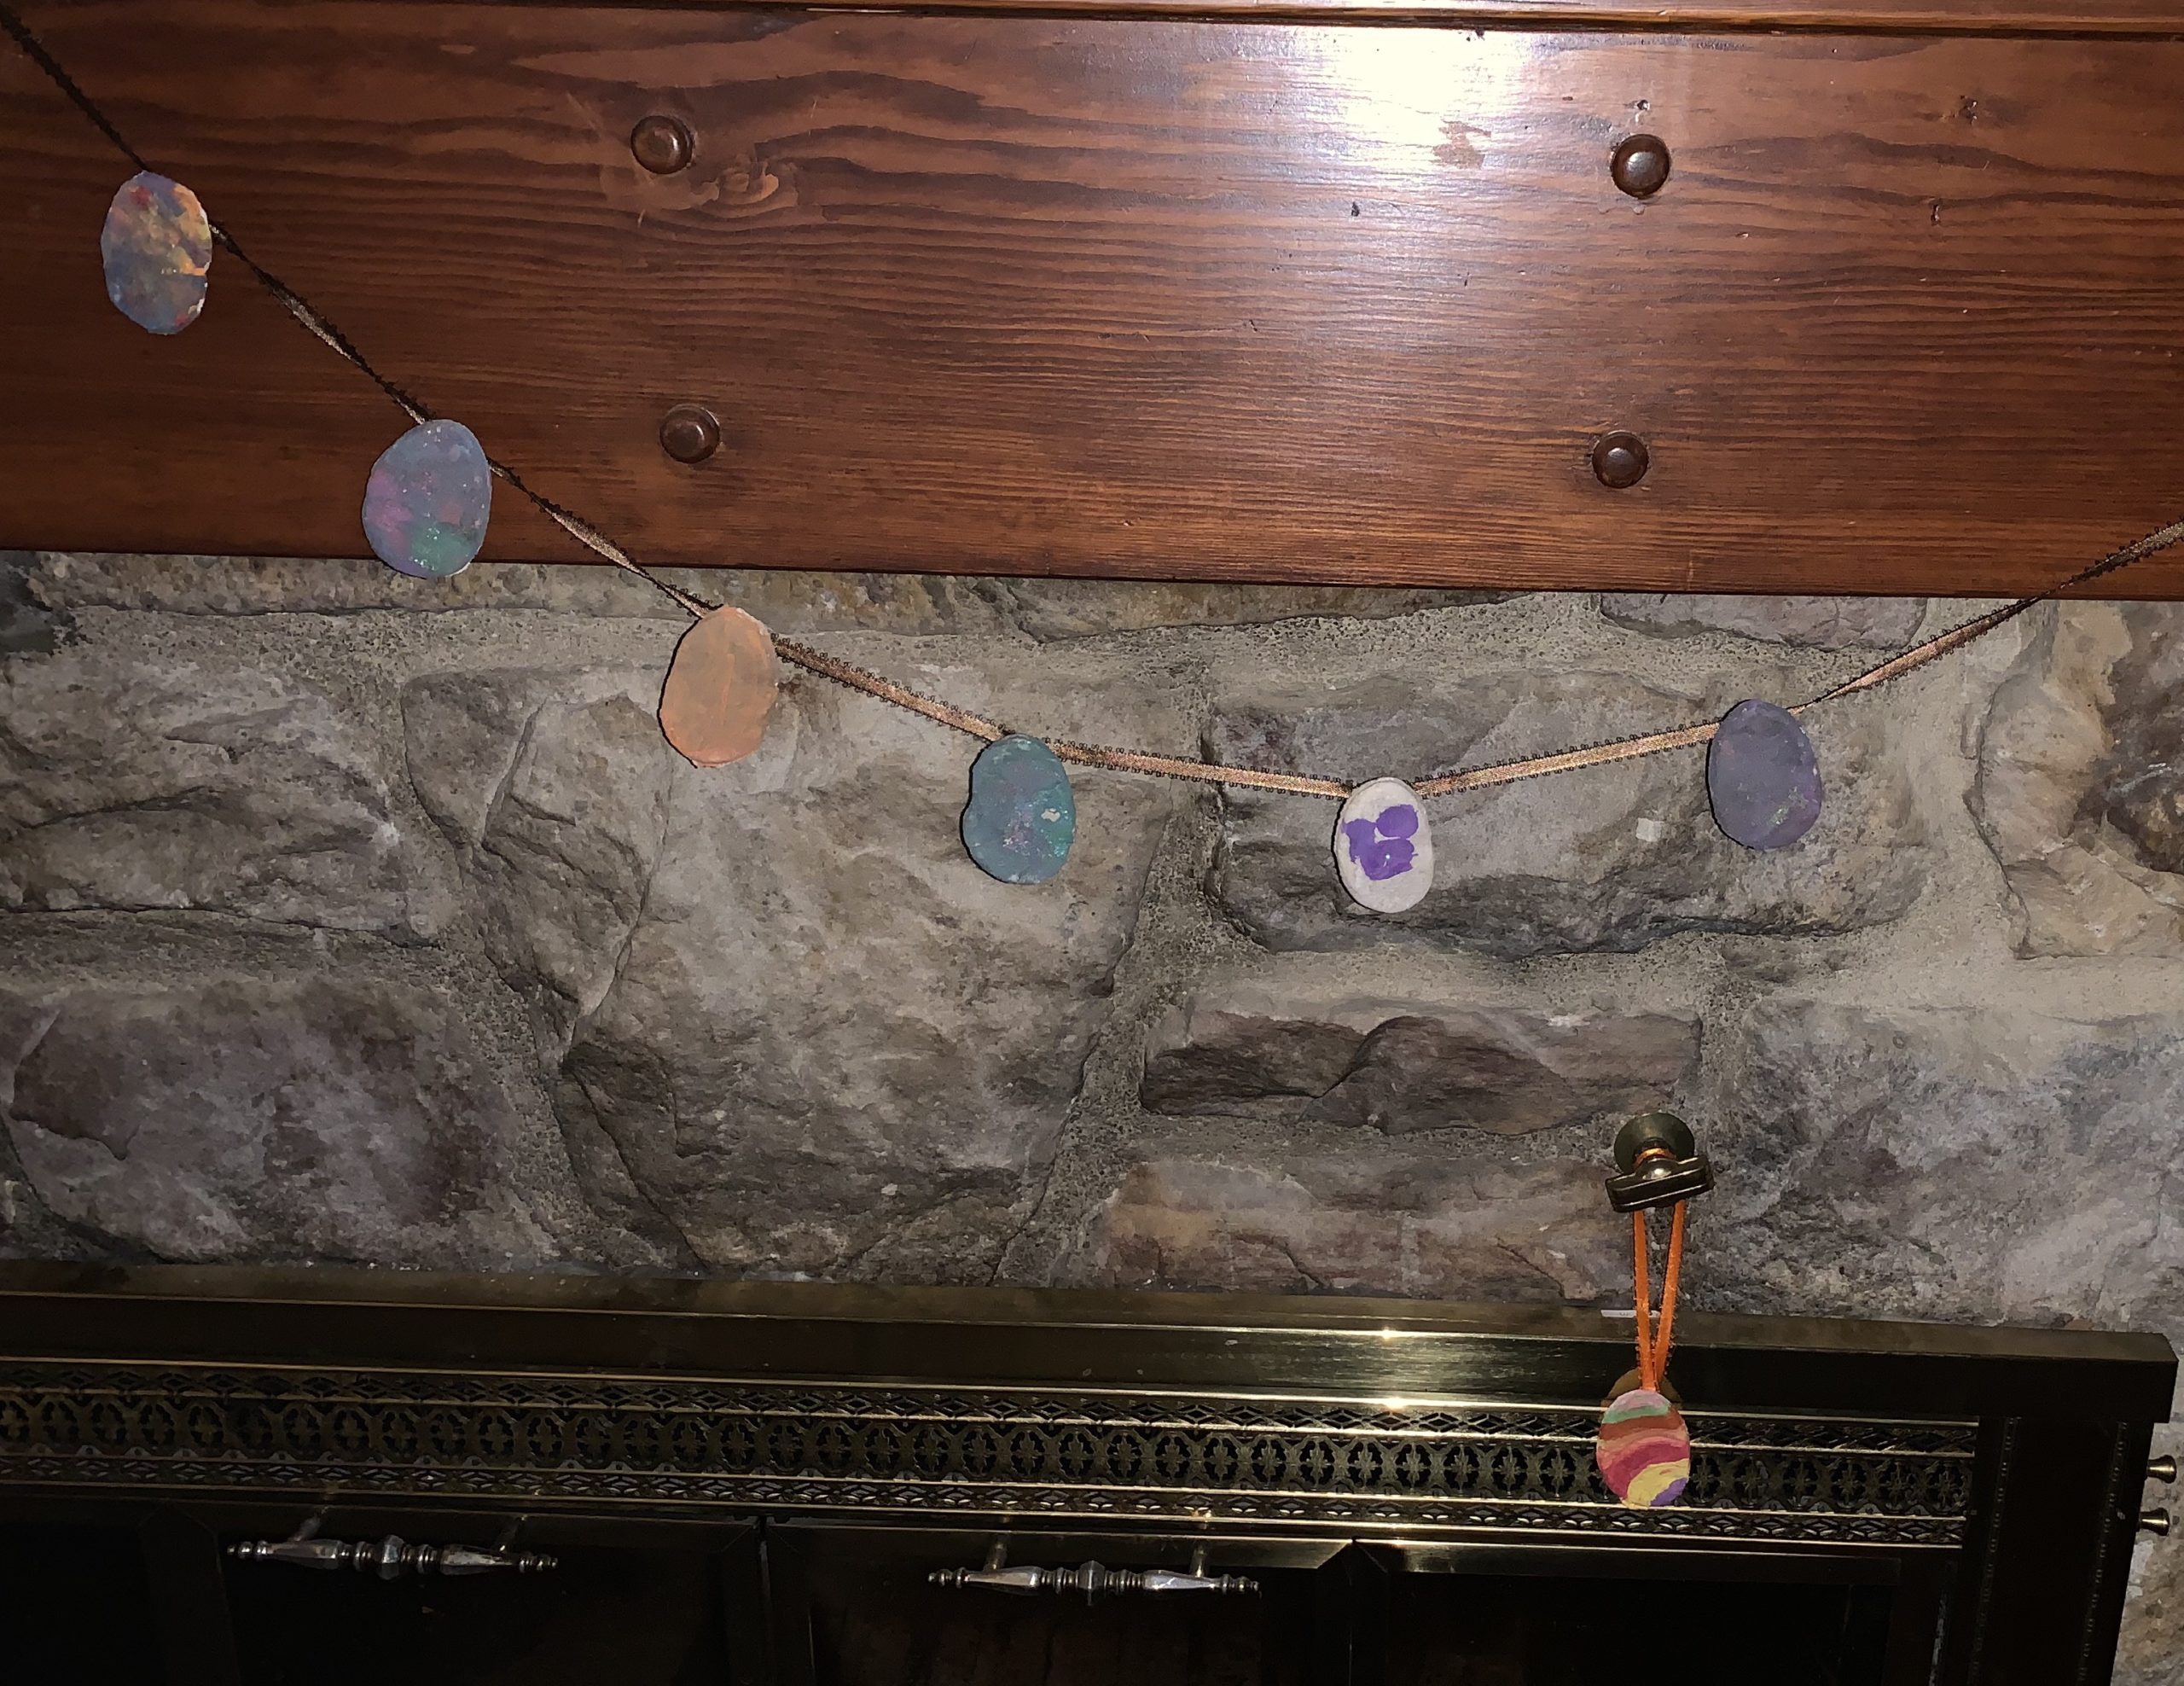
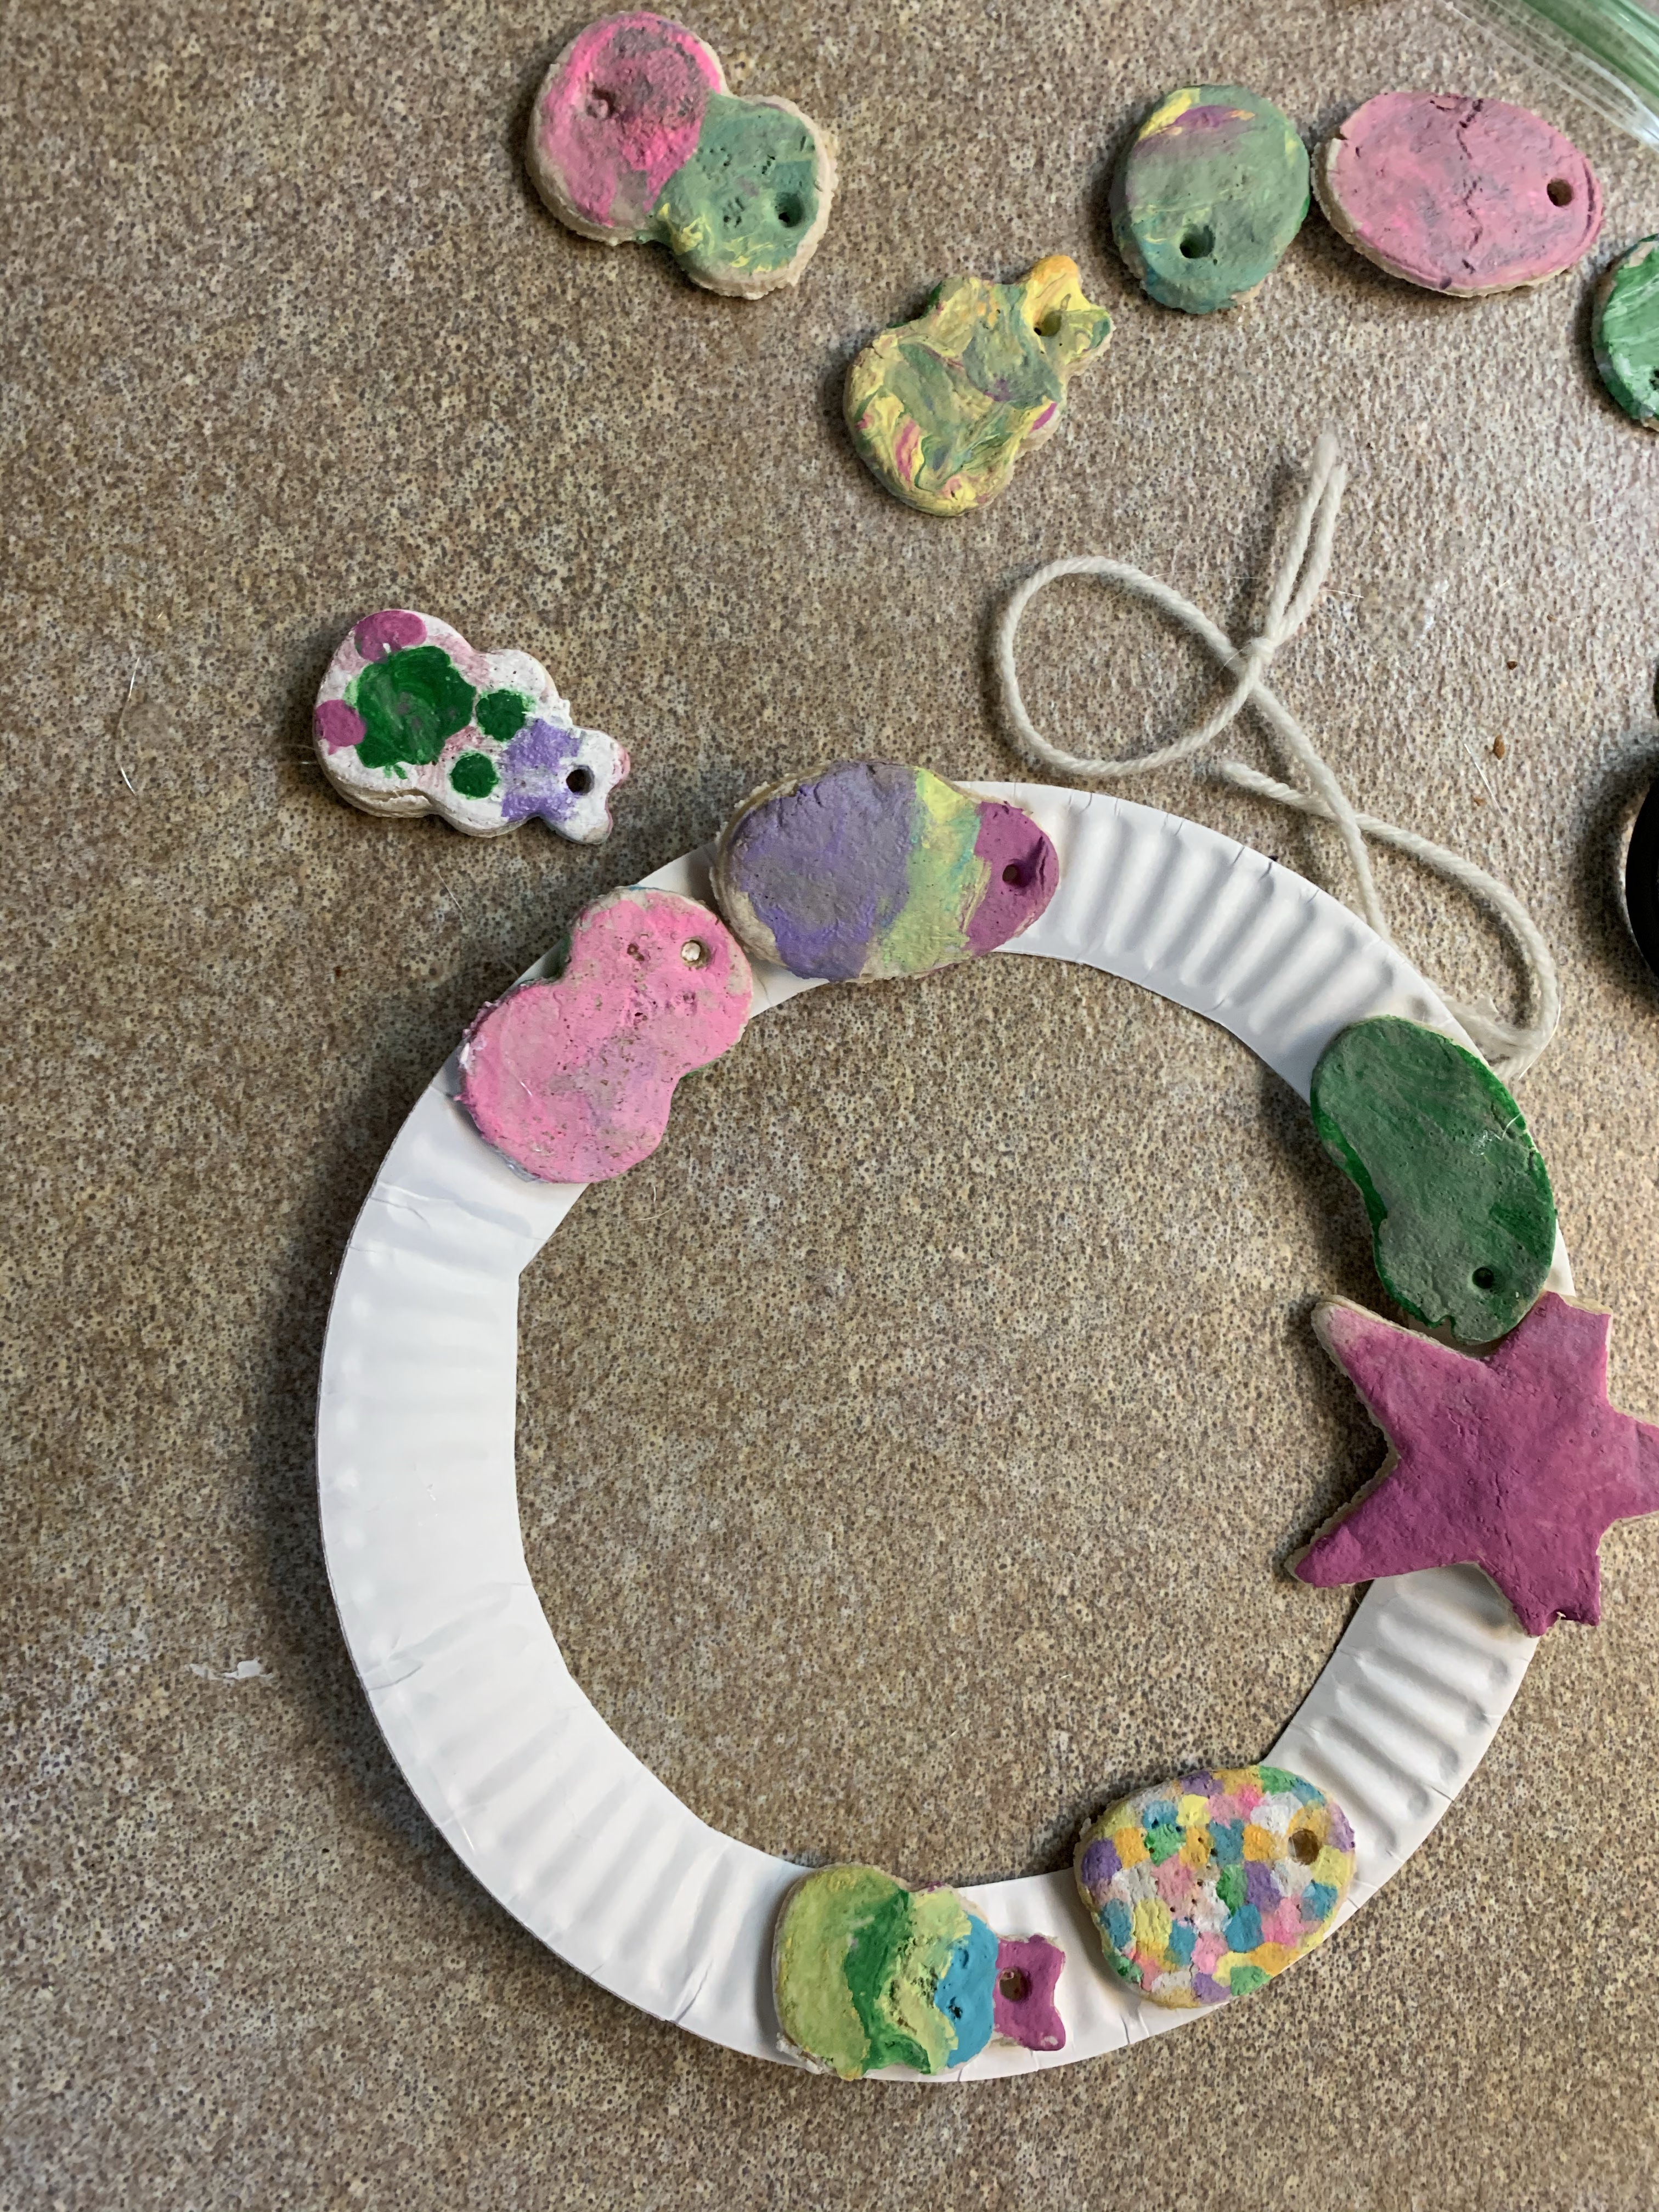
- Salt dough wreath, ornament, or garland!
- +Pomander Ball supplies
- Felt Snowman Fun!
- Singing holiday card/toy/Christmas solar bobble head
ENJOY AND HAVE FUN!!
Share