DIY Placemat Place Setting

IMG_1805

My daughter loves to assert her independence, even at meal time! So I thought, why not make a placemat that she can set her own place setting at? There are many ways to make placemats.

One way is simply laminating a printed out version of a placemat setting such as this…
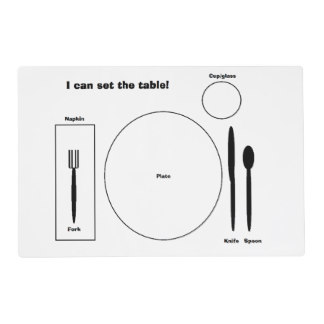
placematHowever, my laminator is only big enough for a regular printer sized paper. You can take it to your local staples or office store to get laminated. You can even make your own placemat out of fabric and have it laminated.

I decided to go with the fabric version and just use the washer to clean it.

So you want to prewash the fabric to make sure it does not shrink.

IMG_1805

As always there is a video youtube tutorial and a written one below.

What you need for this placemat place setting is…

1) fabric: it will end up being 12×16 inches.

  • 1 batting or felt for the middle or back side 12×16
  • 1 center front piece 12×12
  • 2 outside front pieces 4×12
  • 1 back side
  • felt or non fraying material to cut out fork, spoon, cup, and plate

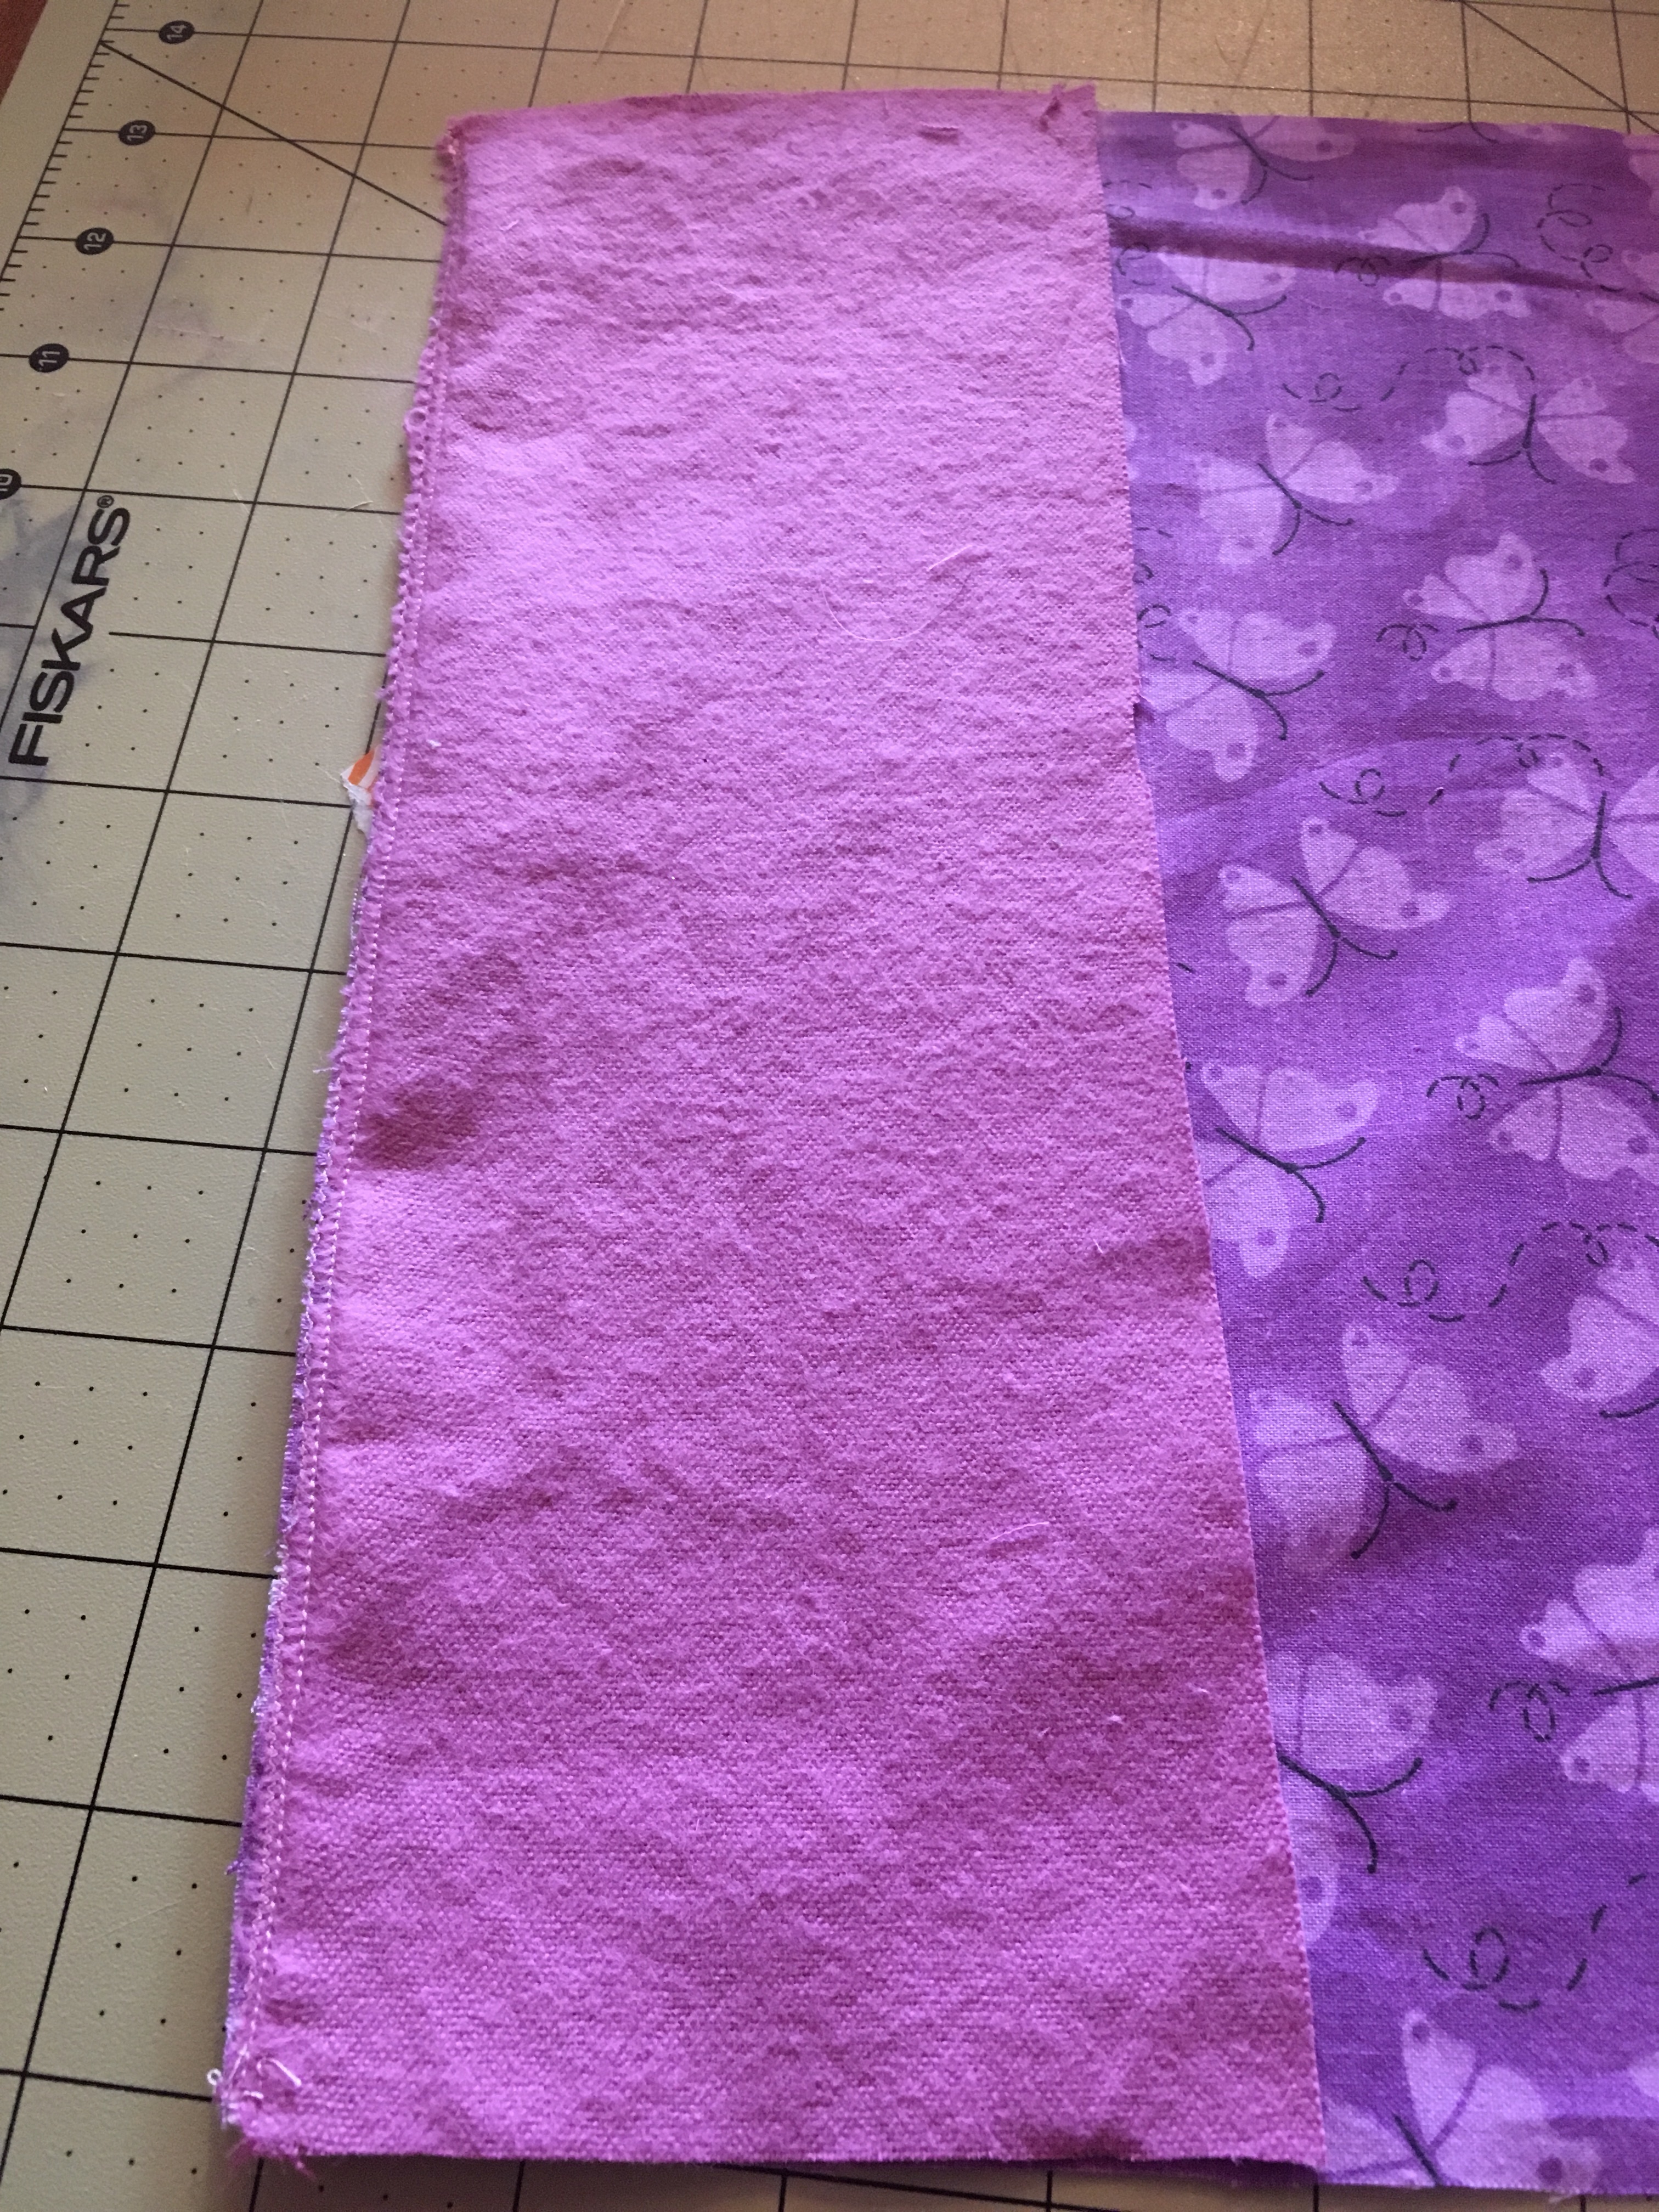
2) Next, take your front center piece and your side front pieces and pin them fabric facing fabric on the sides and sew. Then iron the seems.
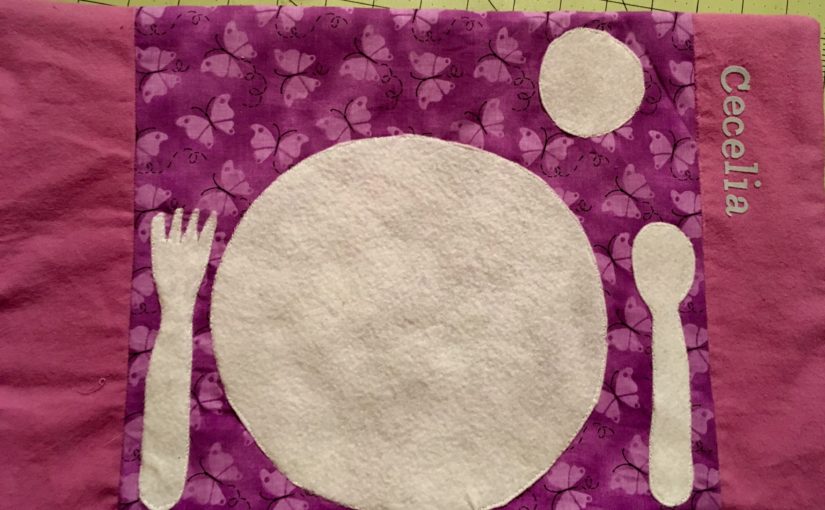
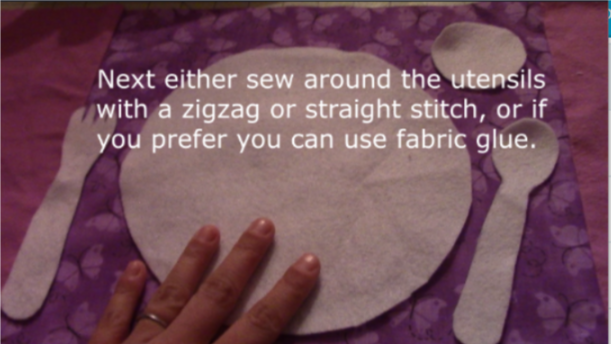
3) Following that, you want to use your felt or nonfraying material to outline a plate, cup, fork, spoon, and any other utensils that you want on your placemat.  Then cut them out and sew them directly on the front piece.  You can also use fabric glue if you like.
Sketch

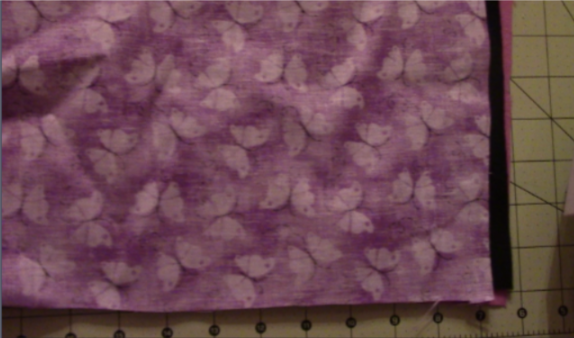
4) ***You want to put the piece of fabric you want as the backing down first facing the front fabric and then the basting or felt behind that (as you can see I did it opposite and ended up with my black fabric as the back outside as you will see). However, if you are using felt, it ends up rather nice as a backing since it prevents sliding.
Sketch2

5) Sew all the way around leaving a 3-4 inch opening so you can pull it out the right way. Don’t forget to backstitch. Once this is done, pull the inside out and make sure all the sides and corners are all the way out.  Iron it all out and sew the remaining opening with either a hand stitch, or if you want to use your machine then sew around the whole placemat to give it that look.

IMG_1805

You can add any other embellishments, I used my daughter’s name on the side. Enjoy and check out the other videos and tutorials!  Let me know if you have any questions!


FollowFacebookpinterestrssyoutube
ShareFacebookpinterest

Creating A Photo Pillow

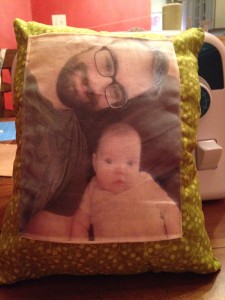
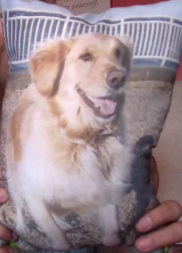
Looking for that perfect gift for someone?  Maybe for a holiday or special occasion?  Possibly a housewarming gift? Or maybe just an I’m thinking of you gift, the photo pillow is a perfect easy sewing project!  The pillow below always gives my little one a smile when she picks it up on the couch!  I know my husband enjoys it too because sometimes I find drool on it :op

 IMG_0709

Follow the You-tube tutorial here:

You can also follow along here:

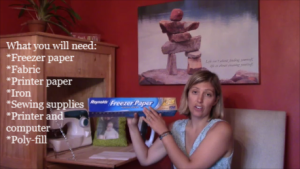
pillowFor this tutorial you will need:

  • Freezer paper the size of a piece of printer paper (8.5×11″)
  • Computer and printer (choose your photos or photos)
  • Fabric (sizes vary on size of the pillow you would like)
  • Sewing machine and accessories
  • Poly-fill
  • Iron

1. Start by cutting a piece of freezer paper to the size of a piece of a paper (8.5×11′).  Also cut the piece of fabric you are going to print the photo on to that size.  Remember you most likely want to print on a light thin colored fabric so the picture stands out.freezerpaper2. Next, take your fabric you want the photo printed on and put it on your ironing surface with the side you want the photo printed on down.  Then put your freezer paper shiny side down against the fabric.  Have your iron on medium high and iron on top of the freezer paper.  You can also turn it over and iron the fabric with the freezer paper on the bottom.  Do not leave it on one spot too long or the fabric will develop a burn mark.  Make sure the corners are well ironed and the sheet should stick to the fabric.

3. Take the fabric and freezer paper that are now one to your printer.  Place it in the paper tray and print your photo.  Make sure there aren’t any loose strings hanging on the side of your fabric, this could catch in your printer.  Also make sure you put your paper in the way your printer will print on the fabric and not the freezer paper.  If you are unsure, take a piece of regular printer paper and mark one side. Put it in the tray and check and see which side it prints on.

4. Once you have your photo printed, you can easily peel off the freezer paper.  You can save the freezer paper to use one or two more times; quite economical if I should say so myself!  Then, if you are planning on putting the photo fabric on a larger piece of fabric to have a bigger pillow, you want to fold a hem around the edges of your fabric and pin and sew it onto the larger piece of fabric.  Below is an example.

  pillow

However, if you would like to make a small decorative pillow (the size of a piece of paper), you would skip this step.

5. Next take your photo fabric or front of the pillow and place it facing side up.  Take the back fabric for your pillow and place it on top facing in.  So now the fabric pieces you want to be on the outside of the pillow are now facing the inside.  Pin them together.  Then you want to stitch all the way around the outside except for a three inch opening.  So make sure you back-stitch when you start and end.  I suggest you do not do this on the corner because it will be harder to hand sew at the end.  This opening will be used to turn the pillow right side out and then stuff with poly-fill.

6. After sewing, turn it right side out.  Stuff it with poly-fill to your desired fullness.

7. Now you will have to decide what stitch you want to use to close it.  You can close it on the machine however it will be noticeable.  You can do the regular loop stitch which is easiest.  Another option which is used in my video is the blind stitch.  The blind stitch is used for hems and closures that you want “blind.

8. And Viola!  You are finished, congrats and enjoy!

cooltext124722308895836


FollowFacebookpinterestrssyoutube
ShareFacebookpinterest