DIY Placemat Place Setting

IMG_1805

My daughter loves to assert her independence, even at meal time! So I thought, why not make a placemat that she can set her own place setting at? There are many ways to make placemats.

One way is simply laminating a printed out version of a placemat setting such as this…

placemat
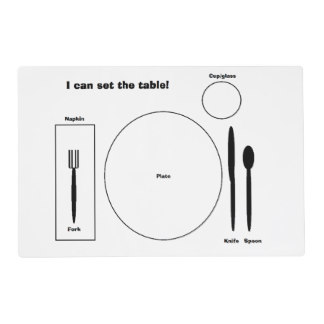
However, my laminator is only big enough for a regular printer sized paper. You can take it to your local staples or office store to get laminated. You can even make your own placemat out of fabric and have it laminated.

I decided to go with the fabric version and just use the washer to clean it.

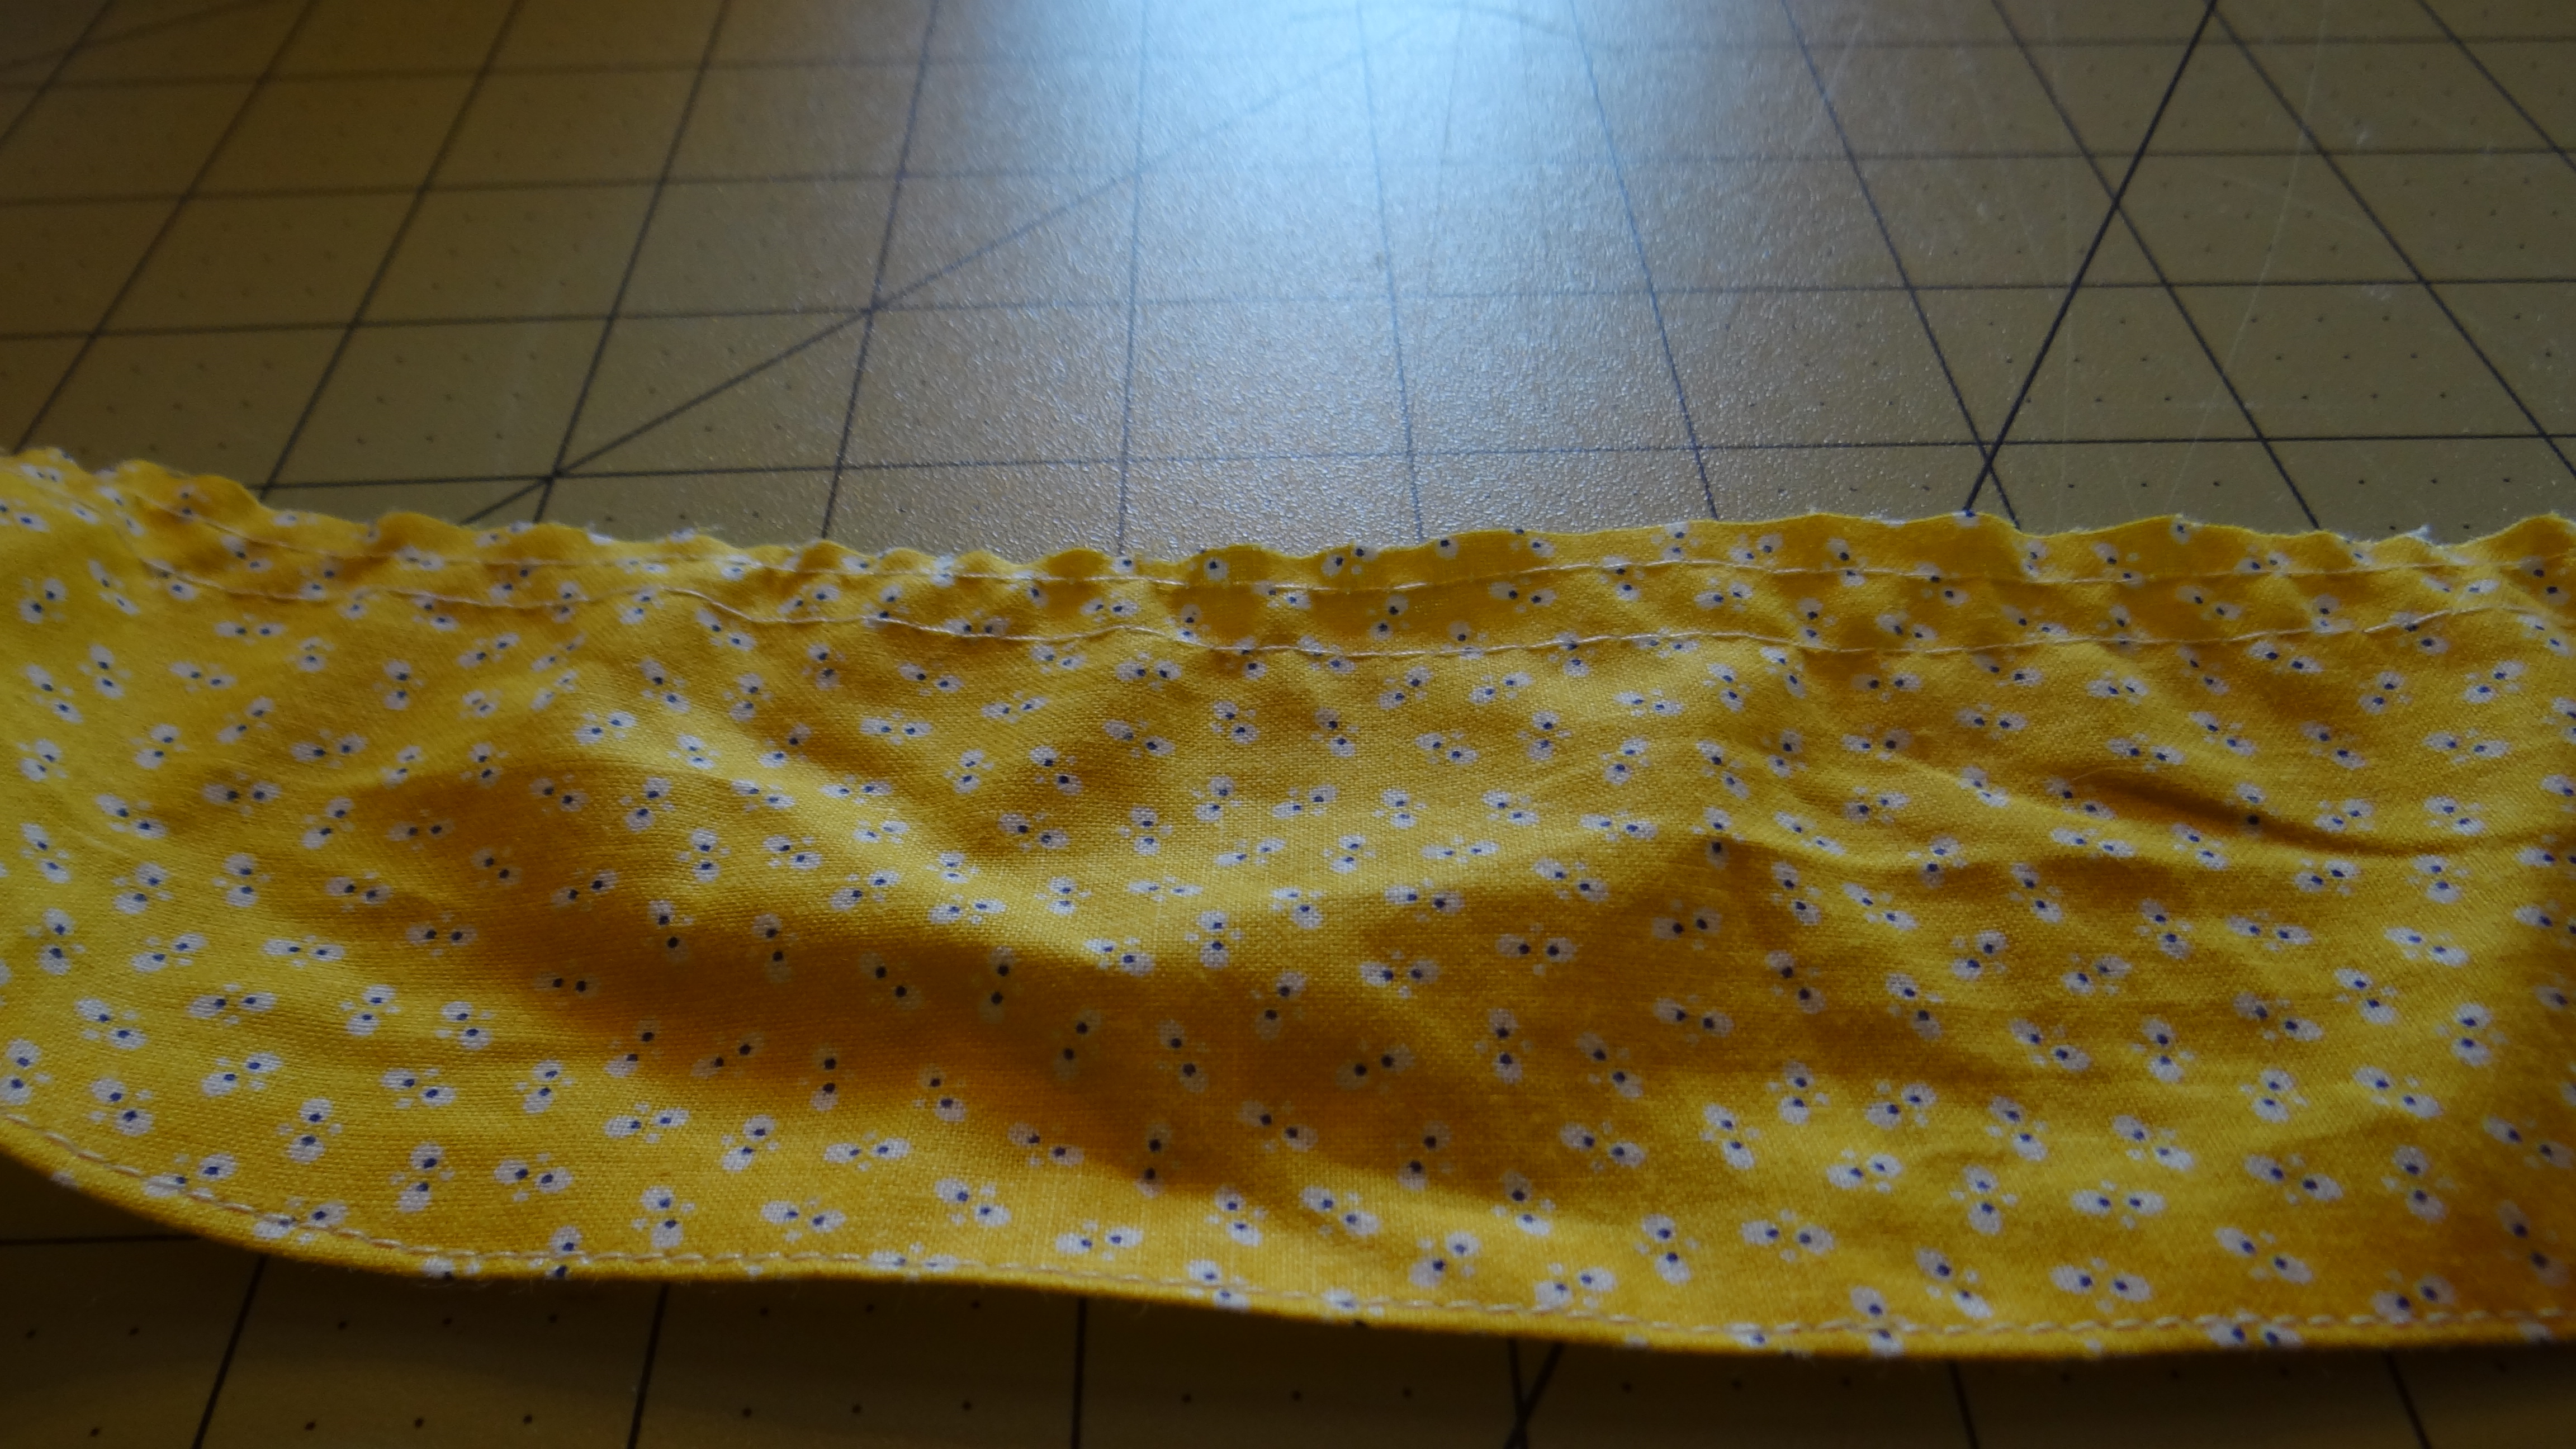
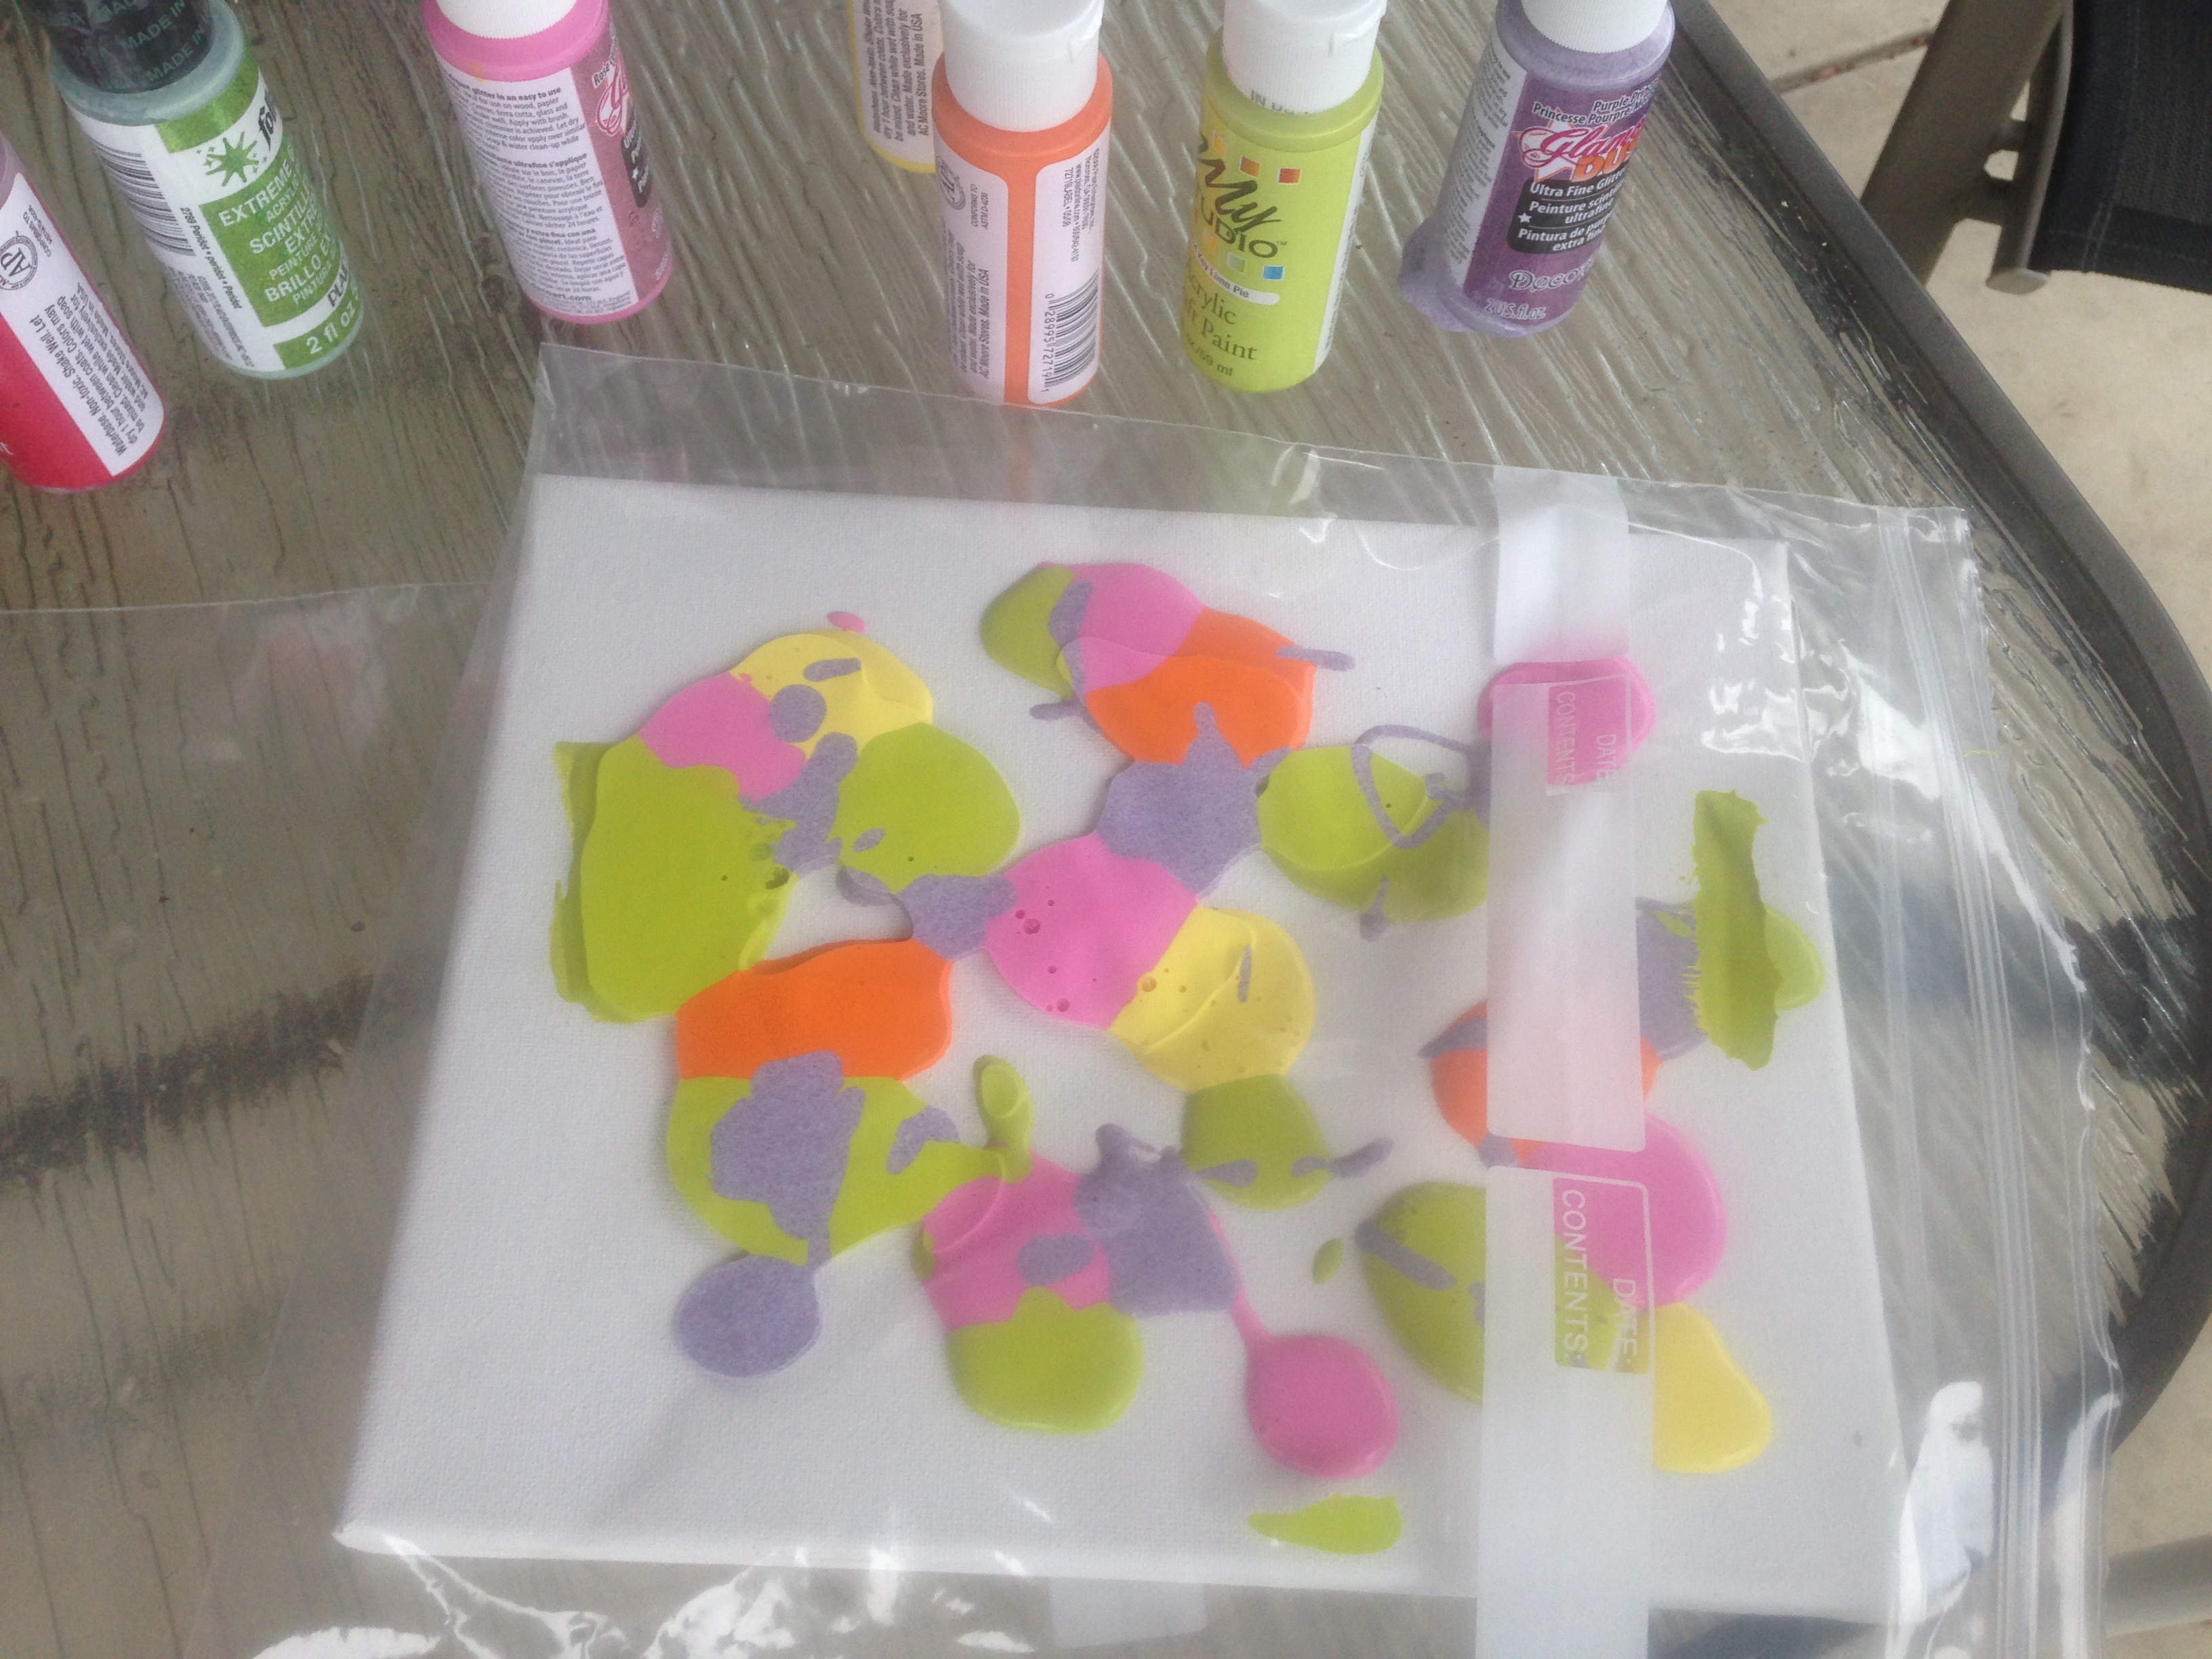
So you want to prewash the fabric to make sure it does not shrink.

IMG_1805

As always there is a video youtube tutorial and a written one below.

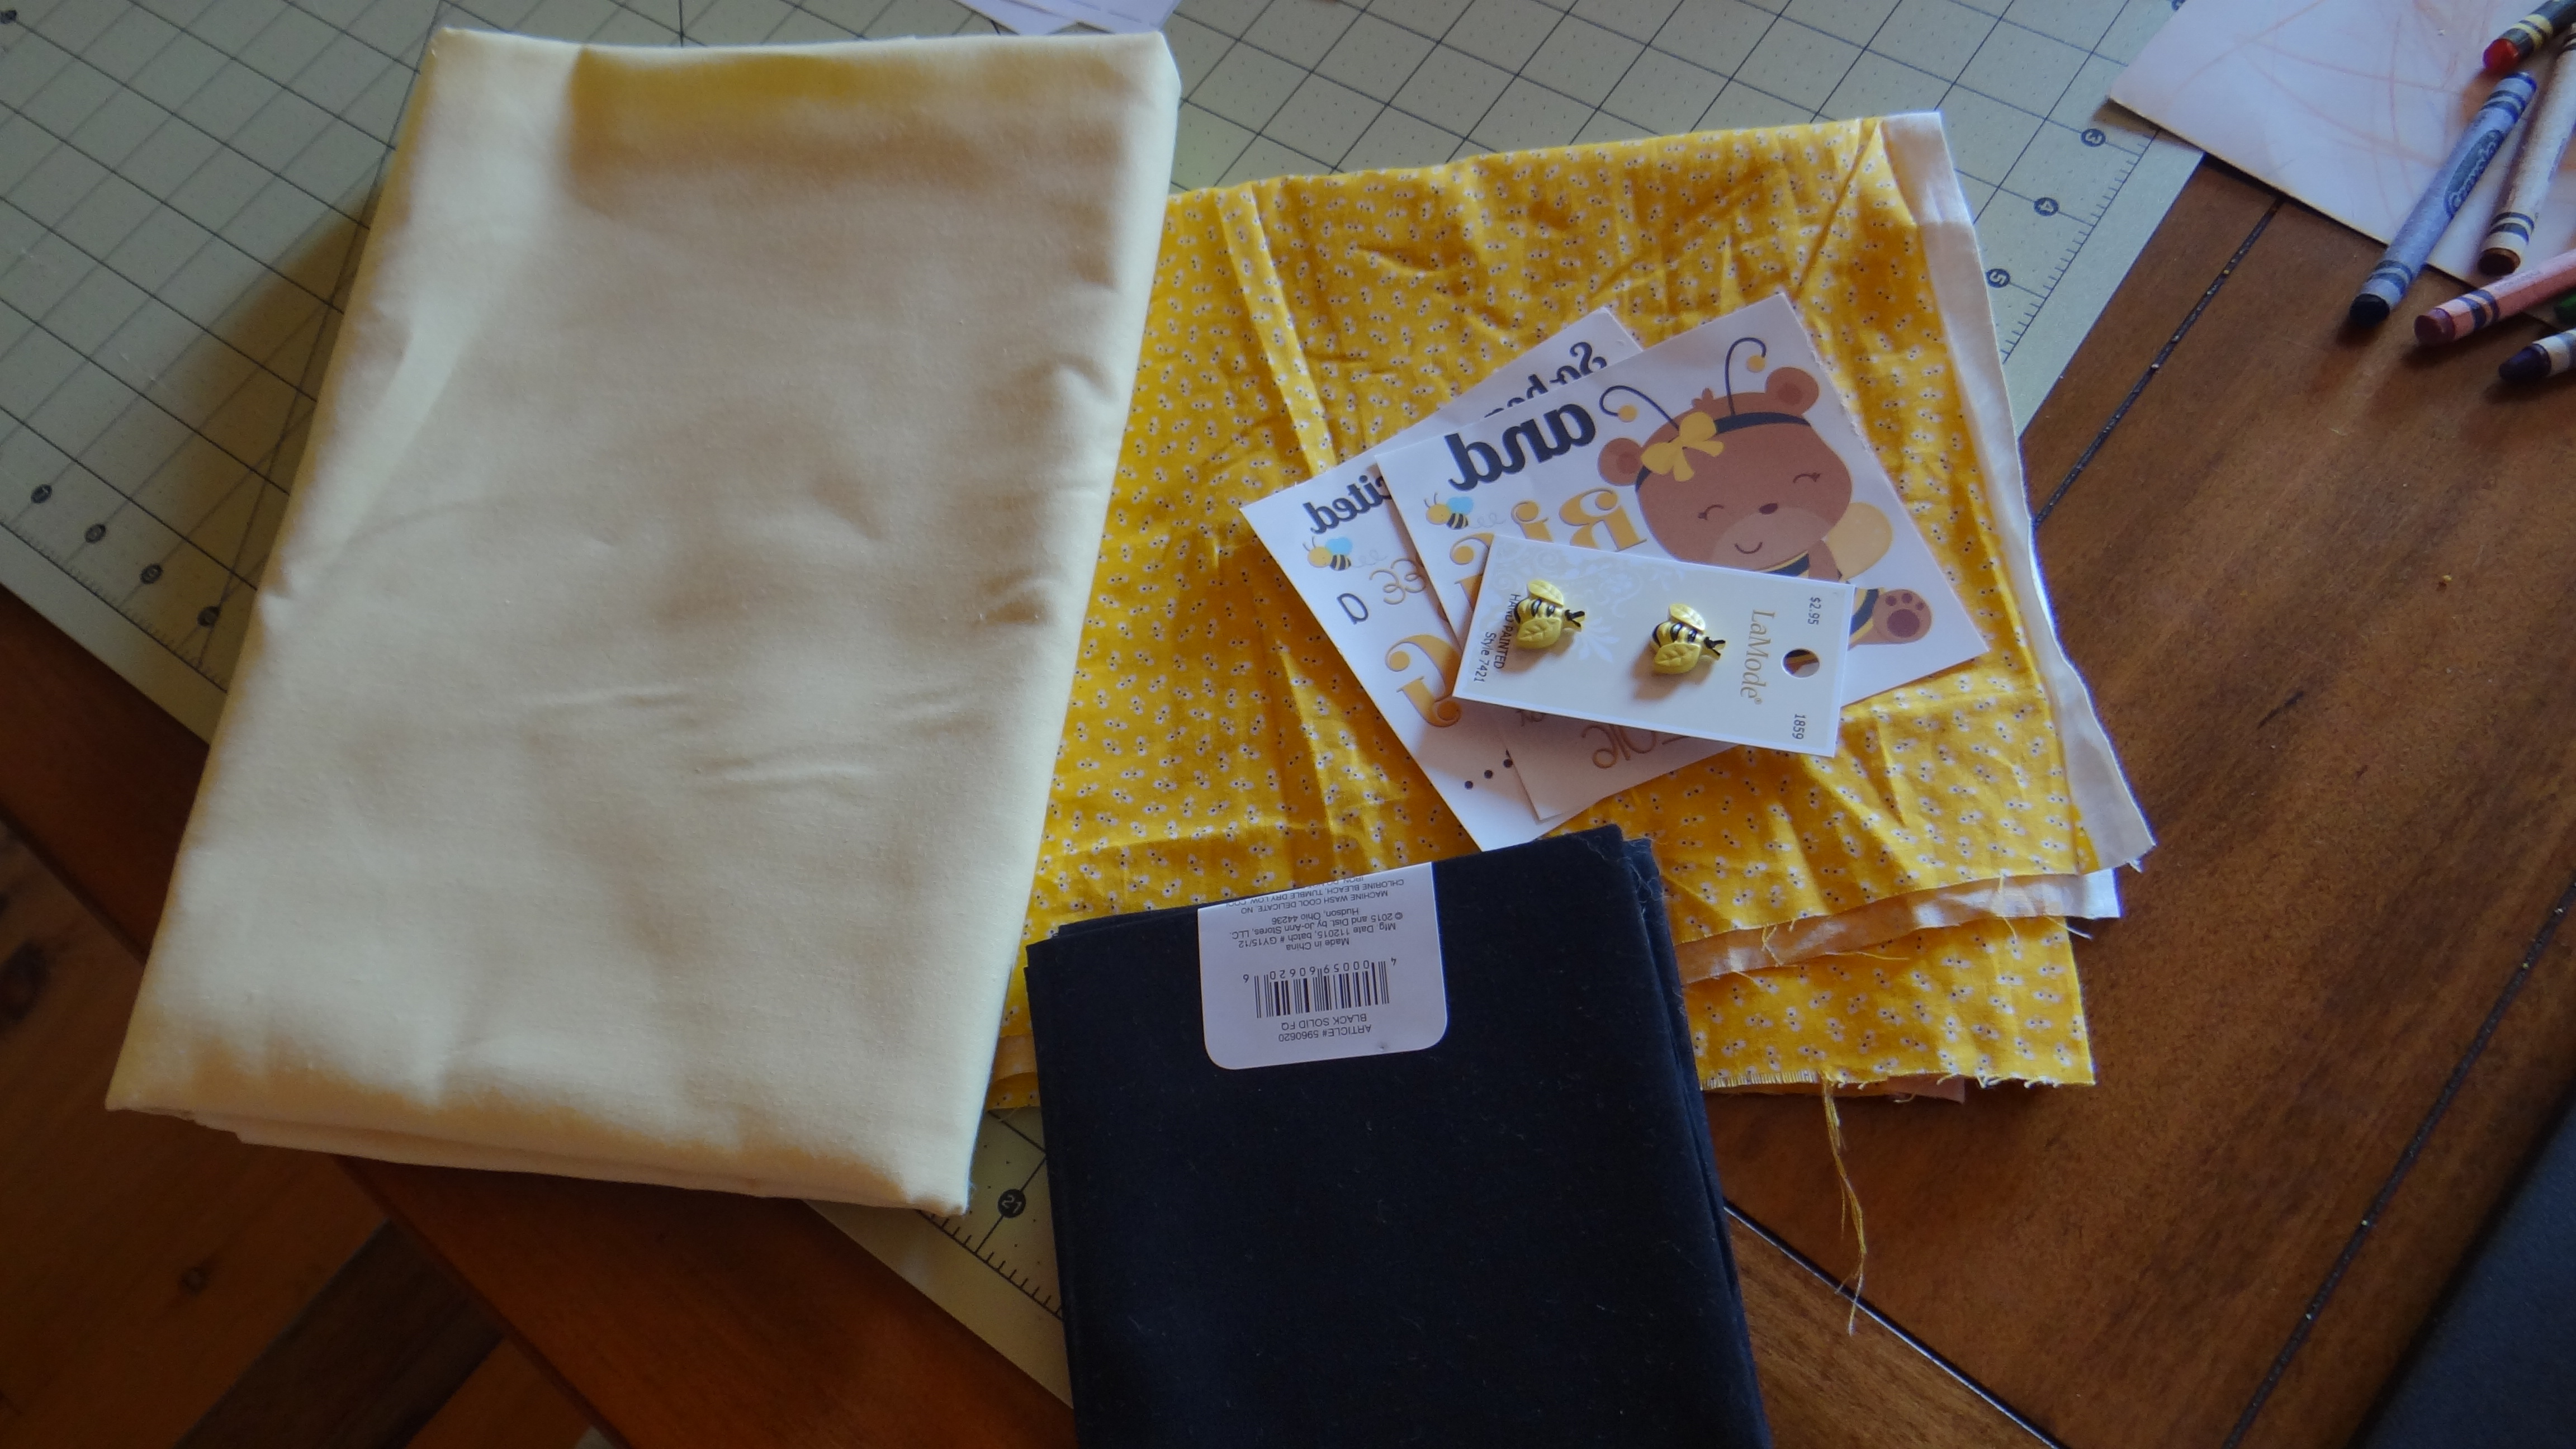
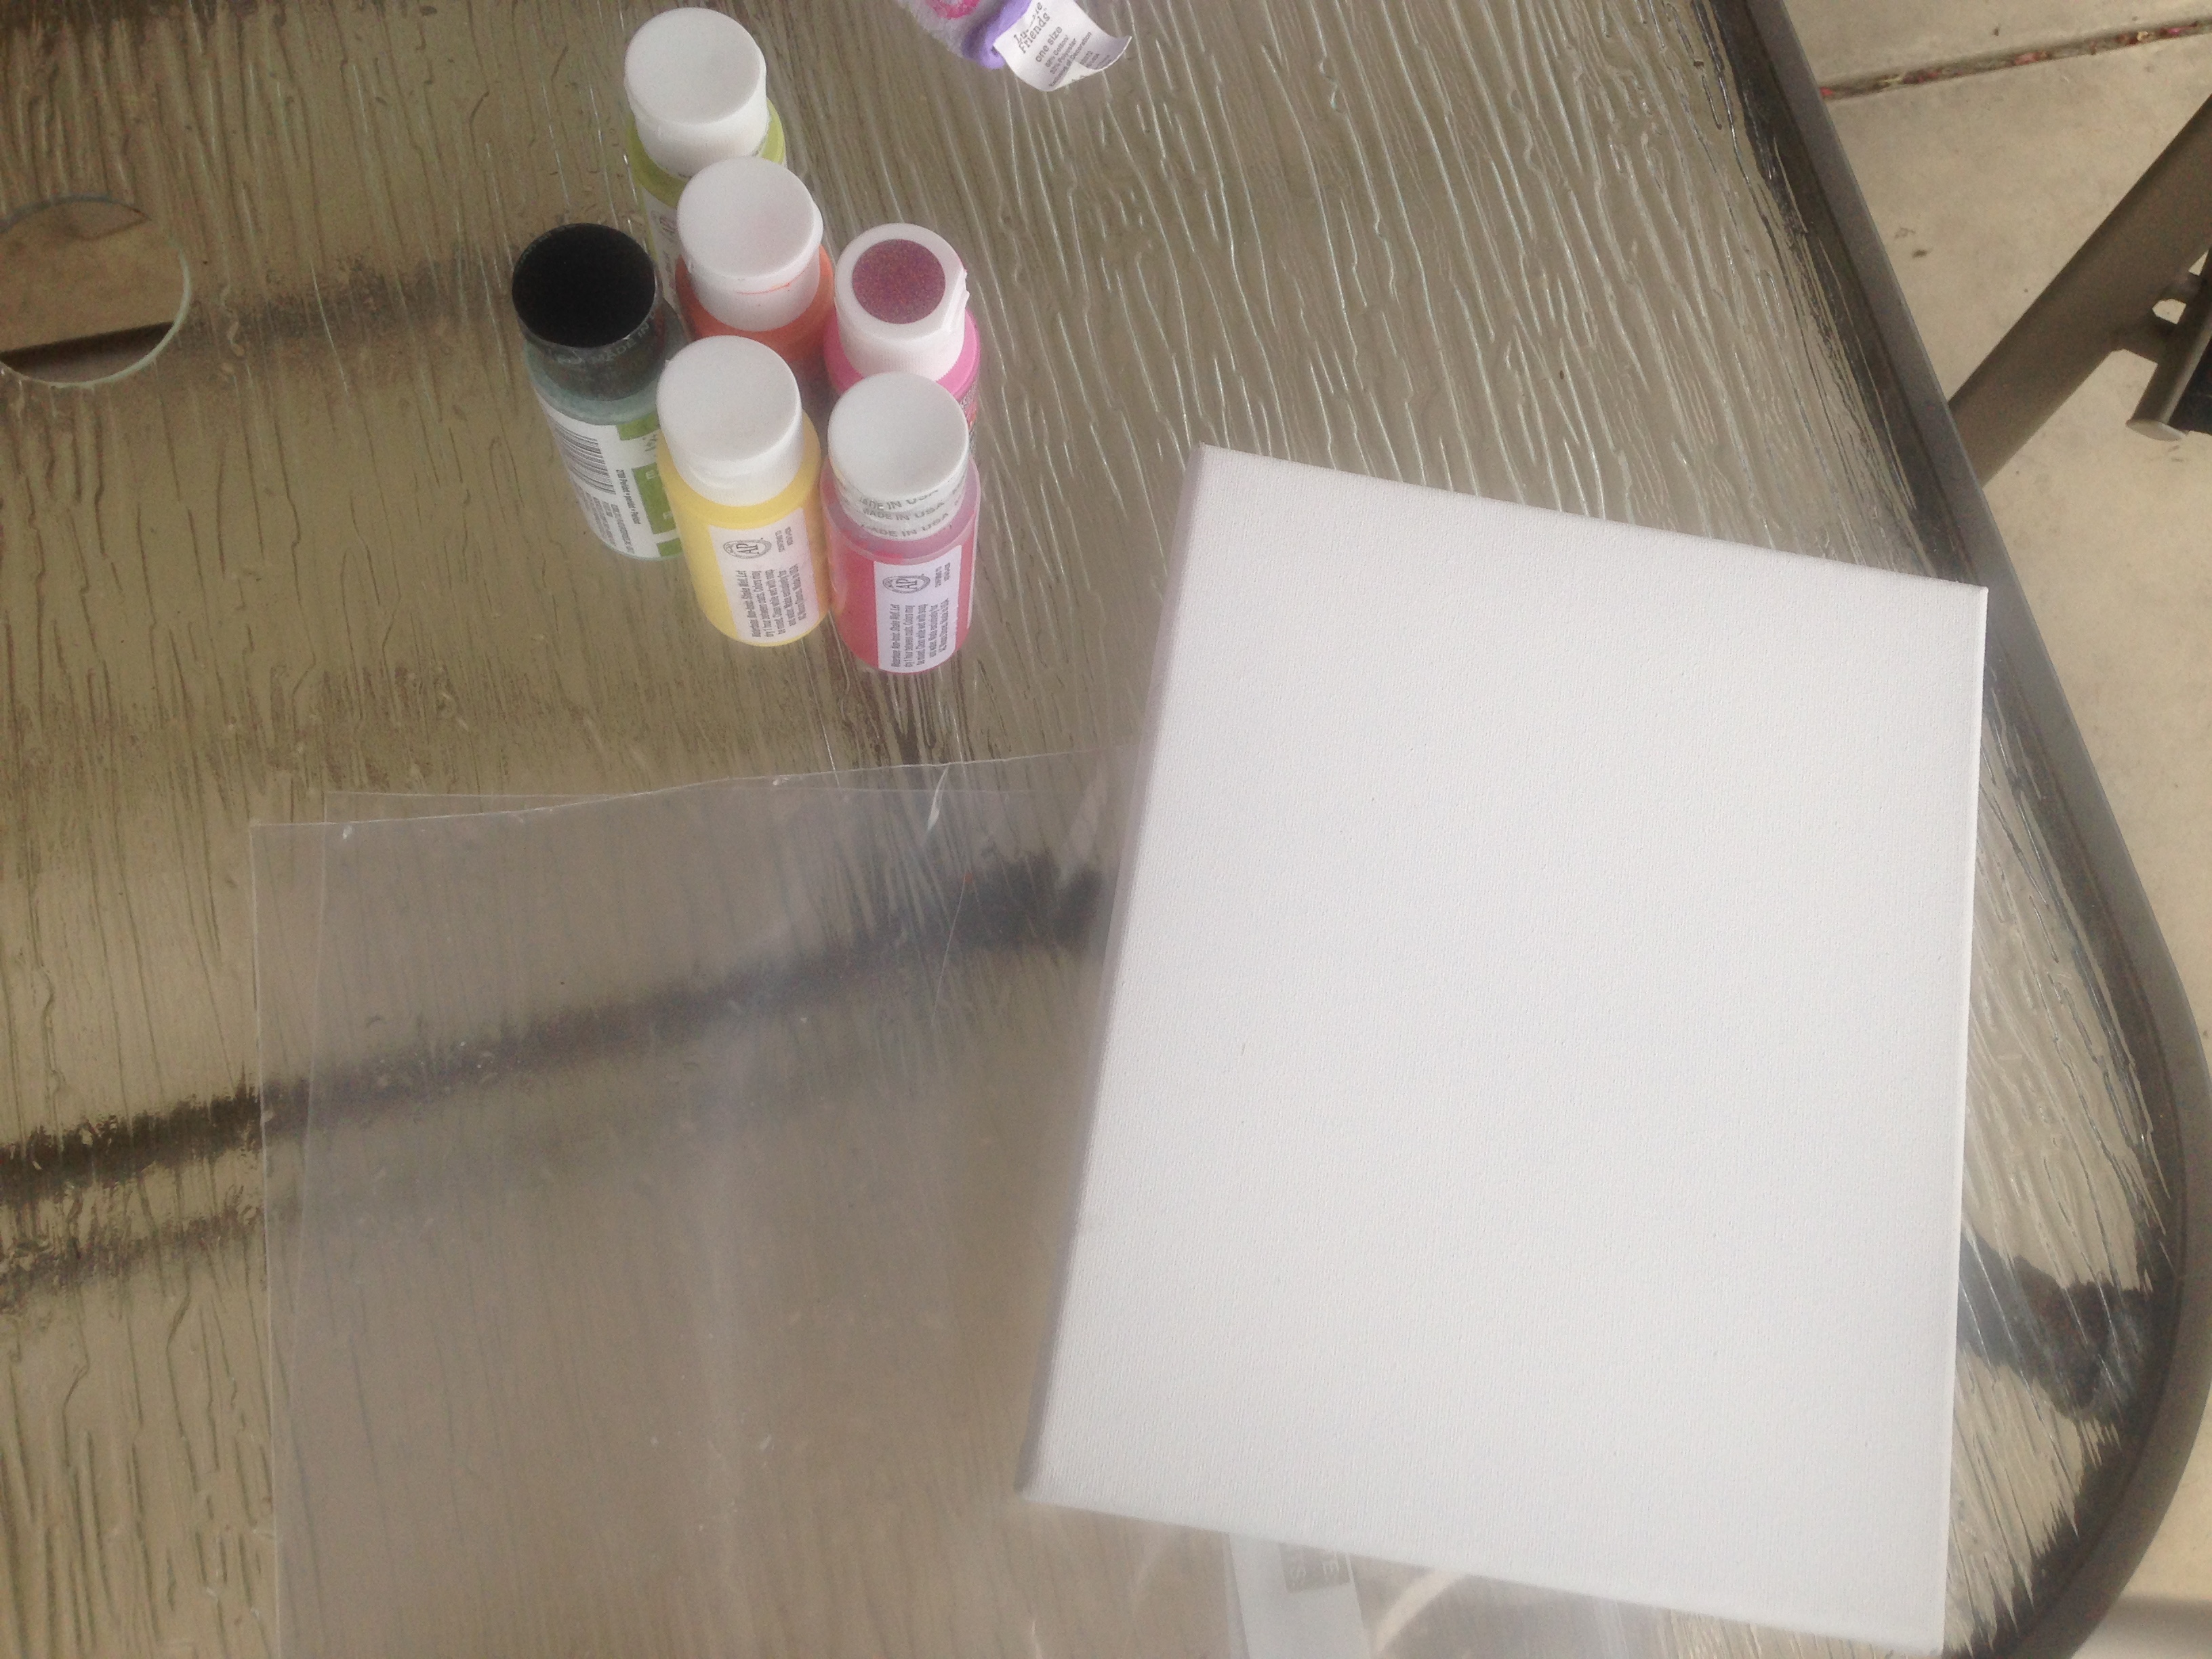
What you need for this placemat place setting is…

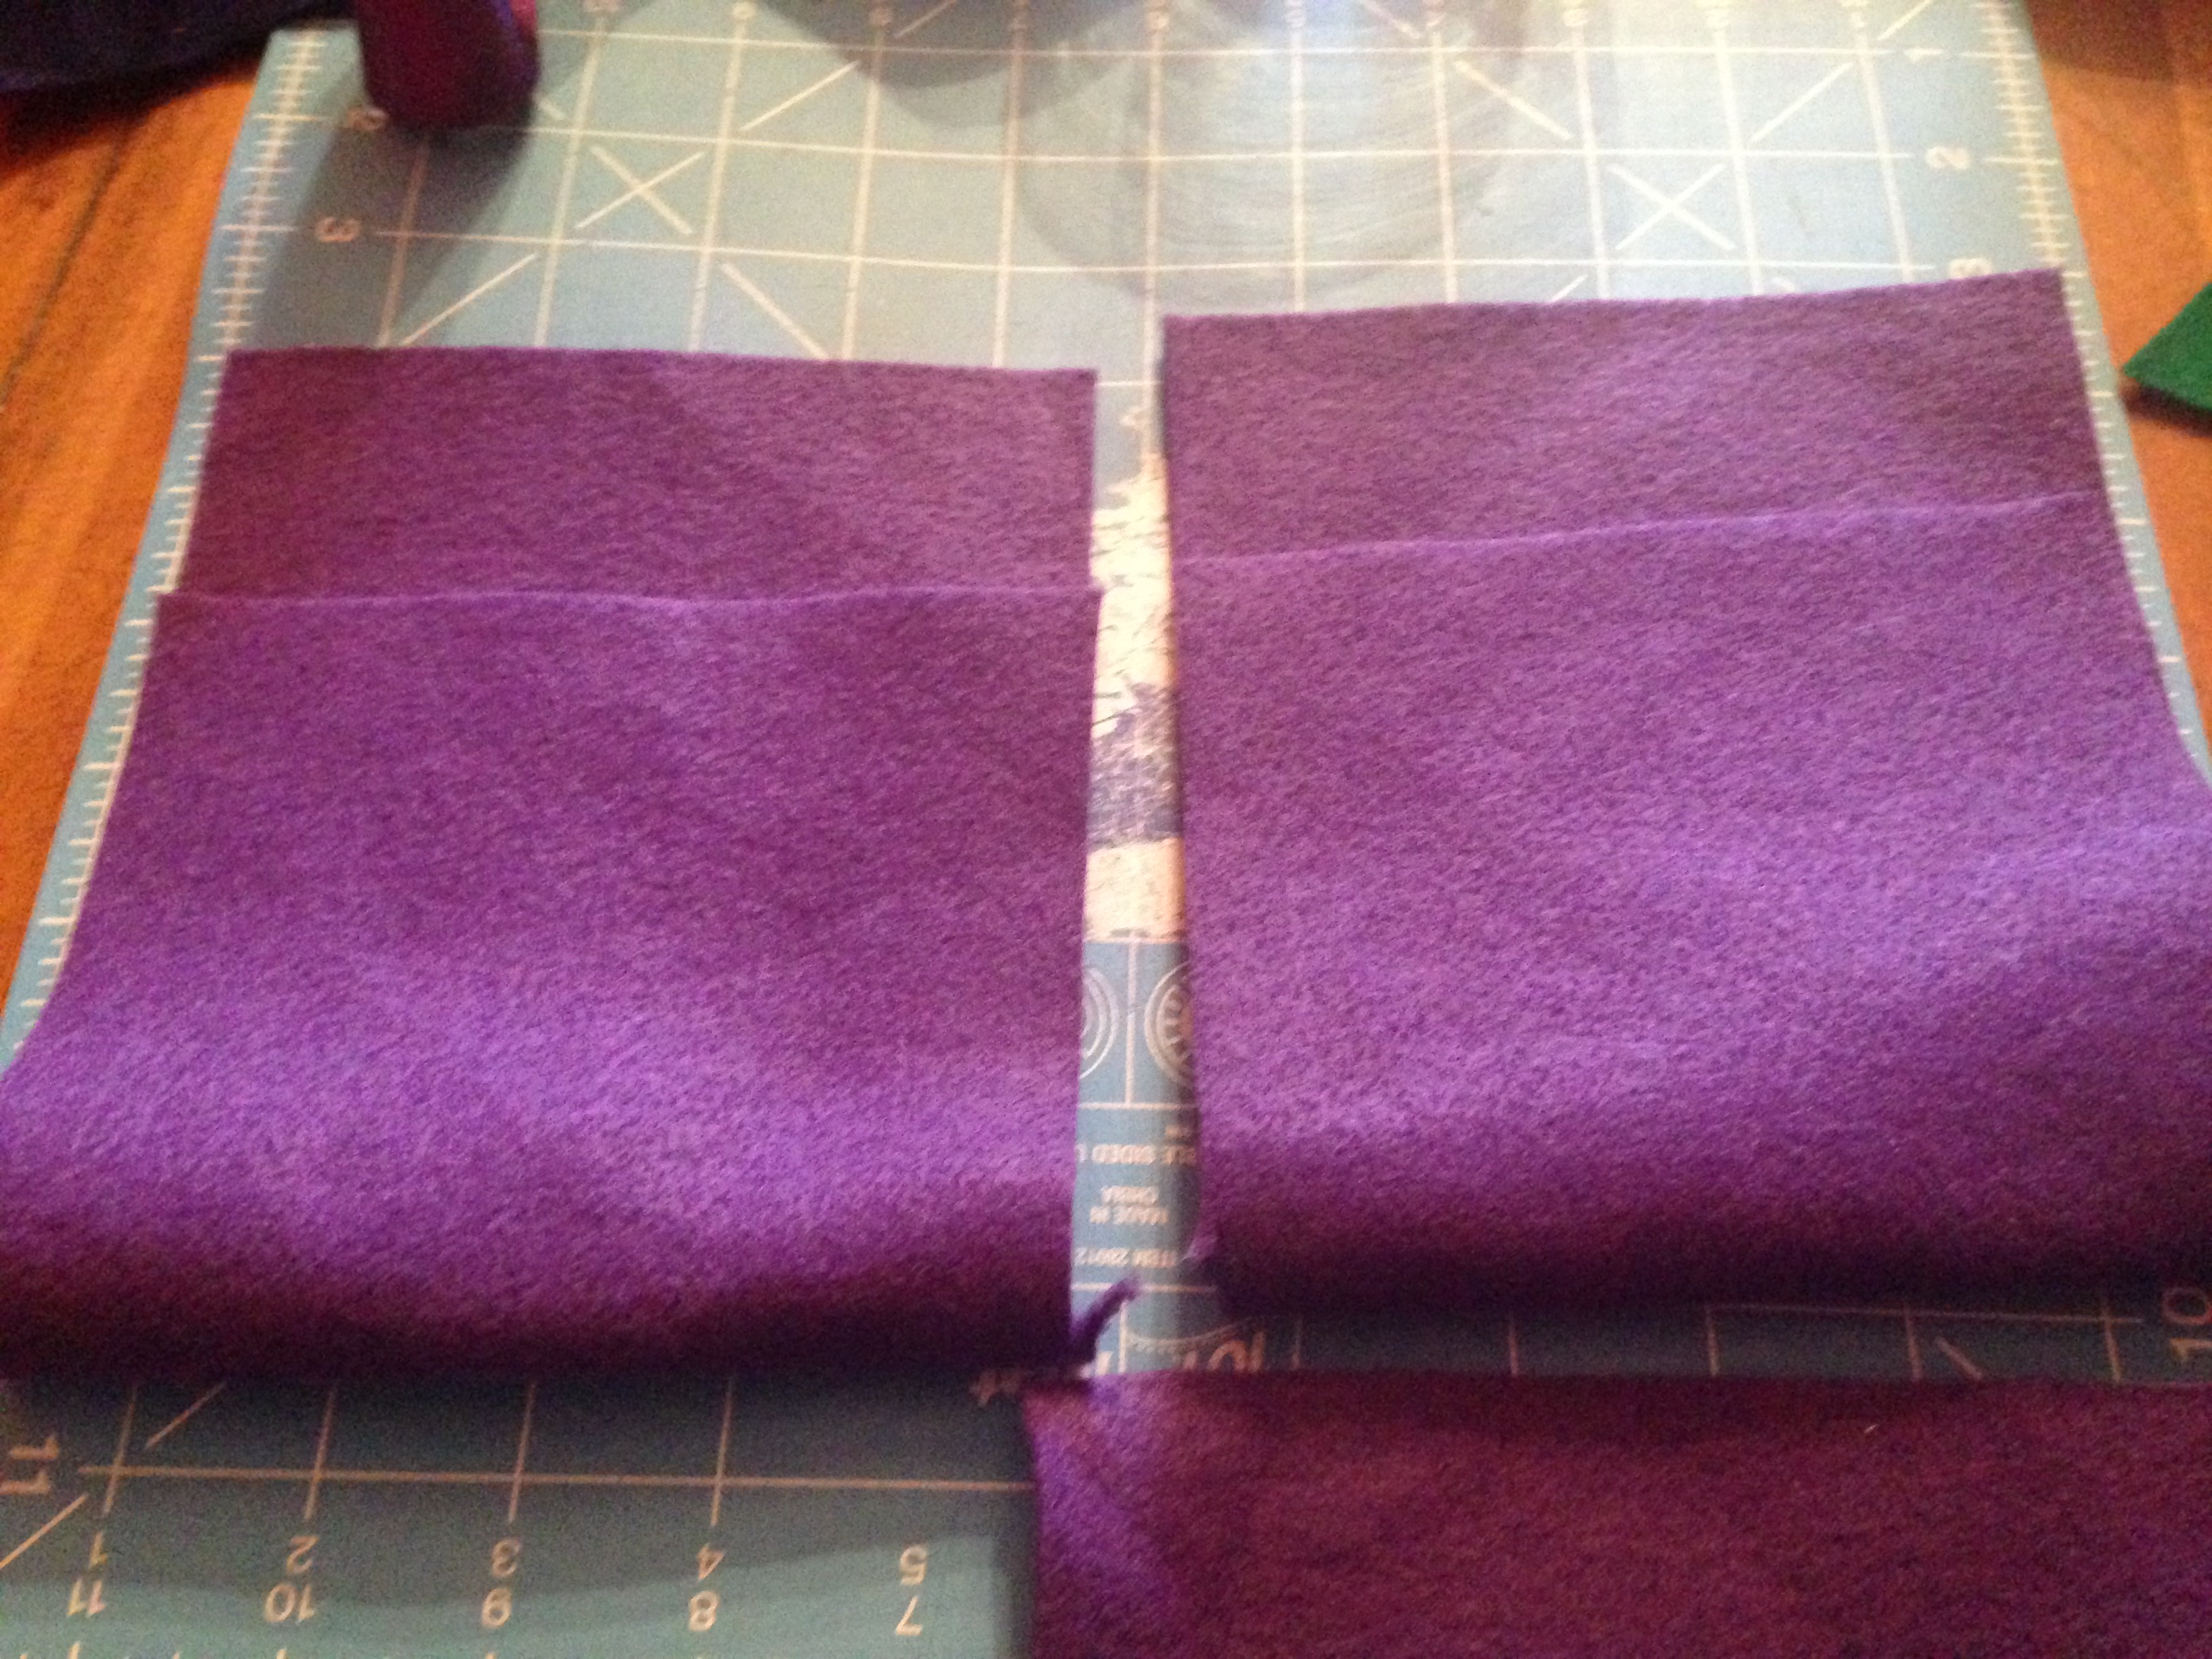
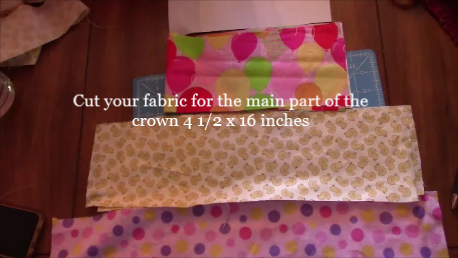
1) fabric: it will end up being 12×16 inches.

  • 1 batting or felt for the middle or back side 12×16
  • 1 center front piece 12×12
  • 2 outside front pieces 4×12
  • 1 back side
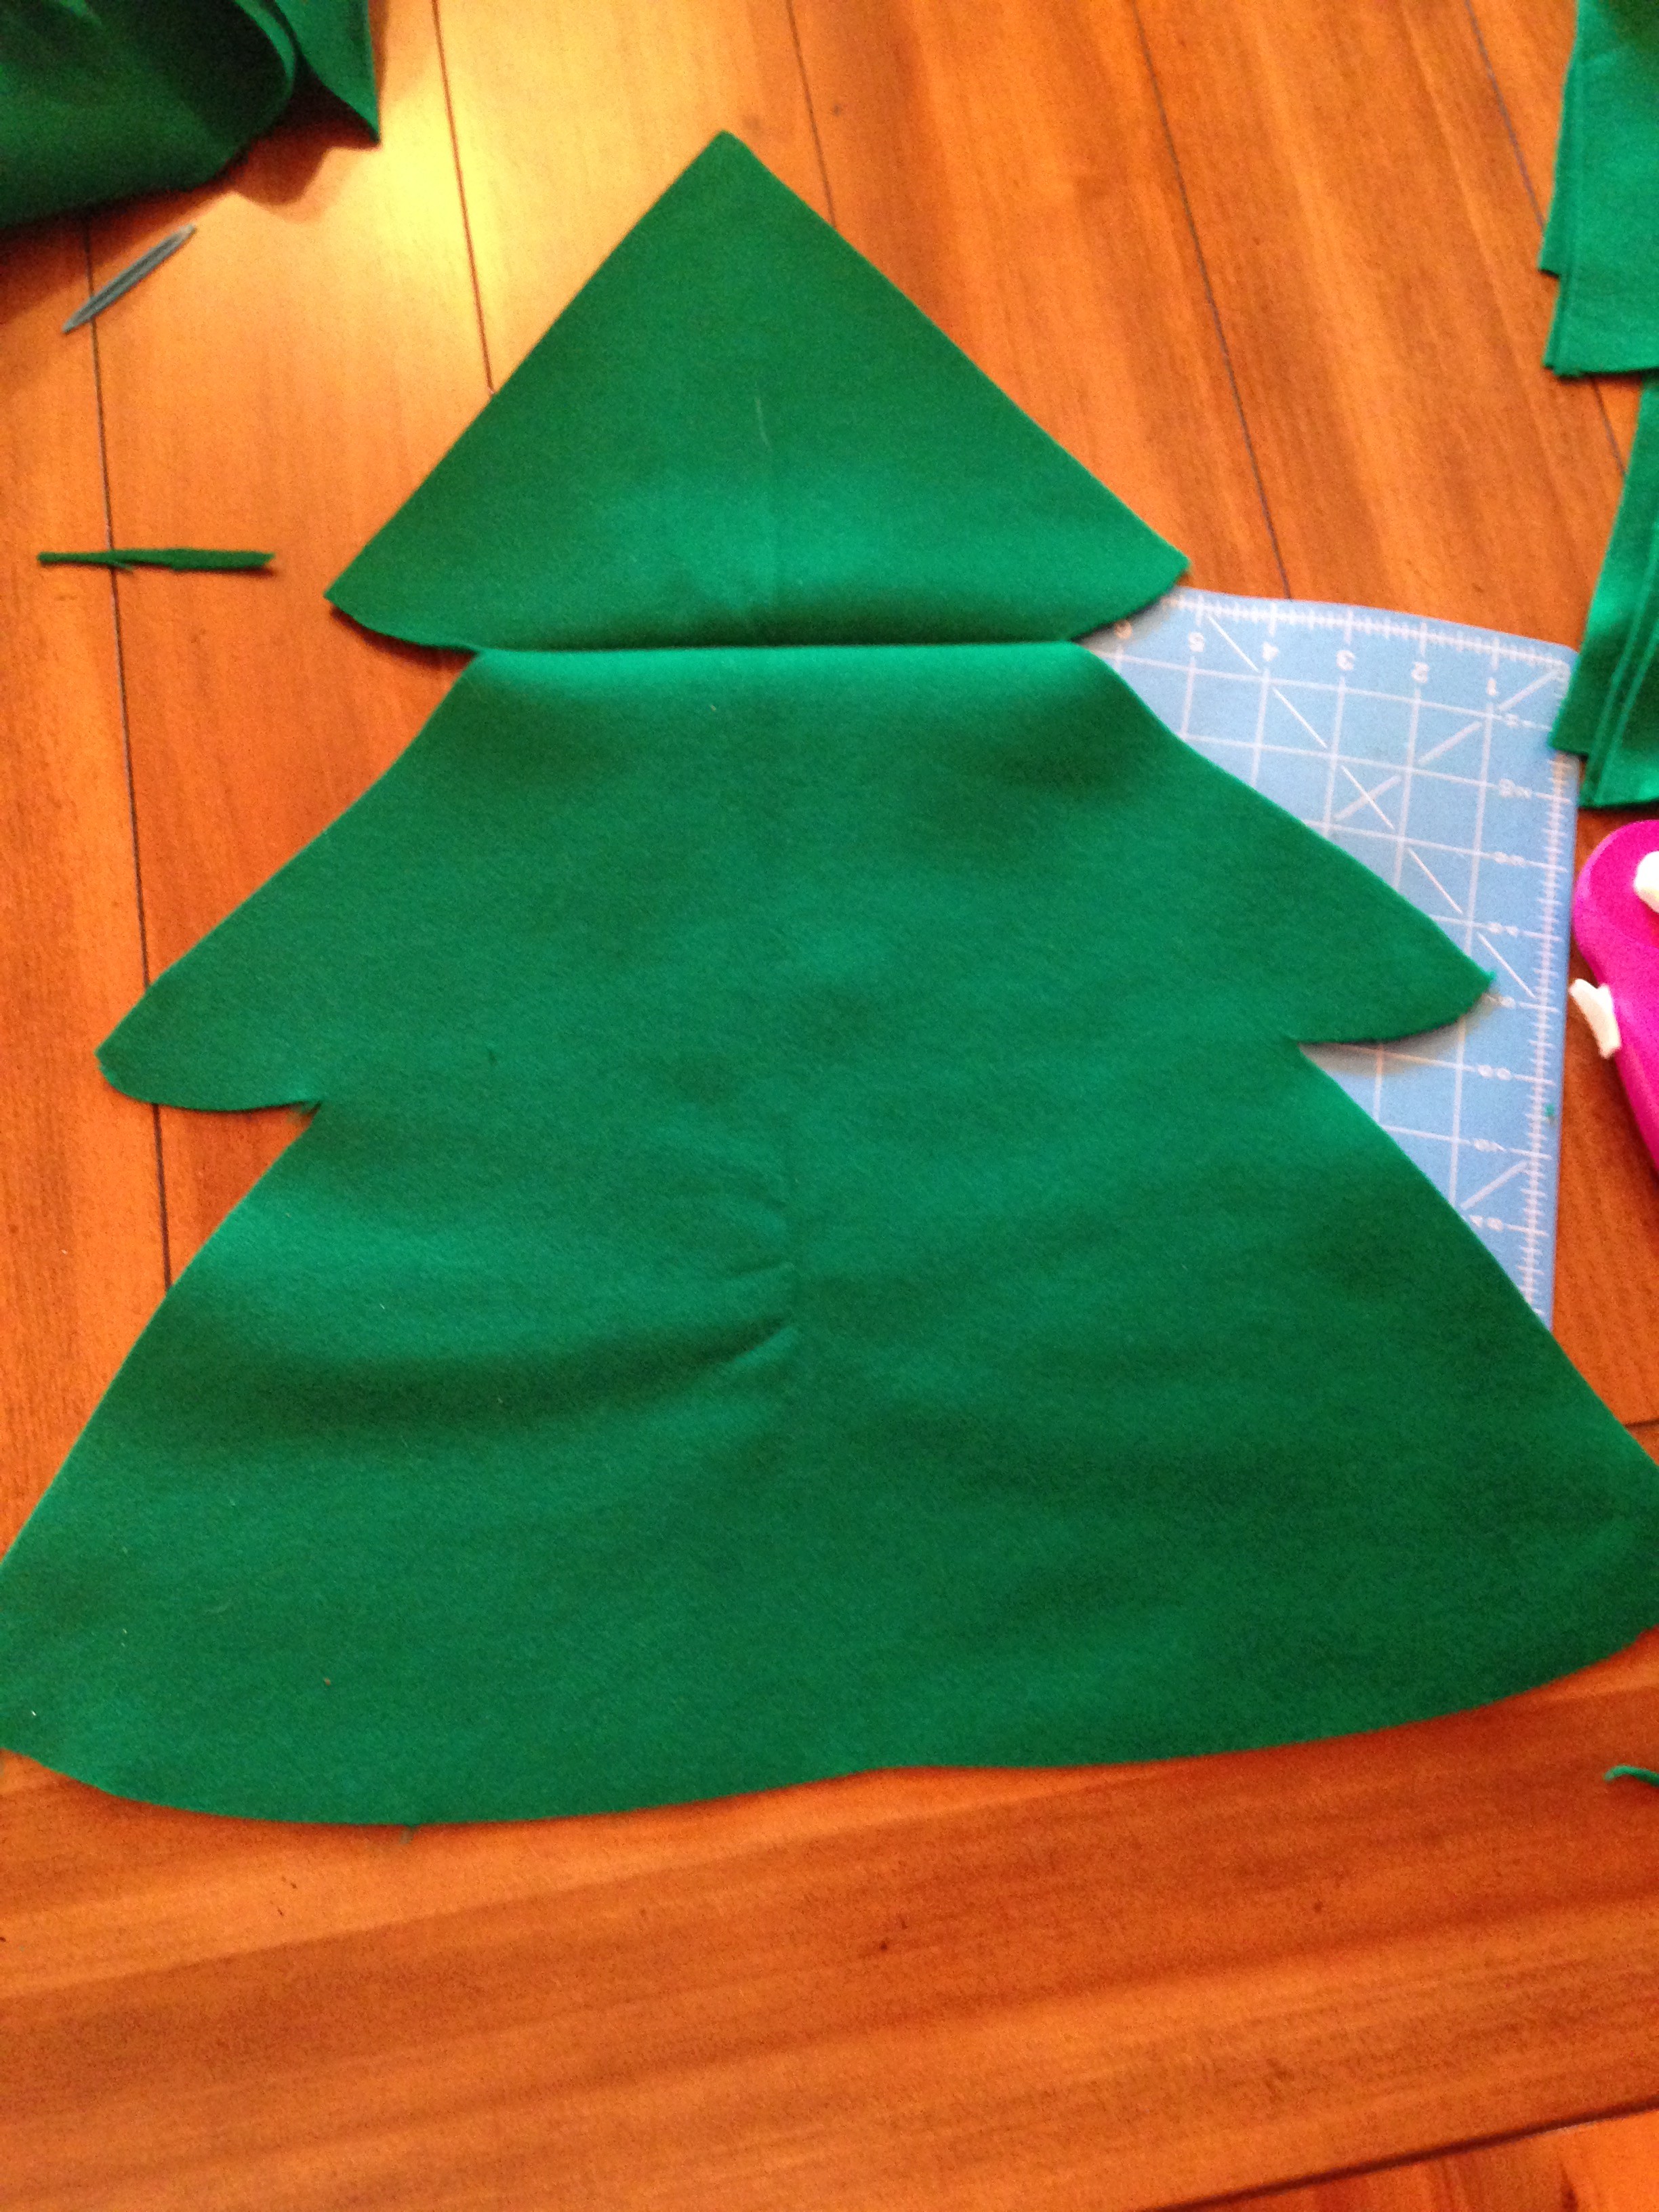
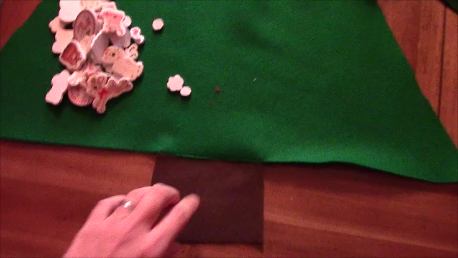
  • felt or non fraying material to cut out fork, spoon, cup, and plate

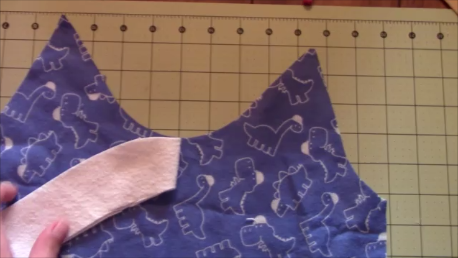
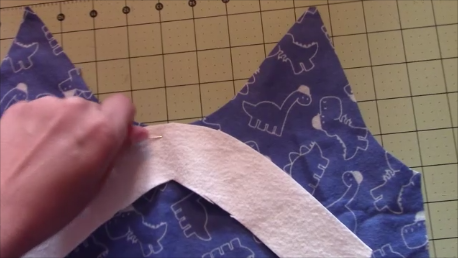
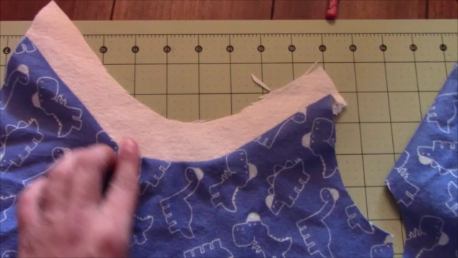
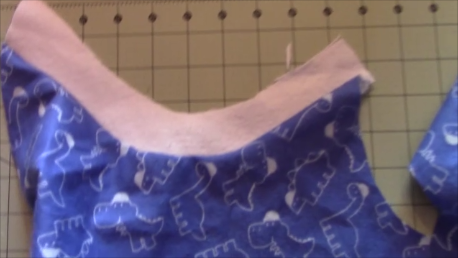
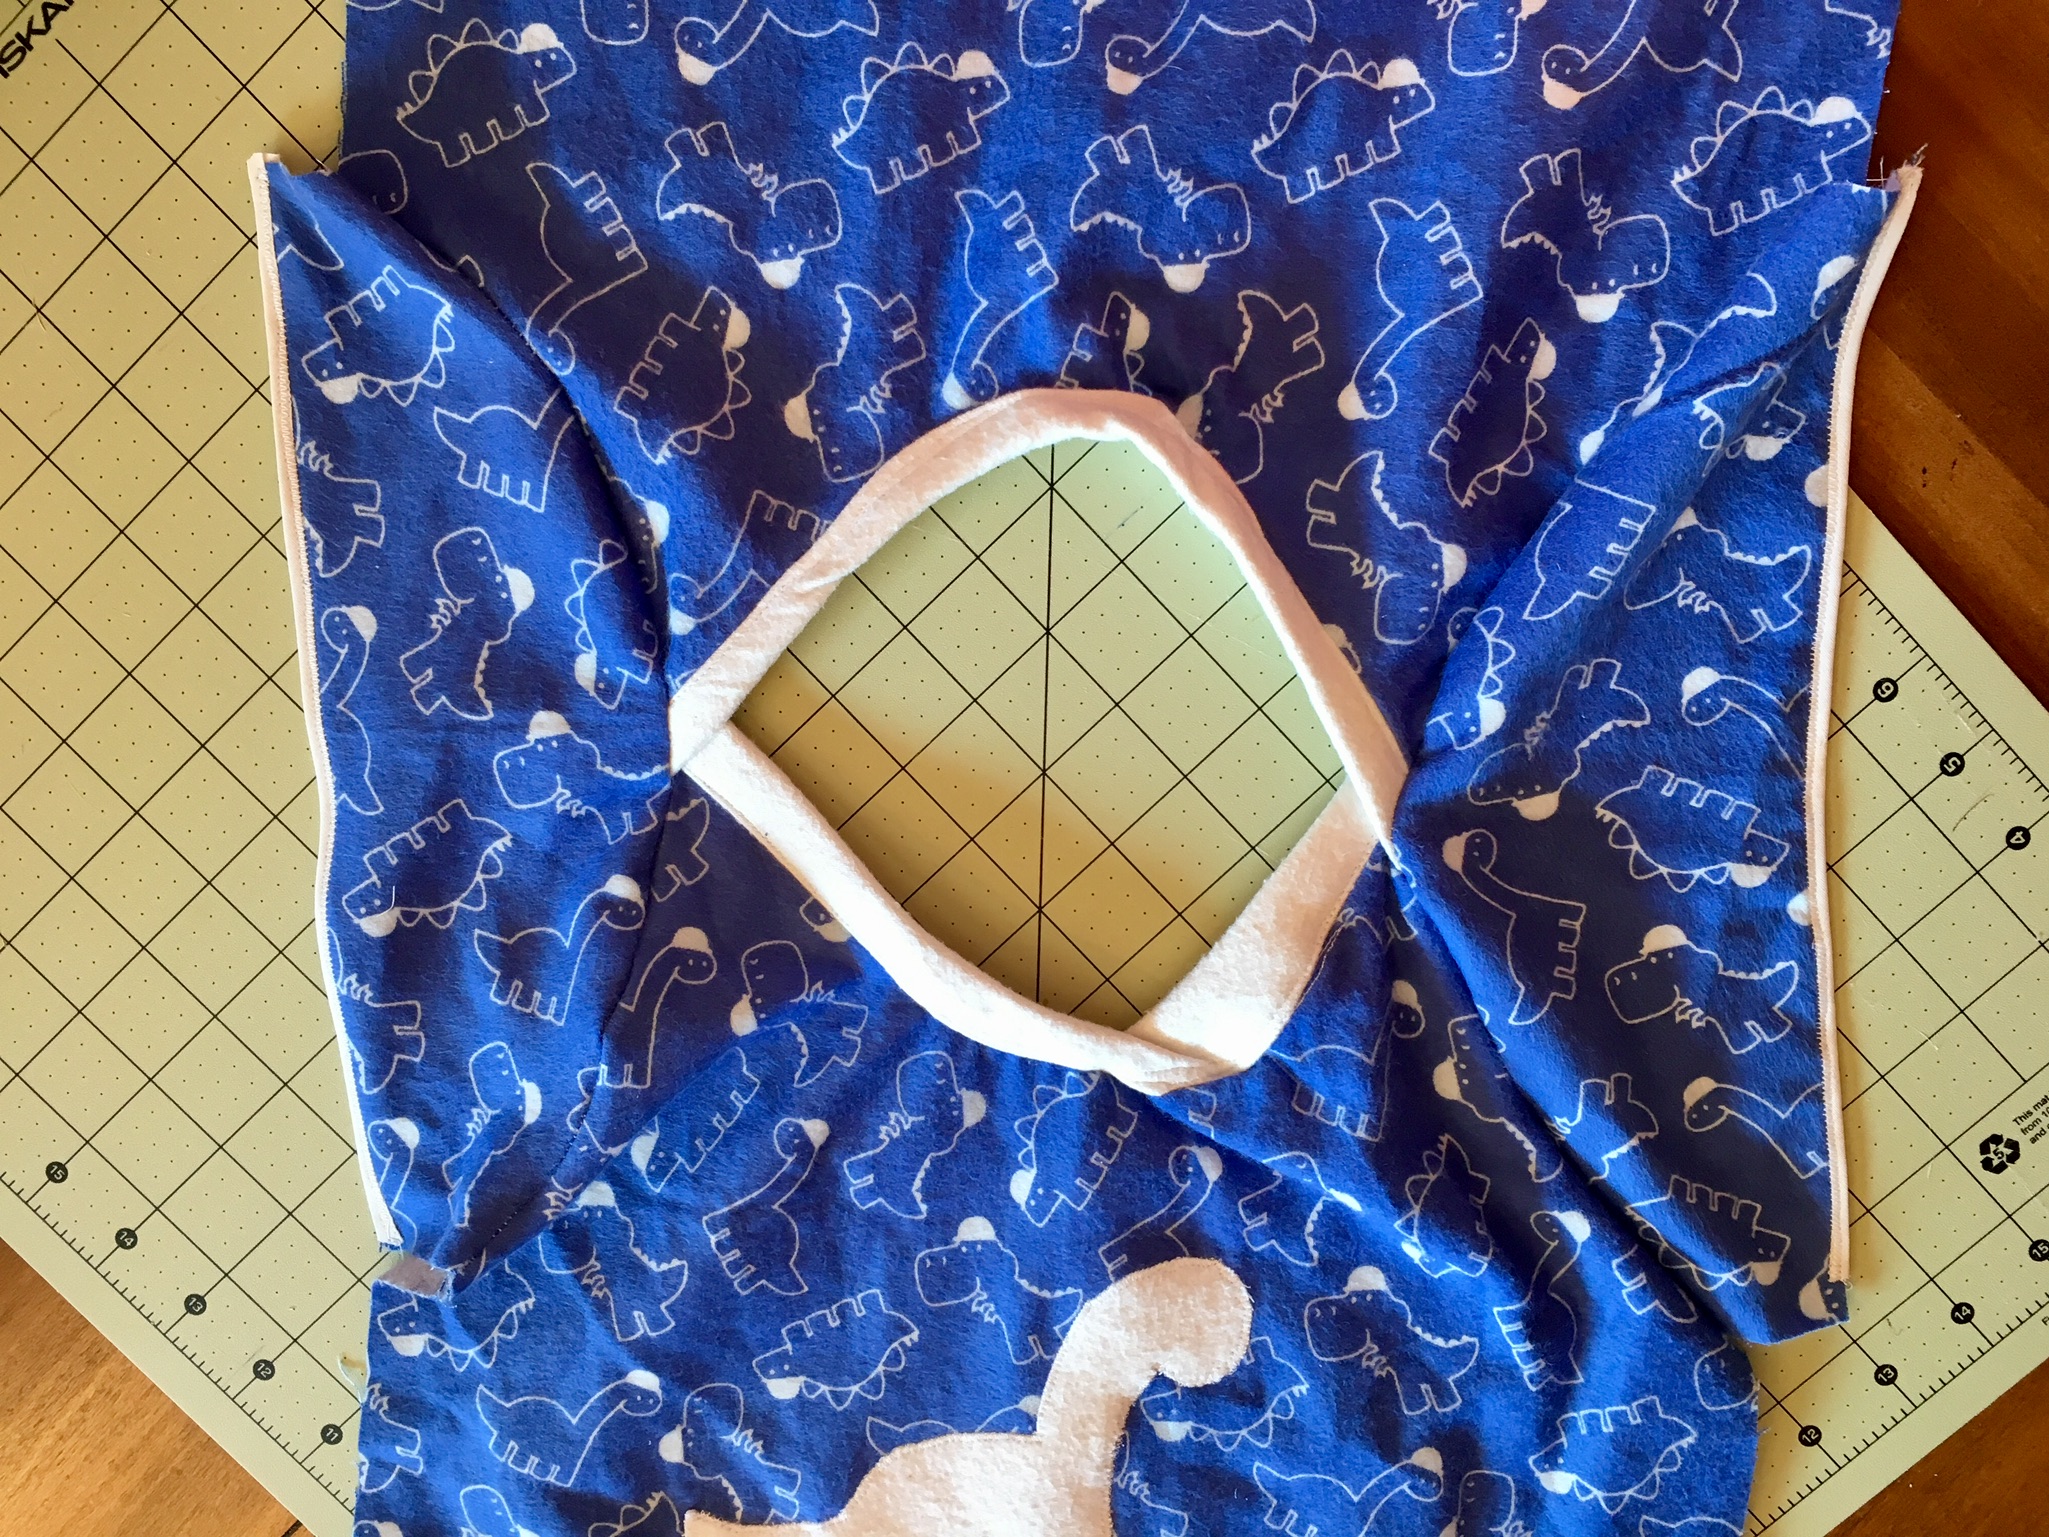
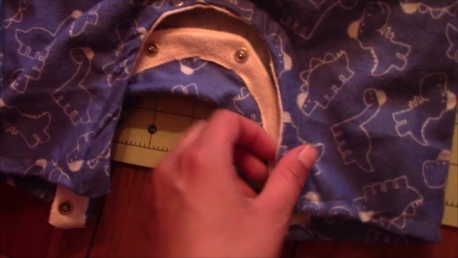
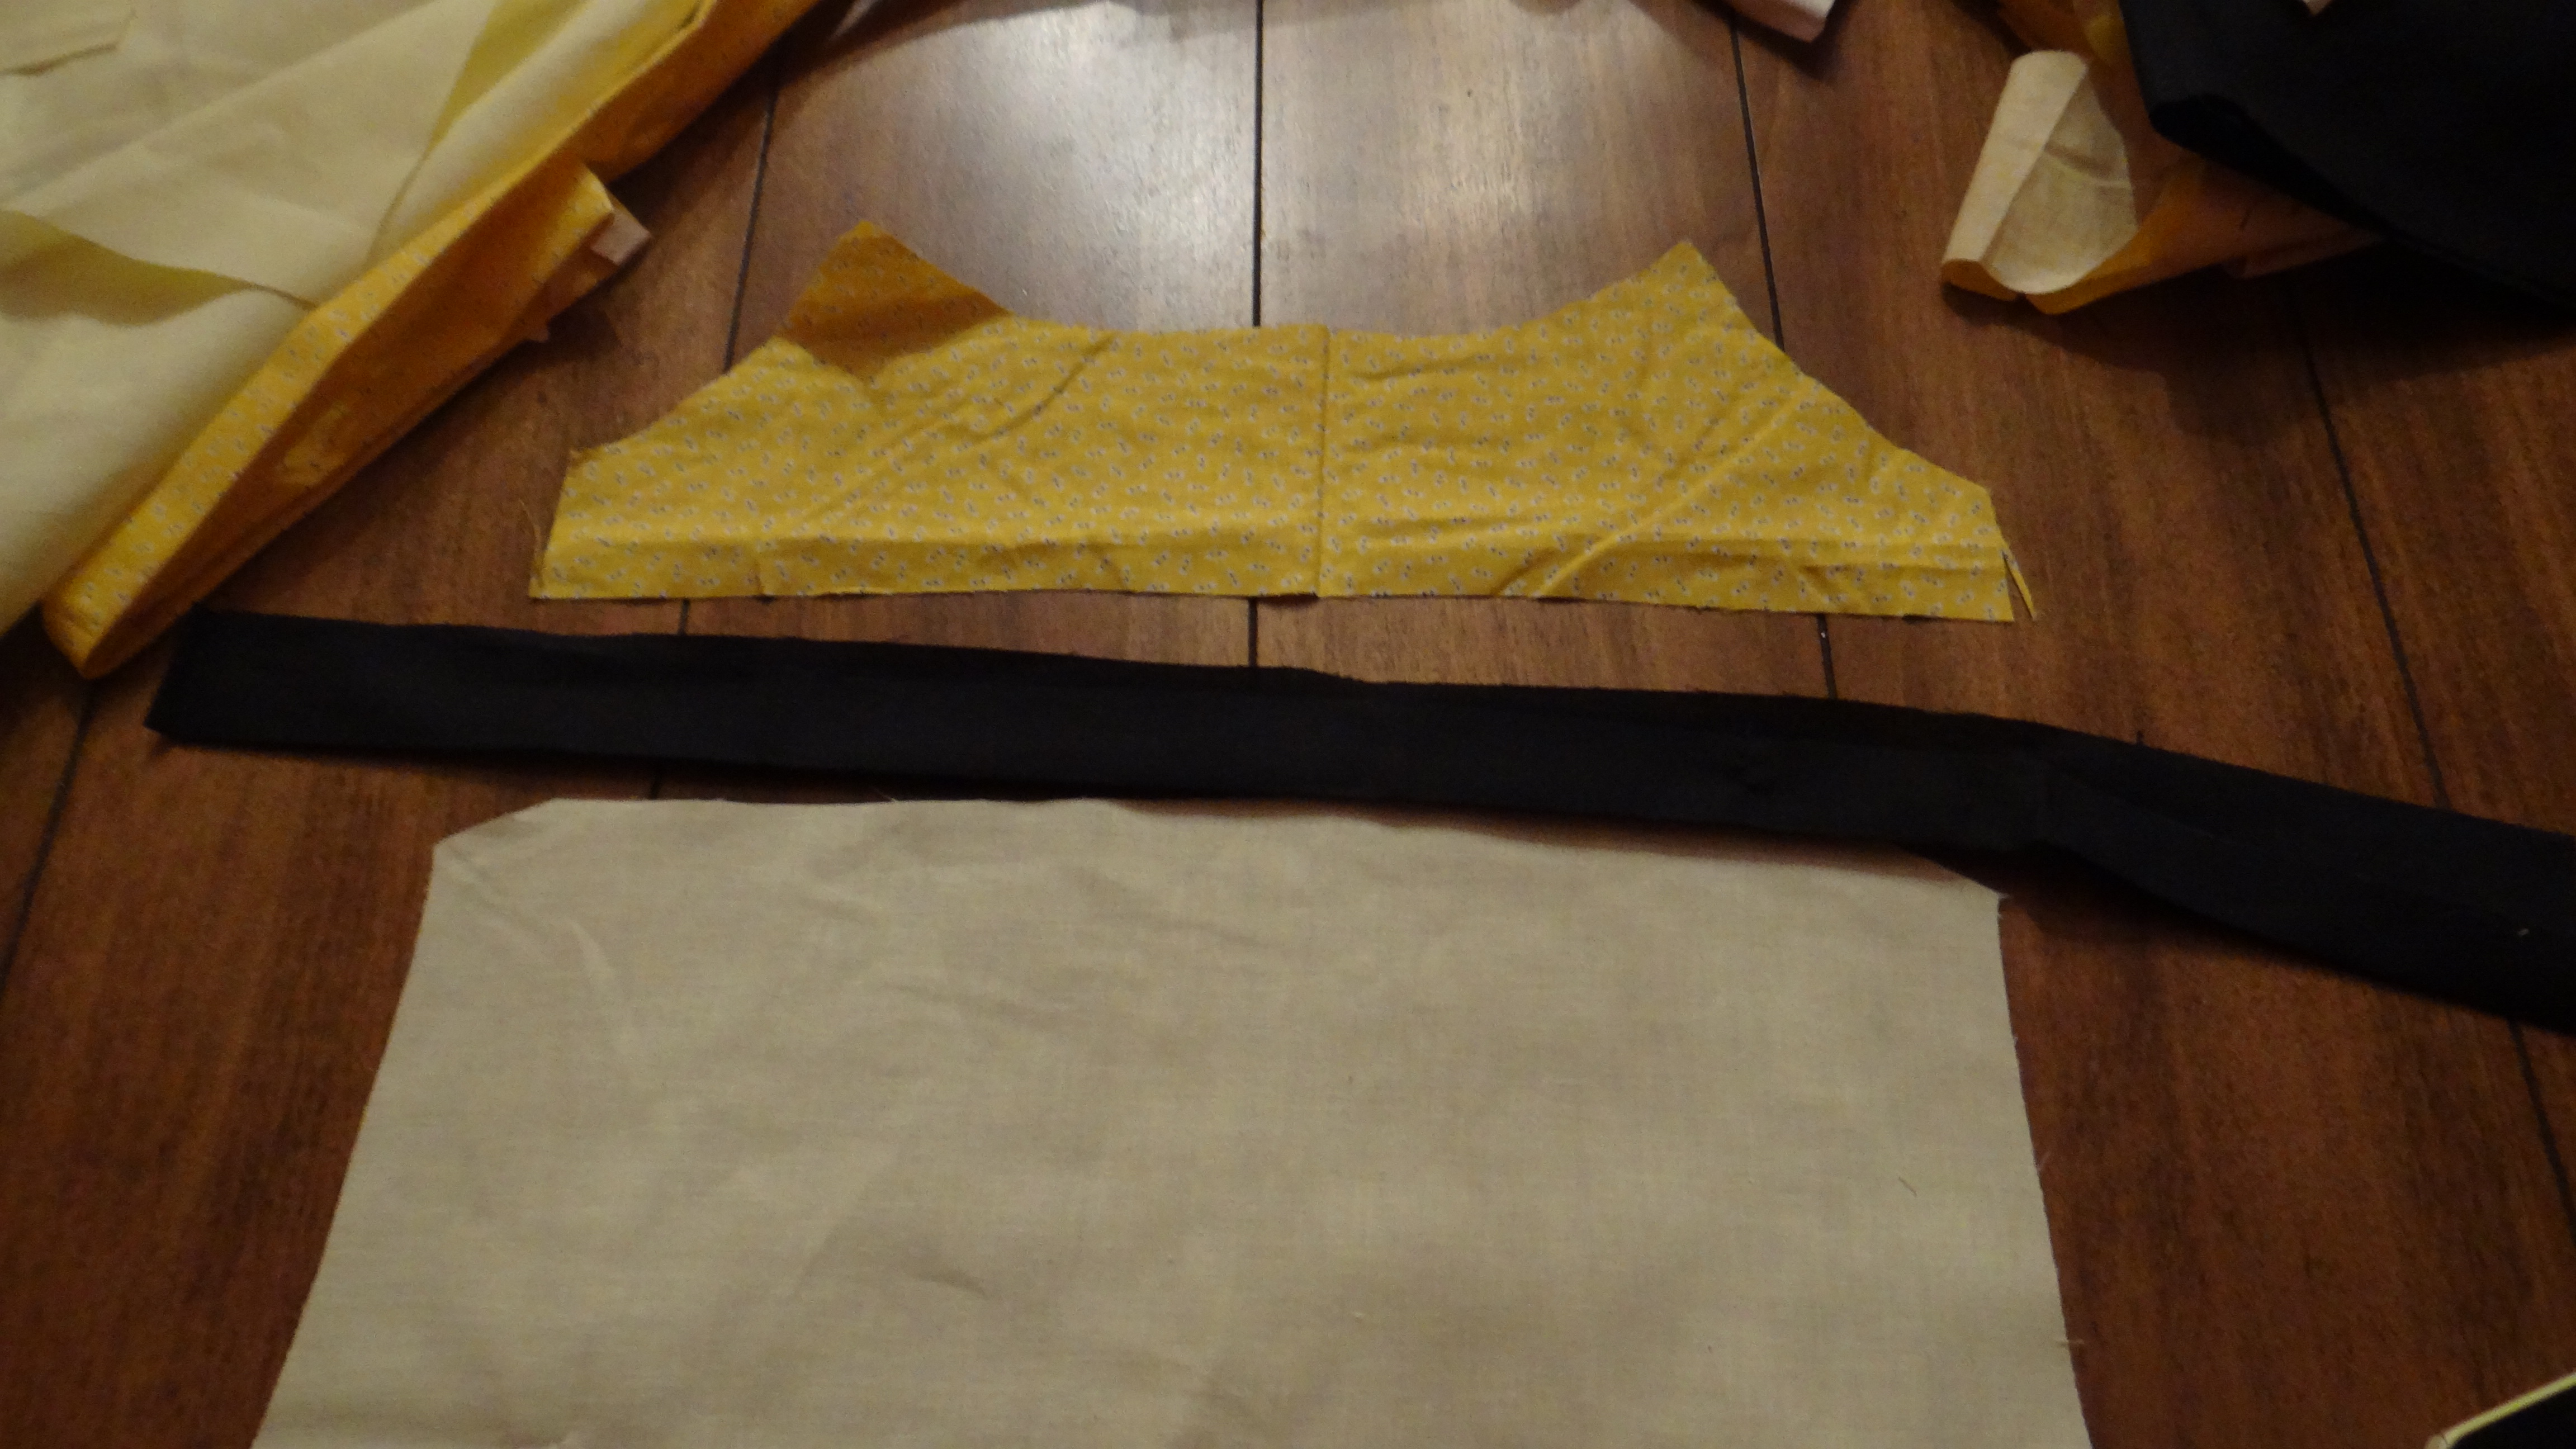
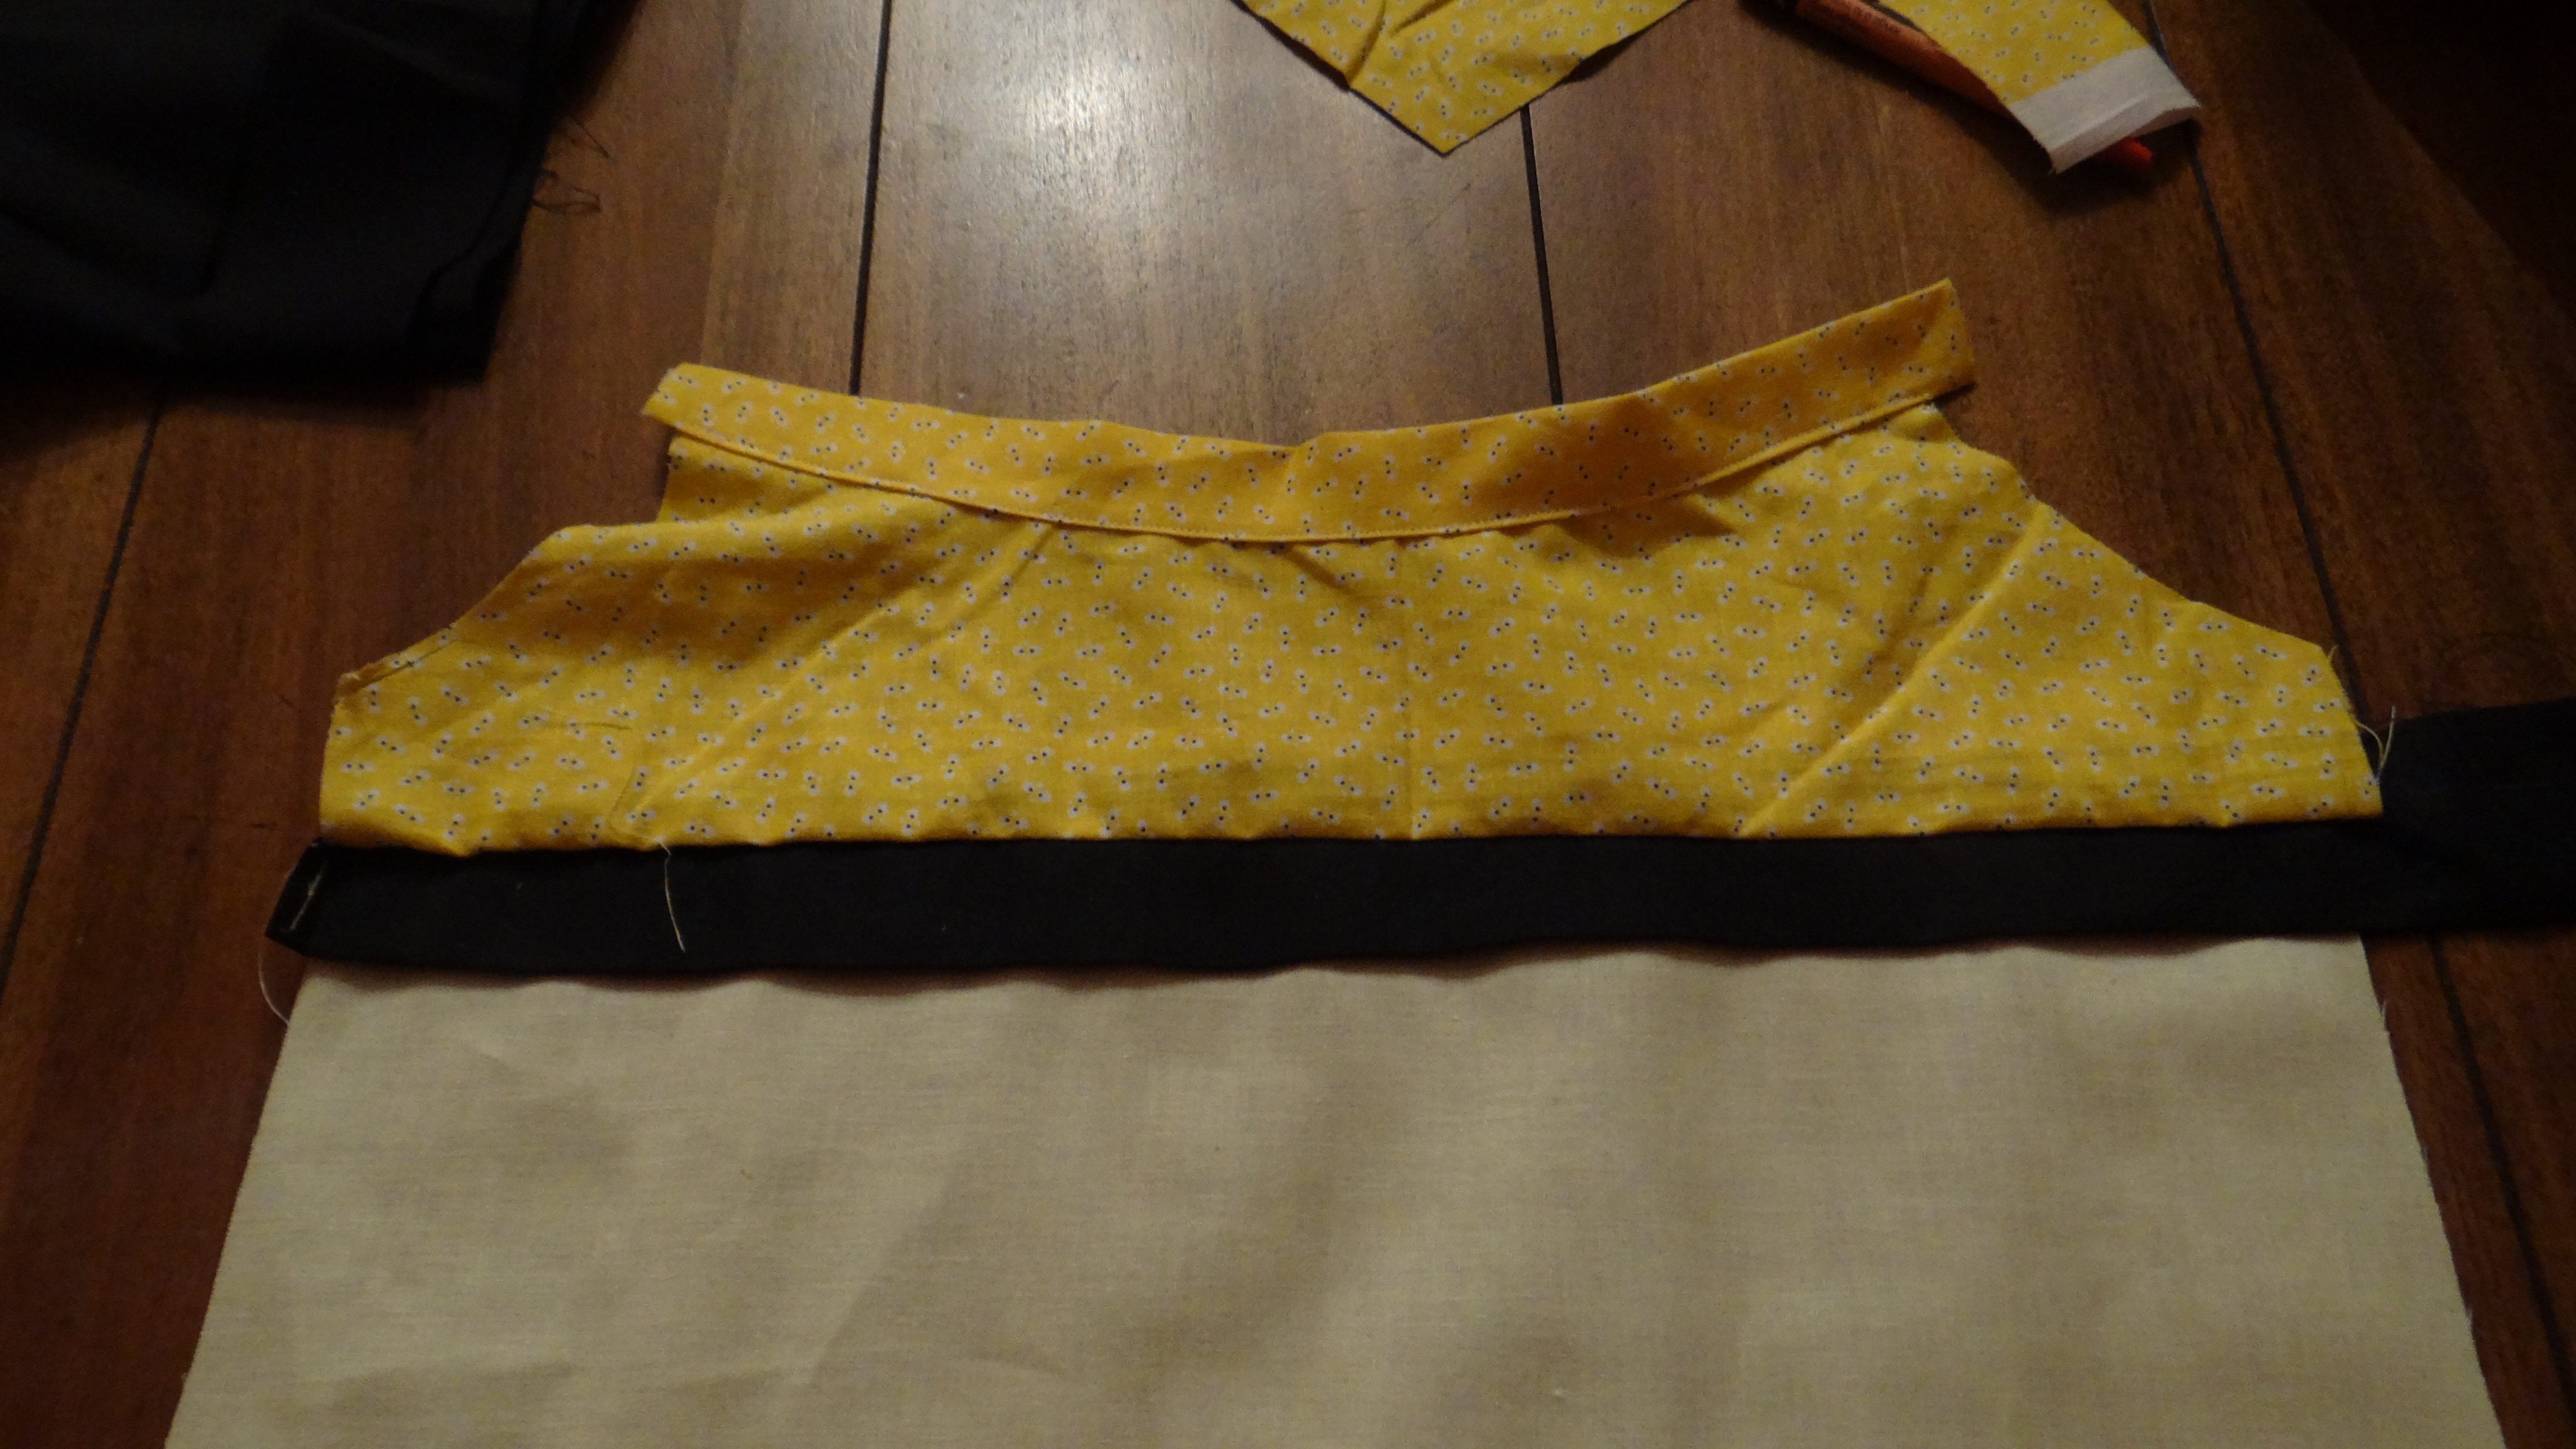
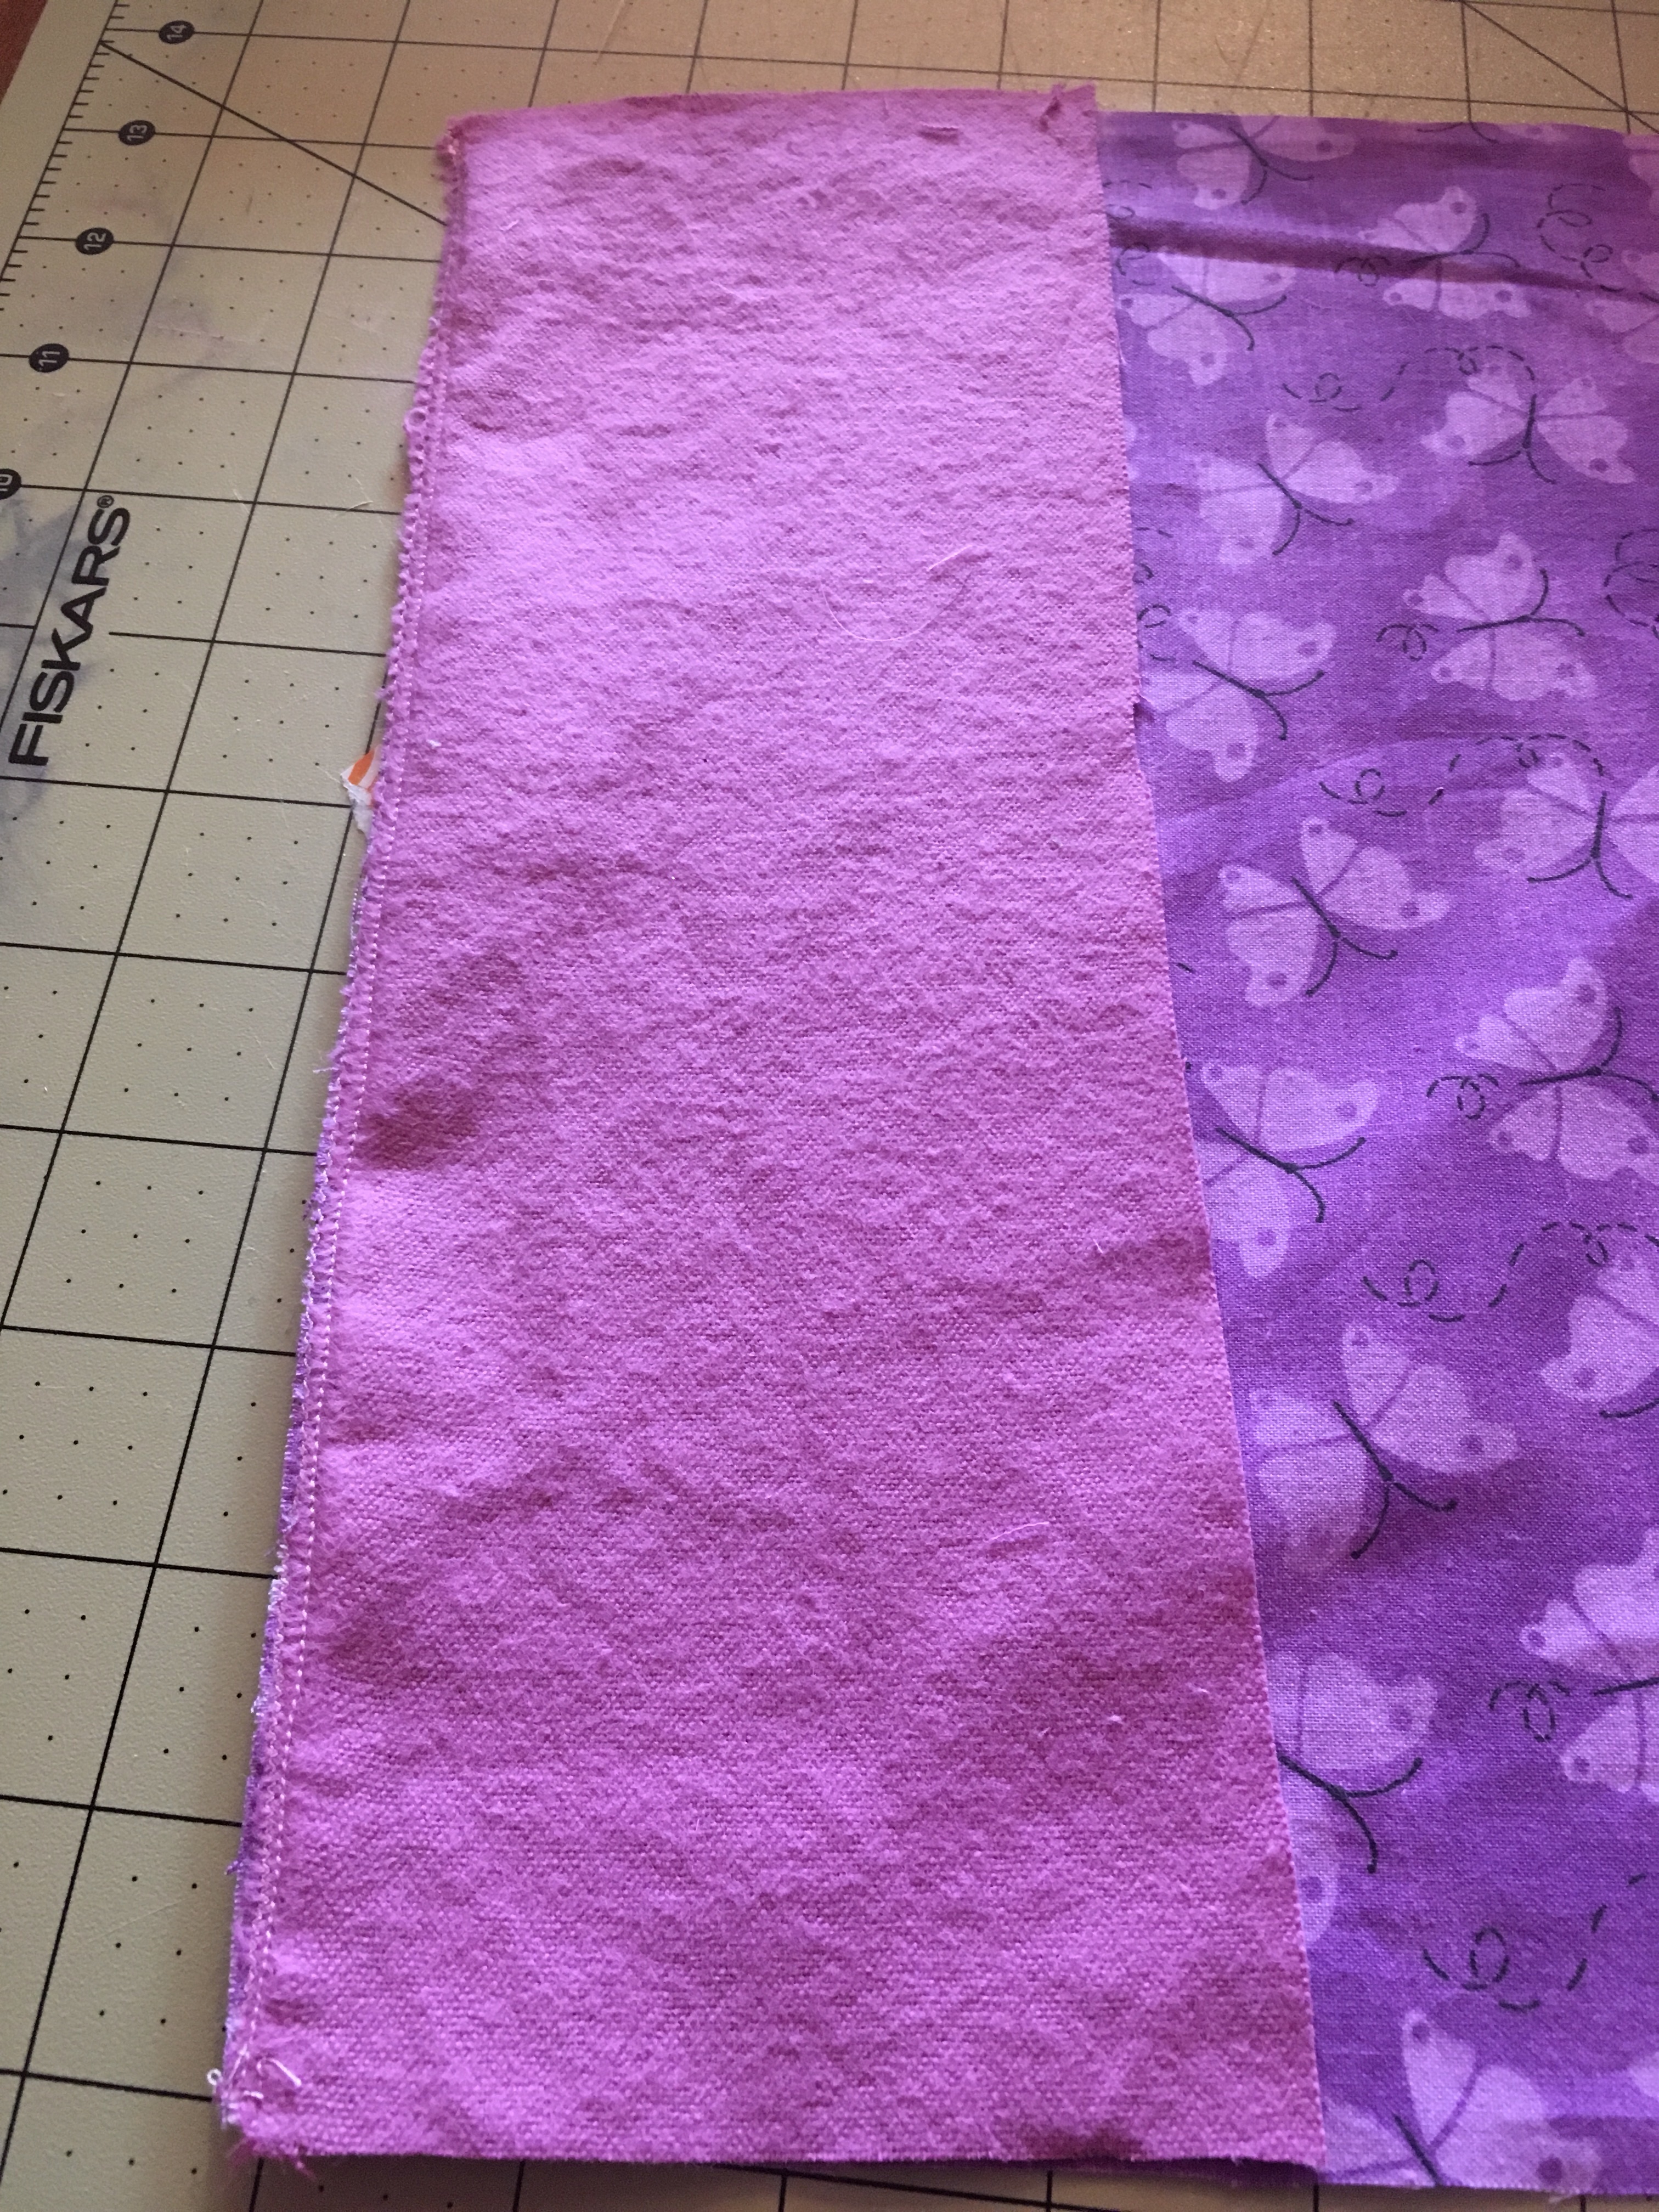
2) Next, take your front center piece and your side front pieces and pin them fabric facing fabric on the sides and sew. Then iron the seems.

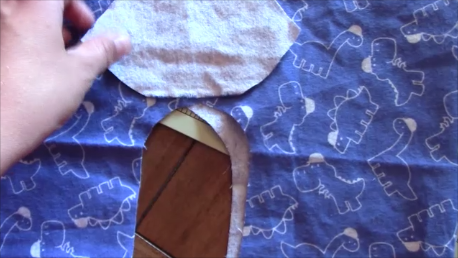
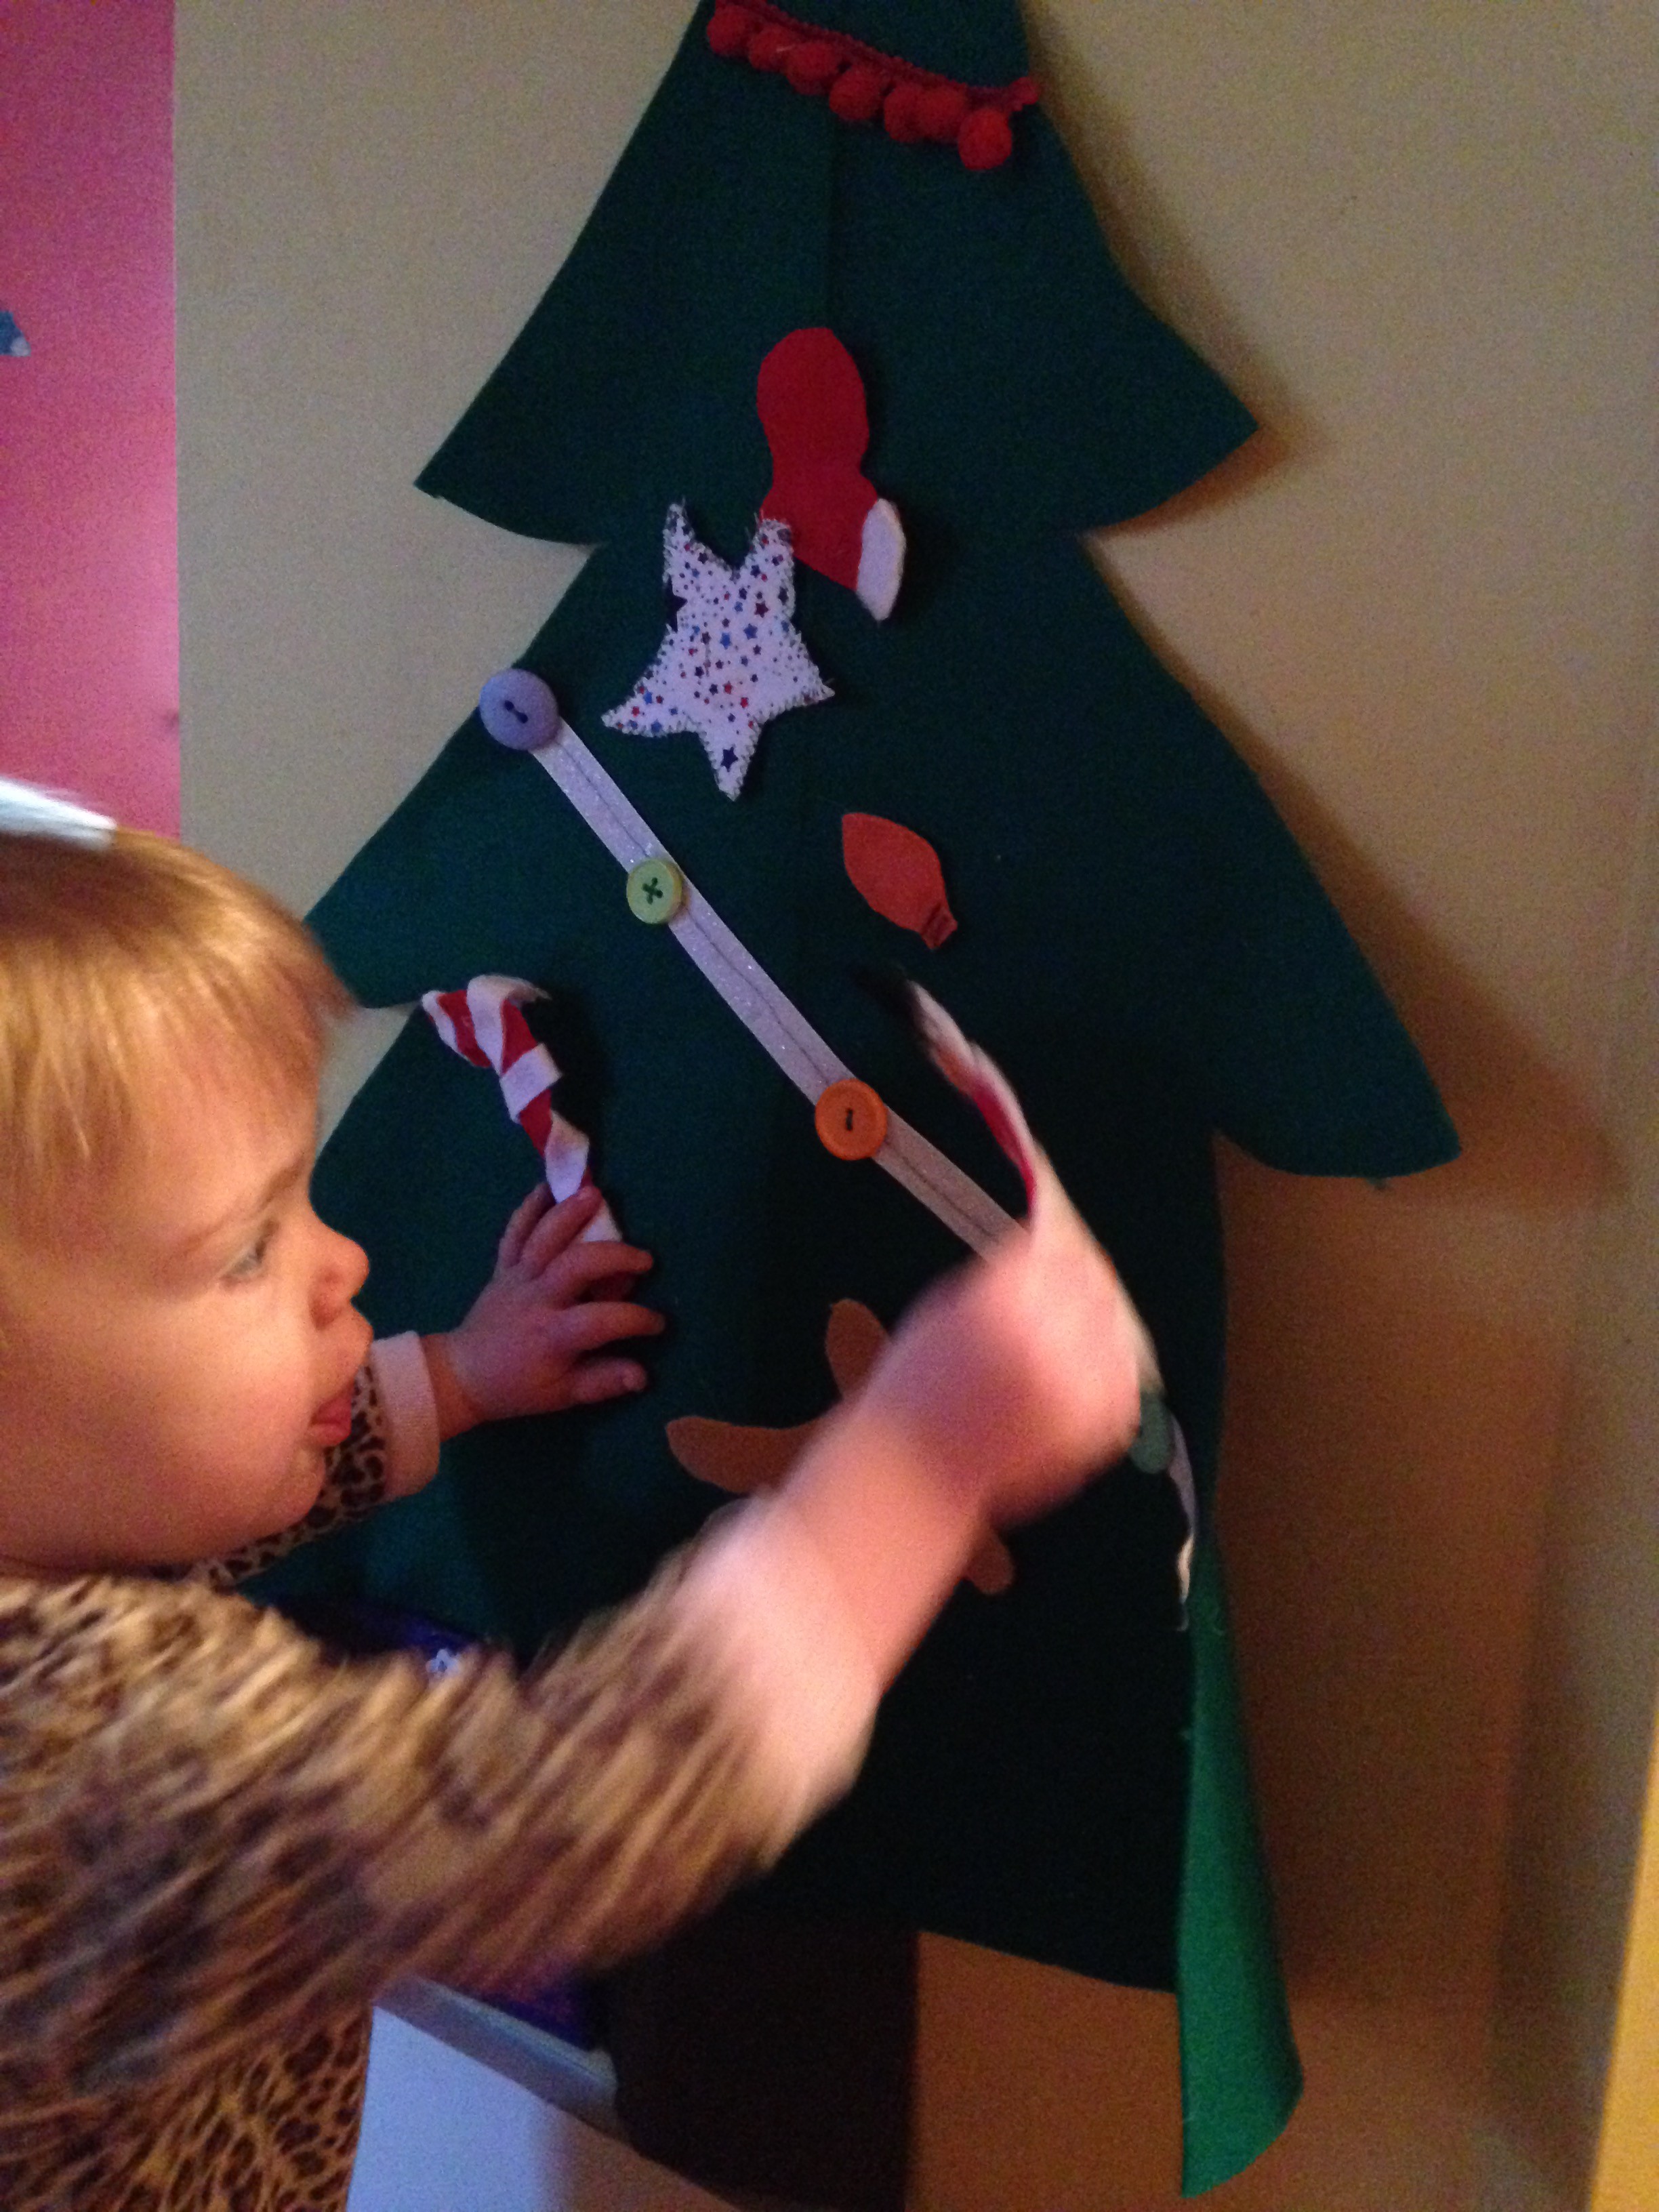
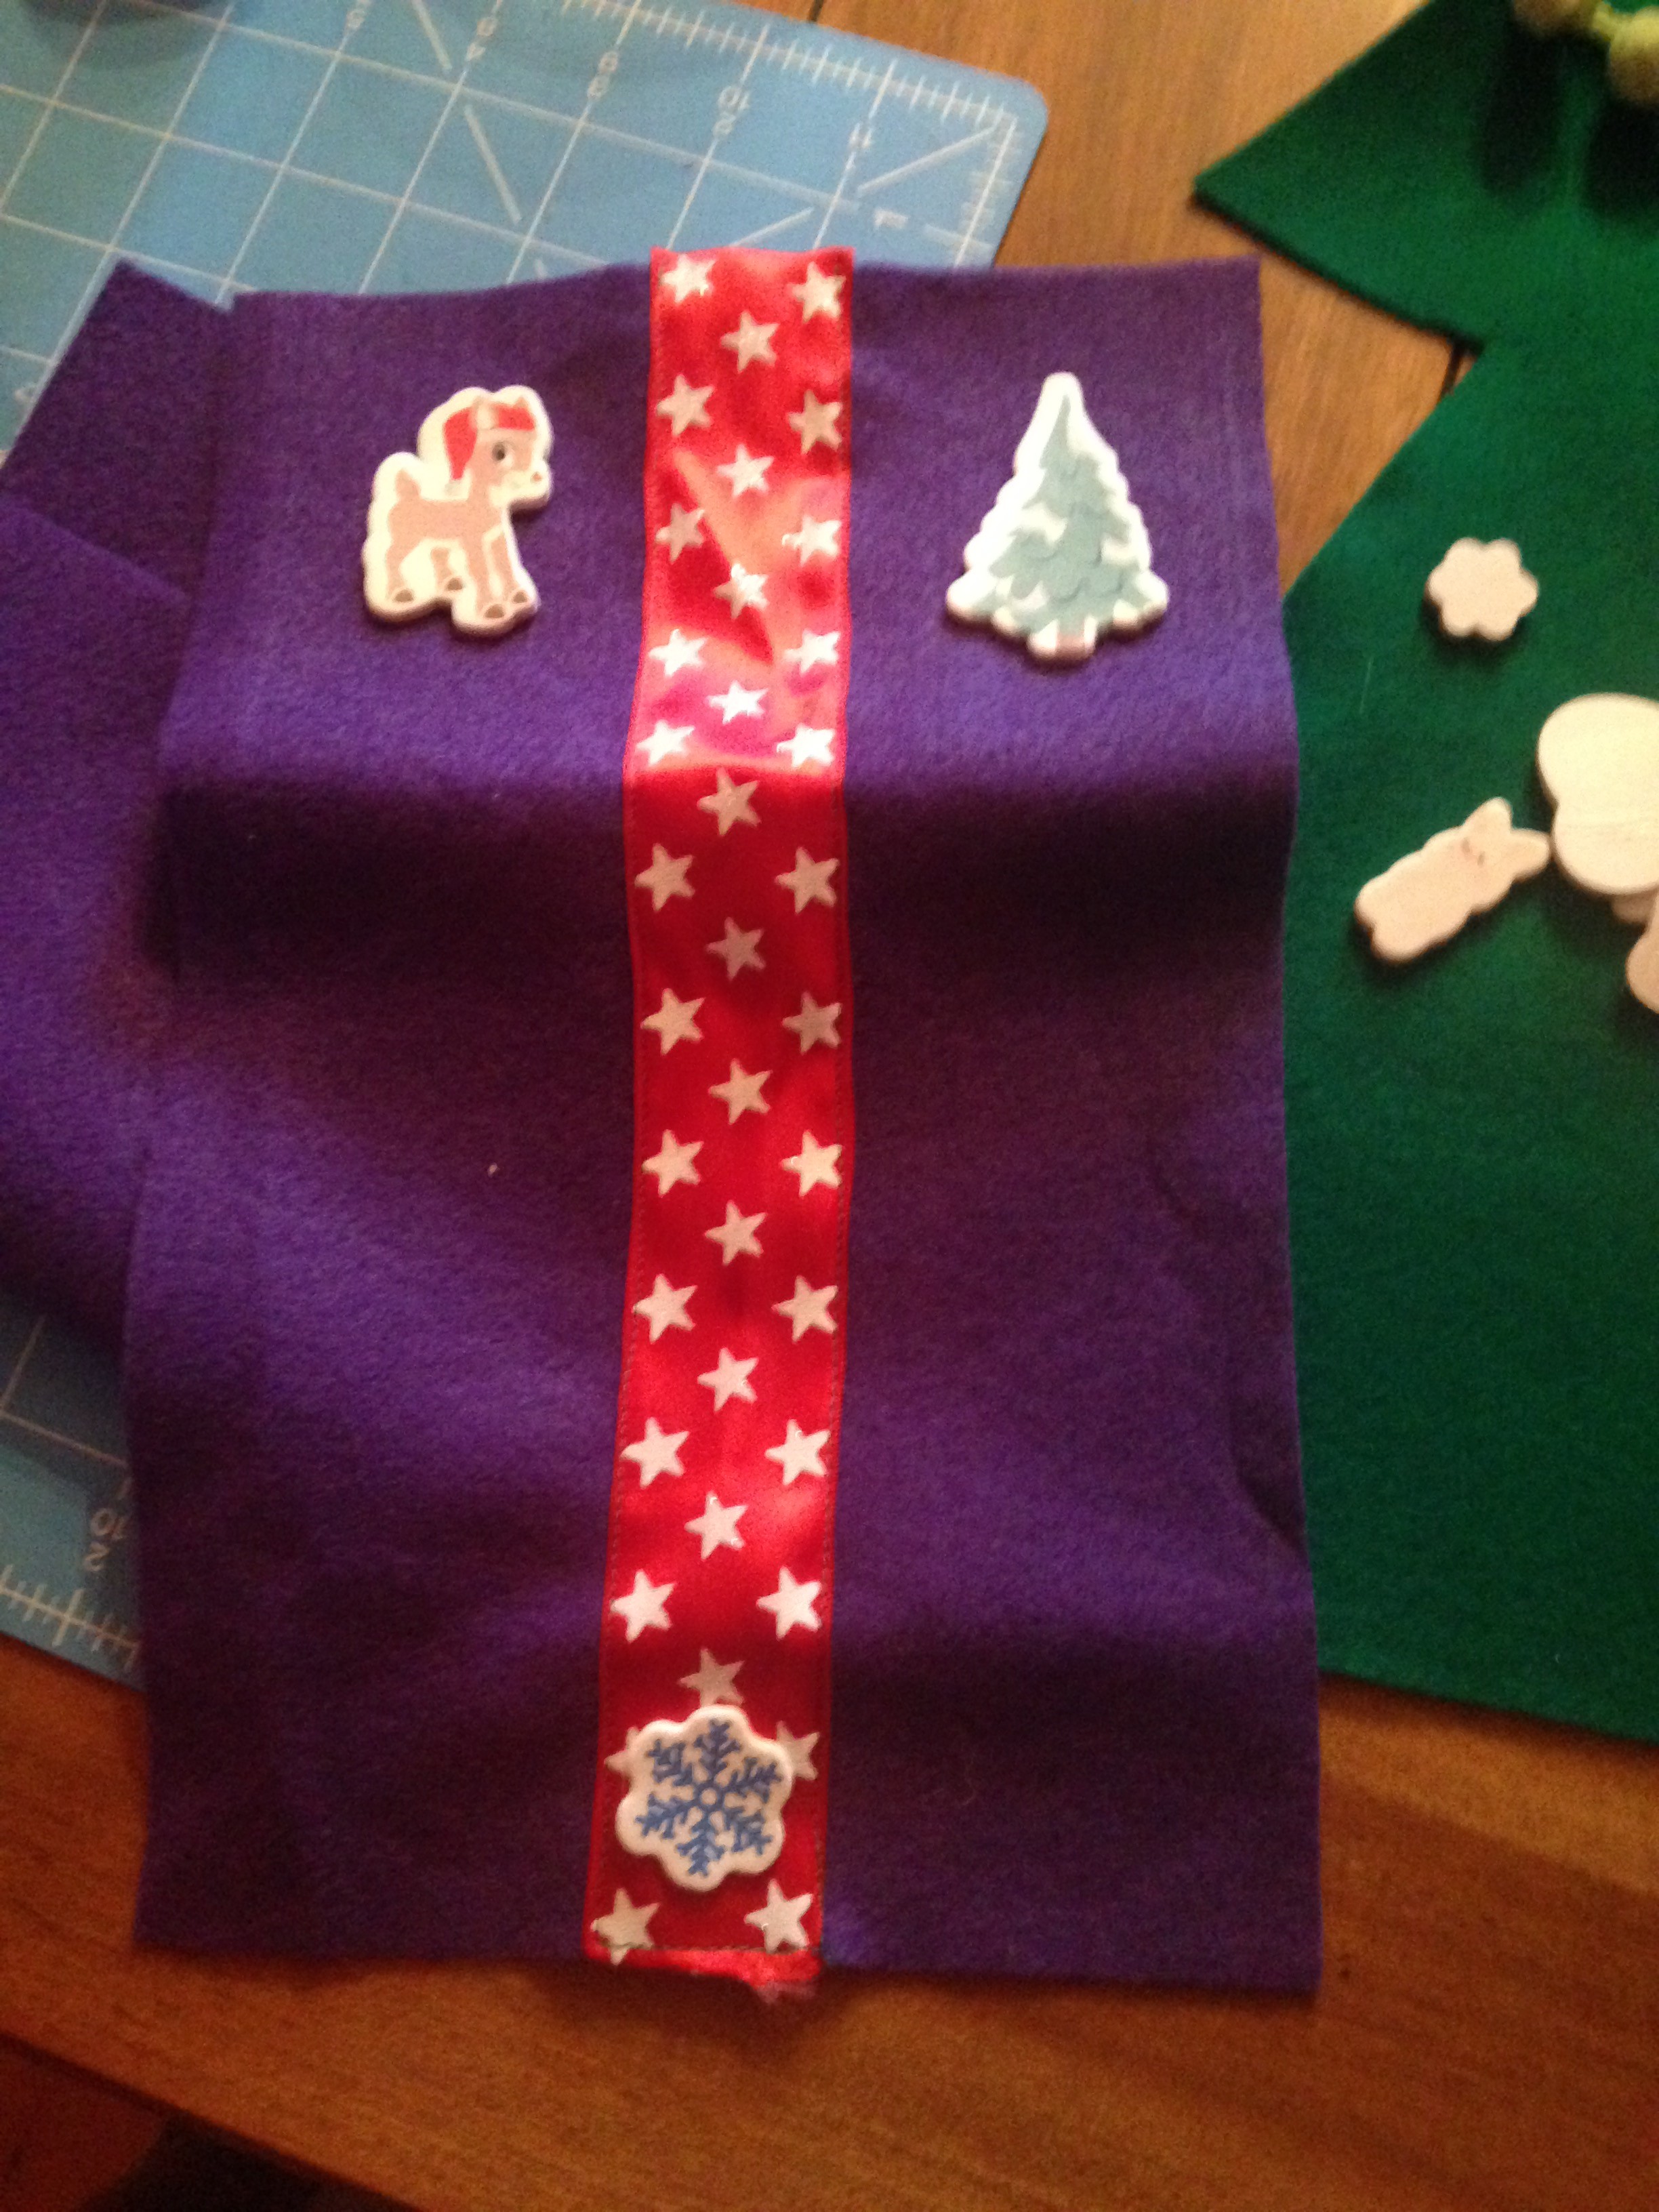
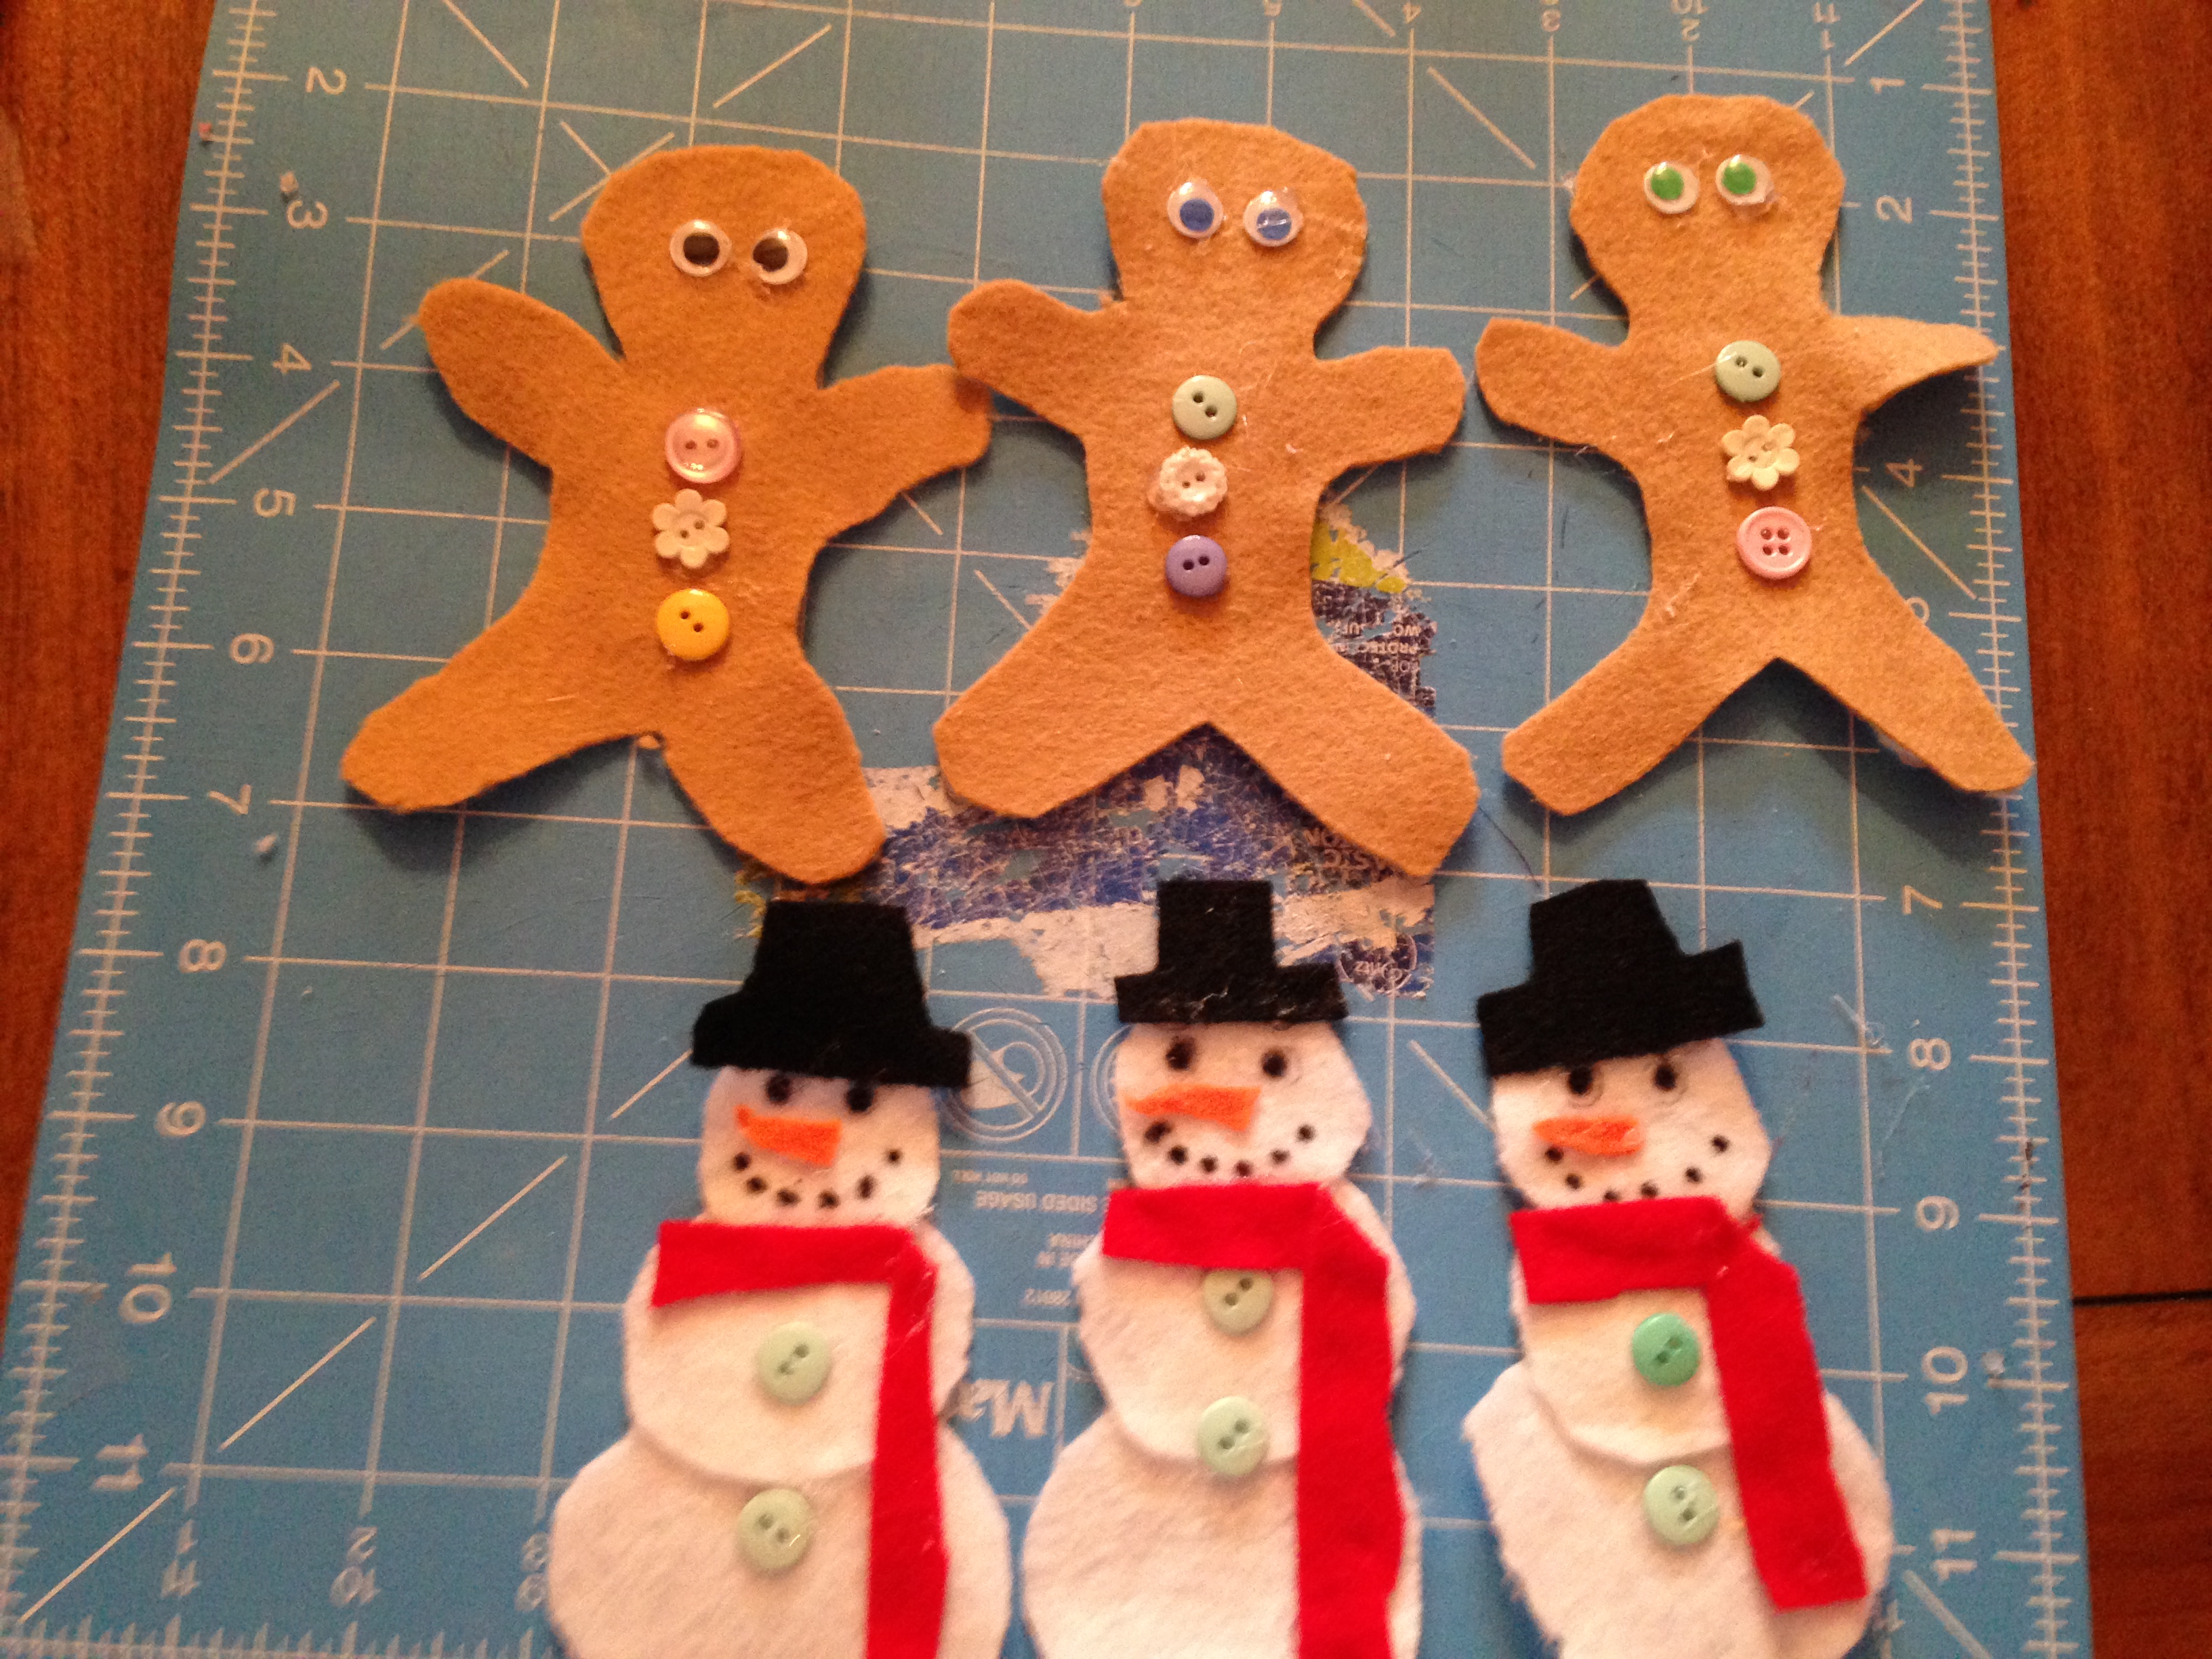
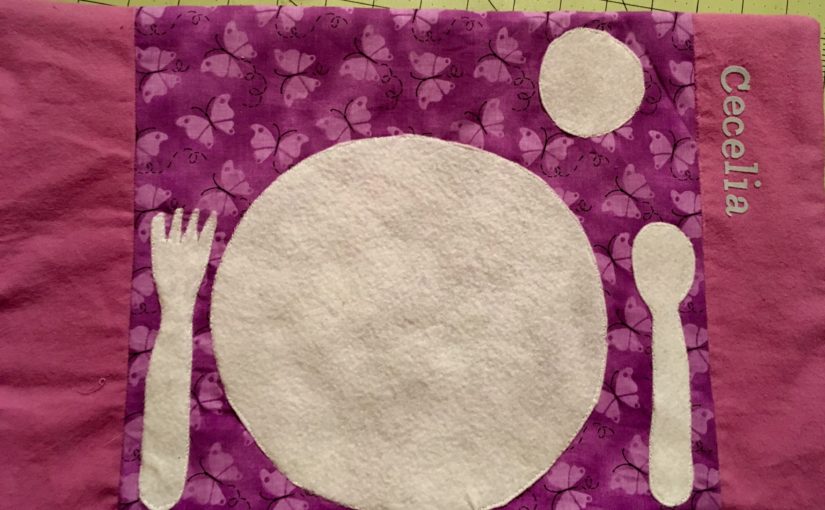
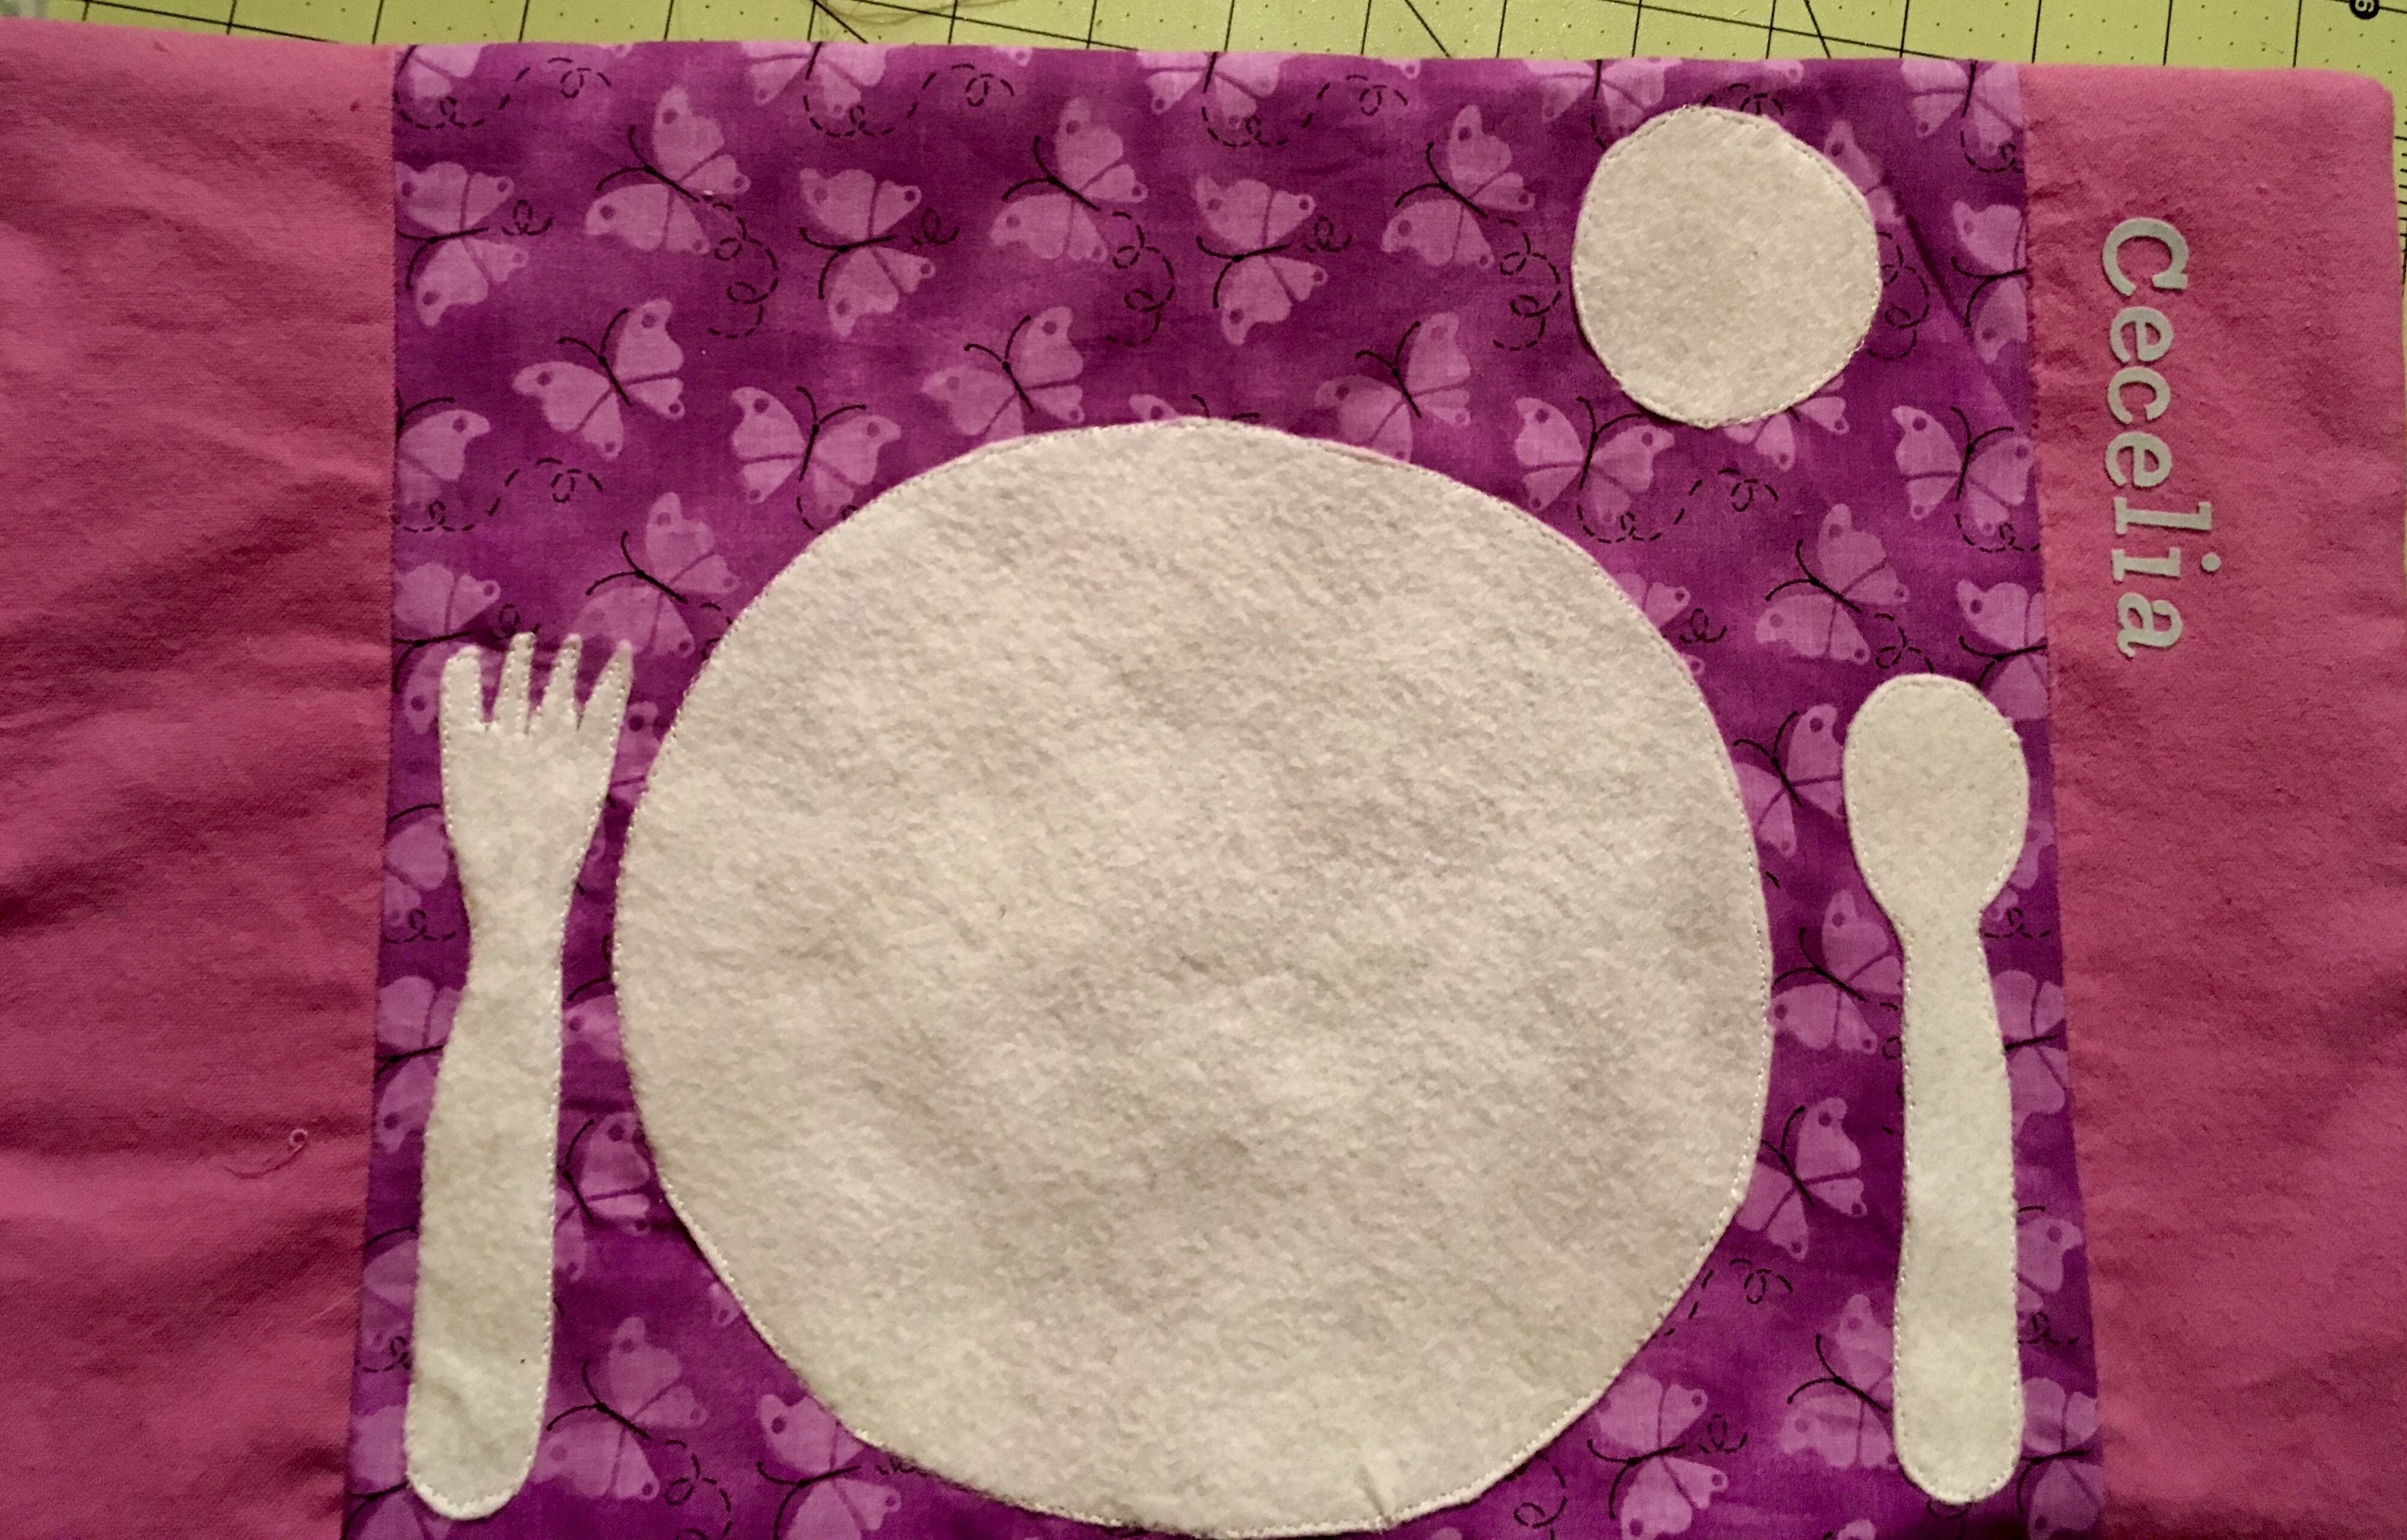
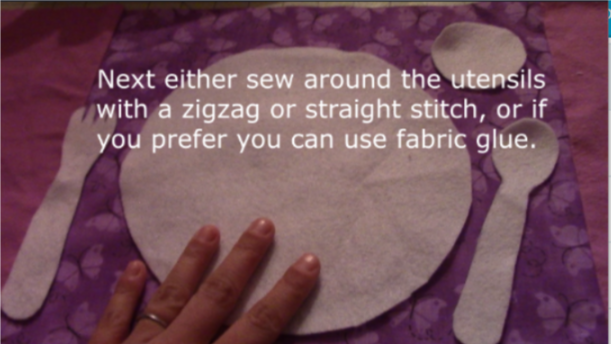
3) Following that, you want to use your felt or nonfraying material to outline a plate, cup, fork, spoon, and any other utensils that you want on your placemat.  Then cut them out and sew them directly on the front piece.  You can also use fabric glue if you like.

Sketch

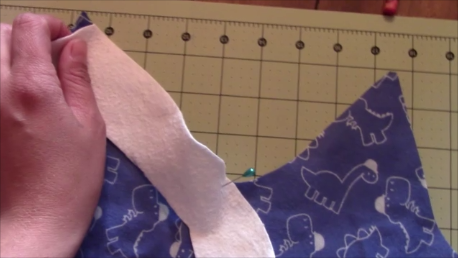
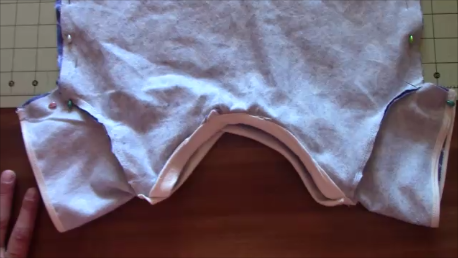
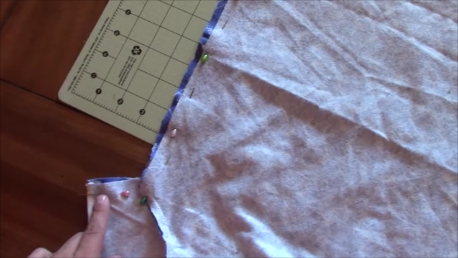
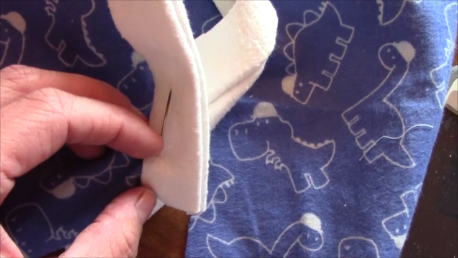
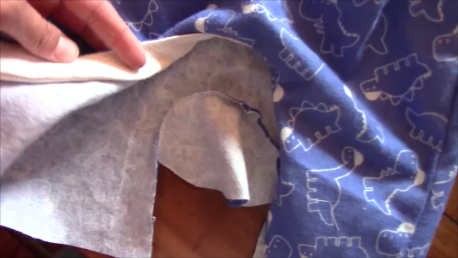
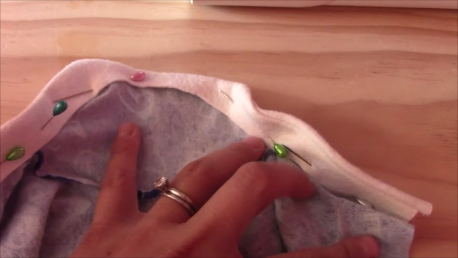
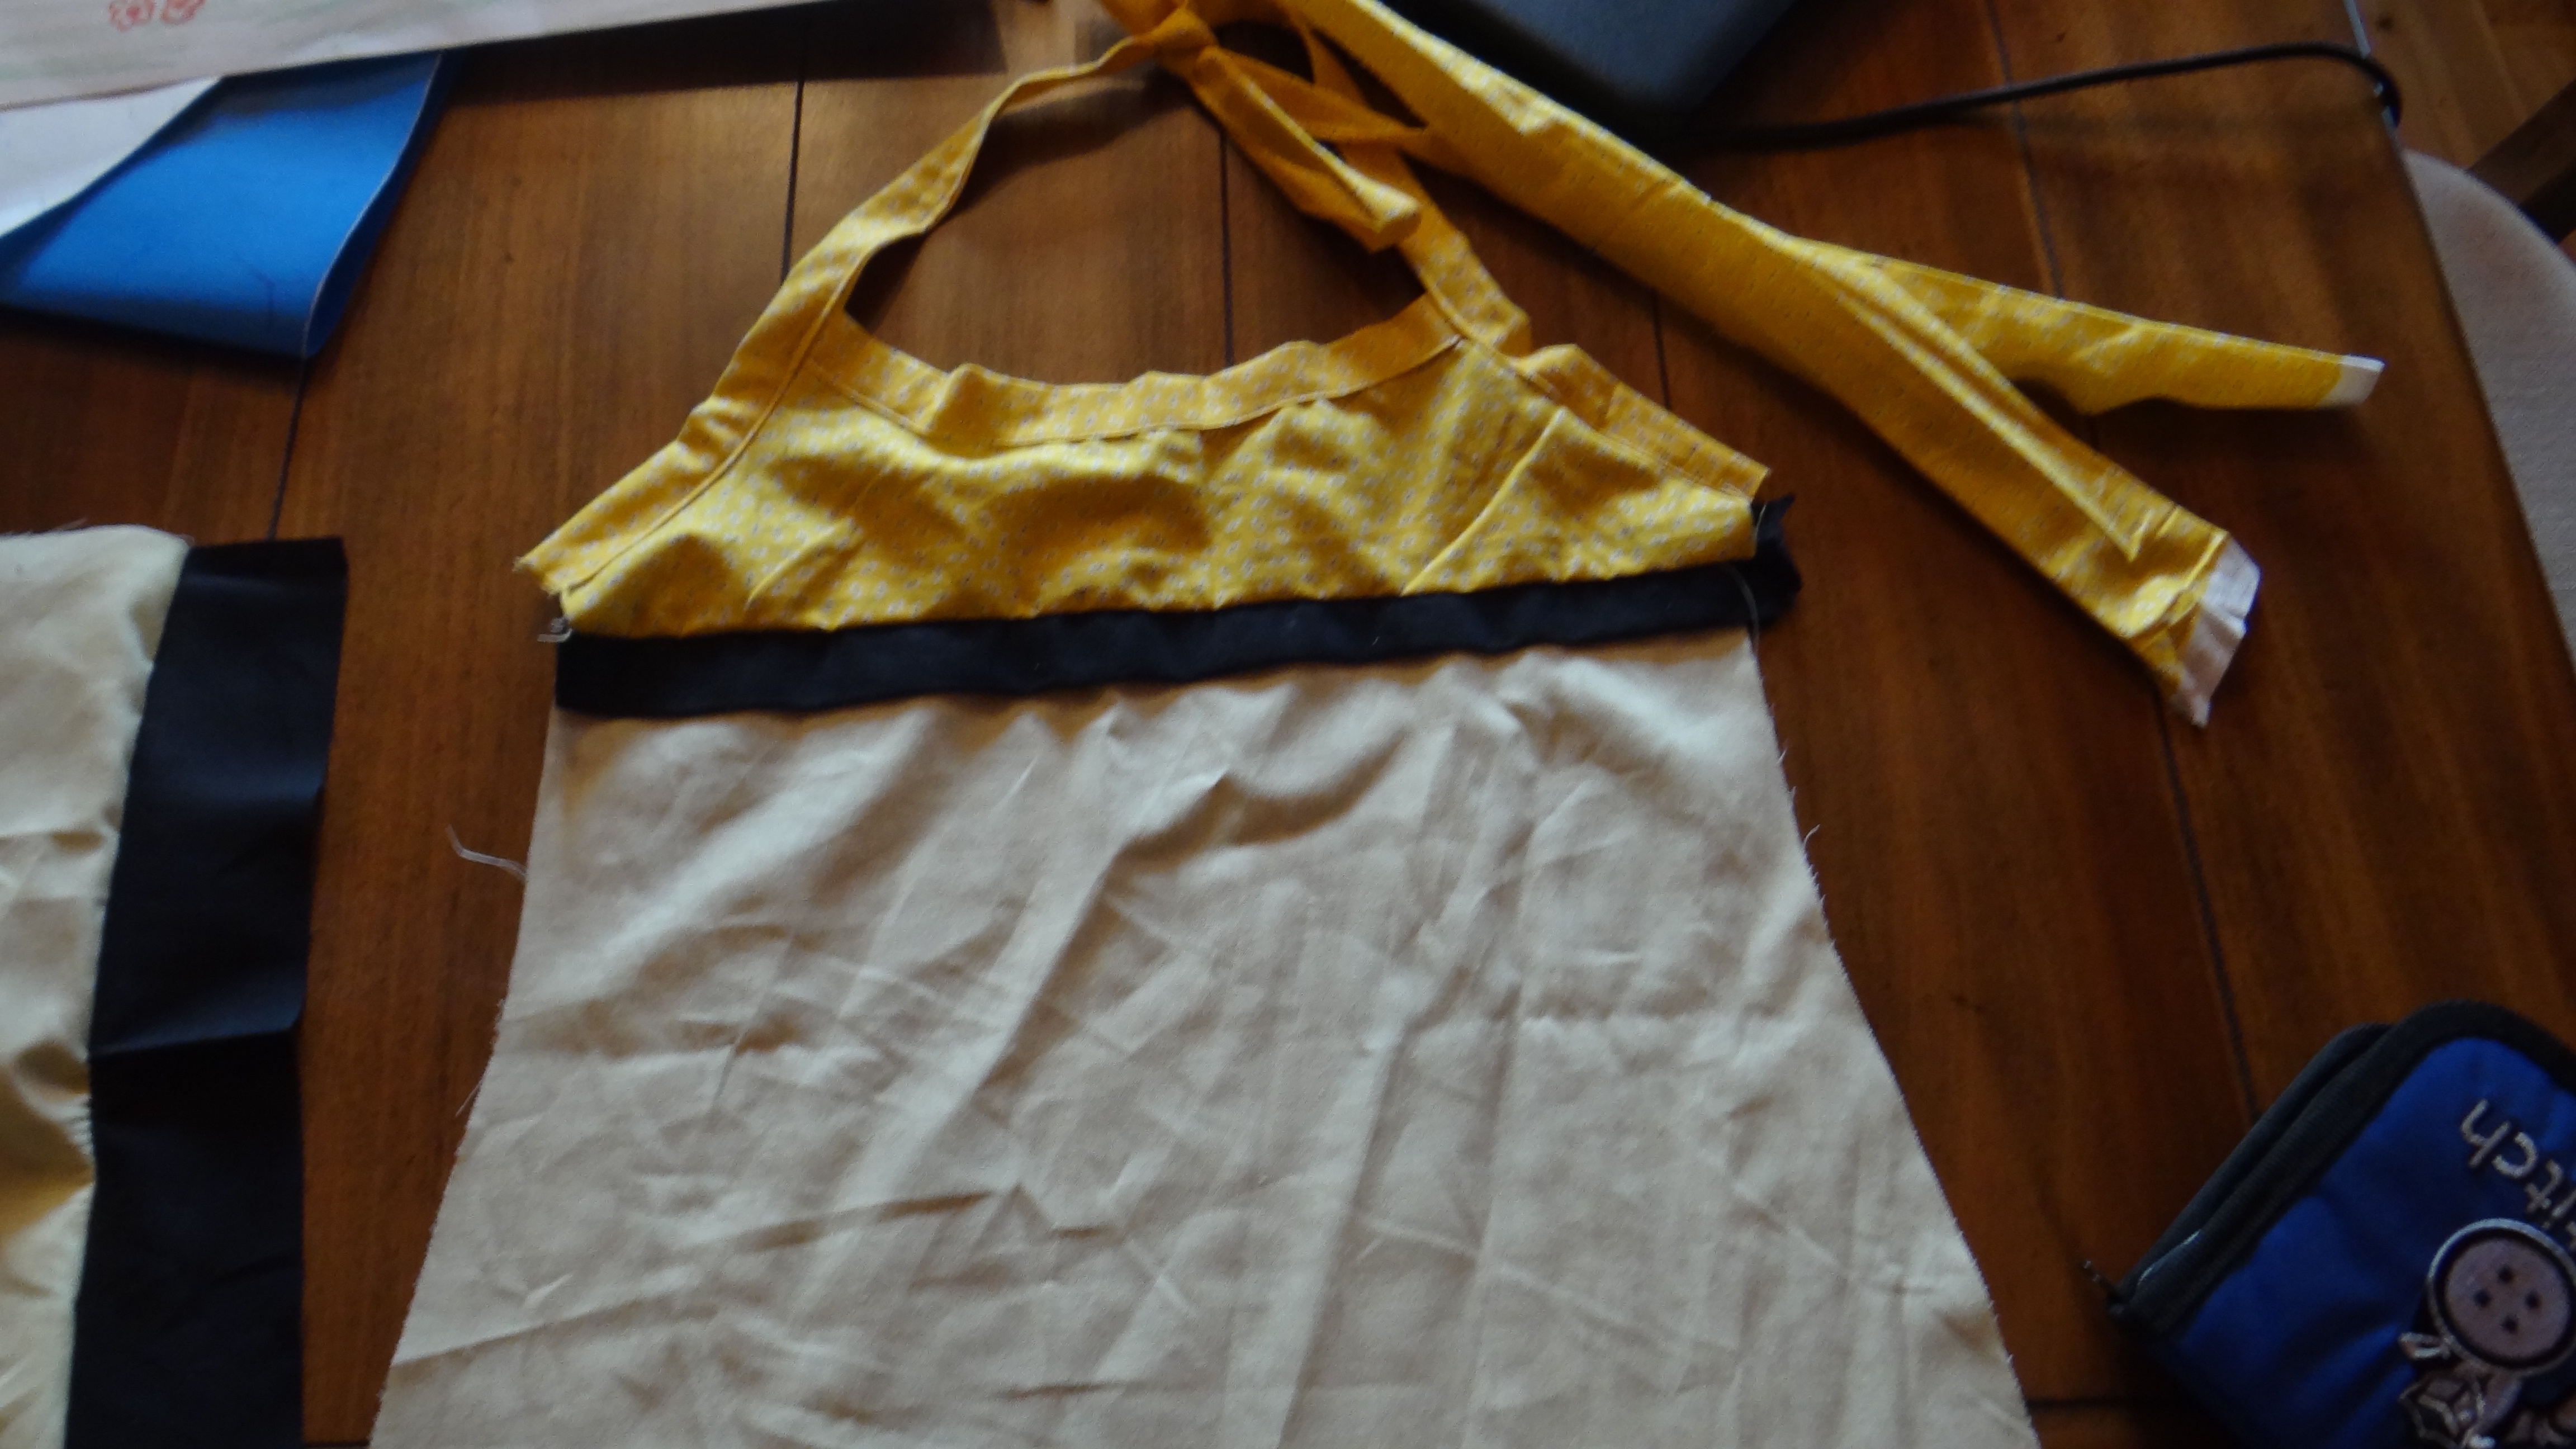
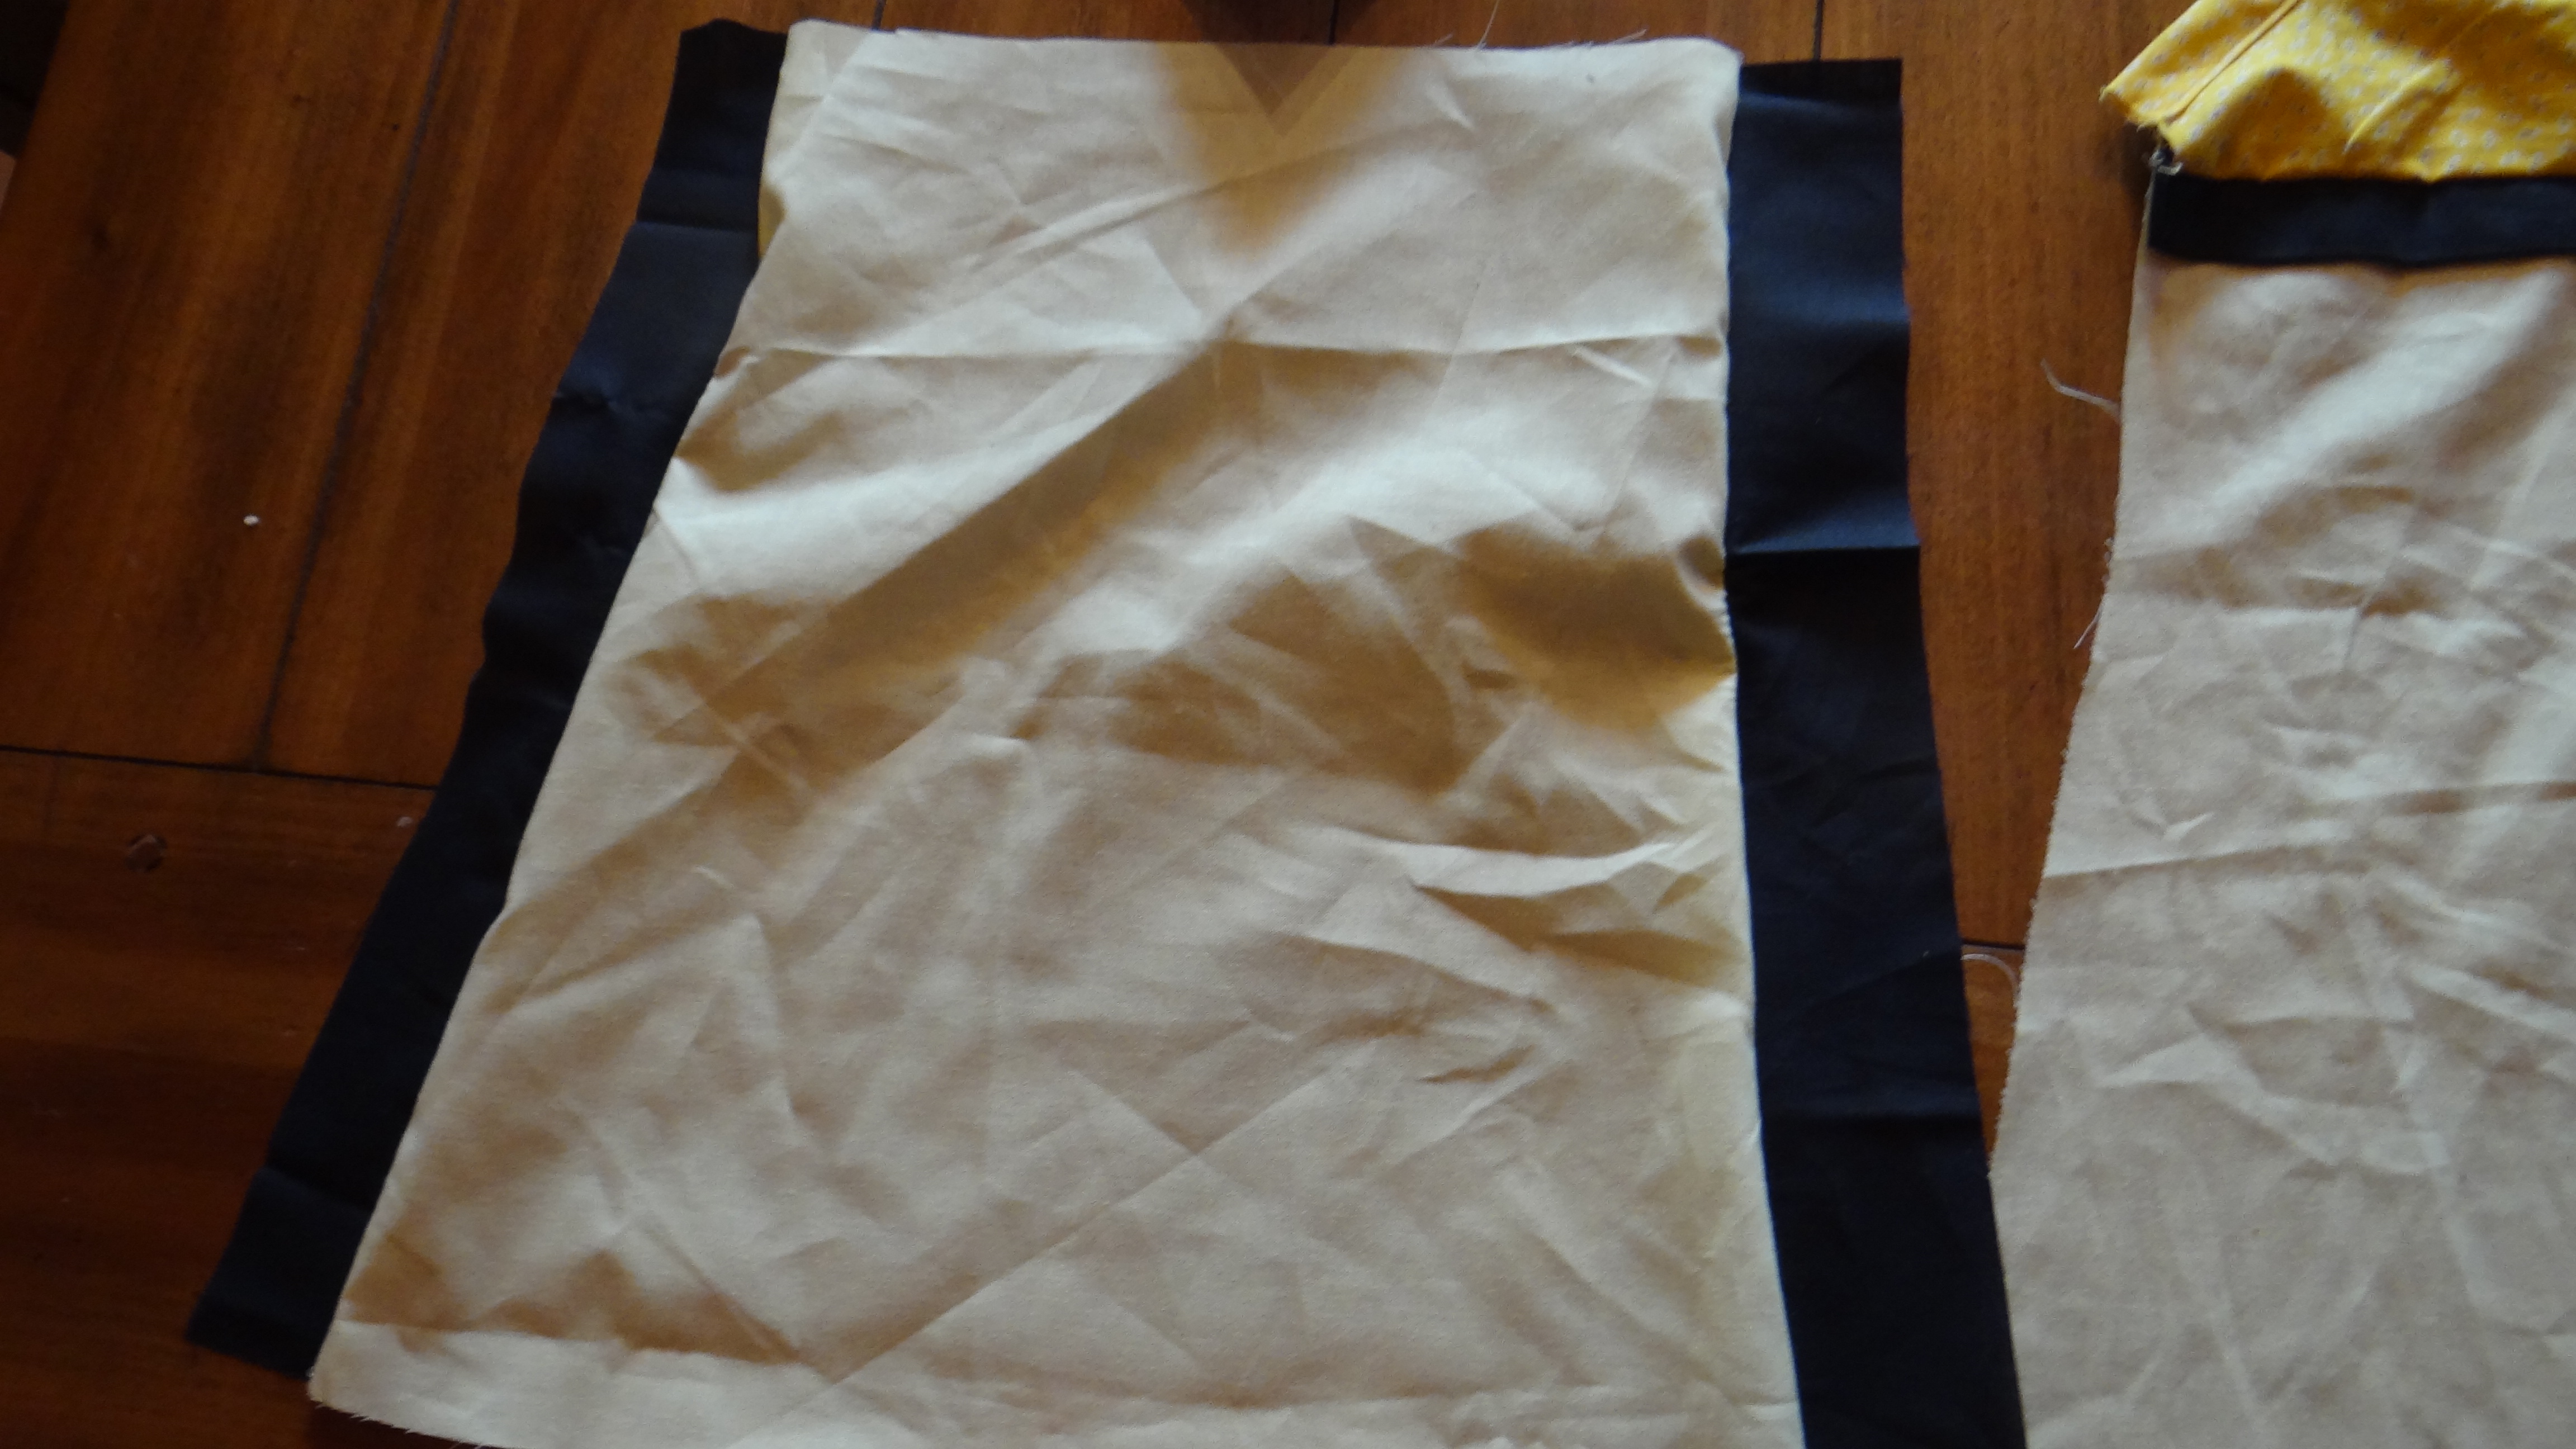
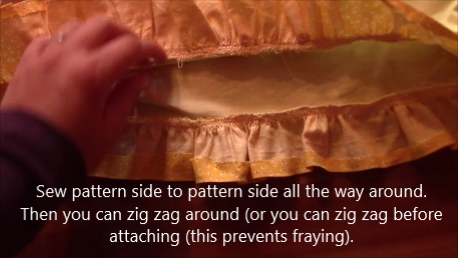
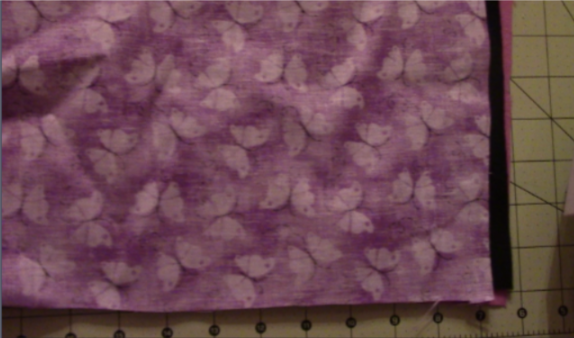
4) ***You want to put the piece of fabric you want as the backing down first facing the front fabric and then the basting or felt behind that (as you can see I did it opposite and ended up with my black fabric as the back outside as you will see). However, if you are using felt, it ends up rather nice as a backing since it prevents sliding.

Sketch2

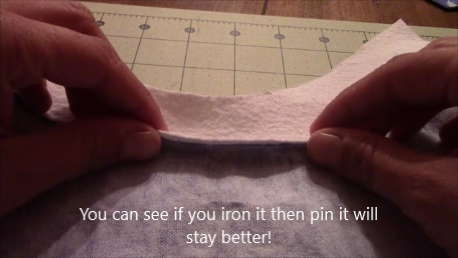
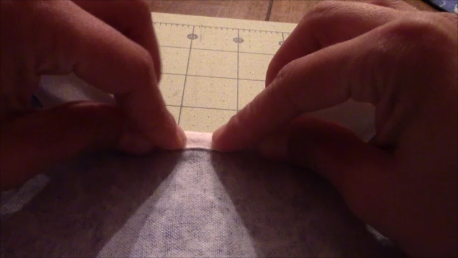
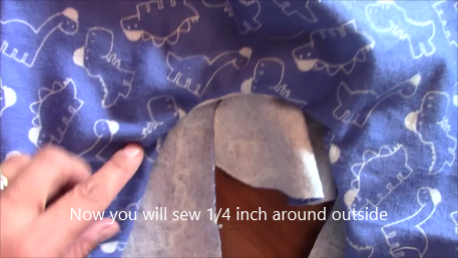
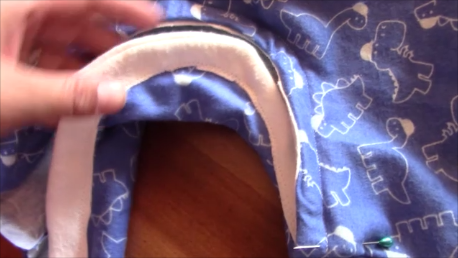
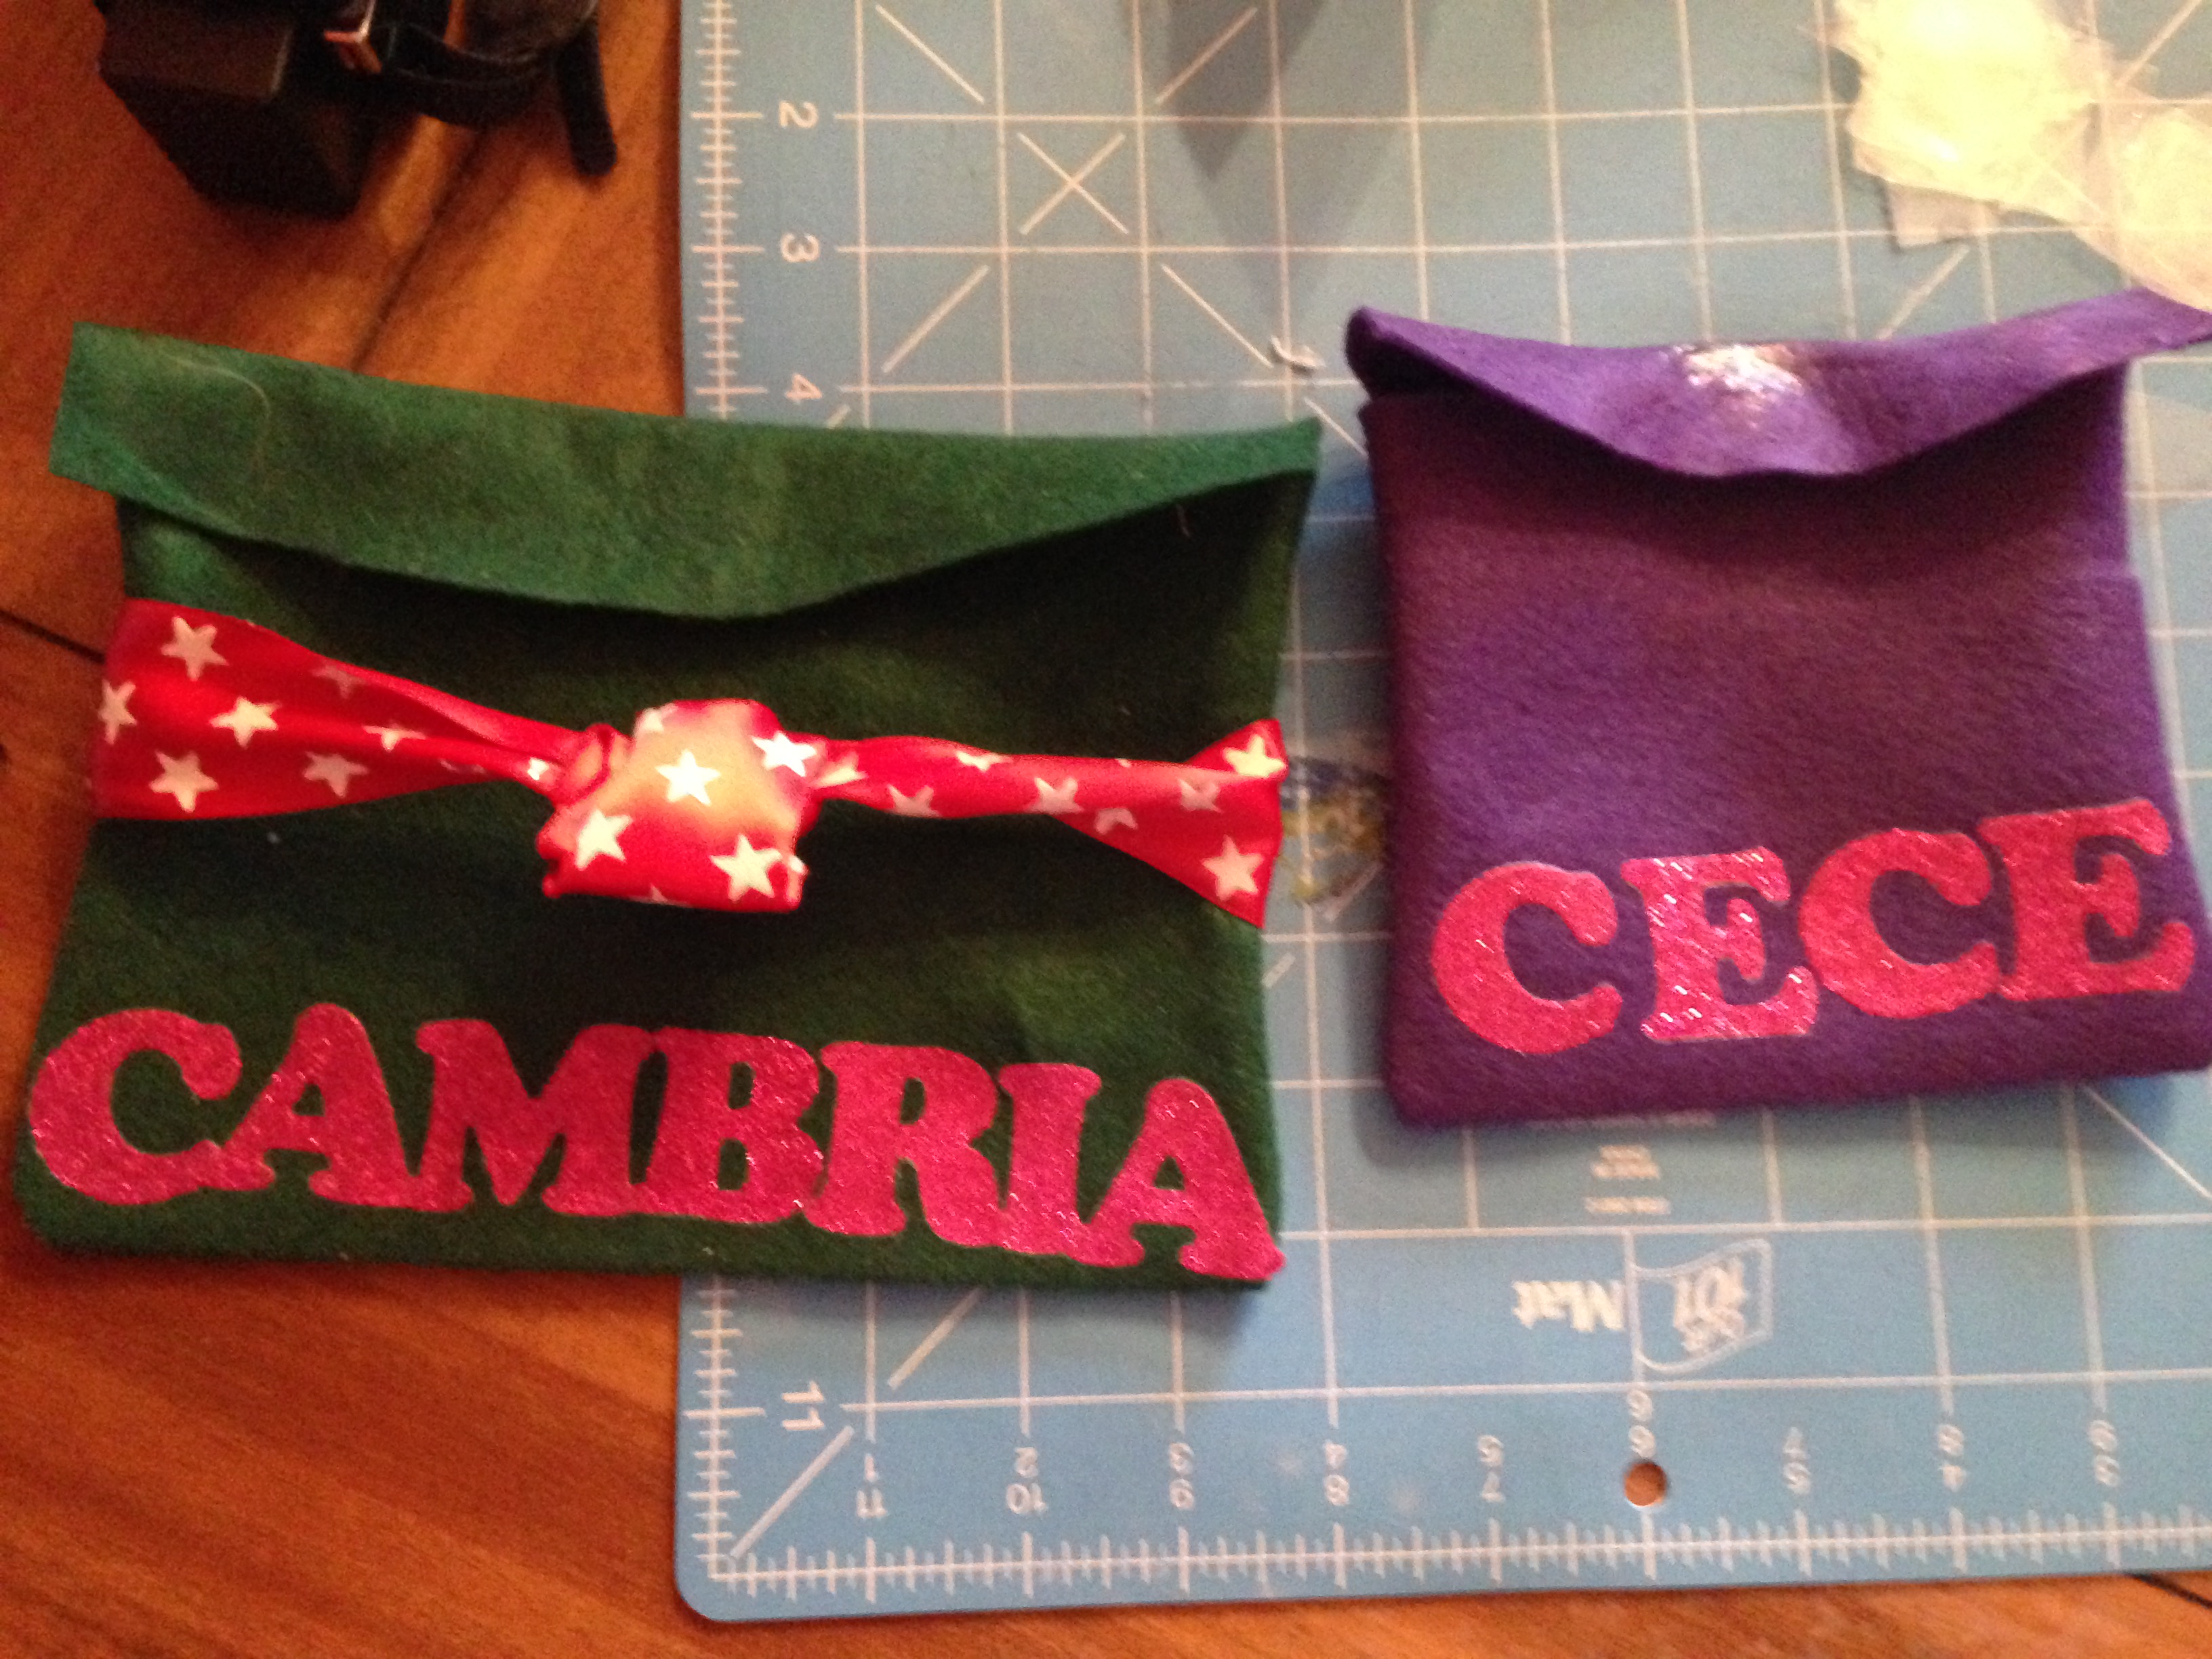
5) Sew all the way around leaving a 3-4 inch opening so you can pull it out the right way. Don’t forget to backstitch. Once this is done, pull the inside out and make sure all the sides and corners are all the way out.  Iron it all out and sew the remaining opening with either a hand stitch, or if you want to use your machine then sew around the whole placemat to give it that look.

IMG_1805

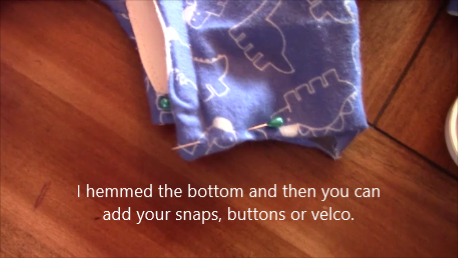
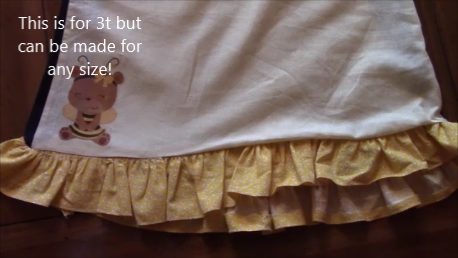
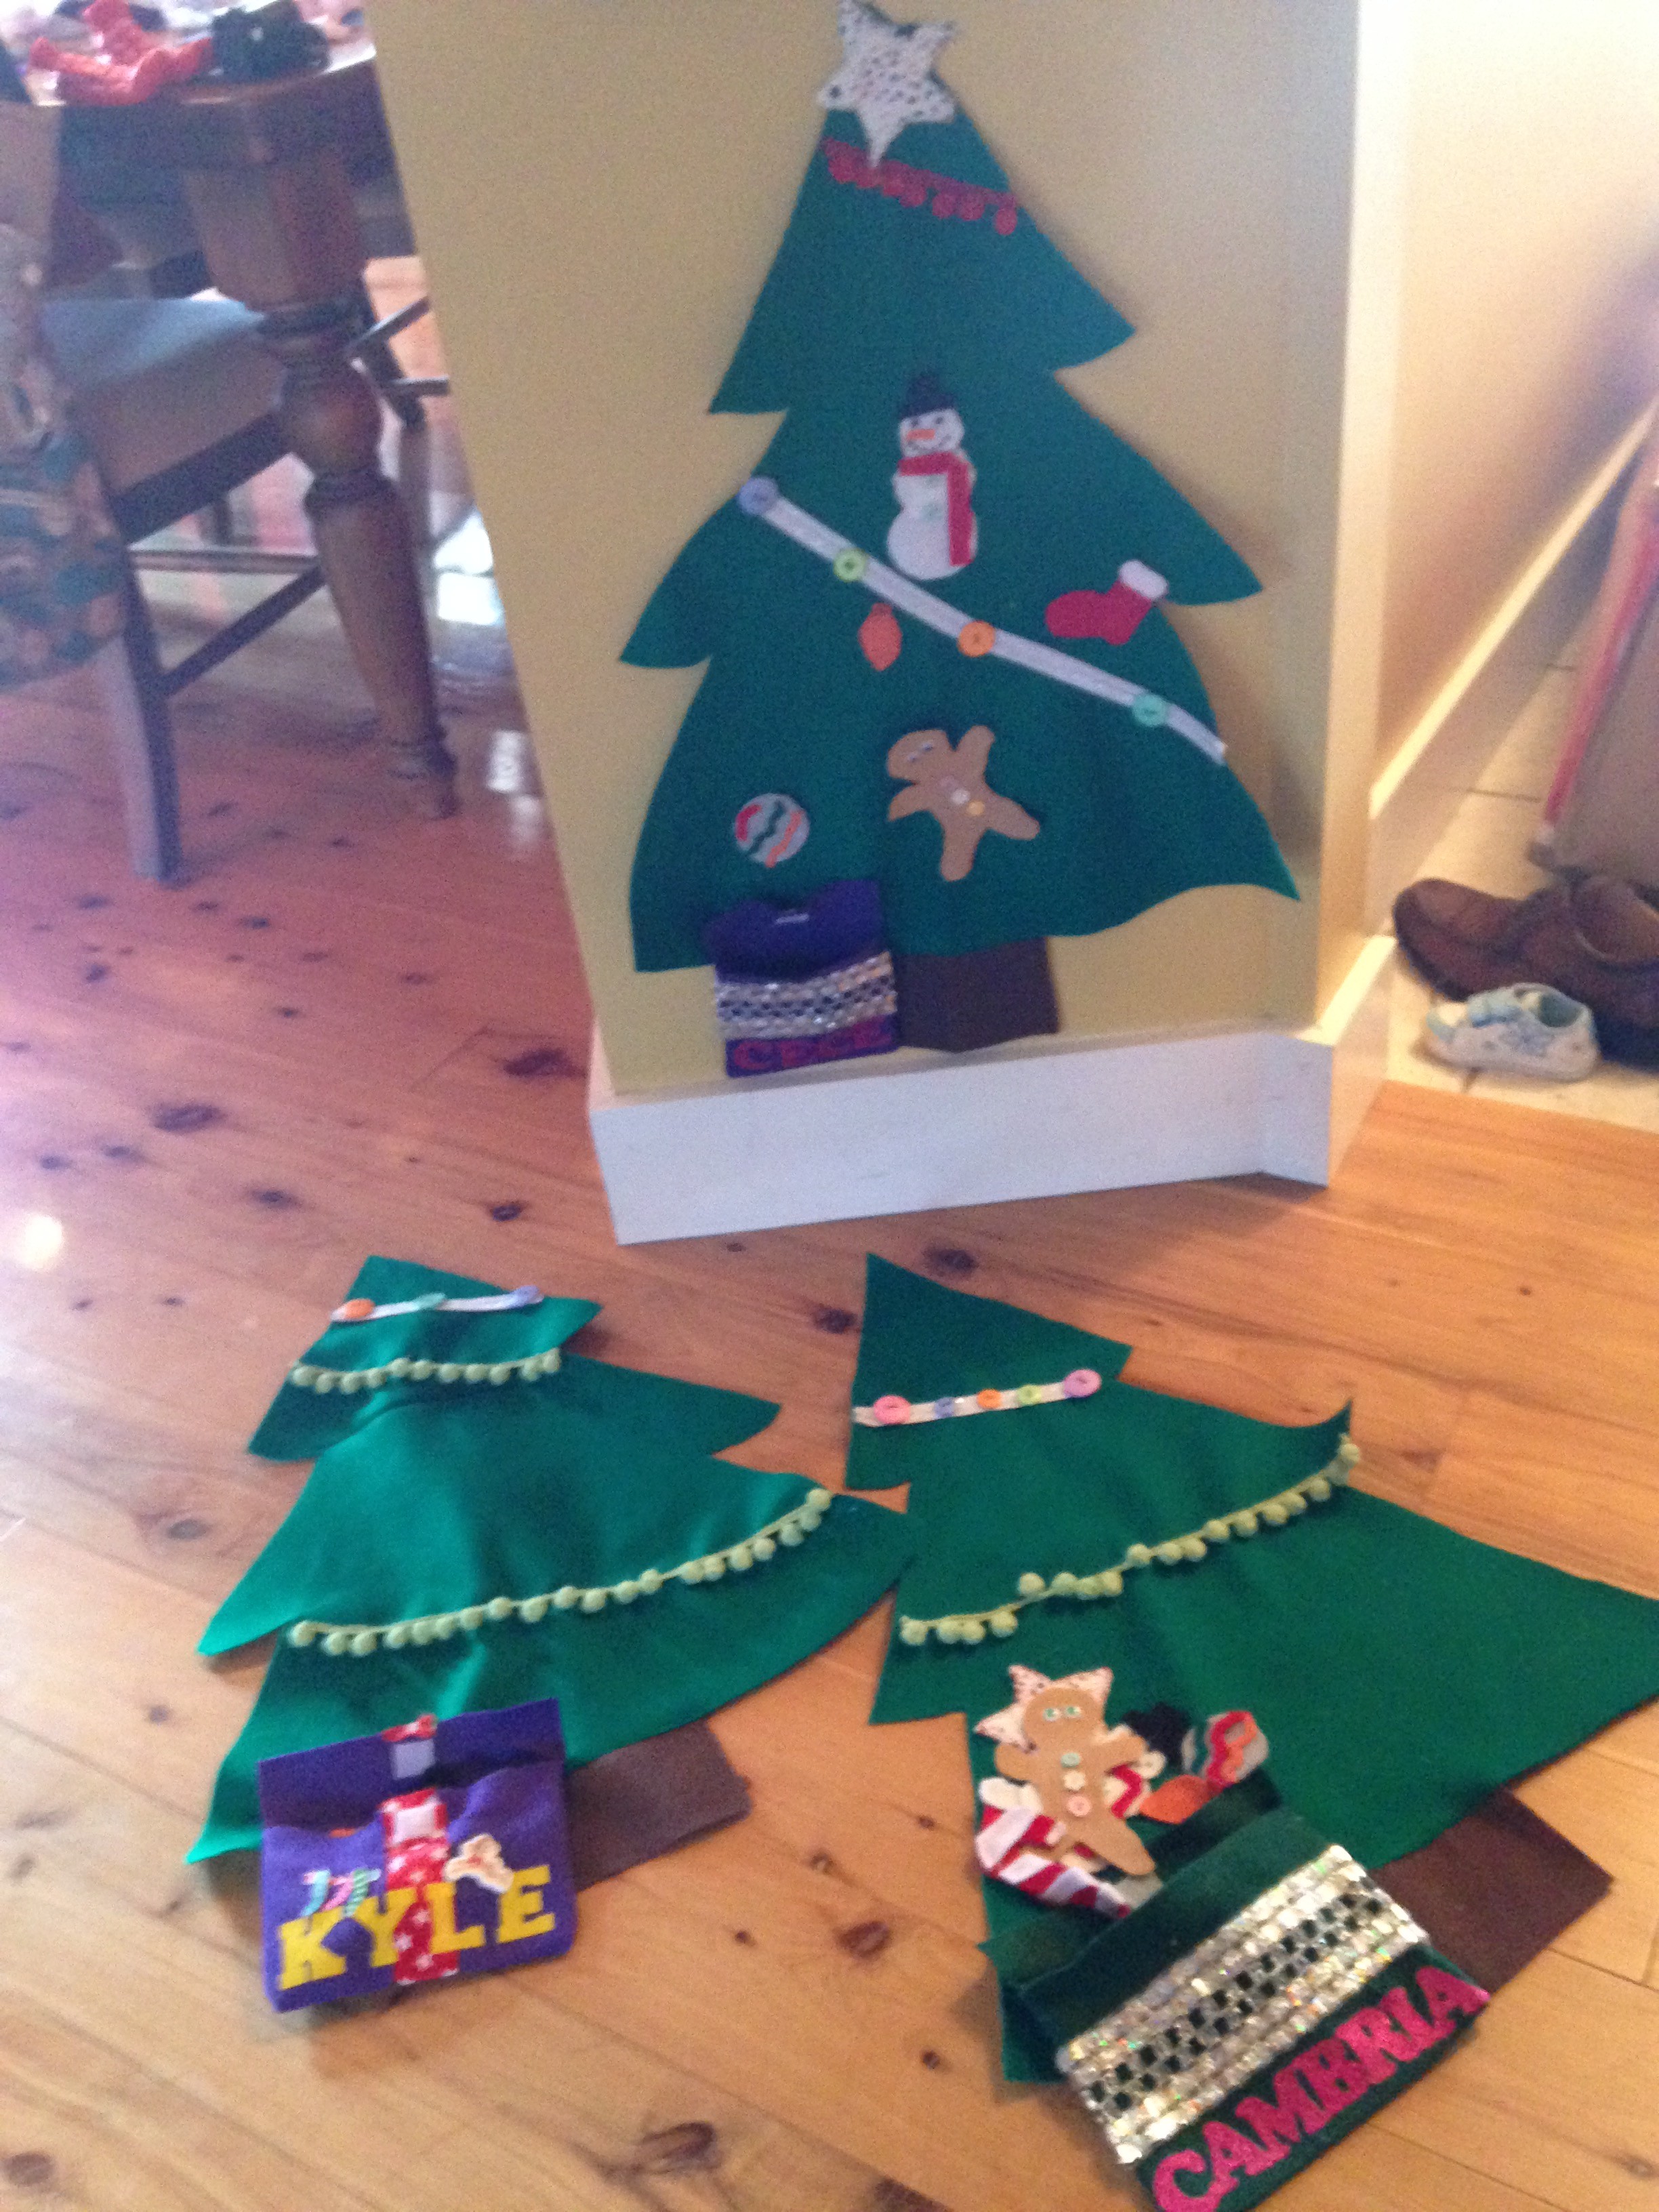
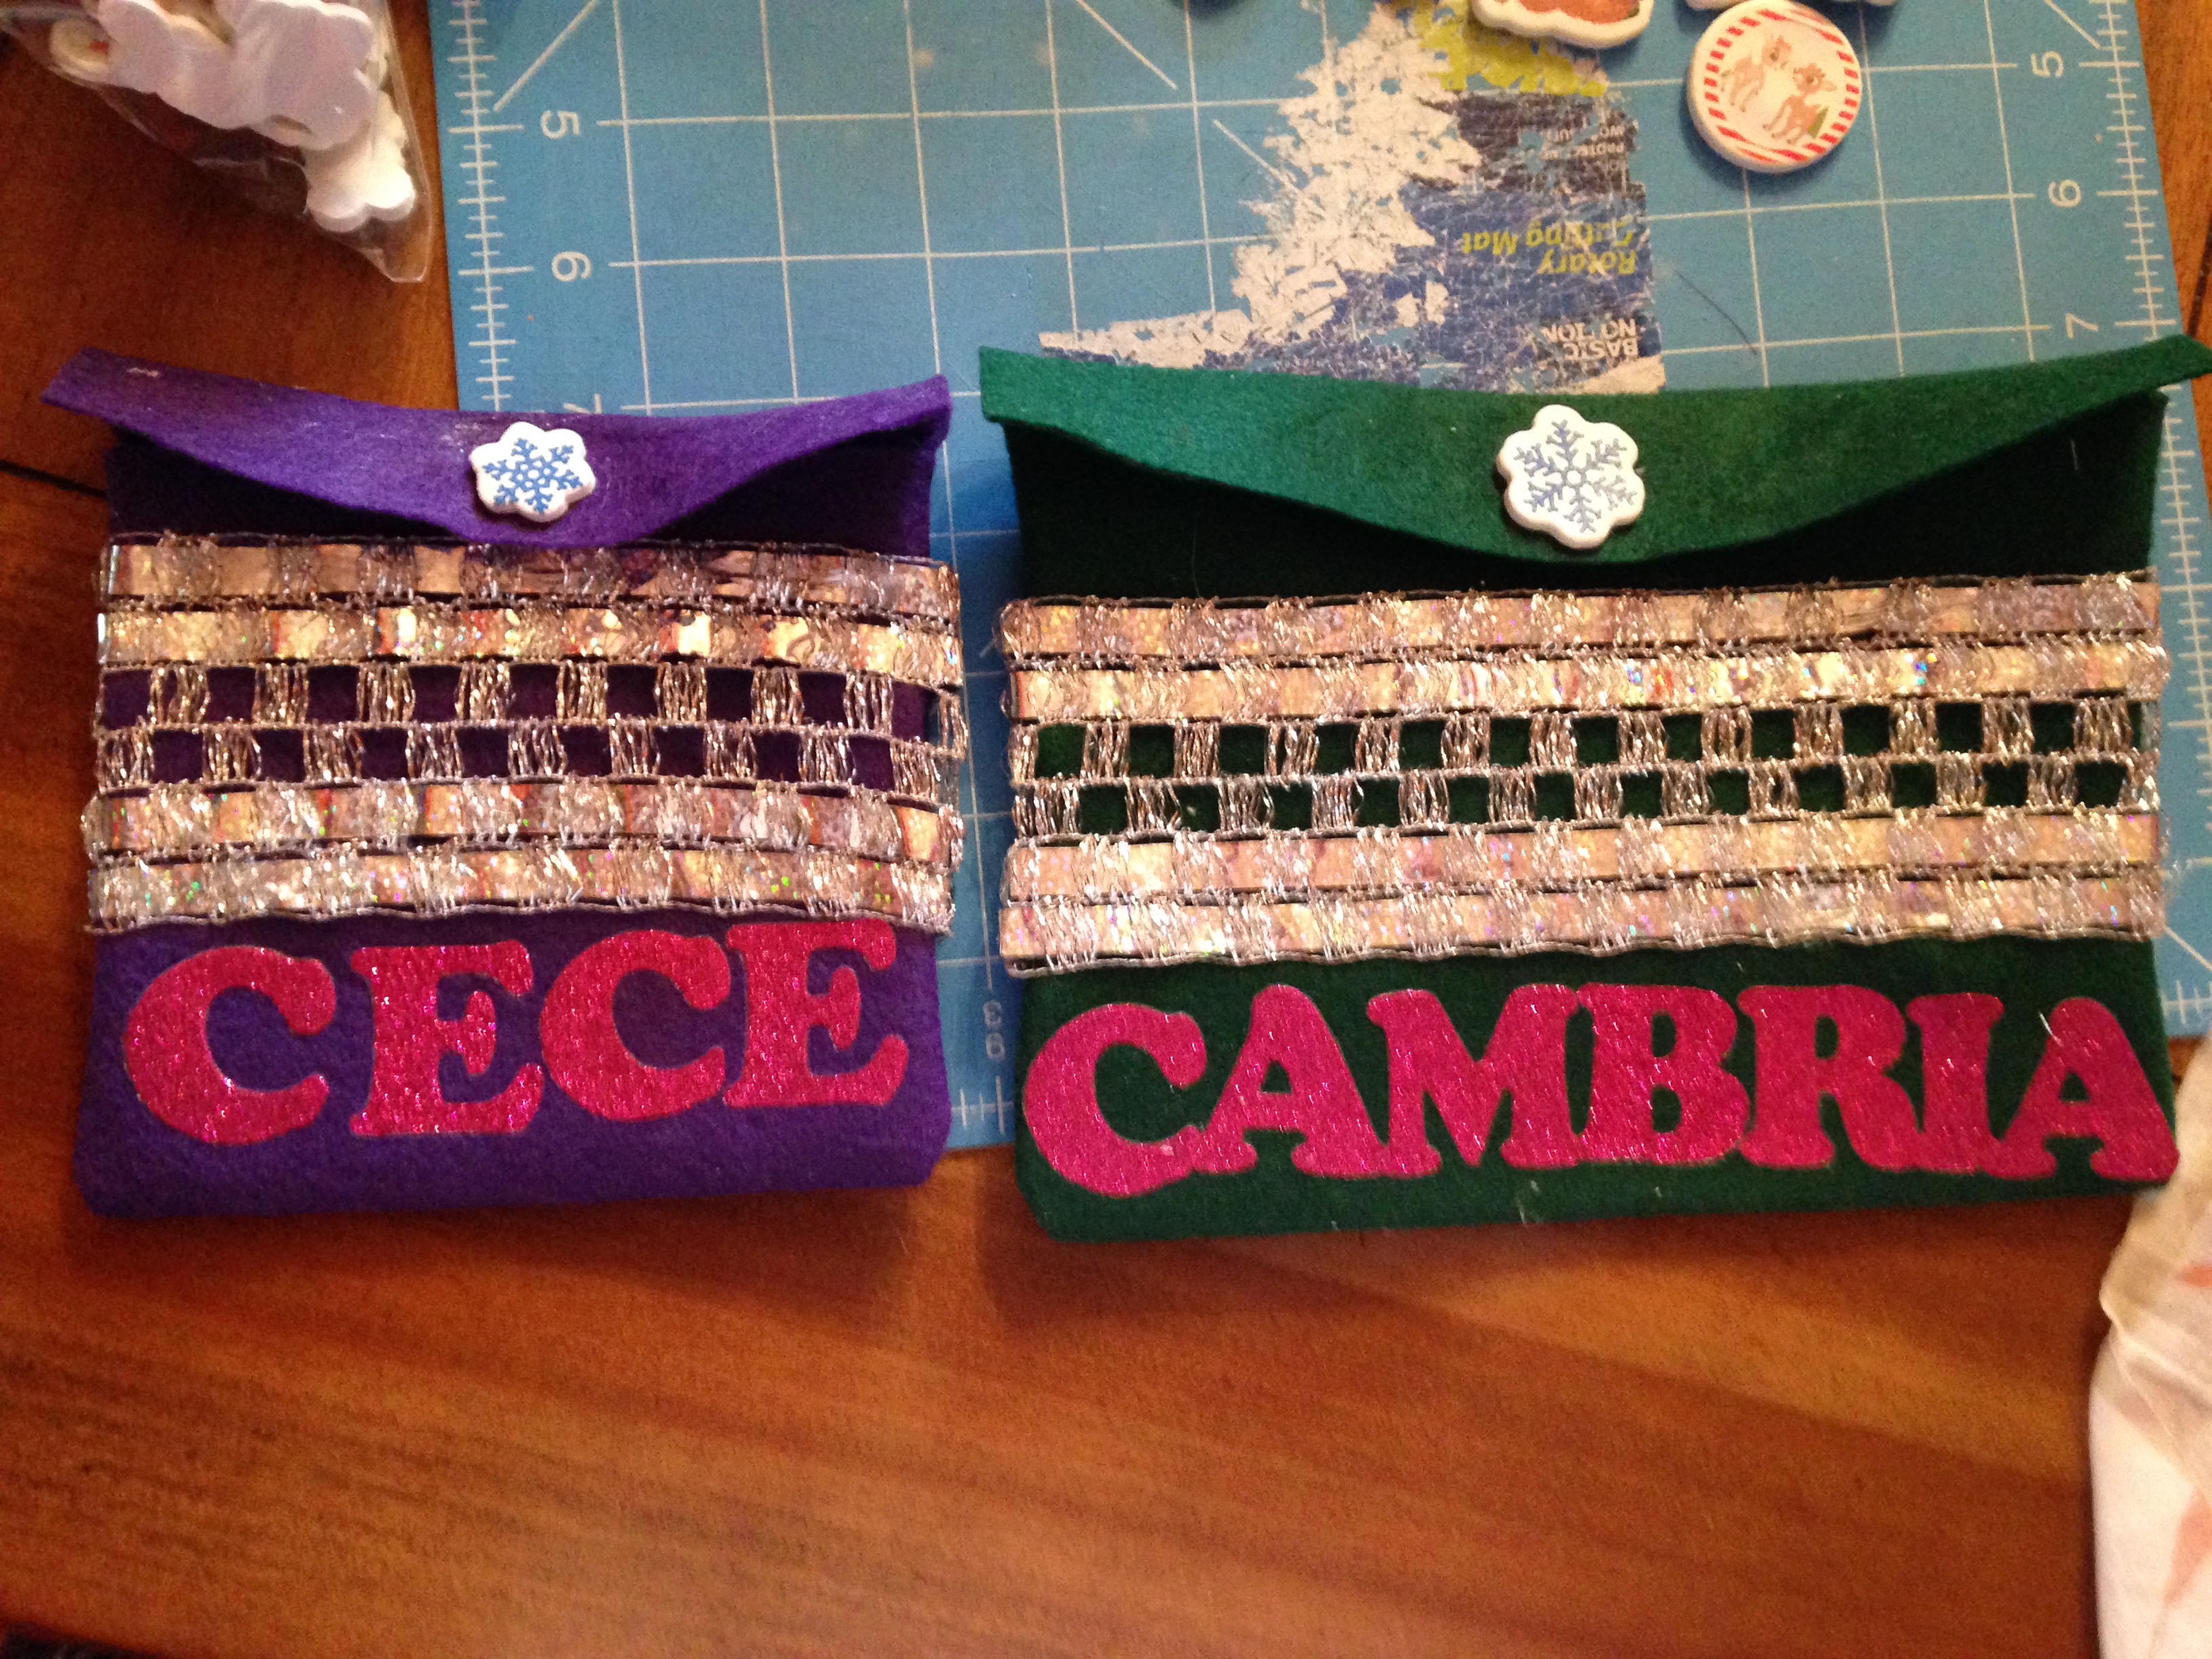
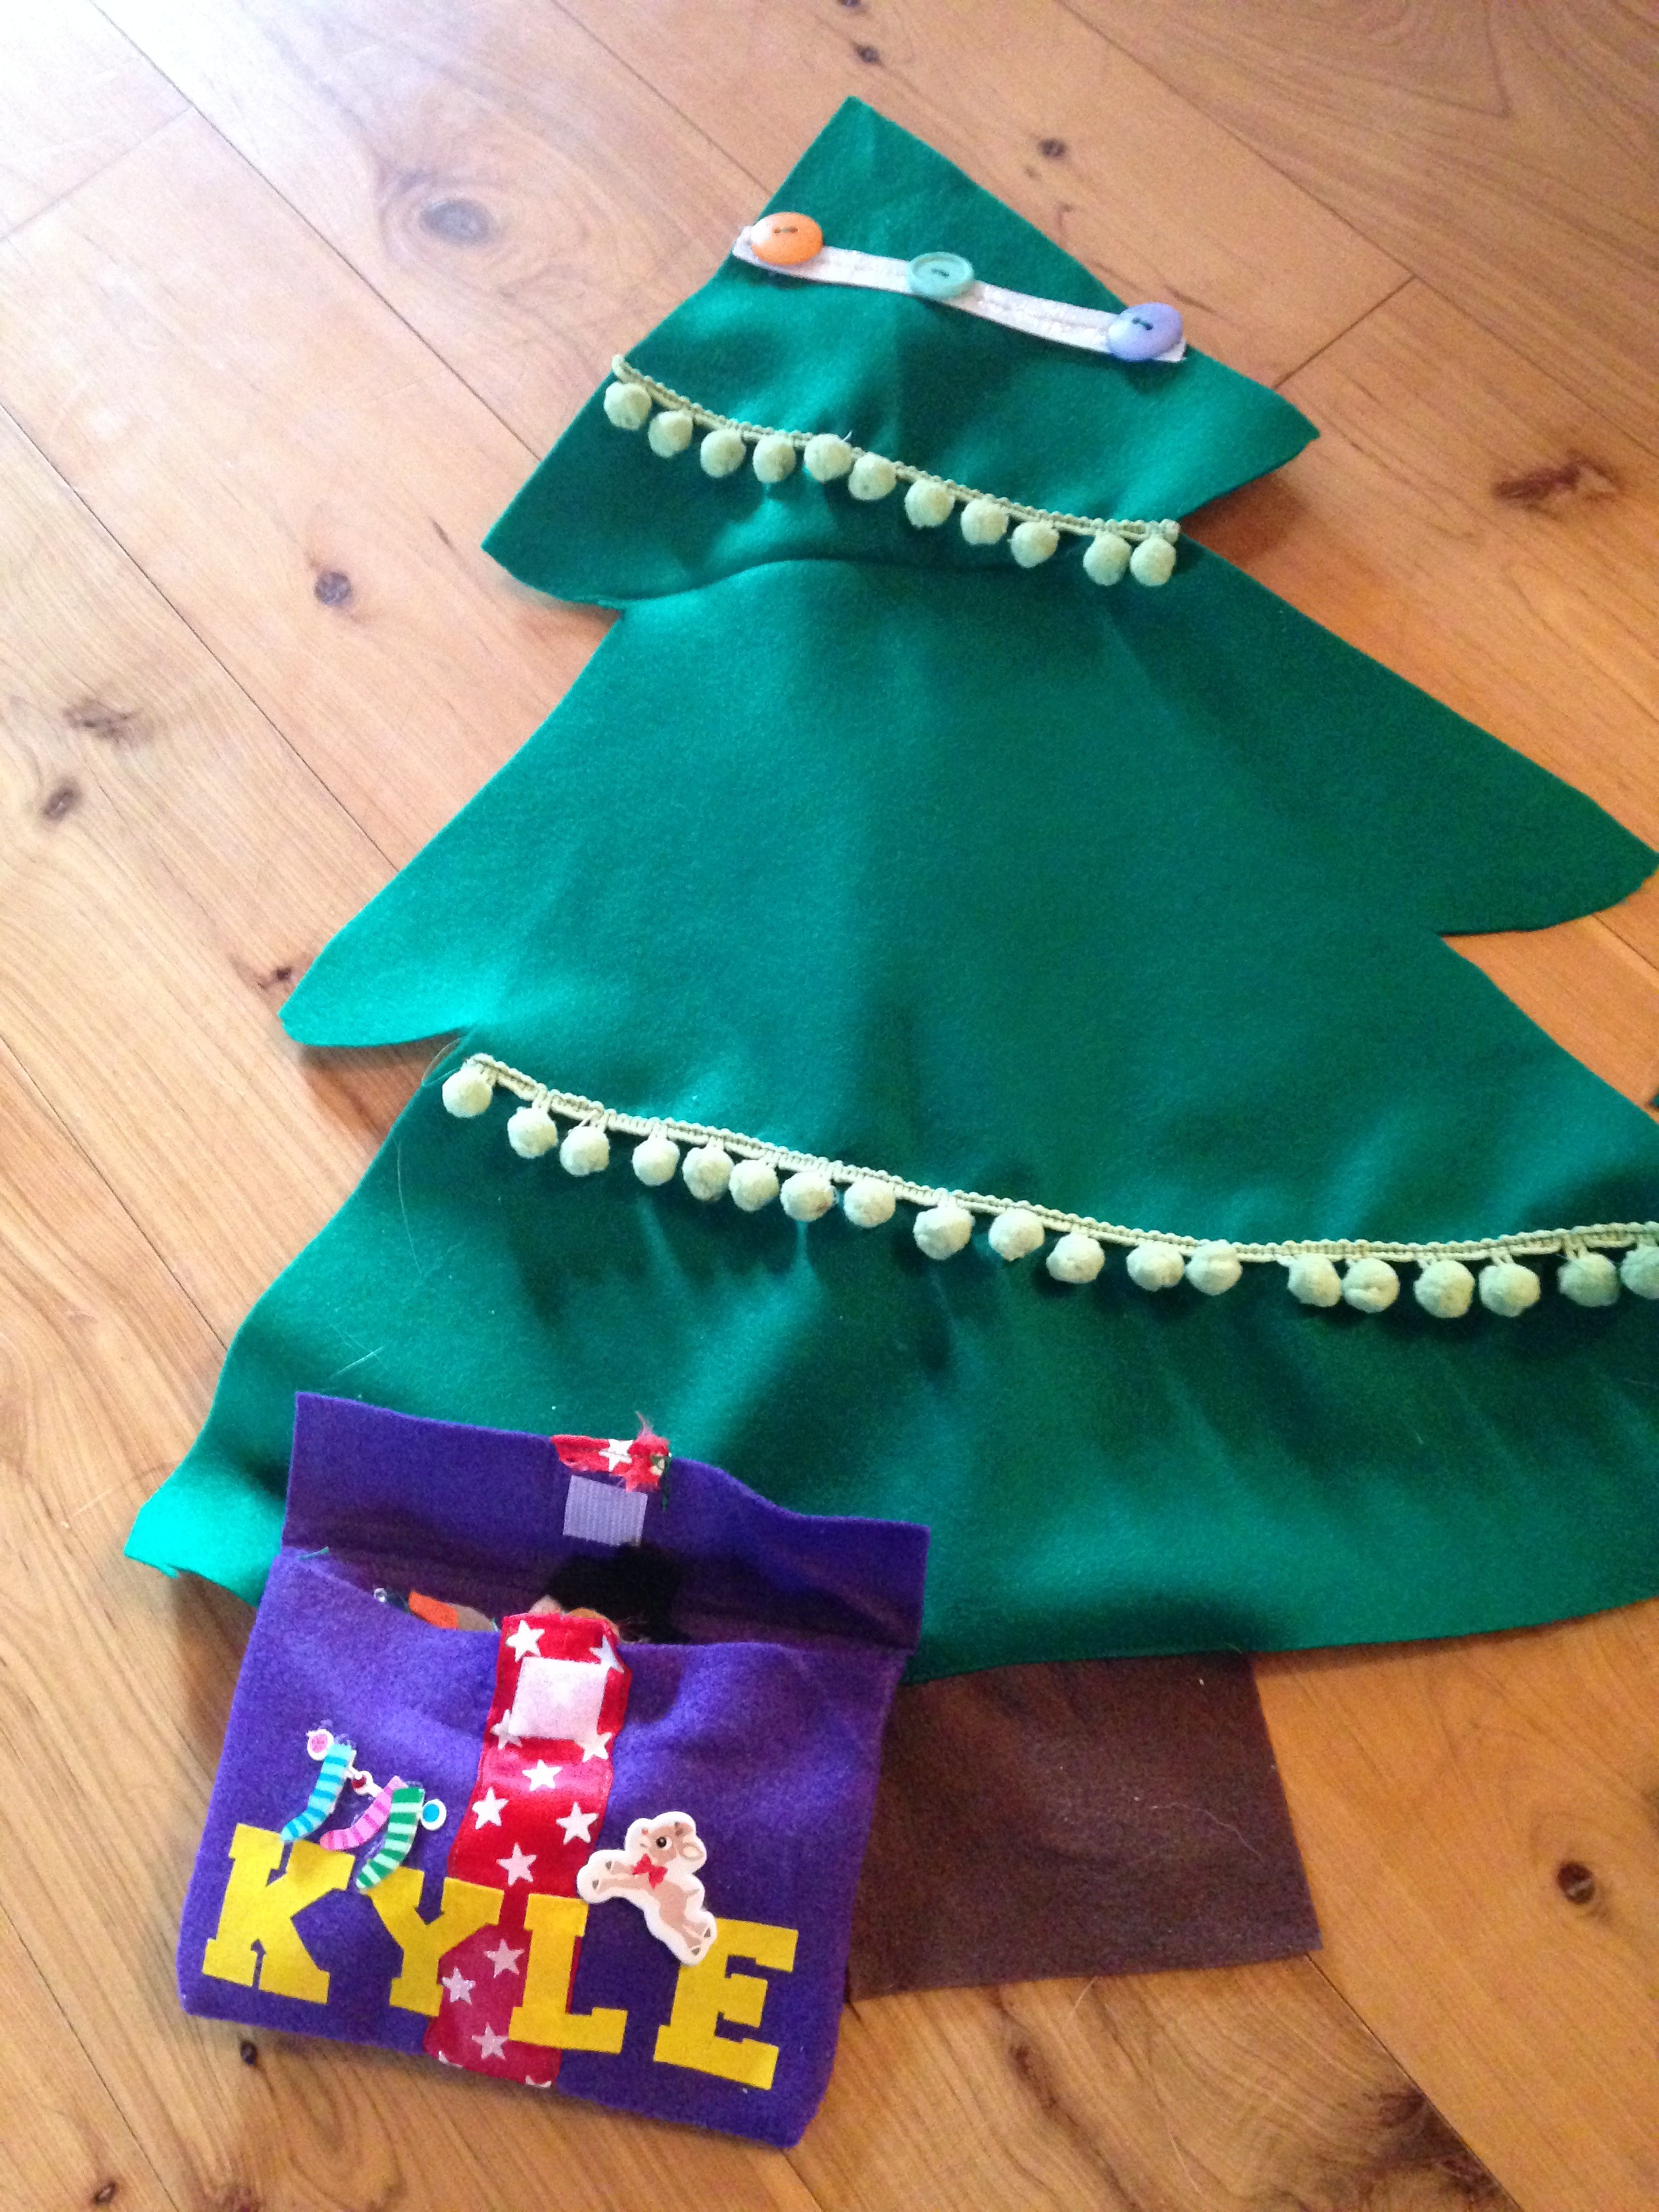
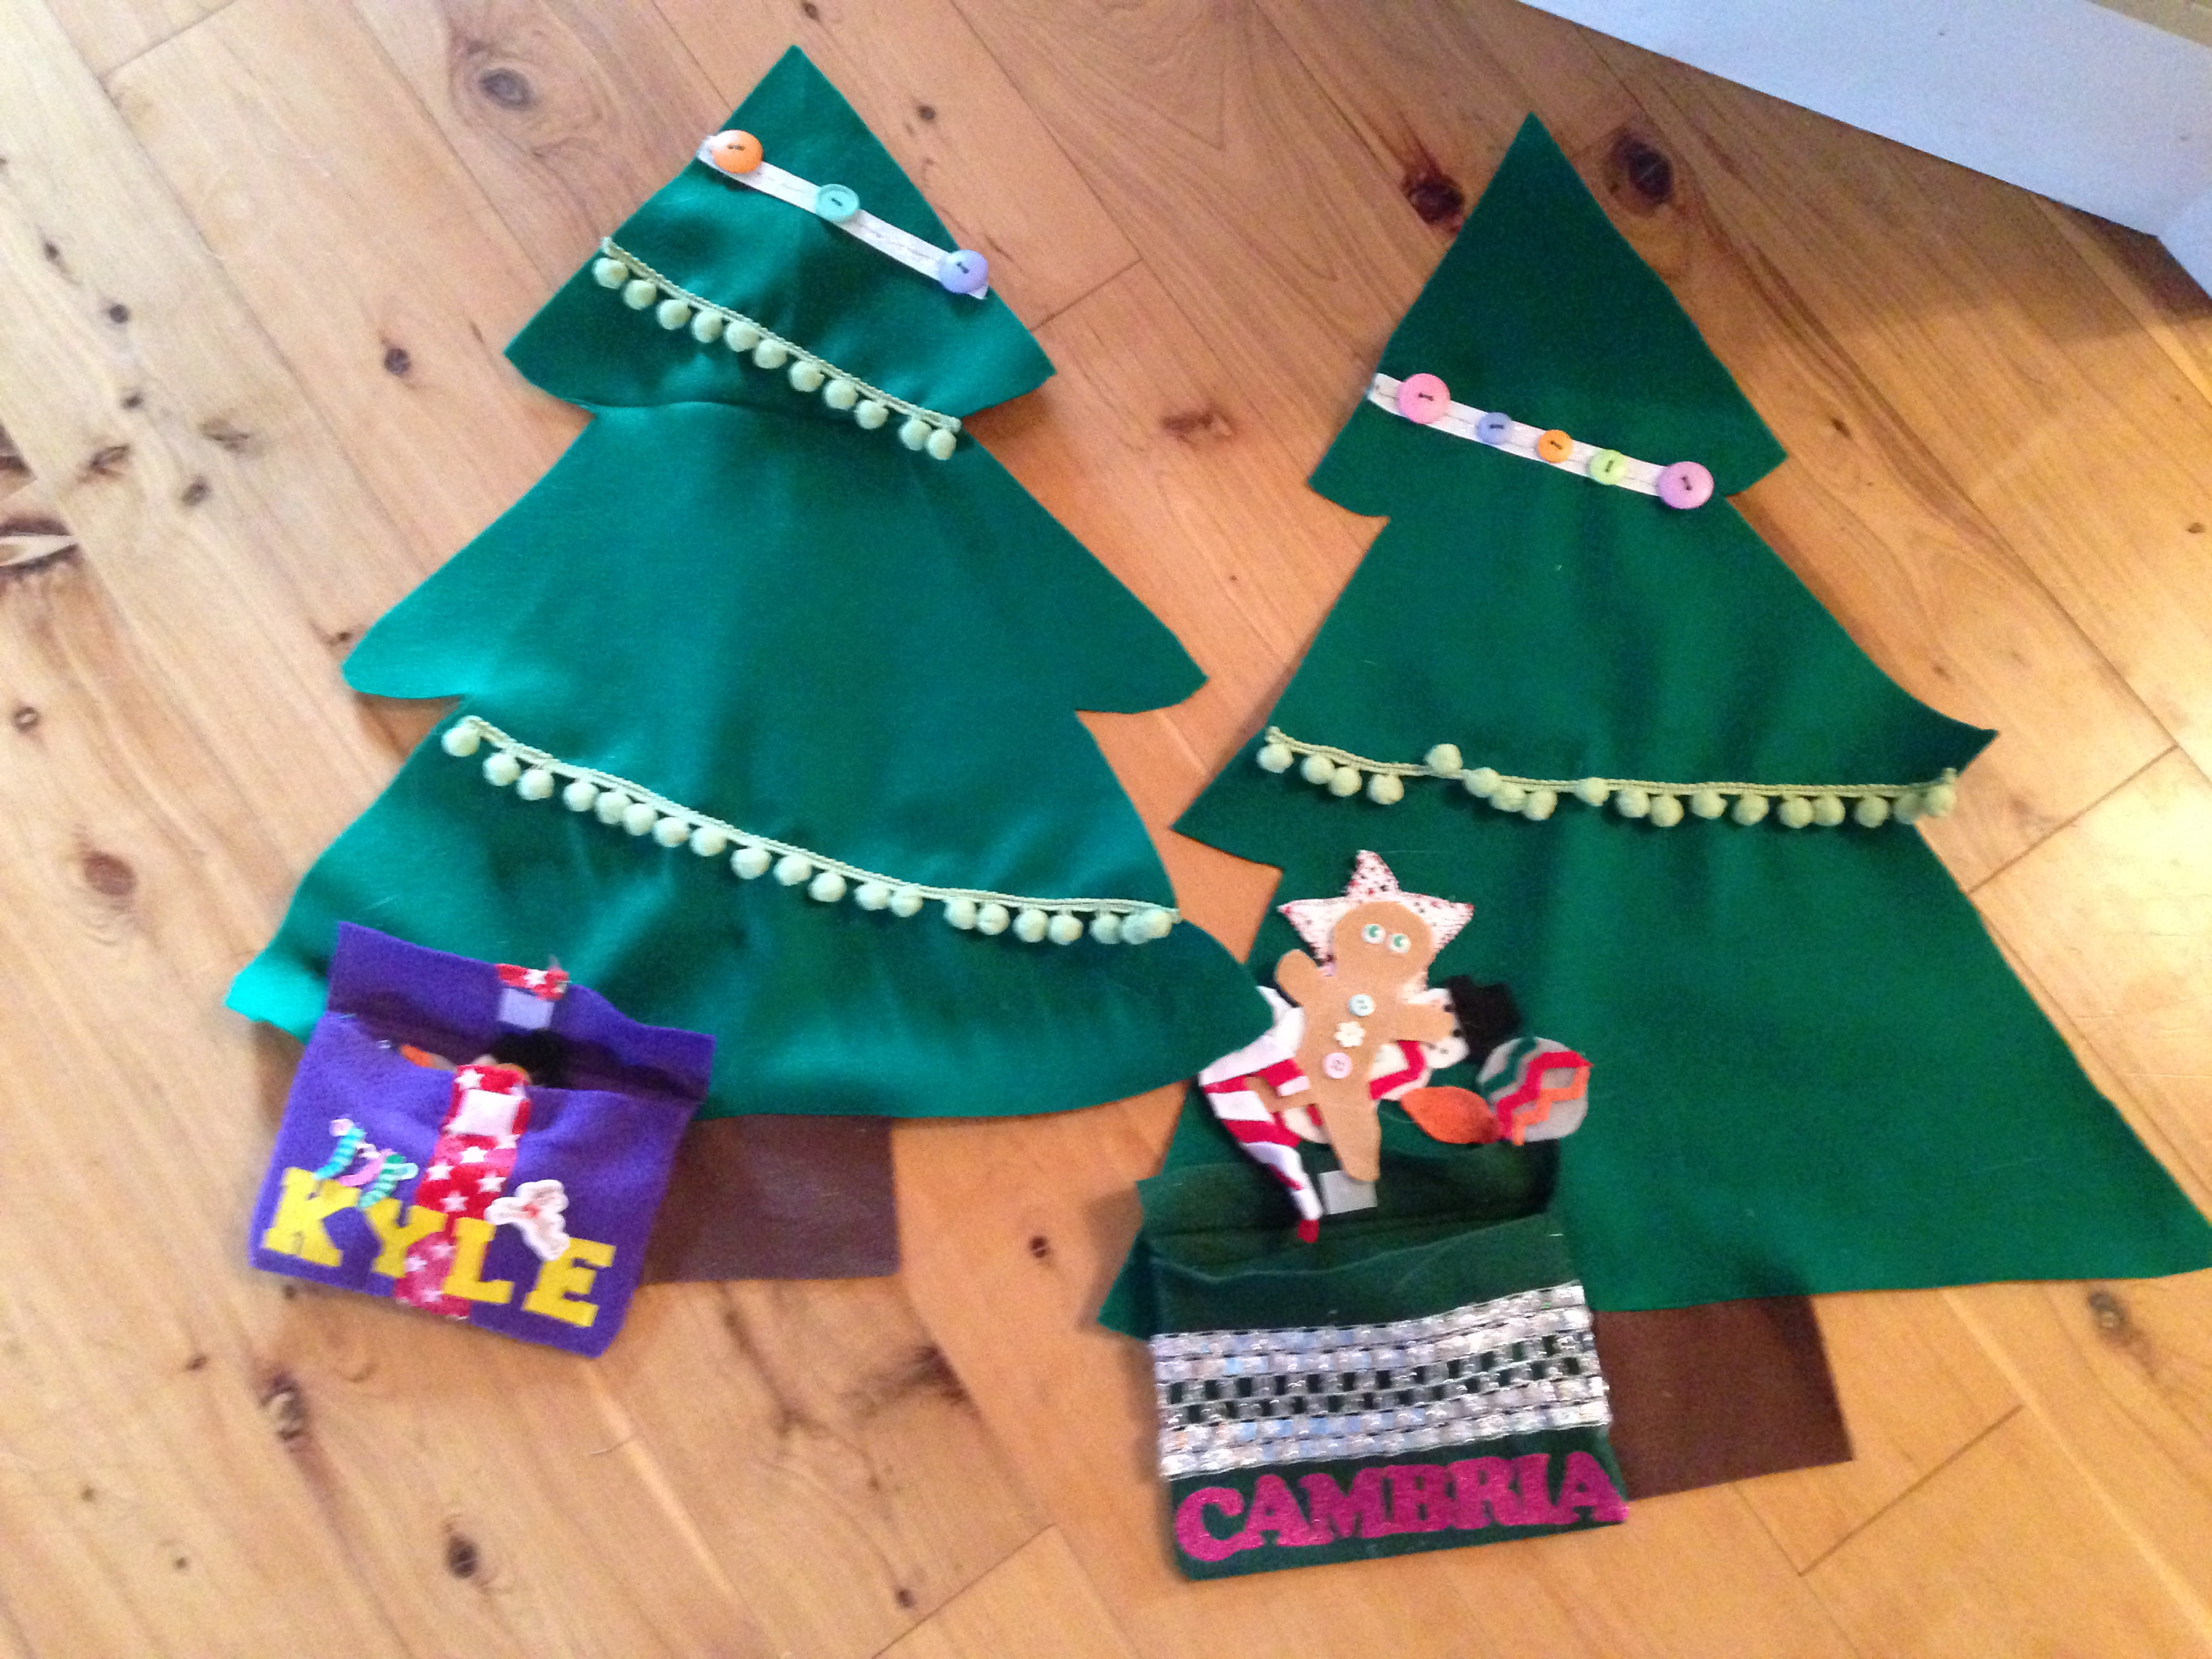
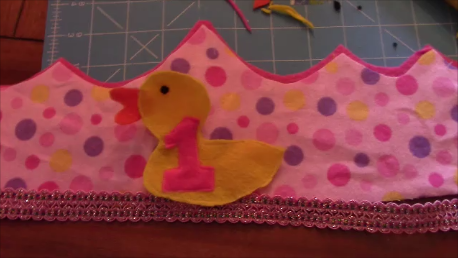
You can add any other embellishments, I used my daughter’s name on the side. Enjoy and check out the other videos and tutorials!  Let me know if you have any questions!


FollowFacebookpinterestrssyoutube
ShareFacebookpinterest

DIY Romper Time!

I decided it was time for the classic romper tutorial to come out.  I decided to make my first one with a free pattern of dinosaurs for my little cute nephew for his first birthday!  Now the size is 2-3t since he is not so little.  But you can easily adjust the pattern to your little ones size, just size it up with one of your little one (or big ones) outfit and adjust!  Easy Peazy!

Here are the parts of the free pattern..this is a 2-3t however just hold up a onesie or romper to the pattern and adjust for smaller or larger!

Also see the photo with the pieces cut out or the tutorial to see how they go together if you can’t tell!

  1. pieces

2. TopBody

3. BodyMain

4. BottomMain

And here is the link to the youtube tutorial as always!


Here is the written one besides what is written on the tutorial:

What you need:

  1. Fabric choice 1-2 yards depending on size. I used flannel fabric
  2. If you want an alternate color/fabric for for neckline and bottom (a stretcher fabric is best)
  3. Snaps/buttons/or velcro depending on what you want to use

Steps:

  1. Cut out fabric pieces as written out on the pieces.
  2. Take one main body piece and find the center by folding in half and one neckline piece (and fold it in half and mark the middle) and place pattern facing
    pattern and stretch and sew. Look at the pictures below to see how you need to stretch it and sew (it is not easy if you are a beginner but it just takes practice! Also, if the neckline is a stretchy fabric it is much easier)
  3. Line center to center


  4. This is the end result, do for both main pieces
  5. Turn to the backside of the main body piece and fold up and iron the seam line as shown below.  Then fold the top down and iron to make it easier to sew and pin.
  6. Turn it right side and either change pins to the front or be careful and take pins out as you sew bottom of collar
  7. Sew both necklines like this then we will create an envelope neckline.
  8. You are going to line up your front and  back body piece with finished necklines and measure from the top of each side 1 to2 in down and this is where the top of one side touches the other side and you pin together (this may not be true if you need a bigger opening or smaller based on head size, adjust opening based on head size). Pin this on both sides
  9. Fold sleeve piece in half and line up middle of sleeve piece (the curved part facing outwards as shown) and where the collar intersects with pattern facing
    down and stretch and pin (see pics)
  10. Then sew using a zig zag stitch (which keeps it strong).  Do this for both sides and it will look like…

I then added double sided bias tape, for convenience and time saving, to the outside of the sleeve edge.

19. Body pieces and sleeve pattern facing pattern, pin around sleeve and down straight to bottom again I used the zig zag stitch. Then I trimmed the sides. Then you can iron it out.

20. Turn your project to the backside and take your football piece and fold in half and line up middle of football with middle of opening pattern facing pattern, pin middle and stretch and pin around then sew.  Make sure the front piece is pushed out of the way (you don’t want to sew it shut! Just sew onto the back piece


21. Take two of your leg banding strips and line up pattern facing pattern and sew the outside 1/8th straight stitch and then do this for the other two as well and turn right side out and iron.

22. The binding piece ends up in the inside and it is used for the buttons or snaps (you can alternatively use fusible interface)

23. Next take your one banding piece and line it up with the front bottom with the fold on the inside and then stretch and sew (see video if this is too confusing!) You pin the outside and sew 1/8th zig zag around

24. Now you will sew 1/4 inch around (the white part as shown will now be in the inside after you do step 23.

25. Next (phew we are getting there- keep going!) is the back banding strip, Same method for the back piece, except you just sew the one time and not the second sew around as in setp 24 because of the flap (you will see what I mean after you do the first sew.

26. I hemmed the bottom leg openings and then did my snap buttons using the hammer method!  I used thick material for the banding which I regret (also that it was not stretchy!) I had to use bigger than normal snaps to get it through the fabric!

Congrats you did it!  Let’s see some pics!


FollowFacebookpinterestrssyoutube
ShareFacebookpinterest

DIY Superhero Cape!

Superhero cape time!  You can make an easy superhero cape in less than 15 minutes!  My daughter needed to be distracted in a fun way while I needed to care for her baby brother, so we pretend to be superheros who fetch diapers, plastic bags, and bottles for baby brother!  Also, her dolly had to have a super cape too! So I went to the fabric store and found the perfect superhero fabric!  The fabric has a great design and also is very stretchy and does not fray easily.  I also bought double sided bias tape in gold for the outside.  Her dolly also needed a superhero cape so I designed a small one for dolly.

As usual, there is a written and youtube tutorial for this cape.  I only used one side of material but you can easily do two fabrics (this is outlined below). Enjoy!


What you need:
1) Fabric (one or 2 different cuts 1/2 yard each)
2) Velcro or your preferred method to connect
around neck
3) Optional: Bias tape and/or monogram


You can decide on the best size by either knowing your childs height and how wide you would like it, or you can always look at their clothes! I do outline the length and design in my video and written tutorial.

  1. I made the cape for my 2.5year old but it ended up being very big, big enough my German Shepard dog could wear it!  The sizes I use could most likely fit up to a 4t.  Fold 1/2 yard of fabric in half.  Measure long way 26inches long (this was a bit big for my 2.5yr old but still worked) and cut straight across. If you are using two fabrics (one for front and one for back), repeat this whole cutting process.
  2. Then measure about 4 inches down from the 26inch top and cut in and up for the connecting part of the cape (mine was a bit big for my 2.5 year old but she will grow into it!)
  3.   If you are using two fabrics take both sides and cut and then face each other and sew all the way around except leave a 3 inch opening (as with all other projects with two fabrics).  Then pull the fabric through the hole and sew hole shut (make sure you push out corners).
  4. Next, I took the bias tape and sewed all the way around (pinning it first).
  5. Lastly, I ironed on the Velcro sections with the softer side facing on side downwards (that way if its too big at one point it is not rough on the skin). You can also use snaps or any other closing you would like.
  6. And that is it!  Pretty easy just eyeball the size or you can measure your little one!  Enjoy!
FollowFacebookpinterestrssyoutube
ShareFacebookpinterest

Summer Bee Dress

Cecelia’s Summer Bee Dress

This lovely summer spaghetti strap dress was suppose to be made in time for my sister in laws baby shower in June.  However, I was unable to finish it due to my water breaking early and being hospitalized.  I finally finished it and love how it turned out!  I free handed the design and sizing.  I meant for it to end up as a 2t size, but as you can see it’s a bit big!  This works out great since its winter and not summertime!  She can wear it this upcoming summer.  I can’t wait for the warm spring and summer to come!  Bulbs and flowers emerging and gardening time, but let’s get back on track.

As always there is a youtube tutorial and this written one.  I do not have a pattern as a freehanded it and designed the pattern myself as I went.  I used one of my Cece’s dresses to size it and make part of the pattern to guess the sizing.

Unfortunately, a lot of the video tutorial was accidentally videotaped over with my baby boys arrival home (sorry more important anyways!).  So I videotaped again trying to explain the best I could.  If you have questions please let me know!  More great videos to come soon!

What you need:

  • Chose of fabric colors and types (I chose three colors
  • 1/4 inch elastic (for gathering of the top of back of the dress)
  • Bias tape (or you can make your own like I did)
  1.  First you want to cut out your fabric pieces.  I looked at another dress I have for my little one and based the main front and back piece by measuring and estimating the sizing.  Then I cut the bottom piece I needed which ended up being about 40inches long and 4 inches wide (for the ruffle on the bottom). I ended up added another color (black) on the two sides of the dress.  Then I also cut out fabric to make bias tape (here is a good tutorial on making bias tape if you’ve never made it before..BIAS TAPE TUTORIAL. )
  2. Take your strap (black piece) and sew it to the top piece and bottom piece.  Pattern piece to pattern piece (facing each other) sew the bottom to the strap
    then the top.
  3. I made my own bias tape by cutting and ironing the fabric.  Then you proceed to use it to line the top of the dress (sew it on!). Then sew up the armholes and long to tie…estimate how long you want the straps to be to tie behind the neck (longer the better!)
  4.  
  5. Take the back side and sew two black (or whatever color you choose) by sewing
    facing pattern sides together
  6. I decided to add a small piece of fabric above the black strap to make it higher .  If you want, sew and connect.  Then place from and back piece facing each other and sew to connect from and back.
  7. Add elastic to back piece if you want it ruched and tighter.
  8. The last part is the bottom ruffled part.
  9. Hem the bottom first about 1/8inch
  10. To gather your fabric put your machine on the longest thread setting make two
    straight lines (Do not reverse!). Roughly 1/4 and 1/8 inch away from the top.
    Leave long threads on the ends.
  11. Next you knot the bottom of the back side of the threads so you can gather, just the two in the back (not the front).
  12. Pull the bottom threads from the other end and slide the cloth along the threads toward your knot making small folds. When your cloth has been
    gathered the way you want it, knot the ends securely with each other.
  13. Sew pattern side to pattern side all the way around.  Then you can zig zag around (or you can zig zag before attaching (this prevents fraying).
  14. Then you are finished! Great Job!  Have fun! Post your pics!
FollowFacebookpinterestrssyoutube
ShareFacebookpinterest

Homemade Paint!

Looking for an easy homemade nontoxic paint for your little one to be creative?  Well, look no further!  We experimented with several types of homemade paint and below are our favorite recipes!


Kids of all ages love painting!  You can have your little one finger paint, use brushes, sponges, or even potatoes!

So we started off making completely edible finger paint with only a couple ingredients!

img_5388

Here is what you will need: (this makes enough for about 4-5 different colors depending on how much you want for each)…

img_5362

  • 1 cup water
  • 1/2 cup of flour
  • extra water to thin out
  • food coloring, watercolors, or natural colors such as beet, carrot, tumeric

Instructions:

img_5363

  1. Place pot over medium heat and pour flour and water into pot and continuously stir the ingredients until it becomes a thick paste.
  2. Take the pot away from the heat when it no longer sticks to the sides
  3. Add cold water to the blob until it reaches the consistency you like and place the amount you desire into separate bowls to color.
  4. Add food coloring, watercolors, natural colorants such as beet or carrot juice, turmeric spice
  5. img_5364
  6. These can be enjoyed right away or stored in the fridge!!

img_5390img_5391

This paint works well for fingerpainting or sponge painting.  You can also use brushes but as you see in the photo, the colors come out thinner and lighter than traditional paint.  The color dries on without fading. We used the paint several days in a row.


And who doesn’t love watercolors?  The problem with watercolors is that the colors can mix and you only get very small amounts of each color.  However, this can all change with homemade watercolor paints!

photo by factorydirectcraft
tbsp. baking soda
2 tsp. white vinegar
1/2 tsp. light corn syrup
2 tsp. corn starch
food colors*
containers for storing paints*
something to stir with (toothpicks)

photo from happyhooligans

You can use a muffin pain, disposable cups, egg cartons, or any other container that you aren’t going to use for a couple days.

Instructions:

1)Mix baking soda & vinegar in a cup with a spout.  I used my Pyrex measuring glass.  Let the kids watch as it fizzes

2) Add in light corn syrup and stir.

3) Stir in the corn starch until well combined.  (If it gets too thick, add a little more vinegar.)

4)Pour into your paint containers- not too full, you need room for the food colors.

5)Add the food colors and stir until you reached your desired color!

6) Now if you want them to harden into hockey pucks you have to let them sit almost two days!  If you plan on using it right away that’s fine too!


Sponges and potatoes!! 


You can cut out designs in potatoes or out of sponges and dip into paint and press just like a stamp! I remember doing this as a child! 


You can also use cookie cutters and paint the potato. This picture was taken from Fun stuff
Dollar store sponges are great to cut out designs for painting! 

Enjoy! 

FollowFacebookpinterestrssyoutube
ShareFacebookpinterest

Easy Sock Snowmen!

What’s an easy gift that can be personalized and made in 15mins?  A sock snowman of course!

IMG_3866A what?  A Sock Snowman? What is that????

Well, let me tell you.  A sock snowman is a snowman made with rubber bands, rice, men’s socks, a hot glue gun, and personalized items.  It is easy, fast, and I love that you can personalize it any way you want for any time of the year!  I made 10 of them for Christmas gifts.  You can see the harry potter and eagles one above.  I also made a hunter, patriots, and princess snowman.  Then I made the usual Christmas snowman for decorations as well.  I even got most of my supplies at the dollar store!

Snapshot 1 (1-23-2016 2-55 PM)

As usual, there is a youtube video tutorial and the written instructions below.  These make great gifts for any occasion and are quick and easy! Enjoy!


What you need:

-Hot glue gun
-Crew socks or longer
-Any type of rice
-Rubber bands
-Decorations such as eyes, stick ons, felt, buttons, bows, pins

  1. Take your crew sock and cut below the ribbed area (the bigger the snowman the lower you want to cut (the bottom part will be the hat of the snowman).
  2. Turn the top ribbed part inside out and place a rubber band tightly on one end
  3. Snapshot 1 (1-23-2016 6-23 PM)
  4. Turn it right side out and pack with rice. Make sure you continuously pack it down with your hands to give the snowman a fuller shape.  Leave a small area on the top and then close it with another rubber band.
  5. Put a rubber band on the top then 1/3 of the way down place another rubber band as tight as you can and adjust the rice to form the body and head of the snowman.
  6. Snapshot 1 (1-23-2016 6-33 PM)
  7. Now time for the fun part- decorating!
  8. The scarf can be made out of felt, scrap fabric, or even a crocheted or knitted scarf!  I did this with camo yarn for a hunter snowman.
  9. I used the hot glue gun to make sure everything stayed in place including the scarf and hat!
  10. IMG_3865
  11. Take the bottom part of the sock and fold top of it and place on top of the snowman’s head for the hat!  Feel free to decorate the hat as well.
  12. Snapshot 2 (1-23-2016 6-49 PM)
  13. I made my sister a harry potter snowman.  I also made a hunter camo snowman, princess snowman, patriots snowman, soccer player, and Christmas themed
    snowmen.
  14. Congrats you are done!  Good job!  Post your pics!
FollowFacebookpinterestrssyoutube
ShareFacebookpinterest

DIY Felt Christmas Tree!

Cece bear loves to pull toys out of baskets and put them back in.  She also likes to build blocks and figure out other puzzles.  So I thought to myself, what can I make for Christmas that she can play with?  And a mini Christmas tree came to mind.  Eventually, I figured out a felt Christmas tree with all sorts of sensory stimulation and Velcro ornaments would work!  So I decided to get to work.

IMG_3608

I decided to make three trees, one for each of Cece’s friends.  It also made a great birthday gift for her friend Kyle’s first birthday!  This is a great activity to do with older children as well.  They can make their own ornaments and decorate the tree!  There are a variety of ways to put the tree, ribbons, buttons, and ornaments together.  The two I used were sewing and hot glue gun, but you can do one or the other as well.  Just make sure if you have a baby, infant, or toddler, to make sure everything is very secure so they can’t pull it off!

IMG_3625

As always, there is a youtube video and written steps and pictures.  Feel free to add your own creativity and pizzazz!!!

If you have an older child, instead of using velcro to stick the ornaments on, you can use string or twine looped on the ornament and they can put them around buttons on the tree!


What you need:
*Green felt fabric (I used 1.5
yards for three trees)
*velcro
*Brown felt fabric (stump)
*Felt fabrics of various colors for
ornaments of your choice and design
*optional: buttons, ribbons,
and other accessories

IMG_35381) Fold your green felt and make a tree outline on the fold (so half of it traced on).  Then cut your tree out!

IMG_3539

2) Next, if you want a stump, use brown fabric to cut one out!  Once again you can trace it out.  You can either sew it on the bottom or hot glue gun.

Snapshot 1 (12-8-2015 1-58 PM)3) I wanted to make something to hold the ornaments besides just having them stick to the tree.  So I decided a present with the child’s name on it would be perfect!  So next I chose a color of felt I had and cut about 11x 7 inches.

IMG_3552

4) Next, for one of the presents I made I wanted the bow long ways down so I sewed a piece of ribbon straight down the piece. (the other two I made have it across the box which you can sew on now or later)

IMG_3553

5) The next step would be to turn it right sides facing inwards and sew to the length you want so you have the top of the present flap long enough.  Check out the picture to see what I mean. Then turn right side out.

IMG_3581

6) As you can see, I decided to iron on letters for the name of the child.  These two presents are different sizes.  Also, if you want to put a piece of iron on or sew on or glue gun on Velcro to the top of the present to have it stick now is the time.

7)  Then decorate the present at will.  I added some adhesive Rudolph stickers.  I did hot glue them so they would be more secure.

IMG_3582

8) Follow that, I sewed the present onto the tree.  This is optional, you can have it separate or not have a present at all.  I opened the top flap and sewed right along the fold to the tree.  You can also hot glue gun it.


IMG_3612

8) Now, back to the tree.  Now is the time to get even more creative!  Use ribbons, garland, buttons, or whatever you want on the tree!  You can sew or hot glue gun them on.  If you have an older child and want to have hanging ornaments on buttons then align your buttons!

9) Next, it is time to make ornaments.  If your child is older they can help decorate and make ornaments.  I chose actually Christmas items and one ornament and one light bulb.  I used whatever felt scraps I had to make them.  I also made a star at the end.  Remember to Velcro your ornaments on the back using the hard side of the Velcro.  You want to iron them on before you decorate the front!  Otherwise you might melt or damage your decorations.

IMG_3555

IMG_3583IMG_3584

To hang the tree, I used 3m adhesive strips, but I have heard that the blue paint tape works well on walls.  You can also use suction cups if its on the window or door.  Ok enjoy!  Feel free to post your tree below!

IMG_3609IMG_3627


FollowFacebookpinterestrssyoutube
ShareFacebookpinterest

Easy Birthday Crowns!

Want to sew quick and easy crowns for a party or get together?  Then you’ve come to the right place!  I made a last minute decision days before my daughters’ first birthday party that we needed crowns!  The theme was rubber ducky, so I decided to make birthday crowns instead of hats!  Young kids and babies don’t enjoy hard hats on their head and also shouldn’t have a rubber band or elastic around their neck.

IMG_0058 (2)As you can see they are very cute for photo shoots as well!  She didn’t particularly like keeping it on, but I got a couple good shots!

As usual, there is a YouTube video and also a written explanation below.  I didn’t have a lot of time to embellish the other crowns but you can always spice things up with some ribbons, bows, glitter, rhinestones, or buttons!

To get started you need:
1) Choice of fabric and design
2) Scisscors
3)Thread
4) Closure for crown (velcro, button, ribbon) or you can sew all the way around if you know the exact size


  1. Cut your fabric for the main part of the crown 4 1/2 x 18 inches
  2. Snapshot 1 (10-7-2015 8-50 AM)
  3. Make your own crown pattern by drawing the top on a piece of paper and cutting it out!
  4. Cut your design onto your fabric to make the shape of your crown! If you want a felt backing with another color cut that out as well.
  5. Next, pick out your ribbon if you are using one, if you want any other embellishments get them ready!  I made a felt duck that I sewed onto
    the crown.
  6. Snapshot 2 (10-7-2015 9-02 AM)
  7. Line up your crown pieces and sew all the way around!  Then you are done! If you want to add button loops and buttons you can sew them on as well.
  8. IMG_2478Congrats and enjoy the party!  Check back often for new crafts or subscribe below!


FollowFacebookpinterestrssyoutube
ShareFacebookpinterest

Baby Slippers Tutorial!

In one of my last tutorials, I showed you how to make a super cute sleeper.  Now, here are the matching slipper shoes!

IMG_2318           IMG_2303

What you will need:

  • Fabric of choice
  • 1/4 or 1/8 inch elastic
  • Thread color of choice
  • Optional: buttons or bows

I used a free pattern from marked crafts- > shoepattern

So lets get started!  here is the video tutorial and below that is the written and picture format.


  1. Cut your pattern out and decide on your color/colors you want to use (you can use two colors!
  2. IMG_2289
  3. Cut out your pieces- there should be 4 of each piece
  4. Take your upper pieces (the two sided rounded pieces) and place them pattern facing pattern as usual.
  5. Then sew the non-rounded part only (the bottom of it)
  6. Turn right side out, then iron you piece down with the right sides out and sew a nice little line across the outside where it is sewn together.


IMG_2291

7. Take your heel pieces (the long rectangles), and place the pieces facing eachother (as usual) and sew just down one long side IMG_2292IMG_2293

8. Cut your elastic to 4 inches long (2 pieces).  Pin it to one end of the sewn heel piece.

elastic

9. While sewing stretch the elastic and sew using your zigzag stitch across the length of the fabric

elasticcurl

10. It will be curled up as shown above.  Turn right side out.  Pin and sew below the elastic and all the way around the whole piece to make it look nice and then trim as needed.

11. Place sole pieces together with patterns facing eachother, use a basting stitch (set your stitch to longest number and do not backstitch).

IMG_2299

12. Pin together the heel and the front piece, adjust it to be the appropriate size for the baby/infant you are making it for.

bootie

13. Sew straight across where you already have the previous sewn line from the front piece.  Then trim the rest off.  This makes a nice neat line when you are finished.

14. Find the middle of the sole and the middle of the top part.  You can do this easily by folding in half.  Line them up together and pin.  (the back of the sole is the smaller part). Have the top part the wrong side still out to pin. IMG_2301

15. Now sew all the way around! Almost done!  Doesn’t it look so cute?

16. Trim the excess fabric being careful not to cut too close to your thread line.

17. Now turn right side out!  And WA-LA you are done!  You can add a button, ribbon, or any other accessory you want!  Great JOB!  Lets see those pictures

IMG_2303

FollowFacebookpinterestrssyoutube
ShareFacebookpinterest

Mess Free Painting for Baby!

Every want your baby to create a work of art?  Well, lets get realistic here, a work of art only a parent could love!

IMG_1332

Here is an easy fun project for you and your little one!  I started this at 6 months of age and continue to have her enjoy smashing paint colors together frequently.

What you need:

  • Pack of small canvas or poster boards (I bought a pack of 10 small canvases at Acmore for $12- what a steal!)
  • Paint
  • Zip lock bags that the canvas or board will fit in
  • Scissors

IMG_2380

  1. Place blobs of paint on the canvas- go wild!  Place the canvas carefully into the ziplock bag. Zip it up!
  2. IMG_2384
  3. Place it in front of your little one and watch them enjoy
  4. Now, it’s more complicated to get it out without smearing it.  So I use the scissor to cut the sides off and then carefully lift up.  *Note, I first tried this with saranwrap, and I can tell you my little one just ripped it right away*
  5. Wa-La you are done and have a painting!  You can do this as often as you want or monthly to see a new creation!

IMG_1332

Now if you want a messy way, but edible check out this great blog post about making edible paint.


You can also purchase edible finger paint on amazon and some other stores!  ENJOY!


FollowFacebookpinterestrssyoutube
ShareFacebookpinterest