Easy Sock Snowmen!

What’s an easy gift that can be personalized and made in 15mins?  A sock snowman of course!

IMG_3866A what?  A Sock Snowman? What is that????

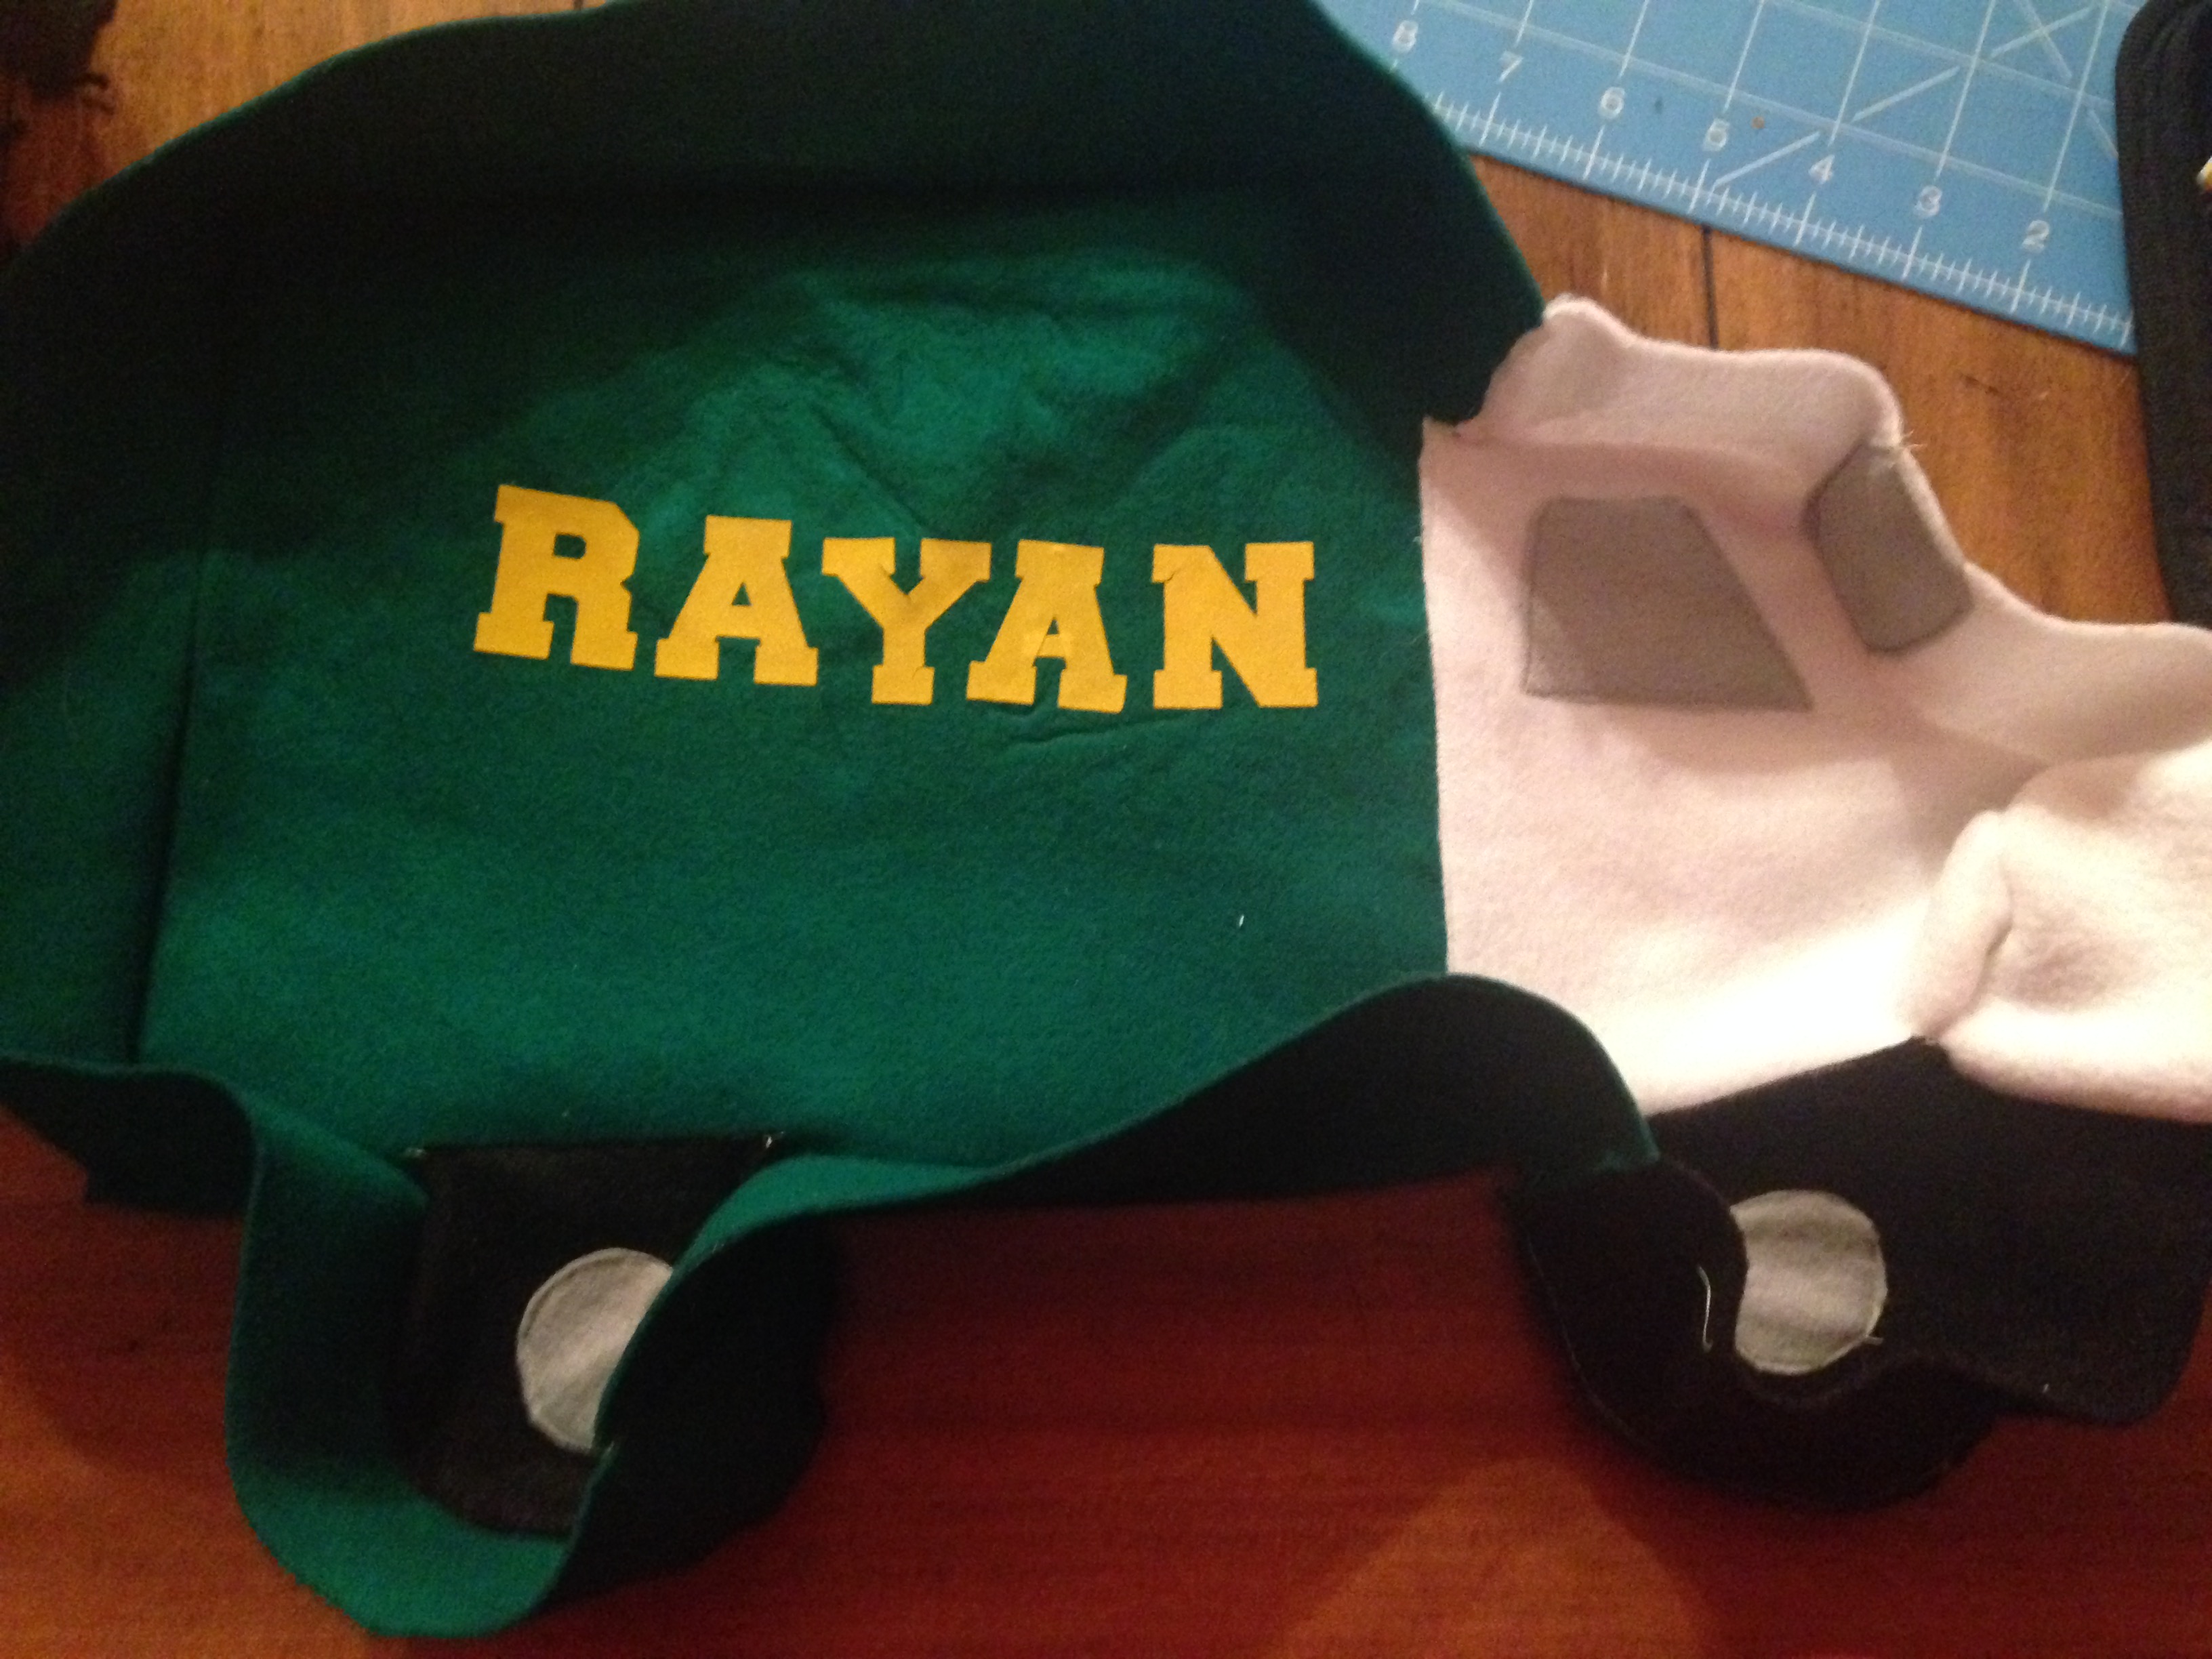
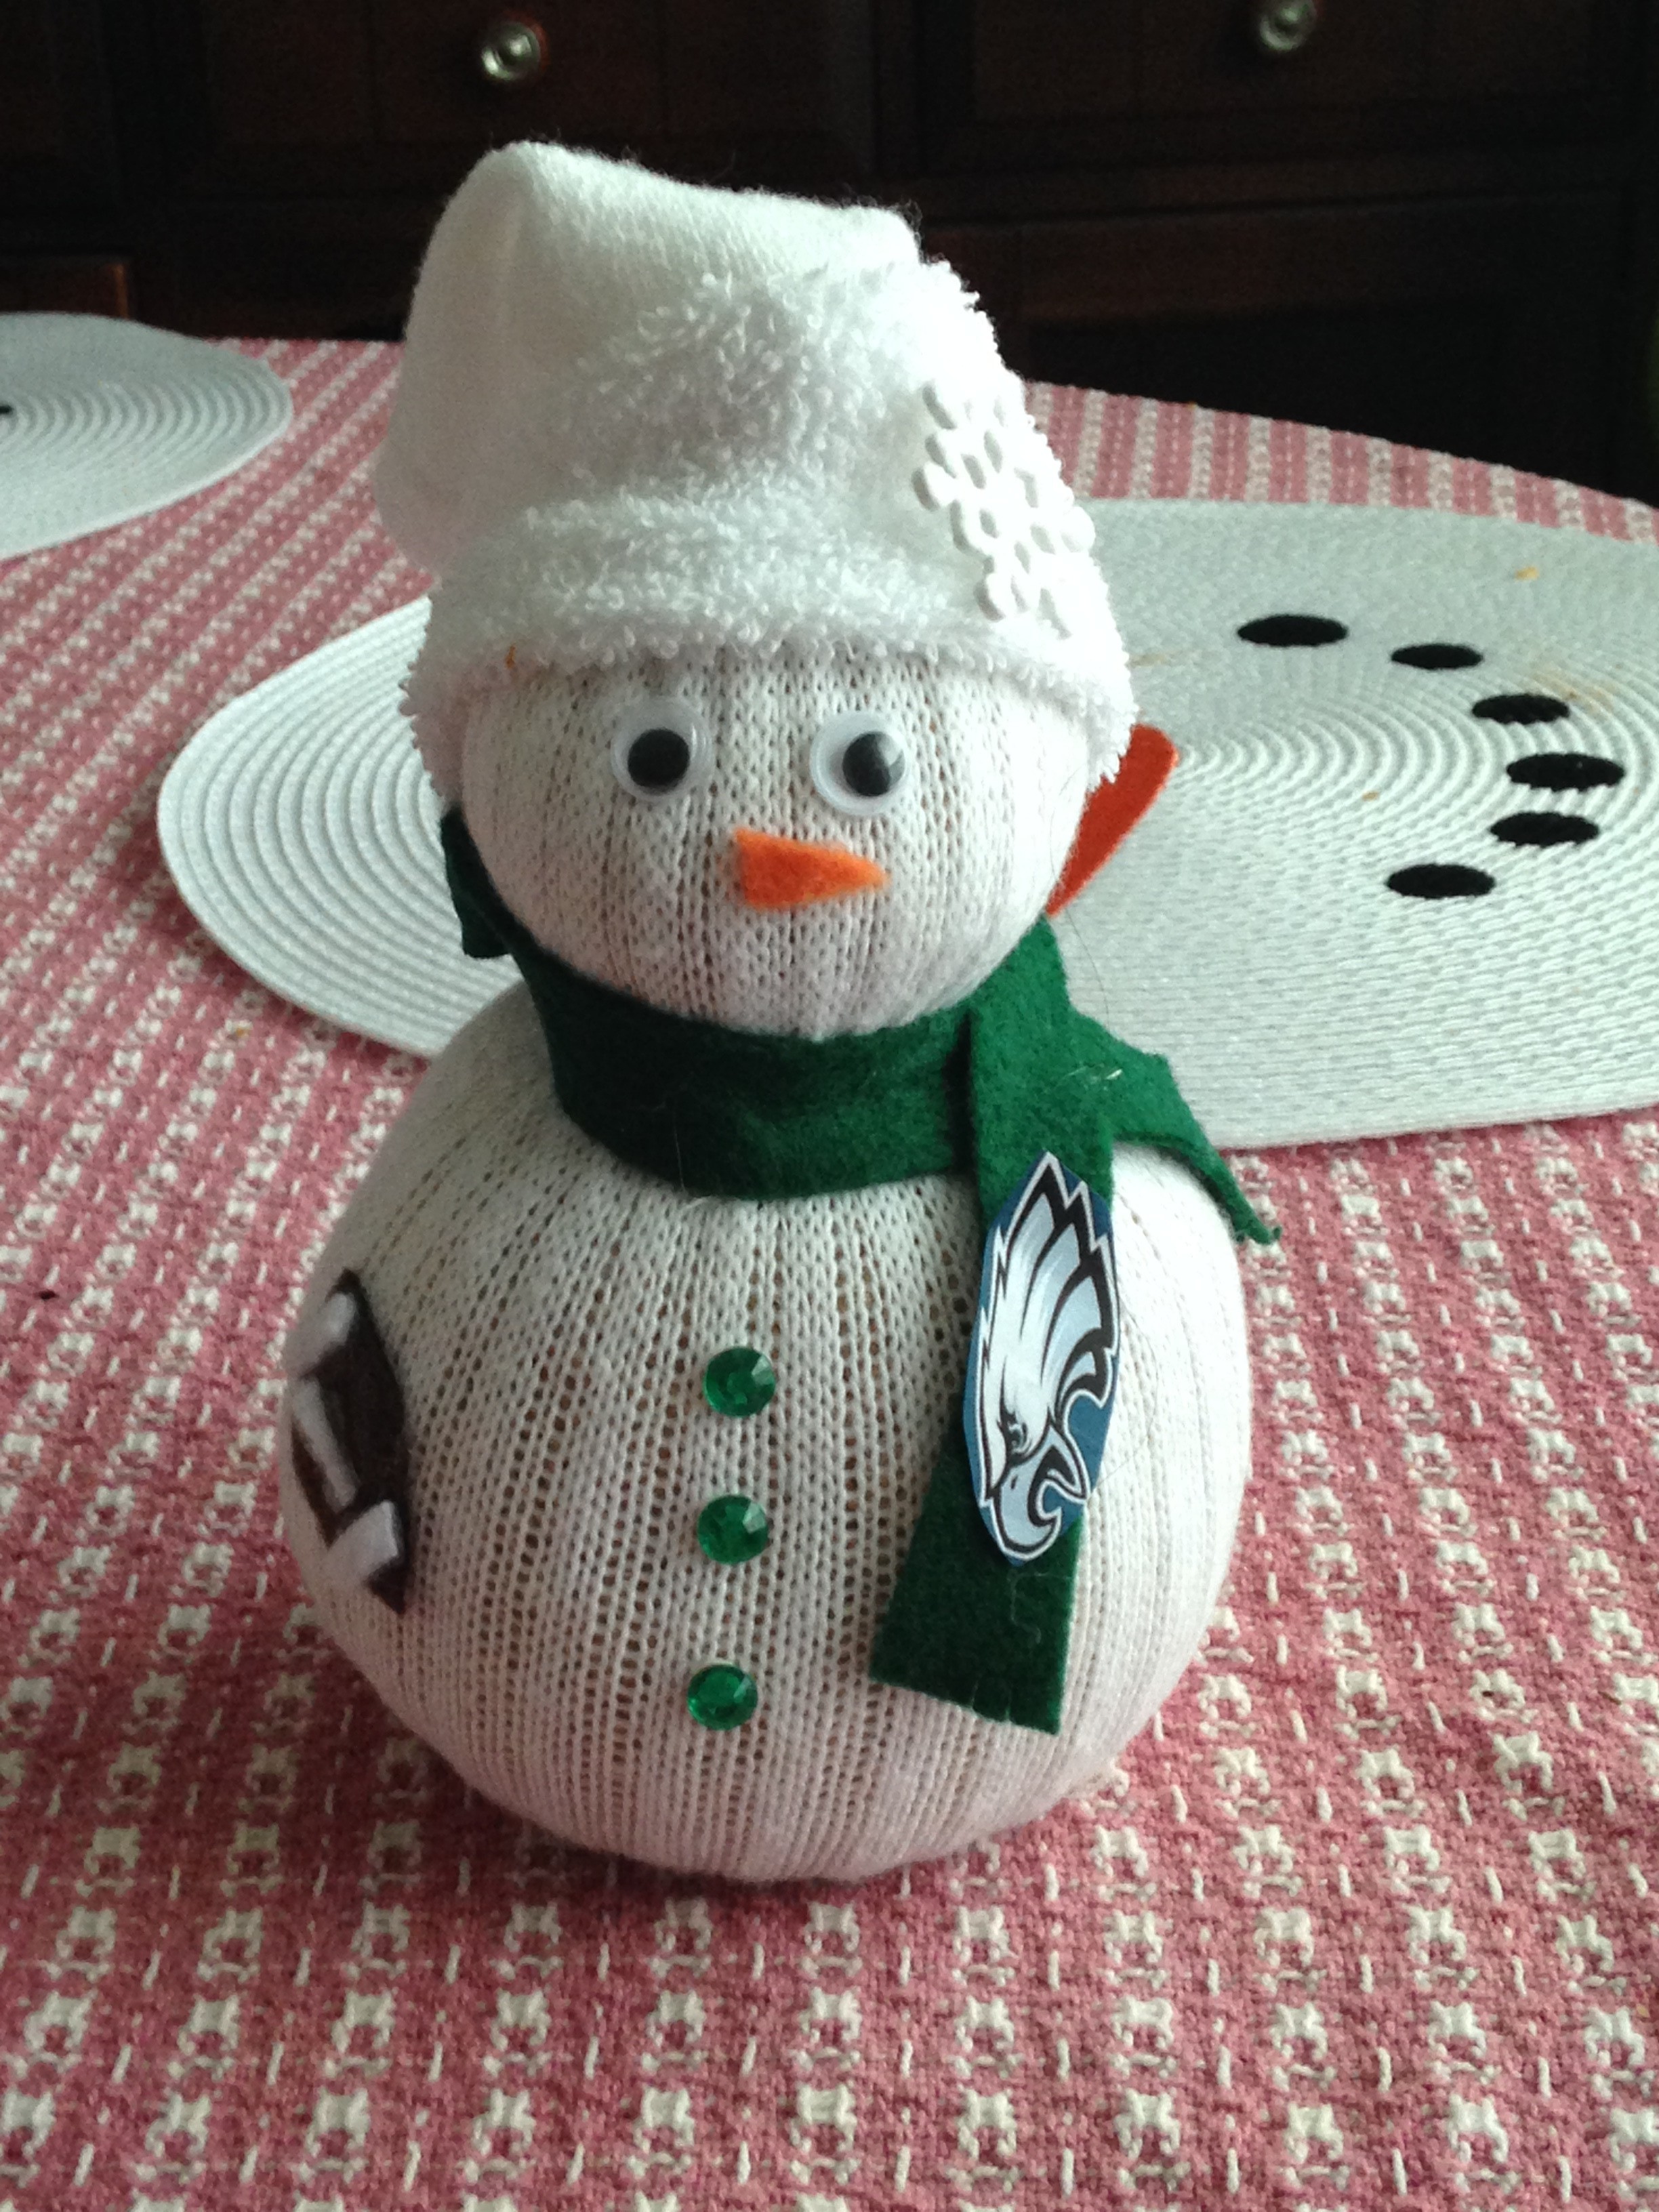
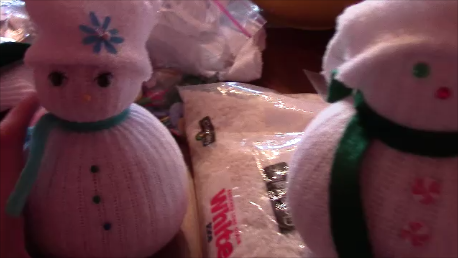
Well, let me tell you.  A sock snowman is a snowman made with rubber bands, rice, men’s socks, a hot glue gun, and personalized items.  It is easy, fast, and I love that you can personalize it any way you want for any time of the year!  I made 10 of them for Christmas gifts.  You can see the harry potter and eagles one above.  I also made a hunter, patriots, and princess snowman.  Then I made the usual Christmas snowman for decorations as well.  I even got most of my supplies at the dollar store!

Snapshot 1 (1-23-2016 2-55 PM)

As usual, there is a youtube video tutorial and the written instructions below.  These make great gifts for any occasion and are quick and easy! Enjoy!


What you need:

-Hot glue gun
-Crew socks or longer
-Any type of rice
-Rubber bands
-Decorations such as eyes, stick ons, felt, buttons, bows, pins

  1. Take your crew sock and cut below the ribbed area (the bigger the snowman the lower you want to cut (the bottom part will be the hat of the snowman).
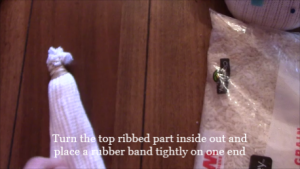
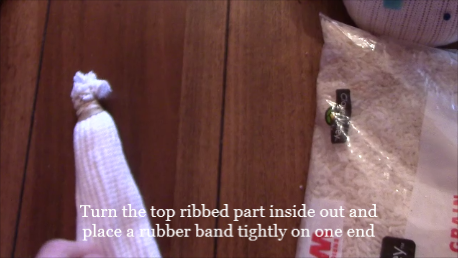
  2. Turn the top ribbed part inside out and place a rubber band tightly on one end
  3. Snapshot 1 (1-23-2016 6-23 PM)
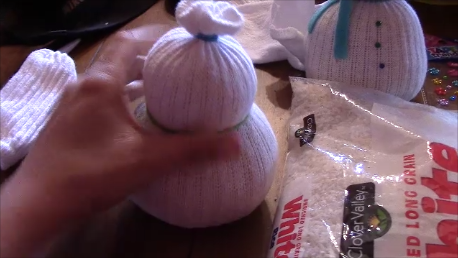
  4. Turn it right side out and pack with rice. Make sure you continuously pack it down with your hands to give the snowman a fuller shape.  Leave a small area on the top and then close it with another rubber band.
  5. Put a rubber band on the top then 1/3 of the way down place another rubber band as tight as you can and adjust the rice to form the body and head of the snowman.
  6. Snapshot 1 (1-23-2016 6-33 PM)
  7. Now time for the fun part- decorating!
  8. The scarf can be made out of felt, scrap fabric, or even a crocheted or knitted scarf!  I did this with camo yarn for a hunter snowman.
  9. I used the hot glue gun to make sure everything stayed in place including the scarf and hat!
  10. IMG_3865
  11. Take the bottom part of the sock and fold top of it and place on top of the snowman’s head for the hat!  Feel free to decorate the hat as well.
  12. Snapshot 2 (1-23-2016 6-49 PM)
  13. I made my sister a harry potter snowman.  I also made a hunter camo snowman, princess snowman, patriots snowman, soccer player, and Christmas themed
    snowmen.
  14. Congrats you are done!  Good job!  Post your pics!
FollowFacebookpinterestrssyoutube
ShareFacebookpinterest

Truck Pillow Tutorial

I have a nephew who absolutely loves trucks, cars, and any other type of vehicle.  As Christmas approached I was unsure of what to get my nephew.  I searched the internet for ideas of sewing projects with trucks, but it was only to my dismay. None of the projects peaked my interest.  I found a car tutorial but that was it.  So I decided to make my own pattern and tutorial on a truck pillow.  I also decided that putting his name on with iron on letters would be fantastic!IMG_3727

As usual, there is a video tutorial on my youtube site, and written instructions with pictures below.

What you will need:
*Your choice of fabric colors
*poly-fil or any type of stuffing
*Choice of thread colors
*Optional: Iron on letters

Pattern: Use one whole piece of printer paper 8x10inches as the trailer part.  Make a circle for the wheels.  And make a from cab as you like.  The pattern I made is so easy I’m not even going to try and retrace it and scan it and turn it into a pdf because it takes much longer…if you are really having issues please let me know and I will take the time do that for you.

  1. Cut out your fabric pieces
  2. IMG_3717
  3. Iron on letters or if you want to sew on letters that works as well!
  4. Sew on your hubcaps, windows and any other details you want to add
  5. Sew each side together.  The front cab to the trailer and the wheelsSnapshot 1 (1-4-2016 9-28 PM)
  6. Time to sew the middle strip part! I made mine 2 inches thick but you can make it as big as you like!
  7. You can switch colors to match or just use one color.
  8. If you do not want to do the middle section then you can just take the two truck sides facing each other (inside) and sew around leaving a 3 inch opening.  Turn right side out, stuff, and hand-sew shut.
  9. To do the middle strip, line it up with the truck where you want to start and back-stitch and go forward all the way around switch colors as needed.  Curve the middle strip around the corners.
  10. Snapshot 2 (1-4-2016 9-32 PM)
  11. Now take the other side of the truck and have the sides facing inwards towards
    each other, and sew the second side to the strips on the first side.
  12. IMG_3726
  13. Turn right side out and make sure there are no holes in the outside, if there are turn inside out and fix them.
  14. Fill with your choice of stuffing and hand-sew shut.
  15. Congrats you are done!
  16. If you have any questions or concerns please leave them below.  If you have trouble with the middle strip please watch the youtube tutorial.
FollowFacebookpinterestrssyoutube
ShareFacebookpinterest