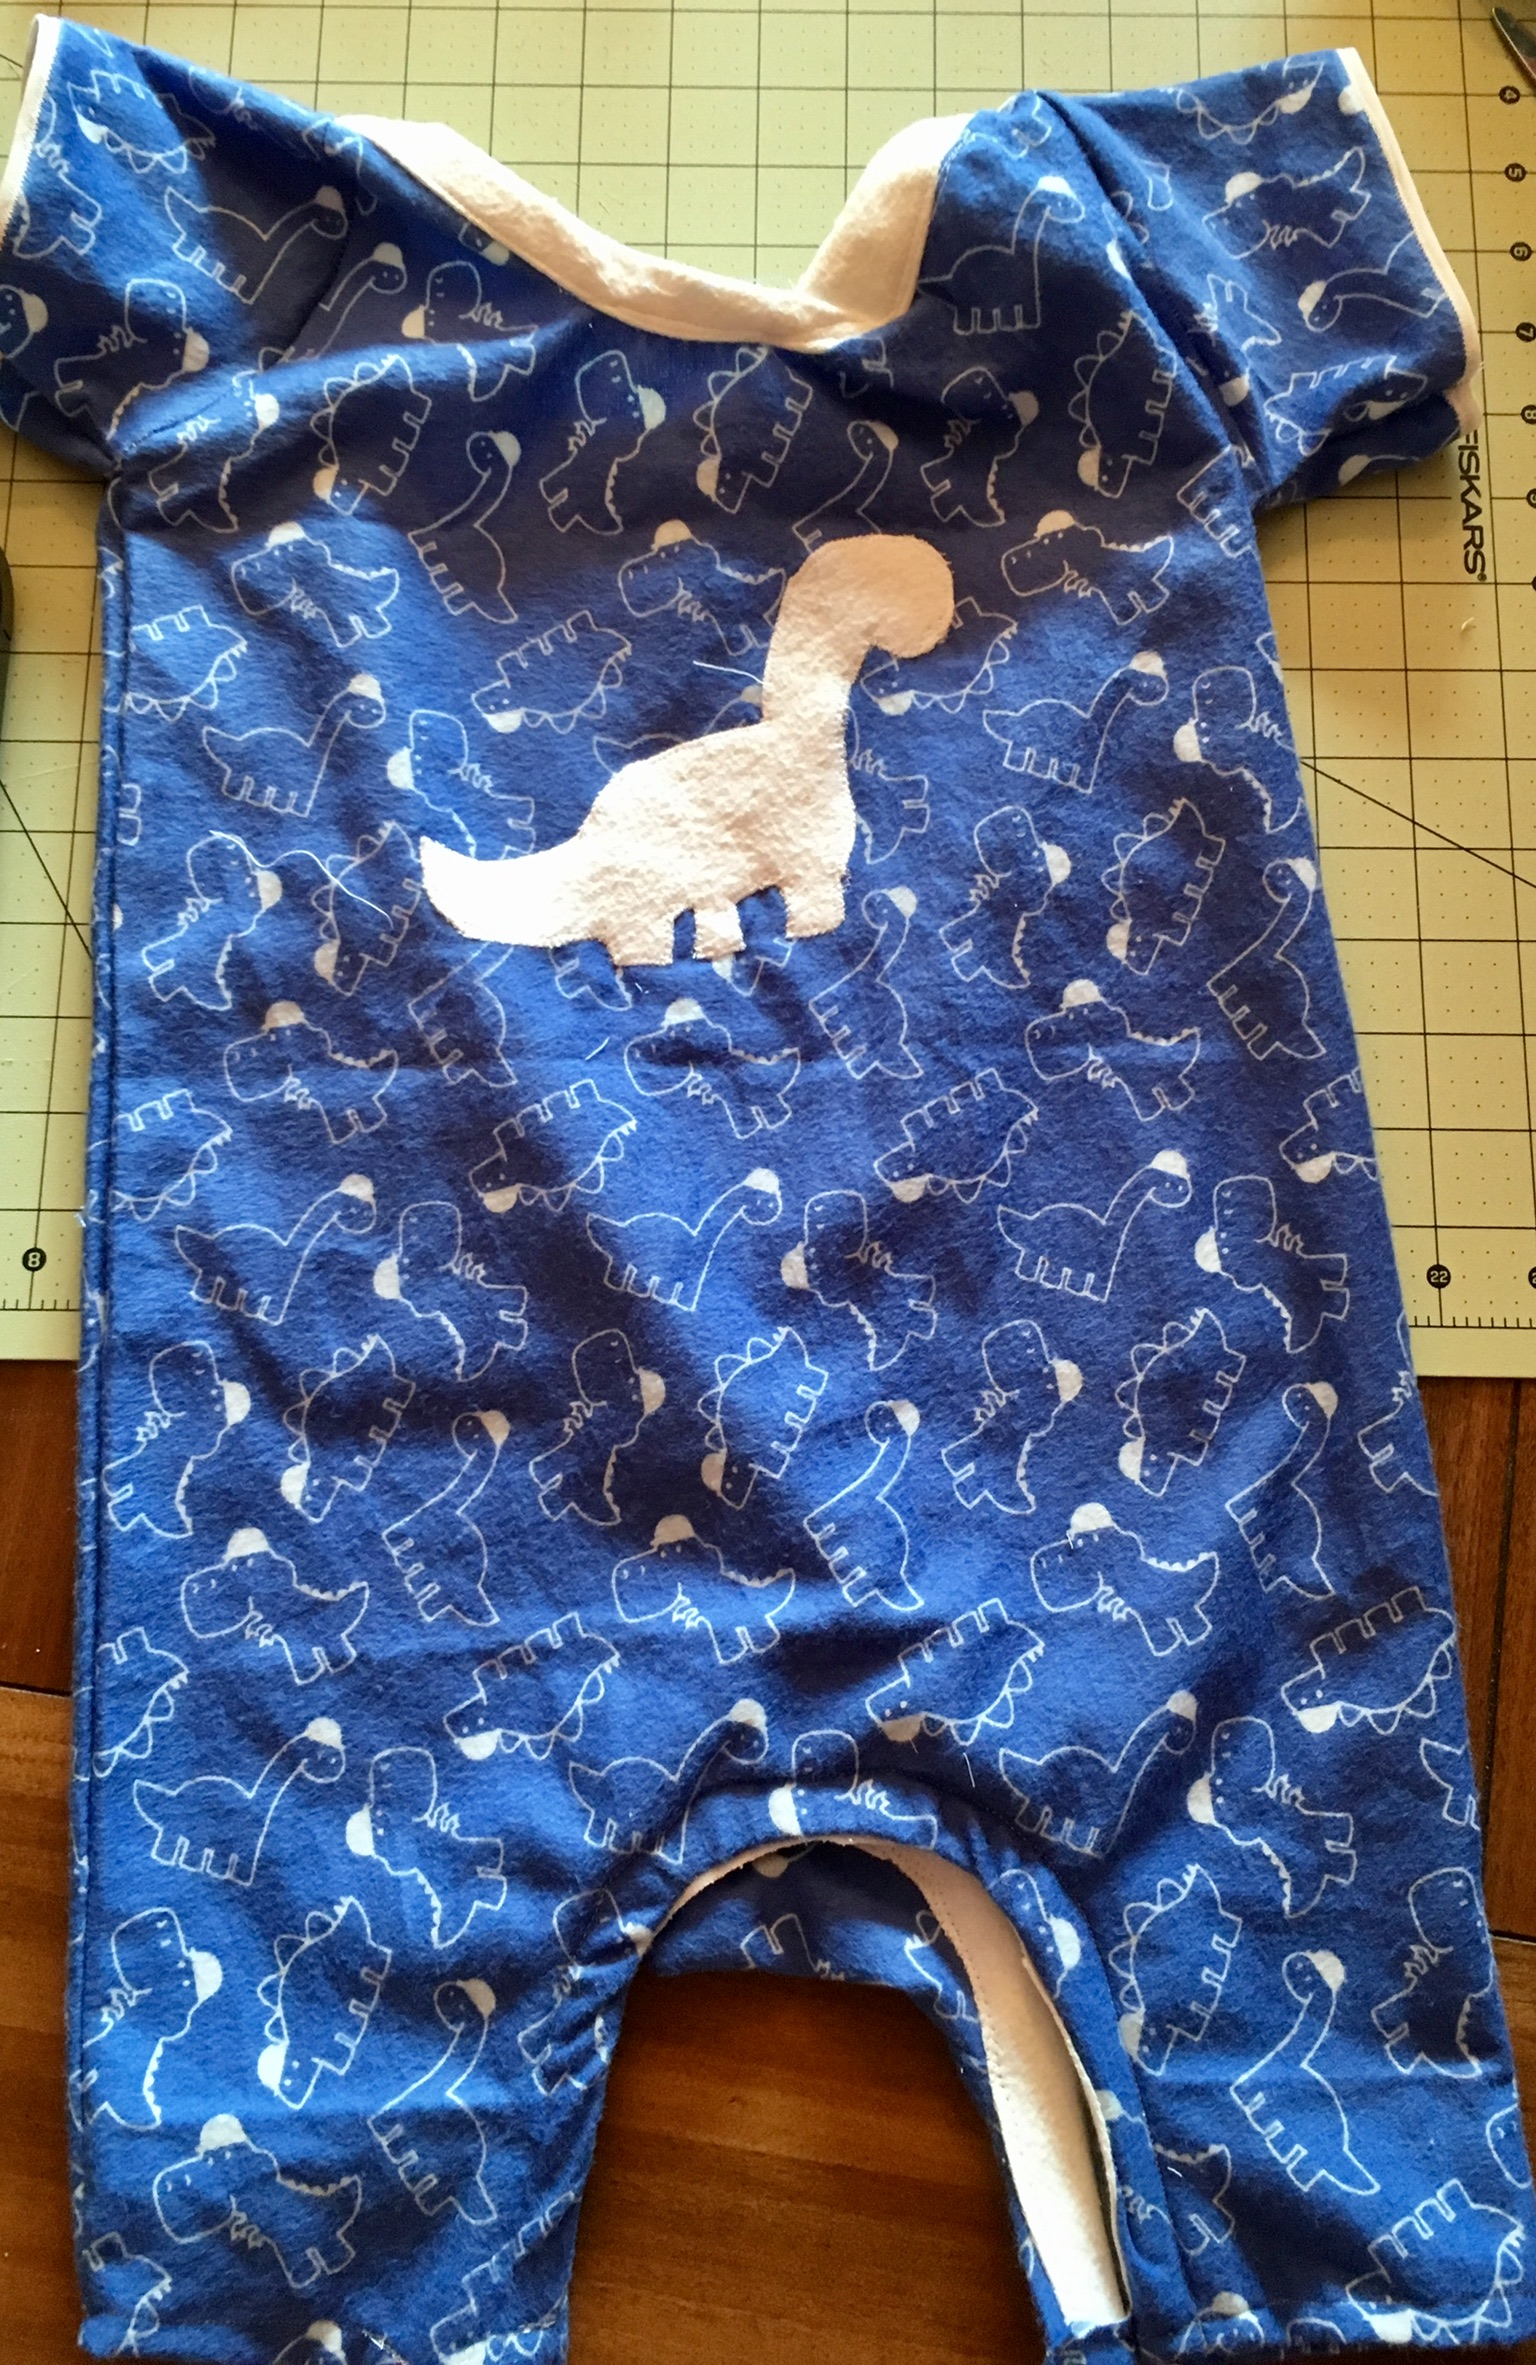
I decided it was time for the classic romper tutorial to come out. I decided to make my first one with a free pattern of dinosaurs for my little cute nephew for his first birthday! Now the size is 2-3t since he is not so little. But you can easily adjust the pattern to your little ones size, just size it up with one of your little one (or big ones) outfit and adjust! Easy Peazy!
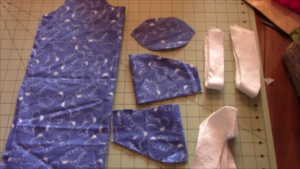
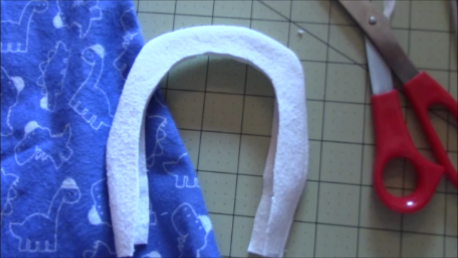
Here are the parts of the free pattern..this is a 2-3t however just hold up a onesie or romper to the pattern and adjust for smaller or larger!
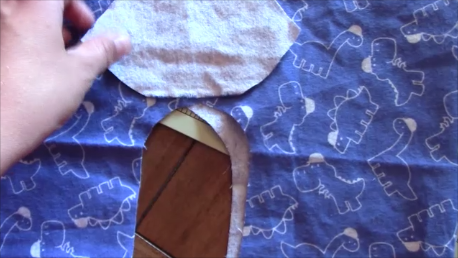
Also see the photo with the pieces cut out or the tutorial to see how they go together if you can’t tell!
4. BottomMain
And here is the link to the youtube tutorial as always!
Here is the written one besides what is written on the tutorial:
What you need:
- Fabric choice 1-2 yards depending on size. I used flannel fabric
- If you want an alternate color/fabric for for neckline and bottom (a stretcher fabric is best)
- Snaps/buttons/or velcro depending on what you want to use
Steps:
- Cut out fabric pieces as written out on the pieces.
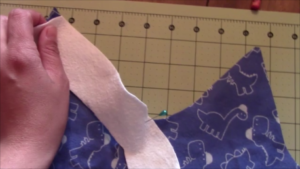
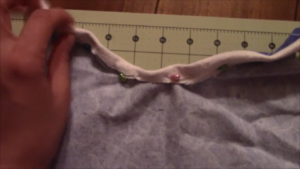
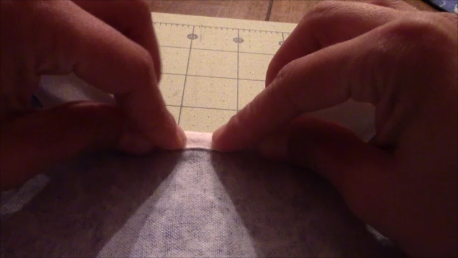
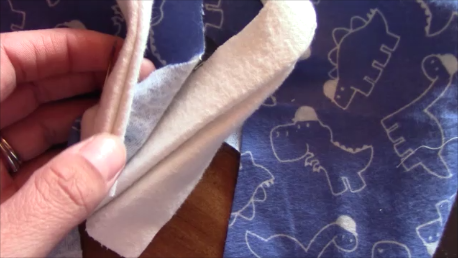
- Take one main body piece and find the center by folding in half and one neckline piece (and fold it in half and mark the middle) and place pattern facing
pattern and stretch and sew. Look at the pictures below to see how you need to stretch it and sew (it is not easy if you are a beginner but it just takes practice! Also, if the neckline is a stretchy fabric it is much easier) -
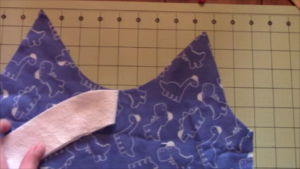
Line center to center 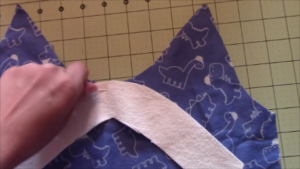
- This is the end result, do for both main pieces
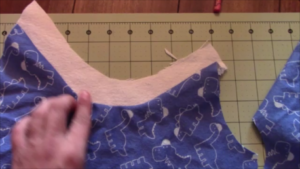
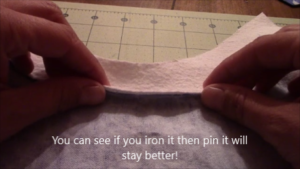
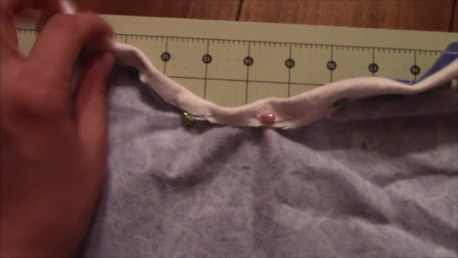
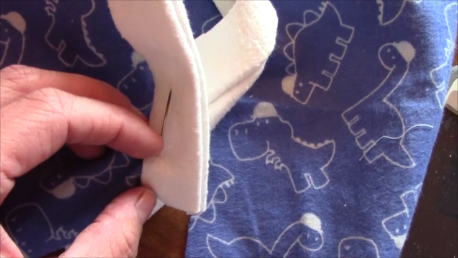
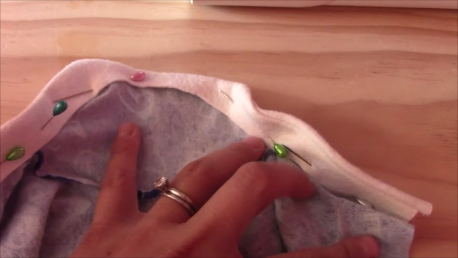
- Turn to the backside of the main body piece and fold up and iron the seam line as shown below. Then fold the top down and iron to make it easier to sew and pin.

- Turn it right side and either change pins to the front or be careful and take pins out as you sew bottom of collar
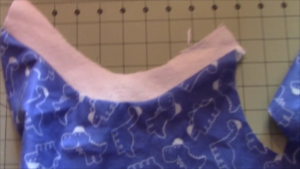
- Sew both necklines like this then we will create an envelope neckline.
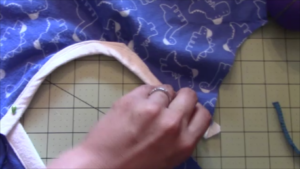
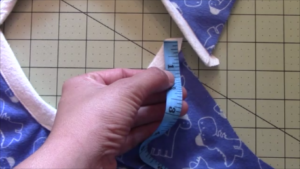
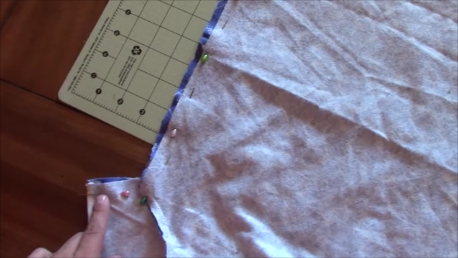
- You are going to line up your front and back body piece with finished necklines and measure from the top of each side 1 to2 in down and this is where the top of one side touches the other side and you pin together (this may not be true if you need a bigger opening or smaller based on head size, adjust opening based on head size). Pin this on both sides
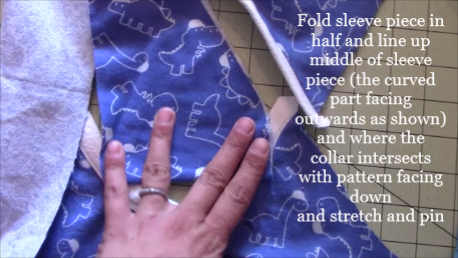
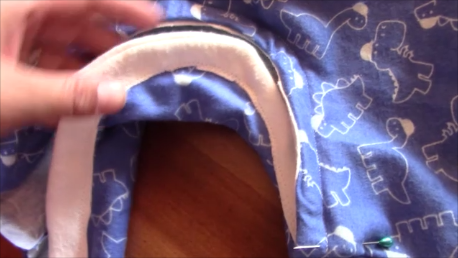
- Fold sleeve piece in half and line up middle of sleeve piece (the curved part facing outwards as shown) and where the collar intersects with pattern facing
down and stretch and pin (see pics) 
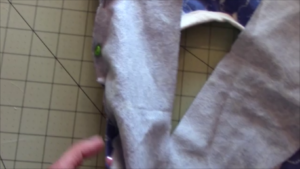
- Then sew using a zig zag stitch (which keeps it strong). Do this for both sides and it will look like…


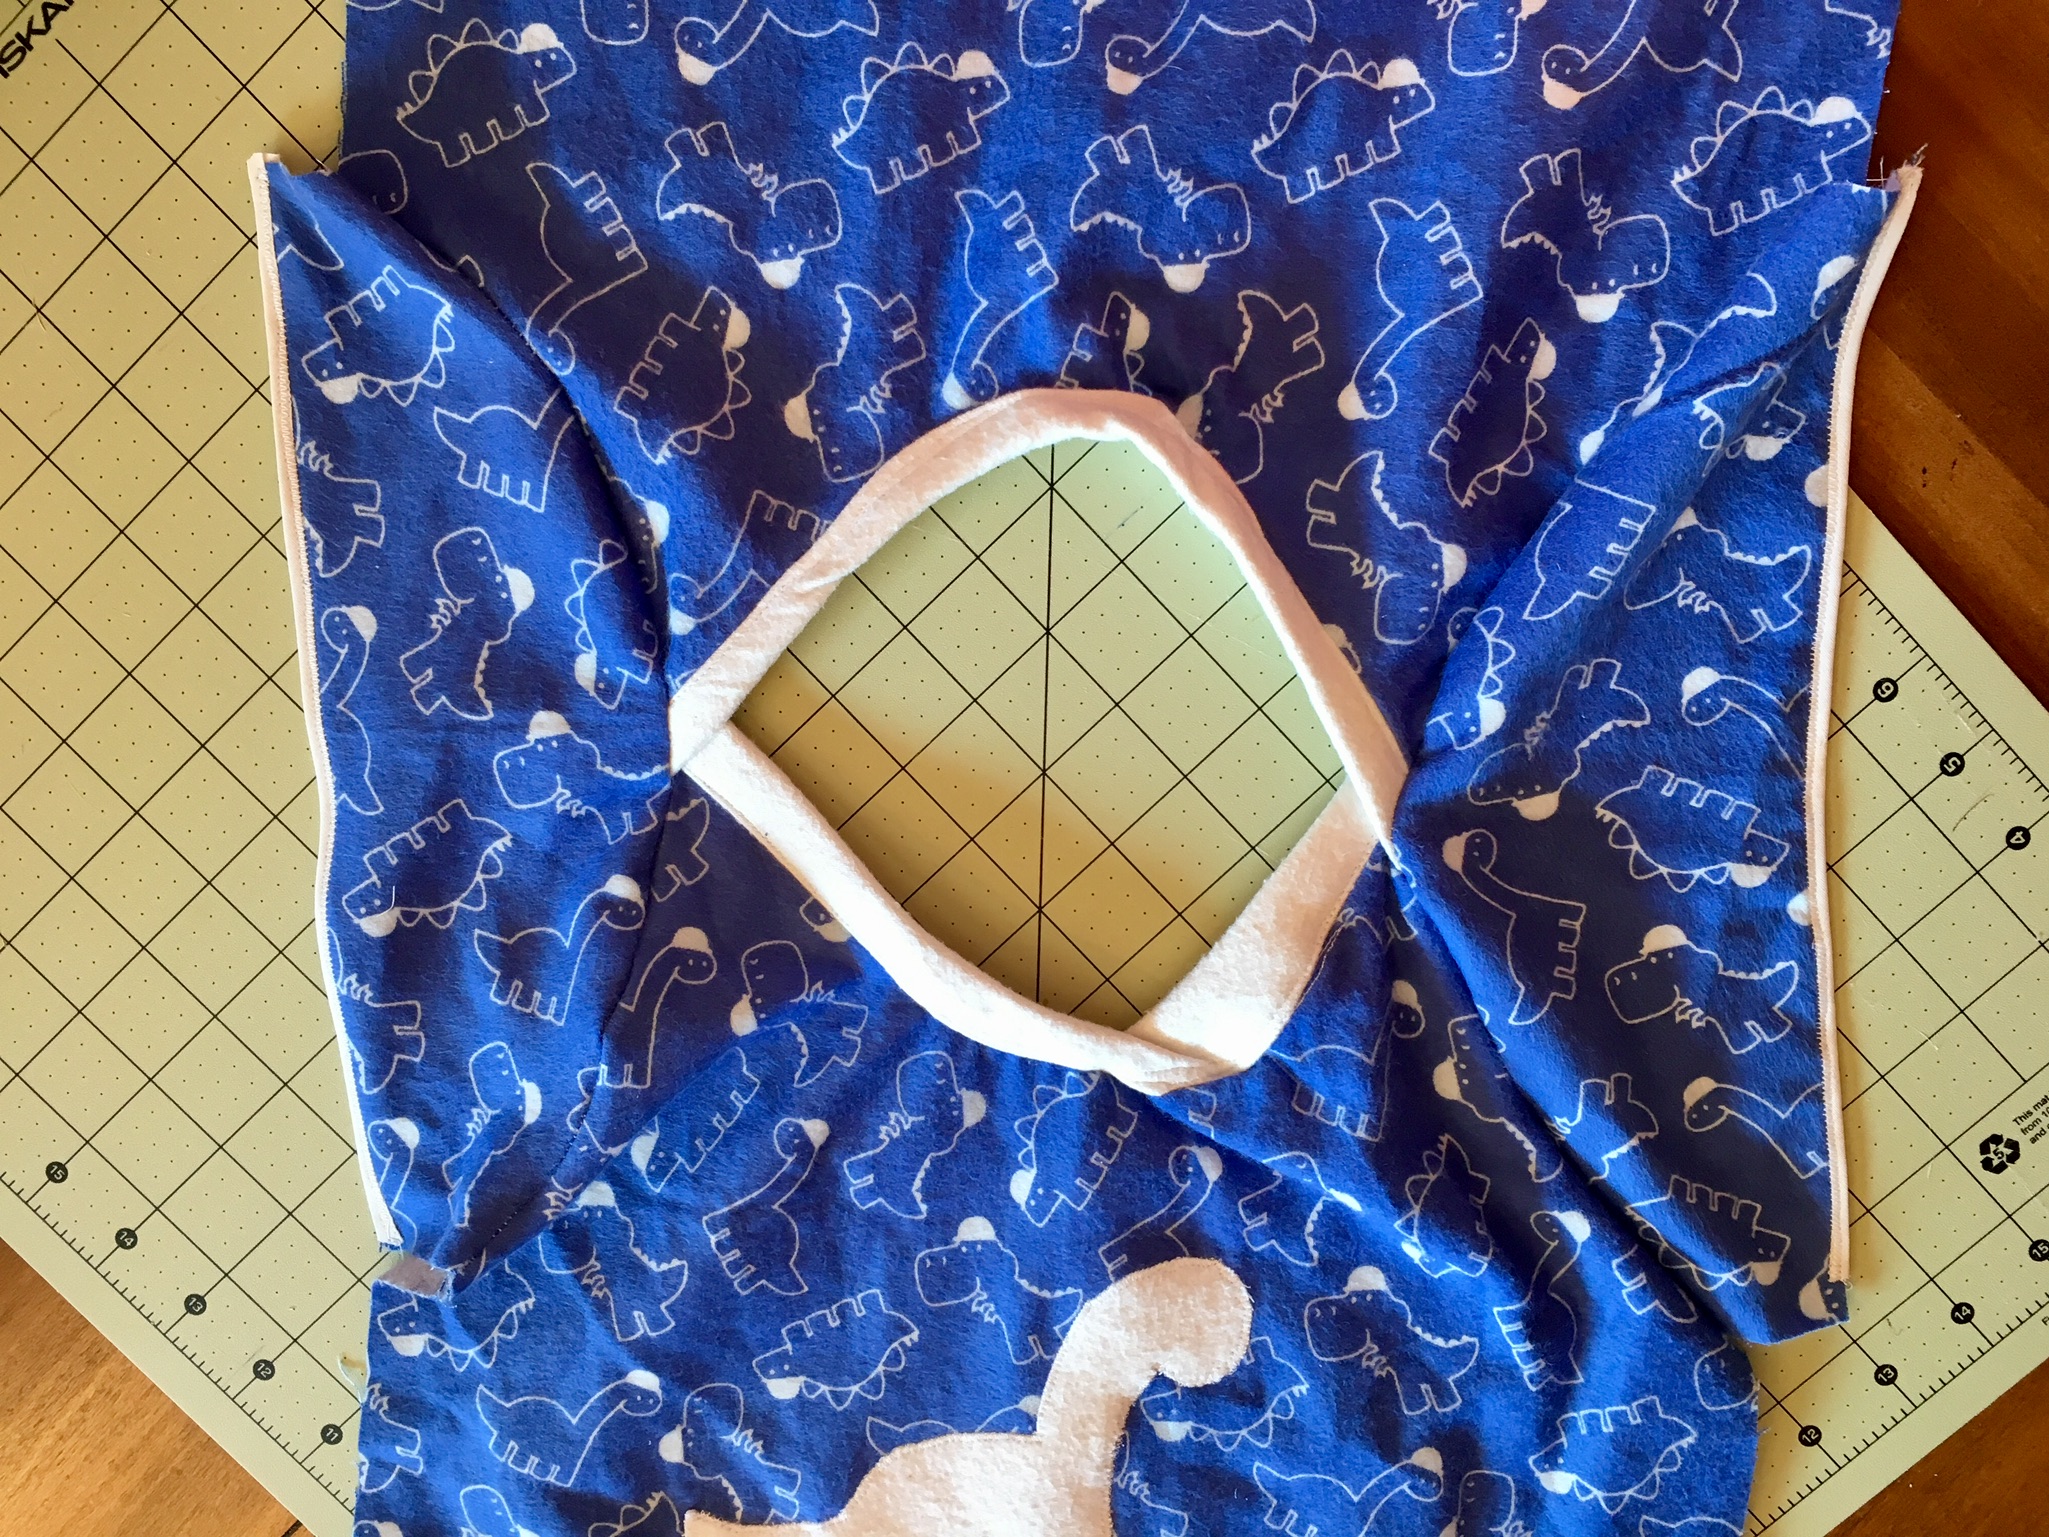
I then added double sided bias tape, for convenience and time saving, to the outside of the sleeve edge.
19. Body pieces and sleeve pattern facing pattern, pin around sleeve and down straight to bottom again I used the zig zag stitch. Then I trimmed the sides. Then you can iron it out.
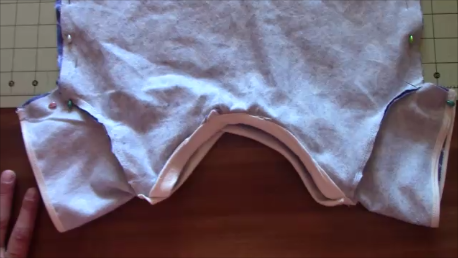
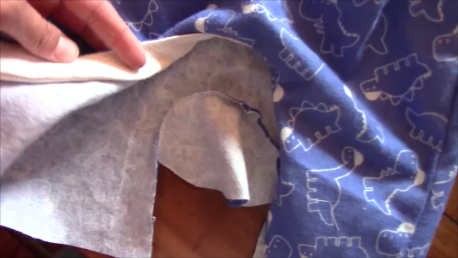
20. Turn your project to the backside and take your football piece and fold in half and line up middle of football with middle of opening pattern facing pattern, pin middle and stretch and pin around then sew. Make sure the front piece is pushed out of the way (you don’t want to sew it shut! Just sew onto the back piece


21. Take two of your leg banding strips and line up pattern facing pattern and sew the outside 1/8th straight stitch and then do this for the other two as well and turn right side out and iron.
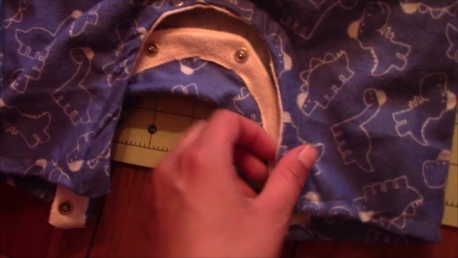
22. The binding piece ends up in the inside and it is used for the buttons or snaps (you can alternatively use fusible interface)
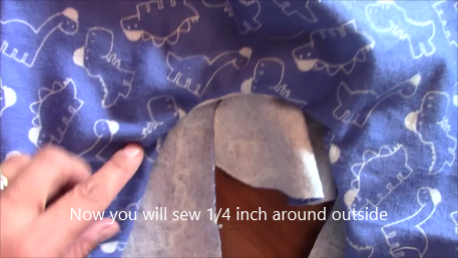
23. Next take your one banding piece and line it up with the front bottom with the fold on the inside and then stretch and sew (see video if this is too confusing!) You pin the outside and sew 1/8th zig zag around
24. Now you will sew 1/4 inch around (the white part as shown will now be in the inside after you do step 23.
25. Next (phew we are getting there- keep going!) is the back banding strip, Same method for the back piece, except you just sew the one time and not the second sew around as in setp 24 because of the flap (you will see what I mean after you do the first sew.
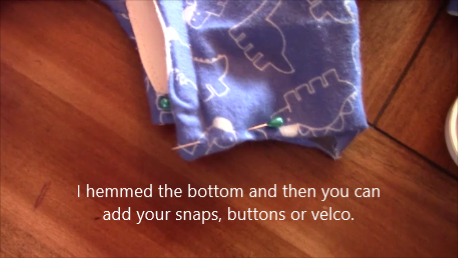
26. I hemmed the bottom leg openings and then did my snap buttons using the hammer method! I used thick material for the banding which I regret (also that it was not stretchy!) I had to use bigger than normal snaps to get it through the fabric!
Congrats you did it! Let’s see some pics!
Follow
Share