DIY Masks and patterns! 


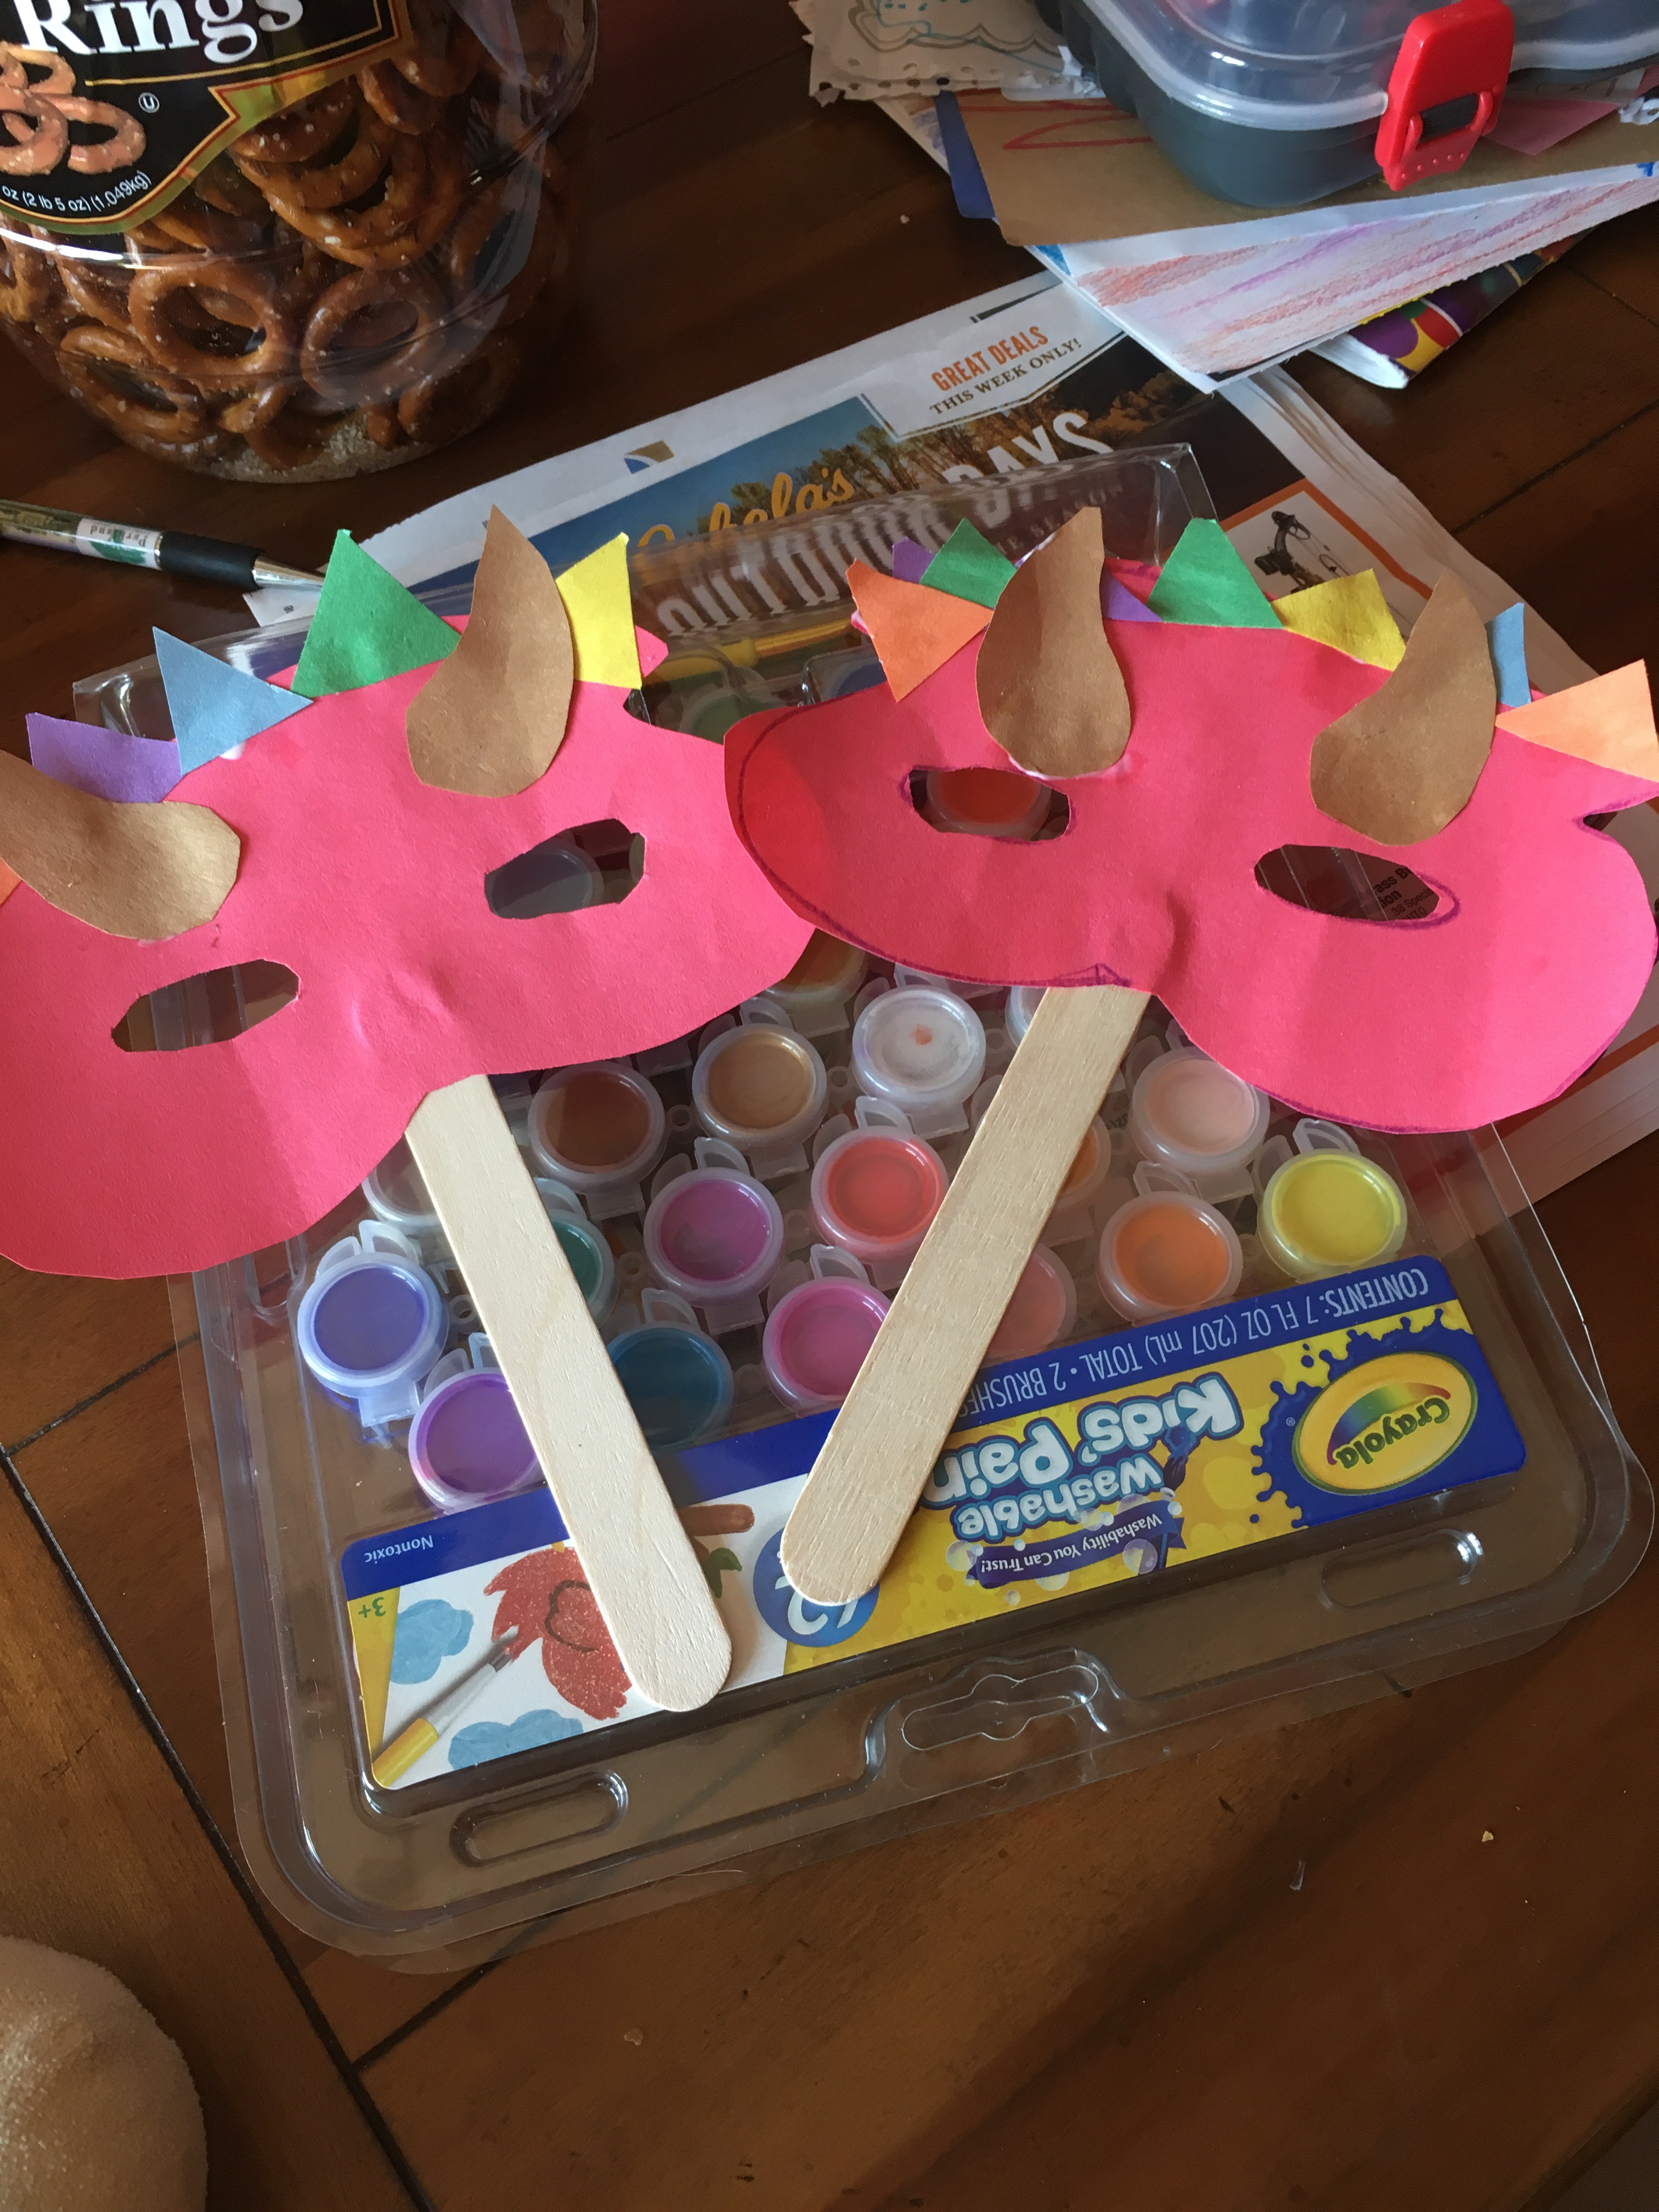
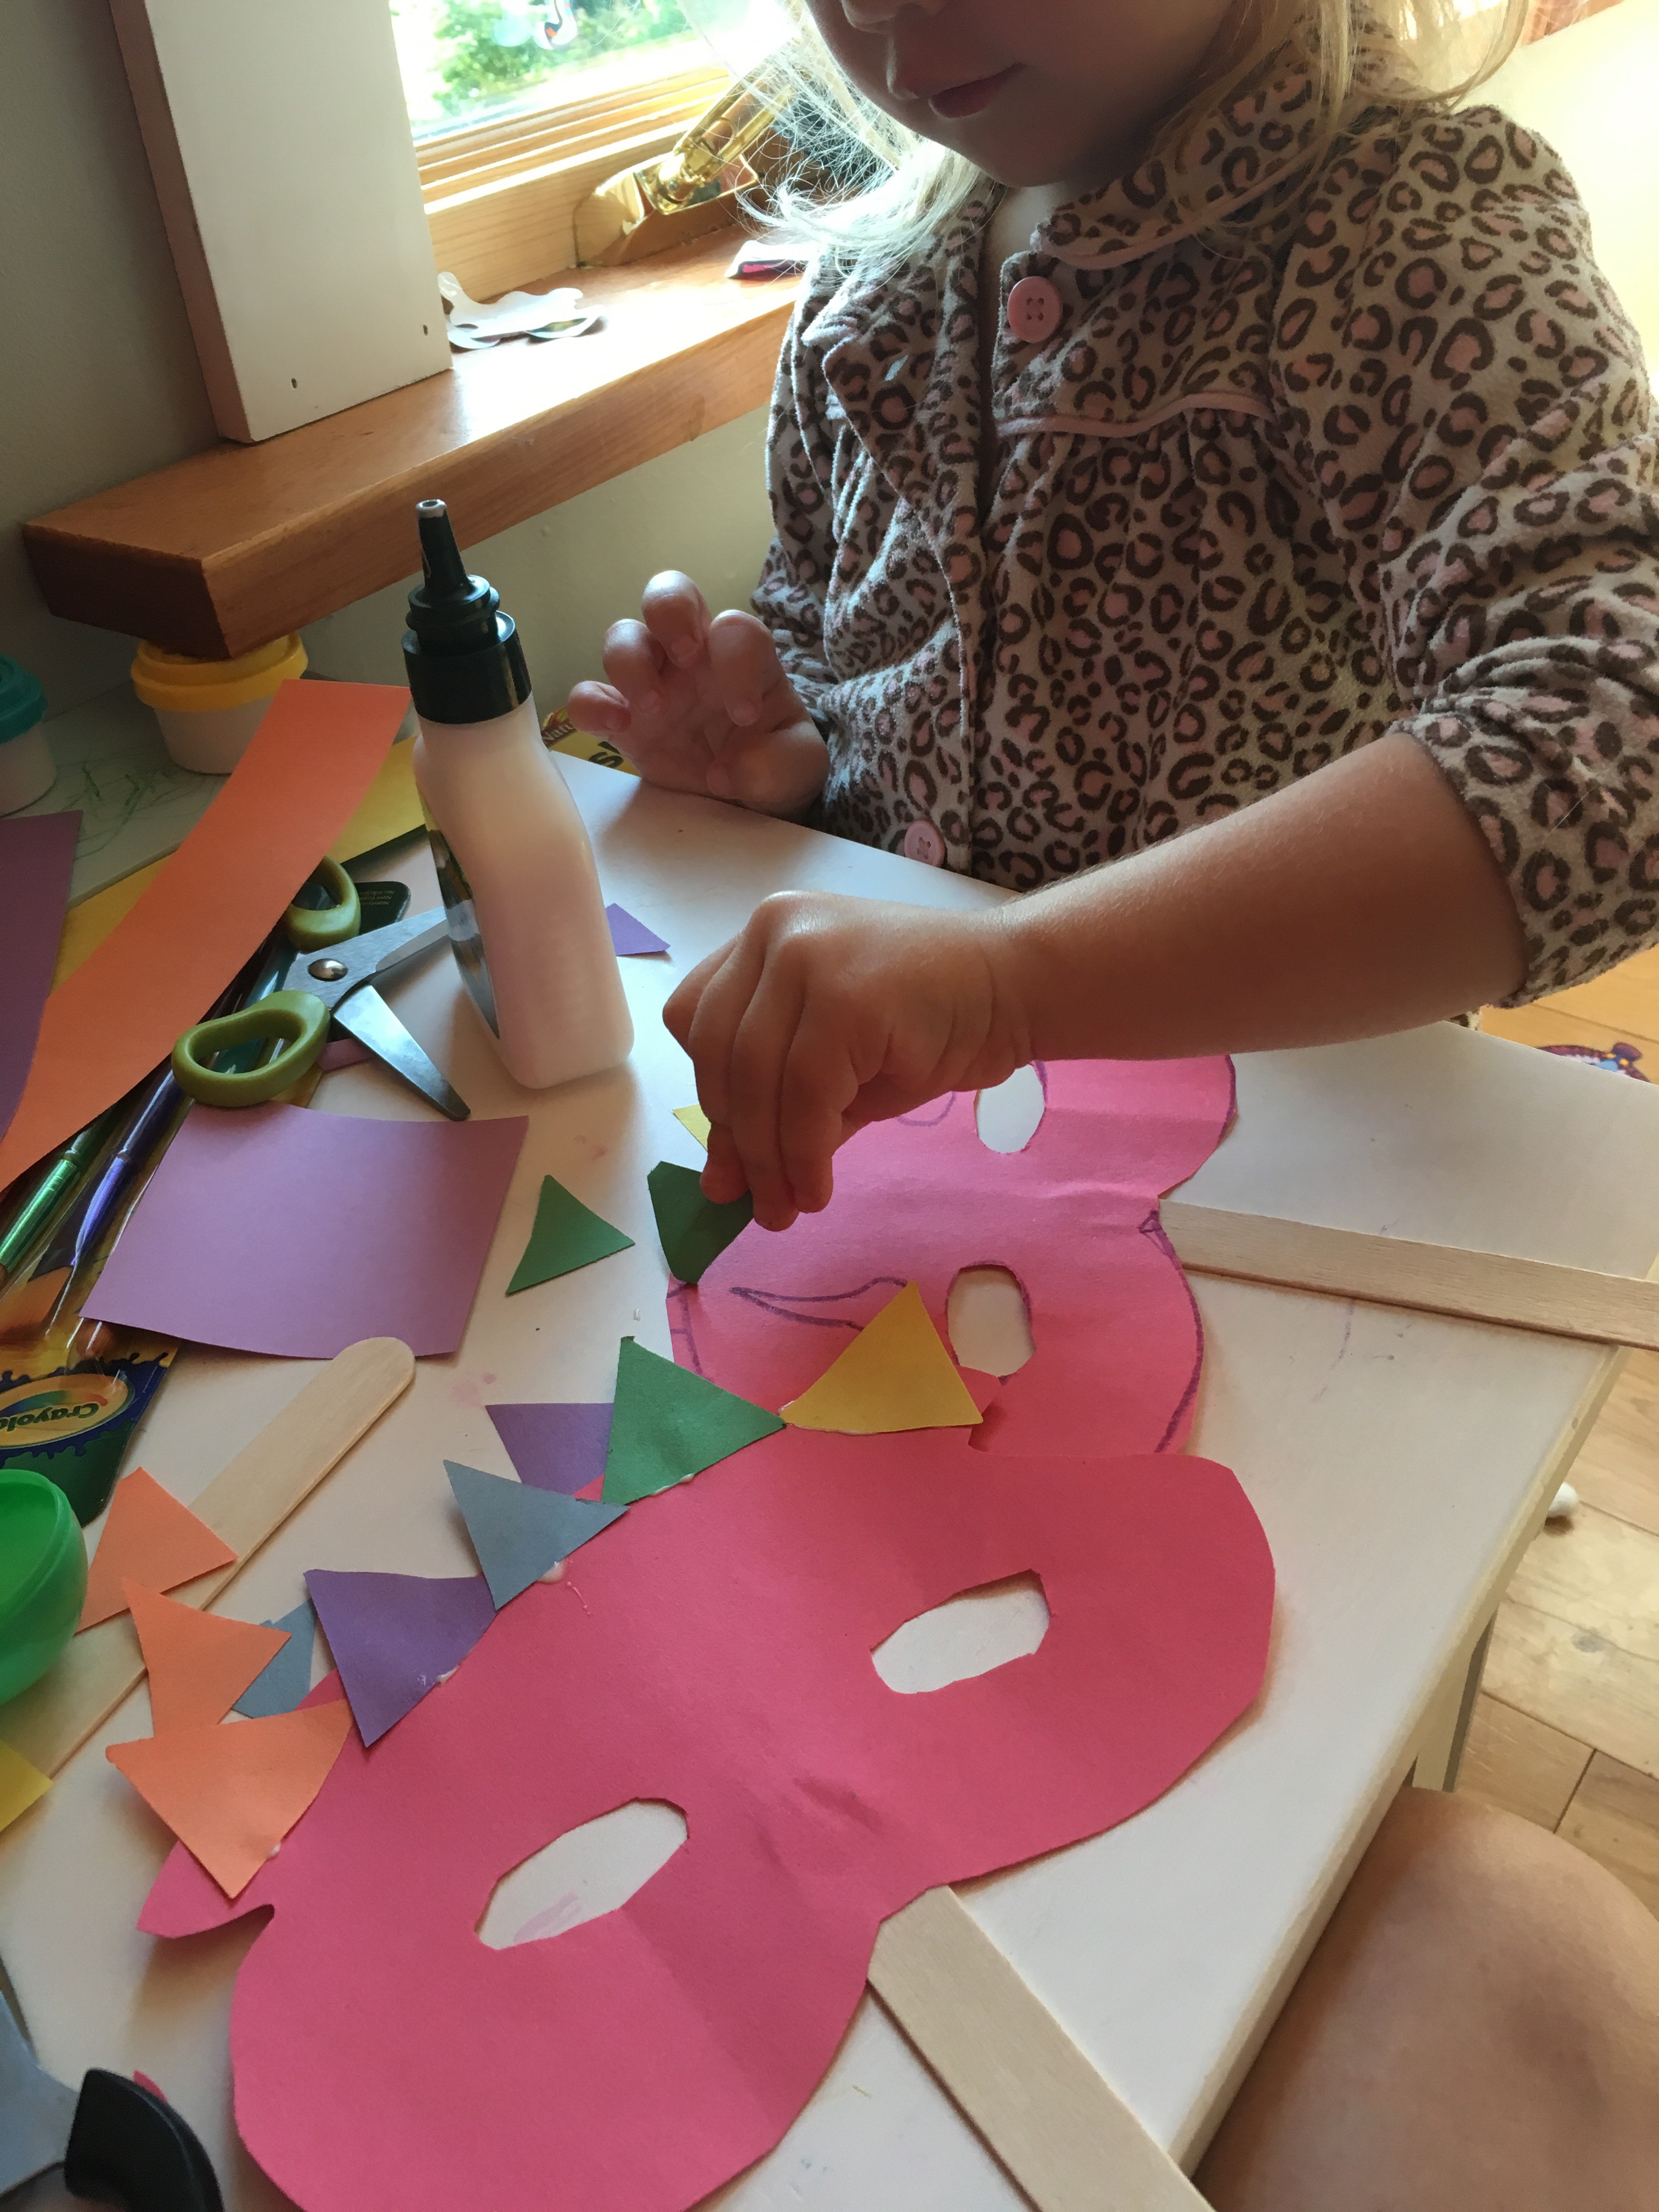
My daughter loves running around in her cat mask saying she’s Cece cat. She also wanted to be Cece dinosaur, cece giraffe, and many other cece animals.  So I had a couple extra crafting materials nearby and we created these easy masks!  Also, masks are great for parties or as a craft at a party! 


There are many ways to make many different masks, the first way is simply with 

1) popsicle sticks or tongue depressor sticks (or you can use elastic or string) 

2) construction paper

3) scissors and glue 

4) crayons, ribbons, stickers or any other decoration you would like to add


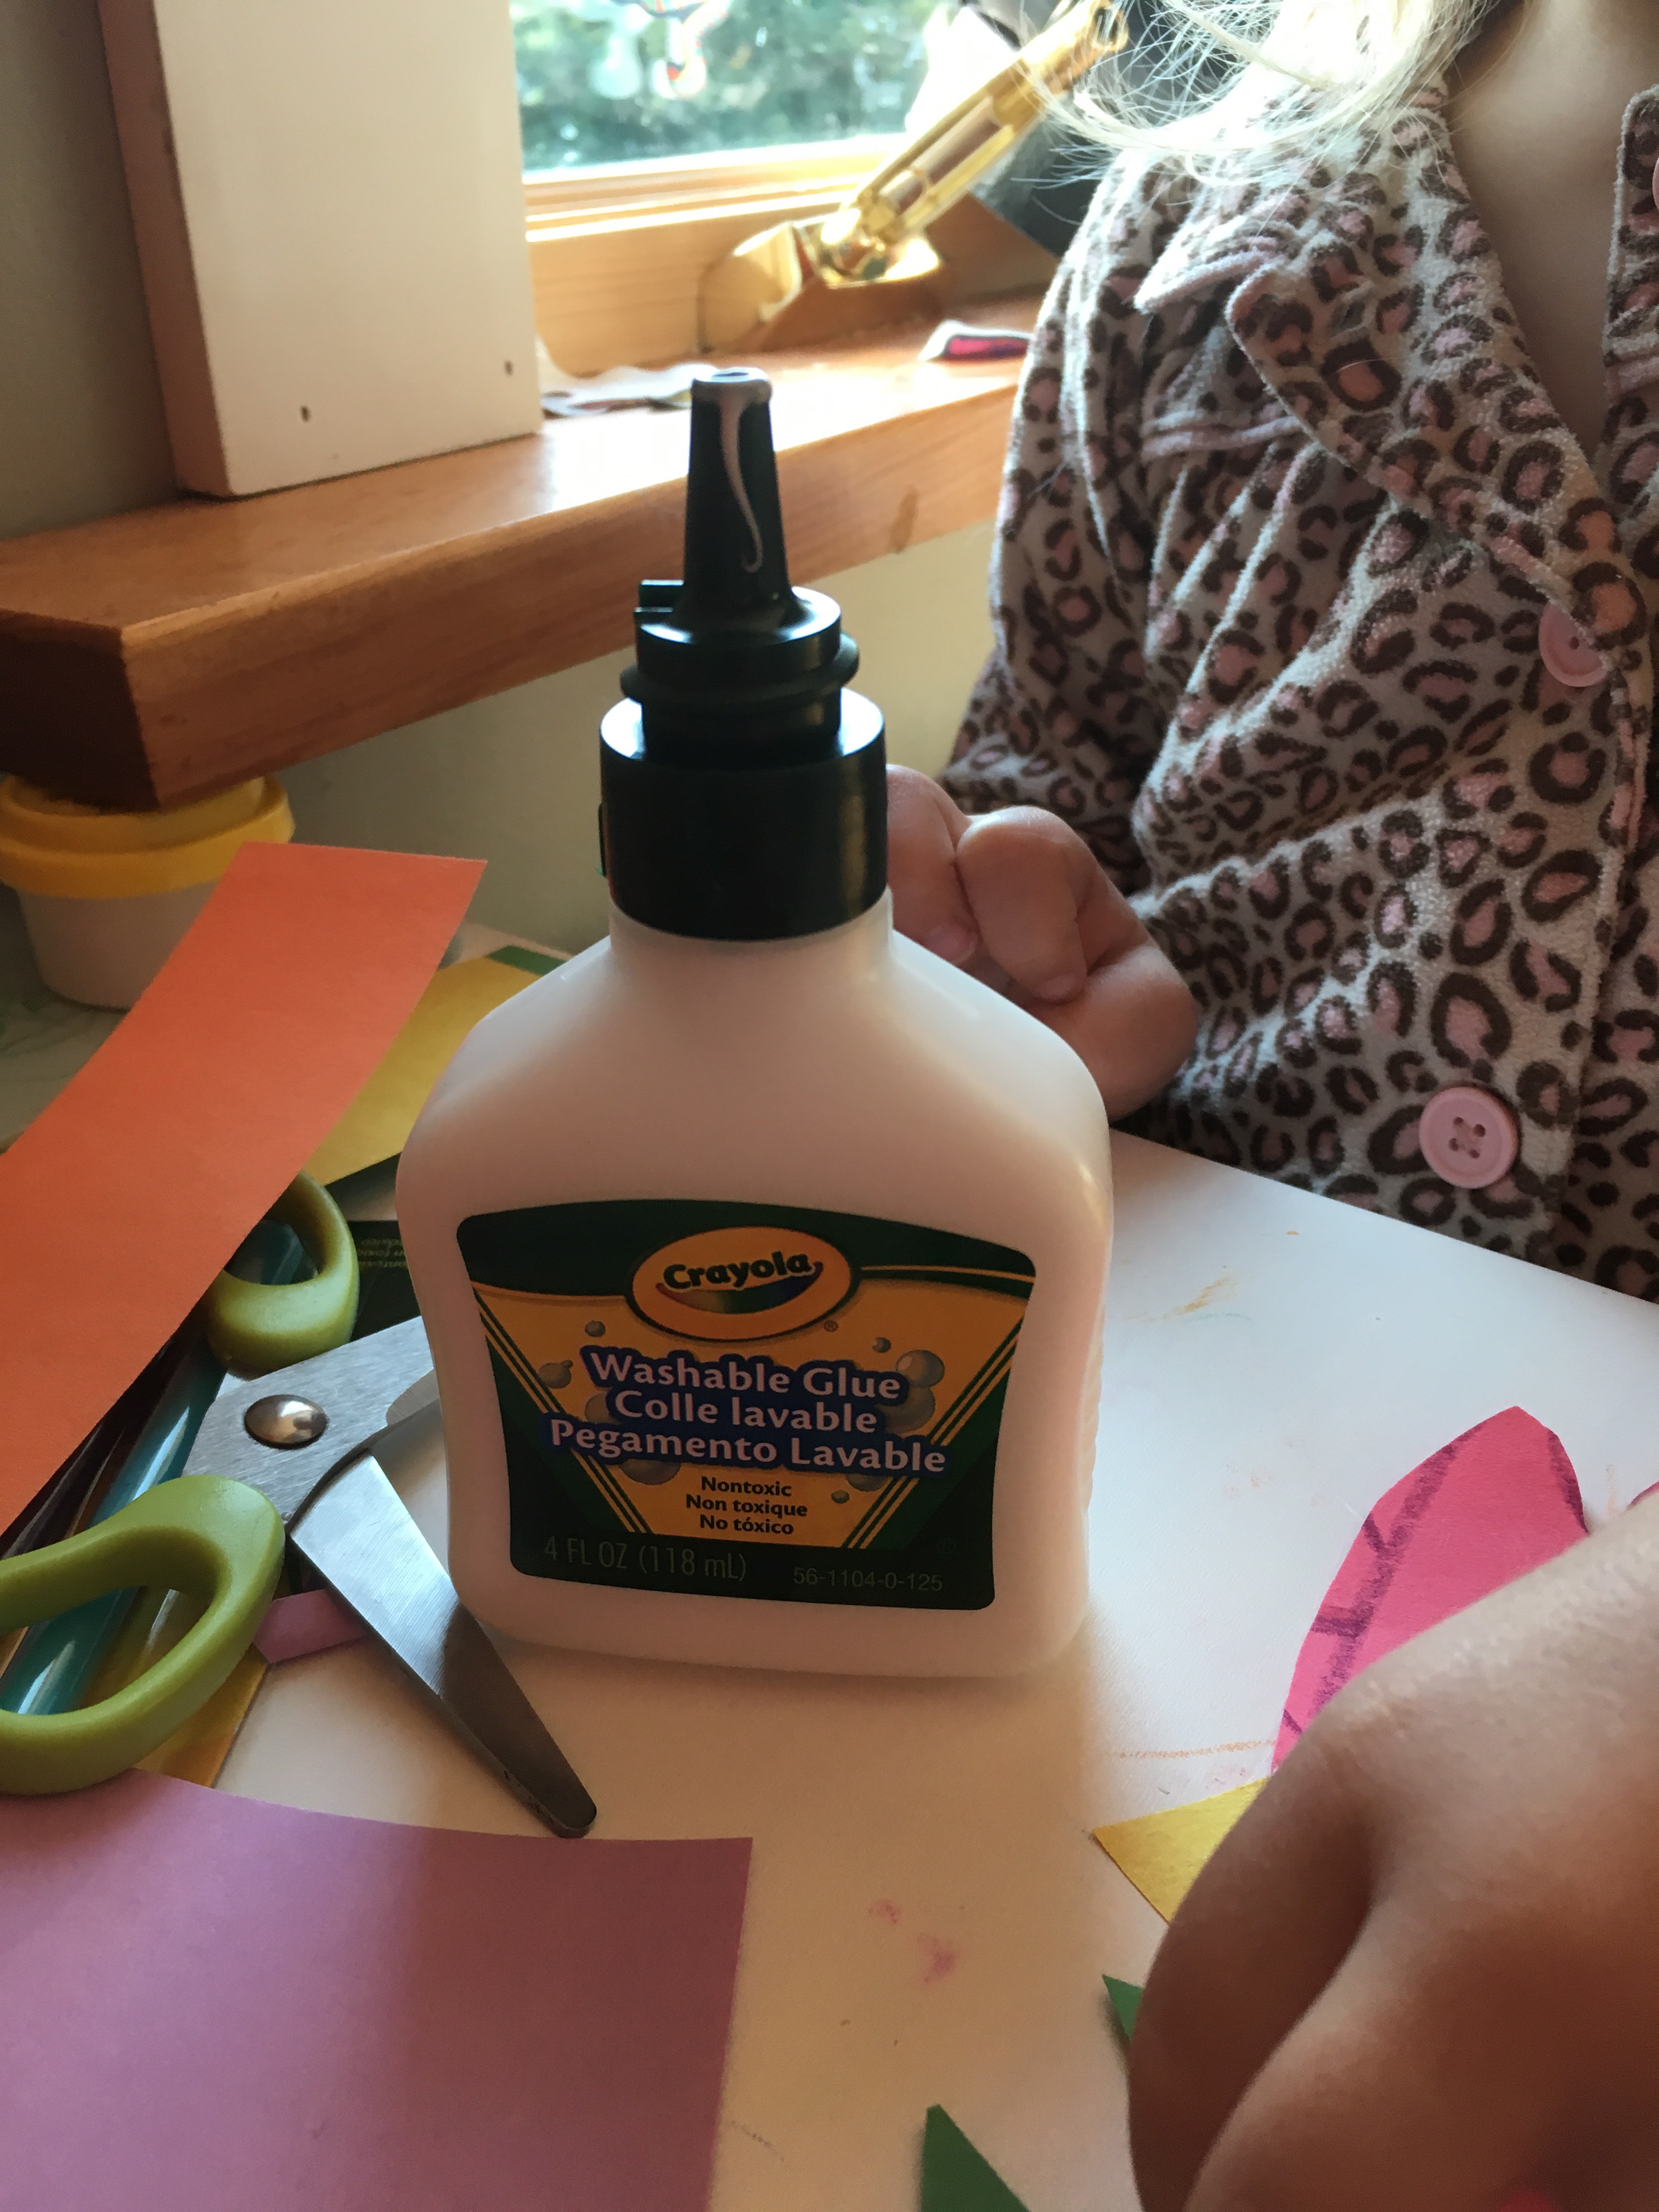
I absolutely love this new glue I got from crayola, it is so easy for my toddler to use herself and its washable! 

I simply held the construction paper up and estimated where the eye holes needed to be and cut them out then made my own design and let her glue the pieces together and decorate! Such a simple and easy project for your little one. 

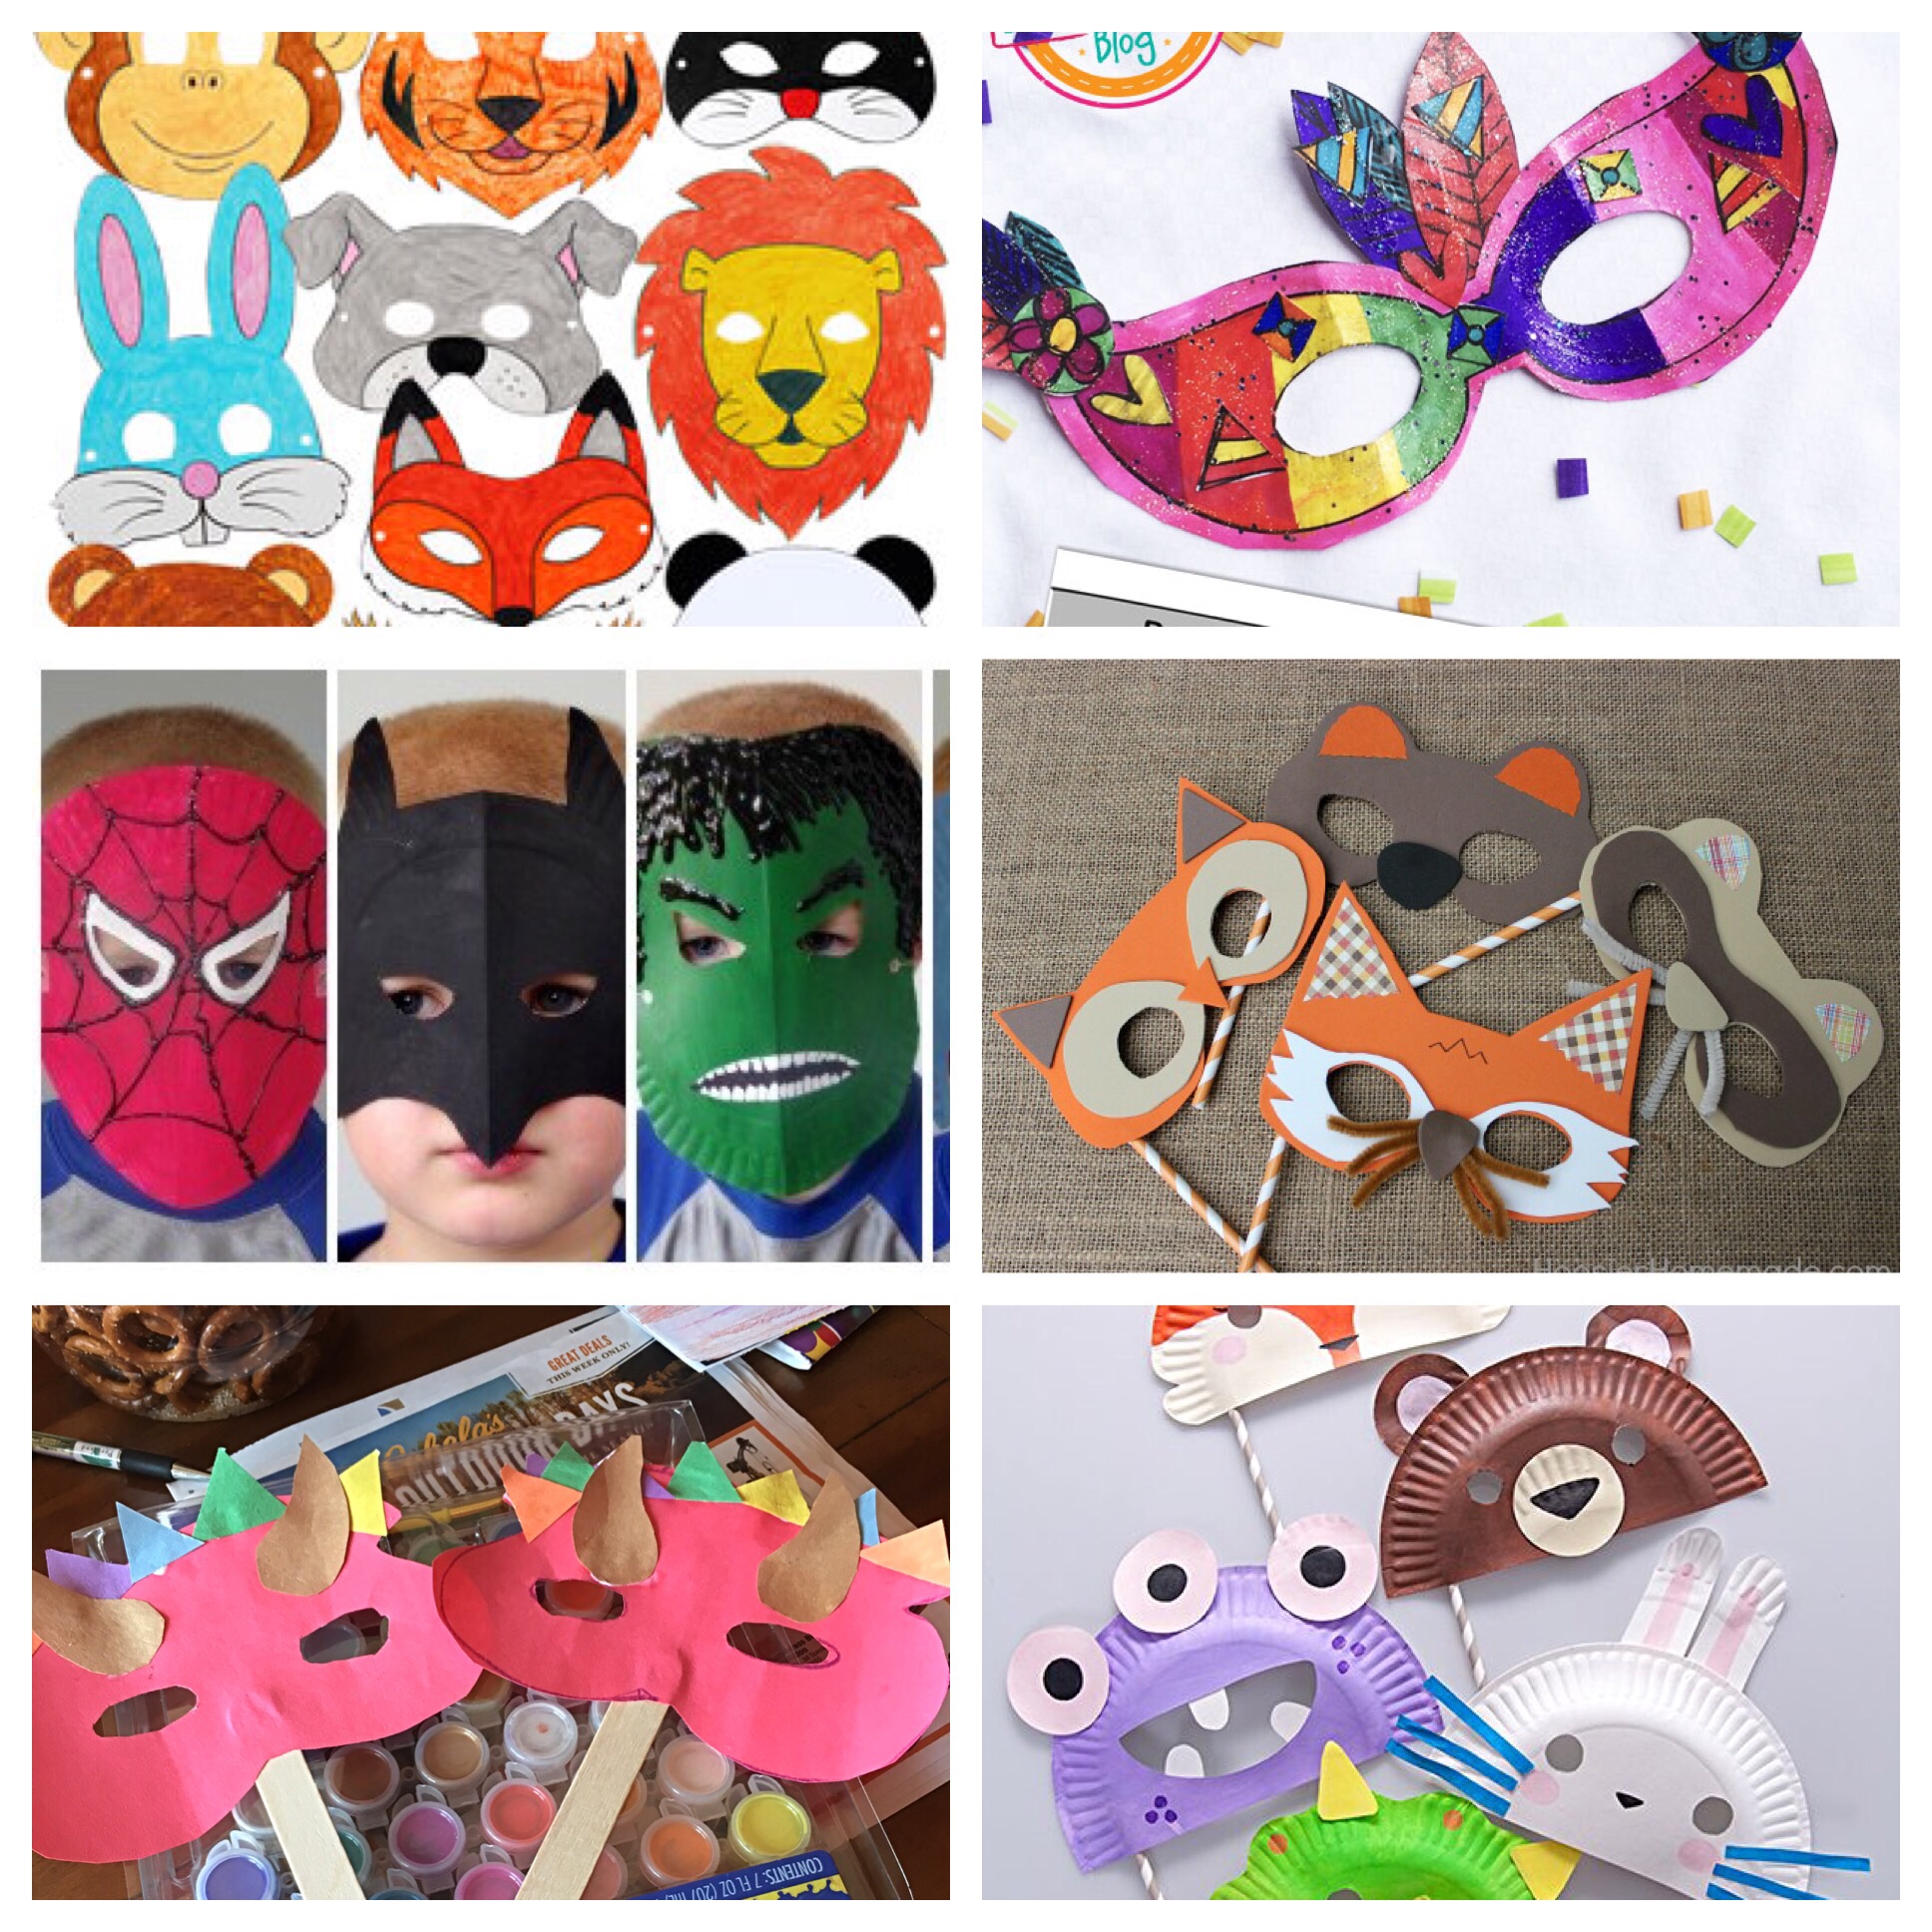
Now if you are looking for a particular pattern or don’t know how to make an animal let me suggest a couple tutorials I found:

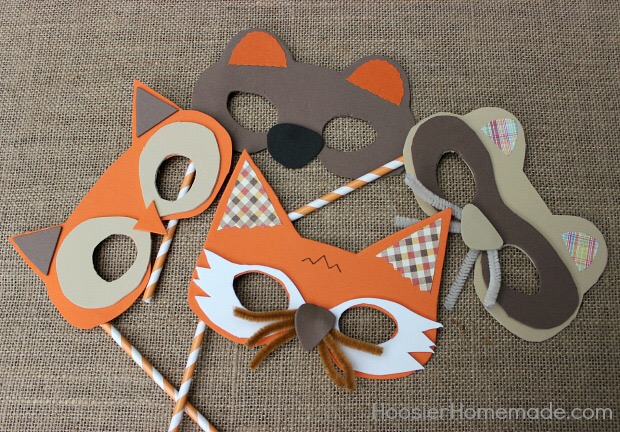
Animal masks by Hoosier
These cute masks are perfect for your little fall creature! There’s a pattern for them too! 

Next are easy felt masks that are perfect for Halloween costumes! 

Felt masks by prettyprudent

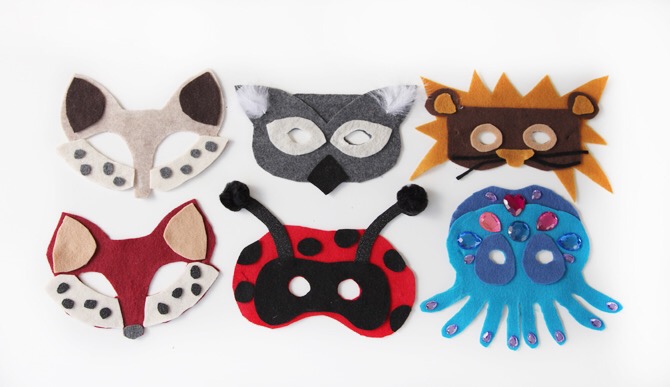
Free patterns again!! Enjoy

Here is a tutorial for the little superheroes:
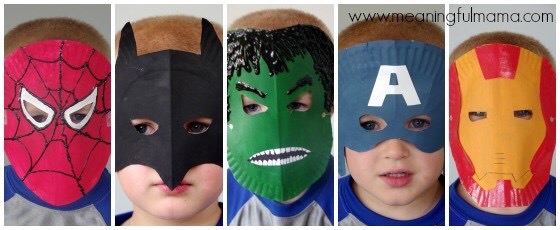
Superhero masks
These masks are simply made from paper plates! 

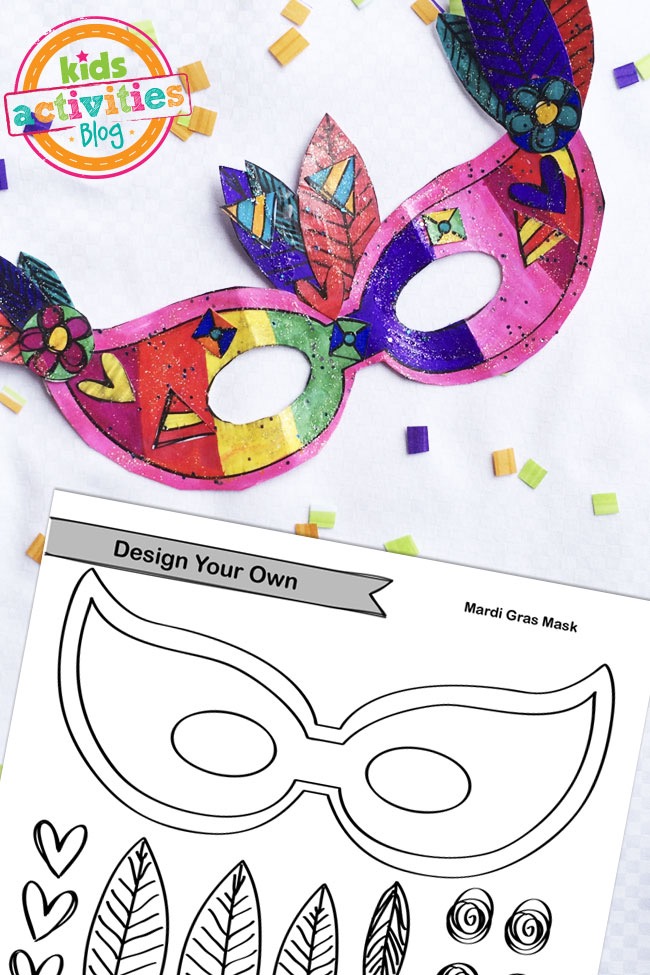
For the older kid Mask that can be decorated with little jewels! 
Halloween masks! Boo! 
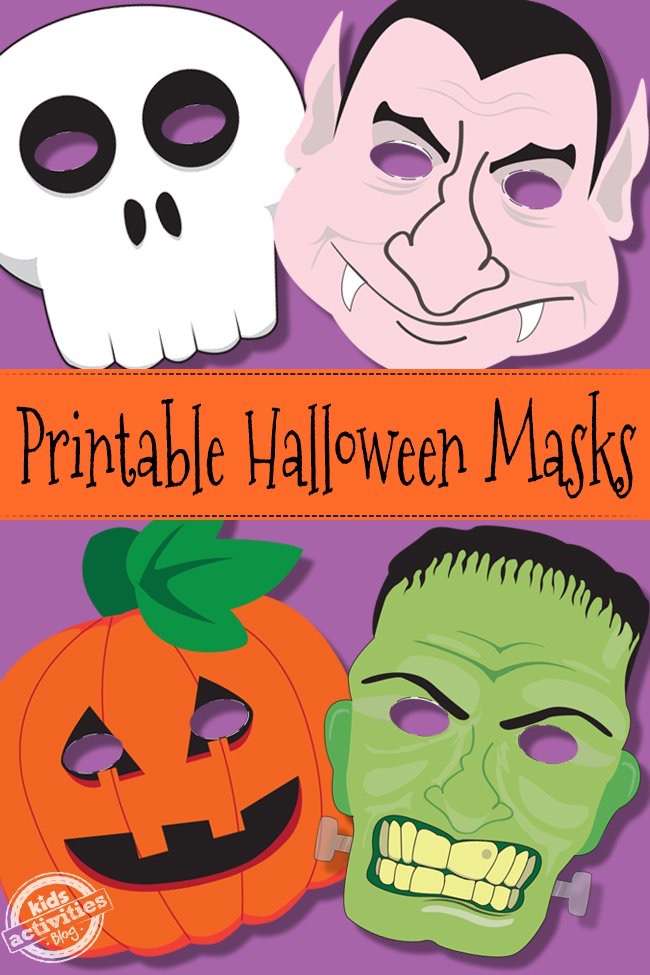
Halloween time
These masks are just a cut out and wear mask, however you can easy trace it and have your little one color and paint.
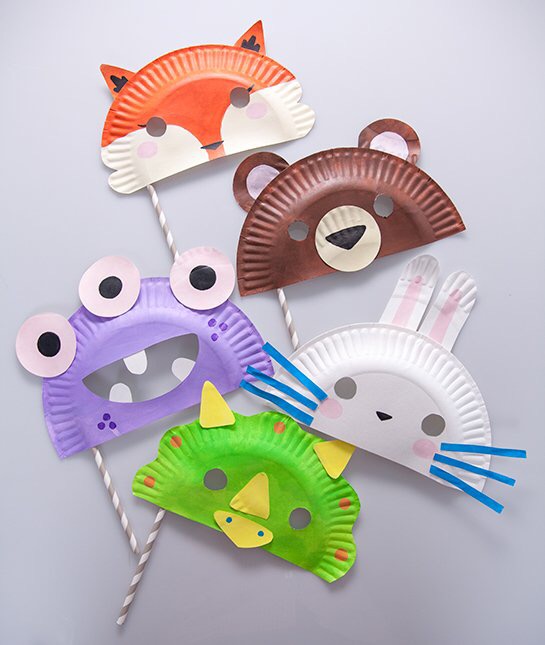
  Paper plate masks

I love these paper plate masks! So easy! 
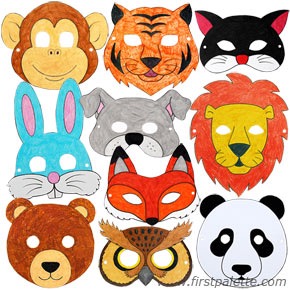
Animal masks
Lastly, is a group of animal masks you can print off and color or paint! 

Hope you enjoyed these ideas, now get crafting! 

FollowFacebookpinterestrssyoutube
ShareFacebookpinterest

DIY Superhero Cape!

Superhero cape time!  You can make an easy superhero cape in less than 15 minutes!  My daughter needed to be distracted in a fun way while I needed to care for her baby brother, so we pretend to be superheros who fetch diapers, plastic bags, and bottles for baby brother!  Also, her dolly had to have a super cape too! So I went to the fabric store and found the perfect superhero fabric!  The fabric has a great design and also is very stretchy and does not fray easily.  I also bought double sided bias tape in gold for the outside.  Her dolly also needed a superhero cape so I designed a small one for dolly.

As usual, there is a written and youtube tutorial for this cape.  I only used one side of material but you can easily do two fabrics (this is outlined below). Enjoy!


What you need:
1) Fabric (one or 2 different cuts 1/2 yard each)
2) Velcro or your preferred method to connect
around neck
3) Optional: Bias tape and/or monogram


You can decide on the best size by either knowing your childs height and how wide you would like it, or you can always look at their clothes! I do outline the length and design in my video and written tutorial.

  1. I made the cape for my 2.5year old but it ended up being very big, big enough my German Shepard dog could wear it!  The sizes I use could most likely fit up to a 4t.  Fold 1/2 yard of fabric in half.  Measure long way 26inches long (this was a bit big for my 2.5yr old but still worked) and cut straight across. If you are using two fabrics (one for front and one for back), repeat this whole cutting process.
  2. Then measure about 4 inches down from the 26inch top and cut in and up for the connecting part of the cape (mine was a bit big for my 2.5 year old but she will grow into it!)
  3.   If you are using two fabrics take both sides and cut and then face each other and sew all the way around except leave a 3 inch opening (as with all other projects with two fabrics).  Then pull the fabric through the hole and sew hole shut (make sure you push out corners).
  4. Next, I took the bias tape and sewed all the way around (pinning it first).
  5. Lastly, I ironed on the Velcro sections with the softer side facing on side downwards (that way if its too big at one point it is not rough on the skin). You can also use snaps or any other closing you would like.
  6. And that is it!  Pretty easy just eyeball the size or you can measure your little one!  Enjoy!
FollowFacebookpinterestrssyoutube
ShareFacebookpinterest

Time to get started!

Welcome to Cecelia’s Spot, where creativity and fun collide! I decided to create this blog to inspire others to sew, craft, and enjoy life with their little munchkins!  I hope the blog inspires you to make your own heirlooms and fun activities for your family and little ones!

IMG_1387

FollowFacebookpinterestrssyoutube
ShareFacebookpinterest