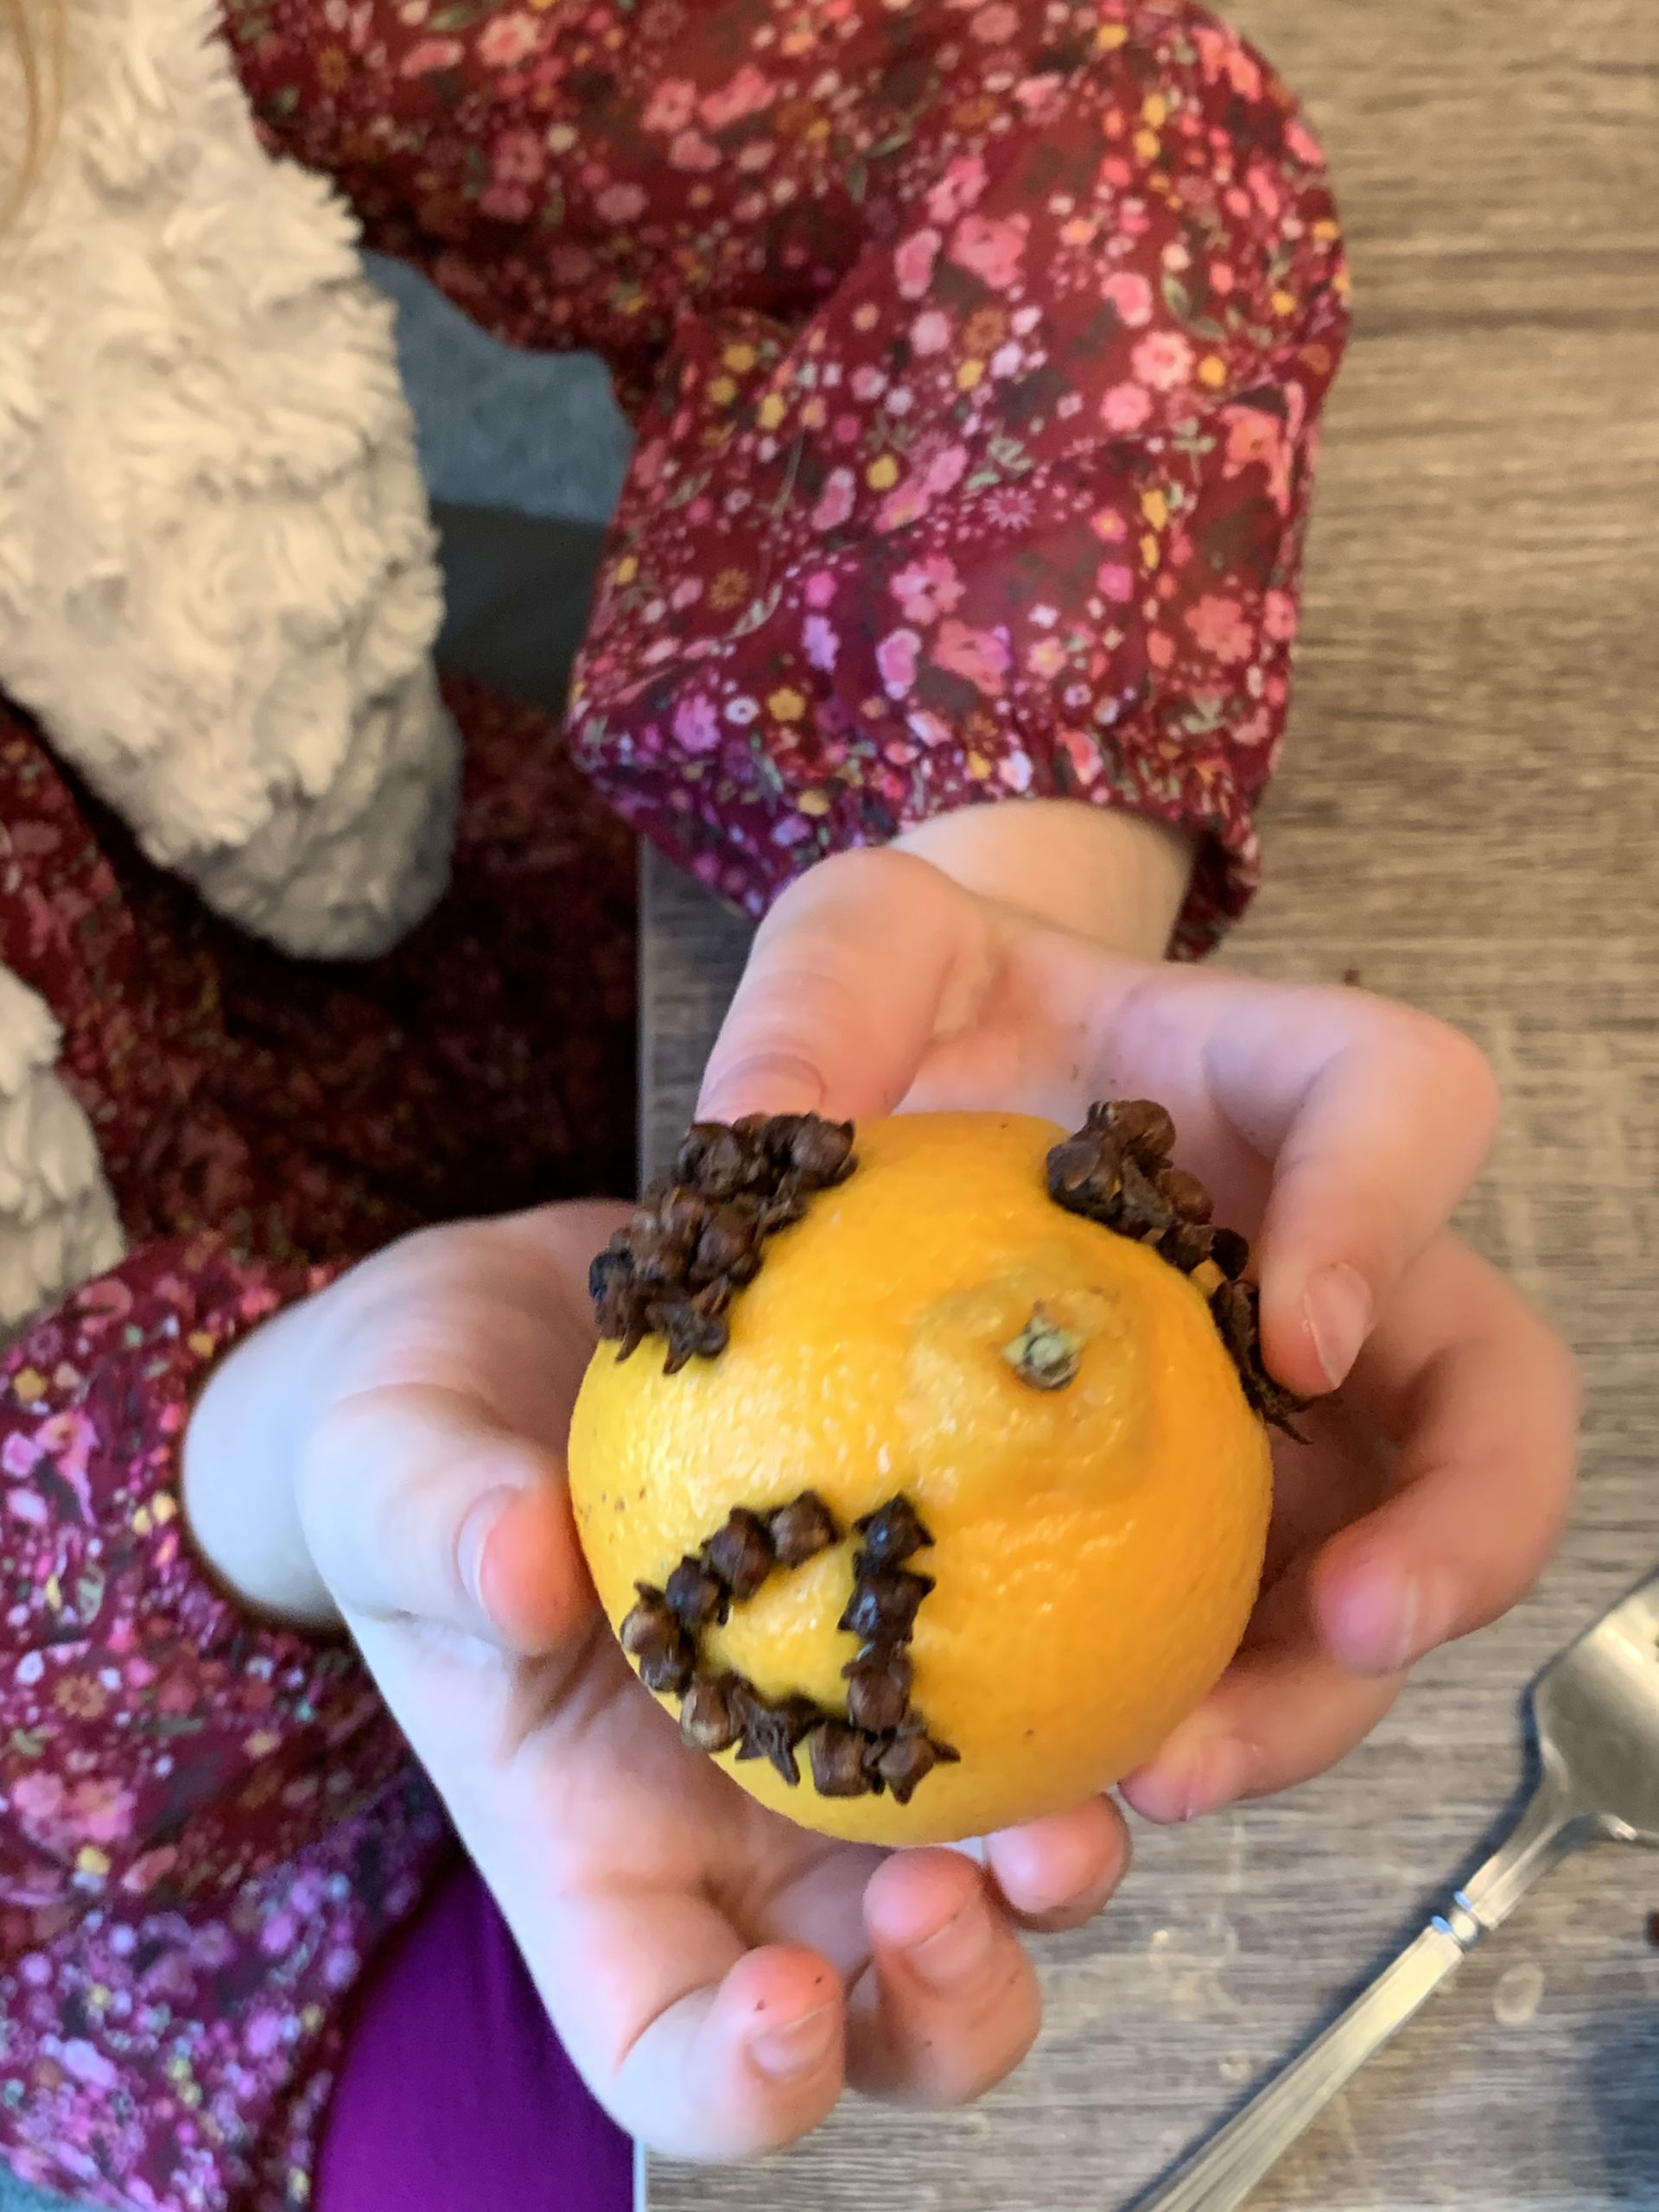
A craft using fine motor skills, creativity, and your child’s senses is making a Christmas Pomander Ball! There are several ways to make them and we will go through some examples!
Pomander Balls were originally used to ward away illness with the strong scents of cloves and other spices. Today, we make pomander balls with citrus fruits and cloves as a decoration, gift, centerpiece, or for scenting the room.
What you need:
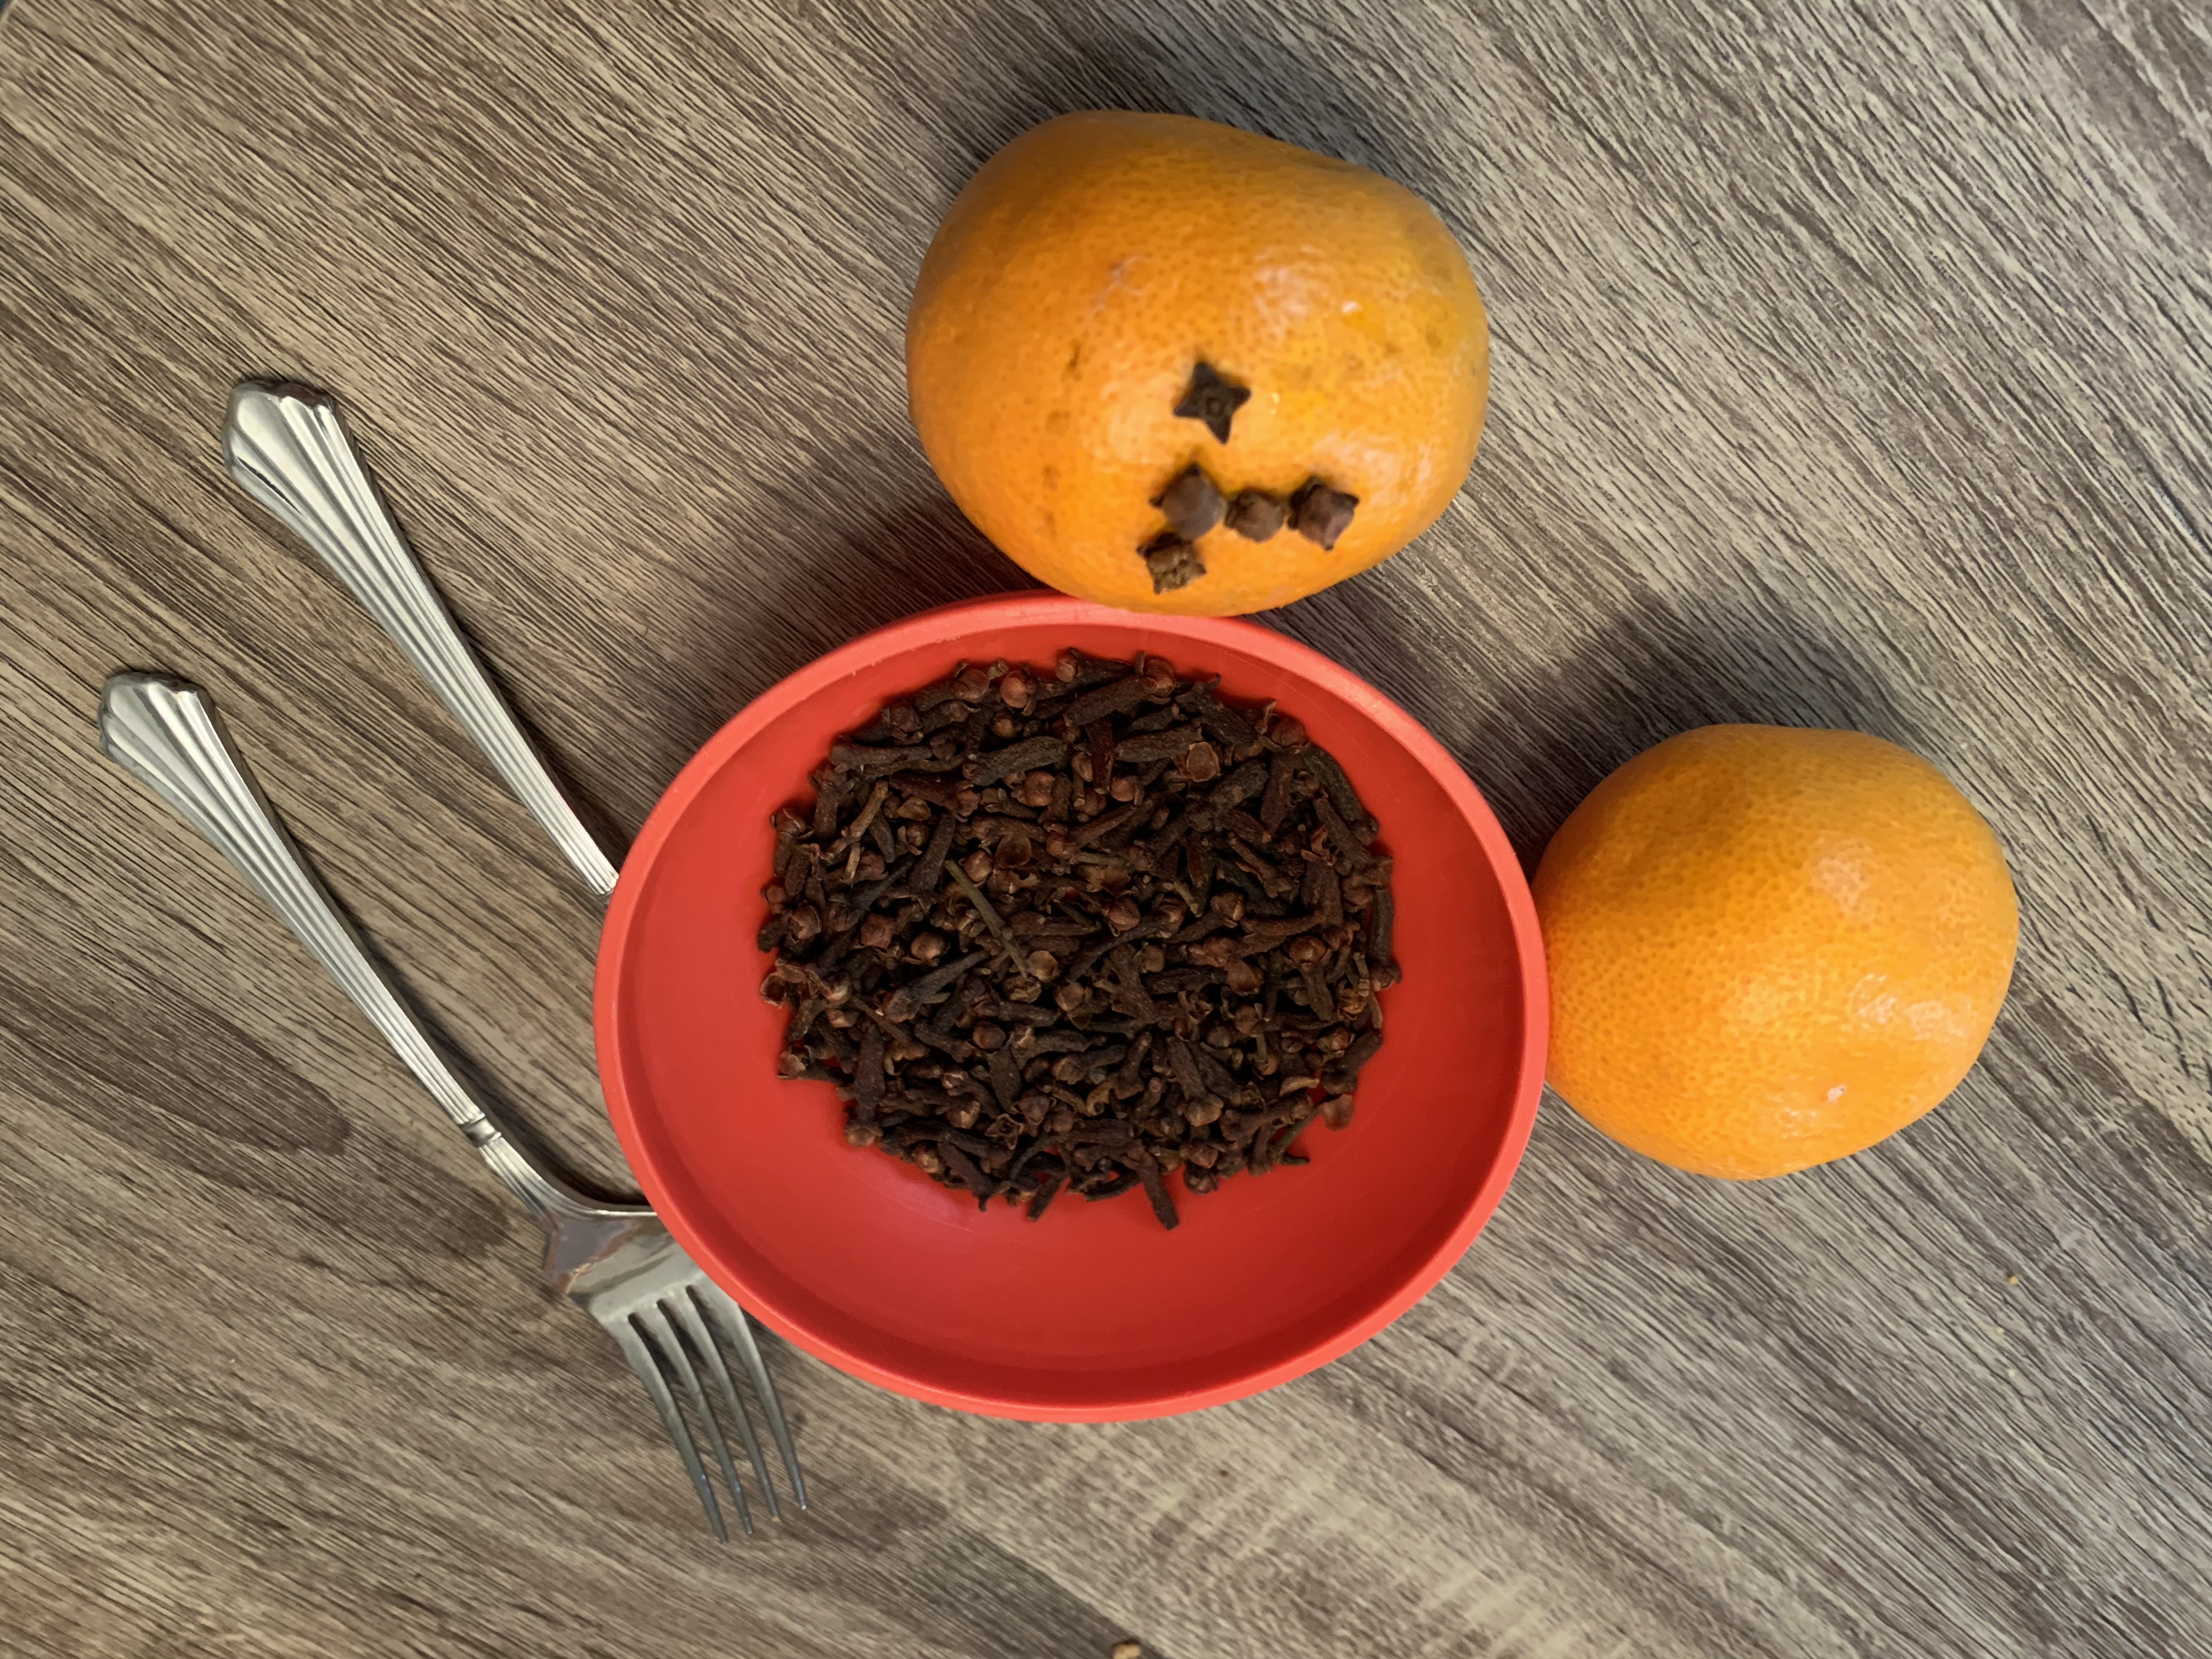
Citrus fruit: clementine or oranges work best (make sure they are on the harder side)
Whole cloves (you can get a large bag that will last for years at the food store)
Ribbon for decoration
To make holes you can use a fork, pushpin, or toothpick (optional): my kids like to use a small fork to poke several holes at once
Pour some whole cloves into a small bowl for the kids to chose from
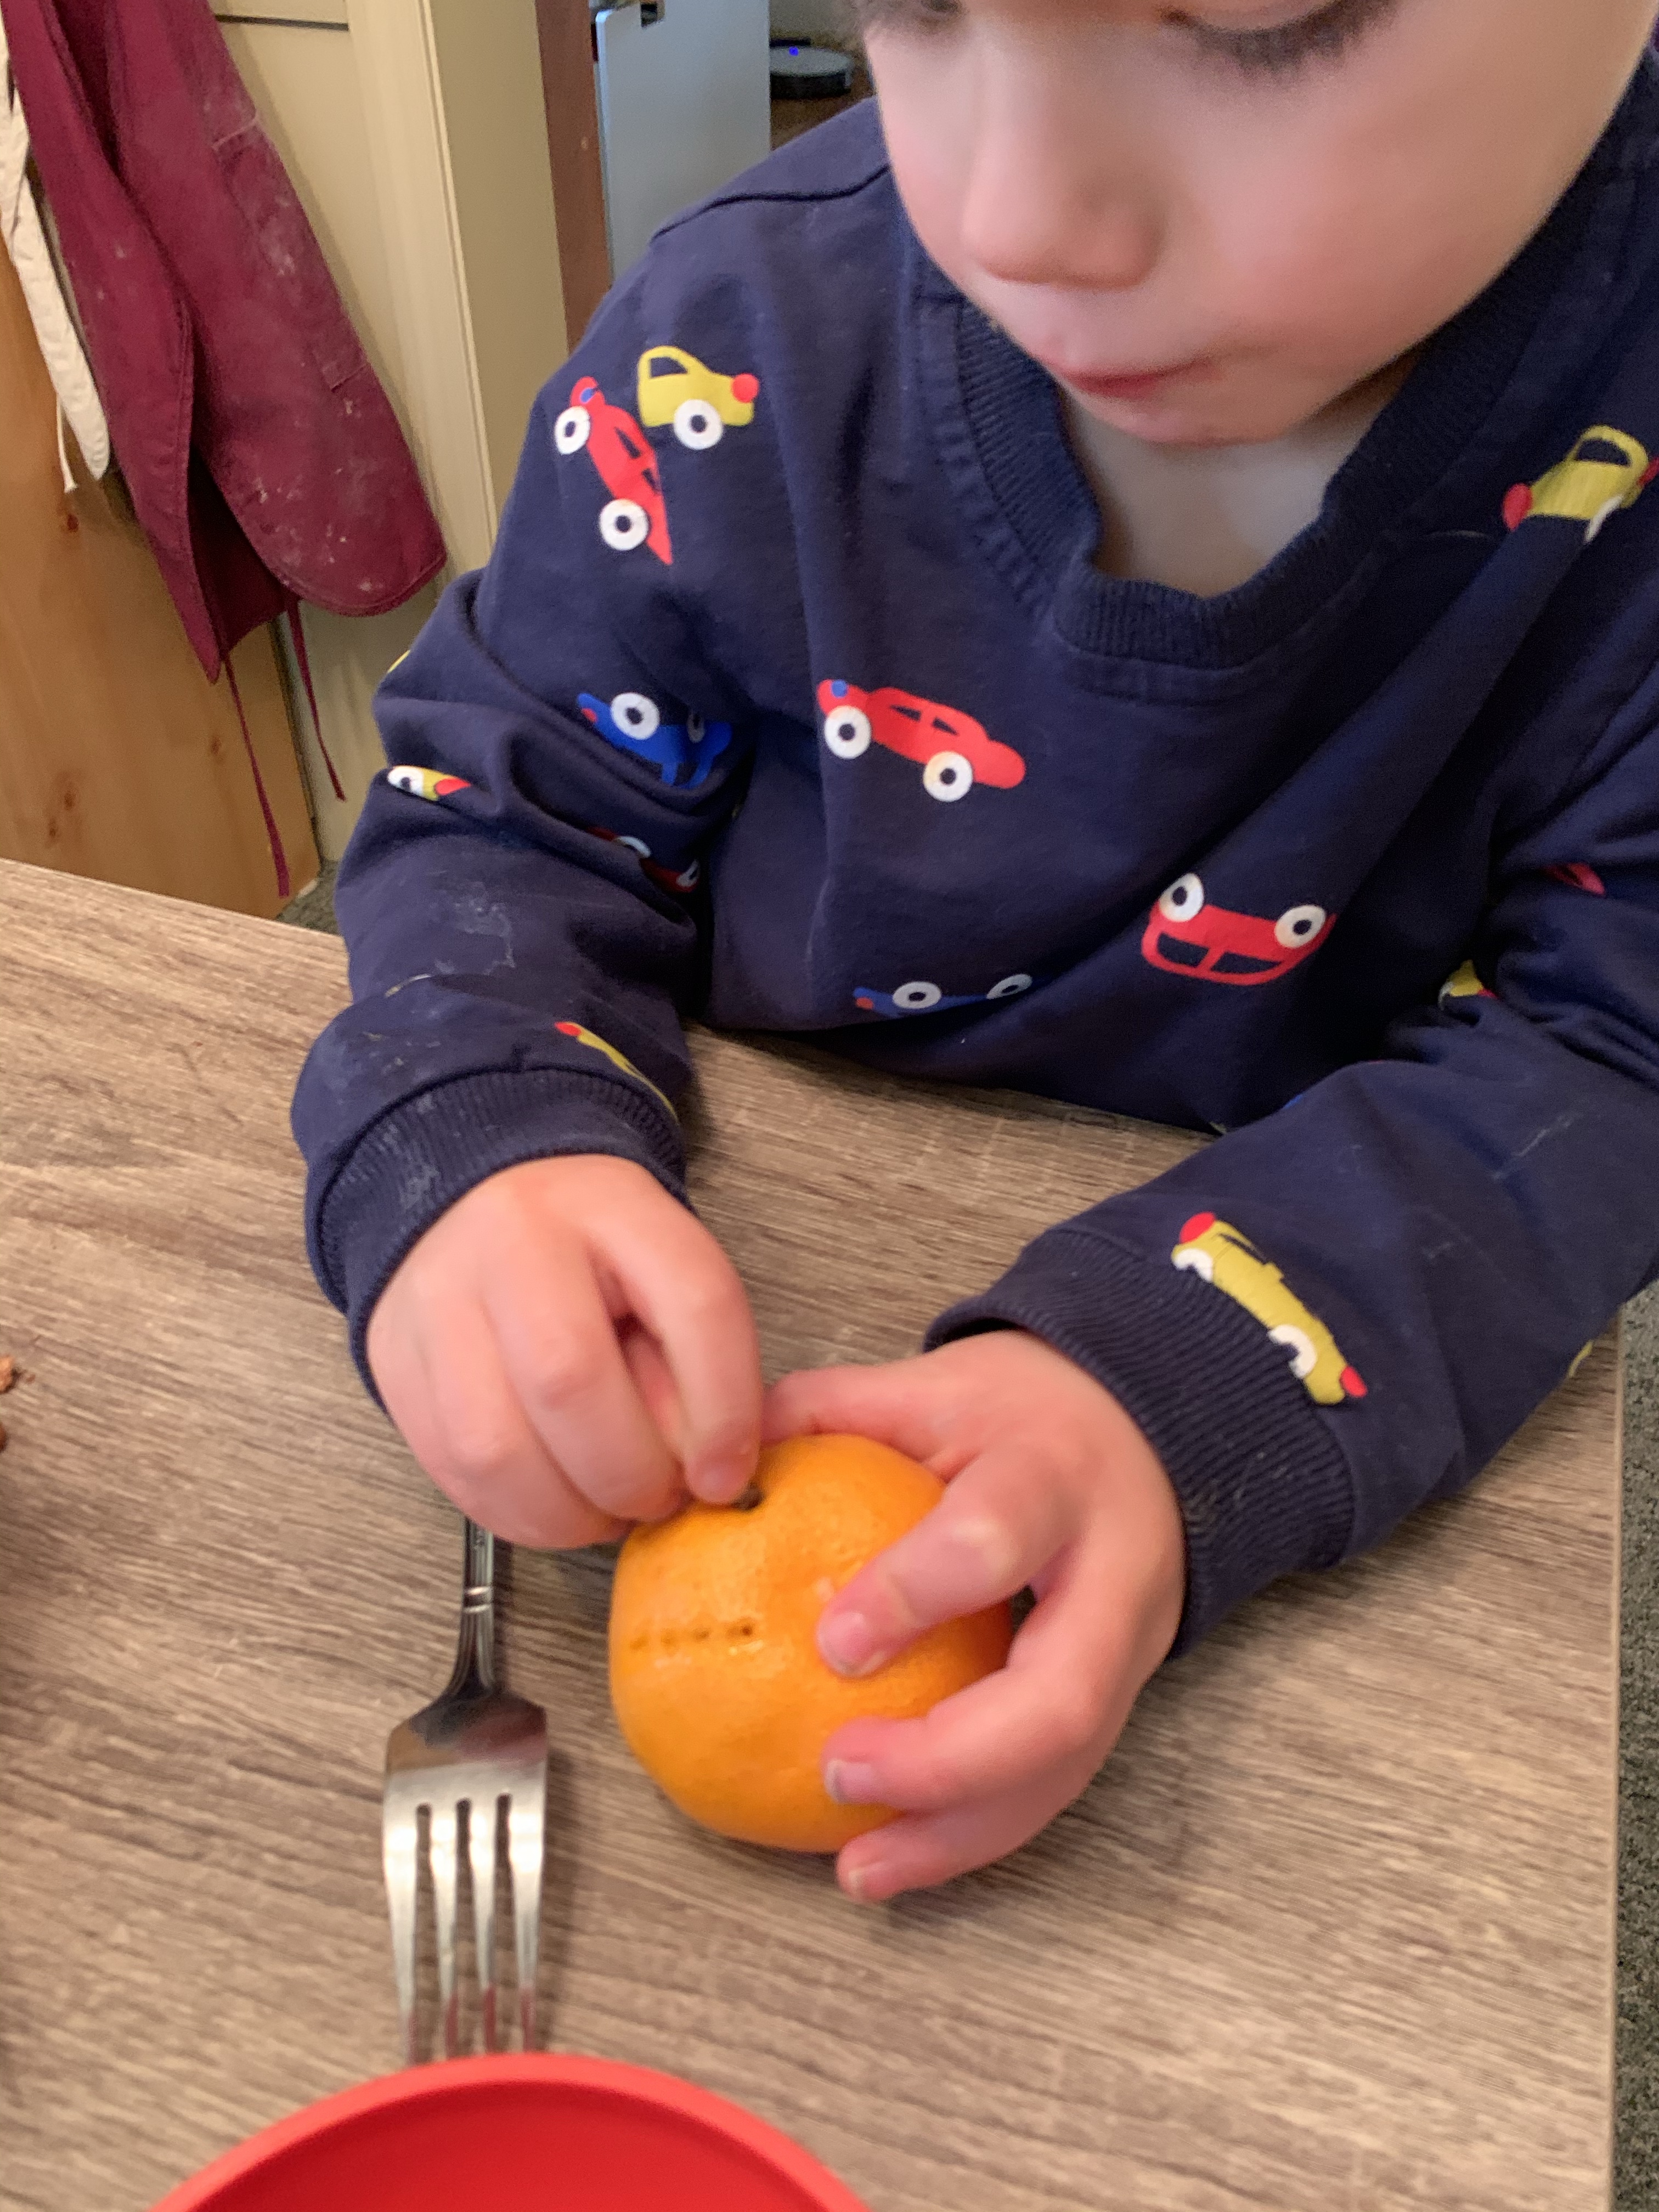
Next, have your child use a fork to poke holes
Take the whole cloves and poke them through the holes
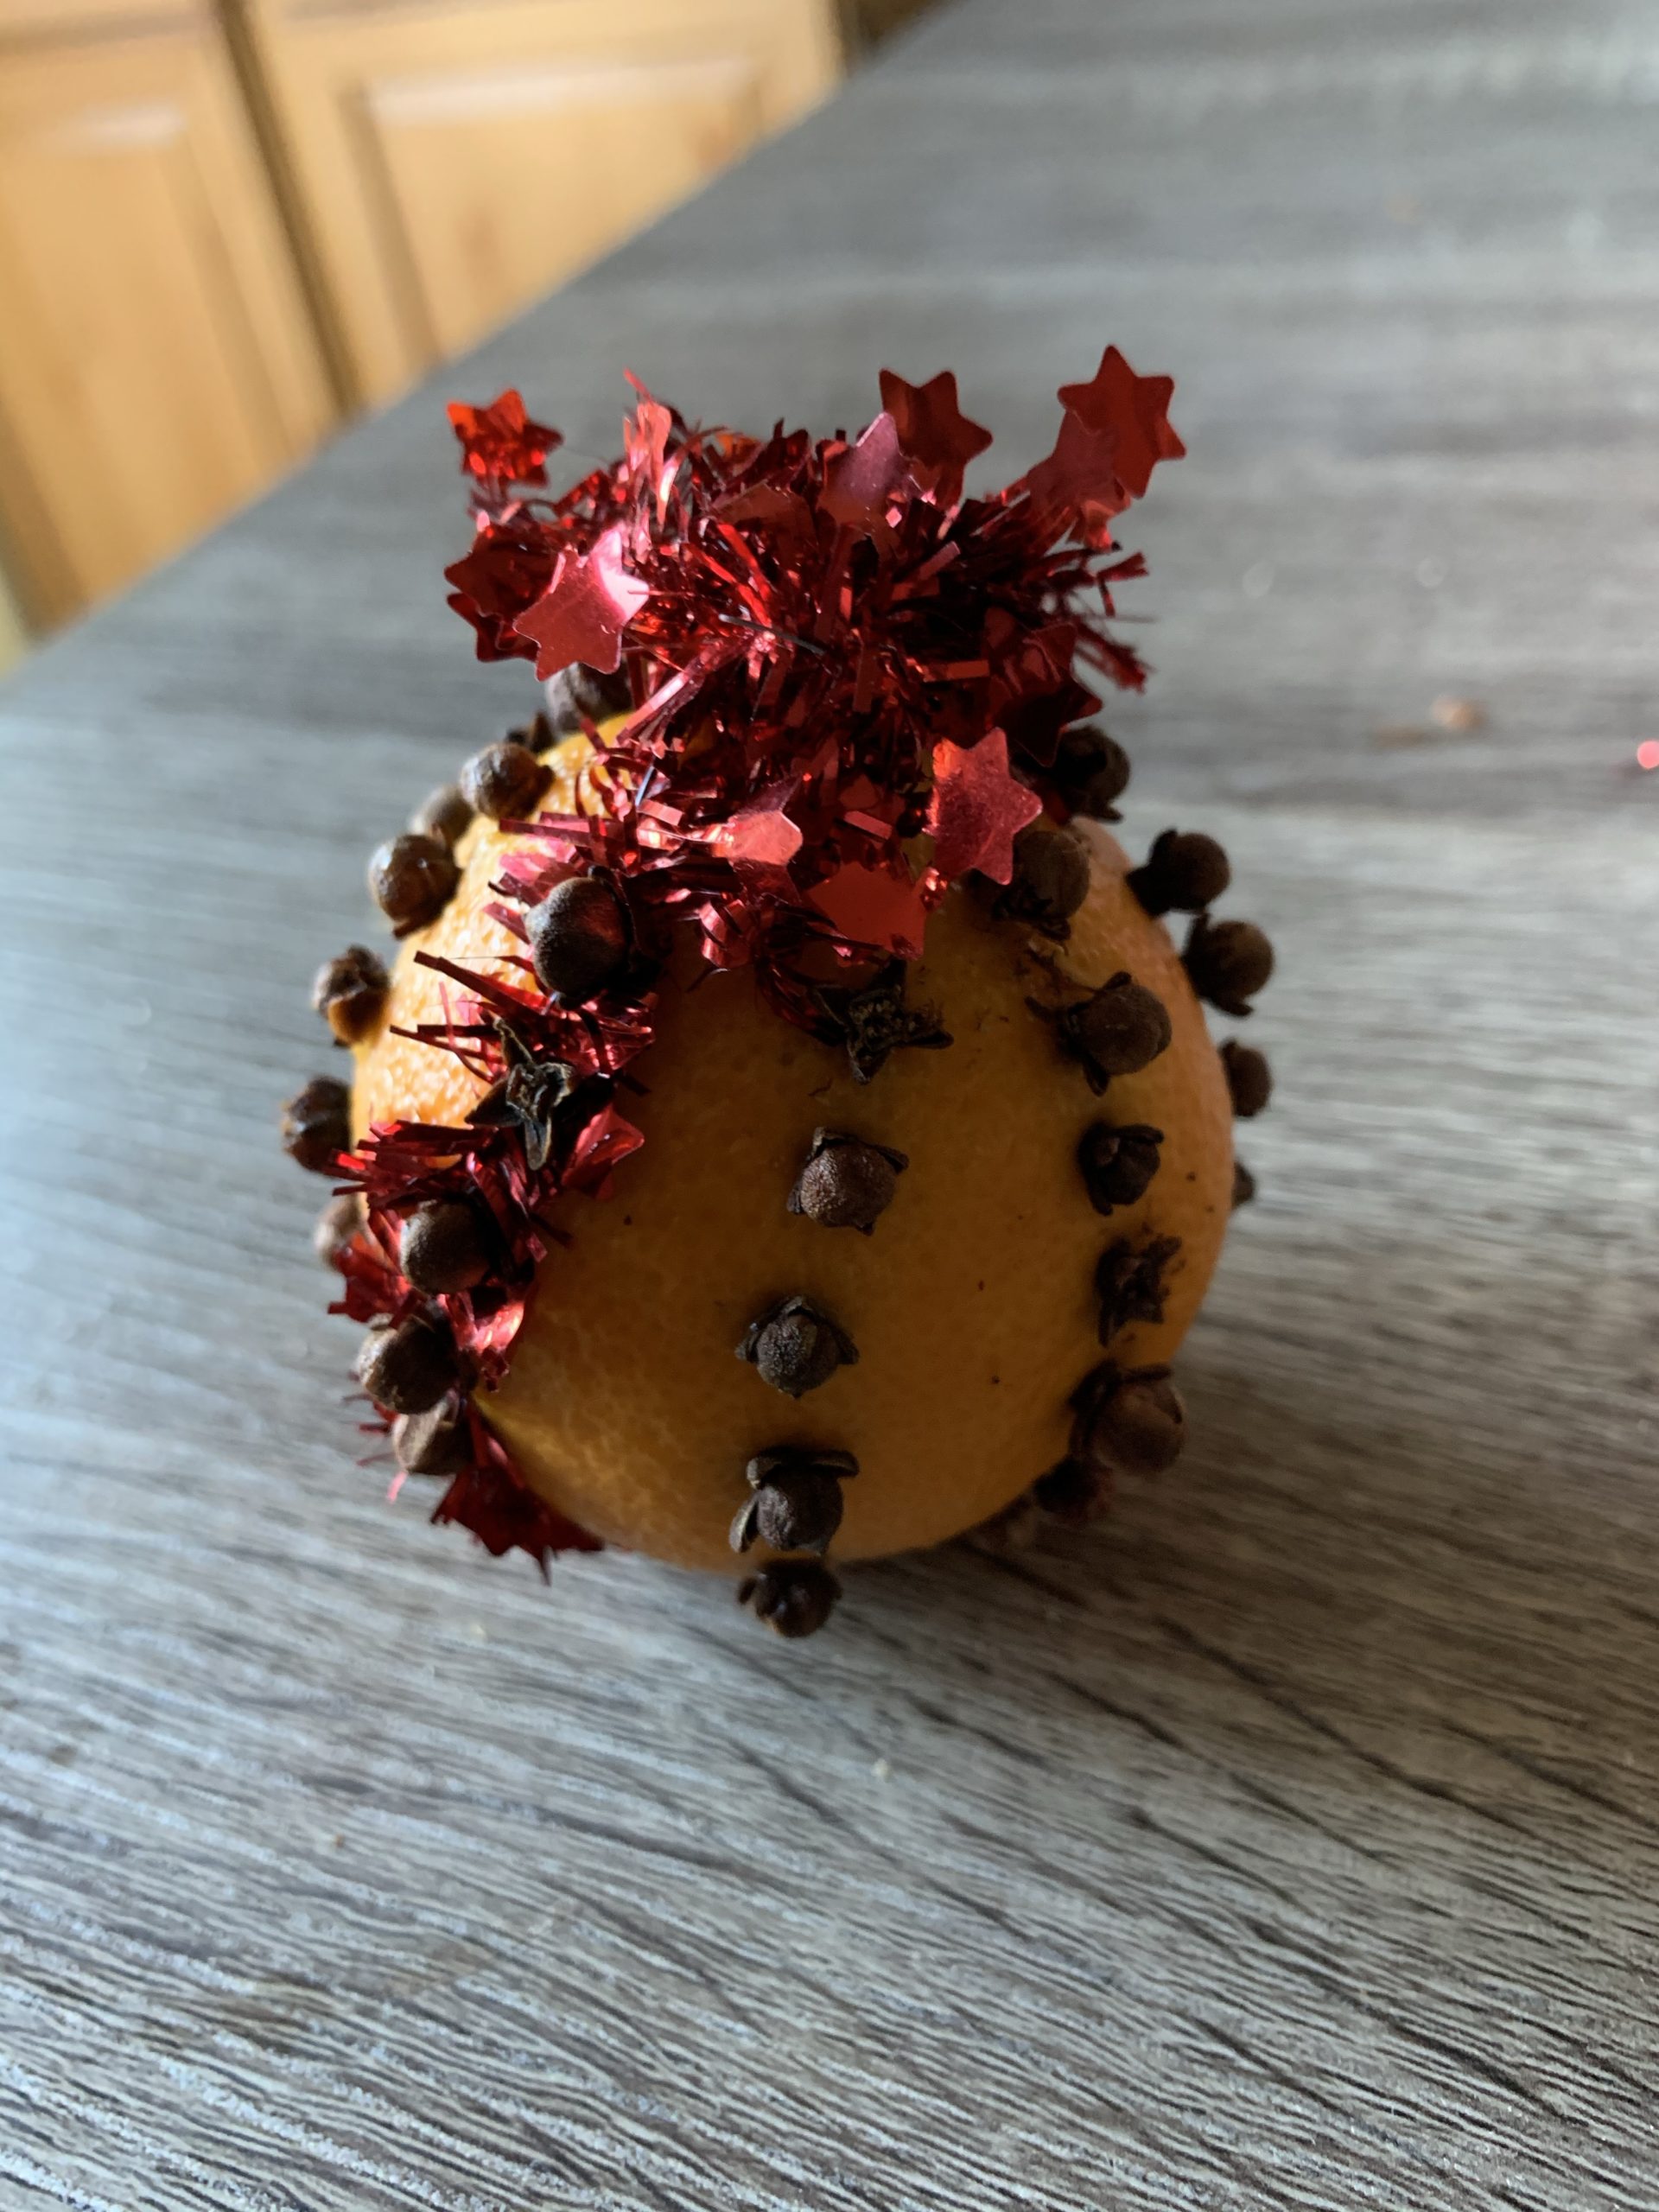
Make a design as you chose, and hang with ribbon
Dry out in a dark place, preferably in a brown bag for a week or two until dry then hang them or decorate with them! If you chose not to dry them, then they usually last a week before they brown and get moldy. You can also place them in the fridge at night if you want them to last a little longer.
If you fill the whole fruit with cloves completely, it will dehydrate the fruit and you wont need to place it in a bag at all (my kids don’t usually have the patience for this yet)
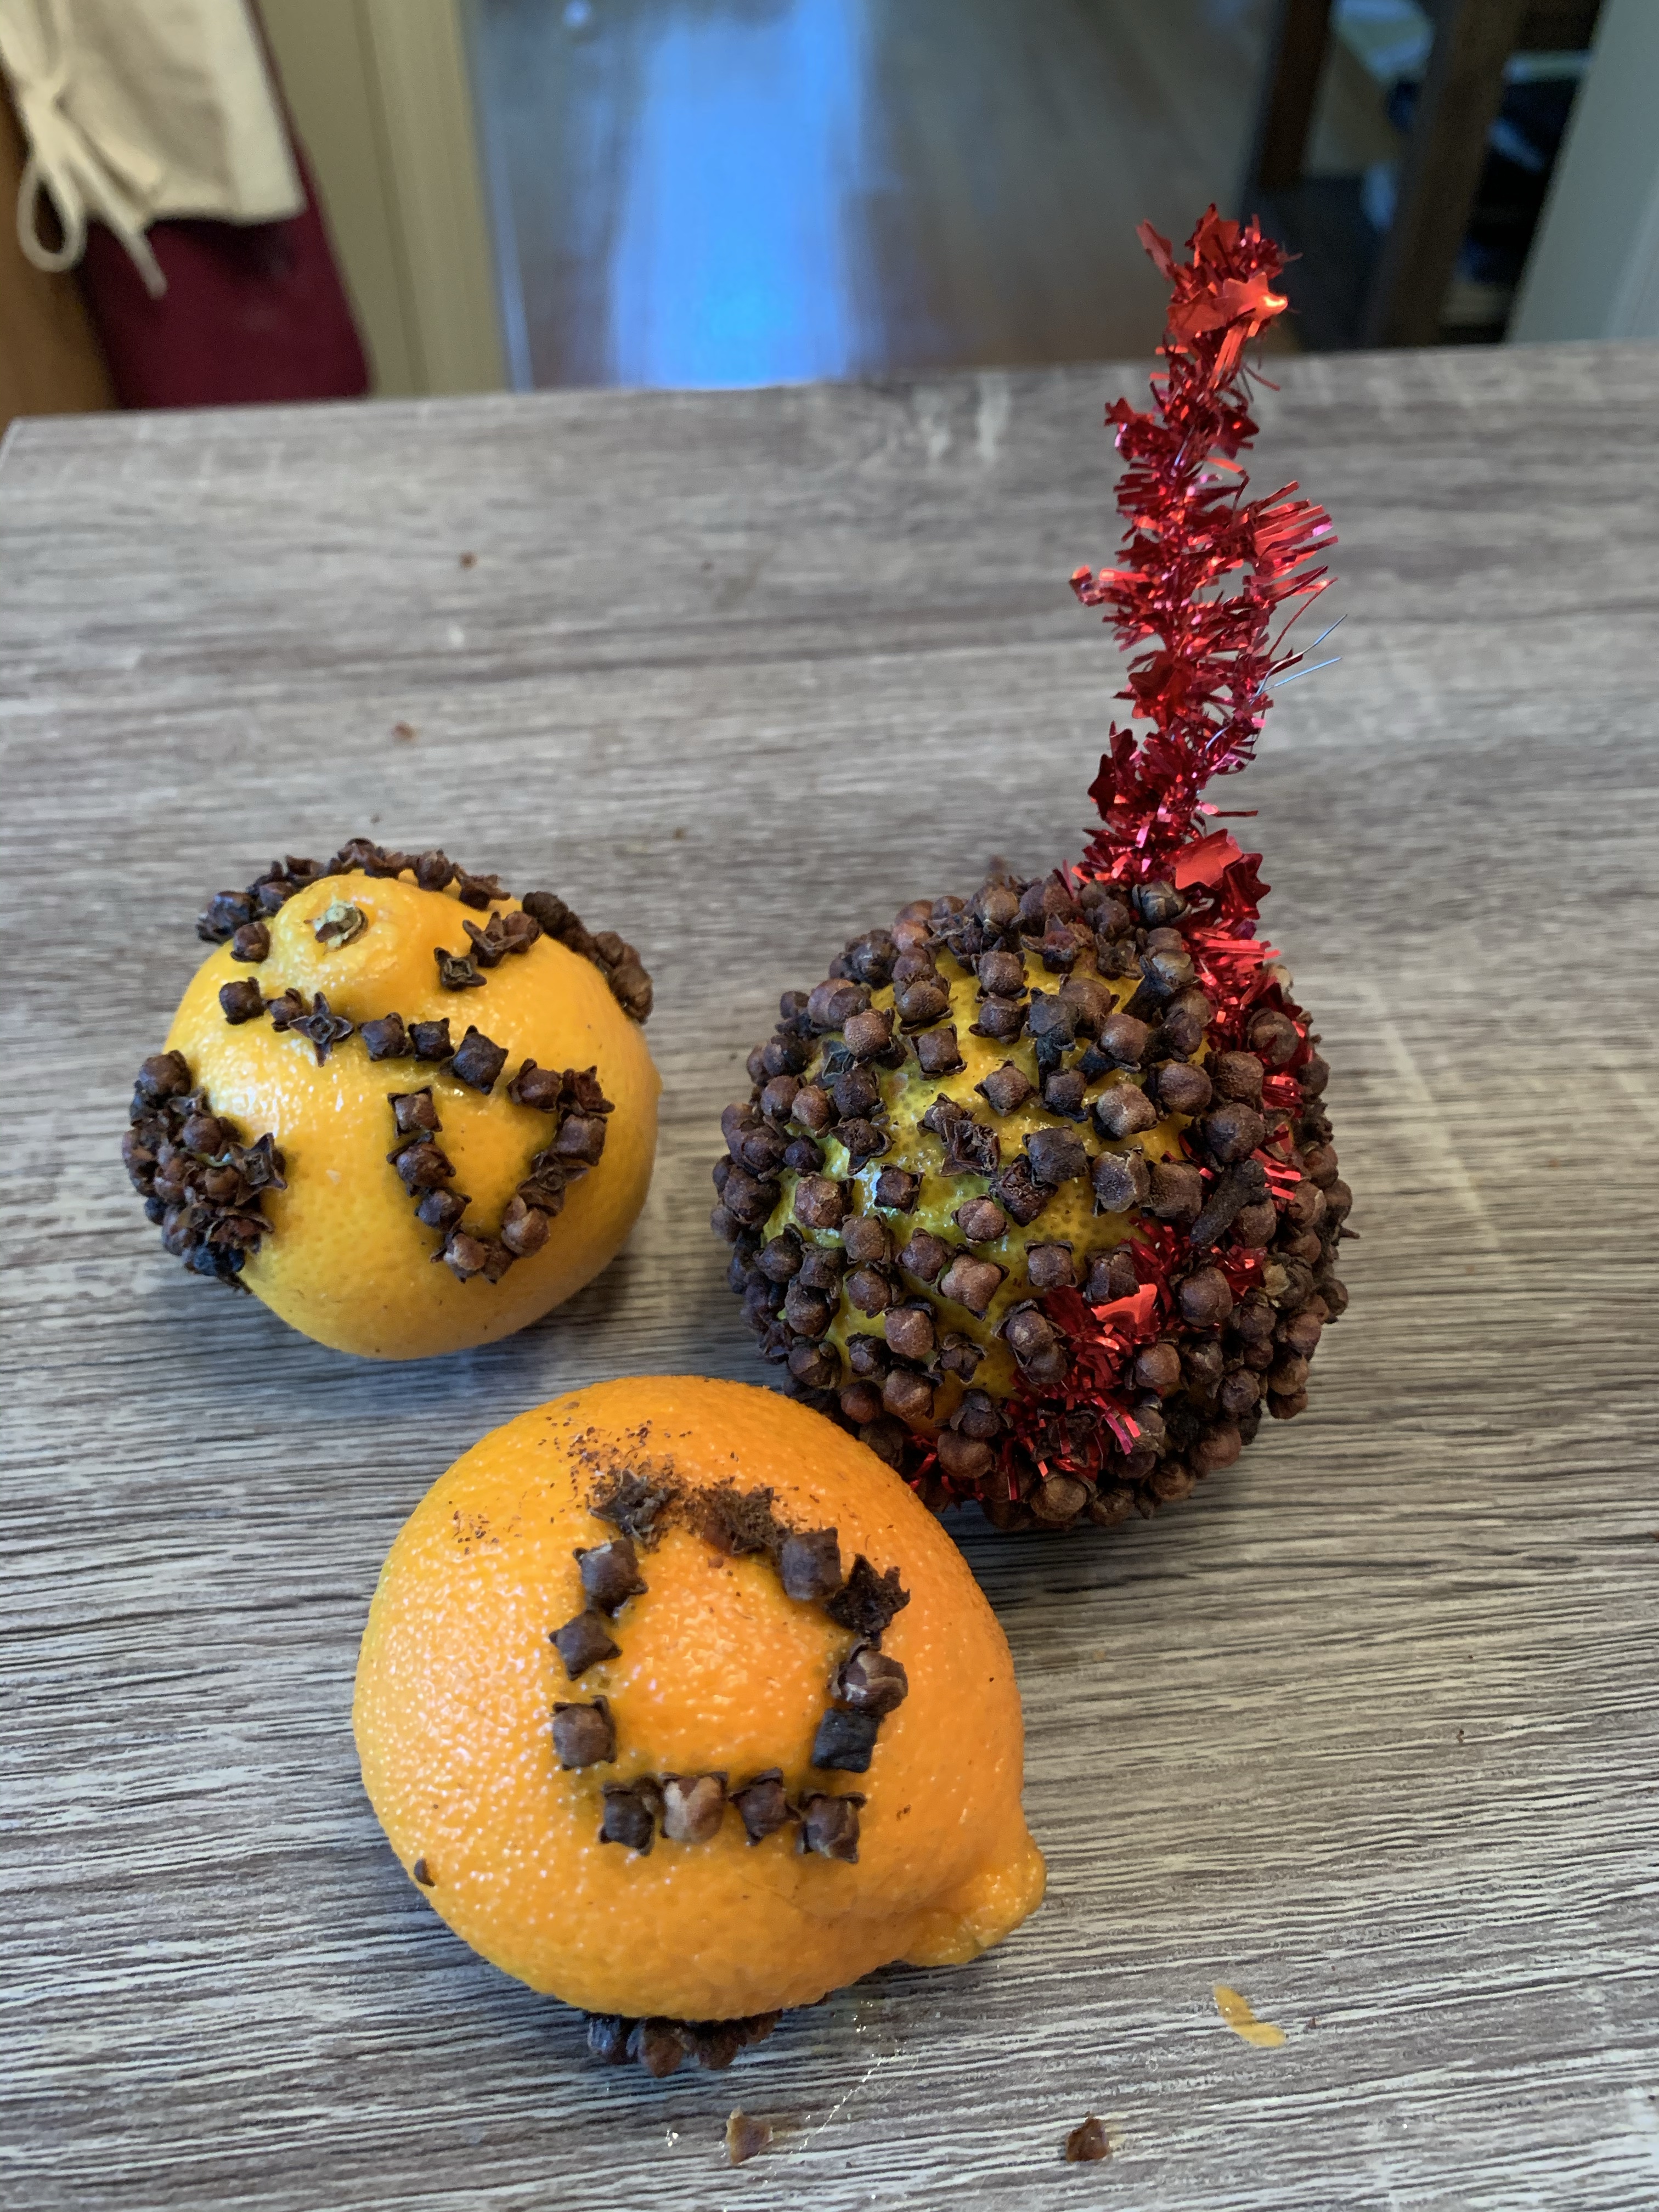
My kids wanted to law shapes on their clementines with the cloves!
If you have a special occasion coming up and are looking for a gift from your baby, toddler, or child, I have an easy peasy present idea!
Paint…UGH PAINT! The word can invoke fear in any parent, except this is mess free! Okay, almost mess free.
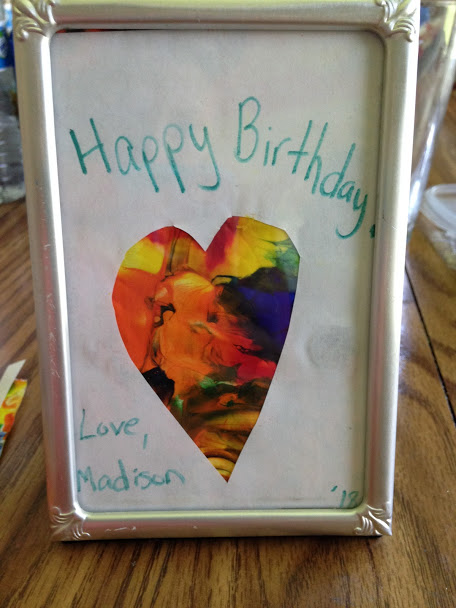
My mom’s birthday was coming up and I wanted to give her something from her granddaughter. I searched online and found this simple craft. I will admit I improvised because I was missing some of the items and I will mention what worked & what didn’t as I go through the steps.
First, gather your materials. You will need:
-Paint in various colors (I used finger paint)
-cardstock (I used regular paper but it didn’t work so well)
-gallon ziplock bag
-picture frame (if you choose to use it as a gift)
-Heart stencil (or you could just draw it yourself)
-scissor
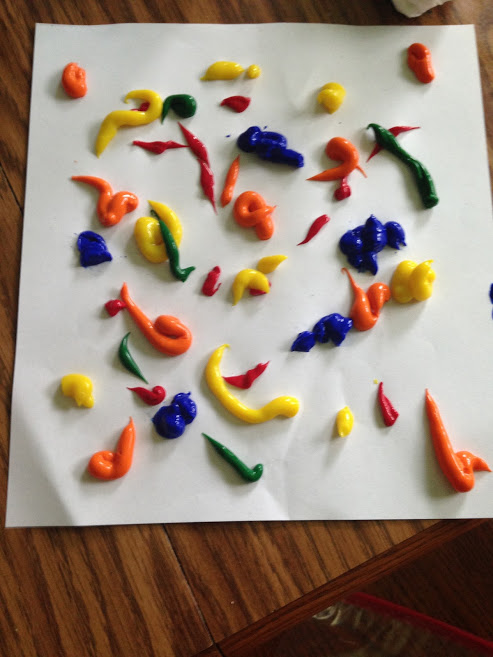
Next, put your choice of colors on your cardstock paper. Note: I didn’t use cardstock and it ripped easily and you could see through some of it. SO USE CARDSTOCK paper or thicker paper. If you are in a pinch you can use regular paper but you will have to be very gentle with it.
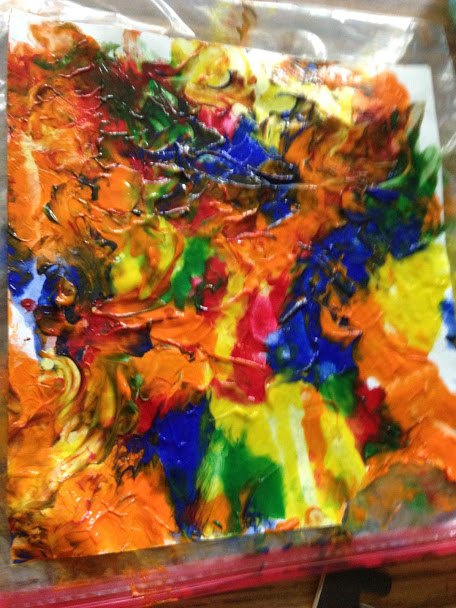
YES, I USED WAYYYYY TOO MUCH PAINT!!! My paint came jumping out of the bottle super fast, I’m really not sure how that happened (haha). It takes longer to dry with all that paint. It took days for it to dry when it should’ve taken overnight.
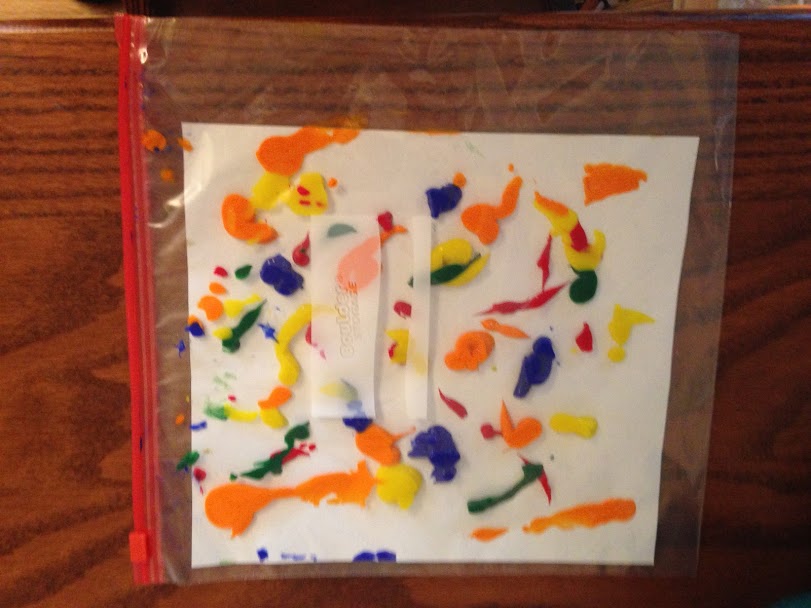
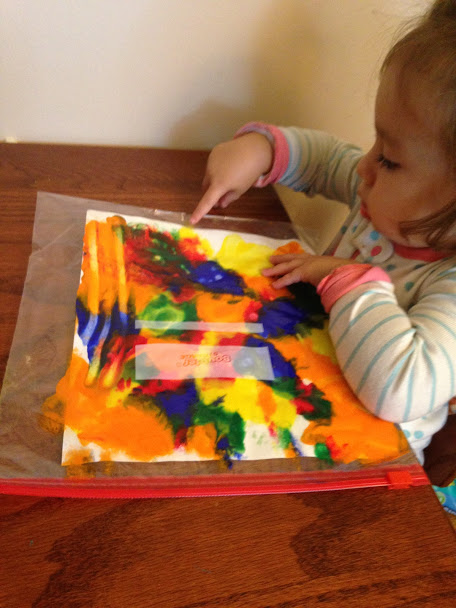
Take your cardstock paper and put it in a gallon sized ziplock. This insures your project will be mostly mess free! If you need to cut down the paper a little, go for it.
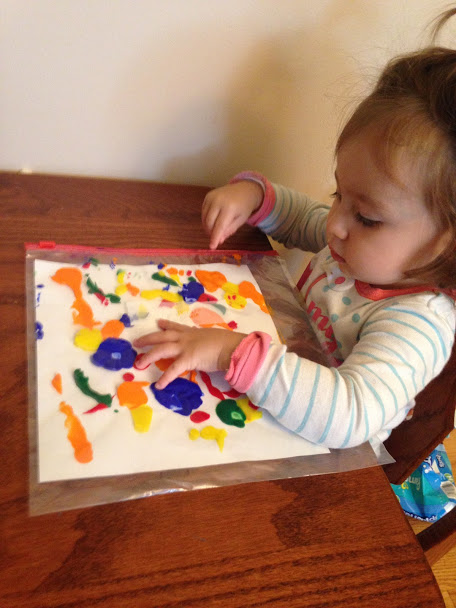
Now it’s time for fun!!! Let your child smear the paint!
Your child will love smearing the paint and you will love that it’s mess free!
When you like the smeared look your child has made, carefully take it out of the bag and leave it in a safe place to dry.
Look at all of that paint!!! TOOO MUCH! If you put way too much on like me, you can either dab it off with a paper towel or give it days to dry.
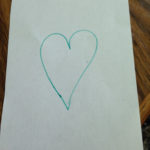
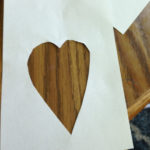
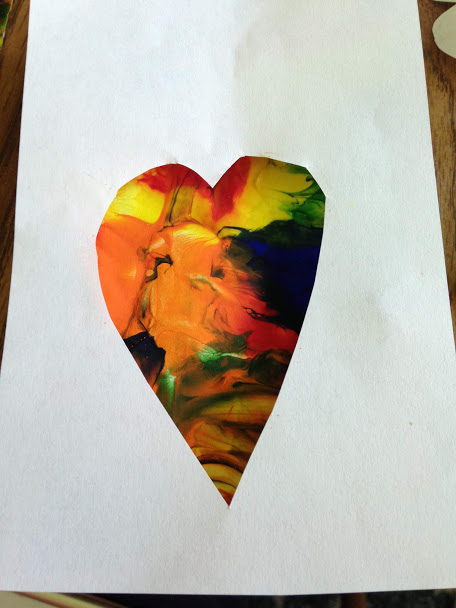
Here’s where you can vary the project. I drew a heart on a new piece of paper (use cardstock) and cut it out. You can pick any shape you like! If you are super crafty you could even cut out a name or shape of an animal. Cut down the paper to whatever size you would like it to fit. I cut it down to fit a frame. However, you could also make this into wall art, a card, or anything you can imagine!
Place the cut out on top of your painted paper. I moved mine around to find which colors I wanted to show. Cut the back painted piece to fit the frame. If you would like to write a message on the paper, go for it! Put in it a frame or glue and fold for a card!
Easy Peasy Paint Present! Note: I used regular paper and you can see that there are places you can see through the top paper. I highly recommend cardstock or thicker paper.
This project is perfect for any occasion!!! This could be done for birthdays, anniversaries, and holidays.
I’m thinking green colors with a Christmas tree or wreath cutout for Christmas! You could also use the paint bag trick for ornaments. Instead of using a top layer, just let the painted paper dry, cut out a tree shape, hole punch and use a ribbon and wallah!
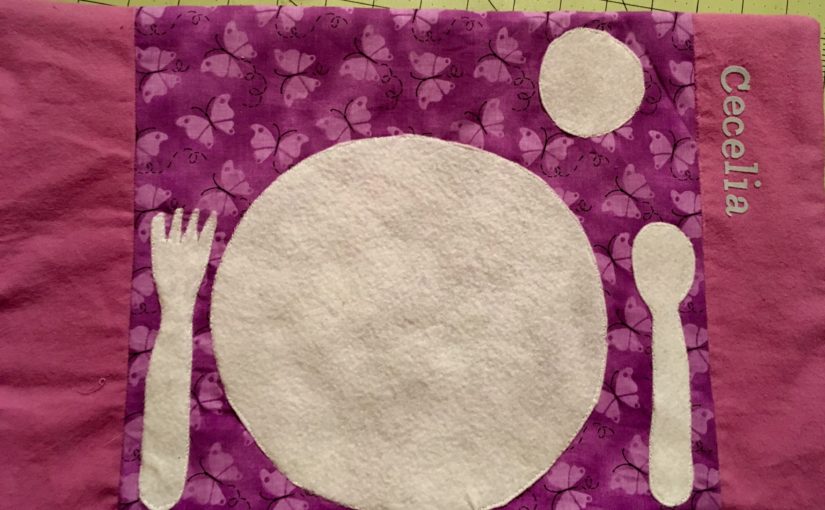
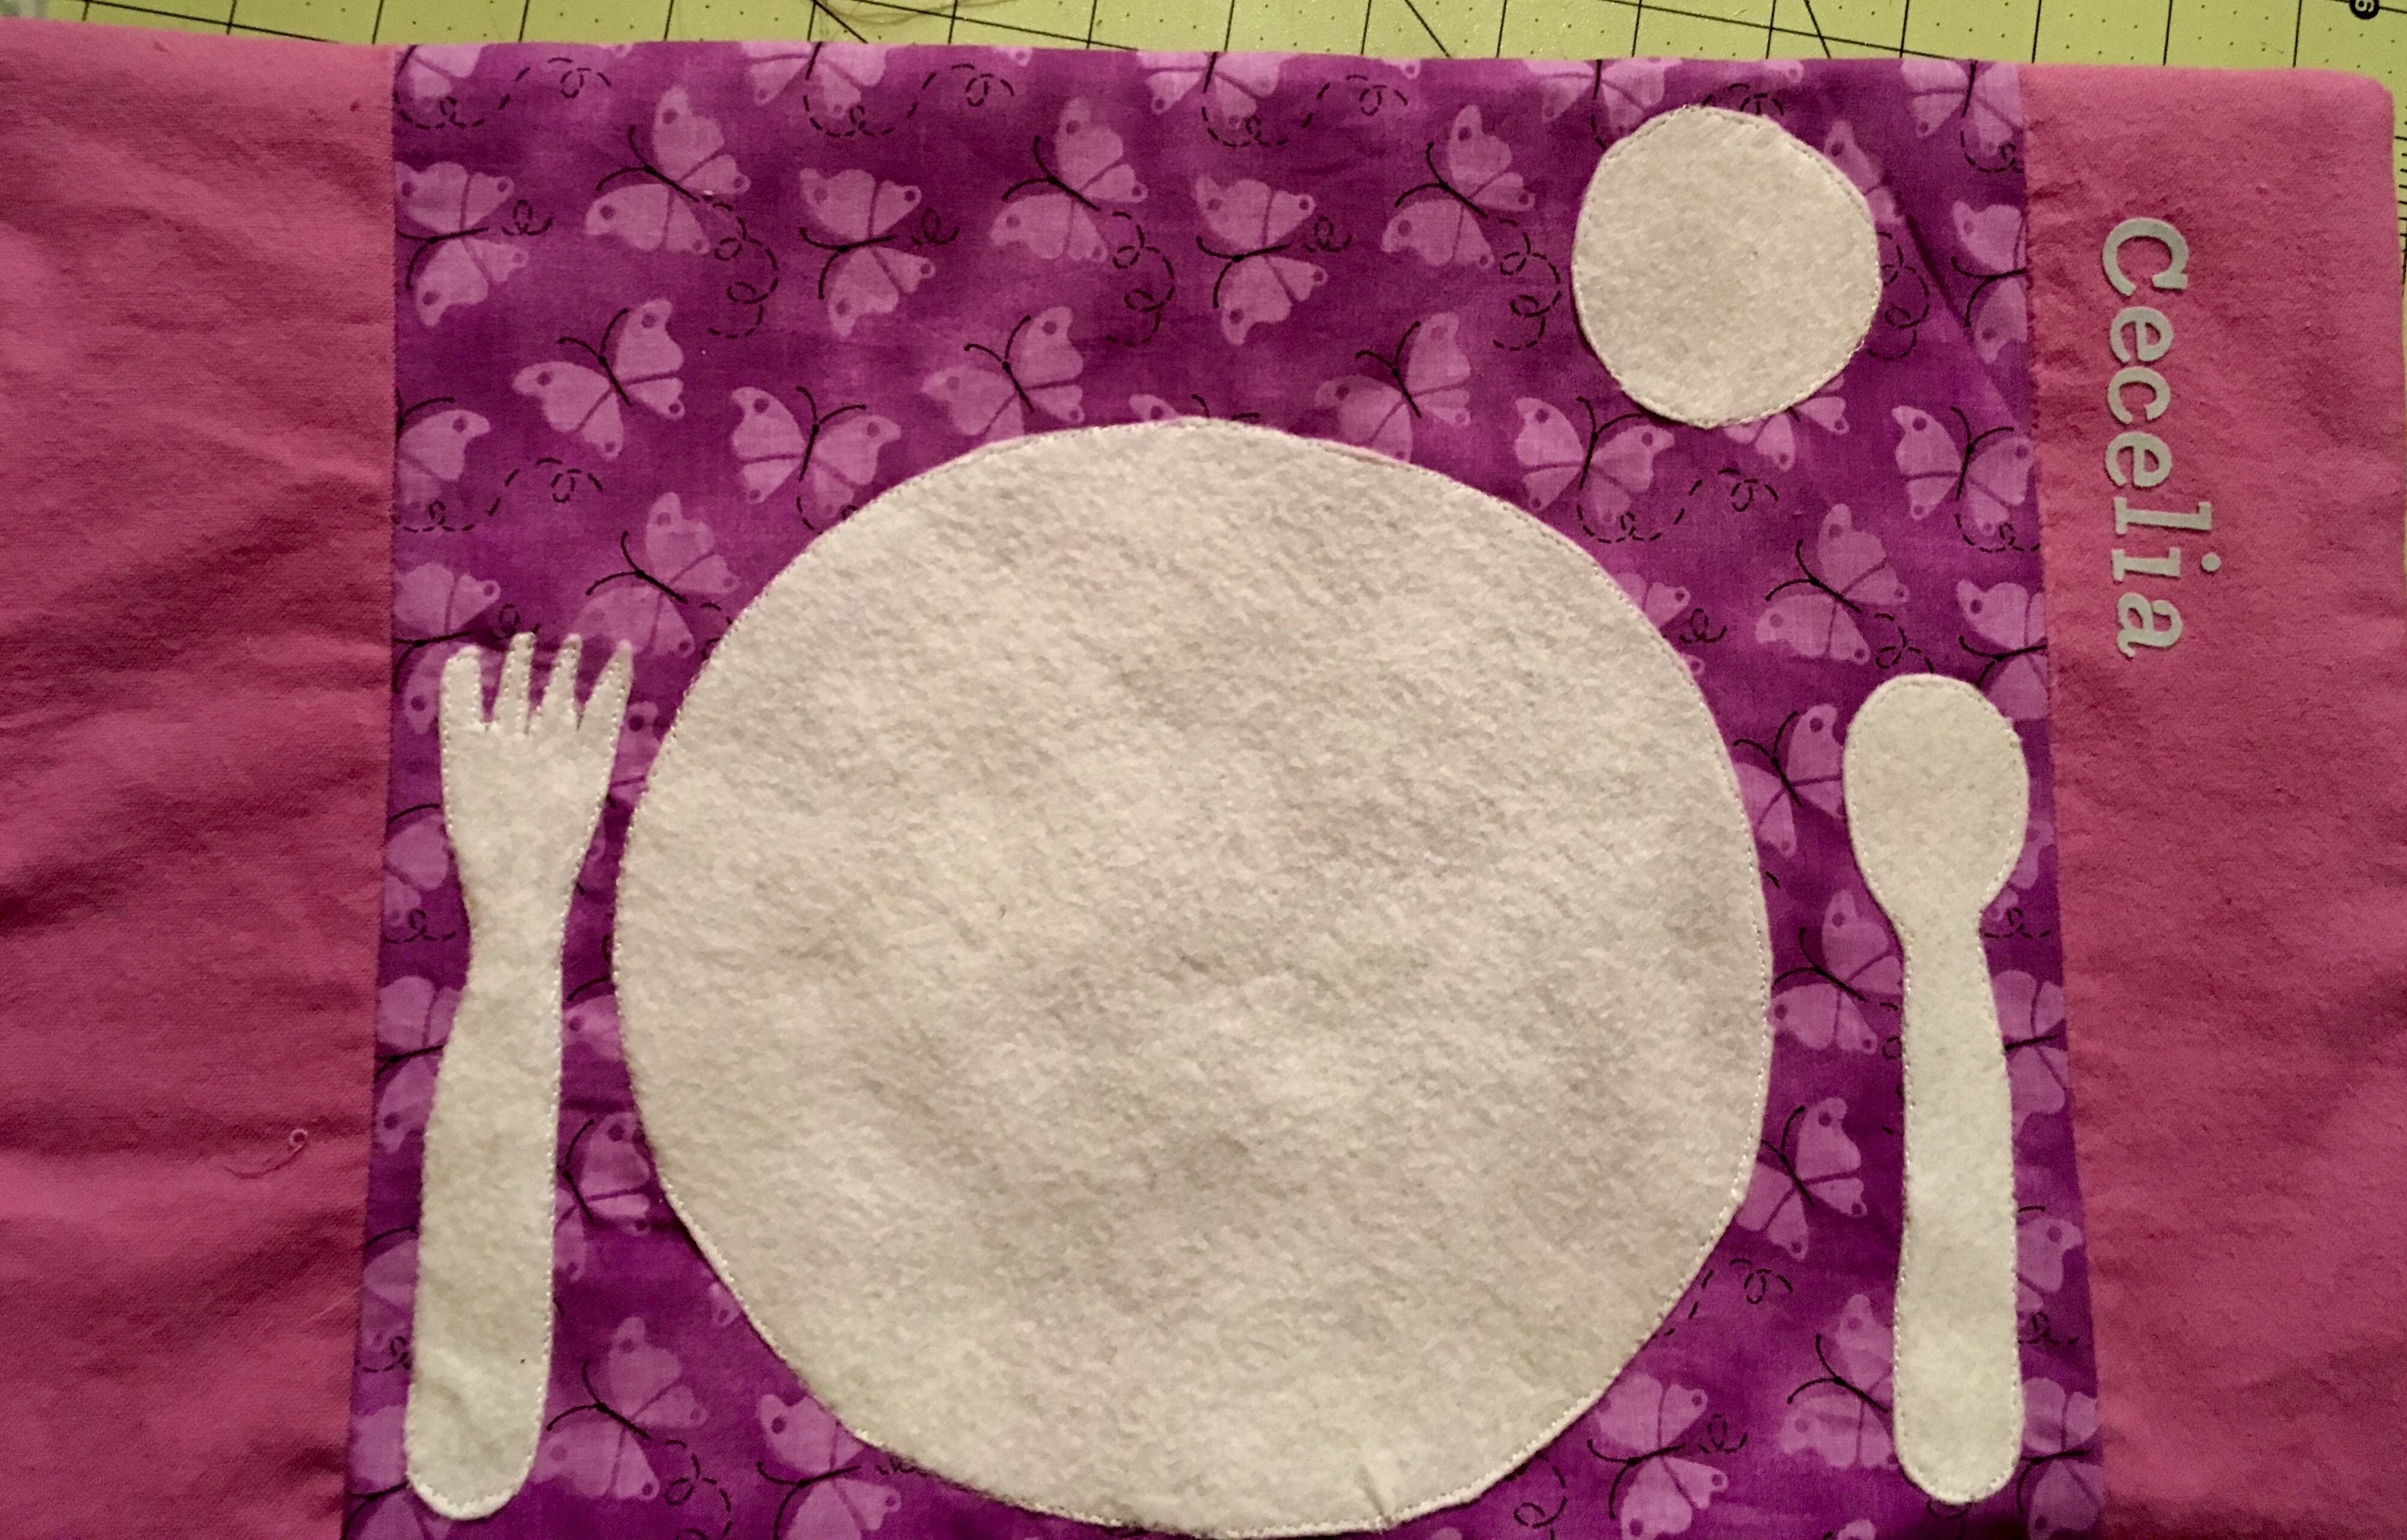
My daughter loves to assert her independence, even at meal time! So I thought, why not make a placemat that she can set her own place setting at? There are many ways to make placemats.
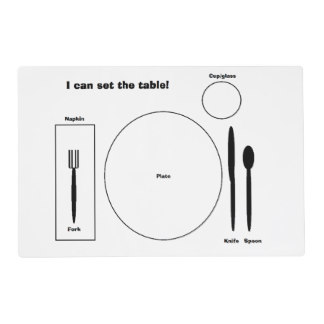
One way is simply laminating a printed out version of a placemat setting such as this…
However, my laminator is only big enough for a regular printer sized paper. You can take it to your local staples or office store to get laminated. You can even make your own placemat out of fabric and have it laminated.
I decided to go with the fabric version and just use the washer to clean it.
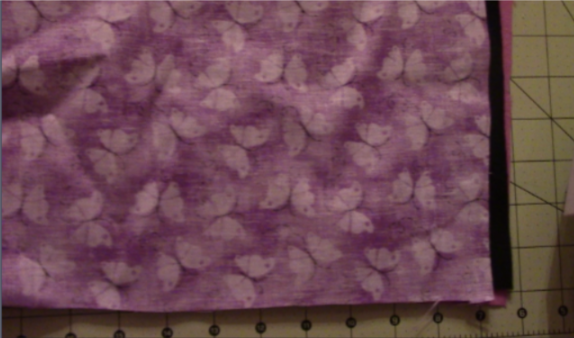
So you want to prewash the fabric to make sure it does not shrink.
As always there is a video youtube tutorial and a written one below.
What you need for this placemat place setting is…
1) fabric: it will end up being 12×16 inches.
1 batting or felt for the middle or back side 12×16
1 center front piece 12×12
2 outside front pieces 4×12
1 back side
felt or non fraying material to cut out fork, spoon, cup, and plate
2) Next, take your front center piece and your side front pieces and pin them fabric facing fabric on the sides and sew. Then iron the seems.
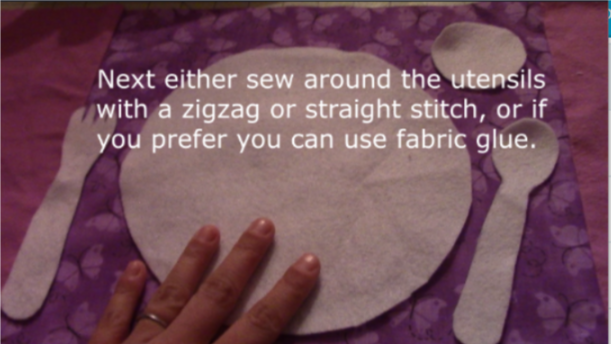
3) Following that, you want to use your felt or nonfraying material to outline a plate, cup, fork, spoon, and any other utensils that you want on your placemat. Then cut them out and sew them directly on the front piece. You can also use fabric glue if you like.
4) ***You want to put the piece of fabric you want as the backing down first facing the front fabric and then the basting or felt behind that (as you can see I did it opposite and ended up with my black fabric as the back outside as you will see). However, if you are using felt, it ends up rather nice as a backing since it prevents sliding.
5) Sew all the way around leaving a 3-4 inch opening so you can pull it out the right way. Don’t forget to backstitch. Once this is done, pull the inside out and make sure all the sides and corners are all the way out. Iron it all out and sew the remaining opening with either a hand stitch, or if you want to use your machine then sew around the whole placemat to give it that look.
You can add any other embellishments, I used my daughter’s name on the side. Enjoy and check out the other videos and tutorials! Let me know if you have any questions!
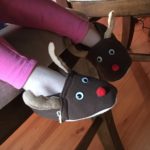
This easy DIY sewing project can be made for any size shoe! All you need to do is trace the shoe (or foot) size and create! Easy peezey Christmas fun! Also makes a great gift!
As always, there is a video tutorial on the ceceliasspot channel and here is the link…
Baby Slippers Tutorial! this has a pattern for baby slippers if you don’t want to trace a shoe or foot
And there is the written format below. ENJOY AND HAPPY HOLIDAYS!
First, what you need for this project:
Non-skid fabric
Fabric colors (I used cotton and fleece)
1/4 or 1/8 elastic
Sewing tools, googley eyes, red cotton ball, and any accessories you would like to add
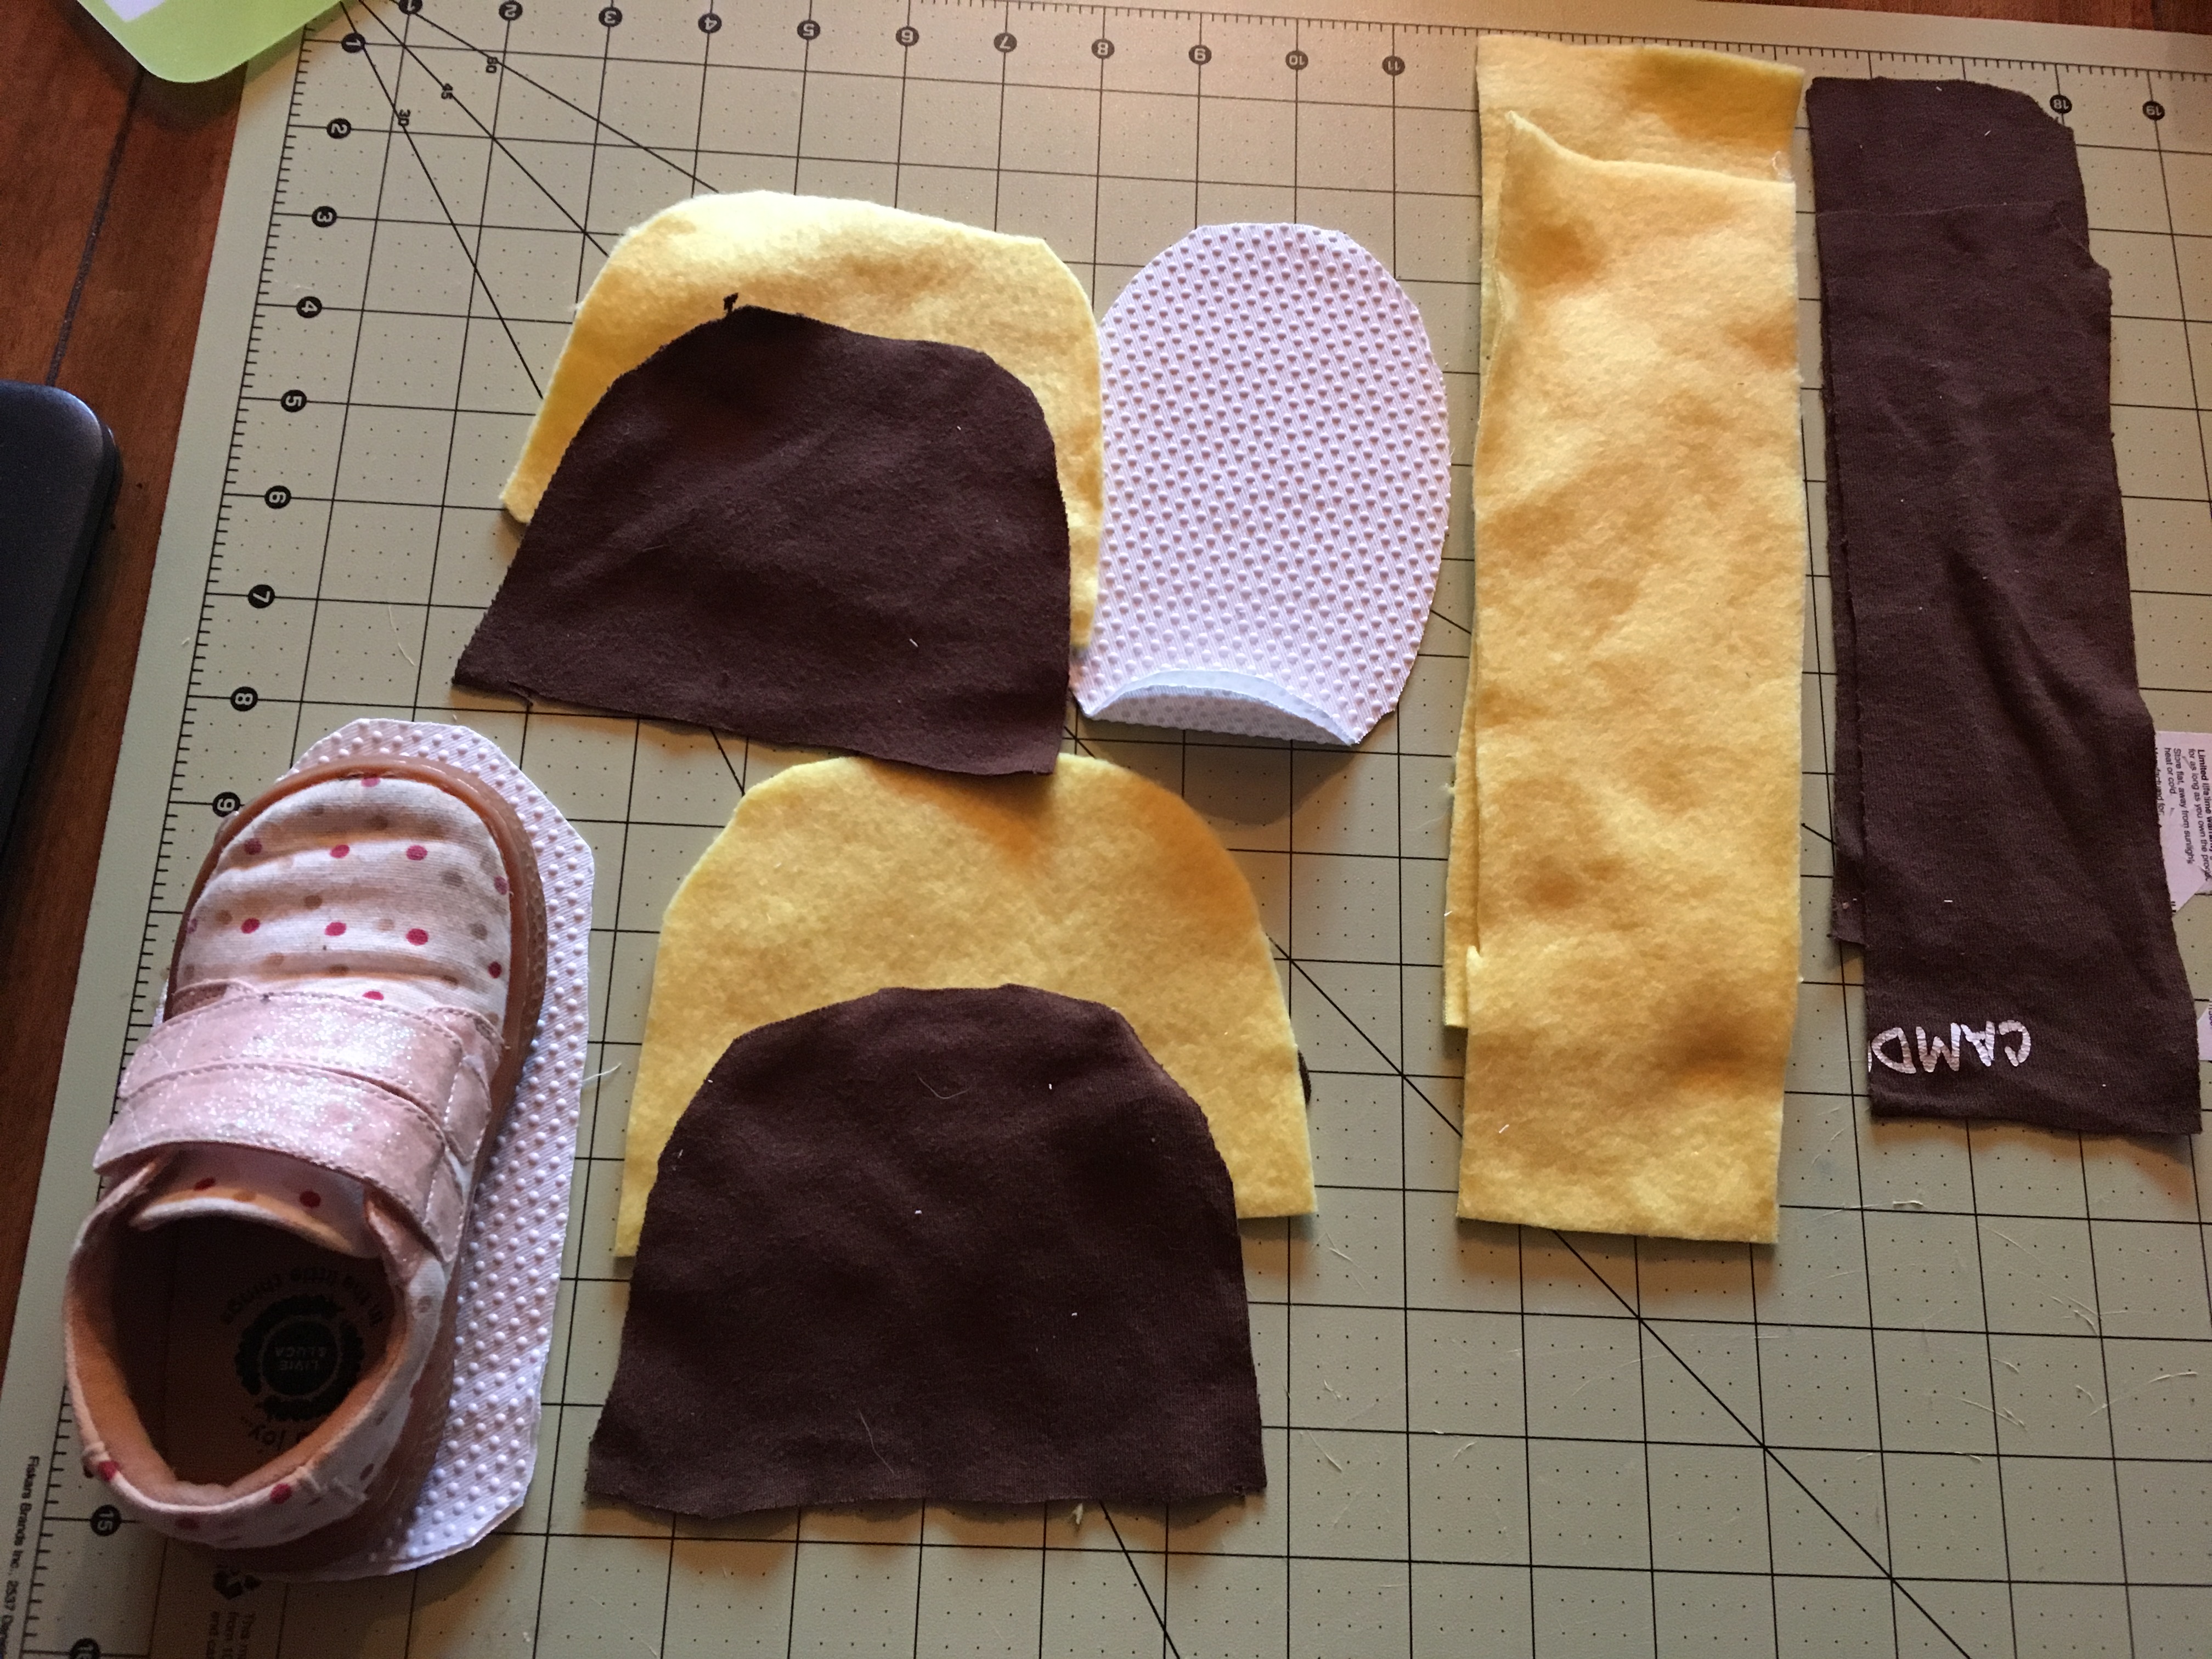
Next, trace your subject’s shoe or foot (if you are using their actual foot add 1/2 inch all the way around).
2. Trace the top of your childs shoe to make the front of the slipper. Cut four of these pieces. Then trace the back and cut 4 of these (add 1 inch to the long length side so you can overlap)
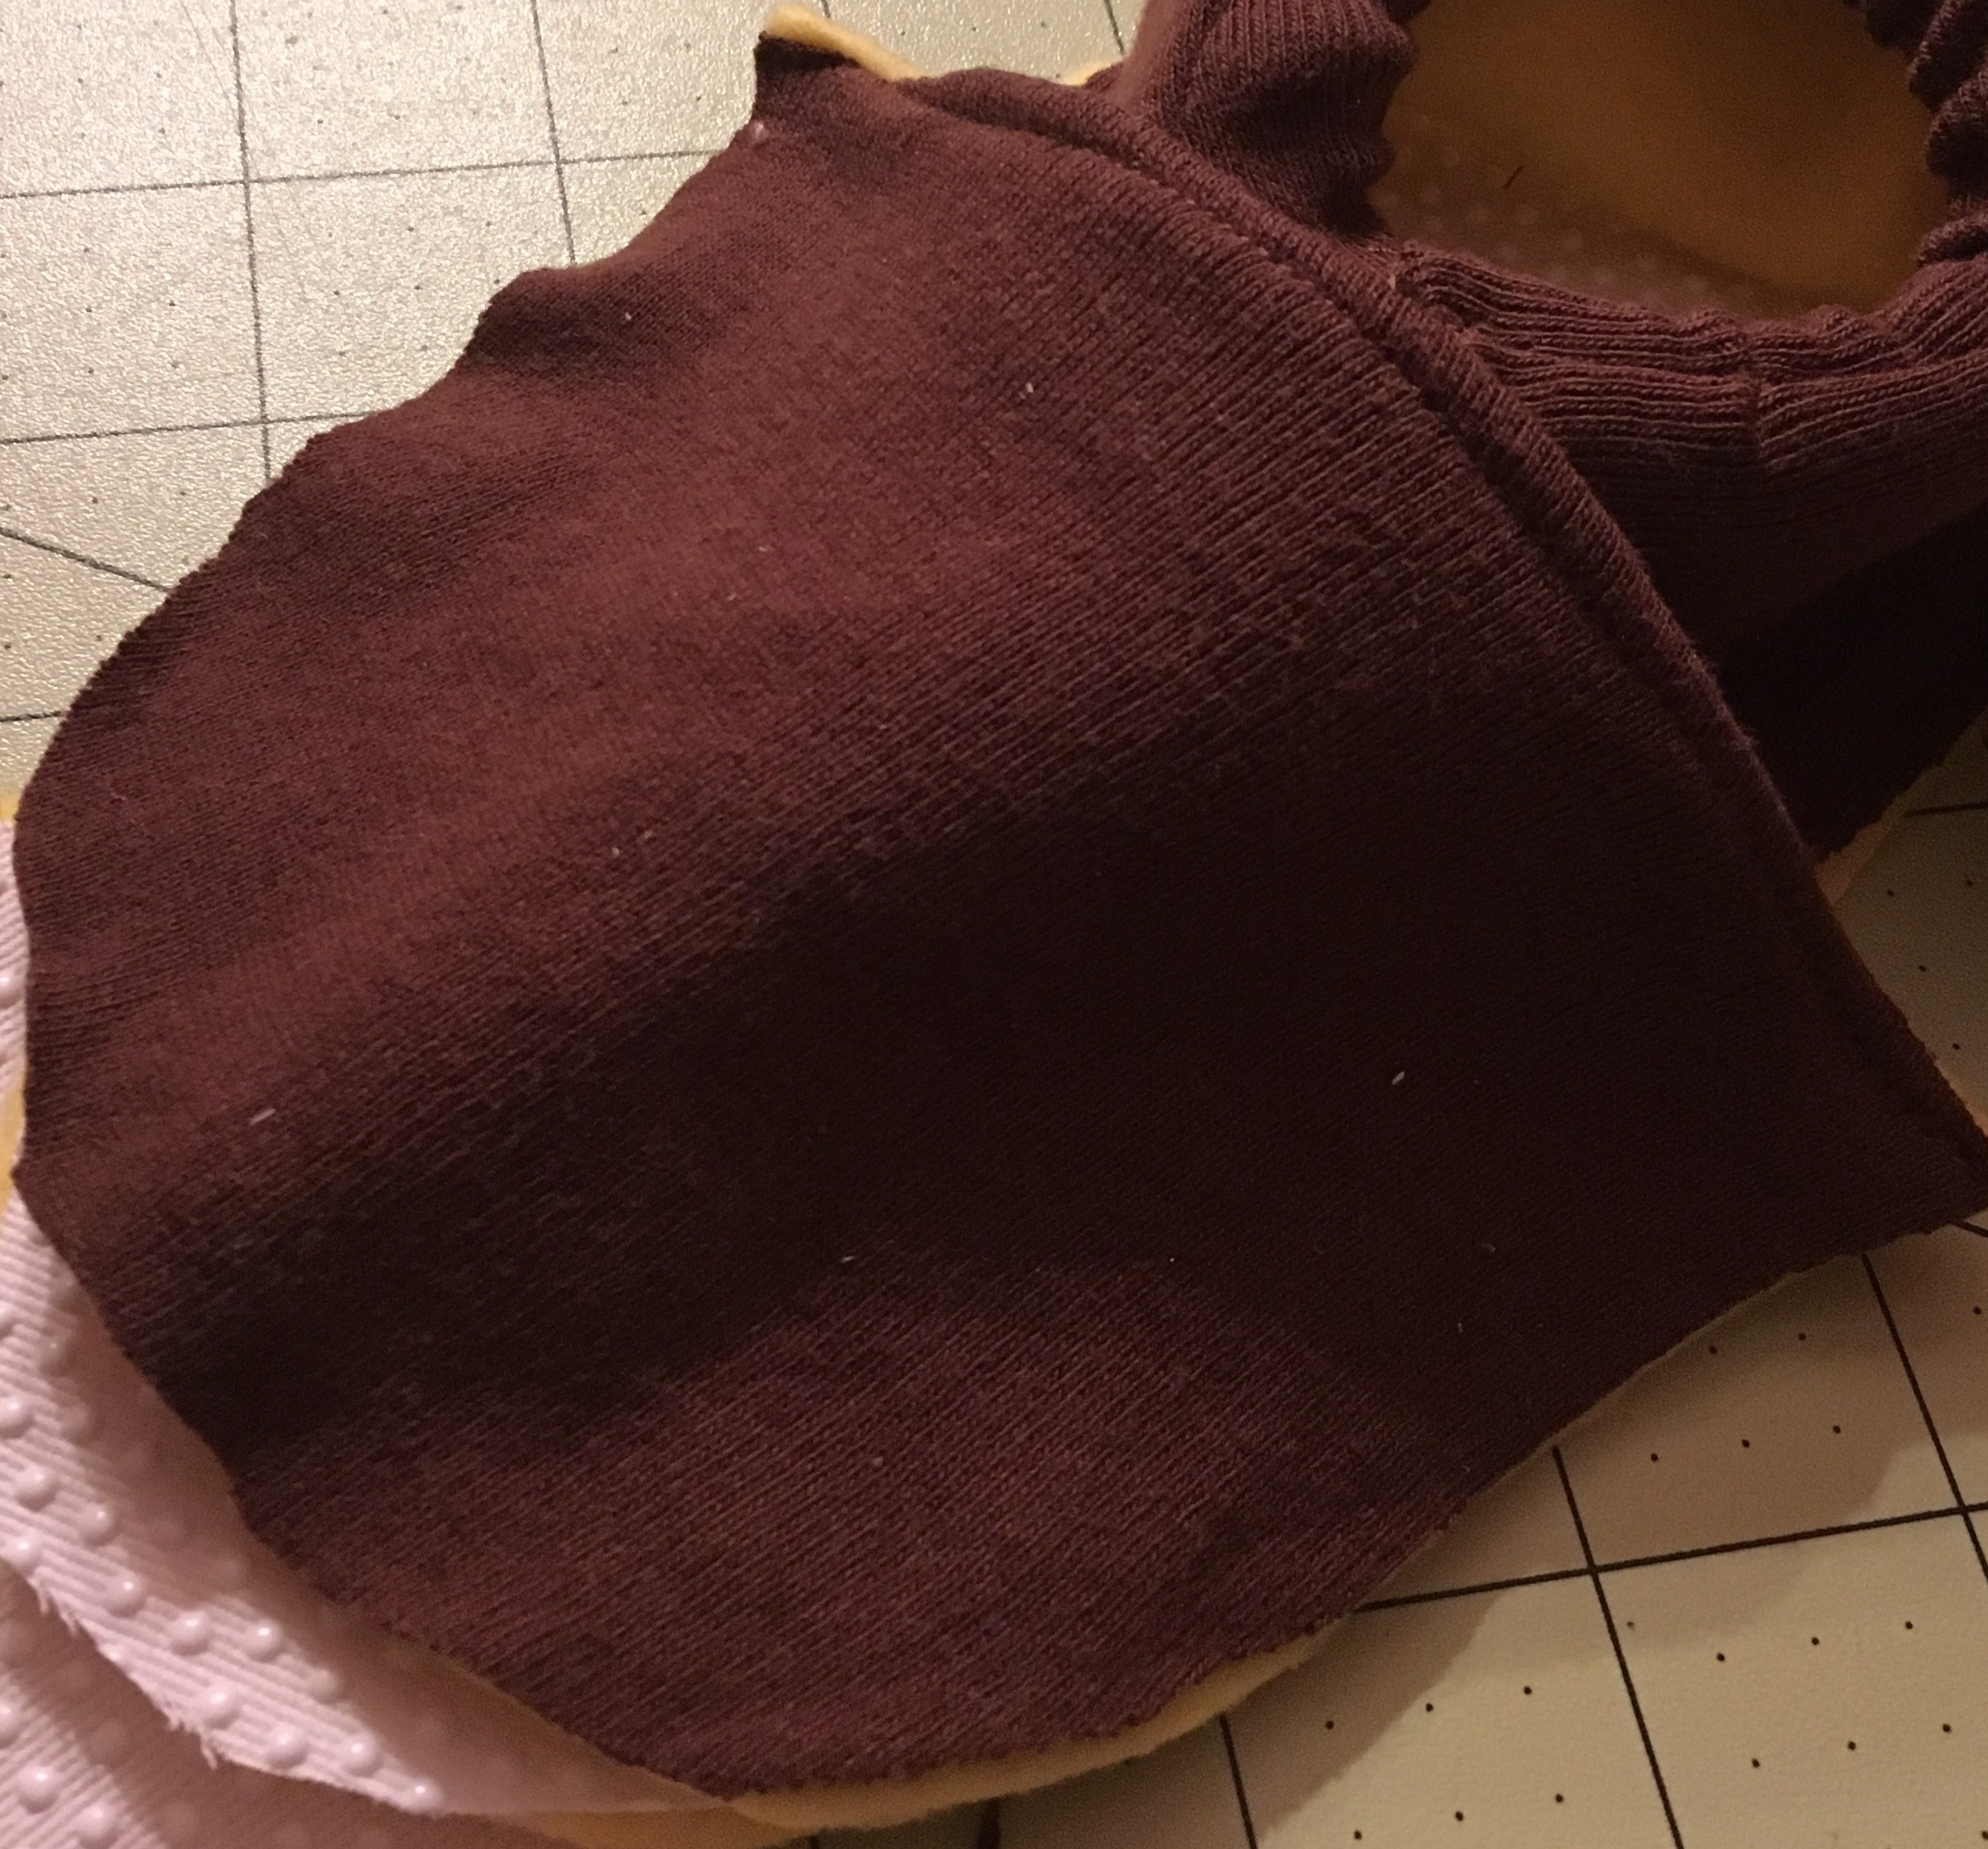
3. Take pattern facing pattern and sew the two front pieces together only on the straight side as shown (do this for both slippers).
4. Trim excess and turn right side out, iron right side out and sew across the top you ant on outside (this makes it look nicer.
5. Take pattern facing pattern for both back pieces and sew across one long side for both slippers.
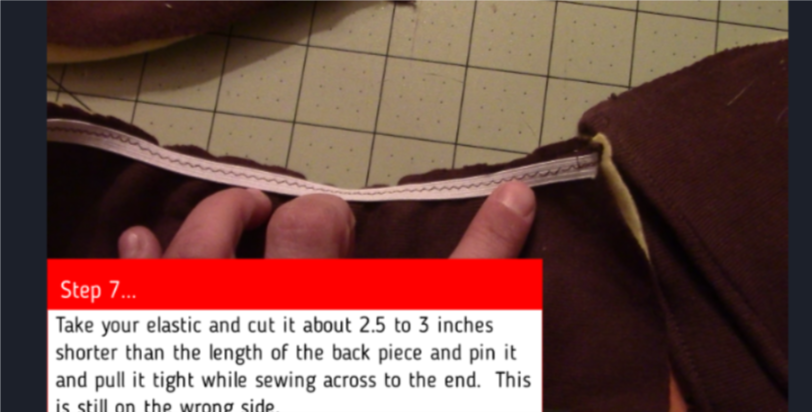
6. Take your elastic and cut it about 2.5 to 3 inches shorter than the length of the back piece and pin it and pull it tight while sewing across to the end. This is still on the wrong side.
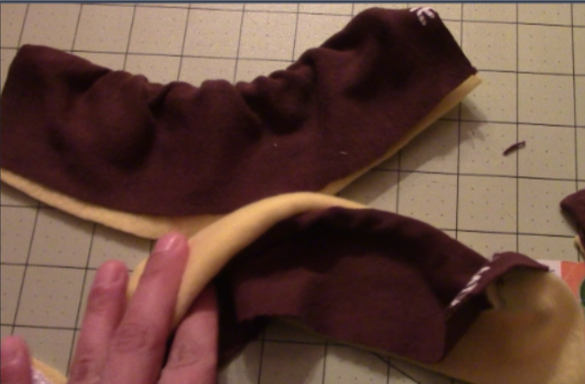
7. Flip the fabric over the elastic with right side out and iron and then sew right below the elastic and down the sides
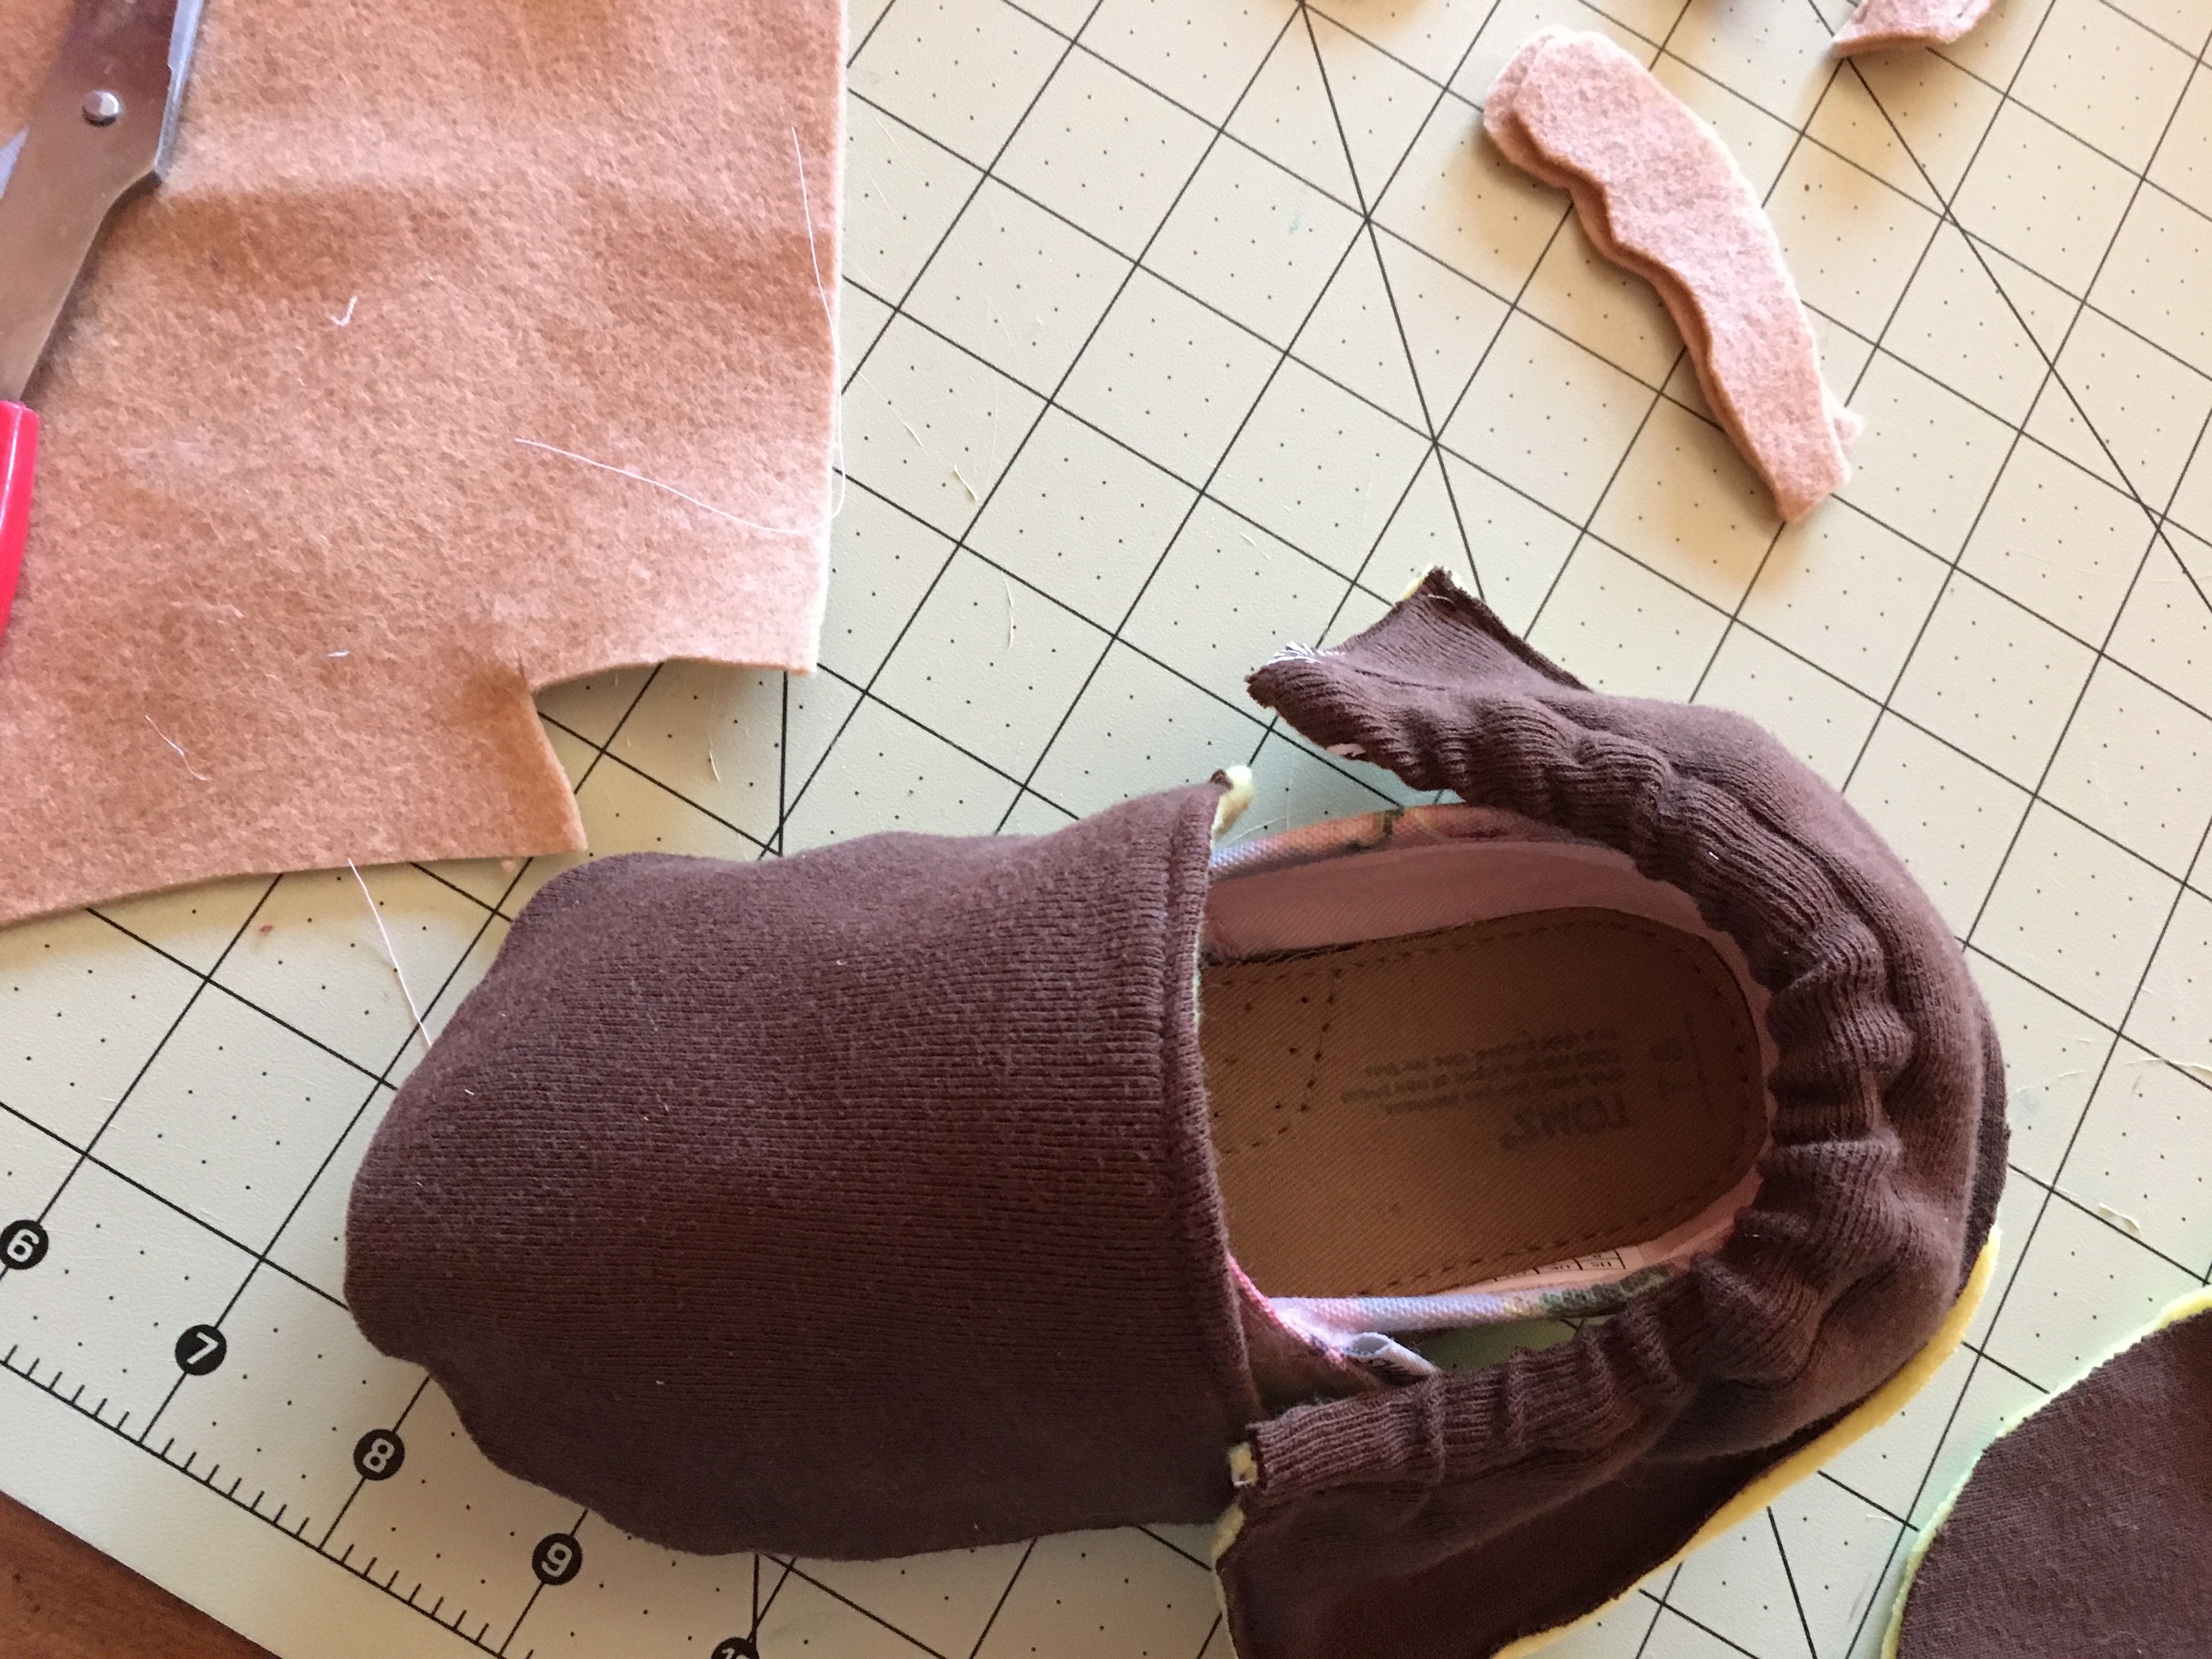
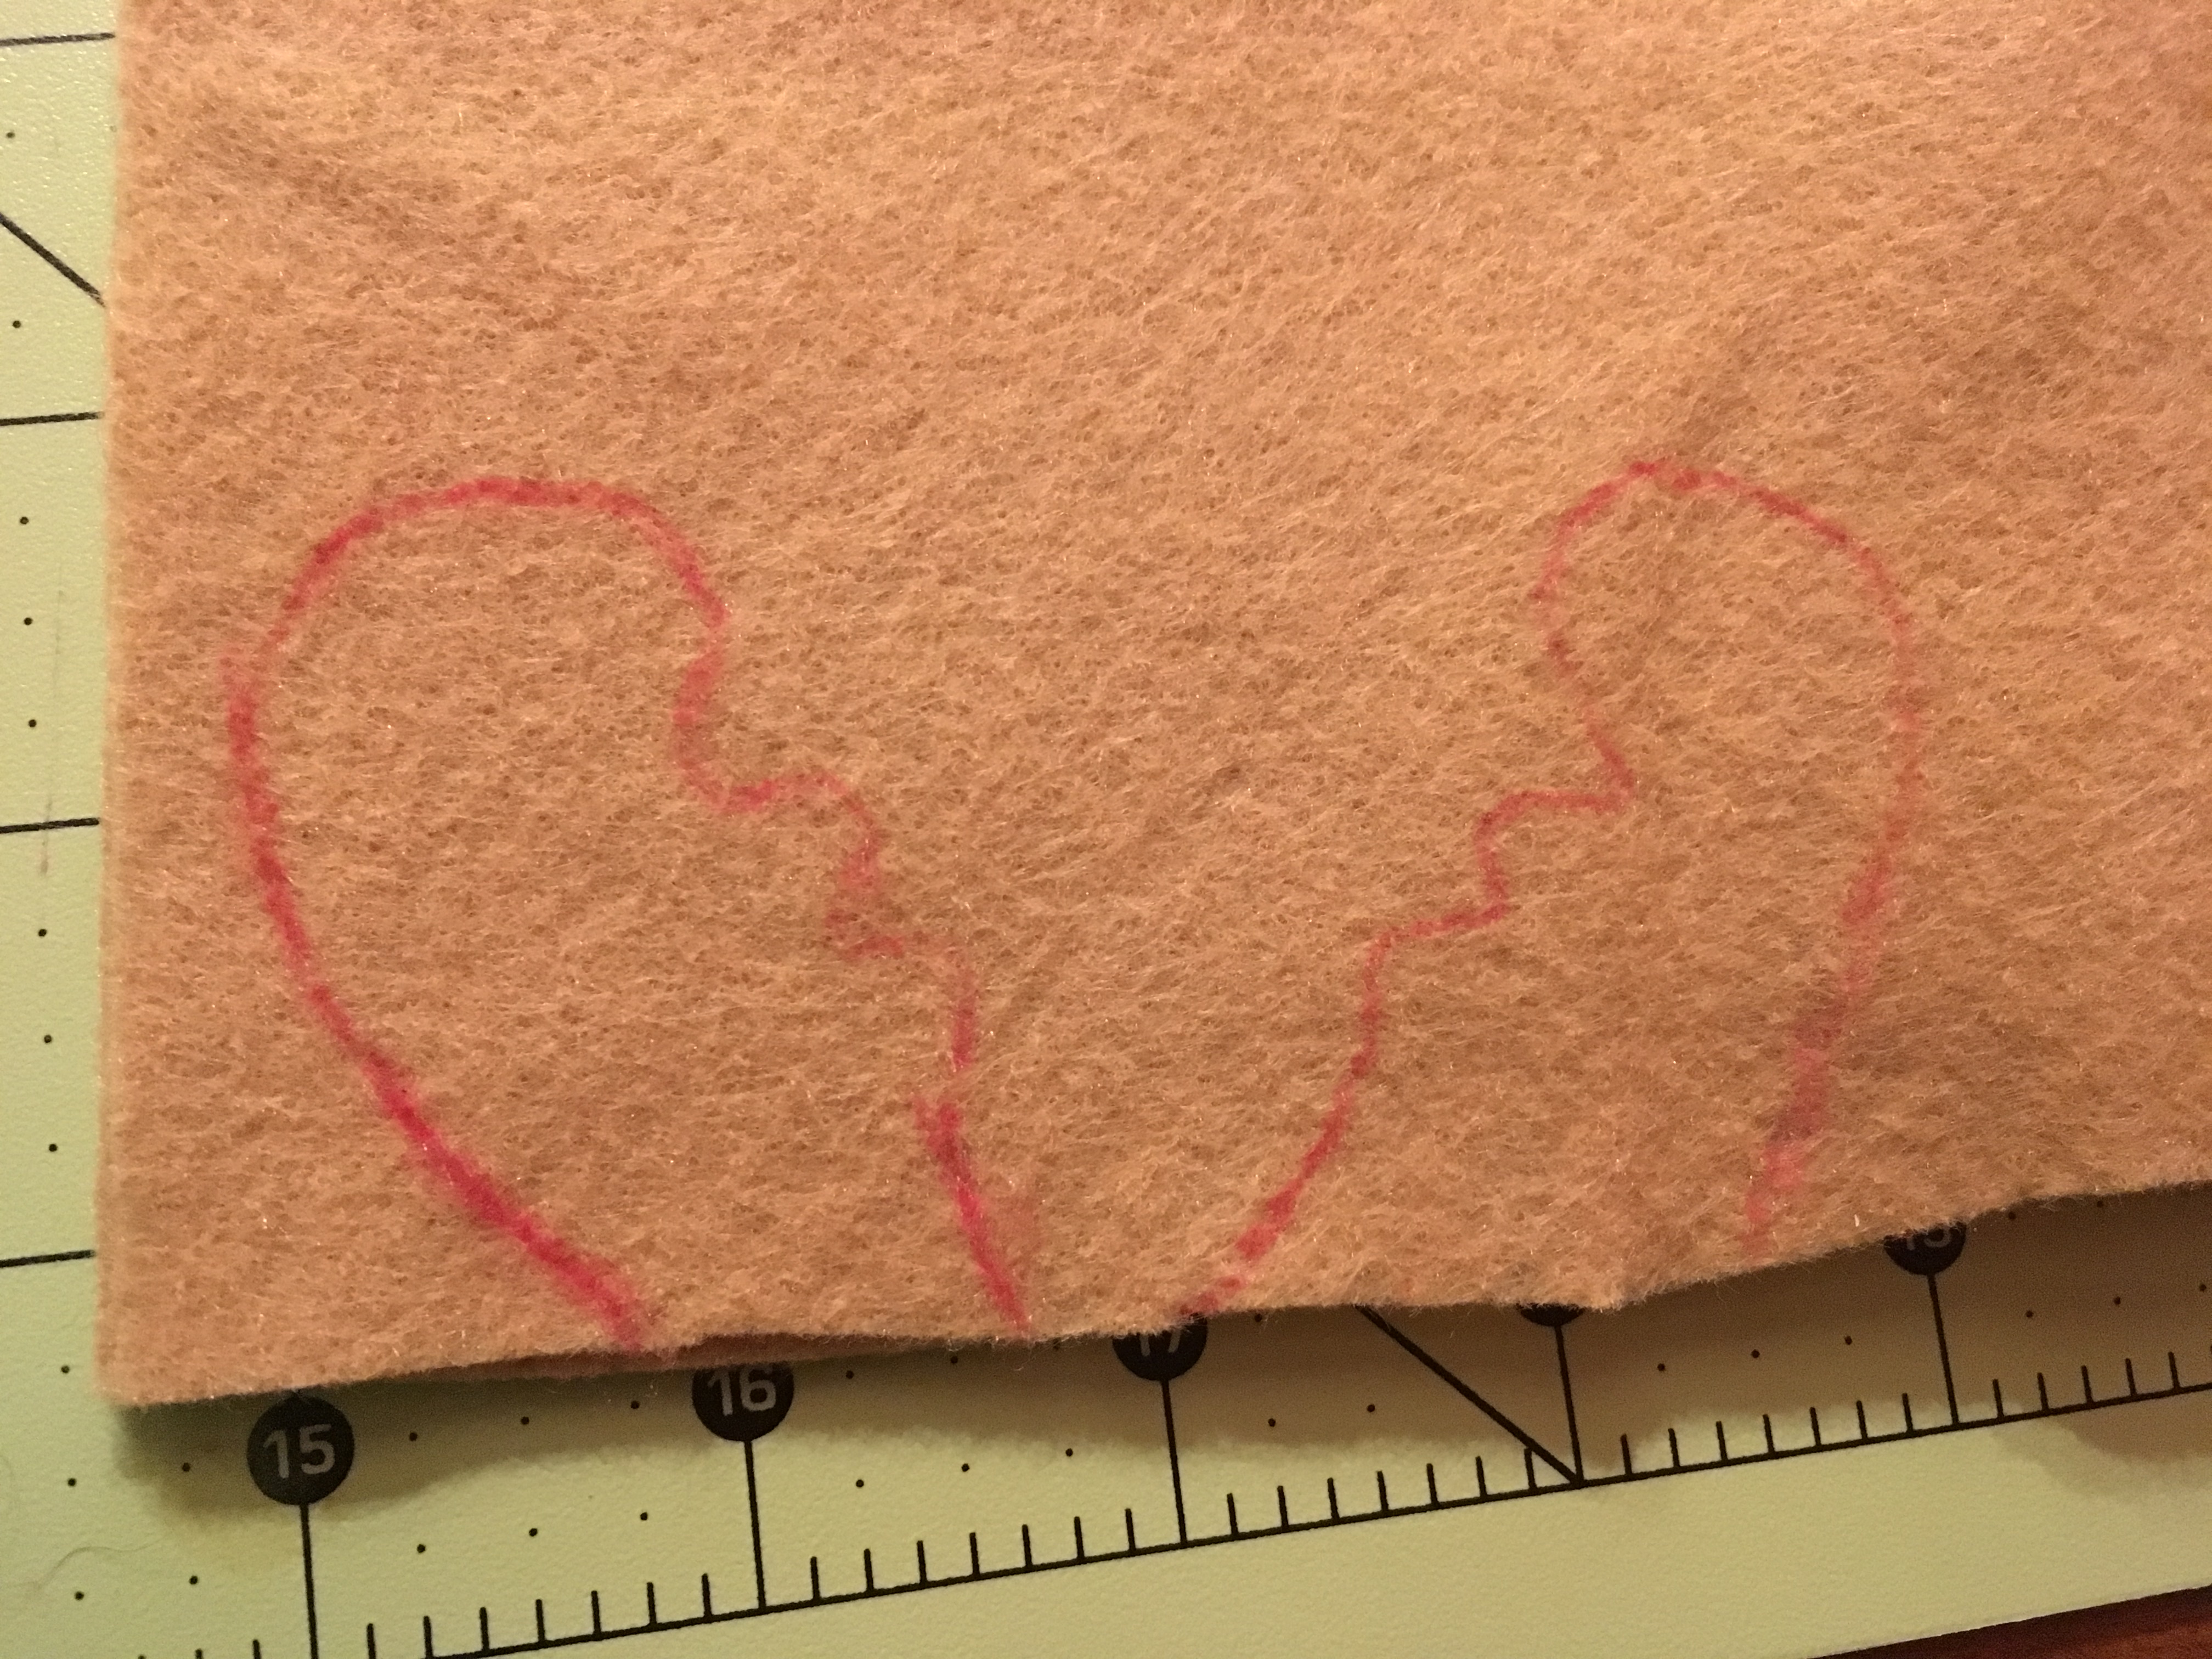
8. Freehanded antlers by looking at a picture of antlers. cut 4 sew around except bottom and stuff it.
9. Check sizing and put front and back piece pinned together with pattern facing down (right now you should only see (the side that is up) what will be on the inside when you are finished done).
10. After pinning the front to the back and the antlers in between the front and back piece, sew across front to attach front and back piece
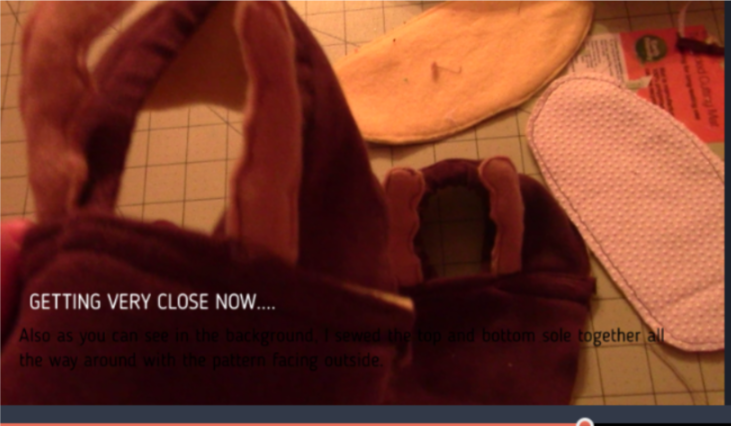
This is what it should look like now.
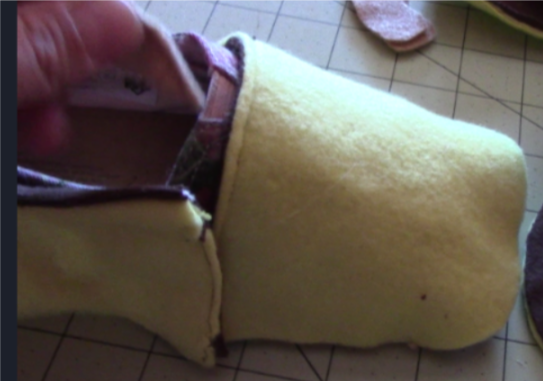
11. Line up the sole two pieces with the patterns on the outside (not the usual, but it doesn’t matter since its on the bottom) You can see it in the back there with the nonskid on top.
12. Line up the sole with the top piece (nonstick sole facing upwards to the reindeer face) by finding the middle of the front and back (you can fold to find this). Then sew all the way around. And turn right side out and WAH-LA!!
I sewed on the red cotton ball nose and hot glue gunned the eyes on. If you have a little one then please don’t use googely eyes since they might try and eat them!
Don’t forget to check out our facebook site and subscribe to our youtube videos! ENJOY! MERRY CHRISTMAS!
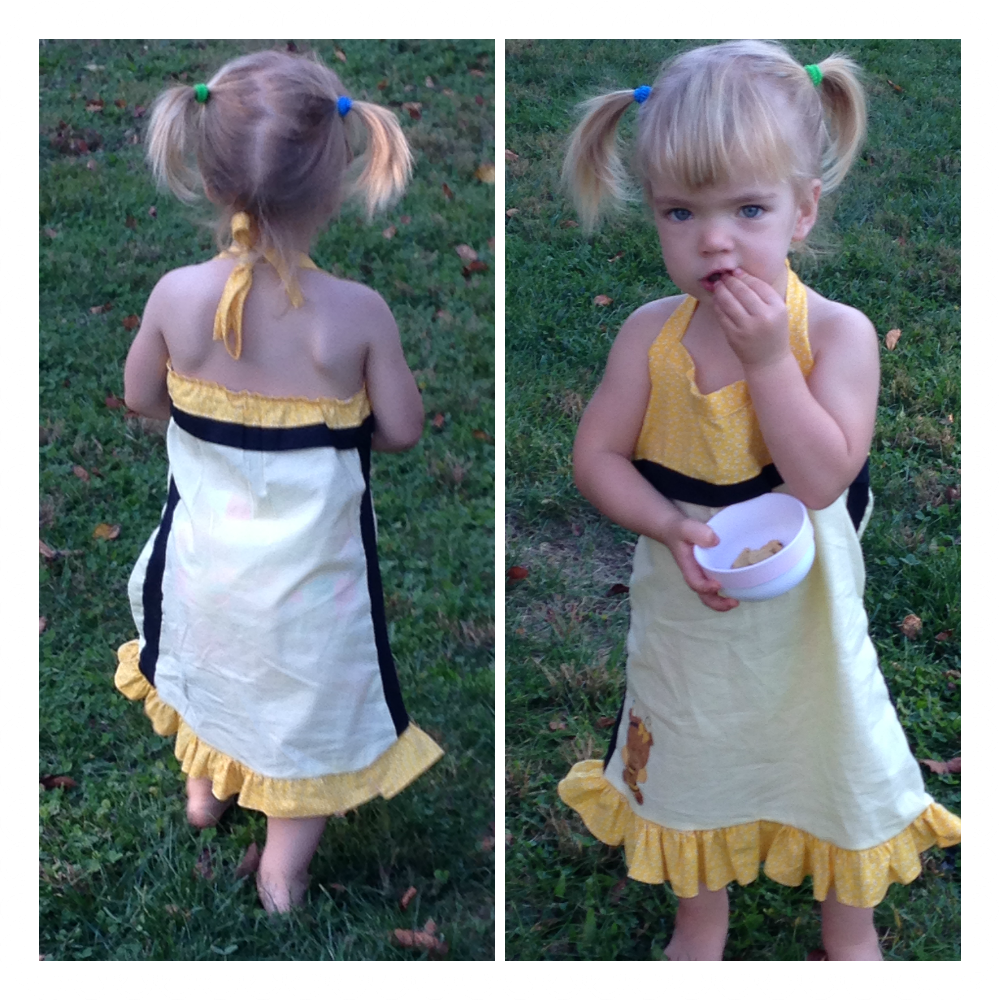
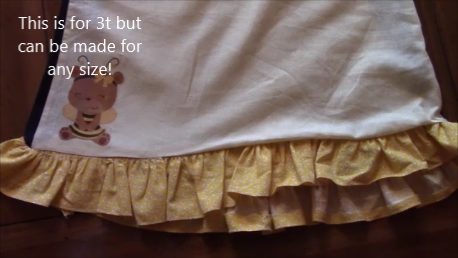
This lovely summer spaghetti strap dress was suppose to be made in time for my sister in laws baby shower in June. However, I was unable to finish it due to my water breaking early and being hospitalized. I finally finished it and love how it turned out! I free handed the design and sizing. I meant for it to end up as a 2t size, but as you can see it’s a bit big! This works out great since its winter and not summertime! She can wear it this upcoming summer. I can’t wait for the warm spring and summer to come! Bulbs and flowers emerging and gardening time, but let’s get back on track.
As always there is a youtube tutorial and this written one. I do not have a pattern as a freehanded it and designed the pattern myself as I went. I used one of my Cece’s dresses to size it and make part of the pattern to guess the sizing.
Unfortunately, a lot of the video tutorial was accidentally videotaped over with my baby boys arrival home (sorry more important anyways!). So I videotaped again trying to explain the best I could. If you have questions please let me know! More great videos to come soon!
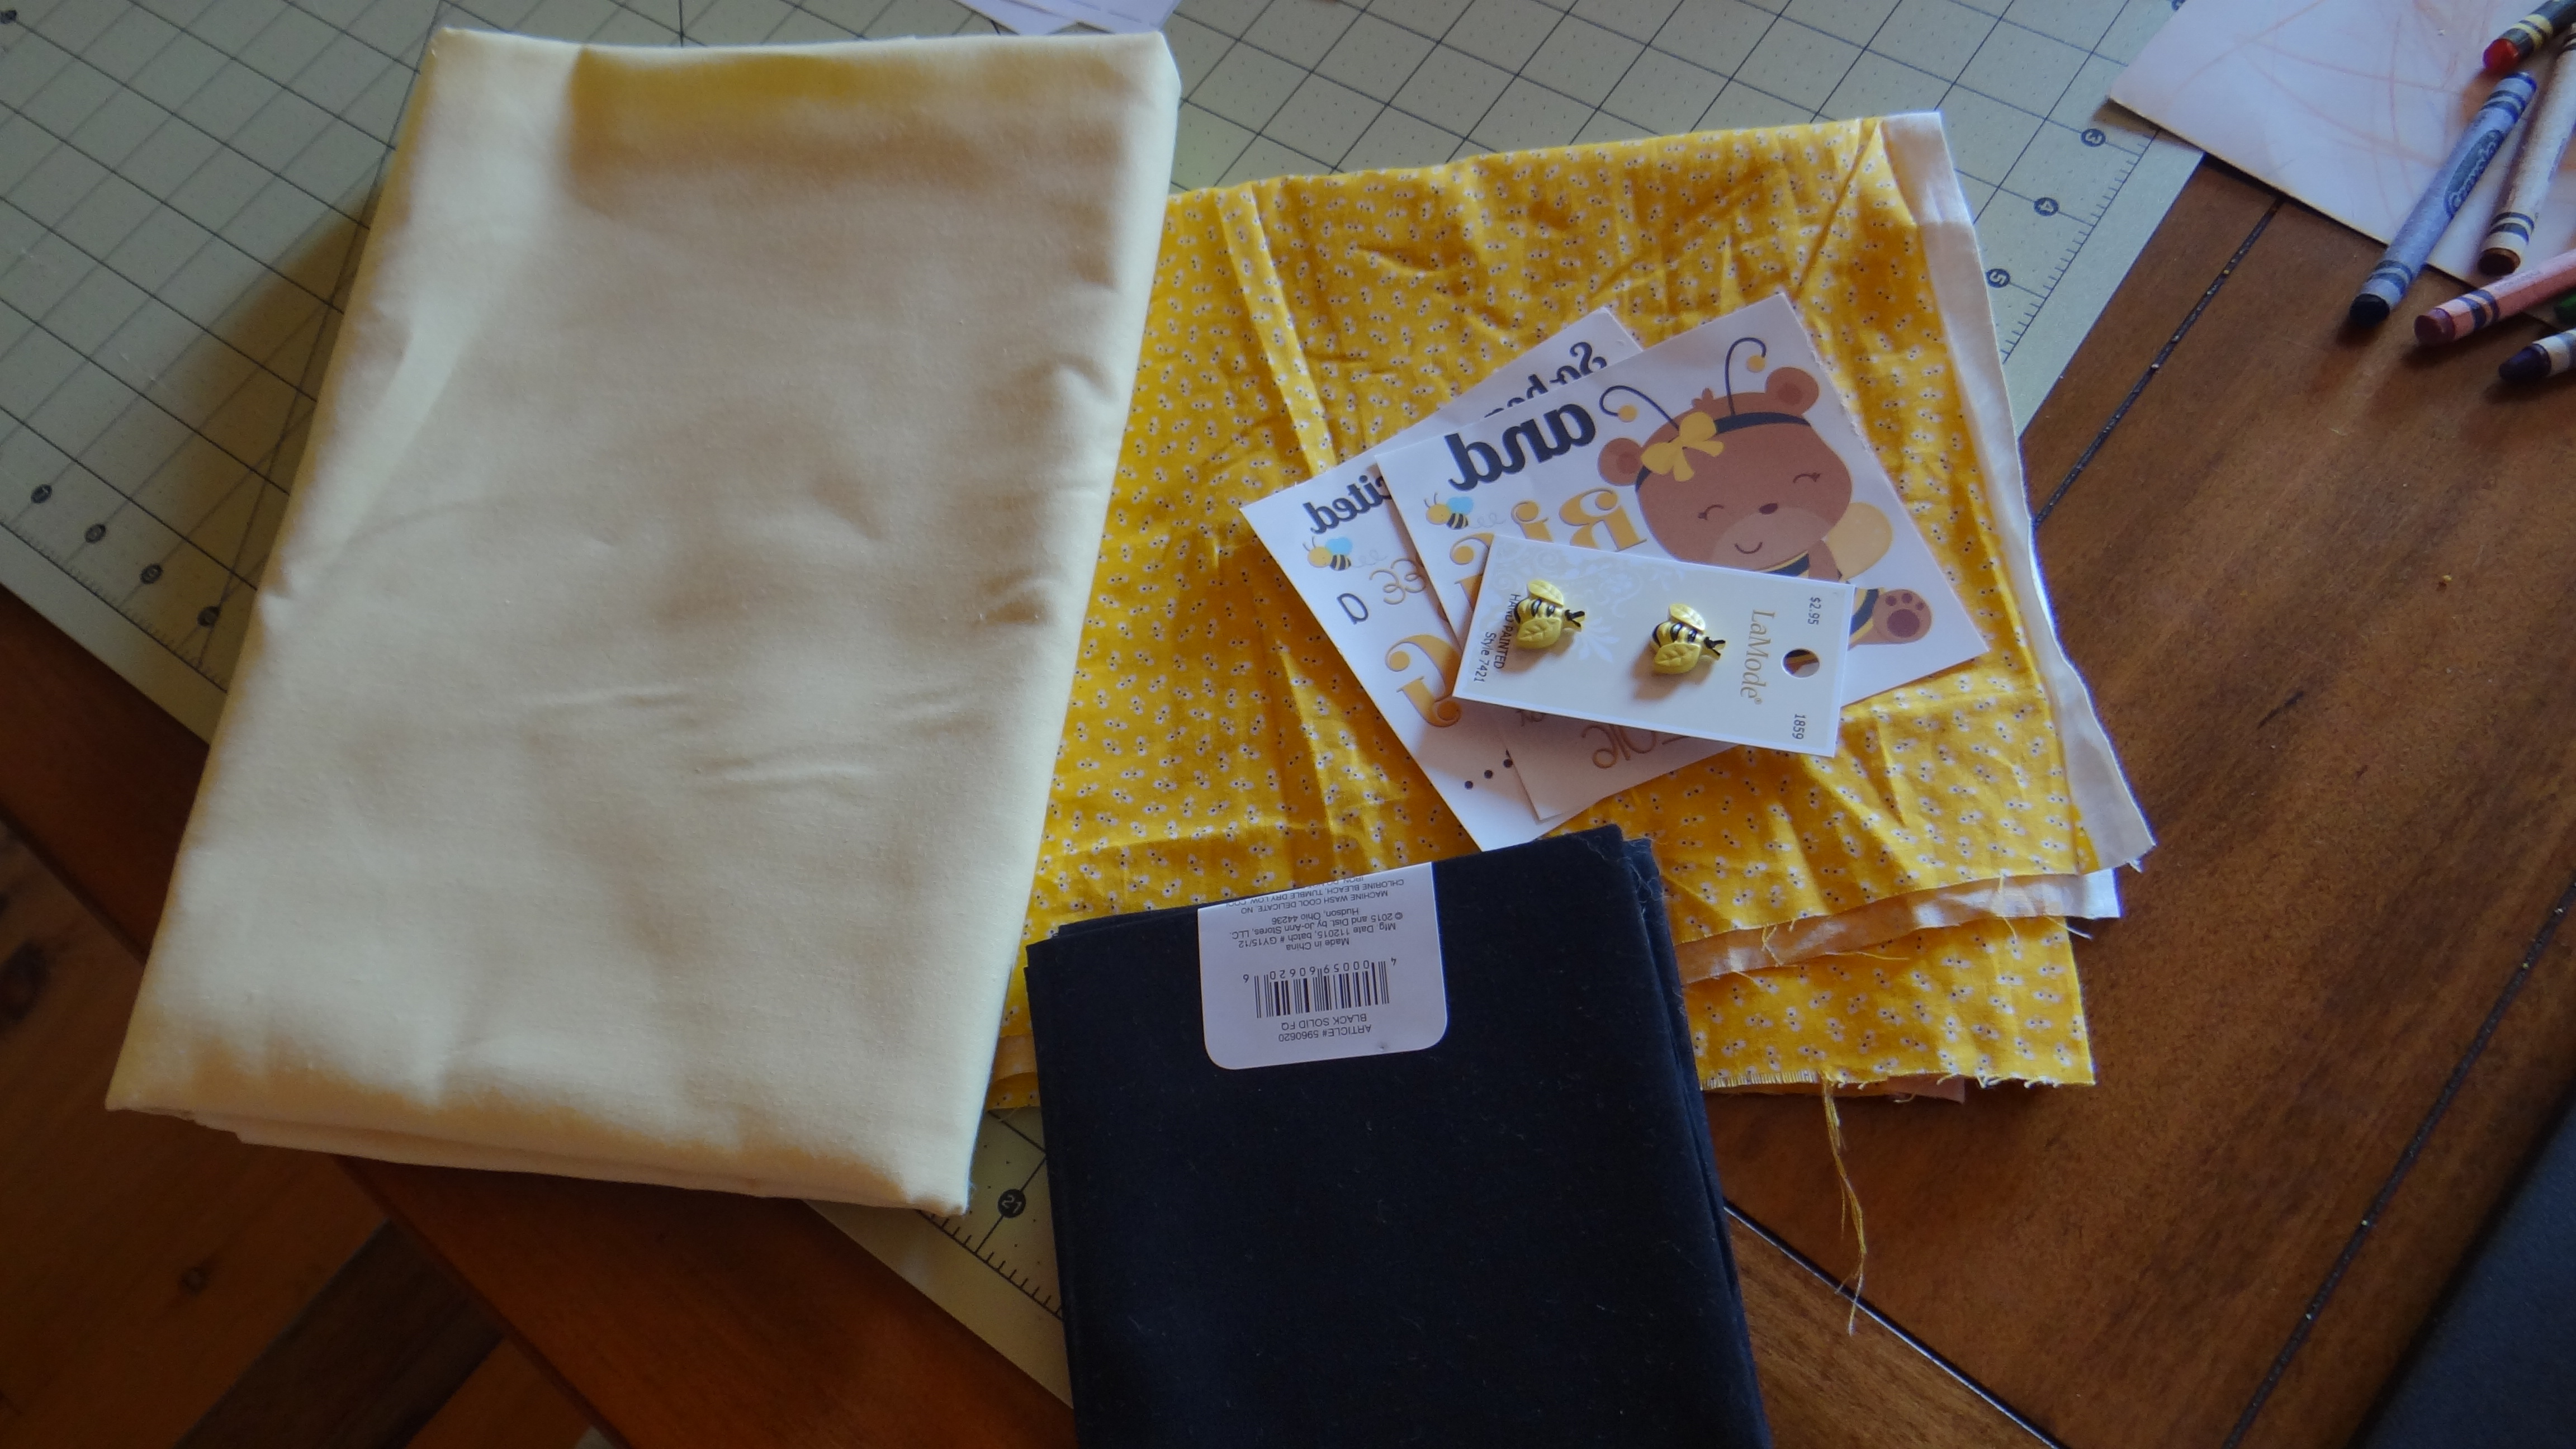
What you need:
Chose of fabric colors and types (I chose three colors
1/4 inch elastic (for gathering of the top of back of the dress)
Bias tape (or you can make your own like I did)
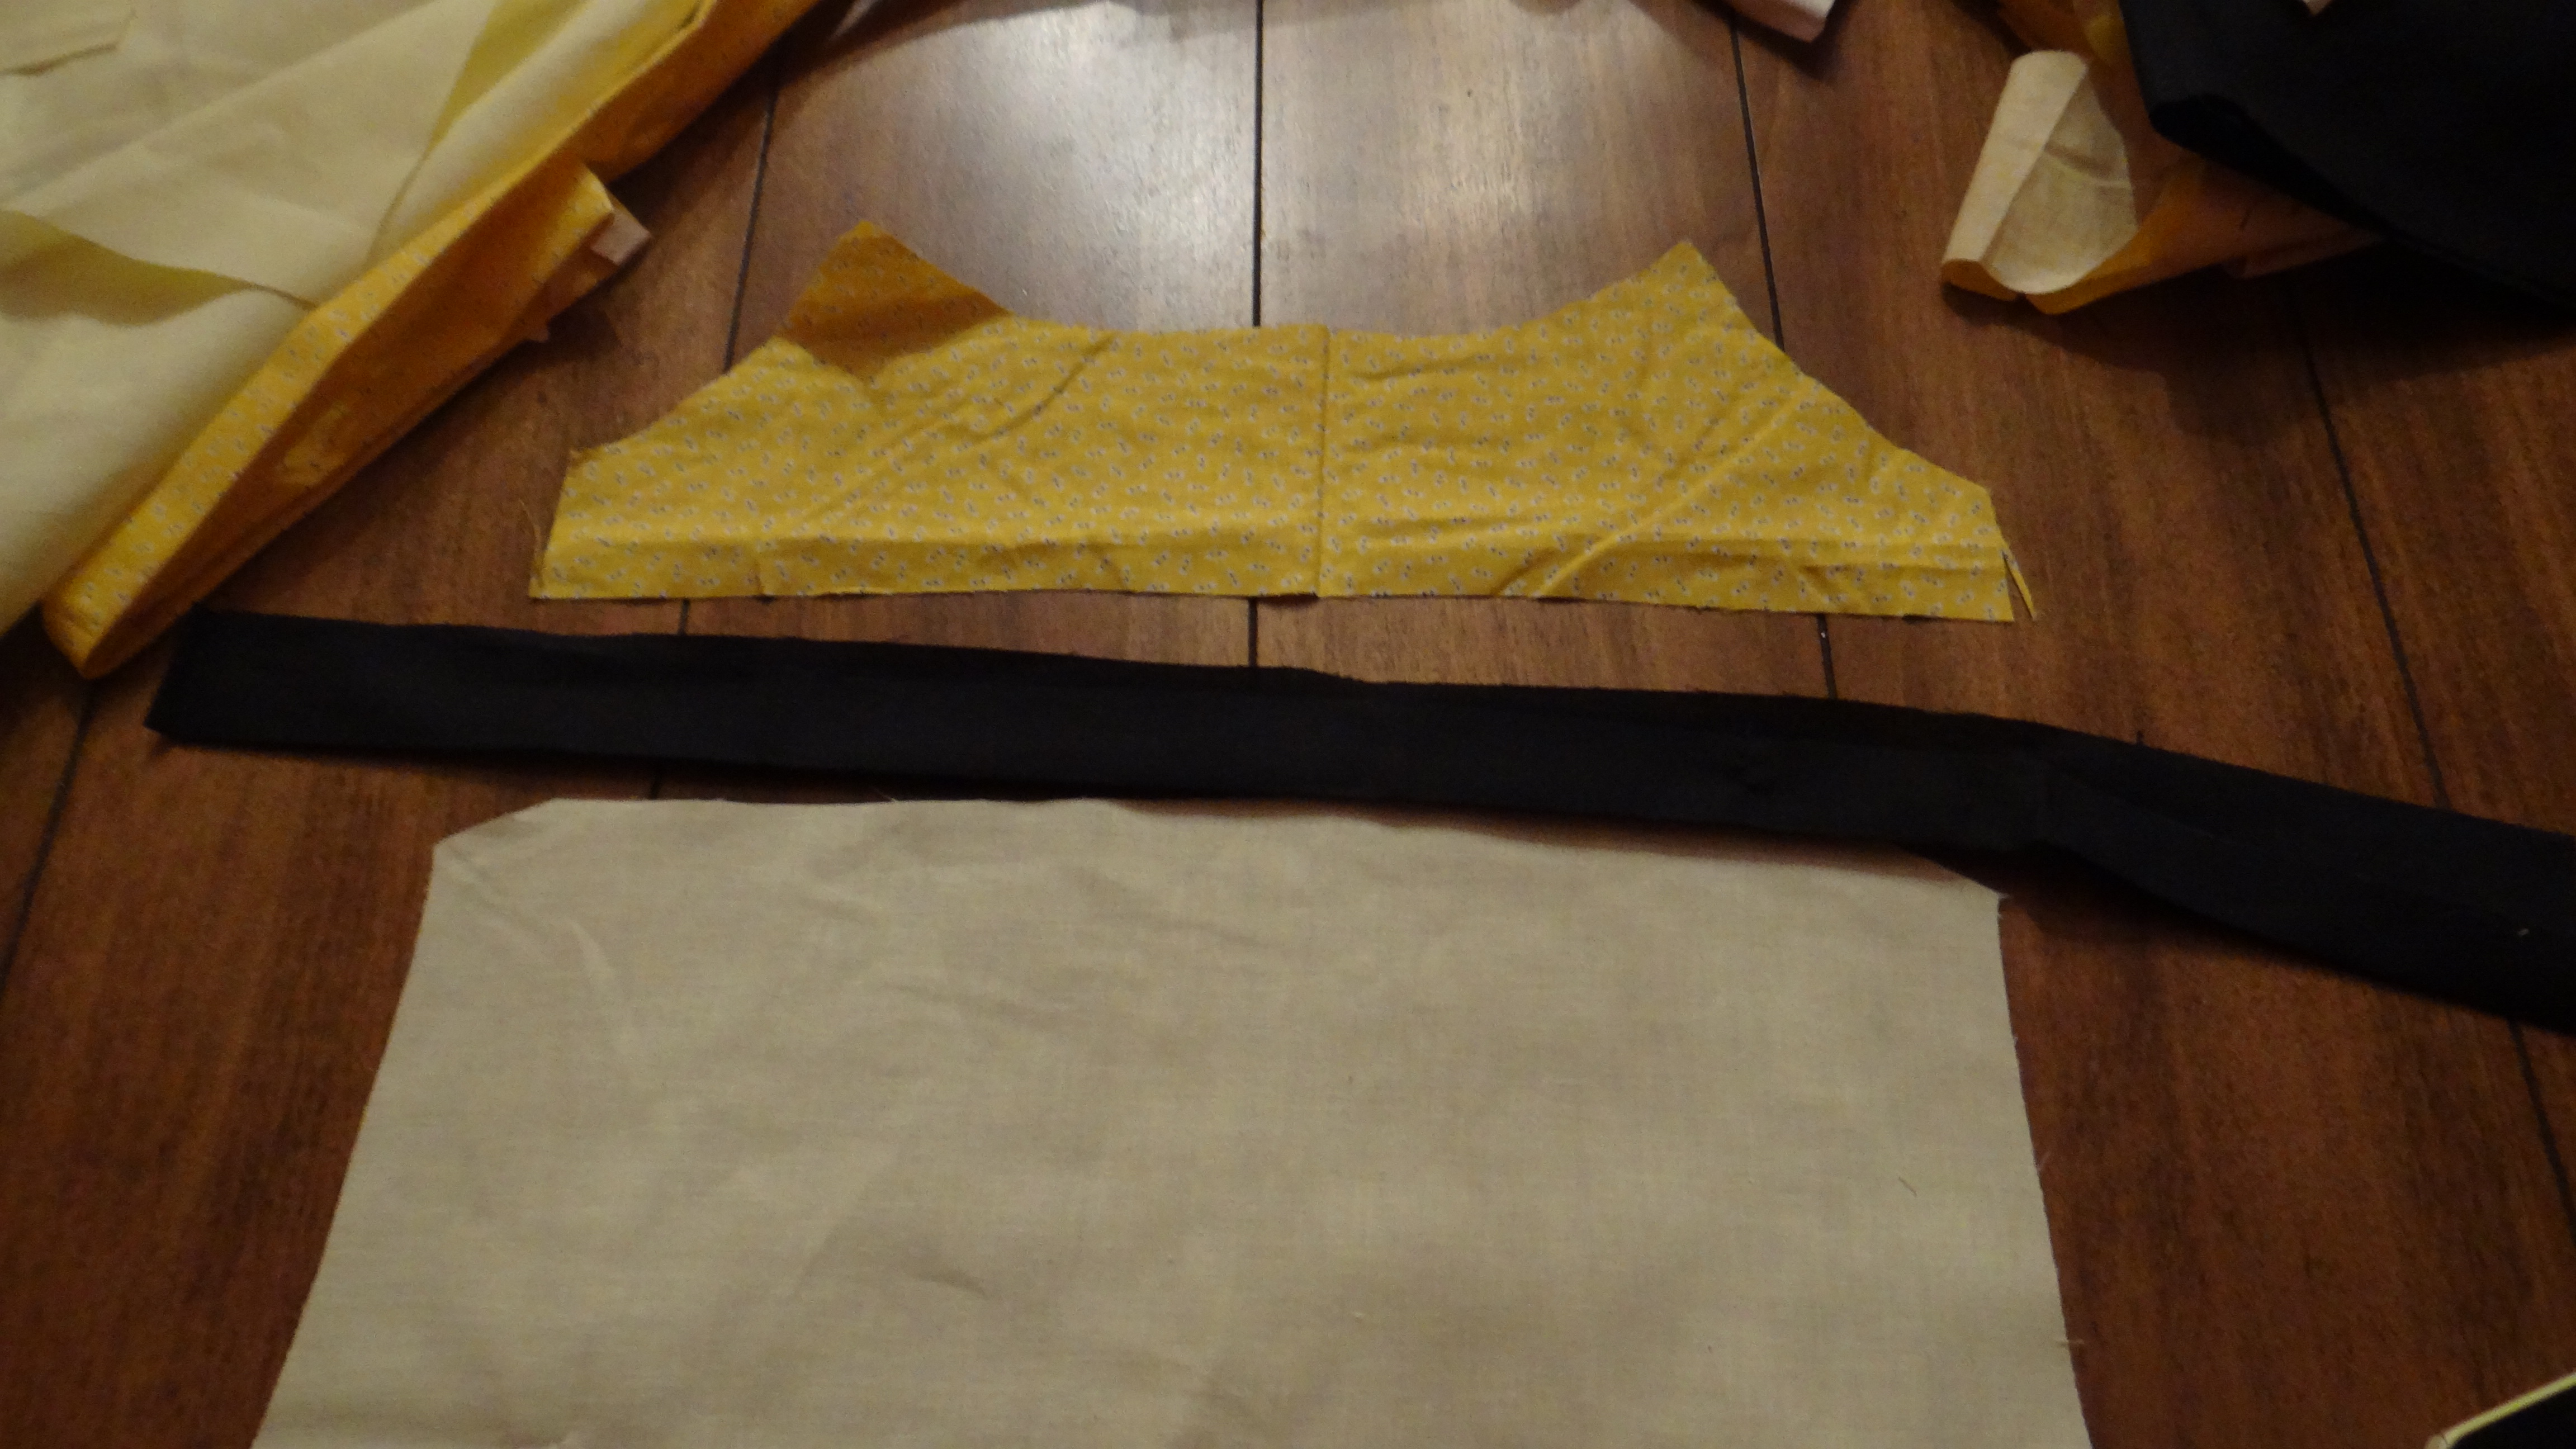
First you want to cut out your fabric pieces. I looked at another dress I have for my little one and based the main front and back piece by measuring and estimating the sizing. Then I cut the bottom piece I needed which ended up being about 40inches long and 4 inches wide (for the ruffle on the bottom). I ended up added another color (black) on the two sides of the dress. Then I also cut out fabric to make bias tape (here is a good tutorial on making bias tape if you’ve never made it before..BIAS TAPE TUTORIAL. )
Take your strap (black piece) and sew it to the top piece and bottom piece. Pattern piece to pattern piece (facing each other) sew the bottom to the strap
then the top.
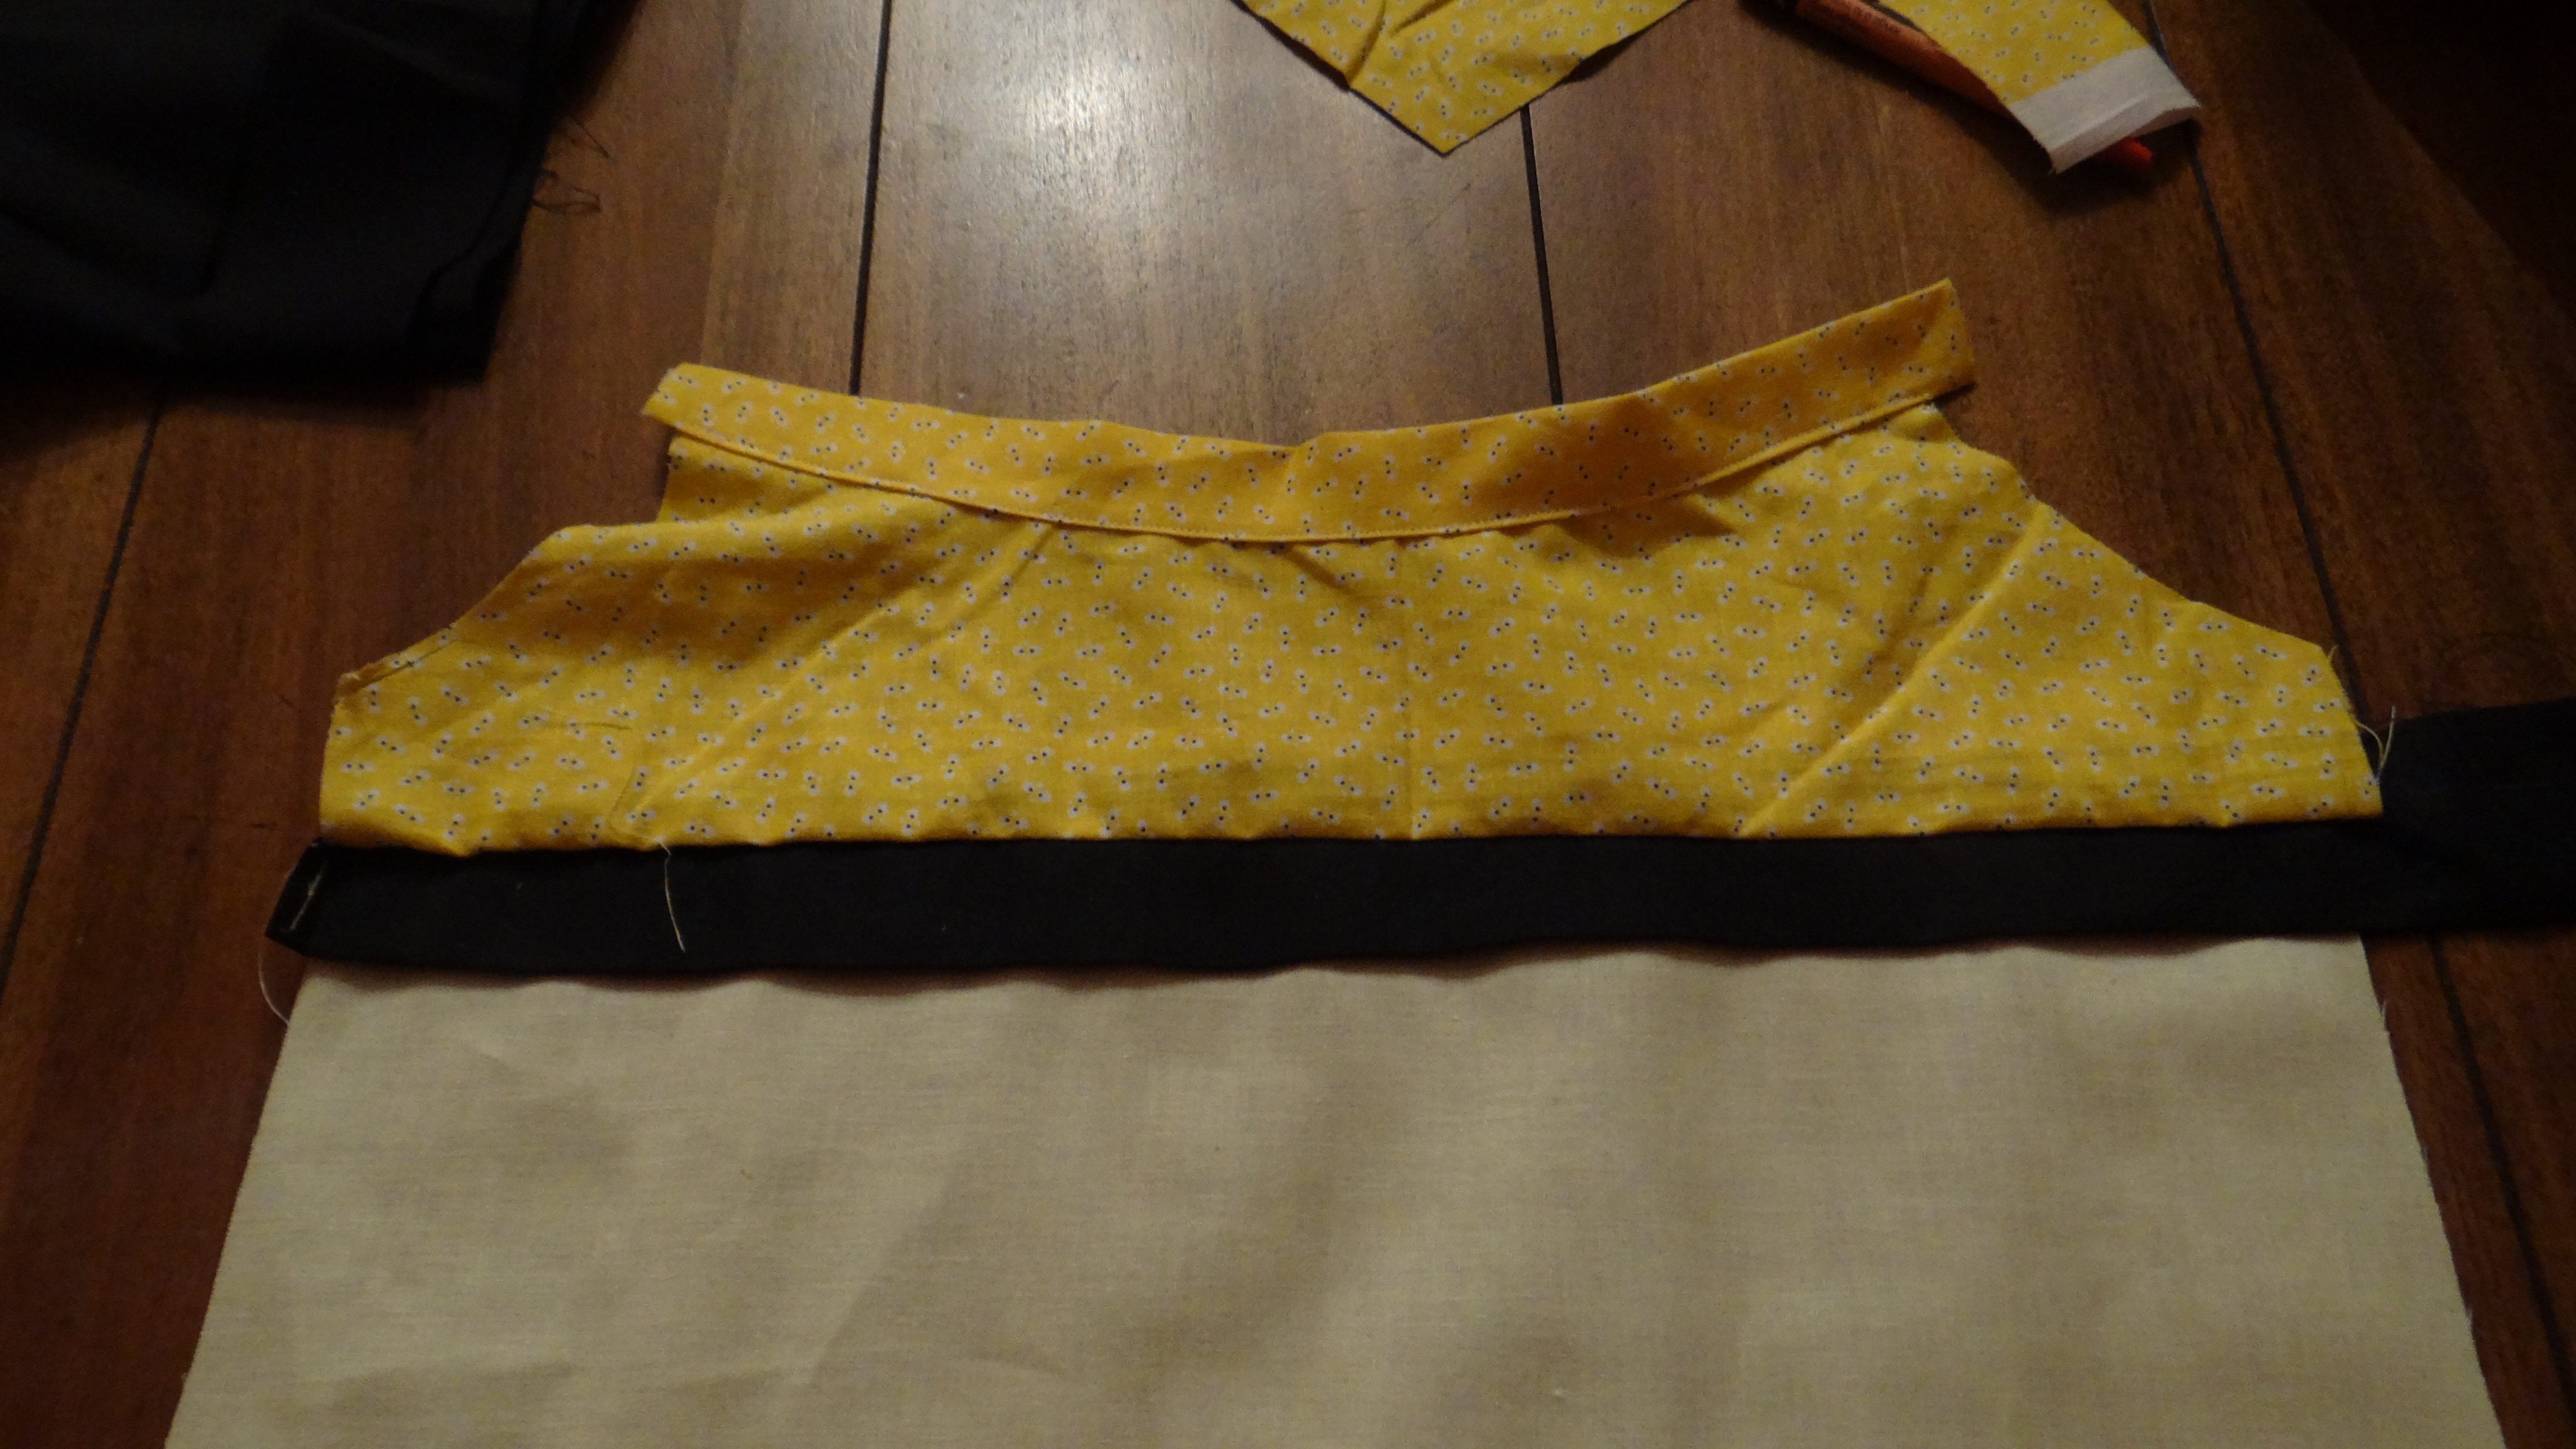
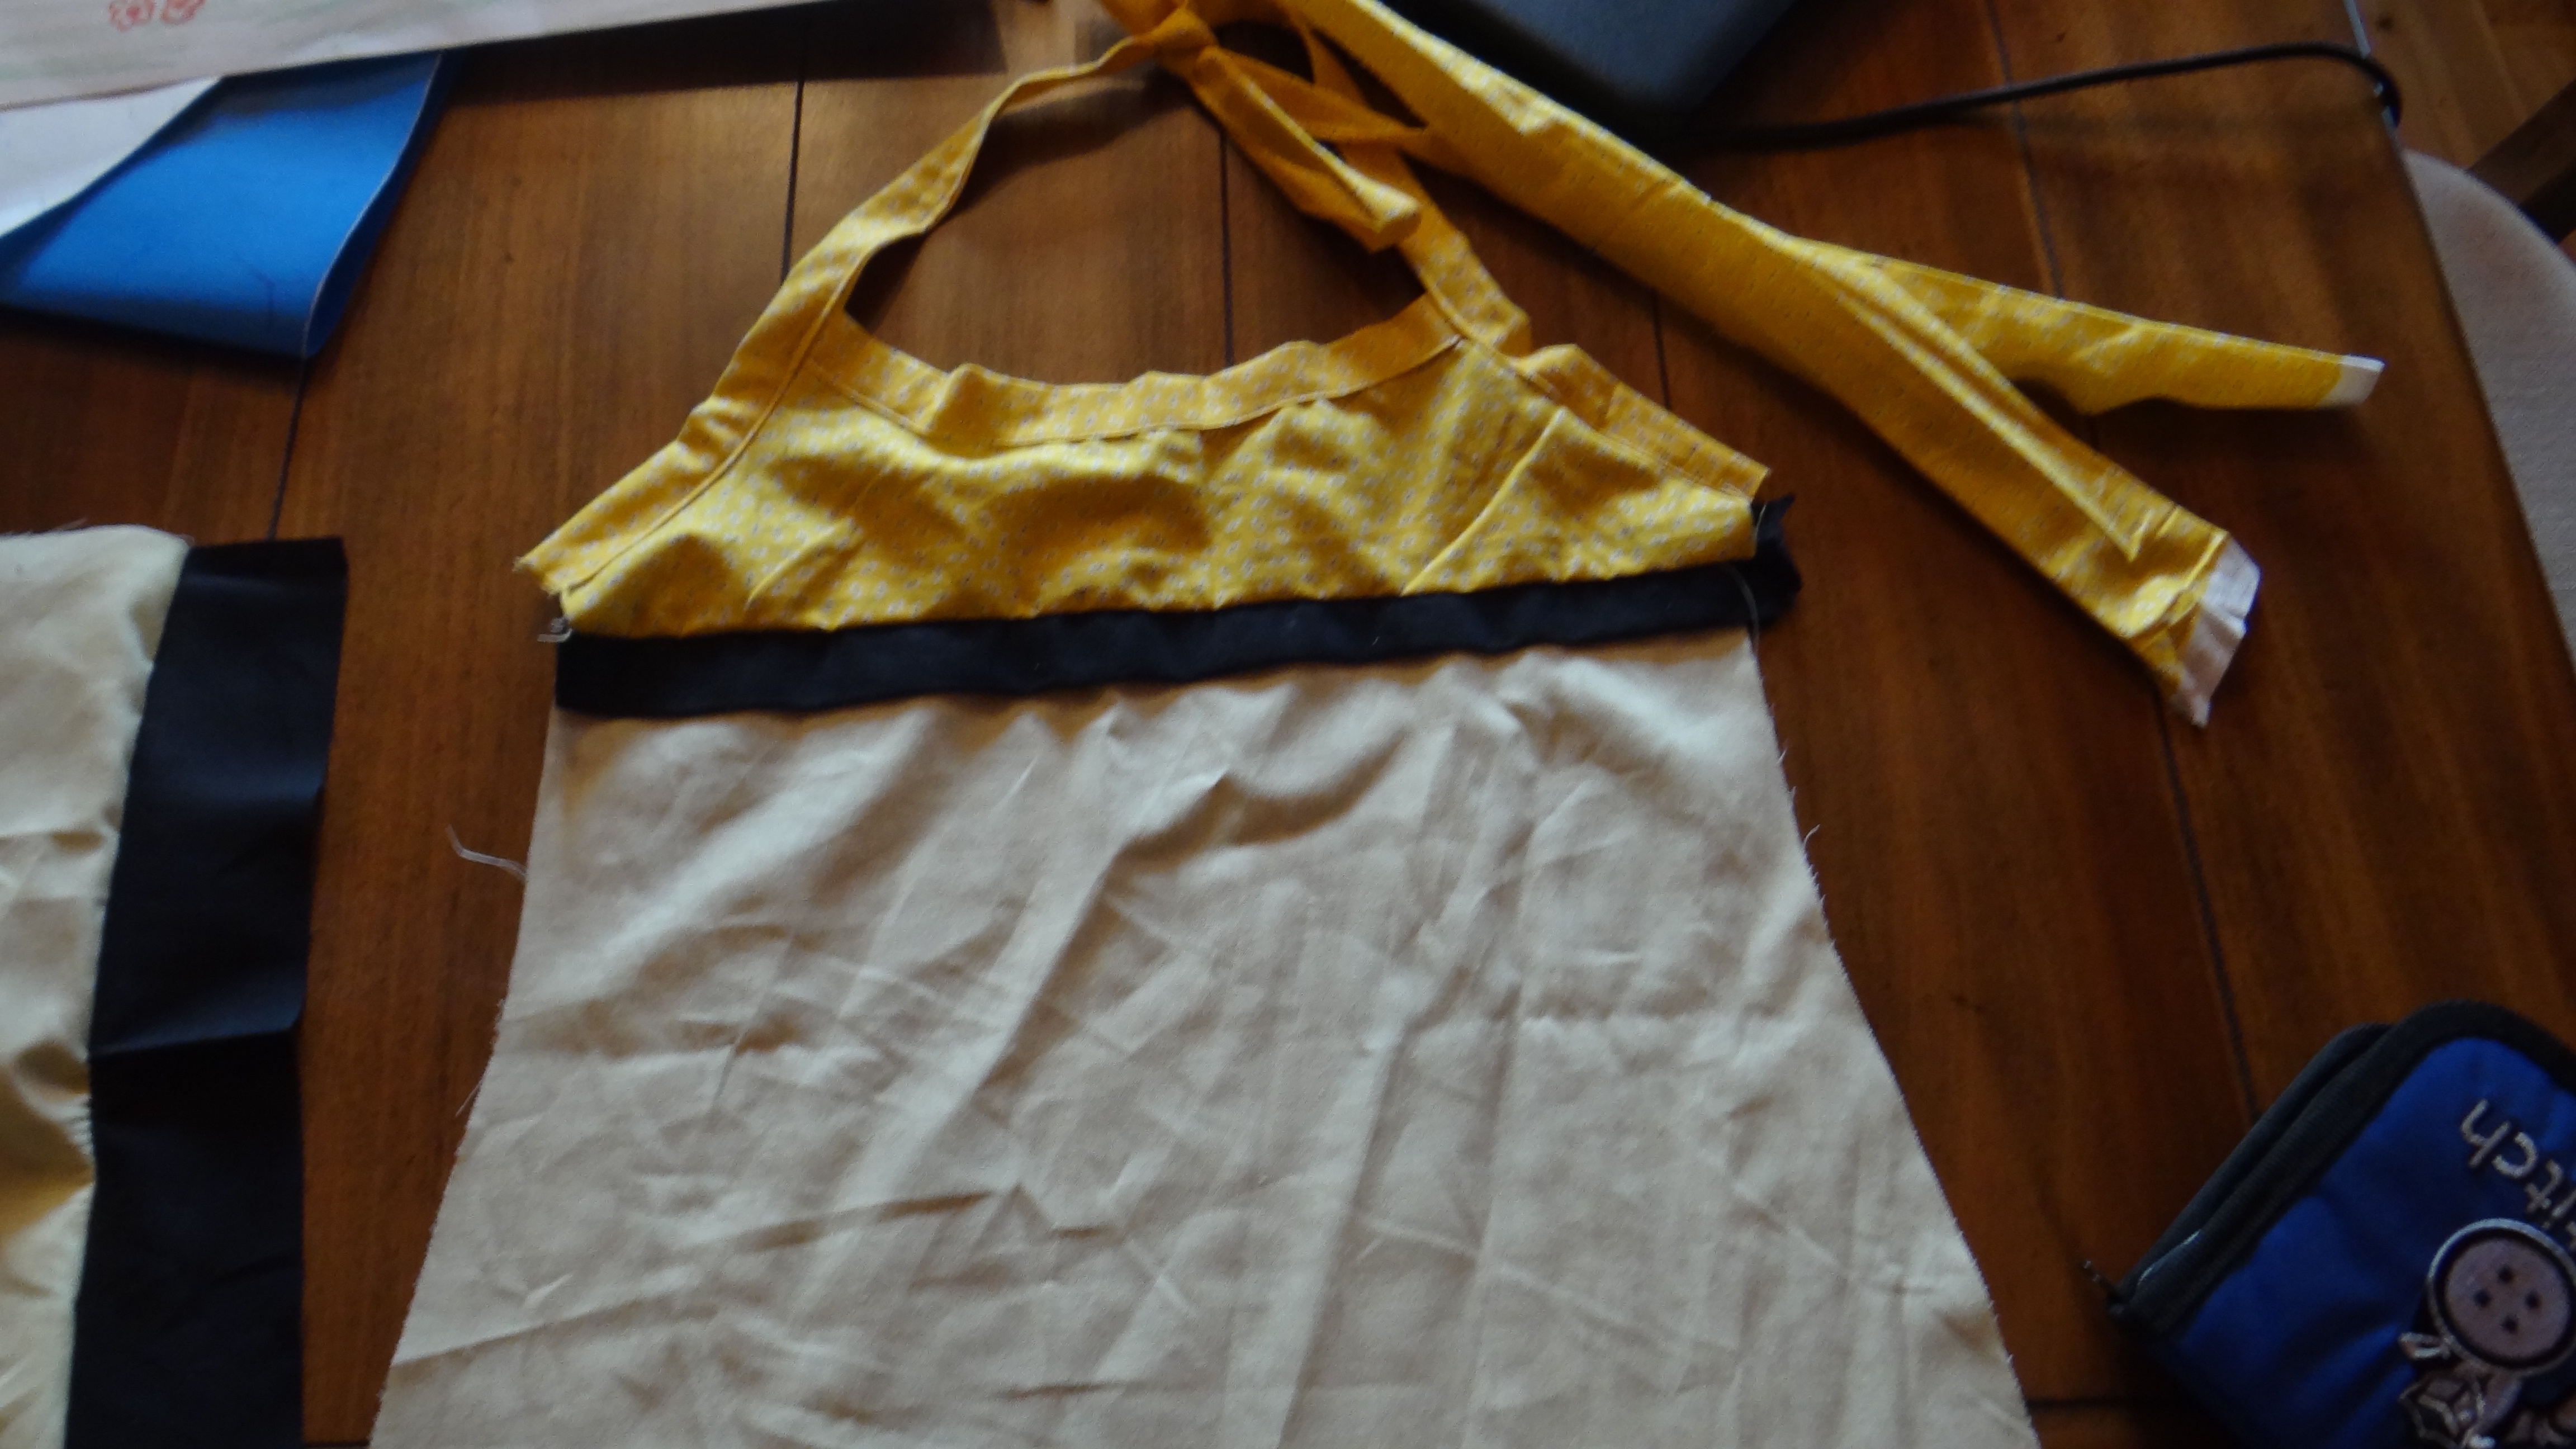
I made my own bias tape by cutting and ironing the fabric. Then you proceed to use it to line the top of the dress (sew it on!). Then sew up the armholes and long to tie…estimate how long you want the straps to be to tie behind the neck (longer the better!)
Take the back side and sew two black (or whatever color you choose) by sewing
facing pattern sides together
I decided to add a small piece of fabric above the black strap to make it higher . If you want, sew and connect. Then place from and back piece facing each other and sew to connect from and back.
Add elastic to back piece if you want it ruched and tighter.
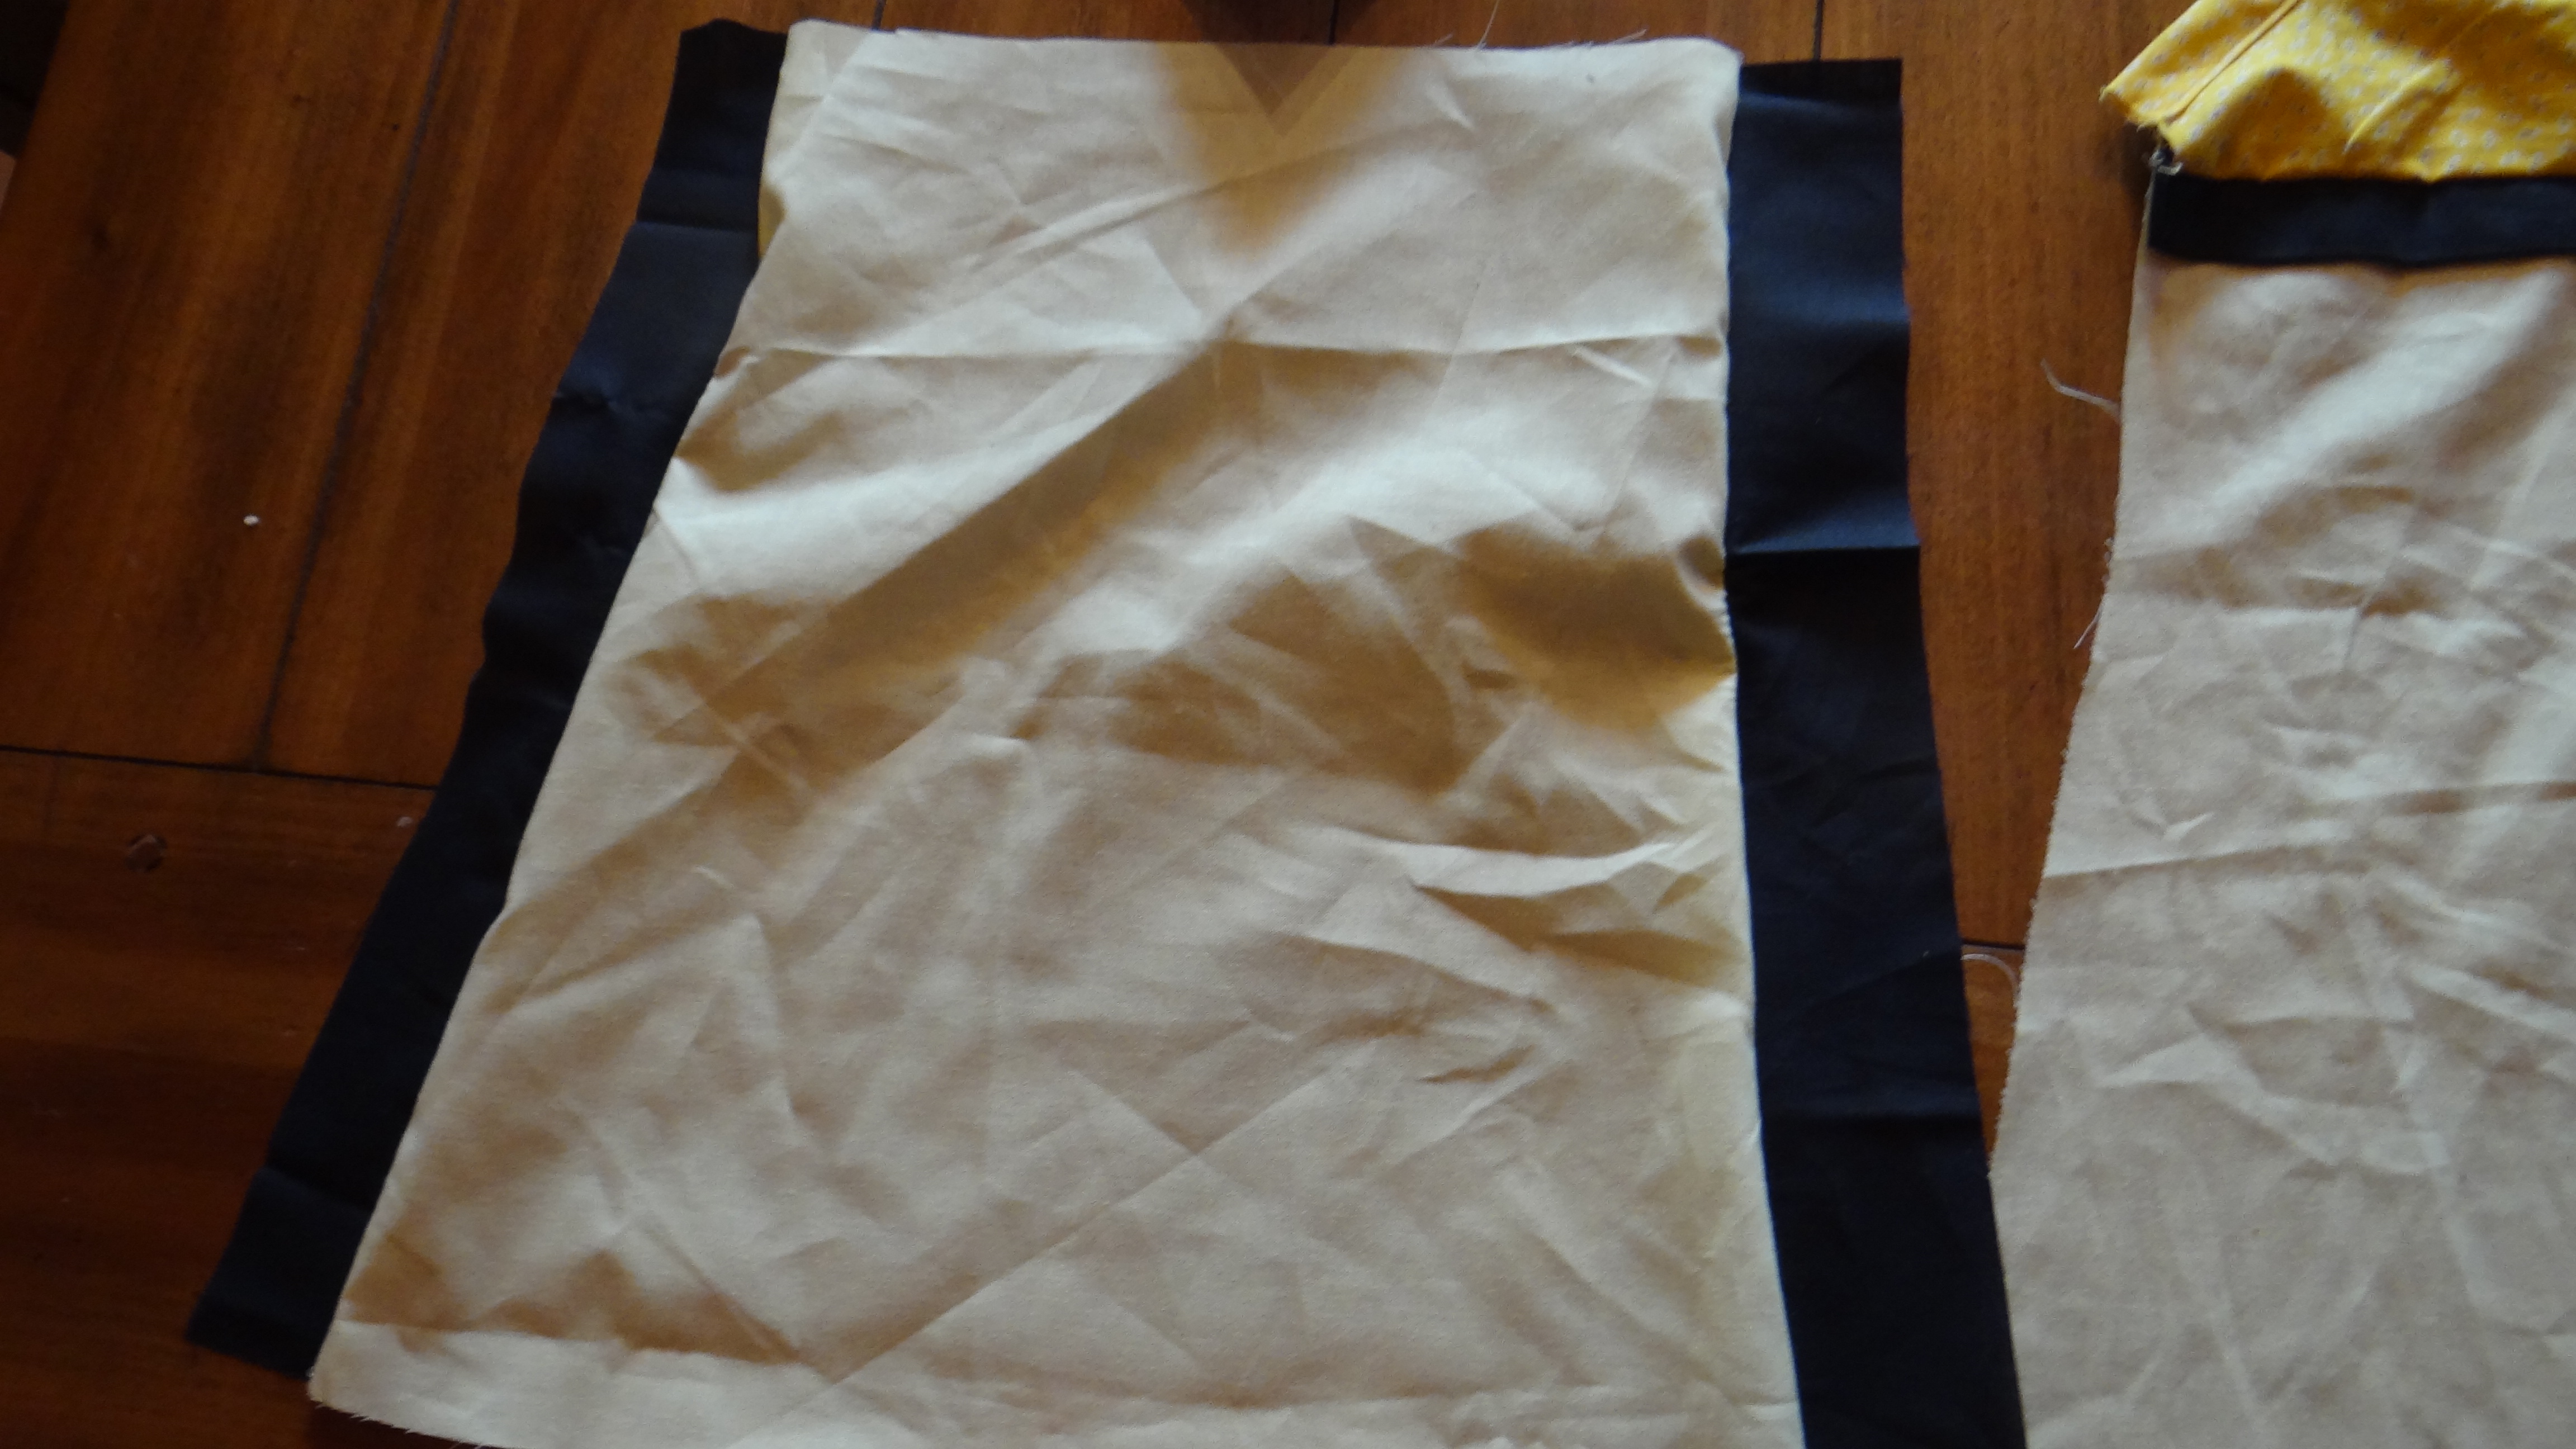
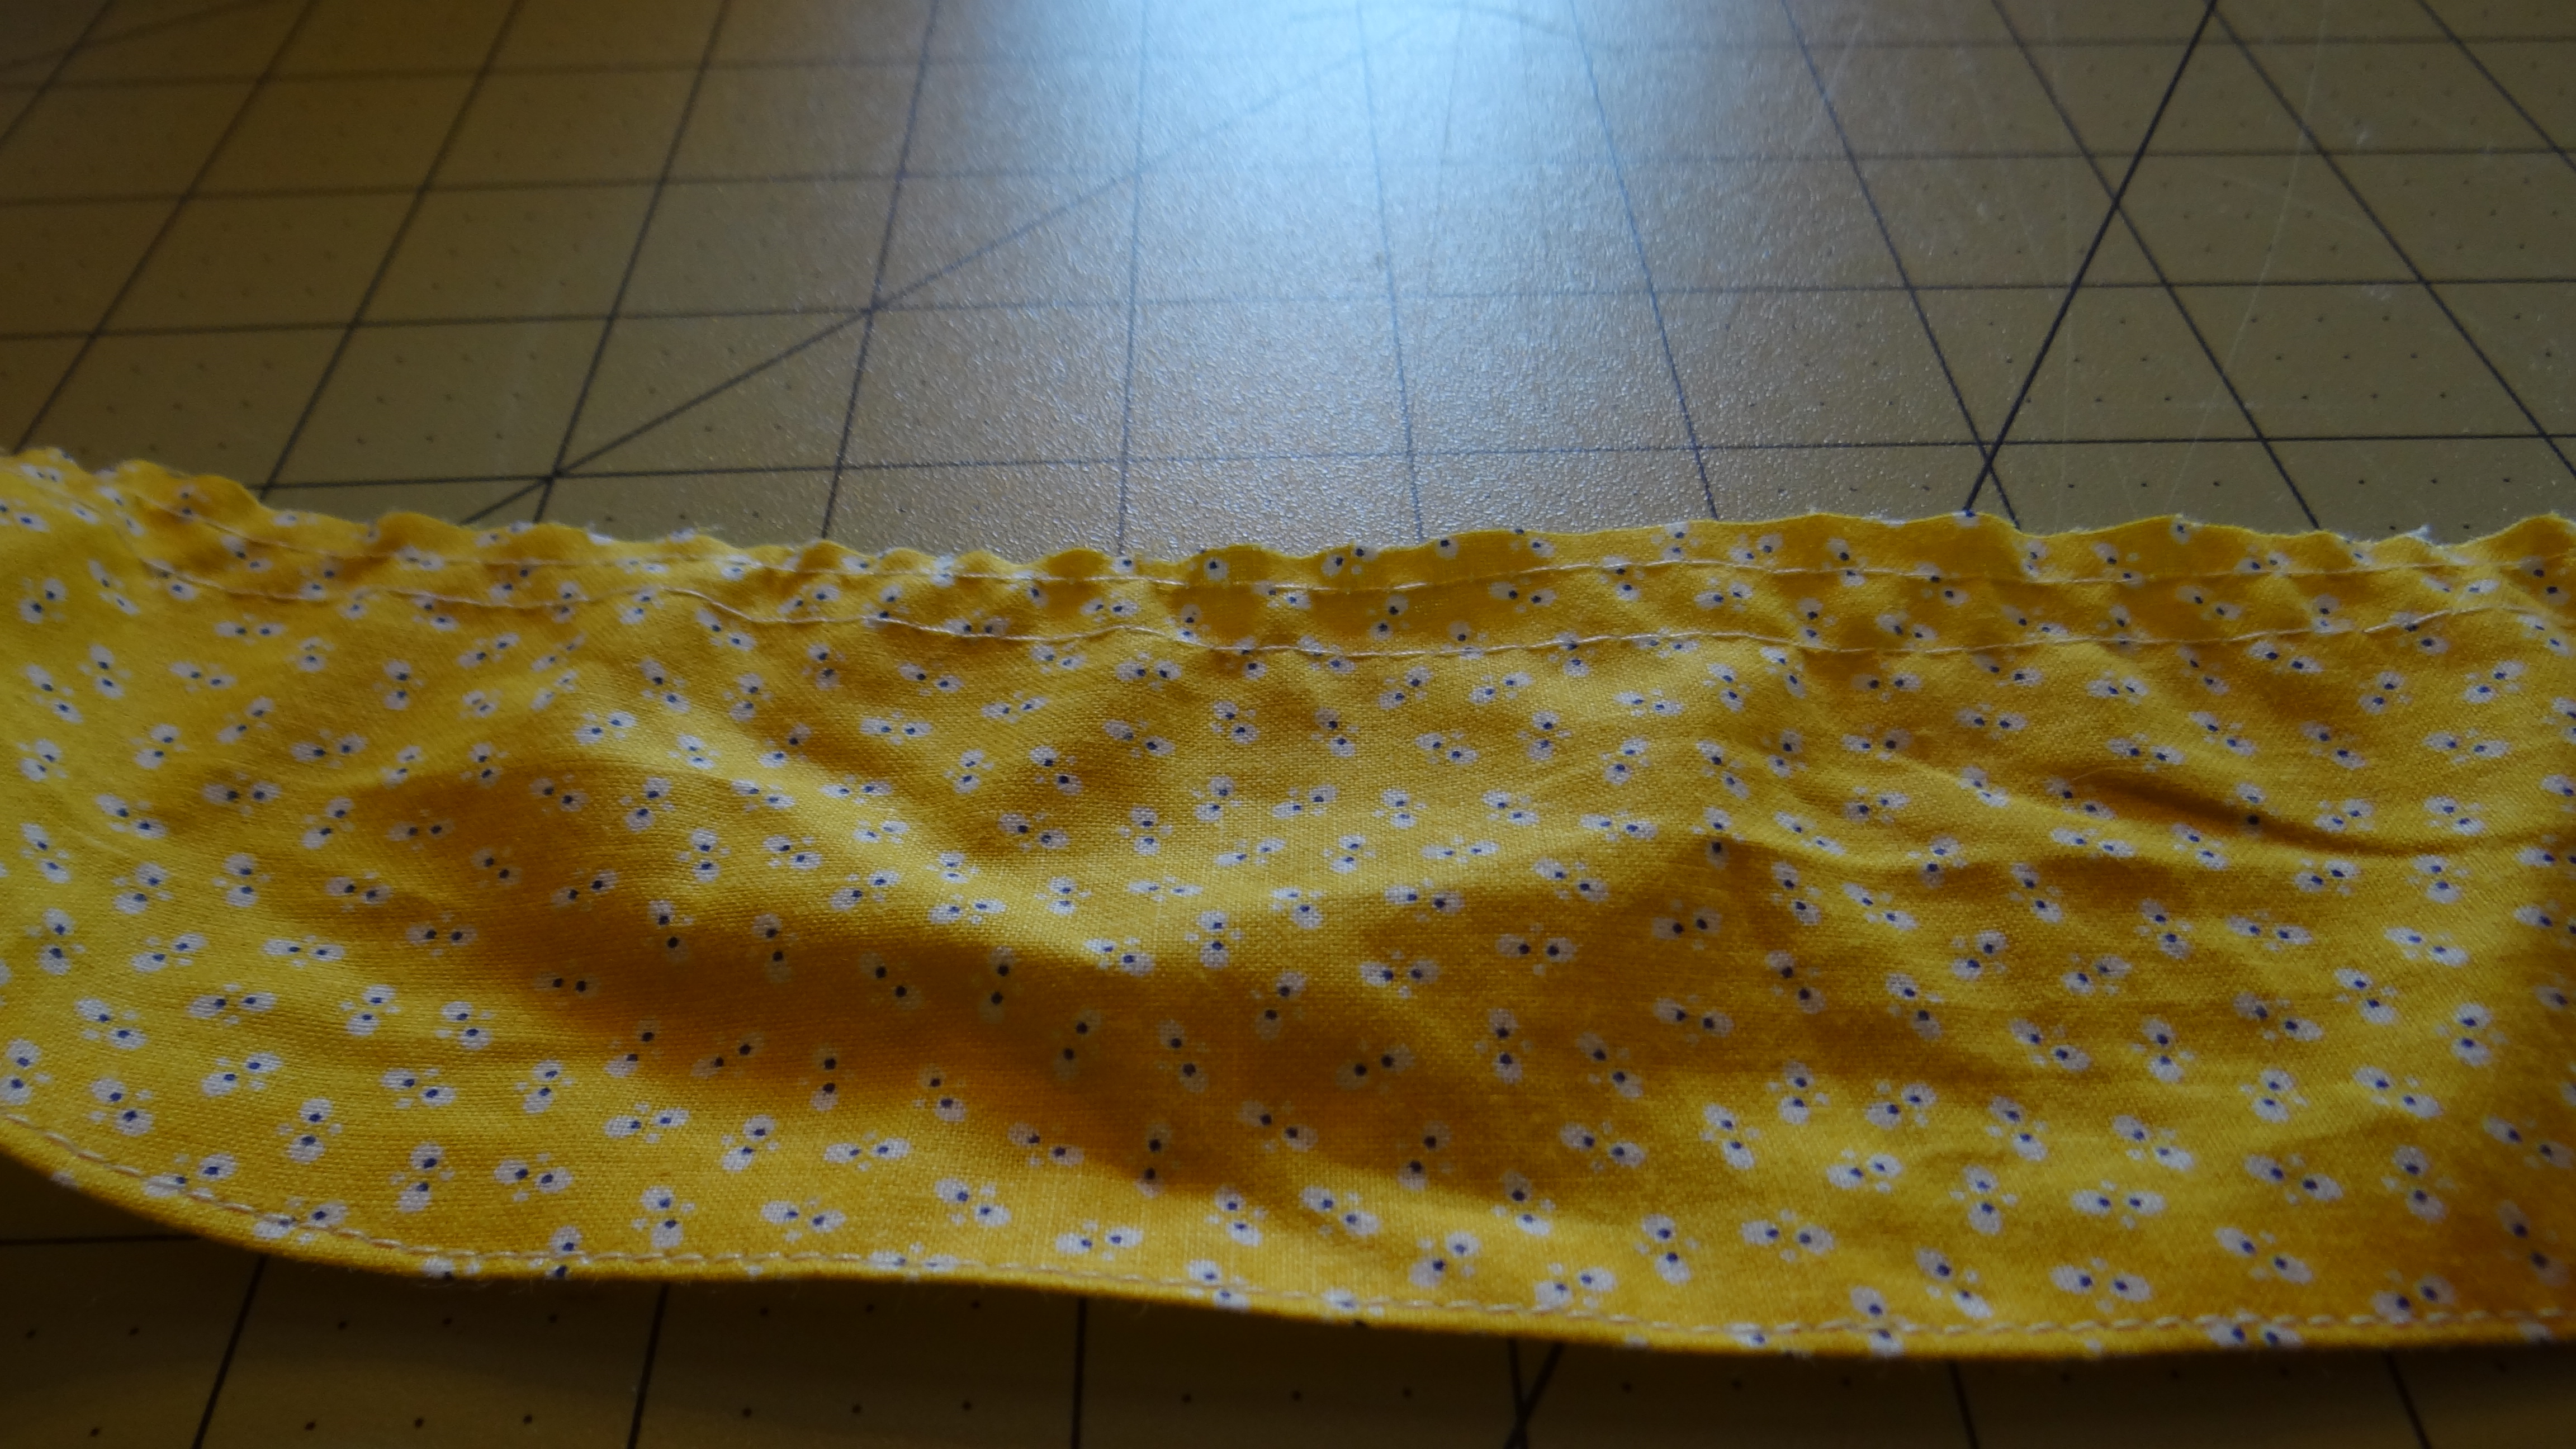
The last part is the bottom ruffled part.
Hem the bottom first about 1/8inch
To gather your fabric put your machine on the longest thread setting make two
straight lines (Do not reverse!). Roughly 1/4 and 1/8 inch away from the top.
Leave long threads on the ends.
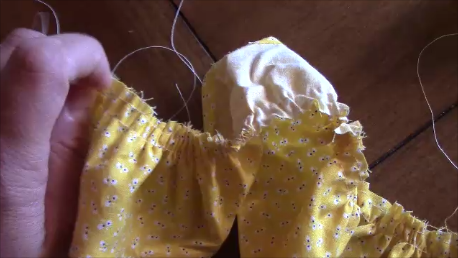
Next you knot the bottom of the back side of the threads so you can gather, just the two in the back (not the front).
Pull the bottom threads from the other end and slide the cloth along the threads toward your knot making small folds. When your cloth has been
gathered the way you want it, knot the ends securely with each other.
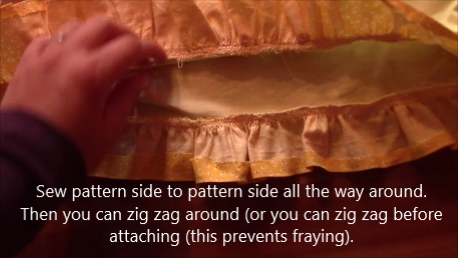
Sew pattern side to pattern side all the way around. Then you can zig zag around (or you can zig zag before attaching (this prevents fraying).
Then you are finished! Great Job! Have fun! Post your pics!
What’s an easy gift that can be personalized and made in 15mins? A sock snowman of course!
A what? A Sock Snowman? What is that????
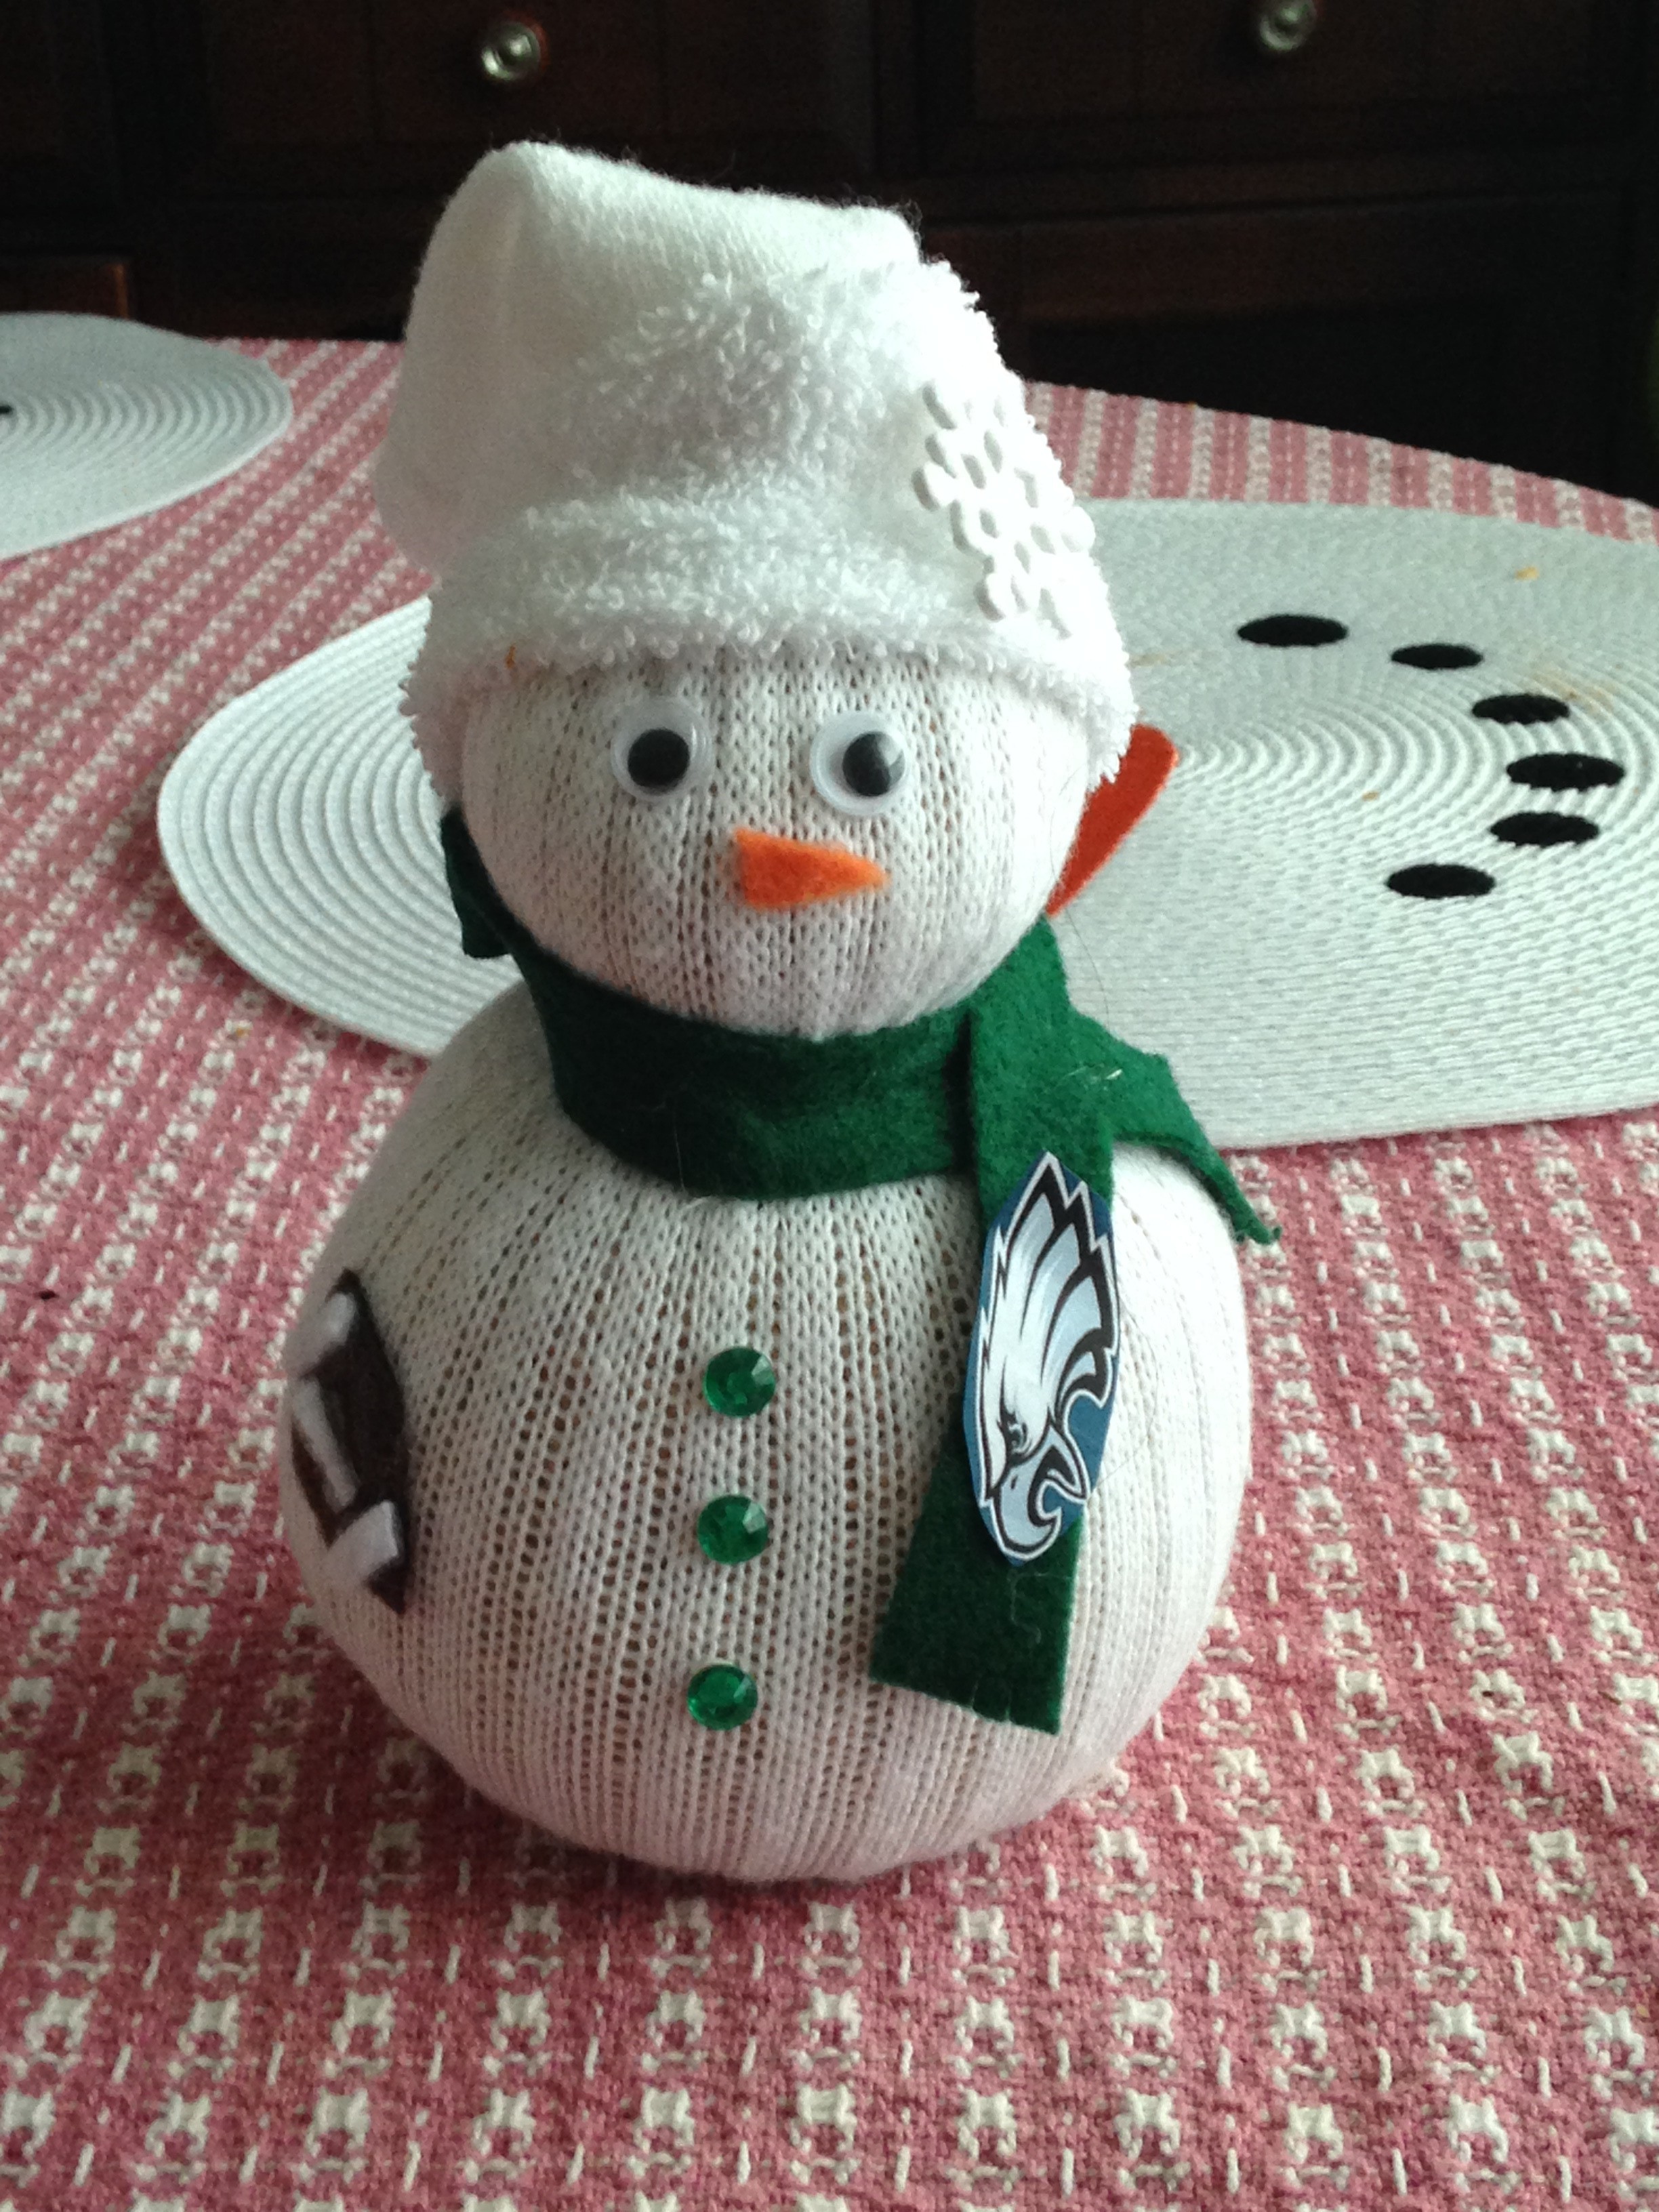
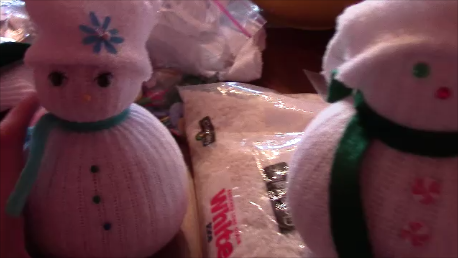
Well, let me tell you. A sock snowman is a snowman made with rubber bands, rice, men’s socks, a hot glue gun, and personalized items. It is easy, fast, and I love that you can personalize it any way you want for any time of the year! I made 10 of them for Christmas gifts. You can see the harry potter and eagles one above. I also made a hunter, patriots, and princess snowman. Then I made the usual Christmas snowman for decorations as well. I even got most of my supplies at the dollar store!
As usual, there is a youtube video tutorial and the written instructions below. These make great gifts for any occasion and are quick and easy! Enjoy!
What you need:
-Hot glue gun
-Crew socks or longer
-Any type of rice
-Rubber bands
-Decorations such as eyes, stick ons, felt, buttons, bows, pins
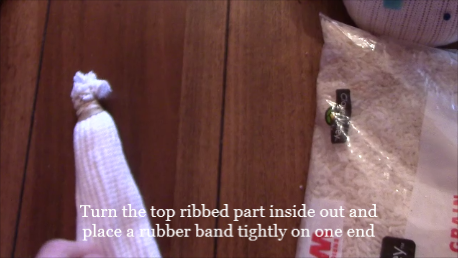
Take your crew sock and cut below the ribbed area (the bigger the snowman the lower you want to cut (the bottom part will be the hat of the snowman).
Turn the top ribbed part inside out and place a rubber band tightly on one end
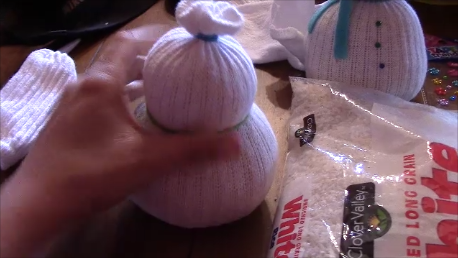
Turn it right side out and pack with rice. Make sure you continuously pack it down with your hands to give the snowman a fuller shape. Leave a small area on the top and then close it with another rubber band.
Put a rubber band on the top then 1/3 of the way down place another rubber band as tight as you can and adjust the rice to form the body and head of the snowman.
Now time for the fun part- decorating!
The scarf can be made out of felt, scrap fabric, or even a crocheted or knitted scarf! I did this with camo yarn for a hunter snowman.
I used the hot glue gun to make sure everything stayed in place including the scarf and hat!
Take the bottom part of the sock and fold top of it and place on top of the snowman’s head for the hat! Feel free to decorate the hat as well.
I made my sister a harry potter snowman. I also made a hunter camo snowman, princess snowman, patriots snowman, soccer player, and Christmas themed
snowmen.
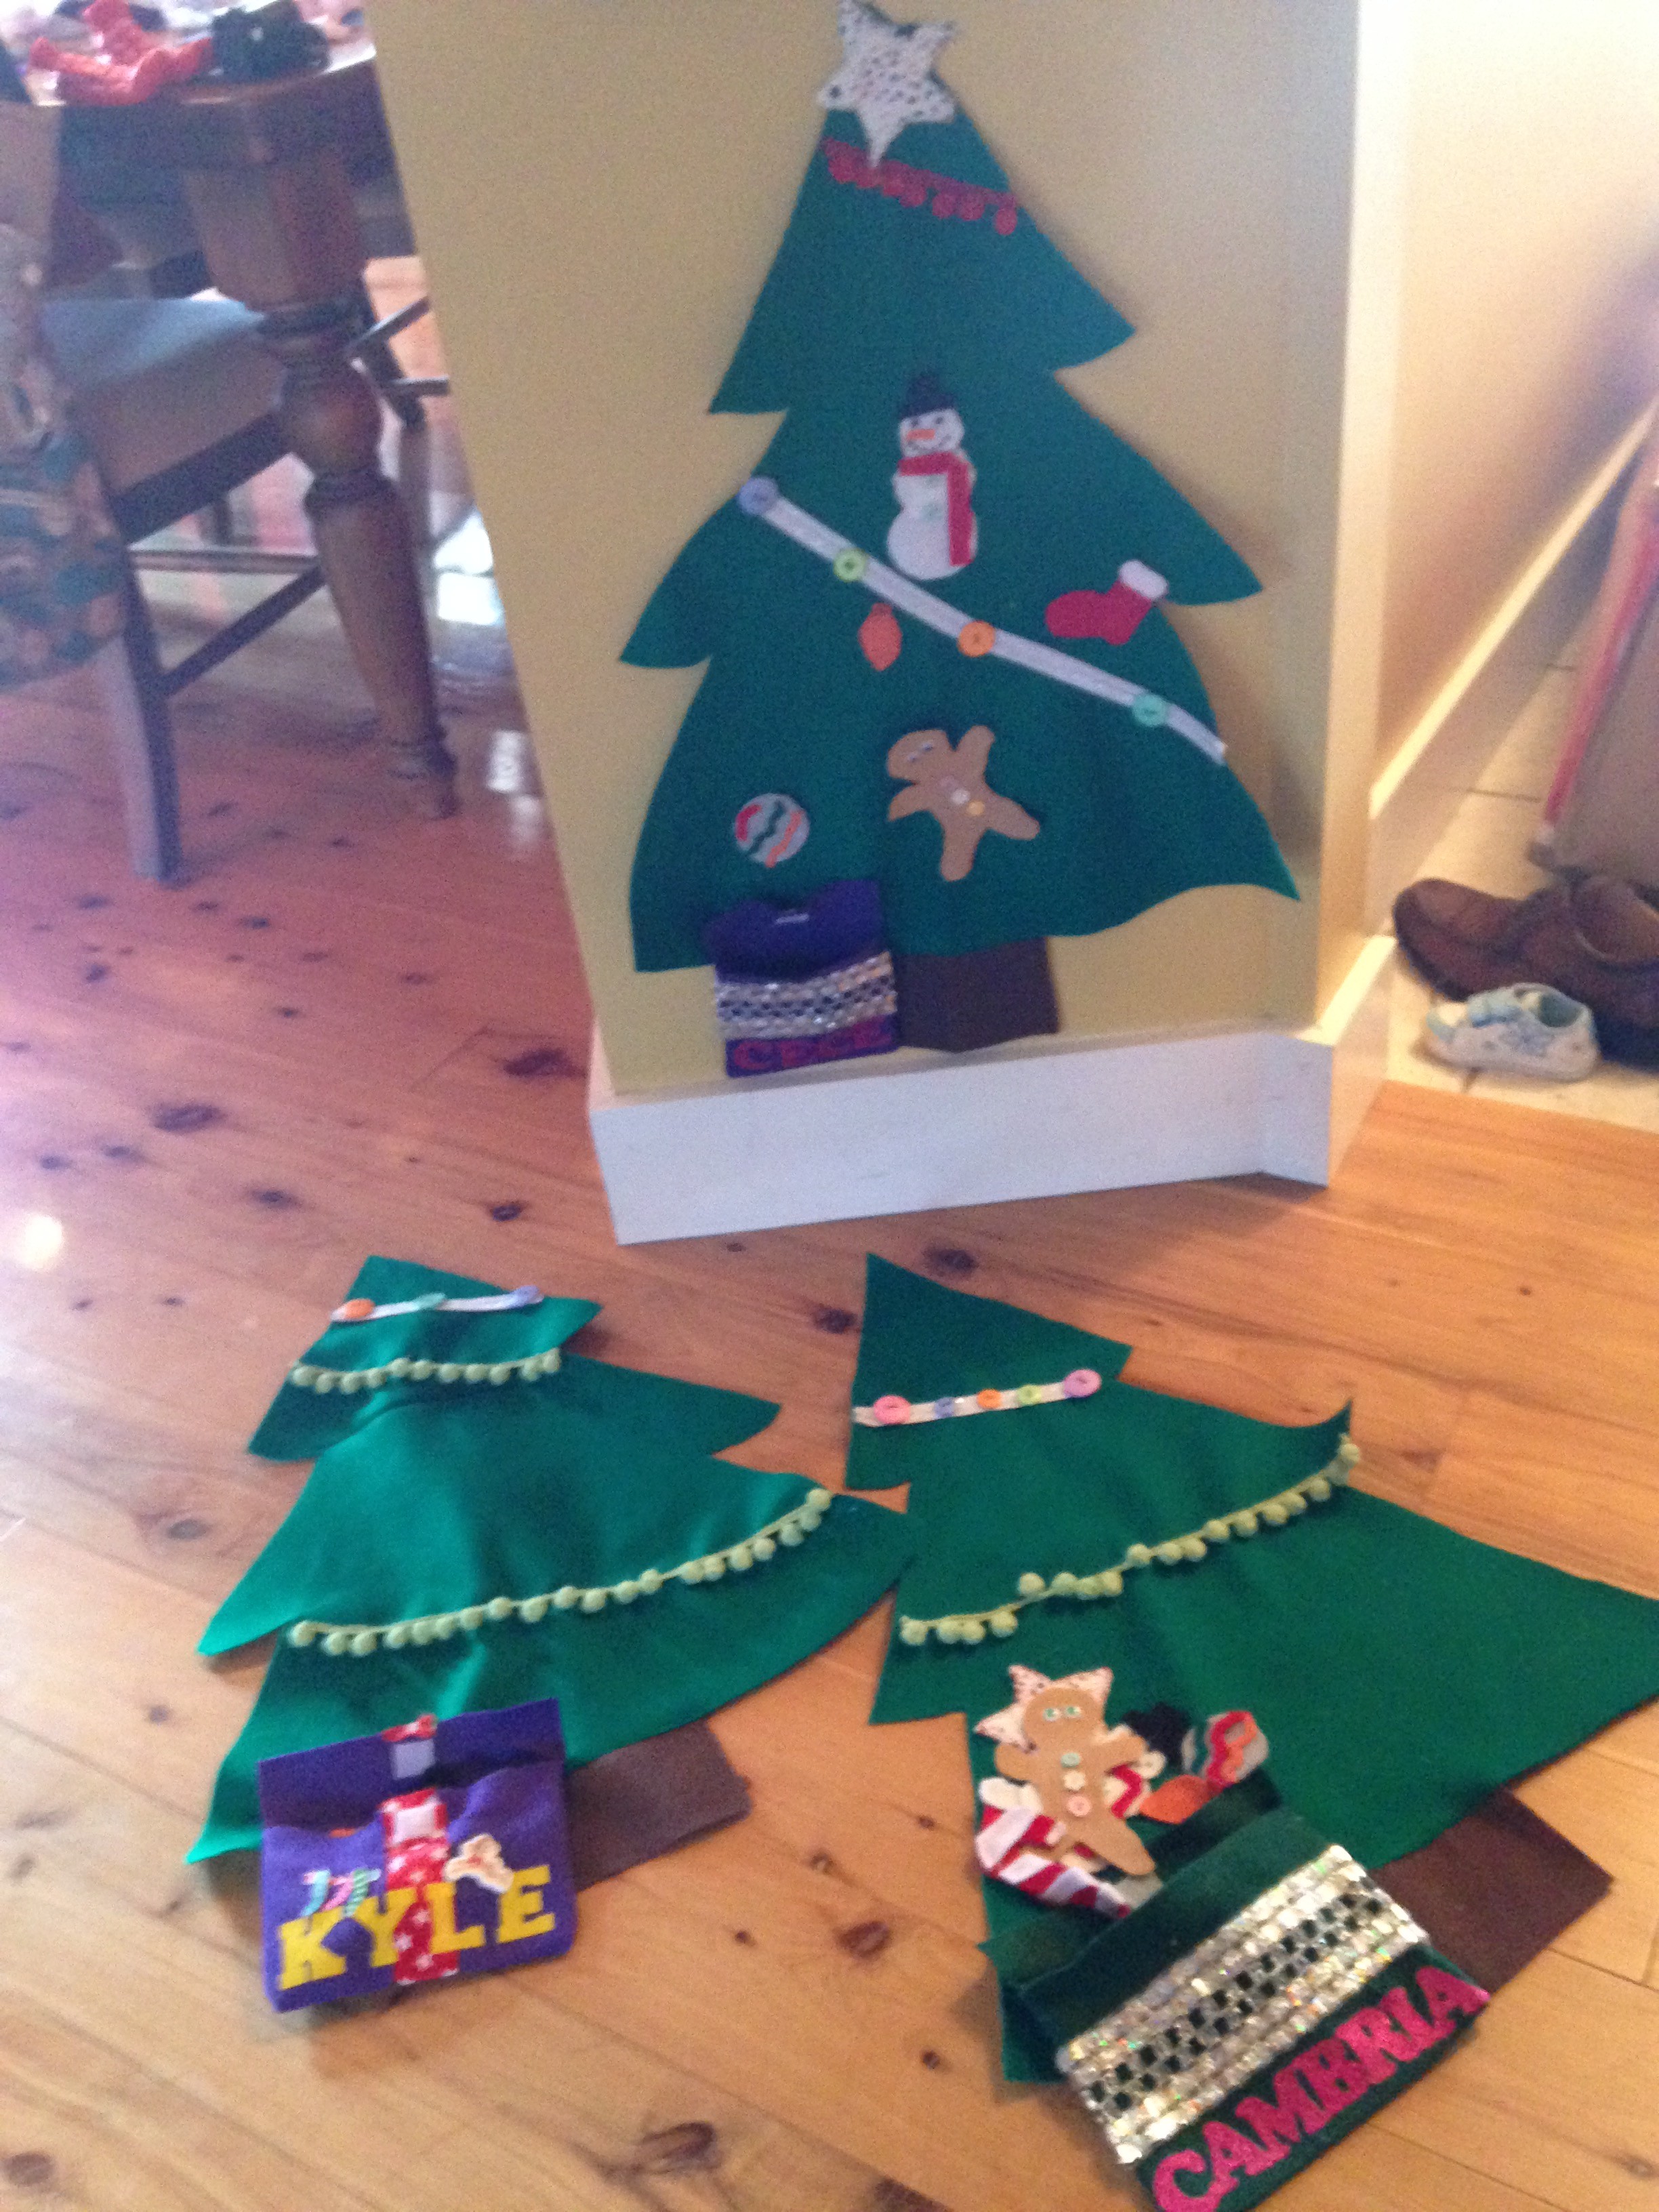
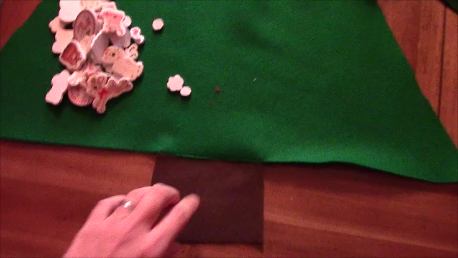
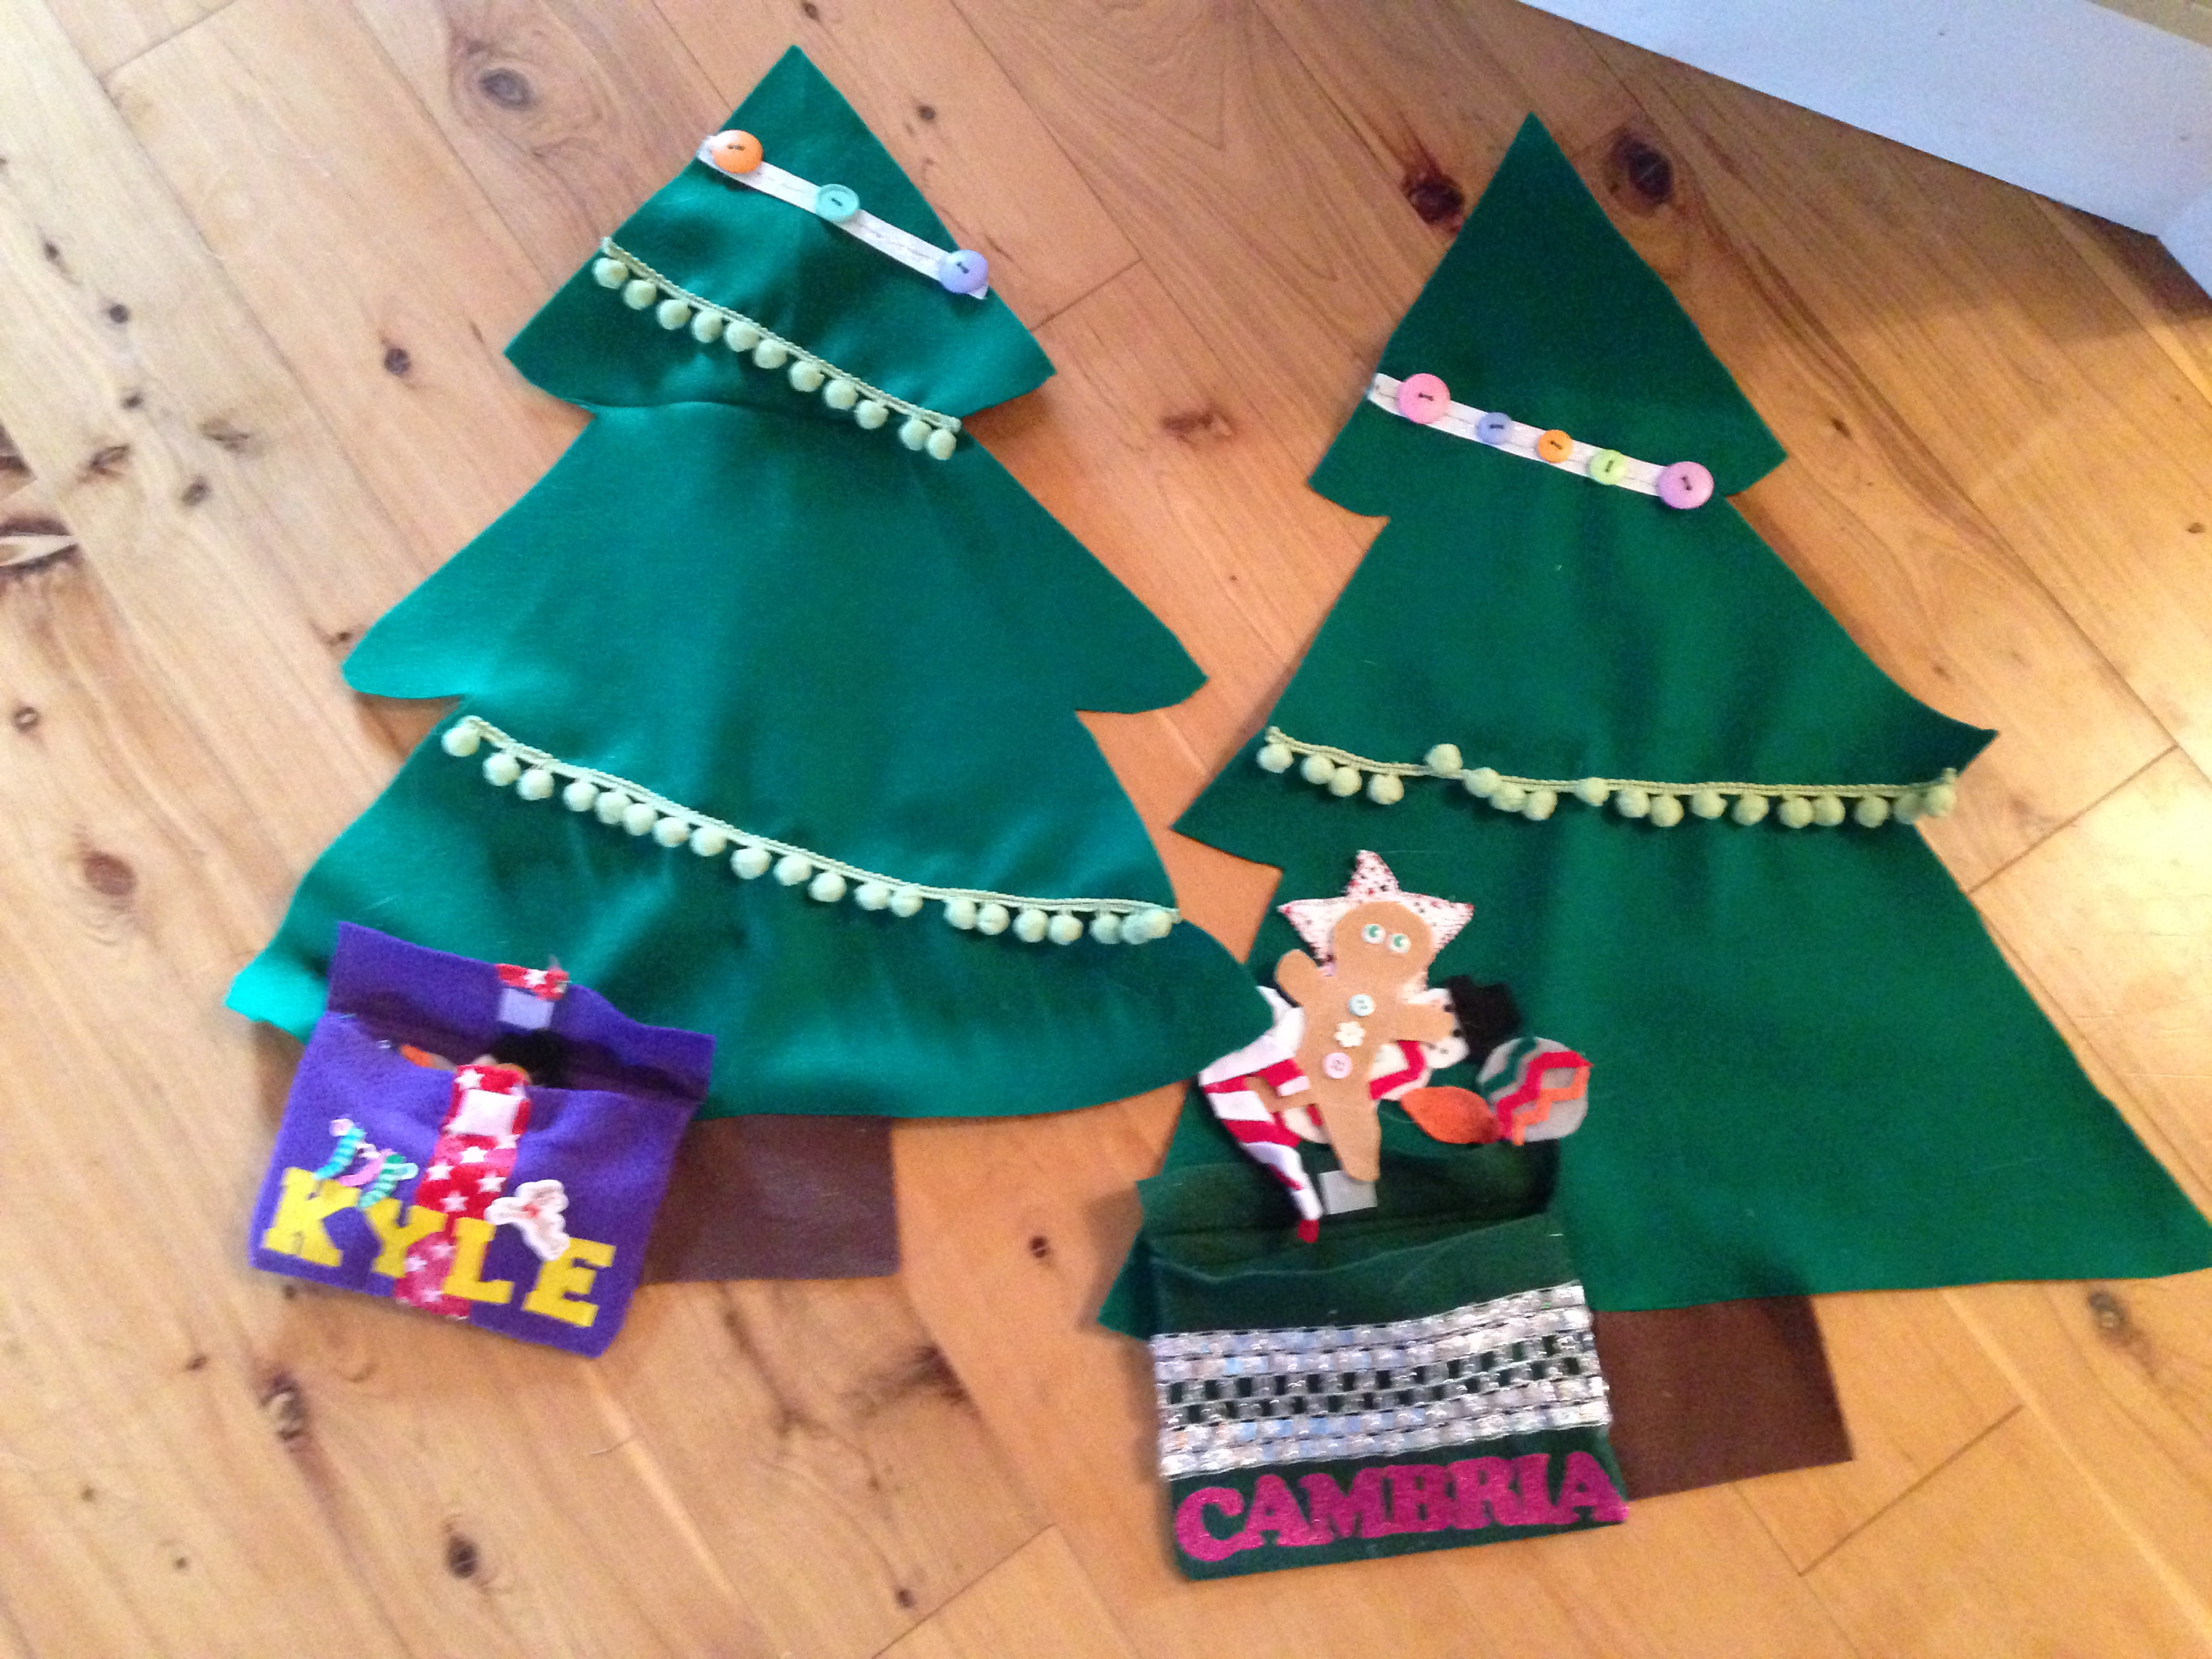
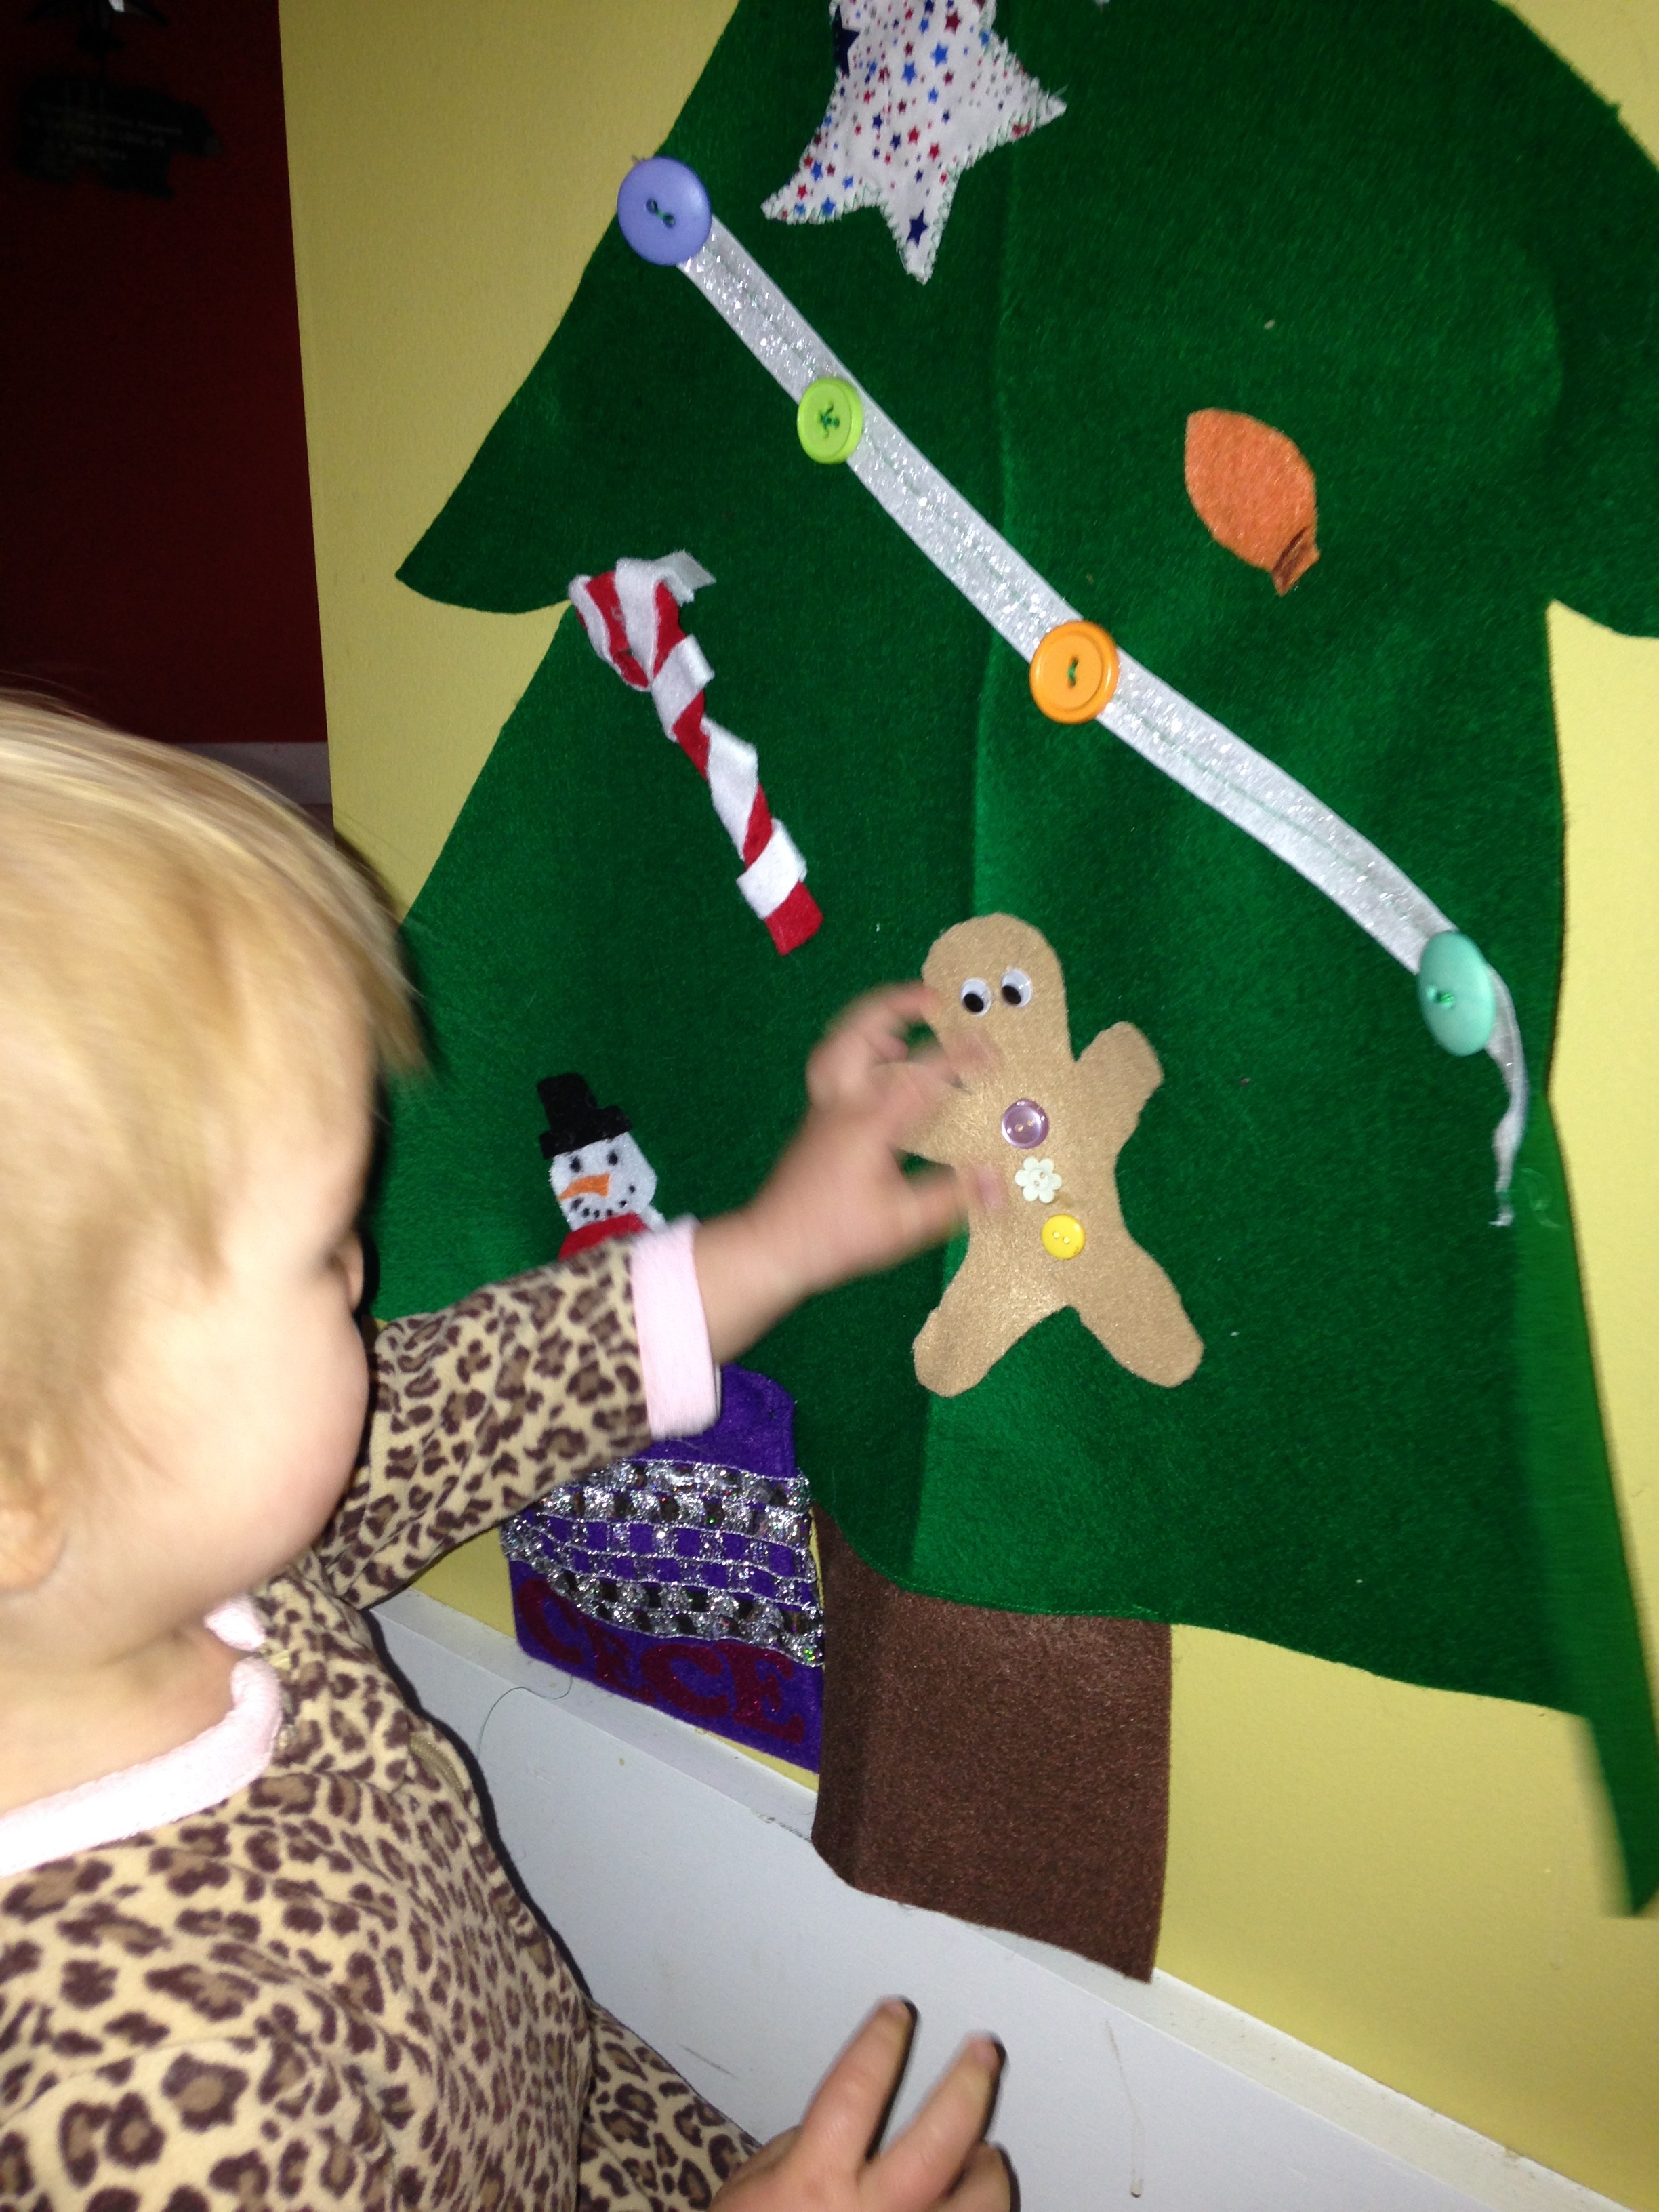
Cece bear loves to pull toys out of baskets and put them back in. She also likes to build blocks and figure out other puzzles. So I thought to myself, what can I make for Christmas that she can play with? And a mini Christmas tree came to mind. Eventually, I figured out a felt Christmas tree with all sorts of sensory stimulation and Velcro ornaments would work! So I decided to get to work.
I decided to make three trees, one for each of Cece’s friends. It also made a great birthday gift for her friend Kyle’s first birthday! This is a great activity to do with older children as well. They can make their own ornaments and decorate the tree! There are a variety of ways to put the tree, ribbons, buttons, and ornaments together. The two I used were sewing and hot glue gun, but you can do one or the other as well. Just make sure if you have a baby, infant, or toddler, to make sure everything is very secure so they can’t pull it off!
As always, there is a youtube video and written steps and pictures. Feel free to add your own creativity and pizzazz!!!
If you have an older child, instead of using velcro to stick the ornaments on, you can use string or twine looped on the ornament and they can put them around buttons on the tree!
What you need:
*Green felt fabric (I used 1.5
yards for three trees)
*velcro
*Brown felt fabric (stump)
*Felt fabrics of various colors for
ornaments of your choice and design
*optional: buttons, ribbons,
and other accessories
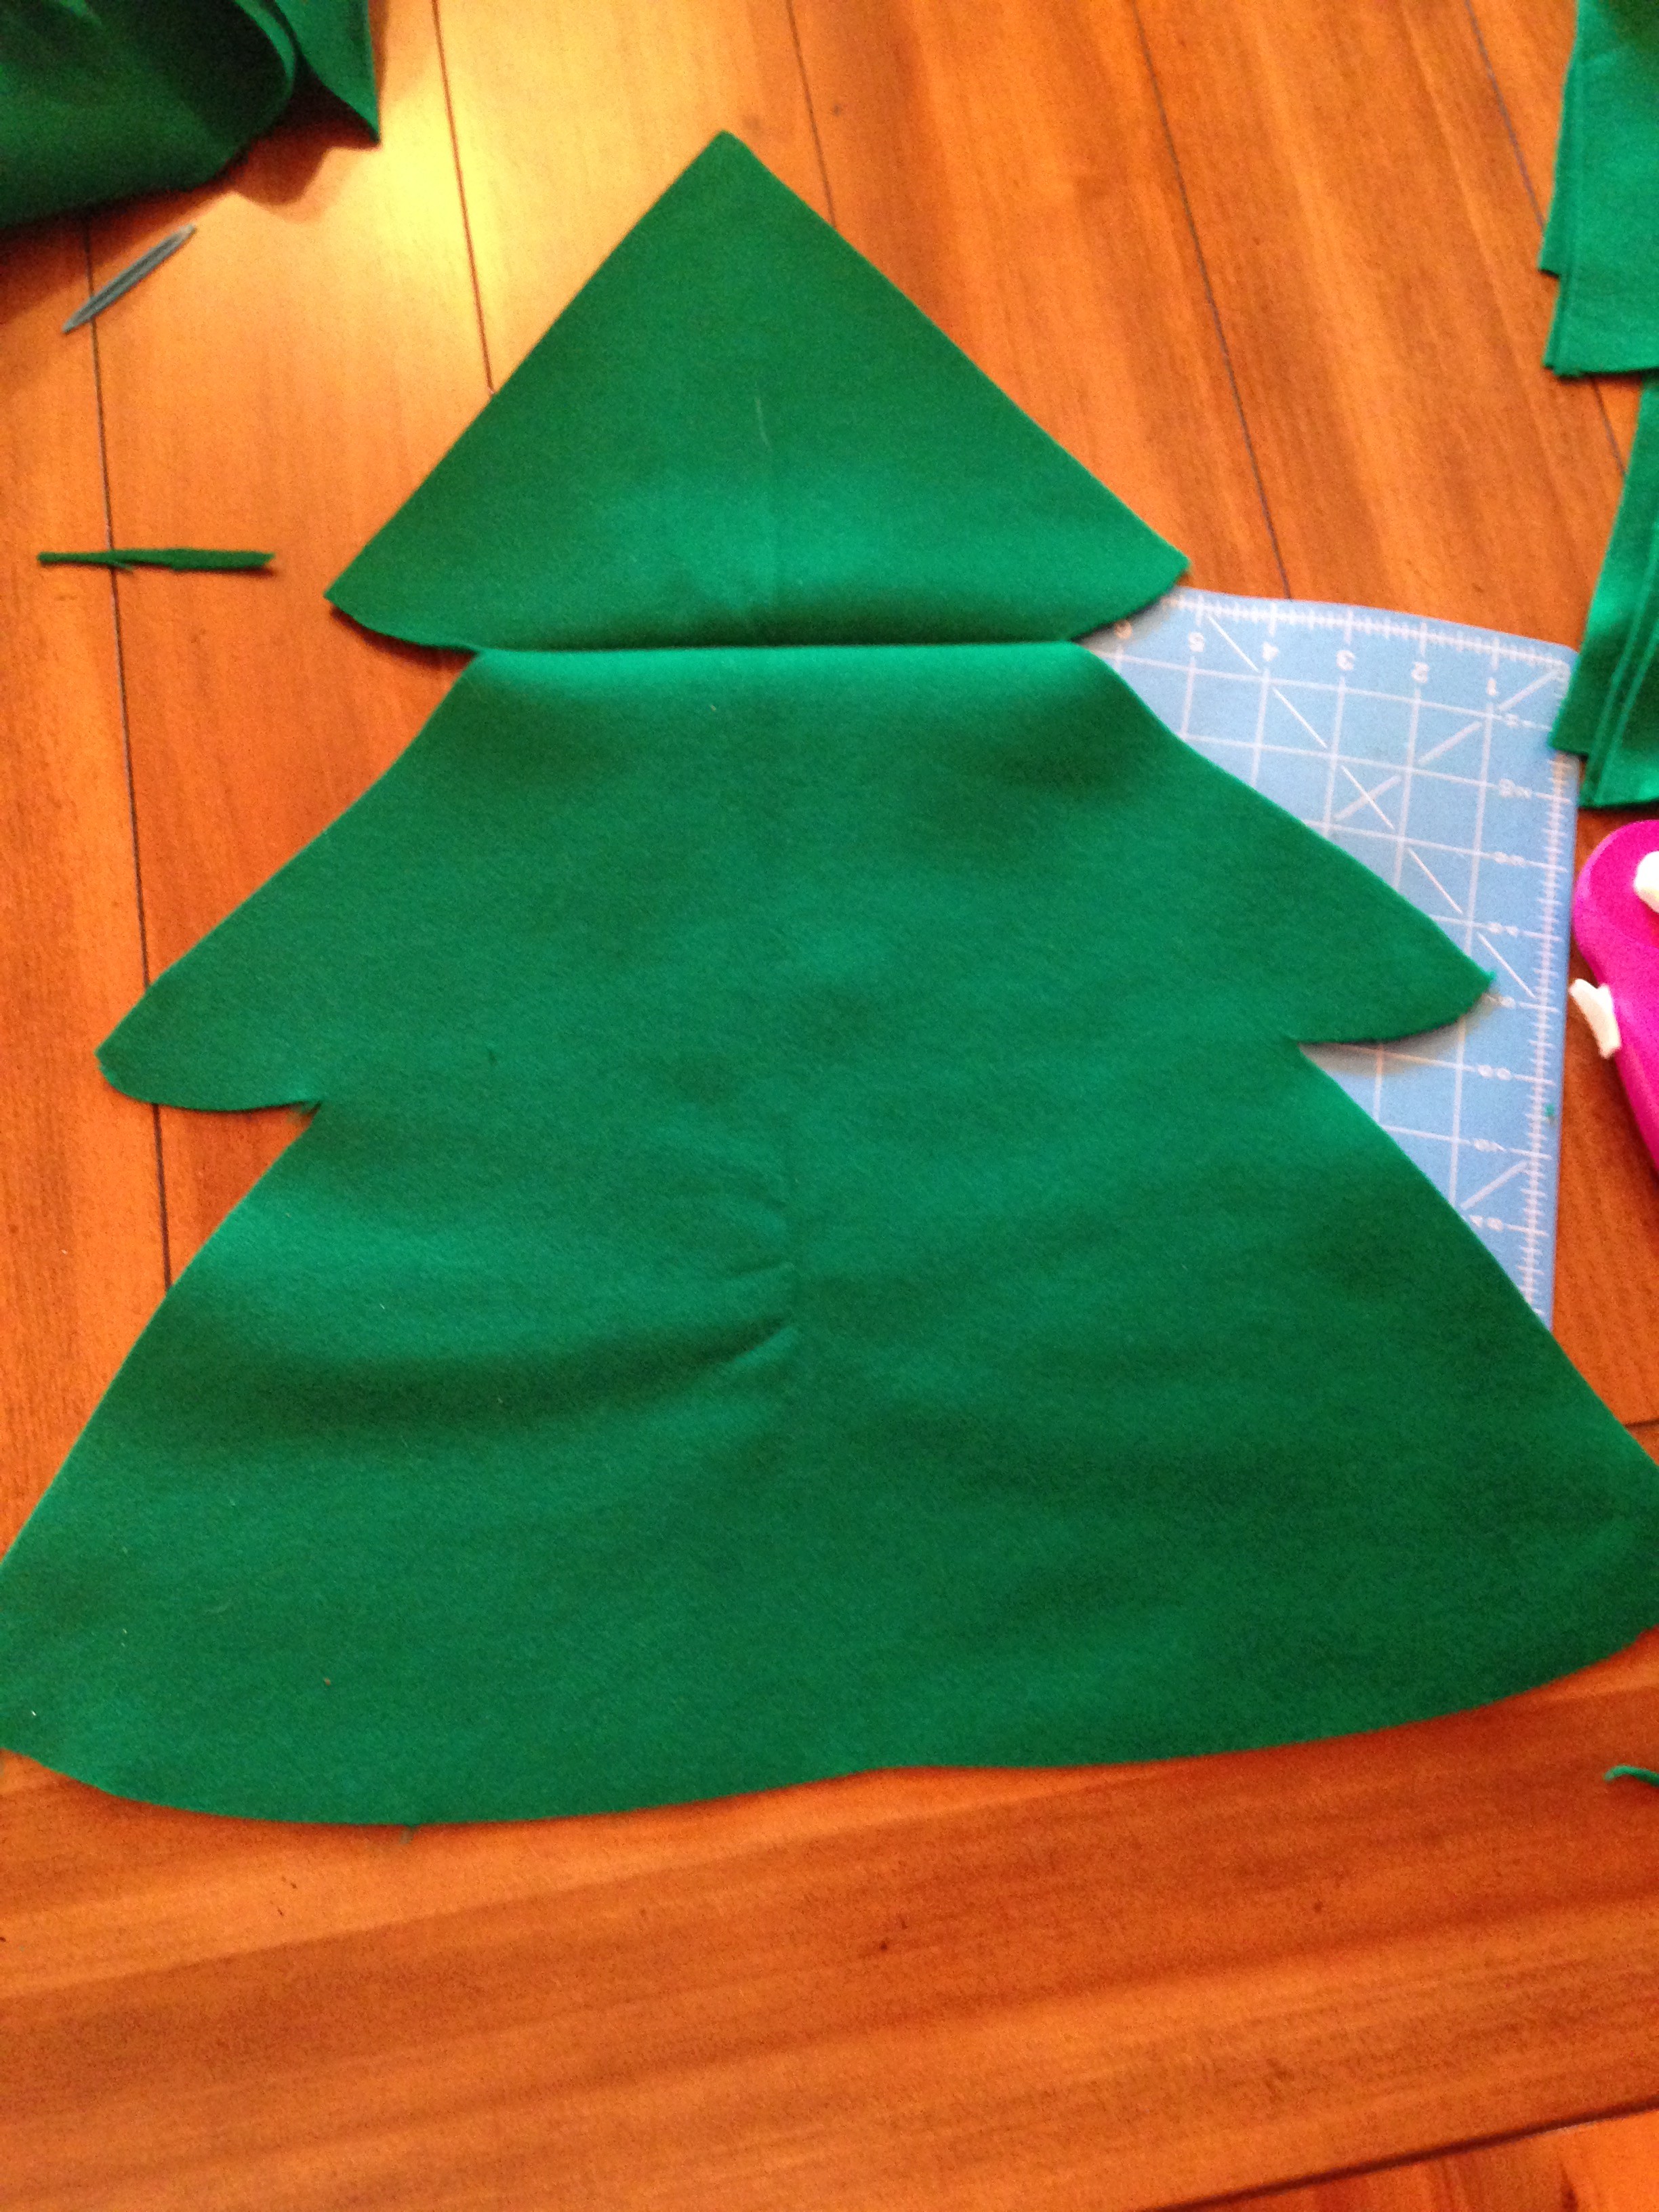
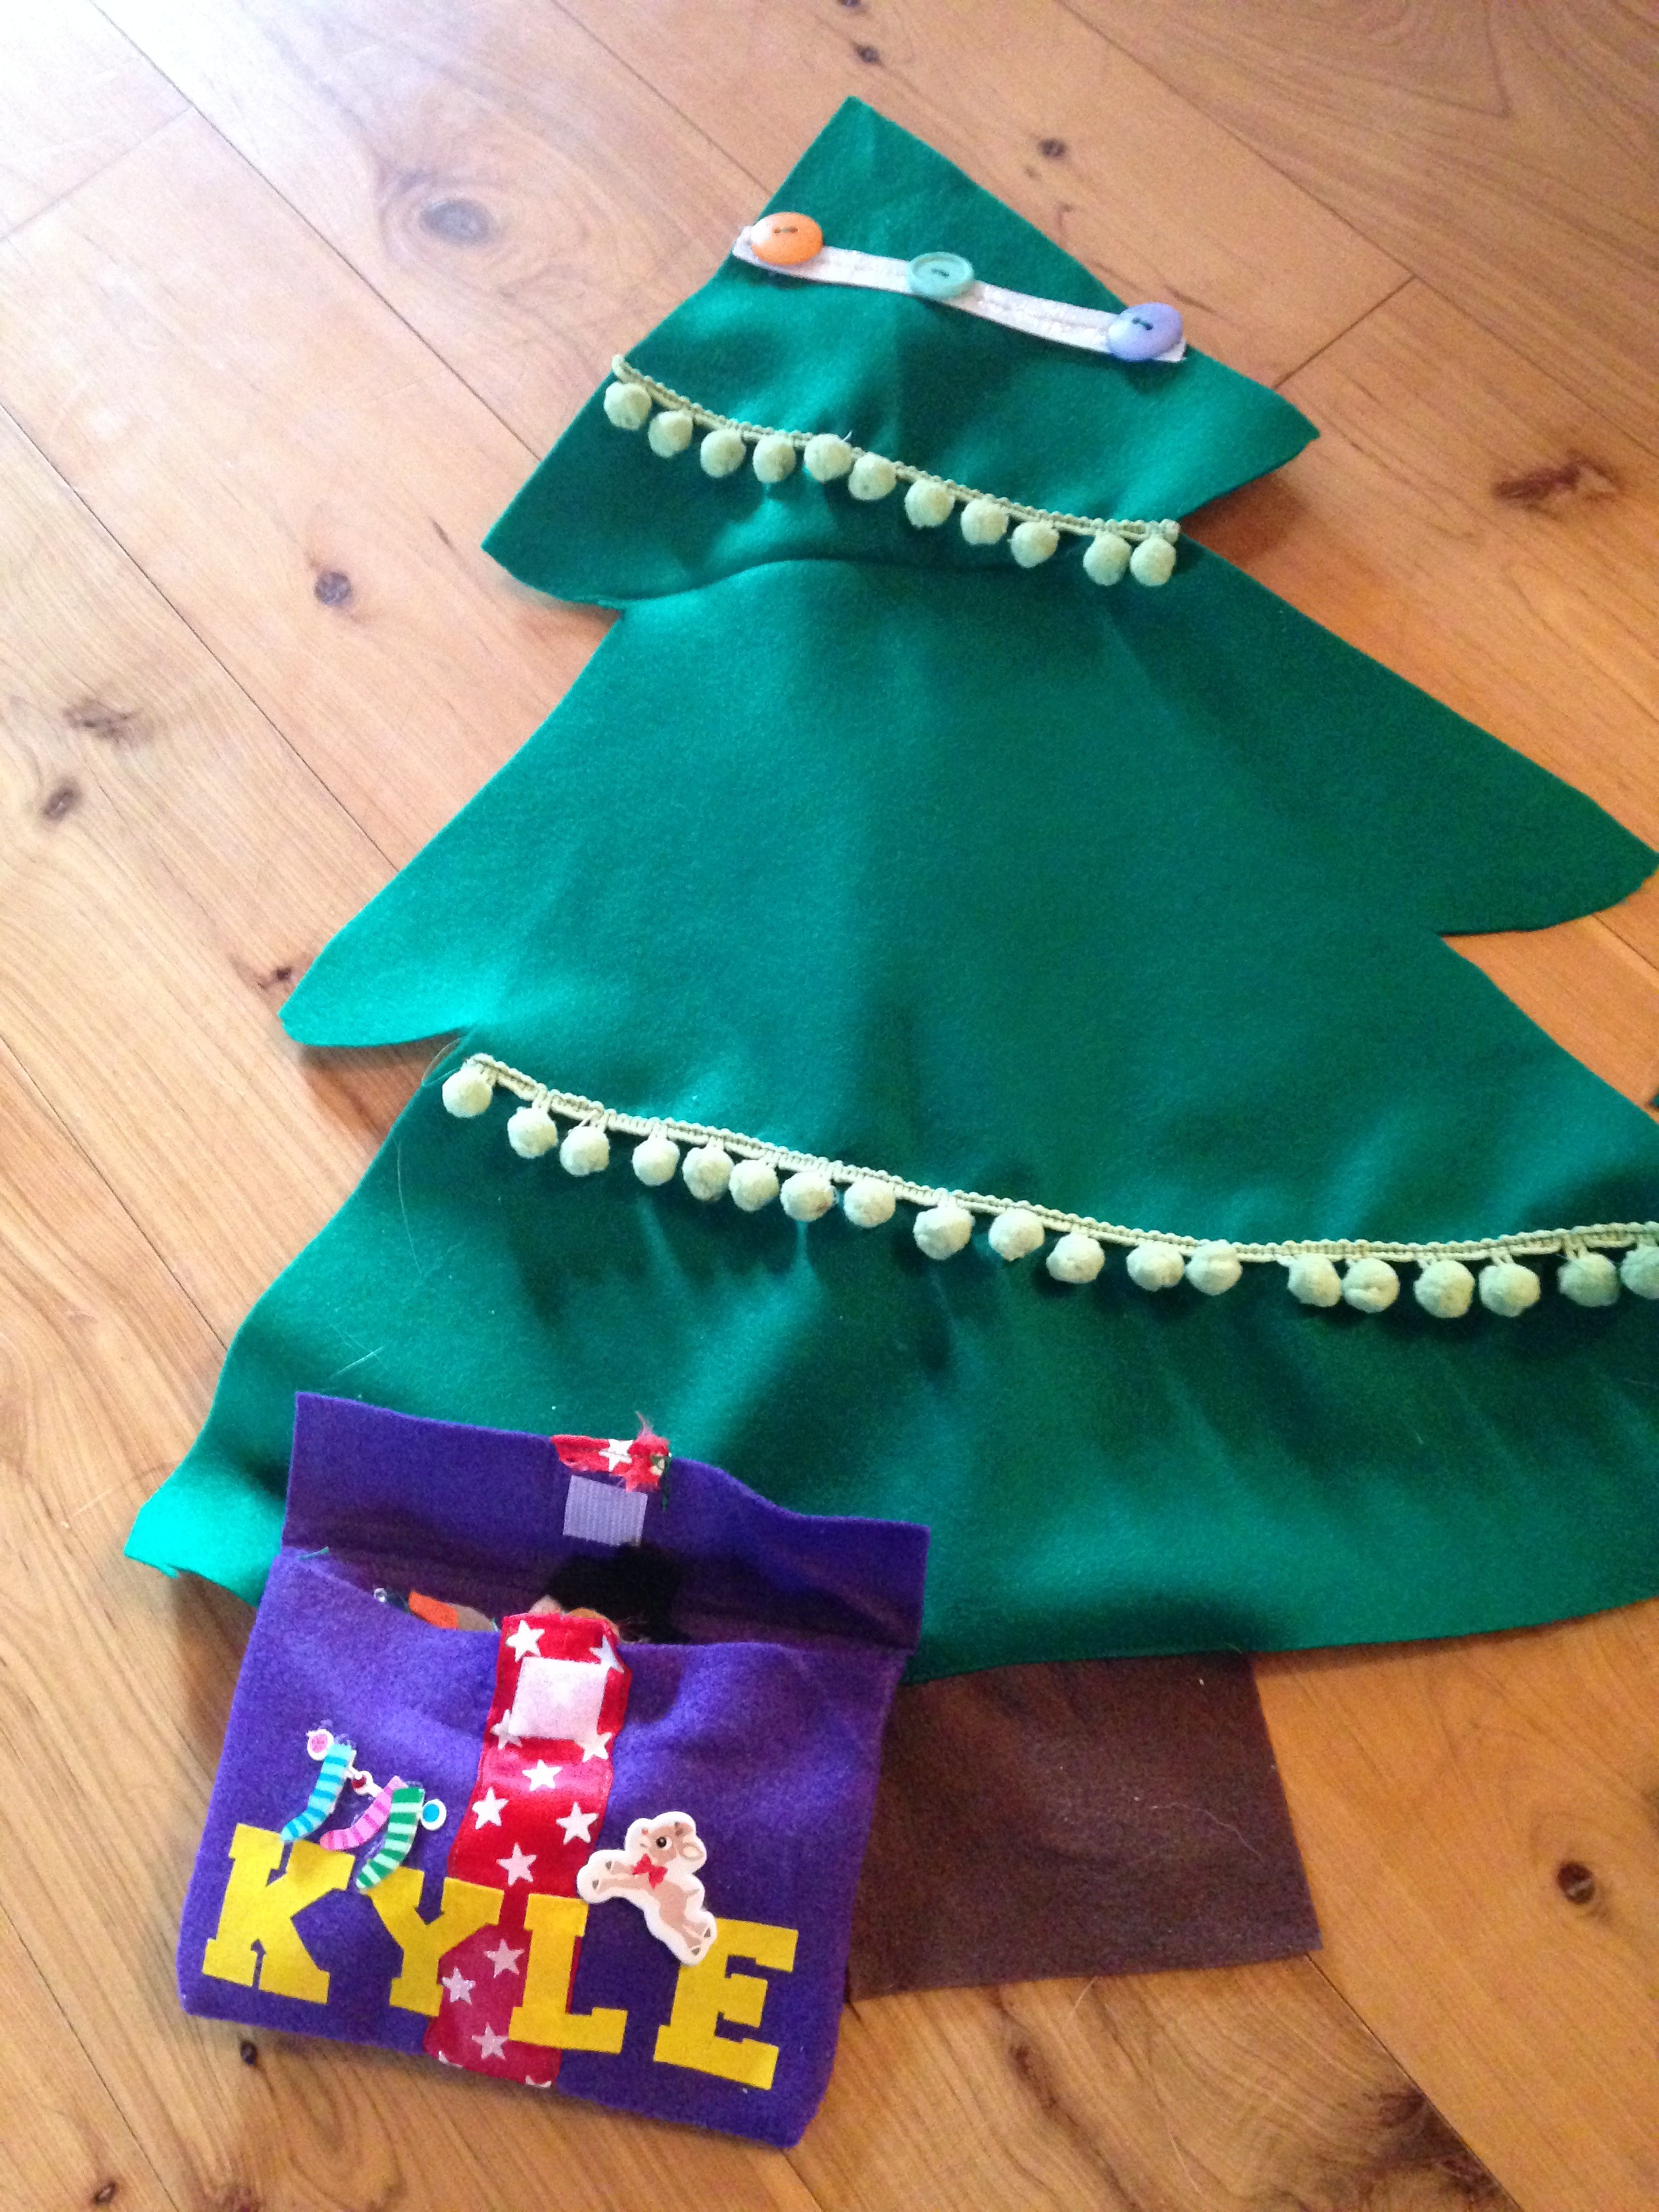
1) Fold your green felt and make a tree outline on the fold (so half of it traced on). Then cut your tree out!
2) Next, if you want a stump, use brown fabric to cut one out! Once again you can trace it out. You can either sew it on the bottom or hot glue gun.
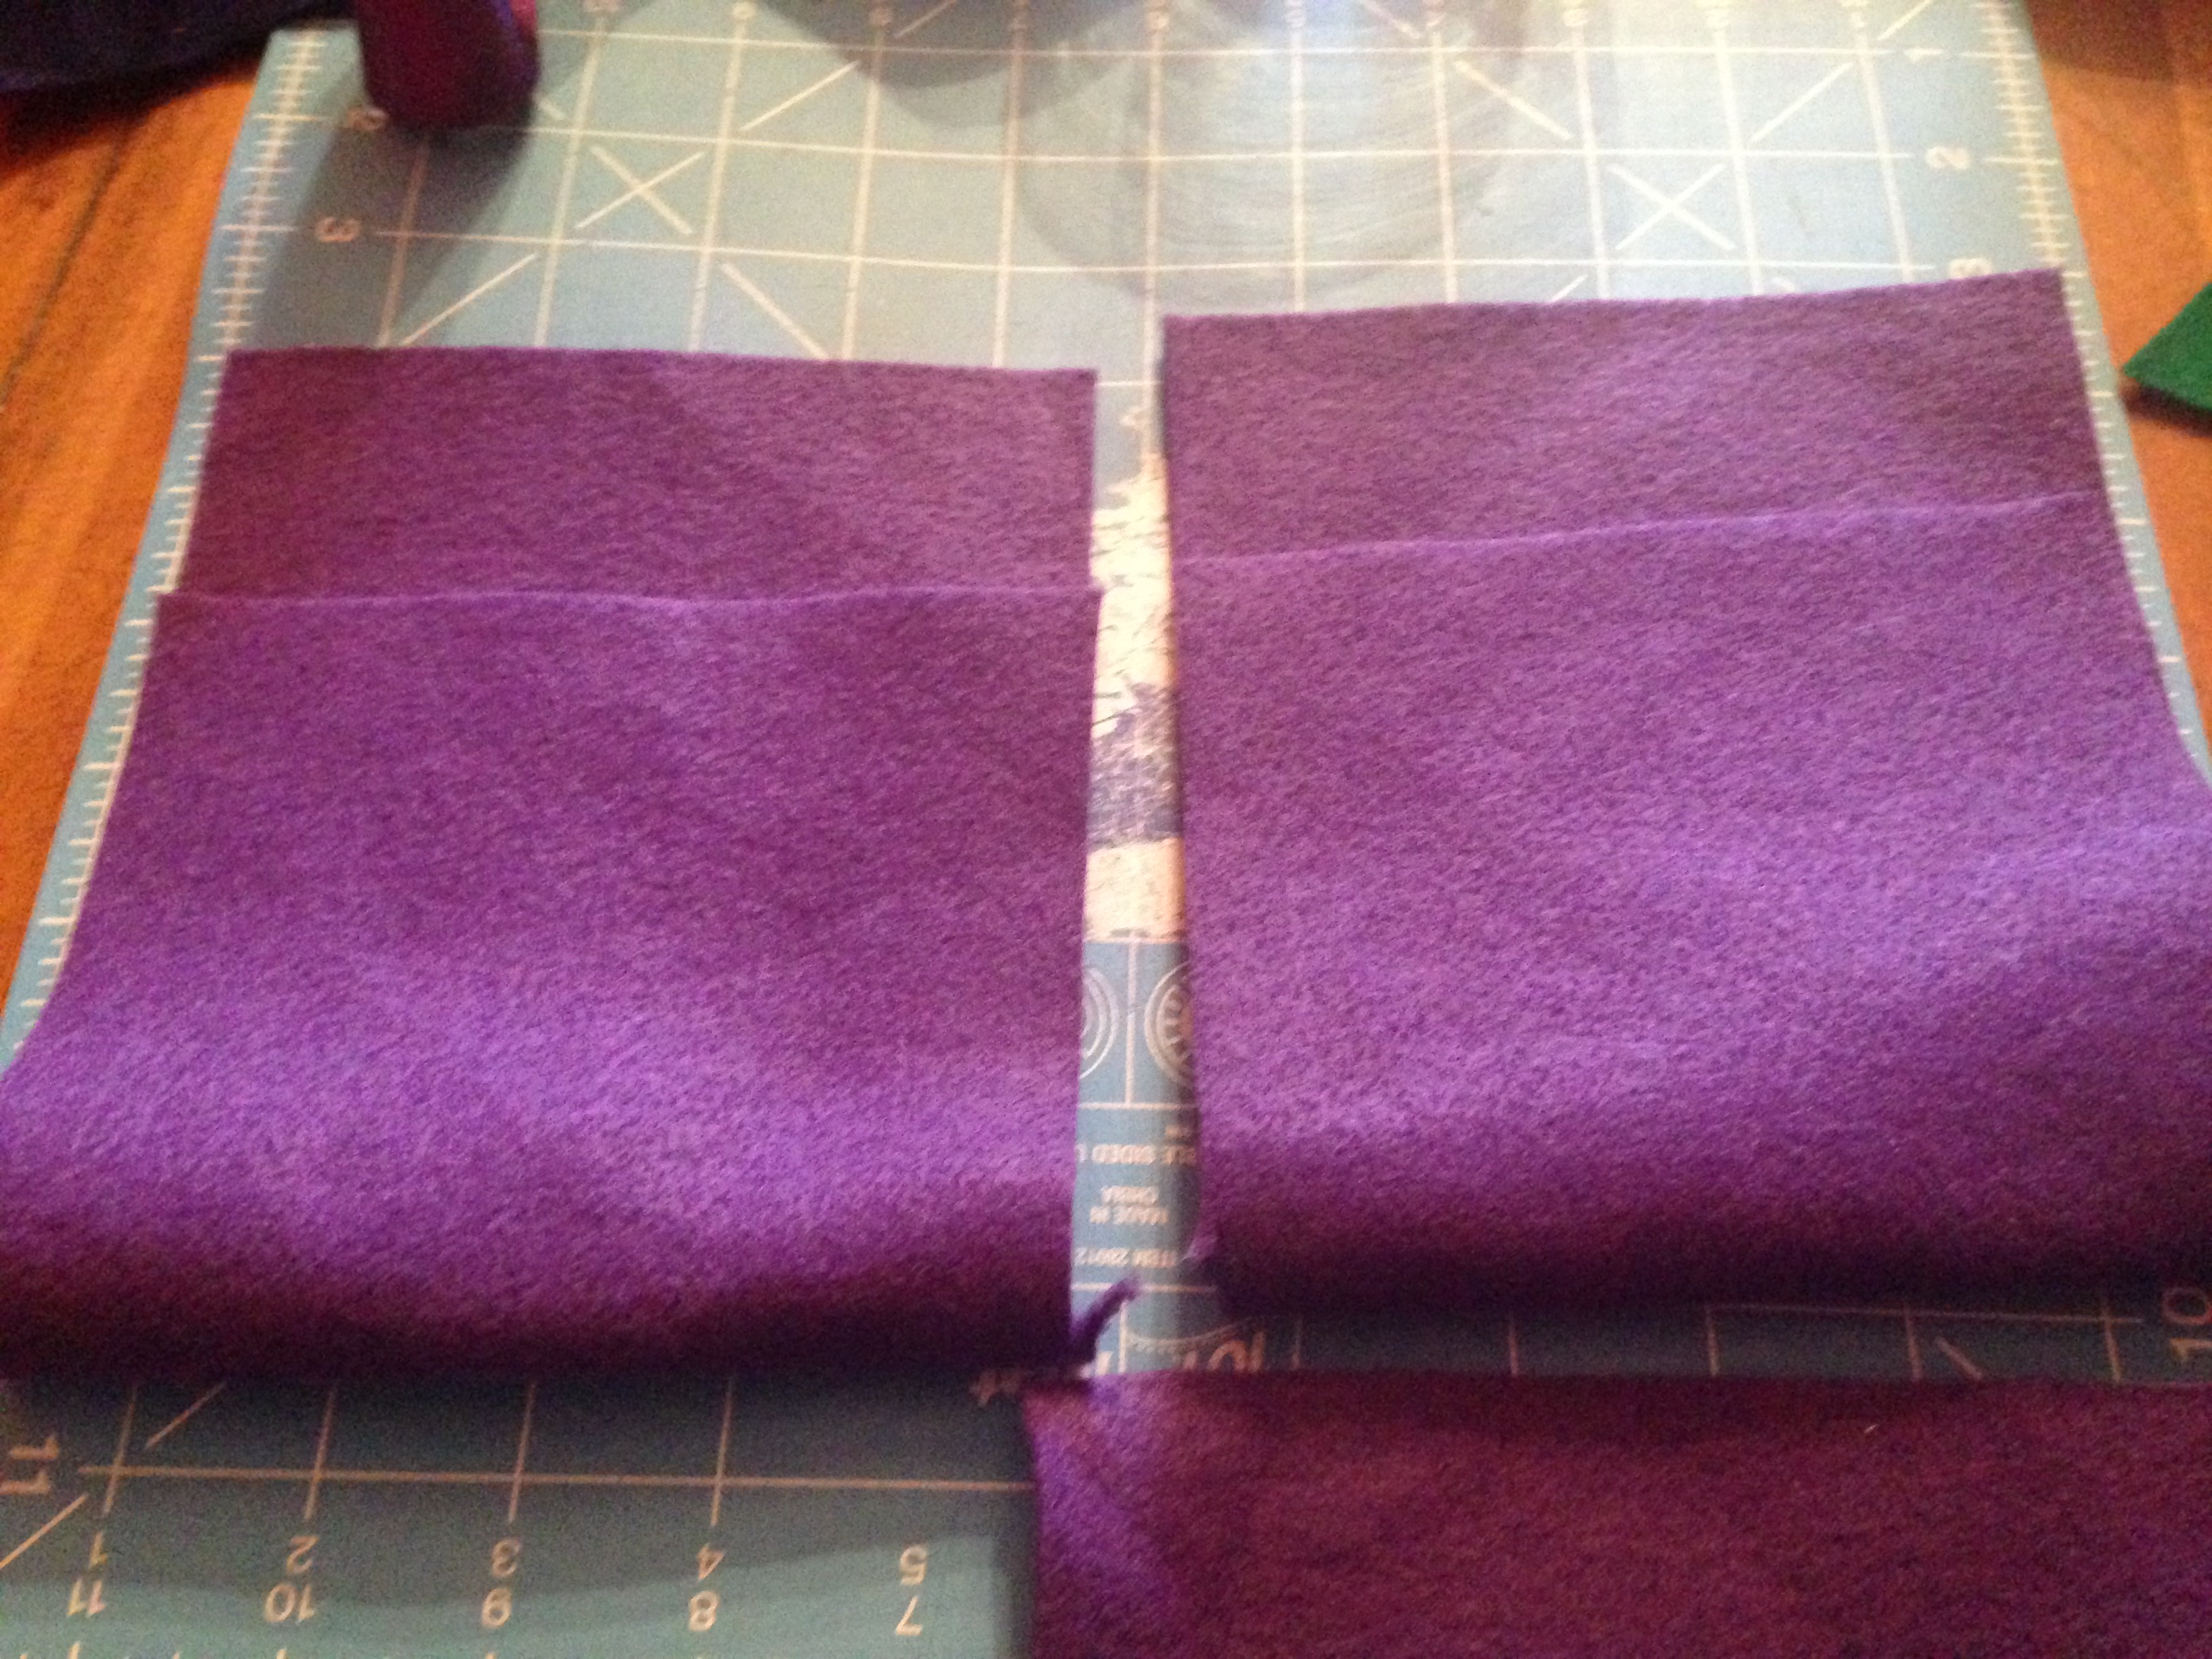
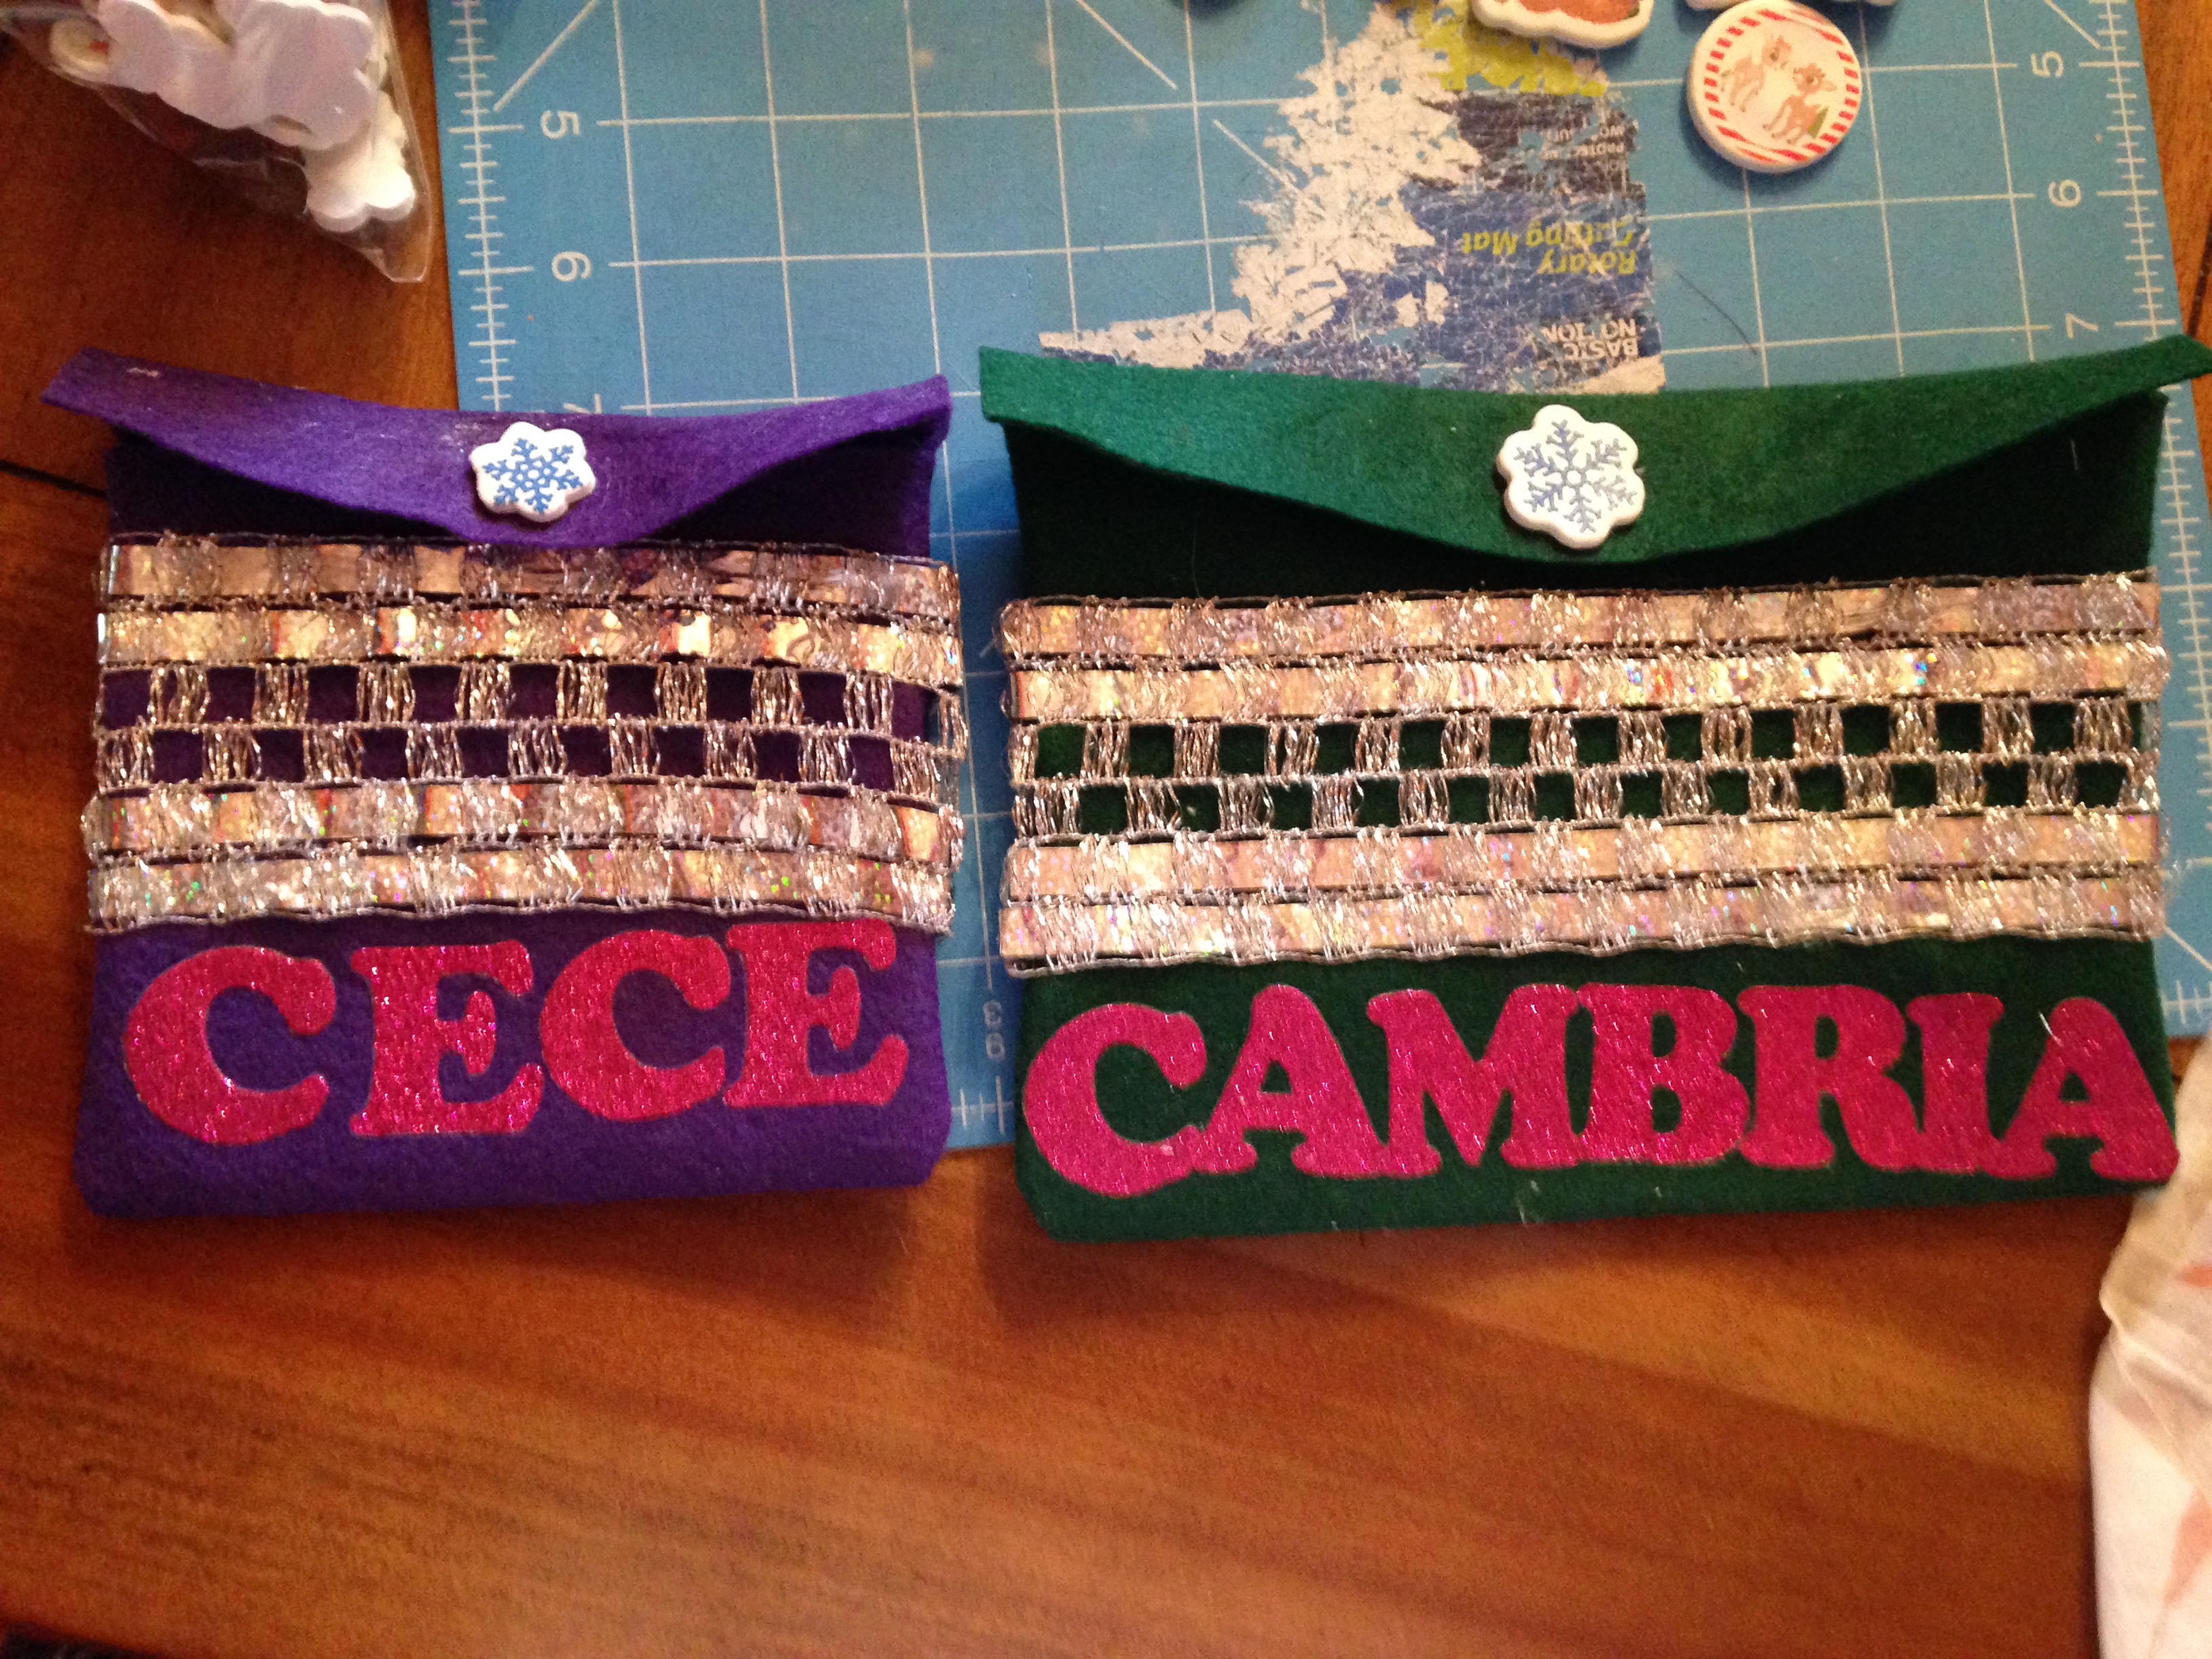
3) I wanted to make something to hold the ornaments besides just having them stick to the tree. So I decided a present with the child’s name on it would be perfect! So next I chose a color of felt I had and cut about 11x 7 inches.
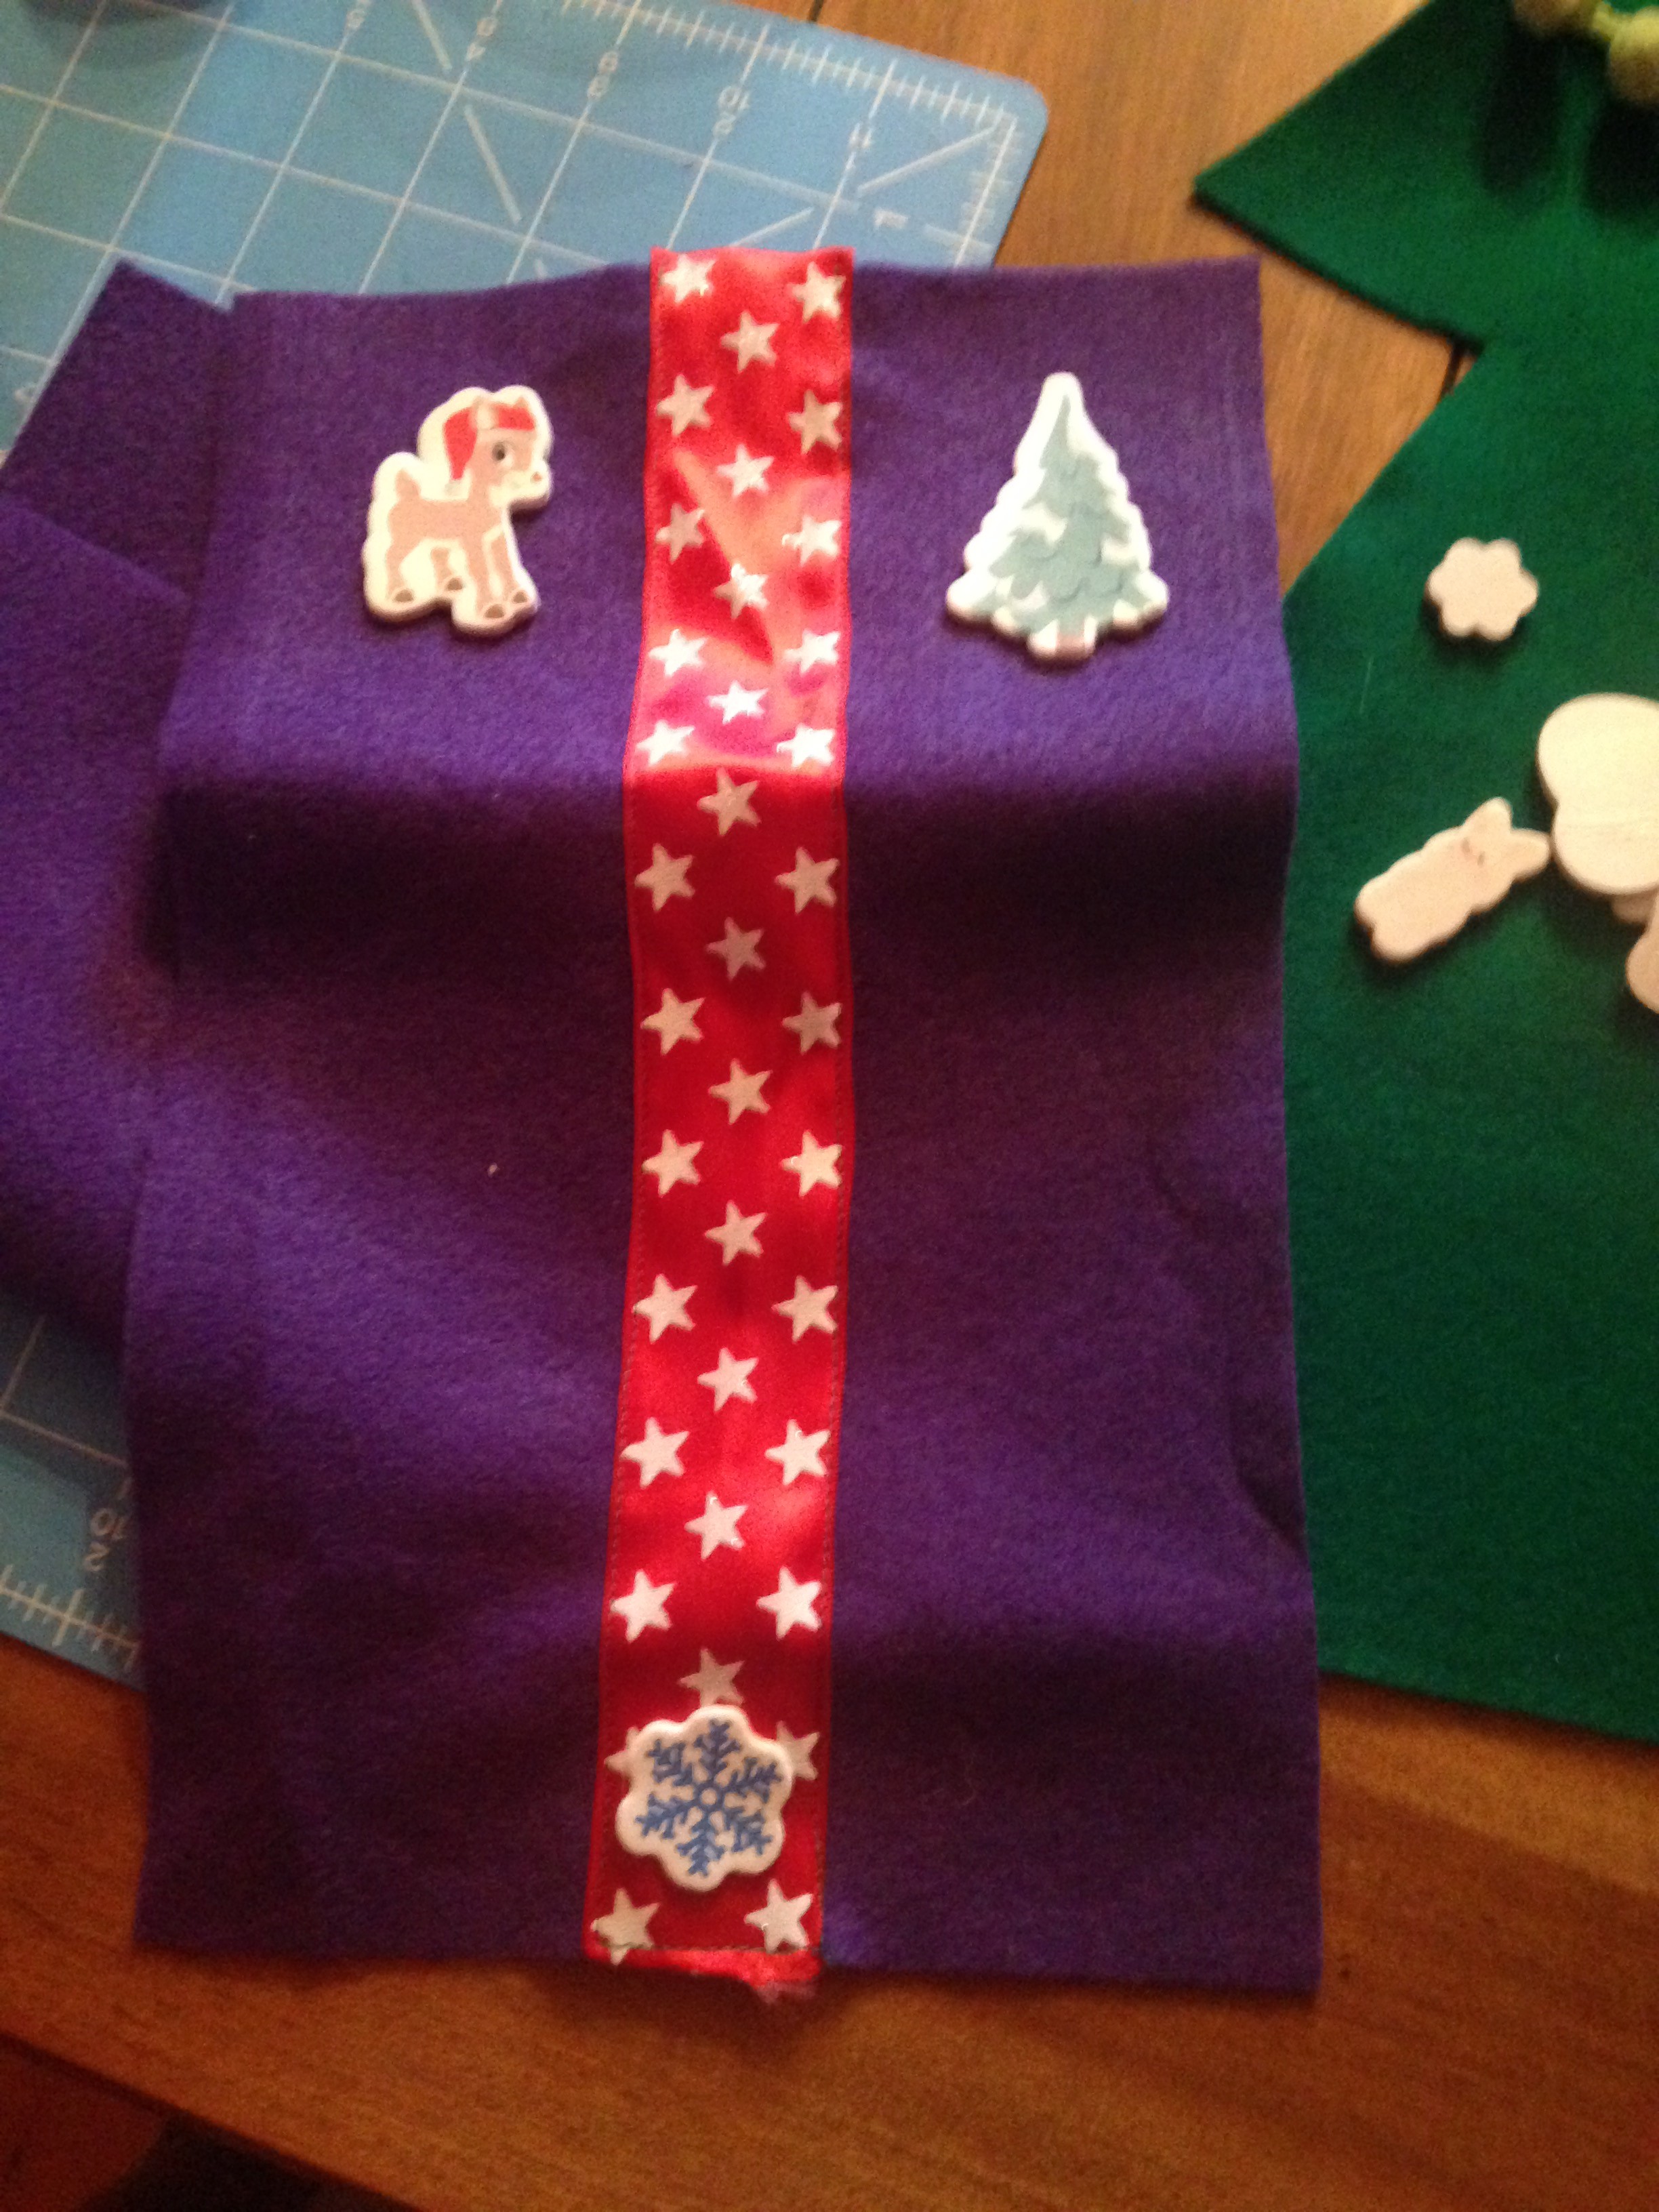
4) Next, for one of the presents I made I wanted the bow long ways down so I sewed a piece of ribbon straight down the piece. (the other two I made have it across the box which you can sew on now or later)
5) The next step would be to turn it right sides facing inwards and sew to the length you want so you have the top of the present flap long enough. Check out the picture to see what I mean. Then turn right side out.
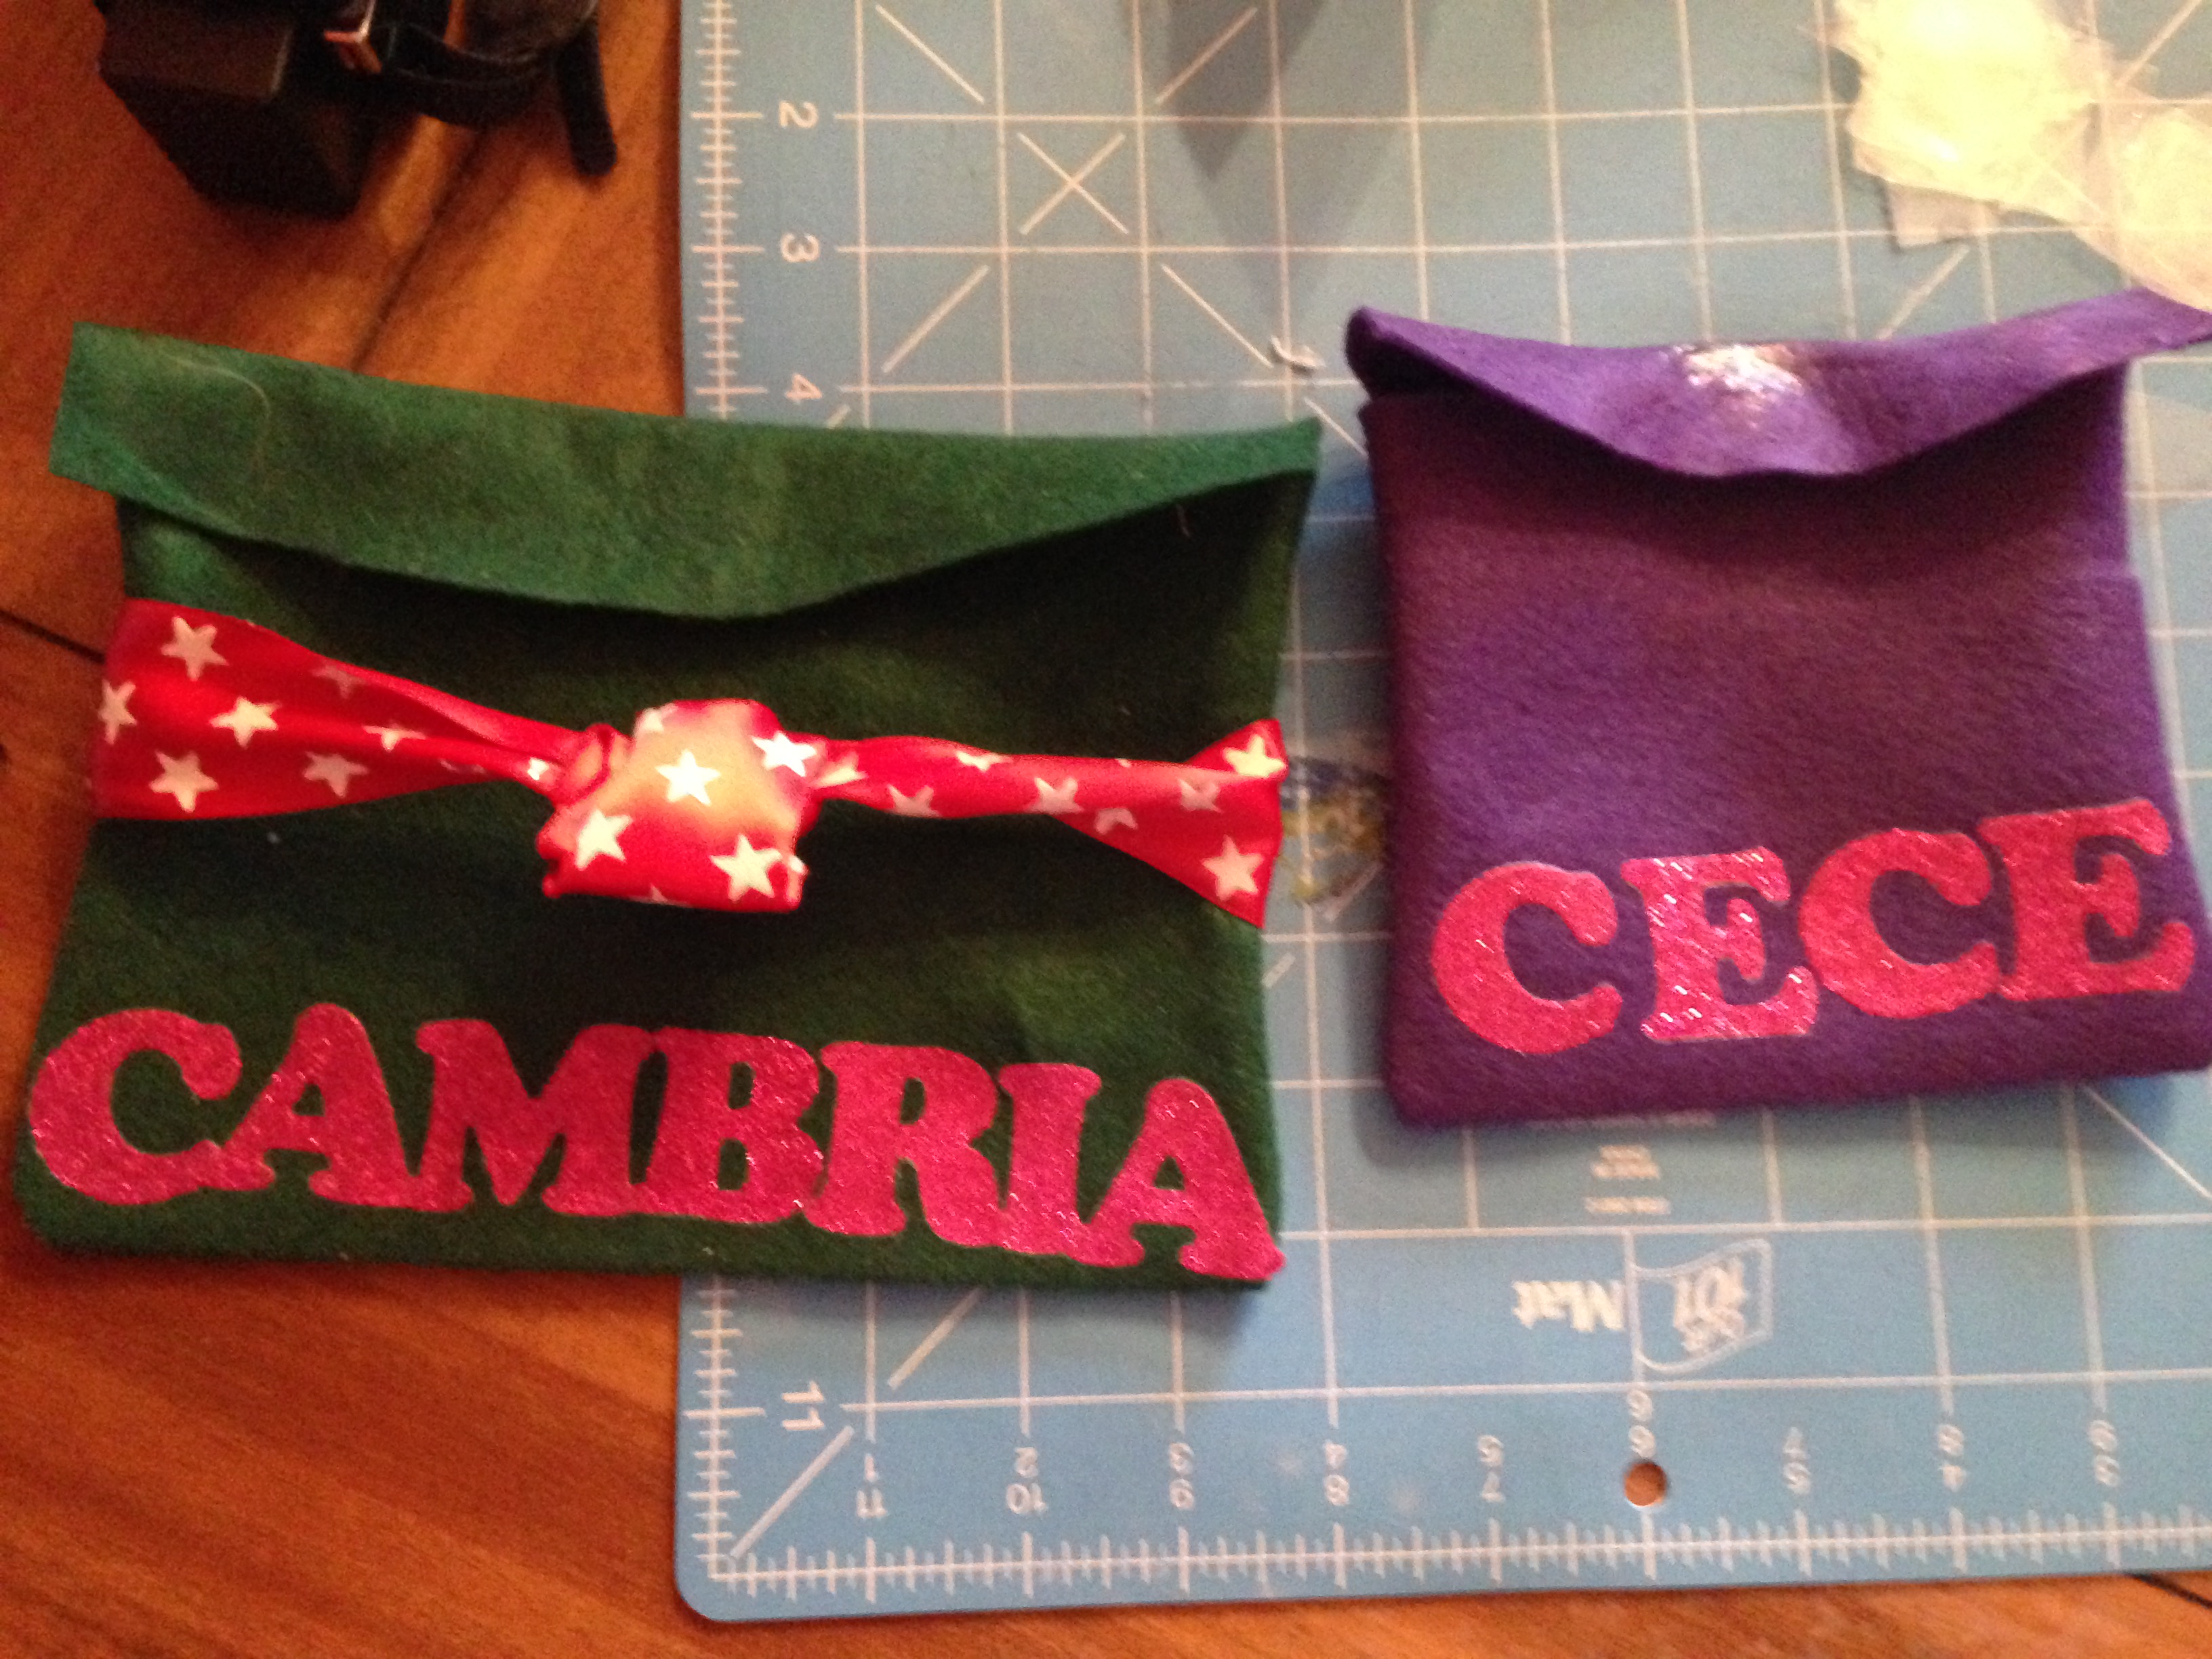
6) As you can see, I decided to iron on letters for the name of the child. These two presents are different sizes. Also, if you want to put a piece of iron on or sew on or glue gun on Velcro to the top of the present to have it stick now is the time.
7) Then decorate the present at will. I added some adhesive Rudolph stickers. I did hot glue them so they would be more secure.
8) Follow that, I sewed the present onto the tree. This is optional, you can have it separate or not have a present at all. I opened the top flap and sewed right along the fold to the tree. You can also hot glue gun it.
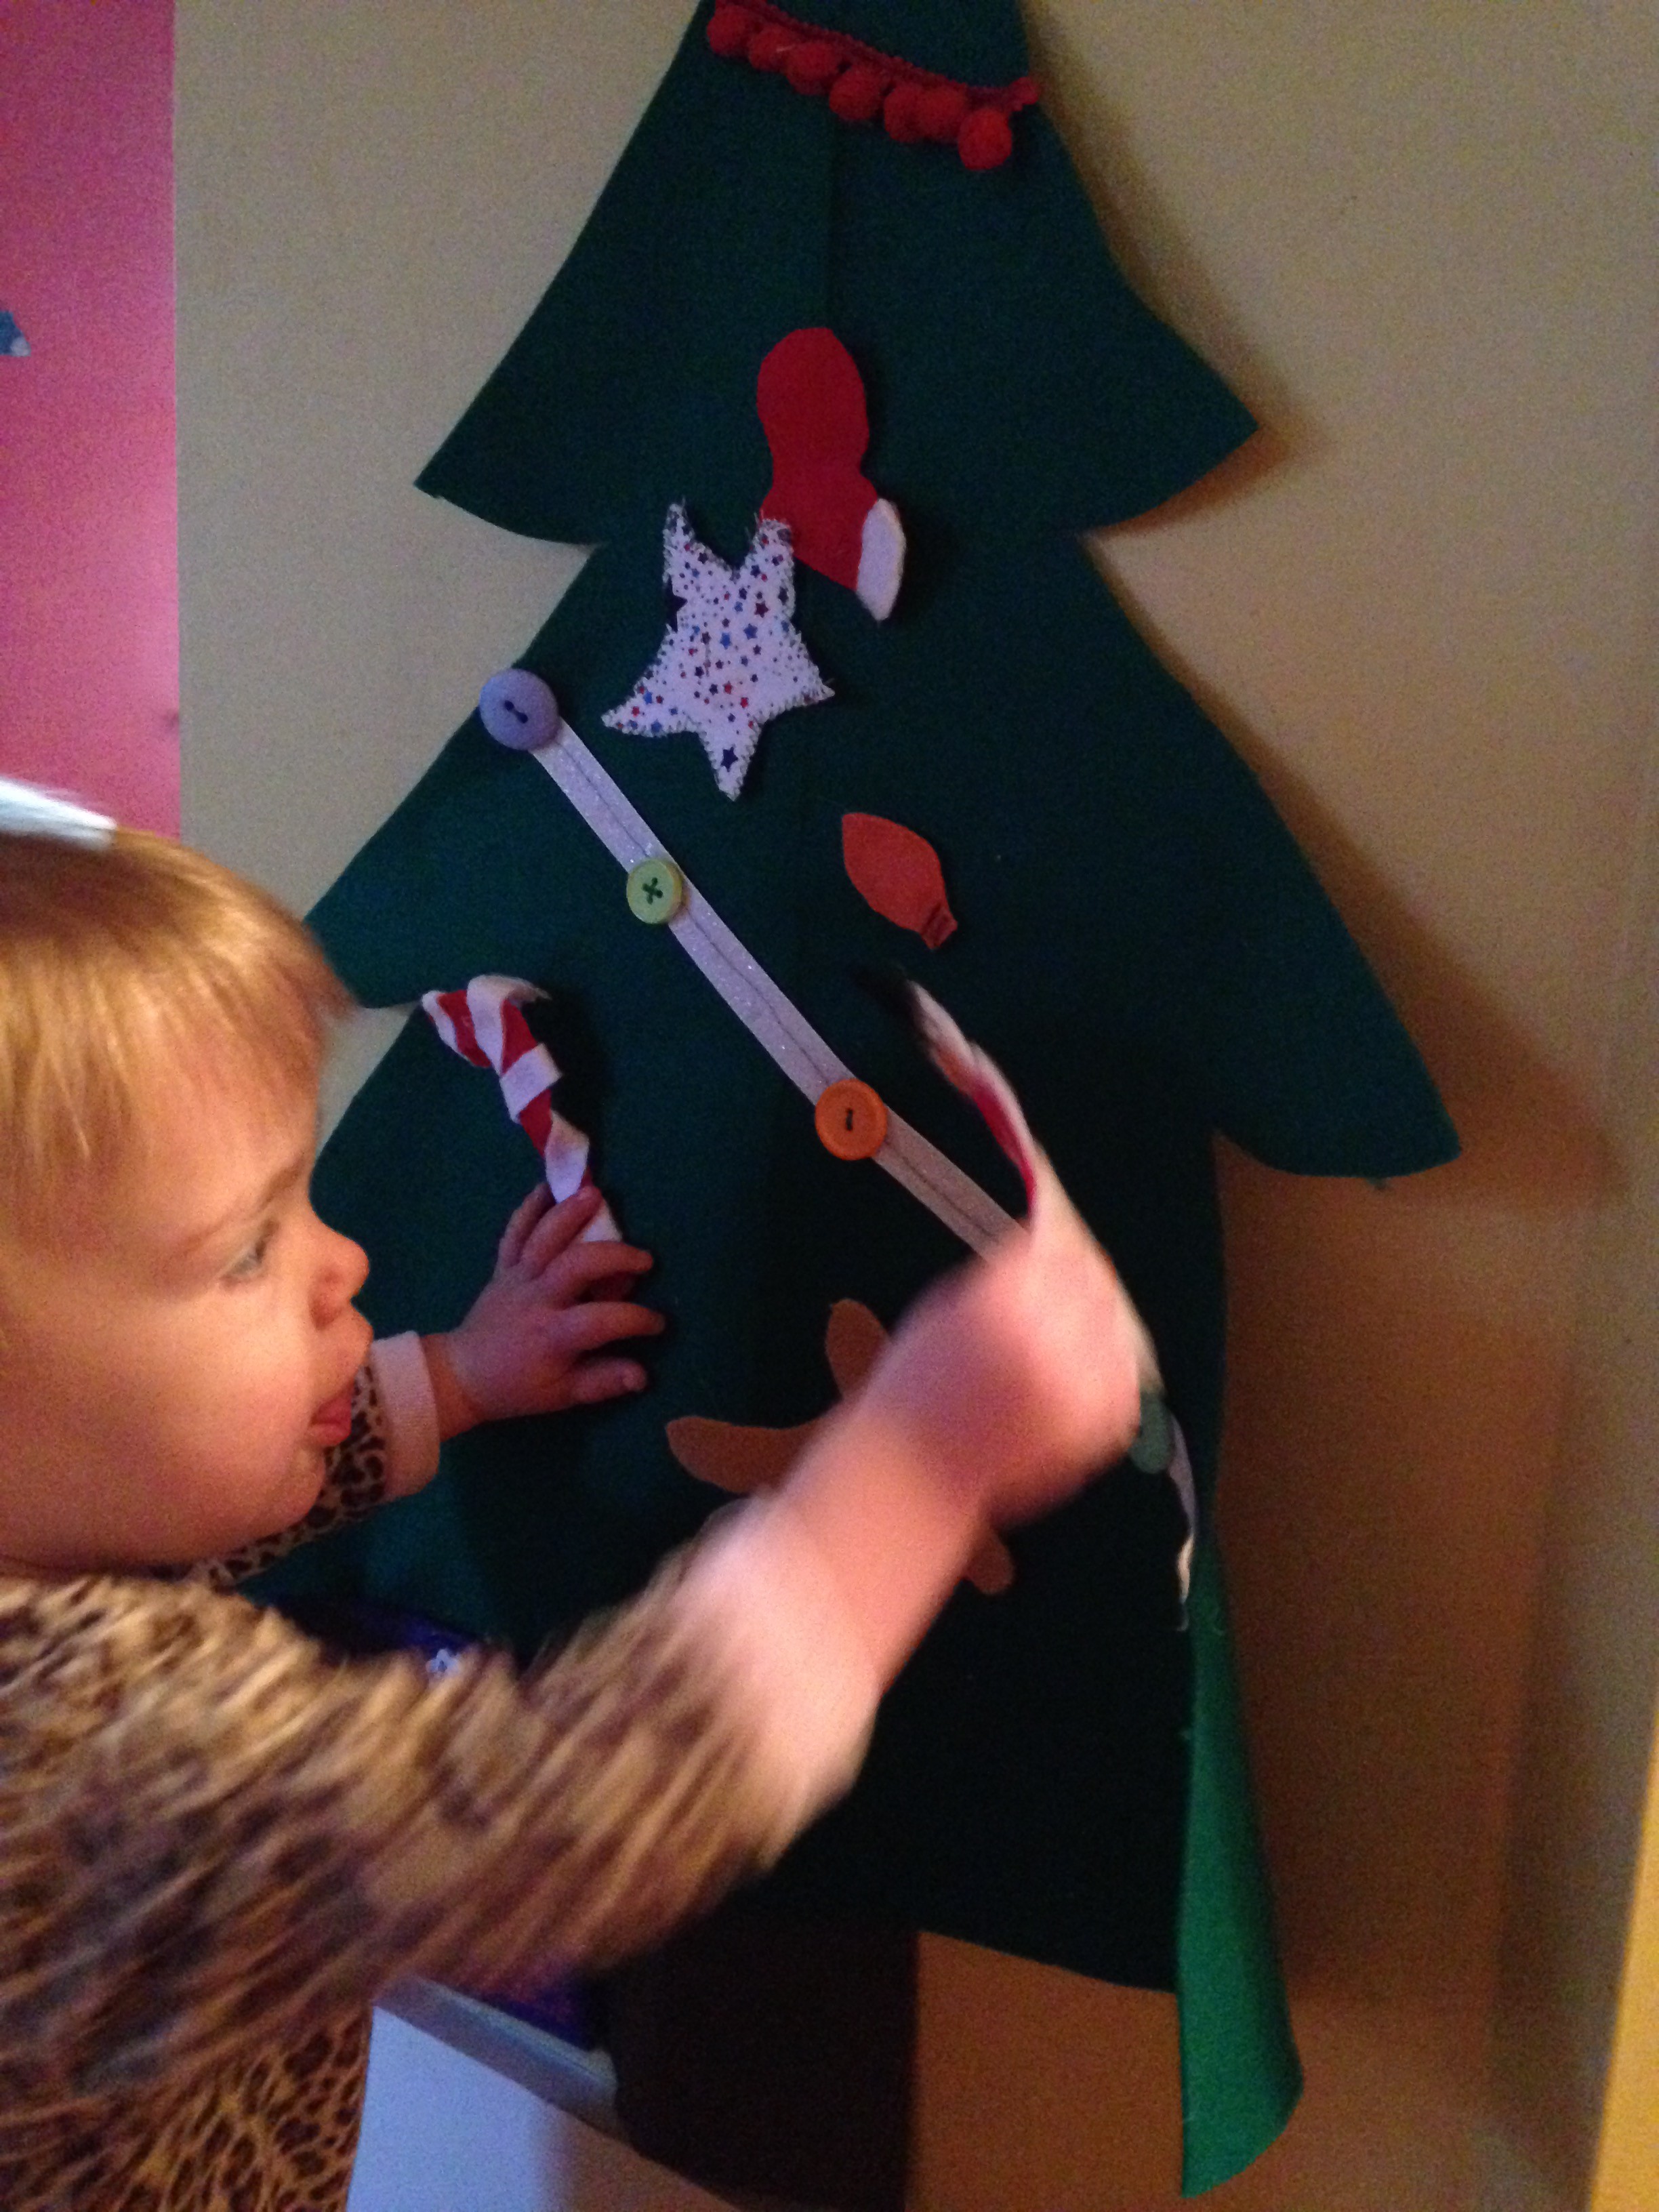
8) Now, back to the tree. Now is the time to get even more creative! Use ribbons, garland, buttons, or whatever you want on the tree! You can sew or hot glue gun them on. If you have an older child and want to have hanging ornaments on buttons then align your buttons!
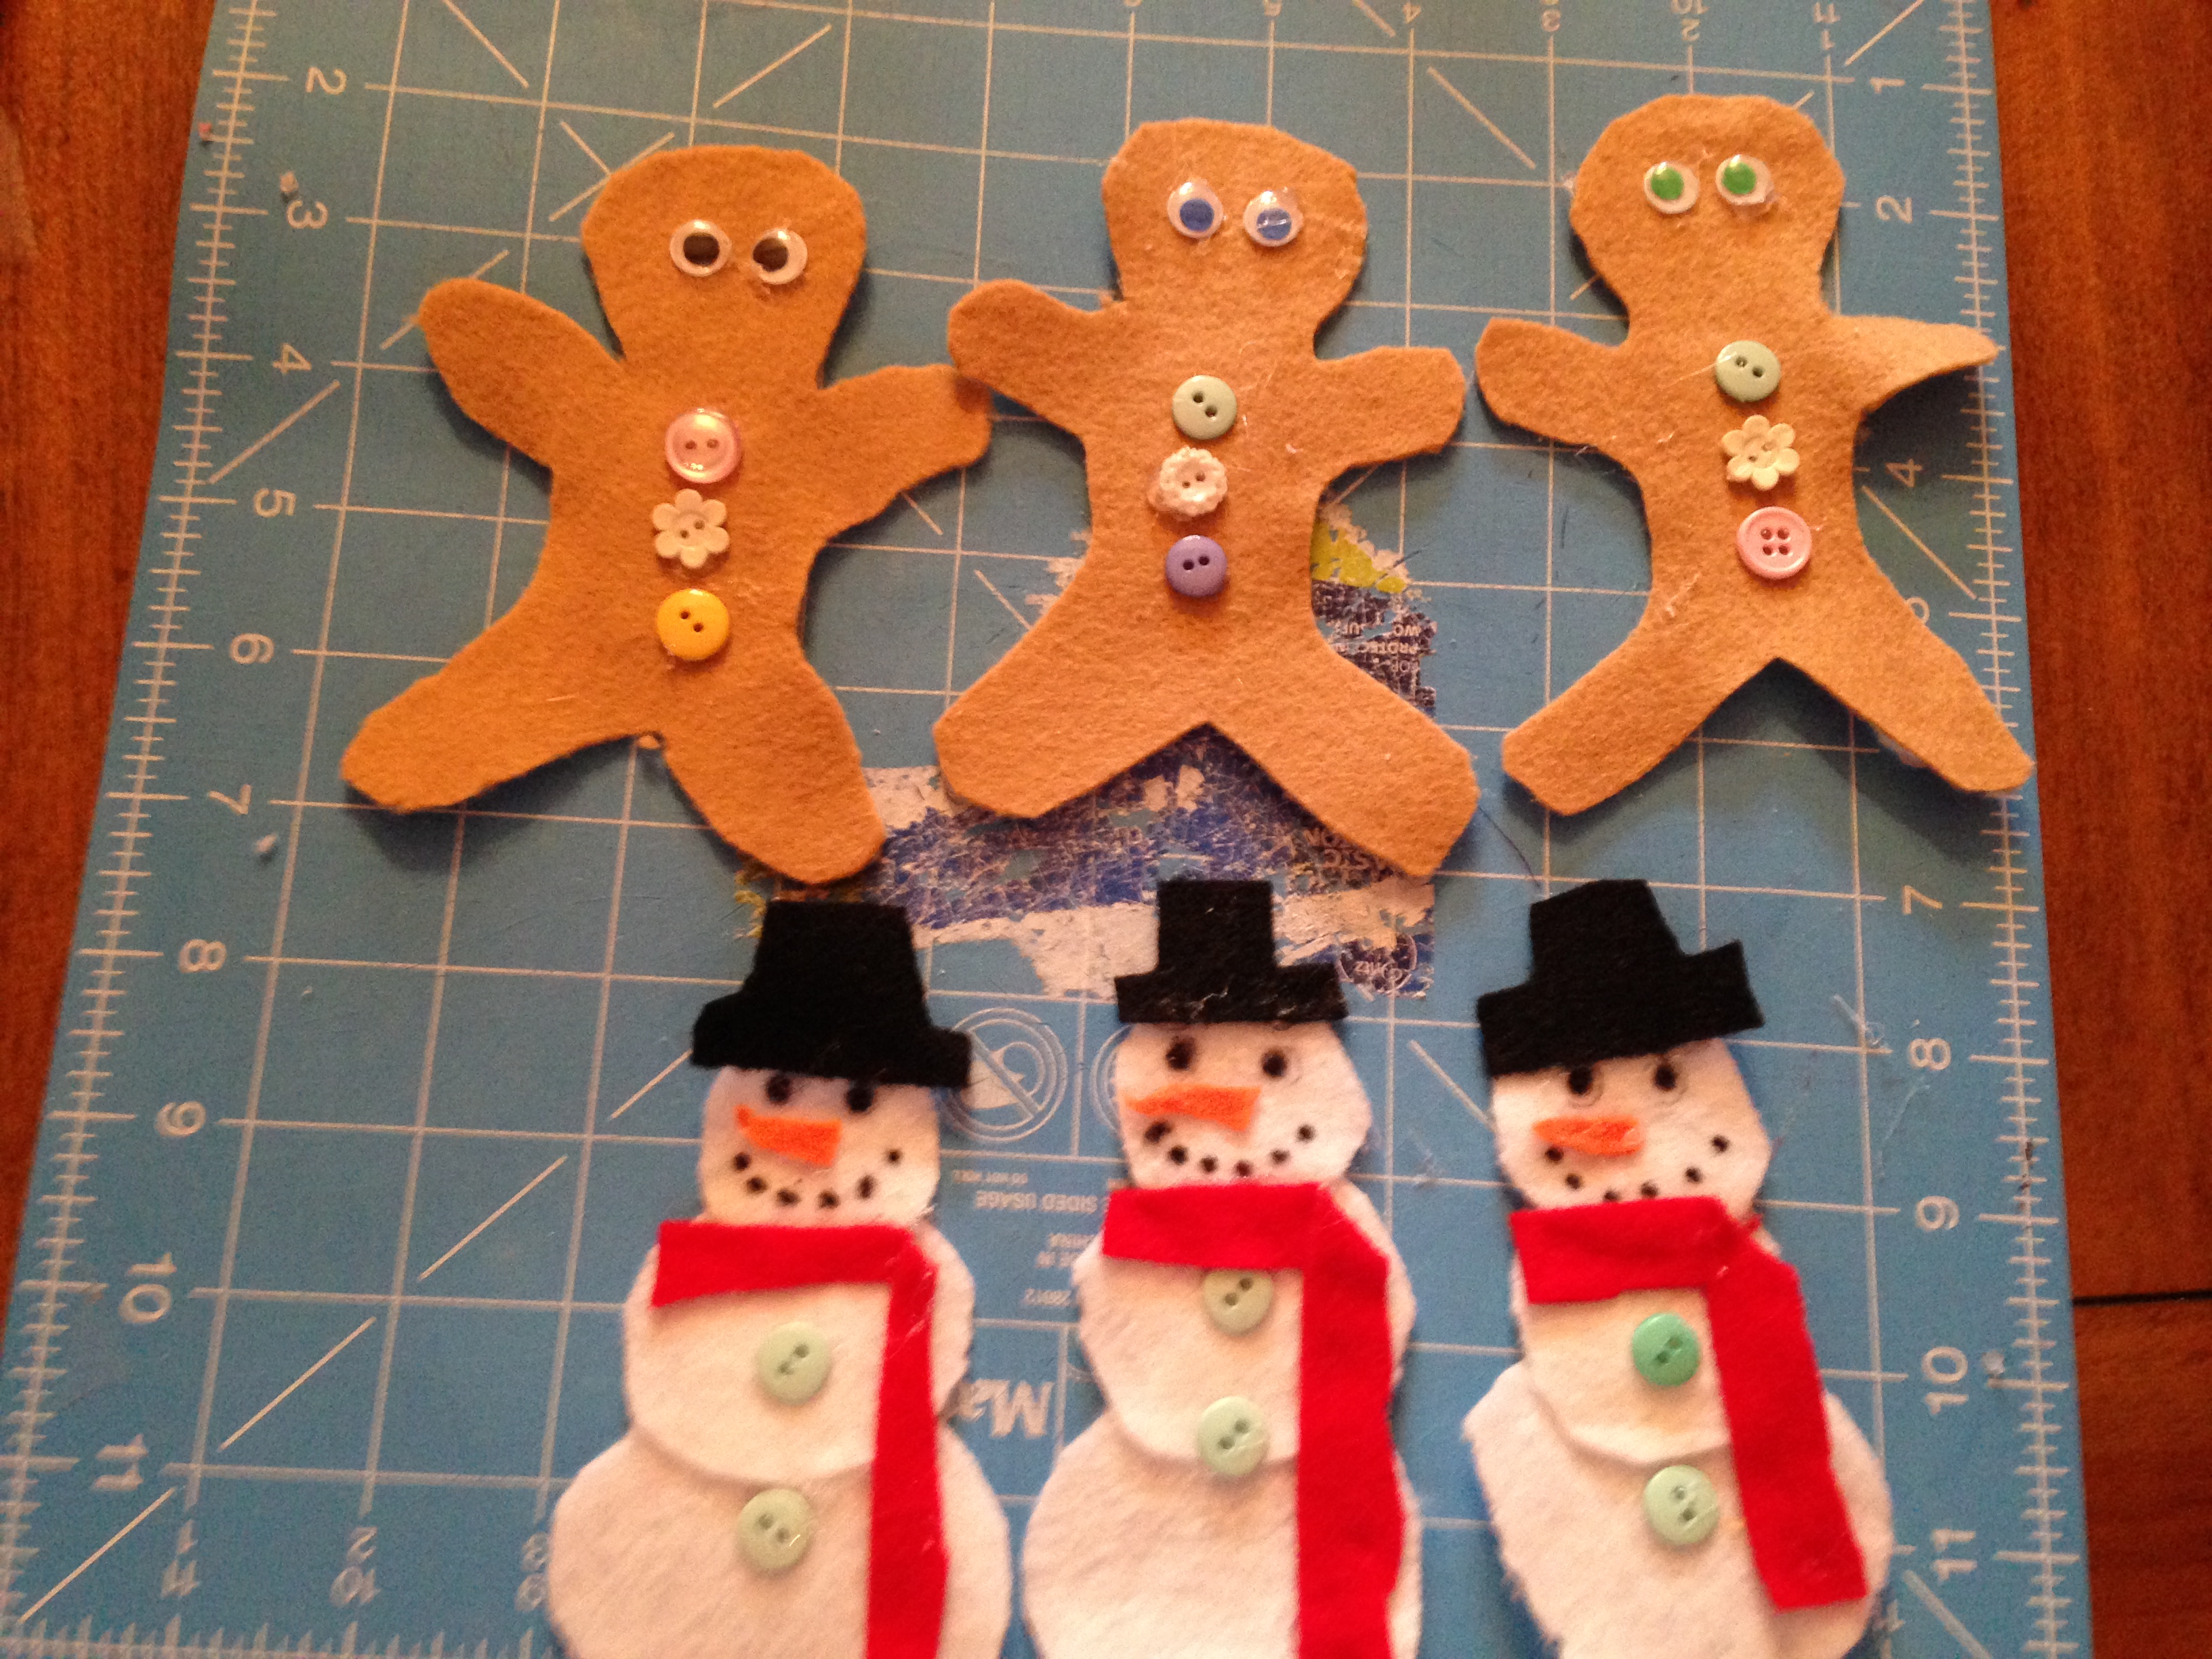
9) Next, it is time to make ornaments. If your child is older they can help decorate and make ornaments. I chose actually Christmas items and one ornament and one light bulb. I used whatever felt scraps I had to make them. I also made a star at the end. Remember to Velcro your ornaments on the back using the hard side of the Velcro. You want to iron them on before you decorate the front! Otherwise you might melt or damage your decorations.
To hang the tree, I used 3m adhesive strips, but I have heard that the blue paint tape works well on walls. You can also use suction cups if its on the window or door. Ok enjoy! Feel free to post your tree below!
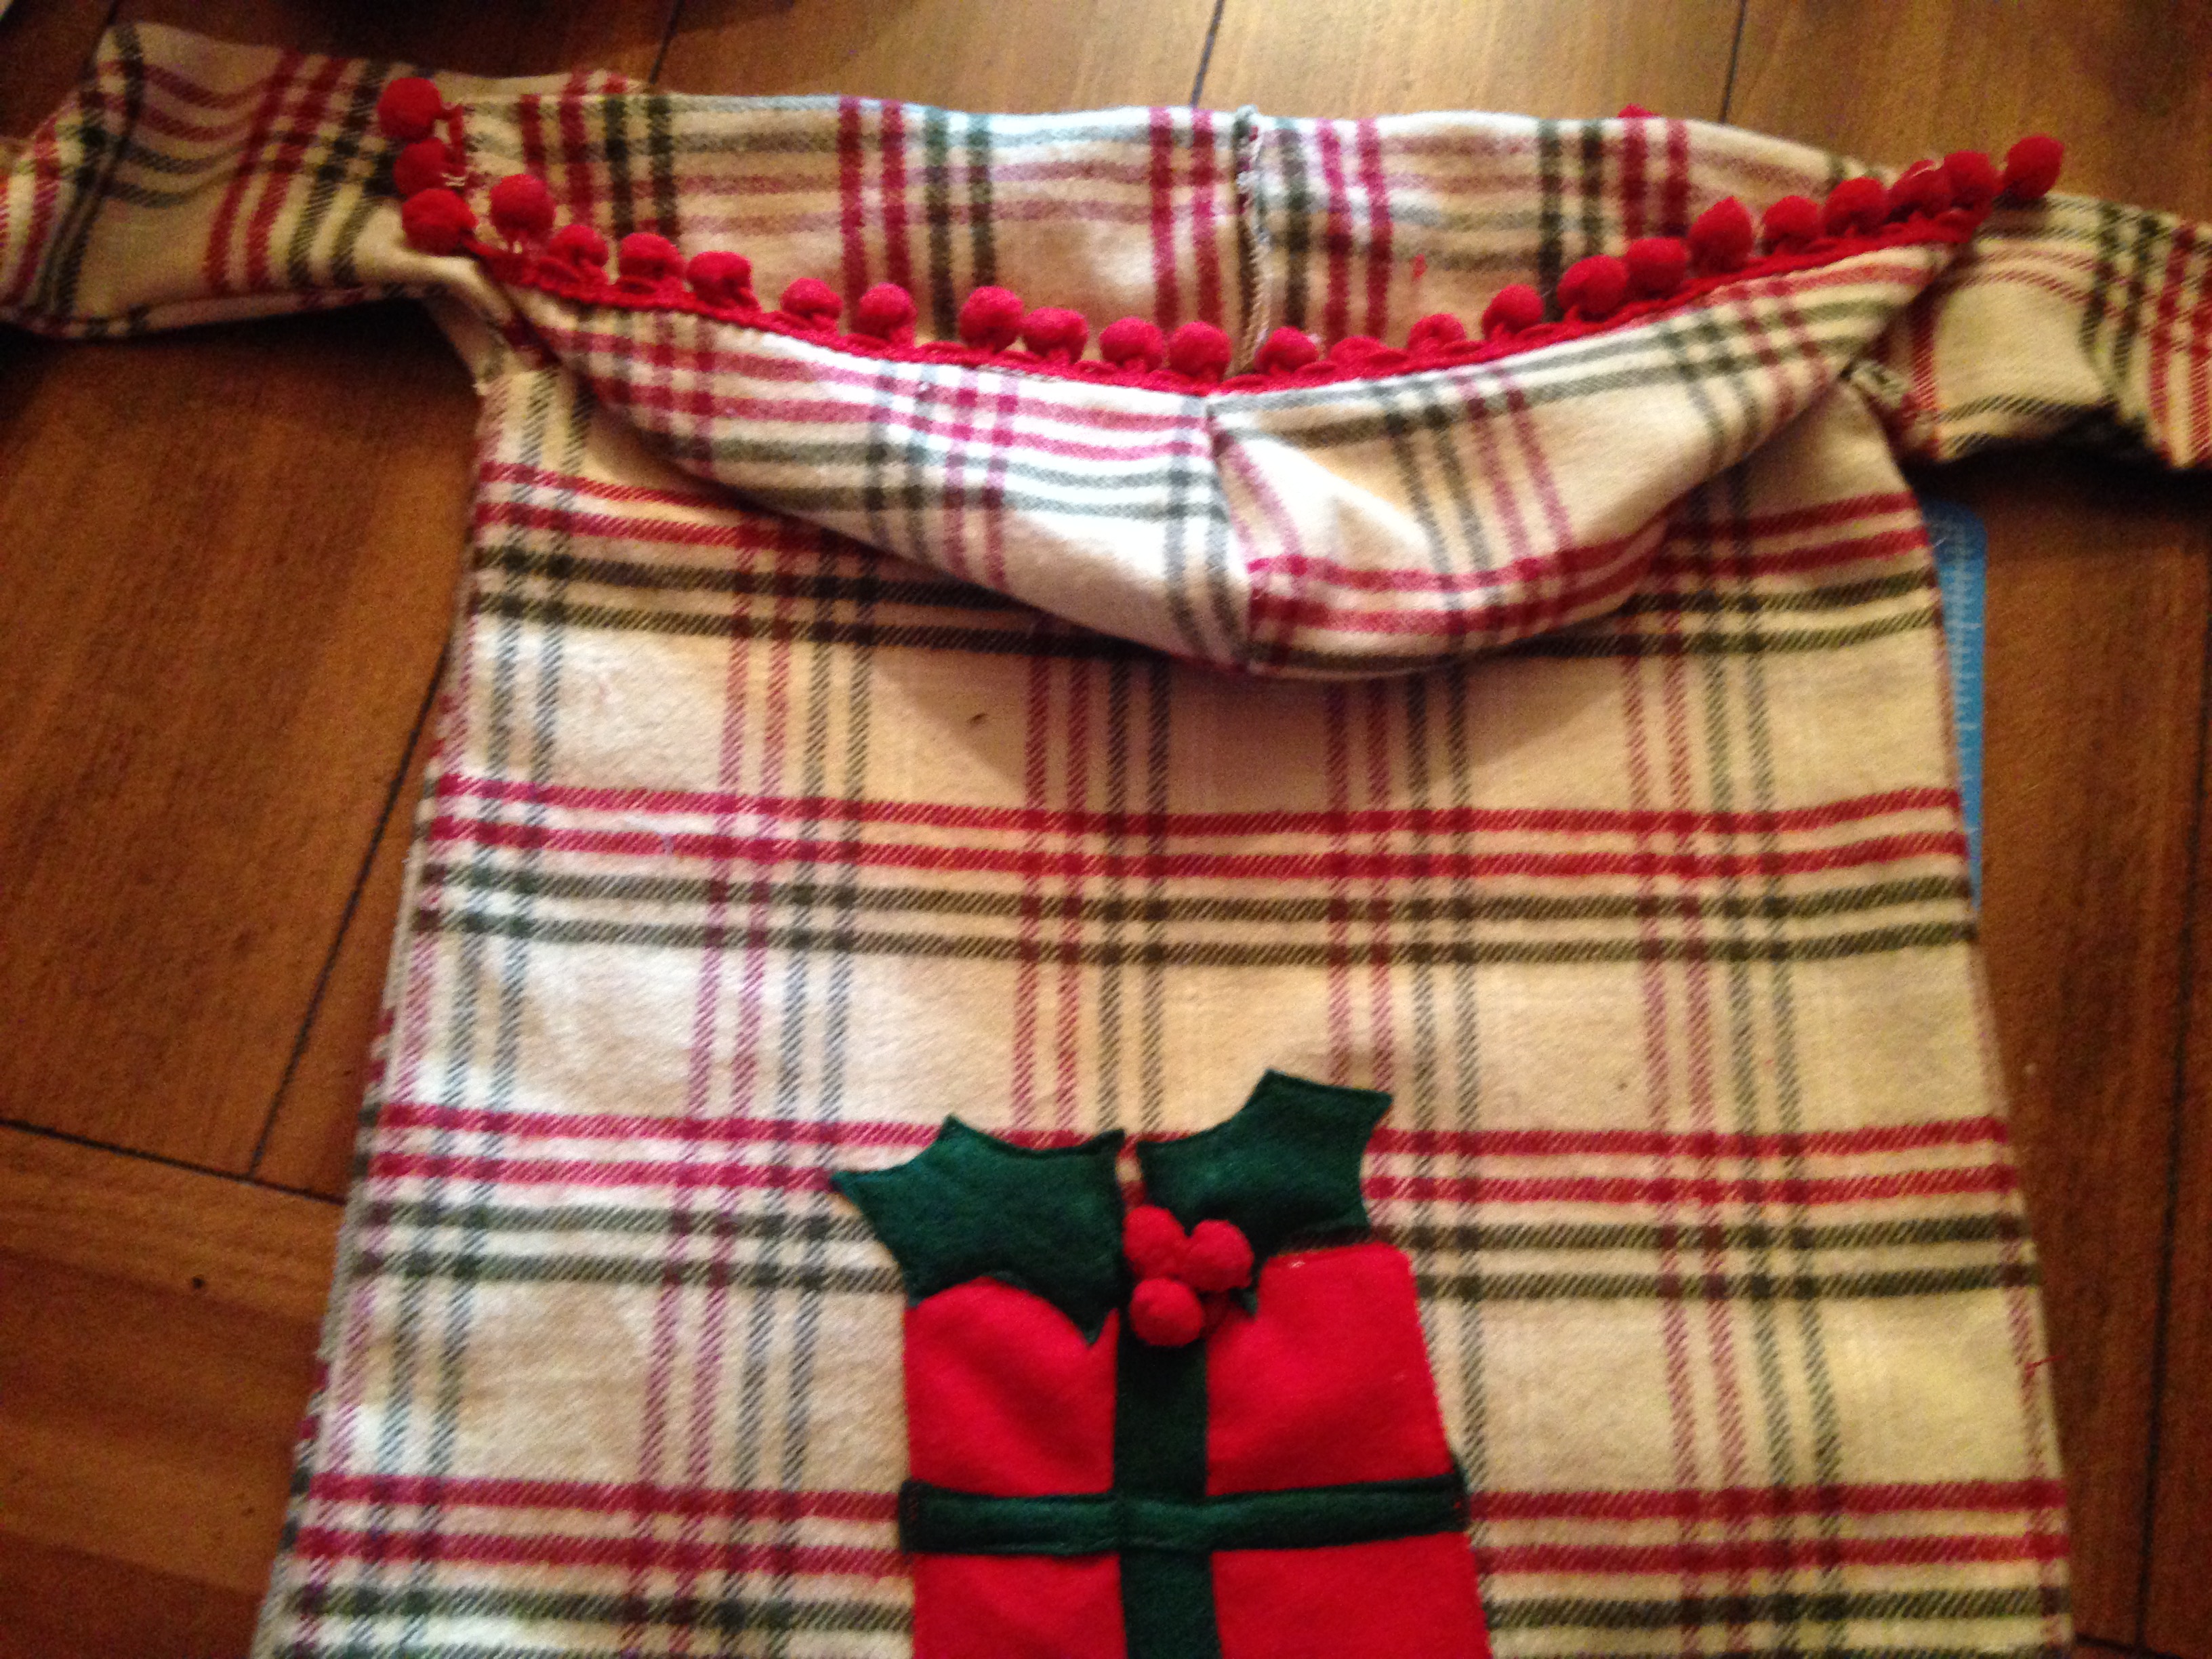
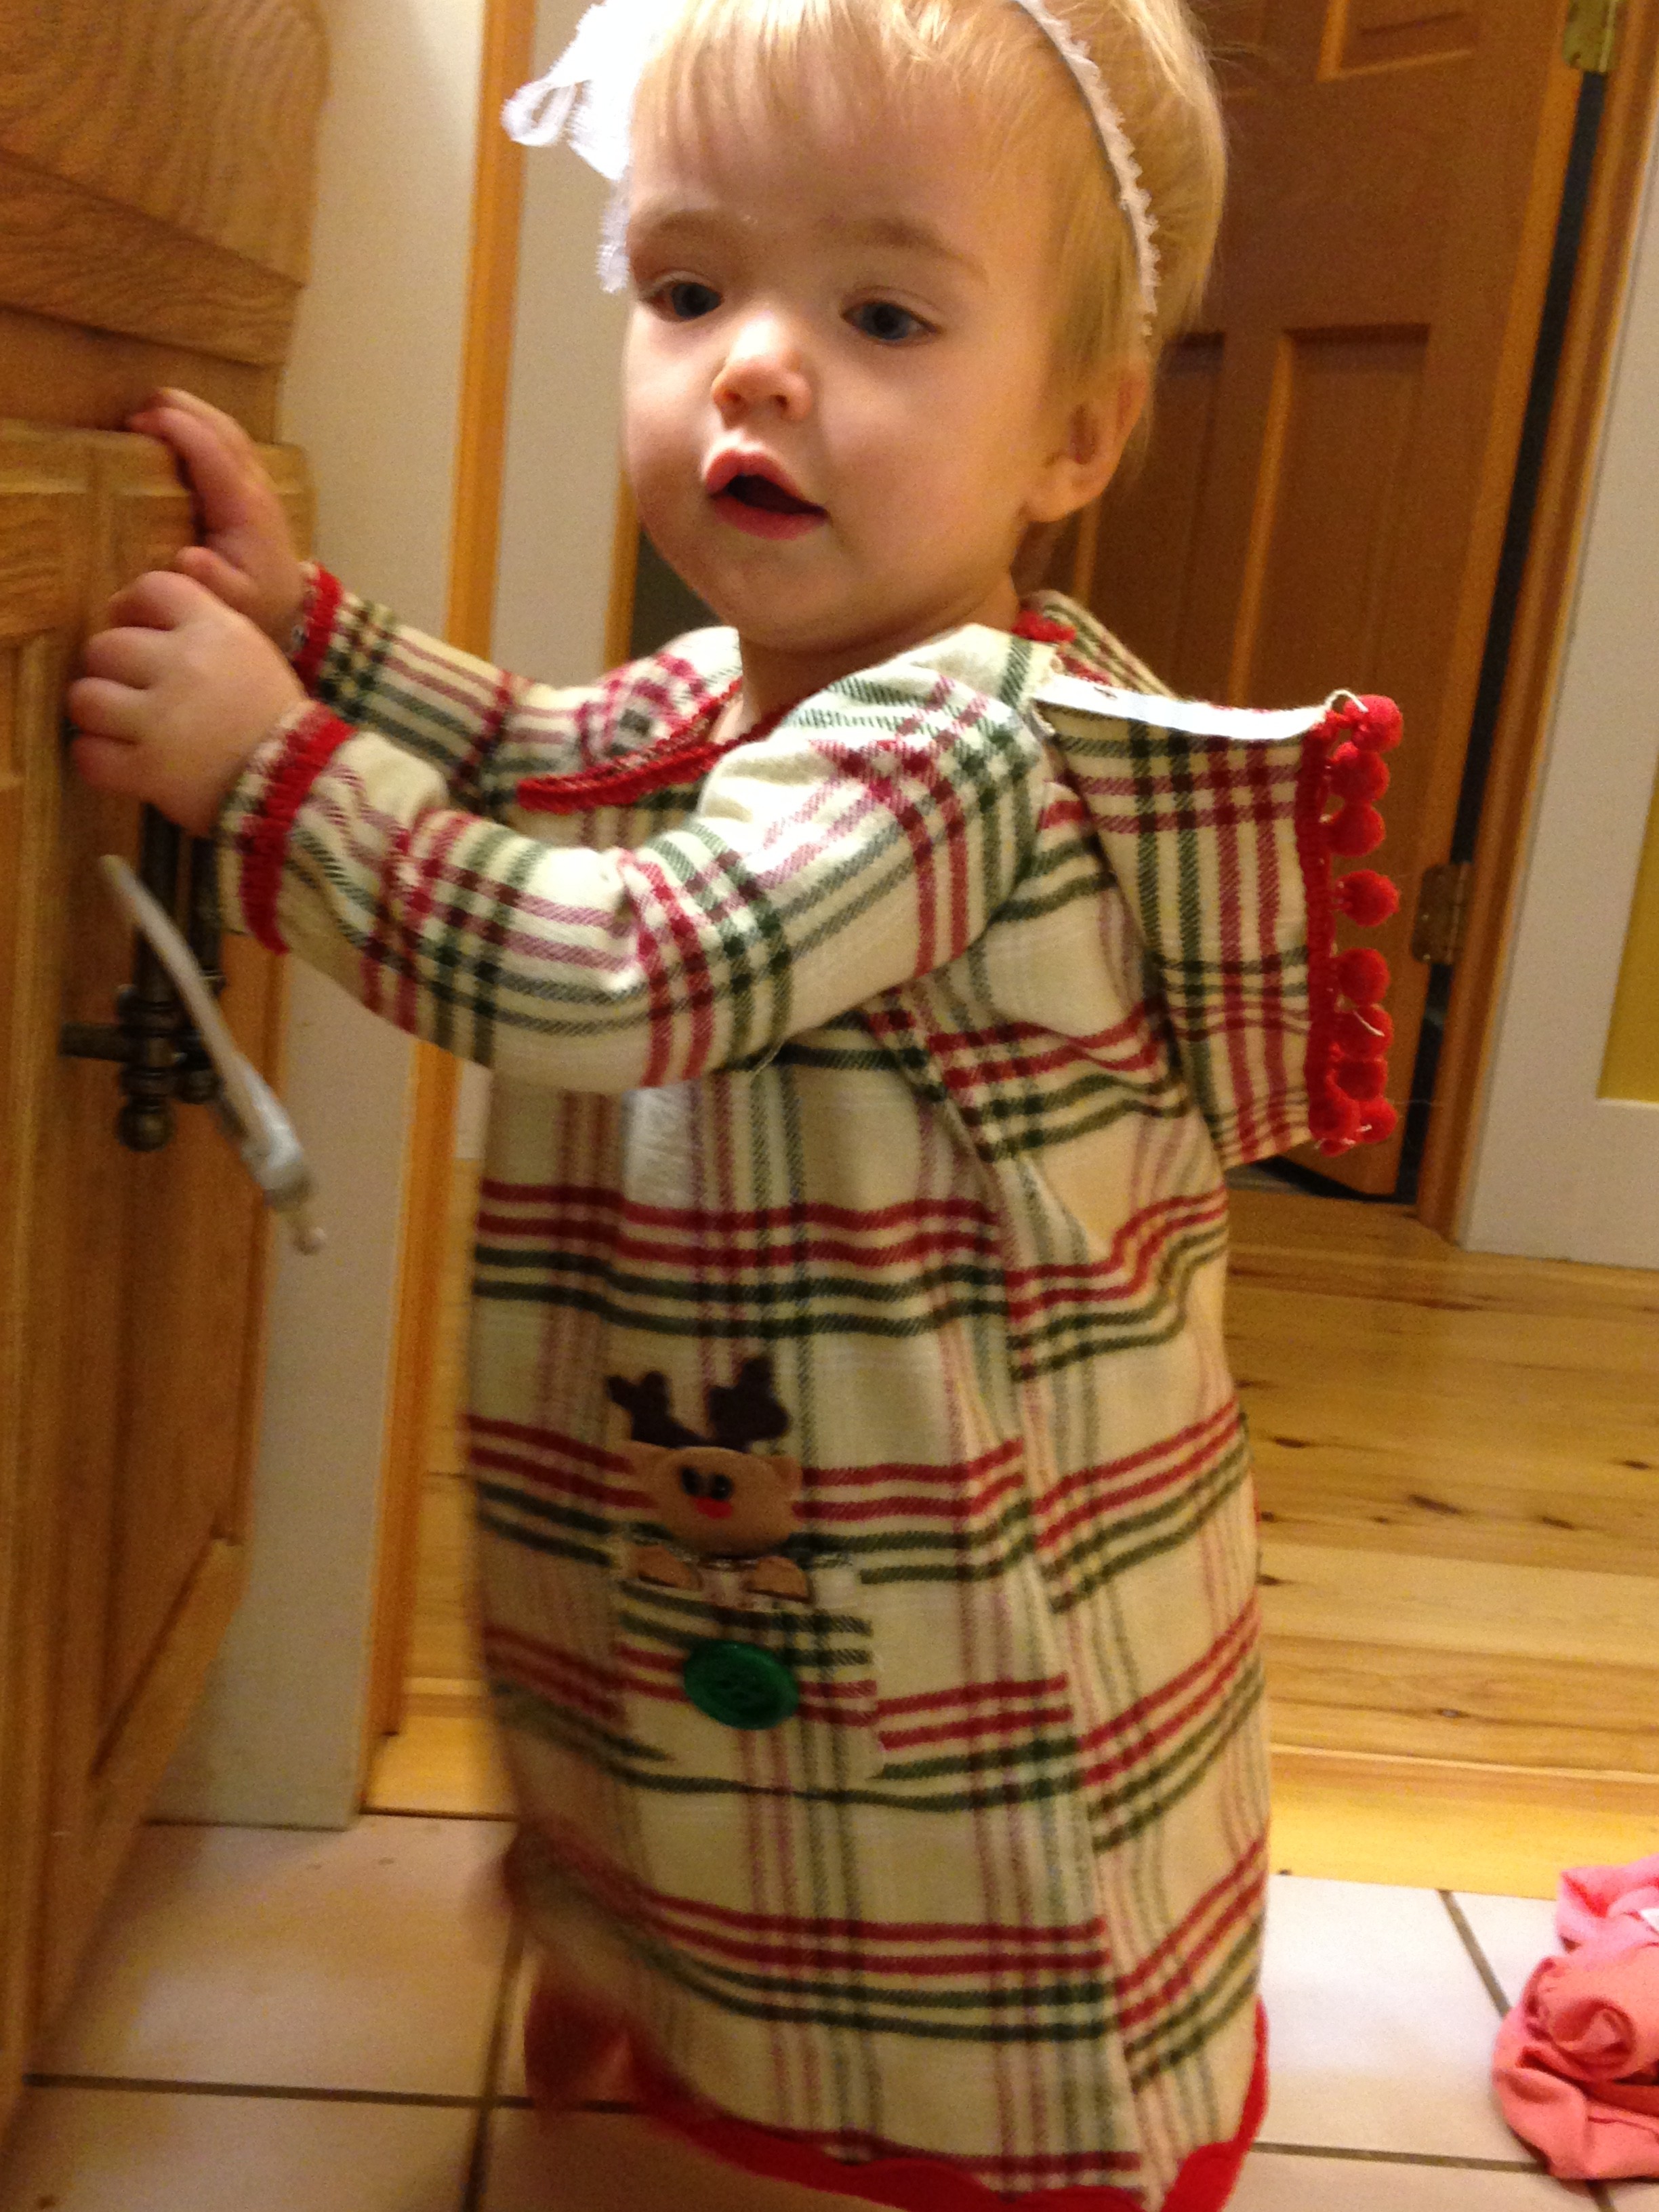
So I didn’t want the same old fancy dresses for Christmas that take FOREVER to make and are uncomfortable. Therefore, I strolled around the fabric store looking for inspiration. A tan plaid red and green pattern caught my eye. For some time I have wanted to make a plaid dress for my little one, but haven’t found the right fit. However, today, I thought to myself, “How about a comfy hooded dress in plaid?” And so, the Christmas Plaid dress was born!!!
I designed the dress myself, so be patient with the video since sometimes I change my mind after completing part of the dress. Oh, you’ll see what I mean when you watch it! As always, there is a youtube video tutorial and a written and picture form. The dress pattern is listed below and is a sketch I made of it. There are several sizes on there, but you can always adjust it by measuring your little one or making it bigger or smaller by moving the lines.
Optional: ribbon, bias tape, buttons, felt, any other decorations, Velcro for hood
Lets get started!
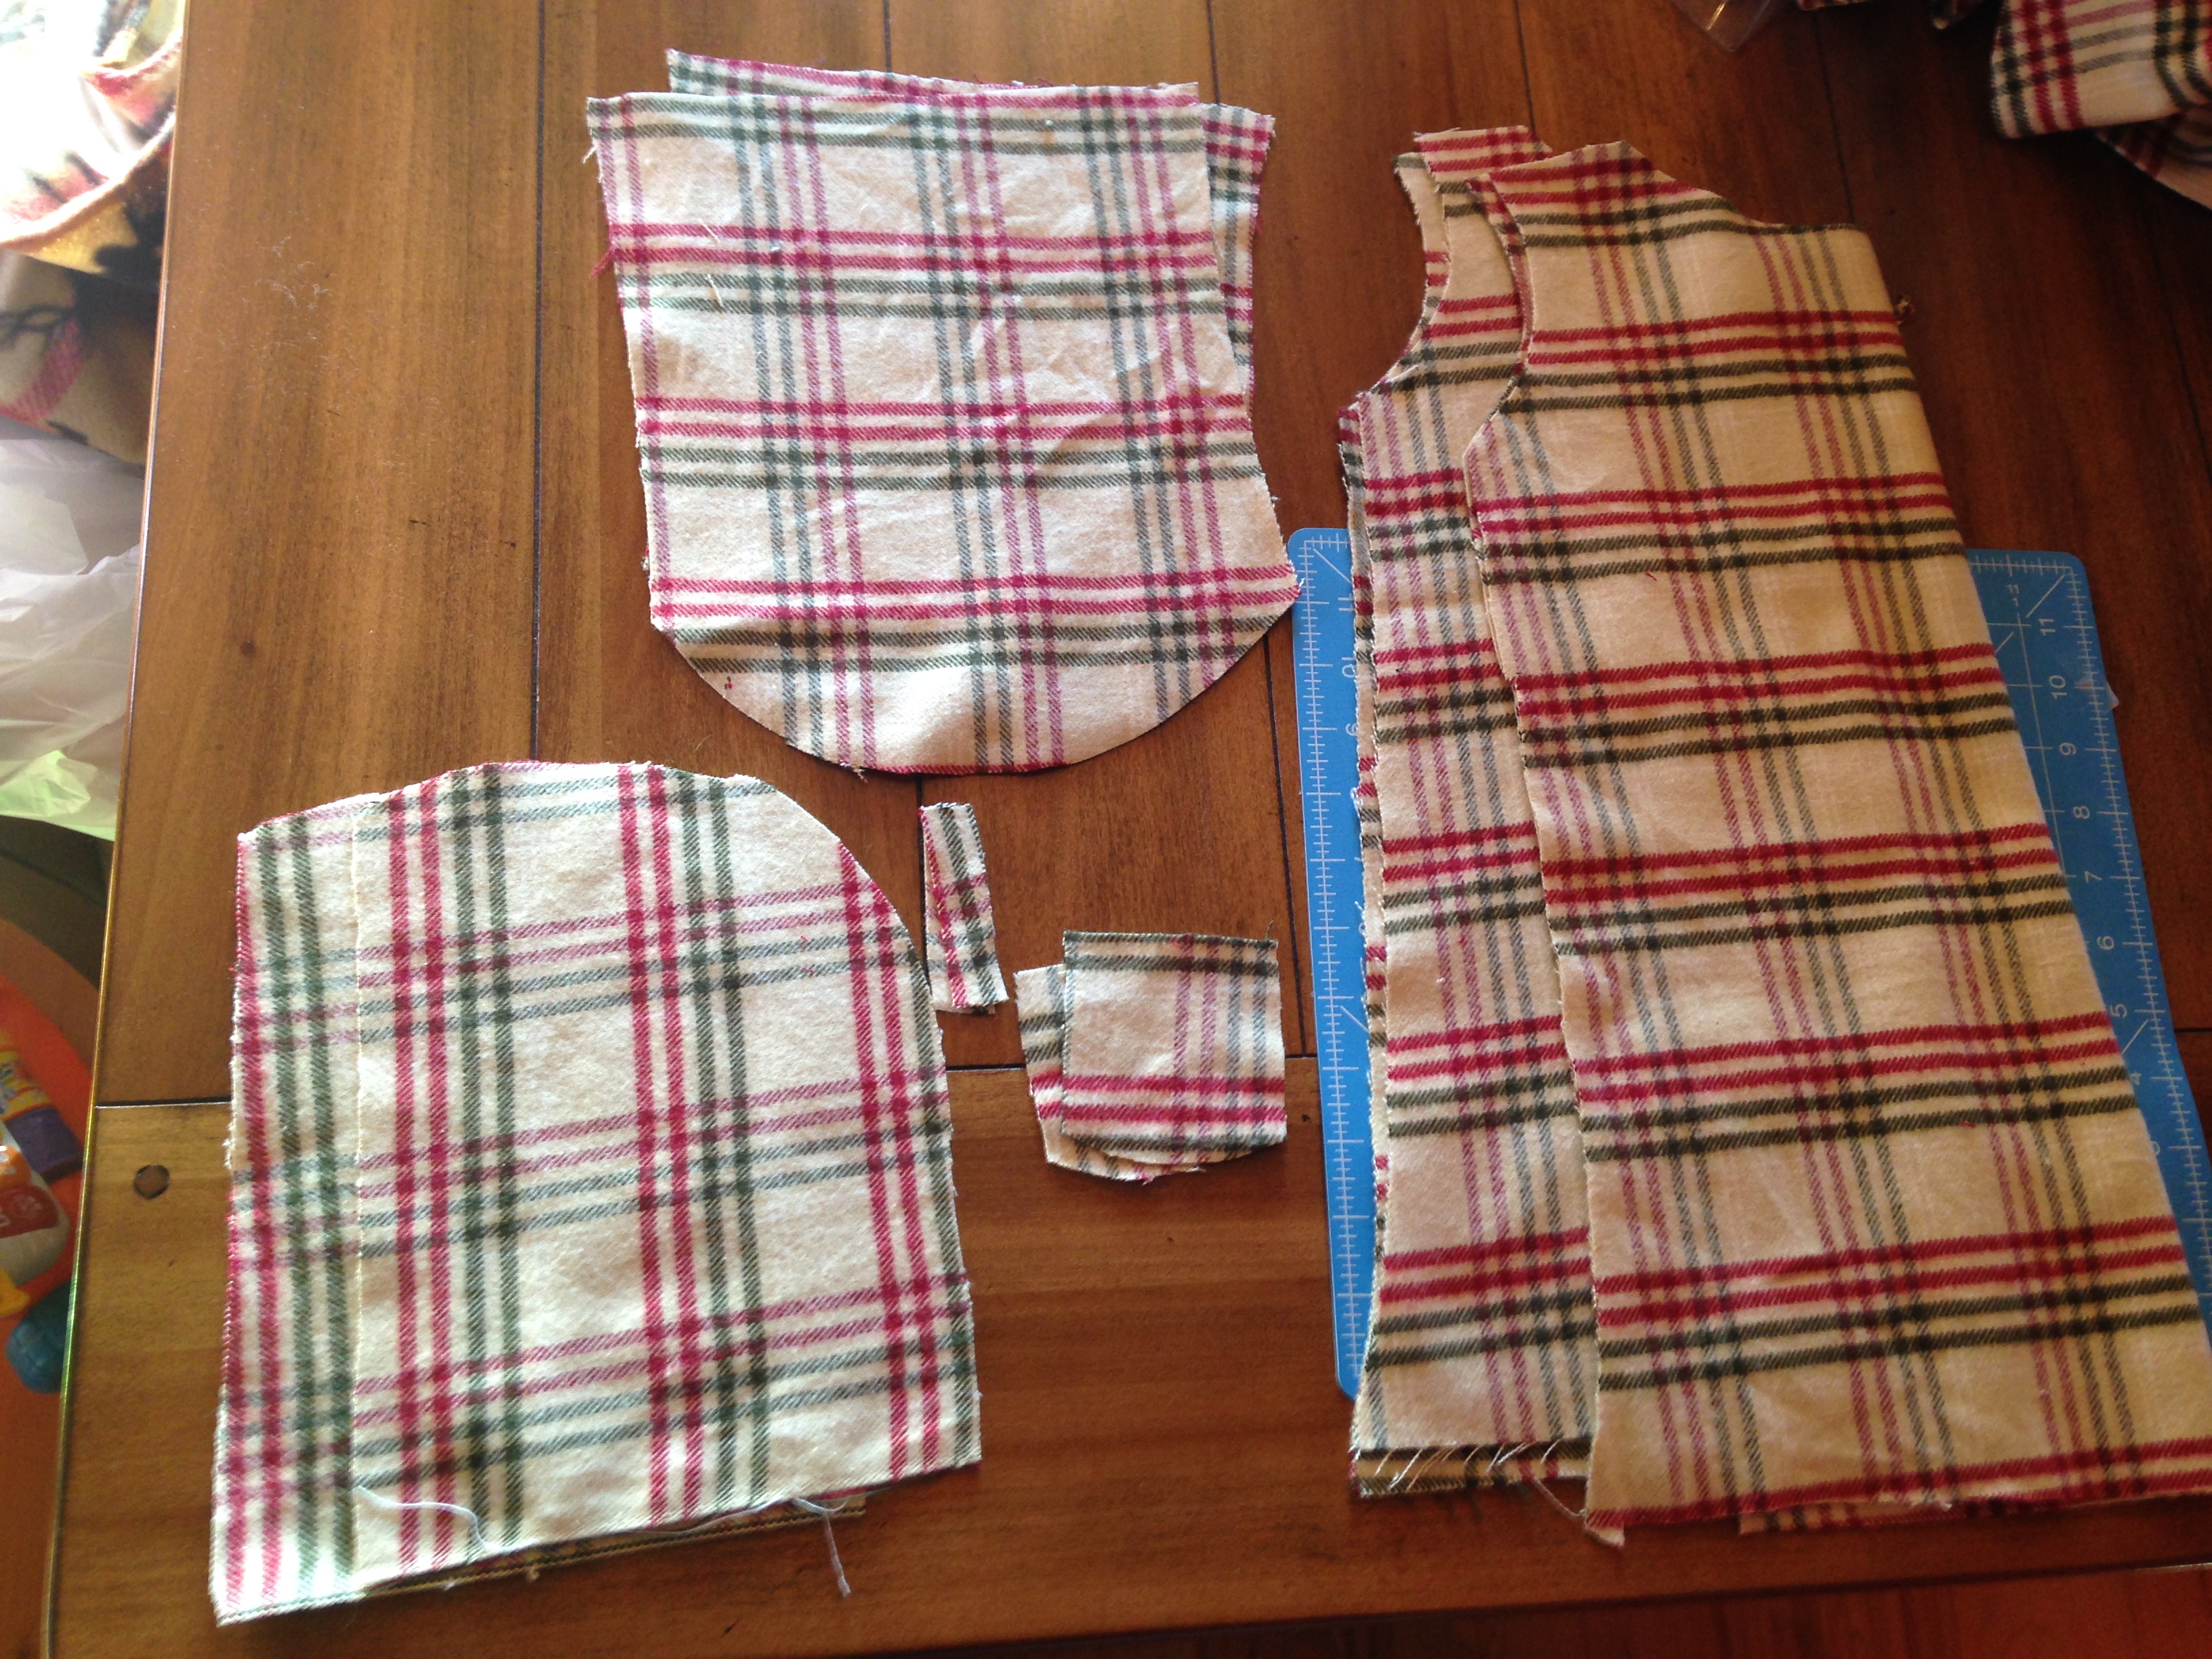
Print the pattern and cut out the right size (note: make sure it is the right size for your little one by measuring)
Cut your fabric patterns out as instructed (decide if you want a hood and if you want it detachable. Also decide if you want long sleeves or no sleeves)
You can serge or zigzag stitch around all the pieces of fabric to prevent fraying.
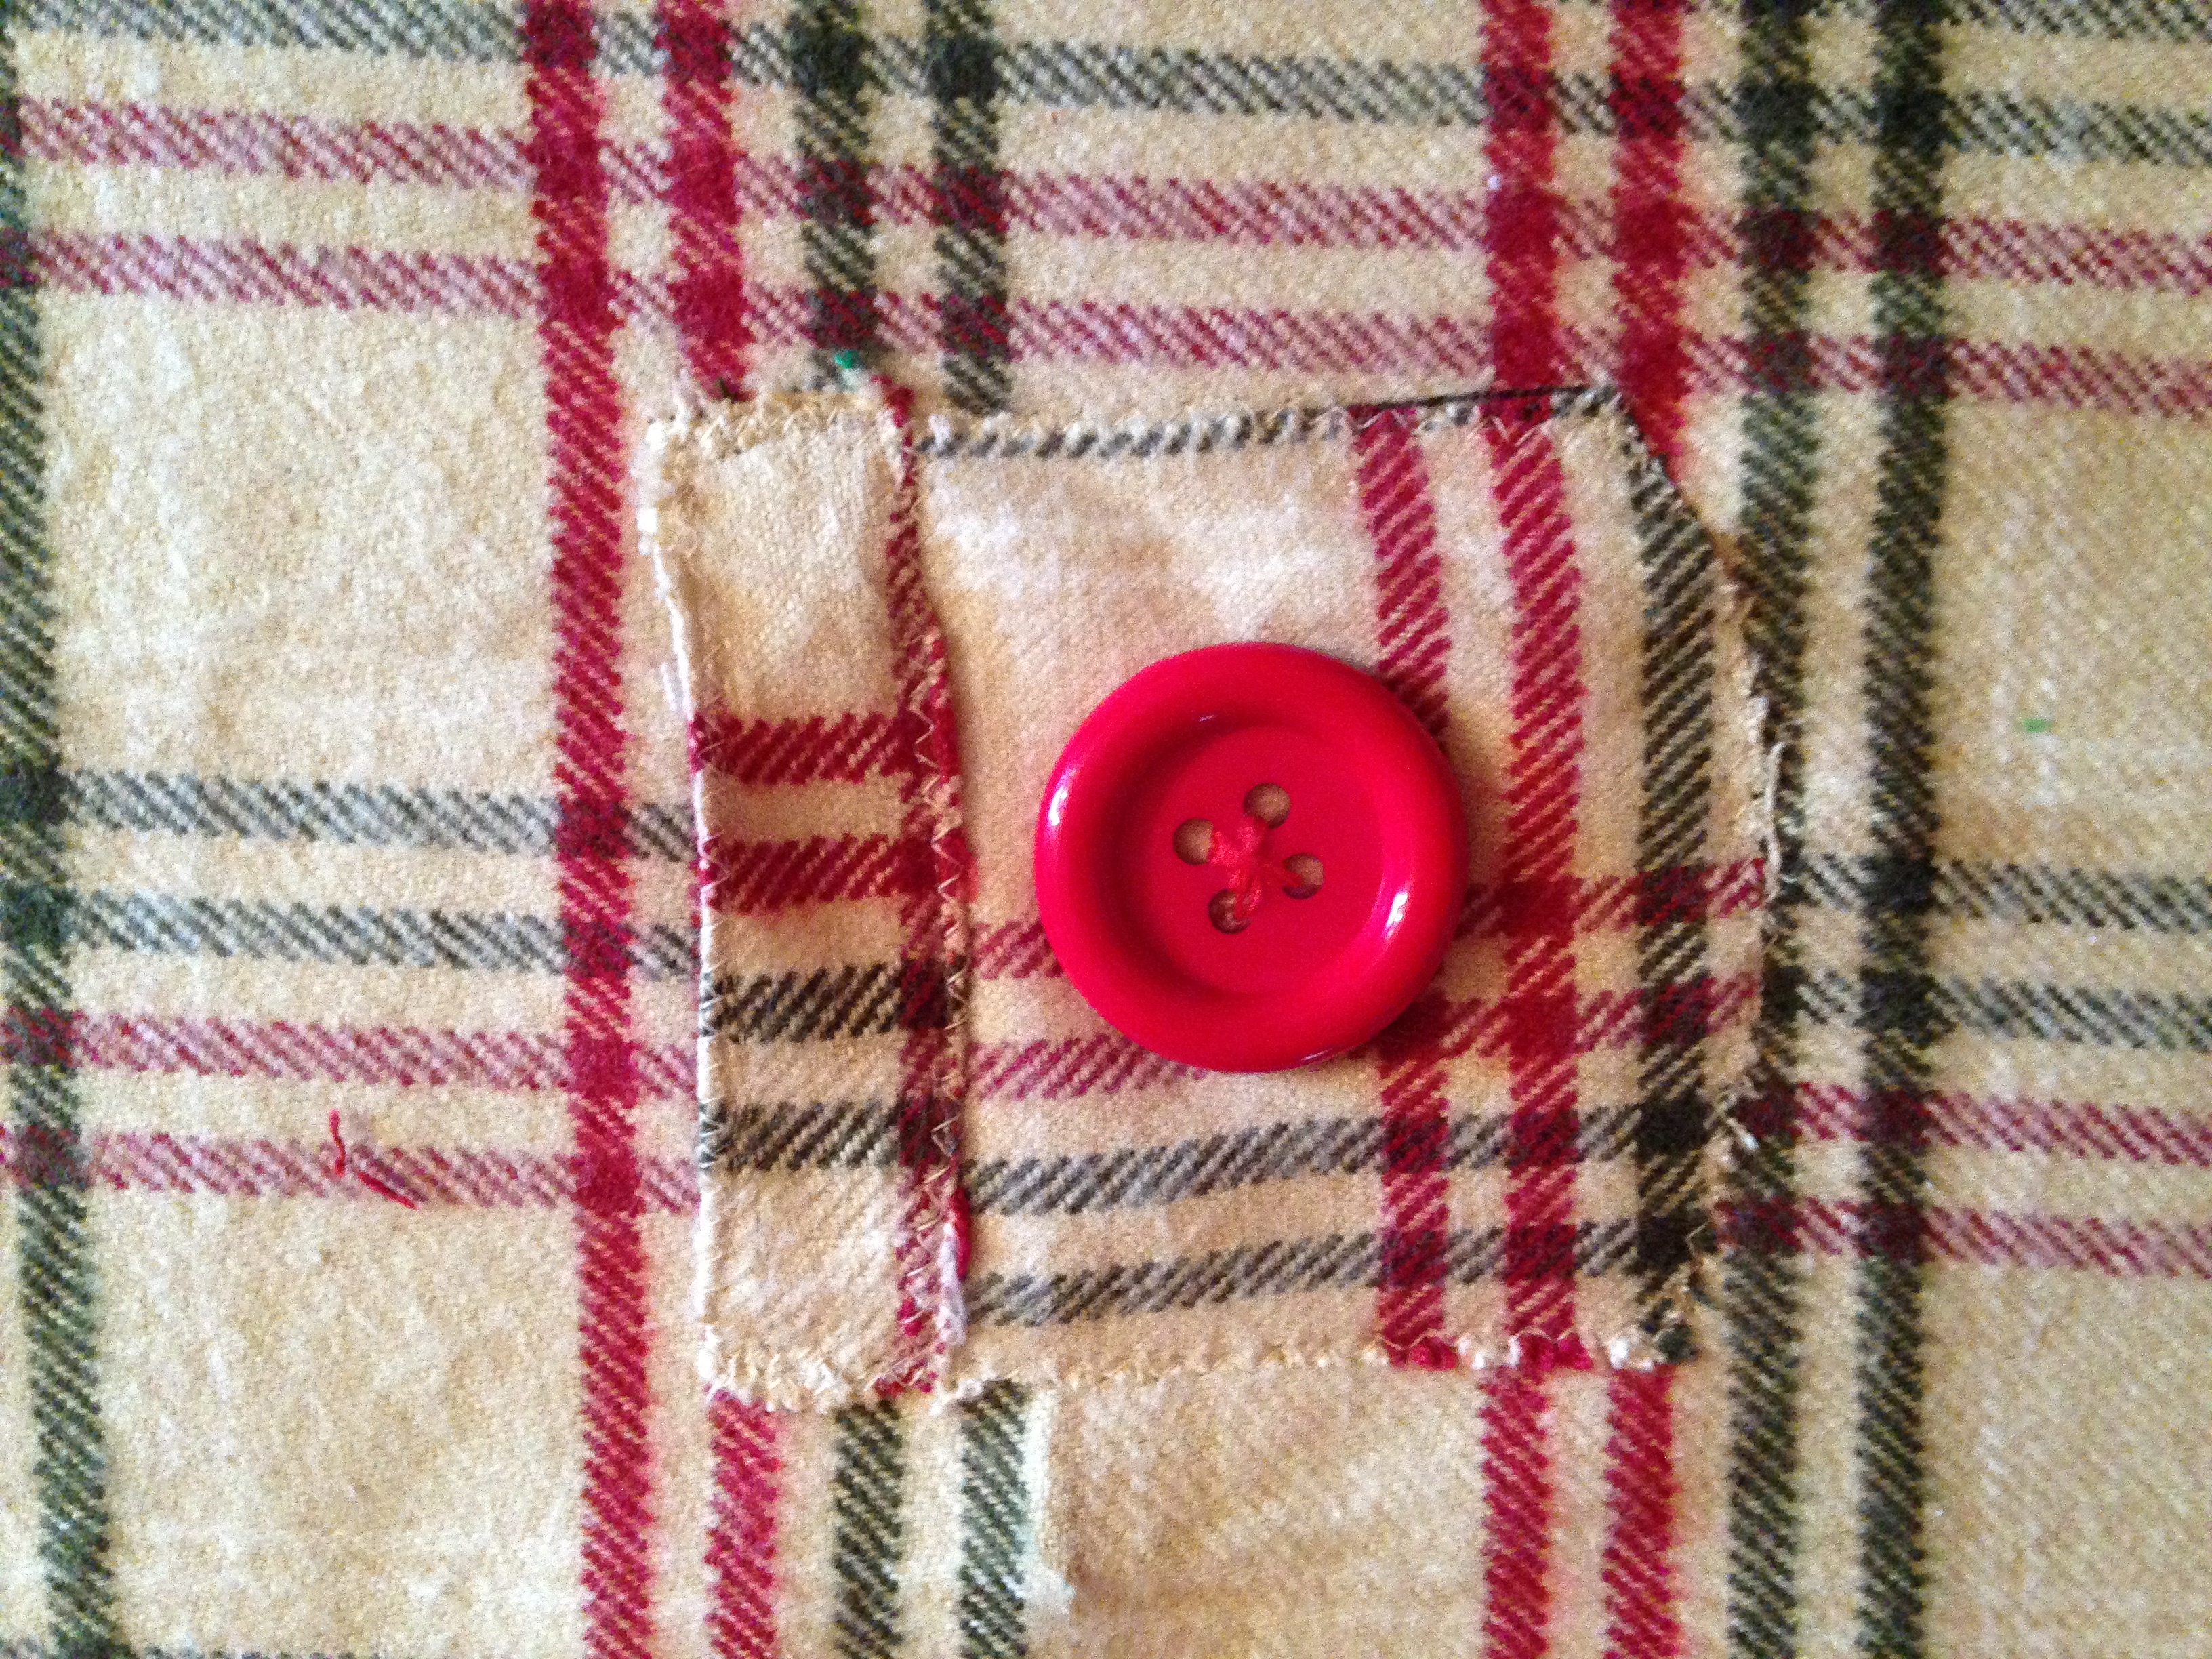
After zigzaging or serging, sew the top part of the pocket on the main pocket
parts
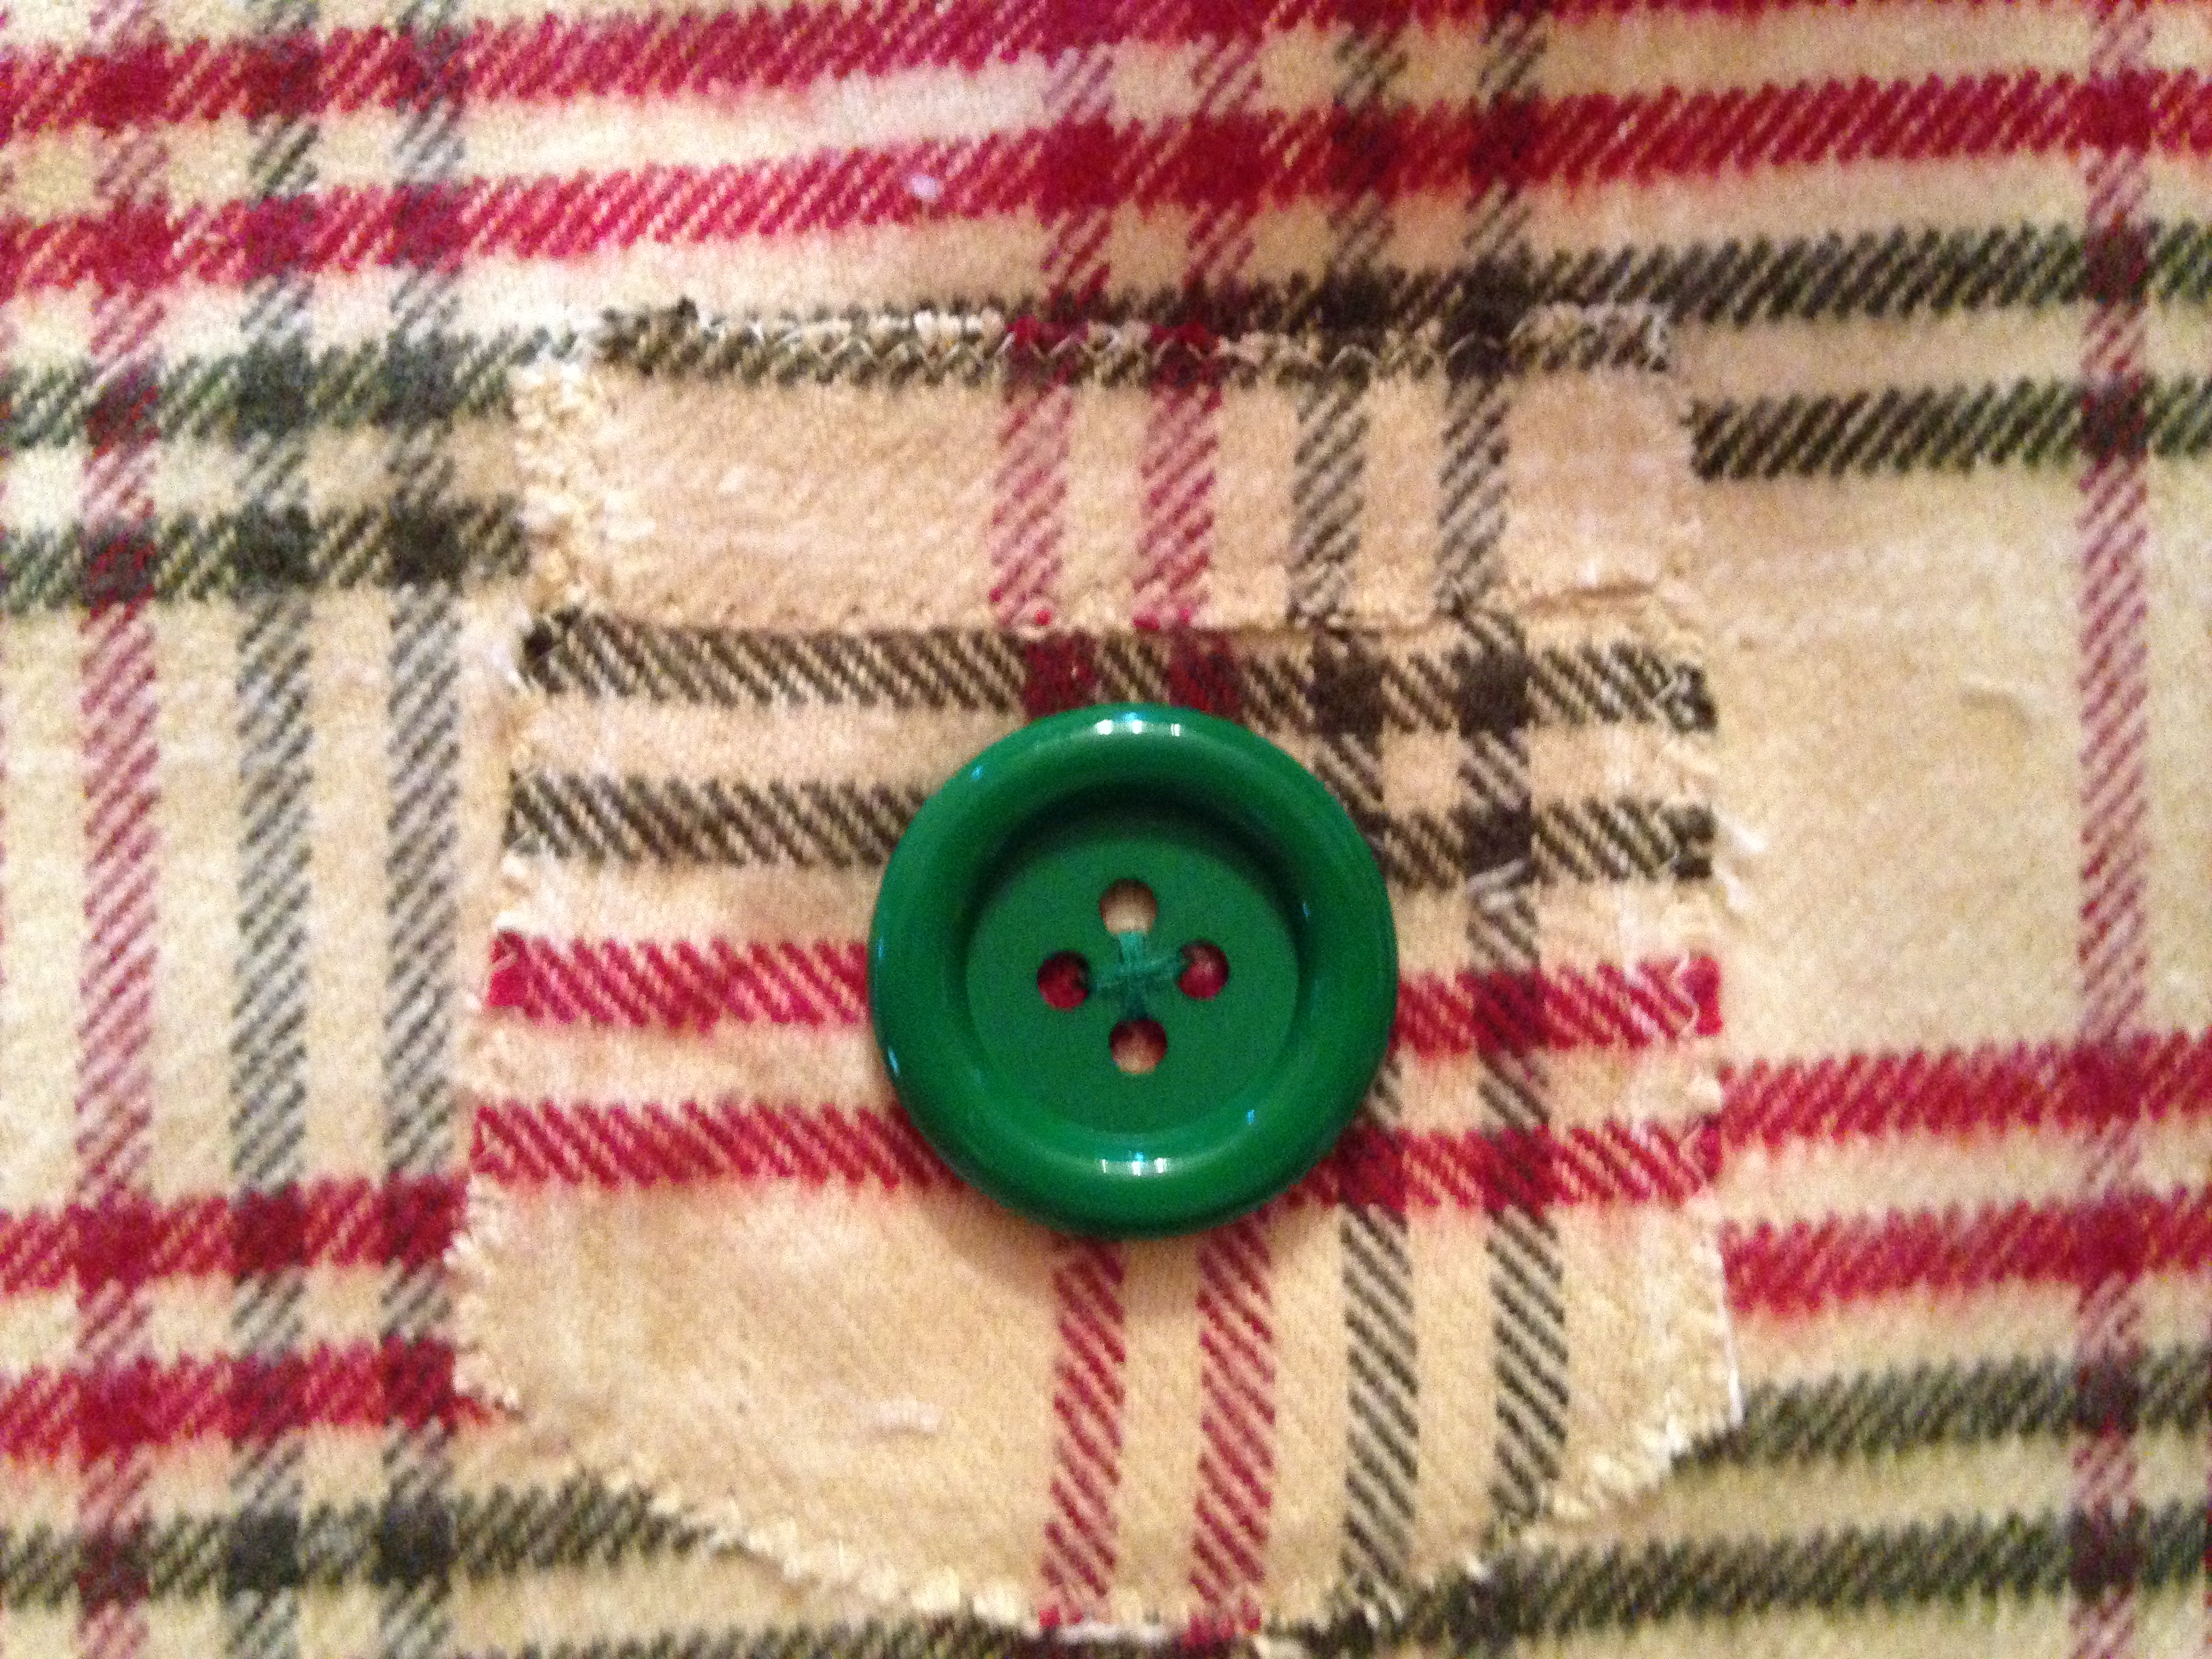
If you want a button on your pocket sew them on now before you attach it
Next, make sure you align your pockets on the dress front by measuring in from the sides and from the top and bottom to get them as even as possible.
You can either fold your pocket edges and sew either a straight or zigzag stitch around the pocket leaving the top open, or you can just stitch around it as I have done since I liked the look for the plaid dress.
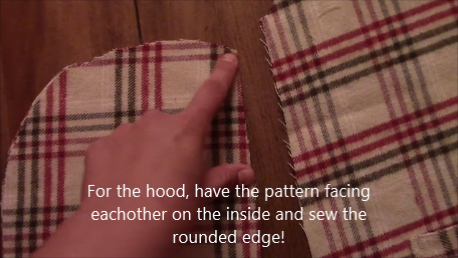
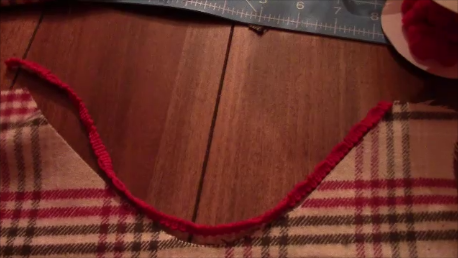
For the hood, have the pattern facing each other on the inside and sew the rounded edge!
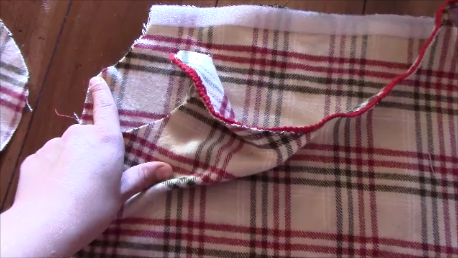
Flip right side out and hem or add bias tape to outside
You can sew your hood on fabric pattern facing fabric pattern and sew across and flip right side out, or you can use buttons or velco. You will need to either make button holes or put velcro on the back of the dress to hold the hood. I used iron on velco. Note**If you are sewing it on wait until after you sew the front to back**
The front collar of the dress needs to be hemmed or sew bias tape on it
Next, is to sew the front to back of the dress. If you want the top of the dress to be velcro as well, you can have a jumper (but you wouldn’t have sleeves so skip the sleeve part).
To sew it together, turn patterns facing each other and sew . Also line up sides and pin and sew down underneath the sleeve opening. Then turn right side out.
If you are not doing sleeves, you want to hem or use bias tape on the sleeve holes after sewing down the side. If you are not doing sleeves then hem or use bias tape around the bottom and you are all done!
If you are doing sleeves, turn pattern facing pattern and sew. Then turn right side out.
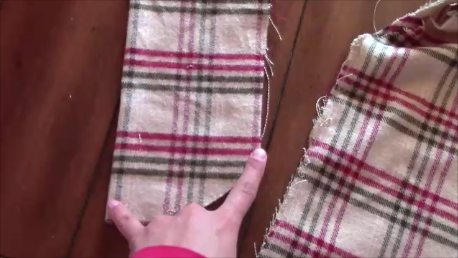
Sew the sleeve sides together by facing pattern side to pattern inside. Do not sew the curved part as pointed to in the picture below. Then turn right side out
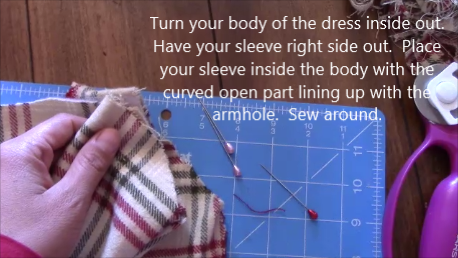
Turn your body of the dress inside out. Have your sleeve right side out. Place your sleeve inside the body with the curved open part lining up with the
armhole. Sew around.
This picture shows that you want the sleeve facing downward inside the body of the dress. the larger end to the hole and the smaller end (where the hand comes out) facing downwards.
You can hem or use bias tape on cuffs of sleeves and bottom of dress. Then add any embellishments you want and wah-la you are done!
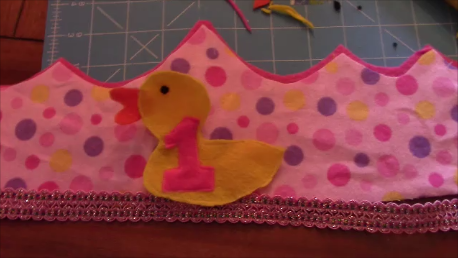
Want to sew quick and easy crowns for a party or get together? Then you’ve come to the right place! I made a last minute decision days before my daughters’ first birthday party that we needed crowns! The theme was rubber ducky, so I decided to make birthday crowns instead of hats! Young kids and babies don’t enjoy hard hats on their head and also shouldn’t have a rubber band or elastic around their neck.
As you can see they are very cute for photo shoots as well! She didn’t particularly like keeping it on, but I got a couple good shots!
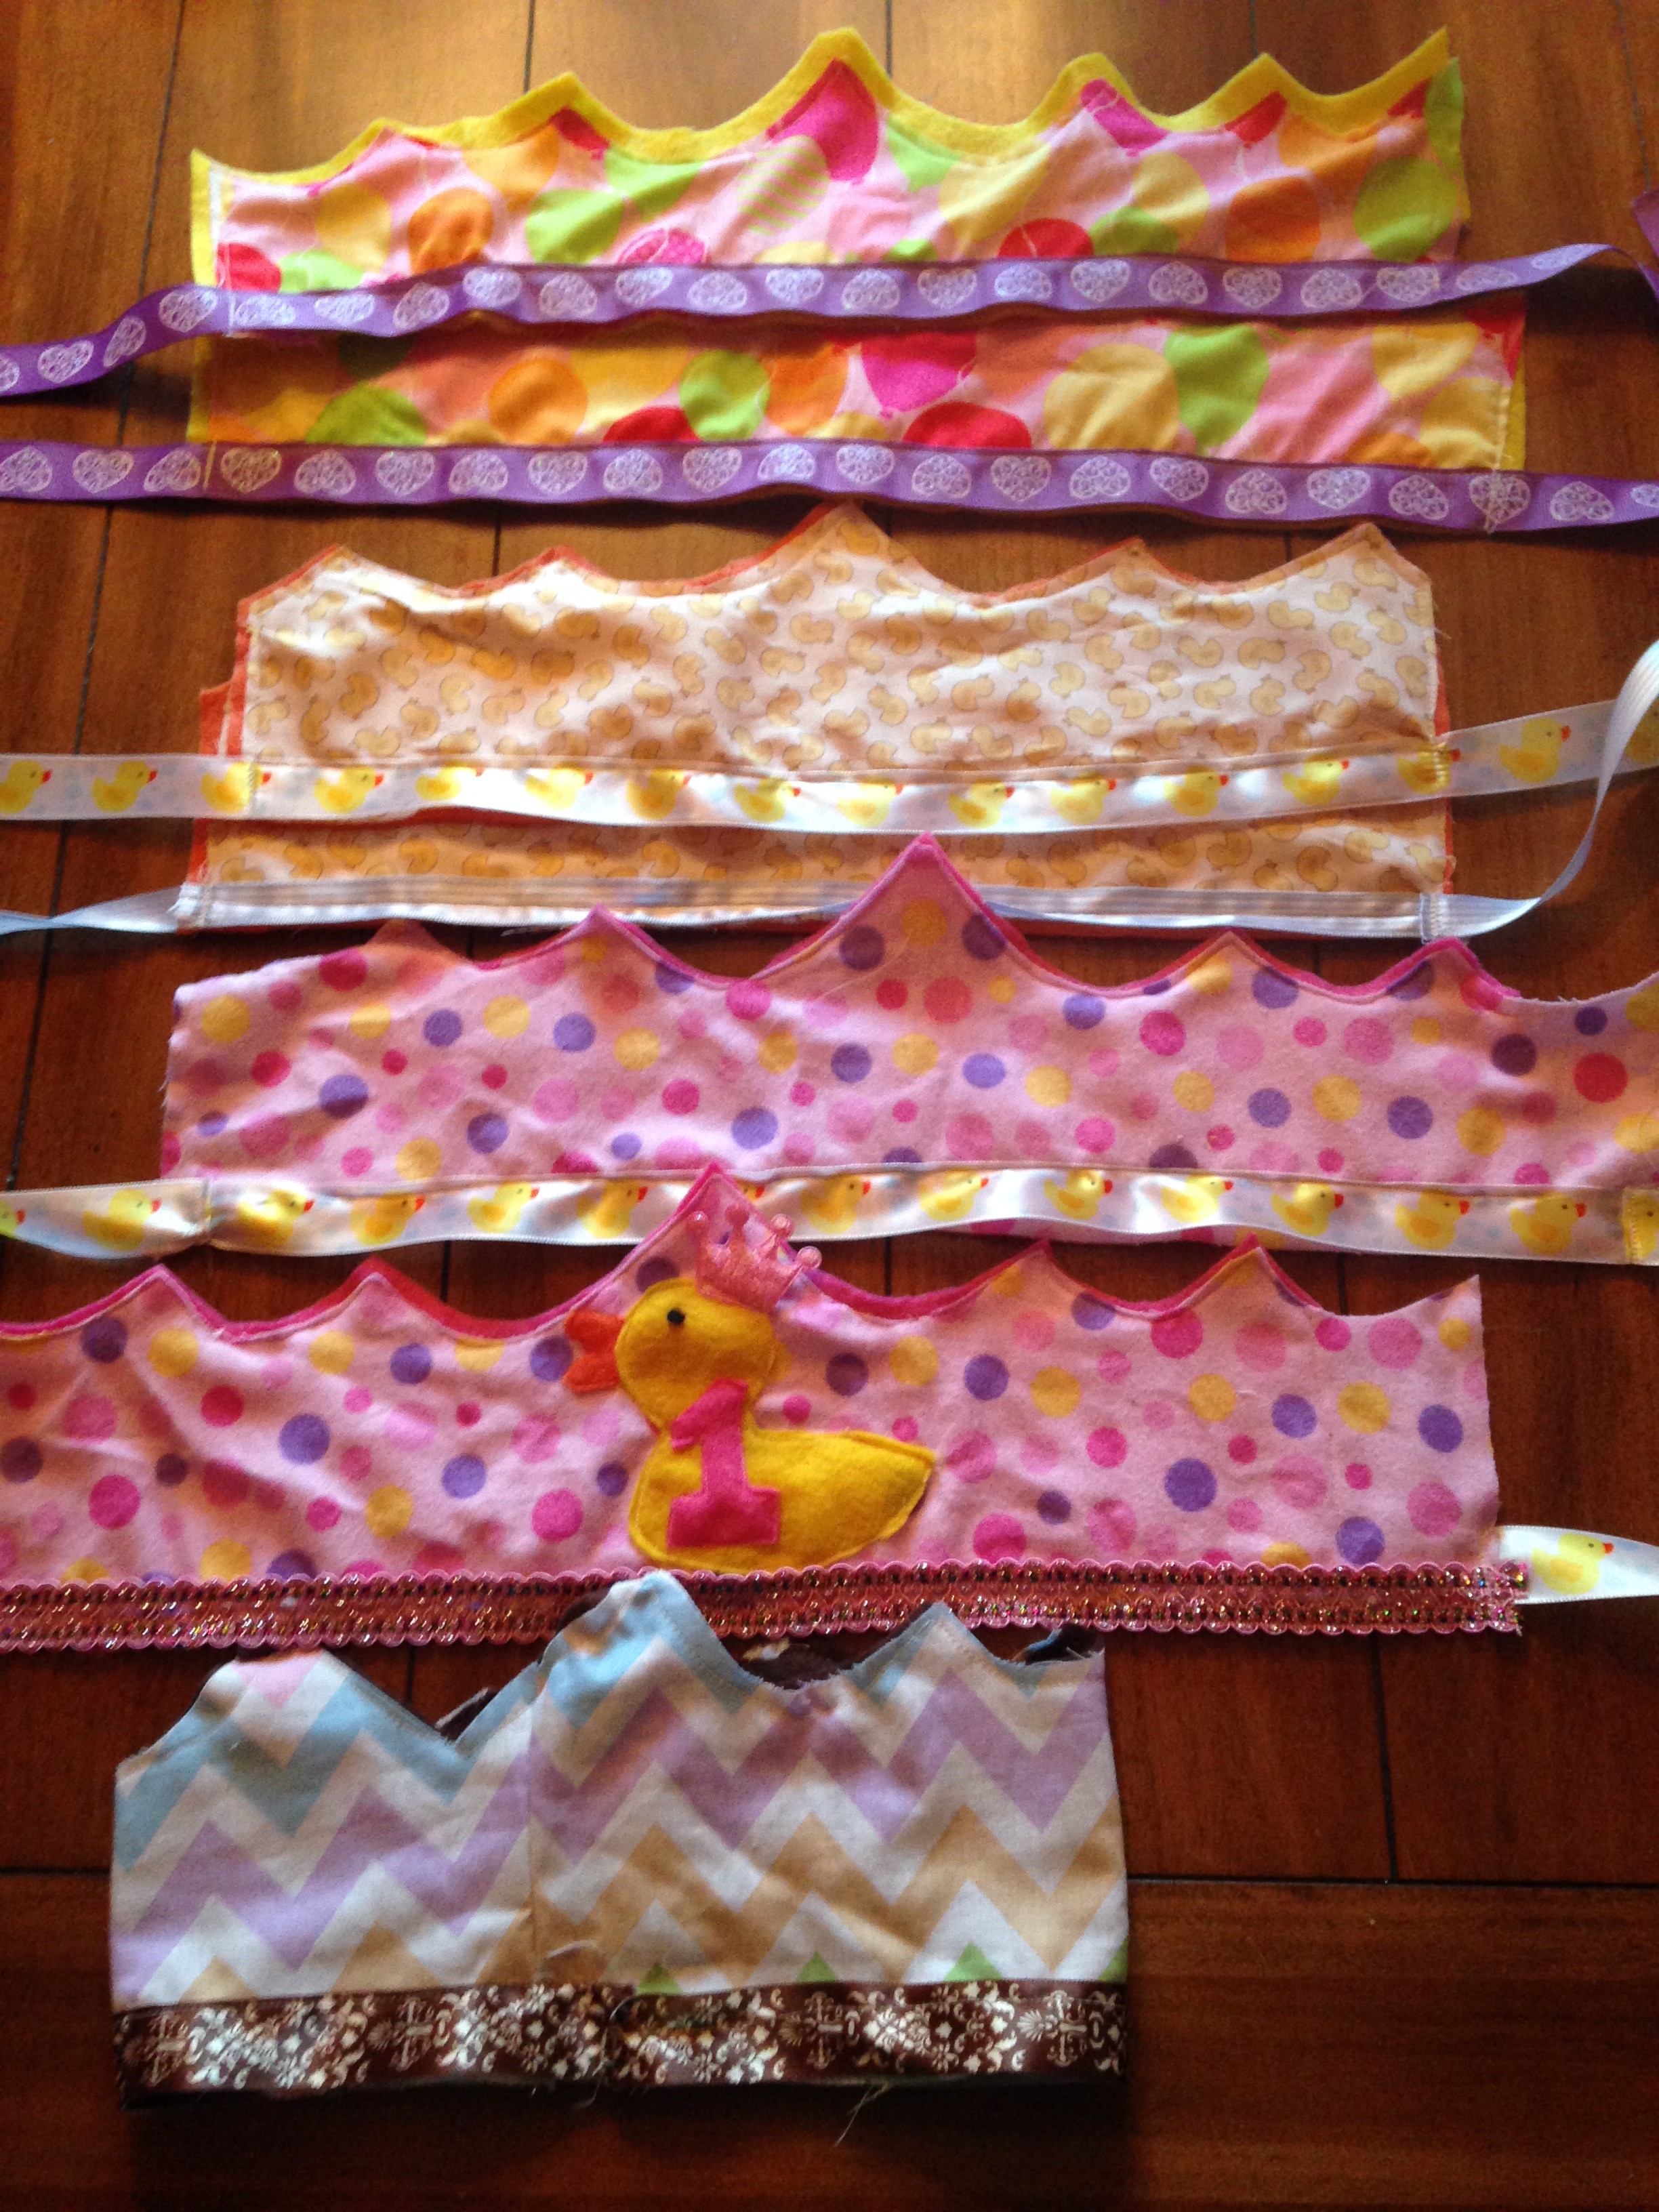
As usual, there is a YouTube video and also a written explanation below. I didn’t have a lot of time to embellish the other crowns but you can always spice things up with some ribbons, bows, glitter, rhinestones, or buttons!
To get started you need:
1) Choice of fabric and design
2) Scisscors
3)Thread
4) Closure for crown (velcro, button, ribbon) or you can sew all the way around if you know the exact size
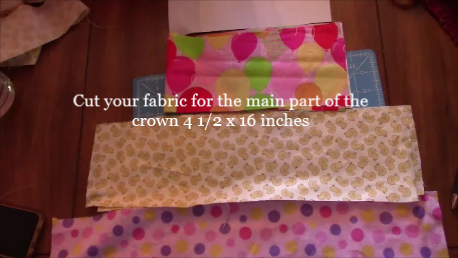
Cut your fabric for the main part of the crown 4 1/2 x 18 inches
Make your own crown pattern by drawing the top on a piece of paper and cutting it out!
Cut your design onto your fabric to make the shape of your crown! If you want a felt backing with another color cut that out as well.
Next, pick out your ribbon if you are using one, if you want any other embellishments get them ready! I made a felt duck that I sewed onto
the crown.
Line up your crown pieces and sew all the way around! Then you are done! If you want to add button loops and buttons you can sew them on as well.
Congrats and enjoy the party! Check back often for new crafts or subscribe below!
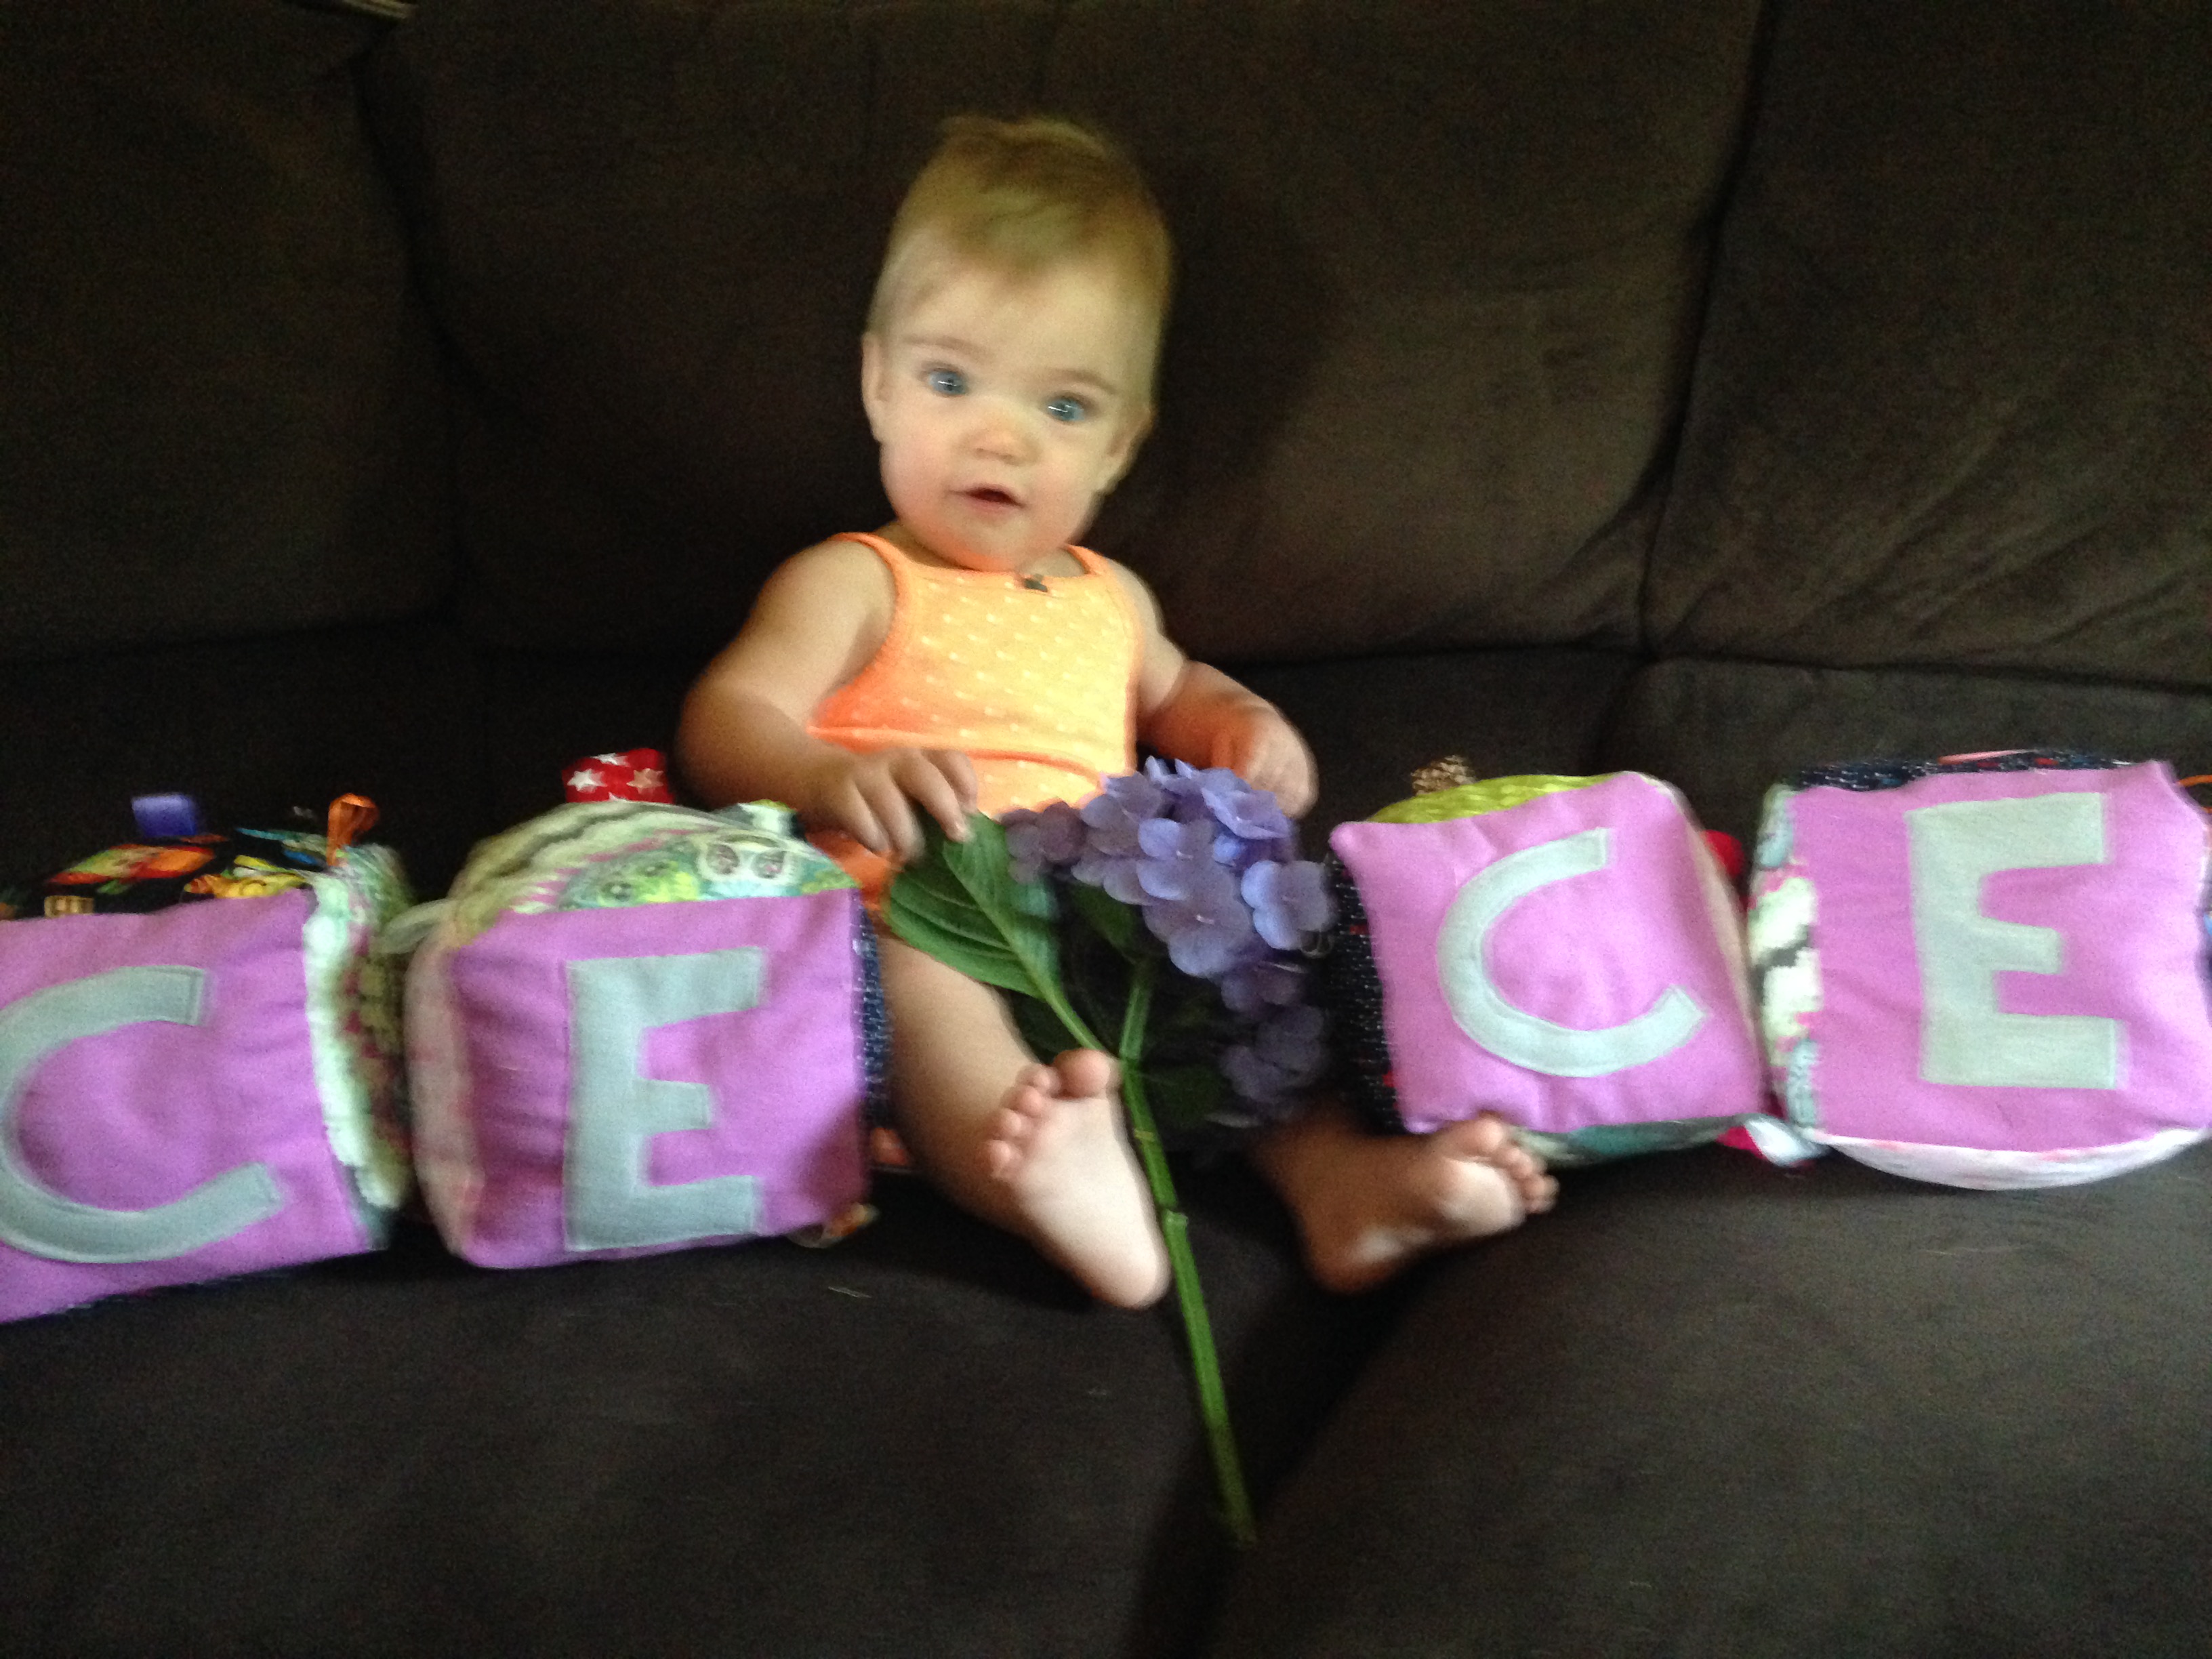
I’ve been looking for a toy that offers a variety of sensory activities through textures, sounds, and touch.
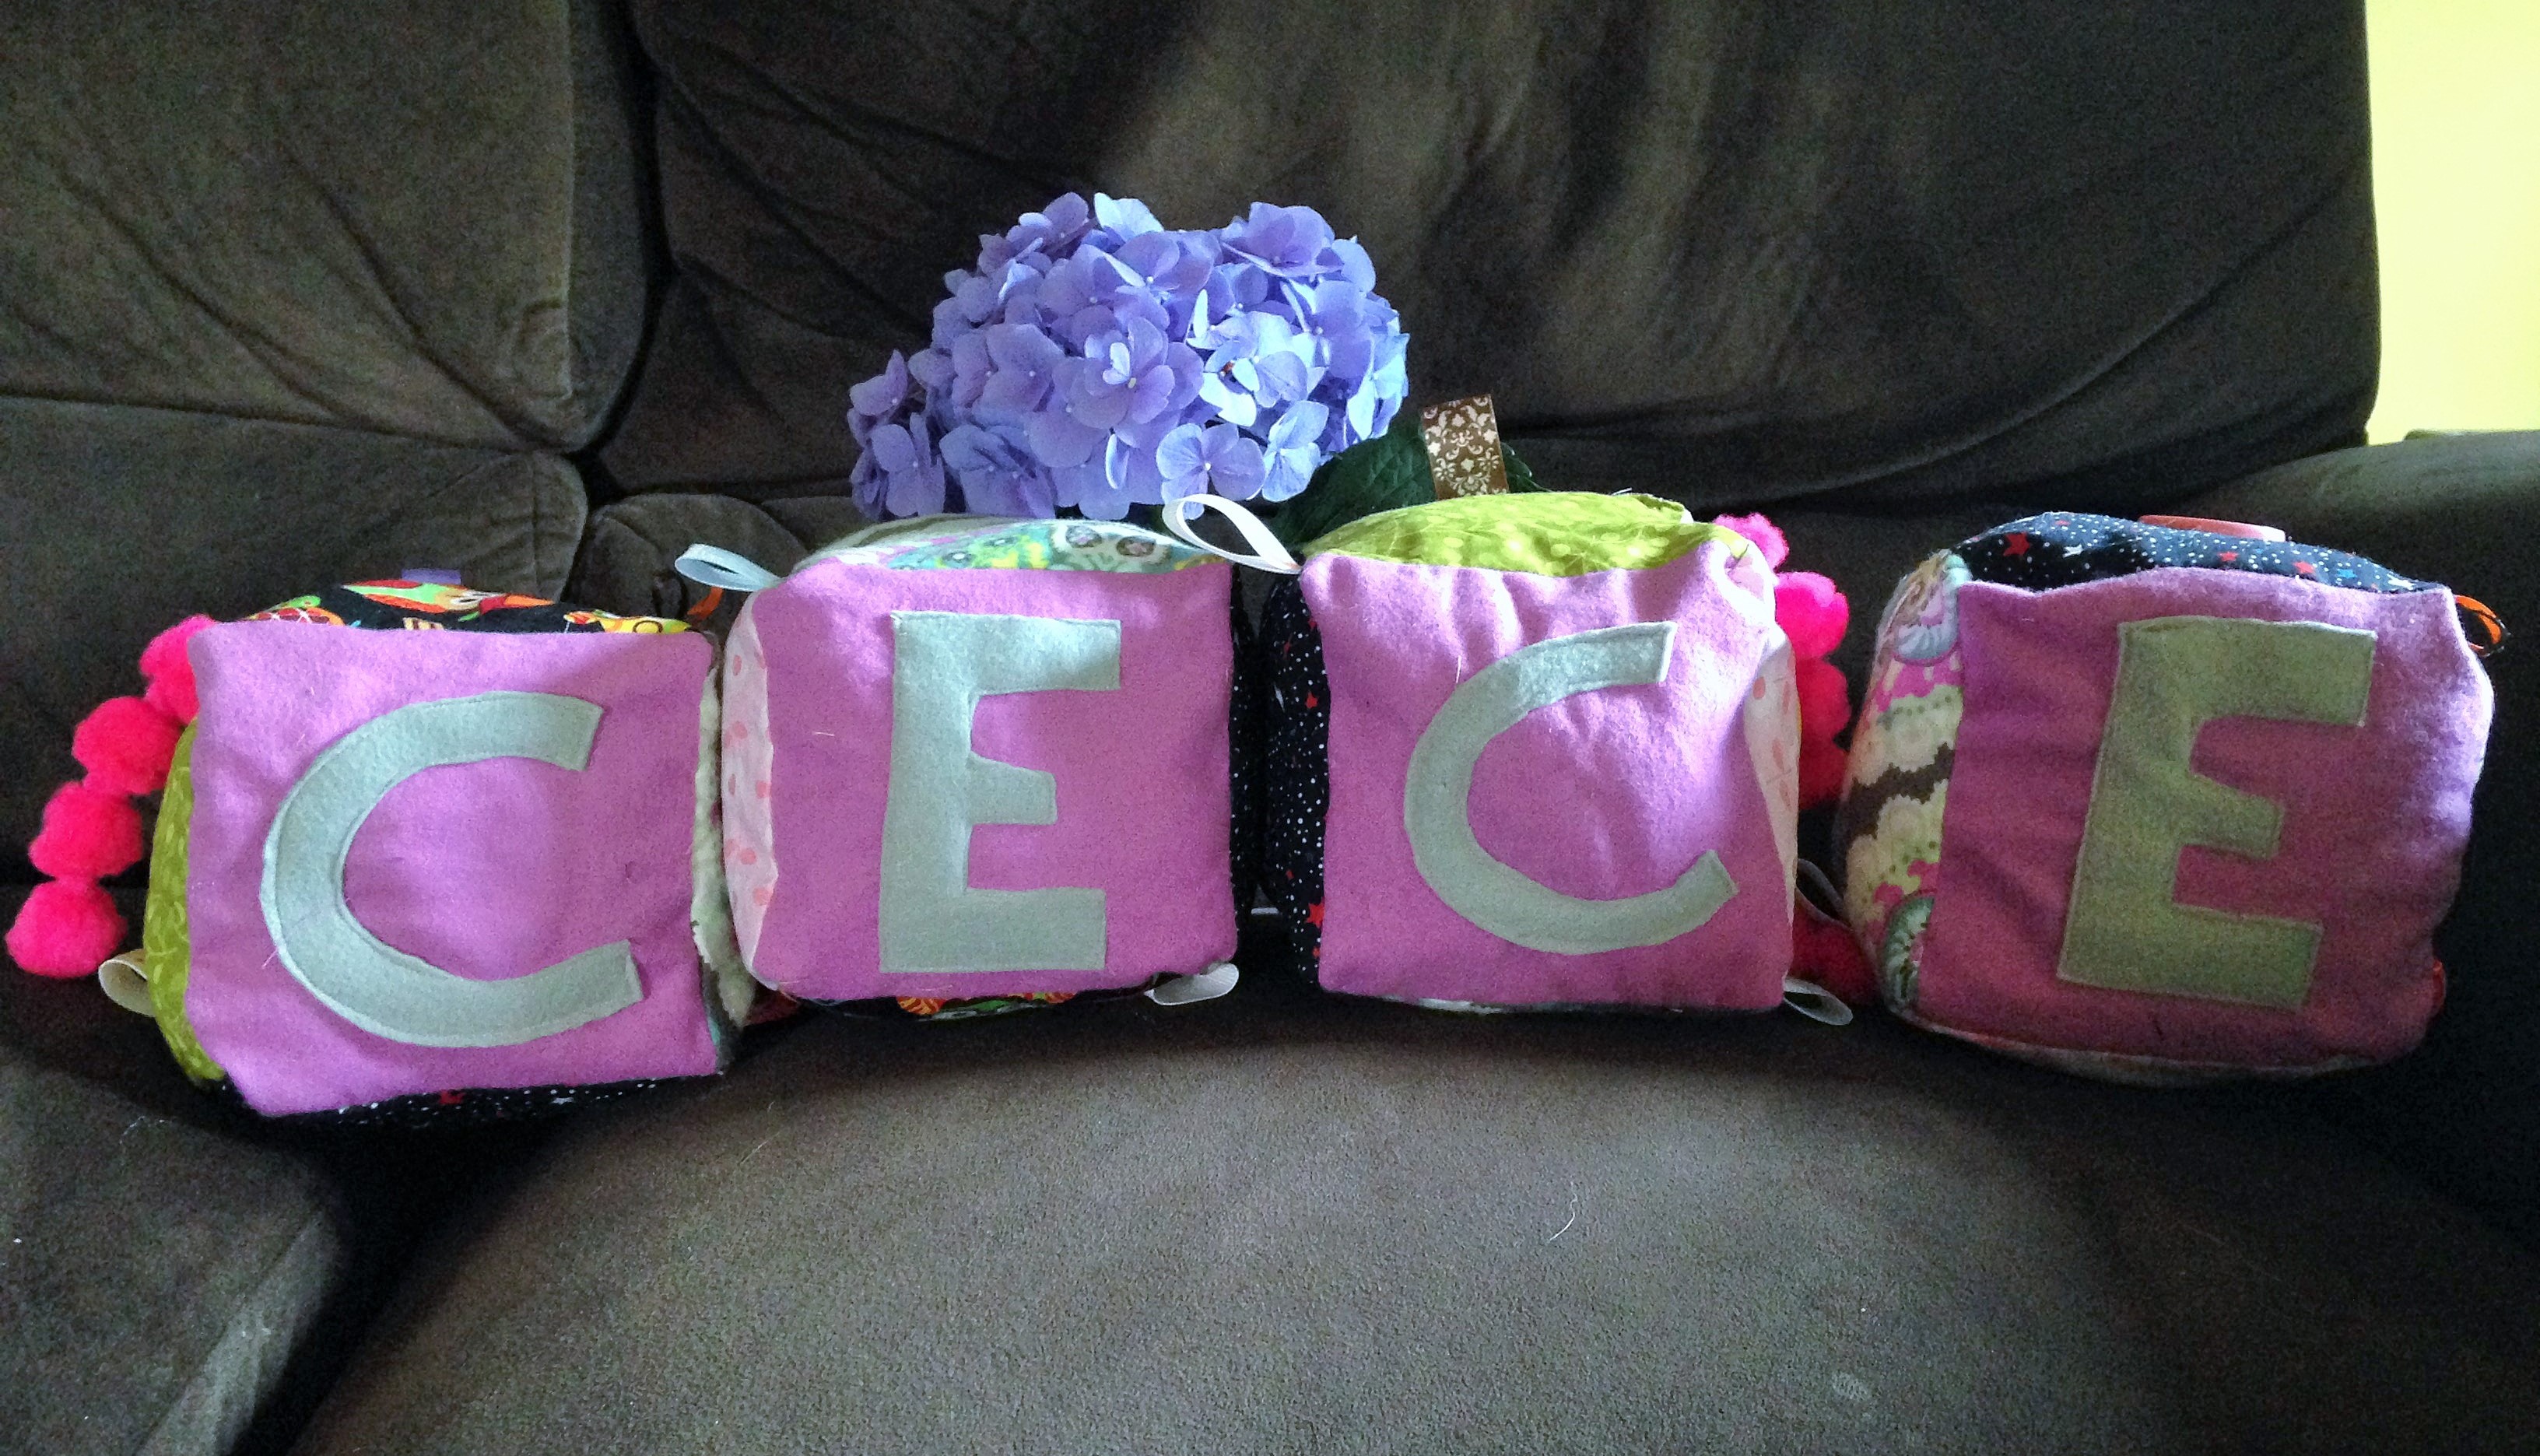
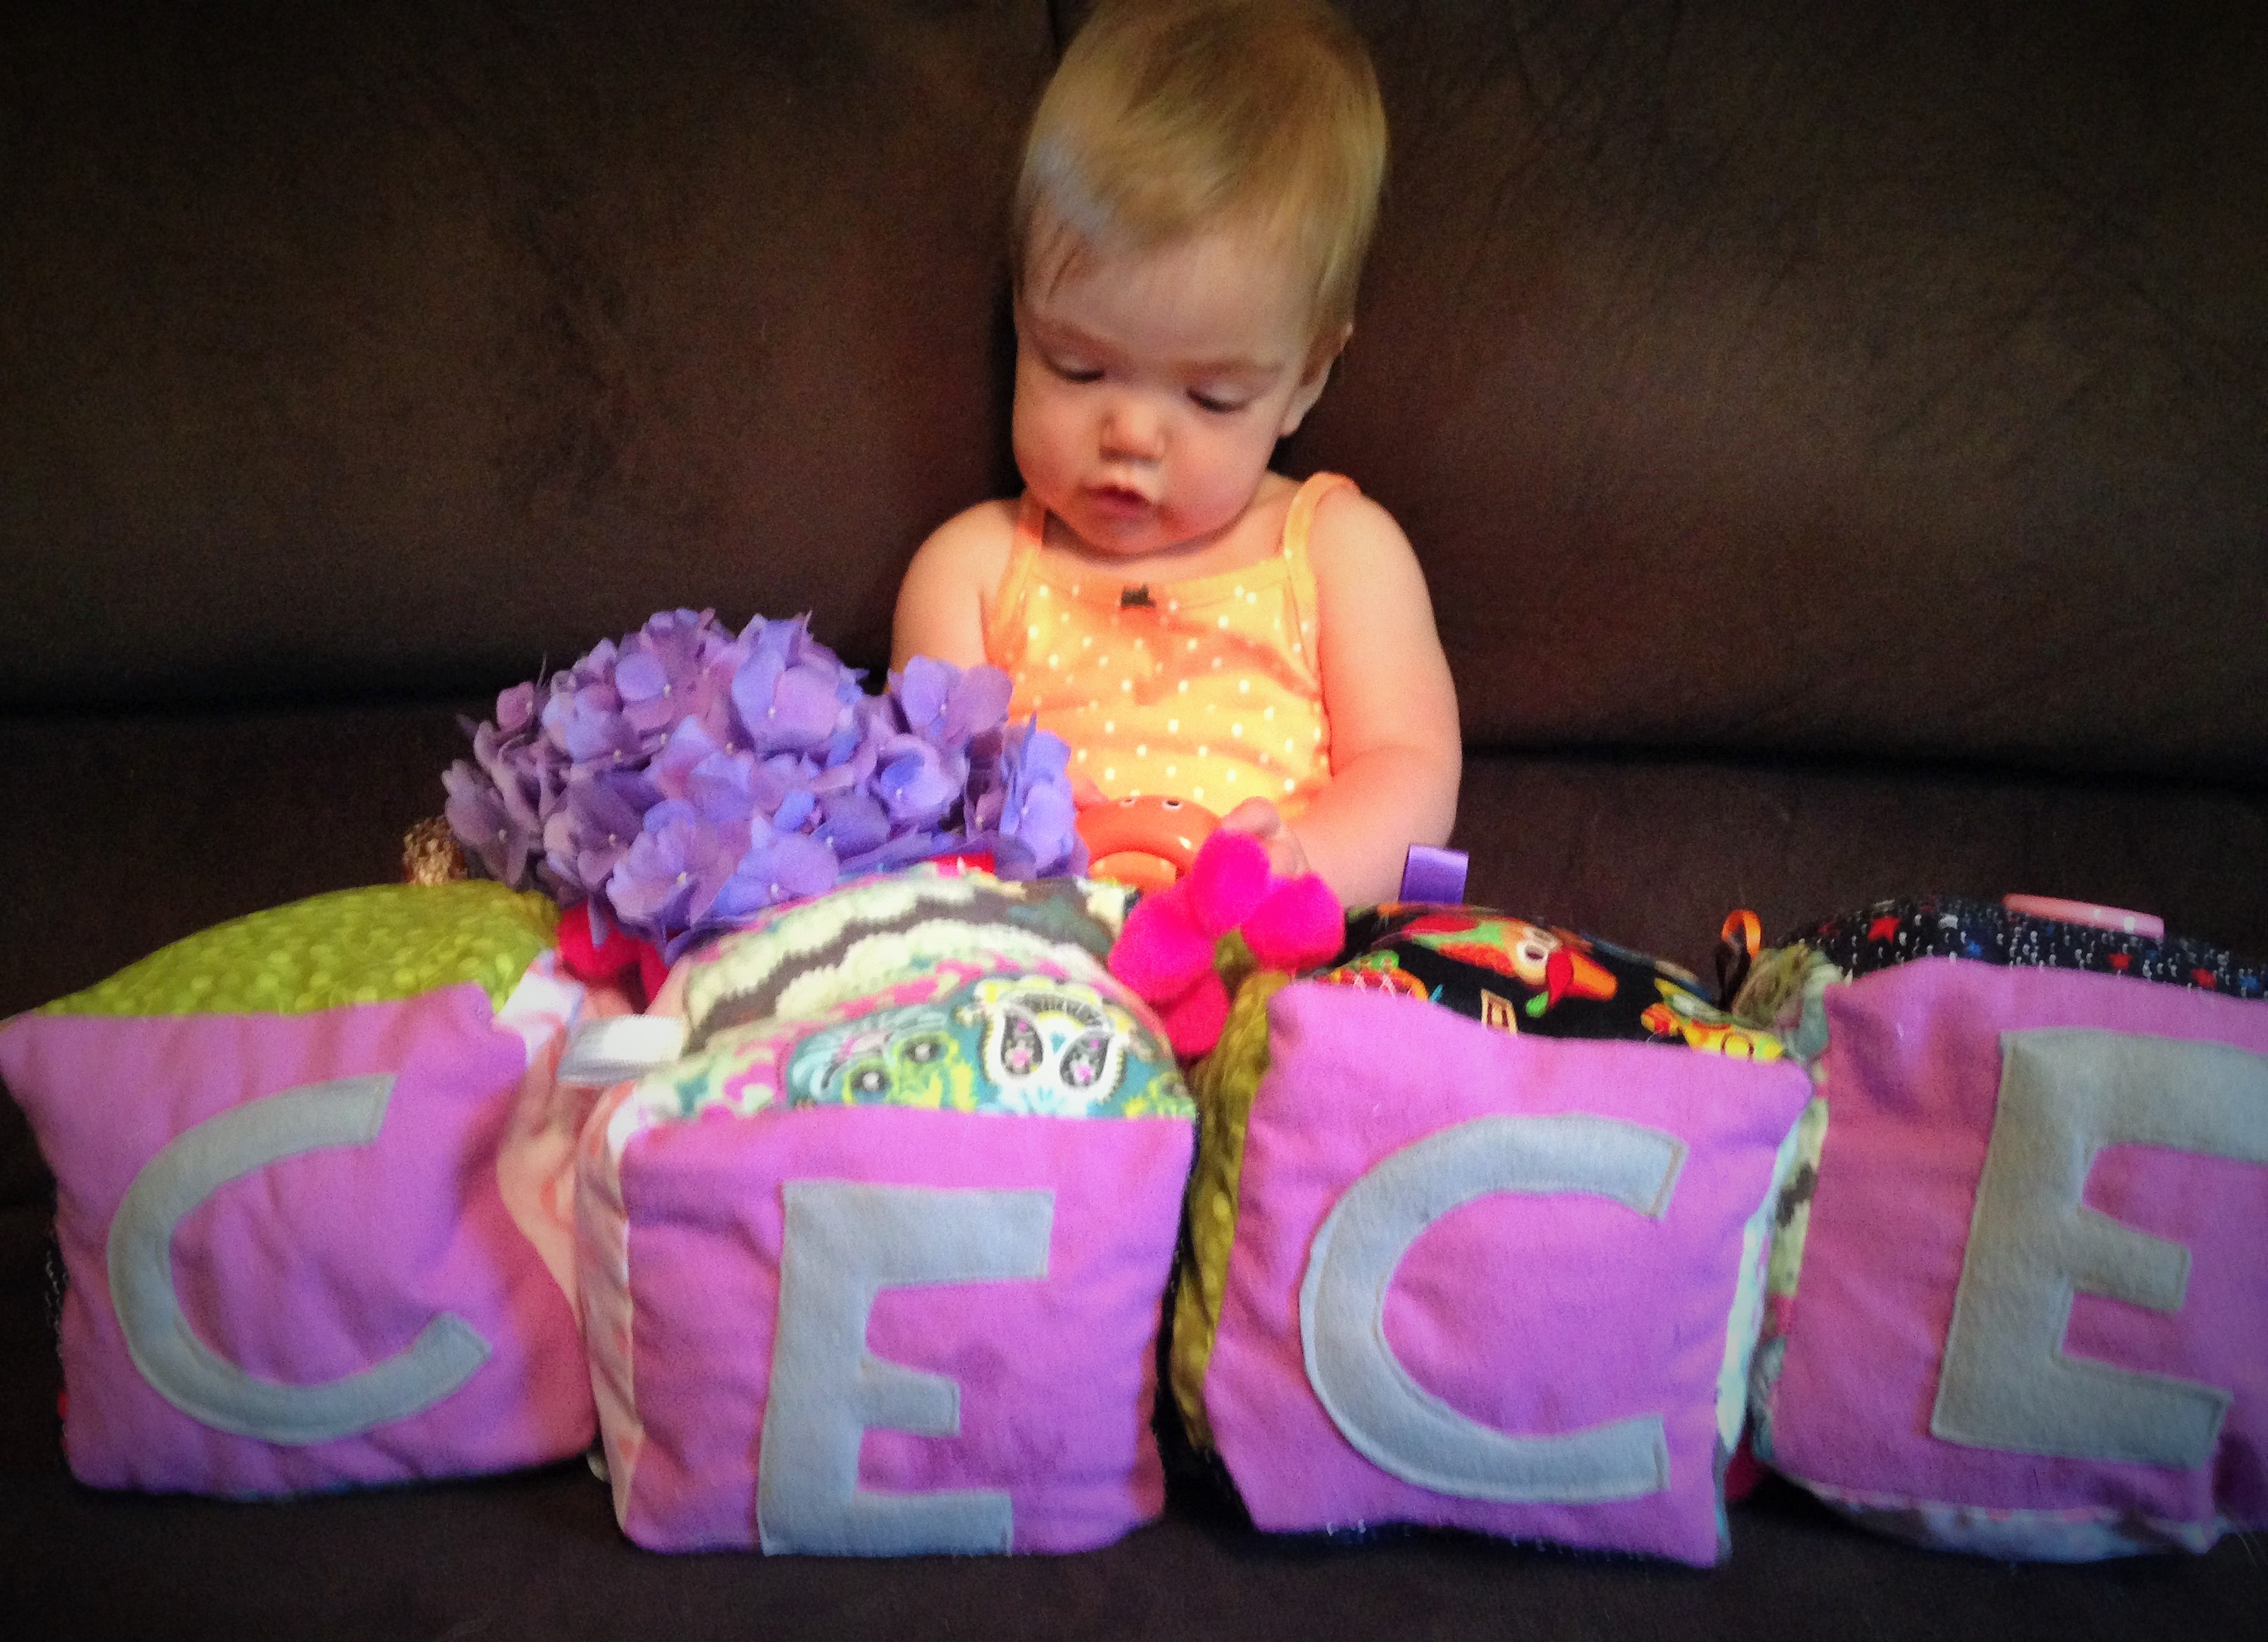
After making these squares, which by the way are FABULOUS for pictures, my little one couldn’t stop playing with all the ribbons, buttons, and laughing at the fabric and textures while sitting in her car seat. What a great toy not only for entertainment, but for learning and increasing intelligence! Not to mention it makes an amazing gift!
Here is the Youtube tutorial:
If you would also like to follow the written then here goes:
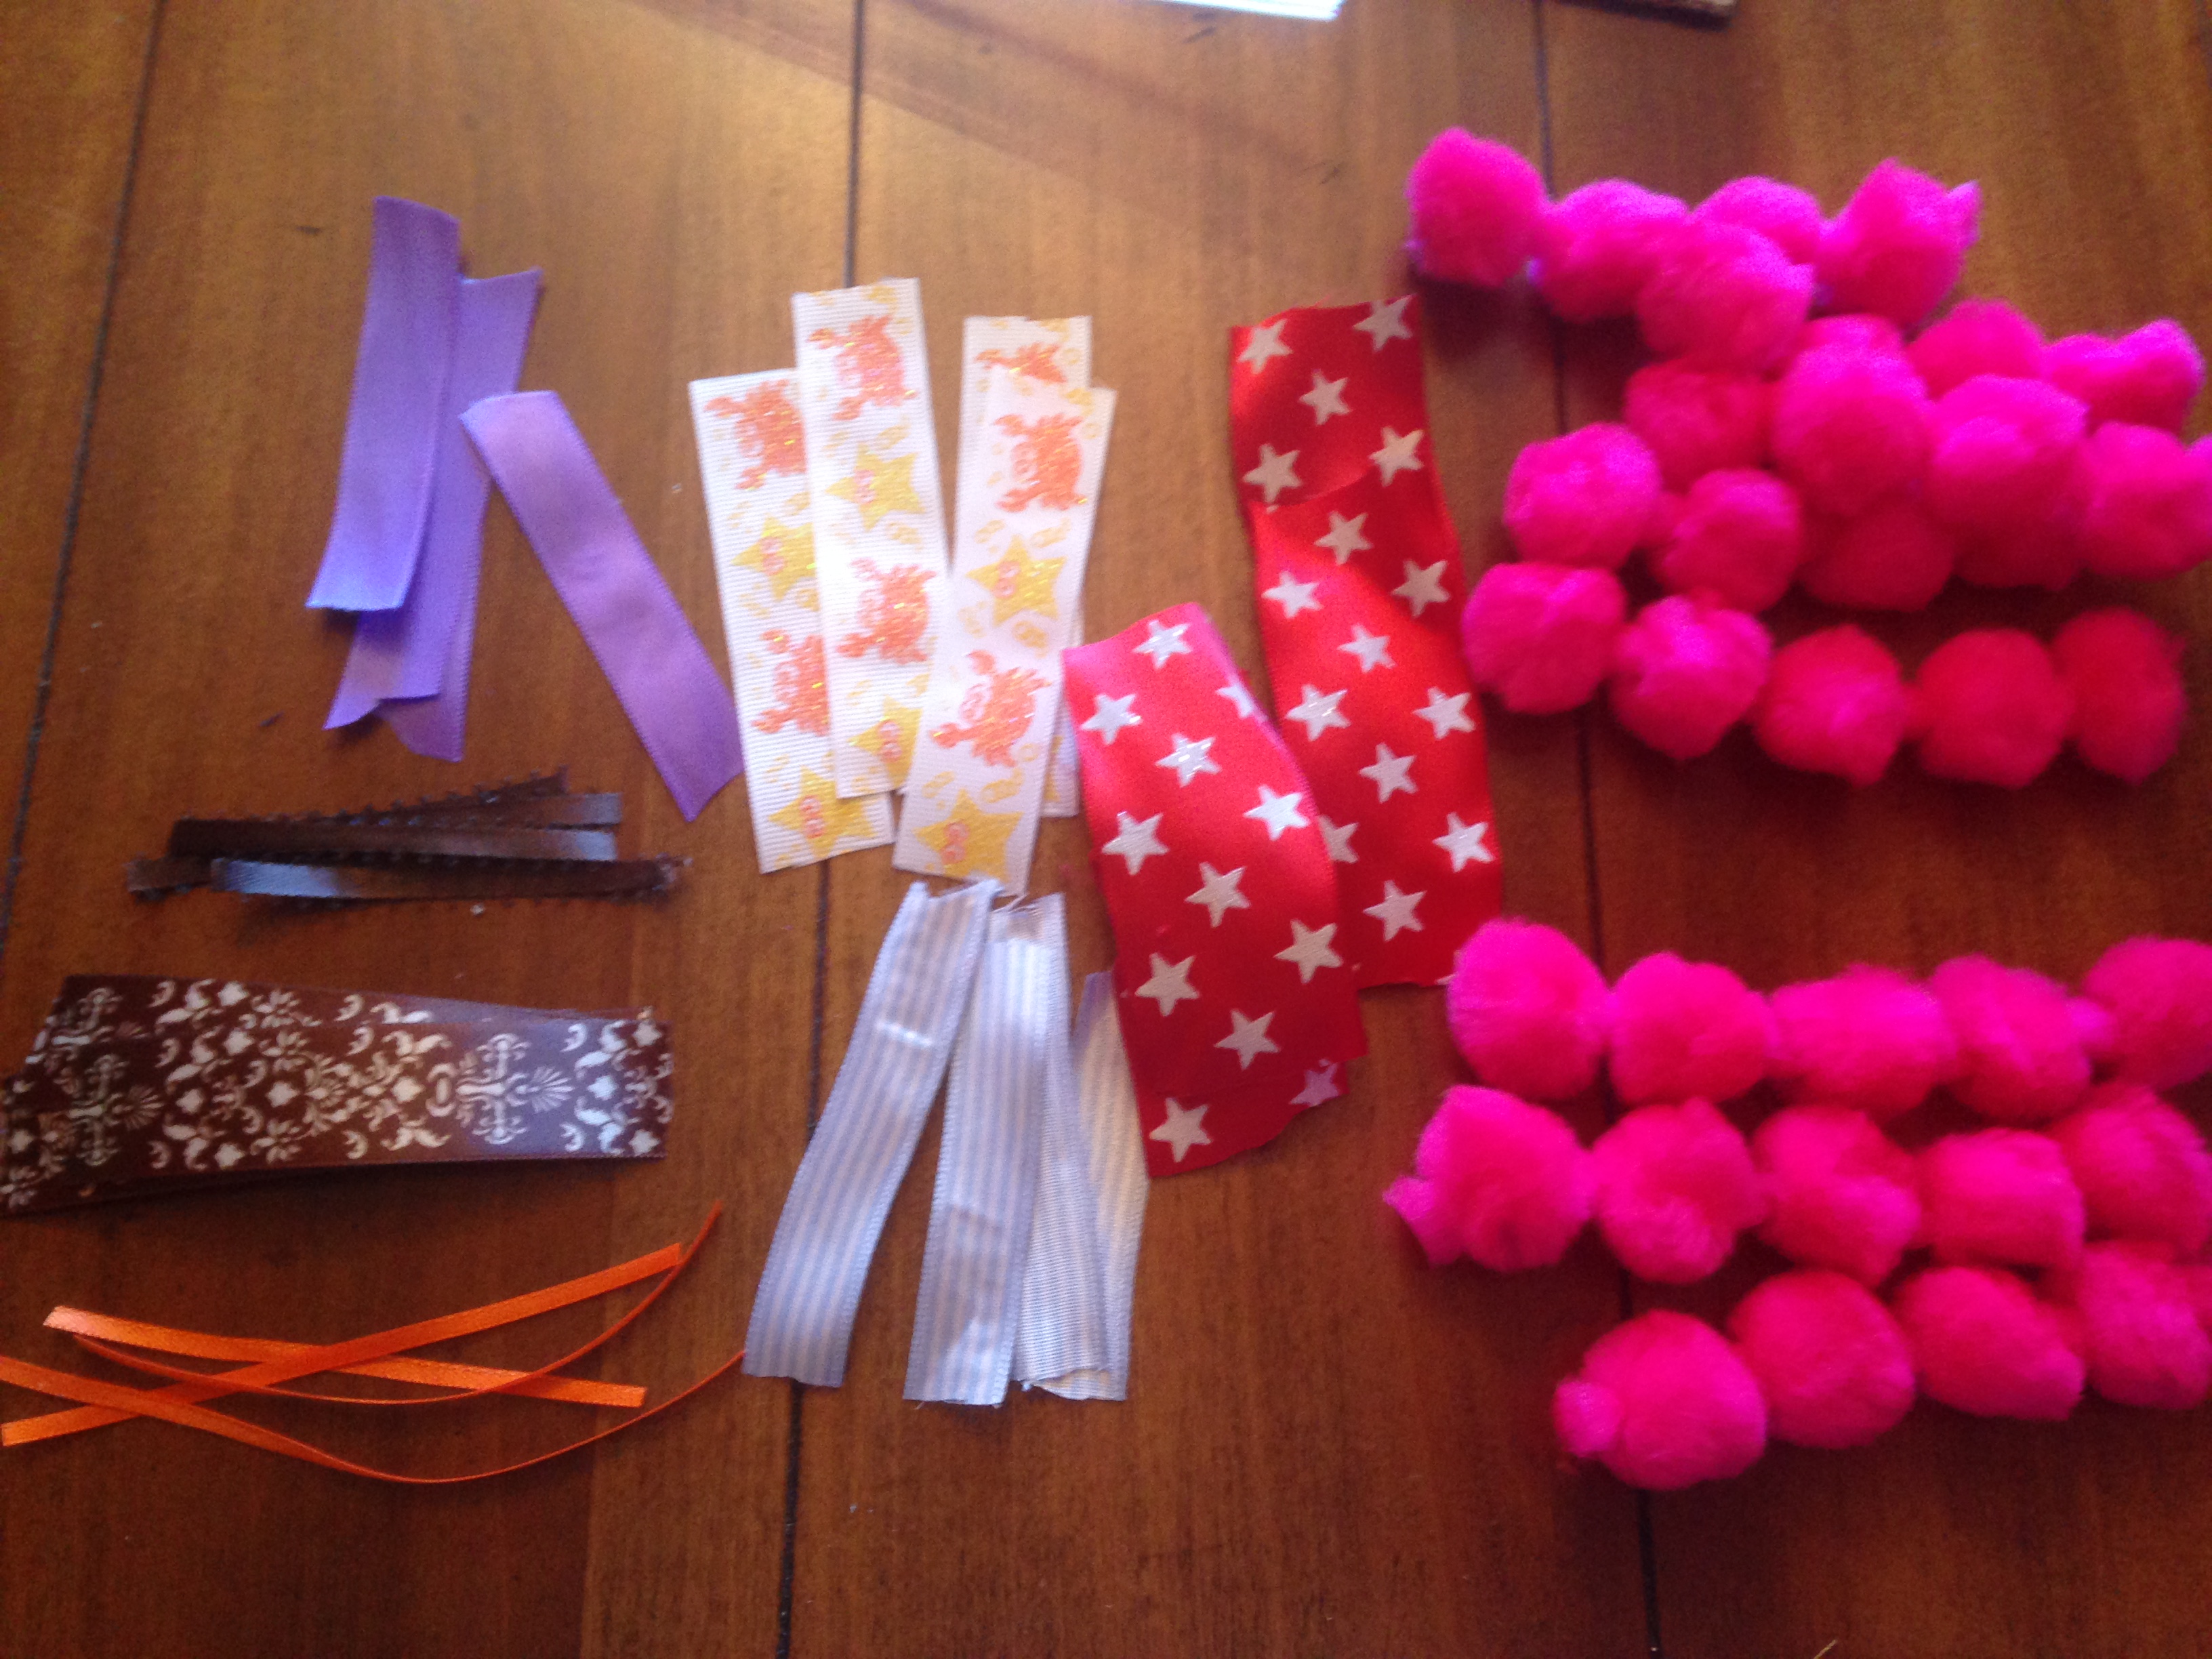
What you will need: FABRIC, buttons, ribbons, polyfil, optional bells or rattle
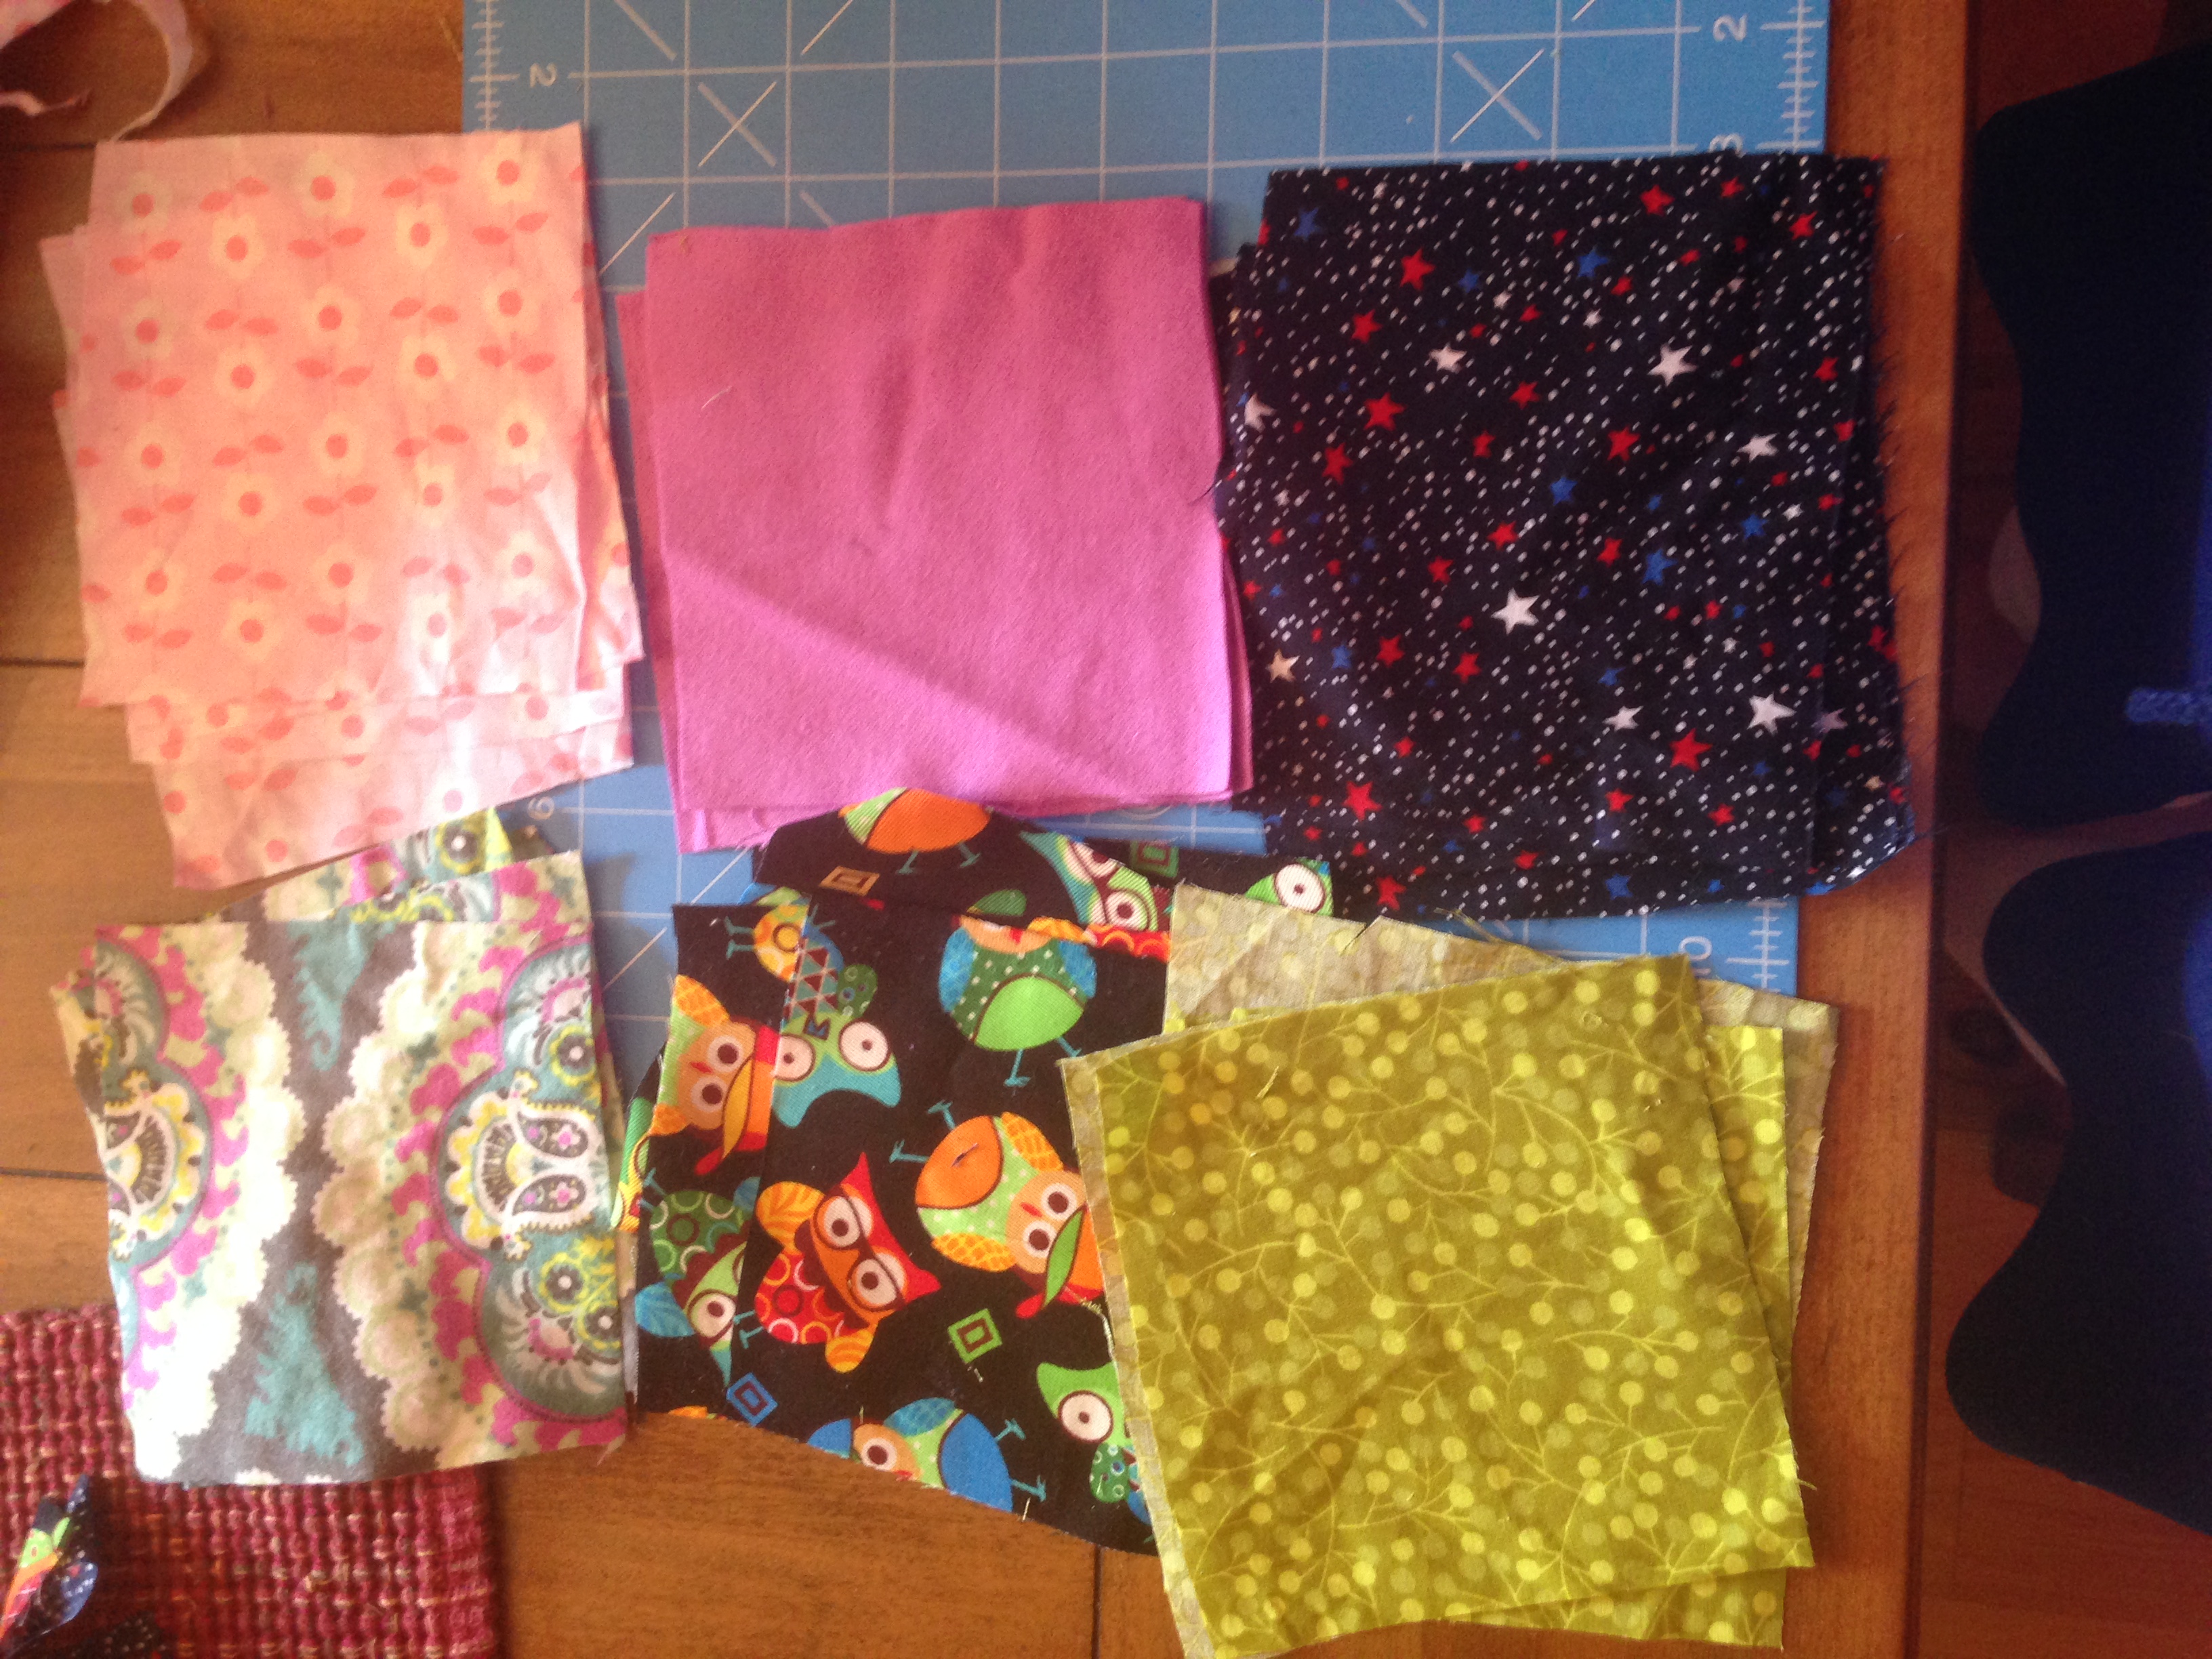
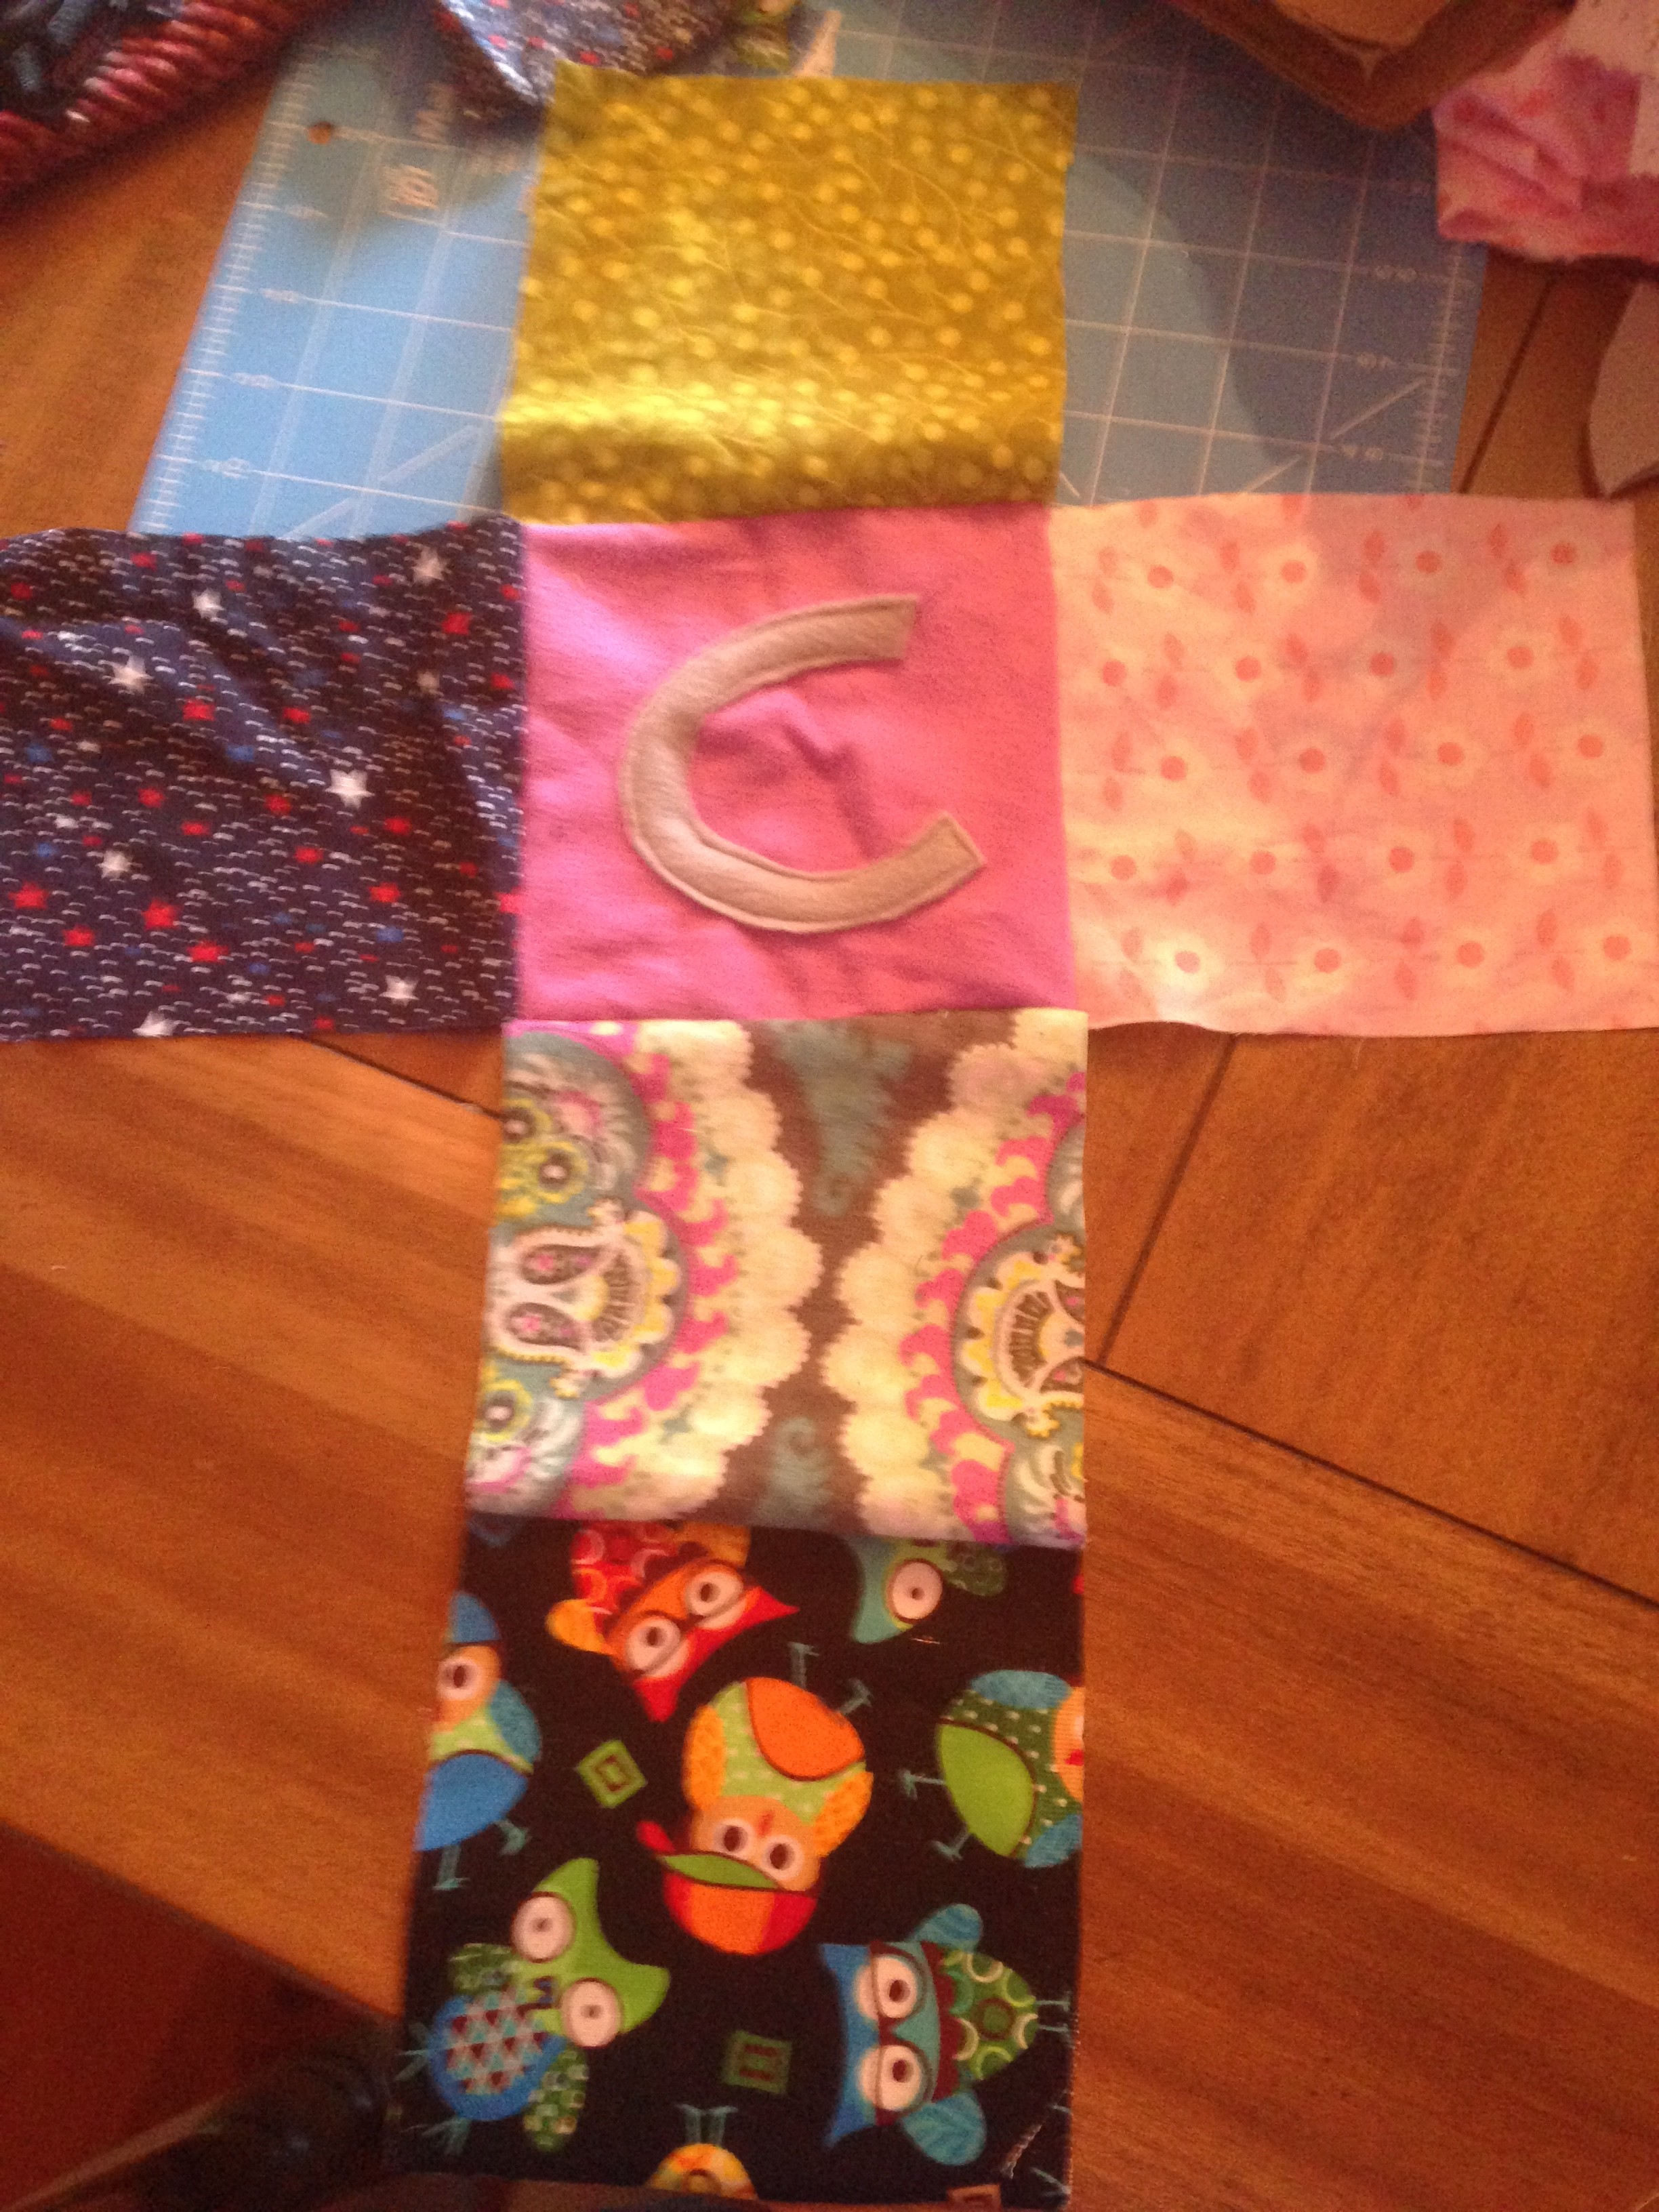
fabric: There are six sides to each square. You can chose your colors and textures. You will need six squares for each letter you are making. In this case, I used four letters for four blocks and six different pattern pieces with all different textures and patterns. This is the fun part! You can of course color coordinate for a boy or girl; however, I chose to do fun patterns that I knew my little one would love to look at, catch her attention, and also advance her imagination.
So there are six sides to the blocks so I picked those fabrics and chose my size for the blocks to be 6×6 and cut out four of each fabric I wanted to use. This is also great if you have extra scrap pieces you want to use up.
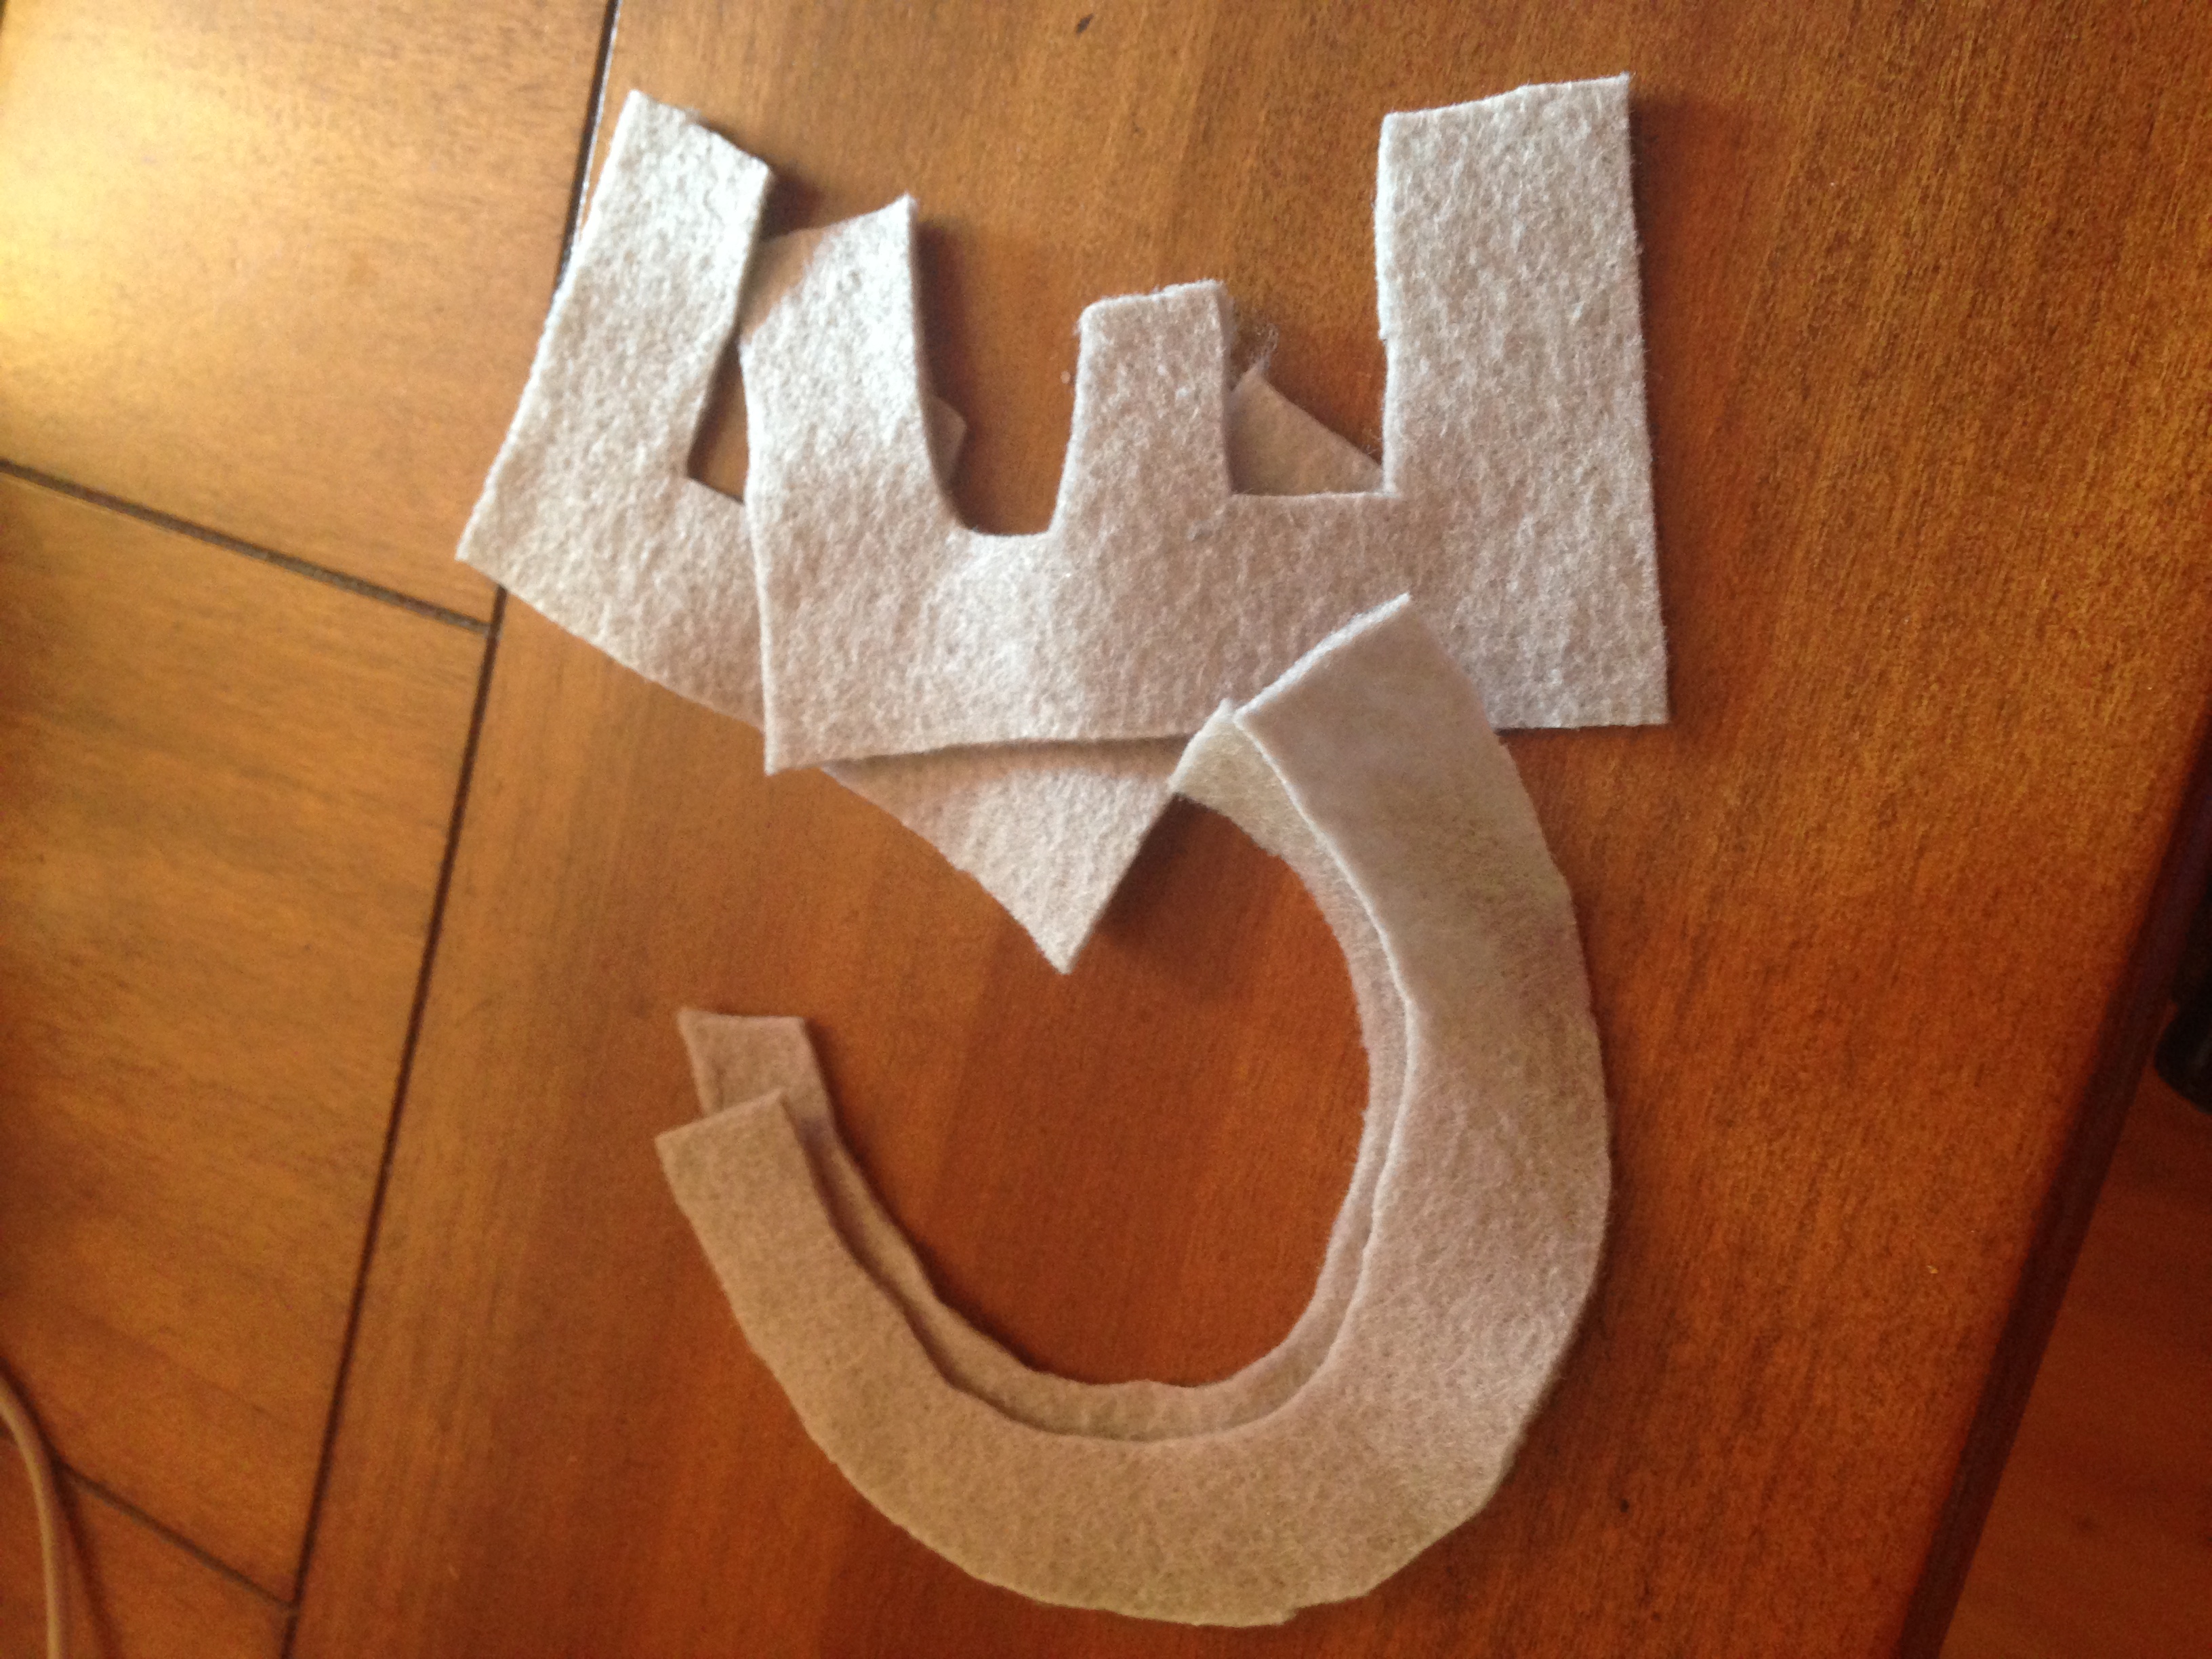
Next, you want to cut out your letters. I did this free hand. I used extra felt I had sitting around! Once completed, sew them on the fabric you would like for each block.
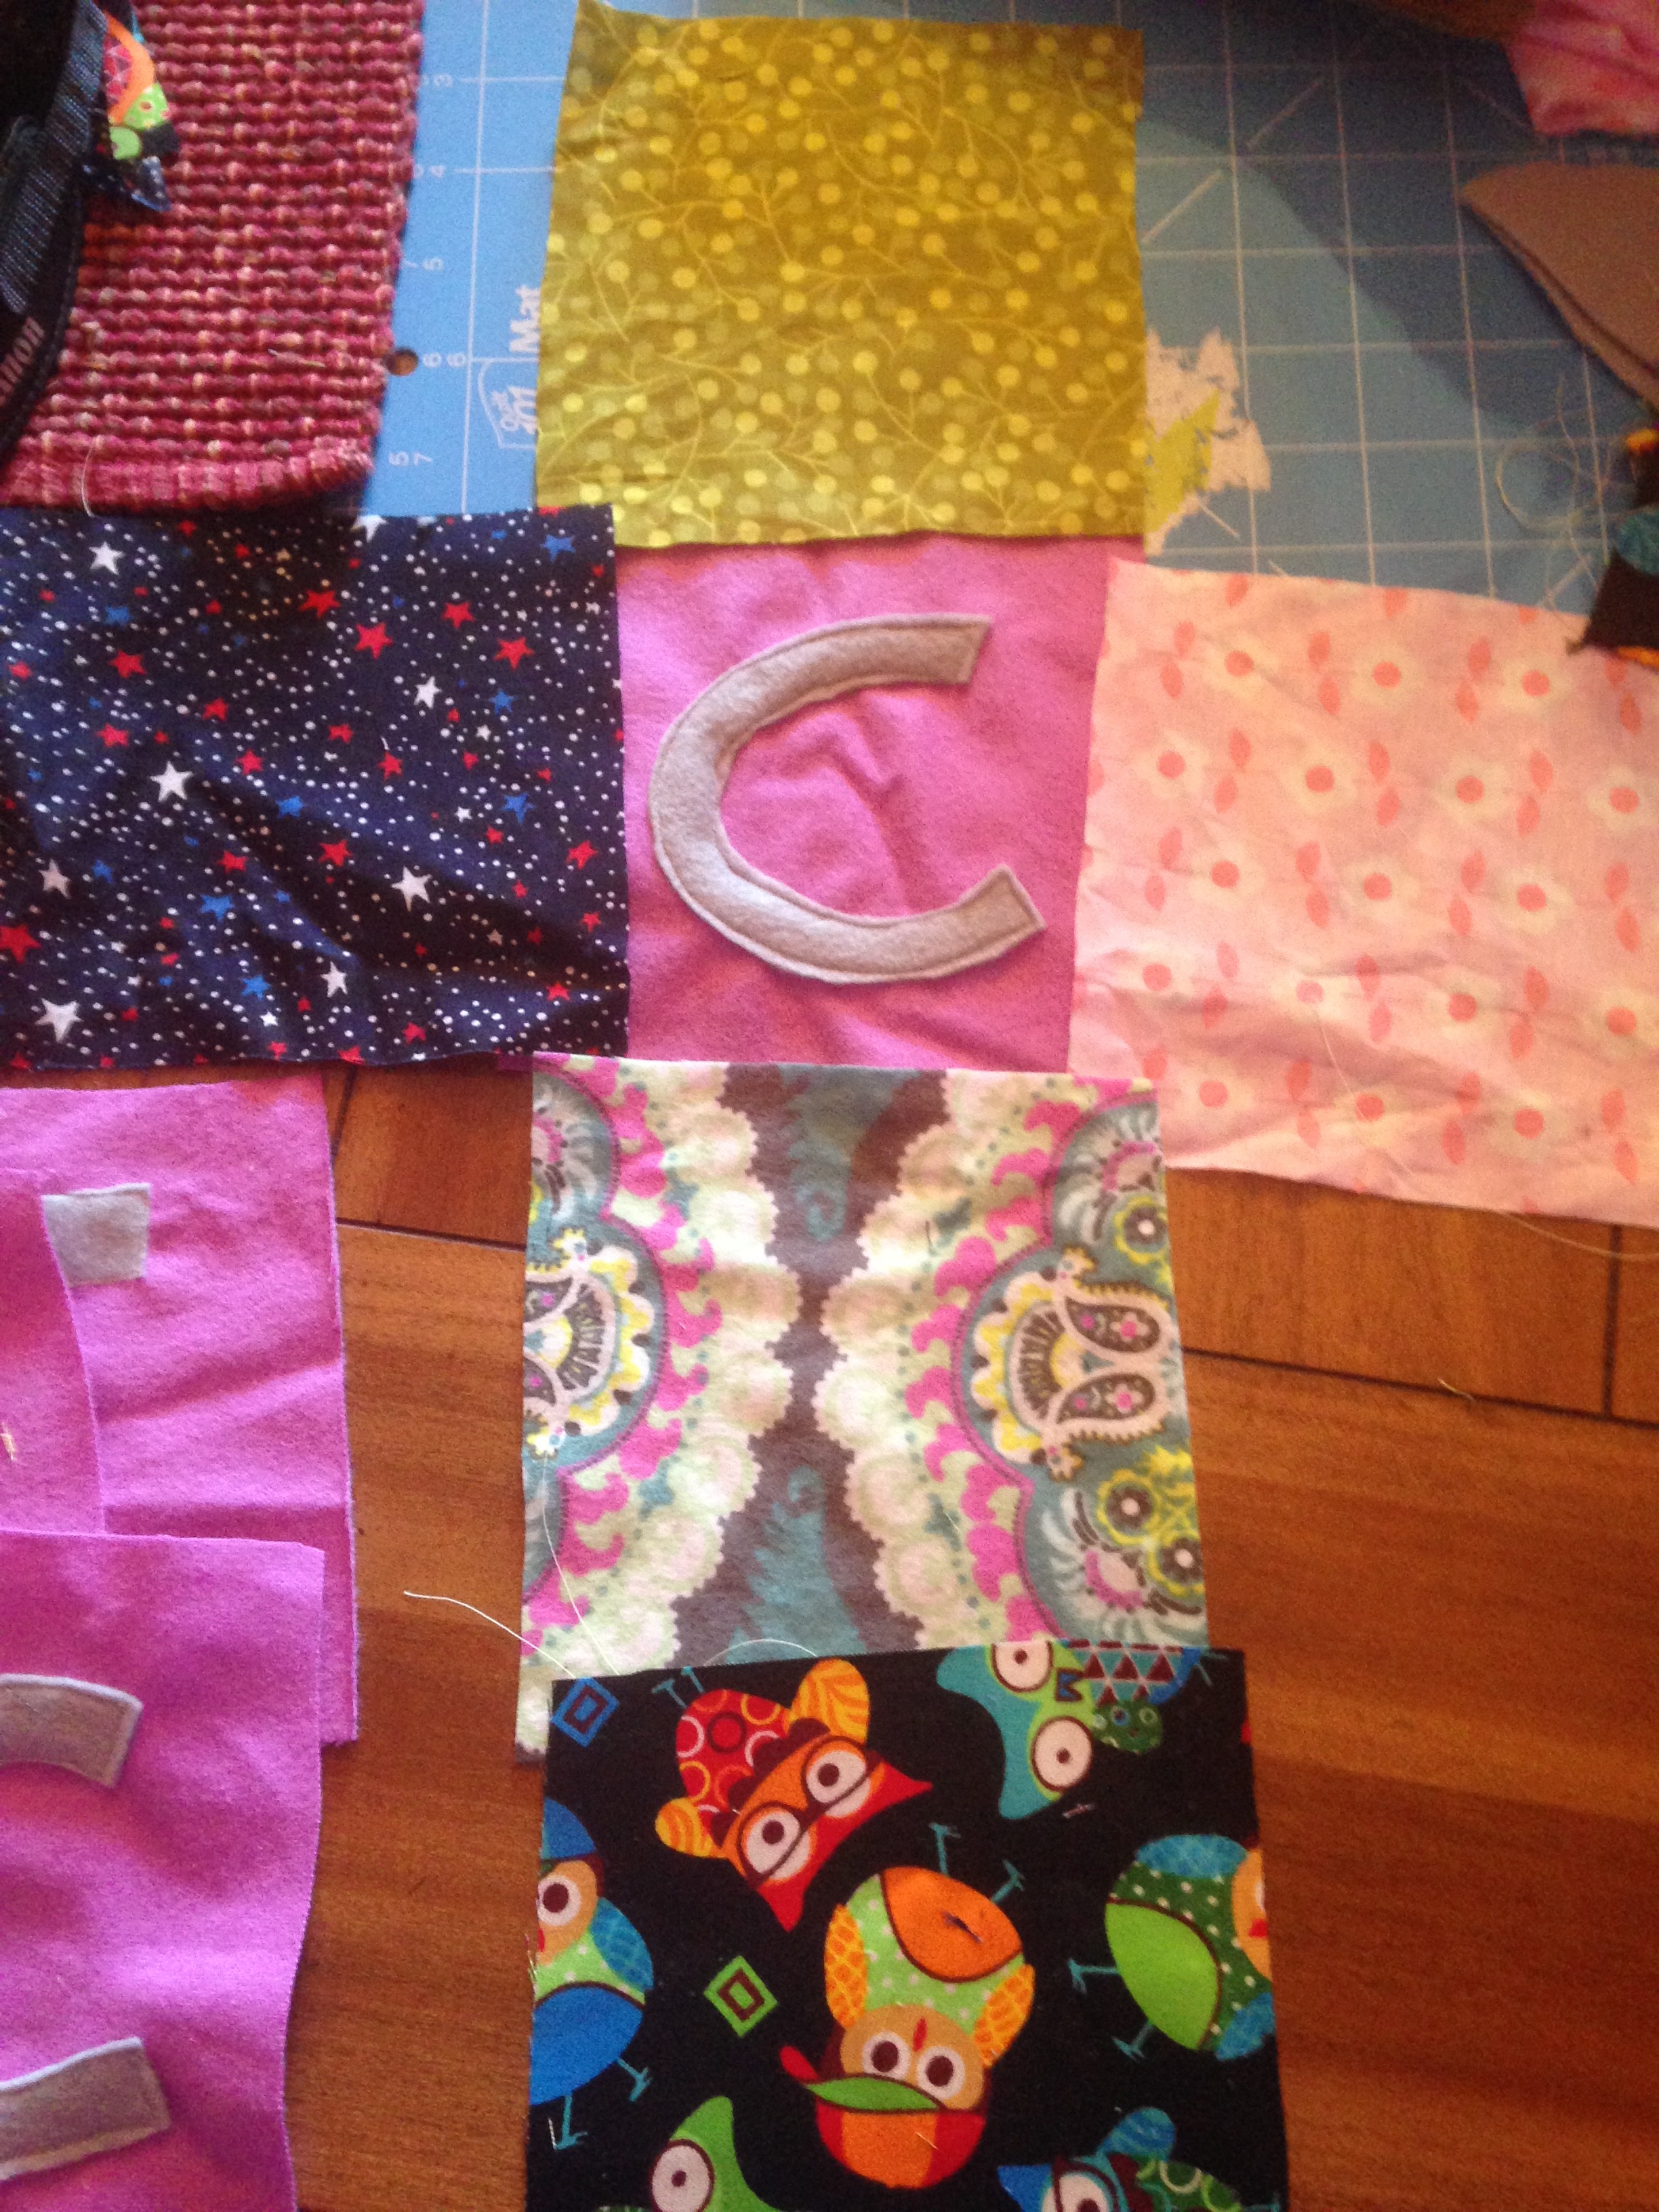
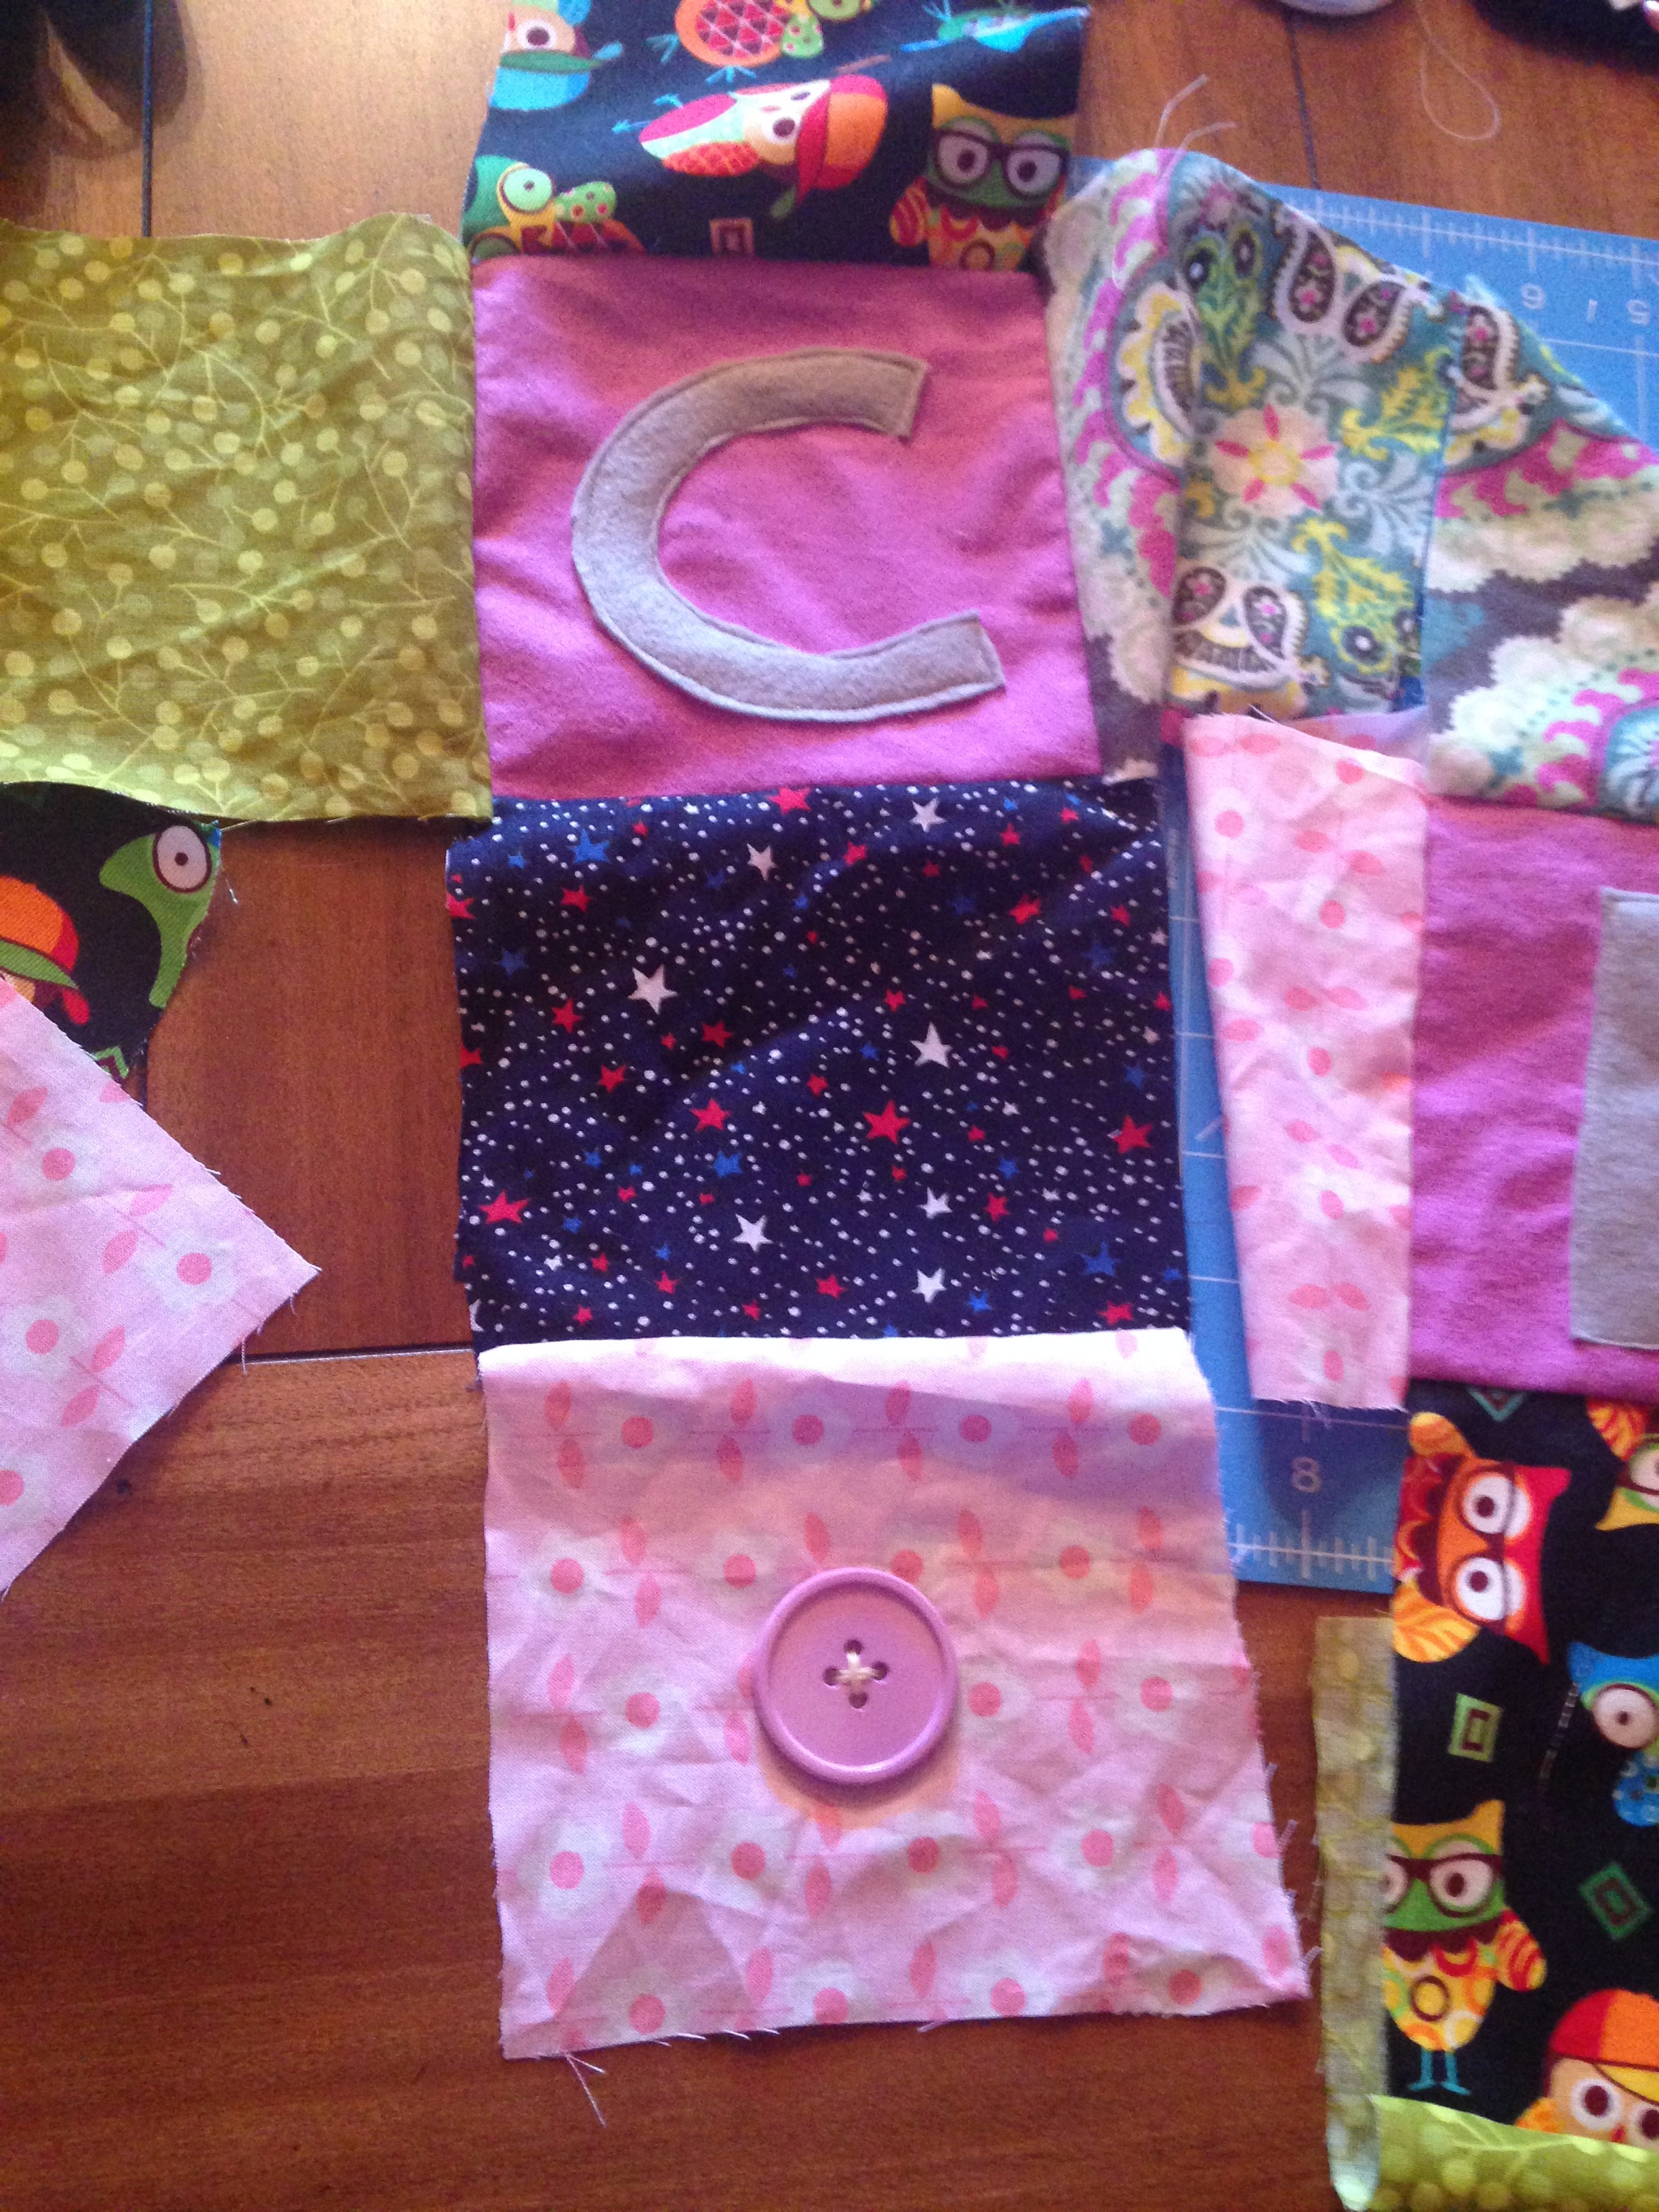
Now you want to setup your pieces to
make your block. Put the letter in the
center and surround it as shown with your
other fabrics. You may want to have the same pattern
for each block or different spots for each
fabric square
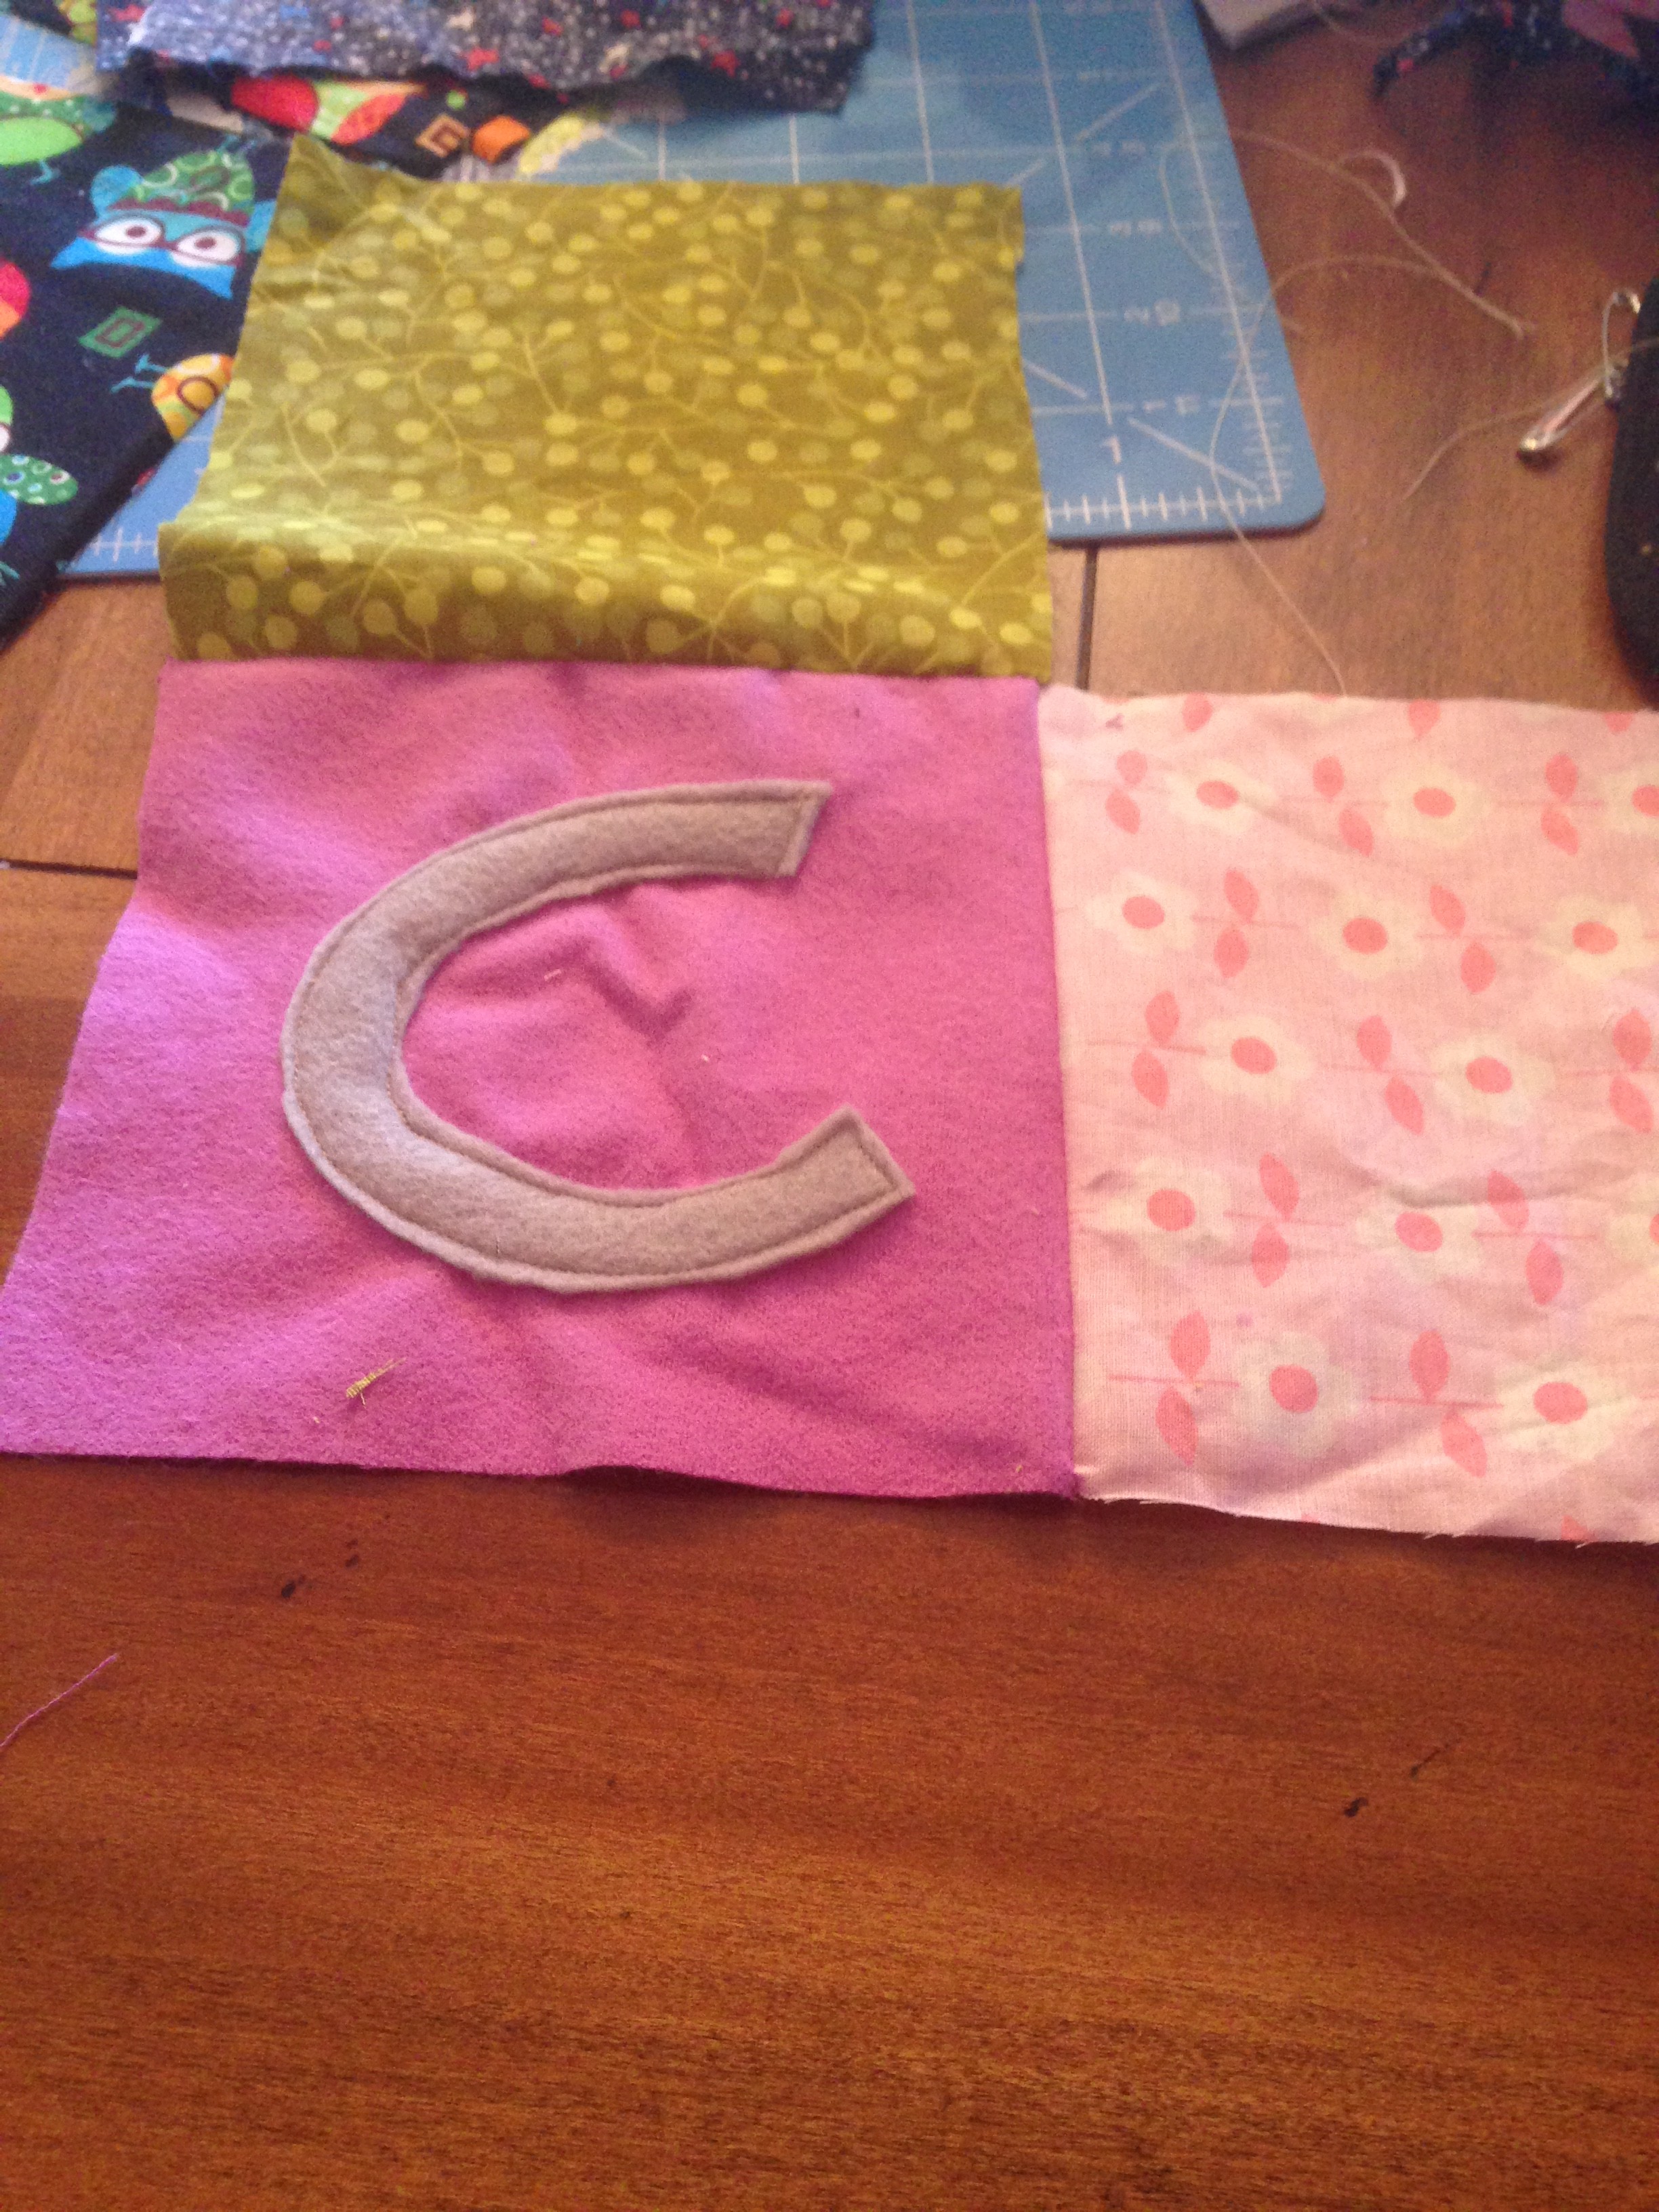
Start sewing pattern pieces facing
each other. Take top piece and put pattern facing inside on the letter and sew the top edge, then continue until they are all sew together as shown below. Do this for all your blocks.
If you want to add ribbons, buttons, or
any other accessories this is the time to get
those together! So now you want to decide where to sew them. You can choose different spots on each block or the same!
Sew the ribbons on facing towards the inside of the block. If you do the opposite they will be on the inside instead of the out!
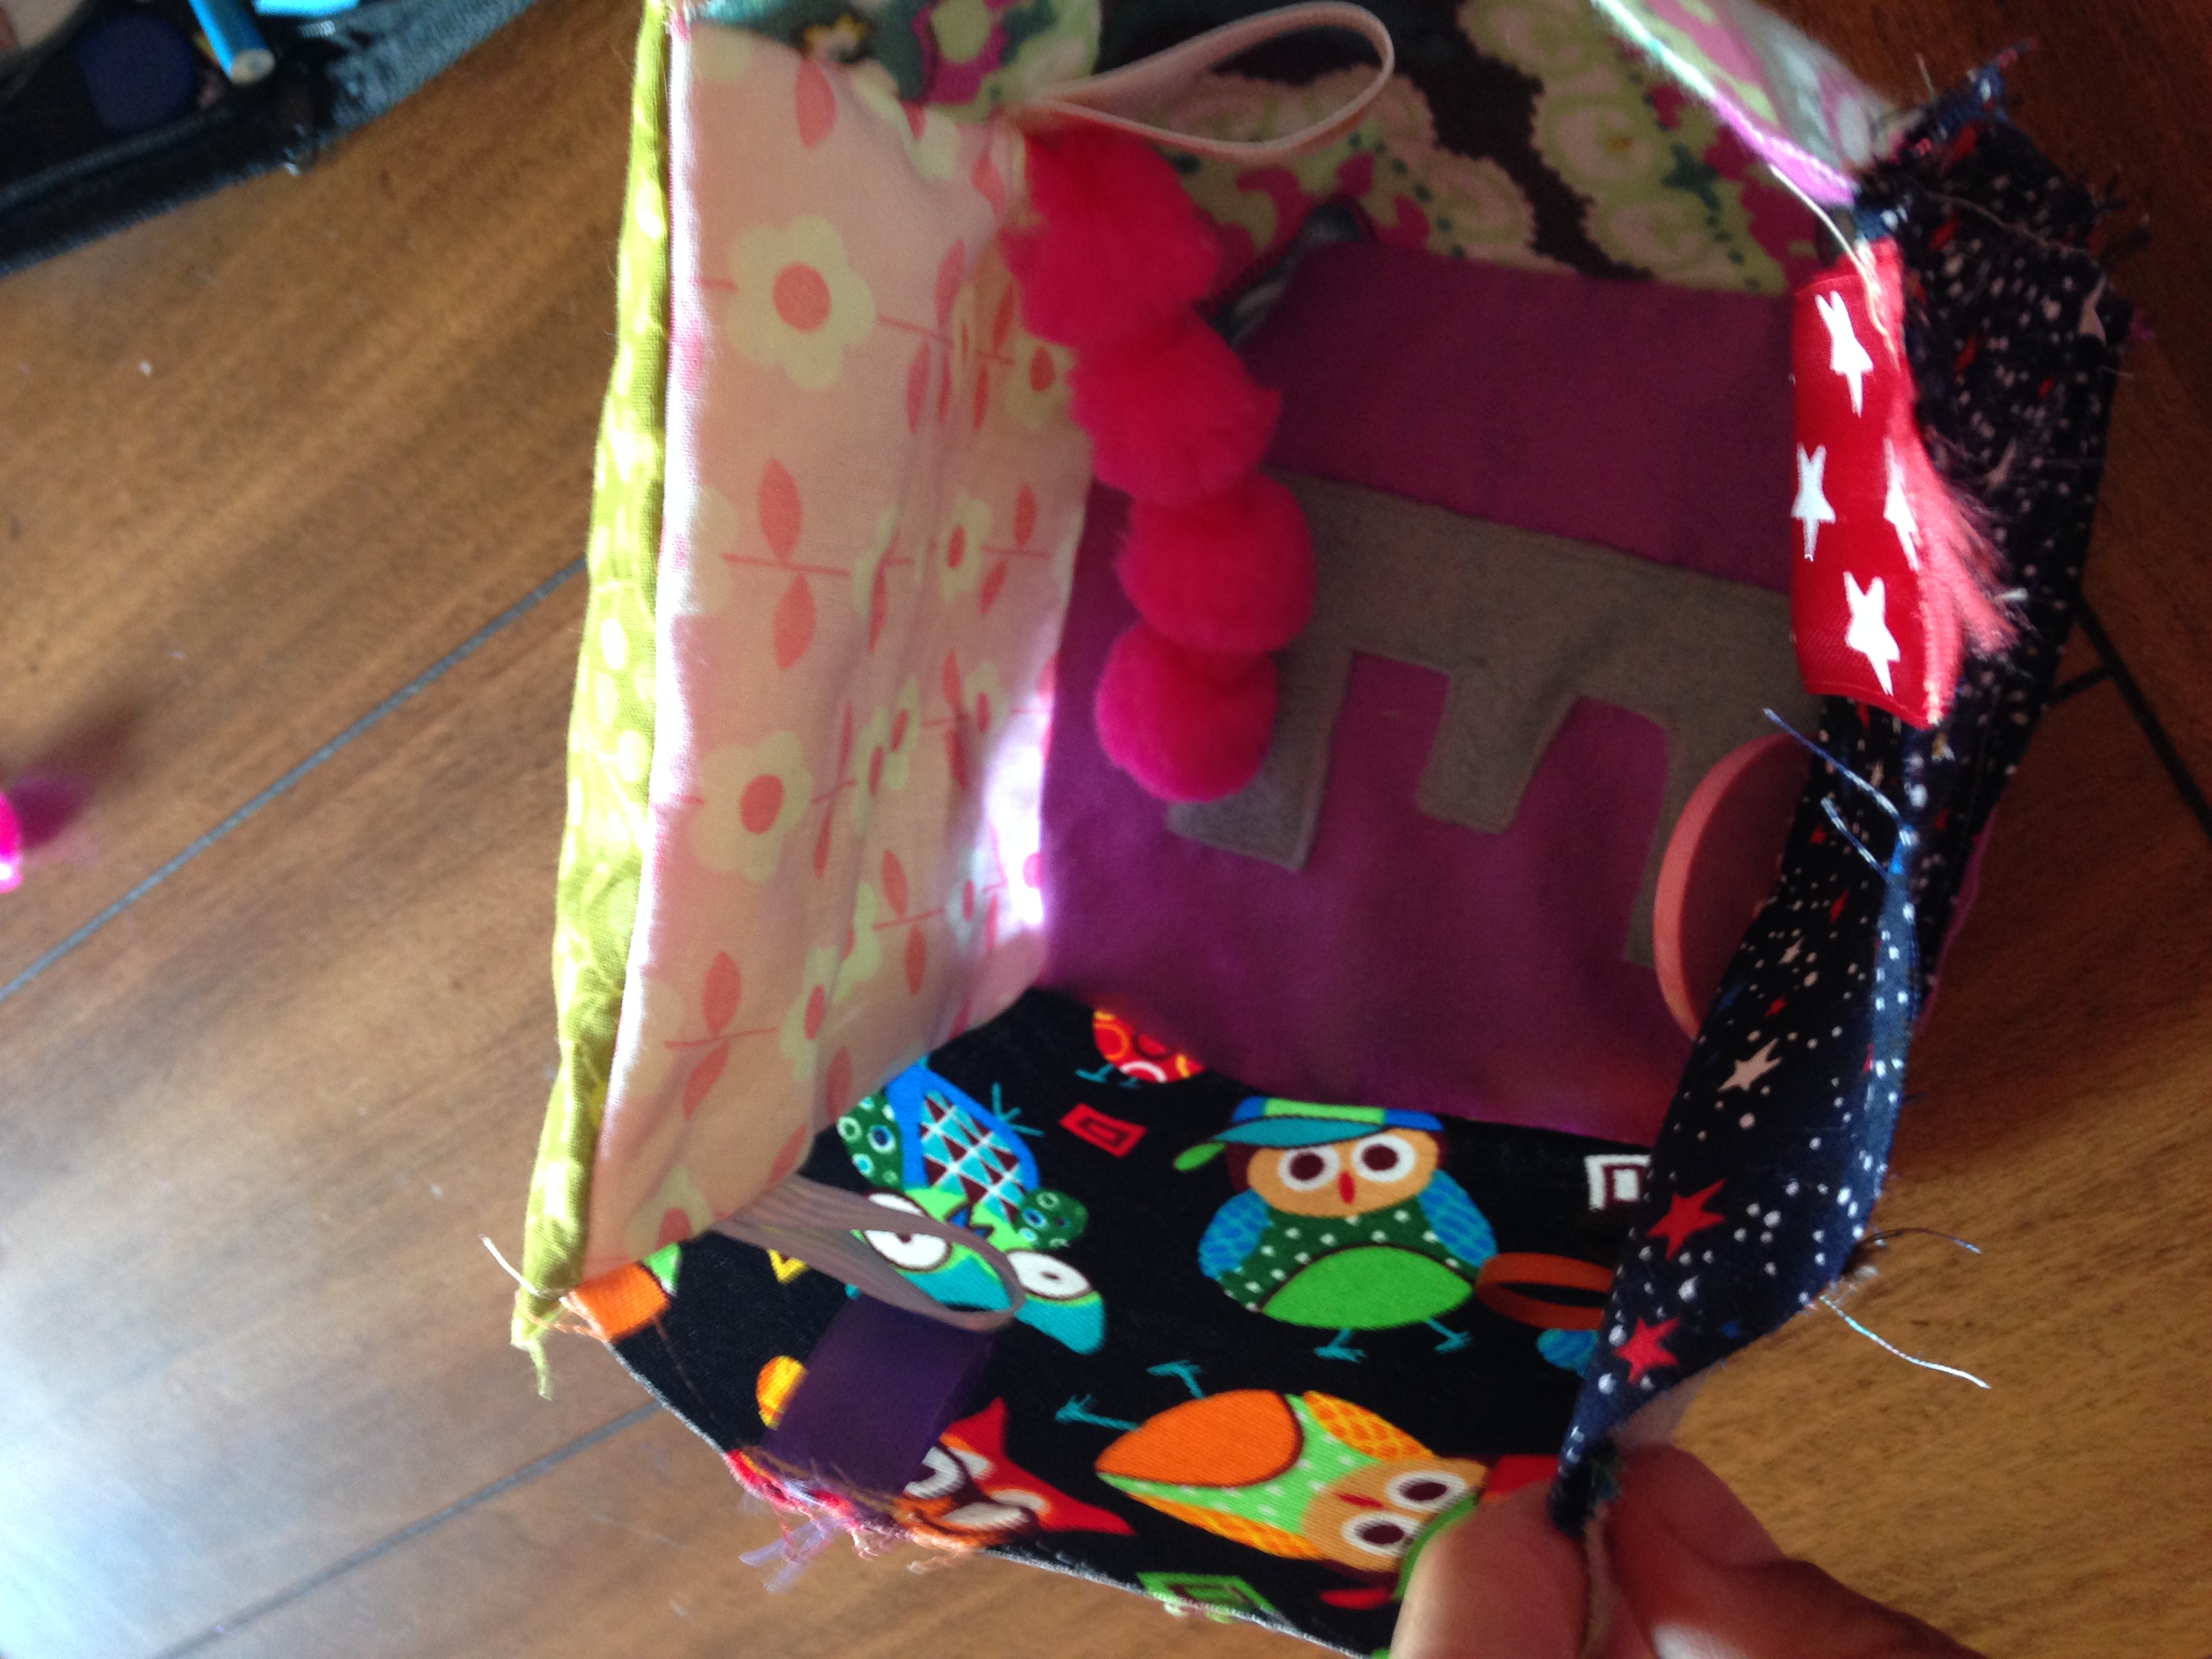
Start by sewing right sides together of two
blocks. Take the top square and fold down and to the left. You will line up the left side of the top block to the top side of the left block. Then sew. Continue this around using the letter piece as the bottom part of the block. The pattern of the fabric should end up in the inside of the block.
Continue around until you have all sides except one sewn together.
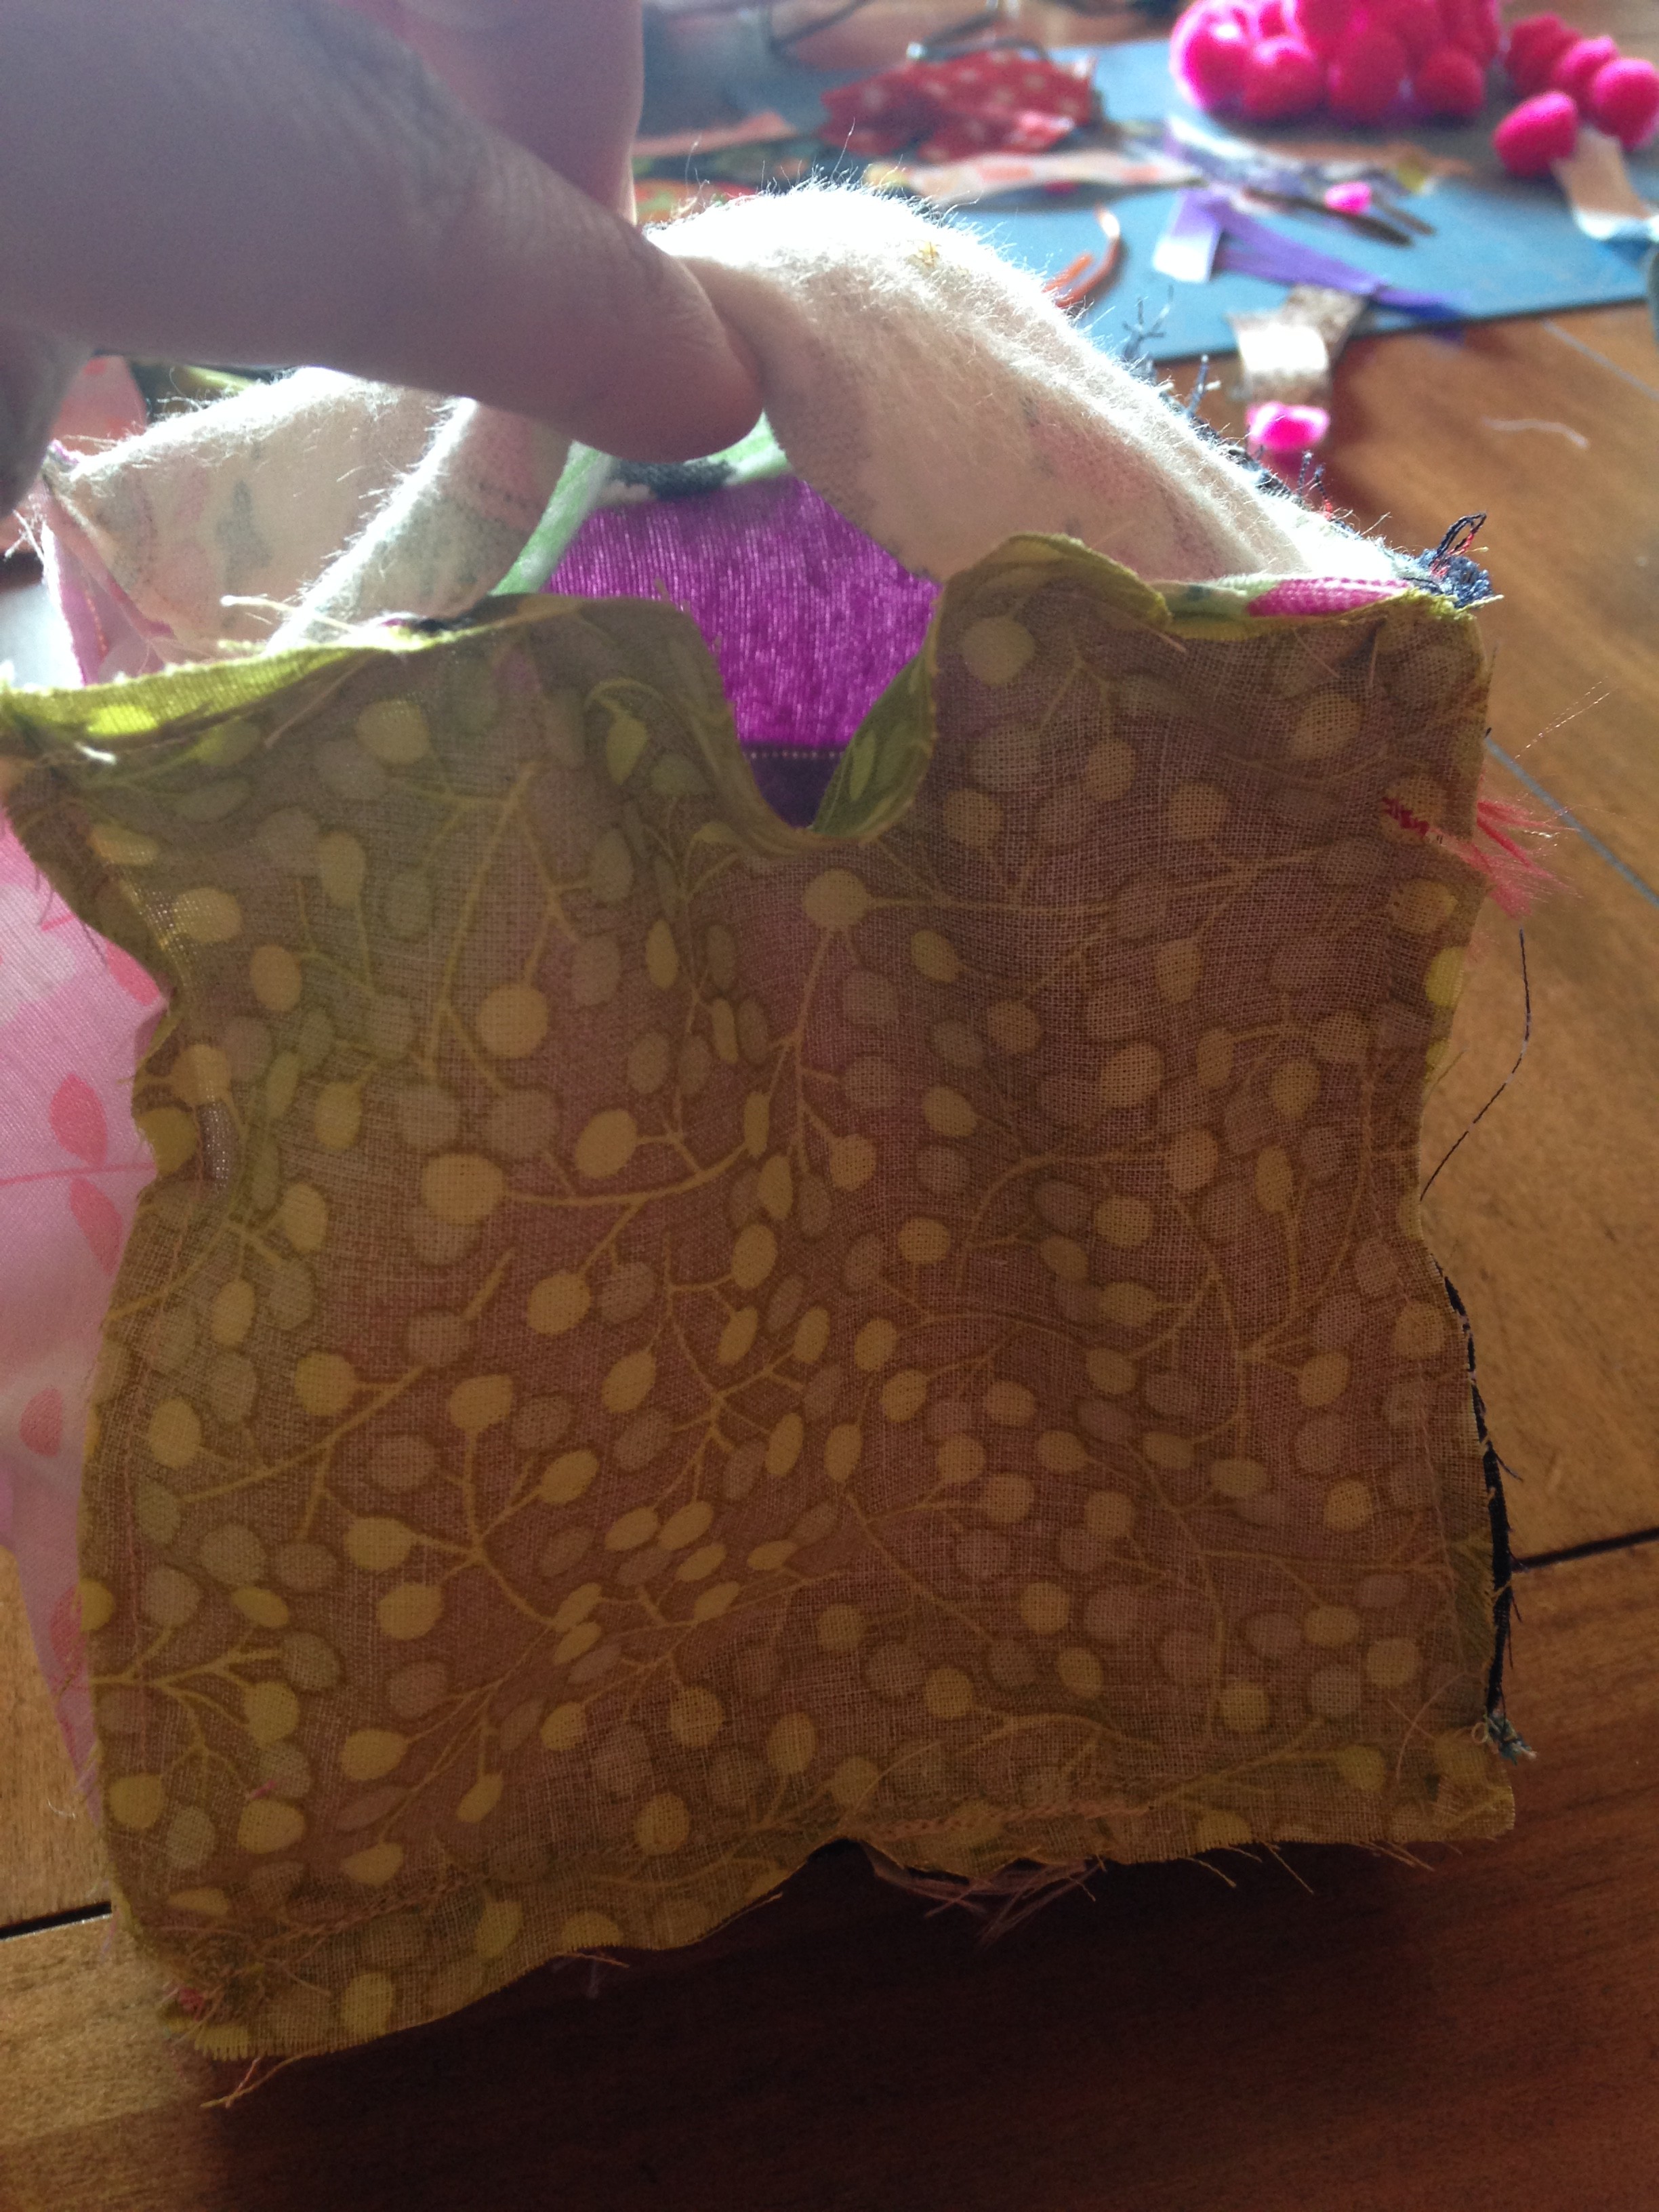
For the last square, Sew each side around but for one side leave a 2-3 inch opening so you can pull the right side out. Don’t forget to back stitch well!
Okay! Almost there! So now you want to turn your block right side out. So reach in there and pull the fabric through. Then use a pencil, pen, crochet needle or what not to poke out the corners and make them shapely.
Next, grab your stuffing, in this case polyfil, and start filling.
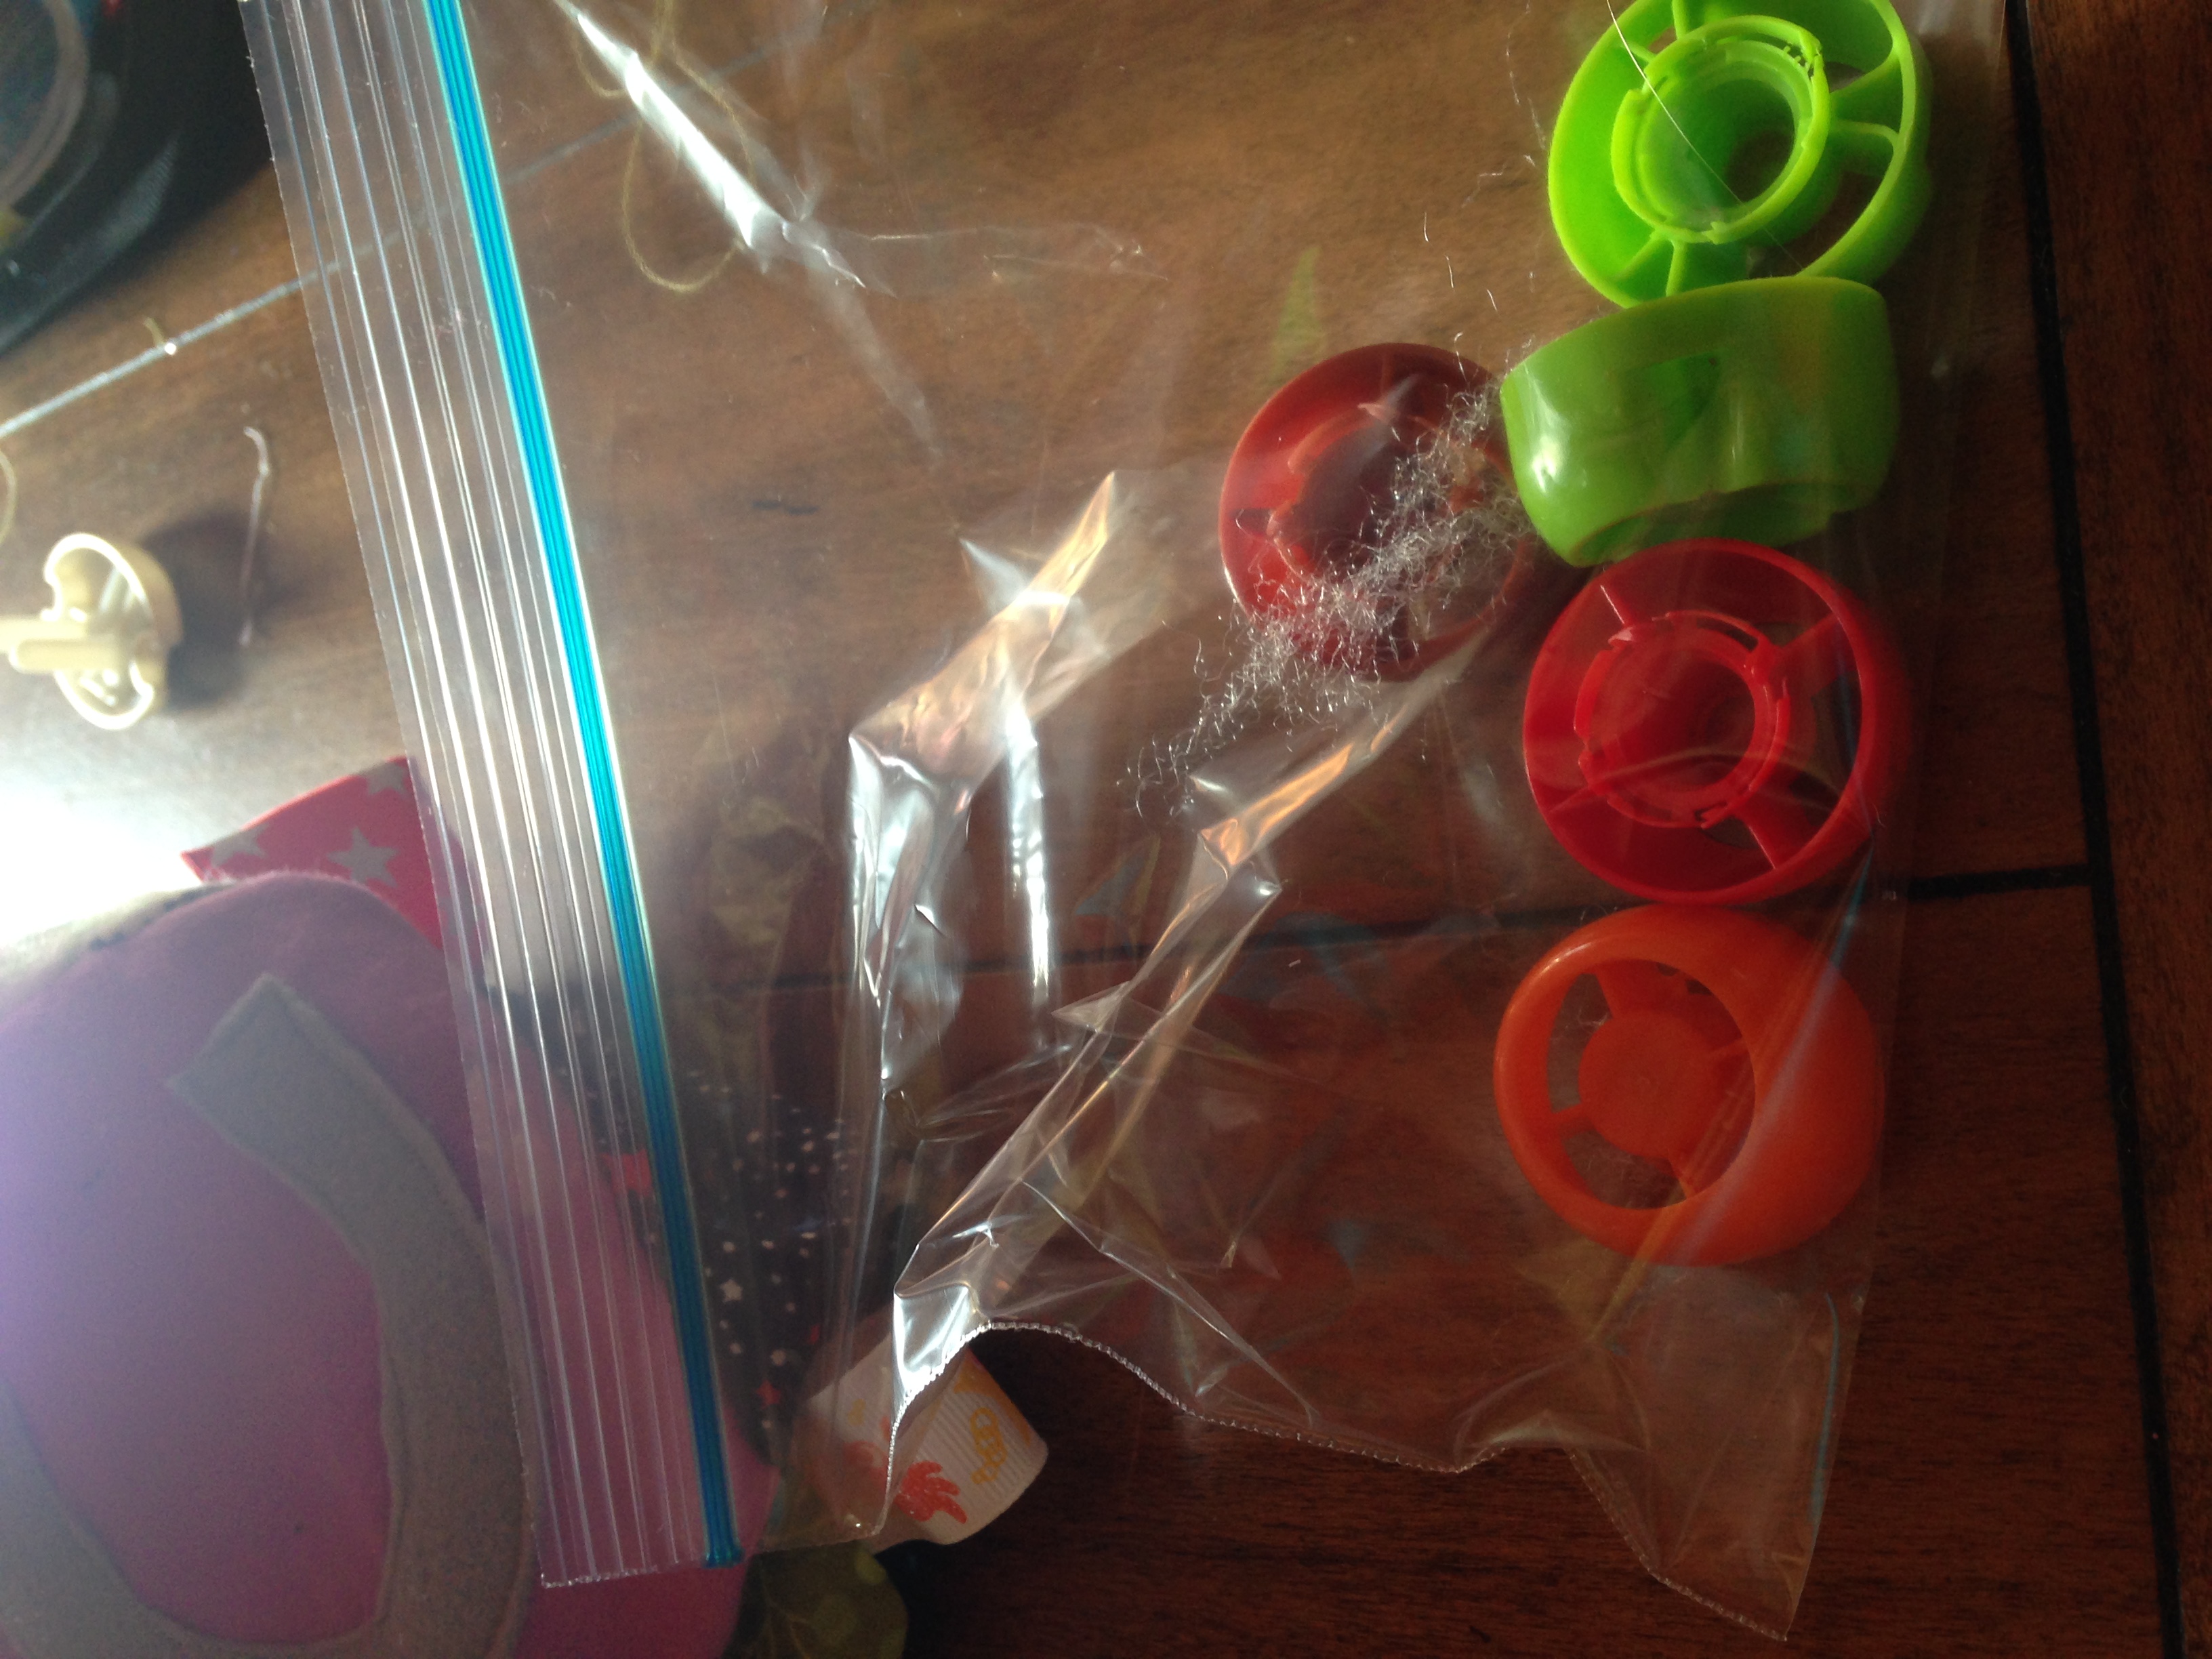
You can put a bell or rattle in the inside of the block!
To do this I put it in a small ziplock bag that is sealed with some air so that it has room to rattle around instead of being stuck in the polyfil. I actually have been saving the twist off tops of the food pouches and used them in a bag to make some noise! So if you are going to do this try and put this in the center of the block then stuff around it.
Lastly, close up that hole! You can do a whip stitch or invisible stitch or even use your machine.
Ta-Da you are done! Great job….take some pictures and share!

 However, my laminator is only big enough for a regular printer sized paper. You can take it to your local staples or office store to get laminated. You can even make your own placemat out of fabric and have it laminated.
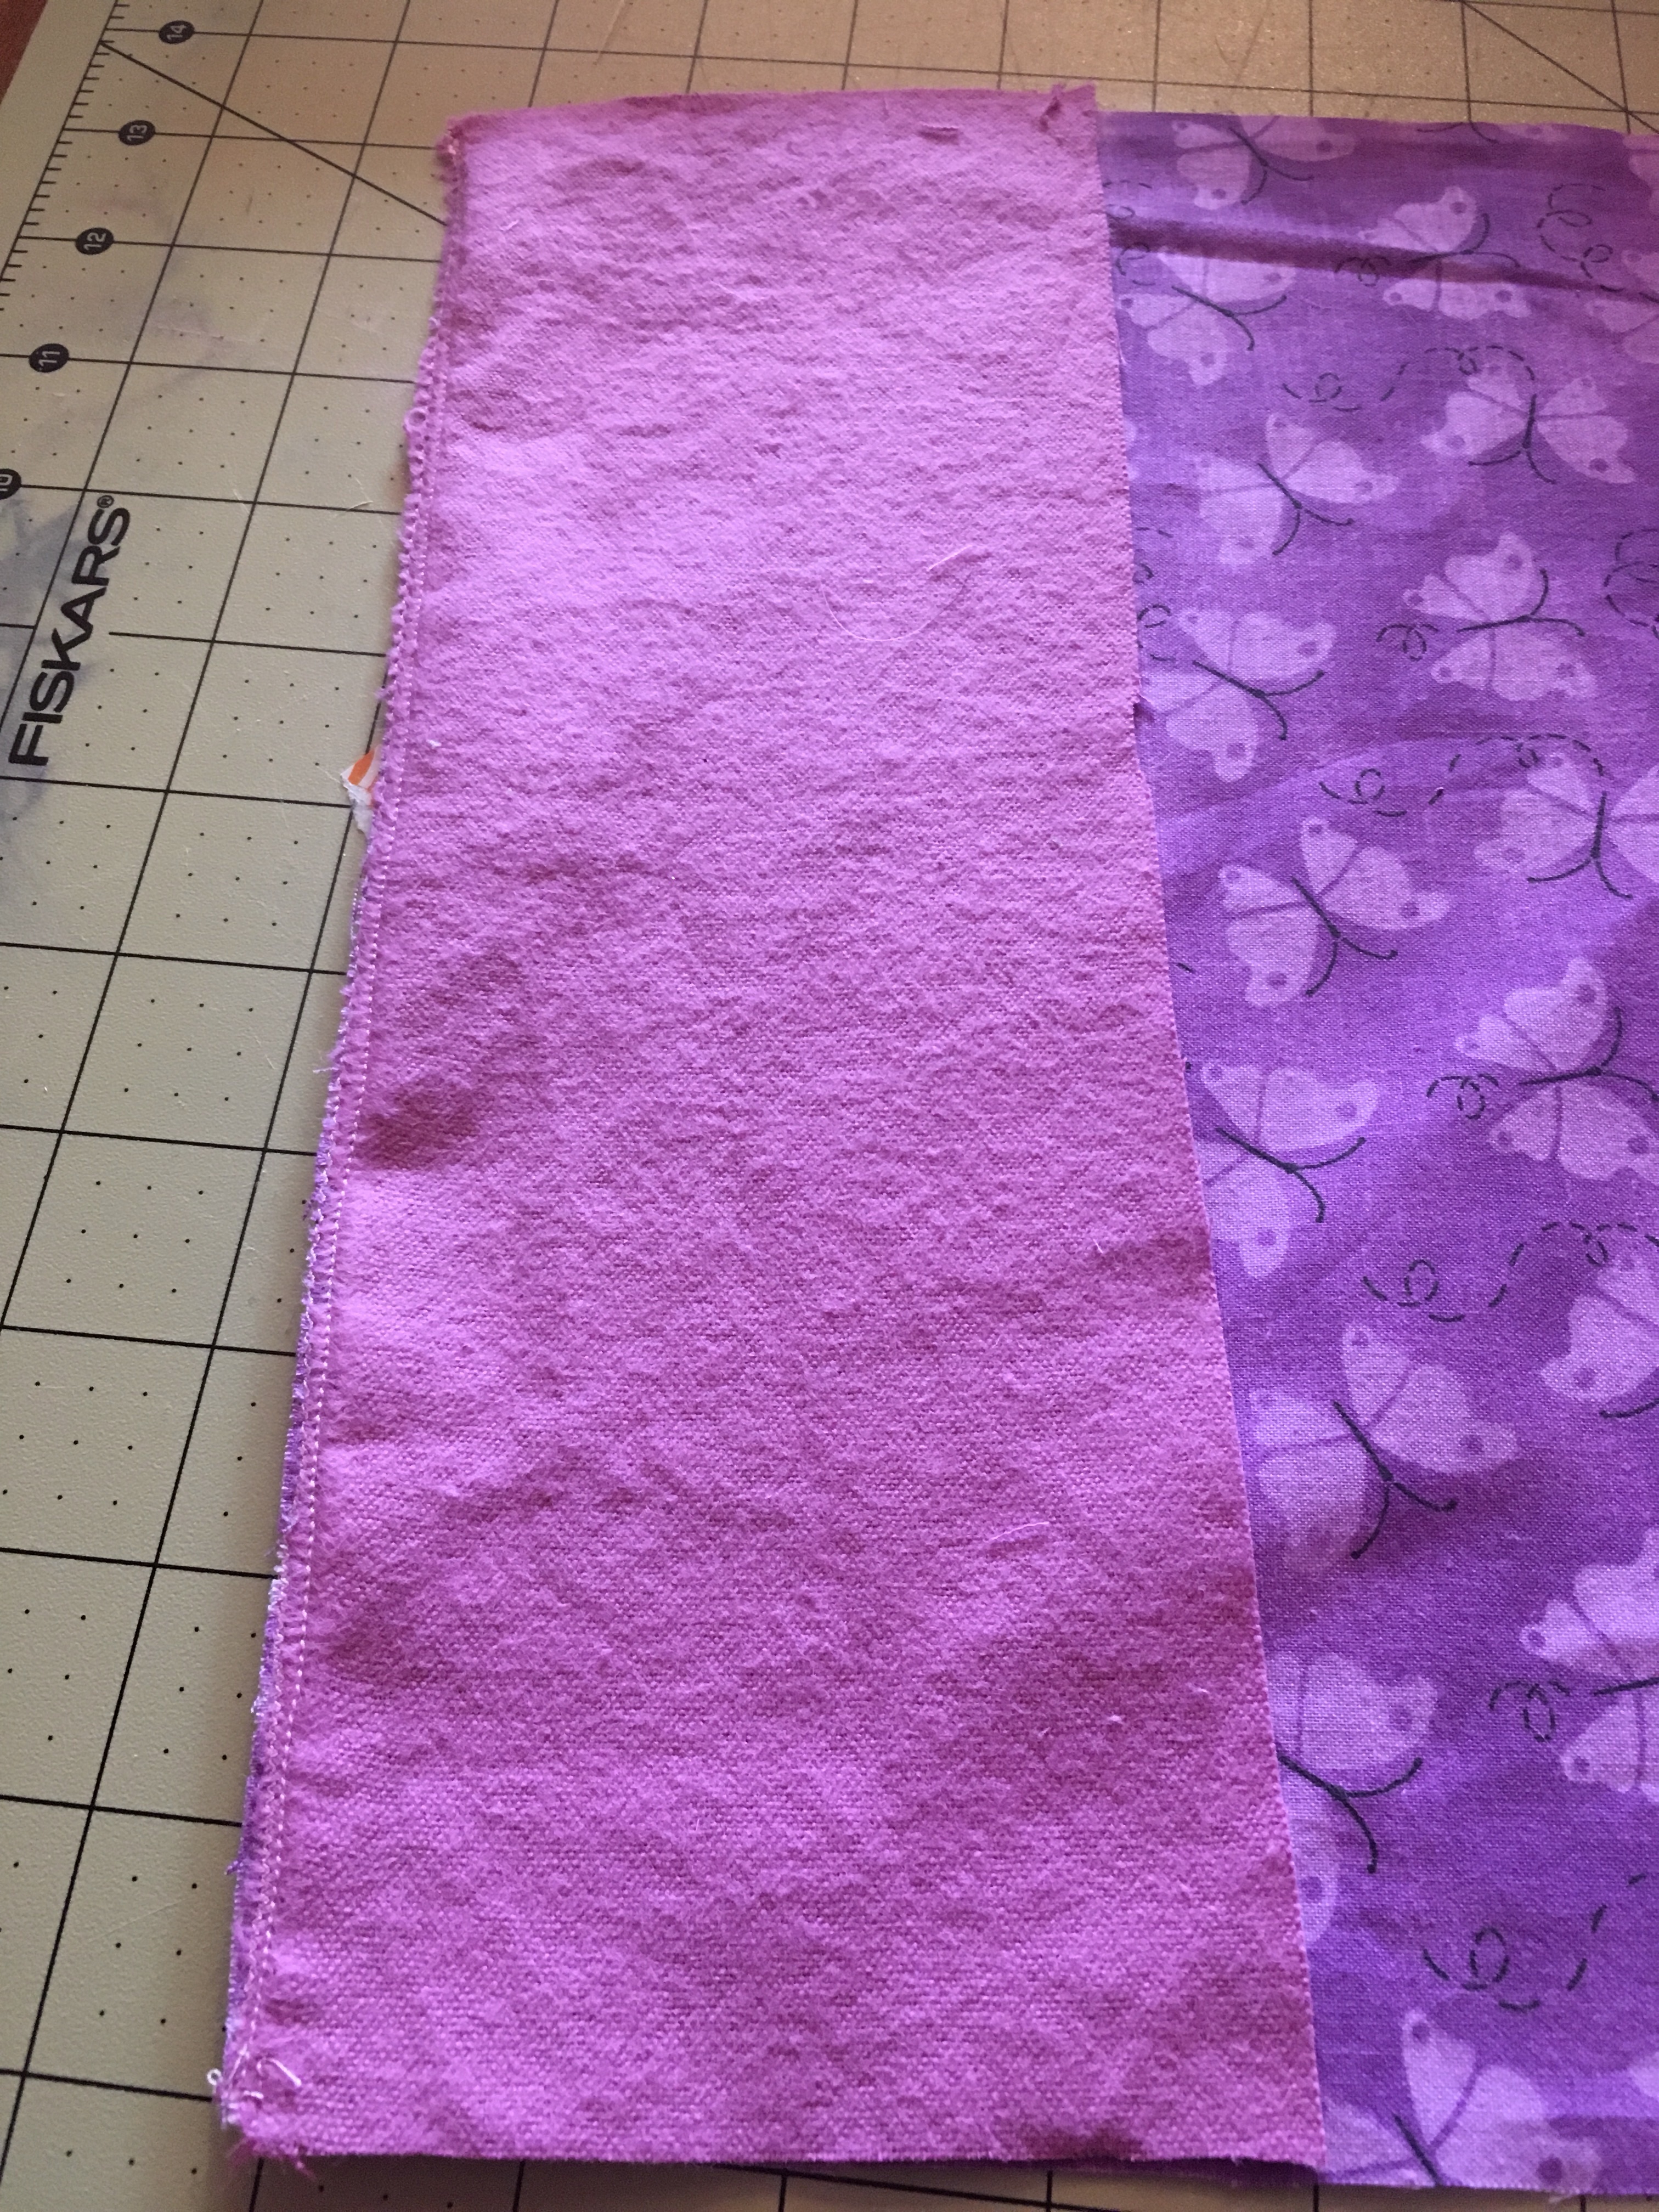


