An Outside Play Area

I have been using pinterest a lot lately. Since being home due to the coronavirus crisis, I have more time on my hands and I love being outdoors and doing projects for my little one. I really wanted an area for a mud kitchen and a place for her play house and slide. I found many really cool ideas on pinterest but I had to use materials I already had or that I could get with contactless delivery to my home or car. I ordered landscaping fabric and picked out a spot in my yard along the fence.

IMG_5717

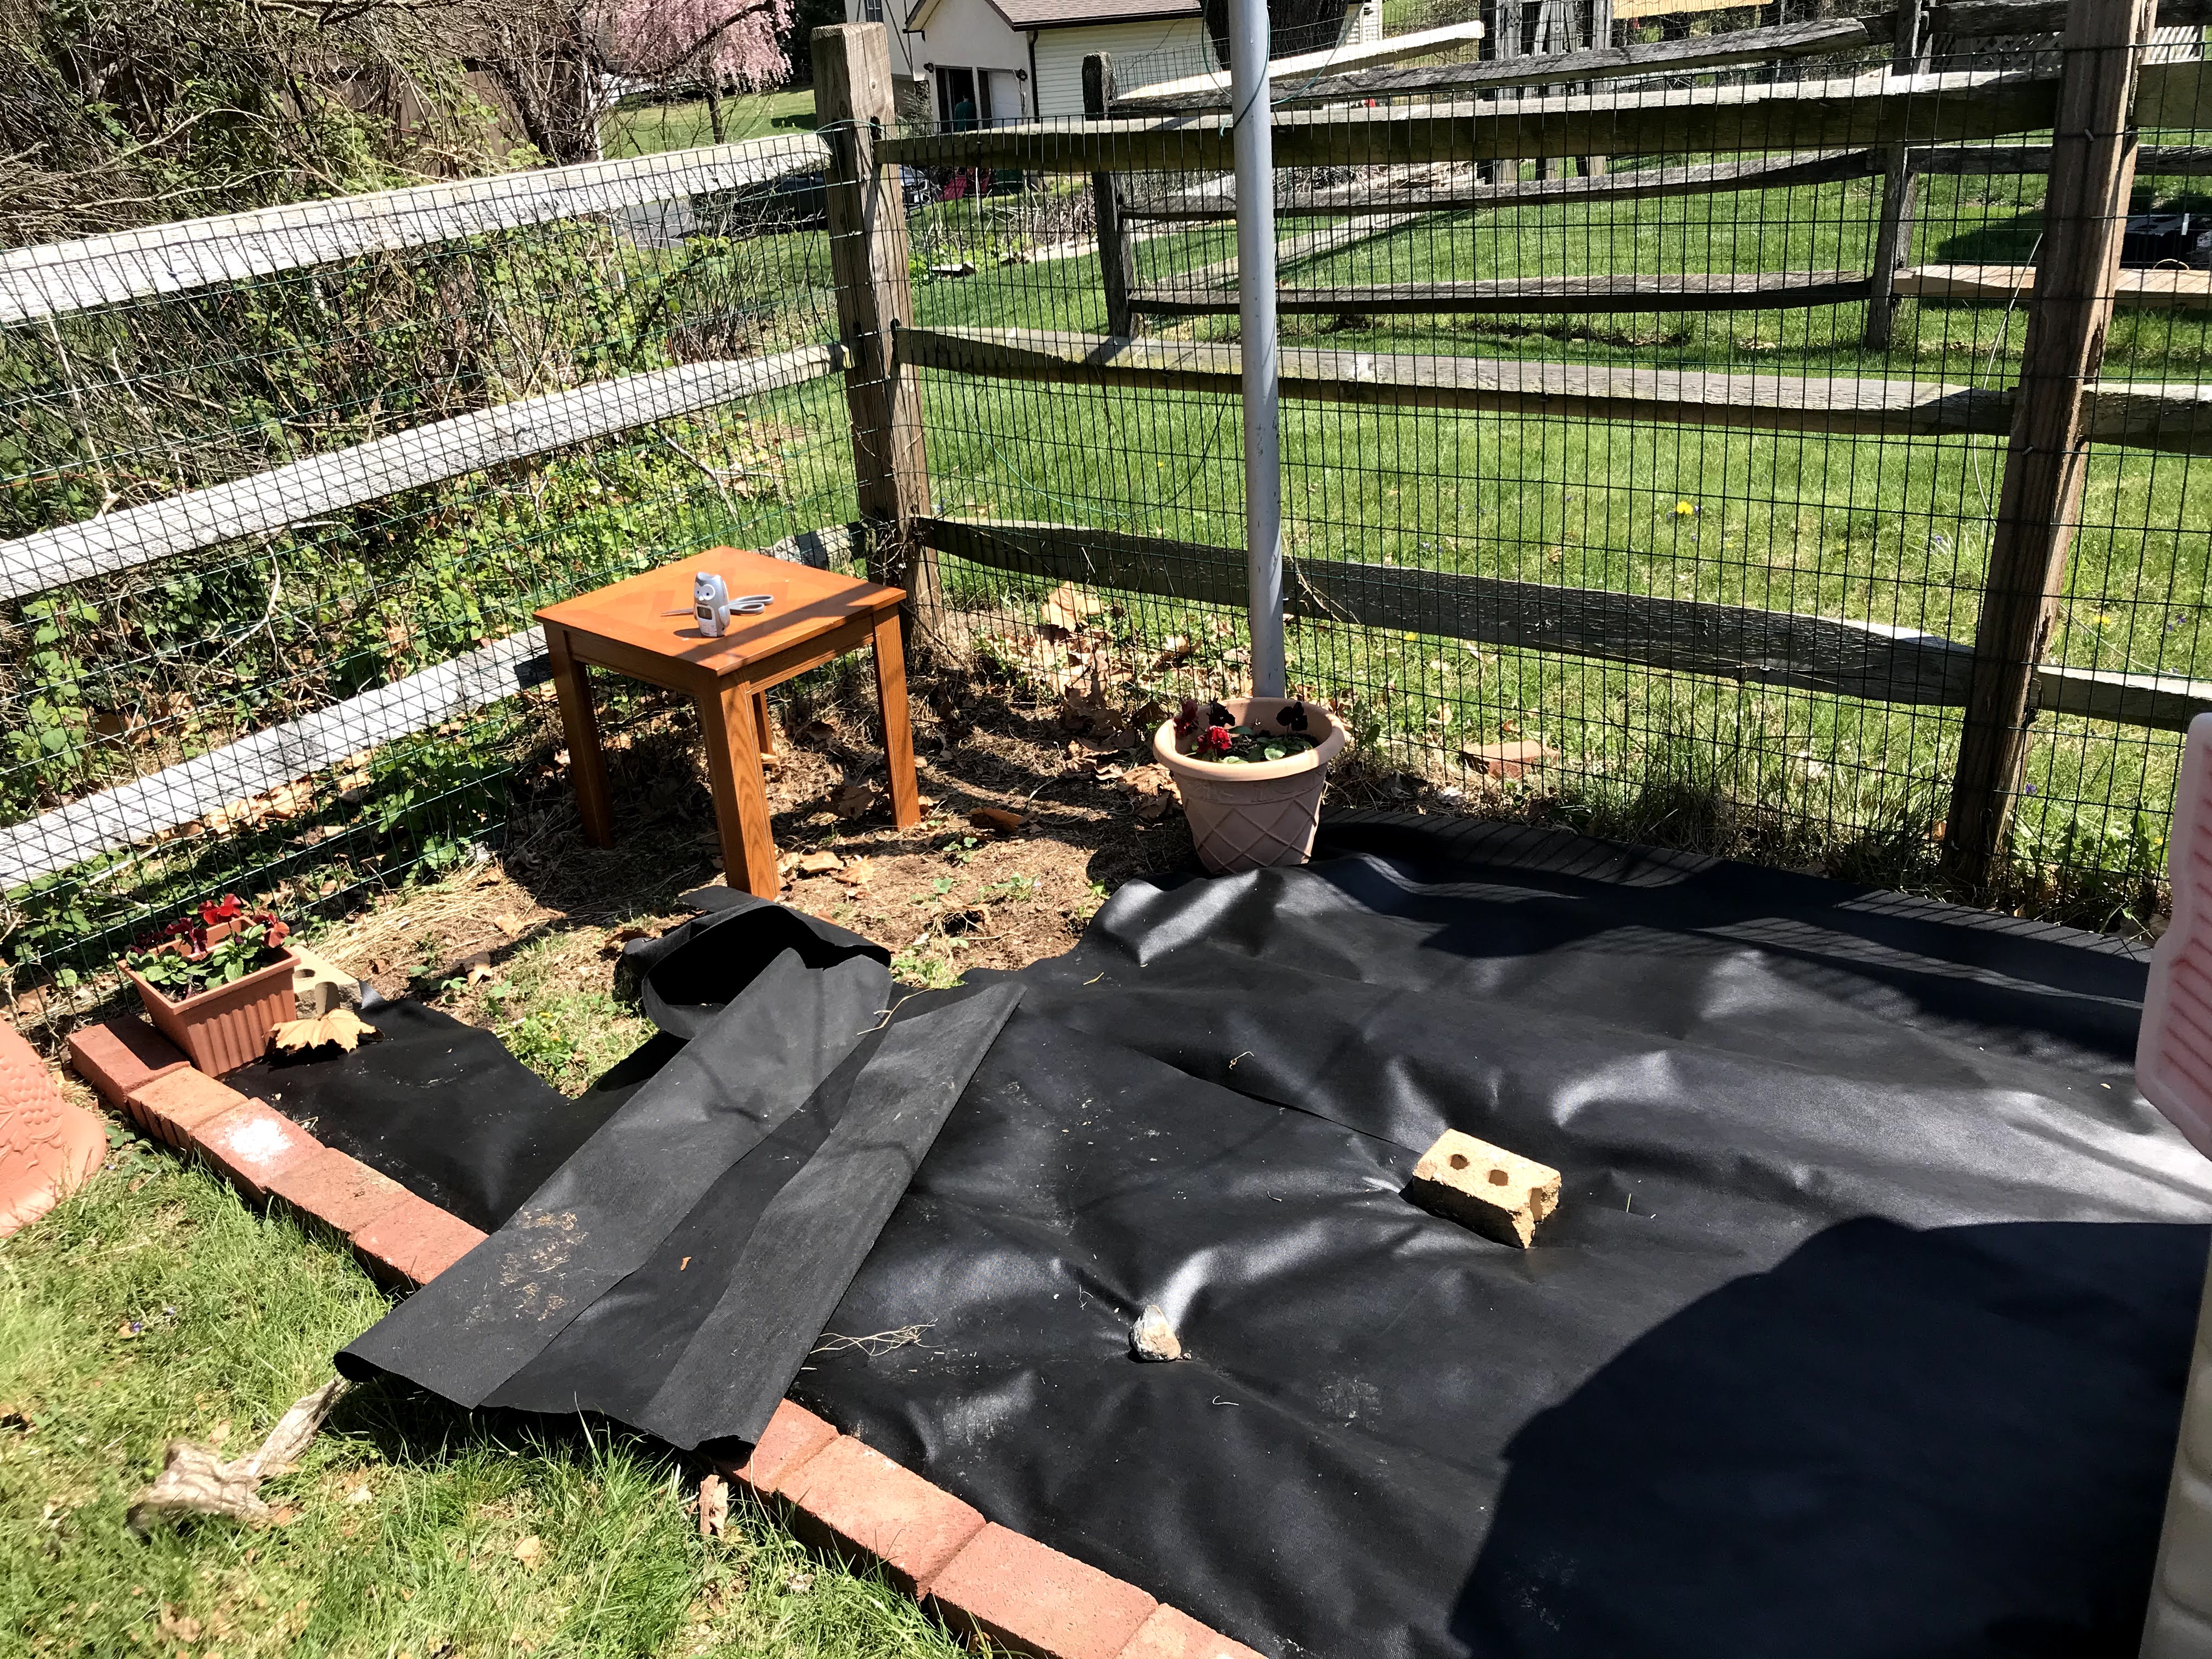
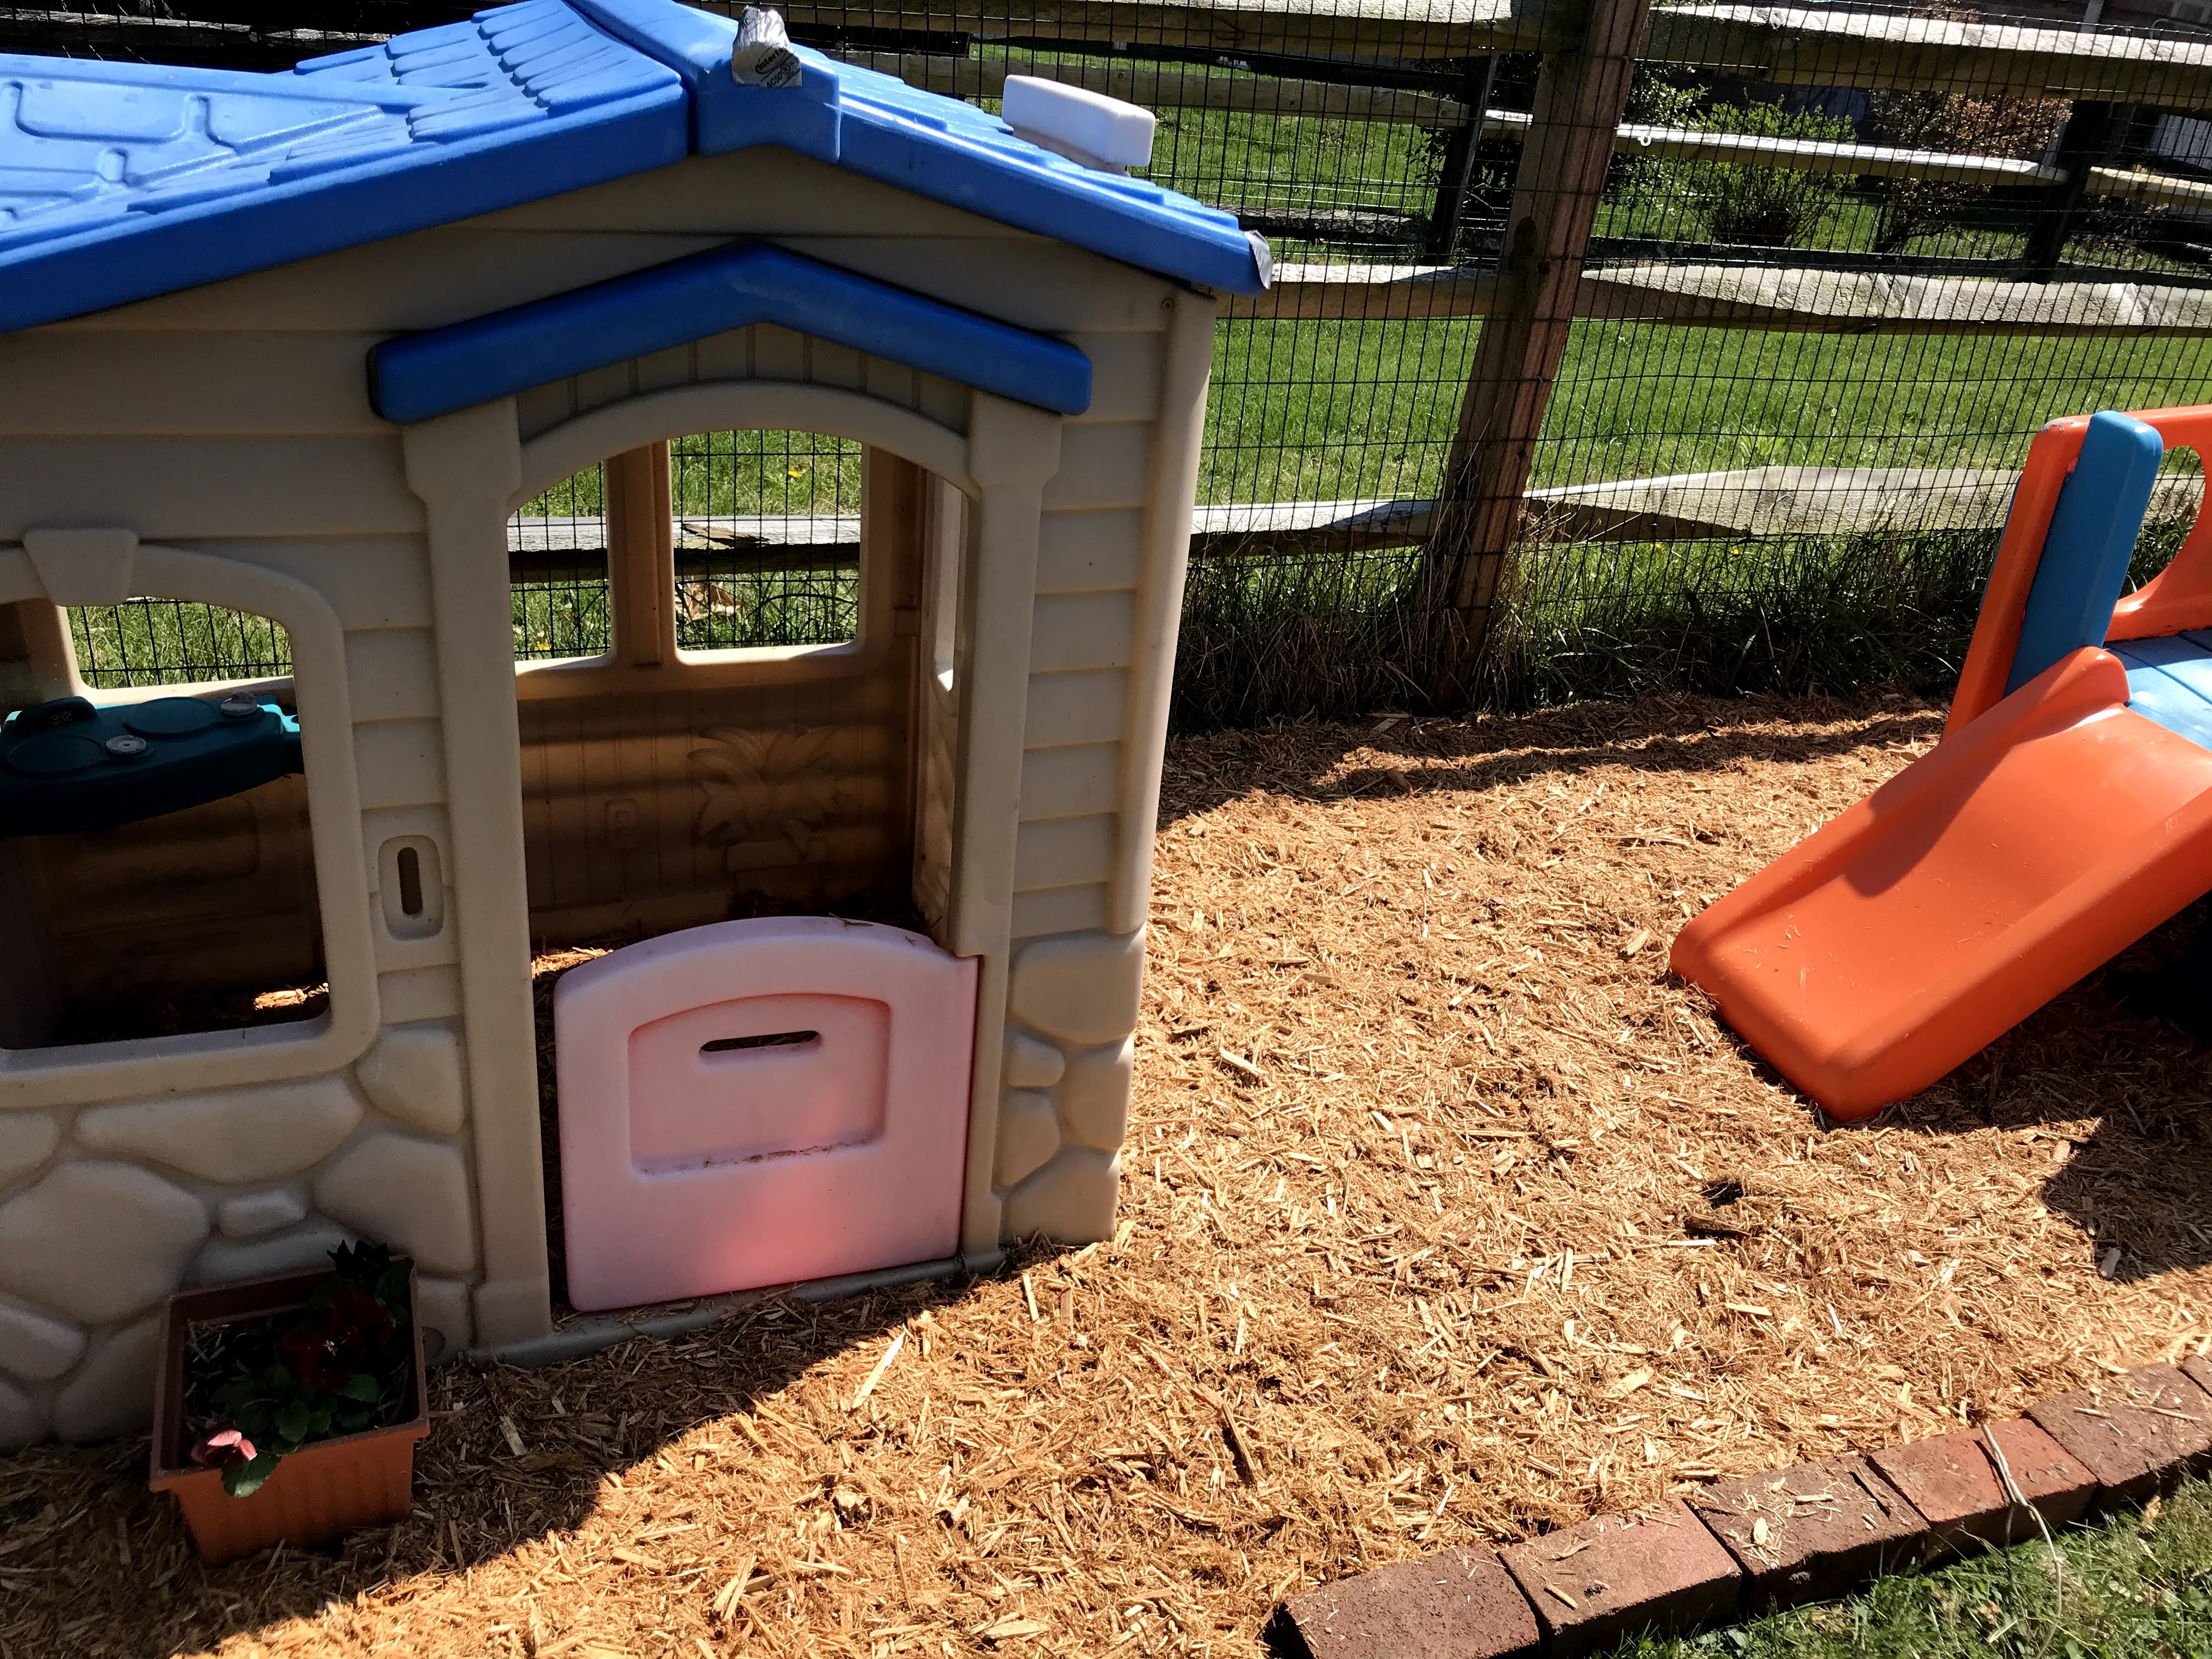
I ended up cutting away some of the fabric as you can see in the picture. I did this so my daughter can dig for dirt near her mud kitchen. I ended up having lots of extra bricks at home which I used to line the outside. I left 2 openings near the playhouse and the slide to get into the area. You could also use edging for the project.

Next I added mulch on top. I went with cedar natural mulch. You definitely don’t want dyed mulch because it will only be a mess. Some people used rubber mulch but I figured that might get too hot in the summer.

60901038882__5FAB6EAD-ED60-4BCC-A765-4746DCAD8804

I added some potted plants around the house.

IMG_5721

I plan to add some stepping stones (which will be tree stump slices) and paint numbers on them.

IMG_5726

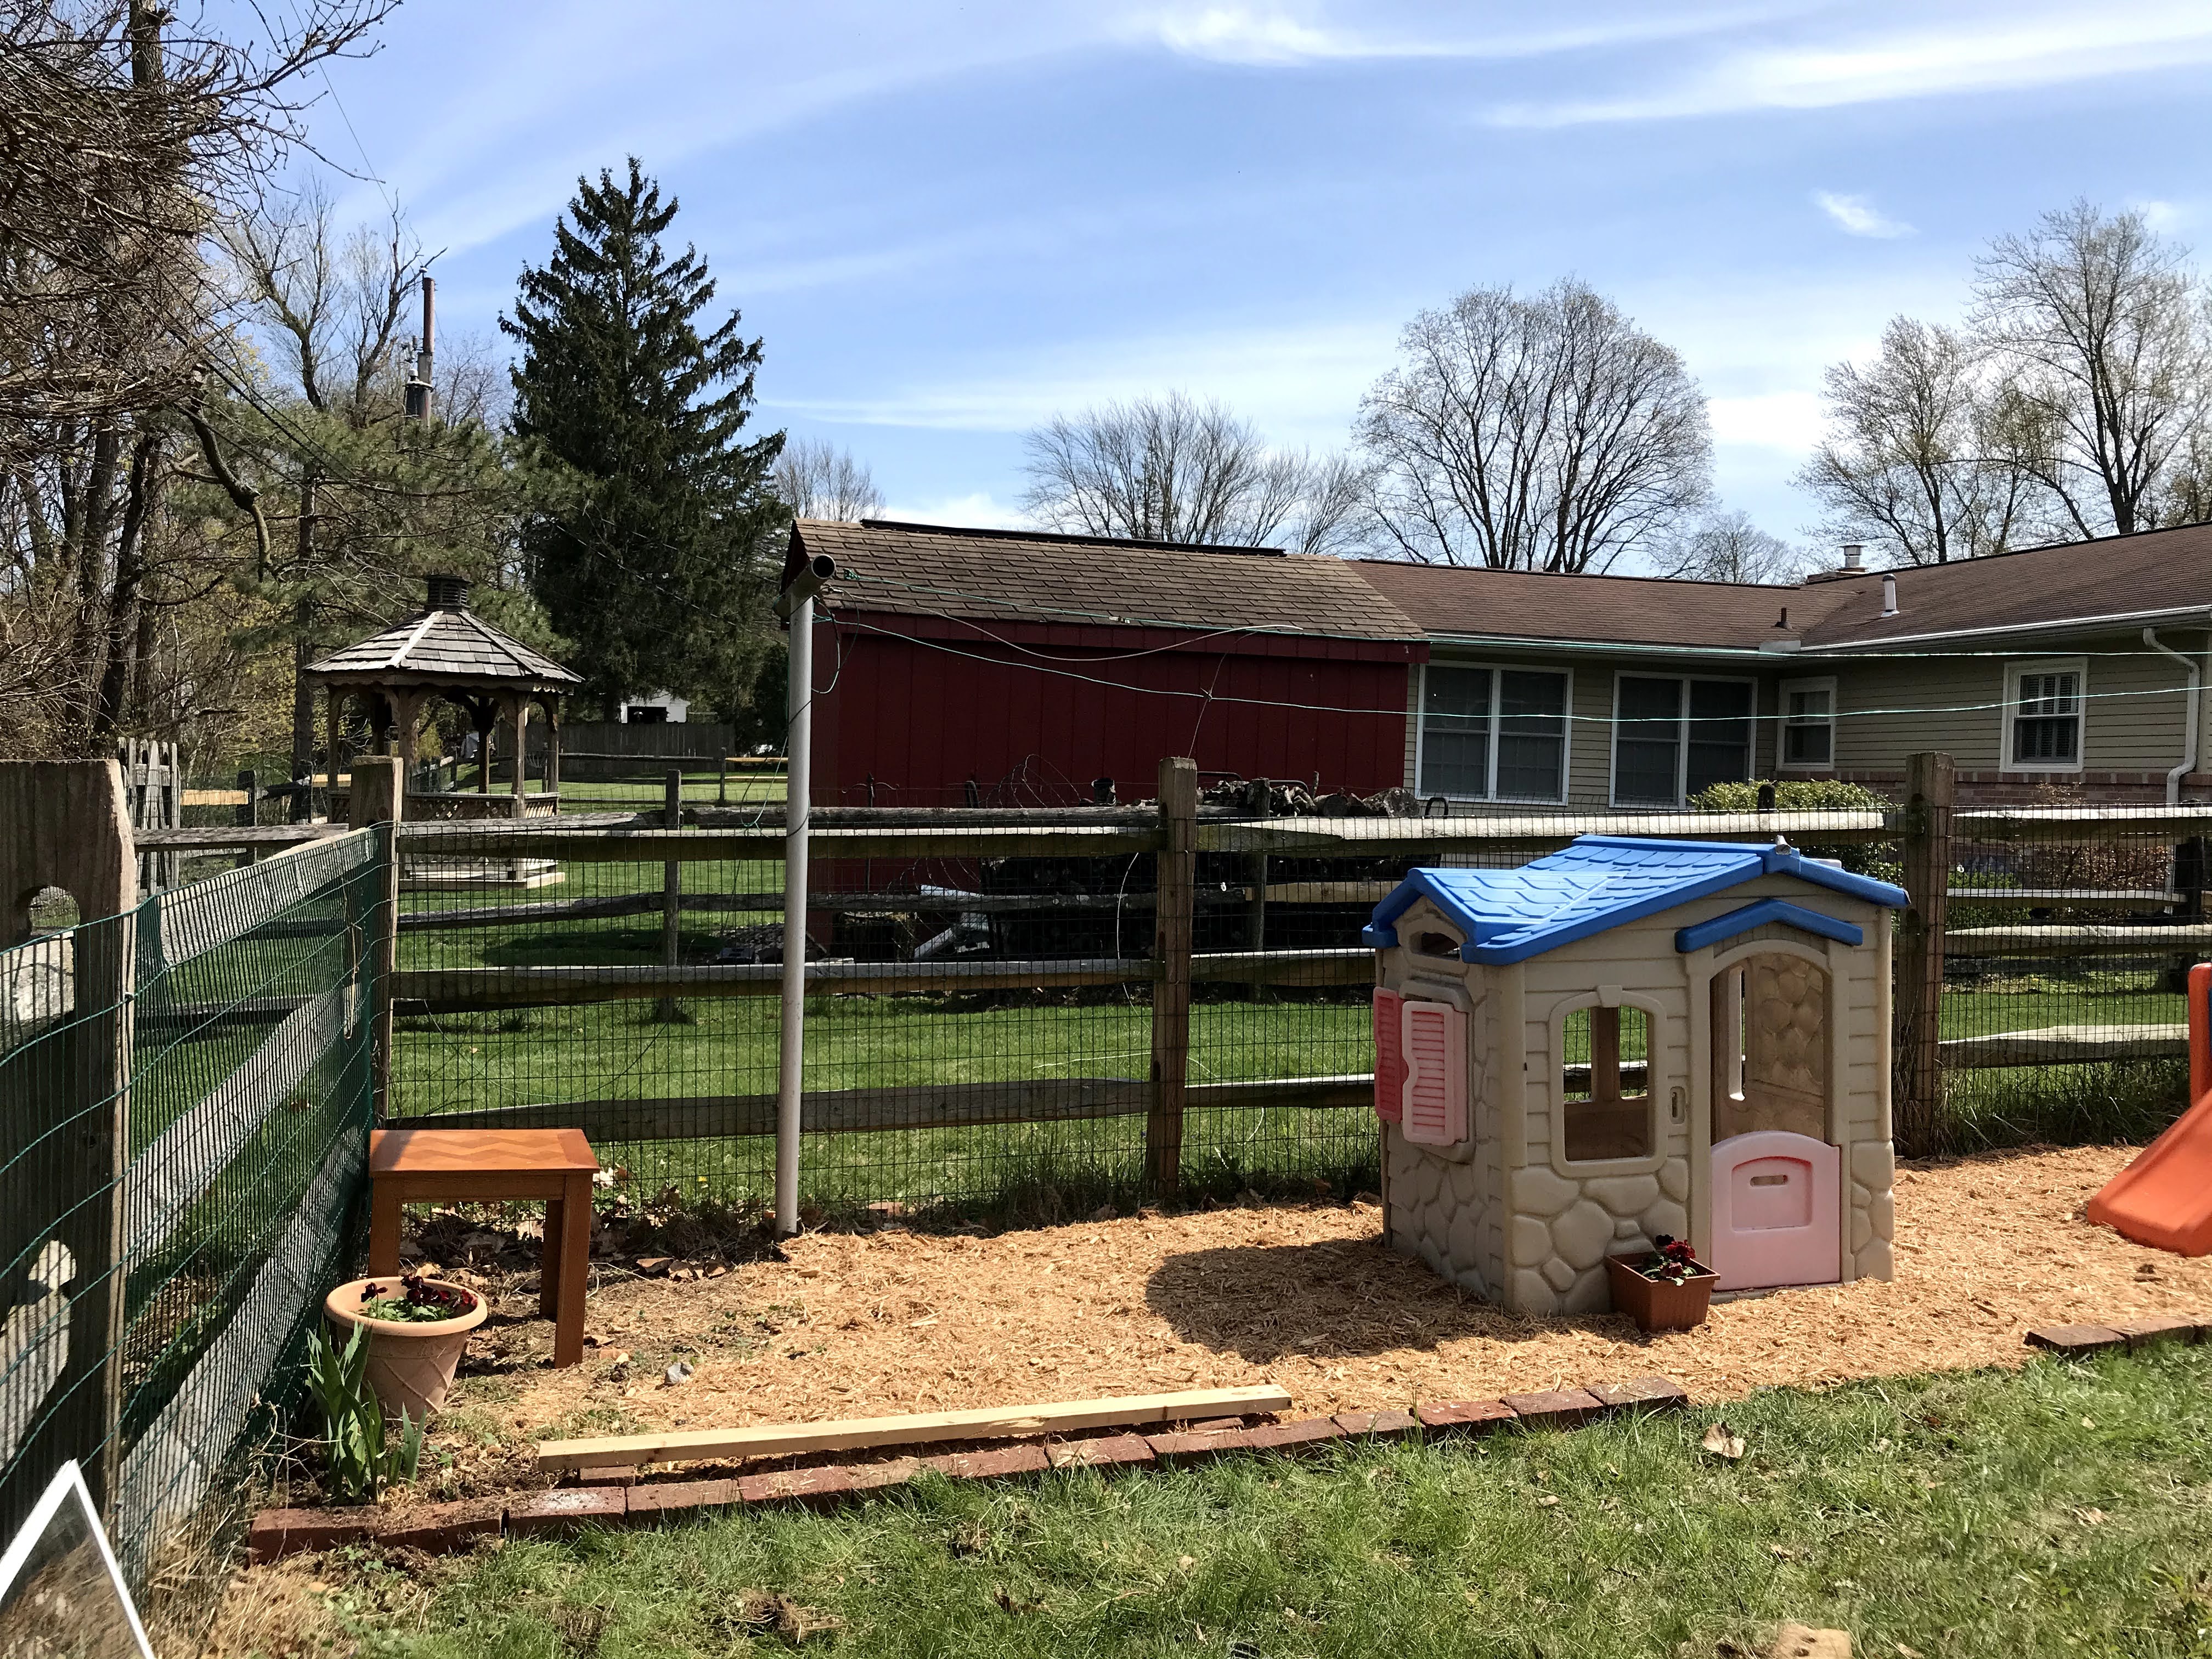
I also added a little balance beam (made with bricks and a long piece of wood I had sitting in the garage.

IMG_5729

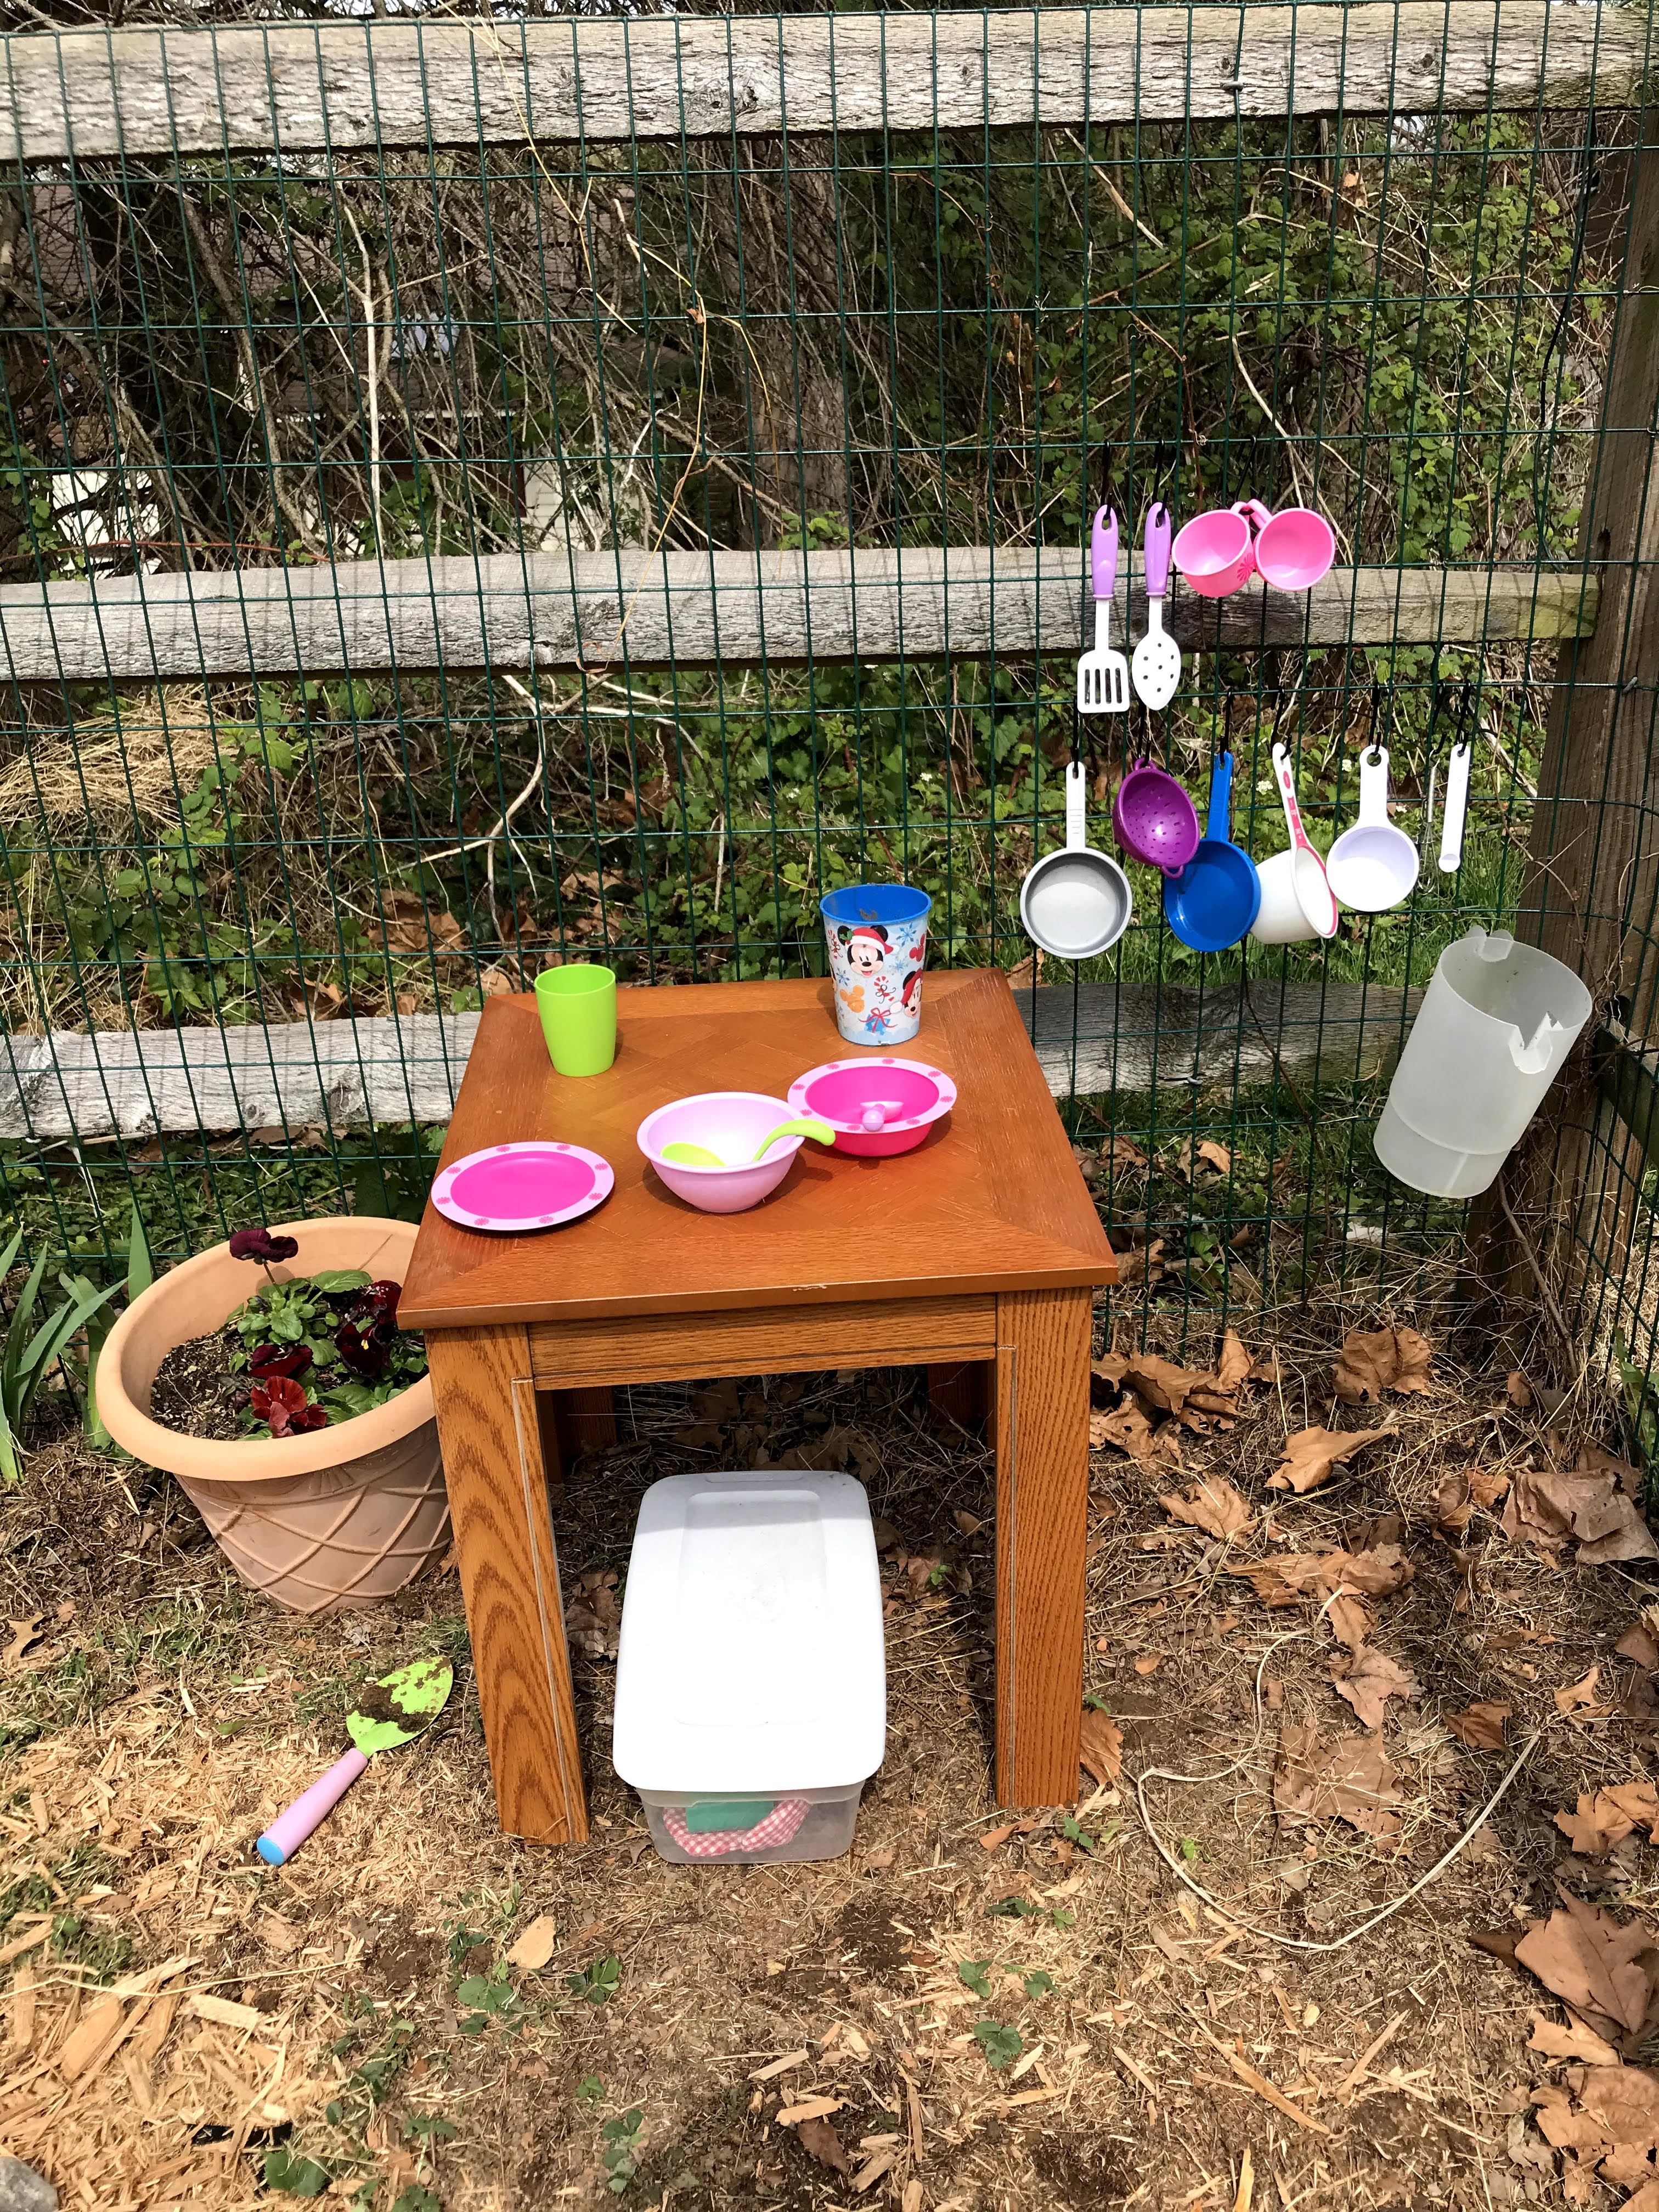
I used tools from her play set and extra kitchen tools for her mud kitchen. What is a mud kitchen? It’s just an area where kids can create and make “food” out of outdoor materials. Some people buy them, some use old wood, crates, or tables. I had an old side table I was going to get rid of so I used that. I ended up ordering hooks to attach to the fence for her materials and a container with a lid. Before summer I will probably try to add an umbrella or shade to the area using the fence or clothes line for shade.

IMG_5732

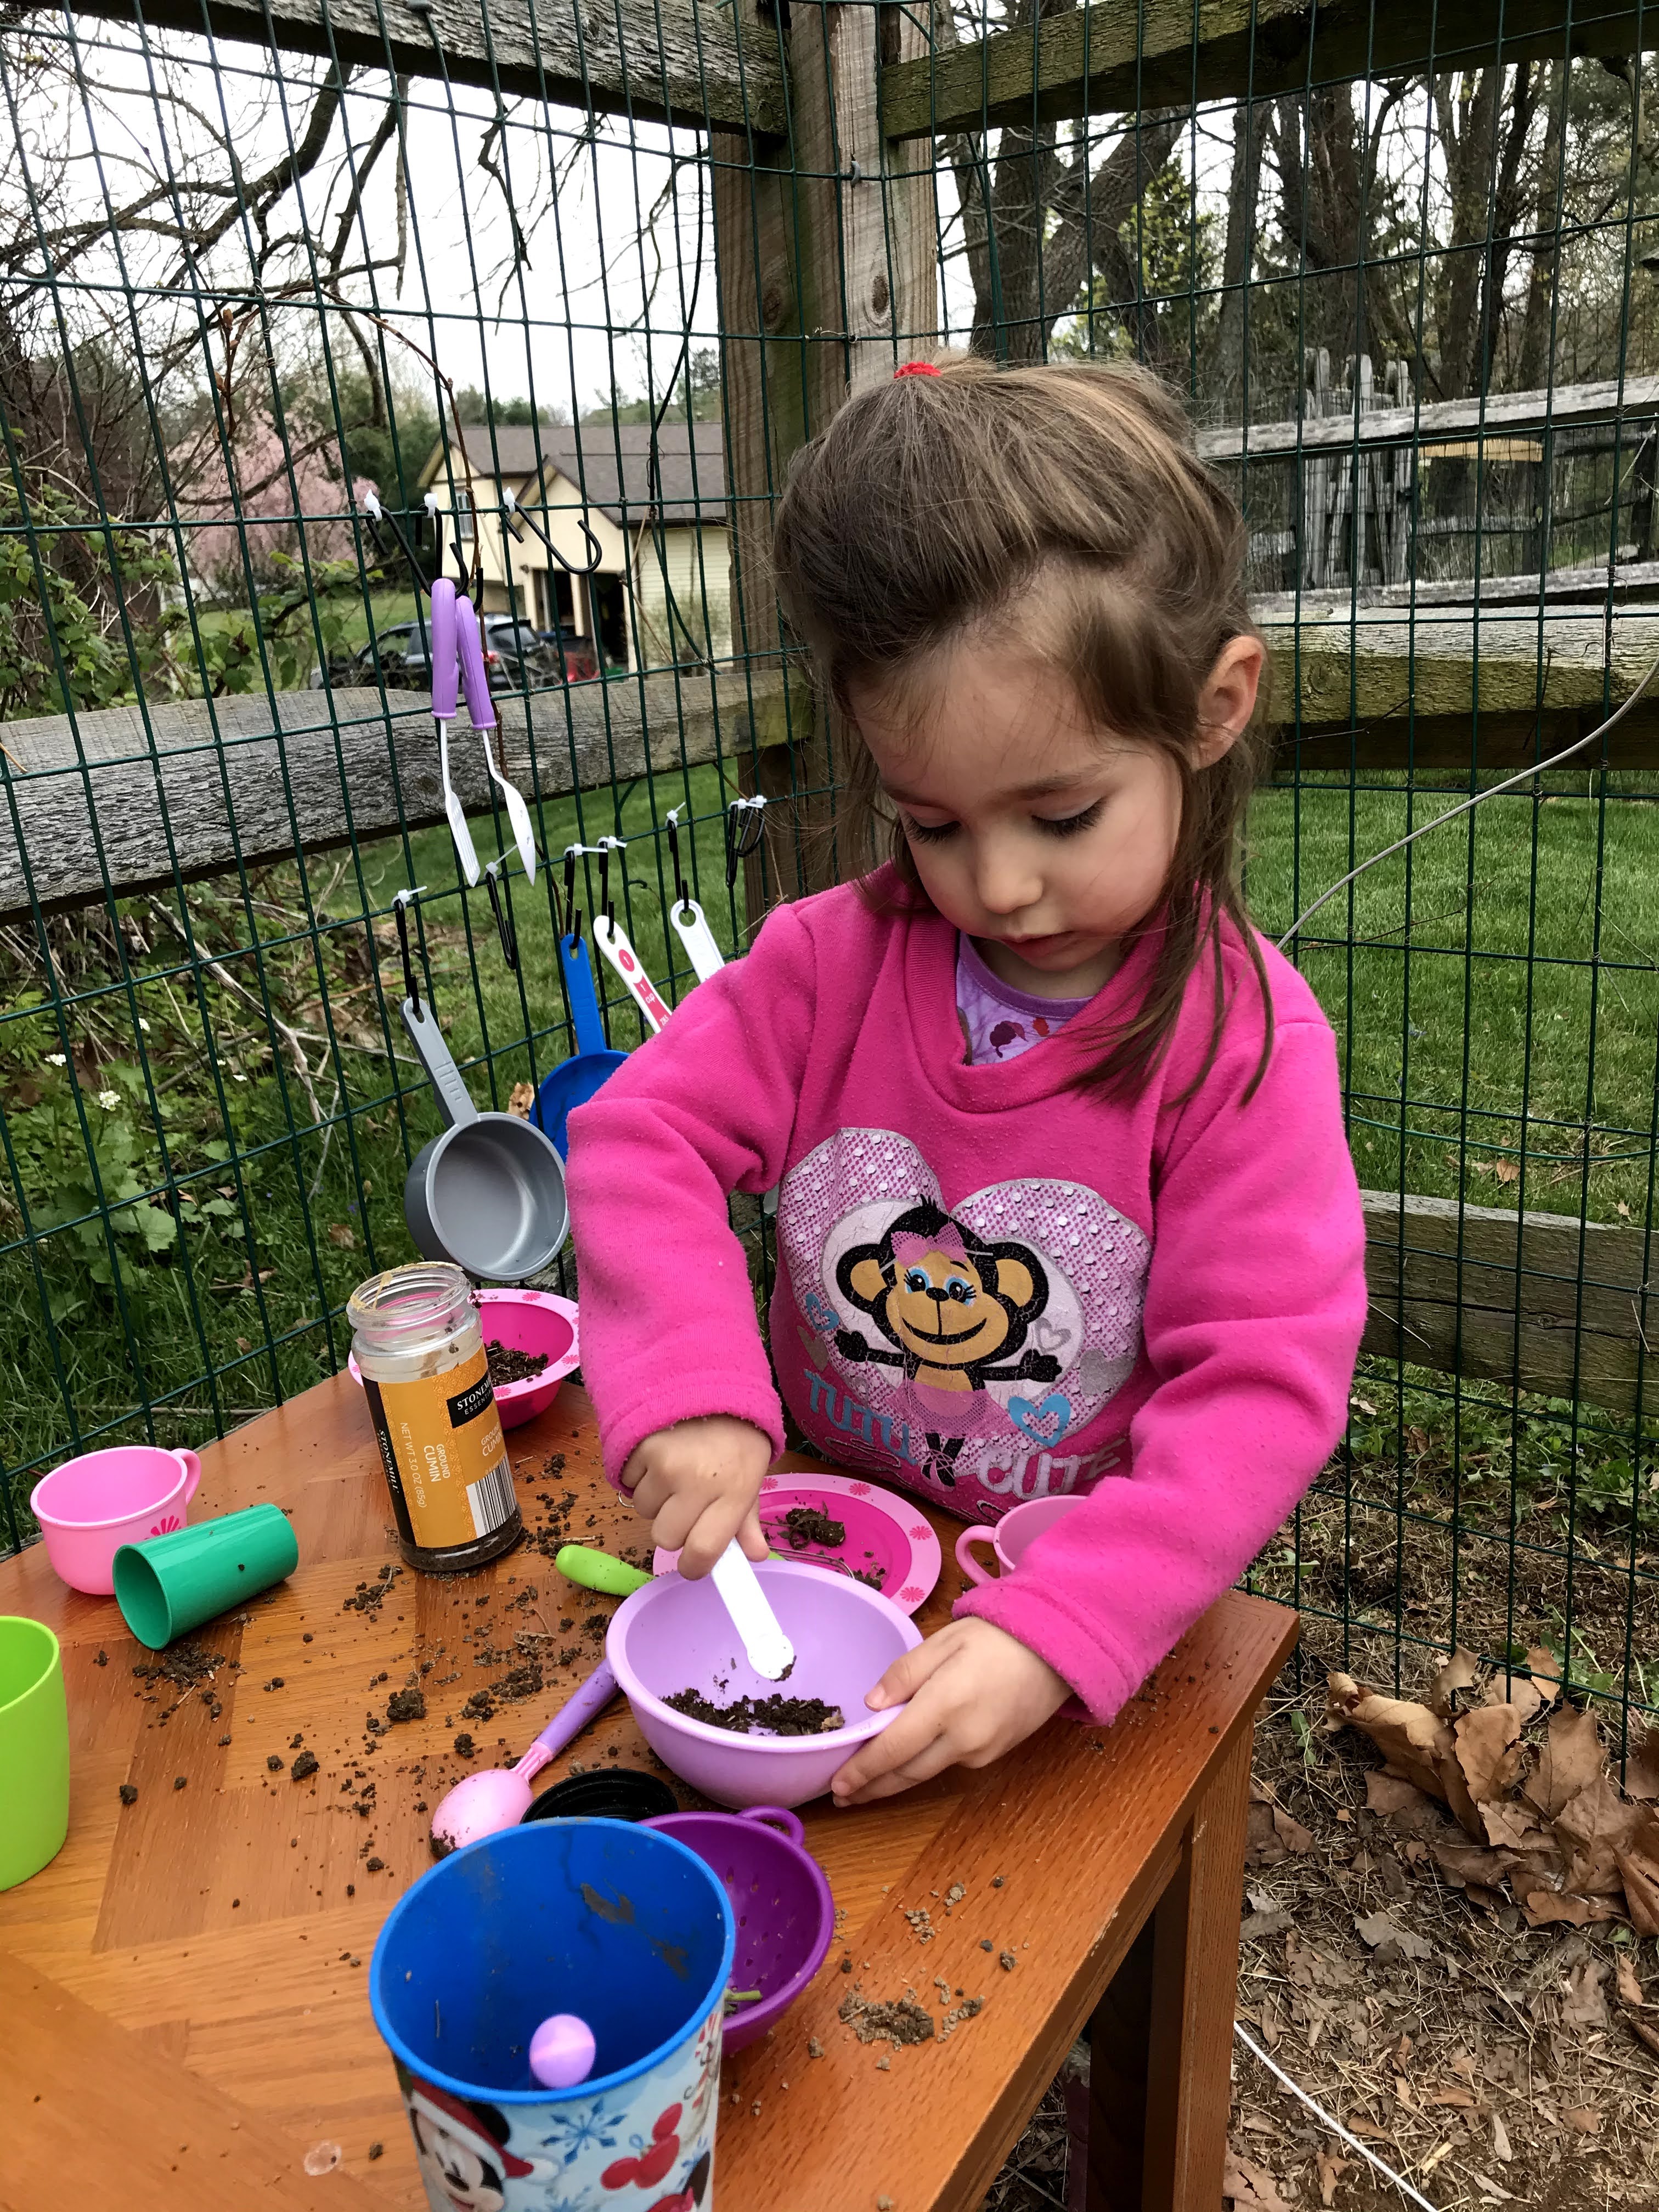
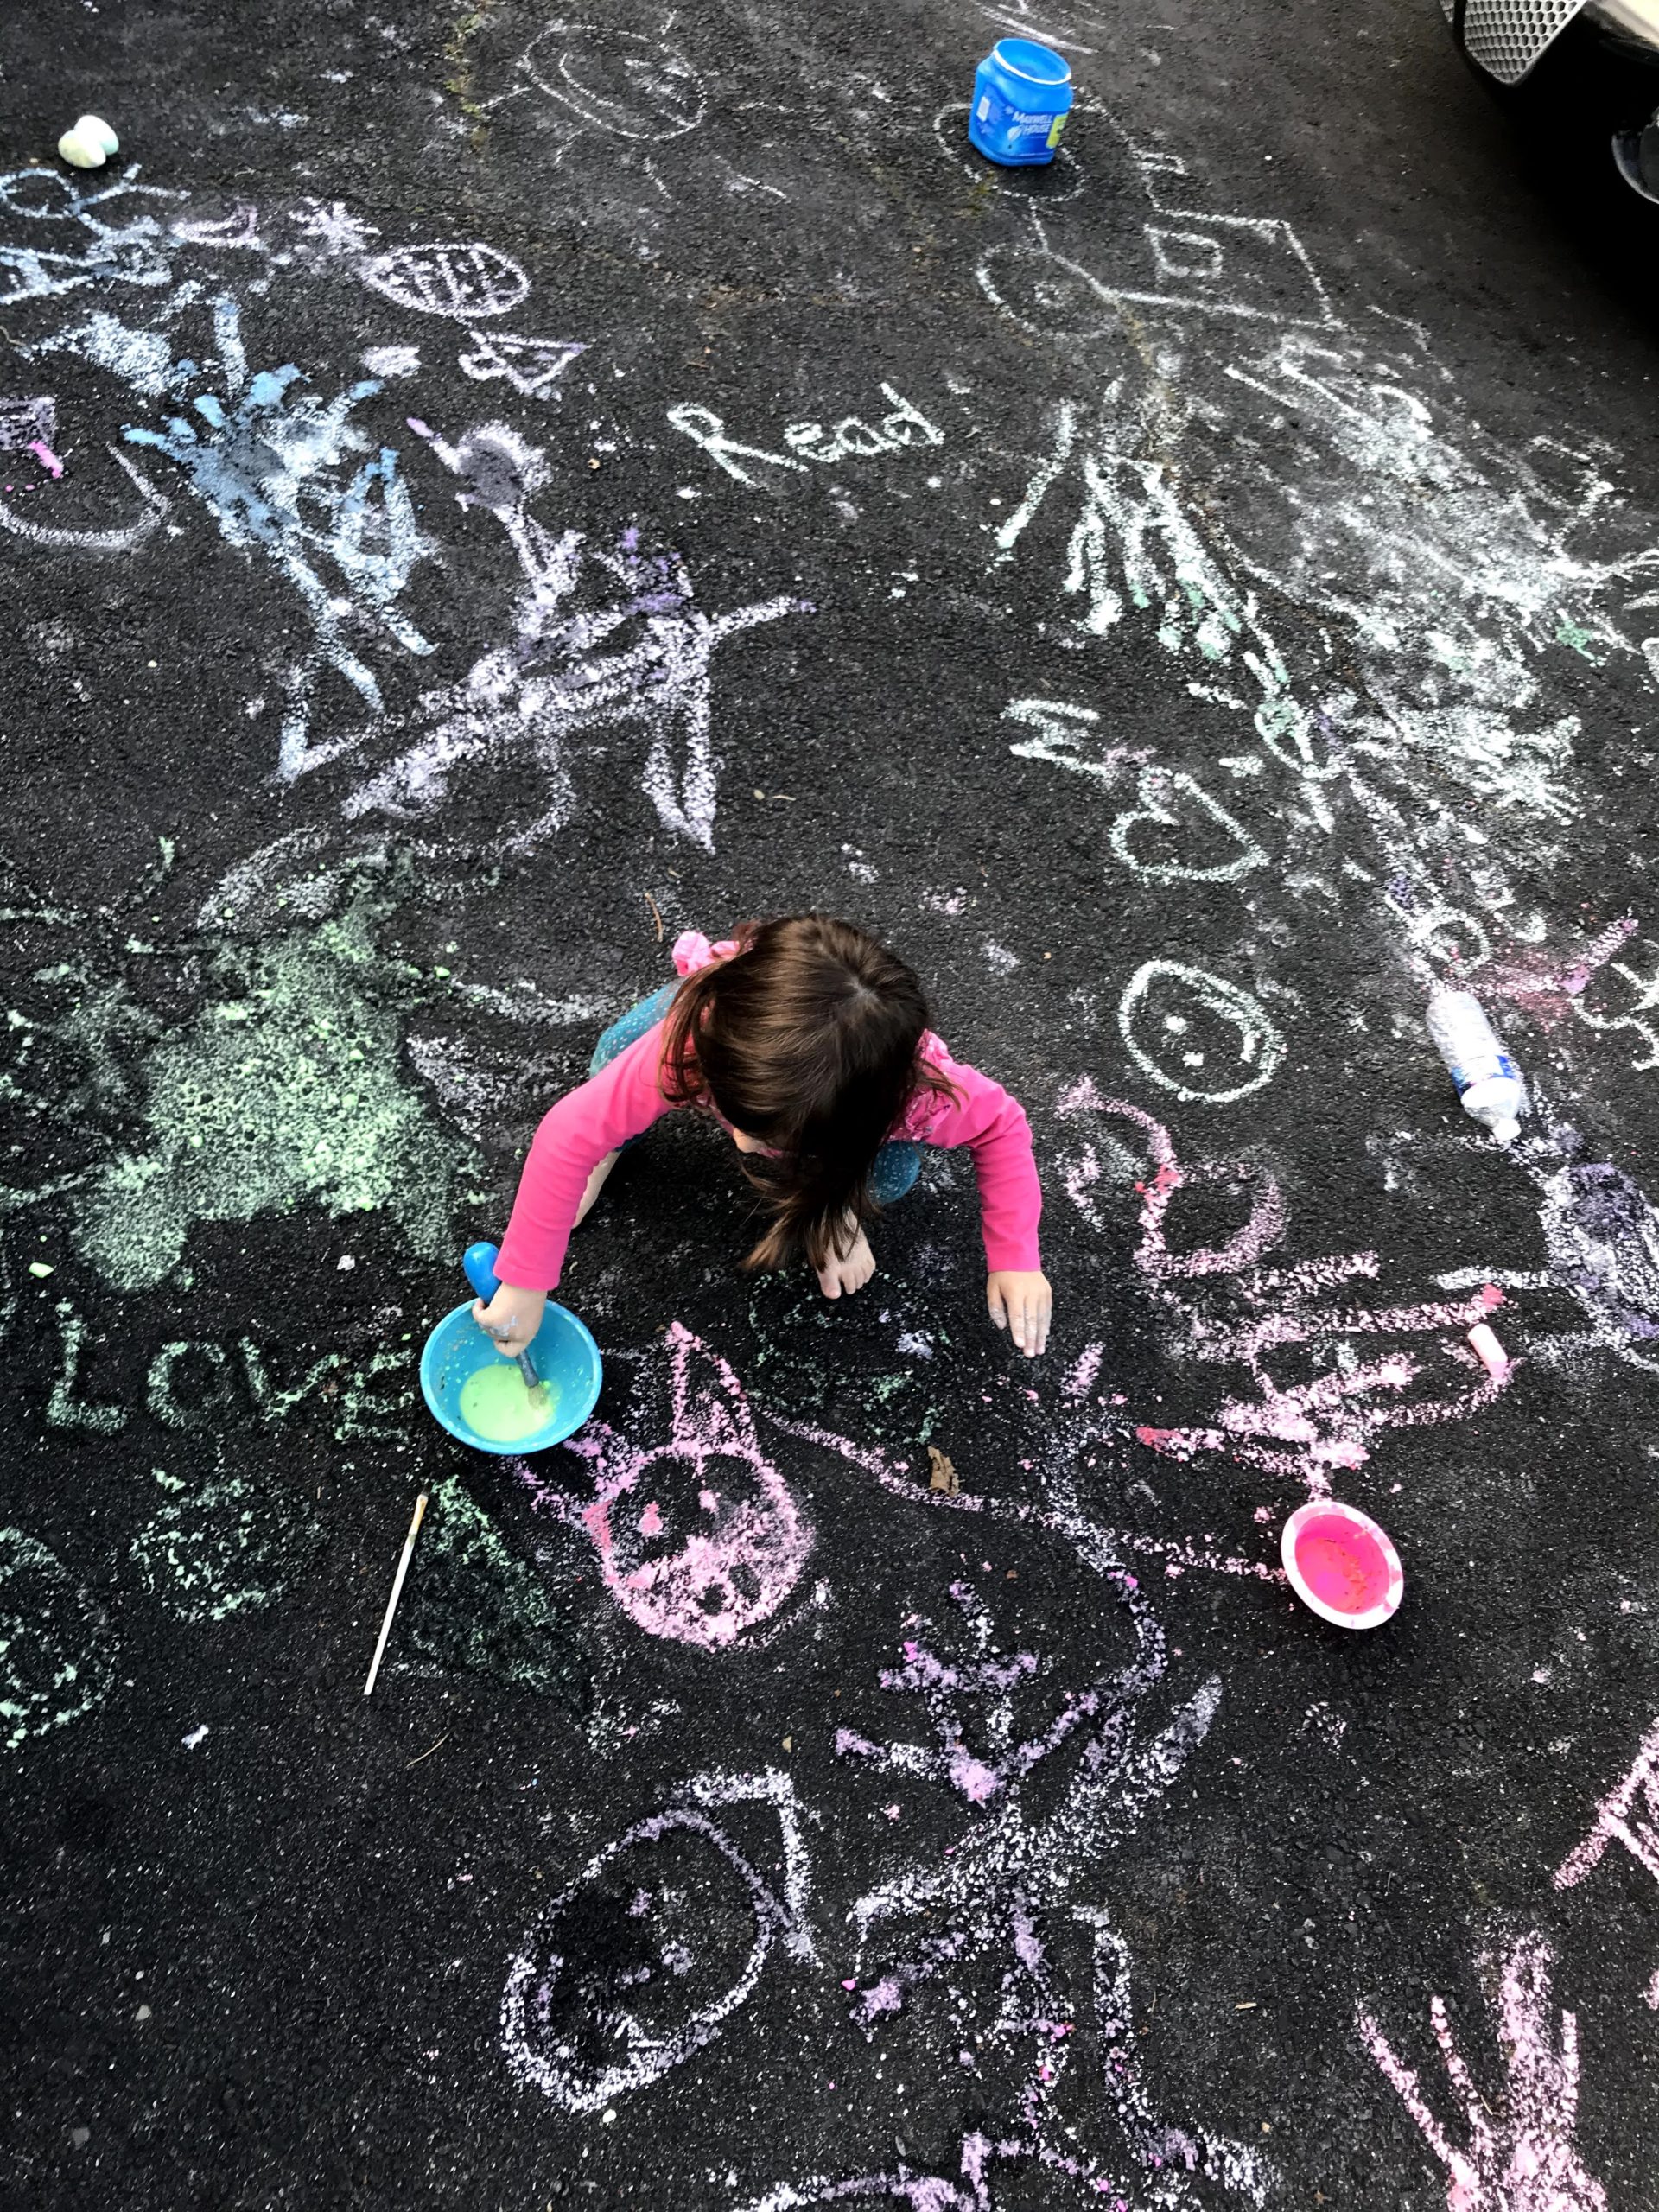
She loves her new play area, especially her mud kitchen. She makes “salamander tea” and soup. She heats it up on her stove in her playhouse.

I’d say it’s a hit!

FollowFacebookpinterestrssyoutube
ShareFacebookpinterest

Salt dough wreath, ornament, or garland!

So we have done the salt dough ornaments before, but this time we made garland and a wreath out of our painted Easter ones!

img_3244-1

All you need to make salt dough ornaments is flour, water, and salt. So, start with two cups of flour, 1 cup and salt and mix. Then add water slowly until it is a play dough like consistency.  We ended up using our hands to mix it up. If it is too sticky, add more flour, too dry add more water.

img_3147

Then we rolled out the dough to a 1/4 inch thin, and used some Easter egg halves, including a bunny, chick, and jelly bean shape. You can of course just use cookie cutters as well. Use a straw to make a circle hole at the top of each ornament so you can add string later.

img_3148

Turn the oven on at 200 degrees and put parchment paper on the tray and leave in the oven for 2-3 hours. If you don’t have parchment paper just move the ornaments with a pie lifter to make sure they don’t stick about an hour in. Time depends on how thick the ornaments are. Once cooled and dried, paint them as you wish.  You can add sparkles if you want. Once all dried, use string or ribbon through the hole and tie.  After that hang them up!

img_3249

Or, you can make garland by putting one ornament through the string and then tying it in place and continuing until desired effect.

img_3249-1

If you want to make a wreath, we just used 2 paper plates glued together and cut out the inner circle then used a hot glue gun. Of course you can use cardboard or other material, but this is what we had on hand with the quarantine.

img_3242

We used the glue gun to glue on some ribbon and add pom poms.

img_3244

FollowFacebookpinterestrssyoutube
ShareFacebookpinterest

Crushed Chalk Paint

Have any old pieces of chalk laying around? If you have lots of chalk, you are bound to have small pieces here and there. Take those pieces and make chalk paint for the driveway or sidewalk! Your child will have fun mixing colors, smashing chalk, and painting up the driveway!

First, take the chalk and crush it into a powder. You can do this by putting it in ziploc bags and smashing it with a hammer. We did it by simply putting it in a bowl and smashing it with a rock (neanderthal style).

IMG_5335

When you have all the chalk crushed add water to the consistency you like. BOOM! There you go! Mix it up. If you want to get rid of the smaller chunks you can use a whisk, but we just kept it simple and mixed it with our paintbrushes.

IMG_5339  IMG_5343

You can use all different sizes of paintbrushes and mix colors. My daughter played with this for over an hour and a half! She probably would’ve done it longer if it wasn’t getting dark outside.

IMG_5350

You might not think your child will love it, but give it a try! While painting the color is not very bright but dries brighter than regular chalk! Enjoy!!

FollowFacebookpinterestrssyoutube
ShareFacebookpinterest