It looks like we will all be quarantined from our extended families for the holidays again as COVID is raging in our area. Having small children in the family makes it extra tough. Instead of the kids remembering not being with their uncles, aunts, cousins & grandparents, let’s have them remember the wonderful time they spent at home. Let’s have them remember it as a special time with the family.
Here are some ideas to try to make the time leading up to Christmas special.
The 12 Ideas of COVID Christmas…

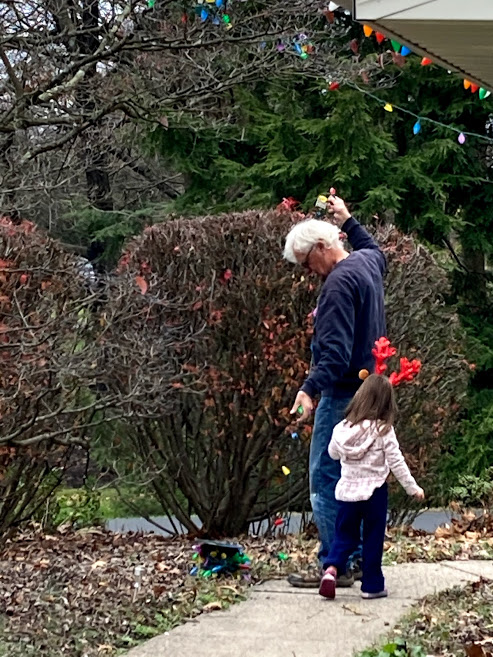
On the 1st day of COVID Quarantining Christmas…
- Put up extra Christmas lights to add to the holiday cheer! Add a fun blowup or blow mold to surprise your kiddos! Have your kids help you place items or string the lights-they will LOVE it!

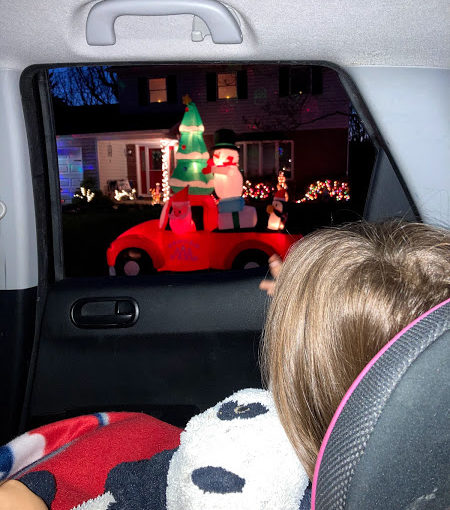
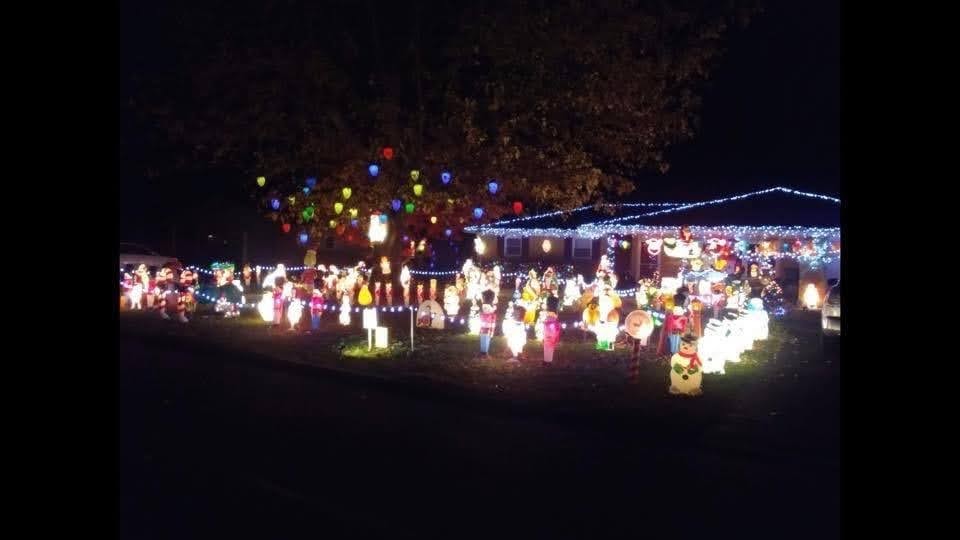
On the 2nd Day of COVID Christmas…
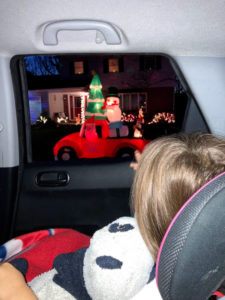
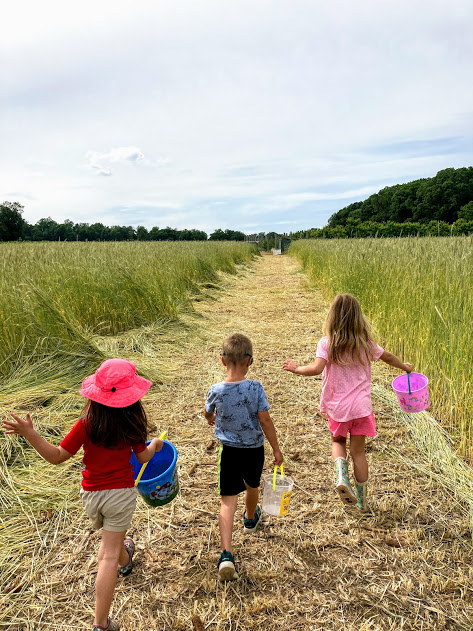
2. Do a light tour! Drive around to neighborhood displays. Take some hot chocolate in a thermos and cookies! Our local newspaper always features a light tour so we follow them. Many time local news also shares different homes to see. Check out to see if there are any light displays you can drive through in your area. Definitely a de-light!
On the 3rd Day of COVID Christmas…
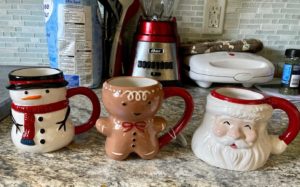
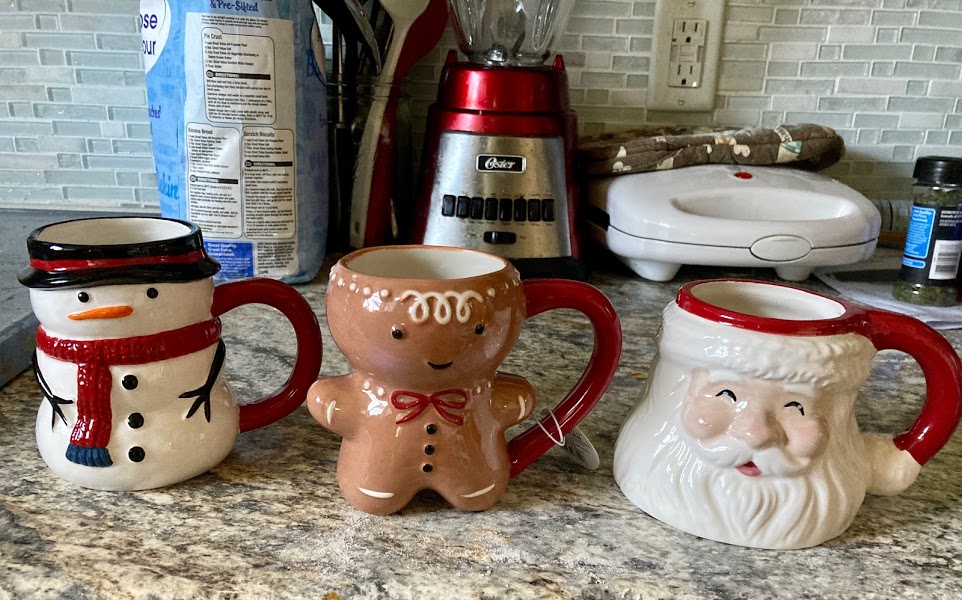
3. Get family Christmas mugs! My daughter woke up to run into the kitchen for a surprise. I let her pick which one she liked. She picked the gingerbread man mug and called him “cutie.” She told me she would leave him out for Santa to have milk in and he would LOVE it! We had hot chocolate as a family immediately!
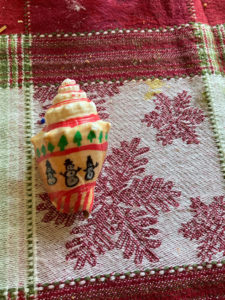


On the 4th Day of COVID Christmas
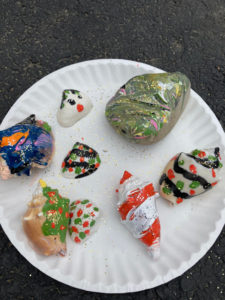
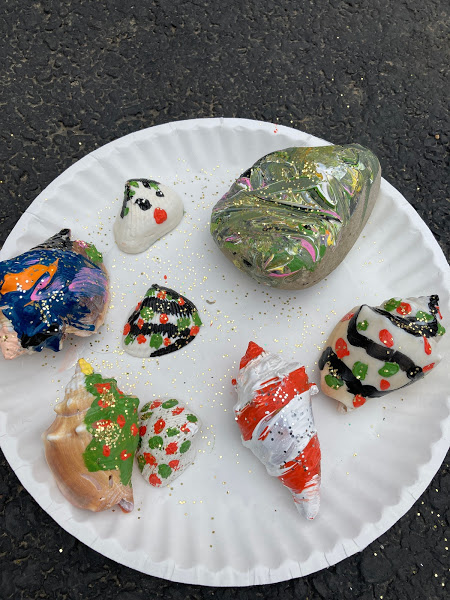
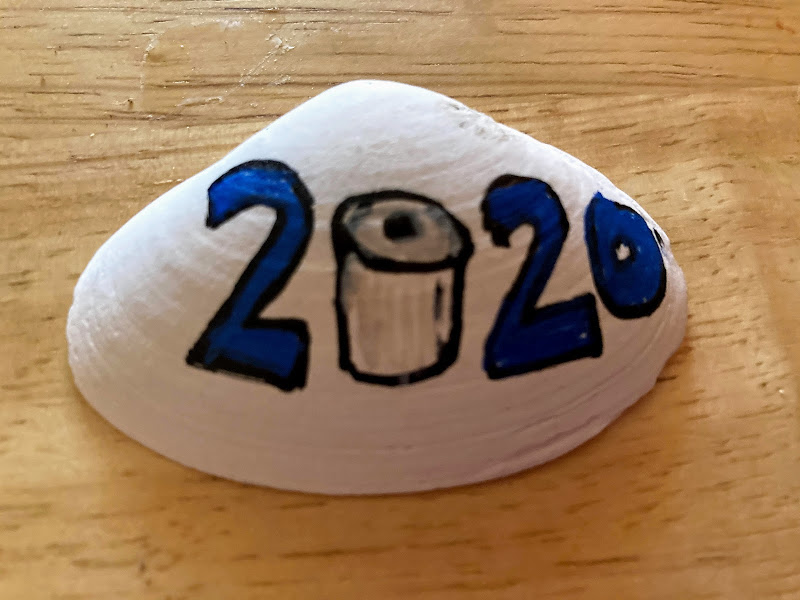
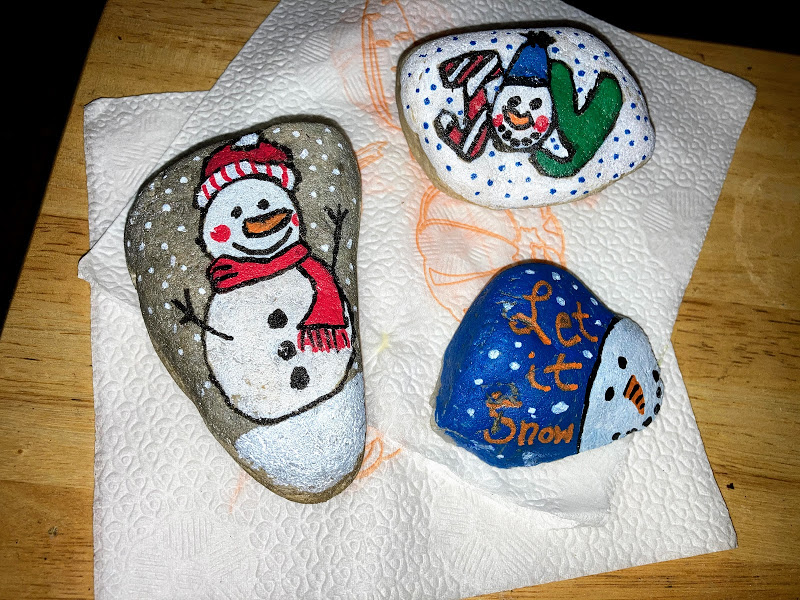
4. Paint Christmas rocks! My daughter and I have been painting rocks with regular acrylic paint for a while since COVID began.
The other day I discovered acrylic markers for painting rocks and shells and this was a game changer. They are so easy to use, less messy, and much better looking! Fun for the whole family!
On the 5th Day of COVID Christmas…
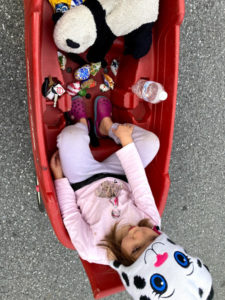
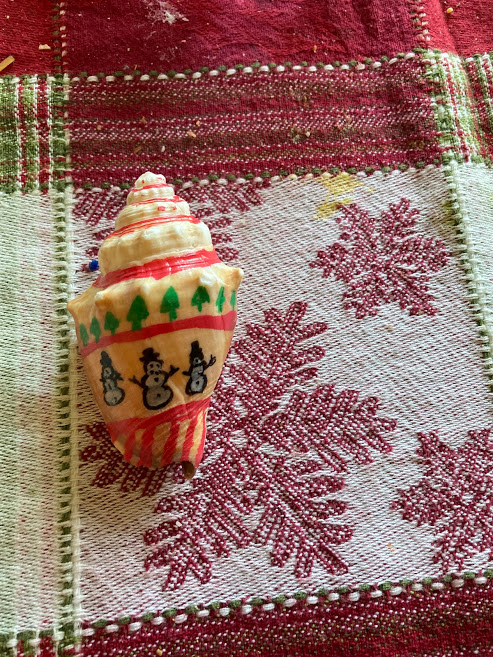
5. Give out the rocks! We love going around the neighborhood and leaving them on people’s doorsteps or tables in the front. Madison gets a thrill knowing she is making someone’s day. They also teach kindness and that everyone can make a difference. Another option is to leave them in places around the community like parks. Many people trade rocks too.
On the 6th Day of COVID Christmas…
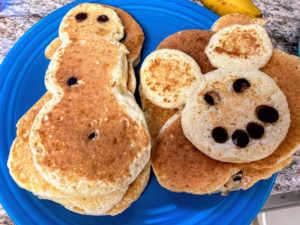
6. Make some special breakfasts! You must excuse my poor pancakes, I am a newbie at this. Madison loved them and they did taste good. Kids will LOVE your snowman pancakes…even if they turn out like mine!
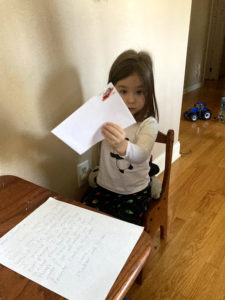
On the 7th Day of COVID Christmas…
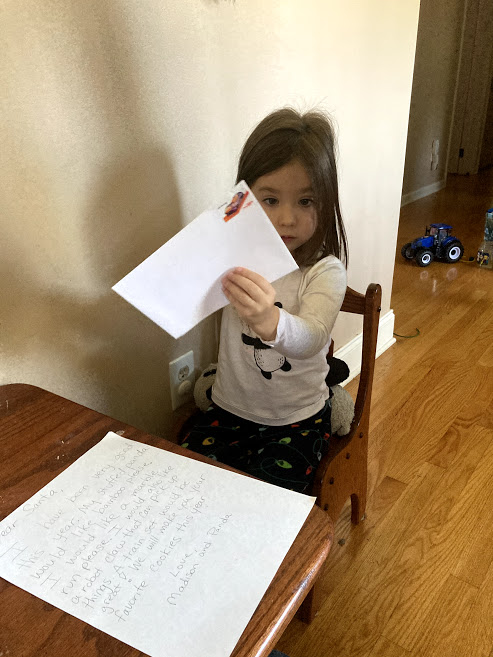
7. Write to Santa! Check with your local community, post office, and online to find where to write. Our local community has Santa write back! There are also many services online you can pay for and they will have Santa write back to you. Another option is a zoom or digital call with Santa!

On the 8th Day of COVID Christmas…
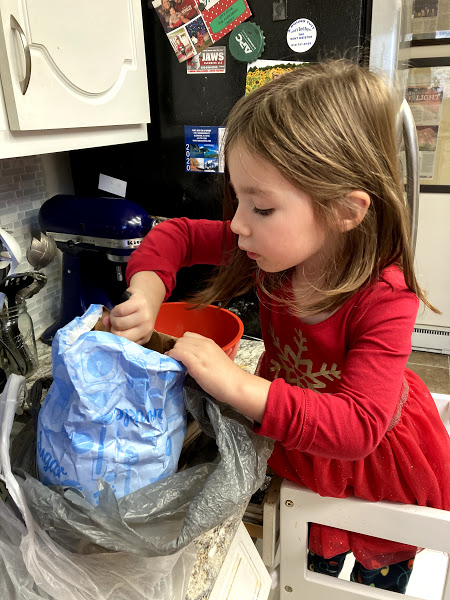
8. Make cookies! Each year you might make cookies-but try some new ones! Your little ones will love to help. Yes, we ended up with flour all over us and bellies full of yummy cookies, but it was great! As an extra bonus get your Christmas mugs and cookies and have a movie night!

On the 9th Day of COVID Christmas…
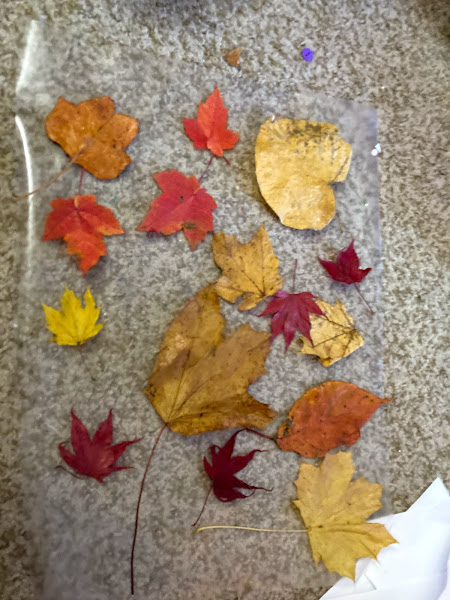
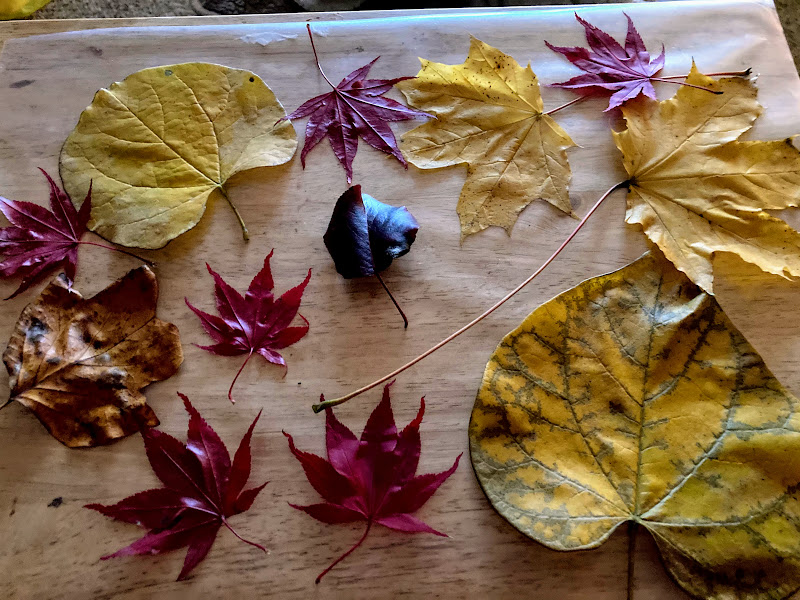
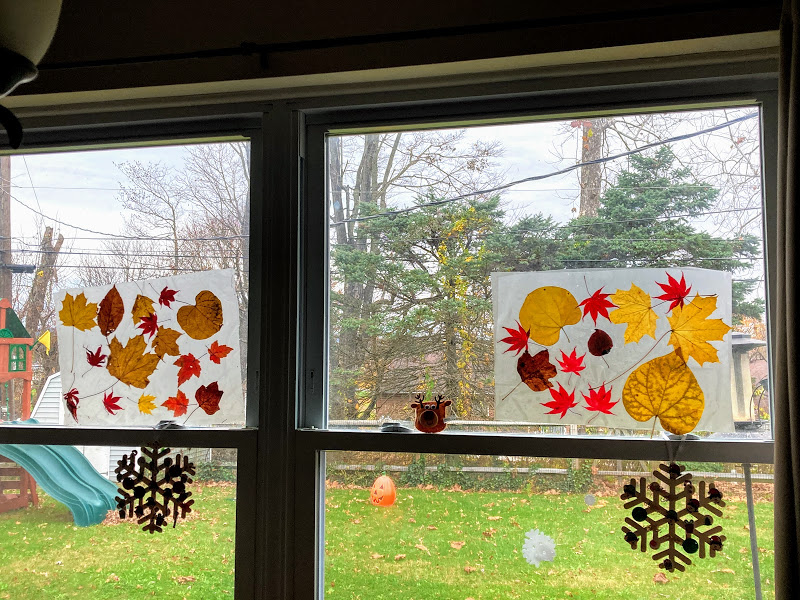
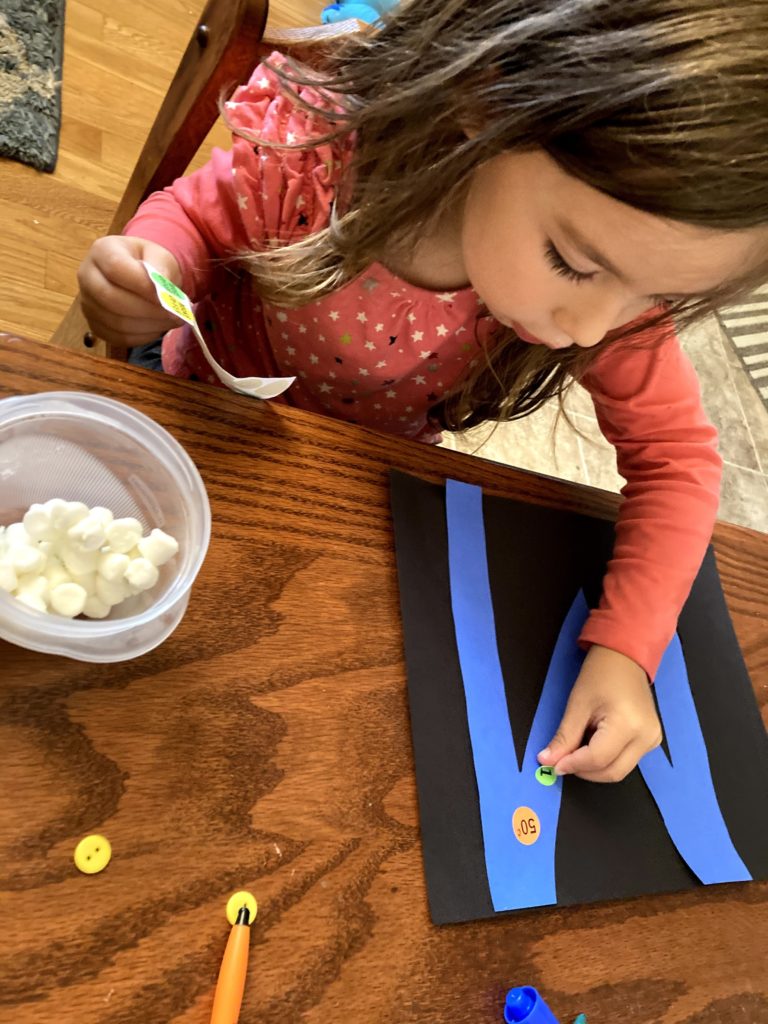
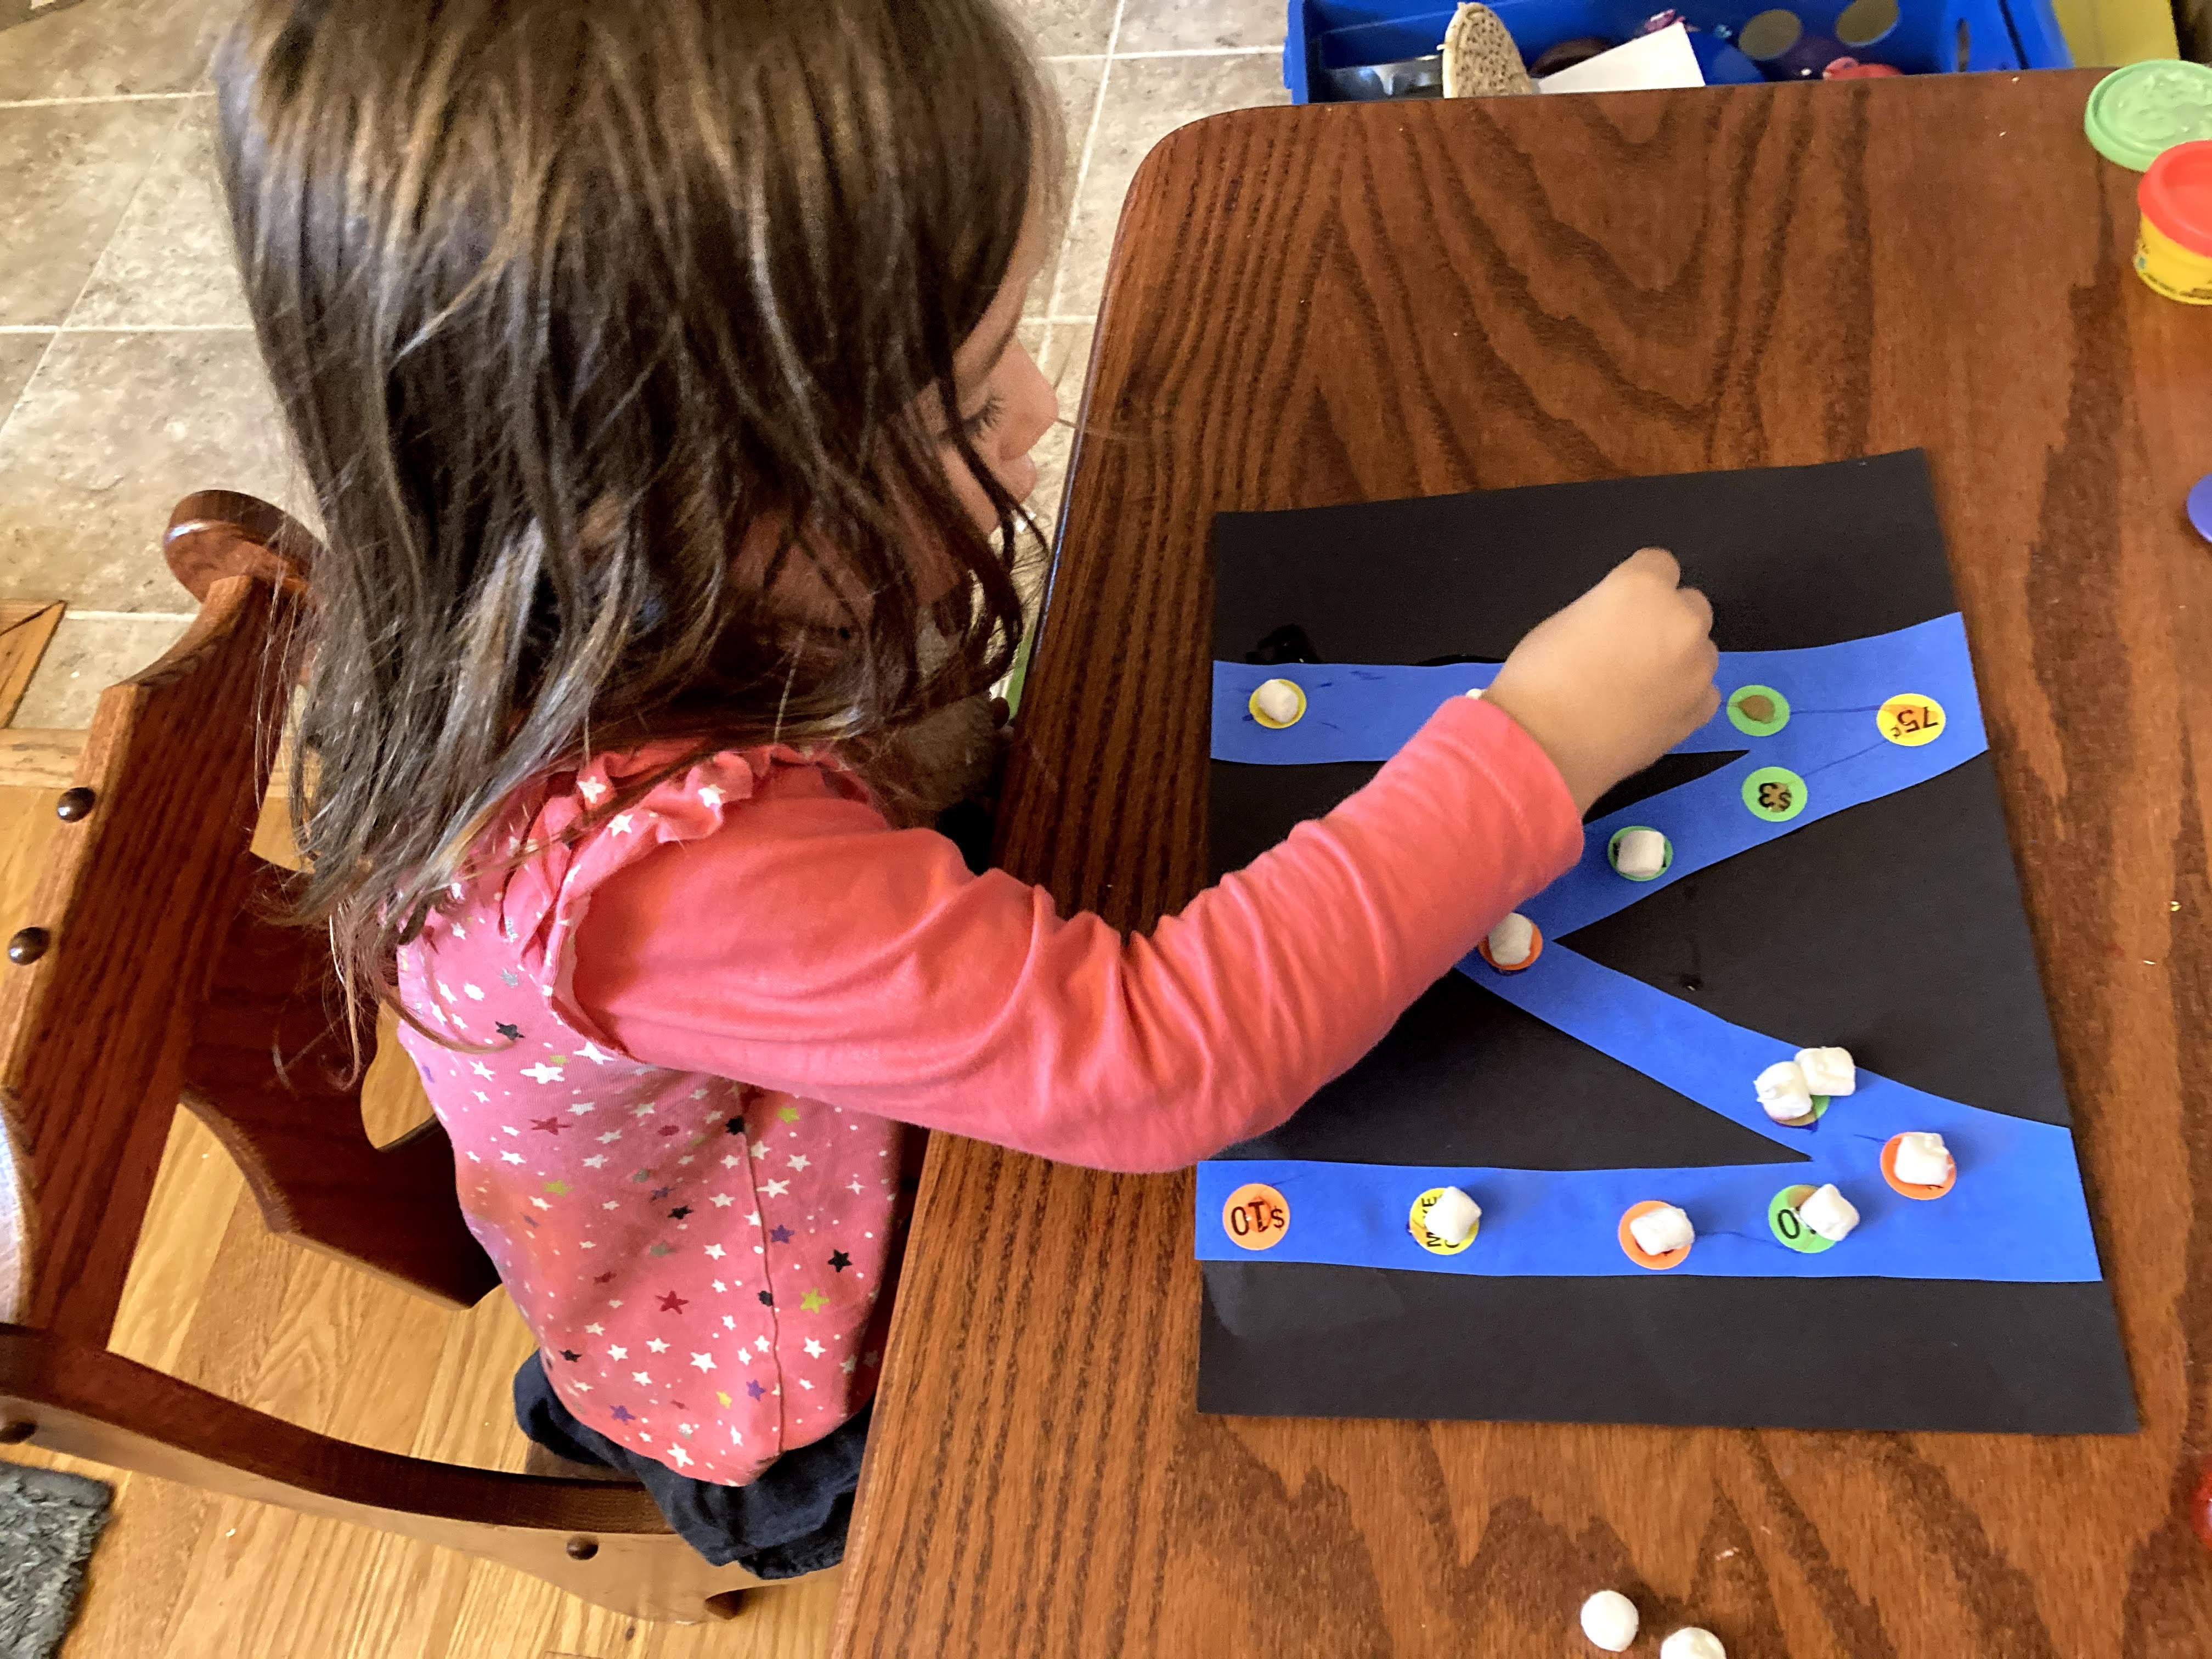
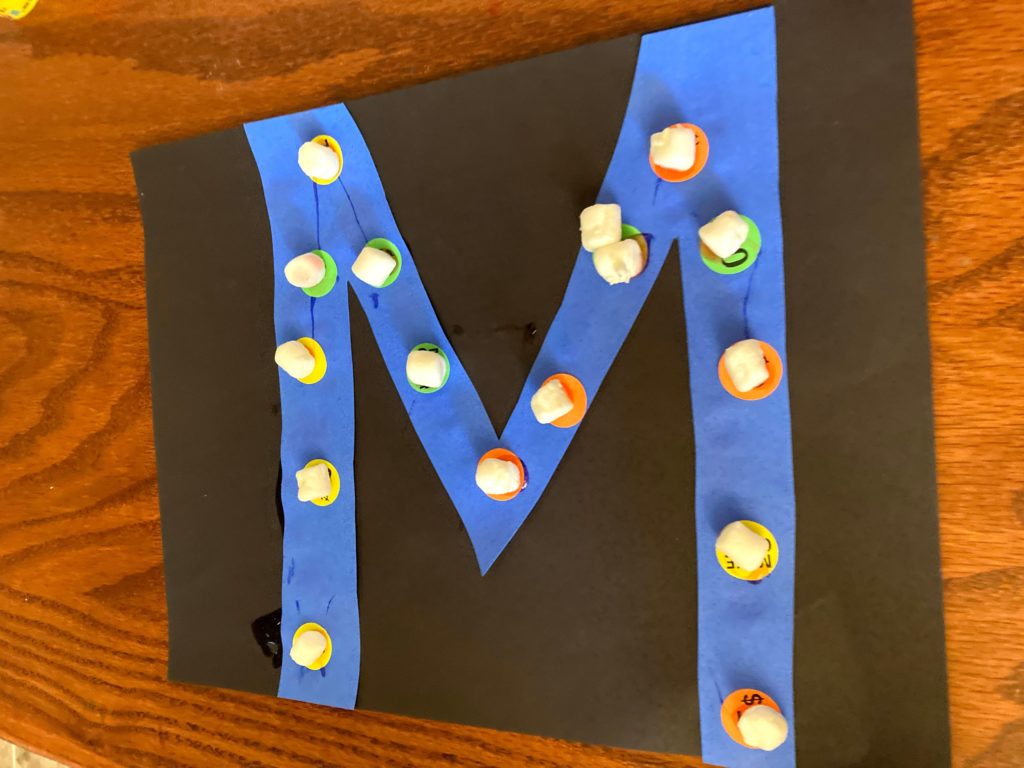
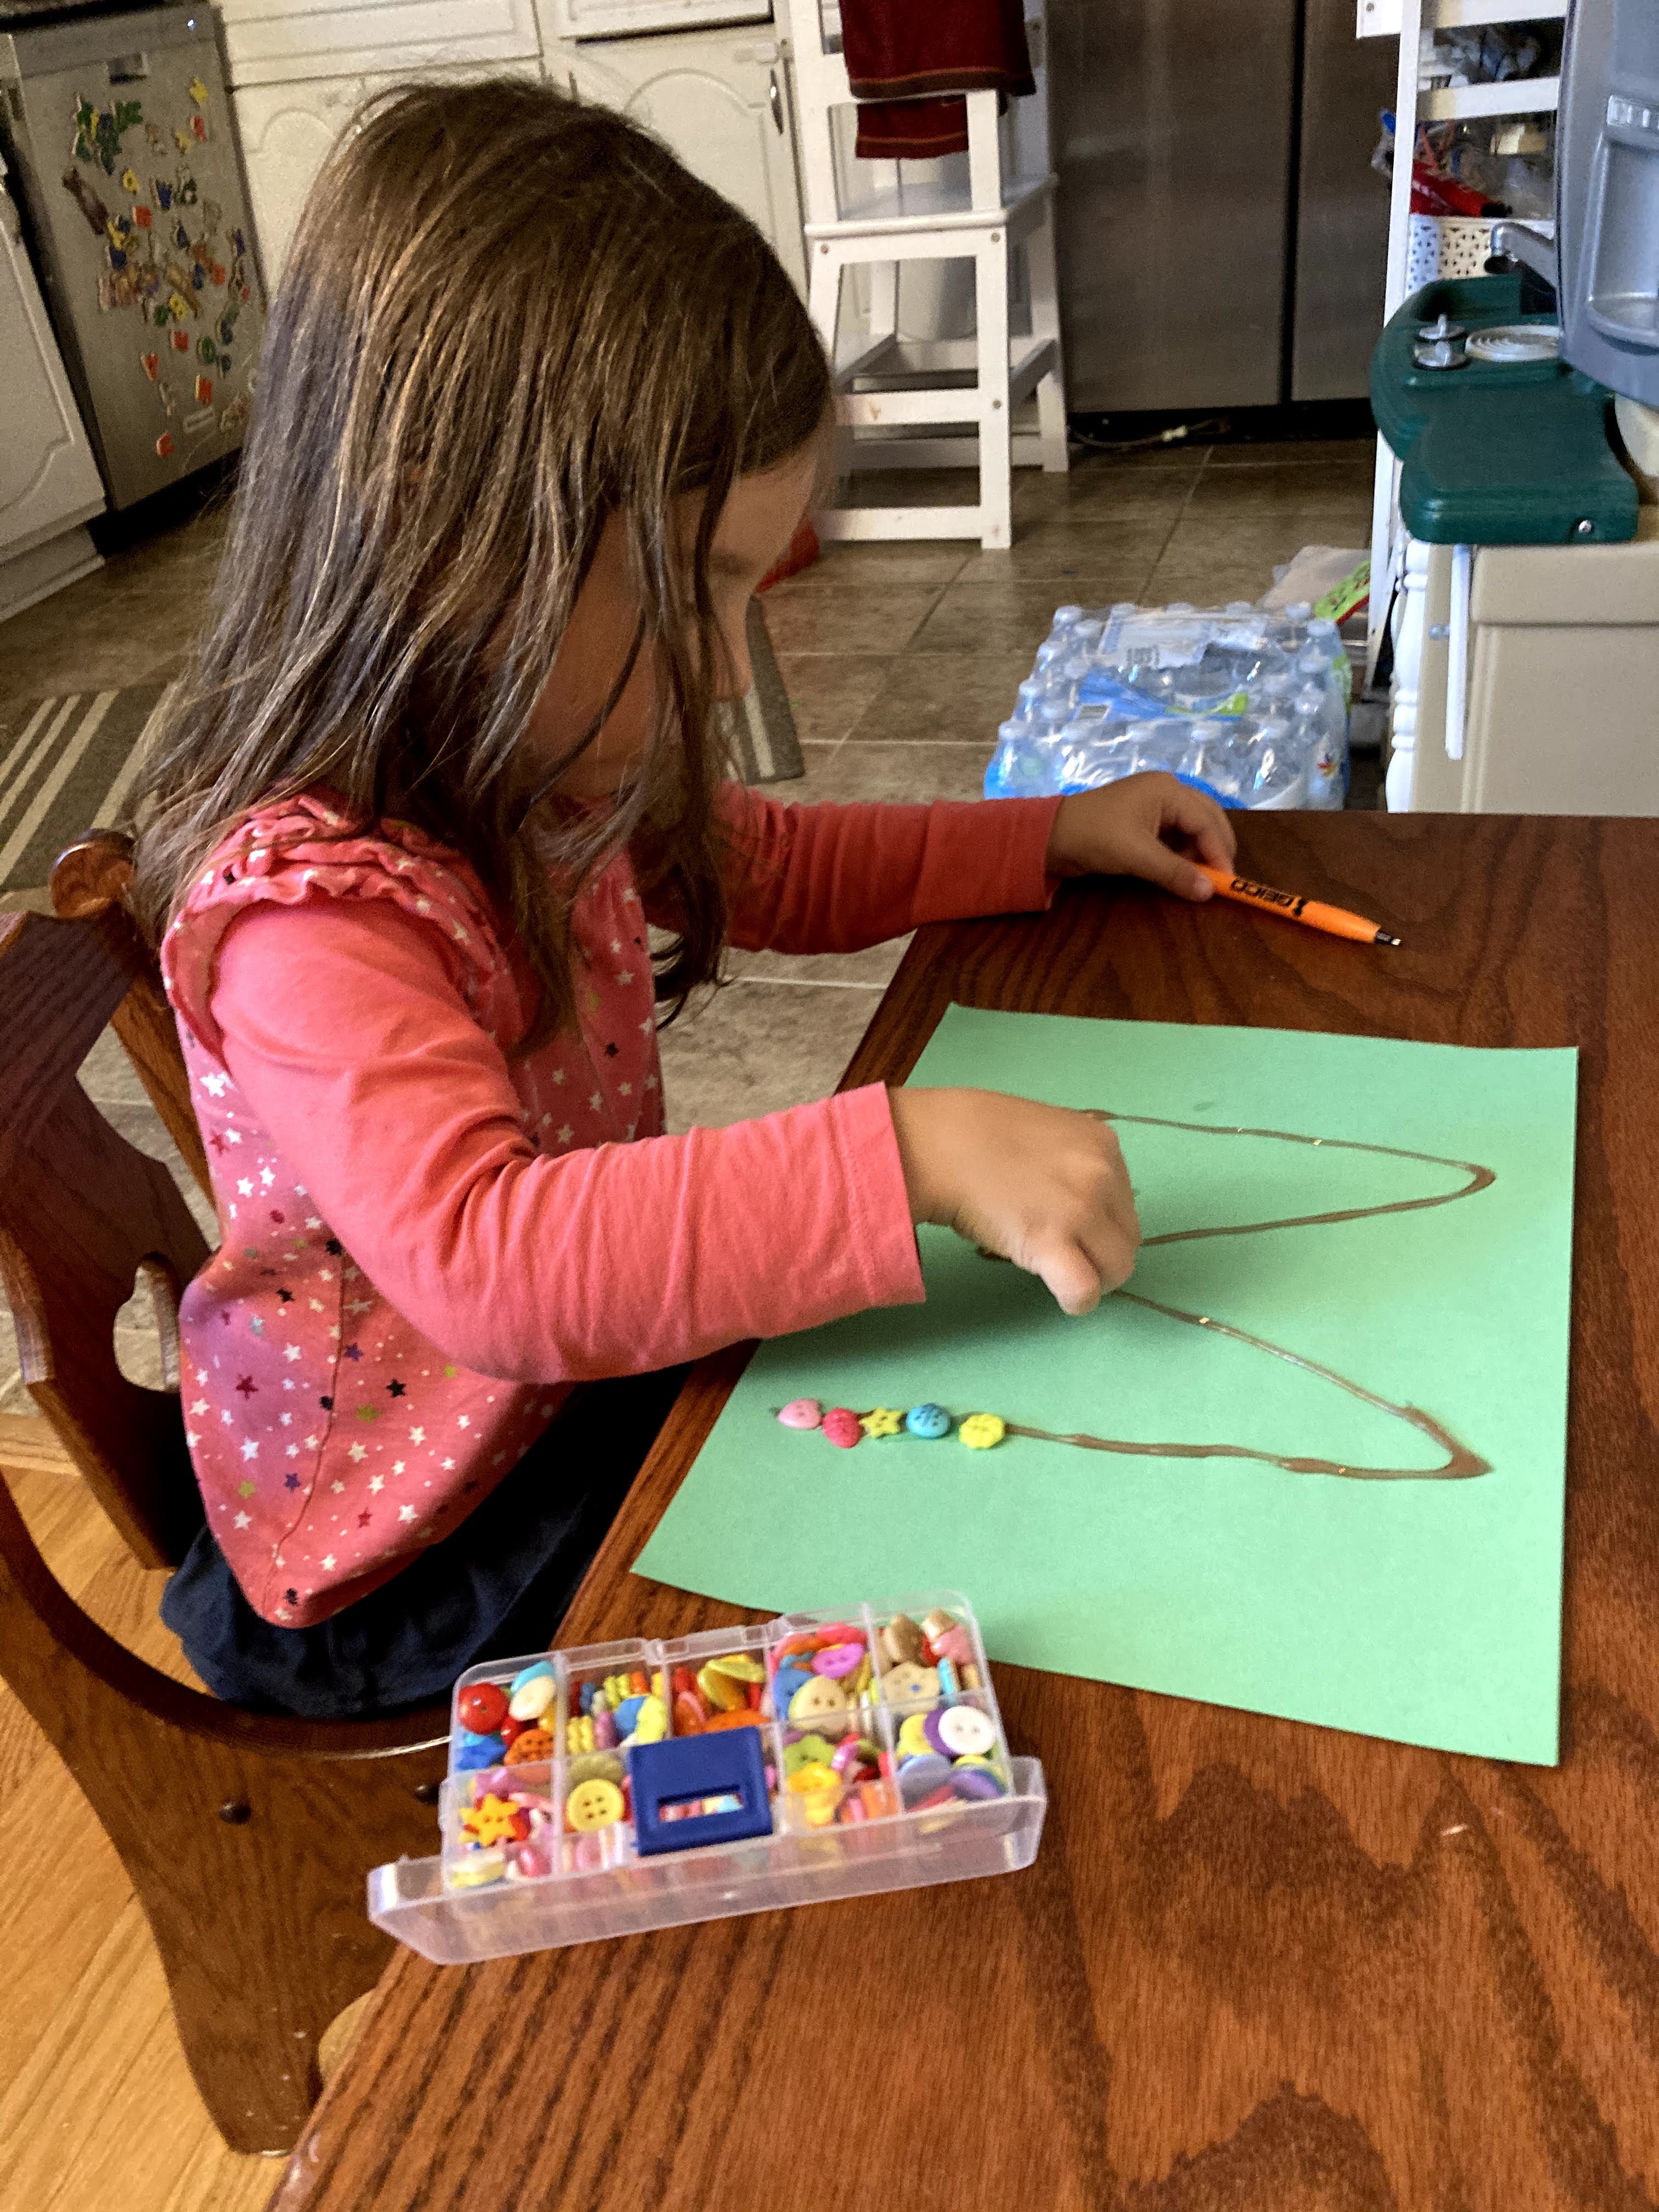
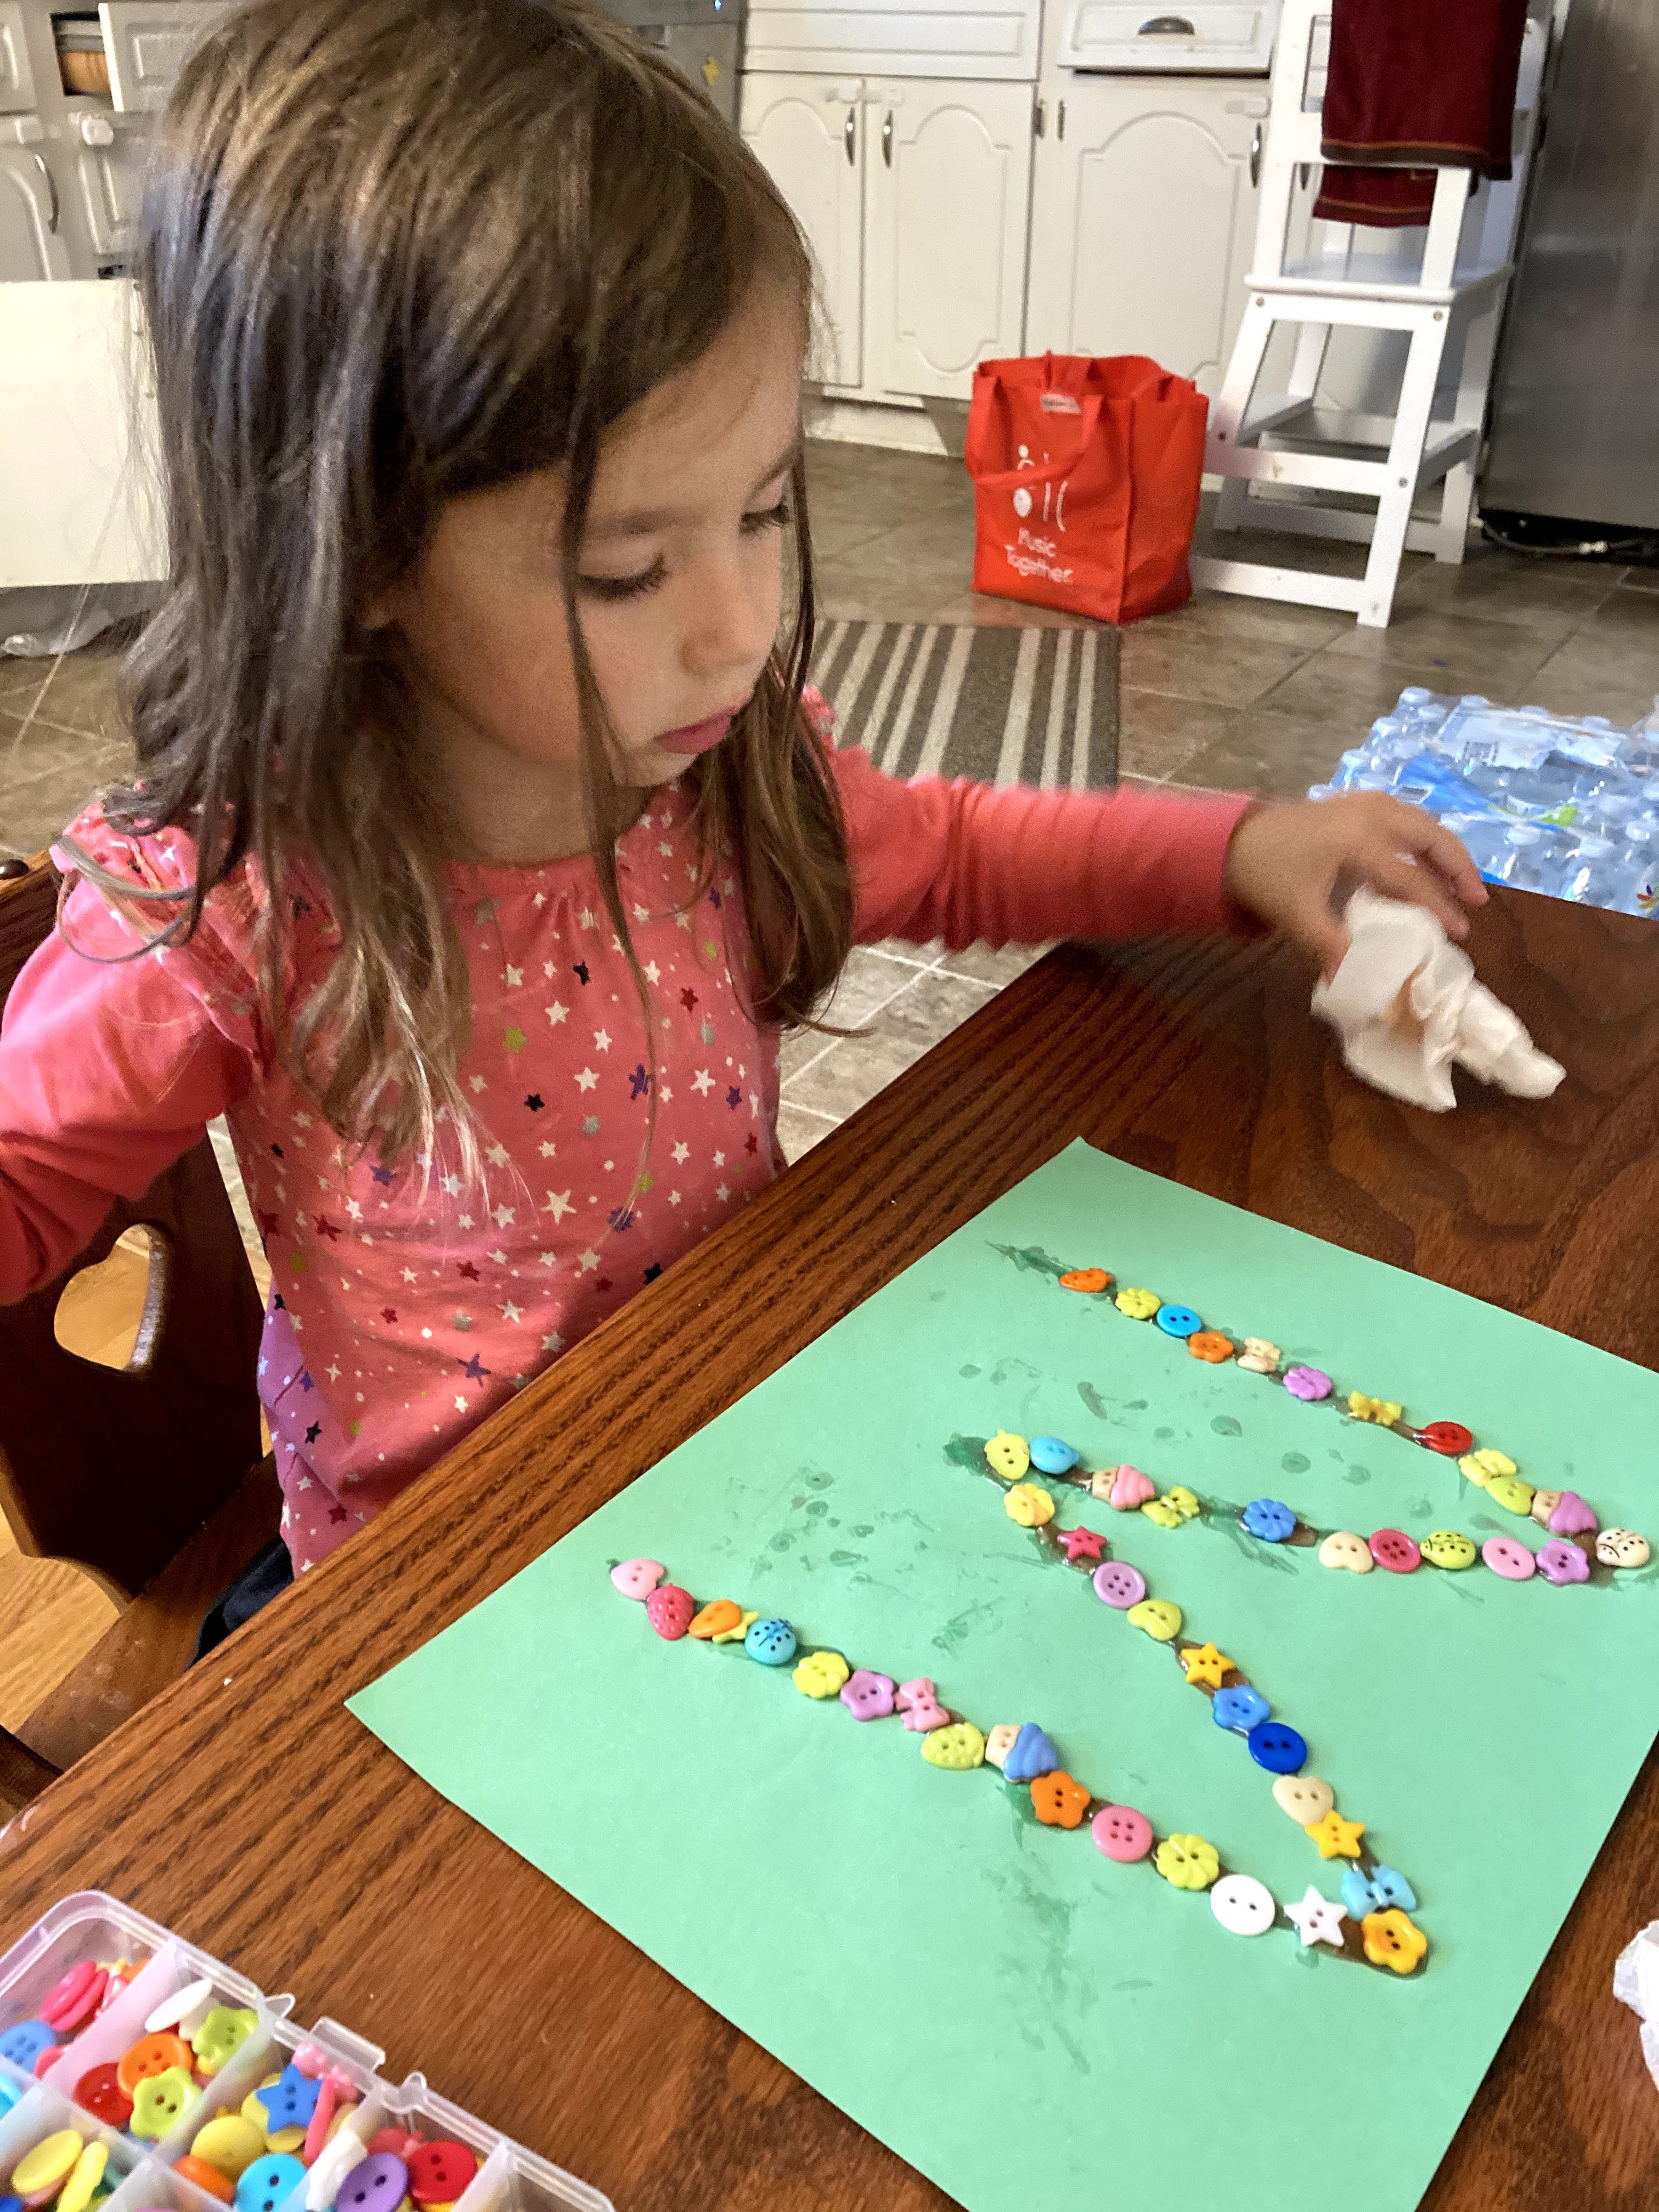
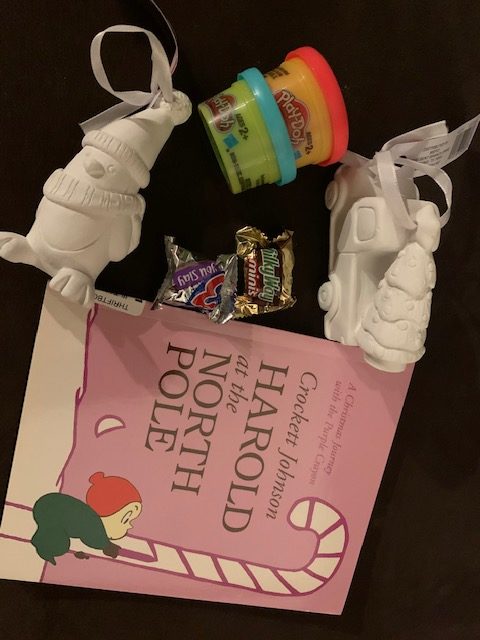
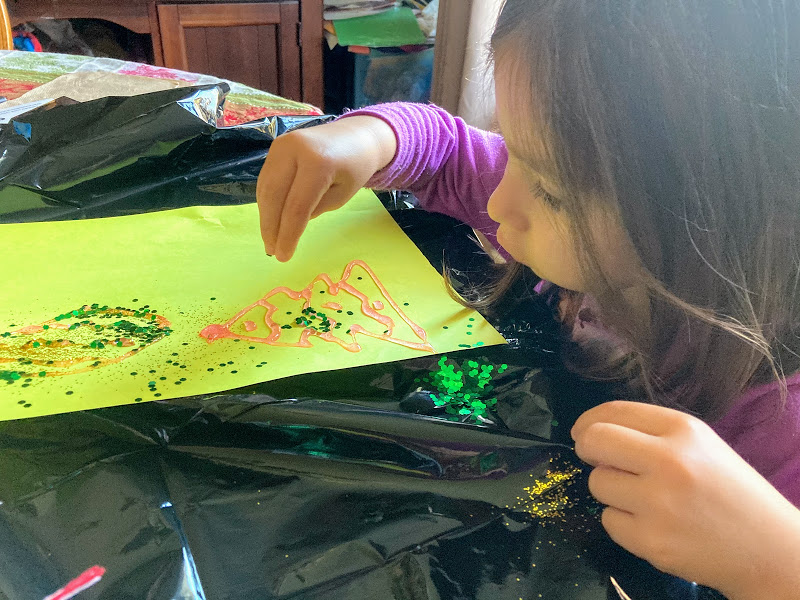
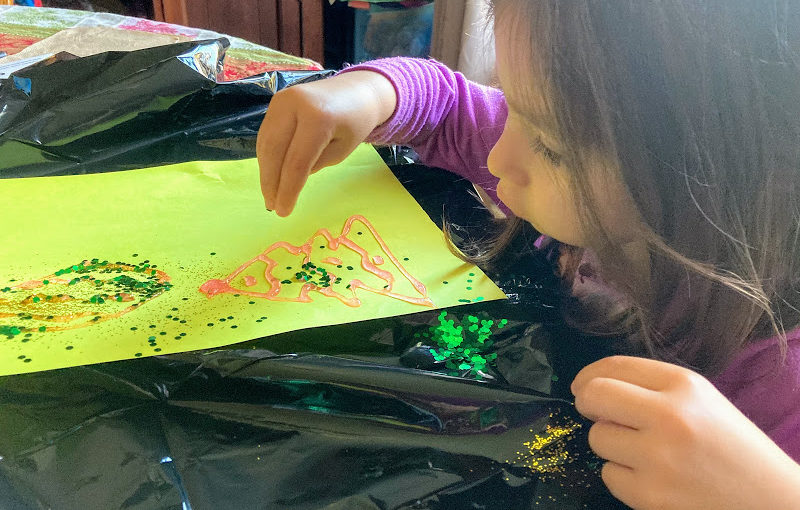
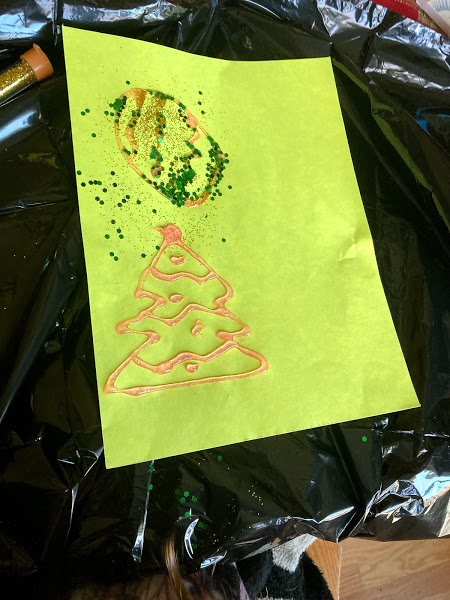
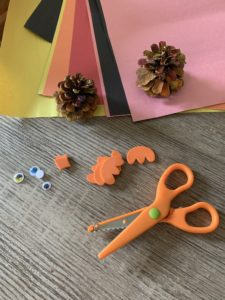
9. Make lots of crafts! Kids adore crafts and family loves getting them! Look up crafts on blogs and pinterest. Make ornaments, fun photo crafts, and smelly playdough! For extra fun make more for family and deliver it on their doorstep for a nice surprise!
 On the 10th Day of COVID Christmas…
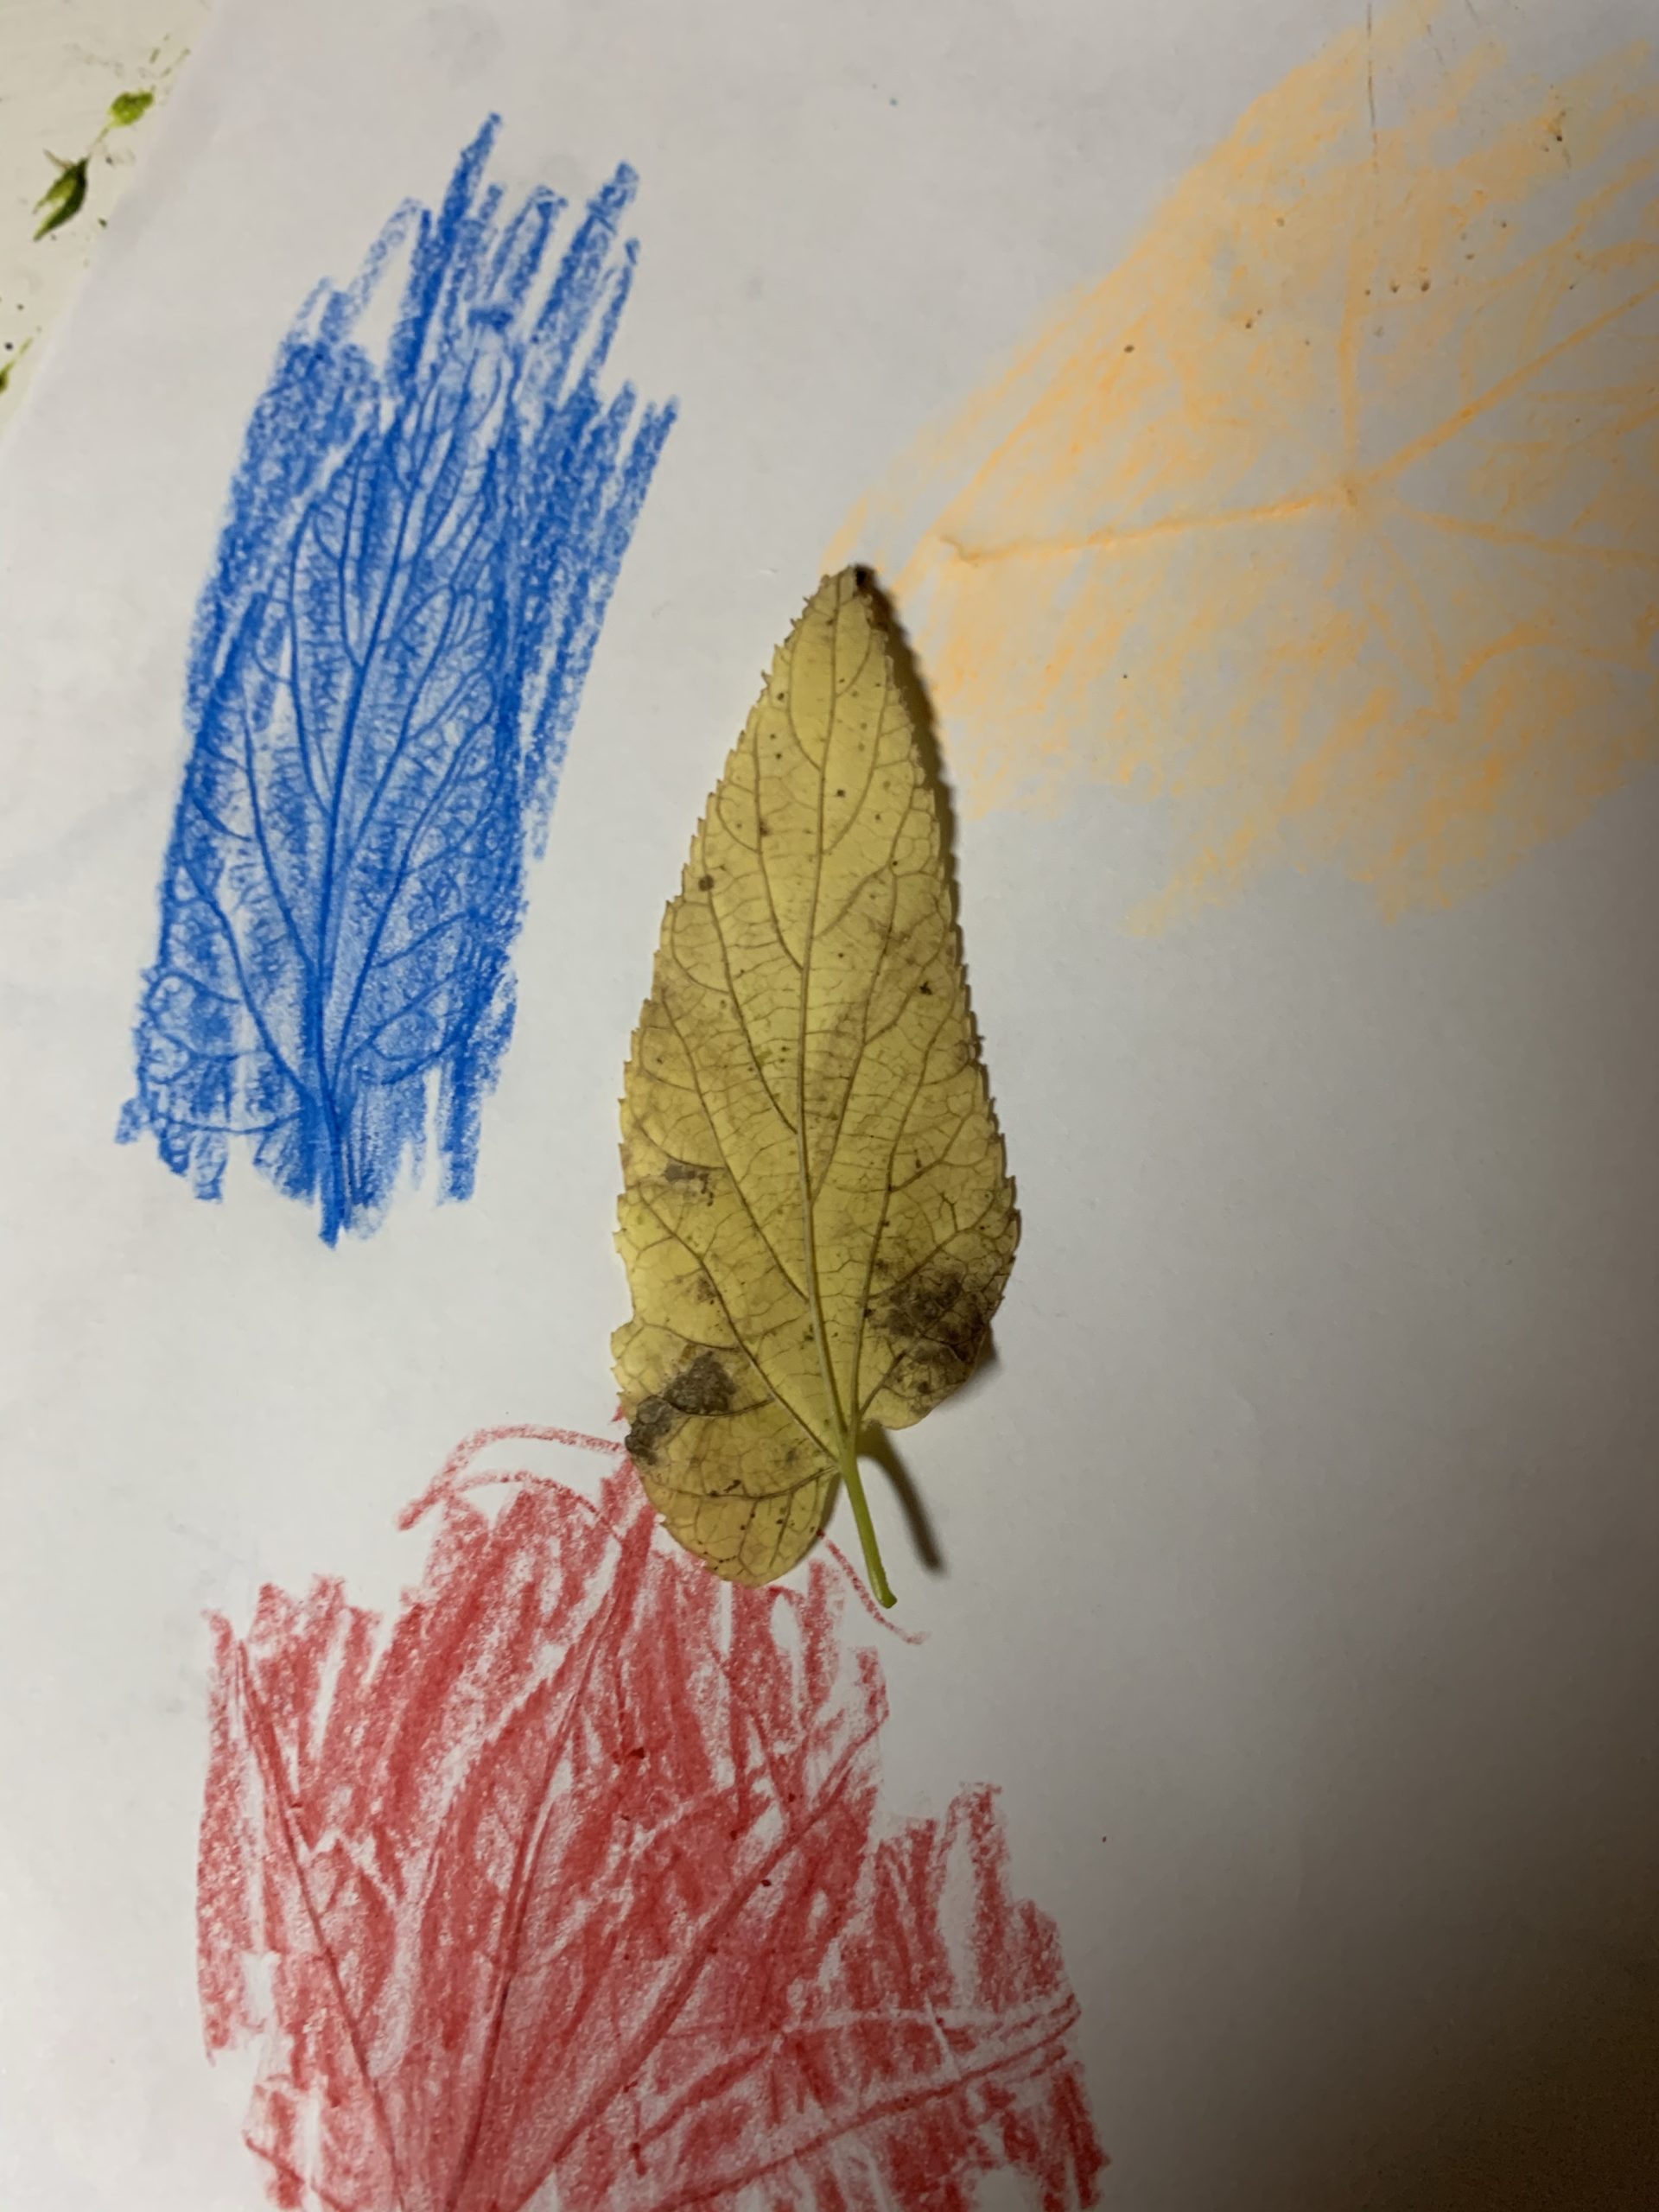
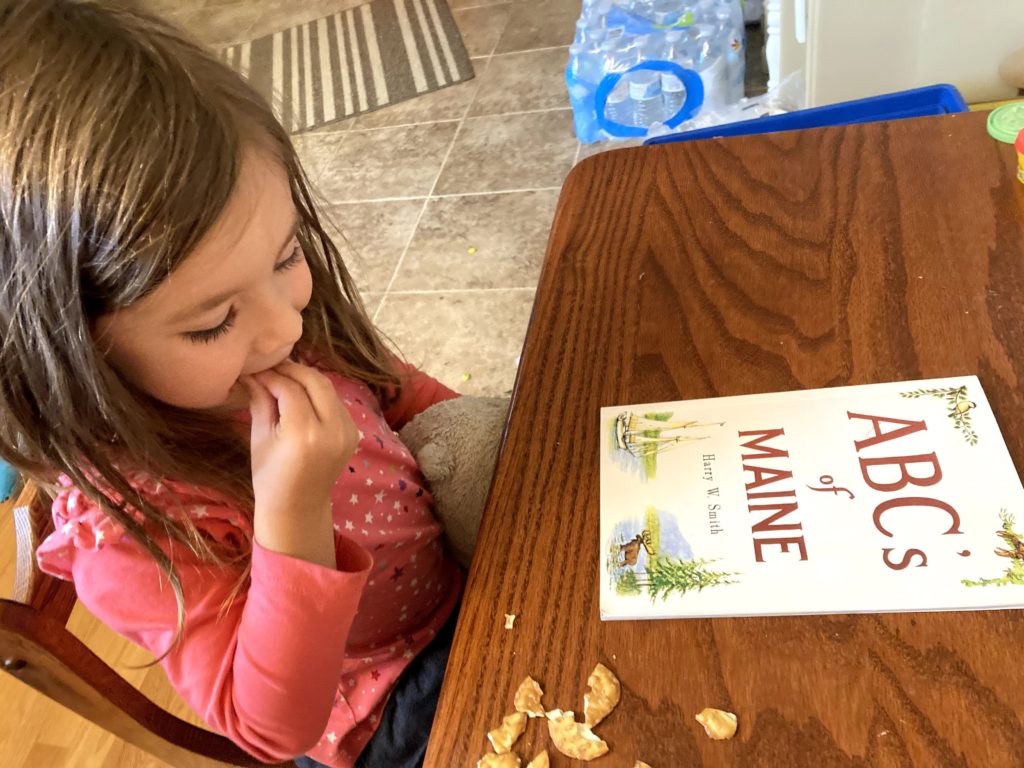
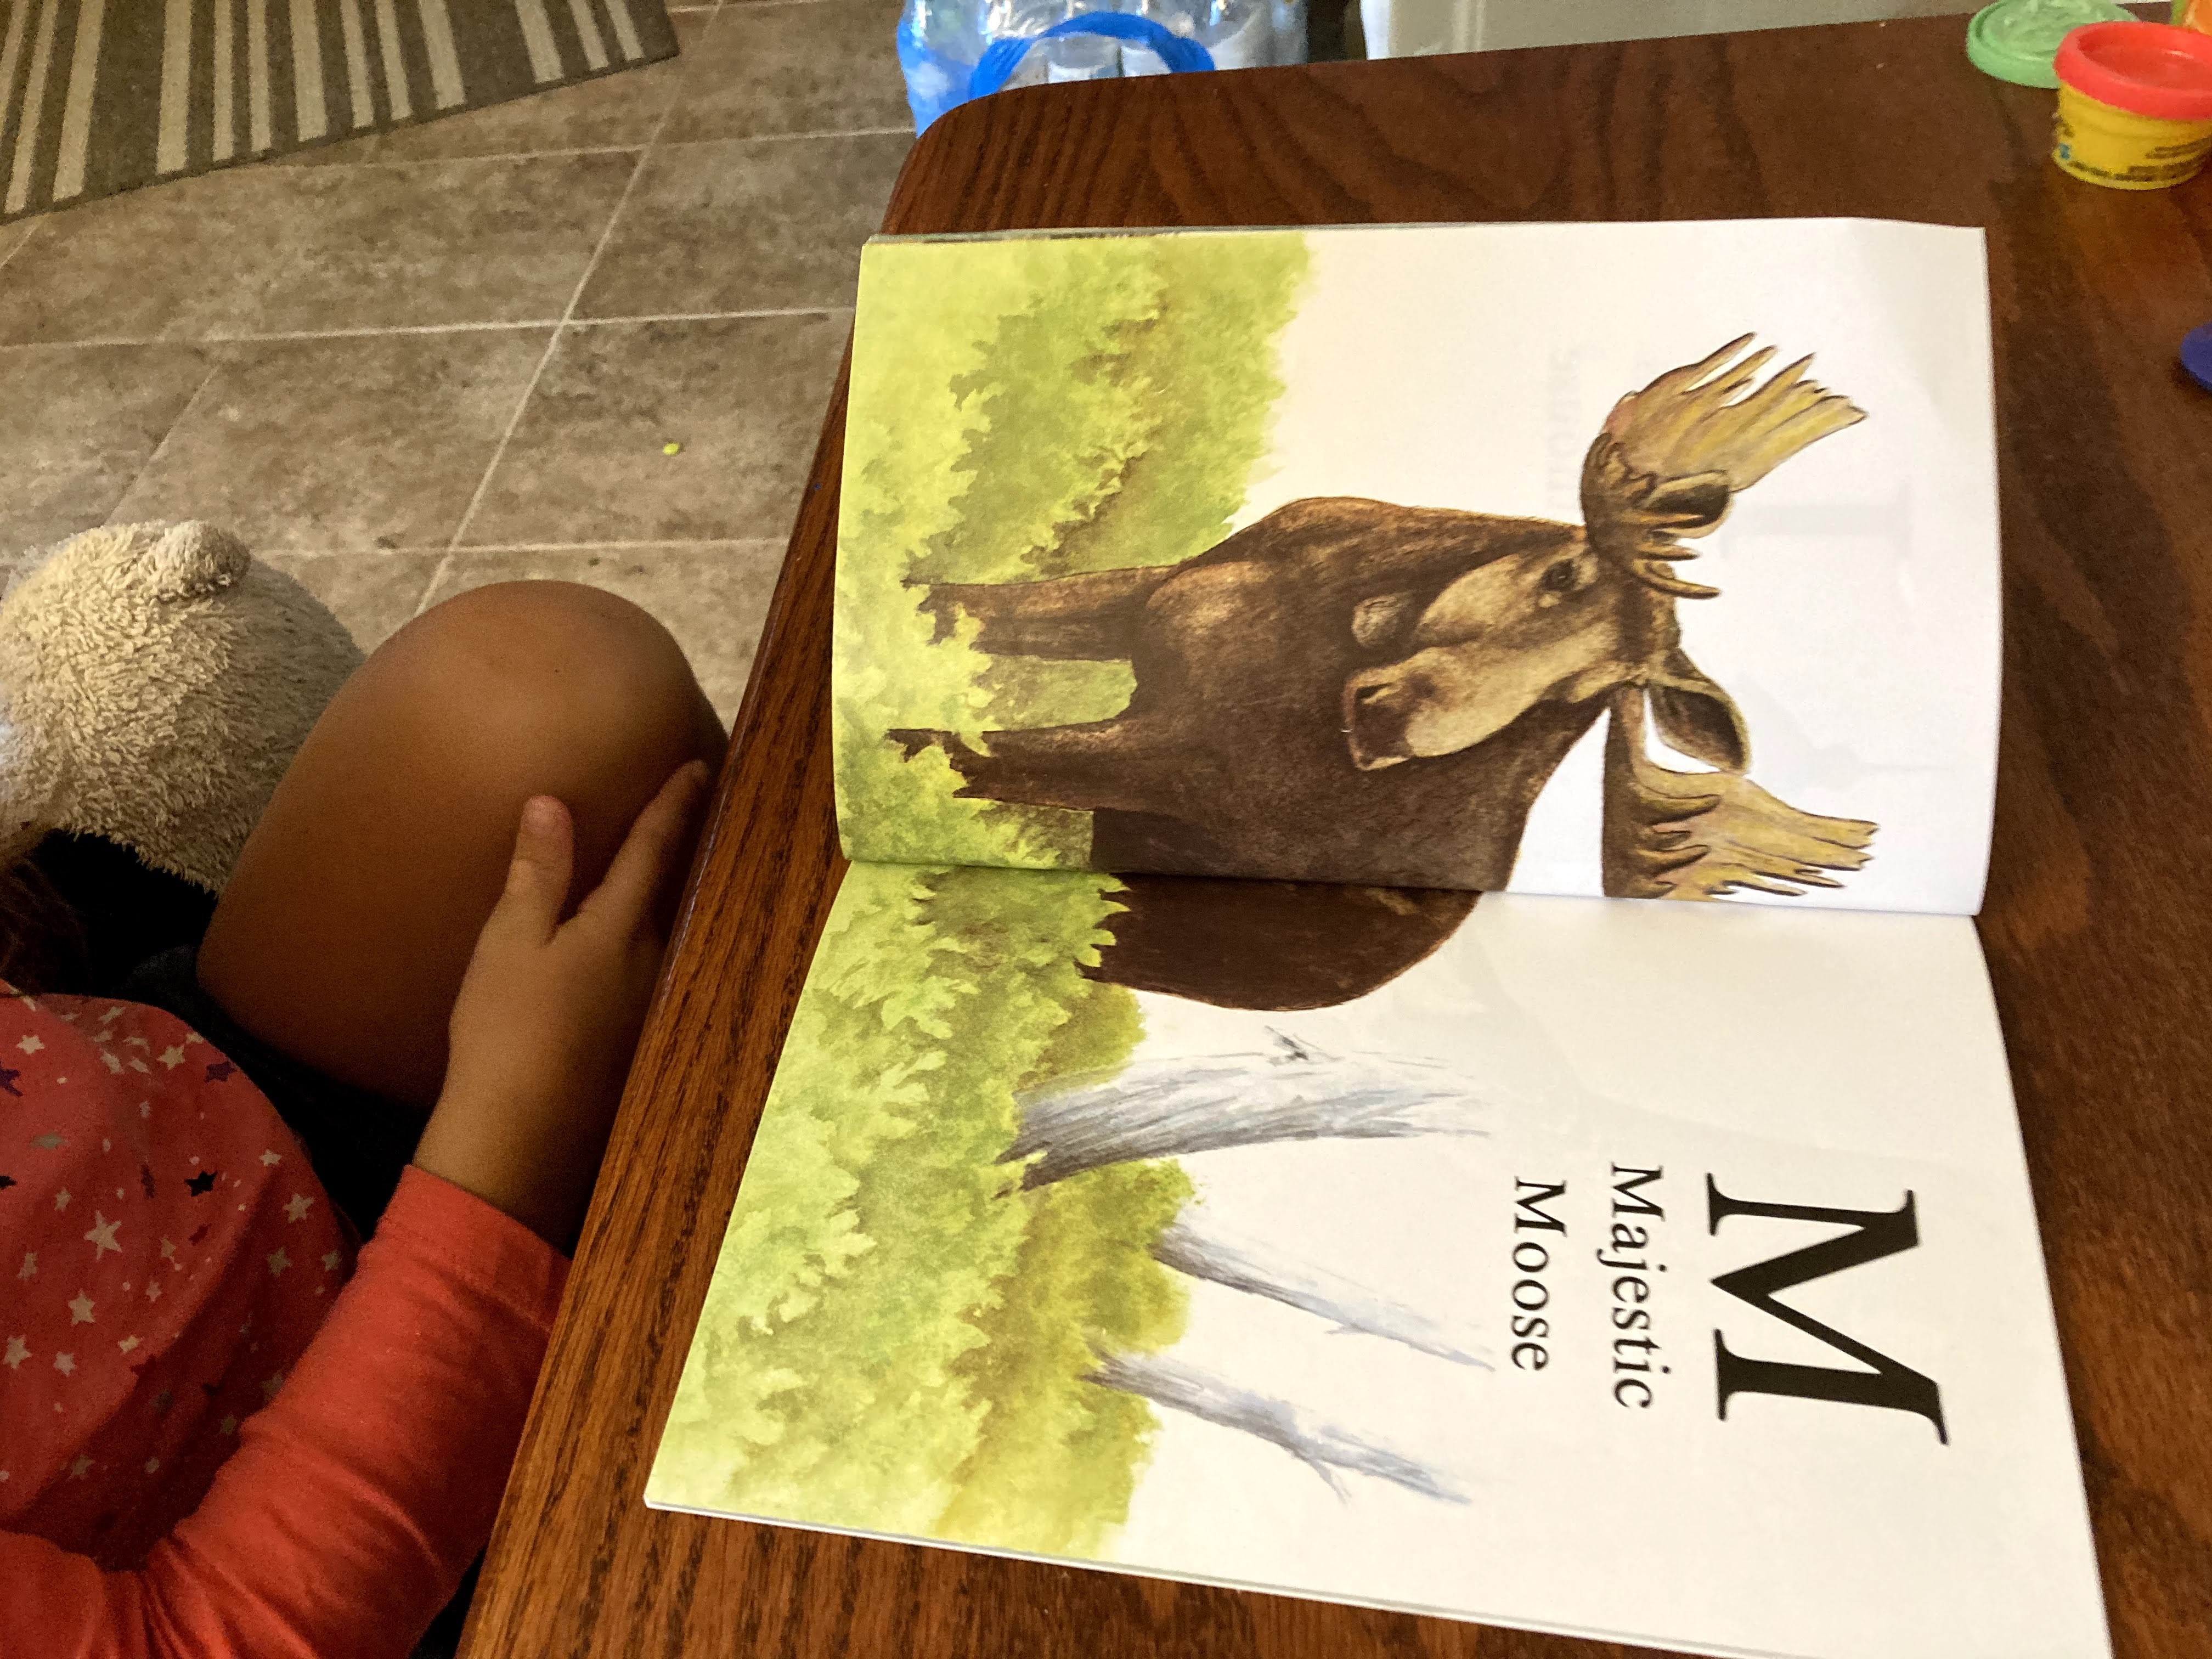
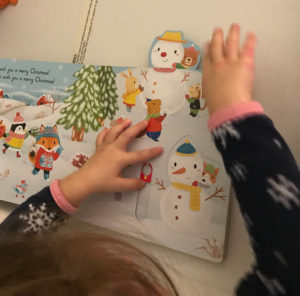
10. Read, read, read! Get more Christmas books! There are so many interactive, smelly, sound, and regular Christmas books! Madison has her favorites and talks about some of them year round!
 On the 11th Day of COVID Christmas…
11. Wear matching PJS! It’s so much fun! They not only make matching pjs now, but matching sweaters and hats. It’s fun to wear cheesy and cute clothes and now you can match with your entire family! Turn on some Christmas music and dance in your matching clothes to a Christmas dance party!
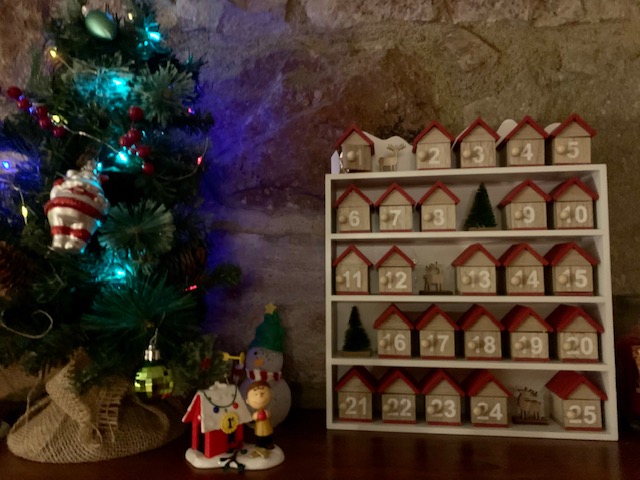
 On the 12th Day of COVID Christmas…
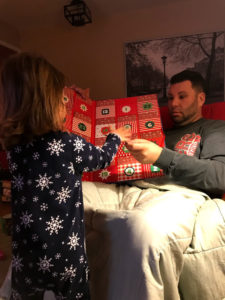
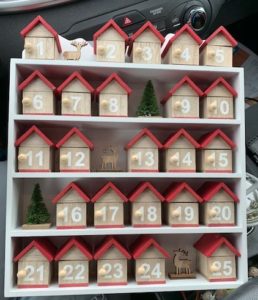
12. Get creative with your advent calendars! Some people do 24 days of books. Check a thrift shop online or marketplace to find cheap books. Stores & online sell all kinds of fun advent calendars with toys, chocolates, cheeses, and just about anything you can imagine. This year I have a wooden advent calendar with drawers. I plan on have a clue for a craft I will complete with Madison each day leading up to Christmas. My sister is going to have something similar for her kids, but have scavenger hunts to find their gifts. The first clue will be in the wooden drawer on the advent calendar.
No matter what you do for the holidays, stay safe and make the most of a crummy situation by turning it into a gift. You are home and make home a special place for you and your family this holiday season!
Follow


Share
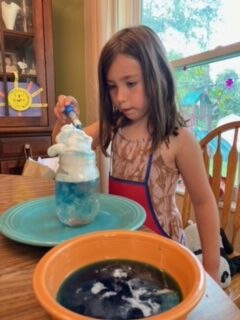
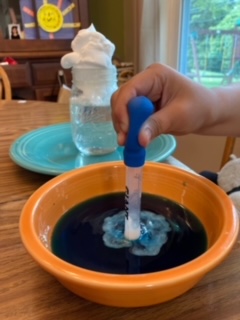 Have your child use the dropper to get some rain and put it on the clouds. This works best if you insert the dropper about half way into the clouds and squirt it out.
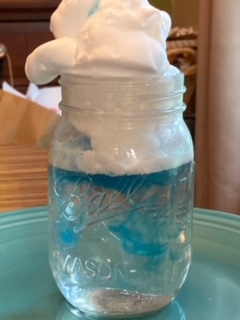


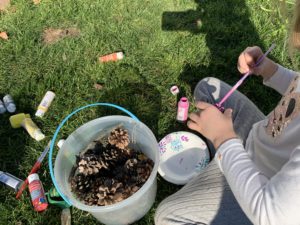 Since it was unseasonably warm here in Pennsylvania, we decided to paint outside so there wasn’t as big of a mess. Besides using a variety of paints, we used glitter of all colors! Some of the trees we purposefully painted blue and green for Christmas tree pinecones!
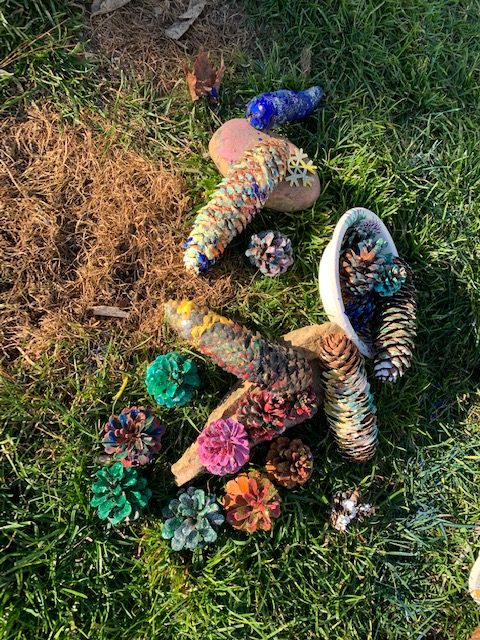
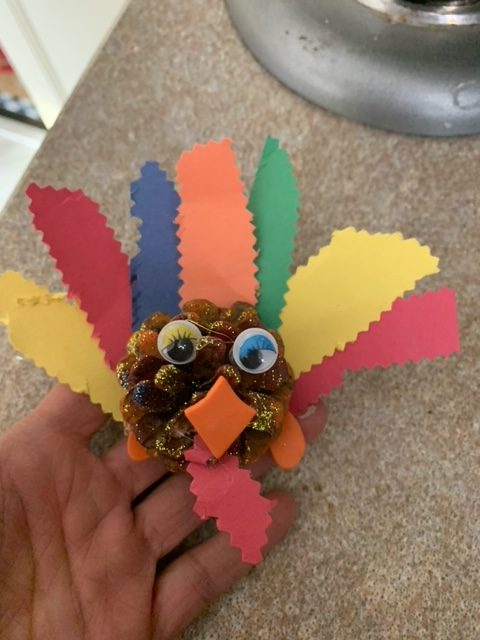
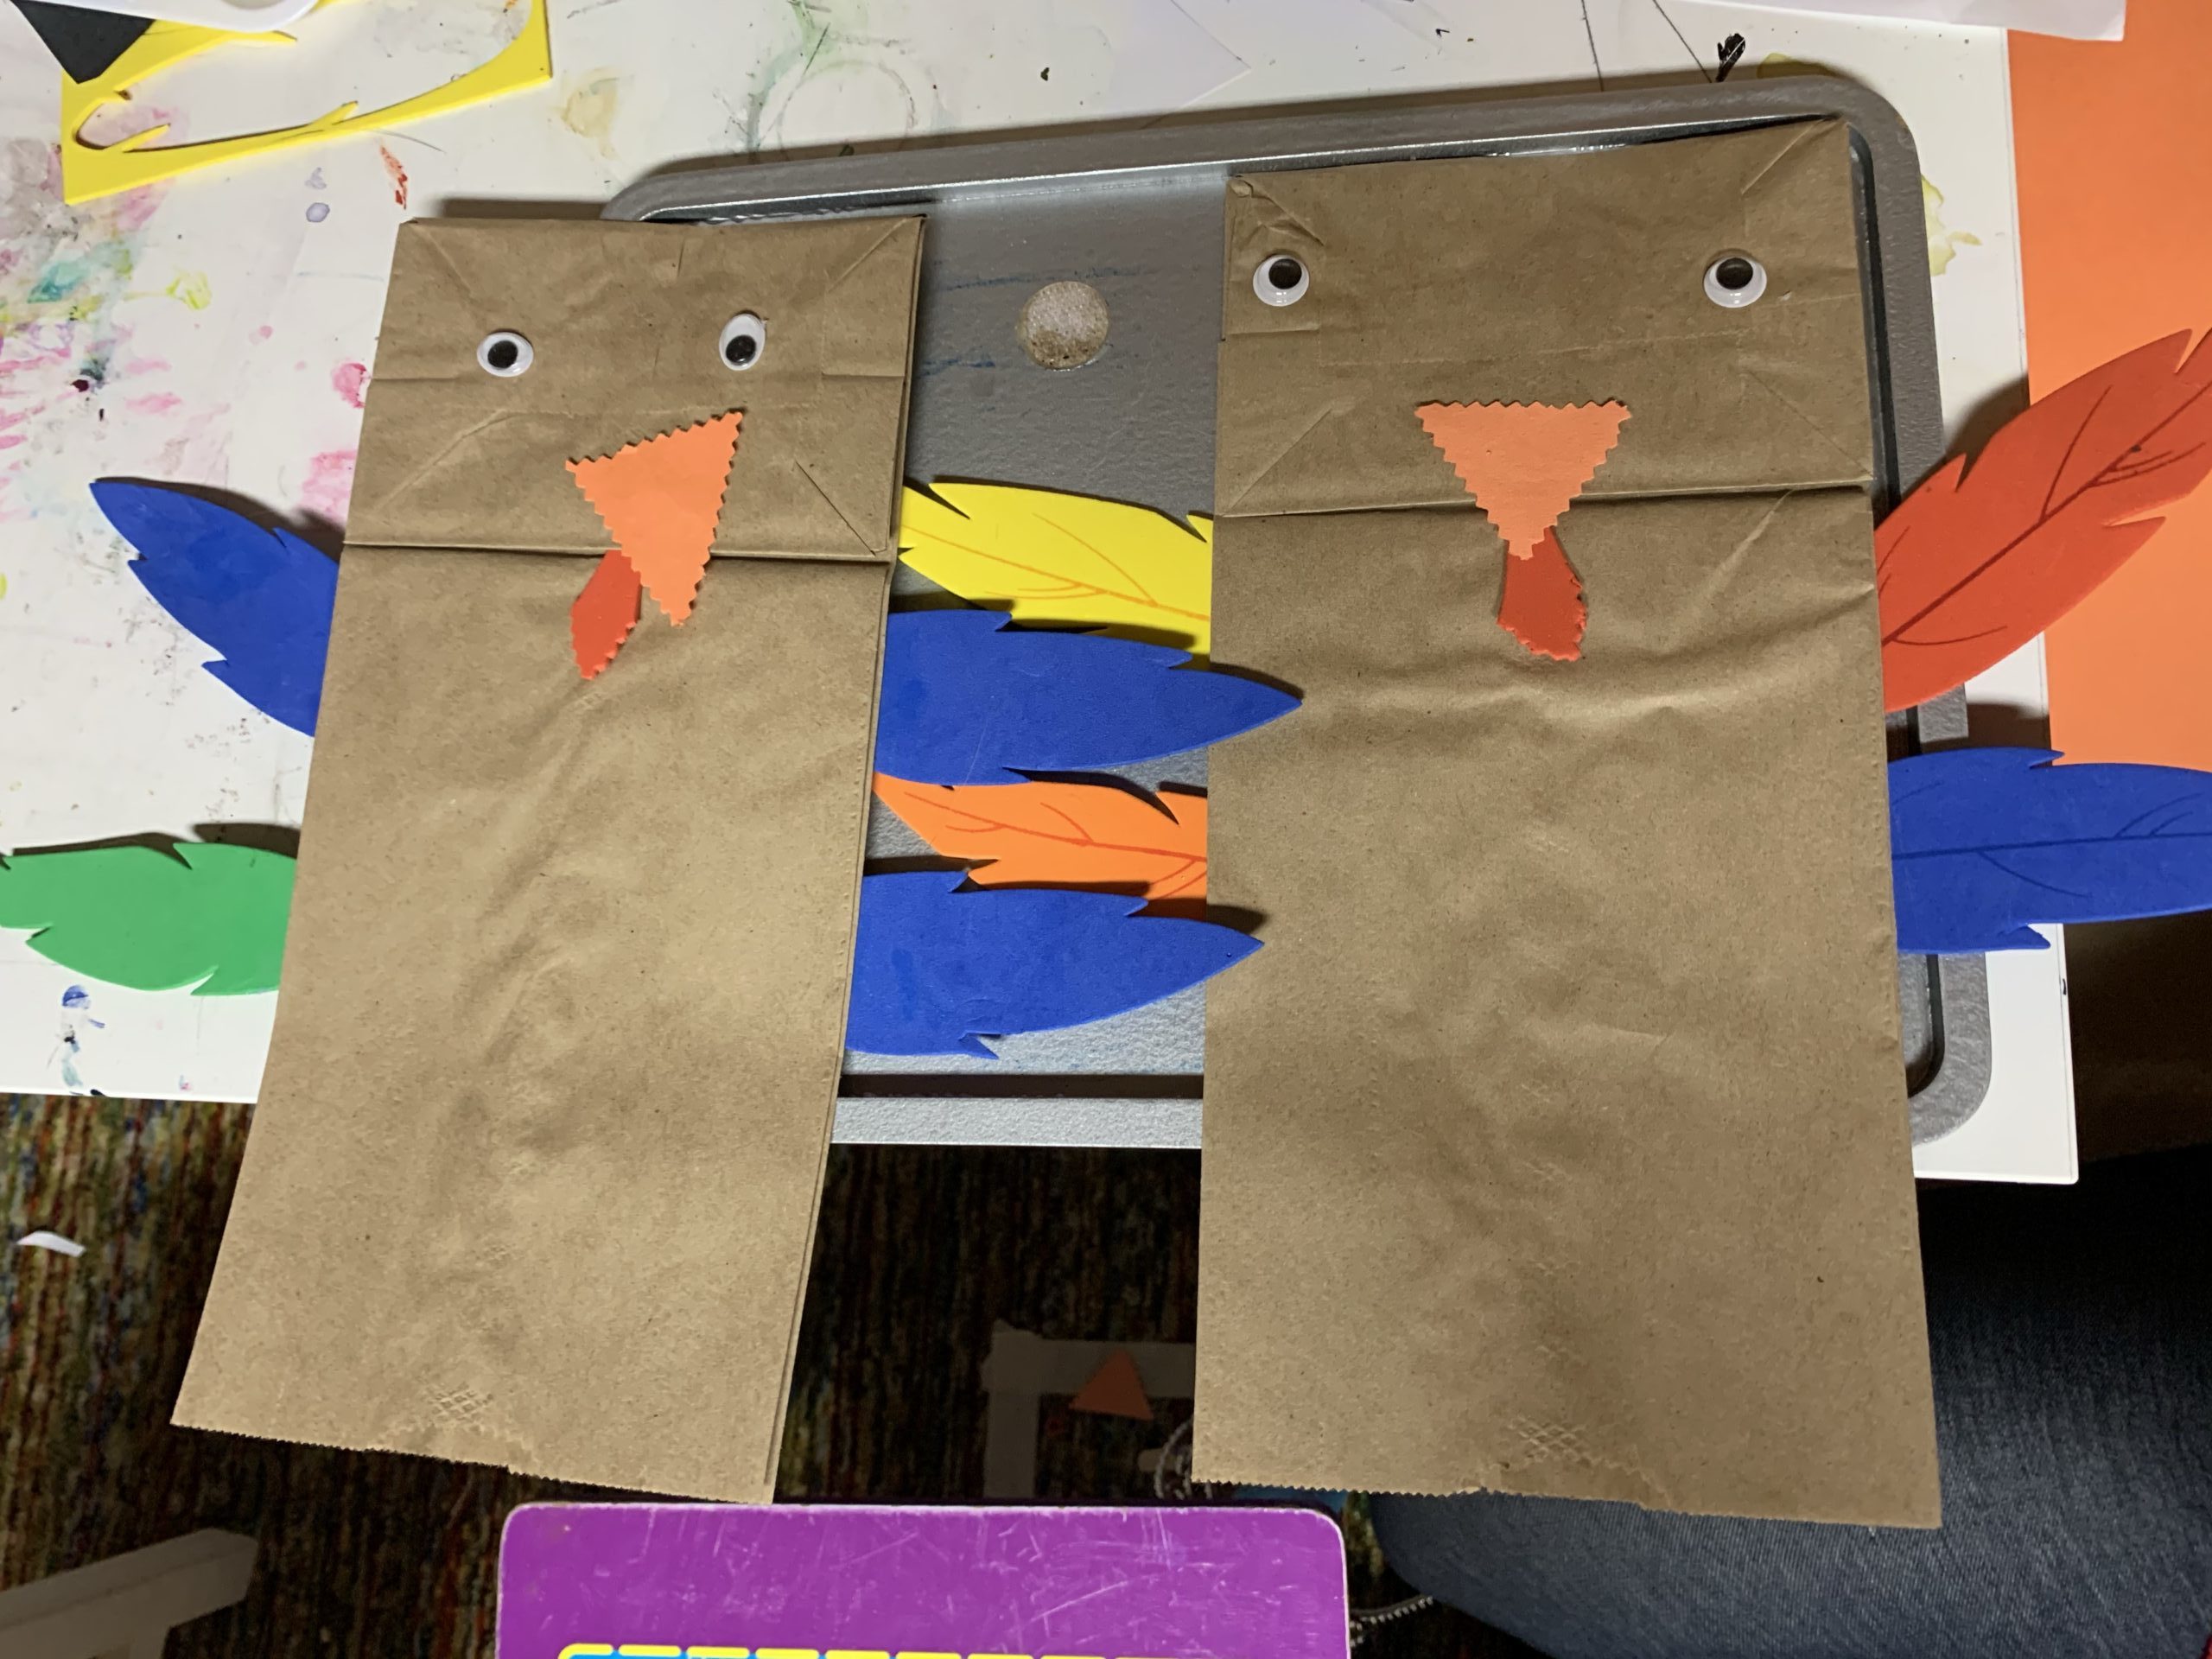
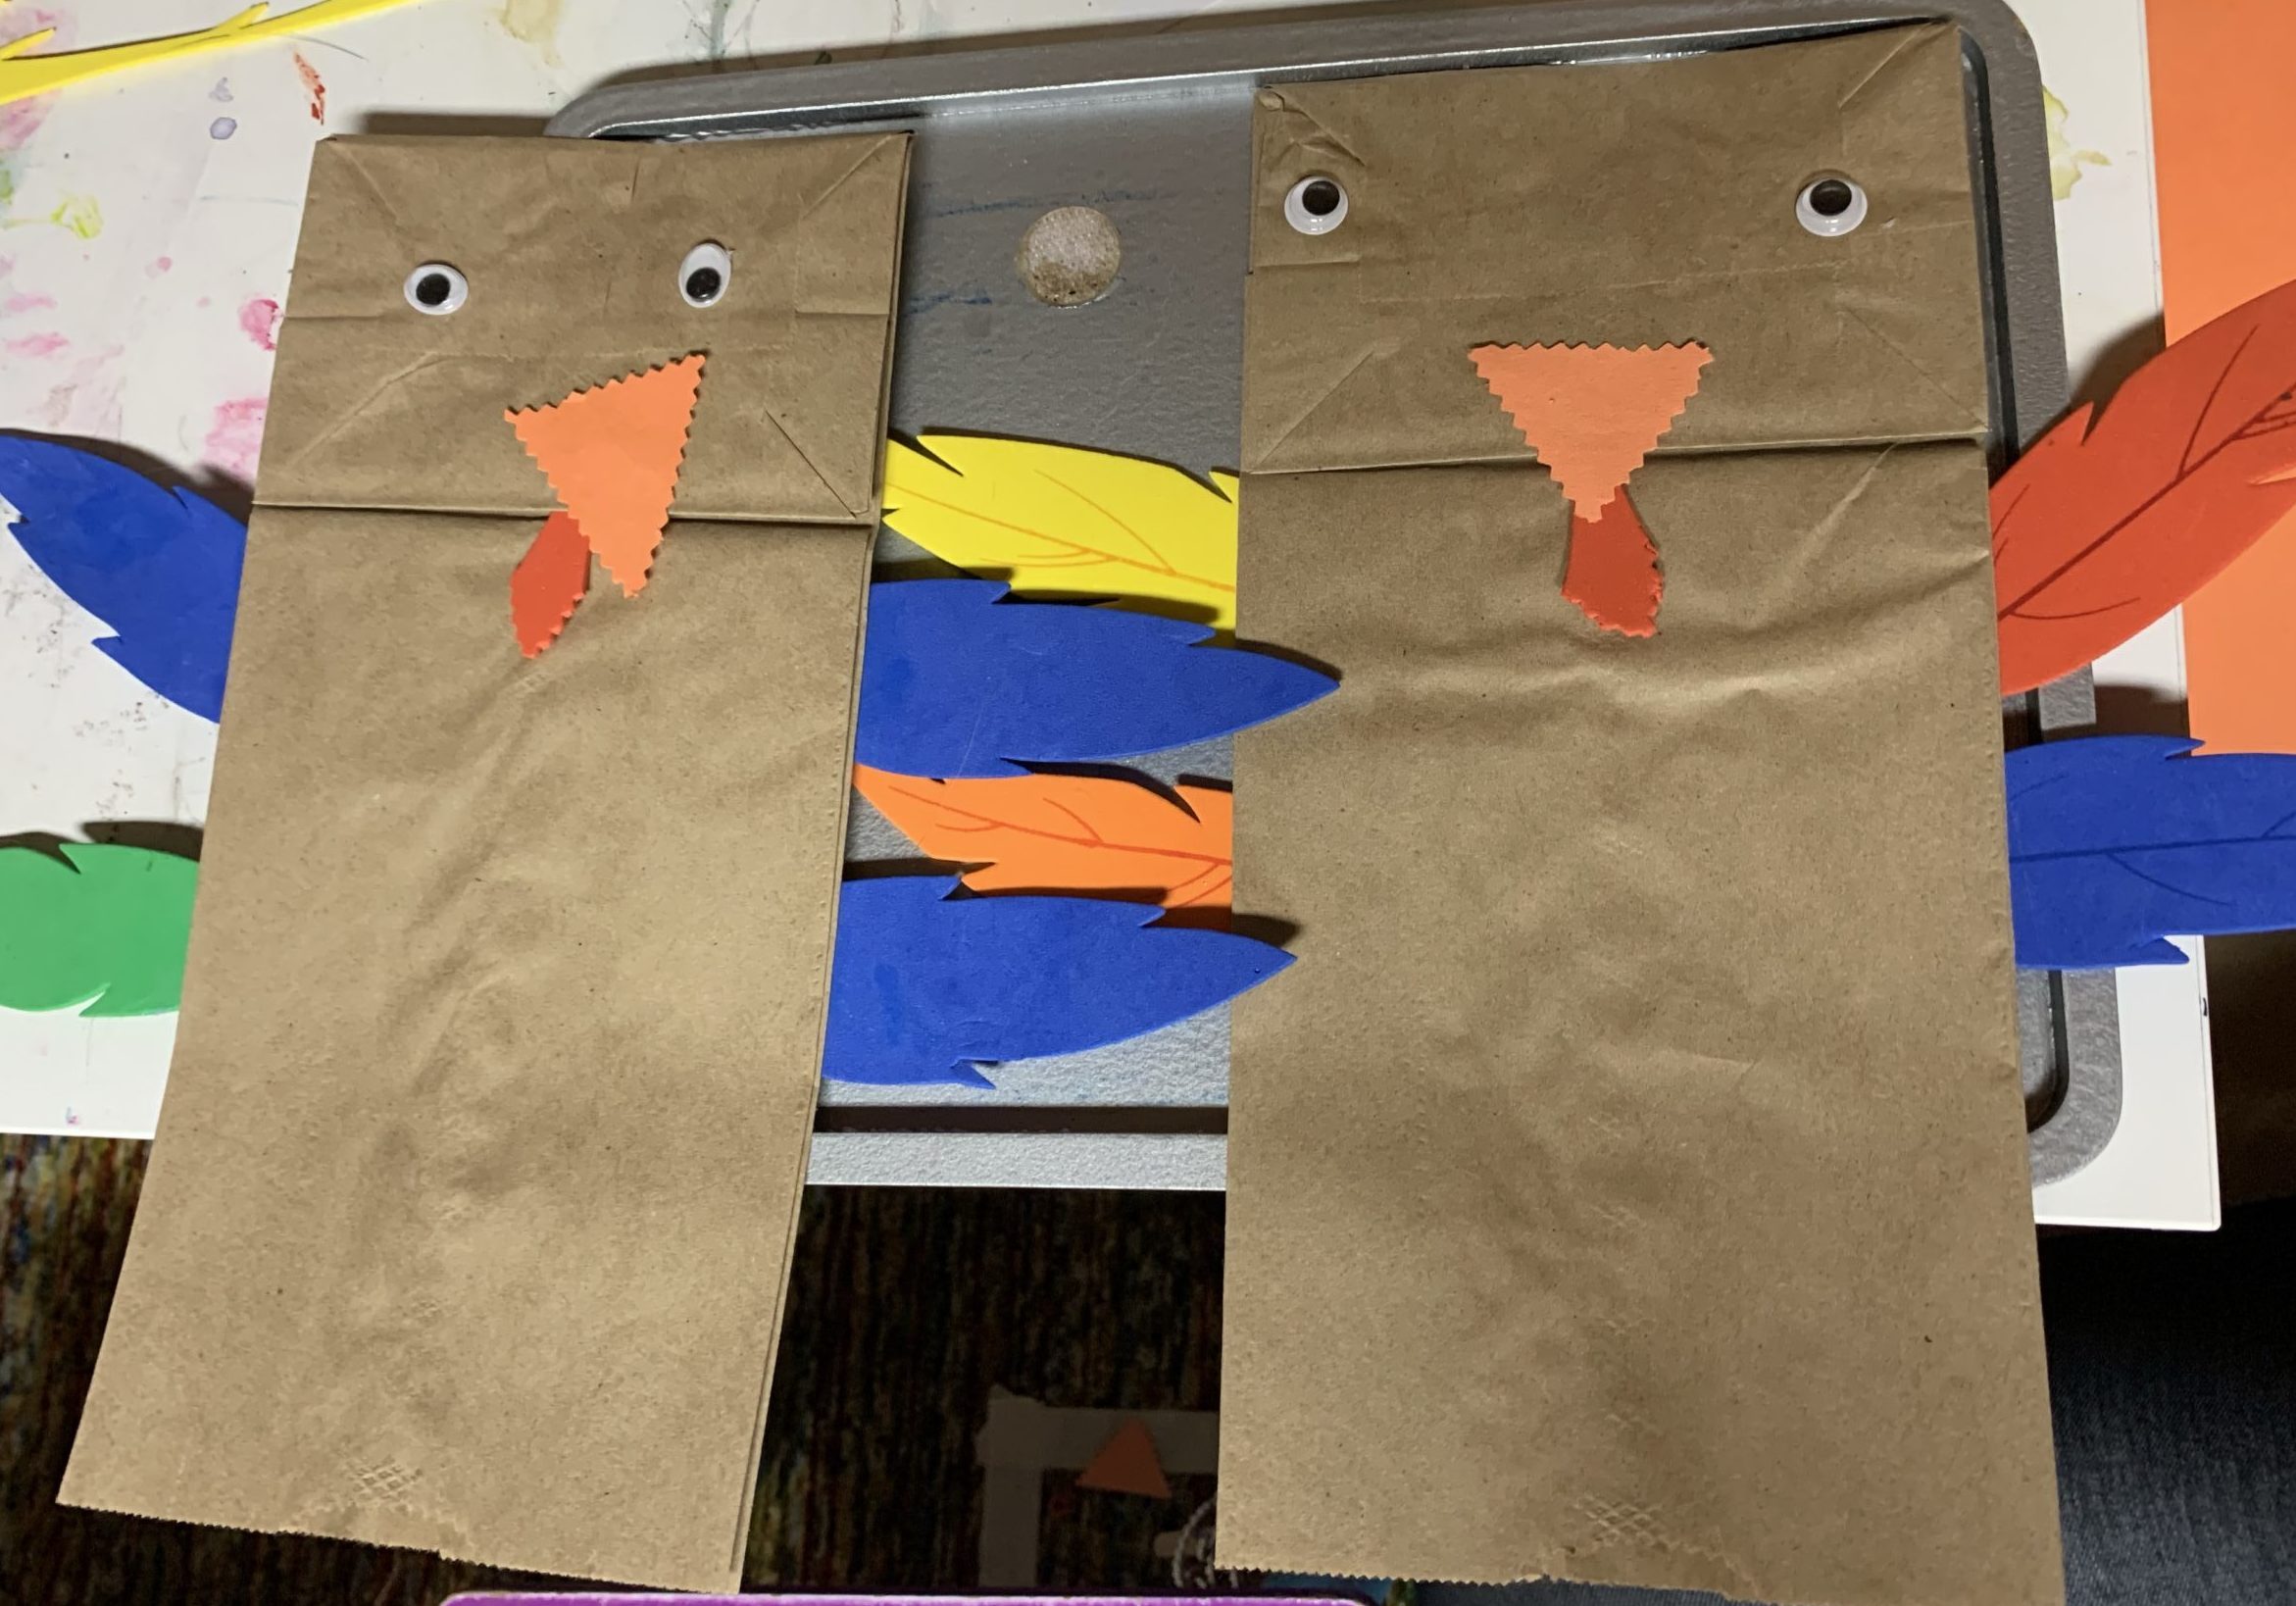
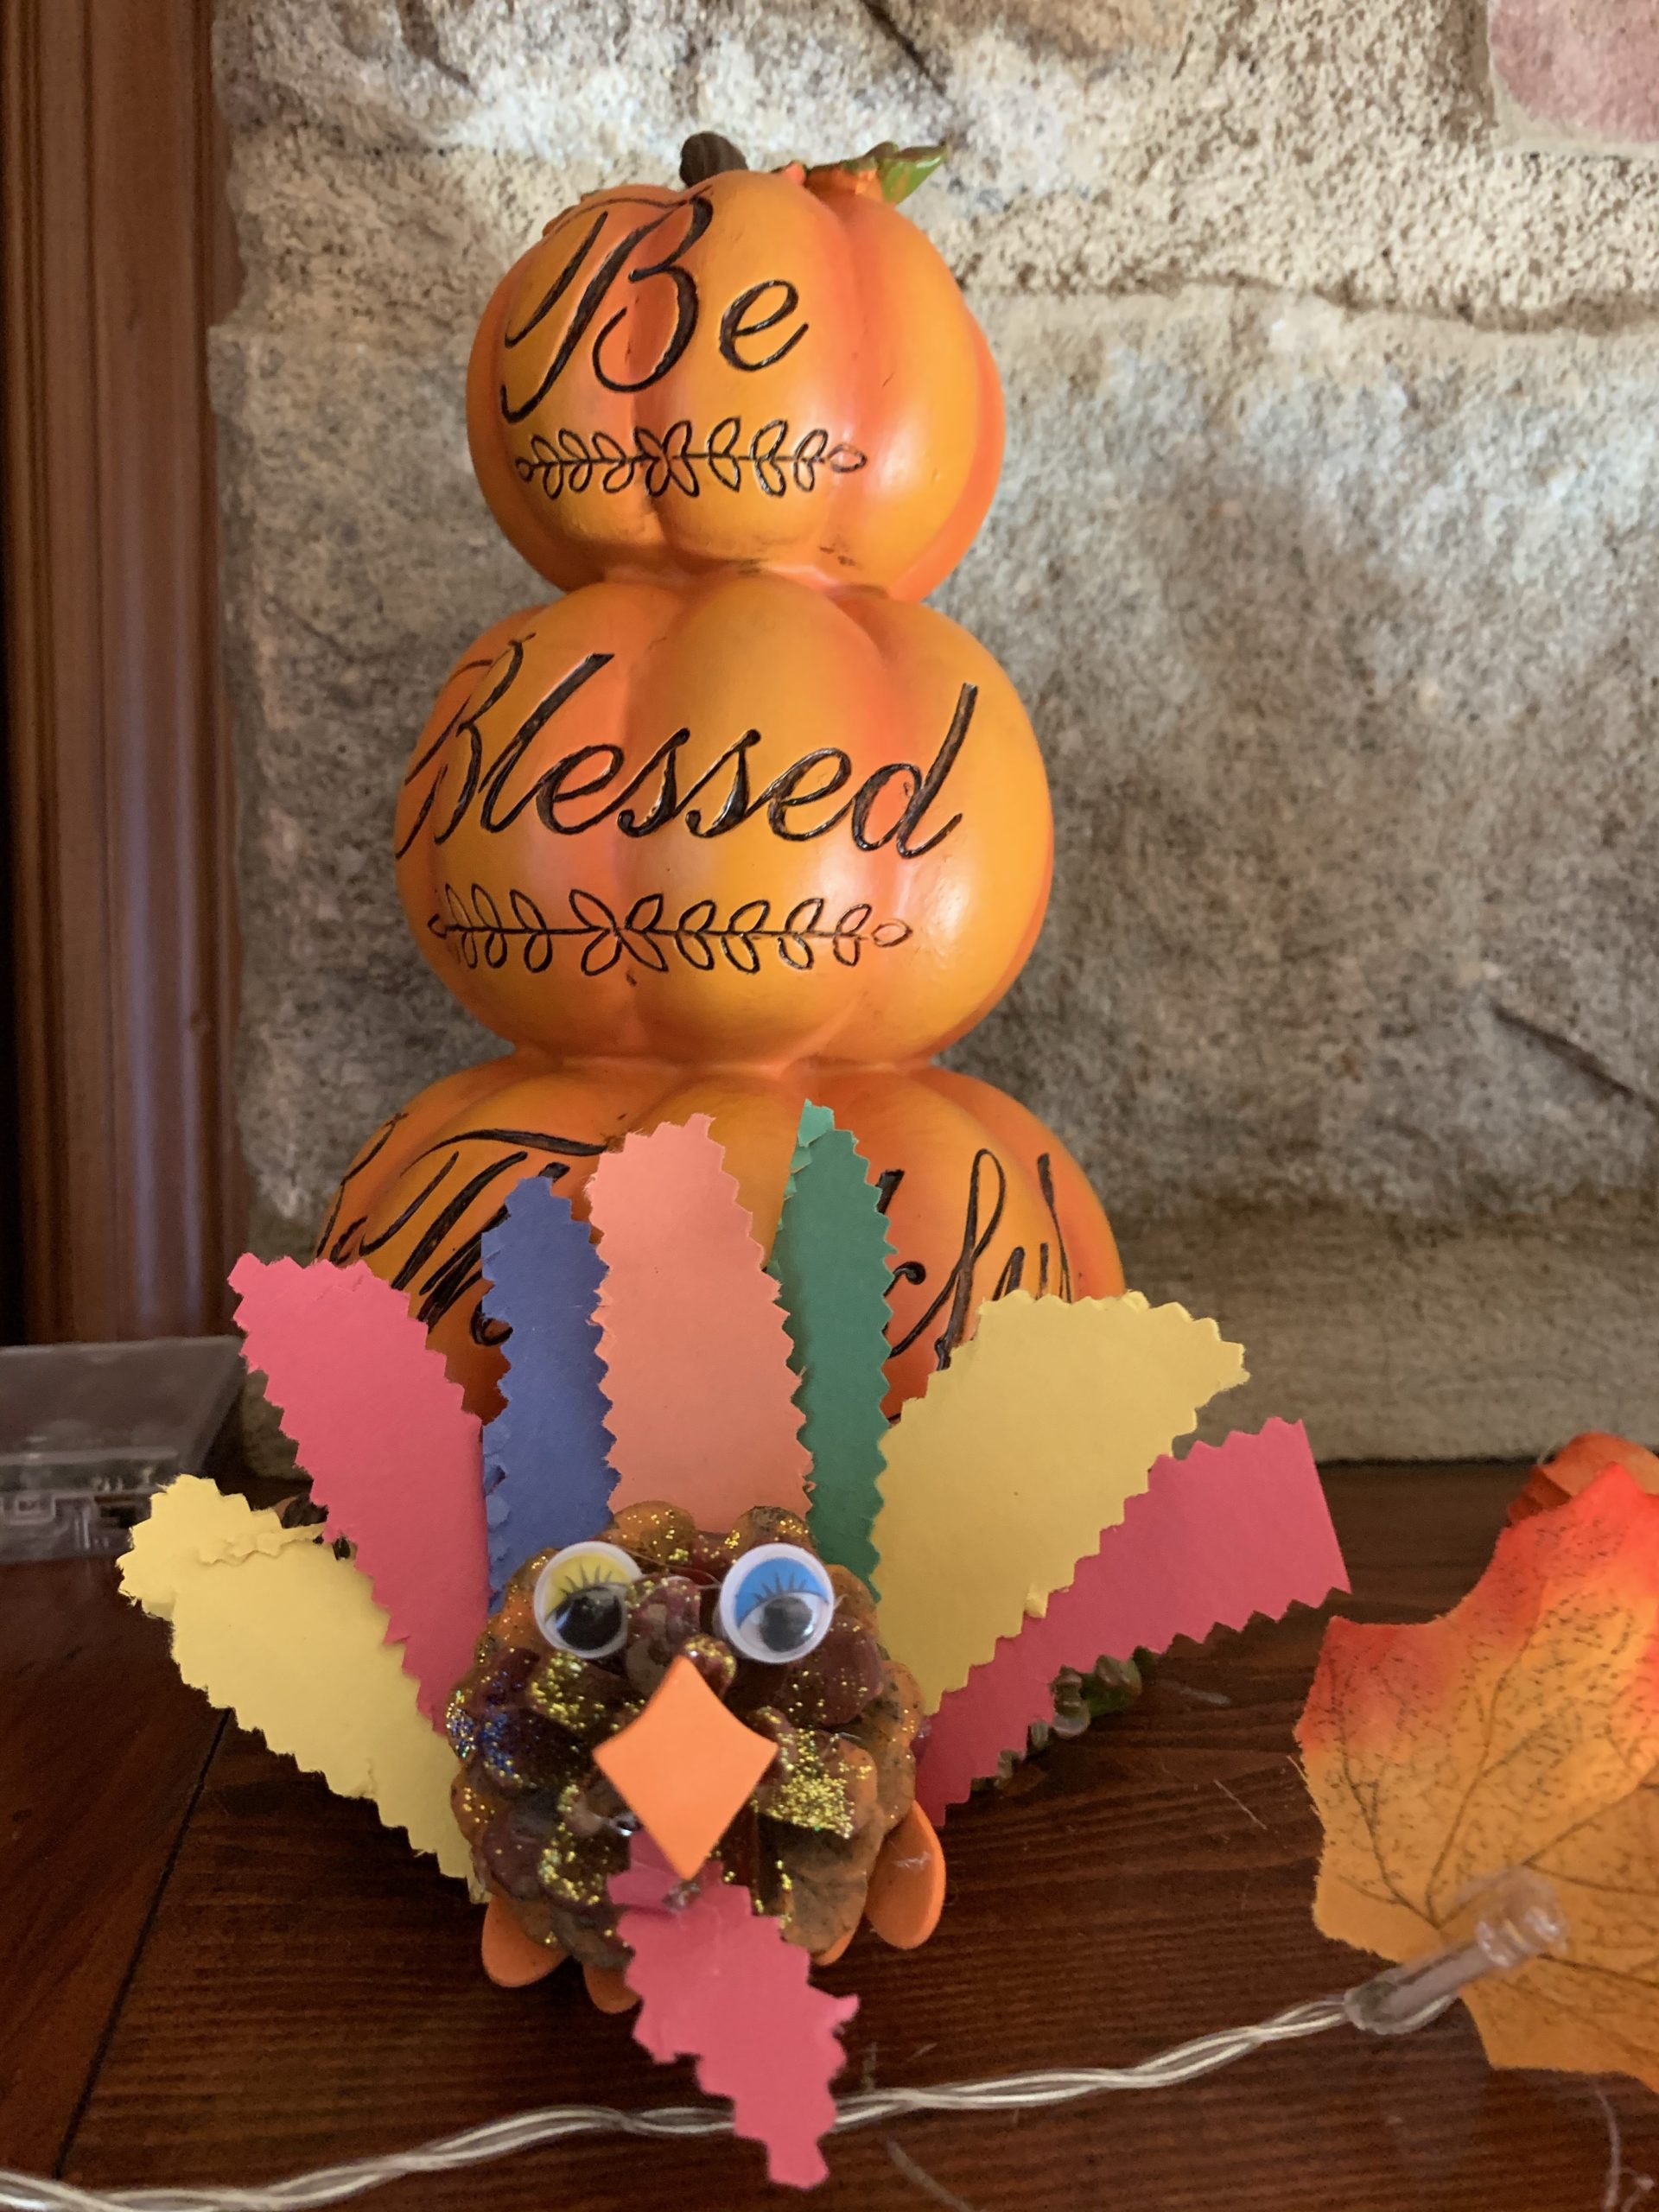
 You can of course decorate your turkey any way you like with any materials! Get creative and enjoy!