Strawberry Picking

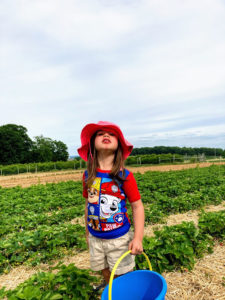
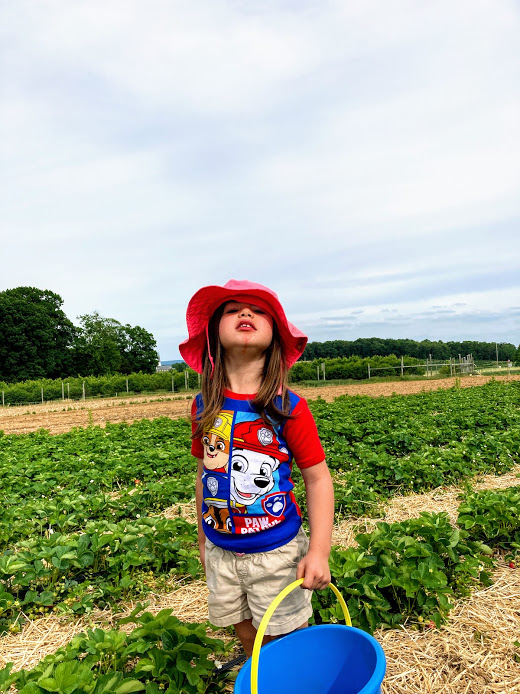
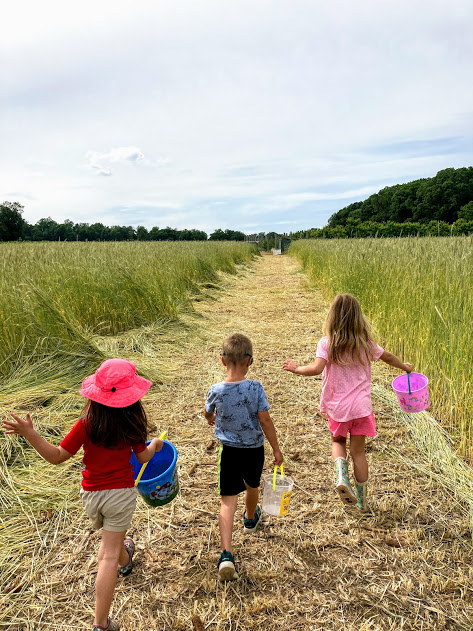
Yum!!! It’s the season for delicious mouth-watering strawberries!!! There’s nothing like picking them right from the field and eating them. Of course you don’t want to eat so many you have strawberry juice all over your face like our kiddos.

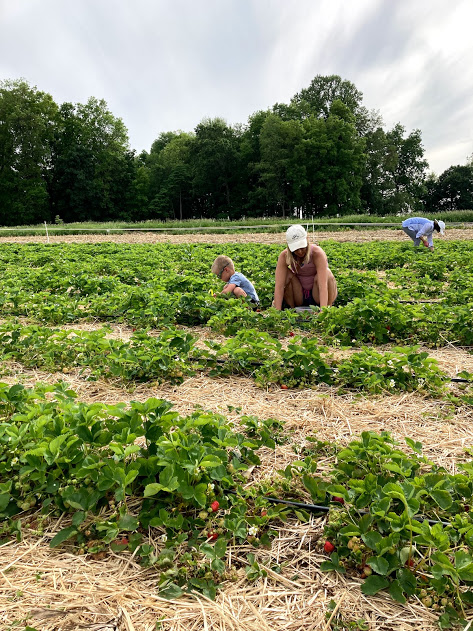
We ended up picking tons of fresh strawberries which we will use for countless recipes like strawberry pie, smoothies and shortcake!

Here are some things to remember before you go picking:

  1. Call ahead. Many strawberry fields get picked out in a day, especially at the beginning of the season. Call ahead to wherever you are picking to make sure there are plenty left!
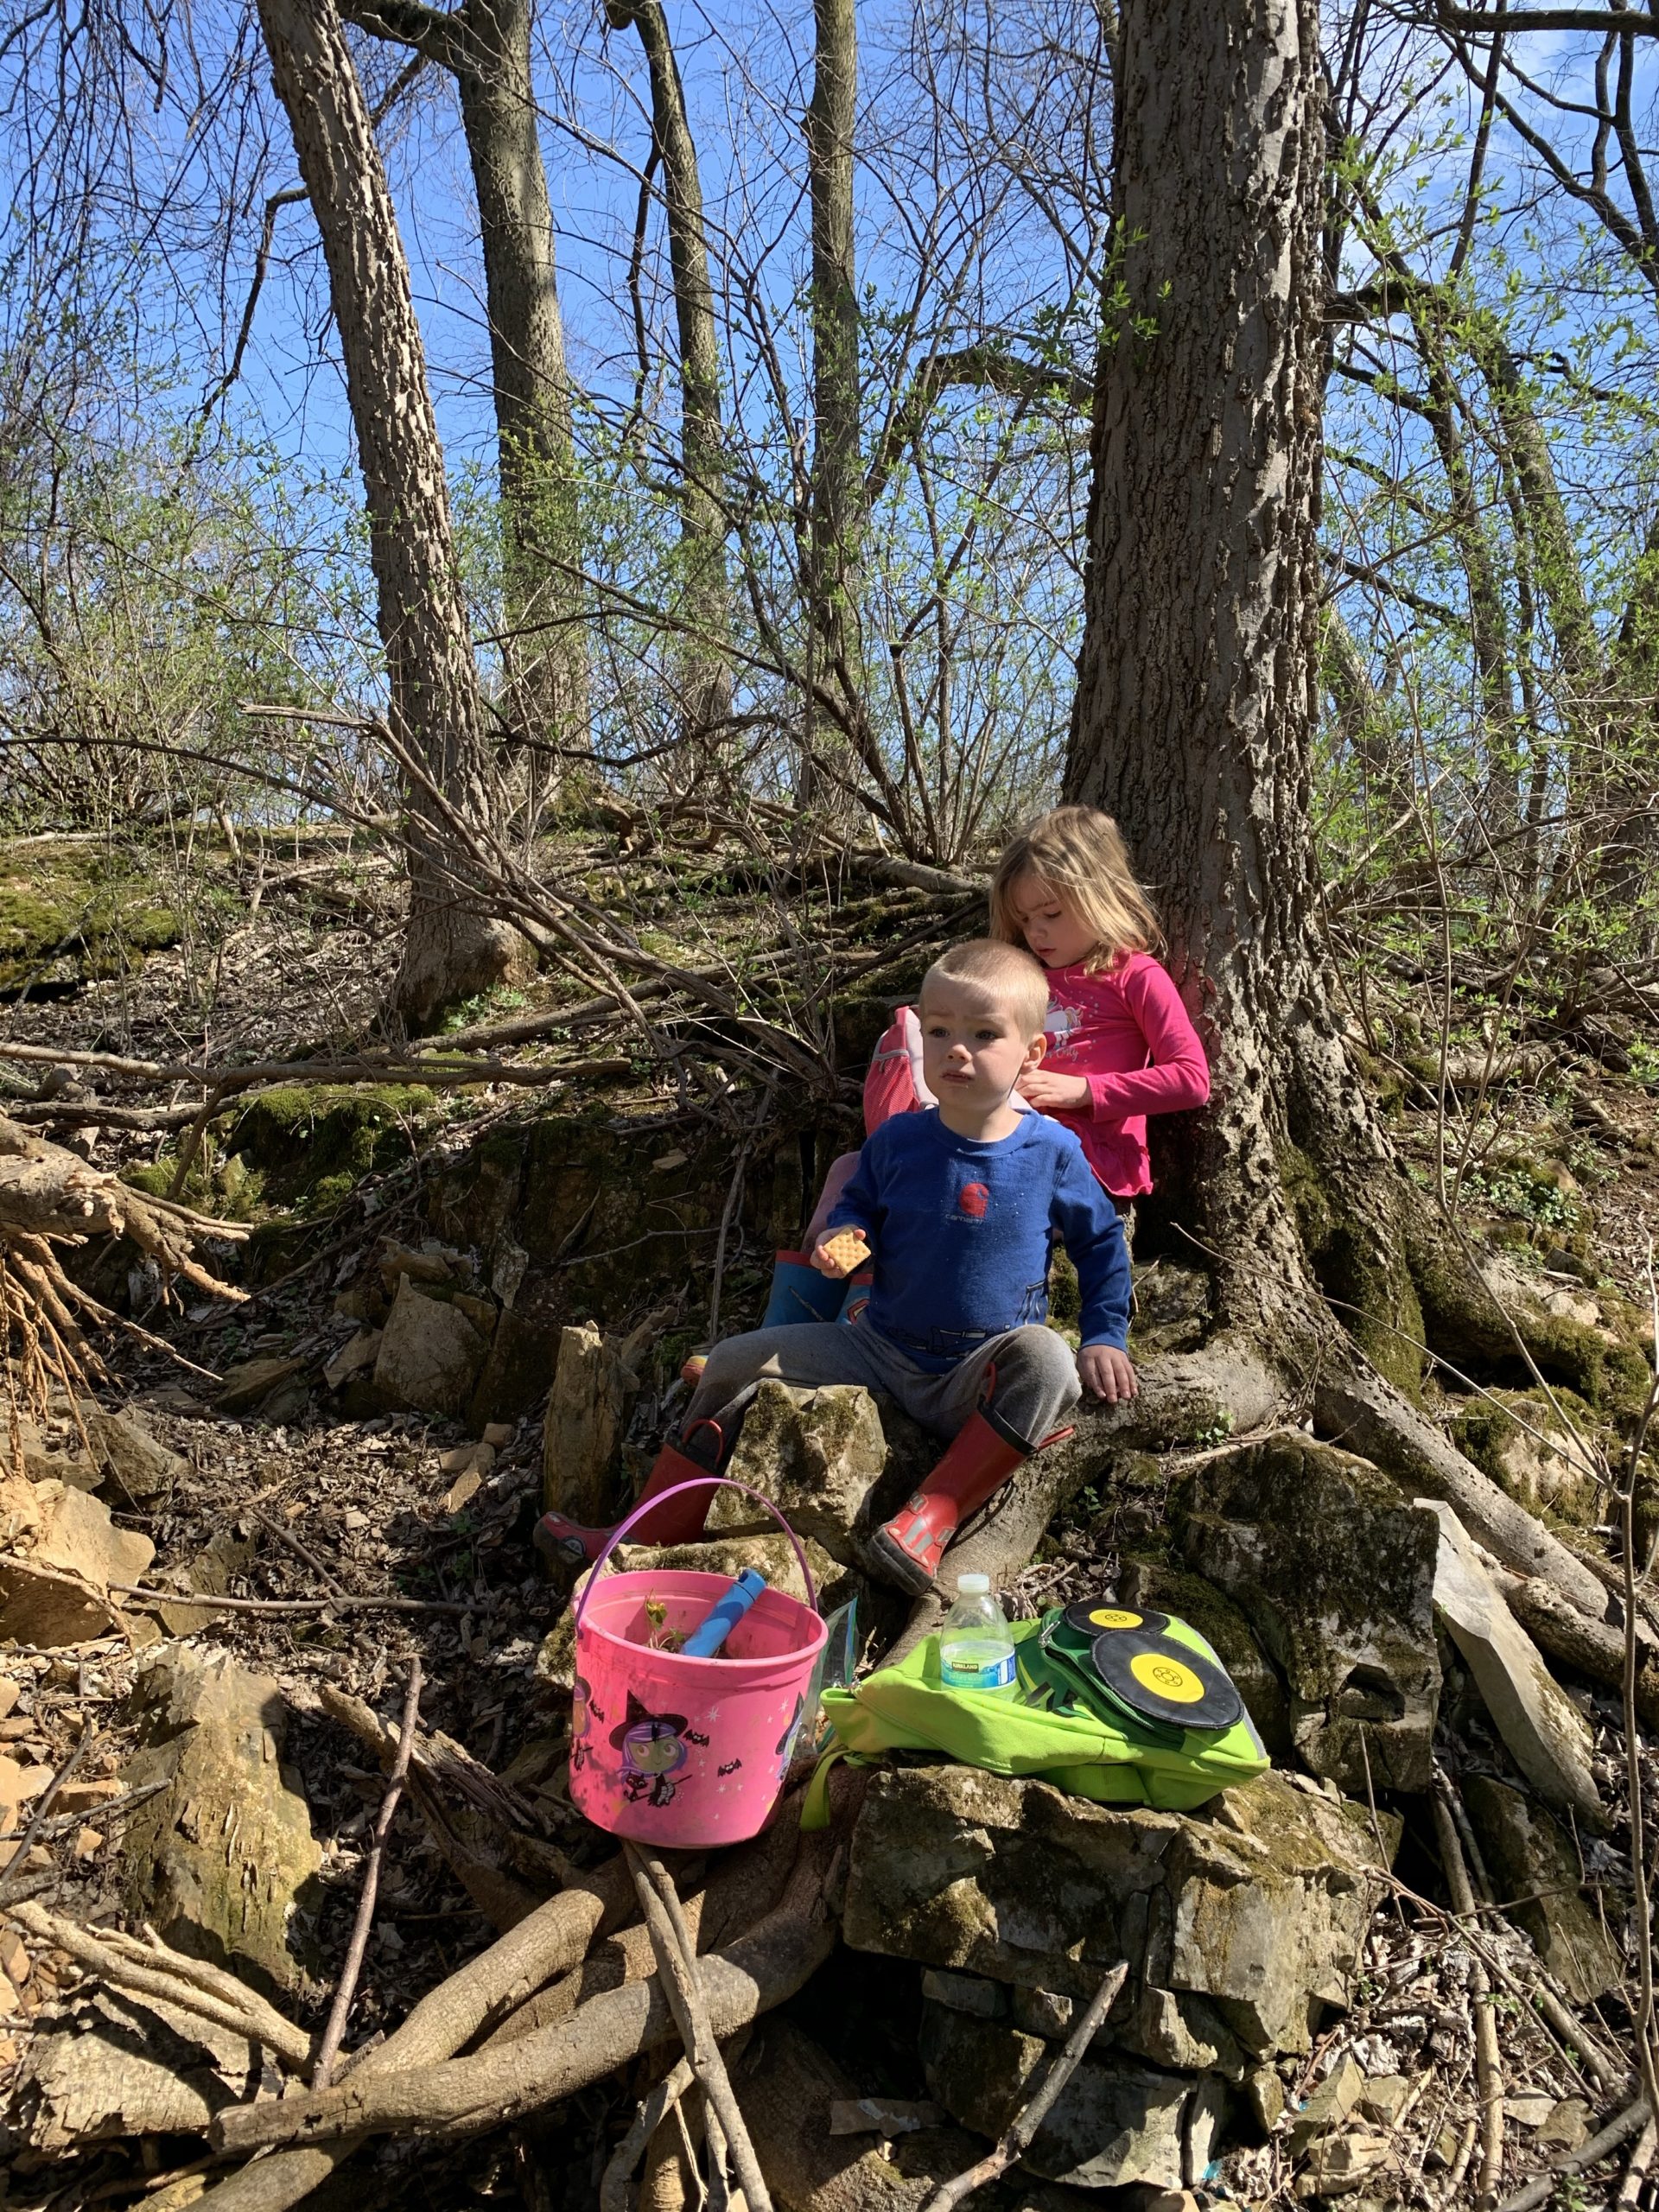
  2. Bring  a hat, apply sunscreen and wear your old sneakers. If it rained recently you might consider rain boots as it may be muddy!
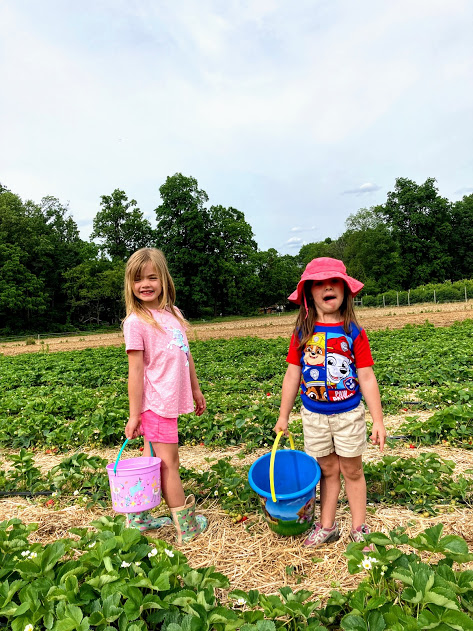
  3. See if you need to bring buckets or bowls to pick. Some patches have a policy where they give you the container to pick. Other patches like you to bring your own bowl which they will weigh ahead of time. Your bucket will be weighed afterward to figure out the price per pound.
  4. Prep the kids on what to pick. Tell them to pick ripe only-red but not mushy. You don’t want a bowl full of white or green strawberries!
  5. Taste some while you are there, but not too many as it’s rude and they probably still have chemicals on them! My daughter ended up with NO strawberries in her bucket because she kept eating them. It happens.
  6. ENJOY!!!


FollowFacebookpinterestrssyoutube
ShareFacebookpinterest

25 Ideas for Advent Calendars (&Crafts)

Today there are many advent calendars that can be bought, ranging from simple chocolates to complex lego advent calendars.  There are wine, book, superhero, and just about anything advent calendars that can be bought for a price.   I remember having certain Christmas traditions in my home as a child and want my children to experience similar fond memories when they are older. So I purchased a German Christmas pyramid second hand (as they can be very expensive and knowing children, it most likely will break).

I also decided to buy an advent calendar for my children.  I decided one sturdy wooden advent calendar would do the trick!  I saw many beautiful lit ones for higher prices; however, I felt they could easily be broken.  I finally decided on one I purchased at Lowes.

Now, the big question is, what should I fill each day with? So many options, but such a SMALL space. So, only very small items fit, such as two Hershey kisses or two small mini candy bars and the door wont completely shut. I didn’t want to start off with something too grand in the first door. My kids were excited about chocolate, so that’s what I did, two very small pieces of chocolate.

For the other doors, I will have some small chocolates in a couple, but I have many other cute and fun items for the kiddos. I’ll leave a very small piece of paper in the day that will have a clue to where their item is located. I was going to go into scavenger hunts, but lets be real, I would rather relax for a couple minutes after bed (or do this post), instead of trying to come up with an elaborate hunt they will be done with in 5 mins!  Since my children can’t completely read yet, I decided using pictures might be best.  So in day 2 I will put a picture of a christmas tree. They will run to the tree and see a pack of fruit flavored candy canes under the tree to hang up on the tree.

Here are some other ideas of items you can leave notes for:

  1. Candy
  2. Christmas books
  3. Plato
  4. wooden /ceramic projects
  5. Felt snowman fun
  6. any kind of christmas project including photo ornaments, easy glitter ornaments, and many other ones on this website
  7. ornaments for the tree
  8. Christmas clothing
  9. Christmas lights
  10. coloring books
  11. Christmas cookies
  12. Baking recipe to make cookies
  13. Sprinkles for cookies
  14. Hot cocoa packet/marshmallows..or homemade hot cocoa
  15. Christmas movie
  16. Christmas mask (2020)
  17. Christmas headband, clips, socks
  18. Small stuffed Christmas santa, elf etc.
  19. Sock Snowman (either made or have supplies to make)
  20. Felt Christmas tree (can make one, or if child is old enough they can make it!) or just an ornament to add to their current felt C
  21. Christmas tree!
  22. Tree Prints!
  23. Salt dough wreath, ornament, or garland!
  24. +Pomander Ball supplies
  25. Felt Snowman Fun!
  26. Singing holiday card/toy/Christmas solar bobble head

ENJOY AND HAVE FUN!!

FollowFacebookpinterestrssyoutube
ShareFacebookpinterest

Construction Counting Fun!

Construction Counting Fun!

If you have a boy or girl who loves construction vehicles, then this activity is a fun counting activity!  Not only do young ones like using their front end loaders or excavators to lift up the beans, they also learn their numbers!


You can use uncooked beans such as I did, or anything that can be scooped up. Examples include rocks, beans, beads, food items, and others. Obviously, you do NOT want to use something small for children under 3 or children who still put things in their mouth.  Supervising the activity is important as well.


FollowFacebookpinterestrssyoutube
ShareFacebookpinterest

Leaf tracing fun

Leaf tracing is easy, fun, and inexpensive! I might even enjoy it more than my kids!

All you need is white paper, crayons, and leaves!


Go outside and collect all different fall leaves, even strawberry plant leaves, tall grasses, any leaf will work!


Then, place the leaf underneath the white paper and use the crayon to rub on it! Make sure you hold the paper down and leaf with one hand while you are coloring.

I also find the stems and veins of the leaves show up much clearer if you flip the leaf to the back and trace it.


Enjoy this easy creative craft and post your pictures below! 


FollowFacebookpinterestrssyoutube
ShareFacebookpinterest

Letter Activities

If you have a preschooler or even a toddler you can do some fun craft activities with them! Today we focused on the letter “M” since my daughter’s name is Madison.

We read an ABC book and focused on the letter M. Next we did Madison’s favorite: crafts!

M is for marshmallows! This activity is fun because your child not only gets to eat some marshmallows but starts to learn letter recognition.

Yes, those are yard sale stickers. We didn’t have any blank ones left so we used what we had!

For this activity you will need to cut the letter M out of construction paper and glue it onto another paper. Next, use dot stickers and have your child put them on the letter m. Finally, have your child or yourself put glue dots on each sticker and stick on marshmallows. If you have an older child you can have them do patterns with marshmallows in different colors and count marshmallows.

All you need for this craft is buttons, glue, and paper. If you don’t have buttons you could use other items like stickers or pom poms. Use the glue to draw the letter M and then have your child put on the buttons!

She had so much fun she kept asking for more M arts and crafts. Other M activities could include drawing 2 moose antlers and stapling/taping them to make them into headband. Making M monsters by writing the letter M and adding googly eyes and many hands/legs/tentacles, whatever your child wants would work too!

We decided to end the day with movement!

FollowFacebookpinterestrssyoutube
ShareFacebookpinterest

Rescue the Numbers!

There are many simple ways to get your child to start to recognize numbers without drilling them. One activity is called, “Rescue the Numbers!”

Materials: a bucket/bowl/container with water, spoon, numbers (I used foam), paper, plastic sleeve (I had a lamination sleeve)

I traced the numbers onto a blank paper and put it in a lamination sleeve, this way it stayed dry. Next, I put all of the numbers into the container with water & she got to have fun taking them out! If you have numbers and you can draw faces on them your child would like that even more!

I had the numbers saying, “Help!” and when she got each one out I’d say the number (or she would) and she would match them on the paper. When they were all done we counted them while pointing to each one.

She ended up putting in some rocks and making them sink, then pretending they were stuck and she had to rescue them again. We also talked about sinking and floating. She loved it so much she asked to do more (next time I’ll do the alphabet).

FollowFacebookpinterestrssyoutube
ShareFacebookpinterest

Tree Prints!

Madison loves painting and gluing, so this craft is the perfect combination! I wanted something that we could easily mail to grandparents and this fit the bill!

Materials:

  • construction paper in the color of your choice for the “trunk” of the tree
  • white paper
  • paint in various colors for the “leaves”
  • assorted markers or crayons
  • glue

3

Trace your child’s hand and arm for the branches and trunk of the tree.


Next, cut out the trunk and branches and glue them to the white paper.


1 - Copy


Choose different colors of paint and have your child use their thumb or fingers to make “leaves.” Madison liked making the leaves all over the place. You can vary the colors based on the season you are creating.

For summer, use lots of different green colors. For fall, use browns, reds and yellows. For winter ,use a different color background like blue and do white snowflake prints. For spring, choose colors like pink, purple, green, and yellow!


4

If your child is a little older then they can draw different scenery, animals and clouds. Your child could also add stickers. We sent these to her grandparents and they loved them!FollowFacebookpinterestrssyoutube
ShareFacebookpinterest

An Outside Play Area

I have been using pinterest a lot lately. Since being home due to the coronavirus crisis, I have more time on my hands and I love being outdoors and doing projects for my little one. I really wanted an area for a mud kitchen and a place for her play house and slide. I found many really cool ideas on pinterest but I had to use materials I already had or that I could get with contactless delivery to my home or car. I ordered landscaping fabric and picked out a spot in my yard along the fence.

IMG_5717

I ended up cutting away some of the fabric as you can see in the picture. I did this so my daughter can dig for dirt near her mud kitchen. I ended up having lots of extra bricks at home which I used to line the outside. I left 2 openings near the playhouse and the slide to get into the area. You could also use edging for the project.

Next I added mulch on top. I went with cedar natural mulch. You definitely don’t want dyed mulch because it will only be a mess. Some people used rubber mulch but I figured that might get too hot in the summer.

60901038882__5FAB6EAD-ED60-4BCC-A765-4746DCAD8804

I added some potted plants around the house.

IMG_5721

I plan to add some stepping stones (which will be tree stump slices) and paint numbers on them.

IMG_5726

I also added a little balance beam (made with bricks and a long piece of wood I had sitting in the garage.

IMG_5729

I used tools from her play set and extra kitchen tools for her mud kitchen. What is a mud kitchen? It’s just an area where kids can create and make “food” out of outdoor materials. Some people buy them, some use old wood, crates, or tables. I had an old side table I was going to get rid of so I used that. I ended up ordering hooks to attach to the fence for her materials and a container with a lid. Before summer I will probably try to add an umbrella or shade to the area using the fence or clothes line for shade.

IMG_5732

She loves her new play area, especially her mud kitchen. She makes “salamander tea” and soup. She heats it up on her stove in her playhouse.

I’d say it’s a hit!FollowFacebookpinterestrssyoutube
ShareFacebookpinterest

Crushed Chalk Paint

Have any old pieces of chalk laying around? If you have lots of chalk, you are bound to have small pieces here and there. Take those pieces and make chalk paint for the driveway or sidewalk! Your child will have fun mixing colors, smashing chalk, and painting up the driveway!

First, take the chalk and crush it into a powder. You can do this by putting it in ziploc bags and smashing it with a hammer. We did it by simply putting it in a bowl and smashing it with a rock (neanderthal style).

IMG_5335

When you have all the chalk crushed add water to the consistency you like. BOOM! There you go! Mix it up. If you want to get rid of the smaller chunks you can use a whisk, but we just kept it simple and mixed it with our paintbrushes.

IMG_5339  IMG_5343

You can use all different sizes of paintbrushes and mix colors. My daughter played with this for over an hour and a half! She probably would’ve done it longer if it wasn’t getting dark outside.

IMG_5350

You might not think your child will love it, but give it a try! While painting the color is not very bright but dries brighter than regular chalk! Enjoy!!FollowFacebookpinterestrssyoutube
ShareFacebookpinterest

Explore…get out there!

Today, when walking down a hill with my two children, an older woman and her dog passed by (don’t worry it was over 6 feet away!), and the woman said, “Oh, don’t go down there it’s treacherous down there! I just smiled and nodded as my son ran up the dry creek bed and tripped on a rock landing face first.  What I thought in my head was, “It’s more dangerous going to the food store these days.”

img_3134

I’m not about to lock the kids in the house, but I’m not going to take them to a crowded park.  Getting outside is important for children’s brains to develop, grow, and learn; not to mention, to have fun and explore!  So get outside and find new paths, hear new bird calls, have a picnic, get wet and jump in puddles for goodness sake! This is the times you and the kids will remember.  In fact, after all this, the kids were exhausted.  My daughter said it was the best day ever!

img_3130

We saw frogs and toads, explored dry creek beds, found “hideouts” (make believe hideouts), looked for fossils under tree roots, climbed mountains (to a kid its a mountain), balanced and walked on logs (with mommy’s hand of course), jumped in puddles, and went through tunnels (under bridges).

img_3135

So pack a backpack, even better, have your kids pack theirs with extra socks, a dish towel (to dry off their feet), snacks, water, magnifying glass, zip-lock bag or bucket (to hold things), binoculars and any other things they want to bring (but that their backpack wont be to heavy and you will end up with it!),

img_3133

When we moved from a less populated wooded area to a more populated neighborhood, I didn’t think we would find so many fun outdoor activities for free this easily!  Behind the baseball field that is near our house is a small woods with boy-scout paths and a creek, and this is fun for days for the kids to explore and play!  I can’t wait for tadpoles!

img_3132

So get out there and explore your surroundings!FollowFacebookpinterestrssyoutube
ShareFacebookpinterest