Twinkle Twinkle

Hello! Guest writer here! I am the blog founder’s twin sister, Jessie, and I’m here to share my decorations and ideas from my little girl Madison’s first birthday party. You can use these decoration ideas for anything from baby showers, birthday parties, to graduation parties depending on what your theme is. If your theme involves stars, pink, or gold then you are in luck!

party
The dessert table before the desserts!

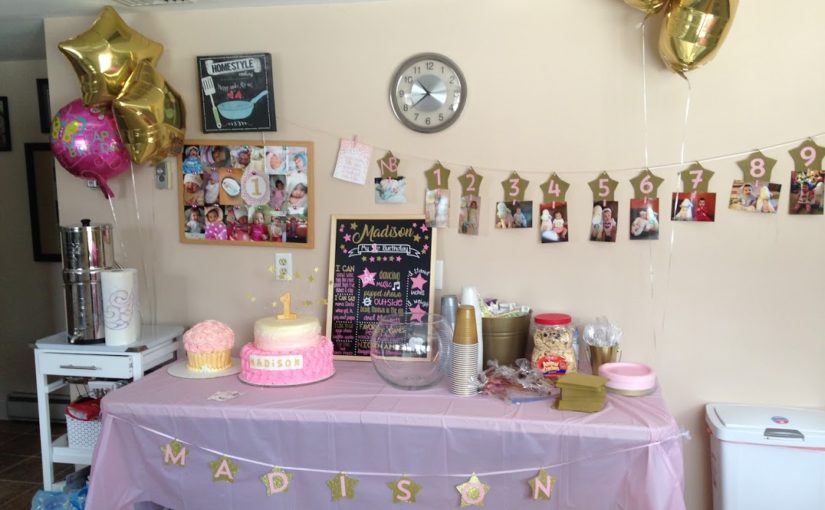
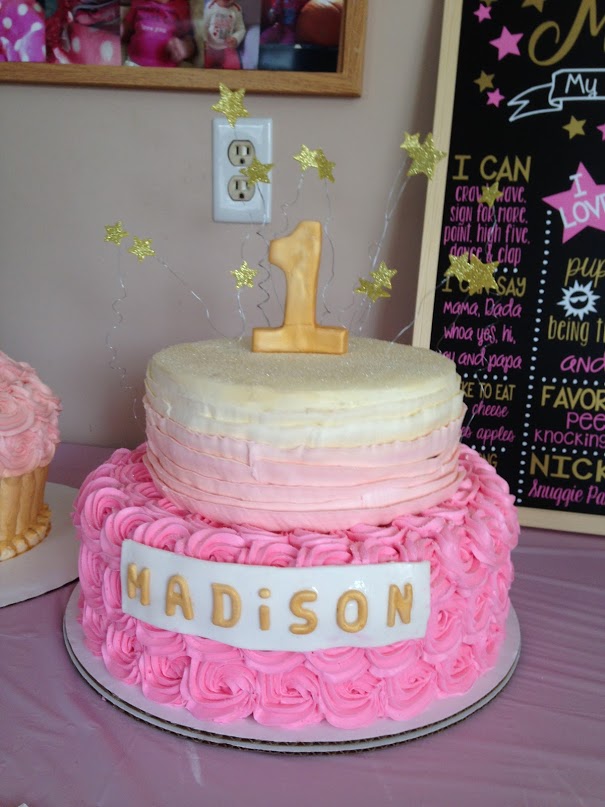
Let’s first start with the pink and gold theme. All of the tablecloths, plates, napkins, and containers are from Walmart. I wanted a good deal, but also wanted it to look good and found the best deals there. Michaels was another store I frequented for ideas and supplies. All of the numbers, letters, and banner supplies were purchased there.

Okay, before we dive too deep into how each decoration was made, let’s check out some pictures!

party6
The birthday girl’s chair!

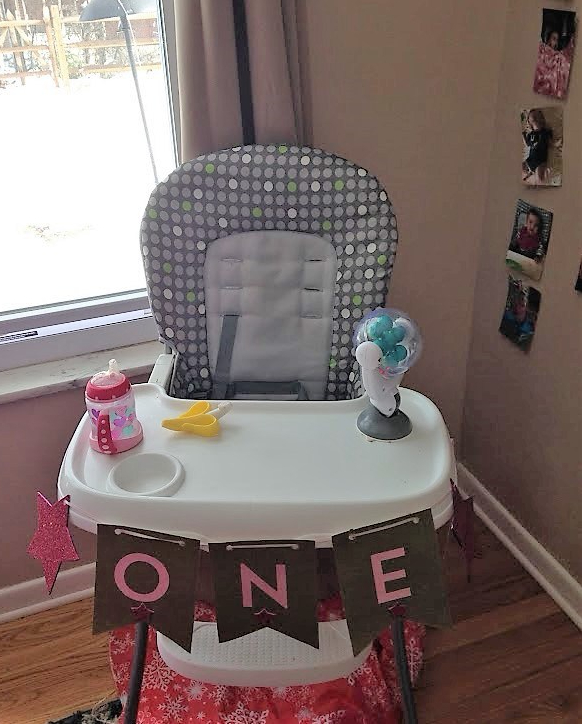
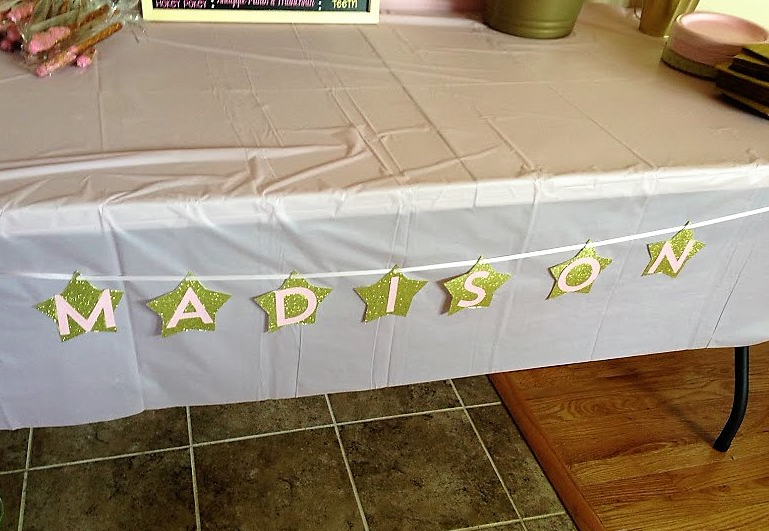
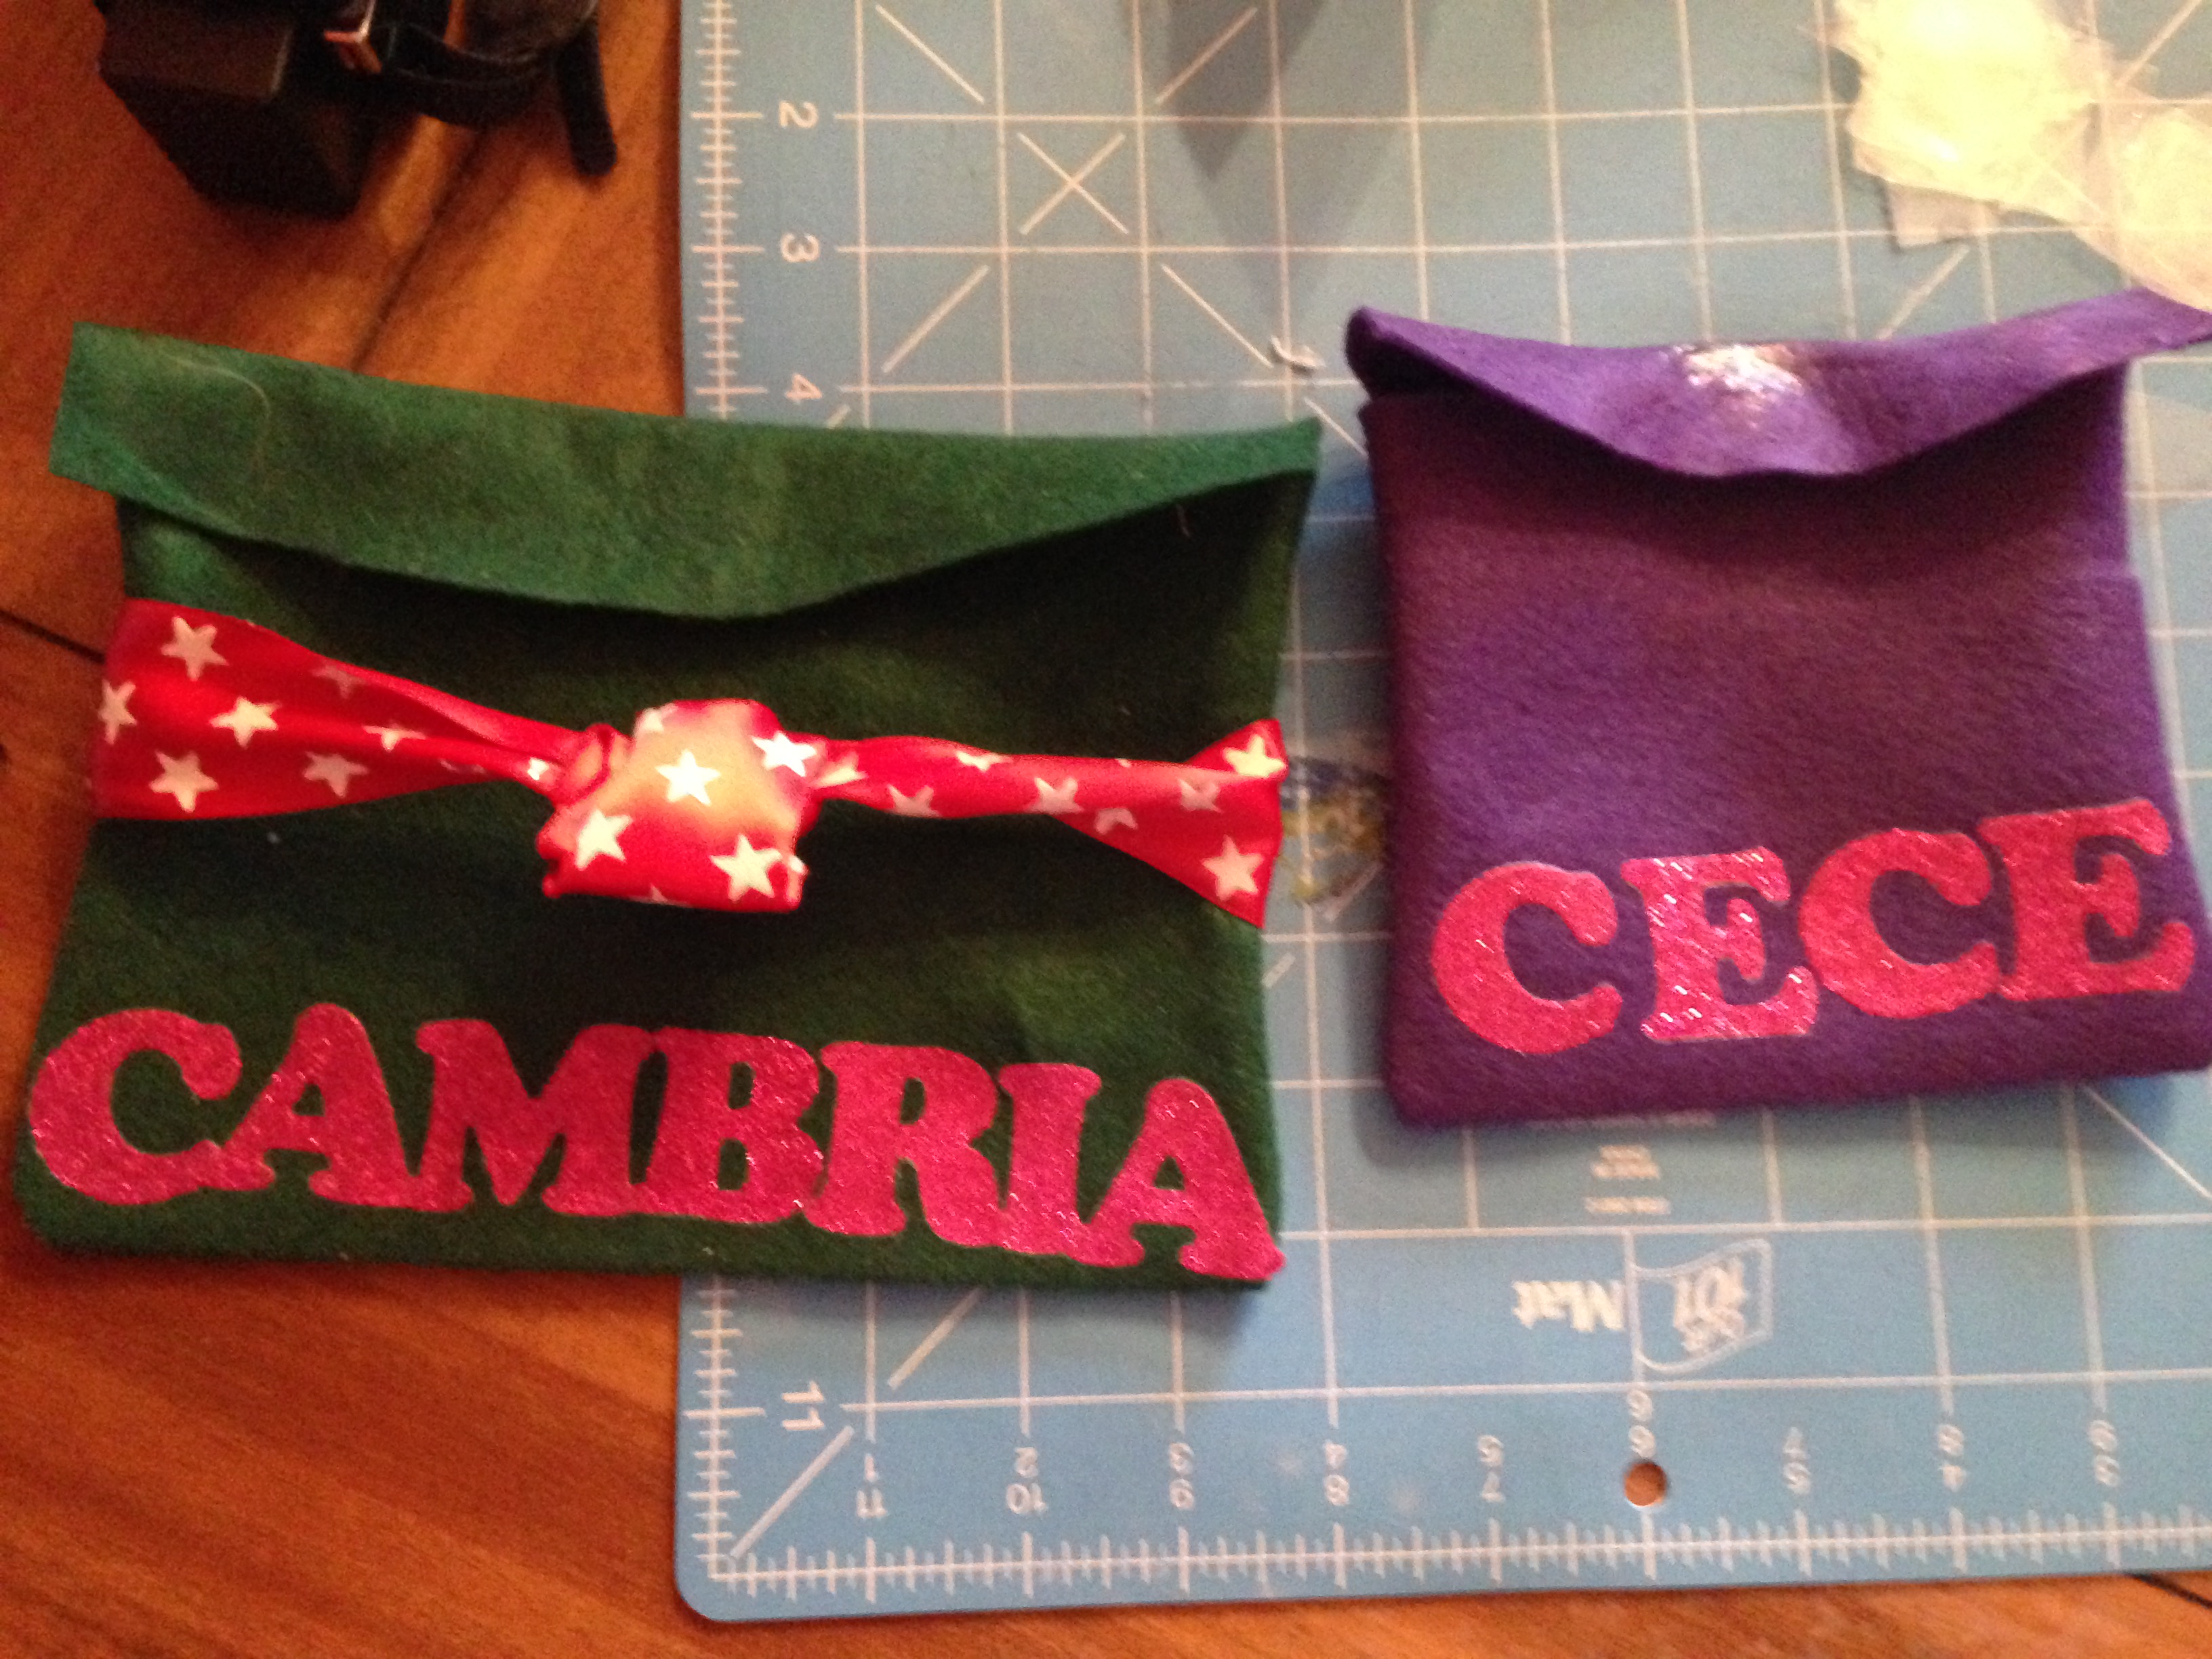
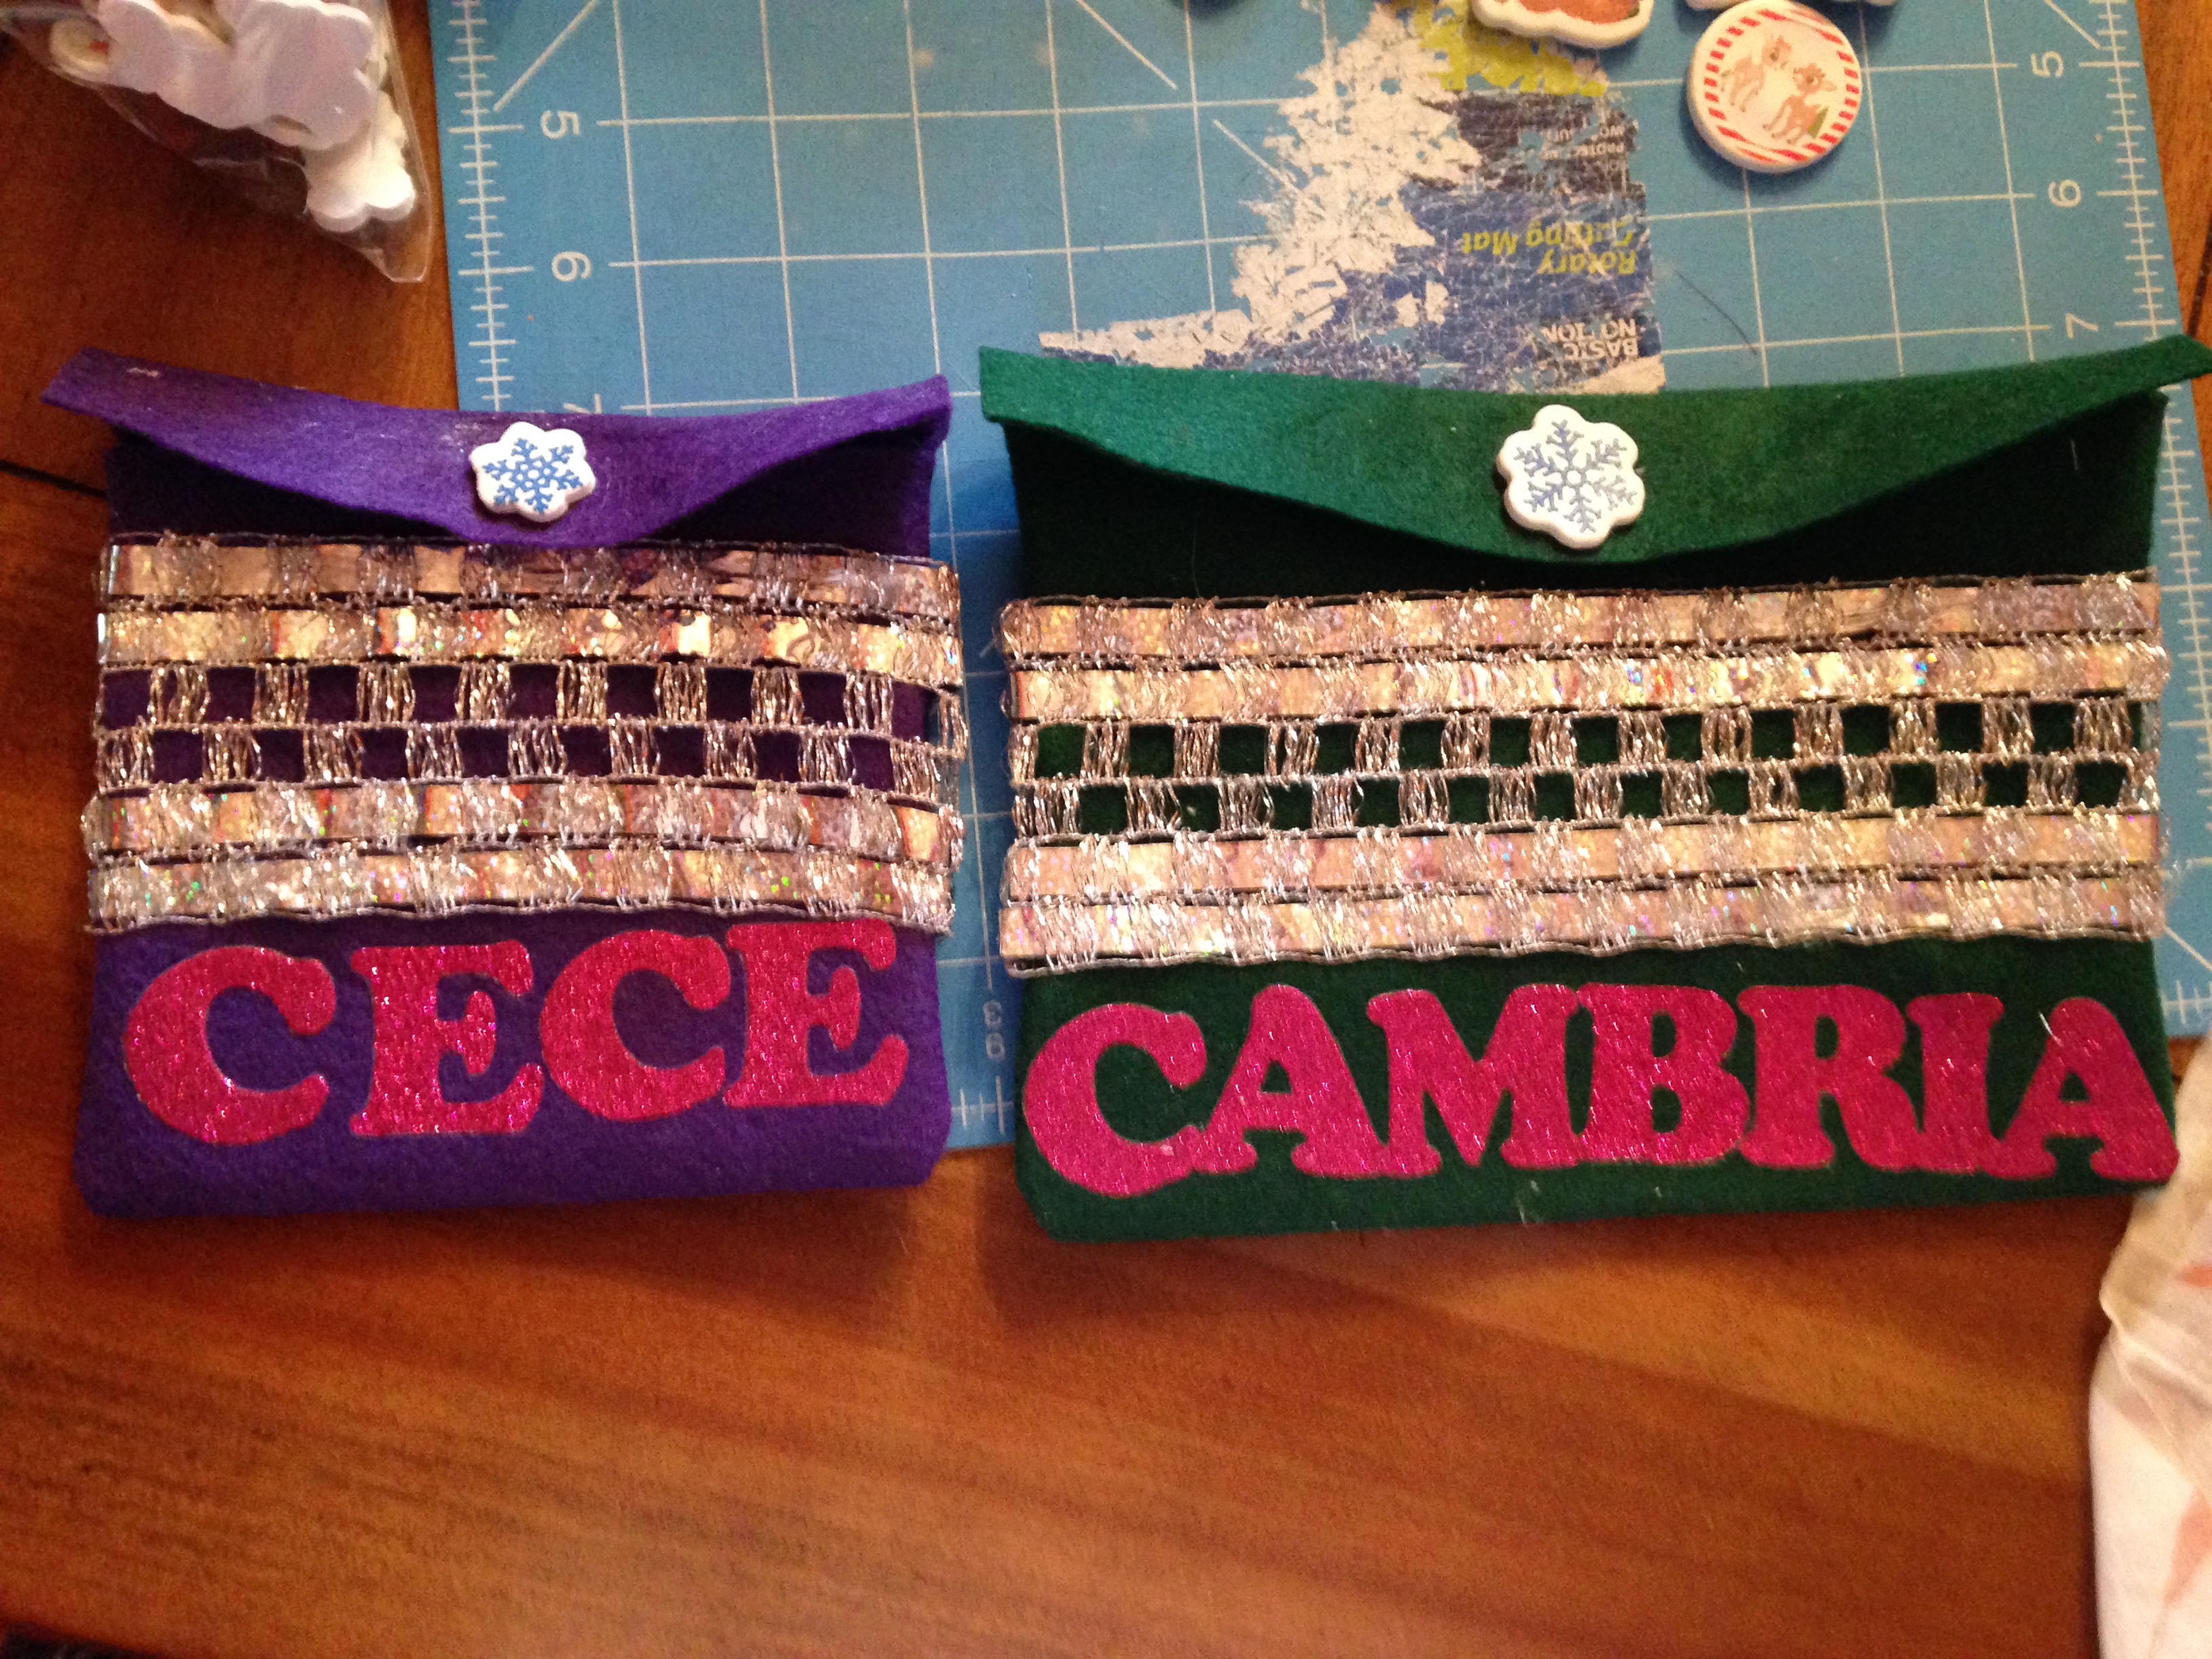
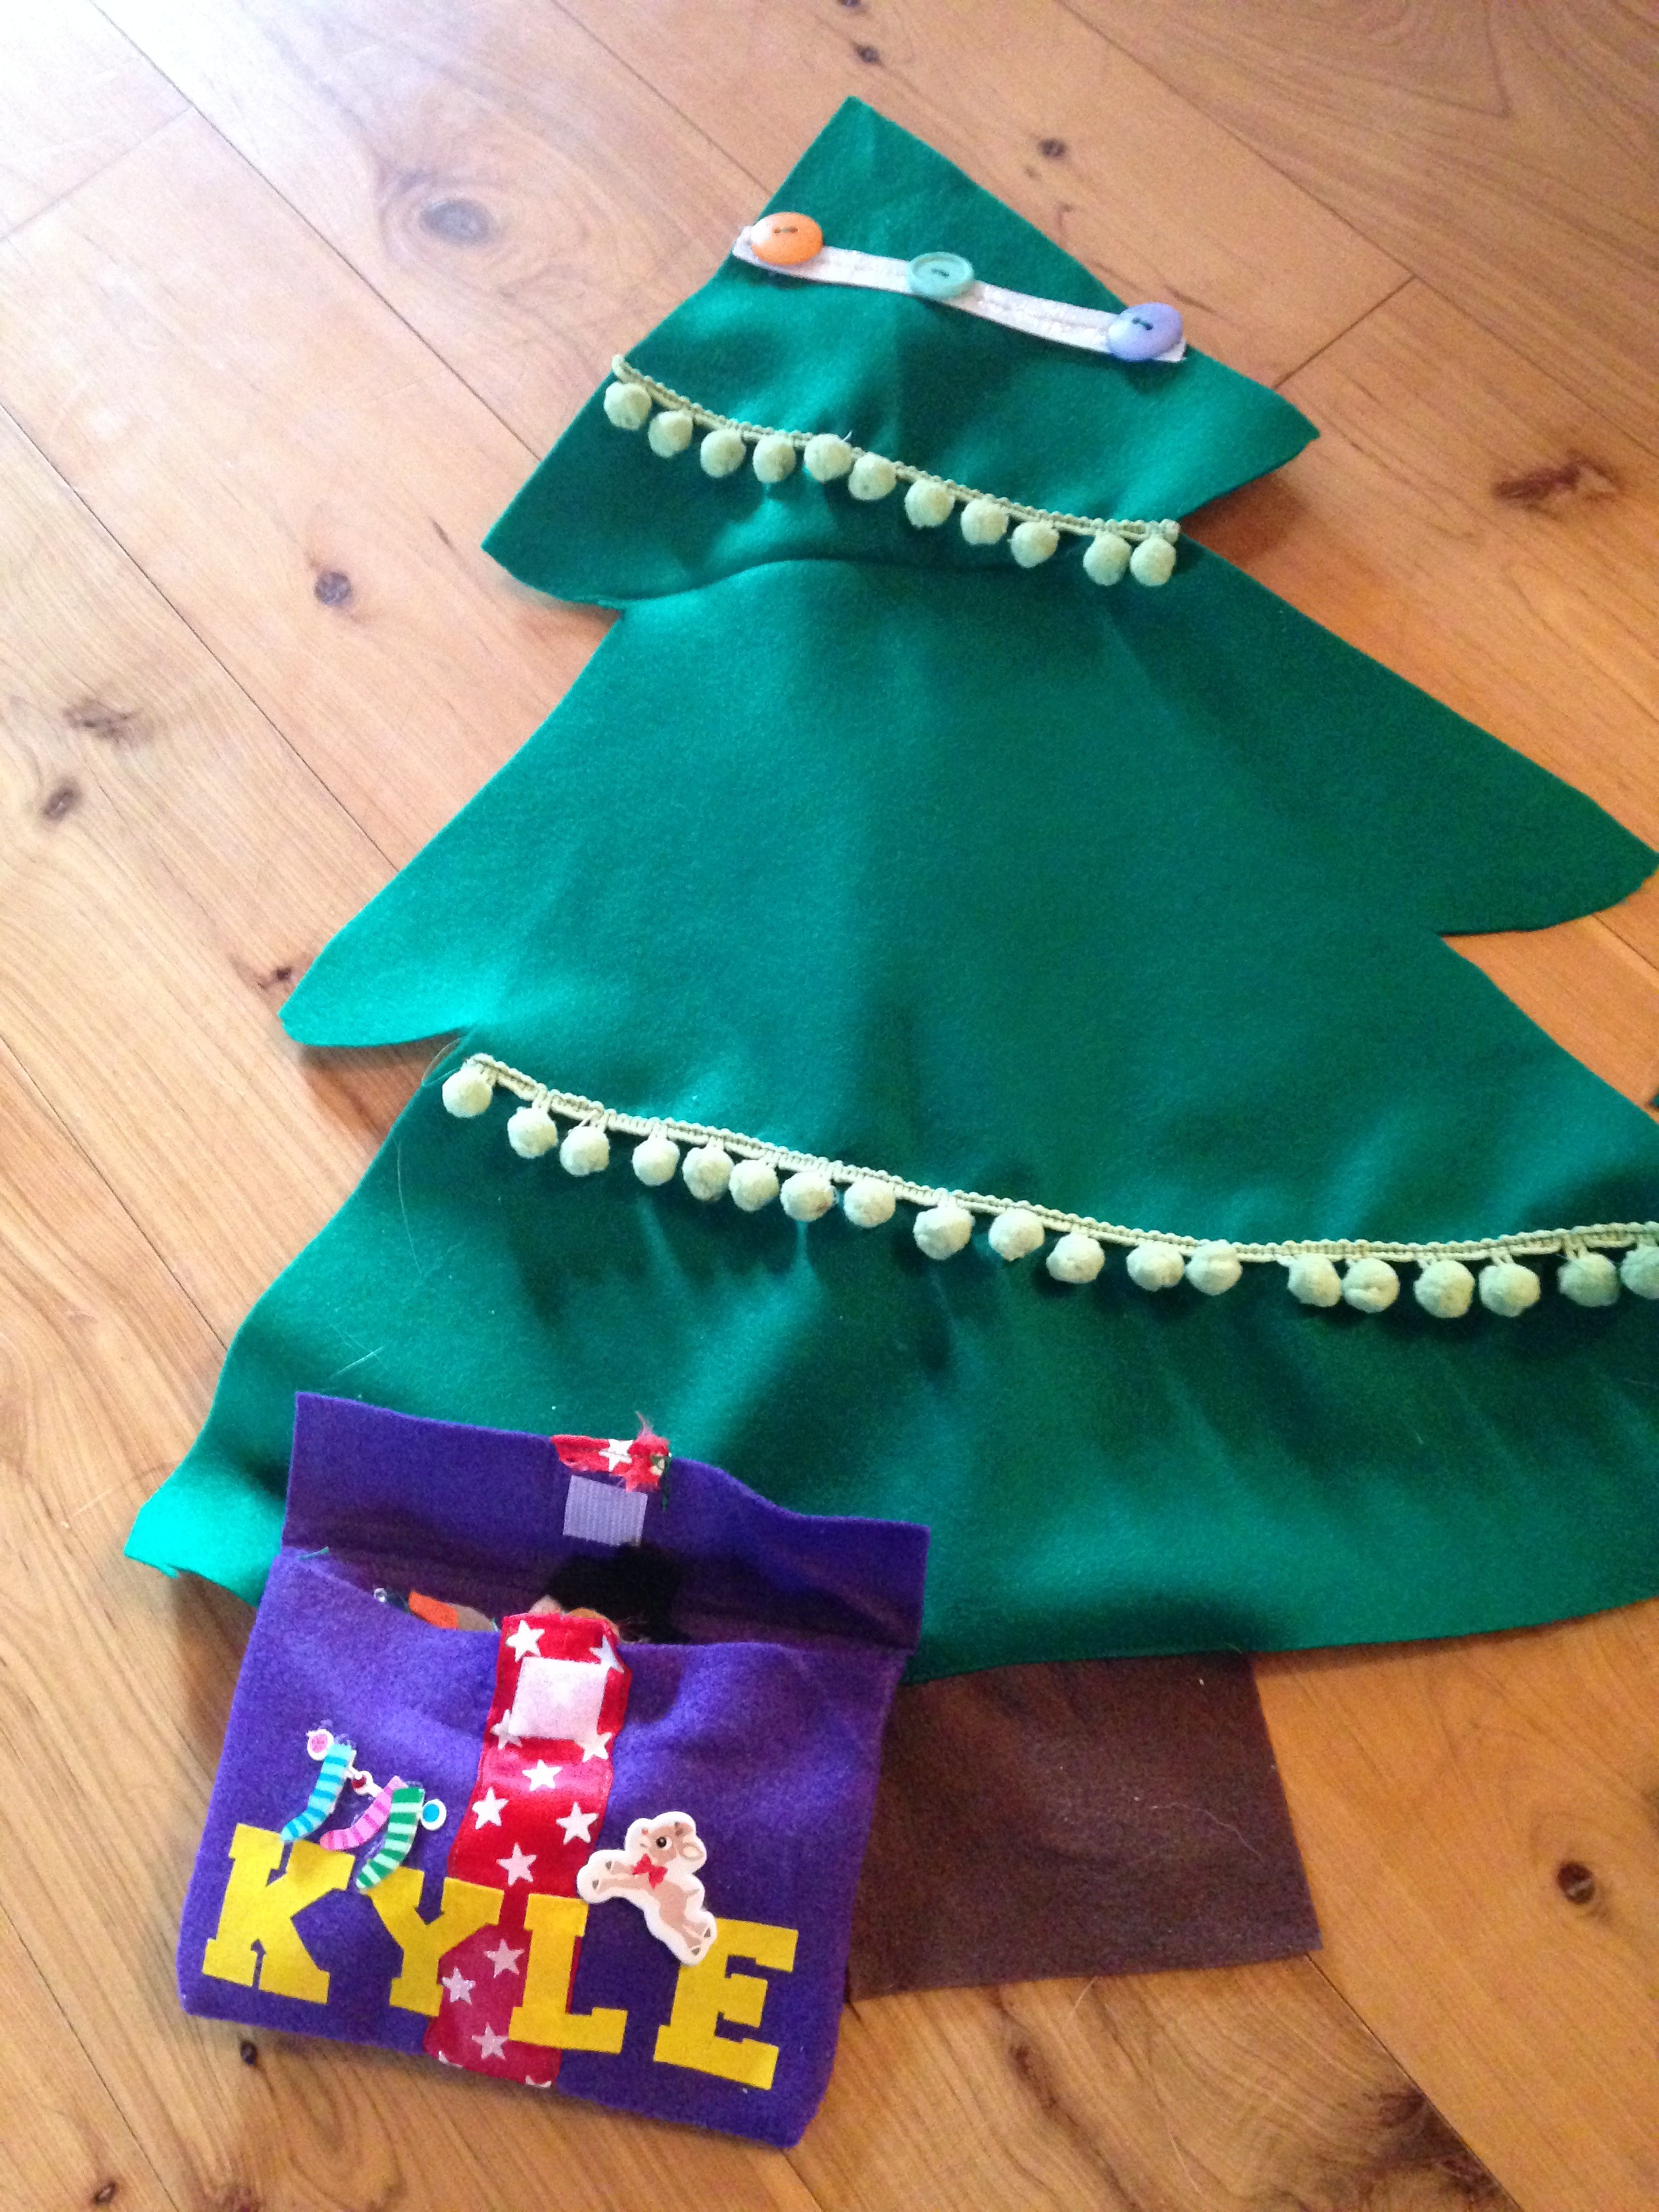
All of the banner pennants in this article were purchased from Michaels. The letters on all of the banners are stick on letters from Michaels too. However, they don’t stay on the thick fabric of the pennants so need to be glued on. I used a hole puncher to make 2 holes at the top of each pennant and put string through them. I purchased some glitter foam sheets from Walmart to make the stars and used a cookie cutter to trace them.

party14
The happy birthday banner hanging above the food table.

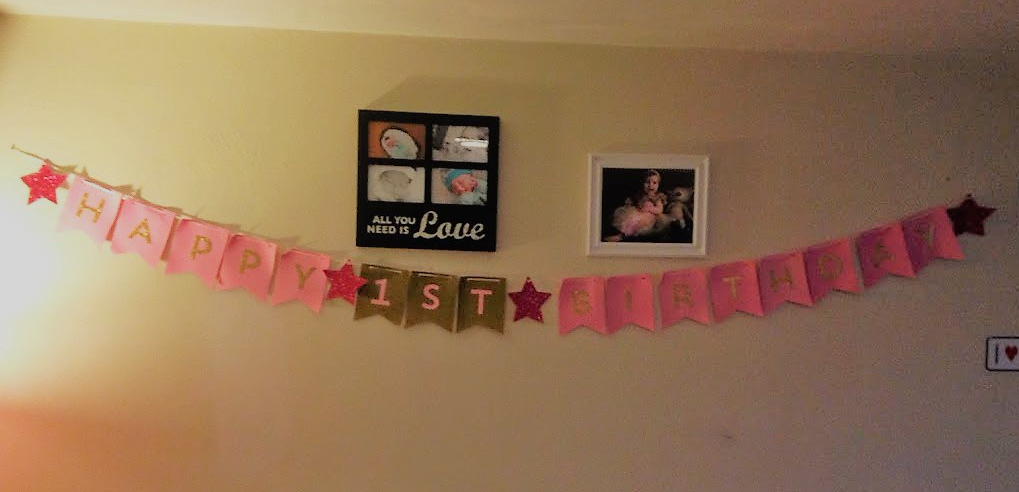
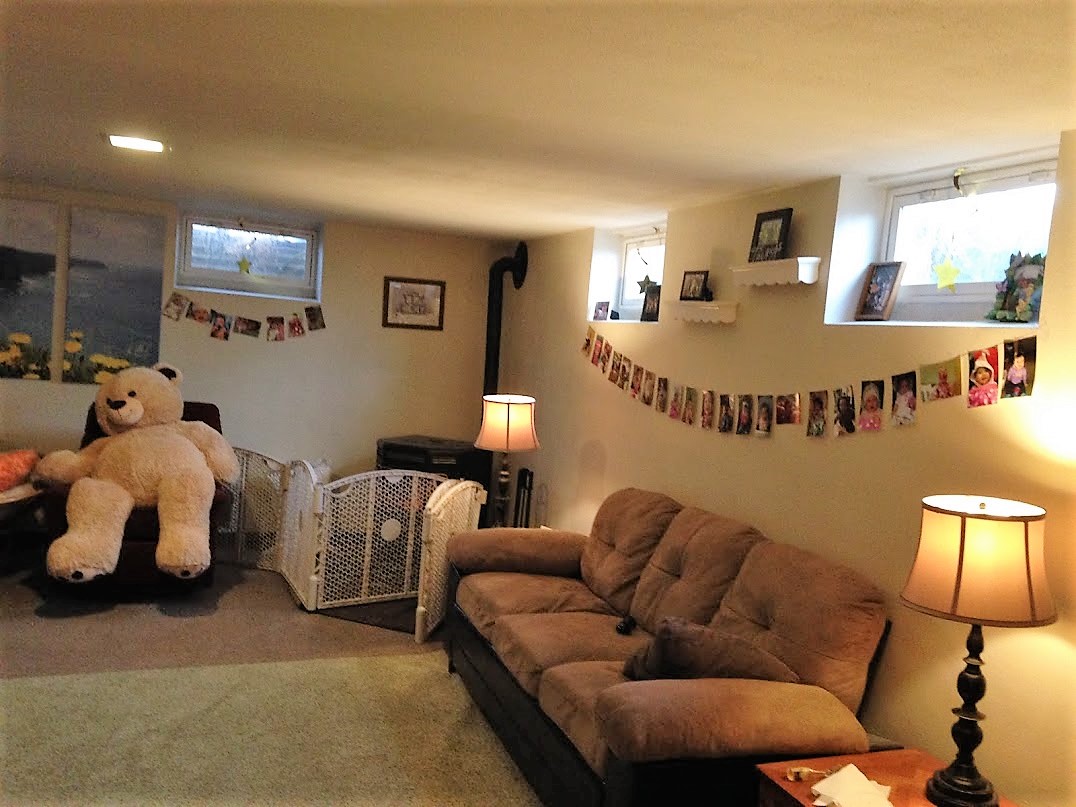
Again, I used the materials I purchased to make this banner and it was fairly easy because everything was cut out besides the stars. This banner was definitely worth the time to put it together, it was super cute and personalized to her party. I moved the pictures that were originally above the banner and replaced them with picture frames of Madison.

party10

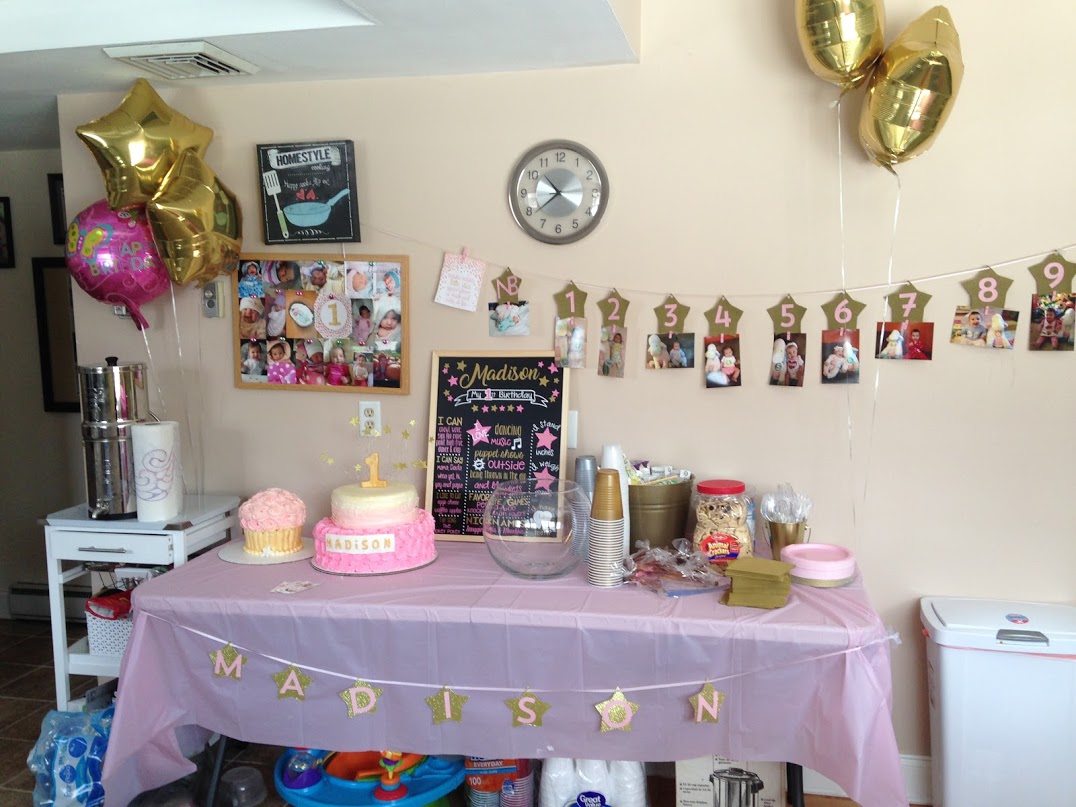
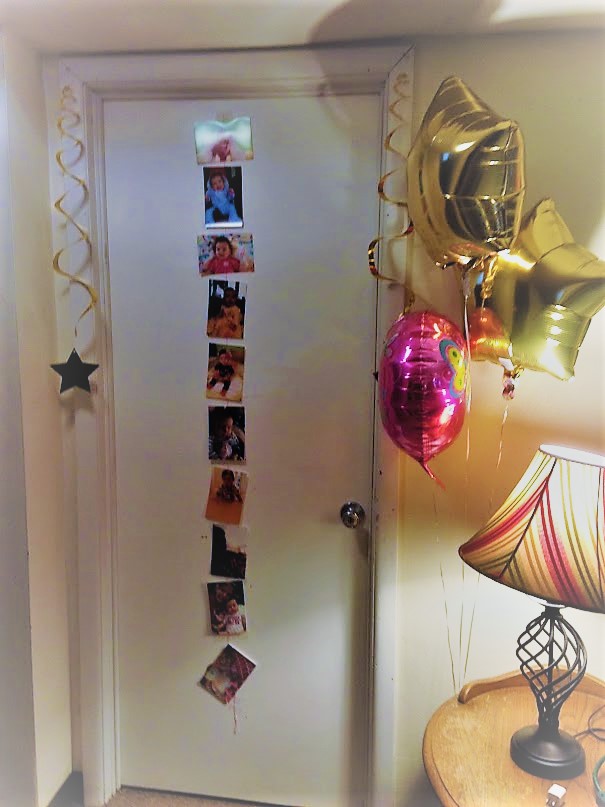
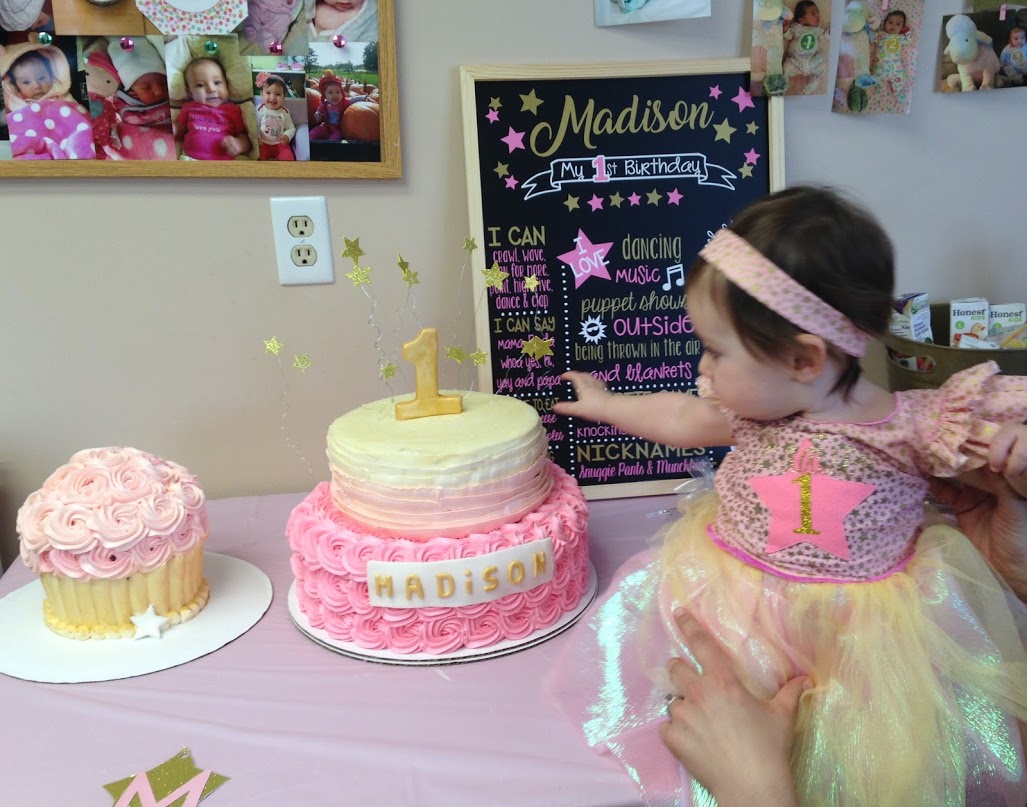
Balloons were purchased at the dollar store. I used the cork board from the kitchen to put pictures of her from the first year-a simple and affordable decoration. The 12 month banner was also made from the pennants. I simply traced the star cookie cutter and cut out stars instead of using the pennant shape. If you don’t have a cookie cutter you could print out a star from a computer and trace it! I found little pink clothespins at Michaels and hot glued them to the stars so the pictures could be added below the banner. This could also be a cute idea for other types of parties. You could write someone’s name and have pictures of them beneath it or for graduation with pictures from each school year. The options are endless!

party18
Again, I cut out stars and added the stick on letters with glue. These stars were cut from glitter foam paper.
party7
Stars, stars, everywhere!

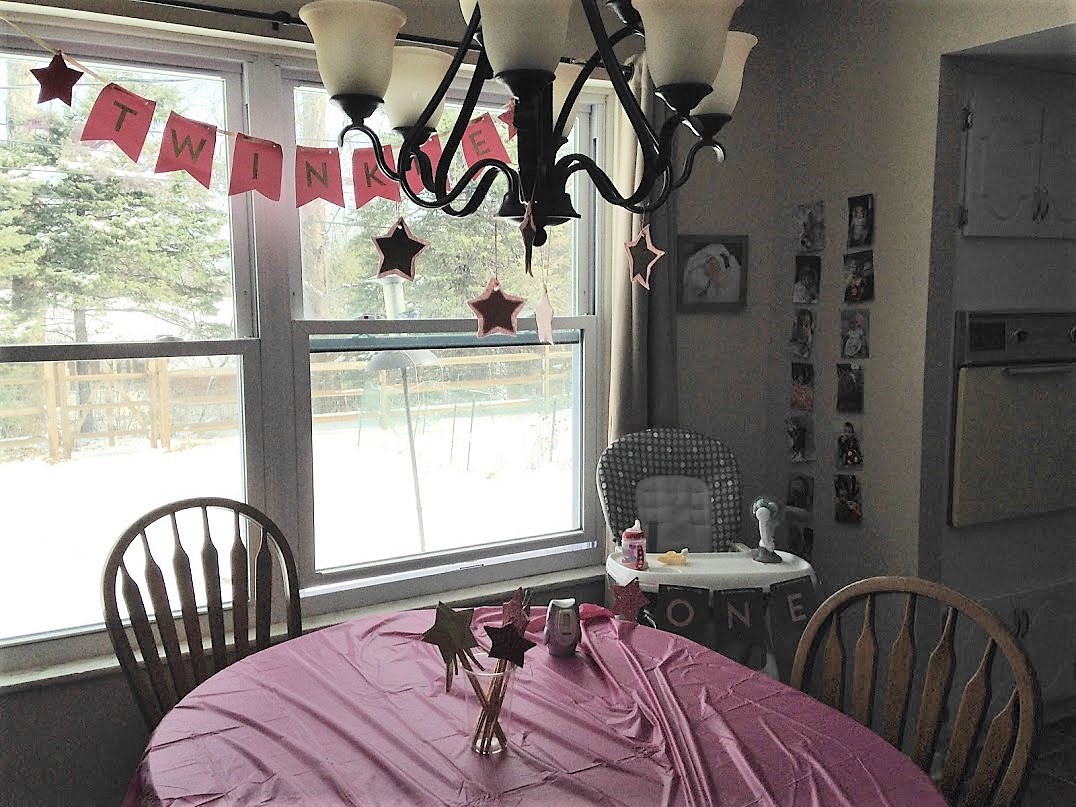
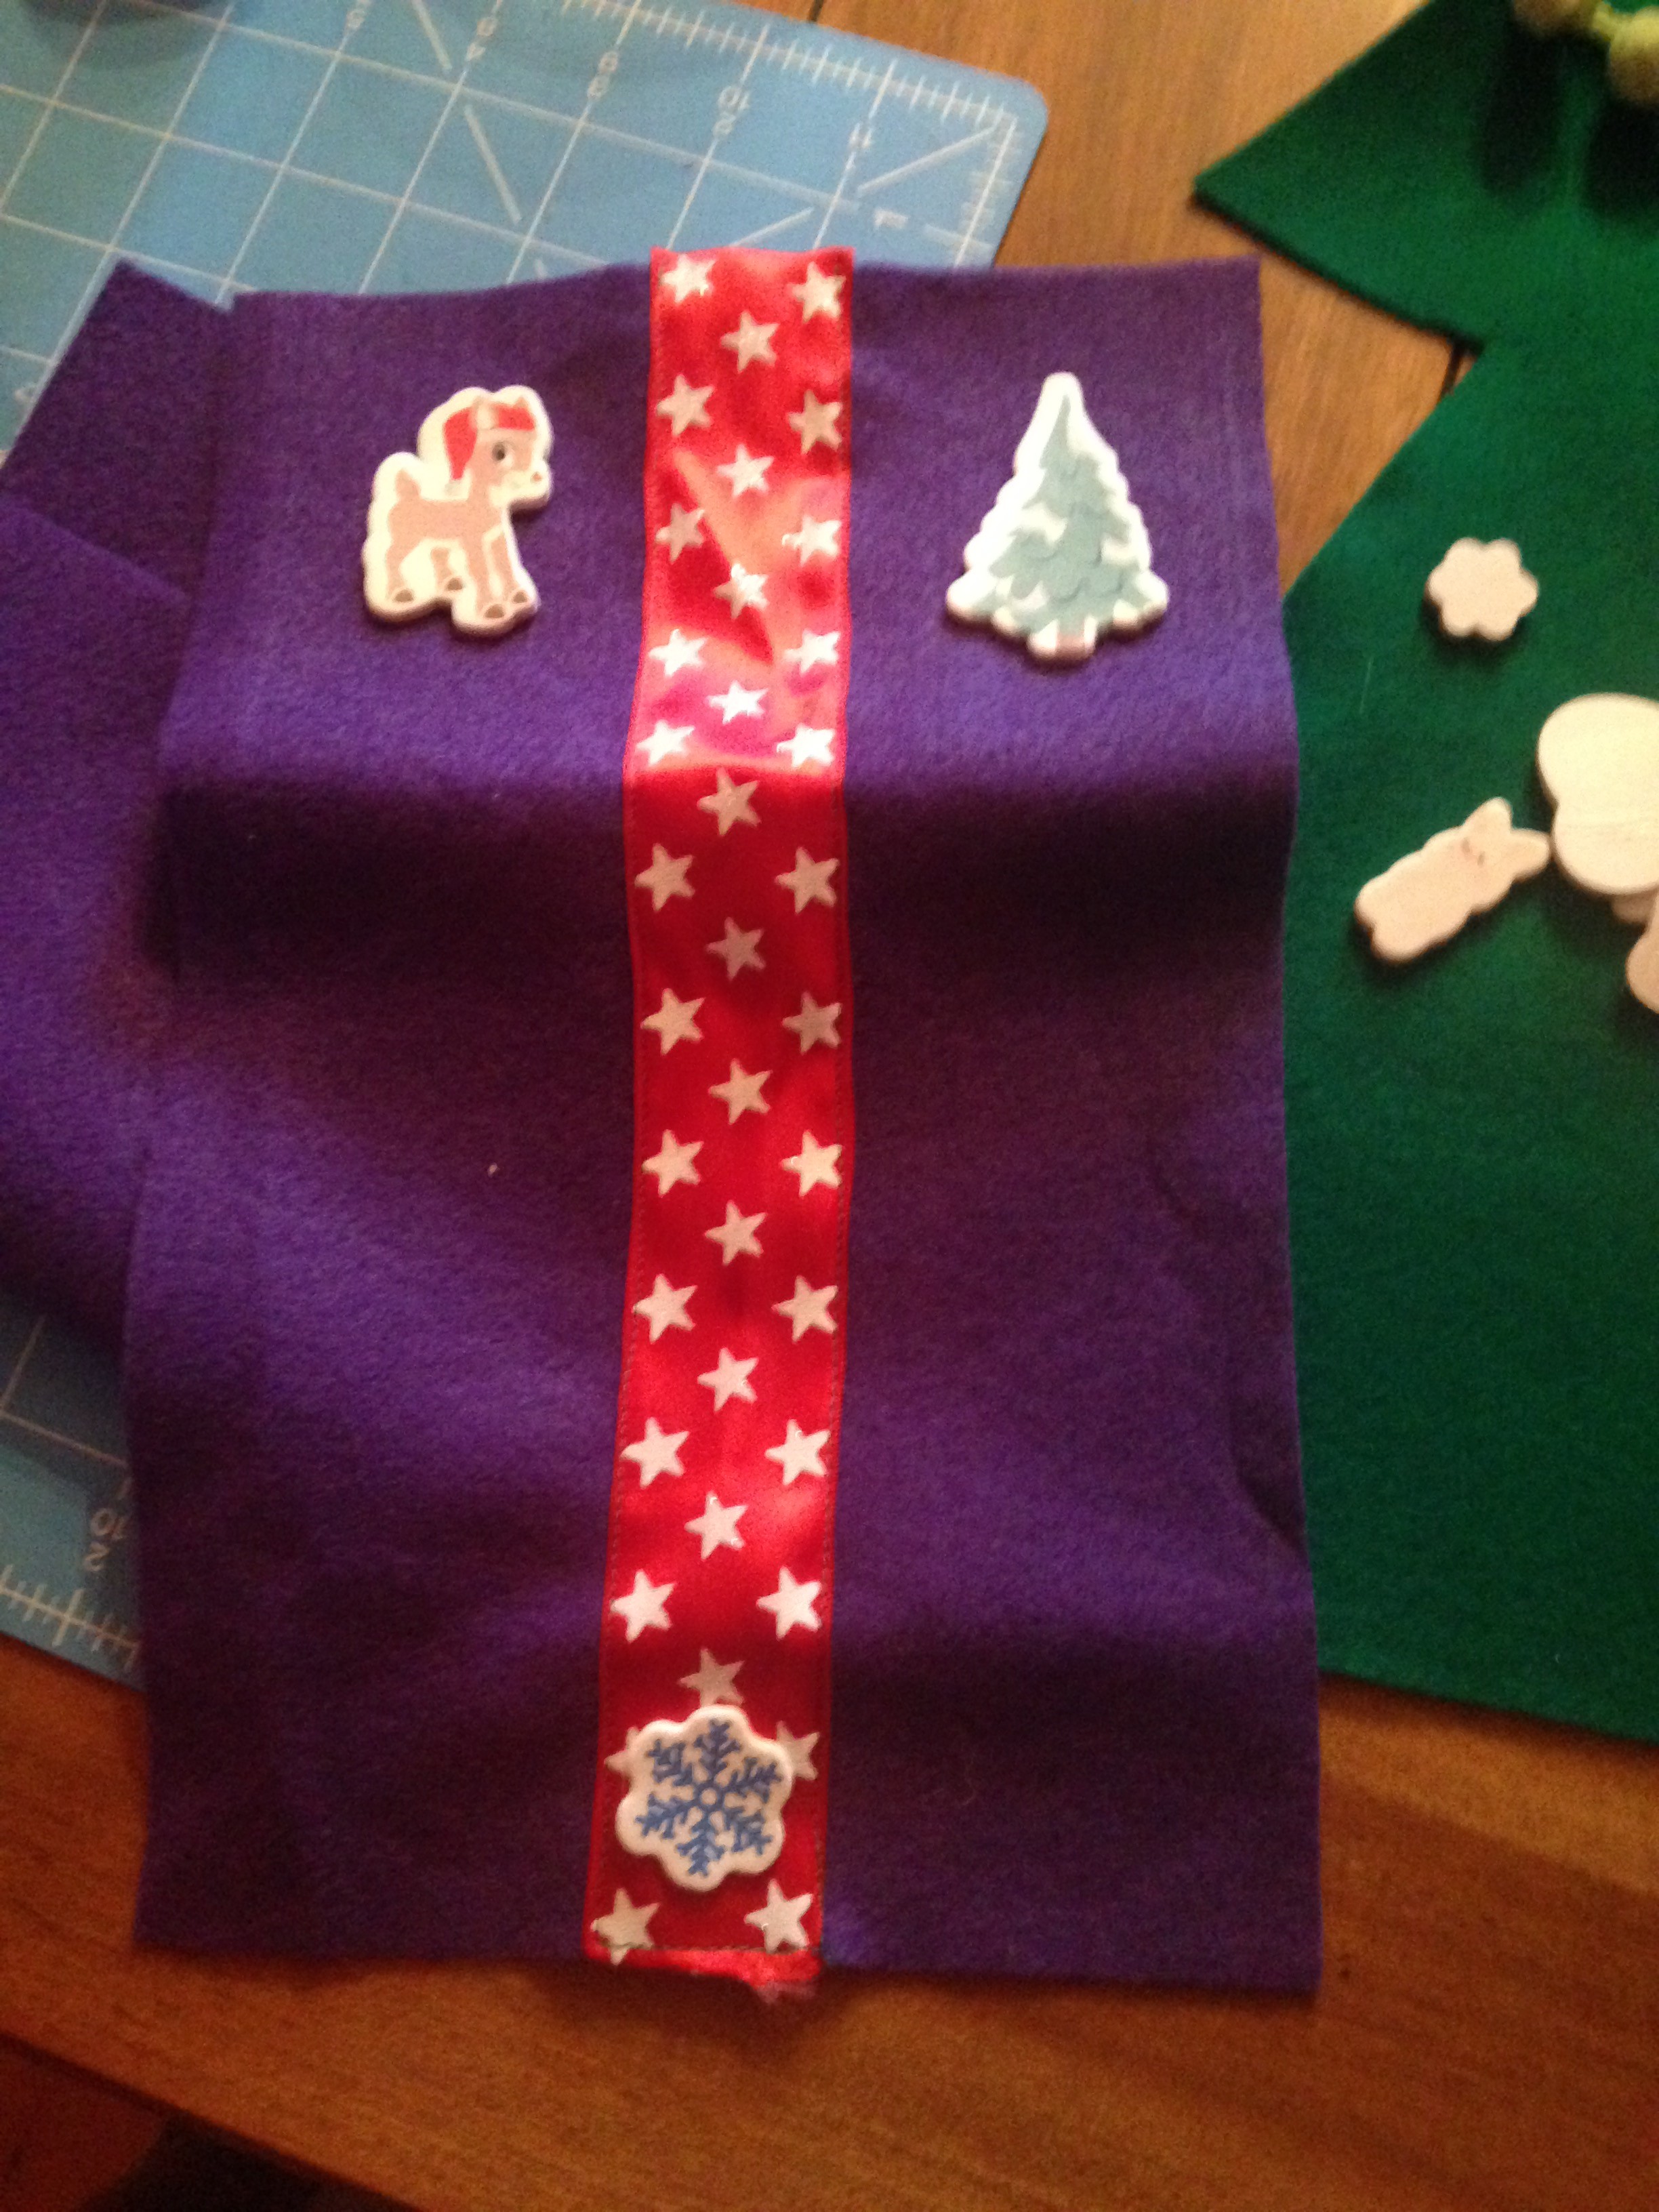
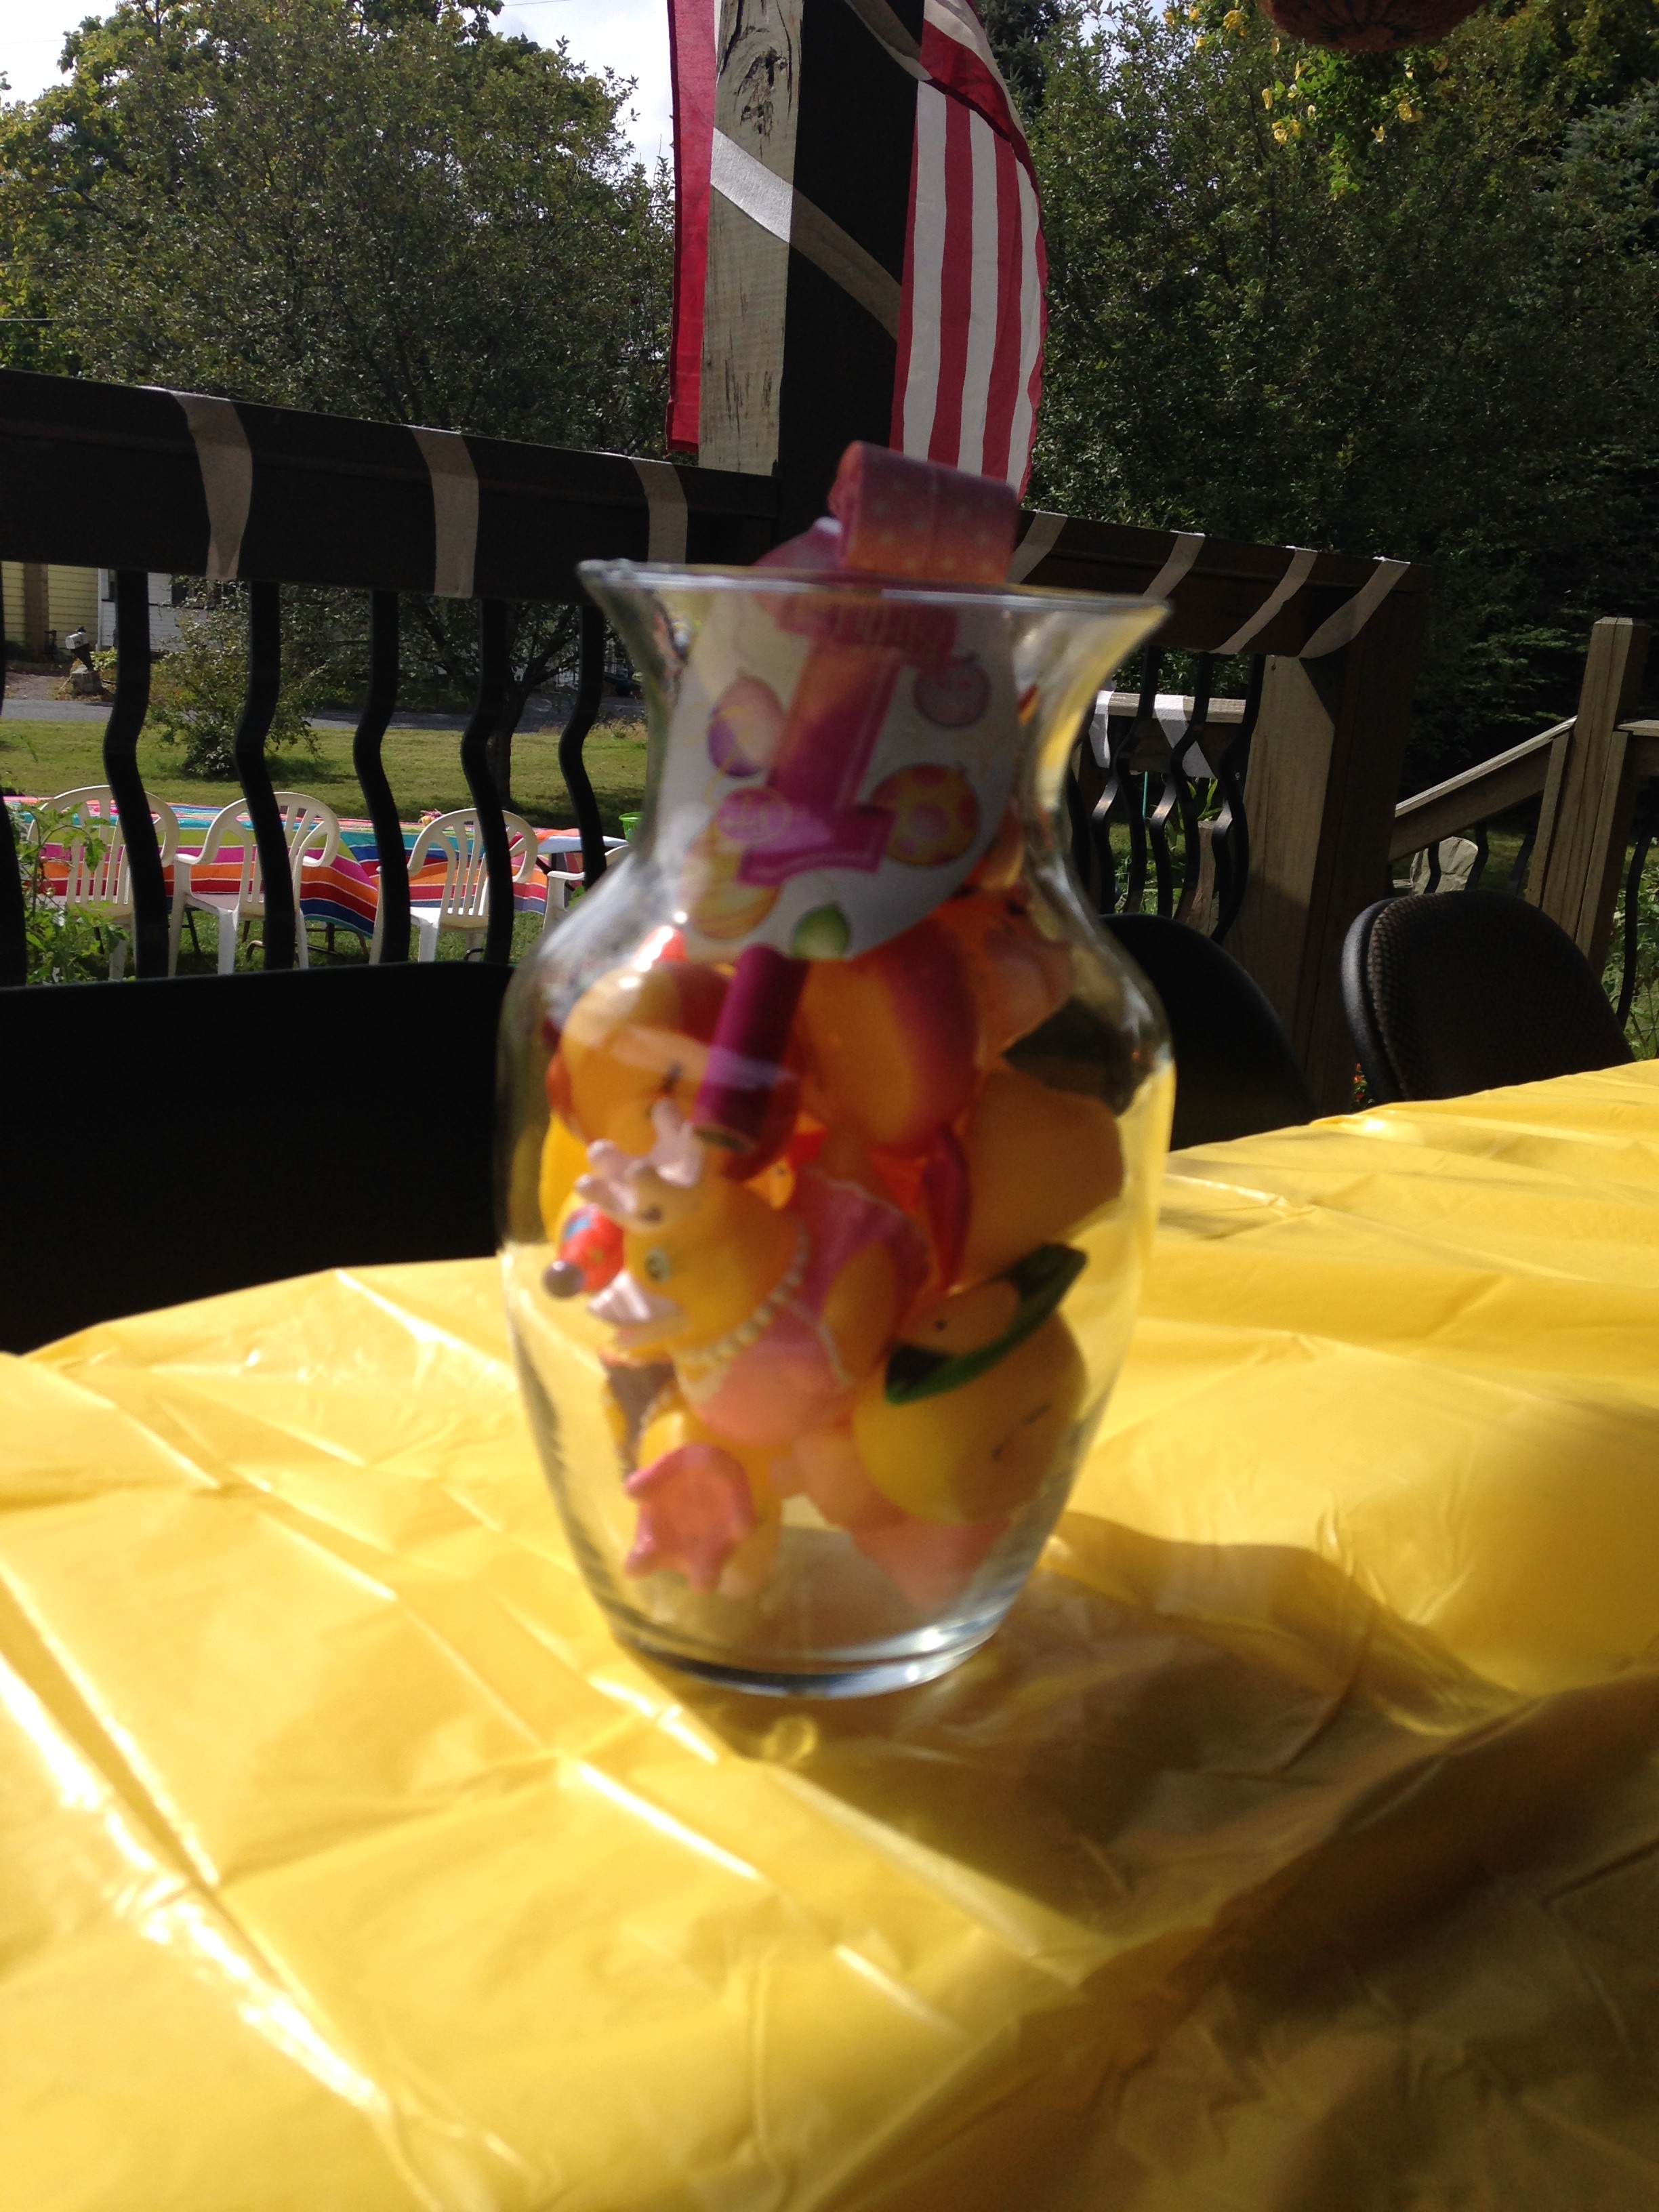
I made the twinkle banner, the stars hanging from the chandelier and the star wands on the table that I used as party favors and a centerpiece. For the stars hanging from the light, I cut out stars from the foam paper and attached it to felt pink cloth I had. I cut the outline of the pink cloth around the gold star so it looks like an outline for the stars.

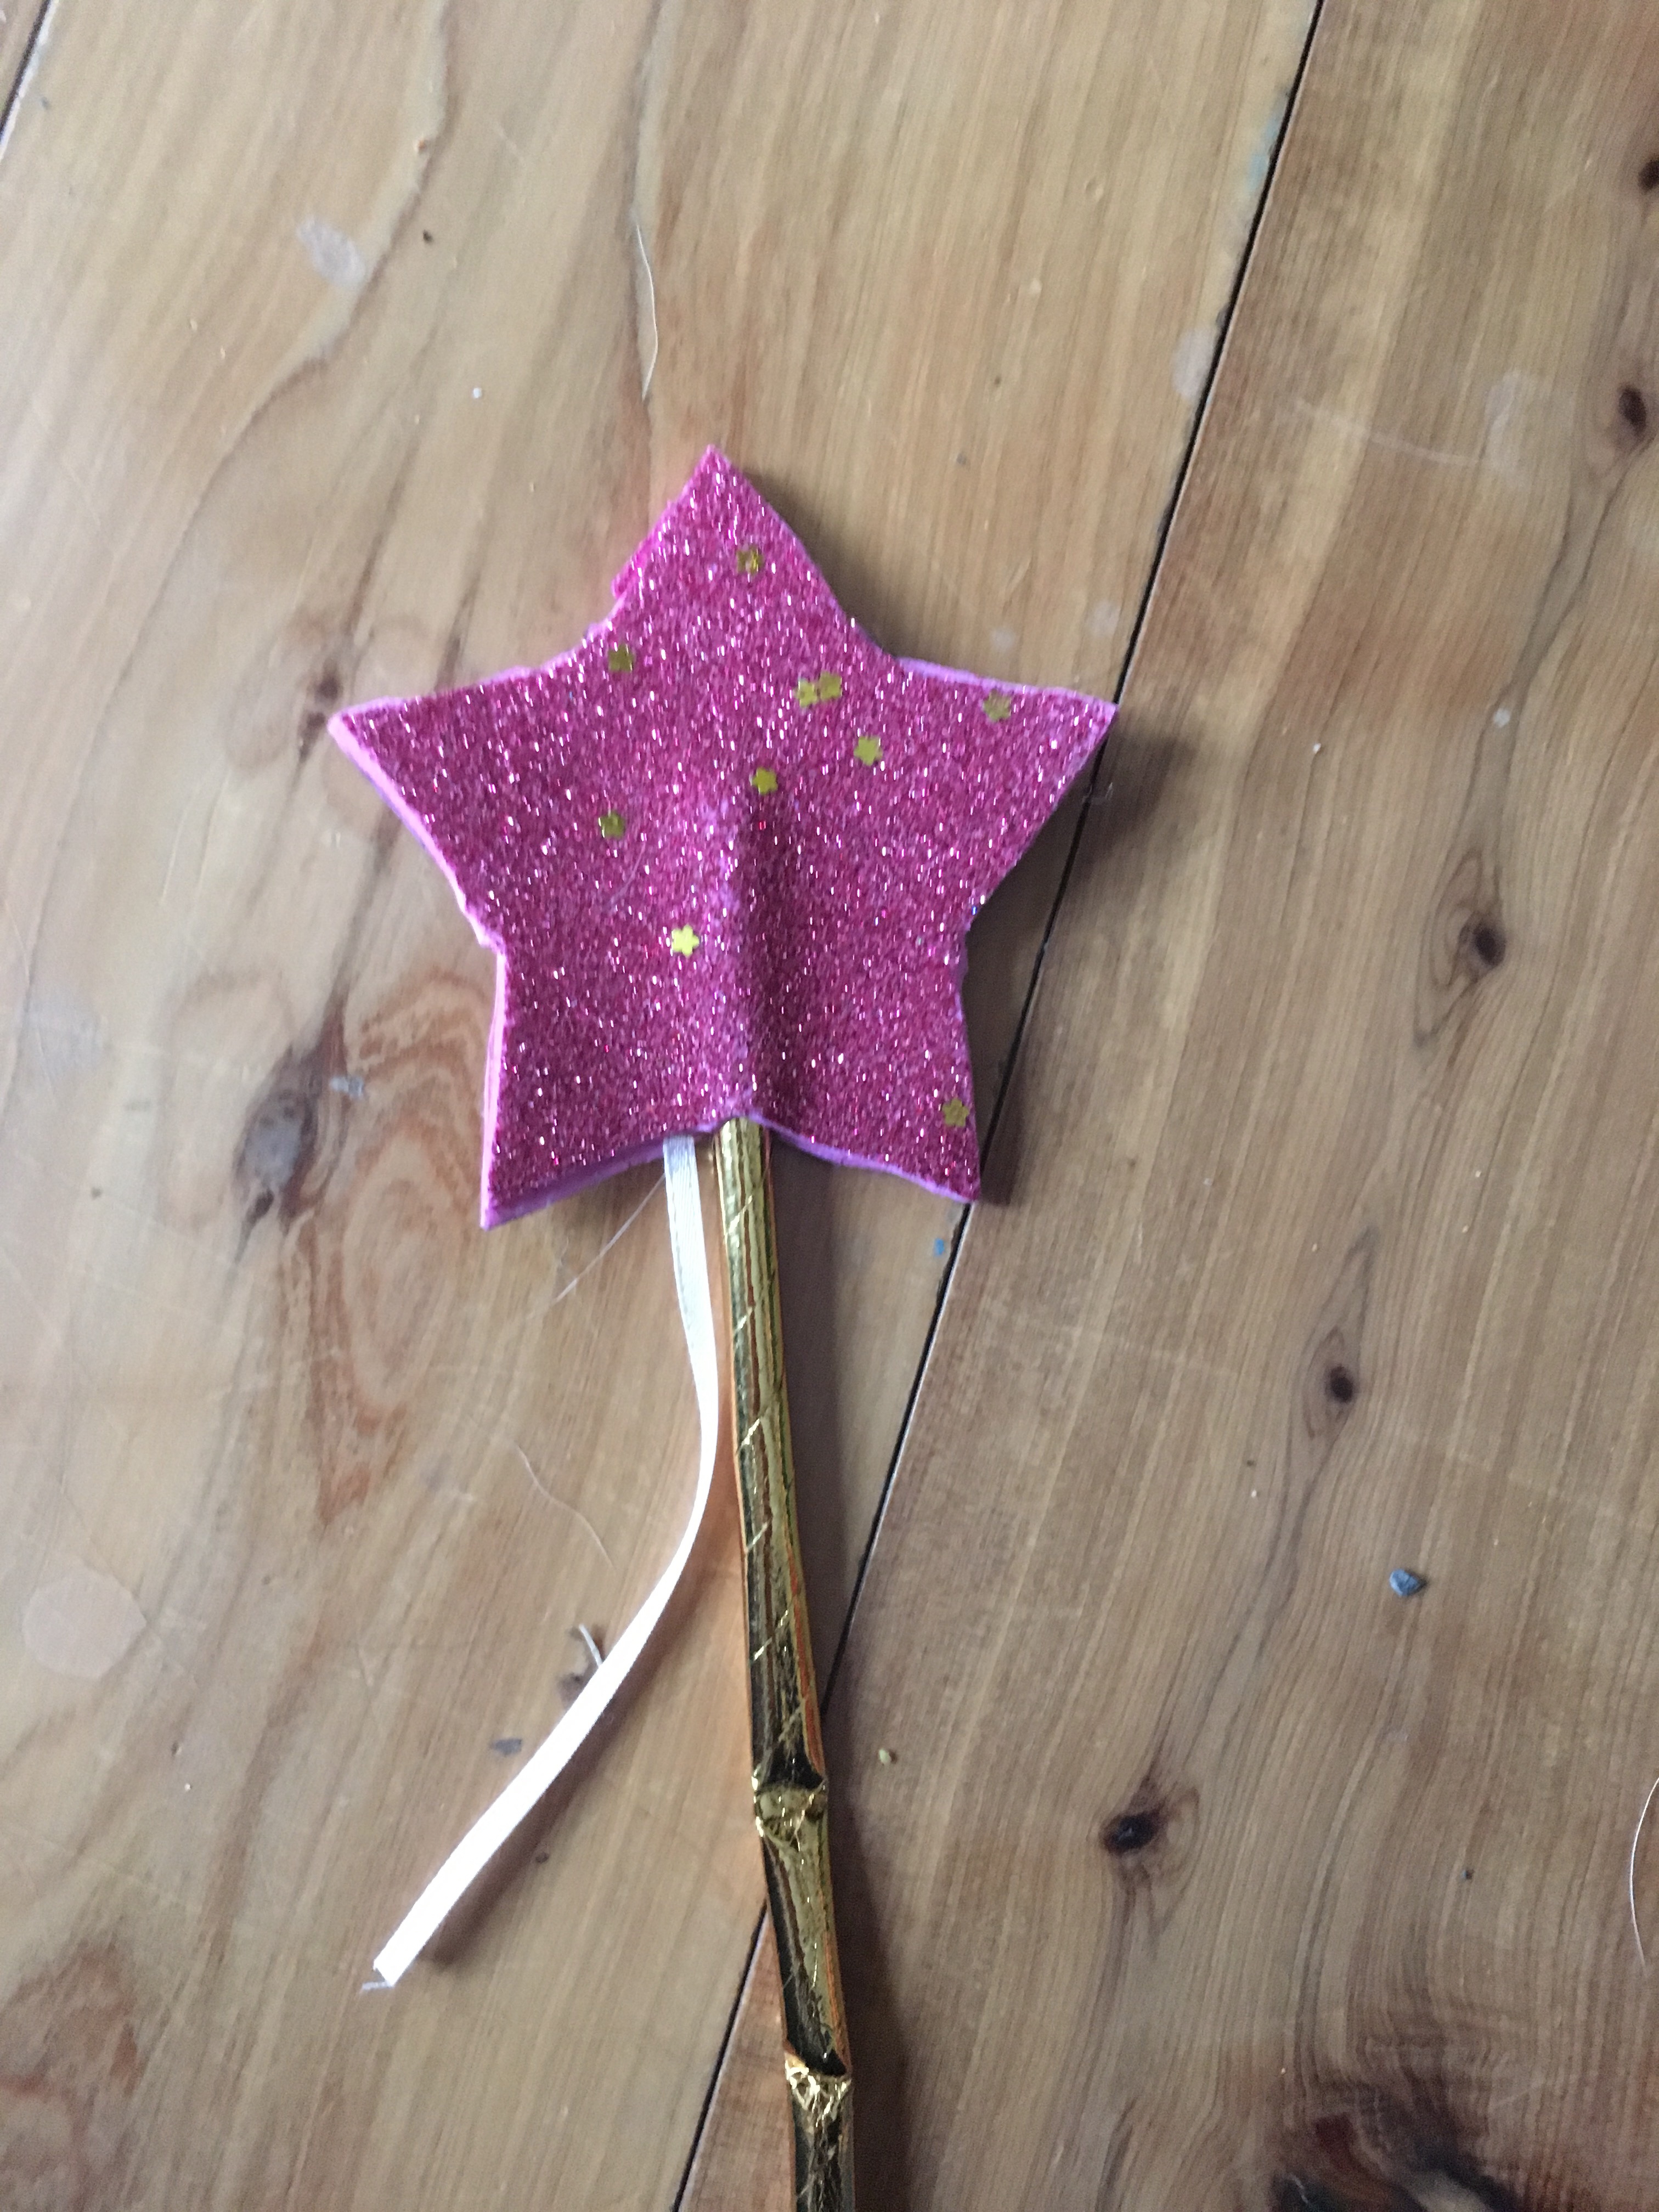
As for the wands, I purchased gold straws from Michaels and they were very sturdy made from cardboard and didn’t bend. I decided to use the foam paper to cut out two stars and stick them together around the top of the straw. I also included 2 cut pieces of ribbon on the wand. I put one on each side of the star and pushed the stars together (they have sticky backs, but you could easily glue them). They were a hit!

party4
Yum! I made chocolate covered pretzels with pink chocolate melts and gold sprinkles. I also made the sugar cookies with star and number one cookie cutters!
party9
No, I didn’t make this beautiful cake. However, I thought the stars sticking out of the top were so cute and easy to make! They simply used some wire and cut out stars they hot glued to the wire! 
party11
Pictures, pictures, everywhere! 
party13
Super cheap decoration-pictures on string! I used pink string and taped the pictures. For a twinkle twinkle theme you could also use string lights around the house for decorations!
party17
A giant number one made with pictures!

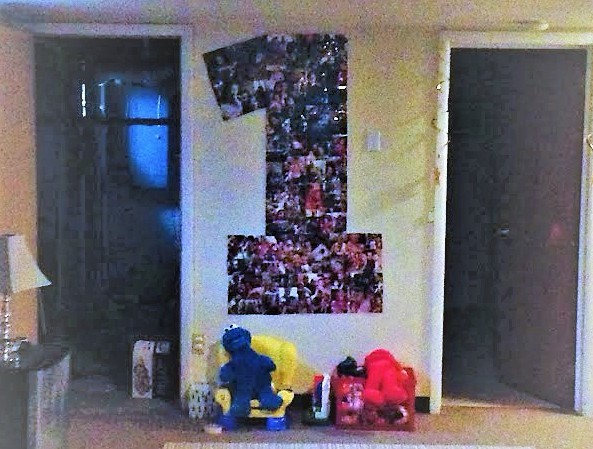
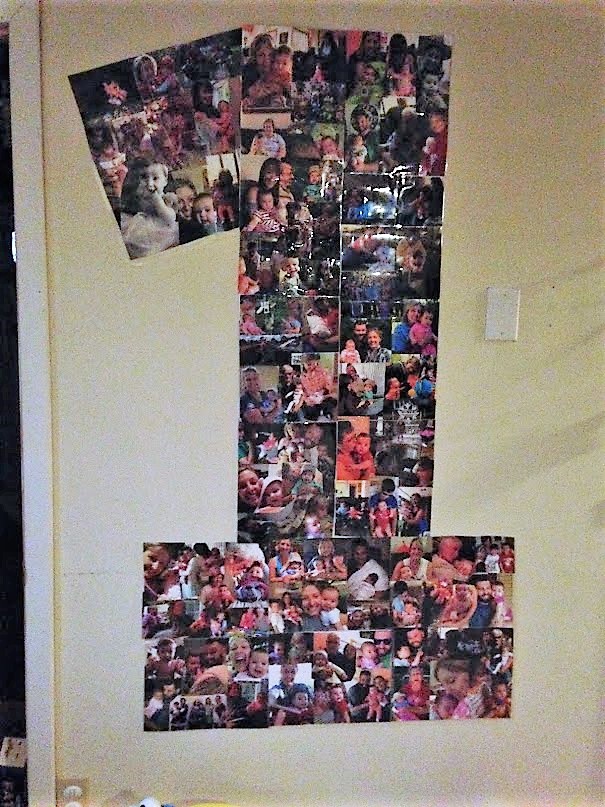
There are great tutorials online about making the number one with pictures for your baby’s first birthday. Most people recommend using cardboard from a large appliance box. I didn’t have any available, so used regular printer paper. I simply cut pictures and fit them on the paper with glue, then laminated the paper. I am a teacher so I happen to have a small scotch laminator at home that worked perfectly. I lined up all the papers to make the number one and adhered it to the wall with tape!

party16

party20
You might be wondering about her outfit and this wonderful sign. I’m sorry to tell you that I didn’t make them. A local woman made them both for me. 
party2
My sister (aka the blog writer) made her beautiful dress and headband. Hopefully there will be a post on that coming up soon! Yes, Madison wanted the cake.

If you are a very busy person with many kids, making all of these decorations might be too time consuming. However, even making a small amount of them is very rewarding. It not only adds a personal touch, but can be used as a keepsake or for future parties!

party19
Thank you for visiting this blog and YOU can make these decorations too with a little time and effort!
FollowFacebookpinterestrssyoutube
ShareFacebookpinterest

Princess Dress and Party!

My daughter has recently developed an interest in princesses and playing dress up. I decided to take on the challenge of sewing a princess dress. I’ve made many dresses, including the princess-like 1st birthday dress, but I wanted to make something different, so I did some research and then bought fabric I thought she would love, and designed a dress. I made several adjustments during the process and added embellishments.


Since I did this all during the process of making it, I decided to take pictures instead of video like I usually do.


There is no pattern for this since I designed the dress as I went. I used one of her regular party dress to eyeball the correct sizing for a 3t dress. (This is what you can do too!)

So below are pictures and some steps. If you want to design a similar one just use a dress to get an idea of the sizing. I don’t work with a lot of tulle sewing, so it didn’t turn out the best, but I’m proud of the end results, and she loves it too!

So I first made the front and two back pieces. You can copy these shapes from the picture and use a dress for sizing.

I ended up making another three pieces (another front and two back pieces) and using it as the inside of the dress.  So I took pattern facing pattern for the front piece and left a 3 inch space to pull it right side out.  Then I sewed this shut and ironed it all. I also used sparkly elastic and pinned it in between the pattern facing pattern (this is what I should have done but forgot and ended up just sewing it to the top).

I also added a tulle happy birthday and two pieces of silver design on the front. You can add or not add as many embellishments as you want.

Next, I used interfacing ironed on both back pieces and then used white hair ties cut in half.  I pinned the half hair ties facing inwards in between the pattern facing pattern pieces then sewed all the way around except a 3 inch area and pulled it right side out and sewed then ironed it.

Following that, I placed the two back pieces on the front pattern piece and sewed the sides and then folded them back to have the top finished.

I then measured the skirt by measuring from the top down to the right length for my daughter with a measuring tape.  I used the soft fabric of the top for the under-skirt and then cut happy birthday tulle and tulle for the skirt.  i made the white tulle width three times the width length since I will gather it to make the skirt more “poofy.” I then gathered the tulle using the easy method of dental floss, on top of the soft under skirt. With this method, you use a large zigzag over the floss and then at the end you pull the floss out and it is gathered!

Next I decided to use the happy birthday tulle and sewed it on as well.  Then, I put the layers together and I put pattern facing pattern and sewed it all together.

I ended up sewing on a bead embellishments on ribbon in between the top and bottom.


Happy Sewing!

FollowFacebookpinterestrssyoutube
ShareFacebookpinterest

DIY Felt Christmas Tree!

Cece bear loves to pull toys out of baskets and put them back in.  She also likes to build blocks and figure out other puzzles.  So I thought to myself, what can I make for Christmas that she can play with?  And a mini Christmas tree came to mind.  Eventually, I figured out a felt Christmas tree with all sorts of sensory stimulation and Velcro ornaments would work!  So I decided to get to work.

IMG_3608

I decided to make three trees, one for each of Cece’s friends.  It also made a great birthday gift for her friend Kyle’s first birthday!  This is a great activity to do with older children as well.  They can make their own ornaments and decorate the tree!  There are a variety of ways to put the tree, ribbons, buttons, and ornaments together.  The two I used were sewing and hot glue gun, but you can do one or the other as well.  Just make sure if you have a baby, infant, or toddler, to make sure everything is very secure so they can’t pull it off!

IMG_3625

As always, there is a youtube video and written steps and pictures.  Feel free to add your own creativity and pizzazz!!!

If you have an older child, instead of using velcro to stick the ornaments on, you can use string or twine looped on the ornament and they can put them around buttons on the tree!


What you need:
*Green felt fabric (I used 1.5
yards for three trees)
*velcro
*Brown felt fabric (stump)
*Felt fabrics of various colors for
ornaments of your choice and design
*optional: buttons, ribbons,
and other accessories

IMG_35381) Fold your green felt and make a tree outline on the fold (so half of it traced on).  Then cut your tree out!

IMG_3539

2) Next, if you want a stump, use brown fabric to cut one out!  Once again you can trace it out.  You can either sew it on the bottom or hot glue gun.

Snapshot 1 (12-8-2015 1-58 PM)3) I wanted to make something to hold the ornaments besides just having them stick to the tree.  So I decided a present with the child’s name on it would be perfect!  So next I chose a color of felt I had and cut about 11x 7 inches.

IMG_3552

4) Next, for one of the presents I made I wanted the bow long ways down so I sewed a piece of ribbon straight down the piece. (the other two I made have it across the box which you can sew on now or later)

IMG_3553

5) The next step would be to turn it right sides facing inwards and sew to the length you want so you have the top of the present flap long enough.  Check out the picture to see what I mean. Then turn right side out.

IMG_3581

6) As you can see, I decided to iron on letters for the name of the child.  These two presents are different sizes.  Also, if you want to put a piece of iron on or sew on or glue gun on Velcro to the top of the present to have it stick now is the time.

7)  Then decorate the present at will.  I added some adhesive Rudolph stickers.  I did hot glue them so they would be more secure.

IMG_3582

8) Follow that, I sewed the present onto the tree.  This is optional, you can have it separate or not have a present at all.  I opened the top flap and sewed right along the fold to the tree.  You can also hot glue gun it.


IMG_3612

8) Now, back to the tree.  Now is the time to get even more creative!  Use ribbons, garland, buttons, or whatever you want on the tree!  You can sew or hot glue gun them on.  If you have an older child and want to have hanging ornaments on buttons then align your buttons!

9) Next, it is time to make ornaments.  If your child is older they can help decorate and make ornaments.  I chose actually Christmas items and one ornament and one light bulb.  I used whatever felt scraps I had to make them.  I also made a star at the end.  Remember to Velcro your ornaments on the back using the hard side of the Velcro.  You want to iron them on before you decorate the front!  Otherwise you might melt or damage your decorations.

IMG_3555

IMG_3583IMG_3584

To hang the tree, I used 3m adhesive strips, but I have heard that the blue paint tape works well on walls.  You can also use suction cups if its on the window or door.  Ok enjoy!  Feel free to post your tree below!

IMG_3609IMG_3627


FollowFacebookpinterestrssyoutube
ShareFacebookpinterest

1st Birthday Ducky Theme!

As I searched the internet for ideas for my munchkins first birthday, I noticed a lack of imagination for the rubber ducky birthday theme!  So I have decided to share what I came up with in hopes of giving others ideas as well.

duck

My little Cecelia loves rubber duckies.  She has since she was introduced in the bathtub to them.  Now, besides just the rubber duckies, she loves everything ducky!  She crawls right over to any books that contain ducks; especially, the duck and goose series!  I even got her a large rubber duck down at the shore.

IMG_1693

So I didn’t want to go overboard on her first birthday since she won’t remember it, but…of course we had to have rubber ducks everywhere!

 IMG_1456

First, I made Cece a 1st birthday dress. You can click here to see some of the details however right now I do not have a full tutorial. If you are interested in purchasing one you can private message me.  My Etsy site is upcoming.

IMG_2545IMG_2457IMG_0192

First I thought to myself, well if it is a rubber duck party, then I definitely need rubber ducks for favors!  So I searched the web for the cheapest, yet best rubber duckies for about 35 people.  I ended up going with an assortment of 2 inch rubber ducks from amazon.  There were some bad reviews that they were not a good assortment; however, I found them very varied in theme.

IMG_2020

Last minute, I decided to make birthday crowns!  This tutorial can show you how to make easy quick crowns!  Of course, if you have a large amount of kids coming you may want to just buy party hats or completely skip this.  I used scrap pieces to make the crowns and just did ribbon along the bottom that could be tied.  You of course can do buttons, Velcro, or if you know the head size, sew it all the way around.

IMG_2475IMG_0058 (2) IMG_2478

Next, of course I needed party decorations!  I didn’t want to spend 10 dollars for 8 fancy paper plates with cute ducks on them.  So, I made a trip to my dollar store and bought yellow napkins, plates, cups, and silverware.  They also had cute I’m one plates, so I bought a couple of those as well.  Since the weather is nice, we had lots of tables outside and I bought yellow tablecloths.

plates

As far as balloons, I ended up buying balloons on amazon, ones with little ducks on them and then two large Mylar duck balloons.  They did not carry these type at my local stores.  The only place around to fill the balloons was the dollar store.  Do you see a theme here?  **Note: it does cost more to have Mylar balloons filled, so if you are saying a buck or two you can skip the Mylar and go for the regular smaller balloons.

 balloons

IMG_0145

I also used the rubber duckies to decorate everywhere!  I had a couple mums and vases in the house and added little ducks to them!

IMG_2559 IMG_2560Food…of course this is key for a party.  I wanted to save some time but not spend too much money either.  So, I decided to order a couple small party trays and then do crock pot recipes.  I didn’t go crazy with the duck theme food since there weren’t a lot of kids coming to the party.  However, if you want to see some duck themed food check out pinterest for lots of ideas.  Yes, we did deviled eggs and some quacky snack mix that I used small duck cups for.  Cake. Originally I was thinking of making my own cake, there are tons of ideas on pinterest.  However, with more than 40 people coming, and cheap but tasty sheet cakes with a free smash cake included, I decided to save myself the stress and space in my fridge, and order a cake with a duck theme.  However, let me show you some of the ideas I picked up from pinterest. 

cake2 cake3
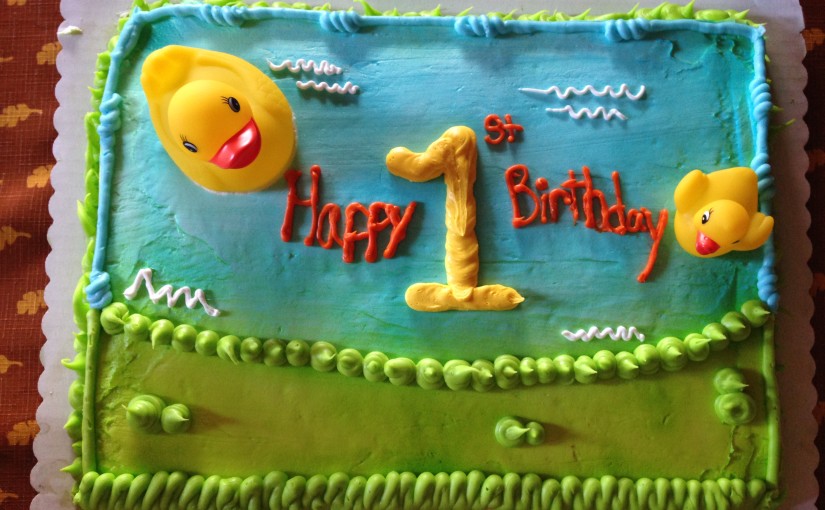
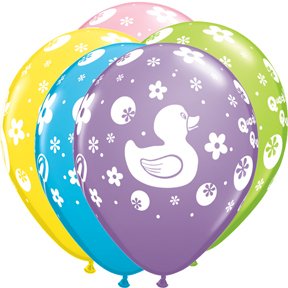
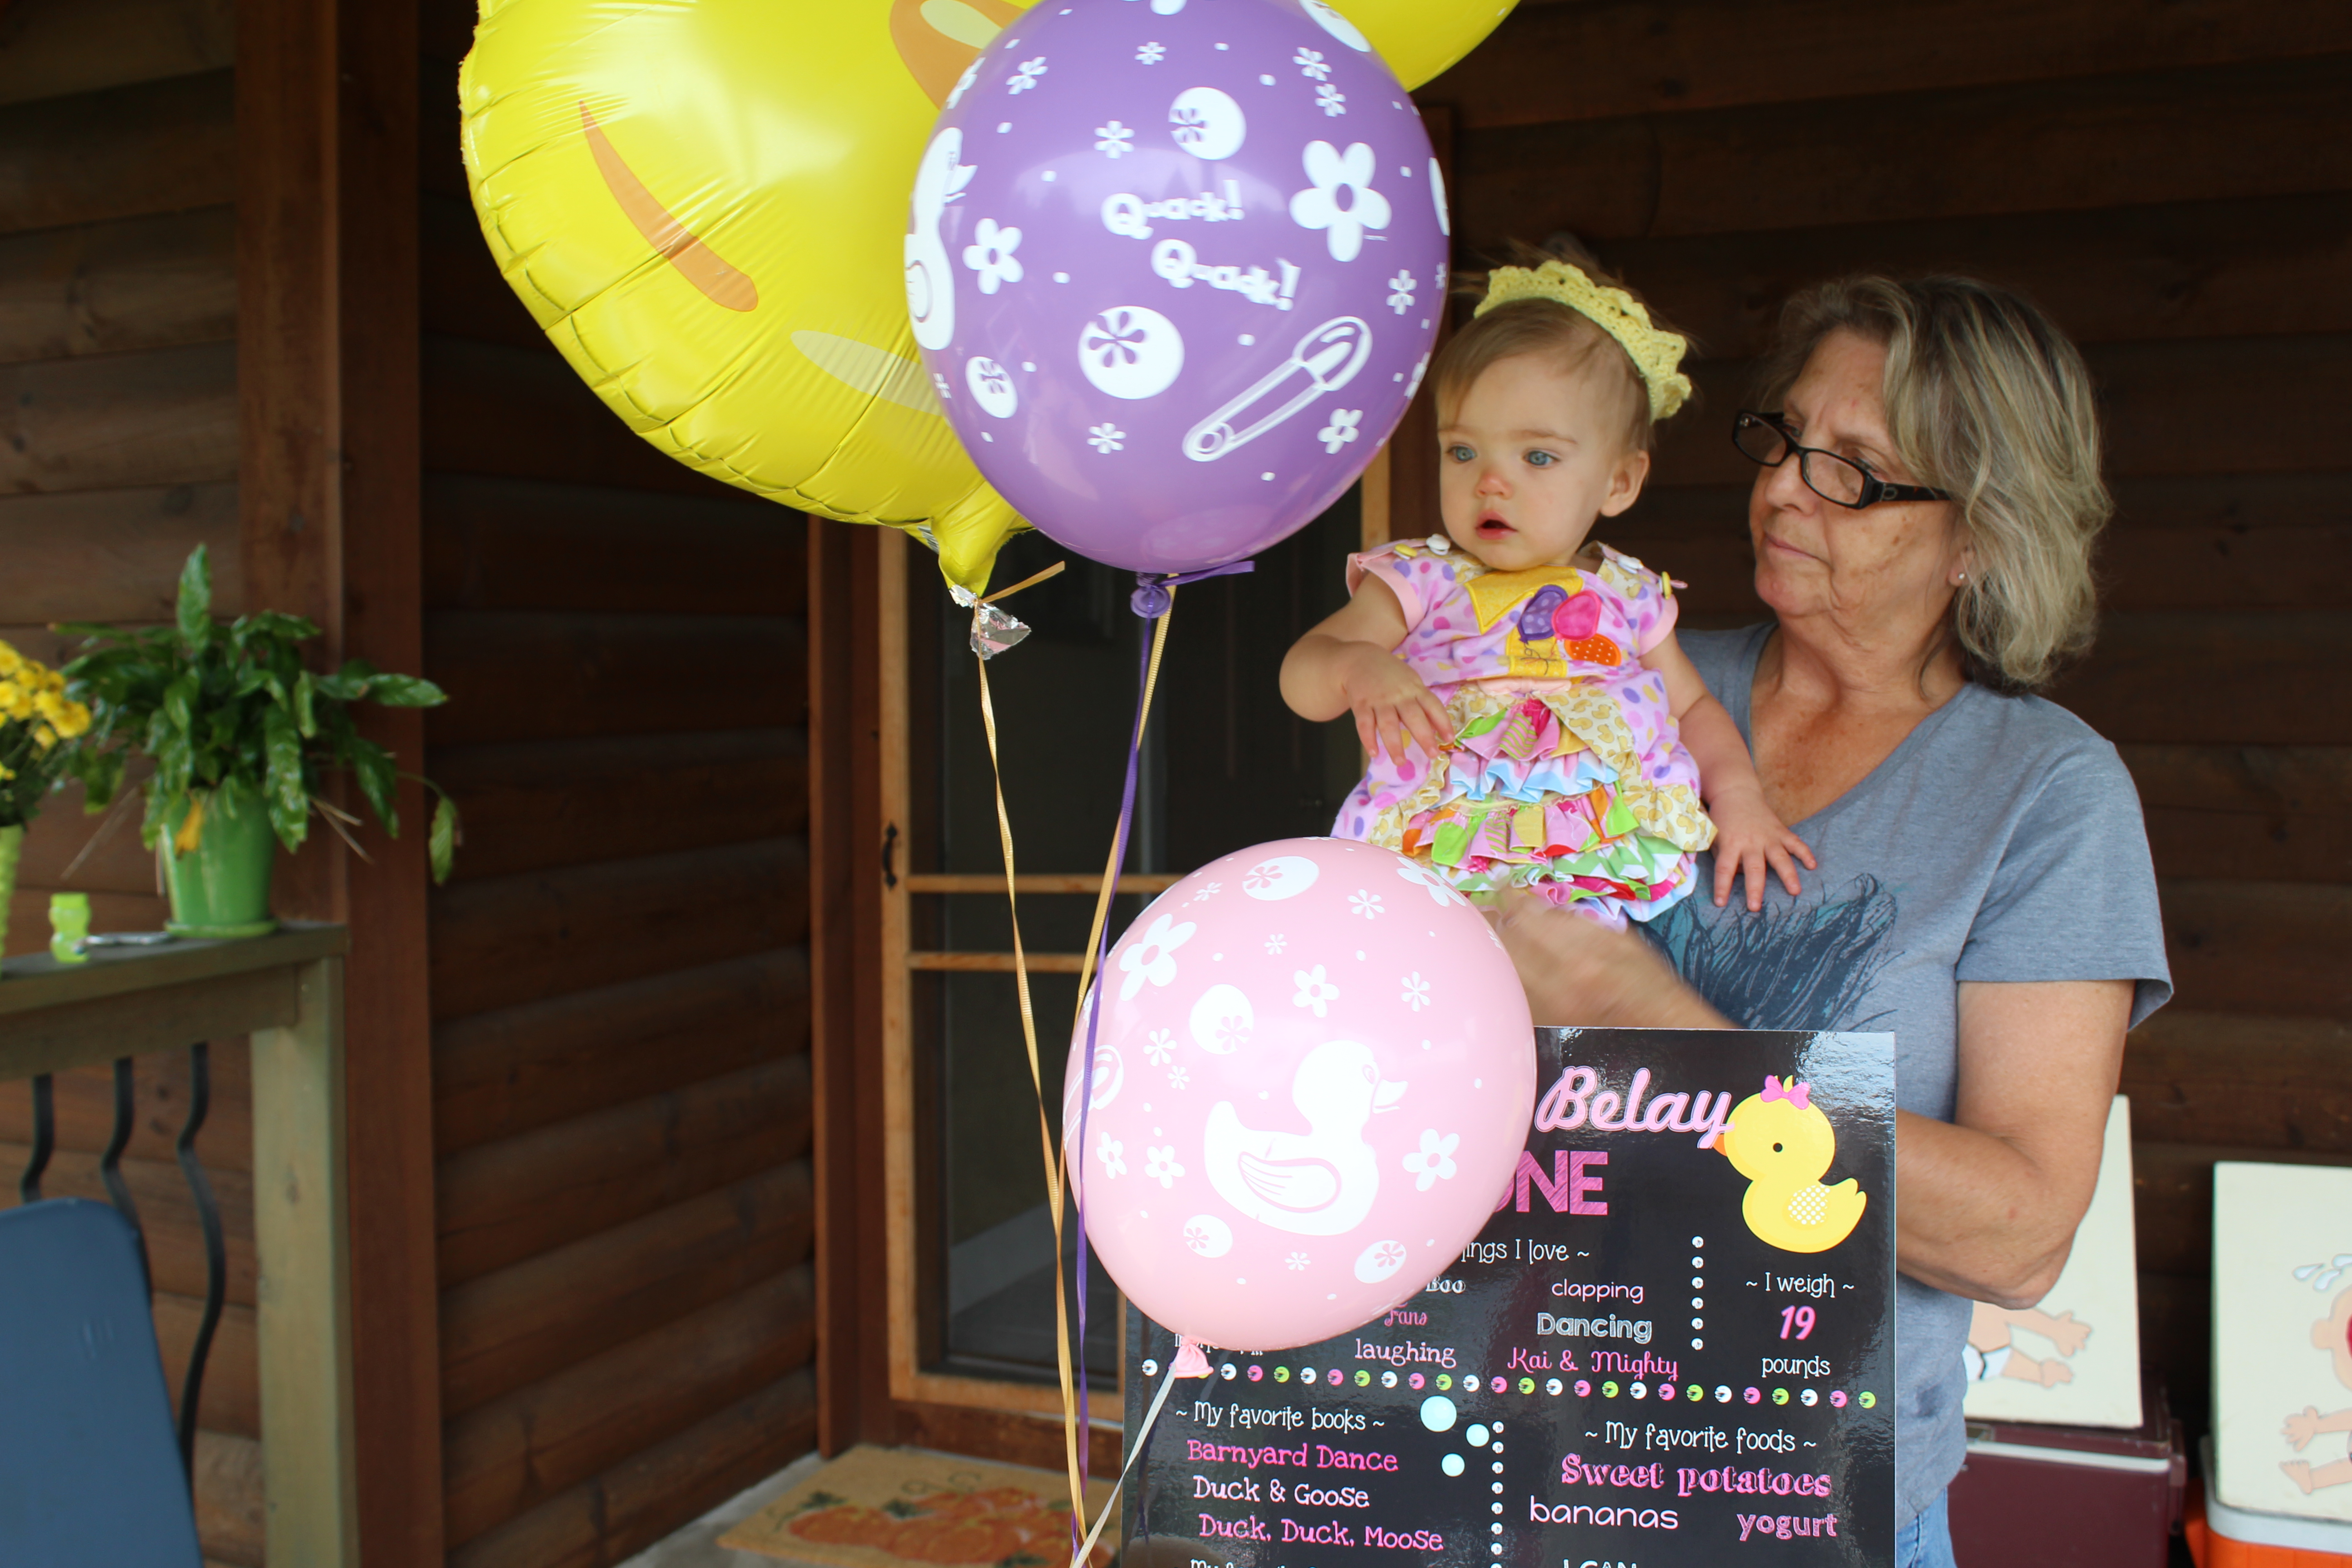
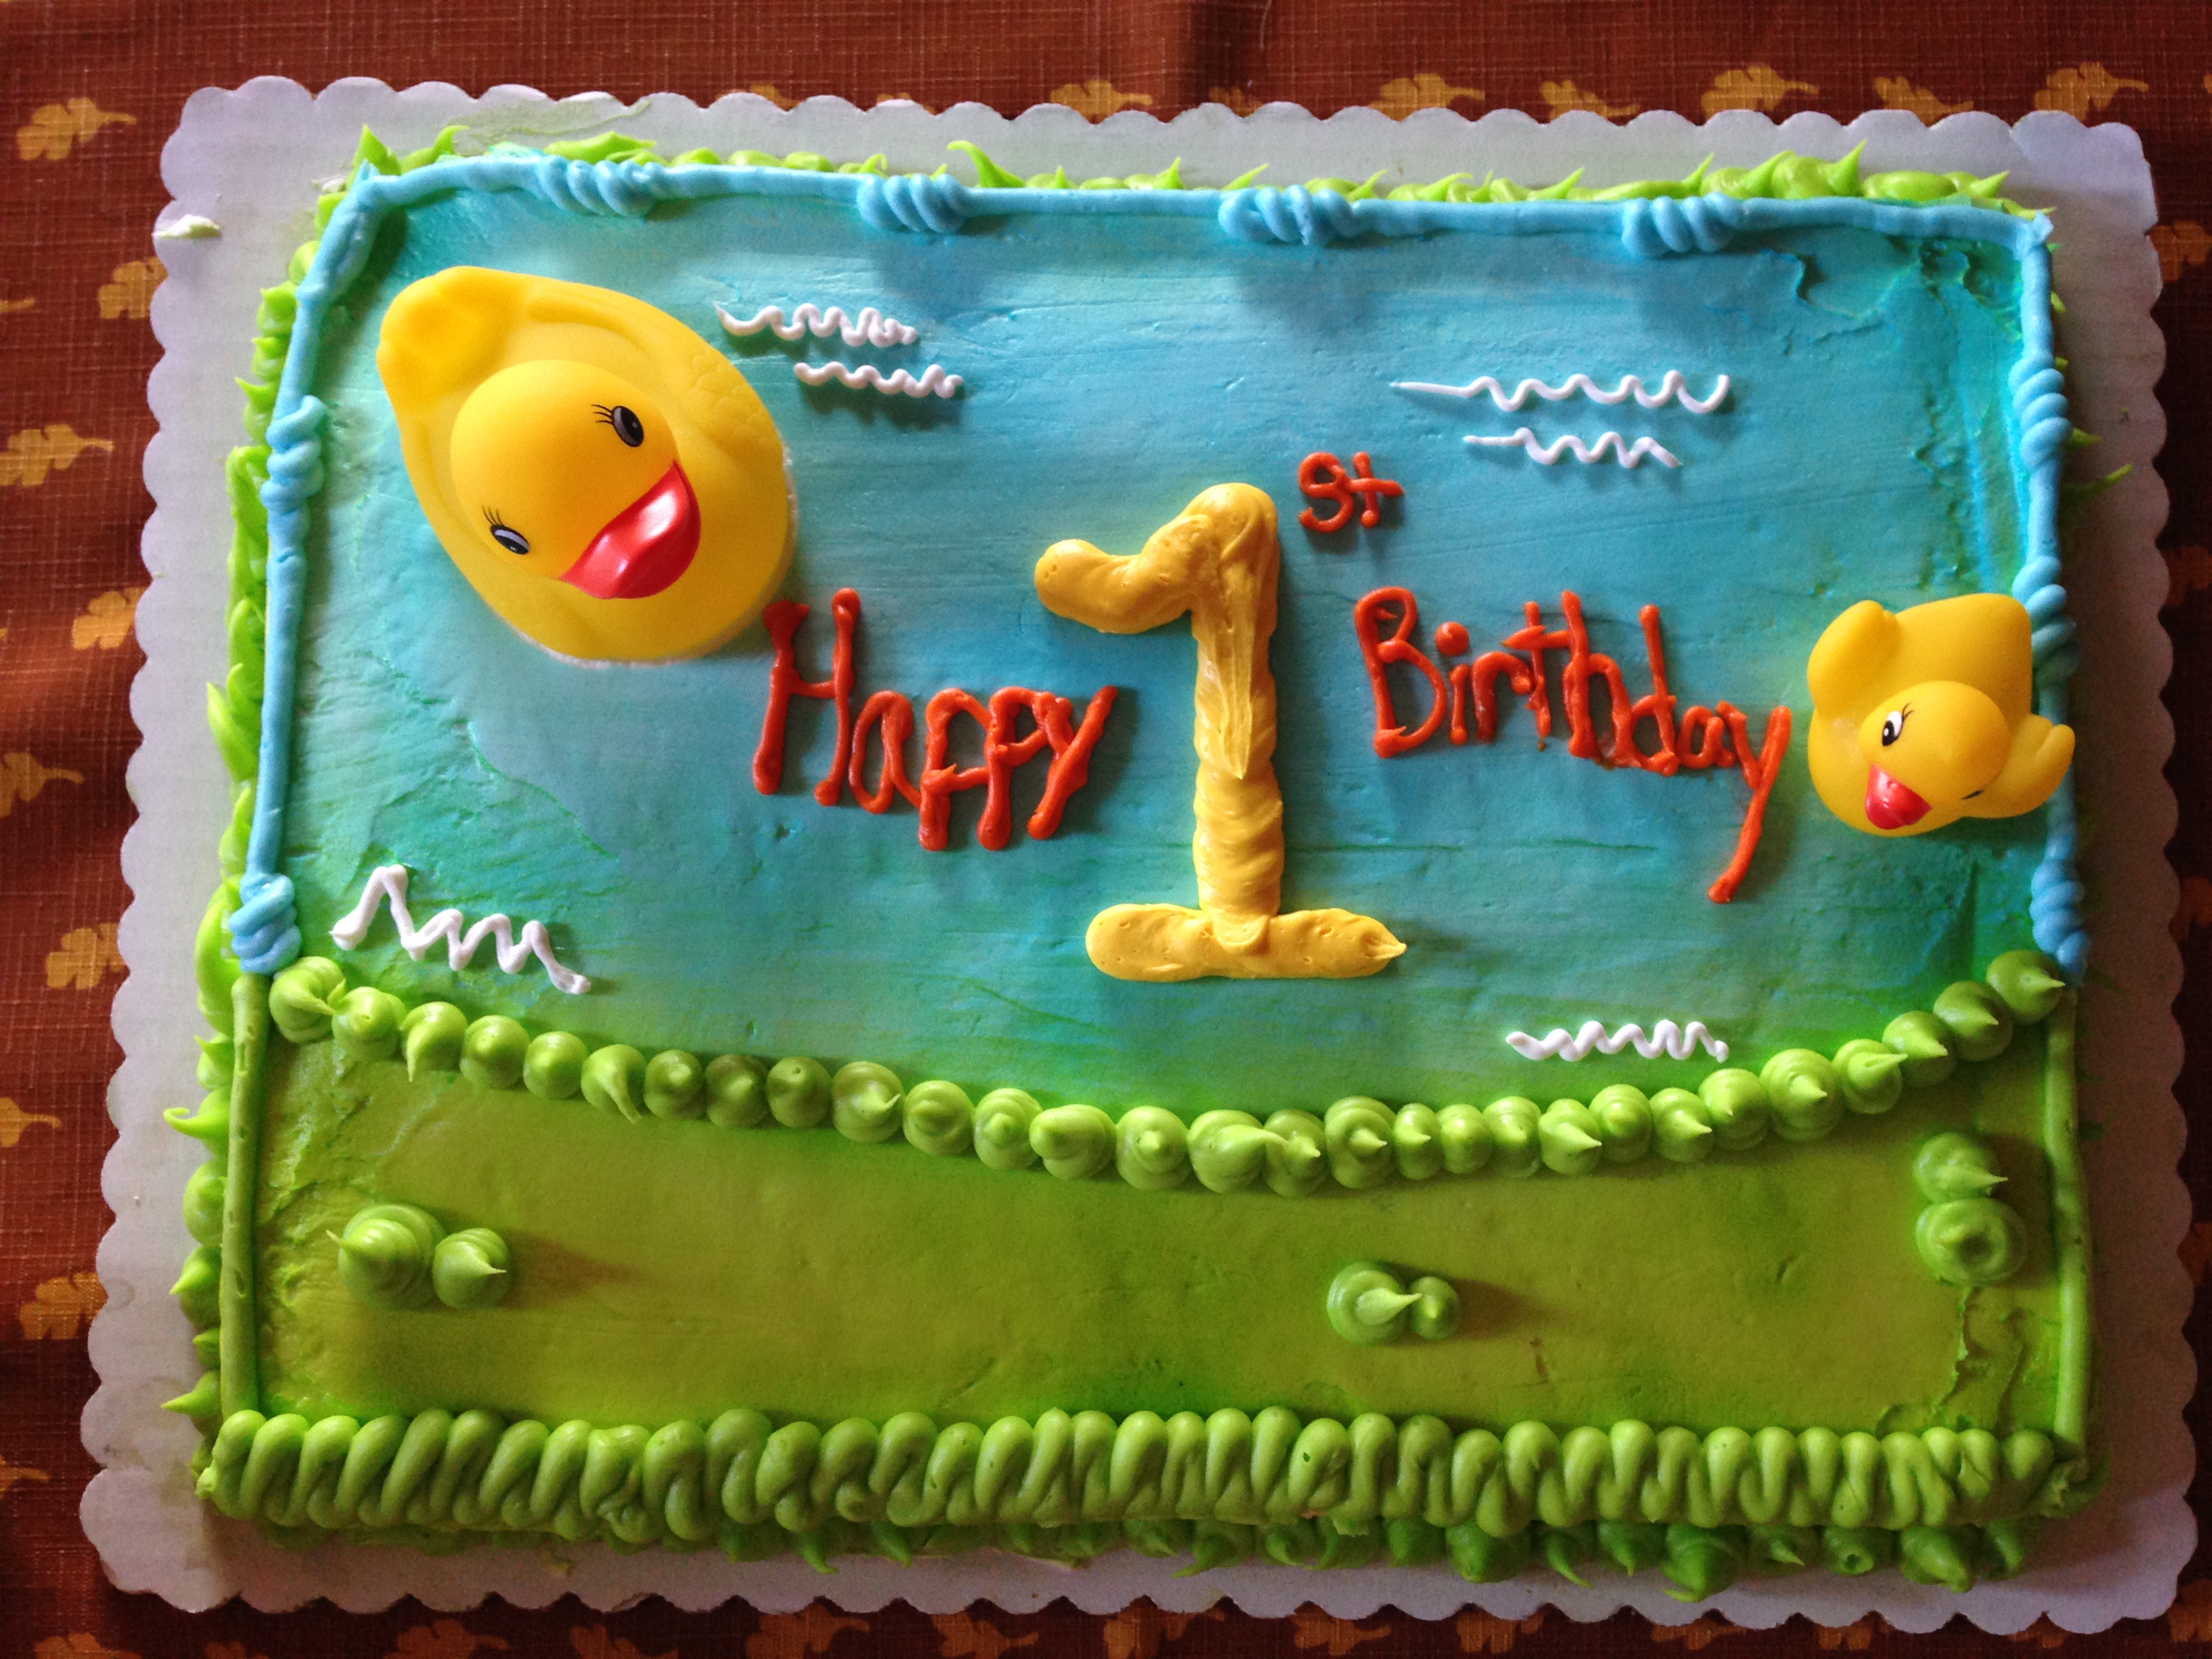
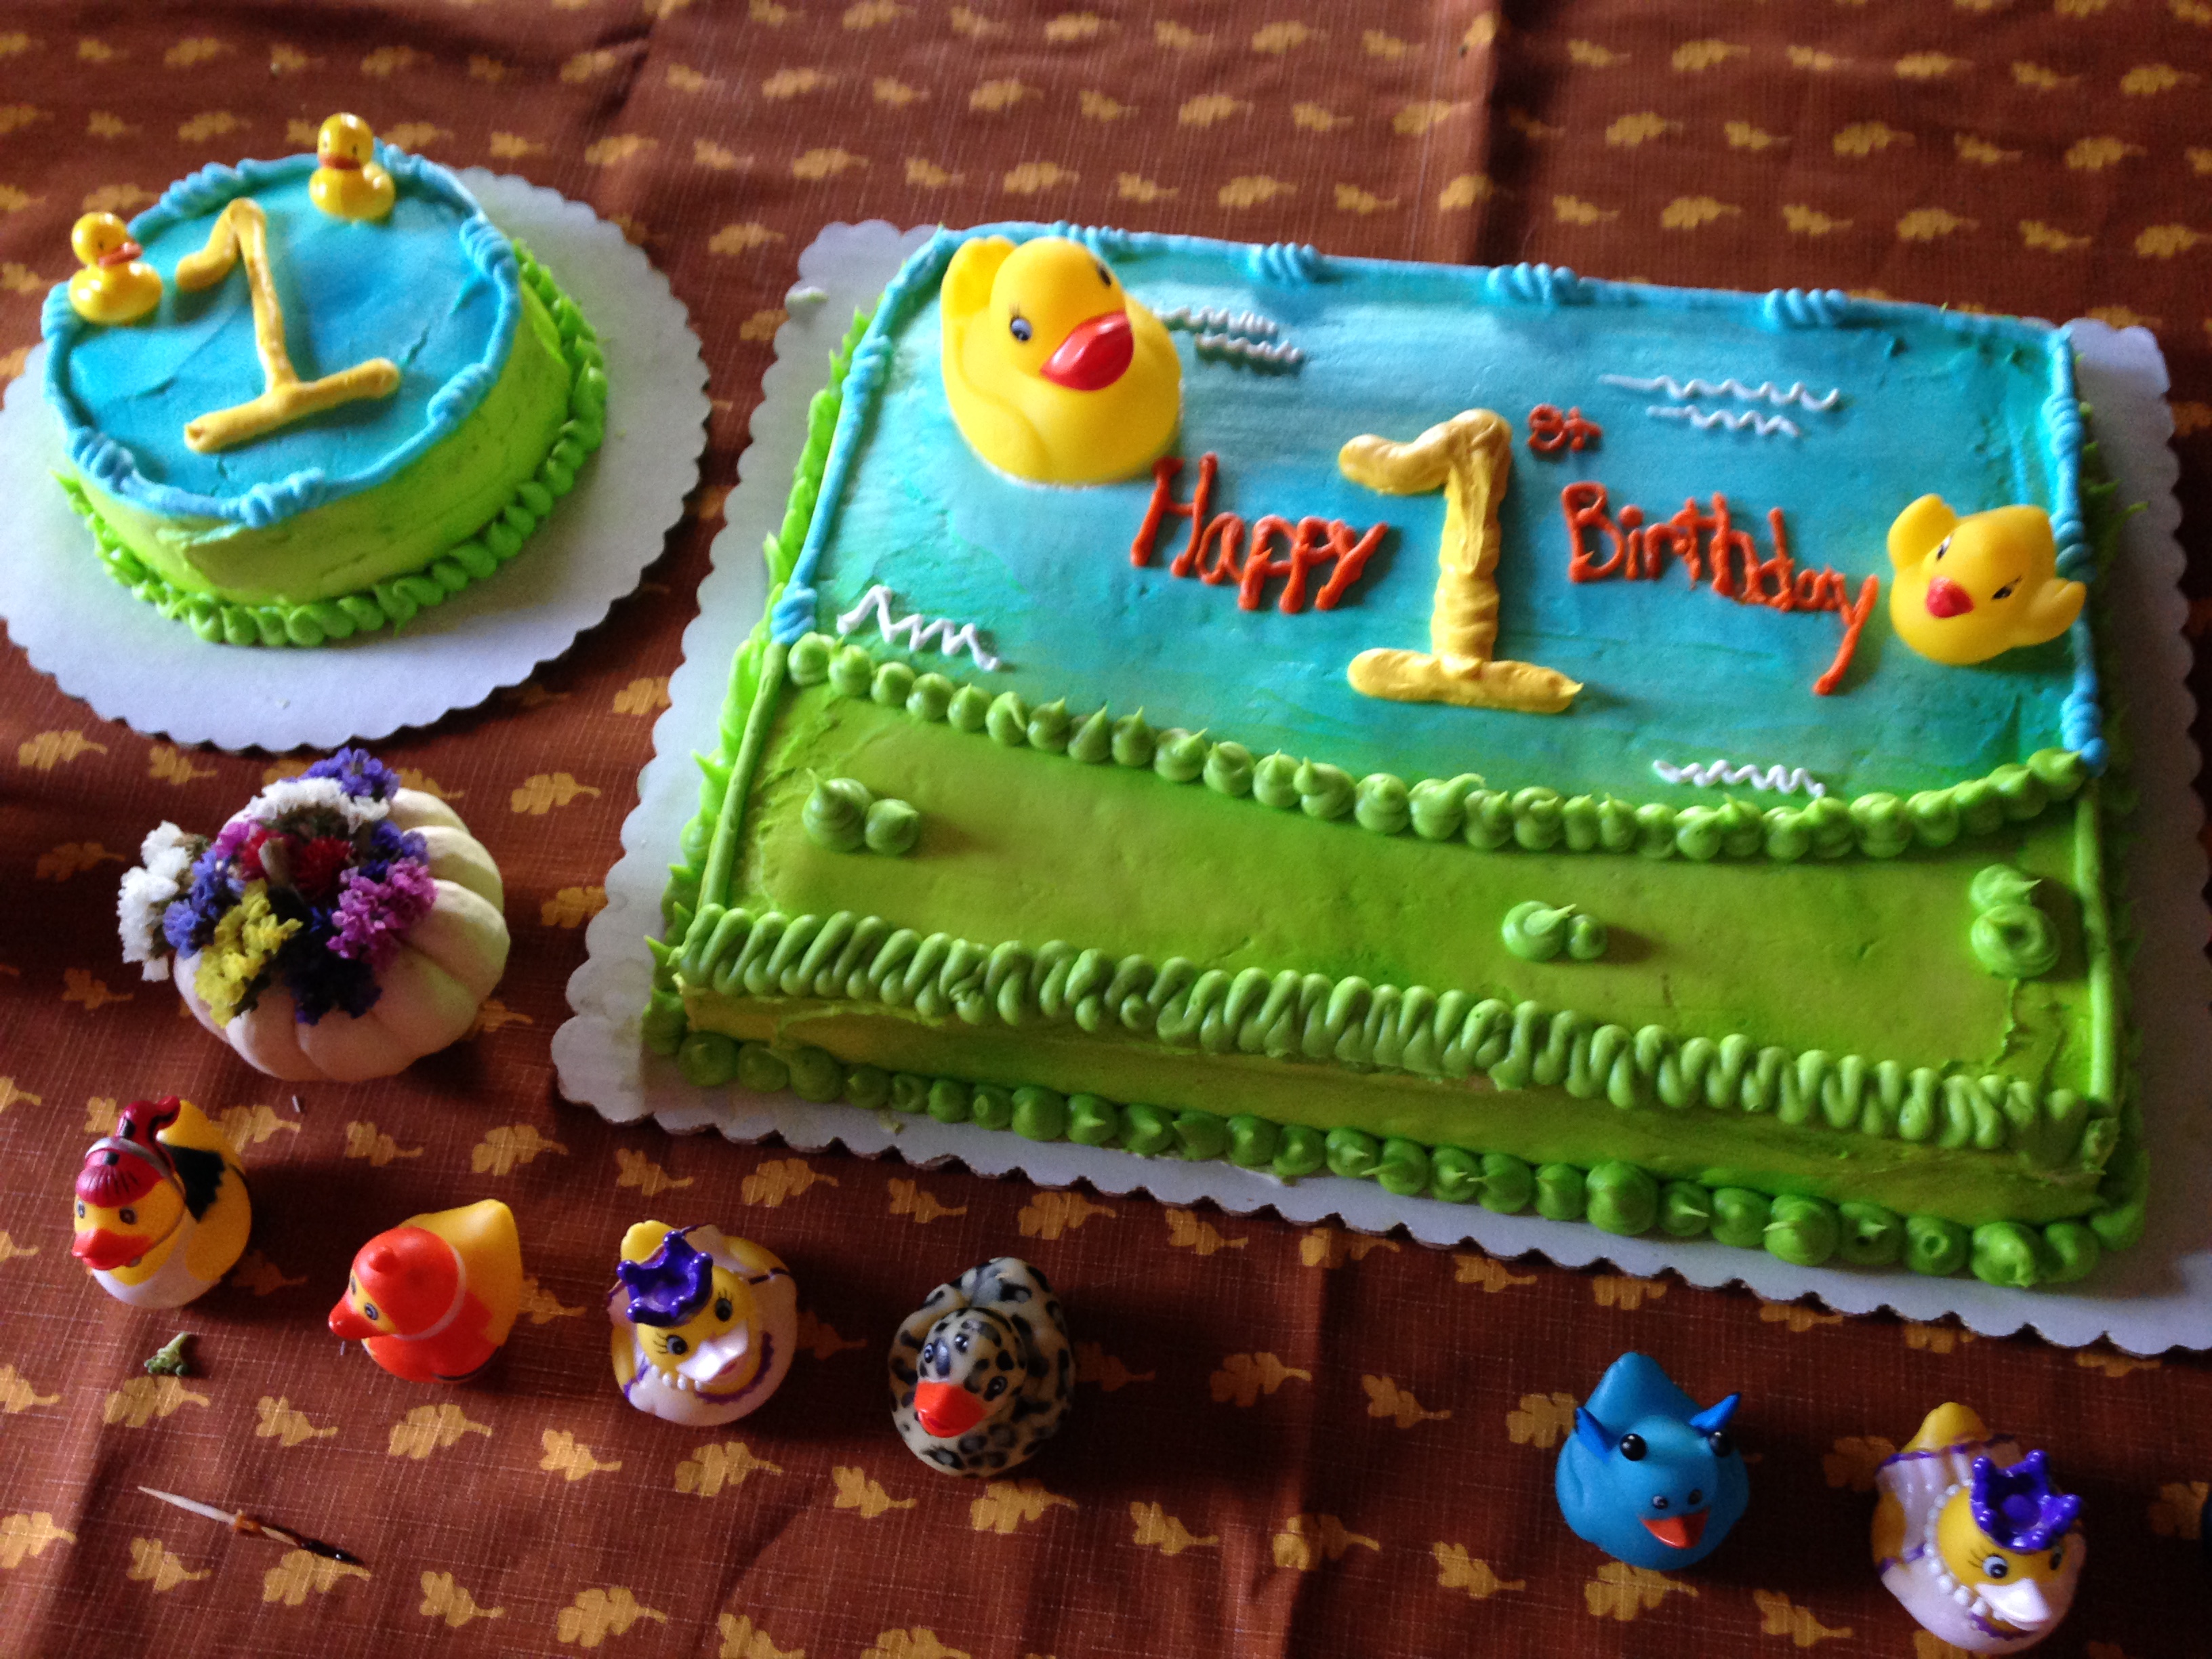
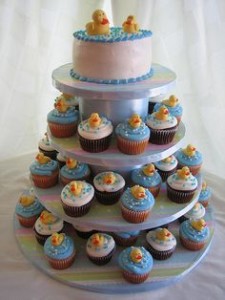
Duck Birthday Ideas: click for more pinterest ideas.

I was GIVEN THE WRONG CAKE WITH NO SMASH CAKE when I went to pickup the cake two hours before the party!  I was given a mere 1/4 sheet cake (wrong size) with the wrong duck design on it, and NO smash cake!  Don’t panic I told myself as my mind reminded me I only ordered this a month in advance to make it was done right!  After several minutes of panic, the manager apologized and stated they could make my cake and smash cake in about two hours.  I agreed but would have to send someone else back to pick it up.  Lukily, my brother in law agreed to pick it up and got fifty percent off the cake.  Phew, added stress you don’t need!

I ended up addin some small ducks to the smash cake! Note: it was a HUGE SMASH CAKE!

IMG_2576 IMG_2577 IMG_2578 IMG_2579IMG_0257

I also made duck shaped cookies with a duck cookie cutter!  And then I used yellow icing to make the number one of them!  Half were pumpkin sugar cookies and the other half regular sugar cookies

4c8a5e03-6c2c-44c9-be3f-3adc2c0edd95

Drinks. Duck punch of course!  There are a variety of recipes to make blue punch.  I ended up doing half blue hawiian punch, half 7up, and then putting in vanilla ice cream to make it look like bubbles!  You can clean rubber ducks up well and put them in, or freeze them in ice!  I also had a punch server that I put ice and ducks in the middle and then put water in it! 

IMG_2532punch

Play.
Since there were a handful or two of kids coming, I decided to buy a couple items and also set up items for the kids to play with.  Of course we had games such as bean bag toss, bacchi ball, redneck golf, and Frisbee setup for adults.

IMG_2555

I bought some duck beach balls off amazon.  They came in a 12 pack so I got them cheap enough and gave them away as favors too.

Birthday chalkboard!  I love this idea!  And it is so easy to make!  Now again, I needed to save myself some time with this project, but also not spend too much money.  My handwriting is awful, so making a chalkboard myself was out of the question.  I also wanted it on a poster board to have it as a keepsake.  So if you are into graphic design you can make your own up and have it printed at an office store.  However, I am not into graphic design so I investigated the options at etsy.  I ended up going with a 5.99 graphic for ducks and edited the sections myself with adobe.  I took it to staples to have it mounted on a poster board and enlarged.

IMG_0084

HOWEVER, **Note: the file was locked due to the seller having a password.  The staples I went to could not print it so I had to have it turned into a JPEG.  The seller offered to do it, but I didn’t want to wait, so I just changed it myself on a free online program.  Just type in change to JPEG and you can easily find a free site.  For these pre-made designs you cannot change the pictures or the design, only the words can be edited.  For mounting on a thick foam poster board and enlarging to 16×20, it cost me 16.99 online.  I am very pleased with the way it turned out and now it is displayed in her room as a great keepsake!IMG_0108 IMG_0154

You can of course buy a chalkboard and make your own.  You can even print out different fonts and trace them onto the board.  You can also buy a cheap graphic design program and make your own.  Again, for the price, and since it was last minute, it was easiest for me to order it.

IMG_2528

So that is it folks!  Although she won’t remember this, I have lots of pictures and we had lots of fun!

Hope you enjoyed the post and I hope it gave you some good ideas!  You can check out my pinterest site for more ideas!  Follow us on facebook too!


FollowFacebookpinterestrssyoutube
ShareFacebookpinterest

1st birthday dress!

I wanted that special 1st birthday dress, but not that especially high price that comes with most of them!  So once again, I searched pinterest, etsy, and other sites to find ideas.  I ended up combining ideas, as well as making up my own, to design with the dress I created. The theme was rubber duckies for her party.  Therefore, I wanted to incorporate duckies as well as other birthday fabrics.  I went to the store and examined numerous fabrics, buying  a yard of my favorites!  The extra fabric I ended up using to create the crowns!

IMG_2549

I purchased the iron on birthday 1 and ducky from etsy.  The number is even personalized with her name!  I also bought the duck buttons from the store.  I used white hair bands that I cut to make the loop holes for the buttons on the top of the shoulders.

IMG_0057 (2)

So how did I make this dress?  Well that’s a secret! But I can give you some hints.  If you are truly interested in a dress like this you can private message me or come back and look for my future etsy link!

IMG_2455 IMG_2453

The skirt of course took the longest because of the detail.  I added yellow ribbon in between the rows as well.

IMG_2459

Then I added the cute duck to the back of the dress.  Personally, this dress could be used as a 2 in 1 dress because the back is also so cute!  However, the 1 in the front personalized this as a 1st birthday dress.


IMG_2457Well check out the other tutorials, as well as the 1st birthday party theme page for more ideas! Feel free to share pictures of your little one’s first birthday dress!

FollowFacebookpinterestrssyoutube
ShareFacebookpinterest

Easy Birthday Crowns!

Want to sew quick and easy crowns for a party or get together?  Then you’ve come to the right place!  I made a last minute decision days before my daughters’ first birthday party that we needed crowns!  The theme was rubber ducky, so I decided to make birthday crowns instead of hats!  Young kids and babies don’t enjoy hard hats on their head and also shouldn’t have a rubber band or elastic around their neck.

IMG_0058 (2)As you can see they are very cute for photo shoots as well!  She didn’t particularly like keeping it on, but I got a couple good shots!

As usual, there is a YouTube video and also a written explanation below.  I didn’t have a lot of time to embellish the other crowns but you can always spice things up with some ribbons, bows, glitter, rhinestones, or buttons!

To get started you need:
1) Choice of fabric and design
2) Scisscors
3)Thread
4) Closure for crown (velcro, button, ribbon) or you can sew all the way around if you know the exact size


  1. Cut your fabric for the main part of the crown 4 1/2 x 18 inches
  2. Snapshot 1 (10-7-2015 8-50 AM)
  3. Make your own crown pattern by drawing the top on a piece of paper and cutting it out!
  4. Cut your design onto your fabric to make the shape of your crown! If you want a felt backing with another color cut that out as well.
  5. Next, pick out your ribbon if you are using one, if you want any other embellishments get them ready!  I made a felt duck that I sewed onto
    the crown.
  6. Snapshot 2 (10-7-2015 9-02 AM)
  7. Line up your crown pieces and sew all the way around!  Then you are done! If you want to add button loops and buttons you can sew them on as well.
  8. IMG_2478Congrats and enjoy the party!  Check back often for new crafts or subscribe below!


FollowFacebookpinterestrssyoutube
ShareFacebookpinterest