As a child I remember making many candles from crayons at my grandparents house. I also remember how much fun we had making candles from crayons. So, during the quarantine, I decided why not try it?
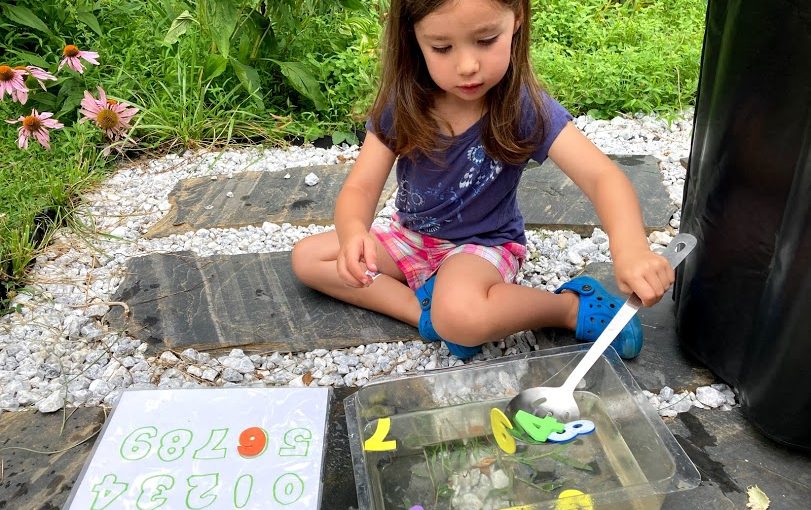
Of course the kids are still young and can’t work with the melted wax, but they can find broken crayons or pieces of crayons too small to use. I put them hard at work finding these crayons and then taking all the wrappers off of them. Next, they categorized them by colors.
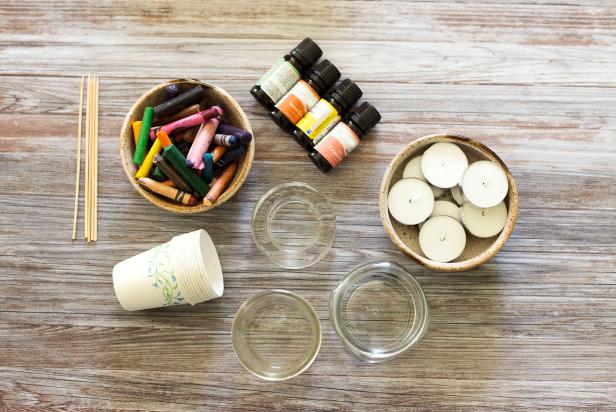
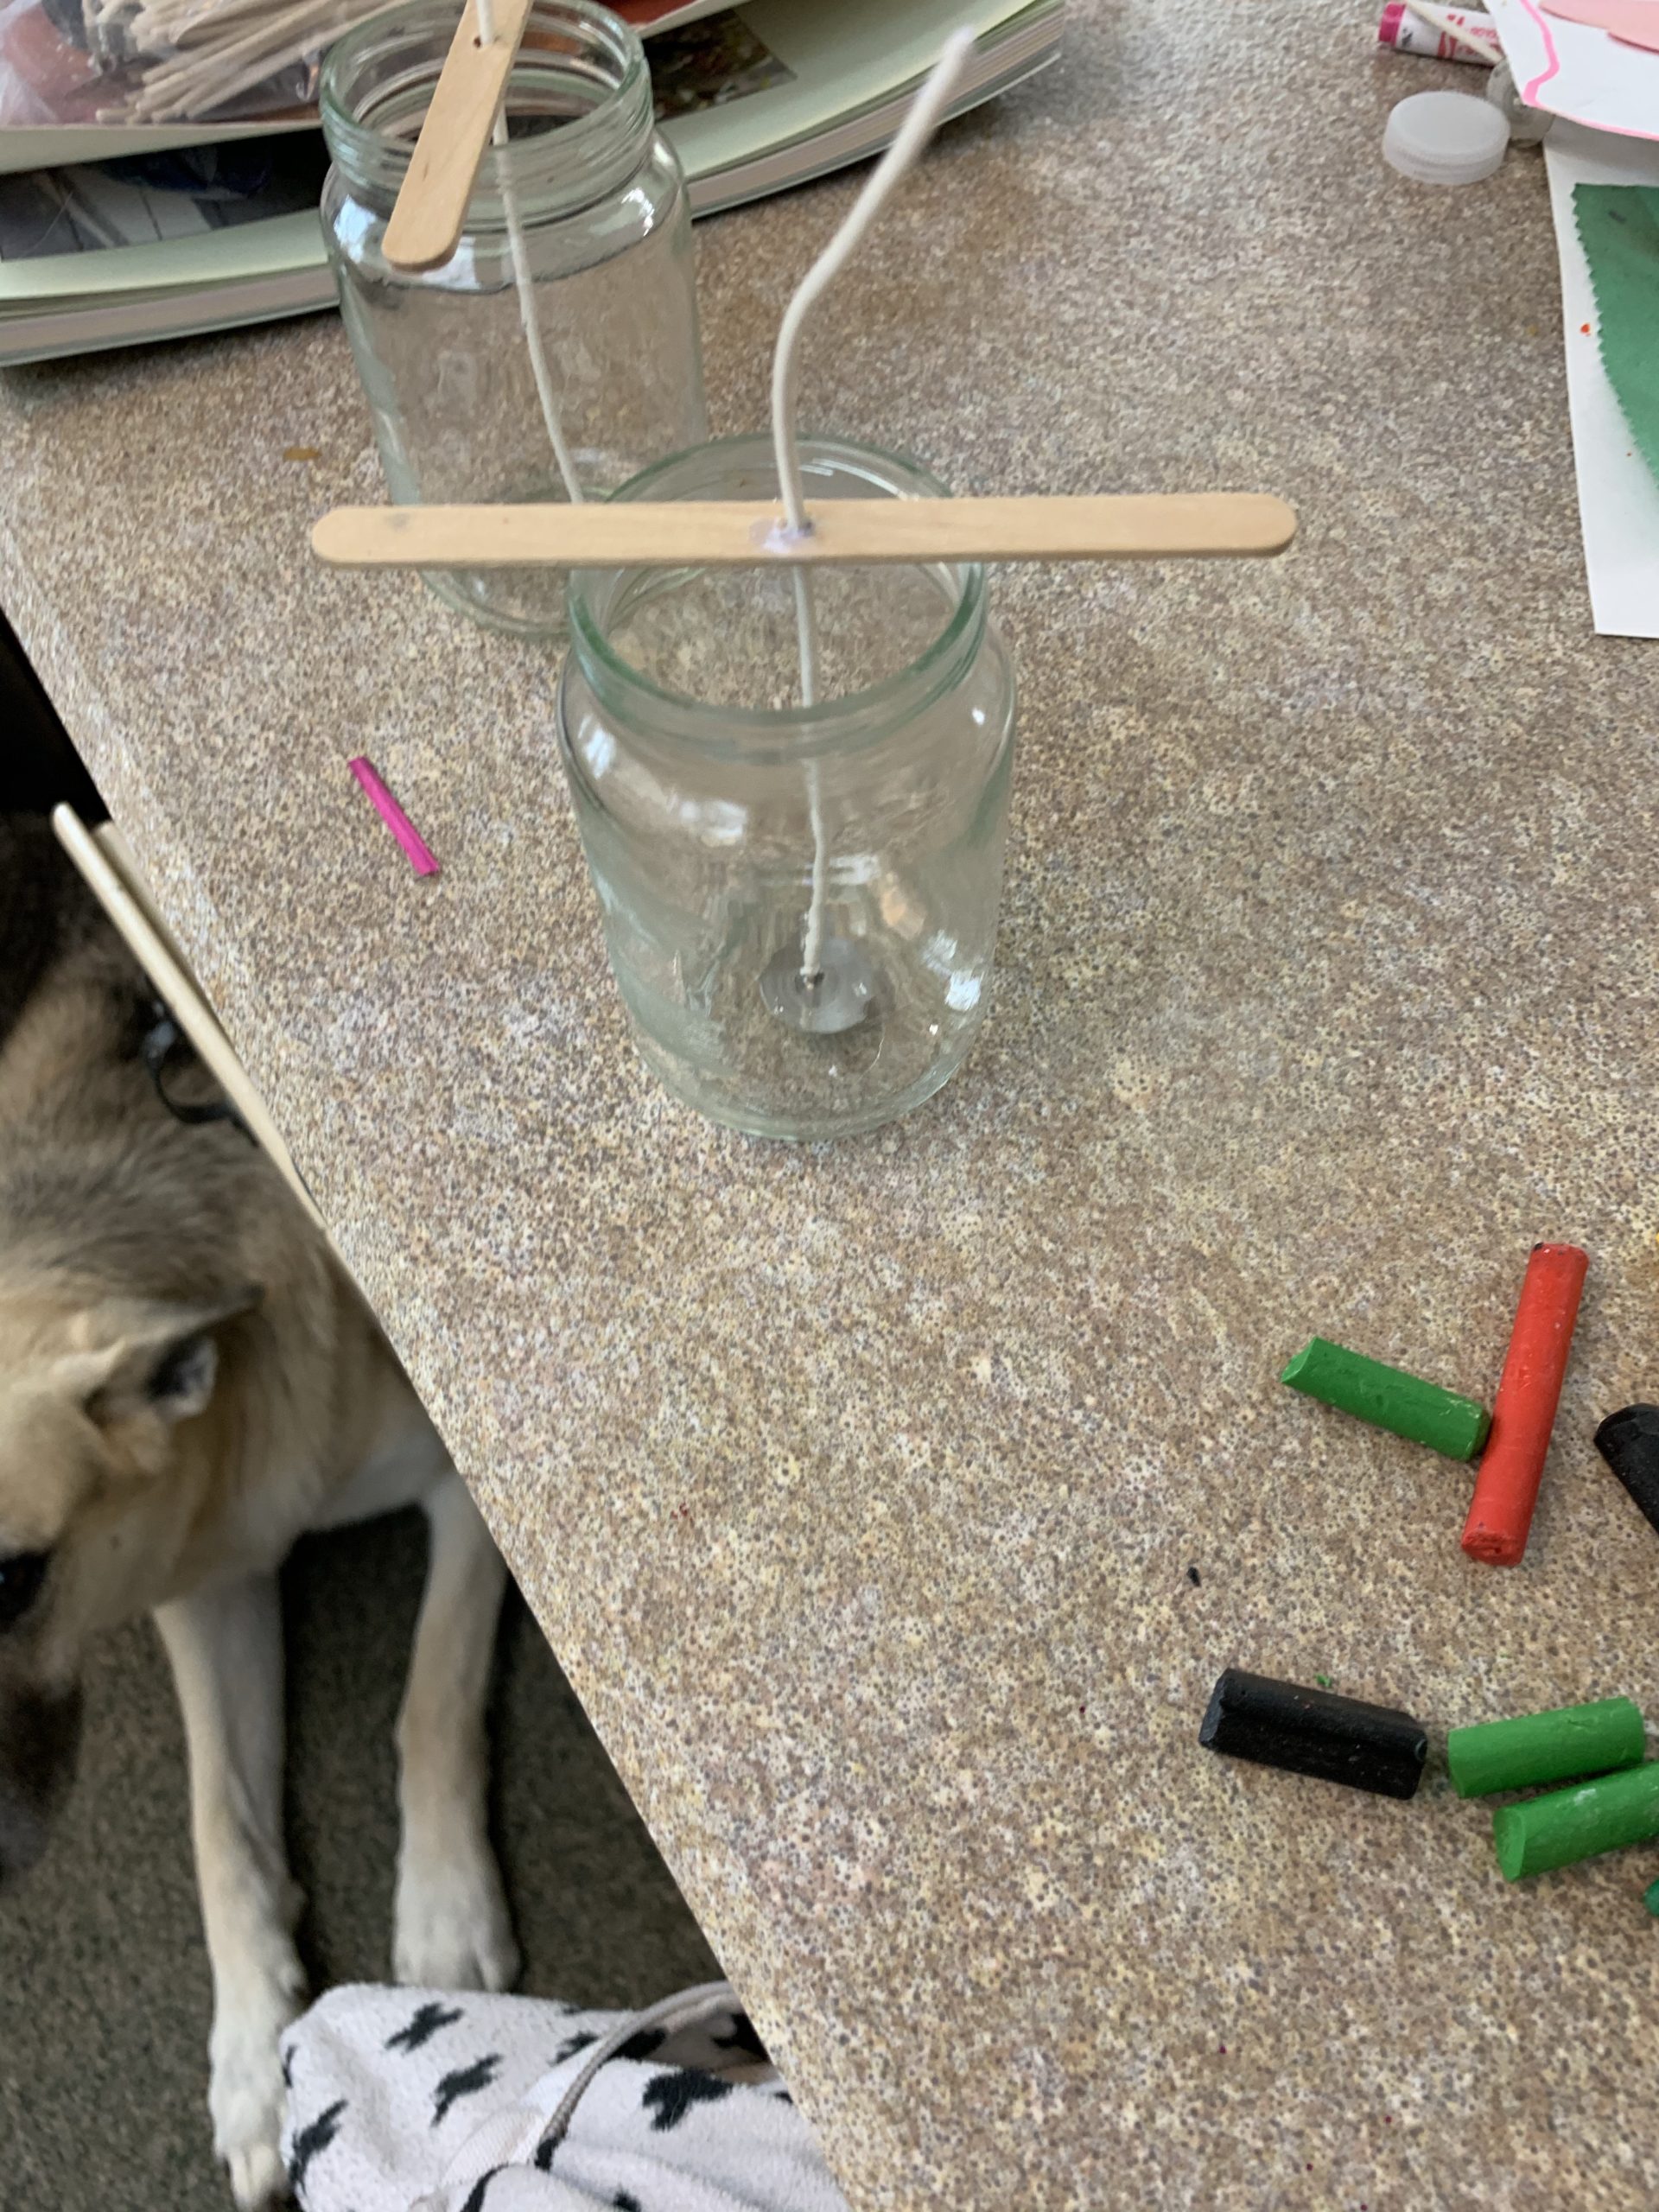
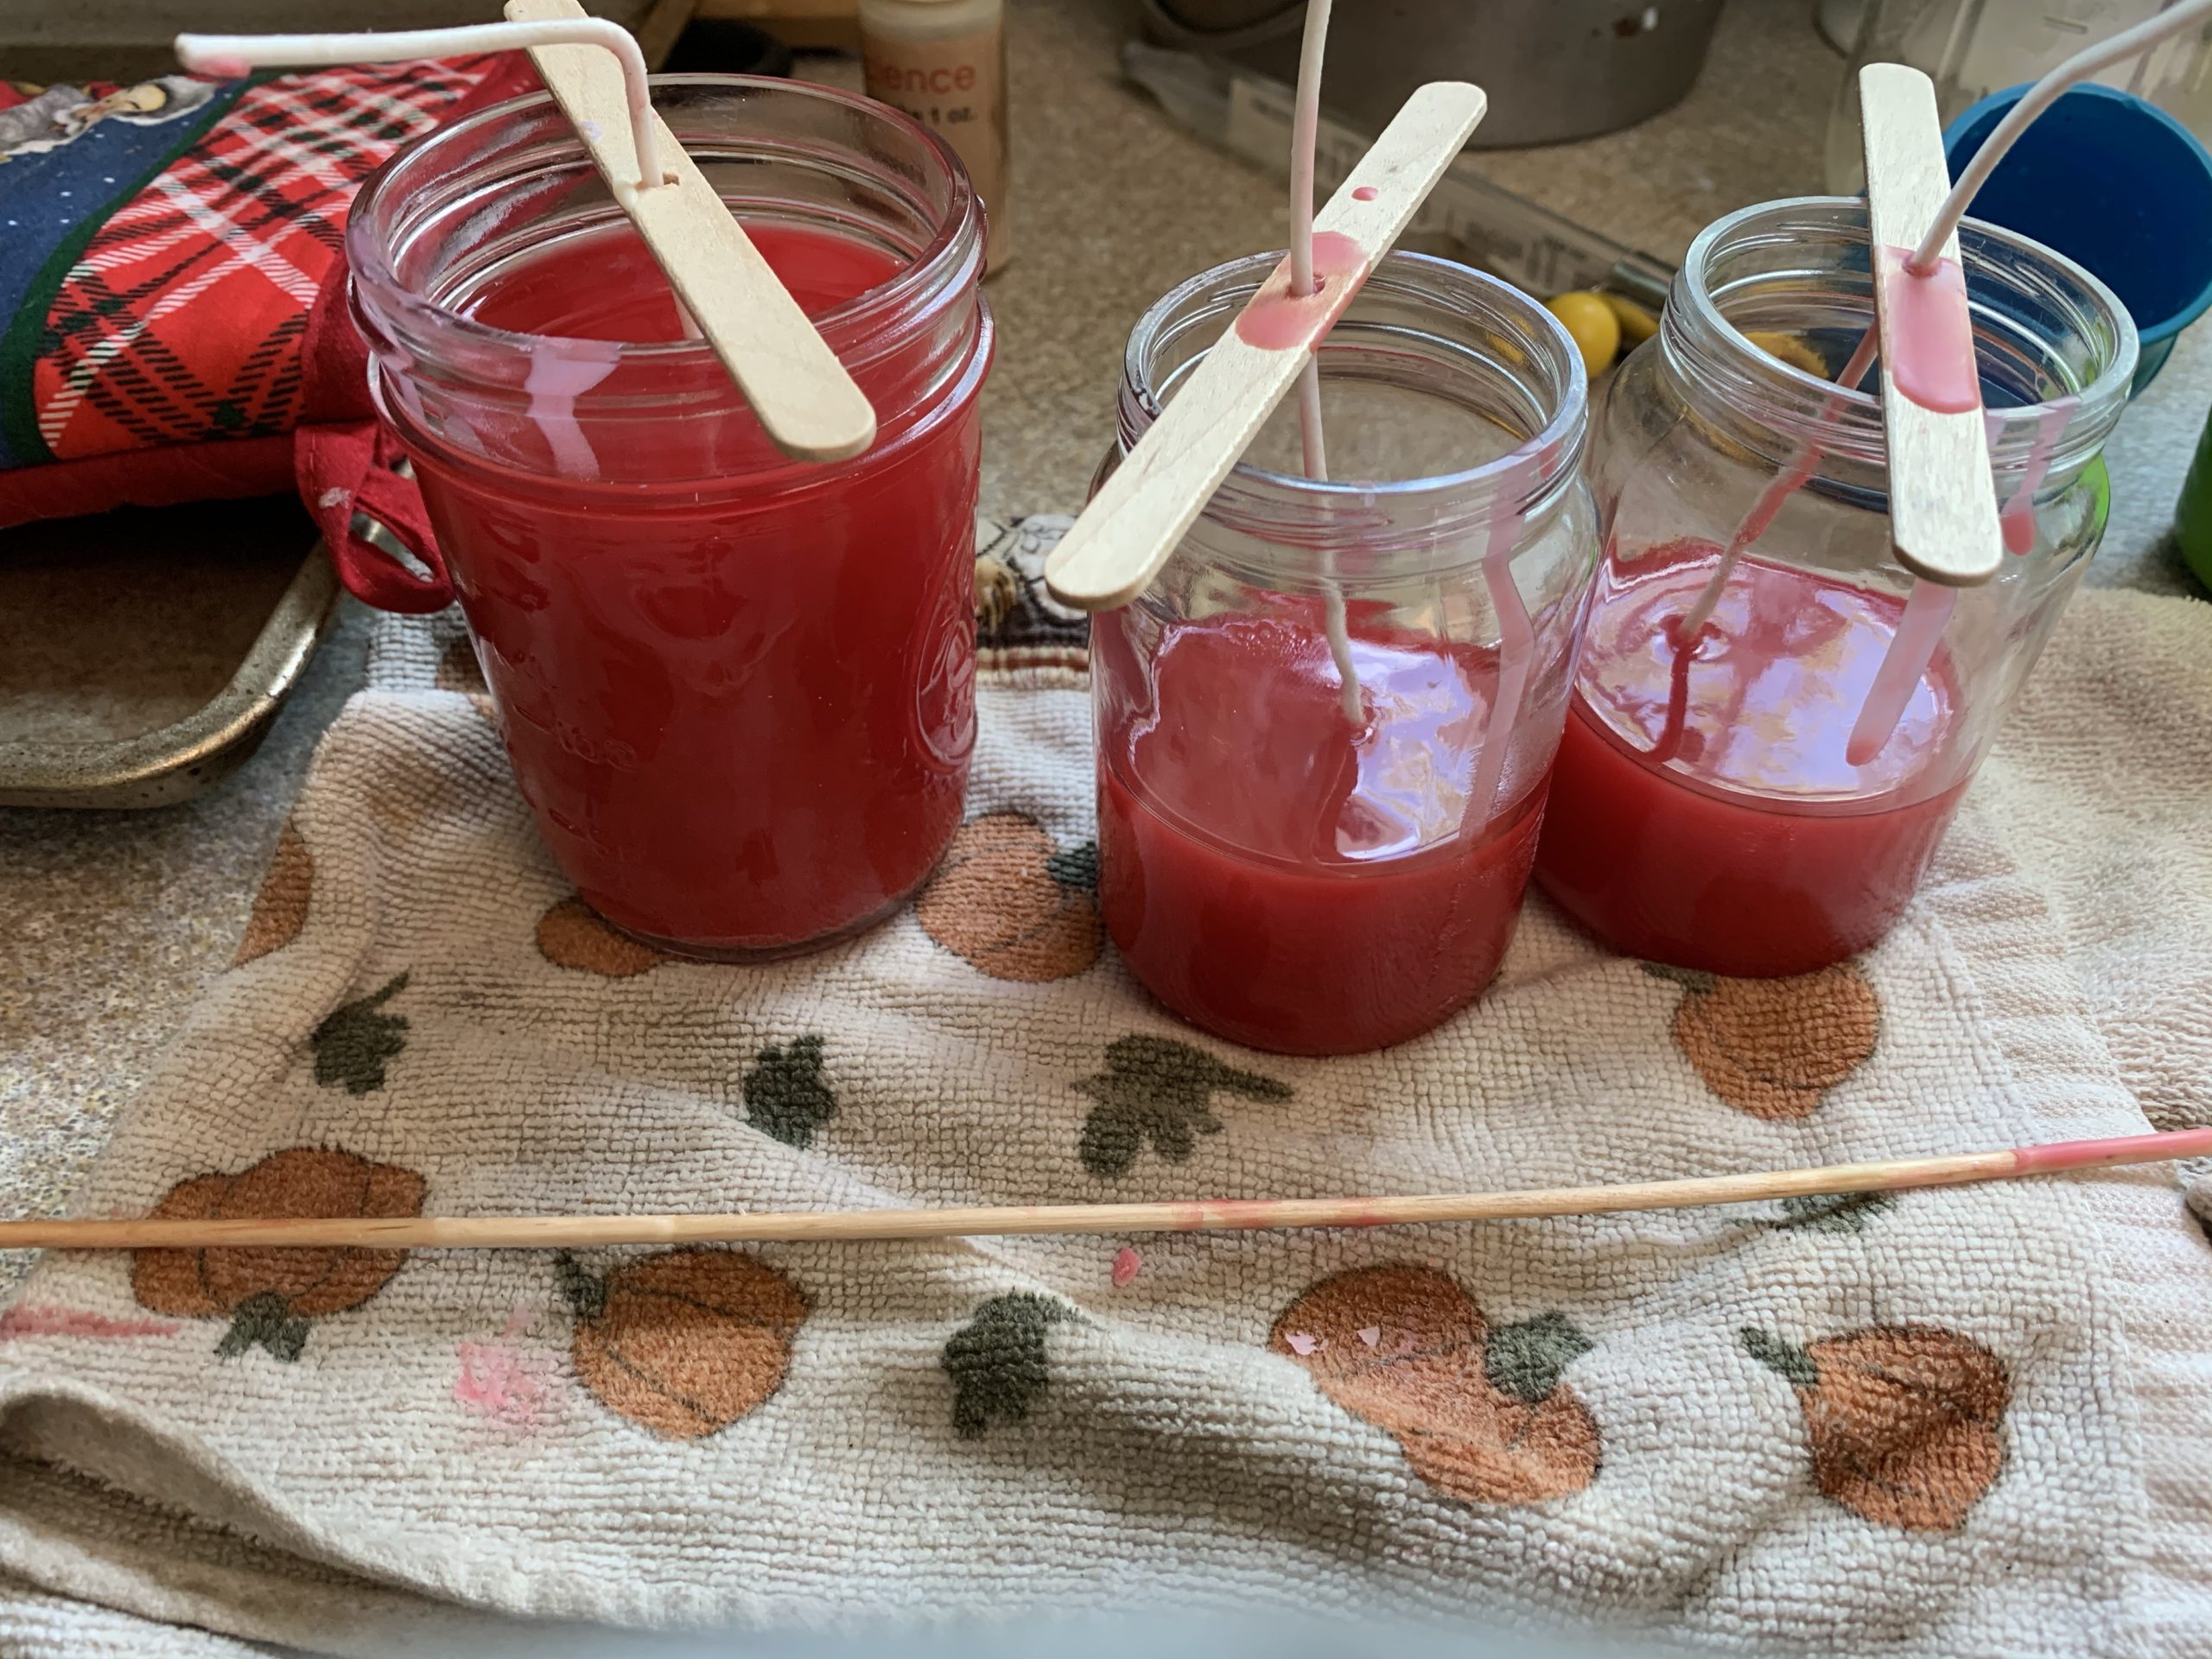
Next, I had little jars I had previously saved from baby foods that we could use for candles. Make sure its a glass jar and not plastic! We also had Popsicle sticks, wicks, and a boiling pan and thermometer for melting the wax. We have small holes in the Popsicle sticks, but you can also wrap it around the stick if needed. Have your container and wick ready.
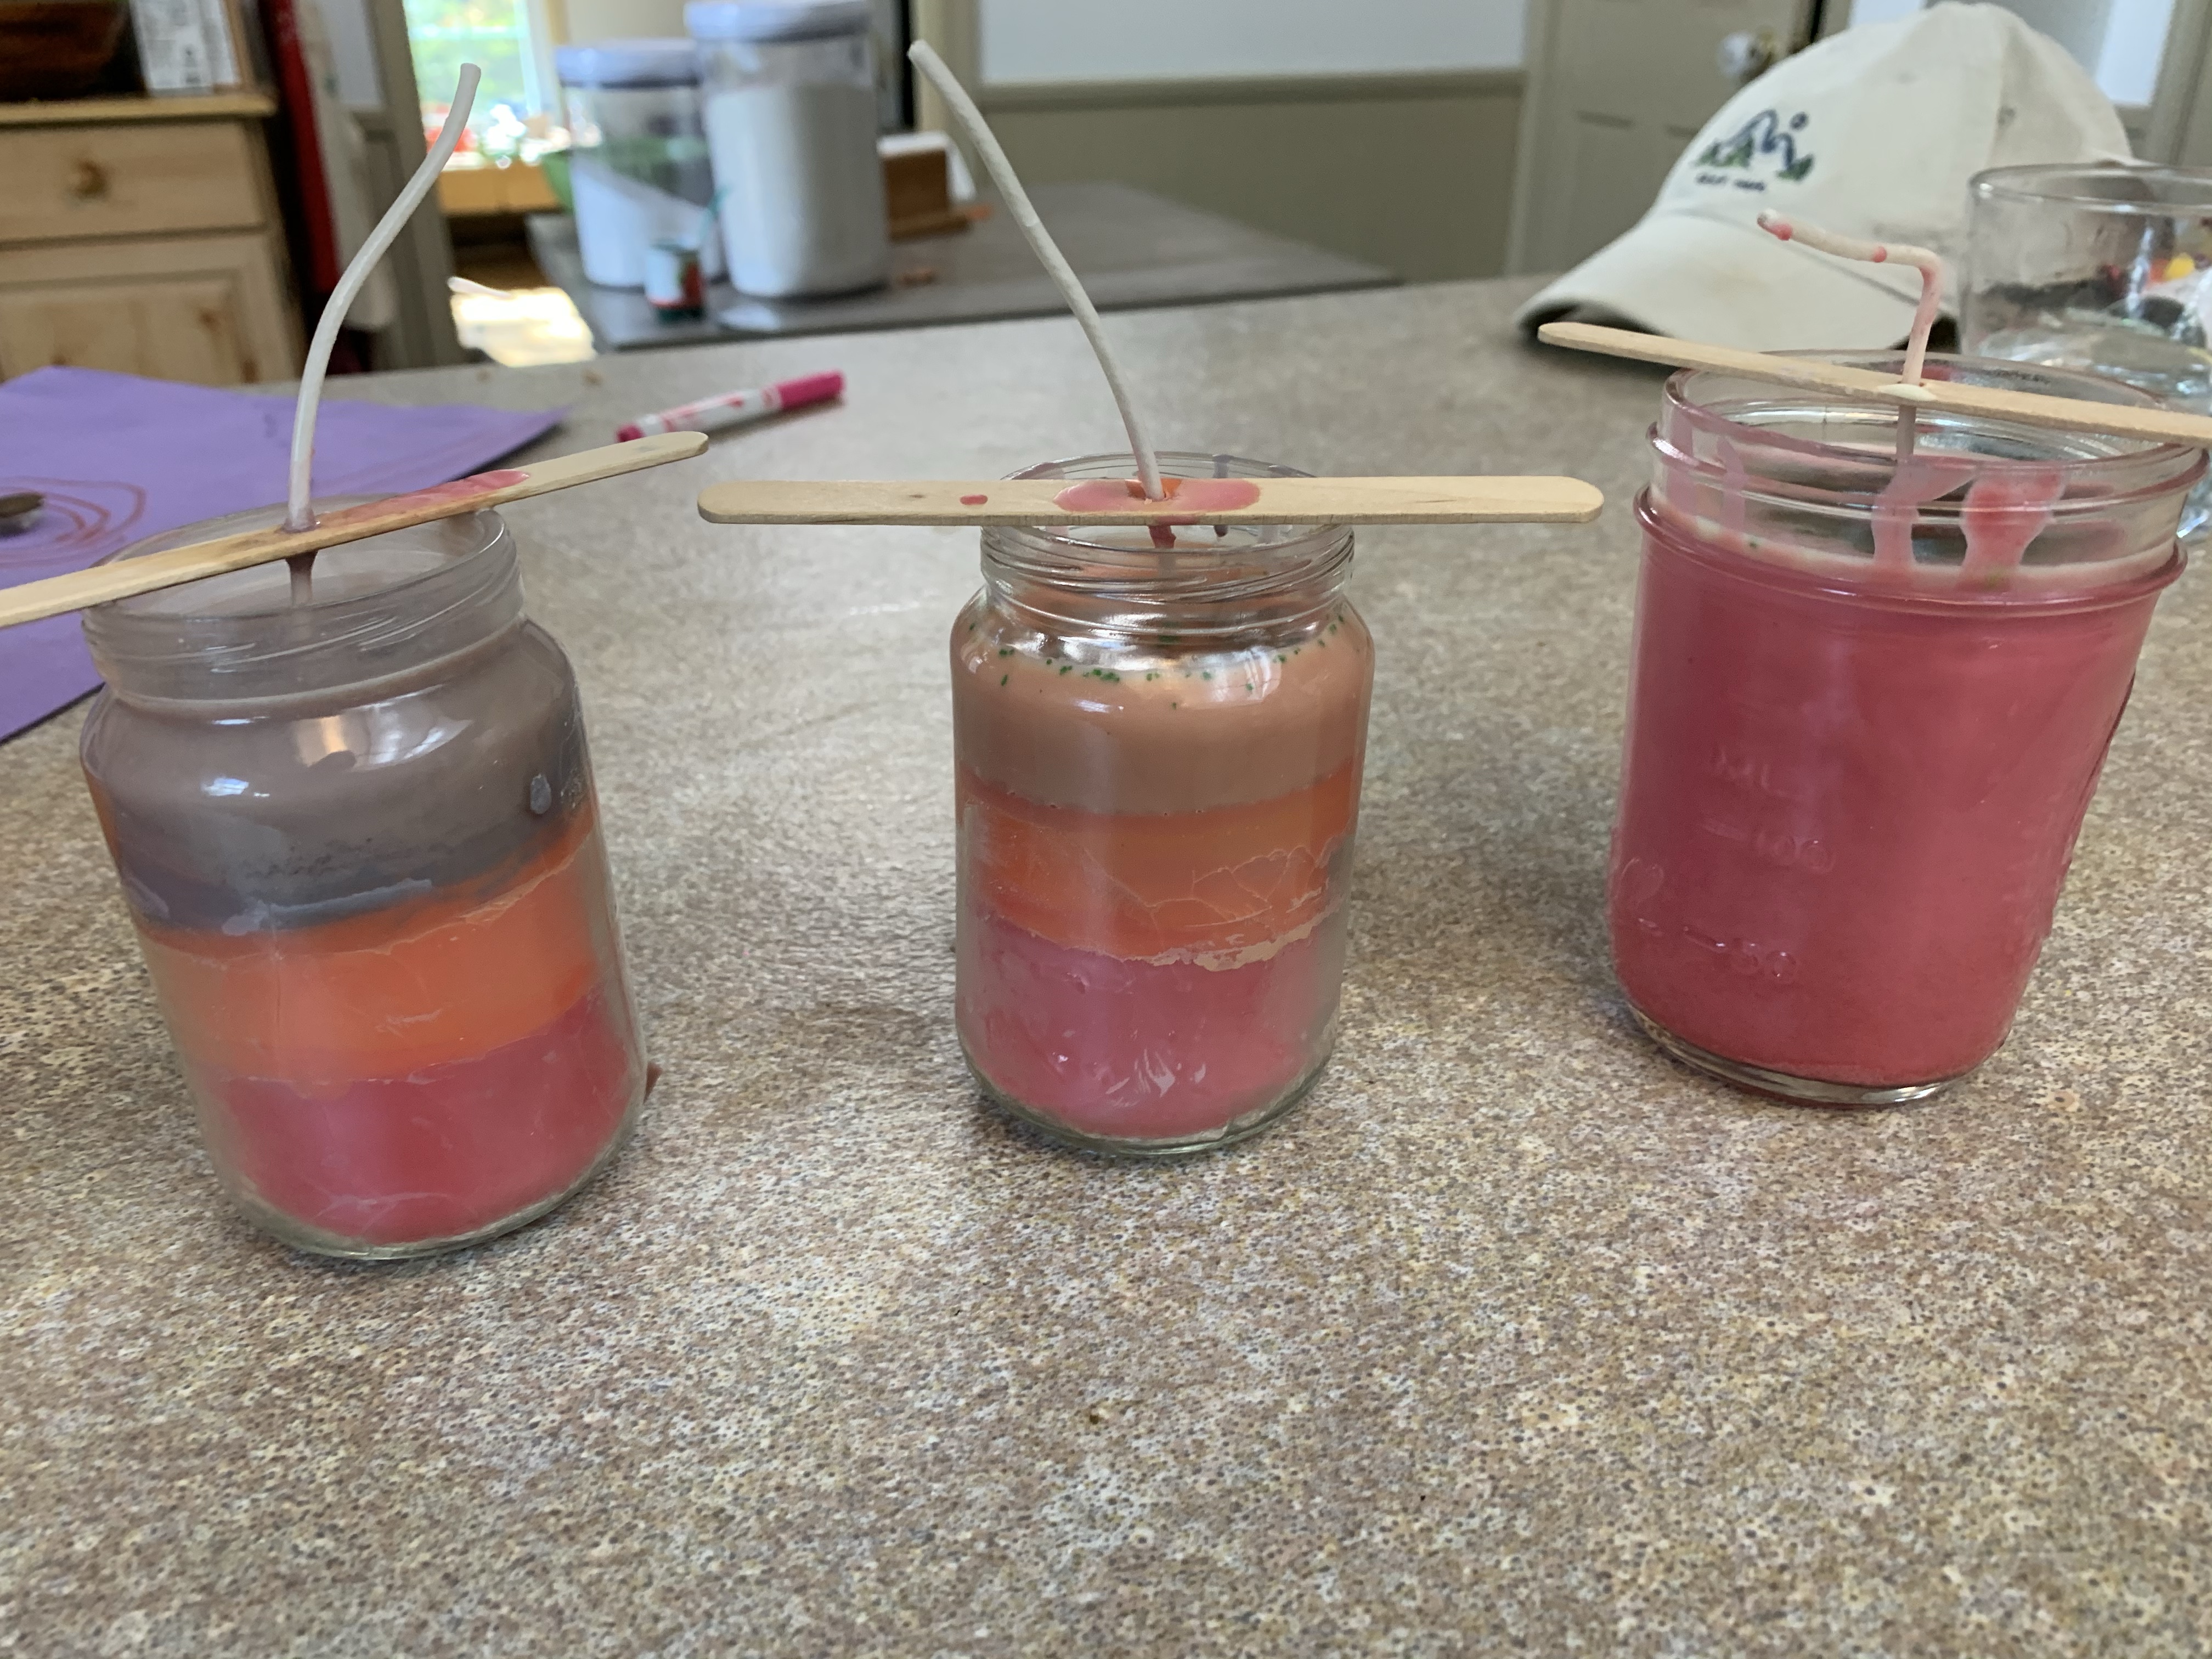
Next, decide if you are going to do just one color candle or multiple. If you choose to do multiple you have to let the candle wax dry in between which can take a while. I ended up getting a big pan of ice and putting it around the outside of the candle after pouring the wax in order to cool it quicker.
Another factor is if you want a scent. If you have different scents you can add them, or you can use essential oils to add a scent.
Now, you do need some regular wax as well! I happened to have some white wax shavings from a long time ago we used and added the crayons for coloring. You can also use the small tea candles that are cheap at the store and take them out of the tin wrapper. Depending on the size of your jar you are filling, you will need a different amount of candles. We melted the wax and coloring in the special candle pot we have and poured it out into the containers. Some people also like to put the wax and crayon right into the jar and put 3 inches of water into a pan and place the jar in the pan and let it melt. Warning–your jar will get very hot this way! Also make sure u have your wick in when you do it this way. If you want to try that method I found a great website for you to follow Click here
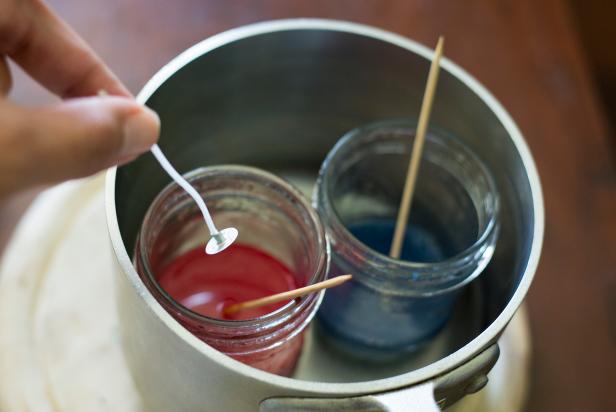
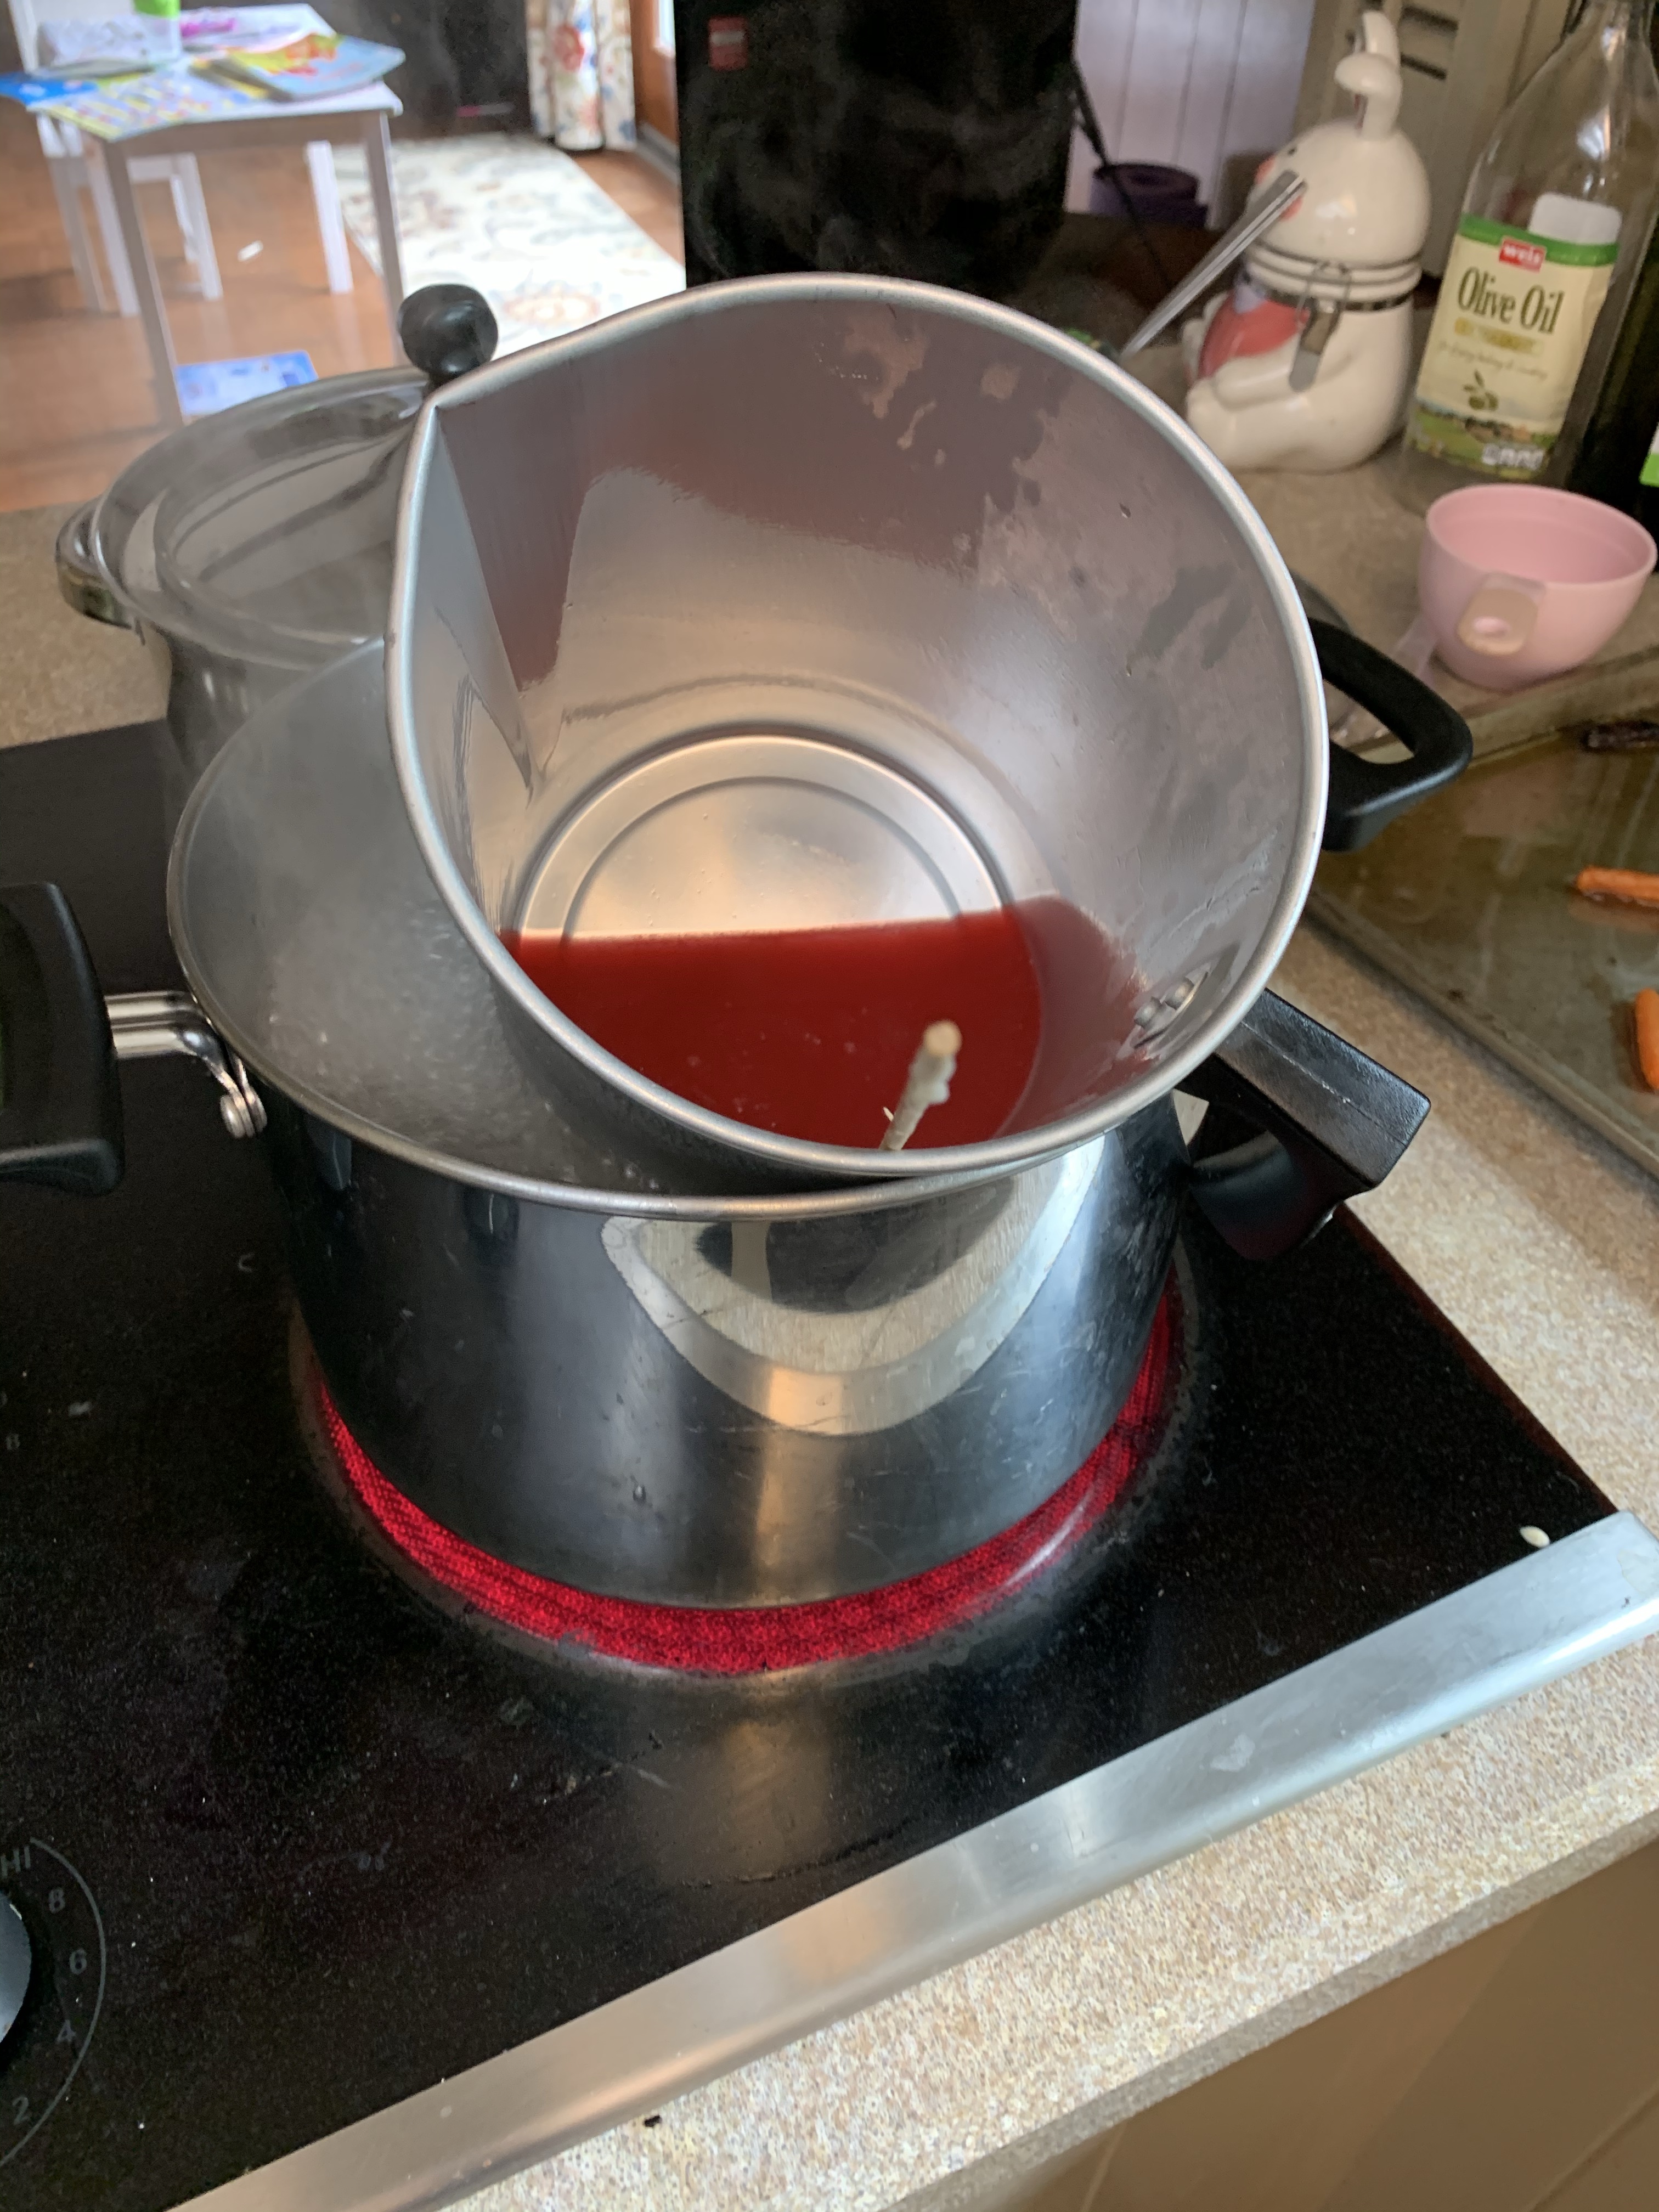
I tilted the candle wax pan for you to see. As you can see the pot below has water in it and it melts the wax and crayon. When its all liquid you can pour it directly and carefully into your jar and make sure your wick is centered. Then you allow it to dry!
Following that, if you are doing another color, repeat the melting process and make sure the bottom layer is completely dry before adding the next color in the candle.
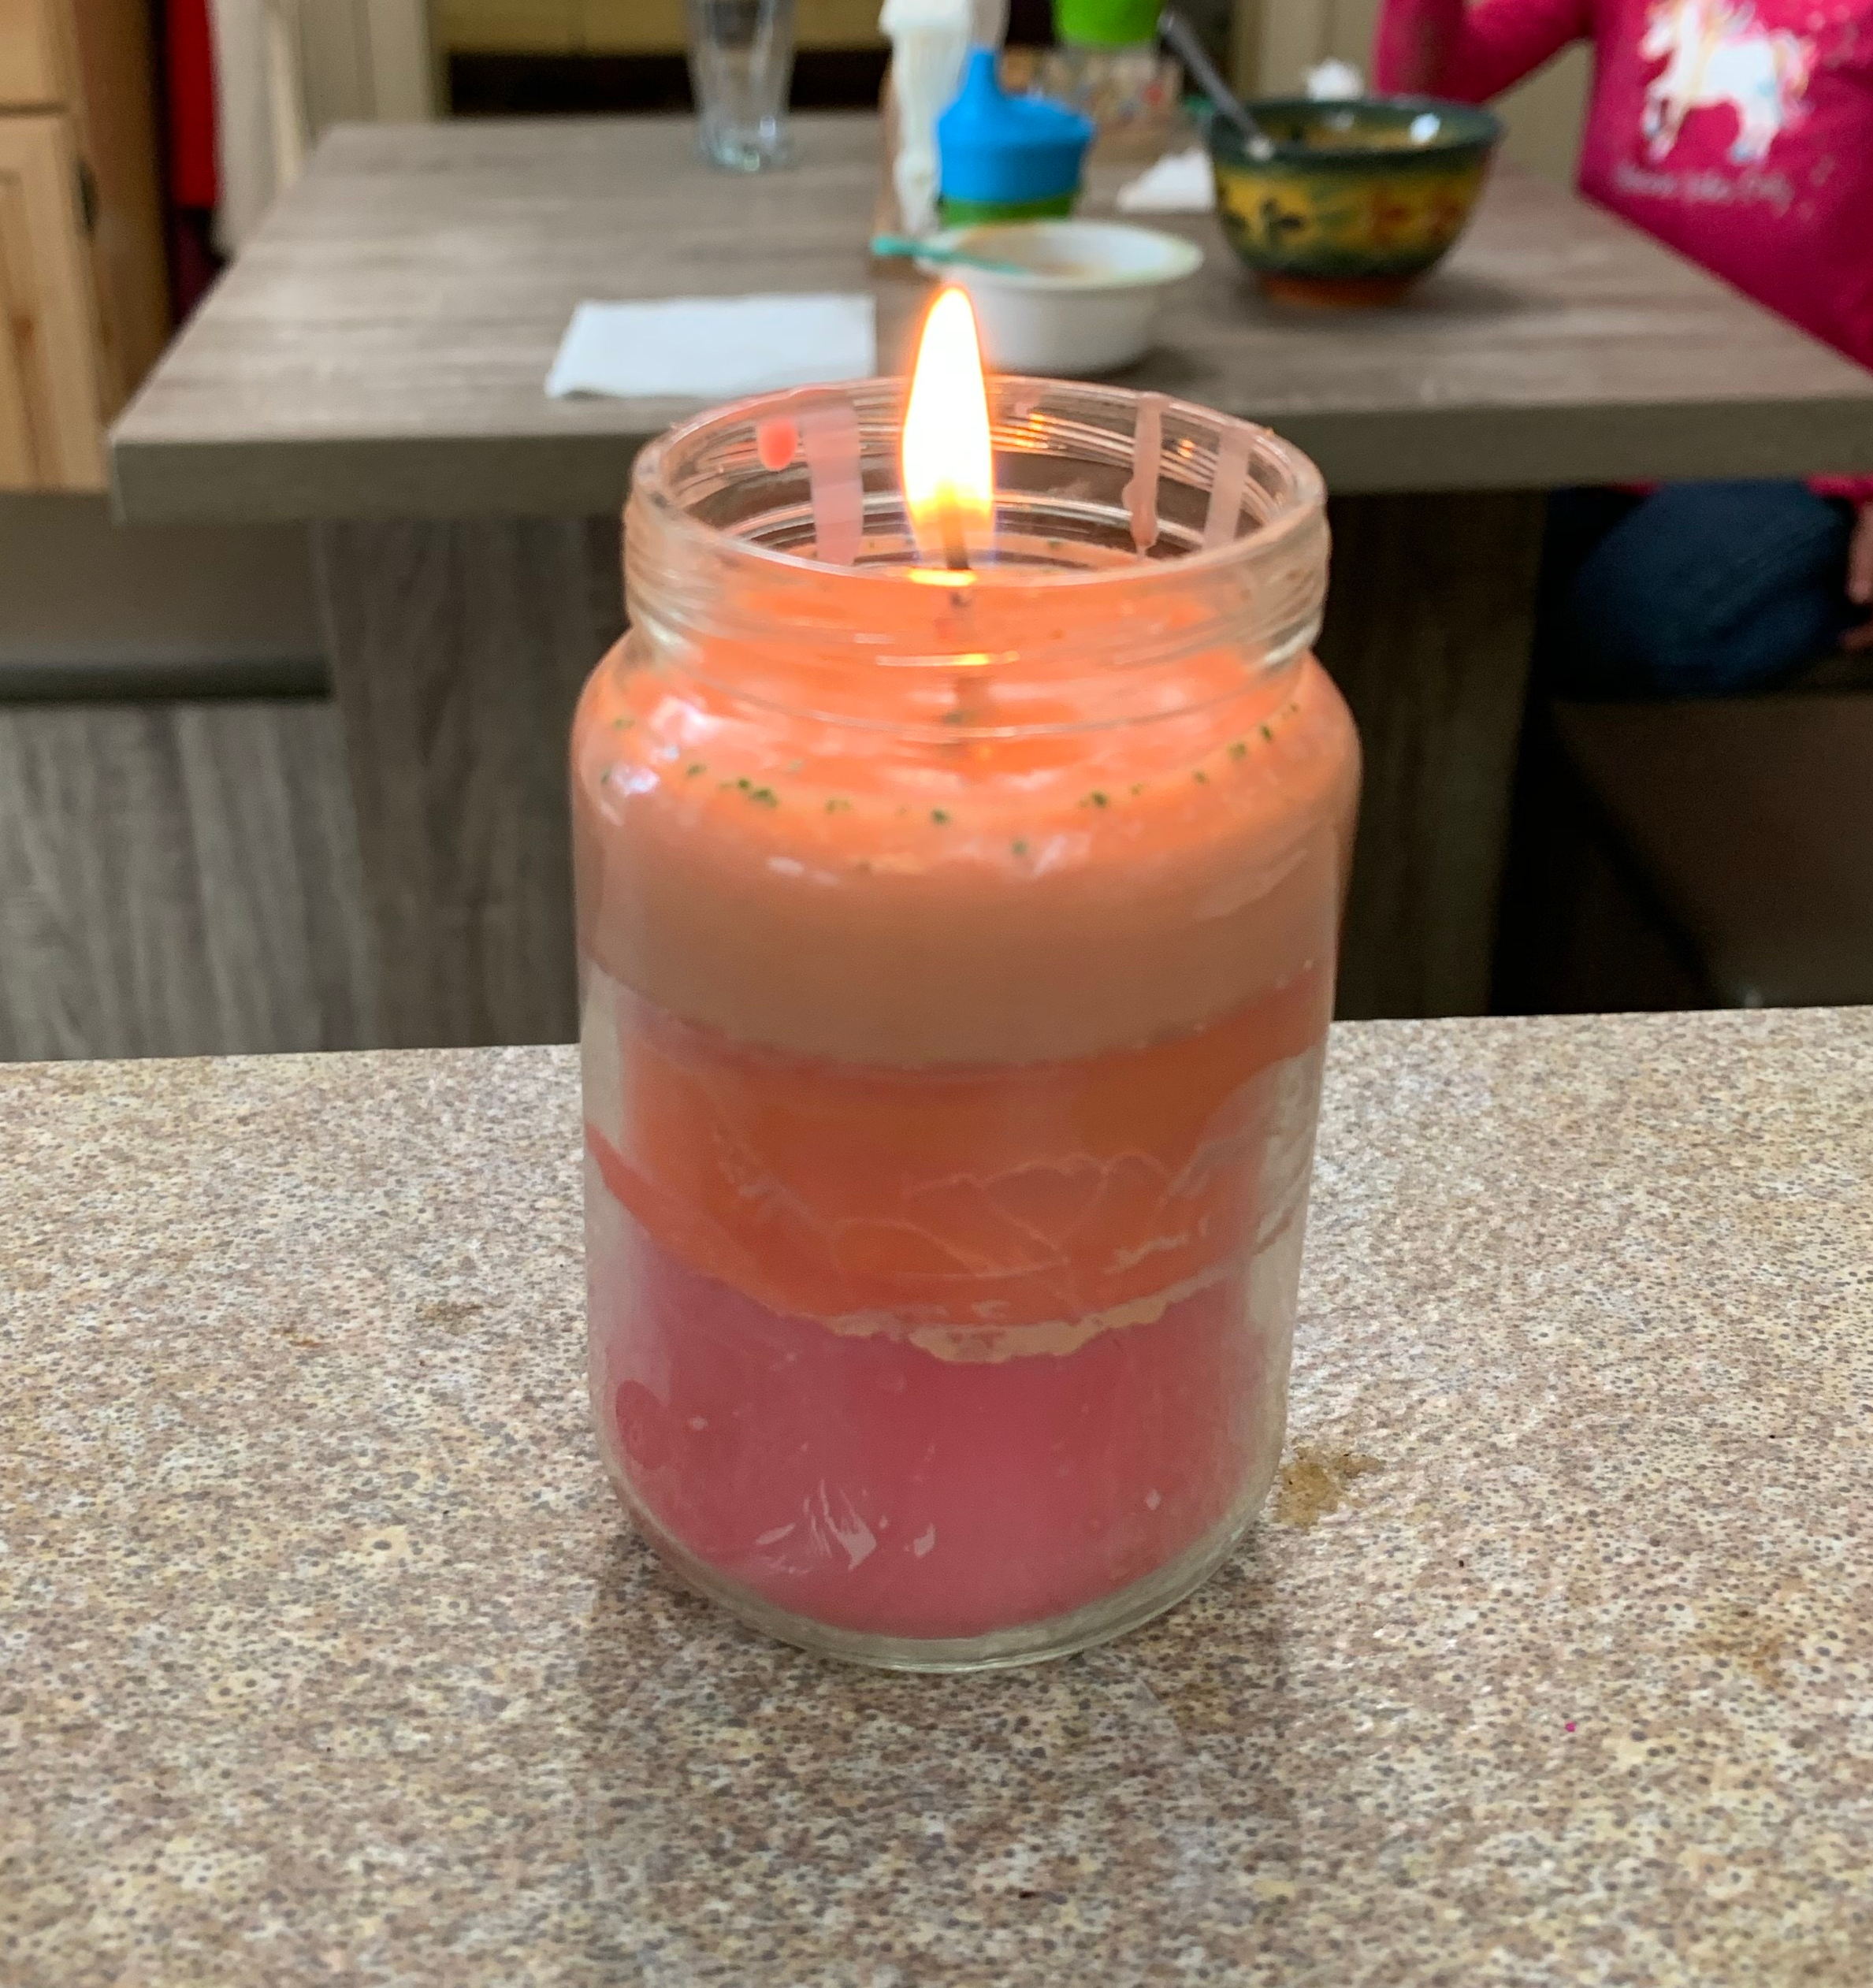
After its all dry you can cut your wick to the proper size and enjoy your candle! Of course you should light the candle and not the kiddos!
Enjoy!
Follow


Share