Alternative Trick or Treating 2020

We all love trick or treating! I can remember trick or treating in high school with a group of my soccer friends! I personally think trick or treating is great for older children as well (as long as they behave and aren’t too scary for the little ones!). There were neighbors who said, “How old are you?” or “Don’t you think you’re too old for trick or treating?” NO is the answer. If a teenager is responsible and behaving, then by all means go trick or treating instead of the many other negative things that could be done.

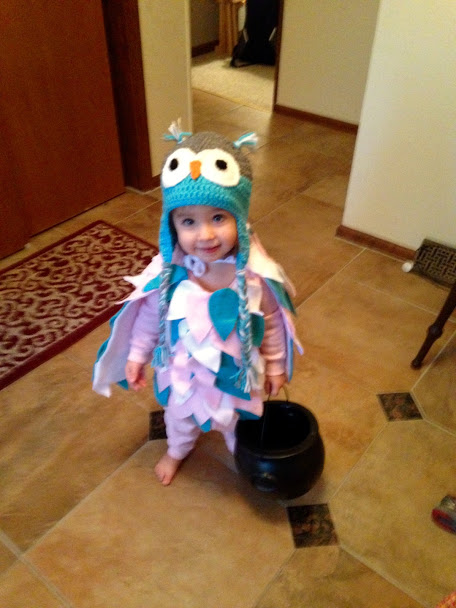
I remember running home and spreading the treats all over the floor with my brother and sister. We would compare our stockpile and trade our treats! Oh what fun trick or treating was! However, 2020 is different. With the COVID virus going around (rate dependent in your state/county), we are minimizing this high risk activity by avoiding the traditional trick or treating. As disappointing as this is, there are some other super fun alternatives (and hopefully next year we can do the old school trick or treating)!

This image has an empty alt attribute; its file name is img_4586-1024x821.jpg
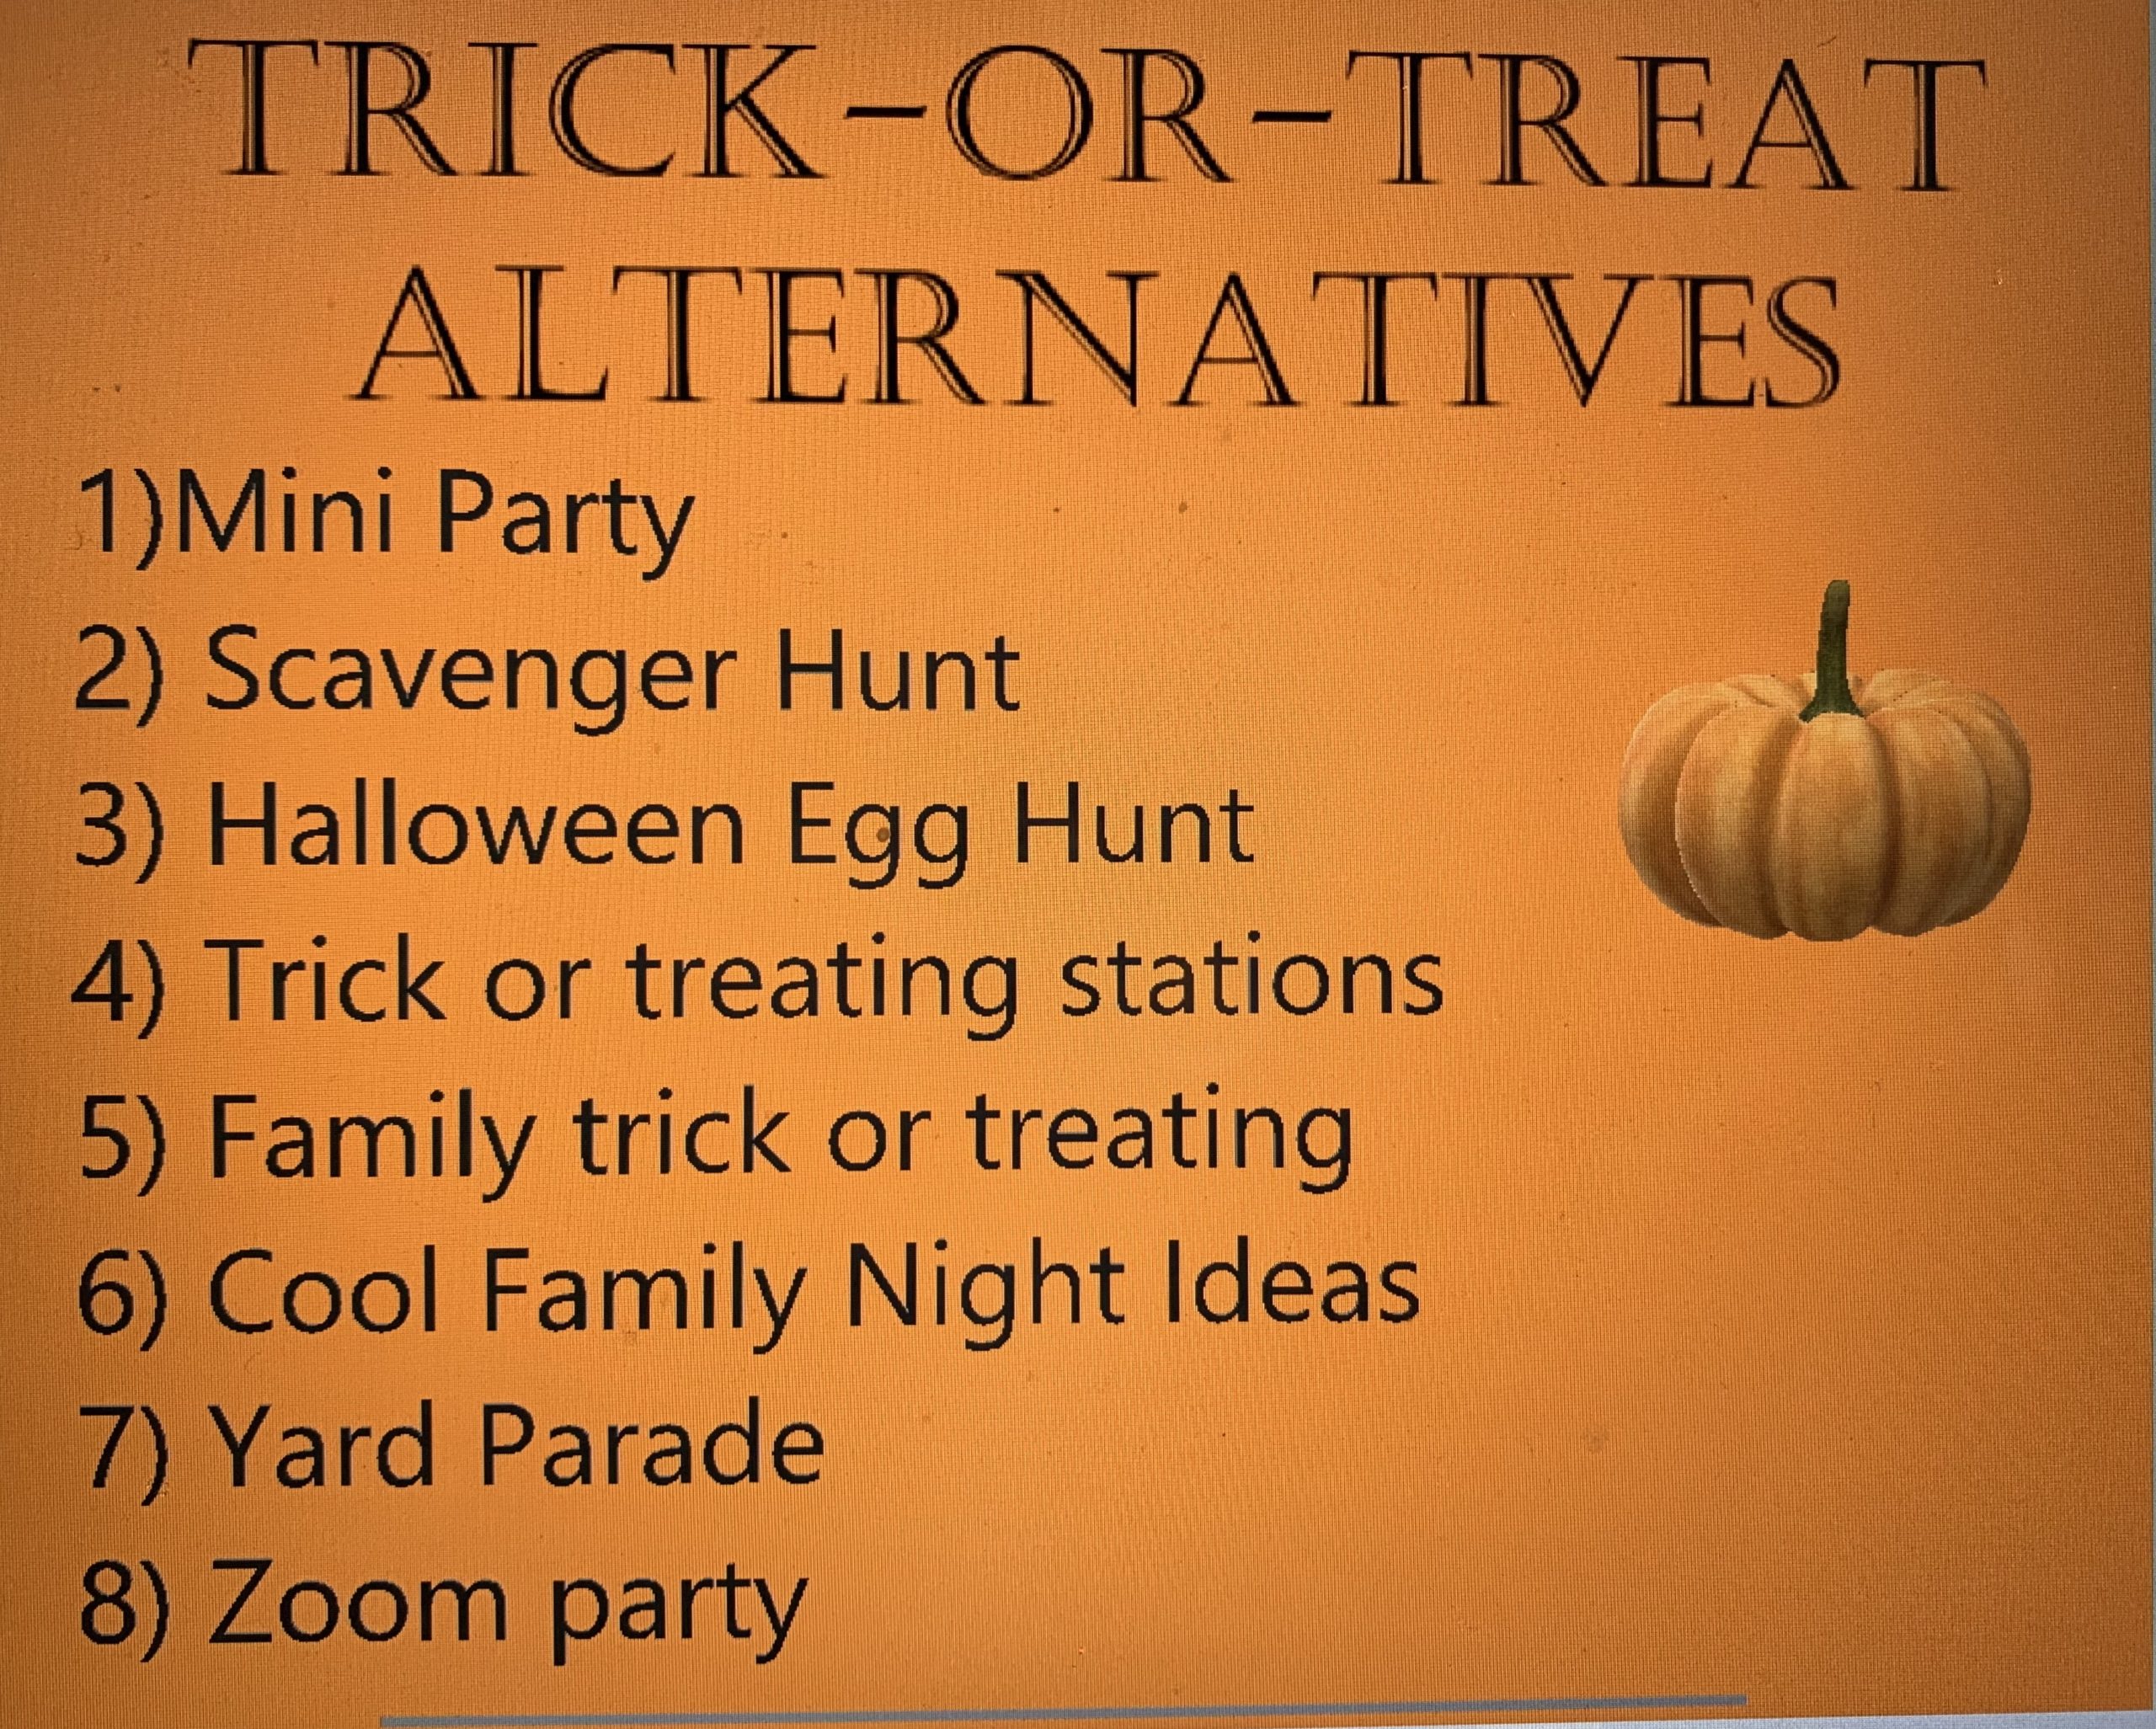
  1. Mini Party!!!!!! Mini party essential means a small party, usually under ten people, with trusted low risk covid people. This can encompass many activities such as
    1. A Piñata
    2. Movie night
    3. Campfire night with smores
    4. Fun Halloween snacks and food
    5. Carving/painting pumpkins
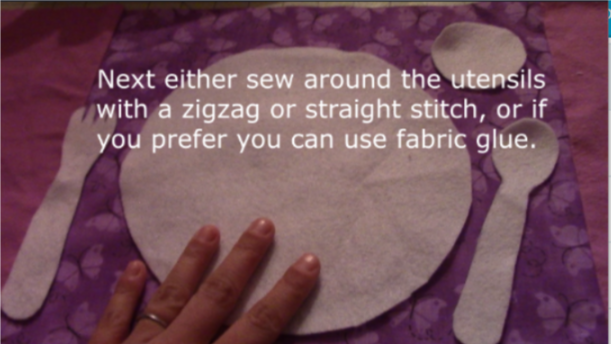
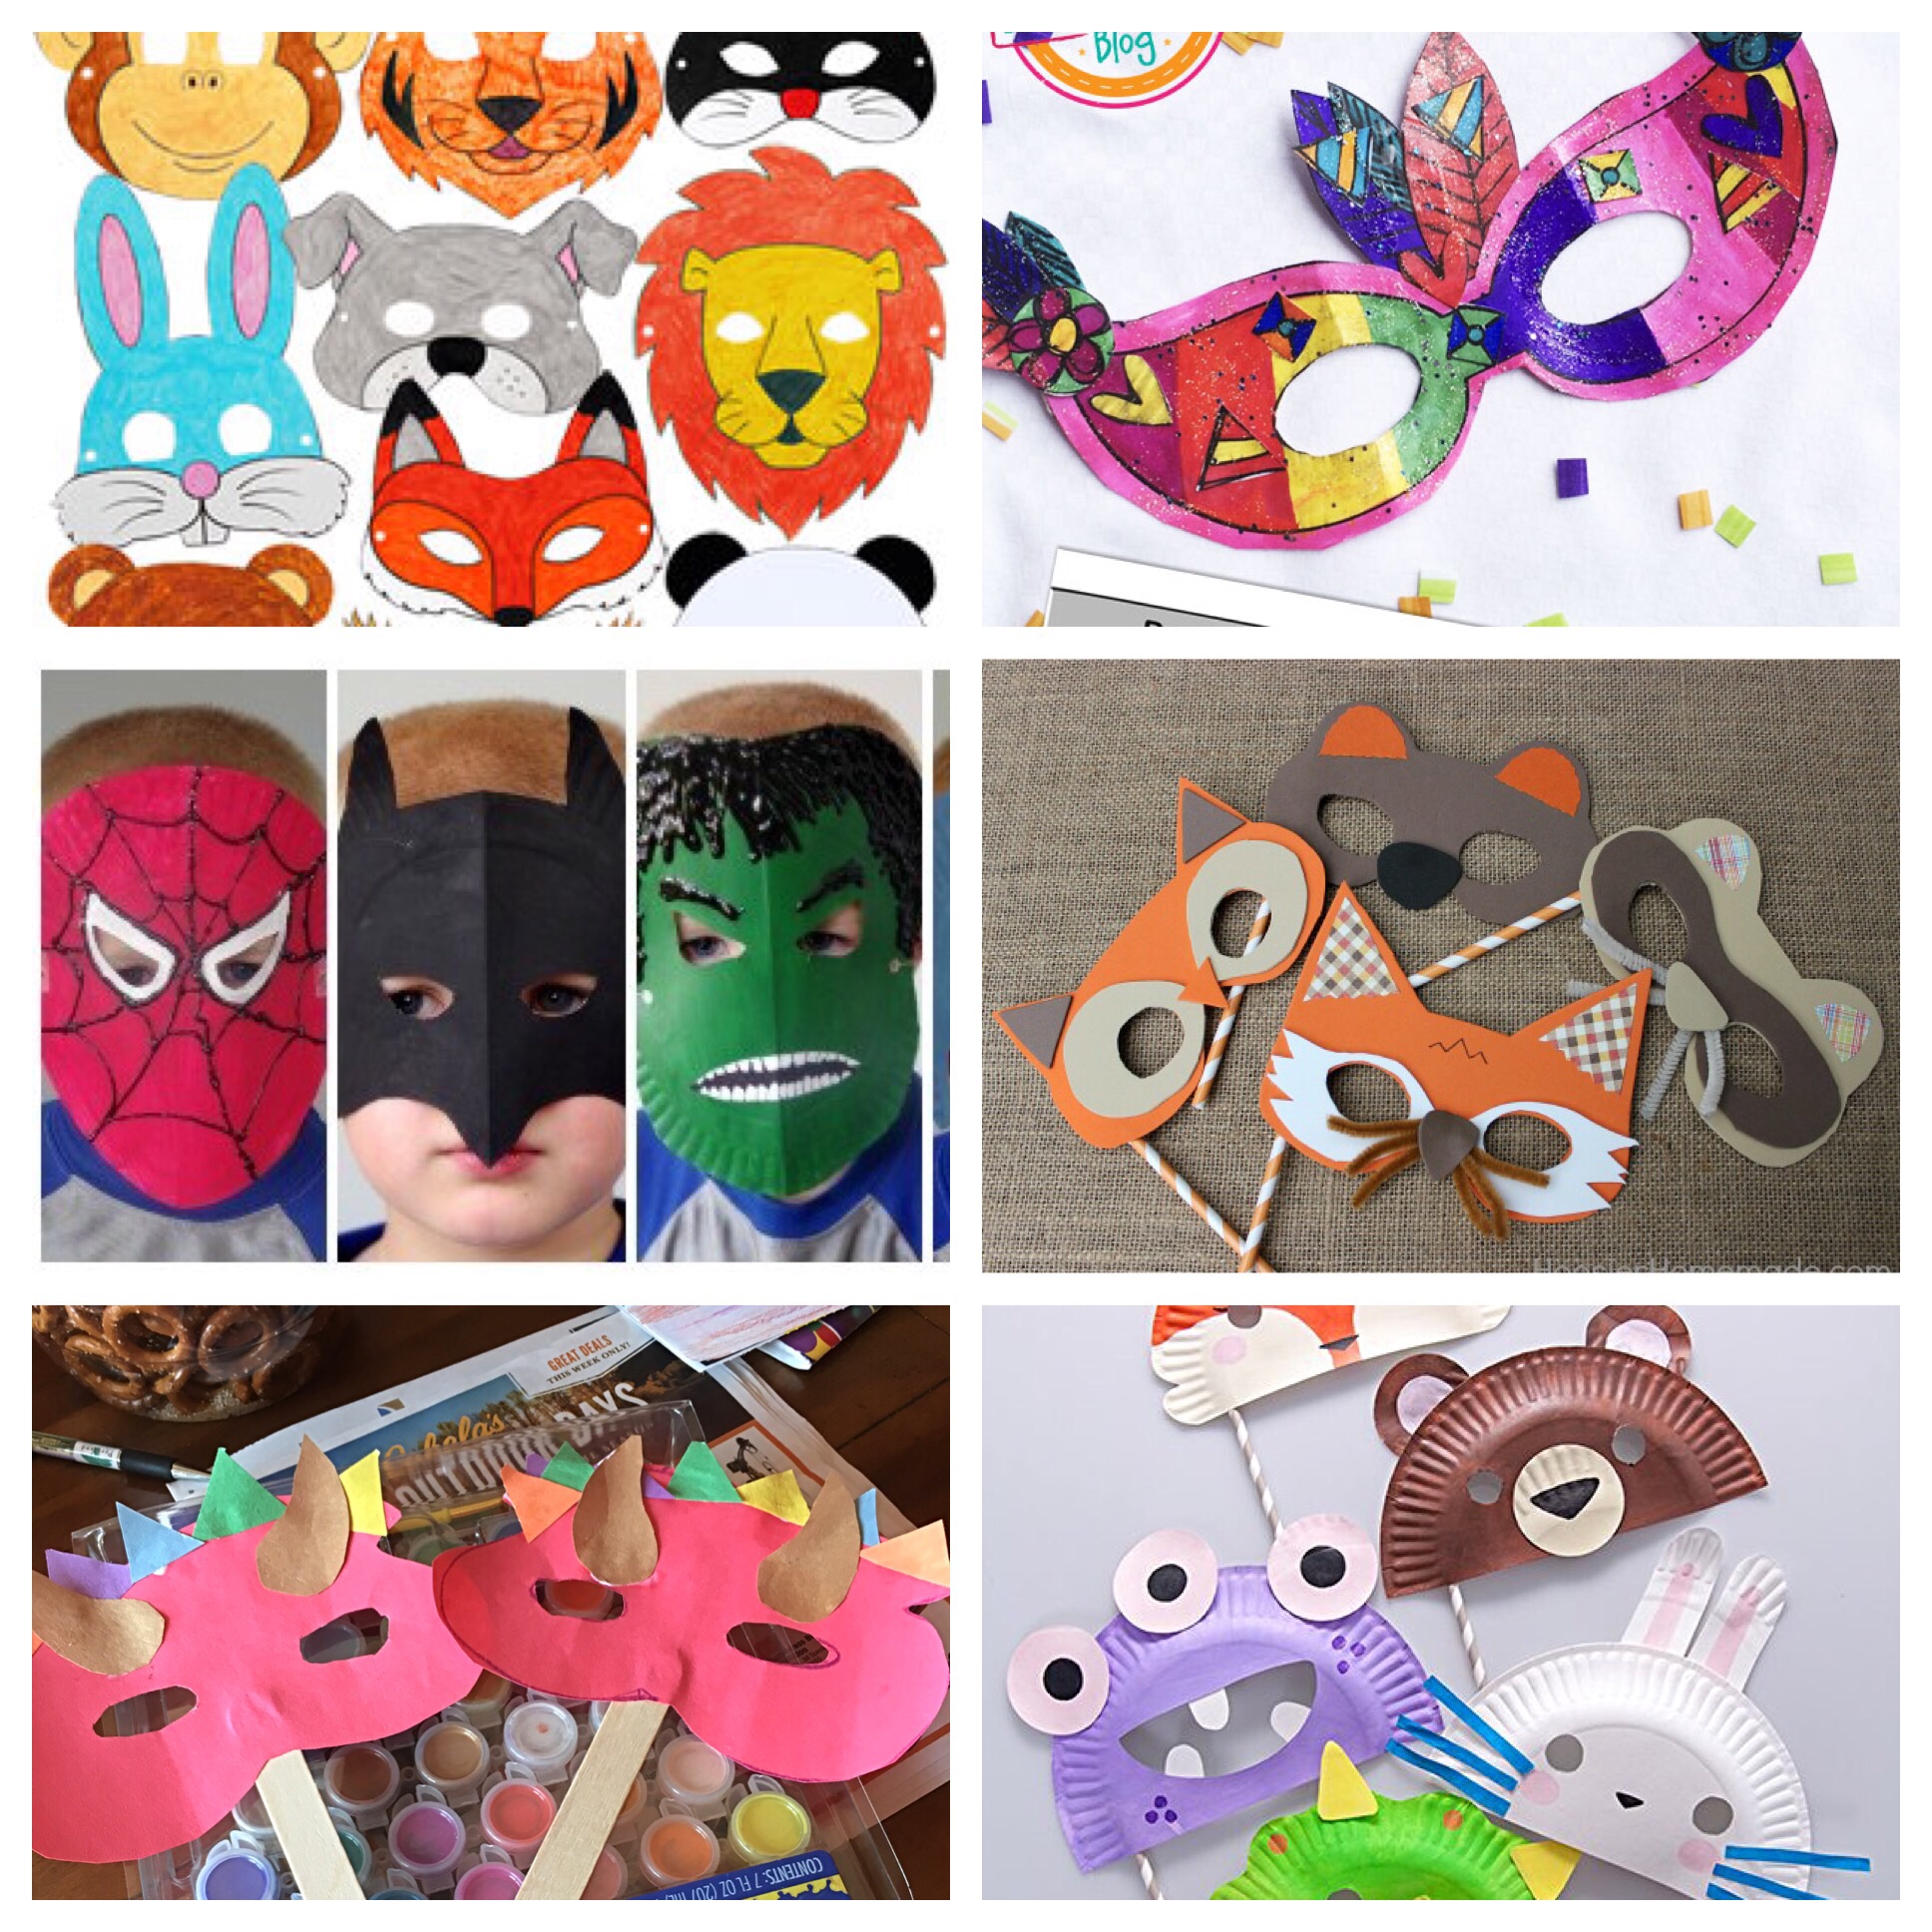
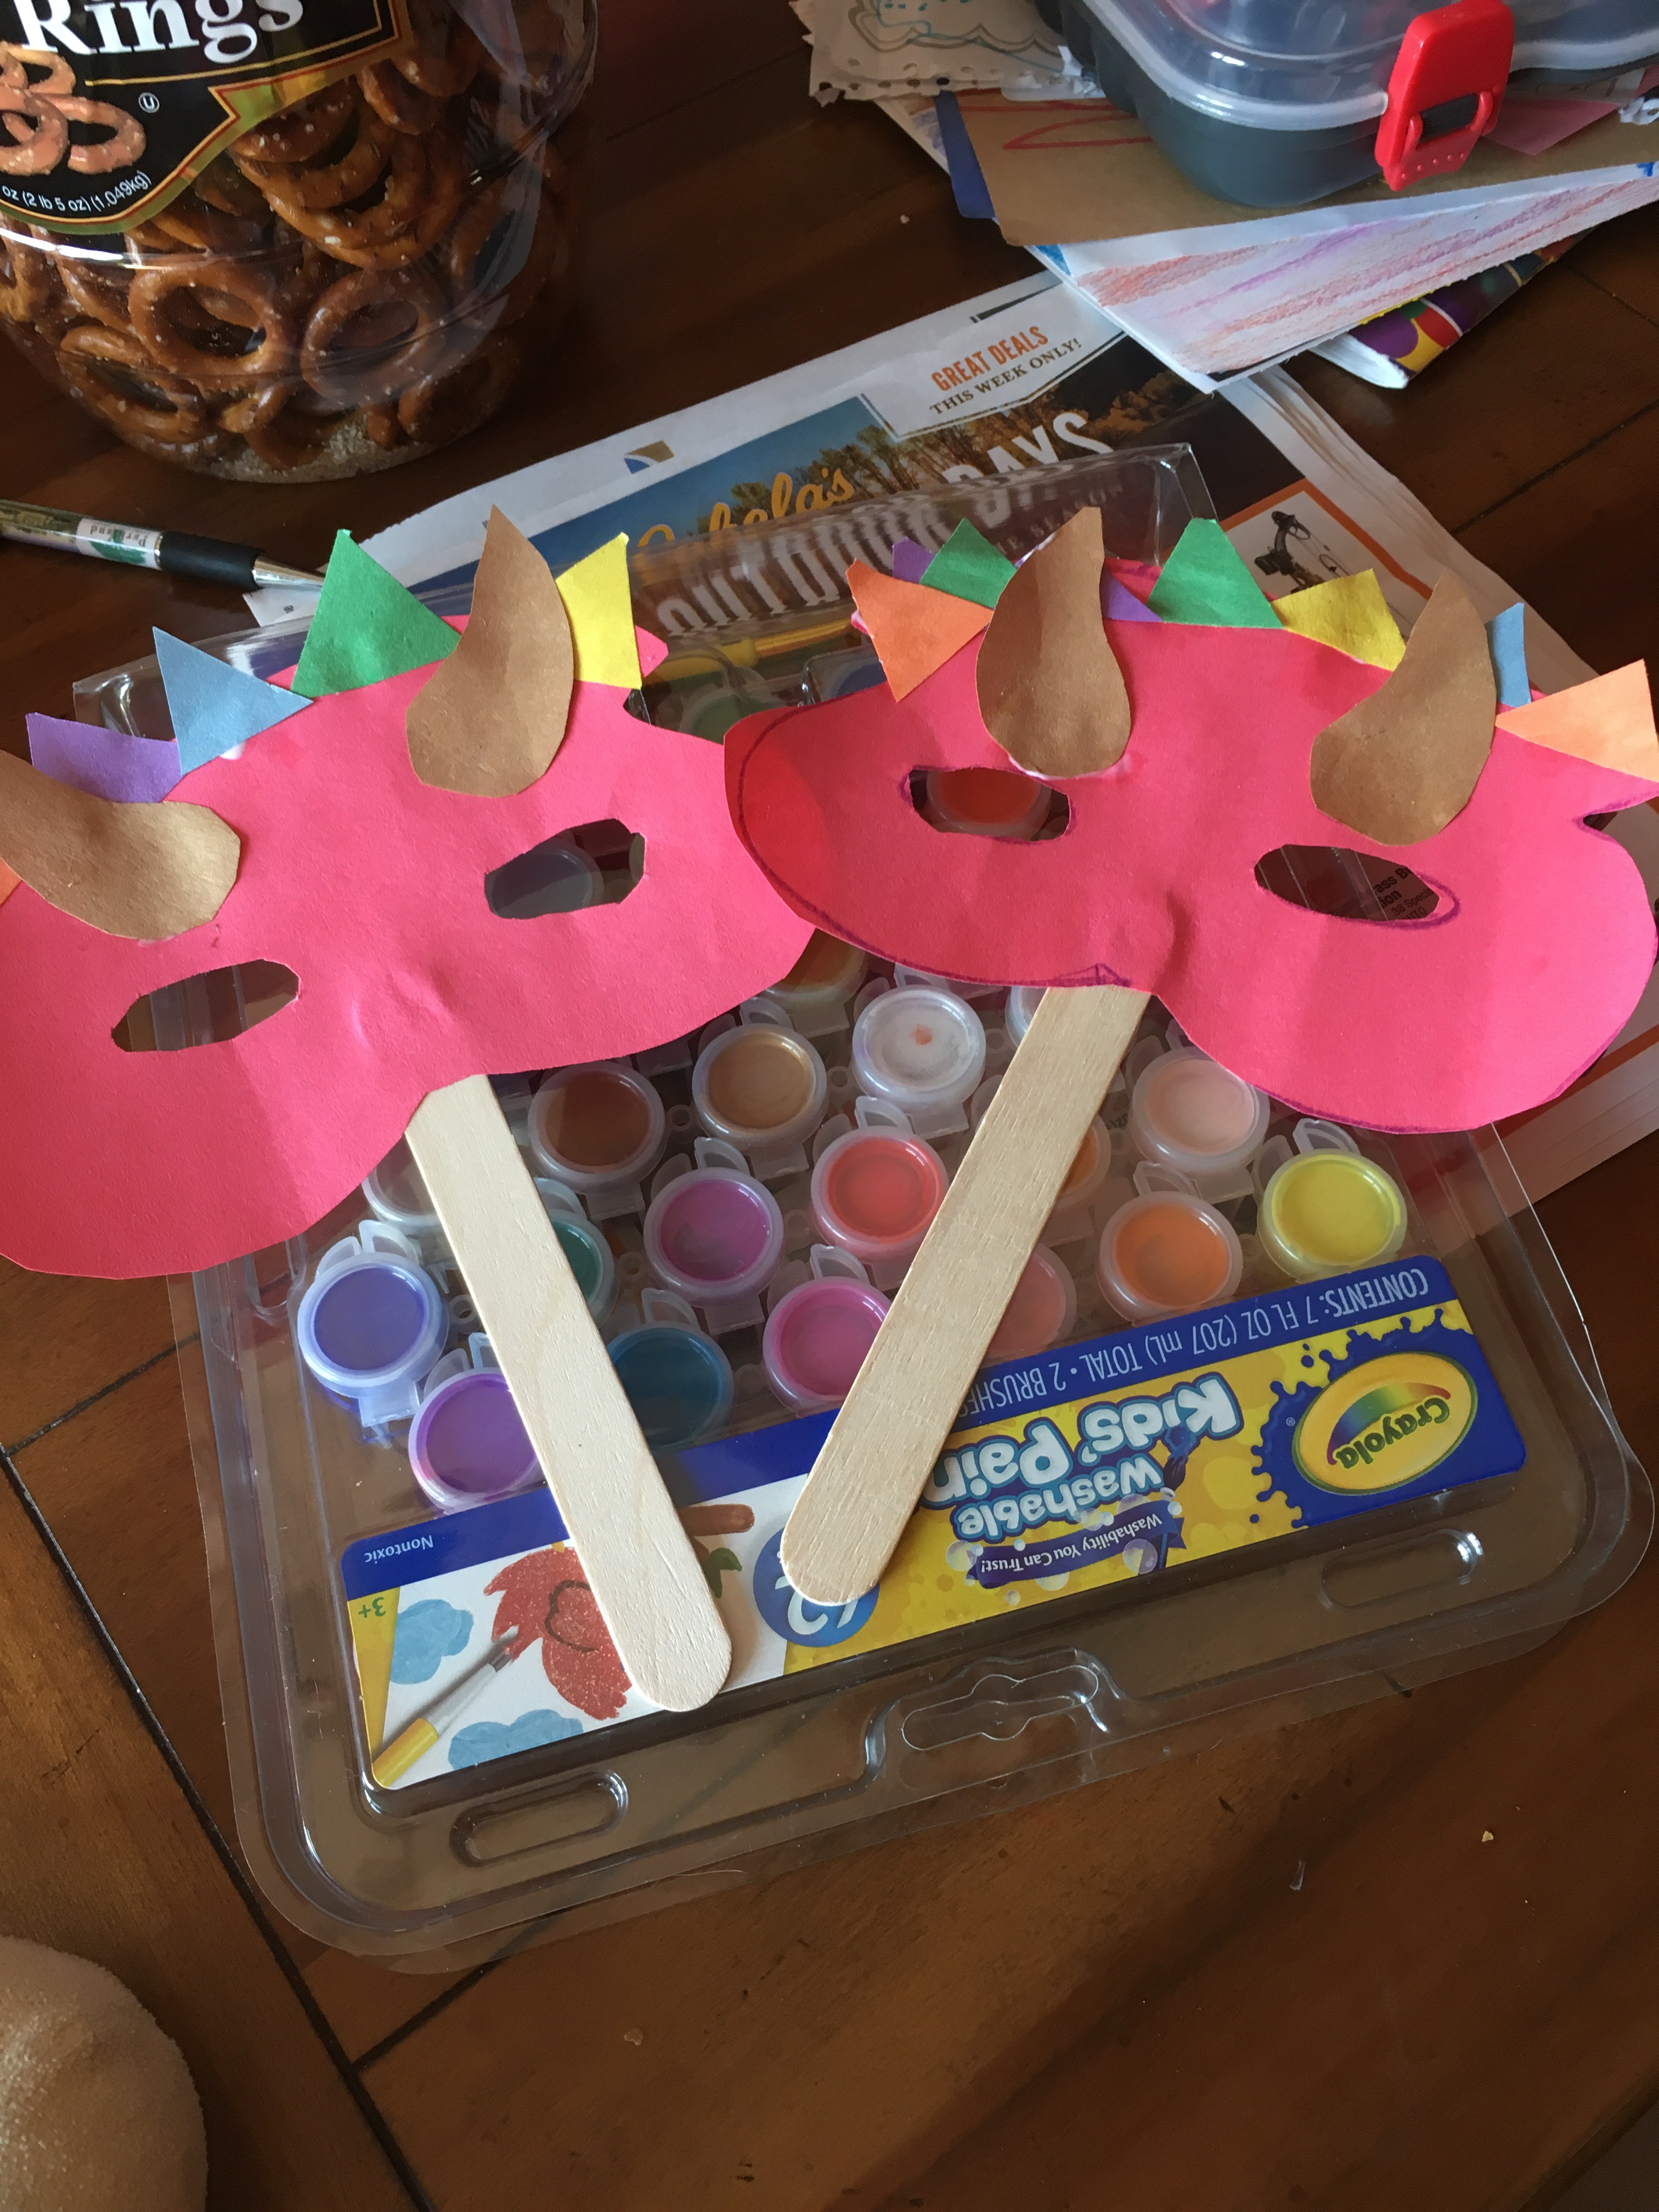
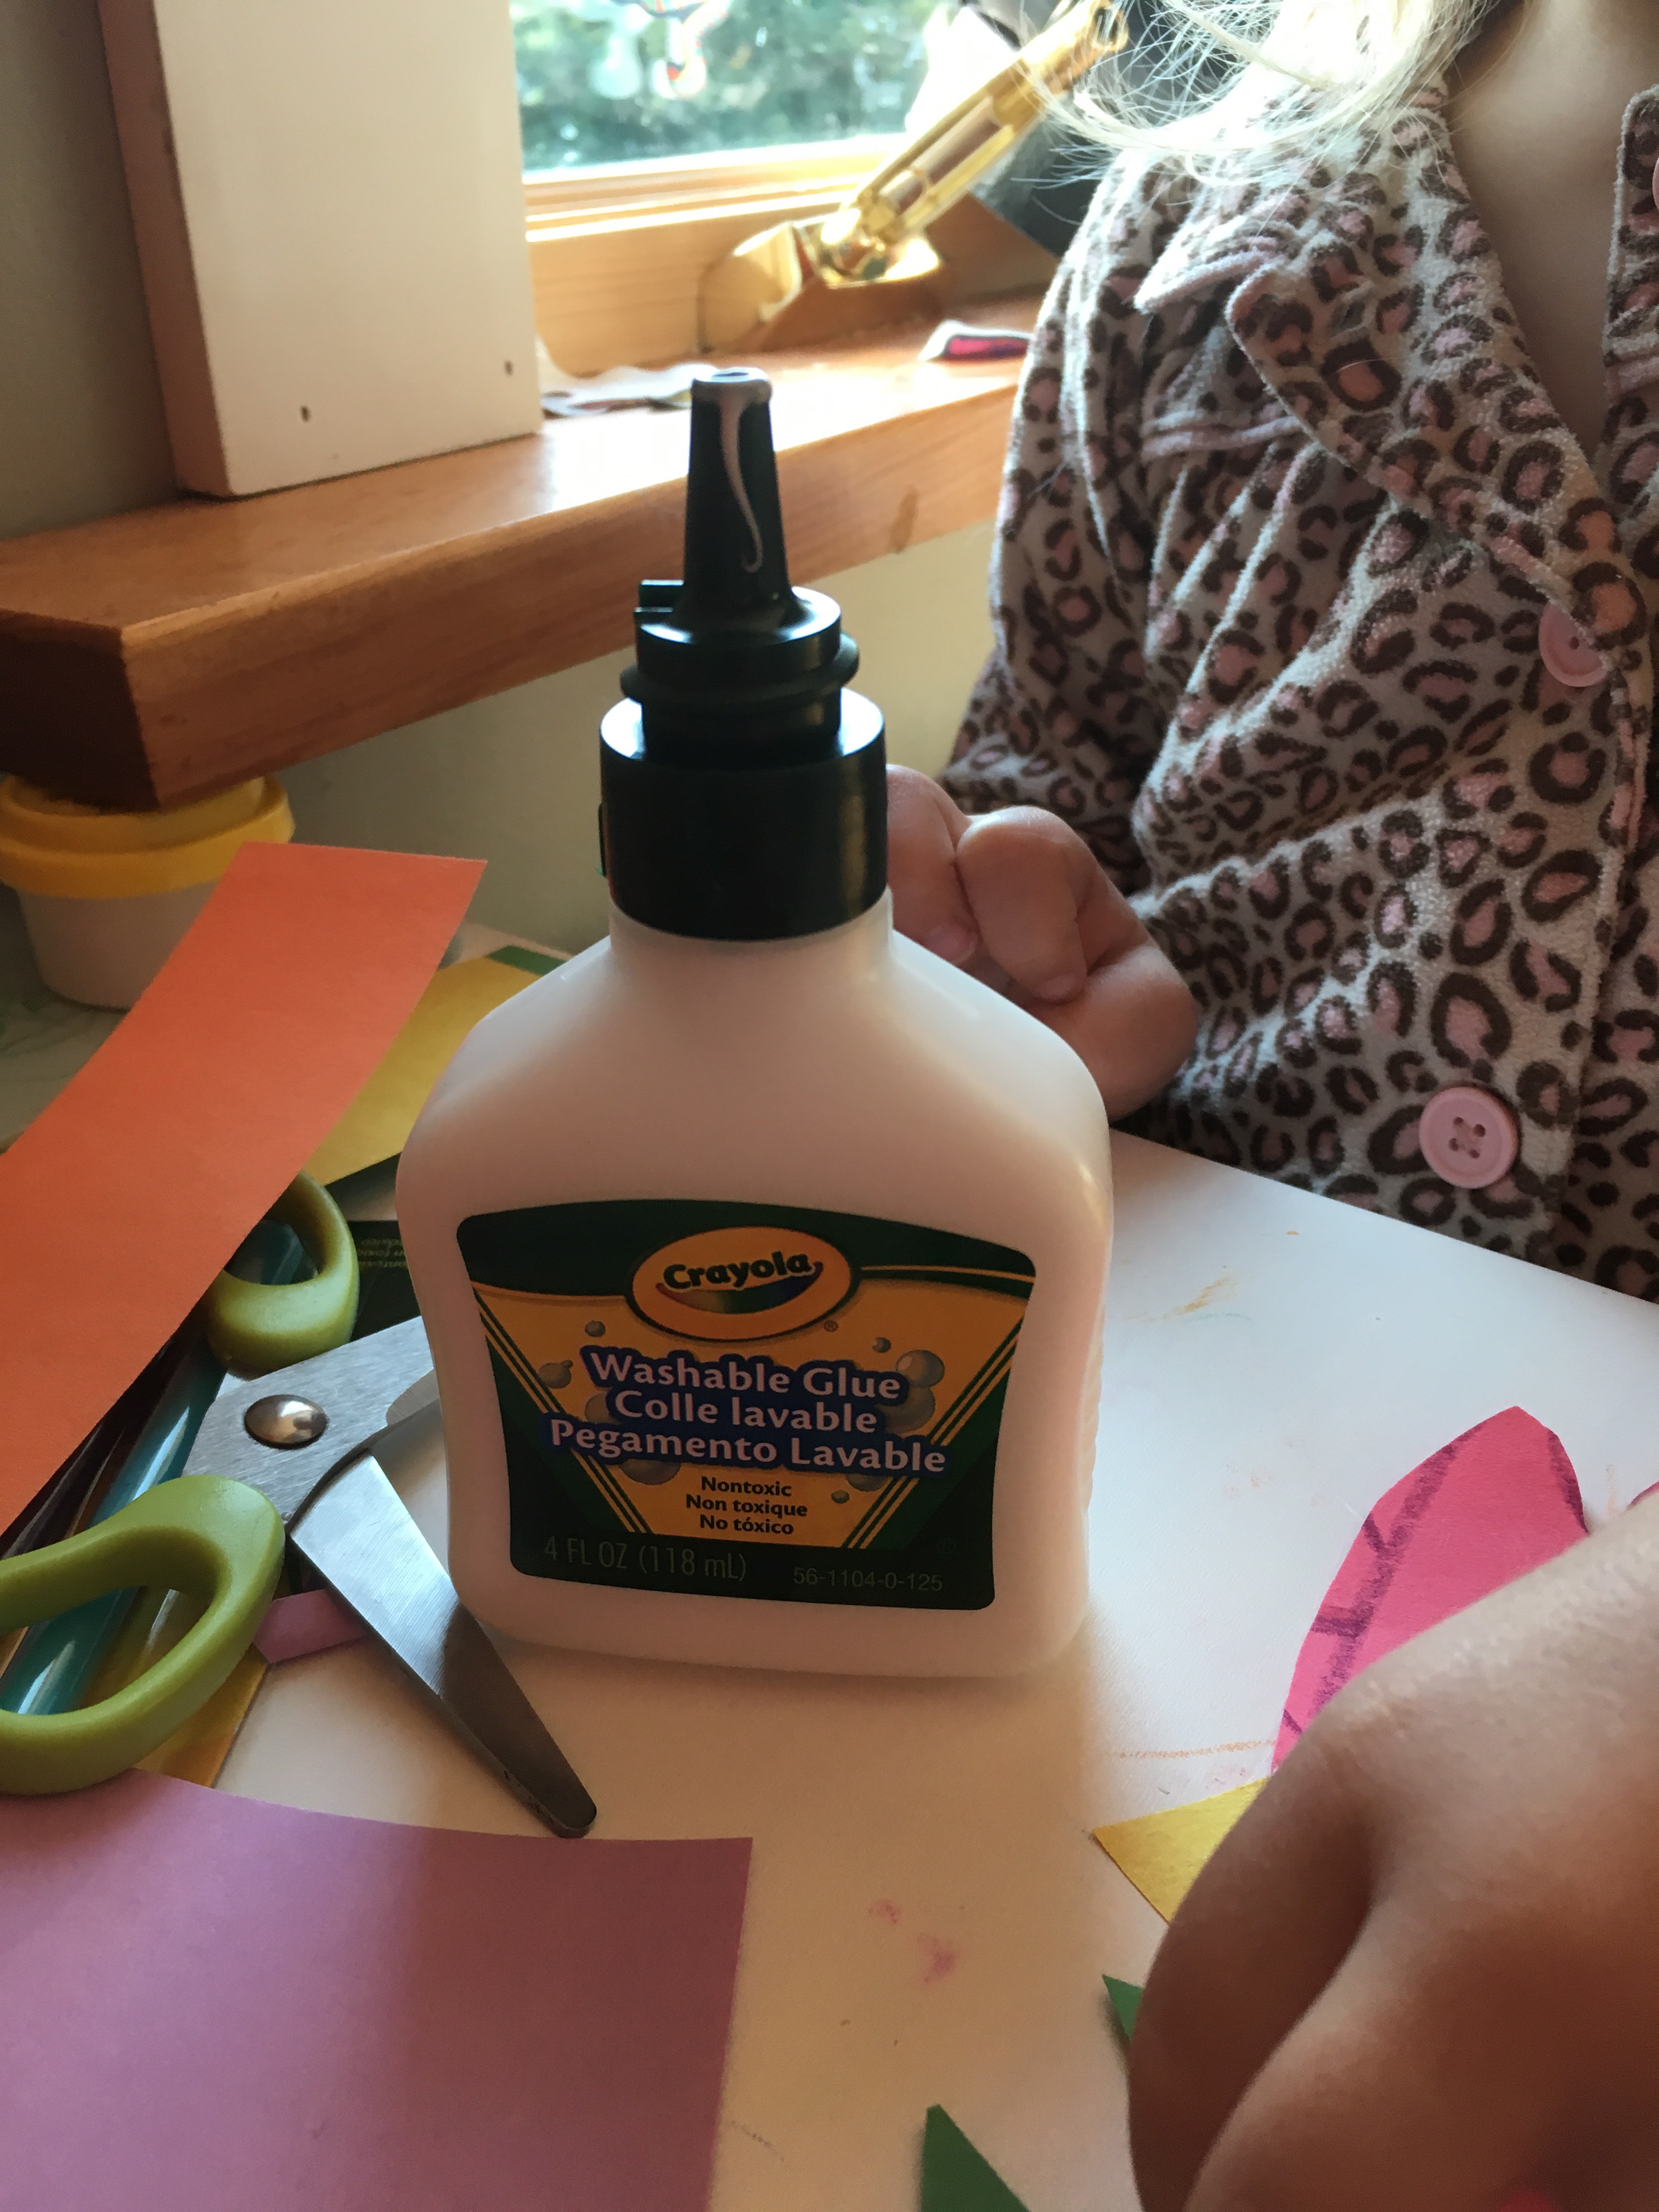
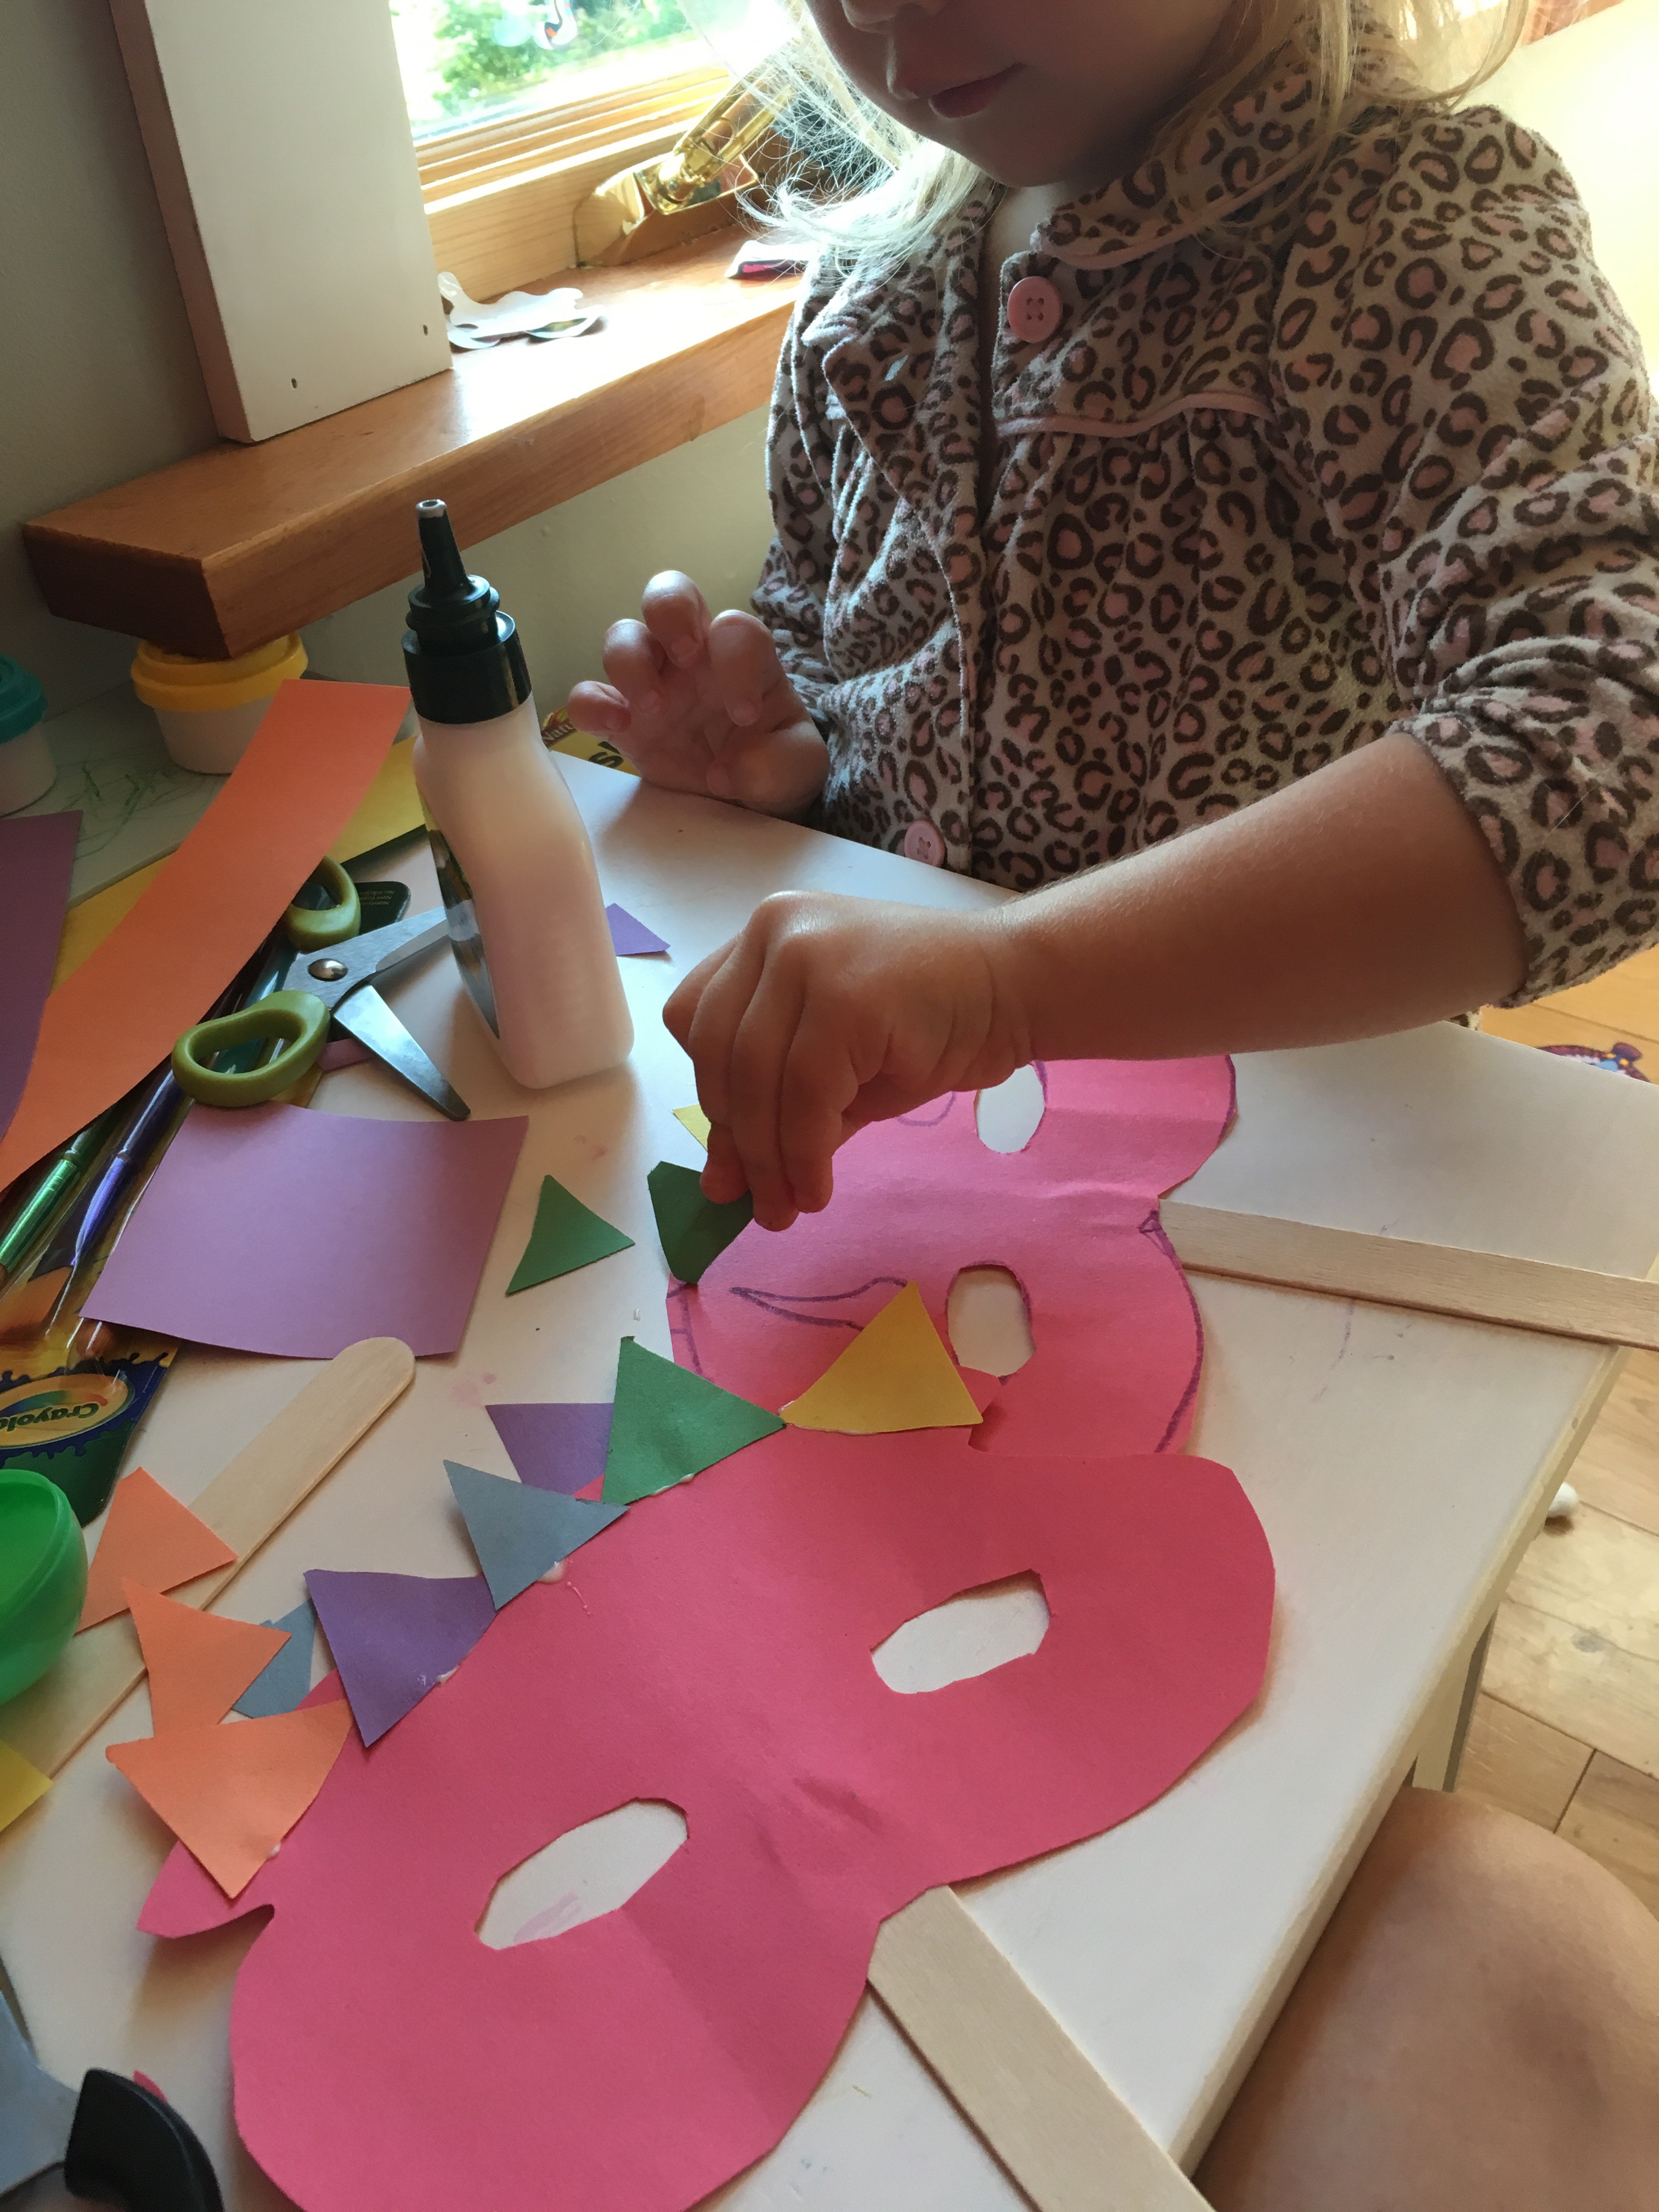
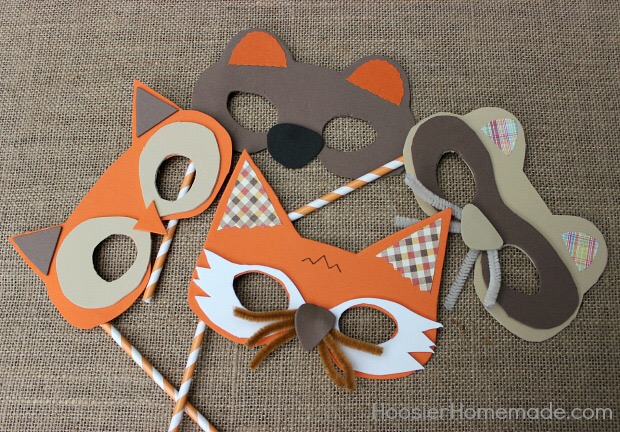
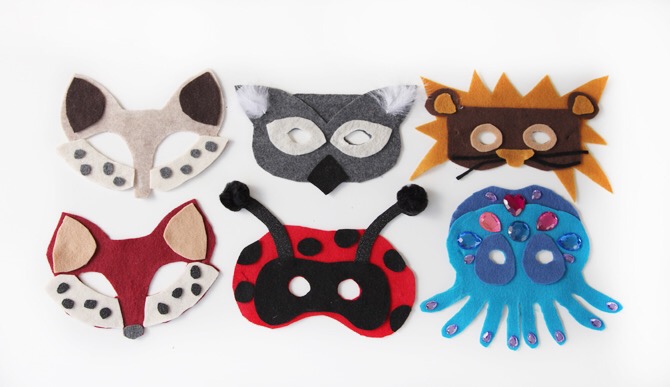
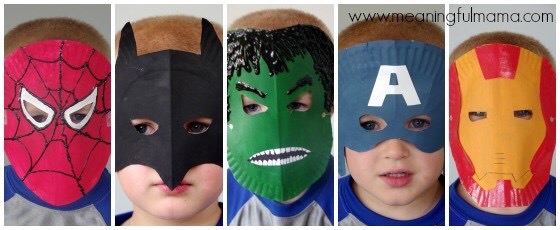
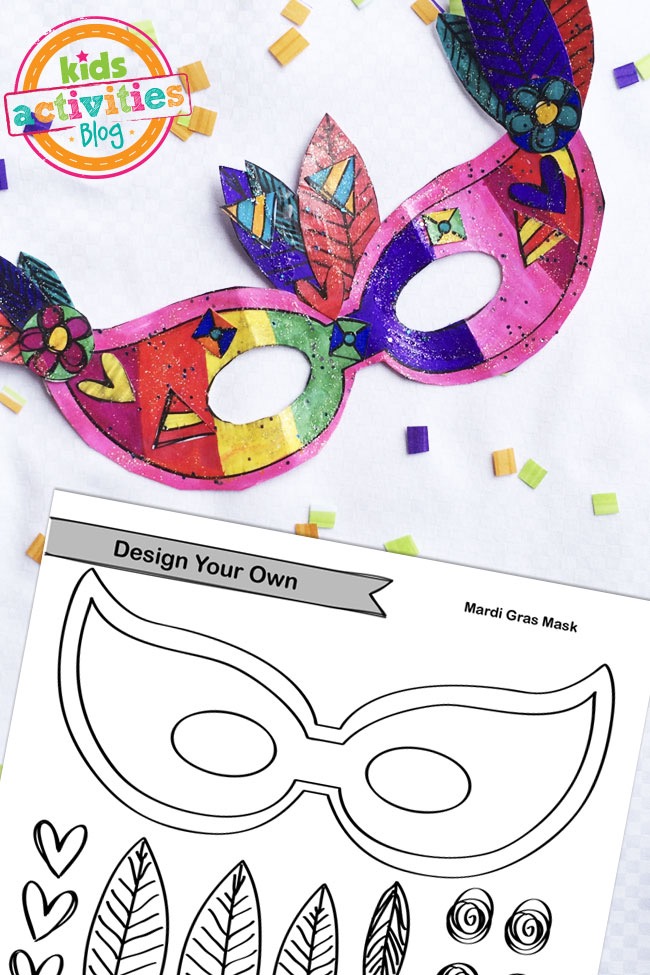
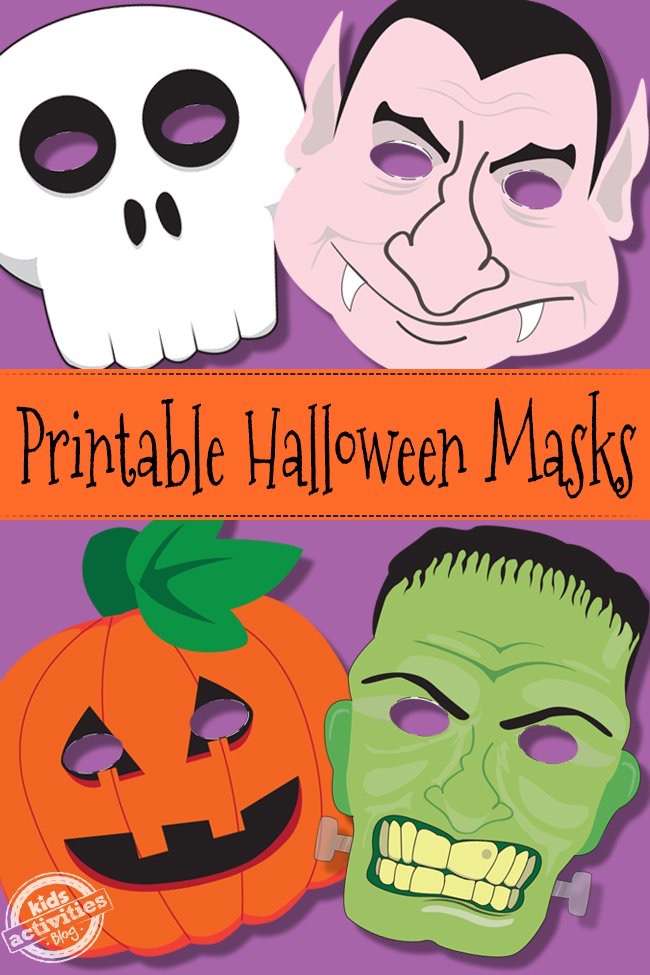
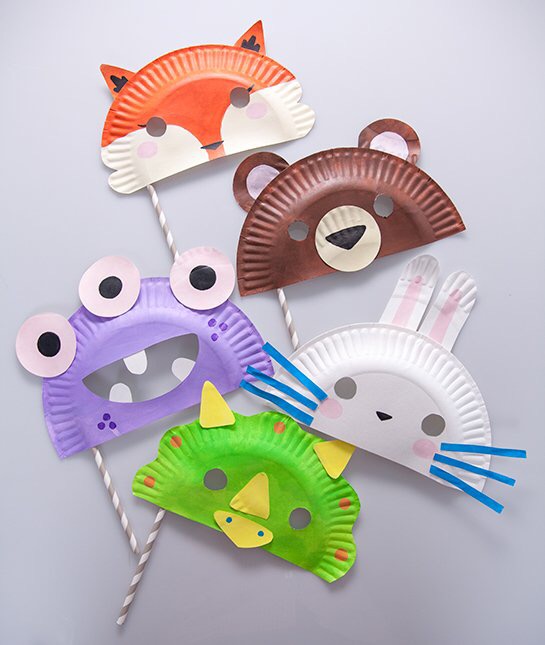
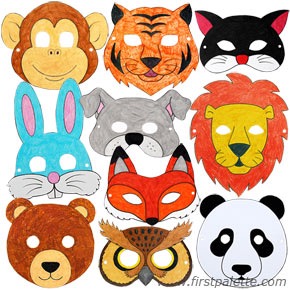
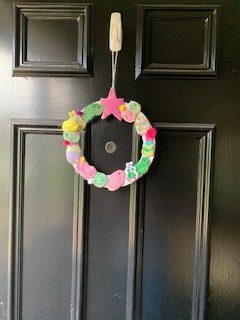
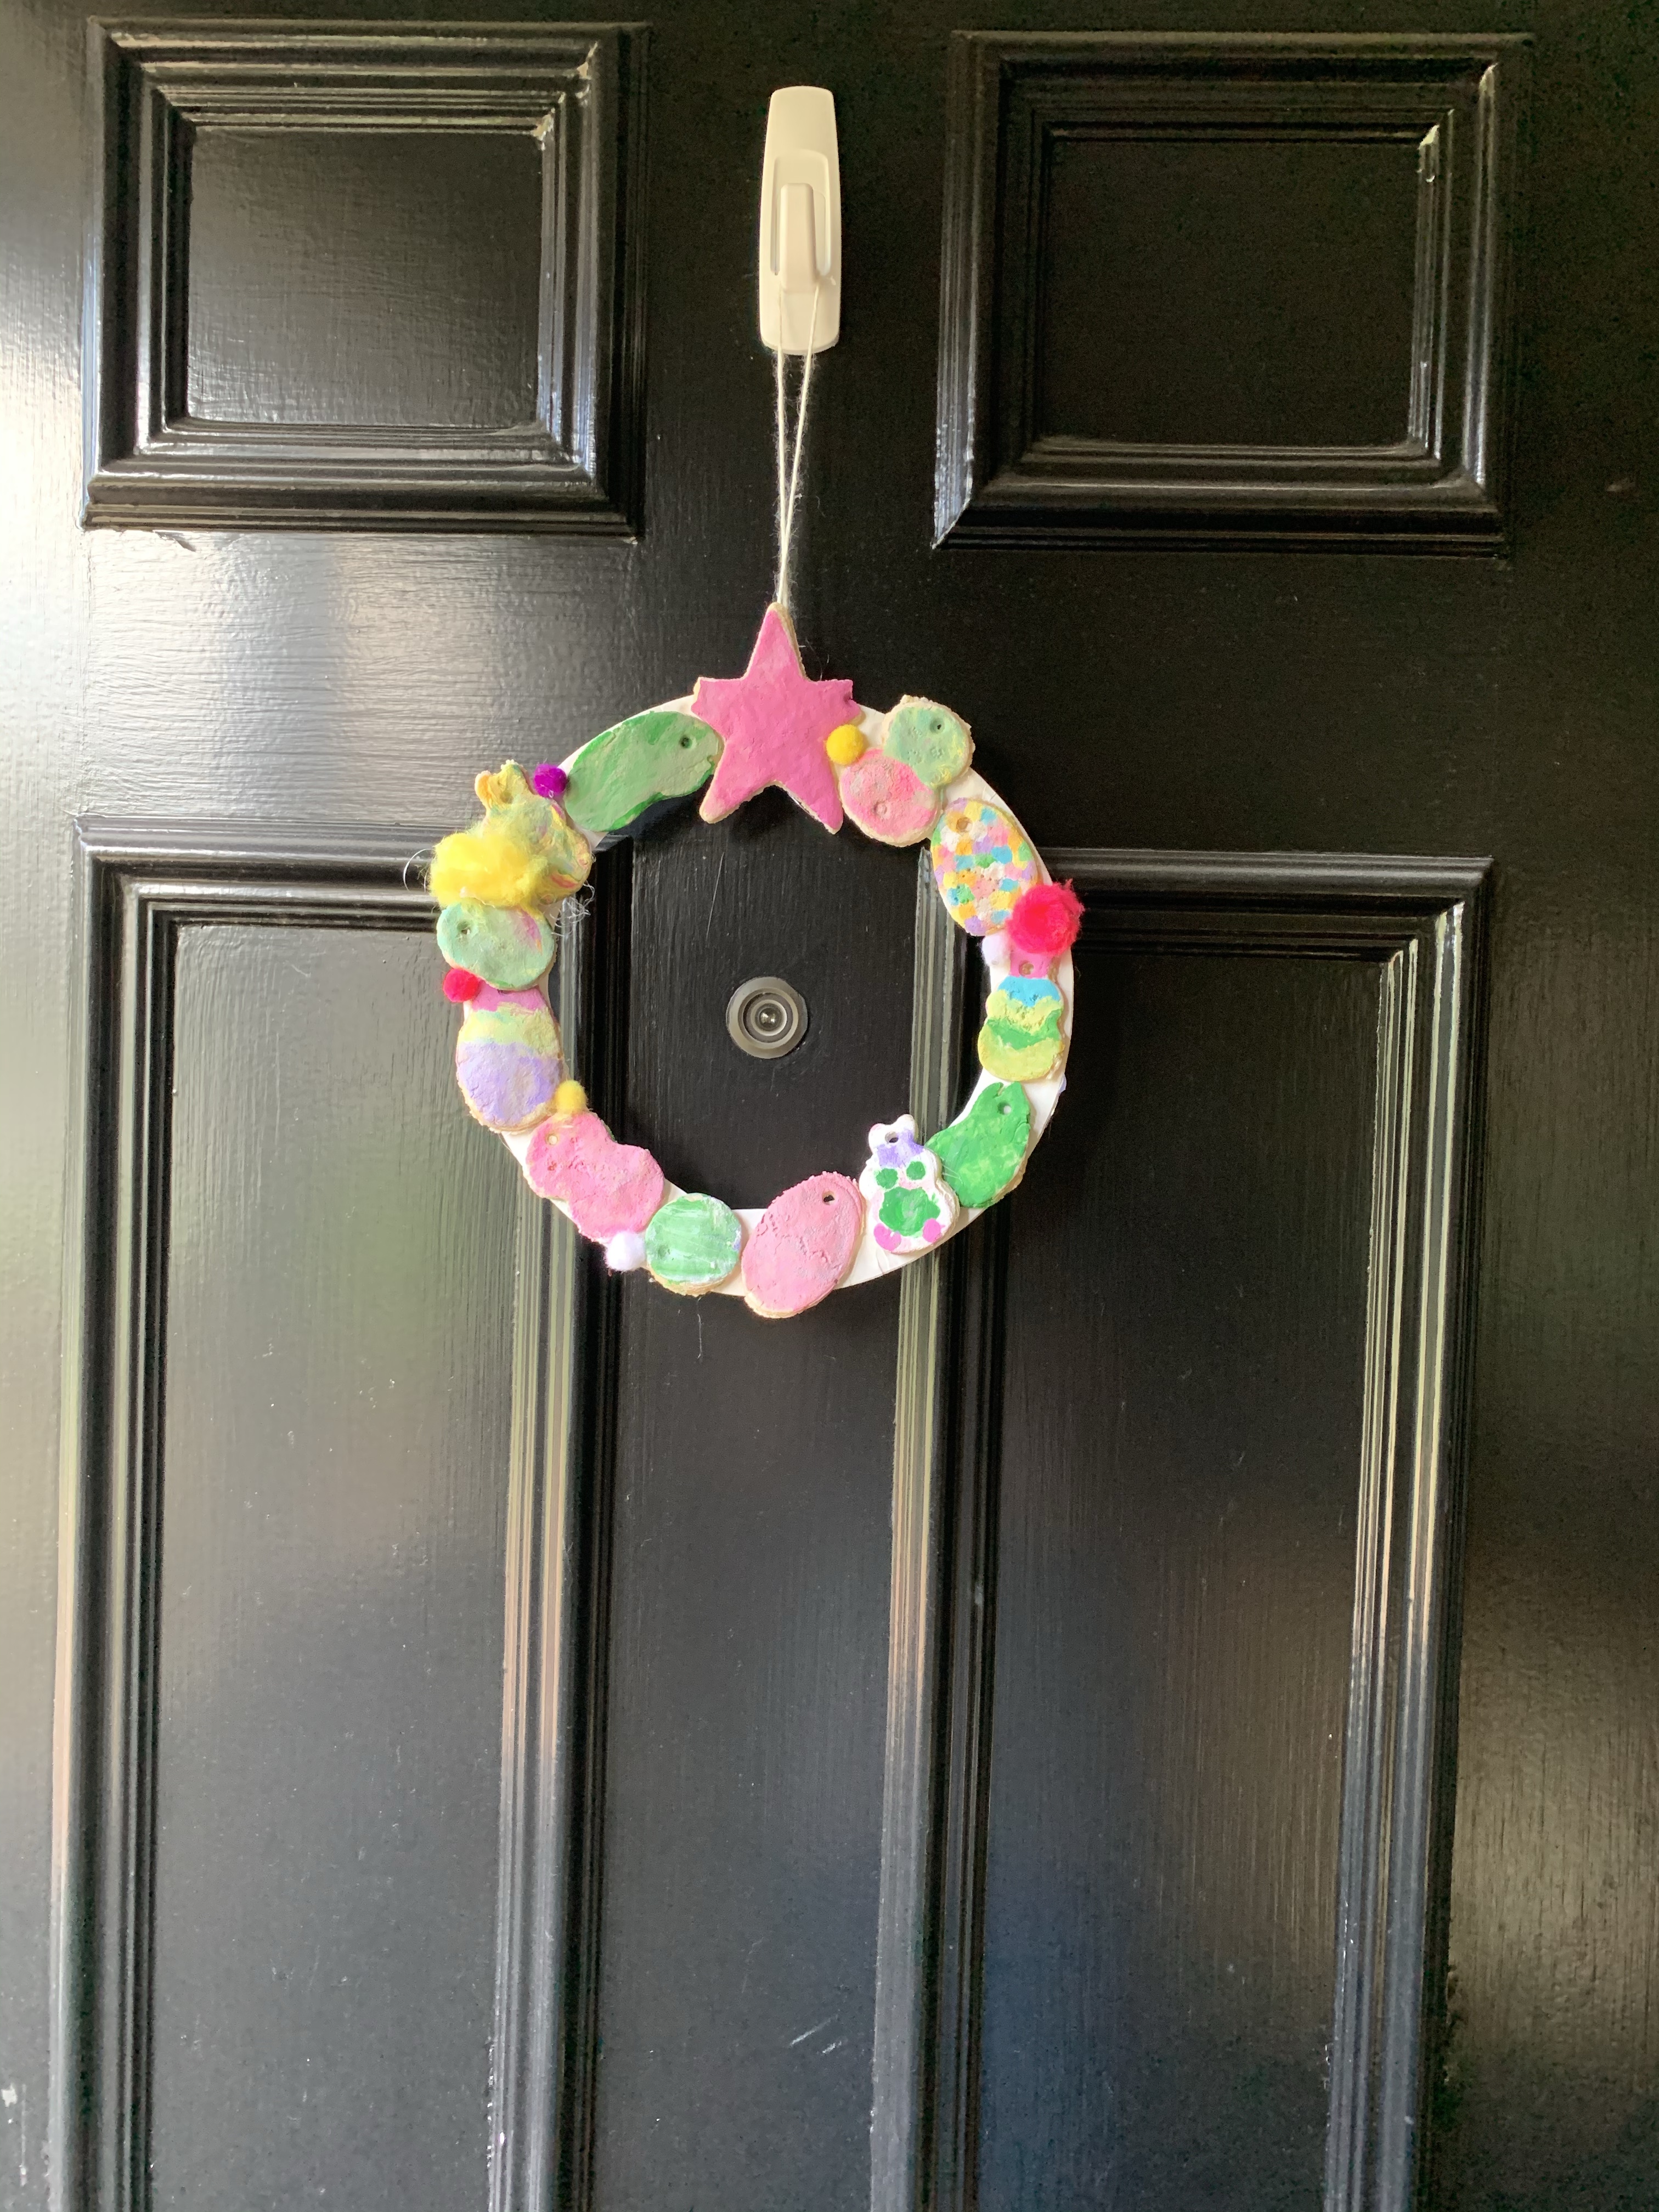
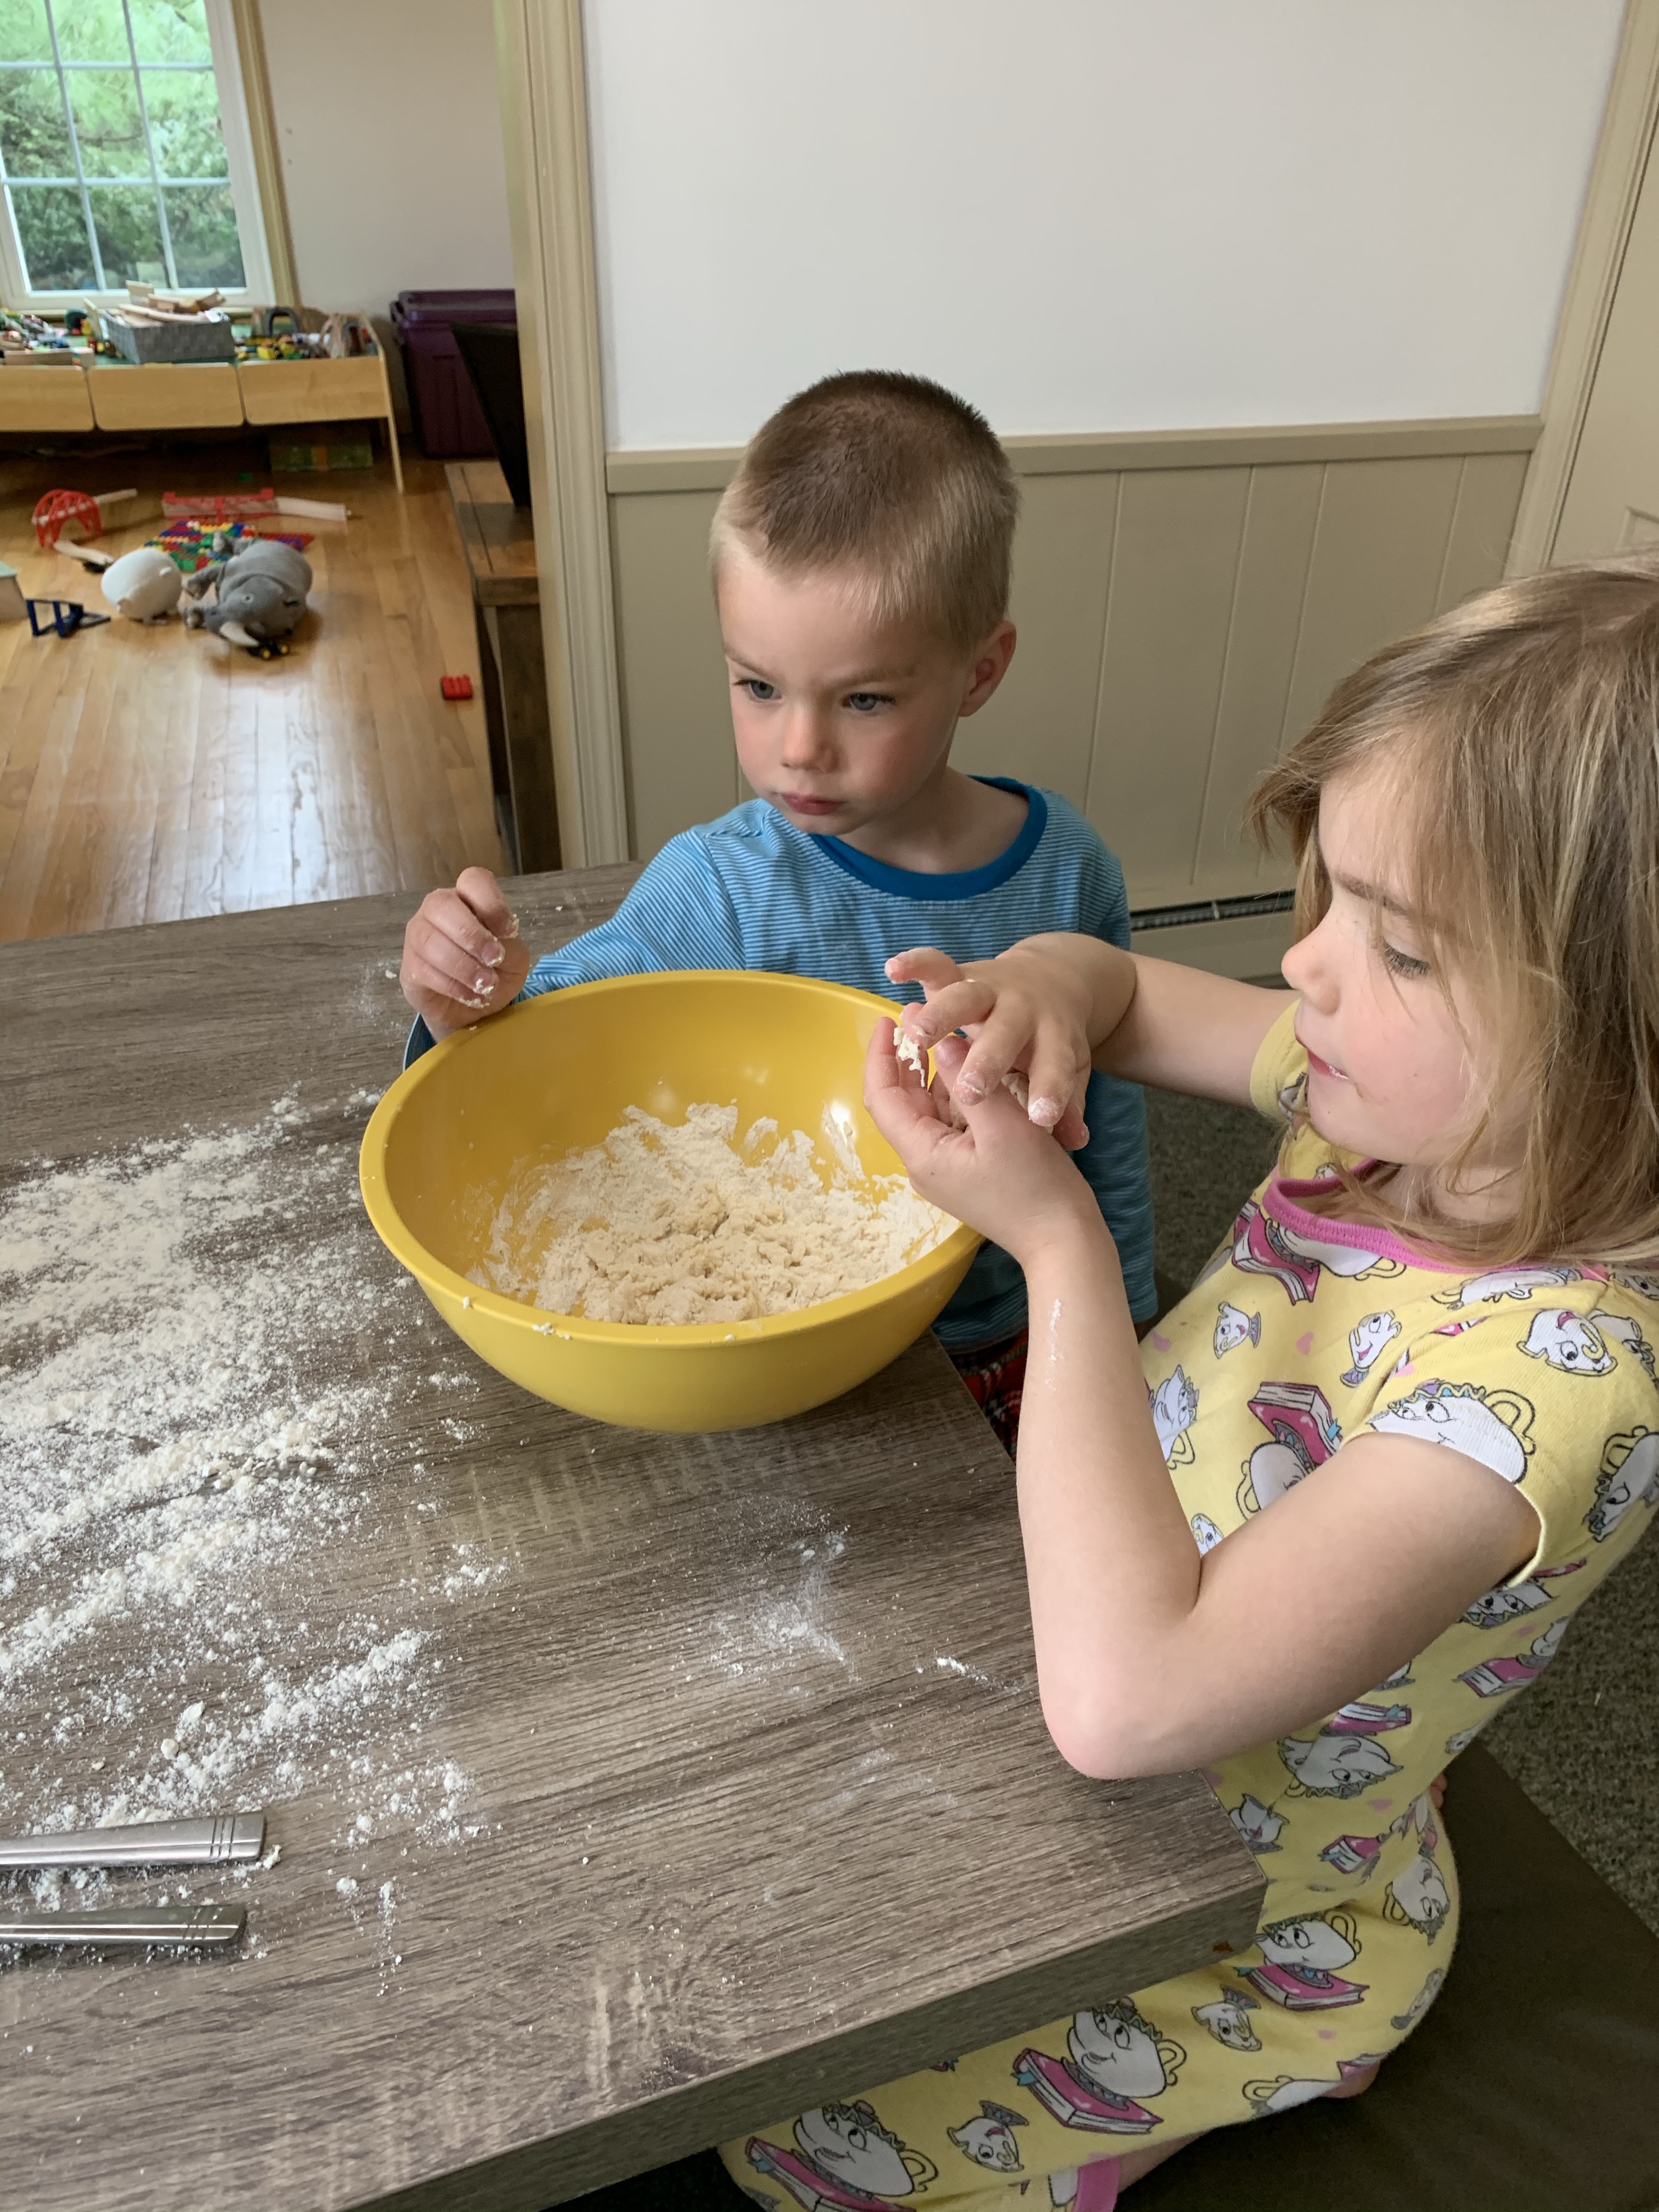
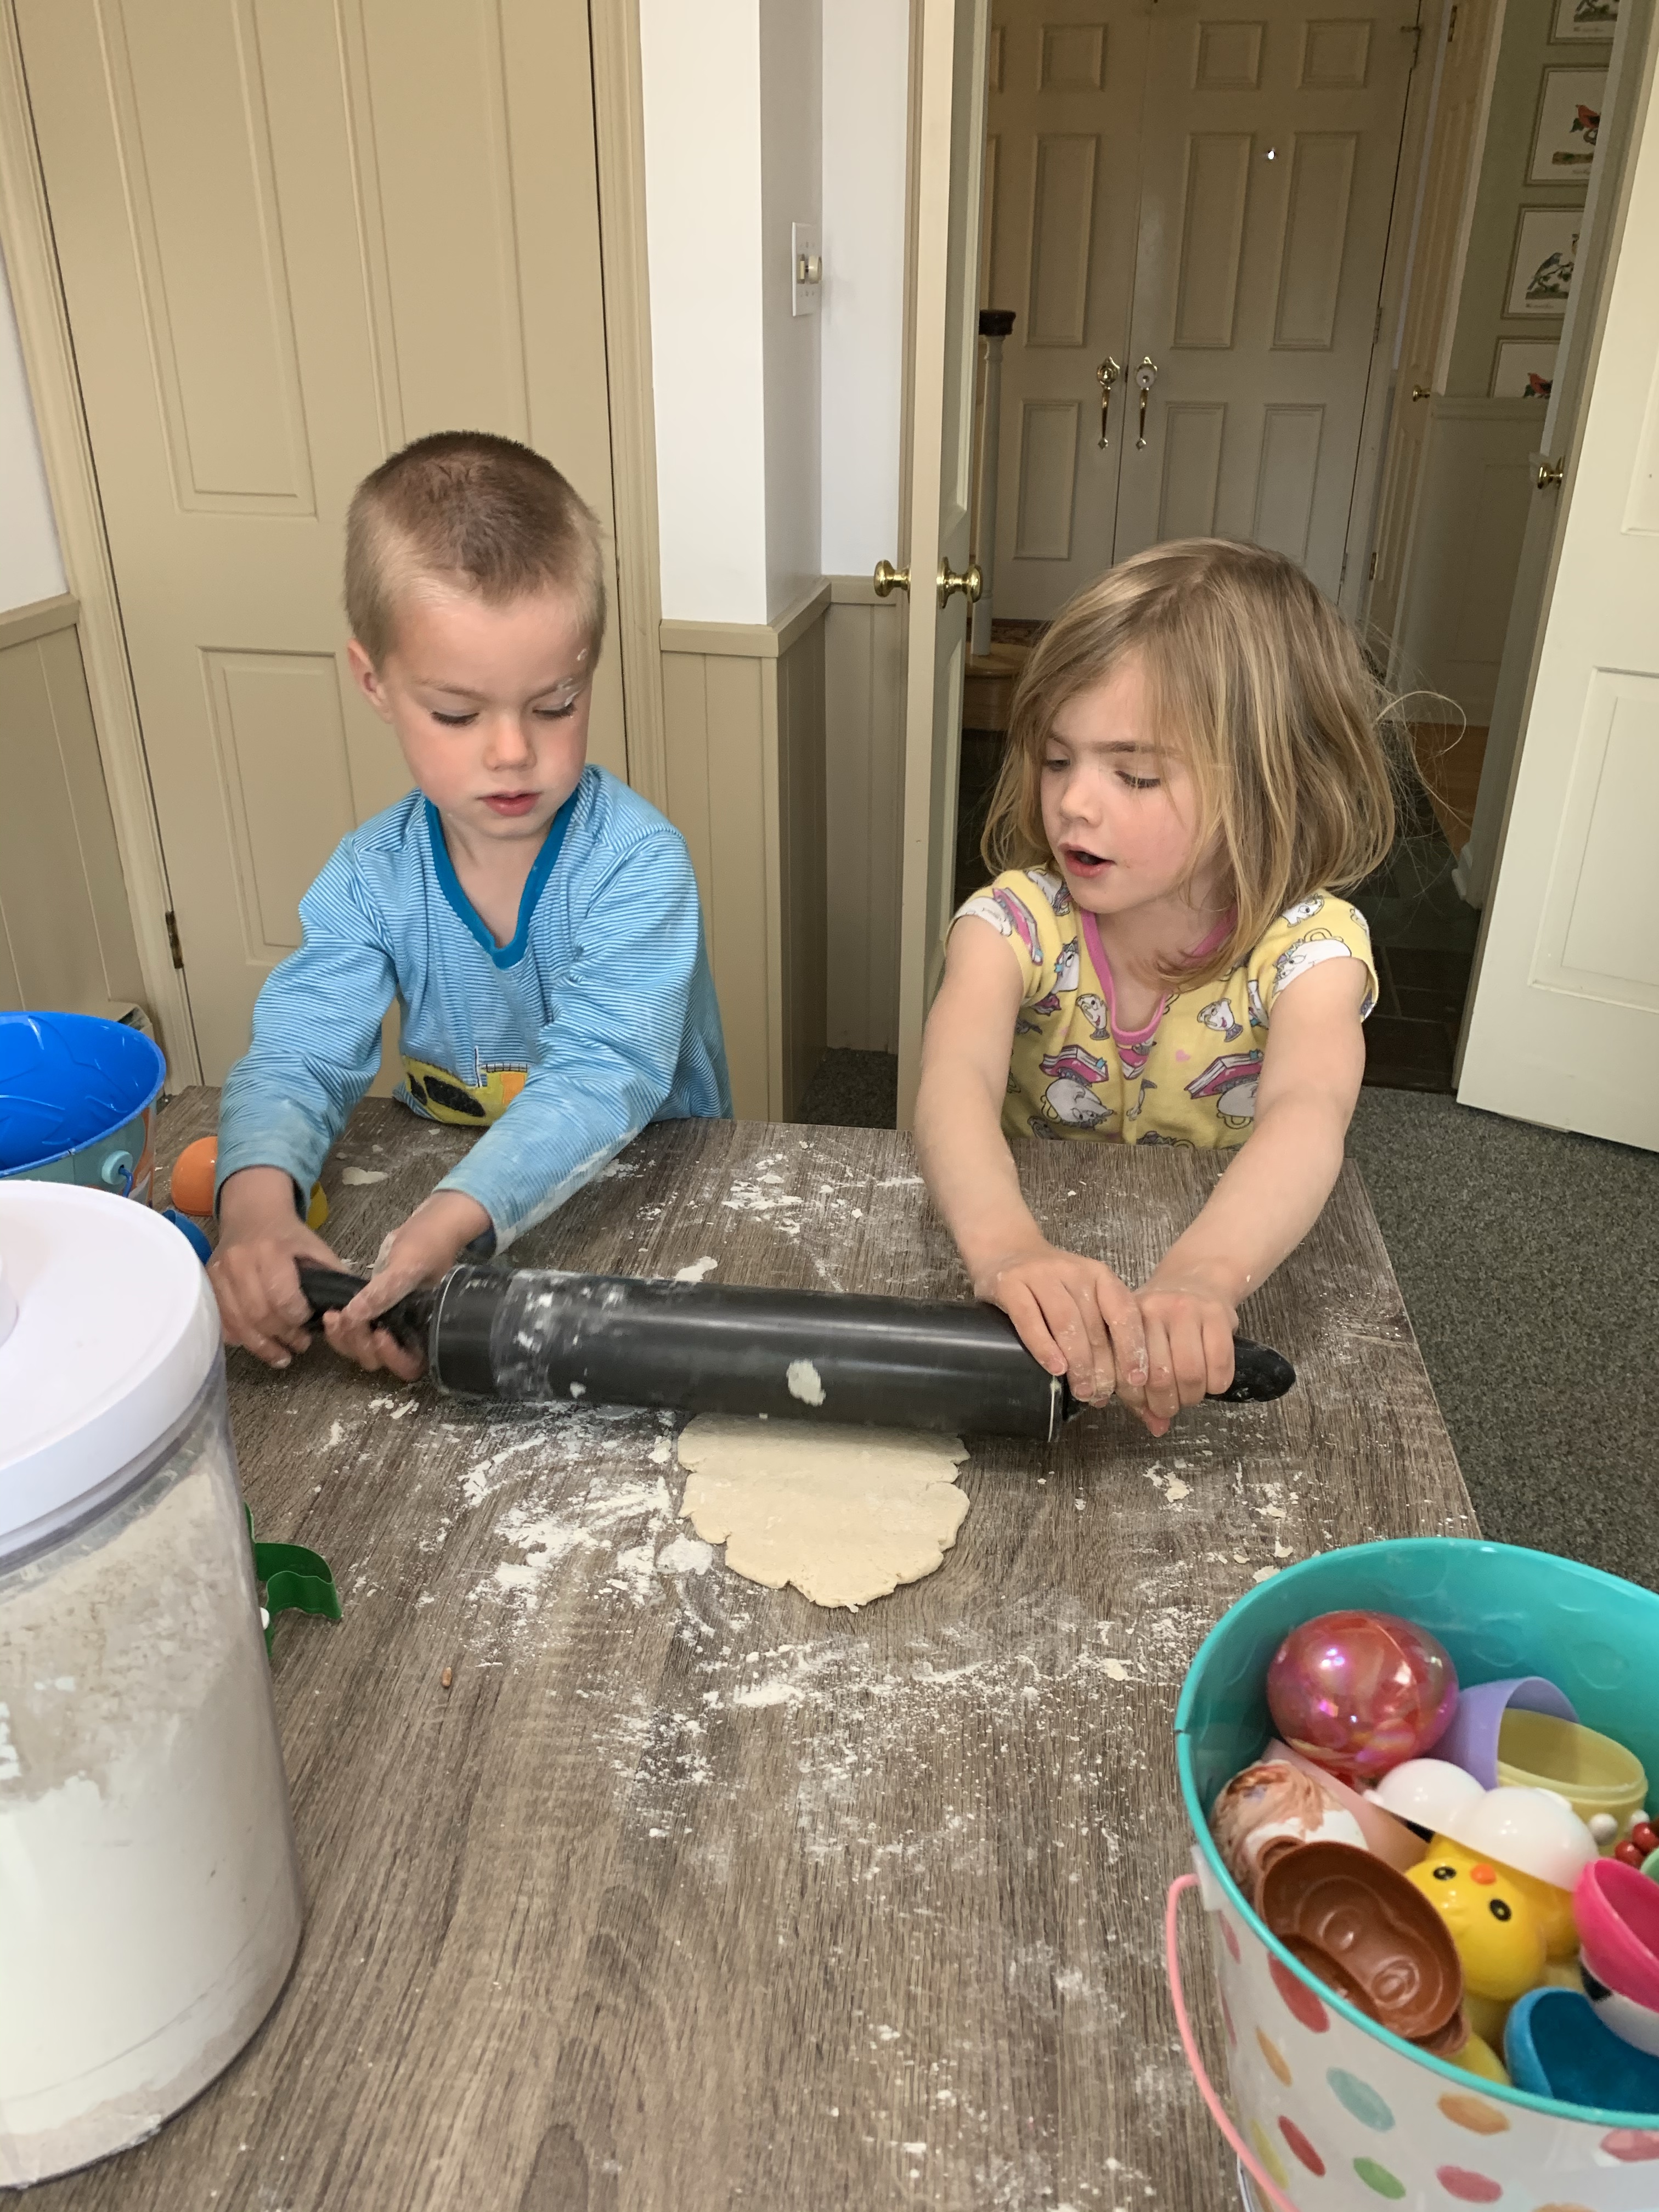
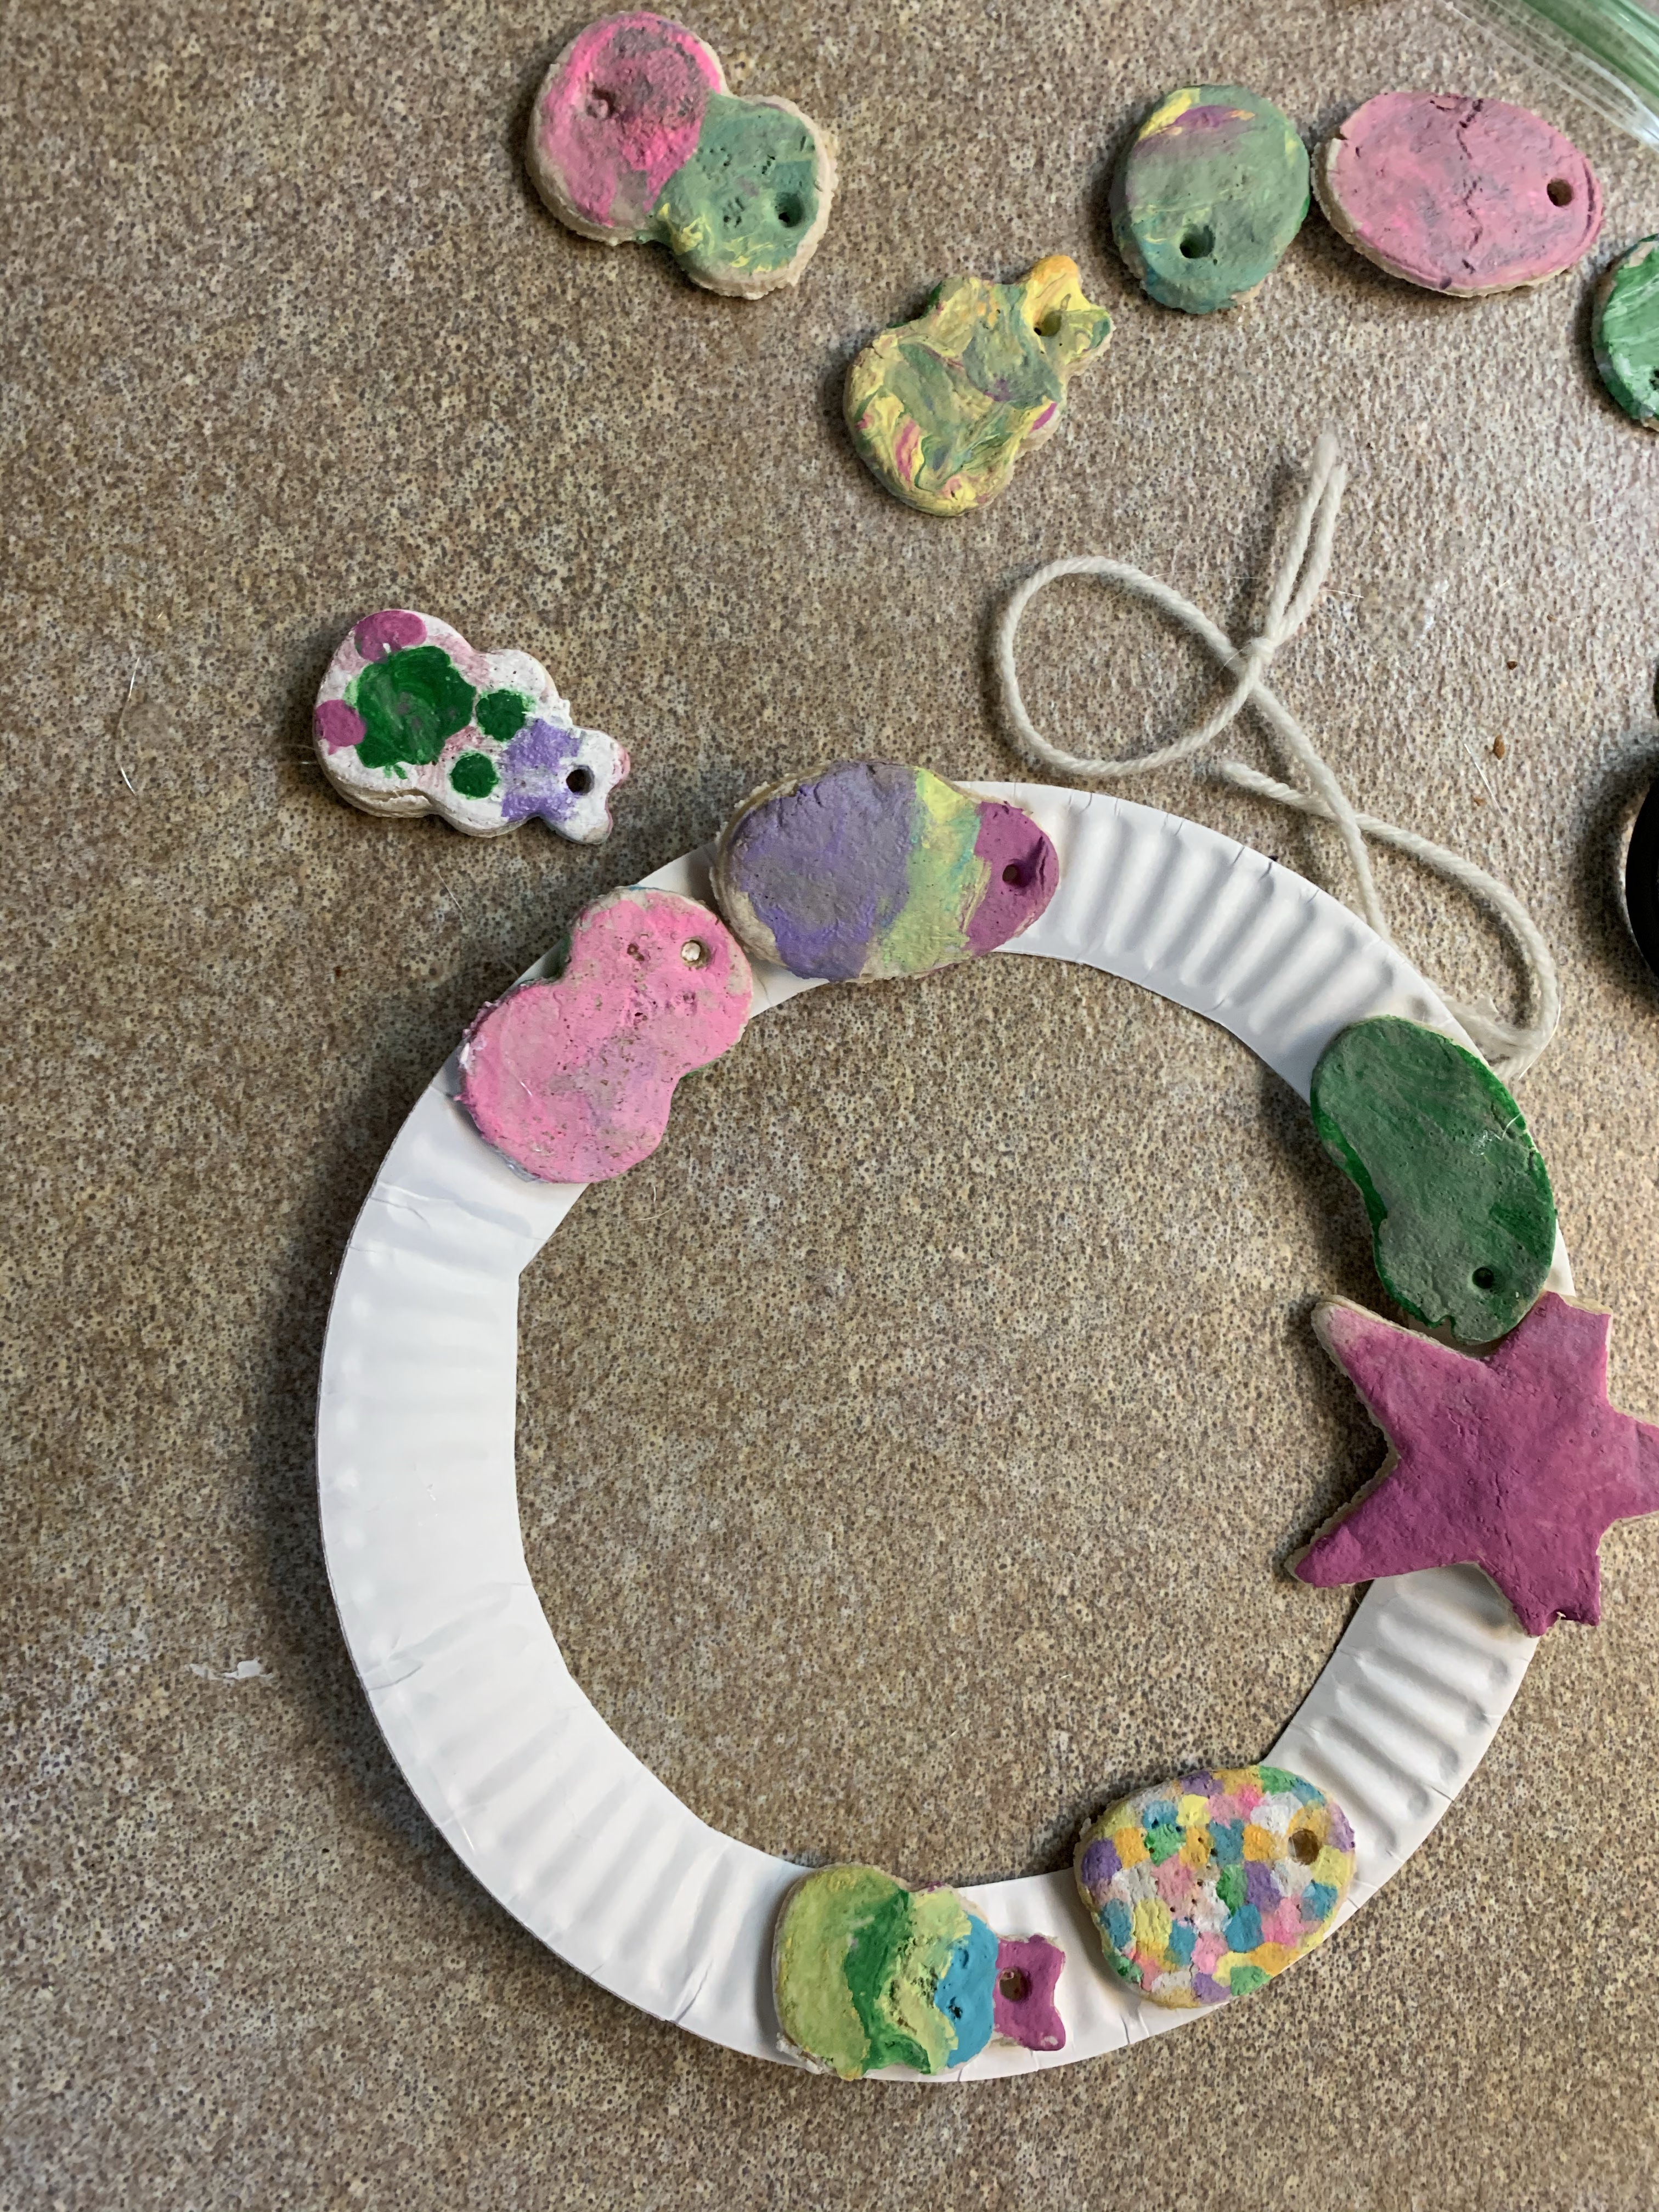
    6. Halloween crafts/face painting
    7. Board games
    8. Crafts
    9. How many candy corns are in the container
    10. And any of the other activities on the list!
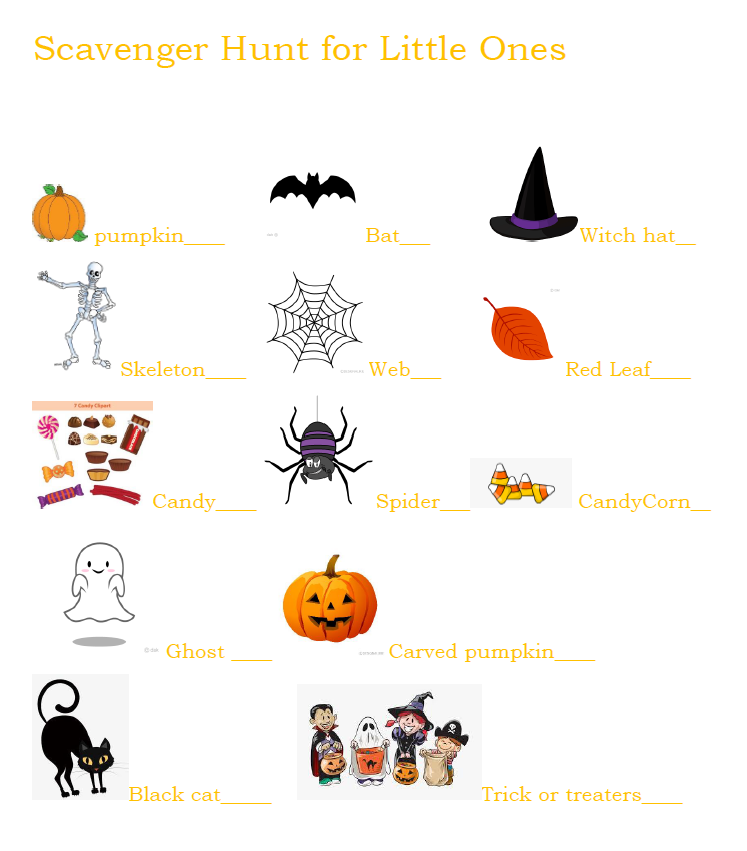
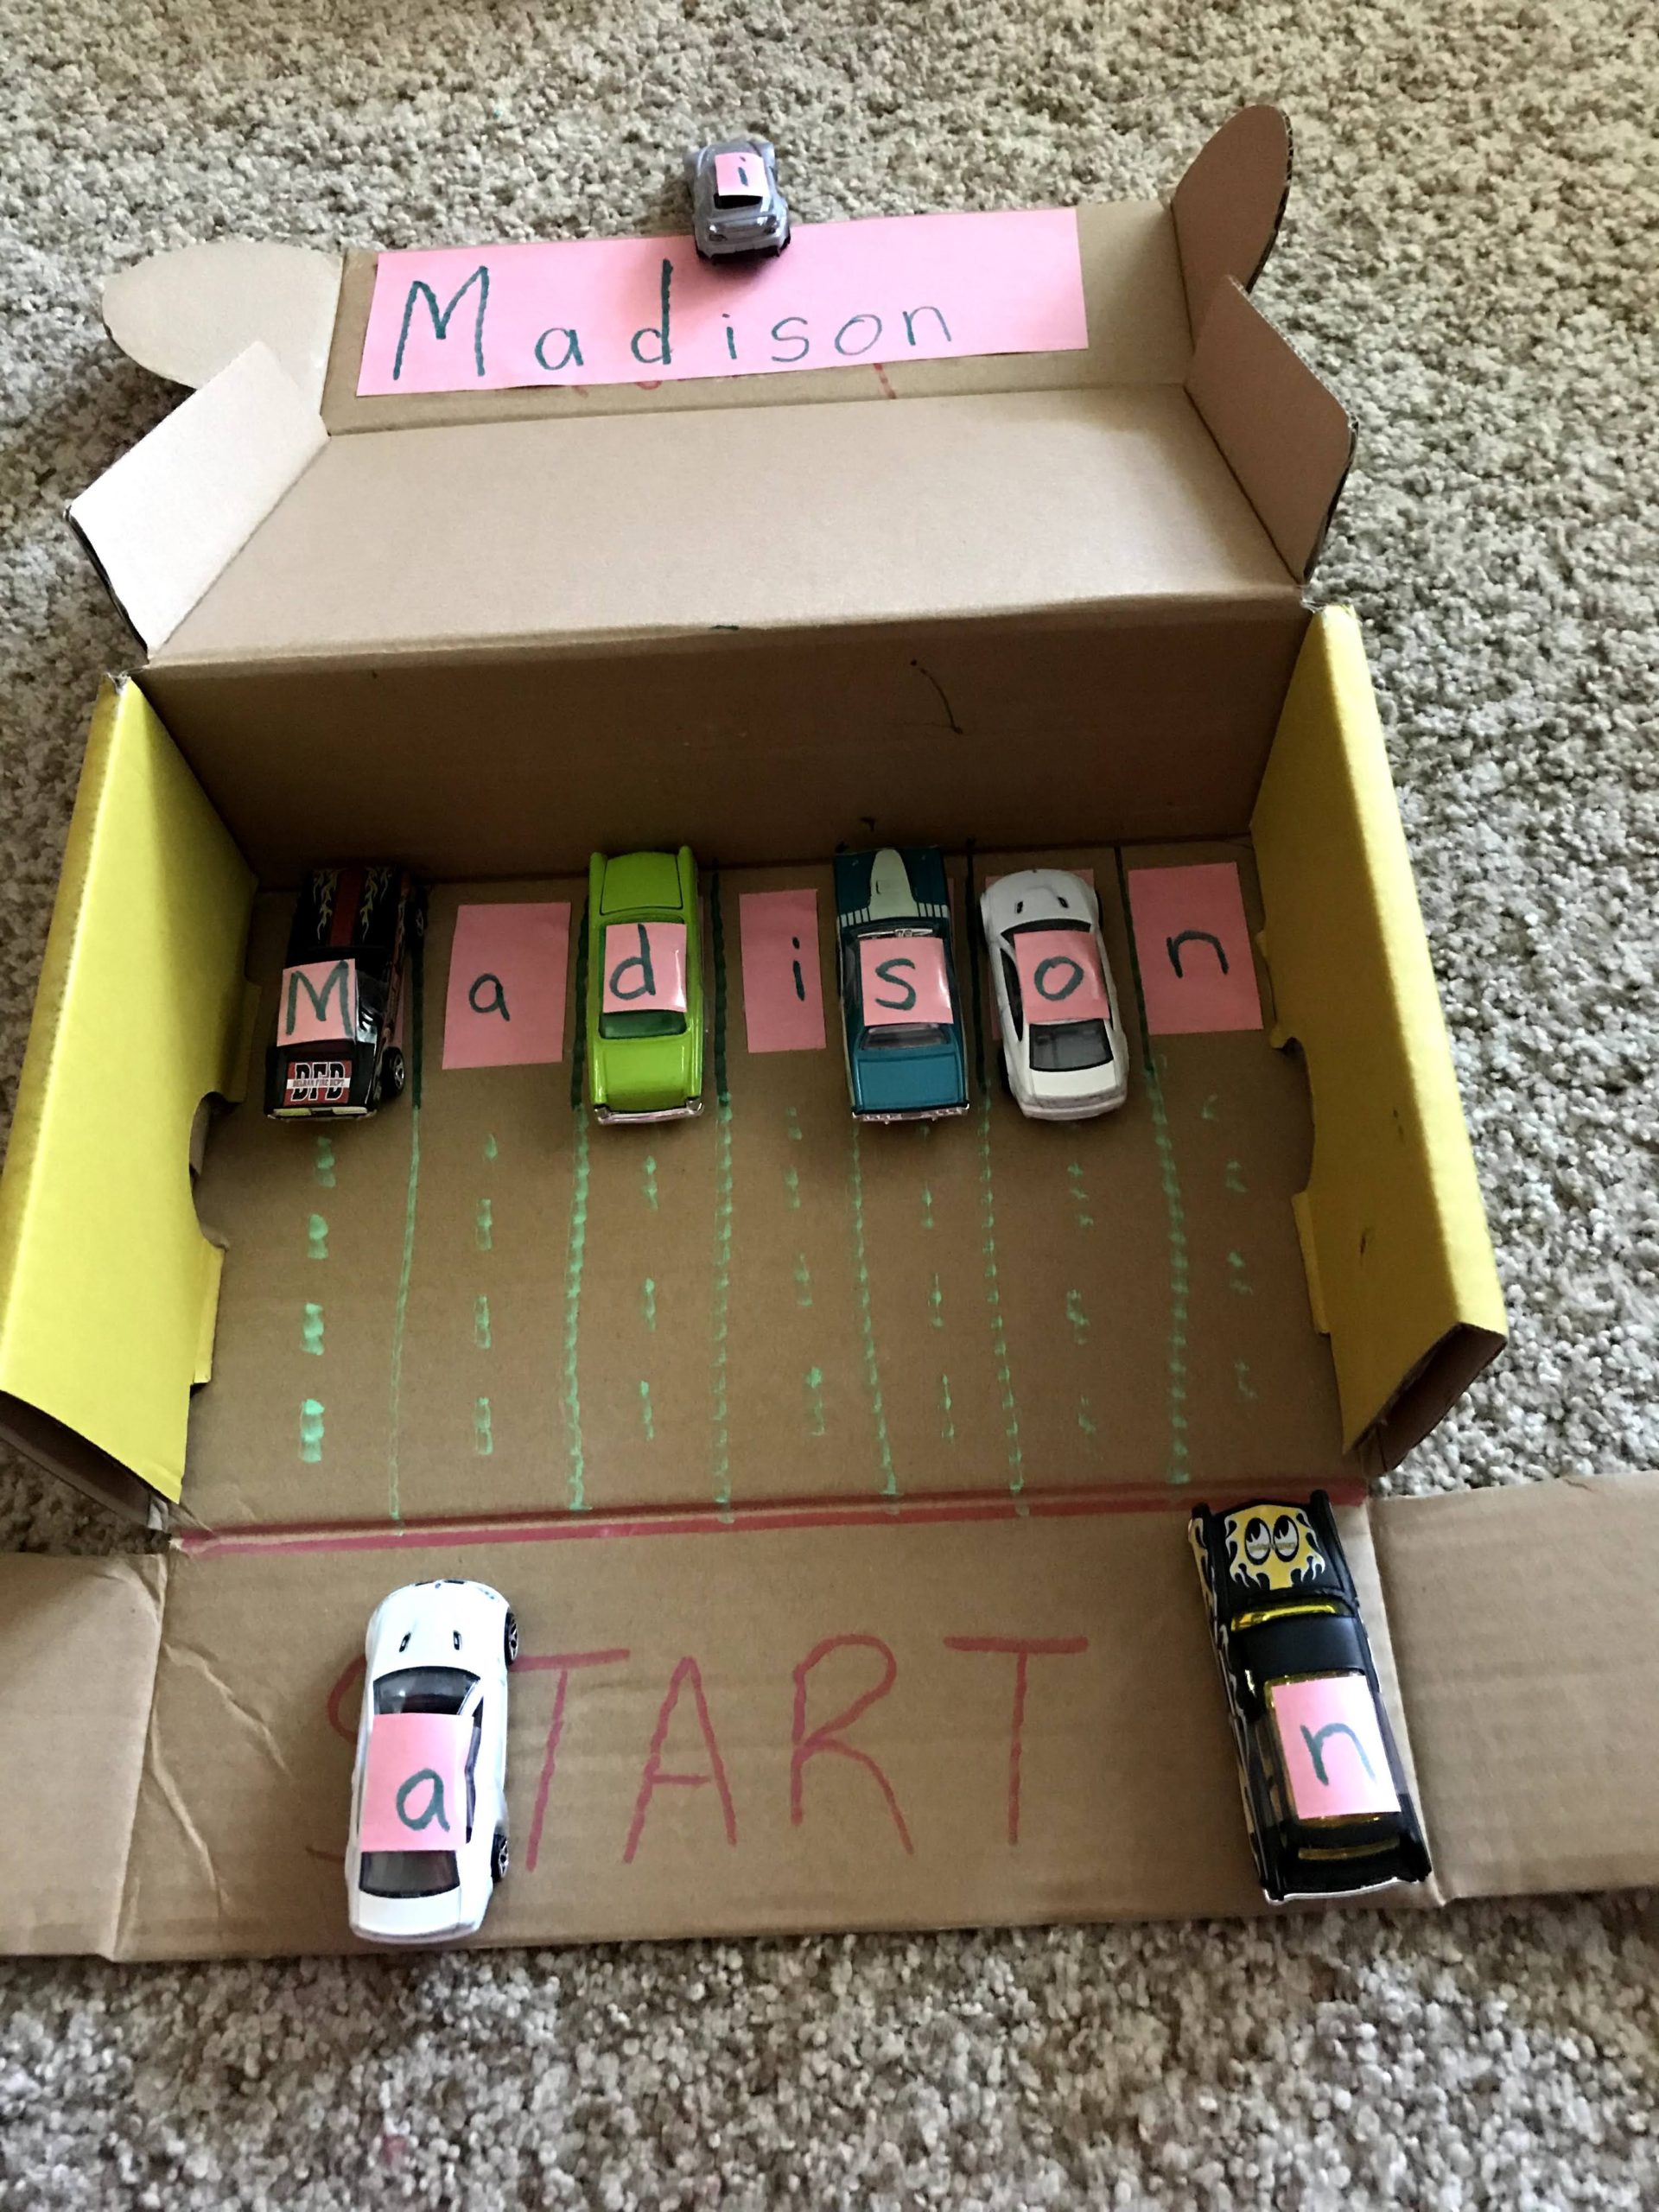
  2. Scavenger hunt time! Who doesn’t love a good scavenger hunt? Well, maybe your kids if they don’t want to work for their candy! There are many scavenger Halloween hunts, I made one for kids who aren’t quite reading yet so they can look at the pictures and words and understand. The one below you can download. If you need another type you can find many online!
This image has an empty alt attribute; its file name is scav.png

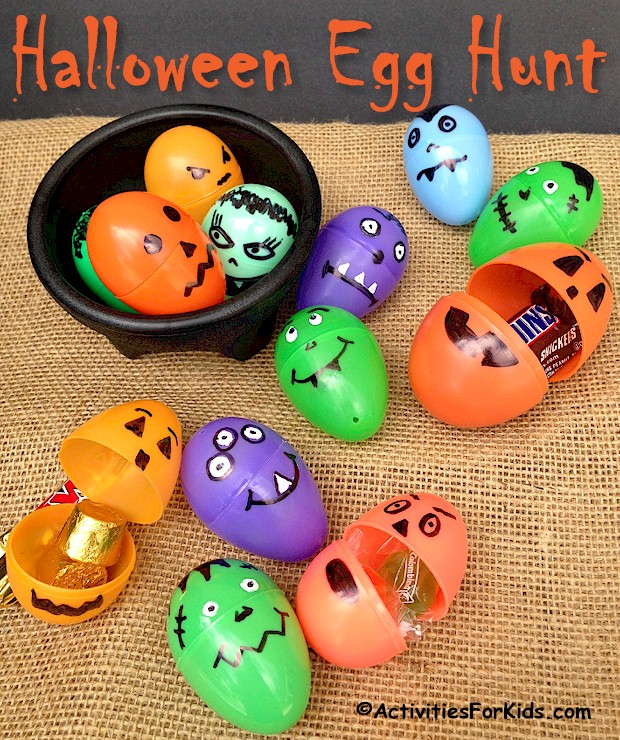
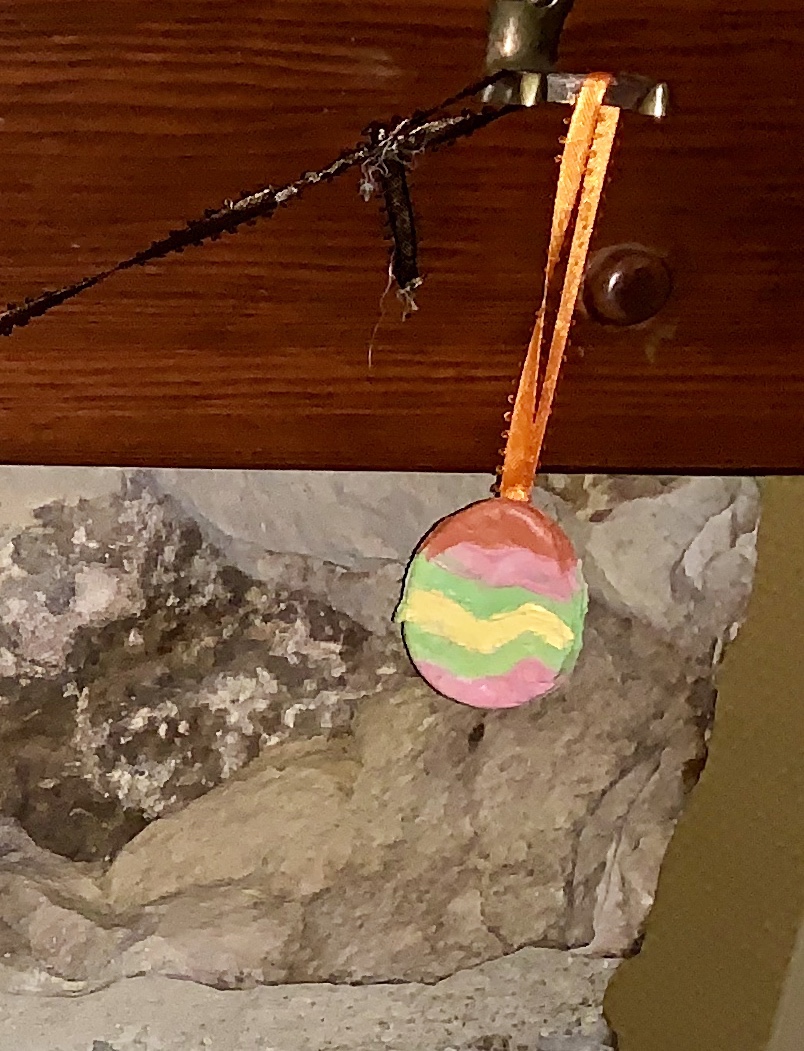
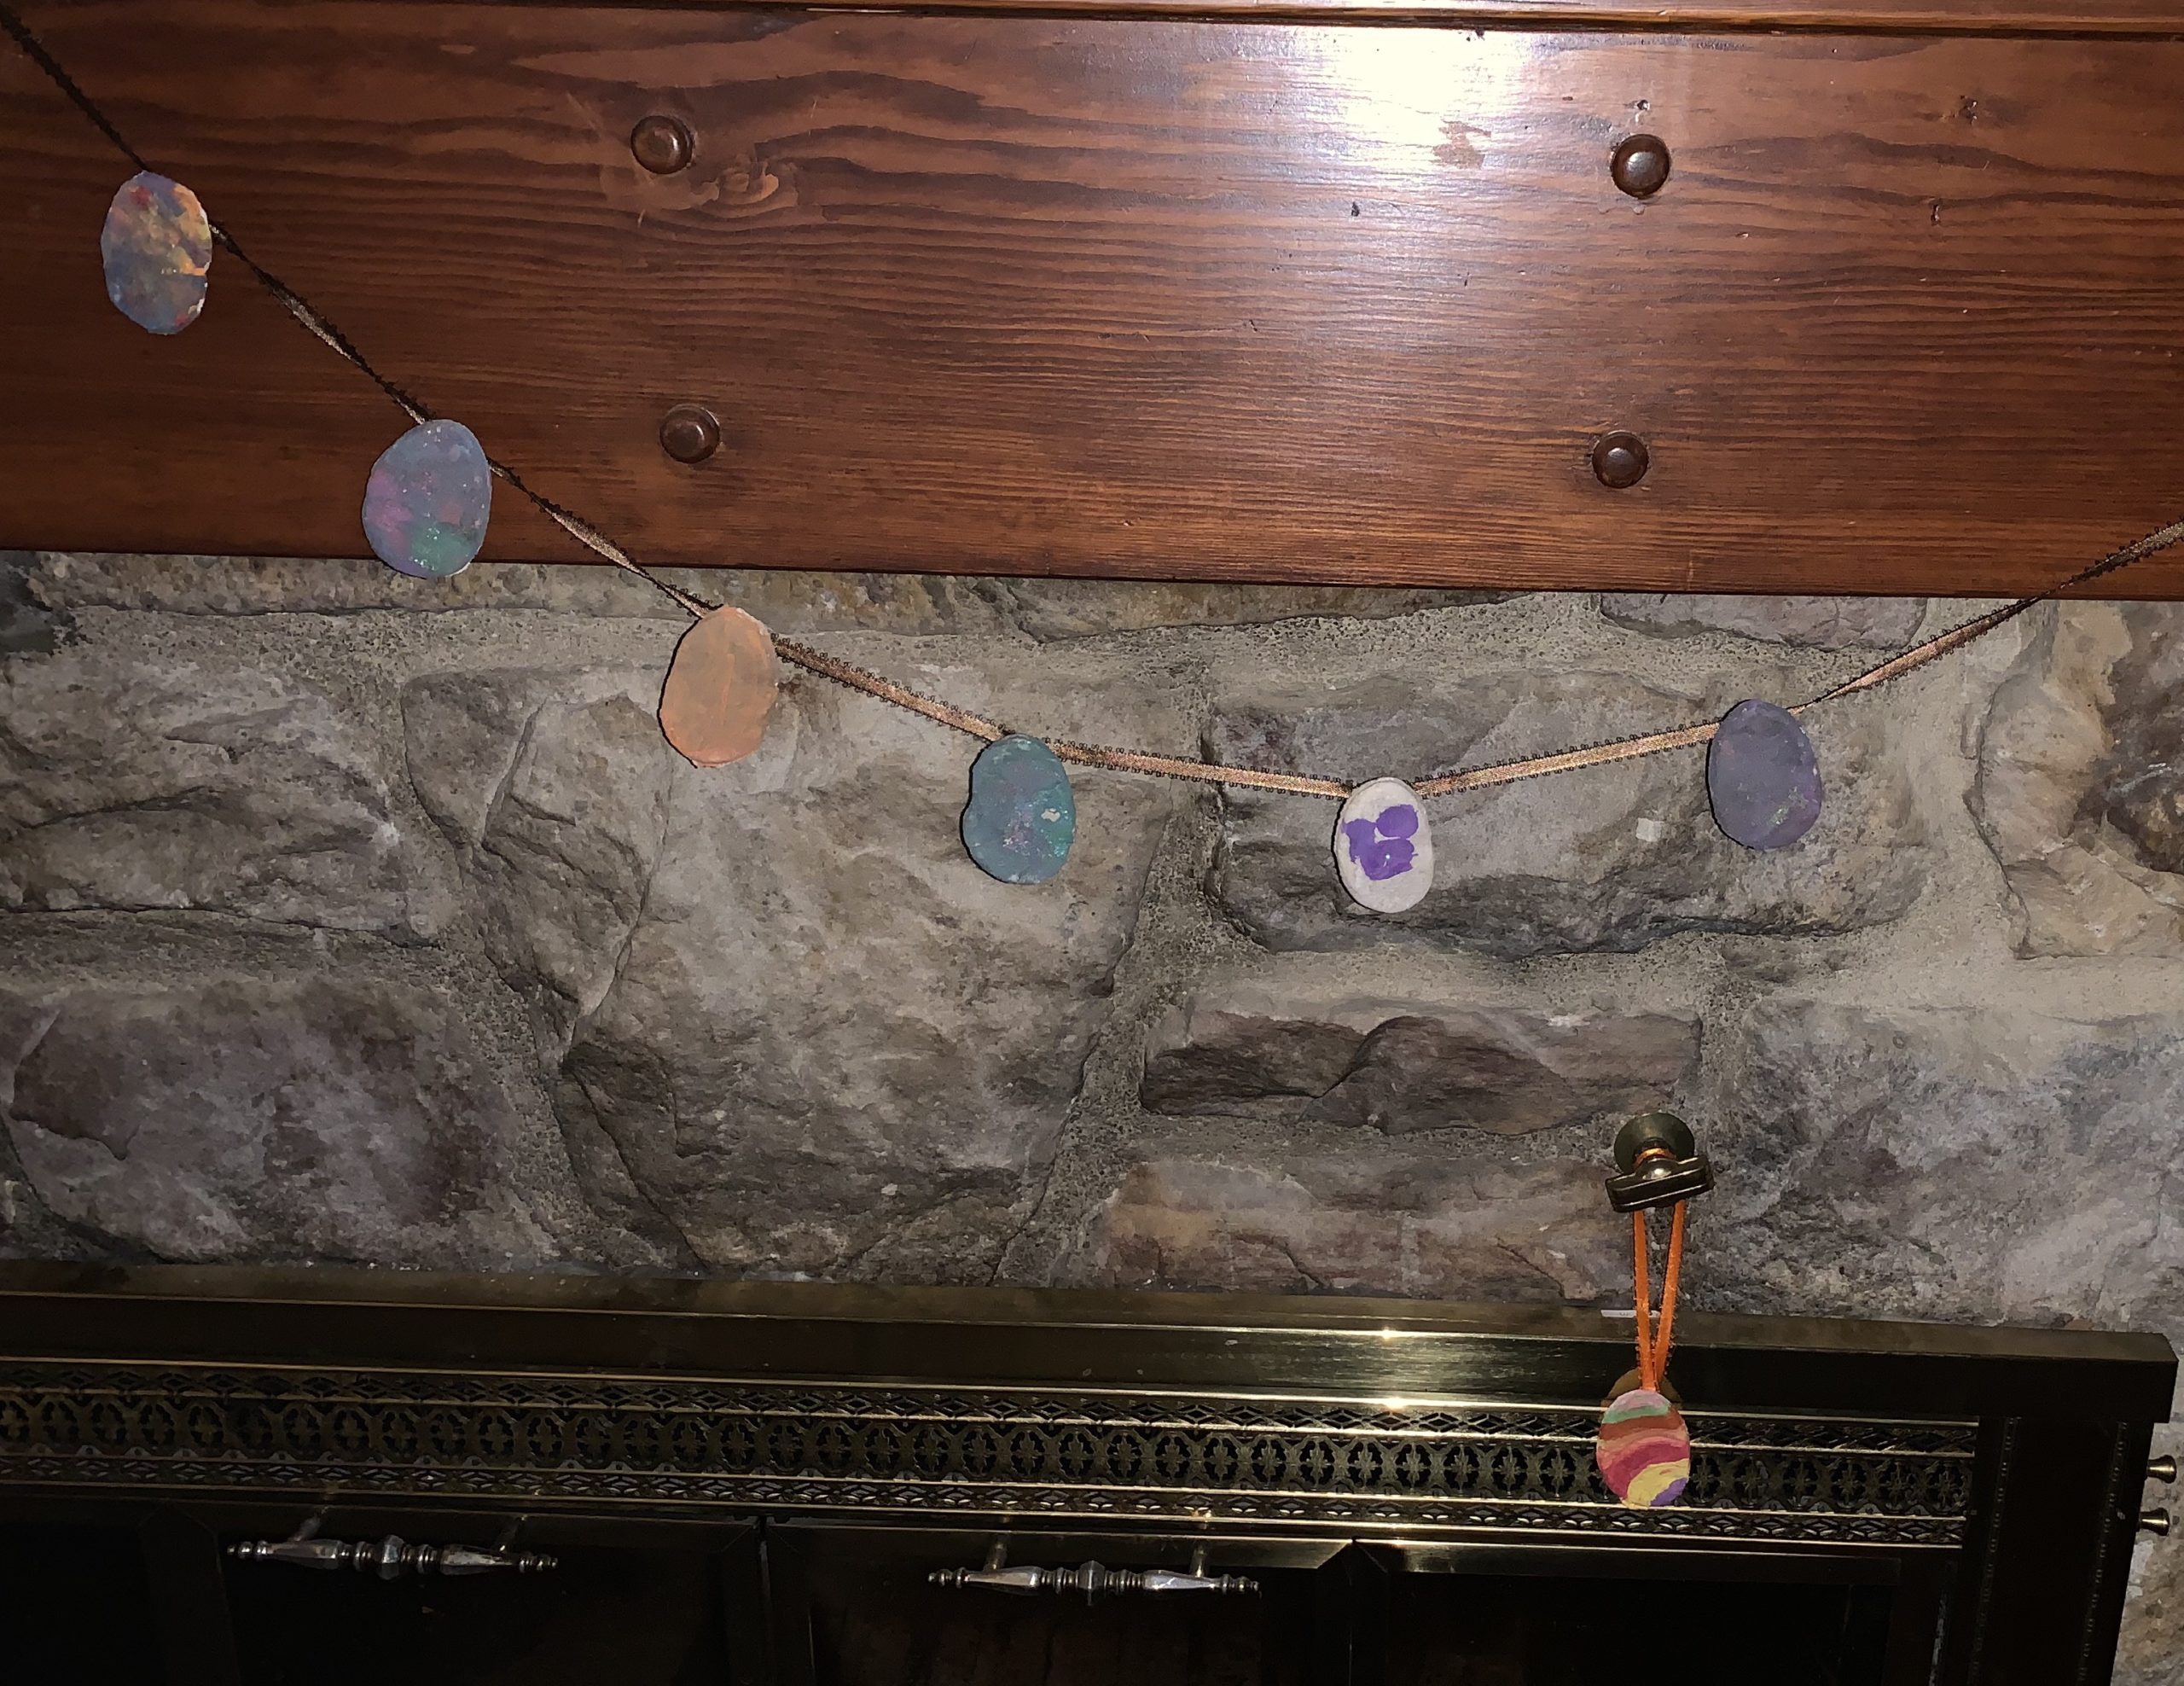
3. Halloween Egg Hunt: You can easily use marker and draw faces on eggs, or you can use puffy paint! Another option is glow in the dark eggs and a night egg hunt…SPOOKY! You can also paint eggs with glow in the dark paint. Put your favorite candies, stickers, tattoos, rings, or whatever you child enjoys in the eggs! Use your pumpkin or usual trick or treat bags to collect them.

Halloween party games for kids - Upcycle plastic Easter Eggs for a Halloween Egg Hunt.

4. Trick or Treat Stations: Setup stations in your yard, or at each of your doors. Each adult is dressed up and has a scene behind them. For example, one adult has spider webs behind them and the kids come up and say trick or treat. The idea is that its safe since it is your mom and dad or family member you live with and its similar to trick or treating. We may do the door idea. So the kids can run from door to door (maybe more than once), and knock for trick or treating.

5. Family trick or treating: this is similar to the one above. However, you can drive to grandparents house or aunt or uncle house and do trick or treat at just a select couple houses to lower the risk.

6. Family Ideas: So besides all the other ideas, there are many other Halloween things that can be done. Family board games, campfires, Halloween movies, pin the spider on the spiderweb, mummy toilet paper roll game (although you may not want to waste the toilet paper!!), painting pumpkins or carving them, Halloween bingo, ring witch hat toss

17+ Halloween Party Games for Kids
Halloween Bingo - Perfect halloween party games for kids

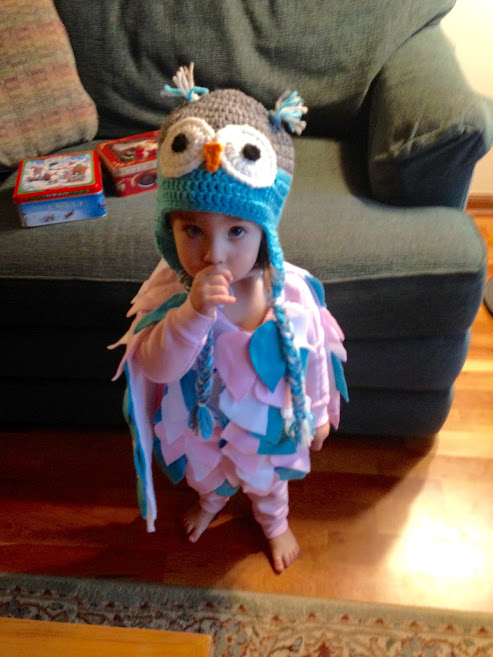
7. Yard Parade: have your little ones dress up and walk around the yard and do a parade! You can walk down the road dressed up as well (not on trick or treat day of course!). Kids love dressing up and having a pretend parade!

8. Zoom party! So have a family/friend zoom party. You can vote on the best costumes, each show off your spooky treats and your pumpkins. Do crafts together or drawing contests

FollowFacebookpinterestrssyoutube
ShareFacebookpinterest

Salt dough wreath, ornament, or garland!

So we have done the salt dough ornaments before, but this time we made garland and a wreath out of our painted Easter ones!

img_3244-1

All you need to make salt dough ornaments is flour, water, and salt. So, start with two cups of flour, 1 cup and salt and mix. Then add water slowly until it is a play dough like consistency.  We ended up using our hands to mix it up. If it is too sticky, add more flour, too dry add more water.

img_3147

Then we rolled out the dough to a 1/4 inch thin, and used some Easter egg halves, including a bunny, chick, and jelly bean shape. You can of course just use cookie cutters as well. Use a straw to make a circle hole at the top of each ornament so you can add string later.

img_3148

Turn the oven on at 200 degrees and put parchment paper on the tray and leave in the oven for 2-3 hours. If you don’t have parchment paper just move the ornaments with a pie lifter to make sure they don’t stick about an hour in. Time depends on how thick the ornaments are. Once cooled and dried, paint them as you wish.  You can add sparkles if you want. Once all dried, use string or ribbon through the hole and tie.  After that hang them up!

img_3249

Or, you can make garland by putting one ornament through the string and then tying it in place and continuing until desired effect.

img_3249-1

If you want to make a wreath, we just used 2 paper plates glued together and cut out the inner circle then used a hot glue gun. Of course you can use cardboard or other material, but this is what we had on hand with the quarantine.

img_3242

We used the glue gun to glue on some ribbon and add pom poms.

img_3244

FollowFacebookpinterestrssyoutube
ShareFacebookpinterest

Crushed Chalk Paint

Have any old pieces of chalk laying around? If you have lots of chalk, you are bound to have small pieces here and there. Take those pieces and make chalk paint for the driveway or sidewalk! Your child will have fun mixing colors, smashing chalk, and painting up the driveway!

First, take the chalk and crush it into a powder. You can do this by putting it in ziploc bags and smashing it with a hammer. We did it by simply putting it in a bowl and smashing it with a rock (neanderthal style).

IMG_5335

When you have all the chalk crushed add water to the consistency you like. BOOM! There you go! Mix it up. If you want to get rid of the smaller chunks you can use a whisk, but we just kept it simple and mixed it with our paintbrushes.

IMG_5339  IMG_5343

You can use all different sizes of paintbrushes and mix colors. My daughter played with this for over an hour and a half! She probably would’ve done it longer if it wasn’t getting dark outside.

IMG_5350

You might not think your child will love it, but give it a try! While painting the color is not very bright but dries brighter than regular chalk! Enjoy!!

FollowFacebookpinterestrssyoutube
ShareFacebookpinterest

Mixing fun

If you’re looking for an activity for your little ones to enjoy and also learn try this mixing fun. You can also use whatever you have in your kitchen! Just as an update, the kids ask to do this almost daily they love it that much!

img_2705

You need a container, preferably a tall see through one such as a large mason jar as shown. Fill the mason jar half way up with water.

Then you will need something to stir with (we grabbed a chopstick!)

Lastly, you need items to put in this mixture, so food coloring or natural coloring (we also used washable paint one time!

Coloring from beet juice etc.

Sprinkles can be used to see if they float or sink!

Ice cubes

Salt versus sugar-do they dissolve

Olive oil or any type of oil to see if it mixes with water

Croutons, cereal, some scraps from the compost bucket, lettuce leaf, onion (although you may want to hold off on too many food items with the quarantine right now!)

img_2707

We even tried jelly to see if it would sink or mix into the concoction. Then have your child mix it real fast in a circle and see a cyclone happen!

Dish soap and the bubbles it causes is fun as well!

img_2704

Pretty much try anything!


Vinegar and baking soda which you want to save for last! The acid base pair will cause a volcanoes explosion! We did those outside then to have a huge overflow!

img_2708

You can keep adding more vinegar to make it continue exploding!  Just bring it outside lol. img_2709

img_2710

ENJOY!!!!


FollowFacebookpinterestrssyoutube
ShareFacebookpinterest

Learn Names by Cars

Hi everyone!

The schools in Pennsylvania will be closed for at least 2 weeks due to the coronavirus, so I am home with my family.  I hope to do a lot of crafts and activities with my toddler to keep her busy & happy! You can look at previous posts and check back for more frequent posts during this time on things to do with your child! Today’s craft/activity will help your child learn letters and the spelling of their name (it will also be fun for them to play with)!

IMG_4688

All you need is a box, marker, cars, and some paper and glue or tape.

IMG_4681


You can use any box you have, I just happened to have one with a folding cover so added a ramp to it.


IMG_4683


Next, I wrote the letters of her name on construction paper and cut them out. Remember to space each letter out so you can cut them into rectangles or squares.


Next, I wrote start and made a line. I also made lanes for the cars to go to their parking spots. I figured Madison can then have them go on the ramp and race down to the letters at the bottom. Just a fun, quick, and easy activity if your kiddo likes cars!

IMG_4687

FollowFacebookpinterestrssyoutube
ShareFacebookpinterest

A Family of Superheroes

Does your child like to play make believe? Ours is just getting into it at almost 2 years old. How do I know? We went to story time at the library last week and one of the songs, “The Ants Go Marching” includes pretending to pick up sticks. She was great at pretending to pick them up and continues to do it at home! She loves playing with tea and pretending to have picnics and play in the “sand” inside.

We’ve been stuck inside for a few days and the dreaded day I am to return to work from my child rearing leave keeps getting delayed due to snow days (hey, I’m okay with that). So what do we do? We pretend we are a family of superheroes!

85

My husband and I used blankets, but knew they were too long and wouldn’t stay on our little girl. I did a quick google search and found out how to make a t-shirt no sew cape for Madison. All you need to do is take an old adult t-shirt (that you don’t want anymore) and cut it a few inches under the collar in the front. Continue cutting around to the back a few inches from the collar and down the back (the sleeves get cut off). Do the same on both sides and you will have a cape that simply slips over your child’s head.

84.JPG


If you want to be fancy you can add a design on the back with fabric markers, iron on images and so on. We happened to have an image on the shirt already.

We pretended that the snow was piling up in her room and we had to save all of her stuffed animals by putting them on the couch in the living room. She loved racing down the hall while we shouted, “Fly to the room, save the stuffies! Super Maddy saves the day!” Singing also helps and humming superhero ballads. She loved this so much we did it multiple times today and putting that cape together took about one minute (as you an tell by my hasty cutting).

86

It’s definitely priceless to see your toddler stretch her arms out in front of her in the flying pose while yelling, “Save the stuffies!” Start a family of superheroes today!

FollowFacebookpinterestrssyoutube
ShareFacebookpinterest

Tv tv everywhere…

This evening my husband, my two and four year old children, and myself went to a nice restaurant together. Actually, my favorite restaurant, and the one we had our Wedding rehearsal at 7 years ago. I was nervous that our children would become bored and loud so I brought a coloring book, crayons and a couple stickers. Unlike many restaurants, this one is quiet, in an old farmhouse, and has classical music on and no televisions. You are meant to enjoy one another’s company with local fantastic fresh food. There is no overstimulation with many TVs, too loud music, or too many distractions. The food may take longer to be made, but that’s because it’s fresh. The bread comes out in the clay pot it was cooked in, it’s amazing!

But back to my story, a couple comes in with their 3-4 year old son who they sit in a chair. Immediately, a large iPad is placed in front of him and we can hear blippi playing. If you don’t know the show Blippi, you should check it out, as it is a real person doing real things in the real world (it’s my sons favorite show when I do let him watch anything). Luckily, my kids weren’t too distracted, I thought my son might start yelling blippi, but he went back to eating his bread. Next, the sons father went on his phone for the entire dinner. I had missed this as I was paying attention to my family, however my husband pointed out that he was on his phone the entire time.

Through the entire dinner, the family next to us had the iPad or whatever device it was placed in front of him and could hardly see his parents. No wonder this kid was crawling under the table screaming periodically and trying to run around the restaurant! His parents weren’t paying any attention to him except to reference the show he was watching. The mother even said look at those children behaving over there that is how you should behave. I felt badly for this child because his parents were blocking him out by trying to turn him into the zoning zombie to “enjoy” their dinner. Which in this case, was the father on his phone the whole time anyways.

I see children everywhere I go on their parents phones or iPads zoning out instead of interacting, developing relationships, communicating and learning. Even at the food stores, kids are plopped into a cart and given a phone to play with instead of interacting and watching interactions taking place. The children are learning how to behave from the show instead of reality. I’m guilty of letting my children watch tv, I think I might lose my sanity sometimes if I tried to make a decent dinner with two toddlers trying to help and almost burning themselves or cutting themselves every couple seconds. Granted sometimes they play with their puzzles and legos and such and it’s great. Even better, they play together a lot more these days. I do have them bake with me frequently since they love helping (toddlers love helping, even if it makes more of a mess!).

Sometimes I’m guilty of trying to catch a couple more z’s by letting my daughter come into my bed in the morning to watch a pbs show or two. This may let me sleep a couple minutes longer; however I pay the price when it’s time to turn it off. No matter how many times I’ve told her only one show and then breakfast, she throws a mini tantrum or full tantrum and just wants to watch more. This sets a bad tone for the whole day and I immediately regret letting her watch a show.

Another thing that bothers me is when parents post online what type of device they should get their 4 or 5 year old to watch shows before bed or in bed or for restaurants car rides and so on. Children should be interacting with real people, especially their family to build the bonds for their lifetime instead of glued to a screen. If you need to catch your breath once and a whole, I totally get it! Just remember, when you let your daughter watch a show in your bed or take that iPhone out at the store, your child makes that connection that you let him or her do this so they will expect it again and will be persistent. One thing I’ve definitely learned with a toddler is that if you think I’ll pick my battles and let them do something once, they will expect it again and again. More on positive discipline in the future, but that’s all for now!

Of course this is all just my opinion, and everyone has their own opinions, this is America after all, but next time think about actually having a discussion with your kids over dinner instead of bringing out the constant “entertainment.”

FollowFacebookpinterestrssyoutube
ShareFacebookpinterest

How to Make an Owl Costume, It’s a Hoot!

1.jpg

What a hoot! I made this owl costume for my toddler girl for Halloween. This costume can be adapted for any age! Not only is it soooo cute, but it’s also soft, comfortable, and easy to make!

Let’s start with the materials. If you are making this for a larger toddler, child, or adult, you will need more material. You will need:

  • Felt, 3 or 4 colors or more, I ordered half a yard of each and it was more than enough
  • Hot glue and hot glue gun (I got a cheaper version at Michaels and it worked great!)
  • Scissors
  • A piece of cardstock or thicker paper

Let’s start with the cape (aka wings).

14.JPG

I didn’t have cardstock so I used a flier in the mail for my pattern. I simply drew a teardrop design and cut it out. To make all of the feathers for the owl, you must trace the teardrop design over and over.

13

I ended up tracing over 80 feathers in each color. I did this because I wanted to do wings (the cape) and put feathers on the front of the sweatshirt (optional). Trace the feathers in each color and cut them out.

12.JPG

I used 3 colors, but I recommend 4. If you have 4 feathers it will be easier to vary the pattern the feathers are glued in, so that there is no repetitions. 3 colors definitely works though.

Next, measure the wingspan of your toddler (or adult). You can use a measuring tape or eyeball it with the fabric like I did. I held up the white felt with my daughter’s arms outstretched and make a mark from fingertip to fingertip. You can also adjust and cut the cape when you are finished, so if you are unsure make it a little larger.

Next, warm up your glue gun and choose a pattern for your feathers and glue them on. I put glue on the top half of the feather, so that when I did the next row I could snuggle a feather underneath the bottom of the feather. Check out the picture to see what I’m talking about.

9.JPG

The feathers overlap so don’t put glue on the bottom half of your feathers. You’ll notice the first row I did very straight, as I was working I realized I wanted to tilt feathers a bit to the side so they looked more natural. Continue gluing until you have filled up the wings!

8.JPG

Beautiful! Now it’s time to add a tie to the top sides. You want the wings to be able to tie around your toddler’s neck. I wanted something that wasn’t tight, would hang down, and very comfy, so I used felt. I cut some extra pieces of felt. I simply used my scissors and in the upper right and left hand corner of the large piece of white felt (that the feathers are glued to), I made a hole with the scissor. I tied the shoelace type felt piece on each and wallah! Then I could tie the cape together.

The cape is done. I happened to have an owl hat. If you don’t have a hat, you can make one. If you like to crochet, then simply google and find a video and pattern. If you want to make the hat from felt (which is easier), then simply google “diy toddler owl felt hat.”

Here is where options come into place. You can do the wings and hat and leave it at that. I bought a pink sweatshirt and pants at walmart for $10 for the costume, but you can use any clothes you like.

4.jpg

This is a picture without doing the feathers on the front of the sweatshirt. This is very cute and if it’s cold weather in your area, will work great with a winter coat.

I went ahead and did the front of the sweatshirt, but as you can see in the picture below, ended up covering it anyway because of the cold weather. The cape (wings) can easily go over a large winter coat.

3

If you want to cover the front of a shirt, then simply cut out more feathers. I wanted to reuse my sweatshirt, so I didn’t glue the feathers to the sweatshirt. I measured the front of the shirt, used a large piece of white felt and glued feathers to the felt (just like the cape). Next, I put it on top of the shirt and sewed it on in the corners. This way I can simply cut the thread and take the felt off and use the sweatshirt again. If you don’t want to use the shirt again, gluing is easier.

2

Happy Halloween! I hope you have a hoot of a time!!! 

FollowFacebookpinterestrssyoutube
ShareFacebookpinterest

DIY Placemat Place Setting

IMG_1805

My daughter loves to assert her independence, even at meal time! So I thought, why not make a placemat that she can set her own place setting at? There are many ways to make placemats.

One way is simply laminating a printed out version of a placemat setting such as this…

placemat
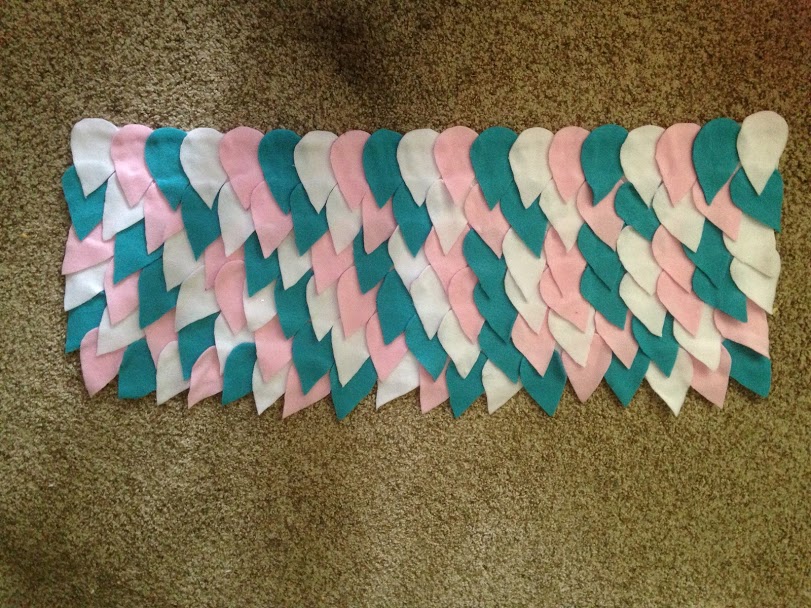
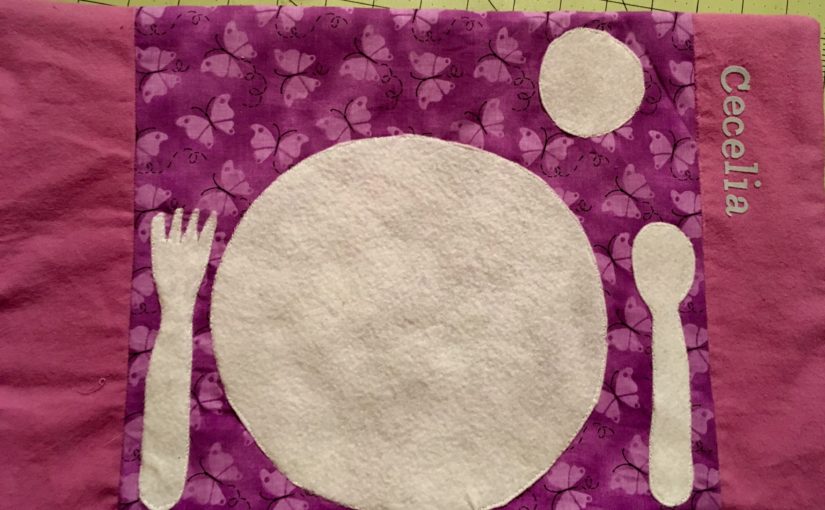
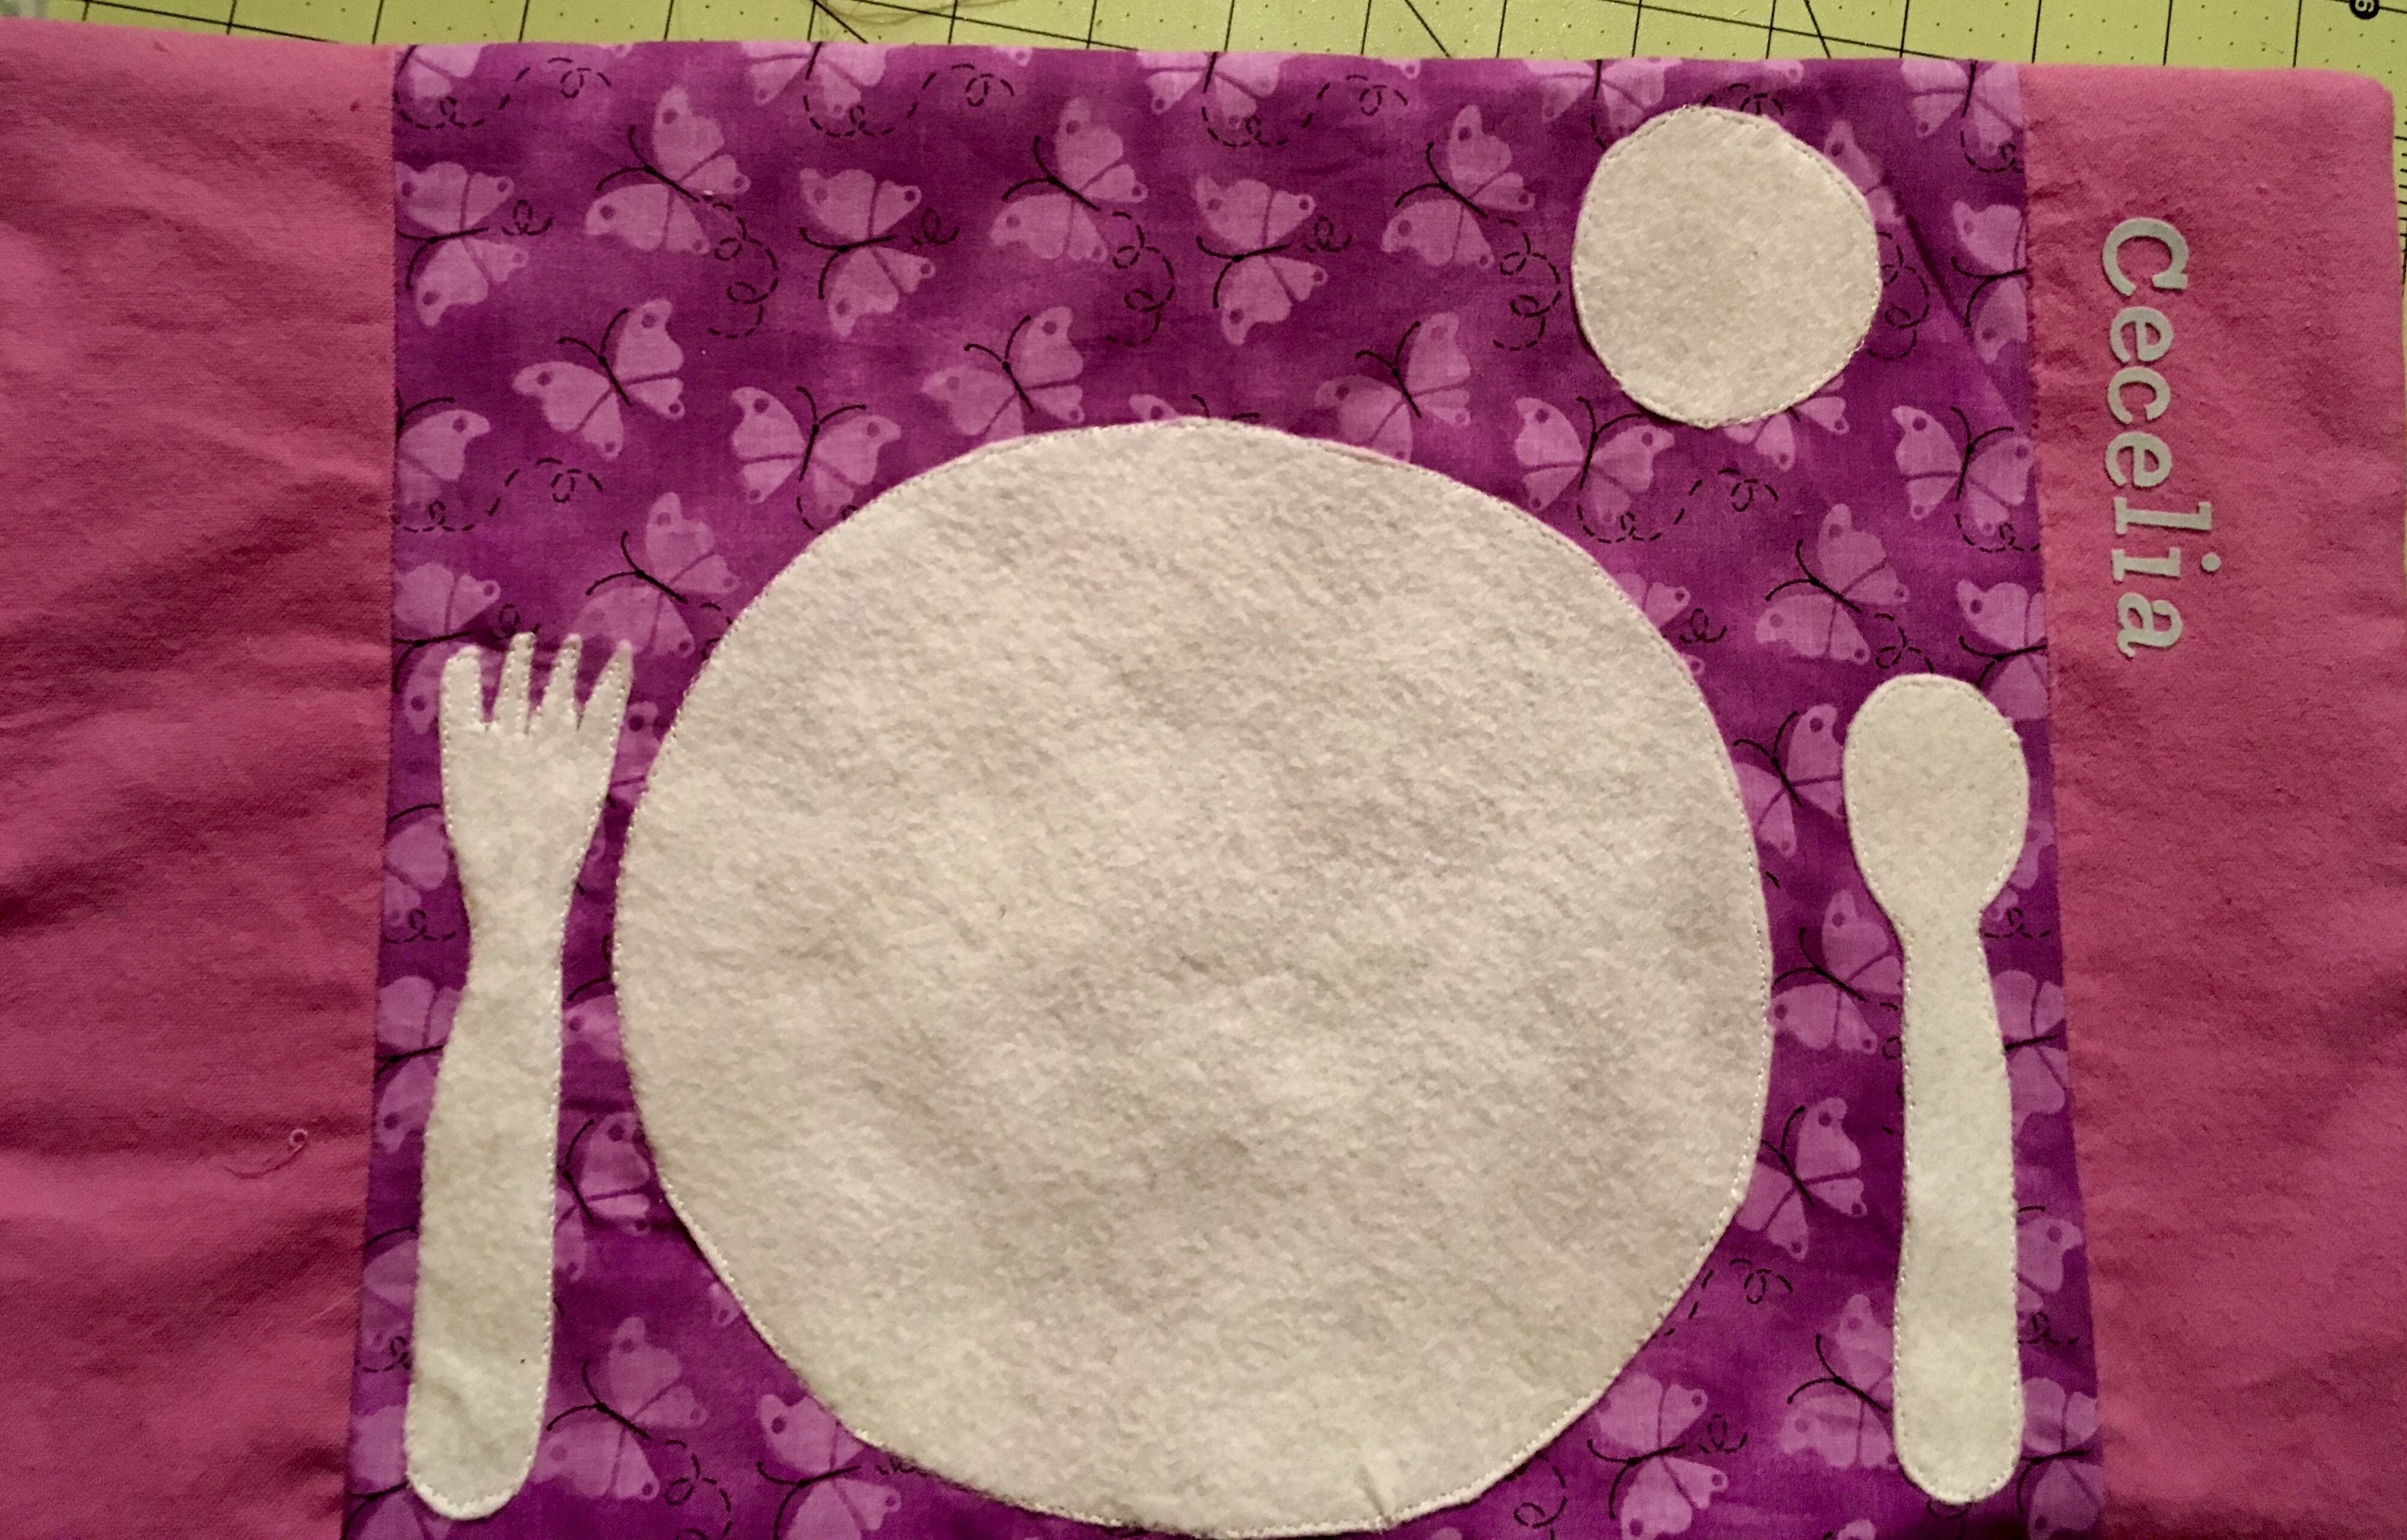
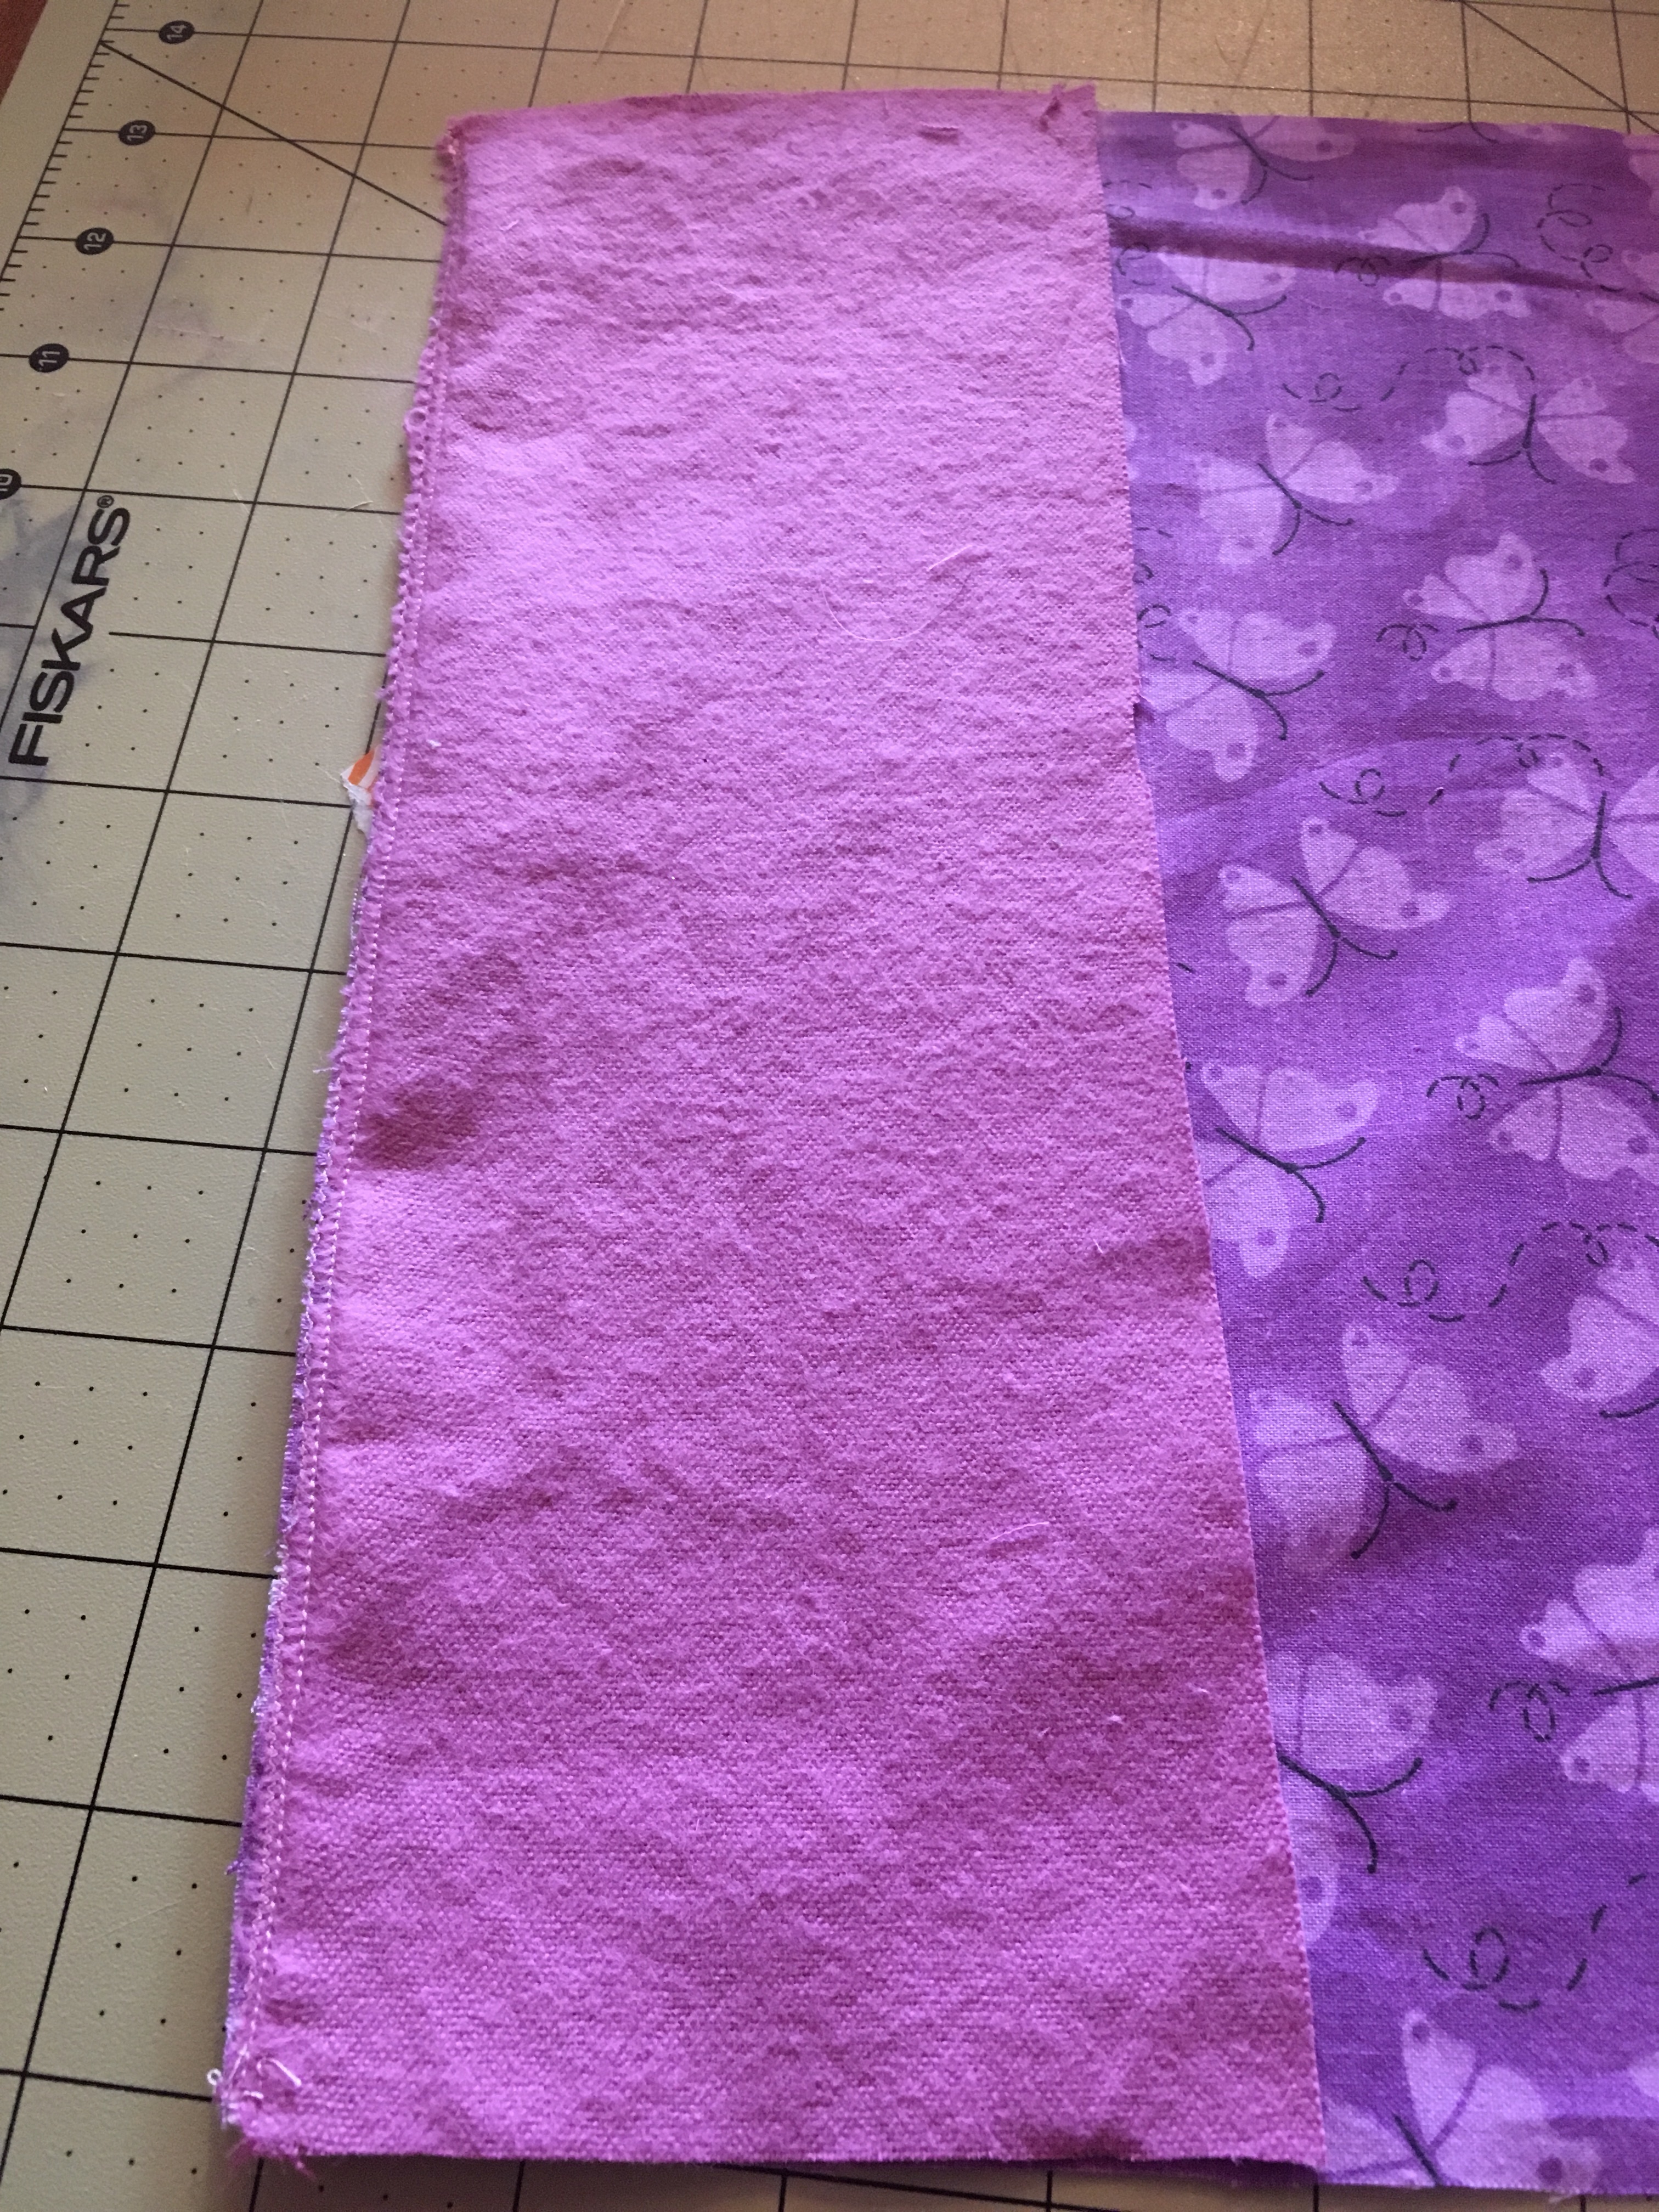
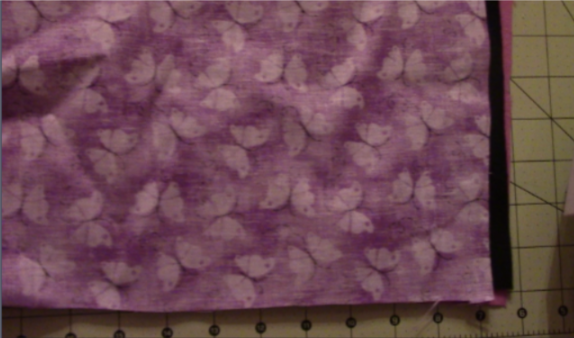
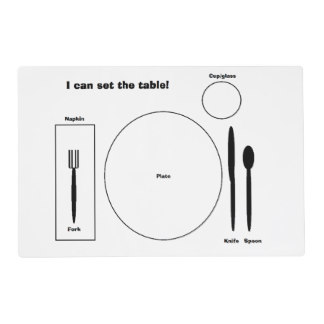
However, my laminator is only big enough for a regular printer sized paper. You can take it to your local staples or office store to get laminated. You can even make your own placemat out of fabric and have it laminated.

I decided to go with the fabric version and just use the washer to clean it.

So you want to prewash the fabric to make sure it does not shrink.

IMG_1805

As always there is a video youtube tutorial and a written one below.

What you need for this placemat place setting is…

1) fabric: it will end up being 12×16 inches.

  • 1 batting or felt for the middle or back side 12×16
  • 1 center front piece 12×12
  • 2 outside front pieces 4×12
  • 1 back side
  • felt or non fraying material to cut out fork, spoon, cup, and plate

2) Next, take your front center piece and your side front pieces and pin them fabric facing fabric on the sides and sew. Then iron the seems.

3) Following that, you want to use your felt or nonfraying material to outline a plate, cup, fork, spoon, and any other utensils that you want on your placemat.  Then cut them out and sew them directly on the front piece.  You can also use fabric glue if you like.

Sketch

4) ***You want to put the piece of fabric you want as the backing down first facing the front fabric and then the basting or felt behind that (as you can see I did it opposite and ended up with my black fabric as the back outside as you will see). However, if you are using felt, it ends up rather nice as a backing since it prevents sliding.

Sketch2

5) Sew all the way around leaving a 3-4 inch opening so you can pull it out the right way. Don’t forget to backstitch. Once this is done, pull the inside out and make sure all the sides and corners are all the way out.  Iron it all out and sew the remaining opening with either a hand stitch, or if you want to use your machine then sew around the whole placemat to give it that look.

IMG_1805

You can add any other embellishments, I used my daughter’s name on the side. Enjoy and check out the other videos and tutorials!  Let me know if you have any questions!


FollowFacebookpinterestrssyoutube
ShareFacebookpinterest

DIY Masks and patterns! 


My daughter loves running around in her cat mask saying she’s Cece cat. She also wanted to be Cece dinosaur, cece giraffe, and many other cece animals.  So I had a couple extra crafting materials nearby and we created these easy masks!  Also, masks are great for parties or as a craft at a party! 


There are many ways to make many different masks, the first way is simply with 

1) popsicle sticks or tongue depressor sticks (or you can use elastic or string) 

2) construction paper

3) scissors and glue 

4) crayons, ribbons, stickers or any other decoration you would like to add


I absolutely love this new glue I got from crayola, it is so easy for my toddler to use herself and its washable! 

I simply held the construction paper up and estimated where the eye holes needed to be and cut them out then made my own design and let her glue the pieces together and decorate! Such a simple and easy project for your little one. 

Now if you are looking for a particular pattern or don’t know how to make an animal let me suggest a couple tutorials I found:

Animal masks by Hoosier
These cute masks are perfect for your little fall creature! There’s a pattern for them too! 

Next are easy felt masks that are perfect for Halloween costumes! 

Felt masks by prettyprudent

Free patterns again!! Enjoy

Here is a tutorial for the little superheroes:

Superhero masks
These masks are simply made from paper plates! 

For the older kid Mask that can be decorated with little jewels! 
Halloween masks! Boo! 

Halloween time
These masks are just a cut out and wear mask, however you can easy trace it and have your little one color and paint.  Paper plate masks

I love these paper plate masks! So easy! 

Animal masks
Lastly, is a group of animal masks you can print off and color or paint! 

Hope you enjoyed these ideas, now get crafting! 

FollowFacebookpinterestrssyoutube
ShareFacebookpinterest