Princess Dress and Party!

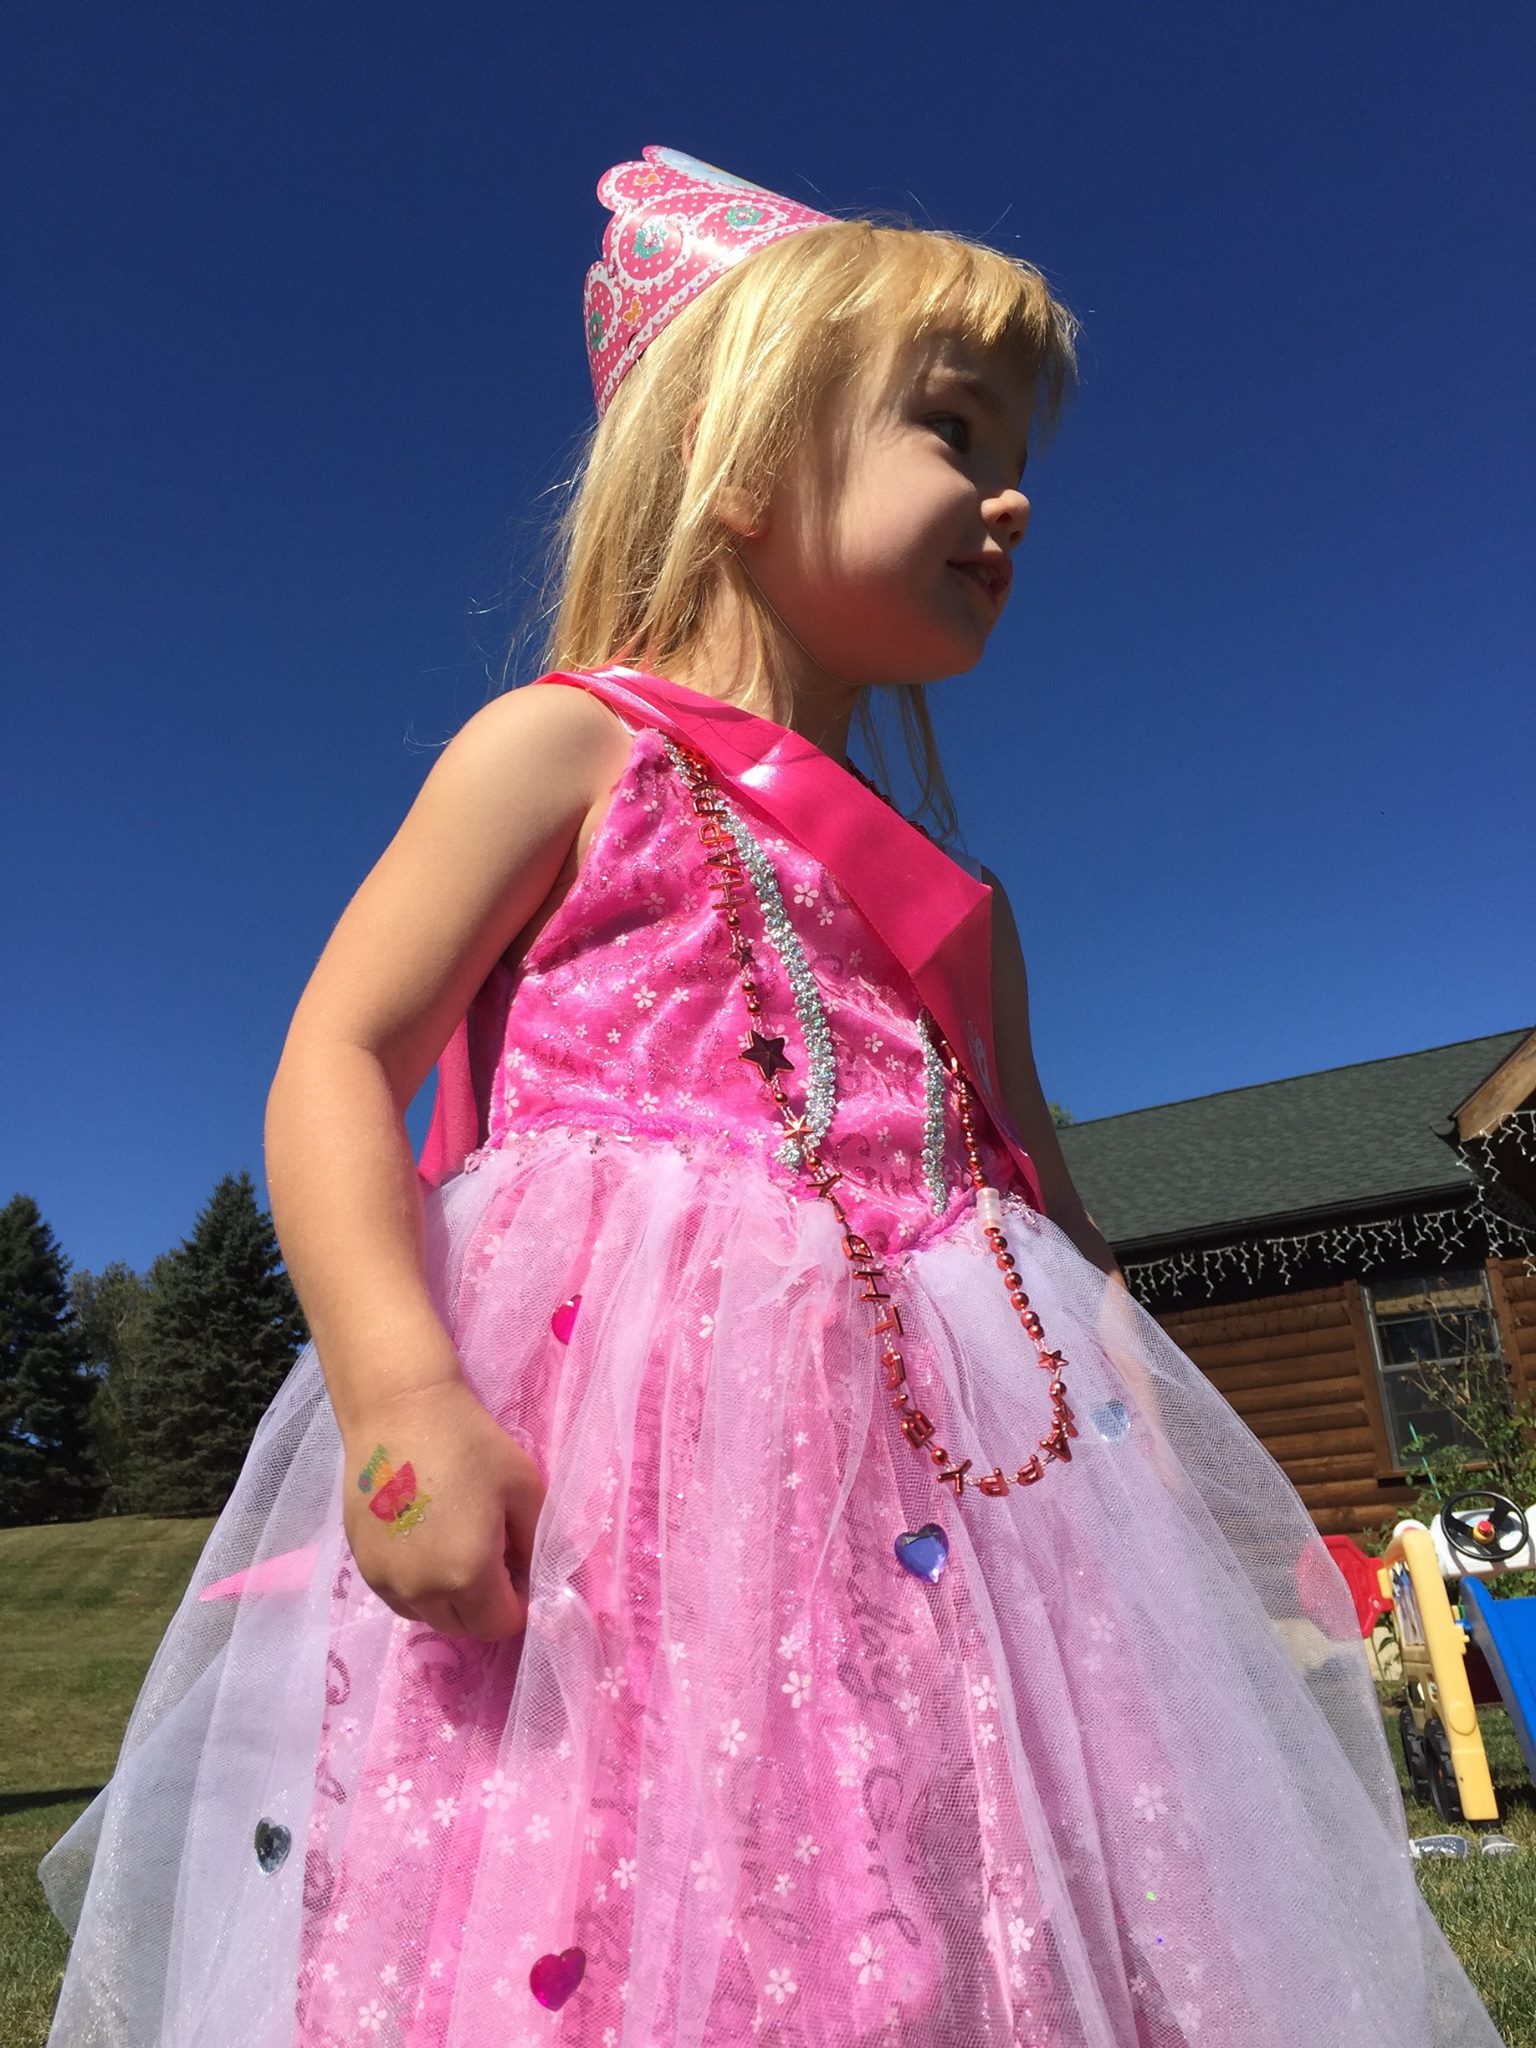
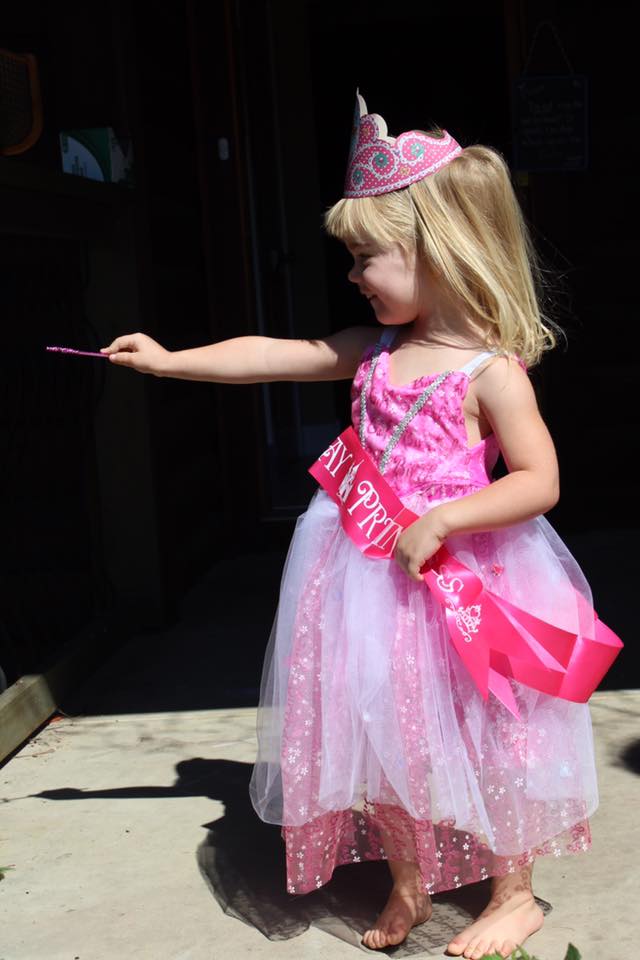
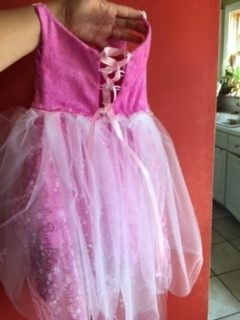
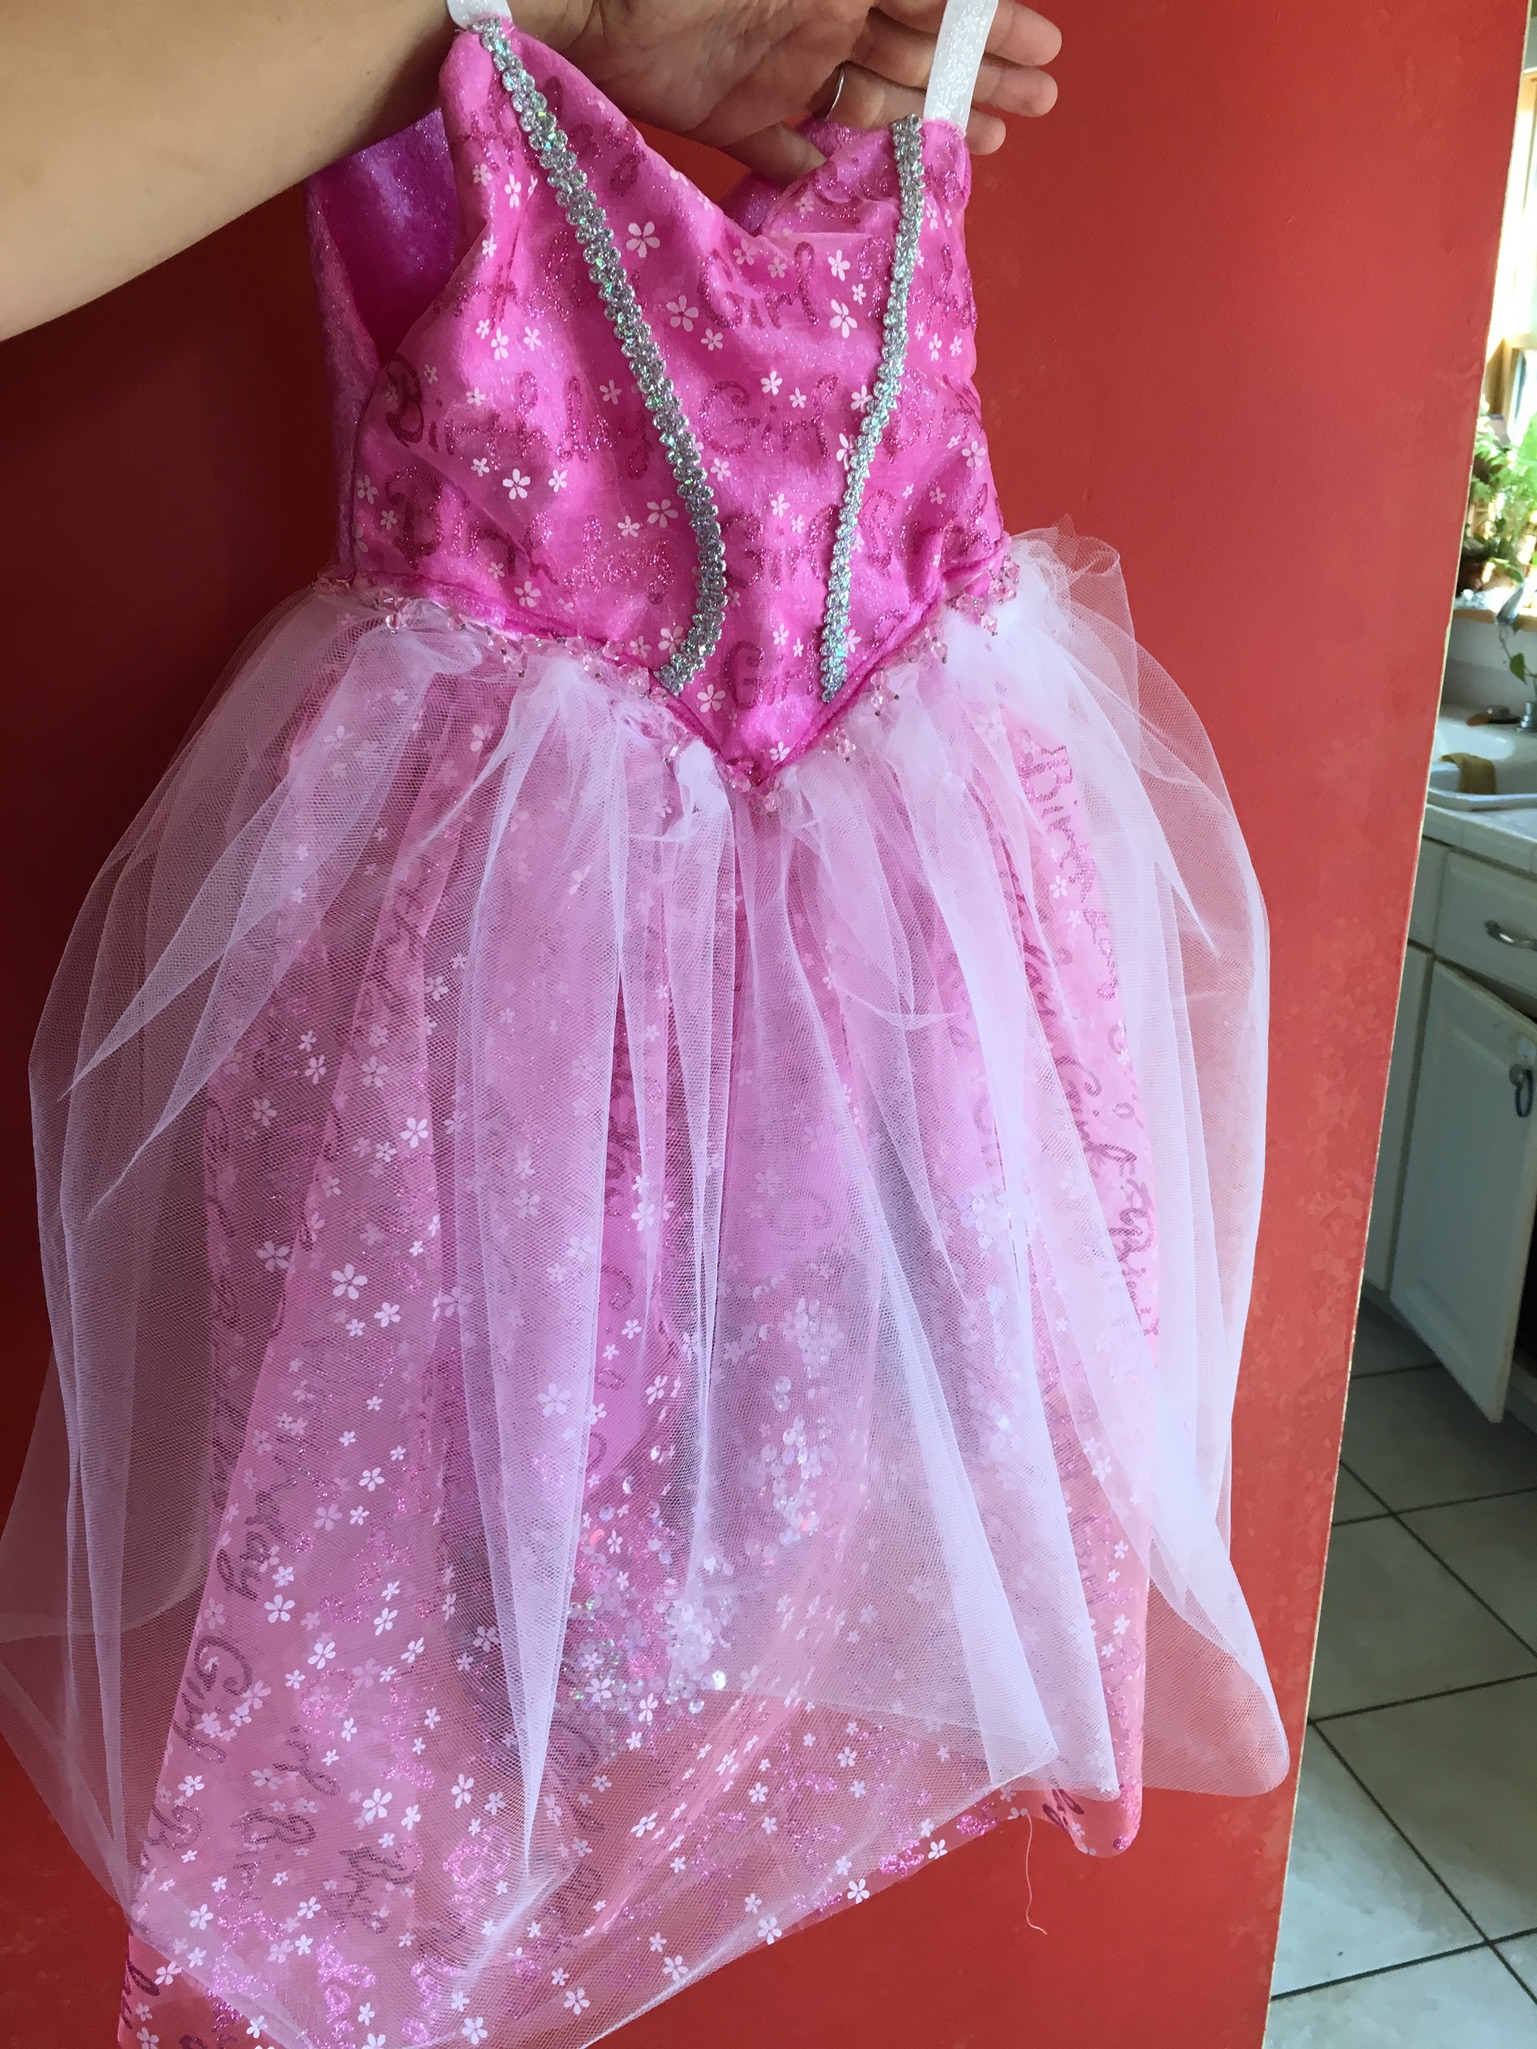
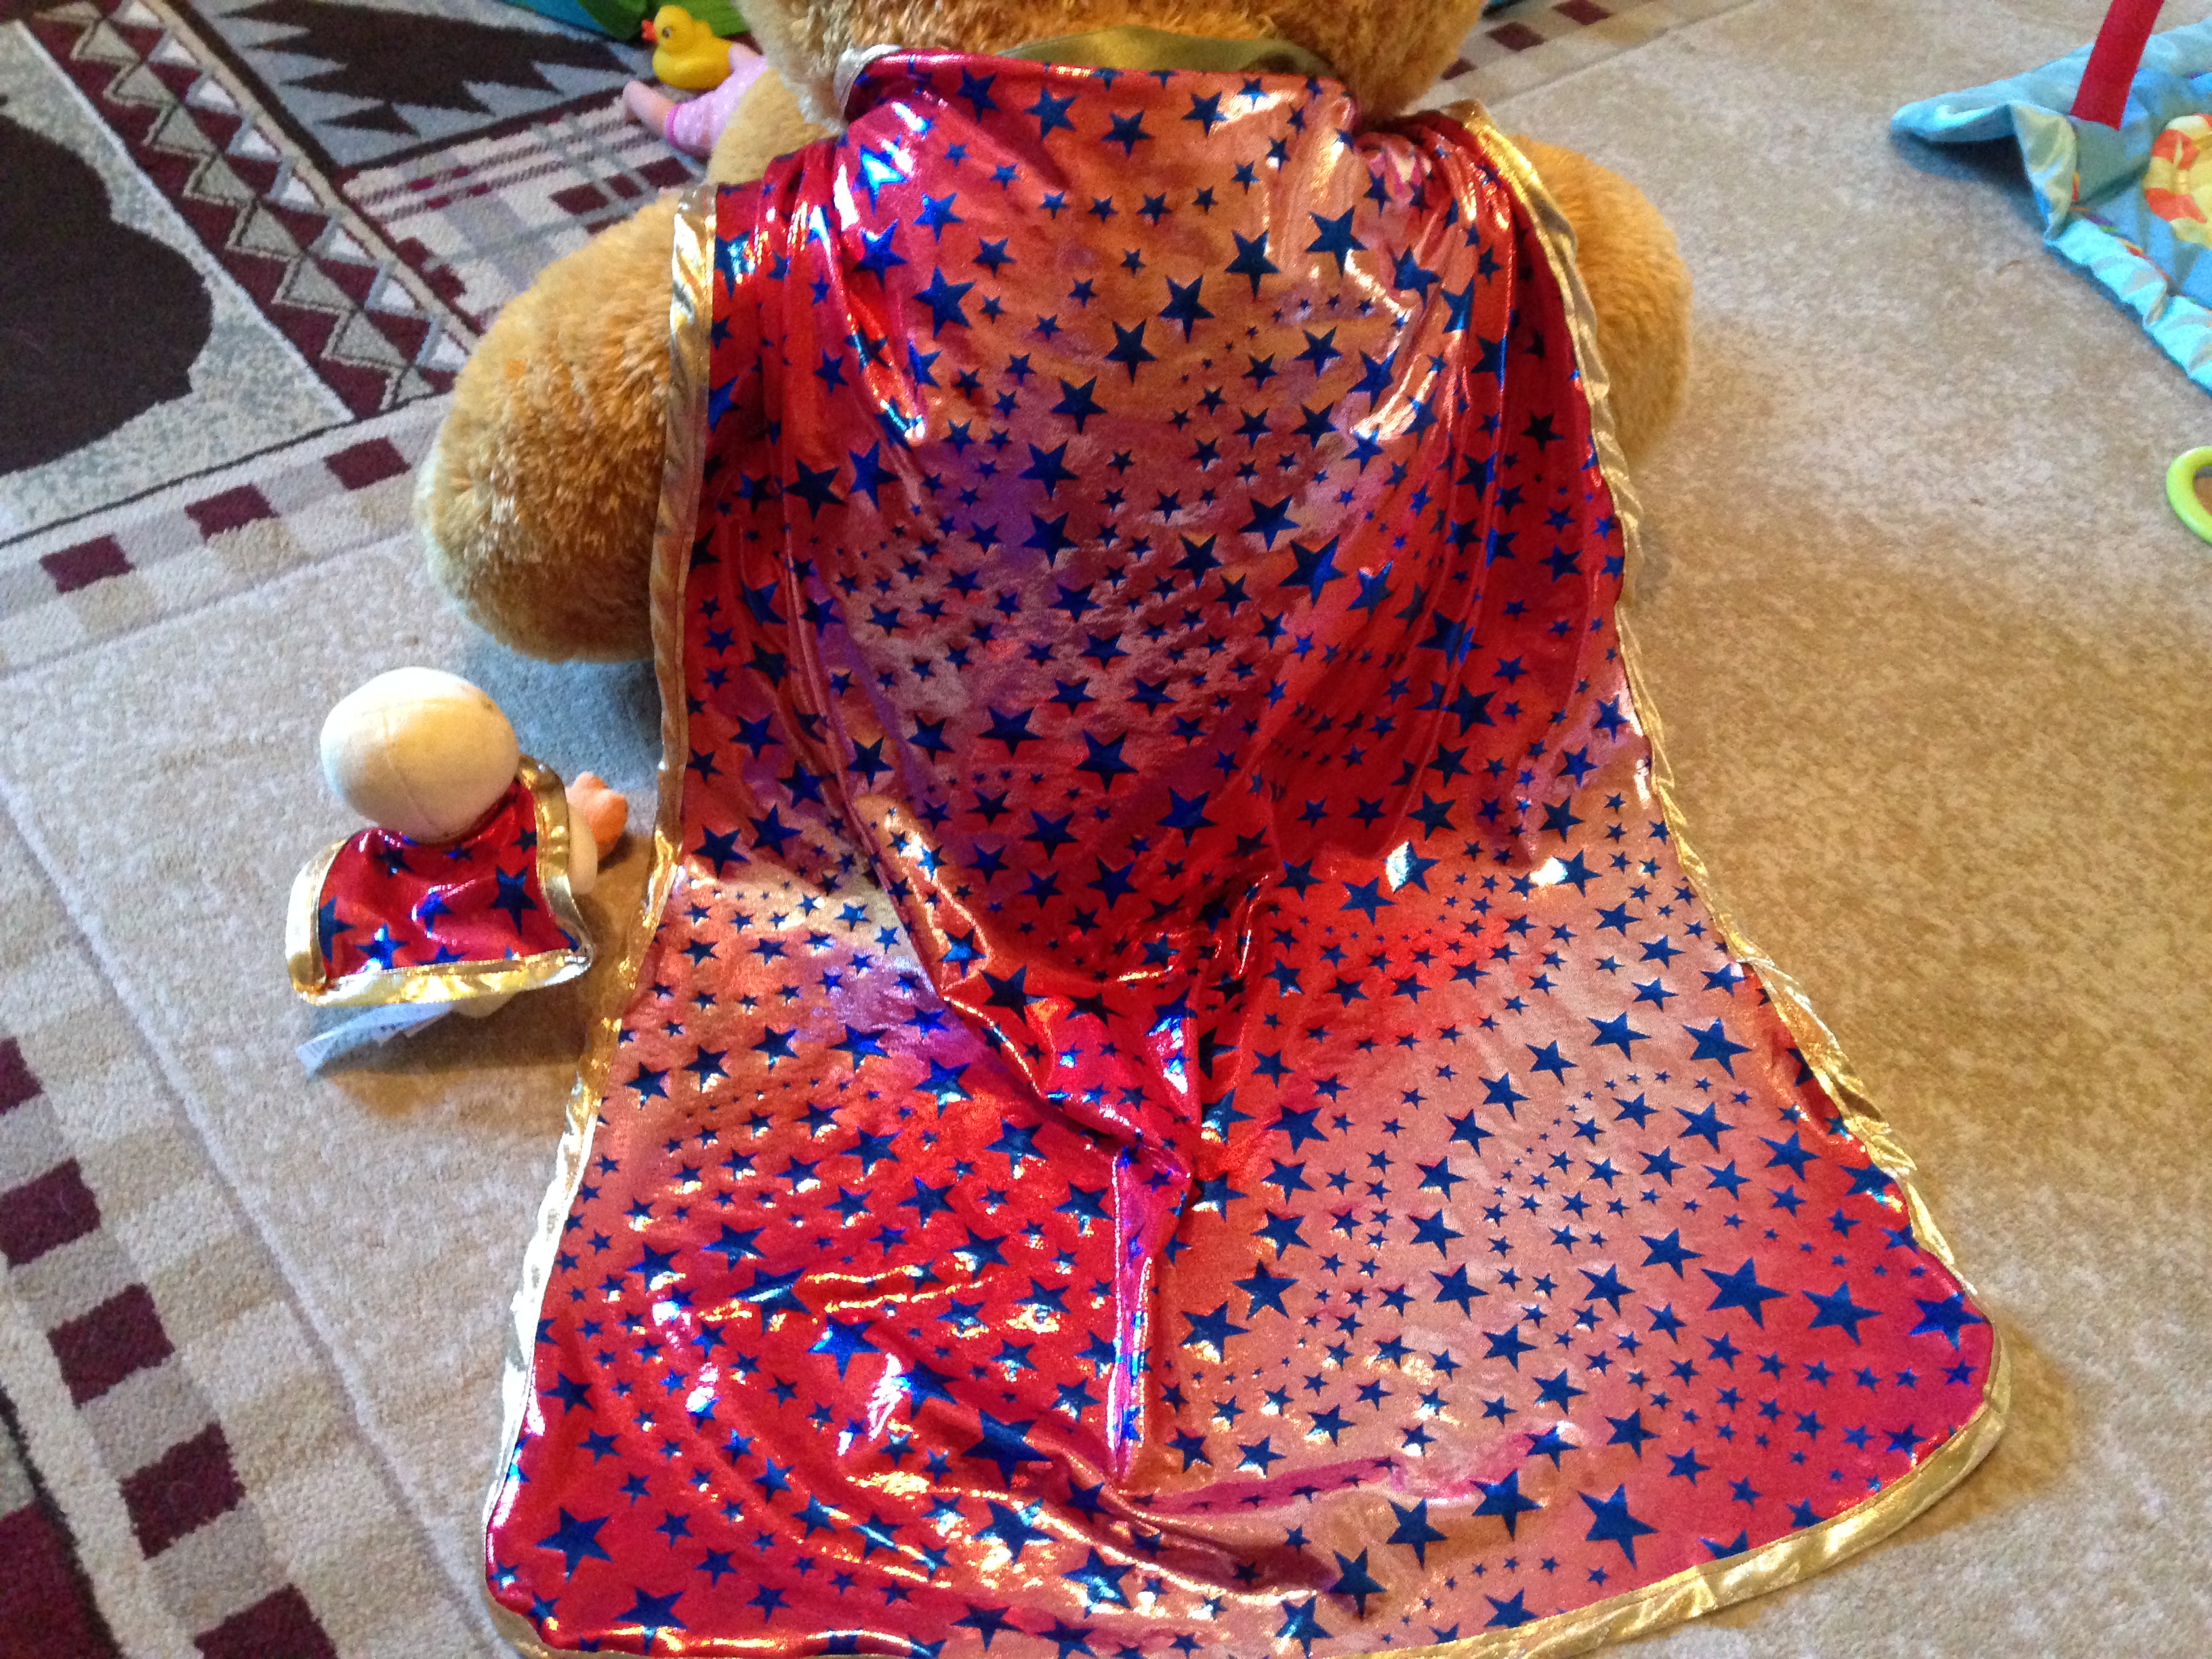
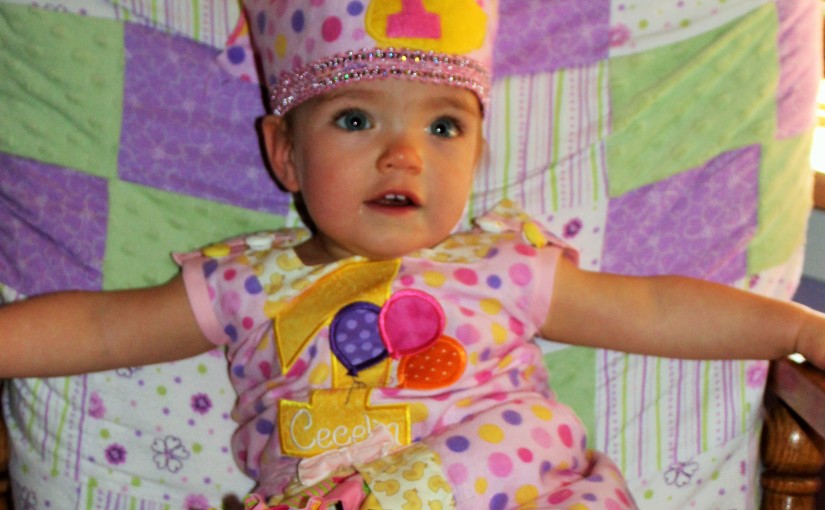
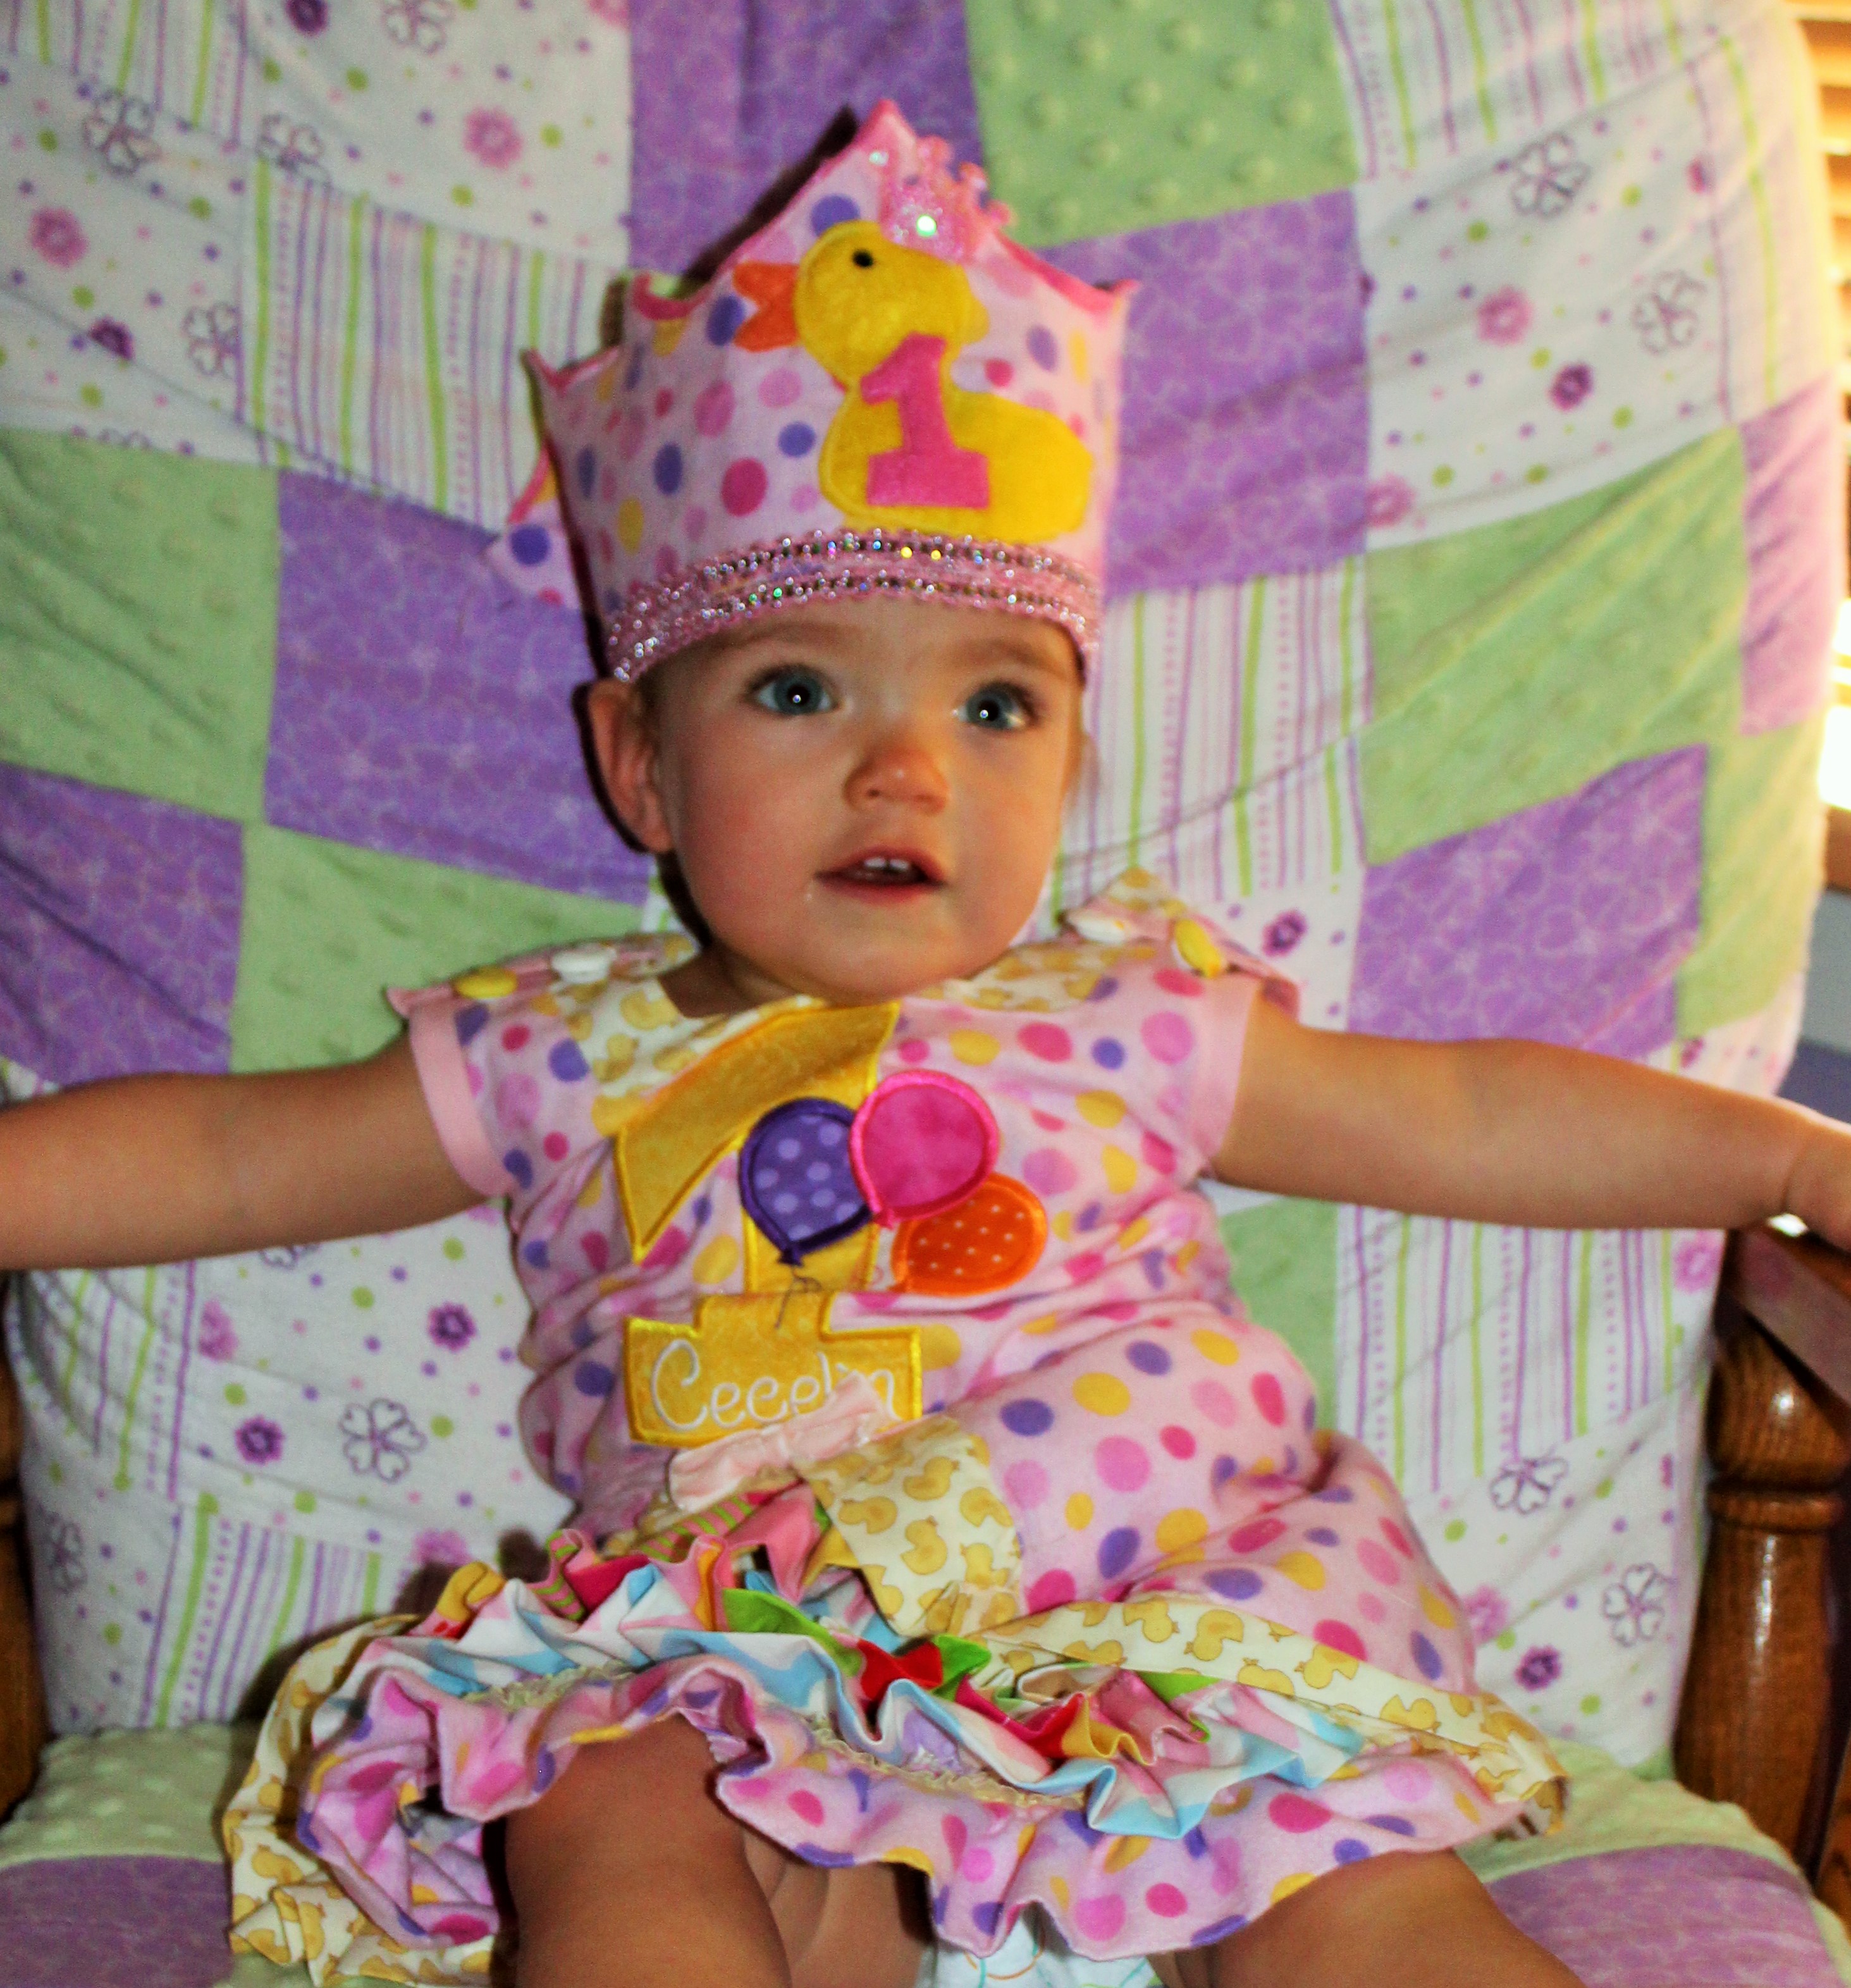
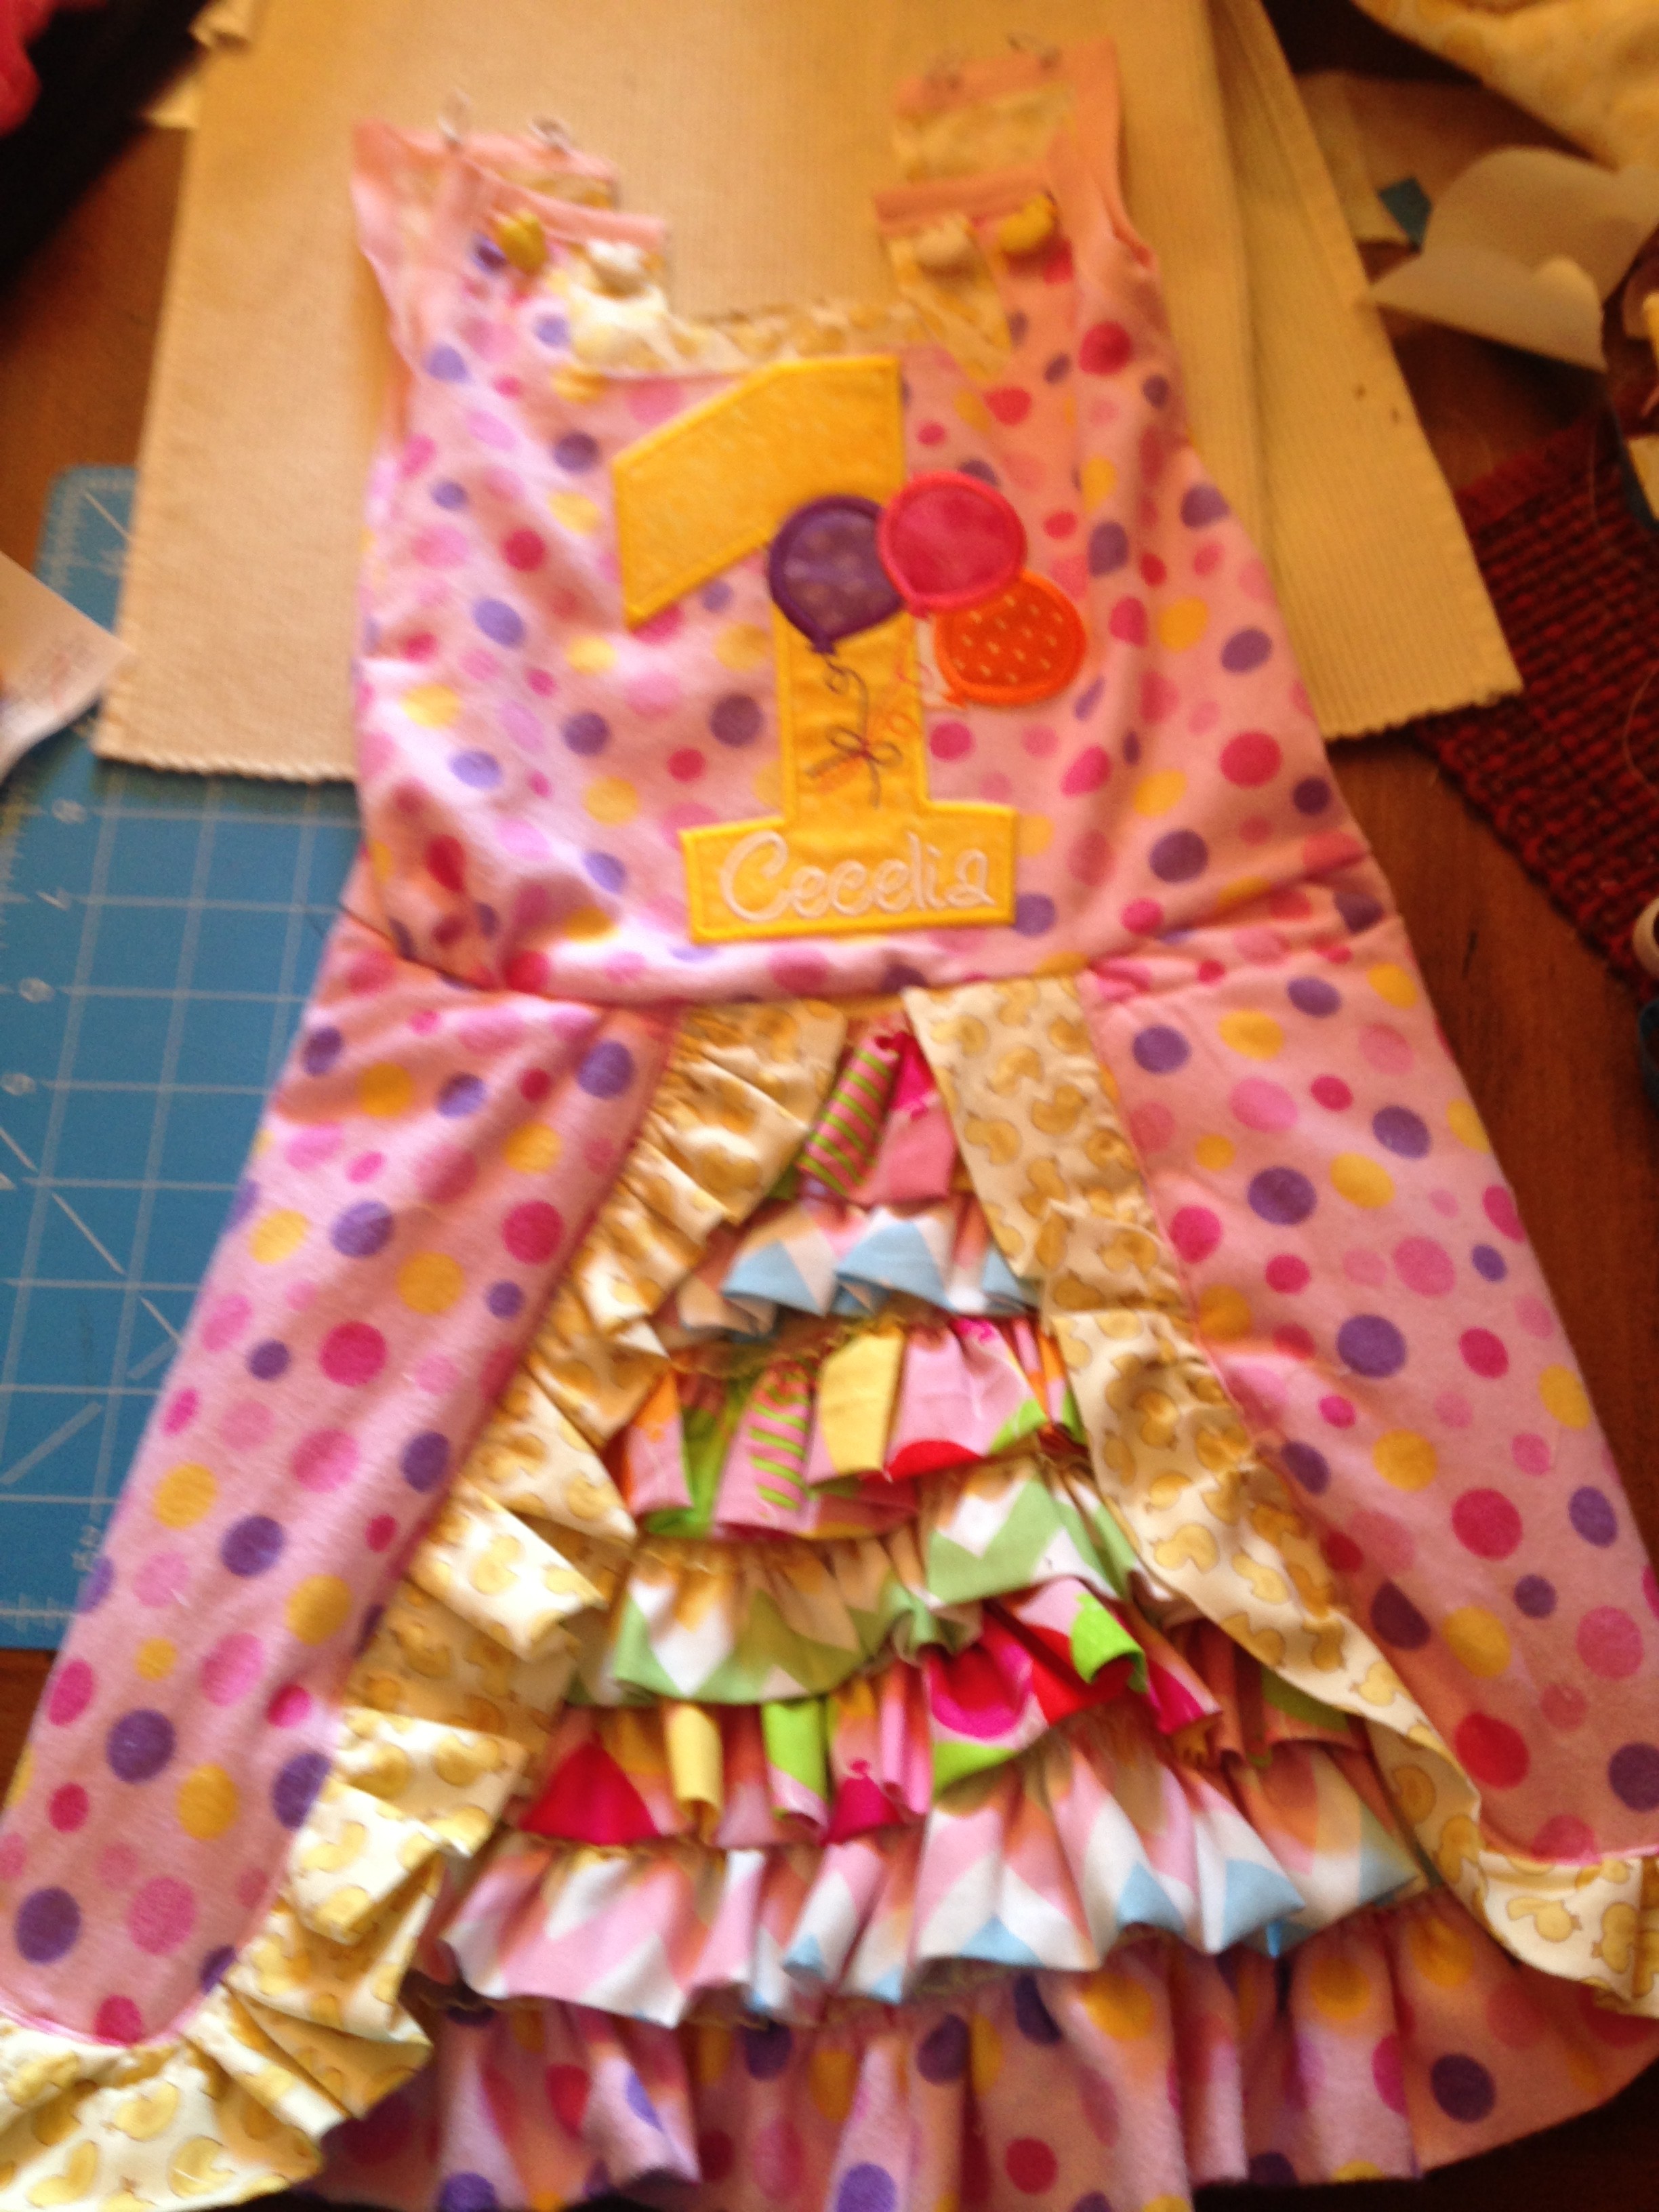
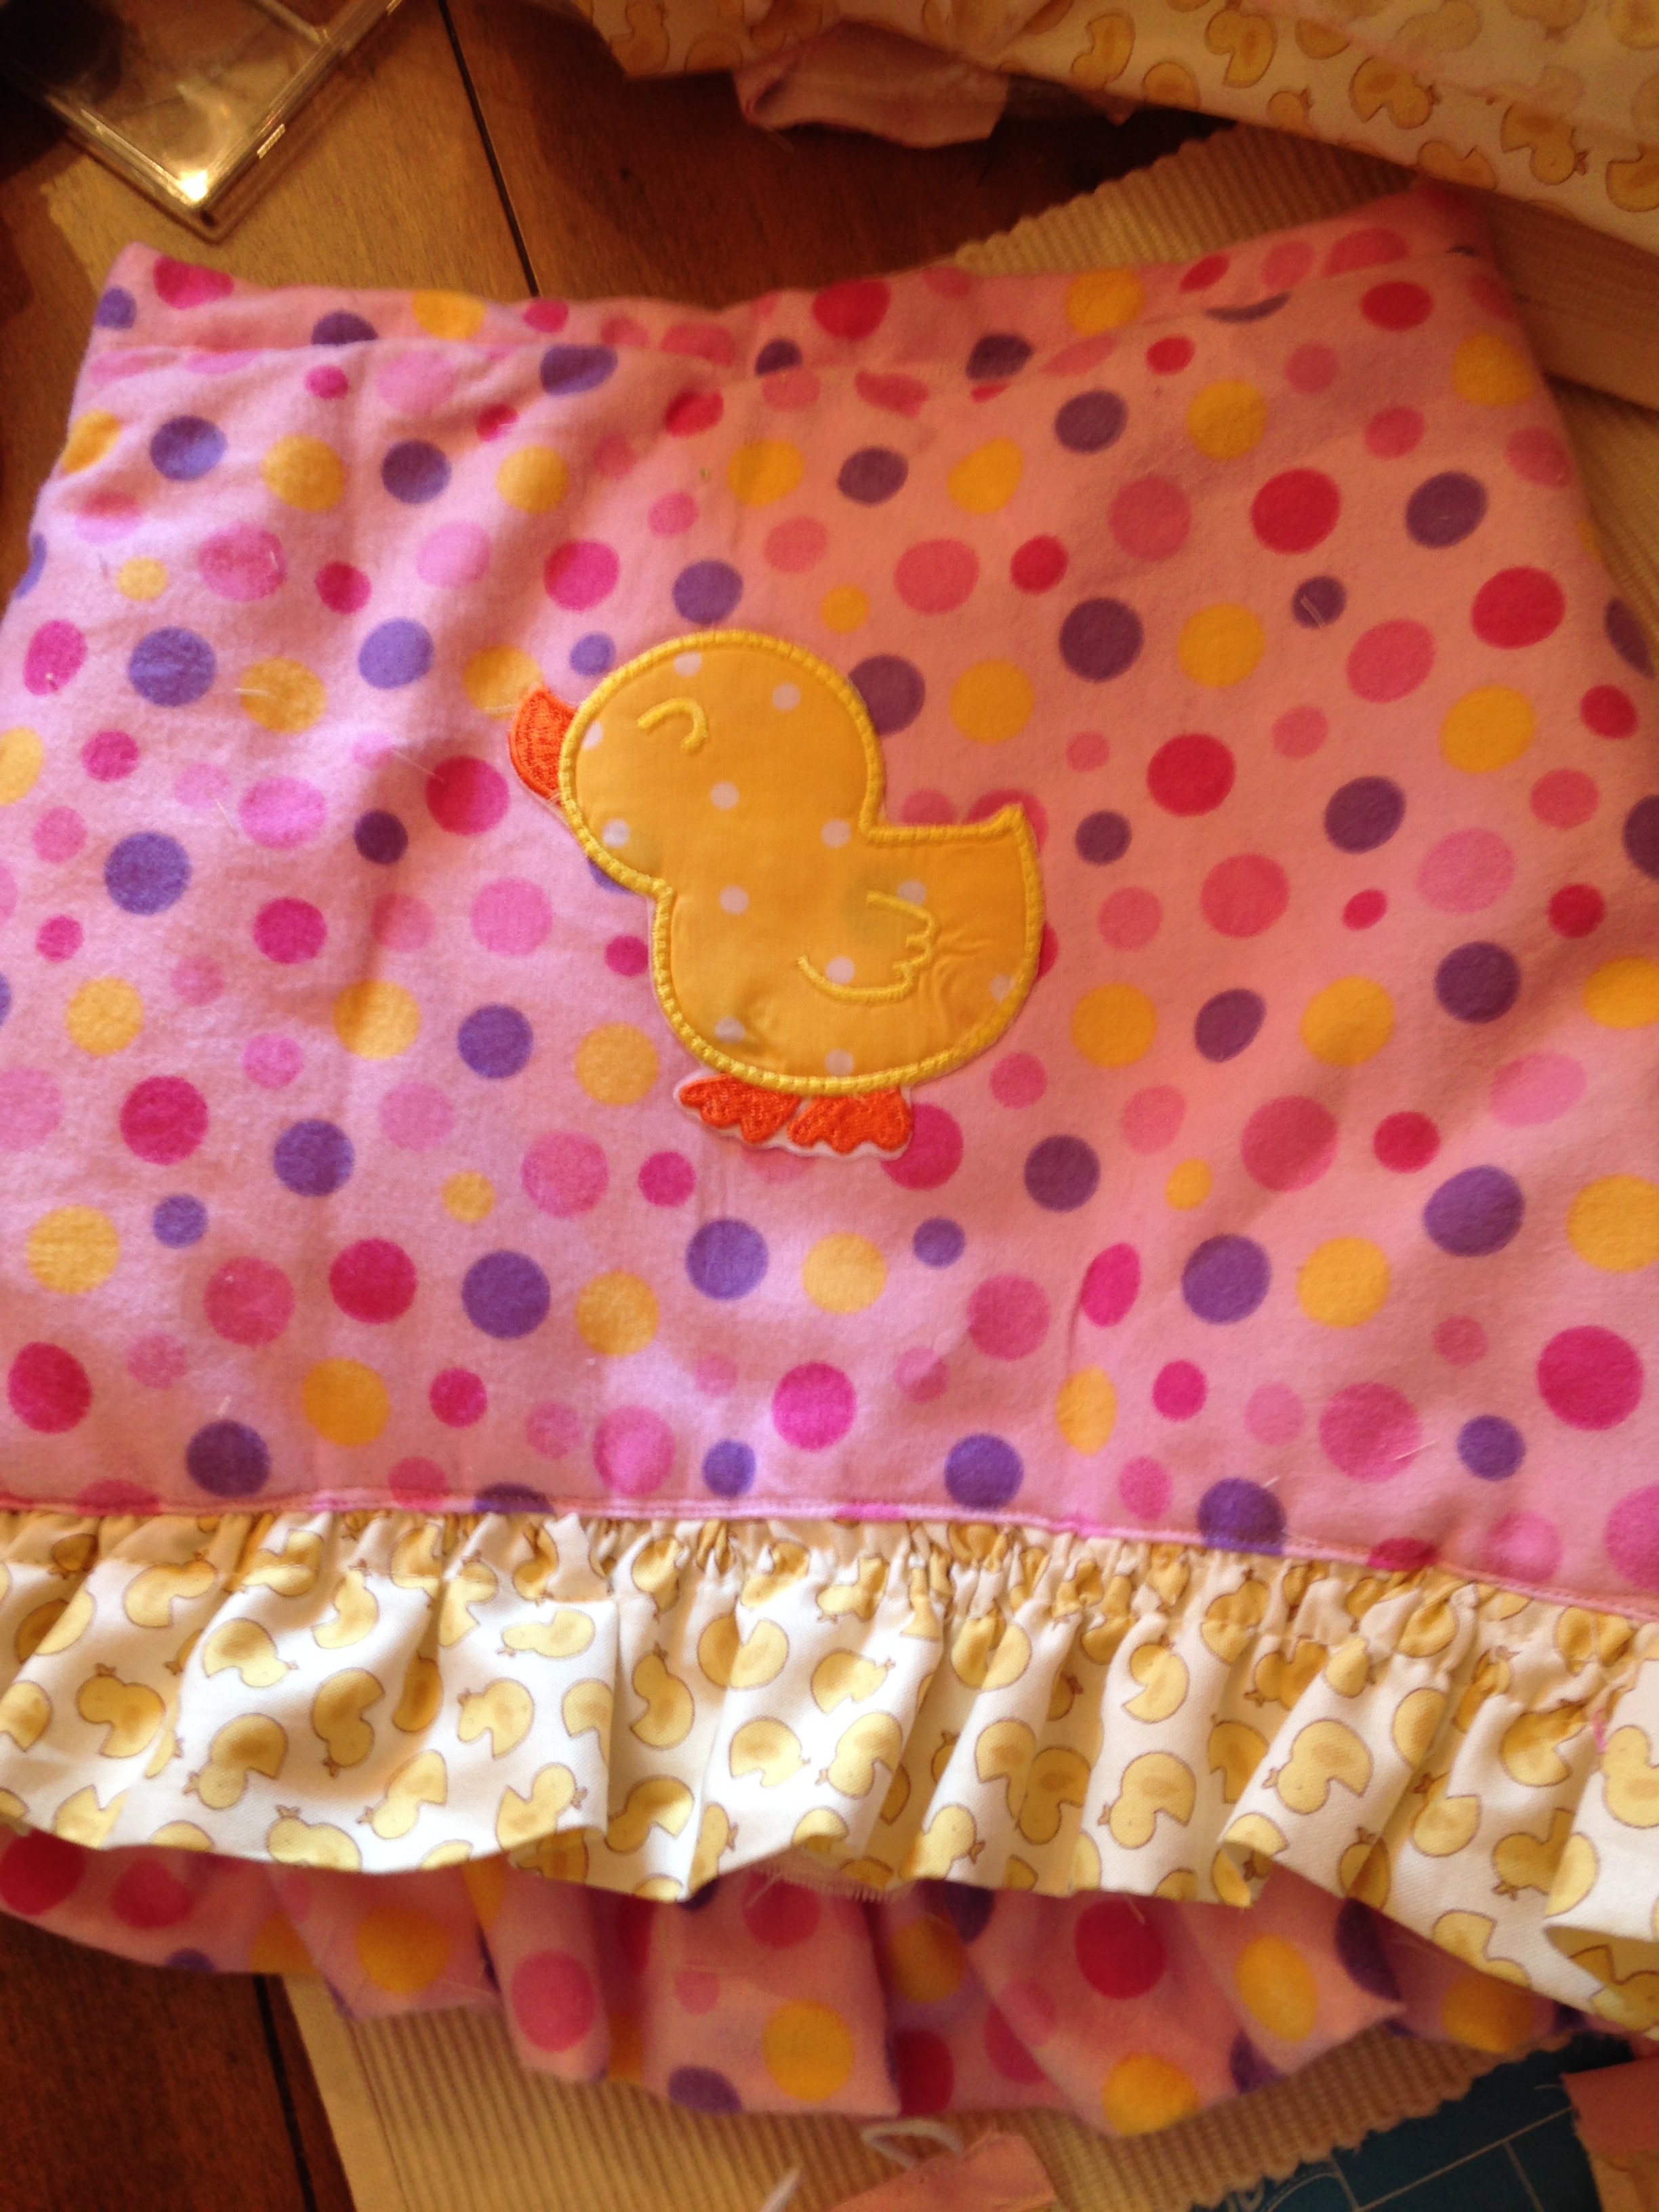
My daughter has recently developed an interest in princesses and playing dress up. I decided to take on the challenge of sewing a princess dress. I’ve made many dresses, including the princess-like 1st birthday dress, but I wanted to make something different, so I did some research and then bought fabric I thought she would love, and designed a dress. I made several adjustments during the process and added embellishments.


Since I did this all during the process of making it, I decided to take pictures instead of video like I usually do.


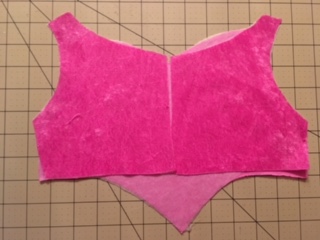
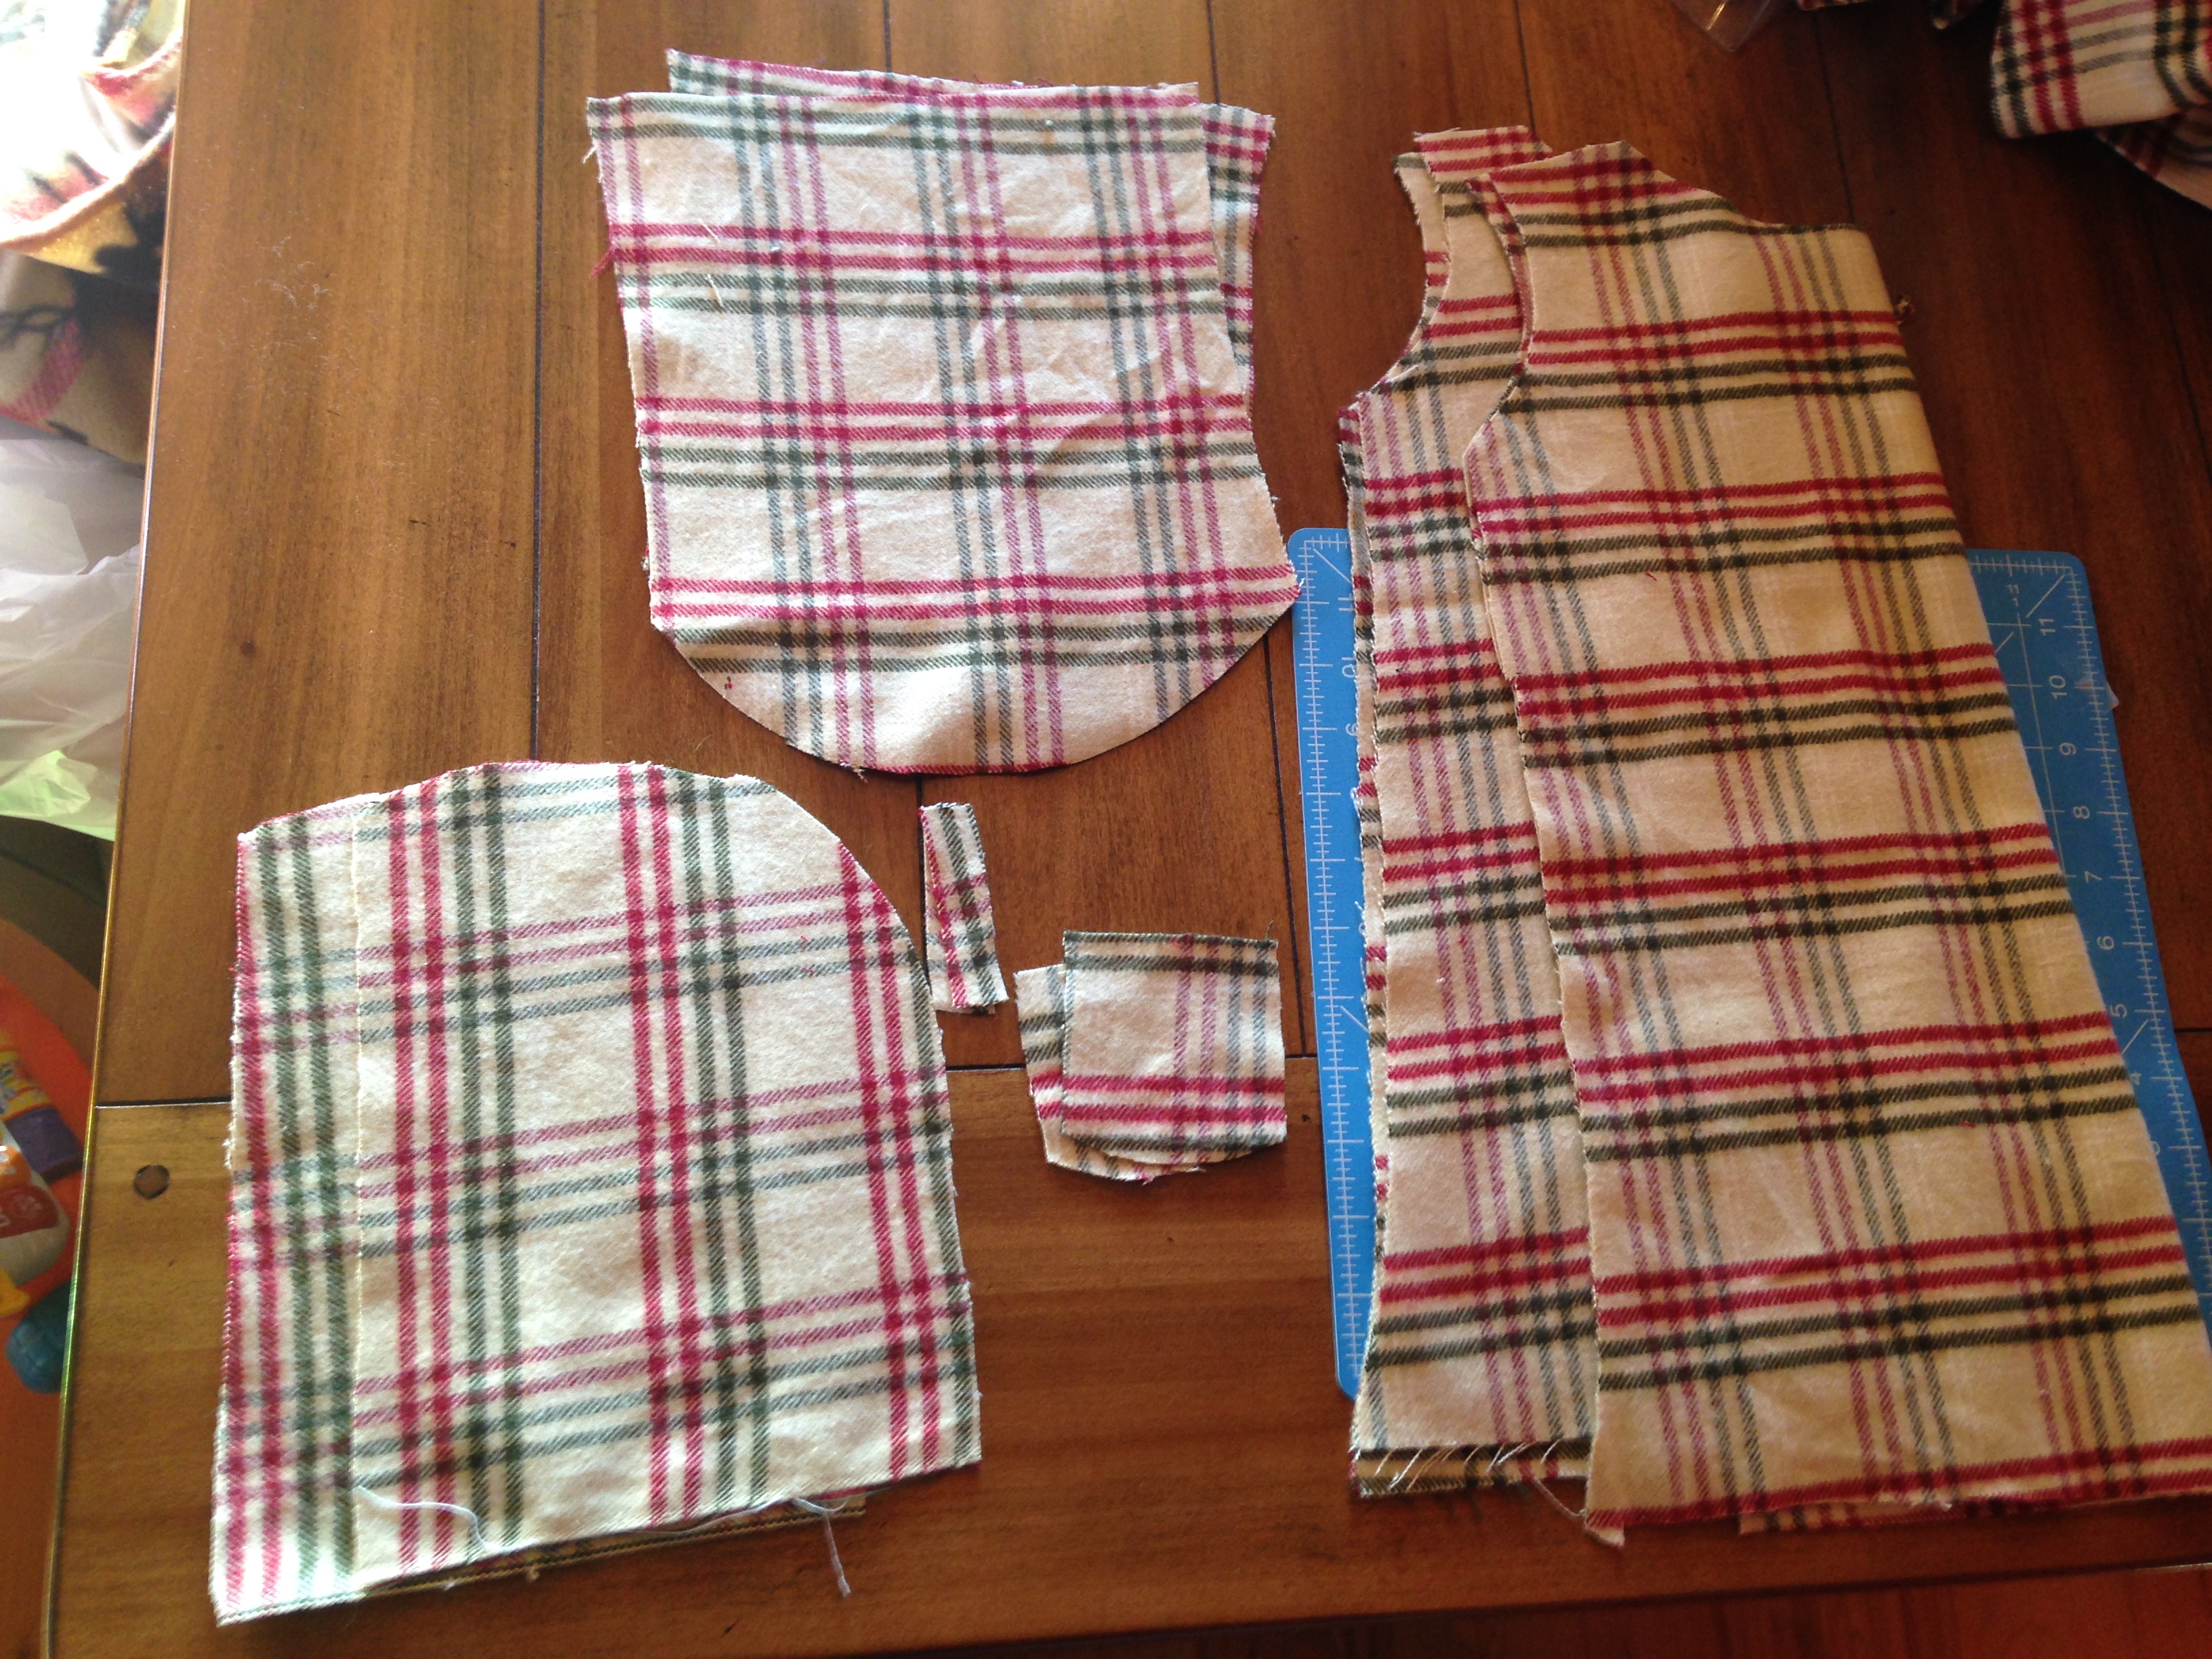
There is no pattern for this since I designed the dress as I went. I used one of her regular party dress to eyeball the correct sizing for a 3t dress. (This is what you can do too!)

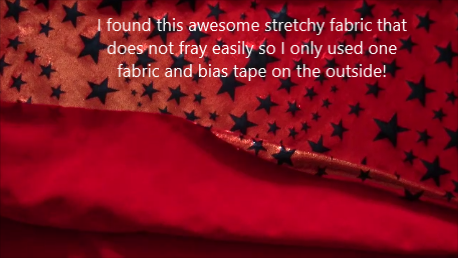
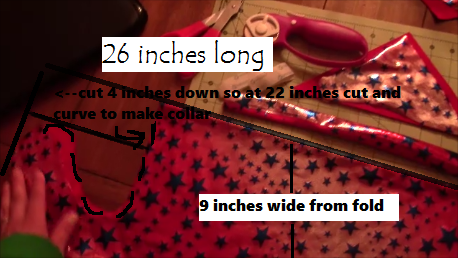
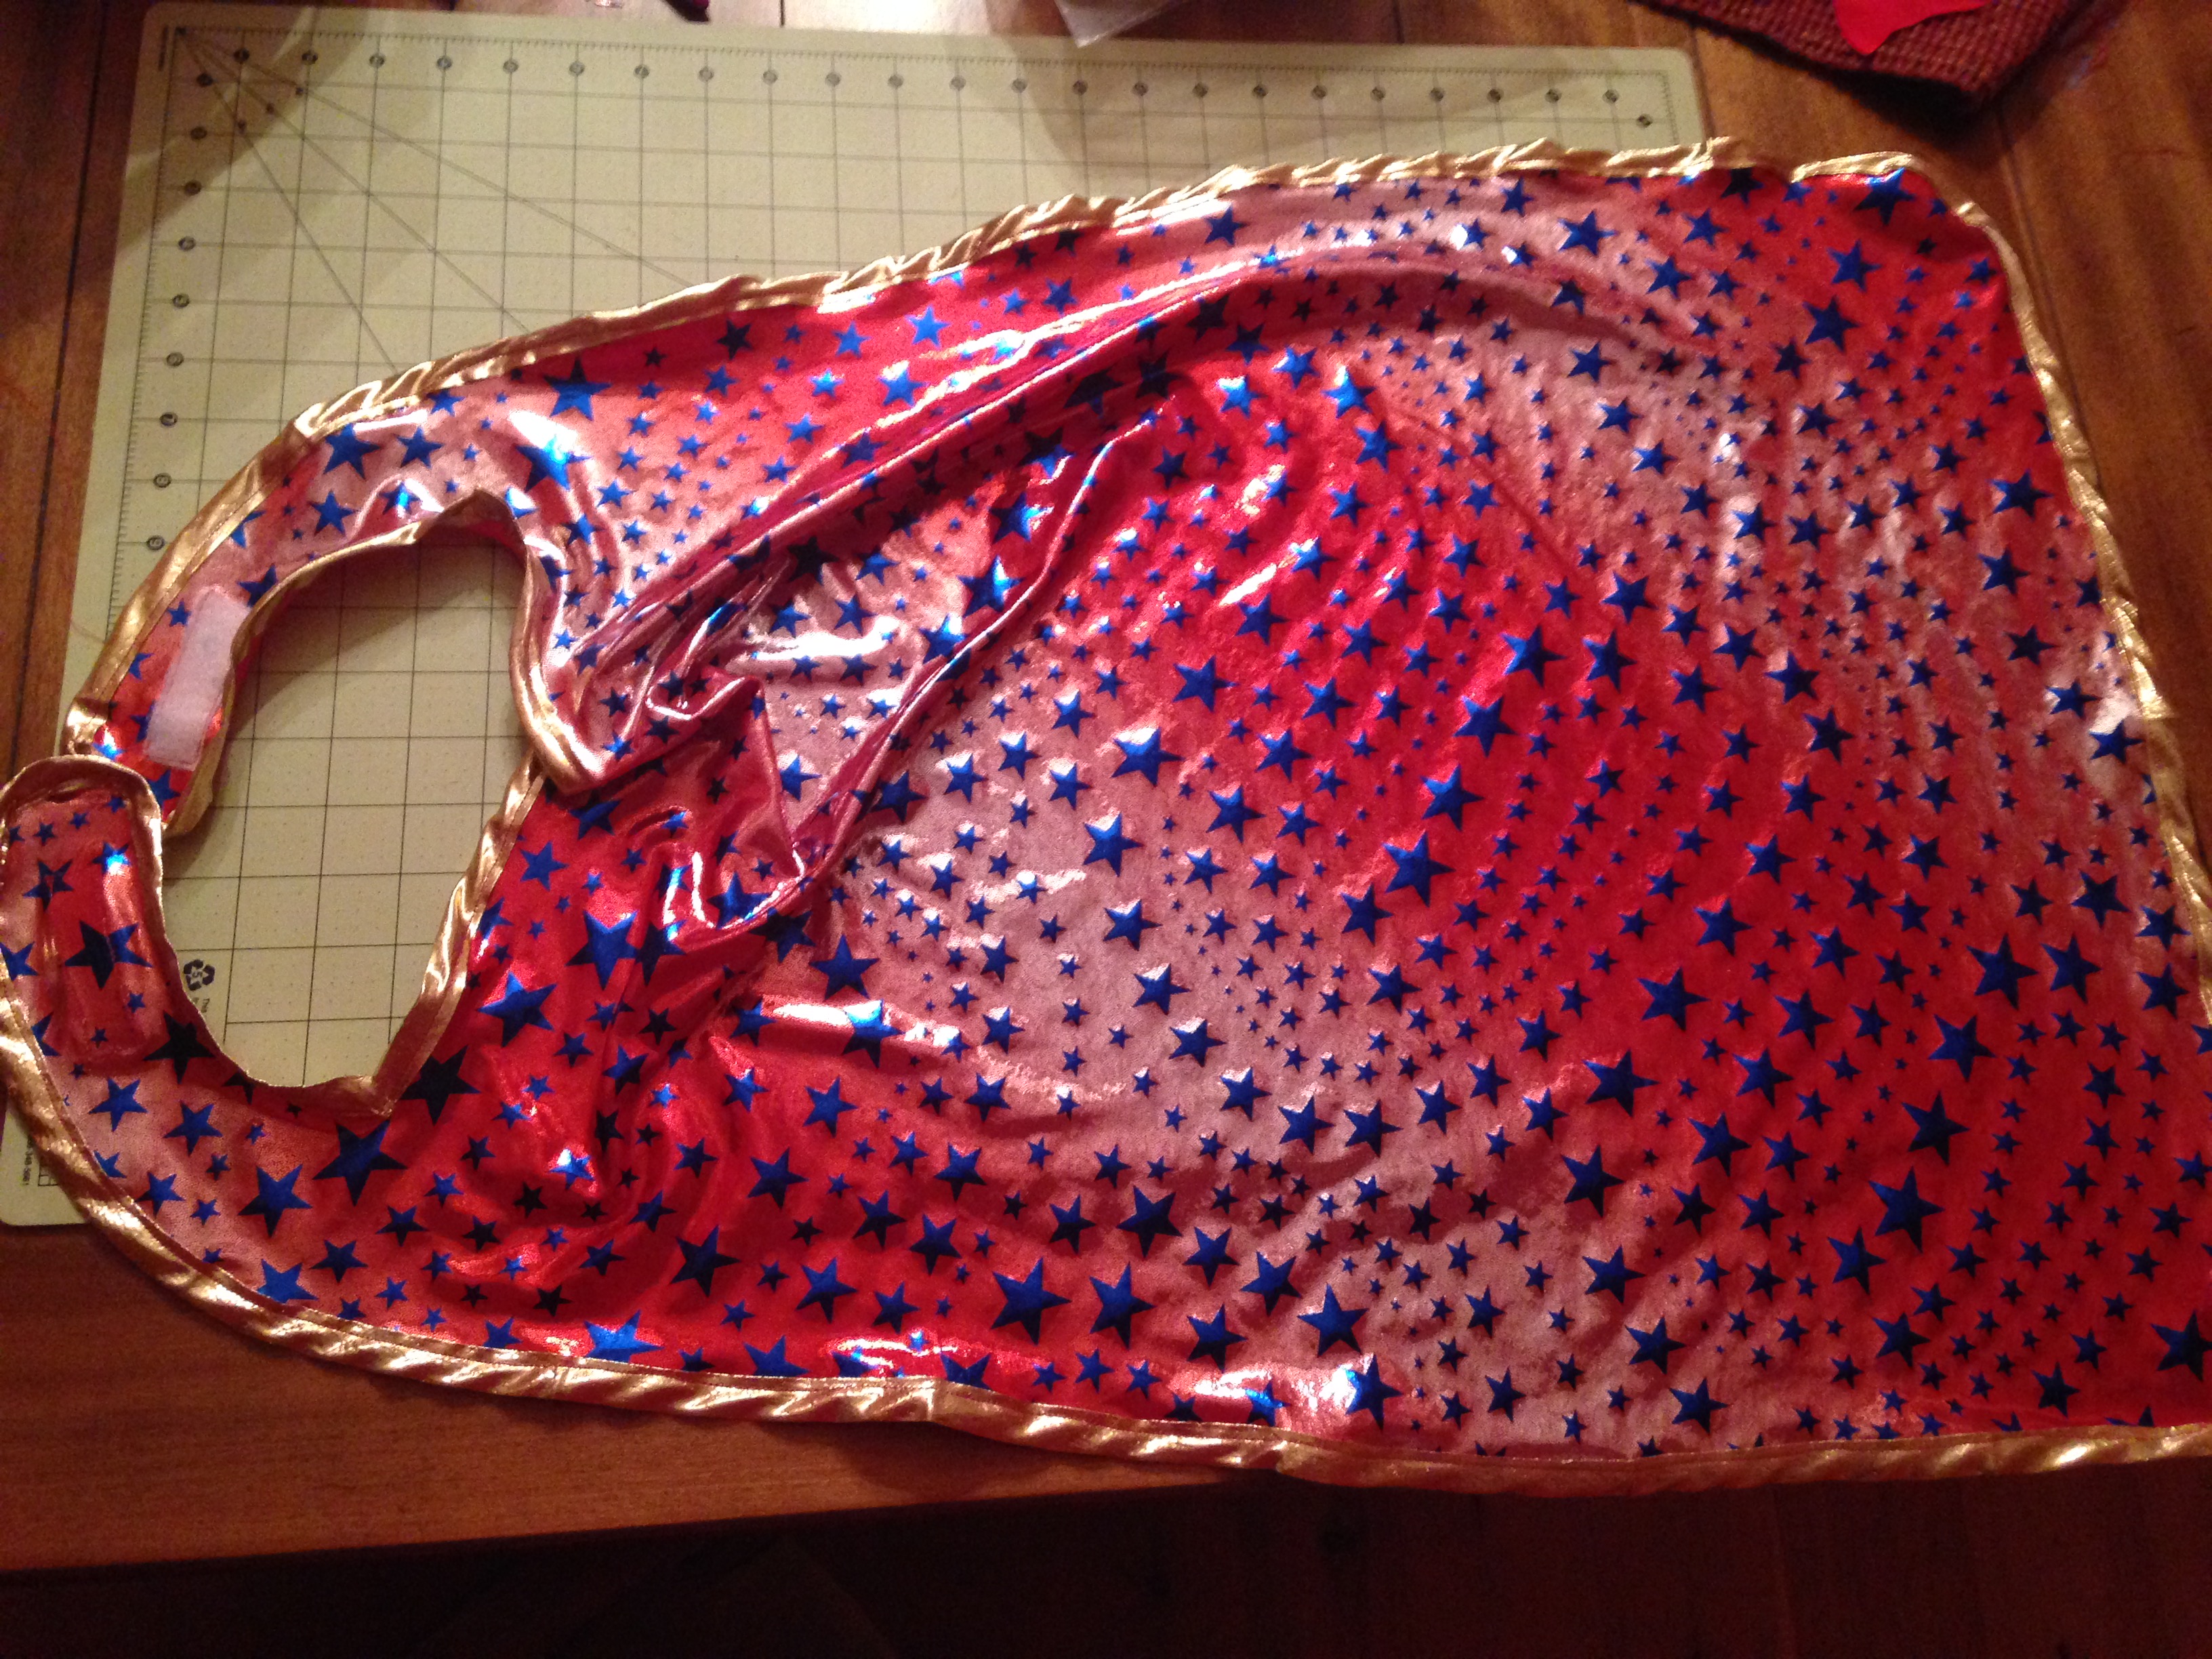
So below are pictures and some steps. If you want to design a similar one just use a dress to get an idea of the sizing. I don’t work with a lot of tulle sewing, so it didn’t turn out the best, but I’m proud of the end results, and she loves it too!

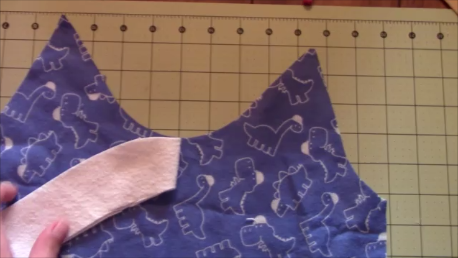
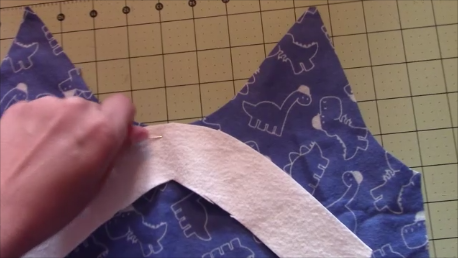
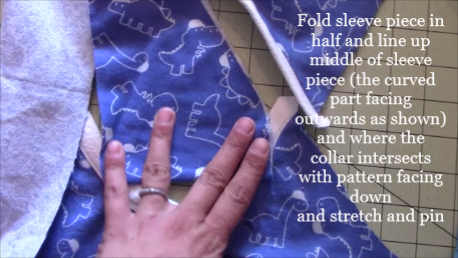
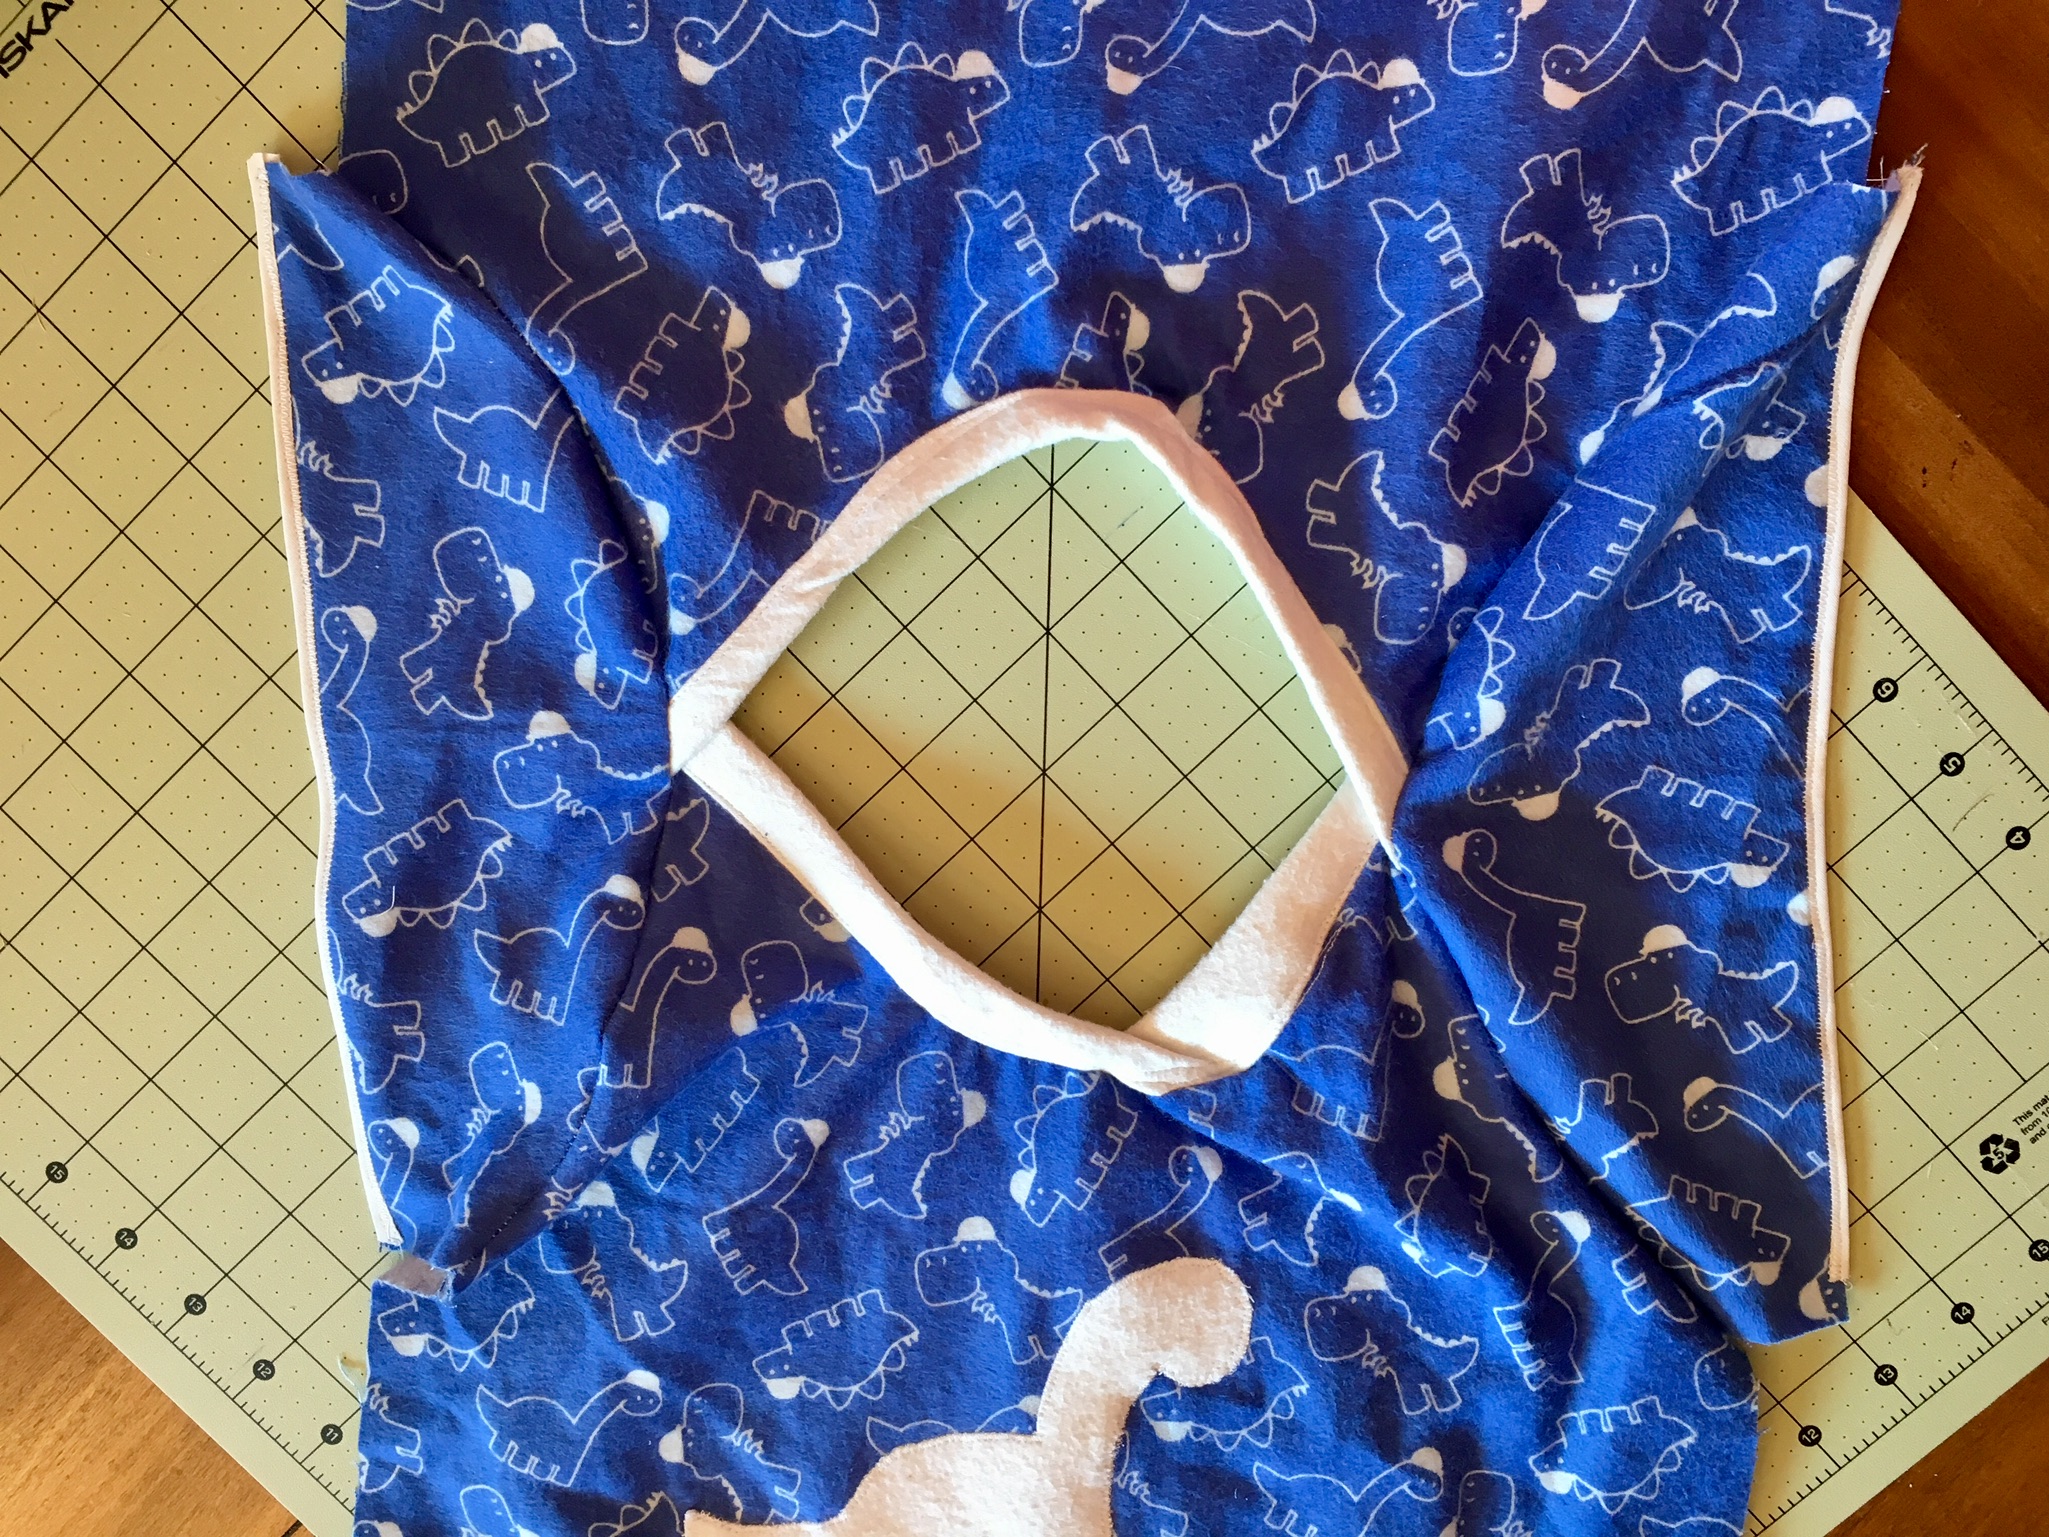
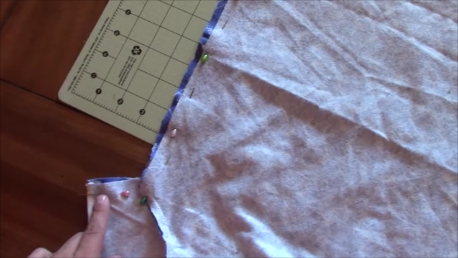
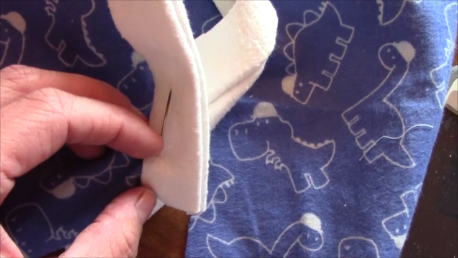
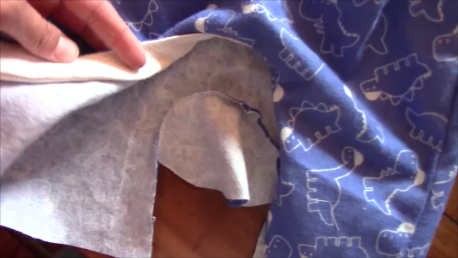
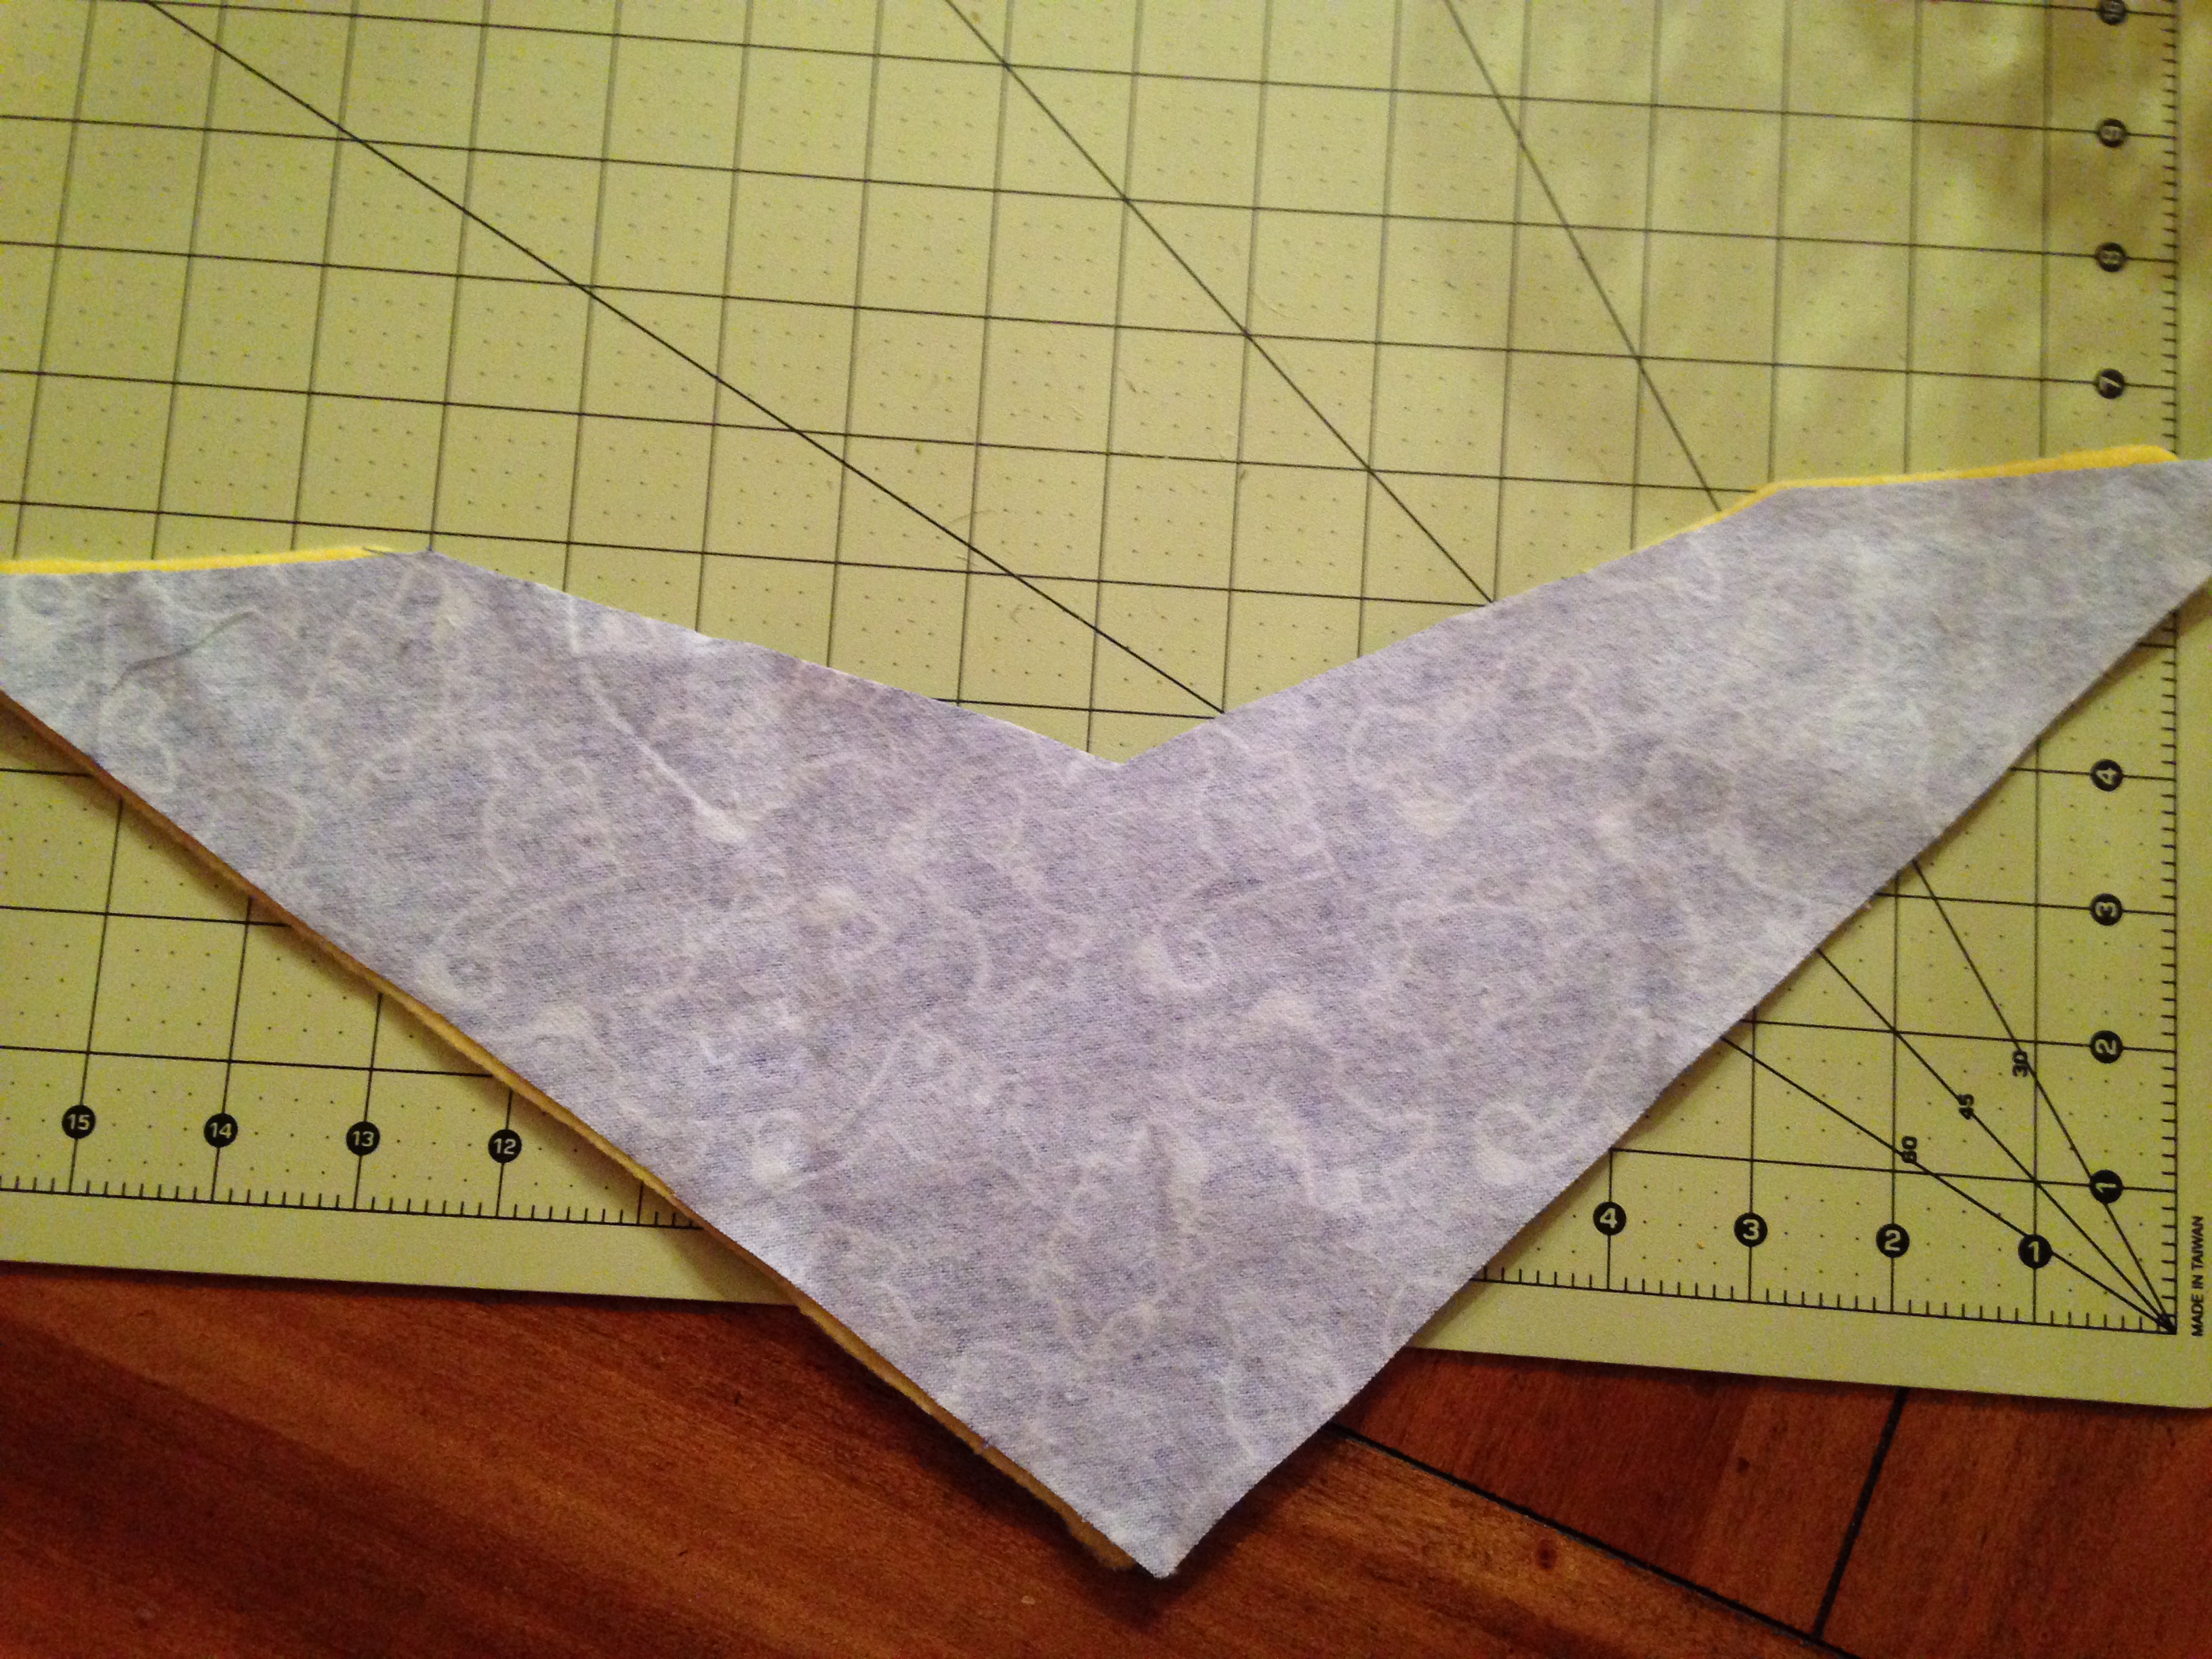
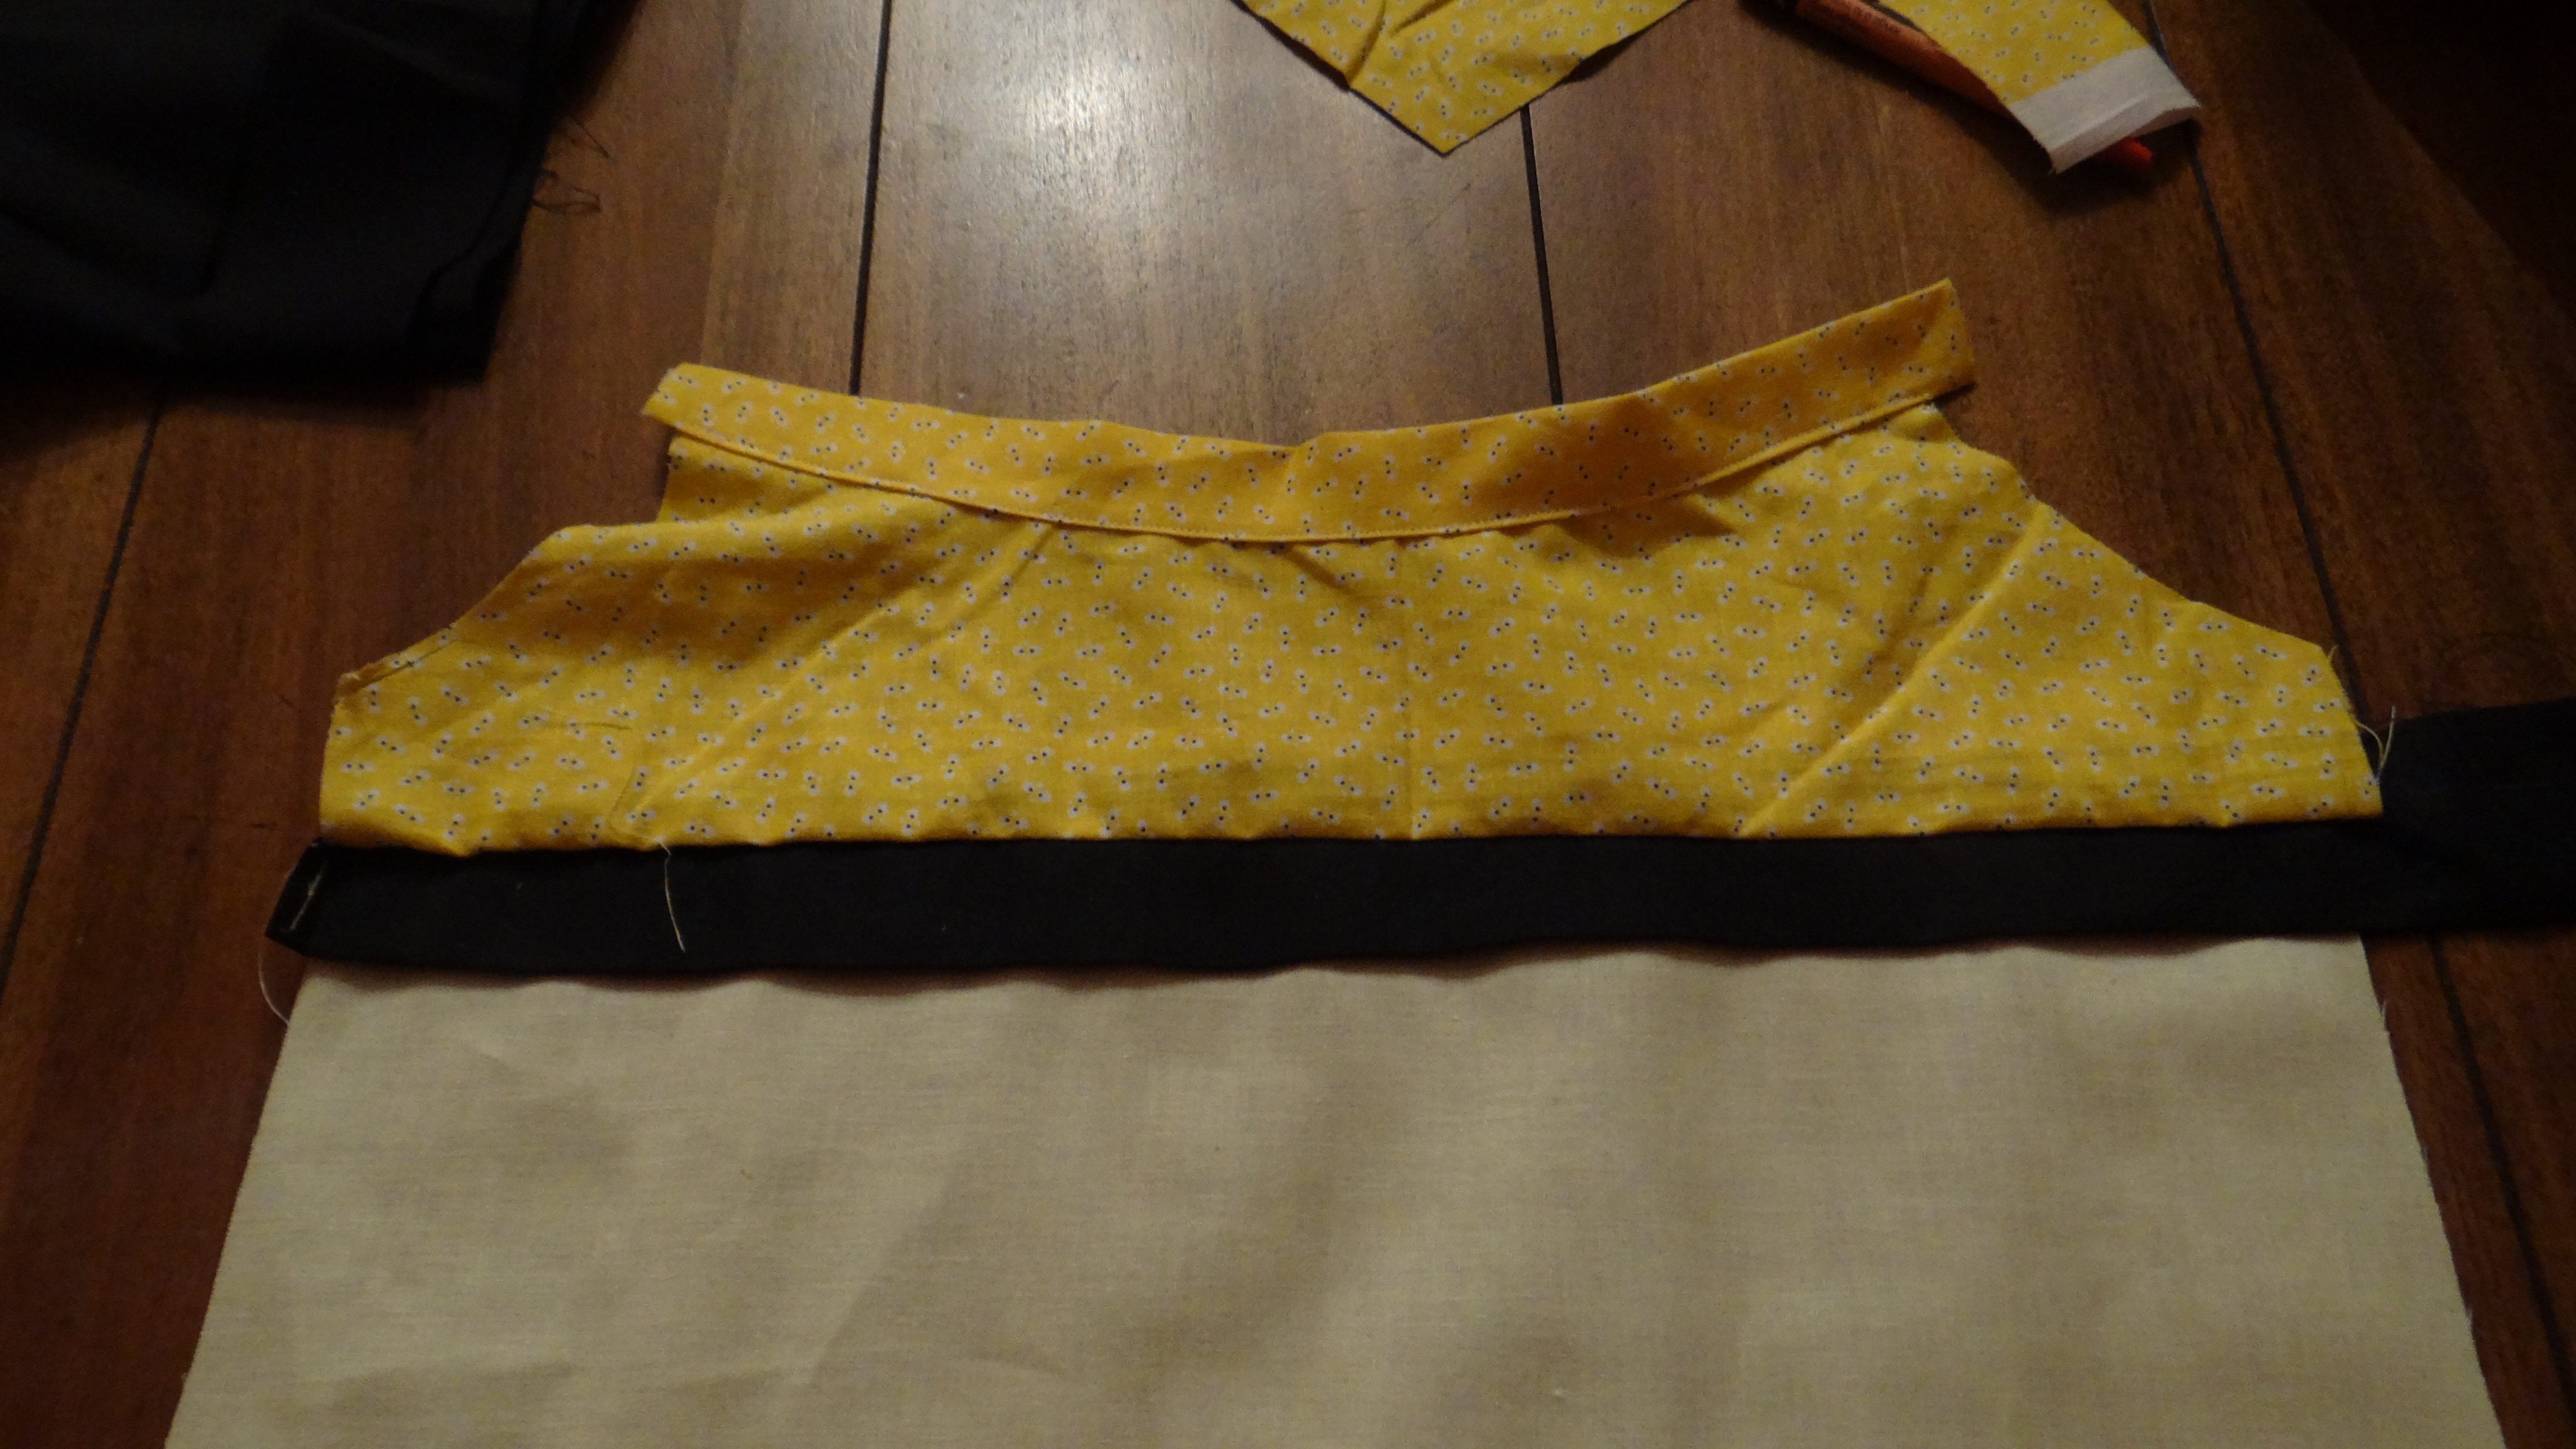
So I first made the front and two back pieces. You can copy these shapes from the picture and use a dress for sizing.

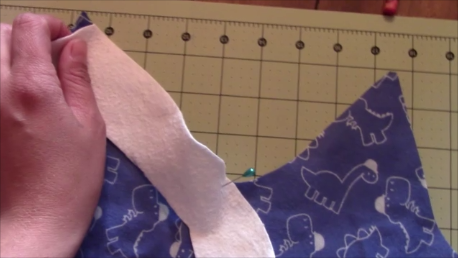
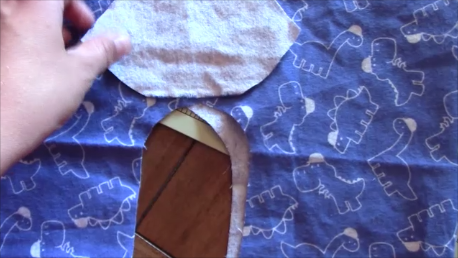
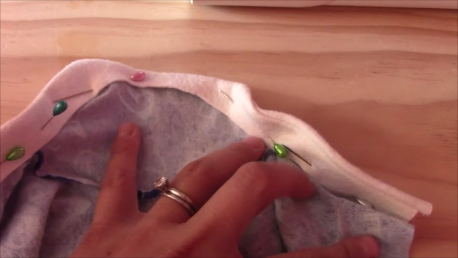
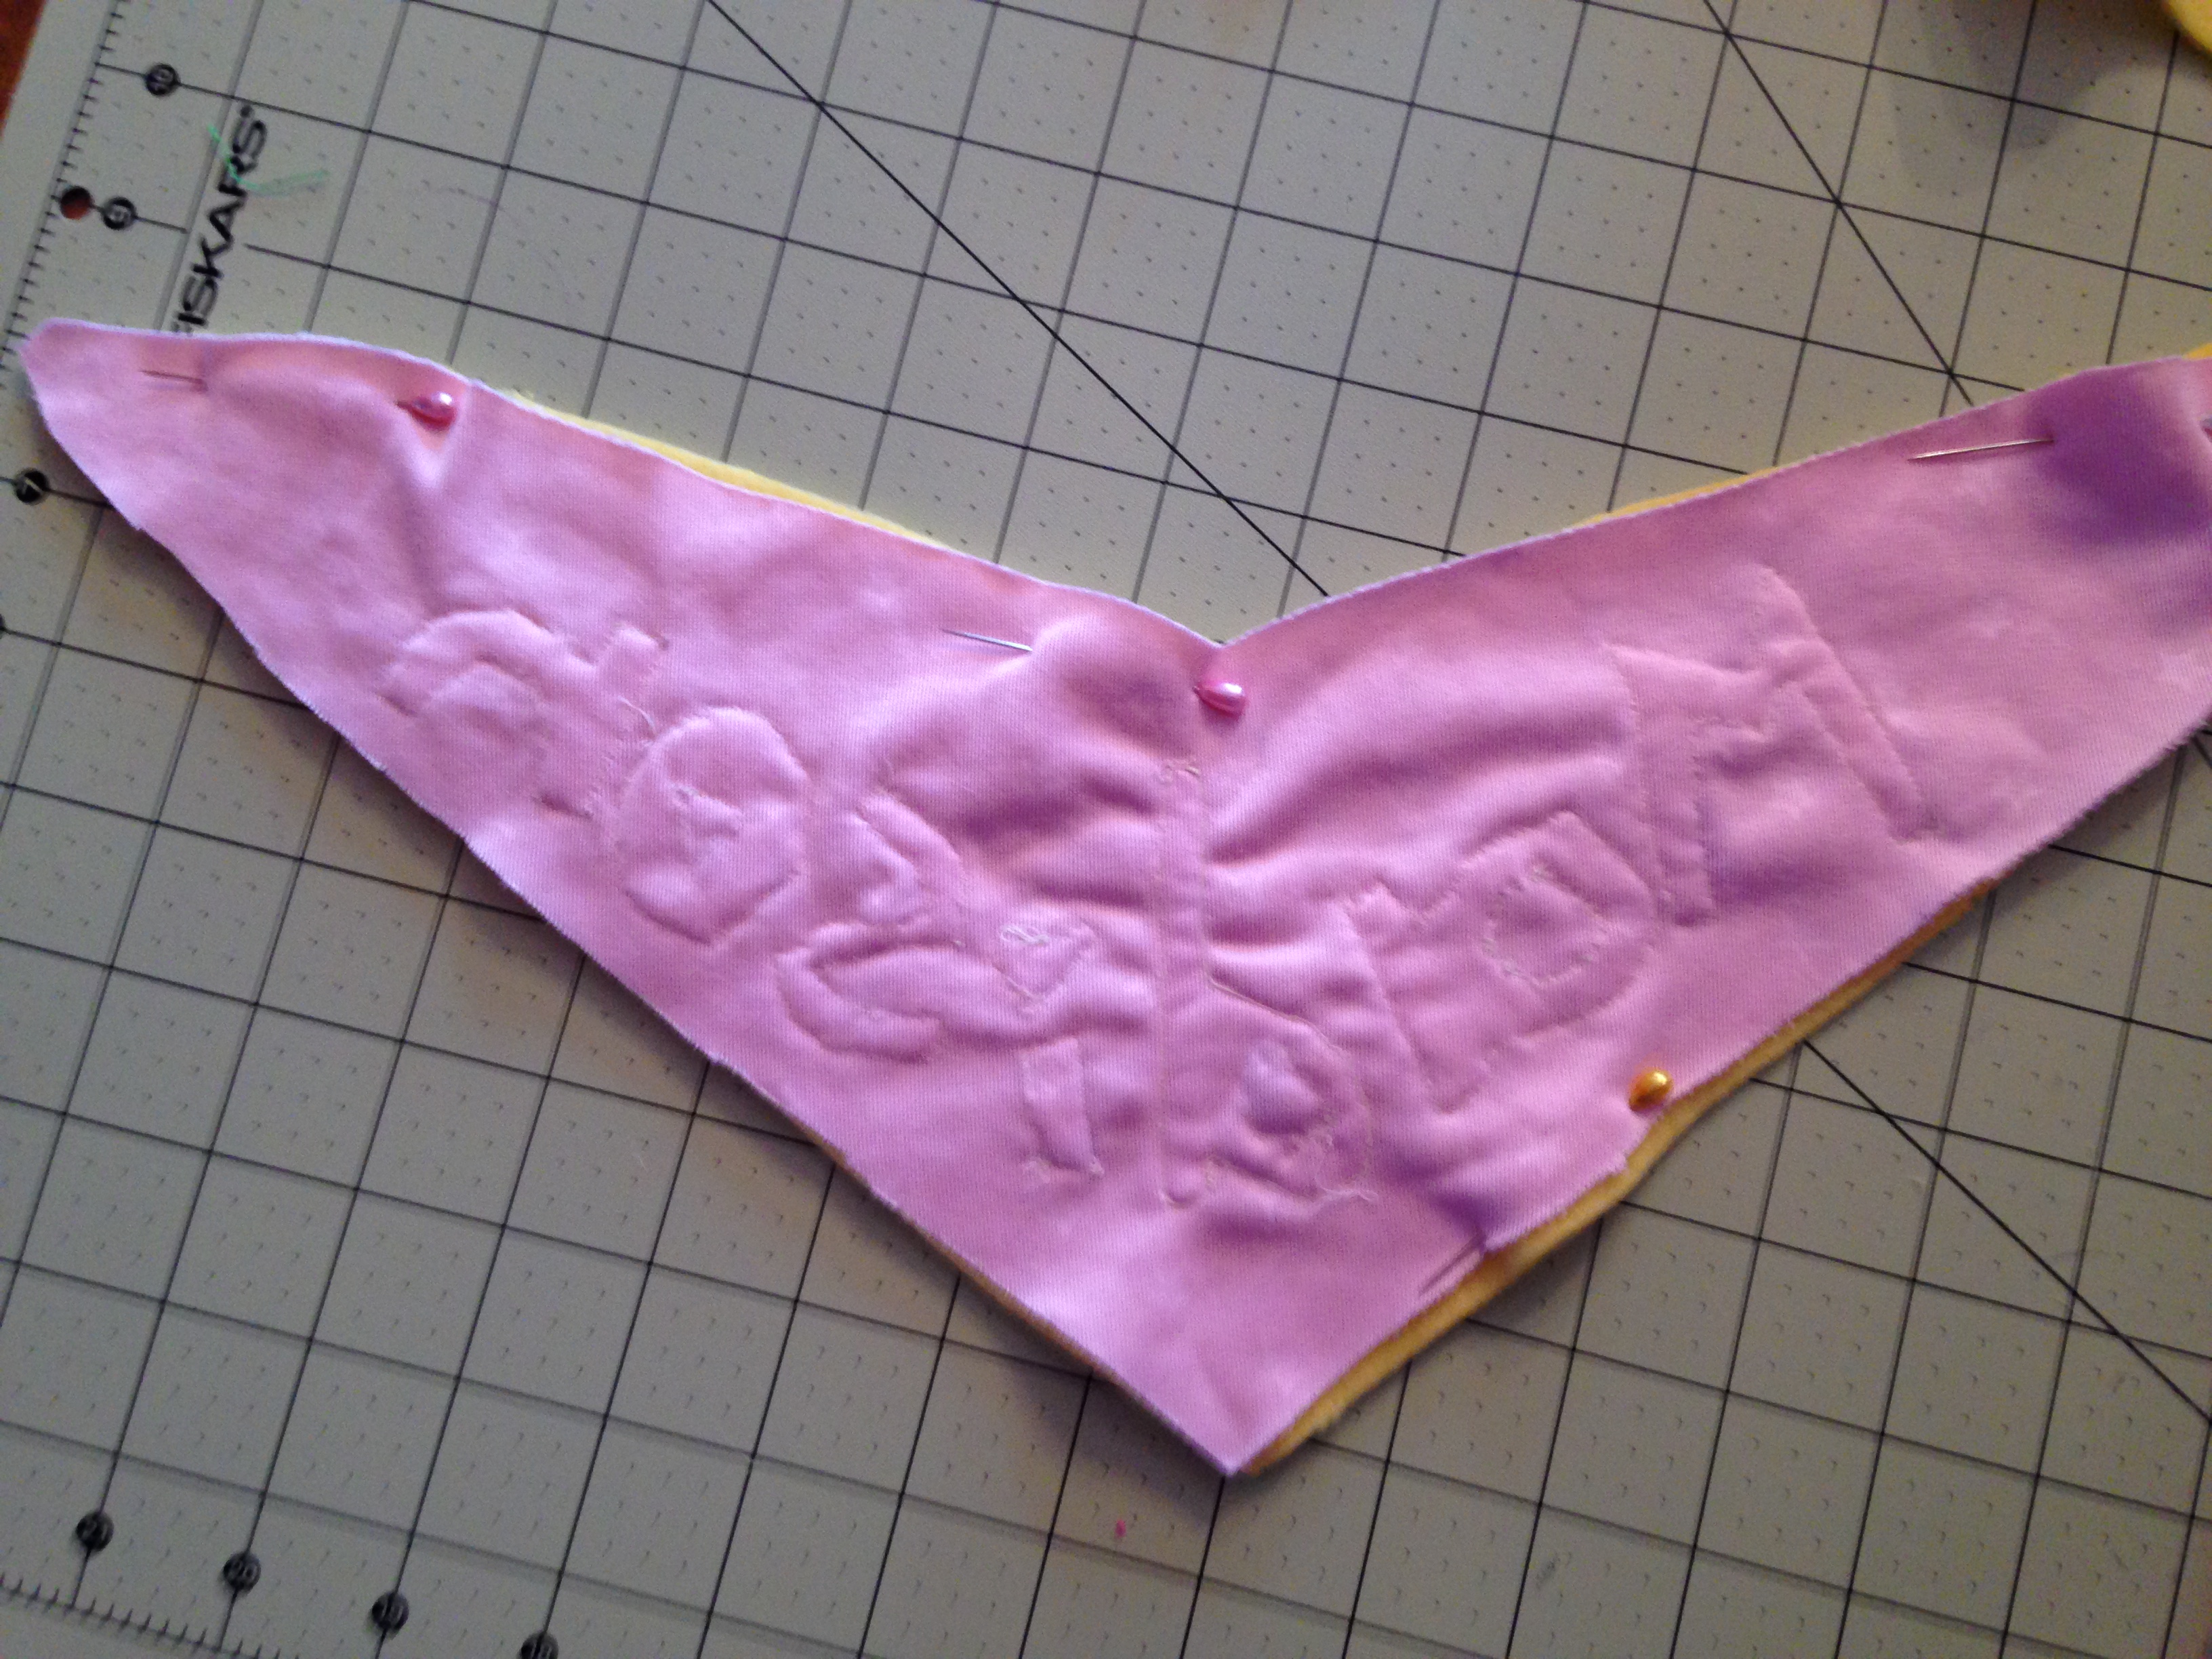
I ended up making another three pieces (another front and two back pieces) and using it as the inside of the dress.  So I took pattern facing pattern for the front piece and left a 3 inch space to pull it right side out.  Then I sewed this shut and ironed it all. I also used sparkly elastic and pinned it in between the pattern facing pattern (this is what I should have done but forgot and ended up just sewing it to the top).

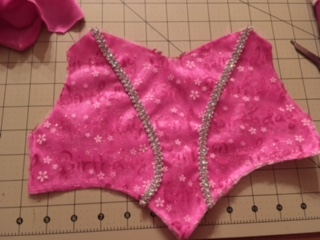
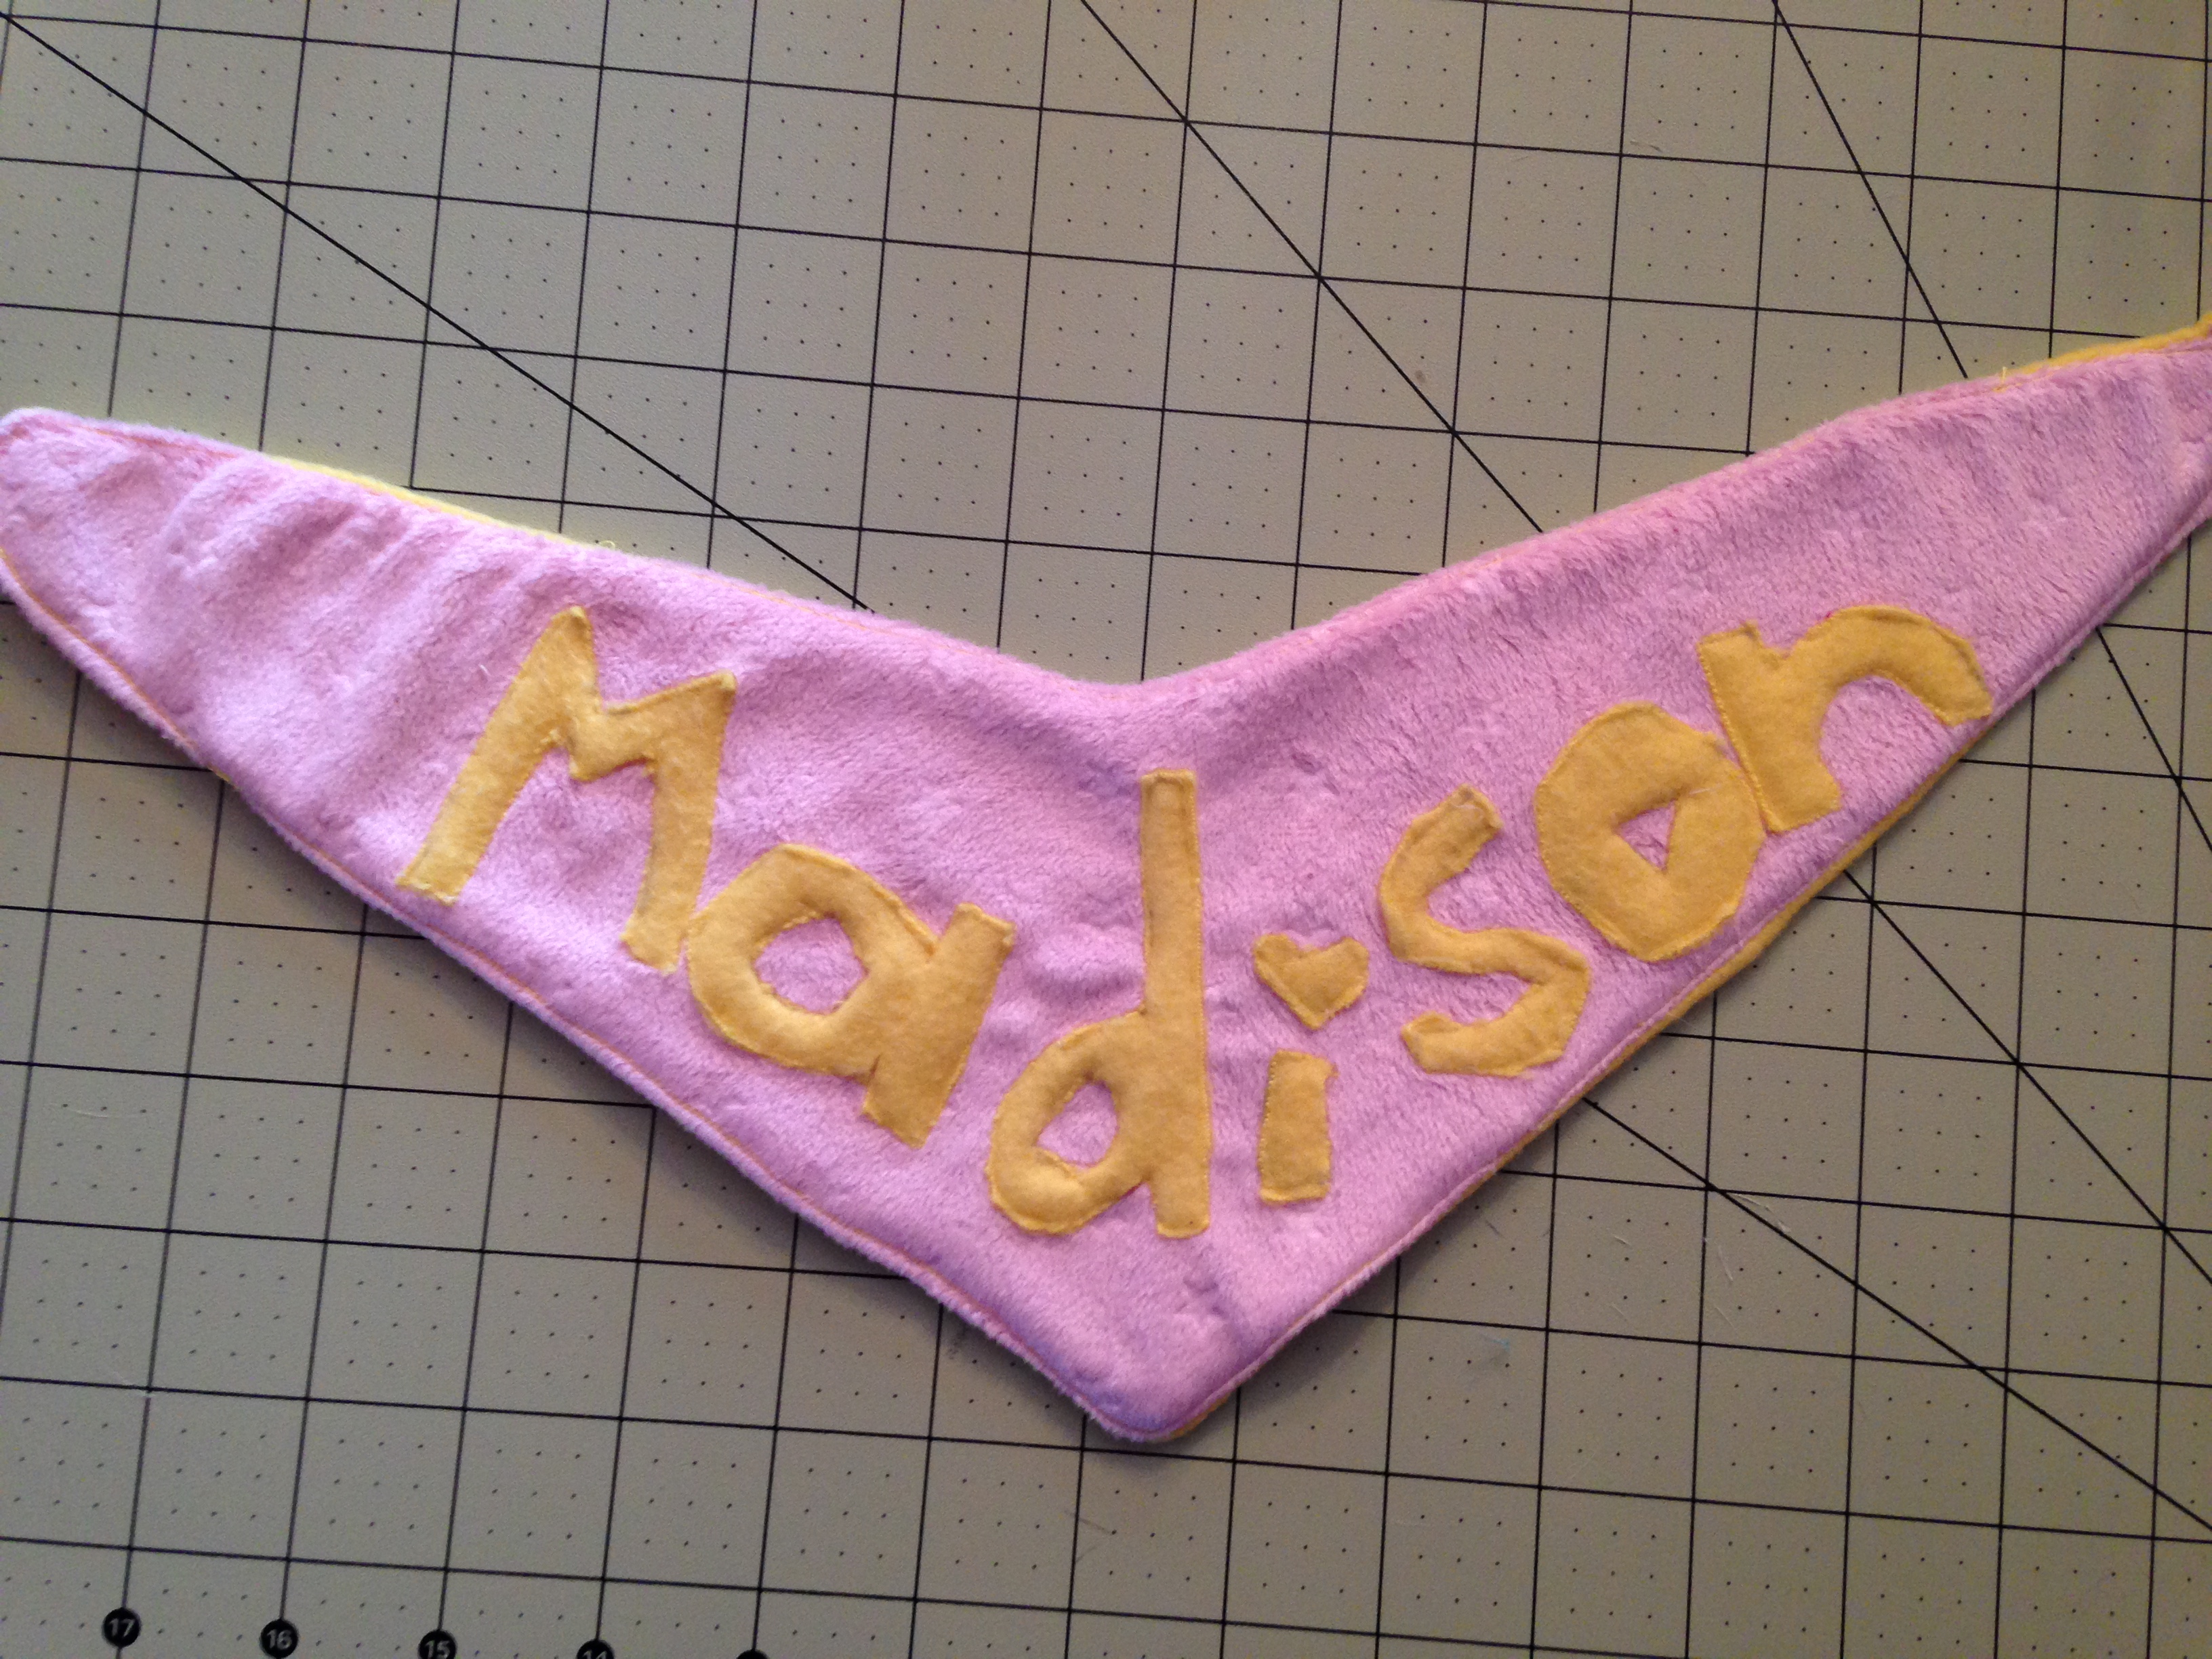
I also added a tulle happy birthday and two pieces of silver design on the front. You can add or not add as many embellishments as you want.

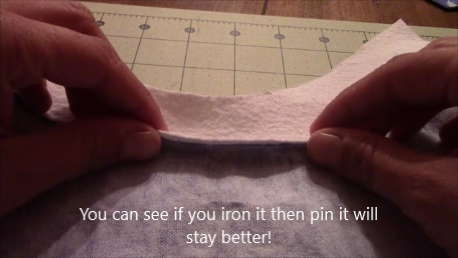
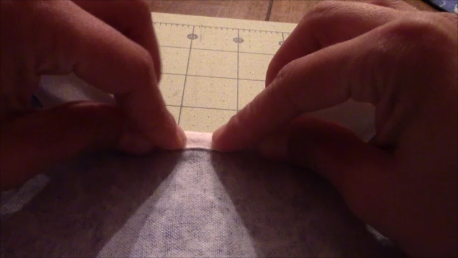
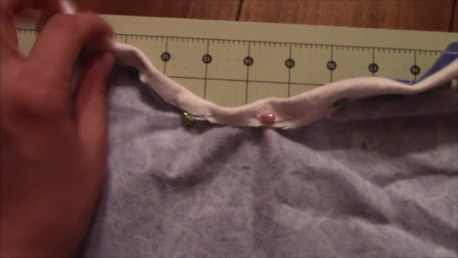
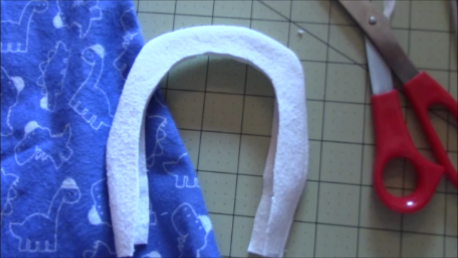
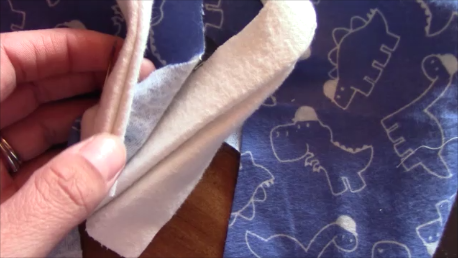
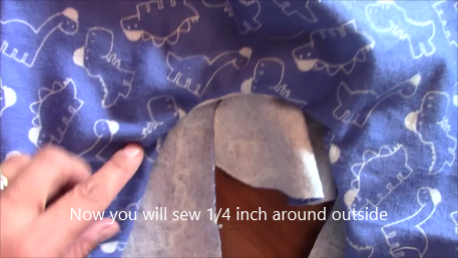
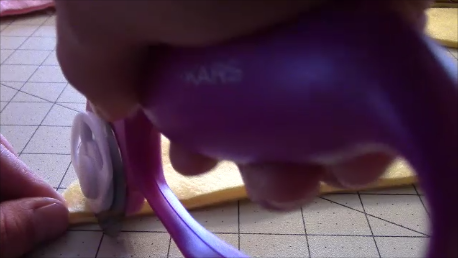
Next, I used interfacing ironed on both back pieces and then used white hair ties cut in half.  I pinned the half hair ties facing inwards in between the pattern facing pattern pieces then sewed all the way around except a 3 inch area and pulled it right side out and sewed then ironed it.

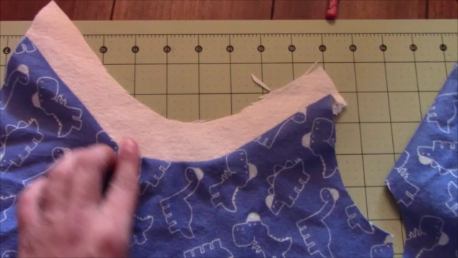
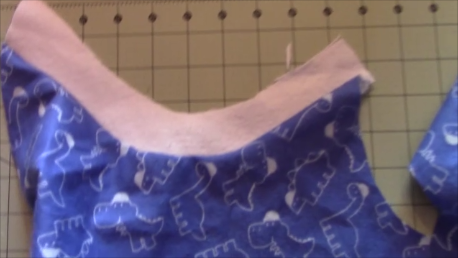
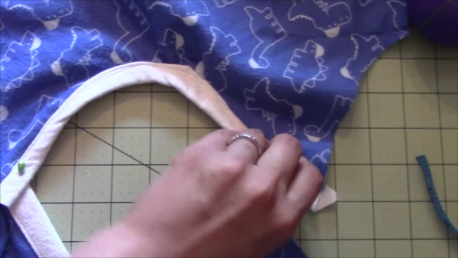
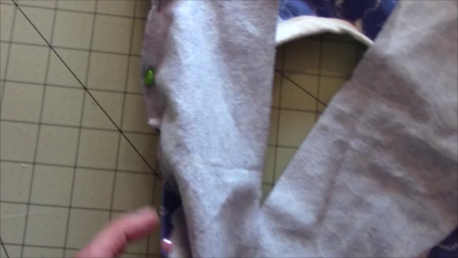
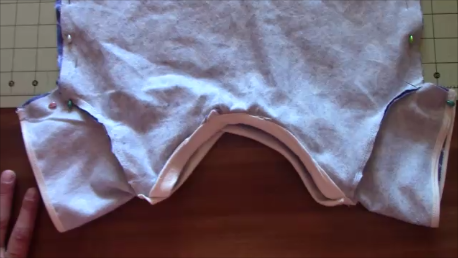
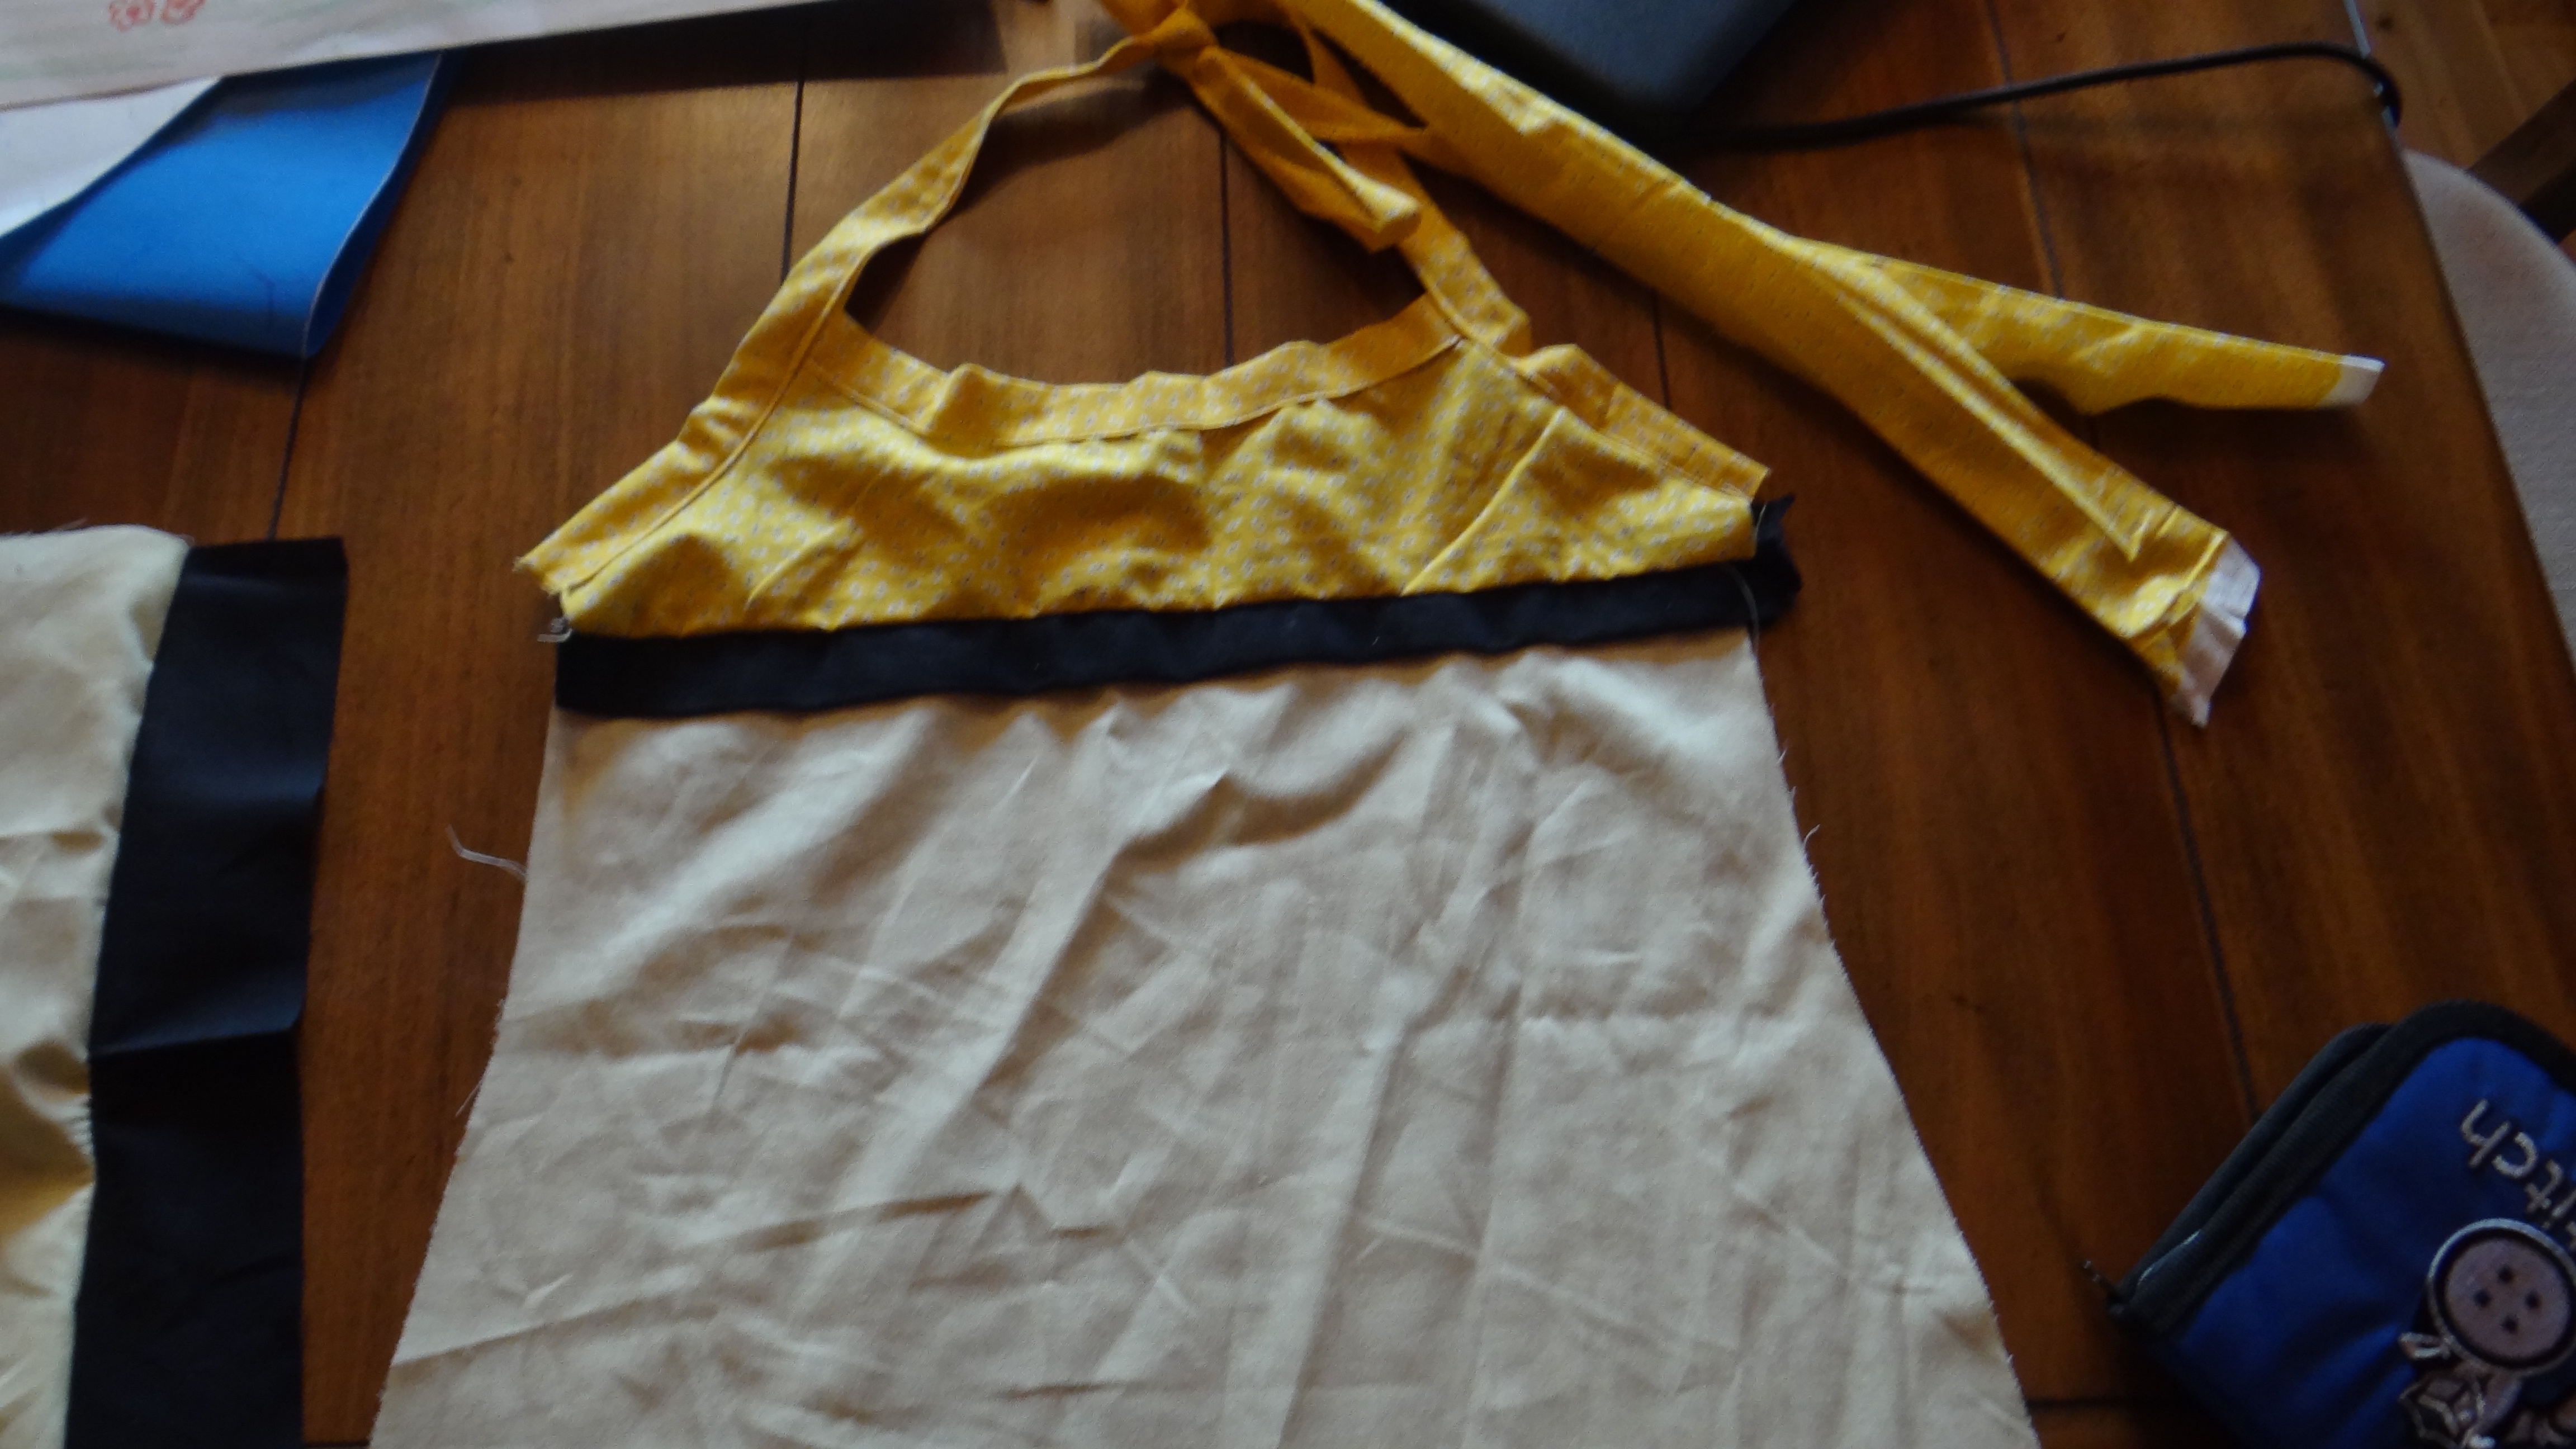
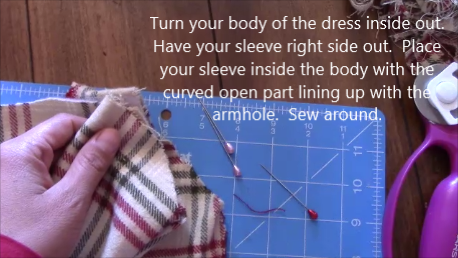
Following that, I placed the two back pieces on the front pattern piece and sewed the sides and then folded them back to have the top finished.

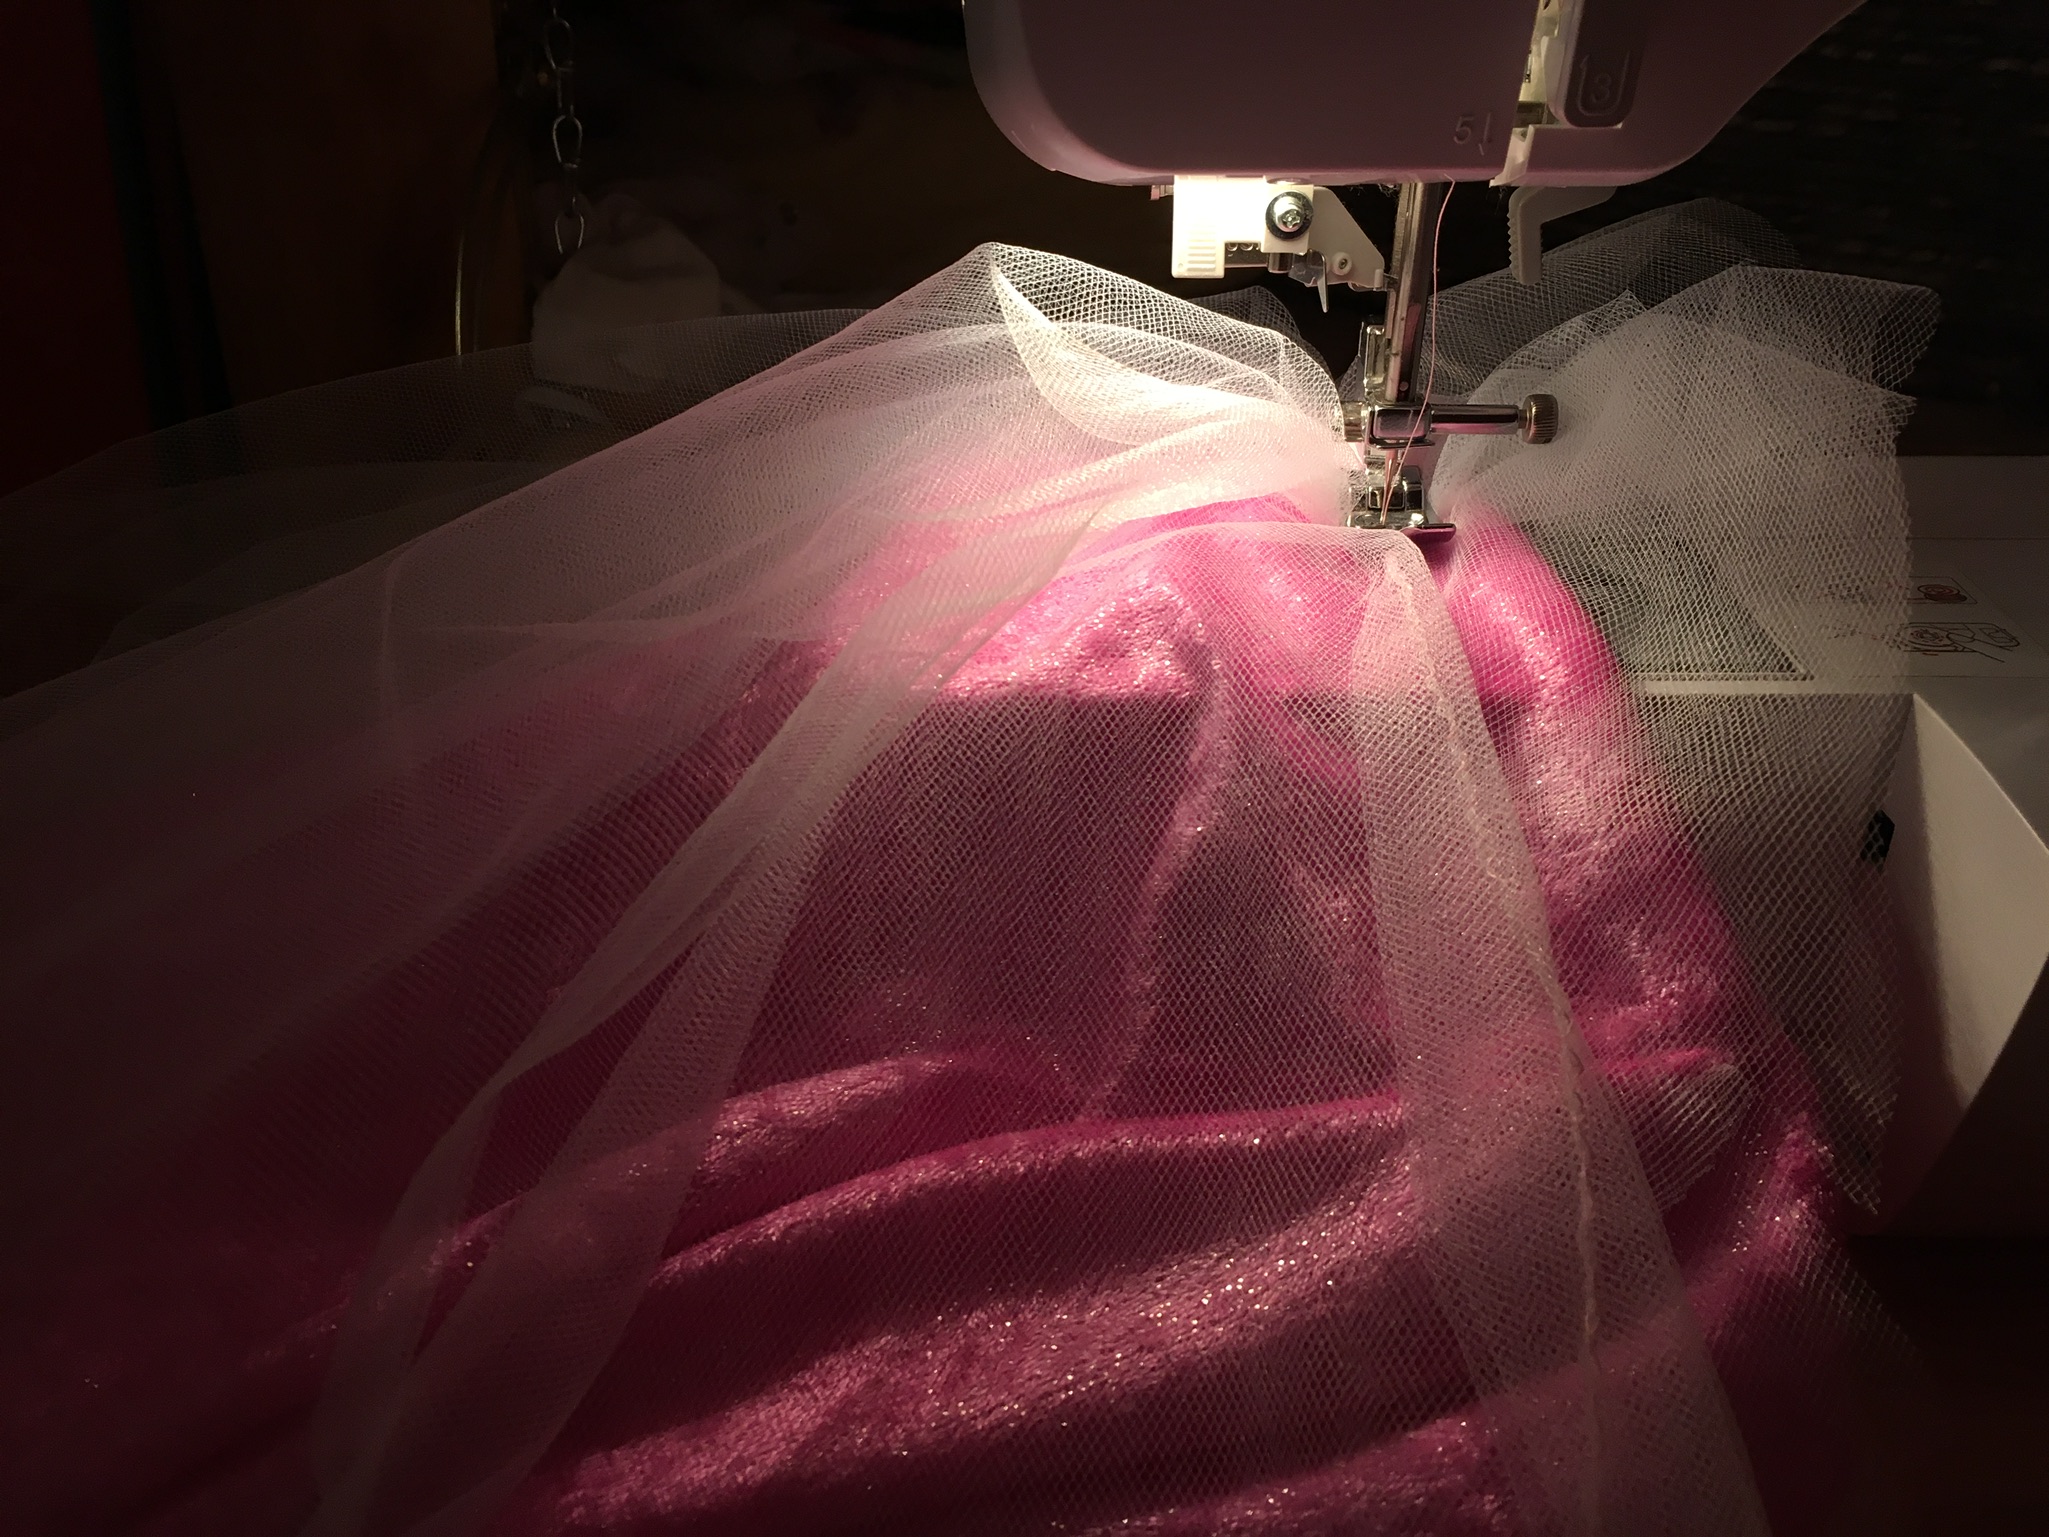
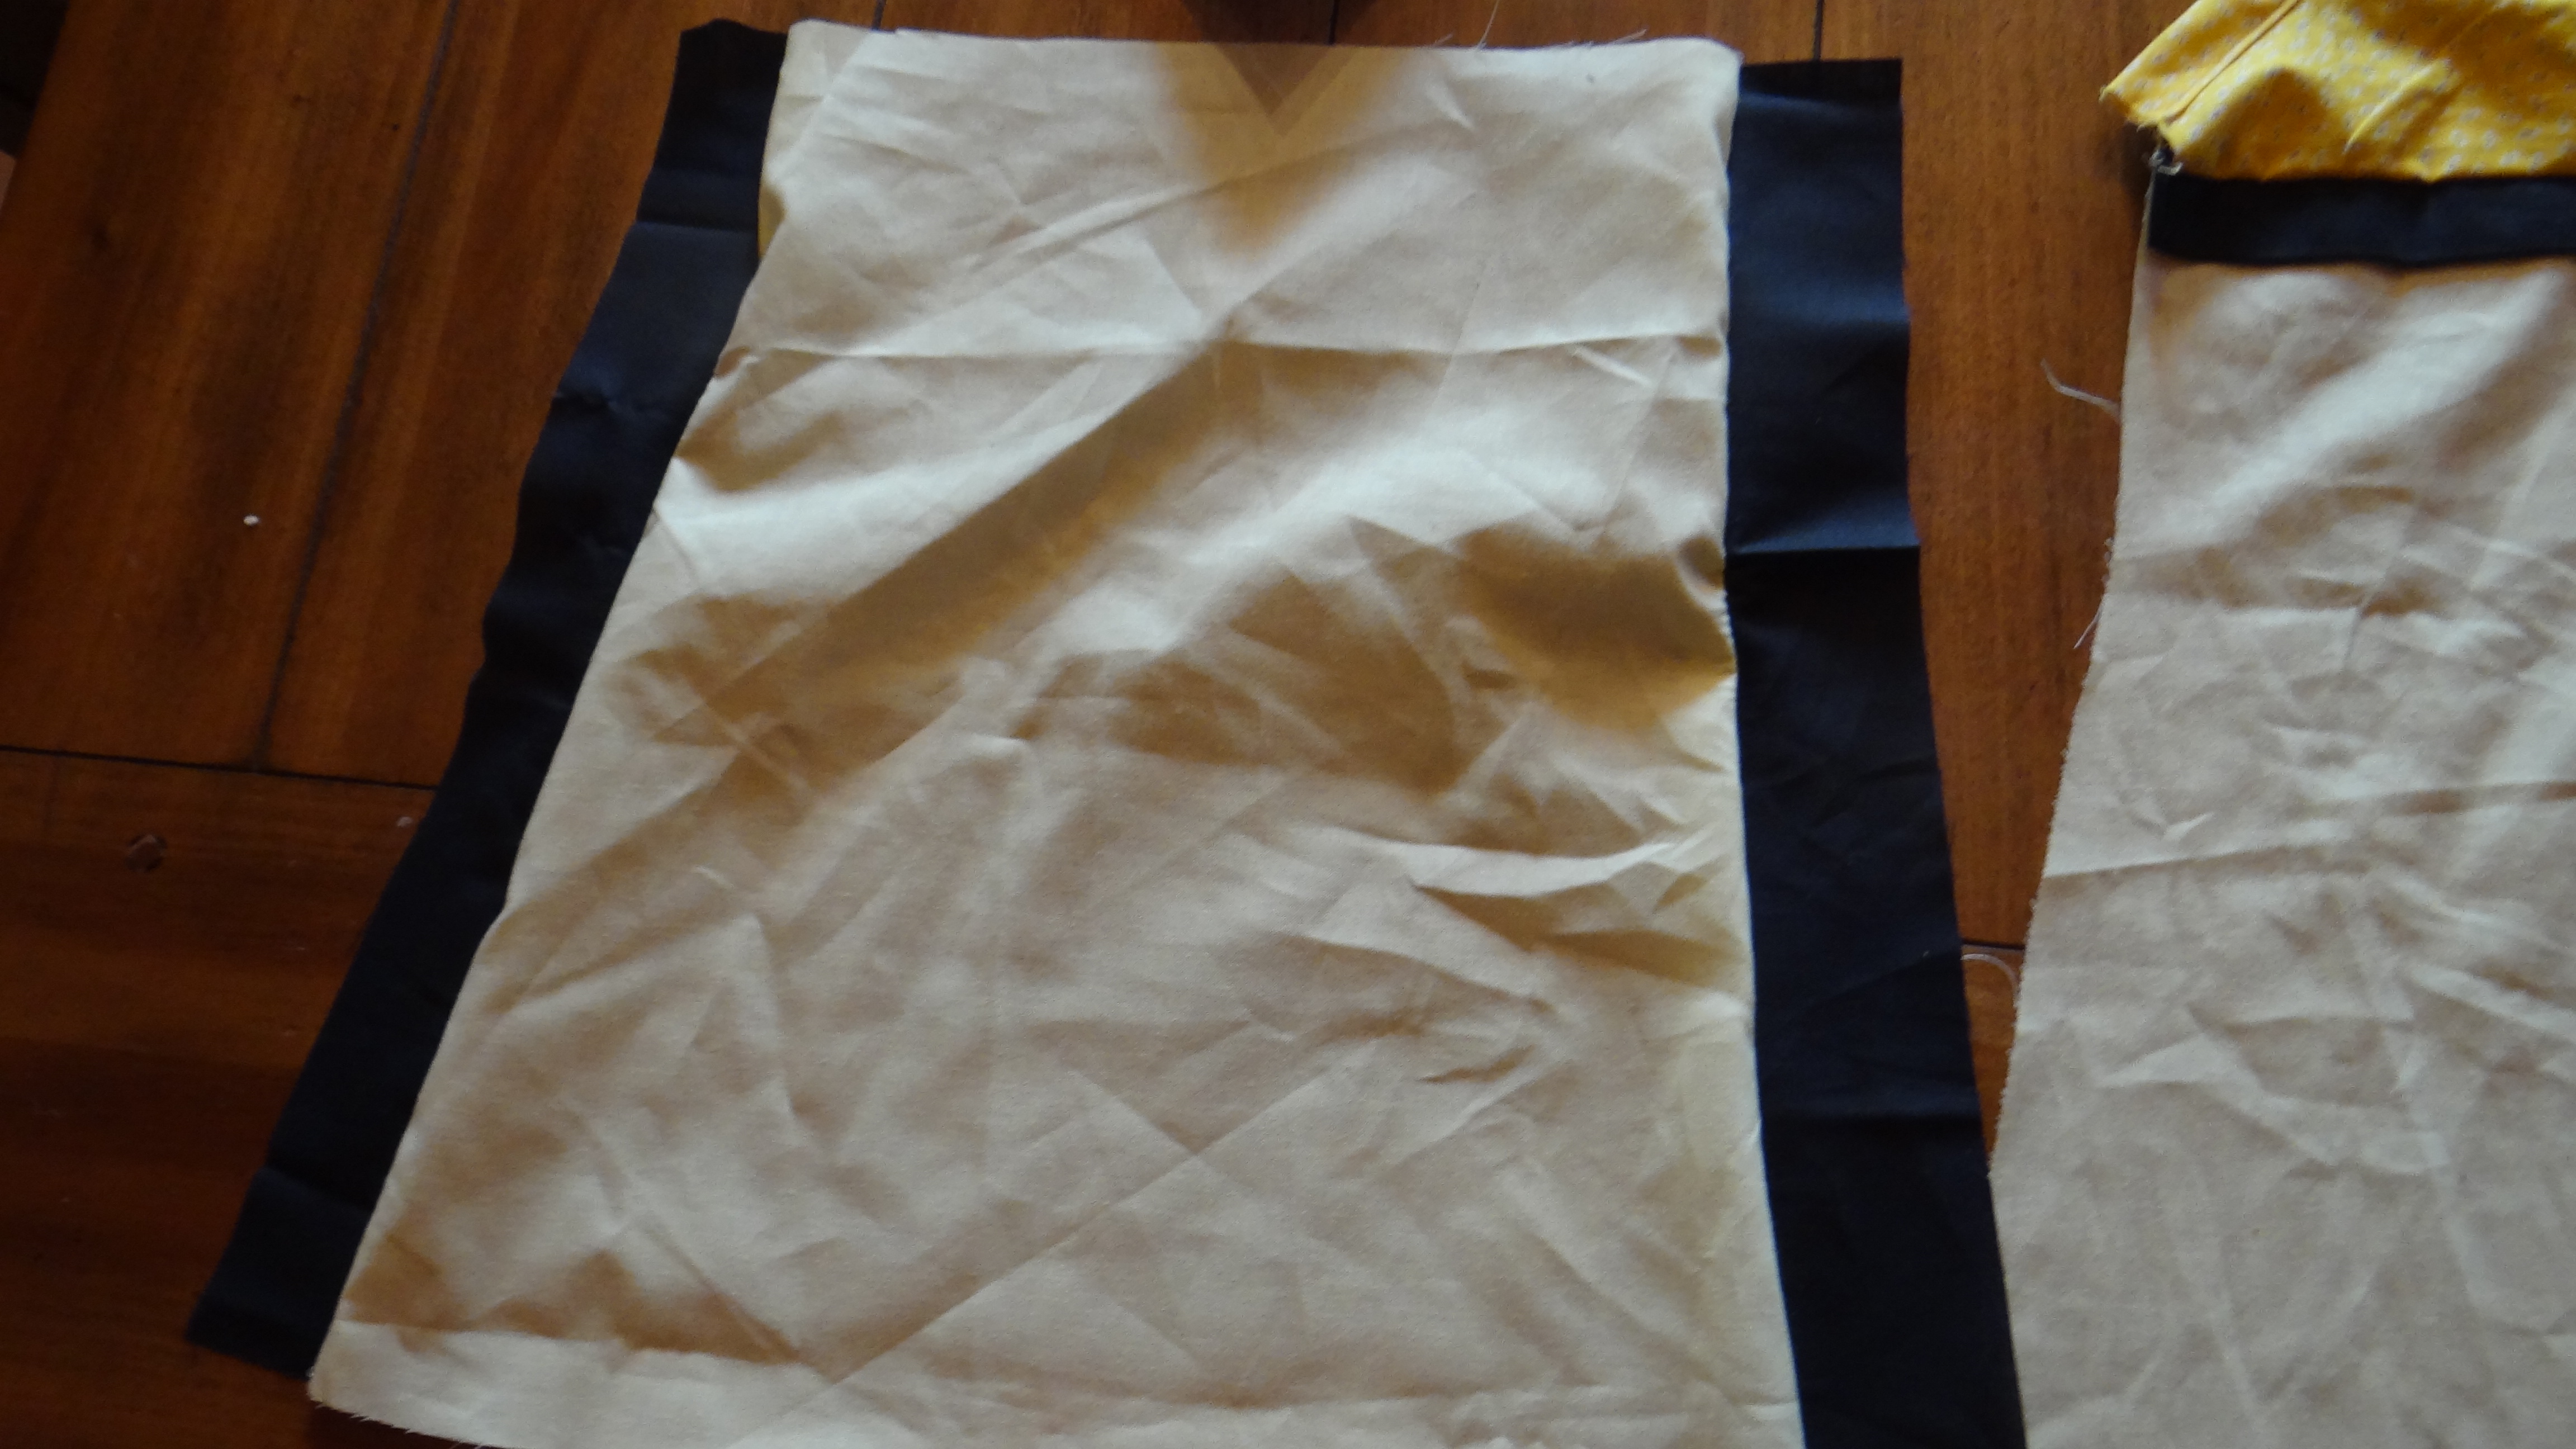
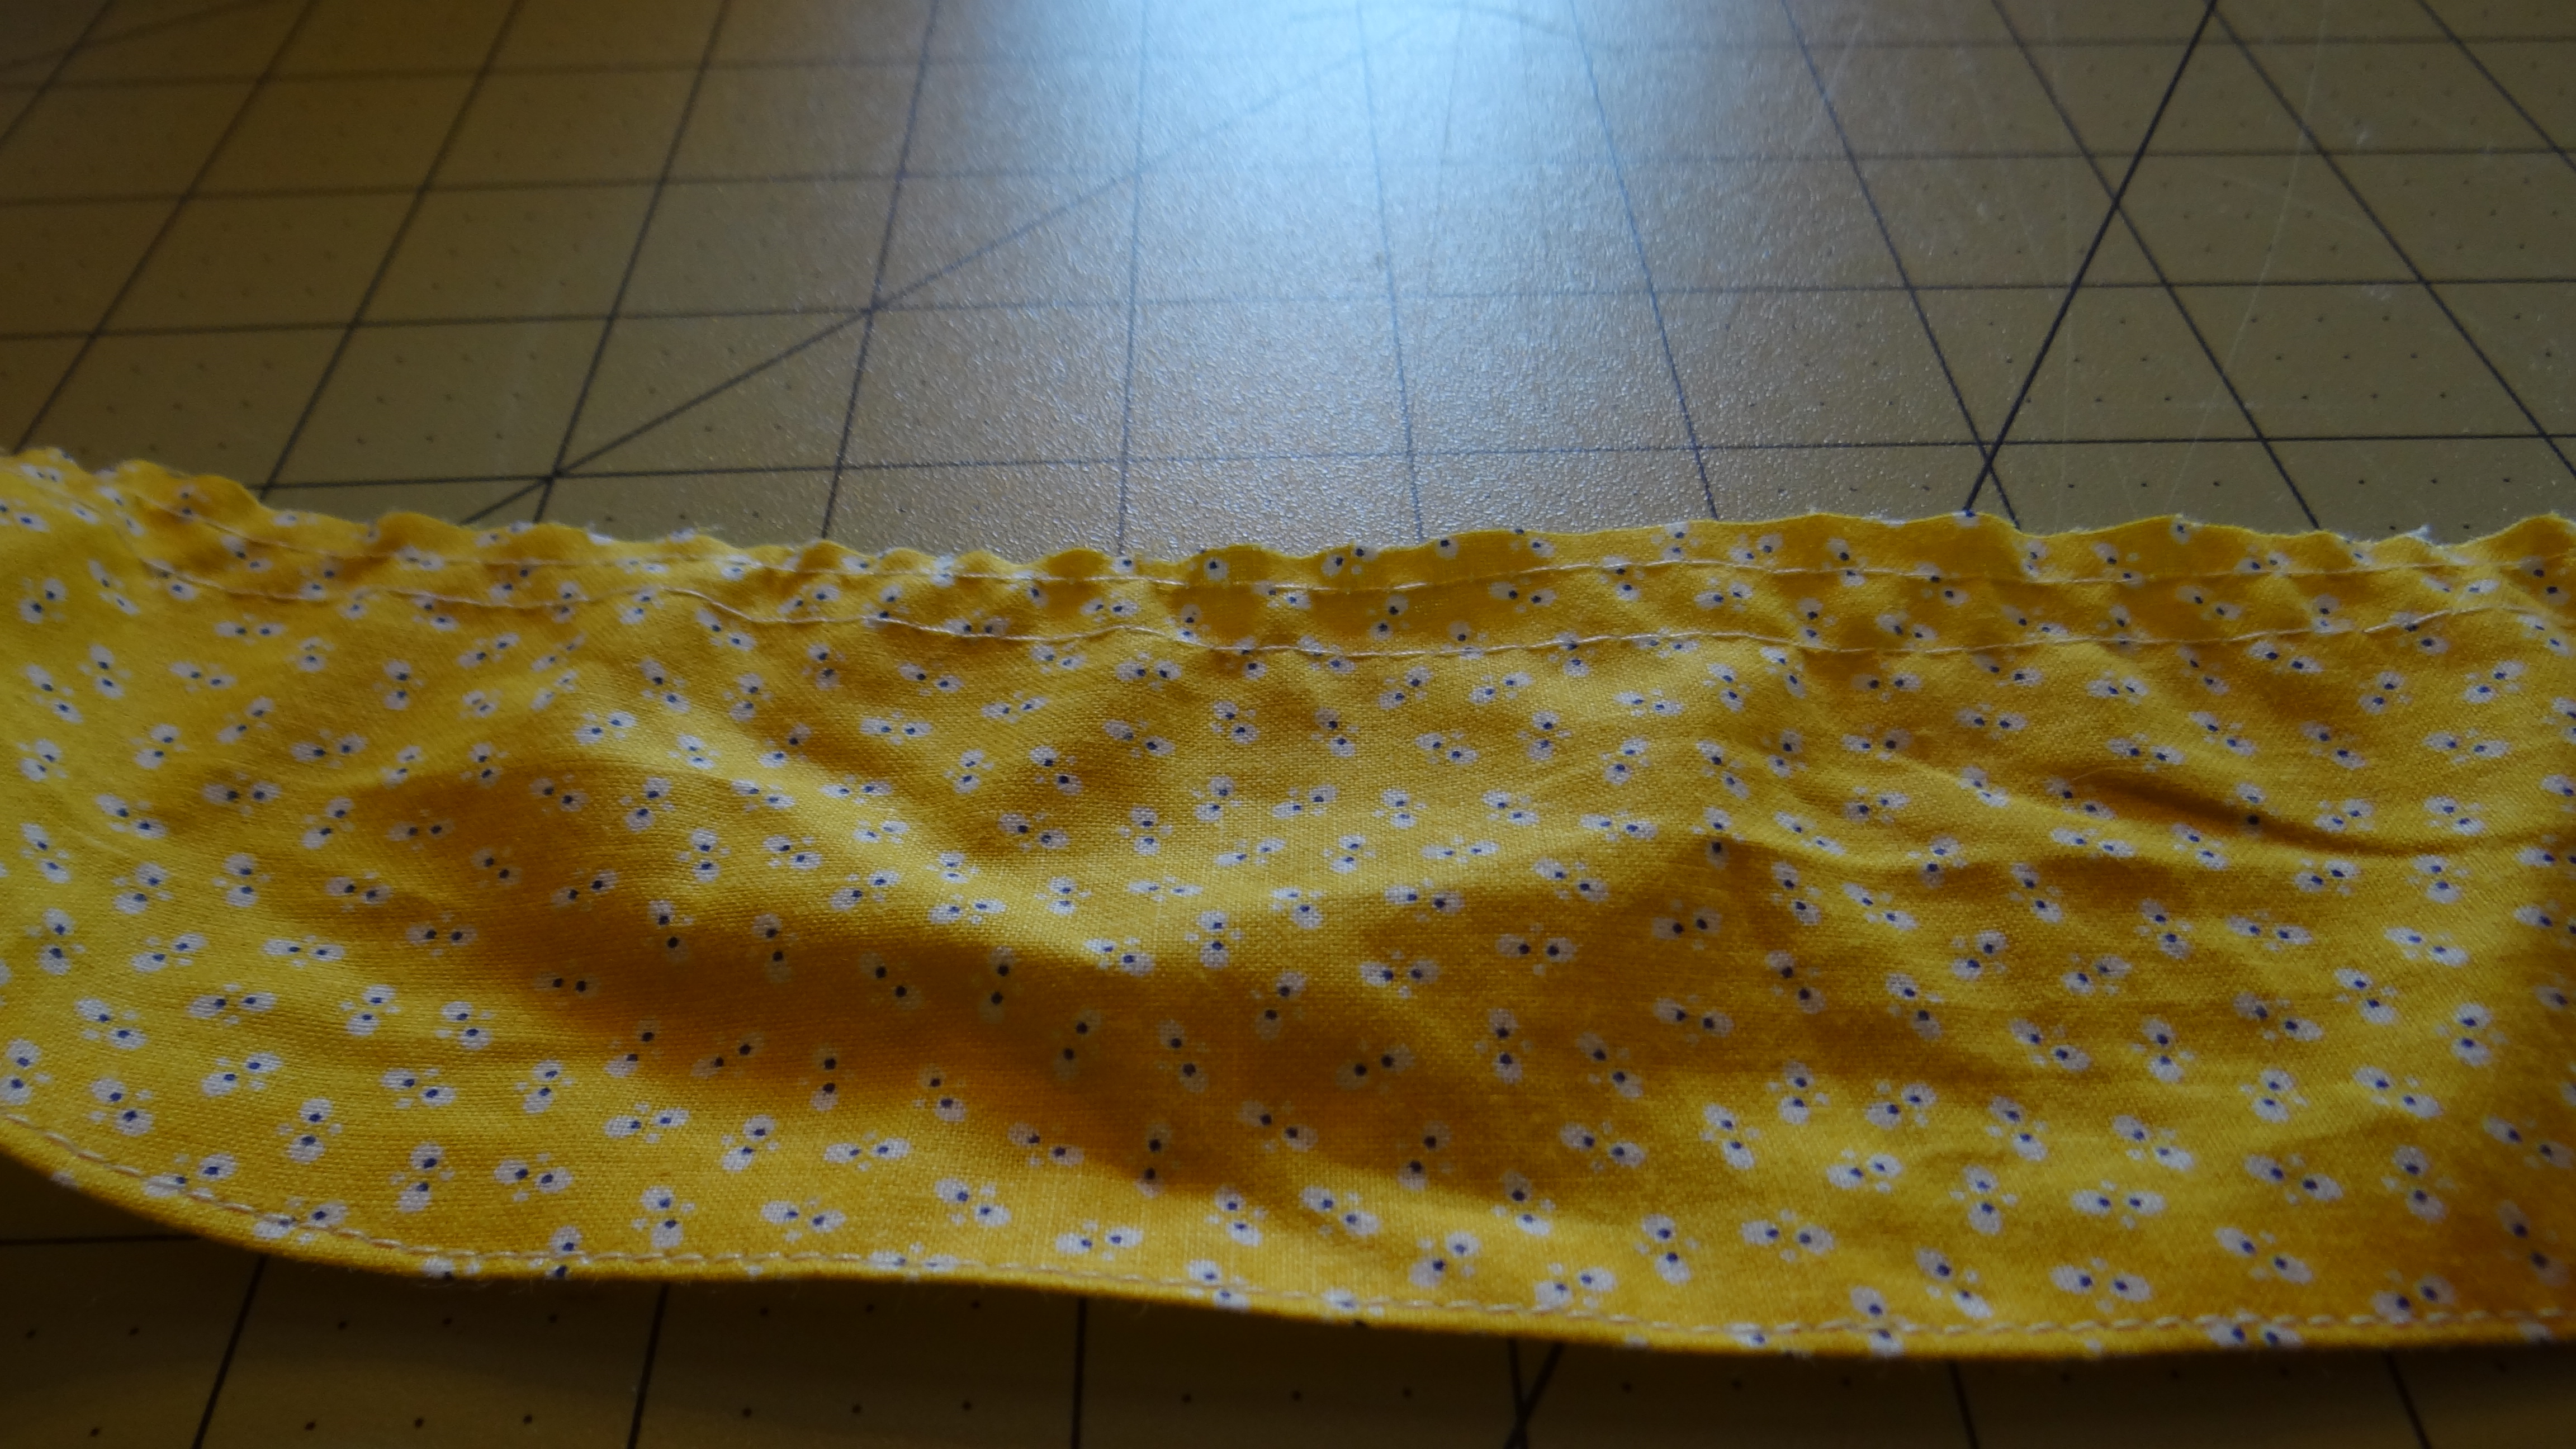
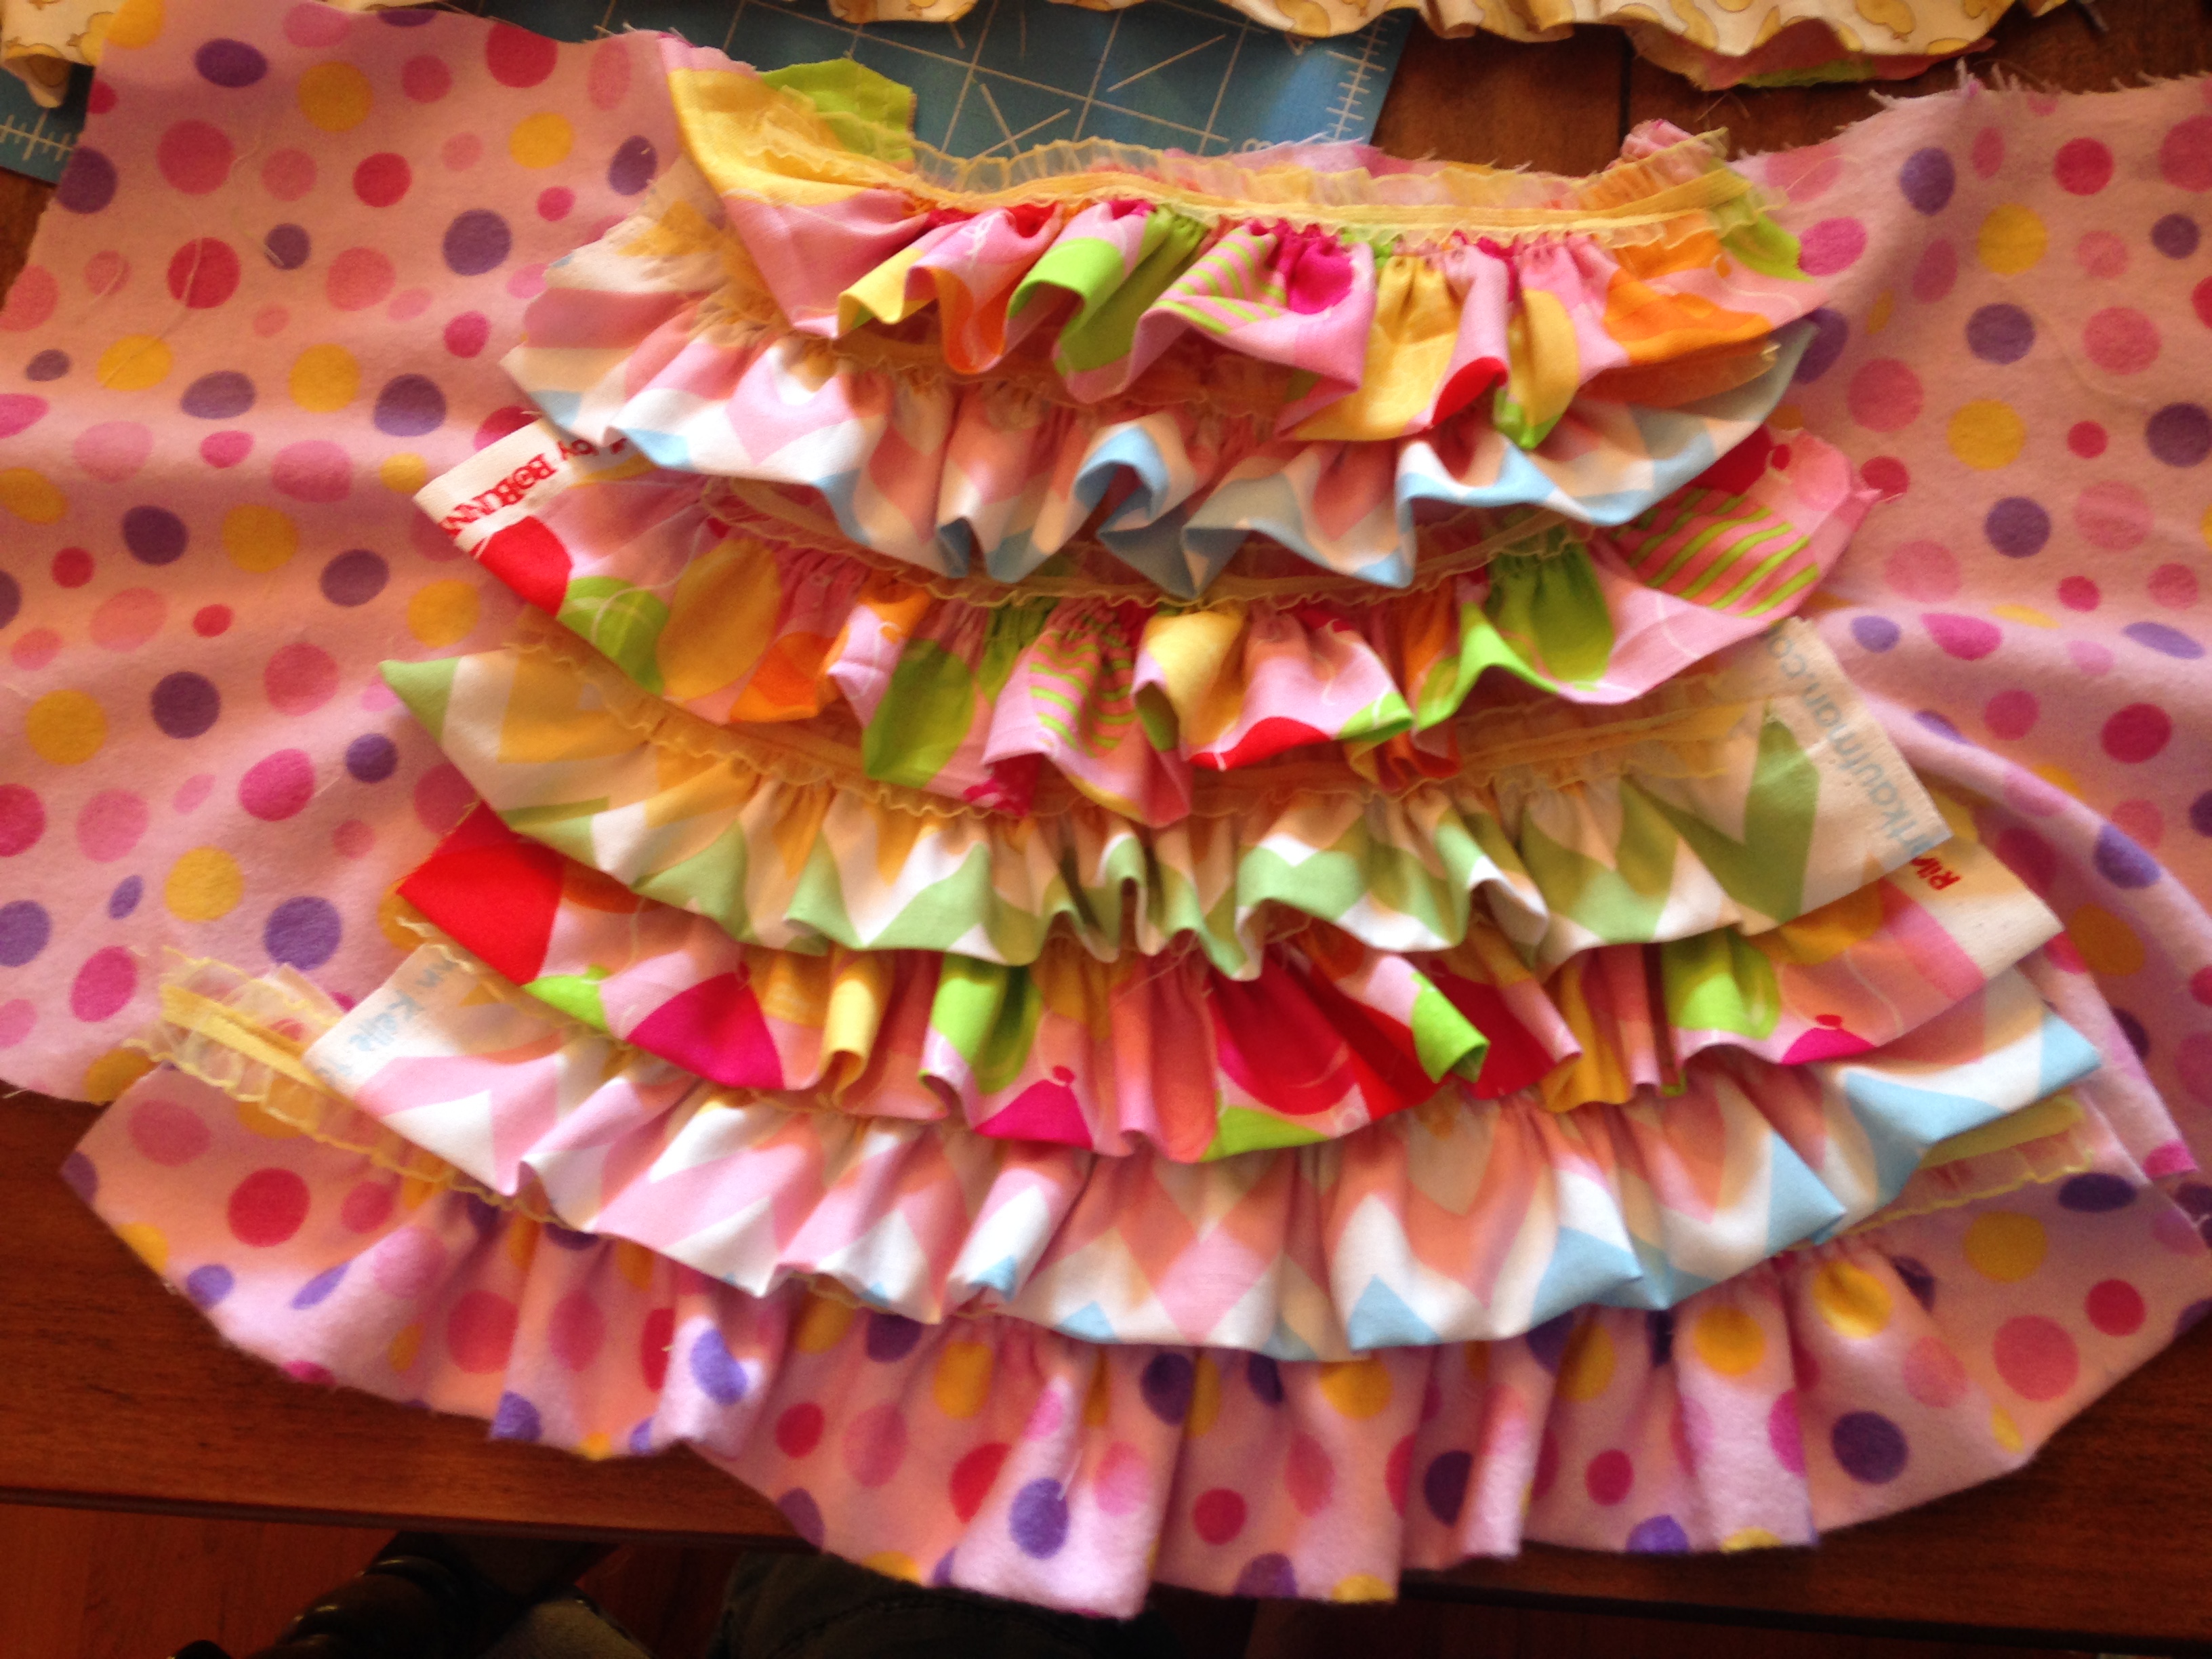
I then measured the skirt by measuring from the top down to the right length for my daughter with a measuring tape.  I used the soft fabric of the top for the under-skirt and then cut happy birthday tulle and tulle for the skirt.  i made the white tulle width three times the width length since I will gather it to make the skirt more “poofy.” I then gathered the tulle using the easy method of dental floss, on top of the soft under skirt. With this method, you use a large zigzag over the floss and then at the end you pull the floss out and it is gathered!

Next I decided to use the happy birthday tulle and sewed it on as well.  Then, I put the layers together and I put pattern facing pattern and sewed it all together.

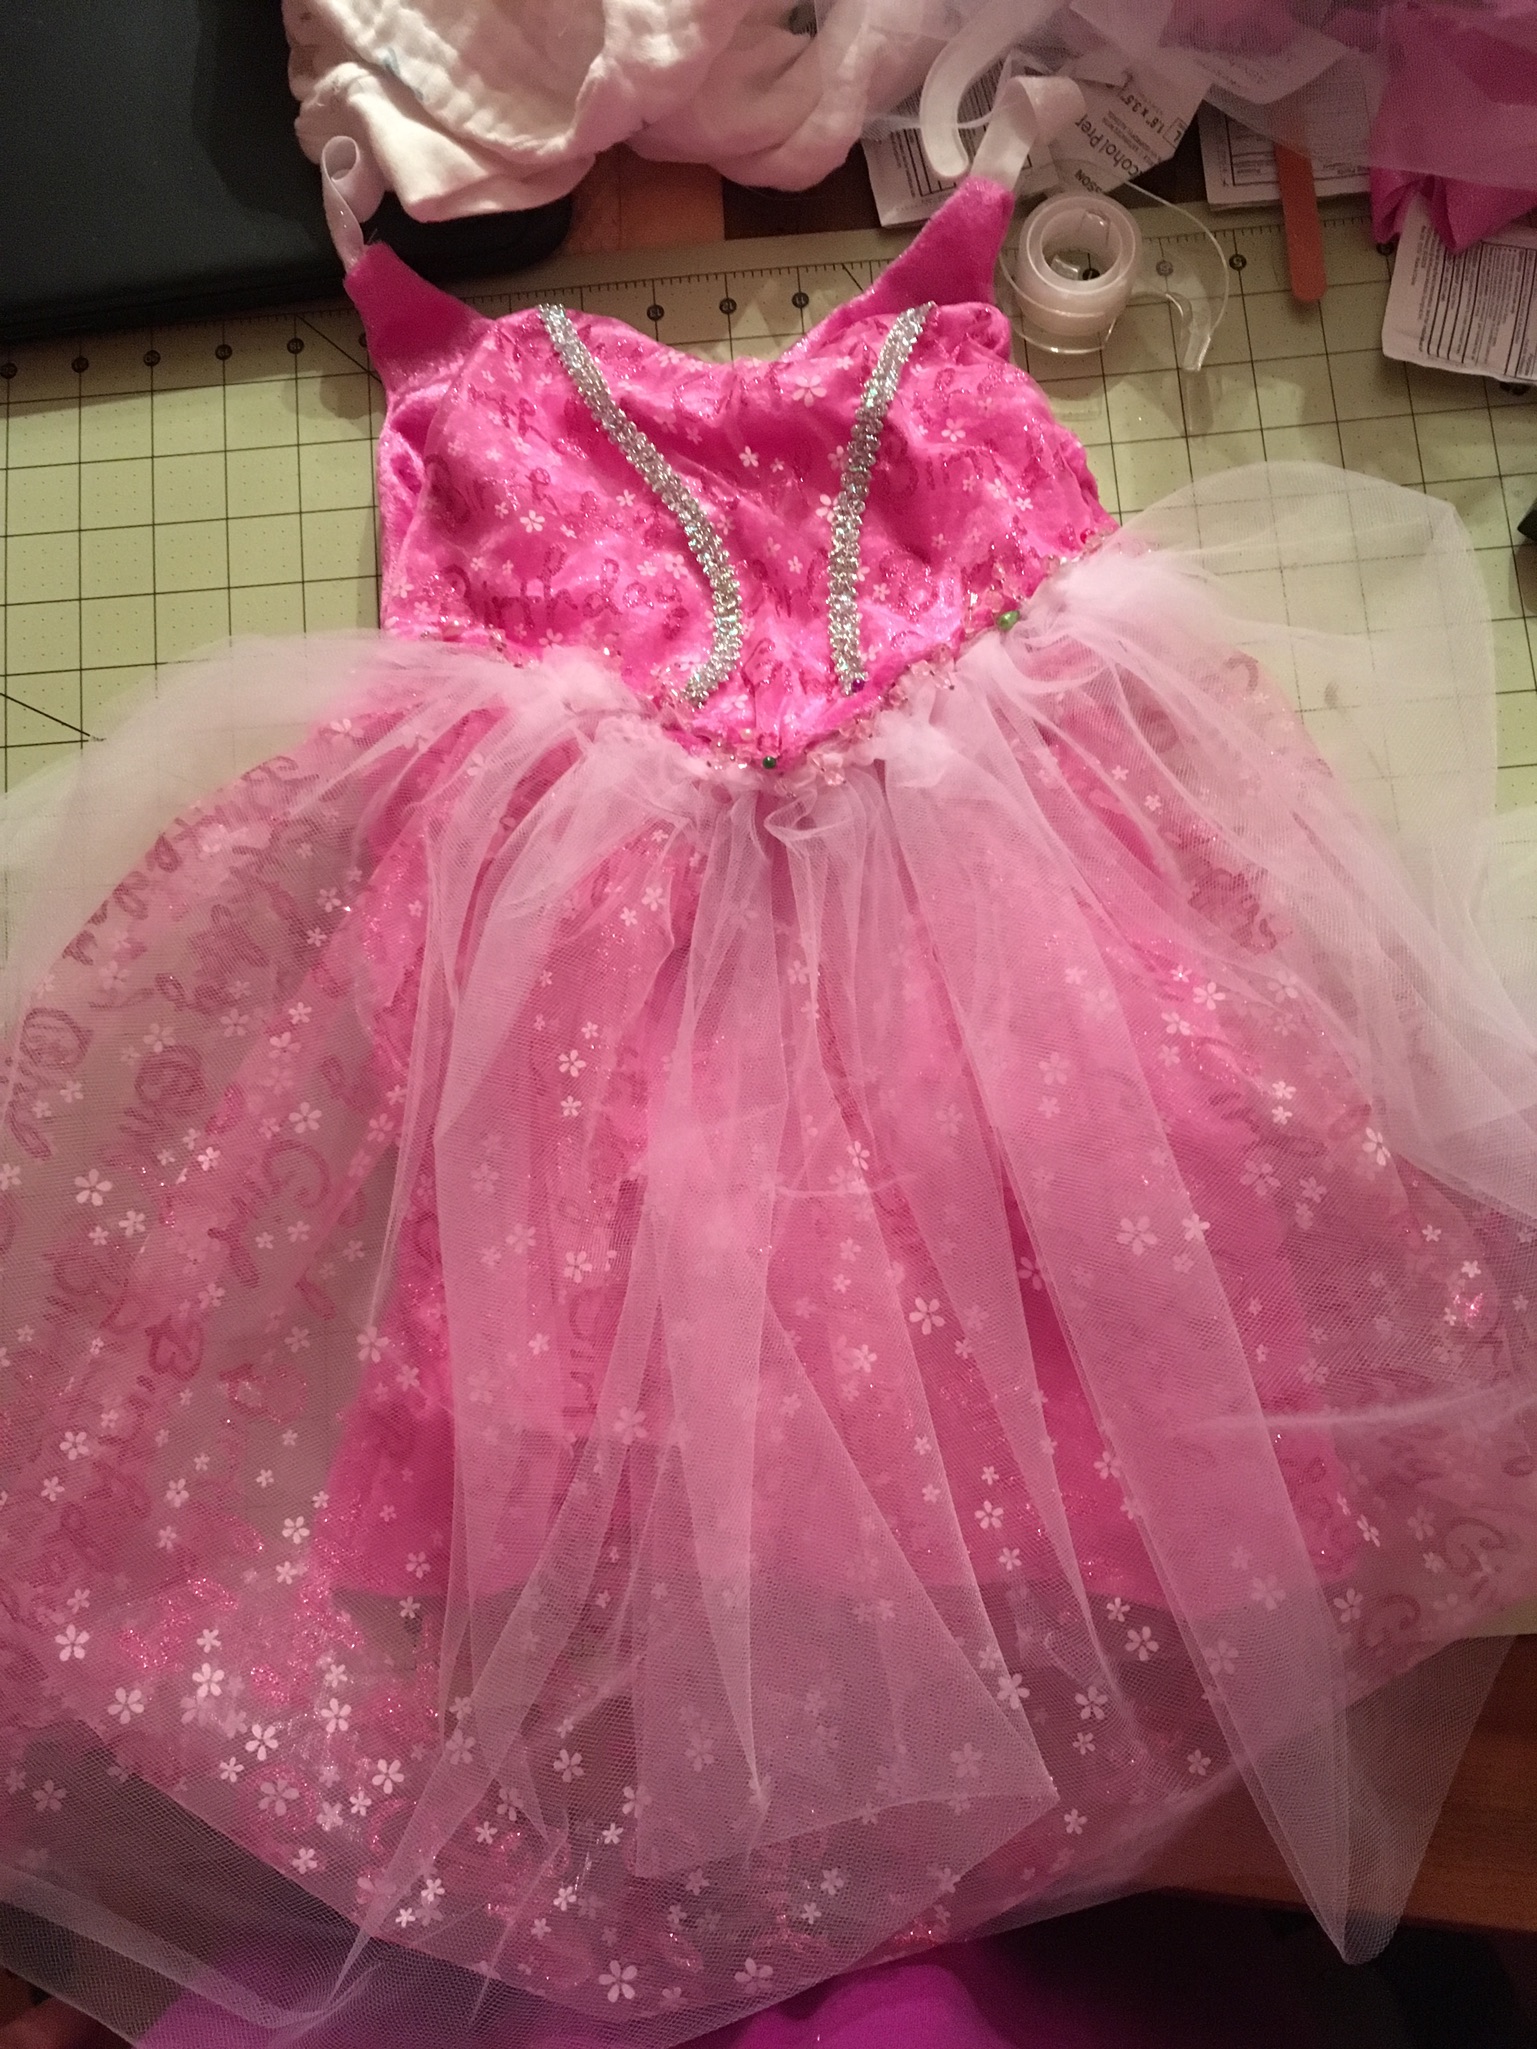
I ended up sewing on a bead embellishments on ribbon in between the top and bottom.


Happy Sewing!

FollowFacebookpinterestrssyoutube
ShareFacebookpinterest

DIY Romper Time!

I decided it was time for the classic romper tutorial to come out.  I decided to make my first one with a free pattern of dinosaurs for my little cute nephew for his first birthday!  Now the size is 2-3t since he is not so little.  But you can easily adjust the pattern to your little ones size, just size it up with one of your little one (or big ones) outfit and adjust!  Easy Peazy!

Here are the parts of the free pattern..this is a 2-3t however just hold up a onesie or romper to the pattern and adjust for smaller or larger!

Also see the photo with the pieces cut out or the tutorial to see how they go together if you can’t tell!

  1. pieces

2. TopBody

3. BodyMain

4. BottomMain

And here is the link to the youtube tutorial as always!


Here is the written one besides what is written on the tutorial:

What you need:

  1. Fabric choice 1-2 yards depending on size. I used flannel fabric
  2. If you want an alternate color/fabric for for neckline and bottom (a stretcher fabric is best)
  3. Snaps/buttons/or velcro depending on what you want to use

Steps:

  1. Cut out fabric pieces as written out on the pieces.
  2. Take one main body piece and find the center by folding in half and one neckline piece (and fold it in half and mark the middle) and place pattern facing
    pattern and stretch and sew. Look at the pictures below to see how you need to stretch it and sew (it is not easy if you are a beginner but it just takes practice! Also, if the neckline is a stretchy fabric it is much easier)
  3. Line center to center


  4. This is the end result, do for both main pieces
  5. Turn to the backside of the main body piece and fold up and iron the seam line as shown below.  Then fold the top down and iron to make it easier to sew and pin.
  6. Turn it right side and either change pins to the front or be careful and take pins out as you sew bottom of collar
  7. Sew both necklines like this then we will create an envelope neckline.
  8. You are going to line up your front and  back body piece with finished necklines and measure from the top of each side 1 to2 in down and this is where the top of one side touches the other side and you pin together (this may not be true if you need a bigger opening or smaller based on head size, adjust opening based on head size). Pin this on both sides
  9. Fold sleeve piece in half and line up middle of sleeve piece (the curved part facing outwards as shown) and where the collar intersects with pattern facing
    down and stretch and pin (see pics)
  10. Then sew using a zig zag stitch (which keeps it strong).  Do this for both sides and it will look like…

I then added double sided bias tape, for convenience and time saving, to the outside of the sleeve edge.

19. Body pieces and sleeve pattern facing pattern, pin around sleeve and down straight to bottom again I used the zig zag stitch. Then I trimmed the sides. Then you can iron it out.

20. Turn your project to the backside and take your football piece and fold in half and line up middle of football with middle of opening pattern facing pattern, pin middle and stretch and pin around then sew.  Make sure the front piece is pushed out of the way (you don’t want to sew it shut! Just sew onto the back piece


21. Take two of your leg banding strips and line up pattern facing pattern and sew the outside 1/8th straight stitch and then do this for the other two as well and turn right side out and iron.

22. The binding piece ends up in the inside and it is used for the buttons or snaps (you can alternatively use fusible interface)

23. Next take your one banding piece and line it up with the front bottom with the fold on the inside and then stretch and sew (see video if this is too confusing!) You pin the outside and sew 1/8th zig zag around

24. Now you will sew 1/4 inch around (the white part as shown will now be in the inside after you do step 23.

25. Next (phew we are getting there- keep going!) is the back banding strip, Same method for the back piece, except you just sew the one time and not the second sew around as in setp 24 because of the flap (you will see what I mean after you do the first sew.

26. I hemmed the bottom leg openings and then did my snap buttons using the hammer method!  I used thick material for the banding which I regret (also that it was not stretchy!) I had to use bigger than normal snaps to get it through the fabric!

Congrats you did it!  Let’s see some pics!


FollowFacebookpinterestrssyoutube
ShareFacebookpinterest

DIY Superhero Cape!

Superhero cape time!  You can make an easy superhero cape in less than 15 minutes!  My daughter needed to be distracted in a fun way while I needed to care for her baby brother, so we pretend to be superheros who fetch diapers, plastic bags, and bottles for baby brother!  Also, her dolly had to have a super cape too! So I went to the fabric store and found the perfect superhero fabric!  The fabric has a great design and also is very stretchy and does not fray easily.  I also bought double sided bias tape in gold for the outside.  Her dolly also needed a superhero cape so I designed a small one for dolly.

As usual, there is a written and youtube tutorial for this cape.  I only used one side of material but you can easily do two fabrics (this is outlined below). Enjoy!


What you need:
1) Fabric (one or 2 different cuts 1/2 yard each)
2) Velcro or your preferred method to connect
around neck
3) Optional: Bias tape and/or monogram


You can decide on the best size by either knowing your childs height and how wide you would like it, or you can always look at their clothes! I do outline the length and design in my video and written tutorial.

  1. I made the cape for my 2.5year old but it ended up being very big, big enough my German Shepard dog could wear it!  The sizes I use could most likely fit up to a 4t.  Fold 1/2 yard of fabric in half.  Measure long way 26inches long (this was a bit big for my 2.5yr old but still worked) and cut straight across. If you are using two fabrics (one for front and one for back), repeat this whole cutting process.
  2. Then measure about 4 inches down from the 26inch top and cut in and up for the connecting part of the cape (mine was a bit big for my 2.5 year old but she will grow into it!)
  3.   If you are using two fabrics take both sides and cut and then face each other and sew all the way around except leave a 3 inch opening (as with all other projects with two fabrics).  Then pull the fabric through the hole and sew hole shut (make sure you push out corners).
  4. Next, I took the bias tape and sewed all the way around (pinning it first).
  5. Lastly, I ironed on the Velcro sections with the softer side facing on side downwards (that way if its too big at one point it is not rough on the skin). You can also use snaps or any other closing you would like.
  6. And that is it!  Pretty easy just eyeball the size or you can measure your little one!  Enjoy!
FollowFacebookpinterestrssyoutube
ShareFacebookpinterest

DIY Bandana Drool Bib

Once the drool starts it doesn’t stop!  I saw an adorable bandana drool bib in a store and thought, I could easily make that!  And you can too!  It is a simple 5 to 10 minute project that makes a great gift and a fantastic accent and cute and functional accessory for your little one.


As always, there is a youtube tutorial and the written steps on here!  Hope you enjoy!


This is for size 6months to 12months.

What you will need:
1) Two Fabrics (one side needs to be absorbent). I used a cute flannel fabric and then a yellow fleece material for the back.
2) Velcro or snaps to hold it shut

  1.  Fold your fabric in half. Cut out two triangles, one with each fabric (you can use my measurements or compare to your bib size for your little one) .  I used the measurements of  9in long and 7 1/2in on the fold.
  2. Next, you are going to make a cut for the neckline about 3 inches in from the side
    and 2 inches down the fold.
  3. Cut the little triangle off the very end, abut half an inch, this is where the velcro will connect.
  4. Take pattern side facing pattern side and sew all the way around leaving a small
    opening around 2 inches (this is where you will pull it right side out)
  5. Now pull it right side out and hand sew the hole shut and VOILA! drool bib
    complete!
  6. Iron press it!  You can also go around the whole outside and sew it if you like for the design look!
  7. Next you want to attach either your velcro or snaps.  I have iron on velcro I used.

Hope you enjoyed this tutorial, if you have questions just post! Thanks


FollowFacebookpinterestrssyoutube
ShareFacebookpinterest

Summer Bee Dress

Cecelia’s Summer Bee Dress

This lovely summer spaghetti strap dress was suppose to be made in time for my sister in laws baby shower in June.  However, I was unable to finish it due to my water breaking early and being hospitalized.  I finally finished it and love how it turned out!  I free handed the design and sizing.  I meant for it to end up as a 2t size, but as you can see it’s a bit big!  This works out great since its winter and not summertime!  She can wear it this upcoming summer.  I can’t wait for the warm spring and summer to come!  Bulbs and flowers emerging and gardening time, but let’s get back on track.

As always there is a youtube tutorial and this written one.  I do not have a pattern as a freehanded it and designed the pattern myself as I went.  I used one of my Cece’s dresses to size it and make part of the pattern to guess the sizing.

Unfortunately, a lot of the video tutorial was accidentally videotaped over with my baby boys arrival home (sorry more important anyways!).  So I videotaped again trying to explain the best I could.  If you have questions please let me know!  More great videos to come soon!

What you need:

  • Chose of fabric colors and types (I chose three colors
  • 1/4 inch elastic (for gathering of the top of back of the dress)
  • Bias tape (or you can make your own like I did)
  1.  First you want to cut out your fabric pieces.  I looked at another dress I have for my little one and based the main front and back piece by measuring and estimating the sizing.  Then I cut the bottom piece I needed which ended up being about 40inches long and 4 inches wide (for the ruffle on the bottom). I ended up added another color (black) on the two sides of the dress.  Then I also cut out fabric to make bias tape (here is a good tutorial on making bias tape if you’ve never made it before..BIAS TAPE TUTORIAL. )
  2. Take your strap (black piece) and sew it to the top piece and bottom piece.  Pattern piece to pattern piece (facing each other) sew the bottom to the strap
    then the top.
  3. I made my own bias tape by cutting and ironing the fabric.  Then you proceed to use it to line the top of the dress (sew it on!). Then sew up the armholes and long to tie…estimate how long you want the straps to be to tie behind the neck (longer the better!)
  4.  
  5. Take the back side and sew two black (or whatever color you choose) by sewing
    facing pattern sides together
  6. I decided to add a small piece of fabric above the black strap to make it higher .  If you want, sew and connect.  Then place from and back piece facing each other and sew to connect from and back.
  7. Add elastic to back piece if you want it ruched and tighter.
  8. The last part is the bottom ruffled part.
  9. Hem the bottom first about 1/8inch
  10. To gather your fabric put your machine on the longest thread setting make two
    straight lines (Do not reverse!). Roughly 1/4 and 1/8 inch away from the top.
    Leave long threads on the ends.
  11. Next you knot the bottom of the back side of the threads so you can gather, just the two in the back (not the front).
  12. Pull the bottom threads from the other end and slide the cloth along the threads toward your knot making small folds. When your cloth has been
    gathered the way you want it, knot the ends securely with each other.
  13. Sew pattern side to pattern side all the way around.  Then you can zig zag around (or you can zig zag before attaching (this prevents fraying).
  14. Then you are finished! Great Job!  Have fun! Post your pics!
FollowFacebookpinterestrssyoutube
ShareFacebookpinterest

Hooded Dress (Christmas Theme)

So I didn’t want the same old fancy dresses for Christmas that take FOREVER to make and are uncomfortable.  Therefore, I strolled around the fabric store looking for inspiration.  A tan plaid red and green pattern caught my eye.  For some time I have wanted to make a plaid dress for my little one, but haven’t found the right fit.  However, today, I thought to myself, “How about a comfy hooded dress in plaid?”  And so, the Christmas Plaid dress was born!!!

IMG_3377 IMG_3379 - Copy


I designed the dress myself, so be patient with the video since sometimes I change my mind after completing part of the dress.  Oh, you’ll see what I mean when you watch it!  As always, there is a youtube video tutorial and a written and picture form.  The dress pattern is listed below and is a sketch I made of it.  There are several sizes on there, but you can always adjust it by measuring your little one or making it bigger or smaller by moving the lines.


What you will need:

  1. The pattern found here–> dress.jpg
  2. Fabric (around 1 yard)
  3. Thread
  4. Sewing machine and scissors
  5. Optional: ribbon, bias tape, buttons, felt, any other decorations, Velcro for hood


Lets get started!

  1. Print the pattern and cut out the right size (note: make sure it is the right size for your little one by measuring)
  2. Cut your fabric patterns out as instructed (decide if you want a hood and if you want it detachable.  Also decide if you want long sleeves or no sleeves)
  3. You can serge or zigzag stitch around all the pieces of fabric to prevent fraying. IMG_3287
  4. After zigzaging or serging, sew the top part of the pocket on the main pocket
    parts
  5. If you want a button on your pocket sew them on now before you attach it
  6. Next, make sure you align your pockets on the dress front by measuring in from the sides and from the top and bottom to get them as even as possible.
  7. You can either fold your pocket edges and sew either a straight or zigzag stitch around the pocket leaving the top open, or you can just stitch around it as I have done since I liked the look for the plaid dress.
  8. IMG_3310 IMG_3311
  9. For the hood, have the pattern facing each other on the inside and sew the rounded edge!
  10. Snapshot 1 (11-17-2015 10-01 AM)
  11. Flip right side out and hem or add bias tape to outside
  12. You can sew your hood on fabric pattern facing fabric pattern and sew across and flip right side out, or you can use buttons or velco. You will need to either make button holes or put velcro on the back of the dress to hold the hood.  I used iron on velco.  Note**If you are sewing it on wait until after you sew the front to back**
  13. The front collar of the dress needs to be hemmed or sew bias tape on it
  14. Snapshot 2 (11-17-2015 12-39 PM)
  15. Next, is to sew the front to back of the dress.  If you want the top of the dress to be velcro as well, you can have a jumper (but you wouldn’t have sleeves so skip the sleeve part).
  16. To sew it together, turn patterns facing each other and sew . Also line up sides and pin and sew down underneath the sleeve opening. Then turn right side out.
  17. Snapshot 3 (11-17-2015 1-23 PM)
  18. If you are not doing sleeves, you want to hem or use bias tape on the sleeve holes after sewing down the side. If you are not doing sleeves then hem or use bias tape around the bottom and you are all done!
  19. If you are doing sleeves, turn pattern facing pattern and sew.  Then turn right side out.
  20. Sew the sleeve sides together by facing pattern side to pattern inside. Do not sew the curved part as pointed to in the picture below. Then turn right side out
  21. Snapshot 4 (11-17-2015 7-51 PM)
  22. Turn your body of the dress inside out. Have your sleeve right side out.  Place your sleeve inside the body with the curved open part lining up with the
    armhole.  Sew around.
  23. Snapshot 5 (11-17-2015 7-57 PM)
  24. This picture shows that you want the sleeve facing downward inside the body of the dress.  the larger end to the hole and the smaller end (where the hand comes out) facing downwards.
  25. You can hem or use bias tape on cuffs of sleeves and bottom of dress.  Then add any embellishments you want and wah-la you are done!IMG_3446
  26. Congrats! Feel free to post your pics below!
FollowFacebookpinterestrssyoutube
ShareFacebookpinterest

1st birthday dress!

I wanted that special 1st birthday dress, but not that especially high price that comes with most of them!  So once again, I searched pinterest, etsy, and other sites to find ideas.  I ended up combining ideas, as well as making up my own, to design with the dress I created. The theme was rubber duckies for her party.  Therefore, I wanted to incorporate duckies as well as other birthday fabrics.  I went to the store and examined numerous fabrics, buying  a yard of my favorites!  The extra fabric I ended up using to create the crowns!

IMG_2549

I purchased the iron on birthday 1 and ducky from etsy.  The number is even personalized with her name!  I also bought the duck buttons from the store.  I used white hair bands that I cut to make the loop holes for the buttons on the top of the shoulders.

IMG_0057 (2)

So how did I make this dress?  Well that’s a secret! But I can give you some hints.  If you are truly interested in a dress like this you can private message me or come back and look for my future etsy link!

IMG_2455 IMG_2453

The skirt of course took the longest because of the detail.  I added yellow ribbon in between the rows as well.

IMG_2459

Then I added the cute duck to the back of the dress.  Personally, this dress could be used as a 2 in 1 dress because the back is also so cute!  However, the 1 in the front personalized this as a 1st birthday dress.


IMG_2457Well check out the other tutorials, as well as the 1st birthday party theme page for more ideas! Feel free to share pictures of your little one’s first birthday dress!

FollowFacebookpinterestrssyoutube
ShareFacebookpinterest

Sewing machine tutorials!

New to sewing?  Want to learn how to thread your machine?  Then, you have come to the right place.  Yes this may be a little boring for some, but I found similar help at different sites and decided to put it all together in my own way for anyone new to nursing.

So if you don’t fall asleep along the way, you may learn something!  :op

Below are three tutorials on using your sewing machine.  This particular tutorial features the brother xl model, which I highly recommend as an affordable and easy to use first machine that has more advanced properties as well.  However, if you have another machine, it may be quite similar so you can follow along!

machineSo here is a basic diagram of the machine I made that outlines the important components.


This is a video on the basic parts of the machine and what buttons are used most.


Next, is a video on how to thread your bobbin!  Don’t worry it gets much easier each time!


Lastly, how to put everything together!  This tutorial demonstrates how to thread the machine and start up!


Good Luck and Enjoy!  More tutorials to come…

FollowFacebookpinterestrssyoutube
ShareFacebookpinterest