I’m sure you have seen the advertisements and blogs about making your own play dough, I sure have. I always think, “That cannot be good play dough and how long does it even last?” Well, one day I decided to make it for myself. Actually, my 2 1/2 year old and I made it.
First things first, let me give you some advice:
- It is messy to make (especially with a toddler)
- Use an old pan (it can be hard to get the dye out!) and an older wooden spoon if possible
- It is totally worth it! The play dough is awesome. Much smoother, easier to work with, and does not dry out as easily. I was very impressed.
- The play dough will last longer if you keep it in the fridge and can last 6+ months. You can leave it out in an air tight container as well, but it will not last as long.
Okay, lets get to it!
What you will need:
- 1 Cup of all purpose flour
- 1/2 cup of salt
- 2 teaspoons of cream of tartar
- 1 cup water
- Food coloring (or natural or any dyes you would like to use)
- 2 tablespoons of any cooking oil (even coconut oil works!) I used canola
Warning** Once you start the process it goes quickly so I suggest you read the directions once or twice and have everything ready before you start**
- Combine the flour, cream of tartar, salt to a saucepan and mix (the heat is off)
- Add the water, oil, and food coloring
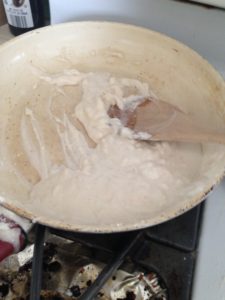
- Turn the heat on low to medium and stir away (a wooden spoon seems to work best) (it may get stained!)
- Stir it until it gets thicker like play dough or like sugar cookies
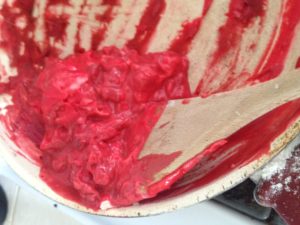
- Then turn the heat off and let it cool a couple minutes
- Knead it a little and it should roll easily into a ball. Store in the fridge for it to last 6+ months in an airtight container or ziplock bag. You can leave it out in an air tight container but it will last longest if its in the fridge.
- Okay enjoy!
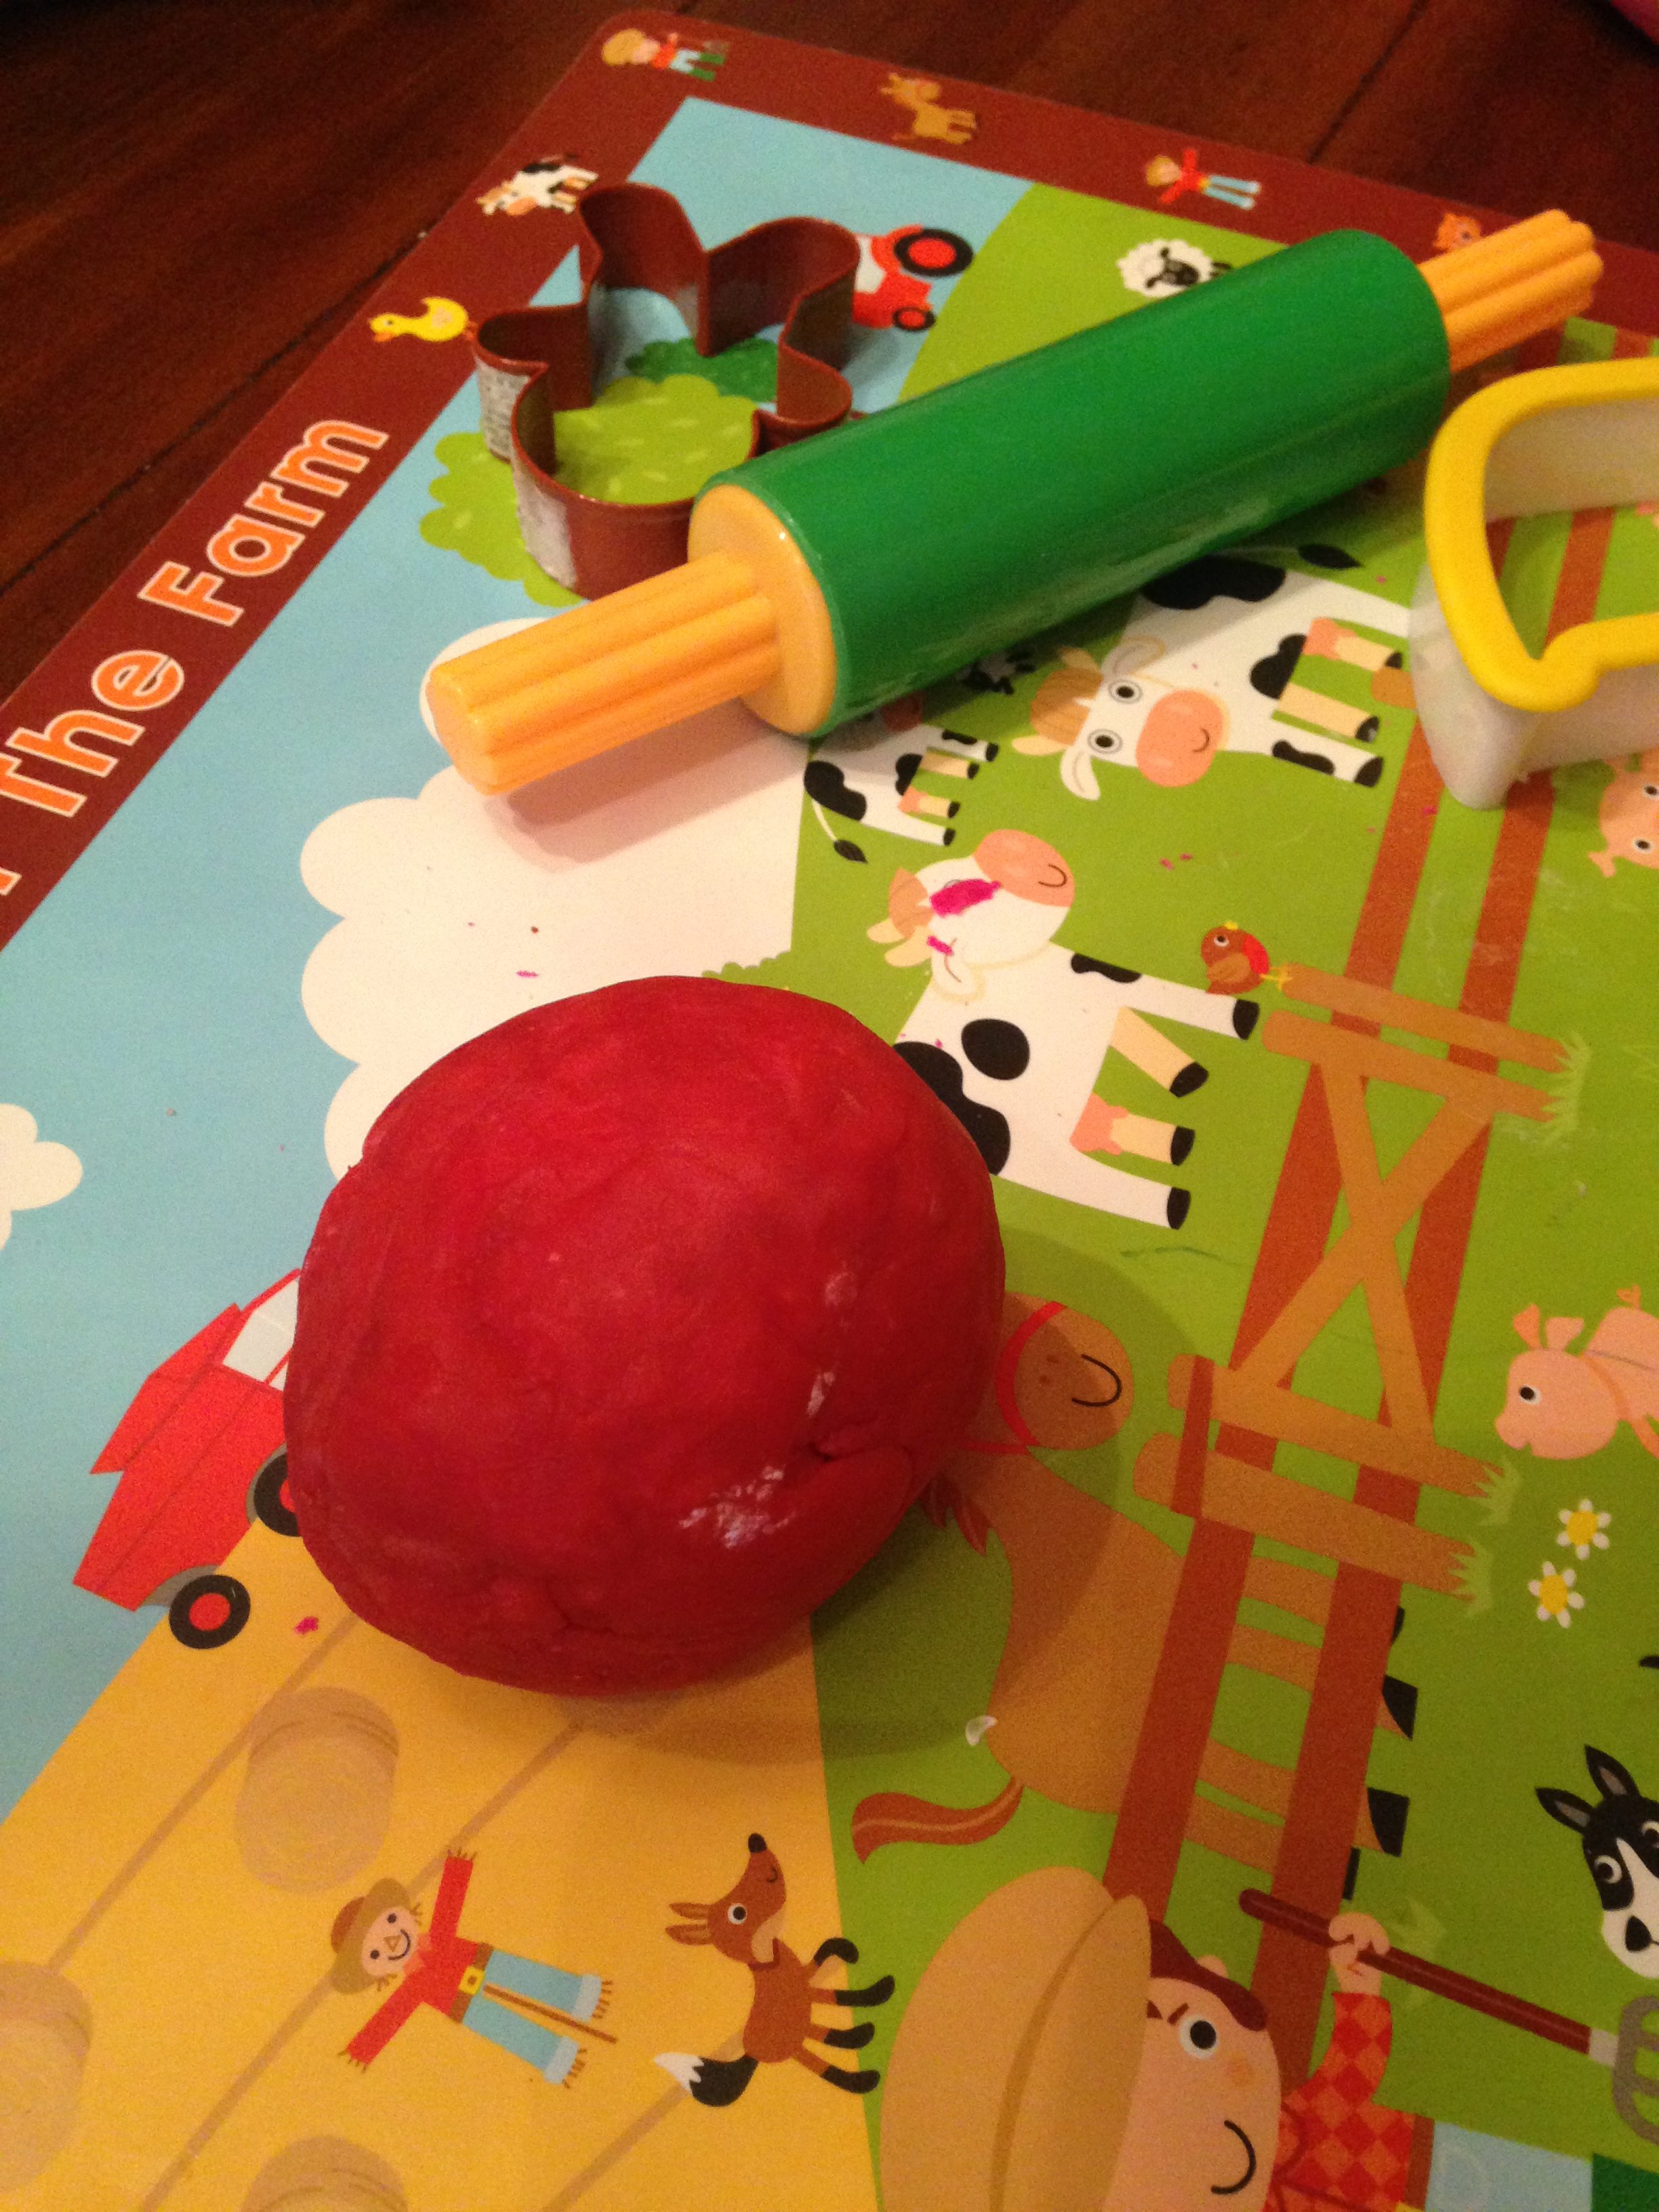
- The quality of the play dough was much better than store brand and easier to roll. I love it, and so does Cece!!


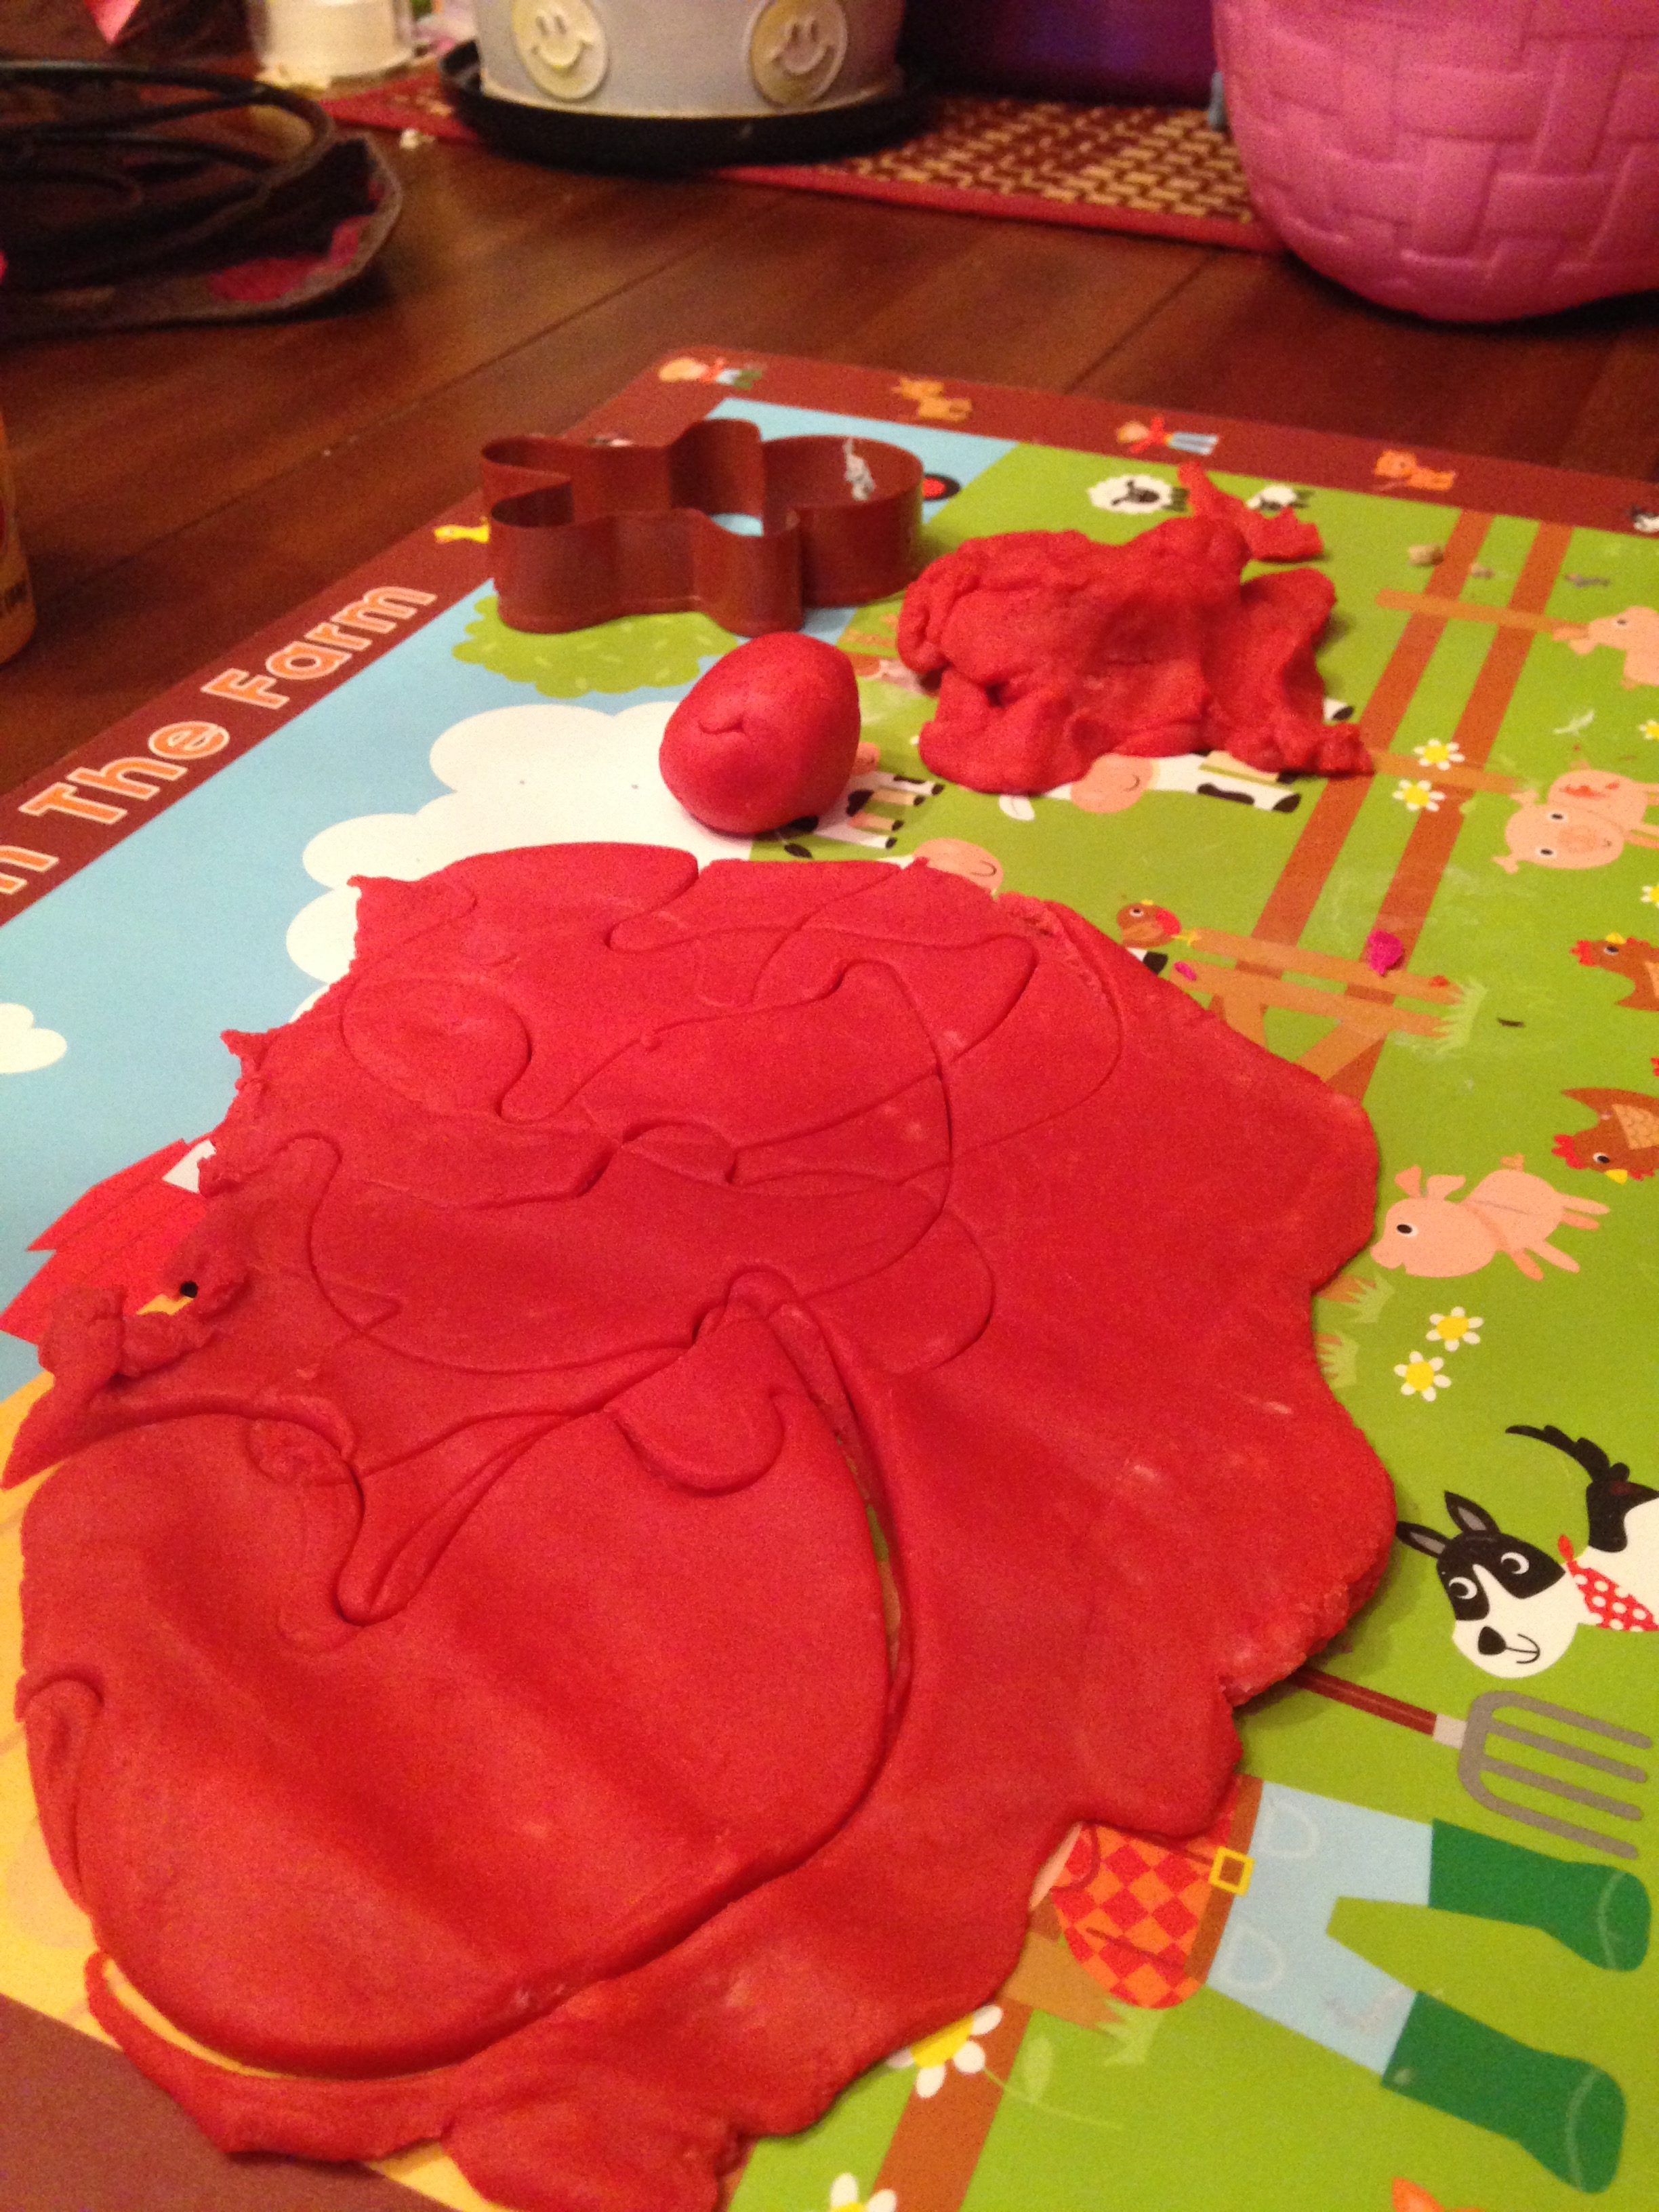
Cece enjoys using a rolling pin and cookie cutters to make shapes!
FollowShare