It’s finally fall and pumpkin time! Toddlers LOVE holidays and what a great way to get ready for trick-or-treating by decorating pumpkins! Obviously, toddlers shouldn’t be holding knives to make jack-o-lanterns so there are many fun alternatives!
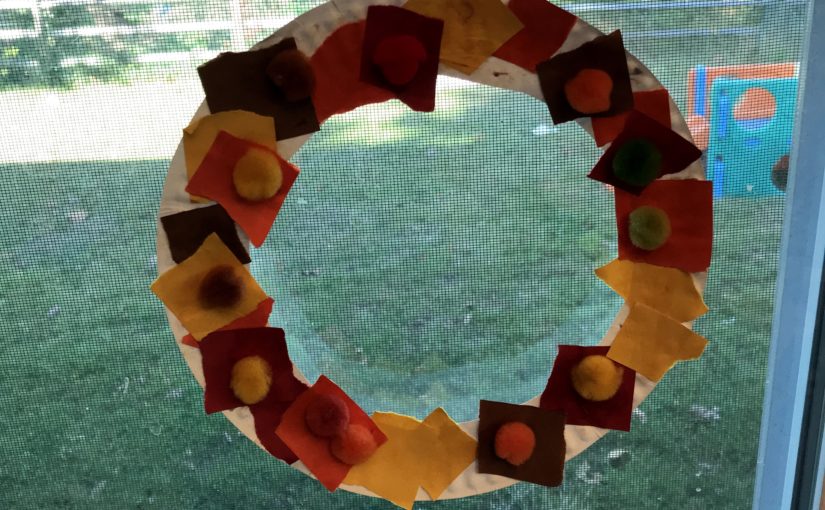
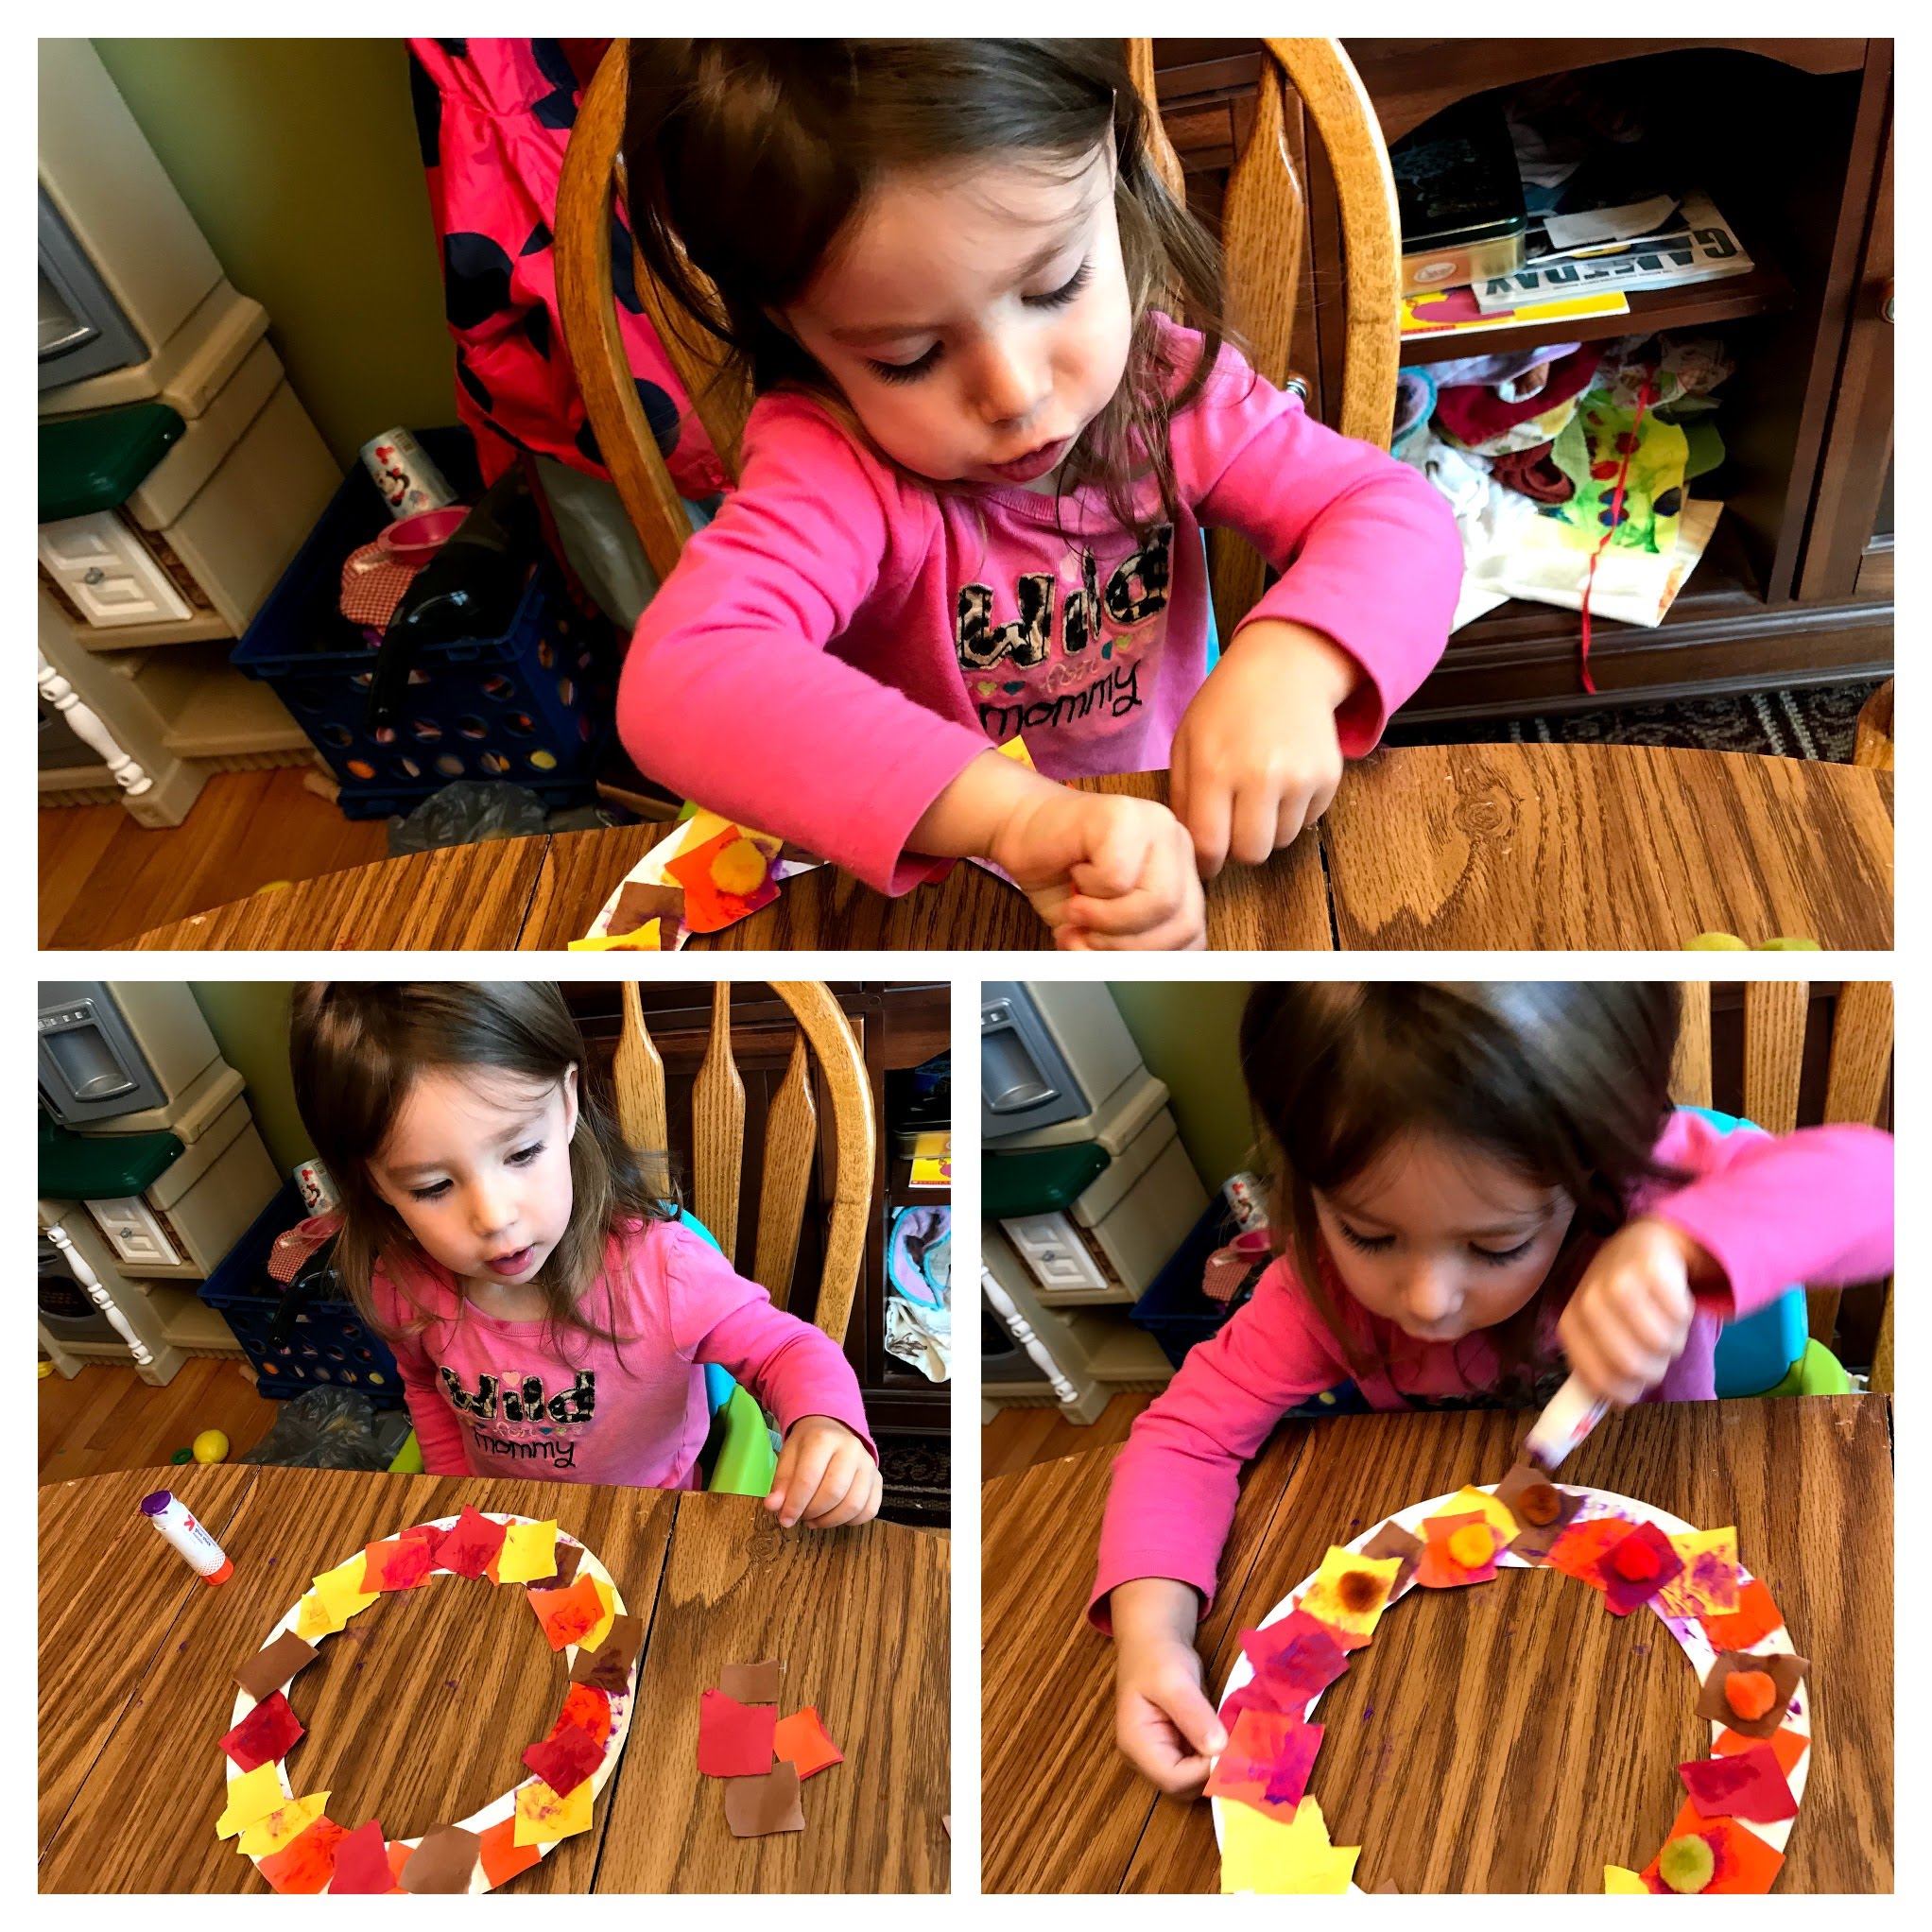
You can have your toddler paint a pumpkin, add stickers, pom-poms, and many other accessories instead of the normal jack-o-lantern.
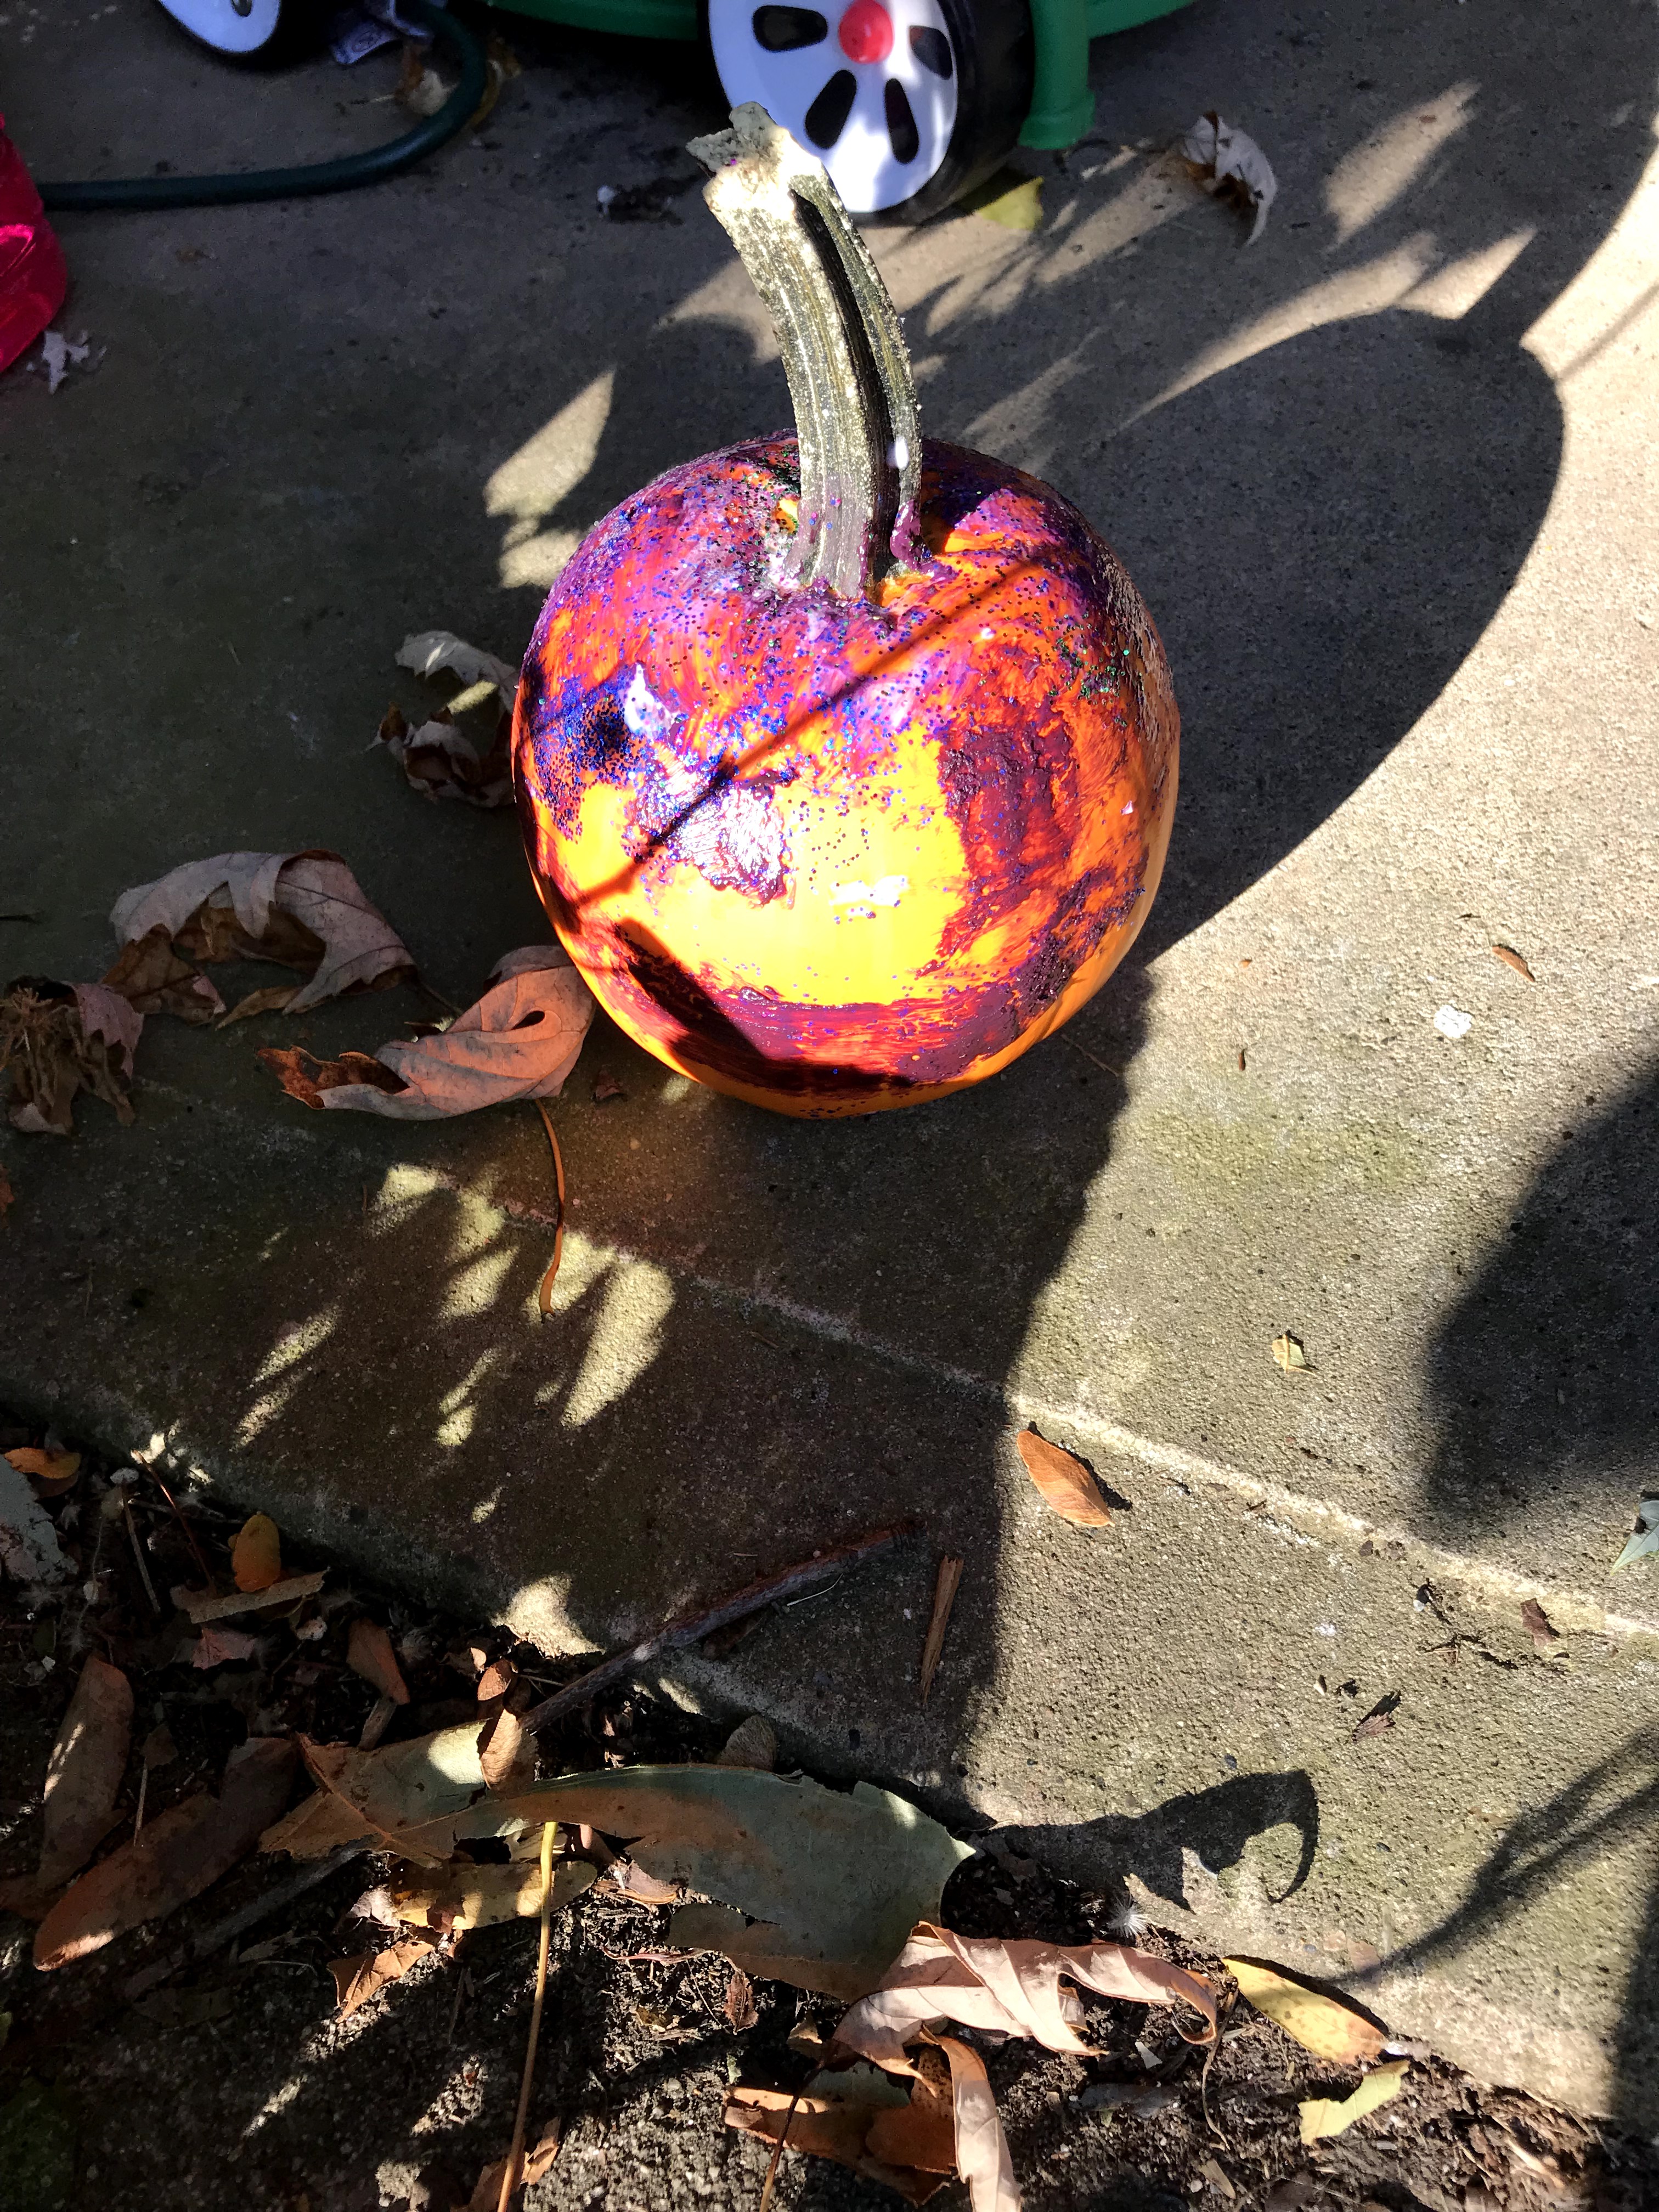
Or….you can have them make sparkle pumpkins! My daughter LOVES glitter, I mean who doesn’t? Okay, maybe we don’t, especially when you have to clean it. However, this is a perfect activity for outside in the cool, crisp fall weather.
What do you need for this activity?
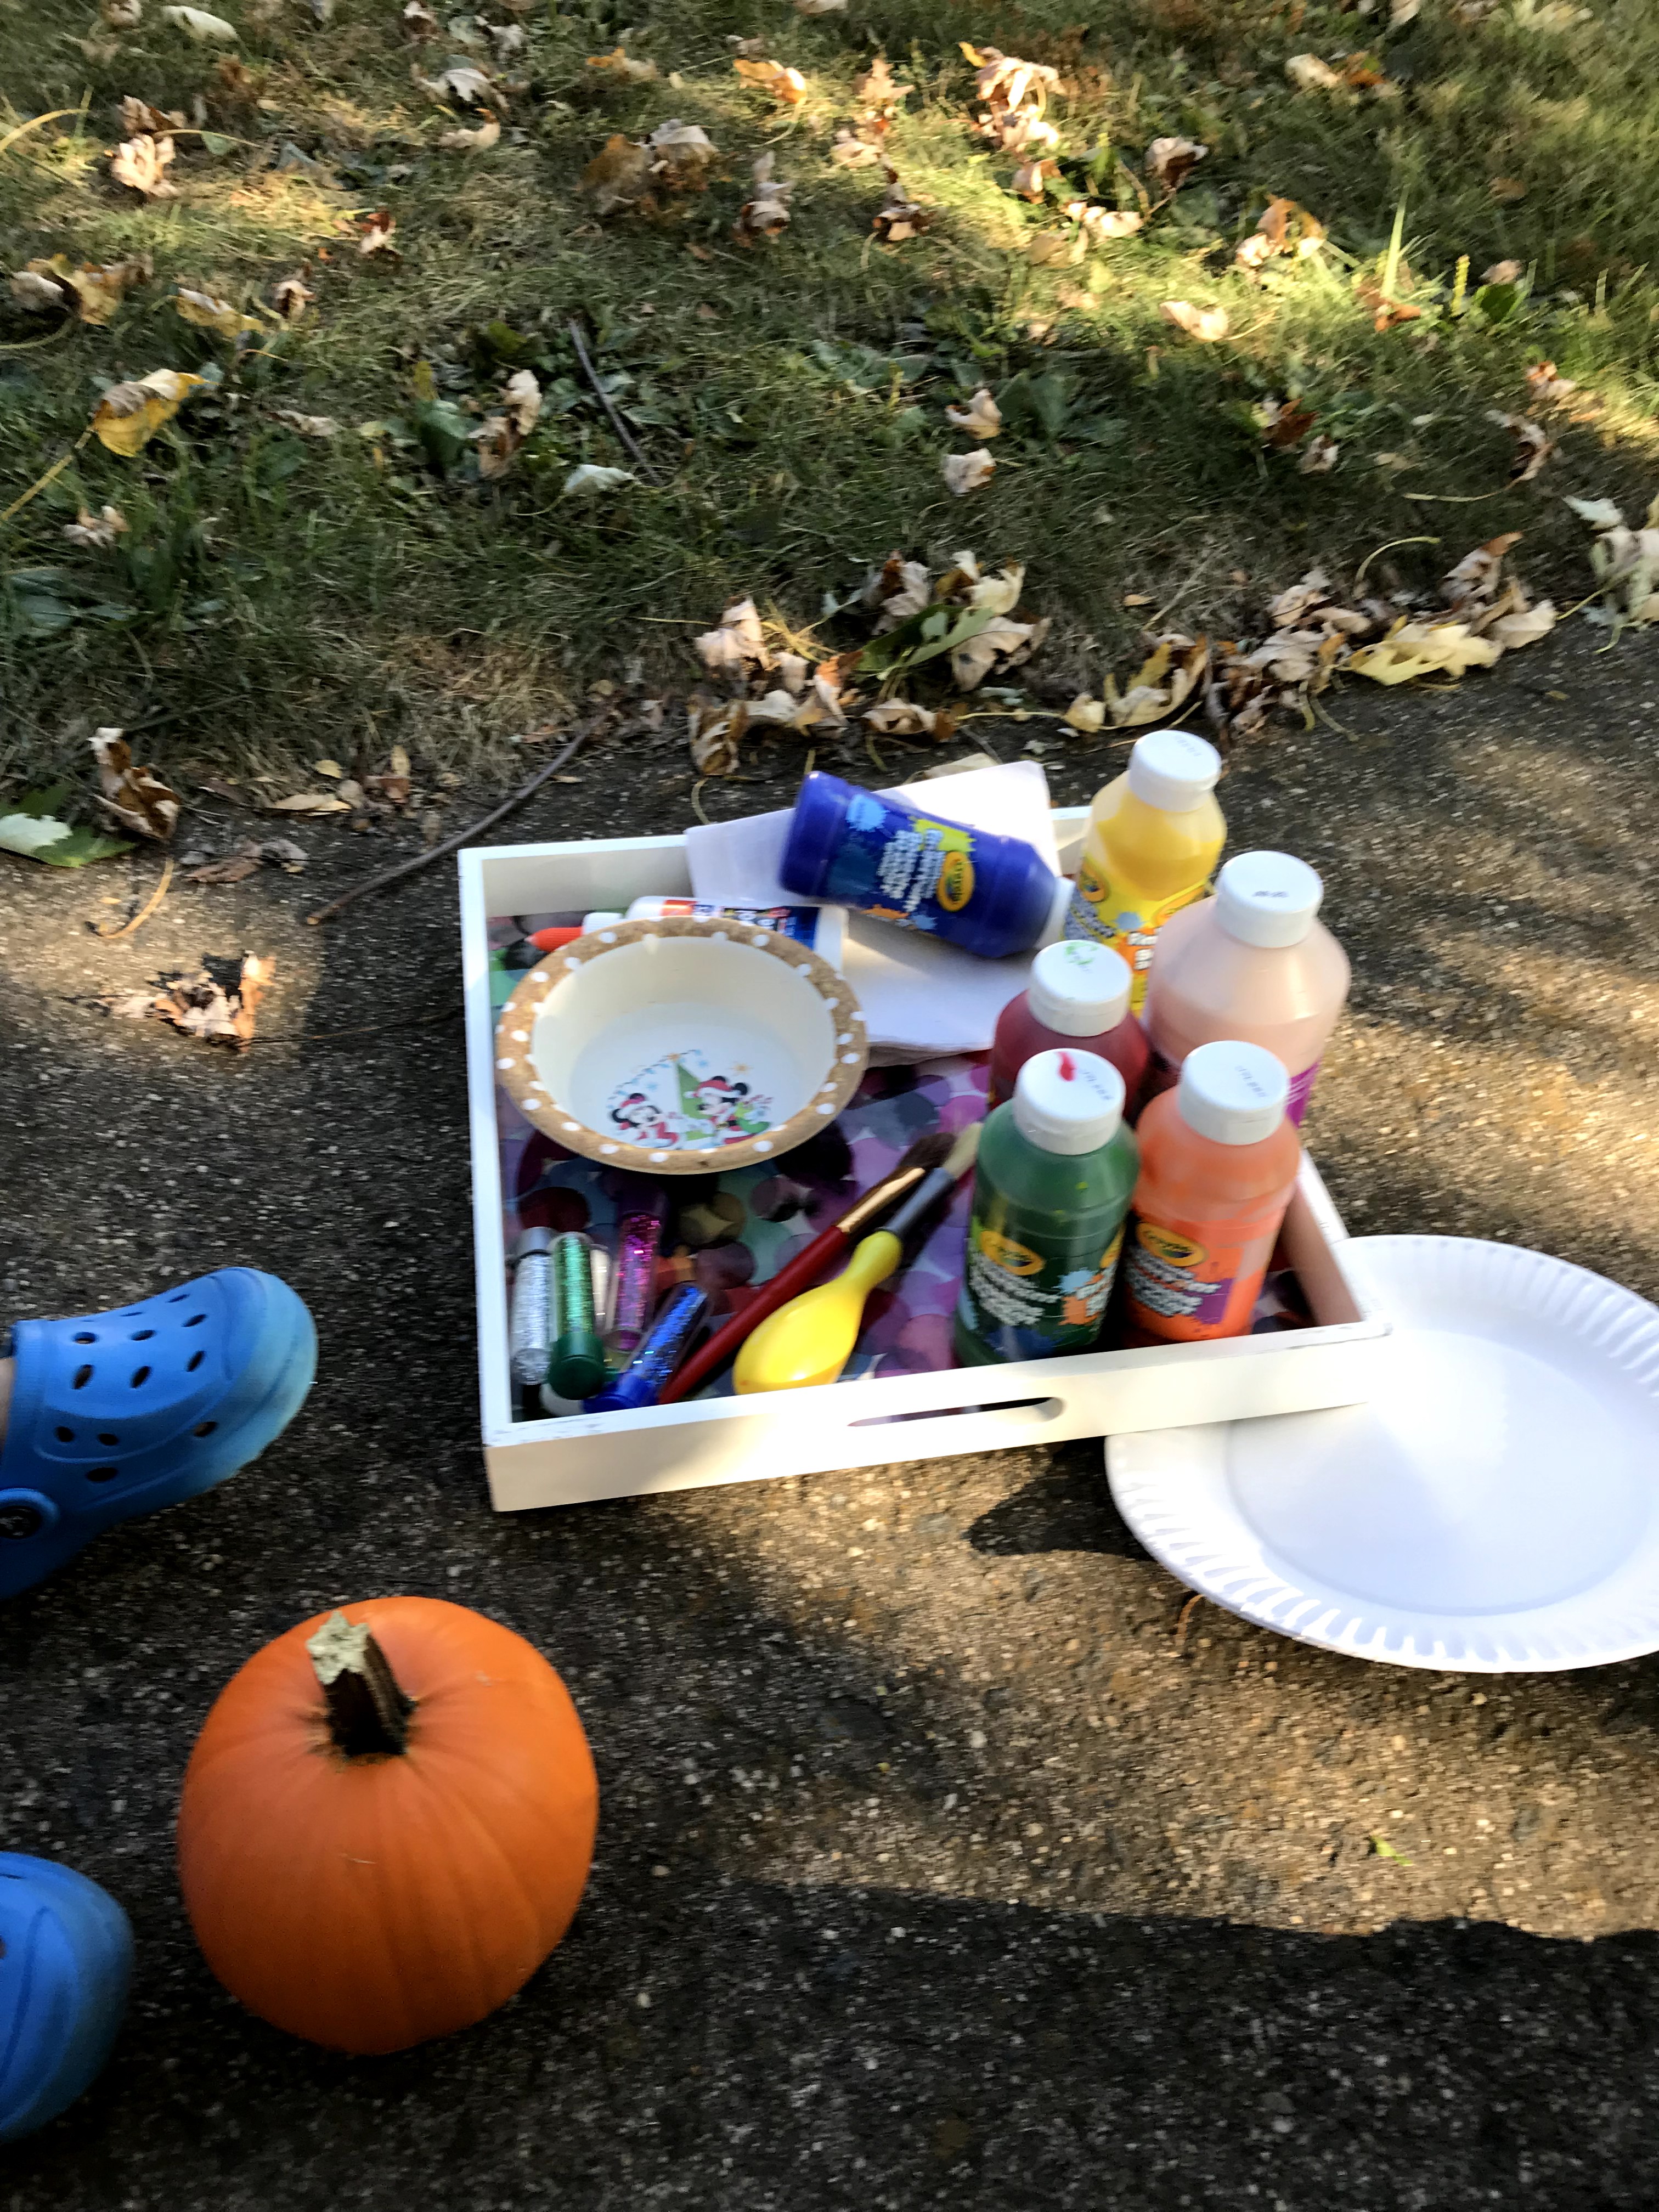
A pumpkin of course! Other materials you need are paint, glitter, glue, and brushes. You may want a paper plate or something you are using to put the paint on to mix it with glue. Glitter is a very important part of this activity! We used various colors.
First ask your child what color they want to start with! Add HALF glue and HALF paint concoction together. Mix them with the brush. The glue helps the paint stay on the pumpkin and not flake off. It also helps the glitter stay on. Your child can have fun painting their pumpkin!

Let them paint to their heart’s content, then have them pick a glitter color or two.
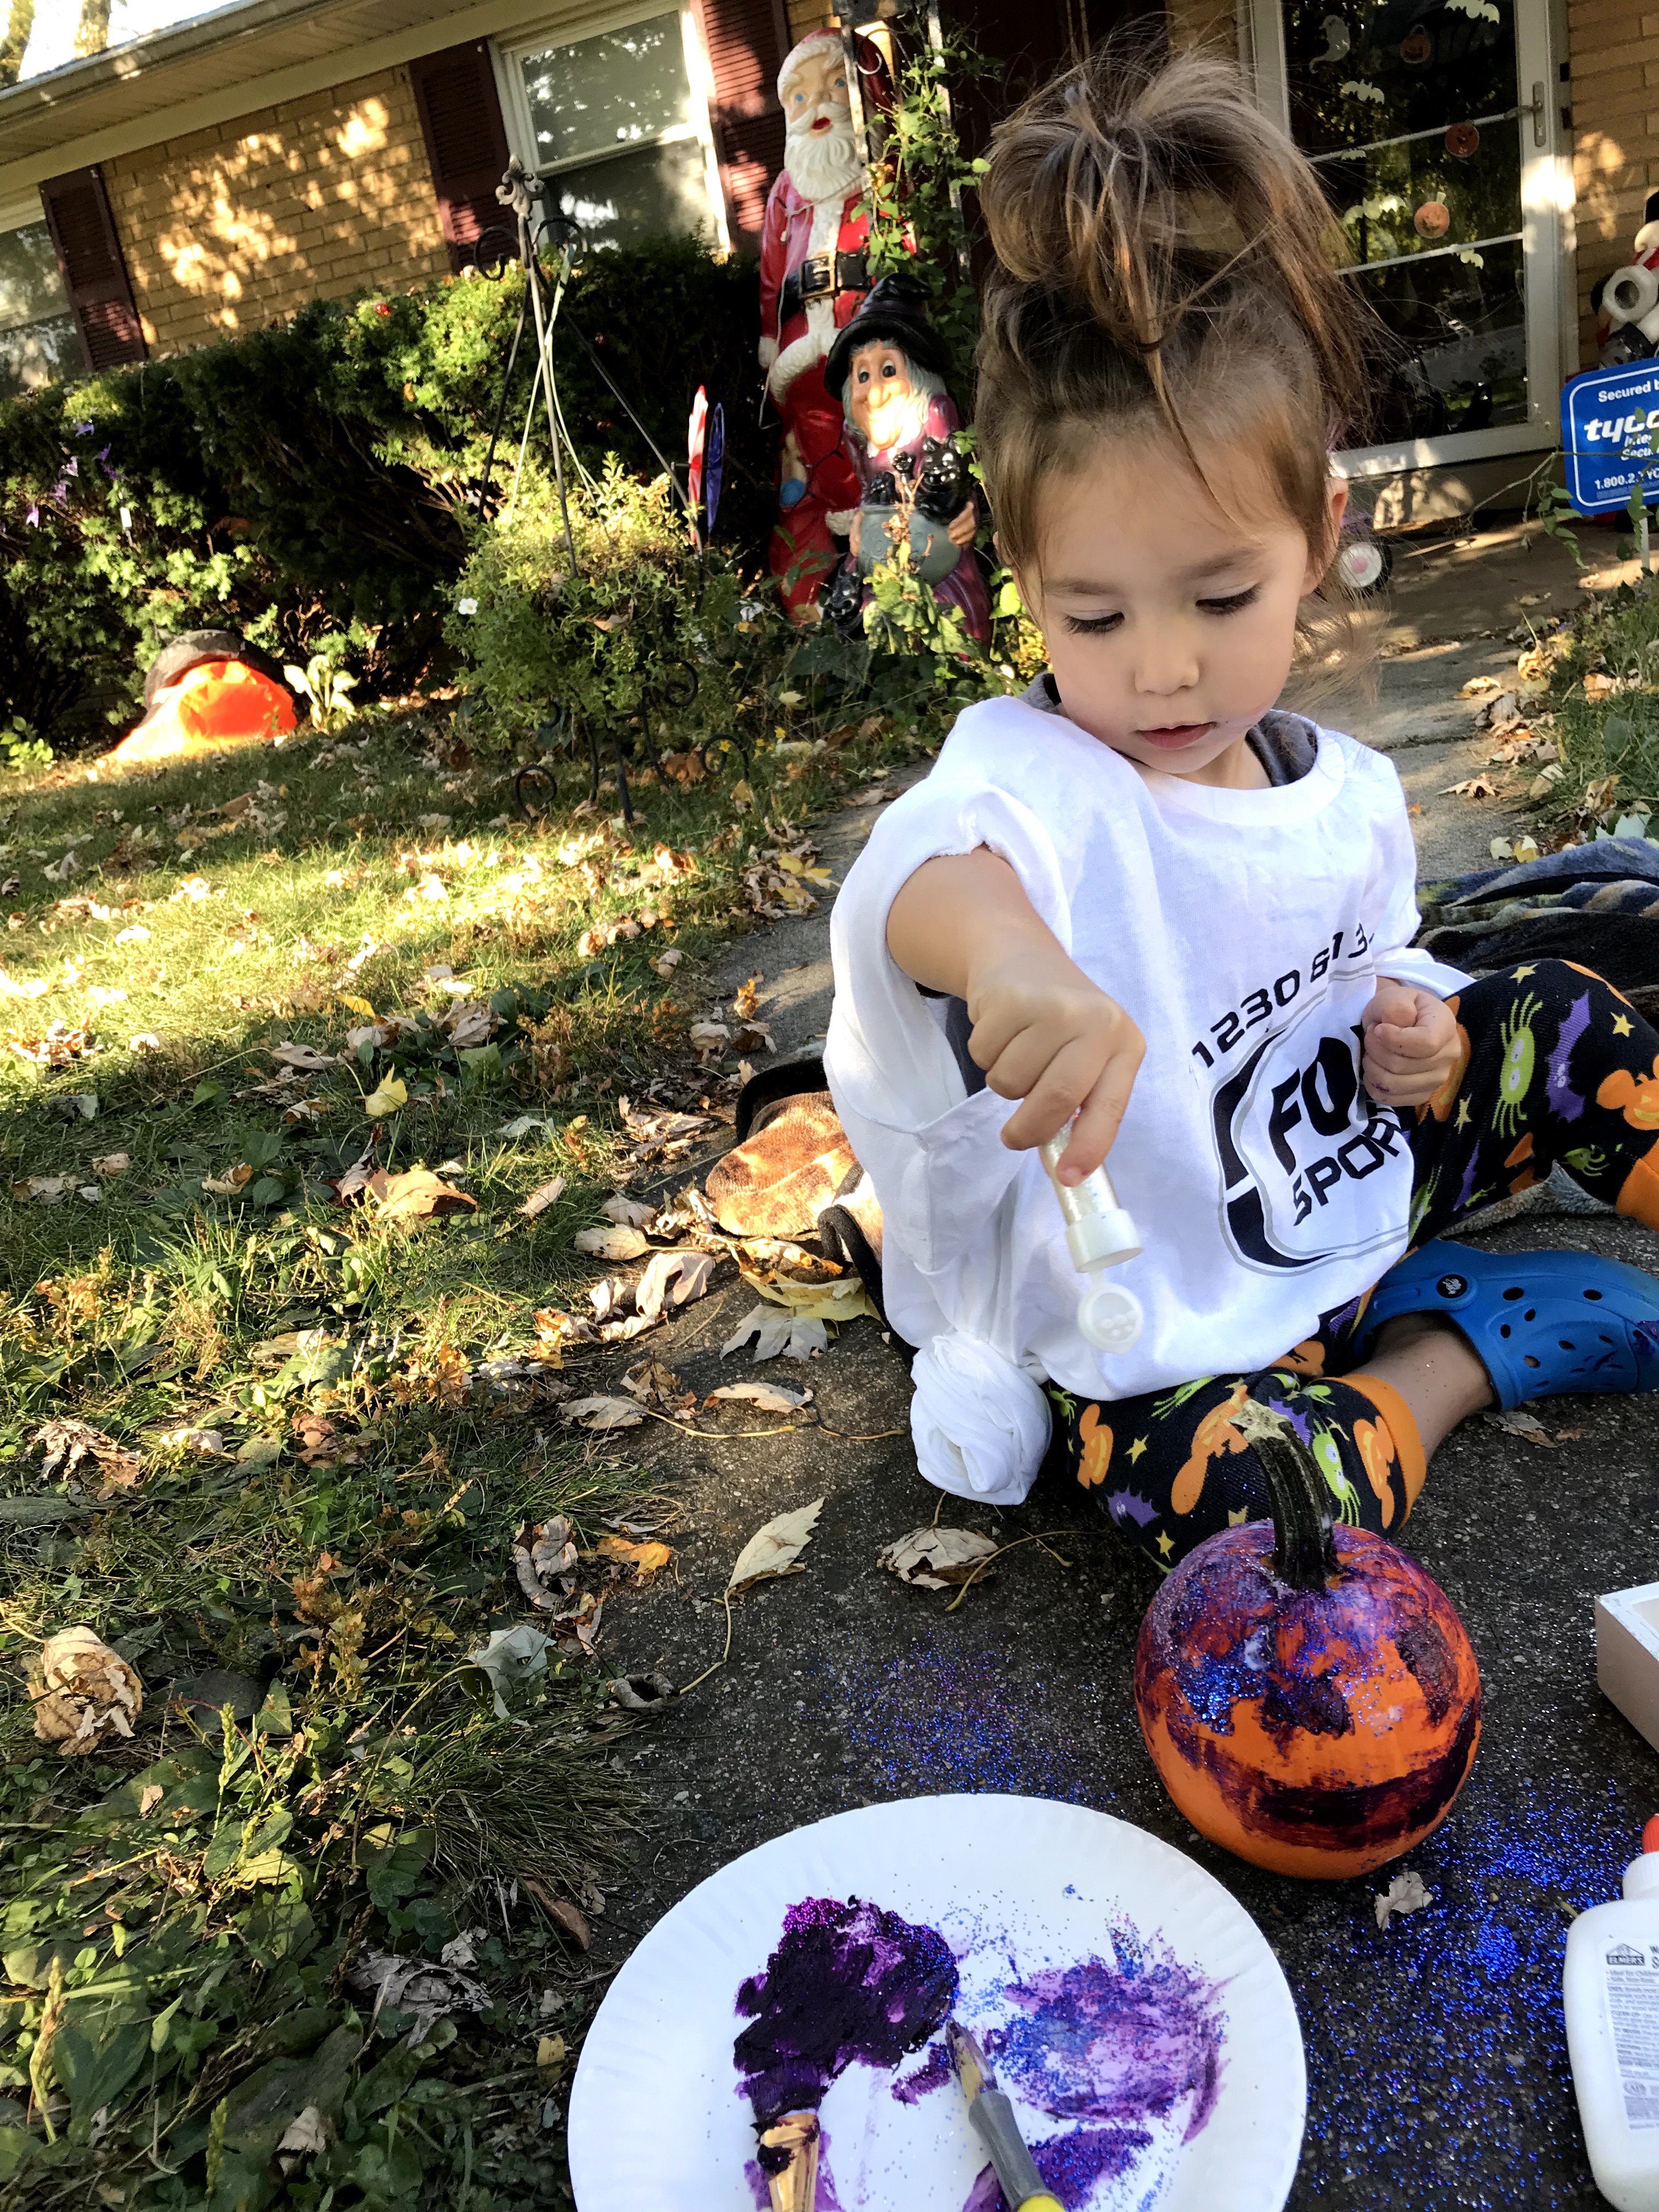
Madison spread the paint pretty thin, so I went ahead and put some liquid glue on the plate and had her brush the glue over the paint. This allowed the glitter to stick better. She just shook the glitter over the pumpkin (and all over the sidewalk).
I recommend you keep the pumpkin out of the rain!
ENJOY!
FollowShare