Rain cloud in a Jar

My daughter can’t get enough of science experiments. She will ask for one after another. I don’t always have all of the ingredients around but rain cloud in a jar is a simple experiment with materials you will have on hand!

You will need:

  • blue food coloring (or hey-you could do any color, go for the rainbow)
  • shaving cream
  • dropper
  • water
  • clear mason jar/vase/glass

Fill the glass jar with 3/4 cup of water (leave room for the “clouds” aka shaving cream). Next put some shaving cream on top. We went a little crazy as Maddy wanted a giant cloud (cumulus-big, white & fluffy).  You could also talk about the different types of clouds: cumulus, cirrus, stratus, nimbus. There are more clouds but those are the main 4 and that would be more for older elementary students. This cloud demonstration could be fun for any level!

After putting the shaving cream on top get a bowl or small cup and mix a few drops of food dye with water.  This will be the rain.

Have your child use the dropper to get some rain and put it on the clouds. This works best if you insert the dropper about half way into the clouds and squirt it out.

Soon they will see rain fall through the clouds when they get so full of the water they can’t hold it anymore!

This can be repeated with different colors and different amounts of liquid. You can have your child hypothesize what they think will happen before they put the drops in and make a conclusion afterward.

The science behind this: Clouds are made when water vapor (gas) turns into liquid water droplets. They form on little particles that are floating in the air (like dust).

If you see puddles outside but then they disappear where did they go? They evaporated (liquid to gas-water vapor). The water vapor travels through the atmosphere to create the clouds. When too many water droplets are in the clouds and it gets saturated, it rains. This is a very simplistic version of some of the water cycle but if you want to dig in more I suggest going here: https://www.nasa.gov/audience/forstudents/k-4/stories/nasa-knows/what-are-clouds-k4.html .   If you scroll down there is also a link at the bottom of that website explaining how clouds form for kids in grades 5-8.

FollowFacebookpinterestrssyoutube
ShareFacebookpinterest

Summer Yum

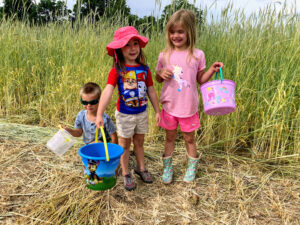
Summer is a wonderful time to pick fruits and veggies! Kids love picking (or eating them as we are picking like my daughter).

To start off the summer we went strawberry picking: yum!

Some things to remember when you go picking are:

-Call ahead or check online to make sure they are open. Sometimes they get picked out.

-Don’t forget to bring a bowl, sunscreen and hats!

-Bring cash. Many local farms don’t accept credit cards.

-If you have a little one don’t have them wear their best clothes! If it rained the night before, wear boots!

Blueberry picking is currently in season and bring the same things to pick those blueberries as you did strawberries! There are so many wonderful things you can make with blueberries from smoothies and pies to different things you can try like cooled blueberry soup (yum)!

Try going with friends or cousins to have even MORE FUN!

We are excited for raspberry picking and peaches. Have fun!

FollowFacebookpinterestrssyoutube
ShareFacebookpinterest

Construction Counting Fun!

Construction Counting Fun!

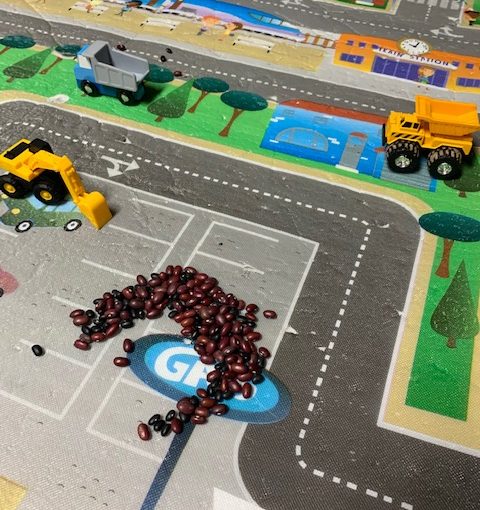
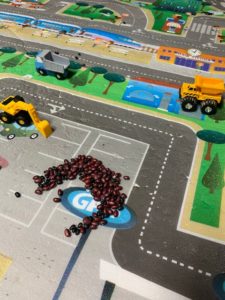
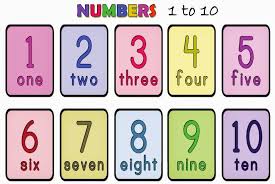
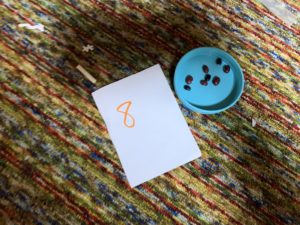
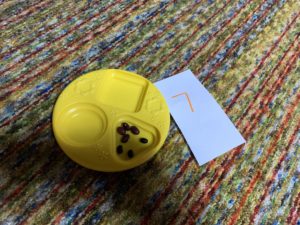
If you have a boy or girl who loves construction vehicles, then this activity is a fun counting activity!  Not only do young ones like using their front end loaders or excavators to lift up the beans, they also learn their numbers!


You can use uncooked beans such as I did, or anything that can be scooped up. Examples include rocks, beans, beads, food items, and others. Obviously, you do NOT want to use something small for children under 3 or children who still put things in their mouth.  Supervising the activity is important as well.


FollowFacebookpinterestrssyoutube
ShareFacebookpinterest

Alternative Trick or Treating 2020

We all love trick or treating! I can remember trick or treating in high school with a group of my soccer friends! I personally think trick or treating is great for older children as well (as long as they behave and aren’t too scary for the little ones!). There were neighbors who said, “How old are you?” or “Don’t you think you’re too old for trick or treating?” NO is the answer. If a teenager is responsible and behaving, then by all means go trick or treating instead of the many other negative things that could be done.

I remember running home and spreading the treats all over the floor with my brother and sister. We would compare our stockpile and trade our treats! Oh what fun trick or treating was! However, 2020 is different. With the COVID virus going around (rate dependent in your state/county), we are minimizing this high risk activity by avoiding the traditional trick or treating. As disappointing as this is, there are some other super fun alternatives (and hopefully next year we can do the old school trick or treating)!

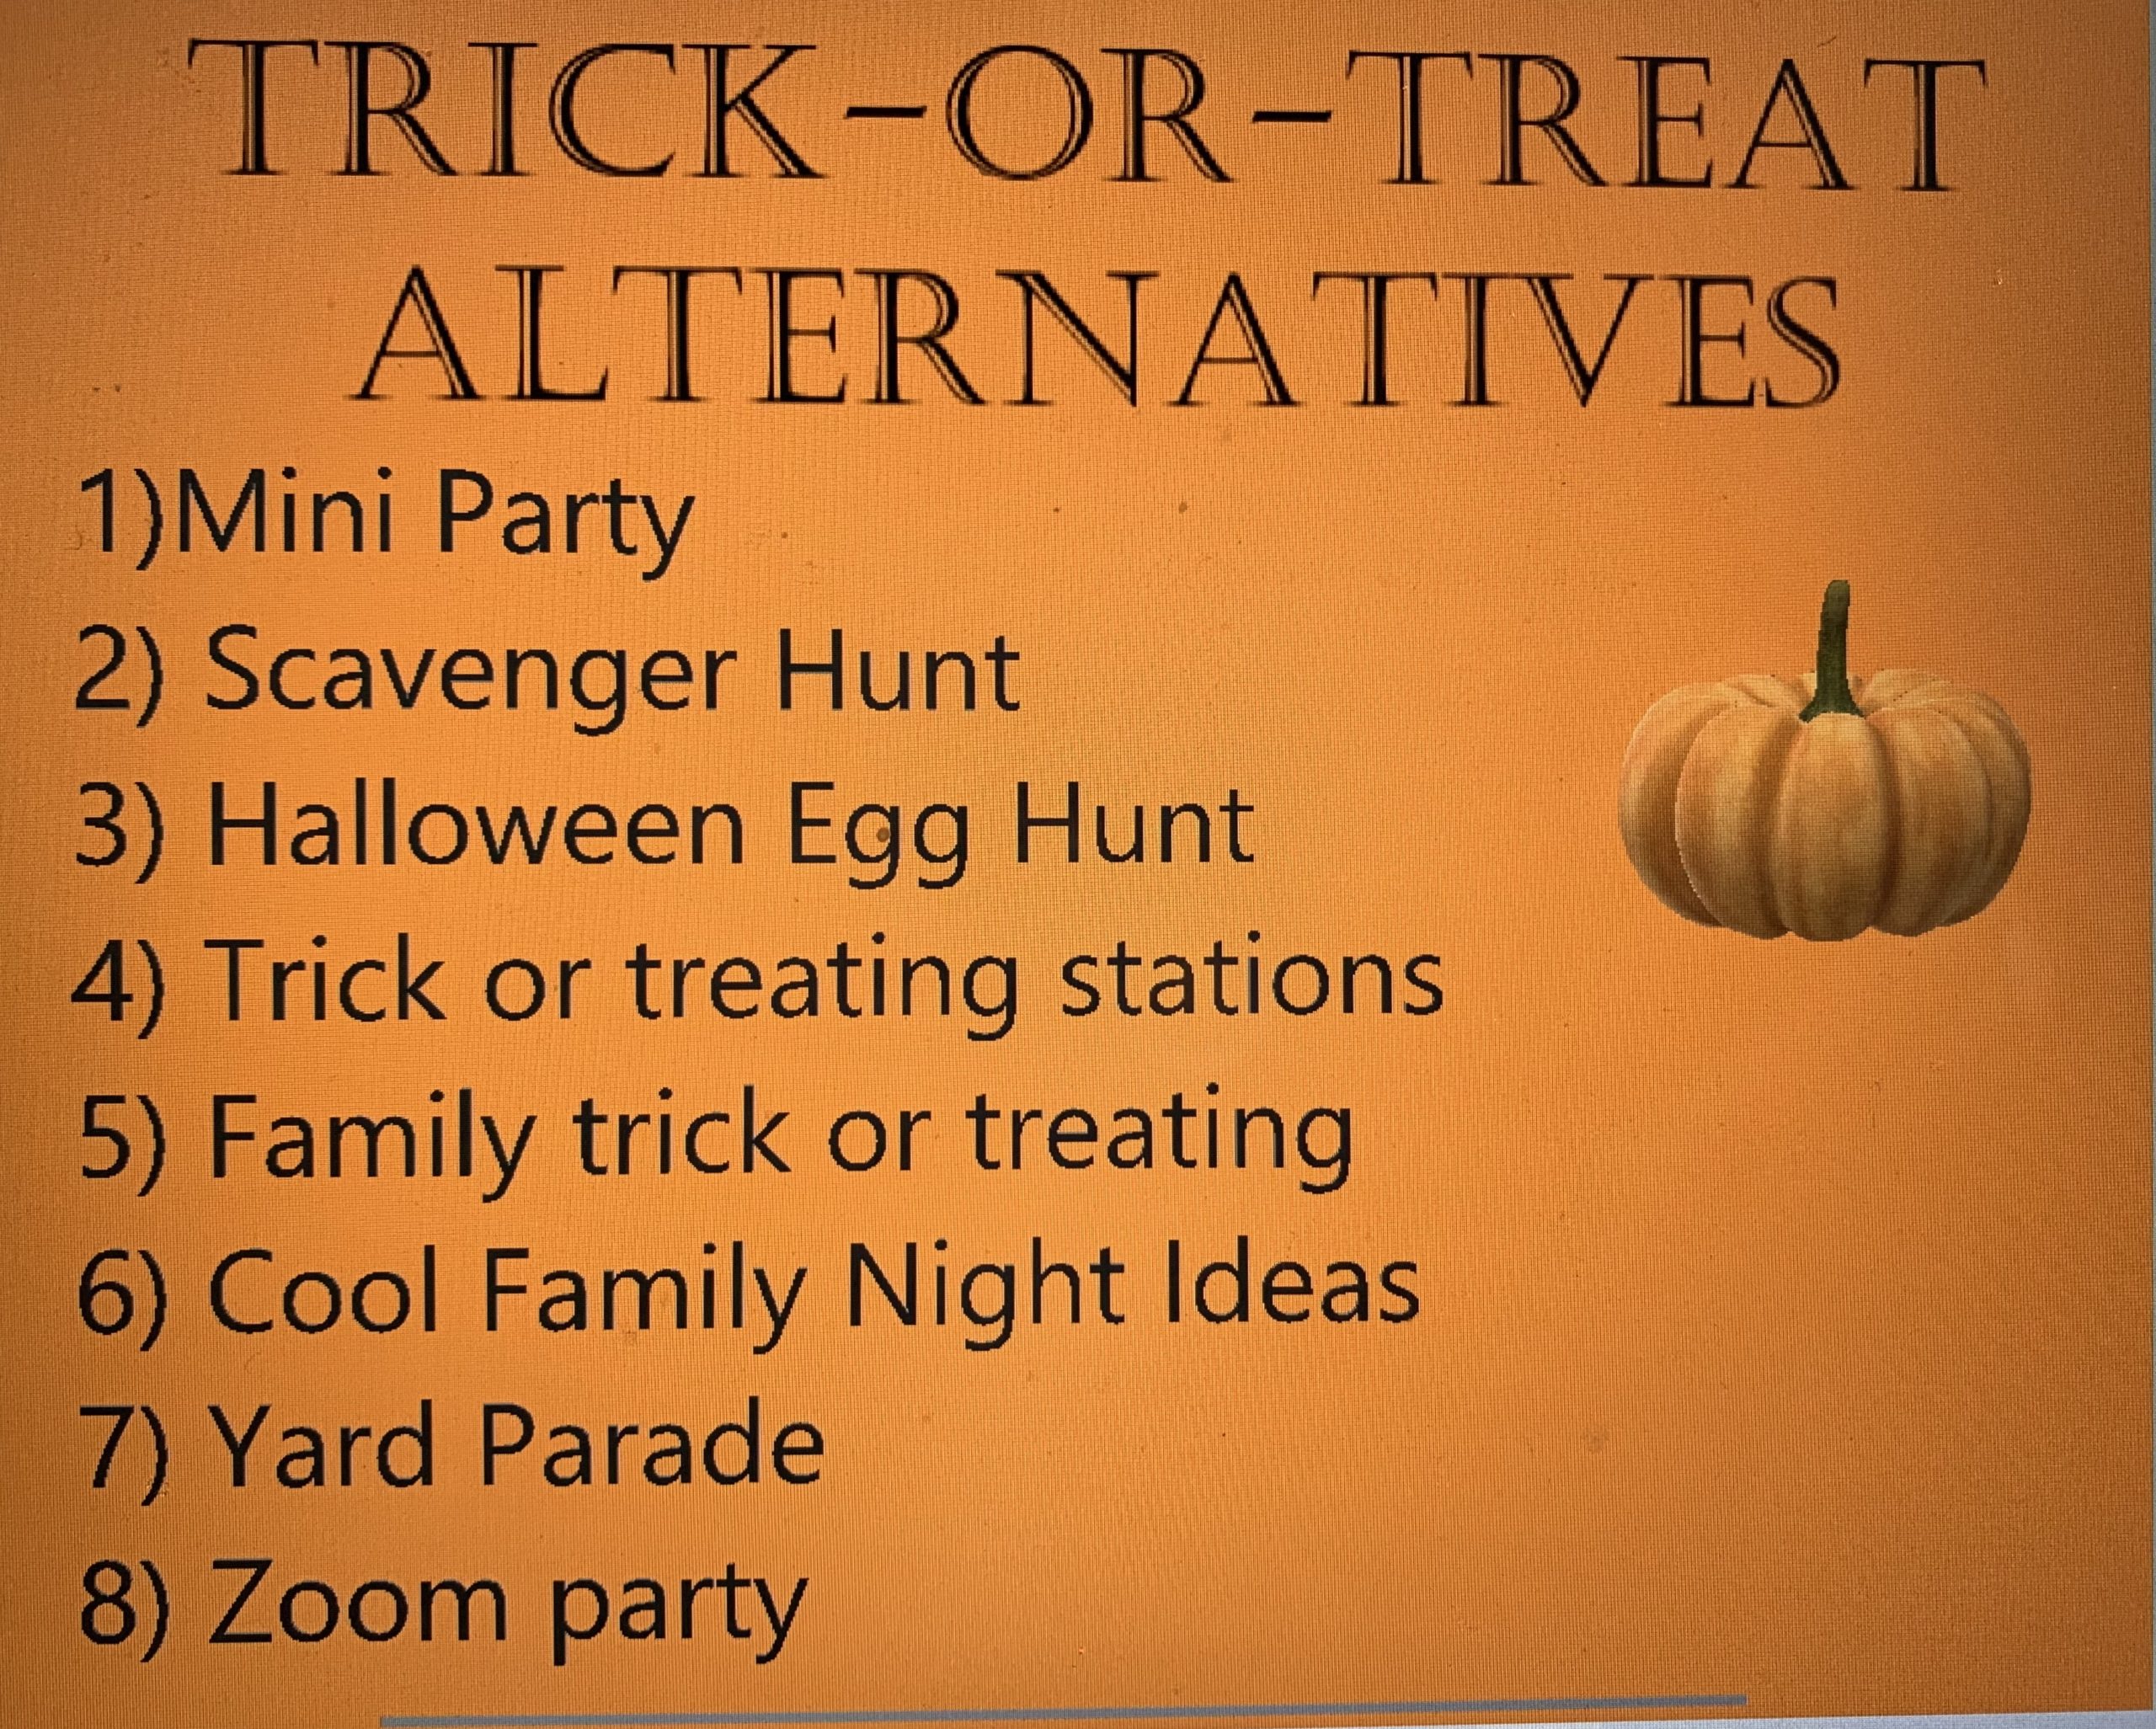
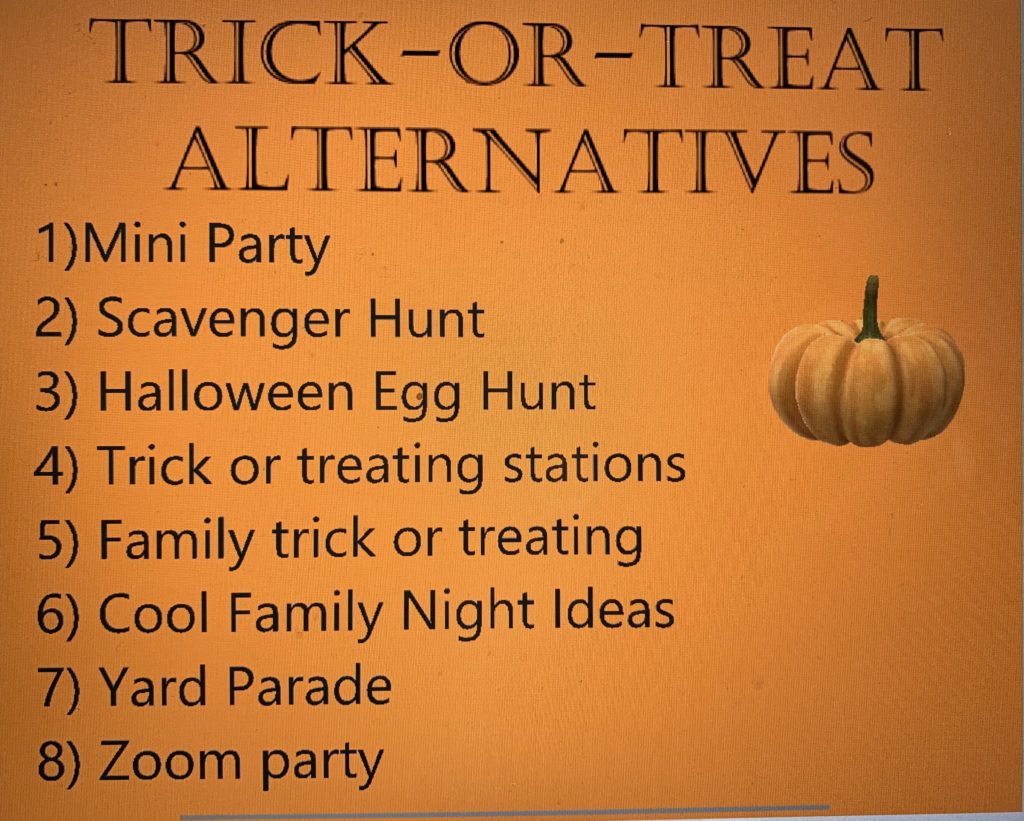
This image has an empty alt attribute; its file name is img_4586-1024x821.jpg
  1. Mini Party!!!!!! Mini party essential means a small party, usually under ten people, with trusted low risk covid people. This can encompass many activities such as
    1. A Piñata
    2. Movie night
    3. Campfire night with smores
    4. Fun Halloween snacks and food
    5. Carving/painting pumpkins
    6. Halloween crafts/face painting
    7. Board games
    8. Crafts
    9. How many candy corns are in the container
    10. And any of the other activities on the list!
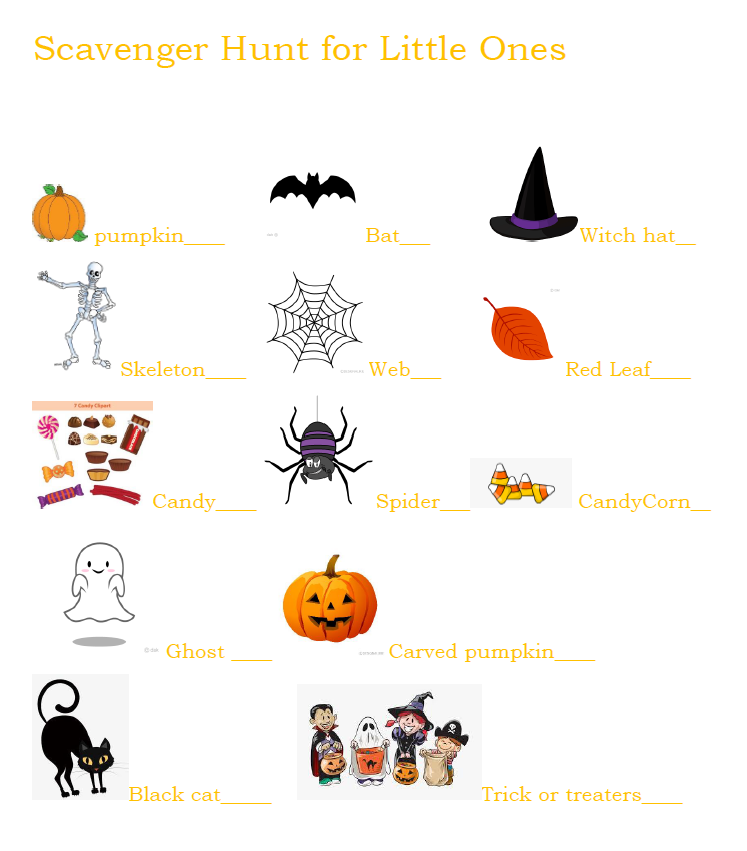
  2. Scavenger hunt time! Who doesn’t love a good scavenger hunt? Well, maybe your kids if they don’t want to work for their candy! There are many scavenger Halloween hunts, I made one for kids who aren’t quite reading yet so they can look at the pictures and words and understand. The one below you can download. If you need another type you can find many online!
This image has an empty alt attribute; its file name is scav.png

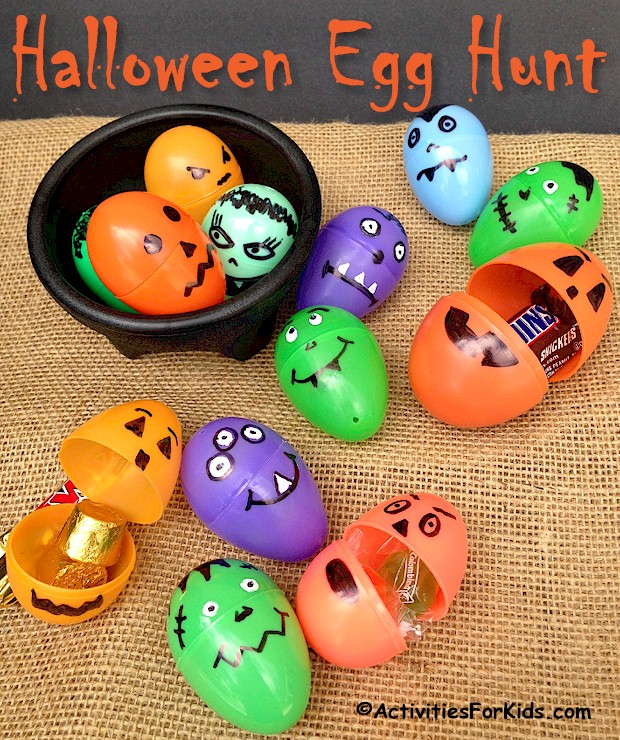
3. Halloween Egg Hunt: You can easily use marker and draw faces on eggs, or you can use puffy paint! Another option is glow in the dark eggs and a night egg hunt…SPOOKY! You can also paint eggs with glow in the dark paint. Put your favorite candies, stickers, tattoos, rings, or whatever you child enjoys in the eggs! Use your pumpkin or usual trick or treat bags to collect them.

Halloween party games for kids - Upcycle plastic Easter Eggs for a Halloween Egg Hunt.

4. Trick or Treat Stations: Setup stations in your yard, or at each of your doors. Each adult is dressed up and has a scene behind them. For example, one adult has spider webs behind them and the kids come up and say trick or treat. The idea is that its safe since it is your mom and dad or family member you live with and its similar to trick or treating. We may do the door idea. So the kids can run from door to door (maybe more than once), and knock for trick or treating.

5. Family trick or treating: this is similar to the one above. However, you can drive to grandparents house or aunt or uncle house and do trick or treat at just a select couple houses to lower the risk.

6. Family Ideas: So besides all the other ideas, there are many other Halloween things that can be done. Family board games, campfires, Halloween movies, pin the spider on the spiderweb, mummy toilet paper roll game (although you may not want to waste the toilet paper!!), painting pumpkins or carving them, Halloween bingo, ring witch hat toss

17+ Halloween Party Games for Kids
Halloween Bingo - Perfect halloween party games for kids

7. Yard Parade: have your little ones dress up and walk around the yard and do a parade! You can walk down the road dressed up as well (not on trick or treat day of course!). Kids love dressing up and having a pretend parade!

8. Zoom party! So have a family/friend zoom party. You can vote on the best costumes, each show off your spooky treats and your pumpkins. Do crafts together or drawing contests

FollowFacebookpinterestrssyoutube
ShareFacebookpinterest

Crayon candle making!

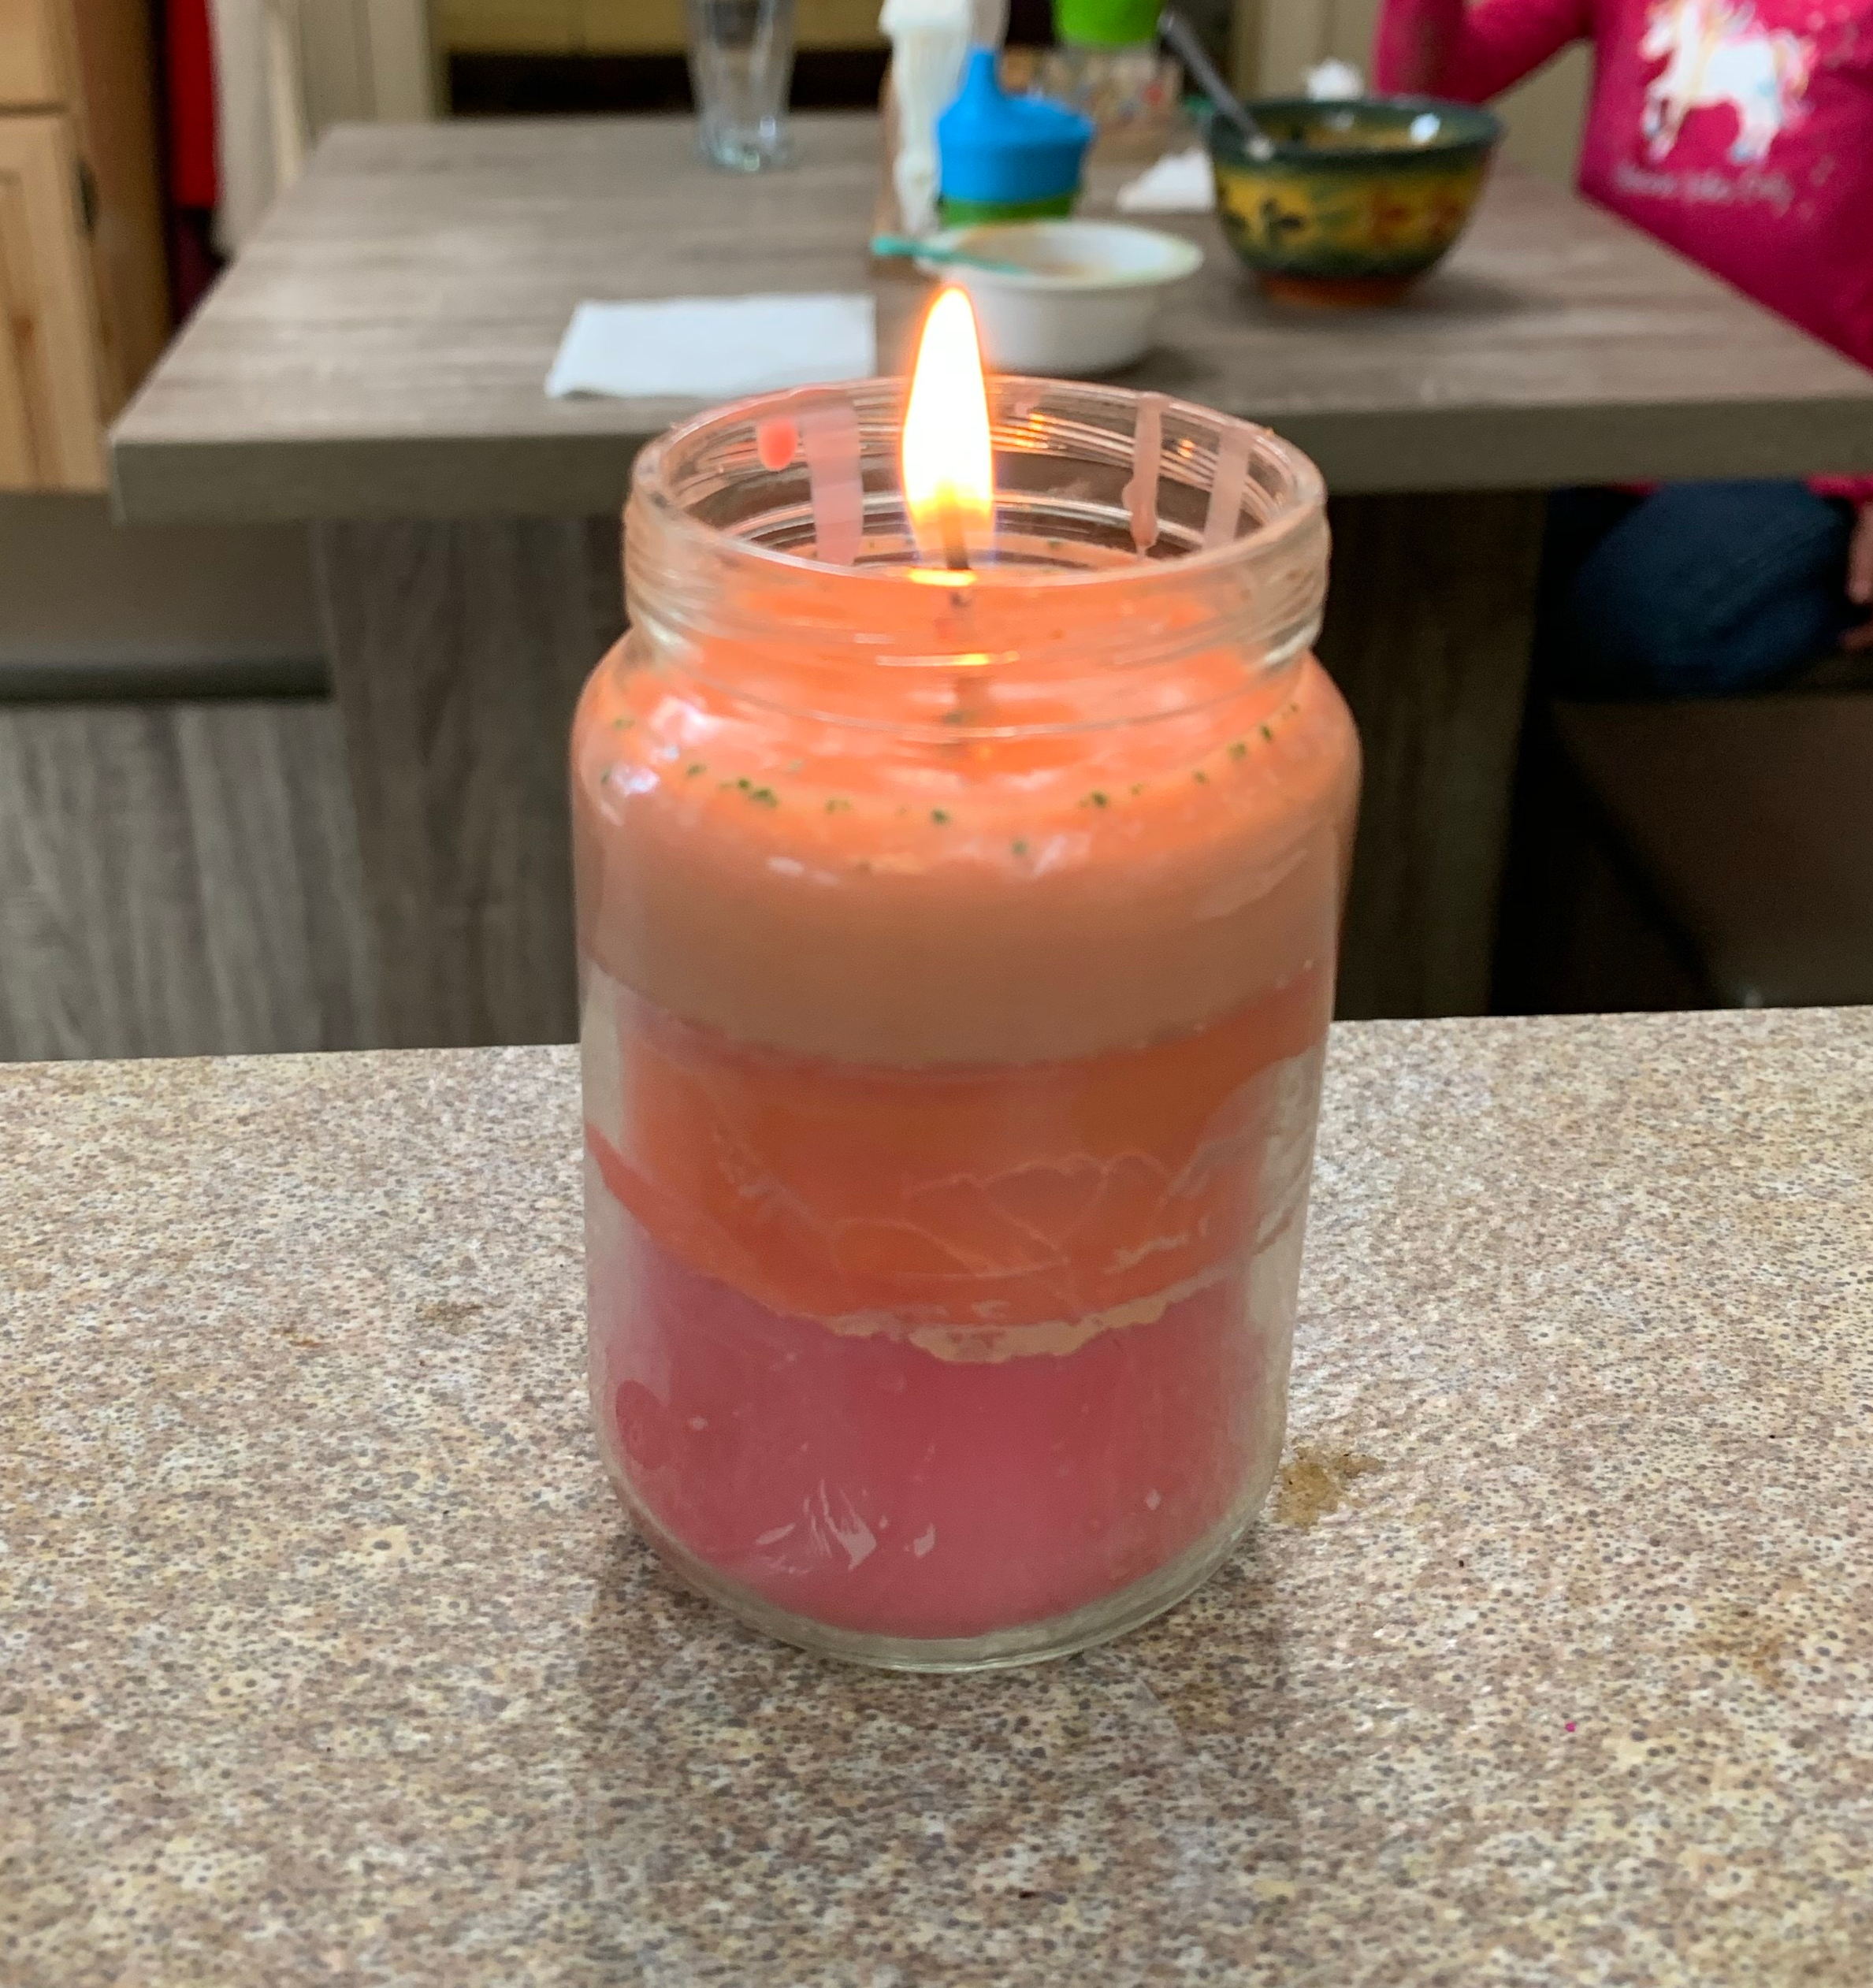
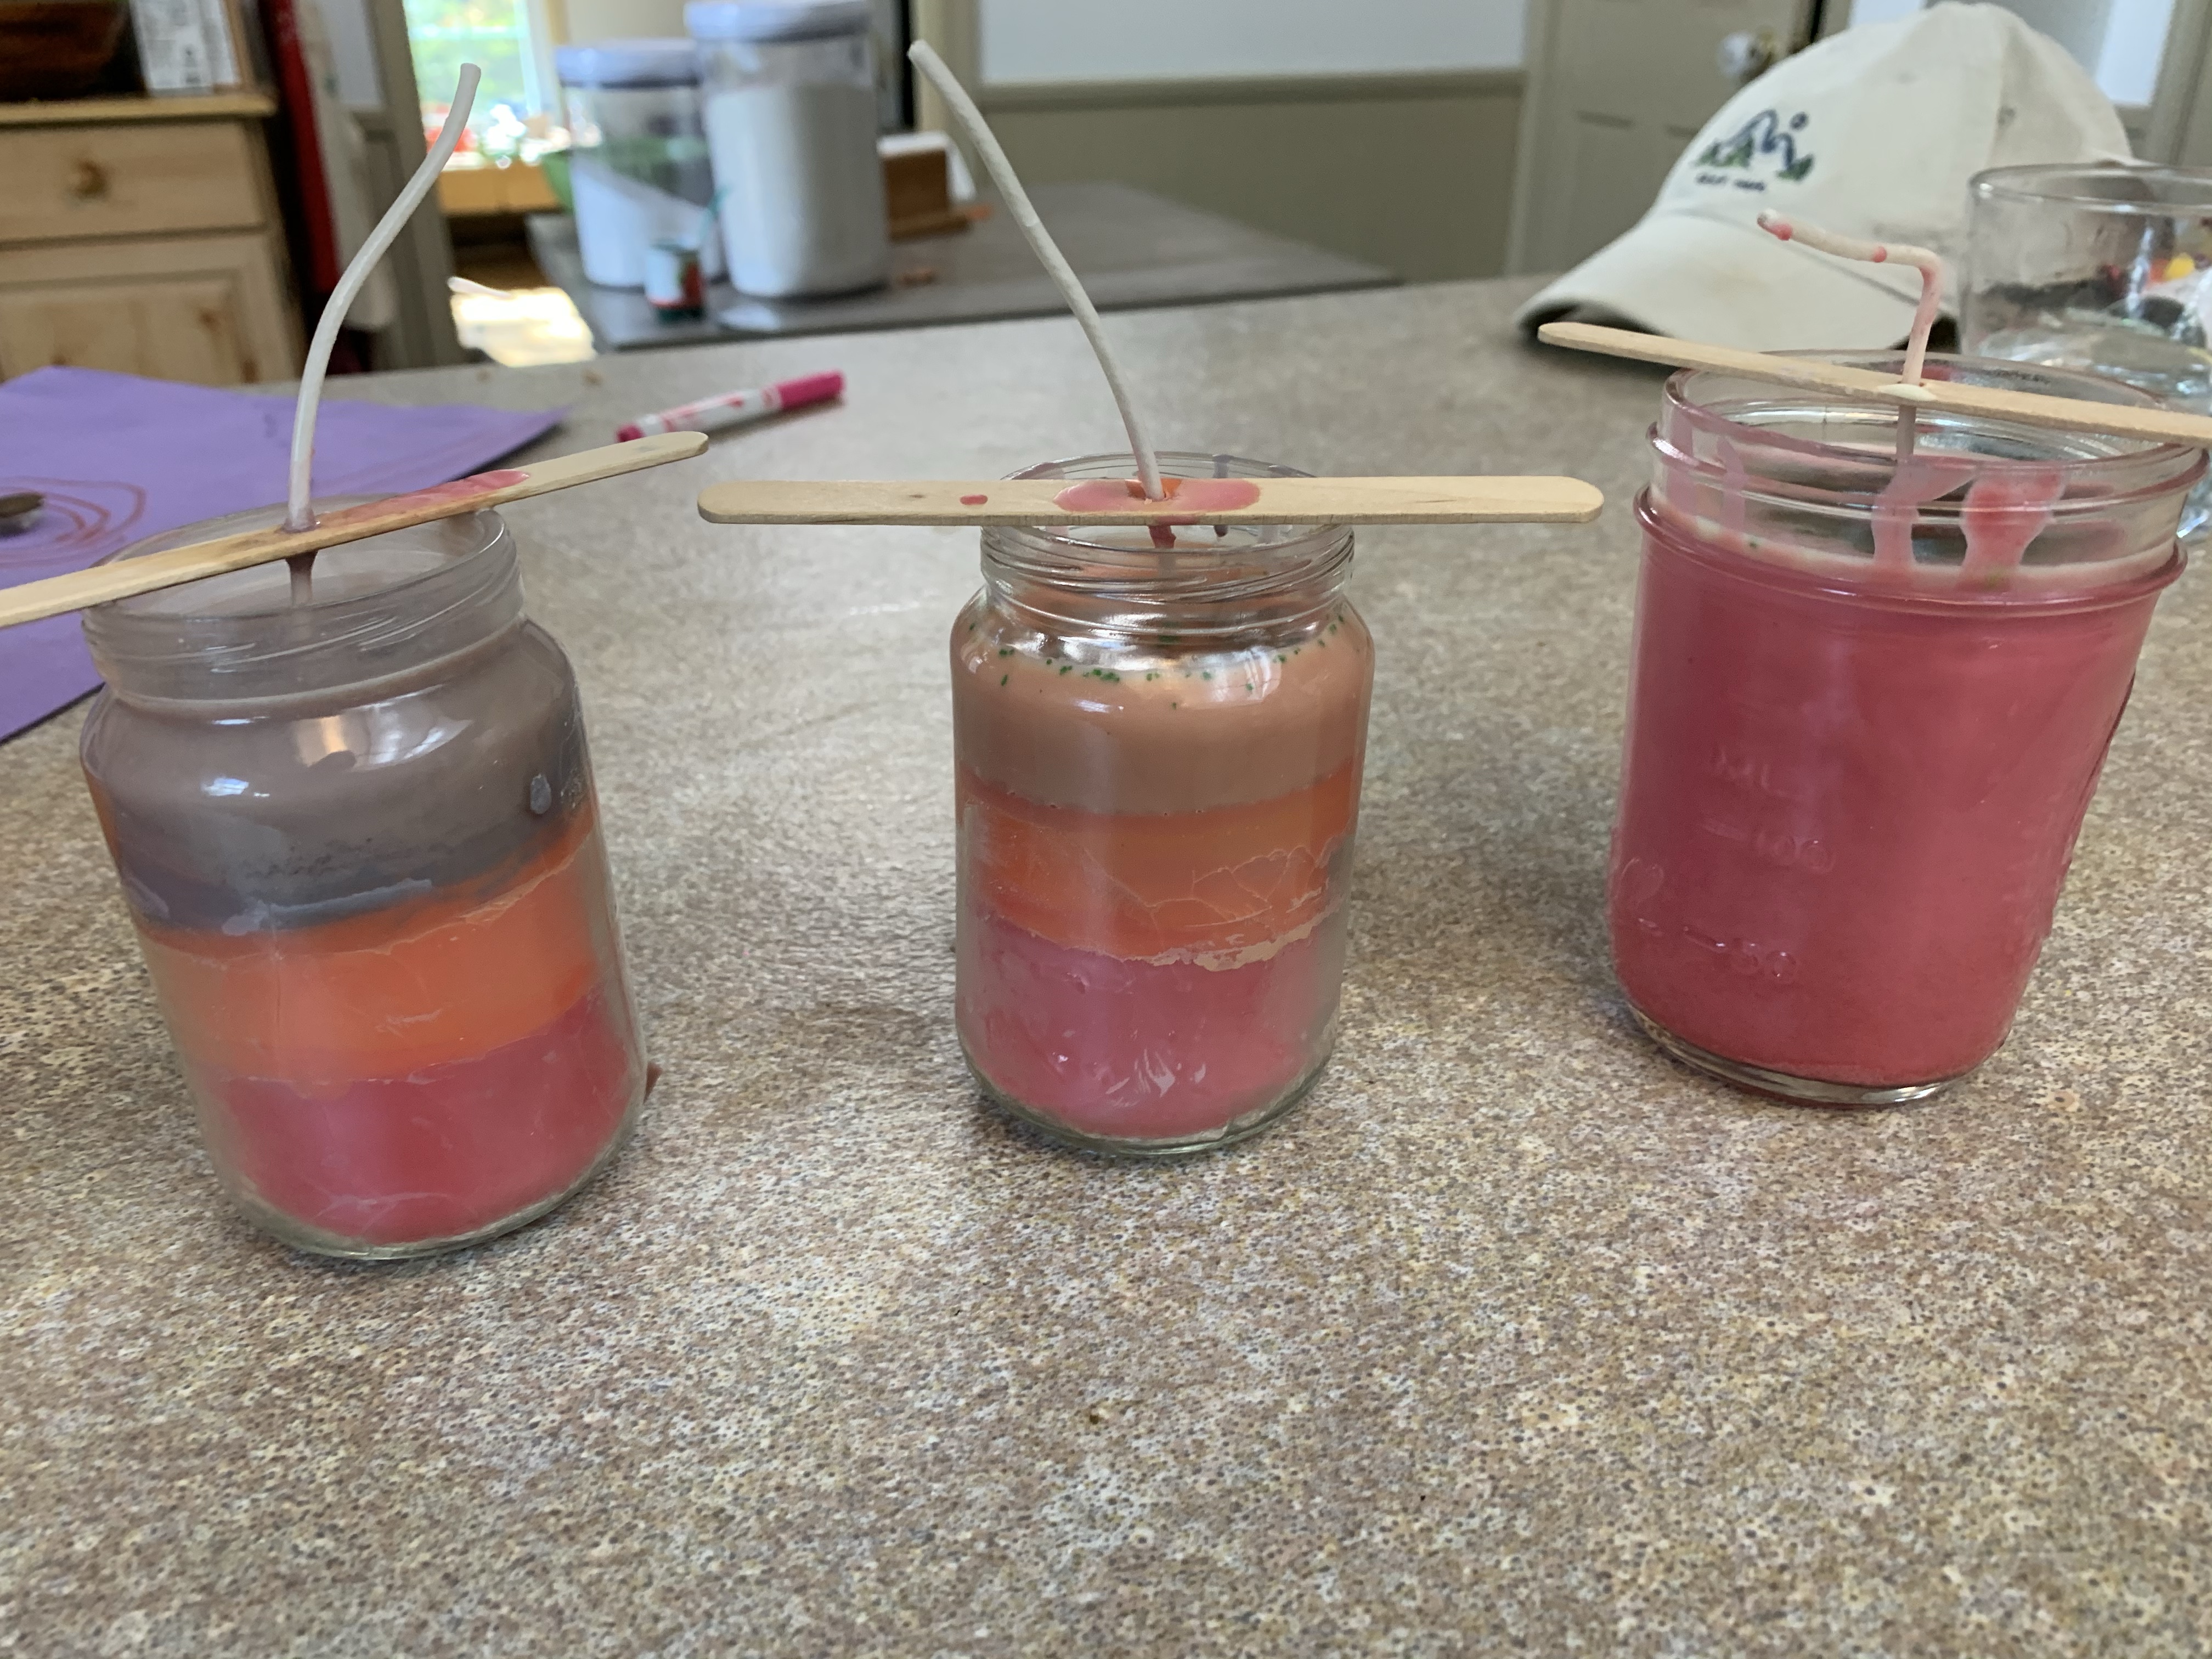
As a child I remember making many candles from crayons at my grandparents house. I also remember how much fun we had making candles from crayons.  So, during the quarantine, I decided why not try it?

img_3449

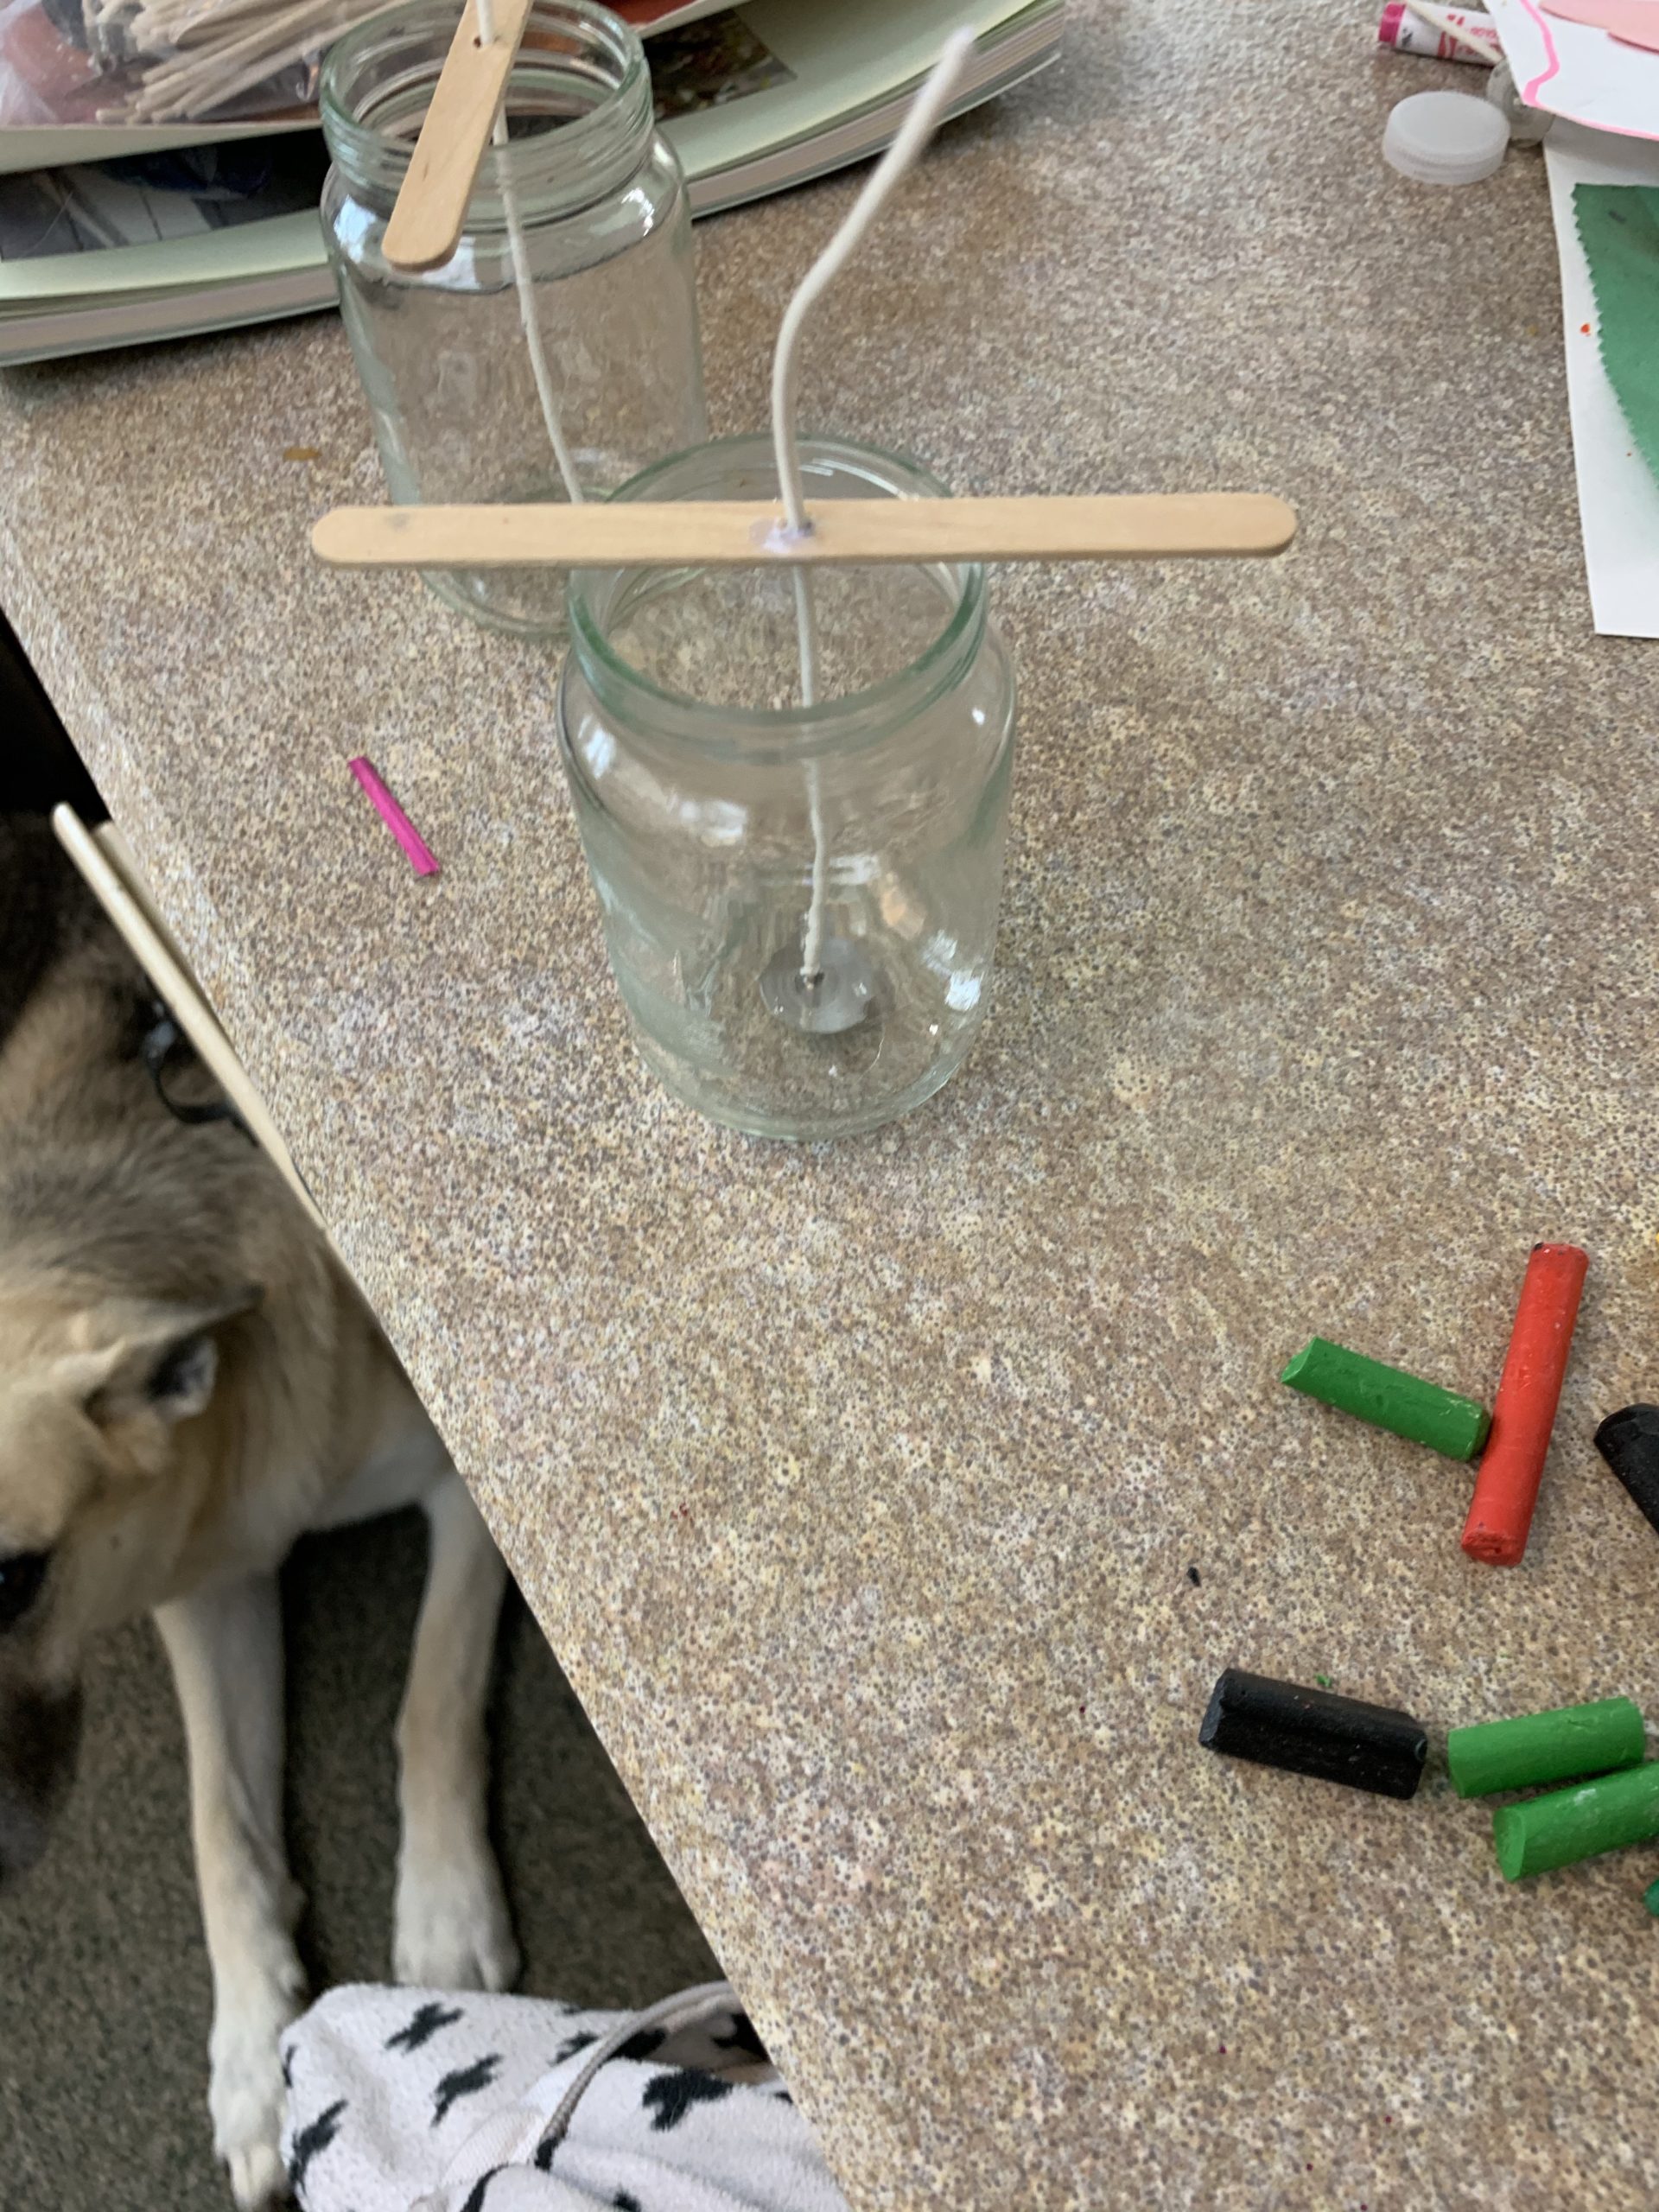
Of course the kids are still young and can’t work with the melted wax, but they can find broken crayons or pieces of crayons too small to use.  I put them hard at work finding these crayons and then taking all the wrappers off of them.  Next, they categorized them by colors.

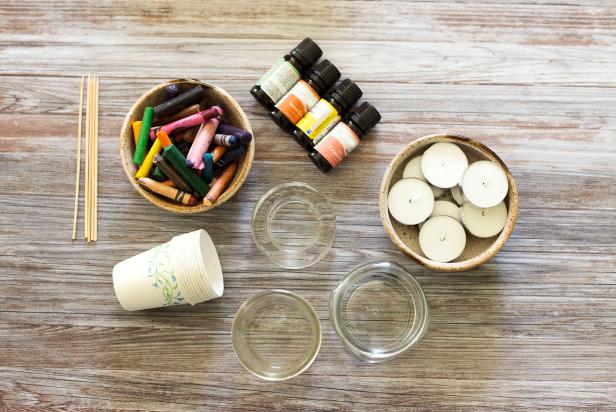
Crayon Candle Supplies

Next, I had little jars I had previously saved from baby foods that we could use for candles.  Make sure its a glass jar and not plastic!  We also had Popsicle sticks, wicks, and a boiling pan and thermometer for melting the wax. We have small holes in the Popsicle sticks, but you can also wrap it around the stick if needed.  Have your container and wick ready.

img_3443

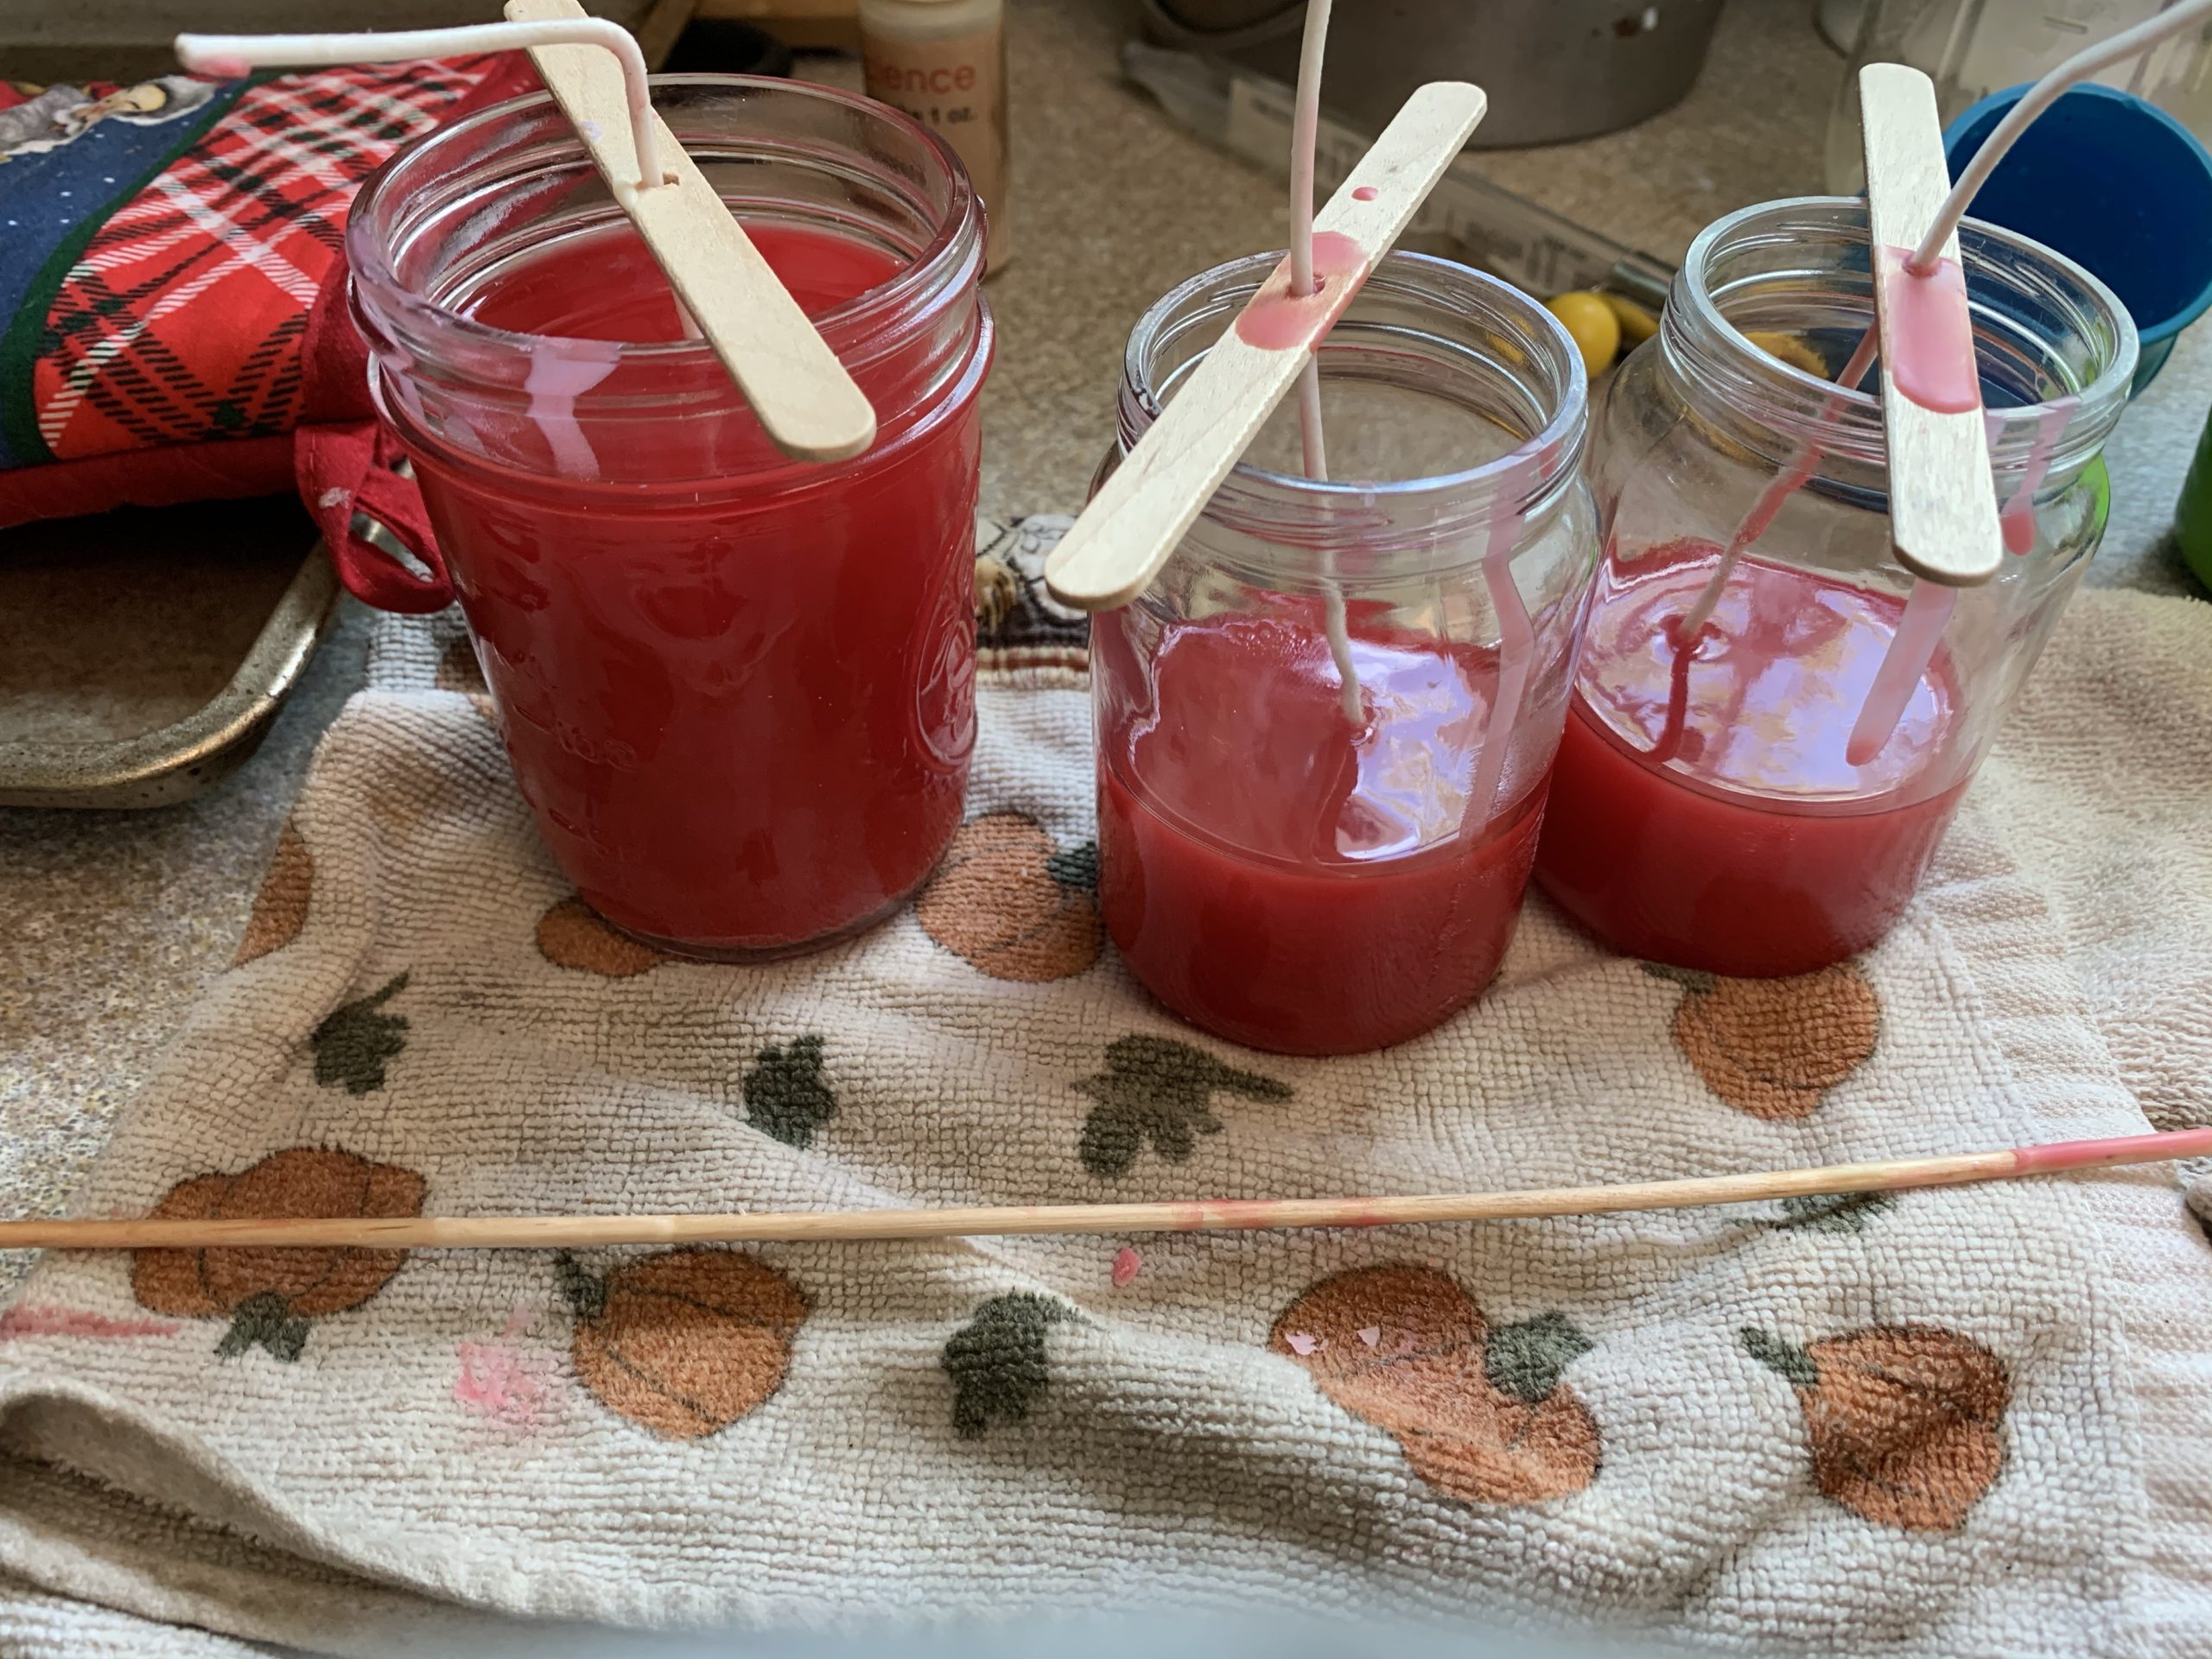
Next, decide if you are going to do just one color candle or multiple.  If you choose to do multiple you have to let the candle wax dry in between which can take a while.  I ended up getting a big pan of ice and putting it around the outside of the candle after pouring the wax in order to cool it quicker.

Another factor is if you want a scent.  If you have different scents you can add them, or you can use essential oils to add a scent.

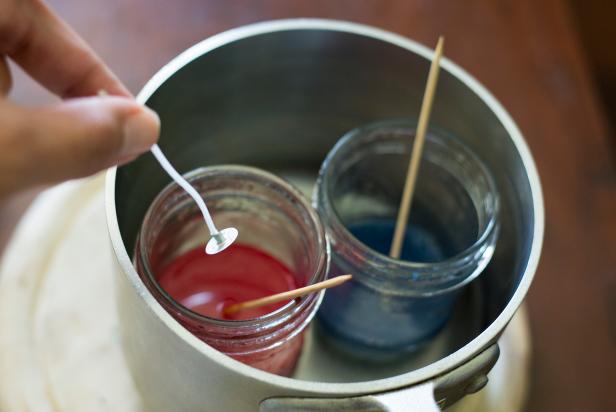
Now, you do need some regular wax as well!  I happened to have some white wax shavings from a long time ago we used and added the crayons for coloring.  You can also use the small tea candles that are cheap at the store and take them out of the tin wrapper.  Depending on the size of your jar you are filling, you will need a different amount of candles.  We melted the wax and coloring in the special candle pot we have and poured it out into the containers.  Some people also like to put the wax and crayon right into the jar and put 3 inches of water into a pan and place the jar in the pan and let it melt.  Warning–your jar will get very hot this way!  Also make sure u have your wick in when you do it this way.  If you want to try that method I found a great website for you to follow Click here

Crayon Candle Melt and Dip

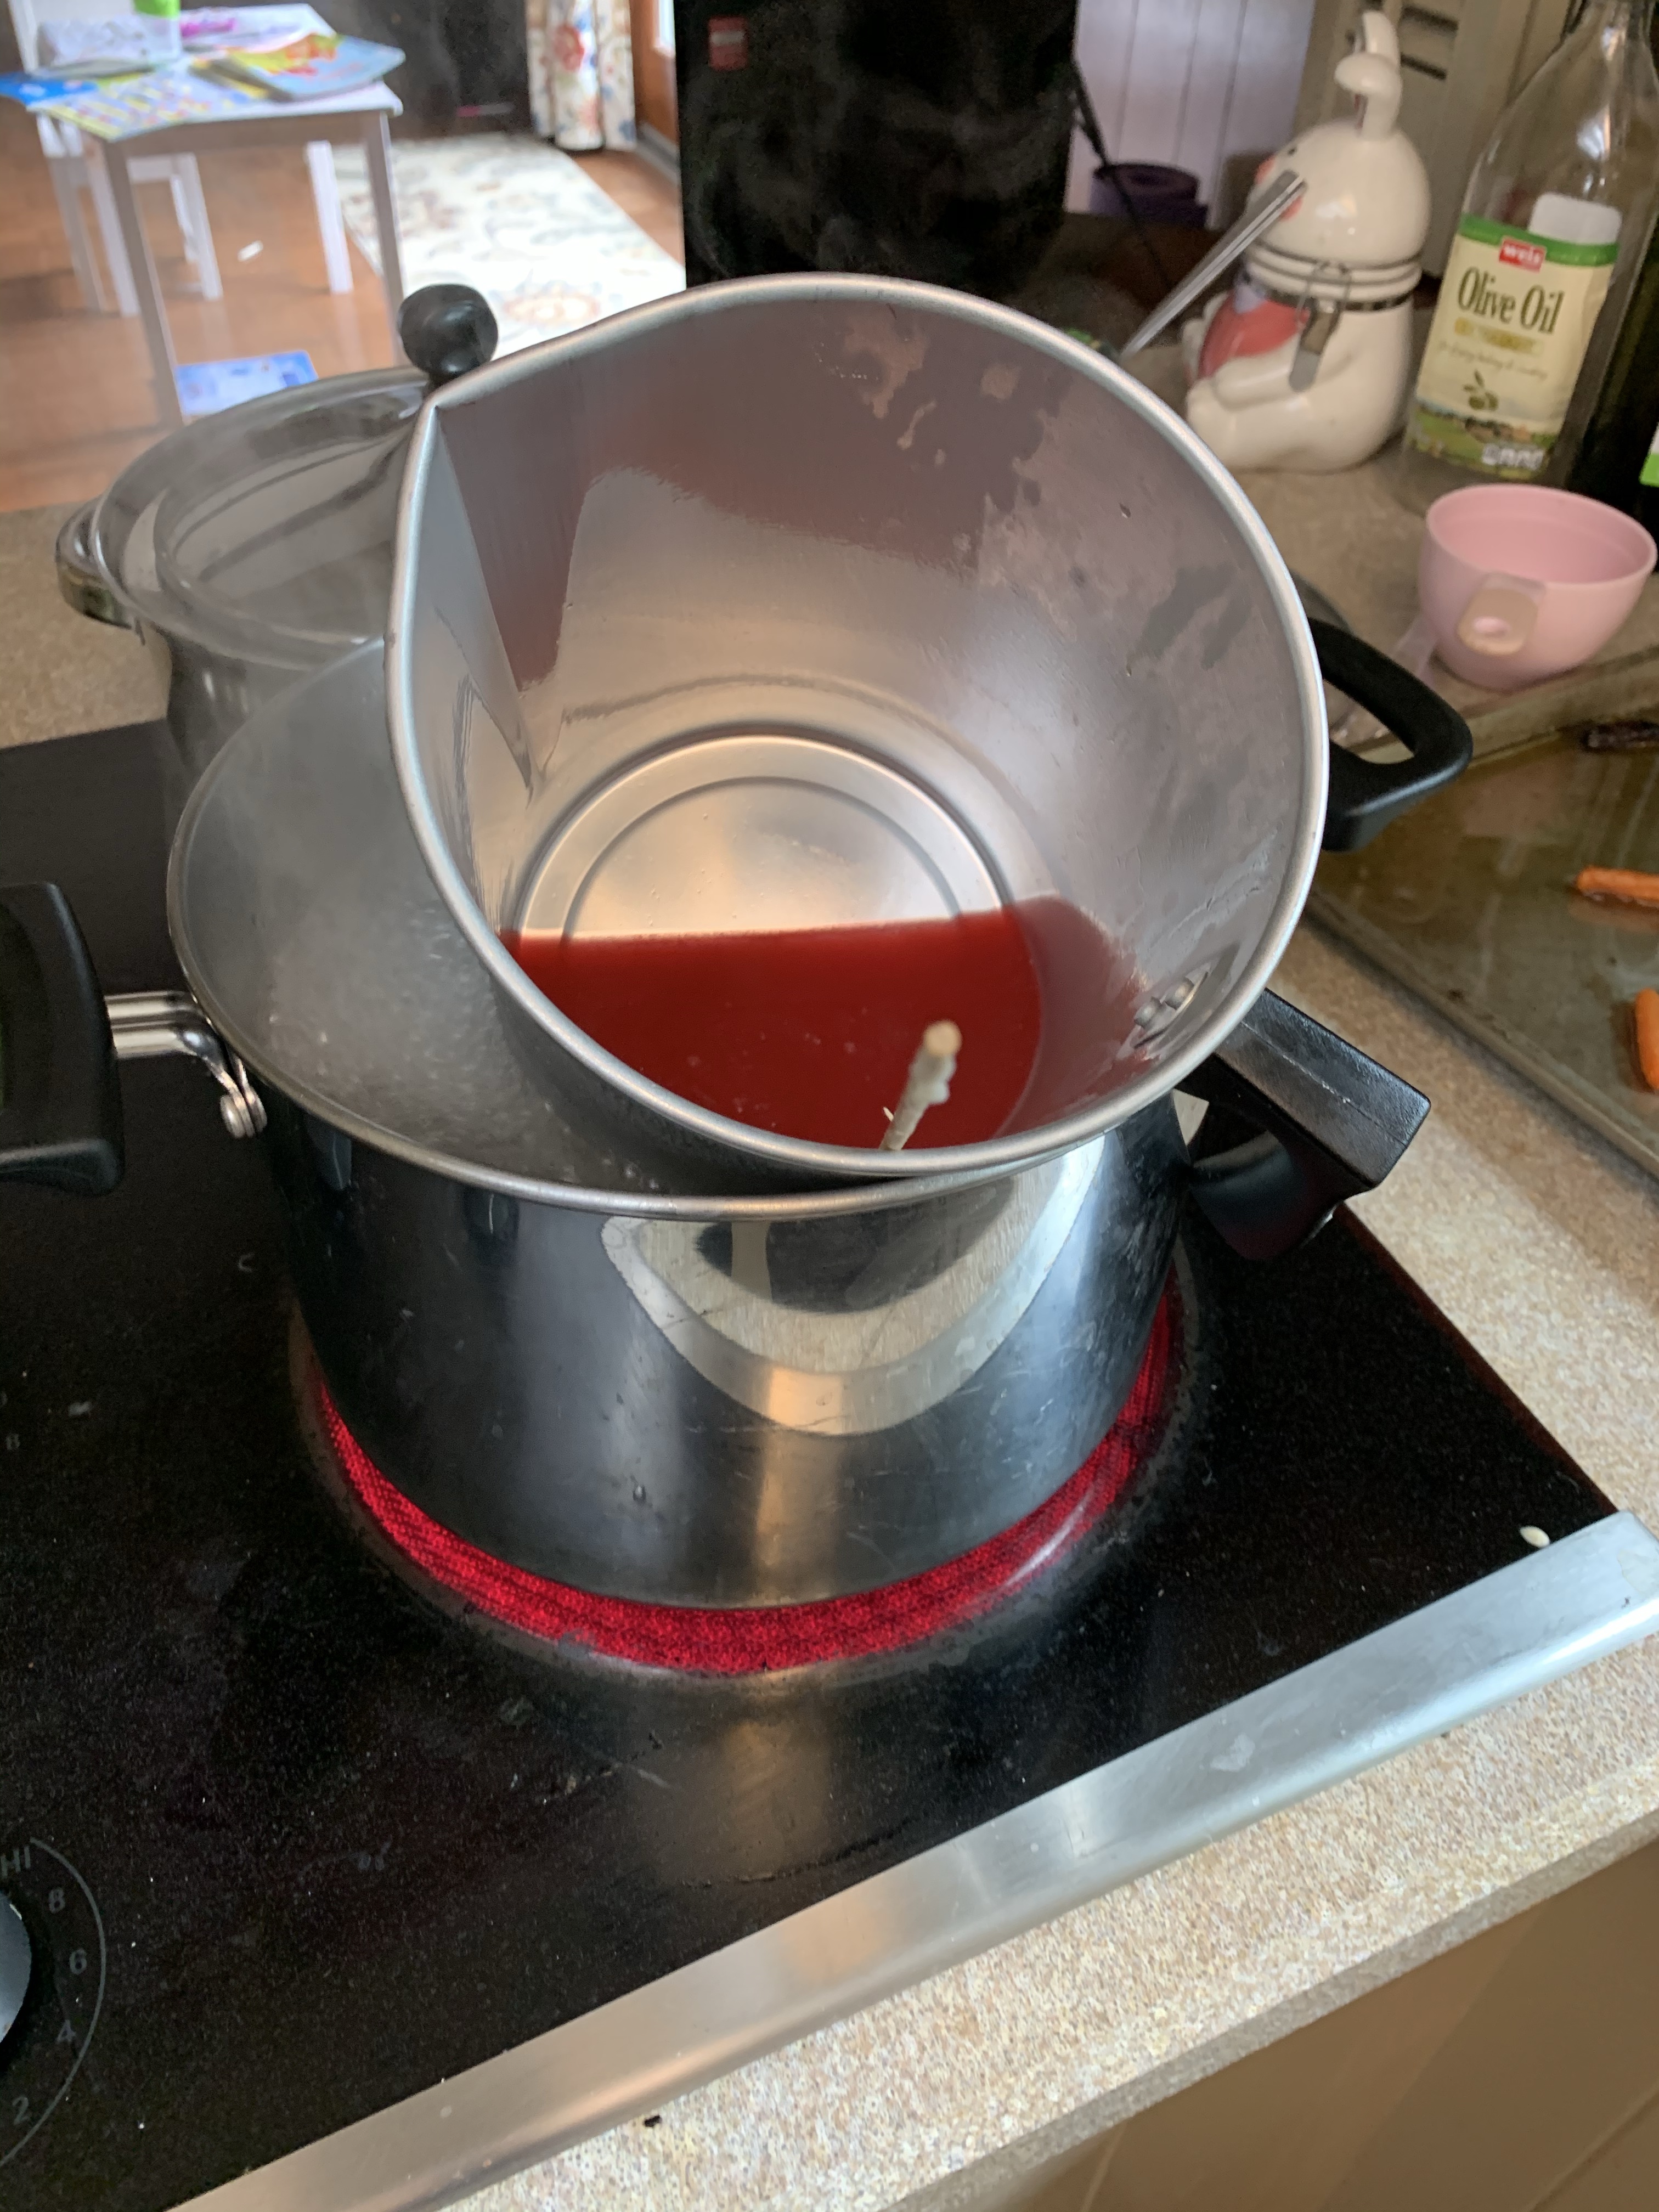
I tilted the candle wax pan for you to see.  As you can see the pot below has water in it and it melts the wax and crayon.  When its all liquid you can pour it directly and carefully into your jar and make sure your wick is centered.  Then you allow it to dry!

img_3444

Following that, if you are doing another color, repeat the melting process and make sure the bottom layer is completely dry before adding the next color in the candle.

img_3445

After its all dry you can cut your wick to the proper size and enjoy your candle!  Of course you should light the candle and not the kiddos!

img_3448

Enjoy!

img_3449

FollowFacebookpinterestrssyoutube
ShareFacebookpinterest

Explore…get out there!

Today, when walking down a hill with my two children, an older woman and her dog passed by (don’t worry it was over 6 feet away!), and the woman said, “Oh, don’t go down there it’s treacherous down there! I just smiled and nodded as my son ran up the dry creek bed and tripped on a rock landing face first.  What I thought in my head was, “It’s more dangerous going to the food store these days.”

img_3134

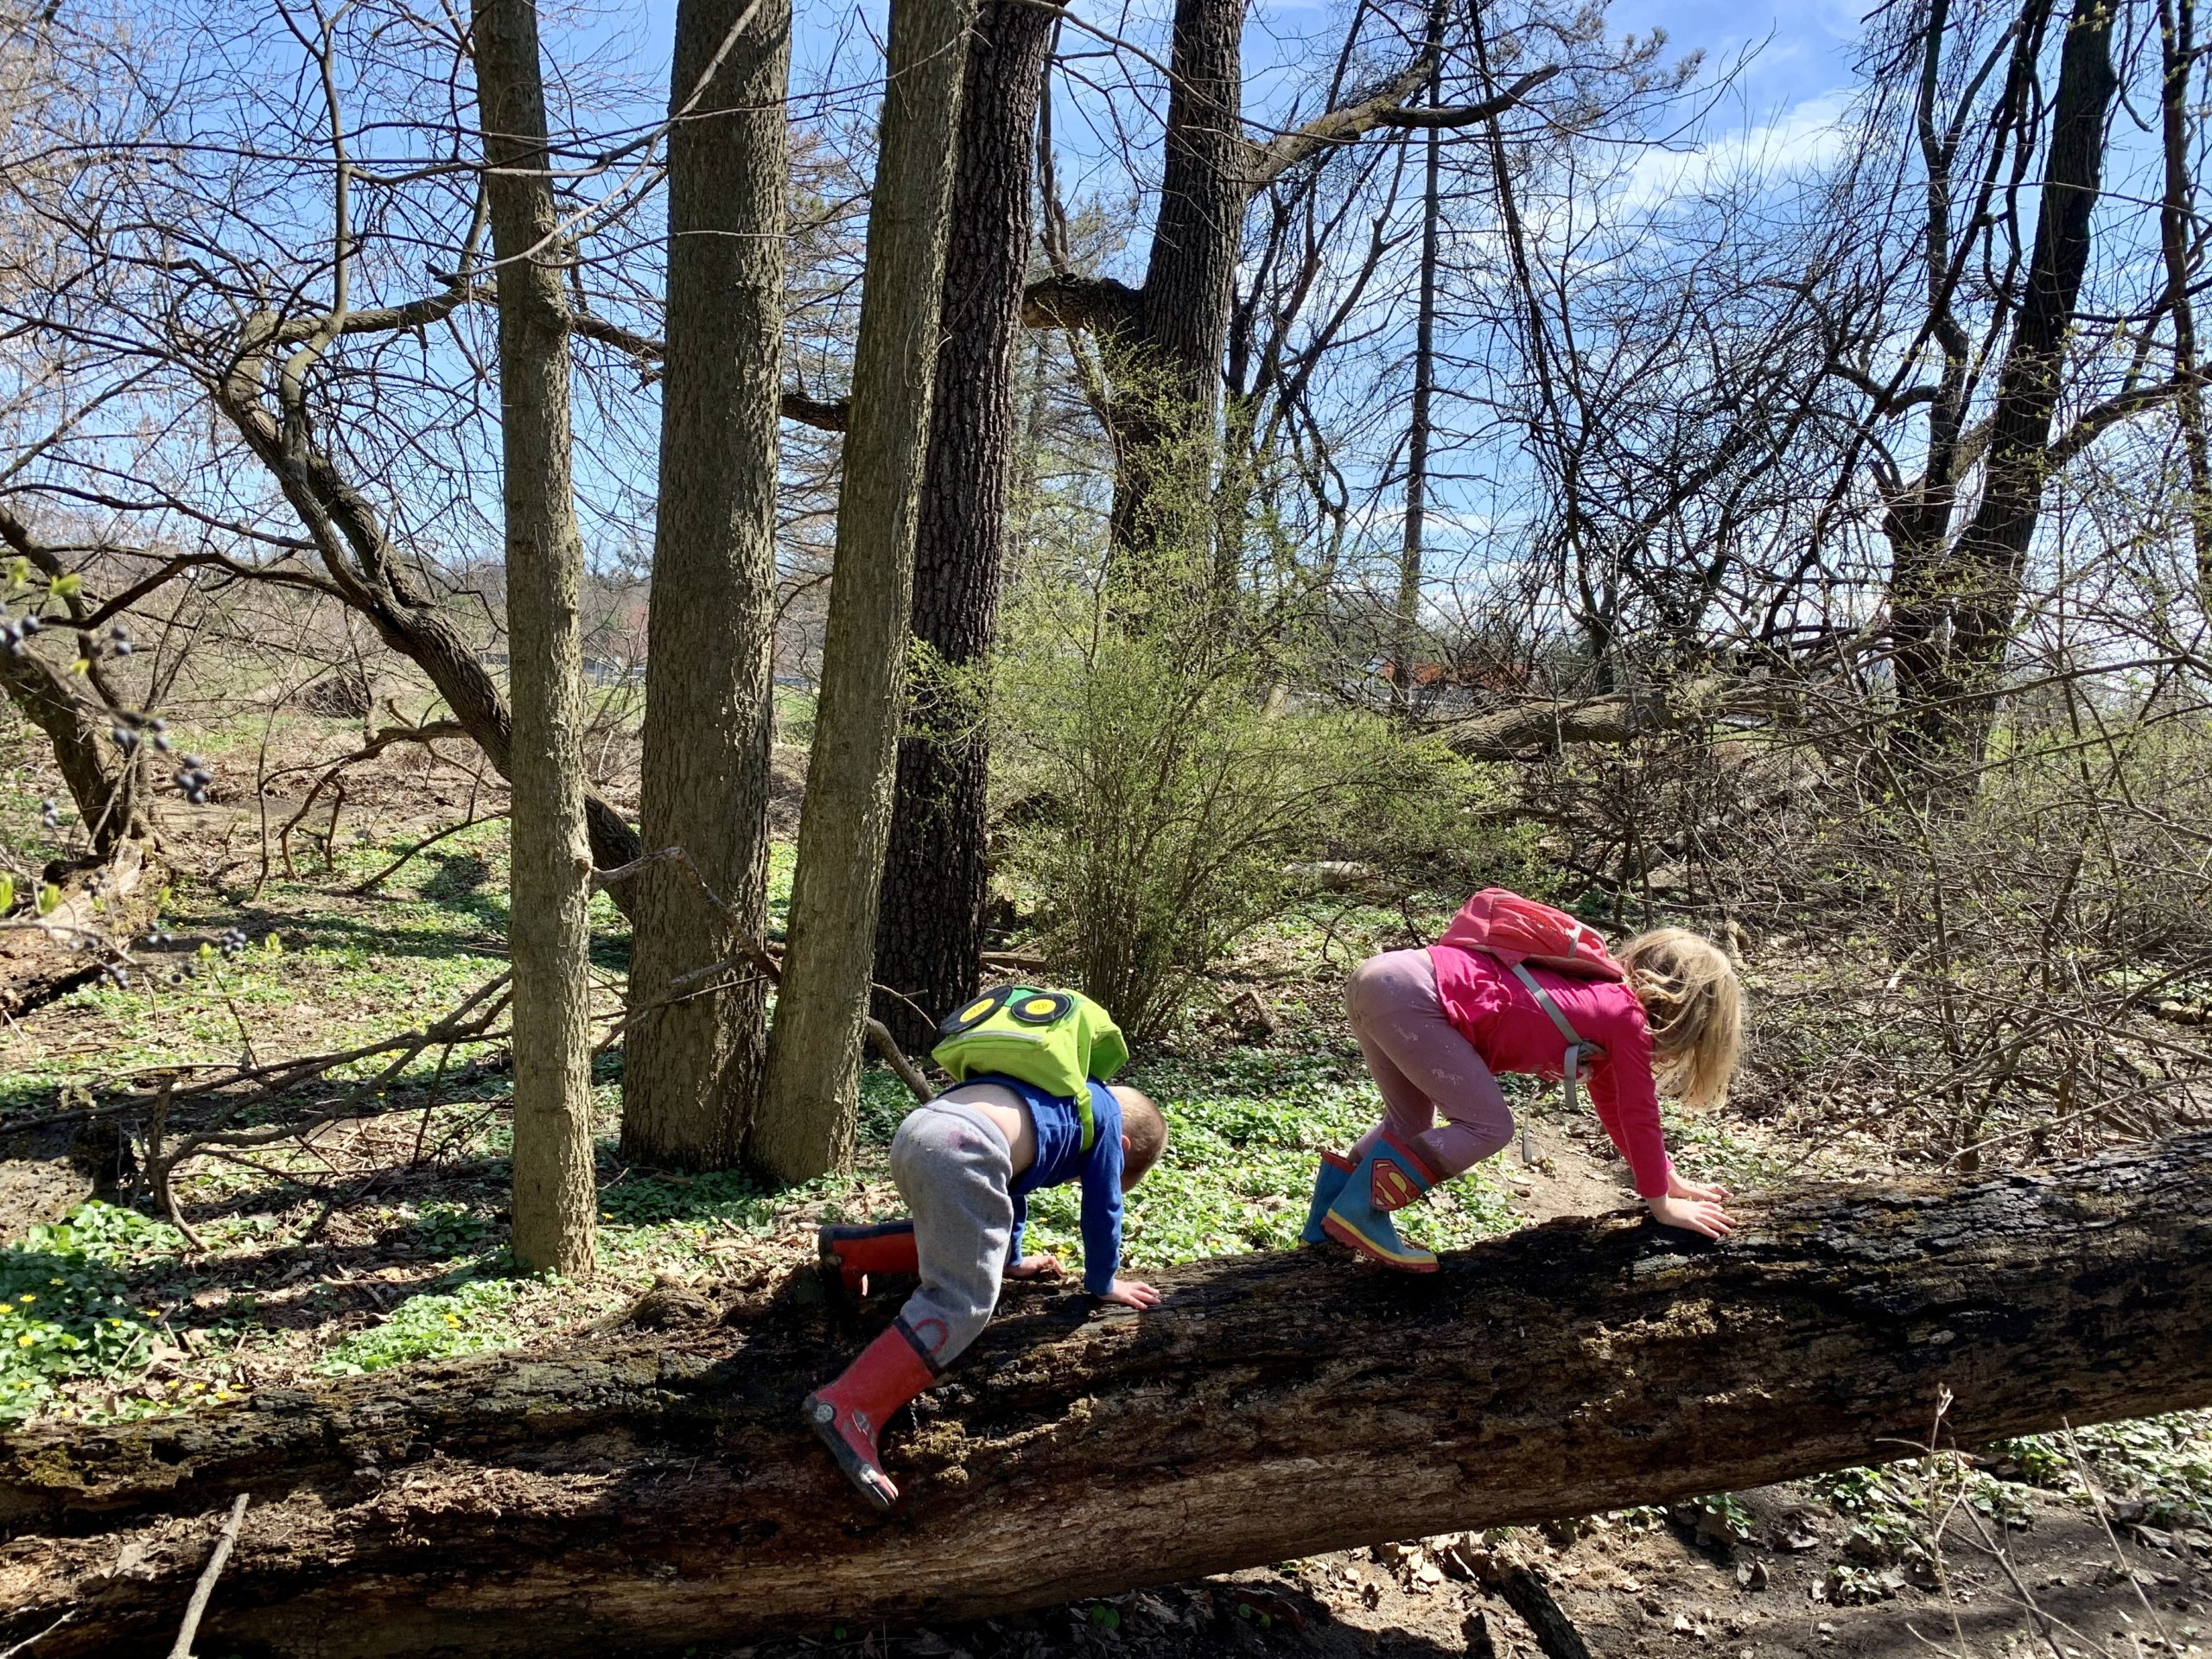
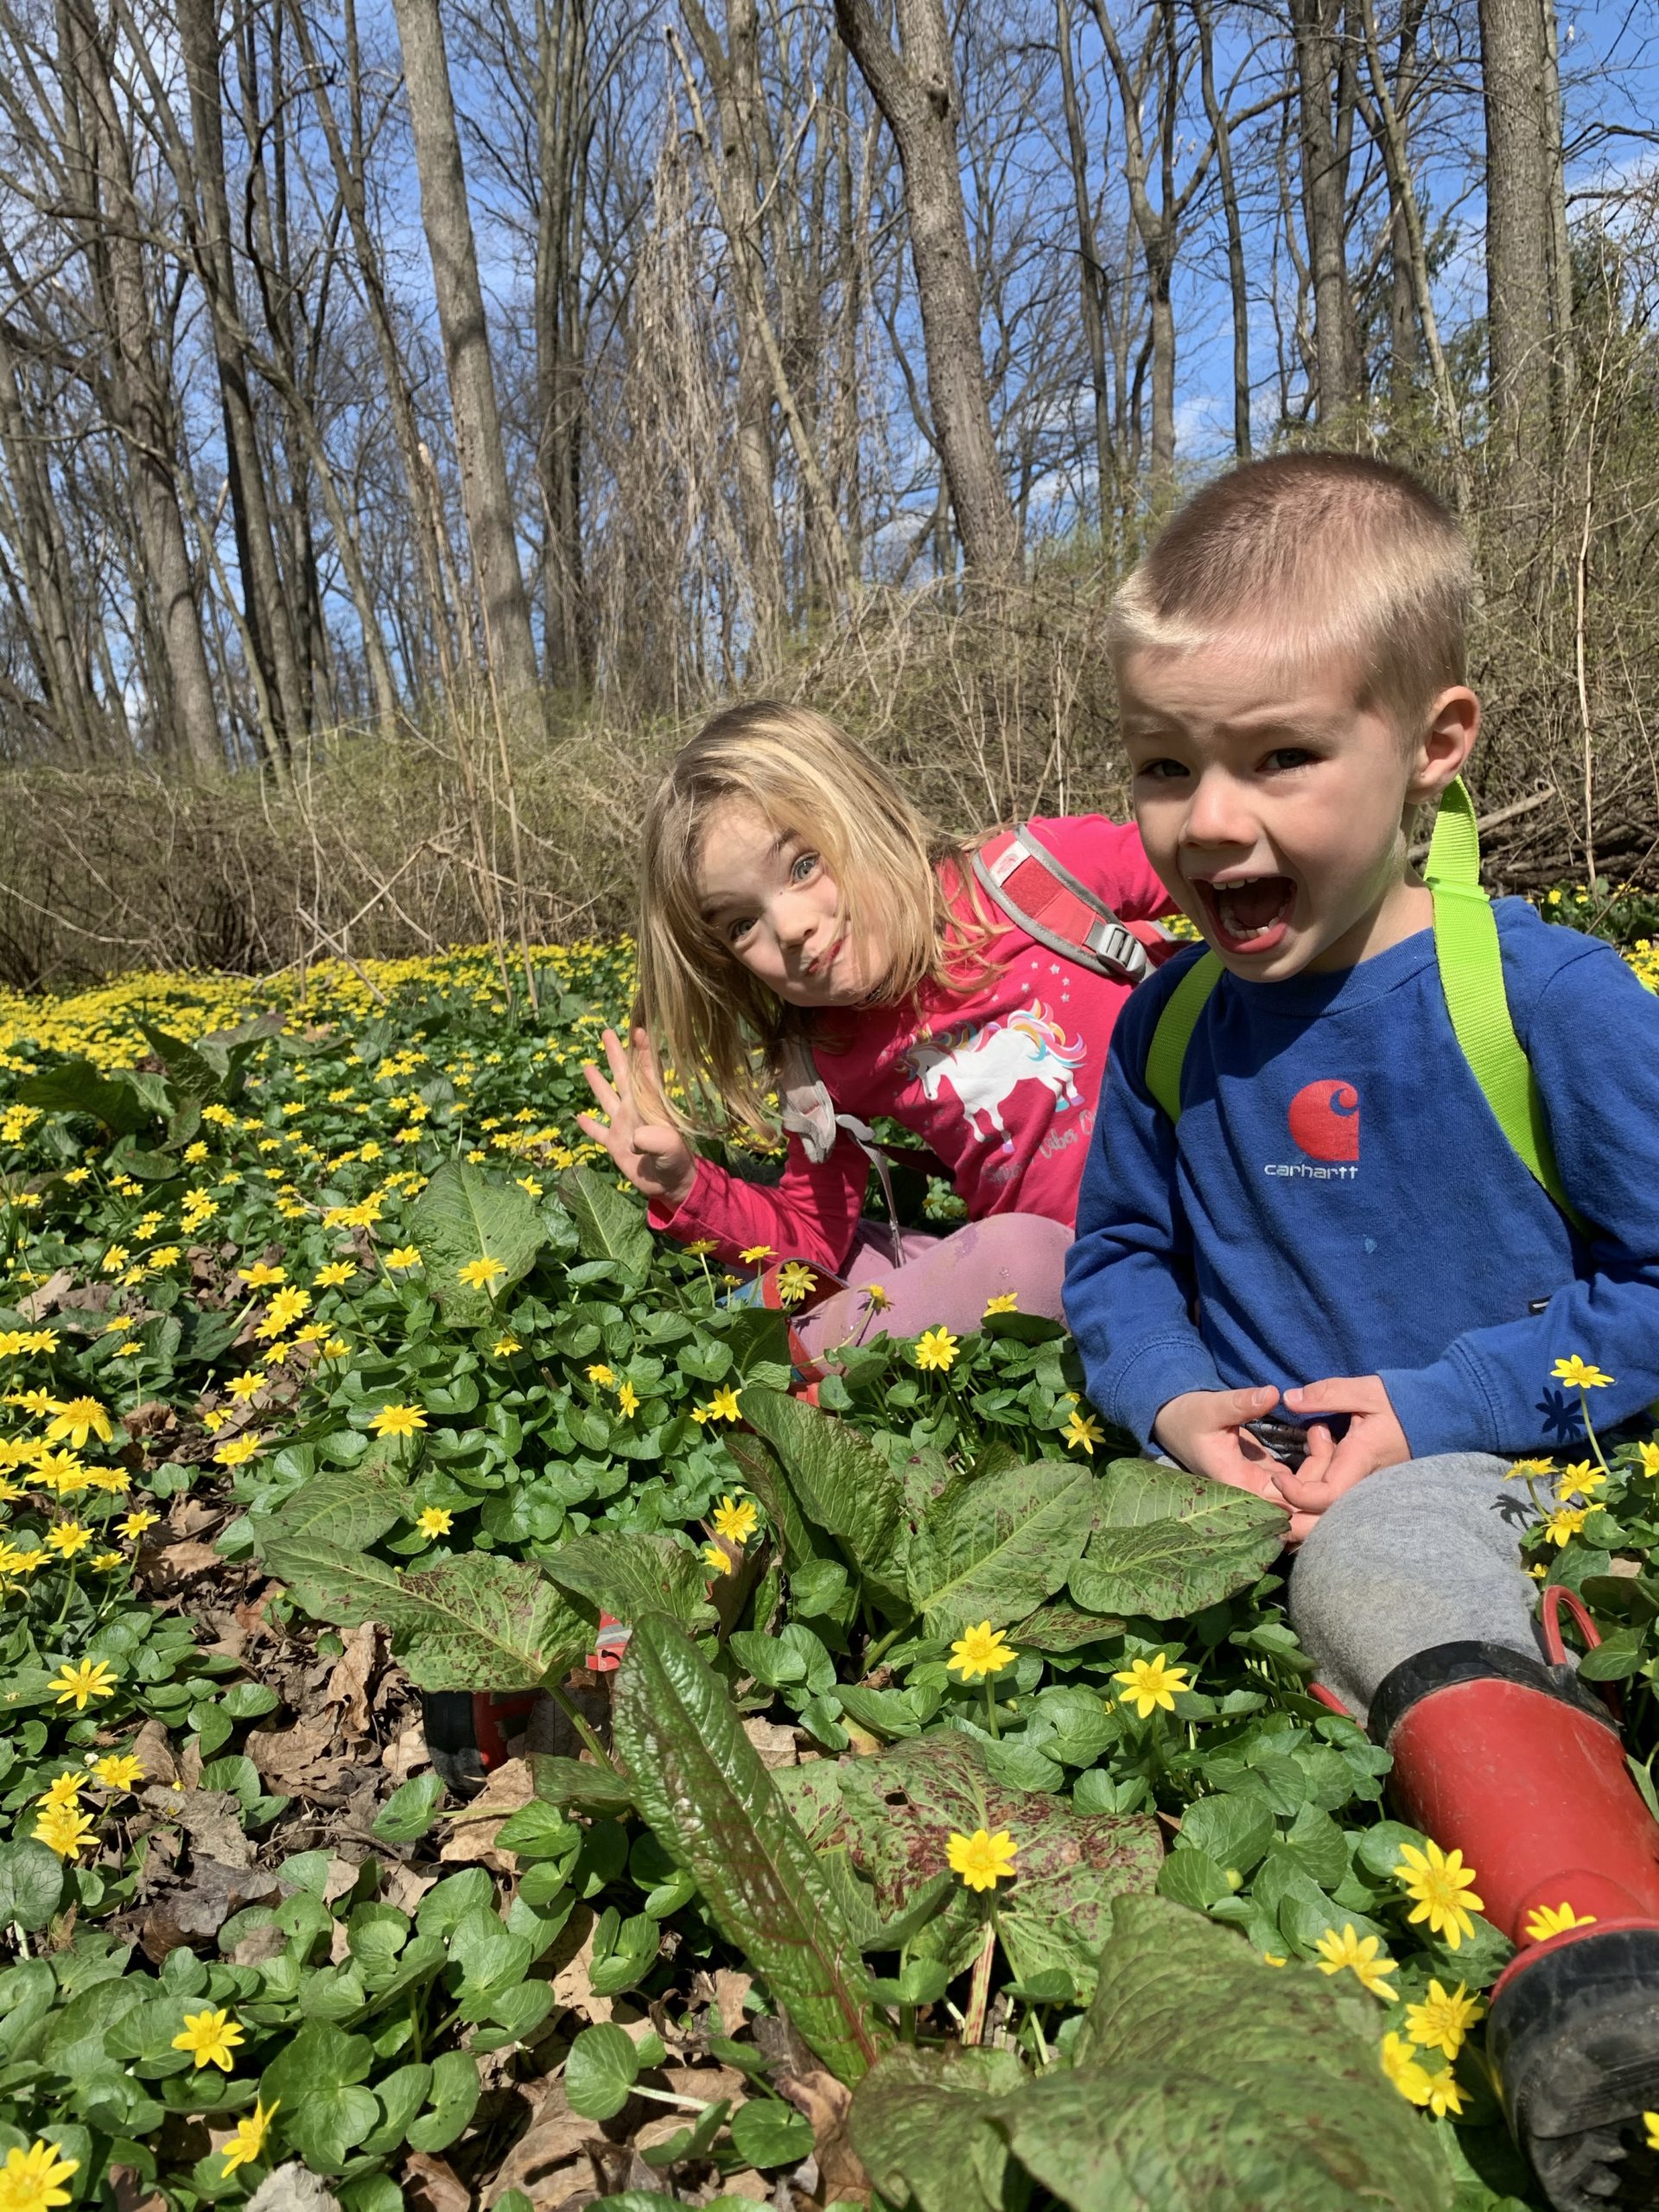
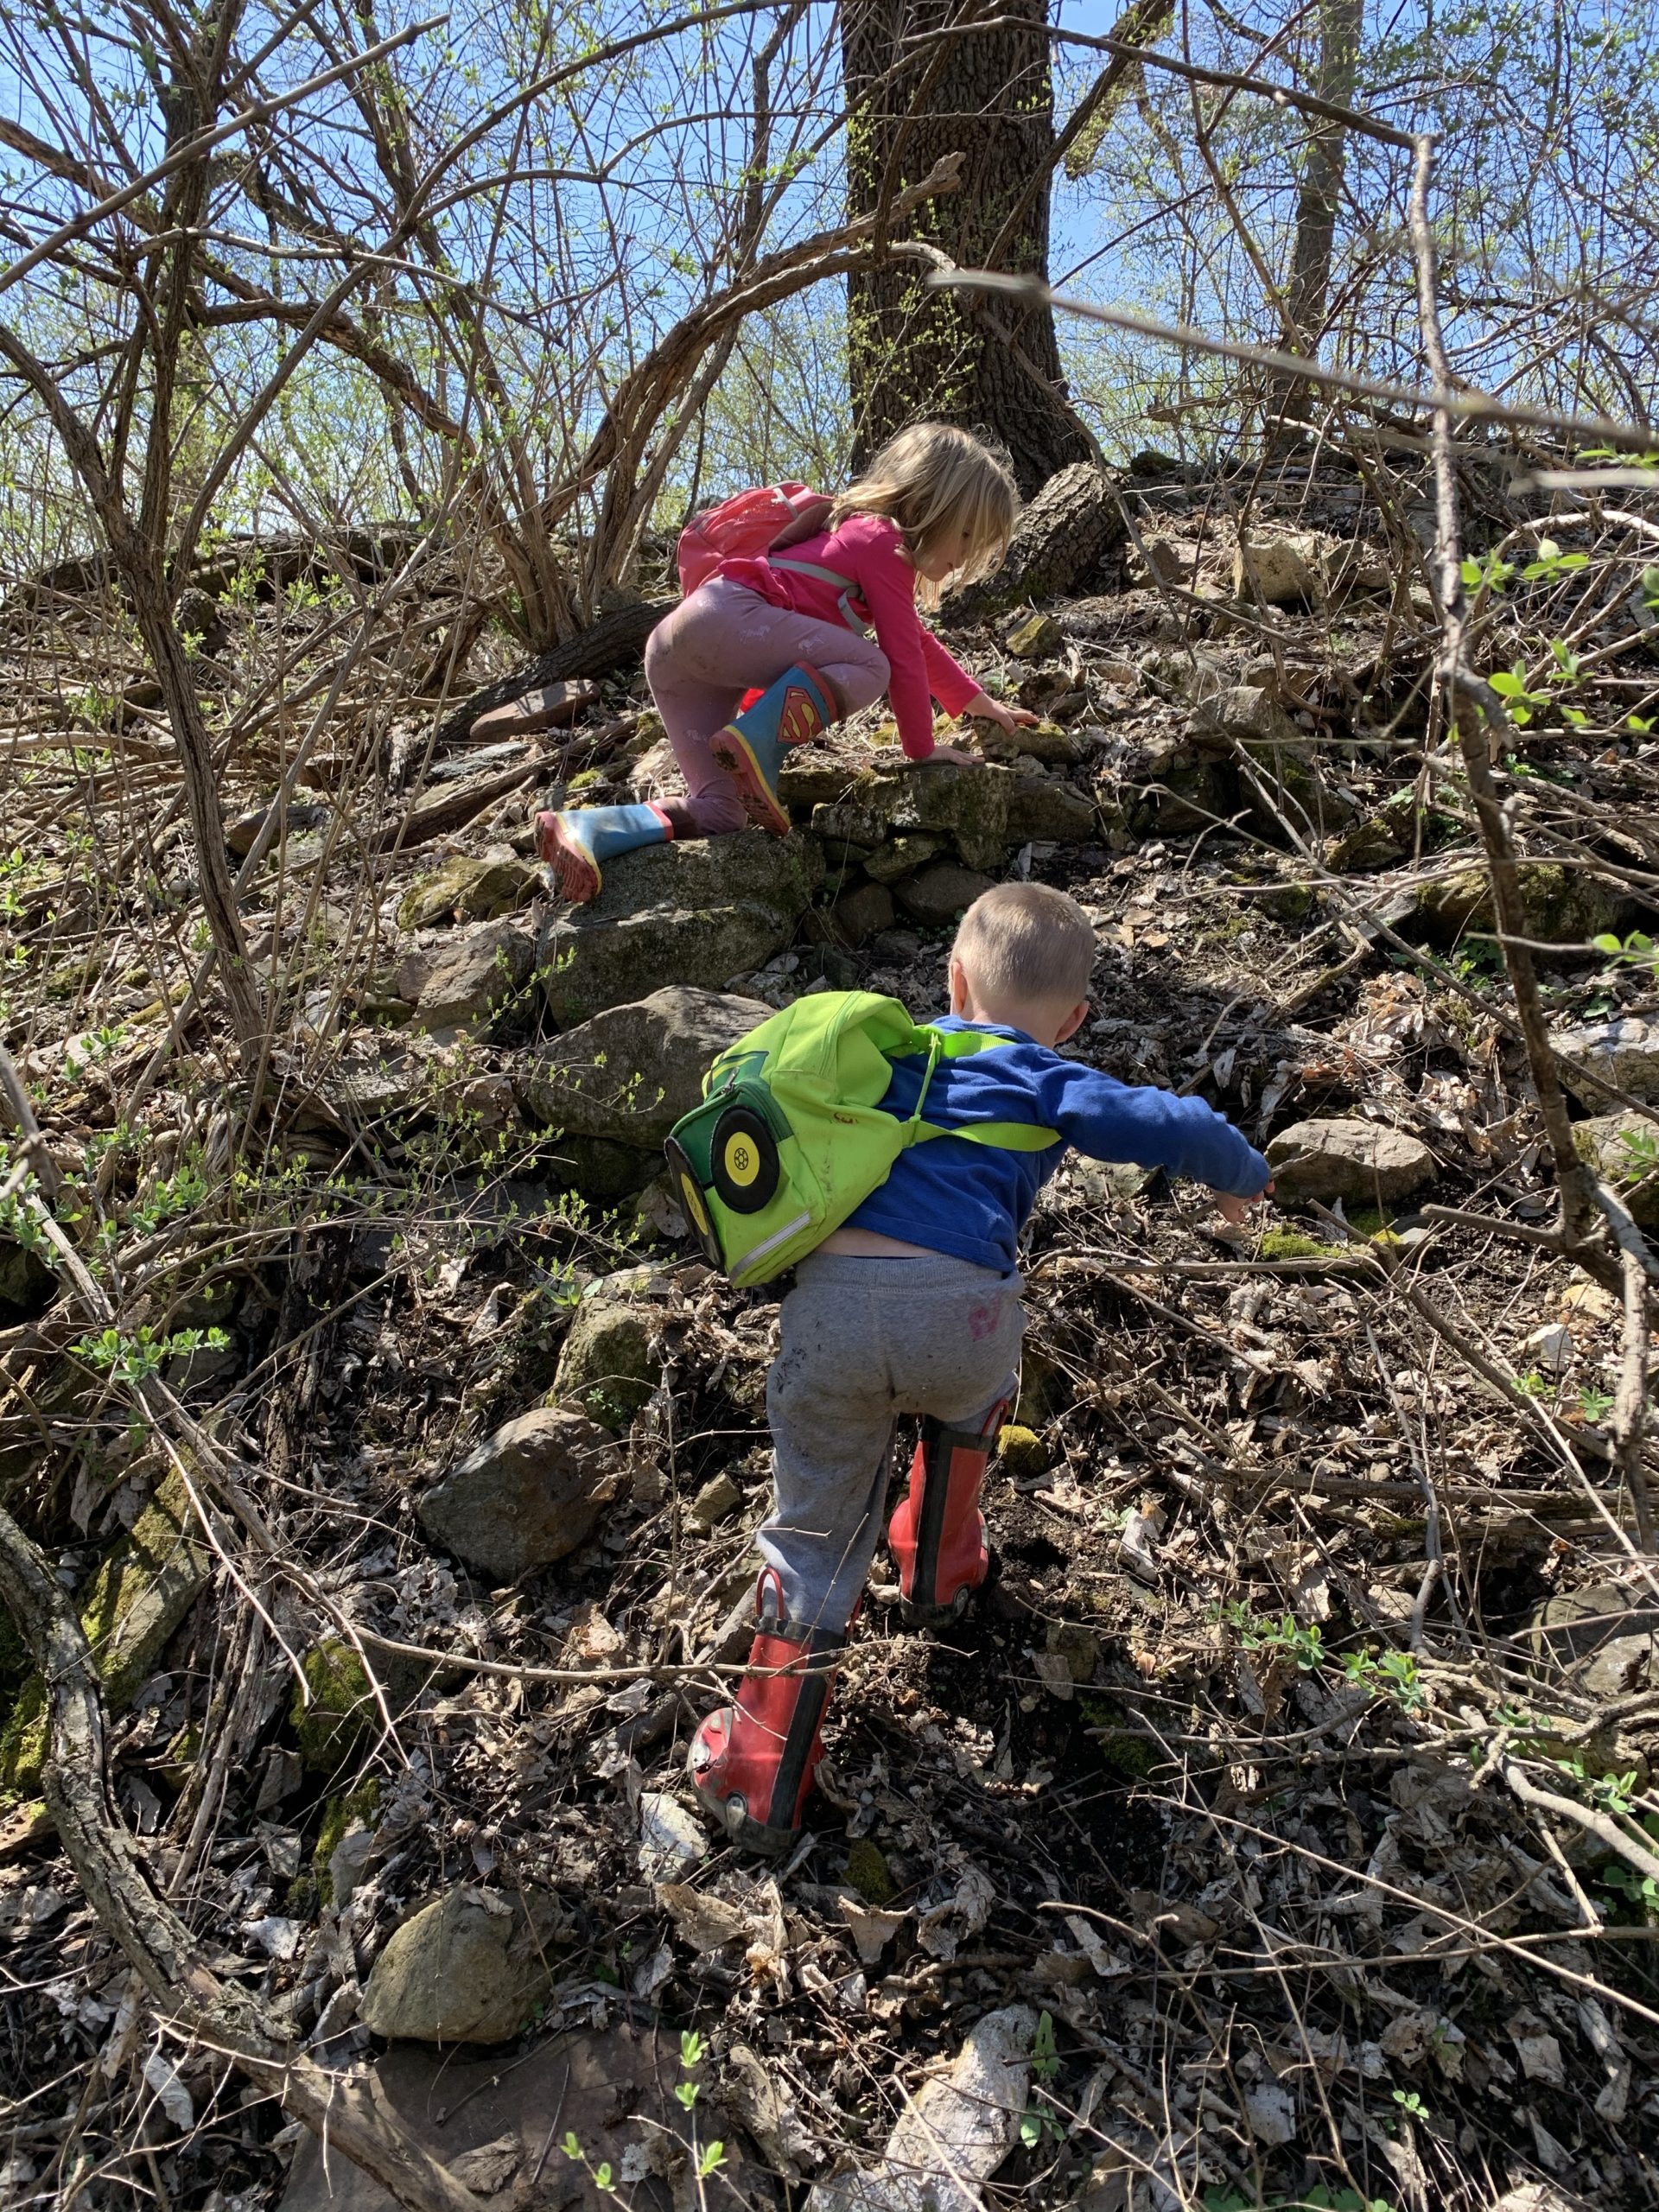
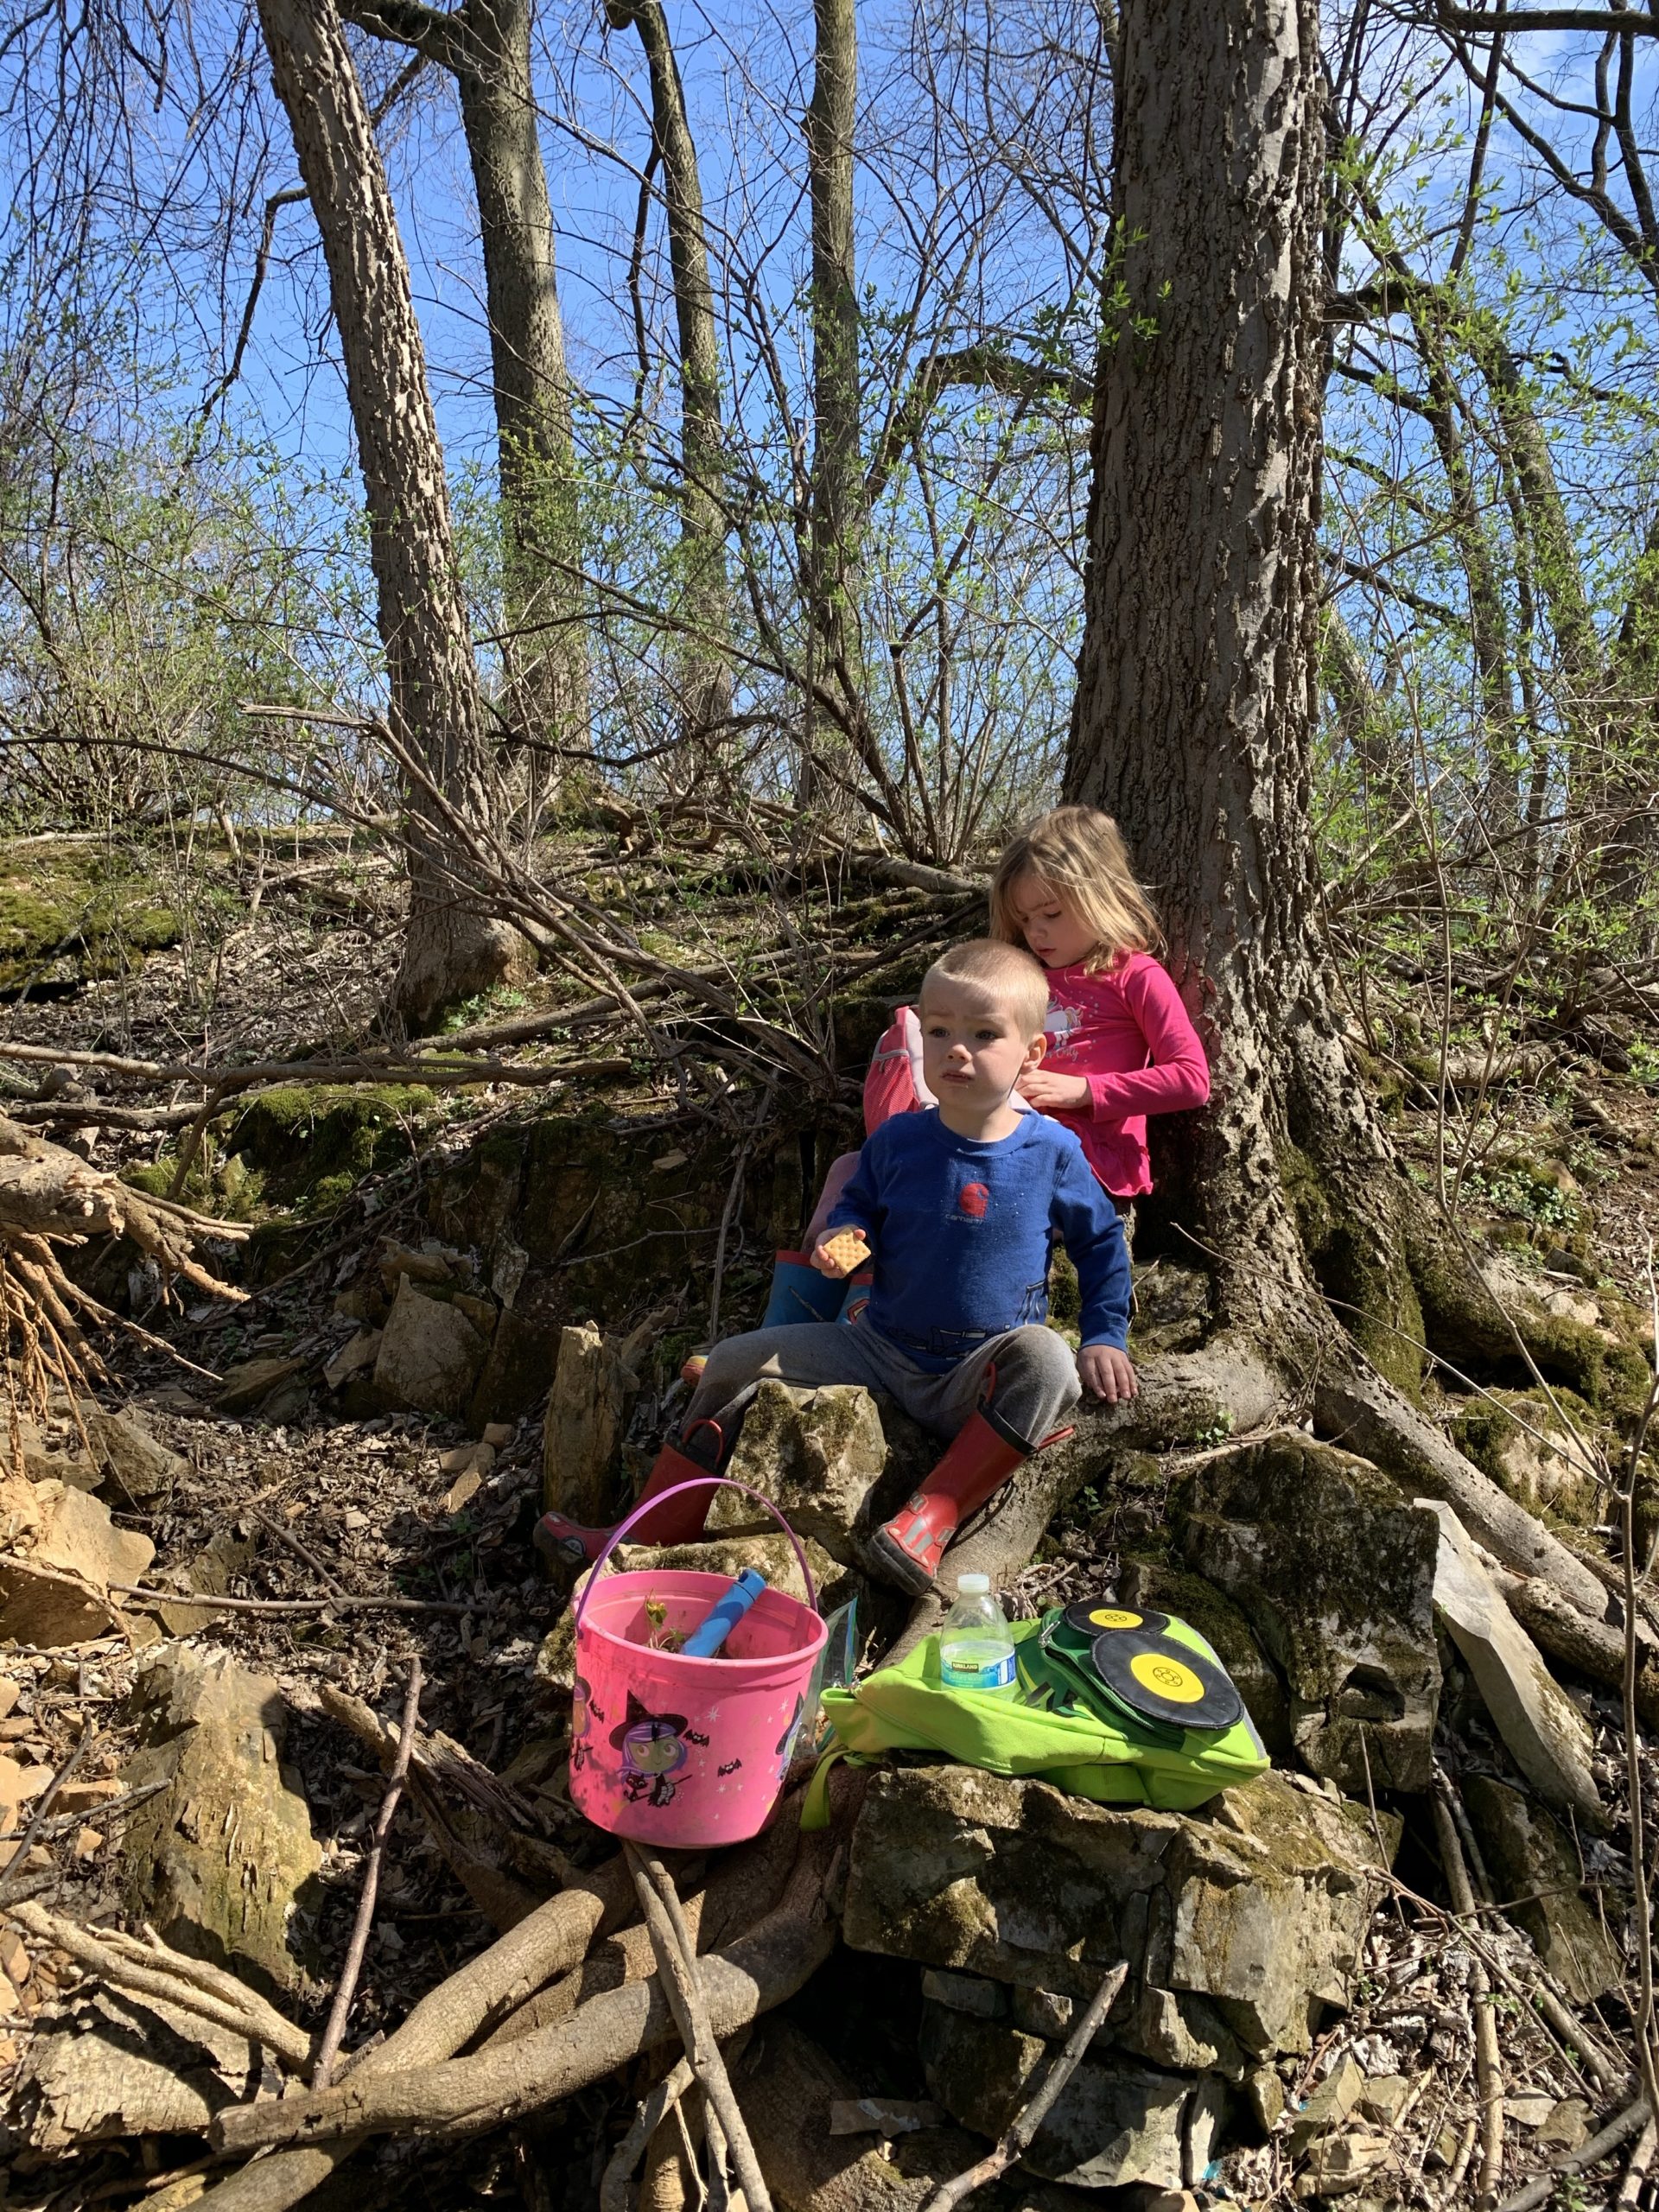
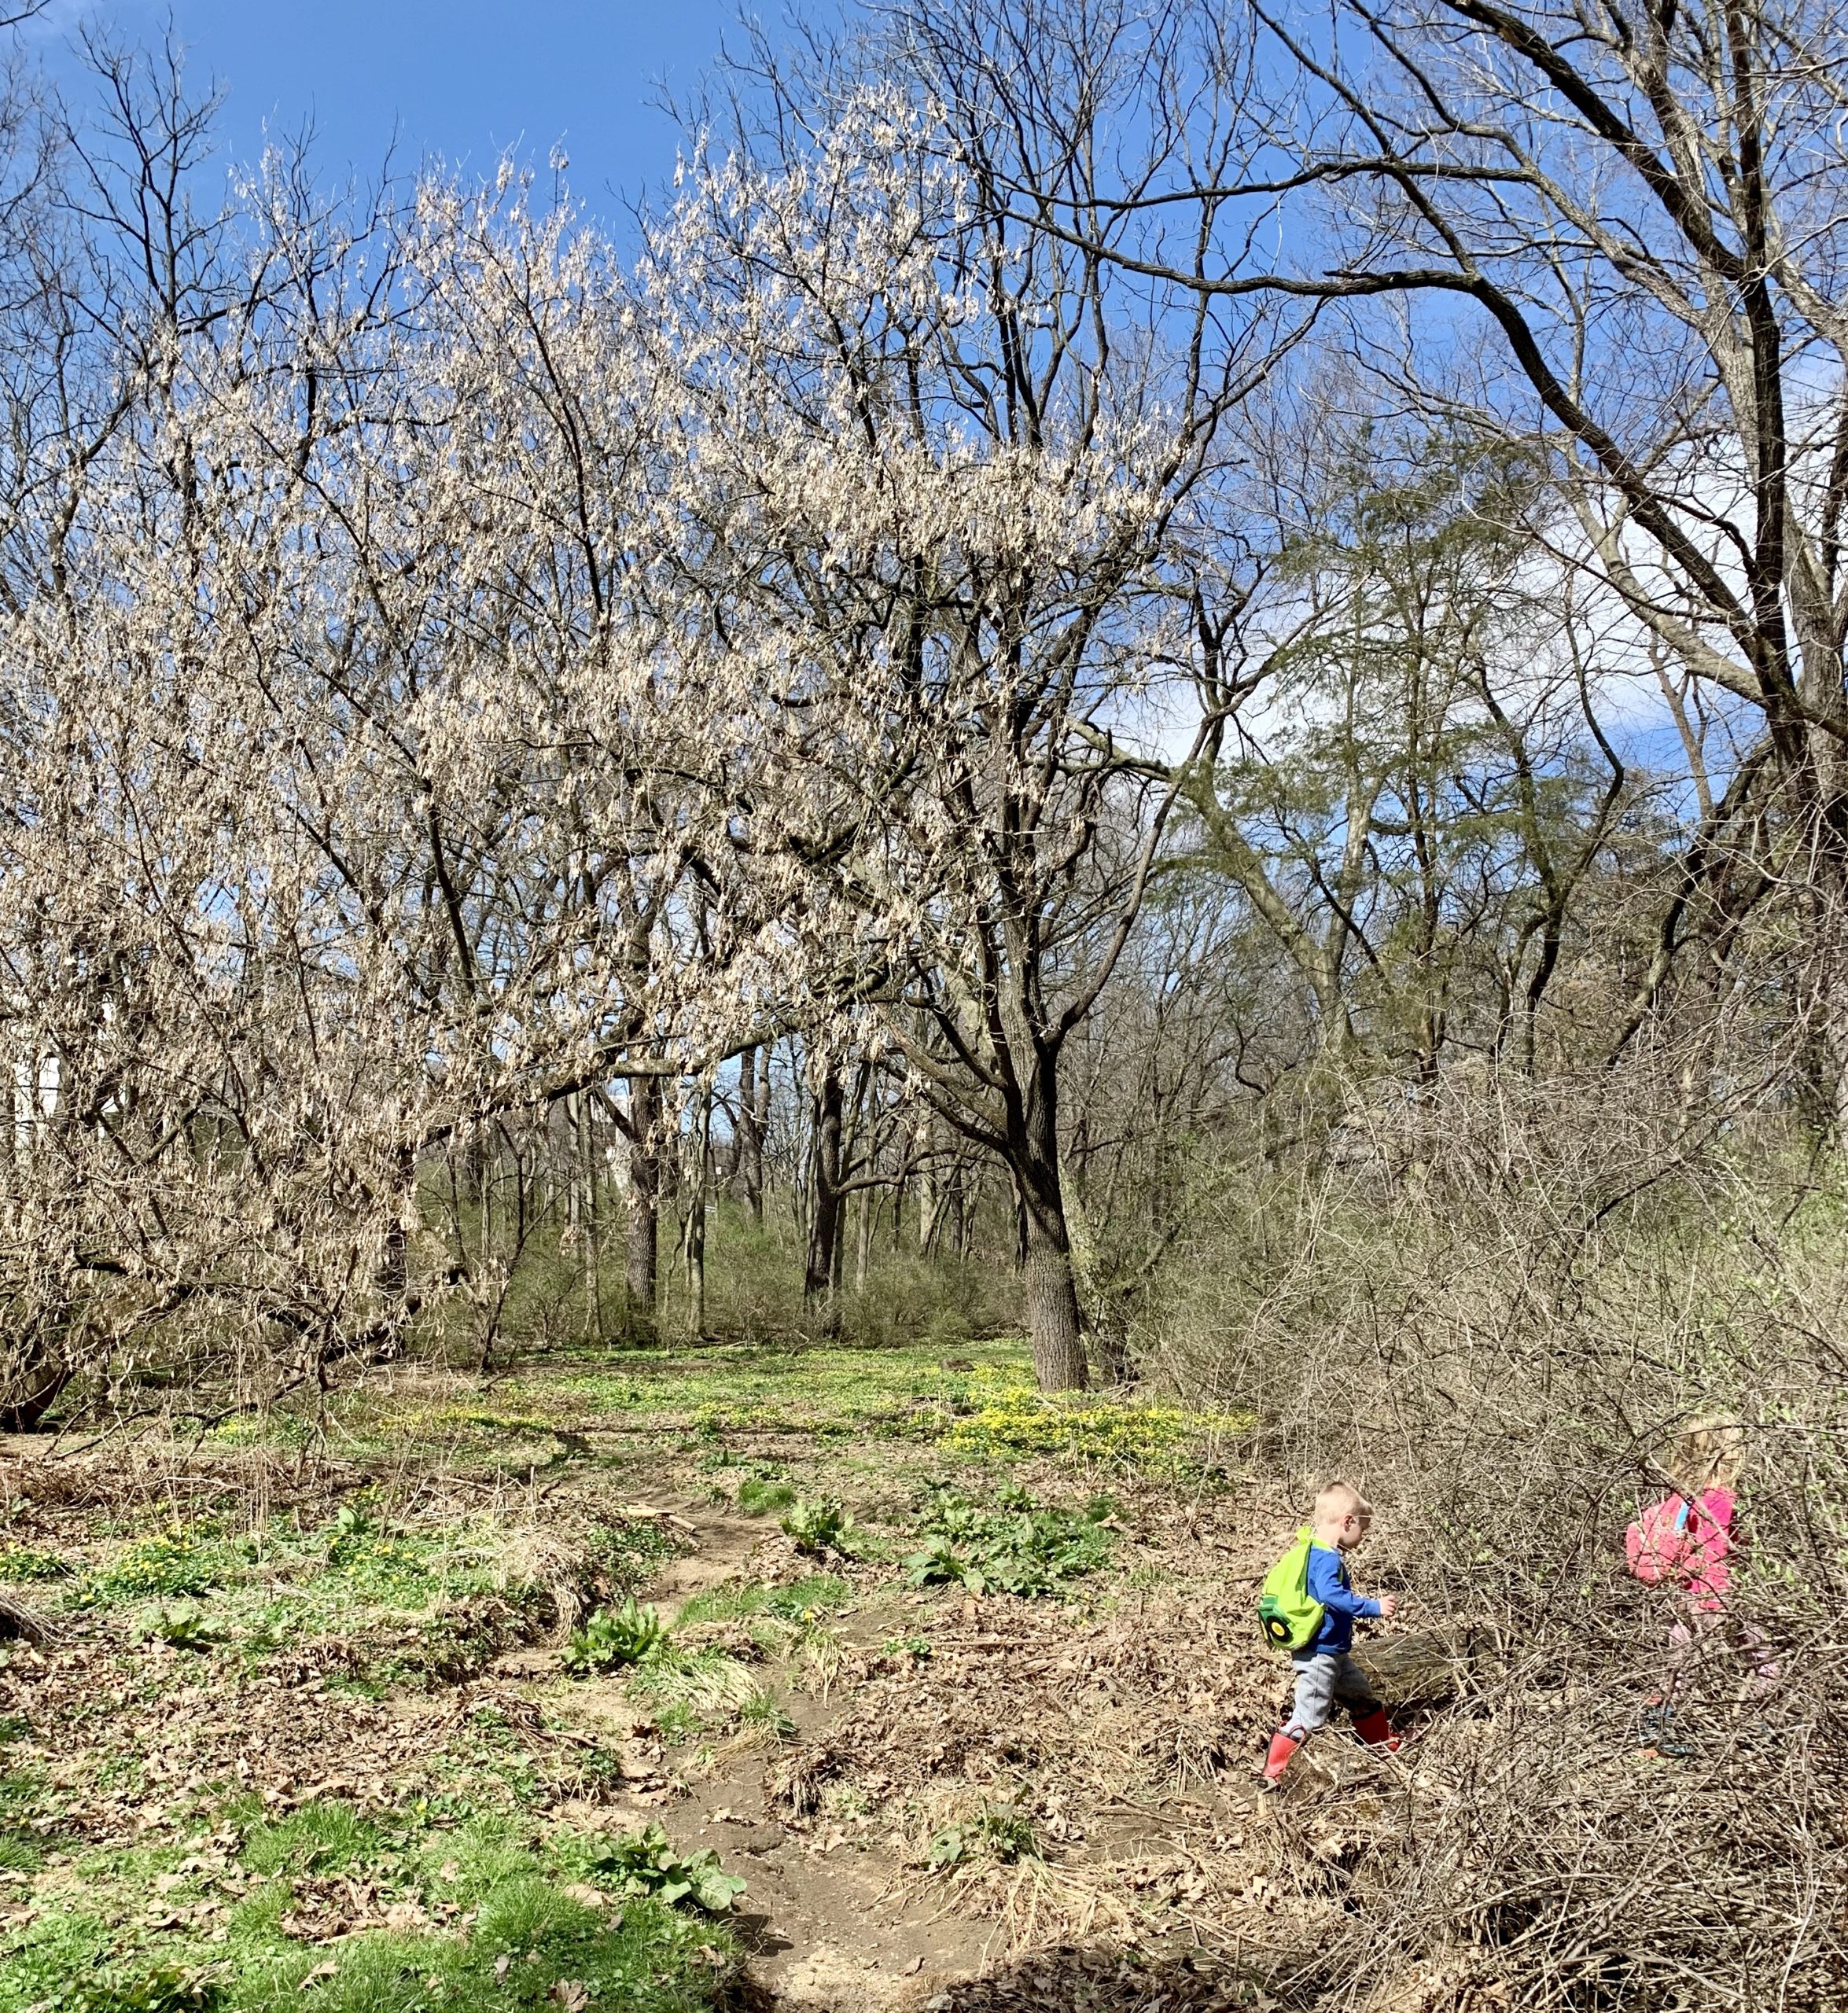
I’m not about to lock the kids in the house, but I’m not going to take them to a crowded park.  Getting outside is important for children’s brains to develop, grow, and learn; not to mention, to have fun and explore!  So get outside and find new paths, hear new bird calls, have a picnic, get wet and jump in puddles for goodness sake! This is the times you and the kids will remember.  In fact, after all this, the kids were exhausted.  My daughter said it was the best day ever!

img_3130

We saw frogs and toads, explored dry creek beds, found “hideouts” (make believe hideouts), looked for fossils under tree roots, climbed mountains (to a kid its a mountain), balanced and walked on logs (with mommy’s hand of course), jumped in puddles, and went through tunnels (under bridges).

img_3135

So pack a backpack, even better, have your kids pack theirs with extra socks, a dish towel (to dry off their feet), snacks, water, magnifying glass, zip-lock bag or bucket (to hold things), binoculars and any other things they want to bring (but that their backpack wont be to heavy and you will end up with it!),

img_3133

When we moved from a less populated wooded area to a more populated neighborhood, I didn’t think we would find so many fun outdoor activities for free this easily!  Behind the baseball field that is near our house is a small woods with boy-scout paths and a creek, and this is fun for days for the kids to explore and play!  I can’t wait for tadpoles!

img_3132

So get out there and explore your surroundings!

FollowFacebookpinterestrssyoutube
ShareFacebookpinterest

Tv tv everywhere…

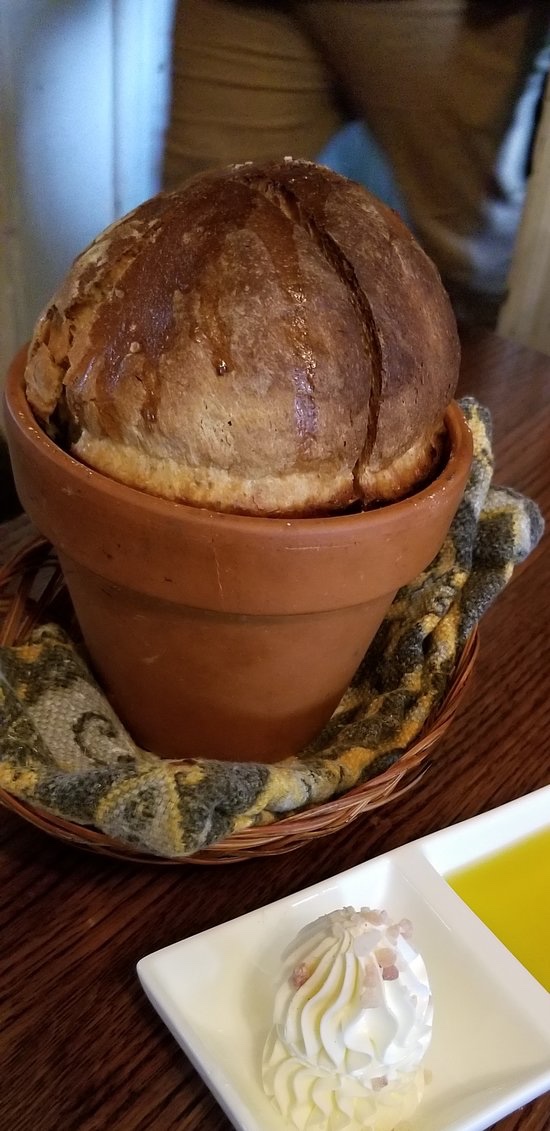
This evening my husband, my two and four year old children, and myself went to a nice restaurant together. Actually, my favorite restaurant, and the one we had our Wedding rehearsal at 7 years ago. I was nervous that our children would become bored and loud so I brought a coloring book, crayons and a couple stickers. Unlike many restaurants, this one is quiet, in an old farmhouse, and has classical music on and no televisions. You are meant to enjoy one another’s company with local fantastic fresh food. There is no overstimulation with many TVs, too loud music, or too many distractions. The food may take longer to be made, but that’s because it’s fresh. The bread comes out in the clay pot it was cooked in, it’s amazing!
But back to my story, a couple comes in with their 3-4 year old son who they sit in a chair. Immediately, a large iPad is placed in front of him and we can hear blippi playing. If you don’t know the show Blippi, you should check it out, as it is a real person doing real things in the real world (it’s my sons favorite show when I do let him watch anything). Luckily, my kids weren’t too distracted, I thought my son might start yelling blippi, but he went back to eating his bread. Next, the sons father went on his phone for the entire dinner. I had missed this as I was paying attention to my family, however my husband pointed out that he was on his phone the entire time.

Through the entire dinner, the family next to us had the iPad or whatever device it was placed in front of him and could hardly see his parents. No wonder this kid was crawling under the table screaming periodically and trying to run around the restaurant! His parents weren’t paying any attention to him except to reference the show he was watching. The mother even said look at those children behaving over there that is how you should behave. I felt badly for this child because his parents were blocking him out by trying to turn him into the zoning zombie to “enjoy” their dinner. Which in this case, was the father on his phone the whole time anyways.

I see children everywhere I go on their parents phones or iPads zoning out instead of interacting, developing relationships, communicating and learning. Even at the food stores, kids are plopped into a cart and given a phone to play with instead of interacting and watching interactions taking place. The children are learning how to behave from the show instead of reality. I’m guilty of letting my children watch tv, I think I might lose my sanity sometimes if I tried to make a decent dinner with two toddlers trying to help and almost burning themselves or cutting themselves every couple seconds. Granted sometimes they play with their puzzles and legos and such and it’s great. Even better, they play together a lot more these days. I do have them bake with me frequently since they love helping (toddlers love helping, even if it makes more of a mess!).

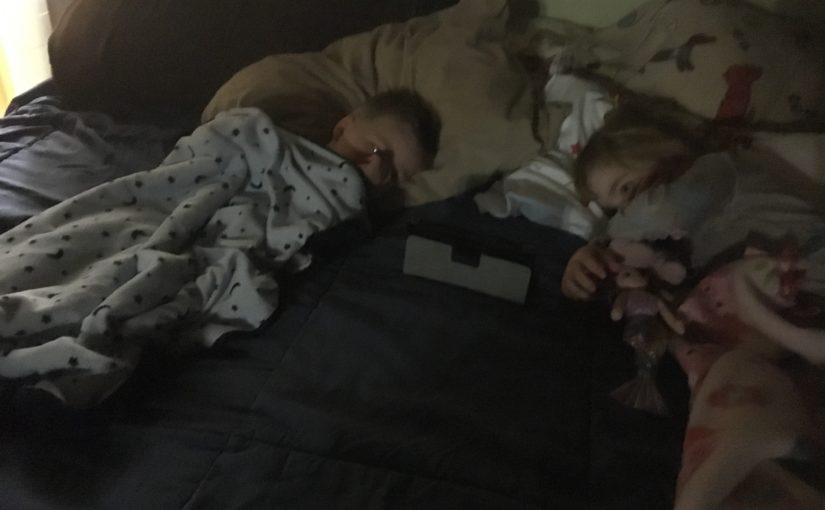
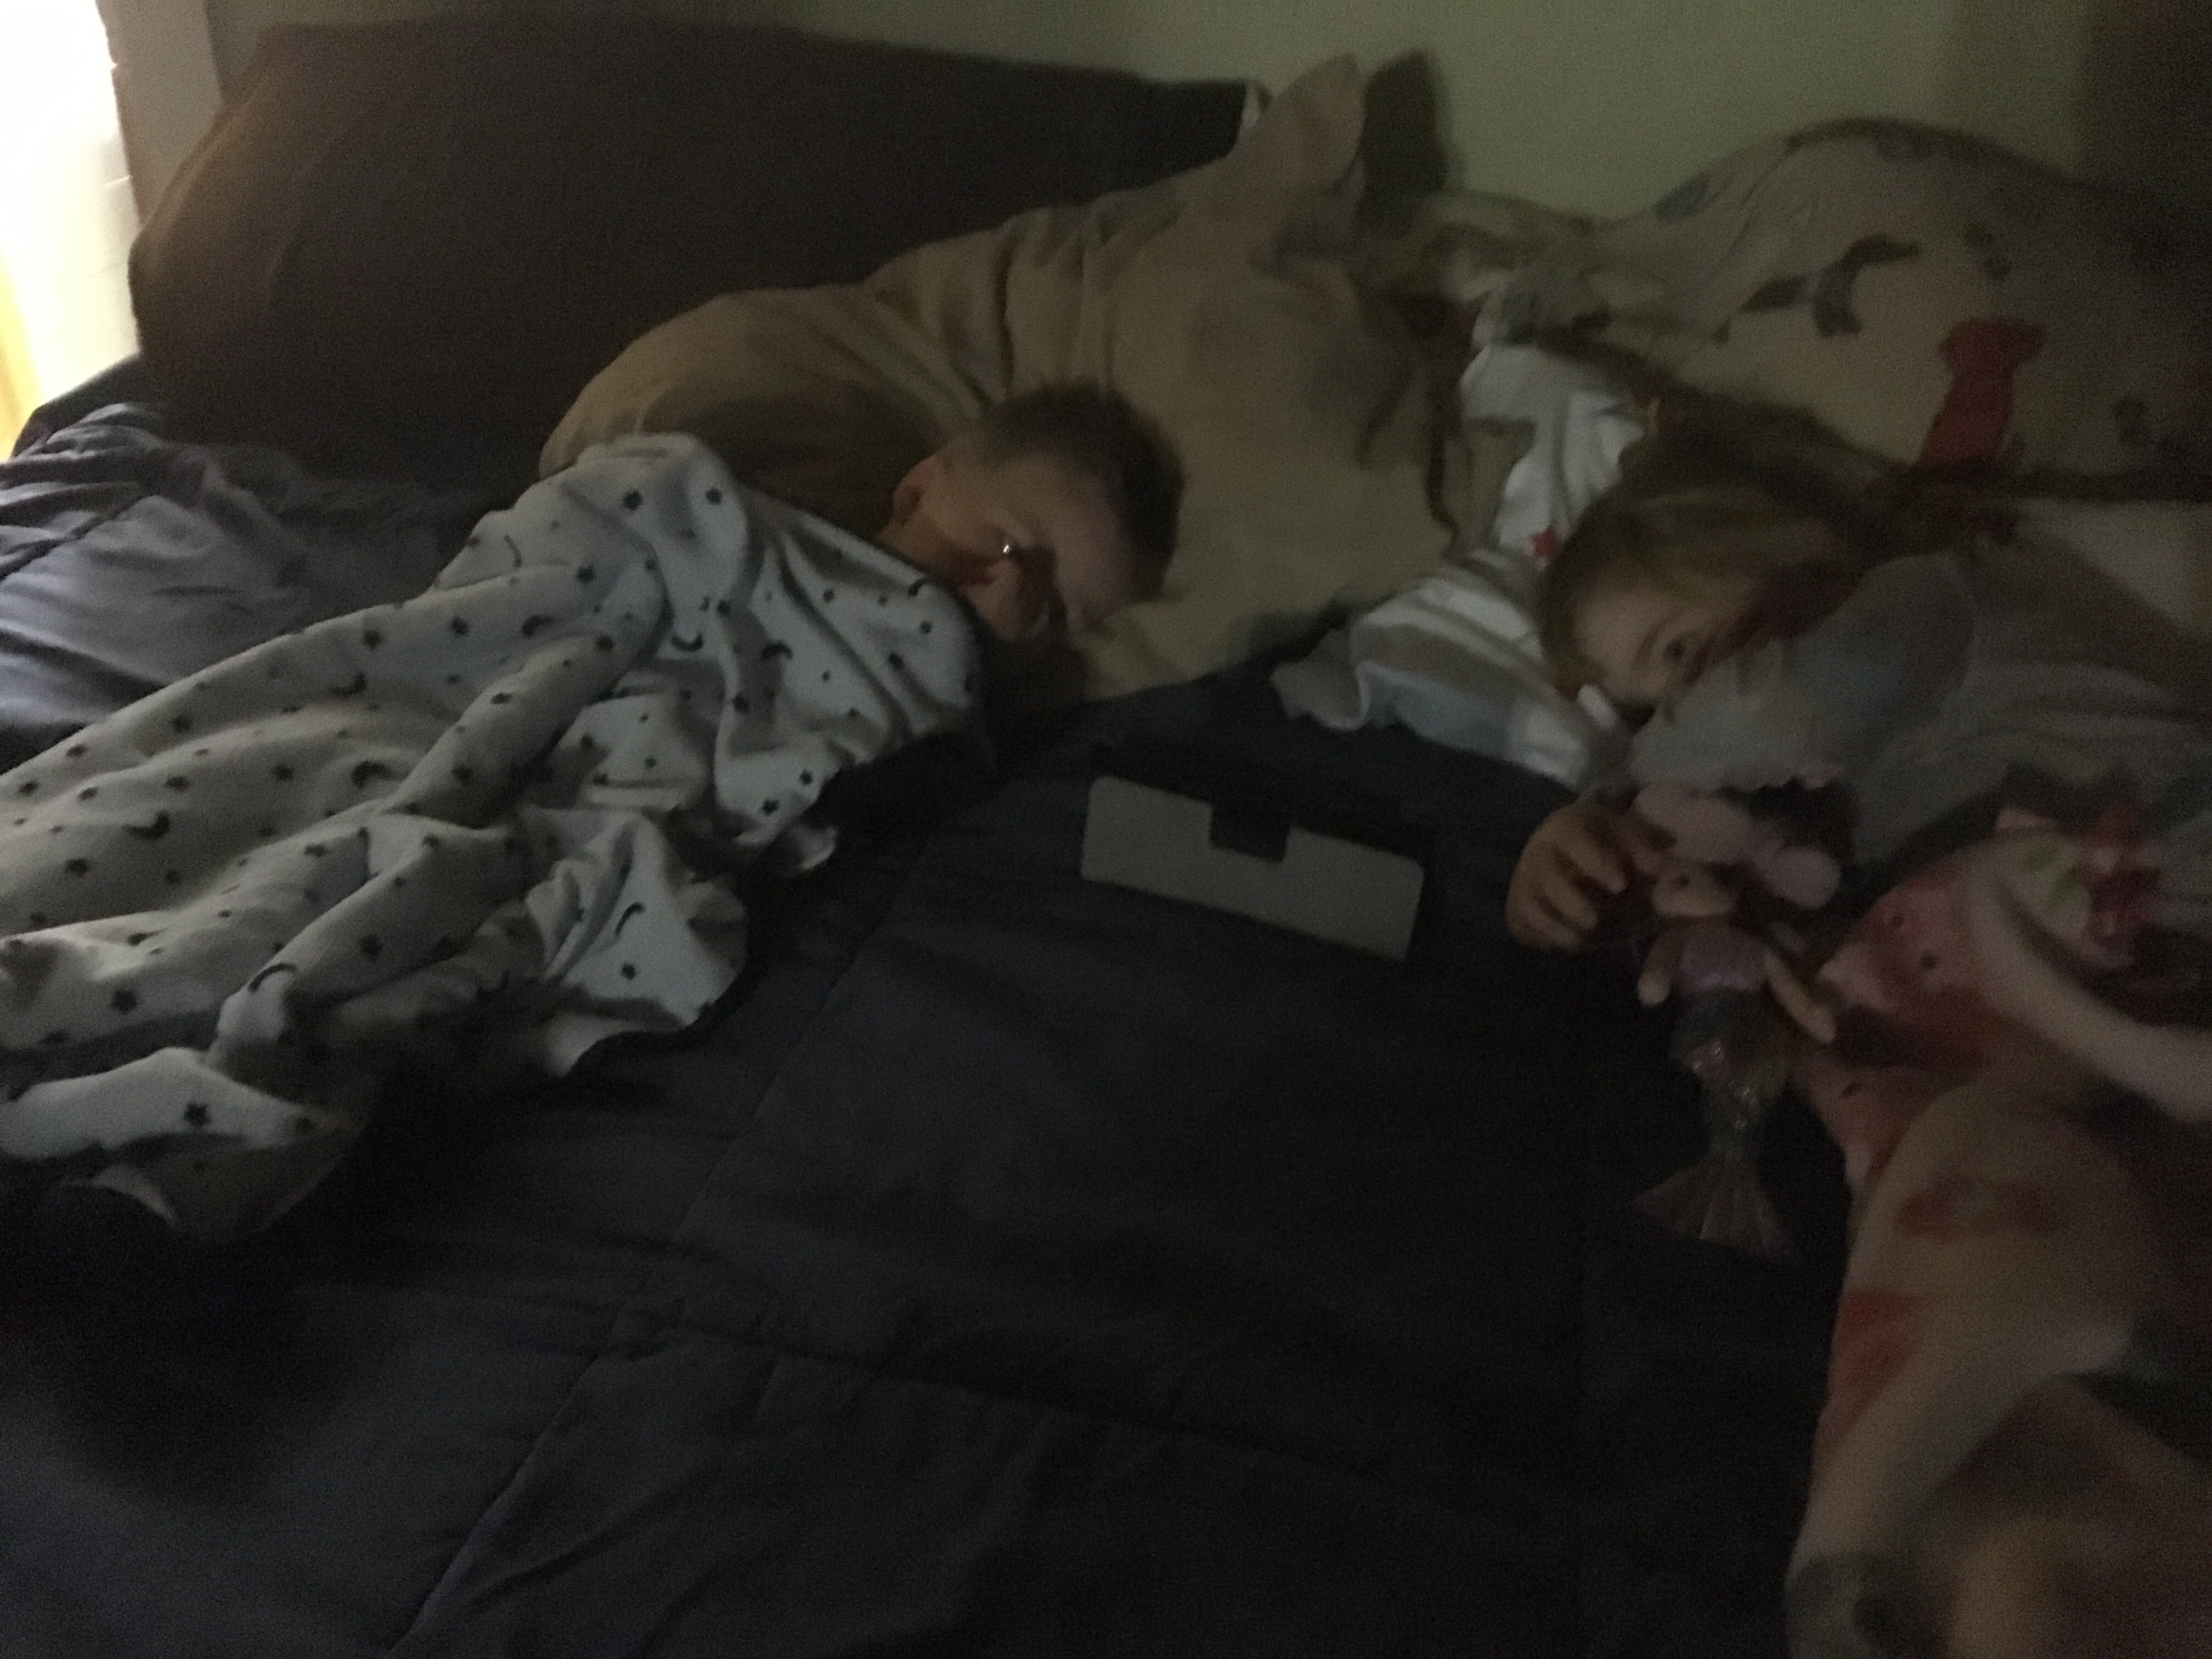
Sometimes I’m guilty of trying to catch a couple more z’s by letting my daughter come into my bed in the morning to watch a pbs show or two. This may let me sleep a couple minutes longer; however I pay the price when it’s time to turn it off. No matter how many times I’ve told her only one show and then breakfast, she throws a mini tantrum or full tantrum and just wants to watch more. This sets a bad tone for the whole day and I immediately regret letting her watch a show.
Another thing that bothers me is when parents post online what type of device they should get their 4 or 5 year old to watch shows before bed or in bed or for restaurants car rides and so on. Children should be interacting with real people, especially their family to build the bonds for their lifetime instead of glued to a screen. If you need to catch your breath once and a whole, I totally get it! Just remember, when you let your daughter watch a show in your bed or take that iPhone out at the store, your child makes that connection that you let him or her do this so they will expect it again and will be persistent. One thing I’ve definitely learned with a toddler is that if you think I’ll pick my battles and let them do something once, they will expect it again and again. More on positive discipline in the future, but that’s all for now!

Of course this is all just my opinion, and everyone has their own opinions, this is America after all, but next time think about actually having a discussion with your kids over dinner instead of bringing out the constant “entertainment.”

FollowFacebookpinterestrssyoutube
ShareFacebookpinterest

Salt dough Easter crafts!

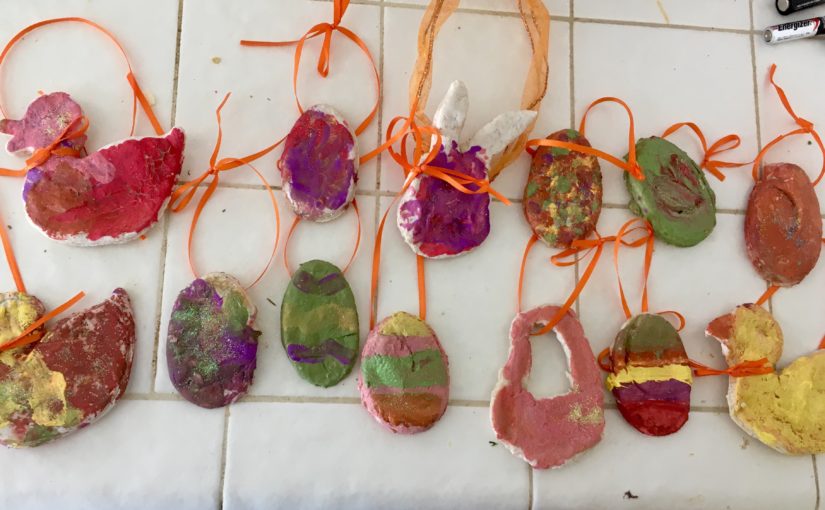
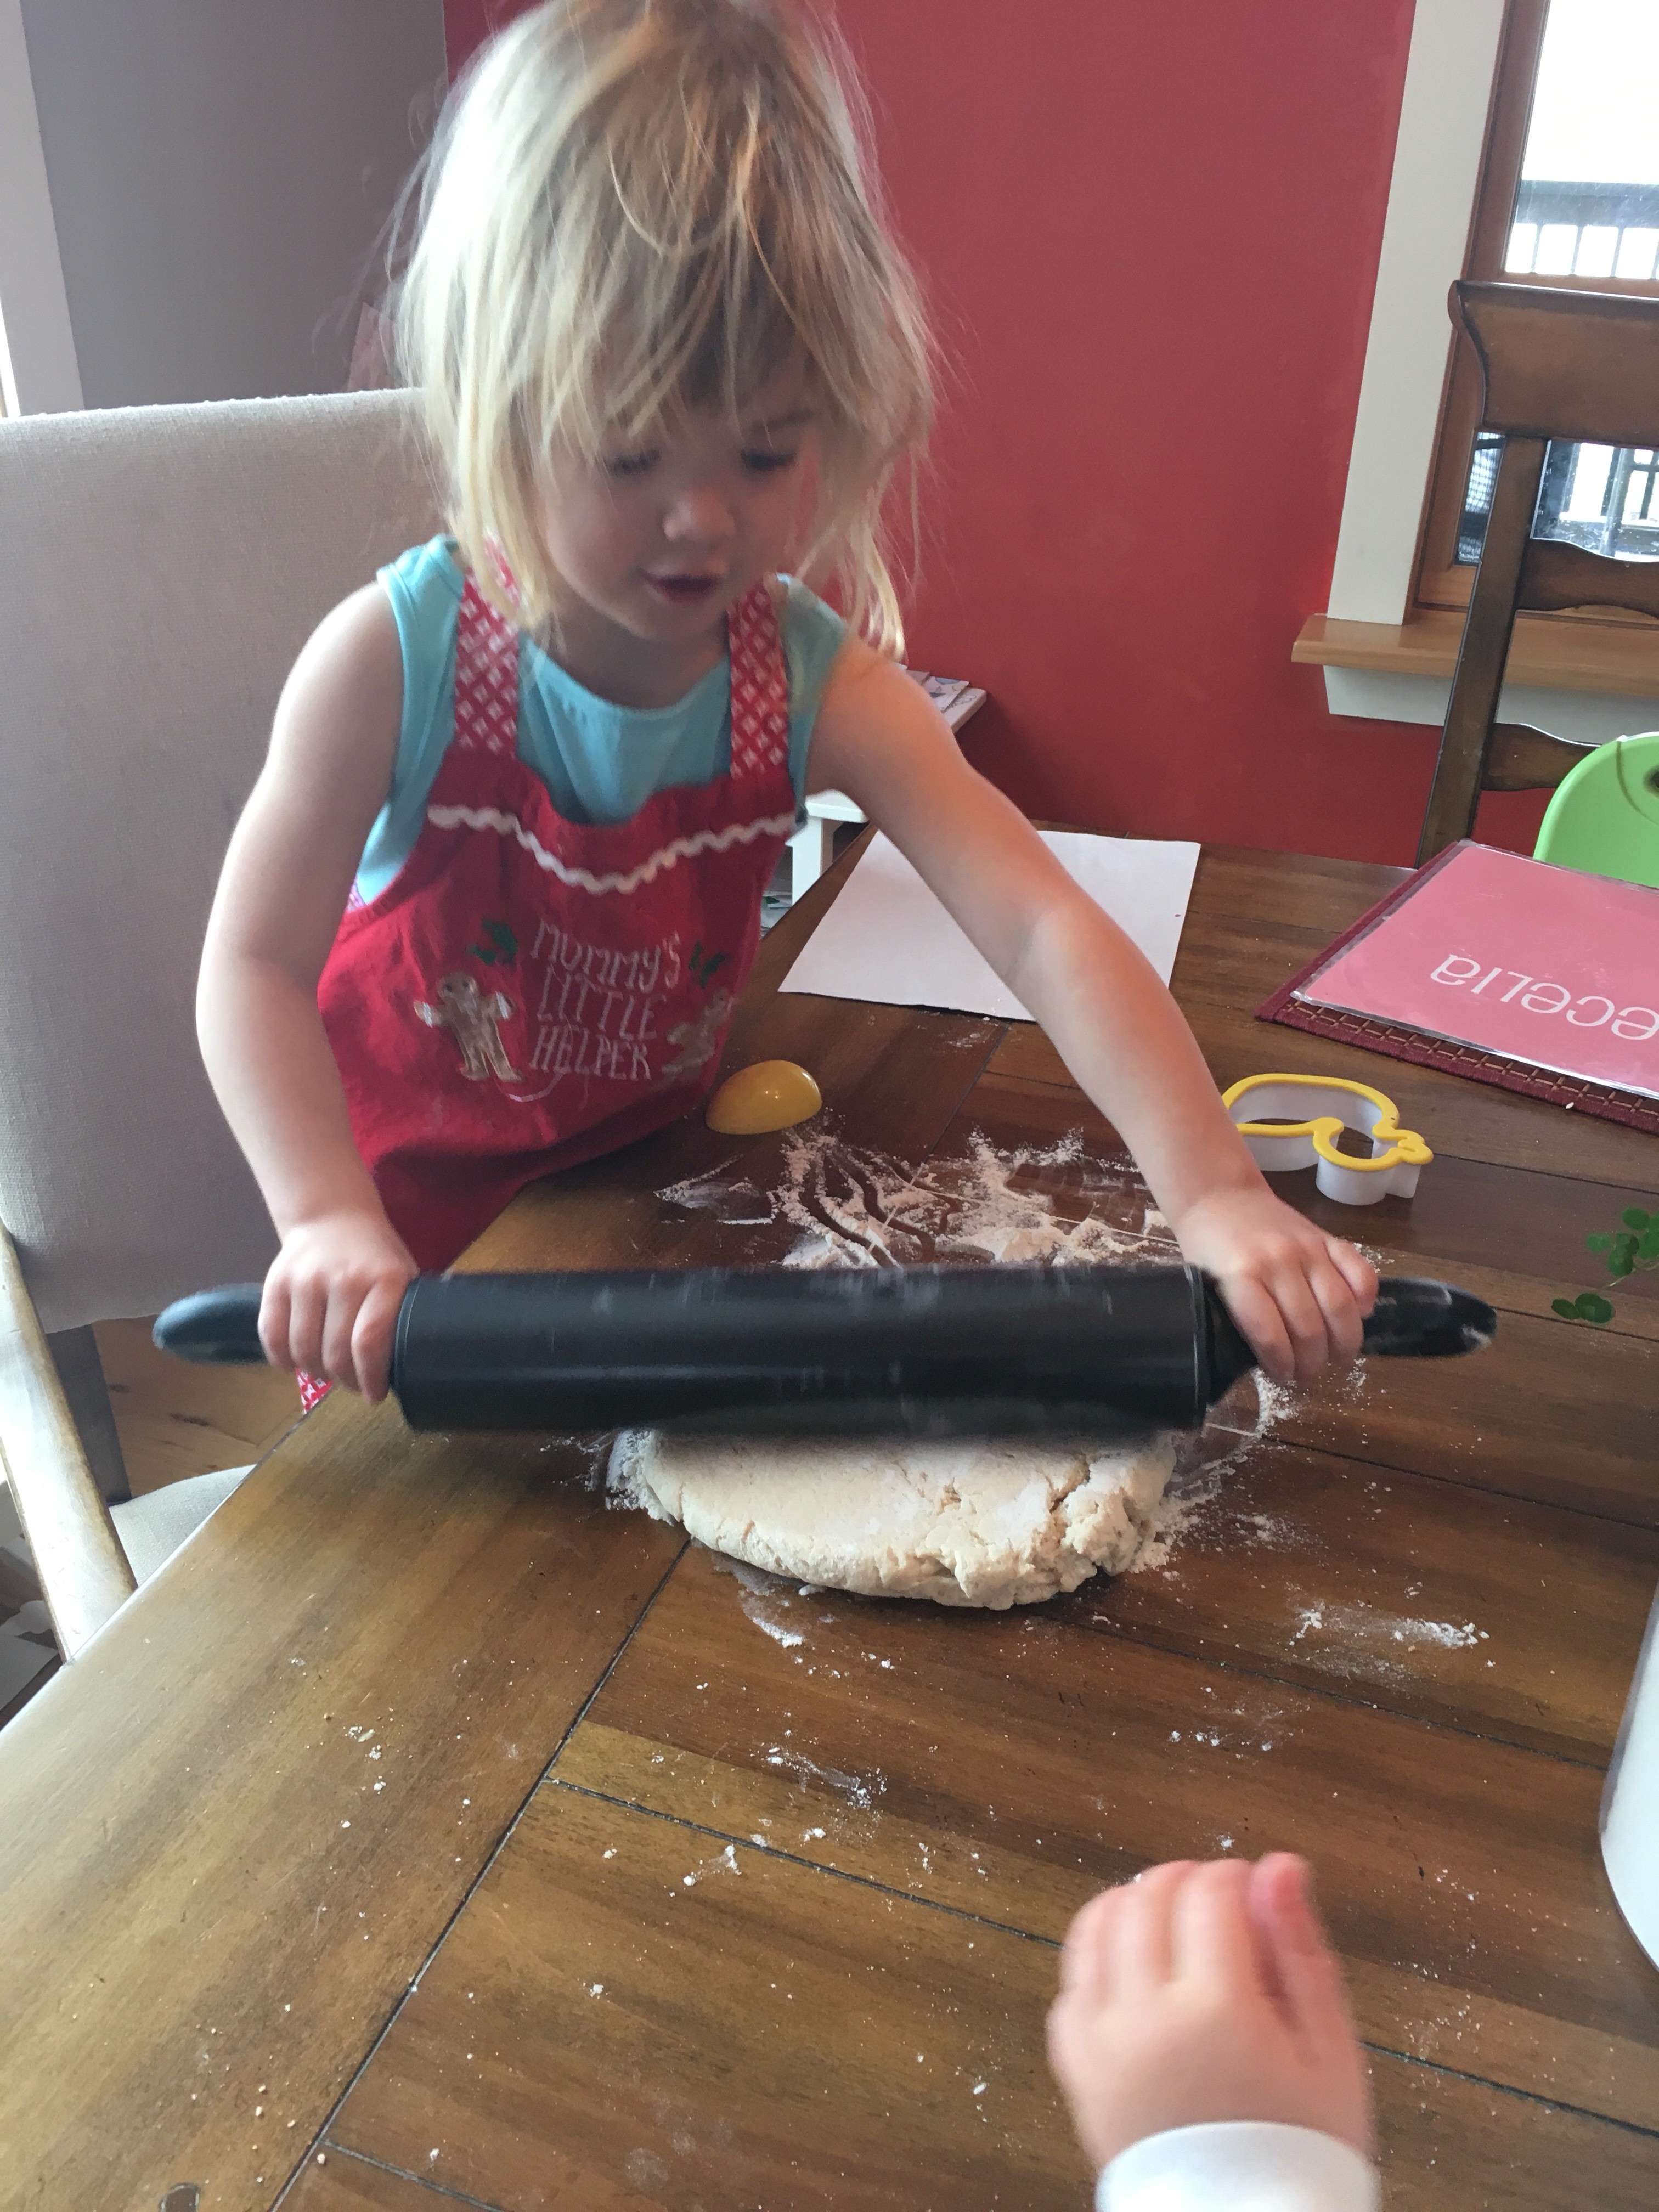
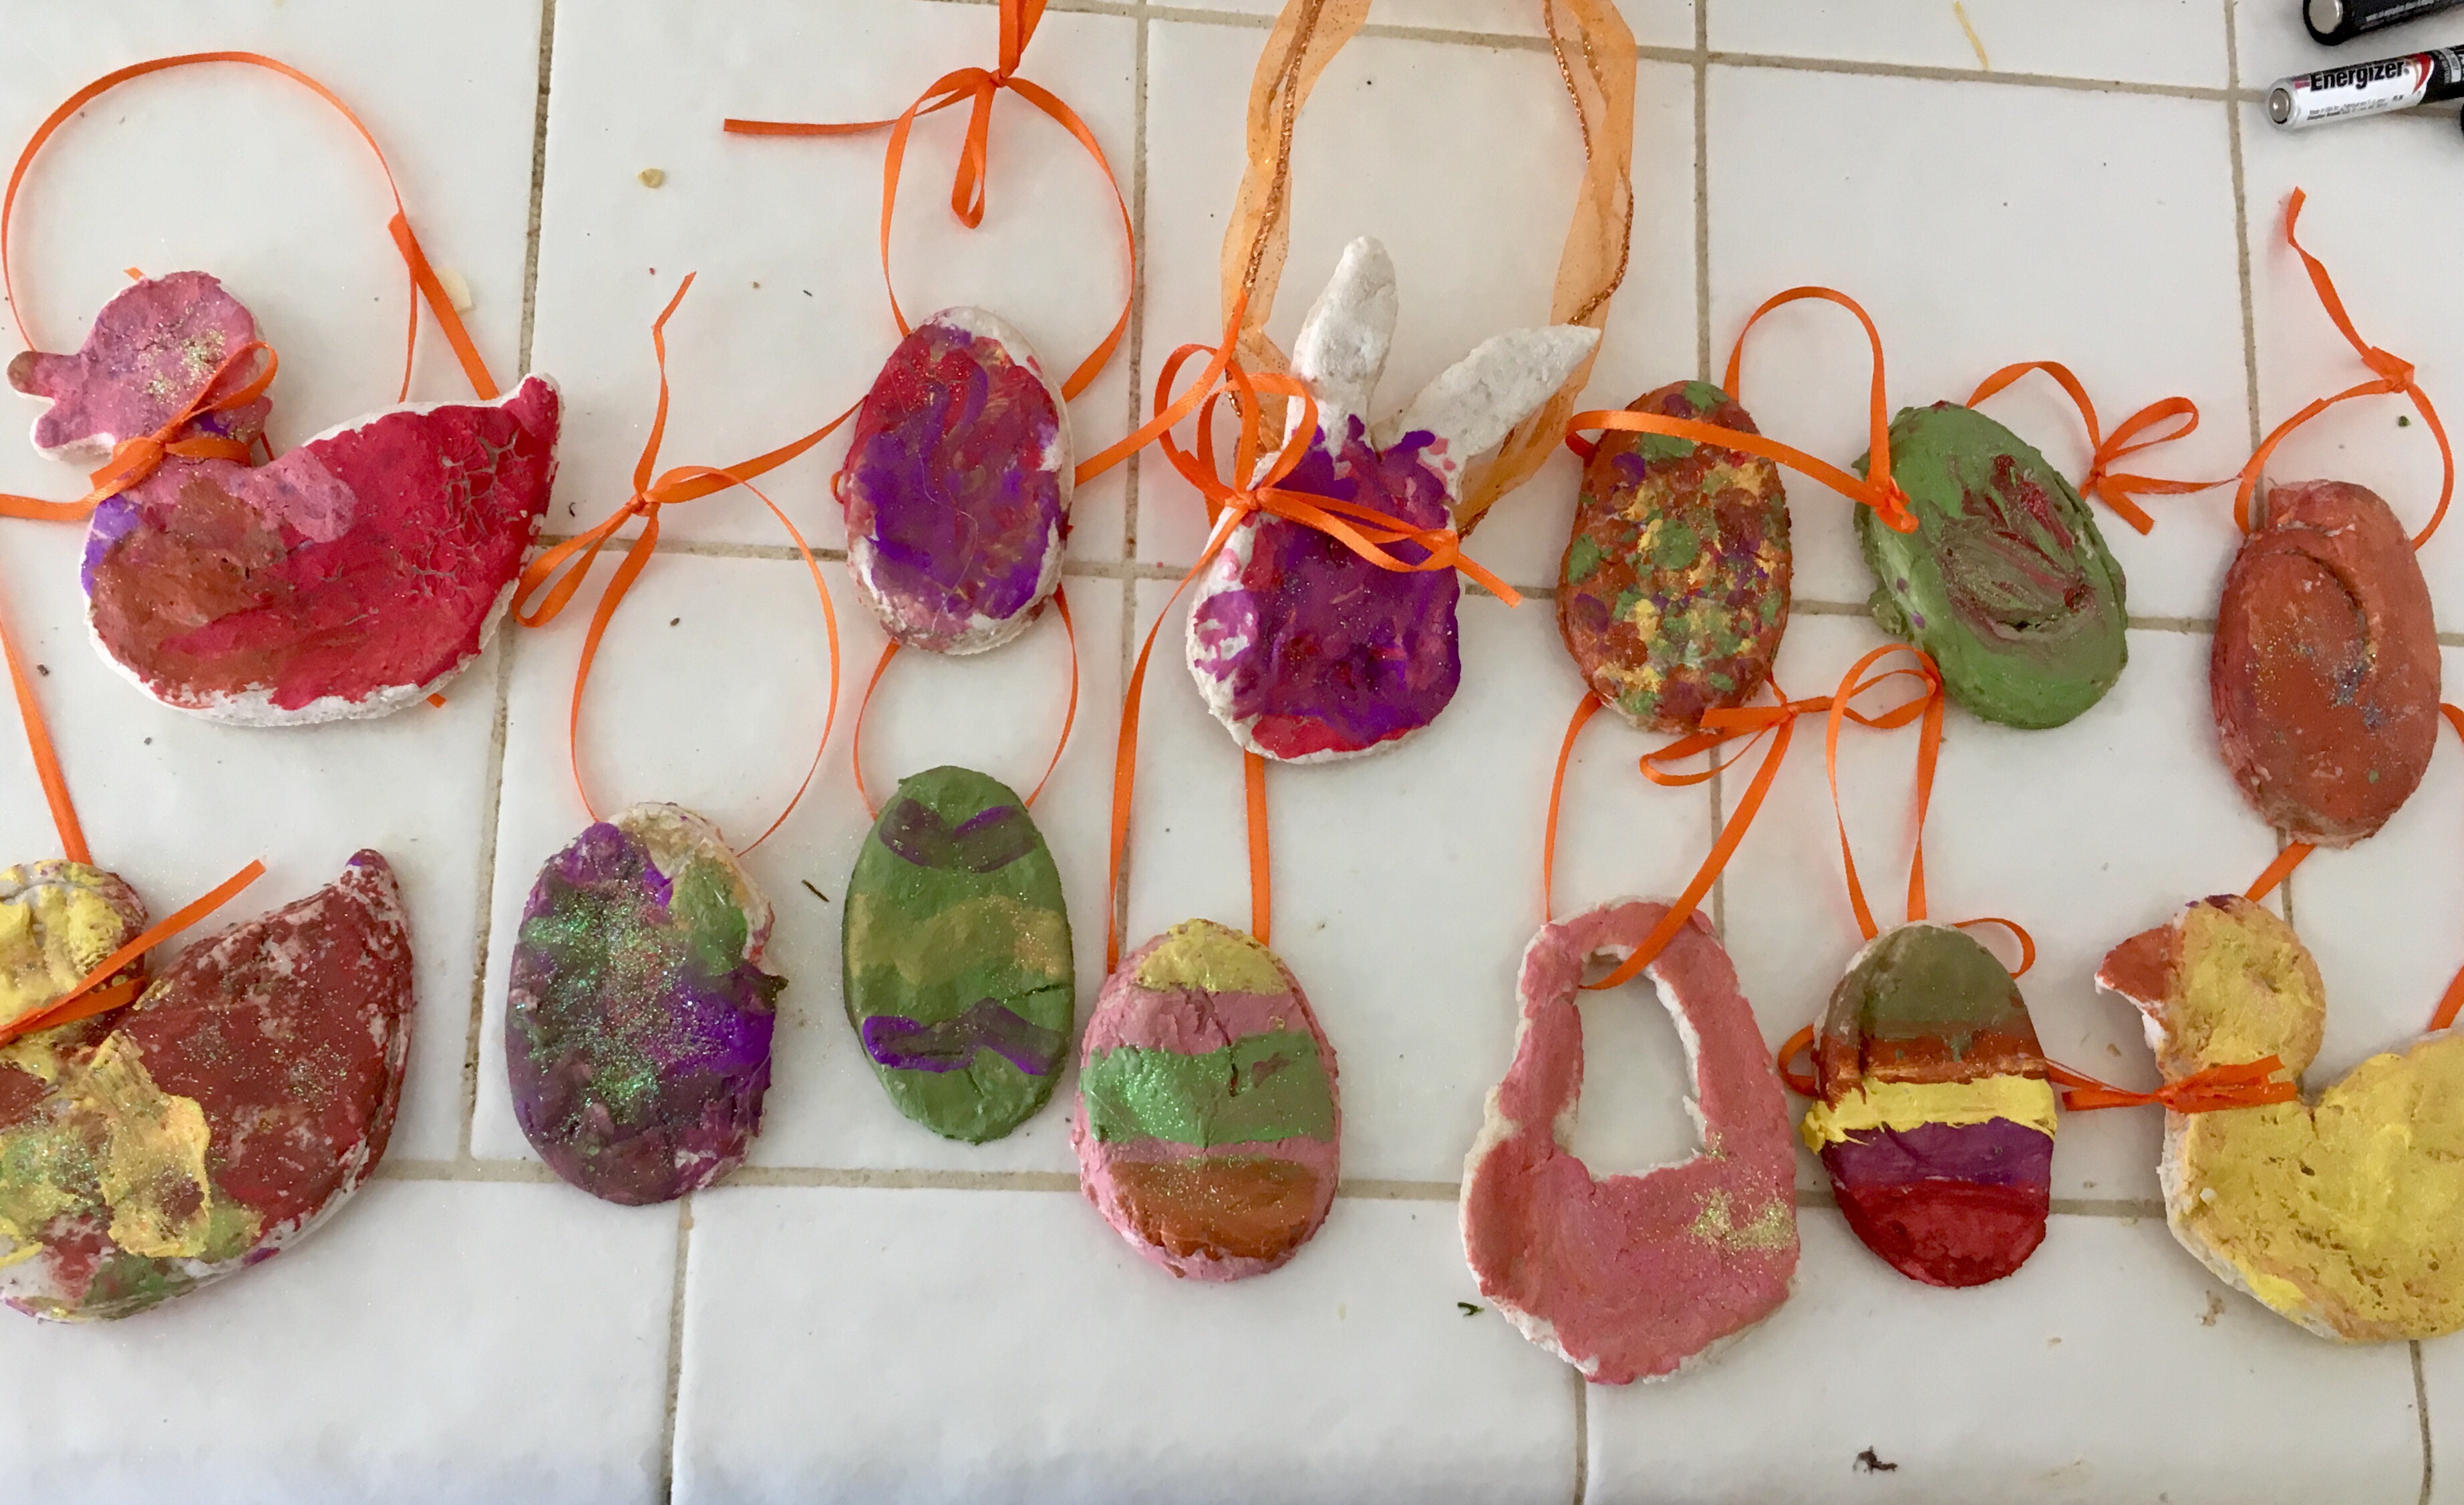
My daughter loves painting! However, she was growing tired of painting paper. So this year, we made cookie cutter Easter shapes! Actually, we had a duck and used a half of a plastic egg as a cutout. I also used a knife to create bunny faces and baskets.

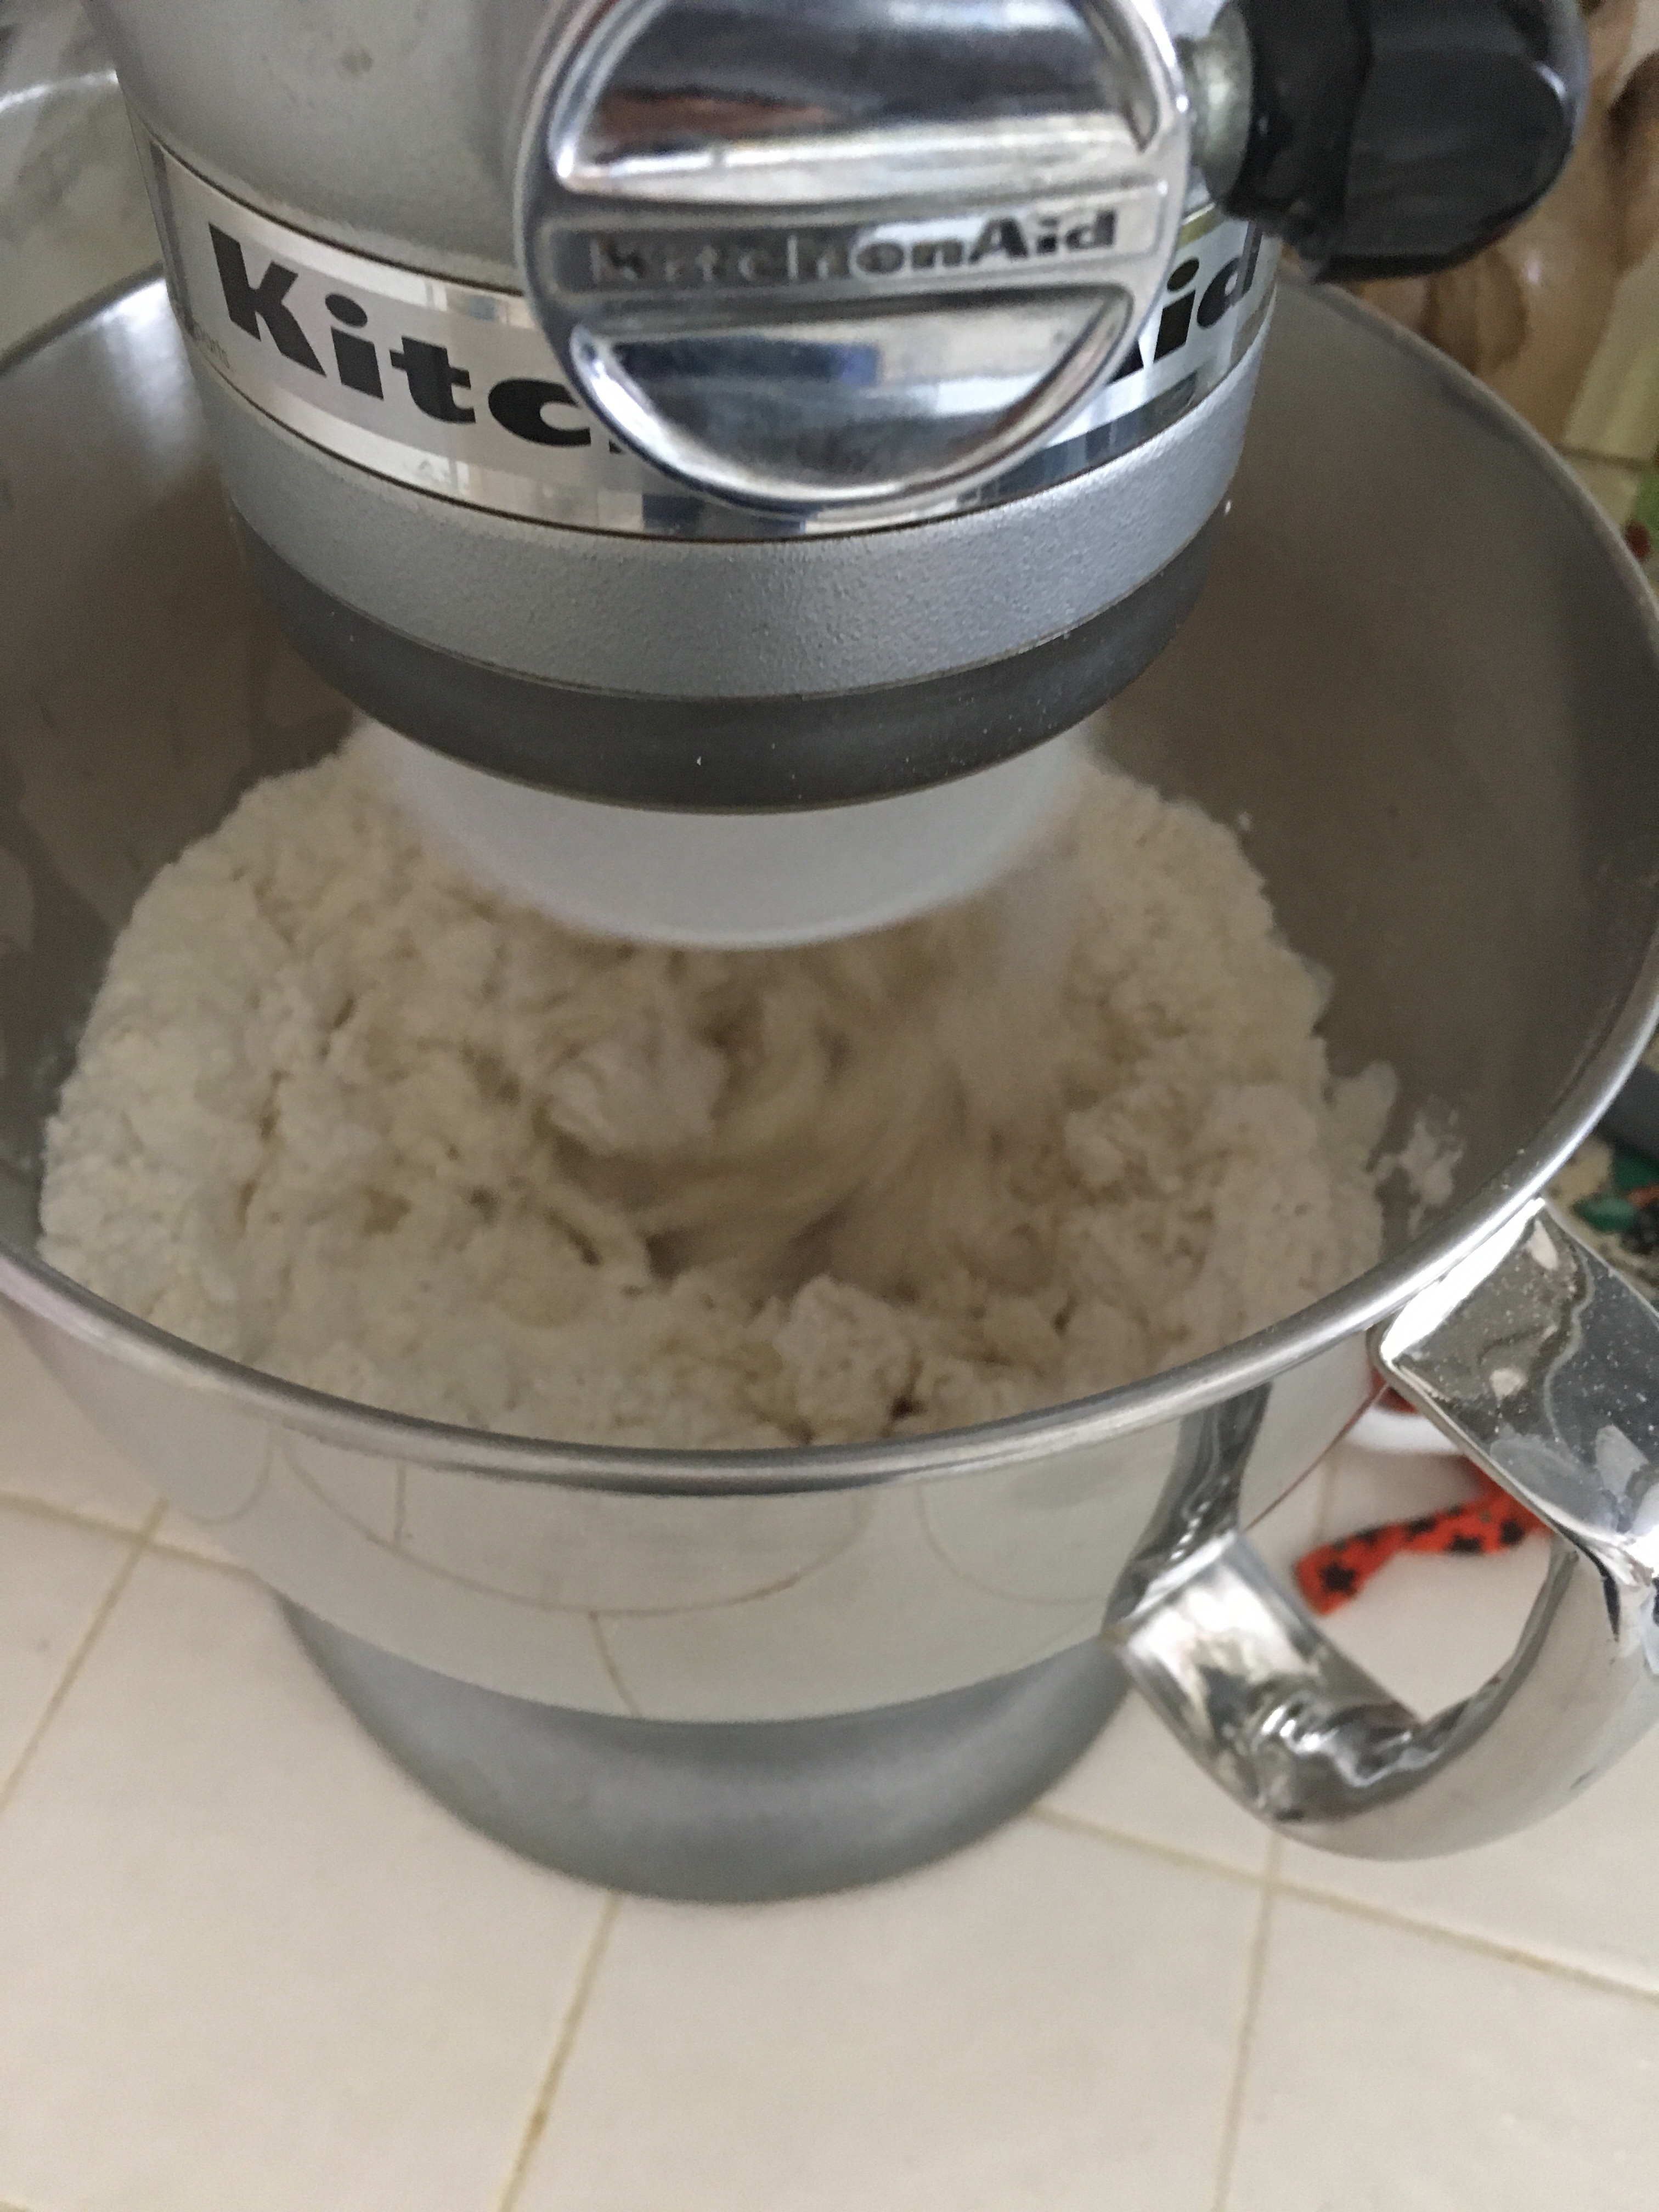
First things first, you have to make the salt dough! This is super simple. all you need is salt, flour, and warm water. You can knead the dough by hand, or use a mixer with the kneading attachment like I did.

So here is the recipe I used:

*this made a lot more than I expected! So you may want to make only half!

•4 cups all purpose flour

•1 cup salt

•1 3/4 cup warm water (add more of its too dry)

Combine the ingredients and knead for about 6 minutes. If it’s not forming into a nice soft ball add more water (or if it’s too sticky add more flour).

Then it’s time to roll out the dough! Just like you would for sugar cookies! Beware, your child may think you are making cookies! My 19 month old just kept pointing yelling cook-ies!

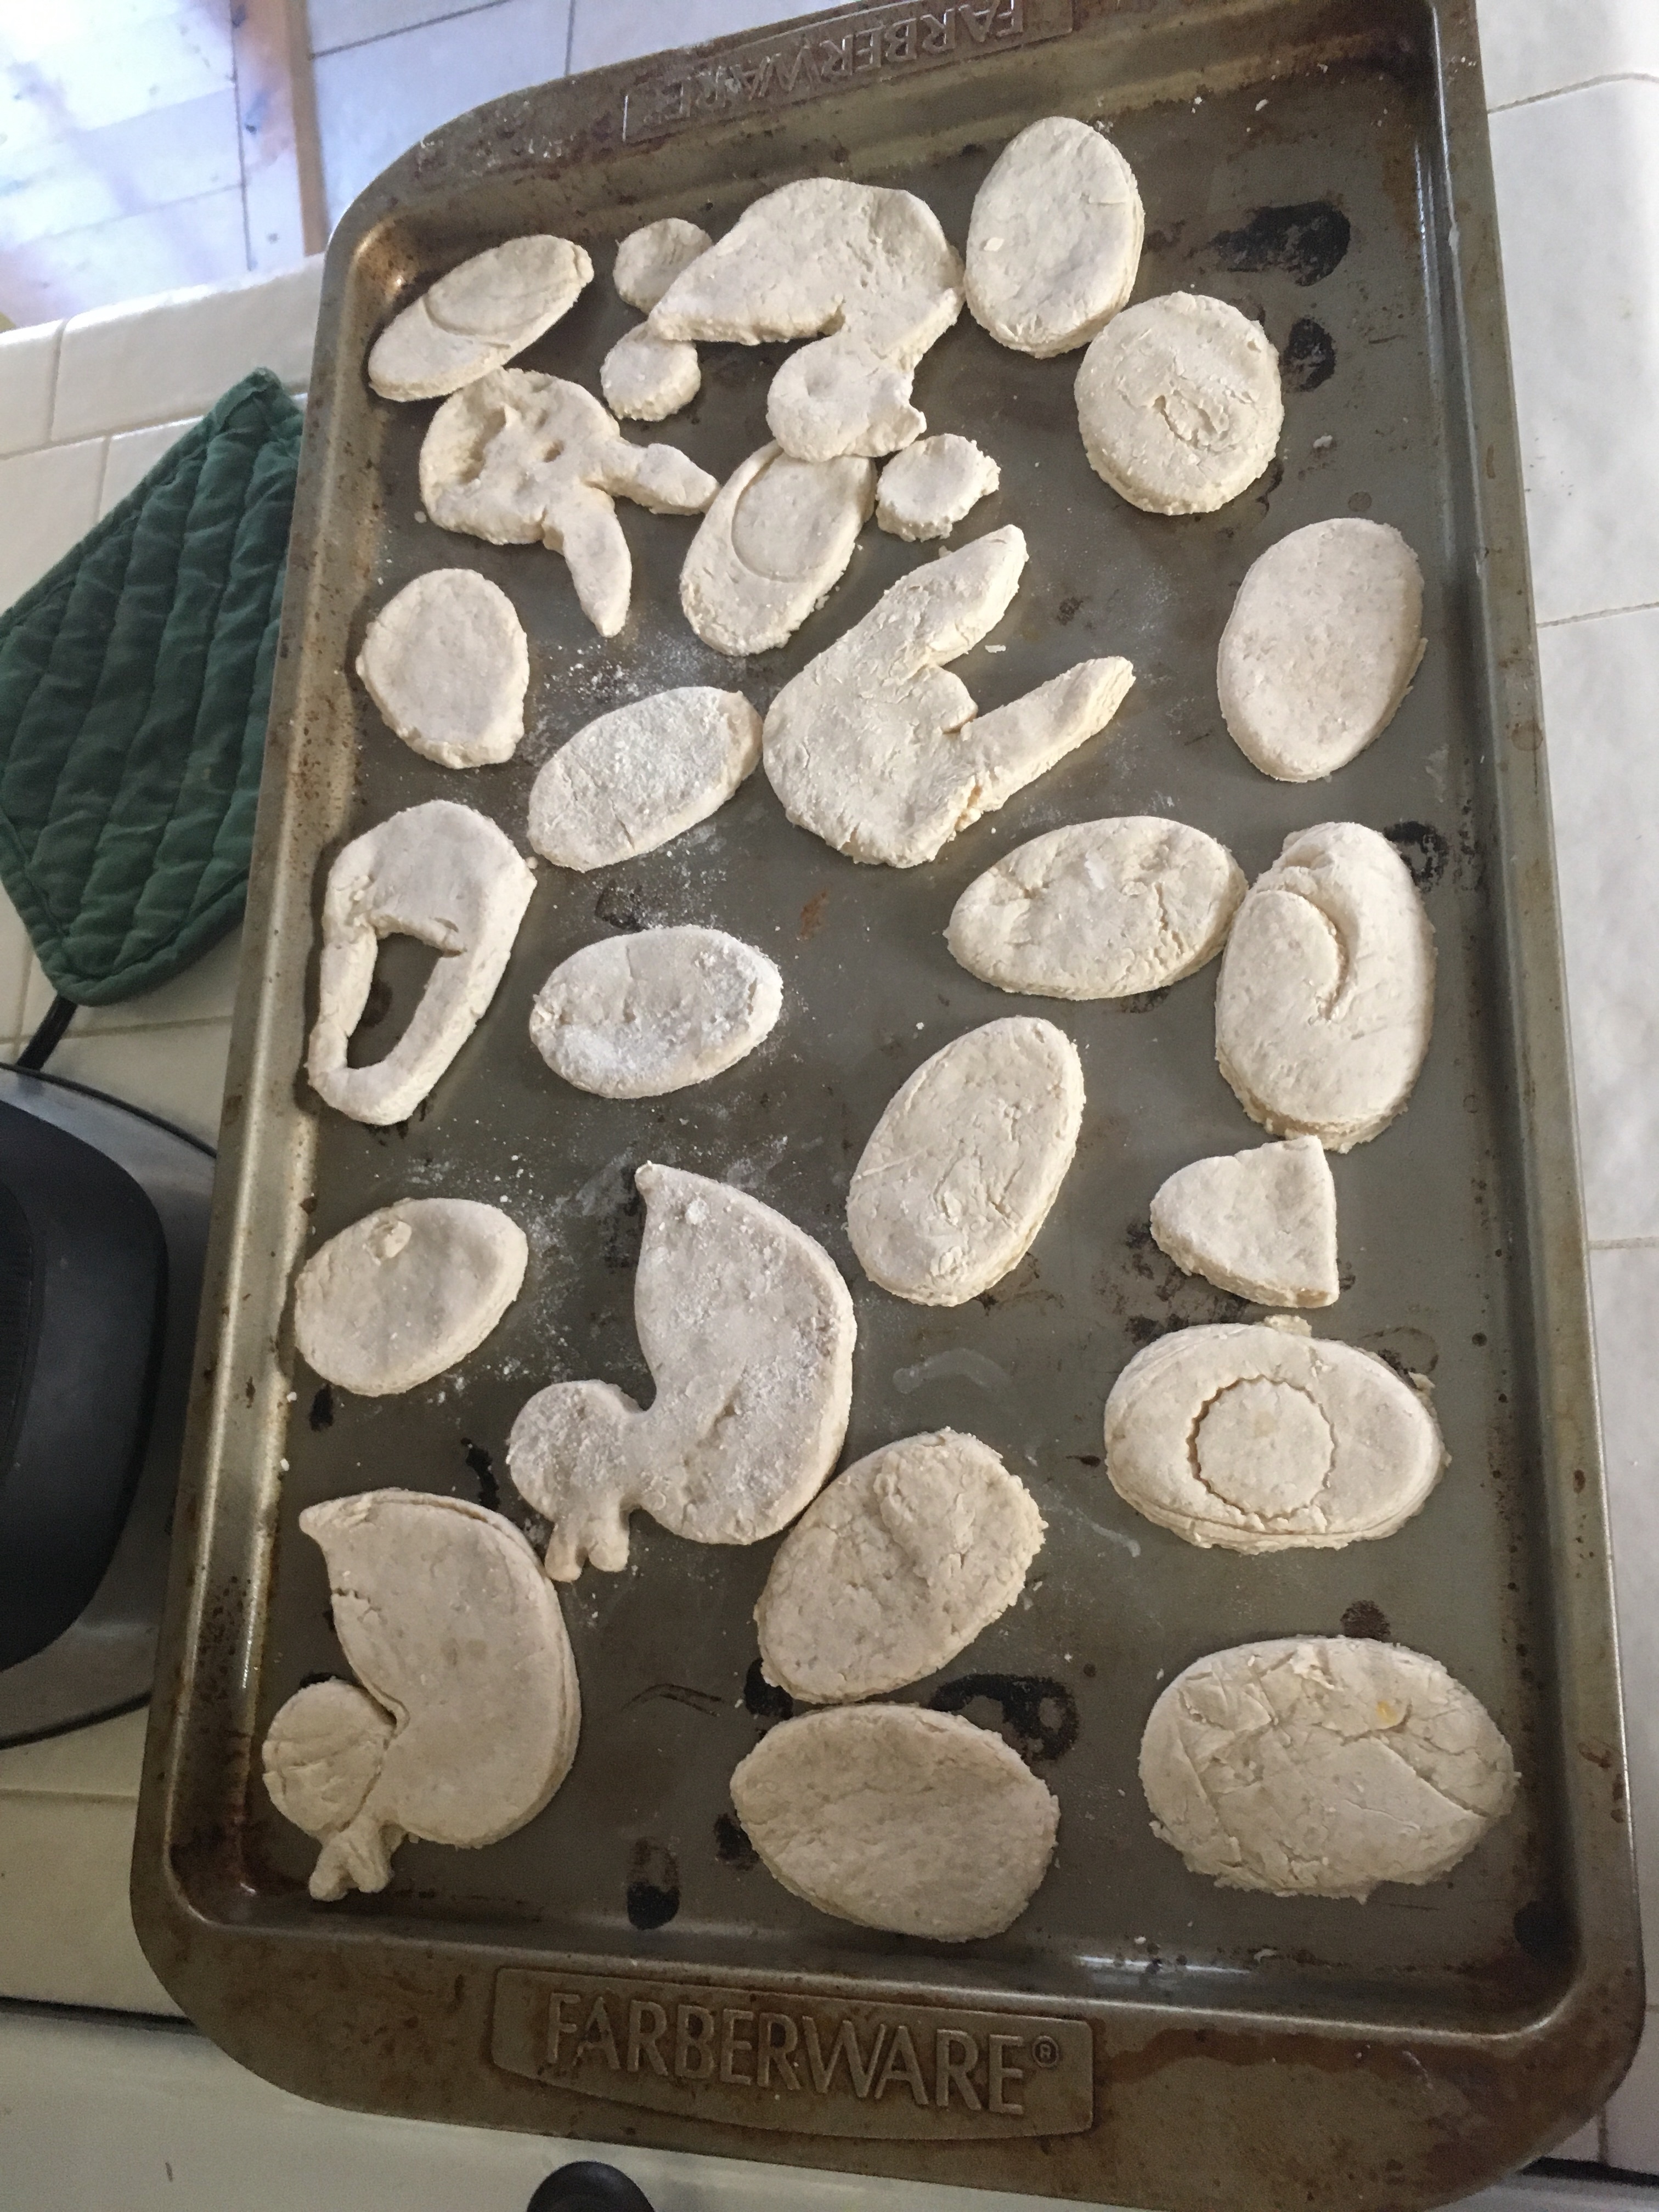
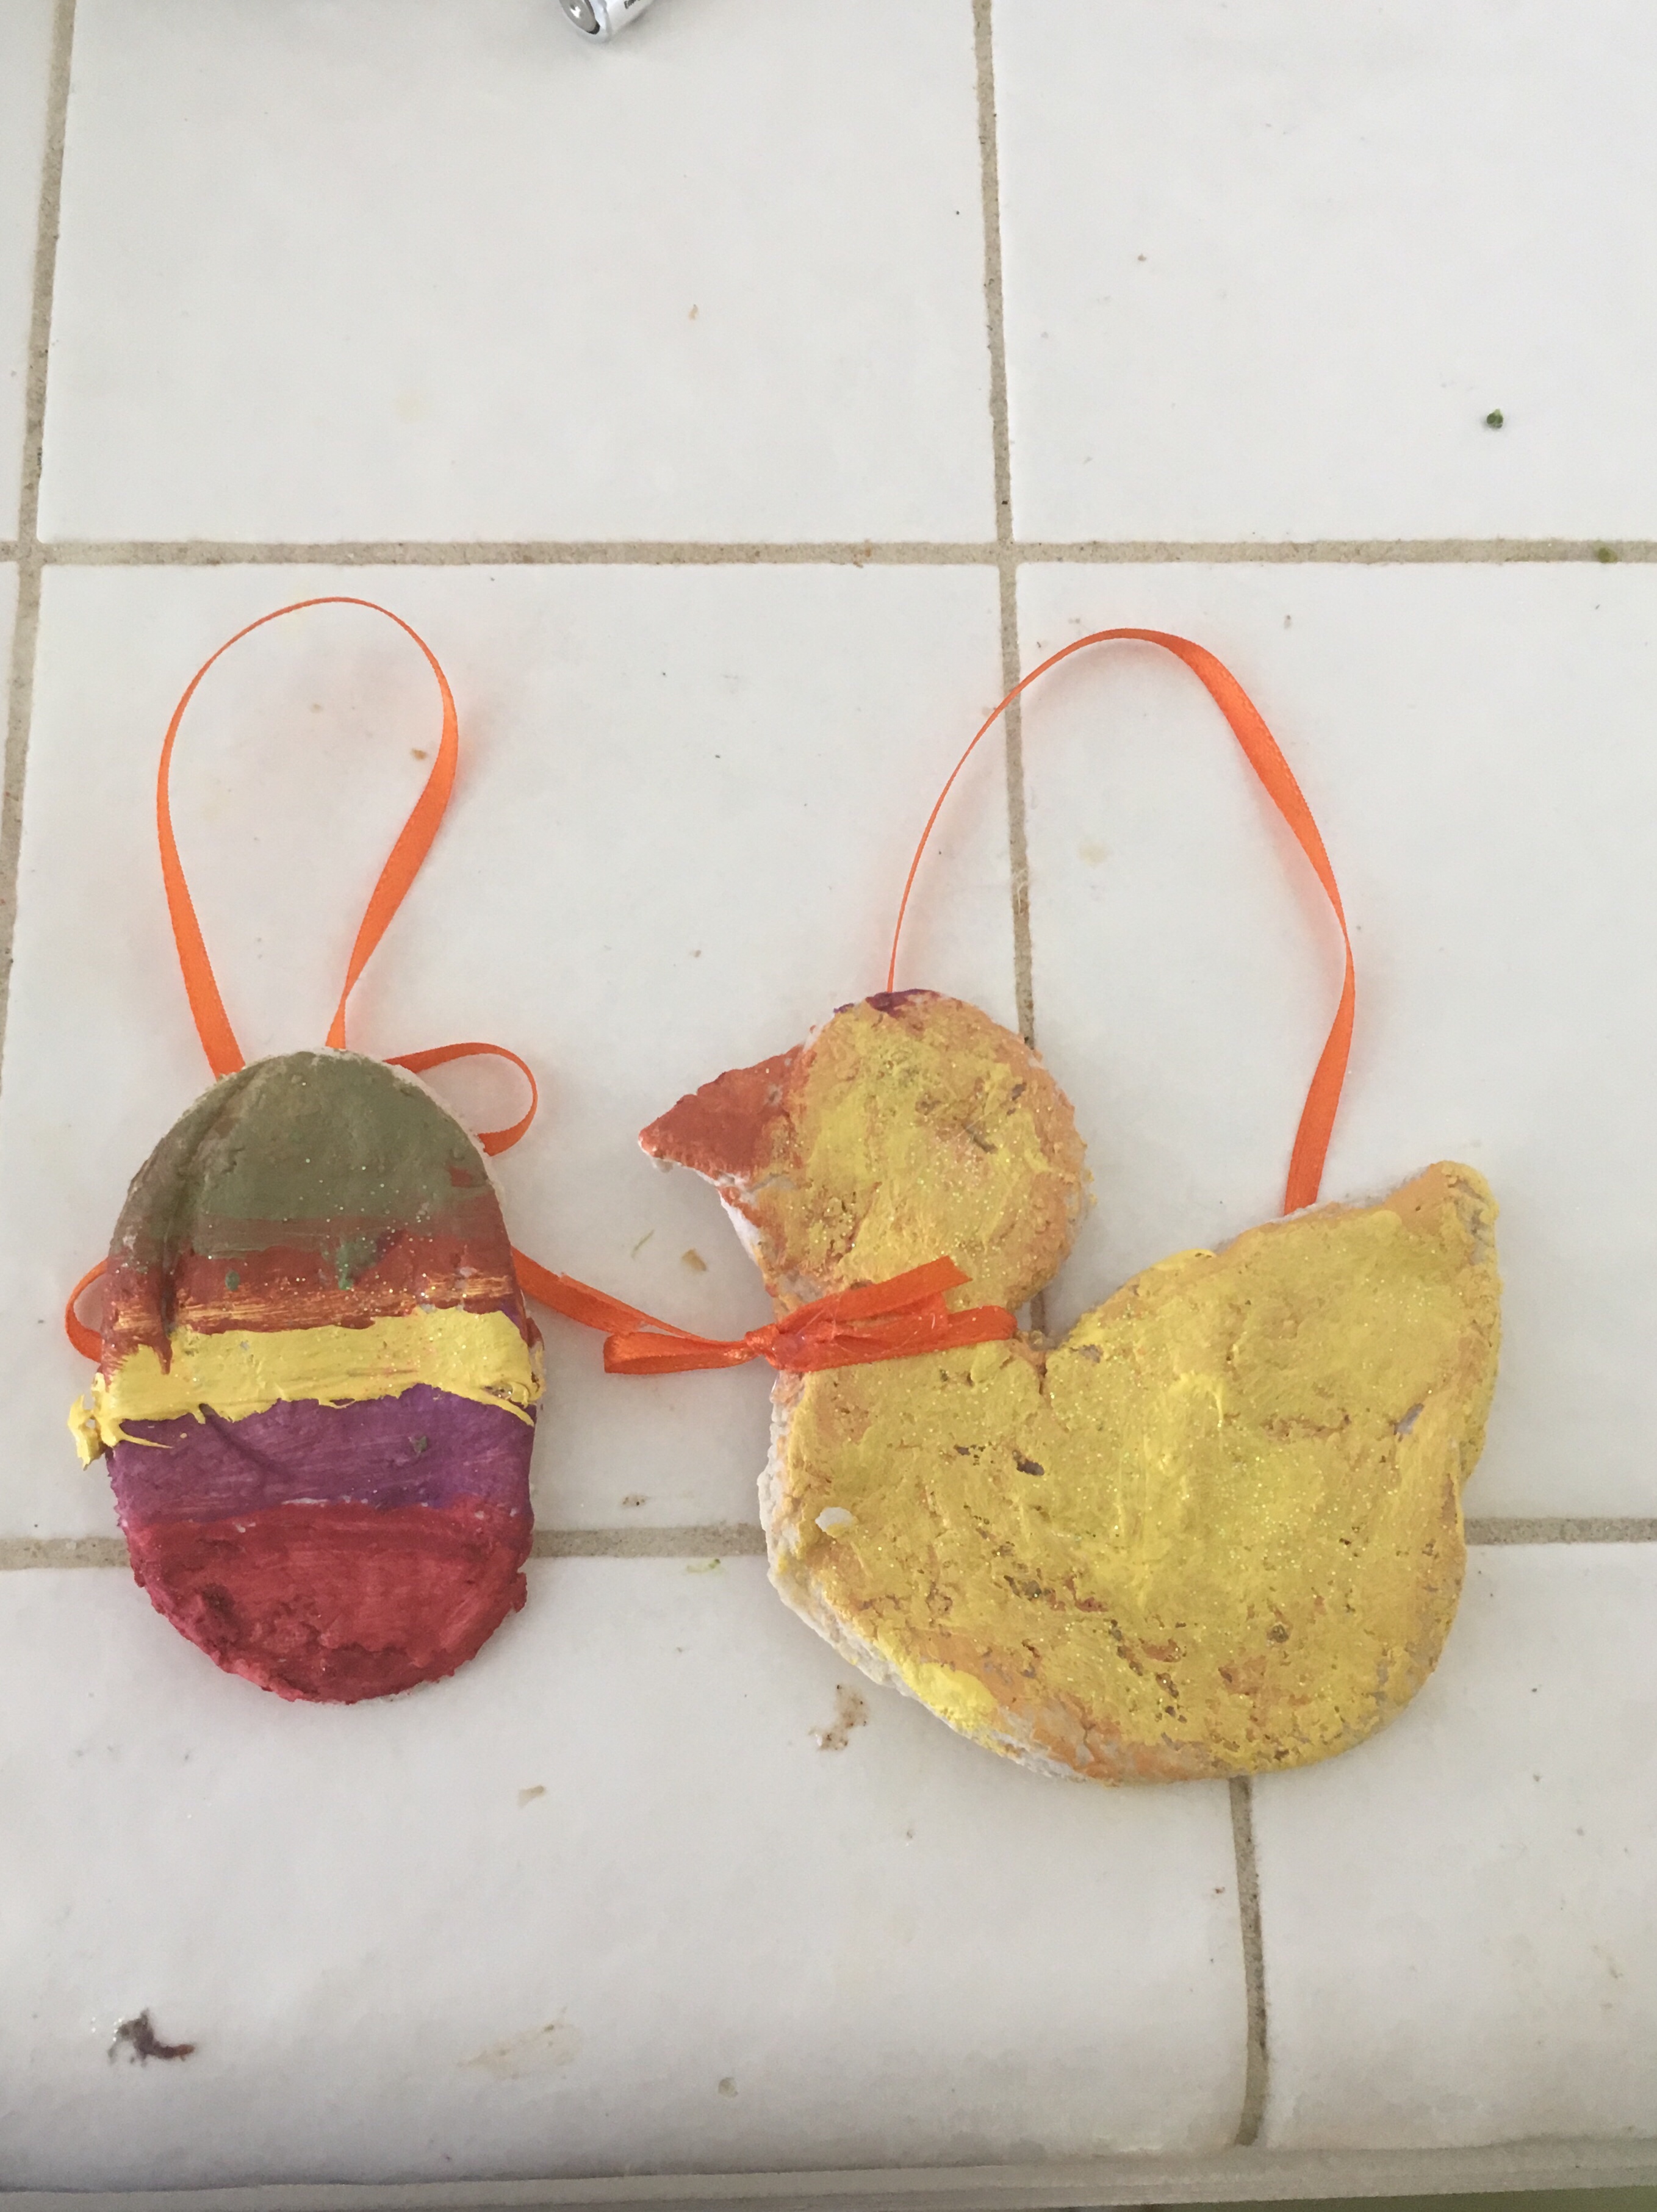
This is a great activity for your toddler to help you with. Next, get out your cookie cutters or Easter shapes and start making those eggs! I used a half of an Easter egg that opened sideways, a duck mold, and then made a couple baskets and bunny heads using a knife. **one thing I forgot to do was to use a straw to make a hole on the top of the eggs for the string to go through. So I ended up hot glue gunning ribbon.

Put your oven on 200 degrees. Place your salt doughs on a cookie sheet and place them in the oven for 2 hours (depending on the thickness you may need a little less or a little more). Once they are done they should be rock hard.

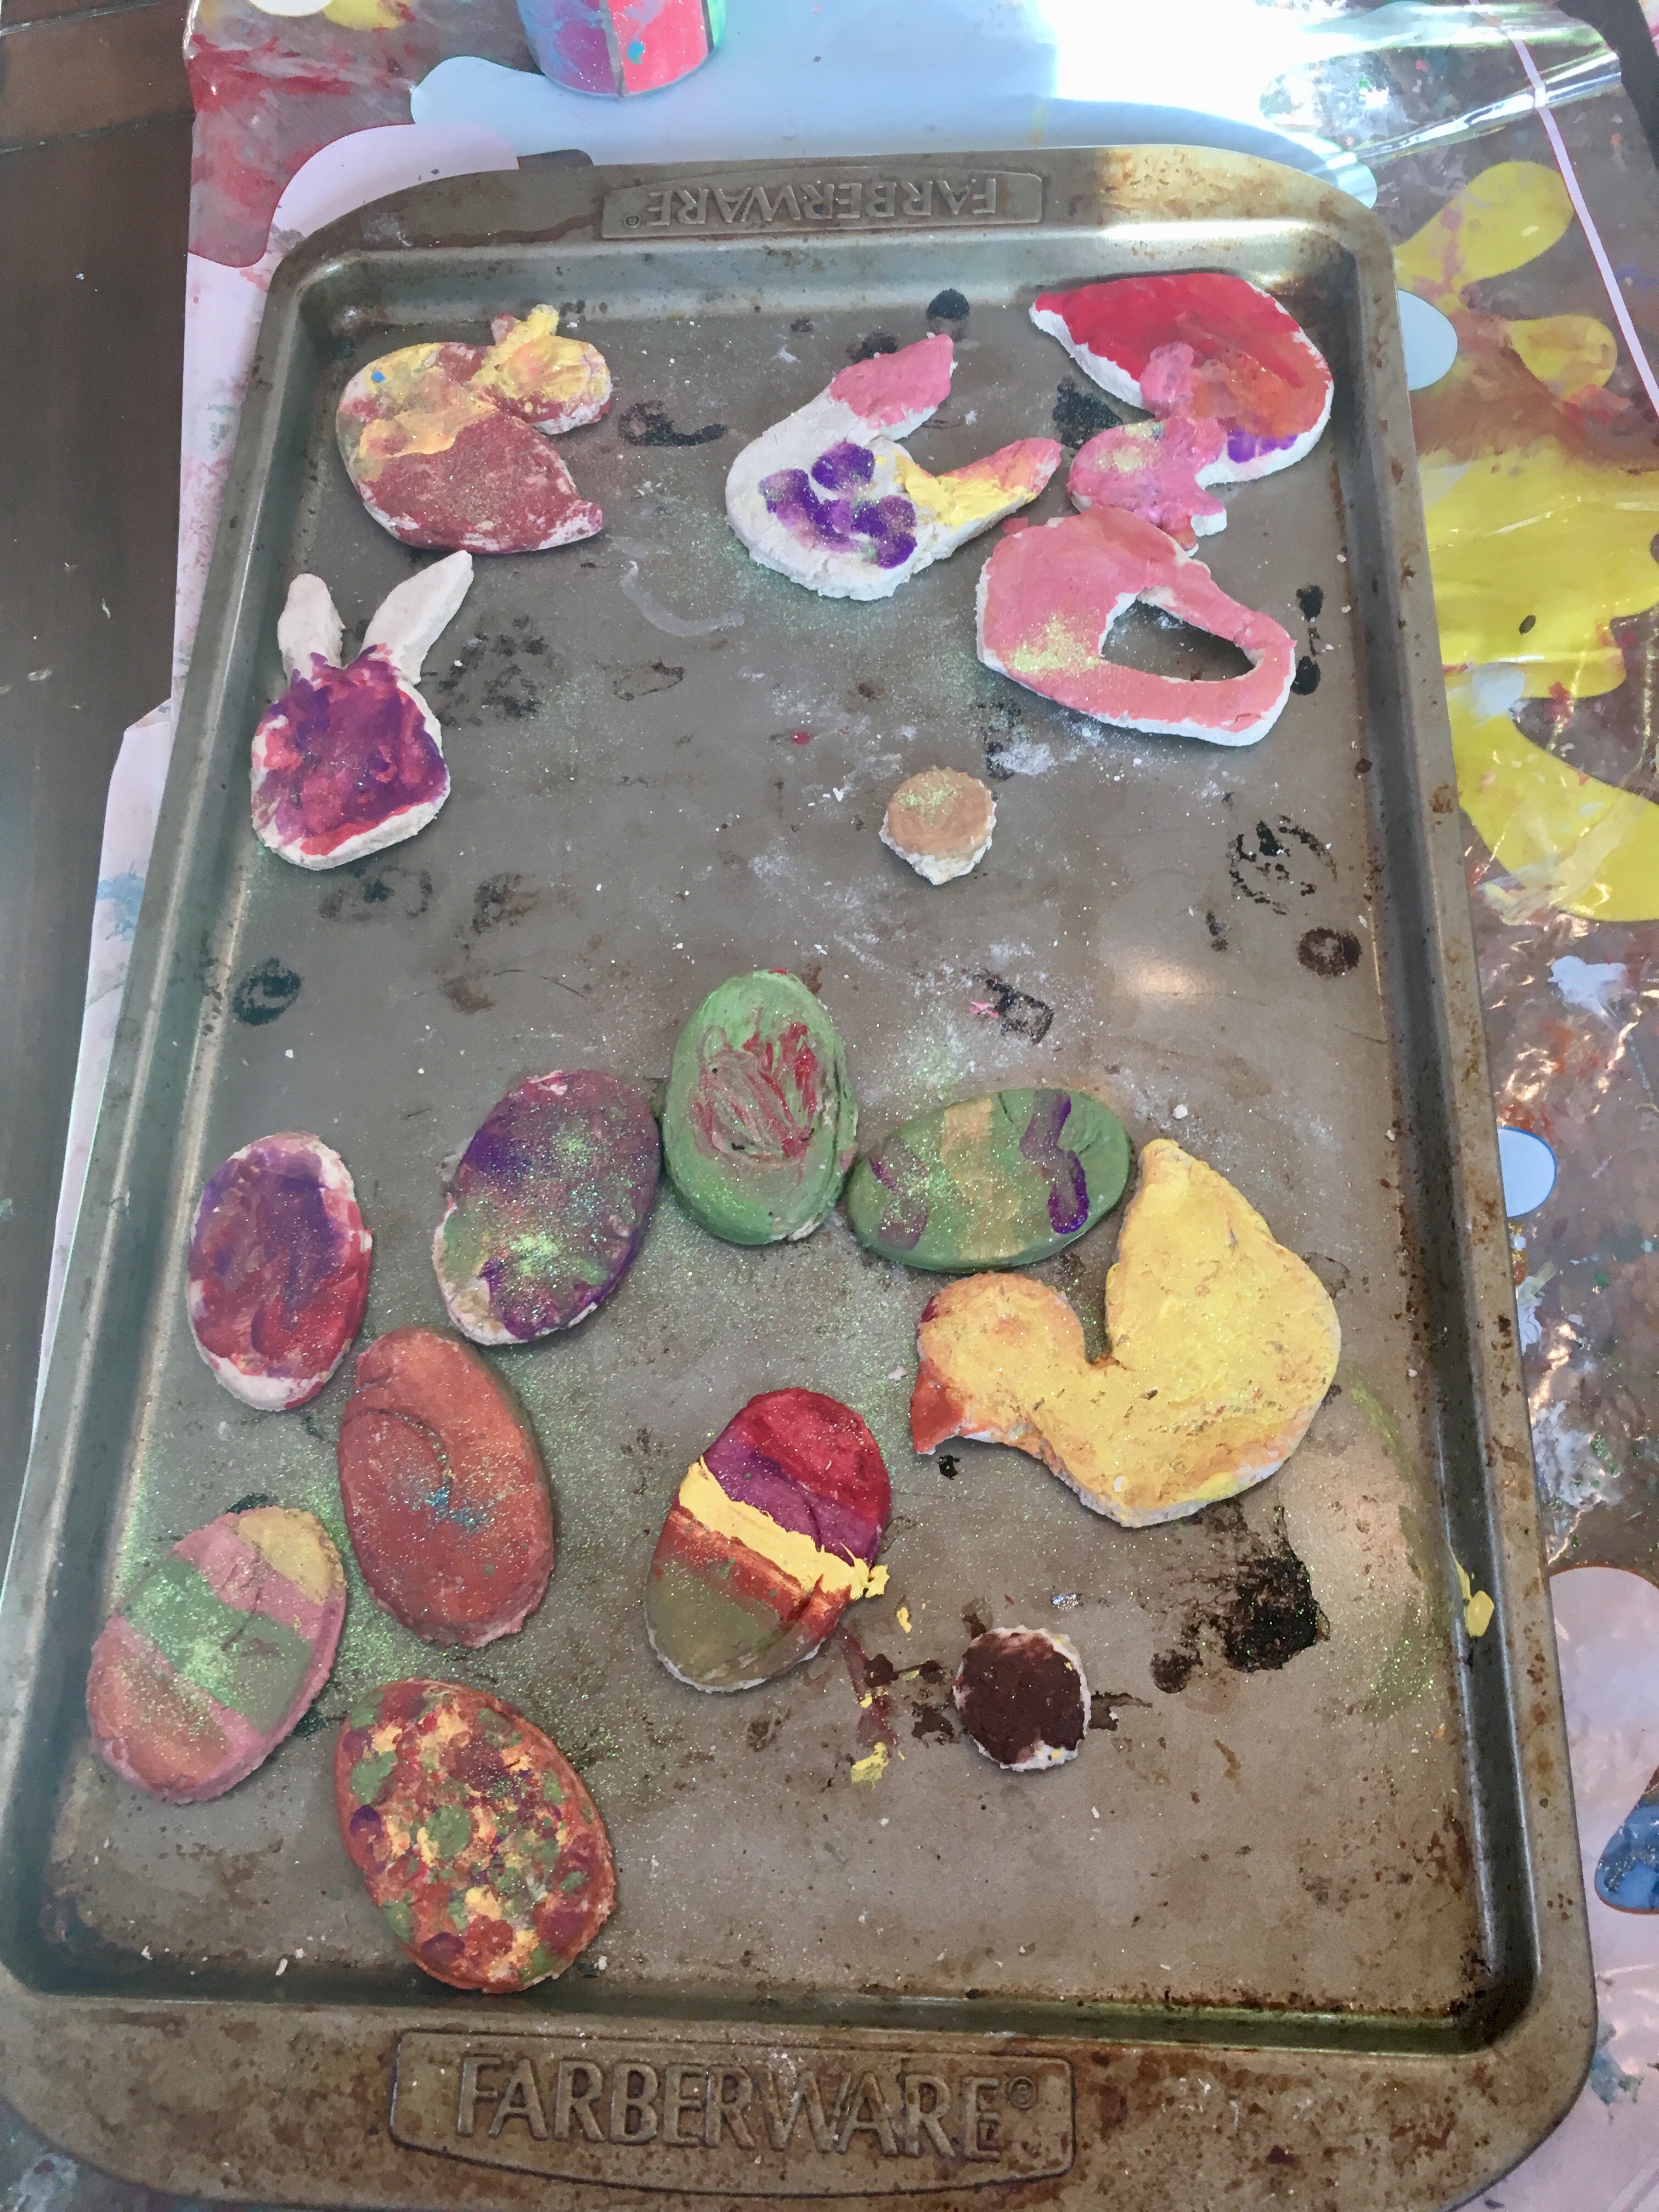
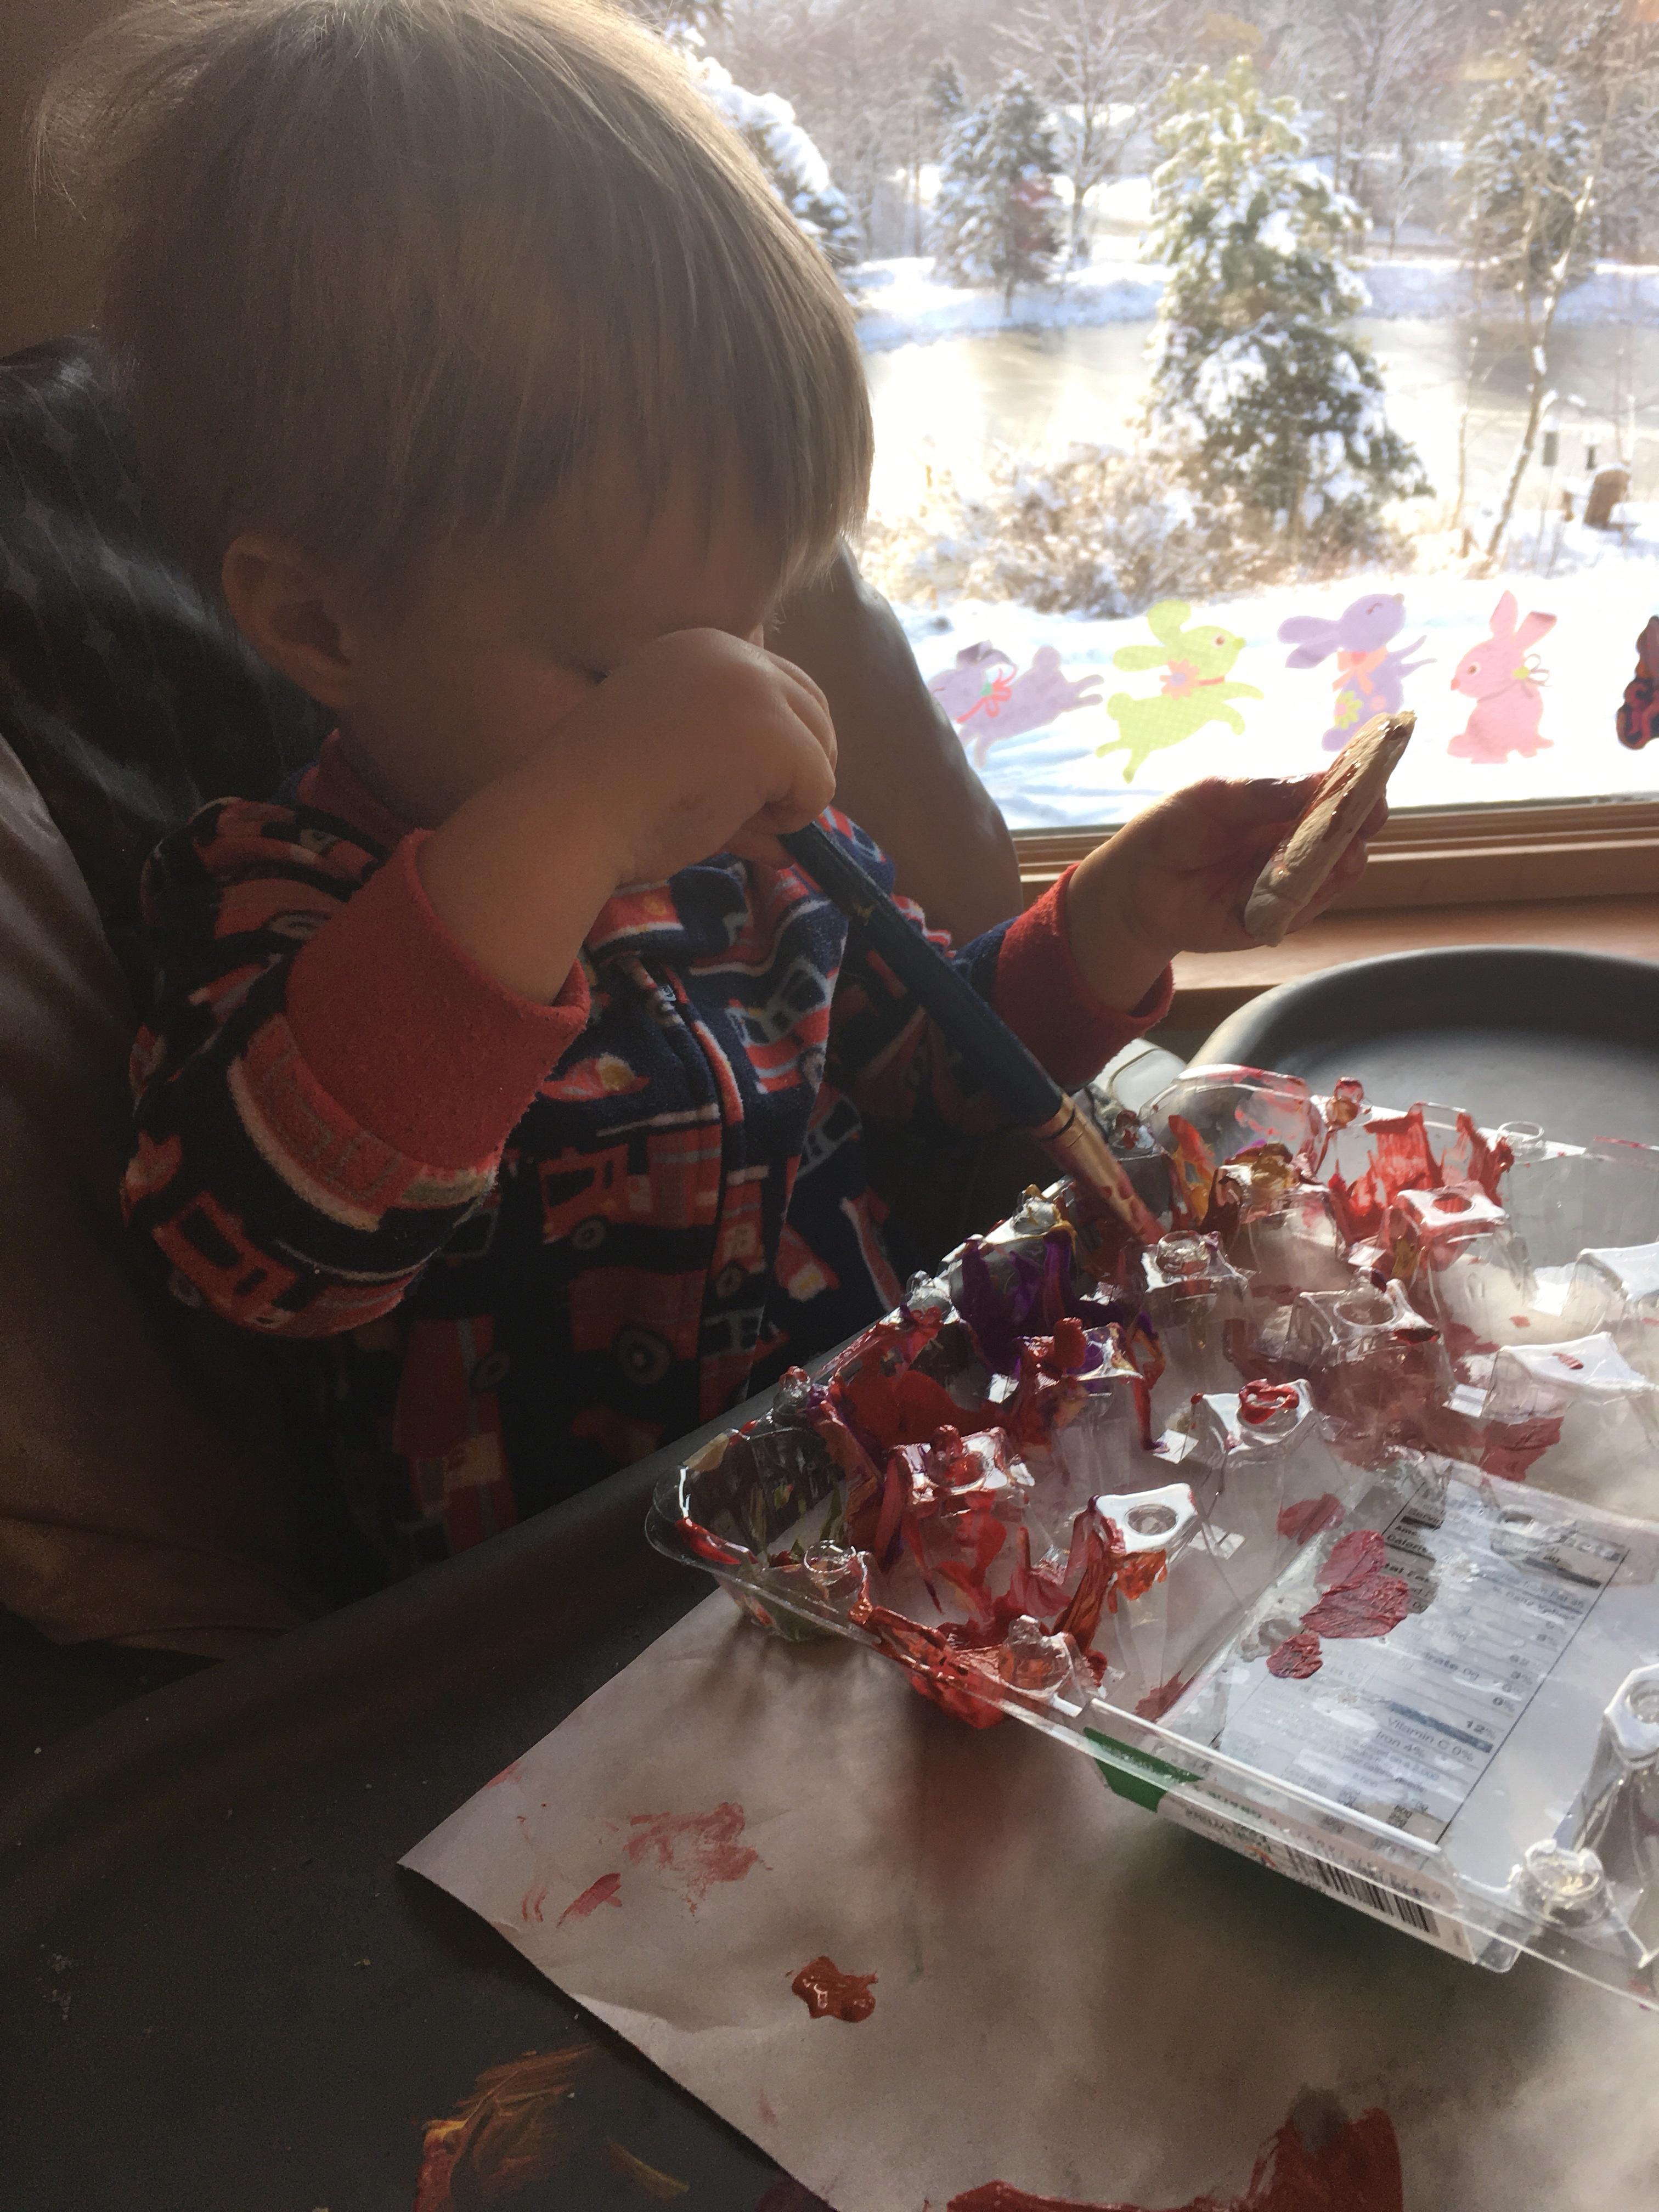
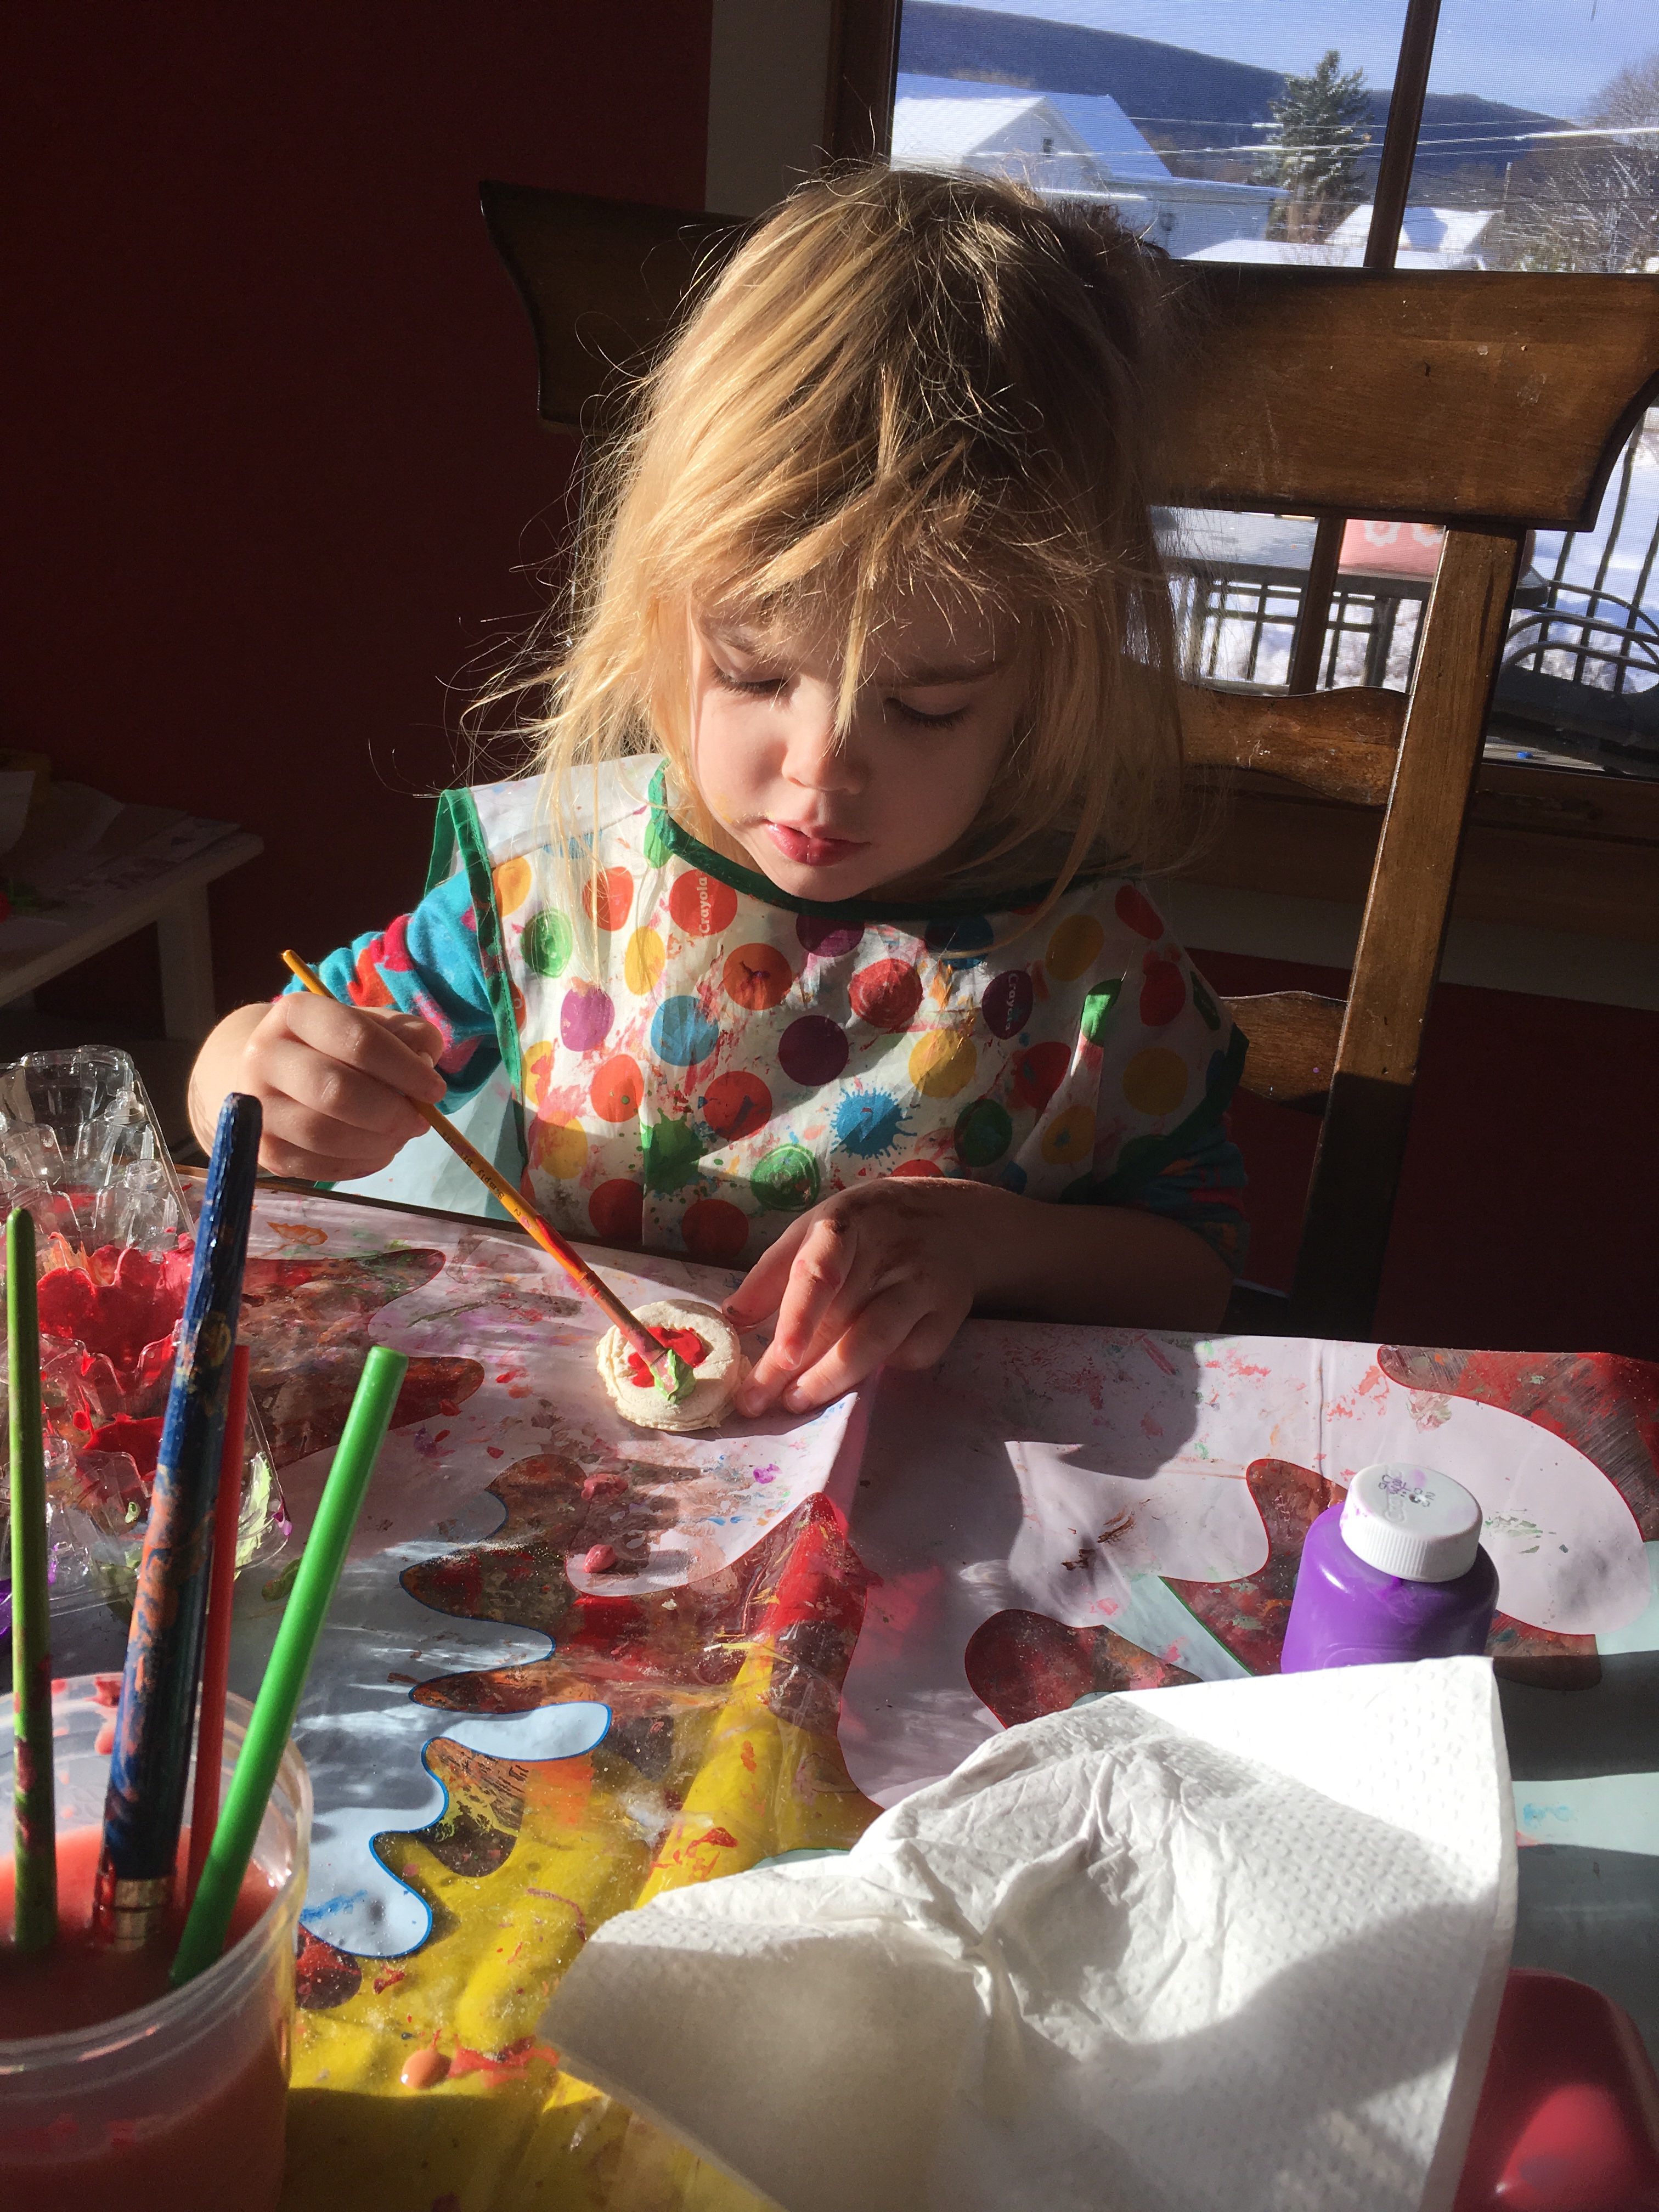
Then the fun, painting time! We used a combination of acrylic paint (which is best but hardest to come off and not non toxic) and water proof fingerprint. My son attempted to paint and did decent for his age, but when he kept trying to eat the painted cookies we had to end the painting time.

my daughter likes to squirt the paint in an old egg carton that way the colors stay separated.

Once we finished painting she sprinkled on some glitter. Unfortunately we don’t have any mod podge or clear finish to put on top right now, but we still love them!

If you have any clear finish or modge podge this is the time to coat it in that for a nice shiny finish!

Since we forgot to make the holes for the ribbon, I used the hot glue gun to attach the ribbons. Then we hung them around the house (high enough that my son couldn’t reach these “cookies.”

Enjoy!!!

FollowFacebookpinterestrssyoutube
ShareFacebookpinterest

Homemade Paint!

Looking for an easy homemade nontoxic paint for your little one to be creative?  Well, look no further!  We experimented with several types of homemade paint and below are our favorite recipes!


Kids of all ages love painting!  You can have your little one finger paint, use brushes, sponges, or even potatoes!

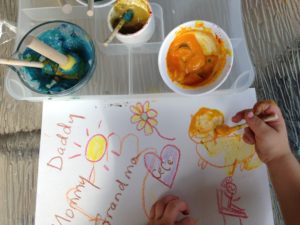
So we started off making completely edible finger paint with only a couple ingredients!

img_5388

Here is what you will need: (this makes enough for about 4-5 different colors depending on how much you want for each)…

img_5362

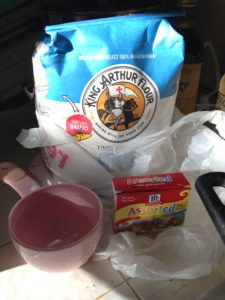
  • 1 cup water
  • 1/2 cup of flour
  • extra water to thin out
  • food coloring, watercolors, or natural colors such as beet, carrot, tumeric

Instructions:

img_5363

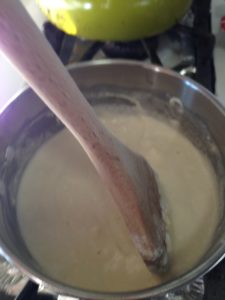
  1. Place pot over medium heat and pour flour and water into pot and continuously stir the ingredients until it becomes a thick paste.
  2. Take the pot away from the heat when it no longer sticks to the sides
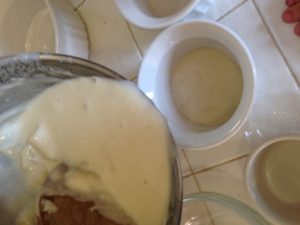
  3. Add cold water to the blob until it reaches the consistency you like and place the amount you desire into separate bowls to color.
  4. Add food coloring, watercolors, natural colorants such as beet or carrot juice, turmeric spice
  5. img_5364
  6. These can be enjoyed right away or stored in the fridge!!

img_5390img_5391

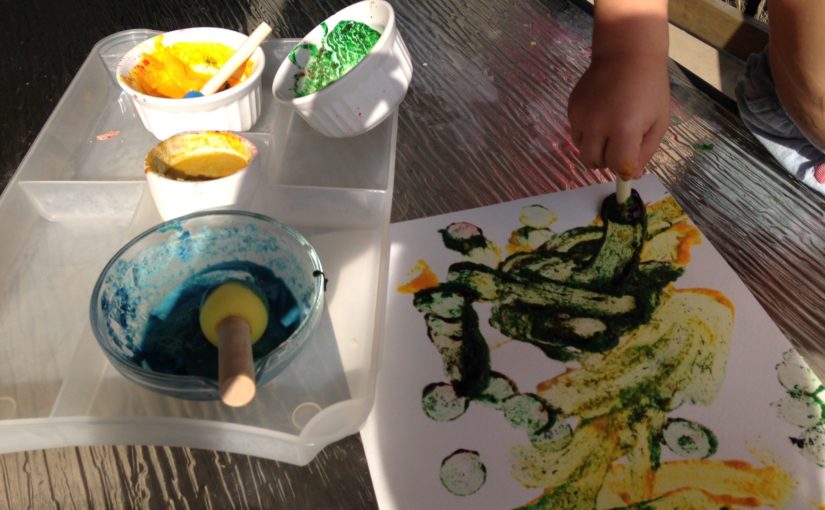
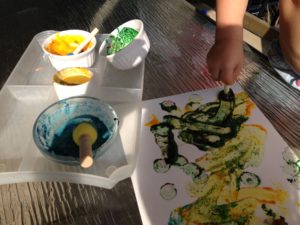
This paint works well for fingerpainting or sponge painting.  You can also use brushes but as you see in the photo, the colors come out thinner and lighter than traditional paint.  The color dries on without fading. We used the paint several days in a row.


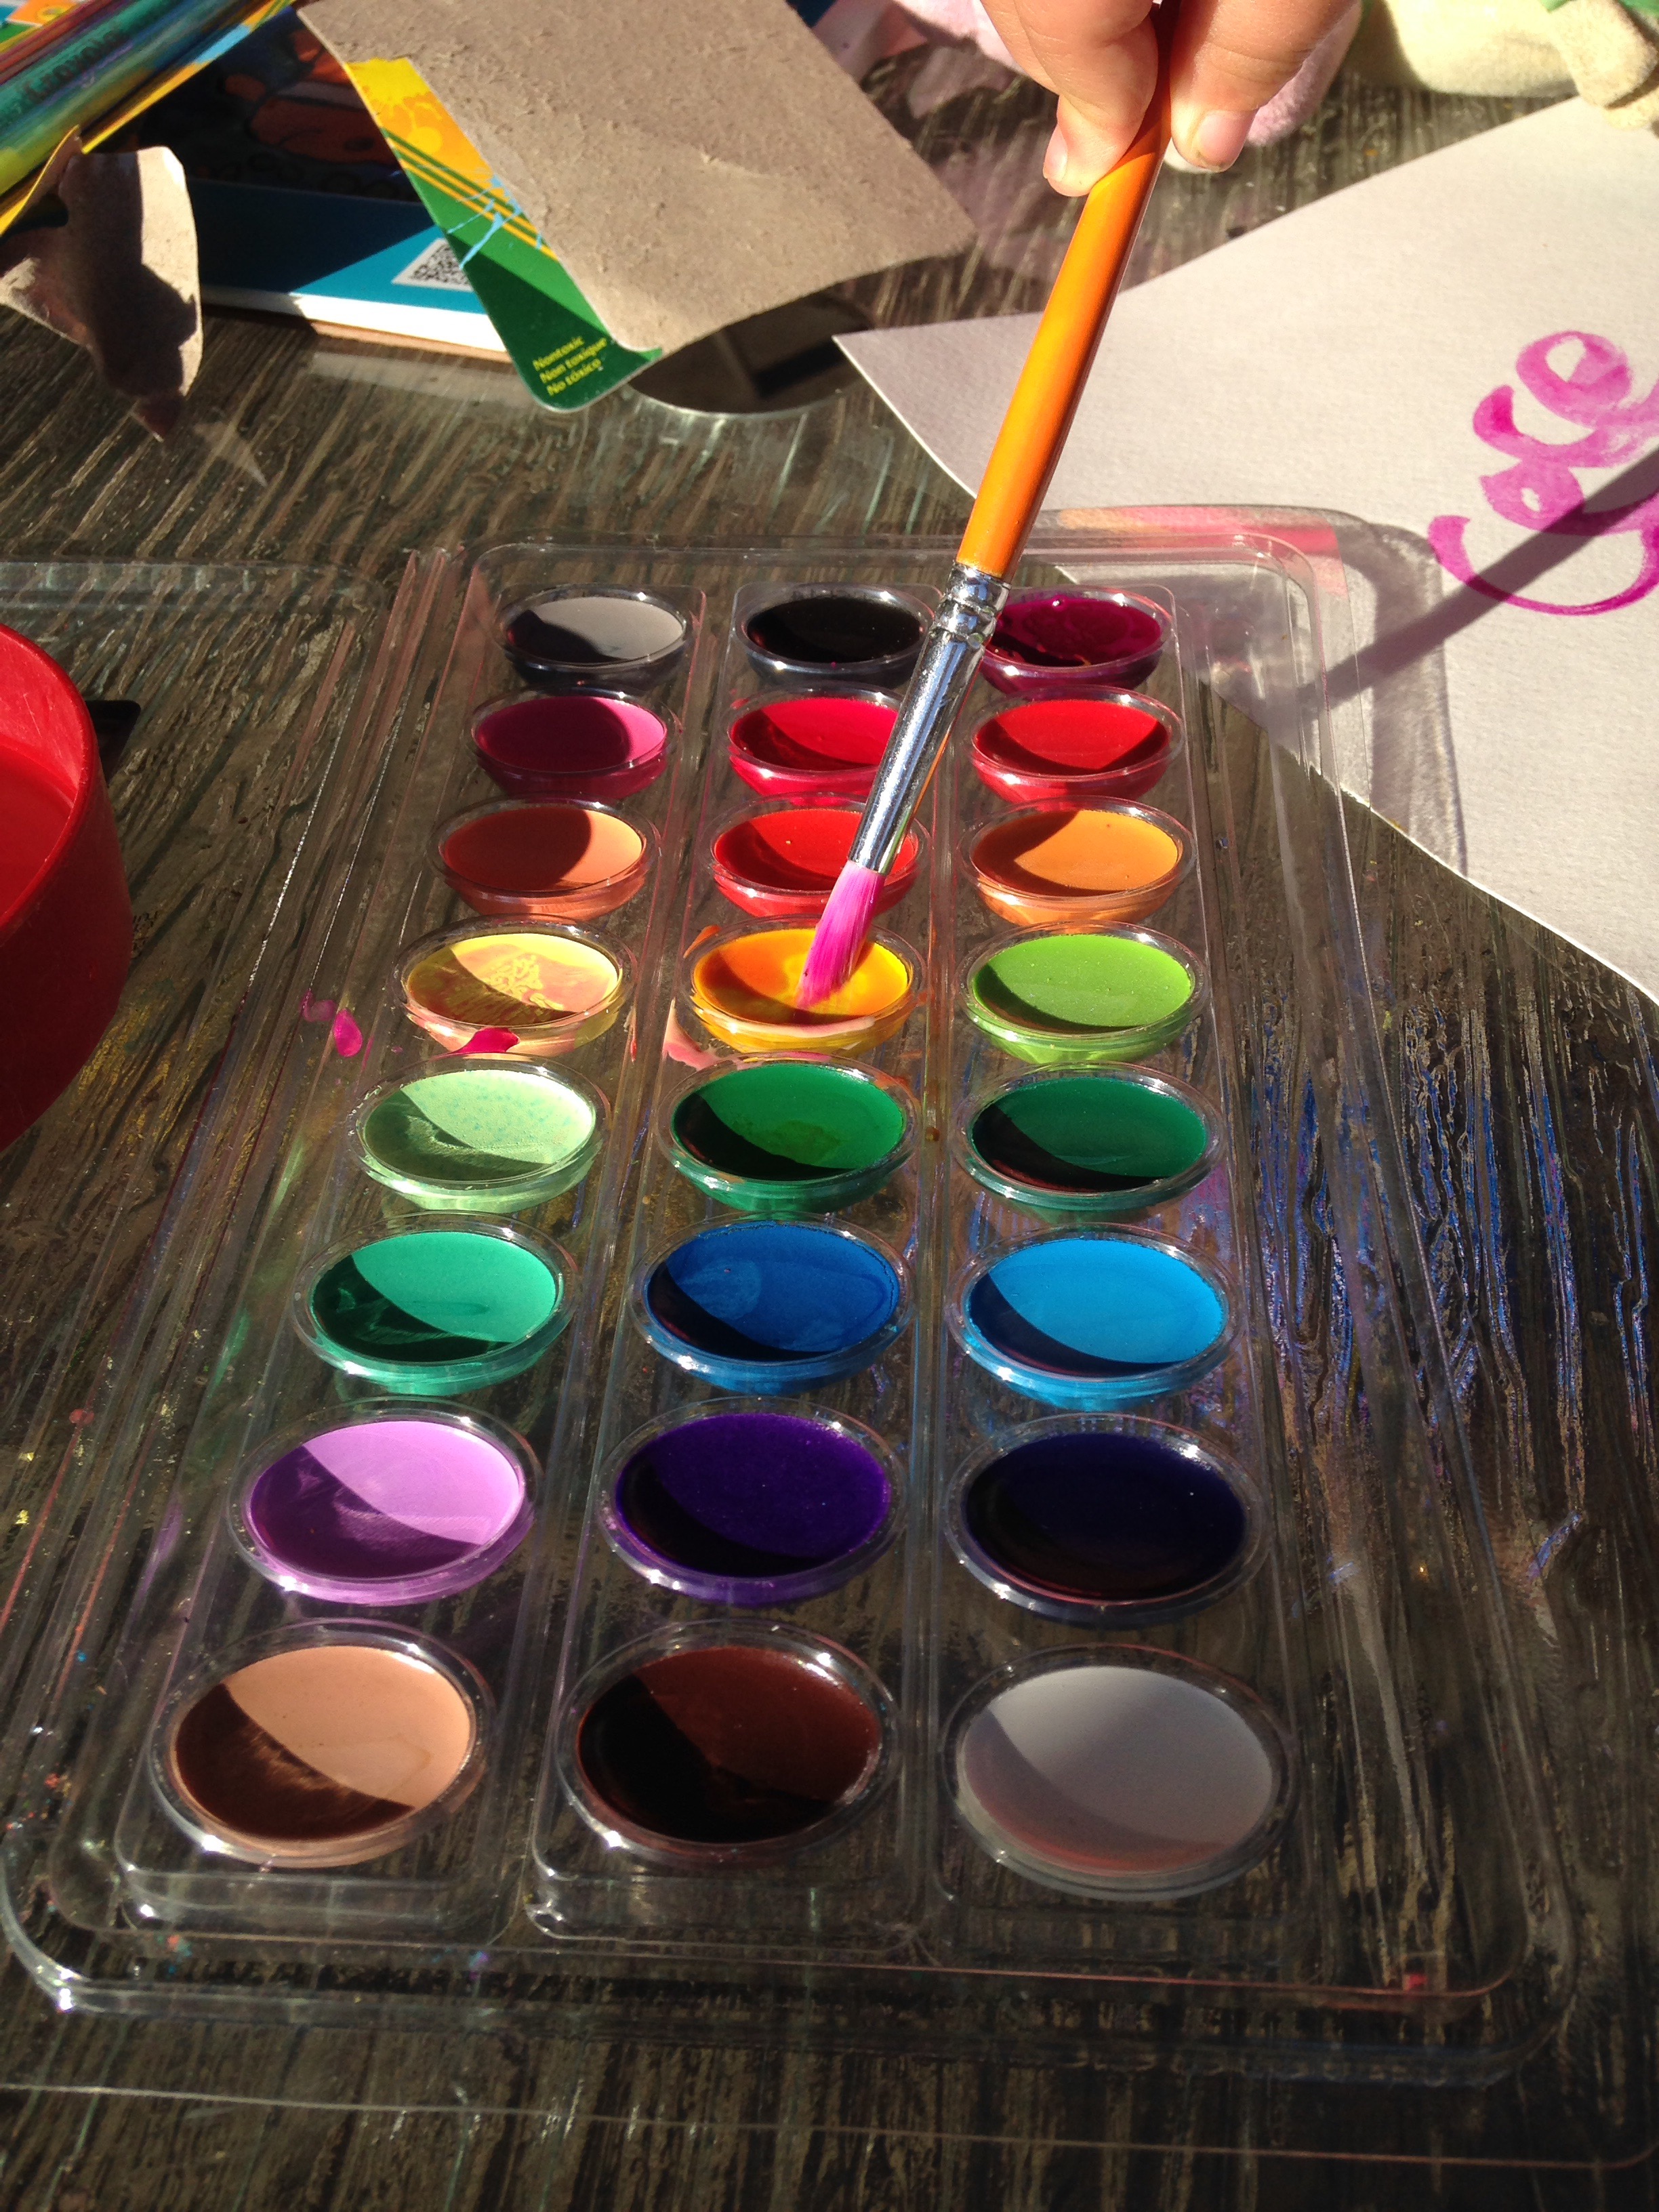
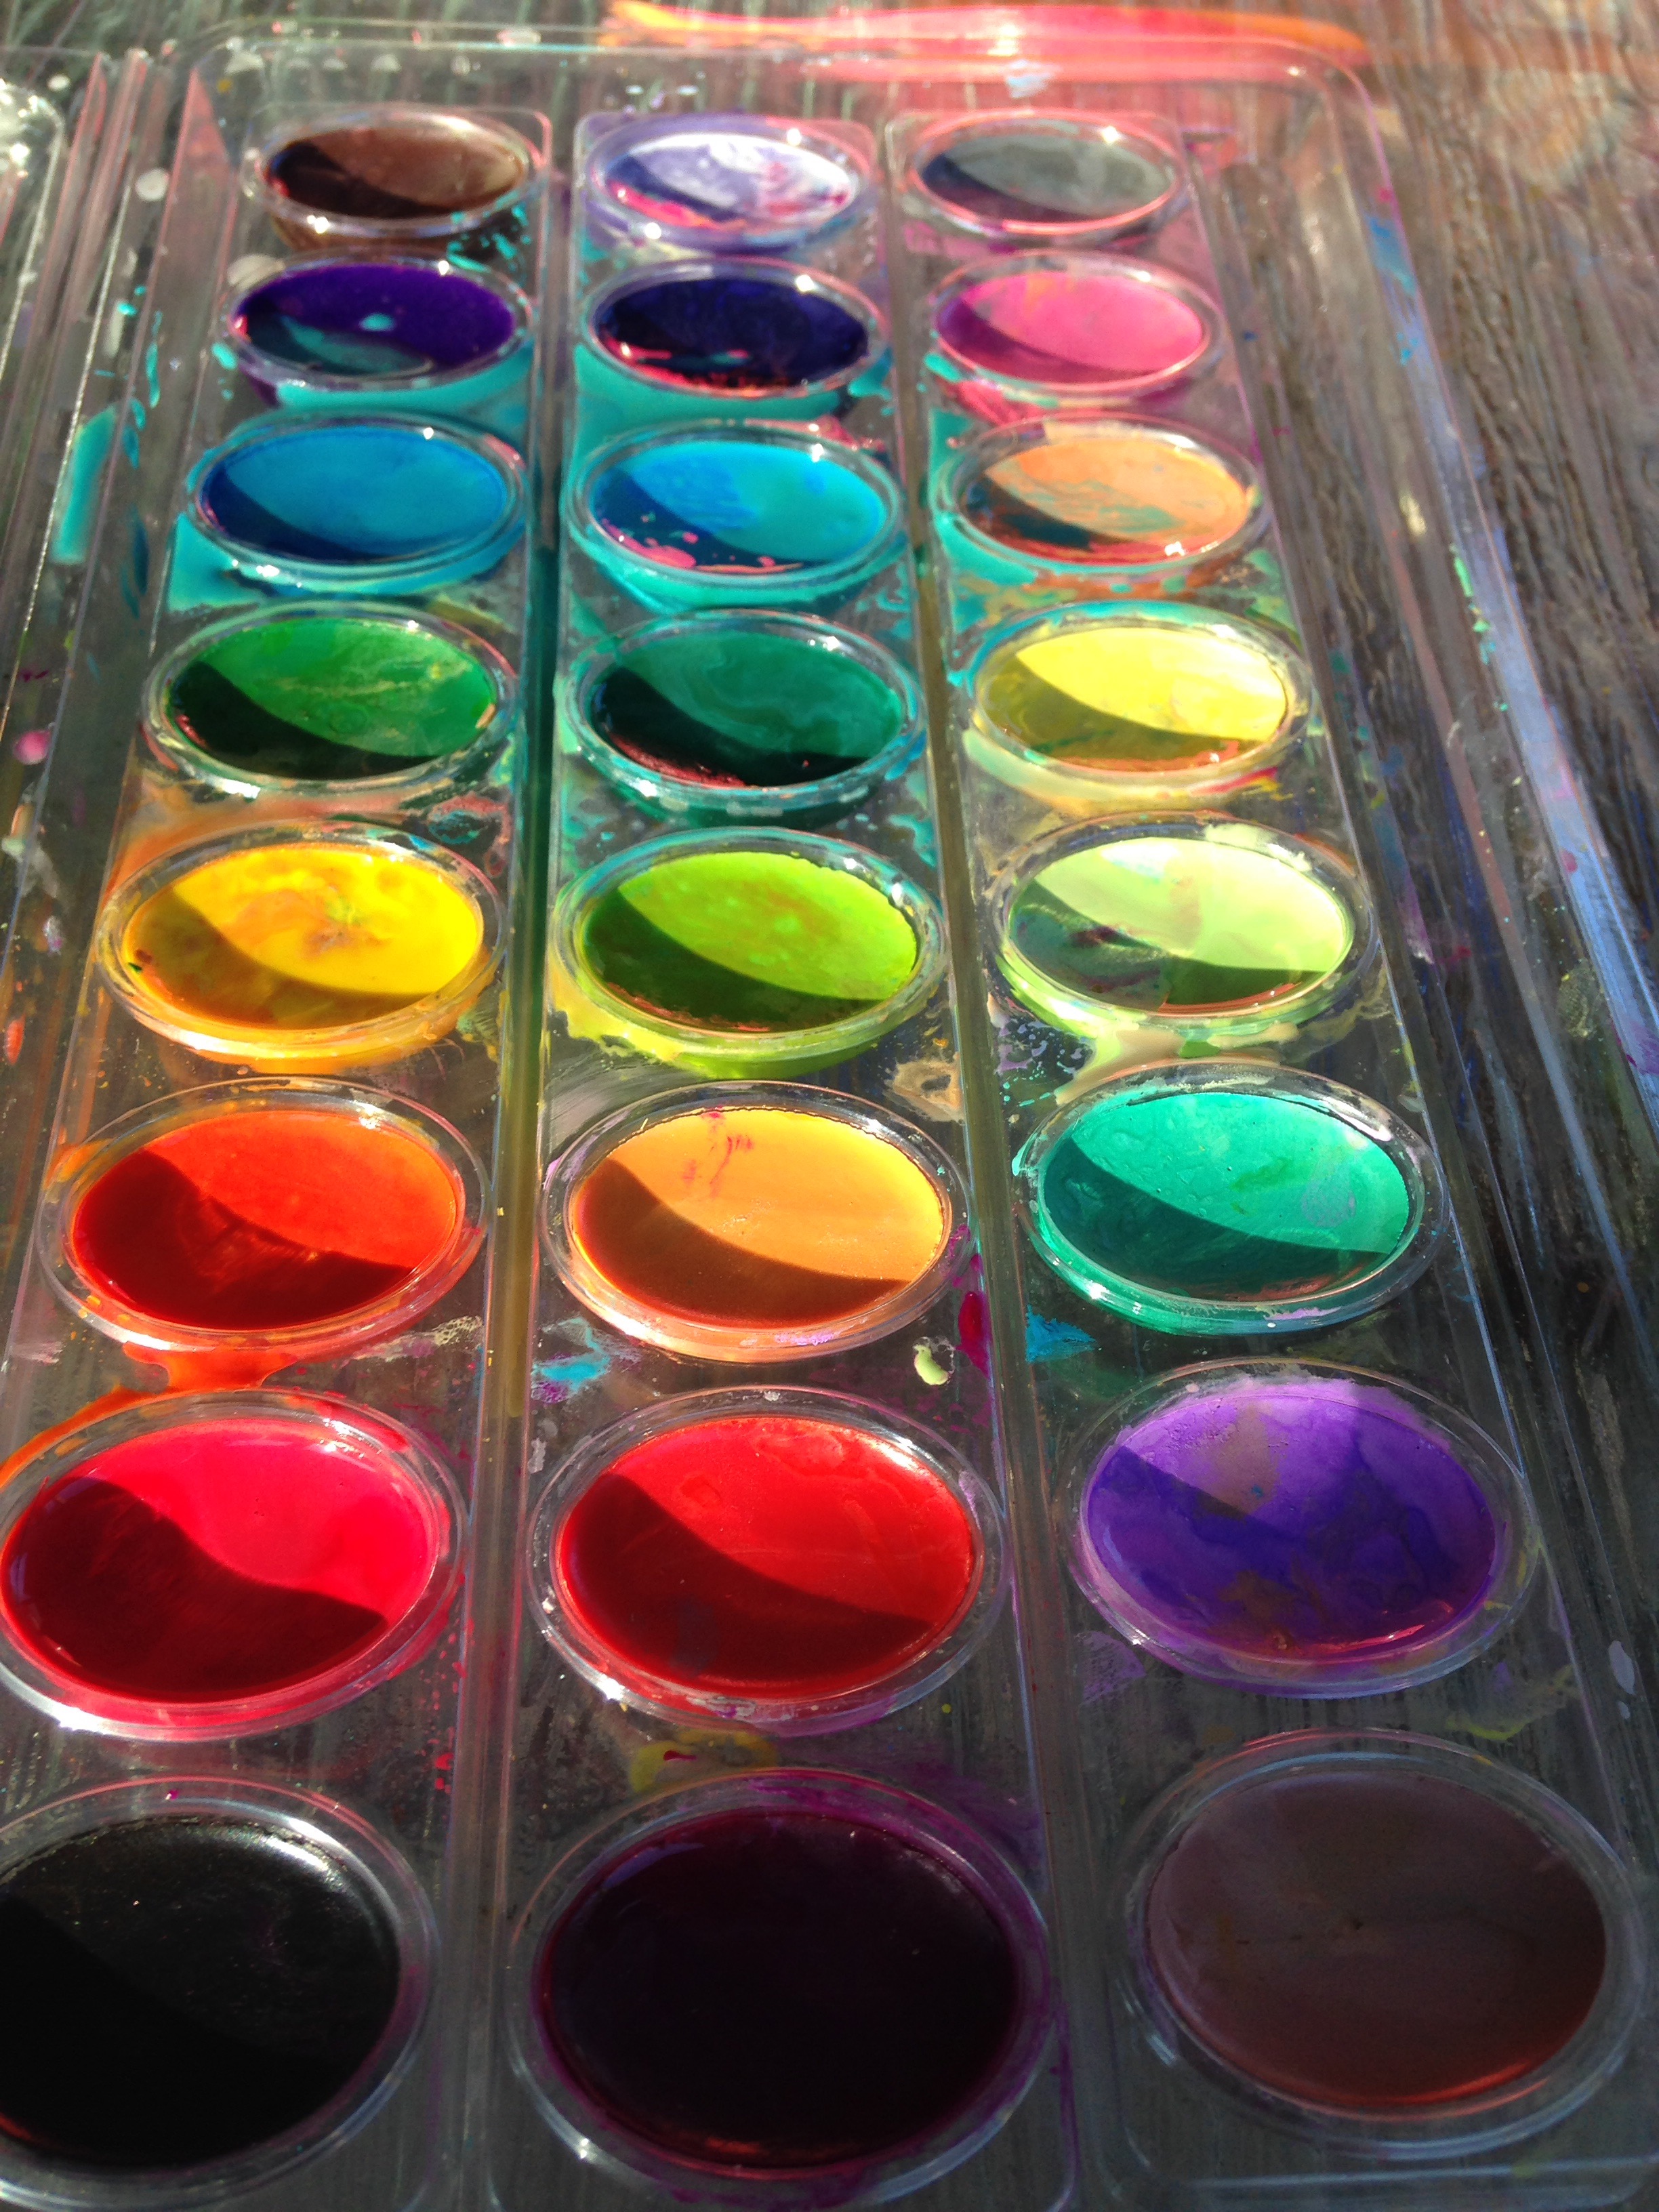
And who doesn’t love watercolors?  The problem with watercolors is that the colors can mix and you only get very small amounts of each color.  However, this can all change with homemade watercolor paints!

photo by factorydirectcraft
tbsp. baking soda
2 tsp. white vinegar
1/2 tsp. light corn syrup
2 tsp. corn starch
food colors*
containers for storing paints*
something to stir with (toothpicks)

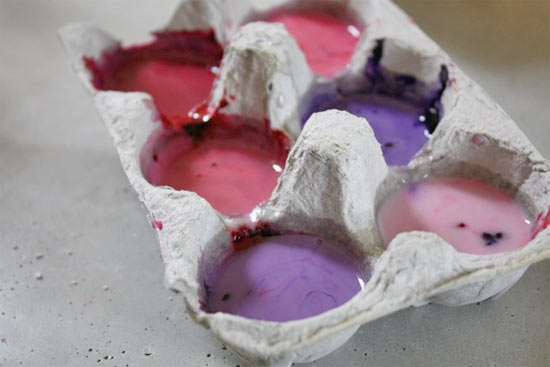
photo from happyhooligans

You can use a muffin pain, disposable cups, egg cartons, or any other container that you aren’t going to use for a couple days.

Instructions:

1)Mix baking soda & vinegar in a cup with a spout.  I used my Pyrex measuring glass.  Let the kids watch as it fizzes

2) Add in light corn syrup and stir.

3) Stir in the corn starch until well combined.  (If it gets too thick, add a little more vinegar.)

4)Pour into your paint containers- not too full, you need room for the food colors.

5)Add the food colors and stir until you reached your desired color!

6) Now if you want them to harden into hockey pucks you have to let them sit almost two days!  If you plan on using it right away that’s fine too!


Sponges and potatoes!! 


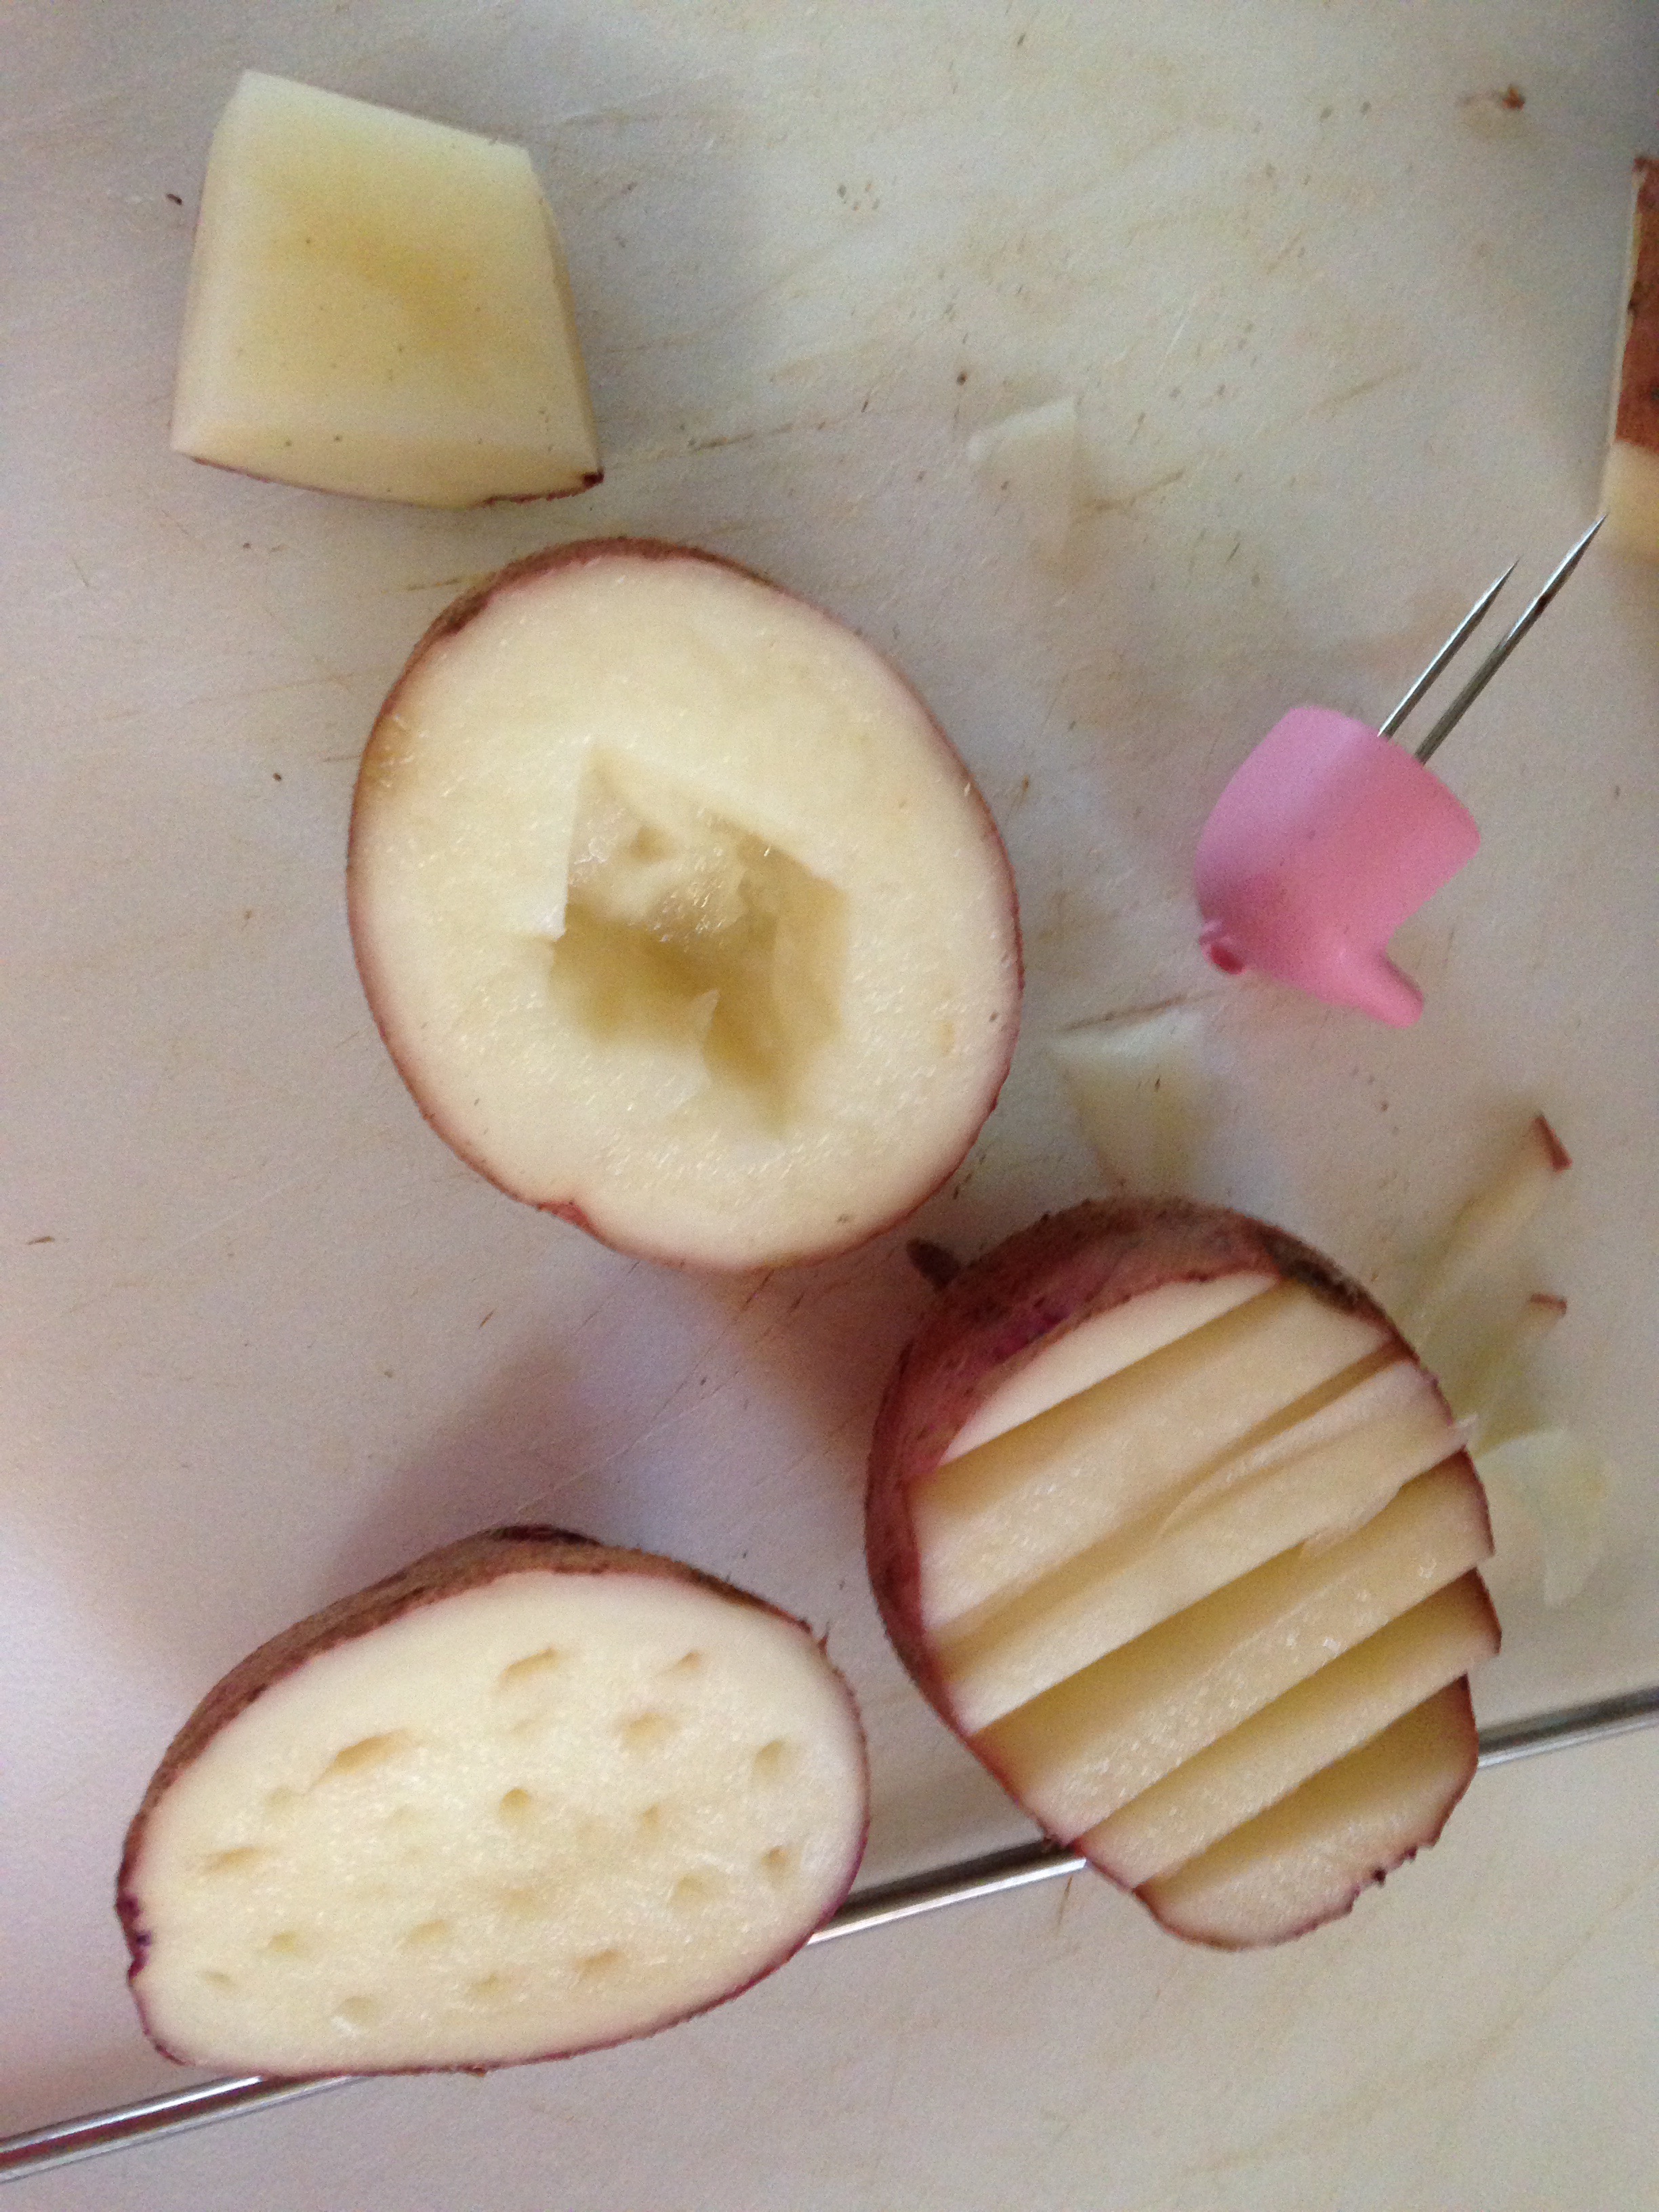
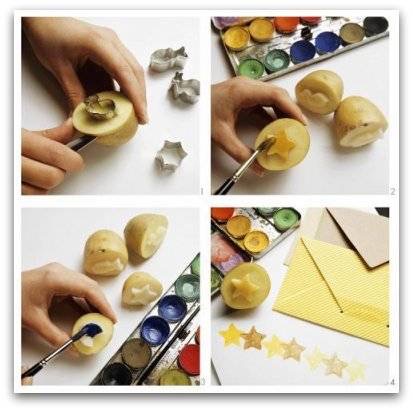
You can cut out designs in potatoes or out of sponges and dip into paint and press just like a stamp! I remember doing this as a child! 


You can also use cookie cutters and paint the potato. This picture was taken from Fun stuff
Dollar store sponges are great to cut out designs for painting! 

Enjoy! 

FollowFacebookpinterestrssyoutube
ShareFacebookpinterest

Reversible Lace Baby Sunhat!

IMG_1868

Are you looking for a cute sunhat to shade your little one from the sun?
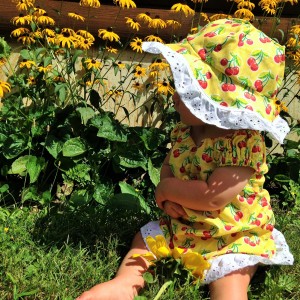
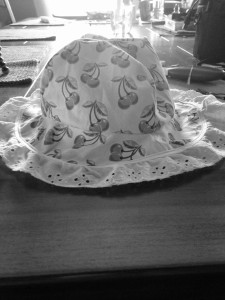
Well, this matching reversible hat is the perfect one!  It works great for pictures and photo shoots as well.  The hat is also an easy pattern that can be completed in under an hour.  The hat really completes the outfit as you can see above!!!

You can look back at my last tutorial on how to make a peasant dress to make a matching dress.

IMG_1885

What you will need:

  • The free pattern here:    sunhat 001
  • fabric (can do one color or two)
  • lace and or buttons (optional)
  • scissor
  • matching thread

For the people who enjoy a visual demonstration, below is the YouTube video.  Following that, is the written and picture directions.


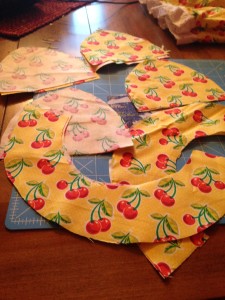
Okay, first you need to cut out your pattern pieces.  You need 8 crown pieces and 4 brim pieces.  If you want two different colors for each side then its half in one color half in the other!

IMG_1829

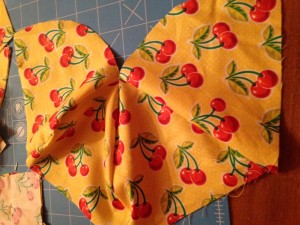
Next, you take two of your crown pieces and place them together with fabric patterns facing each other.  Pin and sew down one side.  This is what it will look like unfolded.

IMG_1830

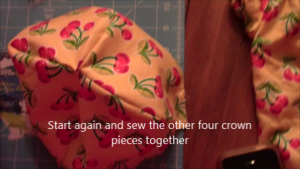
Then take another piece and place on one of the two pieces sewn together.  You again want fabric pattern to fabric pattern facing each other.  Then sew the one side.  Do this until you have four pieces.  Once you have all four pieces sew the four side together as well.

IMG_1832

And WA-La!  You have your first crown hat completed. Now start the process again with either the same color, or if you are using a different color scheme on the other side of the hat use that.  Complete another crown.

crown

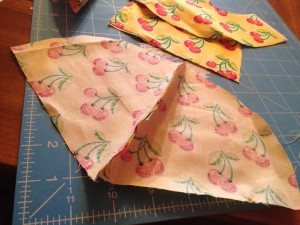
One you have the two crowns, you want to line up two of your brim pieces with the patterns facing each other.  Sew the small short ends together as indicated on the pattern pieces.  Then do this for the other two pieces as well so you have two full circle brim pieces.

Next, you want to connect the brim pieces to the crown pieces.  You do this by magic.  Hah, no just kidding, you face fabric to fabric again and sew around the edges.

hatpinned

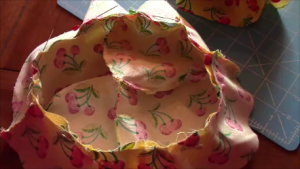
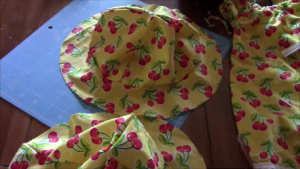
Then you will end up with two formed hats!  Trim around the seems.

hats

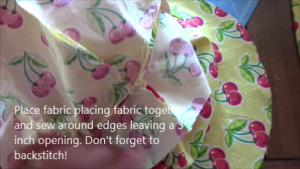
Next you want to make 2 into 1!!!  So to do this, you need to place fabric to fabric again. So put one hat inside out and line up the outside brim pieces again.  Remember to match up the seems of the crown and brim to each other.  Pin, then sew around the outside leaving a 3 inch opening.  This opening will allow you to turn the hat right side out.
hatss

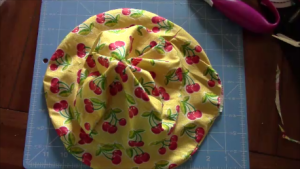
Once completed turn right side out by pulling the fabric through the opening.

hathat

Now, you want to sew that hole closed.  To do this, fold in the edges and either press or pin to stay.  Then sew it closed baby!  Press the seems

So this is your hat.  If you want to add a button or lace continue on.
I decided to add lace to match the peasant dress tutorial completed last week.

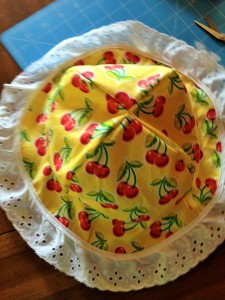
Line the lace up with the brim and pin.  Then just sew on!  AND WA=la!  Beautiful matching hat complete!

IMG_1886 (2)IMG_1863IMG_1885

FollowFacebookpinterestrssyoutube
ShareFacebookpinterest