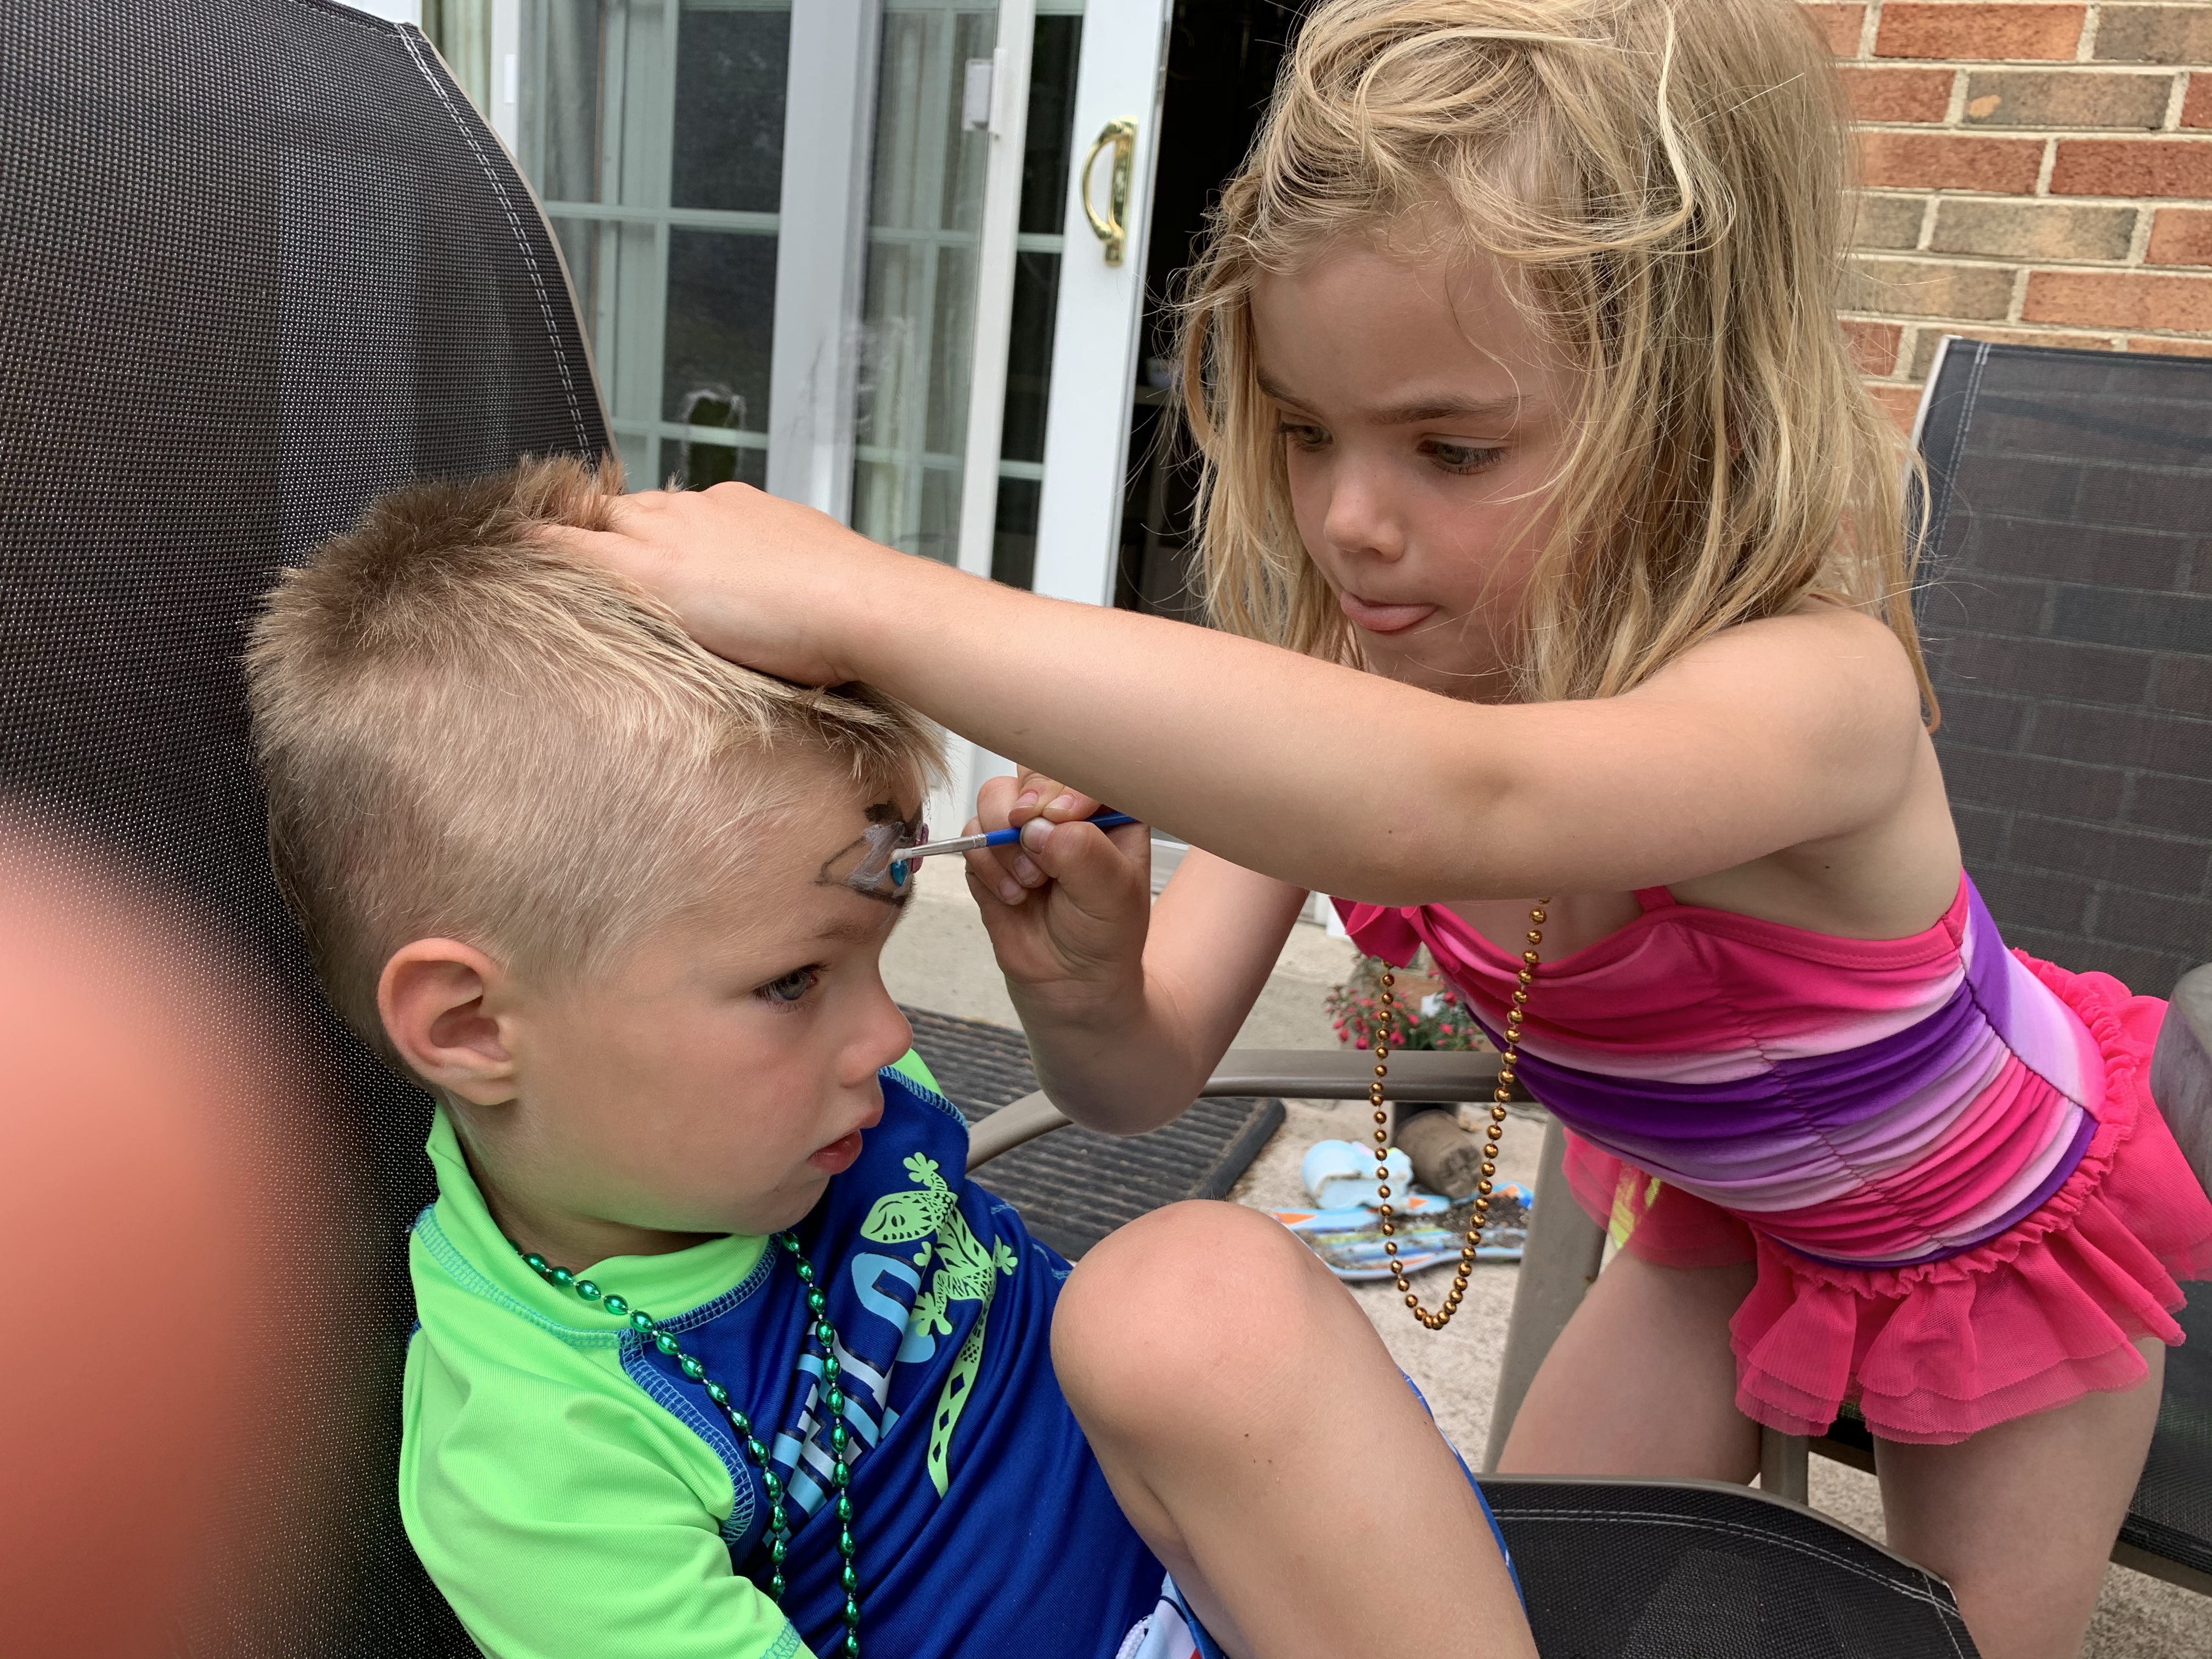
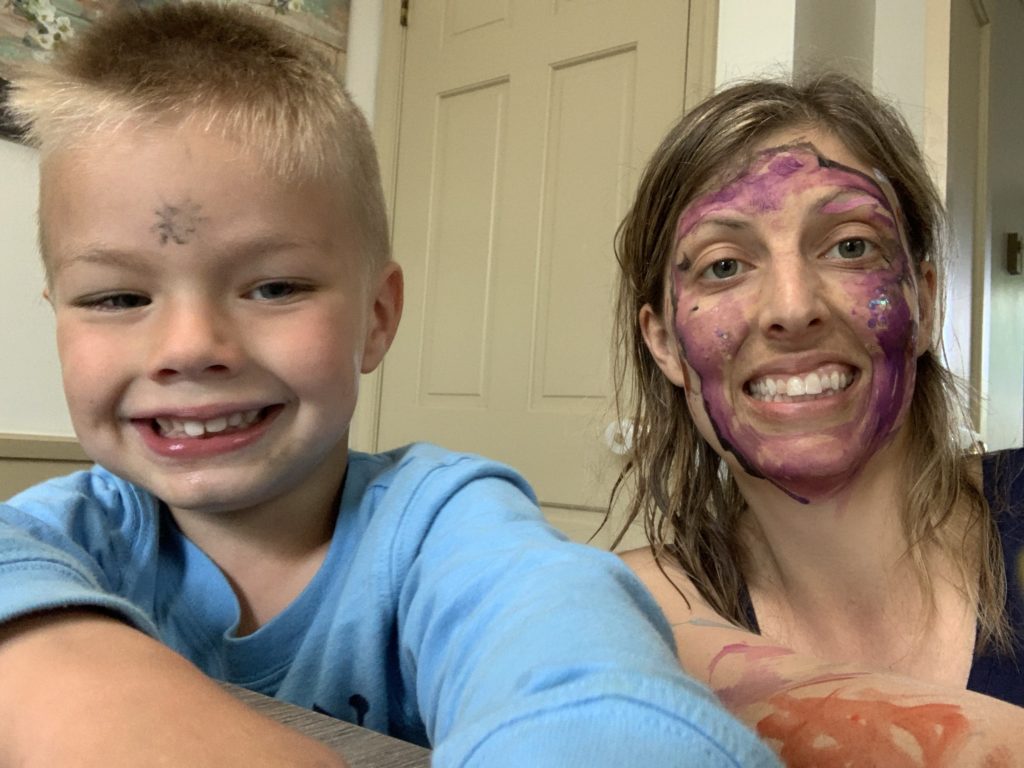
It all started with my daughter using a marker on my son’s face. She said she simply wanted to paint his face! Well, obviously, this wasn’t going to work. So I searched for face painting supplies. At first I thought face paint would be way too messy and not worth the money. However, I found that face paint is super fun, easy, and the kids just love it!
An easy and fun activity is face painting! My daughter loves painting faces and my son loves having his face painted.
We got this easy set from amazon. Bowitzki Face Paint Kit
Bowitzki Face Paint Kit with 10 Colors,32 Stencils,2 Brushes,2 Chunky Glitters,2 Sponges,1 Body Glue
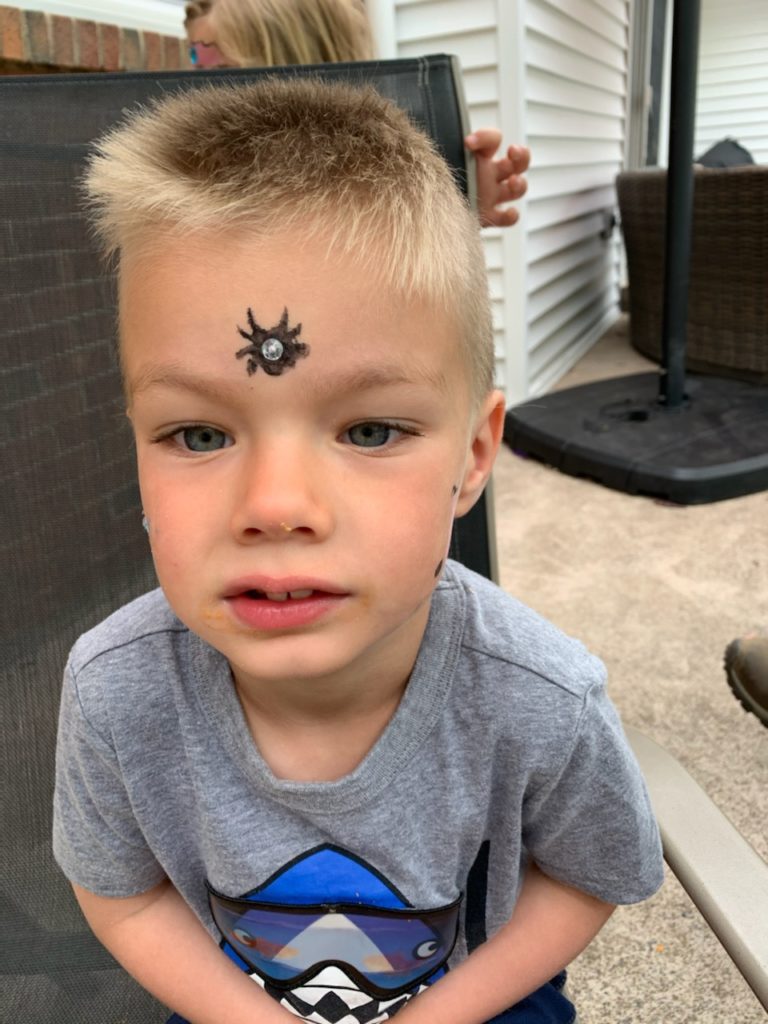
When we first started I had to remind my daughter not to go near the eyes, but since then no problems at all!
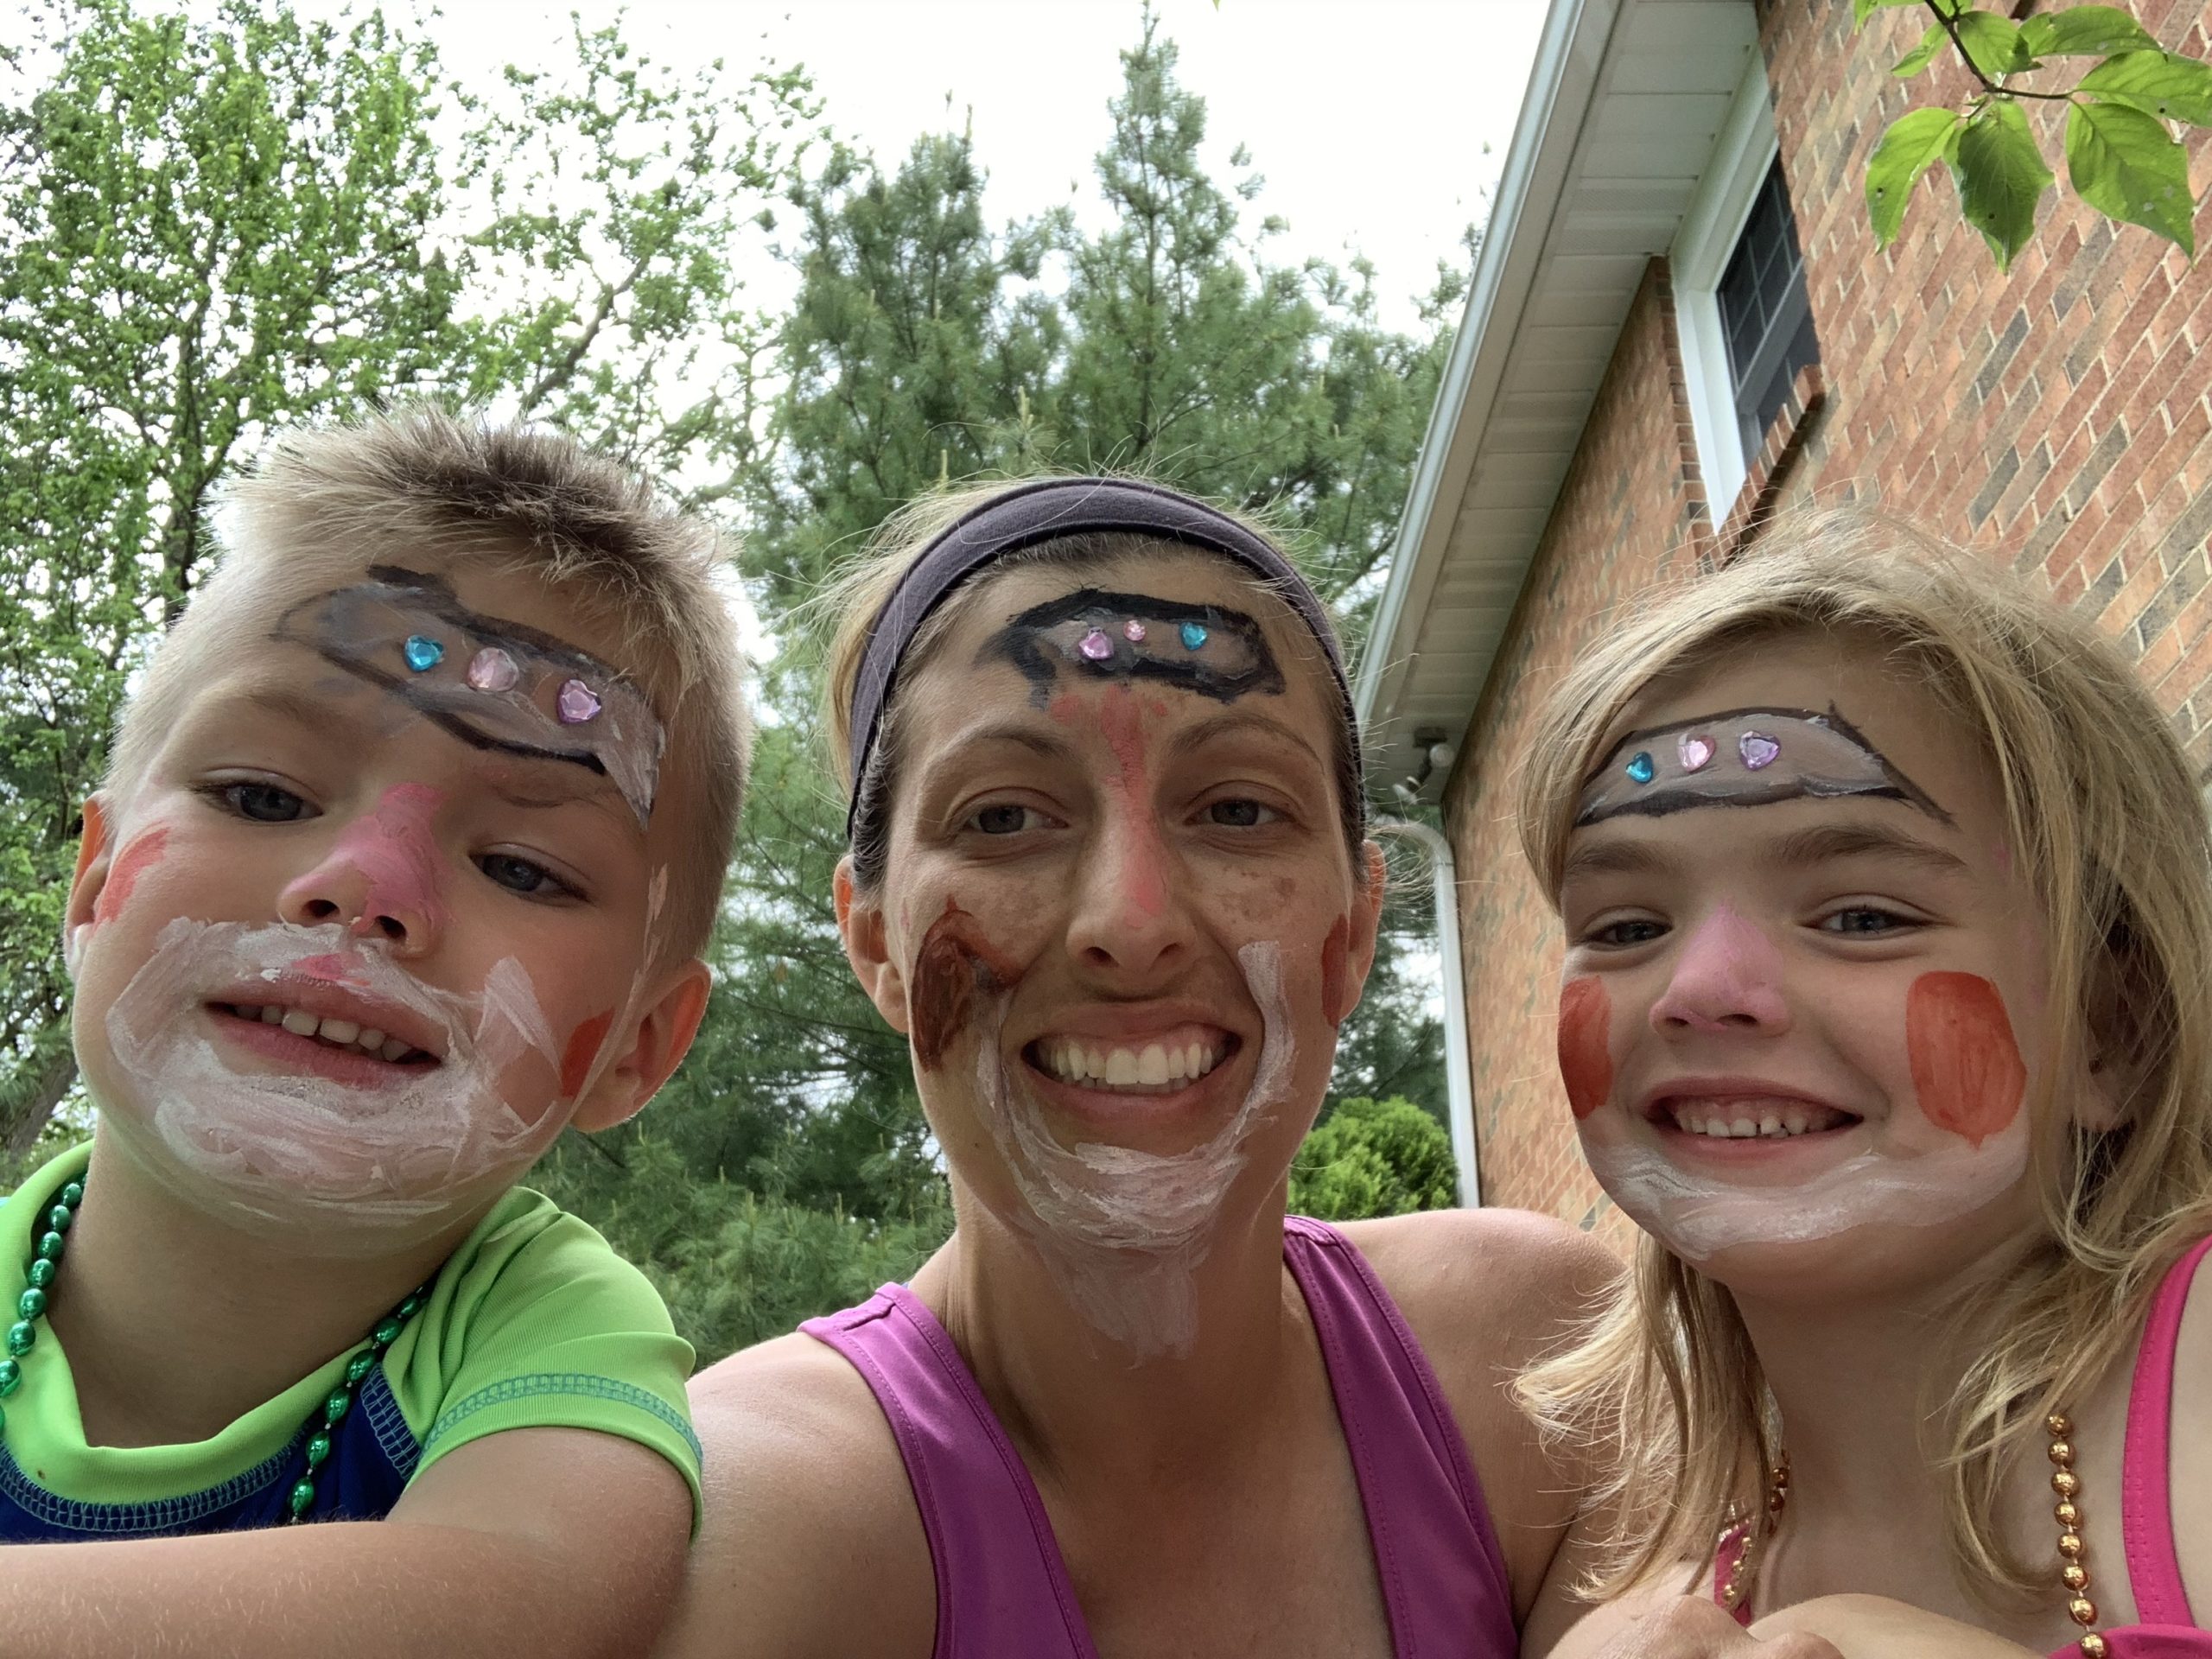
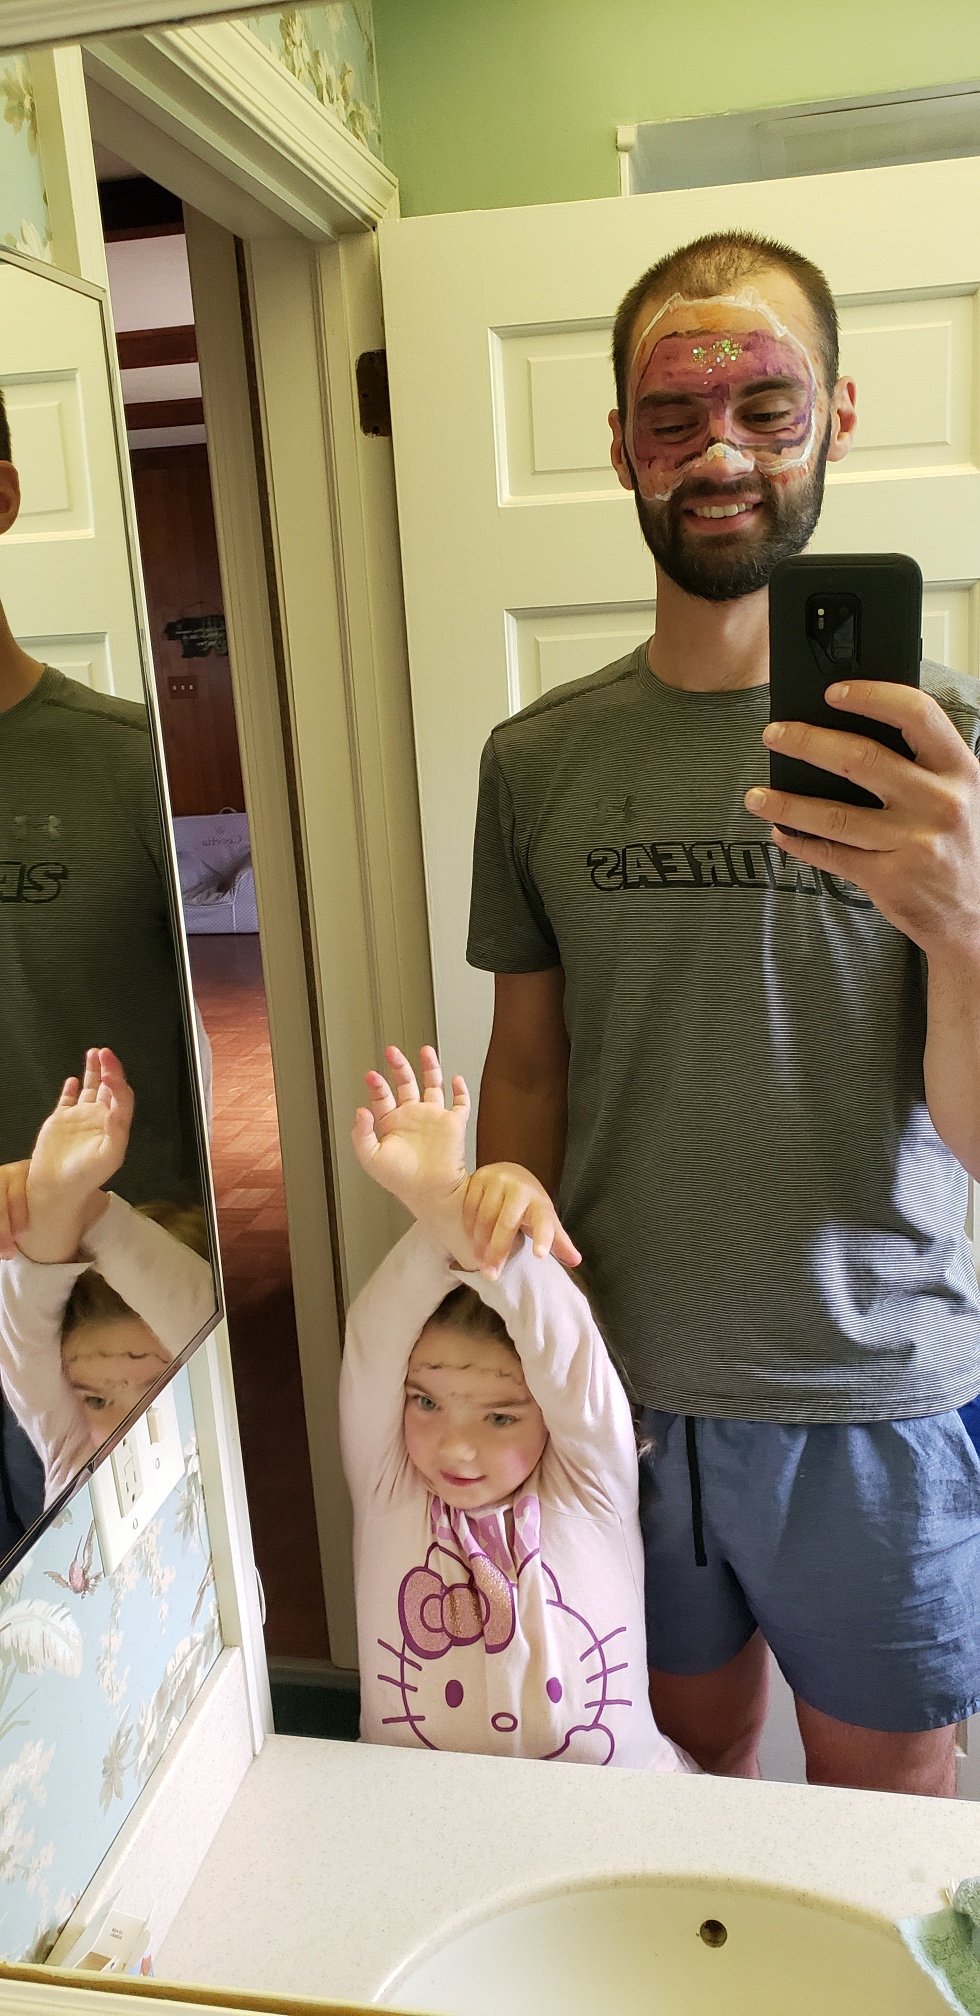
Daddy even got his face painted by Cece!
Grammy did a little face painting as well…
They love this activity and it’s fun, easy, and inexpensive! I hope you try it too!!
It’s finally fall and pumpkin time! Toddlers LOVE holidays and what a great way to get ready for trick-or-treating by decorating pumpkins! Obviously, toddlers shouldn’t be holding knives to make jack-o-lanterns so there are many fun alternatives!
You can have your toddler paint a pumpkin, add stickers, pom-poms, and many other accessories instead of the normal jack-o-lantern.
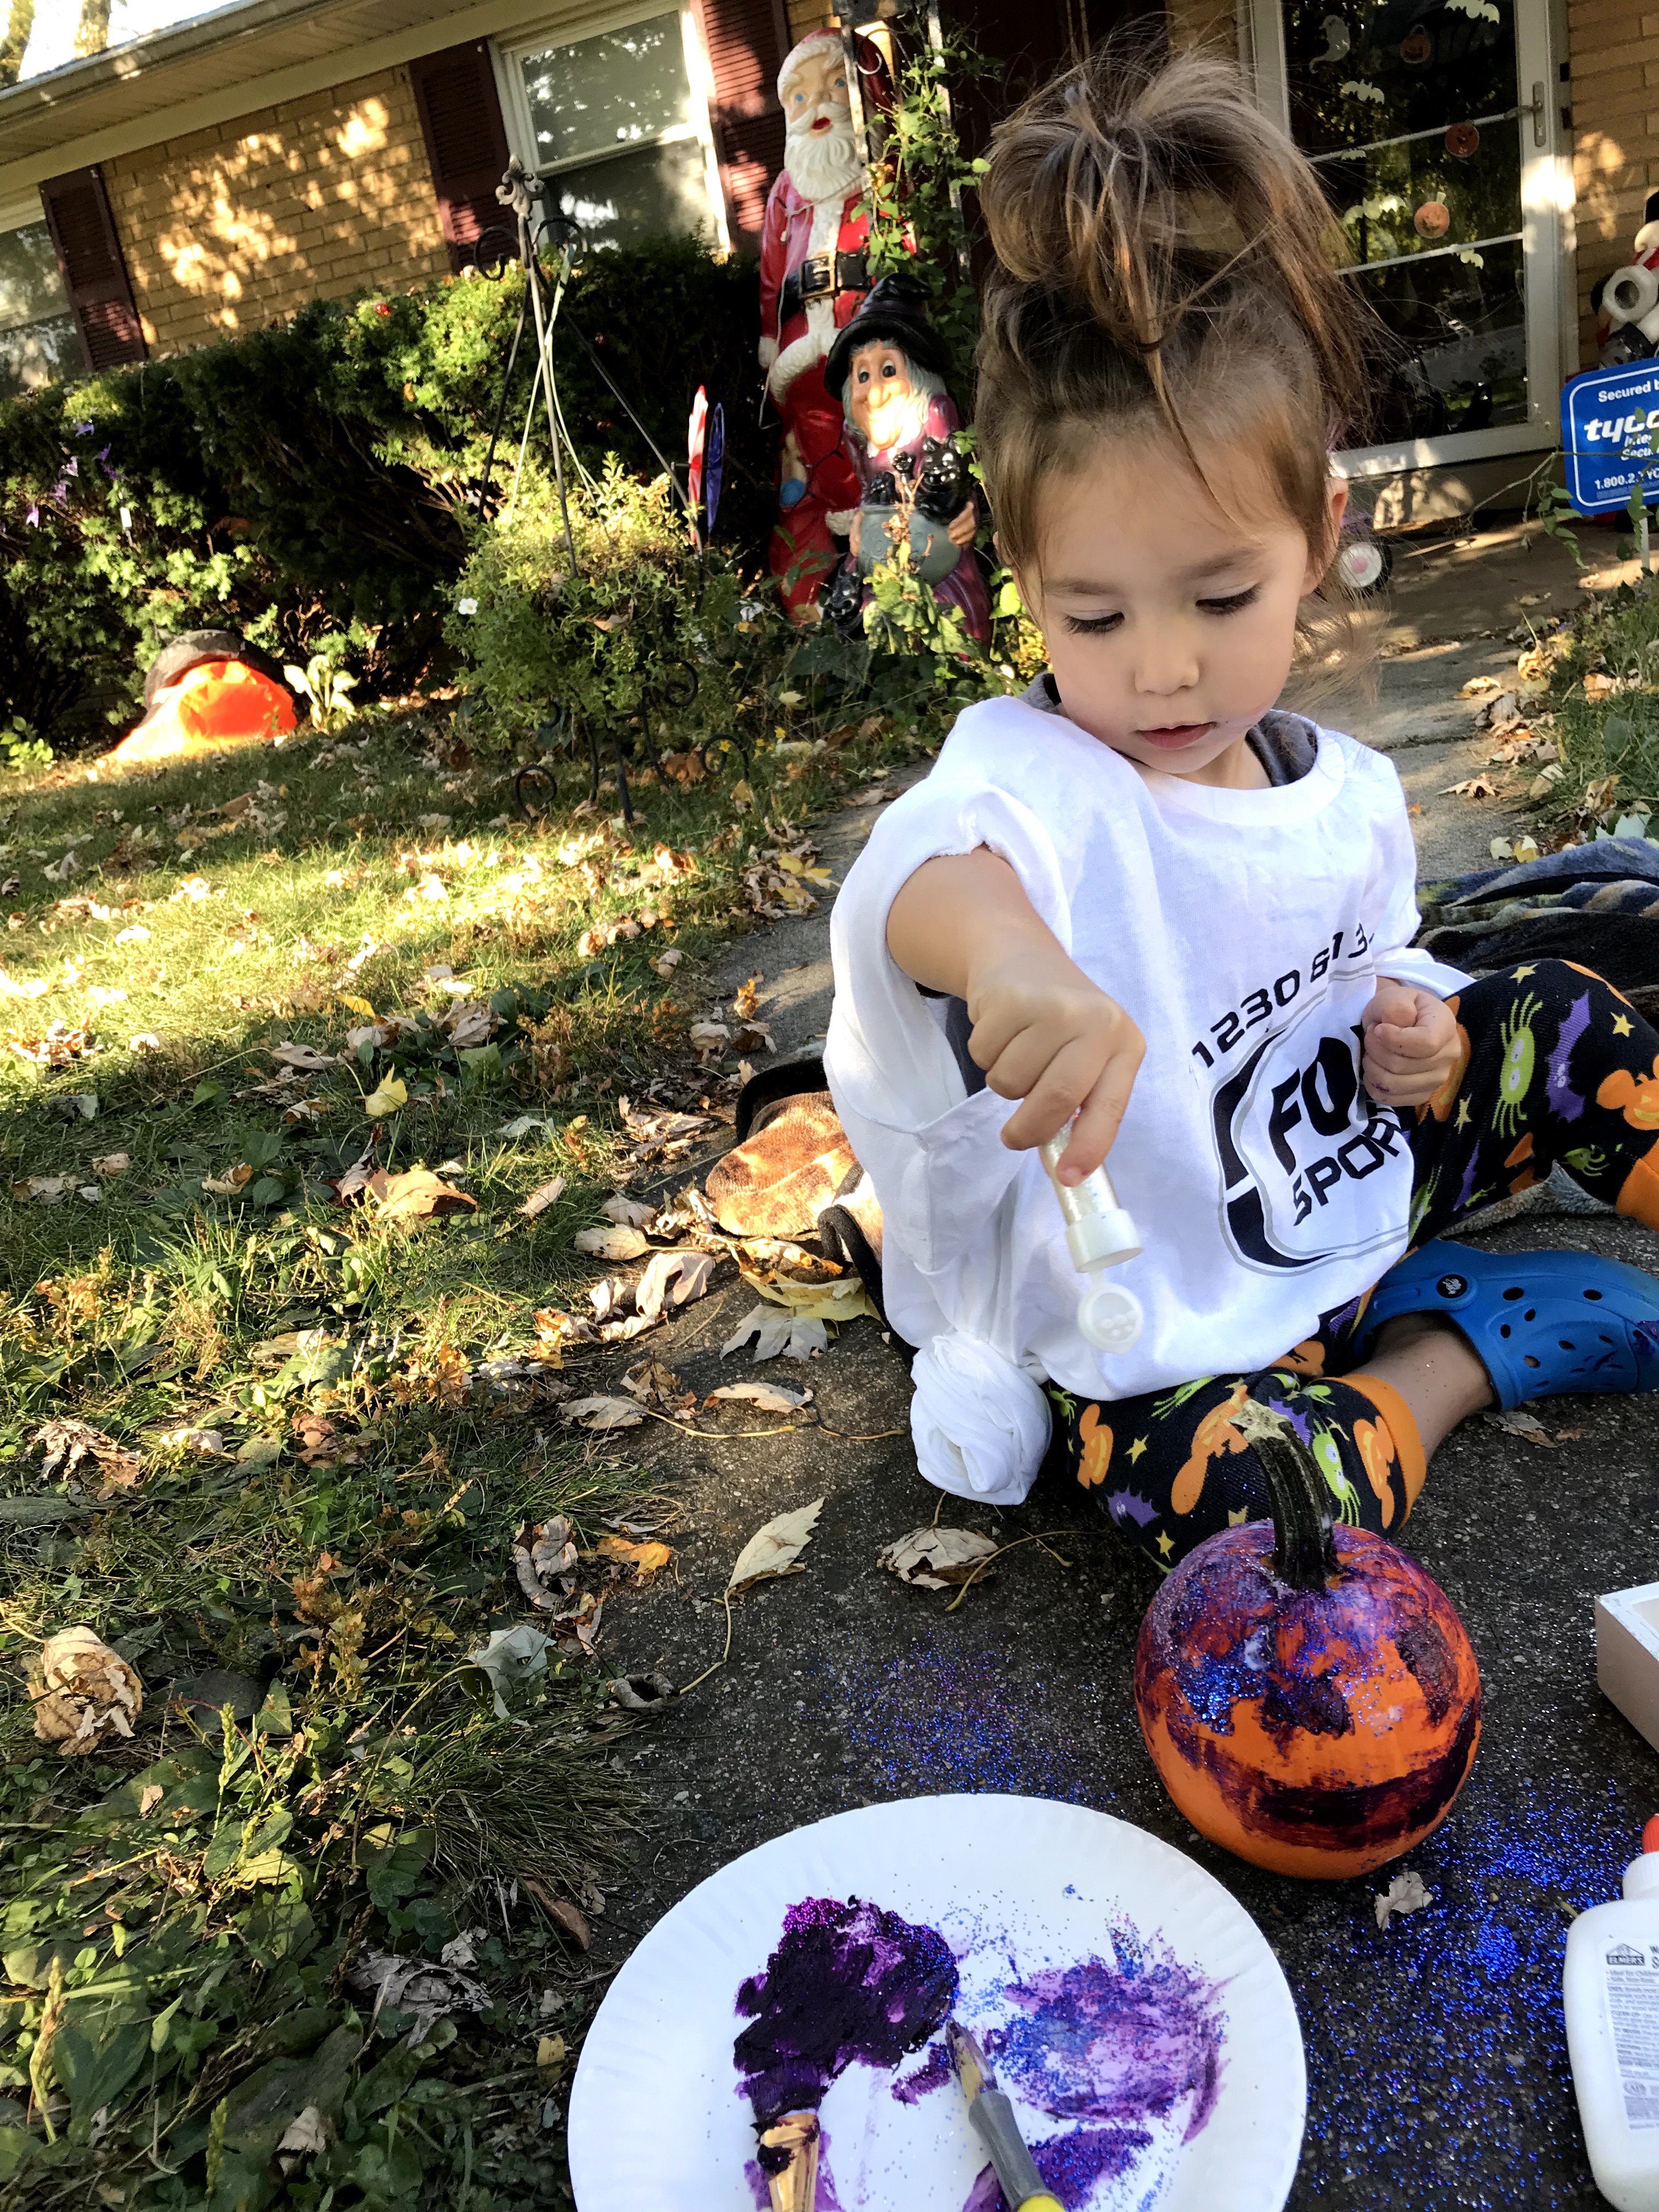
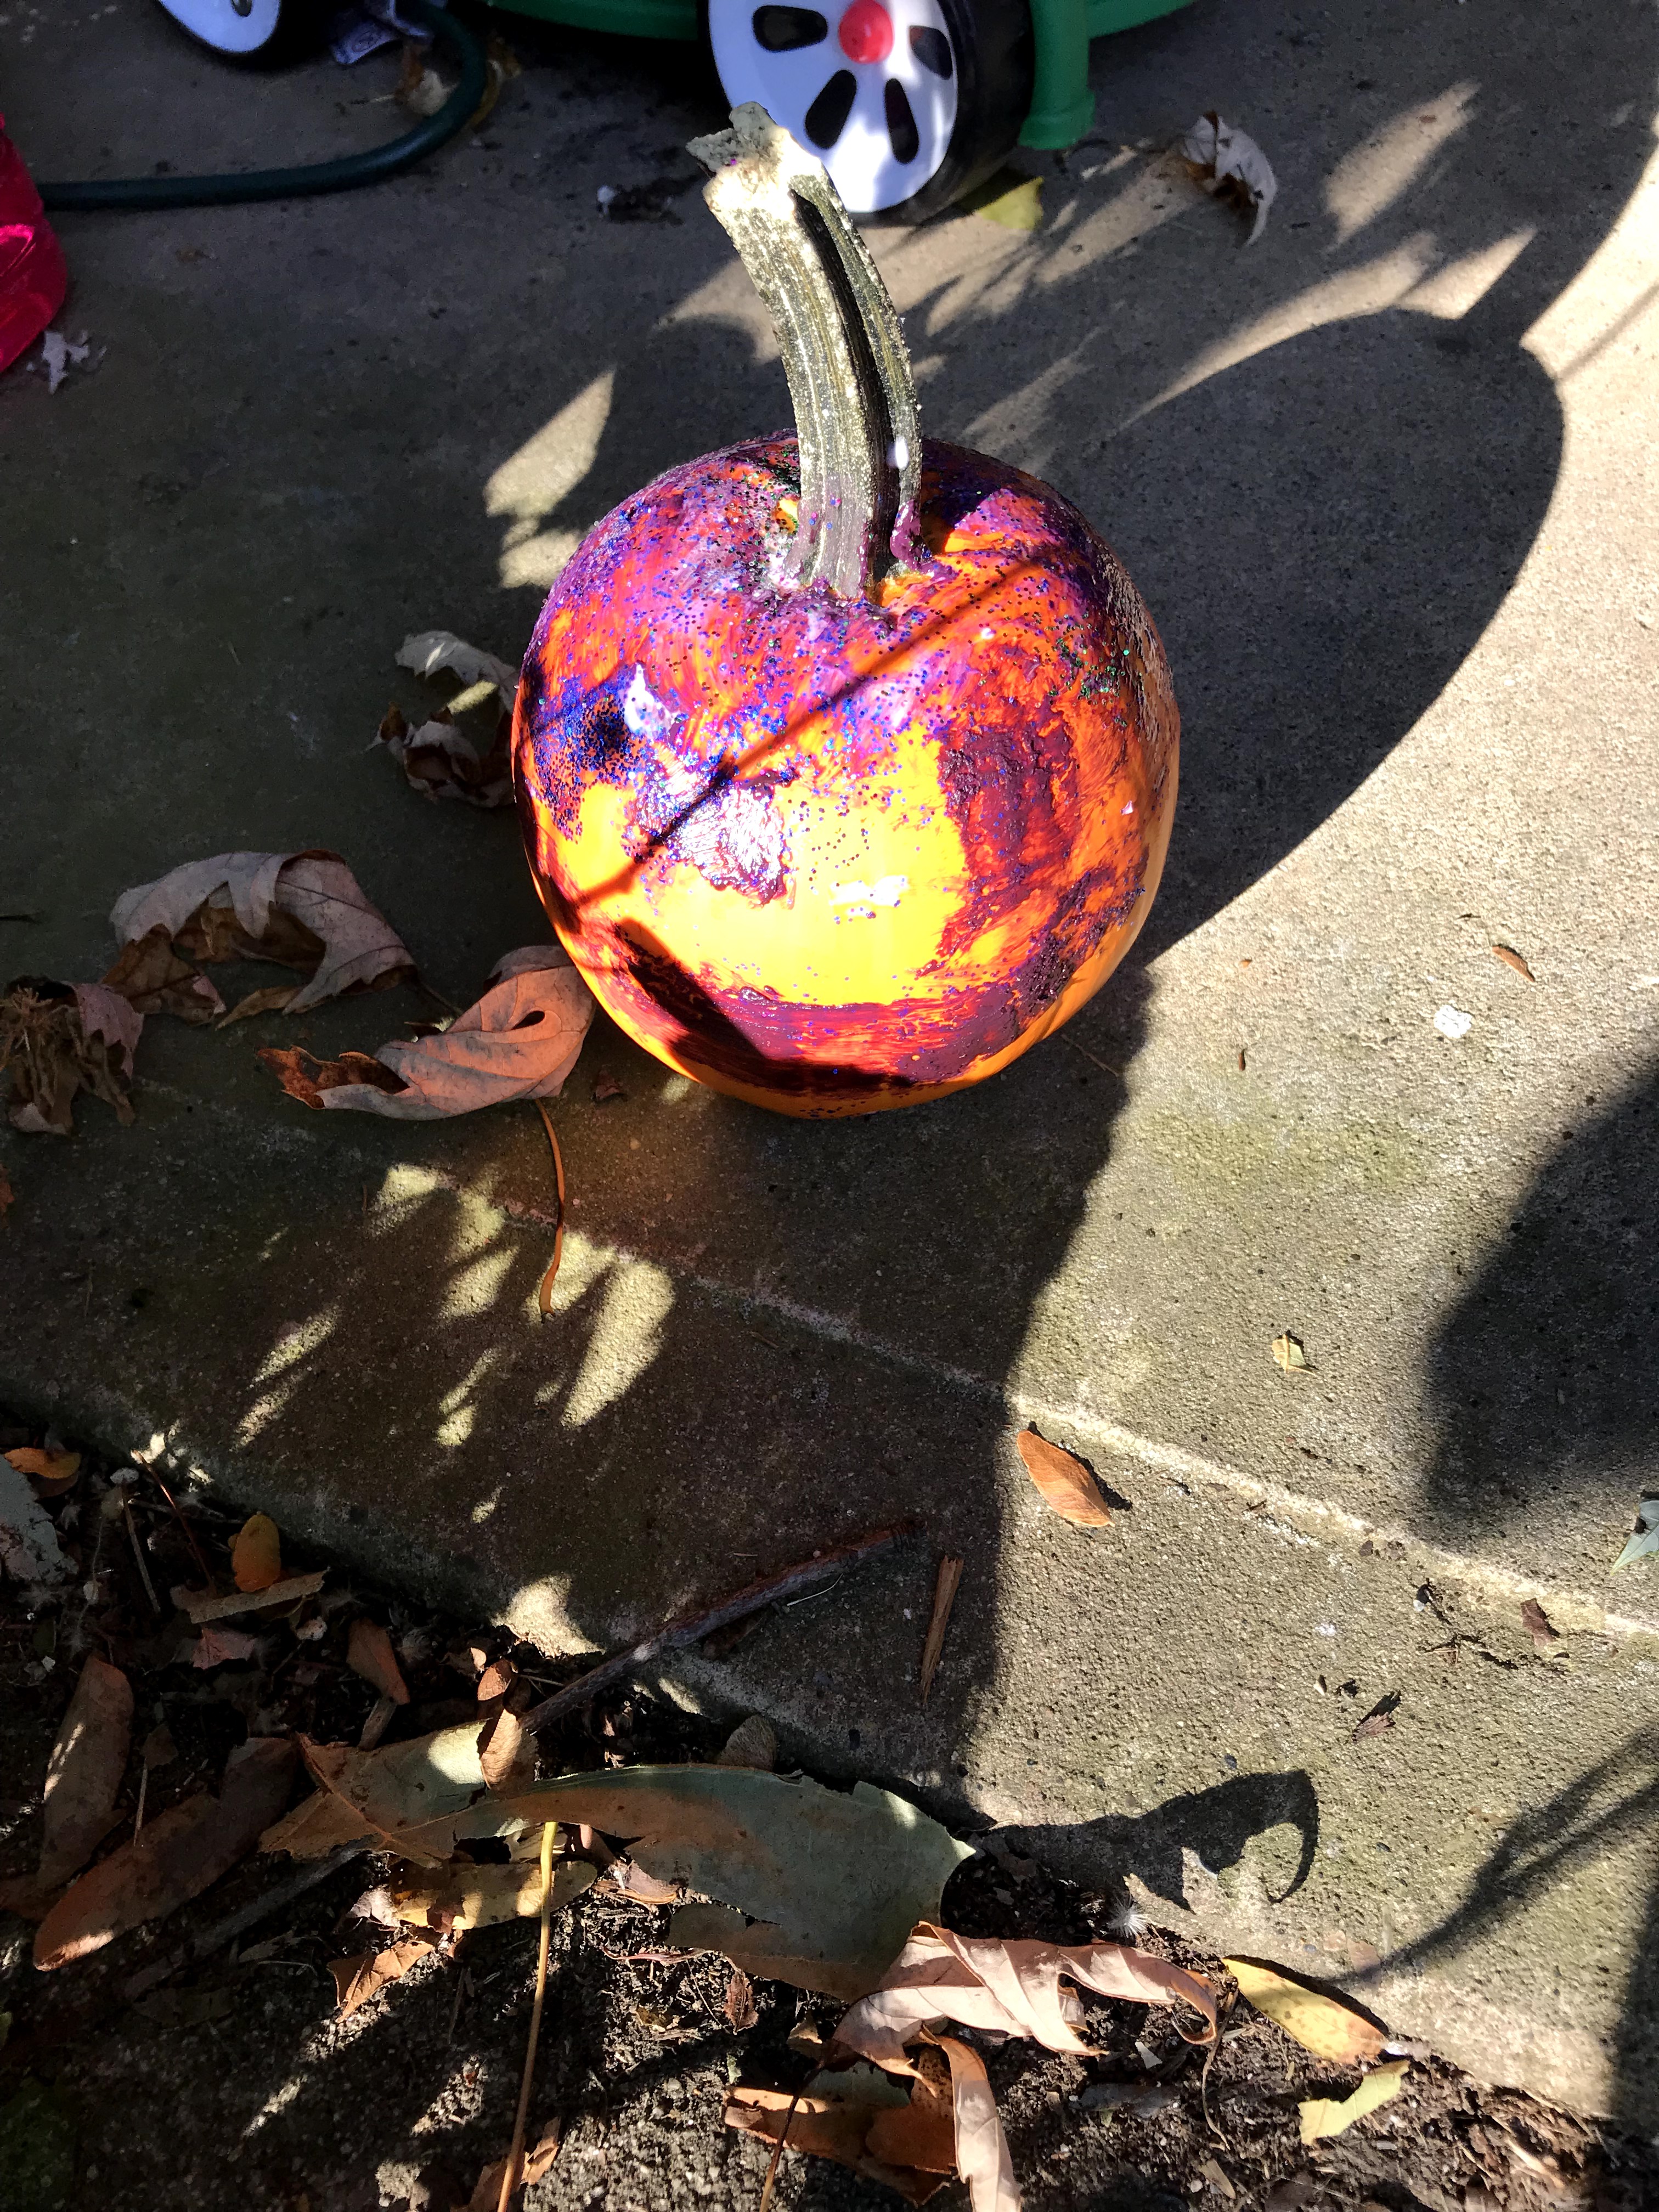
Or….you can have them make sparkle pumpkins! My daughter LOVES glitter, I mean who doesn’t? Okay, maybe we don’t, especially when you have to clean it. However, this is a perfect activity for outside in the cool, crisp fall weather.
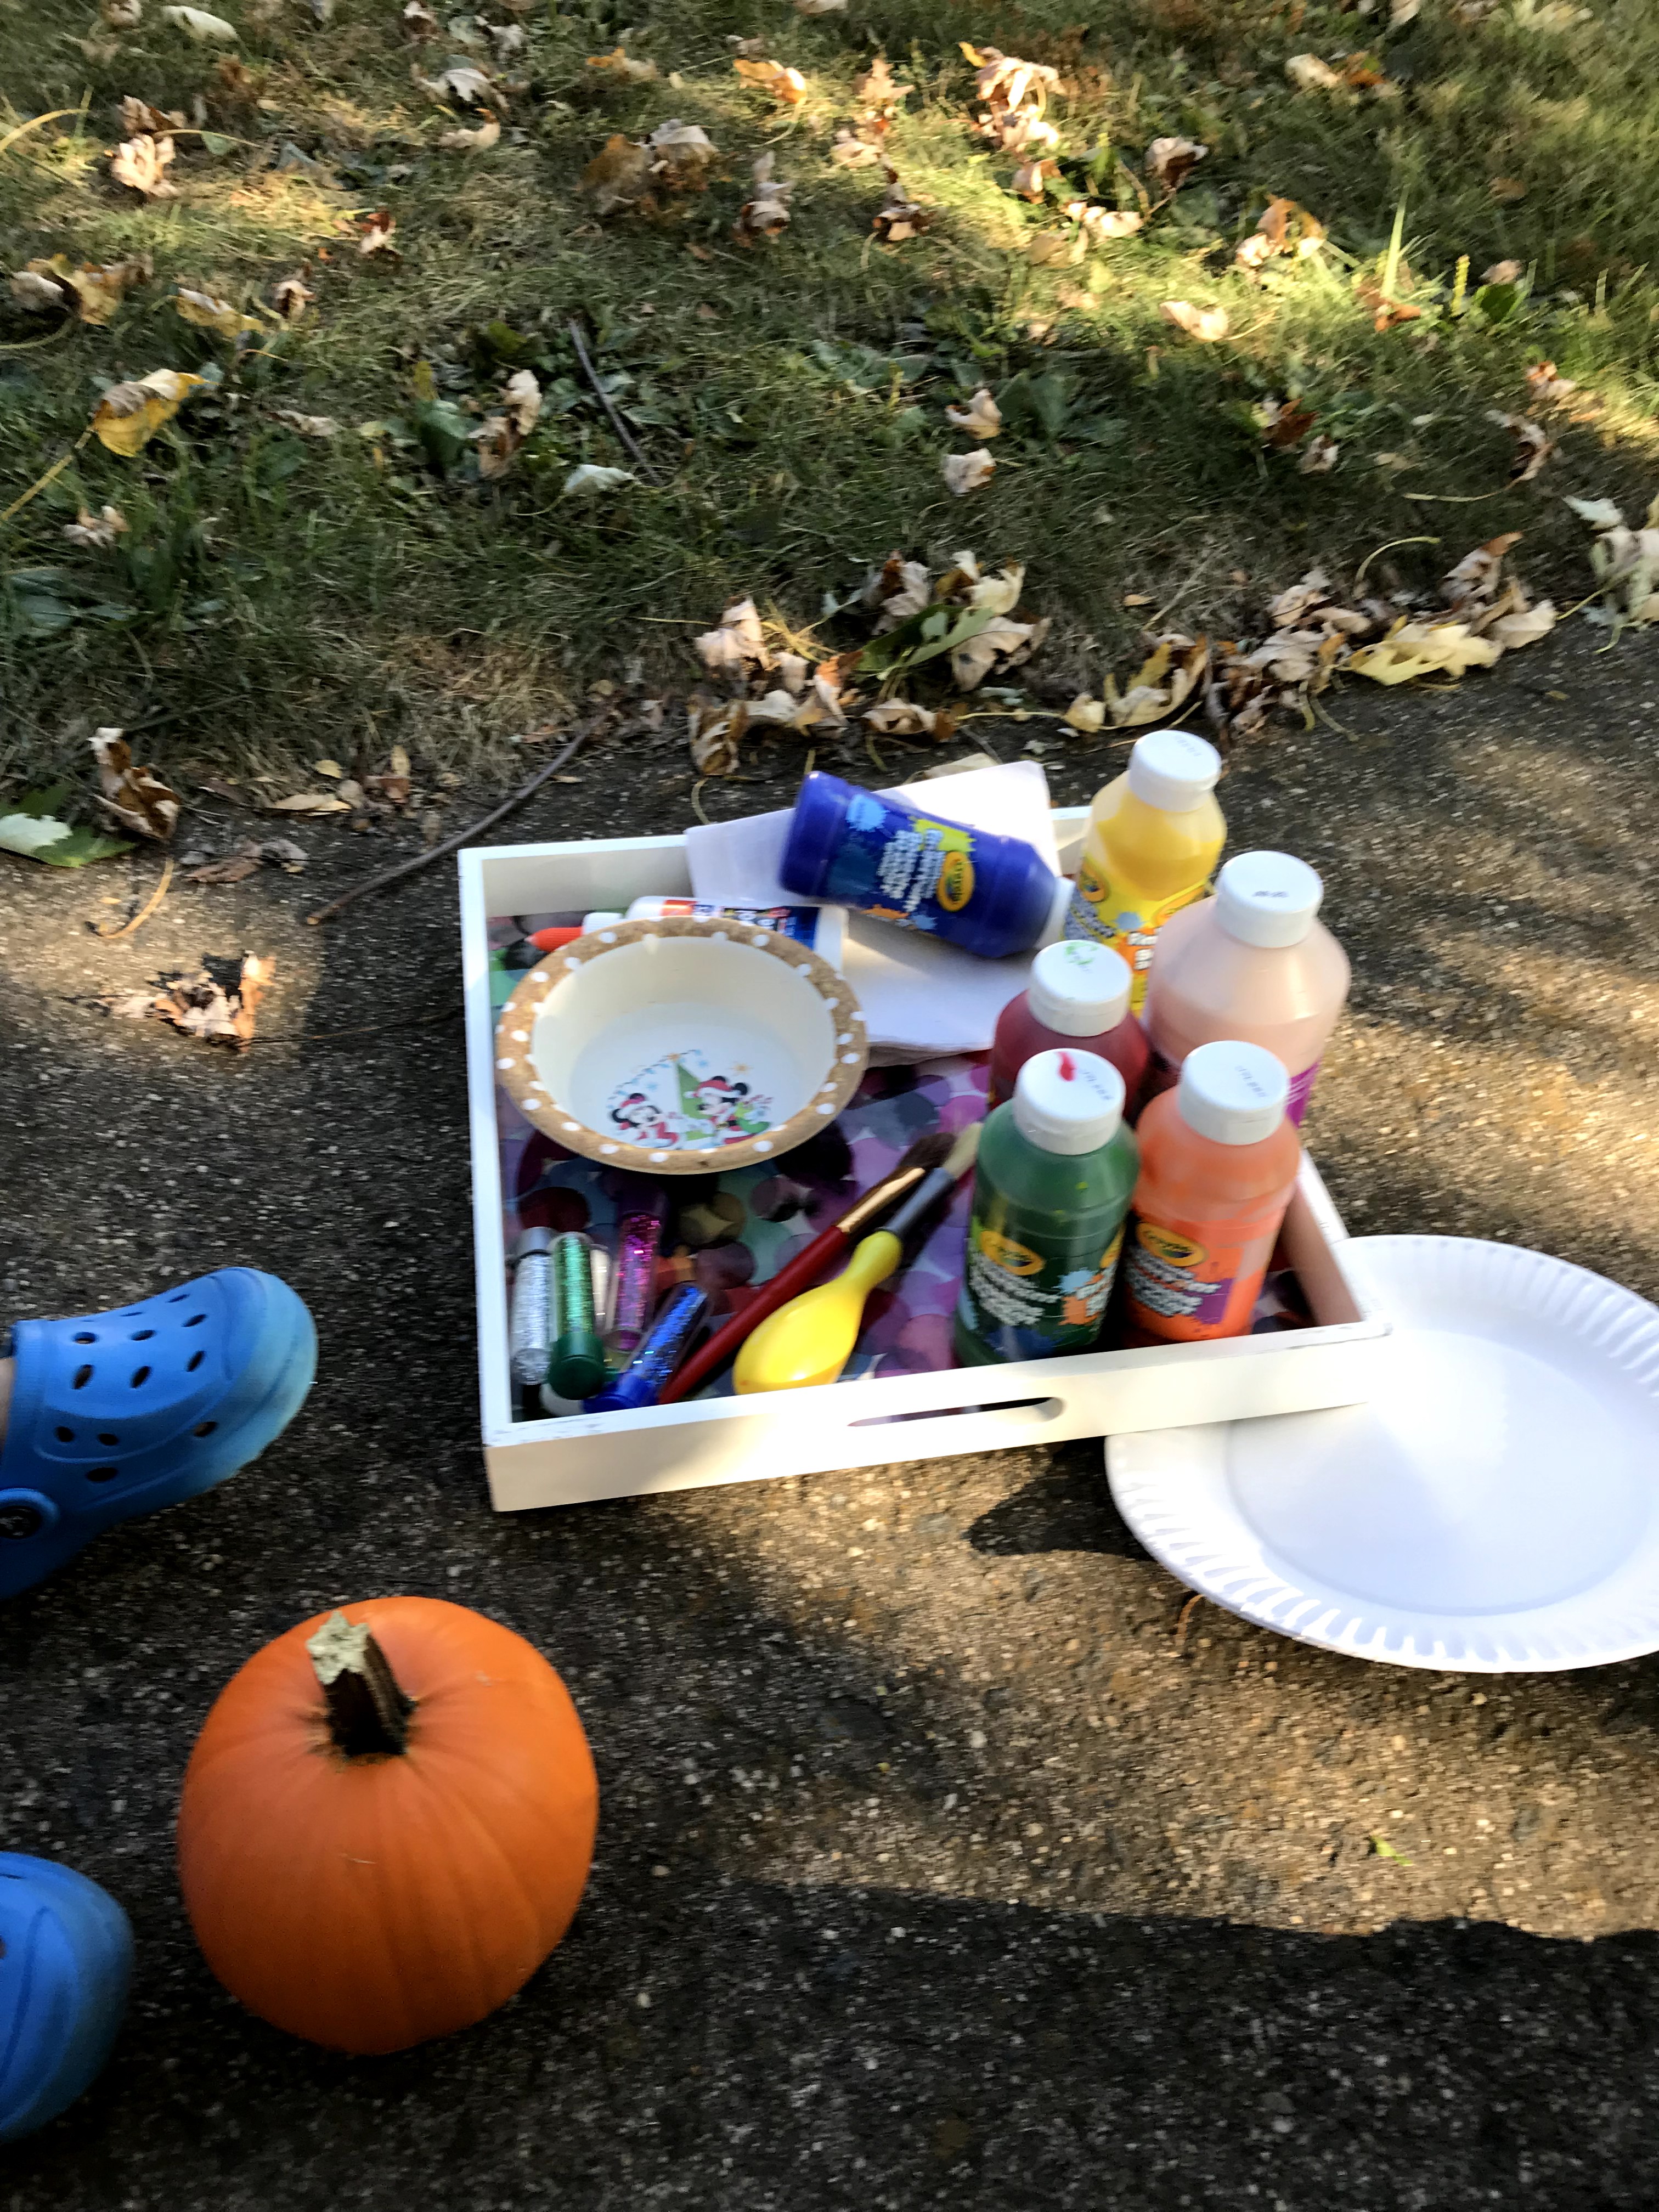
What do you need for this activity?
A pumpkin of course! Other materials you need are paint, glitter, glue, and brushes. You may want a paper plate or something you are using to put the paint on to mix it with glue. Glitter is a very important part of this activity! We used various colors.
First ask your child what color they want to start with! Add HALF glue and HALF paint concoction together. Mix them with the brush. The glue helps the paint stay on the pumpkin and not flake off. It also helps the glitter stay on. Your child can have fun painting their pumpkin!
Let them paint to their heart’s content, then have them pick a glitter color or two.
Madison spread the paint pretty thin, so I went ahead and put some liquid glue on the plate and had her brush the glue over the paint. This allowed the glitter to stick better. She just shook the glitter over the pumpkin (and all over the sidewalk).
If you have a special occasion coming up and are looking for a gift from your baby, toddler, or child, I have an easy peasy present idea!
Paint…UGH PAINT! The word can invoke fear in any parent, except this is mess free! Okay, almost mess free.
My mom’s birthday was coming up and I wanted to give her something from her granddaughter. I searched online and found this simple craft. I will admit I improvised because I was missing some of the items and I will mention what worked & what didn’t as I go through the steps.
First, gather your materials. You will need:
-Paint in various colors (I used finger paint)
-cardstock (I used regular paper but it didn’t work so well)
-gallon ziplock bag
-picture frame (if you choose to use it as a gift)
-Heart stencil (or you could just draw it yourself)
-scissor
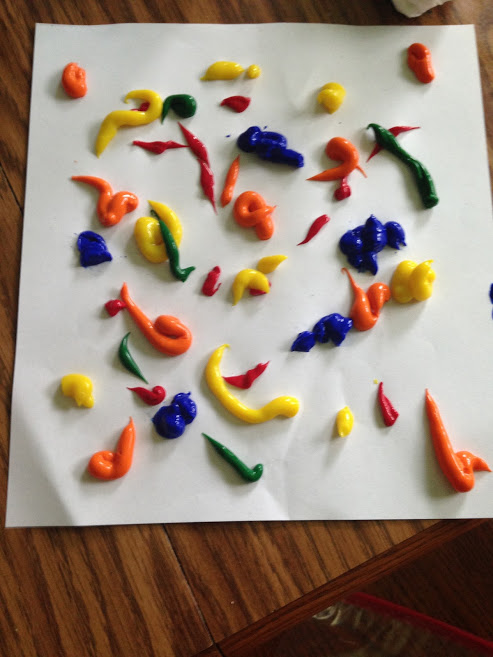
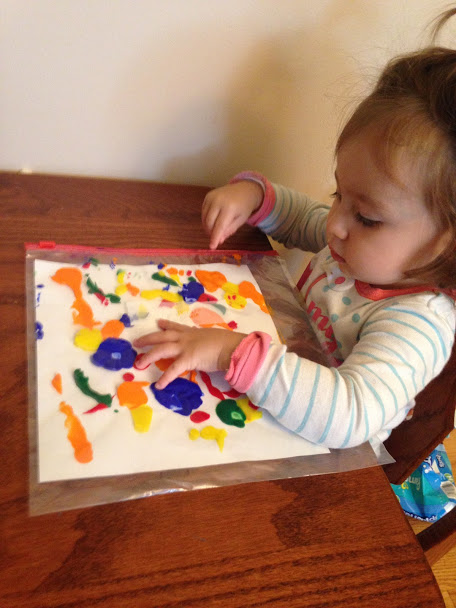
Next, put your choice of colors on your cardstock paper. Note: I didn’t use cardstock and it ripped easily and you could see through some of it. SO USE CARDSTOCK paper or thicker paper. If you are in a pinch you can use regular paper but you will have to be very gentle with it.
YES, I USED WAYYYYY TOO MUCH PAINT!!! My paint came jumping out of the bottle super fast, I’m really not sure how that happened (haha). It takes longer to dry with all that paint. It took days for it to dry when it should’ve taken overnight.
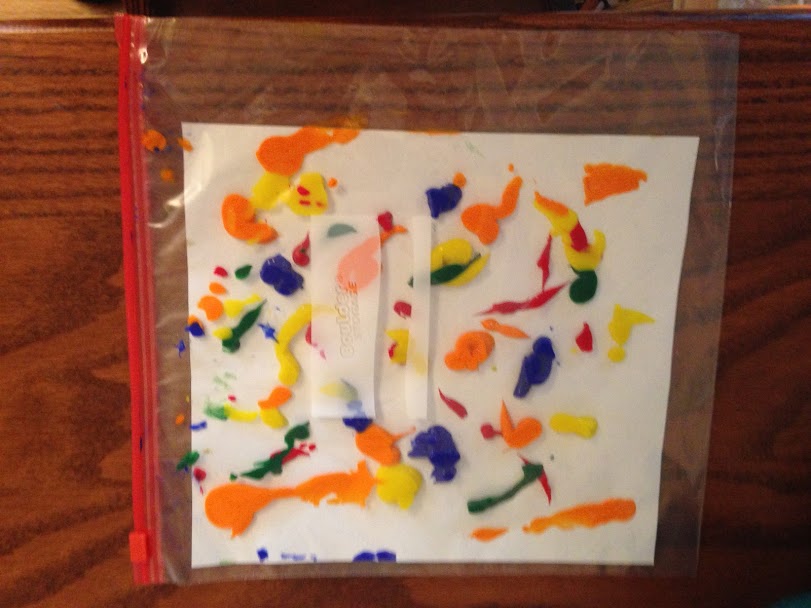
Take your cardstock paper and put it in a gallon sized ziplock. This insures your project will be mostly mess free! If you need to cut down the paper a little, go for it.
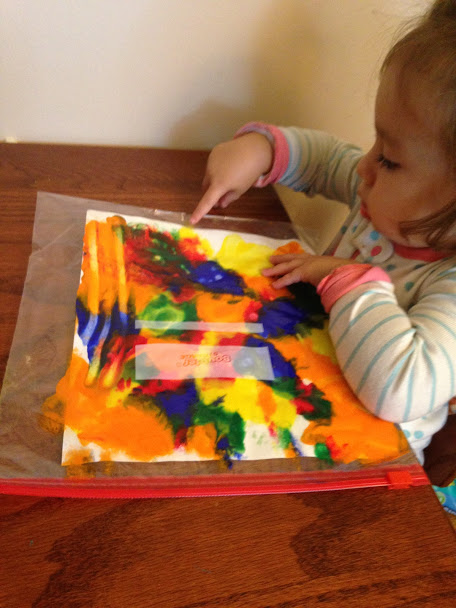
Now it’s time for fun!!! Let your child smear the paint!
Your child will love smearing the paint and you will love that it’s mess free!
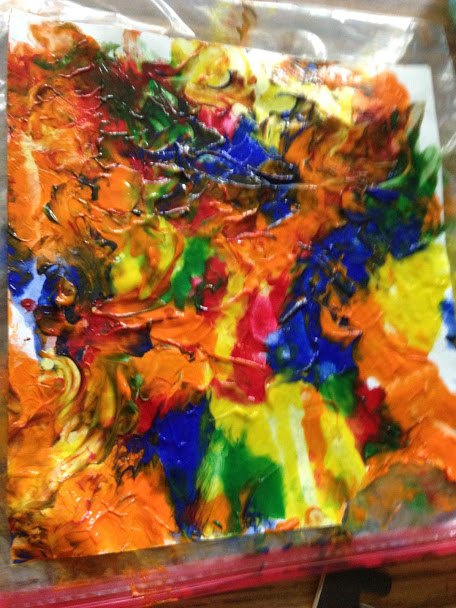
When you like the smeared look your child has made, carefully take it out of the bag and leave it in a safe place to dry.
Look at all of that paint!!! TOOO MUCH! If you put way too much on like me, you can either dab it off with a paper towel or give it days to dry.
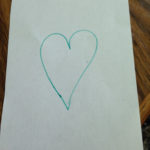
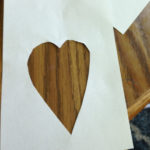
Here’s where you can vary the project. I drew a heart on a new piece of paper (use cardstock) and cut it out. You can pick any shape you like! If you are super crafty you could even cut out a name or shape of an animal. Cut down the paper to whatever size you would like it to fit. I cut it down to fit a frame. However, you could also make this into wall art, a card, or anything you can imagine!
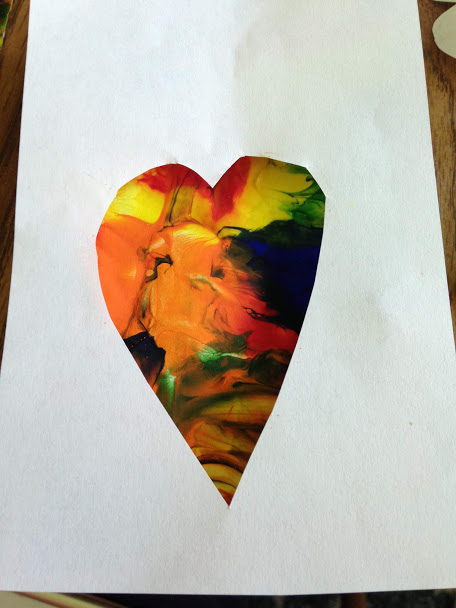
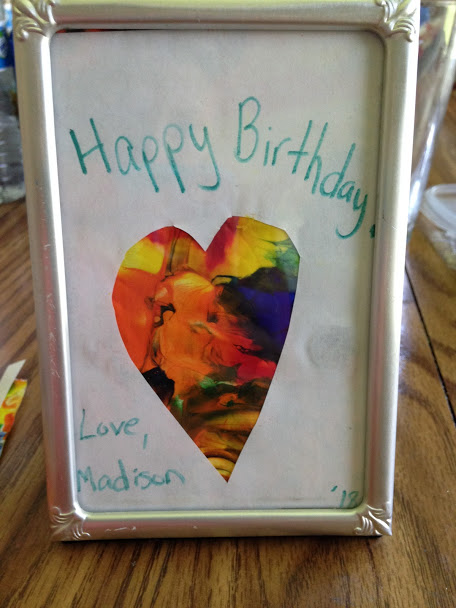
Place the cut out on top of your painted paper. I moved mine around to find which colors I wanted to show. Cut the back painted piece to fit the frame. If you would like to write a message on the paper, go for it! Put in it a frame or glue and fold for a card!
Easy Peasy Paint Present! Note: I used regular paper and you can see that there are places you can see through the top paper. I highly recommend cardstock or thicker paper.
This project is perfect for any occasion!!! This could be done for birthdays, anniversaries, and holidays.
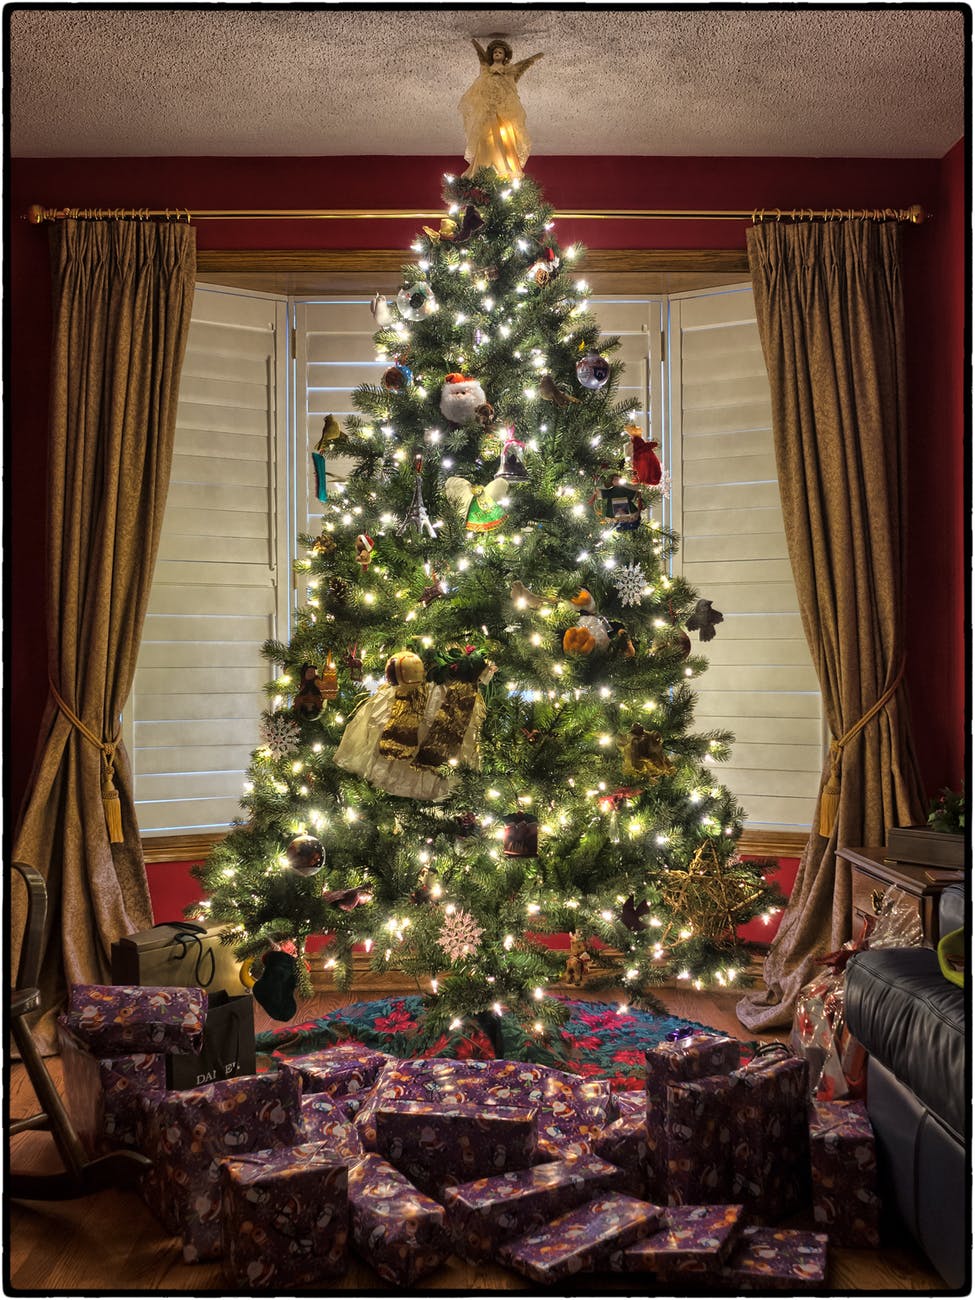
I’m thinking green colors with a Christmas tree or wreath cutout for Christmas! You could also use the paint bag trick for ornaments. Instead of using a top layer, just let the painted paper dry, cut out a tree shape, hole punch and use a ribbon and wallah!
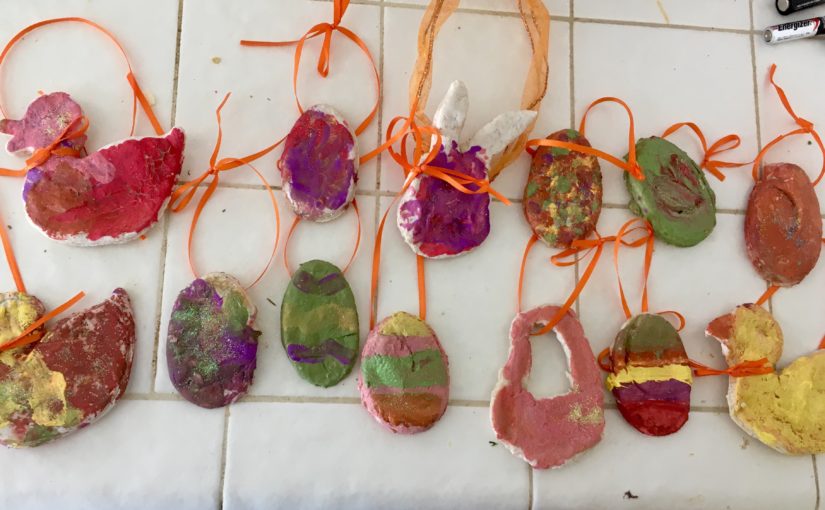
My daughter loves painting! However, she was growing tired of painting paper. So this year, we made cookie cutter Easter shapes! Actually, we had a duck and used a half of a plastic egg as a cutout. I also used a knife to create bunny faces and baskets.
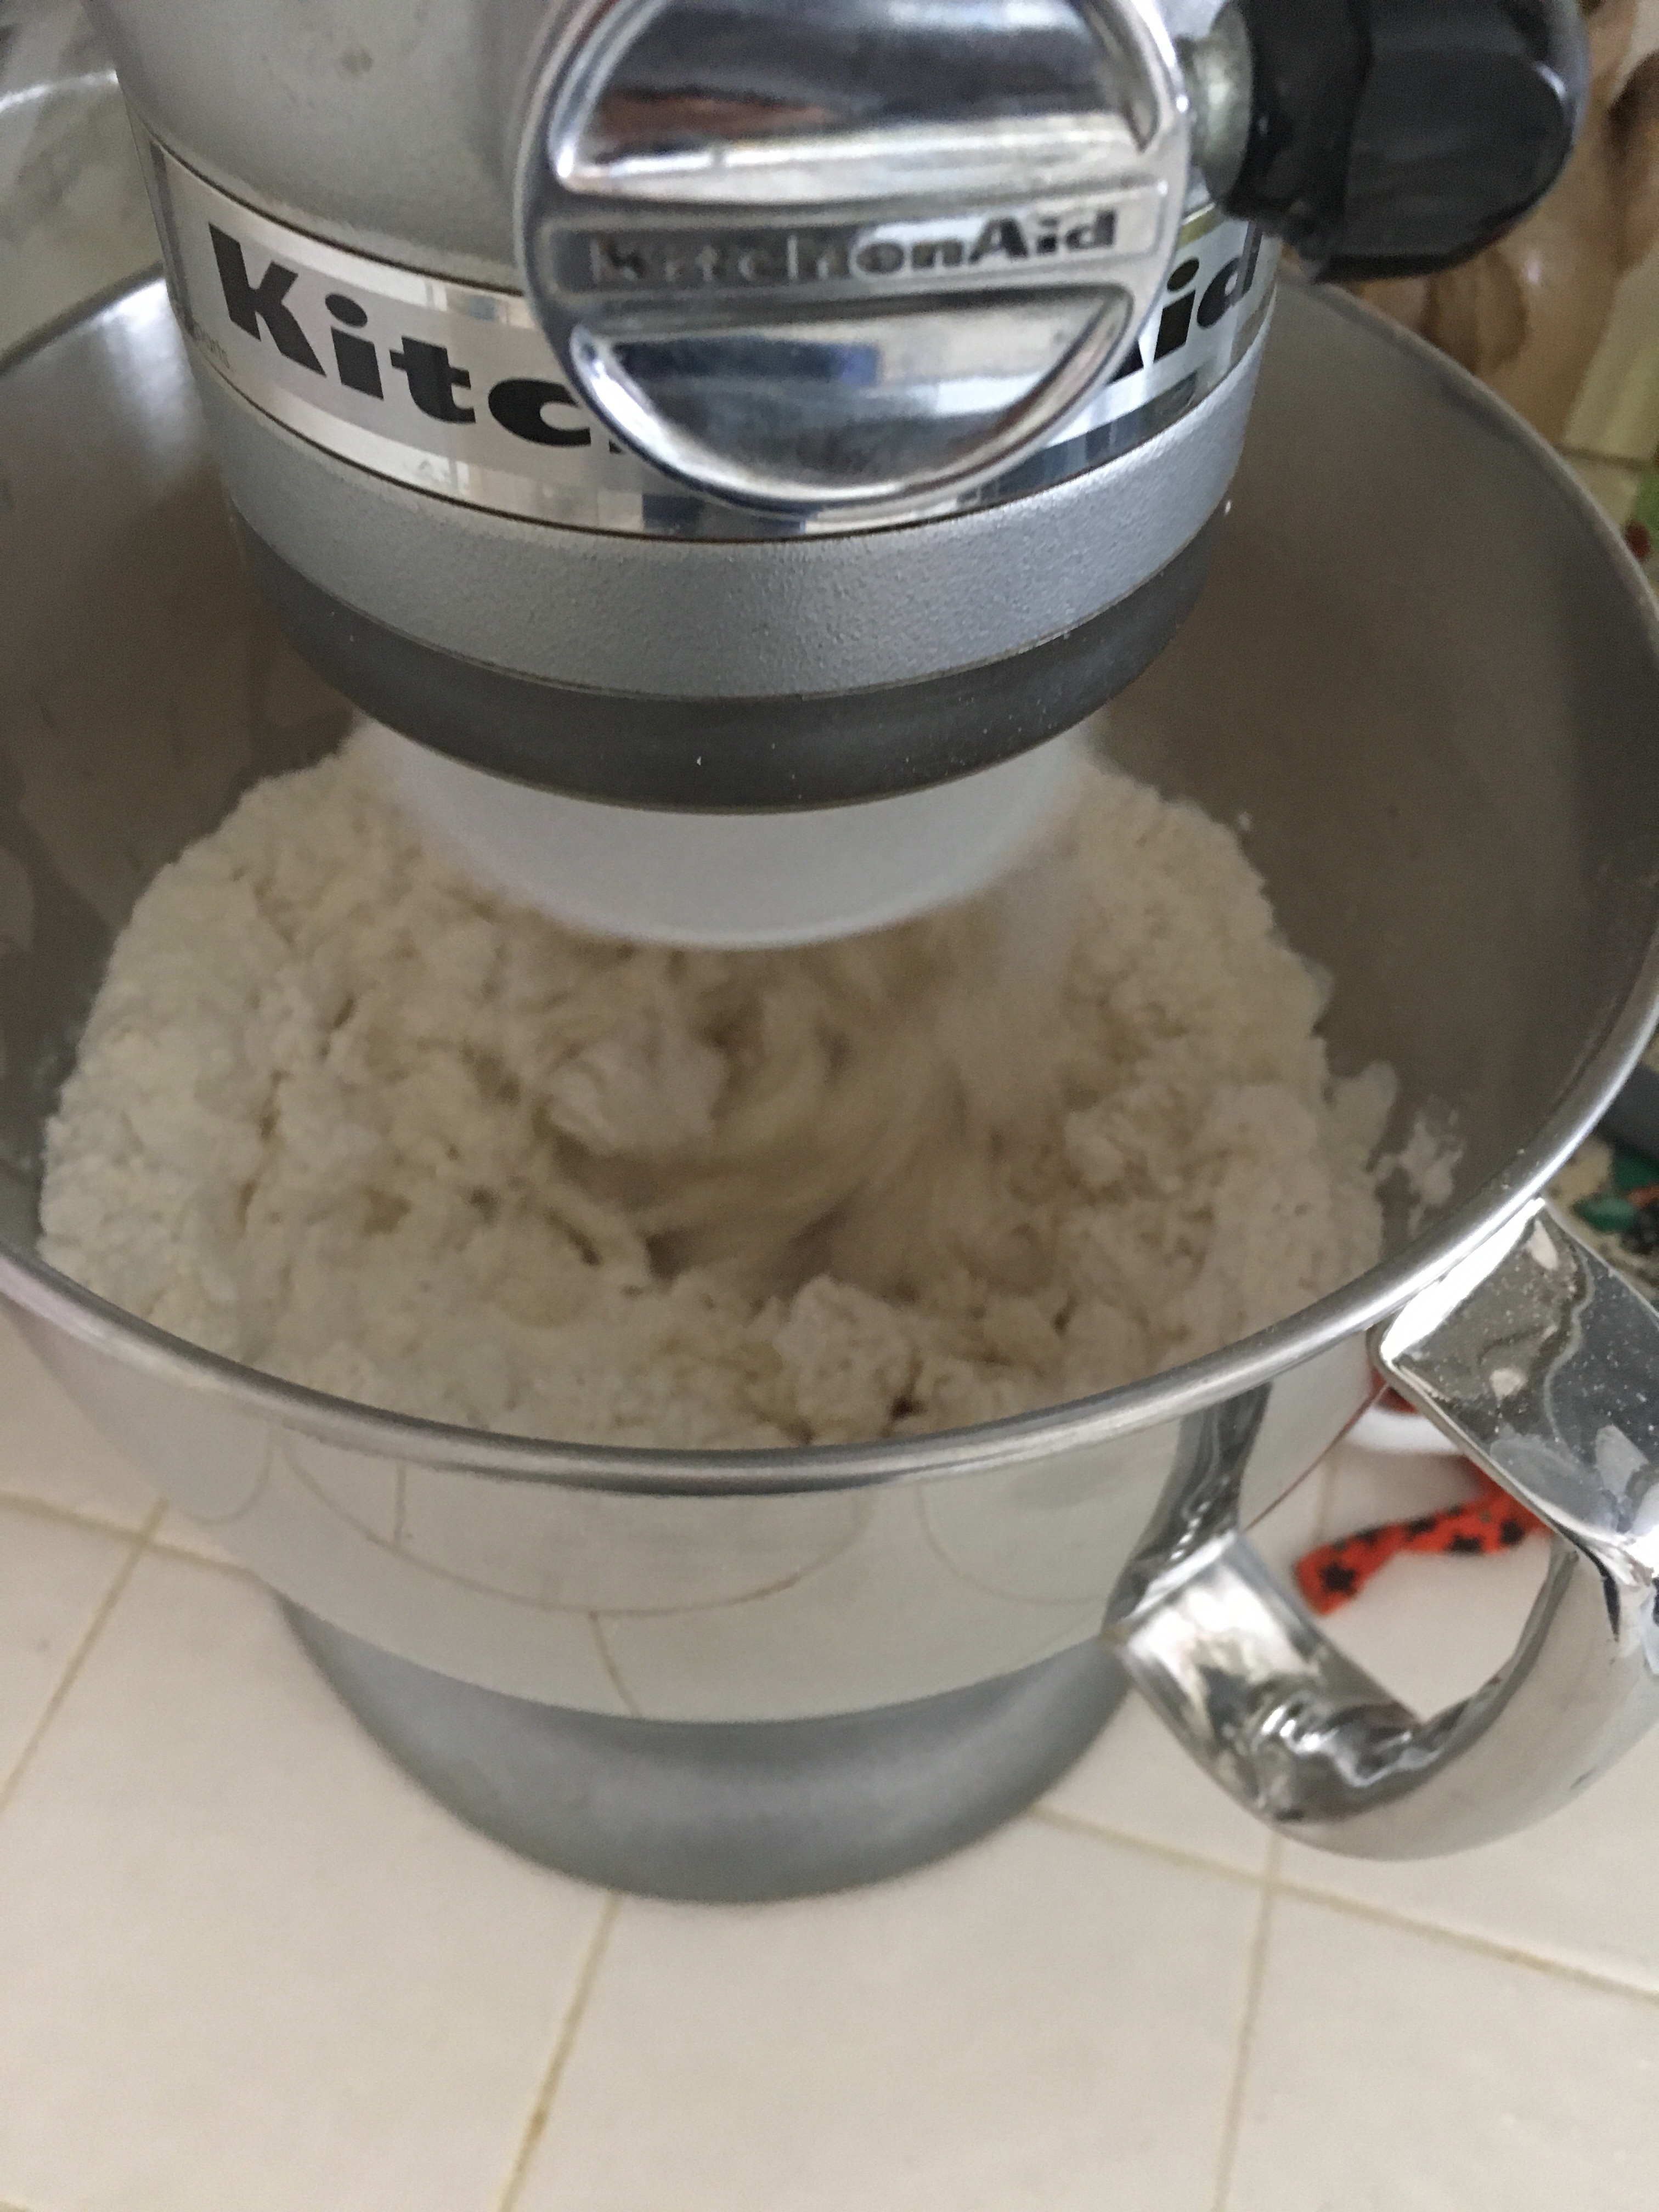
First things first, you have to make the salt dough! This is super simple. all you need is salt, flour, and warm water. You can knead the dough by hand, or use a mixer with the kneading attachment like I did.
So here is the recipe I used:
*this made a lot more than I expected! So you may want to make only half!
•4 cups all purpose flour
•1 cup salt
•1 3/4 cup warm water (add more of its too dry)
Combine the ingredients and knead for about 6 minutes. If it’s not forming into a nice soft ball add more water (or if it’s too sticky add more flour).
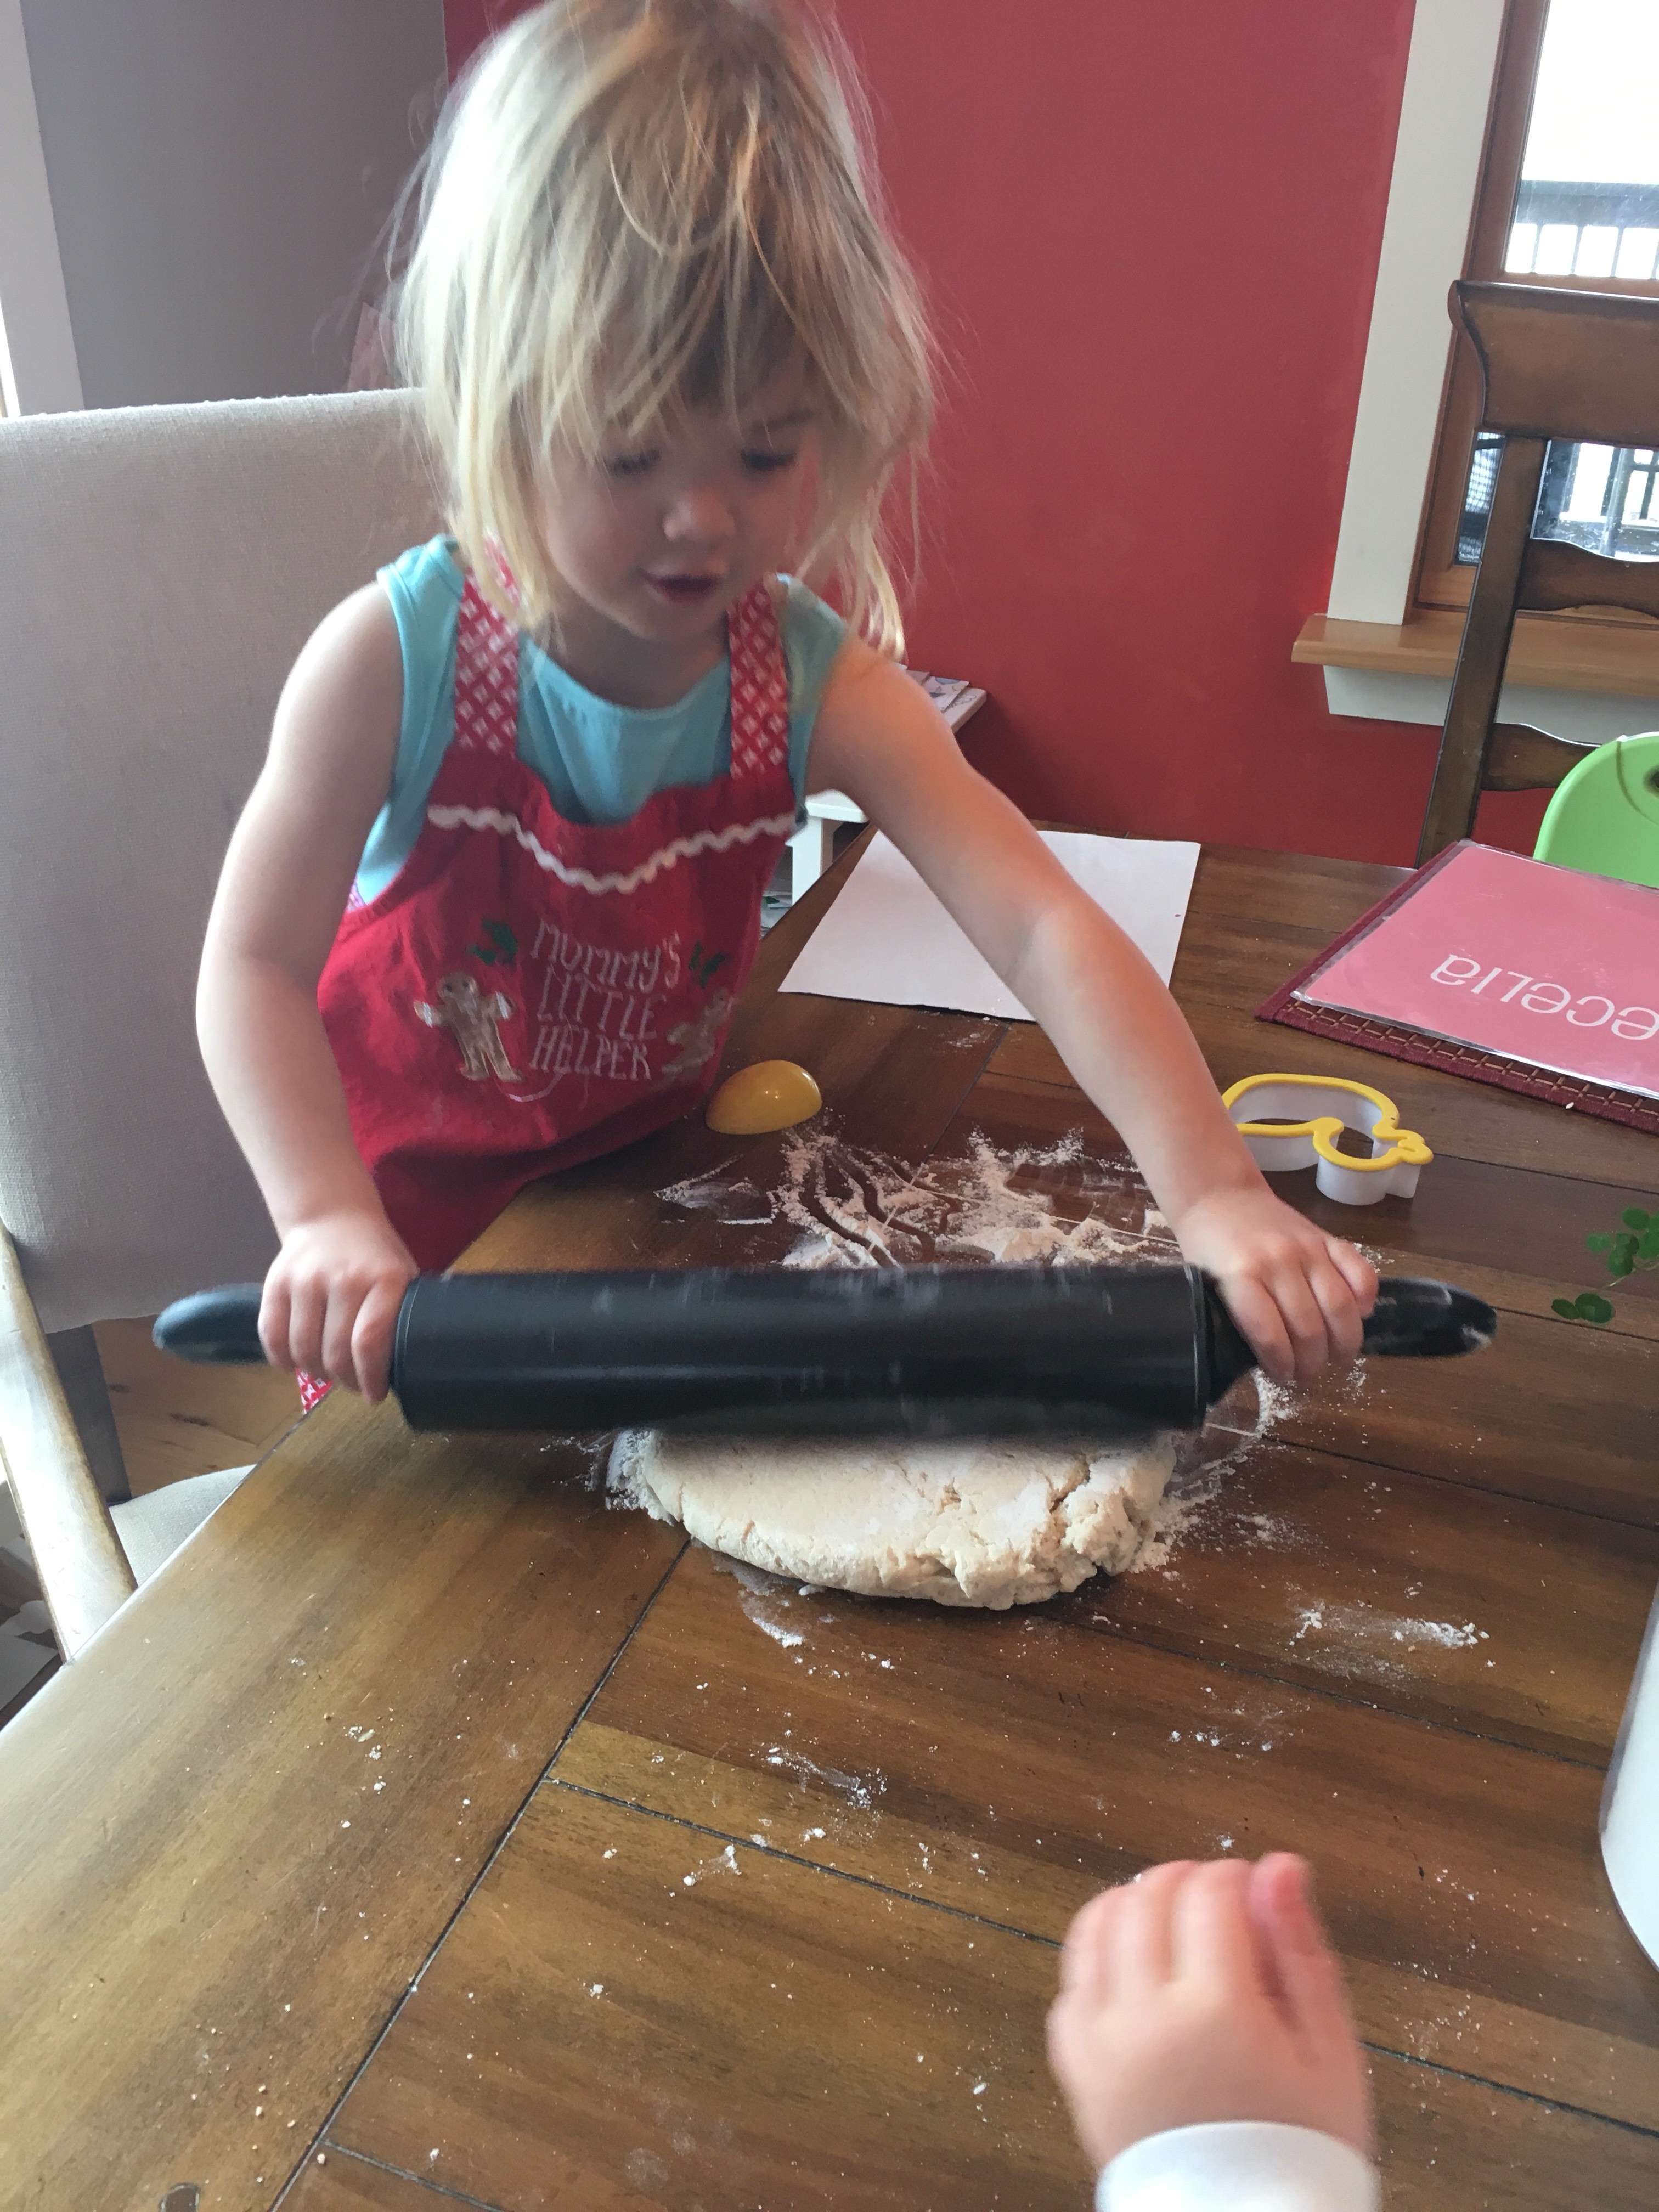
Then it’s time to roll out the dough! Just like you would for sugar cookies! Beware, your child may think you are making cookies! My 19 month old just kept pointing yelling cook-ies!
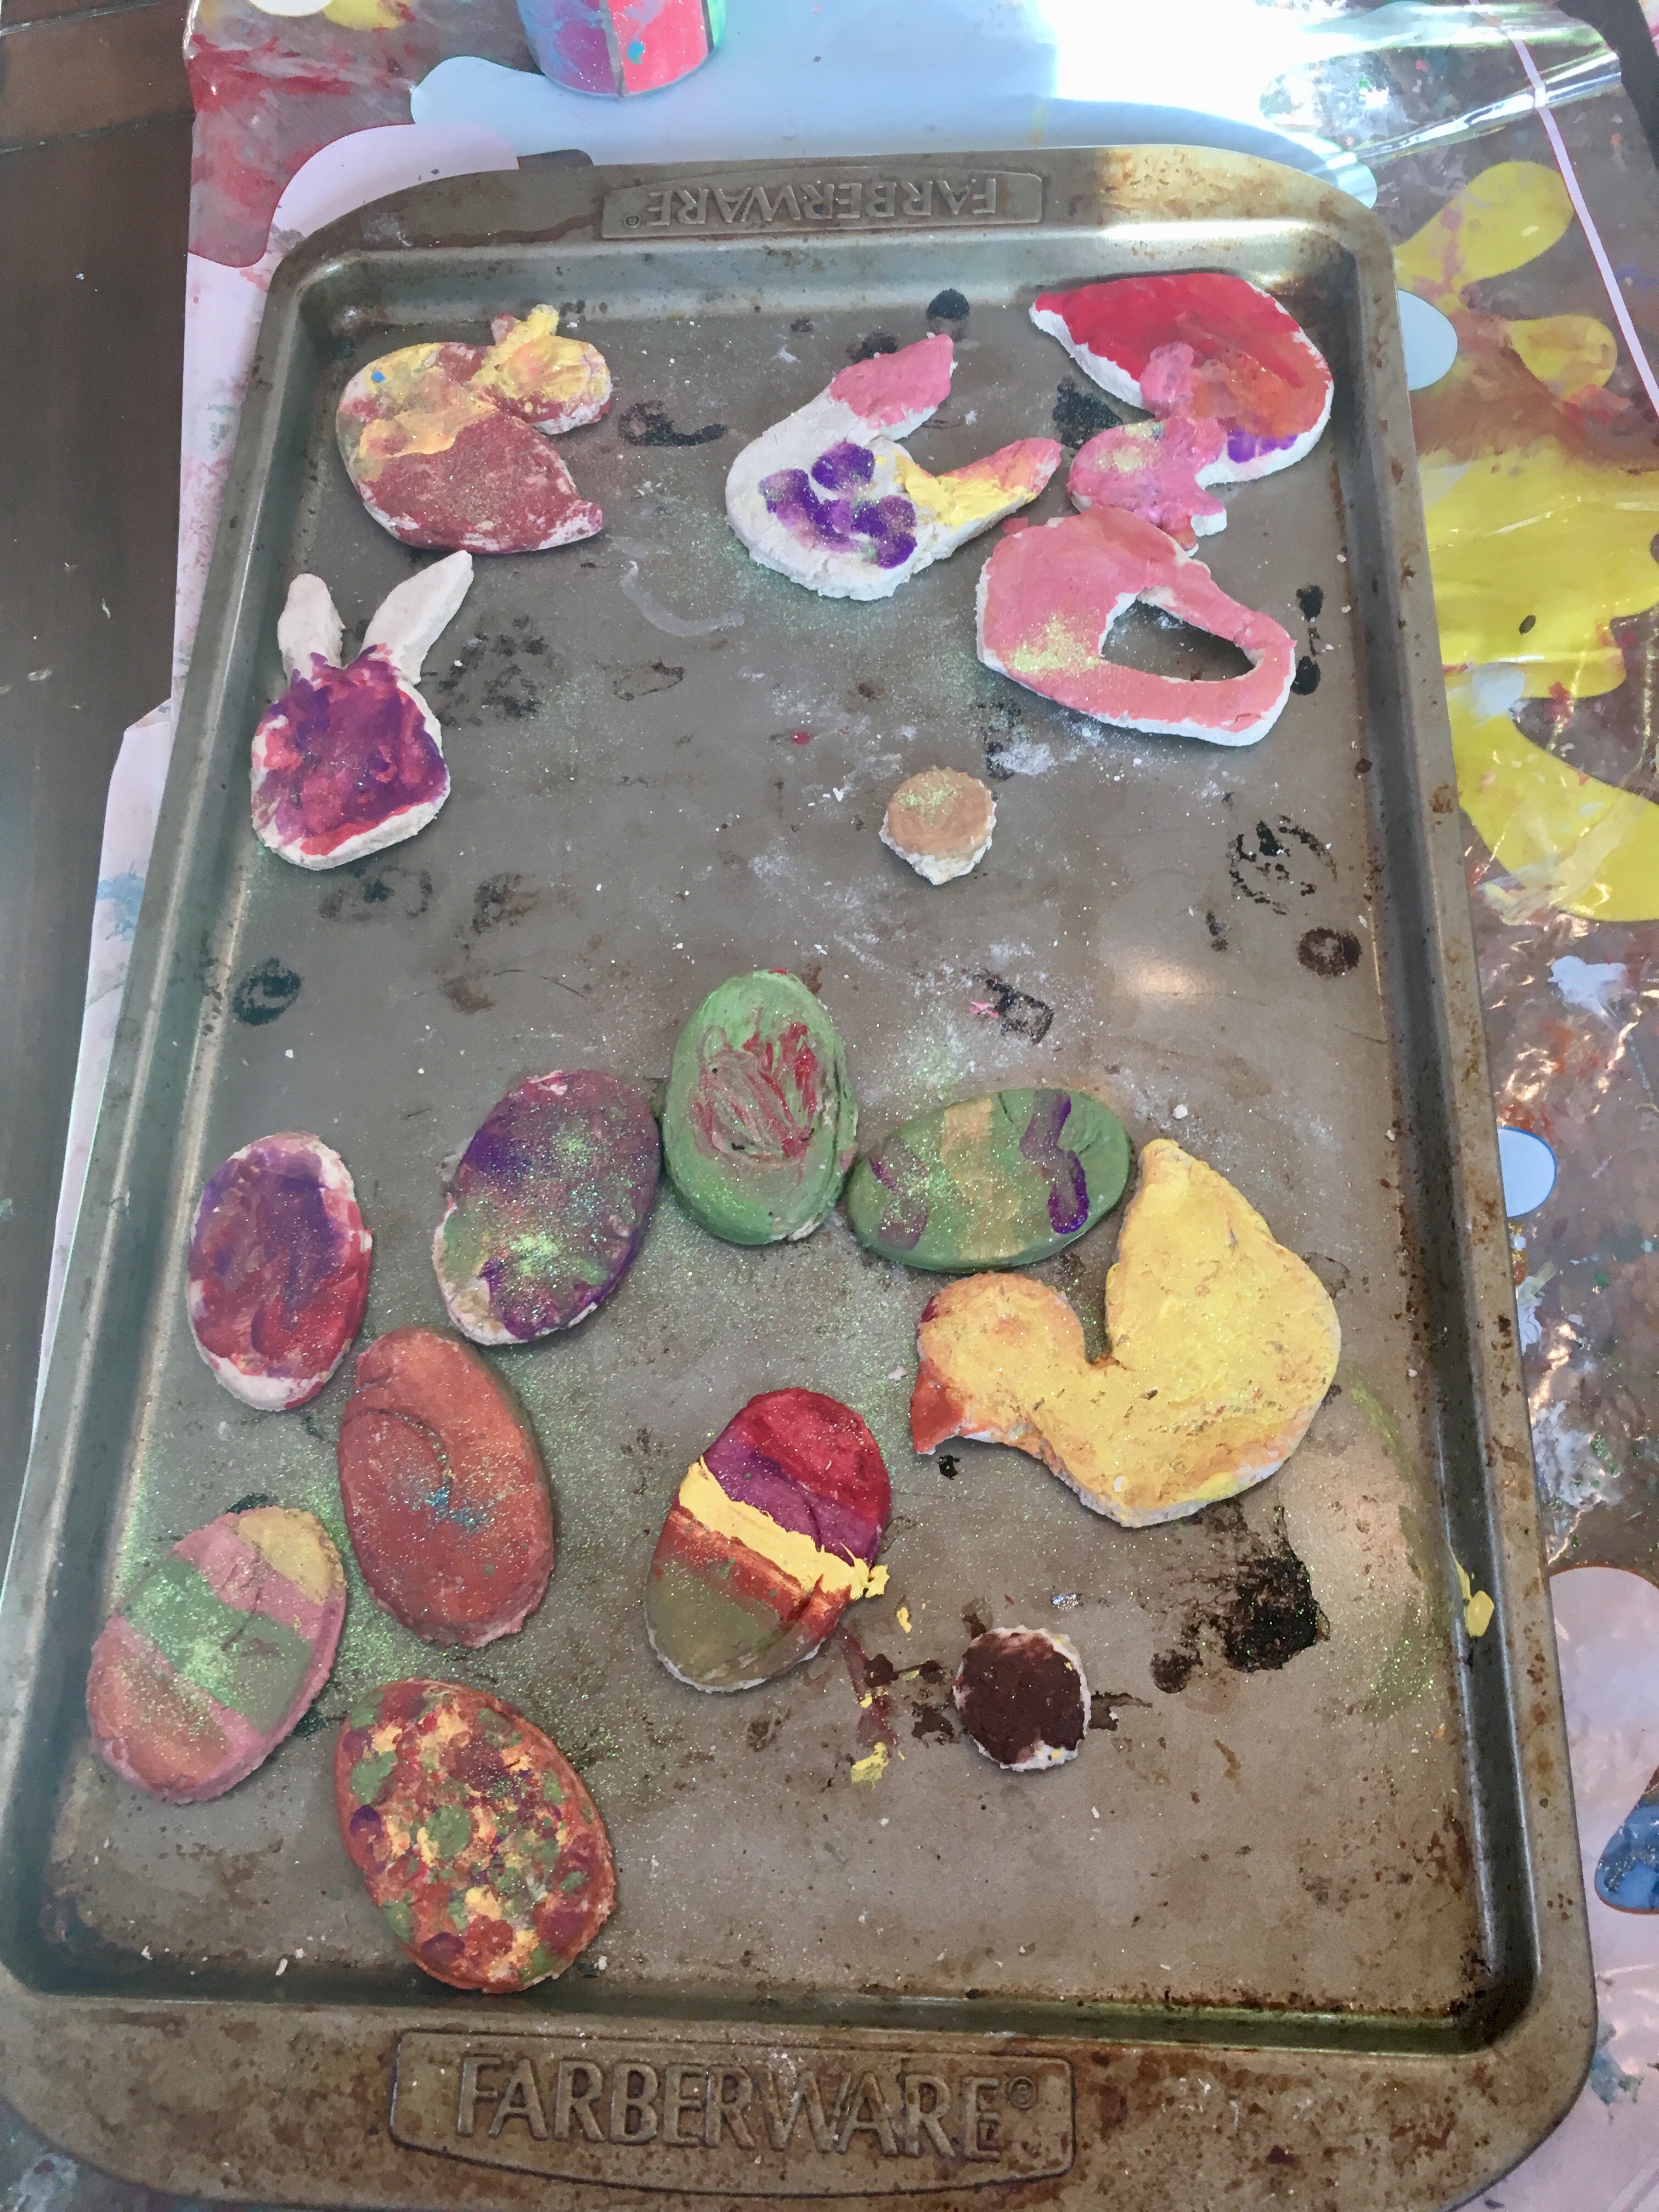
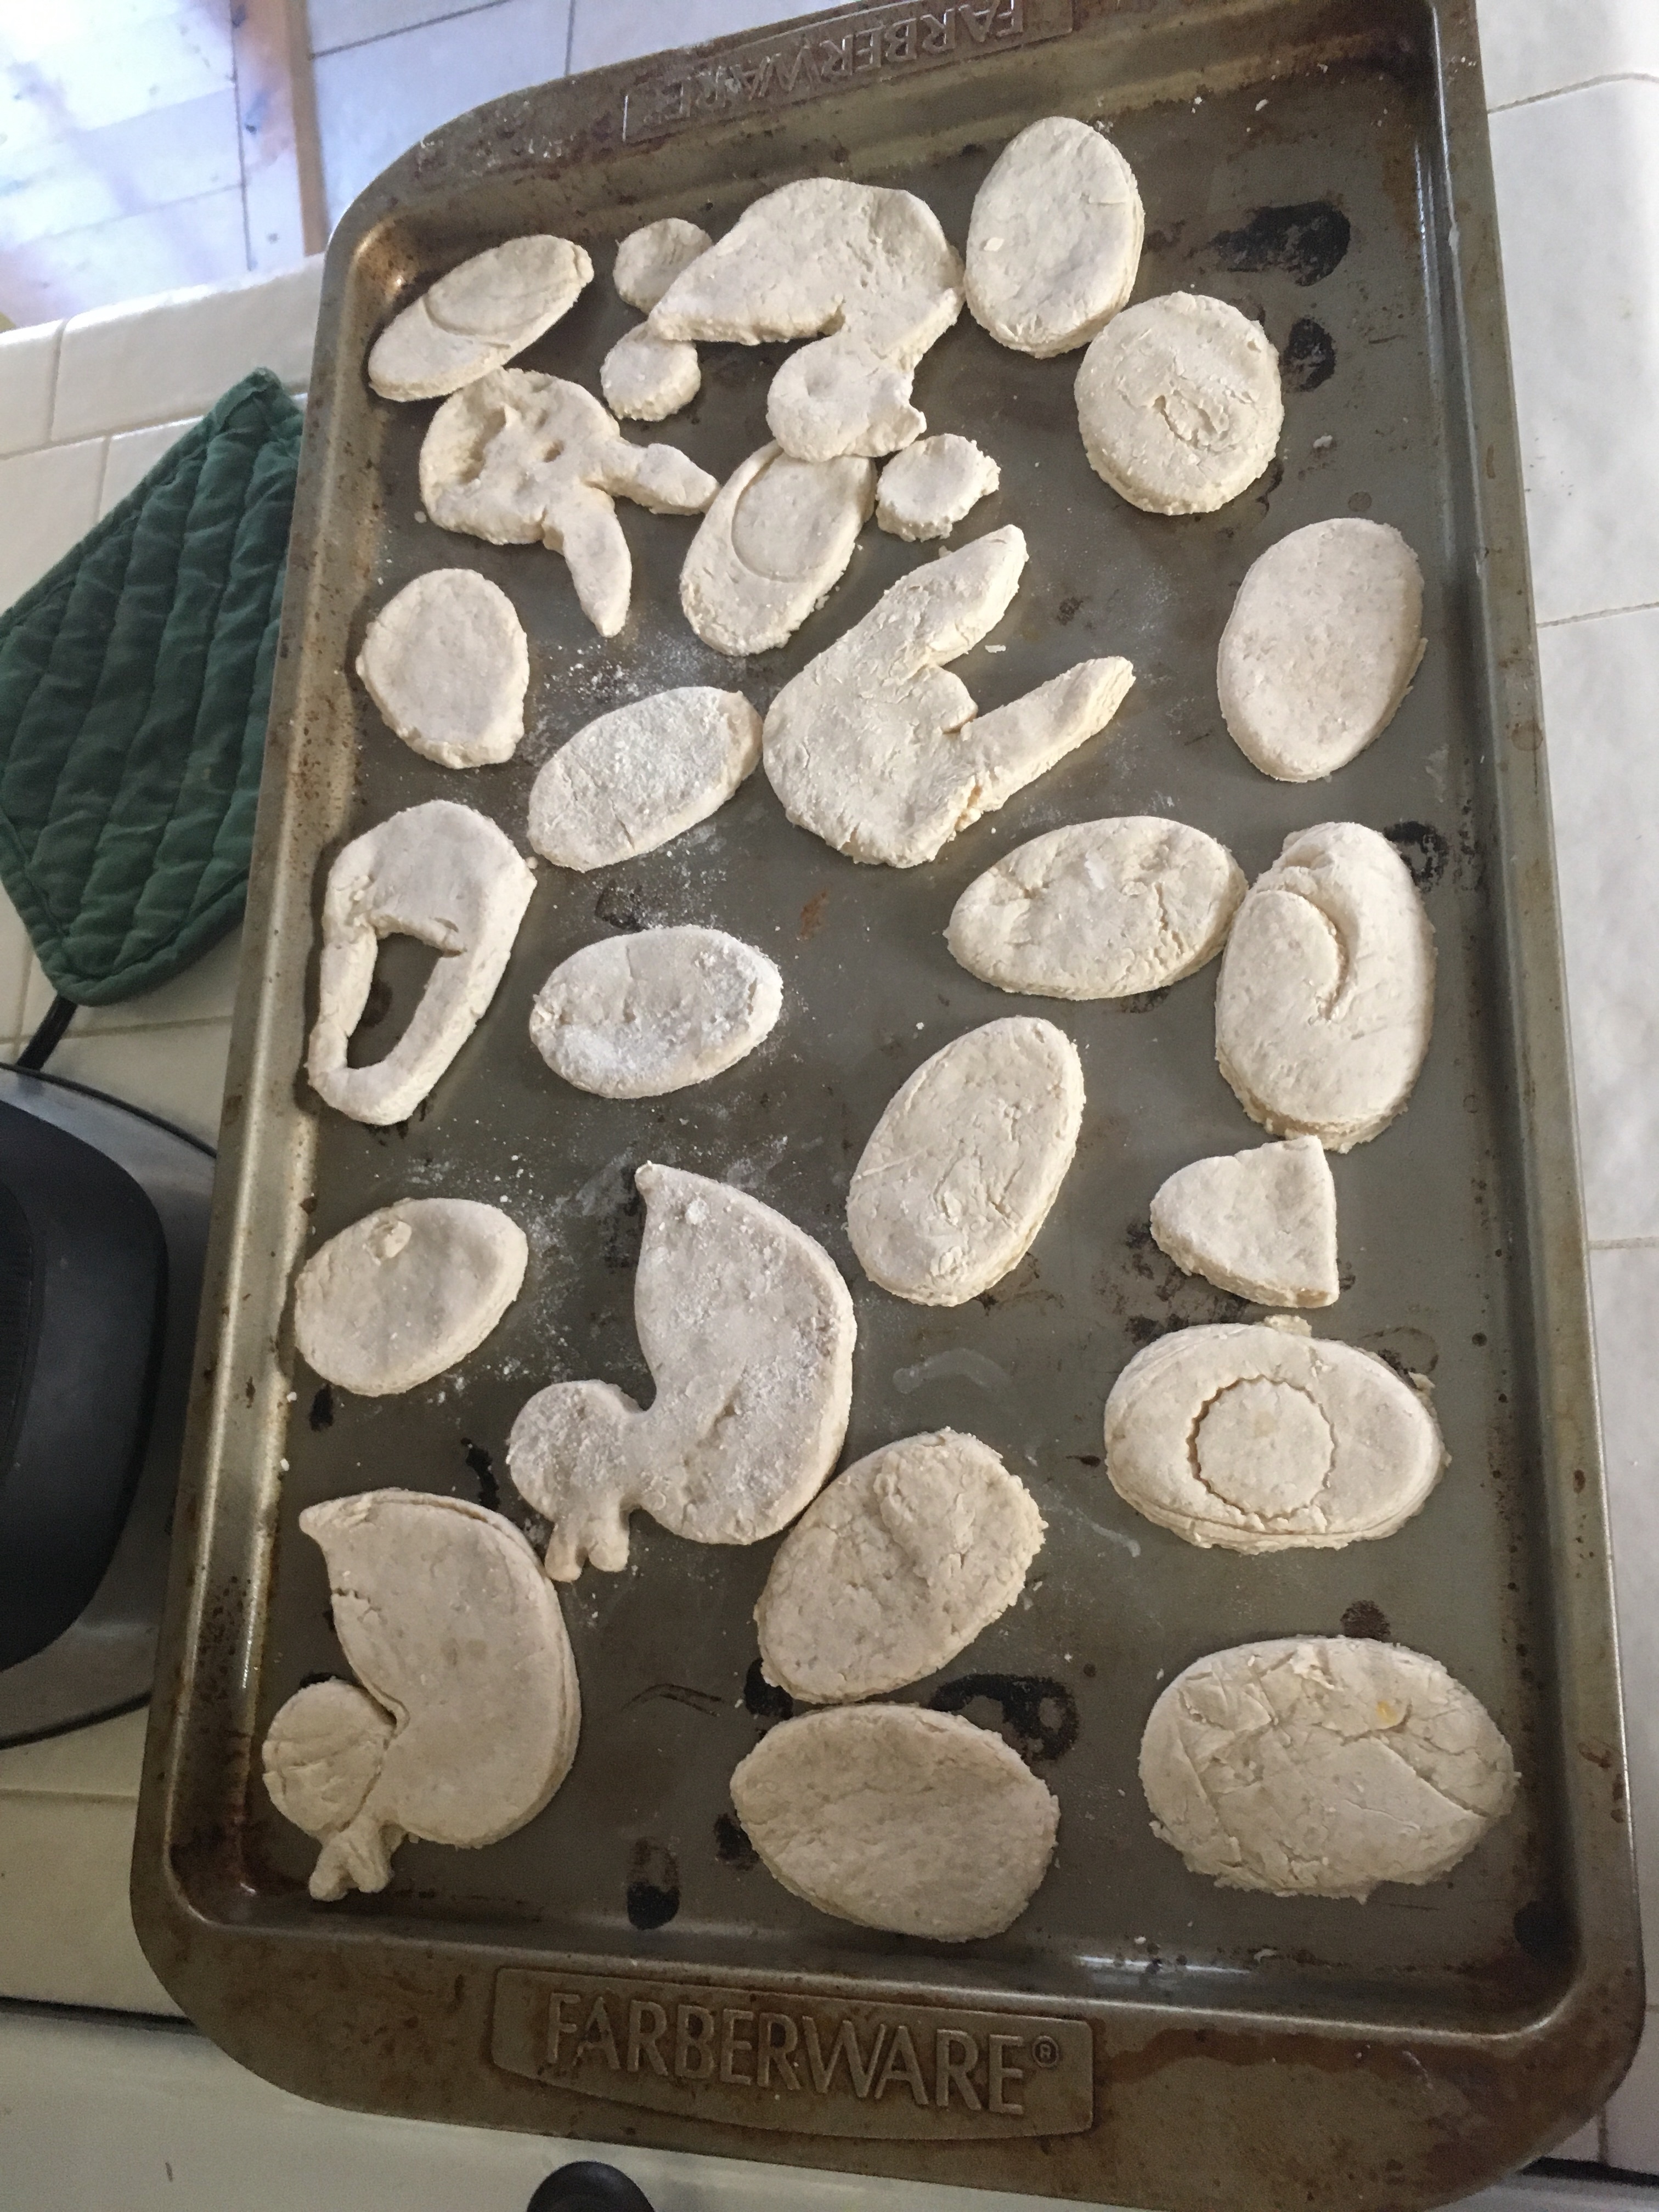
This is a great activity for your toddler to help you with. Next, get out your cookie cutters or Easter shapes and start making those eggs! I used a half of an Easter egg that opened sideways, a duck mold, and then made a couple baskets and bunny heads using a knife. **one thing I forgot to do was to use a straw to make a hole on the top of the eggs for the string to go through. So I ended up hot glue gunning ribbon.
Put your oven on 200 degrees. Place your salt doughs on a cookie sheet and place them in the oven for 2 hours (depending on the thickness you may need a little less or a little more). Once they are done they should be rock hard.
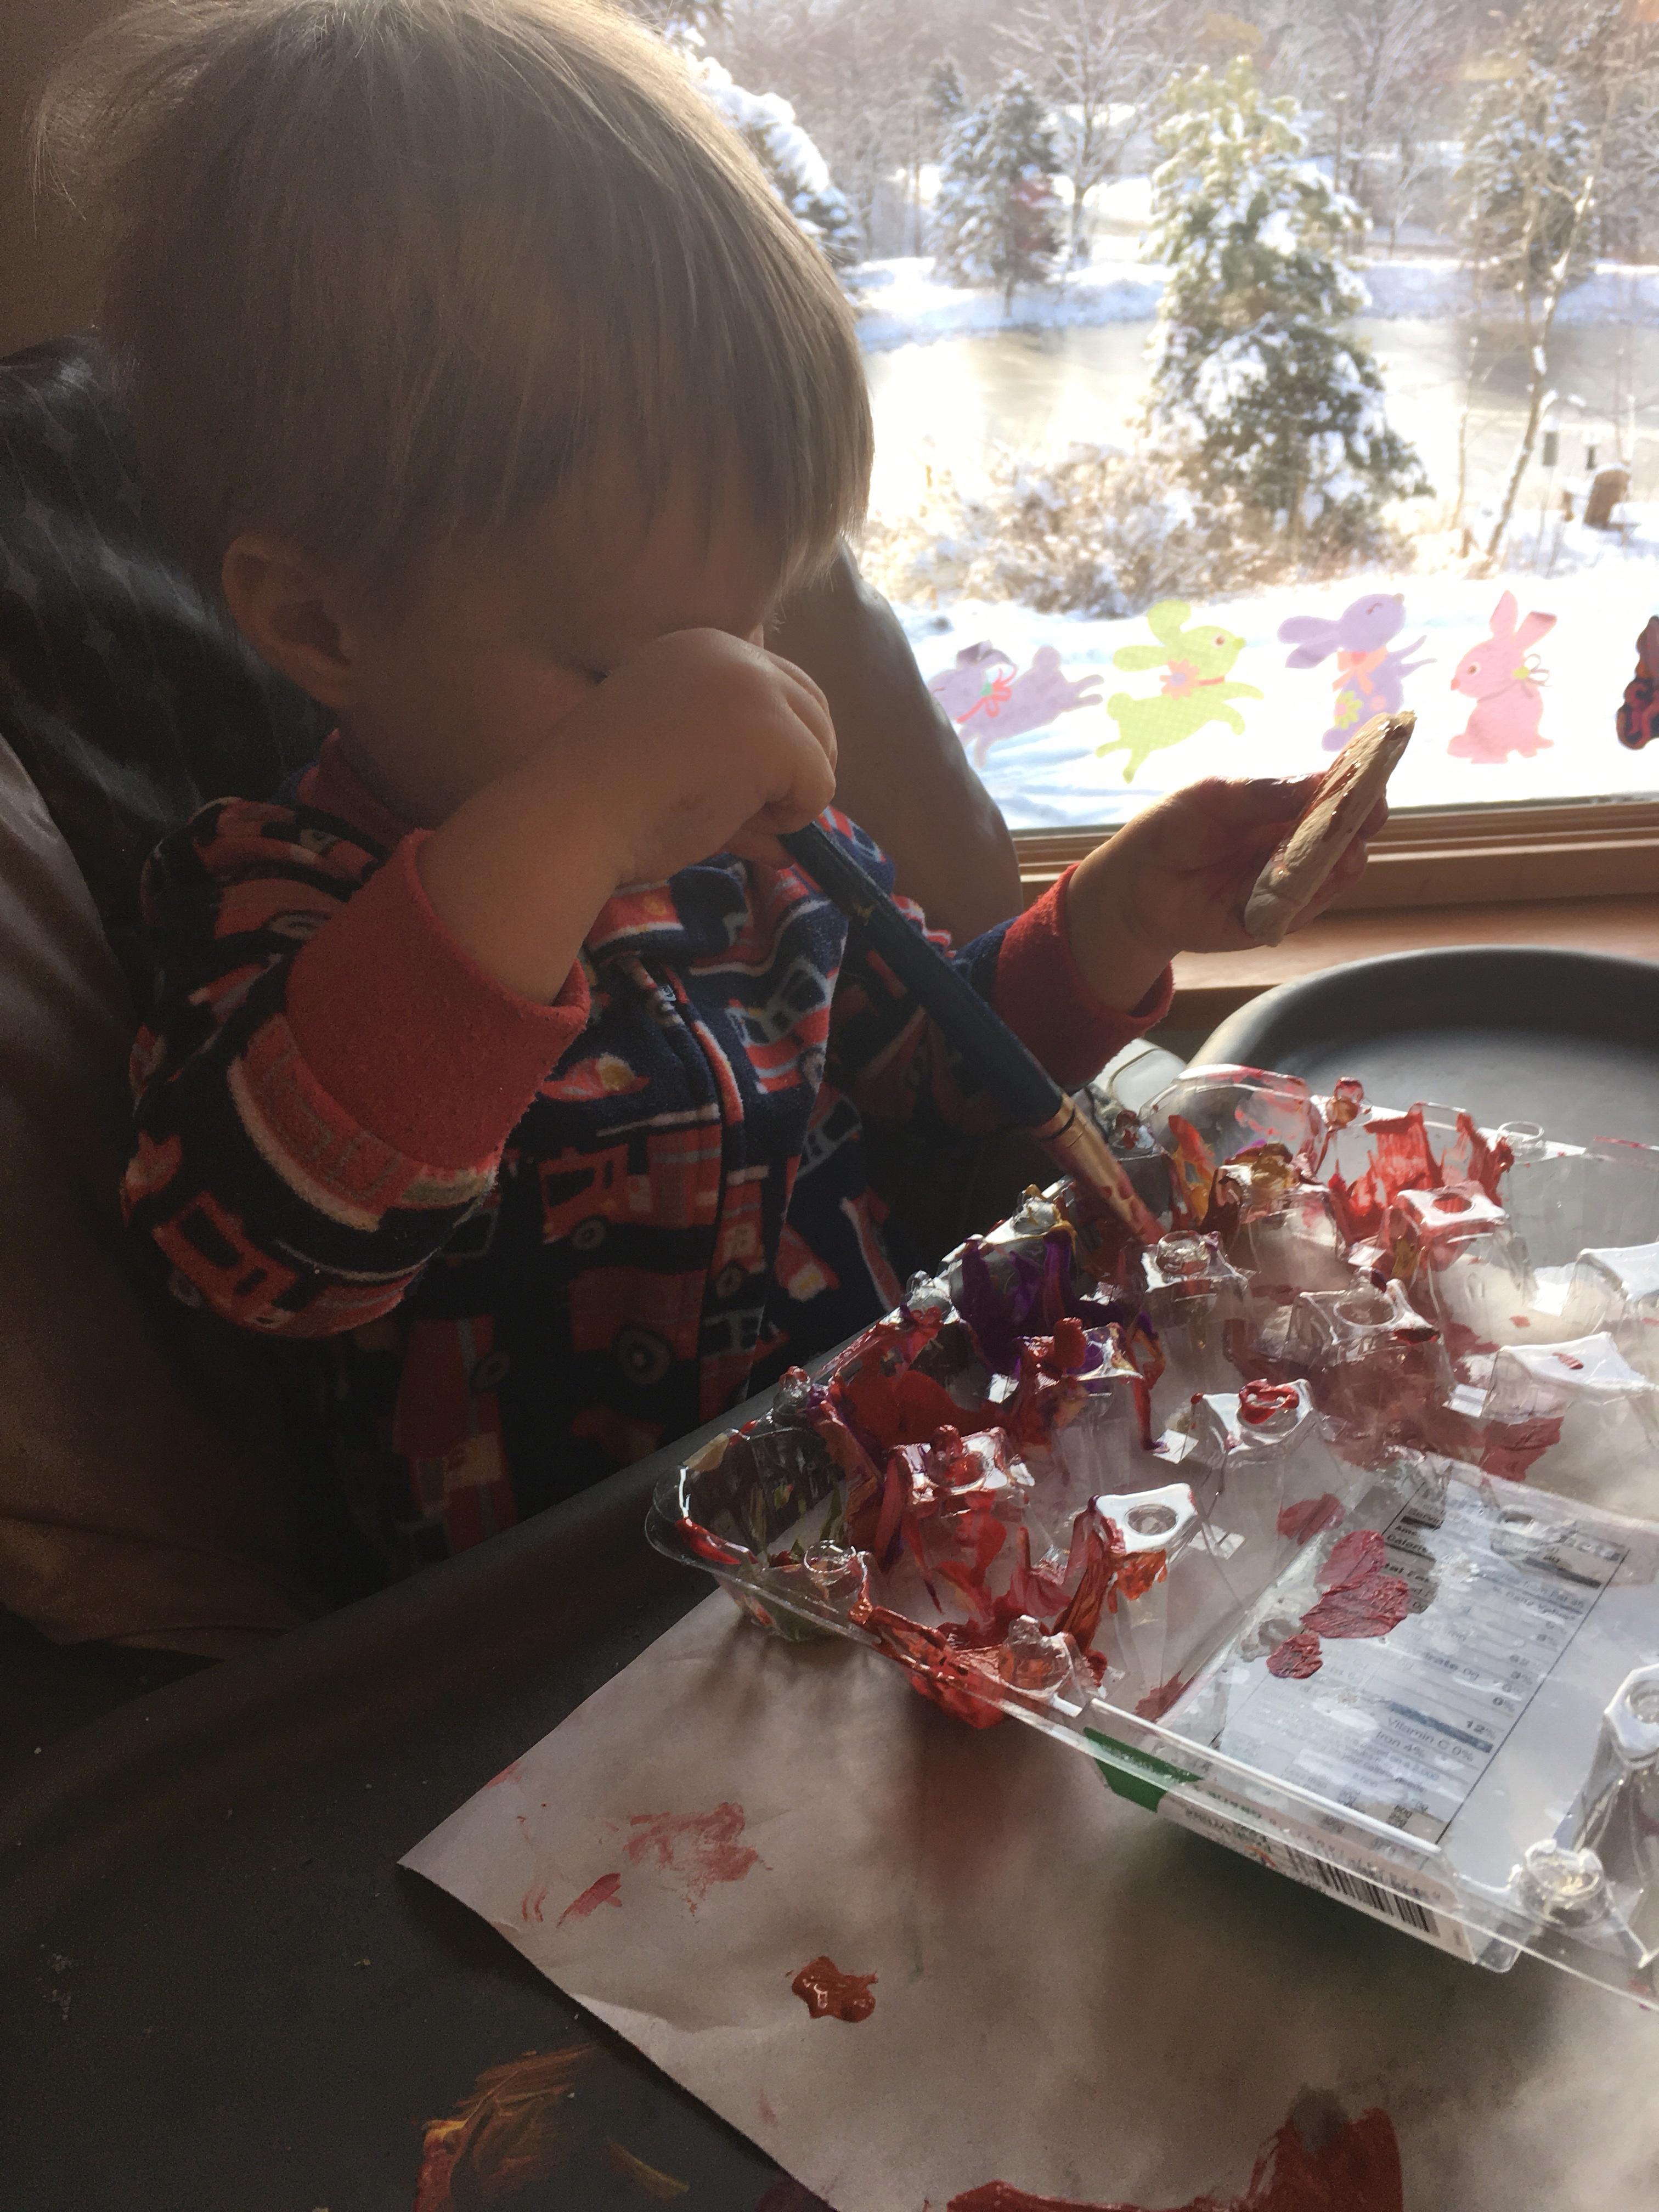
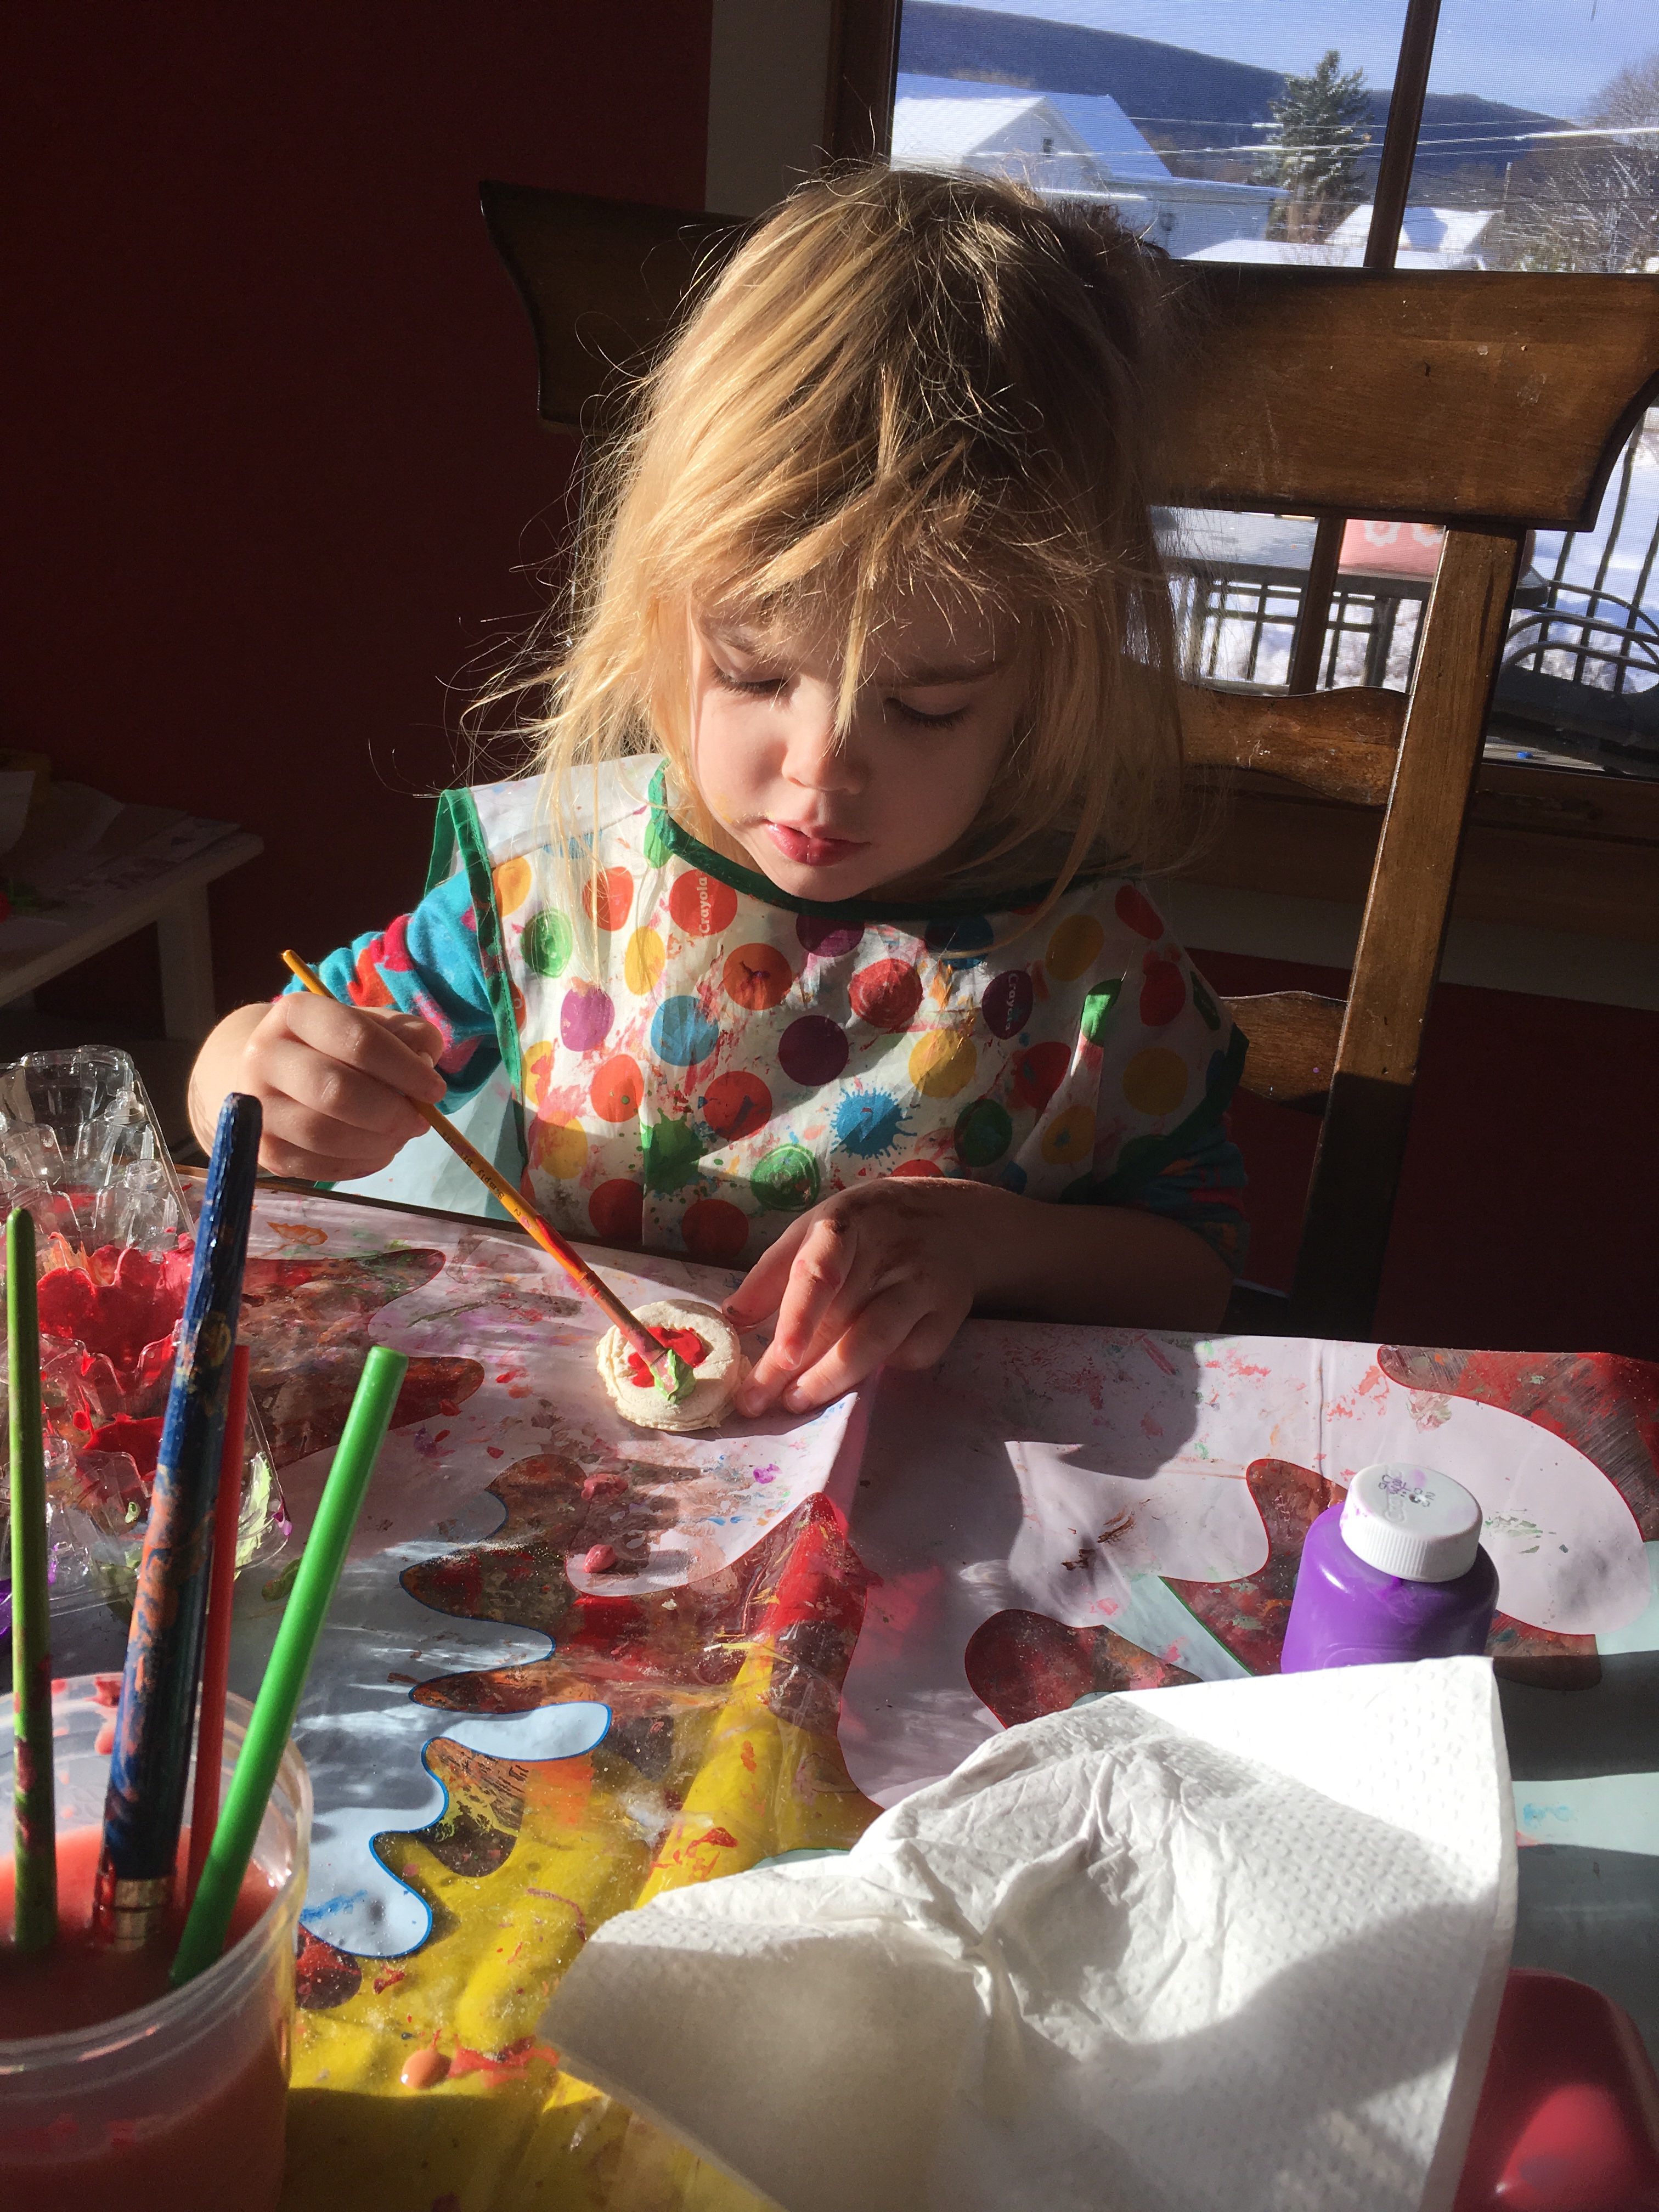
Then the fun, painting time! We used a combination of acrylic paint (which is best but hardest to come off and not non toxic) and water proof fingerprint. My son attempted to paint and did decent for his age, but when he kept trying to eat the painted cookies we had to end the painting time.
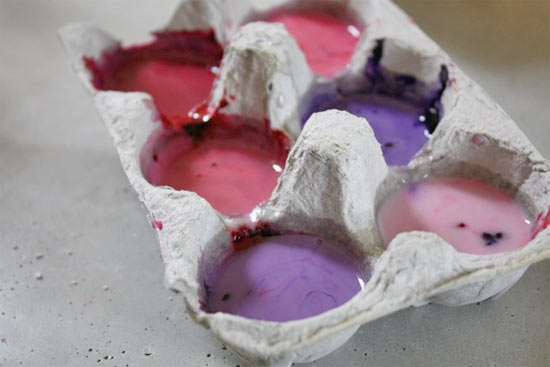
my daughter likes to squirt the paint in an old egg carton that way the colors stay separated.
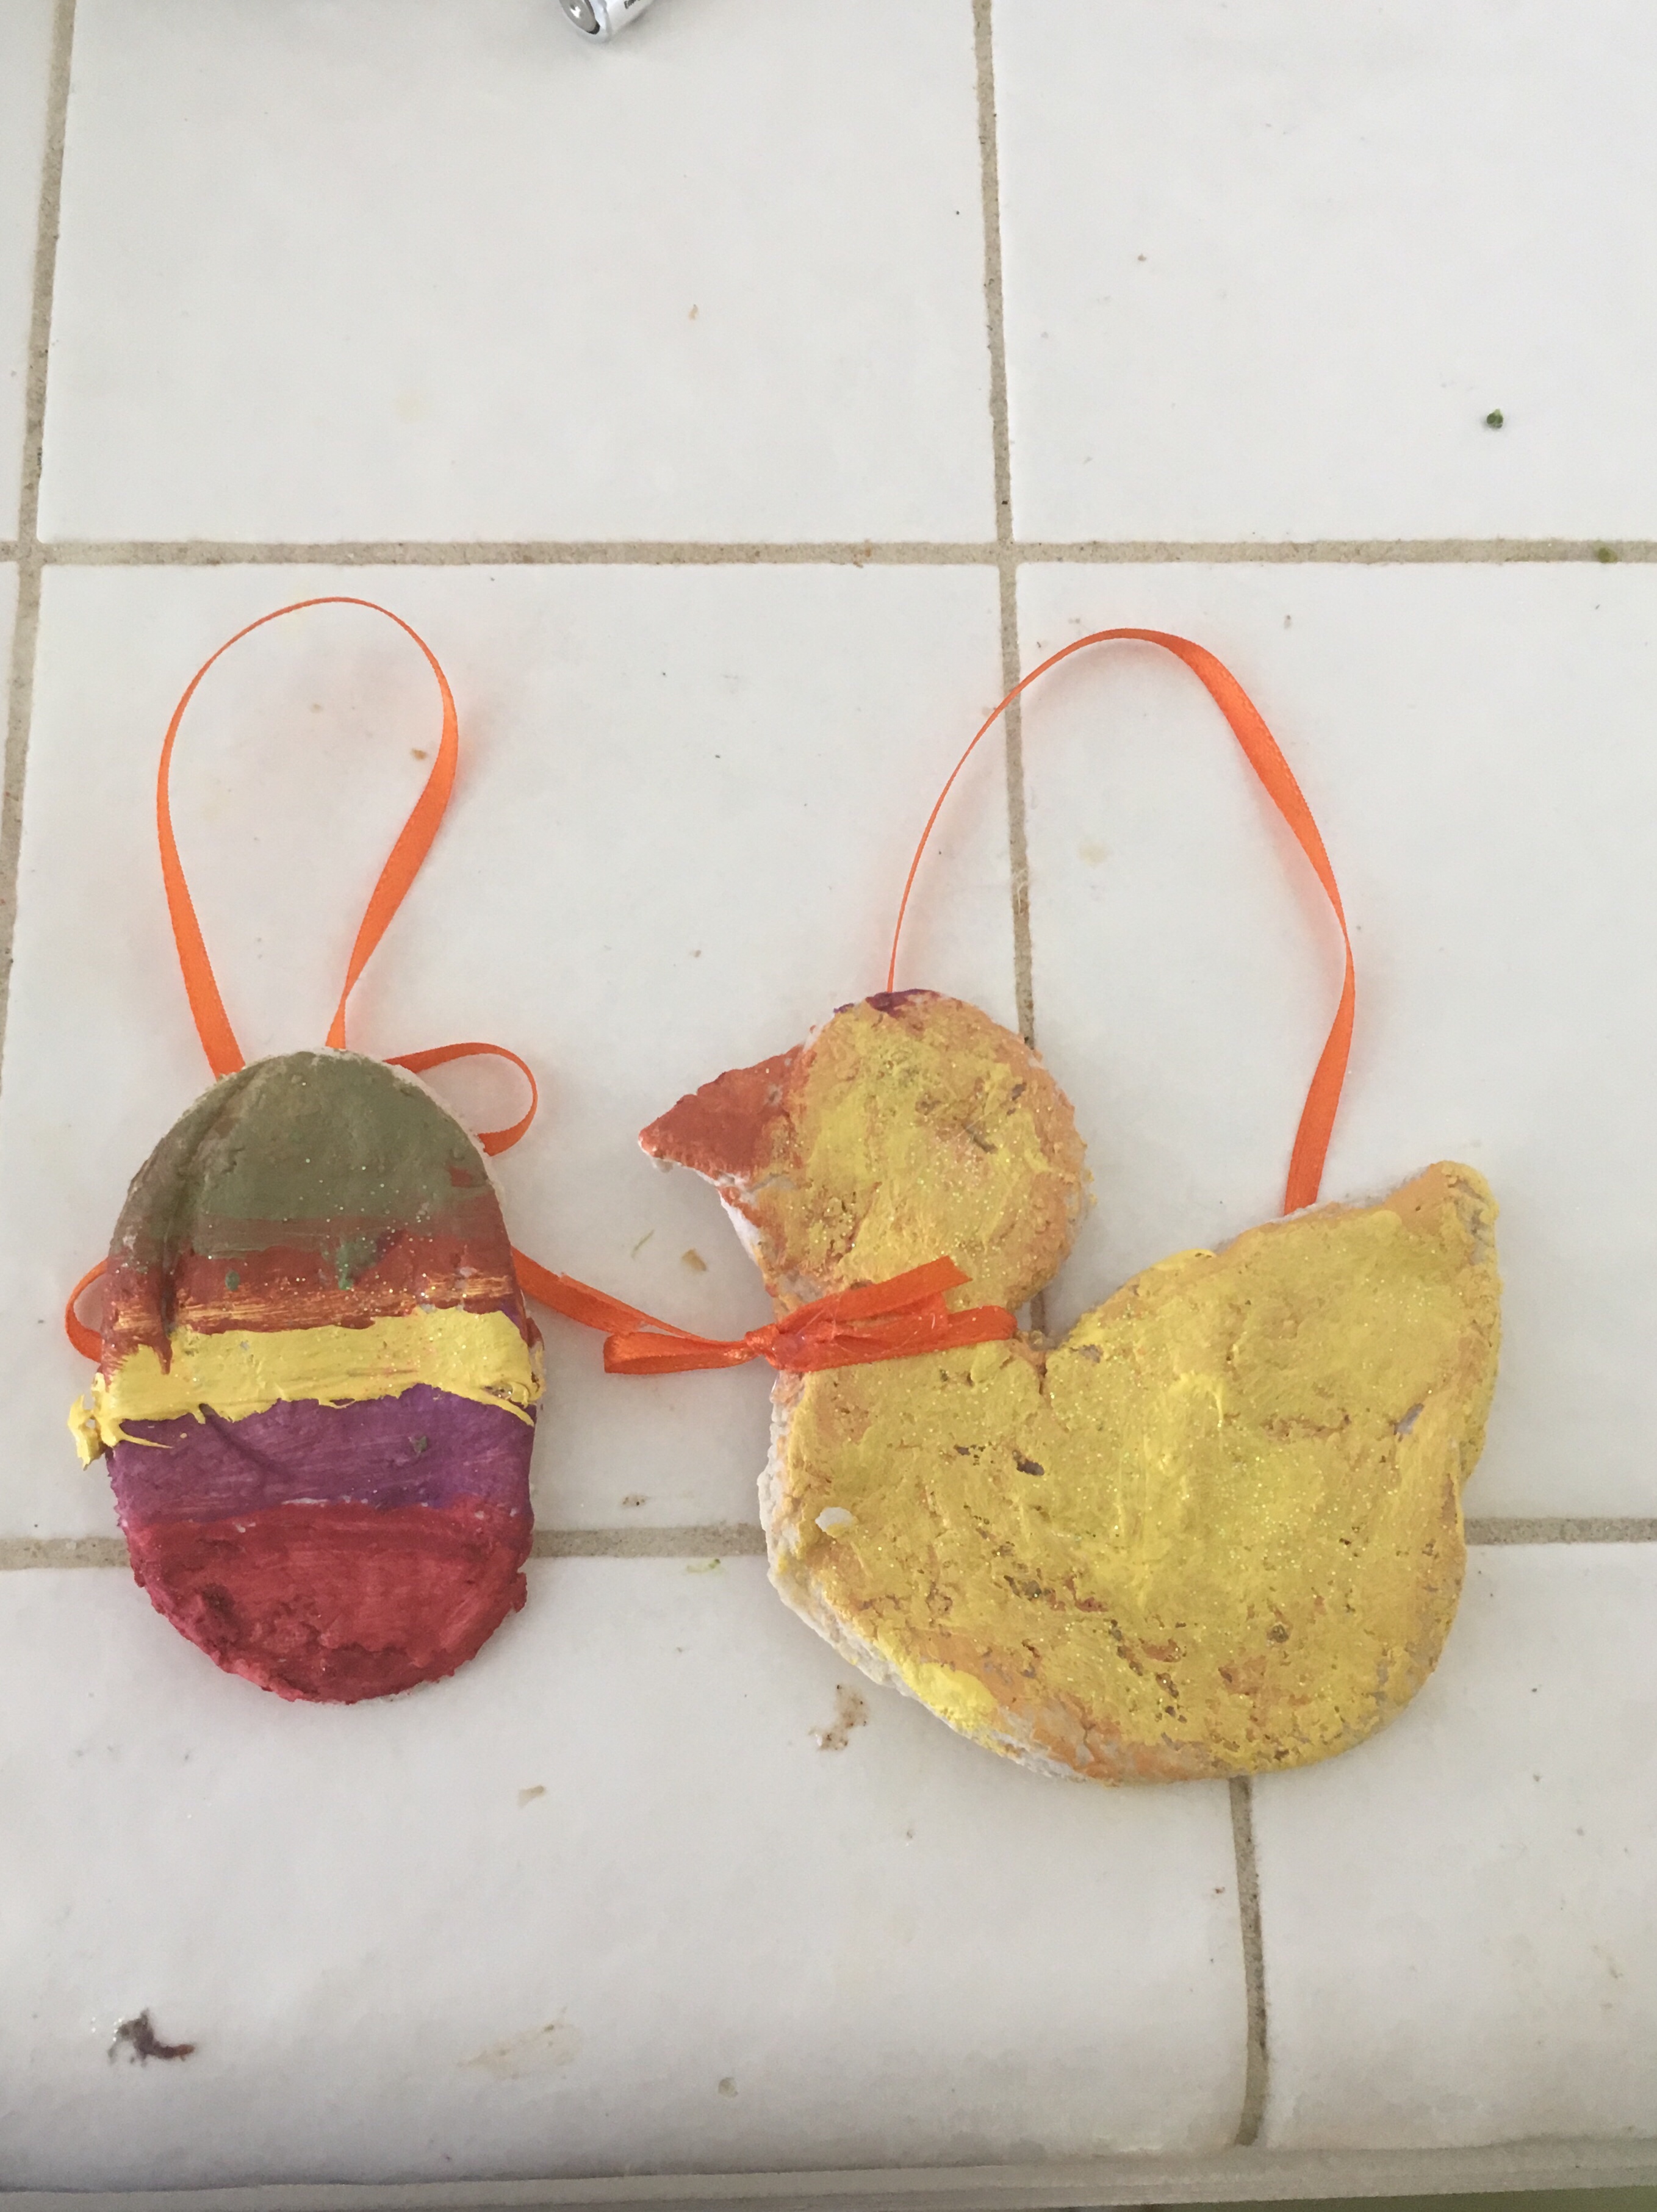
Once we finished painting she sprinkled on some glitter. Unfortunately we don’t have any mod podge or clear finish to put on top right now, but we still love them!
If you have any clear finish or modge podge this is the time to coat it in that for a nice shiny finish!
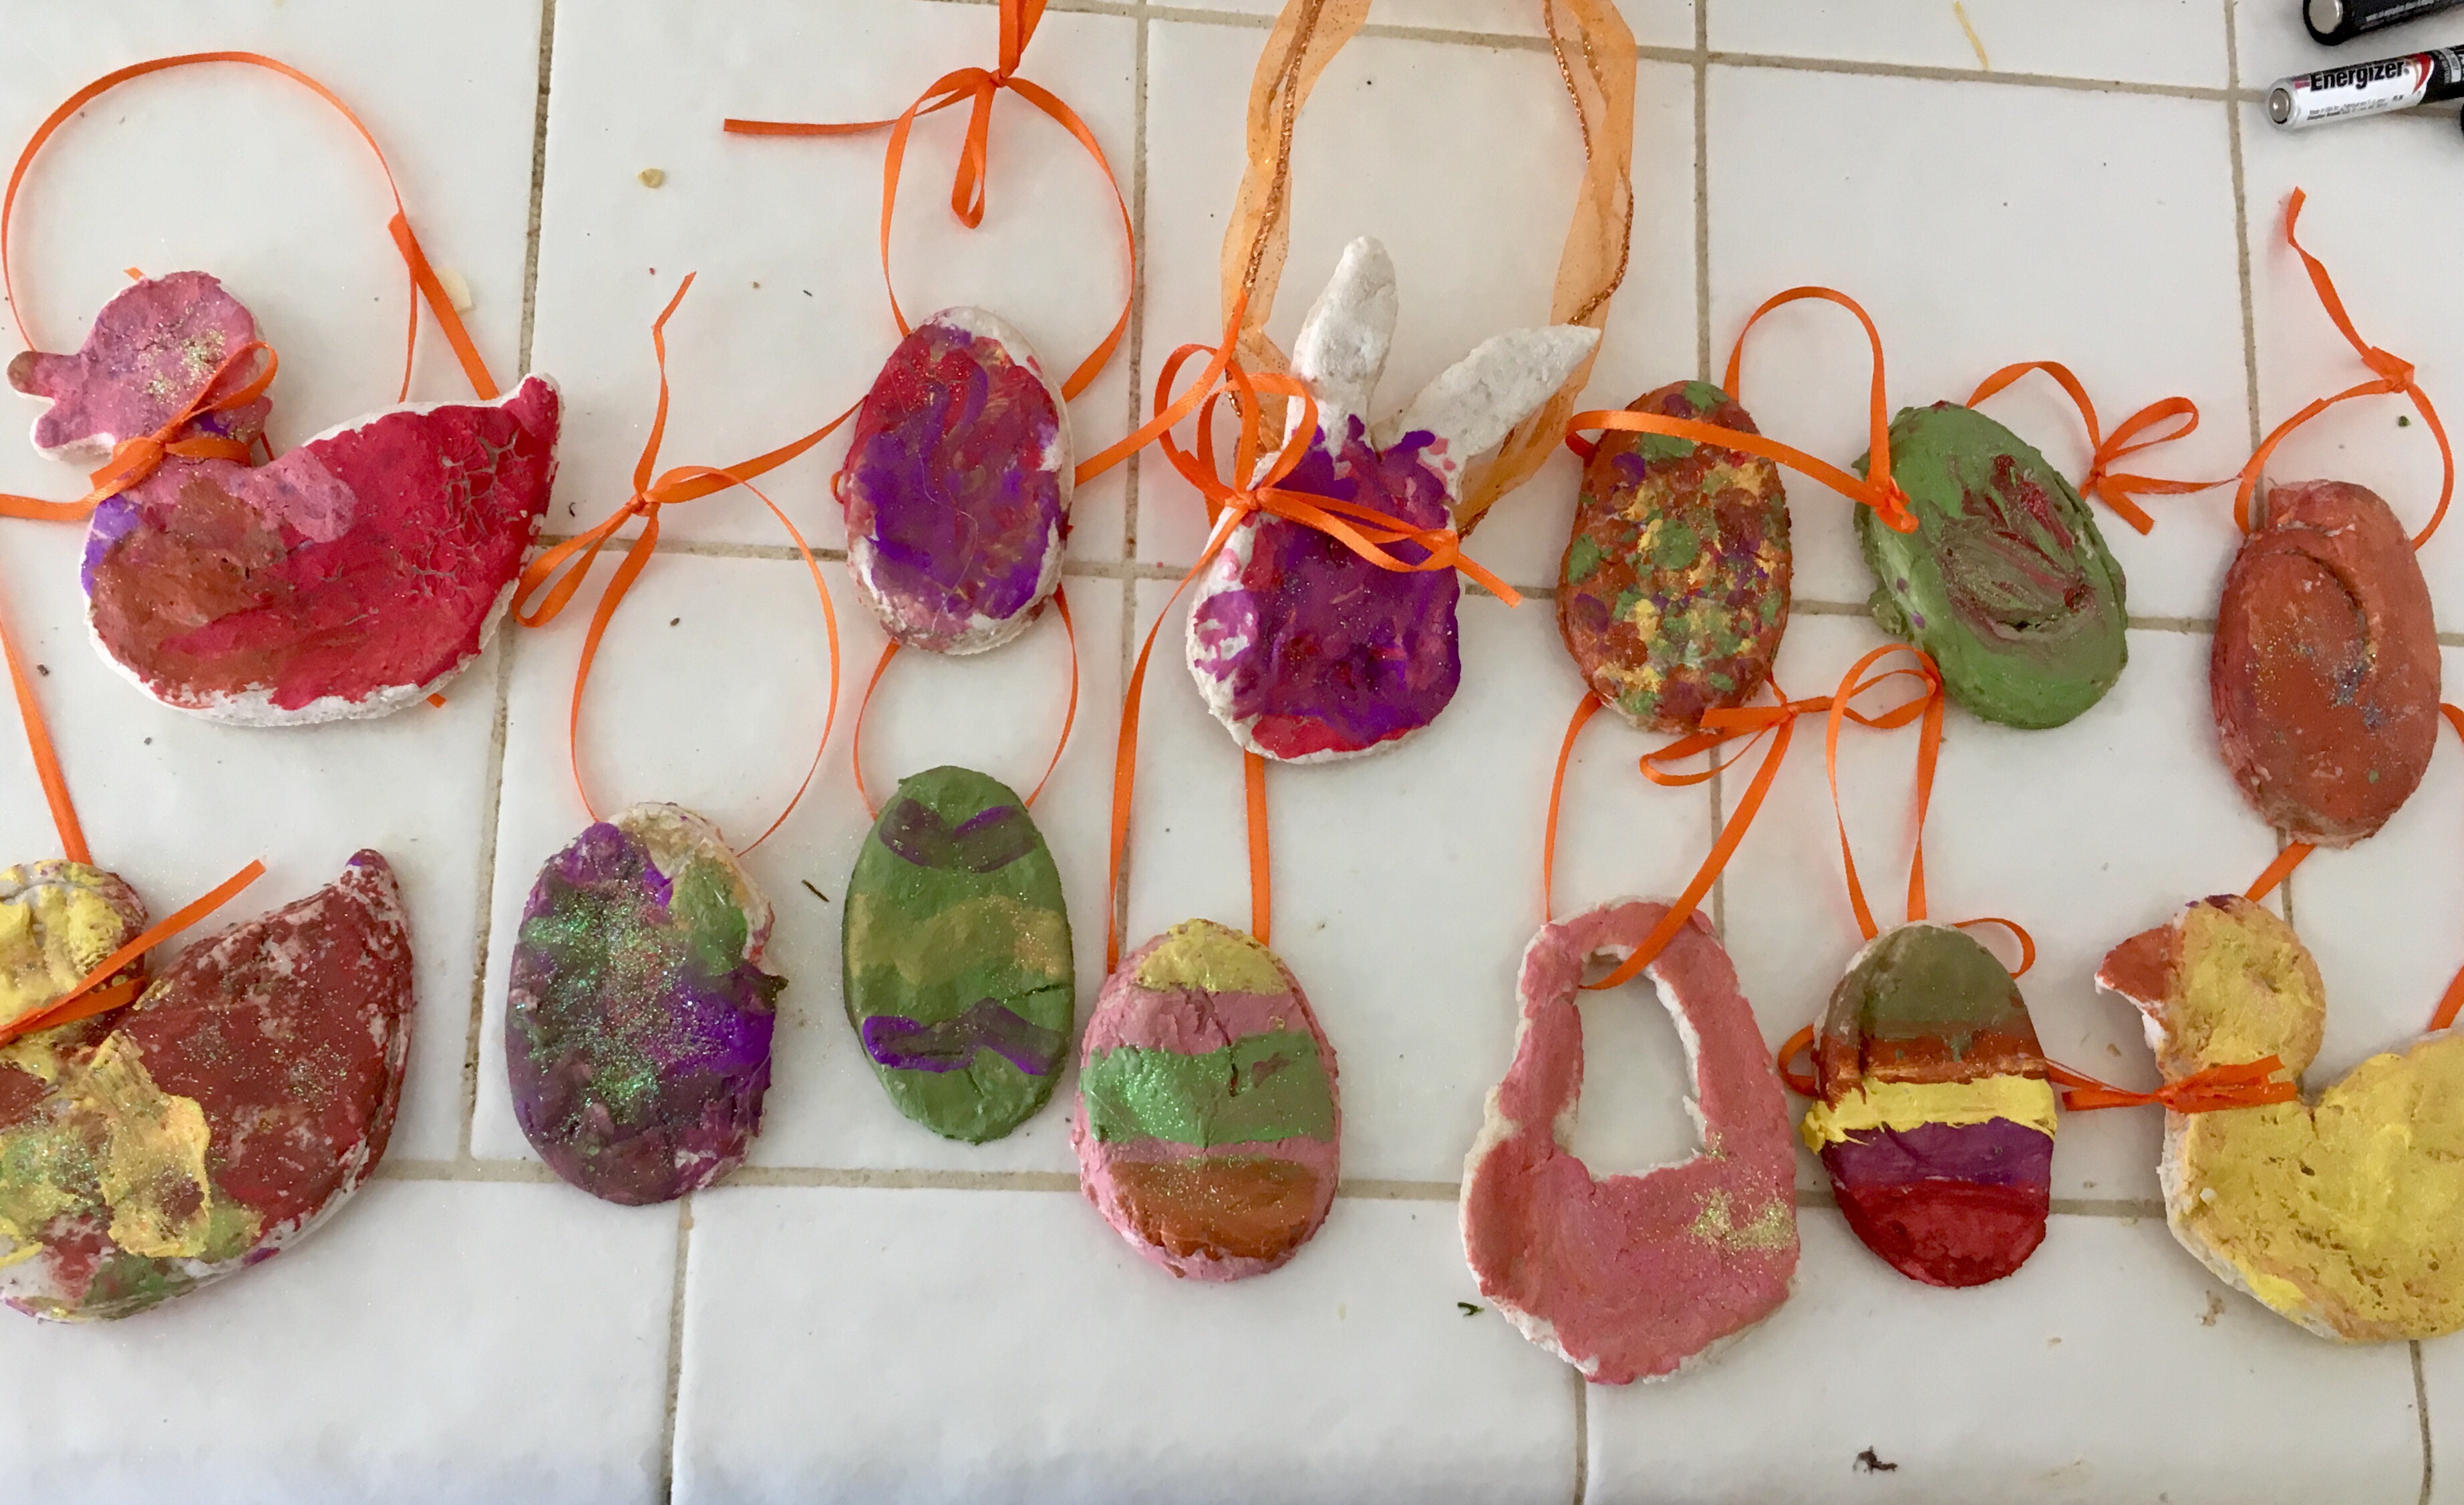
Since we forgot to make the holes for the ribbon, I used the hot glue gun to attach the ribbons. Then we hung them around the house (high enough that my son couldn’t reach these “cookies.”
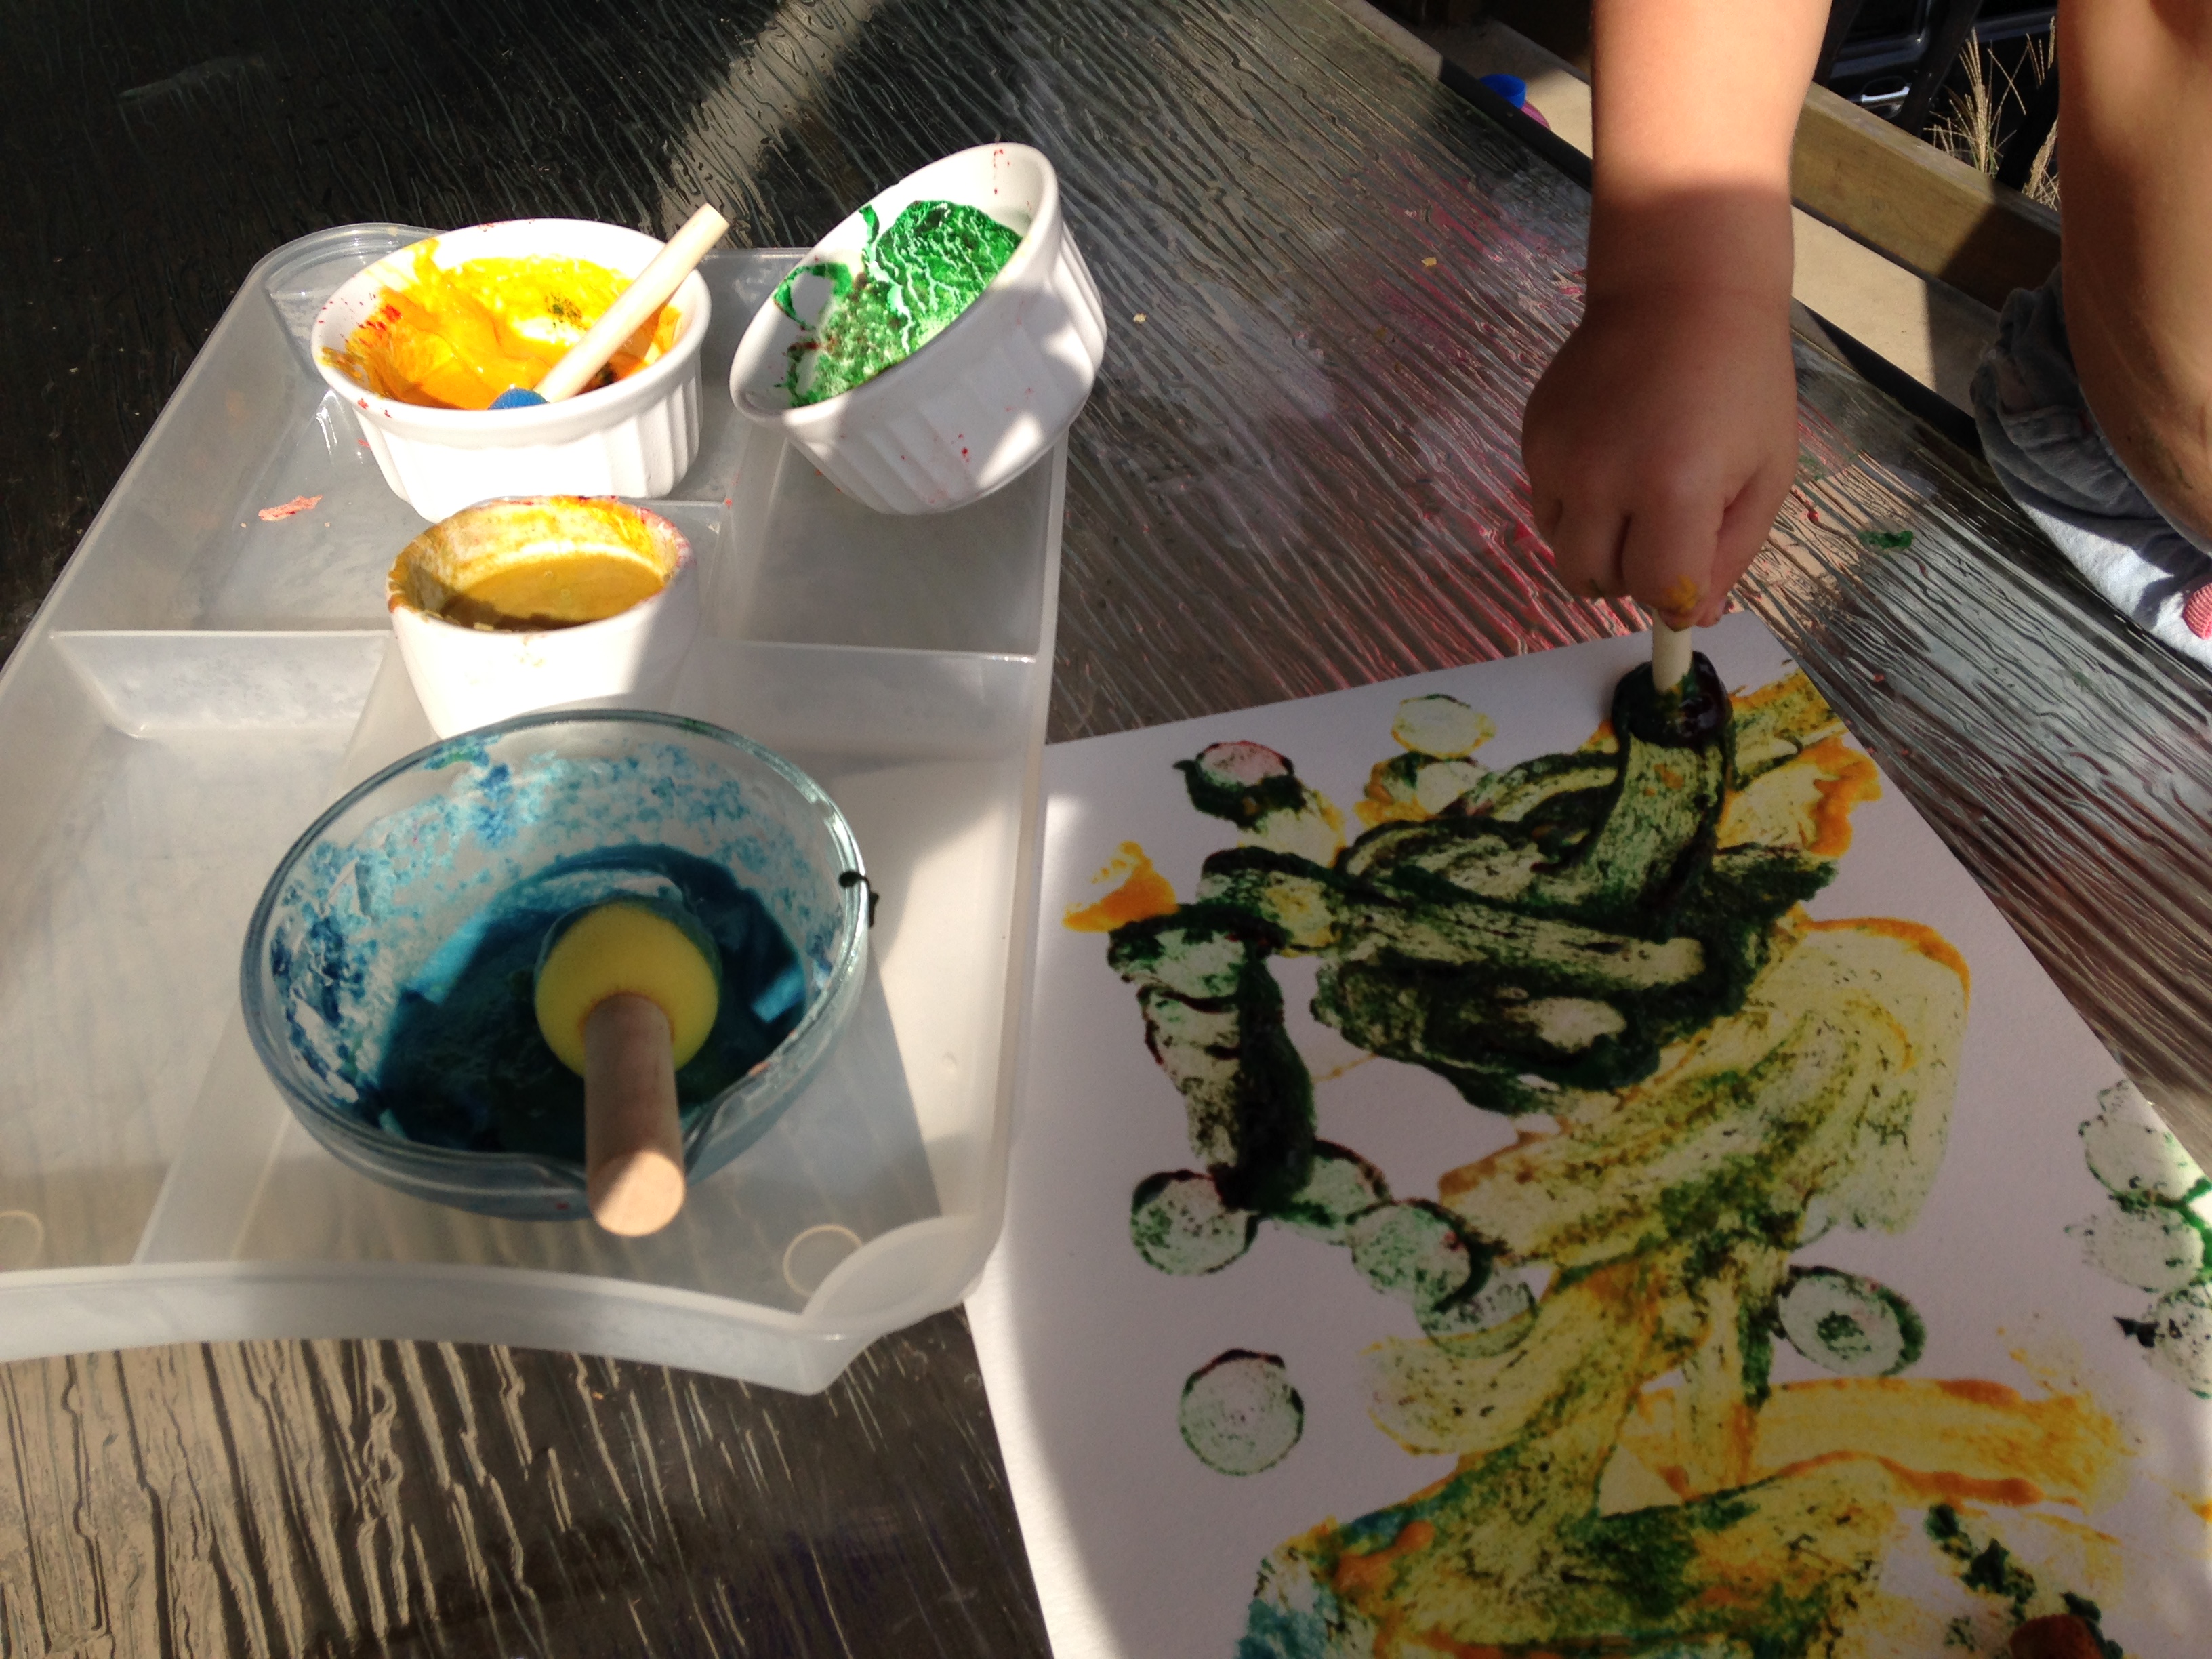
Looking for an easy homemade nontoxic paint for your little one to be creative? Well, look no further! We experimented with several types of homemade paint and below are our favorite recipes!
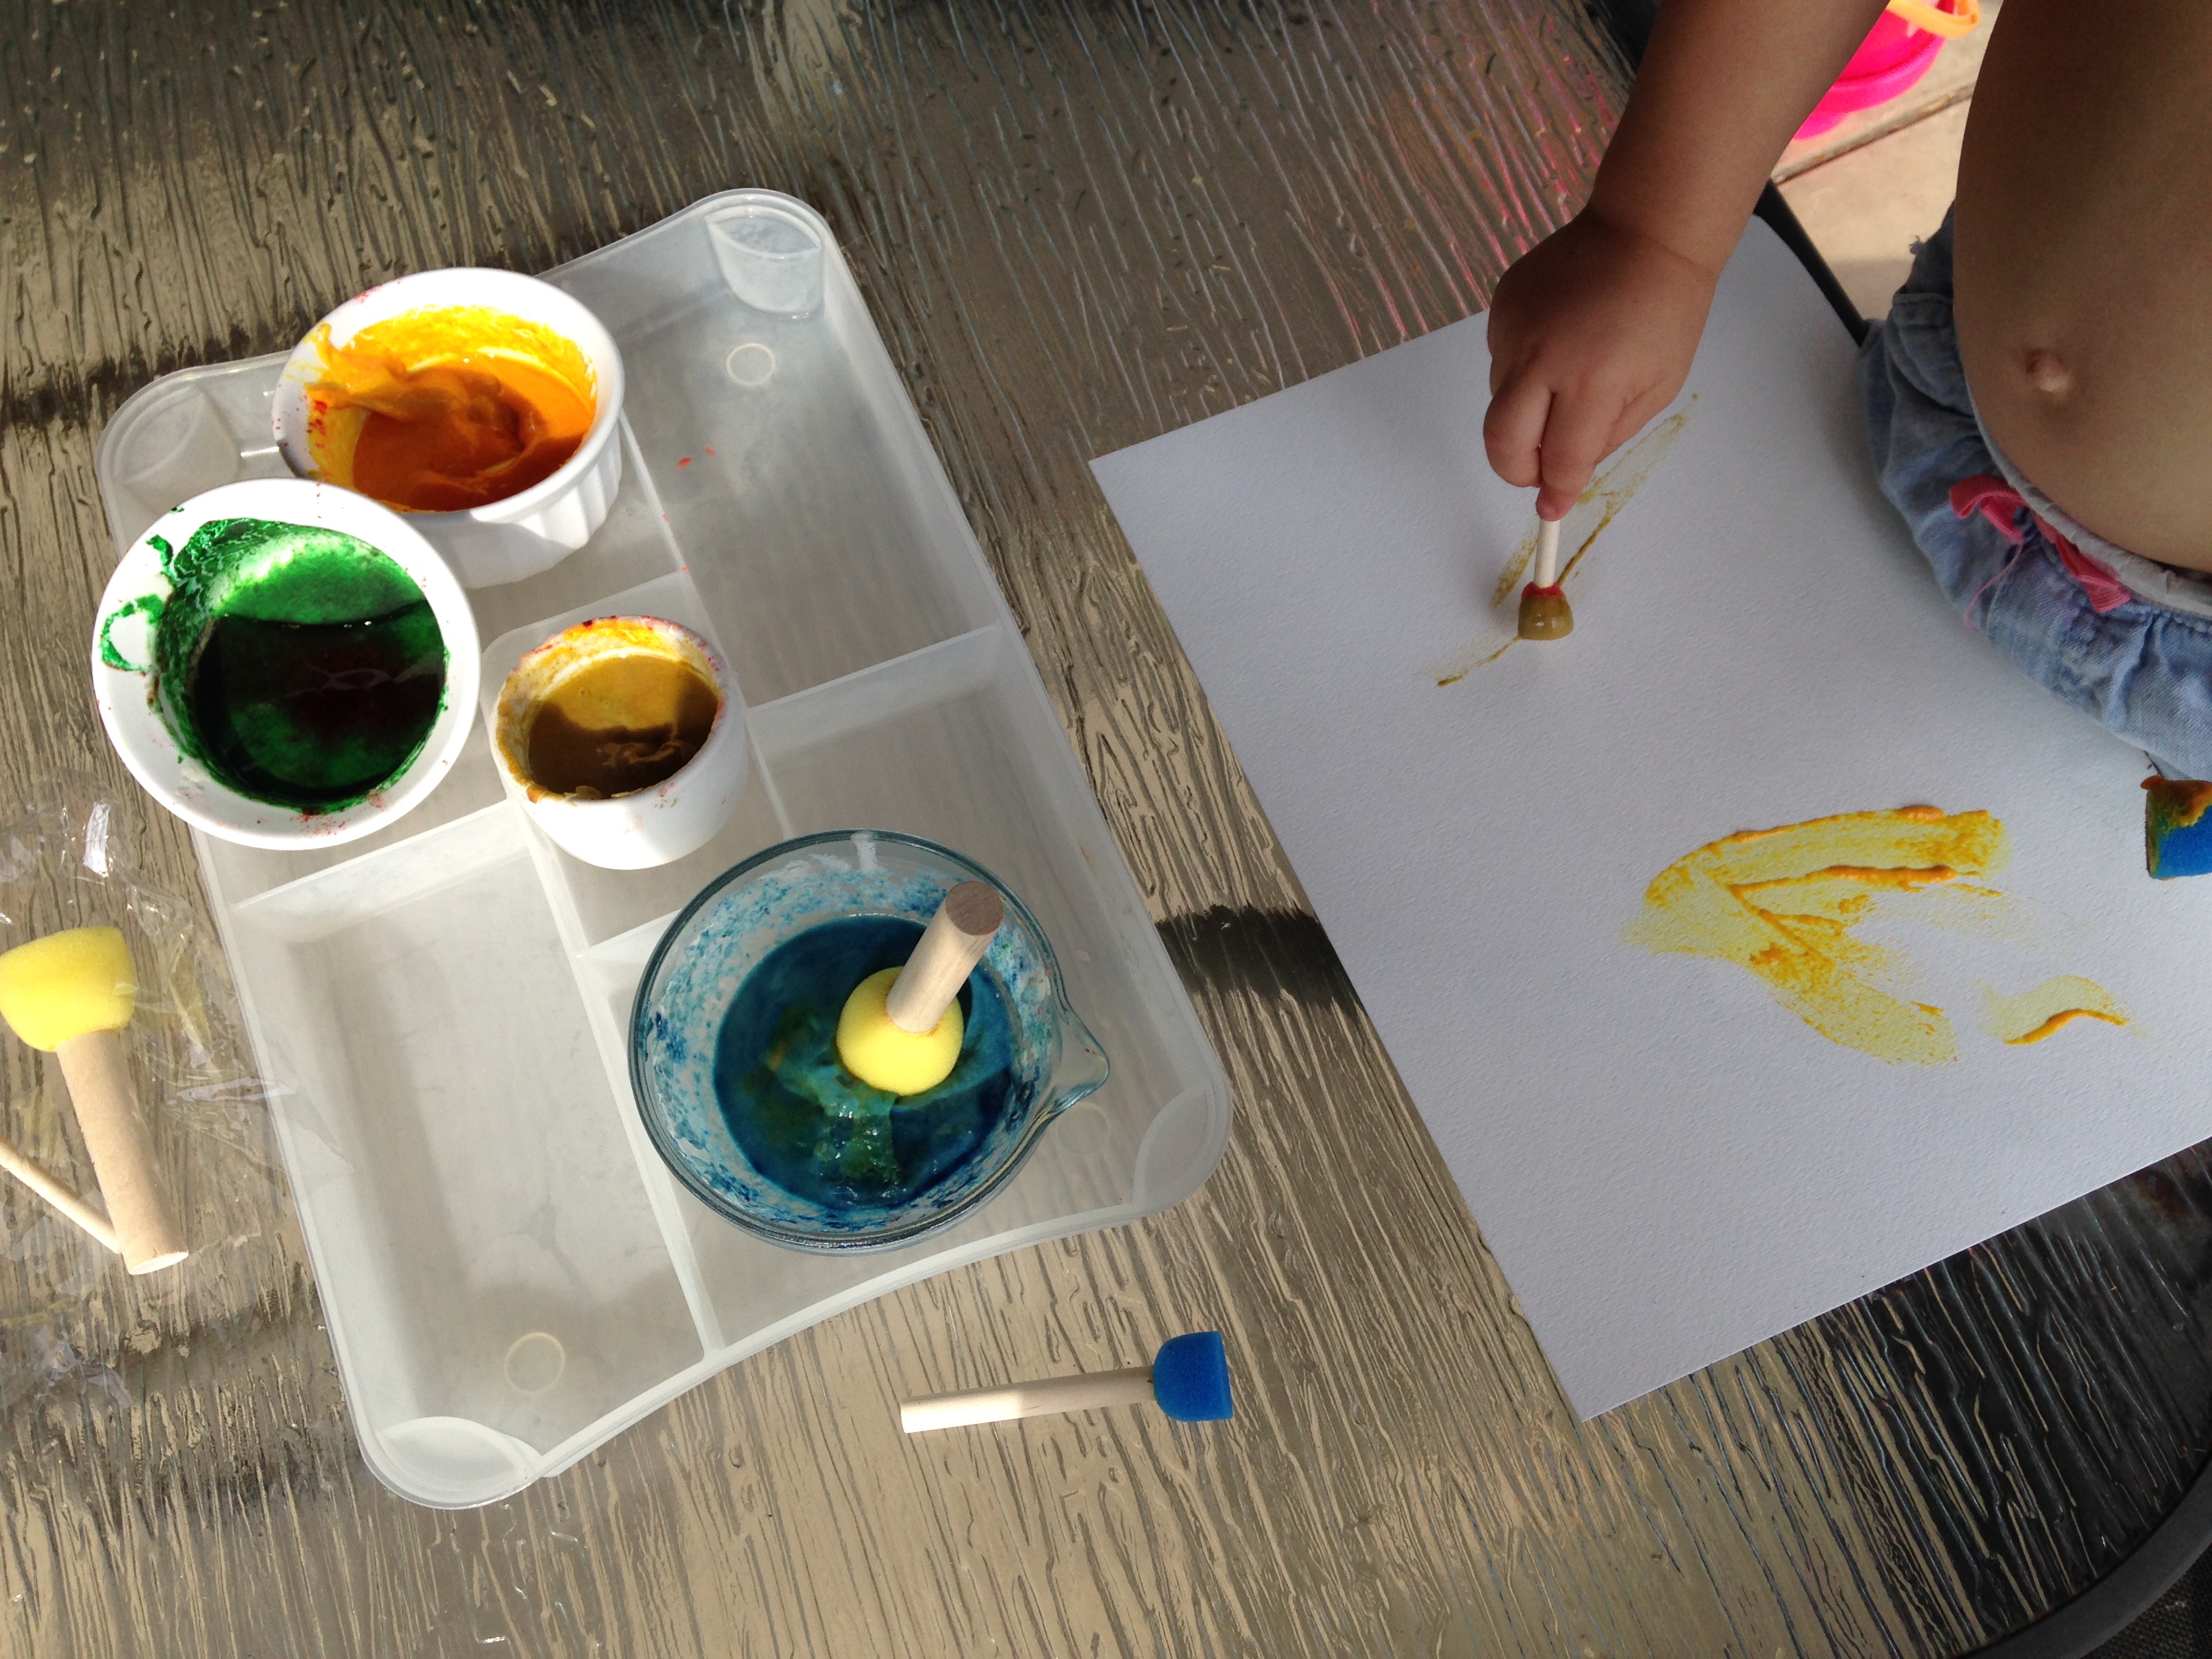
Kids of all ages love painting! You can have your little one finger paint, use brushes, sponges, or even potatoes!
So we started off making completely edible finger paint with only a couple ingredients!
Here is what you will need: (this makes enough for about 4-5 different colors depending on how much you want for each)…
1 cup water
1/2 cup of flour
extra water to thin out
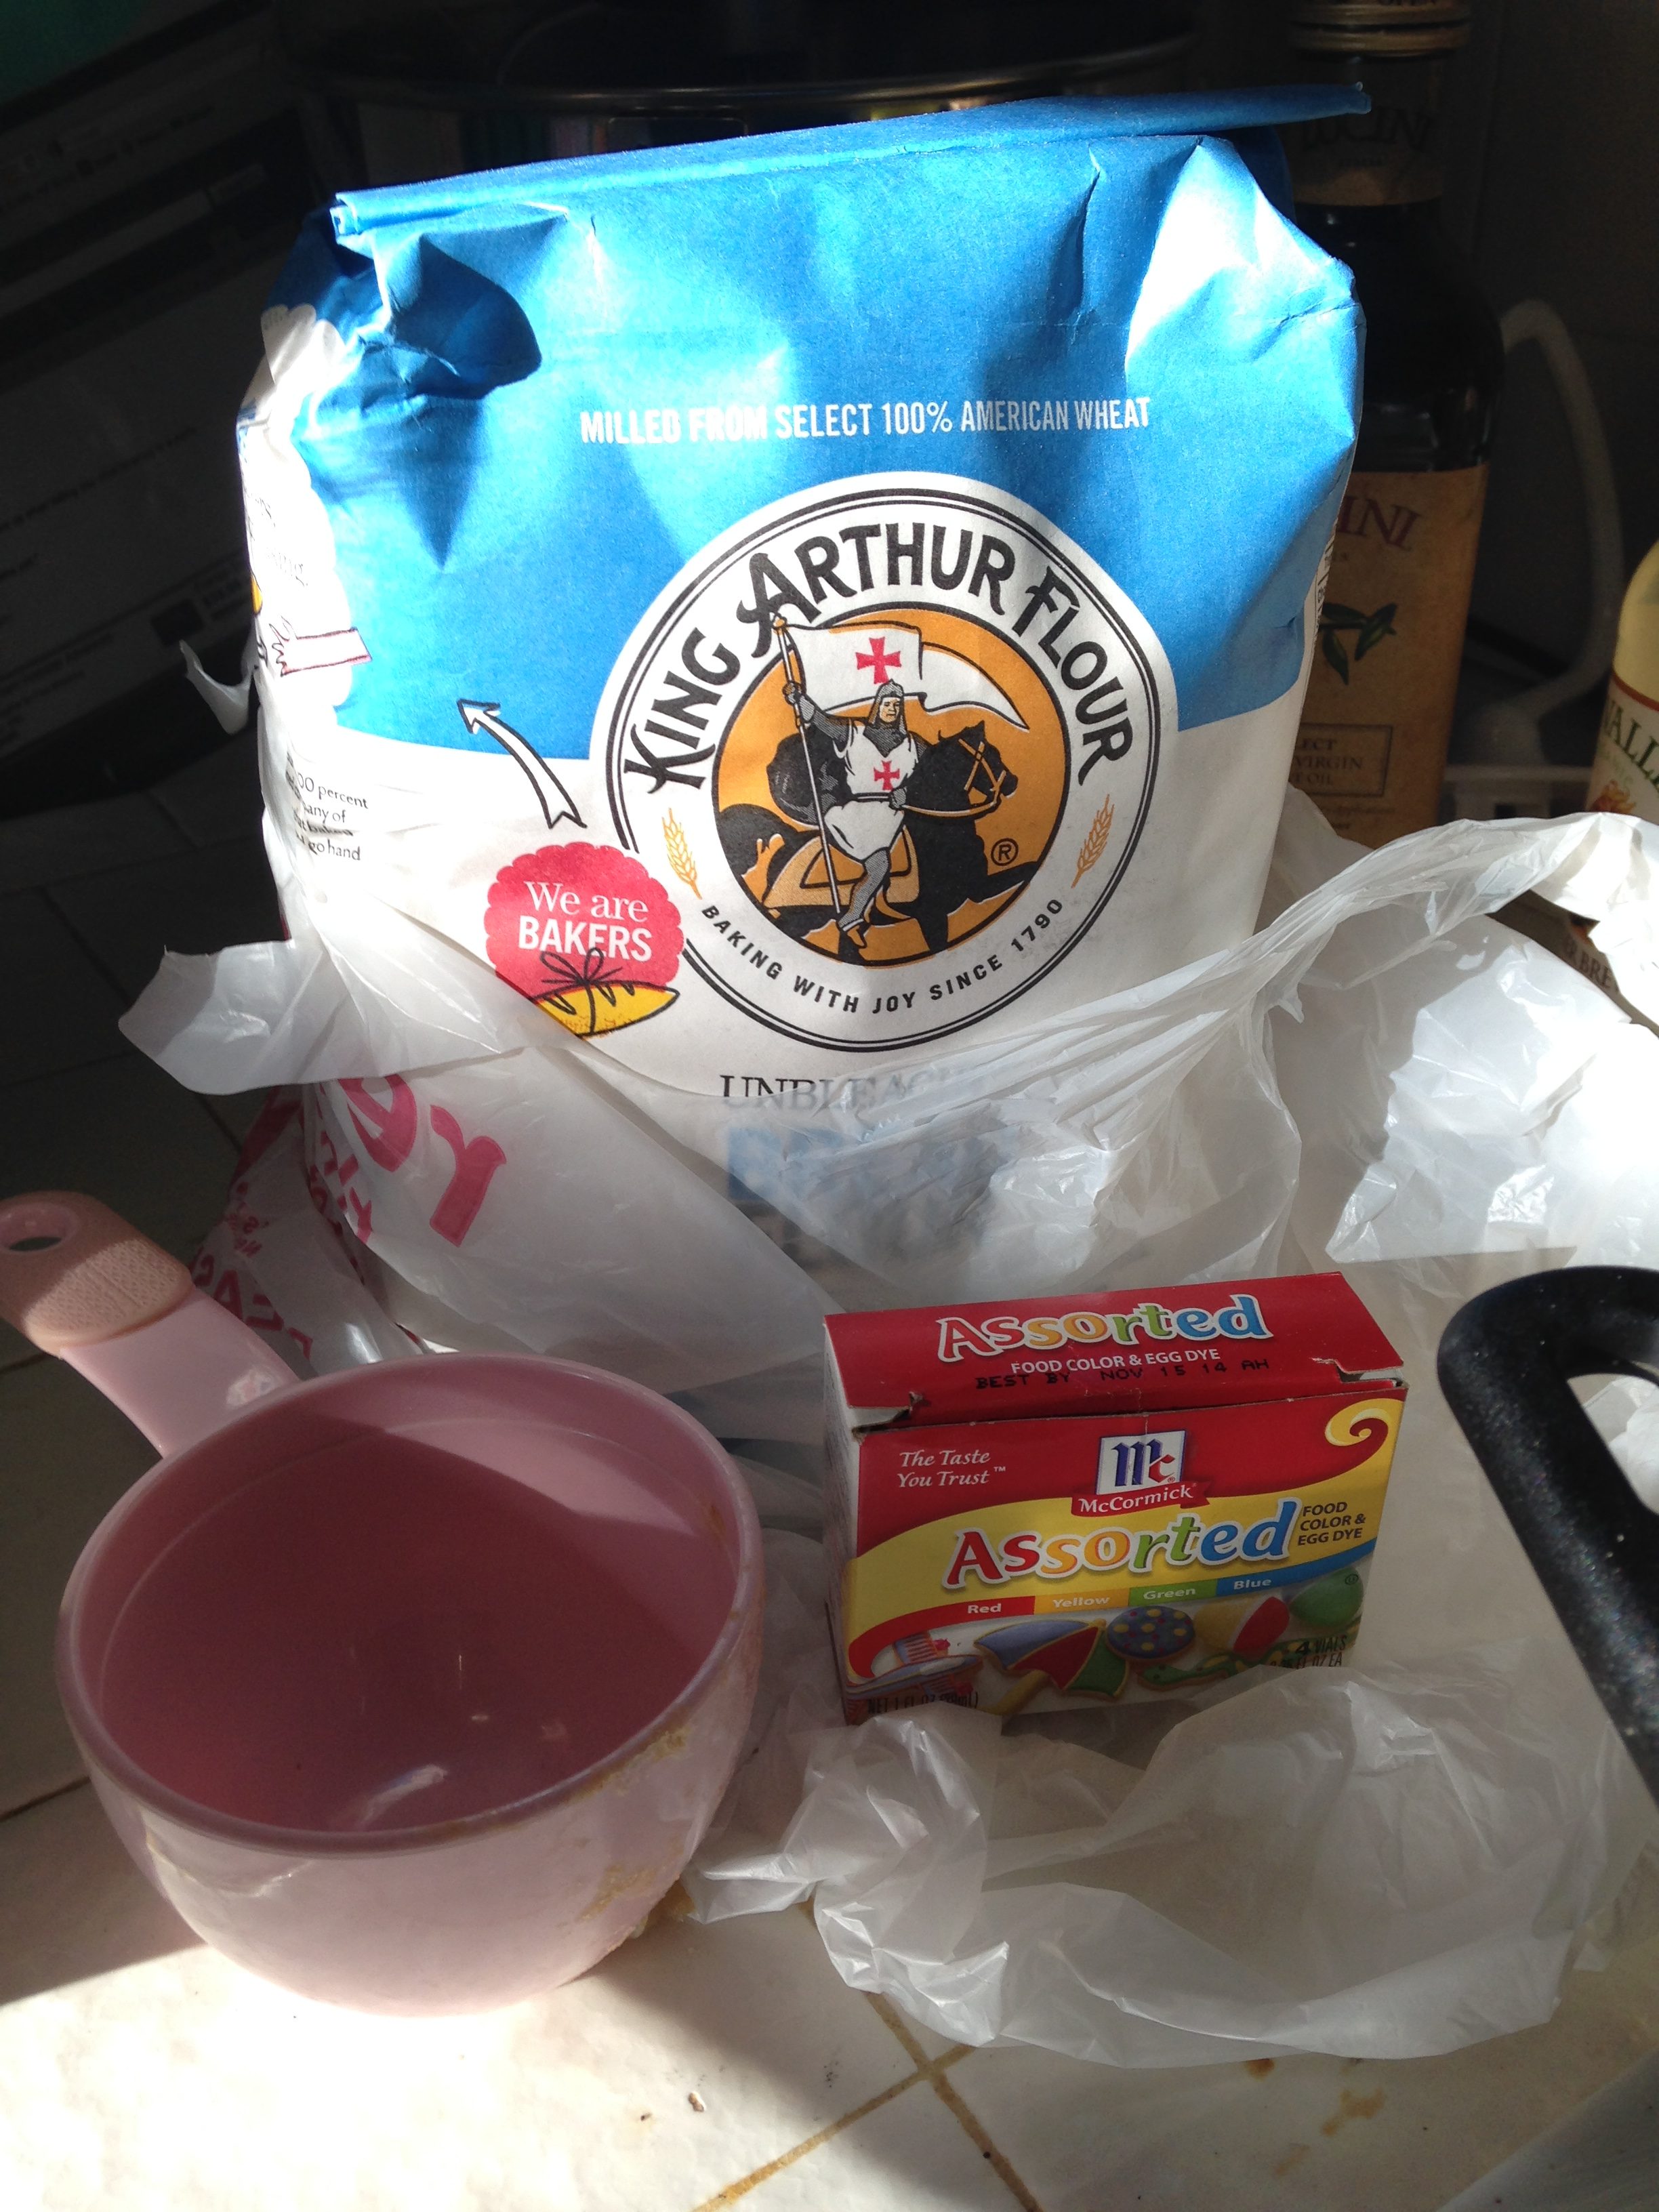
food coloring, watercolors, or natural colors such as beet, carrot, tumeric
Instructions:
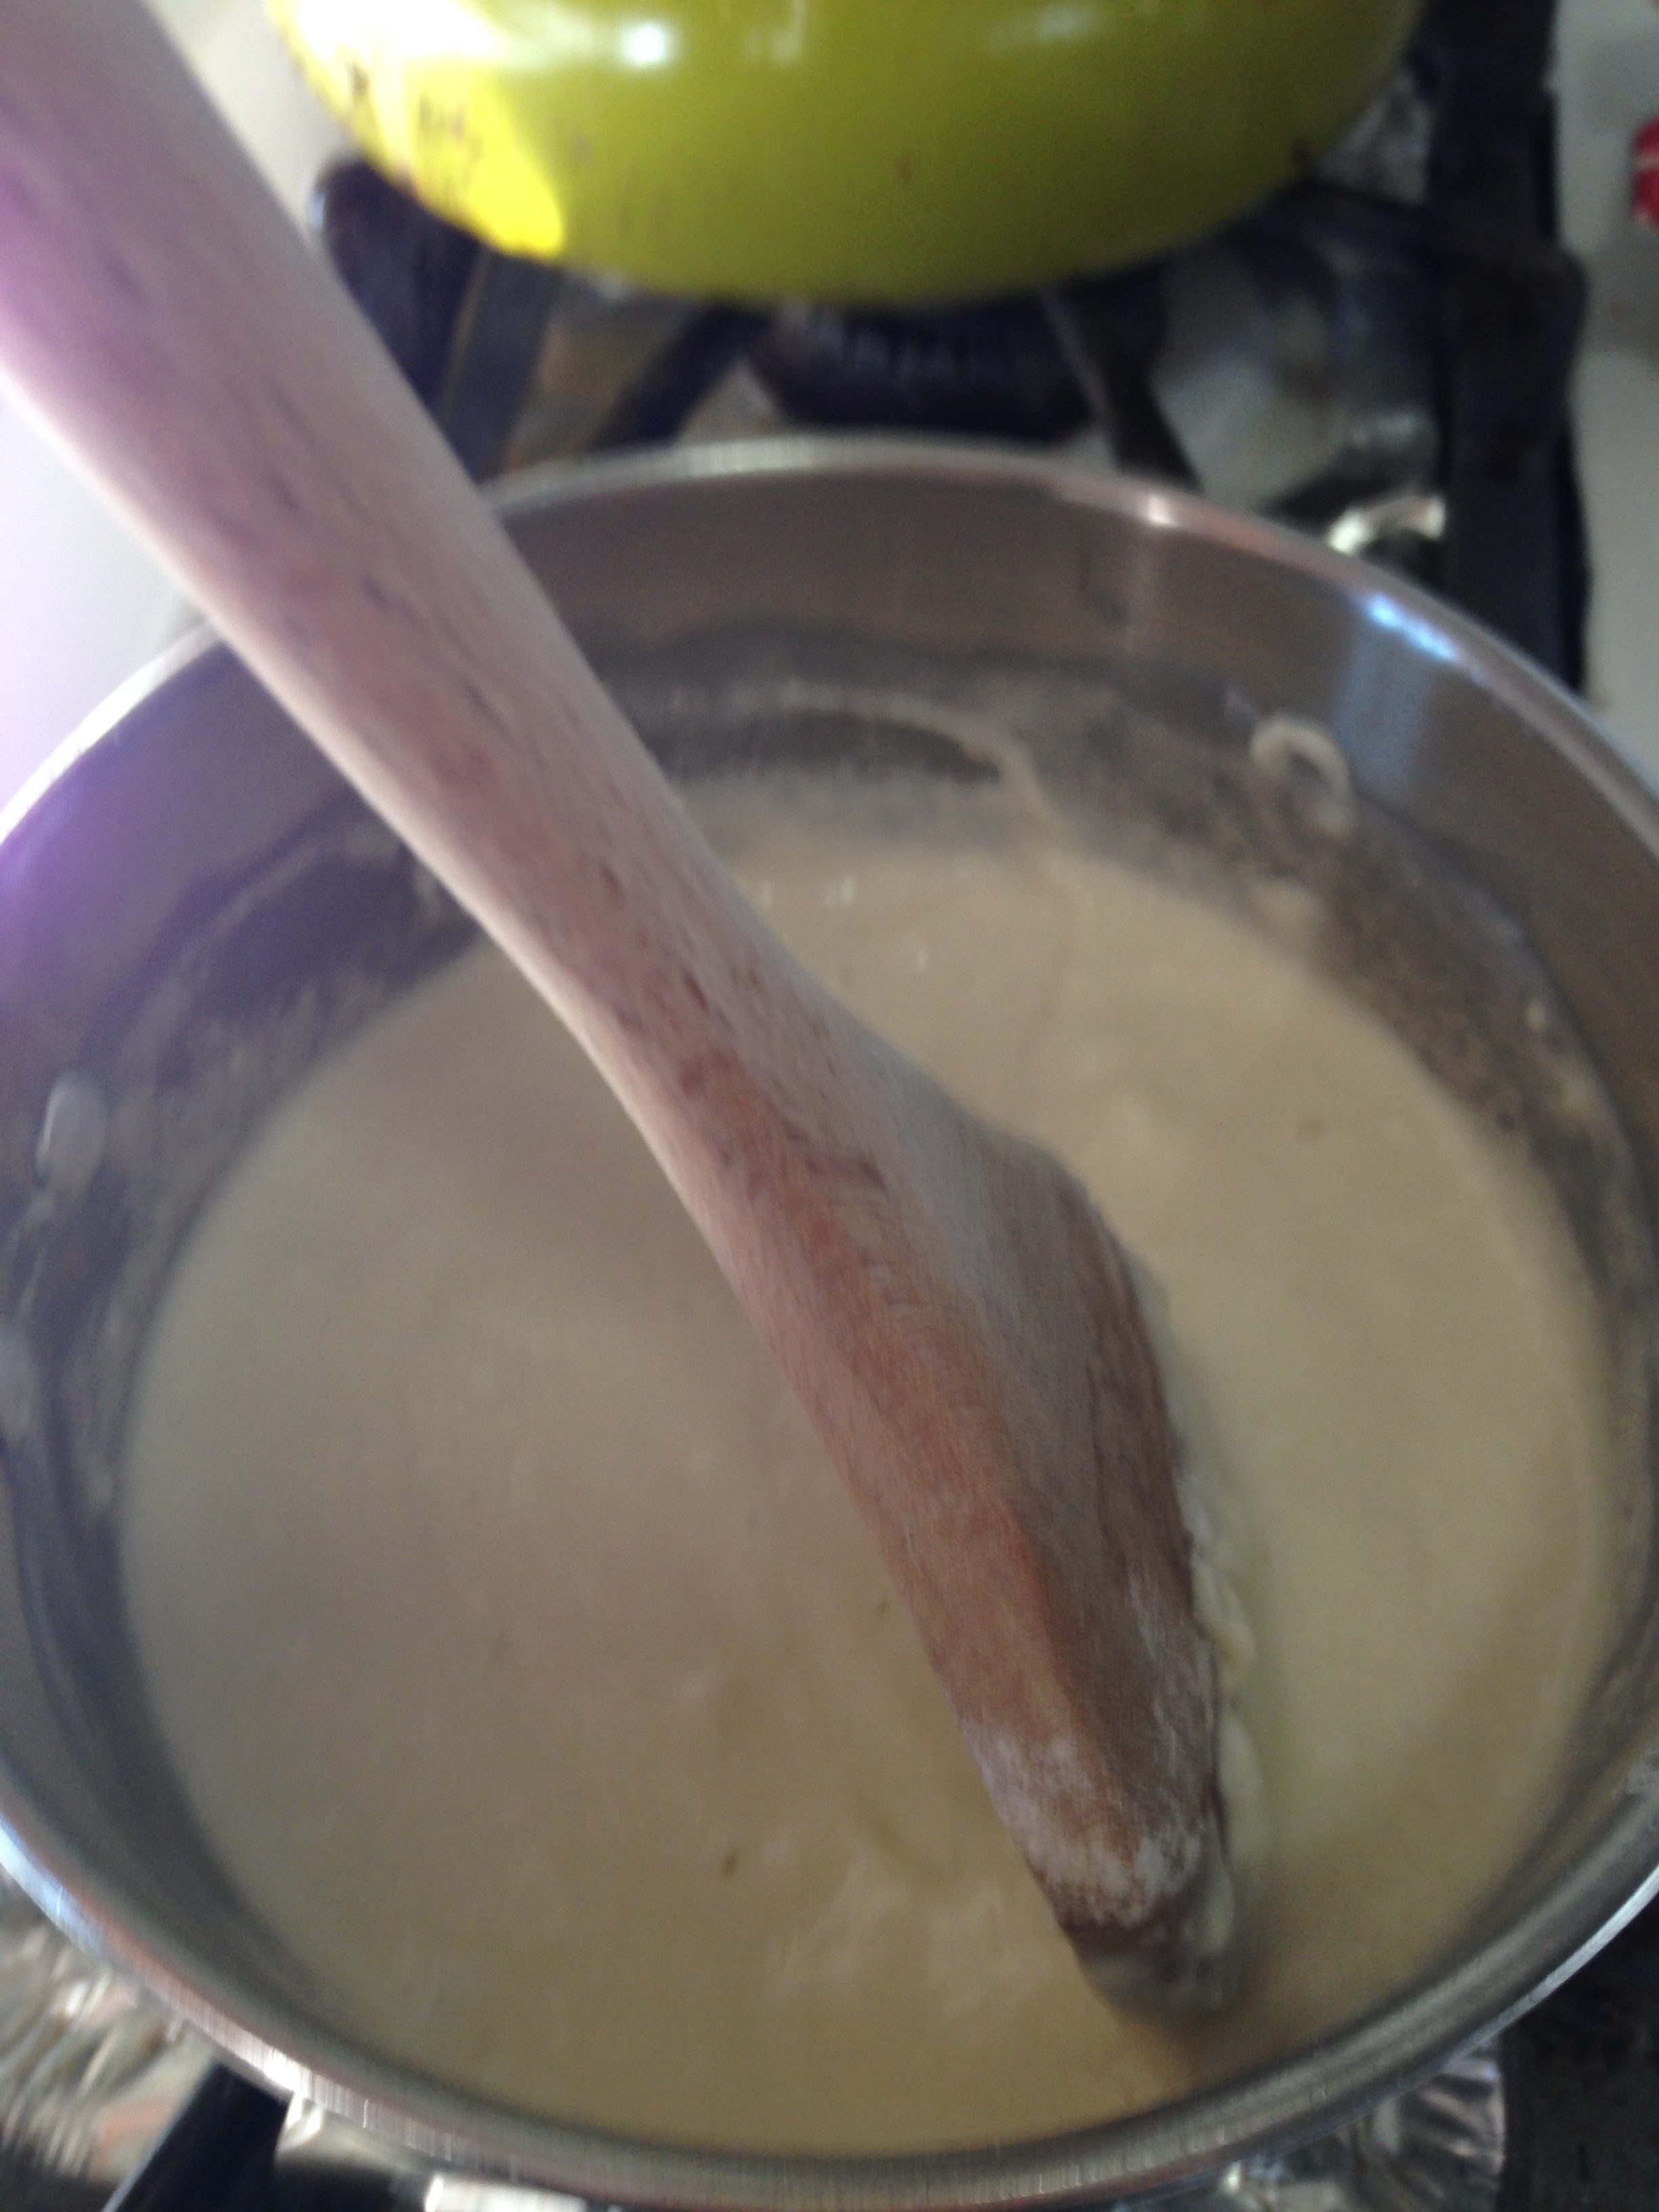
Place pot over medium heat and pour flour and water into pot and continuously stir the ingredients until it becomes a thick paste.
Take the pot away from the heat when it no longer sticks to the sides
Add cold water to the blob until it reaches the consistency you like and place the amount you desire into separate bowls to color.
Add food coloring, watercolors, natural colorants such as beet or carrot juice, turmeric spice
These can be enjoyed right away or stored in the fridge!!
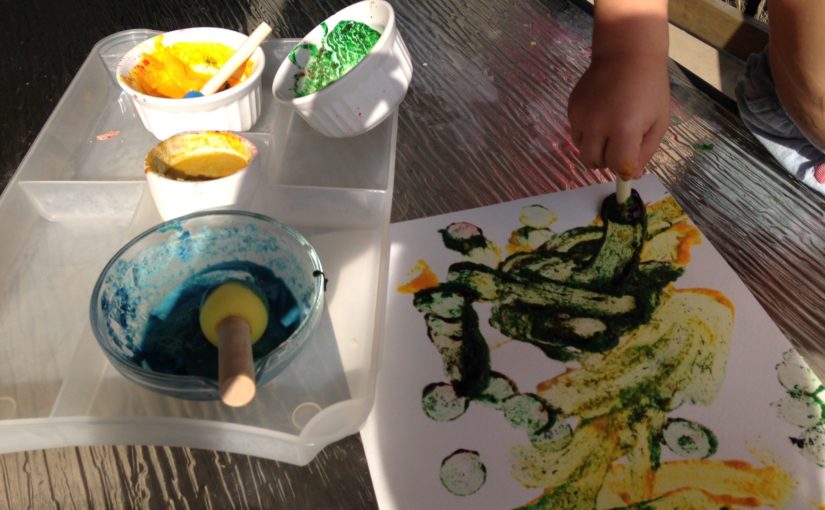
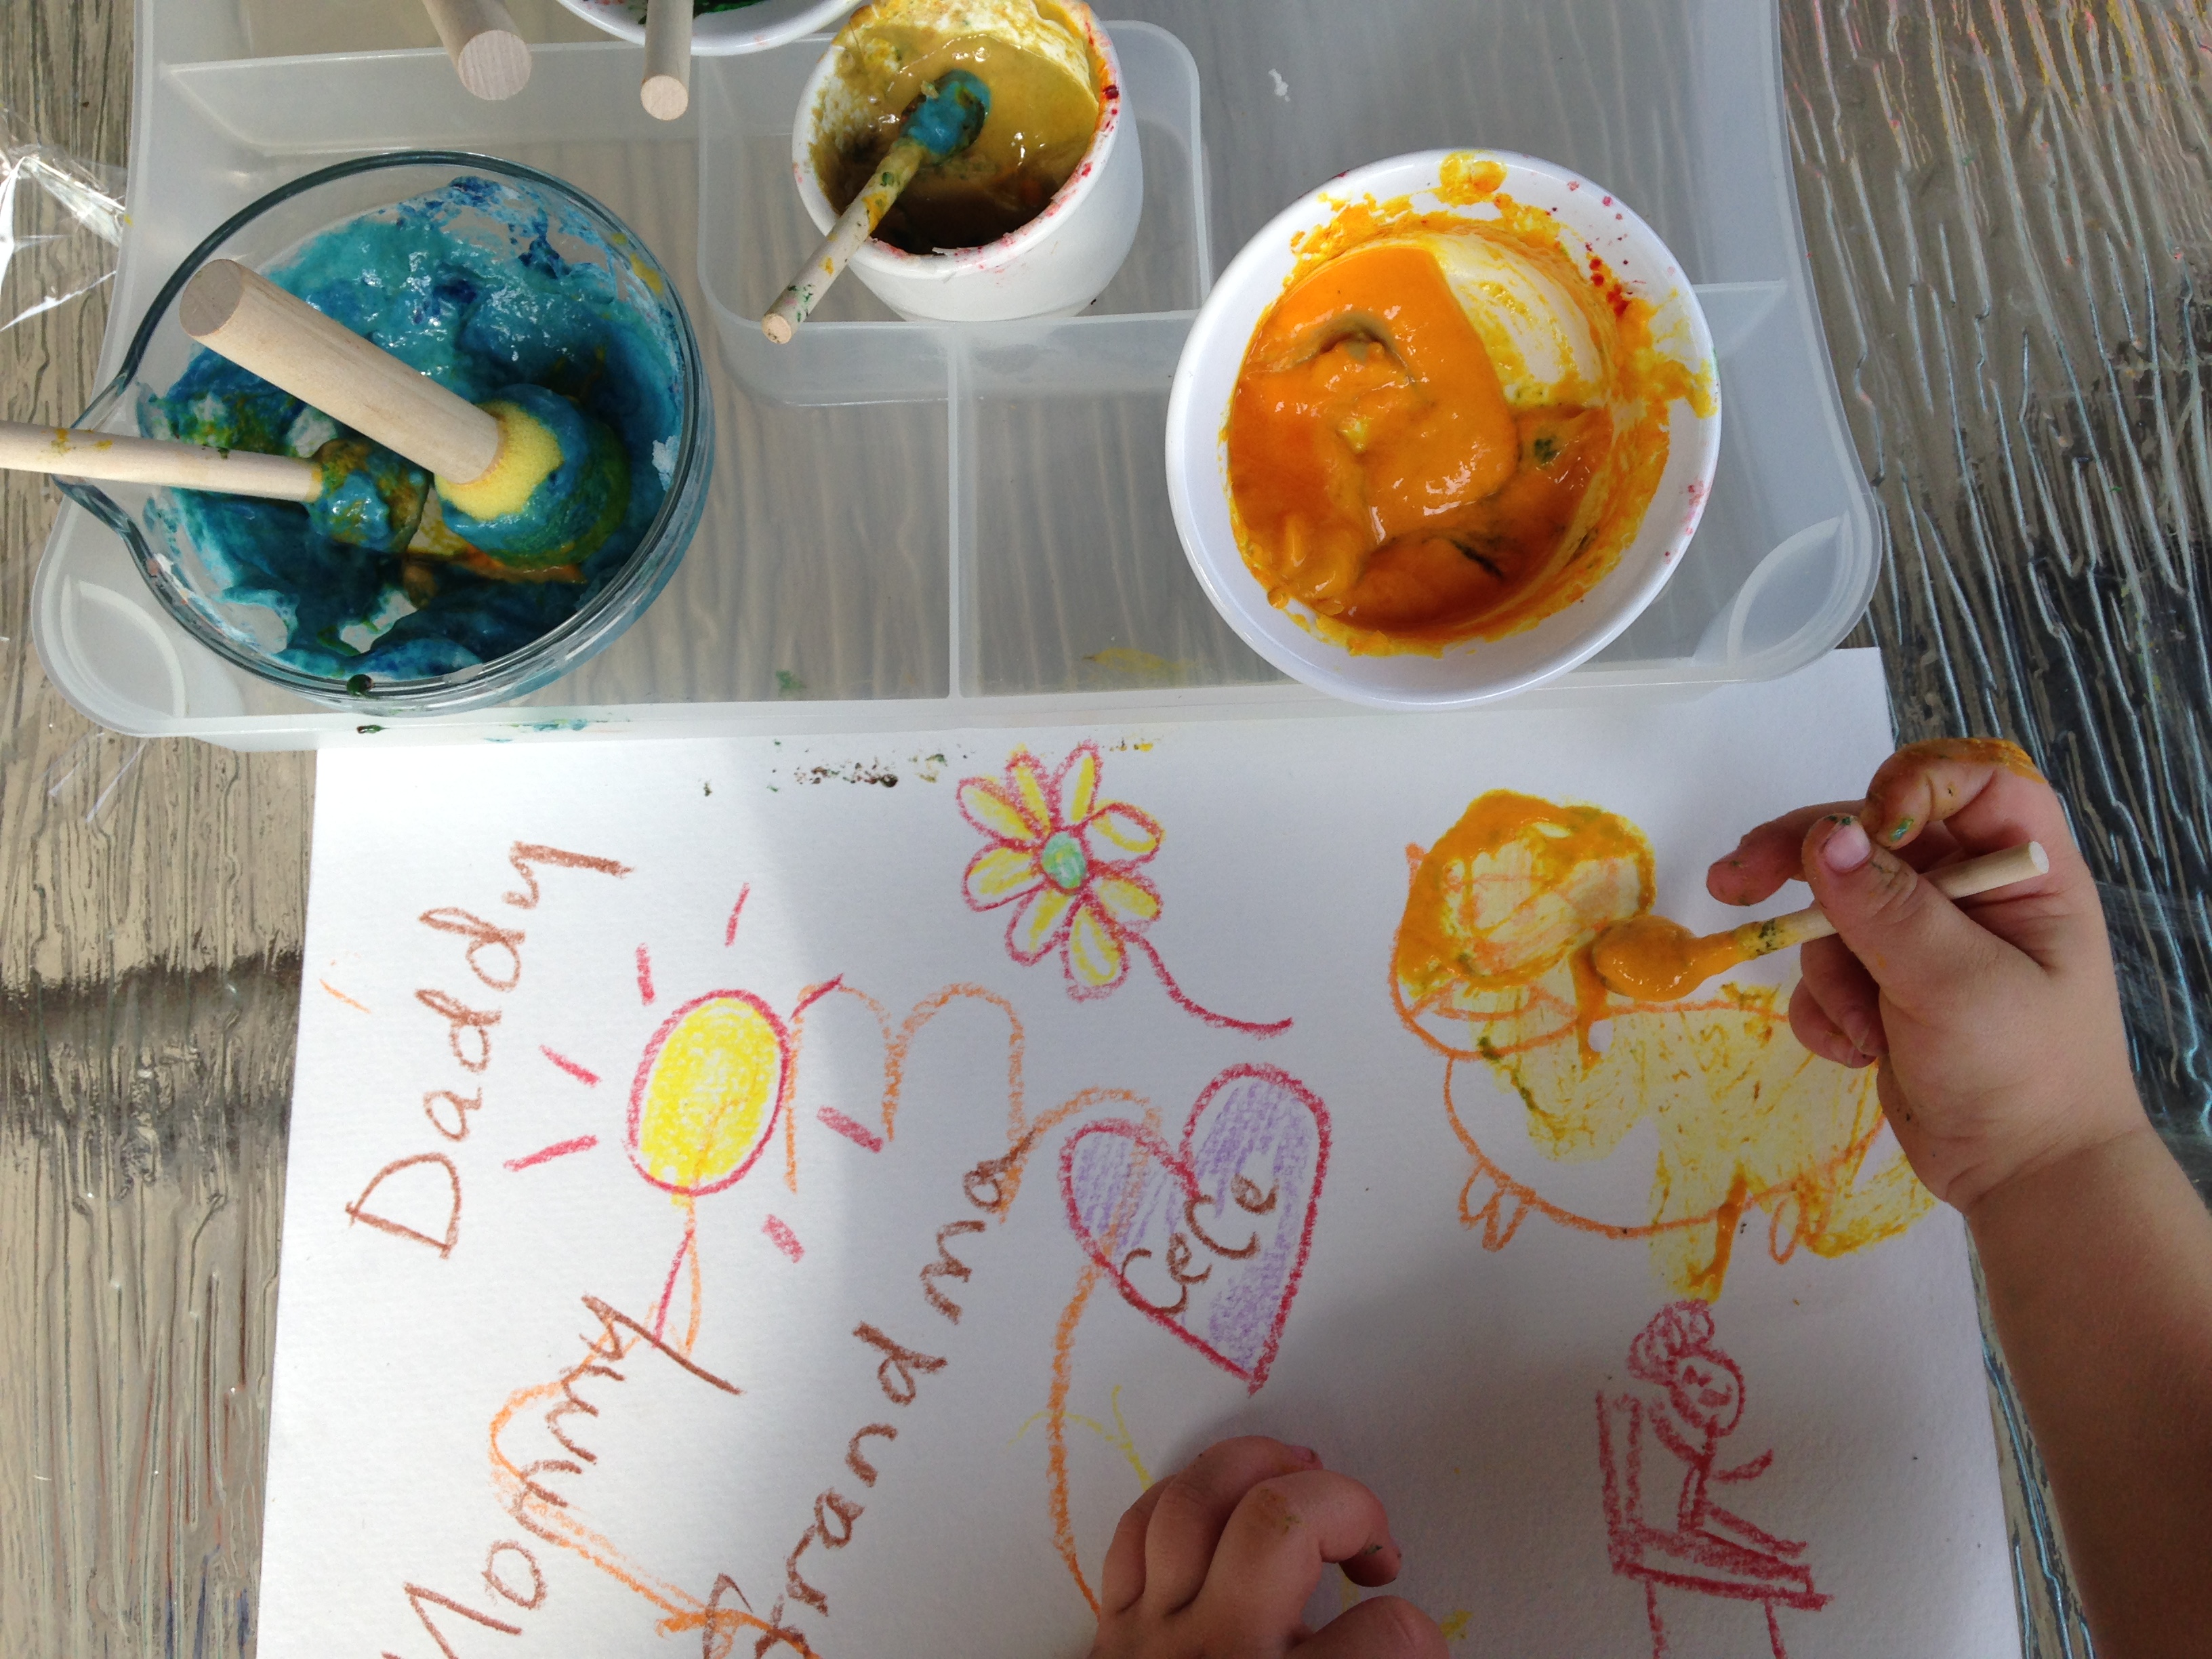
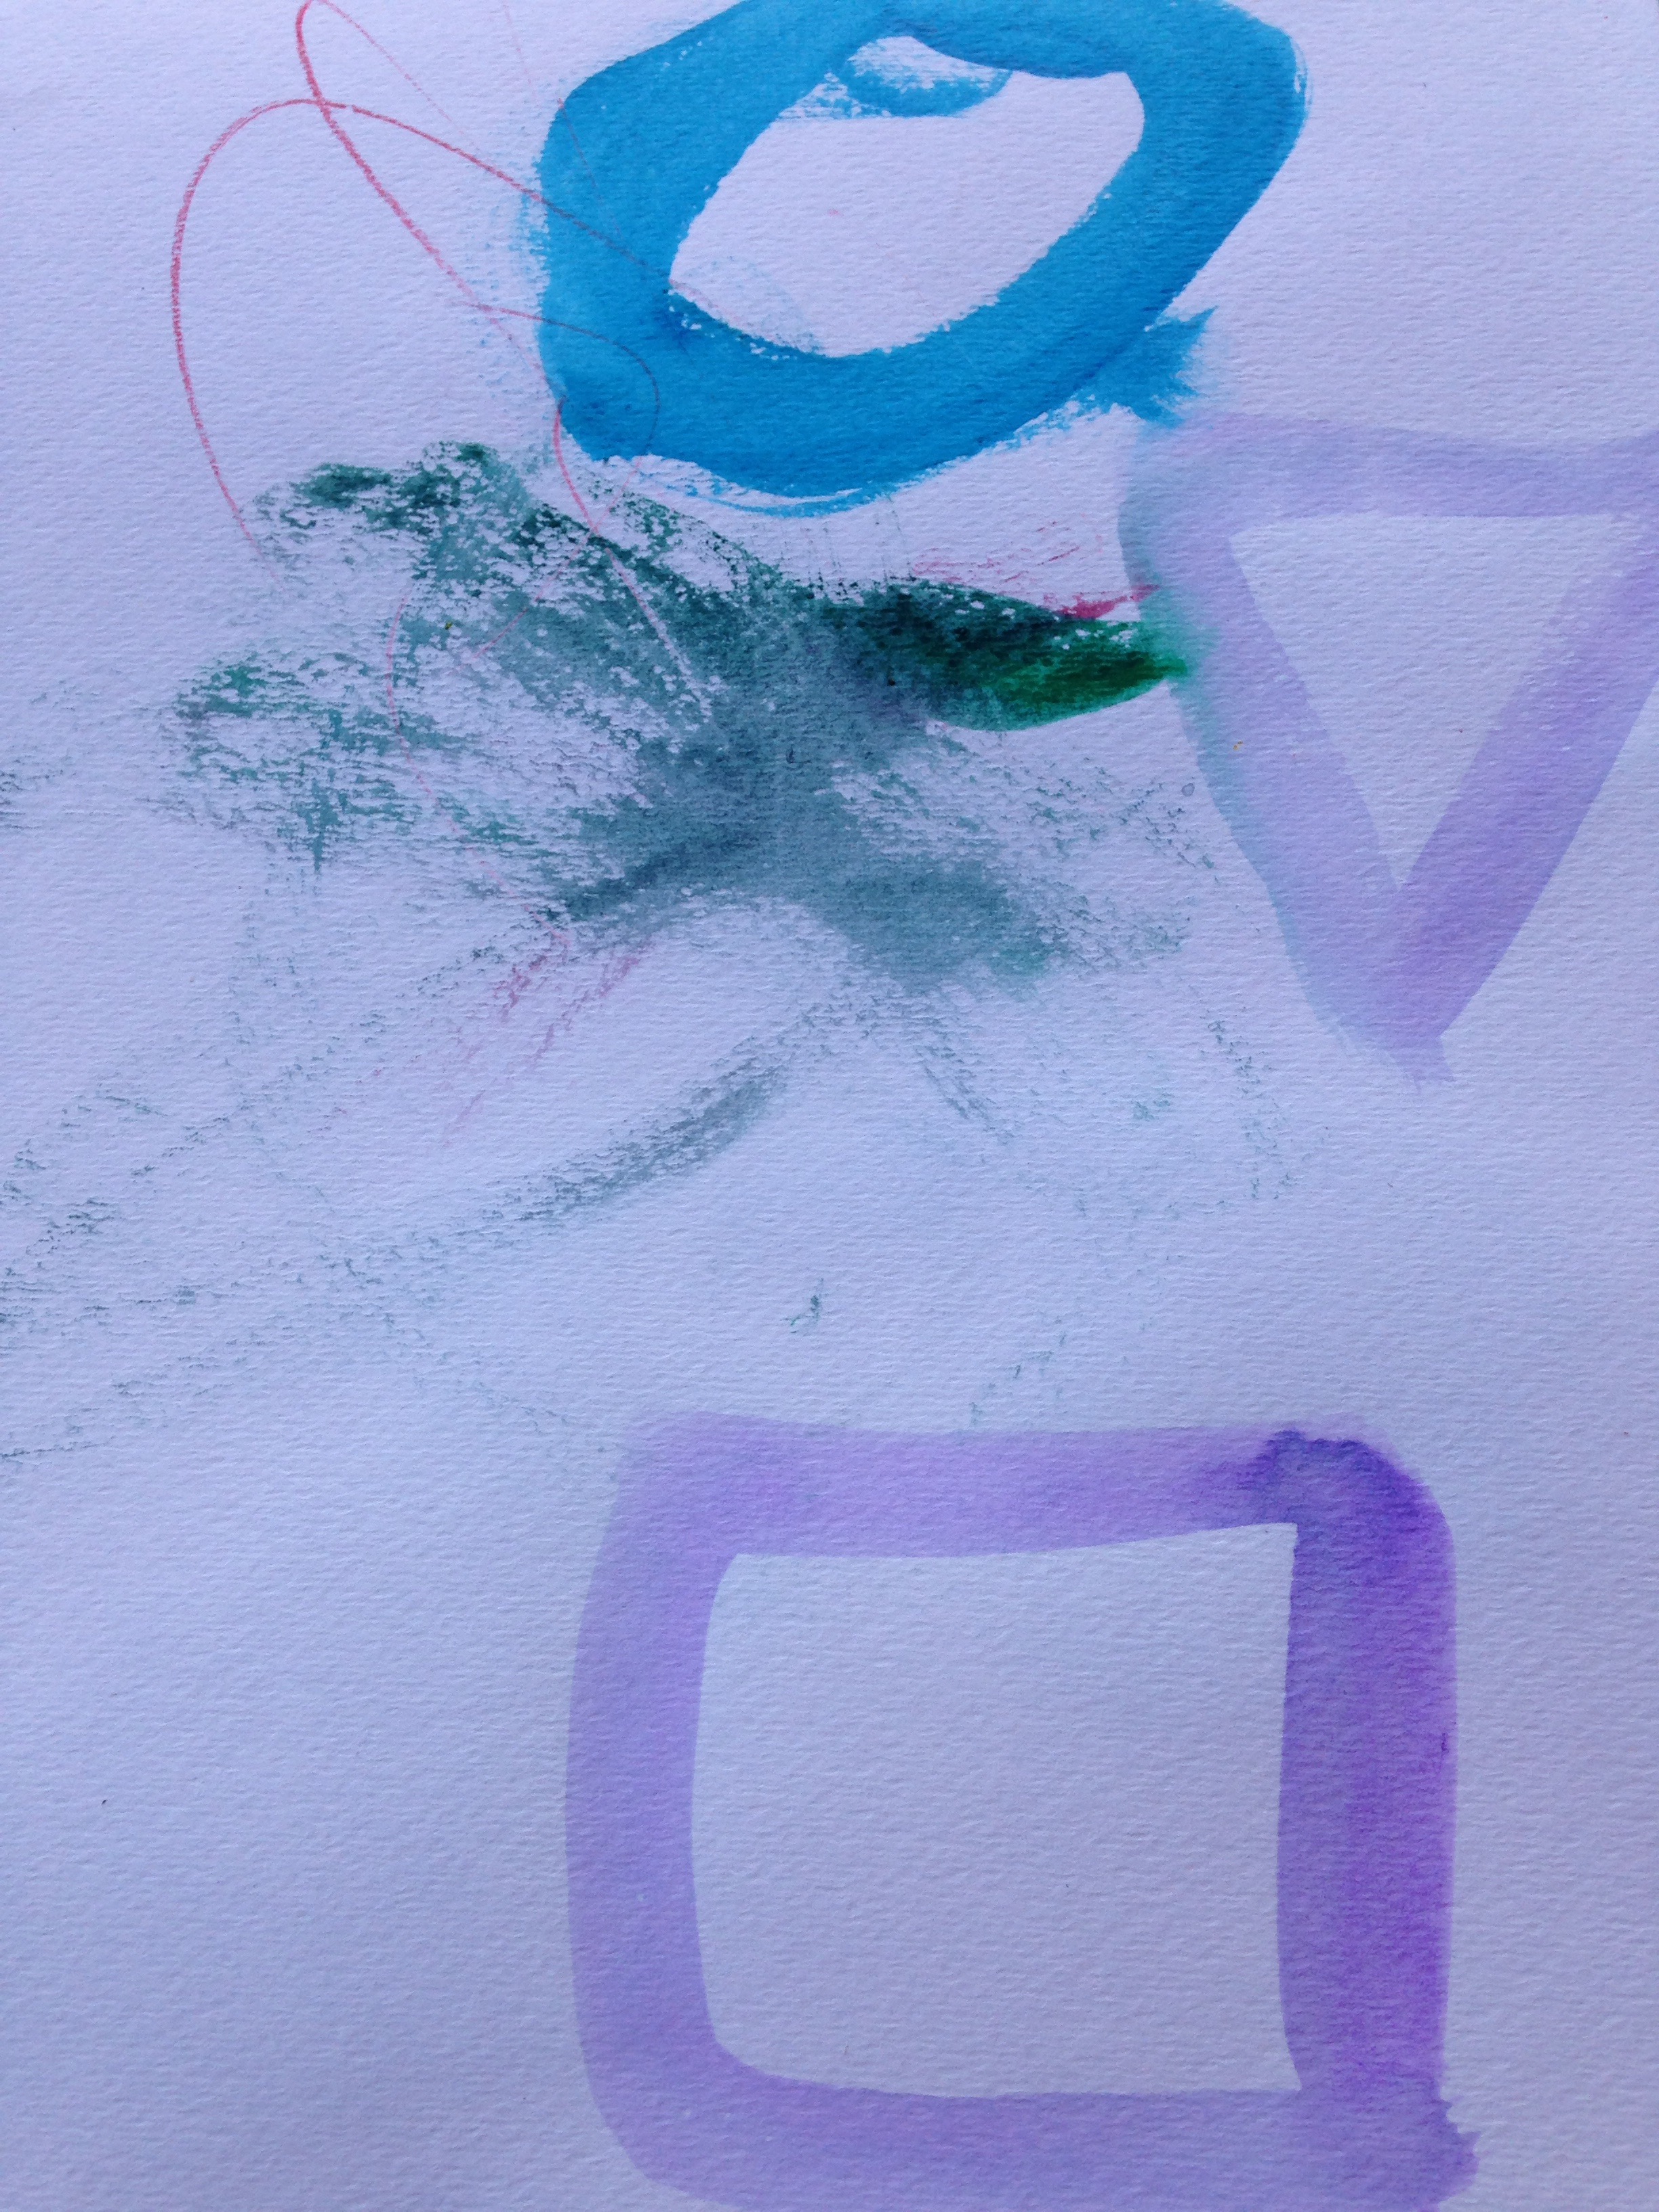
This paint works well for fingerpainting or sponge painting. You can also use brushes but as you see in the photo, the colors come out thinner and lighter than traditional paint. The color dries on without fading. We used the paint several days in a row.
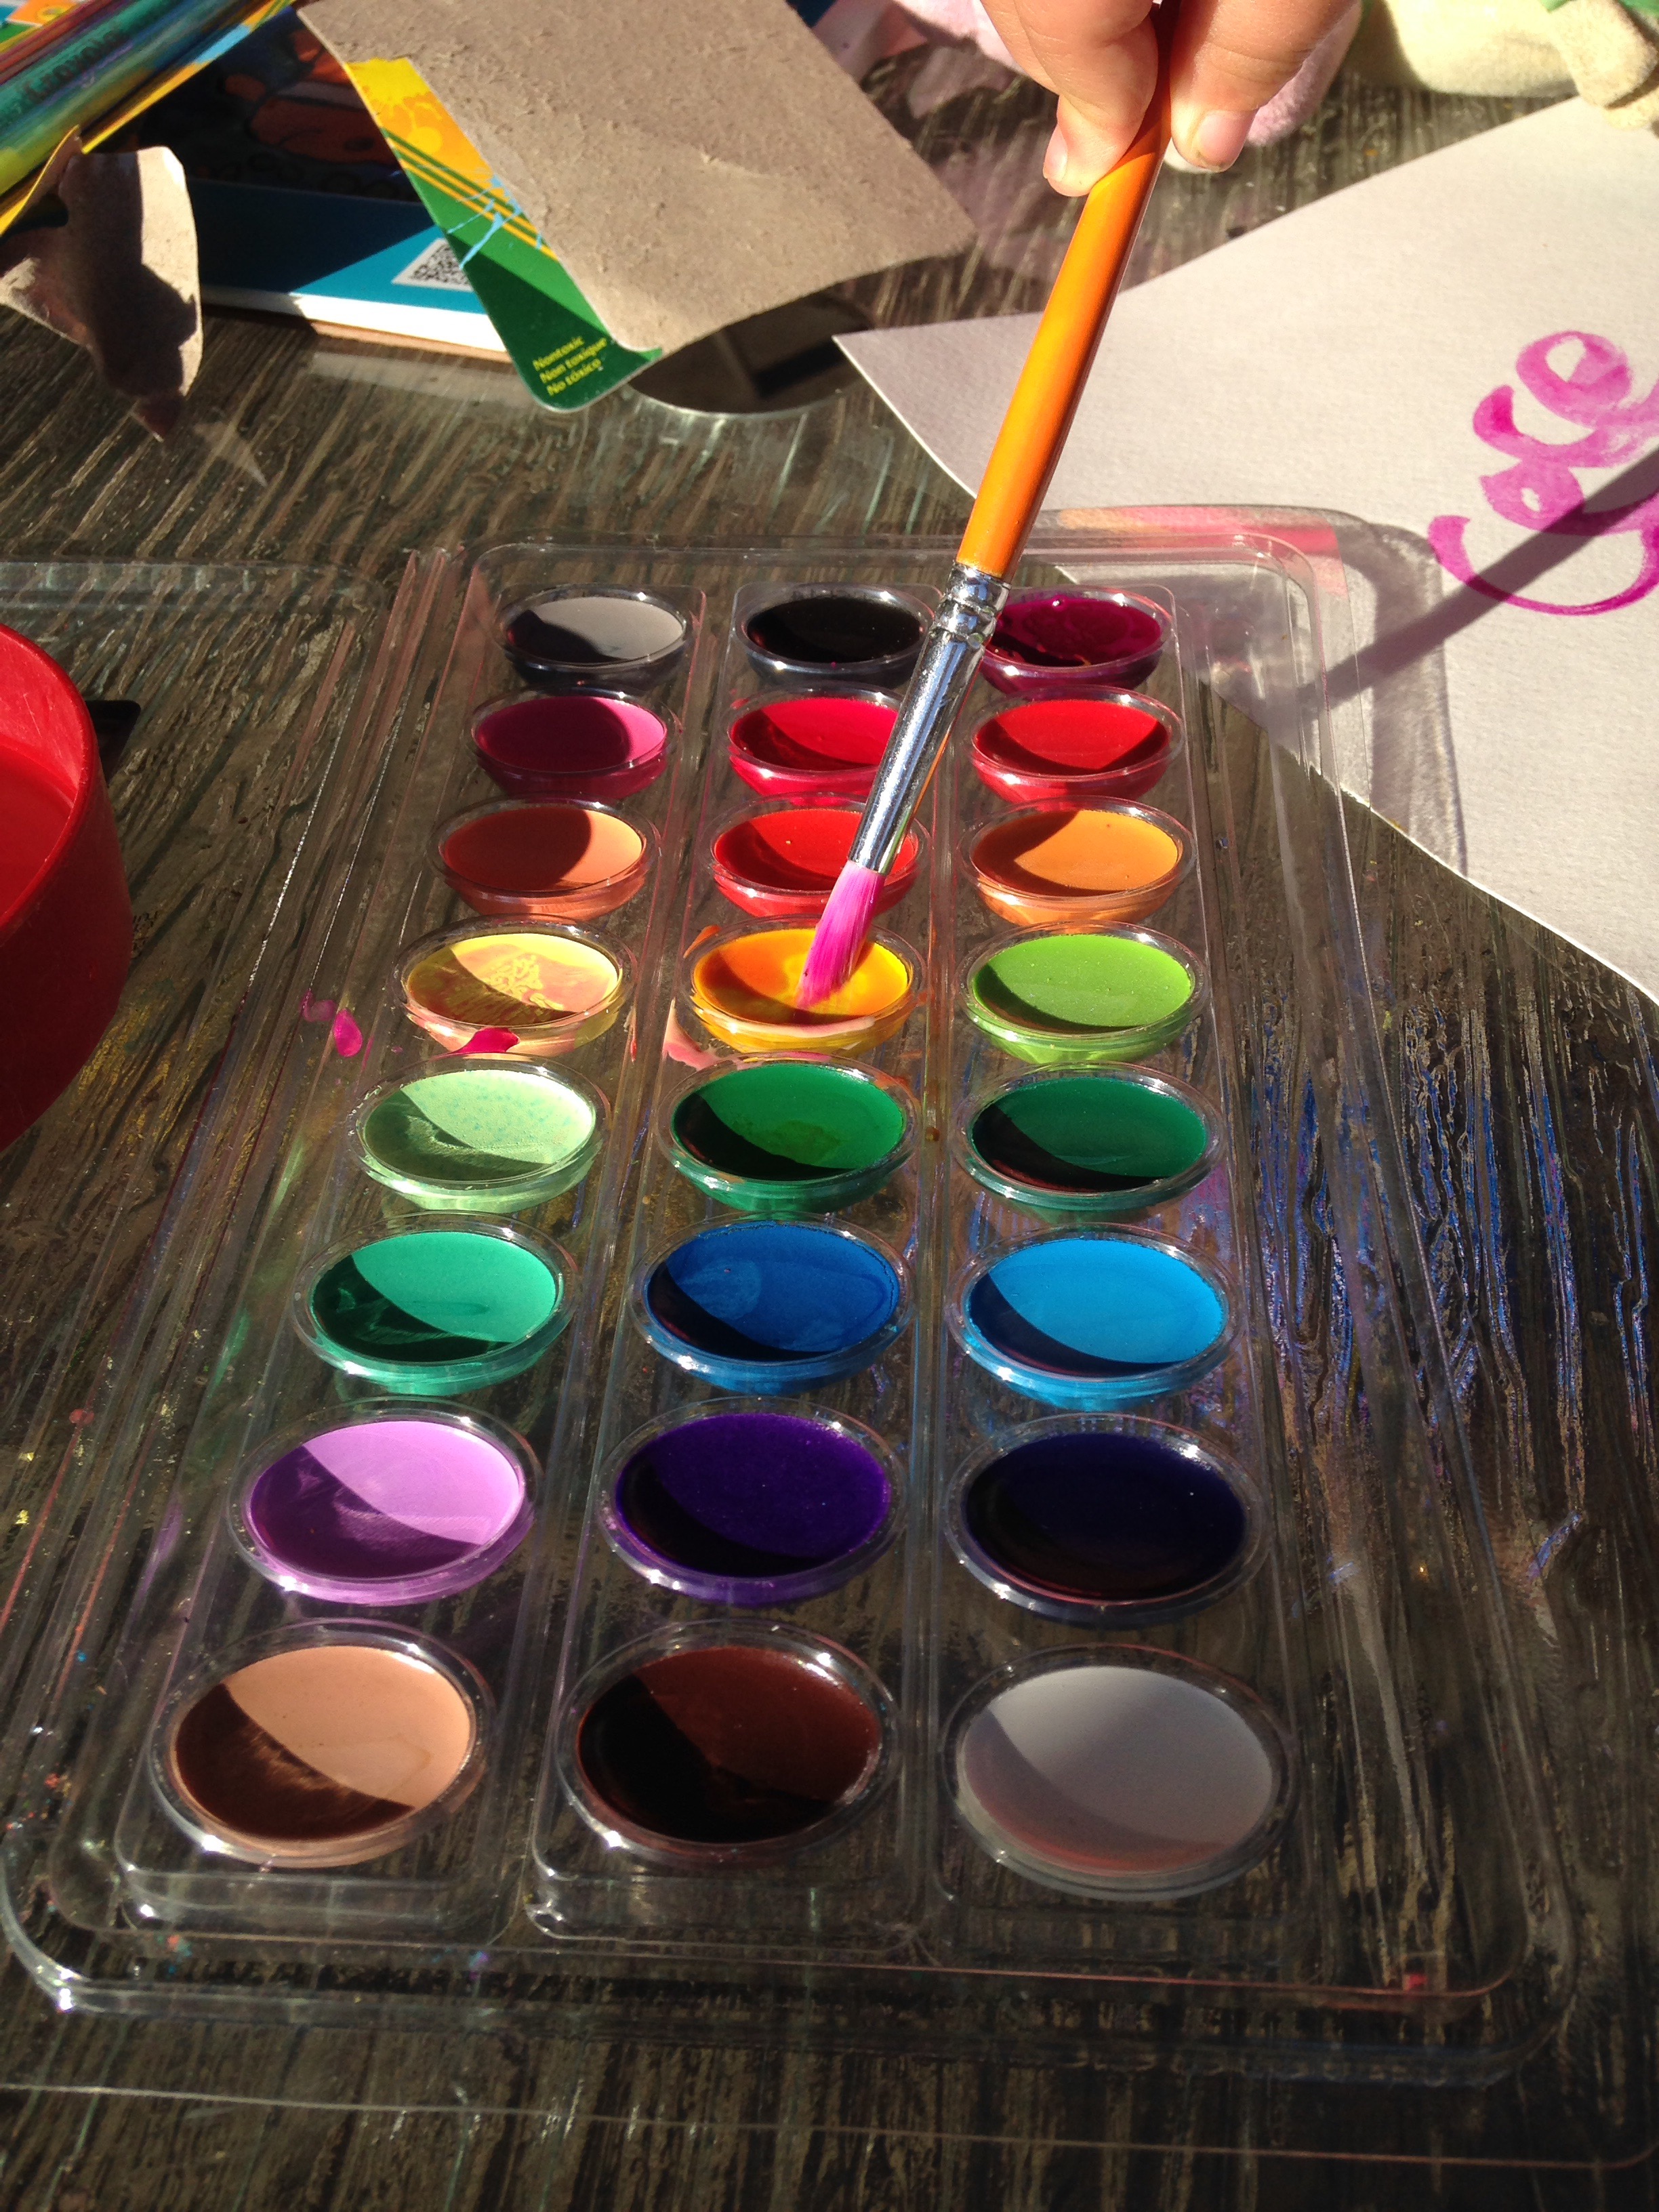
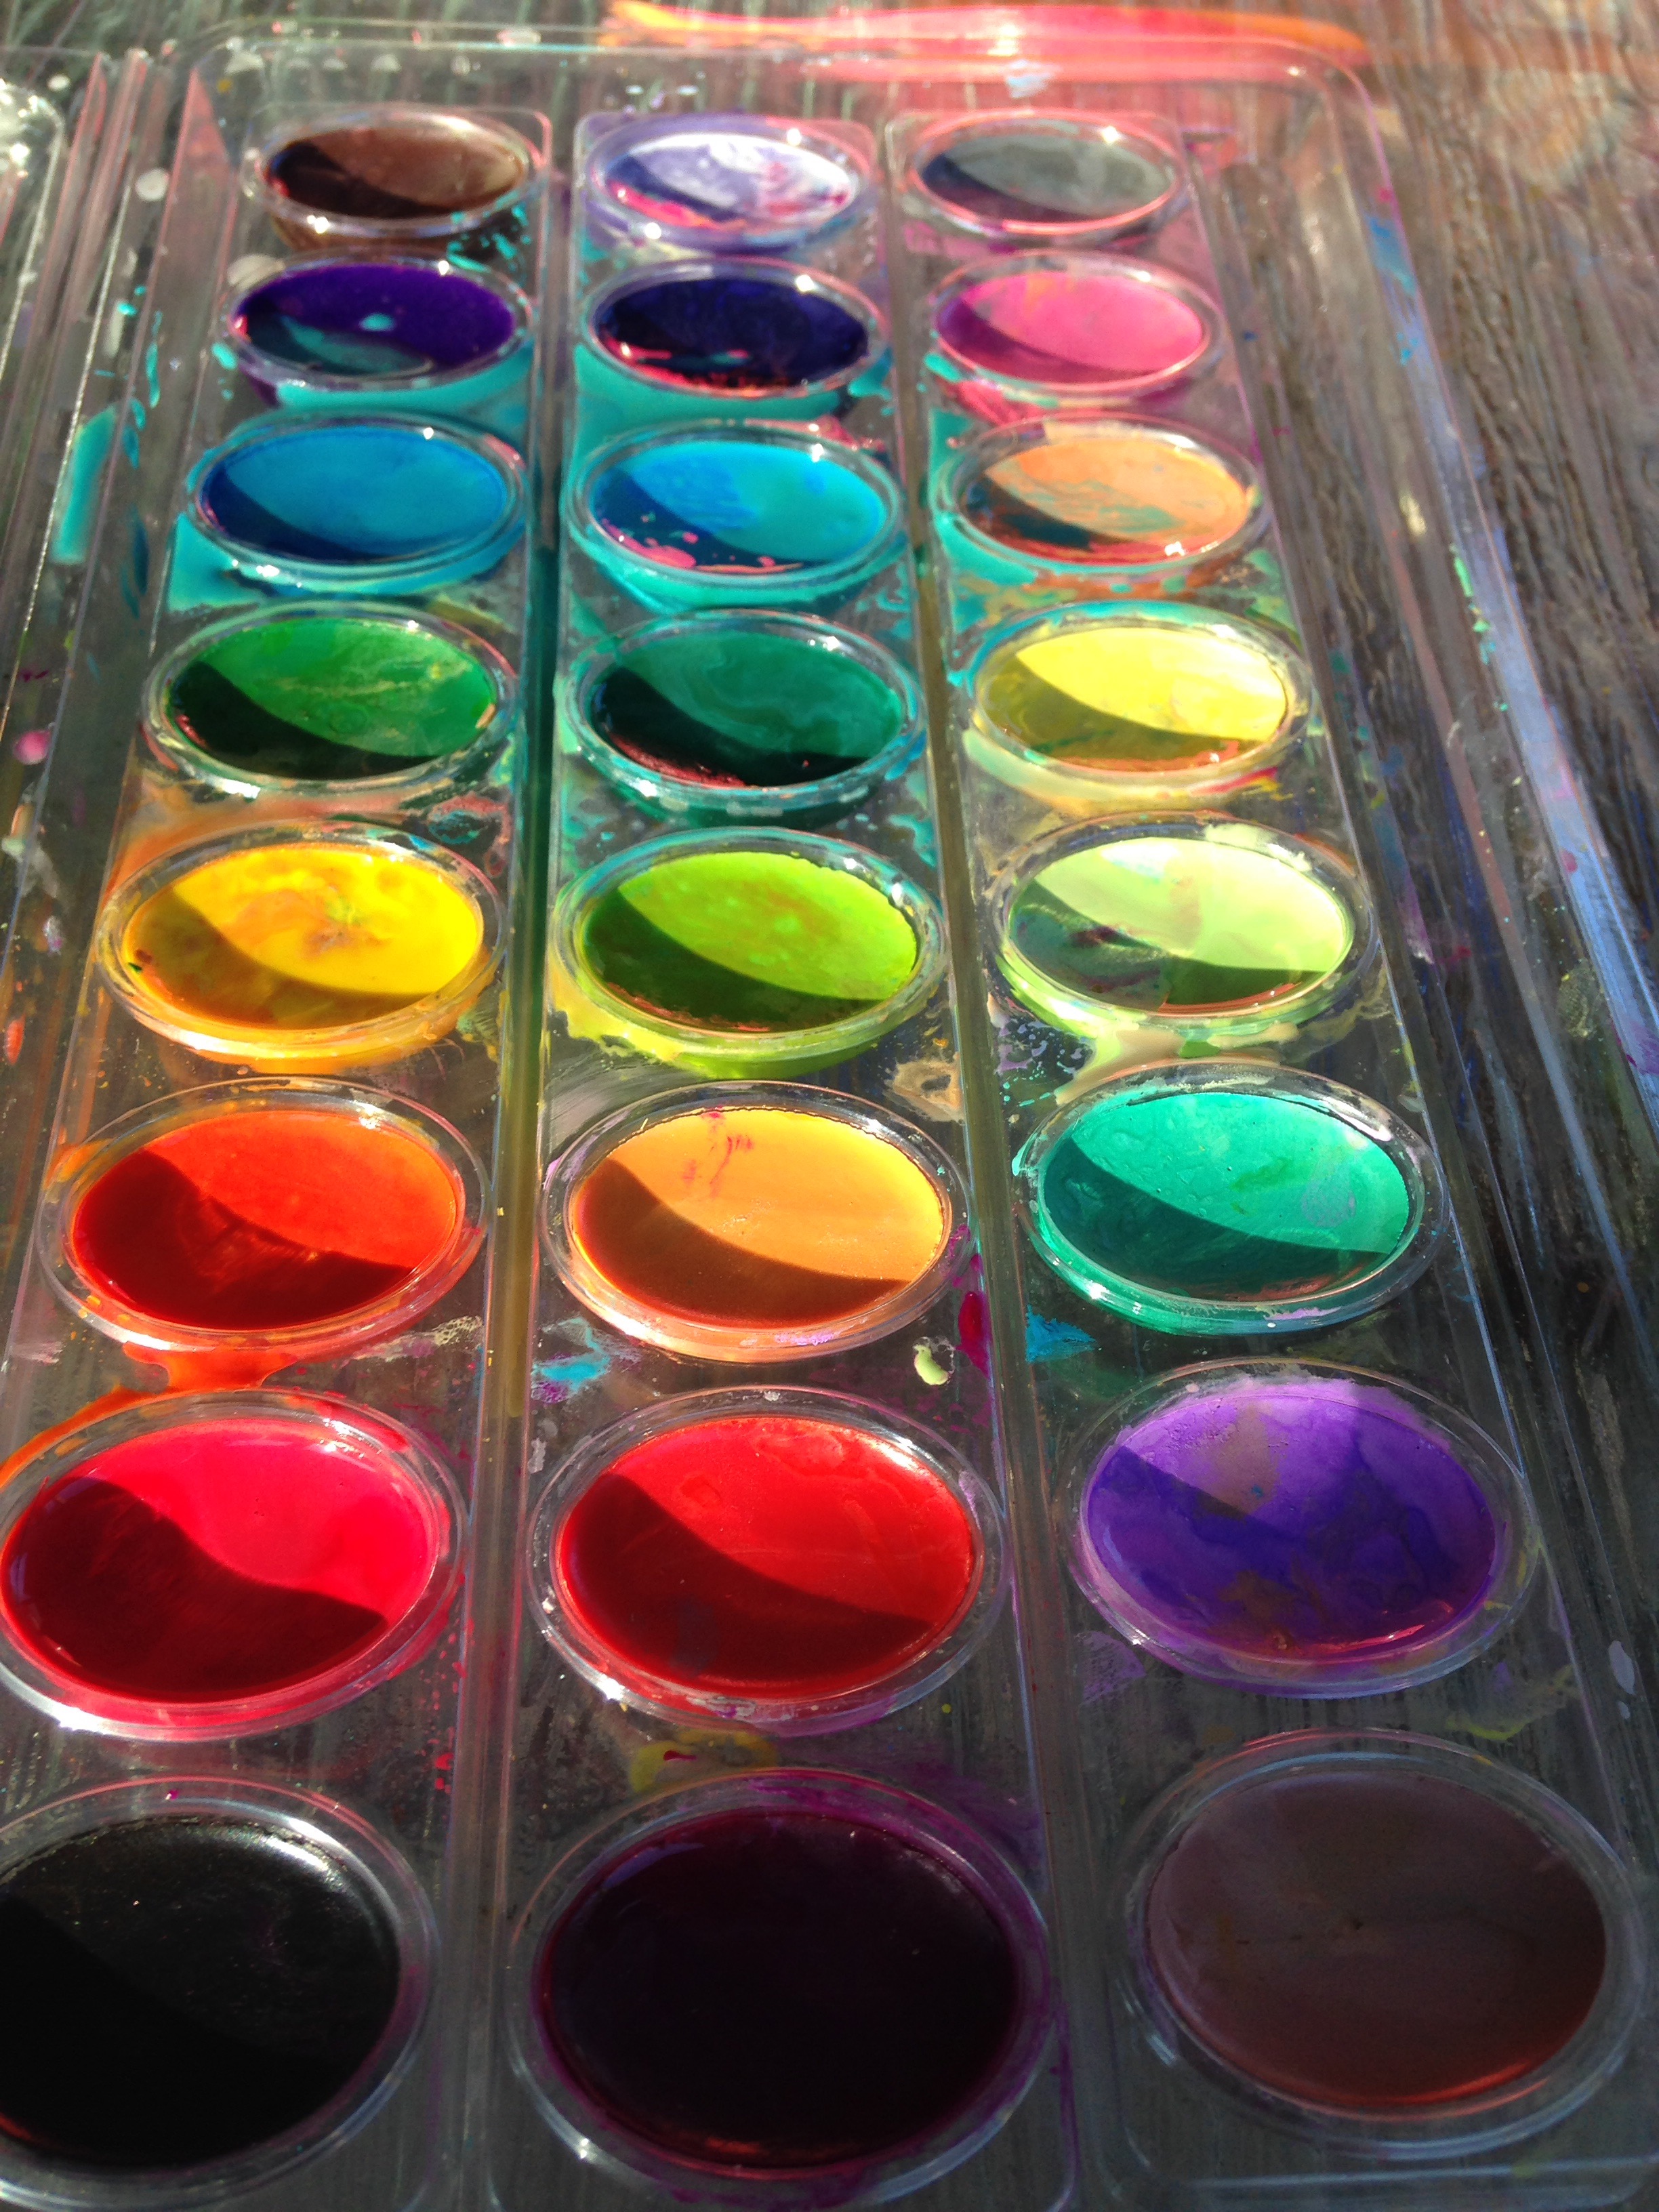
And who doesn’t love watercolors? The problem with watercolors is that the colors can mix and you only get very small amounts of each color. However, this can all change with homemade watercolor paints!
photo by factorydirectcrafttbsp. baking soda
2 tsp. white vinegar
1/2 tsp. light corn syrup
2 tsp. corn starch
food colors*
containers for storing paints*
something to stir with (toothpicks)
photo from happyhooligans
You can use a muffin pain, disposable cups, egg cartons, or any other container that you aren’t going to use for a couple days.
Instructions:
1)Mix baking soda & vinegar in a cup with a spout. I used my Pyrex measuring glass. Let the kids watch as it fizzes
2) Add in light corn syrup and stir.
3) Stir in the corn starch until well combined. (If it gets too thick, add a little more vinegar.)
4)Pour into your paint containers- not too full, you need room for the food colors.
5)Add the food colors and stir until you reached your desired color!
6) Now if you want them to harden into hockey pucks you have to let them sit almost two days! If you plan on using it right away that’s fine too!
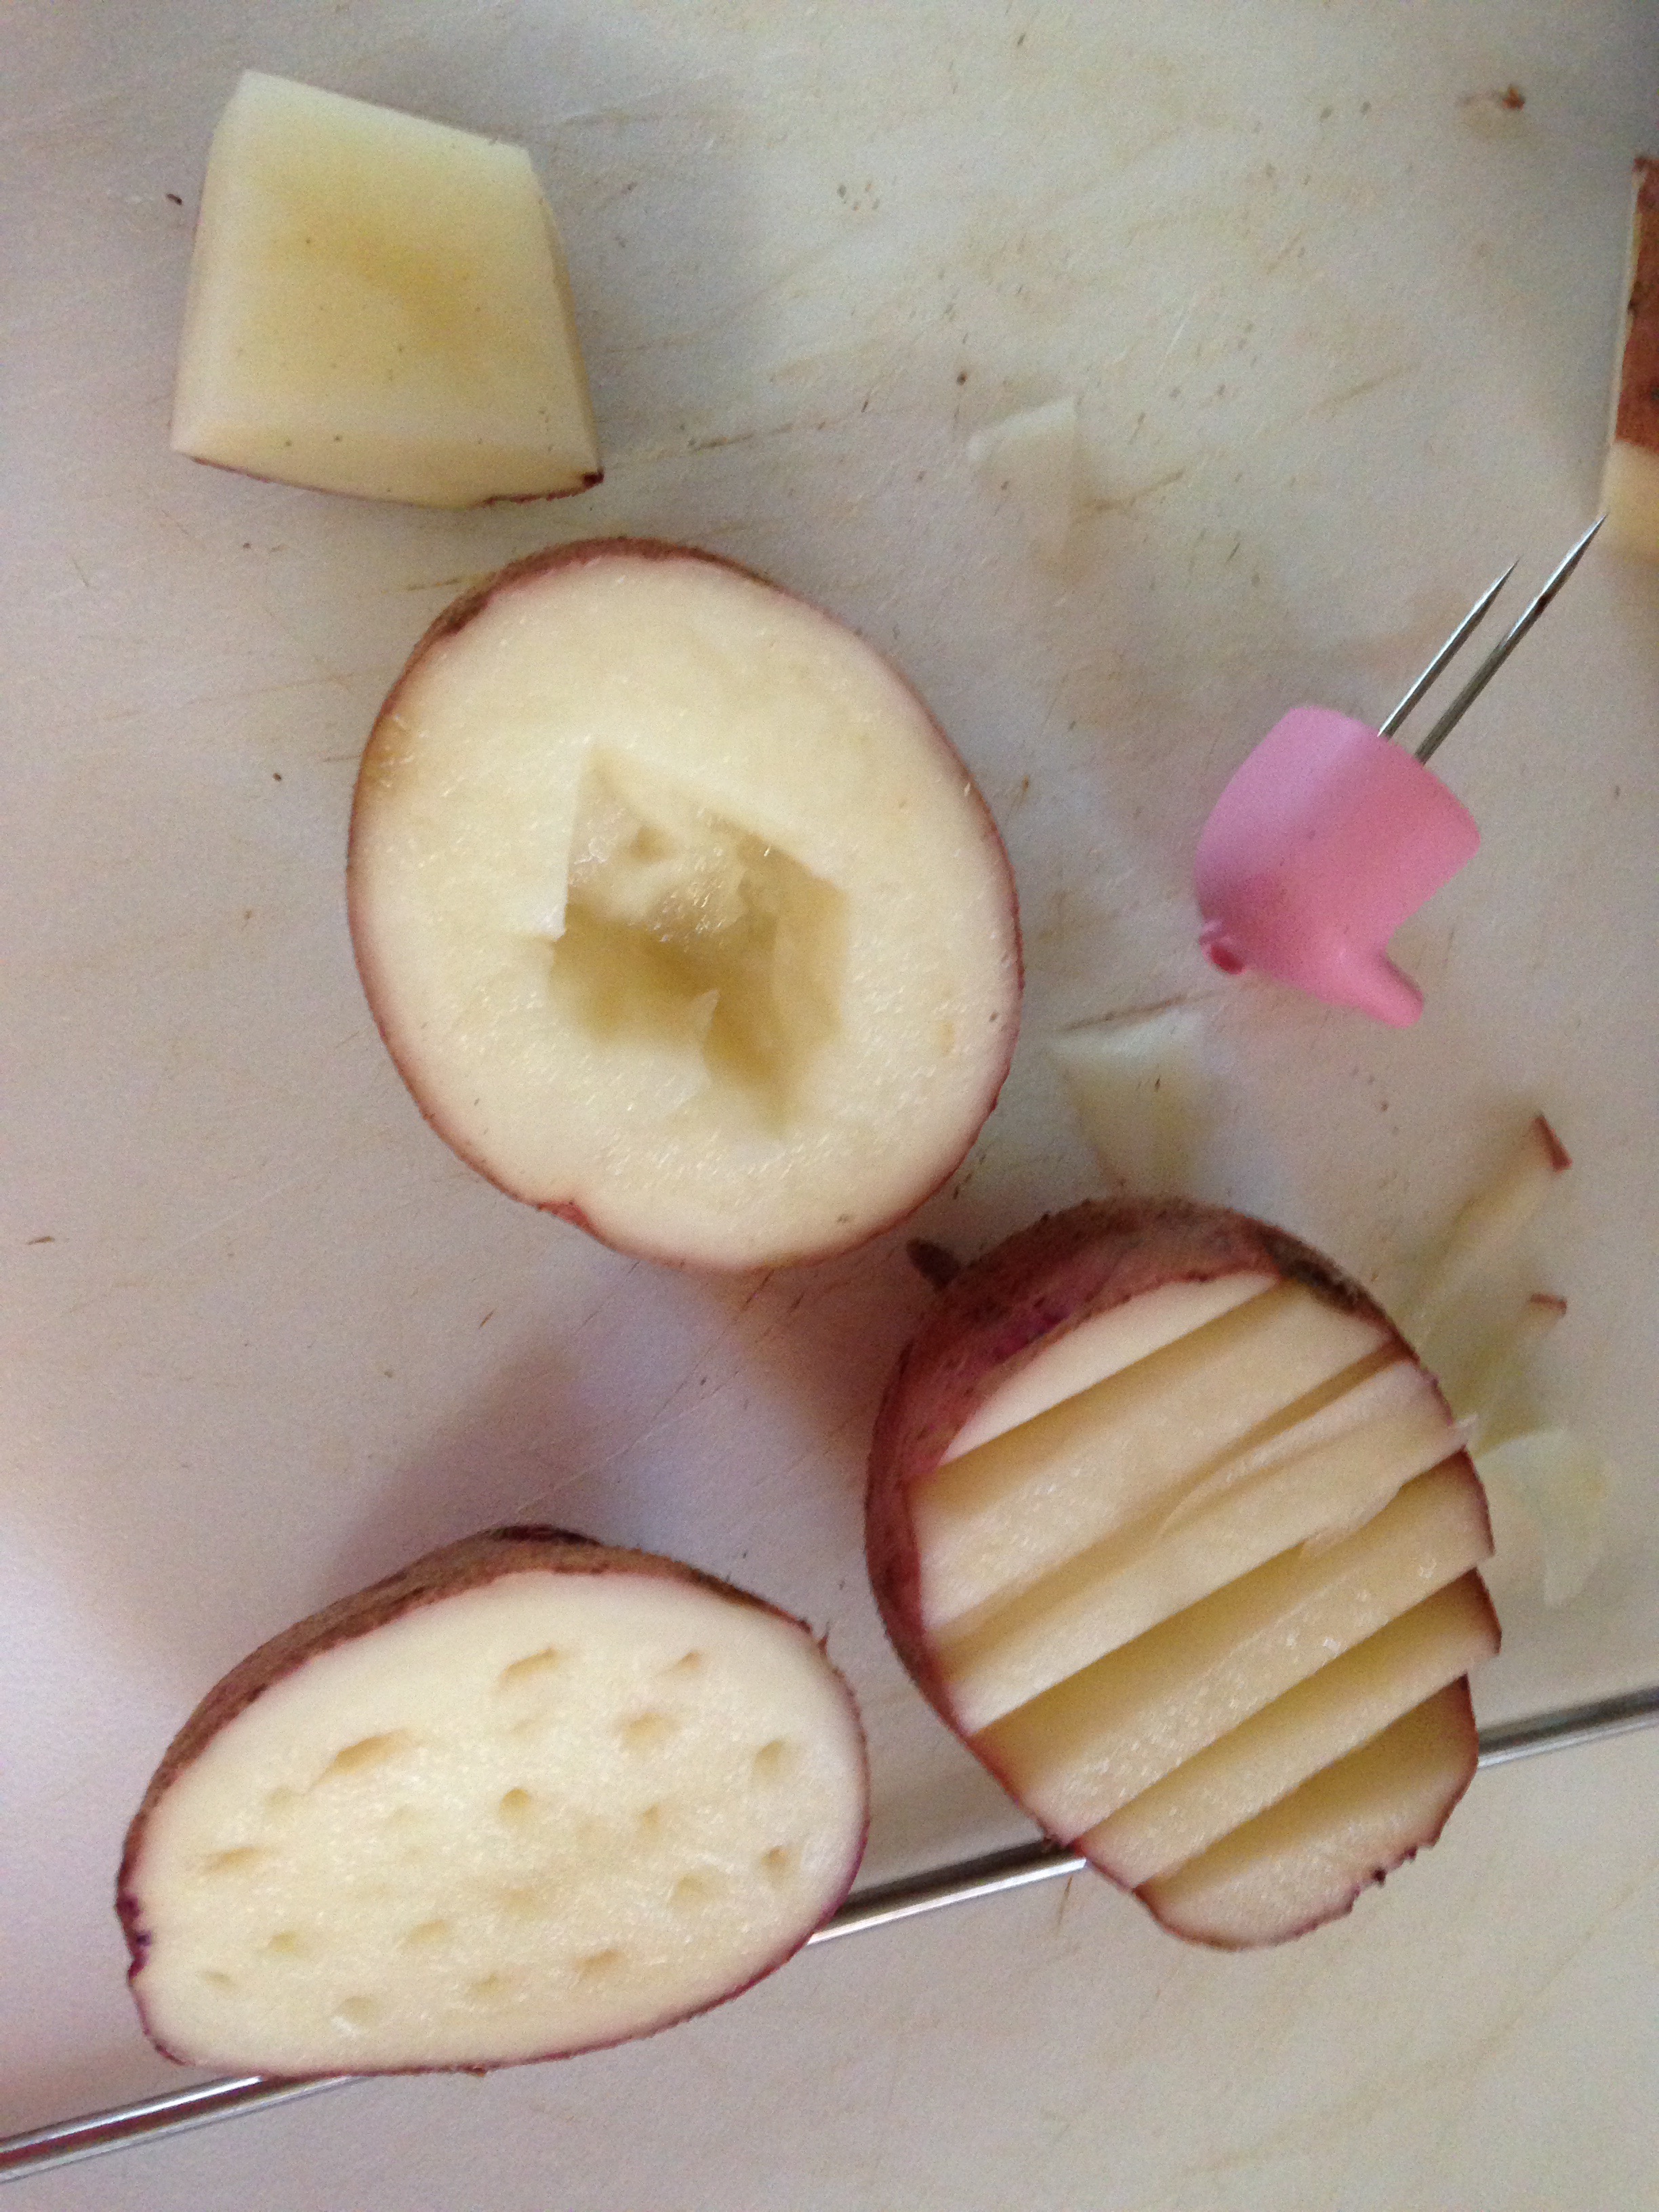
Sponges and potatoes!!
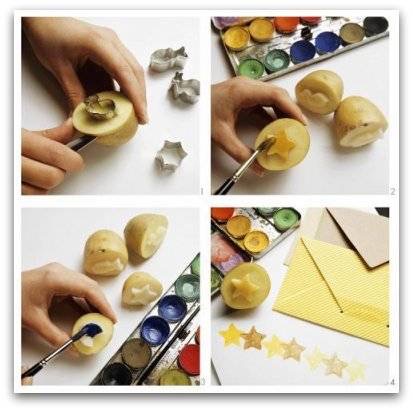
You can cut out designs in potatoes or out of sponges and dip into paint and press just like a stamp! I remember doing this as a child!
You can also use cookie cutters and paint the potato. This picture was taken from Fun stuff.
Dollar store sponges are great to cut out designs for painting!
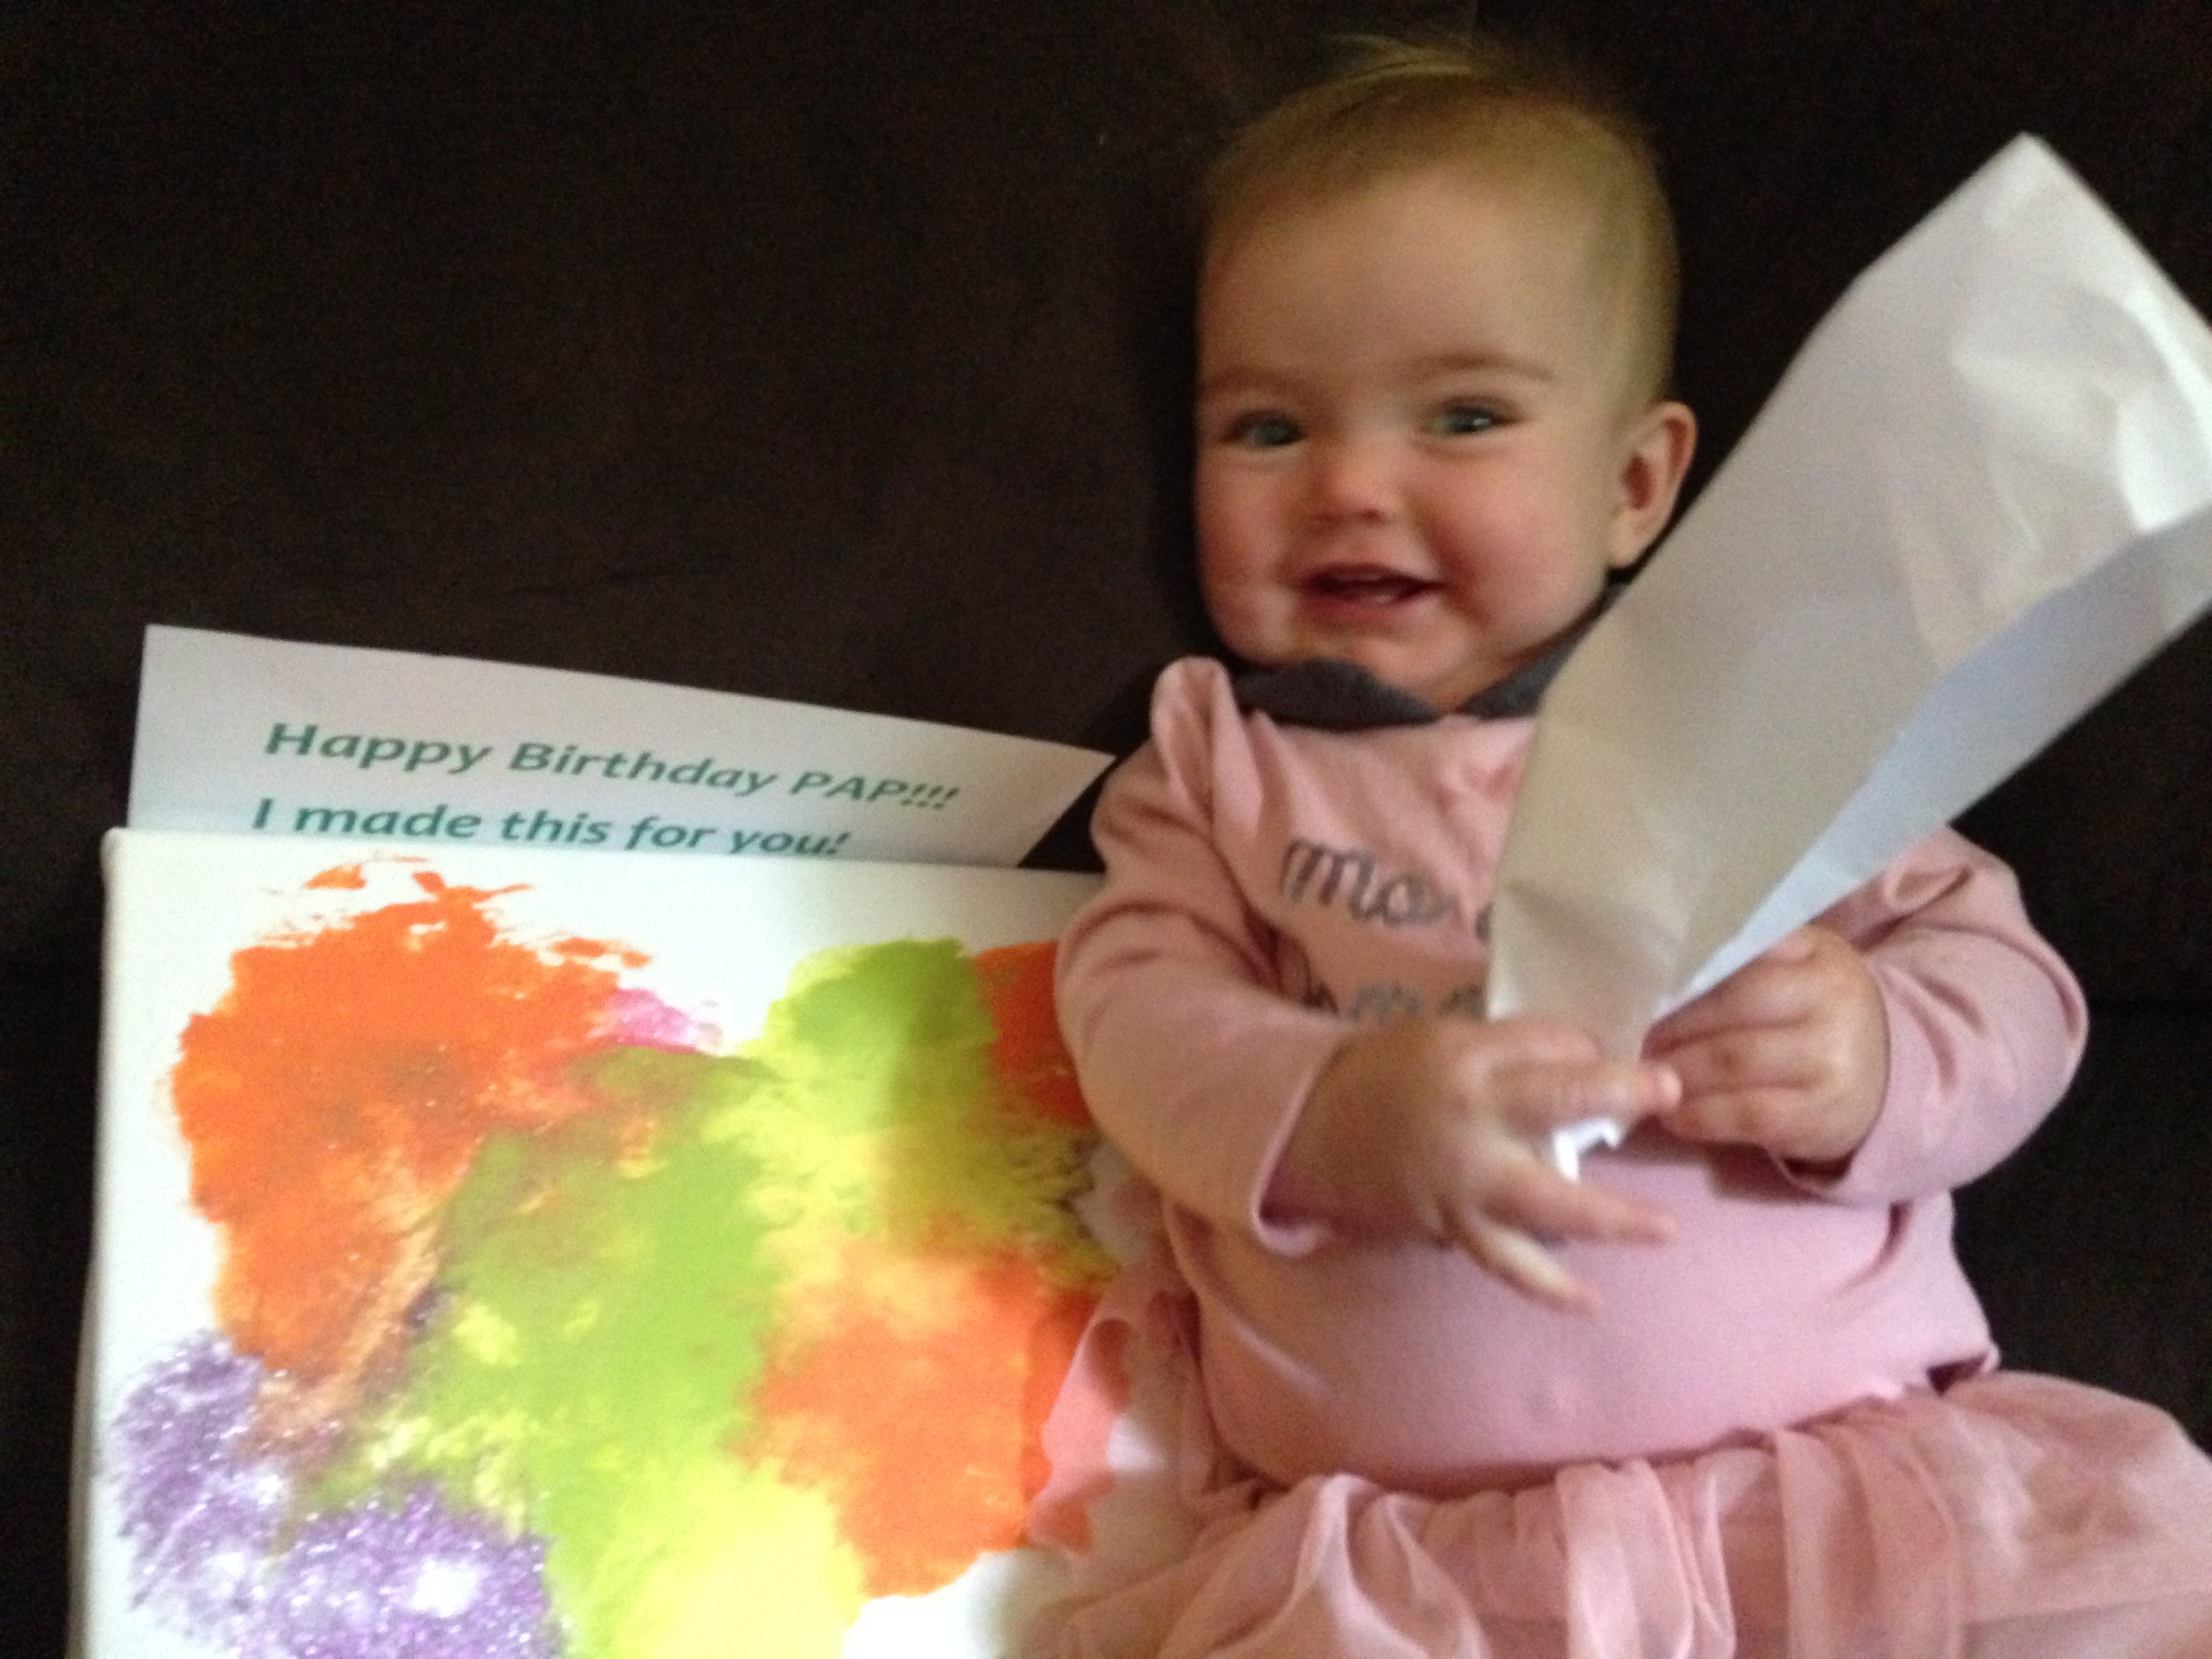
Every want your baby to create a work of art? Well, lets get realistic here, a work of art only a parent could love!
Here is an easy fun project for you and your little one! I started this at 6 months of age and continue to have her enjoy smashing paint colors together frequently.
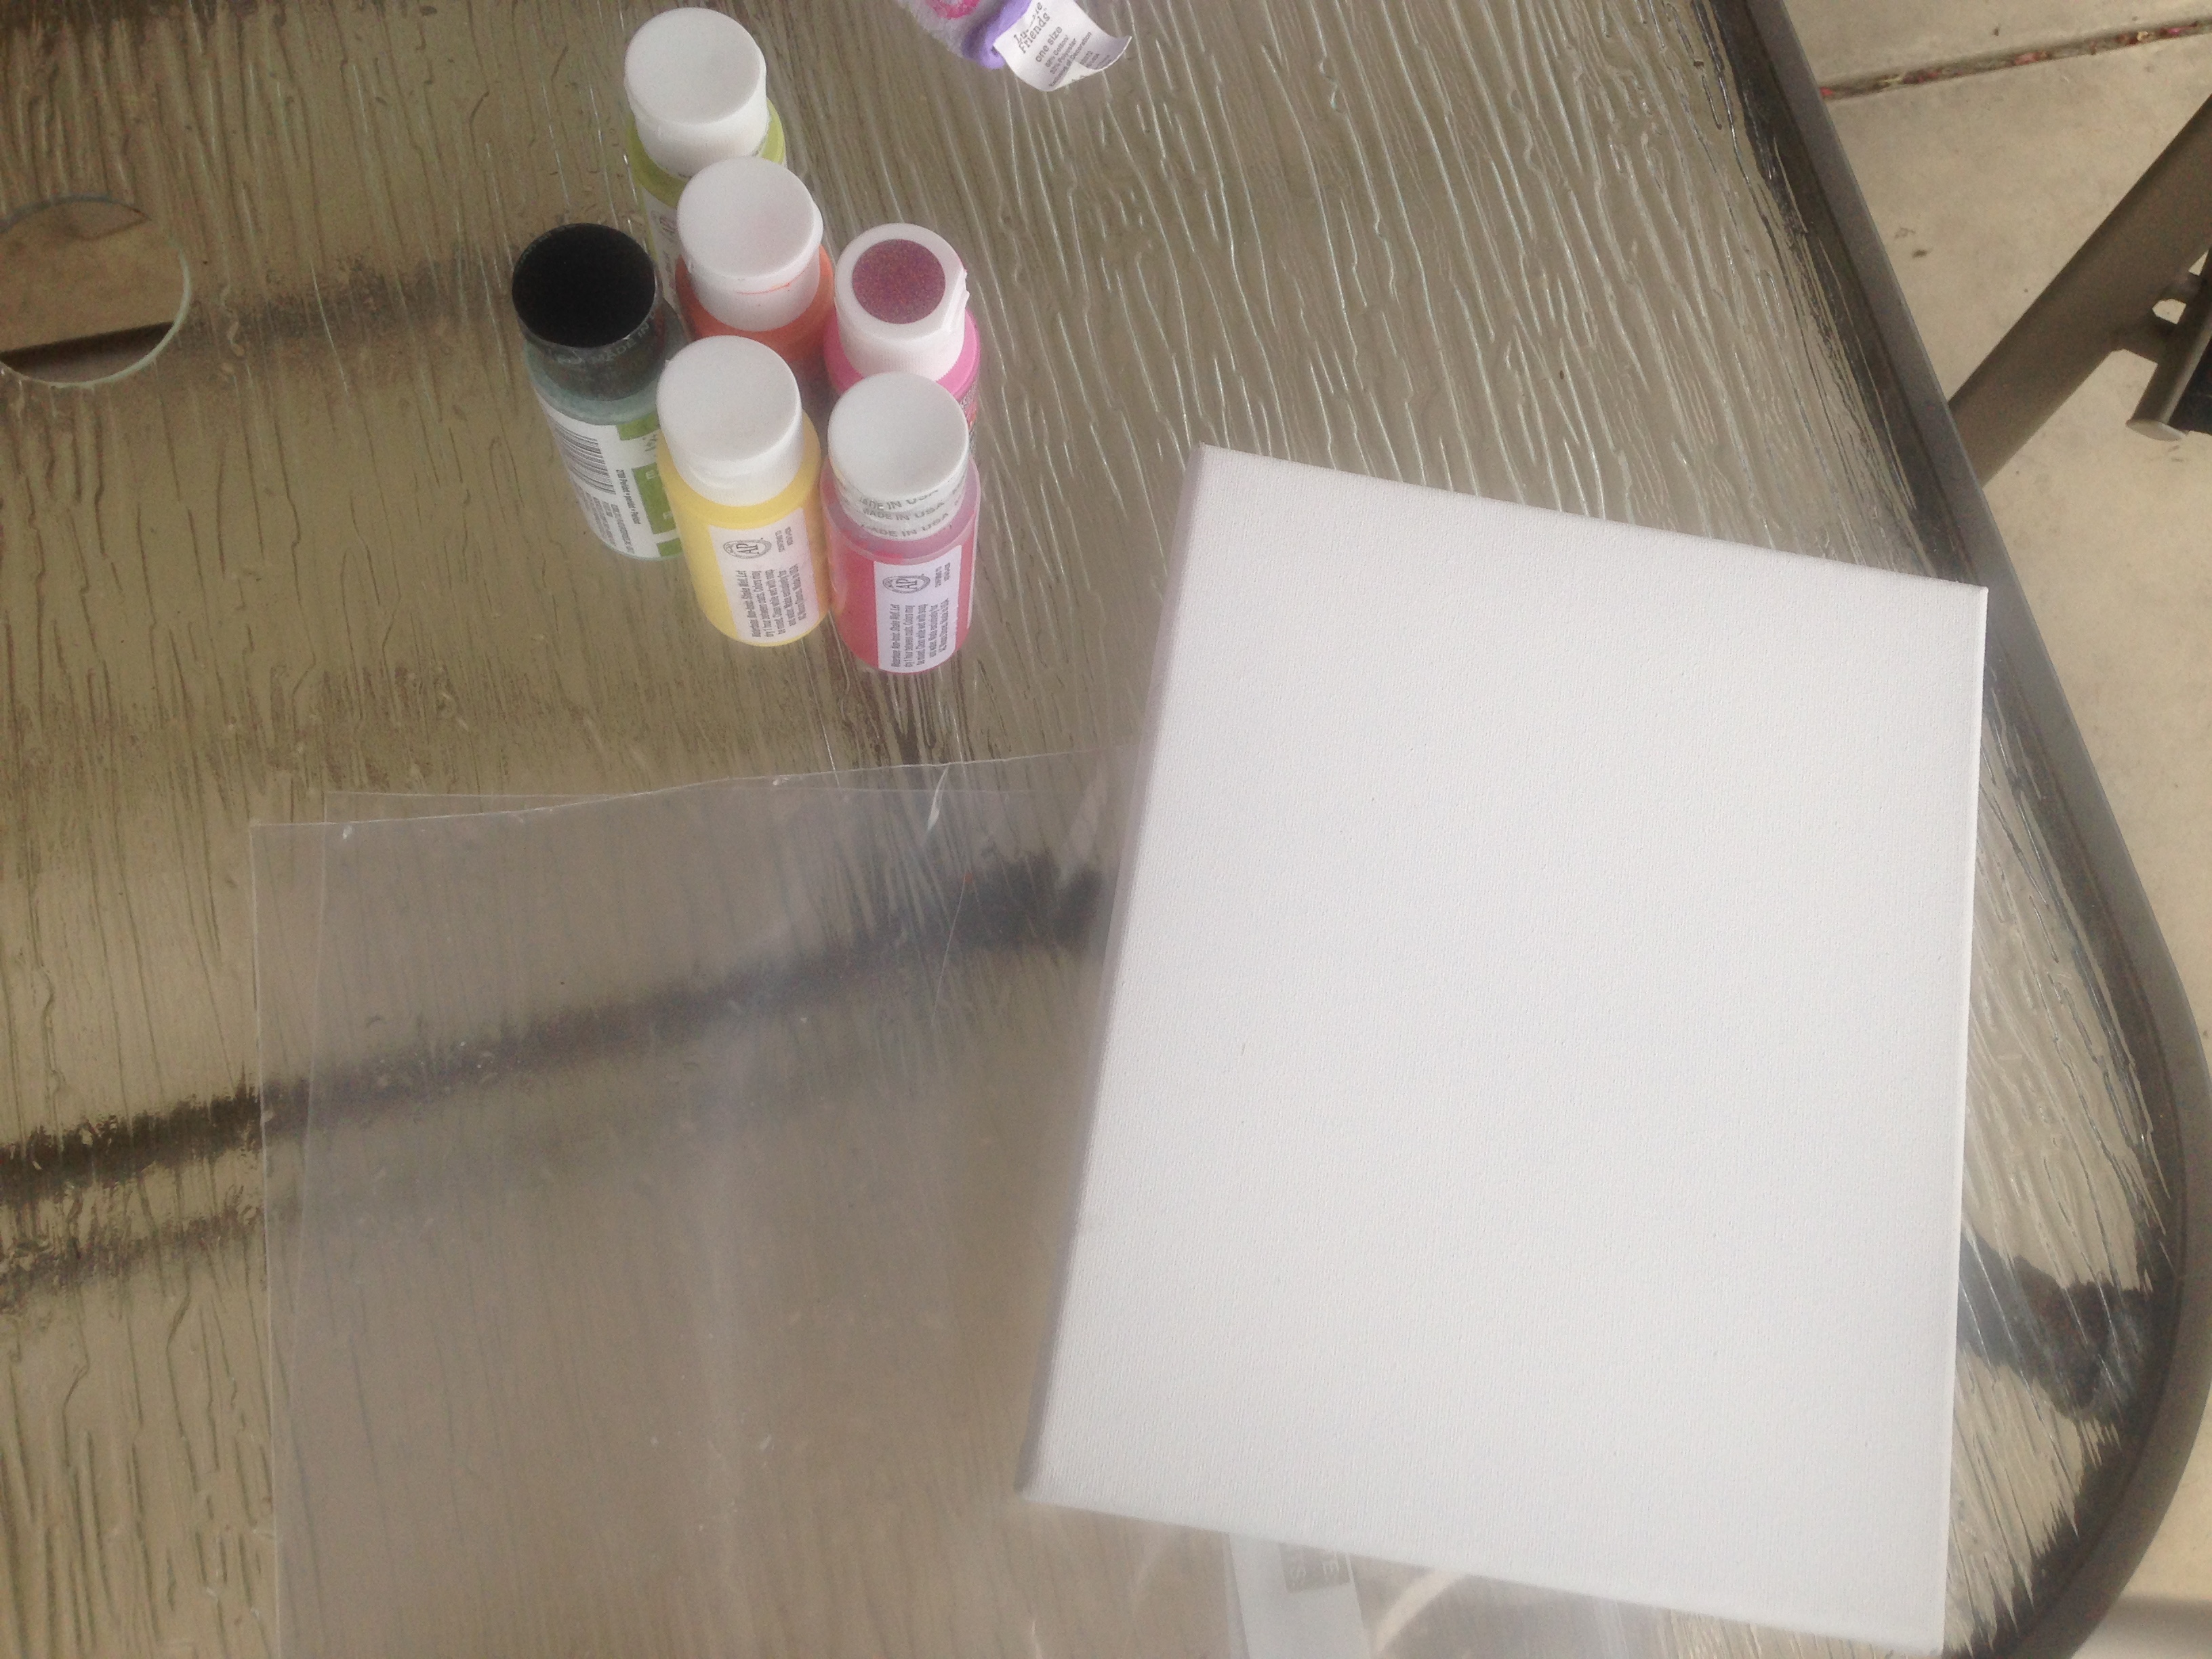
What you need:
Pack of small canvas or poster boards (I bought a pack of 10 small canvases at Acmore for $12- what a steal!)
Paint
Zip lock bags that the canvas or board will fit in
Scissors
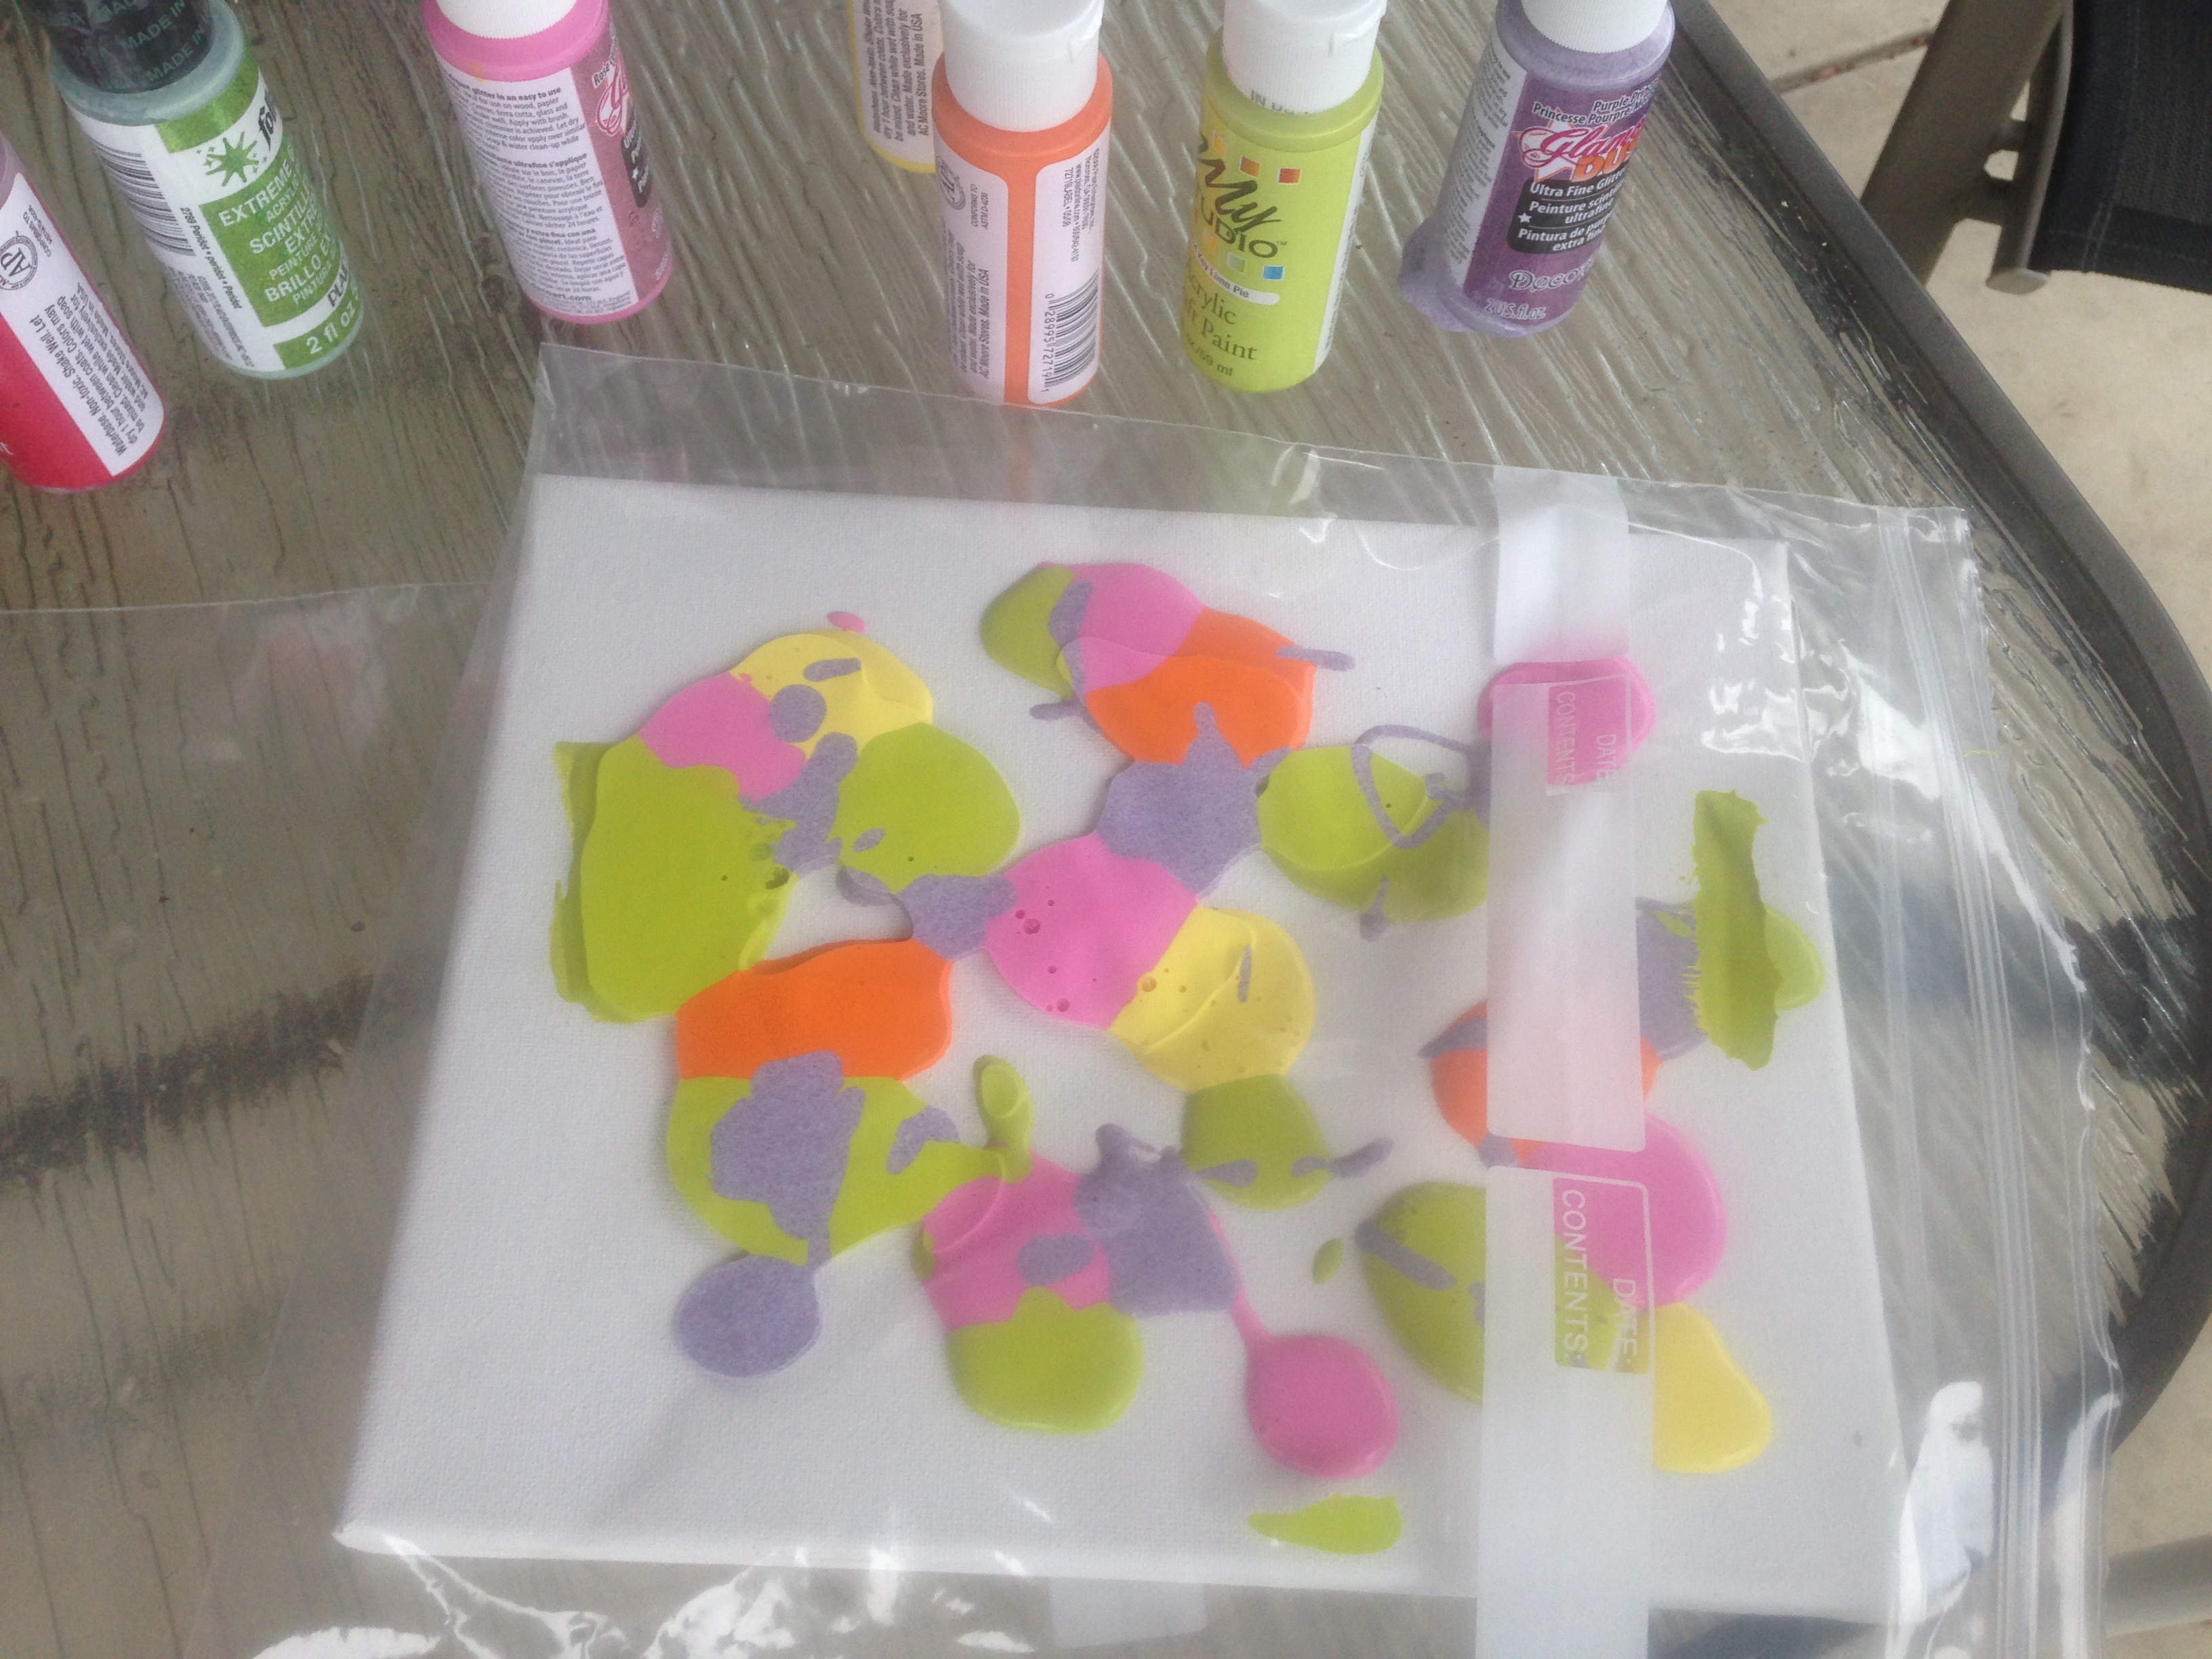
Place blobs of paint on the canvas- go wild! Place the canvas carefully into the ziplock bag. Zip it up!
Place it in front of your little one and watch them enjoy
Now, it’s more complicated to get it out without smearing it. So I use the scissor to cut the sides off and then carefully lift up. *Note, I first tried this with saranwrap, and I can tell you my little one just ripped it right away*
Wa-La you are done and have a painting! You can do this as often as you want or monthly to see a new creation!
Now if you want a messy way, but edible check out this great blog post about making edible paint.
You can also purchase edible finger paint on amazon and some other stores! ENJOY!


 my daughter likes to squirt the paint in an old egg carton that way the colors stay separated.