Rain cloud in a Jar

My daughter can’t get enough of science experiments. She will ask for one after another. I don’t always have all of the ingredients around but rain cloud in a jar is a simple experiment with materials you will have on hand!

You will need:

  • blue food coloring (or hey-you could do any color, go for the rainbow)
  • shaving cream
  • dropper
  • water
  • clear mason jar/vase/glass

Fill the glass jar with 3/4 cup of water (leave room for the “clouds” aka shaving cream). Next put some shaving cream on top. We went a little crazy as Maddy wanted a giant cloud (cumulus-big, white & fluffy).  You could also talk about the different types of clouds: cumulus, cirrus, stratus, nimbus. There are more clouds but those are the main 4 and that would be more for older elementary students. This cloud demonstration could be fun for any level!

After putting the shaving cream on top get a bowl or small cup and mix a few drops of food dye with water.  This will be the rain.

Have your child use the dropper to get some rain and put it on the clouds. This works best if you insert the dropper about half way into the clouds and squirt it out.

Soon they will see rain fall through the clouds when they get so full of the water they can’t hold it anymore!

This can be repeated with different colors and different amounts of liquid. You can have your child hypothesize what they think will happen before they put the drops in and make a conclusion afterward.

The science behind this: Clouds are made when water vapor (gas) turns into liquid water droplets. They form on little particles that are floating in the air (like dust).

If you see puddles outside but then they disappear where did they go? They evaporated (liquid to gas-water vapor). The water vapor travels through the atmosphere to create the clouds. When too many water droplets are in the clouds and it gets saturated, it rains. This is a very simplistic version of some of the water cycle but if you want to dig in more I suggest going here: https://www.nasa.gov/audience/forstudents/k-4/stories/nasa-knows/what-are-clouds-k4.html .   If you scroll down there is also a link at the bottom of that website explaining how clouds form for kids in grades 5-8.

FollowFacebookpinterestrssyoutube
ShareFacebookpinterest

Turkey Pinecone Gobble!

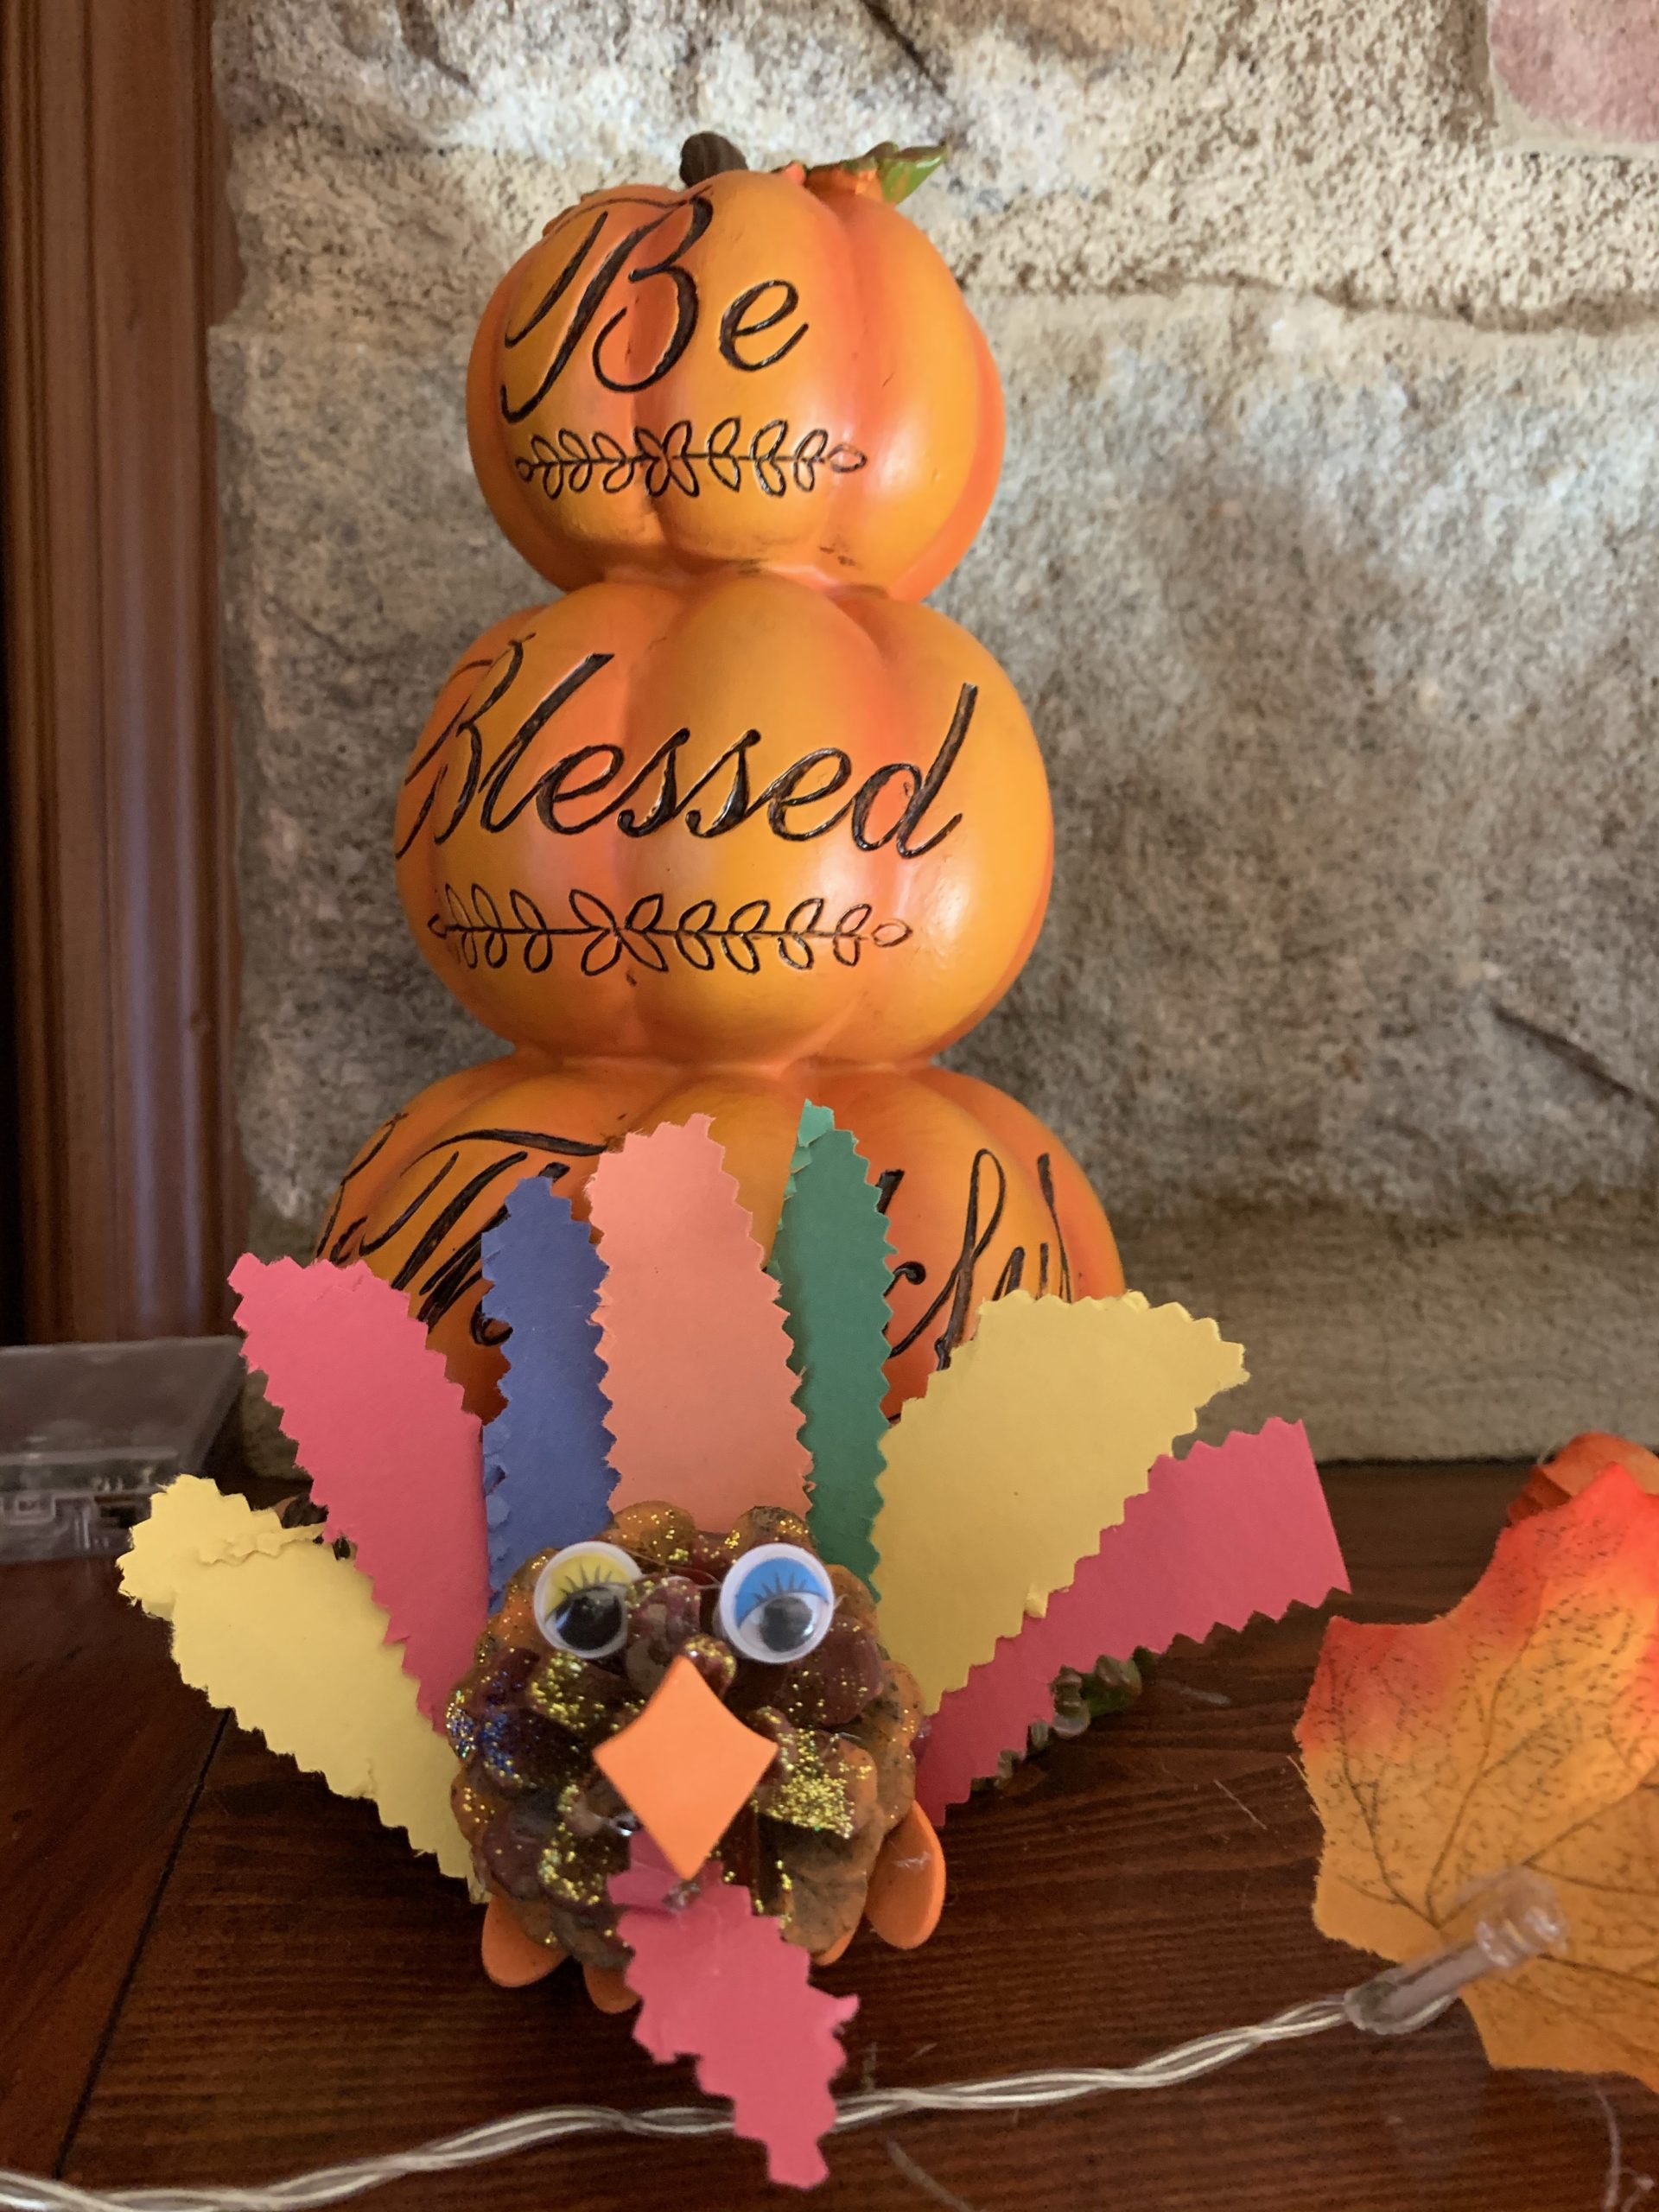
We went on a pinecone adventure!  First we grabbed our magic buckets and took a stroll down the road.  We found the BIG pine trees and searched all around for pinecones.  We filled out magic buckets with little and big pinecones. Once full, we continued our adventure to find any other good objects for future projects. Pinecones can be used for many projects, including some upcoming Christmas ones!

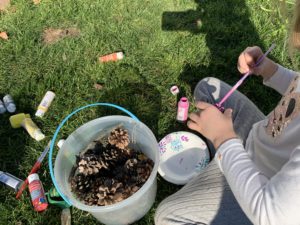
Since it was unseasonably warm here in Pennsylvania, we decided to paint outside so there wasn’t as big of a mess. Besides using a variety of paints, we used glitter of all colors! Some of the trees we purposefully painted blue and green for Christmas tree pinecones!
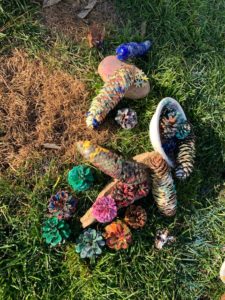
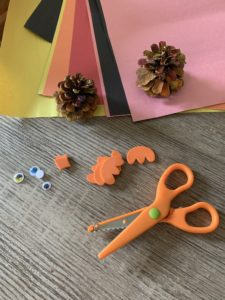
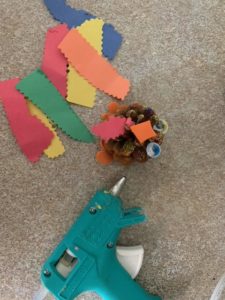
After allowing the pinecones to dry overnight, we found some googly eyes, construction paper, and leftover foam pieces from an owl project!  The kids cut out feathers and showed mom where to glue them.  Mom used the hot glue gun to glue everything on, however you can use regular glue but it will be more challenging to stay and dry.

You can of course decorate your turkey any way you like with any materials! Get creative and enjoy!
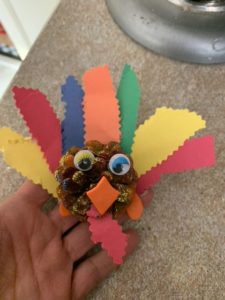
Gobble Gobble!!! Happy Thanksgiving!  Be safe and stay home if you can (quarantine)!

FollowFacebookpinterestrssyoutube
ShareFacebookpinterest

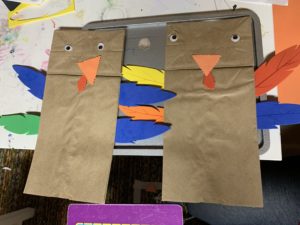
Turkey paper puppet!

Gobble gobble!  It’s almost thanksgiving time!

Since it’s getting cooler (or it is suppose to!), thanksgiving crafts are a great activity for your kids, especially with covid keeping us home!

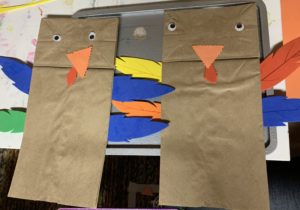
The first craft we have is a turkey paper puppet.  It is simply, easy, and many of you may have all the materials at home already!!


What you need:

-Paper lunch bag (or if you do not have it, brown construction paper and a popsicle stick can work)

-Googly eyes (or you can use a marker or construction paper)

-Construction paper (for the beak, feathers)

-Colored feathers (or construction paper)

-Glue or Gluestick


Then all you do is have your little one glue the eyes on, cut a beak out of construction paper and glue it on the front. Put the little gobbler underneath the flap of the bag, glue the feathers and WA-LA! You have an easy turkey!  Enjoy!
 

FollowFacebookpinterestrssyoutube
ShareFacebookpinterest

Leaf tracing fun

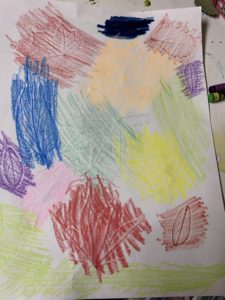
Leaf tracing is easy, fun, and inexpensive! I might even enjoy it more than my kids!

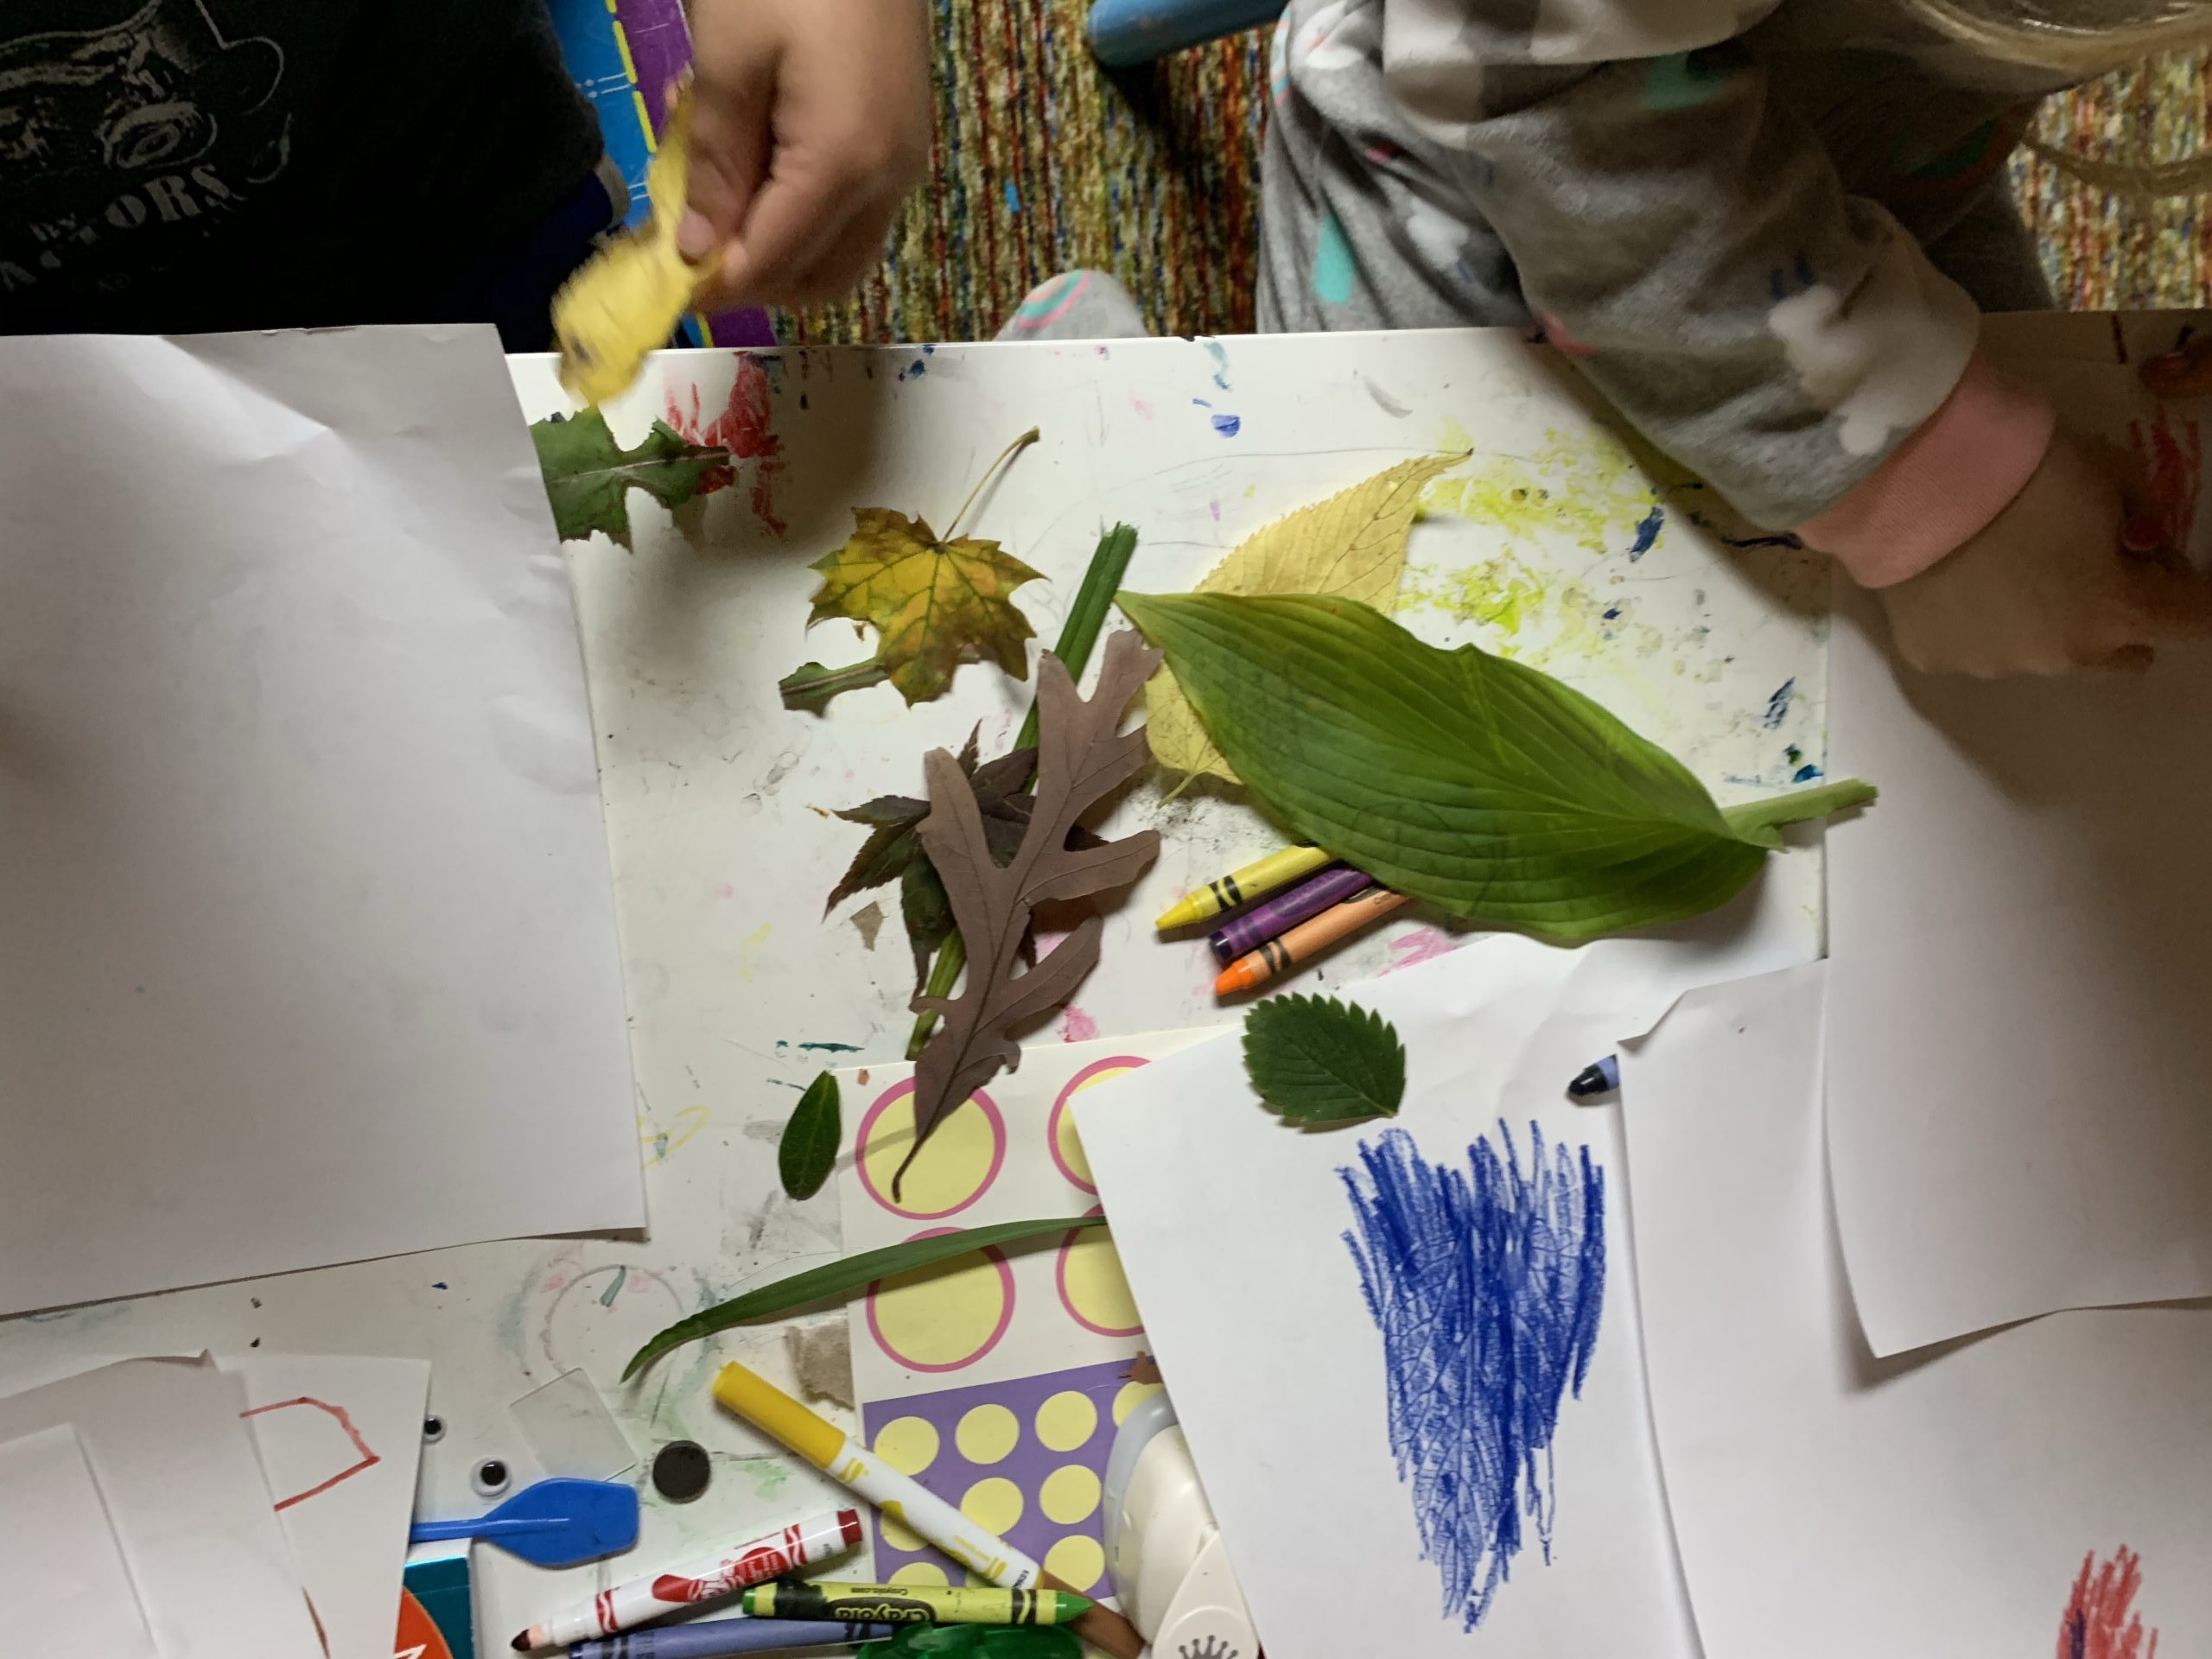
All you need is white paper, crayons, and leaves!


Go outside and collect all different fall leaves, even strawberry plant leaves, tall grasses, any leaf will work!


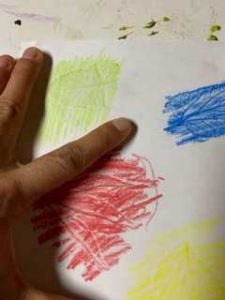
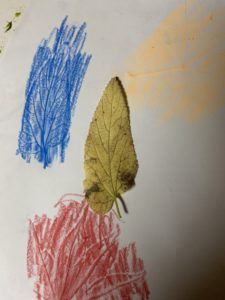
Then, place the leaf underneath the white paper and use the crayon to rub on it! Make sure you hold the paper down and leaf with one hand while you are coloring.

I also find the stems and veins of the leaves show up much clearer if you flip the leaf to the back and trace it.


Enjoy this easy creative craft and post your pictures below! 


FollowFacebookpinterestrssyoutube
ShareFacebookpinterest

Crayon candle making!

As a child I remember making many candles from crayons at my grandparents house. I also remember how much fun we had making candles from crayons.  So, during the quarantine, I decided why not try it?

img_3449

Of course the kids are still young and can’t work with the melted wax, but they can find broken crayons or pieces of crayons too small to use.  I put them hard at work finding these crayons and then taking all the wrappers off of them.  Next, they categorized them by colors.

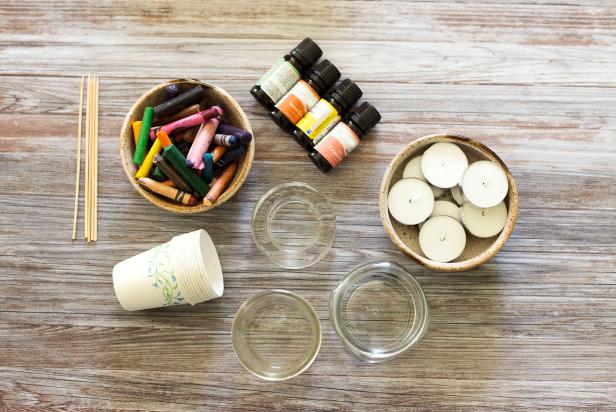
Crayon Candle Supplies

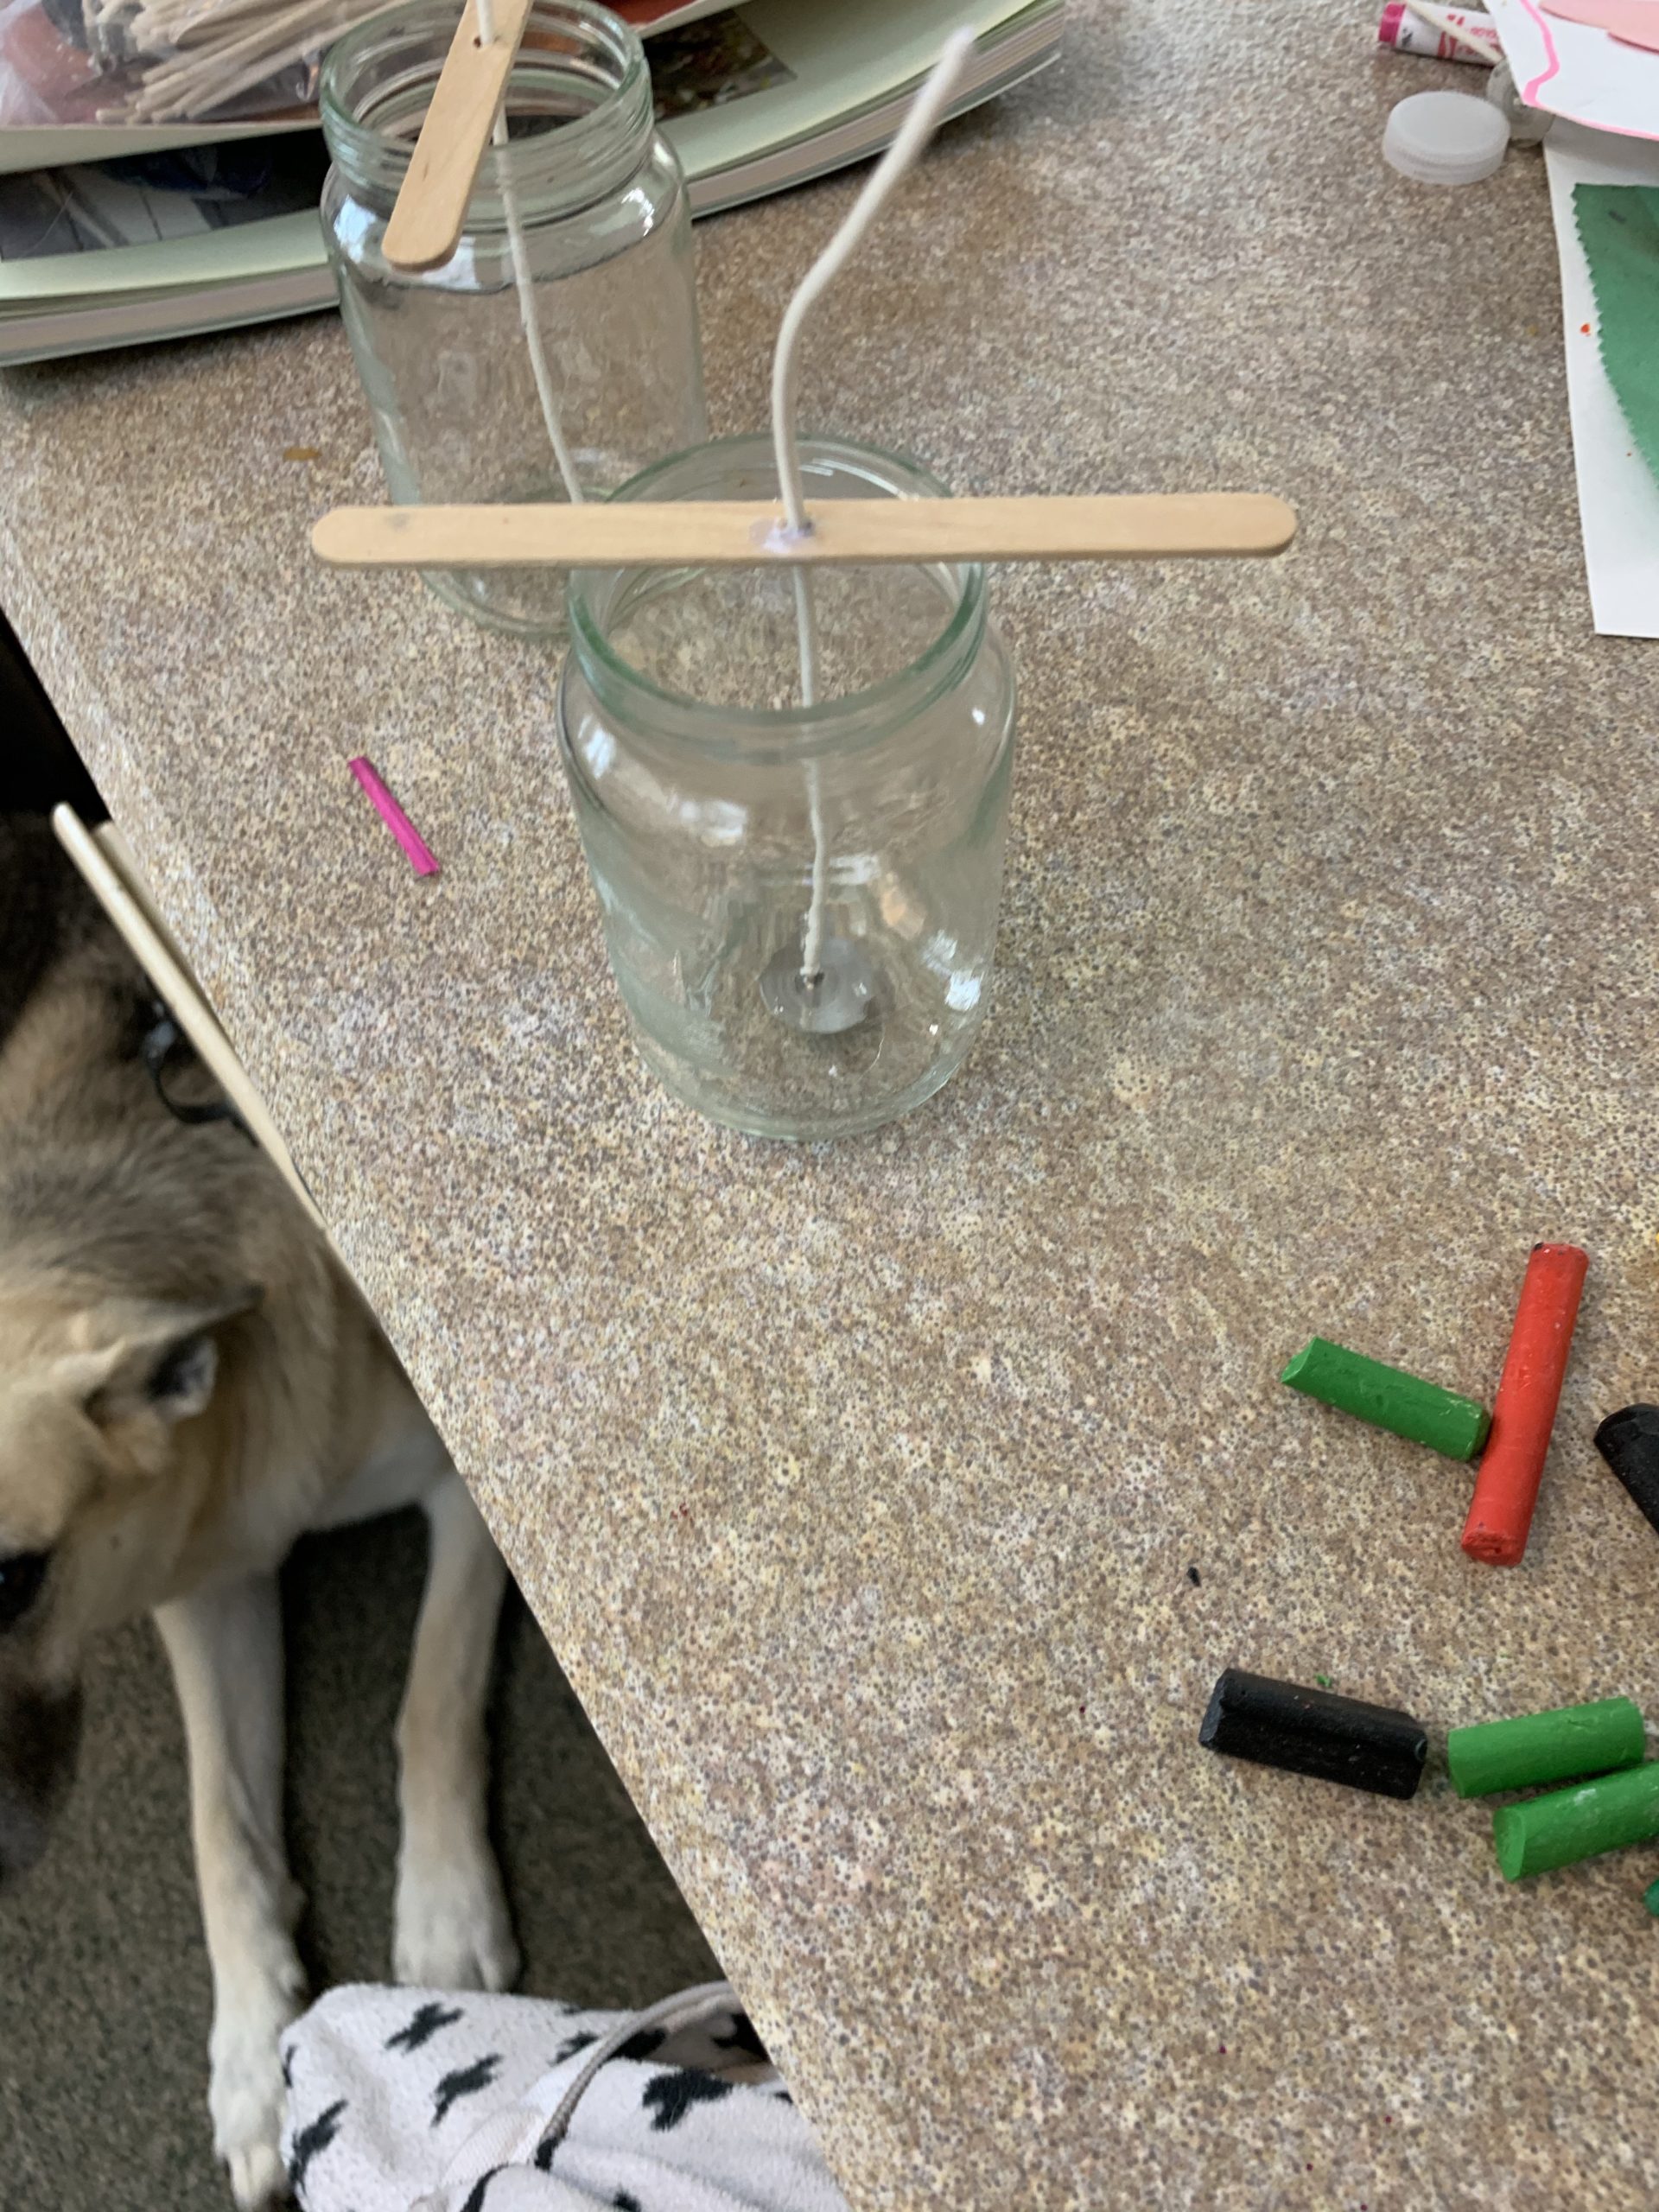
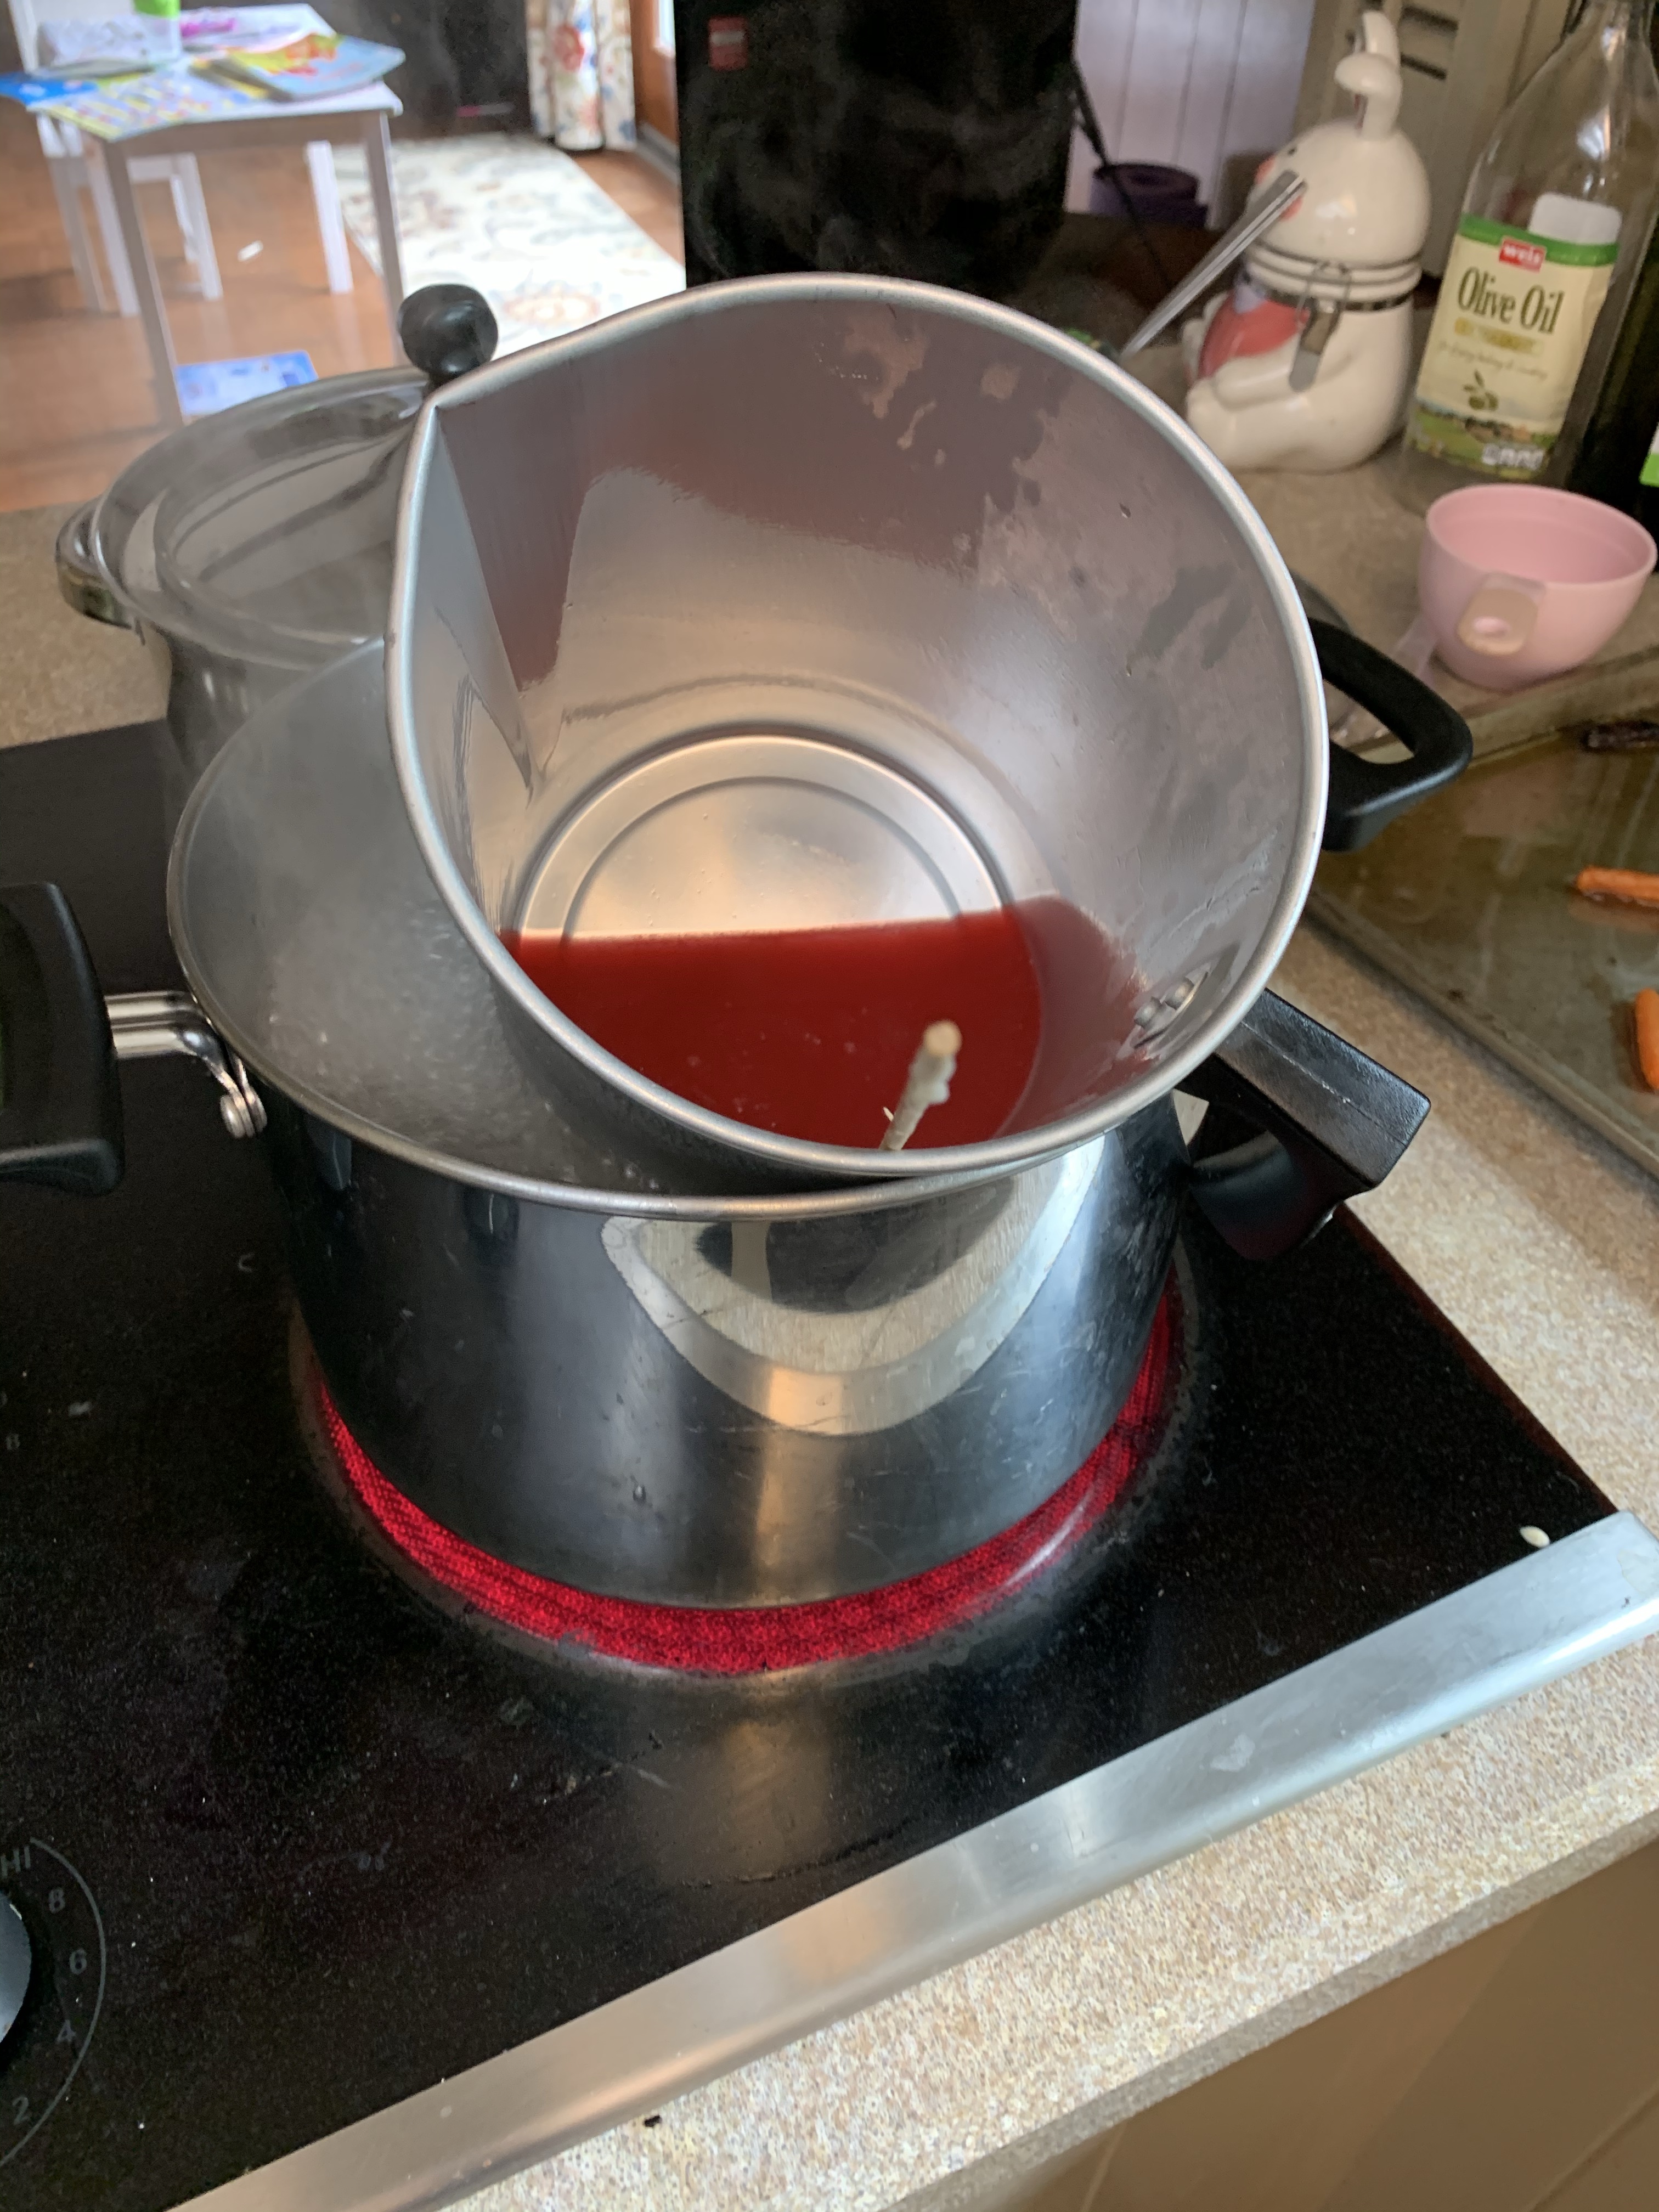
Next, I had little jars I had previously saved from baby foods that we could use for candles.  Make sure its a glass jar and not plastic!  We also had Popsicle sticks, wicks, and a boiling pan and thermometer for melting the wax. We have small holes in the Popsicle sticks, but you can also wrap it around the stick if needed.  Have your container and wick ready.

img_3443

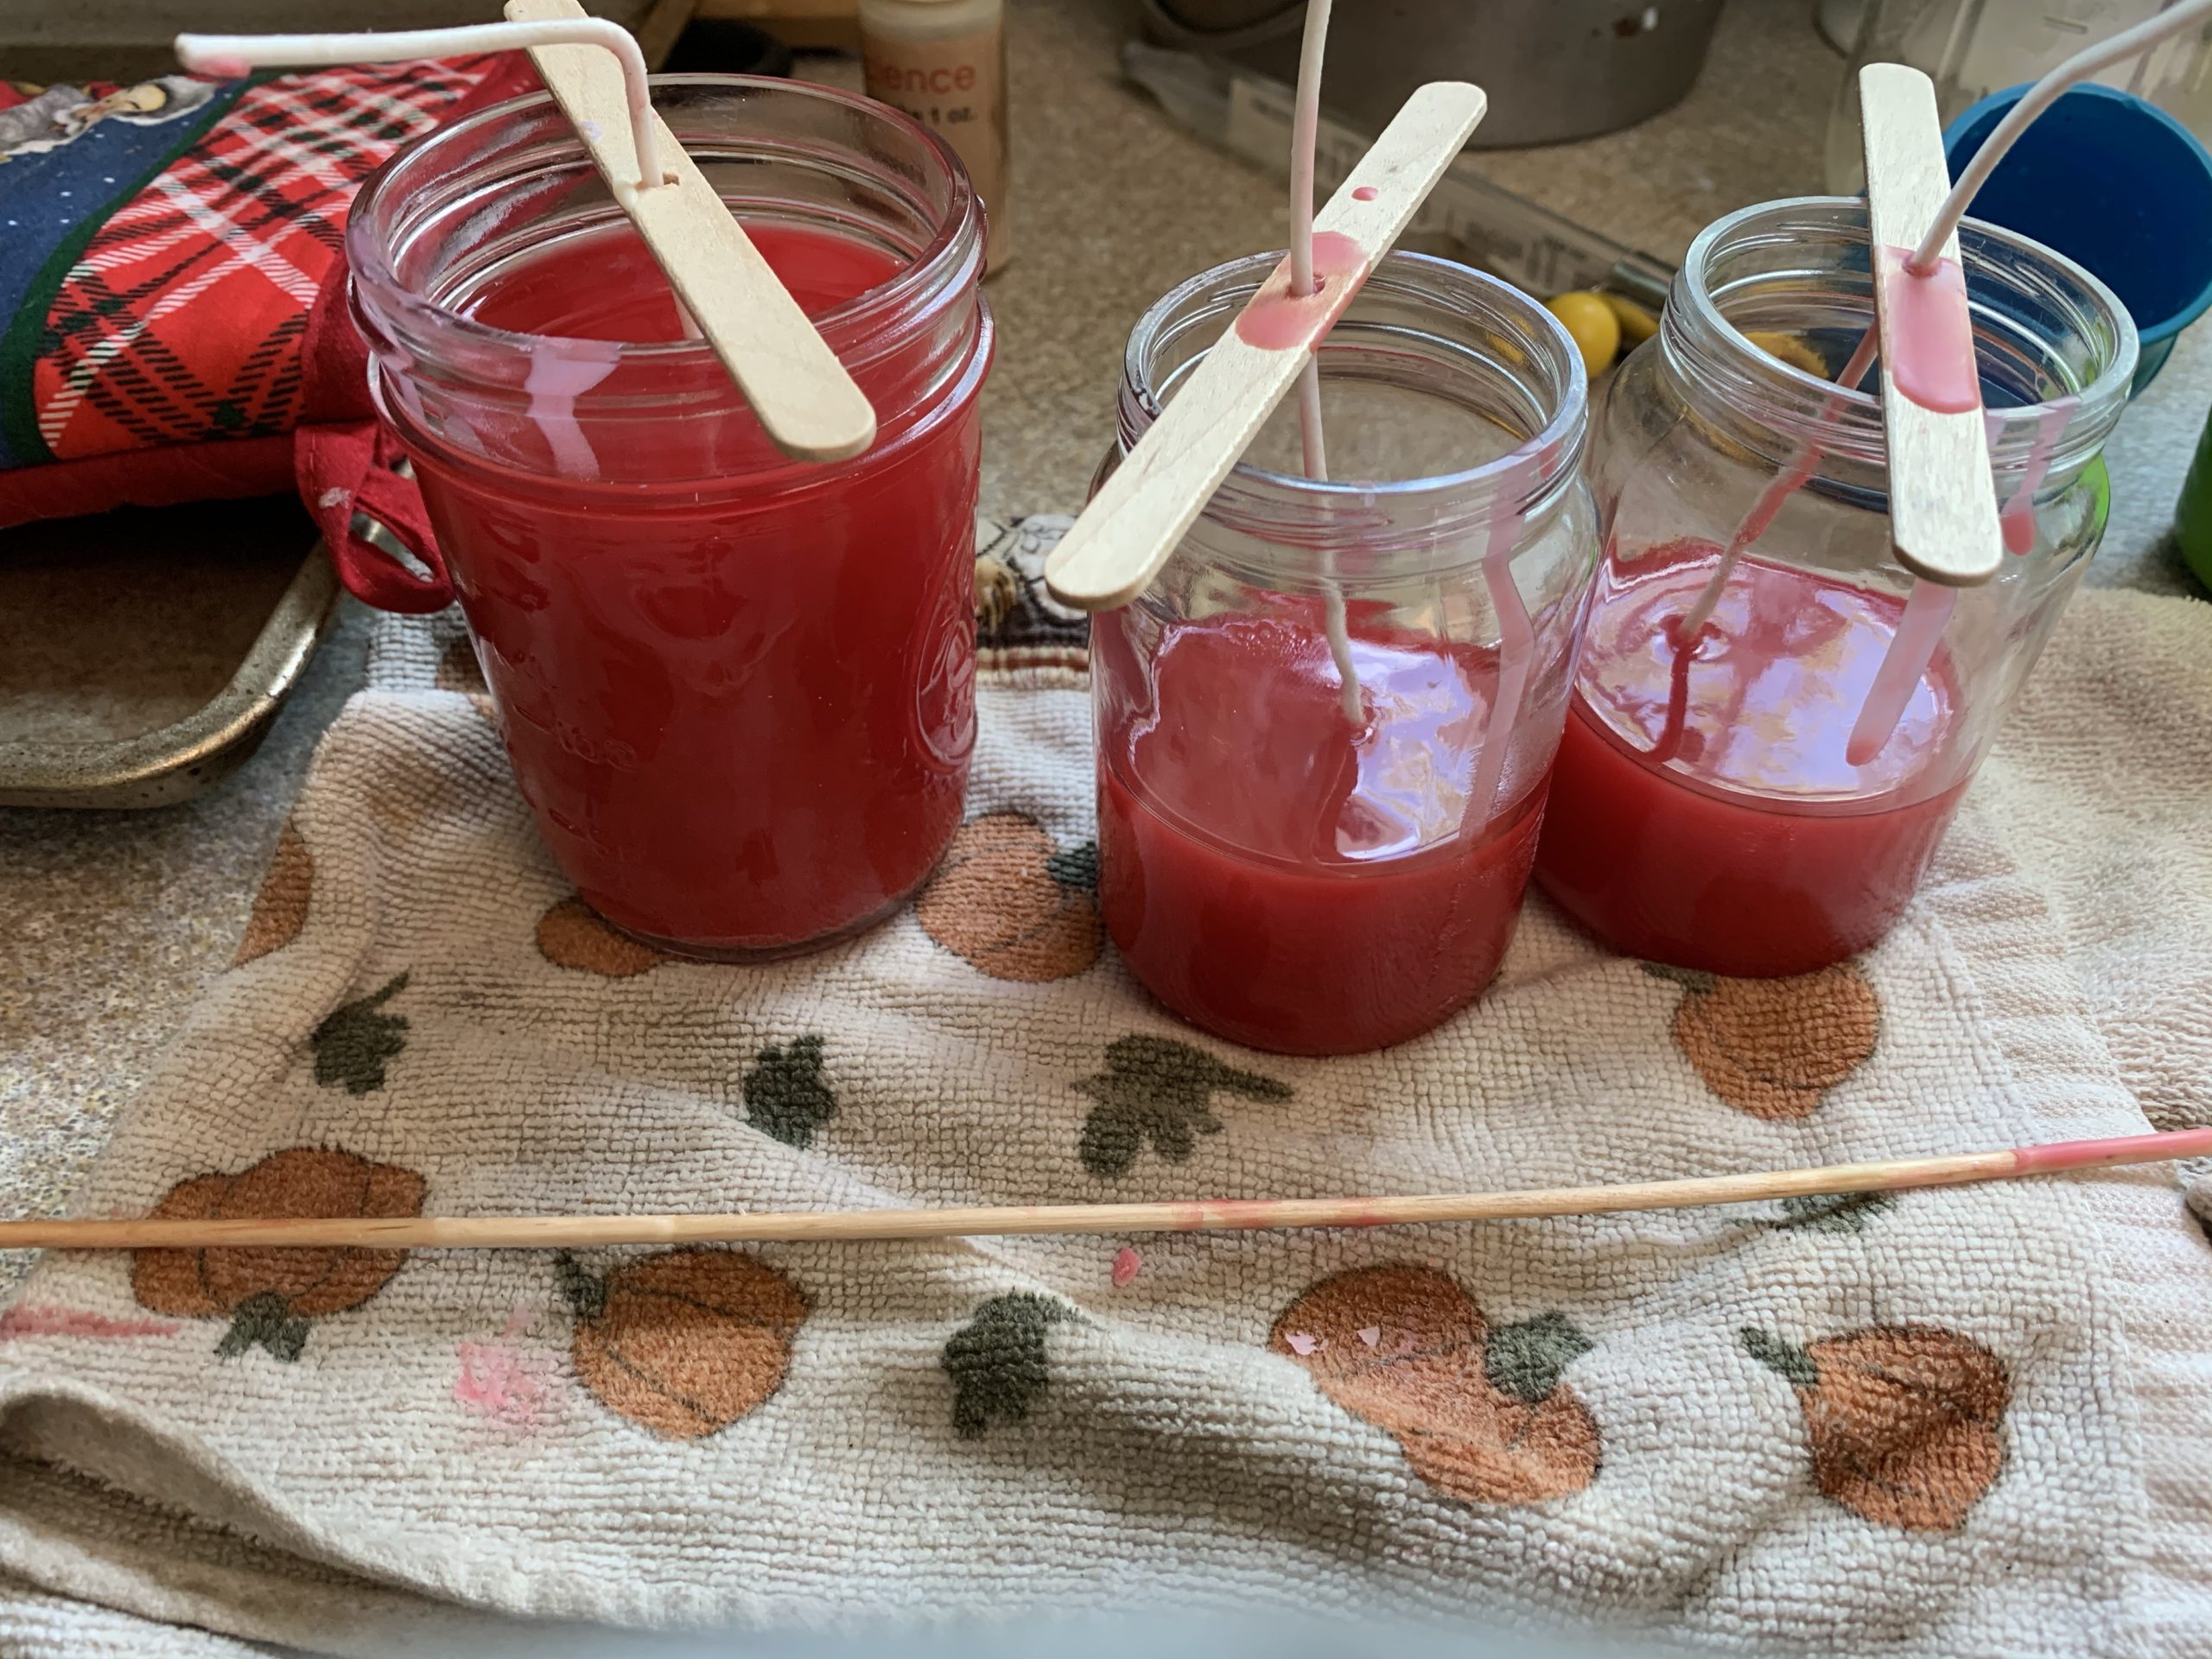
Next, decide if you are going to do just one color candle or multiple.  If you choose to do multiple you have to let the candle wax dry in between which can take a while.  I ended up getting a big pan of ice and putting it around the outside of the candle after pouring the wax in order to cool it quicker.

Another factor is if you want a scent.  If you have different scents you can add them, or you can use essential oils to add a scent.

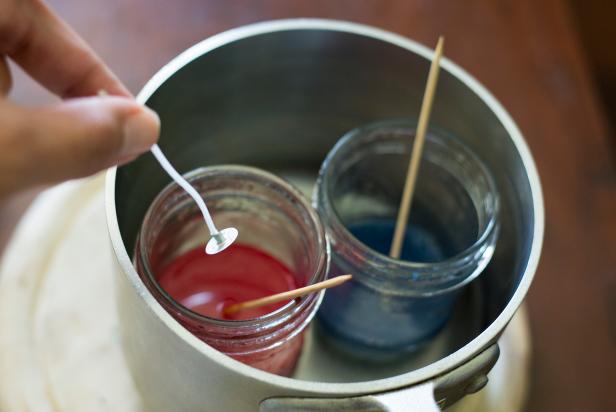
Now, you do need some regular wax as well!  I happened to have some white wax shavings from a long time ago we used and added the crayons for coloring.  You can also use the small tea candles that are cheap at the store and take them out of the tin wrapper.  Depending on the size of your jar you are filling, you will need a different amount of candles.  We melted the wax and coloring in the special candle pot we have and poured it out into the containers.  Some people also like to put the wax and crayon right into the jar and put 3 inches of water into a pan and place the jar in the pan and let it melt.  Warning–your jar will get very hot this way!  Also make sure u have your wick in when you do it this way.  If you want to try that method I found a great website for you to follow Click here

Crayon Candle Melt and Dip

I tilted the candle wax pan for you to see.  As you can see the pot below has water in it and it melts the wax and crayon.  When its all liquid you can pour it directly and carefully into your jar and make sure your wick is centered.  Then you allow it to dry!

img_3444

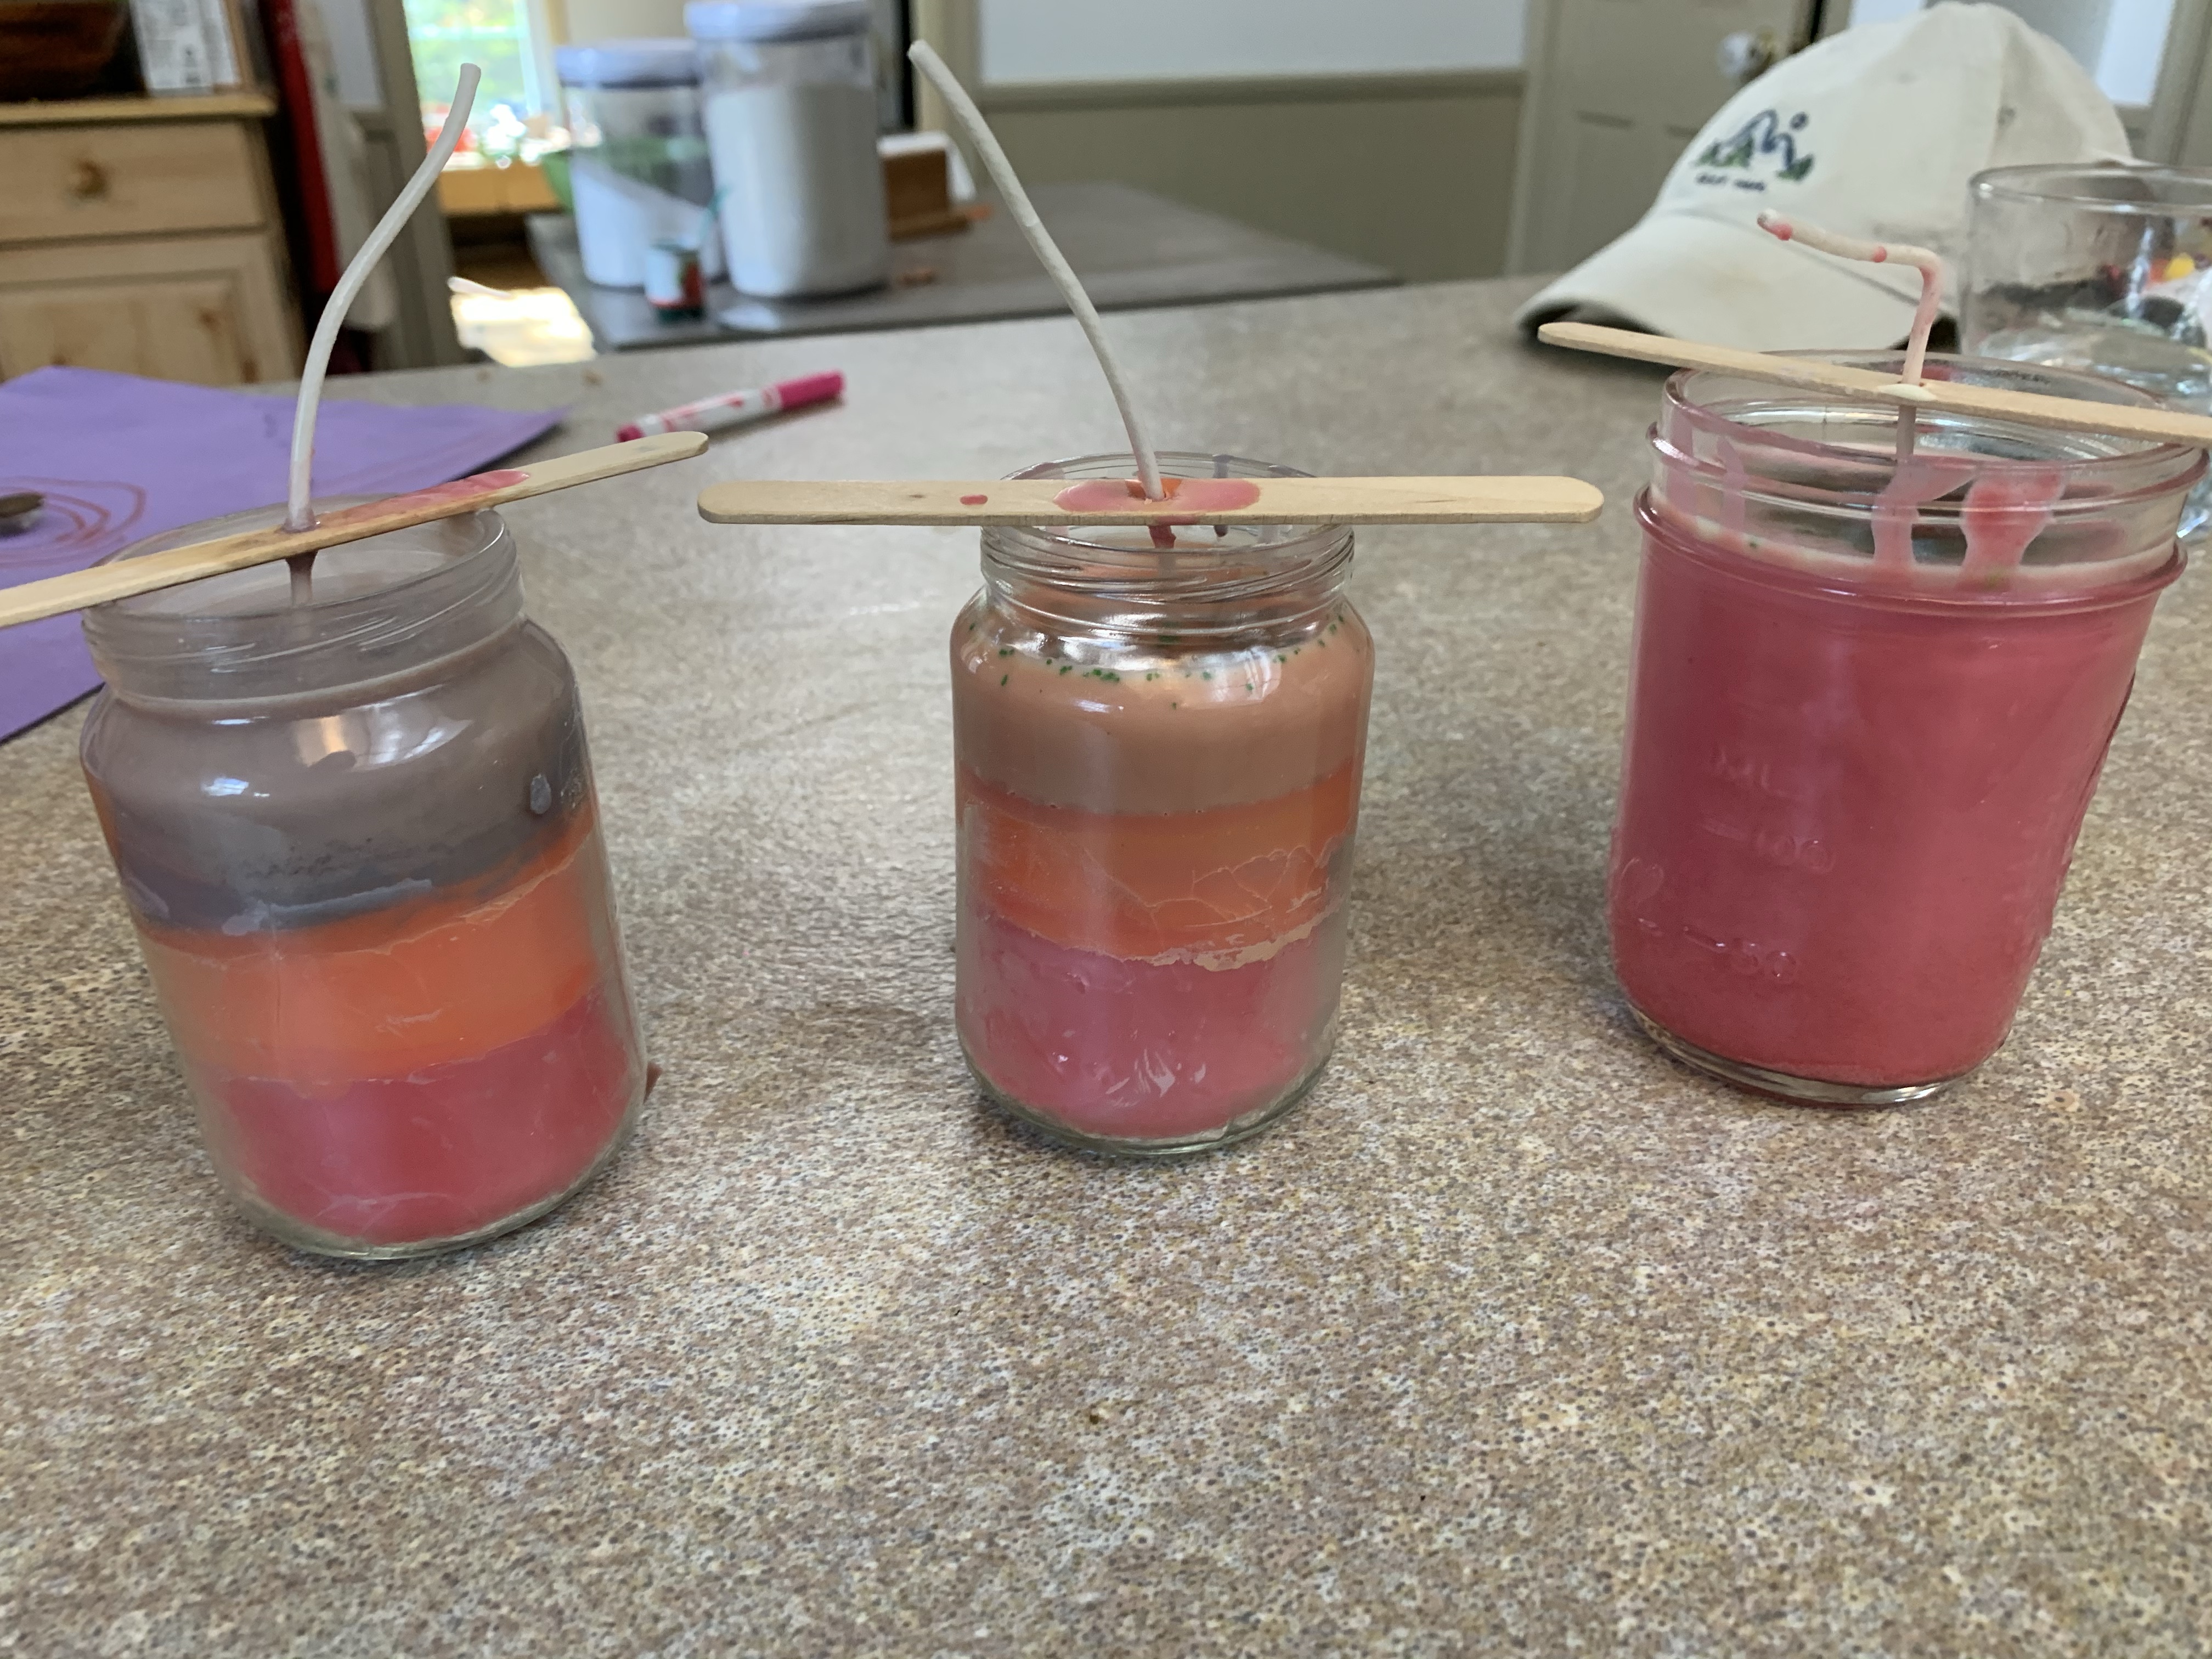
Following that, if you are doing another color, repeat the melting process and make sure the bottom layer is completely dry before adding the next color in the candle.

img_3445

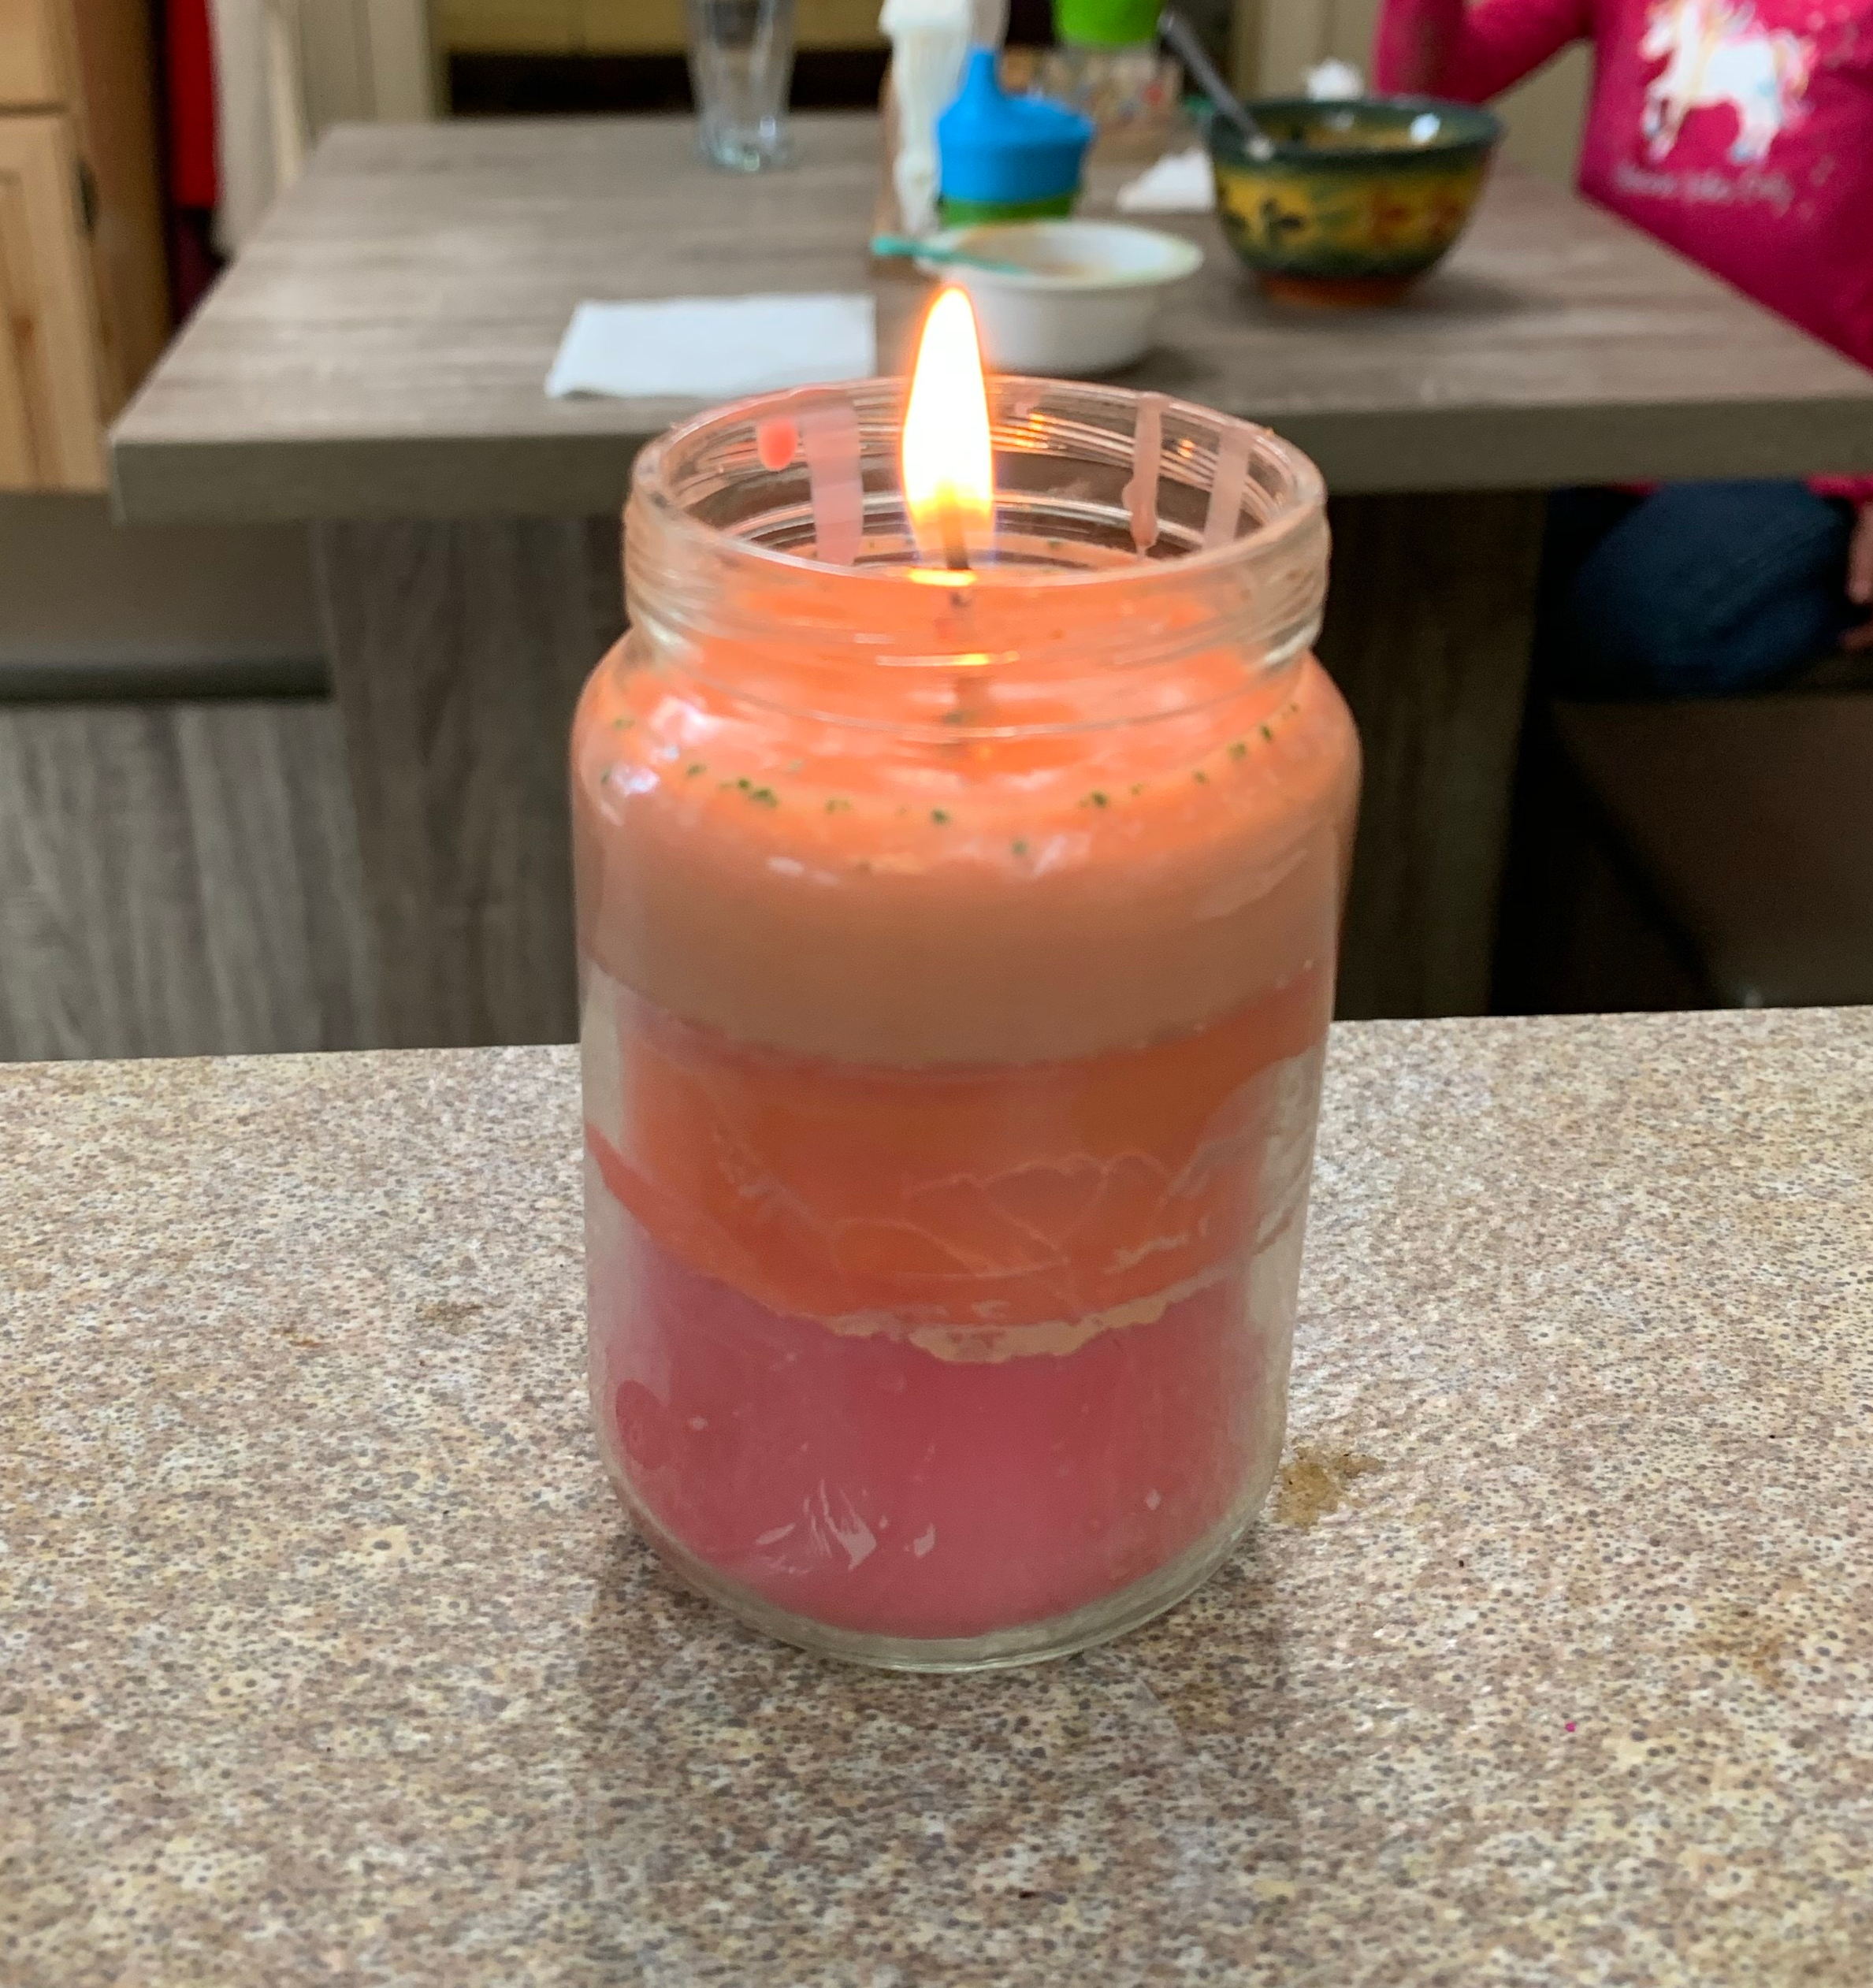
After its all dry you can cut your wick to the proper size and enjoy your candle!  Of course you should light the candle and not the kiddos!

img_3448

Enjoy!
img_3449FollowFacebookpinterestrssyoutube
ShareFacebookpinterest

Face painting fun!

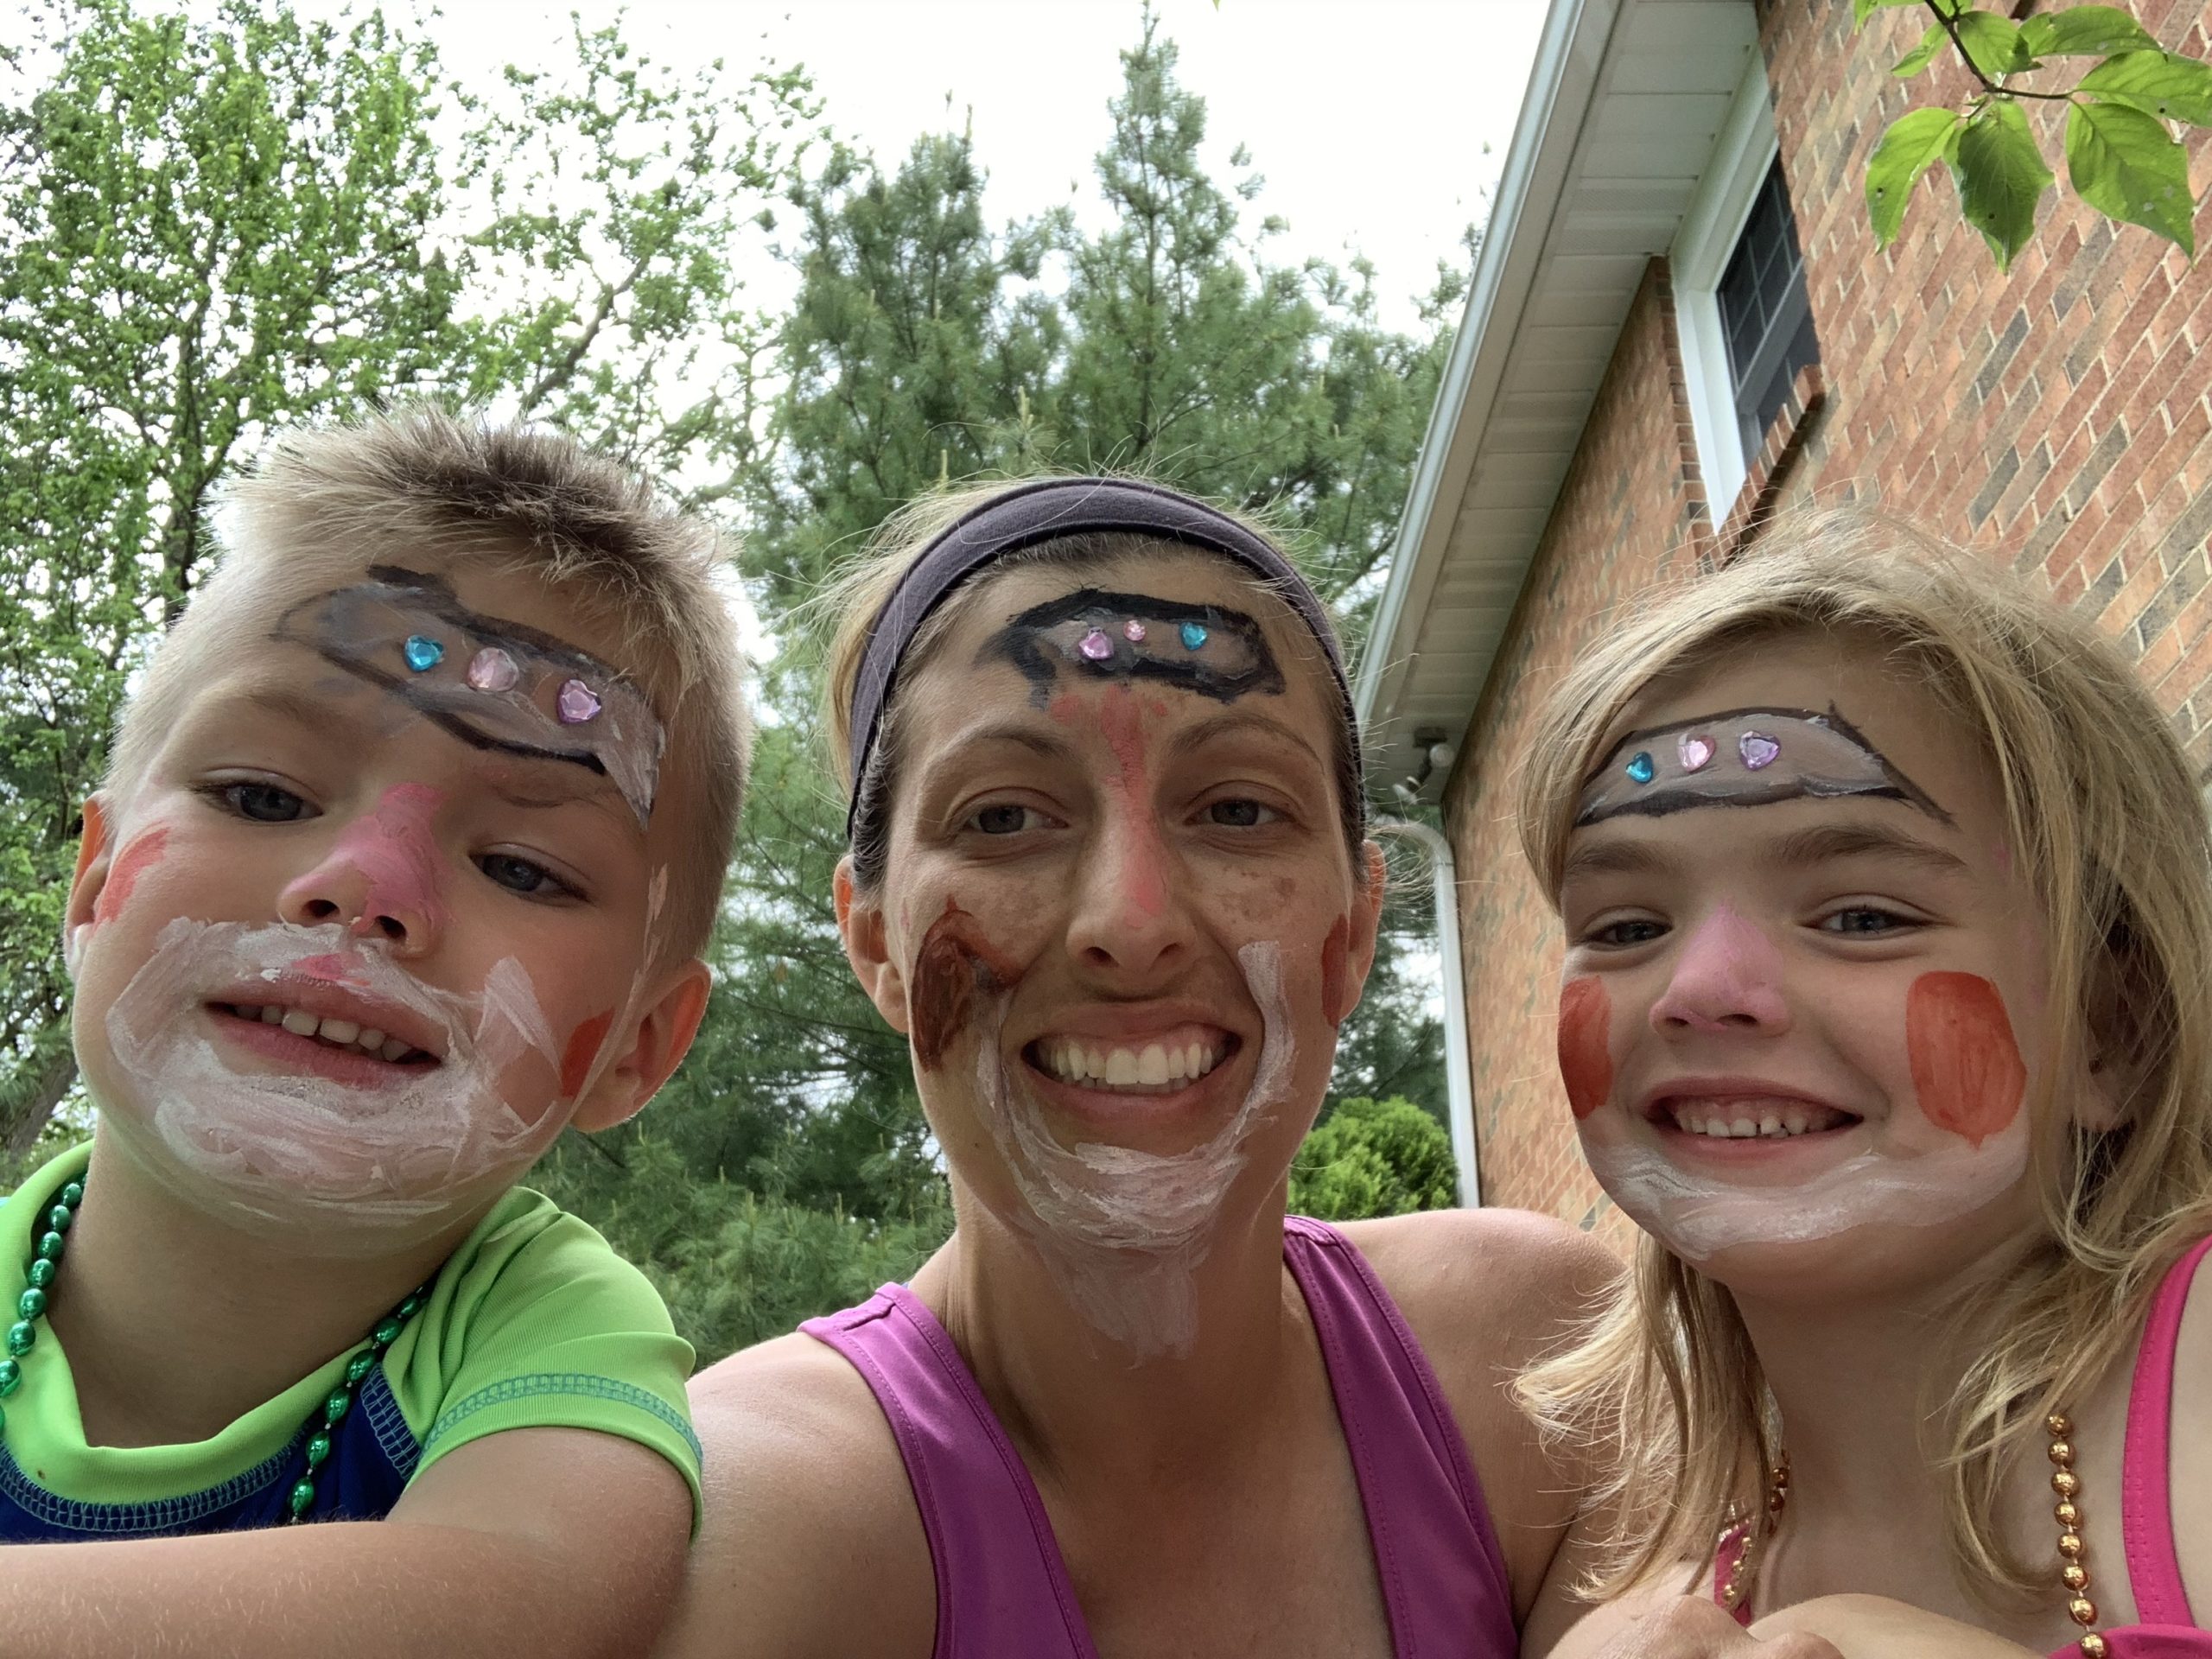
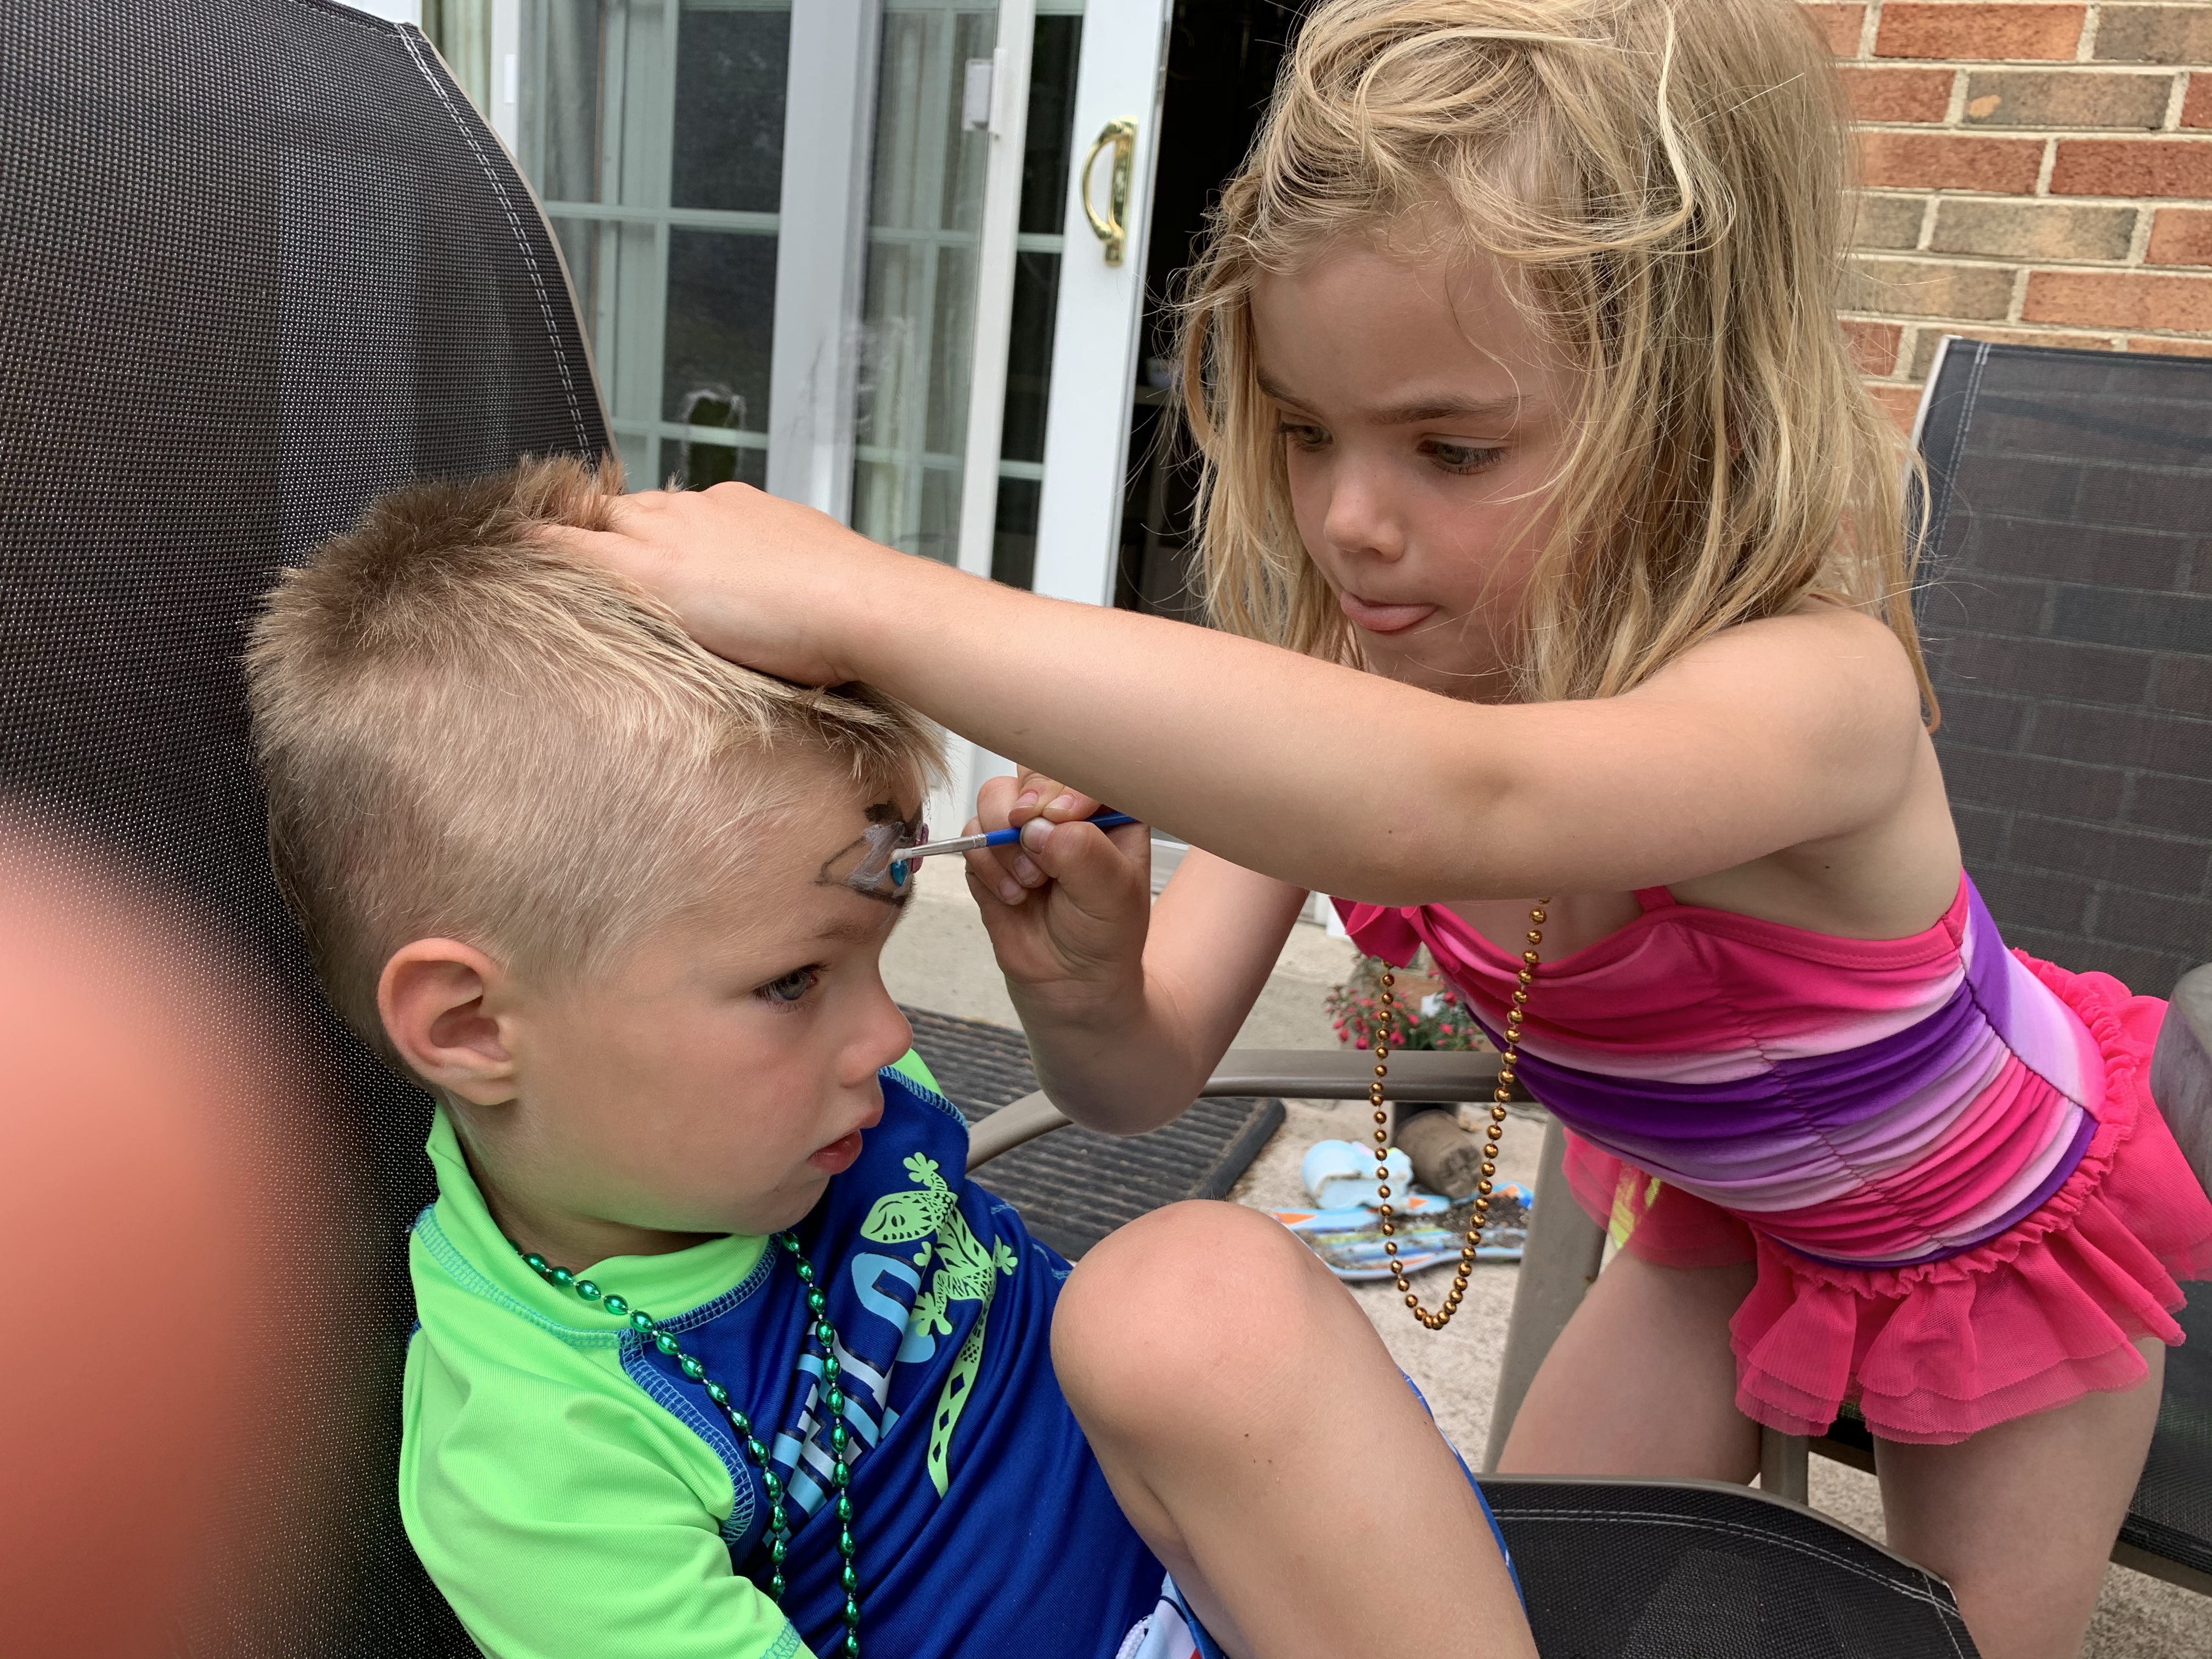
It all started with my daughter using a marker on my son’s face. She said she simply wanted to paint his face! Well, obviously, this wasn’t going to work. So I searched for face painting supplies. At first I thought face paint would be way too messy and not worth the money. However, I found that face paint is super fun, easy, and the kids just love it!

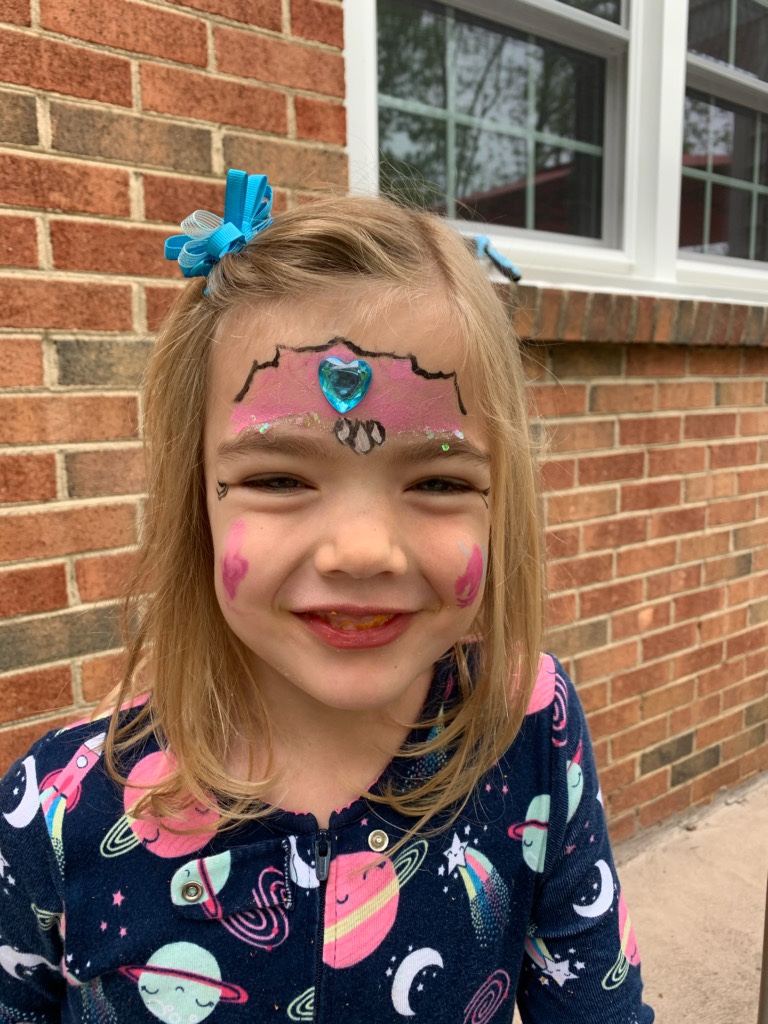
An easy and fun activity is face painting! My daughter loves painting faces and my son loves having his face painted.

img_3547

We got this easy set from amazon. Bowitzki Face Paint Kit

Bowitzki Face Paint Kit with 10 Colors,32 Stencils,2 Brushes,2 Chunky Glitters,2 Sponges,1 Body Glue

When we first started I had to remind my daughter not to go near the eyes, but since then no problems at all!

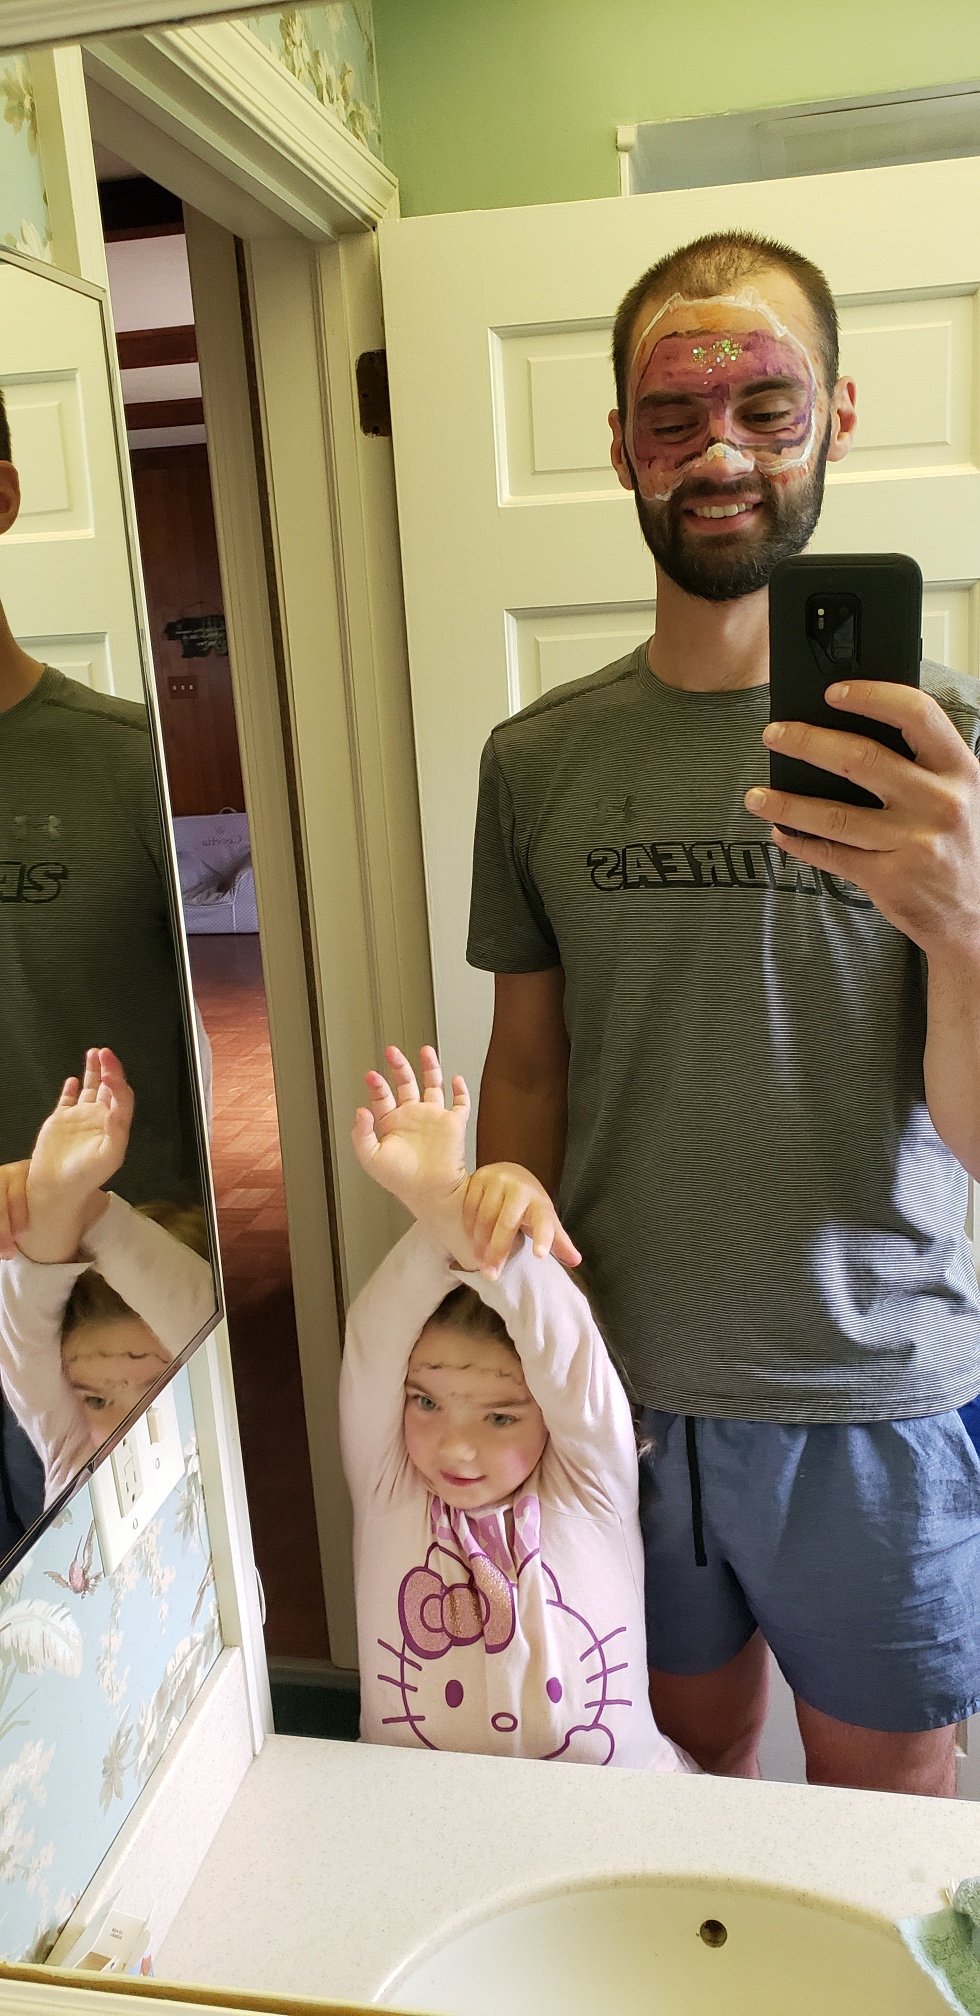
Daddy even got his face painted by Cece!

img_3505

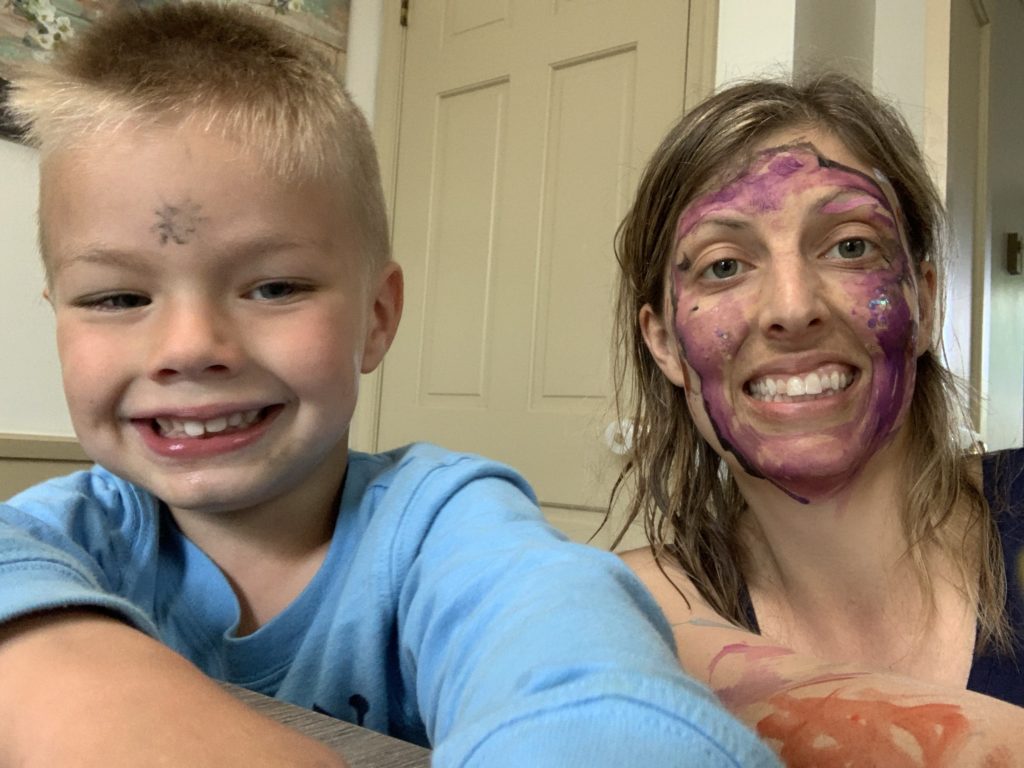
Grammy did a little face painting as well…

They love this activity and it’s fun, easy, and inexpensive! I hope you try it too!!

FollowFacebookpinterestrssyoutube
ShareFacebookpinterest

Explore…get out there!

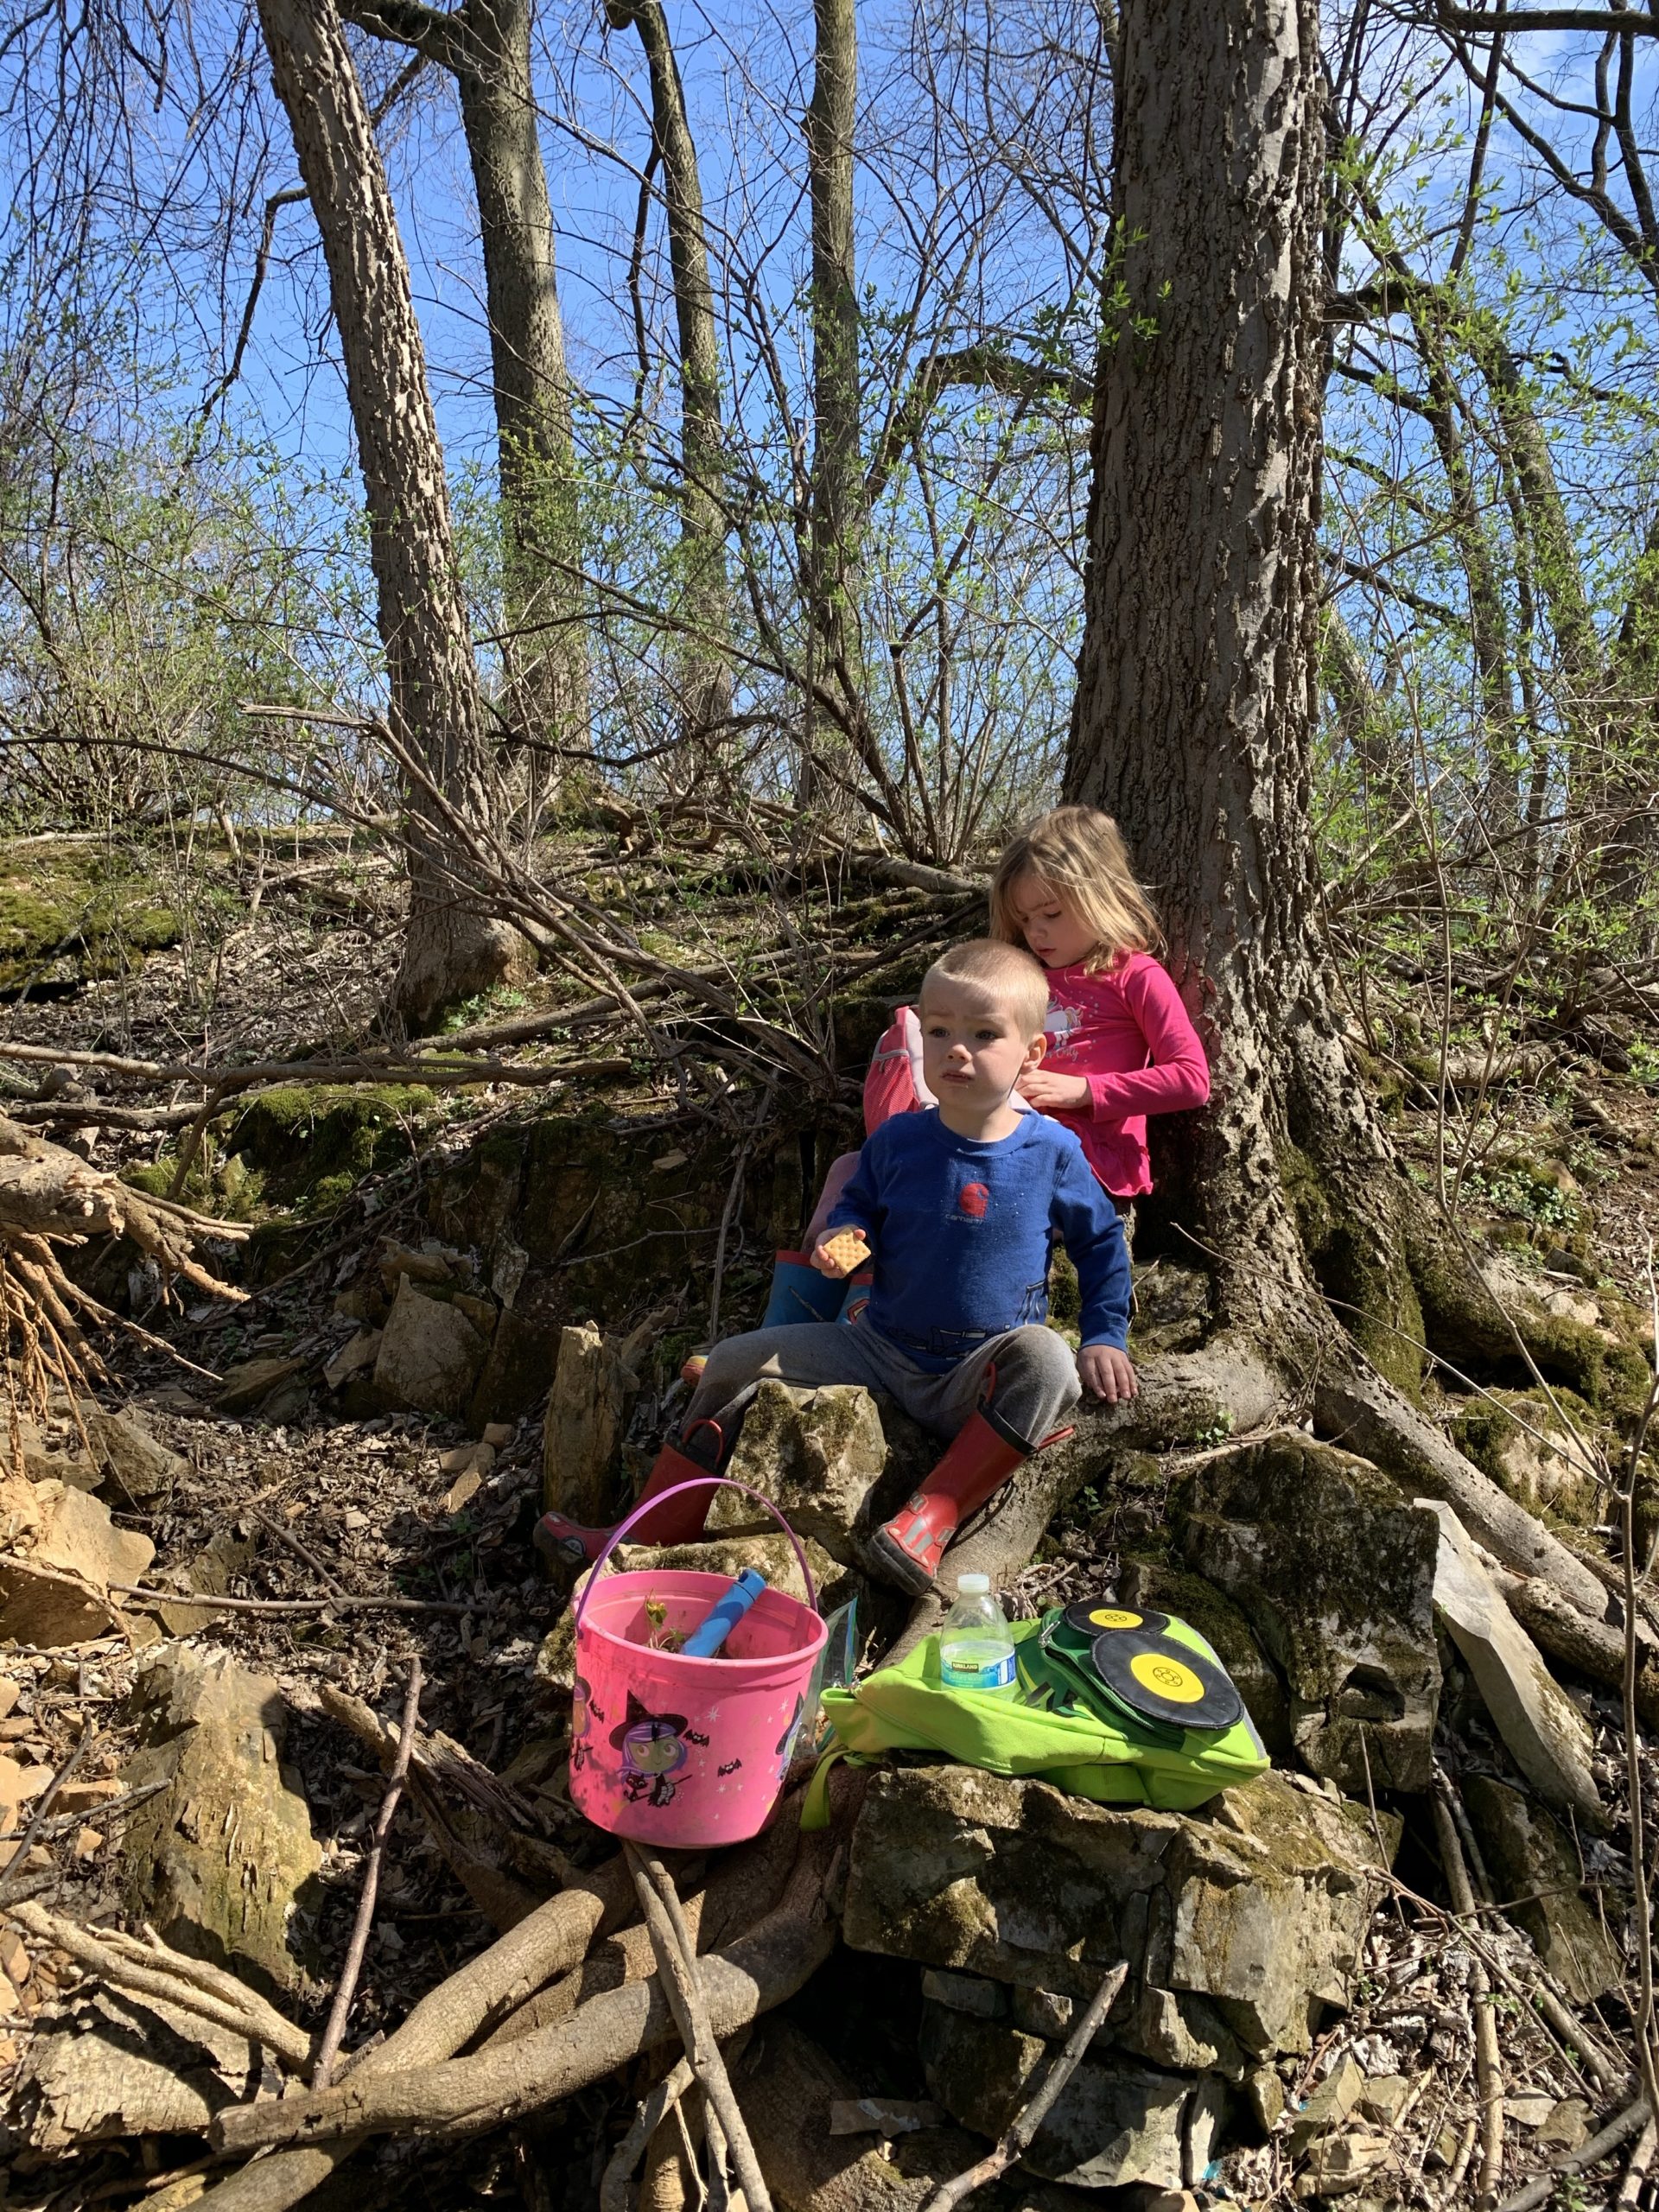
Today, when walking down a hill with my two children, an older woman and her dog passed by (don’t worry it was over 6 feet away!), and the woman said, “Oh, don’t go down there it’s treacherous down there! I just smiled and nodded as my son ran up the dry creek bed and tripped on a rock landing face first.  What I thought in my head was, “It’s more dangerous going to the food store these days.”

img_3134

I’m not about to lock the kids in the house, but I’m not going to take them to a crowded park.  Getting outside is important for children’s brains to develop, grow, and learn; not to mention, to have fun and explore!  So get outside and find new paths, hear new bird calls, have a picnic, get wet and jump in puddles for goodness sake! This is the times you and the kids will remember.  In fact, after all this, the kids were exhausted.  My daughter said it was the best day ever!

img_3130

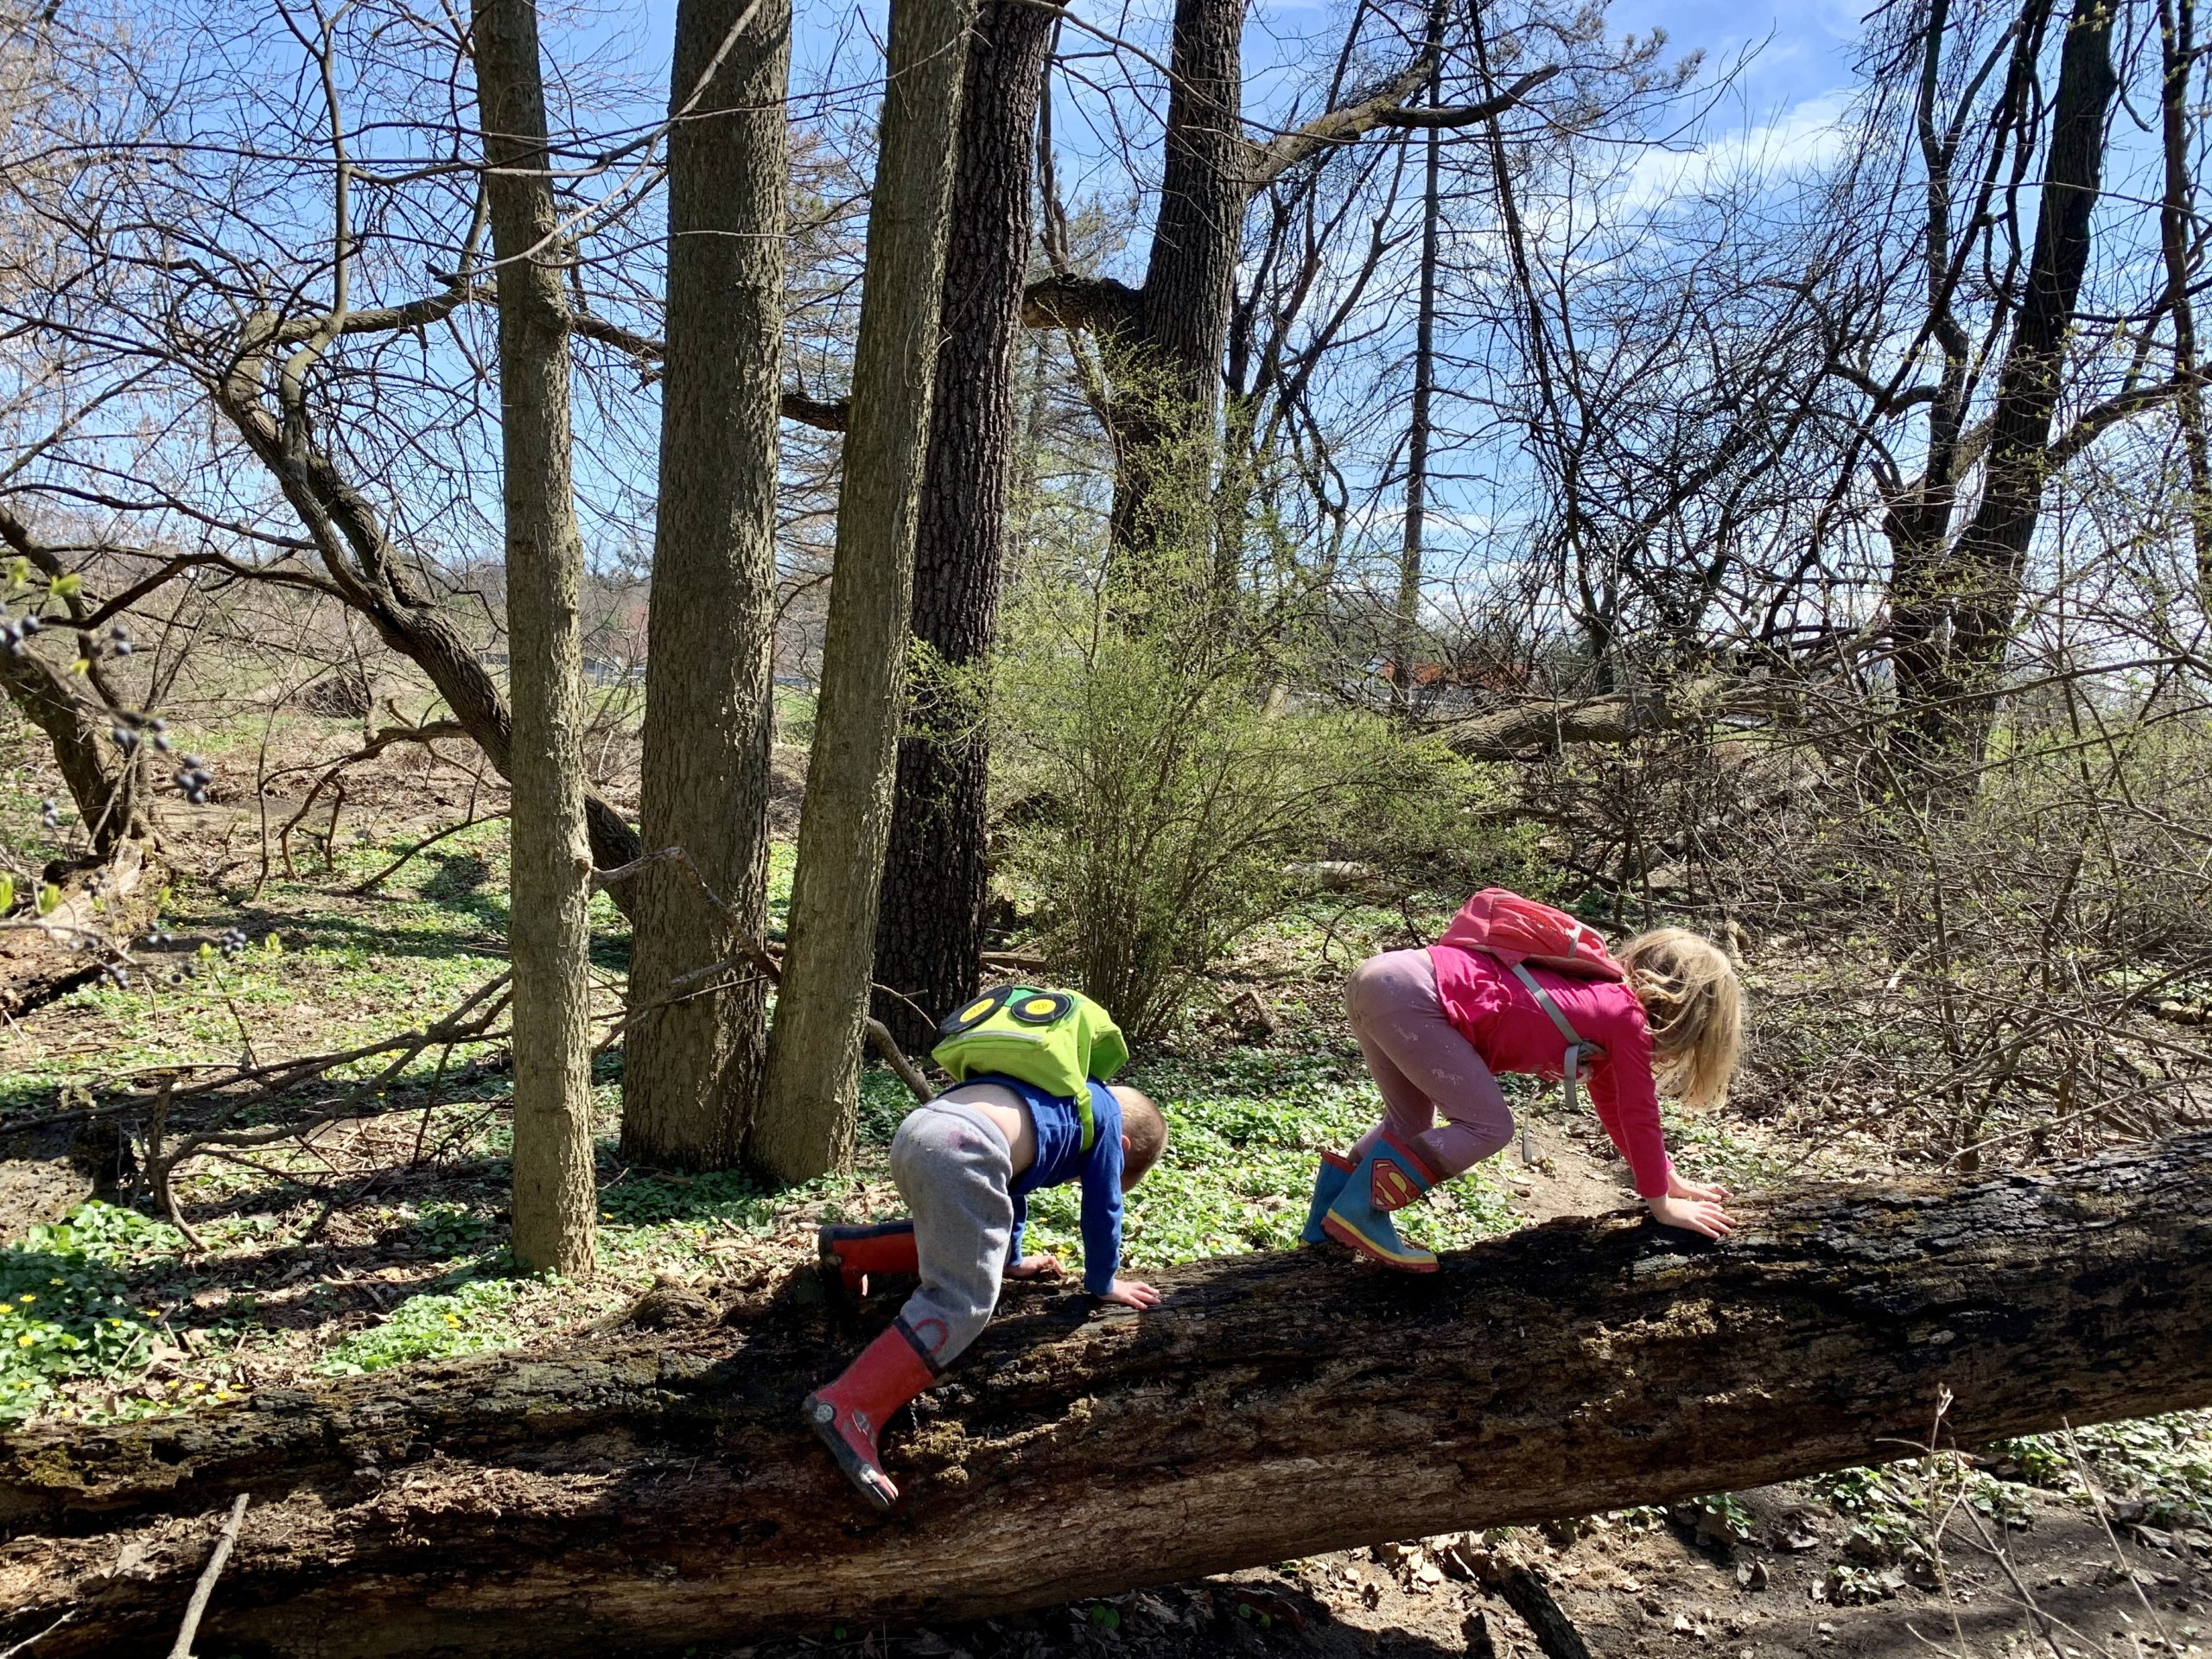
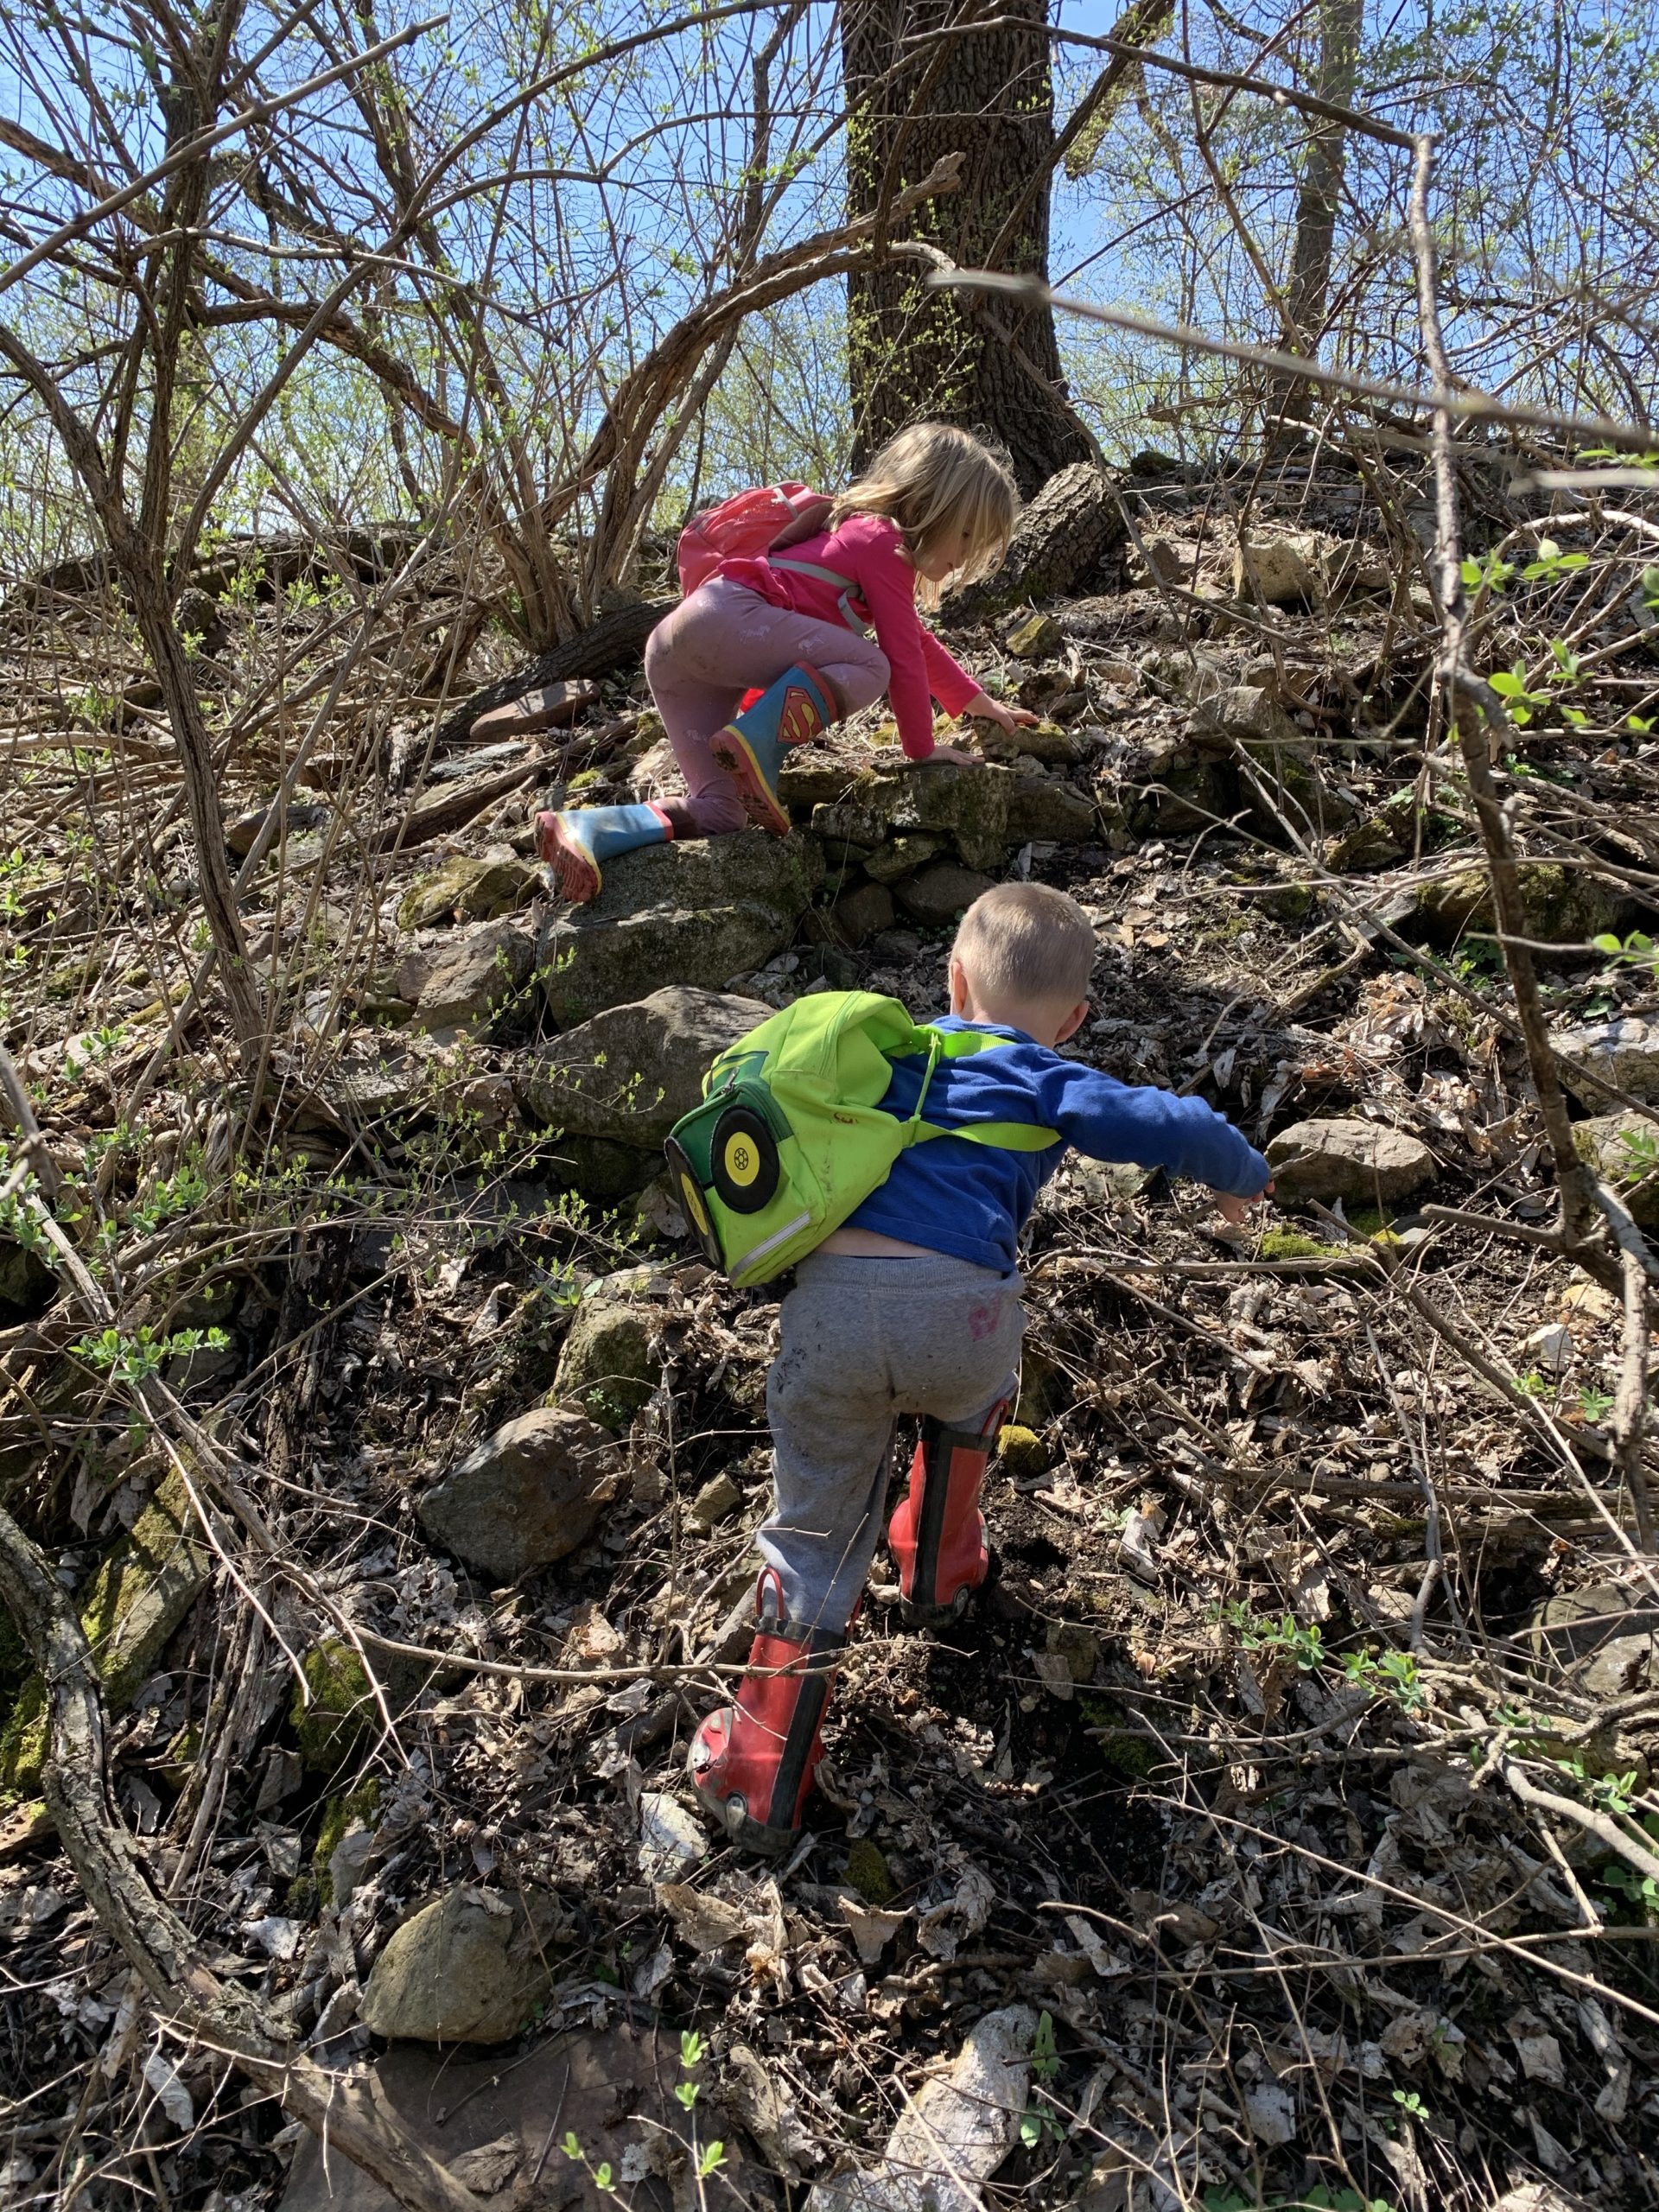
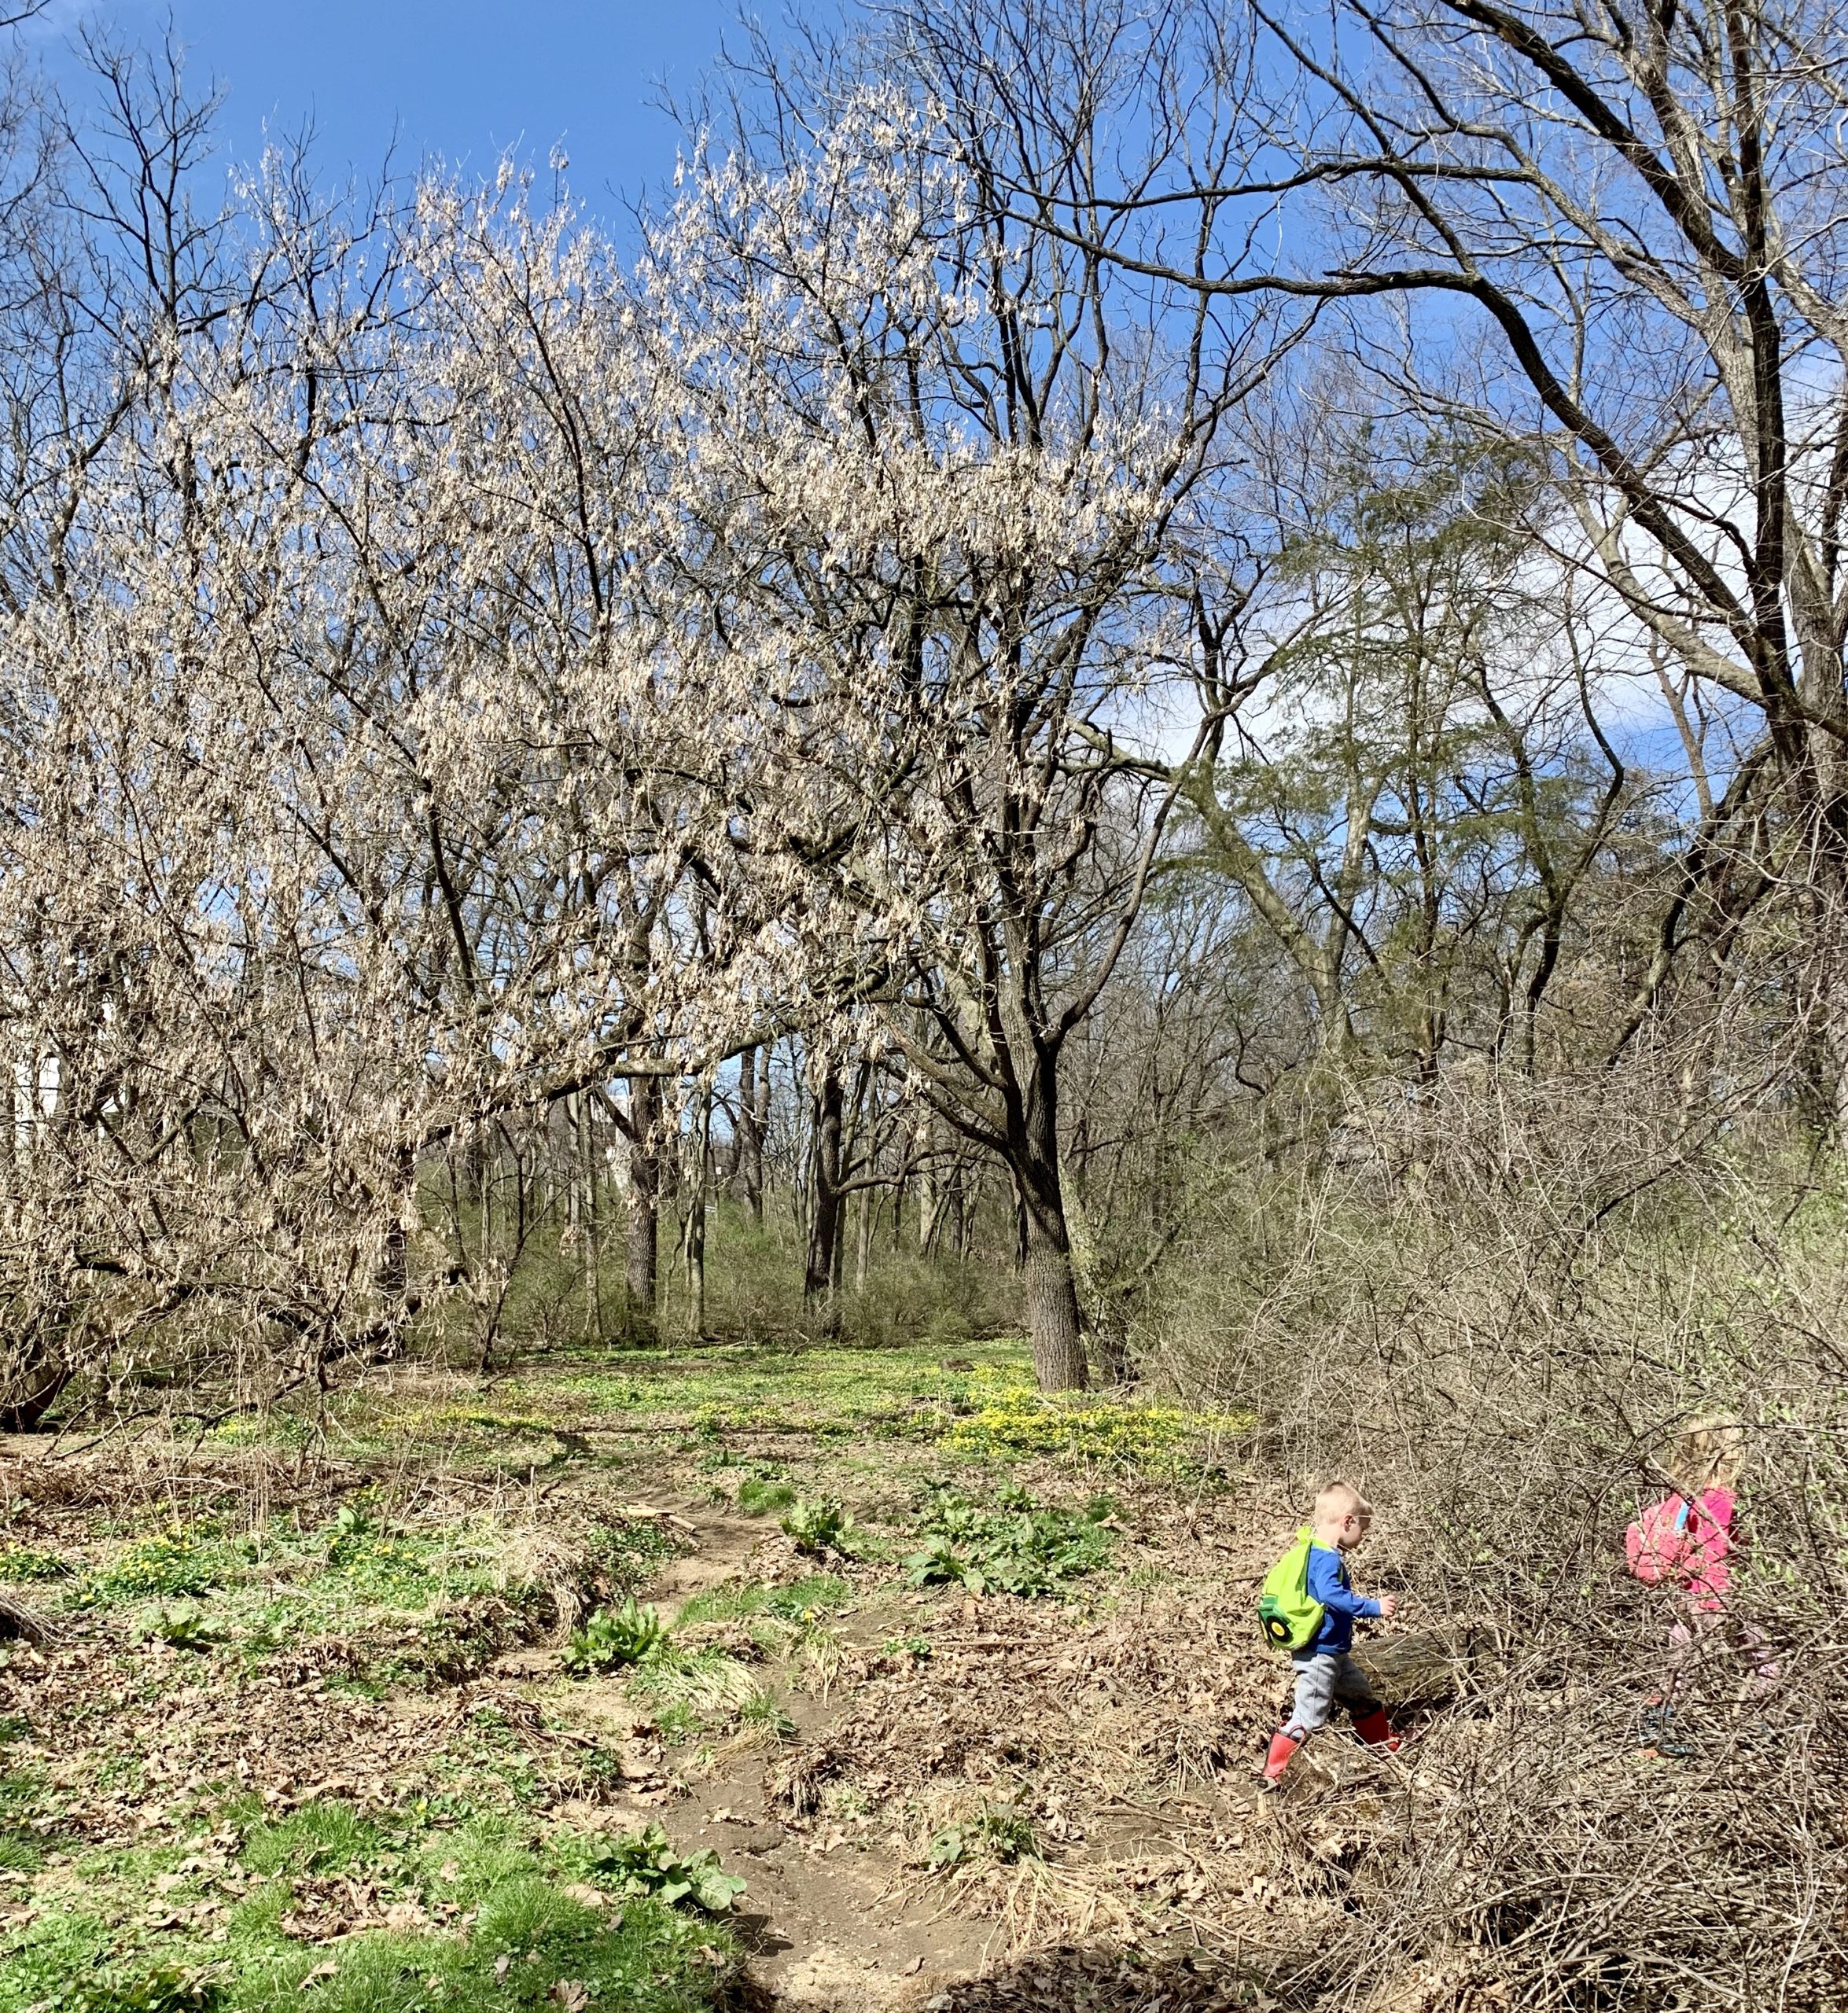
We saw frogs and toads, explored dry creek beds, found “hideouts” (make believe hideouts), looked for fossils under tree roots, climbed mountains (to a kid its a mountain), balanced and walked on logs (with mommy’s hand of course), jumped in puddles, and went through tunnels (under bridges).

img_3135

So pack a backpack, even better, have your kids pack theirs with extra socks, a dish towel (to dry off their feet), snacks, water, magnifying glass, zip-lock bag or bucket (to hold things), binoculars and any other things they want to bring (but that their backpack wont be to heavy and you will end up with it!),

img_3133

When we moved from a less populated wooded area to a more populated neighborhood, I didn’t think we would find so many fun outdoor activities for free this easily!  Behind the baseball field that is near our house is a small woods with boy-scout paths and a creek, and this is fun for days for the kids to explore and play!  I can’t wait for tadpoles!

img_3132

So get out there and explore your surroundings!FollowFacebookpinterestrssyoutube
ShareFacebookpinterest

Baking recipes with kids!

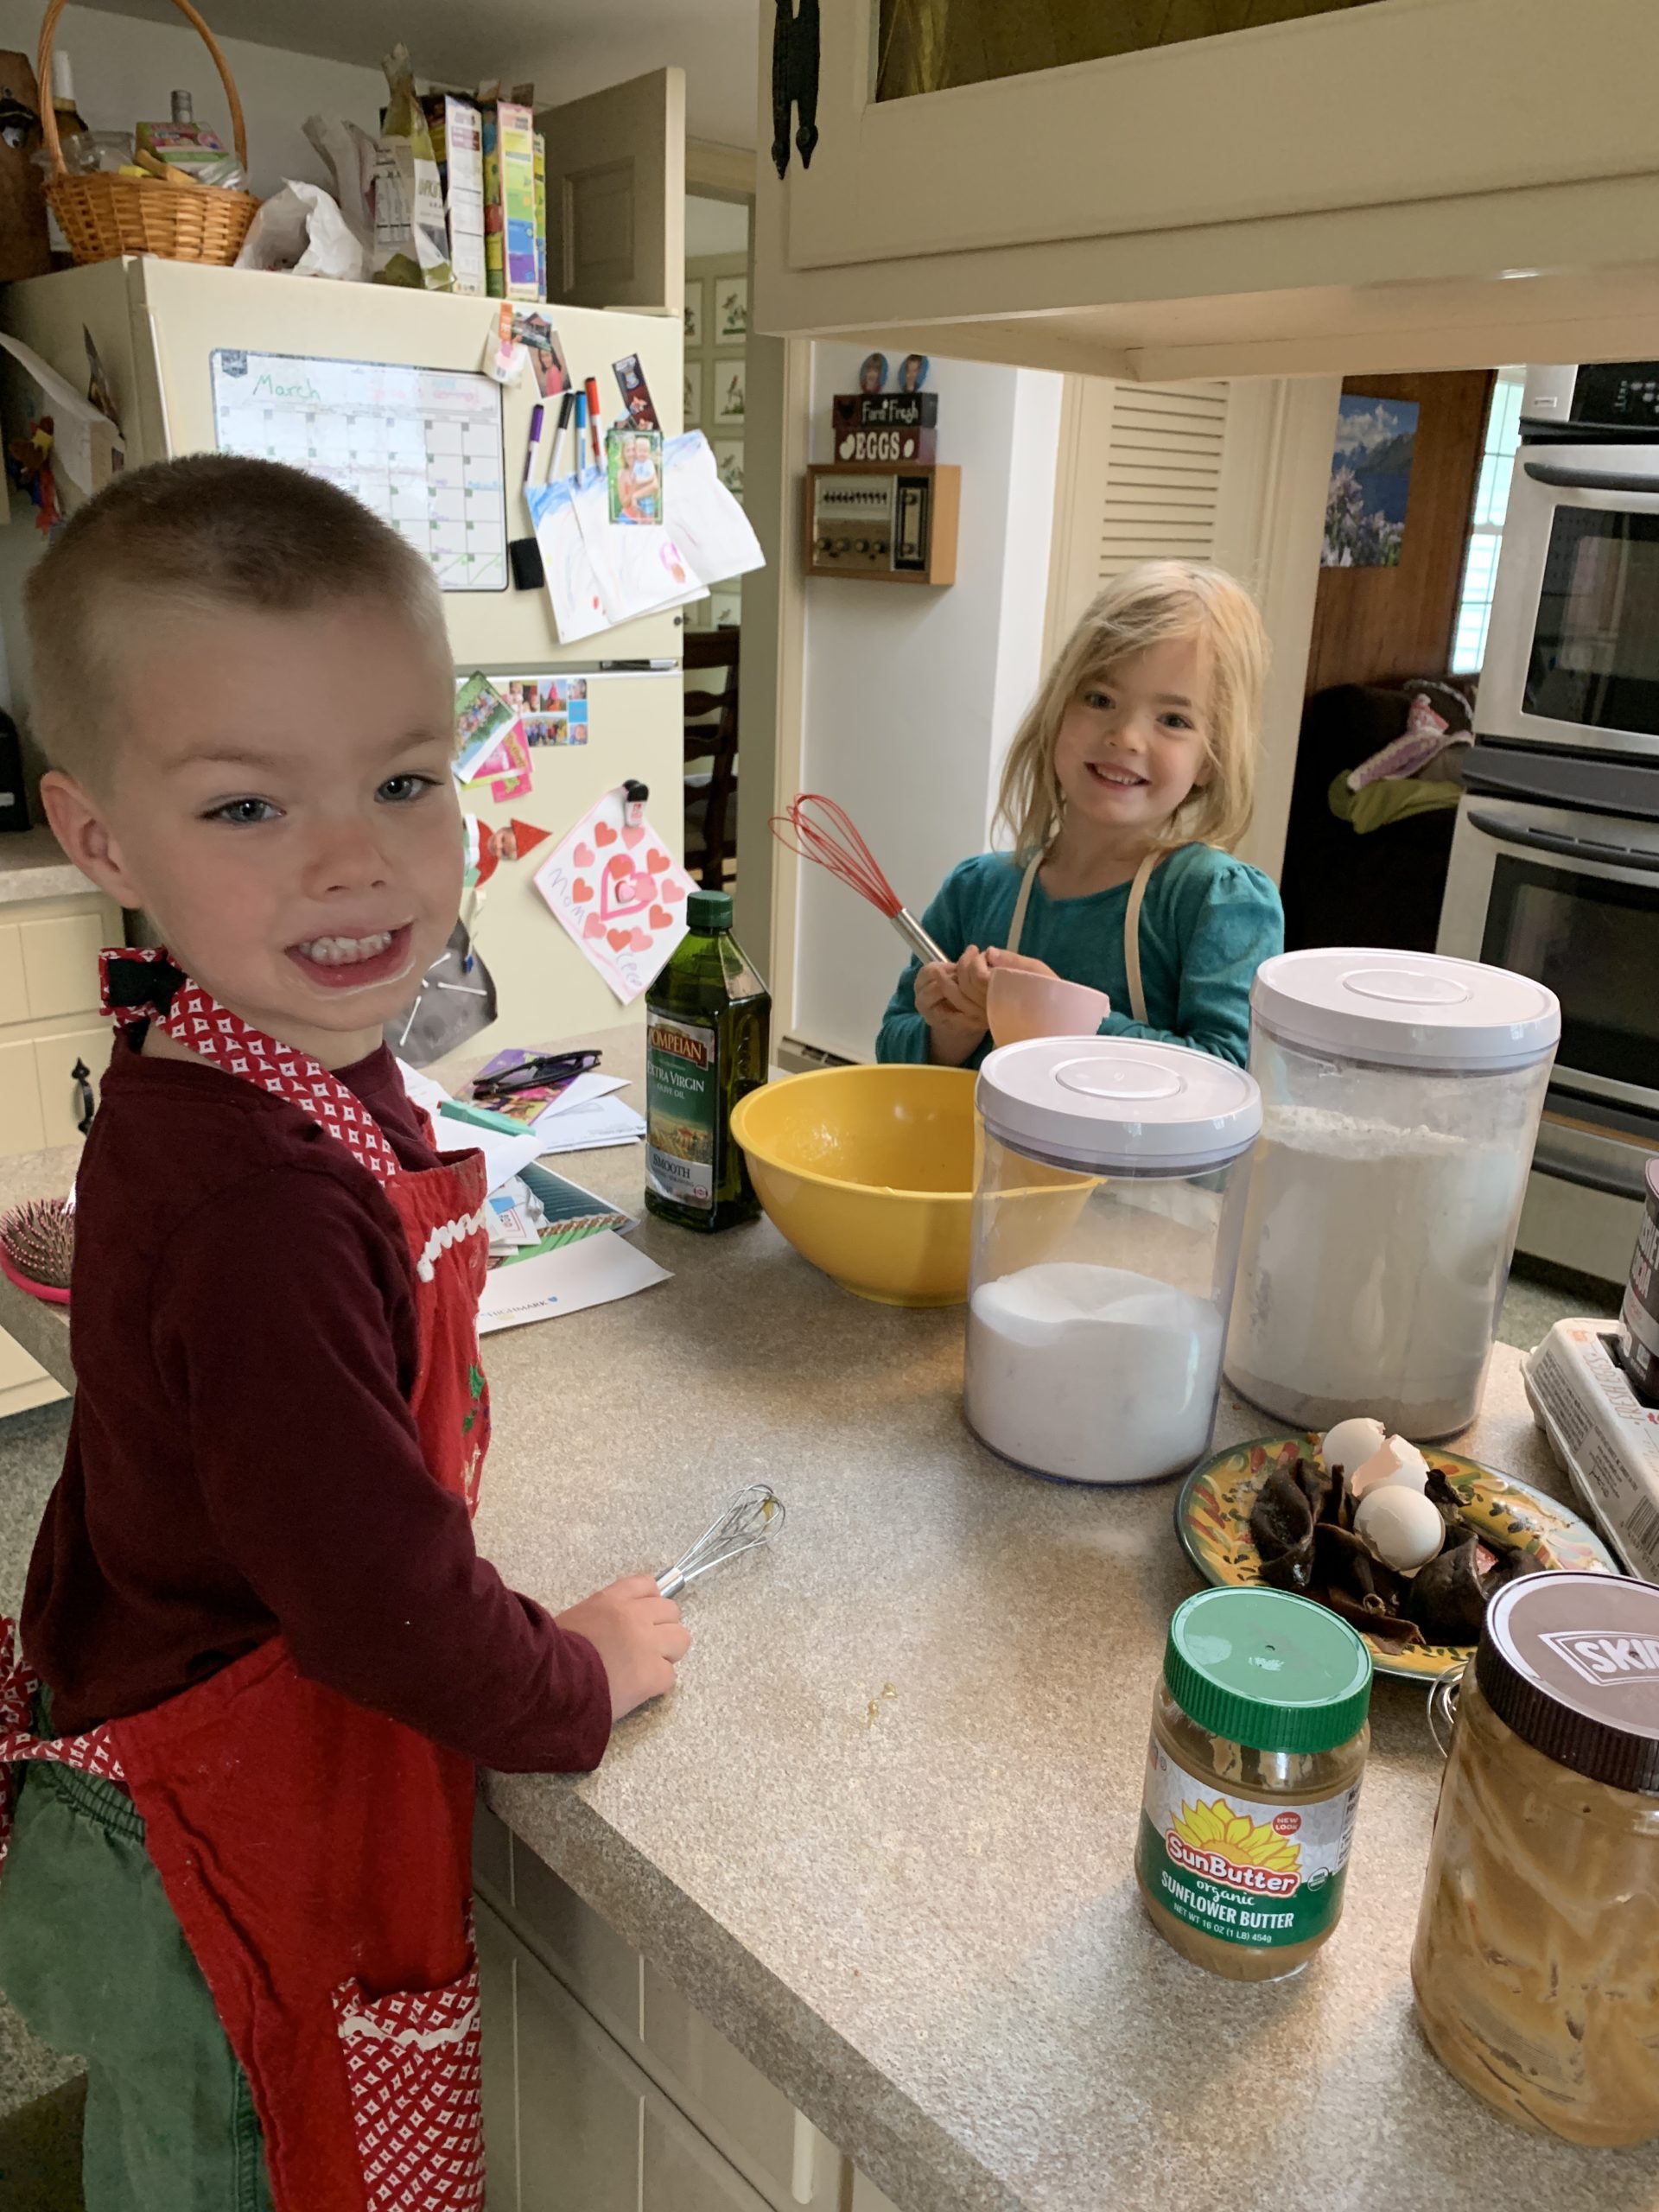
If you are on lockdown like our county is, and possibly soon to be state, you need some more activities to do with your kiddos!  My kids love baking!  Of course it gets messy, but that’s part of the fun (or that is what I tell myself).  My kids love baking and using measuring cups.  They prefer more ingredients so they can stir more together and also pour more (and make more of a mess!).  When I get a box of something to mix with one or two things, they are sorely disappointed. So, most of the time we make recipes not from a box (don’t worry its pretty easy!).

60685167137__82dd9f95-1353-4c31-9e96-d389e8dccf4b

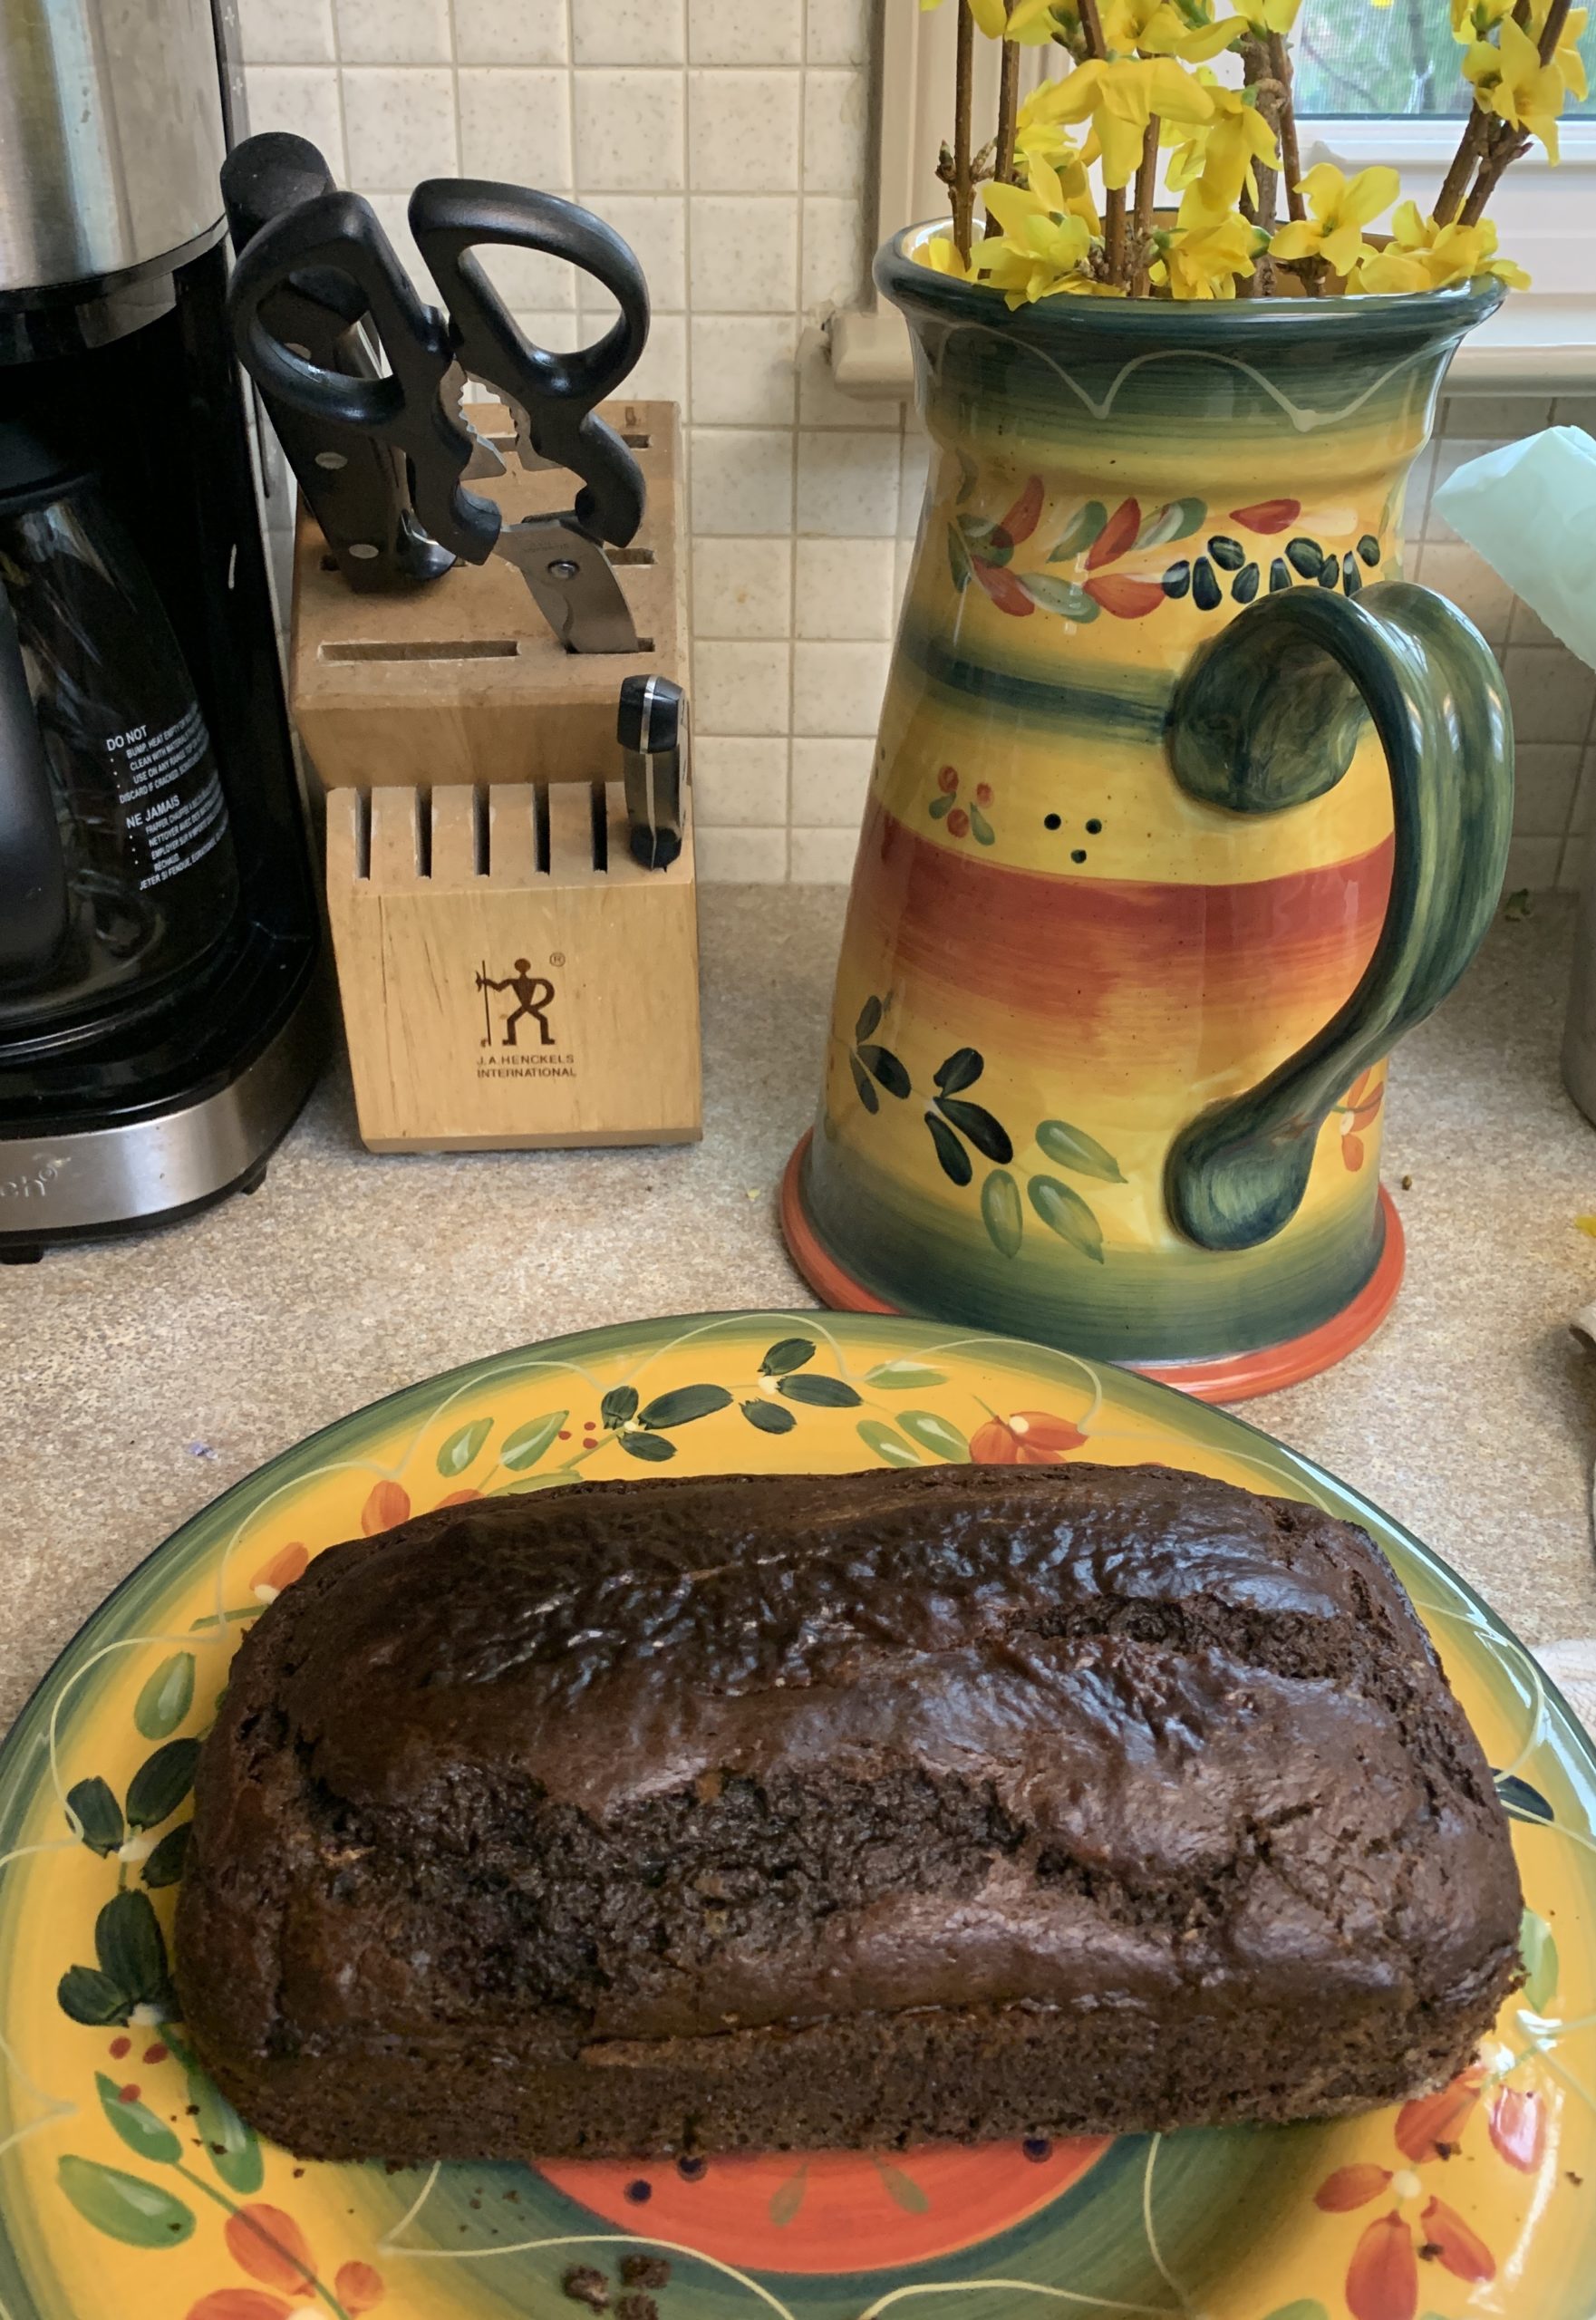
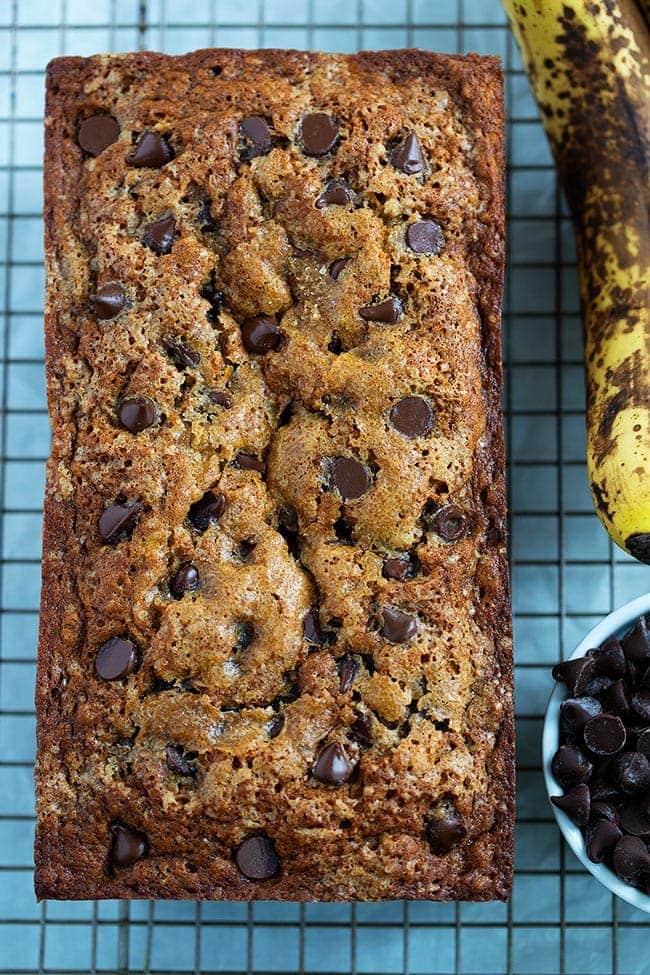
Luckily, we had the ingredients this morning to make banana bread.  I always freeze bananas that are starting to go bad to save them for occasions like this (I mean when its raining not when there is a pandemic!)


So, I’m going to list some of the kids favorite things to bake on a rainy cold day.


Today we made chocolate peanut butter banana bread (but just plain old banana bread with chocolate chips is what they usually like best!)

  1. Chocolate peanut butter banana bread

60685857541__8ffb8f80-e808-4abf-8f11-02935b289723


2. Chocolate chip banana bread

Chocolate Chip Banana Bread

3) Muffins! Muffins! and more muffins!

These are applesauce oat muffins(the kids actually liked them yes!)

how to make applesauce muffins step by step in grid of steps

Here are 14 muffins the kiddos will love- including blueberry, chocolate chip, chocolate

4) Cookies of all kinds of course!

Especially sugar cookies!  They love to decorate them!  I try to do a recipe that doesn’t have to be refrigerated before hand.  They love using cookie cutters and decorating each cookie (although expect for it to take a long time to get all the shapes cut out and expect way too make sprinkles!)

This Sugar Cookies Recipe requires no chill time!

5) This is my kids favorite chocolate cake (although we usually use a bunt pan and just put icing on the top)

Perfectly Chocolate Chocolate Cake


6) Here are some fun cupcake recipes!These are on the fancier side- we usually just ice the top with a knife and call it a day (the cupcakes are gone before you have a chance to make it fancy!)  I’ve wanted to try the ice cream cone cupcakes- that will be next on our list!)

Ice cream cone cakes


Any baking recipe the kiddos will love to make the memories with you! Don’t forget to take pictures!!!

 FollowFacebookpinterestrssyoutube
ShareFacebookpinterest

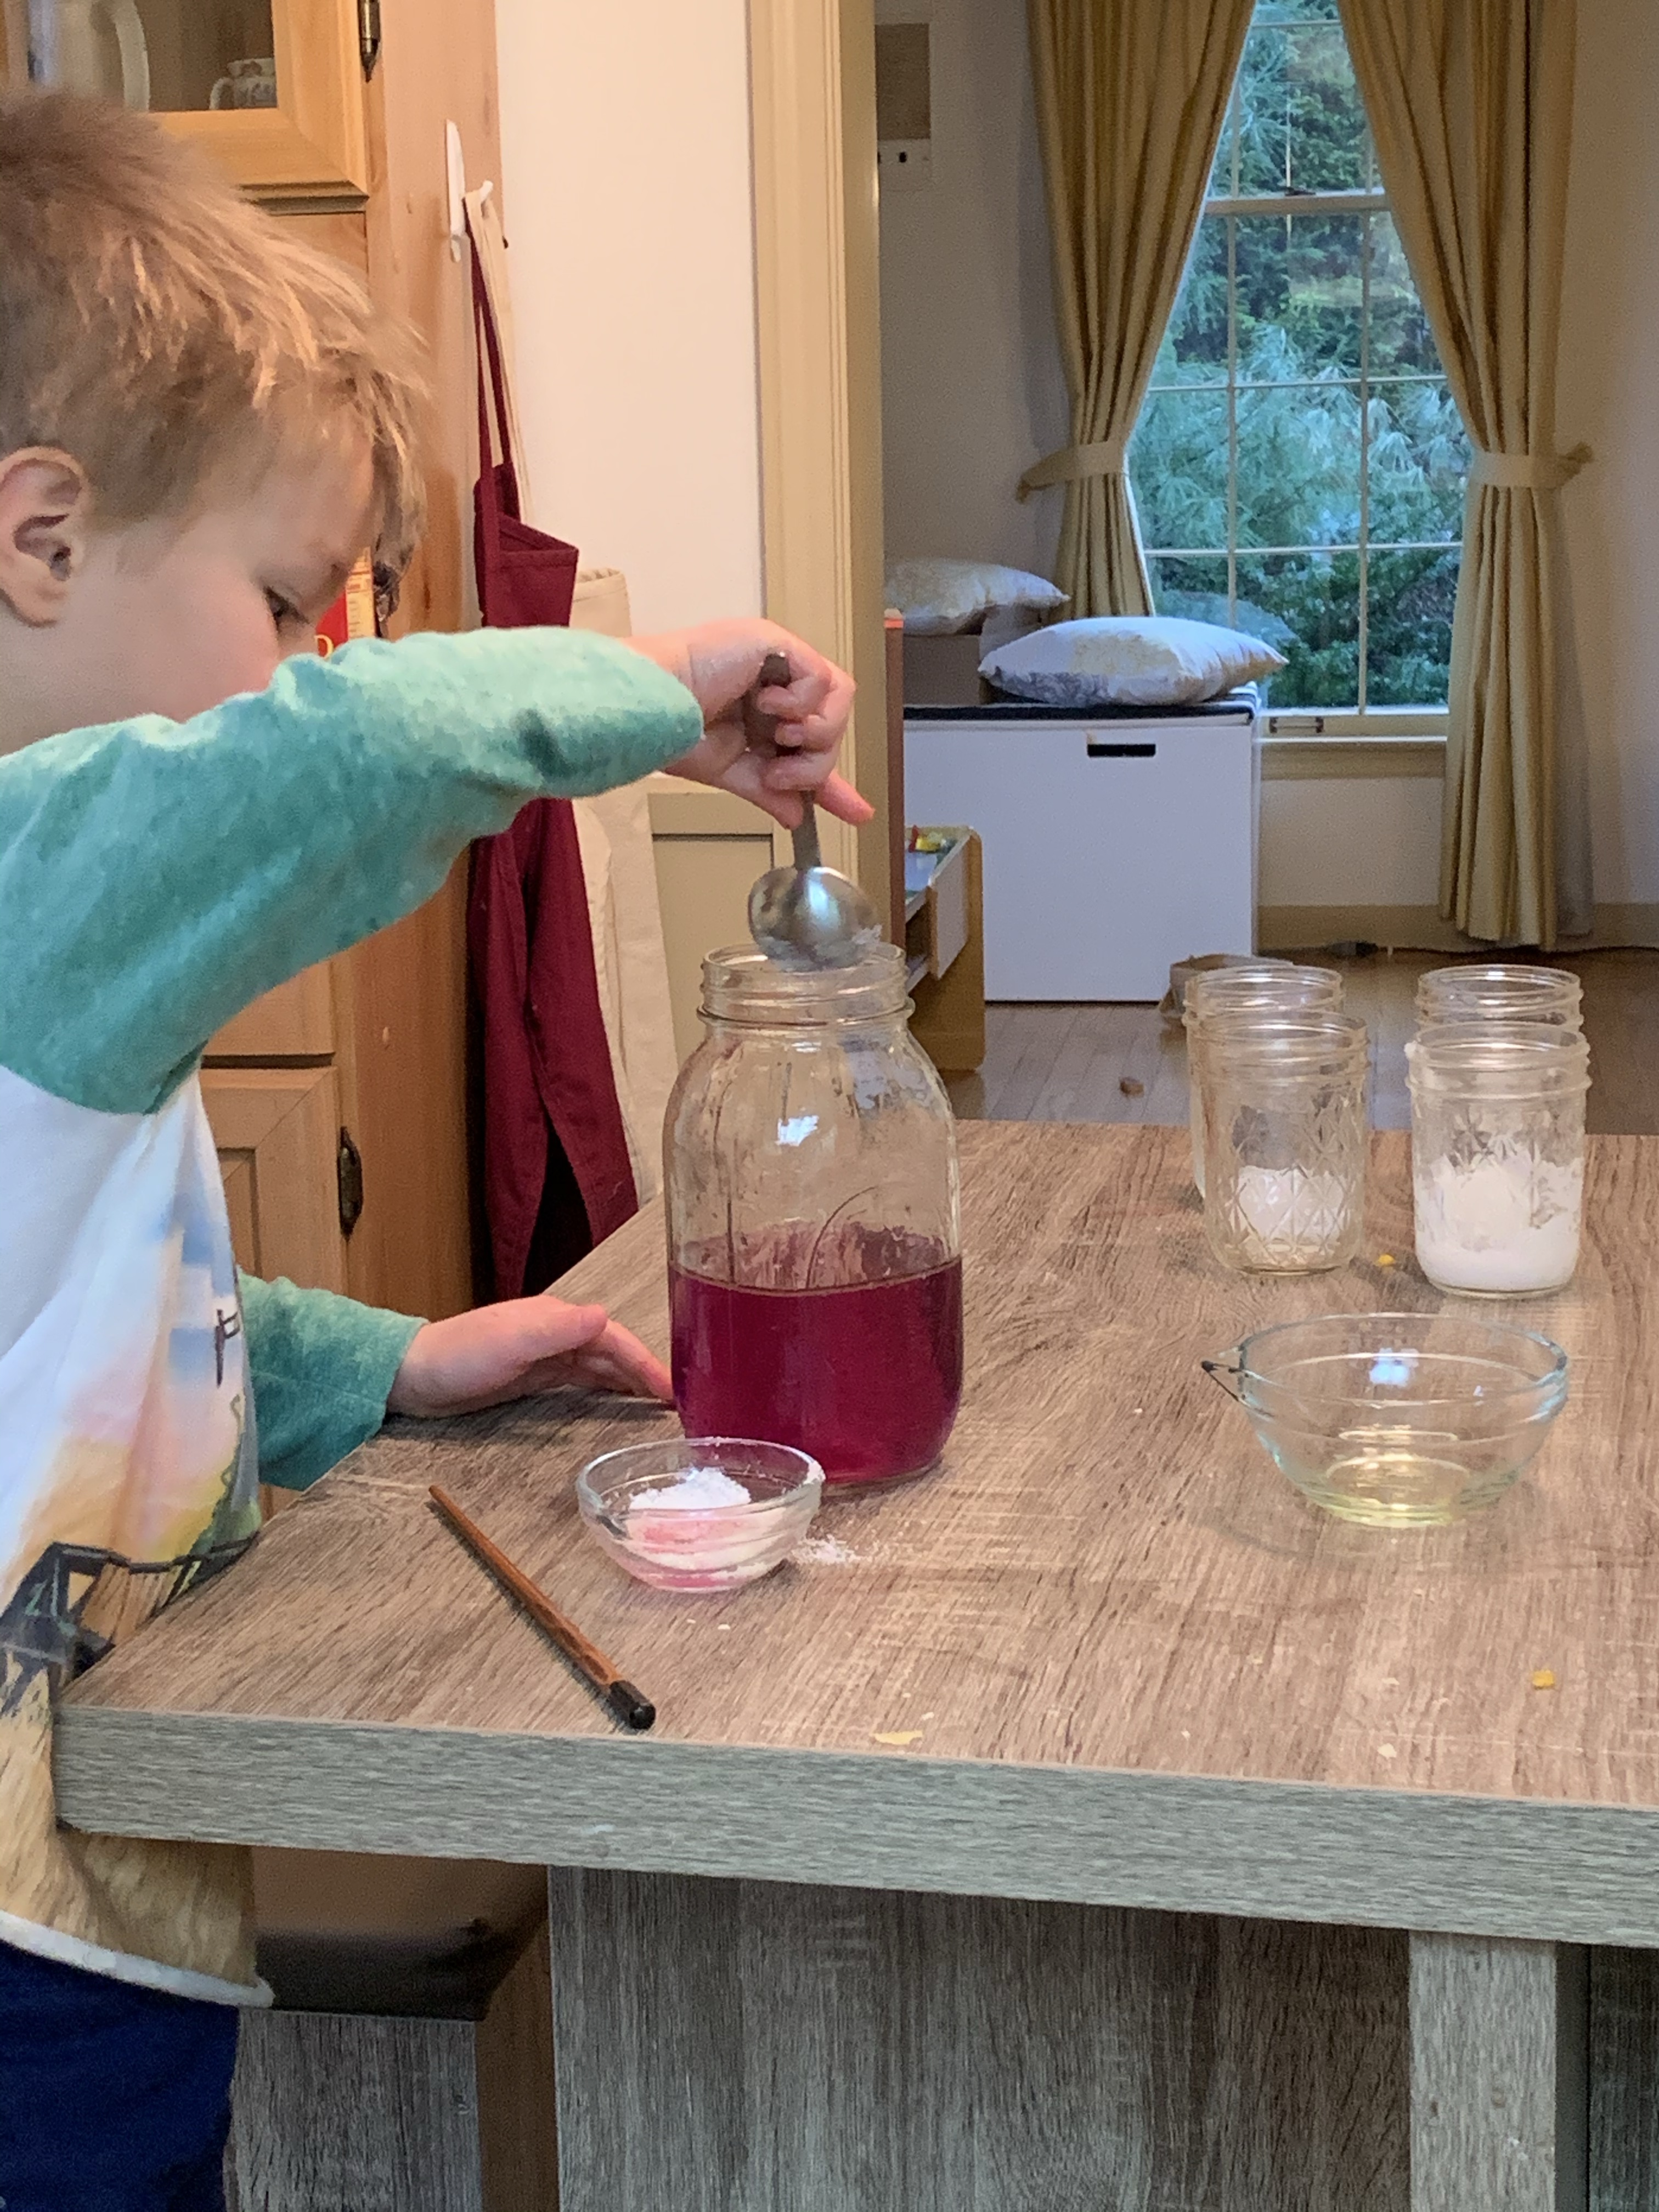
Mixing fun

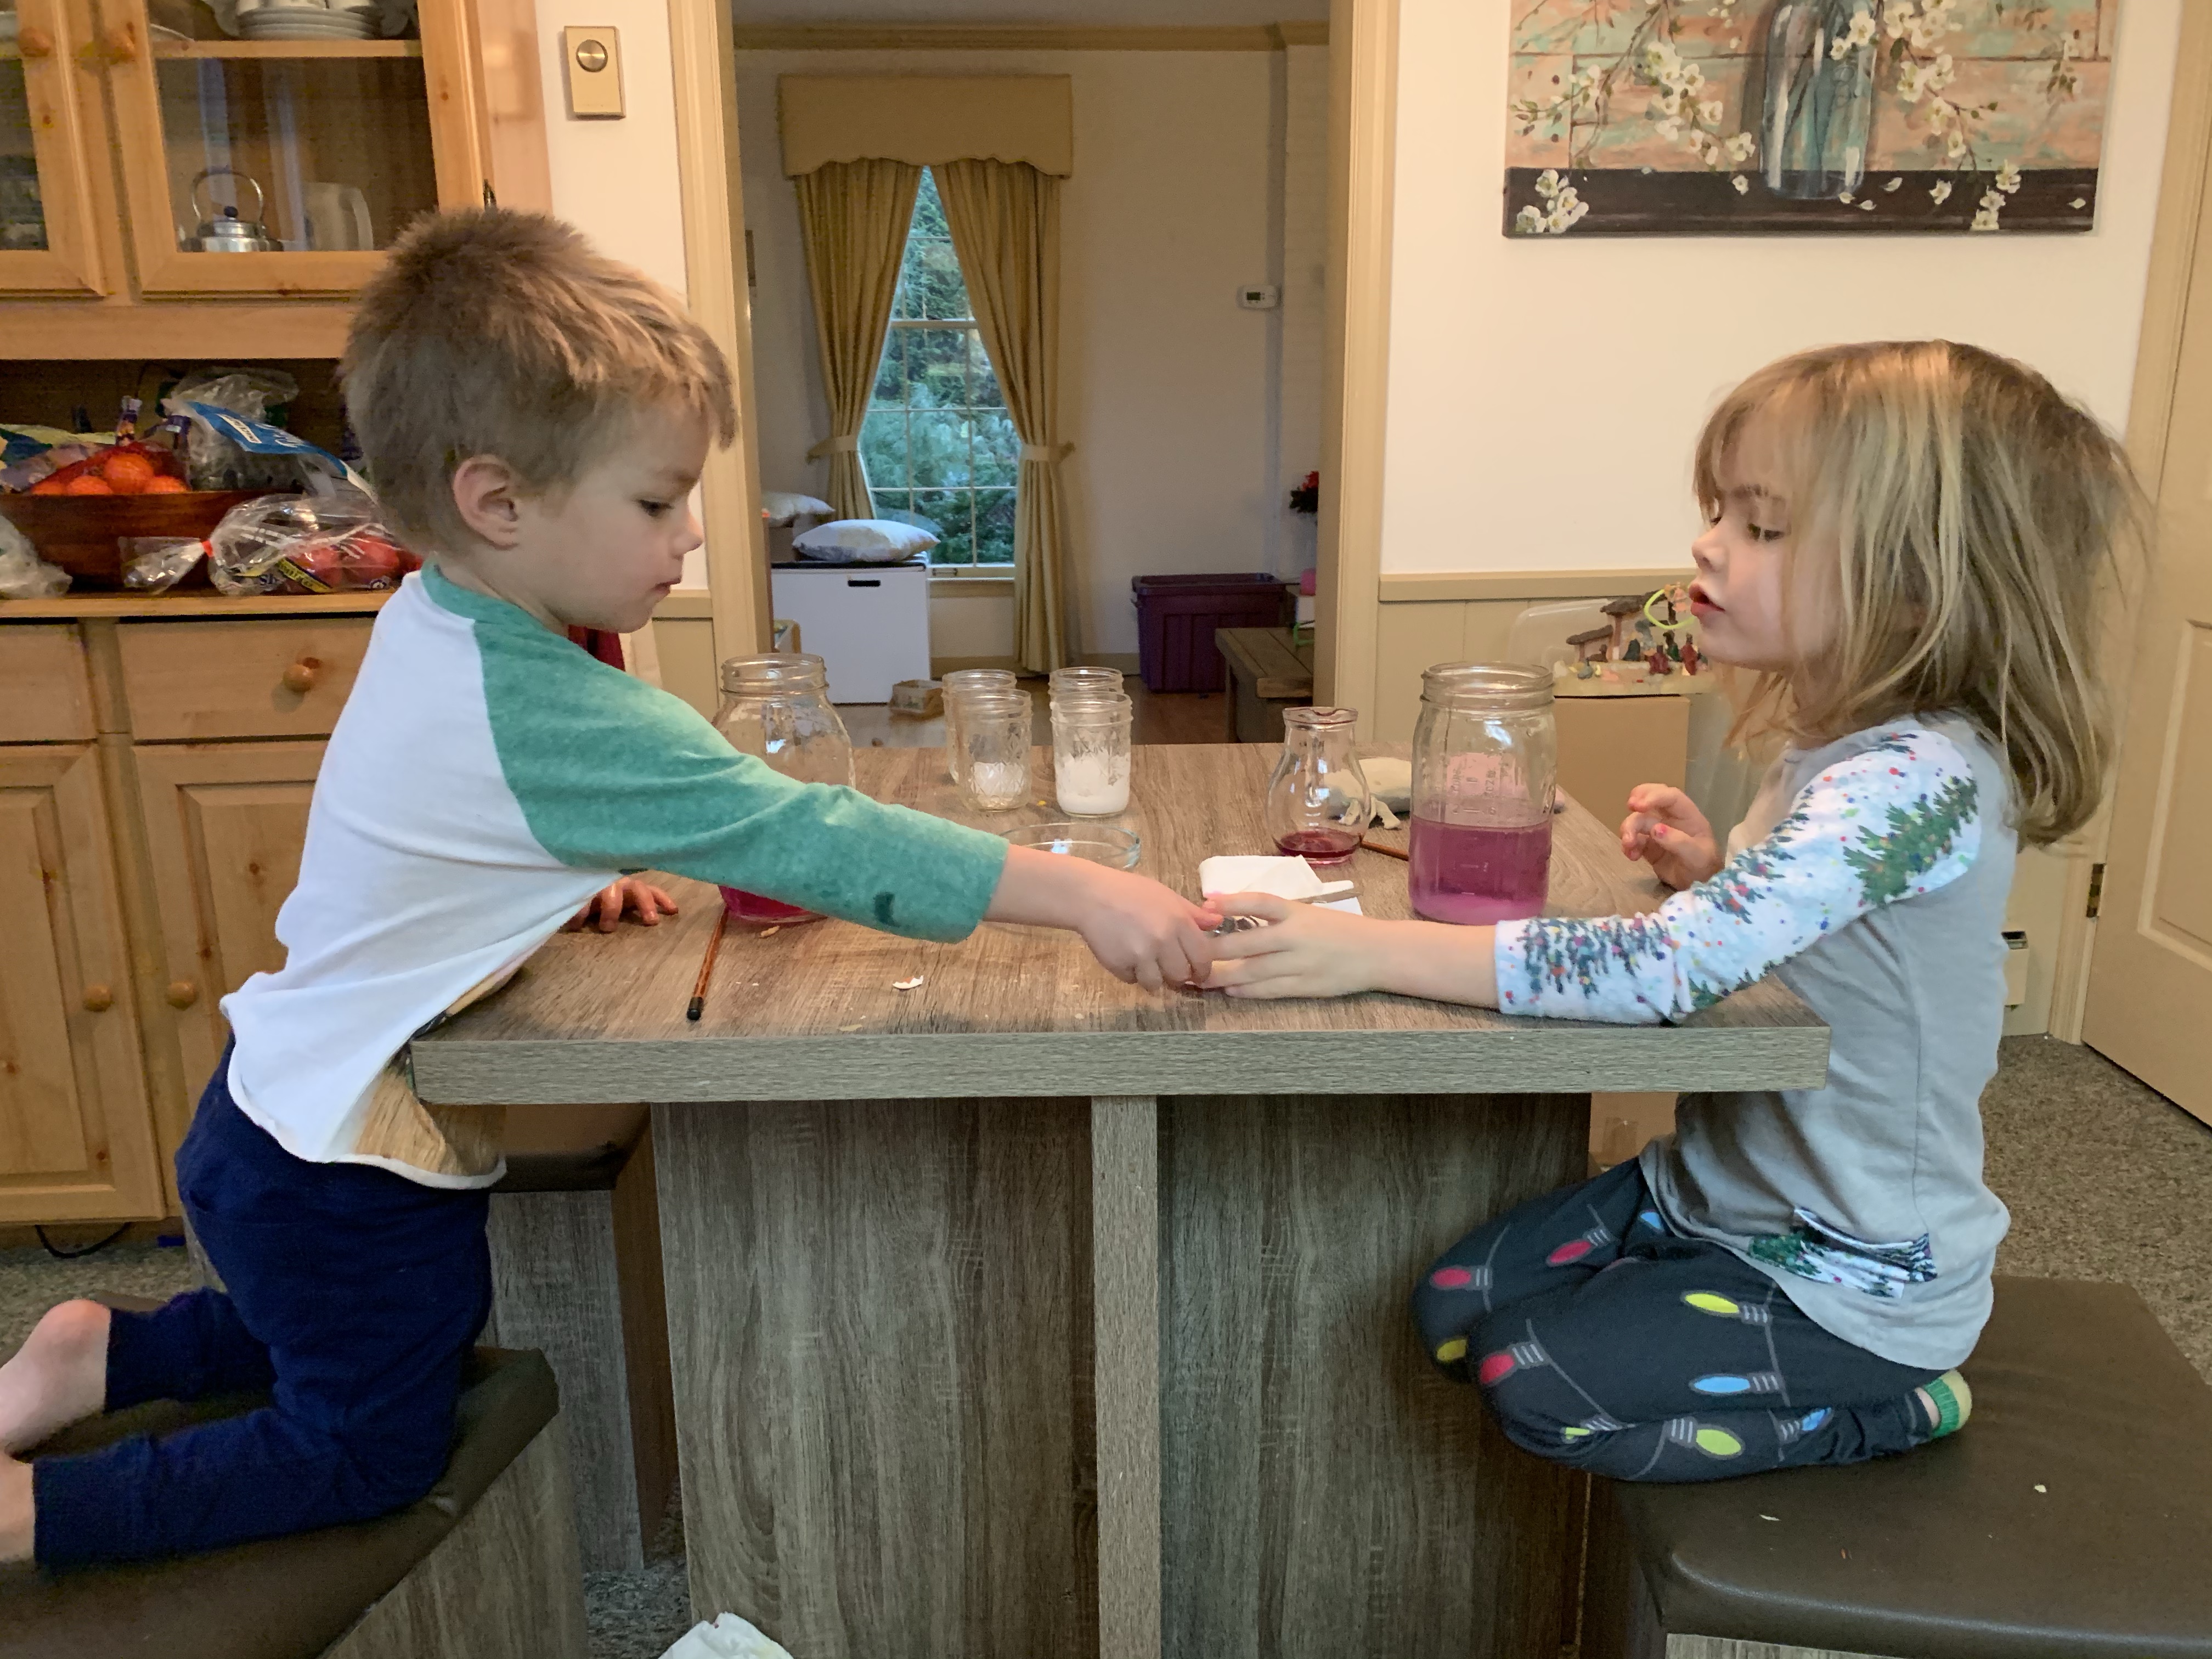
If you’re looking for an activity for your little ones to enjoy and also learn try this mixing fun. You can also use whatever you have in your kitchen! Just as an update, the kids ask to do this almost daily they love it that much!

img_2705

You need a container, preferably a tall see through one such as a large mason jar as shown. Fill the mason jar half way up with water.

Then you will need something to stir with (we grabbed a chopstick!)

Lastly, you need items to put in this mixture, so food coloring or natural coloring (we also used washable paint one time!

Coloring from beet juice etc.

Sprinkles can be used to see if they float or sink!

Ice cubes

Salt versus sugar-do they dissolve

Olive oil or any type of oil to see if it mixes with water

Croutons, cereal, some scraps from the compost bucket, lettuce leaf, onion (although you may want to hold off on too many food items with the quarantine right now!)

img_2707

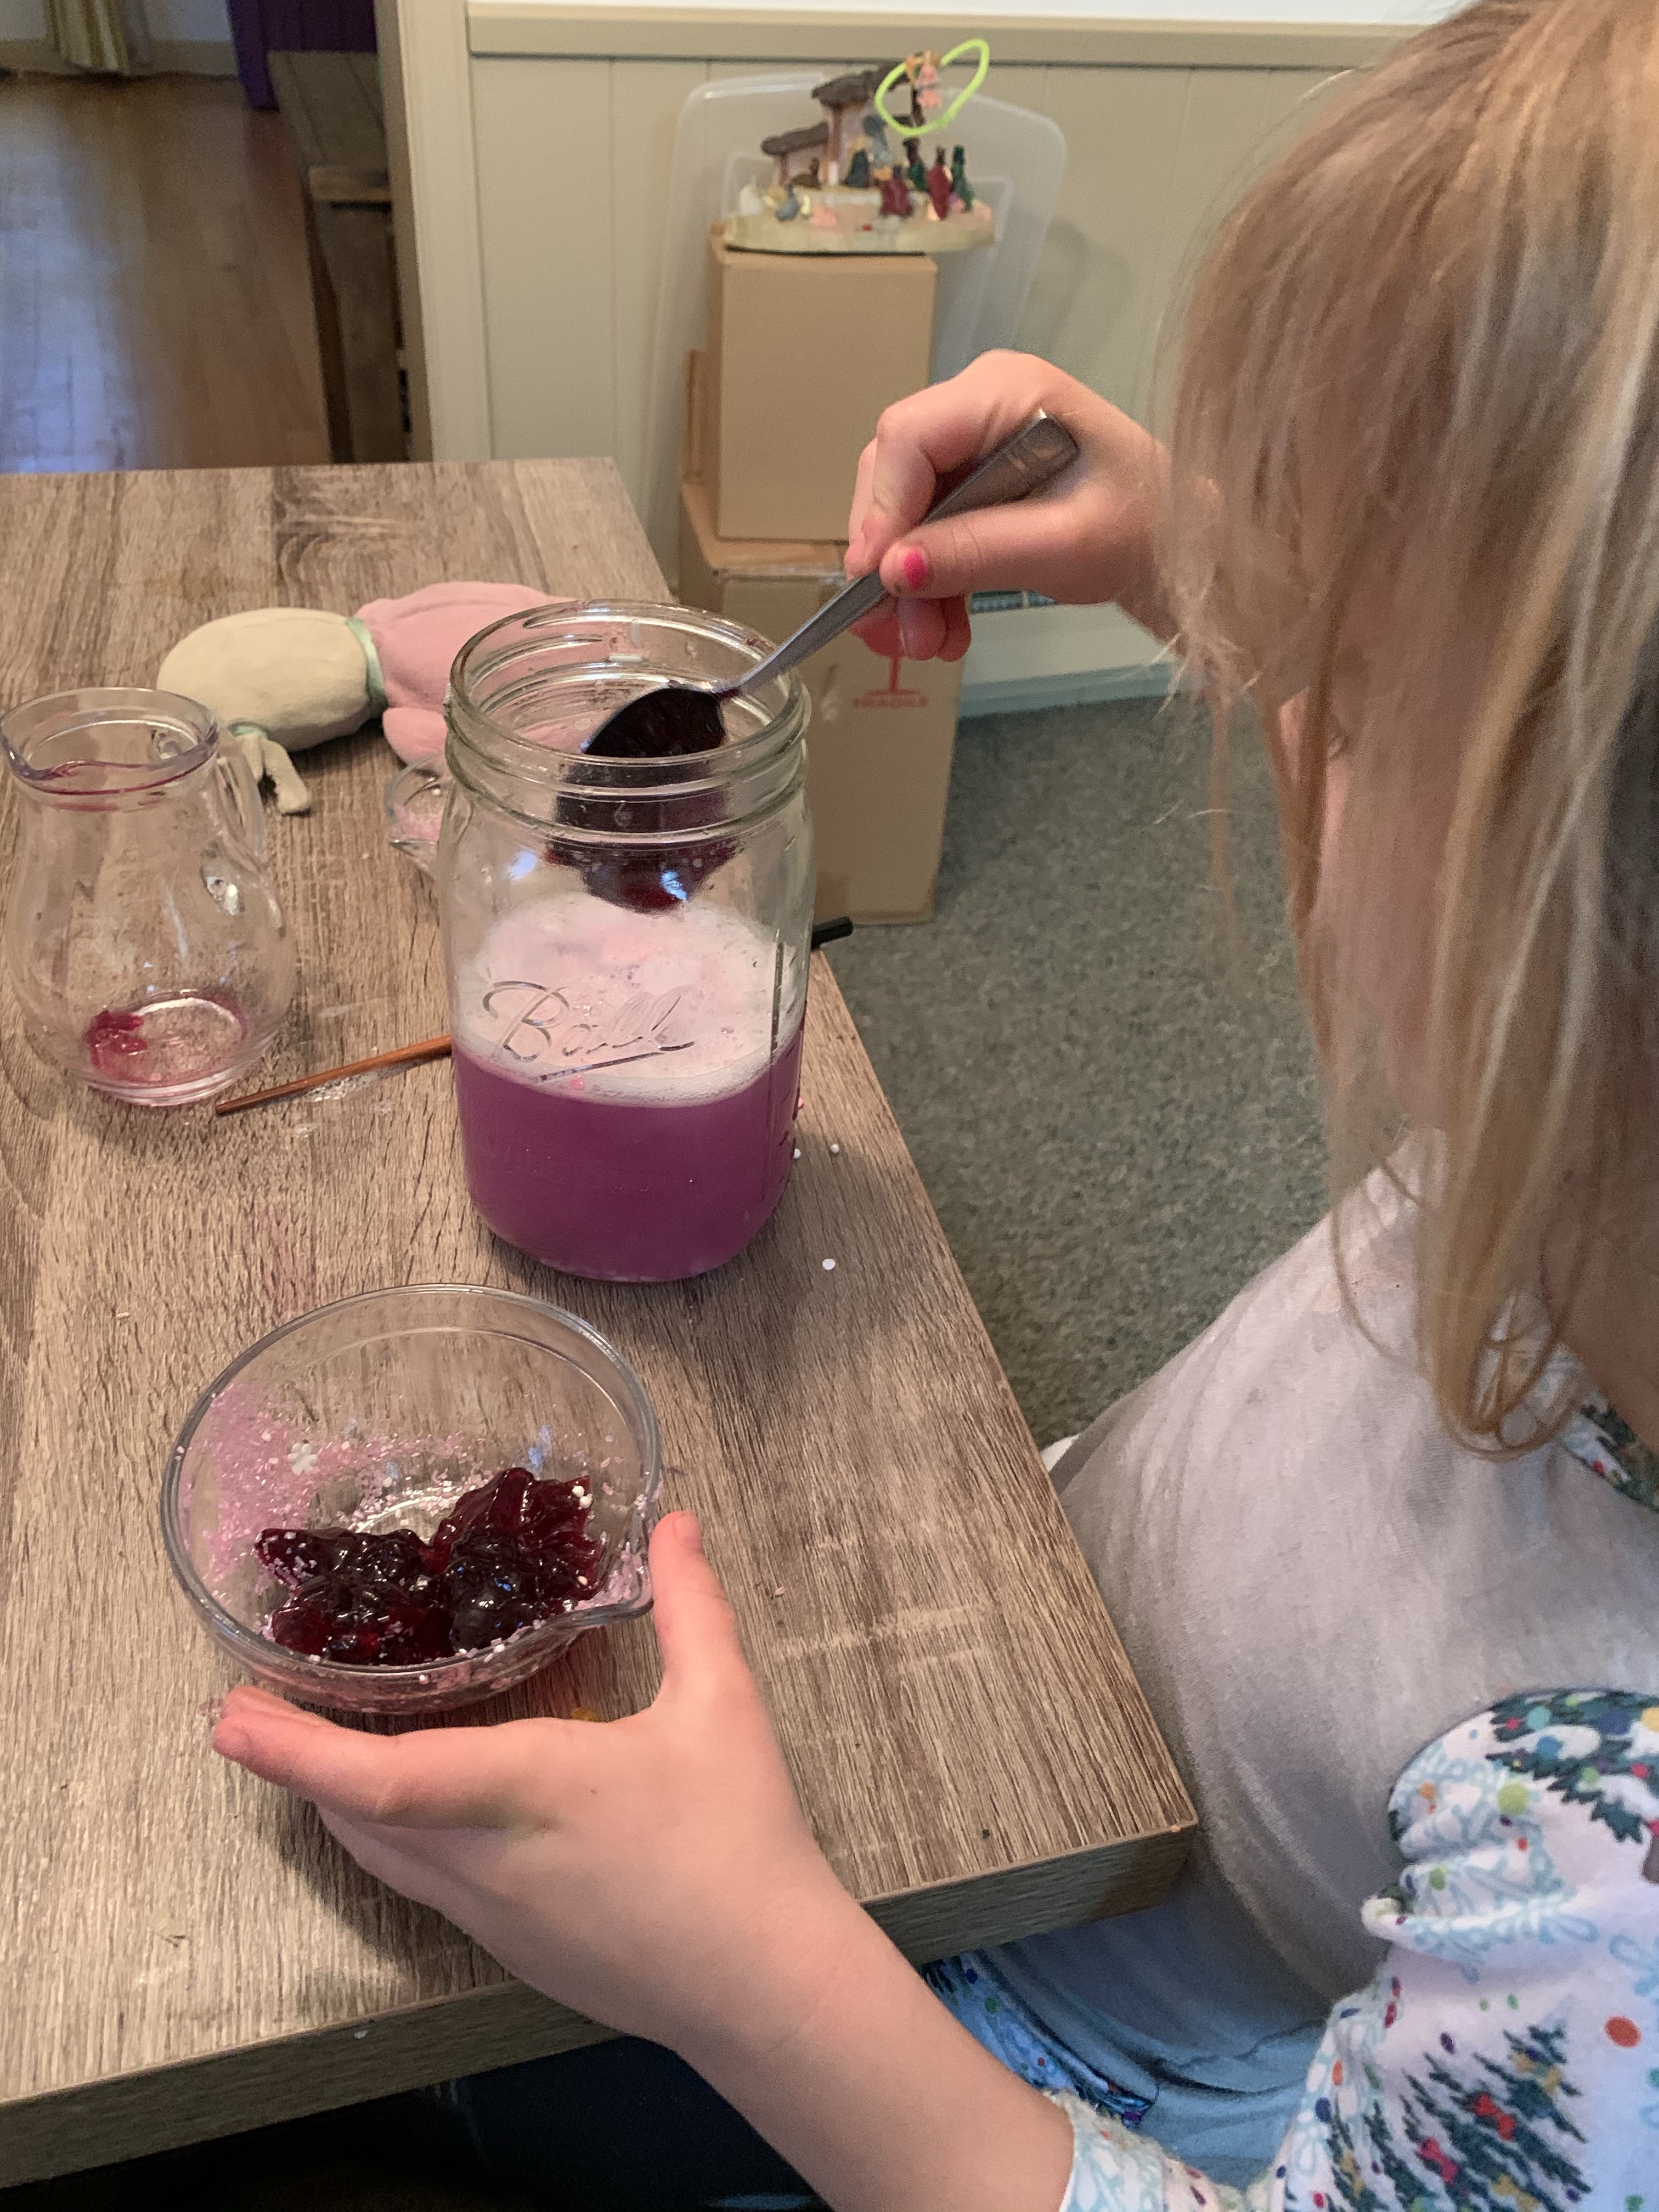
We even tried jelly to see if it would sink or mix into the concoction. Then have your child mix it real fast in a circle and see a cyclone happen!

Dish soap and the bubbles it causes is fun as well!

img_2704

Pretty much try anything!


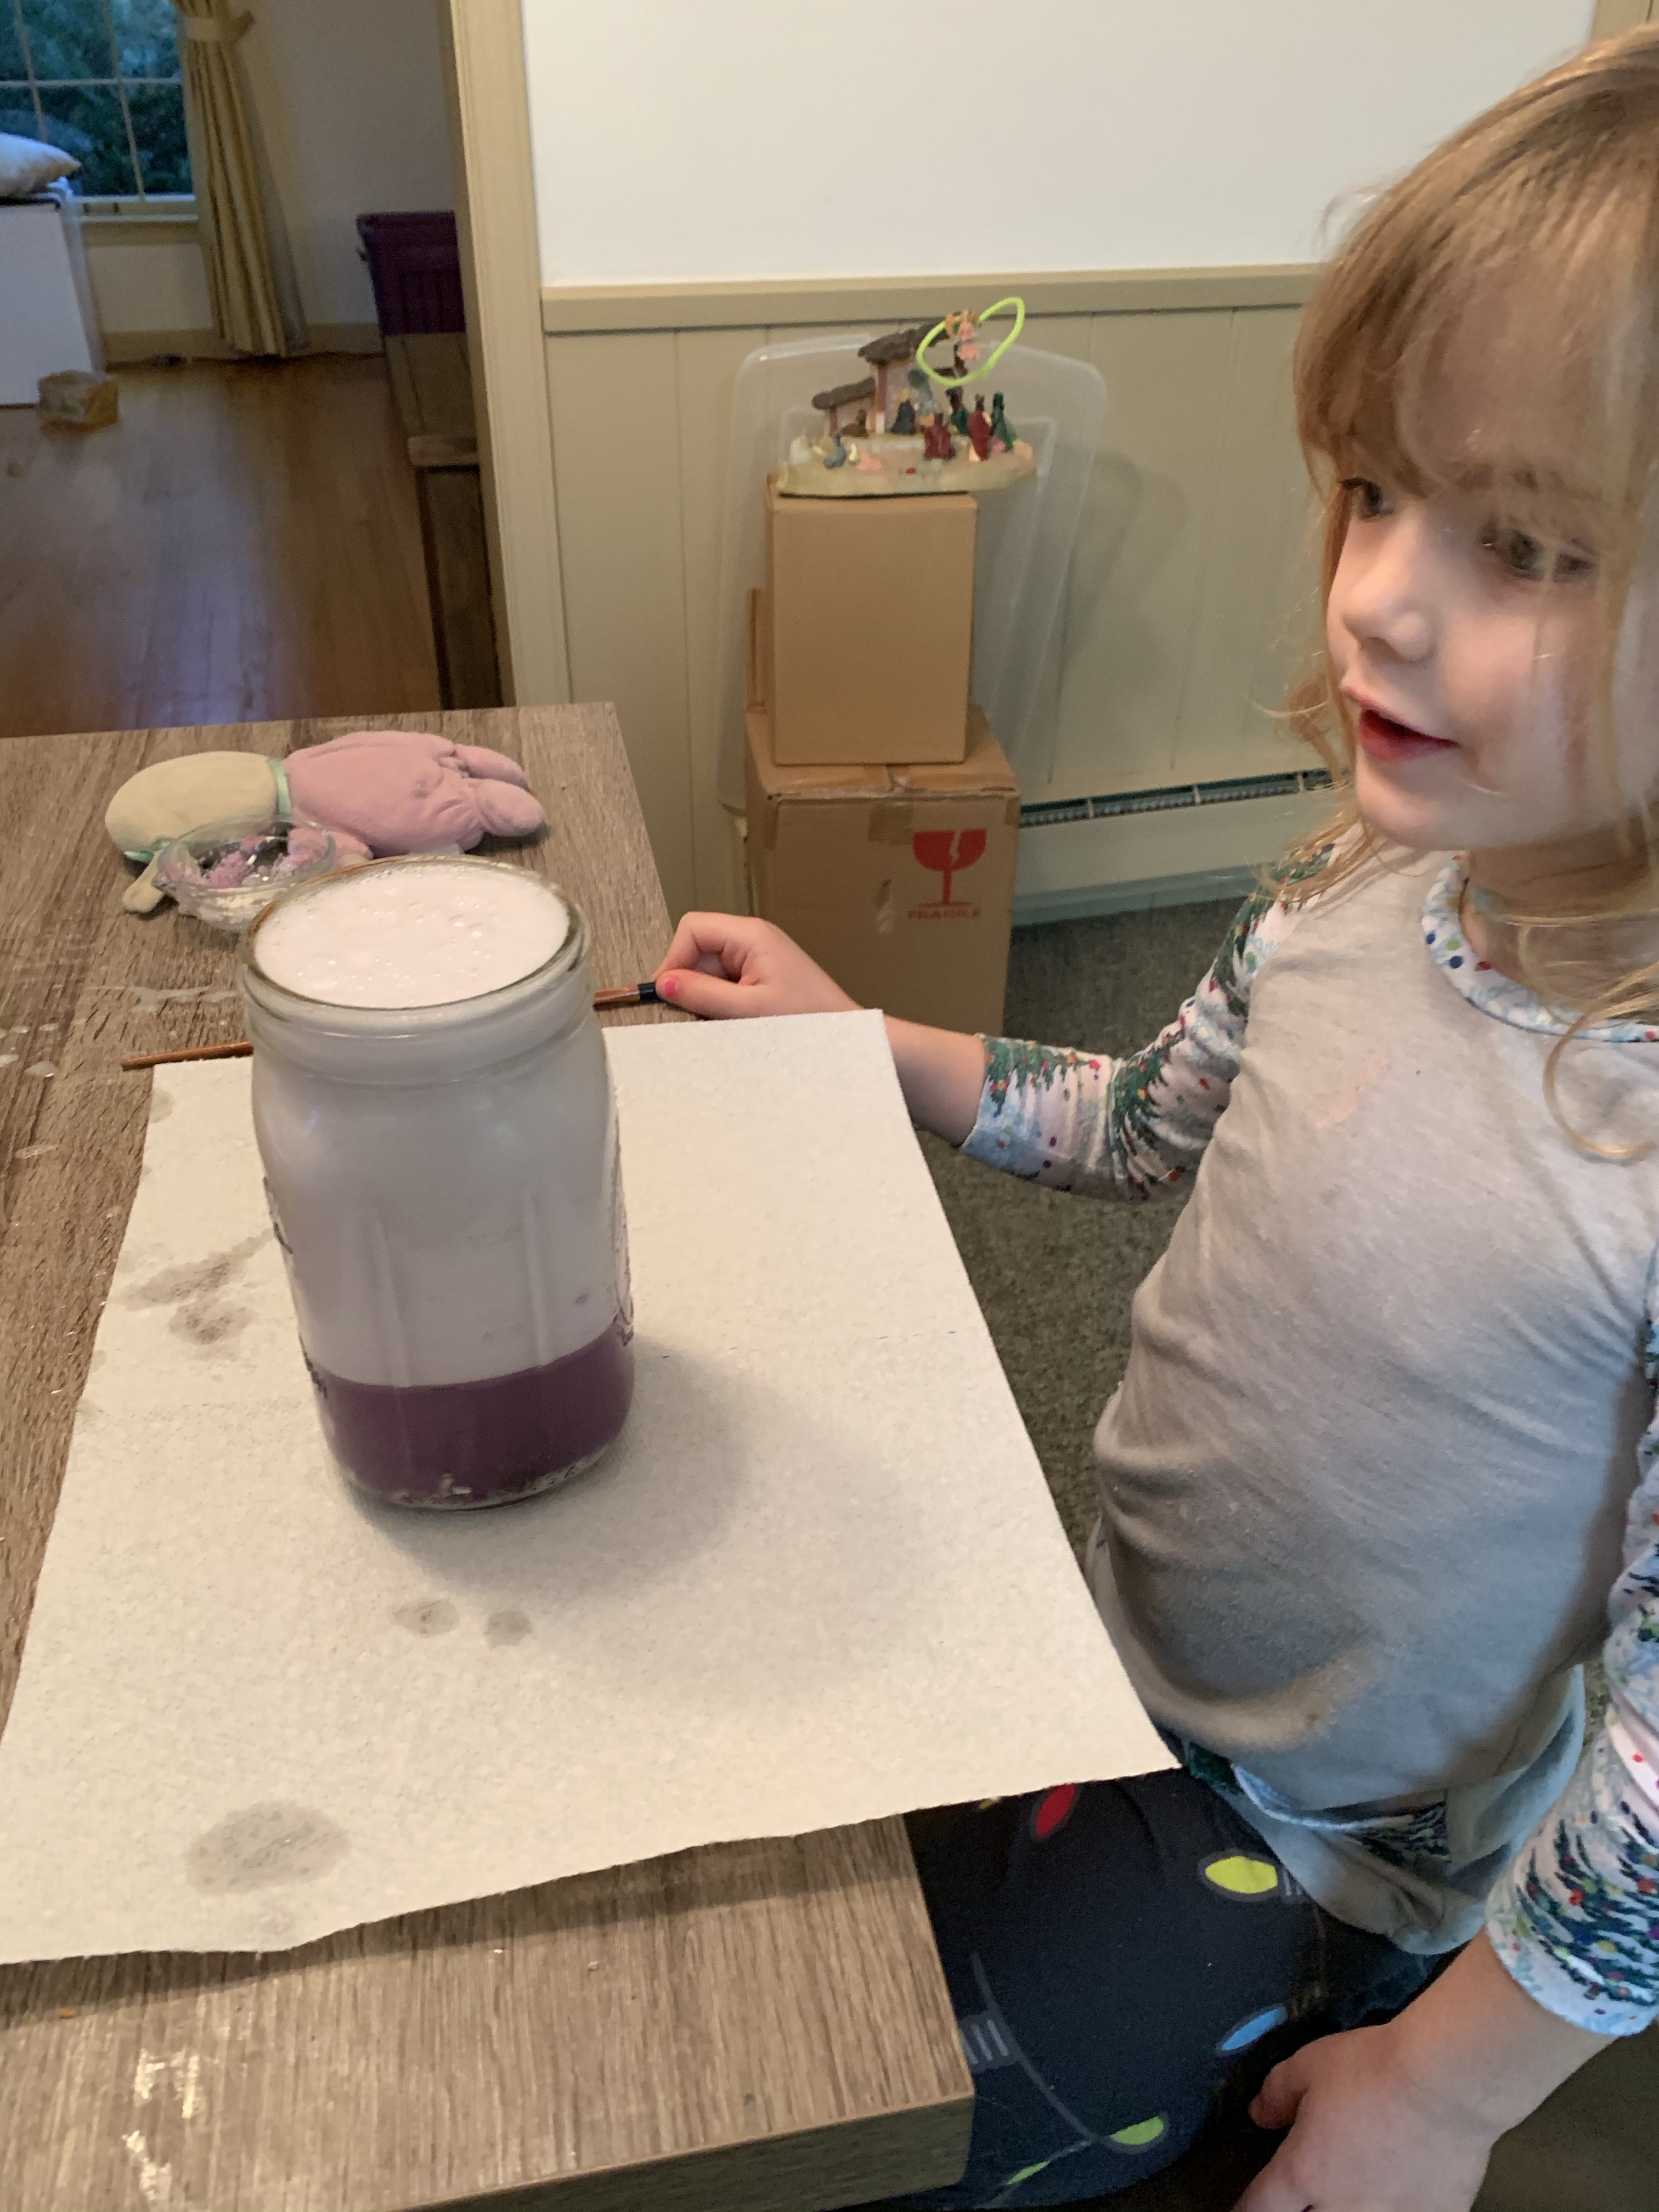
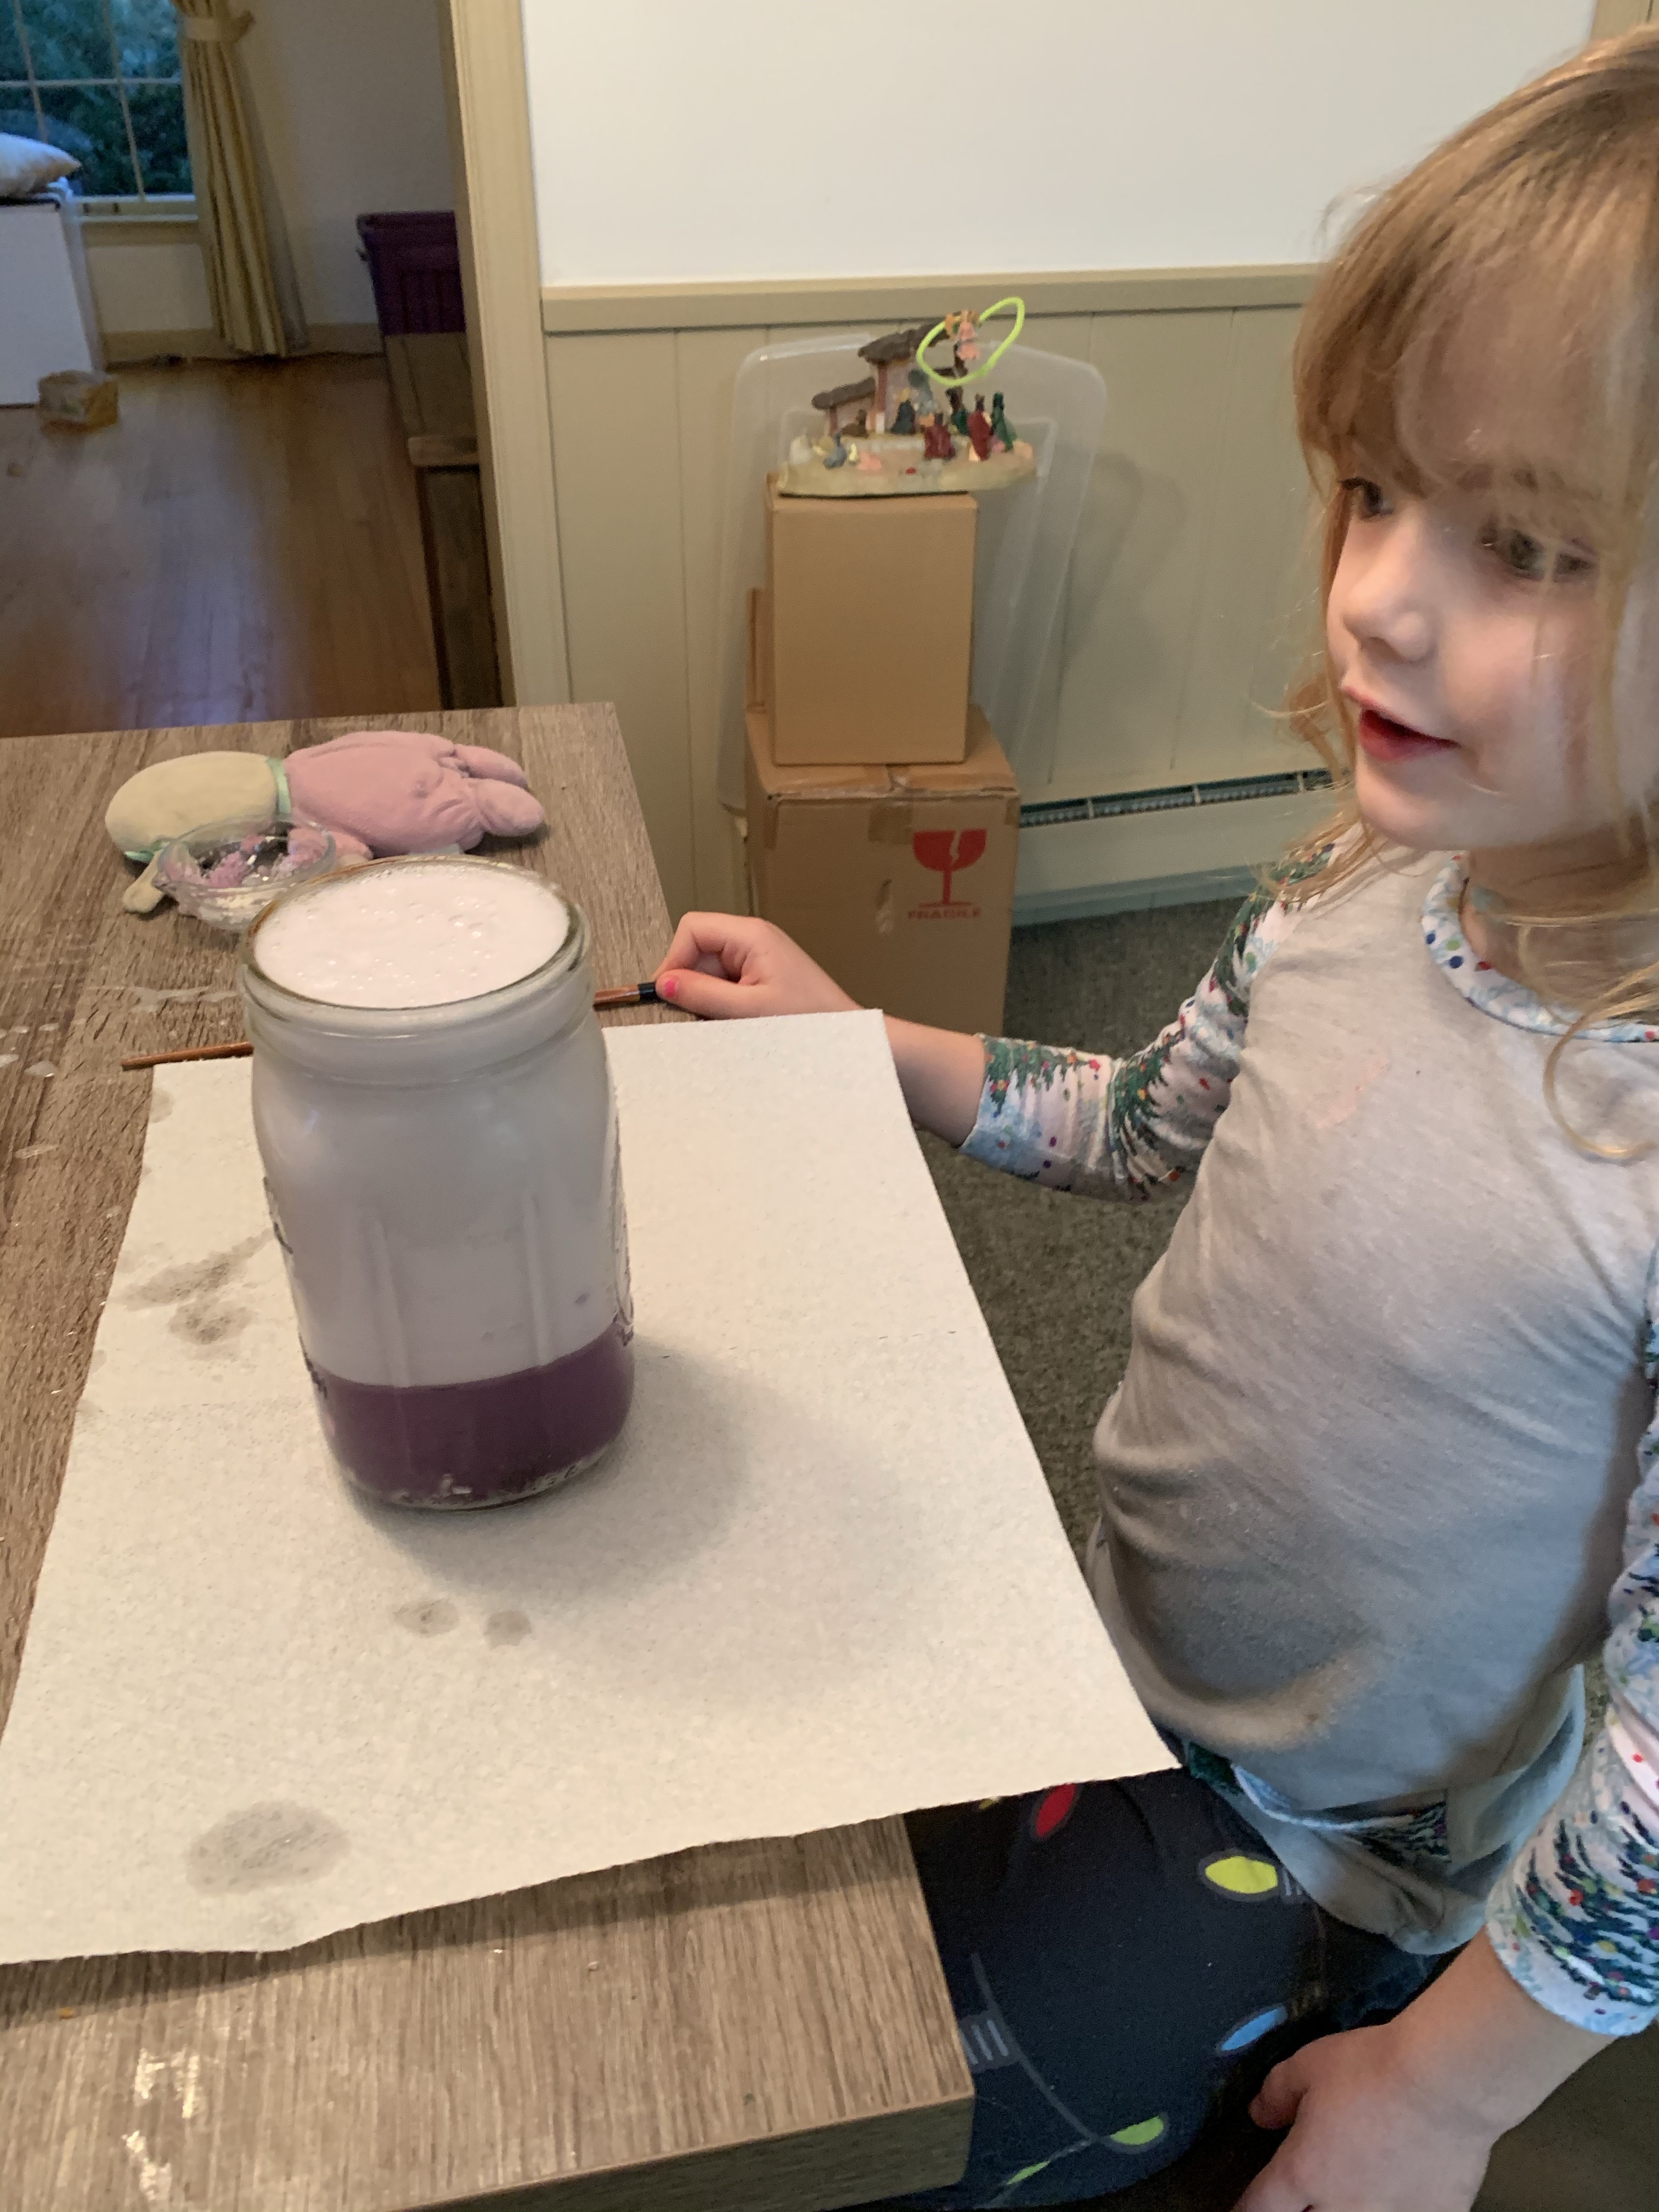
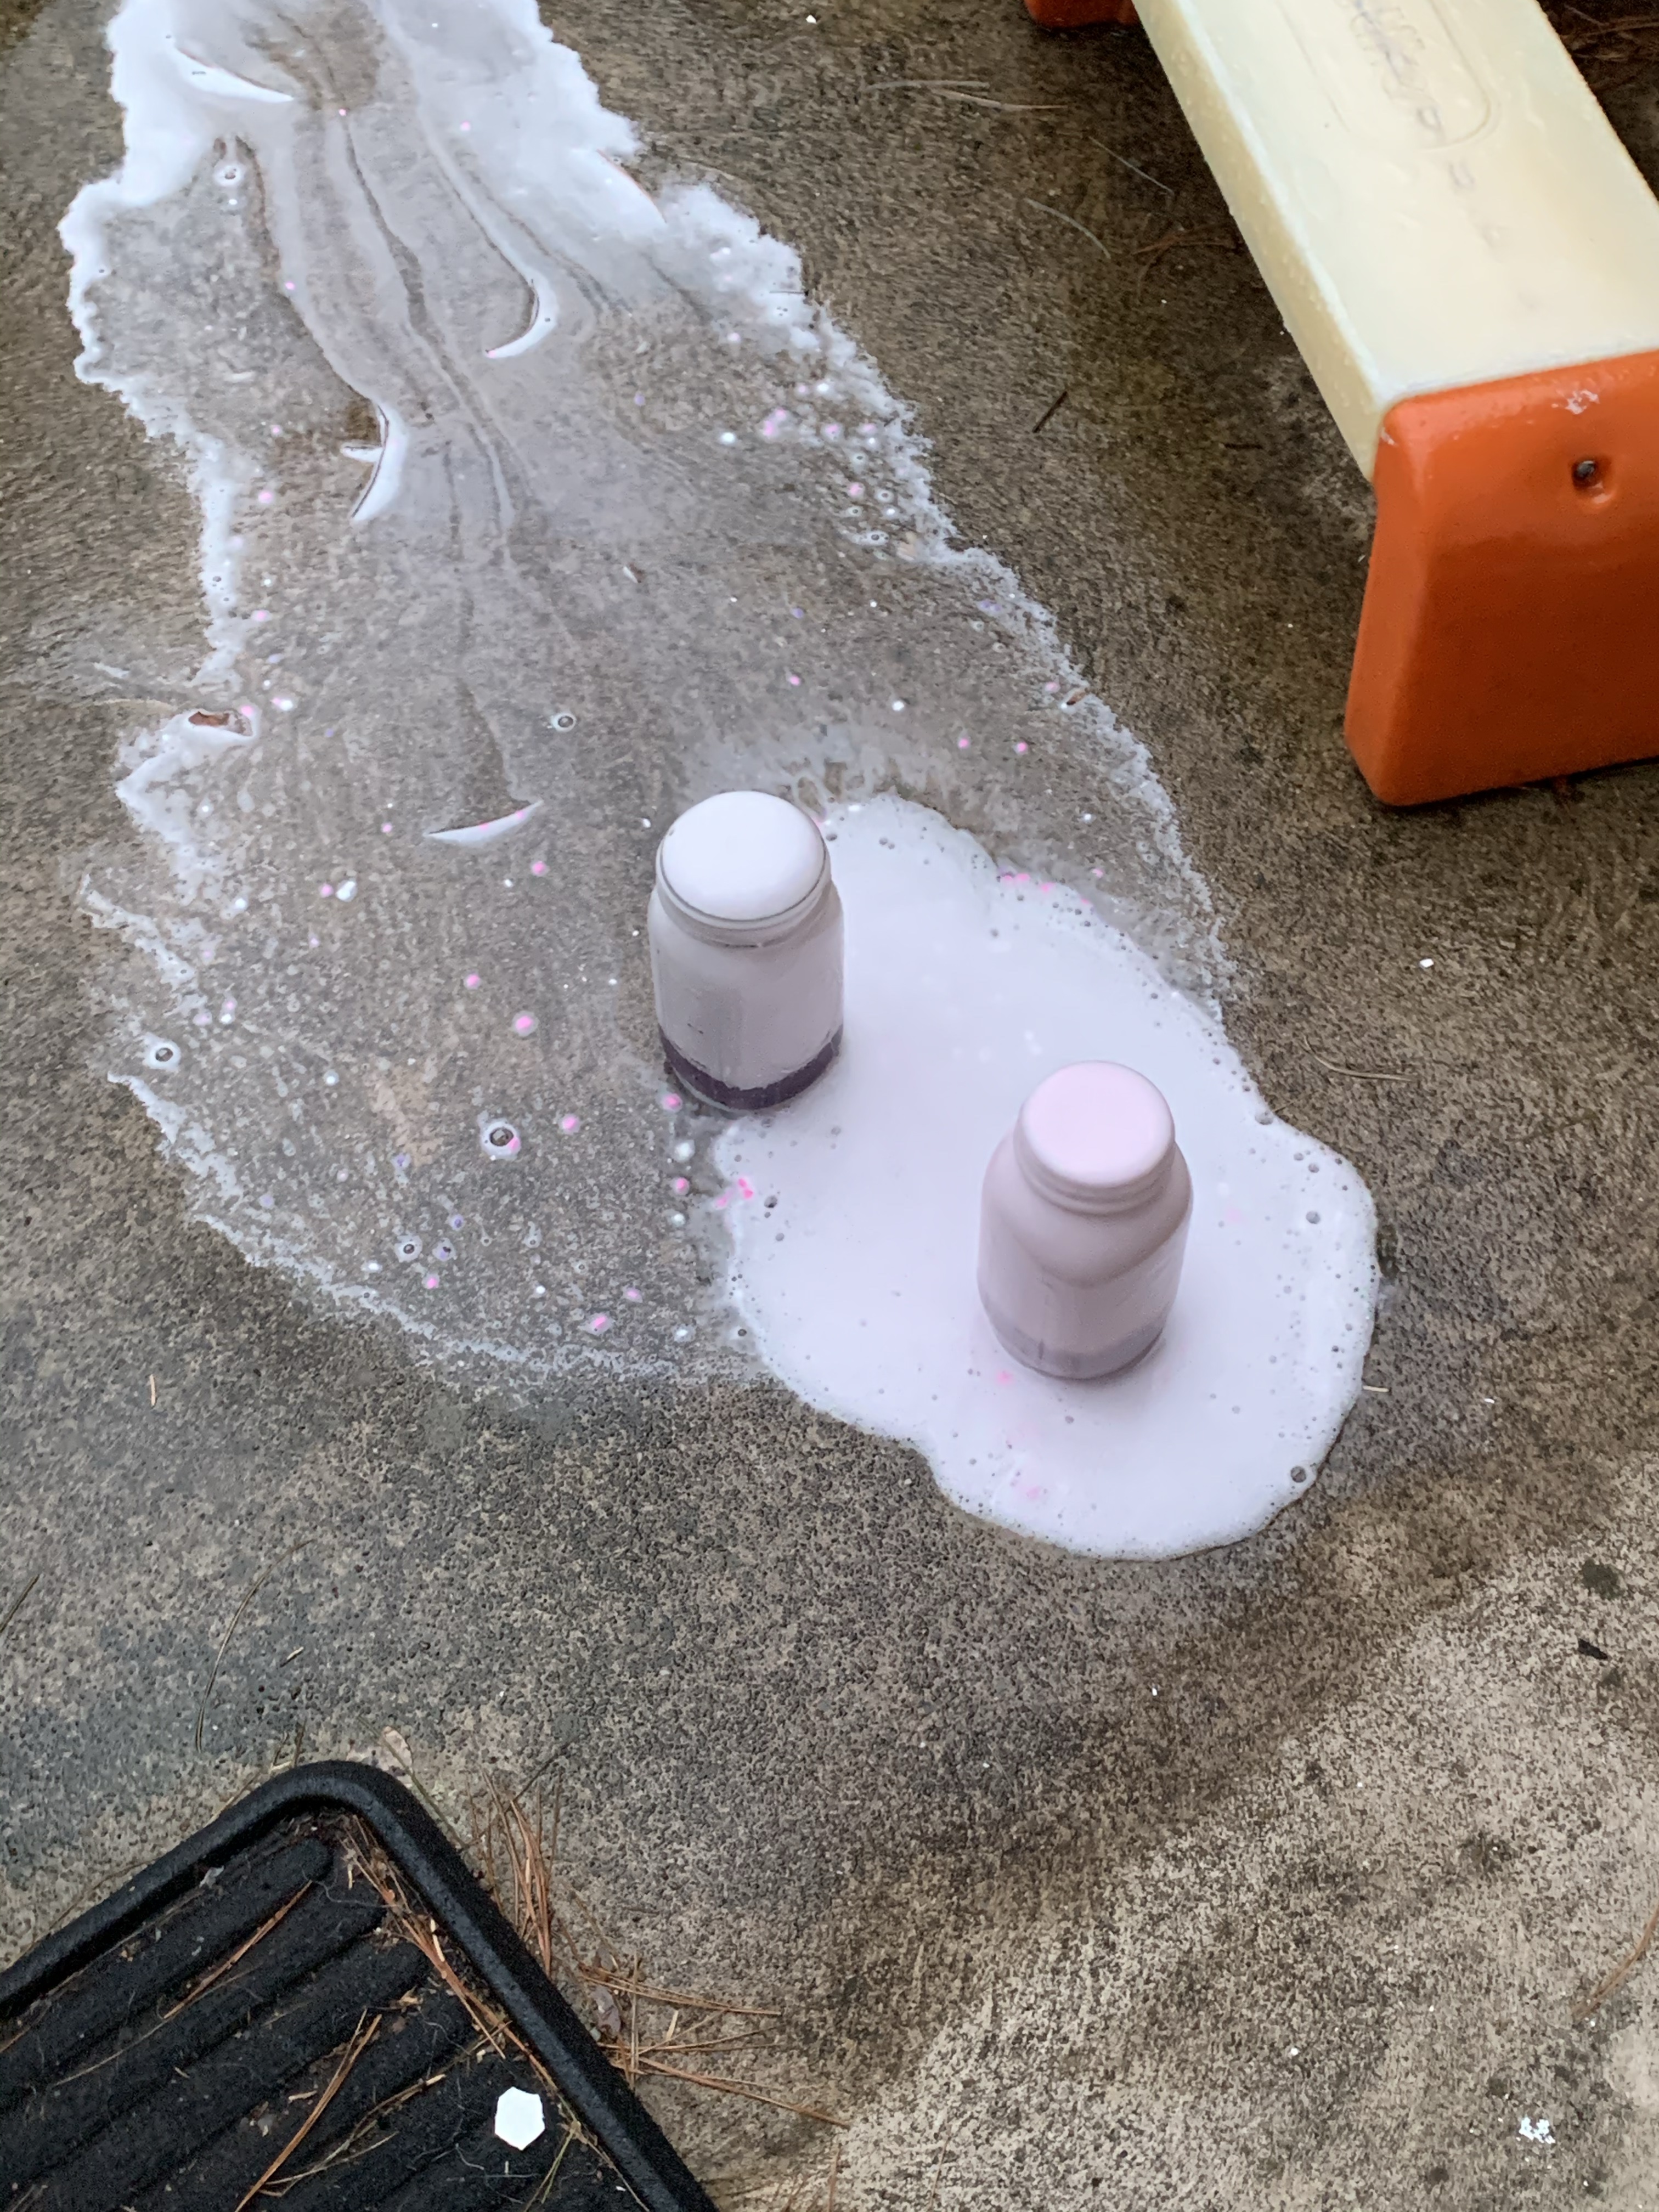
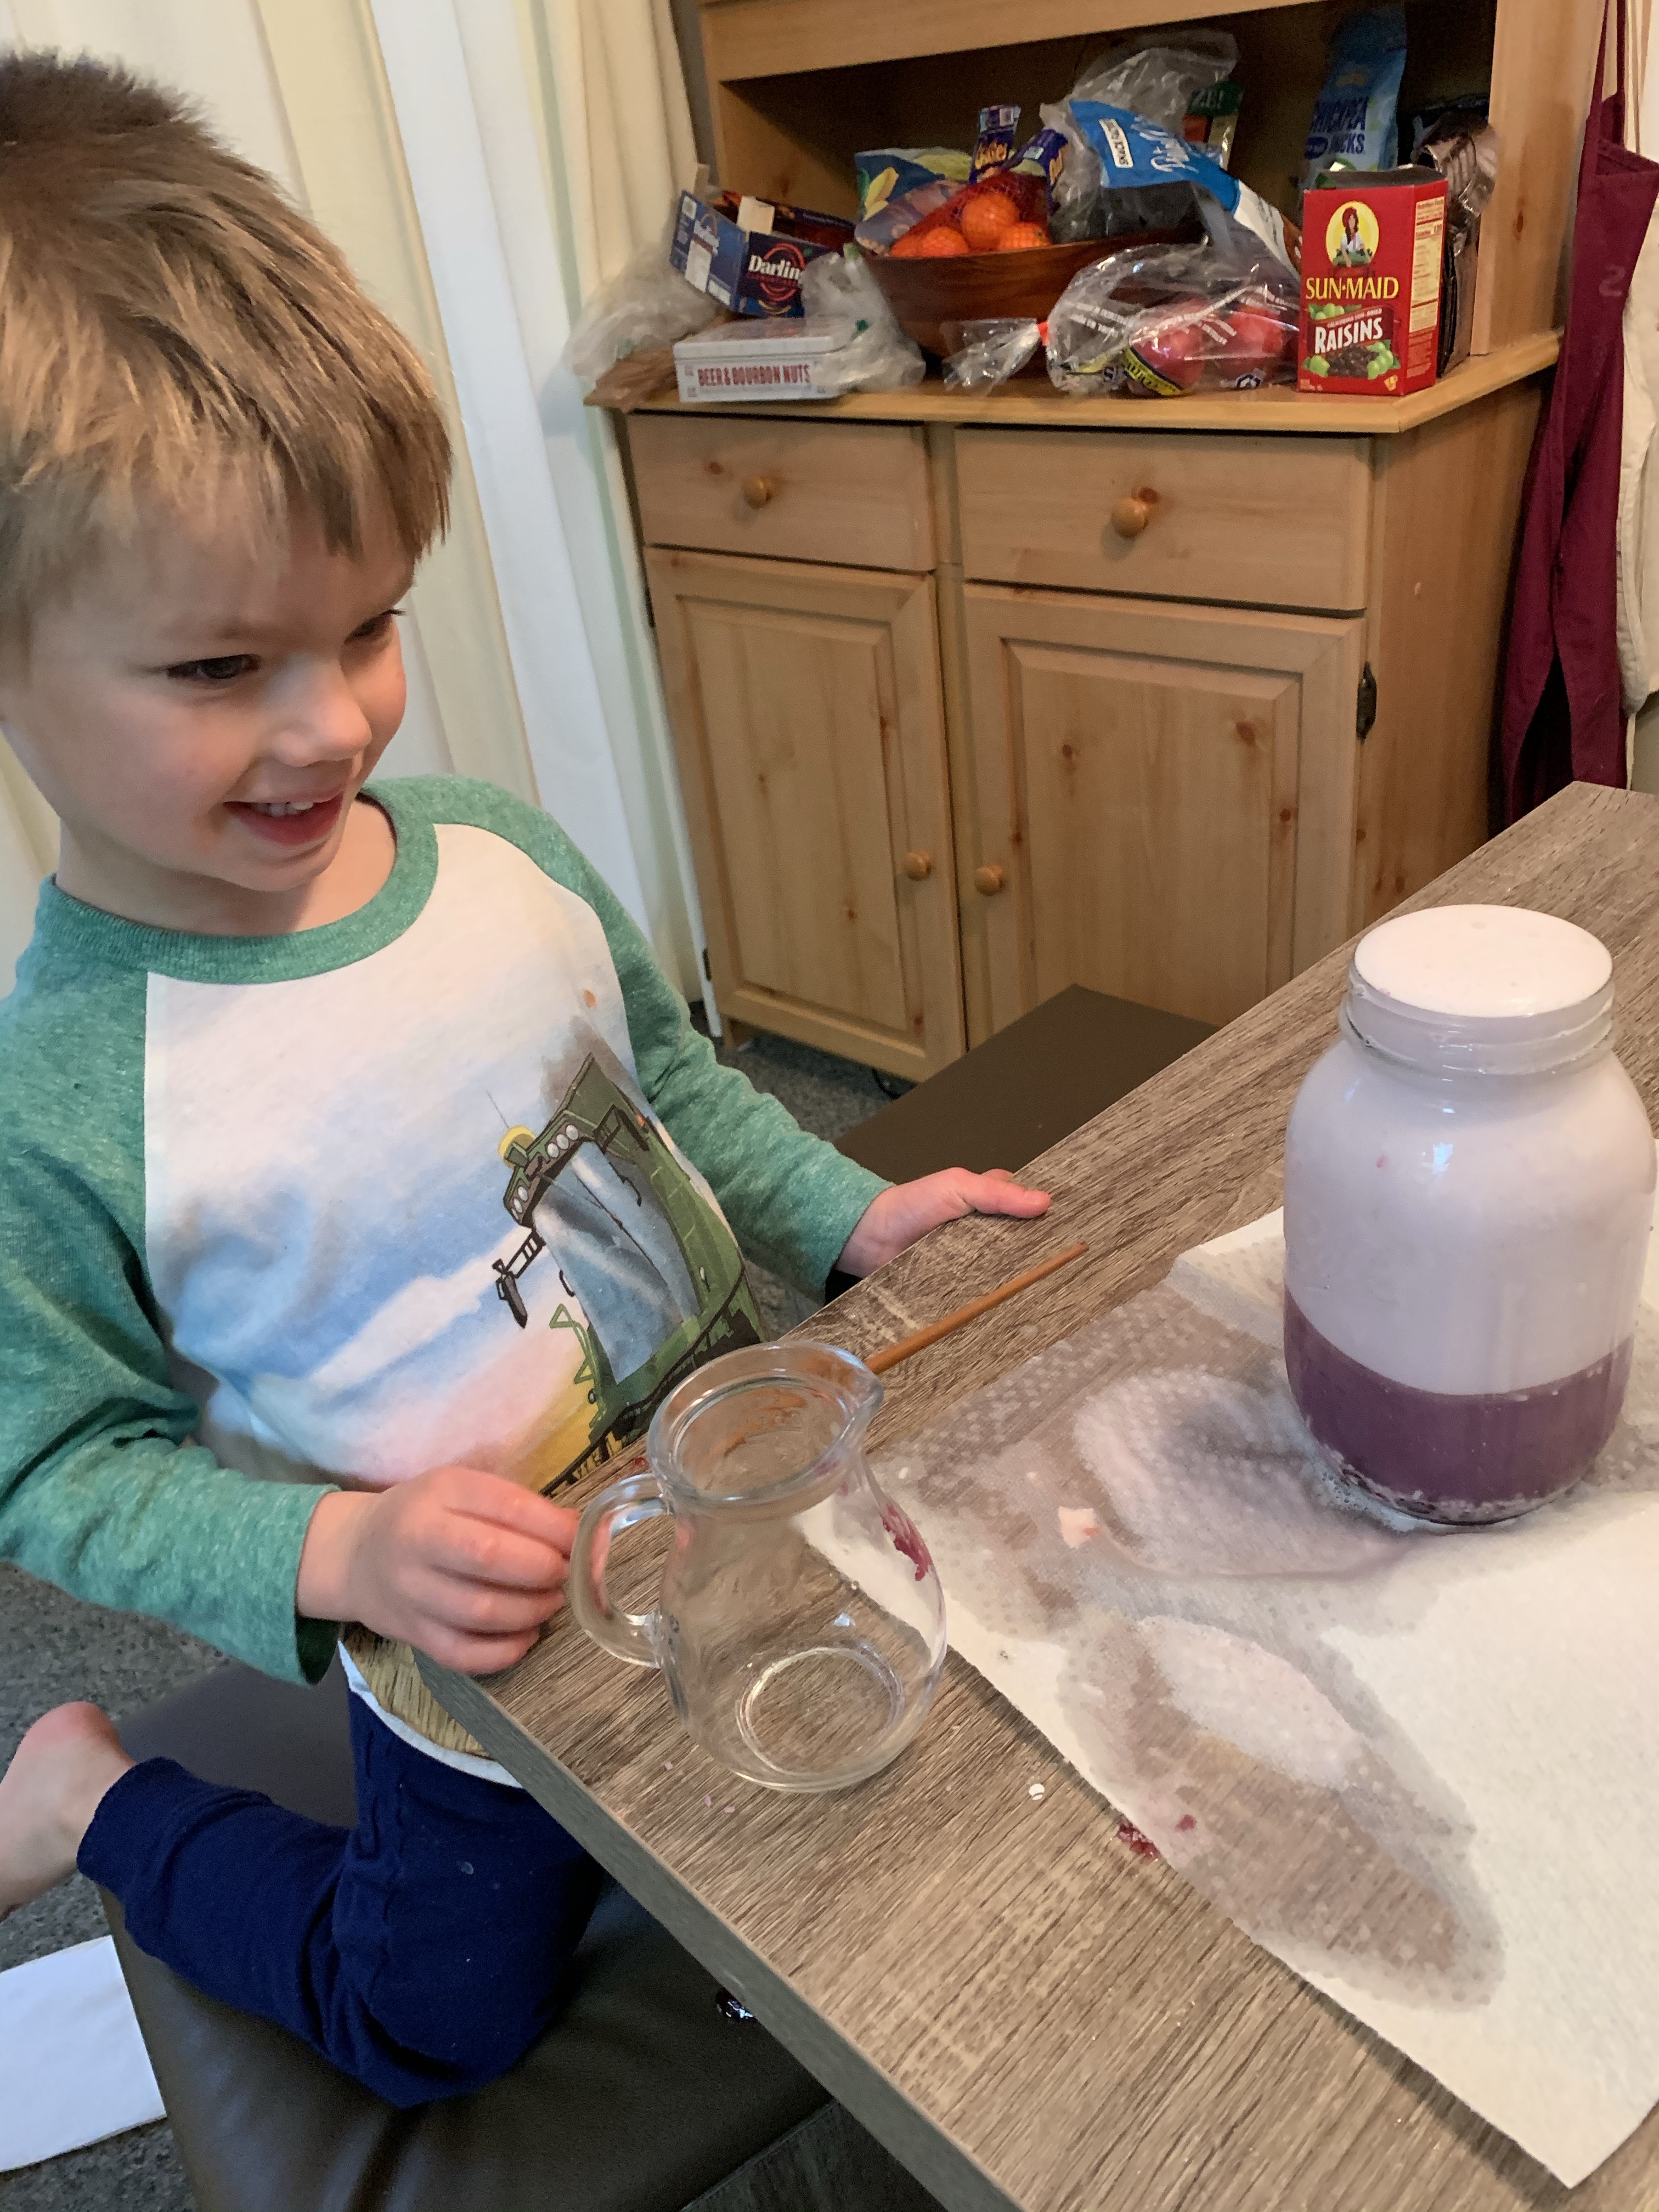
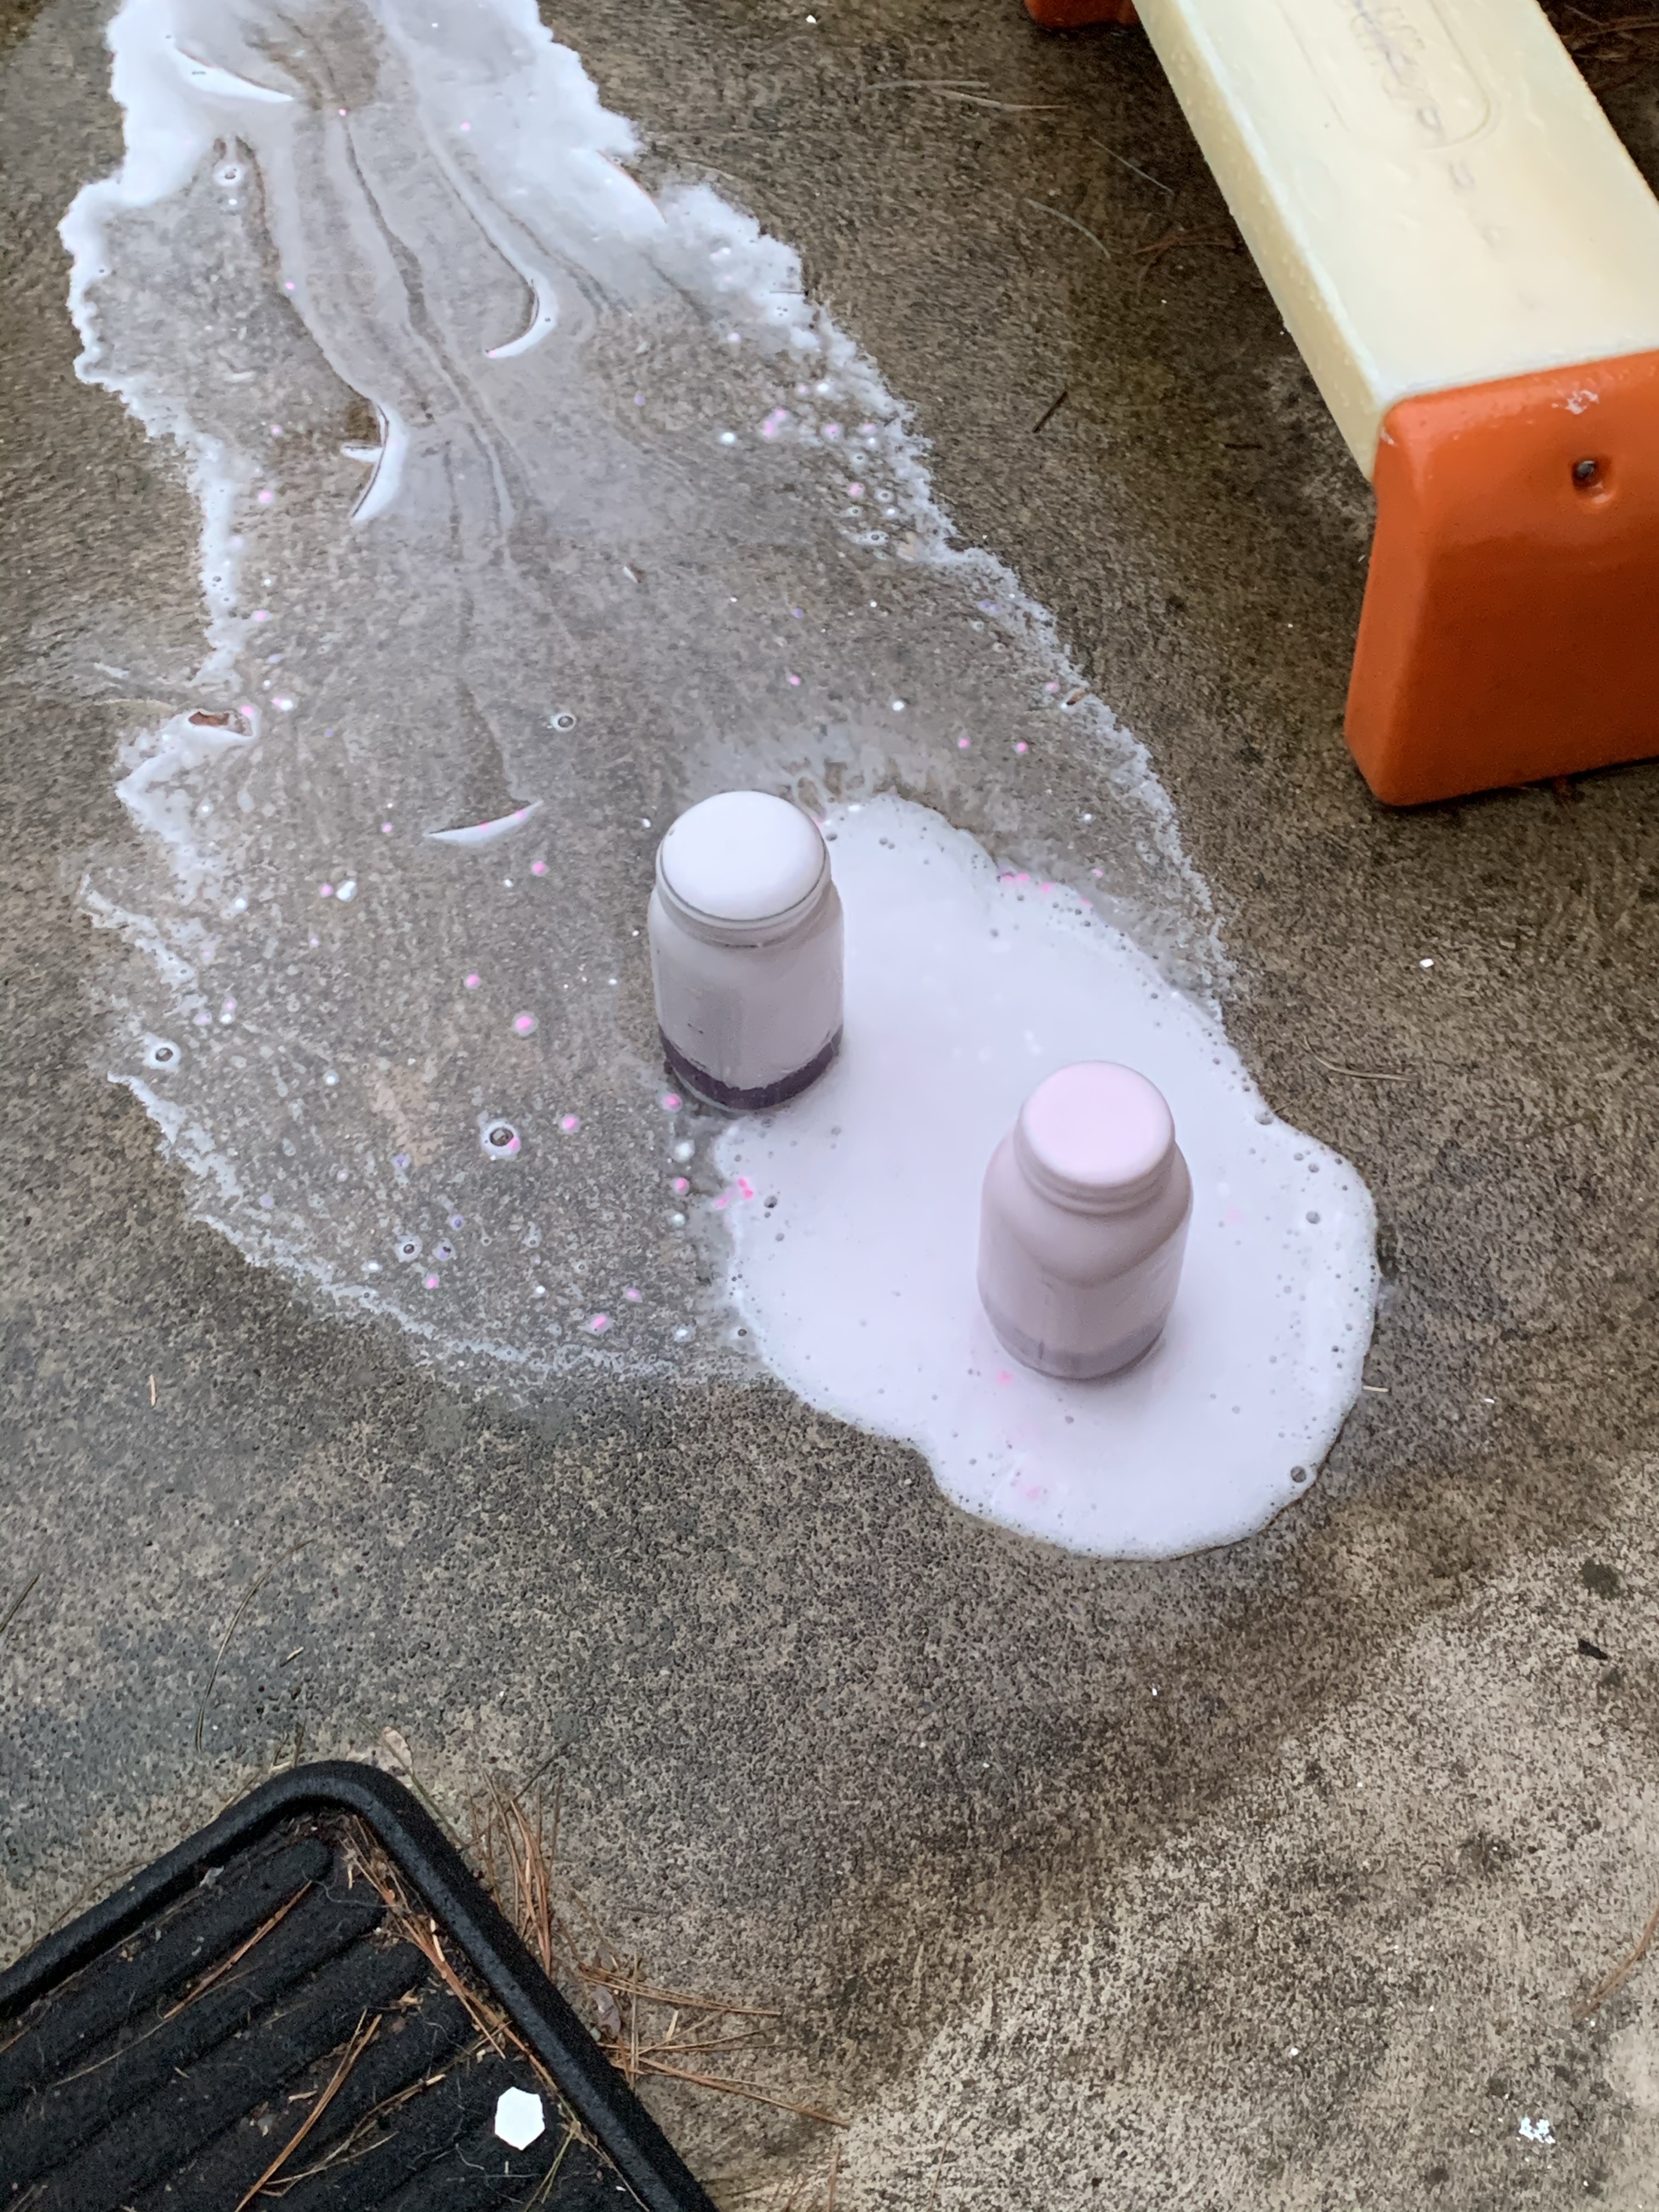
Vinegar and baking soda which you want to save for last! The acid base pair will cause a volcanoes explosion! We did those outside then to have a huge overflow!

img_2708

You can keep adding more vinegar to make it continue exploding!  Just bring it outside lol. img_2709

img_2710

ENJOY!!!!

 FollowFacebookpinterestrssyoutube
ShareFacebookpinterest

You’ve Been Booed!

Have you ever been booed? If not, now’s the time to start the booing in your neighborhood!

1

Am I talking about hanging outside your neighbor’s house and jumping out in a ghost costume the minute they get out the door? No! I’m talking about the contagious spread of joy! Whether you are a little kid or an older adult, this is so much fun! I love sneaking up to neighbors’ houses and dropping off the treats. The key is to make sure no one sees you!
Here’s how it works. Find a free printable online, you can search “you’ve been booed” and countless links come up. Here is the one we used: https://www.happinessishomemade.net/free-youve-been-booed-printables/

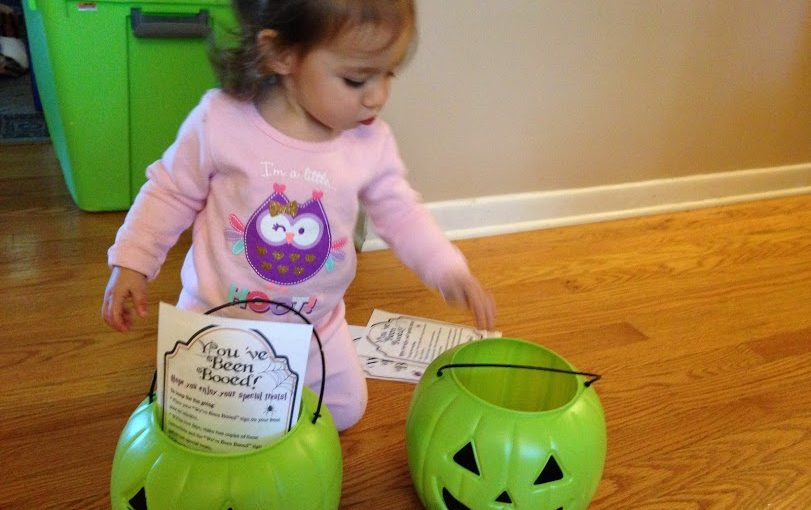
You can use paper lunch bags, or any containers you like to hold treats for 2 houses. Madison and I had fun going to target and getting green pumpkins for $1!

2

Include the printables so people know they have been booed. Make sure you check the doors of your neighbors to confirm they haven’t been booed yet! You can include any kind of treats you want. We decided to include Halloween goodies we already had for trick or treaters: pretzel bags, reese’s, kit kats, and pencils.

3  4

Your little one, or you will enjoy filling a treat bag or pumpkin knowing it’s going to surprise a neighbor!

5

If they have already been booed, you will see the “We’ve Been Booed” signs on their door. Now here is the fun part, make sure they don’t see you! You can do this when it’s dark, or when you notice they aren’t home. I’m home during work hours, so it wasn’t hard to see who wasn’t home. We got to deliver in the daylight!

6

Sneak up to their door and place the treats outside their door. Then run away! Kids and adults will be wondering who placed the unexpected treats at their door! Then it’s their turn. They will read the paper in the treat bag and boo 2 more people!
7It’s so much fun to watch the we’ve been booed signs go up in the neighborhood, knowing you started a fun game of giving!

If you don’t live in a neighborhood, but still have houses in sight, you can still do this! Give it a try, it’s even more fun to give than to receive!FollowFacebookpinterestrssyoutube
ShareFacebookpinterest