My daughter can’t get enough of science experiments. She will ask for one after another. I don’t always have all of the ingredients around but rain cloud in a jar is a simple experiment with materials you will have on hand!
You will need:
blue food coloring (or hey-you could do any color, go for the rainbow)
shaving cream
dropper
water
clear mason jar/vase/glass
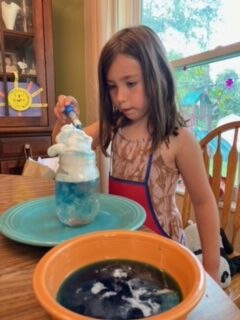
Fill the glass jar with 3/4 cup of water (leave room for the “clouds” aka shaving cream). Next put some shaving cream on top. We went a little crazy as Maddy wanted a giant cloud (cumulus-big, white & fluffy). You could also talk about the different types of clouds: cumulus, cirrus, stratus, nimbus. There are more clouds but those are the main 4 and that would be more for older elementary students. This cloud demonstration could be fun for any level!
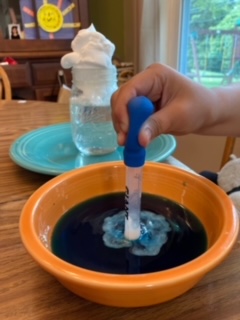
After putting the shaving cream on top get a bowl or small cup and mix a few drops of food dye with water. This will be the rain.
Have your child use the dropper to get some rain and put it on the clouds. This works best if you insert the dropper about half way into the clouds and squirt it out.
Soon they will see rain fall through the clouds when they get so full of the water they can’t hold it anymore!
This can be repeated with different colors and different amounts of liquid. You can have your child hypothesize what they think will happen before they put the drops in and make a conclusion afterward.
The science behind this: Clouds are made when water vapor (gas) turns into liquid water droplets. They form on little particles that are floating in the air (like dust).
If you see puddles outside but then they disappear where did they go? They evaporated (liquid to gas-water vapor). The water vapor travels through the atmosphere to create the clouds. When too many water droplets are in the clouds and it gets saturated, it rains. This is a very simplistic version of some of the water cycle but if you want to dig in more I suggest going here: https://www.nasa.gov/audience/forstudents/k-4/stories/nasa-knows/what-are-clouds-k4.html . If you scroll down there is also a link at the bottom of that website explaining how clouds form for kids in grades 5-8.
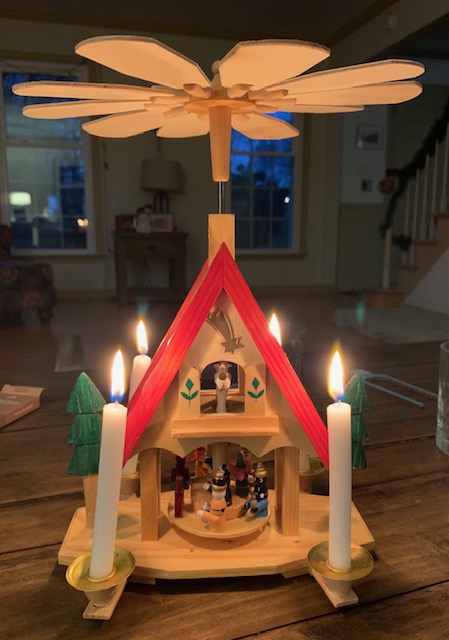
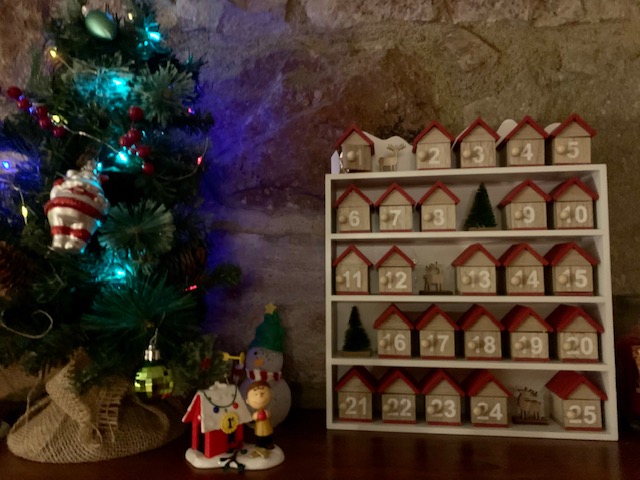
Today there are many advent calendars that can be bought, ranging from simple chocolates to complex lego advent calendars. There are wine, book, superhero, and just about anything advent calendars that can be bought for a price. I remember having certain Christmas traditions in my home as a child and want my children to experience similar fond memories when they are older. So I purchased a German Christmas pyramid second hand (as they can be very expensive and knowing children, it most likely will break).
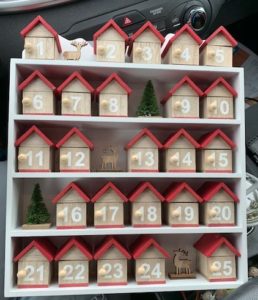
I also decided to buy an advent calendar for my children. I decided one sturdy wooden advent calendar would do the trick! I saw many beautiful lit ones for higher prices; however, I felt they could easily be broken. I finally decided on one I purchased at Lowes.
Now, the big question is, what should I fill each day with? So many options, but such a SMALL space. So, only very small items fit, such as two Hershey kisses or two small mini candy bars and the door wont completely shut. I didn’t want to start off with something too grand in the first door. My kids were excited about chocolate, so that’s what I did, two very small pieces of chocolate.
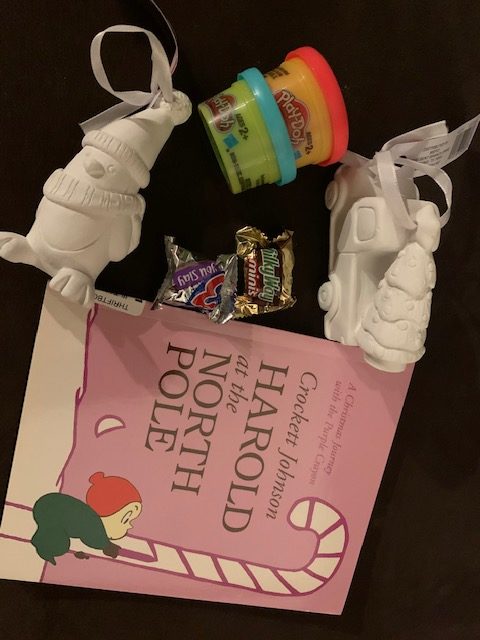
For the other doors, I will have some small chocolates in a couple, but I have many other cute and fun items for the kiddos. I’ll leave a very small piece of paper in the day that will have a clue to where their item is located. I was going to go into scavenger hunts, but lets be real, I would rather relax for a couple minutes after bed (or do this post), instead of trying to come up with an elaborate hunt they will be done with in 5 mins! Since my children can’t completely read yet, I decided using pictures might be best. So in day 2 I will put a picture of a christmas tree. They will run to the tree and see a pack of fruit flavored candy canes under the tree to hang up on the tree.
Here are some other ideas of items you can leave notes for:
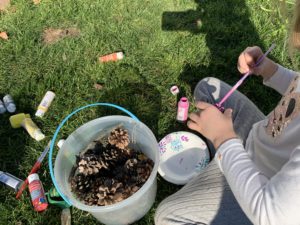
We went on a pinecone adventure! First we grabbed our magic buckets and took a stroll down the road. We found the BIG pine trees and searched all around for pinecones. We filled out magic buckets with little and big pinecones. Once full, we continued our adventure to find any other good objects for future projects. Pinecones can be used for many projects, including some upcoming Christmas ones!
Since it was unseasonably warm here in Pennsylvania, we decided to paint outside so there wasn’t as big of a mess. Besides using a variety of paints, we used glitter of all colors! Some of the trees we purposefully painted blue and green for Christmas tree pinecones!
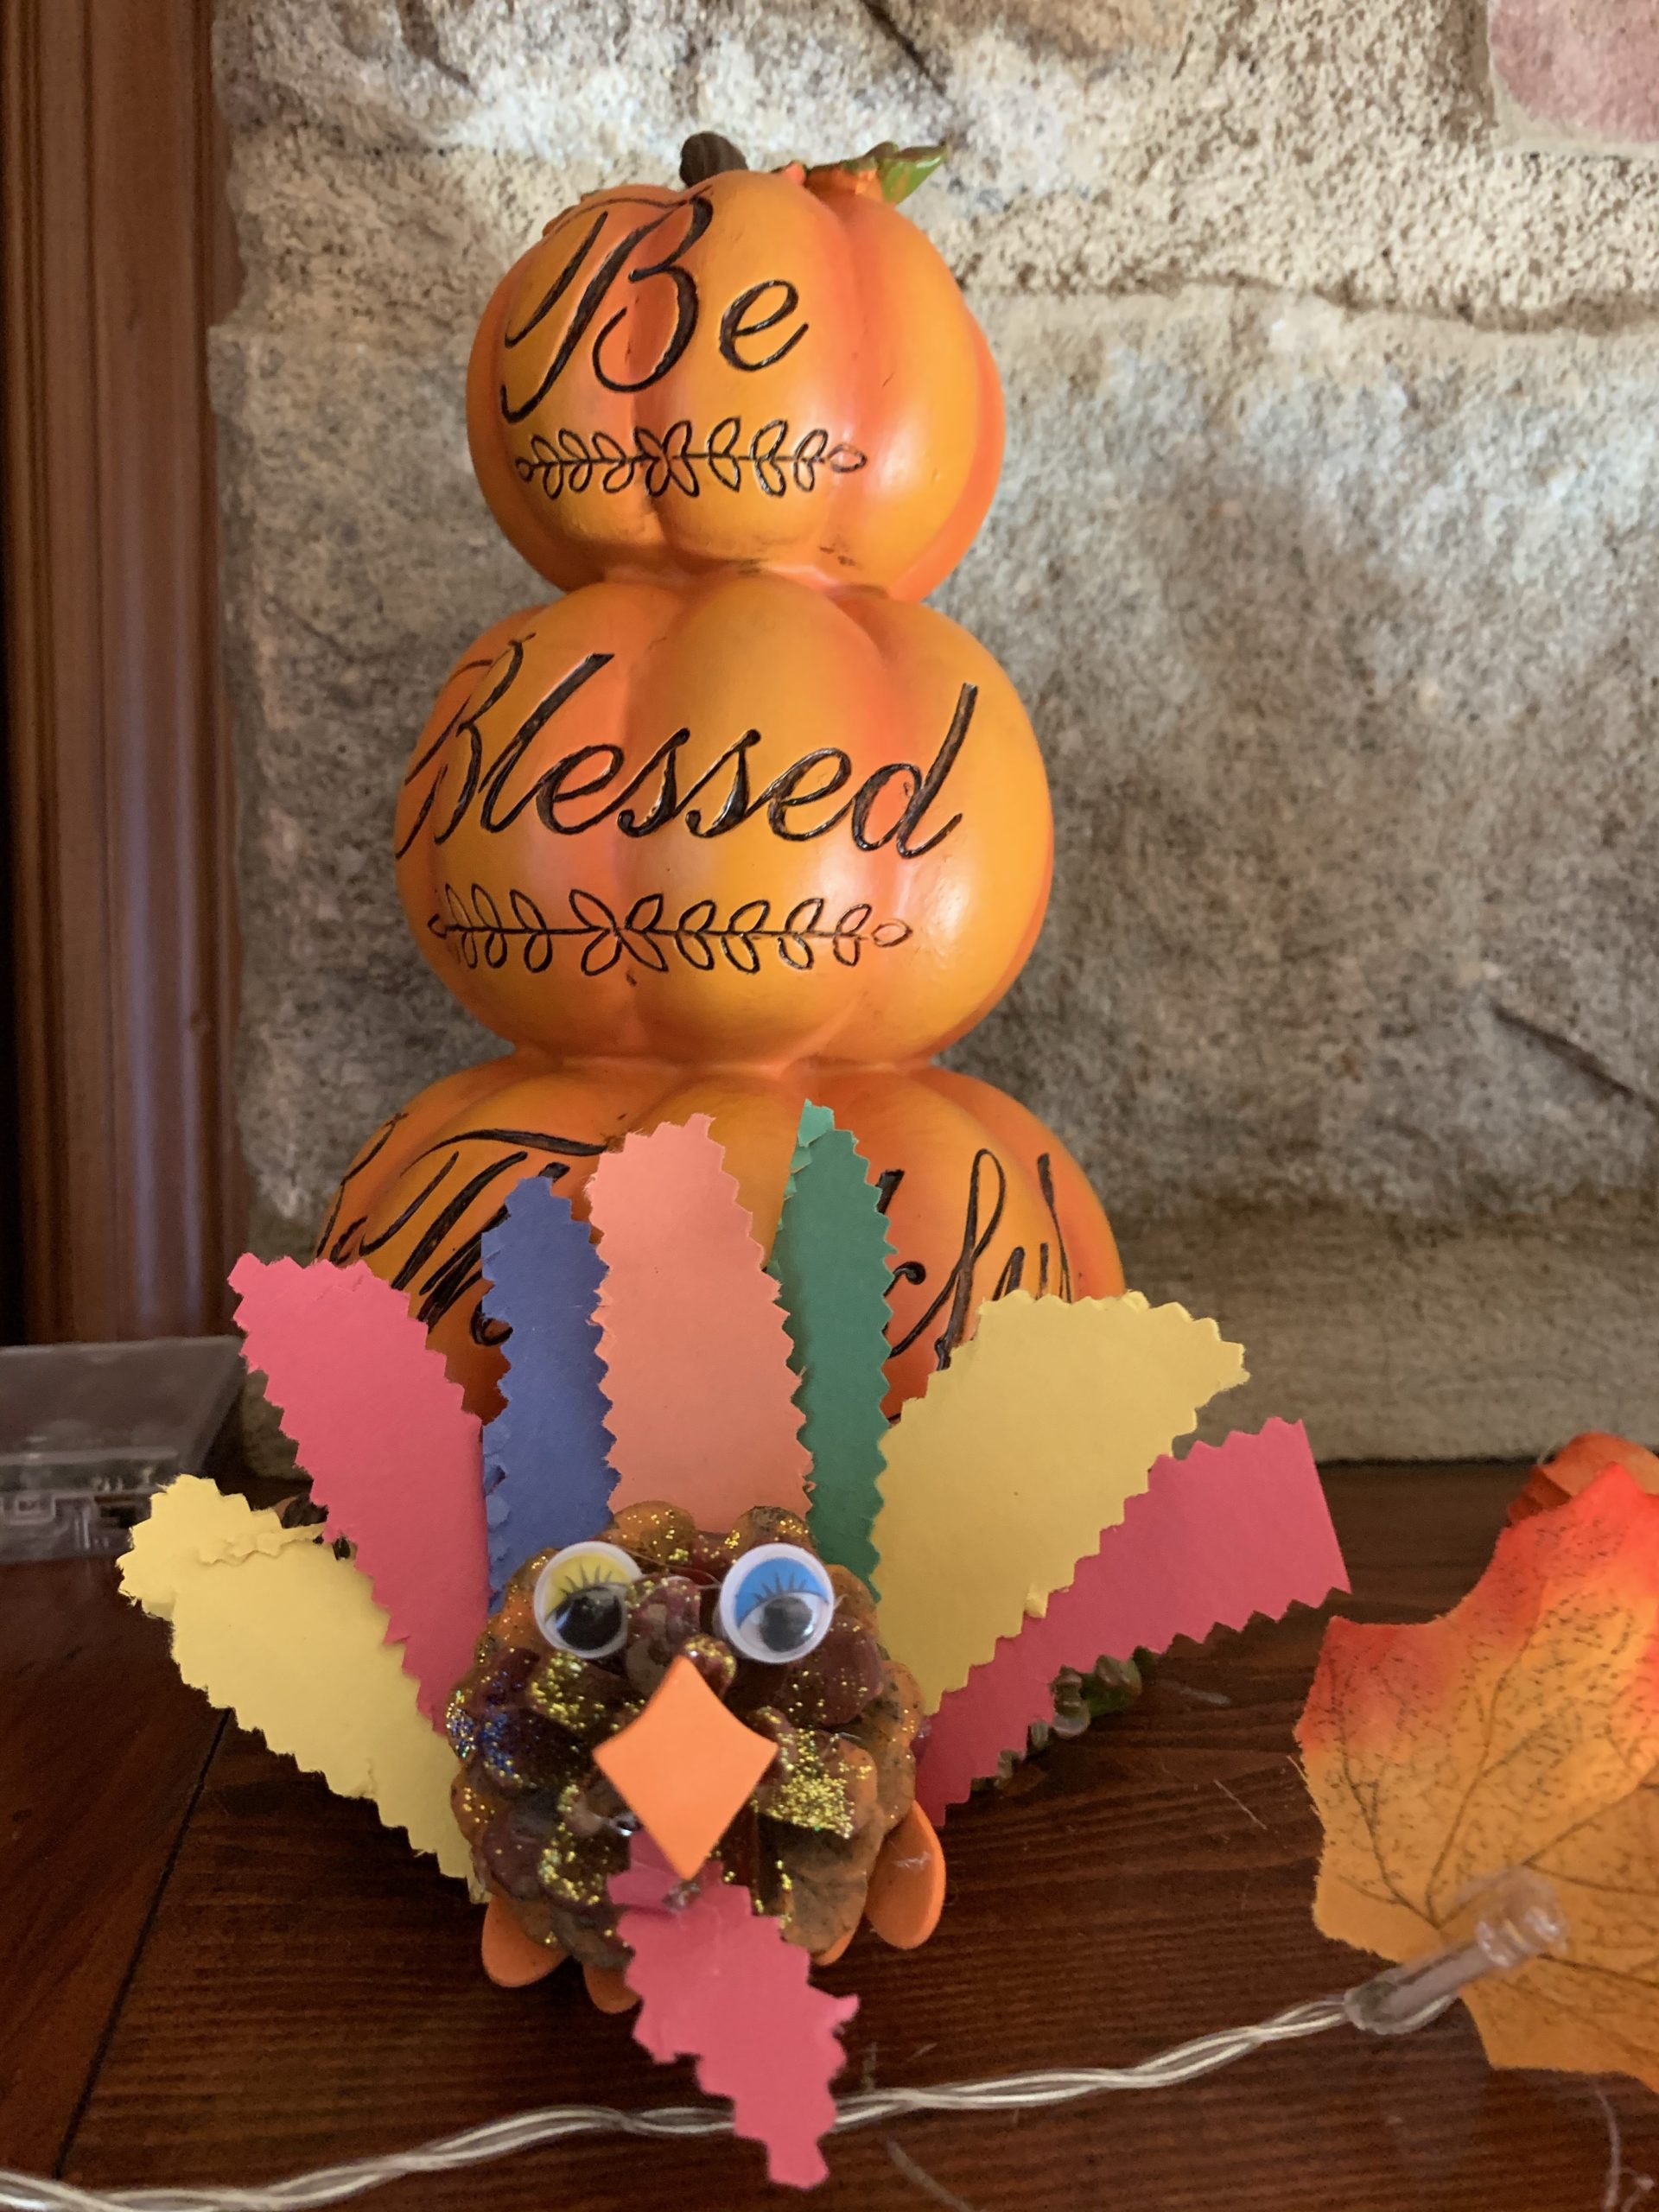
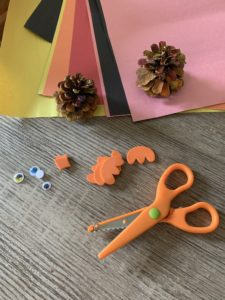
After allowing the pinecones to dry overnight, we found some googly eyes, construction paper, and leftover foam pieces from an owl project! The kids cut out feathers and showed mom where to glue them. Mom used the hot glue gun to glue everything on, however you can use regular glue but it will be more challenging to stay and dry.
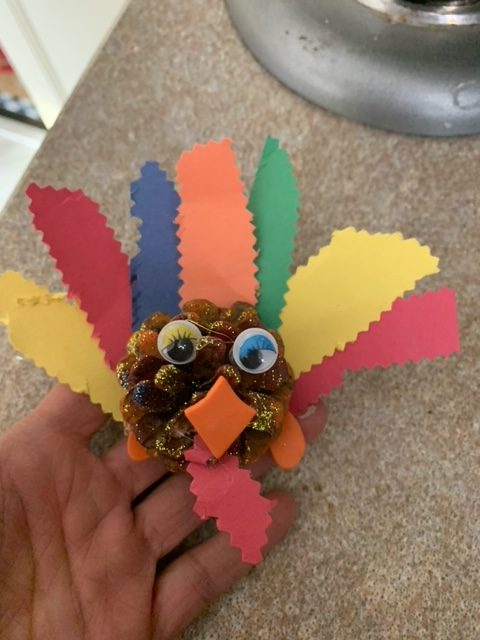
You can of course decorate your turkey any way you like with any materials! Get creative and enjoy!
Gobble Gobble!!! Happy Thanksgiving! Be safe and stay home if you can (quarantine)!
We all love trick or treating! I can remember trick or treating in high school with a group of my soccer friends! I personally think trick or treating is great for older children as well (as long as they behave and aren’t too scary for the little ones!). There were neighbors who said, “How old are you?” or “Don’t you think you’re too old for trick or treating?” NO is the answer. If a teenager is responsible and behaving, then by all means go trick or treating instead of the many other negative things that could be done.
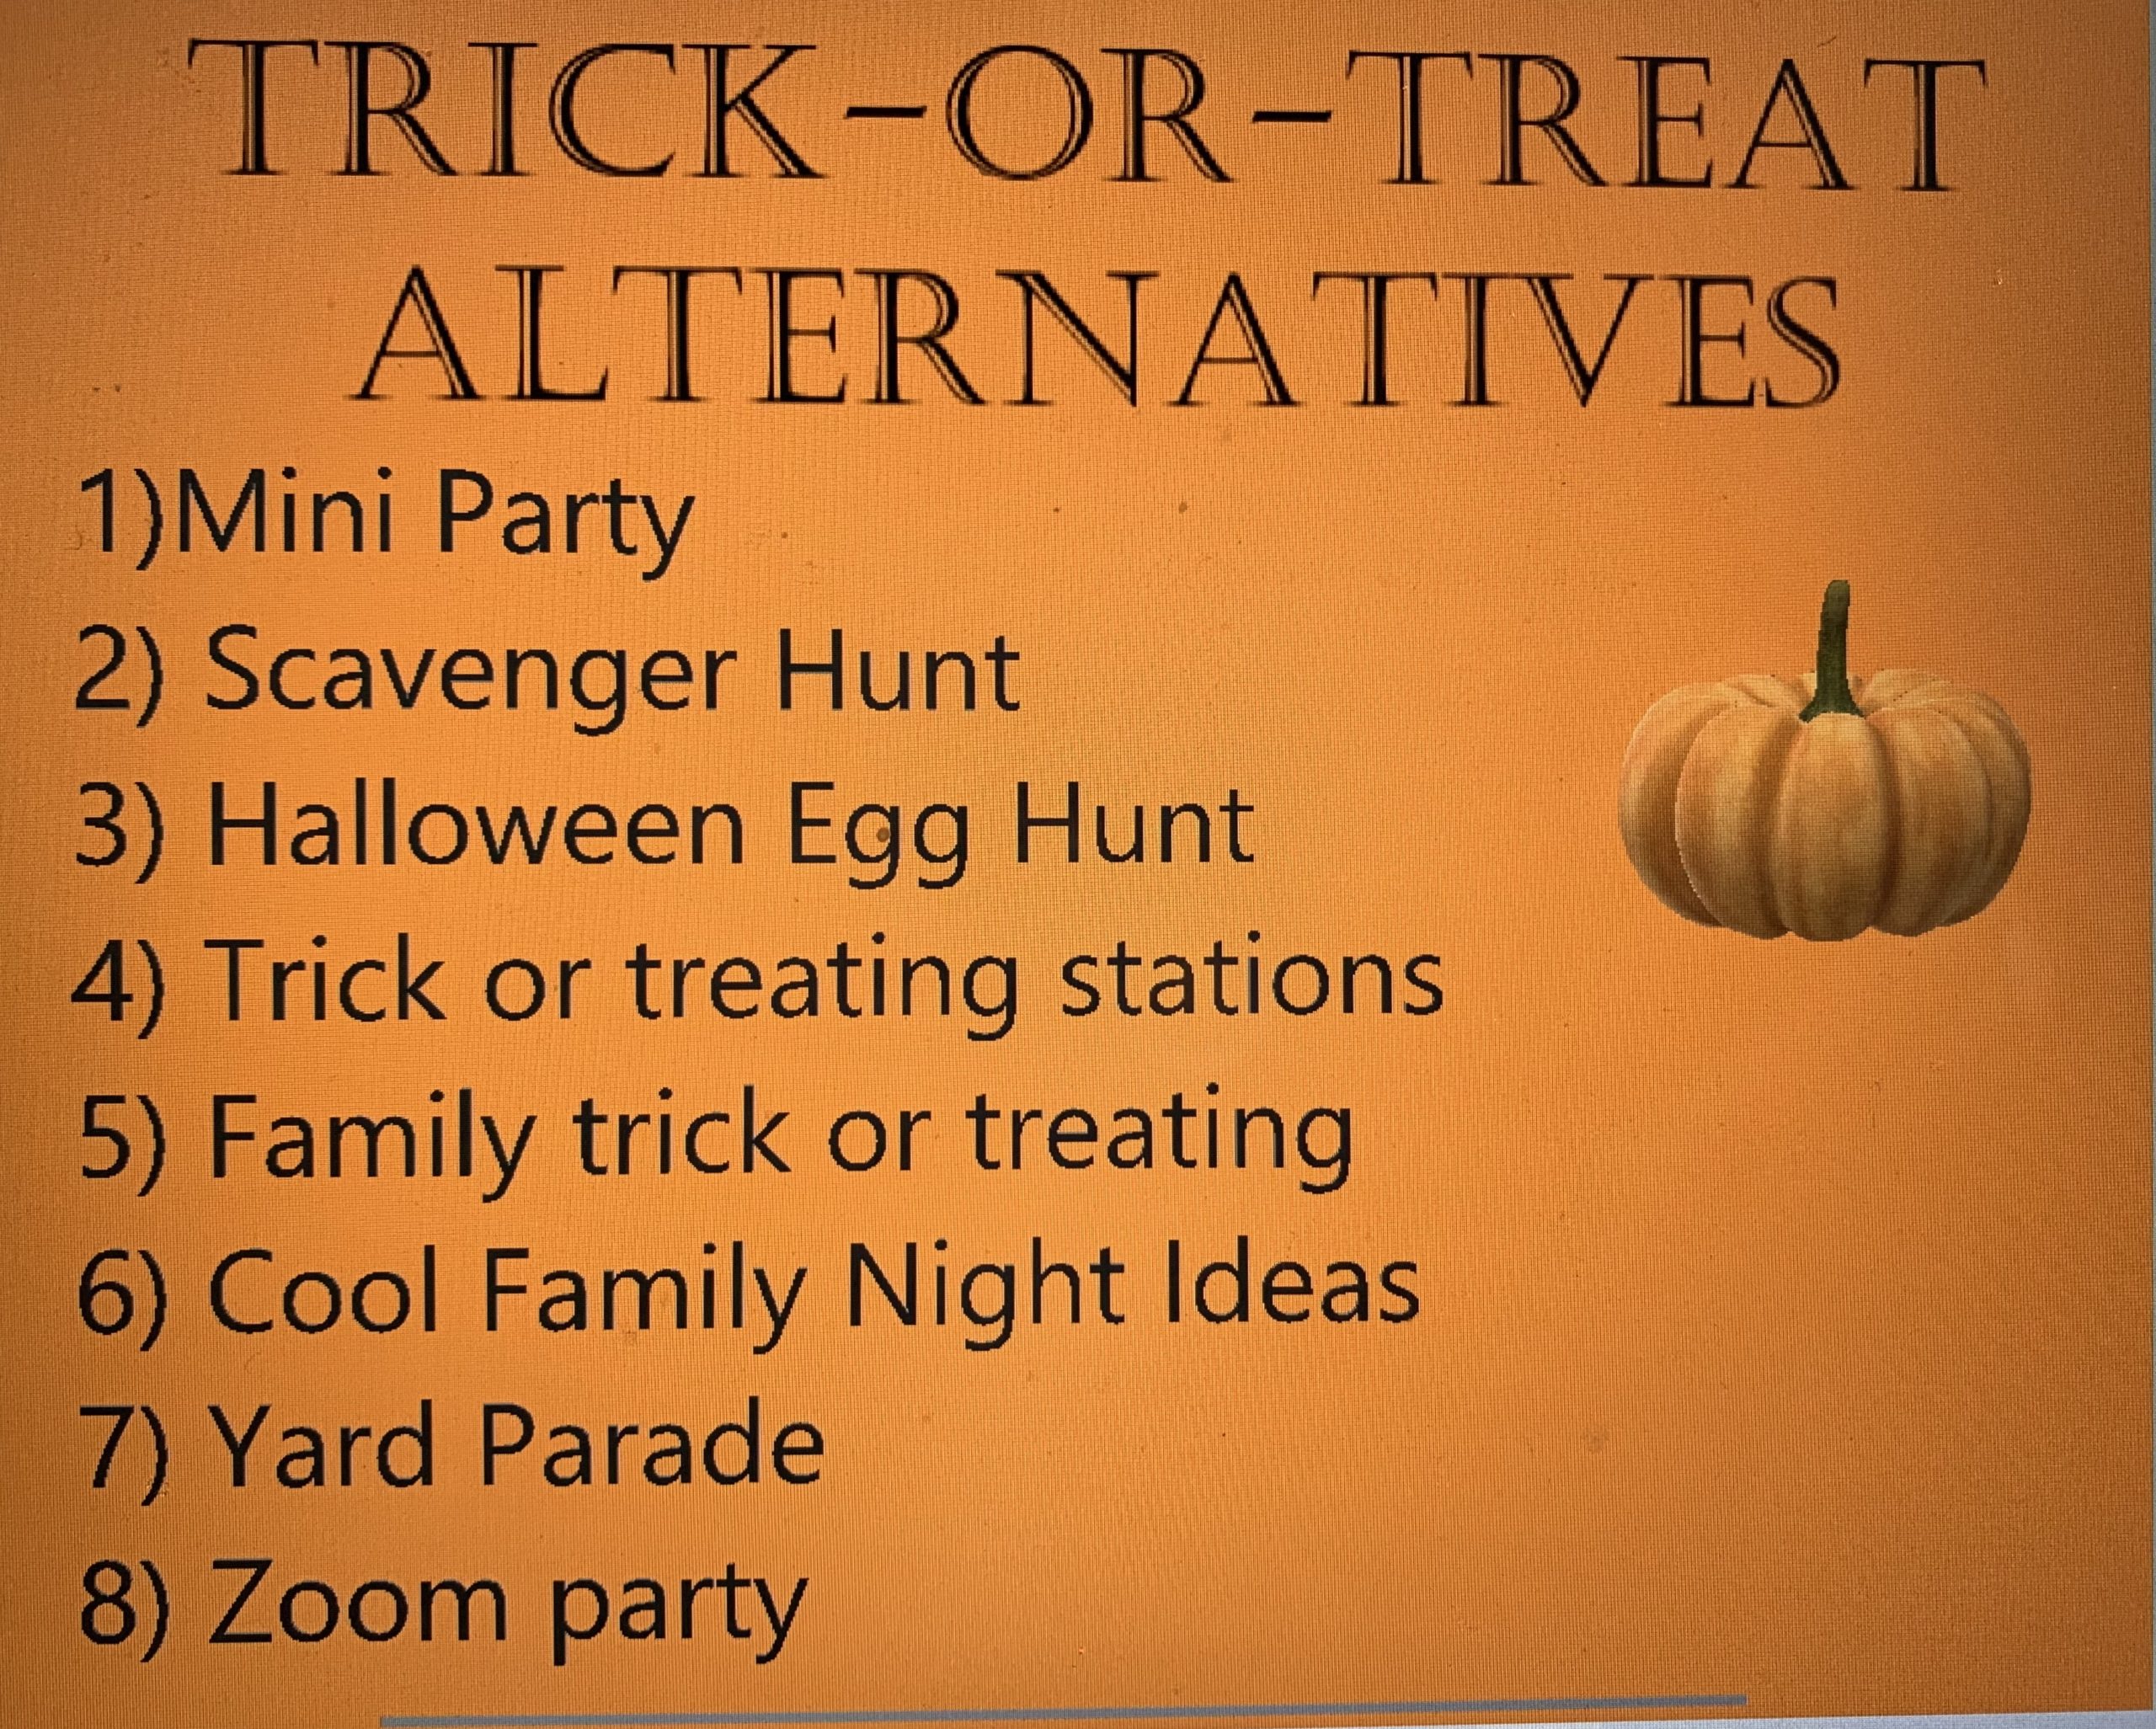
I remember running home and spreading the treats all over the floor with my brother and sister. We would compare our stockpile and trade our treats! Oh what fun trick or treating was! However, 2020 is different. With the COVID virus going around (rate dependent in your state/county), we are minimizing this high risk activity by avoiding the traditional trick or treating. As disappointing as this is, there are some other super fun alternatives (and hopefully next year we can do the old school trick or treating)!
Mini Party!!!!!! Mini party essential means a small party, usually under ten people, with trusted low risk covid people. This can encompass many activities such as
A Piñata
Movie night
Campfire night with smores
Fun Halloween snacks and food
Carving/painting pumpkins
Halloween crafts/face painting
Board games
Crafts
How many candy corns are in the container
And any of the other activities on the list!
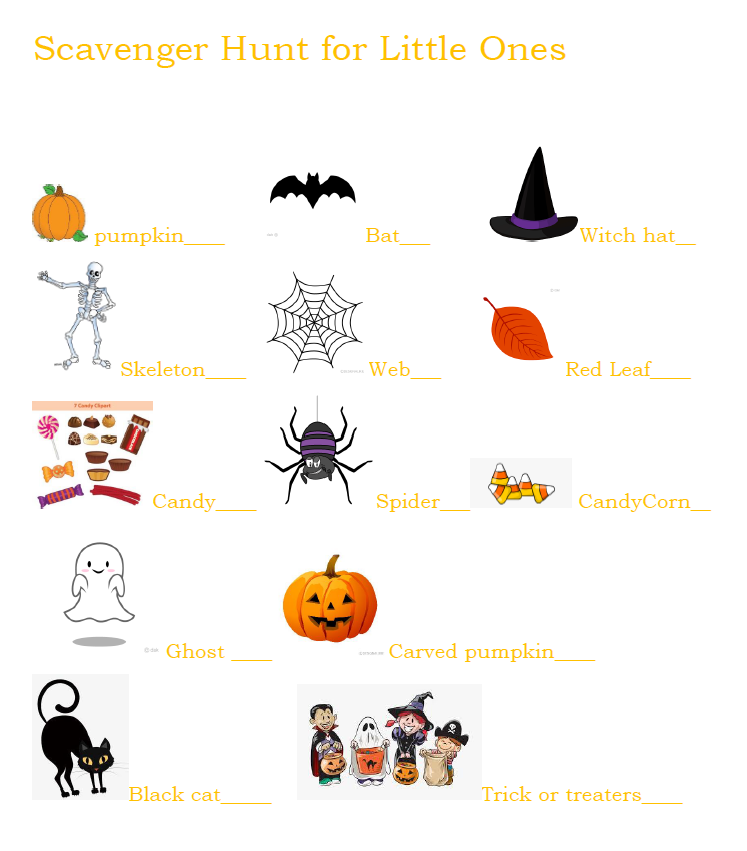
Scavenger hunt time! Who doesn’t love a good scavenger hunt? Well, maybe your kids if they don’t want to work for their candy! There are many scavenger Halloween hunts, I made one for kids who aren’t quite reading yet so they can look at the pictures and words and understand. The one below you can download. If you need another type you can find many online!
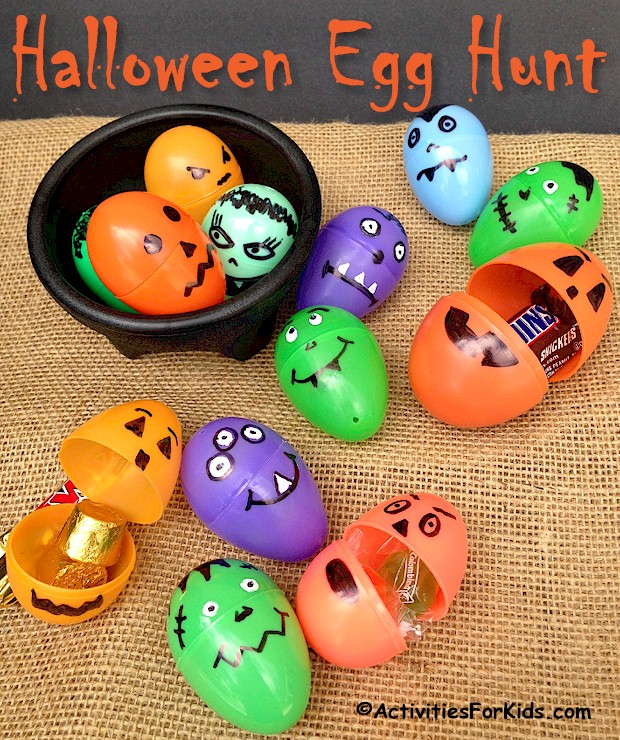
3. Halloween Egg Hunt: You can easily use marker and draw faces on eggs, or you can use puffy paint! Another option is glow in the dark eggs and a night egg hunt…SPOOKY! You can also paint eggs with glow in the dark paint. Put your favorite candies, stickers, tattoos, rings, or whatever you child enjoys in the eggs! Use your pumpkin or usual trick or treat bags to collect them.
4. Trick or Treat Stations: Setup stations in your yard, or at each of your doors. Each adult is dressed up and has a scene behind them. For example, one adult has spider webs behind them and the kids come up and say trick or treat. The idea is that its safe since it is your mom and dad or family member you live with and its similar to trick or treating. We may do the door idea. So the kids can run from door to door (maybe more than once), and knock for trick or treating.
5.Family trick or treating: this is similar to the one above. However, you can drive to grandparents house or aunt or uncle house and do trick or treat at just a select couple houses to lower the risk.
6. Family Ideas: So besides all the other ideas, there are many other Halloween things that can be done. Family board games, campfires, Halloween movies, pin the spider on the spiderweb, mummy toilet paper roll game (although you may not want to waste the toilet paper!!), painting pumpkins or carving them, Halloween bingo, ring witch hat toss
7. Yard Parade: have your little ones dress up and walk around the yard and do a parade! You can walk down the road dressed up as well (not on trick or treat day of course!). Kids love dressing up and having a pretend parade!
8. Zoom party! So have a family/friend zoom party. You can vote on the best costumes, each show off your spooky treats and your pumpkins. Do crafts together or drawing contests
As a child I remember making many candles from crayons at my grandparents house. I also remember how much fun we had making candles from crayons. So, during the quarantine, I decided why not try it?
Of course the kids are still young and can’t work with the melted wax, but they can find broken crayons or pieces of crayons too small to use. I put them hard at work finding these crayons and then taking all the wrappers off of them. Next, they categorized them by colors.
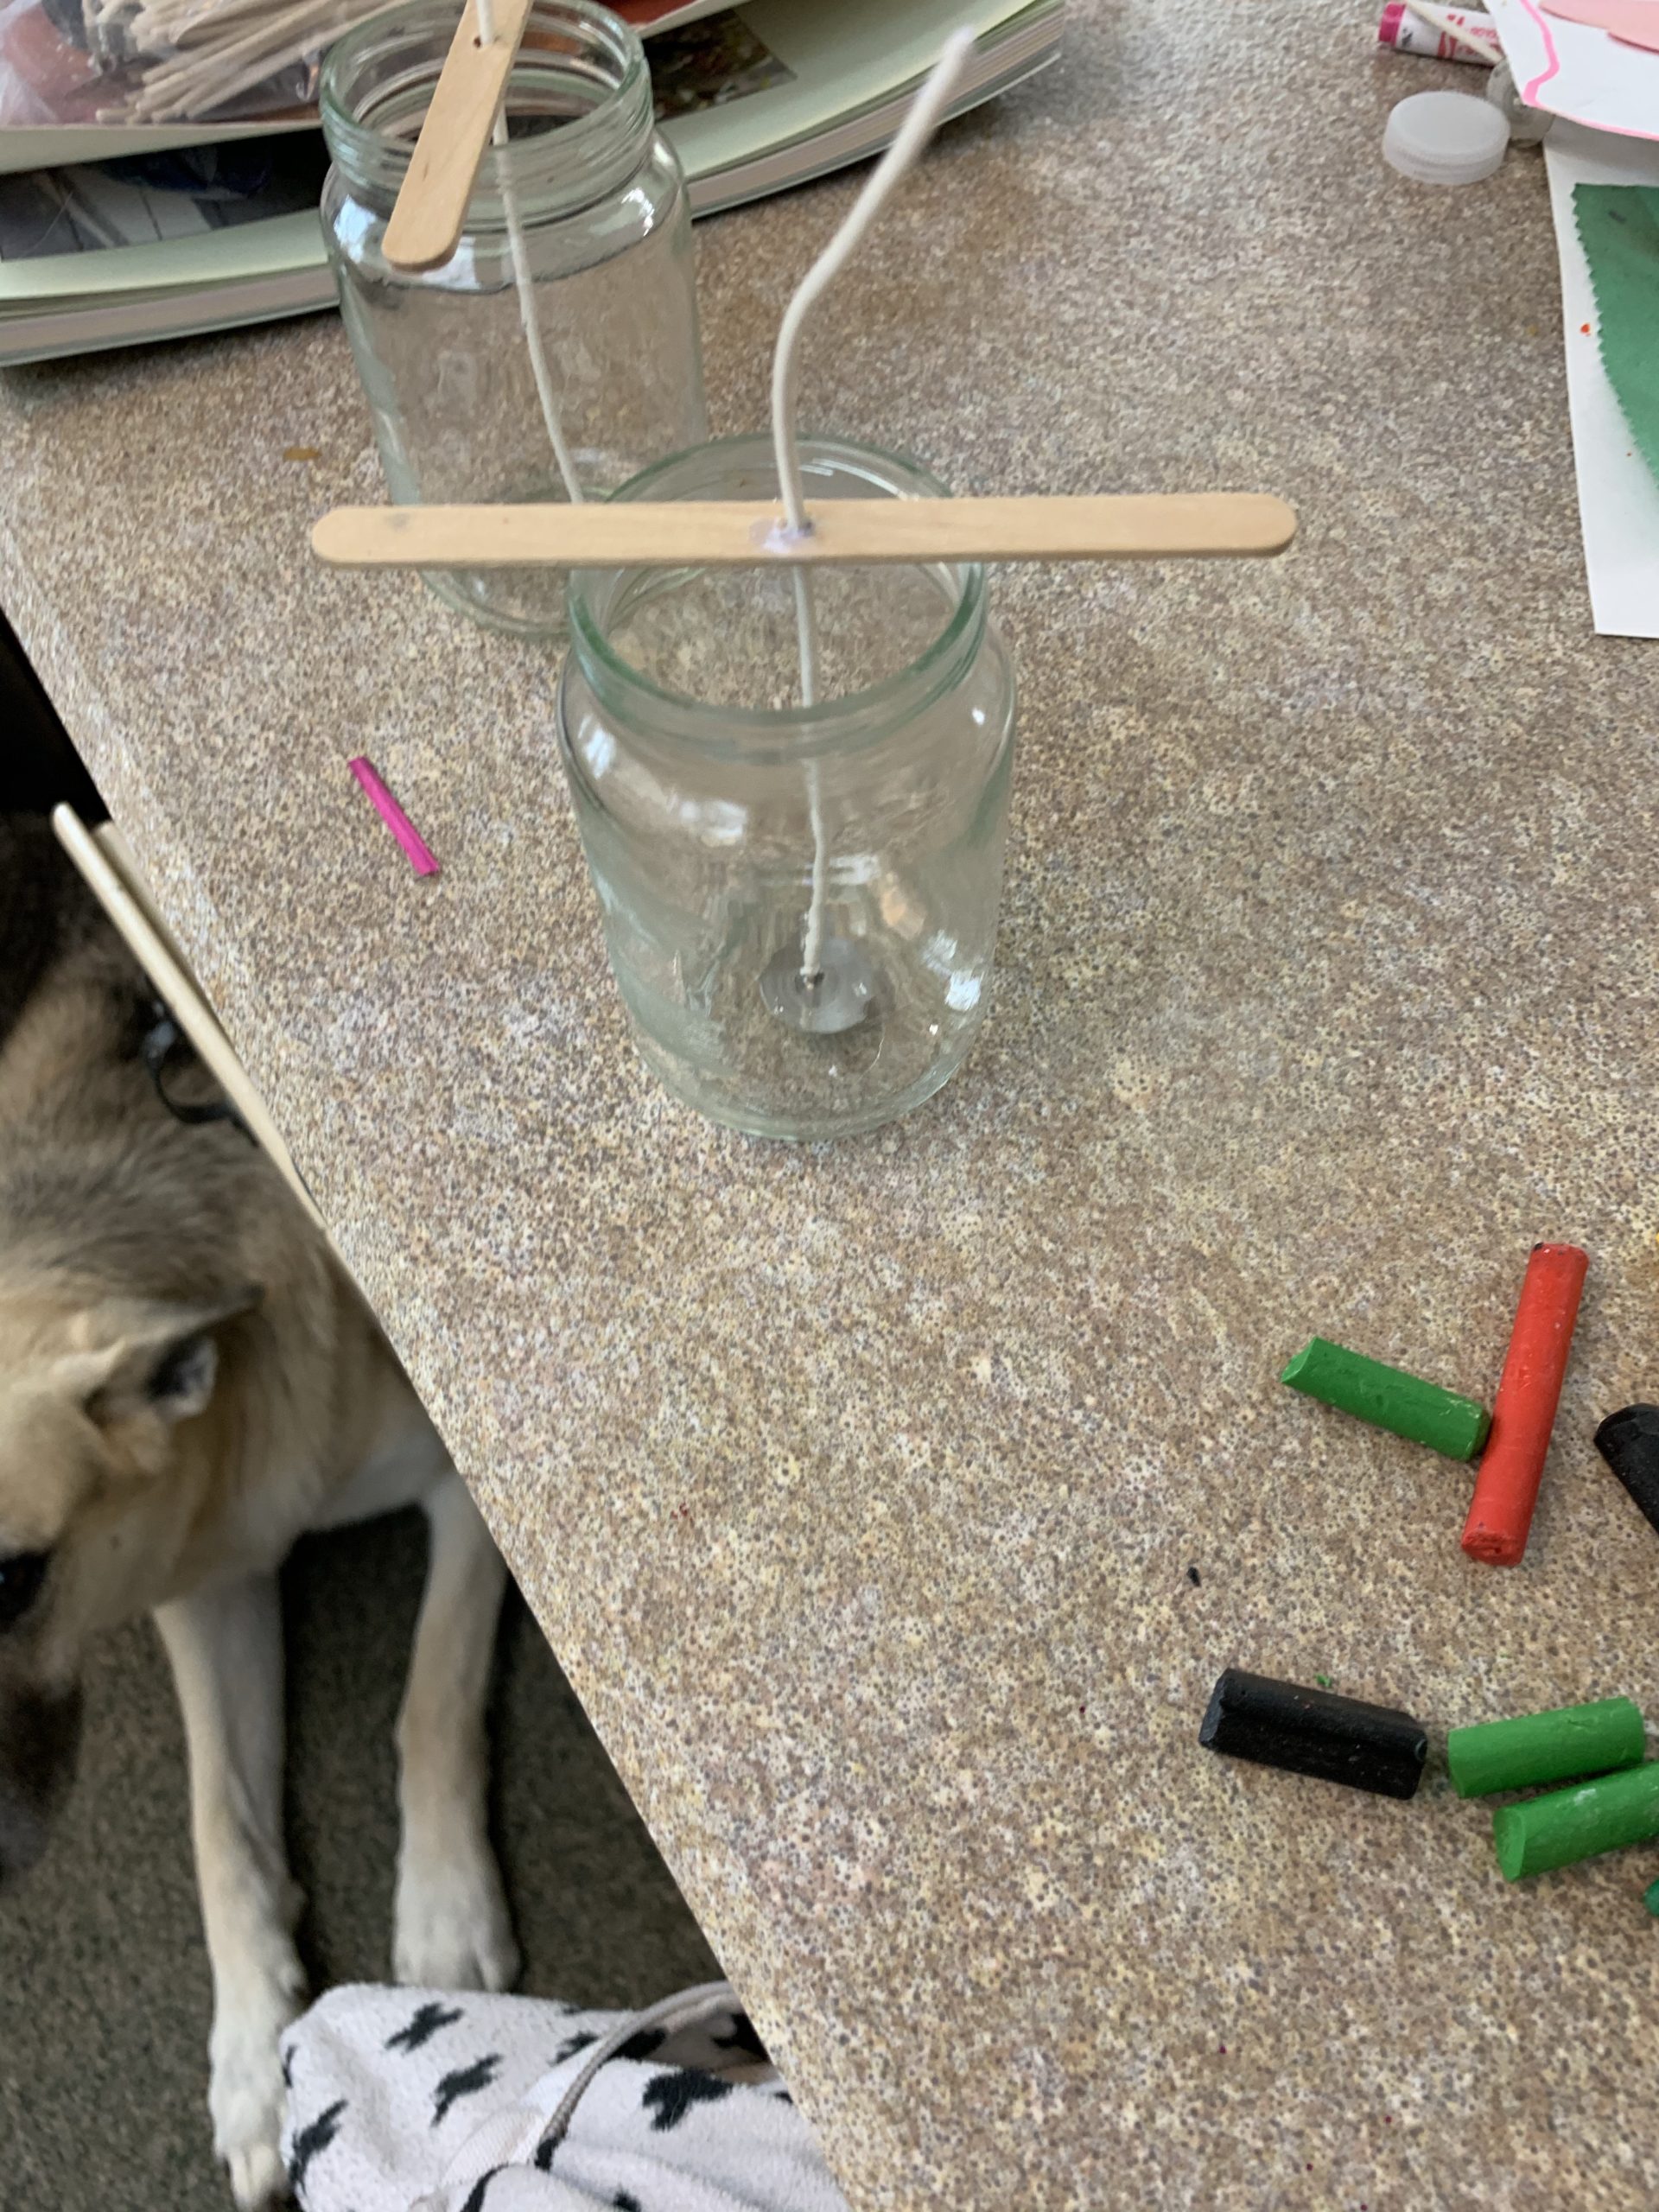
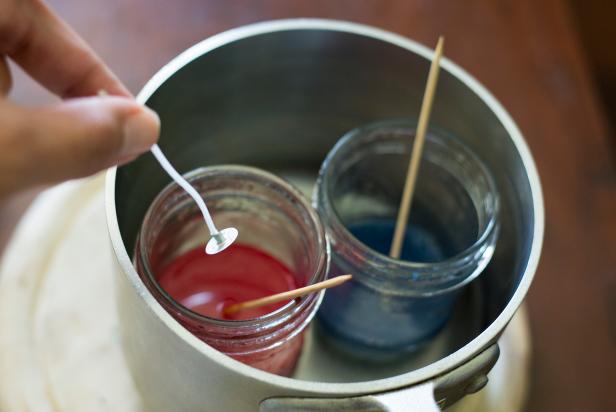
Next, I had little jars I had previously saved from baby foods that we could use for candles. Make sure its a glass jar and not plastic! We also had Popsicle sticks, wicks, and a boiling pan and thermometer for melting the wax. We have small holes in the Popsicle sticks, but you can also wrap it around the stick if needed. Have your container and wick ready.
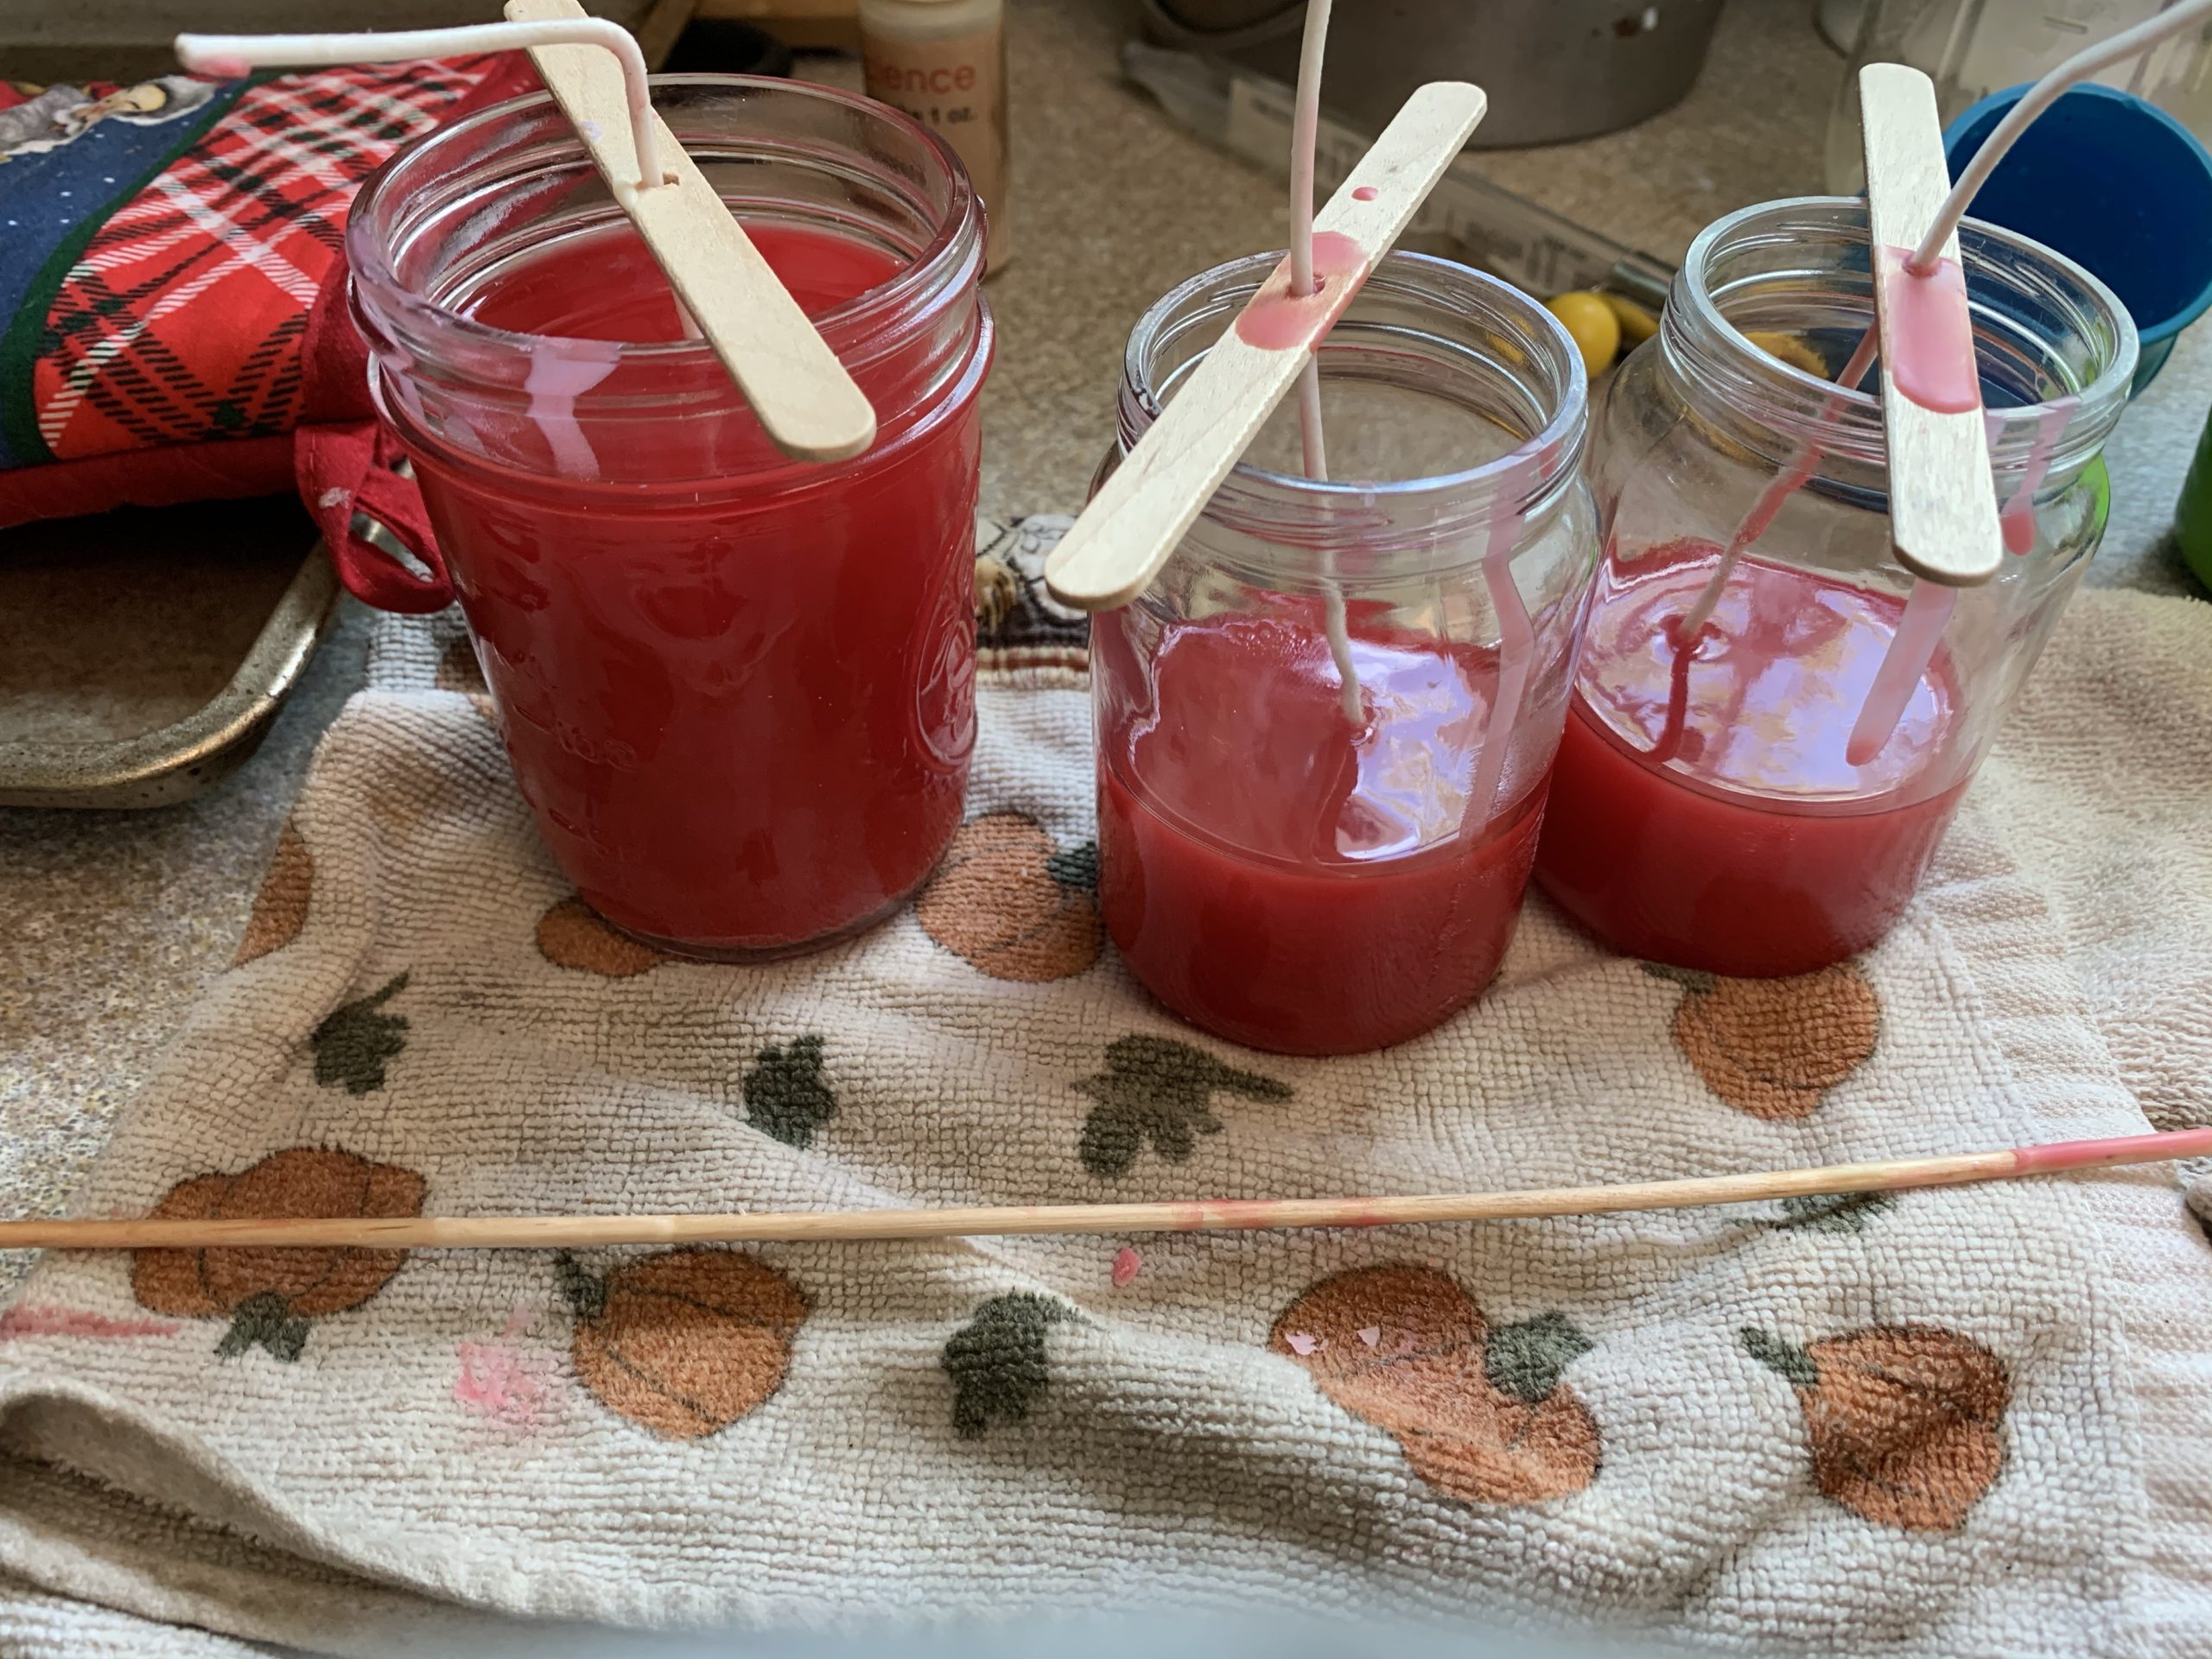
Next, decide if you are going to do just one color candle or multiple. If you choose to do multiple you have to let the candle wax dry in between which can take a while. I ended up getting a big pan of ice and putting it around the outside of the candle after pouring the wax in order to cool it quicker.
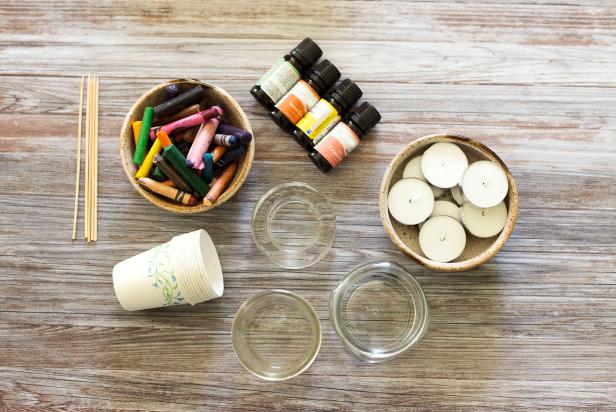
Another factor is if you want a scent. If you have different scents you can add them, or you can use essential oils to add a scent.
Now, you do need some regular wax as well! I happened to have some white wax shavings from a long time ago we used and added the crayons for coloring. You can also use the small tea candles that are cheap at the store and take them out of the tin wrapper. Depending on the size of your jar you are filling, you will need a different amount of candles. We melted the wax and coloring in the special candle pot we have and poured it out into the containers. Some people also like to put the wax and crayon right into the jar and put 3 inches of water into a pan and place the jar in the pan and let it melt. Warning–your jar will get very hot this way! Also make sure u have your wick in when you do it this way. If you want to try that method I found a great website for you to follow Click here
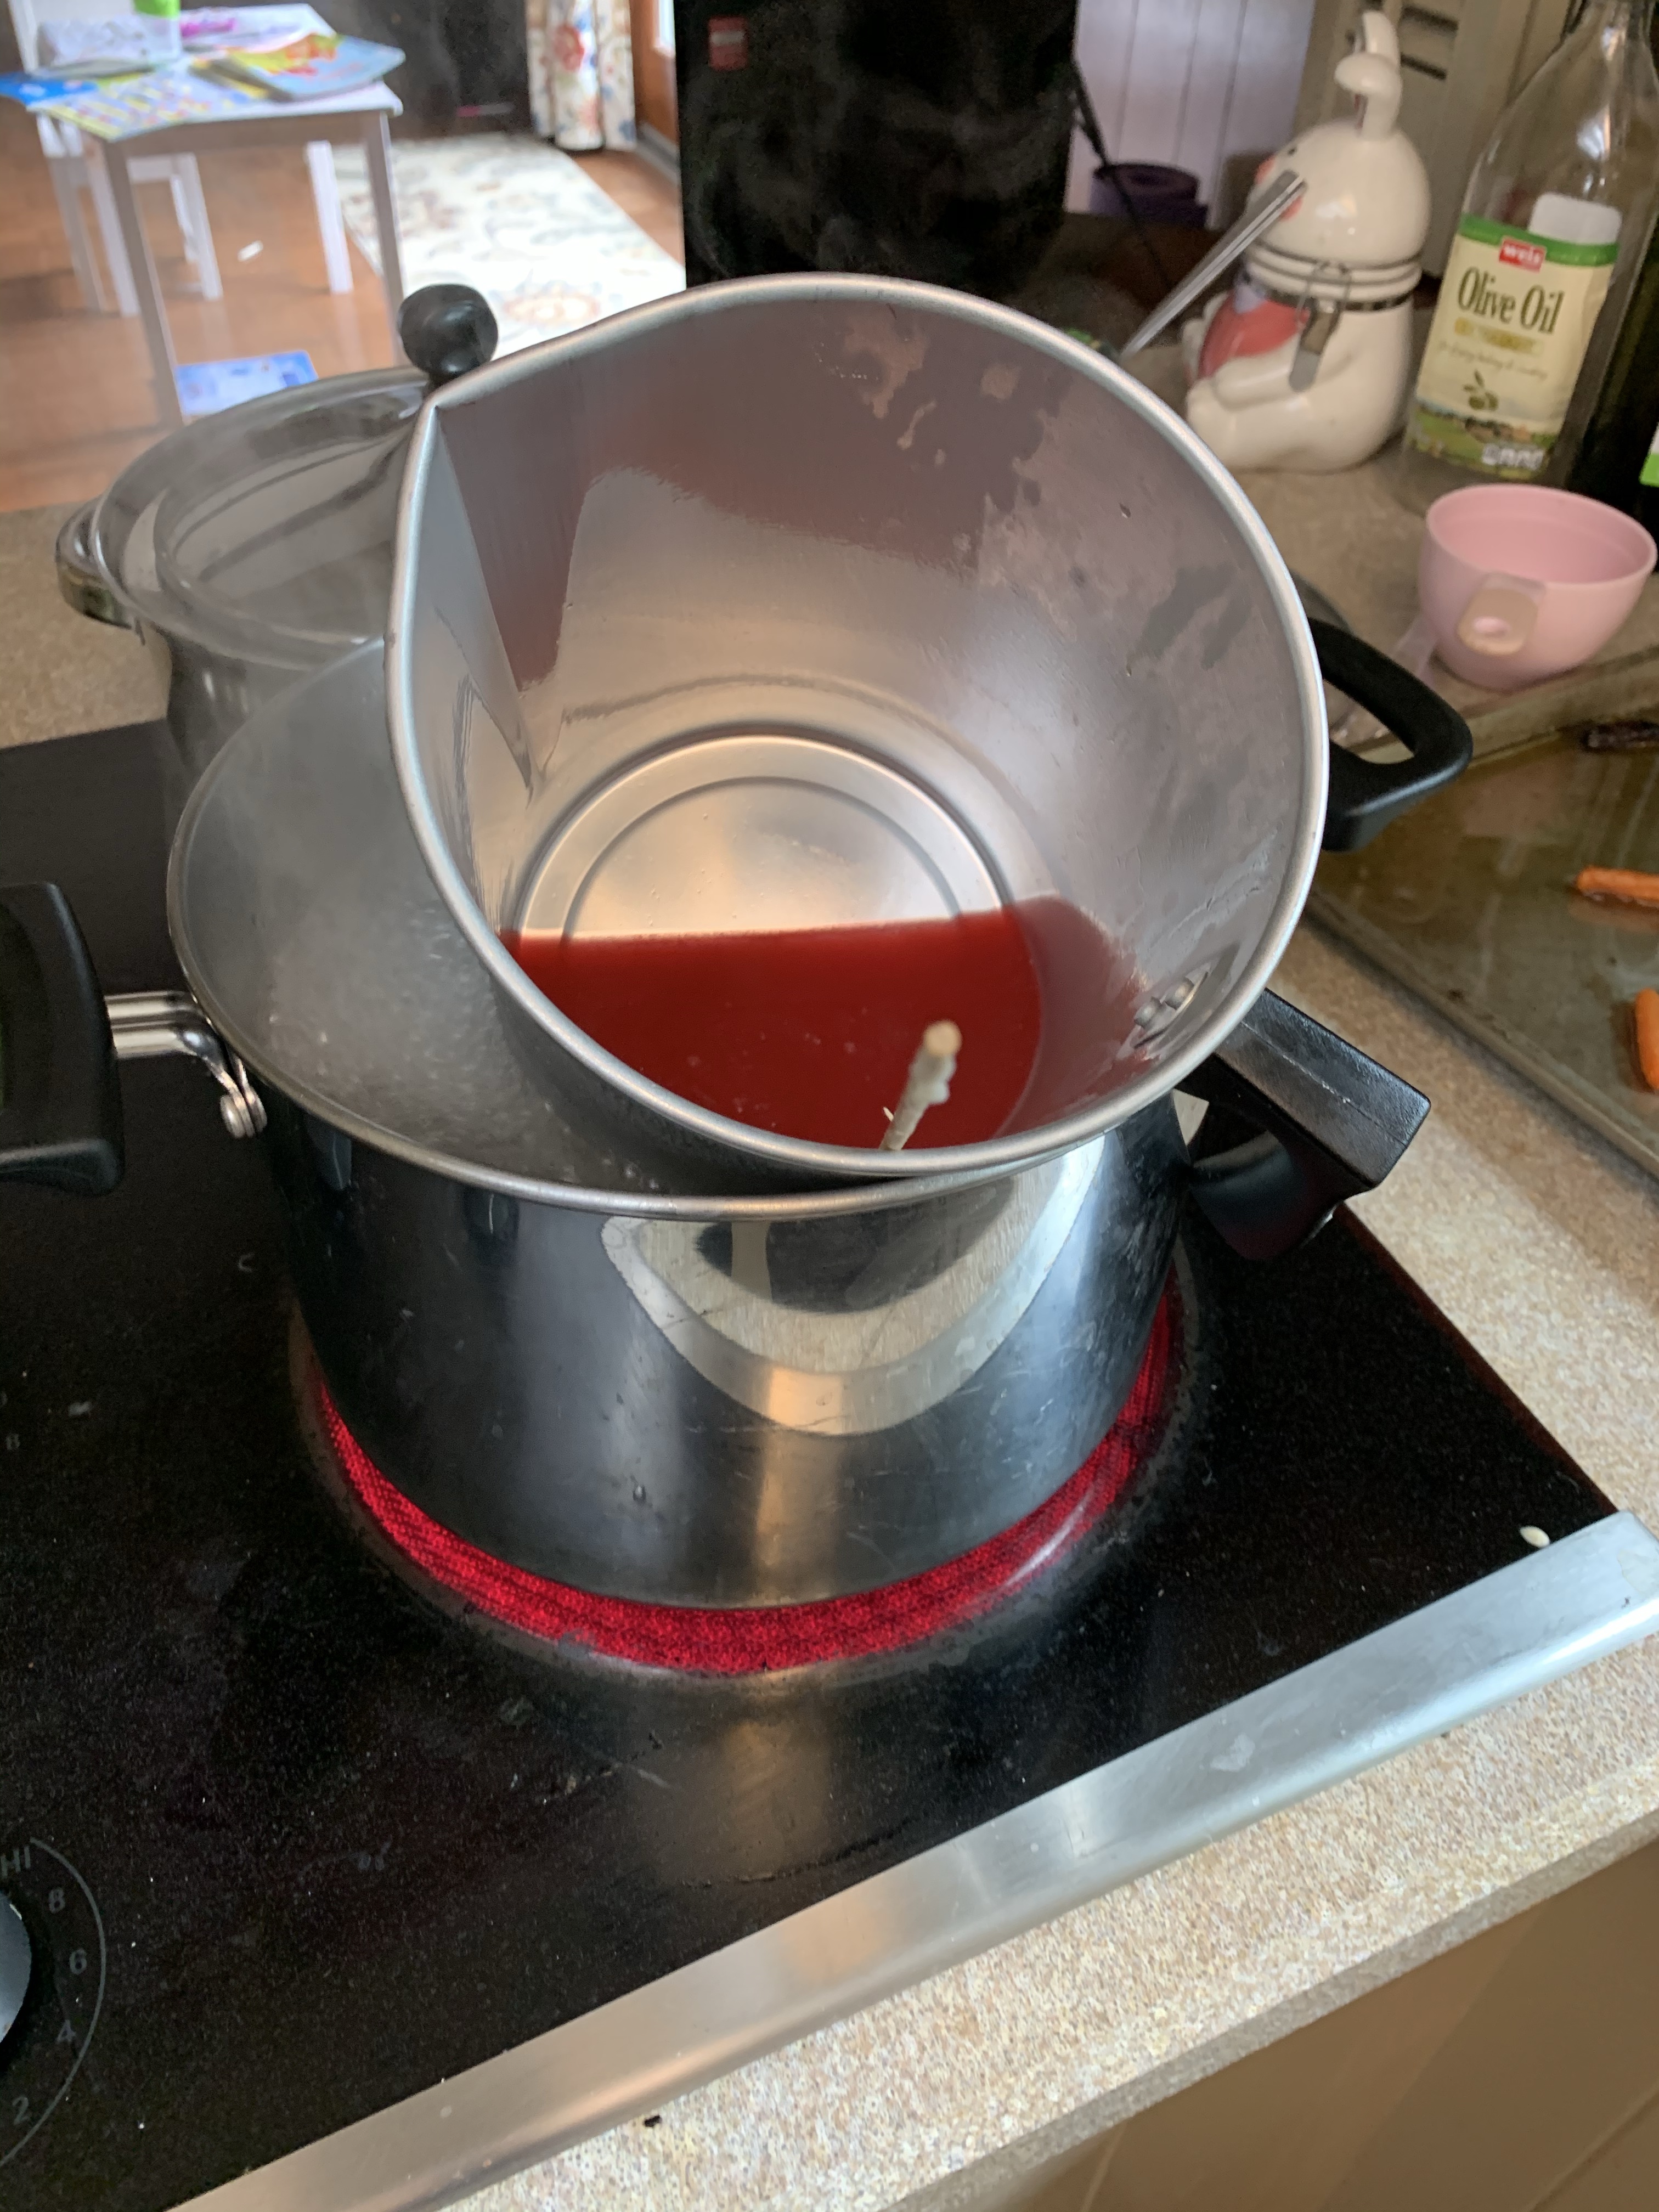
I tilted the candle wax pan for you to see. As you can see the pot below has water in it and it melts the wax and crayon. When its all liquid you can pour it directly and carefully into your jar and make sure your wick is centered. Then you allow it to dry!
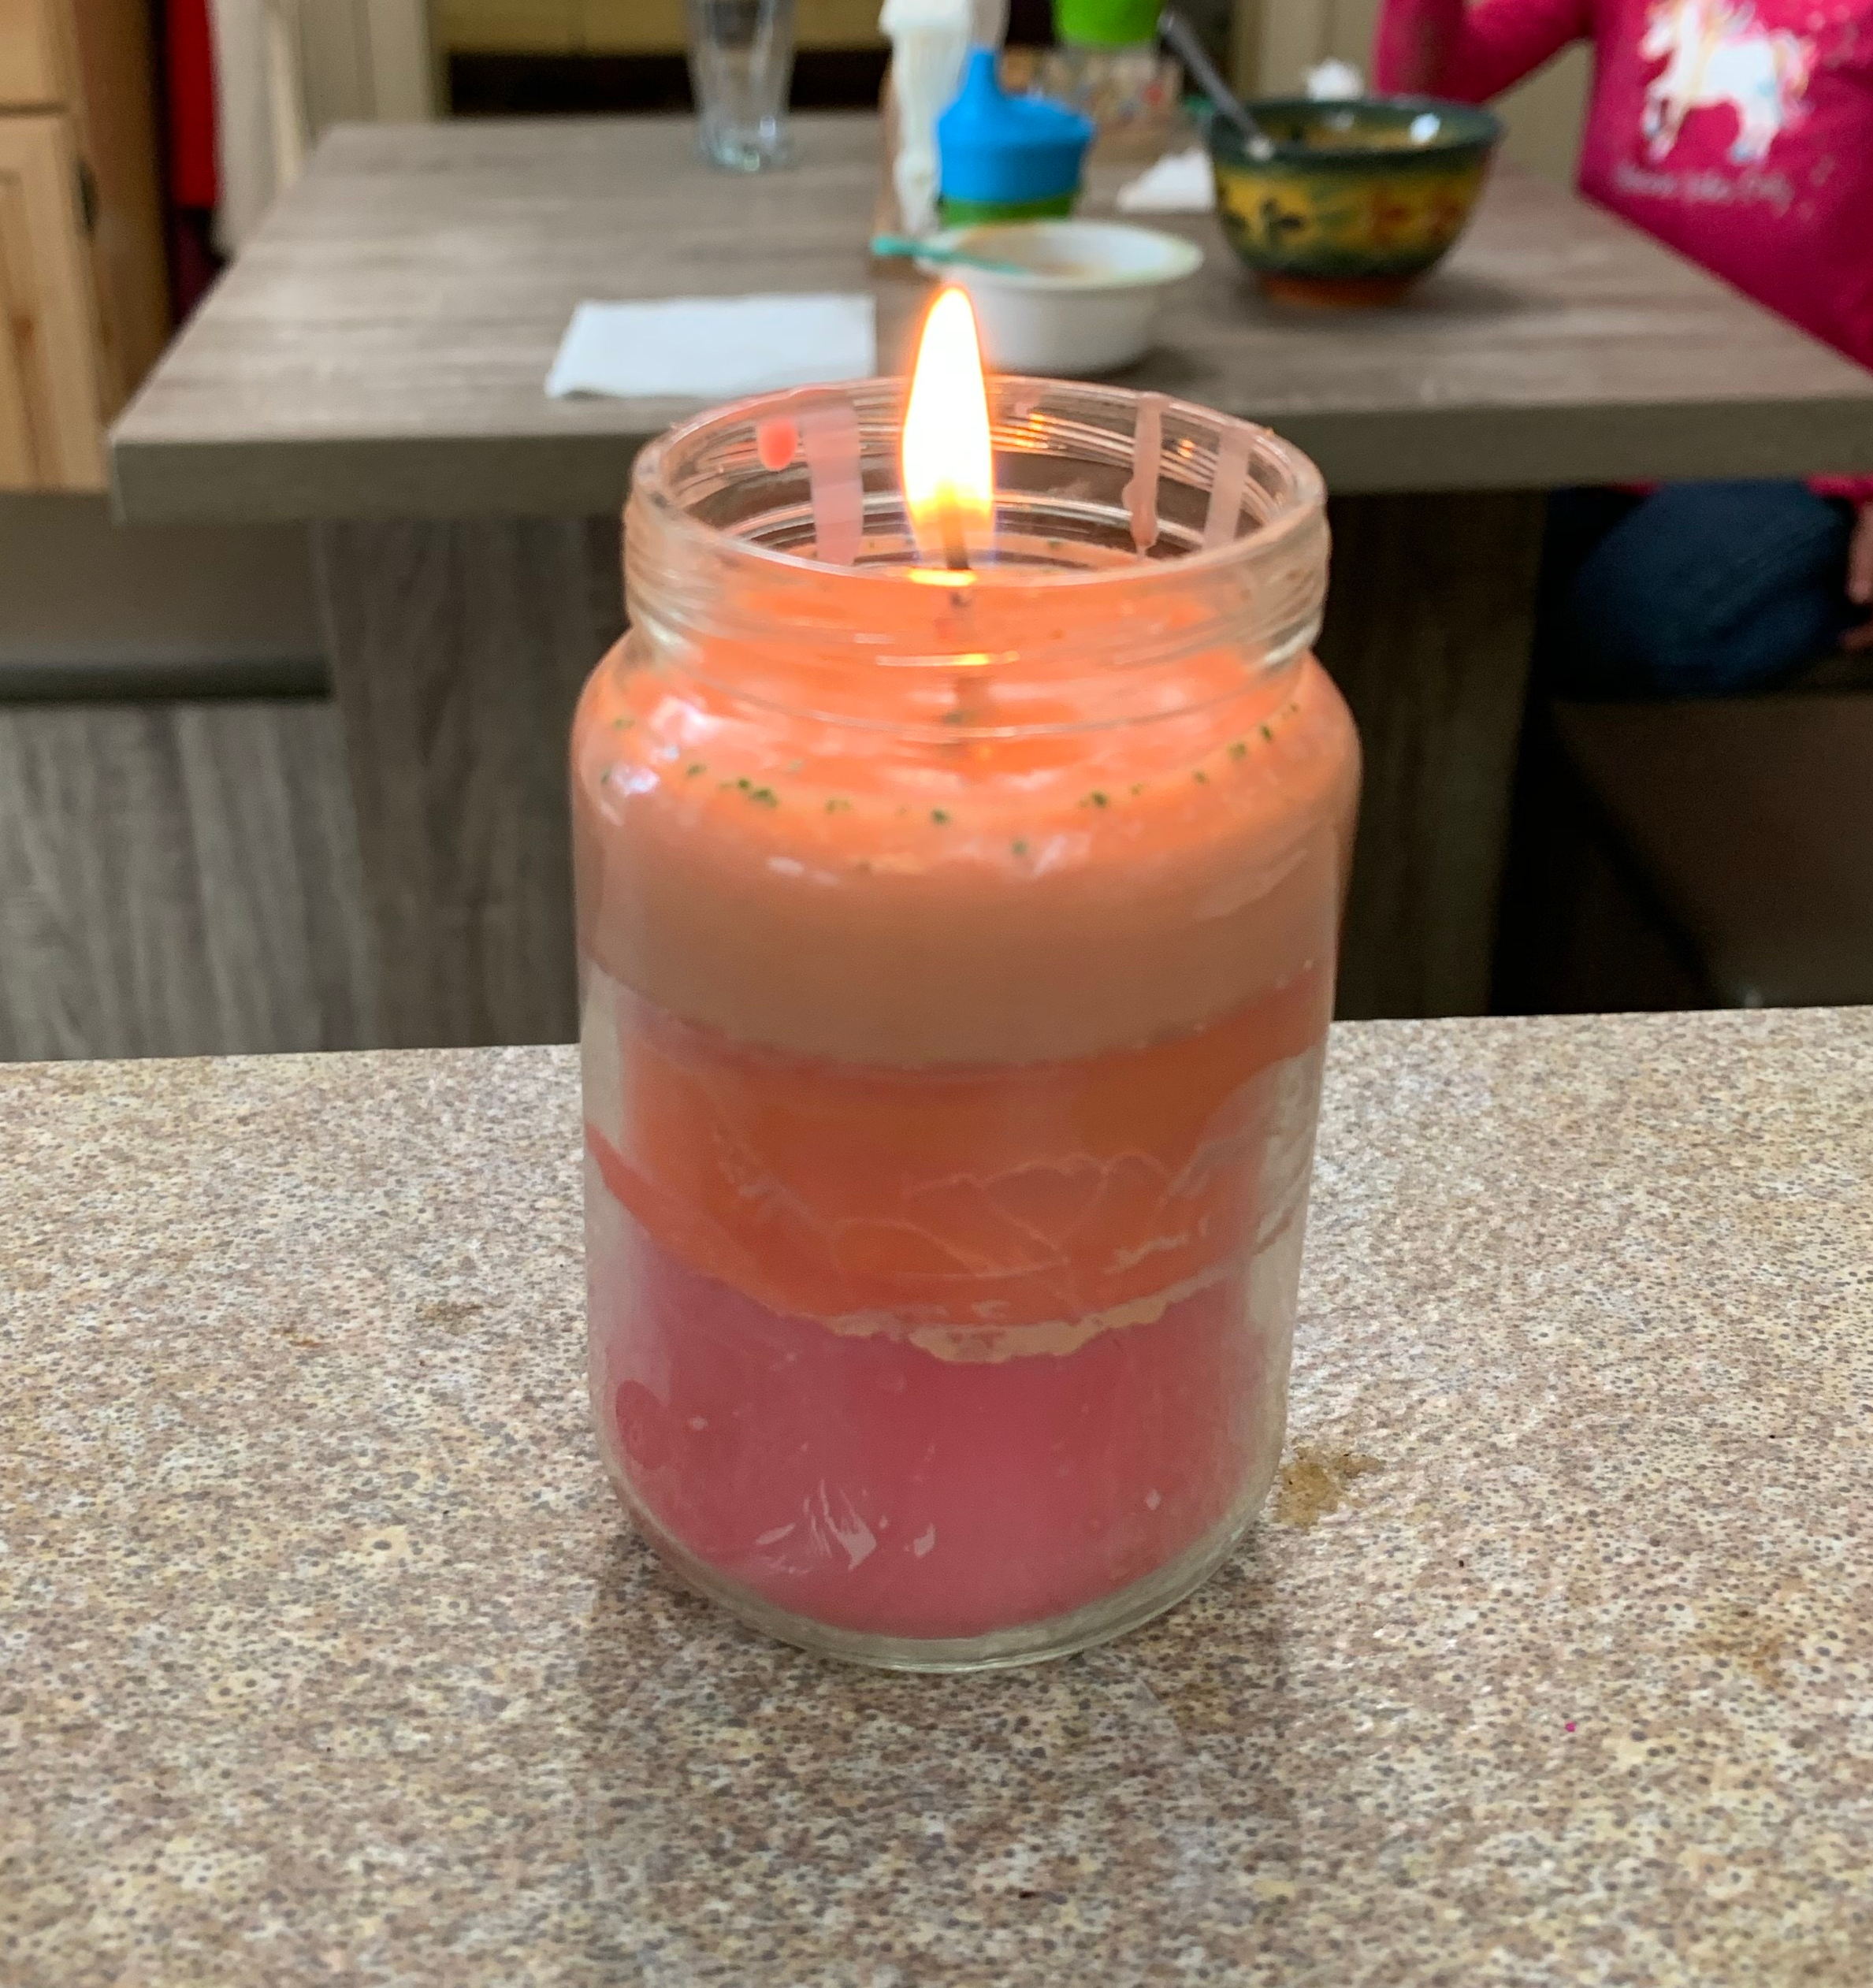
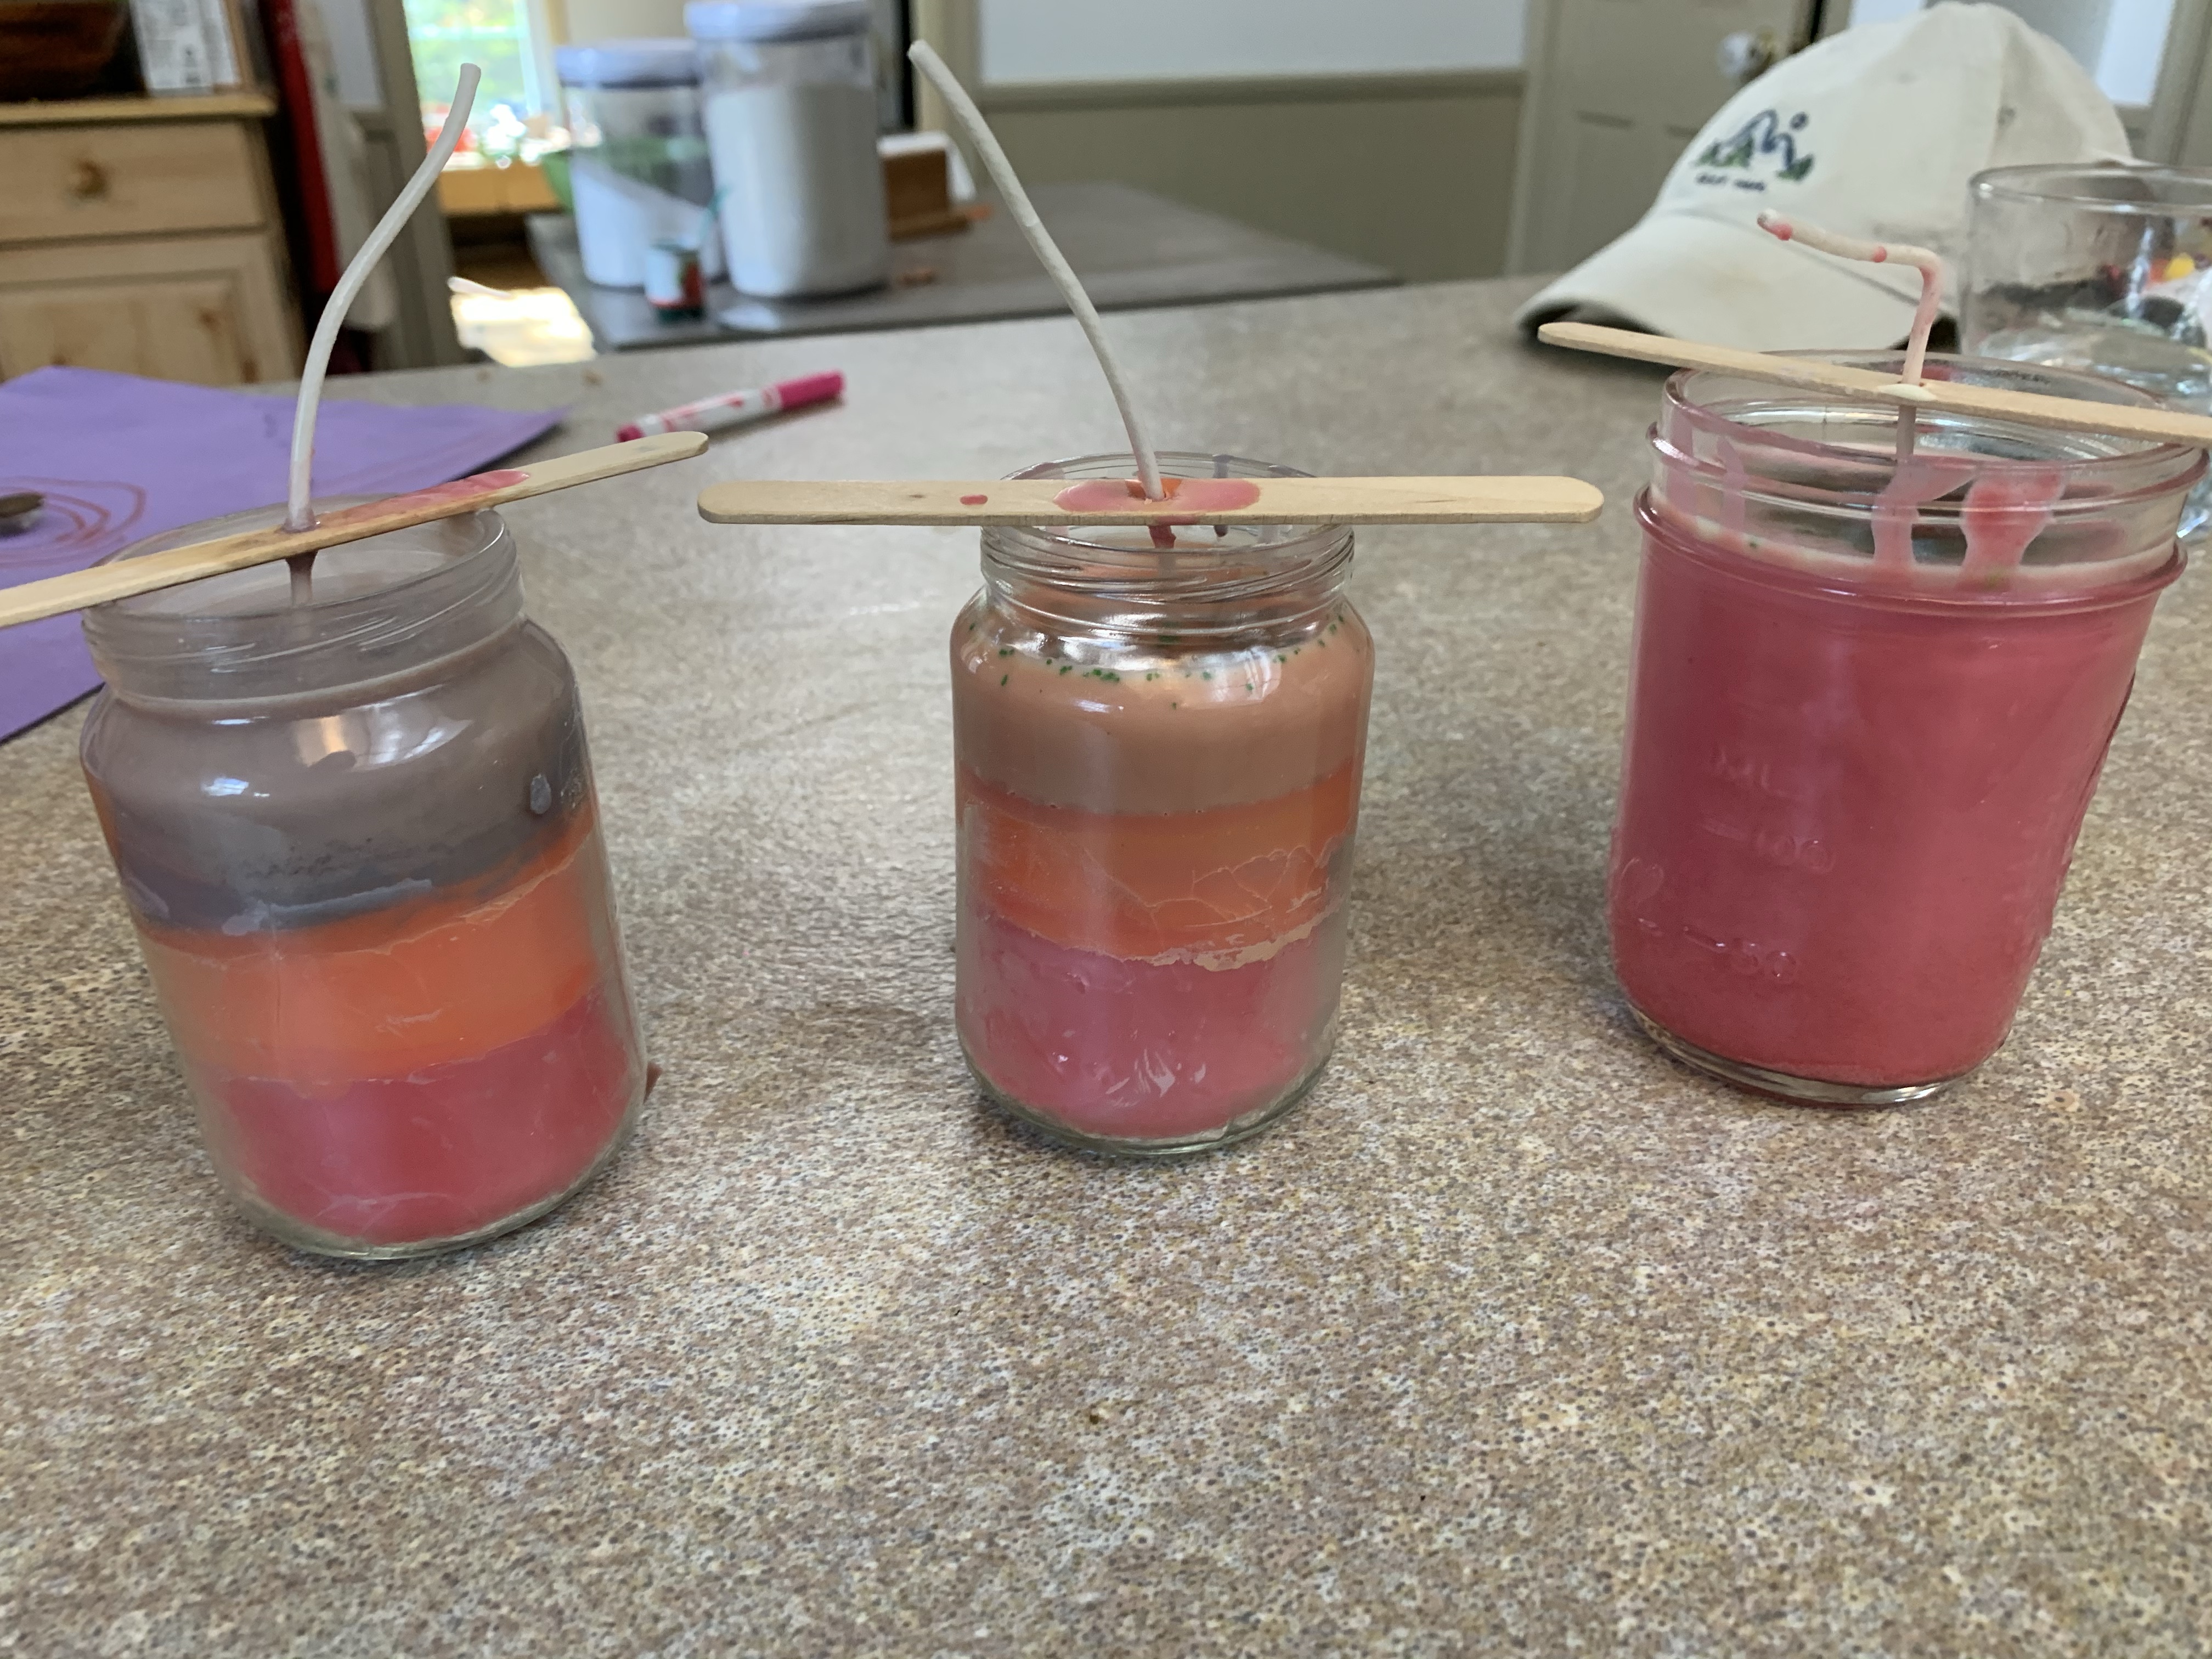
Following that, if you are doing another color, repeat the melting process and make sure the bottom layer is completely dry before adding the next color in the candle.
After its all dry you can cut your wick to the proper size and enjoy your candle! Of course you should light the candle and not the kiddos!
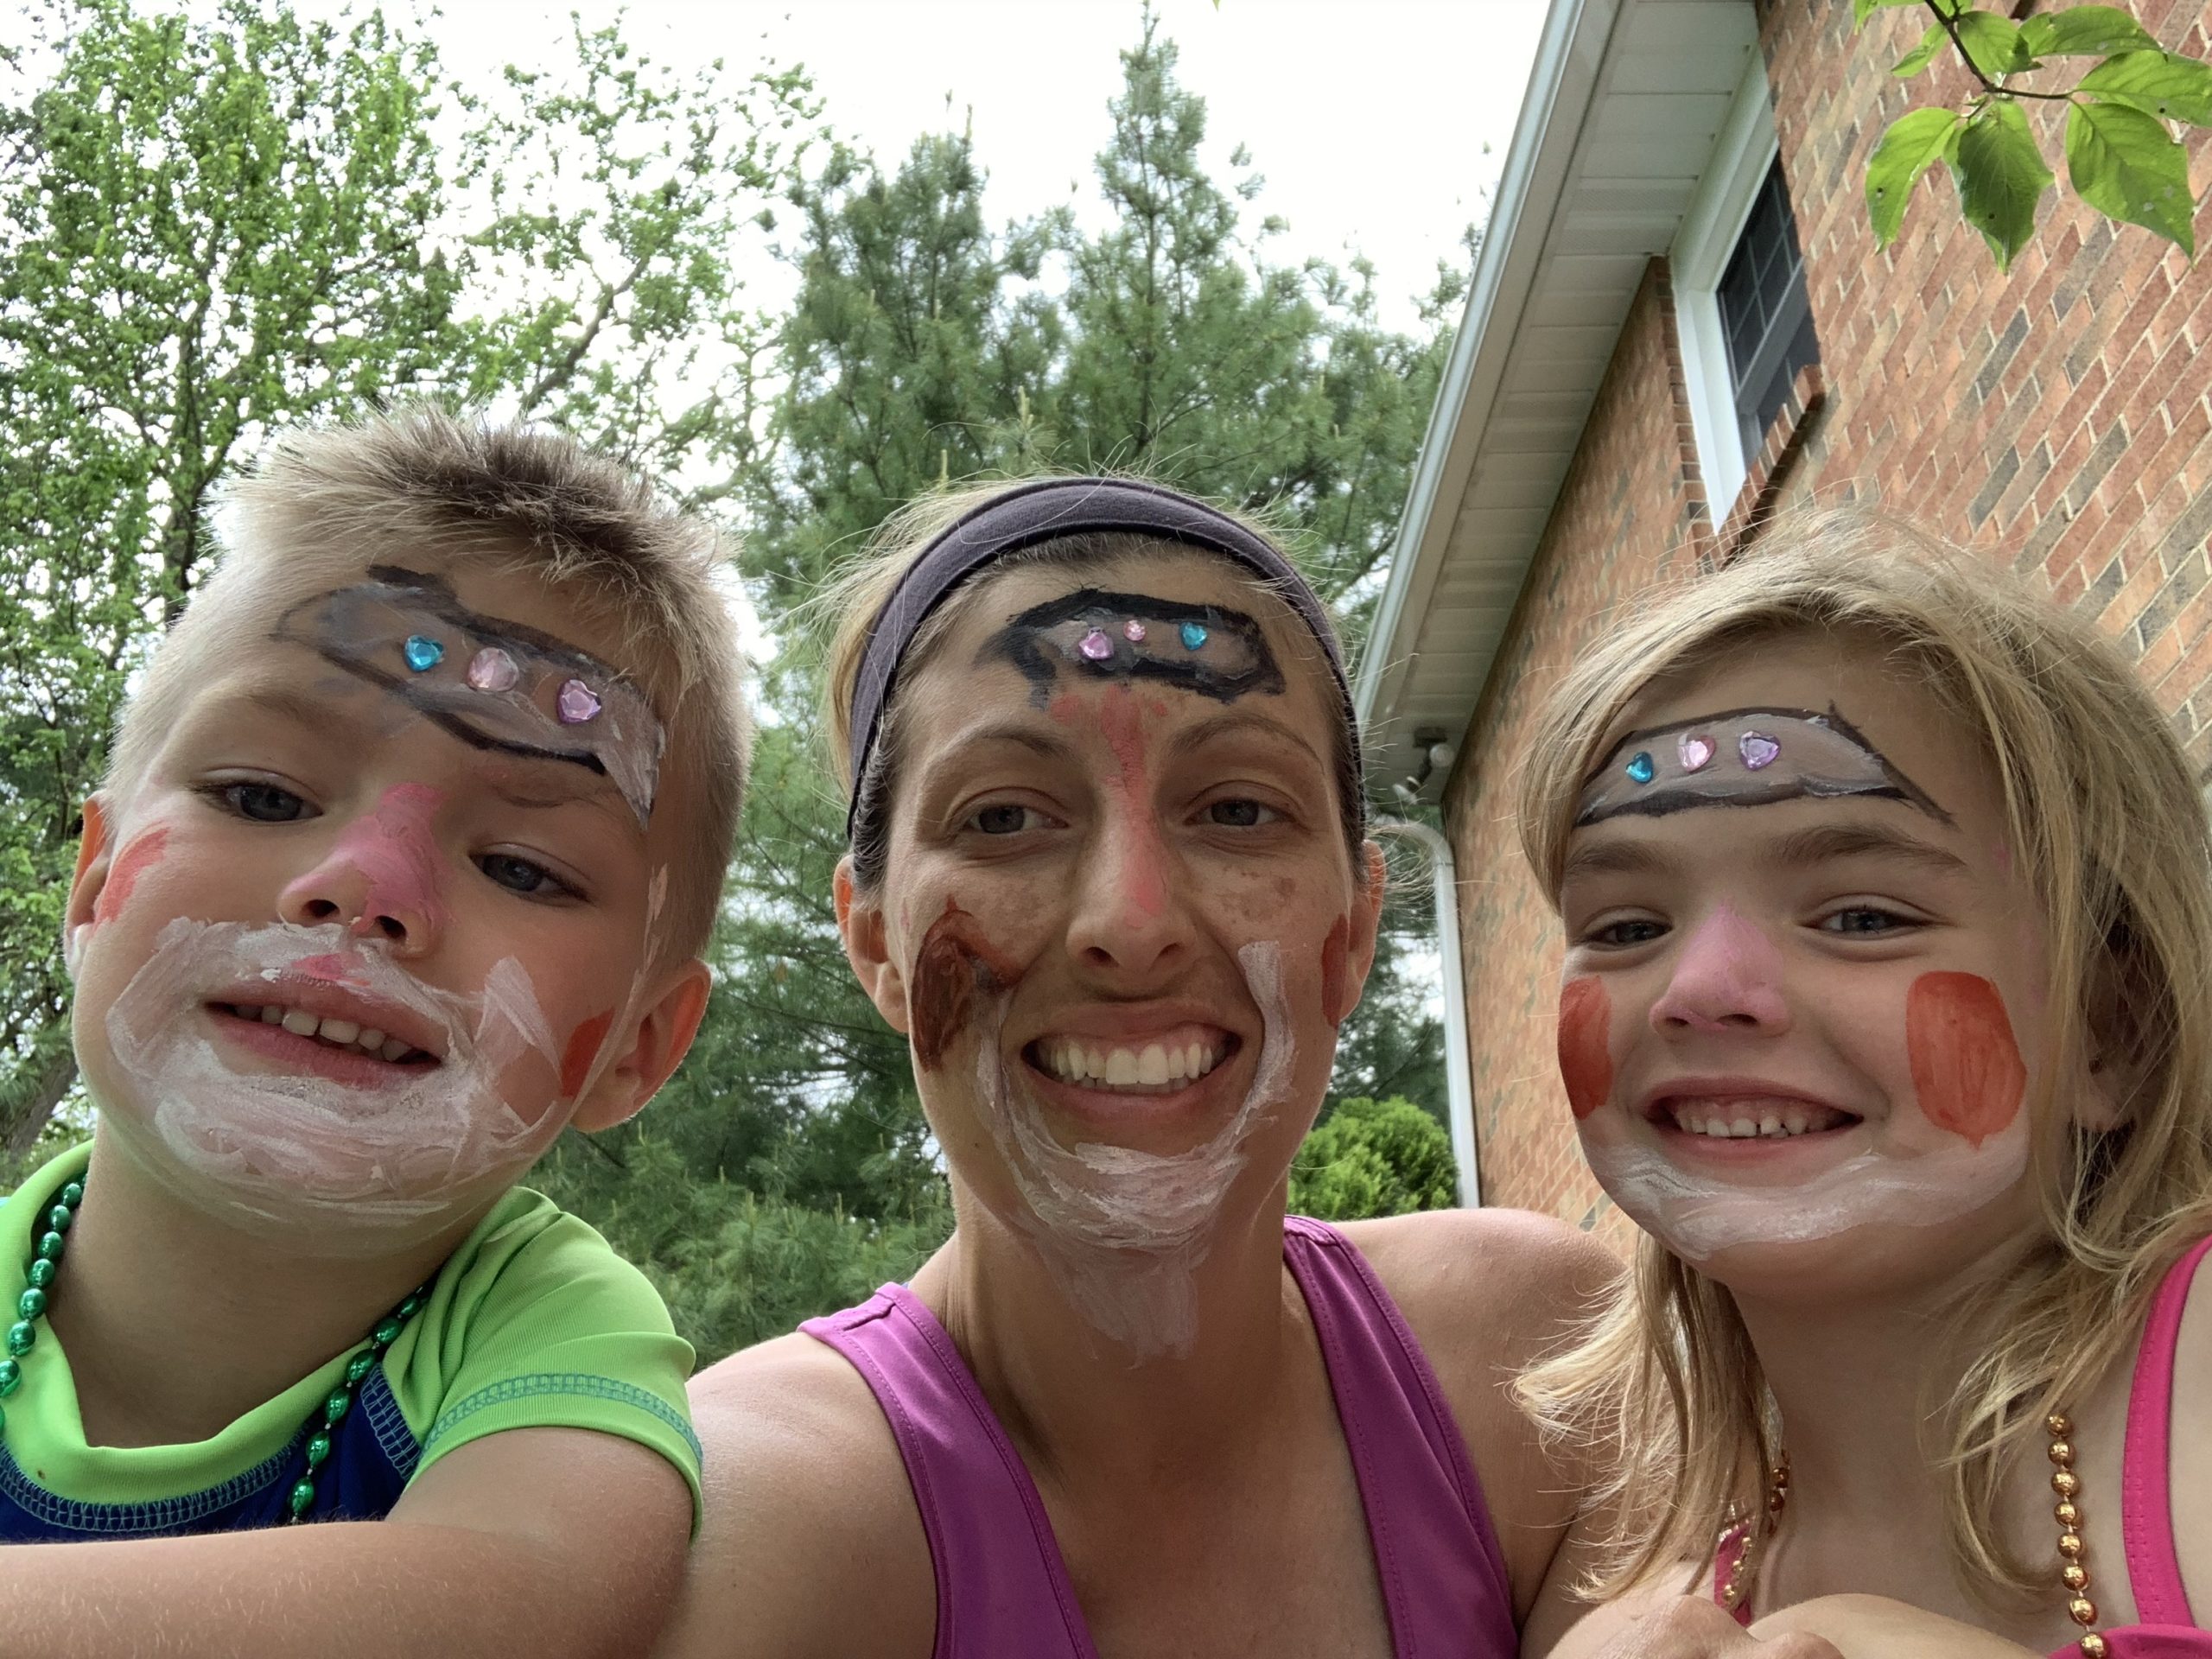
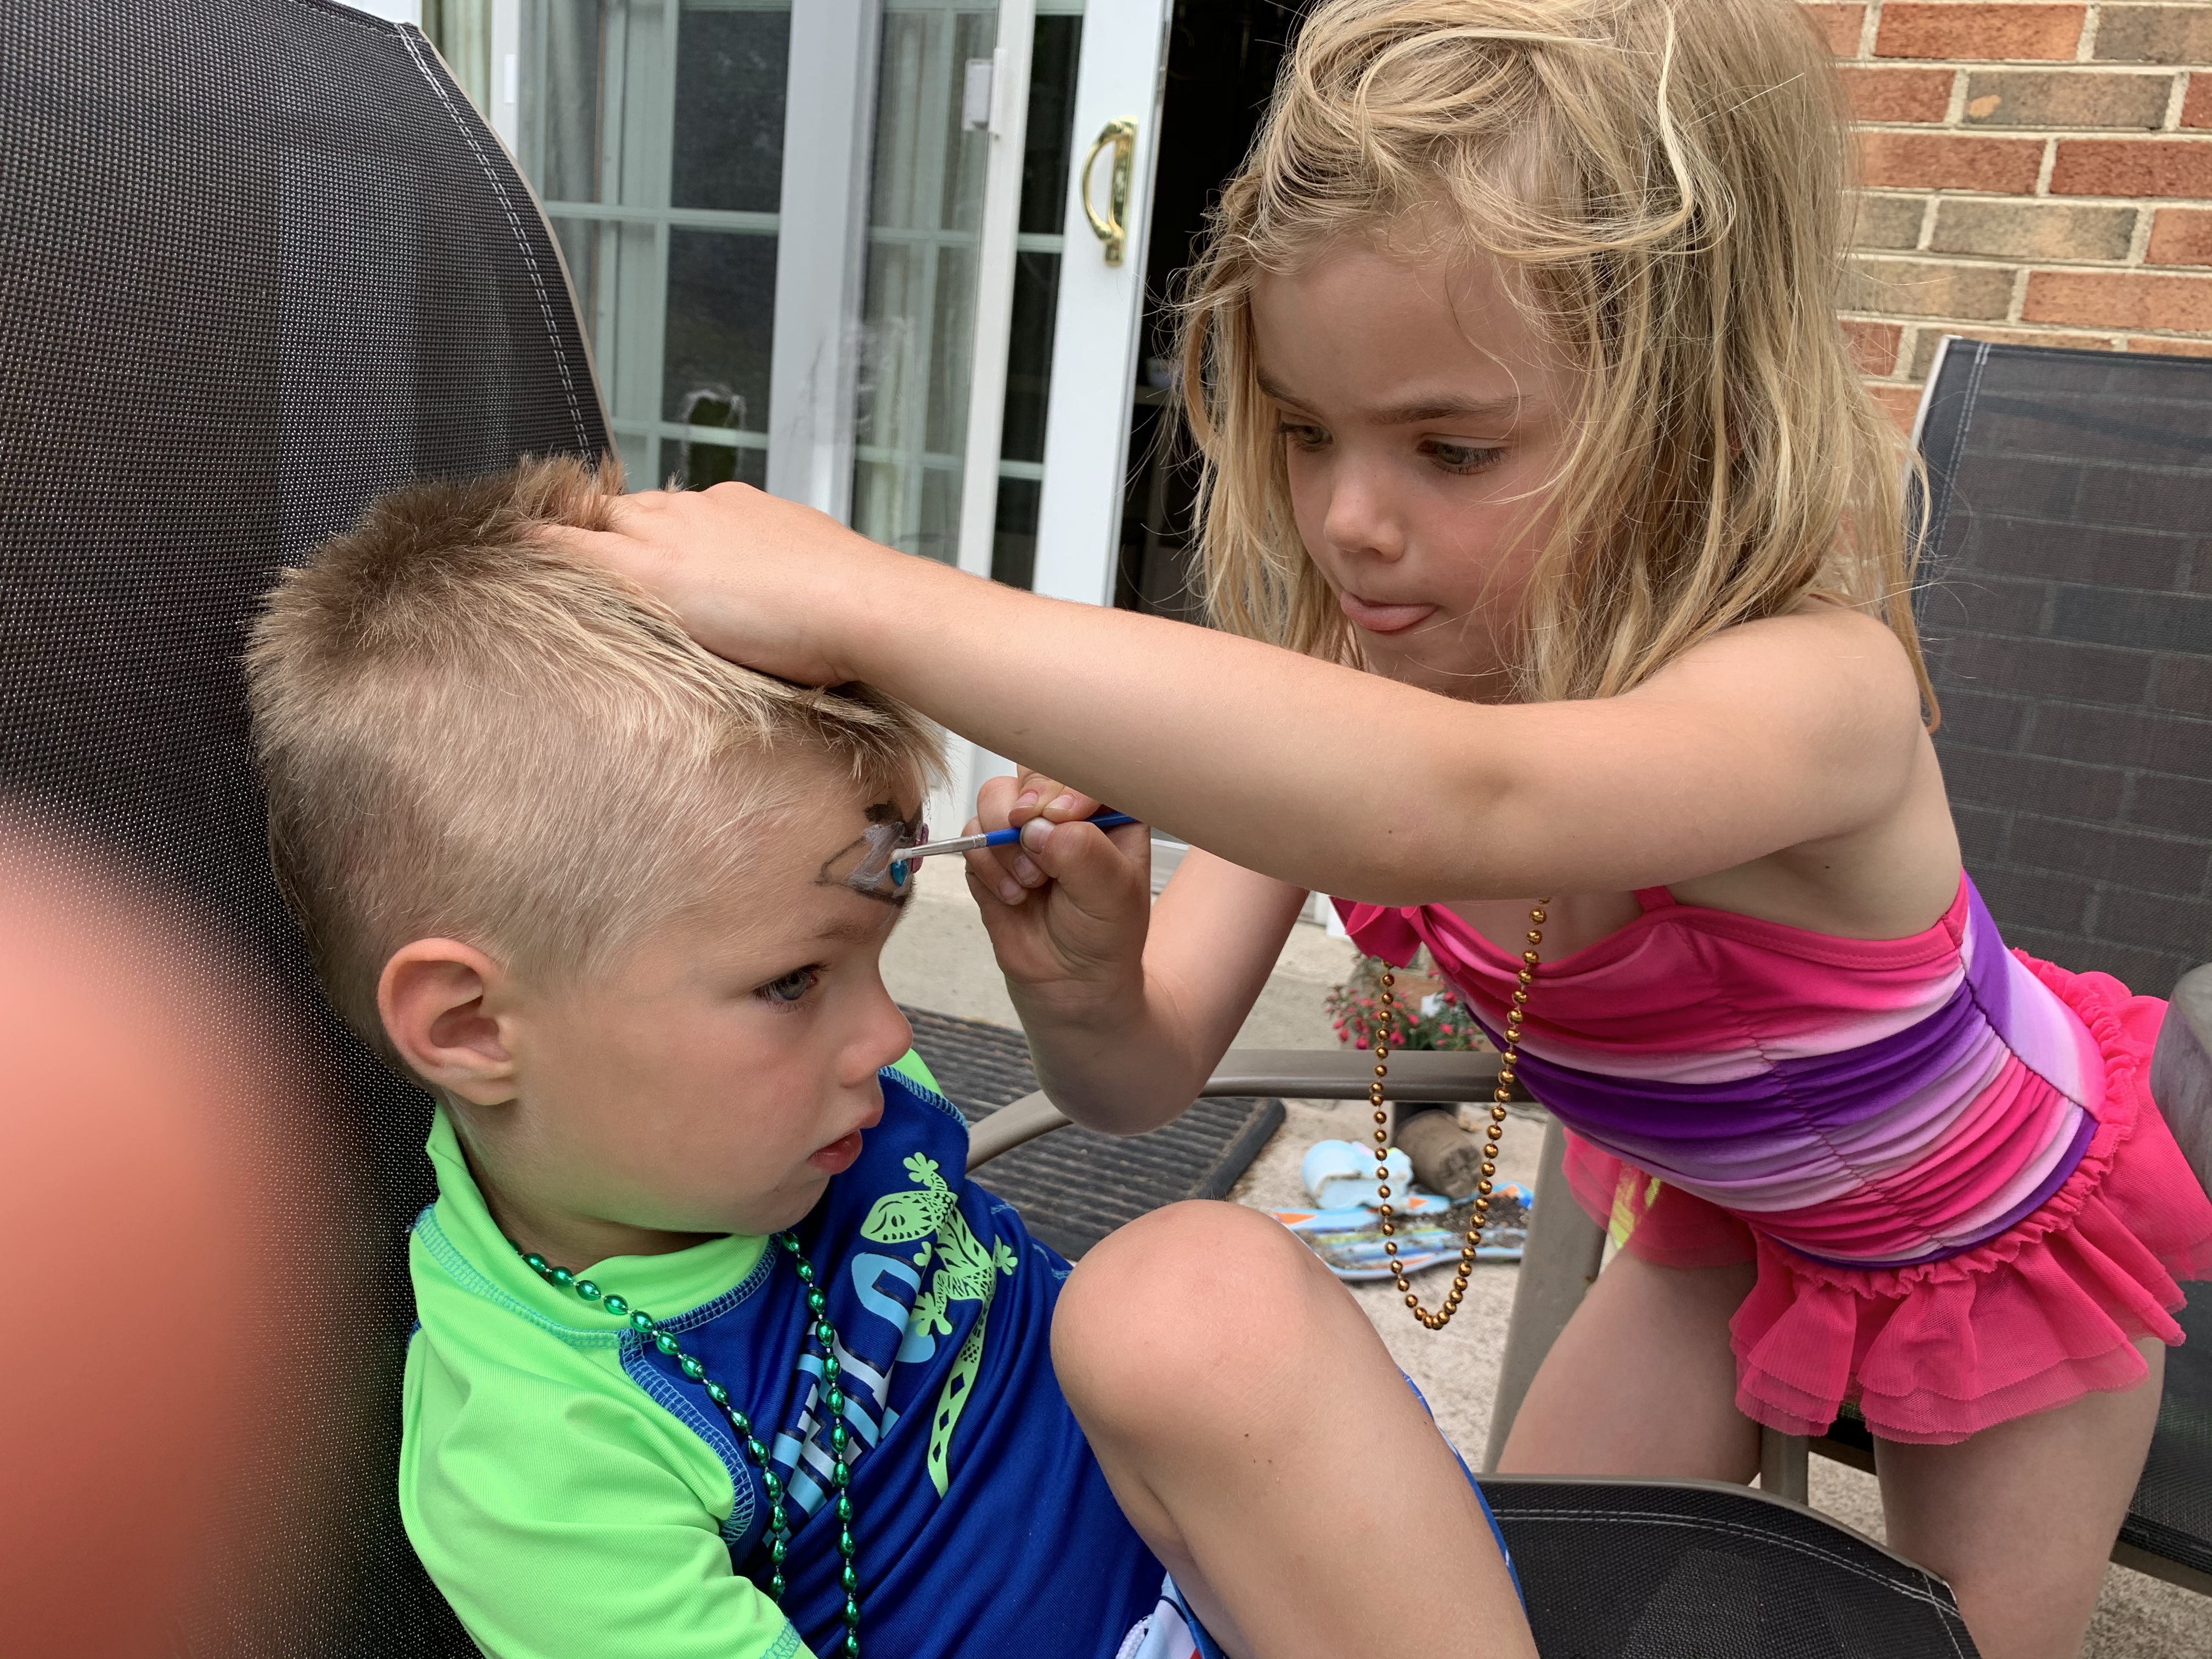
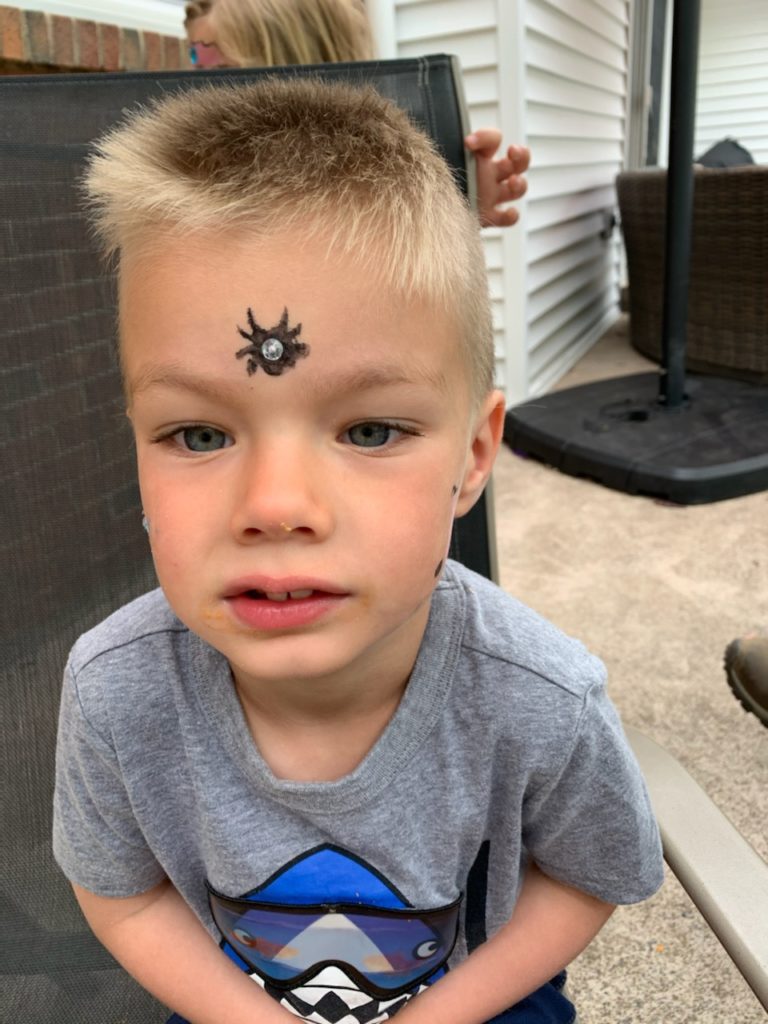
It all started with my daughter using a marker on my son’s face. She said she simply wanted to paint his face! Well, obviously, this wasn’t going to work. So I searched for face painting supplies. At first I thought face paint would be way too messy and not worth the money. However, I found that face paint is super fun, easy, and the kids just love it!
An easy and fun activity is face painting! My daughter loves painting faces and my son loves having his face painted.
We got this easy set from amazon. Bowitzki Face Paint Kit
Bowitzki Face Paint Kit with 10 Colors,32 Stencils,2 Brushes,2 Chunky Glitters,2 Sponges,1 Body Glue
When we first started I had to remind my daughter not to go near the eyes, but since then no problems at all!
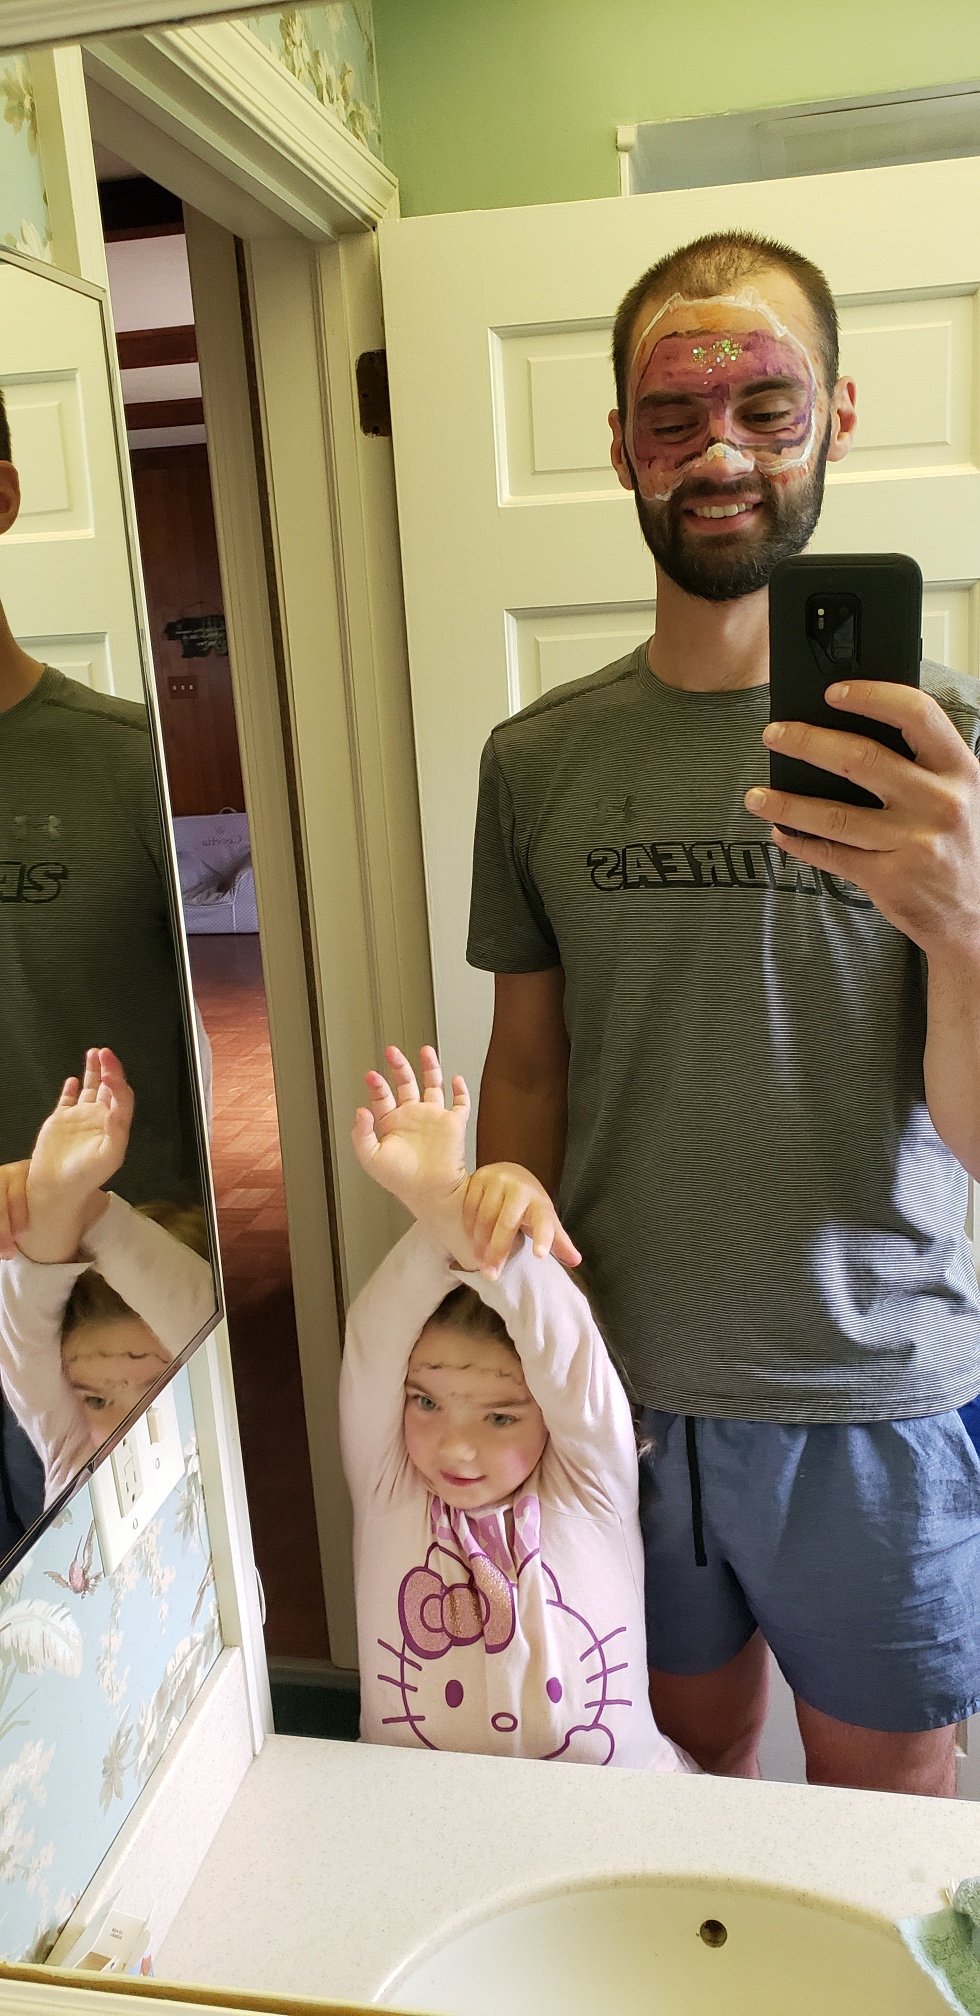
Daddy even got his face painted by Cece!
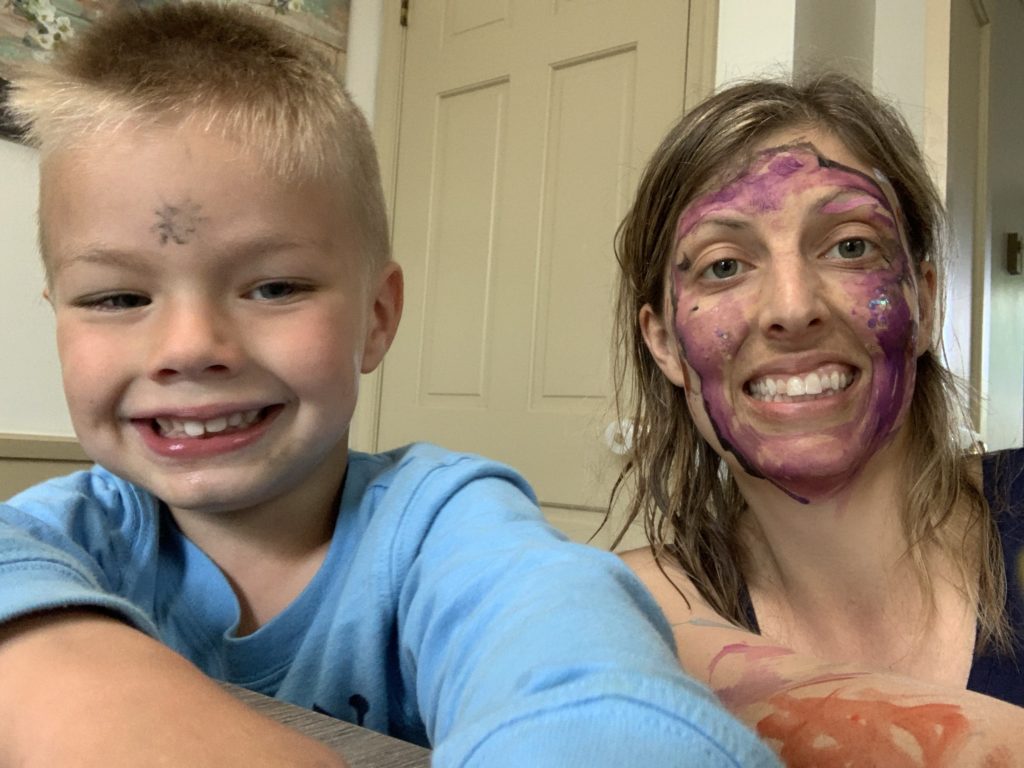
Grammy did a little face painting as well…
They love this activity and it’s fun, easy, and inexpensive! I hope you try it too!!
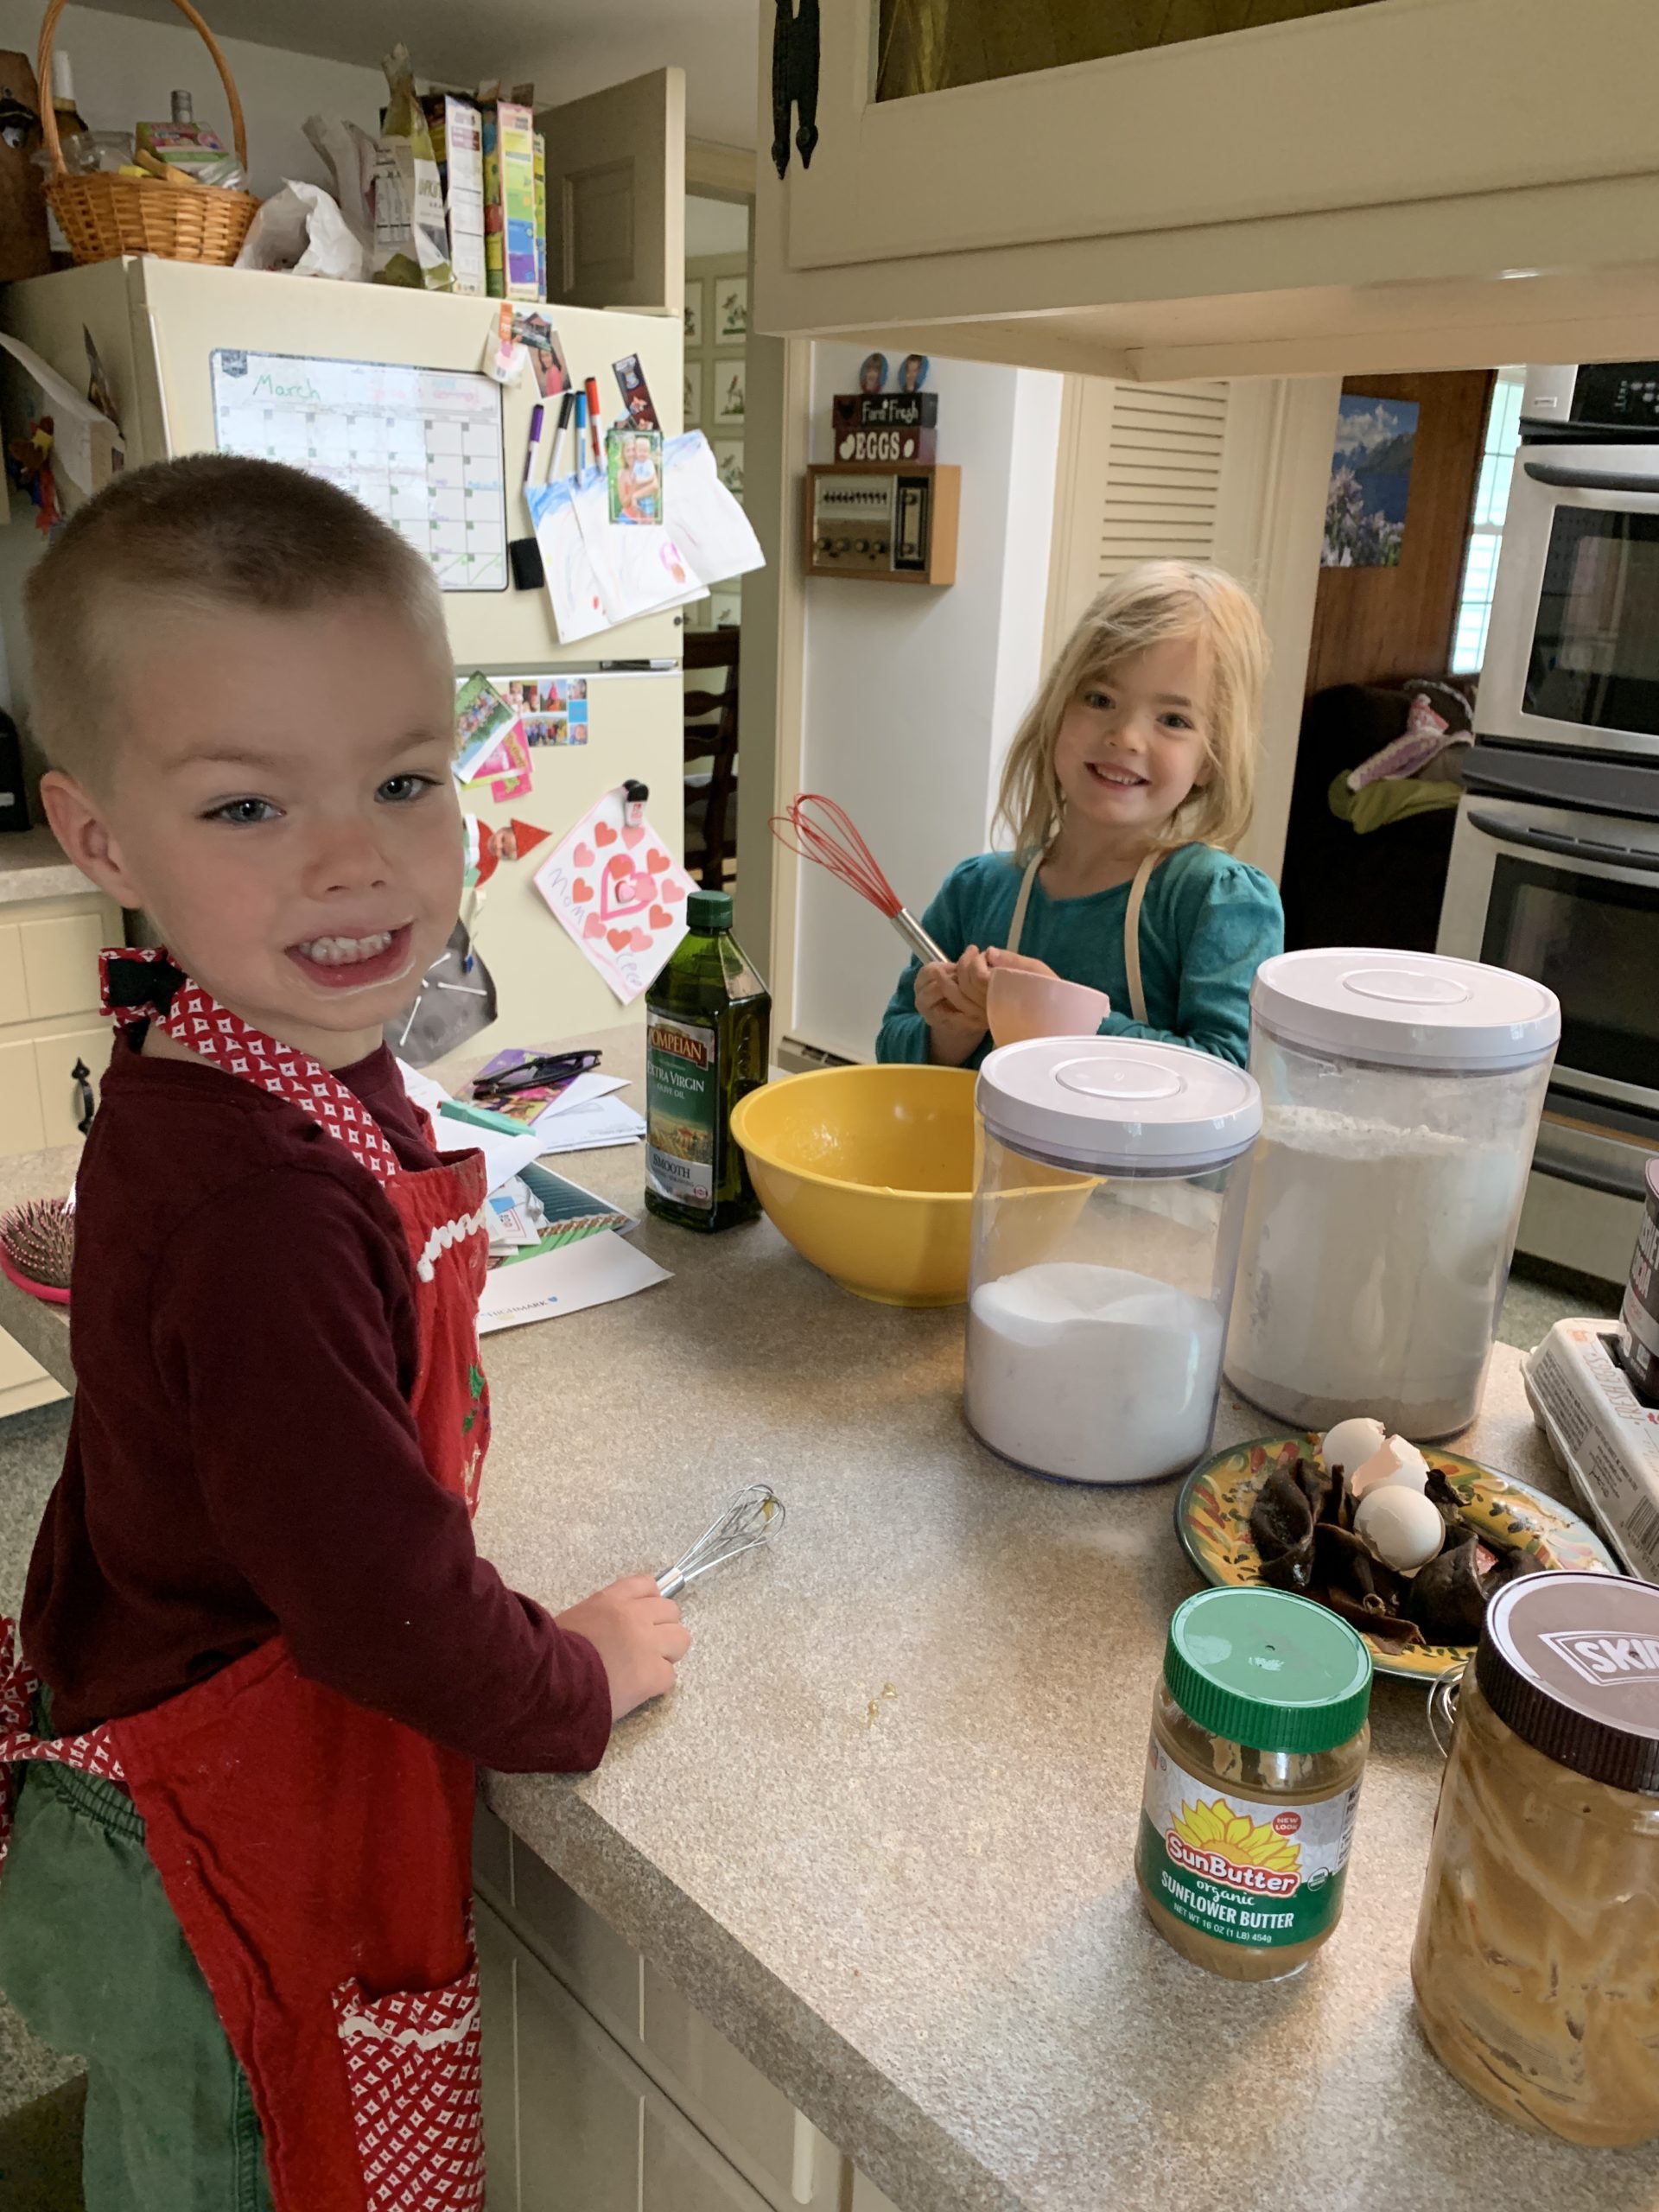
If you are on lockdown like our county is, and possibly soon to be state, you need some more activities to do with your kiddos! My kids love baking! Of course it gets messy, but that’s part of the fun (or that is what I tell myself). My kids love baking and using measuring cups. They prefer more ingredients so they can stir more together and also pour more (and make more of a mess!). When I get a box of something to mix with one or two things, they are sorely disappointed. So, most of the time we make recipes not from a box (don’t worry its pretty easy!).
Luckily, we had the ingredients this morning to make banana bread. I always freeze bananas that are starting to go bad to save them for occasions like this (I mean when its raining not when there is a pandemic!)
So, I’m going to list some of the kids favorite things to bake on a rainy cold day.
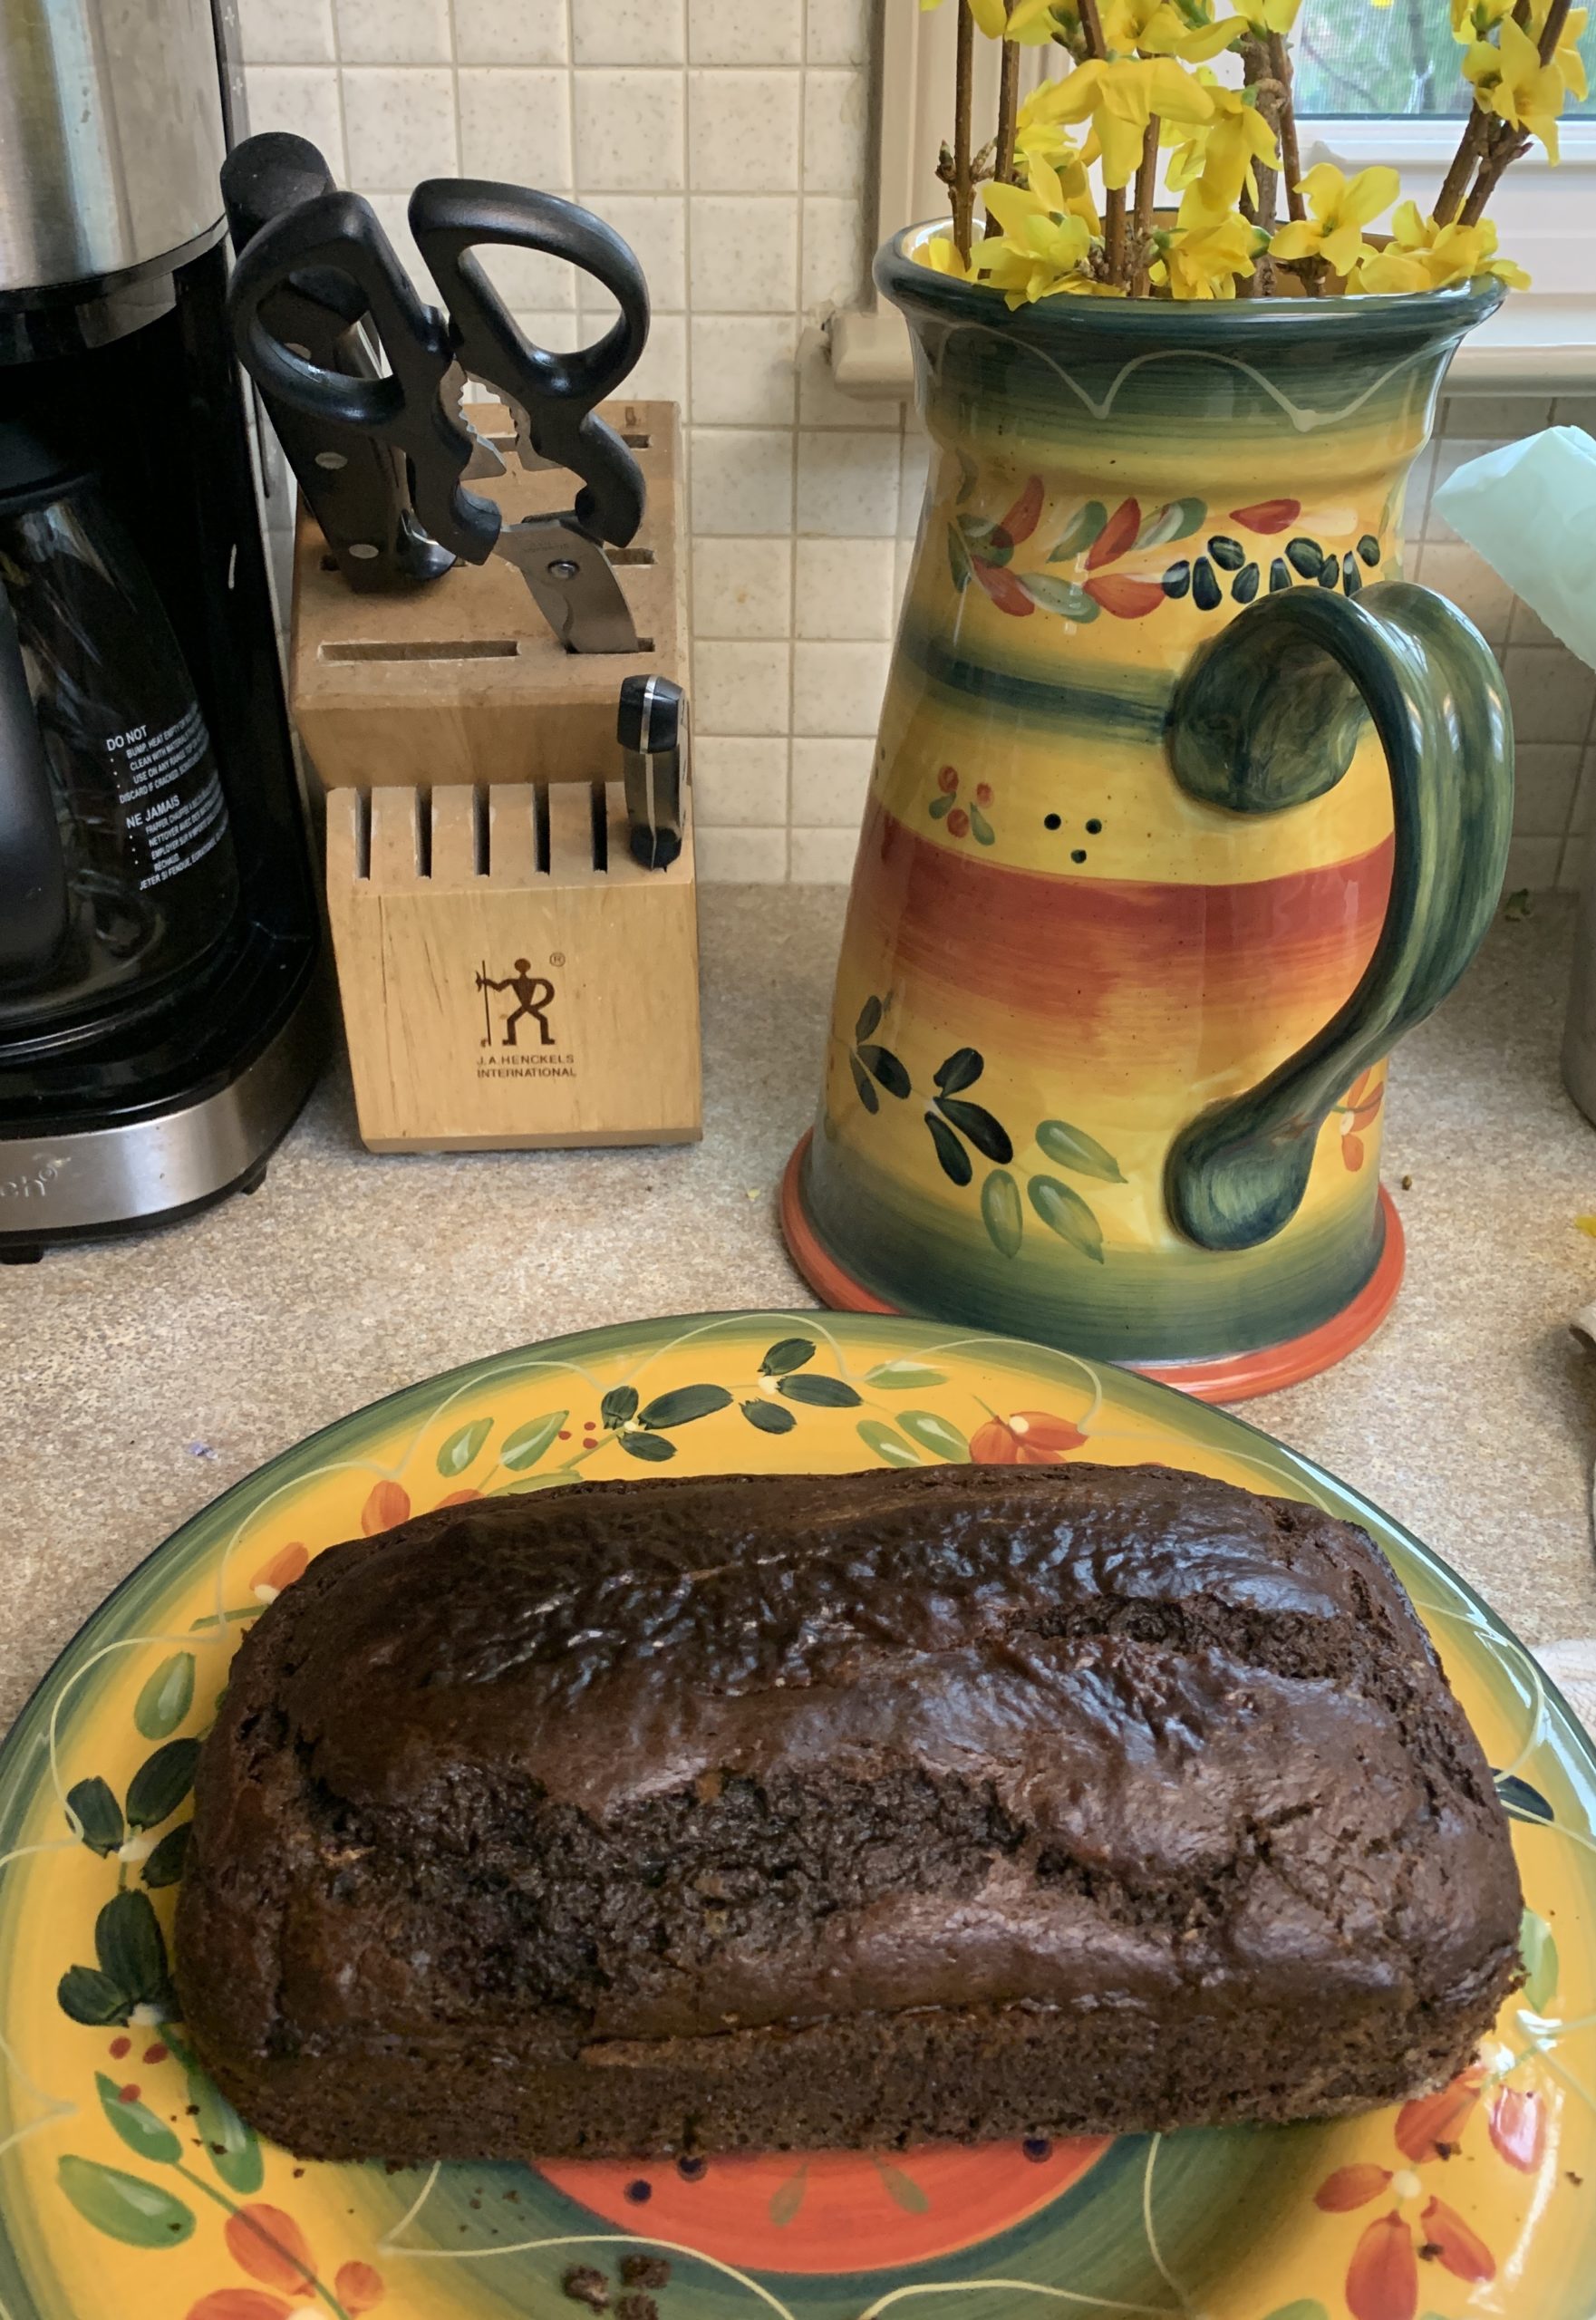
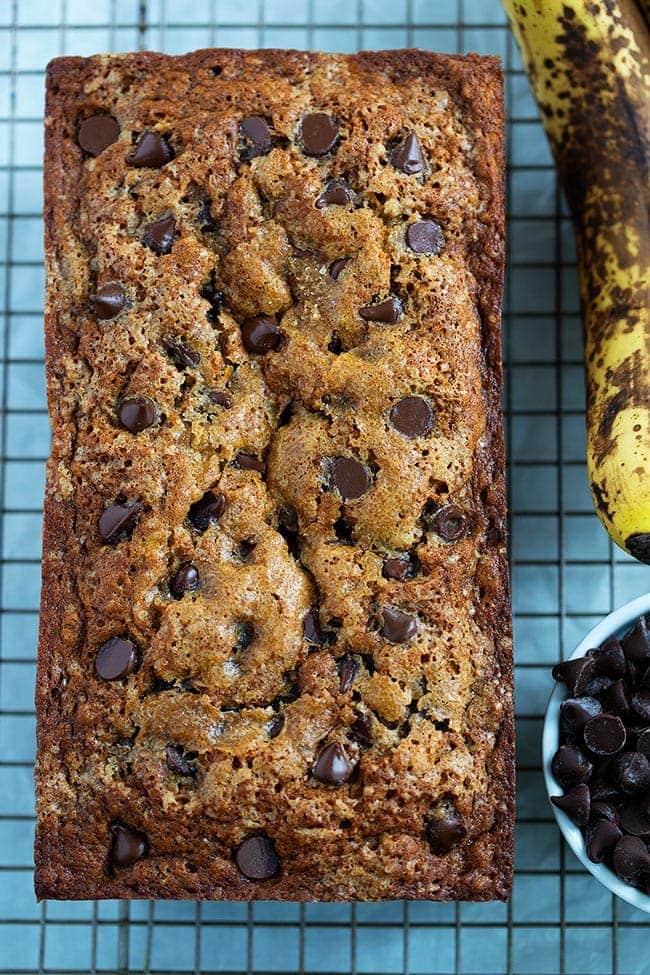
Today we made chocolate peanut butter banana bread (but just plain old banana bread with chocolate chips is what they usually like best!)
Especially sugar cookies! They love to decorate them! I try to do a recipe that doesn’t have to be refrigerated before hand. They love using cookie cutters and decorating each cookie (although expect for it to take a long time to get all the shapes cut out and expect way too make sprinkles!)
6) Here are some fun cupcake recipes!These are on the fancier side- we usually just ice the top with a knife and call it a day (the cupcakes are gone before you have a chance to make it fancy!) I’ve wanted to try the ice cream cone cupcakes- that will be next on our list!)
Any baking recipe the kiddos will love to make the memories with you! Don’t forget to take pictures!!!
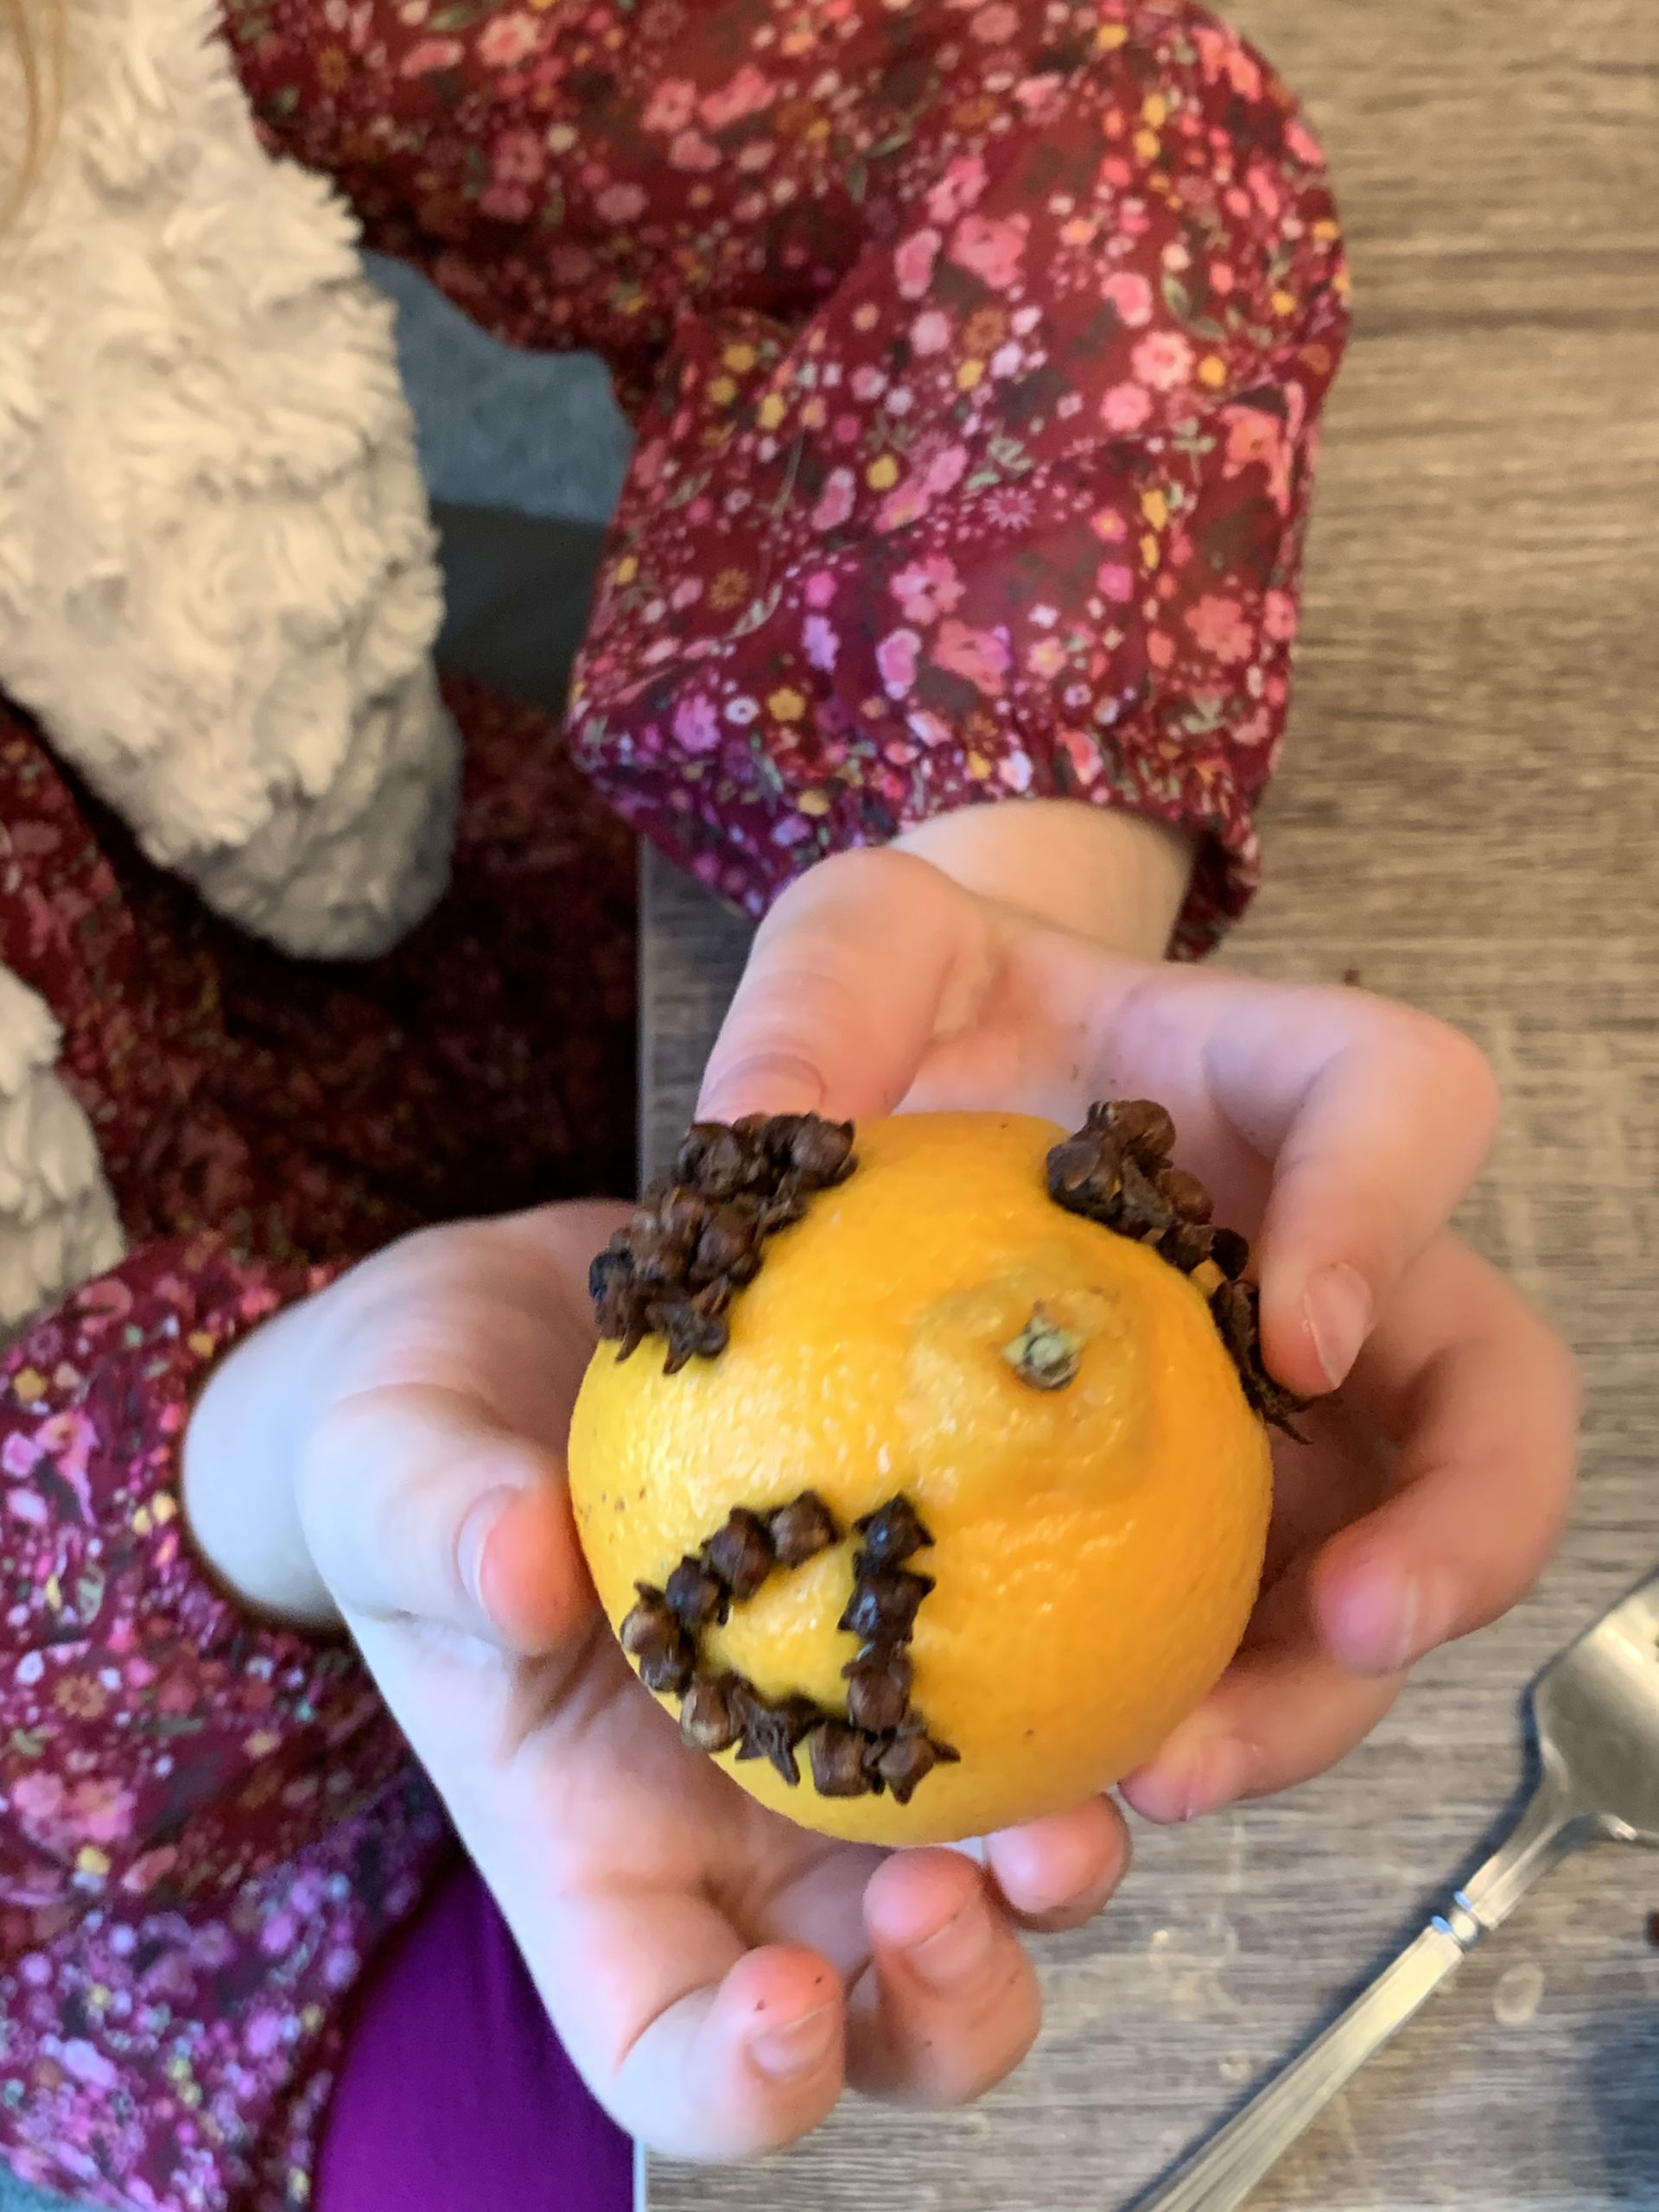
A craft using fine motor skills, creativity, and your child’s senses is making a Christmas Pomander Ball! There are several ways to make them and we will go through some examples!
Pomander Balls were originally used to ward away illness with the strong scents of cloves and other spices. Today, we make pomander balls with citrus fruits and cloves as a decoration, gift, centerpiece, or for scenting the room.
What you need:
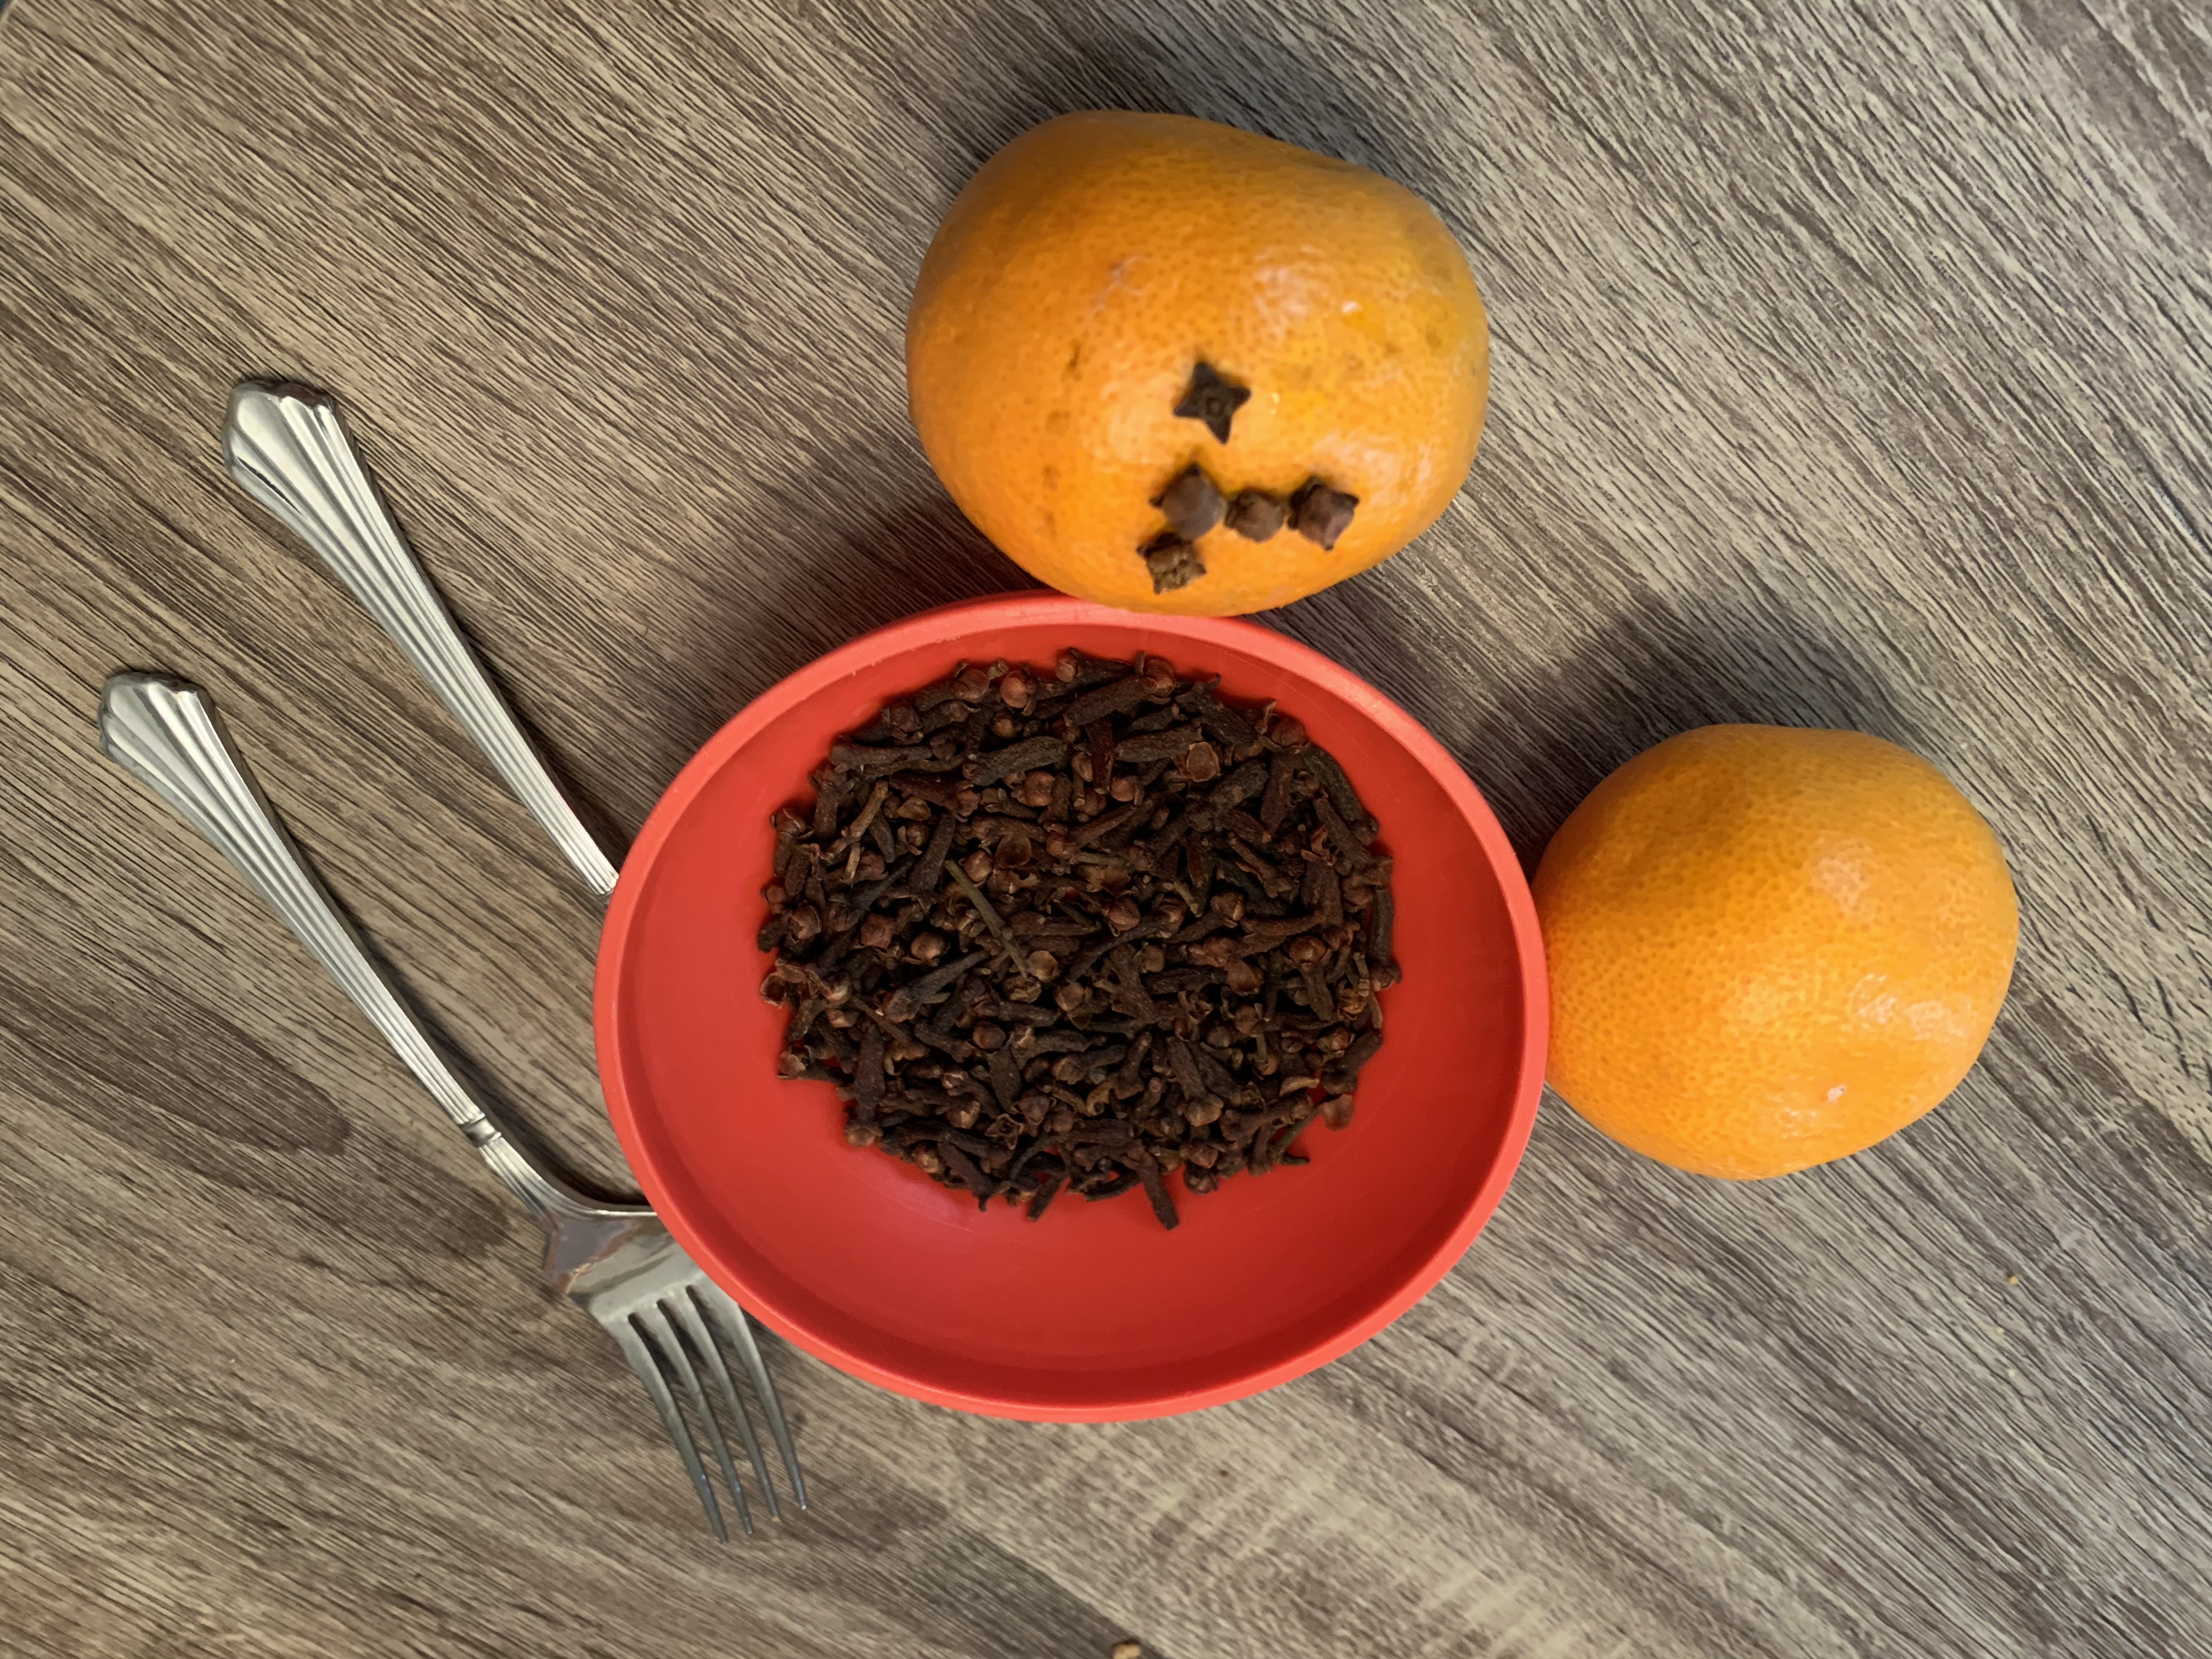
Citrus fruit: clementine or oranges work best (make sure they are on the harder side)
Whole cloves (you can get a large bag that will last for years at the food store)
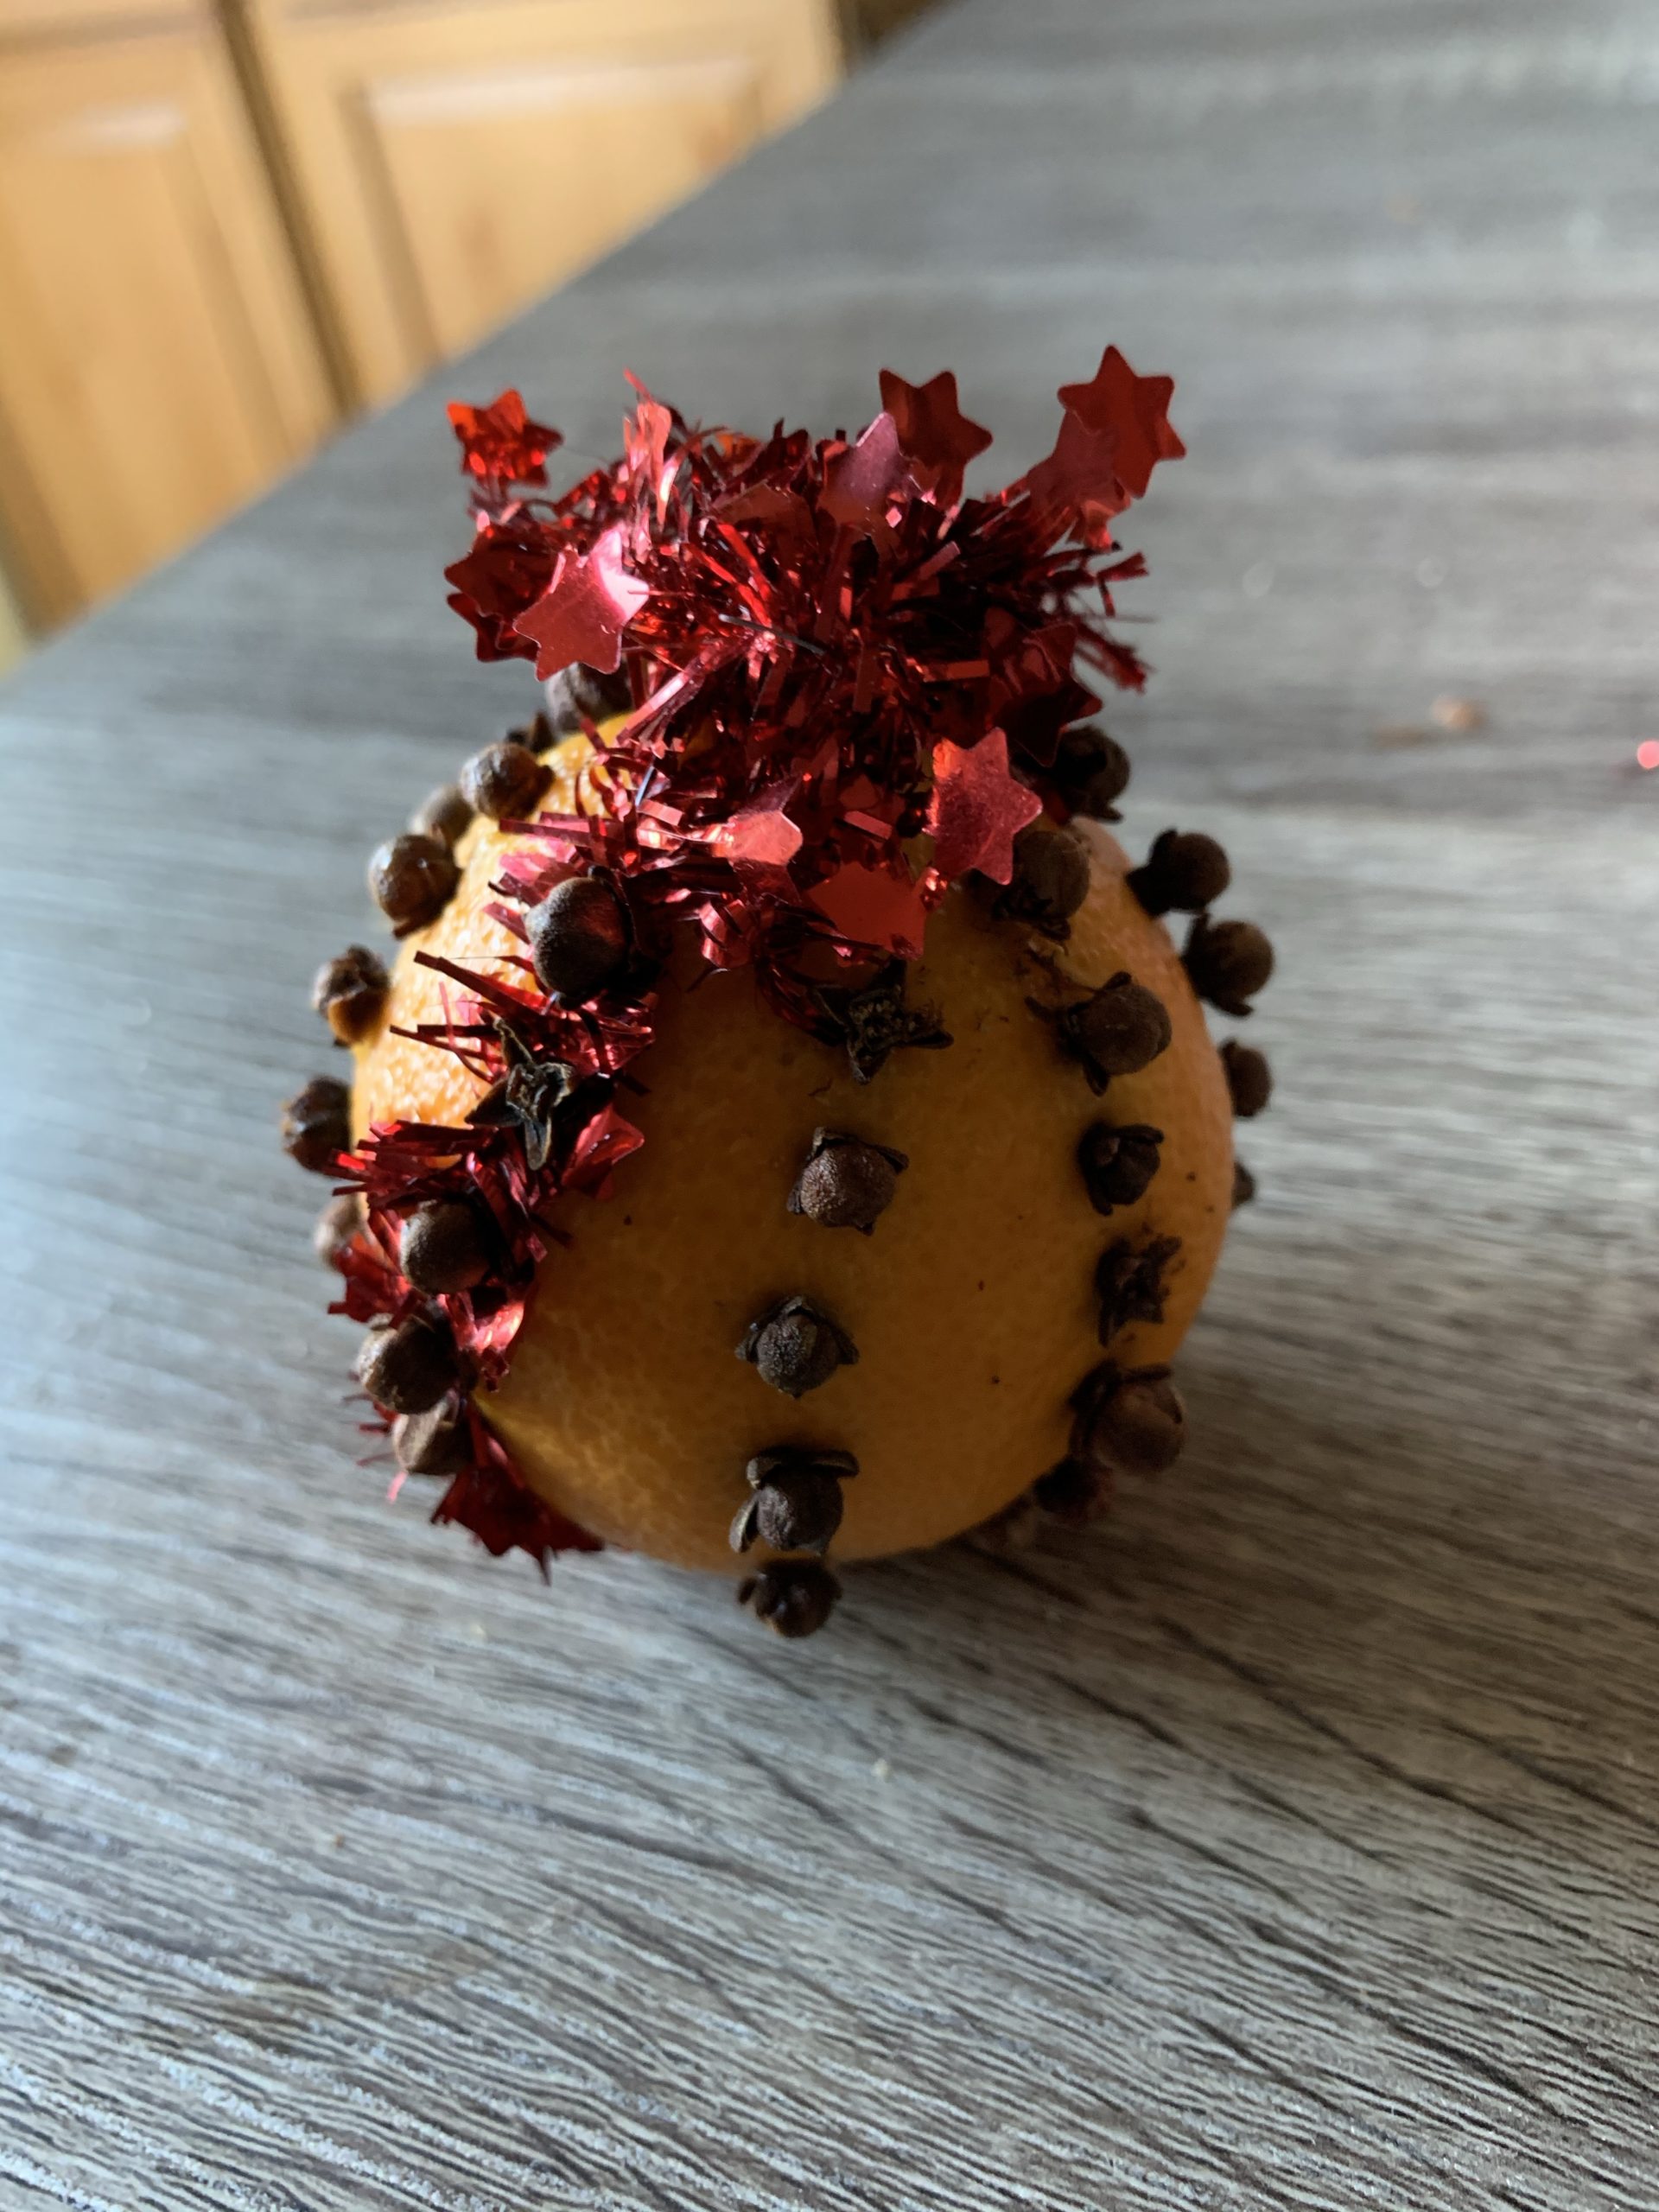
Ribbon for decoration
To make holes you can use a fork, pushpin, or toothpick (optional): my kids like to use a small fork to poke several holes at once
Pour some whole cloves into a small bowl for the kids to chose from
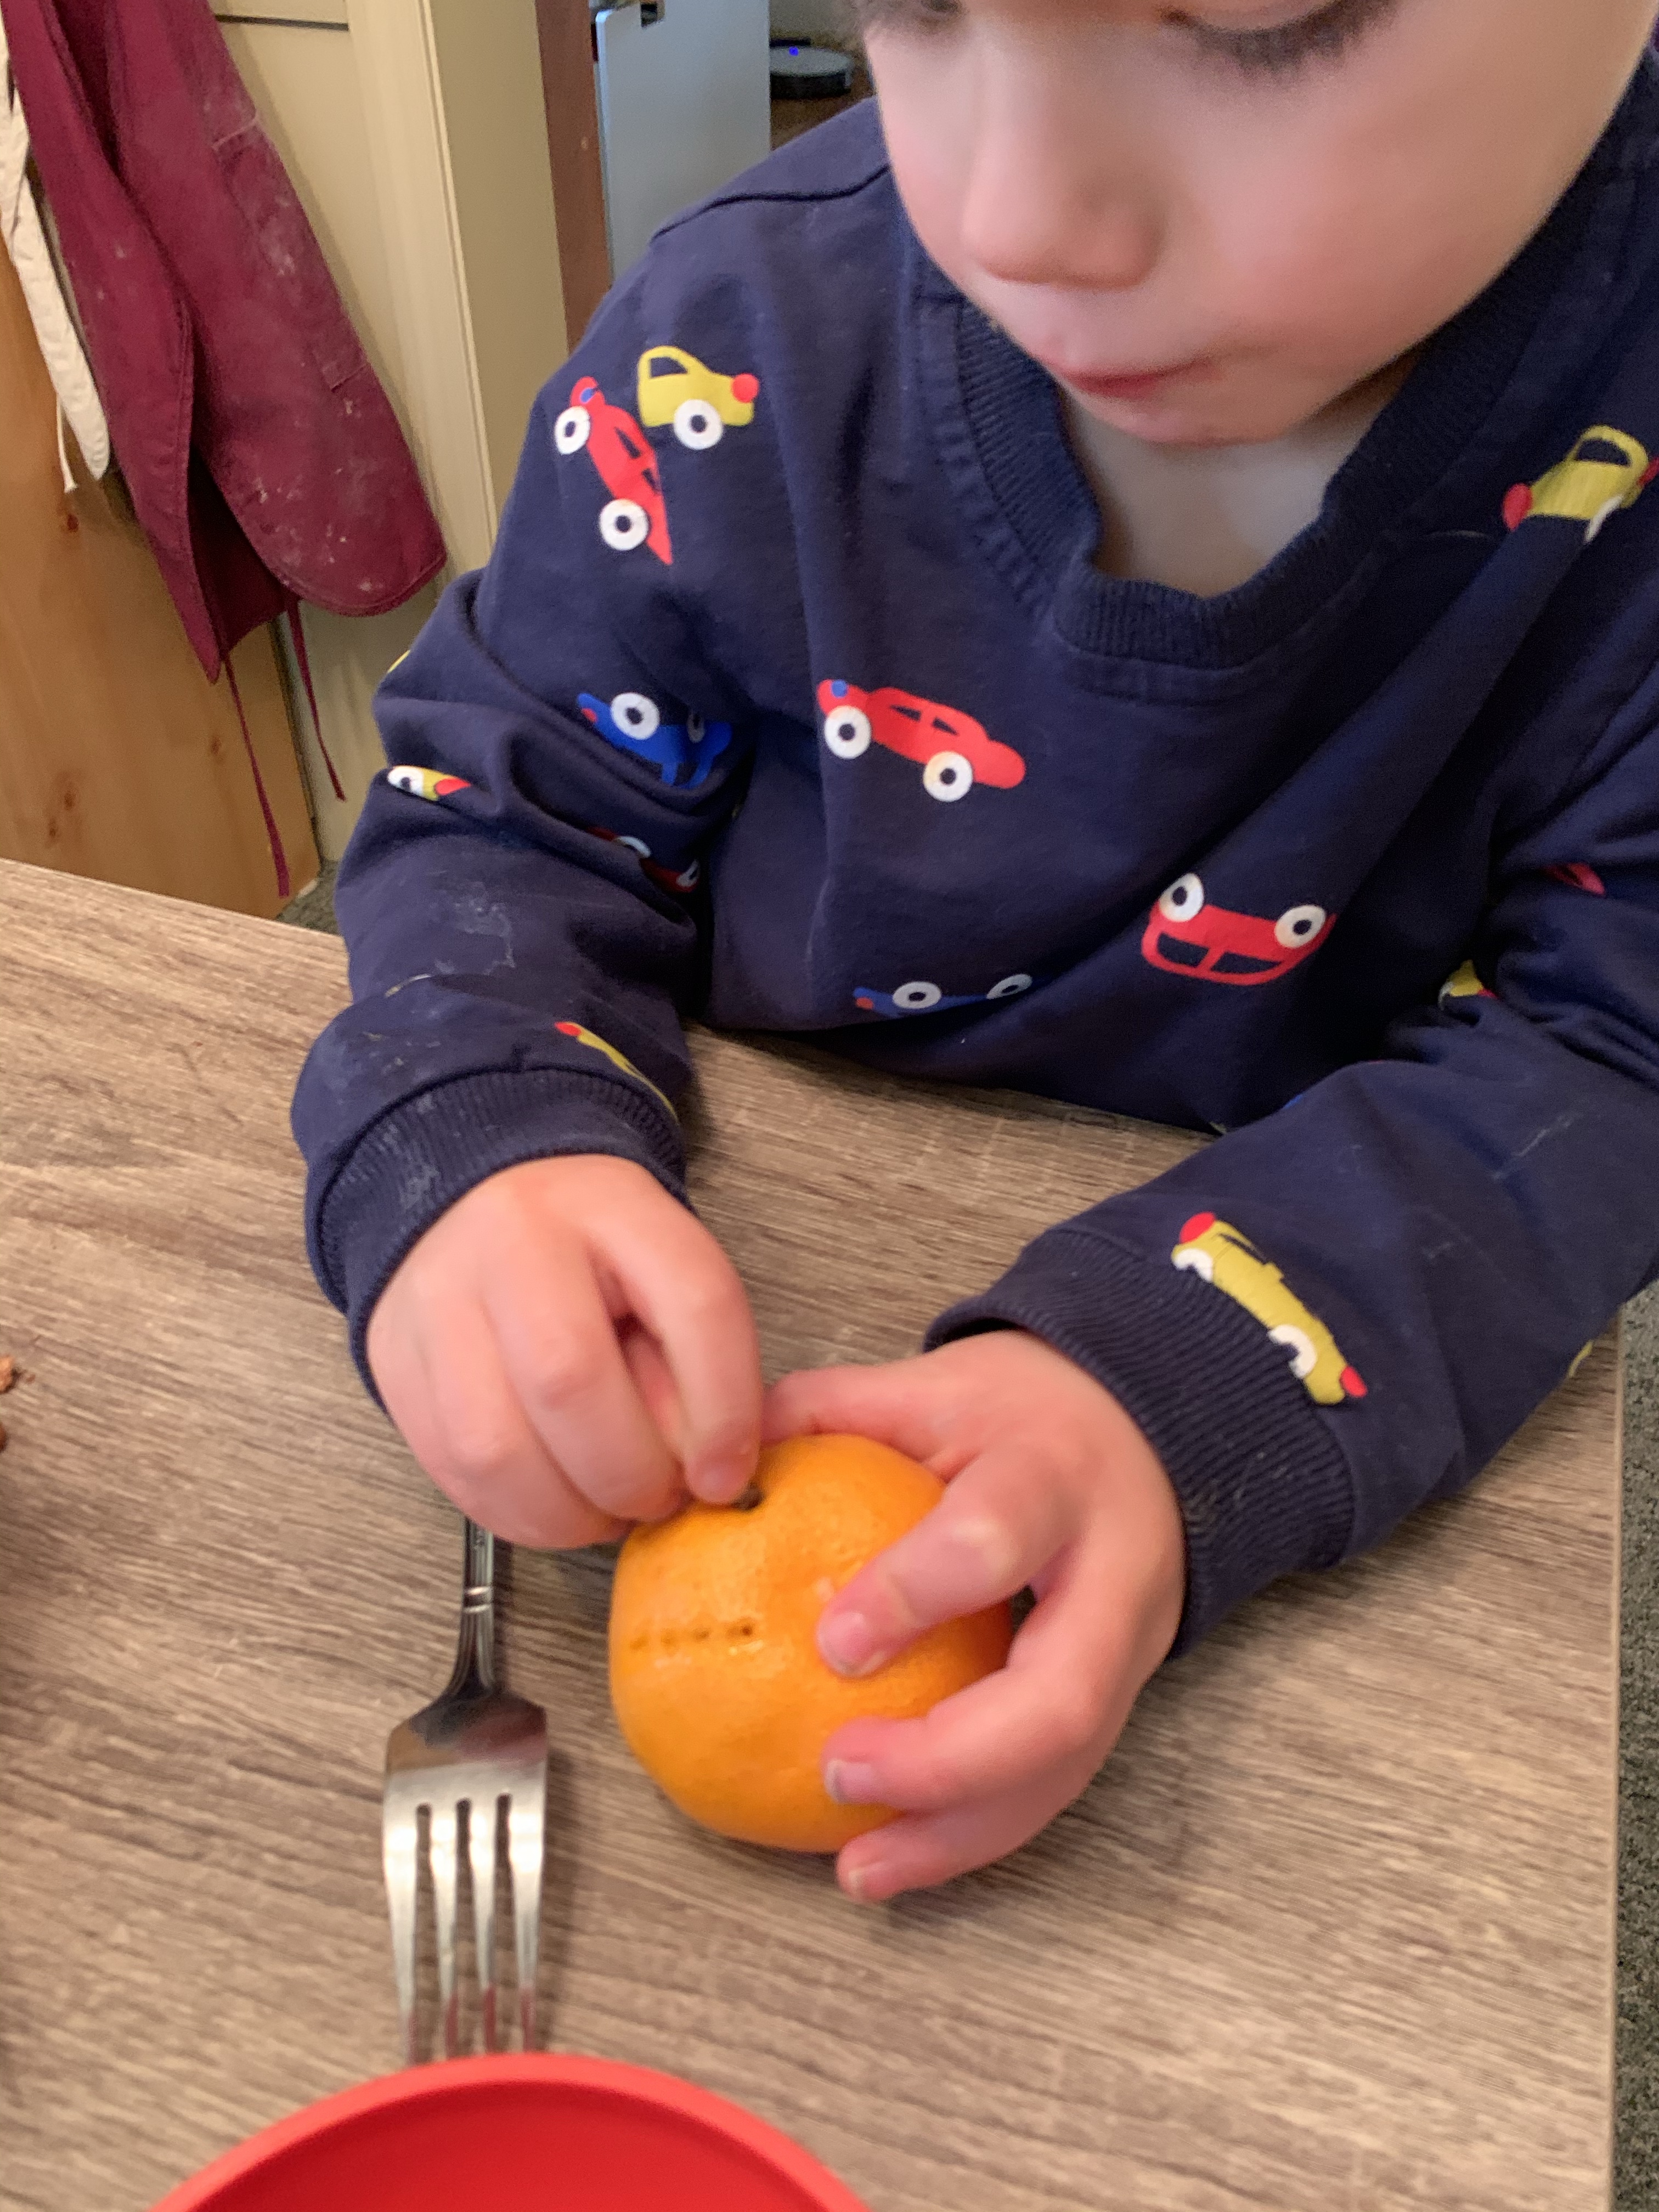
Next, have your child use a fork to poke holes
Take the whole cloves and poke them through the holes
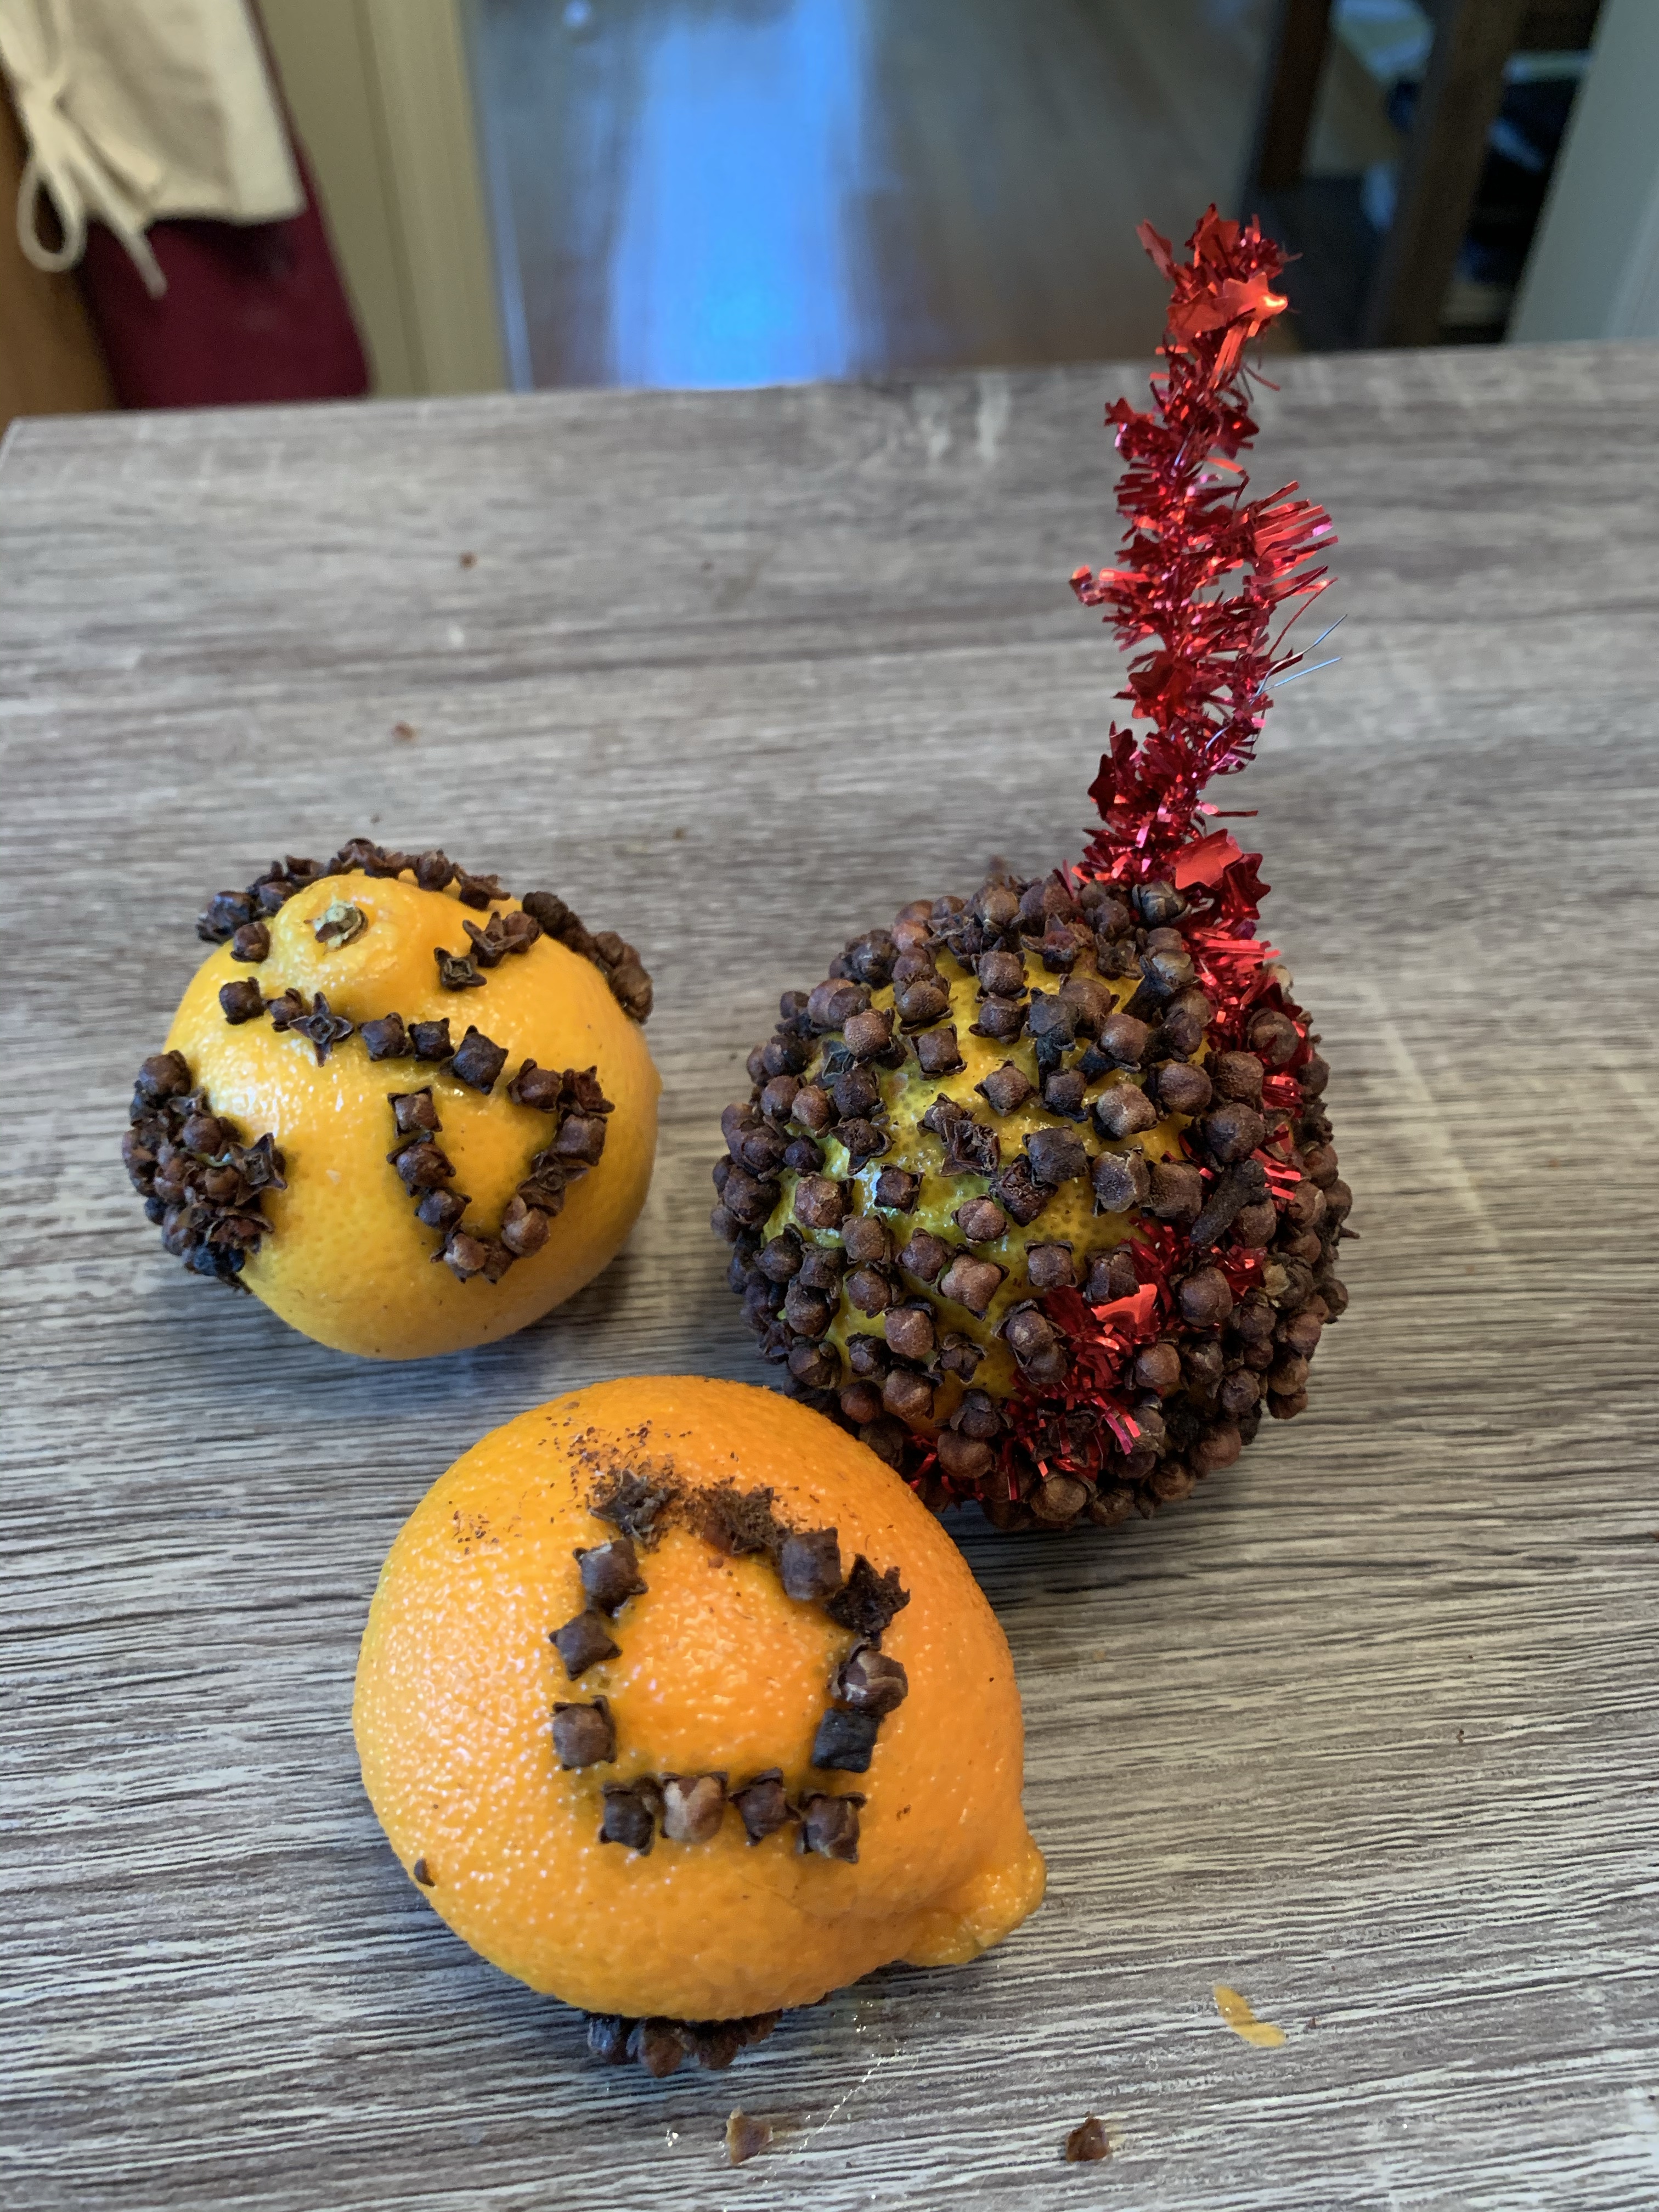
Make a design as you chose, and hang with ribbon
Dry out in a dark place, preferably in a brown bag for a week or two until dry then hang them or decorate with them! If you chose not to dry them, then they usually last a week before they brown and get moldy. You can also place them in the fridge at night if you want them to last a little longer.
If you fill the whole fruit with cloves completely, it will dehydrate the fruit and you wont need to place it in a bag at all (my kids don’t usually have the patience for this yet)
My kids wanted to law shapes on their clementines with the cloves!
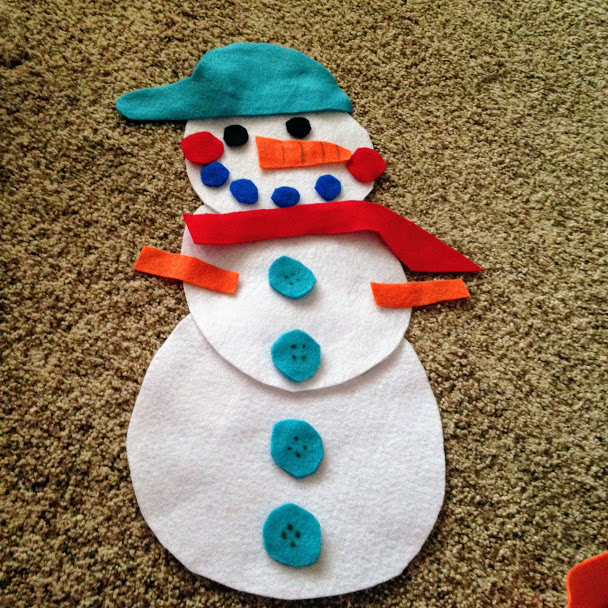
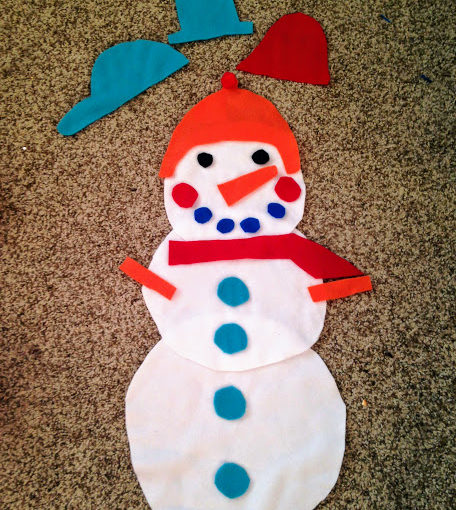
What’s that? A foot in the corner of the picture? Yes! Madison couldn’t wait to get her hands on the felt snowman and decorate him!
My pile of felt was stacking up after doing a few projects and Christmas was over…what to do with it? I took down the amazing felt tree my sister made after the holidays and felt a bit depressed. Noooo Christmas can’t be over! Winter isn’t over, so why not make a felt snowman similar to the felt tree Madison loved so much?
The project is very simple & super cheap!
You need:
Felt in various colors: white, orange, black and a few other colors for the hat, buttons, and mouth.
Velcro
scissors
First, I cut out the 3 circles for the snowman out of white felt purchased at a local craft store (you can also get cheap felt at Walmart). I didn’t use any patterns, but just cut everything free hand. You could also use a marker to draw the shapes first, then cut them out.
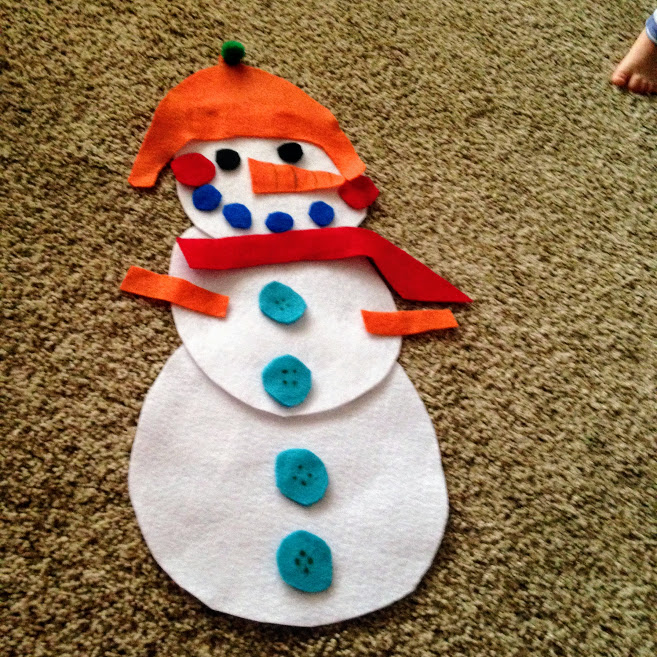
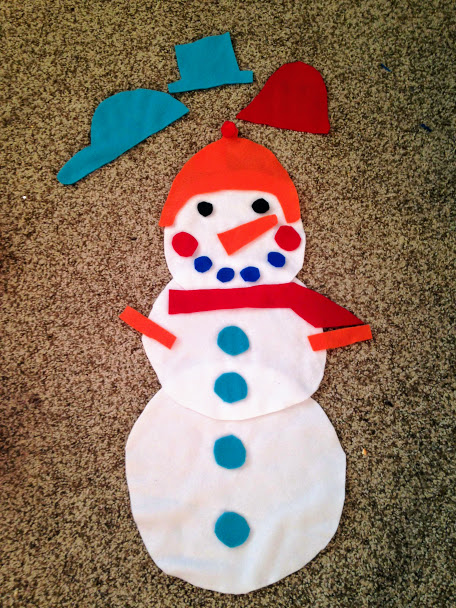
I went with simple features, a carrot nose, 2 arms, and a scarf. You can choose whatever colors suit you. I made 4 buttons, a mouth, rosy cheeks, eyes, and 4 hats.
Why 4 hats you ask? Madison likes to dress up different dolls and I thought she would like to make the snowman not only something she puts together, but gets to switch the different features. Plus, I had lots of extra fabric and time. After cutting everything out I hot glued the 3 white circles that make up the snowman together.
Another option would be to put velcro on the bottom of the top 2 white circles and your child could put the snowman together that way. I know my toddler, and she likes to pull on things, so gluing it together was the best option for us.
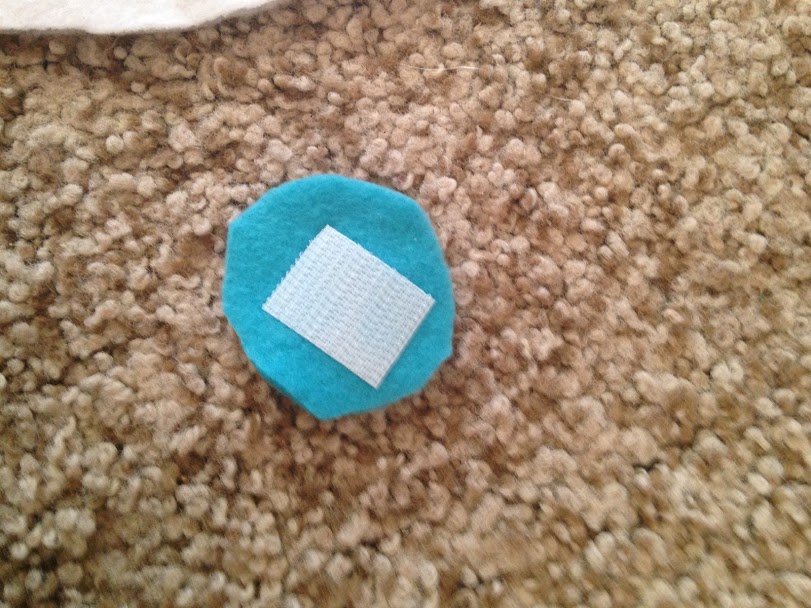
I bought velcro with sticky back so I wouldn’t have to glue it. I simply used the hook side of the velcro. Yes, I had to look that up, the hook side aka the rough side. I cut each piece depending on what I was using the velcro on. For example, the scarf is long so I used at least 5 inches of the hook side of the velcro.
For the buttons I used about an inch each. You don’t need the soft side, the loop. If you use felt then the rough side of the velcro will stick to the velcro. After you cut the hook velcro just peel off the sticky side and put it on your snowman accessory. Do this for each accessory. When you are all done putting velcro on, you can have your child decorate!
If you wish you can put dots on the buttons and lines on the carrot nose with a sharpie marker! You can lay this on the floor or hang it up for your little one to decorate. It also makes a great present!Follow Share
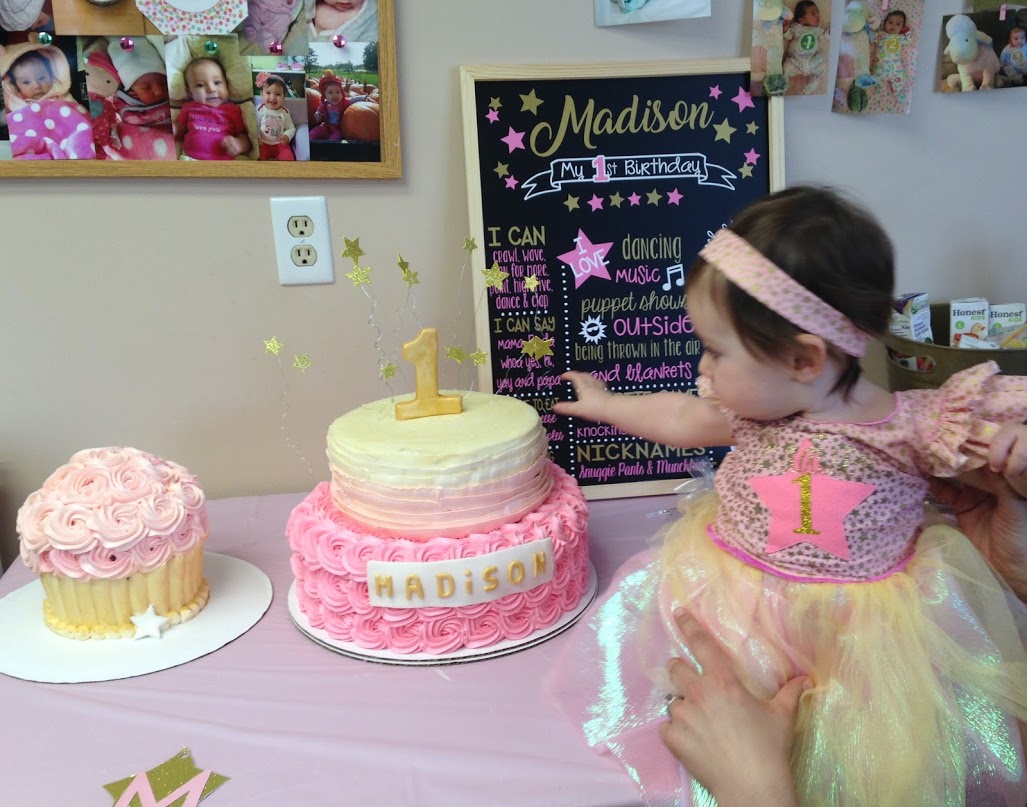
Hello! Guest writer here! I am the blog founder’s twin sister, Jessie, and I’m here to share my decorations and ideas from my little girl Madison’s first birthday party. You can use these decoration ideas for anything from baby showers, birthday parties, to graduation parties depending on what your theme is. If your theme involves stars, pink, or gold then you are in luck!
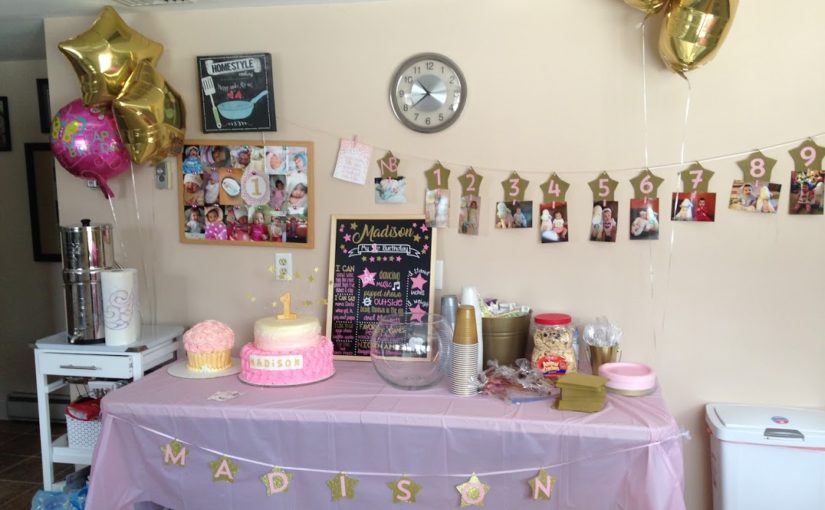
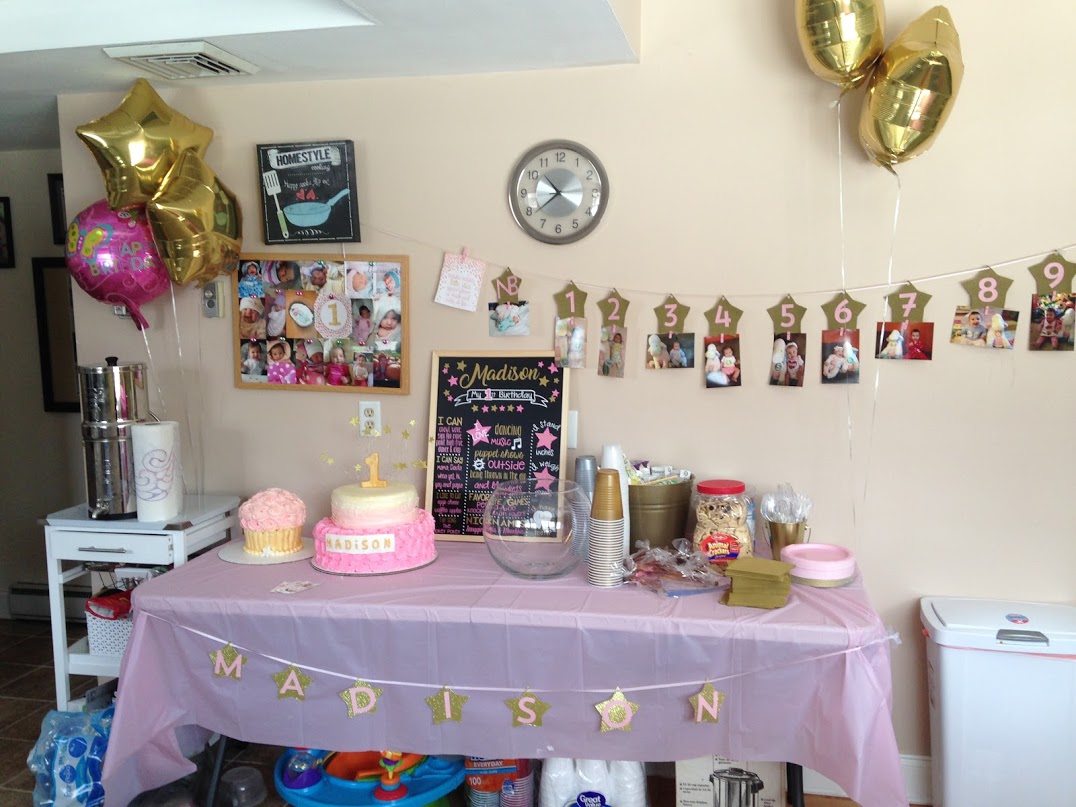
The dessert table before the desserts!
Let’s first start with the pink and gold theme. All of the tablecloths, plates, napkins, and containers are from Walmart. I wanted a good deal, but also wanted it to look good and found the best deals there. Michaels was another store I frequented for ideas and supplies. All of the numbers, letters, and banner supplies were purchased there.
Okay, before we dive too deep into how each decoration was made, let’s check out some pictures!
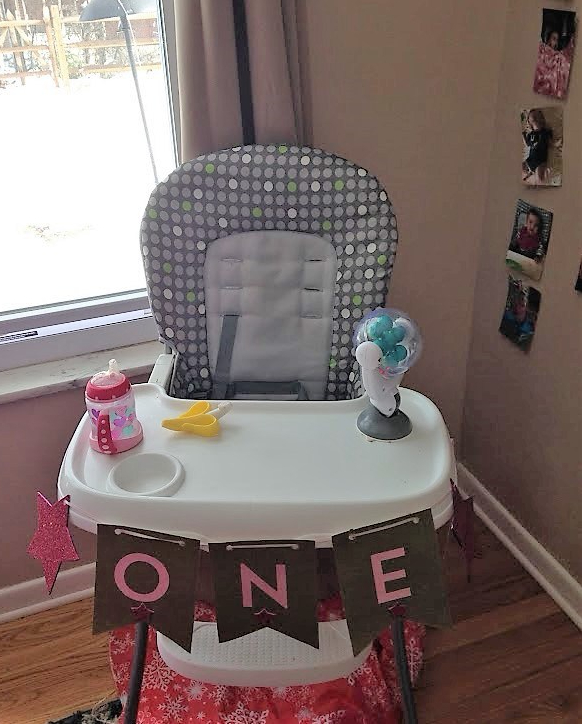
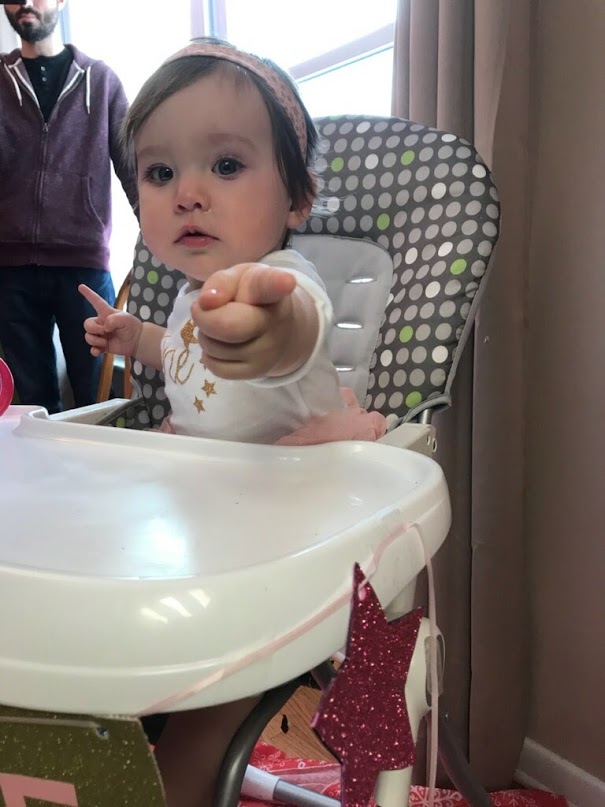
The birthday girl’s chair!
All of the banner pennants in this article were purchased from Michaels. The letters on all of the banners are stick on letters from Michaels too. However, they don’t stay on the thick fabric of the pennants so need to be glued on. I used a hole puncher to make 2 holes at the top of each pennant and put string through them. I purchased some glitter foam sheets from Walmart to make the stars and used a cookie cutter to trace them.
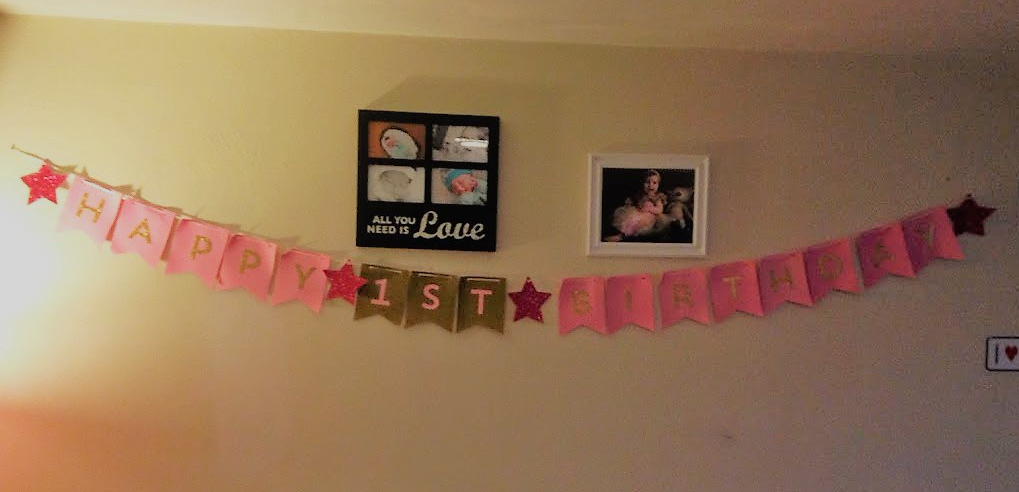
The happy birthday banner hanging above the food table.
Again, I used the materials I purchased to make this banner and it was fairly easy because everything was cut out besides the stars. This banner was definitely worth the time to put it together, it was super cute and personalized to her party. I moved the pictures that were originally above the banner and replaced them with picture frames of Madison.
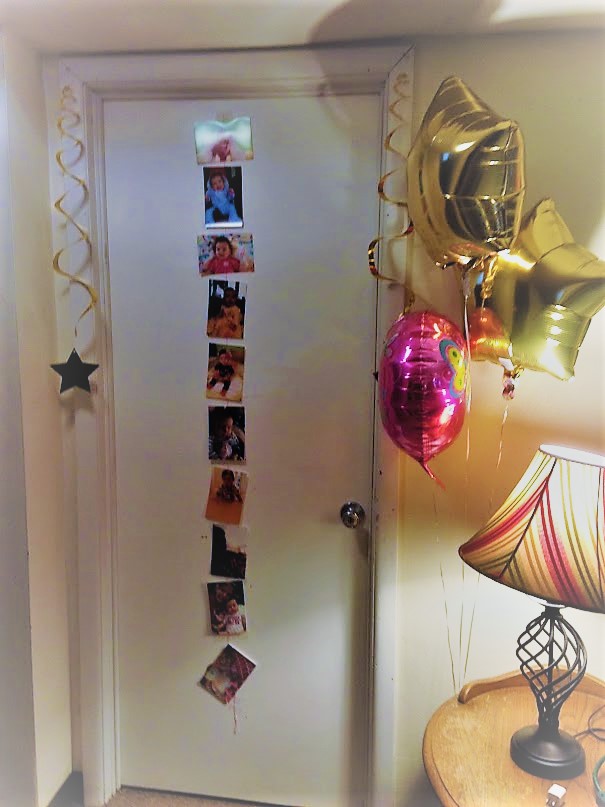
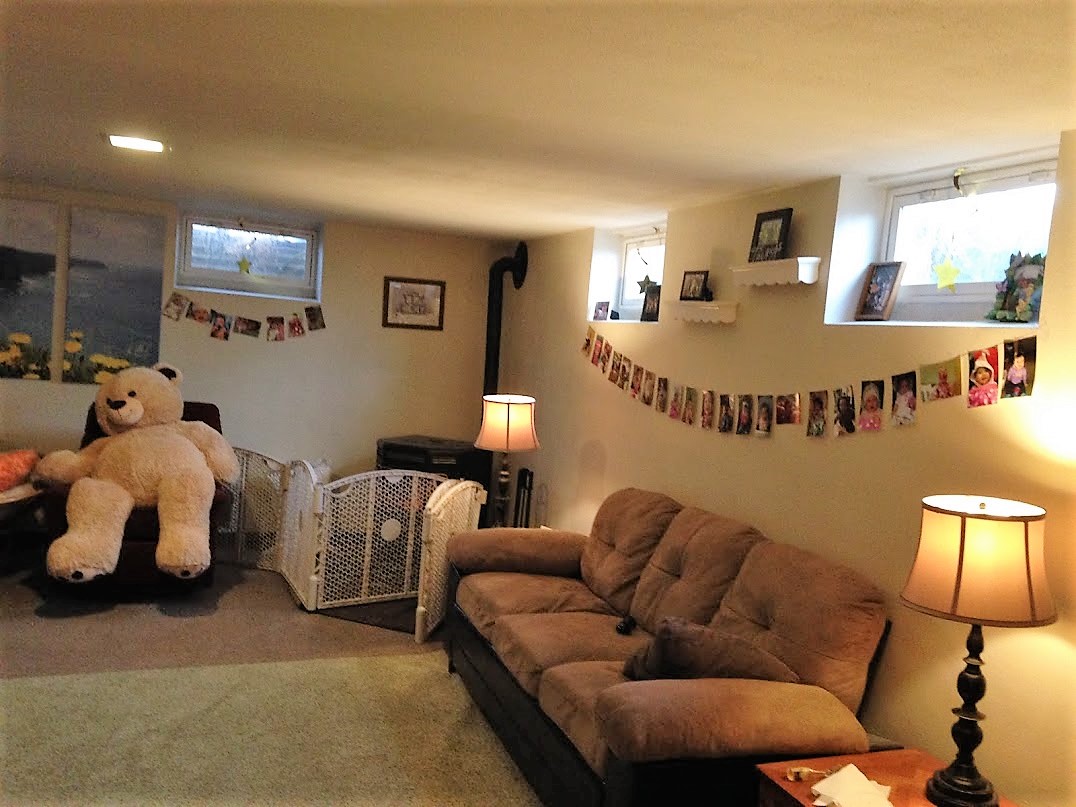
Balloons were purchased at the dollar store. I used the cork board from the kitchen to put pictures of her from the first year-a simple and affordable decoration. The 12 month banner was also made from the pennants. I simply traced the star cookie cutter and cut out stars instead of using the pennant shape. If you don’t have a cookie cutter you could print out a star from a computer and trace it! I found little pink clothespins at Michaels and hot glued them to the stars so the pictures could be added below the banner. This could also be a cute idea for other types of parties. You could write someone’s name and have pictures of them beneath it or for graduation with pictures from each school year. The options are endless!
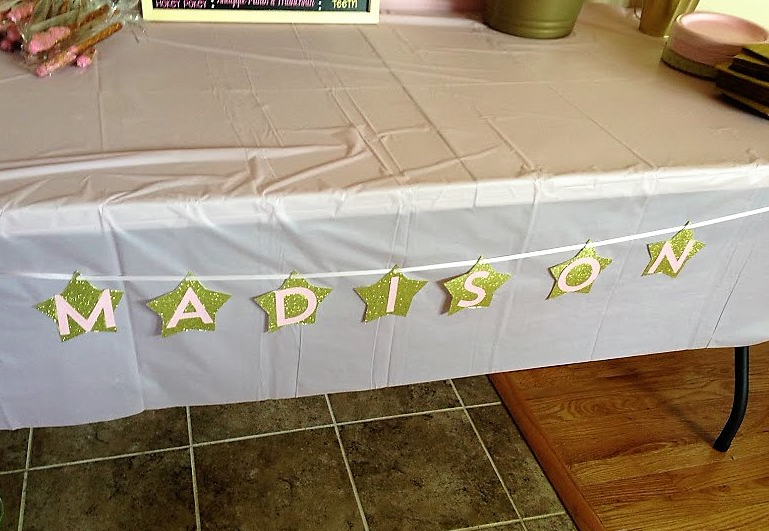
Again, I cut out stars and added the stick on letters with glue. These stars were cut from glitter foam paper.
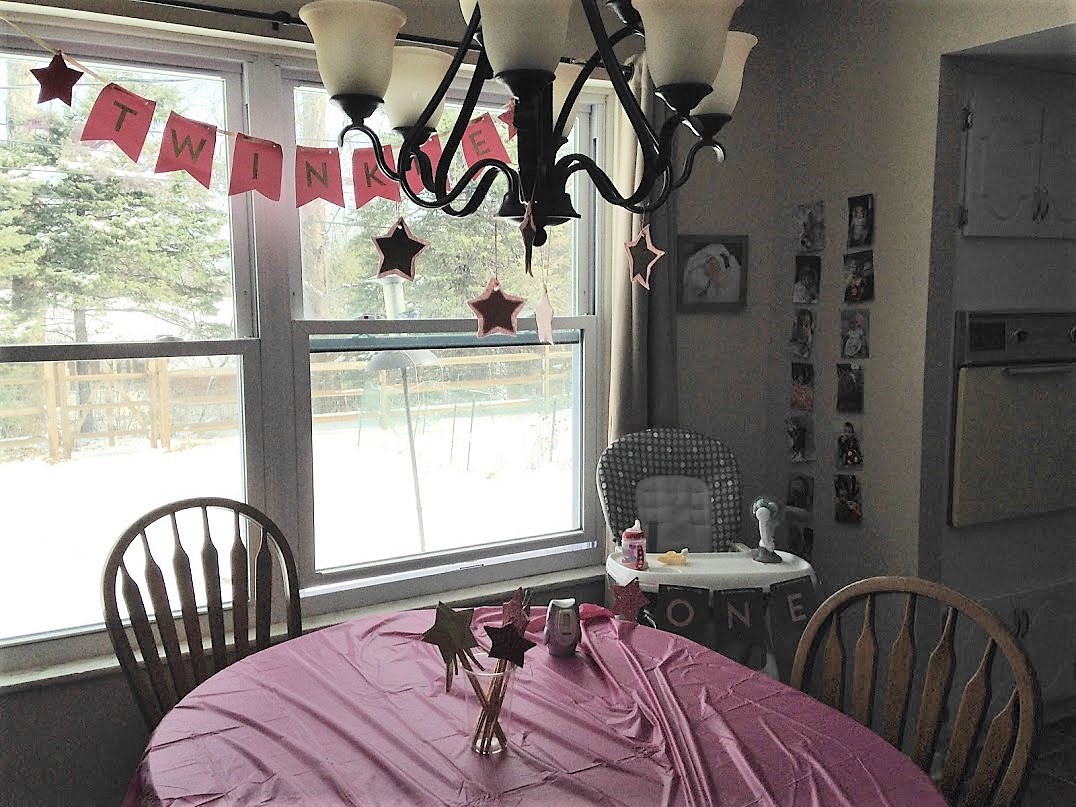
Stars, stars, everywhere!
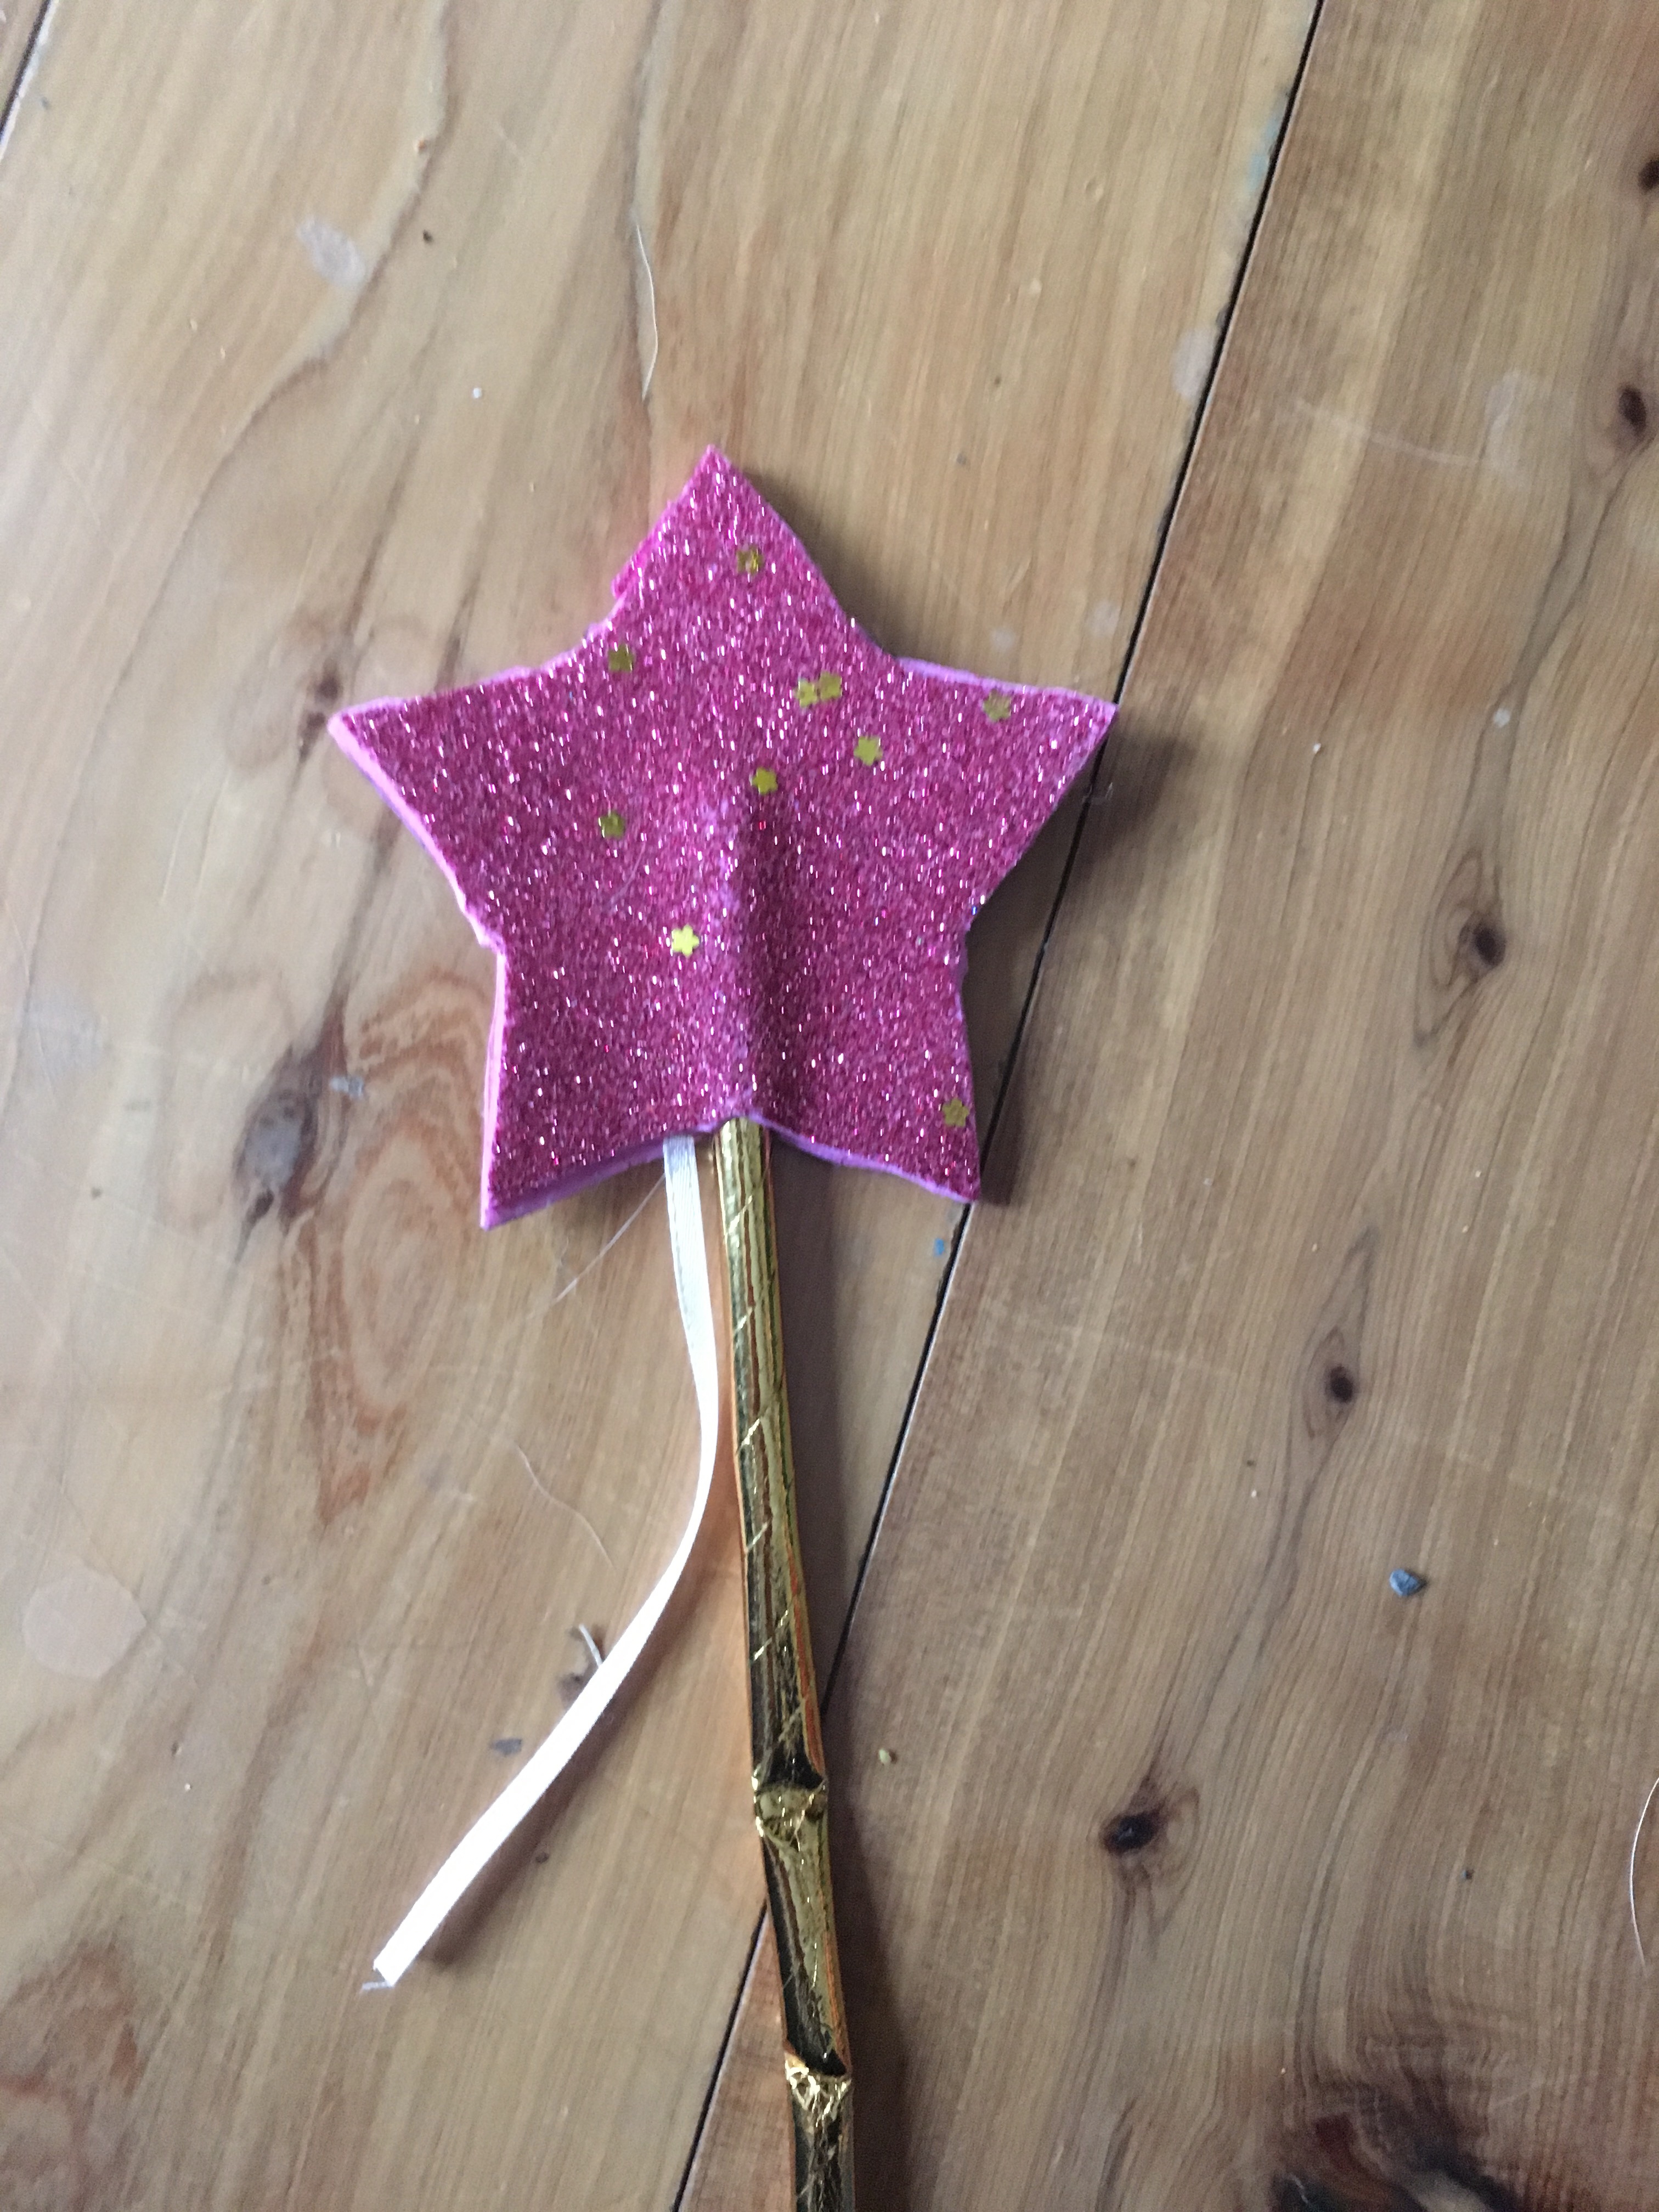
I made the twinkle banner, the stars hanging from the chandelier and the star wands on the table that I used as party favors and a centerpiece. For the stars hanging from the light, I cut out stars from the foam paper and attached it to felt pink cloth I had. I cut the outline of the pink cloth around the gold star so it looks like an outline for the stars.
As for the wands, I purchased gold straws from Michaels and they were very sturdy made from cardboard and didn’t bend. I decided to use the foam paper to cut out two stars and stick them together around the top of the straw. I also included 2 cut pieces of ribbon on the wand. I put one on each side of the star and pushed the stars together (they have sticky backs, but you could easily glue them). They were a hit!
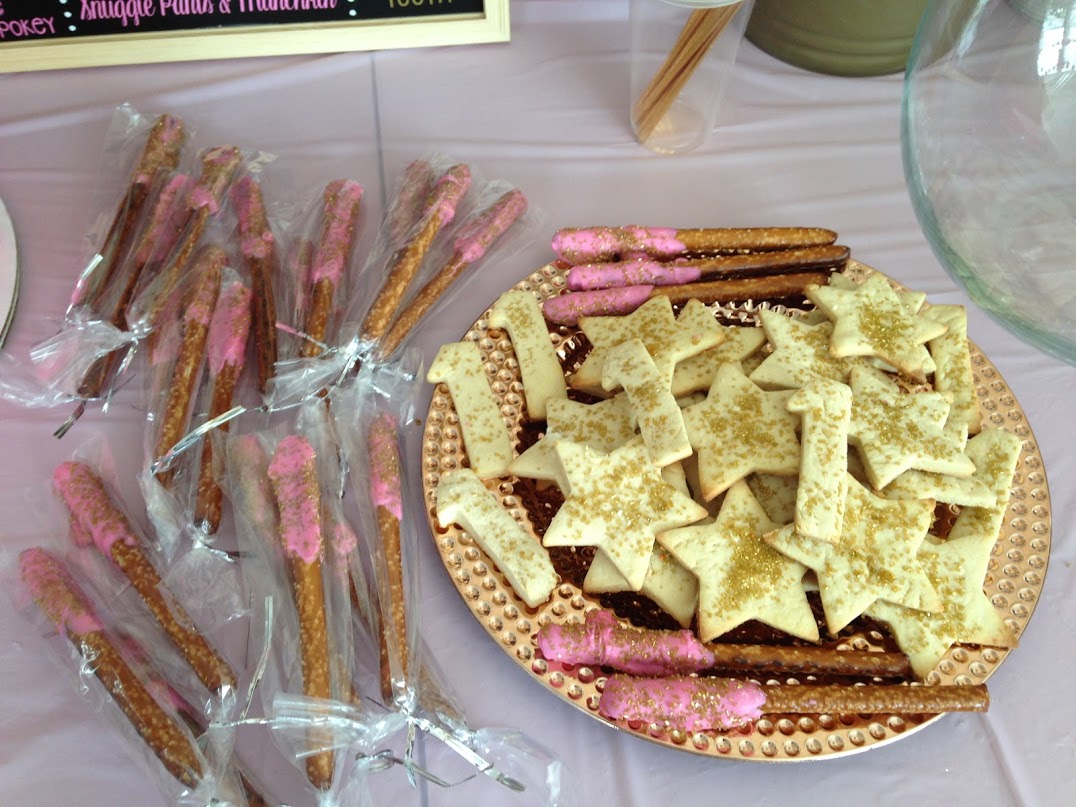
Yum! I made chocolate covered pretzels with pink chocolate melts and gold sprinkles. I also made the sugar cookies with star and number one cookie cutters!
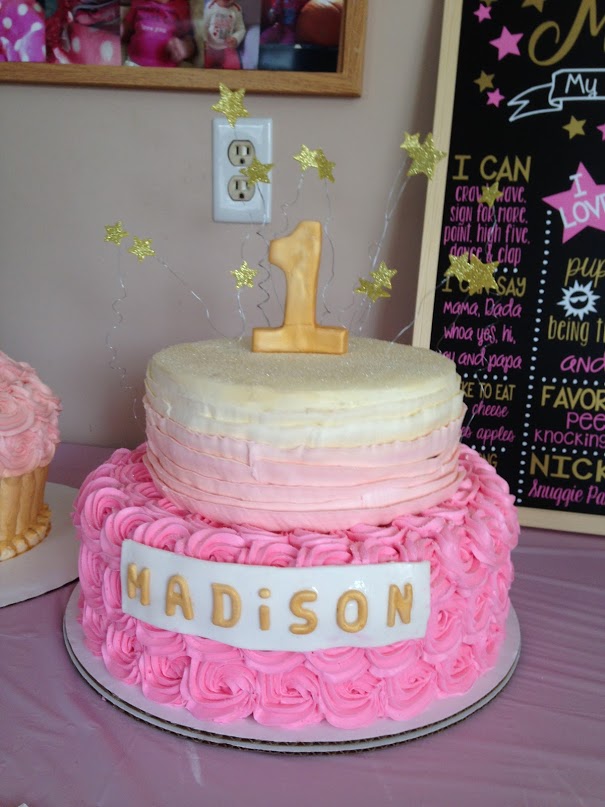
No, I didn’t make this beautiful cake. However, I thought the stars sticking out of the top were so cute and easy to make! They simply used some wire and cut out stars they hot glued to the wire!
Pictures, pictures, everywhere!
Super cheap decoration-pictures on string! I used pink string and taped the pictures. For a twinkle twinkle theme you could also use string lights around the house for decorations!
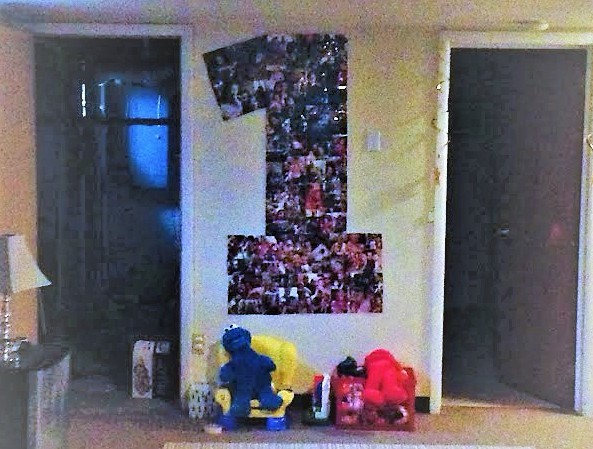
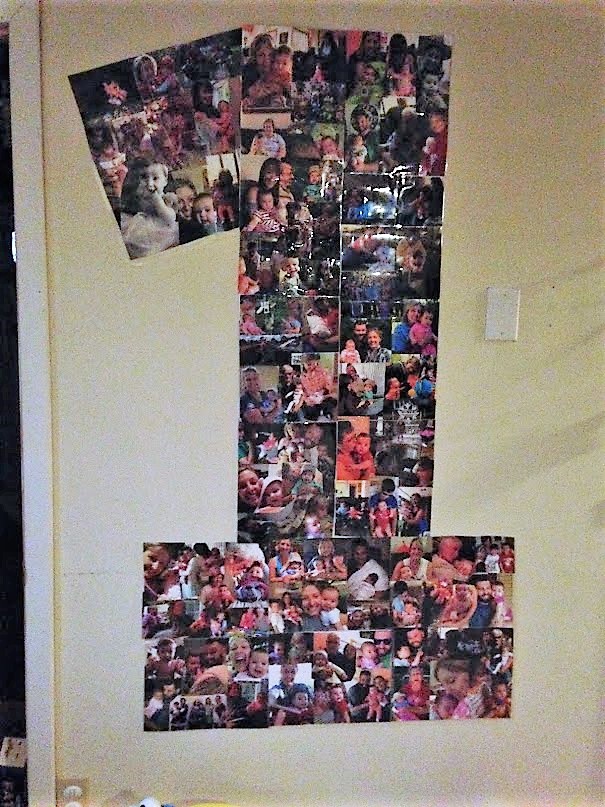
A giant number one made with pictures!
There are great tutorials online about making the number one with pictures for your baby’s first birthday. Most people recommend using cardboard from a large appliance box. I didn’t have any available, so used regular printer paper. I simply cut pictures and fit them on the paper with glue, then laminated the paper. I am a teacher so I happen to have a small scotch laminator at home that worked perfectly. I lined up all the papers to make the number one and adhered it to the wall with tape!
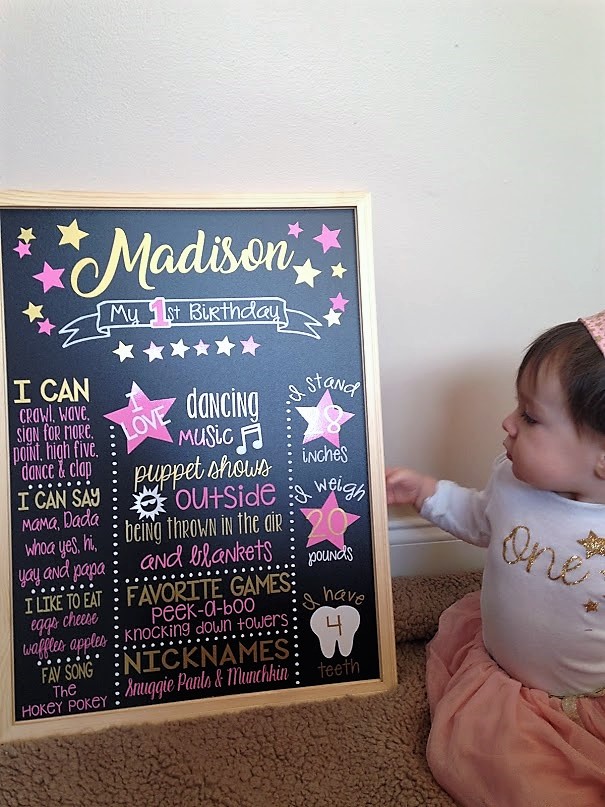
You might be wondering about her outfit and this wonderful sign. I’m sorry to tell you that I didn’t make them. A local woman made them both for me.
My sister (aka the blog writer) made her beautiful dress and headband. Hopefully there will be a post on that coming up soon! Yes, Madison wanted the cake.
If you are a very busy person with many kids, making all of these decorations might be too time consuming. However, even making a small amount of them is very rewarding. It not only adds a personal touch, but can be used as a keepsake or for future parties!
Thank you for visiting this blog and YOU can make these decorations too with a little time and effort!Follow Share
 Have your child use the dropper to get some rain and put it on the clouds. This works best if you insert the dropper about half way into the clouds and squirt it out.
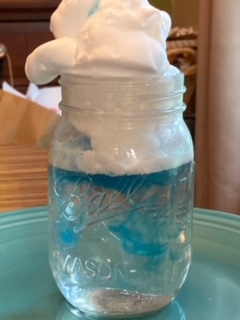

 Since it was unseasonably warm here in Pennsylvania, we decided to paint outside so there wasn’t as big of a mess. Besides using a variety of paints, we used glitter of all colors! Some of the trees we purposefully painted blue and green for Christmas tree pinecones!
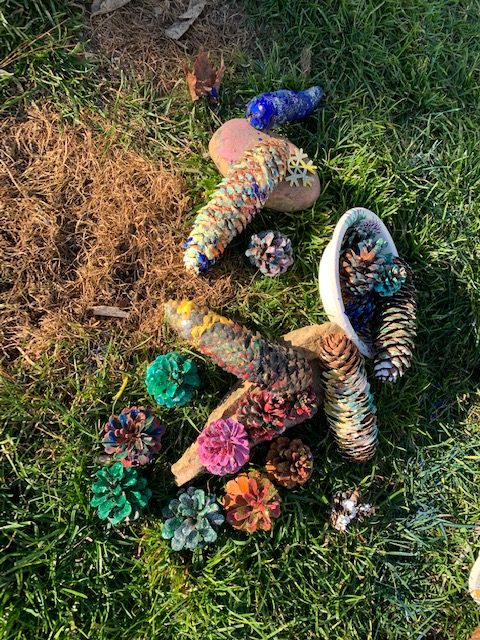
 You can of course decorate your turkey any way you like with any materials! Get creative and enjoy!


 I went with simple features, a carrot nose, 2 arms, and a scarf. You can choose whatever colors suit you. I made 4 buttons, a mouth, rosy cheeks, eyes, and 4 hats.
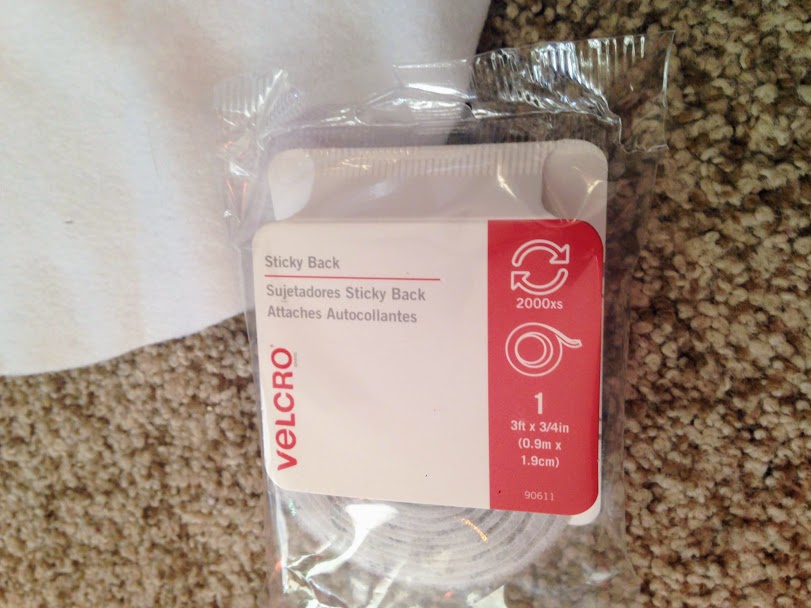 I bought velcro with sticky back so I wouldn’t have to glue it. I simply used the hook side of the velcro. Yes, I had to look that up, the hook side aka the rough side. I cut each piece depending on what I was using the velcro on. For example, the scarf is long so I used at least 5 inches of the hook side of the velcro.