Turkey Pinecone Gobble!

We went on a pinecone adventure!  First we grabbed our magic buckets and took a stroll down the road.  We found the BIG pine trees and searched all around for pinecones.  We filled out magic buckets with little and big pinecones. Once full, we continued our adventure to find any other good objects for future projects. Pinecones can be used for many projects, including some upcoming Christmas ones!

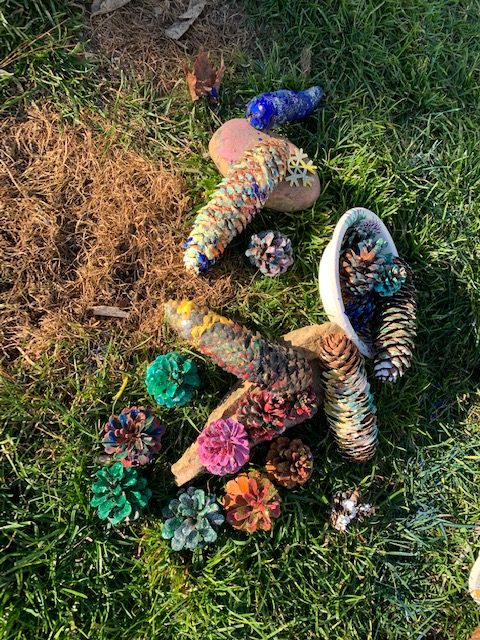
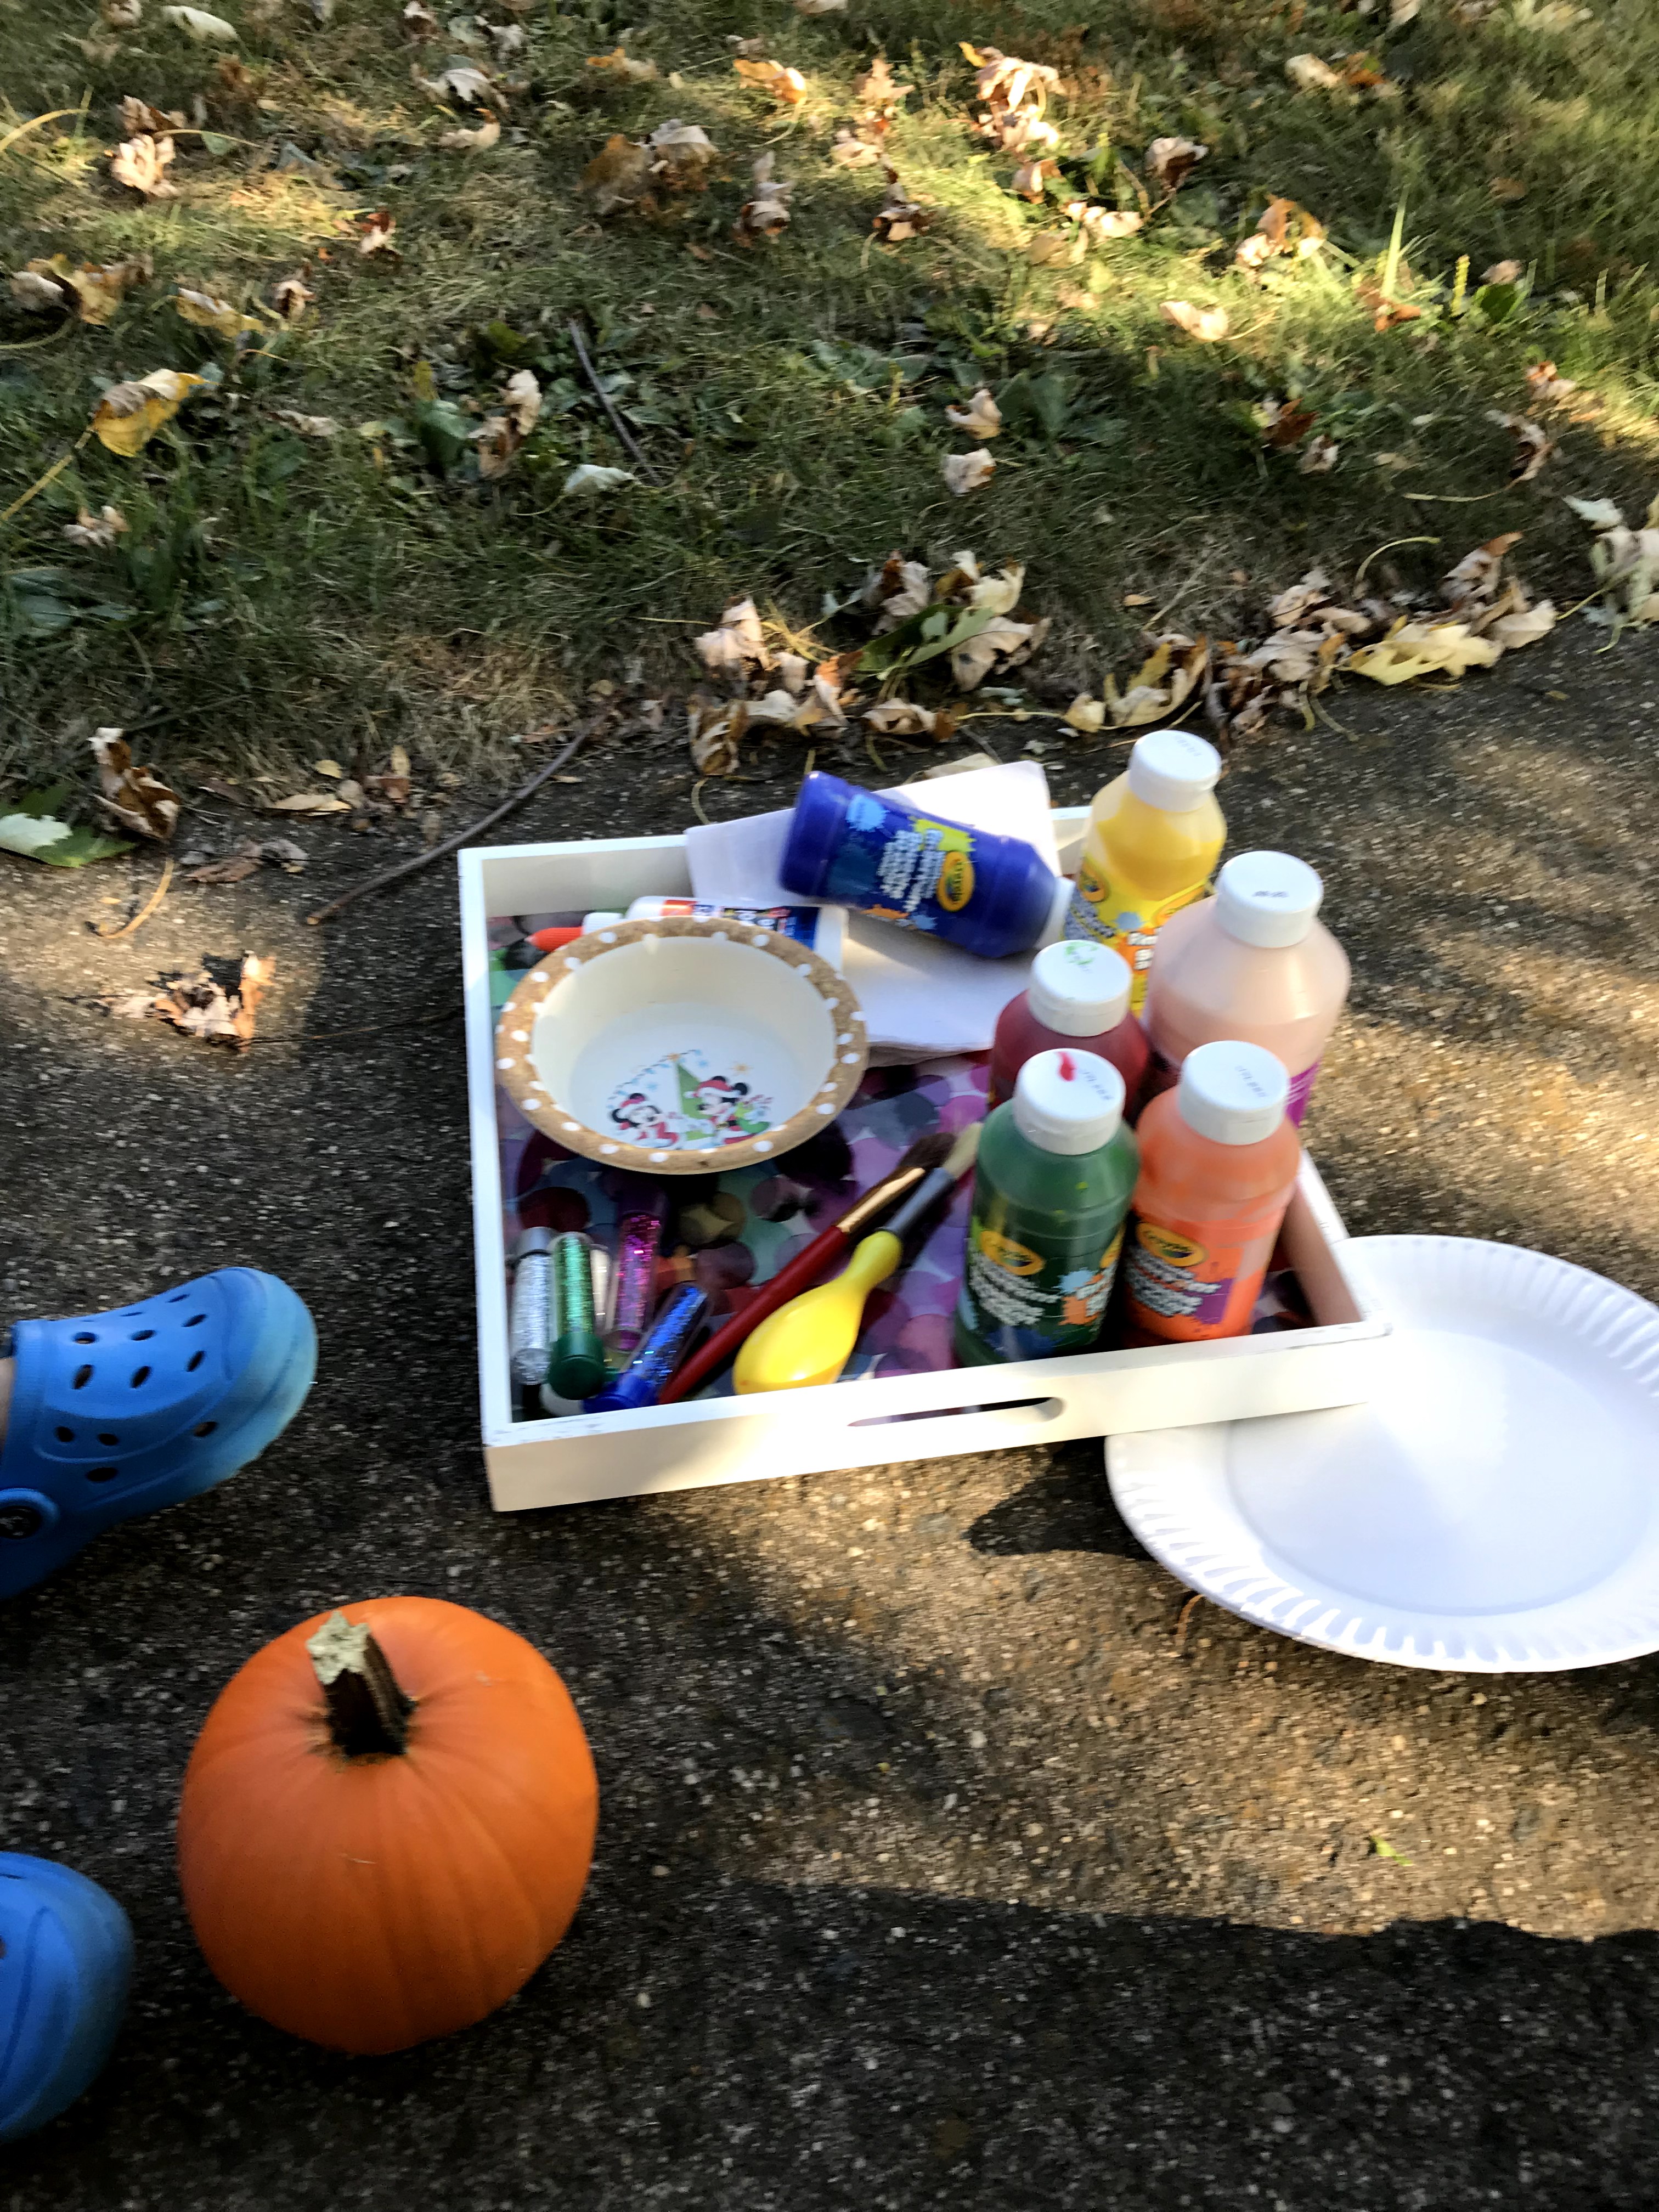
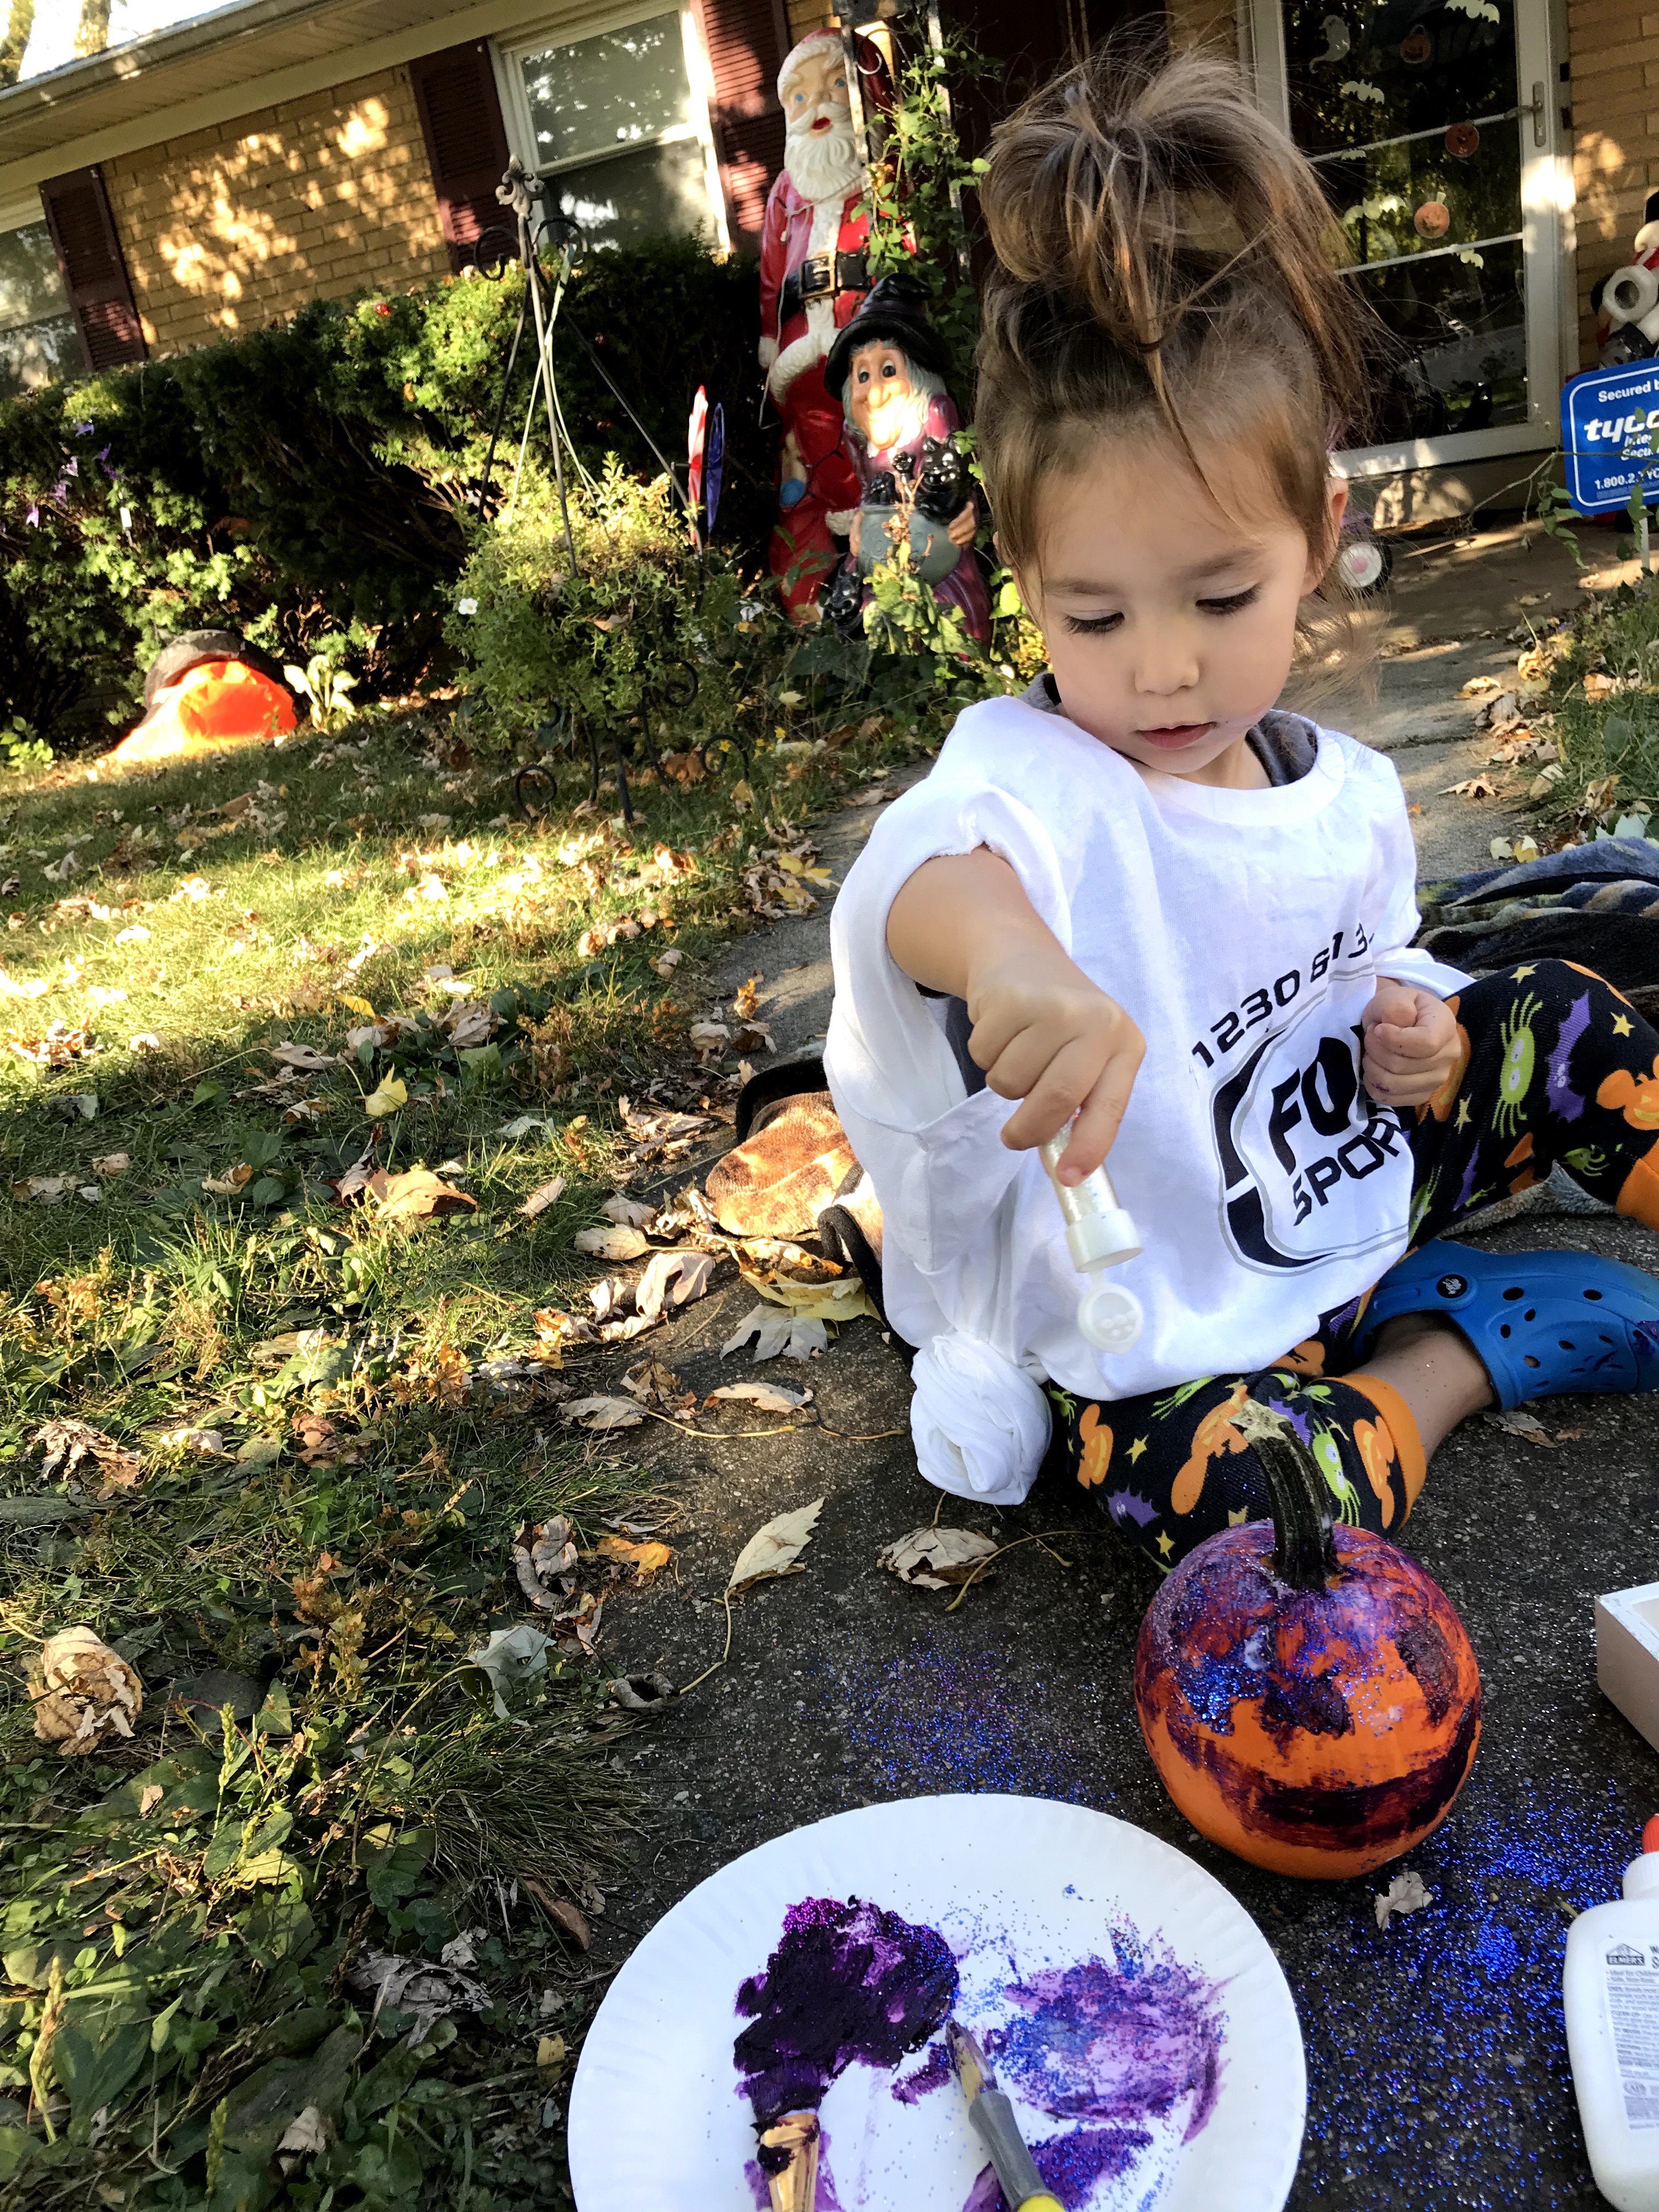
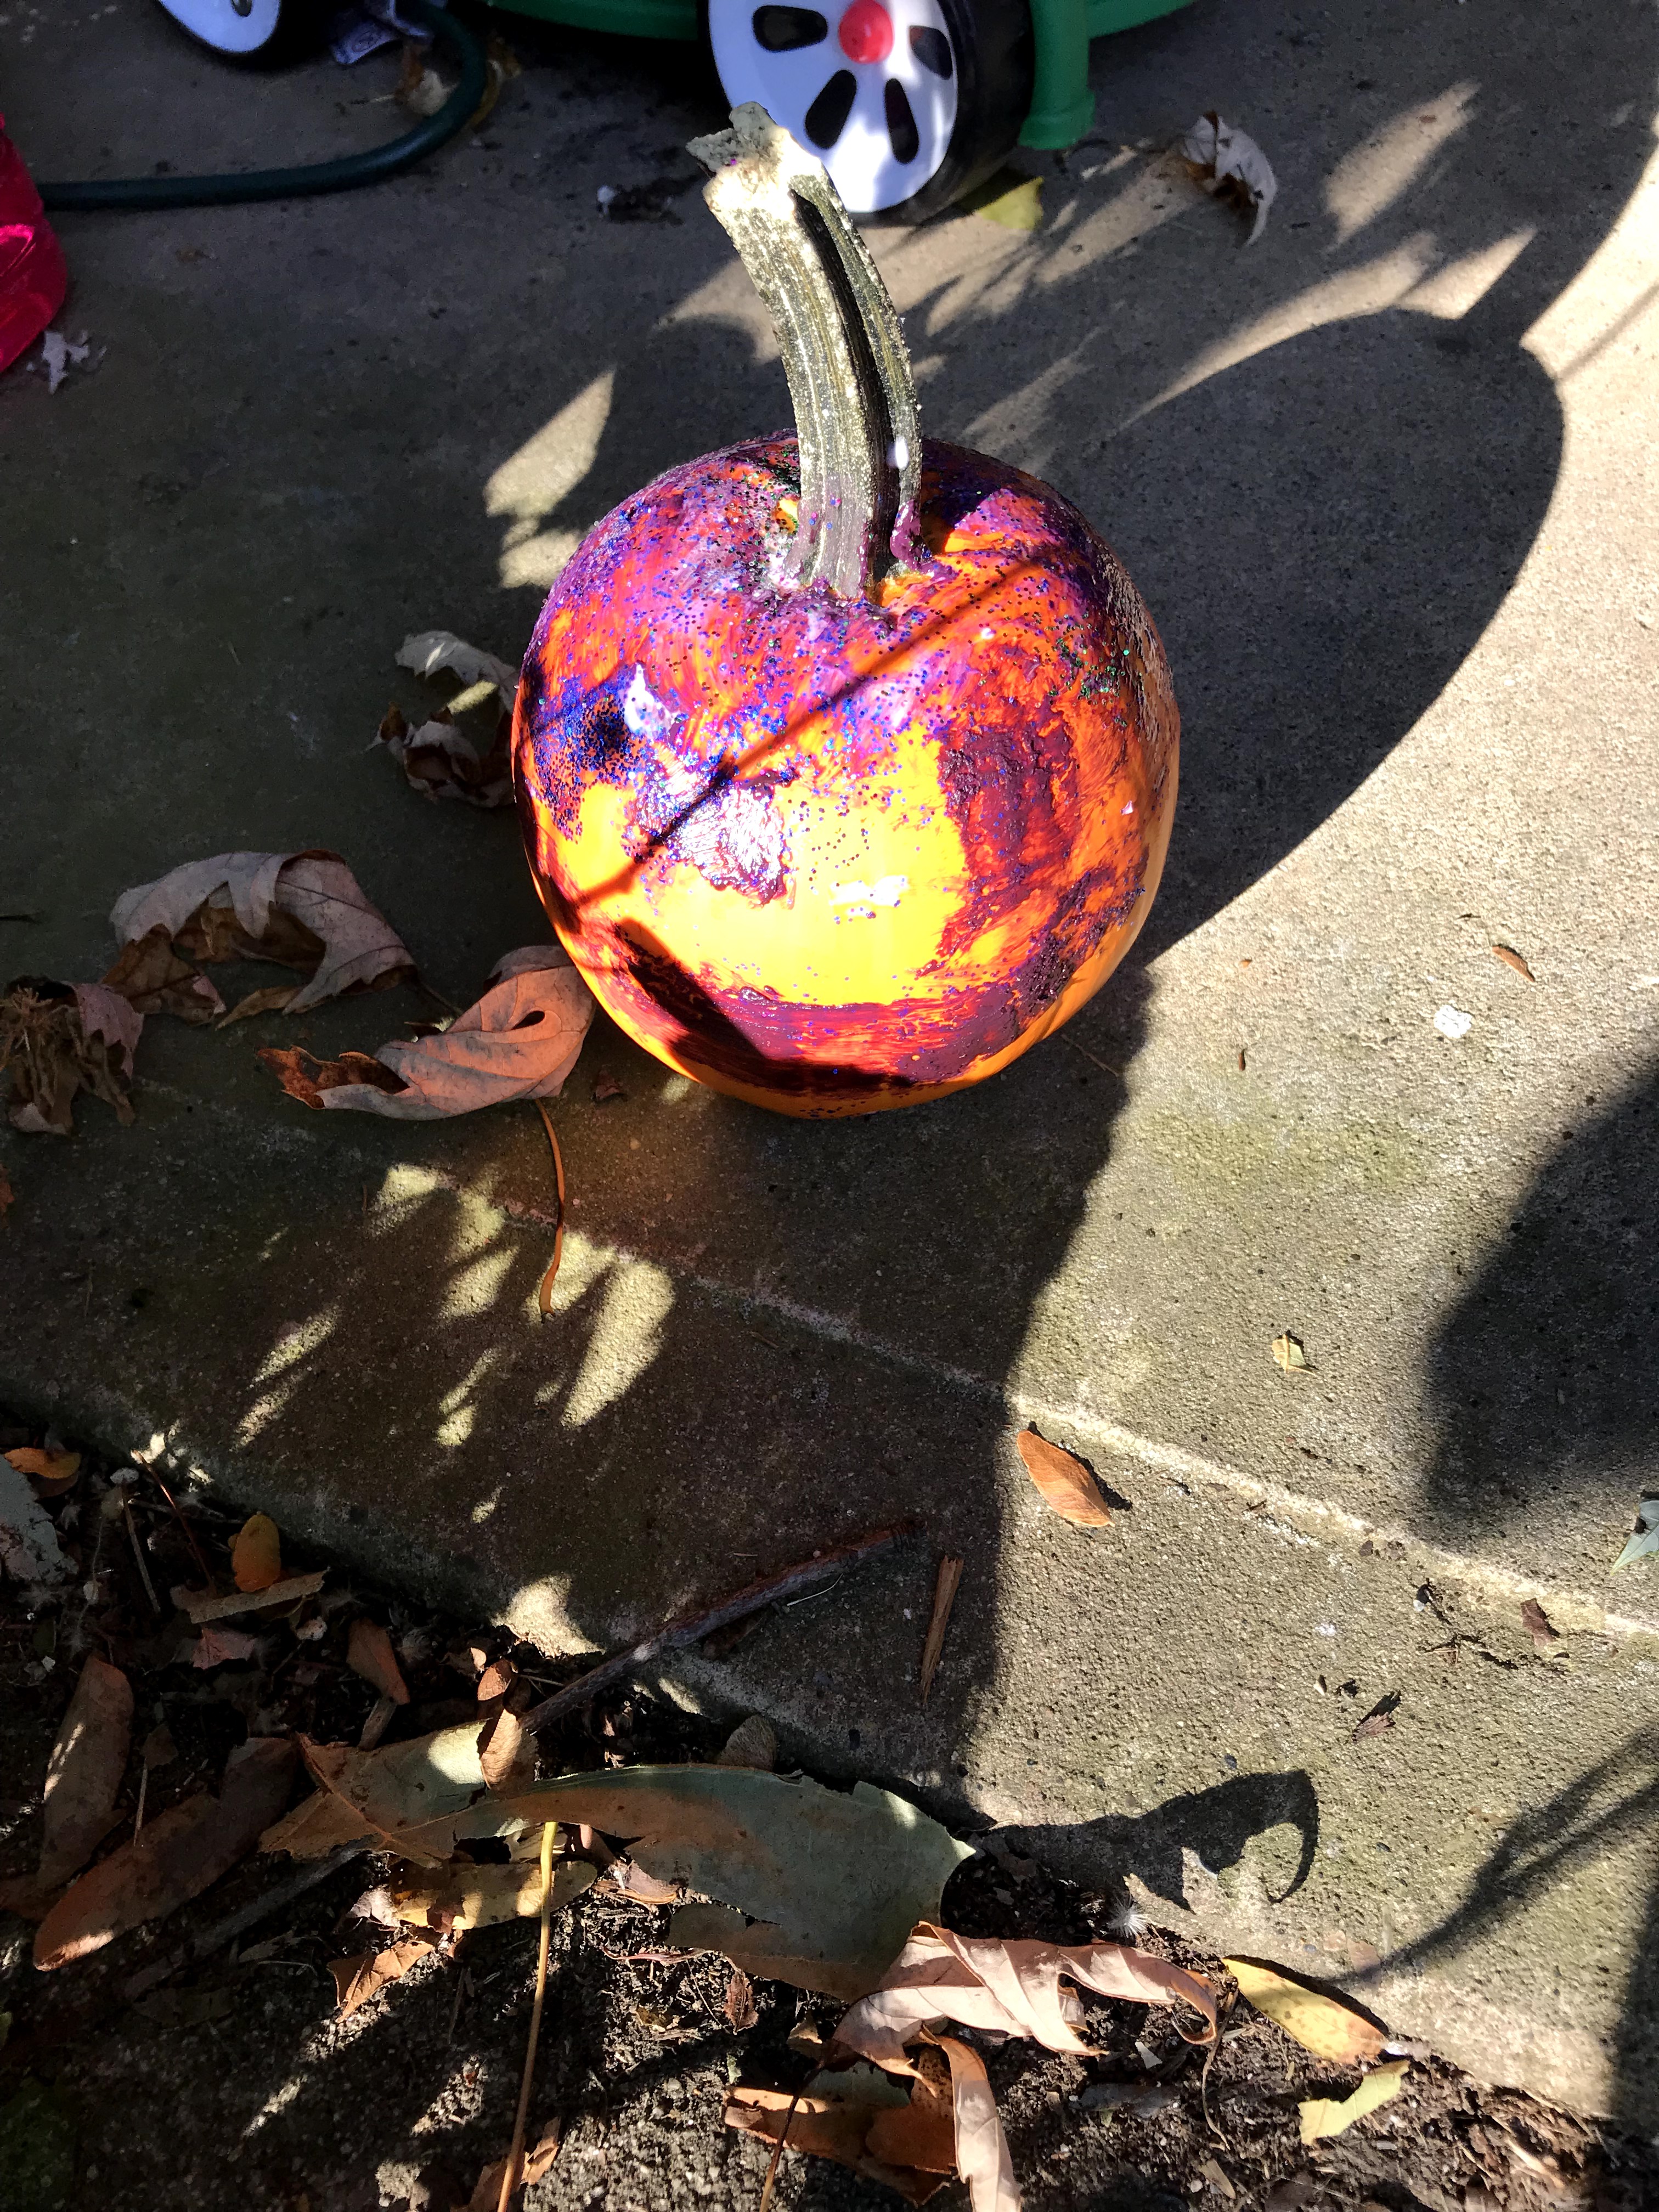
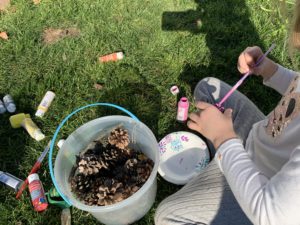
Since it was unseasonably warm here in Pennsylvania, we decided to paint outside so there wasn’t as big of a mess. Besides using a variety of paints, we used glitter of all colors! Some of the trees we purposefully painted blue and green for Christmas tree pinecones!

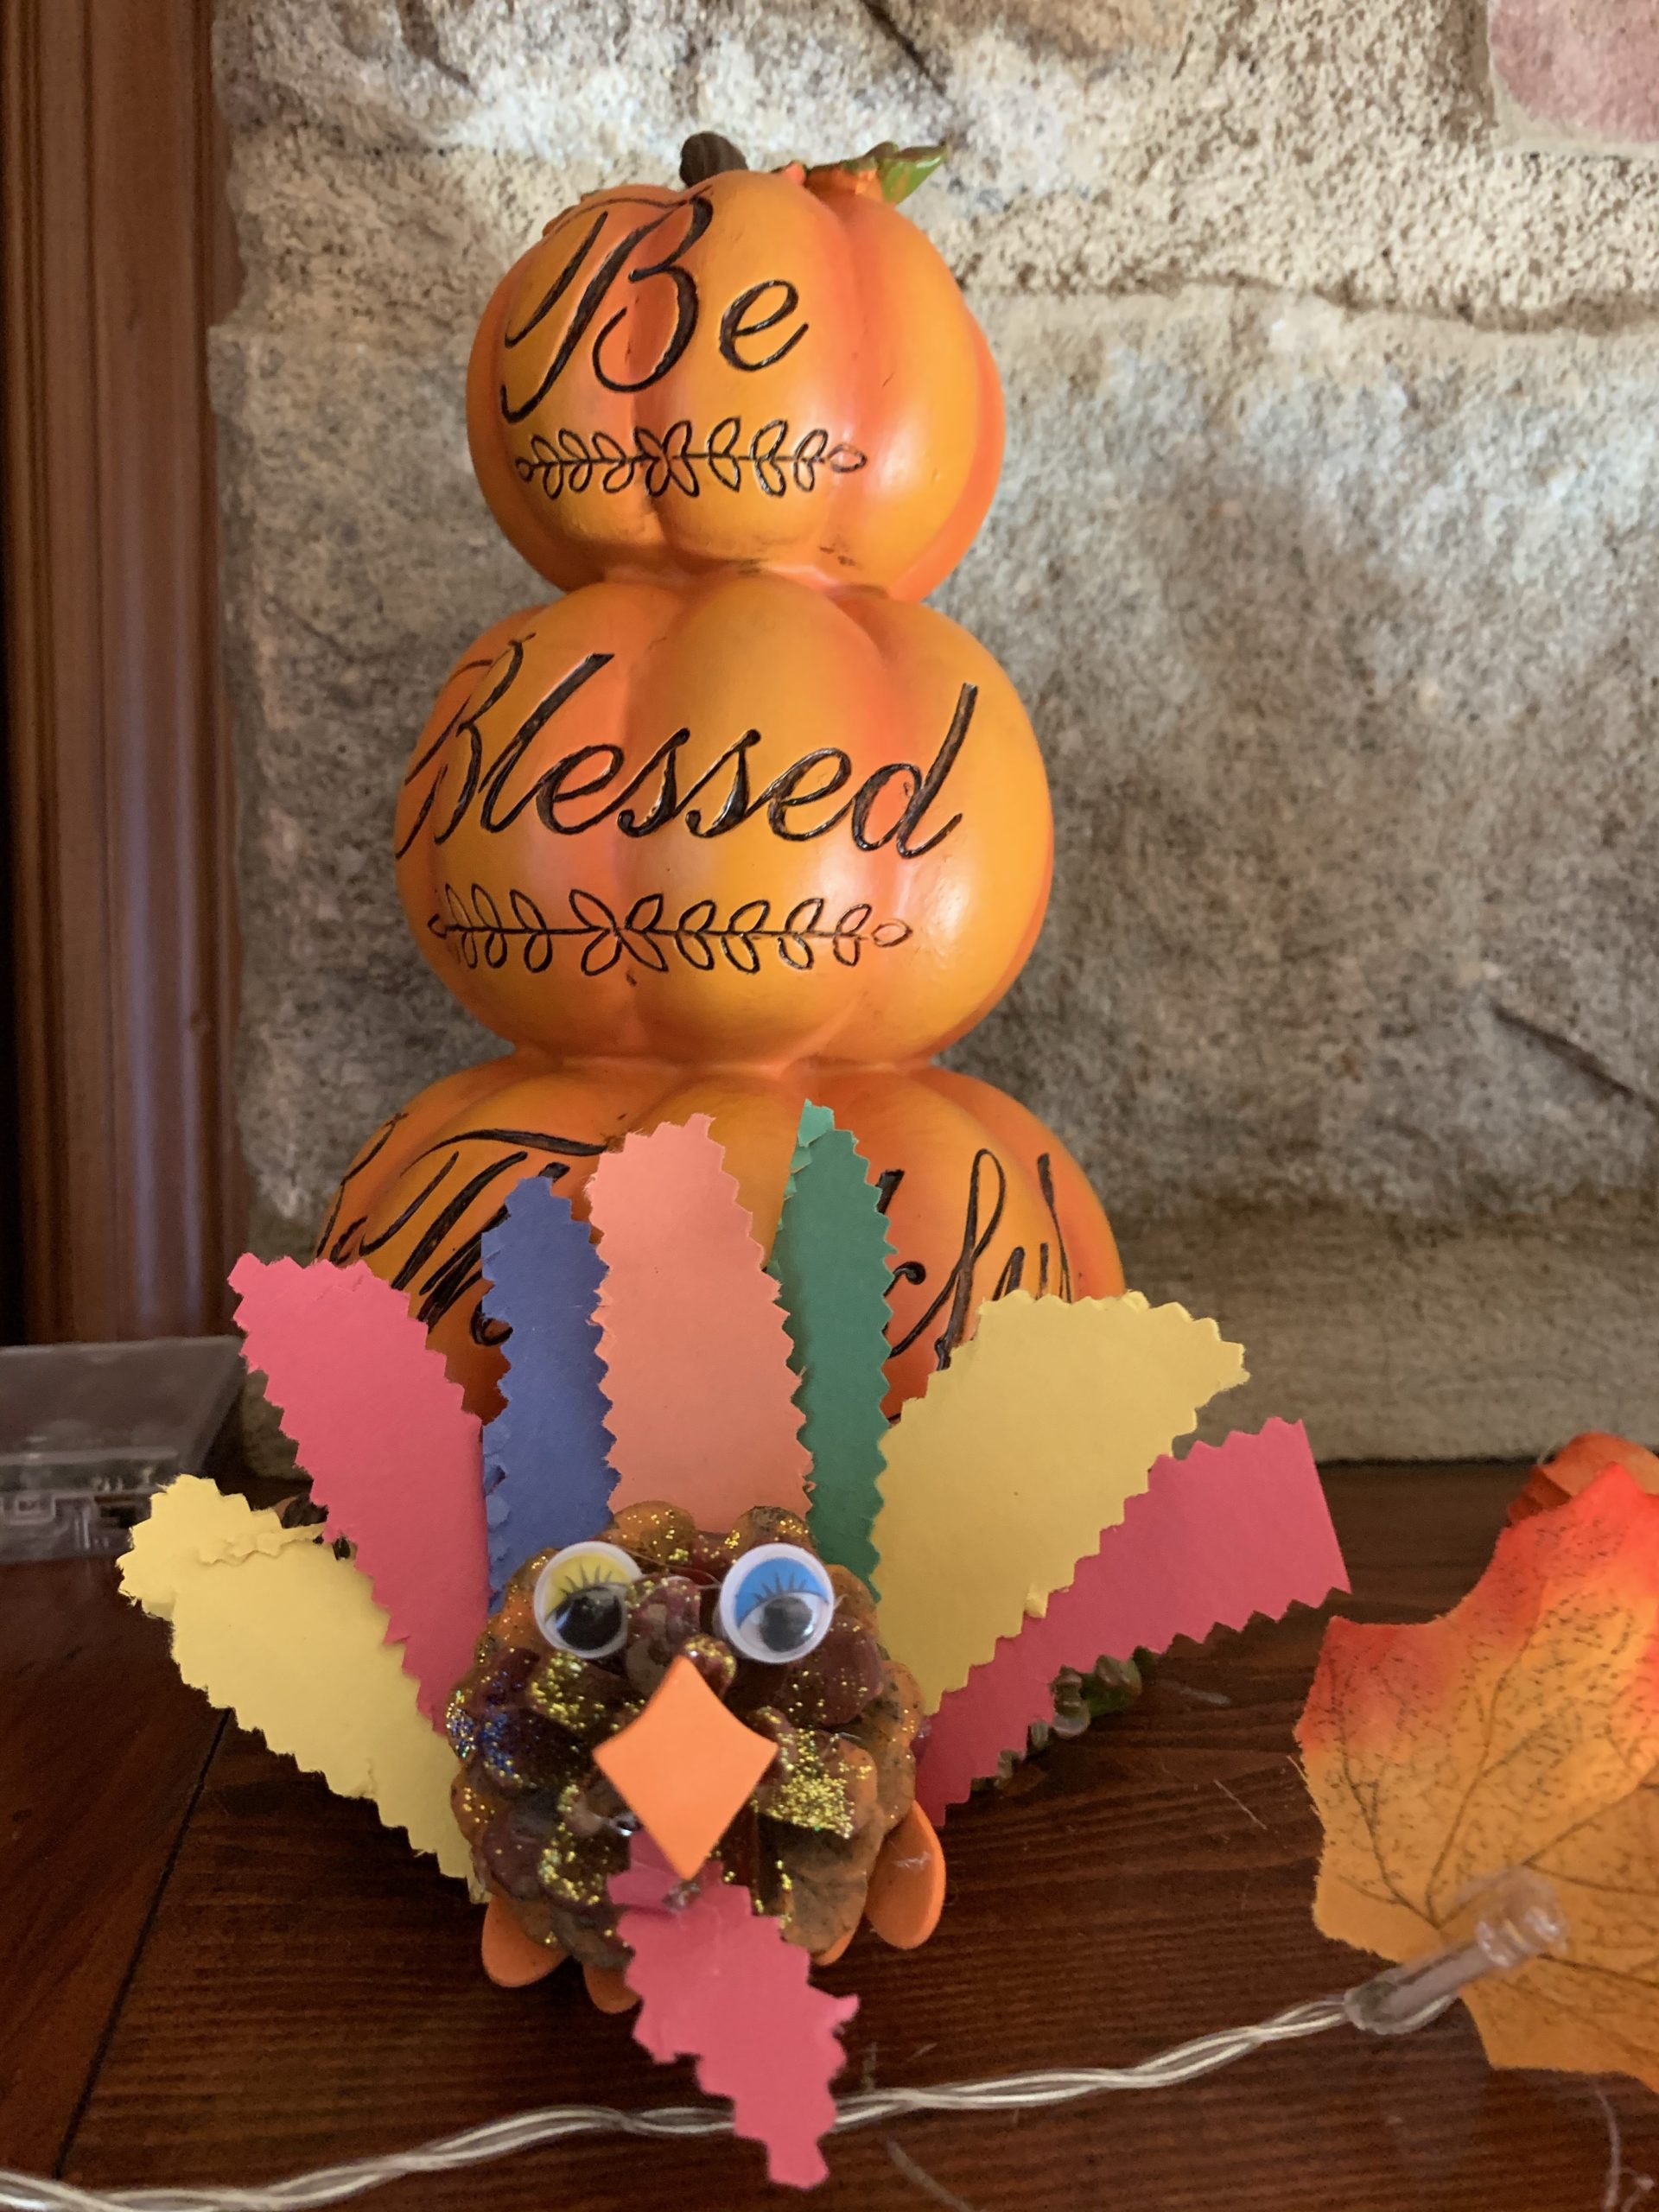
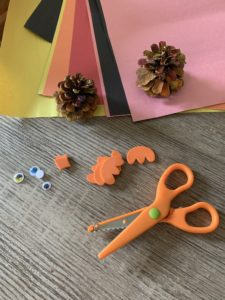
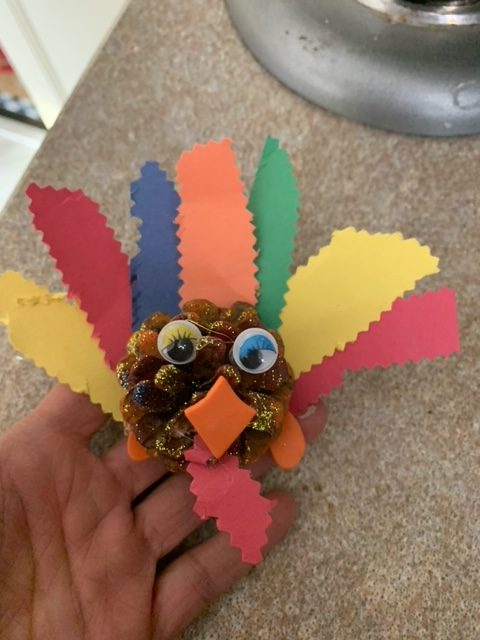
After allowing the pinecones to dry overnight, we found some googly eyes, construction paper, and leftover foam pieces from an owl project!  The kids cut out feathers and showed mom where to glue them.  Mom used the hot glue gun to glue everything on, however you can use regular glue but it will be more challenging to stay and dry.

You can of course decorate your turkey any way you like with any materials! Get creative and enjoy!

Gobble Gobble!!! Happy Thanksgiving!  Be safe and stay home if you can (quarantine)!

FollowFacebookpinterestrssyoutube
ShareFacebookpinterest

Fall Fun!

Make a beautiful fall collage with leaves from around your yard or neighborhood! My 3 year old LOVED it!

Our family likes to take walks and LOVE to collect things from nature for crafting. The other day we decided to find some colorful leaves.

To make a collage you need:

-various leaves

-contact paper

That’s it! It’s very simple, but so much fun! We made 3 of them so far and gave them as gifts!

First, cut a piece of clear contact paper and take off the sticky side. Lay it on a flat surface.

Lay the leaves on the sticky side of the contact paper and arrange them in any way you like. When you are happy with the way your leaves look, cut another contact paper sheet the same size as the original one. Lay it flat on top of the leaves and smooth it out with your hands. Then boom, you are done! Hang it in a window to admire it or give it to someone as a gift! Madison gave some to her cousins, grandparents and her family!

FollowFacebookpinterestrssyoutube
ShareFacebookpinterest

Leaf tracing fun

Leaf tracing is easy, fun, and inexpensive! I might even enjoy it more than my kids!

All you need is white paper, crayons, and leaves!


Go outside and collect all different fall leaves, even strawberry plant leaves, tall grasses, any leaf will work!


Then, place the leaf underneath the white paper and use the crayon to rub on it! Make sure you hold the paper down and leaf with one hand while you are coloring.

I also find the stems and veins of the leaves show up much clearer if you flip the leaf to the back and trace it.


Enjoy this easy creative craft and post your pictures below! 


FollowFacebookpinterestrssyoutube
ShareFacebookpinterest

Sparkle Pumpkins!

IMG_2254

It’s finally fall and pumpkin time! Toddlers LOVE holidays and what a great way to get ready for trick-or-treating by decorating pumpkins! Obviously, toddlers shouldn’t be holding knives to make jack-o-lanterns so there are many fun alternatives!

You can have your toddler paint a pumpkin, add stickers, pom-poms, and many other accessories instead of the normal jack-o-lantern.

Or….you can have them make sparkle pumpkins! My daughter LOVES glitter, I mean who doesn’t? Okay, maybe we don’t, especially when you have to clean it. However, this is a perfect activity for outside in the cool, crisp fall weather.

IMG_2244

What do you need for this activity?

A pumpkin of course! Other materials you need are paint, glitter, glue, and brushes. You may want a paper plate or something you are using to put the paint on to mix it with glue. Glitter is a very important part of this activity! We used various colors.

First ask your child what color they want to start with! Add HALF glue and HALF paint concoction together. Mix them with the brush. The glue helps the paint stay on the pumpkin and not flake off. It also helps the glitter stay on. Your child can have fun painting their pumpkin!

IMG_2247


Let them paint to their heart’s content, then have them pick a glitter color or two.


IMG_2257


Madison spread the paint pretty thin, so I went ahead and put some liquid glue on the plate and had her brush the glue over the paint. This allowed the glitter to stick better. She just shook the glitter over the pumpkin (and all over the sidewalk).


I recommend you keep the pumpkin out of the rain!

IMG_2261

ENJOY!FollowFacebookpinterestrssyoutube
ShareFacebookpinterest

Fall Wreath Fun

IMG_1968

We always hang a wreath on our door for each season or holiday. Madison wanted in on the fun, so we decided to make our own fall wreath! It’s very simple and easy!

Materials:

  • paper plate
  • glue
  • assorted fall construction paper colors
  • string
  • pom poms (optional)
  • You could also add glitter or any other extras!

IMG_1958  IMG_1954

First, cut out the middle of the paper plate so you have a circle left. Next, I cut the construction paper in strips, then cut it into small squares she could glue onto the “wreath”. We pretended the squares of construction paper were leaves. You can use your scissors for this or if you want more of a messy look you can rip the paper or have your child do it.

IMG_1961-COLLAGE

Madison had a lot of fun gluing on all of the pieces. She loved using the glue stick. We covered the paper plate then we added fall colored pom poms on top of the “leaves” (construction paper). She LOVED this project and after it dried we hung it up on the window. She points it out proudly every time we go by!

IMG_2013FollowFacebookpinterestrssyoutube
ShareFacebookpinterest