Mixing fun

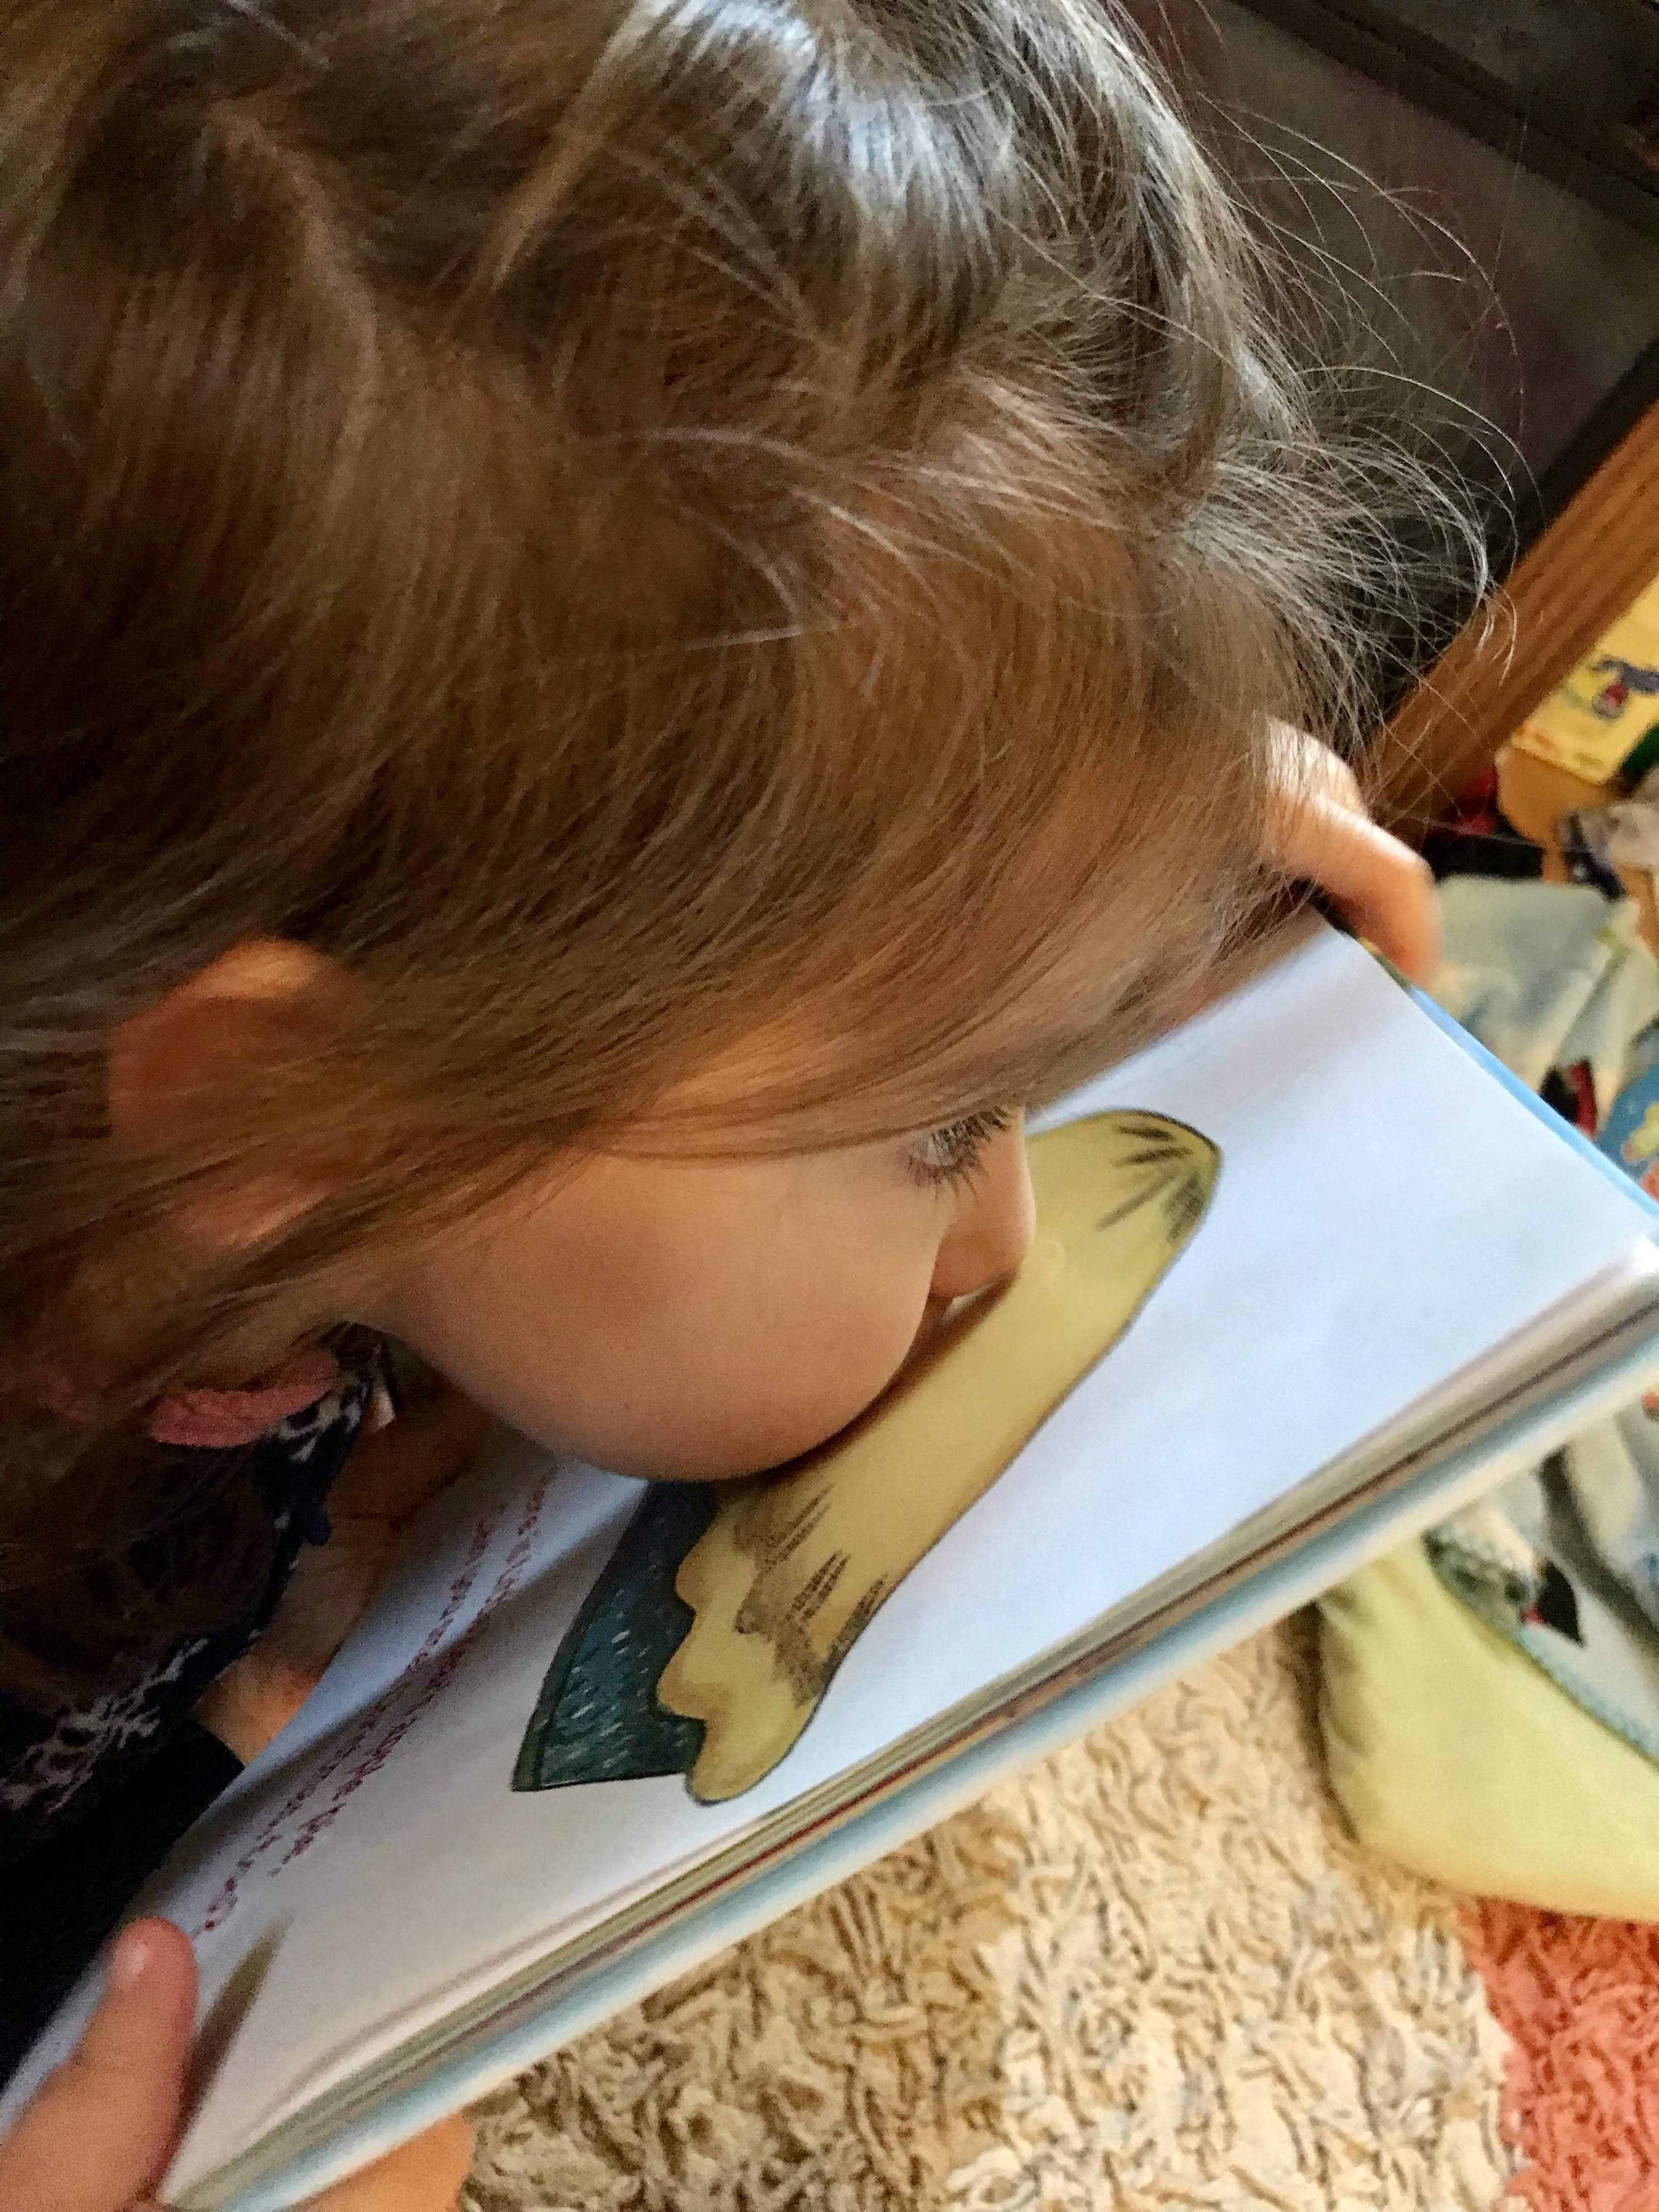
If you’re looking for an activity for your little ones to enjoy and also learn try this mixing fun. You can also use whatever you have in your kitchen! Just as an update, the kids ask to do this almost daily they love it that much!

img_2705

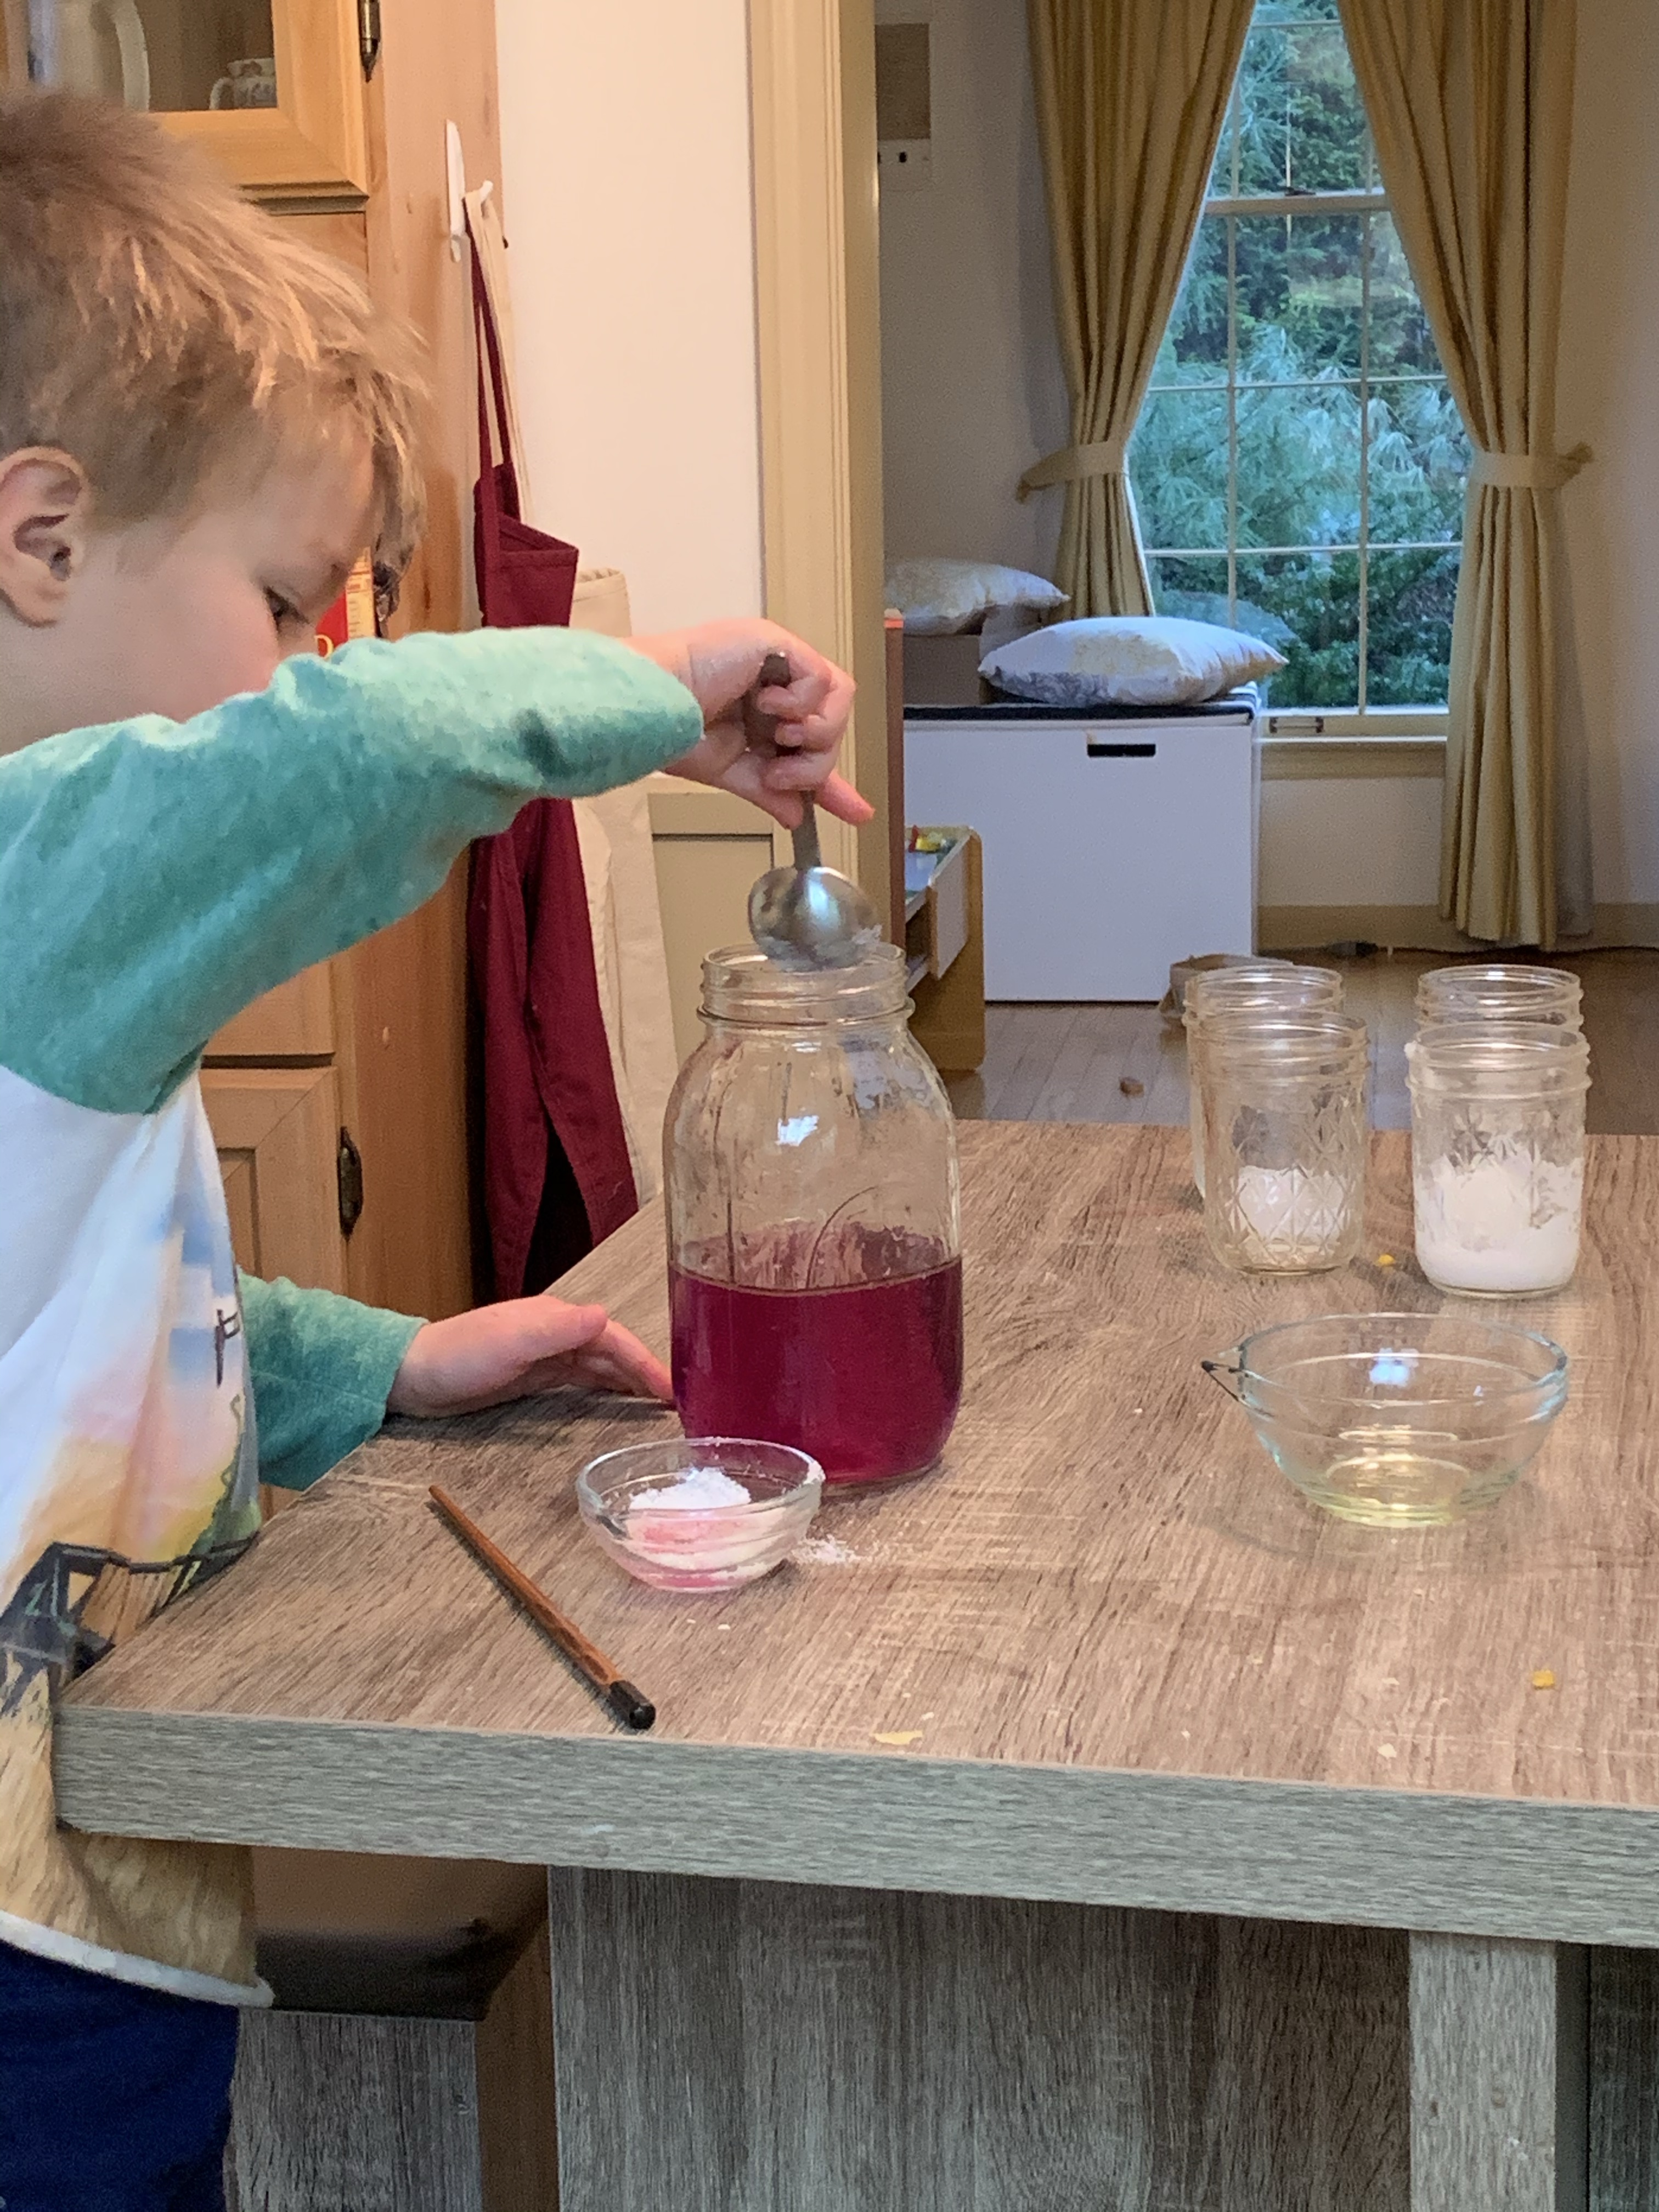
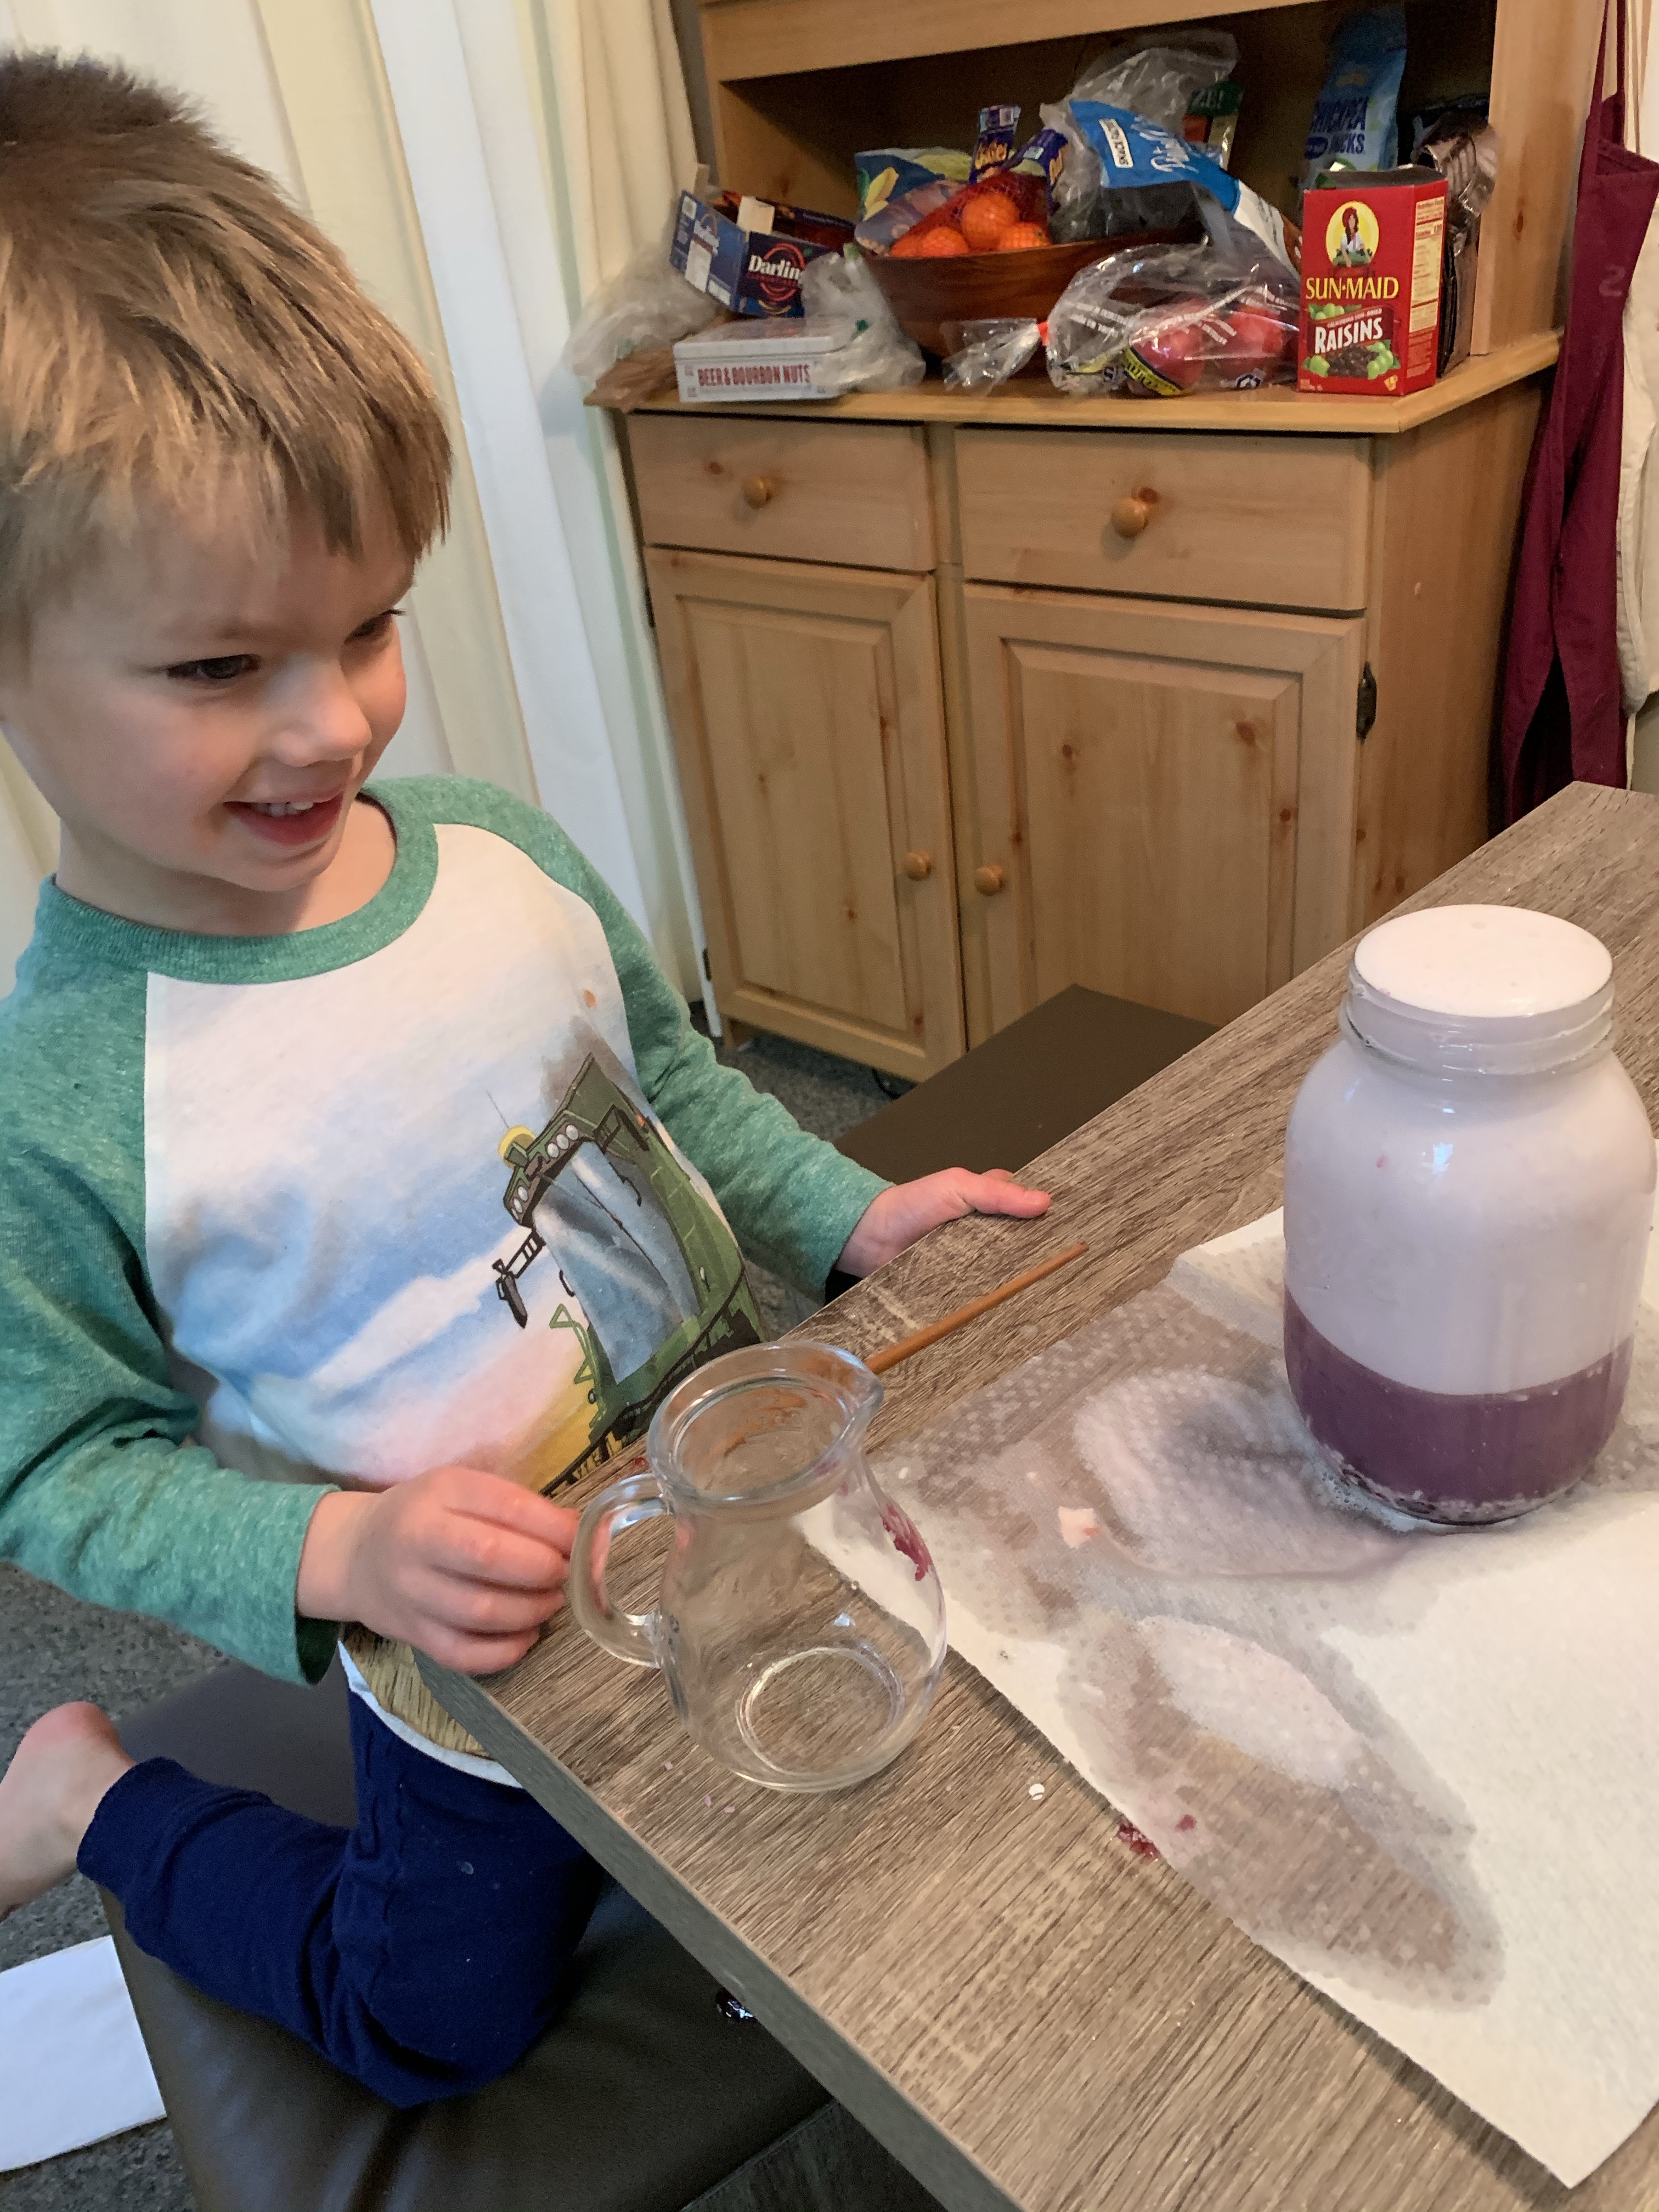
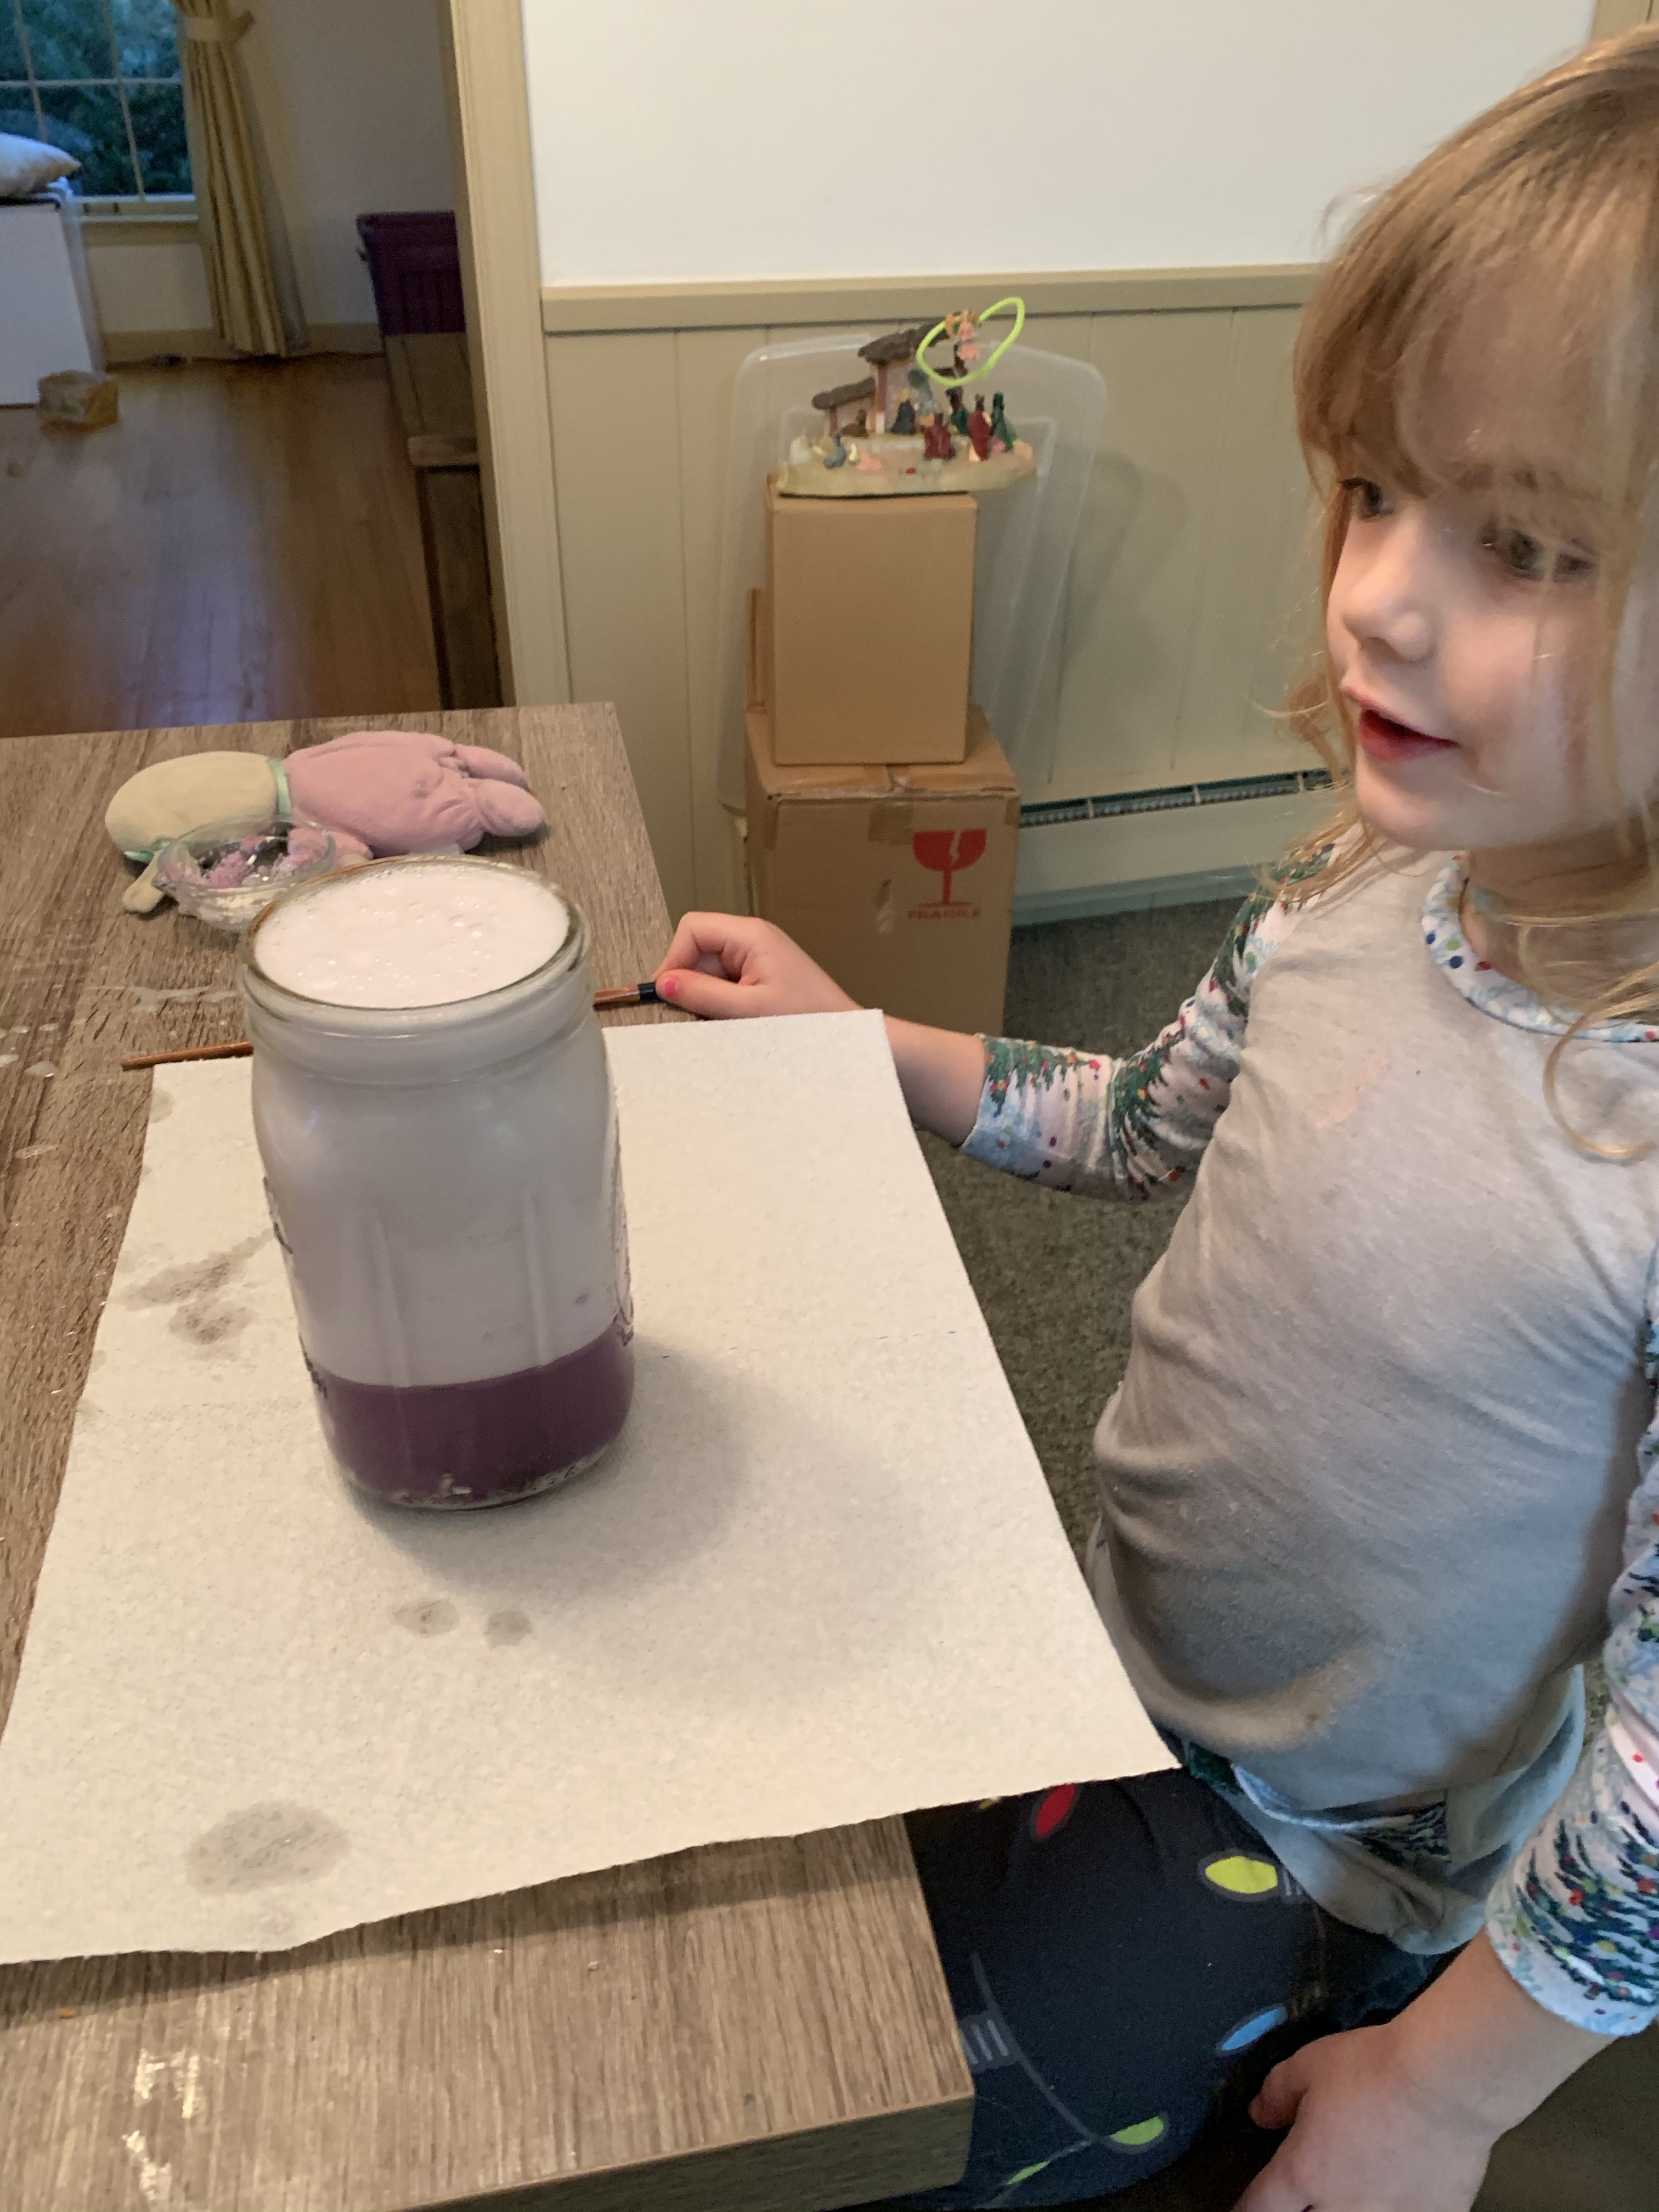
You need a container, preferably a tall see through one such as a large mason jar as shown. Fill the mason jar half way up with water.

Then you will need something to stir with (we grabbed a chopstick!)

Lastly, you need items to put in this mixture, so food coloring or natural coloring (we also used washable paint one time!

Coloring from beet juice etc.

Sprinkles can be used to see if they float or sink!

Ice cubes

Salt versus sugar-do they dissolve

Olive oil or any type of oil to see if it mixes with water

Croutons, cereal, some scraps from the compost bucket, lettuce leaf, onion (although you may want to hold off on too many food items with the quarantine right now!)

img_2707

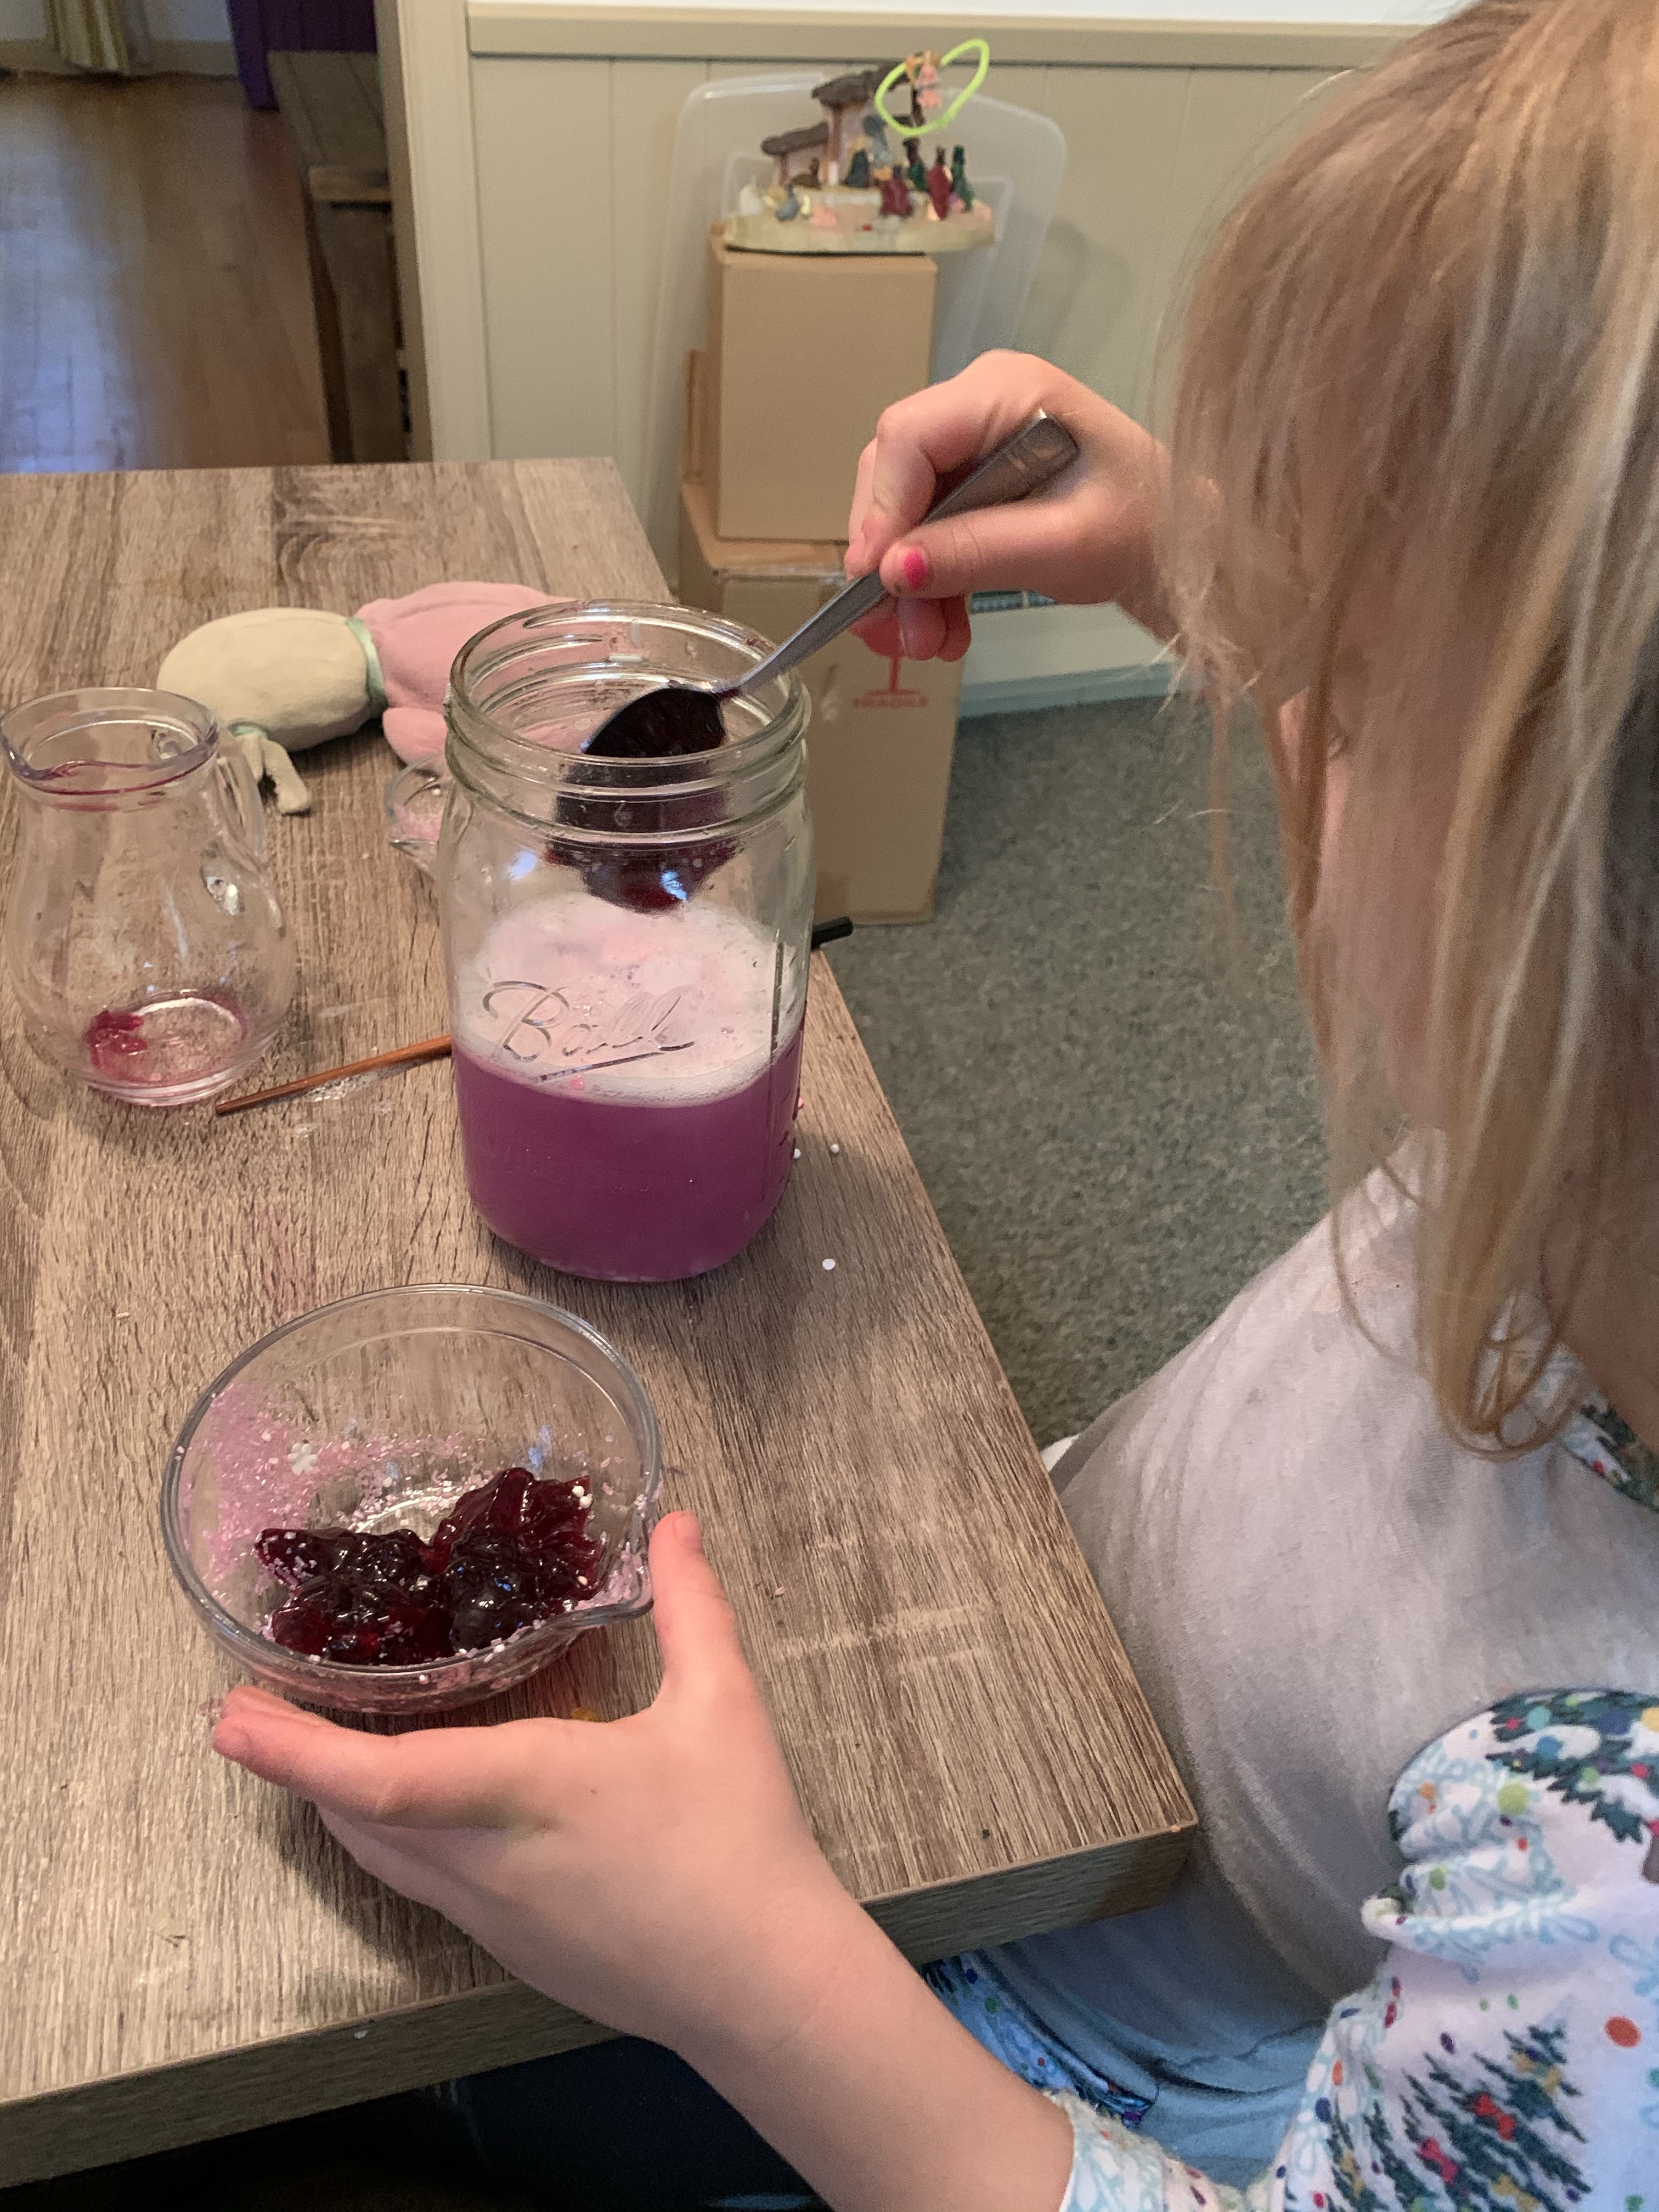
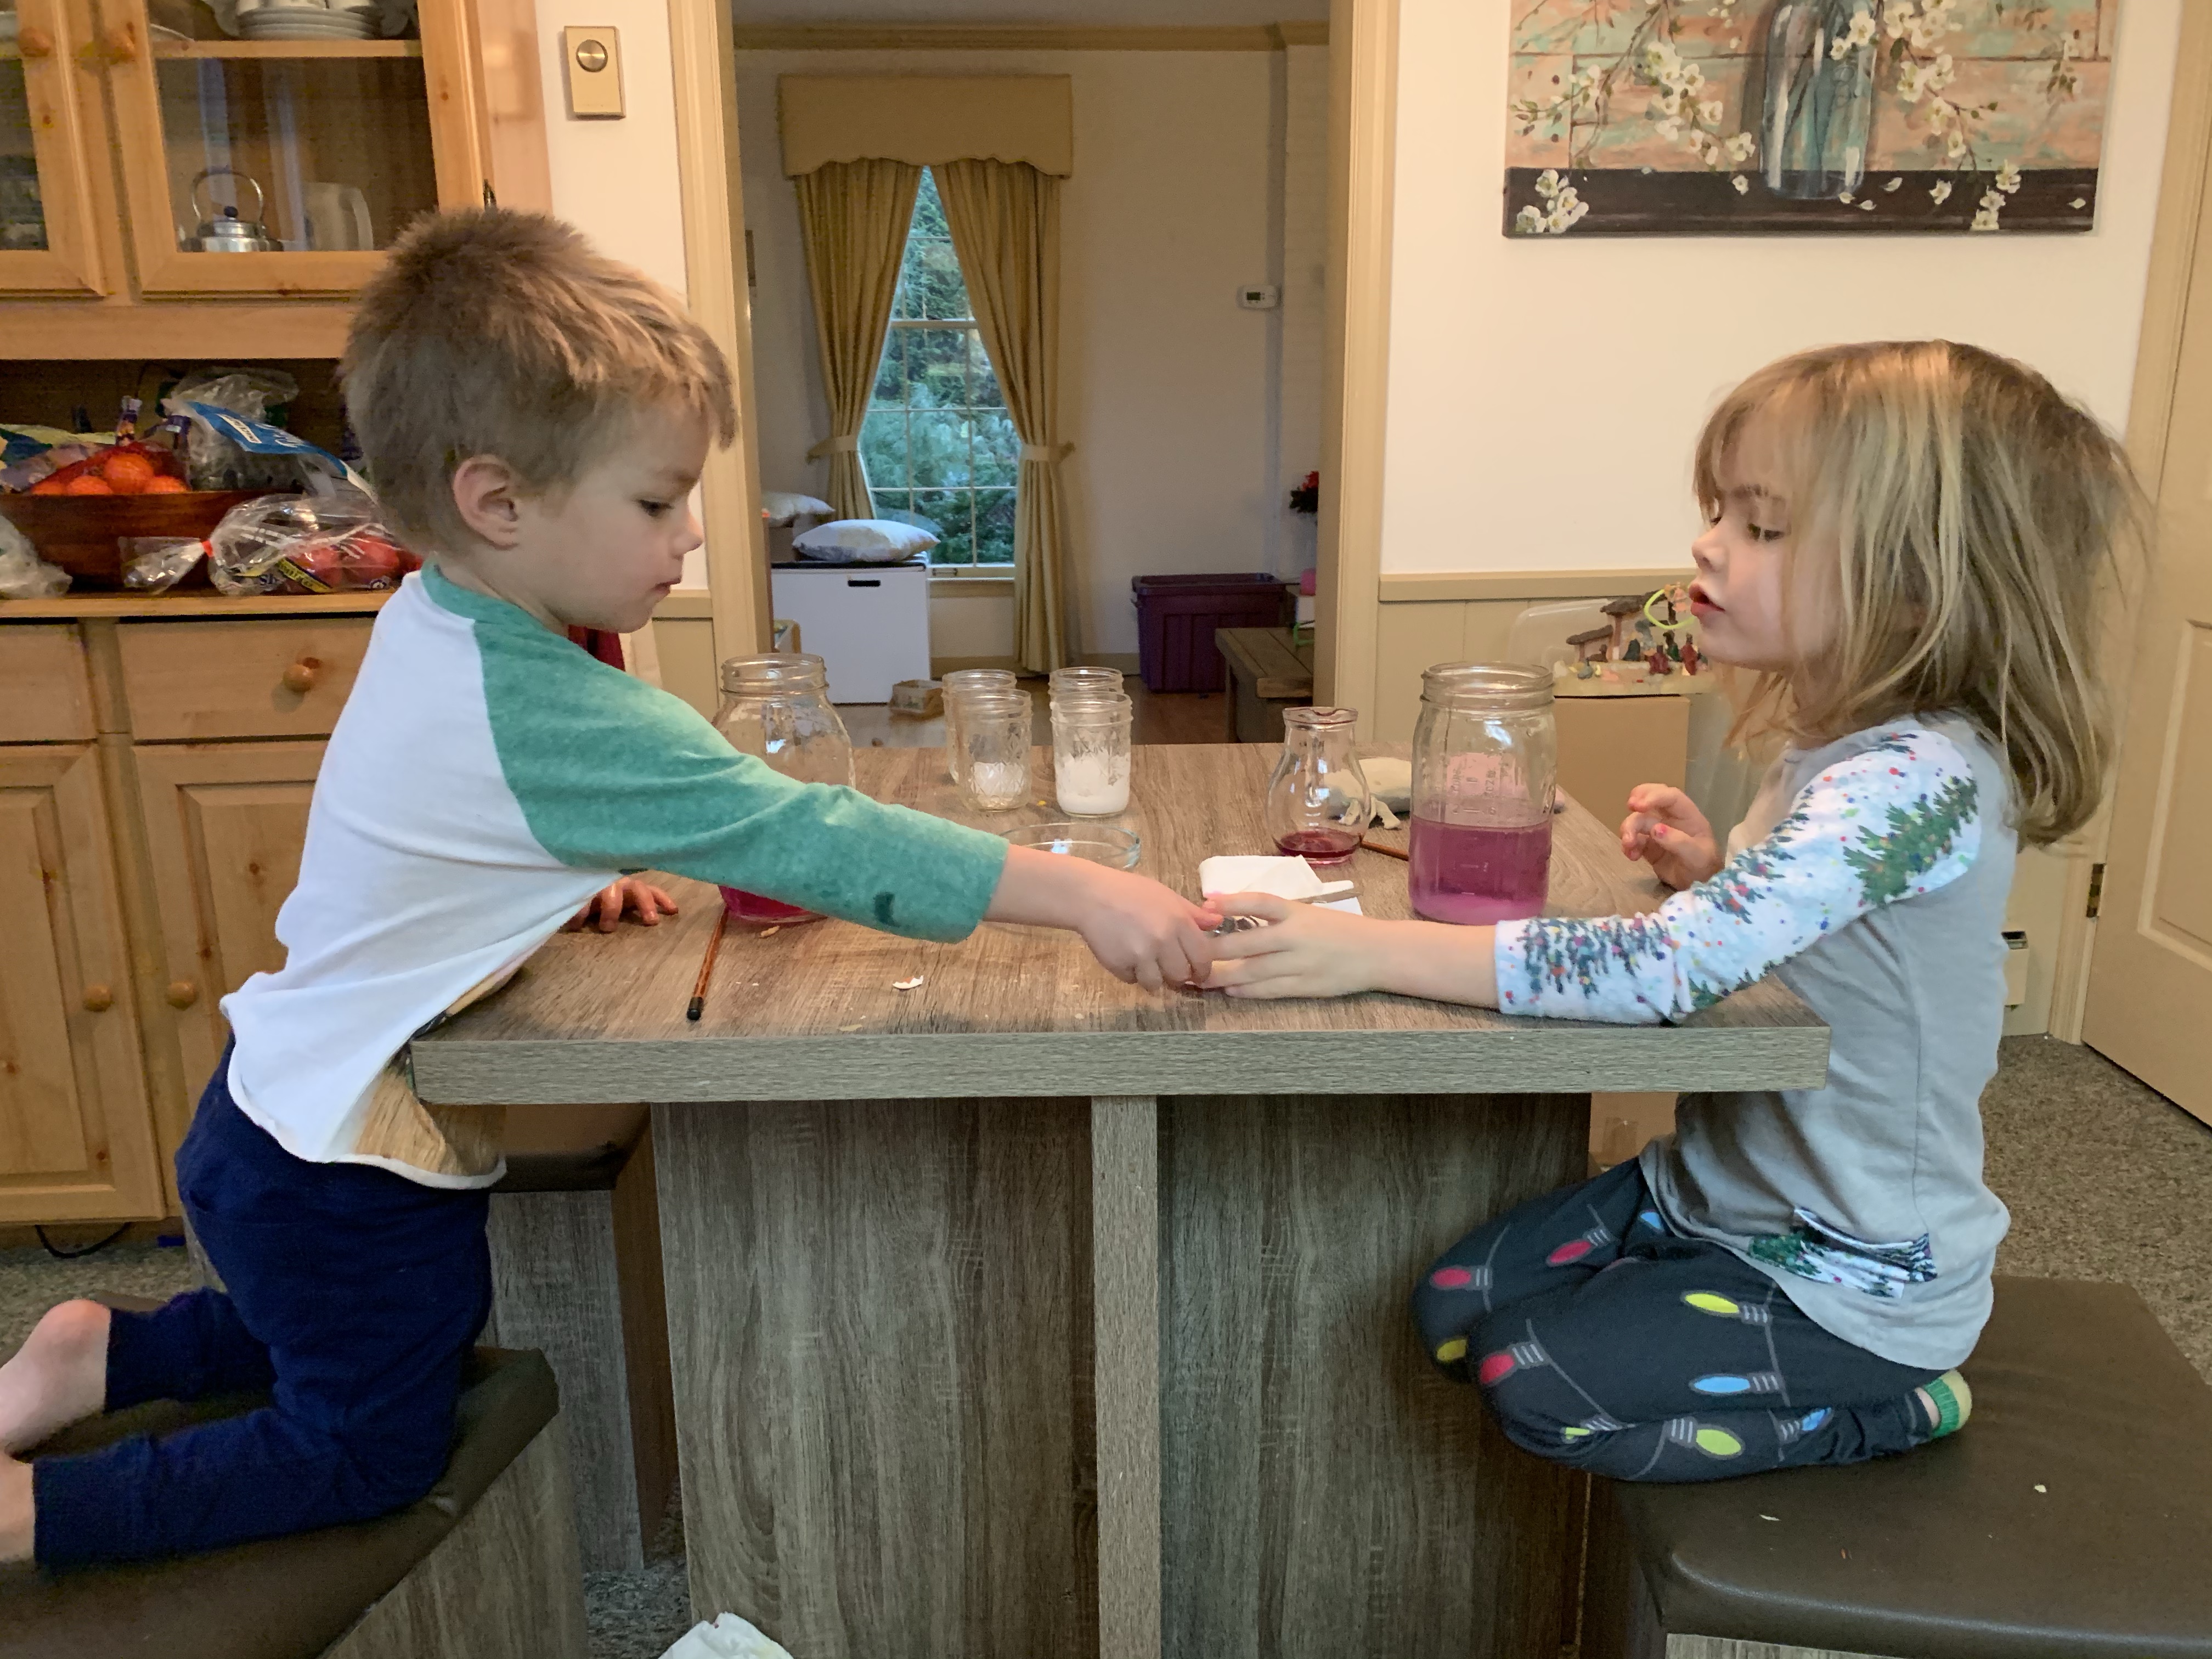
We even tried jelly to see if it would sink or mix into the concoction. Then have your child mix it real fast in a circle and see a cyclone happen!

Dish soap and the bubbles it causes is fun as well!

img_2704

Pretty much try anything!


Vinegar and baking soda which you want to save for last! The acid base pair will cause a volcanoes explosion! We did those outside then to have a huge overflow!

img_2708

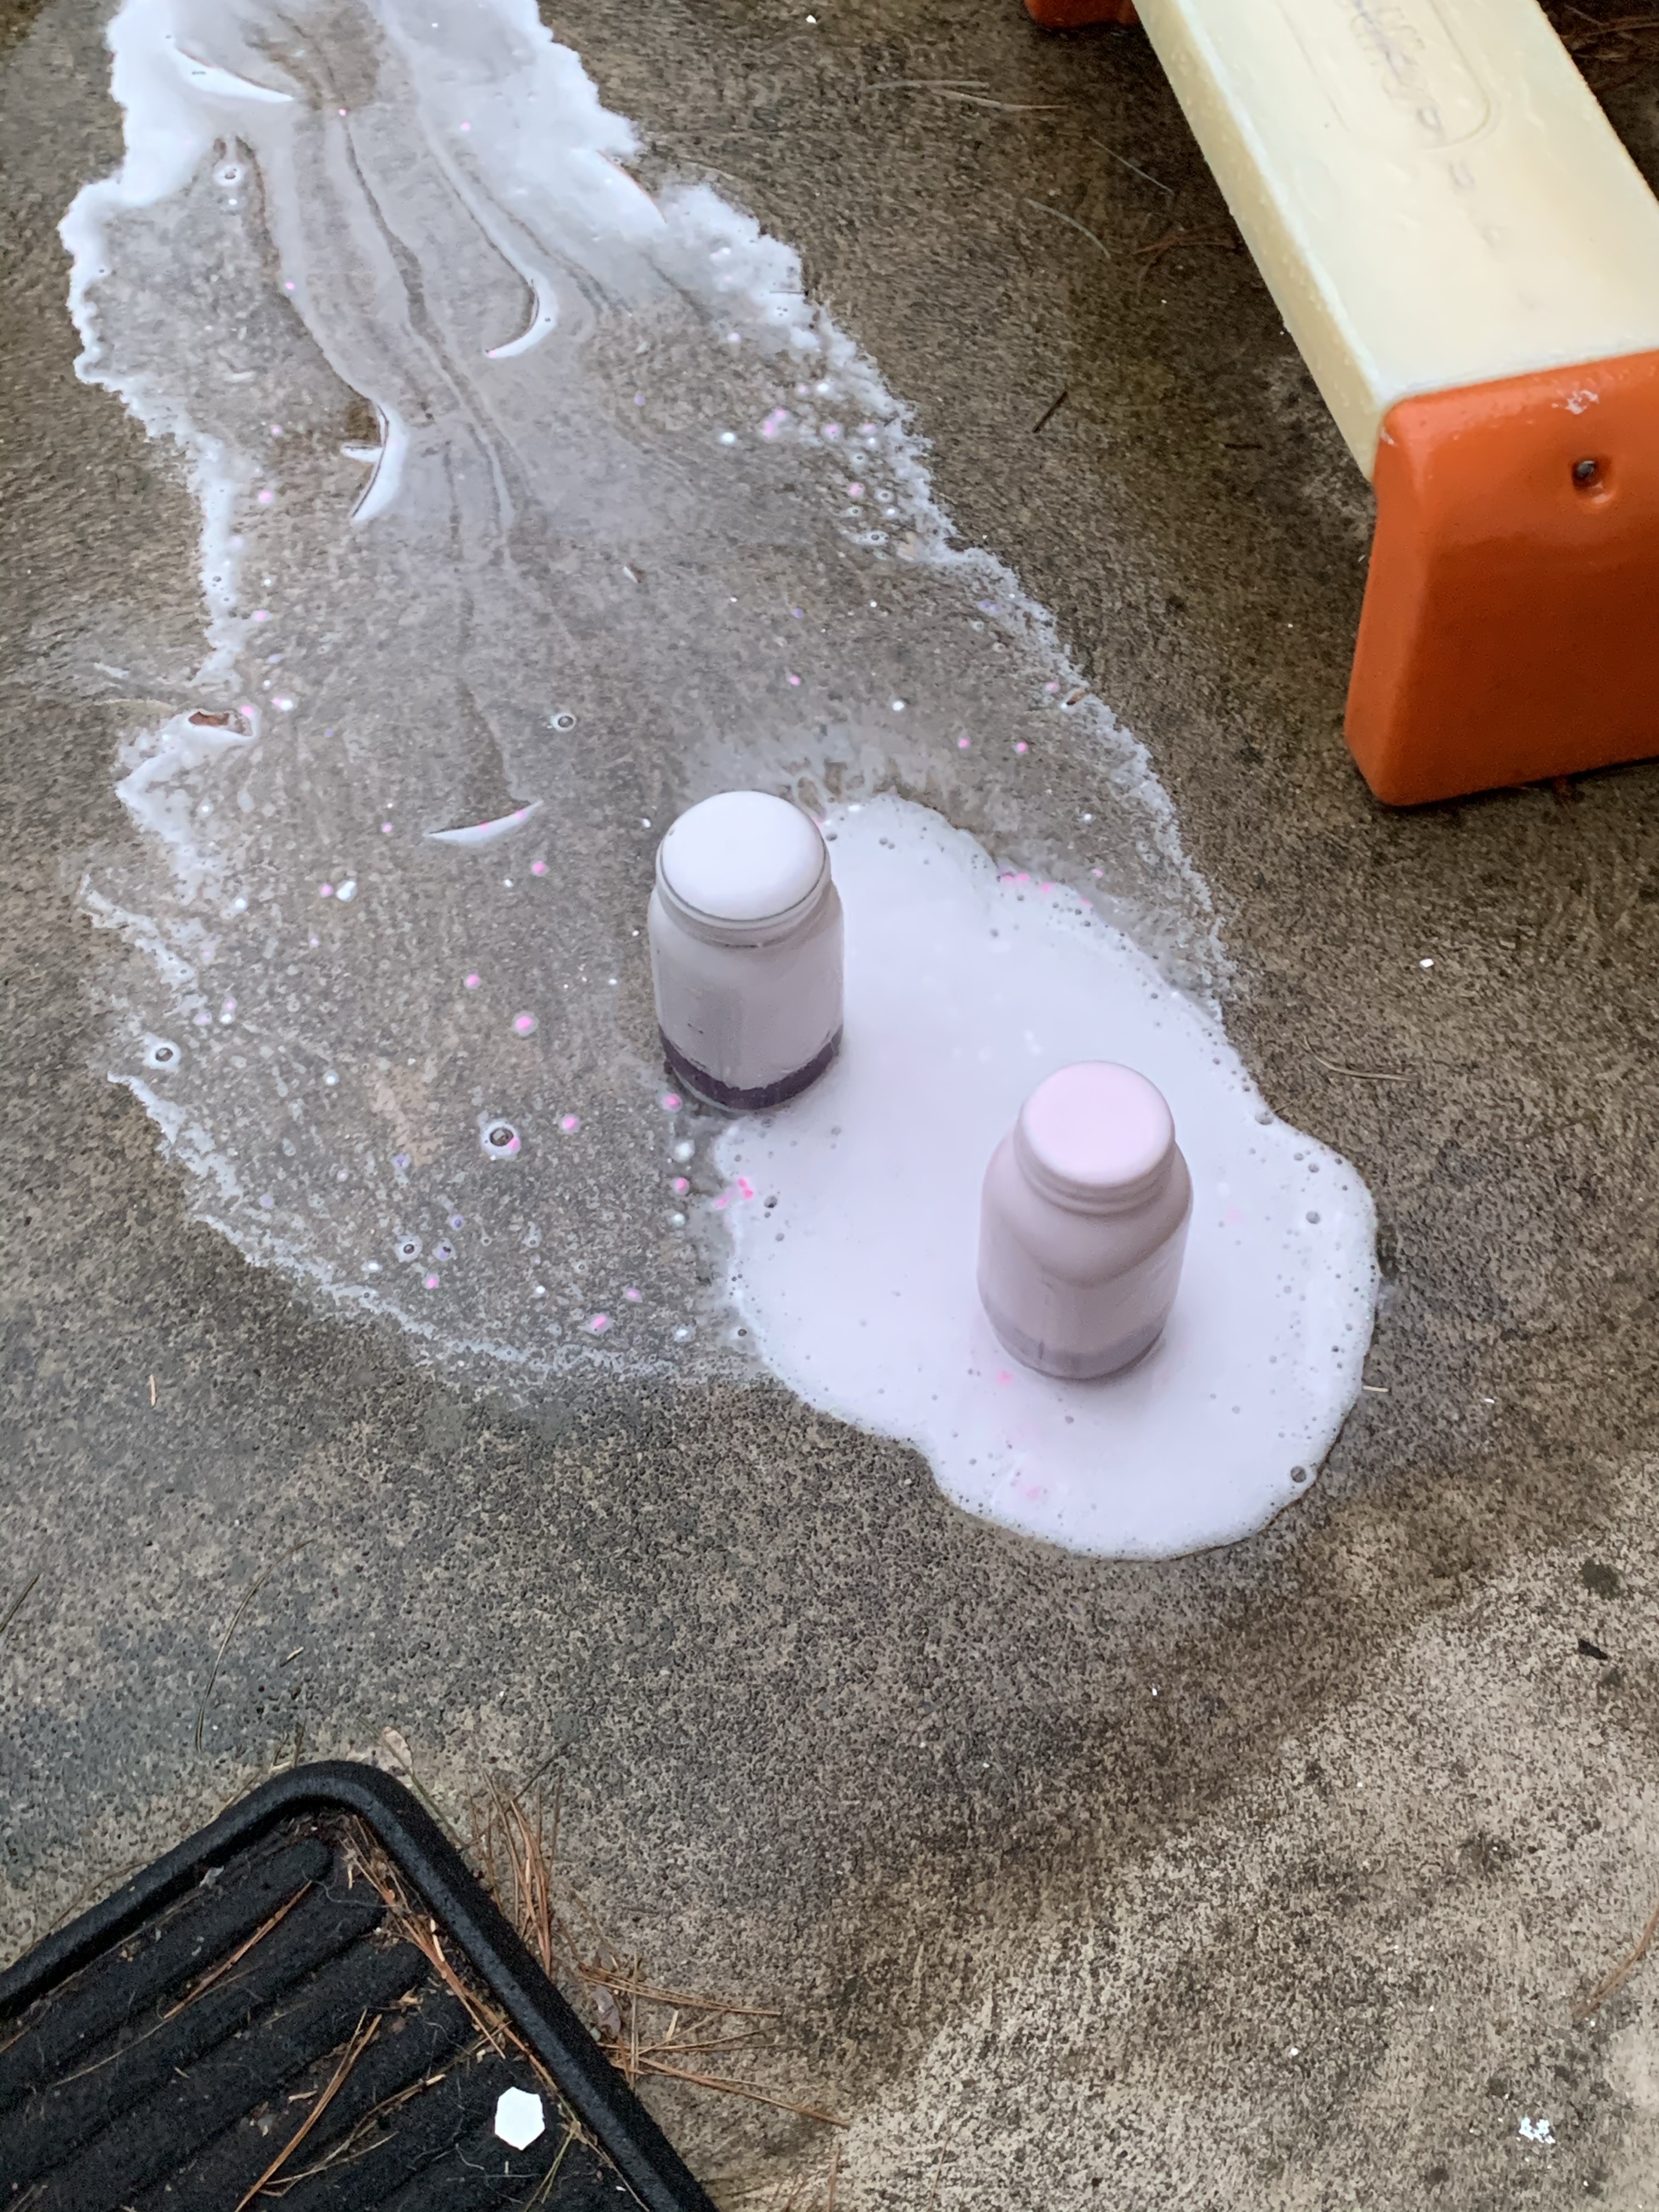
You can keep adding more vinegar to make it continue exploding!  Just bring it outside lol. img_2709

img_2710

ENJOY!!!!


FollowFacebookpinterestrssyoutube
ShareFacebookpinterest

Learn Names by Cars

Hi everyone!

The schools in Pennsylvania will be closed for at least 2 weeks due to the coronavirus, so I am home with my family.  I hope to do a lot of crafts and activities with my toddler to keep her busy & happy! You can look at previous posts and check back for more frequent posts during this time on things to do with your child! Today’s craft/activity will help your child learn letters and the spelling of their name (it will also be fun for them to play with)!

IMG_4688

All you need is a box, marker, cars, and some paper and glue or tape.

IMG_4681


You can use any box you have, I just happened to have one with a folding cover so added a ramp to it.


IMG_4683


Next, I wrote the letters of her name on construction paper and cut them out. Remember to space each letter out so you can cut them into rectangles or squares.


Next, I wrote start and made a line. I also made lanes for the cars to go to their parking spots. I figured Madison can then have them go on the ramp and race down to the letters at the bottom. Just a fun, quick, and easy activity if your kiddo likes cars!

IMG_4687

FollowFacebookpinterestrssyoutube
ShareFacebookpinterest

Going GAGA for Googly Eyes!

IMG_4525IMG_4511

Have paper plates? Googly eyes? Some paint and paper? Your kids will LOVE making these dinosaur plate crafts!

IMG_4497

Simply cut paper plates in half for the dinosaur/monster/turtle whatever you want to make bodies. For the next step you can use paint, stickers, or gems!

I cut out sponge shapes to dip in the paint, but my daughter enjoyed using the sides to paint with them more!

Have your child decorate the body of the animal you are creating, then let it dry!

IMG_4506

Your child will LOVE doing these. Next time I’m going to have my daughter use a brush. Another time I will try stickers, gems, and construction paper shapes!

After the plates dry, cut out the head/feet/tails you would like from construction paper or card stock to glue onto your painted plate bodies.

Your child can glue them on and decide how many of each item they would like!

Their favorite part is yet to come…googly eyes!!!

You can NEVER have enough.

IMG_4498 IMG_4523


She had SO much fun she wanted to keep doing googly eyes. I drew whatever animal she wanted and she added the googly eyes!!

WARNING: Your child will LOVE using ALL of the googly eyes!!

FollowFacebookpinterestrssyoutube
ShareFacebookpinterest

Almost perfect winter clothes ad…

If you haven’t seen the new SNL skit for Macy’s winter clothes, you need to!!!! Some of the scenes are so easy to relate to you laugh and cringe at the same time.

I never understood why snow boots are all zippered down the inside, otherwise it’s an hour struggle to get boots on yelling, “just push your foot in harder!”

That and the snaps for baby onesies. For the love of gosh, please tell me who thought buttoning a moving target who needs diaper changes hourly was a great idea?

And we can’t forget the itchy sweaters and clothes that you spent a fortune on because you thought they would look oh so adorable on your little one….

The jacket reference is funny; however, as we know, jackets should never be worn in a car seat, they get taken off before buckling up!

So if you haven’t enjoyed this ad yet, check it out!

FollowFacebookpinterestrssyoutube
ShareFacebookpinterest

+Pomander Ball: A fun fine motor experience

A craft using fine motor skills, creativity, and your child’s senses is making a Christmas Pomander Ball!  There are several ways to make them and we will go through some examples!

img_2460

Pomander Balls were originally used to ward away illness with the strong scents of cloves and other spices.  Today, we make pomander balls with citrus fruits and cloves as a decoration, gift, centerpiece, or for scenting the room.

What you need:

Citrus fruit: clementine or oranges work best (make sure they are on the harder side)

Whole cloves (you can get a large bag that will last for years at the food store)
Ribbon for decoration

To make holes you can use a fork, pushpin, or toothpick (optional): my kids like to use a small fork to poke several holes at once

  1. Pour some whole cloves into a small bowl for the kids to chose fromimg_2440-1
  2. Next, have your child use a fork to poke holes
  3. img_2442-1
  4. Take the whole cloves and poke them through the holes
  5. Make a design as you chose, and hang with ribbon
  6. img_2453
  7. Dry out in a dark place, preferably in a brown bag for a week or two until dry then hang them or decorate with them!  If you chose not to dry them, then they usually last a week before they brown and get moldy. You can also place them in the fridge at night if you want them to last a little longer.
  8. img_2459
  9. If you fill the whole fruit with cloves completely, it will dehydrate the fruit and you wont need to place it in a bag at all (my kids don’t usually have the patience for this yet)

img_2458

My kids wanted to law shapes on their clementines with the cloves!

img_2460

Enjoy and let me know how they turn out!!!


FollowFacebookpinterestrssyoutube
ShareFacebookpinterest

DIY Felt Unicorn Ornament

My daughter saw the cutest ornament at Boscov’s the other day…a unicorn. It was made from felt and I thought, “I can make that!” If you know anyone who loves unicorns then this simple felt ornament can be made for Christmas, or enlarged as a stuffed animal!

Materials needed:

-Felt in various colors: I used leftover felt I had from other projects. Any colors will work. I used white, yellow, blue, and pink.

-scissors, needle, thread

-hot glue gun, felt marker, cotton for stuffing

11 - Copy

First I laid out a white piece of felt and drew the body. I didn’t use a printout or pattern, I just eyeballed it by looking at pictures. I cut it out, then laid it on top of another piece of white felt to trace and again cut out. This way I had both sides of the unicorn’s body.

11 - Copy

The second cut out of the unicorn body ended up a little larger, but I just cut and adjusted the size as I was sewing it. Next, I moved onto cutting out the hair for the mane and tail. I also cut out an ear and horn. I looked at pictures and drew it freehand on the colors of felt I desired. They ended up looking like little worms.

1 - Copy1 4

I placed my tail pieces on the back to make sure they looked okay and hot glued them to the back piece of the body. I did not glue them to BOTH body pieces, just the front of the back piece of the body (see picture).

3 2

Next,  I placed the hair and ear on the unicorn to make sure it looked correct. I didn’t glue it, but just placed it there to make sure it was to my liking. I drew on eyes, a mouth and nose with a felt marker.

51 - Copy

I hot glued the horn onto the front of the back piece of the body. I hot glued the mane and ear onto the front body piece. Next I sewed the unicorn together. As I was sewing, I stuffed it. Don’t wait until the end or your won’t be able to fill the smaller spaces like the legs.

1 - Copy.jpg

After sewing and stuffing the unicorn, I cut a piece of ribbon and hot glued it to the back of the unicorn.

21

Next, I hung it on the tree. Wallah! DONE!

4

3

Happy Ornament Making!!!!


FollowFacebookpinterestrssyoutube
ShareFacebookpinterest

My Toddler’s Favorite Christmas Books

My toddler’s favorite holiday is approaching fast…Christmas! She’s the kid you see in line screaming, “SANTA!!!!” like Buddy the Elf. She LOVES Santa and LOVES books, so I thought I’d write about her favorite books in case anyone is looking for toddler books!

IMG_2947

“The Sweet Smell of Christmas”warms our hearts.

This is a scented book, or in my day they called them “scratch and sniff” books. Little Bear gets ready for Christmas with his family and the book centers around the smells of Christmas. He wakes up to smell something and asks his mom what the smell is. She responds by saying that the smell is Christmas. The family gets a tree, trims it, adds candy canes, hangs stockings, and enjoy Christmas day together.

IMG_2958 IMG_2959

Yes, it looks like Madison is kissing the pie…maybe she’s actually trying to eat it since it smells so good! I love asking her, “Can you smell Christmas?” She looks at me with a smile and says, “YES! I smell Christmas!”

IMG_2948

A tried and true favorite is Little People’s “Christmastime Is Here.” 

I’ve had this since she was a baby and she’s loved it every single year. There are over 65 flaps for your child to lift. The adventure starts in the classroom and the characters travel to Santa’s workshop with the elves and then home for the holidays. The characters are the same throughout the little people books so your child will squeal in delight at seeing them again.

IMG_2954IMG_2957IMG_2956

An interactive book called“We Wish You a Merry Christmas” is based on the song.

It has push, pulls, and slides that have your child discovering snowmen, sending sleds down a hill, and uncovering Santa and his sleigh! It’s a wonderful family book and a great way to learn the lyrics. It even has a QR code to scan that plays the song along with the book.

IMG_2949IMG_2953

The last book is “Sesame Street, A Christmas Story.” I searched for this online, but it looks like it’s not made anymore. However, I did see it on ebay and at local libraries. My daughter loves this book because all of the characters from sesame street are there and there are many sounds!

There are many sesame street stories, including scratch and sniff ones (which I’m sure my daughter would love).

As you can tell she LOVES interactive books and I’m sure your child would love these too!

Look for more blog entries coming up with favorite preschool books and books to buy your child this Christmas. Happy Holidays!

FollowFacebookpinterestrssyoutube
ShareFacebookpinterest

Handprint Turkey Craft

I don’t know about you, but my daughter LOVES to paint! She also loves to paint with her fingers! A turkey handprint is the perfect craft for Thanksgiving!

Materials:

  • paper
  • glue
  • finger paint
  • googly eyes
  • paint in assorted colors
  • paintbrush

1 - Copy.jpg

First, get a blank piece of paper and tape it to the table so that it doesn’t move. Choose the paint colors (Madison did this). I squirted them out onto disposable coffee tops since I had a lot left from a party.

Next, paint your child’s palm and thumb and press them down on the paper. I made 2 on one paper so I could give one as a gift!

We chose a different color for each finger and painted each one and then pressed it down. These made colorful turkey feathers!

After letting it dry we added a beak, turkey gobbler and feet by drawing them on. However, you could also paint them.

Finally, we added the googly eye and our turkey was complete. A family keepsake to hang up each Thanksgiving!

1.jpg

FollowFacebookpinterestrssyoutube
ShareFacebookpinterest

Sparkle Pumpkins!

IMG_2254

It’s finally fall and pumpkin time! Toddlers LOVE holidays and what a great way to get ready for trick-or-treating by decorating pumpkins! Obviously, toddlers shouldn’t be holding knives to make jack-o-lanterns so there are many fun alternatives!

You can have your toddler paint a pumpkin, add stickers, pom-poms, and many other accessories instead of the normal jack-o-lantern.

Or….you can have them make sparkle pumpkins! My daughter LOVES glitter, I mean who doesn’t? Okay, maybe we don’t, especially when you have to clean it. However, this is a perfect activity for outside in the cool, crisp fall weather.

IMG_2244

What do you need for this activity?

A pumpkin of course! Other materials you need are paint, glitter, glue, and brushes. You may want a paper plate or something you are using to put the paint on to mix it with glue. Glitter is a very important part of this activity! We used various colors.

First ask your child what color they want to start with! Add HALF glue and HALF paint concoction together. Mix them with the brush. The glue helps the paint stay on the pumpkin and not flake off. It also helps the glitter stay on. Your child can have fun painting their pumpkin!

IMG_2247


Let them paint to their heart’s content, then have them pick a glitter color or two.


IMG_2257


Madison spread the paint pretty thin, so I went ahead and put some liquid glue on the plate and had her brush the glue over the paint. This allowed the glitter to stick better. She just shook the glitter over the pumpkin (and all over the sidewalk).


I recommend you keep the pumpkin out of the rain!

IMG_2261

ENJOY!

FollowFacebookpinterestrssyoutube
ShareFacebookpinterest

Dress up a dress!

This time I just didn’t have time to make a full princess dress, who does when the kids are little? So last minute I used a plain tutu dress that actually has paint stains I couldn’t get out on it! Don’t worry, they get covered up!

Then I ordered a special mermaid appliqué with the number 5 for my daughters birthday off of Etsy. I also had some leftover sequin fabric I wanted to add to the dress.

I used the sequin fabric and sewed it all

Around the bottom inner layer of the dress. Then I added the patch and wow what a difference with that easy change! I was going to add some puff sleeves but the weather was warm so I ended up keeping it sleeveless.

Purchased an assortment of gem heart stickers and used fabric stitch glue to place them on the dress!

This can be done easily and quickly and you have a birthday dress! You can add sleeves, bows, a sash or belt!

FollowFacebookpinterestrssyoutube
ShareFacebookpinterest