Fall Wreath Fun

IMG_1968

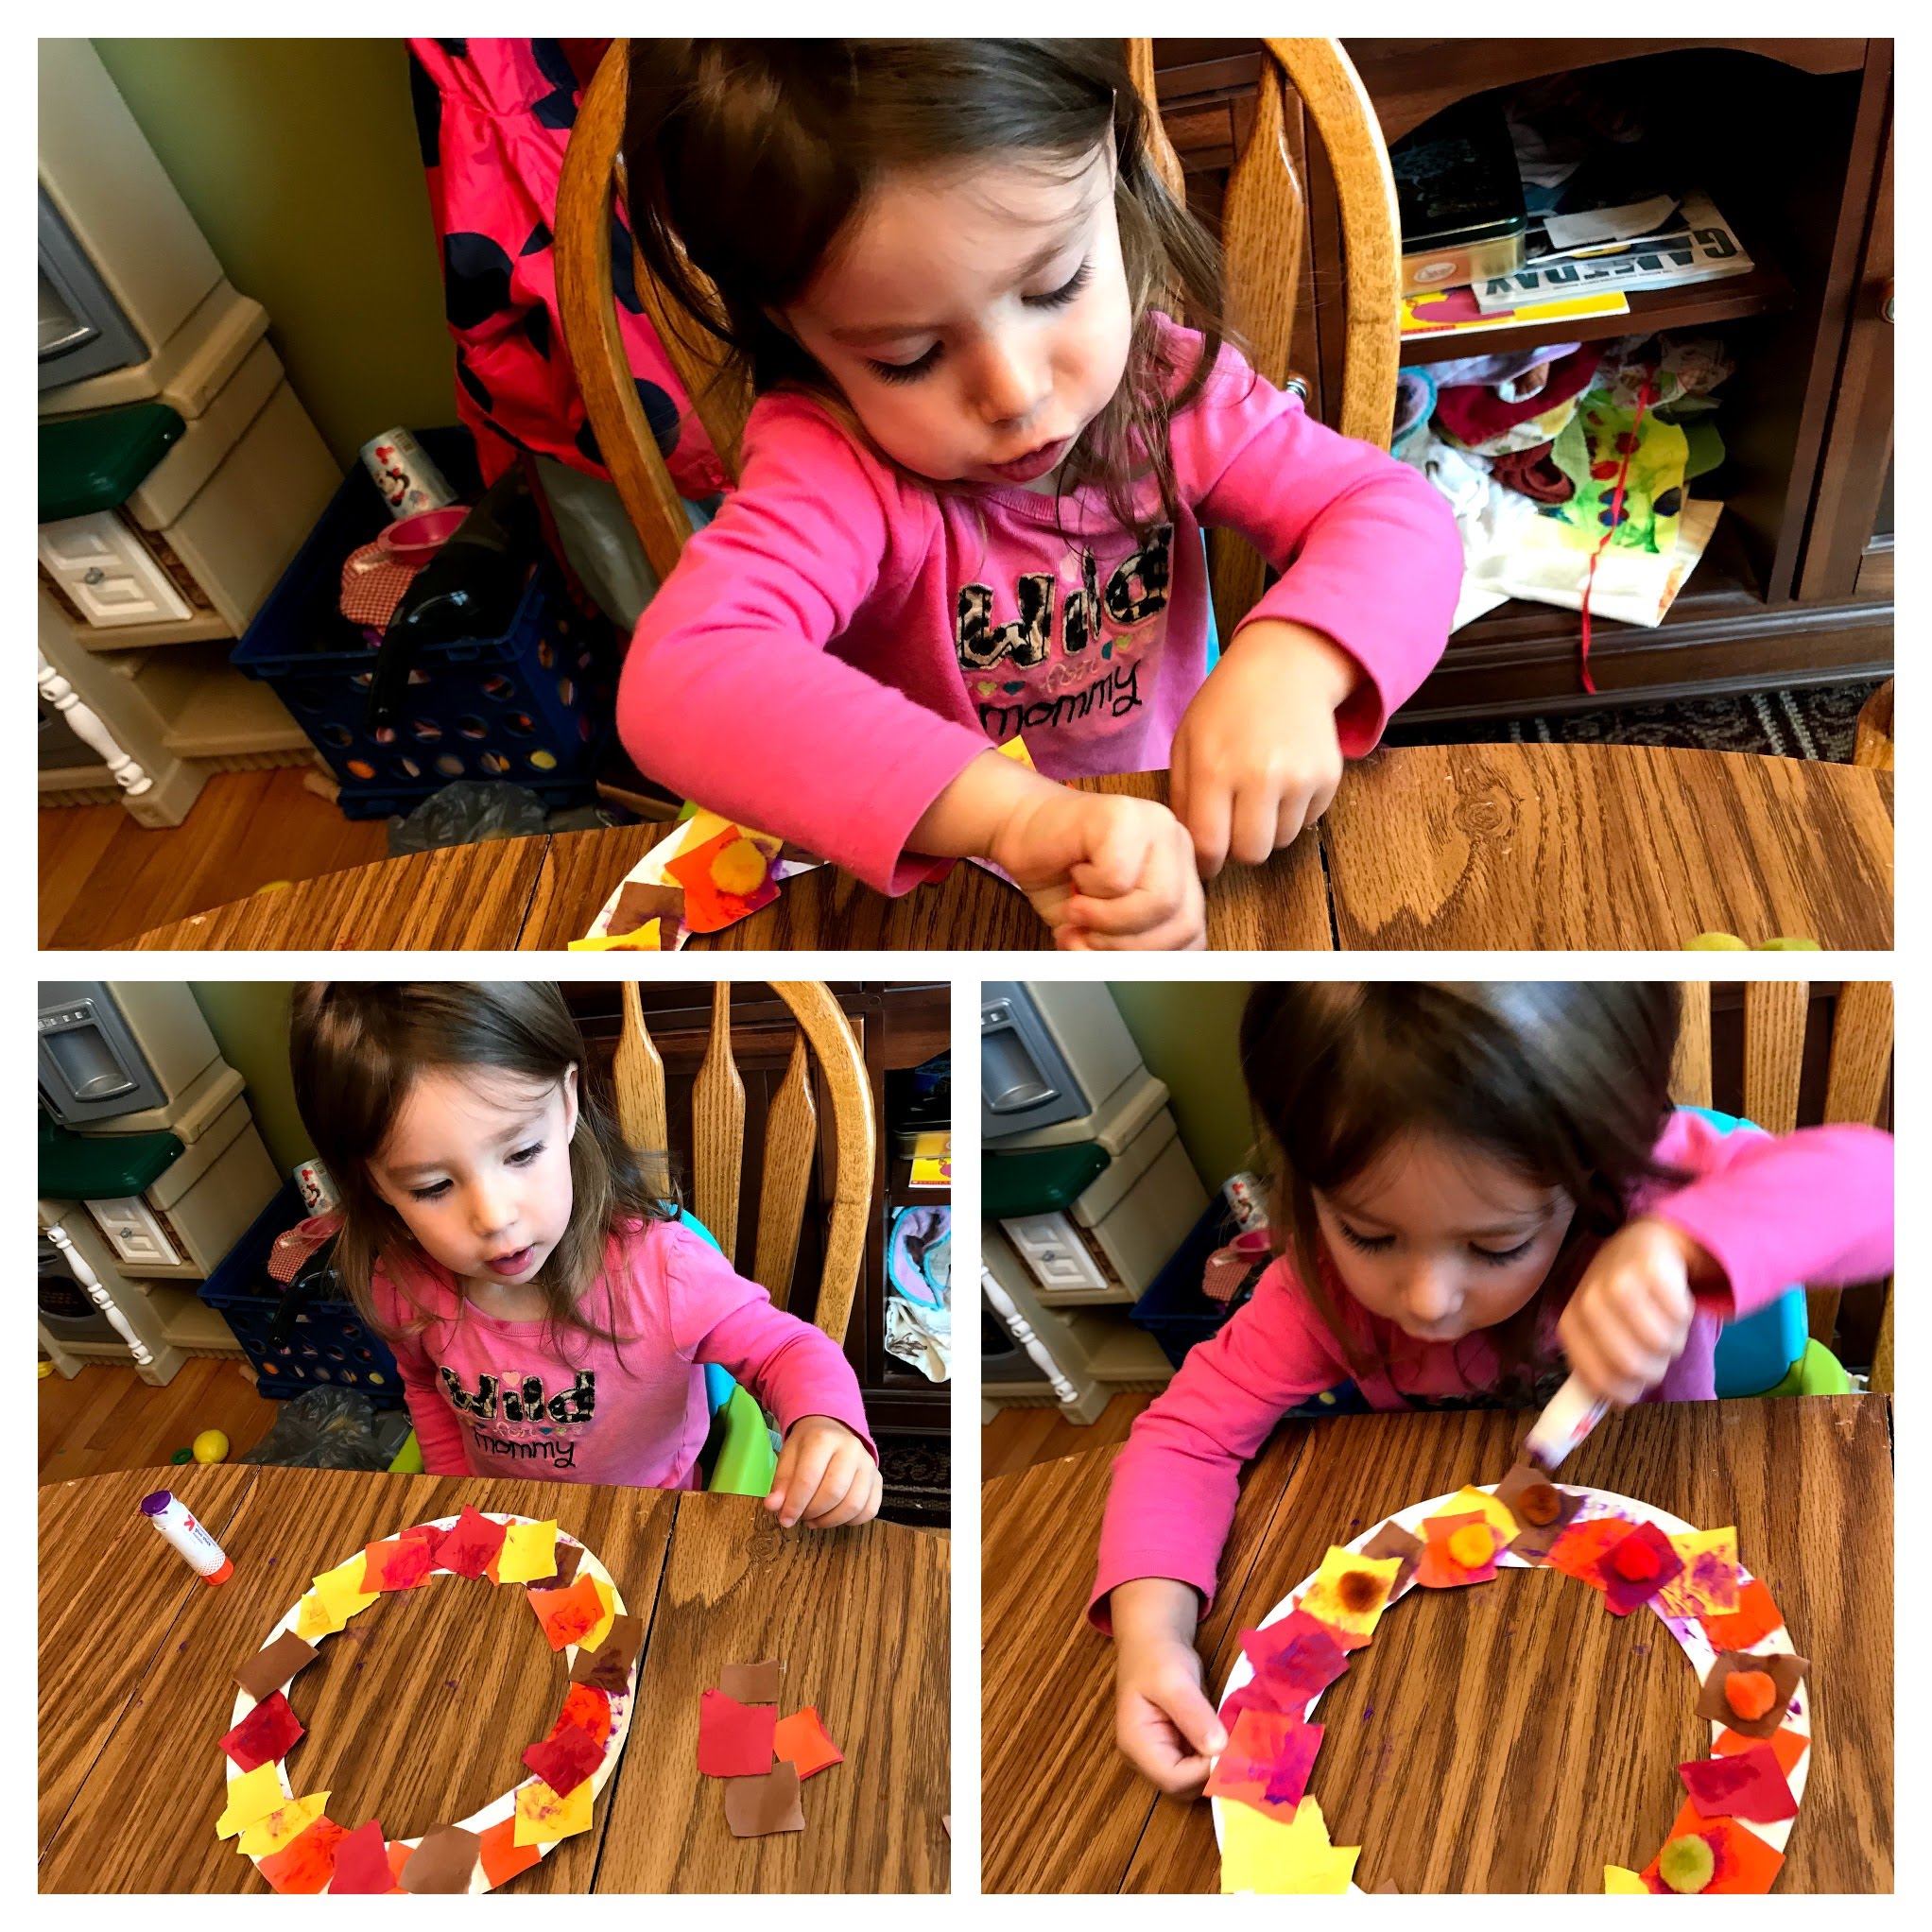
We always hang a wreath on our door for each season or holiday. Madison wanted in on the fun, so we decided to make our own fall wreath! It’s very simple and easy!

Materials:

  • paper plate
  • glue
  • assorted fall construction paper colors
  • string
  • pom poms (optional)
  • You could also add glitter or any other extras!

IMG_1958  IMG_1954

First, cut out the middle of the paper plate so you have a circle left. Next, I cut the construction paper in strips, then cut it into small squares she could glue onto the “wreath”. We pretended the squares of construction paper were leaves. You can use your scissors for this or if you want more of a messy look you can rip the paper or have your child do it.

IMG_1961-COLLAGE

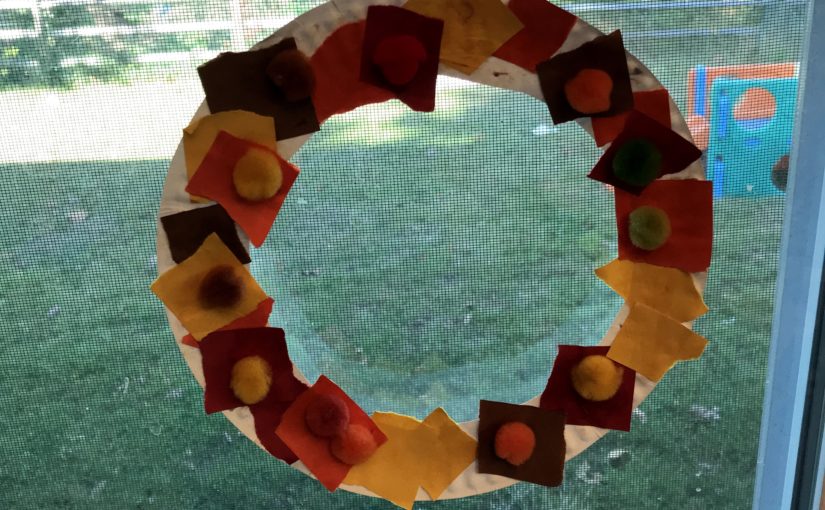
Madison had a lot of fun gluing on all of the pieces. She loved using the glue stick. We covered the paper plate then we added fall colored pom poms on top of the “leaves” (construction paper). She LOVED this project and after it dried we hung it up on the window. She points it out proudly every time we go by!

IMG_2013

FollowFacebookpinterestrssyoutube
ShareFacebookpinterest

Felt Weather Board

A felt weather board is a great way for a toddler/preschooler to learn the days of the week and the weather! I ended up having a few pieces of felt, some thread, and ribbon left over from other projects so I thought, why not? Weather board time!

IMG_0772

The first thing I did was fold a piece of felt in half, horizontally. I decided to make 2 pockets to hold the weather icons. Sew the two sides together, going through both layers of felt, then do the same in the middle.

Next, decide on a background color. Lay the felt pockets on the bottom overlapping the background color. I overlapped 2 inches then hand sewed the sides 2 inches down (only on the inner layer which you can’t see) and along the top.IMG_0773              IMG_0774

IMG_0775

Next, I used a sharpie and wrote  “Today is” at the top. I didn’t intend to do the days of the week as my girl is only 2, so she won’t really grasp that, but I had more felt and space! This weather chart can grow with her. Not only will I add more weather icons such as hail, sleet, moon phases, but I will also add the days of the week as she gets older. For now I will store them to the side to focus on weather!

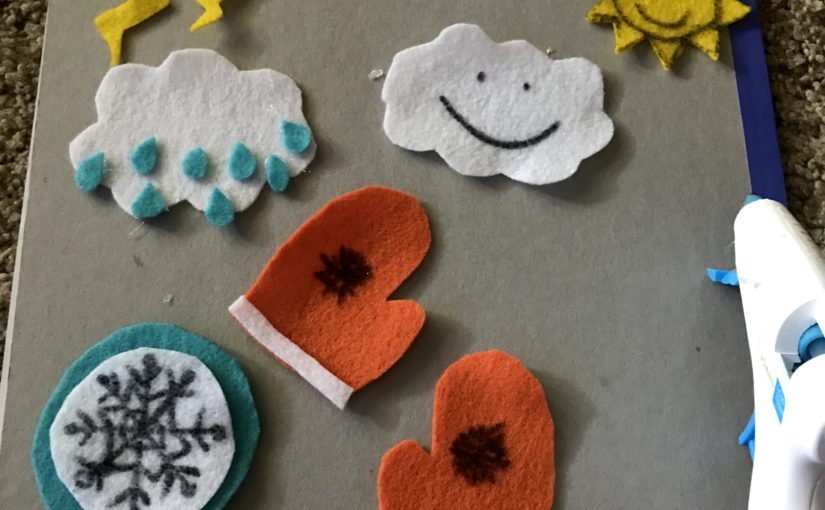
Time for the fun part, making the weather symbols! There are countless ways to create them, I decided on these.IMG_0777

I also added a partly sunny symbol which you will see in later pictures. I did all of these by hand, sometimes outlining the pattern I wanted on the felt first, then cutting them out. I used the glue gun to add some different colors such as the white on the snowflake, the mittens, wind, lightning and rain.

IMG_0779

I bought some velcro from Michaels. You can use the scratchy side on the back of the weather symbols. This scratchy side will stick to the felt that is the background, you don’t need the soft side of the velcro at all.

I also added a partly sunny symbol you can see at the top of the picture. I did not use the hot glue for the velcro, it just happens to be in the picture. The velcro has a sticky side that will adhere to the felt.

IMG_0780

I had extra felt so I made days of the week!

My daughter won’t really grasp the days of the week but we can practice anyway. I can also store them until she’s ready. I might have to do that! She loves the felt weather board so much she puts them all up and takes them all down. Her favorite symbols are the sun and partly sunny. She had to take them to my sister’s house. Luckily I convinced her to leave them in the car so we didn’t lose them and I returned them to her board!


IMG_0782


I ended up adding ribbon by making a stitch at the top. To make it extra sturdy I decided to hot glue the bottom of the ribbon to the felt too! You can use string, small ribbon, or anything you choose for this! I hung it above her work table using the clear command hooks that will easily come off of the wall if I want to remove them.


You can make the weather board a daily routine! Do it in the morning, or change it throughout the day based on the weather. Enjoy!!! IMG_0783


FollowFacebookpinterestrssyoutube
ShareFacebookpinterest

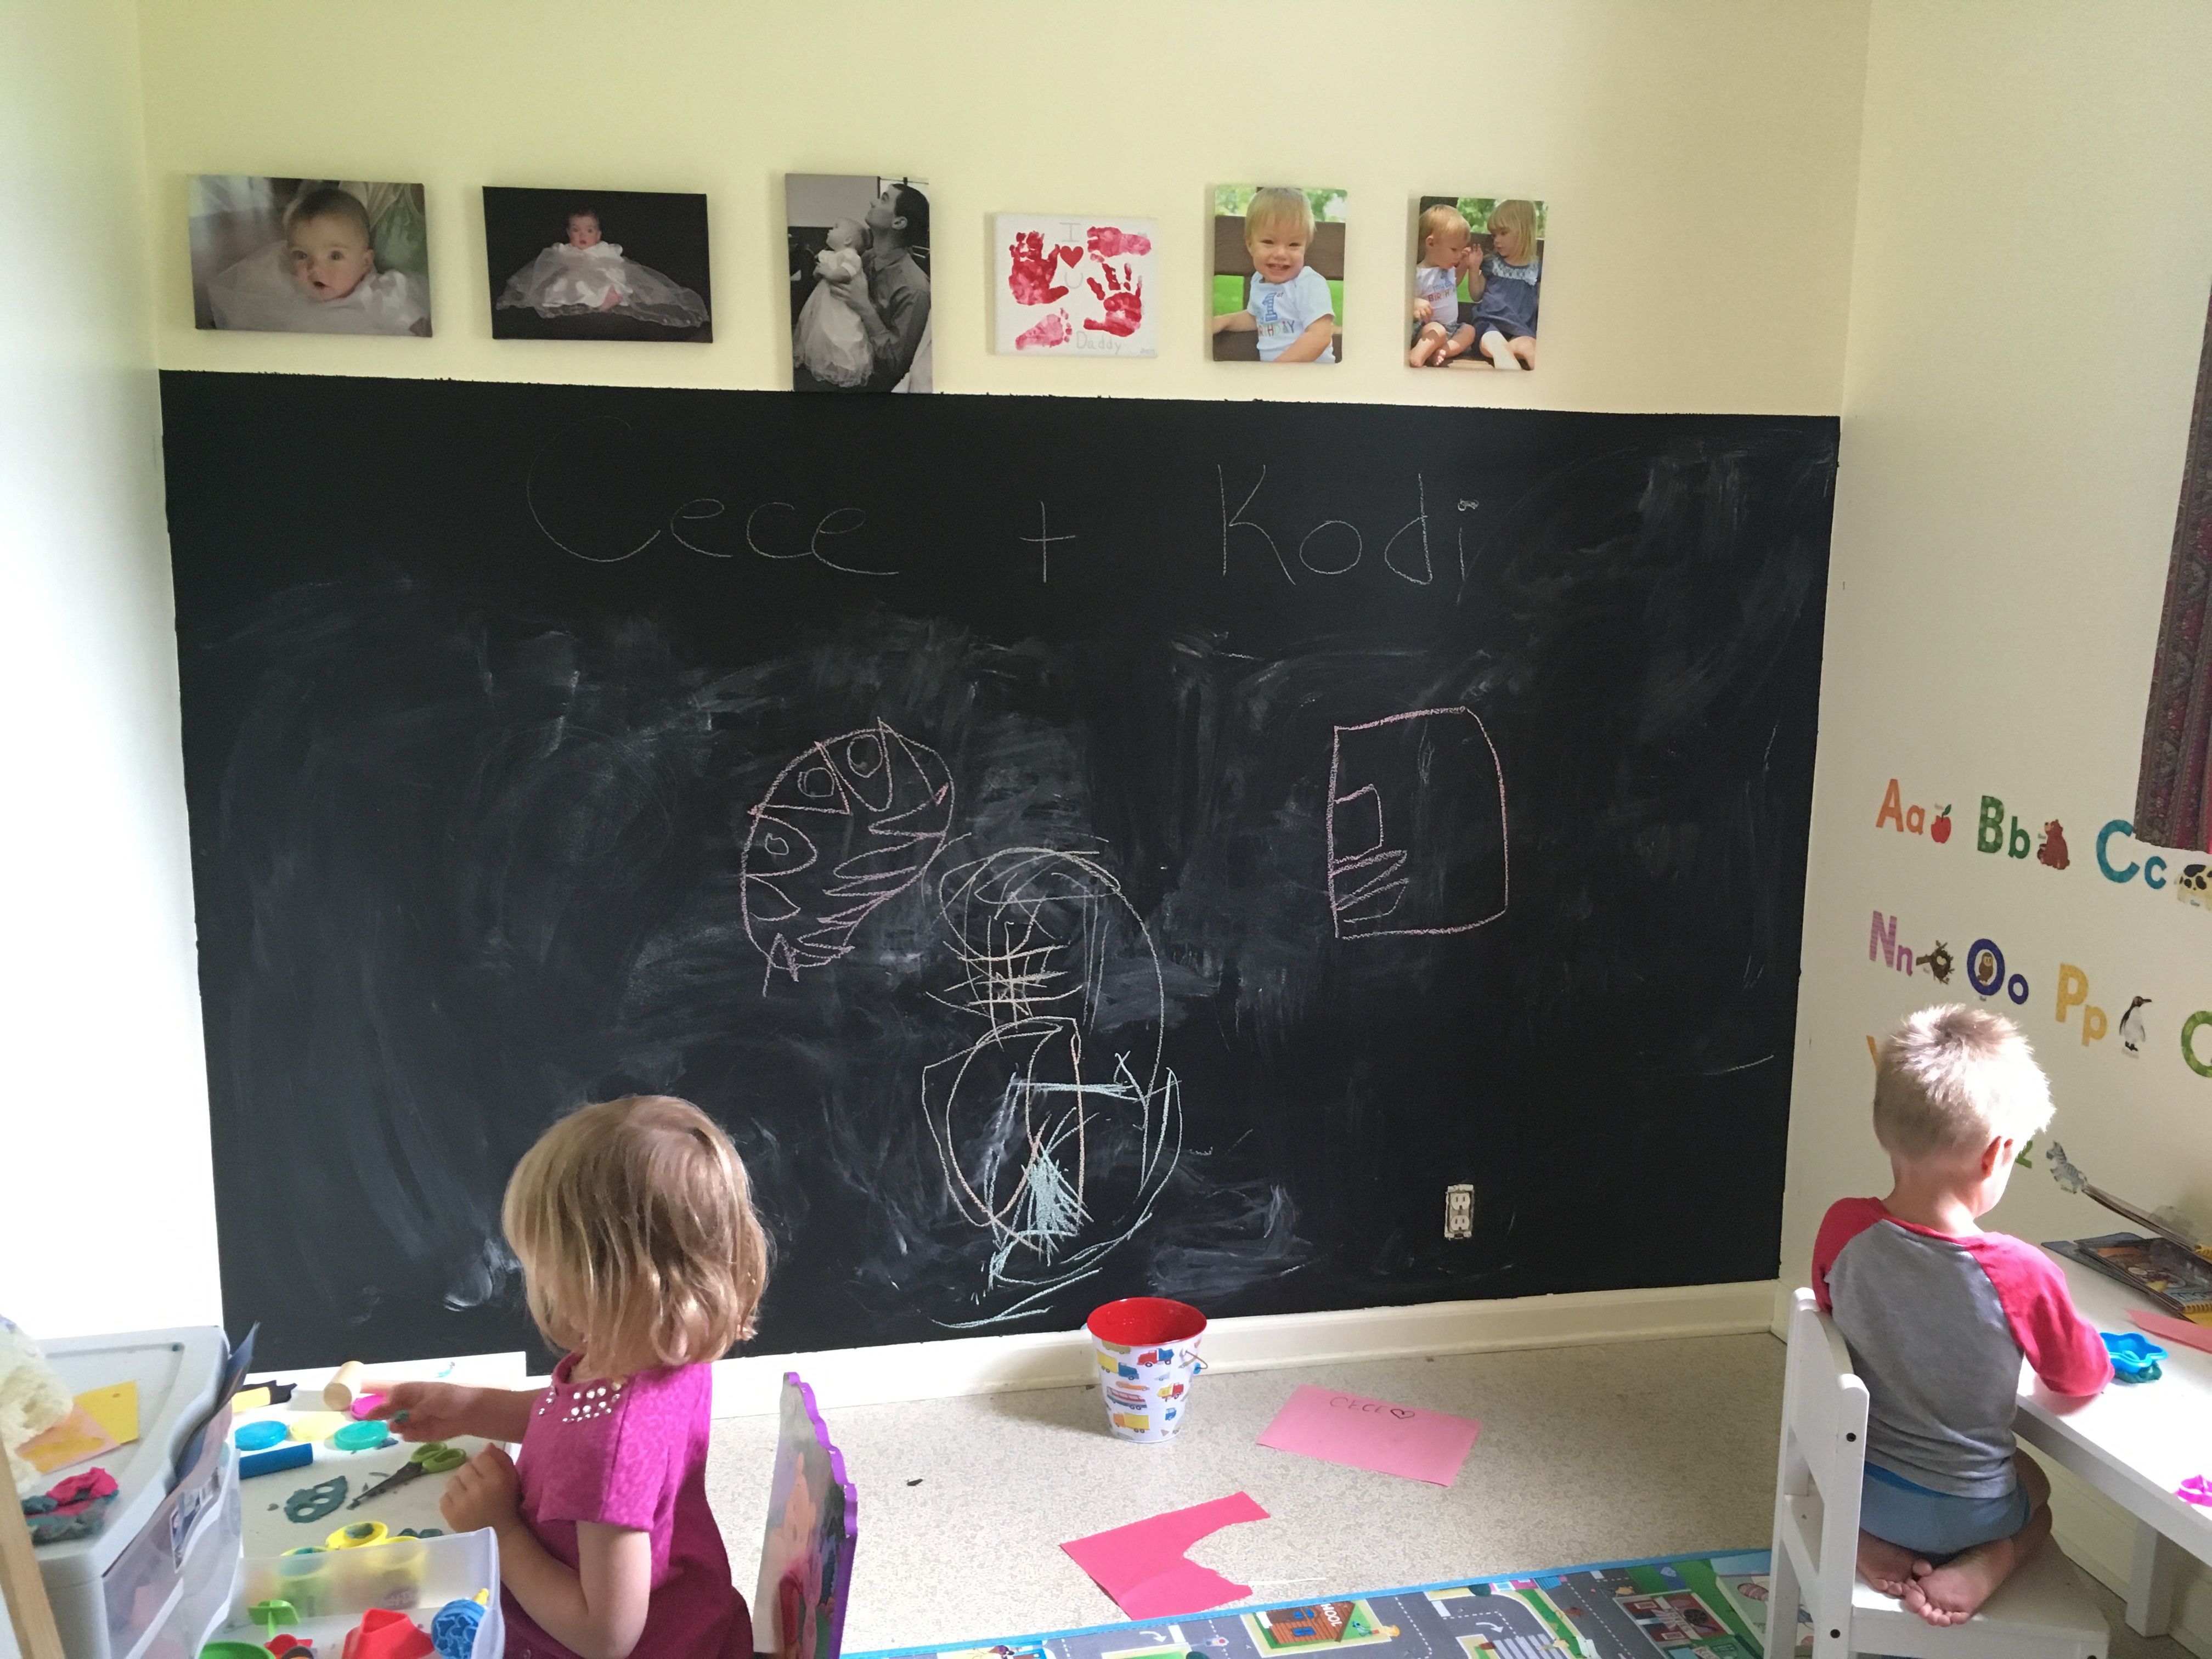
DIY chalkboard wall

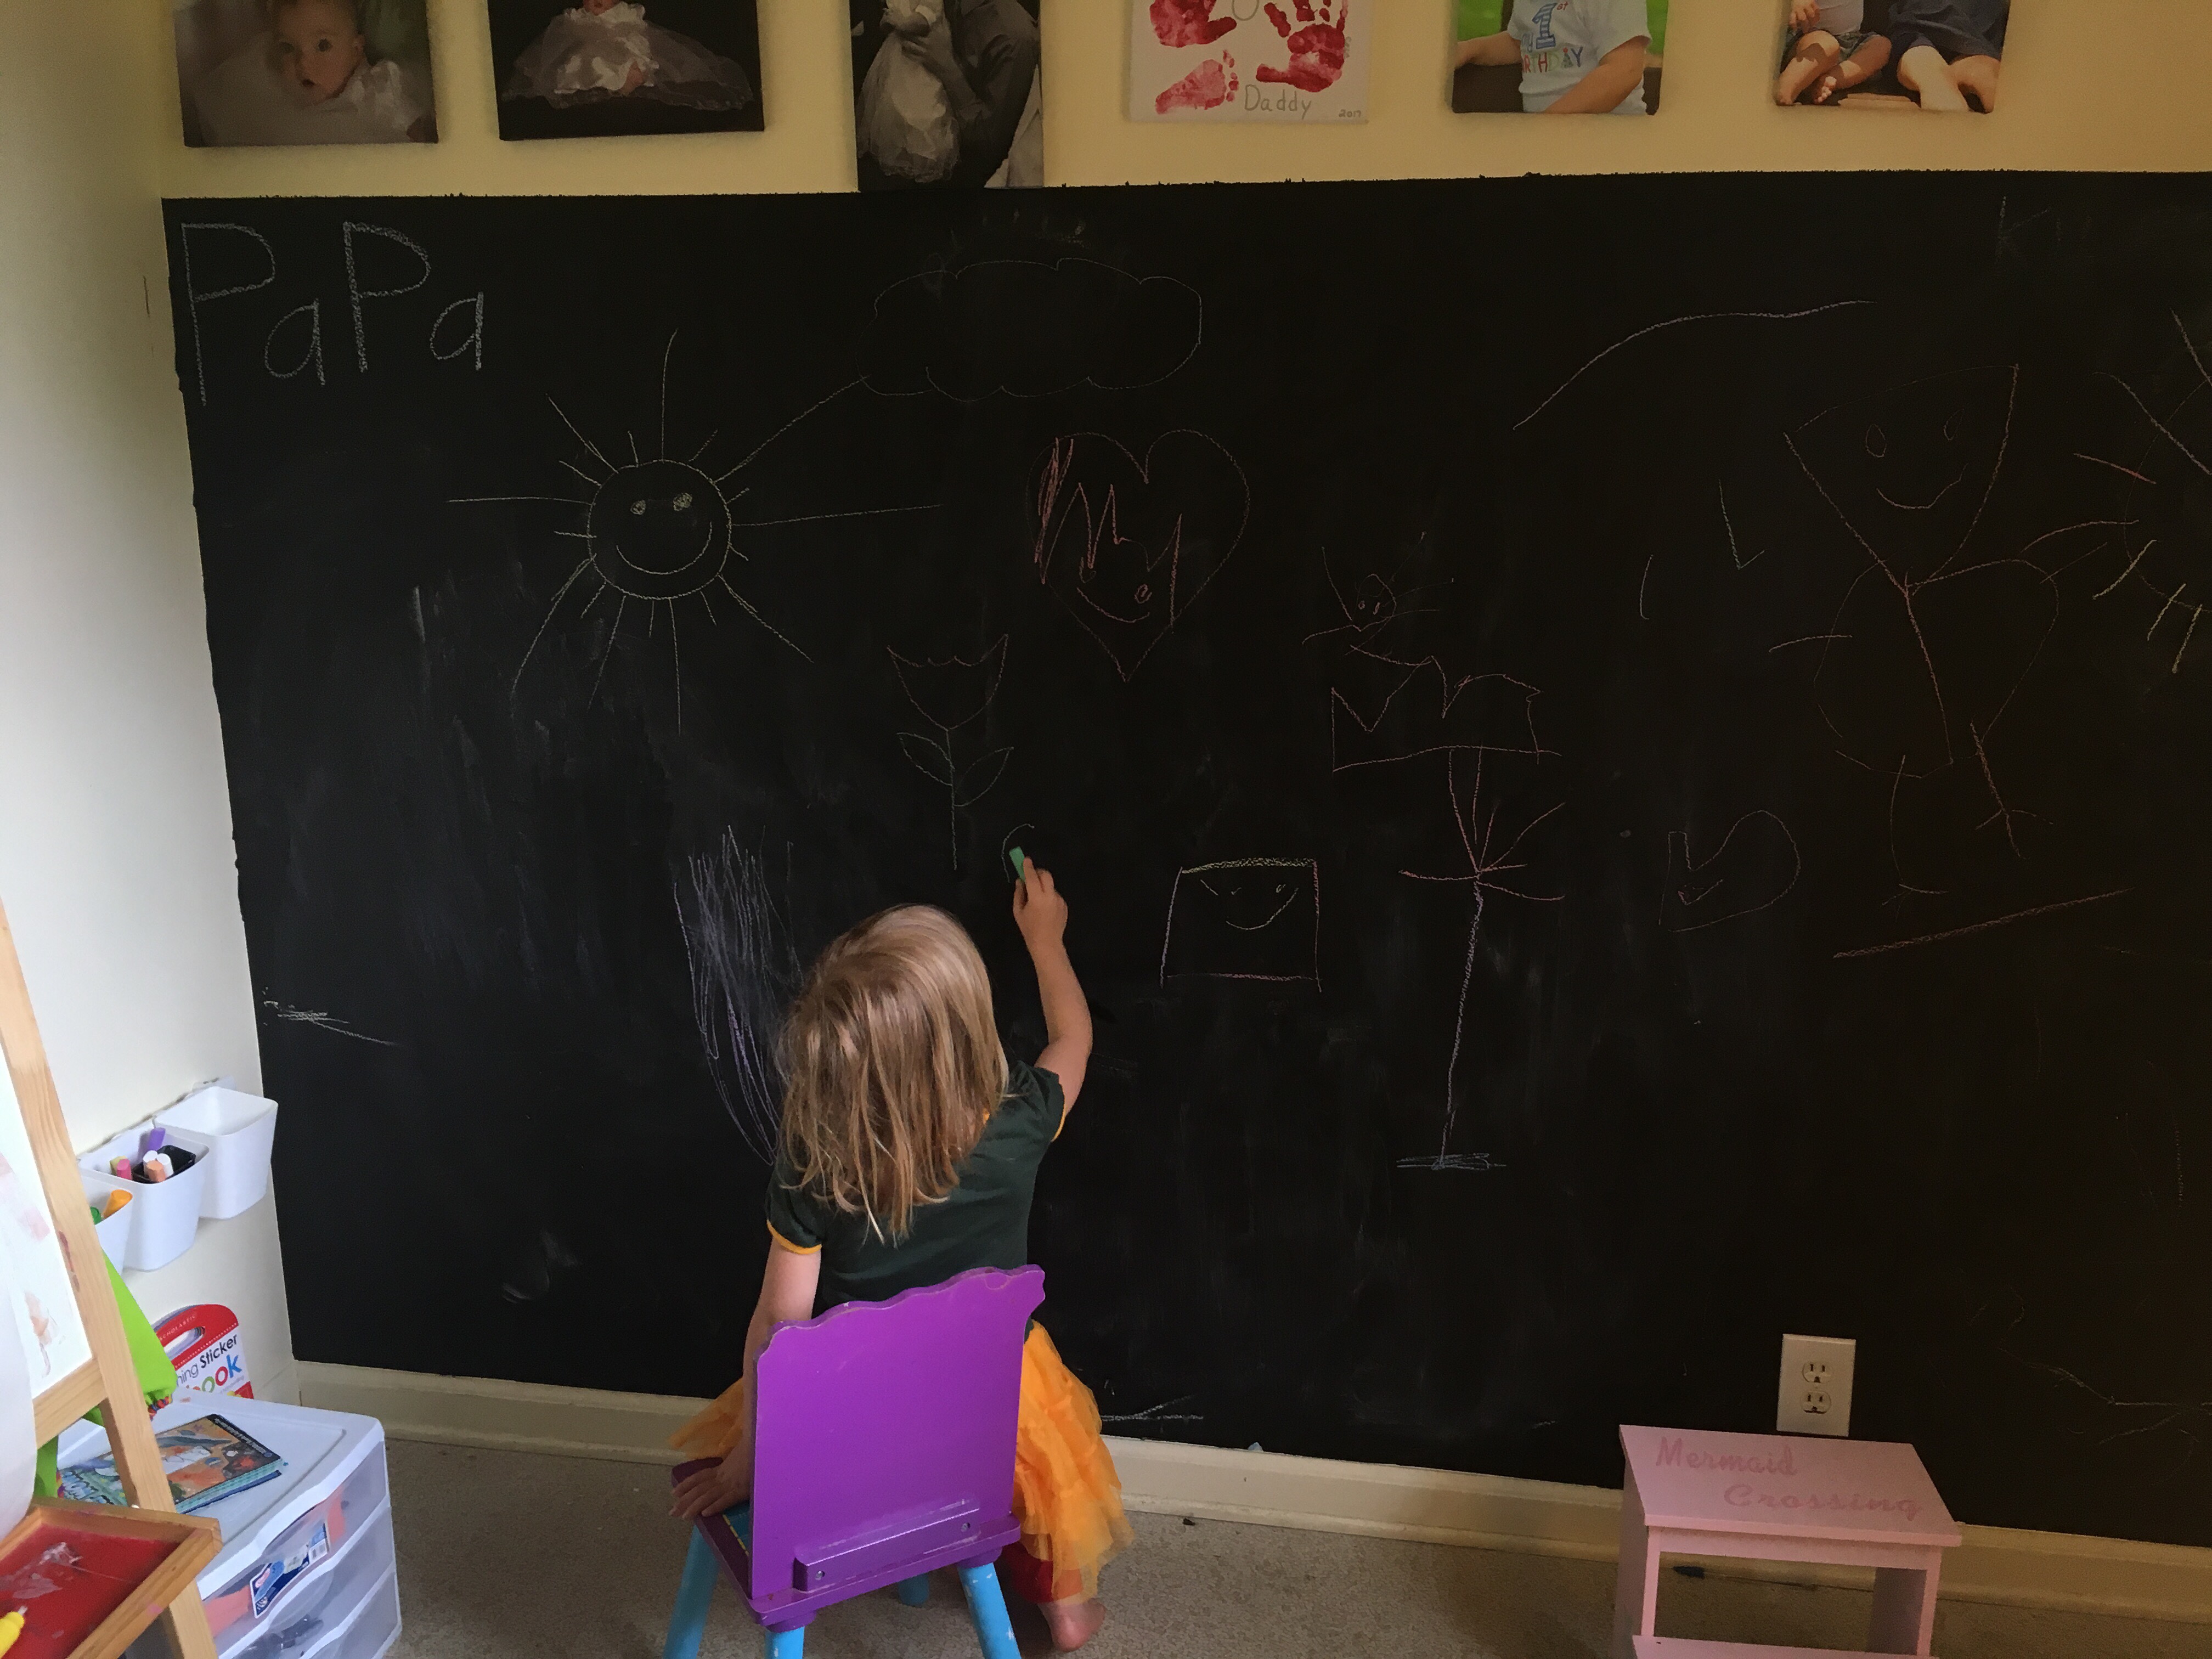
I’ve always seen those neat diy paint chalkboards in playroom pictures posted to Pinterest and thought, “they make it look so easy.”

Well I’m here to tell you it is easy! Beware though, it does take time (like days) until it can be used.

Since we just moved into a new house, we decided to make a playroom that we didn’t mind getting dirty! We have all our paint supplies and crafts in this room.

So what do you need?

1) chalkboard wall paint (this comes in many colors, we went with the original as not to confused our children and having them chalk up other walls). We used rustoleum black chalkboard paint.

2) blue painting tape to outline your area and protect the other walls and areas you may accidentally get paint on.

3) a level and measuring tape (to make sure everything is straight.

4) paint rollers or paint brush (3 inch)

Steps:

1) first make sure your area you are painting is ready. If there is already paint or primer on the area then you are almost ready. Just clean off the wall with a wet paper towel and let dry. If it’s not painted already you may need to sand the area as needed and prime.

2) use the blue painting tape around windows outlets and outlining the area. Place an old sheet or painting cloth on the ground.

3) get the paint ready according to instructions listed on the can.

4) paint around the edges of windows outlets and edge of inside of tape using a paint brush.

5) use your paint roller to paint the rest.

6) it will dry to touch within a half an hour but it’s not ready yet!!

7) wait overnight and if needed do a second coat (we did a second one!)

8) now you need to wait 3-4 days (I know, I know this is hard with kids!).

9) after you let it cure for a couple days, it’s time to season the wall. Use white chalk and fill up the board with it, using the side of the chalk. Then wipe it off with a wet paper towel.

10) ready to use! Decorate as you like

FollowFacebookpinterestrssyoutube
ShareFacebookpinterest

Egg explosion!

My daughter loves bath bombs, and my son loves destruction. So, what’s better than making homemade baking soda eggs during Easter time and dropping them in vinegar! Just like when you performed the volcano eruption, this reaction will cause a mess (to the delight of your kids)!

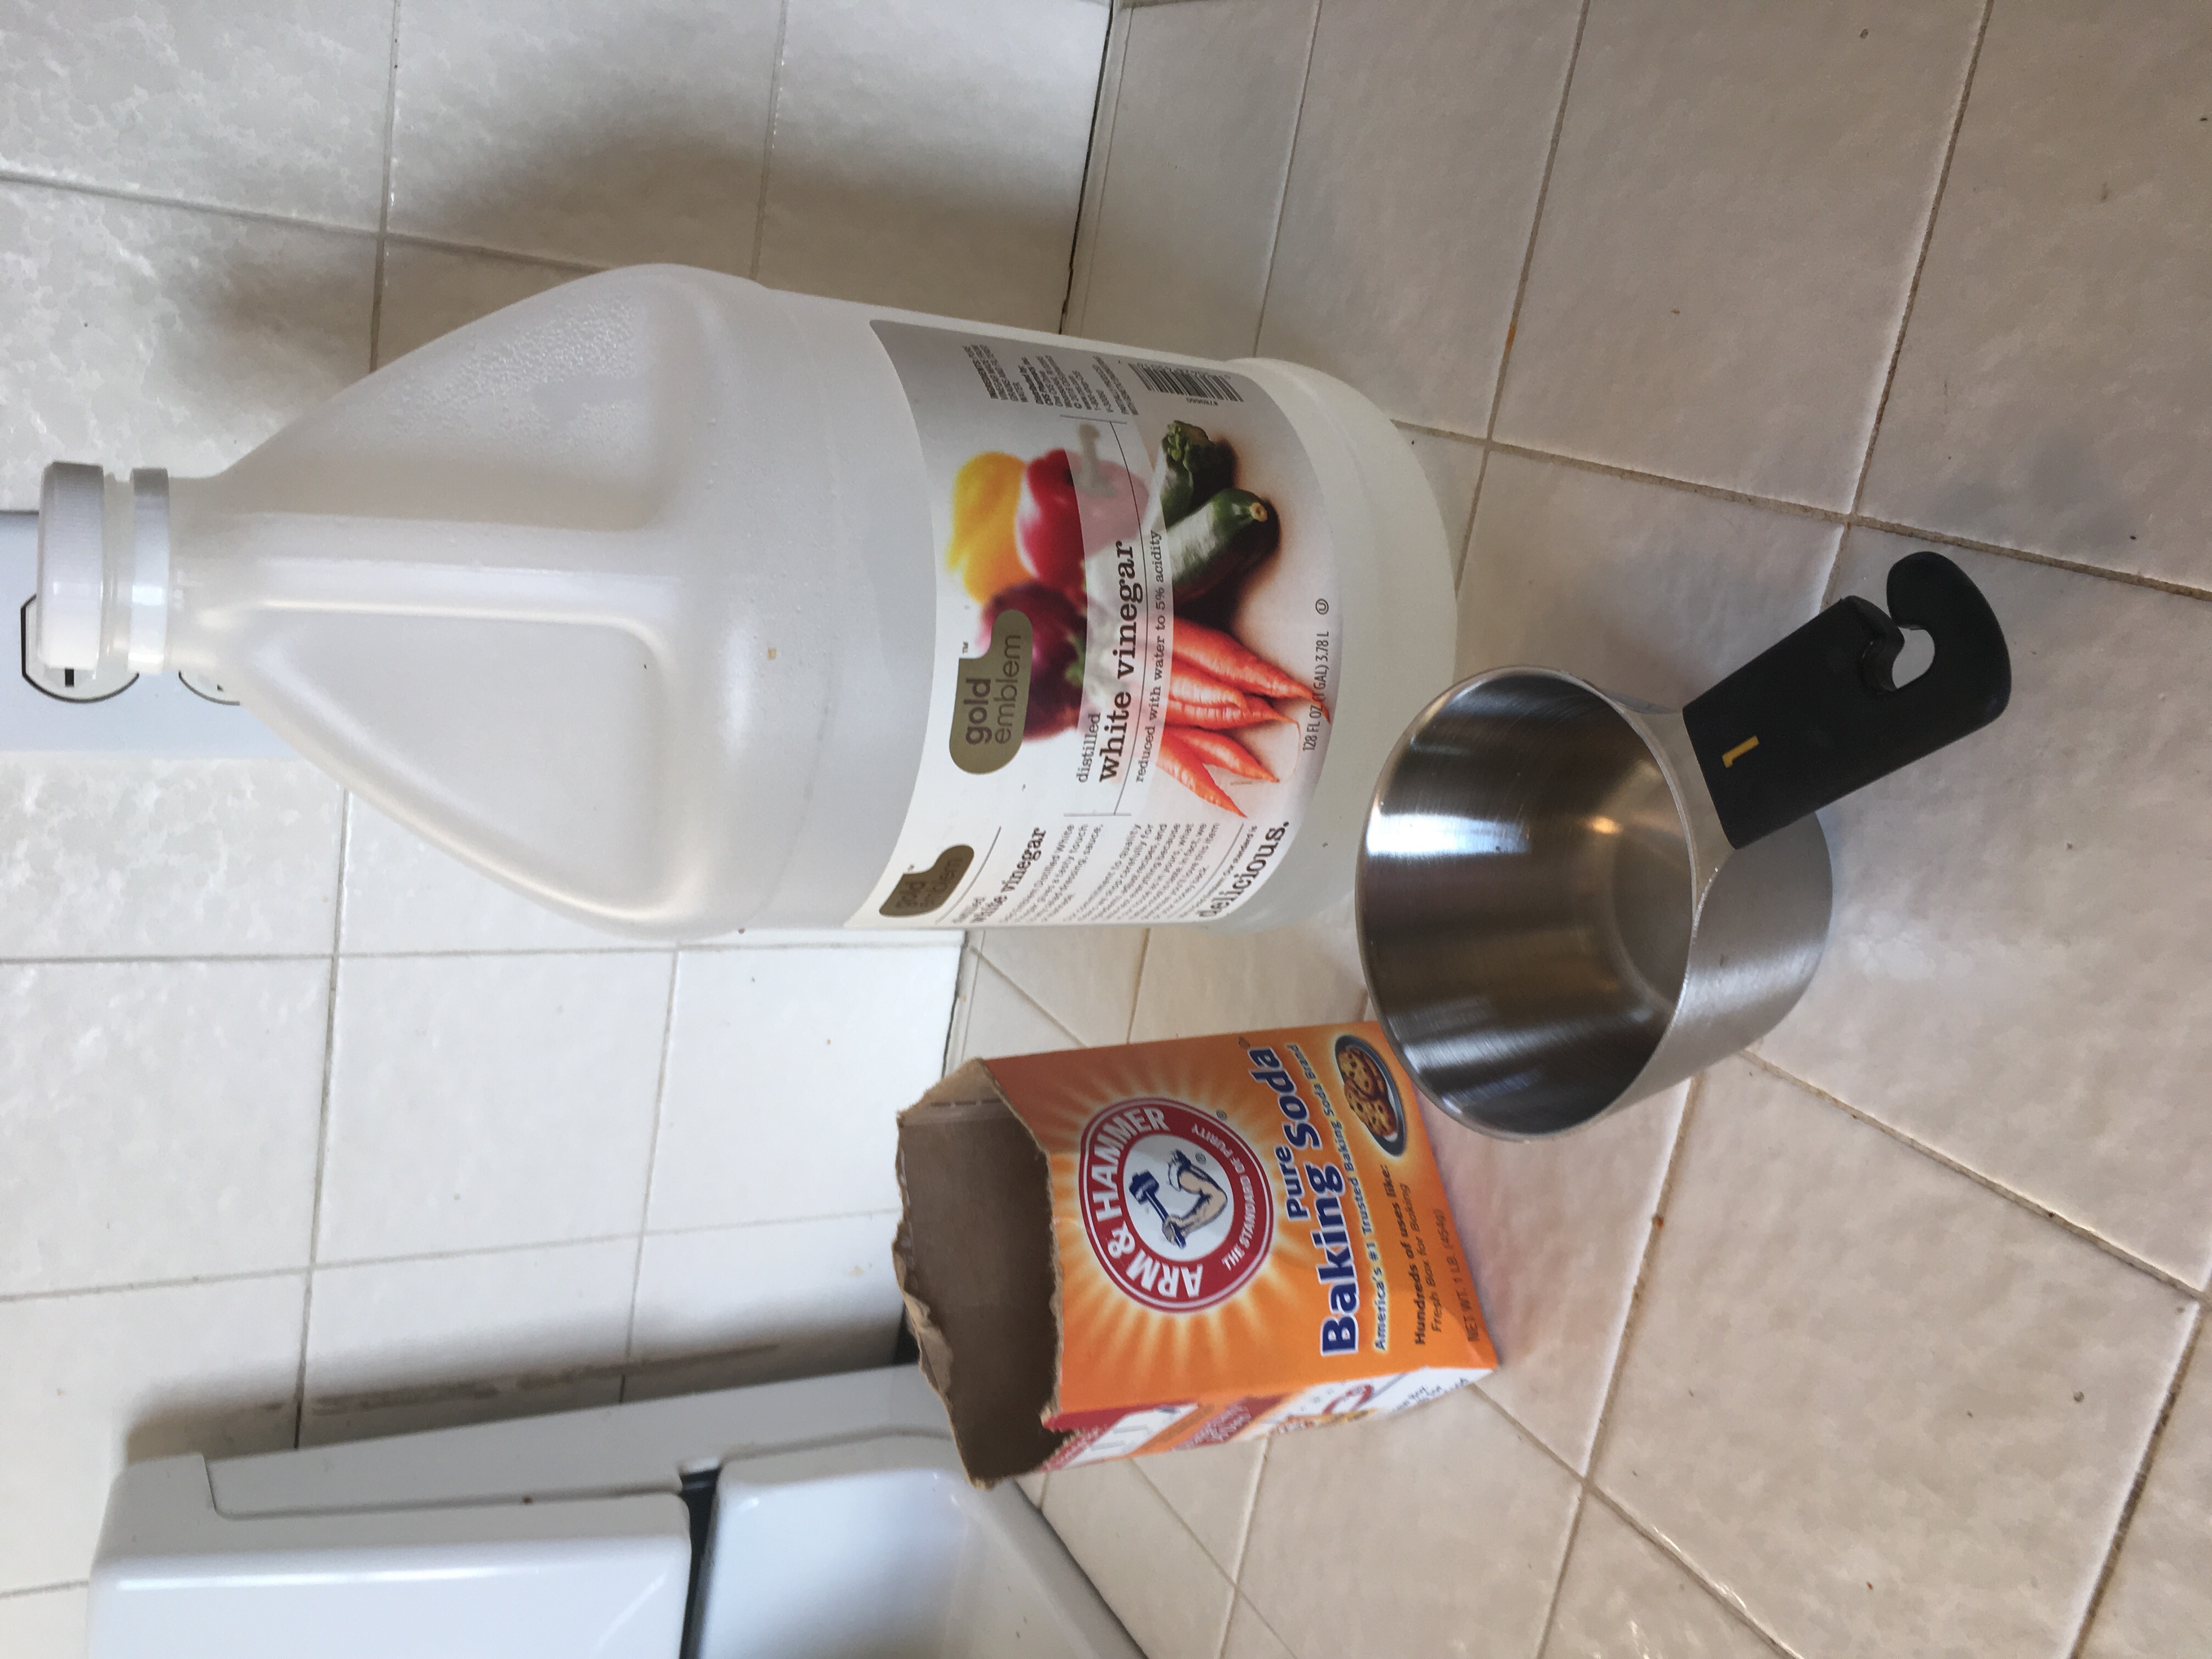
It’s quite simple! You need a lot of baking soda, a little water, and a bunch of vinegar! You can also use food coloring, glitter, or colored dish soap!

Since it’s getting closer to Easter, we decided to make eggs! We also hid alphabet letters in them so when they dissolved there was a surprise inside!!!

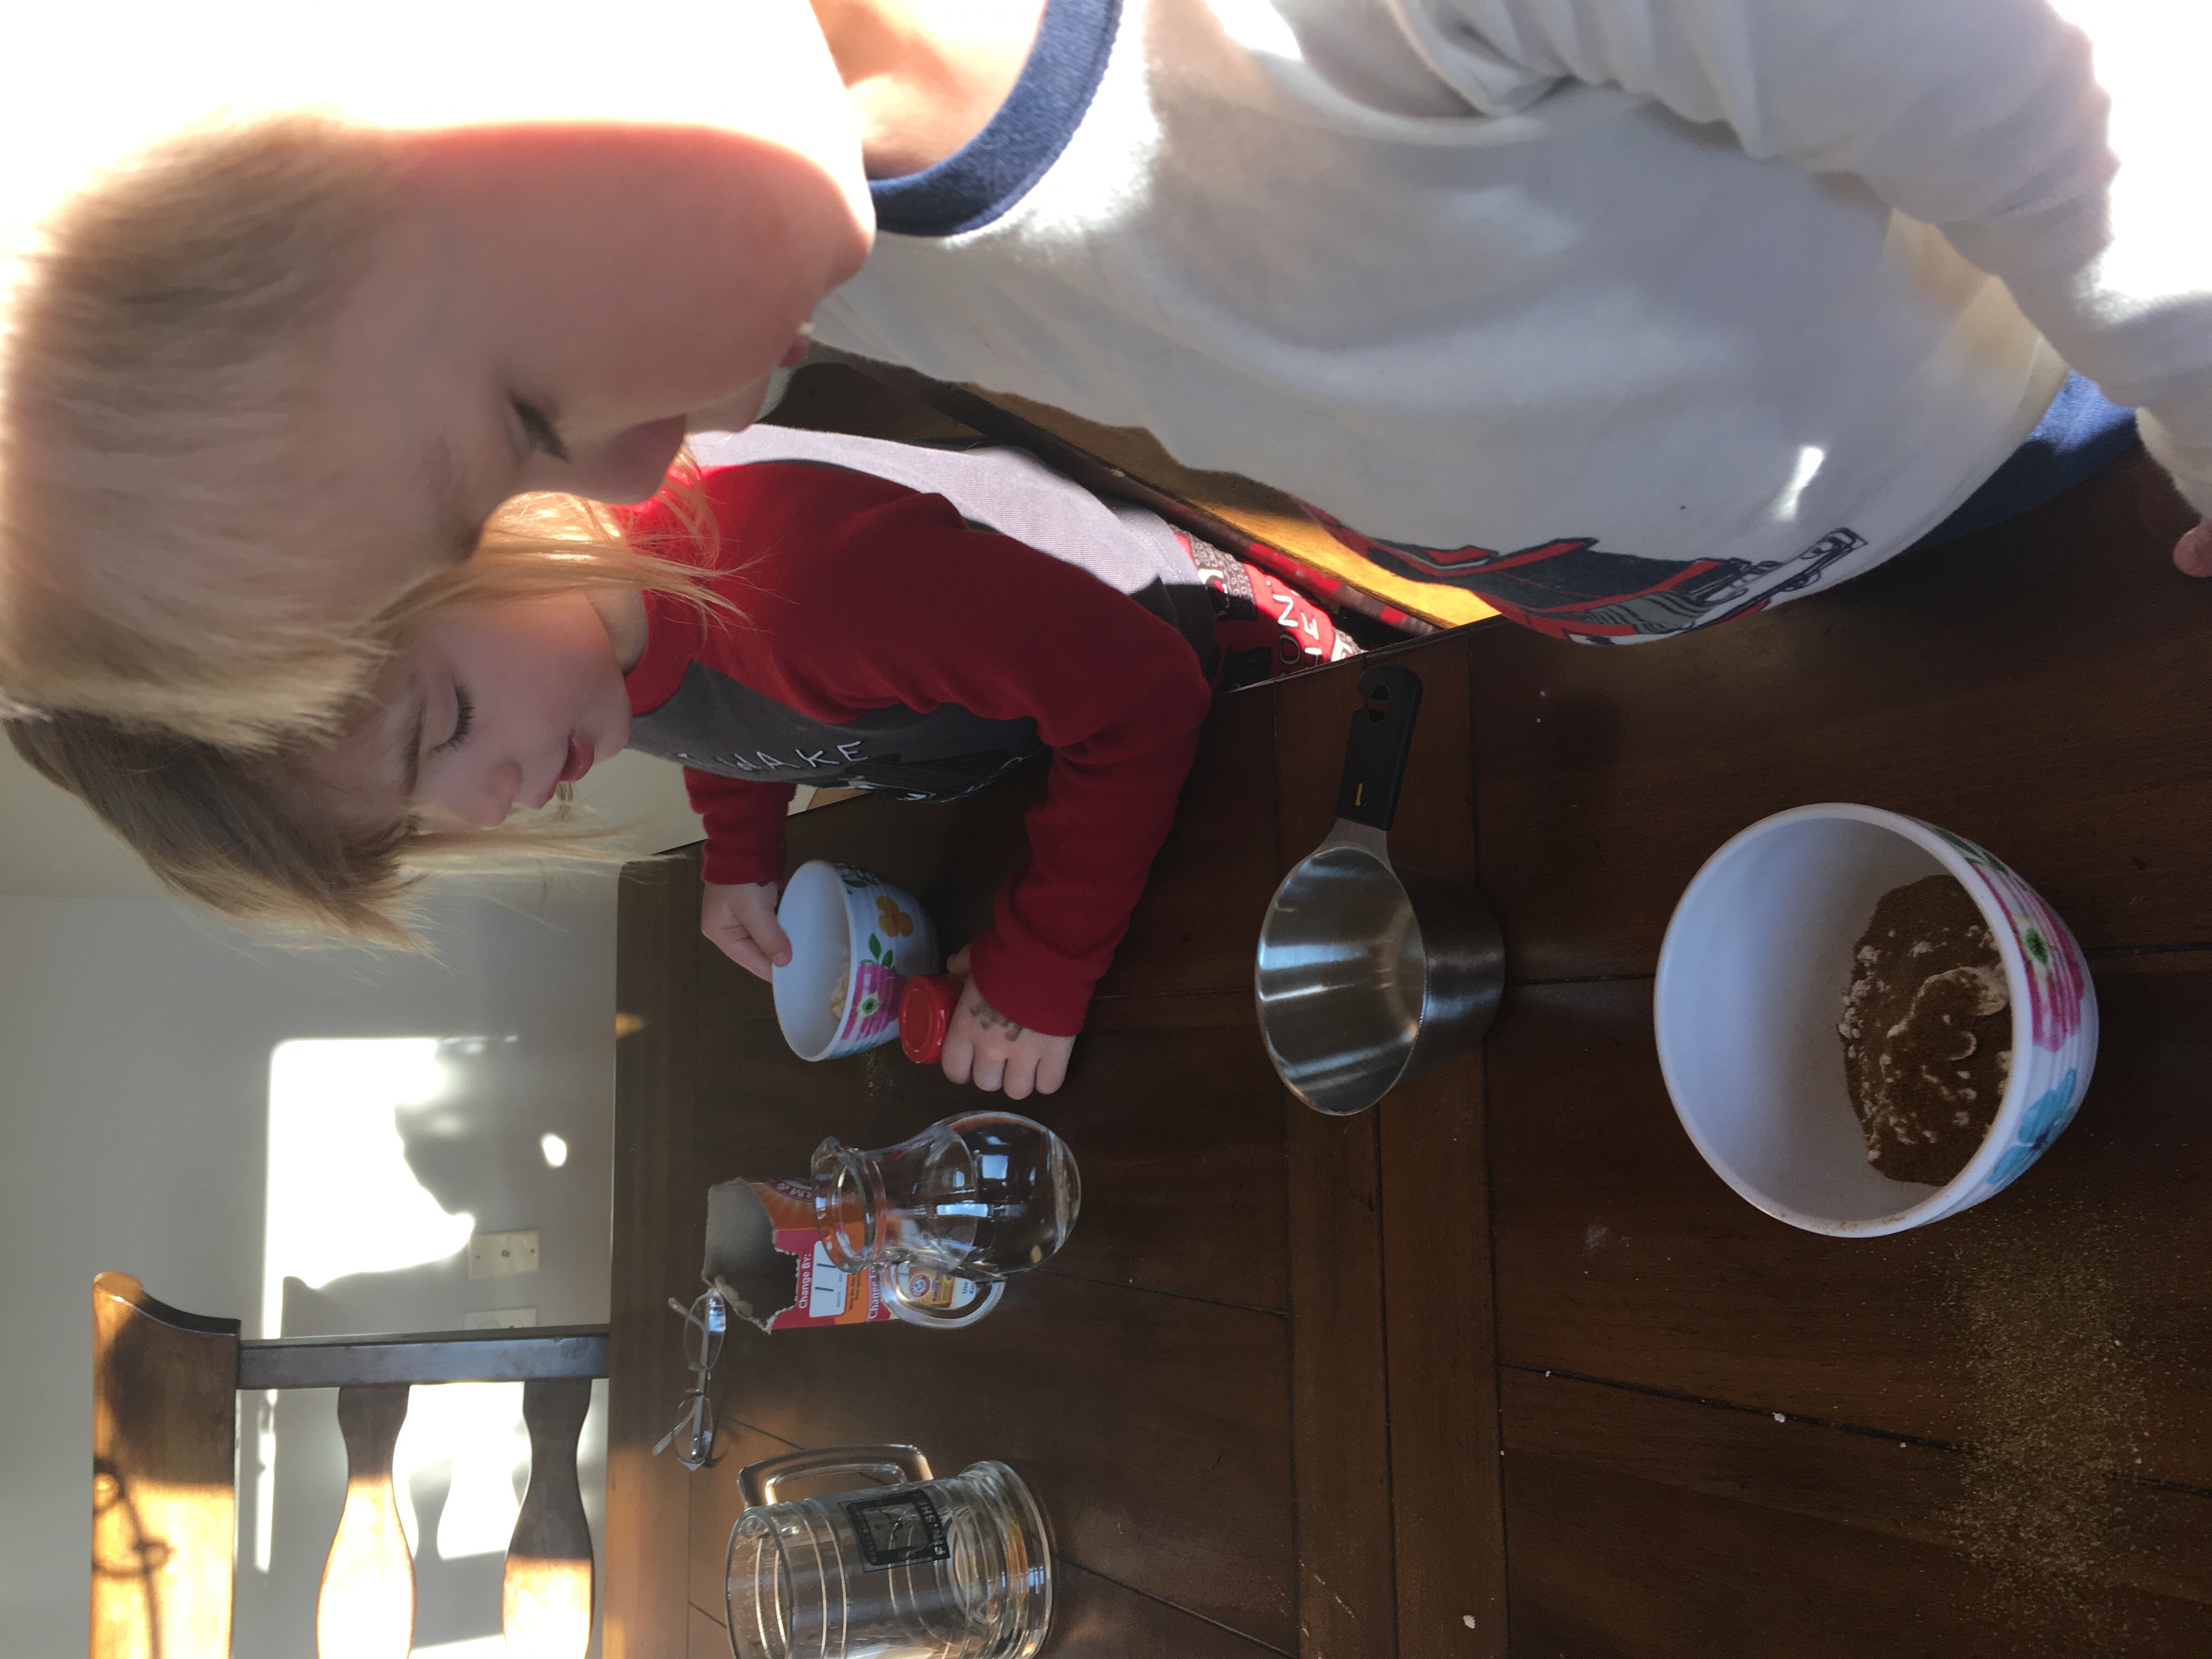
1) Combine baking soda and water. I had my toddlers add their own amount of water which I ended up needing to add more baking soda (you want a moldable Plato like texture). You can also add food coloring and glitter.

2) mold it into the shape you want. You can hide plastic animals or letter or whatever u want in the middle of the eggs to show up when they are dissolved!

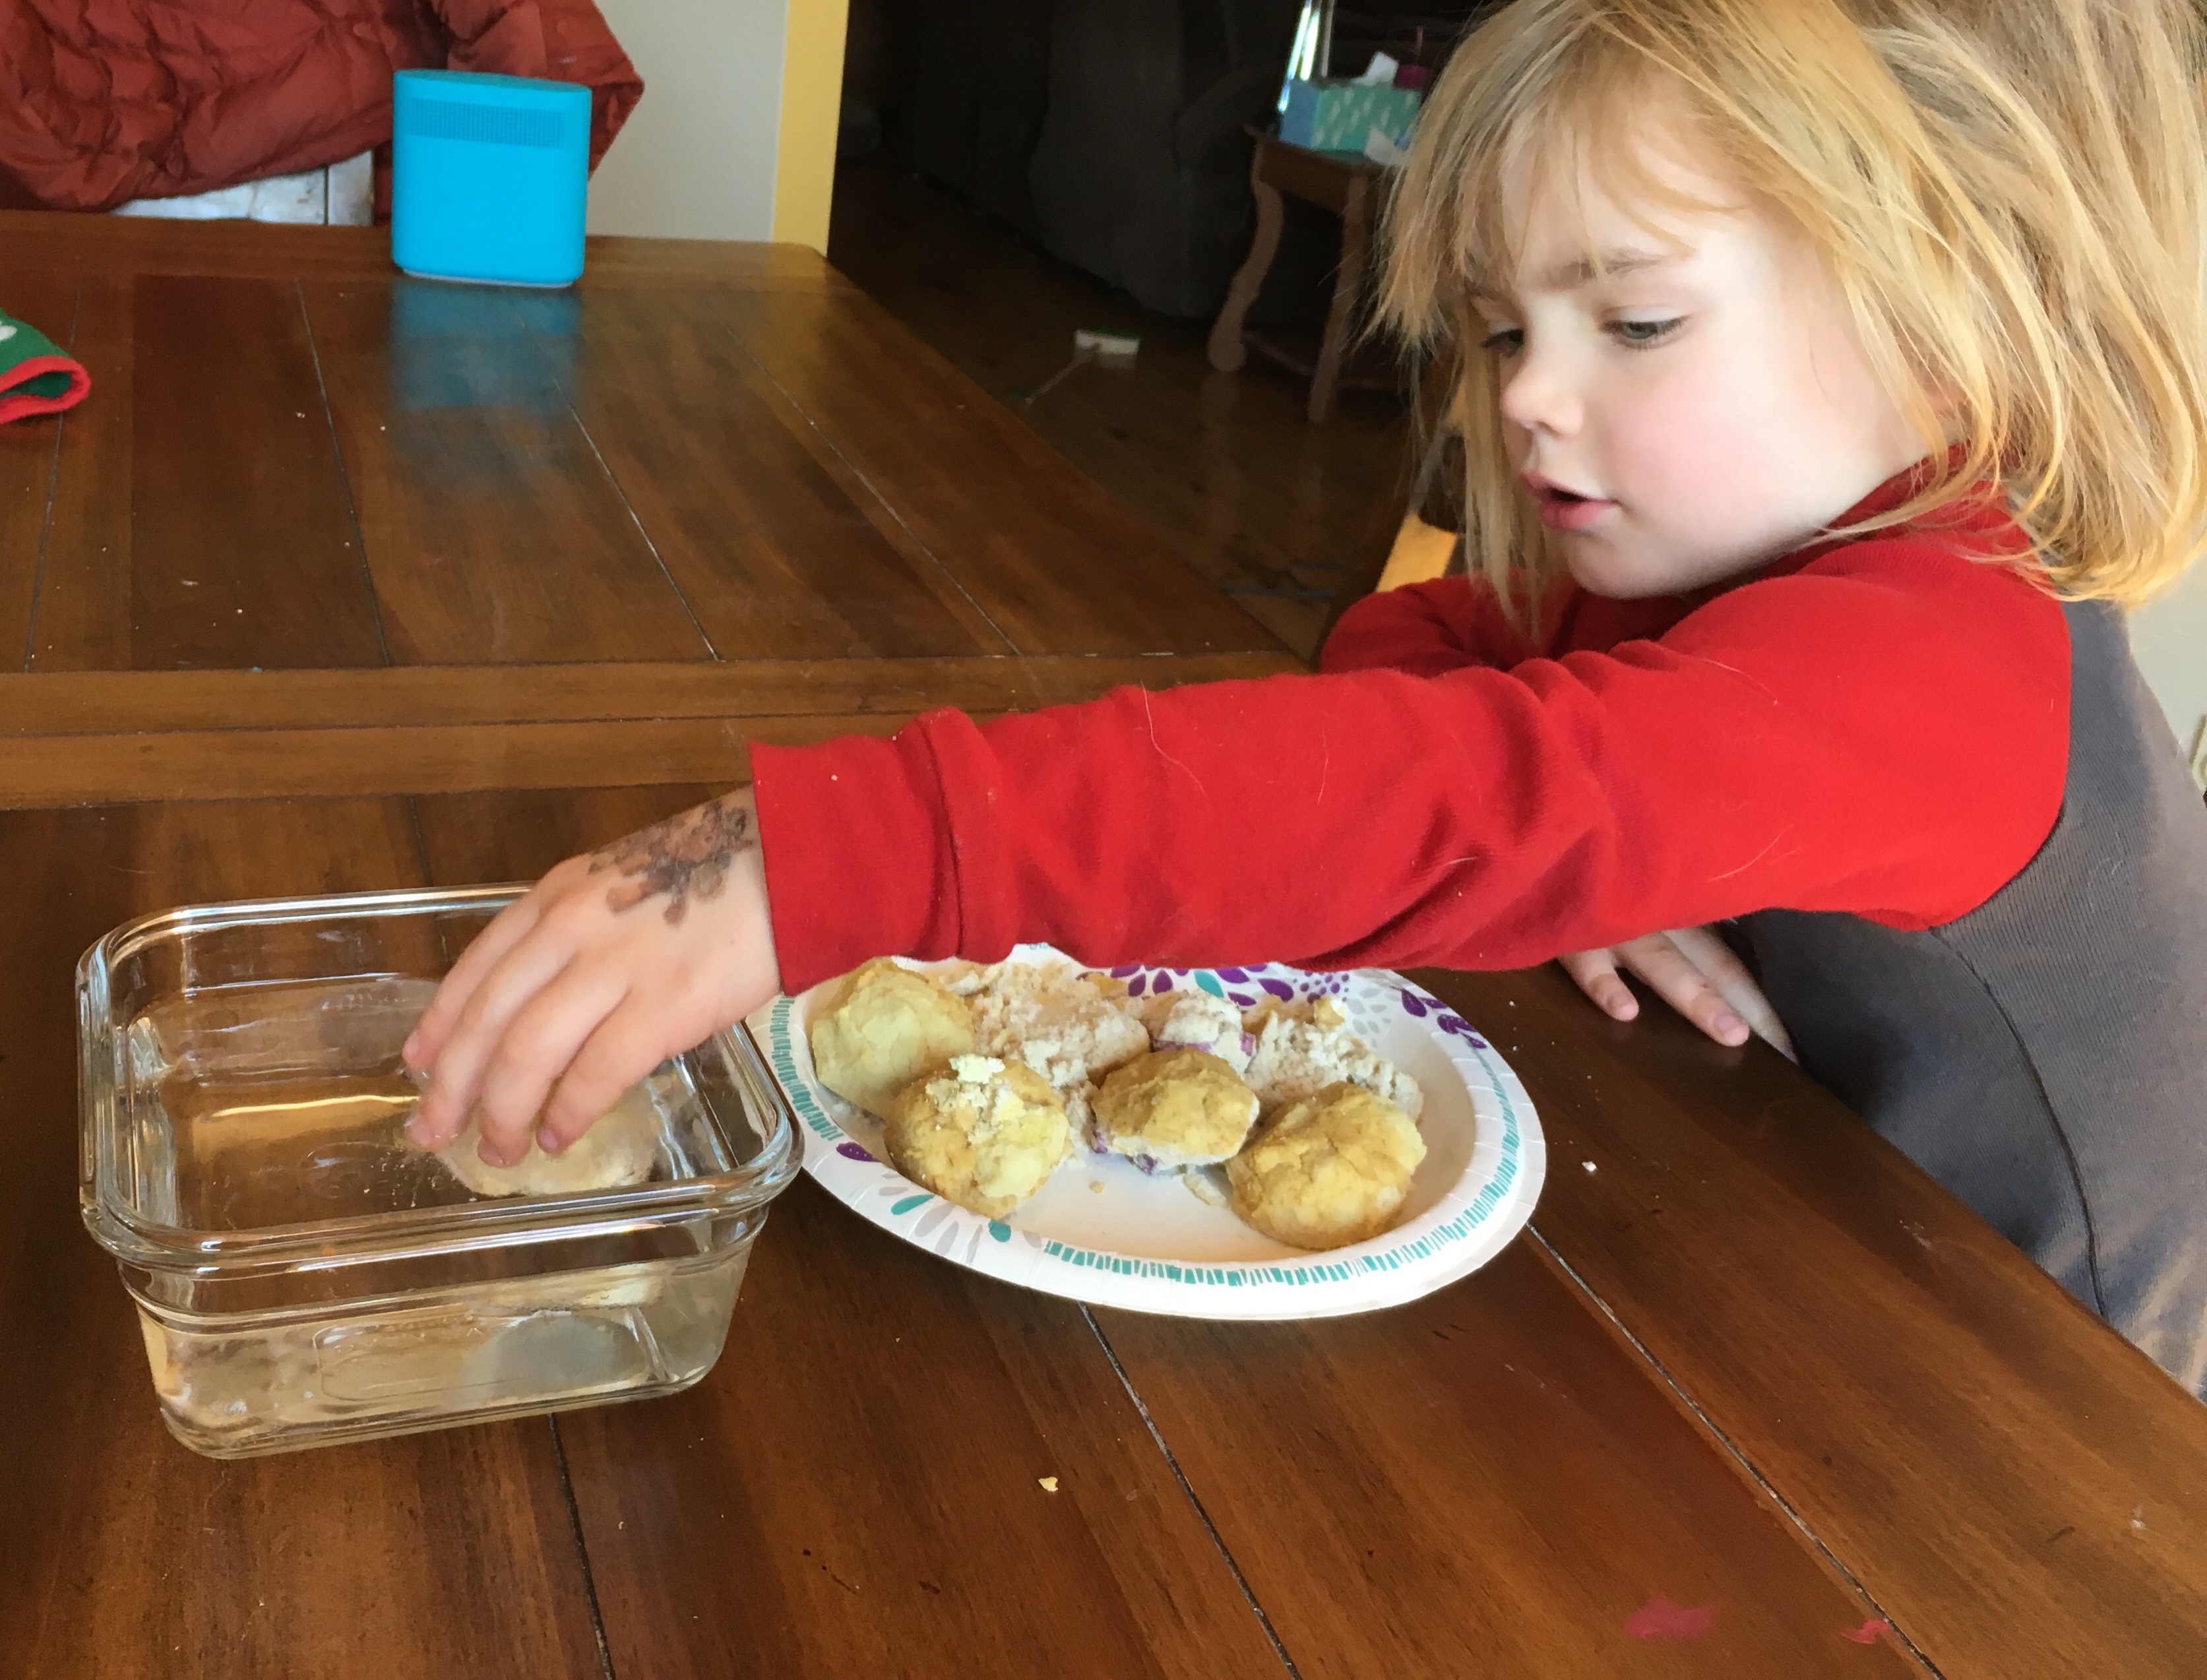
3) so clearly, a taller container is preferred and doing this outside is best! Drop in the egg into a container of vinegar and watch the bubbles take off!

•if you have older kids this is the time to explain the chemical reaction occurring (my kids just love the reaction)!

*if you have used multiple eggs in the same container you will need more vinegar or a new container as there will be too much baking soda for the reaction to occur!

Try it with hidden objects inside, glitter, and colors! We did try natural colorings however it ended up just turning the vinegar a gray color instead of the yellow and red we predicted.

Have fun and enjoy the mess (I know we did)!

FollowFacebookpinterestrssyoutube
ShareFacebookpinterest

A Daniel Tiger 2nd Birthday Party!

1Ugga Mugga! It was Madison’s 2nd birthday and she LOVES Daniel Tiger. First thing you need to know if your little one loves Daniel is to visit the PBS site! Follow this PBS link and you will find TONS of FREE printables and crafts to make for the perfect party! These Daniel Tiger masks were made from the site. All you have to do is print them on card stock and attach a tongue depressor. However, I decided to add my own twist since I didn’t have the capability of printing on card stock. I printed on regular paper, cut it out and glued it onto card stock. Next, I taped recycled straws onto the bottom. It worked perfectly and was a hit with adults and children alike!

2.jpgI also made these super cute and easy finger puppets from the PBS site that will give you step-by-step directions. We used them as favors! As for food we kept it simple. We went to costco and got her favorite-marconi and cheese! The party only had 10 people there so we decided to go with pot pie and shepard’s pie from Costco already made, with salad as a side. It kept us warm on a cold day!

11.JPG


As for cake, we went to Weis and they had 4 different Daniel Tiger cake designs. We decided on the cake with all four characters! They had lots of different flavors to pick from and the cake was delicious!


5


I made her birthday banner with Microsoft Publisher. I simply used the preset example of a birthday banner and added a few more pages. I saved some Daniel photos and put them on the banner and printed it. Next, I laminated the banner and cut it out. I used a hole punch to make holes and strung it up with yarn I had around the house.

4.jpg


Last year I spent quite a bit of money making her a chalkboard first birthday poster. This year I made her a poster myself. The poster itself only cost $1 from the dollar store! I couldn’t find a Daniel Tiger Chalkboard poster with the number 2 with pictures so I created one myself.


I also got a tablecloth, plates, cups, napkins and balloons. The balloons were perfect! I found them here at Amazon.  The cups were great for apple cider and the plates were very sturdy. I found them on Amazon too!Weis filled the balloons, which was awesome! Coloring pages are from the PBS site.

6.jpg  7.JPG

I made Madison a Tigey stuffed animal using felt.

1.jpg

Lastly, I made Daniel Tiger shirts for my husband, the birthday girl, and myself. I saw many ideas on pinterest and etsy, so I used Powerpoint to make the images and then bought Iron on paper. I also made Madison’s tutu with fabric.

8.JPG 9.JPG

Your little boy or girl will love their Daniel party with little touches! We even played Daniel Tiger songs while the kids danced with the balloons. We wrapped up the party by watching the Daniel Tiger Birthday episode (first episode ever)! It was GRRRR-RIFIC!

FollowFacebookpinterestrssyoutube
ShareFacebookpinterest

Yummy Yogurt Drops

86.JPG

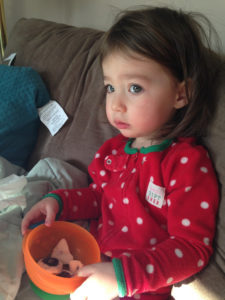
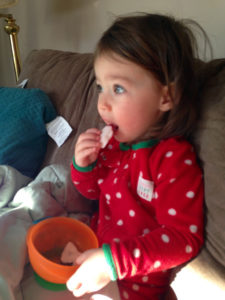
I don’t know about you, but we always have extra yogurt around the house. When Madison was younger, she would gobble it down. Not so much anymore. One thing to do with extra yogurt is freeze it. I make them into drops and now she can’t get enough of them! It’s not only delicious but nutritious.

84.JPG

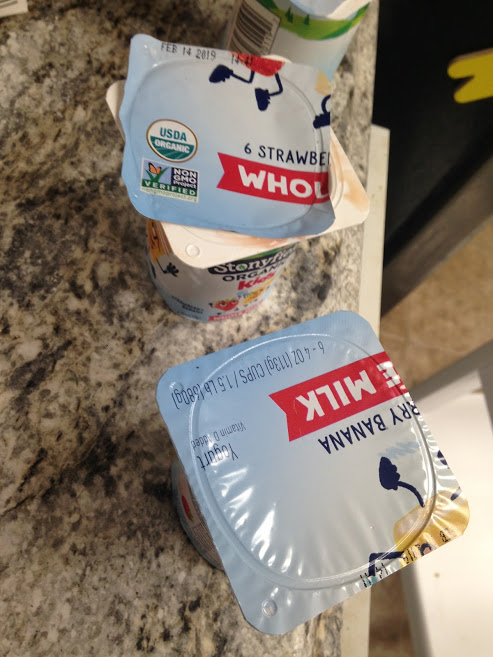
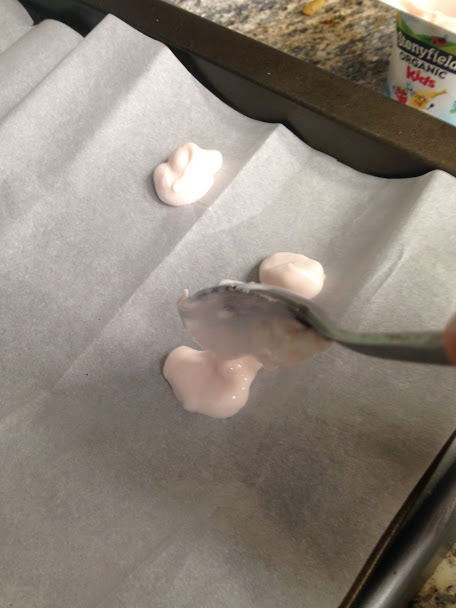
First, you get a baking sheet and put parchment paper on it. You can use any kind of yogurt, greek, whole milk, whatever you choose.

Next, you put the yogurt in a ziploc bag and cut the bottom corner so you can make perfect circles of yogurt on your parchment. Who am I kidding here? Madison doesn’t care if they are perfect shapes or not, so I used a spoon. It was quicker.

Next, you get to decorate. Your child can help you with this! 85

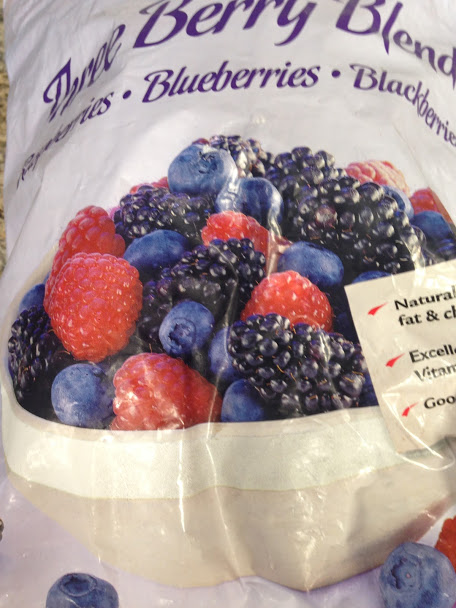
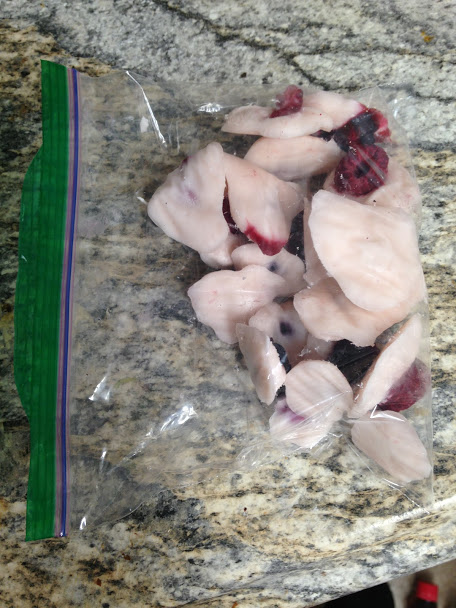
You can add all kinds of things to make them extra yummy if you like or leave them plain. Sprinkles, fruit, and anything else you think might be delicious you can add on top of your yogurt bites. I happened to have a giant bag of frozen fruit, so we added some of that.

Finally, put the whole baking sheet in the freezer for at least 4 hours. Remove and put in airtight container in freezer. I just popped mine into a freezer bag for a quick snack!83

Other variations include blending the fruits or veggies into the bites, almost like a smoothie and then piping it or spooning it onto the baking sheet. Good for toddler, kids, and adults alike! They will be saying, “More, more more!”

FollowFacebookpinterestrssyoutube
ShareFacebookpinterest

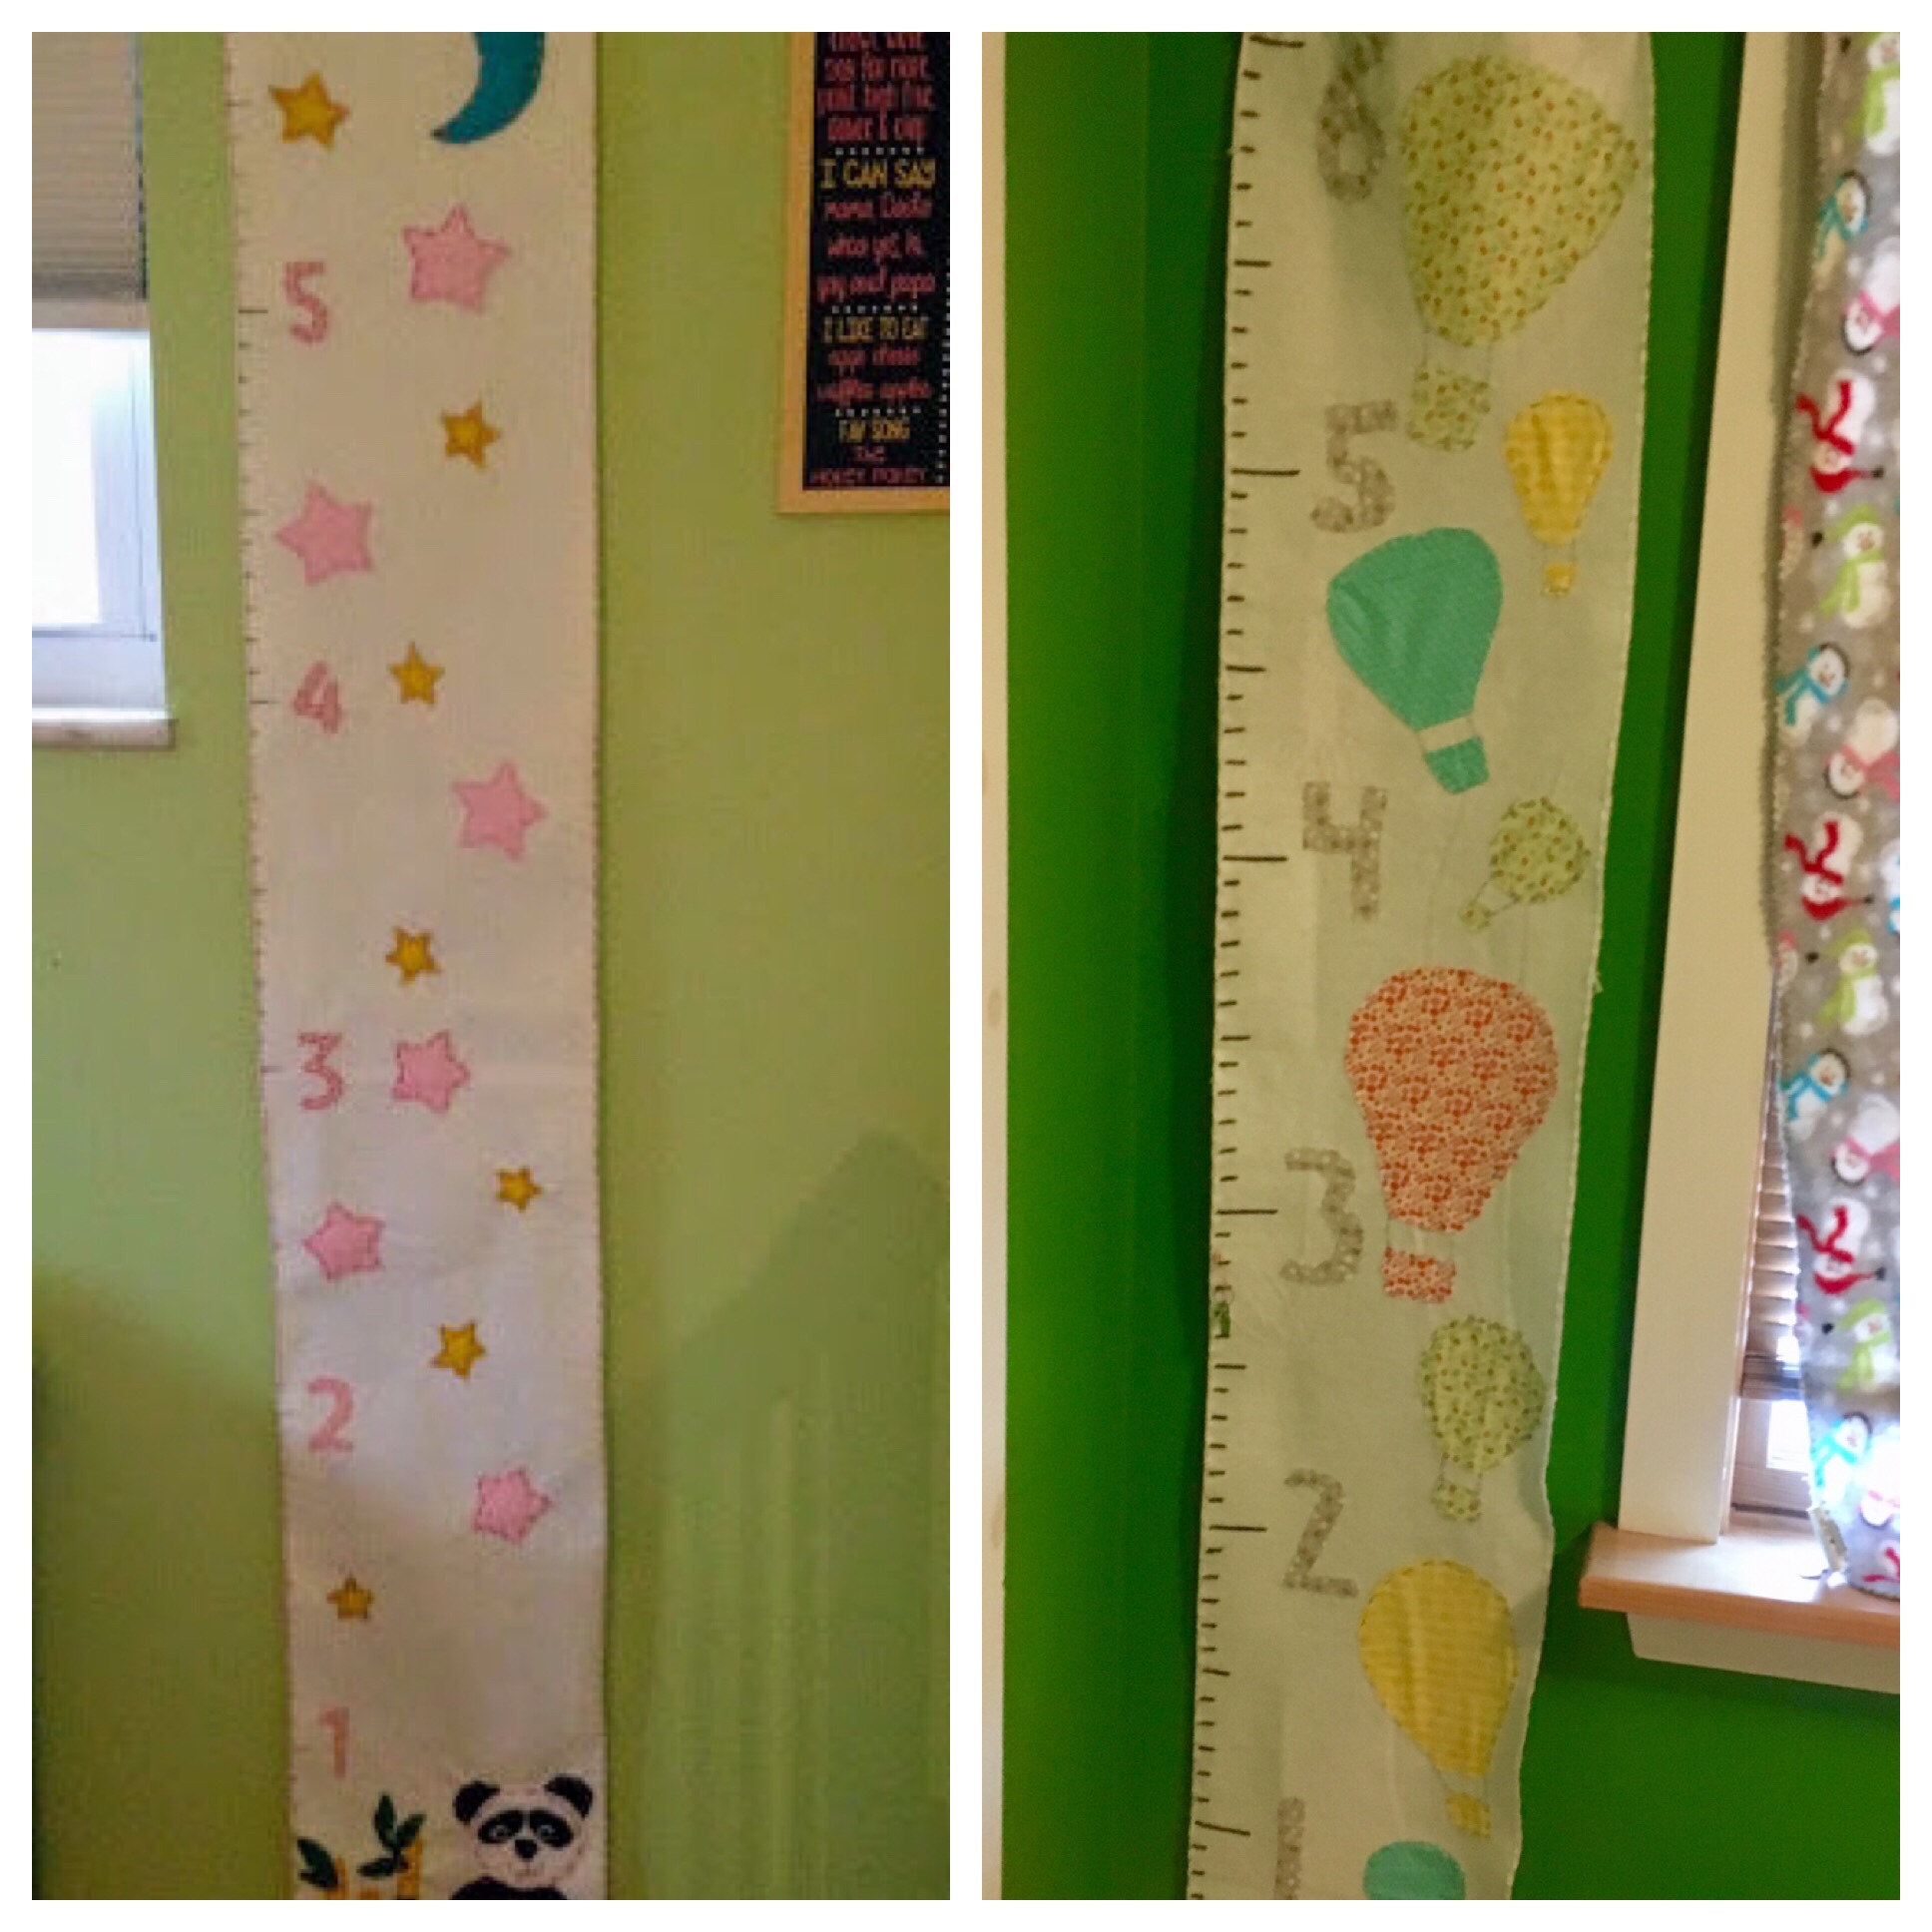
DIY Felt Height Chart

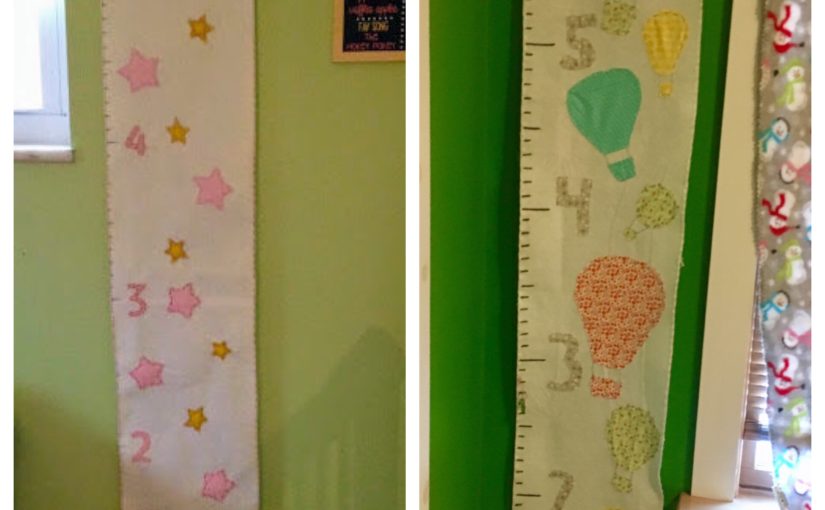
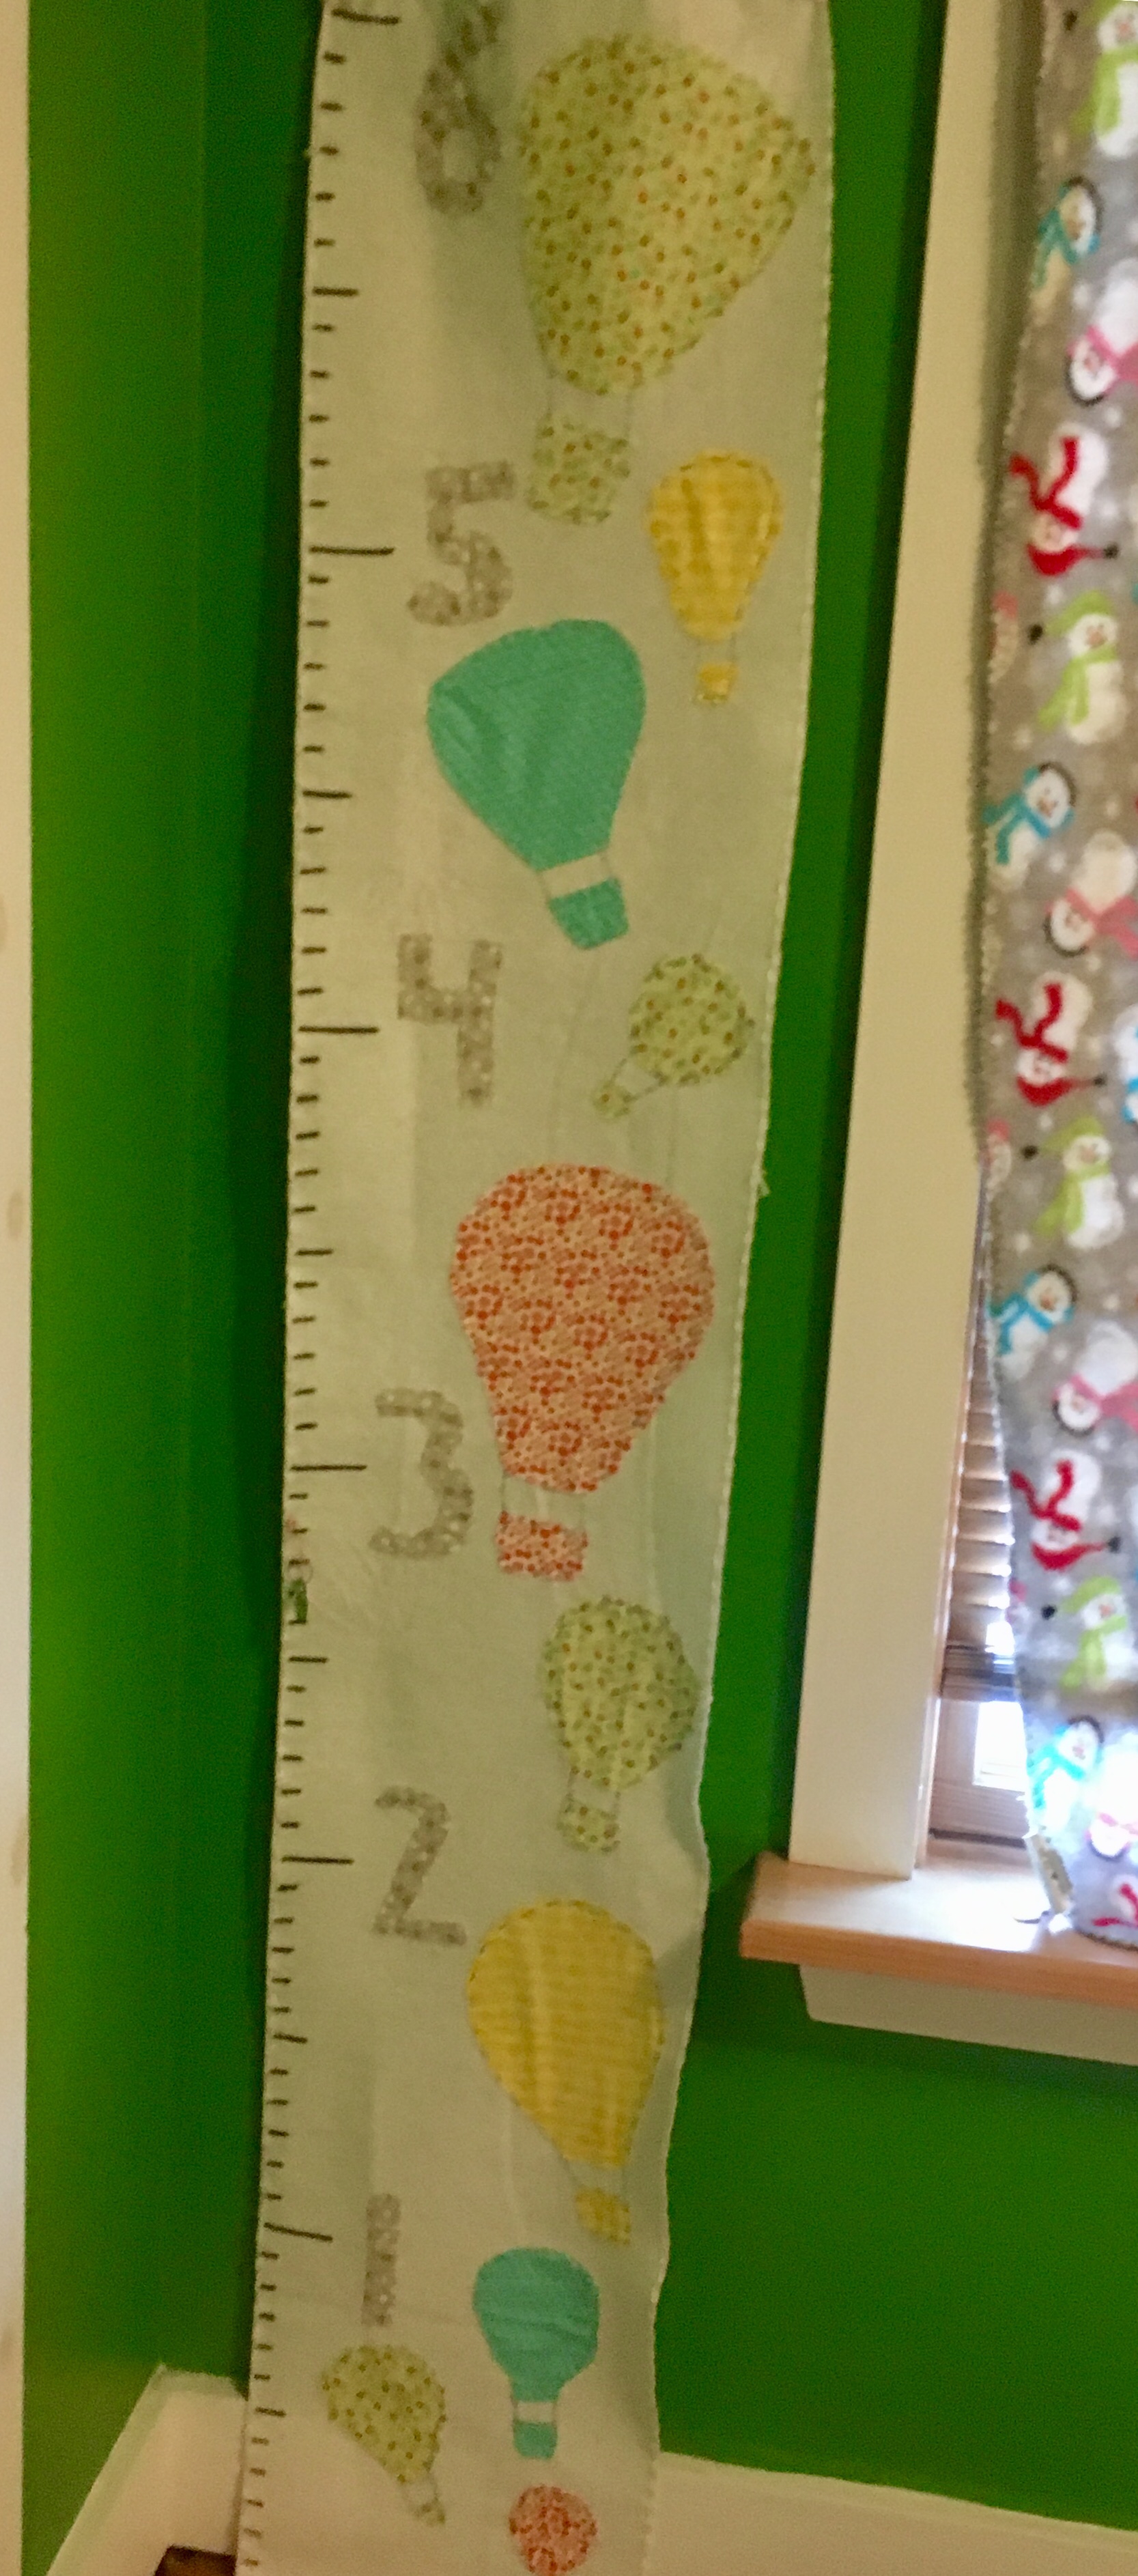
Years ago I made my sister a felt hot balloon height chart for her baby shower and I’ve meant to make my own baby (more of a toddler now) a height chart. So, I headed out to the local craft store.

83.JPG

I knew I wanted to make a height chart with her favorite things, a panda and a moon. Her first birthday was twinkle twinkle theme, so stars would be perfect.

For this project I used:

  • 1 yard white felt
  • Pink Embroidery Floss
  • Sewing needle
  • Black Fabric marker
  • assorted sheets of felt in different colors
  • Hot glue gun
  • Measuring tape
  • ruler

First, I cut the yard of white felt into 2 pieces. Next, I lined them up so they were about 6 feet high back to back and hot glued them together.

82.JPG

I cut out the star shapes using a cookie cutter. I traced the stars onto the white and yellow felt and then cut them out. You could also print a star out to trace, or free hand it. I drew the moon, panda, and bamboo freehand and cut out the felt pieces. If you are making different shapes and animals, just do the same. Trace or freehand and cut them out!
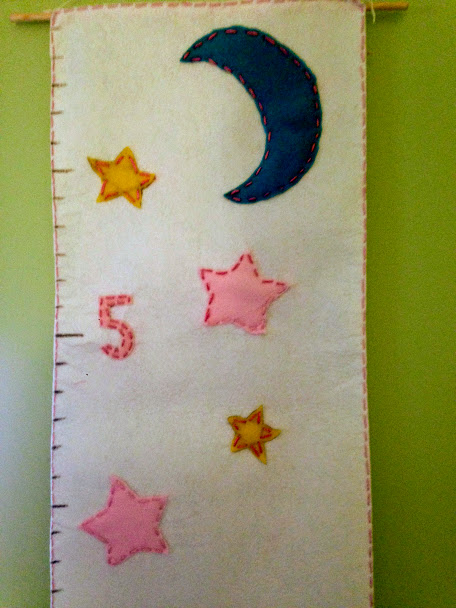
84.JPGNext, I used a measuring tape and ruler to draw the lines for each inch. I made each foot line a bit longer, and the 1/2 foot a little longer too. For the numbers, I decided to use stencils. Again, you could free hand or trace. I used the stencils on the pink felt fabric 85squares and cut them out.
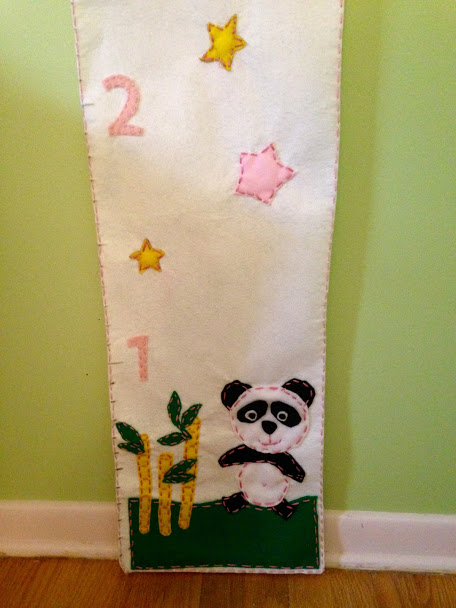
I used embroidery floss since I was doing this all by hand. If you have a sewing machine you would approach this differently, and it certainly wouldn’t take as long. I decided to work on it while I was watching television in the evening or when my girl was napping.

I simply put the embroidery floss through the needle and did a double knot. I brought the floss through the back first, and looped it in and out of the the numbers, along the outside. I did this for each number. I placed the moon next, and did the same thing, when finished I cut the floss and knotted it off (make sure you do this on the back of the felt so you don’t see the knots). I did this for all of the shapes and animals on the height chart.

The scene with the panda on the bottom of the height chart took more time due to the detailed sewing. I had to hot glue the eyes because the layers made it too thick to get through. I sewed an x on his belly button.  I had a lot of extra thread and wanted to do a border, so I sewed the border all the way around. This is definitely a keepsake.
86.JPGThis can be used for many different designs. You could sew on your child’s name, different animals, shapes, and so on.
Here is a pic of the hot air balloon height chart I made for my sister:


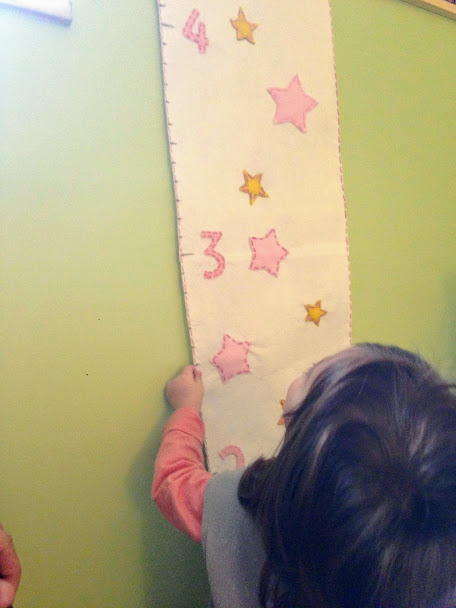
As for recording their height, you can write the date and age for each child right on the chart, or you could use tags like these 86.JPGwith safety pins. This will allow you to use this again, or use for more than one child.
This is a great gift for a baby shower, birthday, or to make your own child.

FollowFacebookpinterestrssyoutube
ShareFacebookpinterest

Easy Valentine Scavenger Hunt!

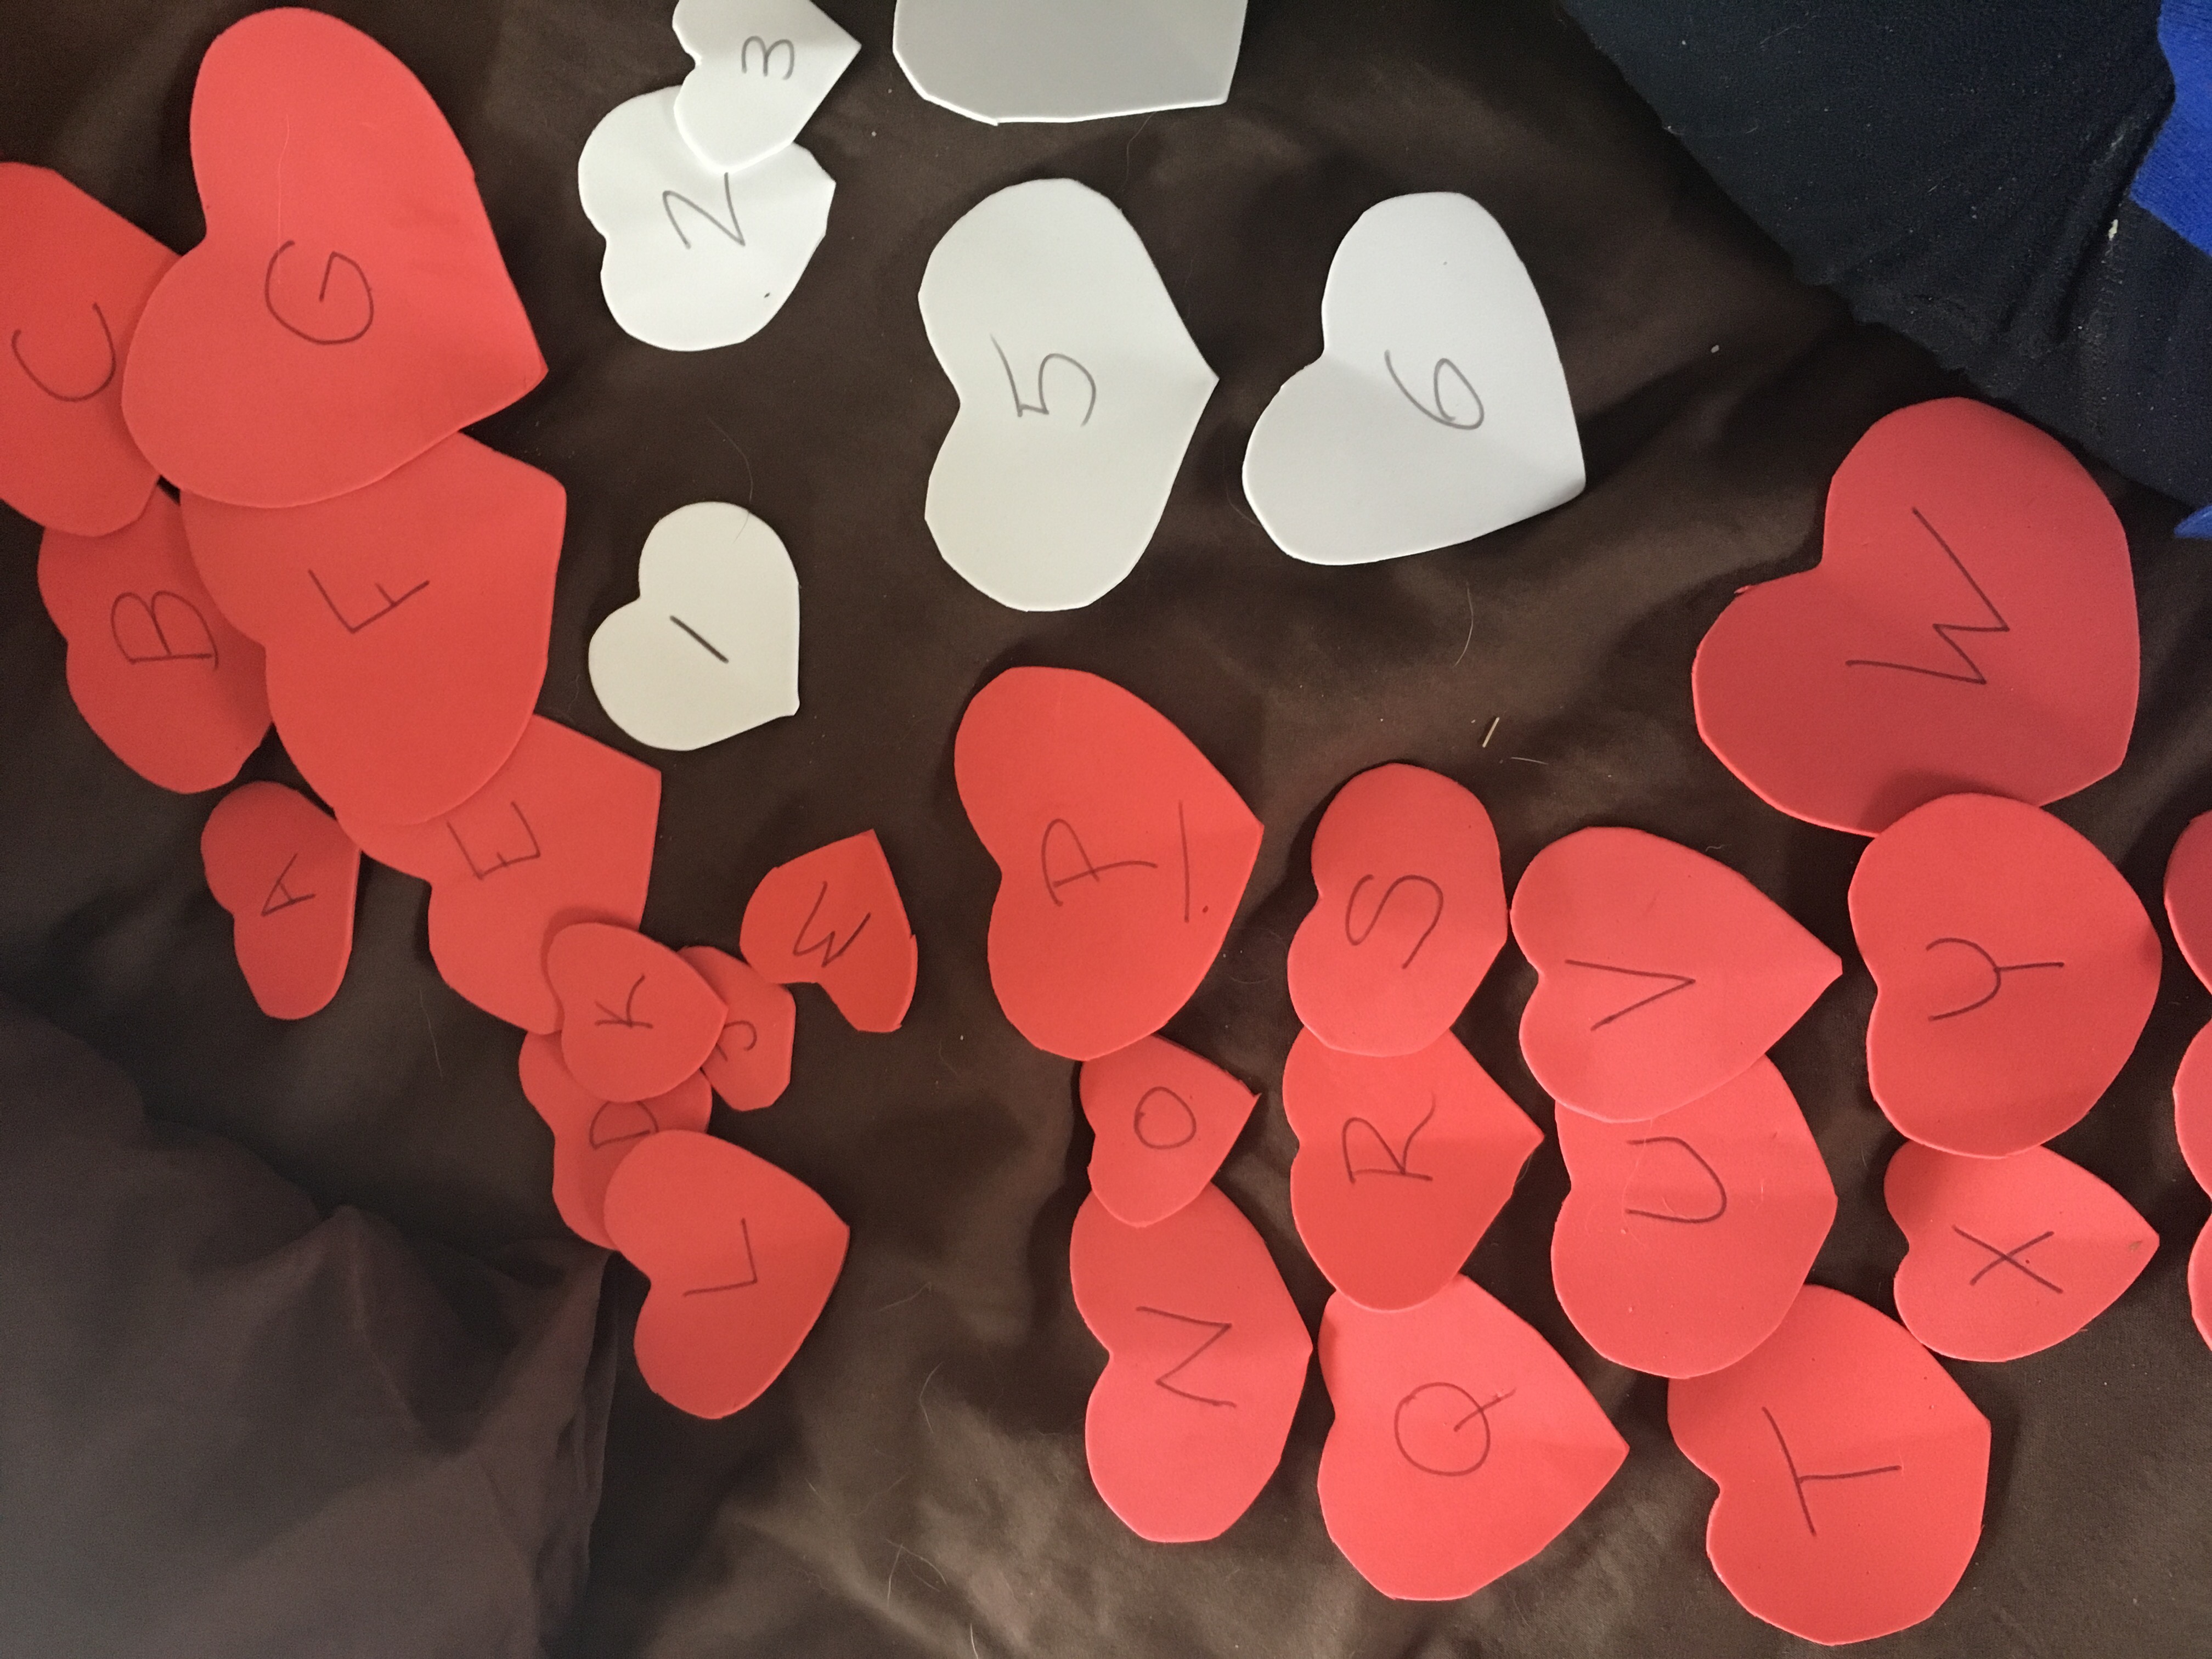
There are many different types of scavenger hunts for holidays.  This one is a simple Valentine’s Day heart hunt that has many variations!


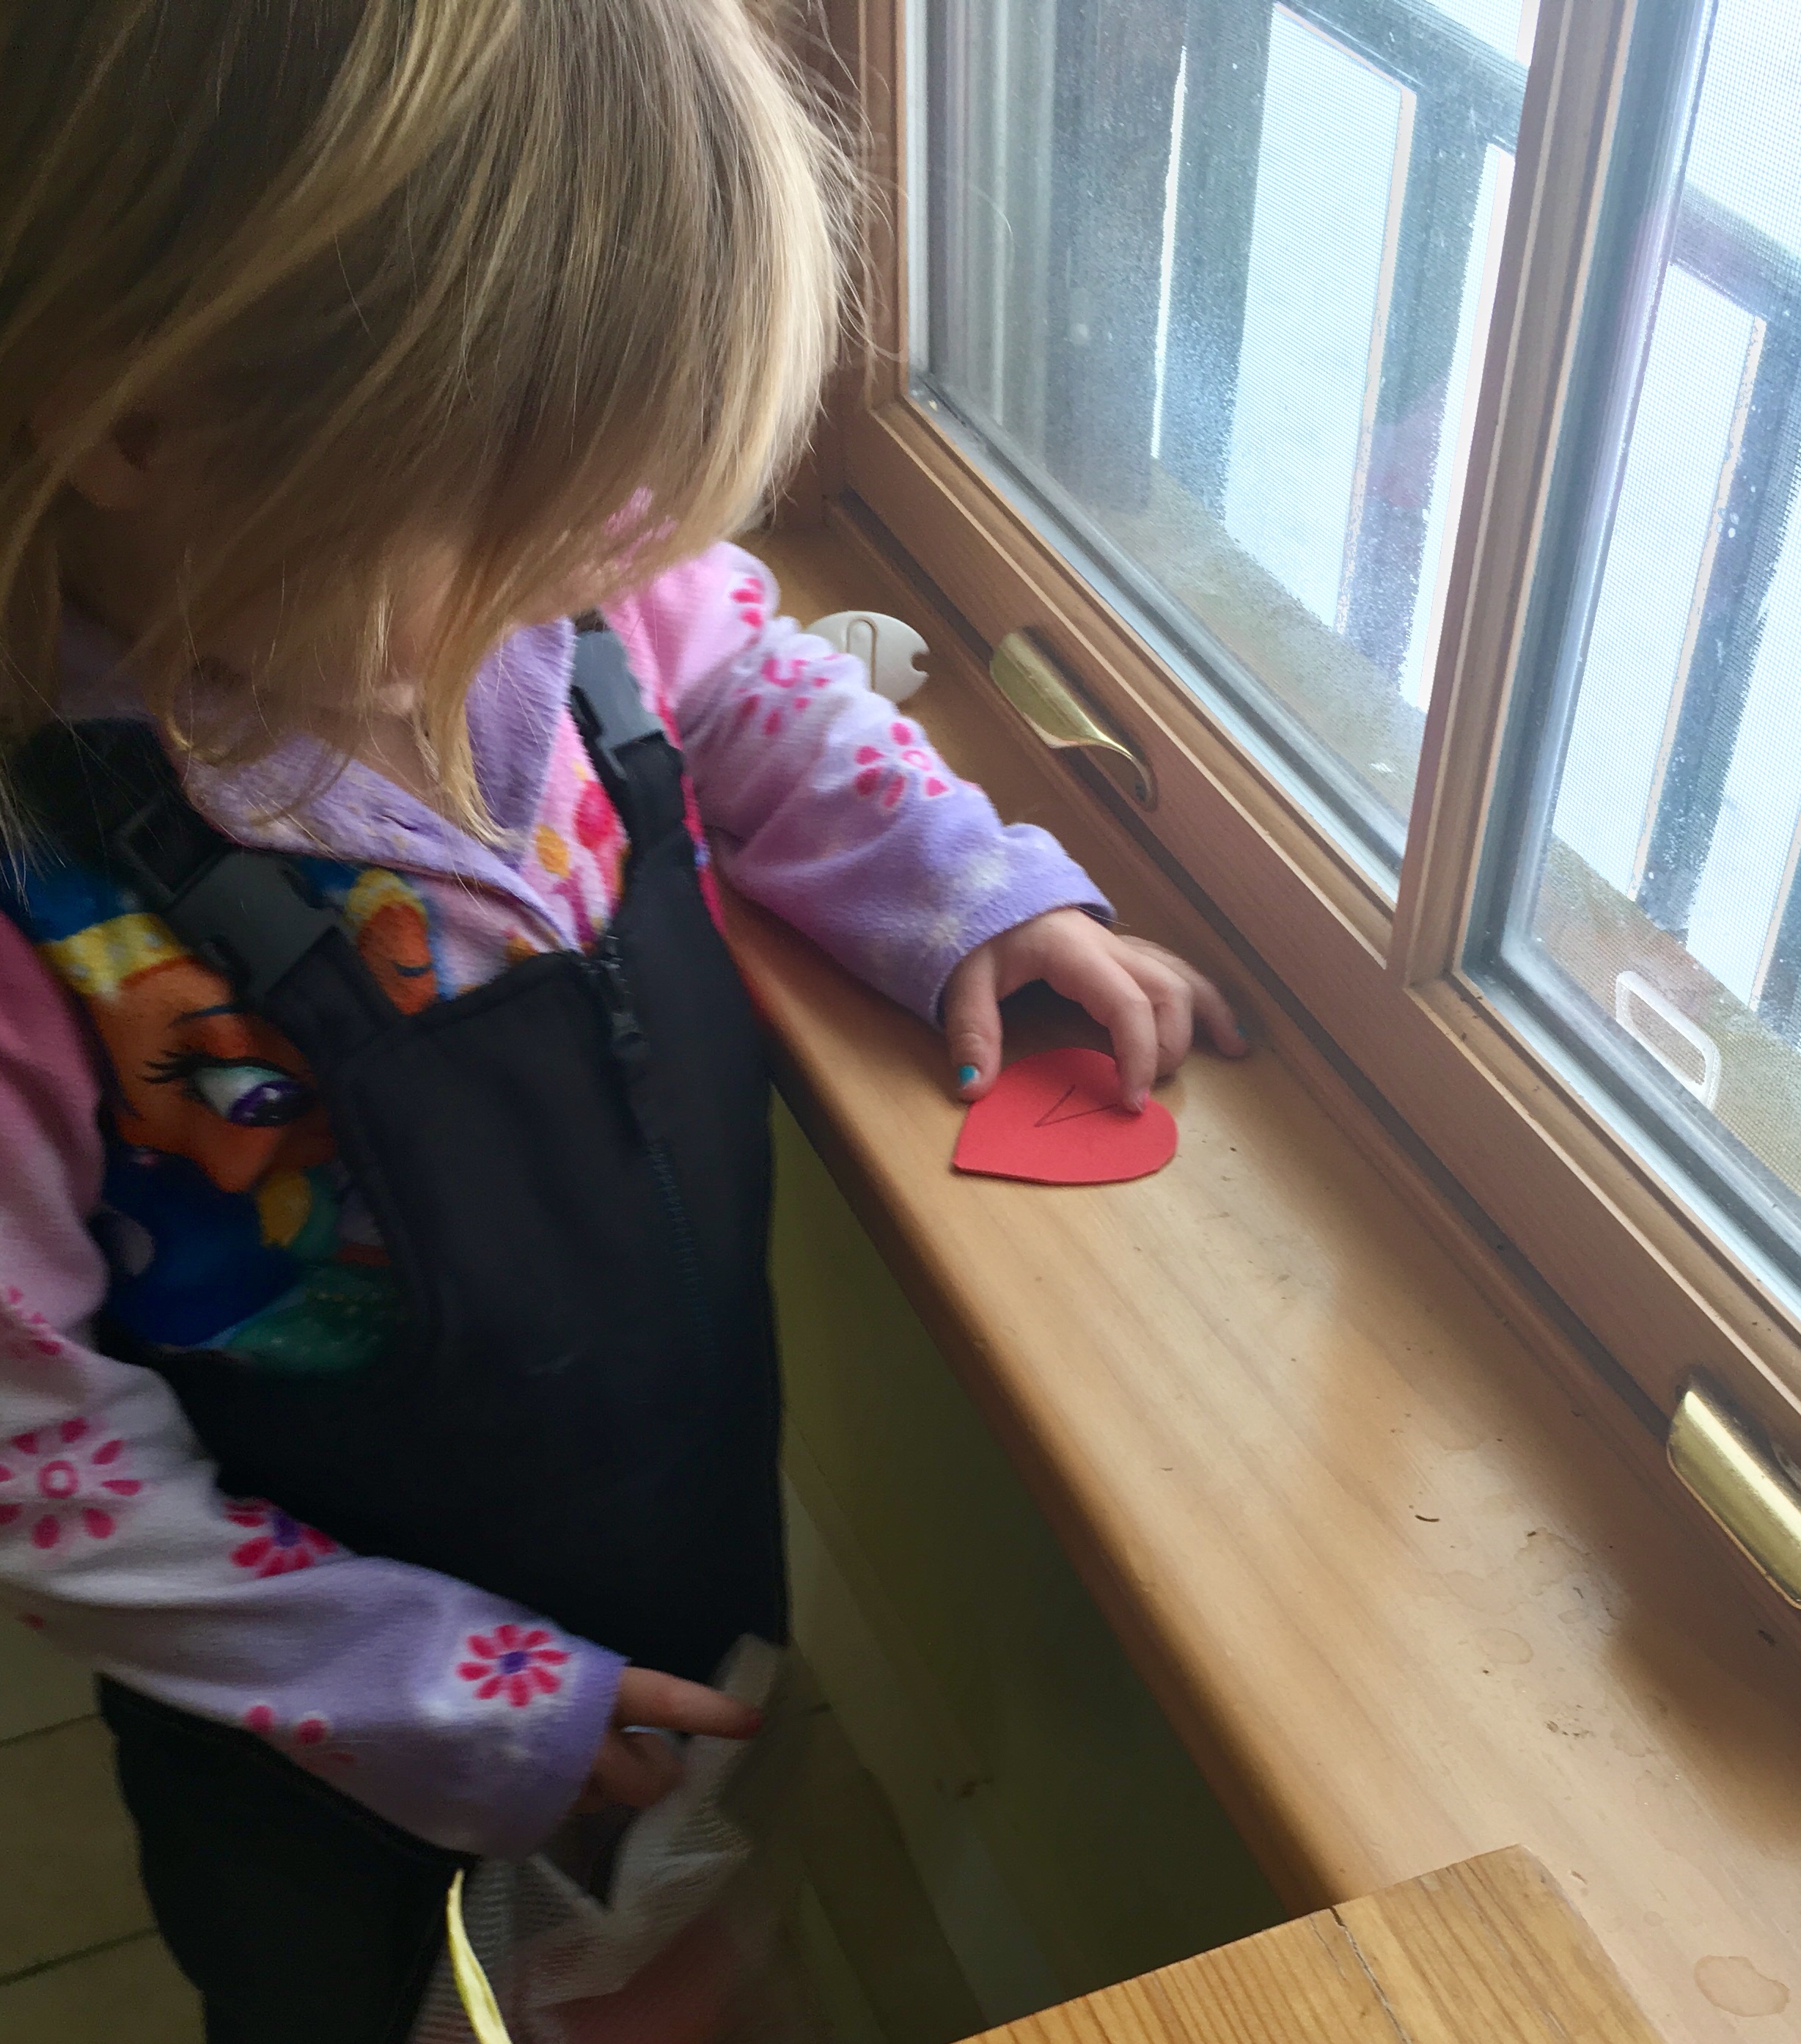
So cut out hearts (I used the foam material so it won’t rip), and hide them around the house! You can use paper but it may get torn and won’t last as long!

hearts.jpg

There are a couple ways to make it more complicated for older toddlers:

  1. Number them and have them line the hearts up
  2. Tell them to find certain colors and sort them
  3. Line the hearts up by size
  4. Alphabetize the hearts
  5. You can have one child hide the hearts for another
  6. Have the child decorate a bucket or paper bag to hold the hearts!  Or the child can even decorate the hearts once they are found and give them out as valentines!


Have fun and enjoy Valentine’s Day!


FollowFacebookpinterestrssyoutube
ShareFacebookpinterest

Valentine’s Heart Suncatcher (SO EASY)!

I’ve had contact paper sitting around for quite a while and decided it was time to use it! I had a snow (ice) day today and wanted a fun valentine’s craft for my toddler.

You will need:

-tissue paper in different colors

-contact paper

-tape

-glitter

-construction paper

I used pink construction paper to cut out the heart. I simply folded the paper in half and cut out the heart shape.

1       2

Next, I cut out a smaller heart from the middle of the heart. This made a nice border.

1

I cut out contact paper and put the heart on top of it. To get the contact paper to stay still and smooth, I put tape on the edges to keep it down.

1   2

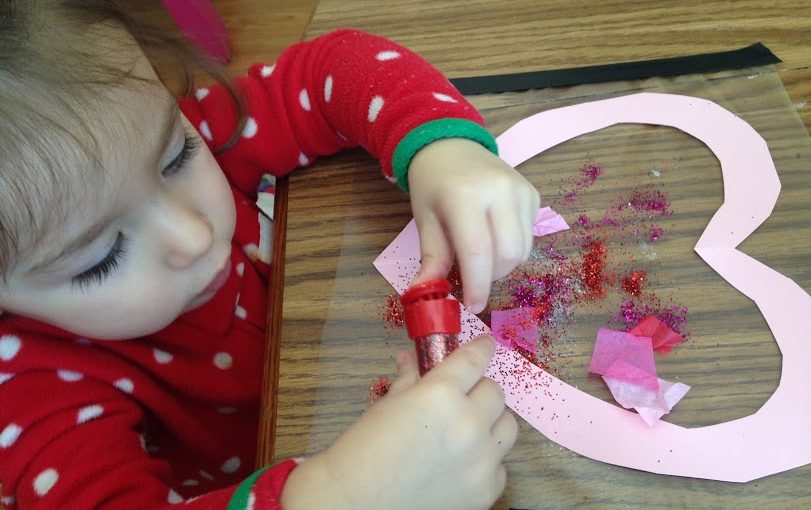
Here comes the fun part! Decorate! The heart is on the sticky contact paper, so anything will stick to it. My little girl used glitter and cut up pieces of tissue paper.

1.jpg

I underestimated how much she would love using glitter!

2.jpg

If she had a choice she would’ve just used glitter…all of it!

3.jpg

She LOVED this activity, so much that we made a few suncatchers! They make great presents for family 🙂

1.jpg


When your child is done decorating (or they’ve used all of the glitter), put another sheet of contact paper (sticky side down) on top of the heart. Cut out the extra contact paper around your heart.

Then you are done! Hang it in a window that gets sunlight! You can hole punch and put a string on it or use contact paper to put it on the window. We will definitely make this again as she loved it soooo much! It’s a great craft idea for any age!

Since tomorrow is Valentine’s day and it’s currently snowing outside, the sky is cloudy. I couldn’t get a great picture of the finished product, but will post the pictures anyways. Keep in mind that the glitter is colored and will shine brightly when the sun is out but today it is cloudy!

1   2

FollowFacebookpinterestrssyoutube
ShareFacebookpinterest

Homemade Hot Chocolate, Told by a Toddler

86

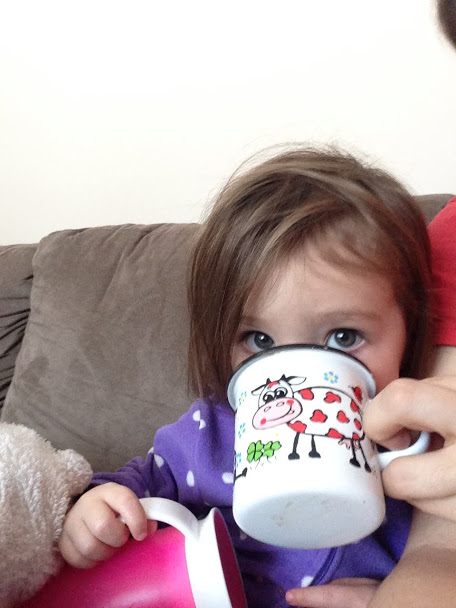
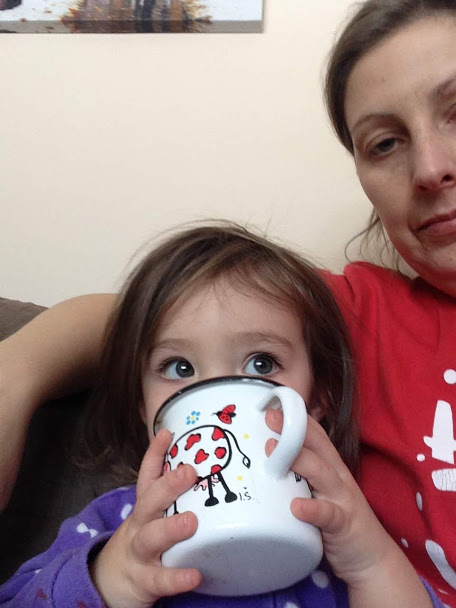
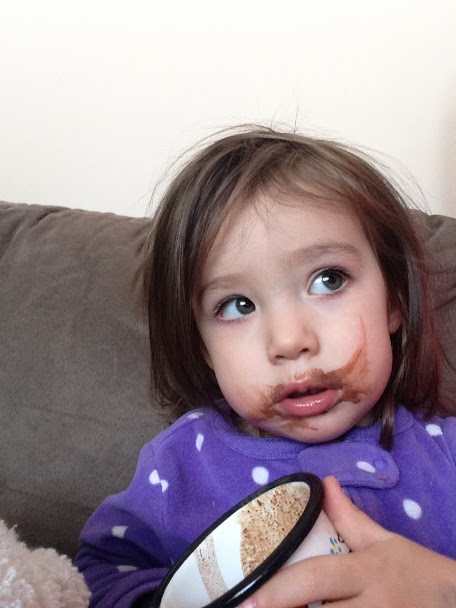
Mmmmm…this is the best hot chocolate I’ve ever had! It definitely doesn’t taste like that stuff from a packet!

Mommy used these ingredients:

  • 2 cups of whole milk
  • 4 oz ( almost 1 cup of bittersweet chocolate chips)
  • optional: 2 tbsp. of sugar

Mommy made it from scratch and here is what she did:

First, she put 2 cups of whole milk in a saucepan and heated it up on medium on the stove.

She didn’t let it boil, she waited until the little bubbles showed up around the outer circle of the milk in the pan.

While this was going on she poured the bittersweet chocolate chips, 1 cup into a  bowl and microwaved it in 30 second intervals (oh I know a fancy word). She mixed it in between each time until it was all melted.

Next she turned off the stove when the little bubbles formed around the outside of the milk and mixed in the chocolate with a whisk.

Yumm….

85

This is so good and chocolatey. Very rich and thick! More! More I say! How about some whipped cream or marshmallows? Pleasssse?

84

When we were done I wanted more but mommy put the rest in a large mug in the refrigerator for tomorrow.

83

I can’t wait!


FollowFacebookpinterestrssyoutube
ShareFacebookpinterest