Mixing fun

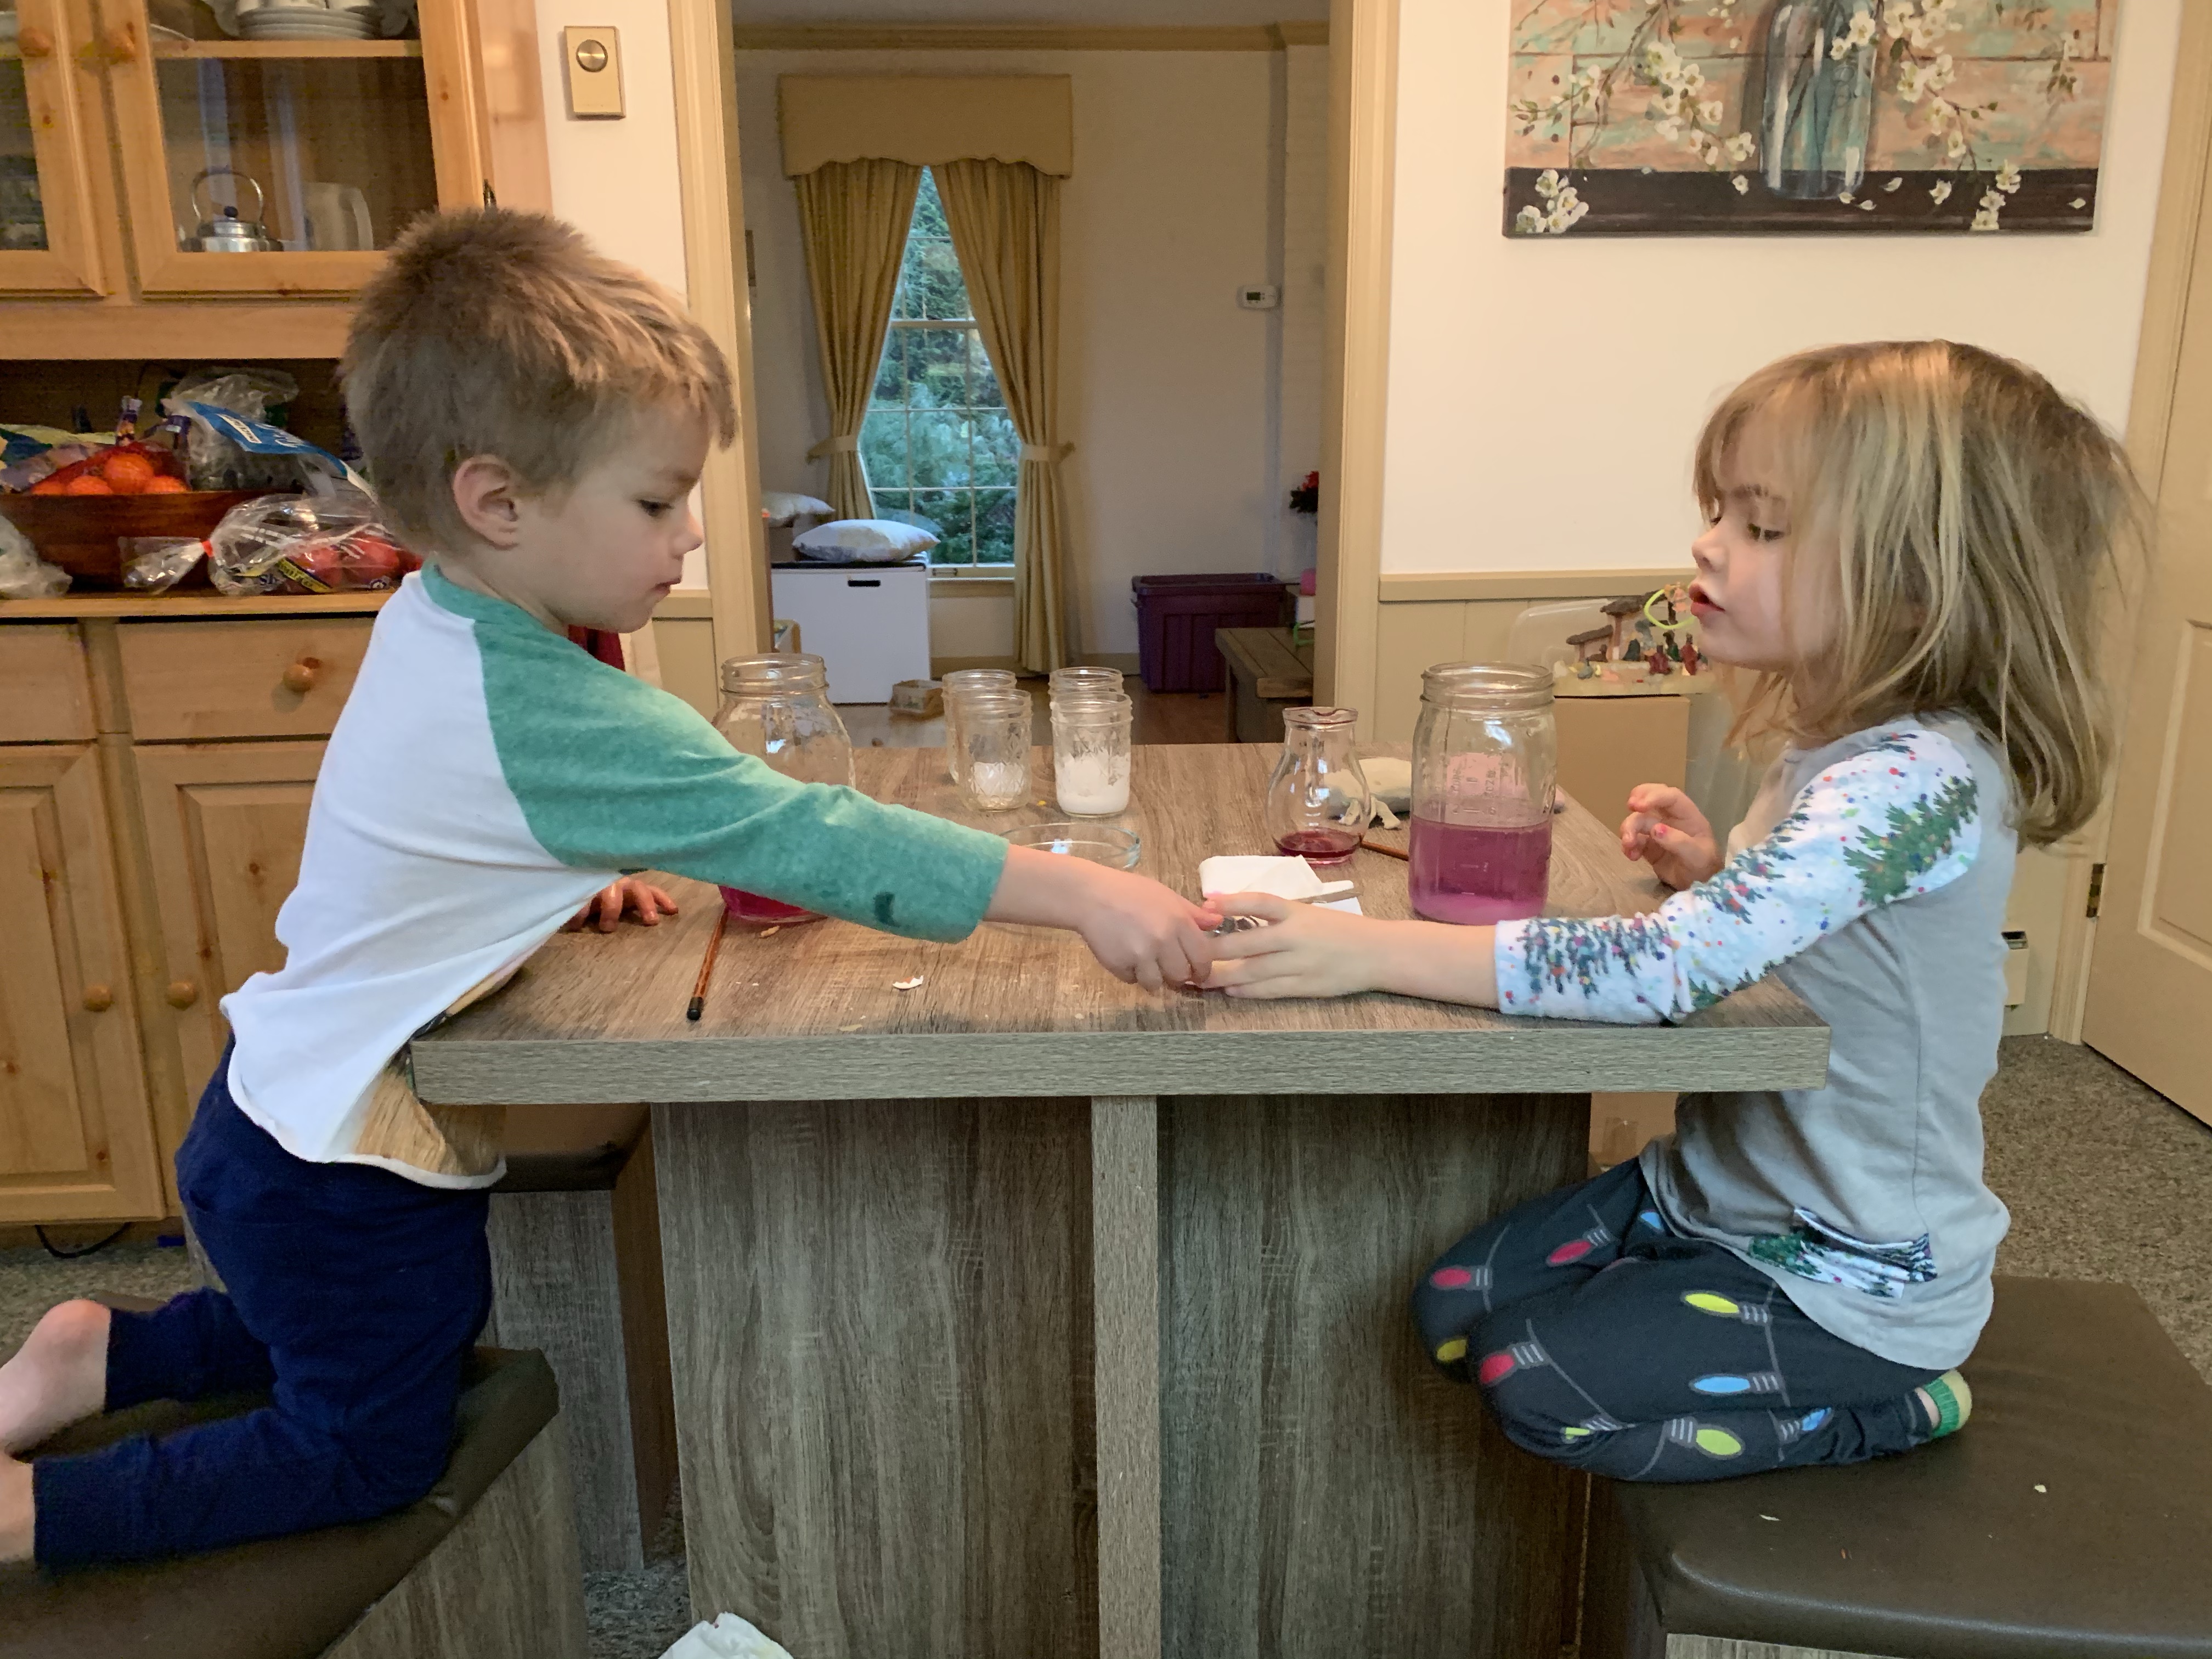
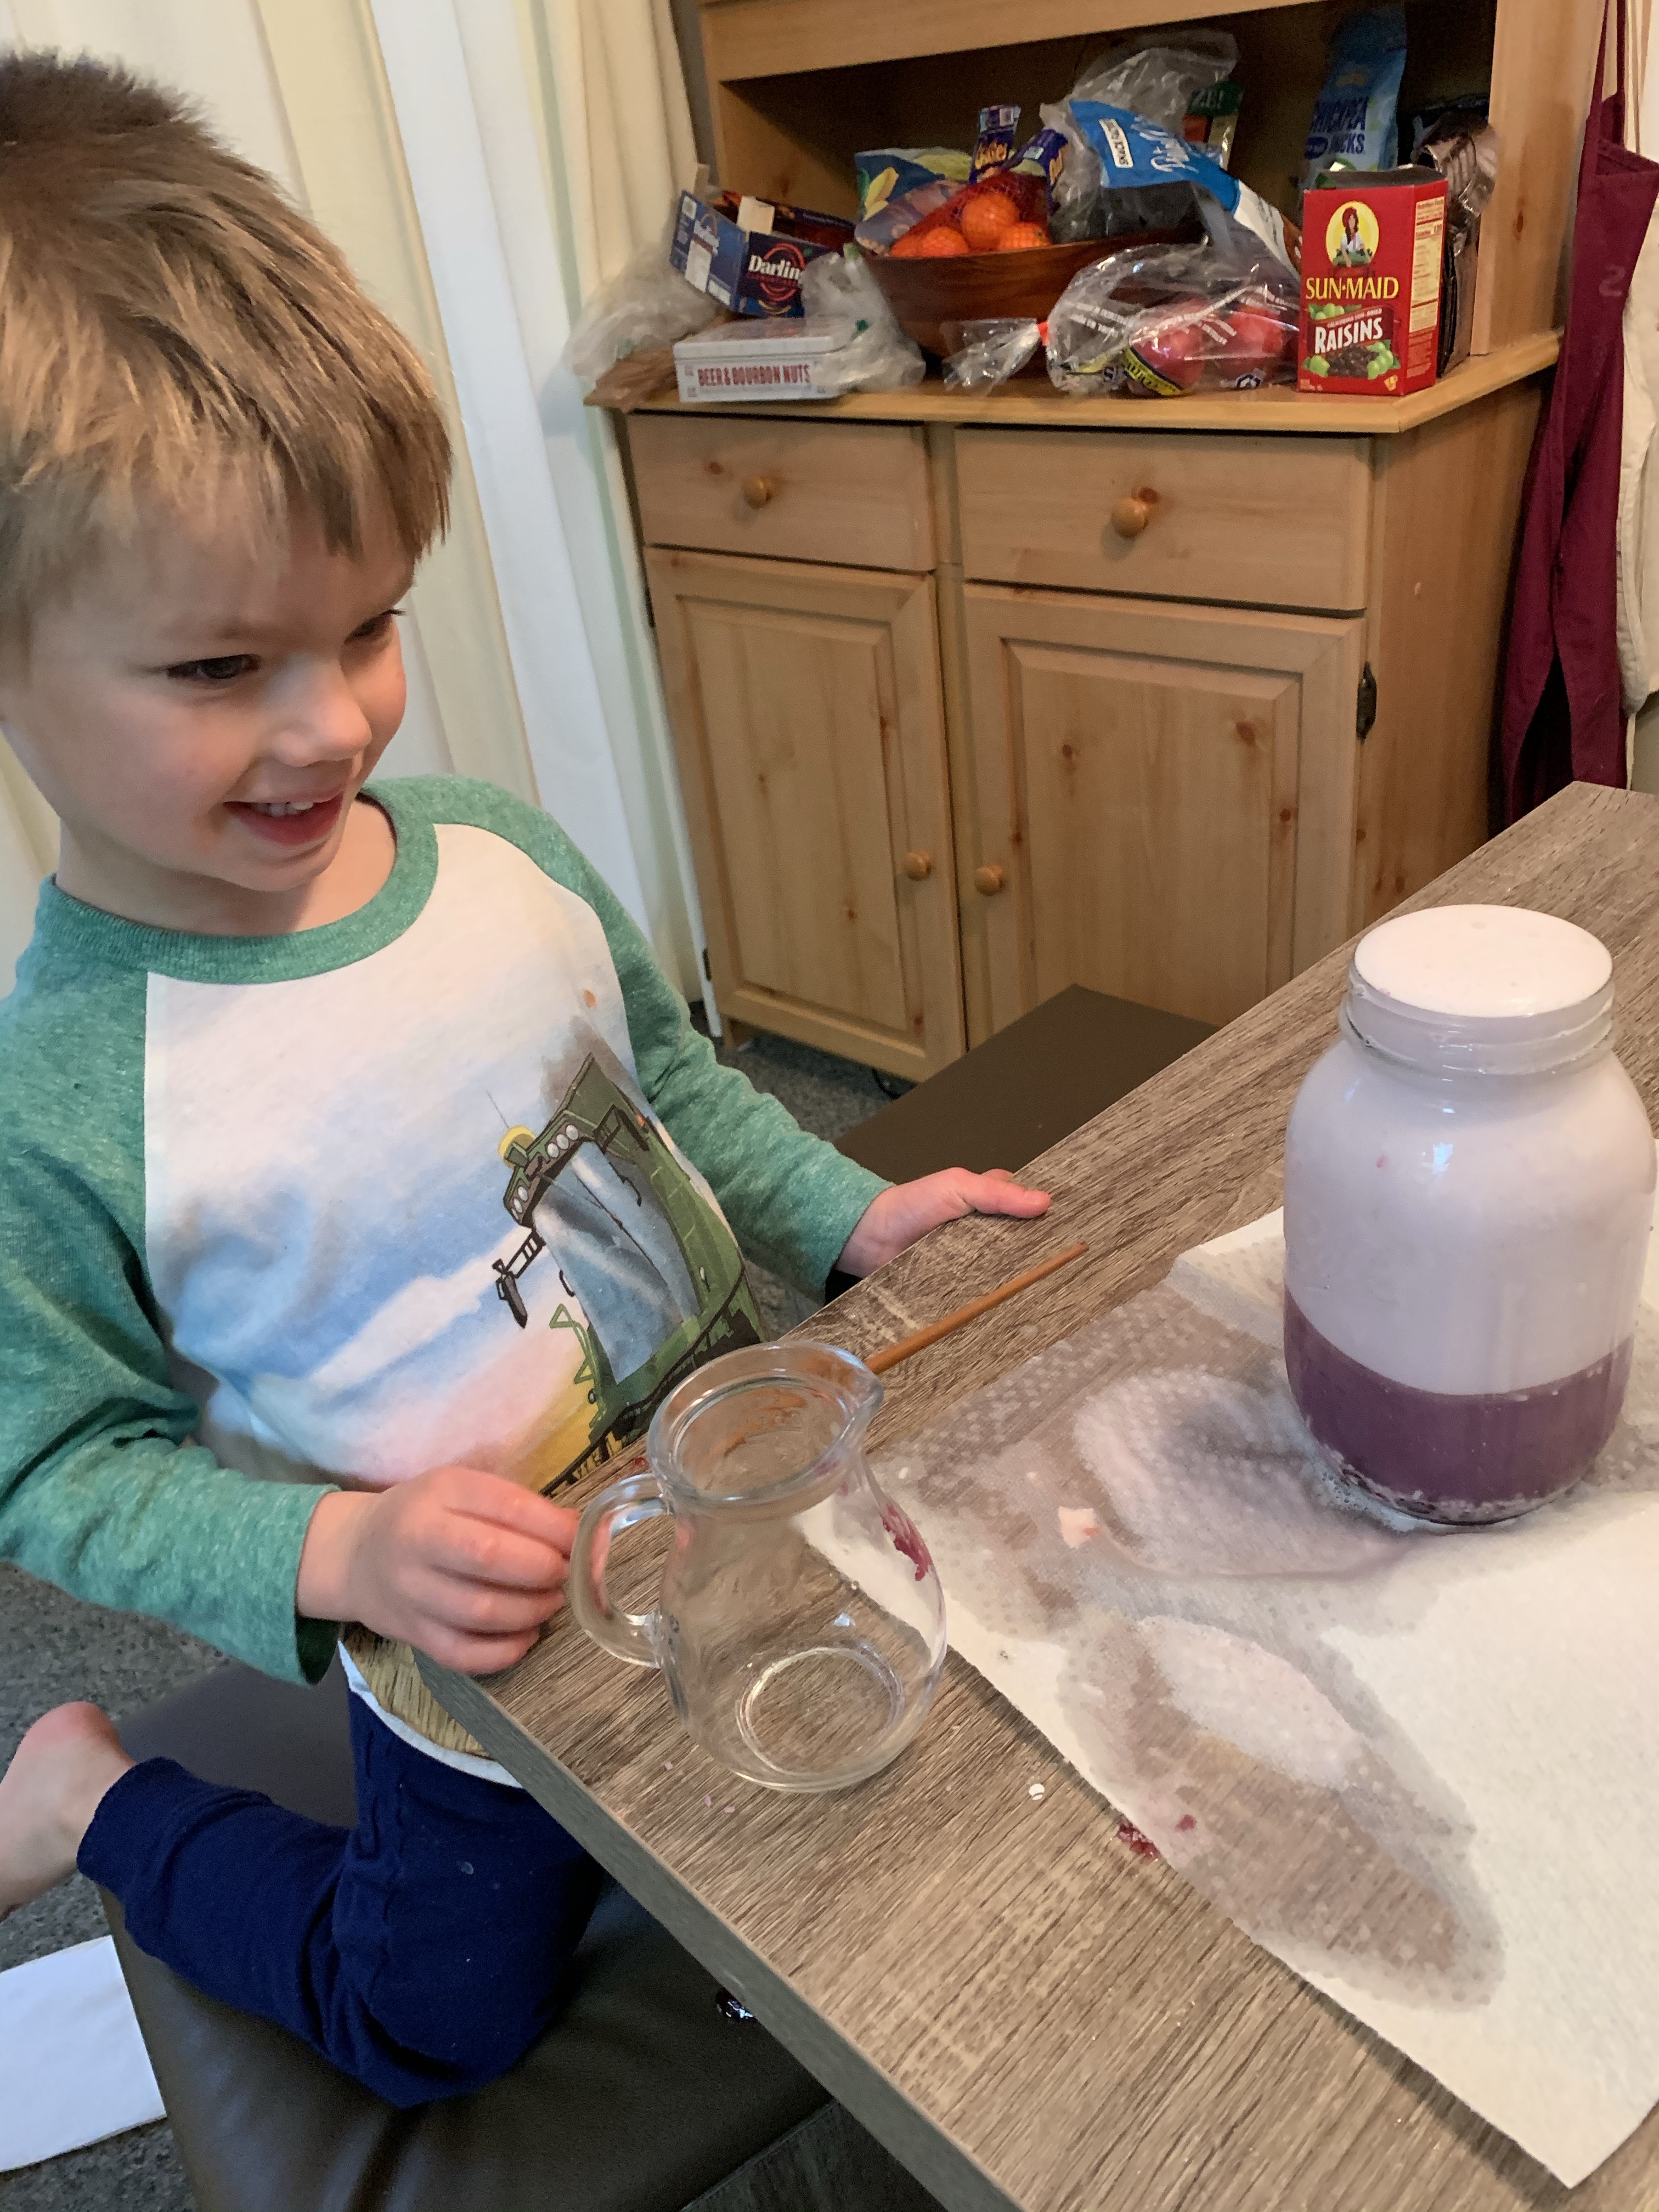
If you’re looking for an activity for your little ones to enjoy and also learn try this mixing fun. You can also use whatever you have in your kitchen! Just as an update, the kids ask to do this almost daily they love it that much!

img_2705

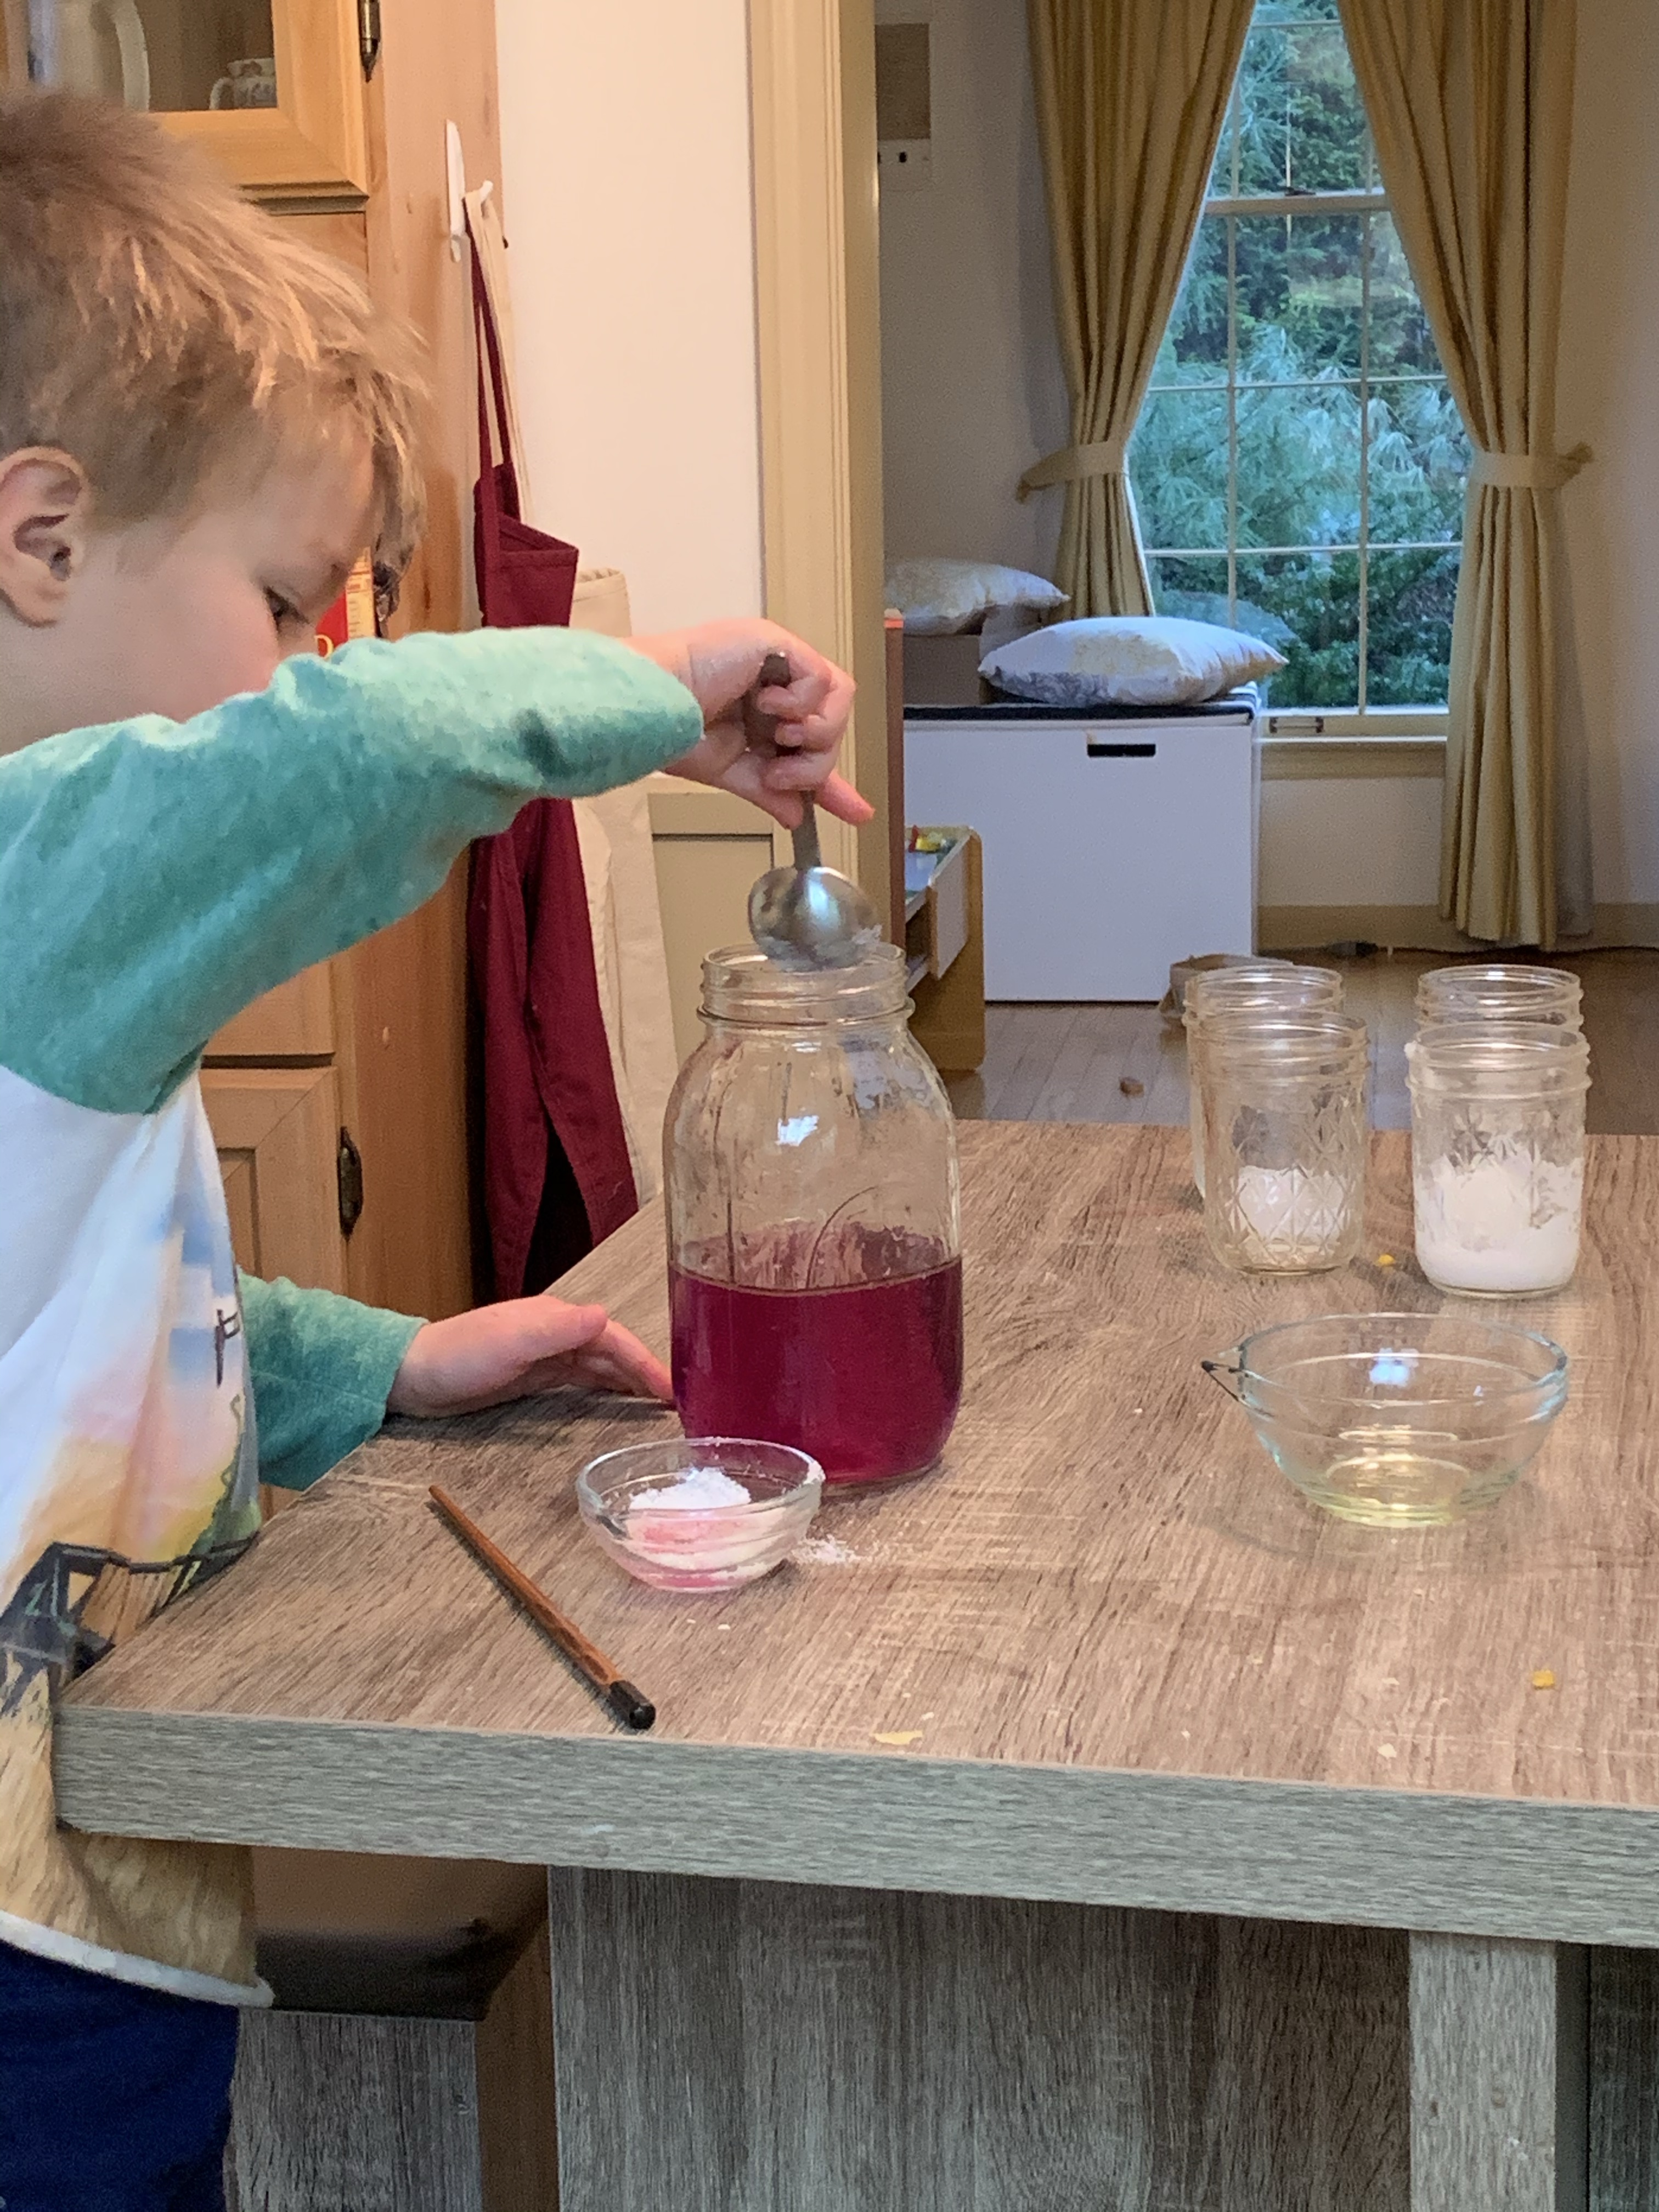
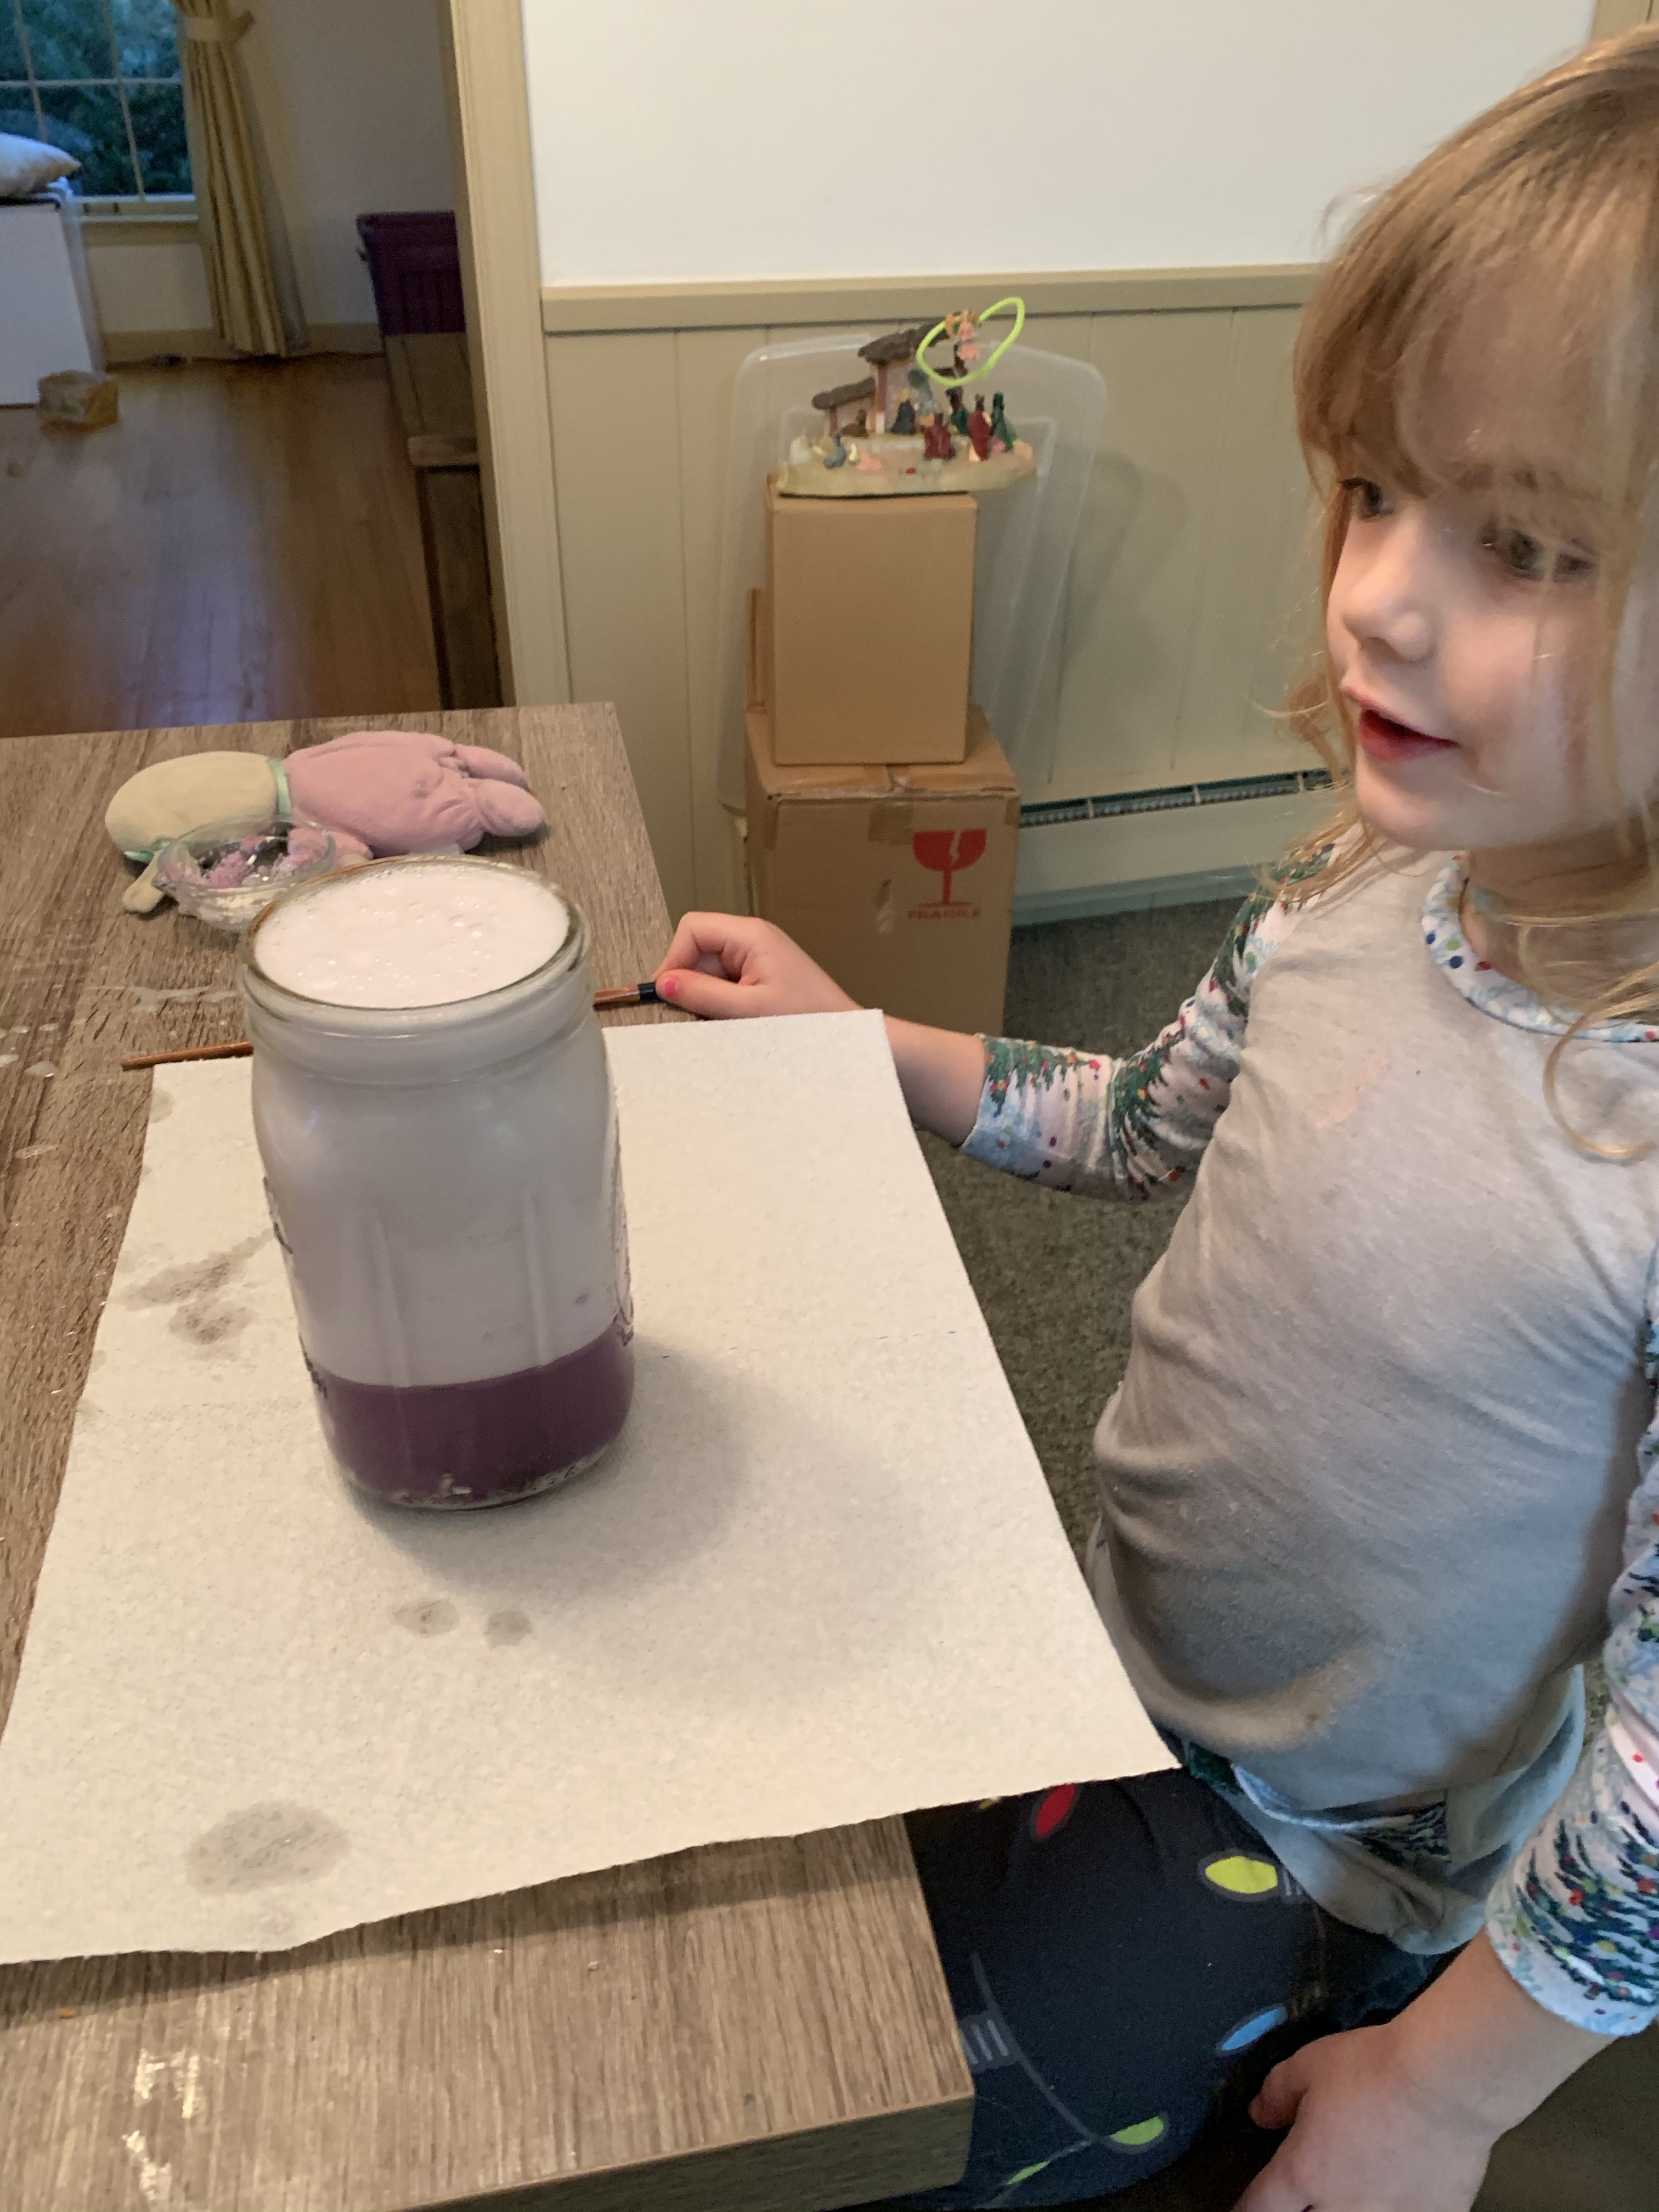
You need a container, preferably a tall see through one such as a large mason jar as shown. Fill the mason jar half way up with water.

Then you will need something to stir with (we grabbed a chopstick!)

Lastly, you need items to put in this mixture, so food coloring or natural coloring (we also used washable paint one time!

Coloring from beet juice etc.

Sprinkles can be used to see if they float or sink!

Ice cubes

Salt versus sugar-do they dissolve

Olive oil or any type of oil to see if it mixes with water

Croutons, cereal, some scraps from the compost bucket, lettuce leaf, onion (although you may want to hold off on too many food items with the quarantine right now!)

img_2707

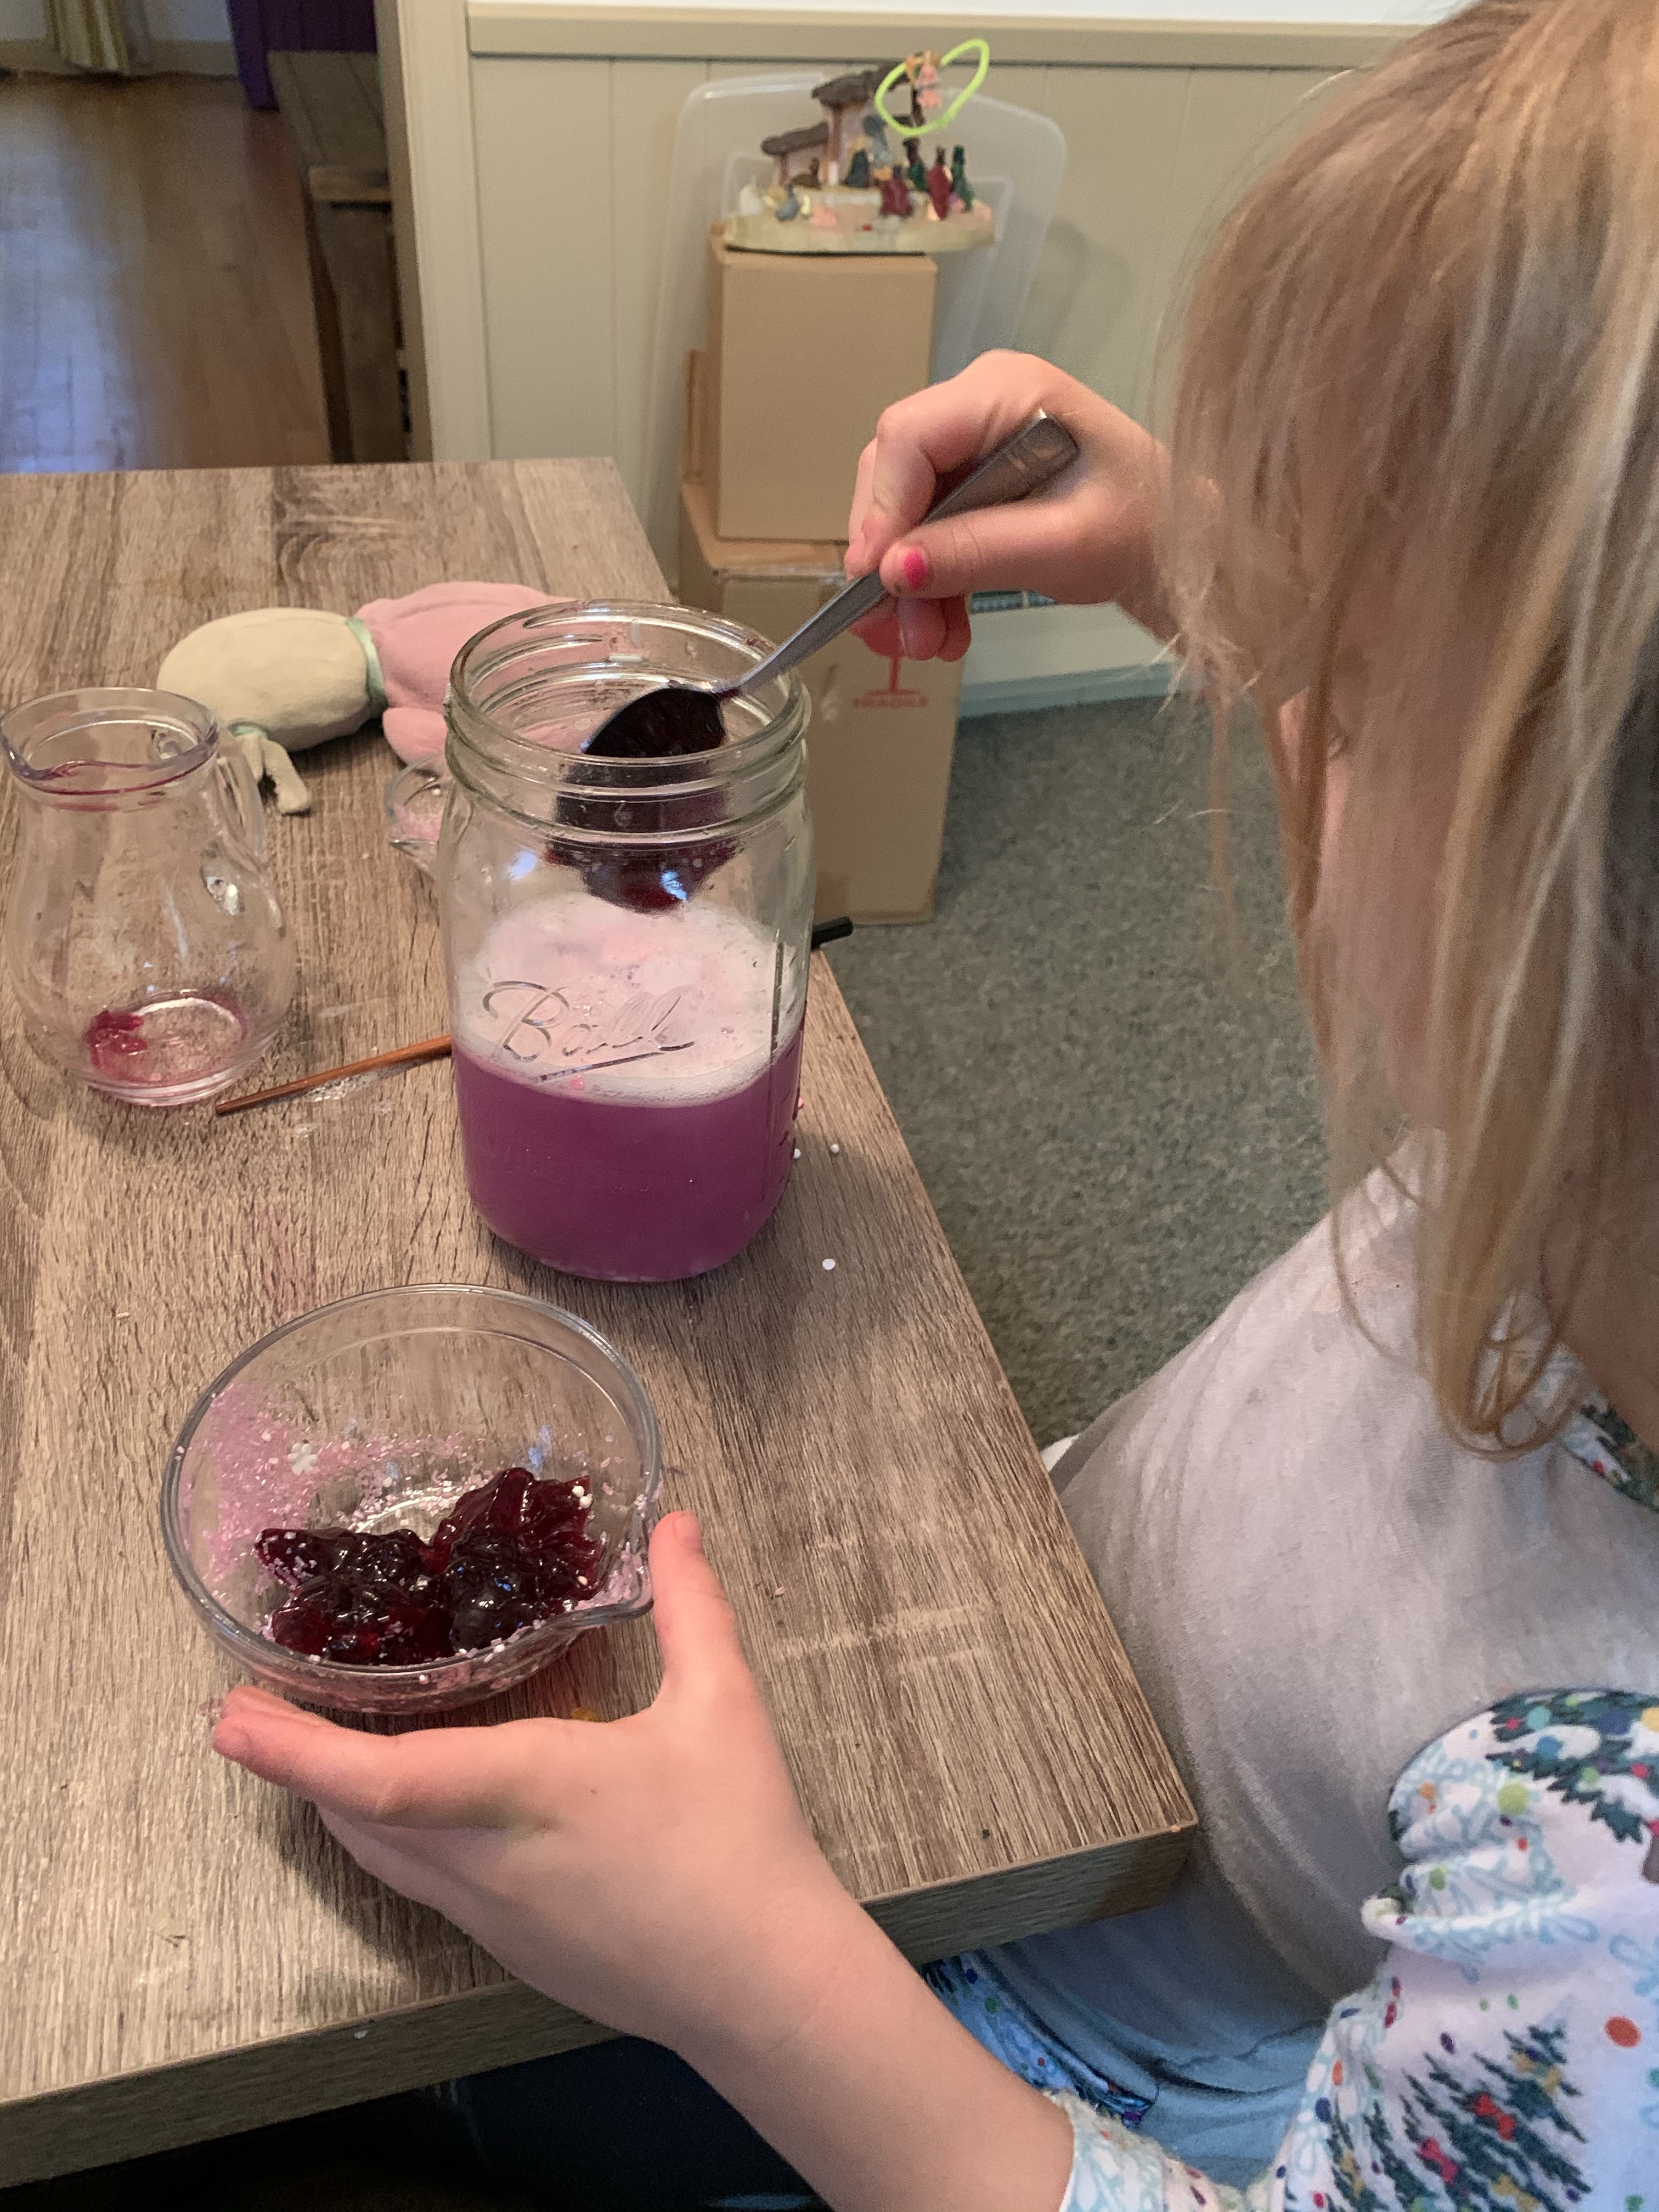
We even tried jelly to see if it would sink or mix into the concoction. Then have your child mix it real fast in a circle and see a cyclone happen!

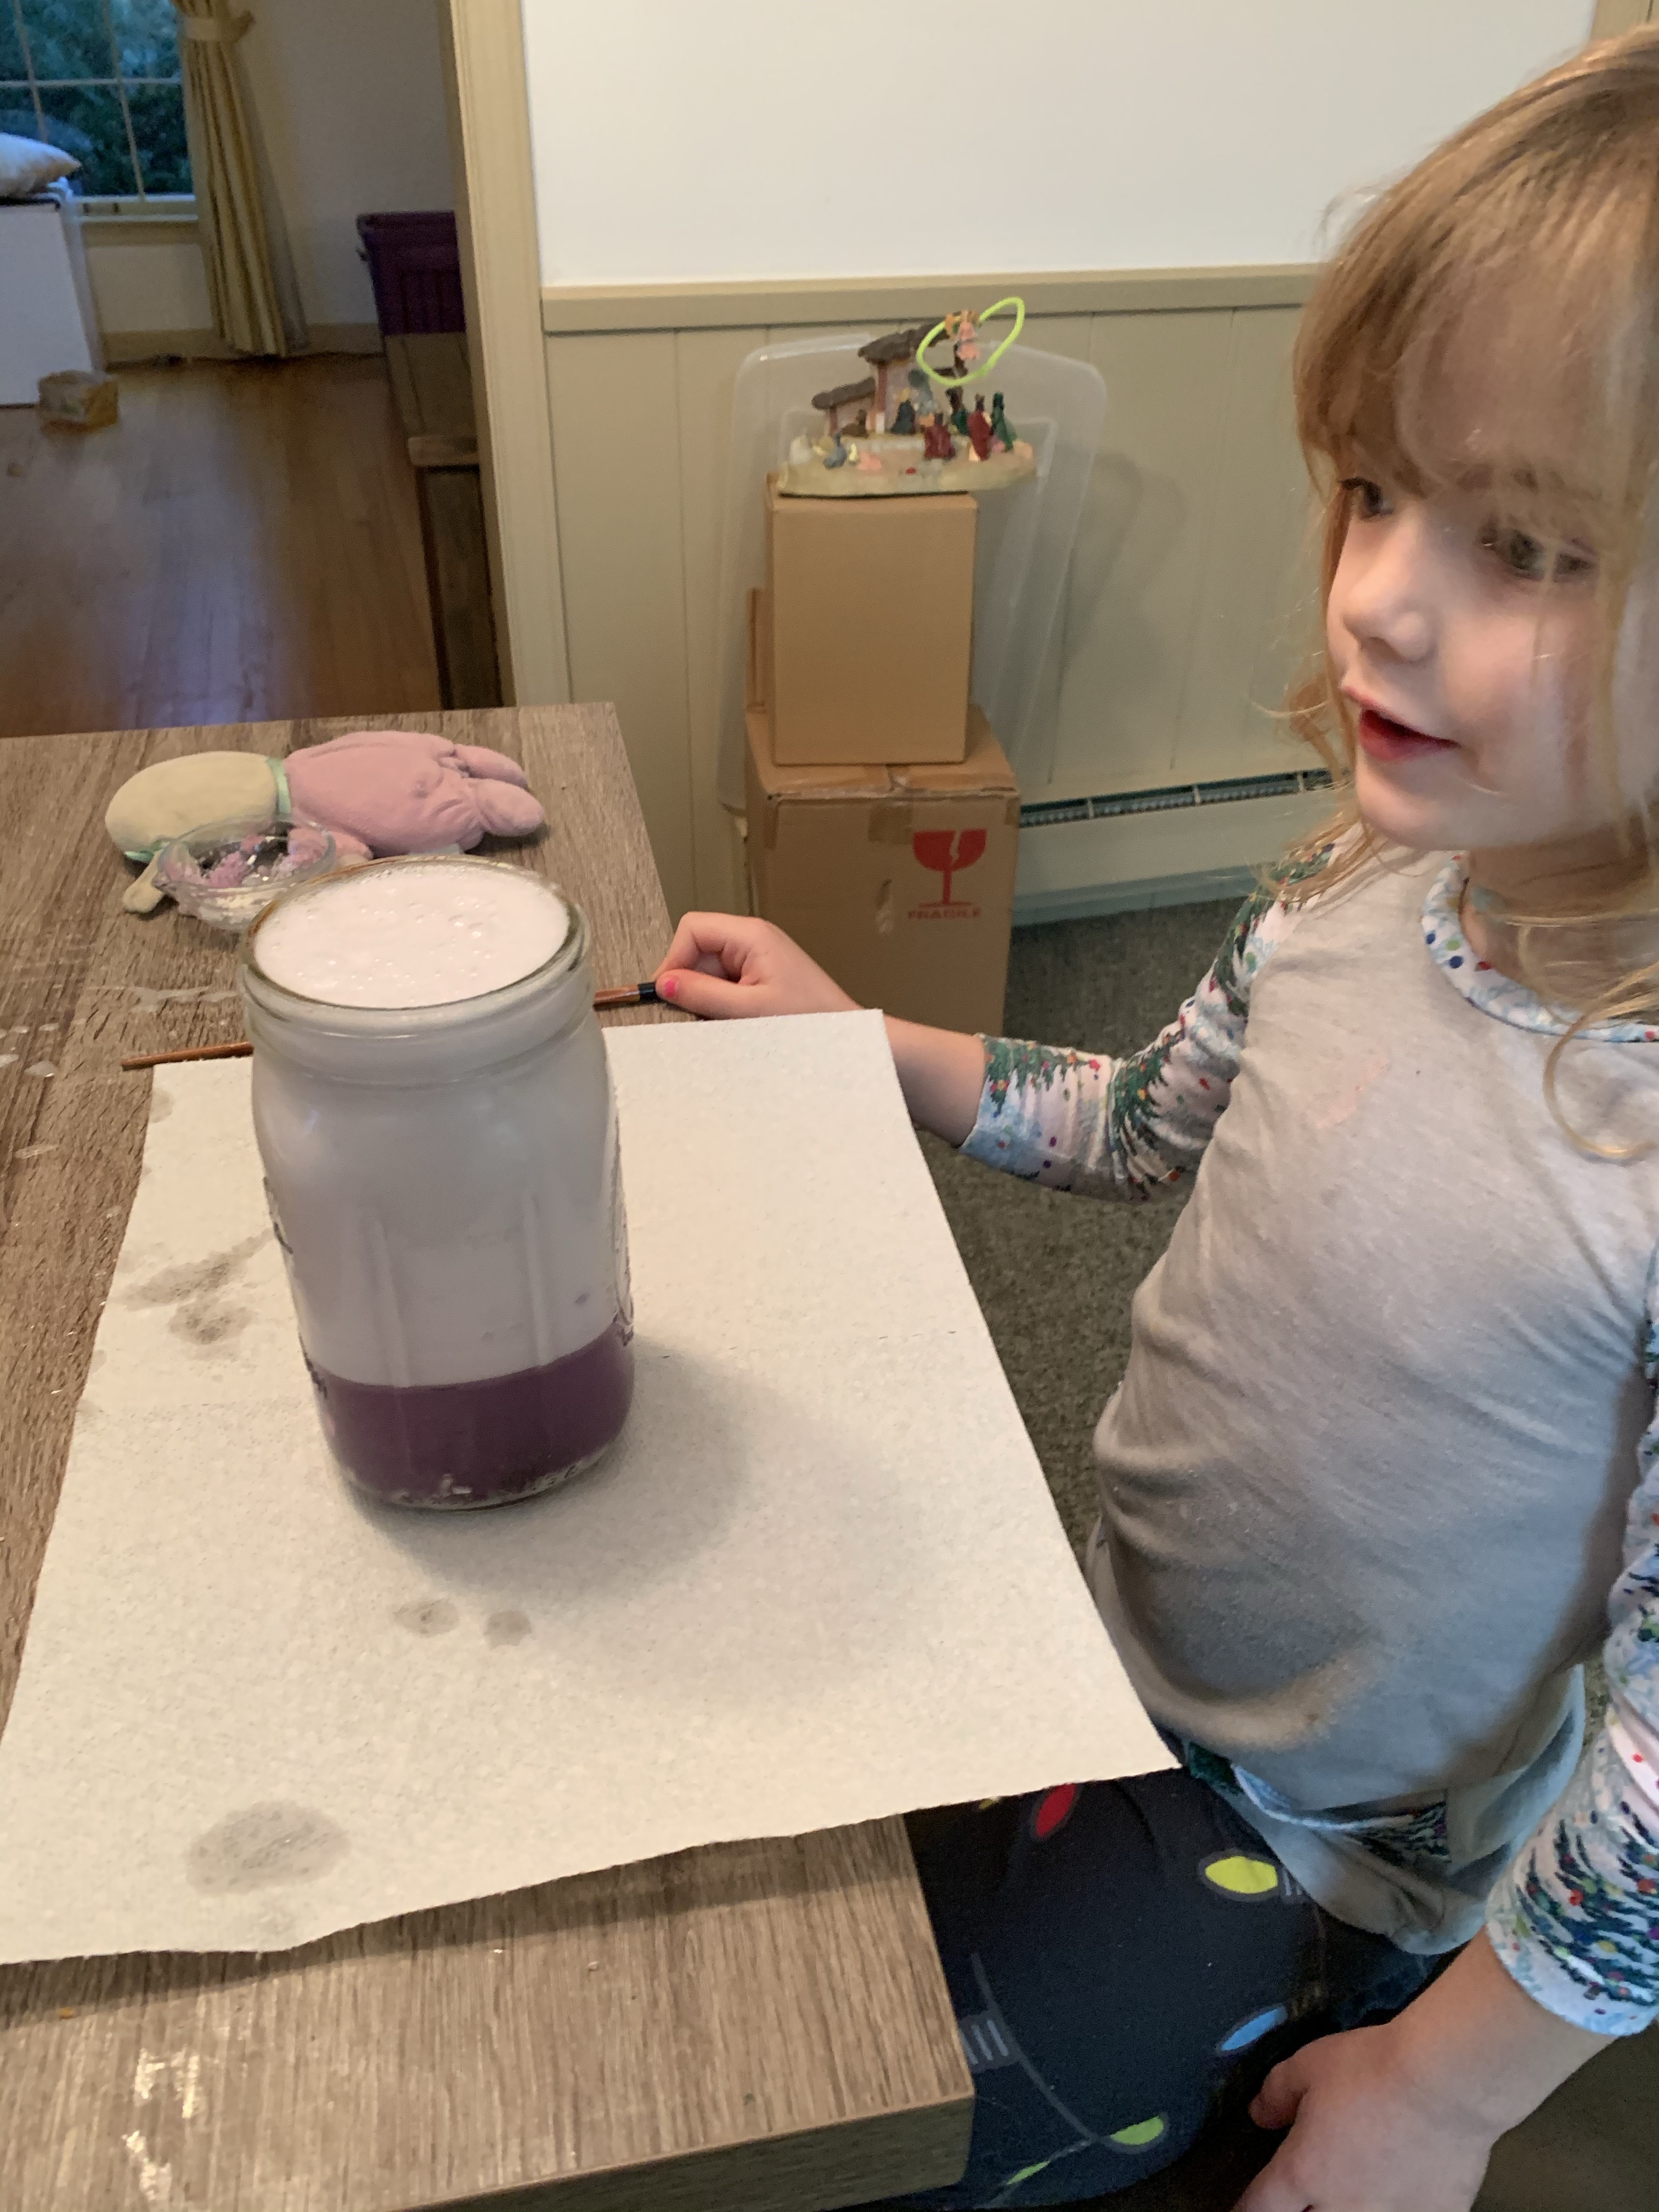
Dish soap and the bubbles it causes is fun as well!

img_2704

Pretty much try anything!


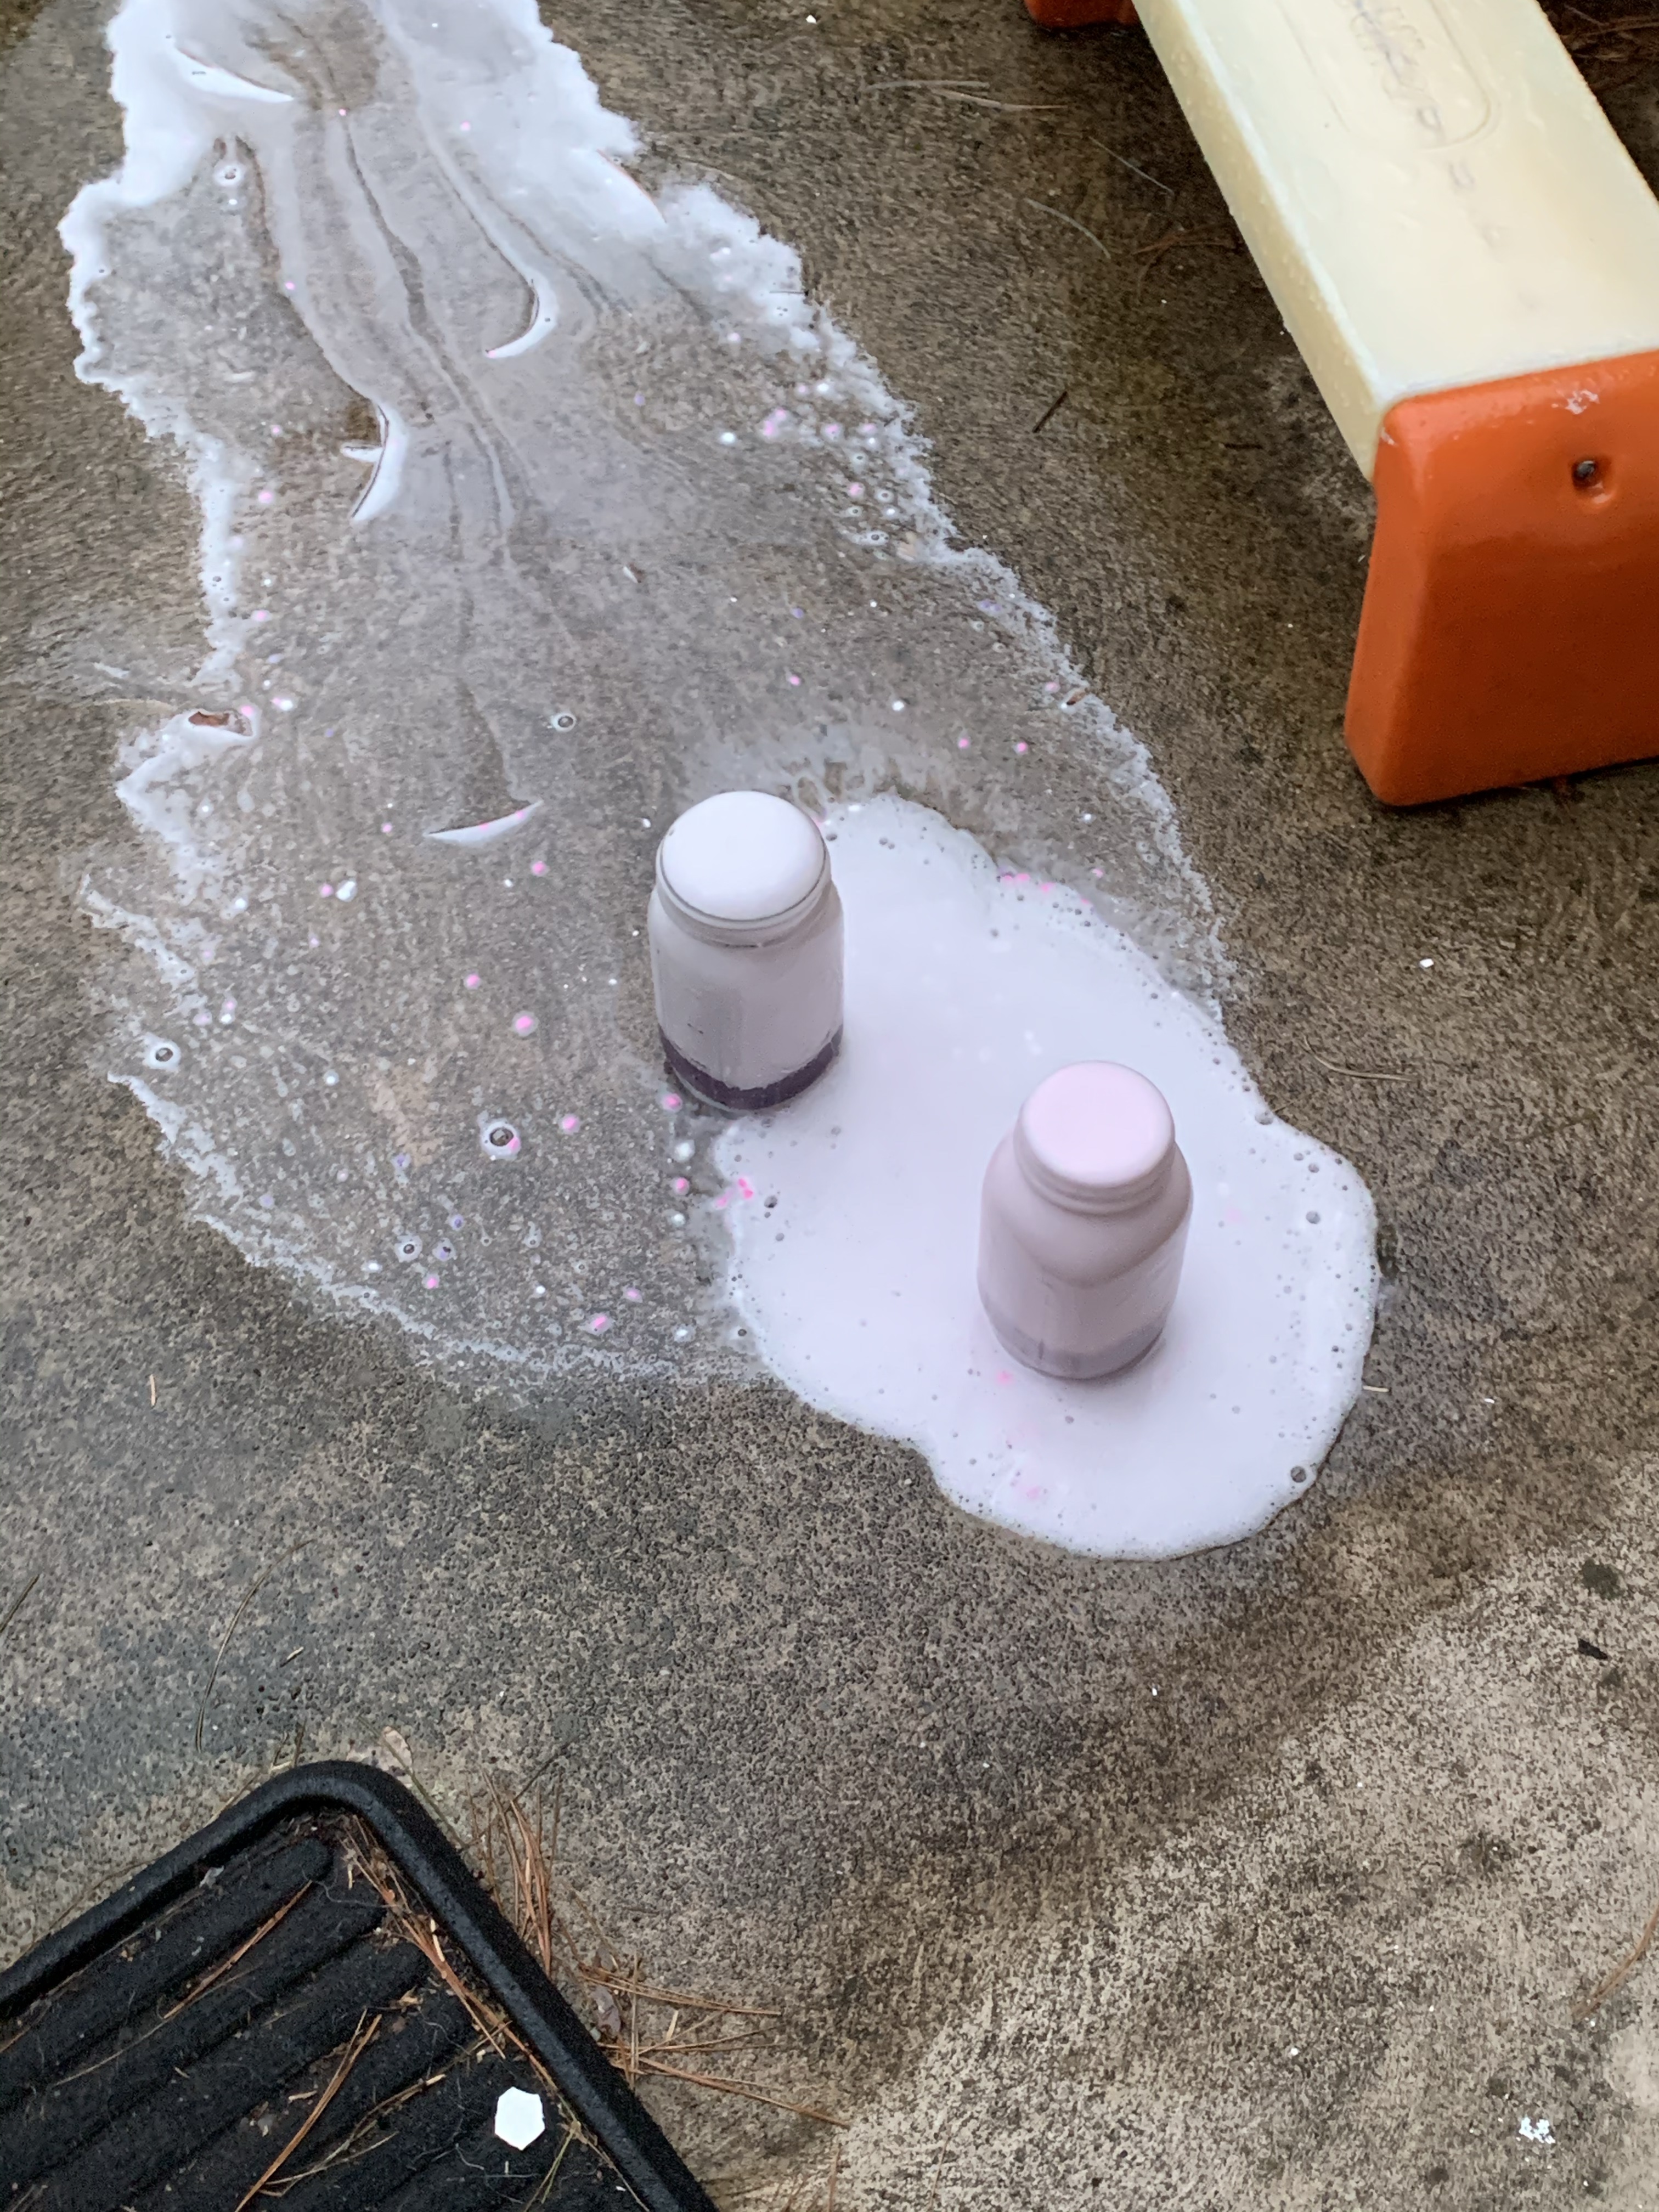
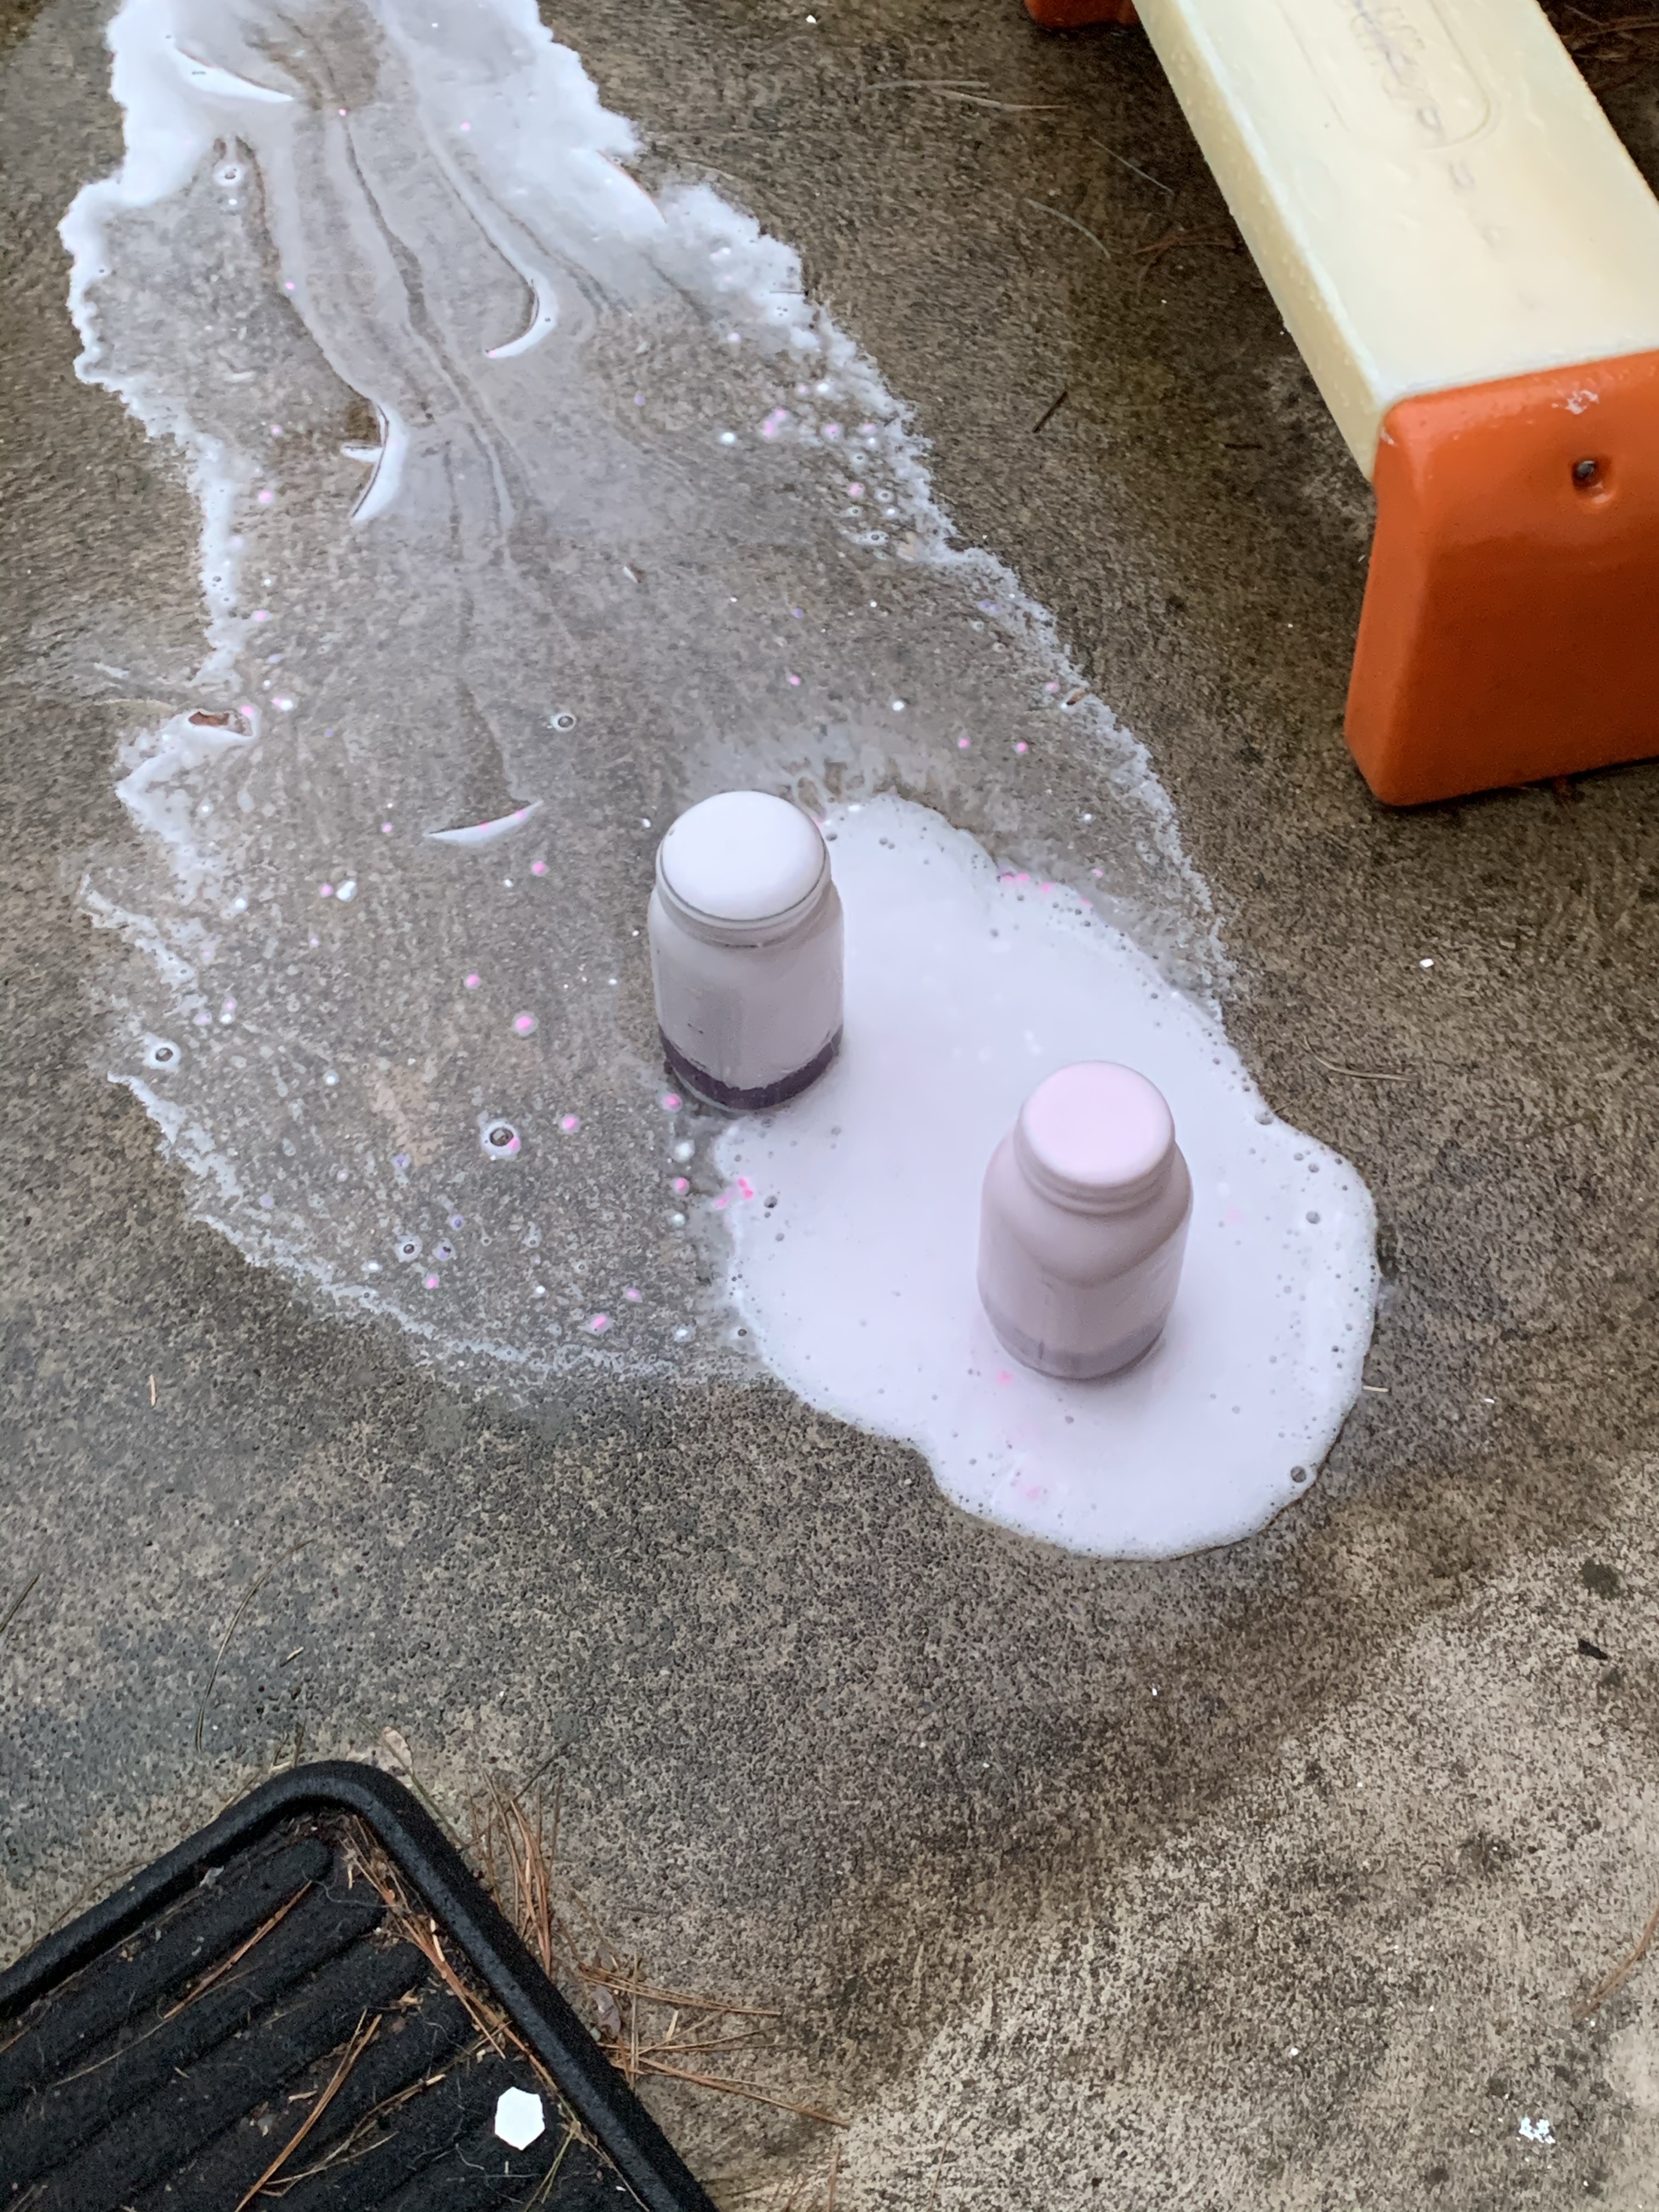
Vinegar and baking soda which you want to save for last! The acid base pair will cause a volcanoes explosion! We did those outside then to have a huge overflow!

img_2708

You can keep adding more vinegar to make it continue exploding!  Just bring it outside lol. img_2709

img_2710

ENJOY!!!!


FollowFacebookpinterestrssyoutube
ShareFacebookpinterest

Learn Names by Cars

Hi everyone!

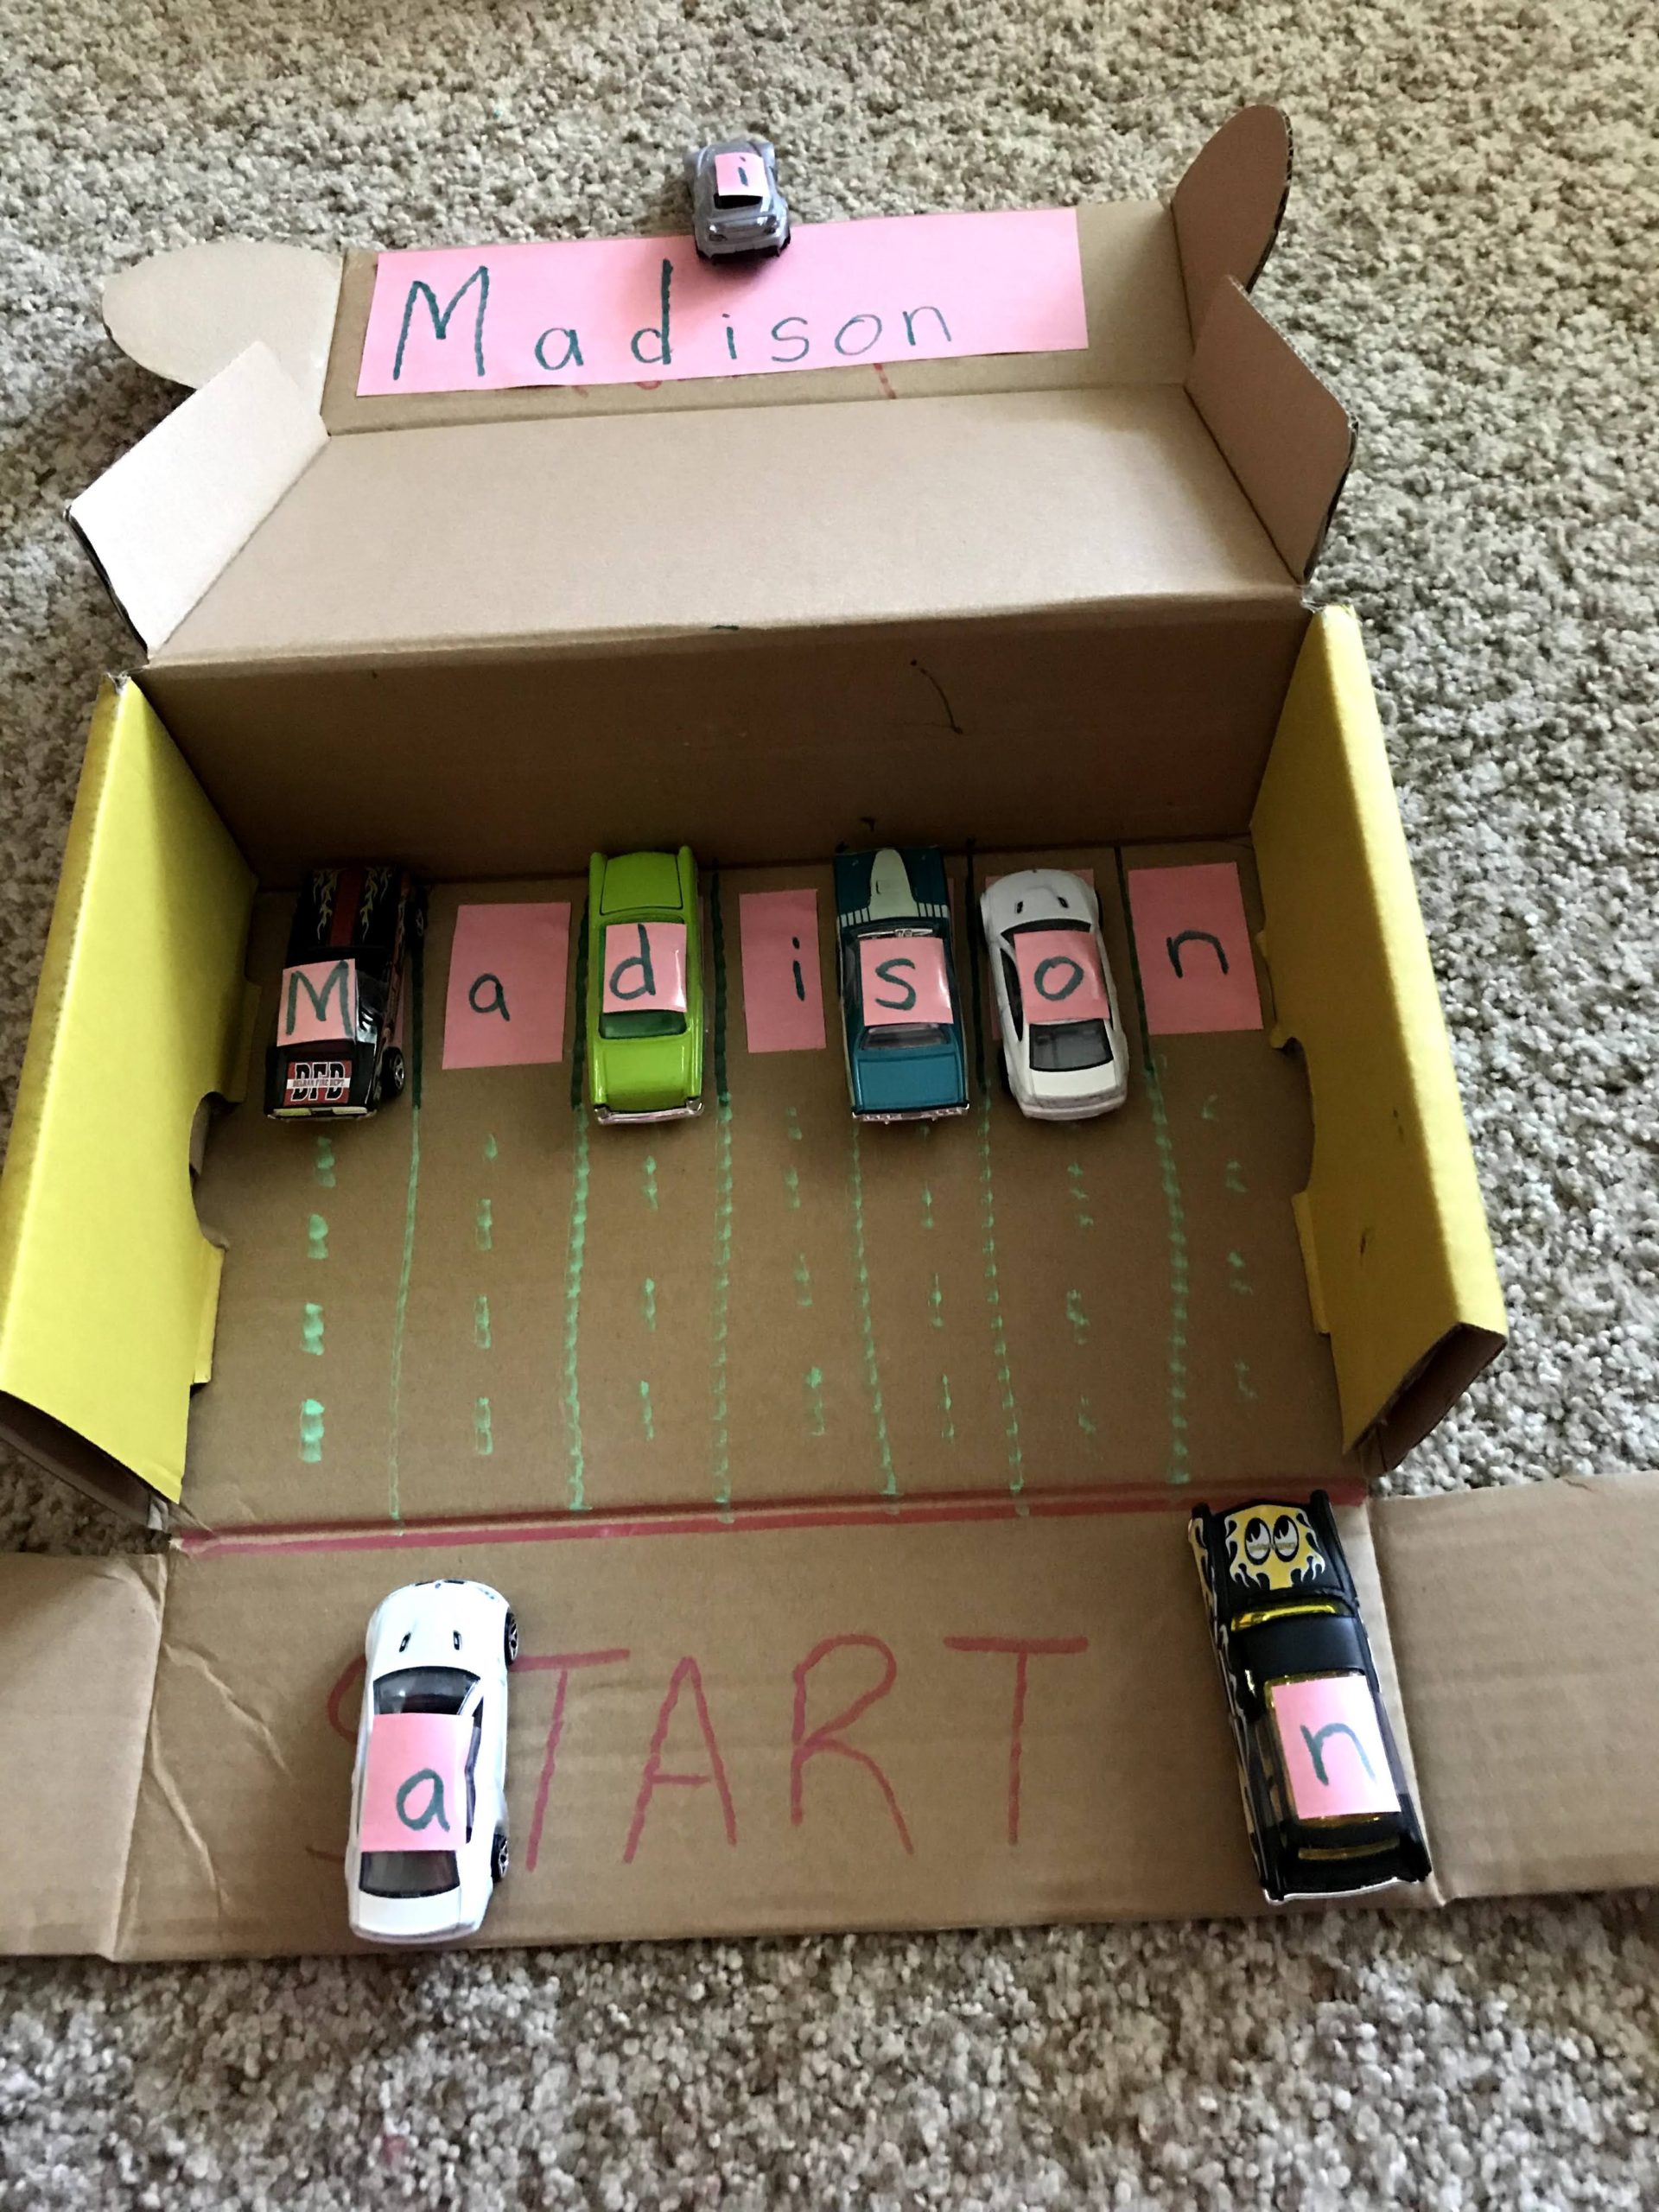
The schools in Pennsylvania will be closed for at least 2 weeks due to the coronavirus, so I am home with my family.  I hope to do a lot of crafts and activities with my toddler to keep her busy & happy! You can look at previous posts and check back for more frequent posts during this time on things to do with your child! Today’s craft/activity will help your child learn letters and the spelling of their name (it will also be fun for them to play with)!

IMG_4688

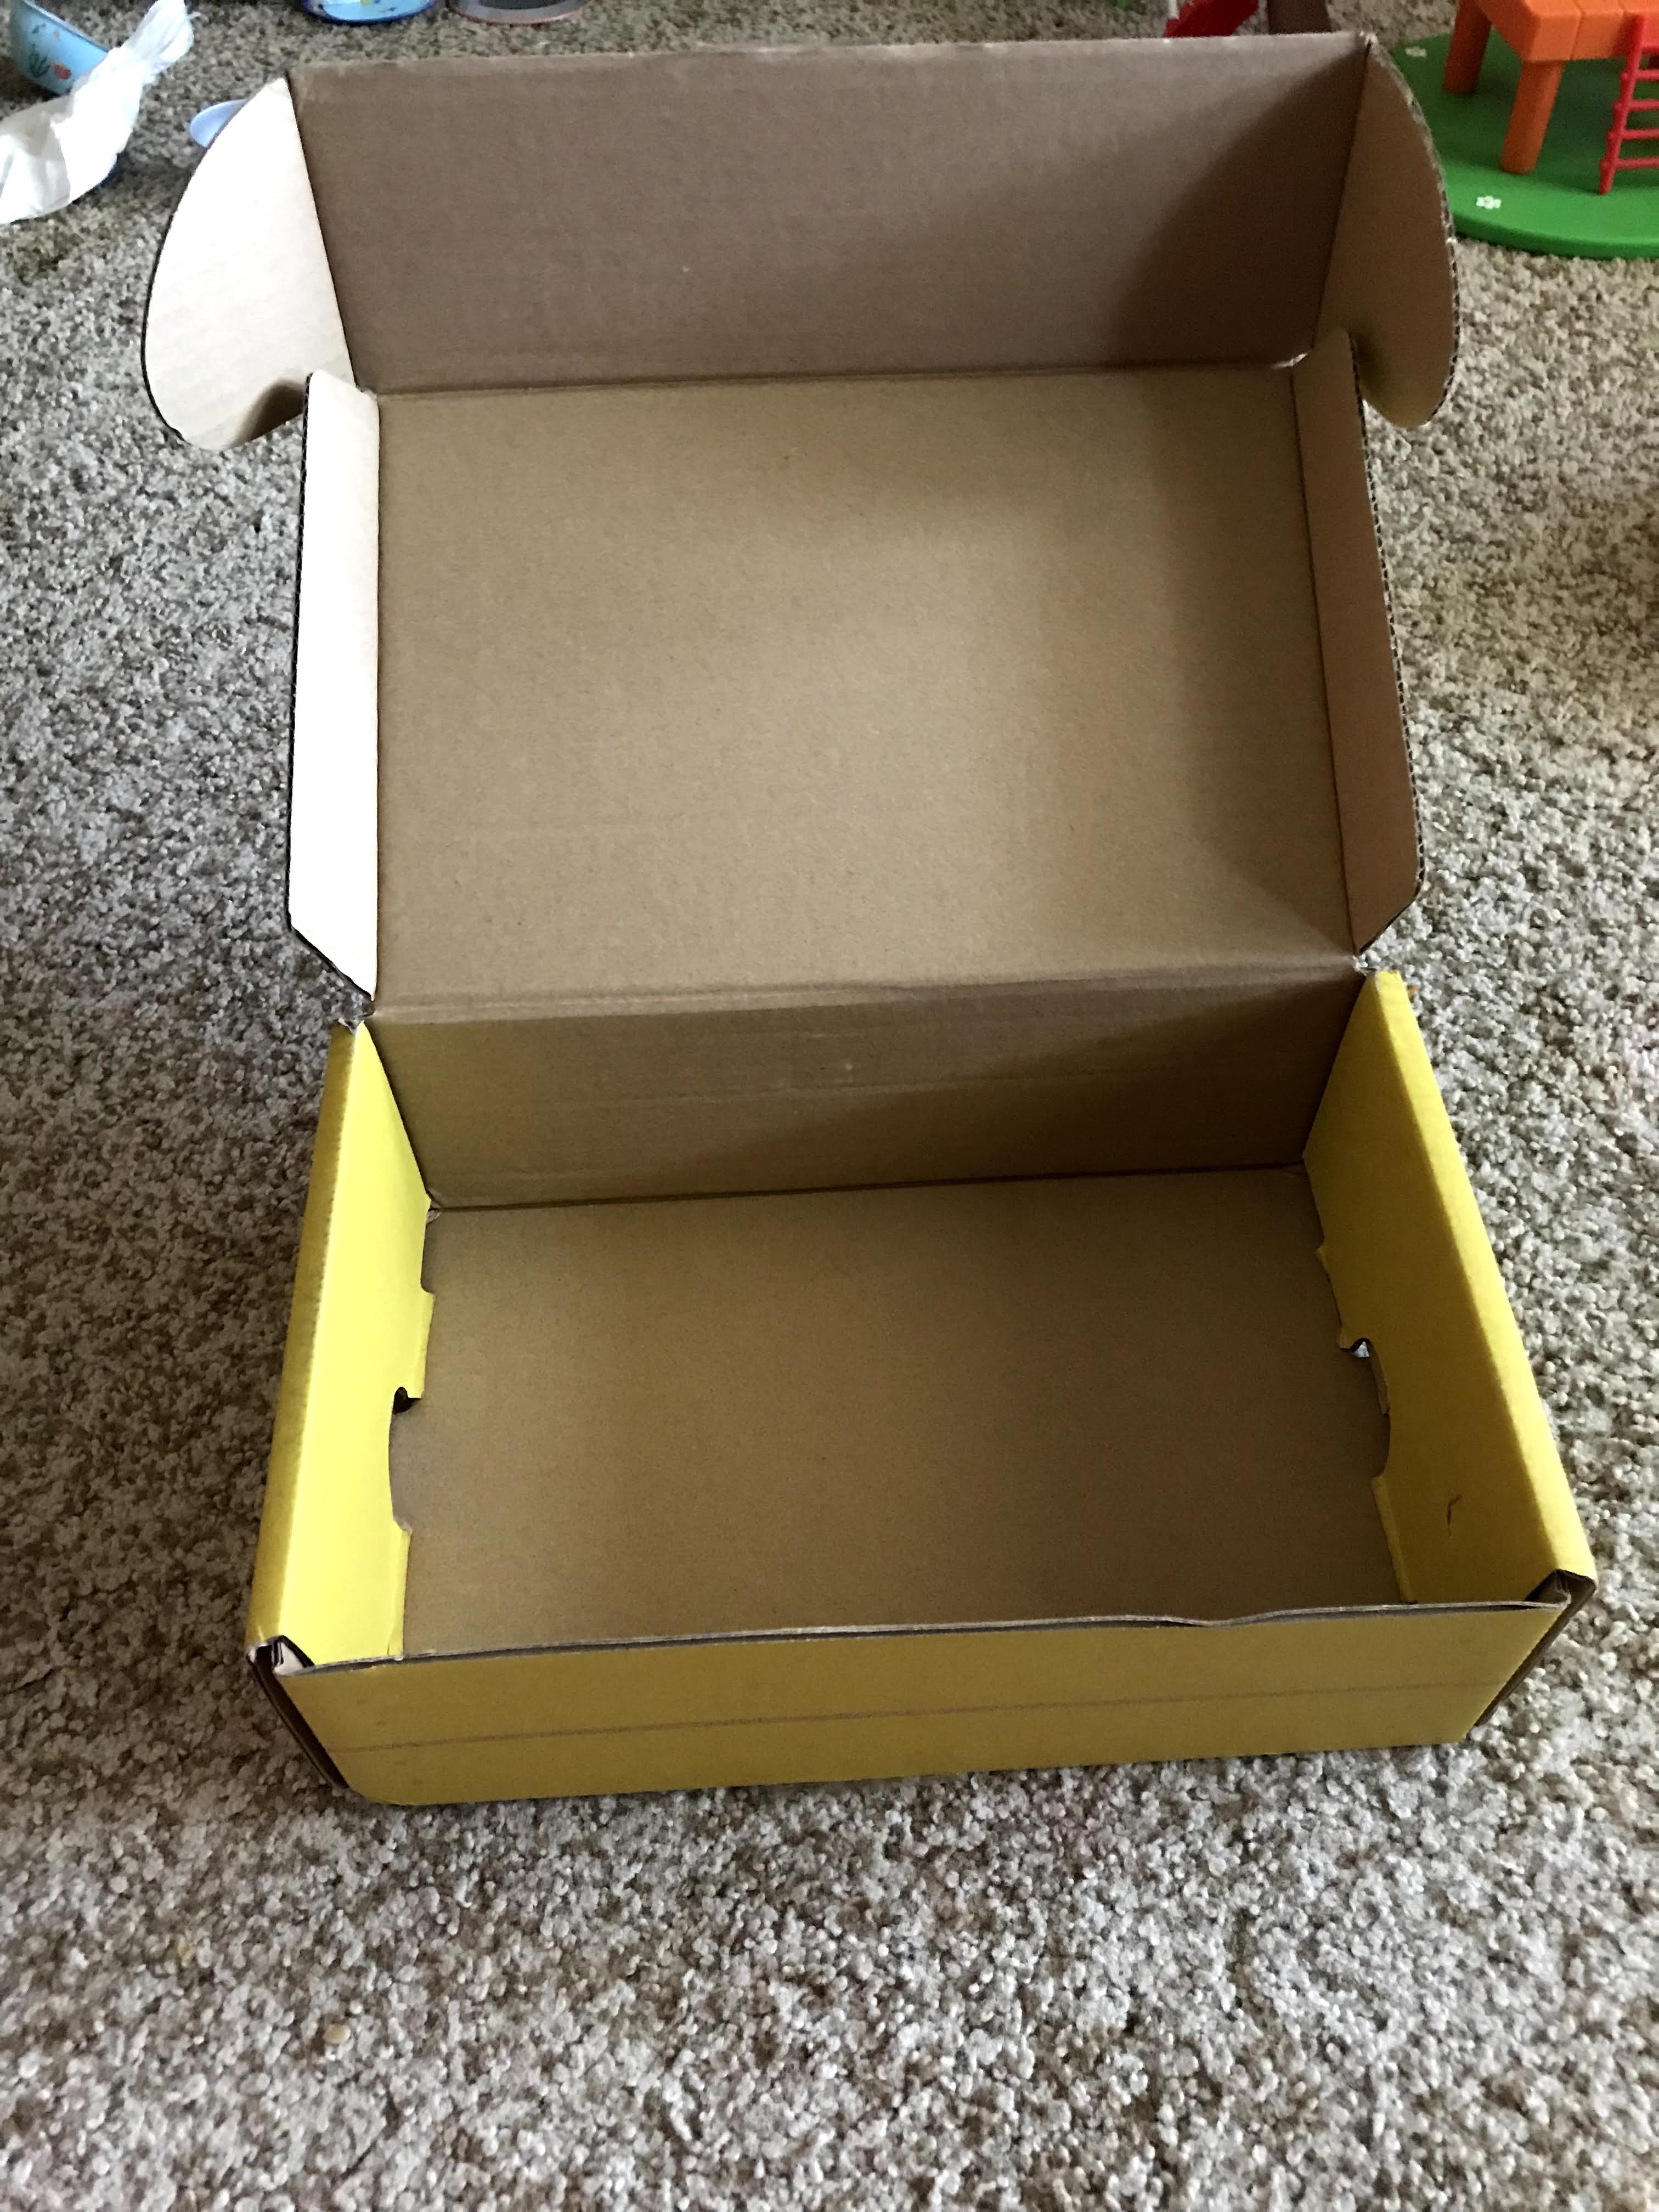
All you need is a box, marker, cars, and some paper and glue or tape.

IMG_4681


You can use any box you have, I just happened to have one with a folding cover so added a ramp to it.


IMG_4683


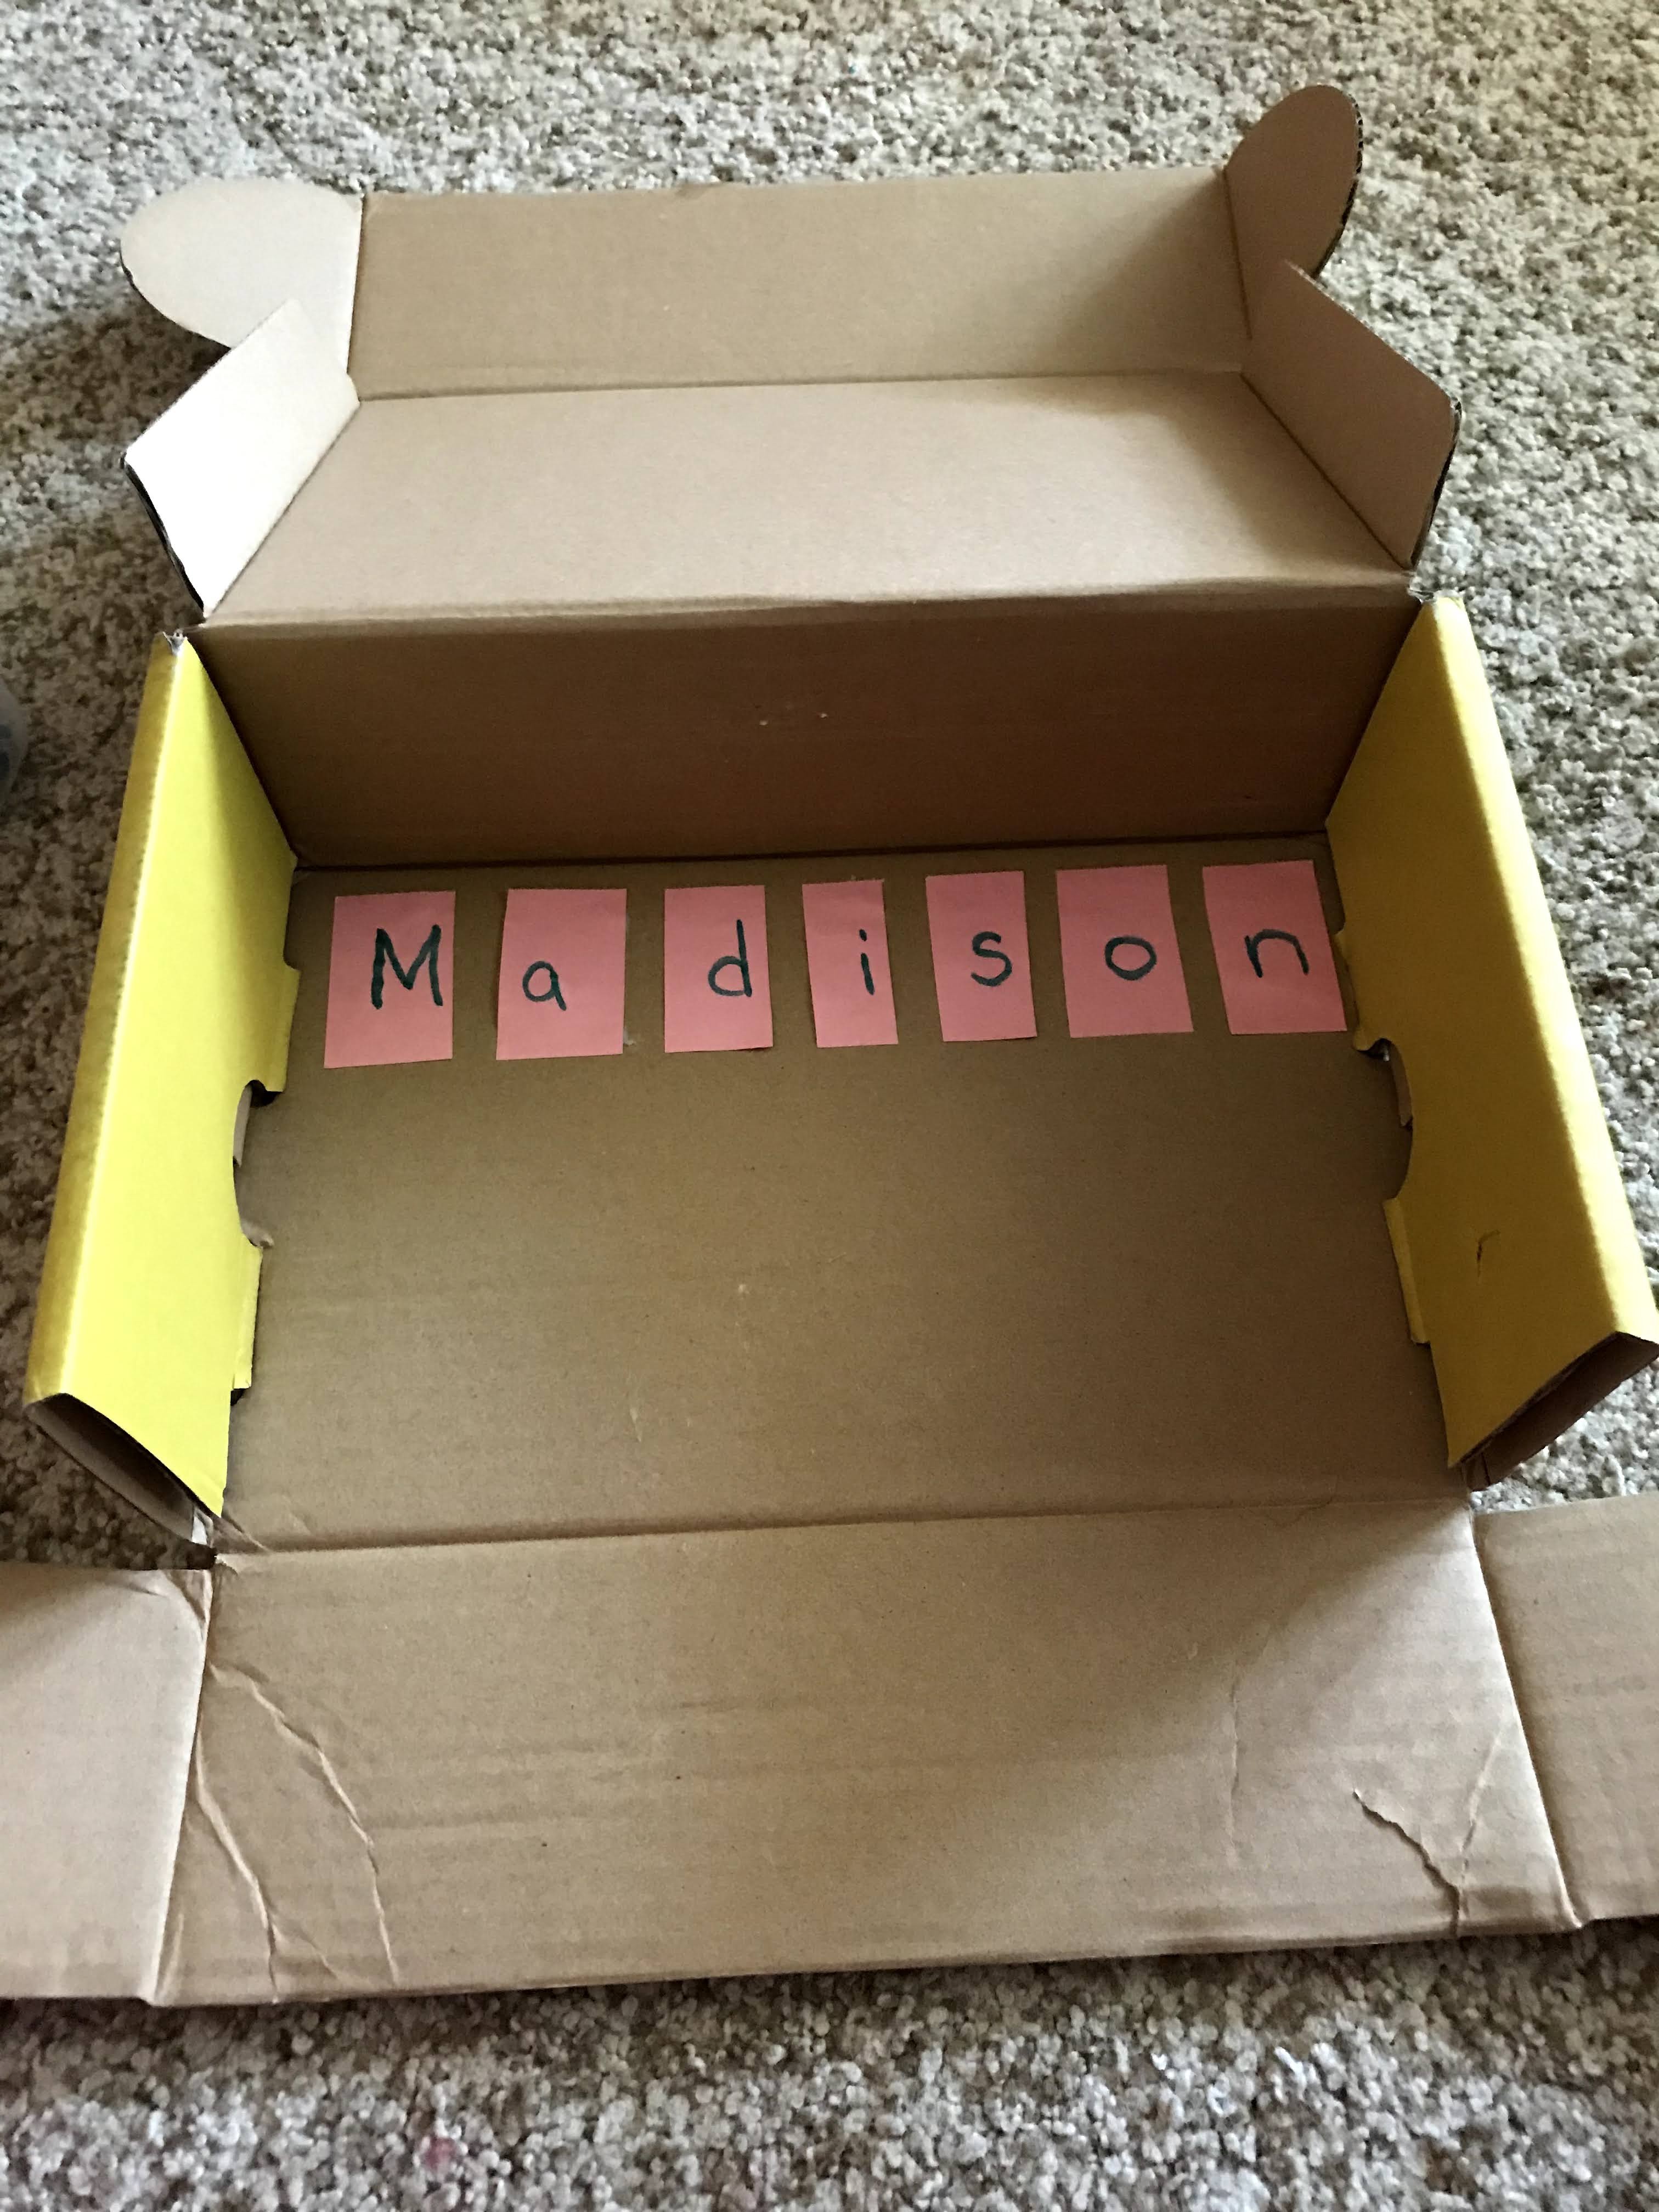
Next, I wrote the letters of her name on construction paper and cut them out. Remember to space each letter out so you can cut them into rectangles or squares.


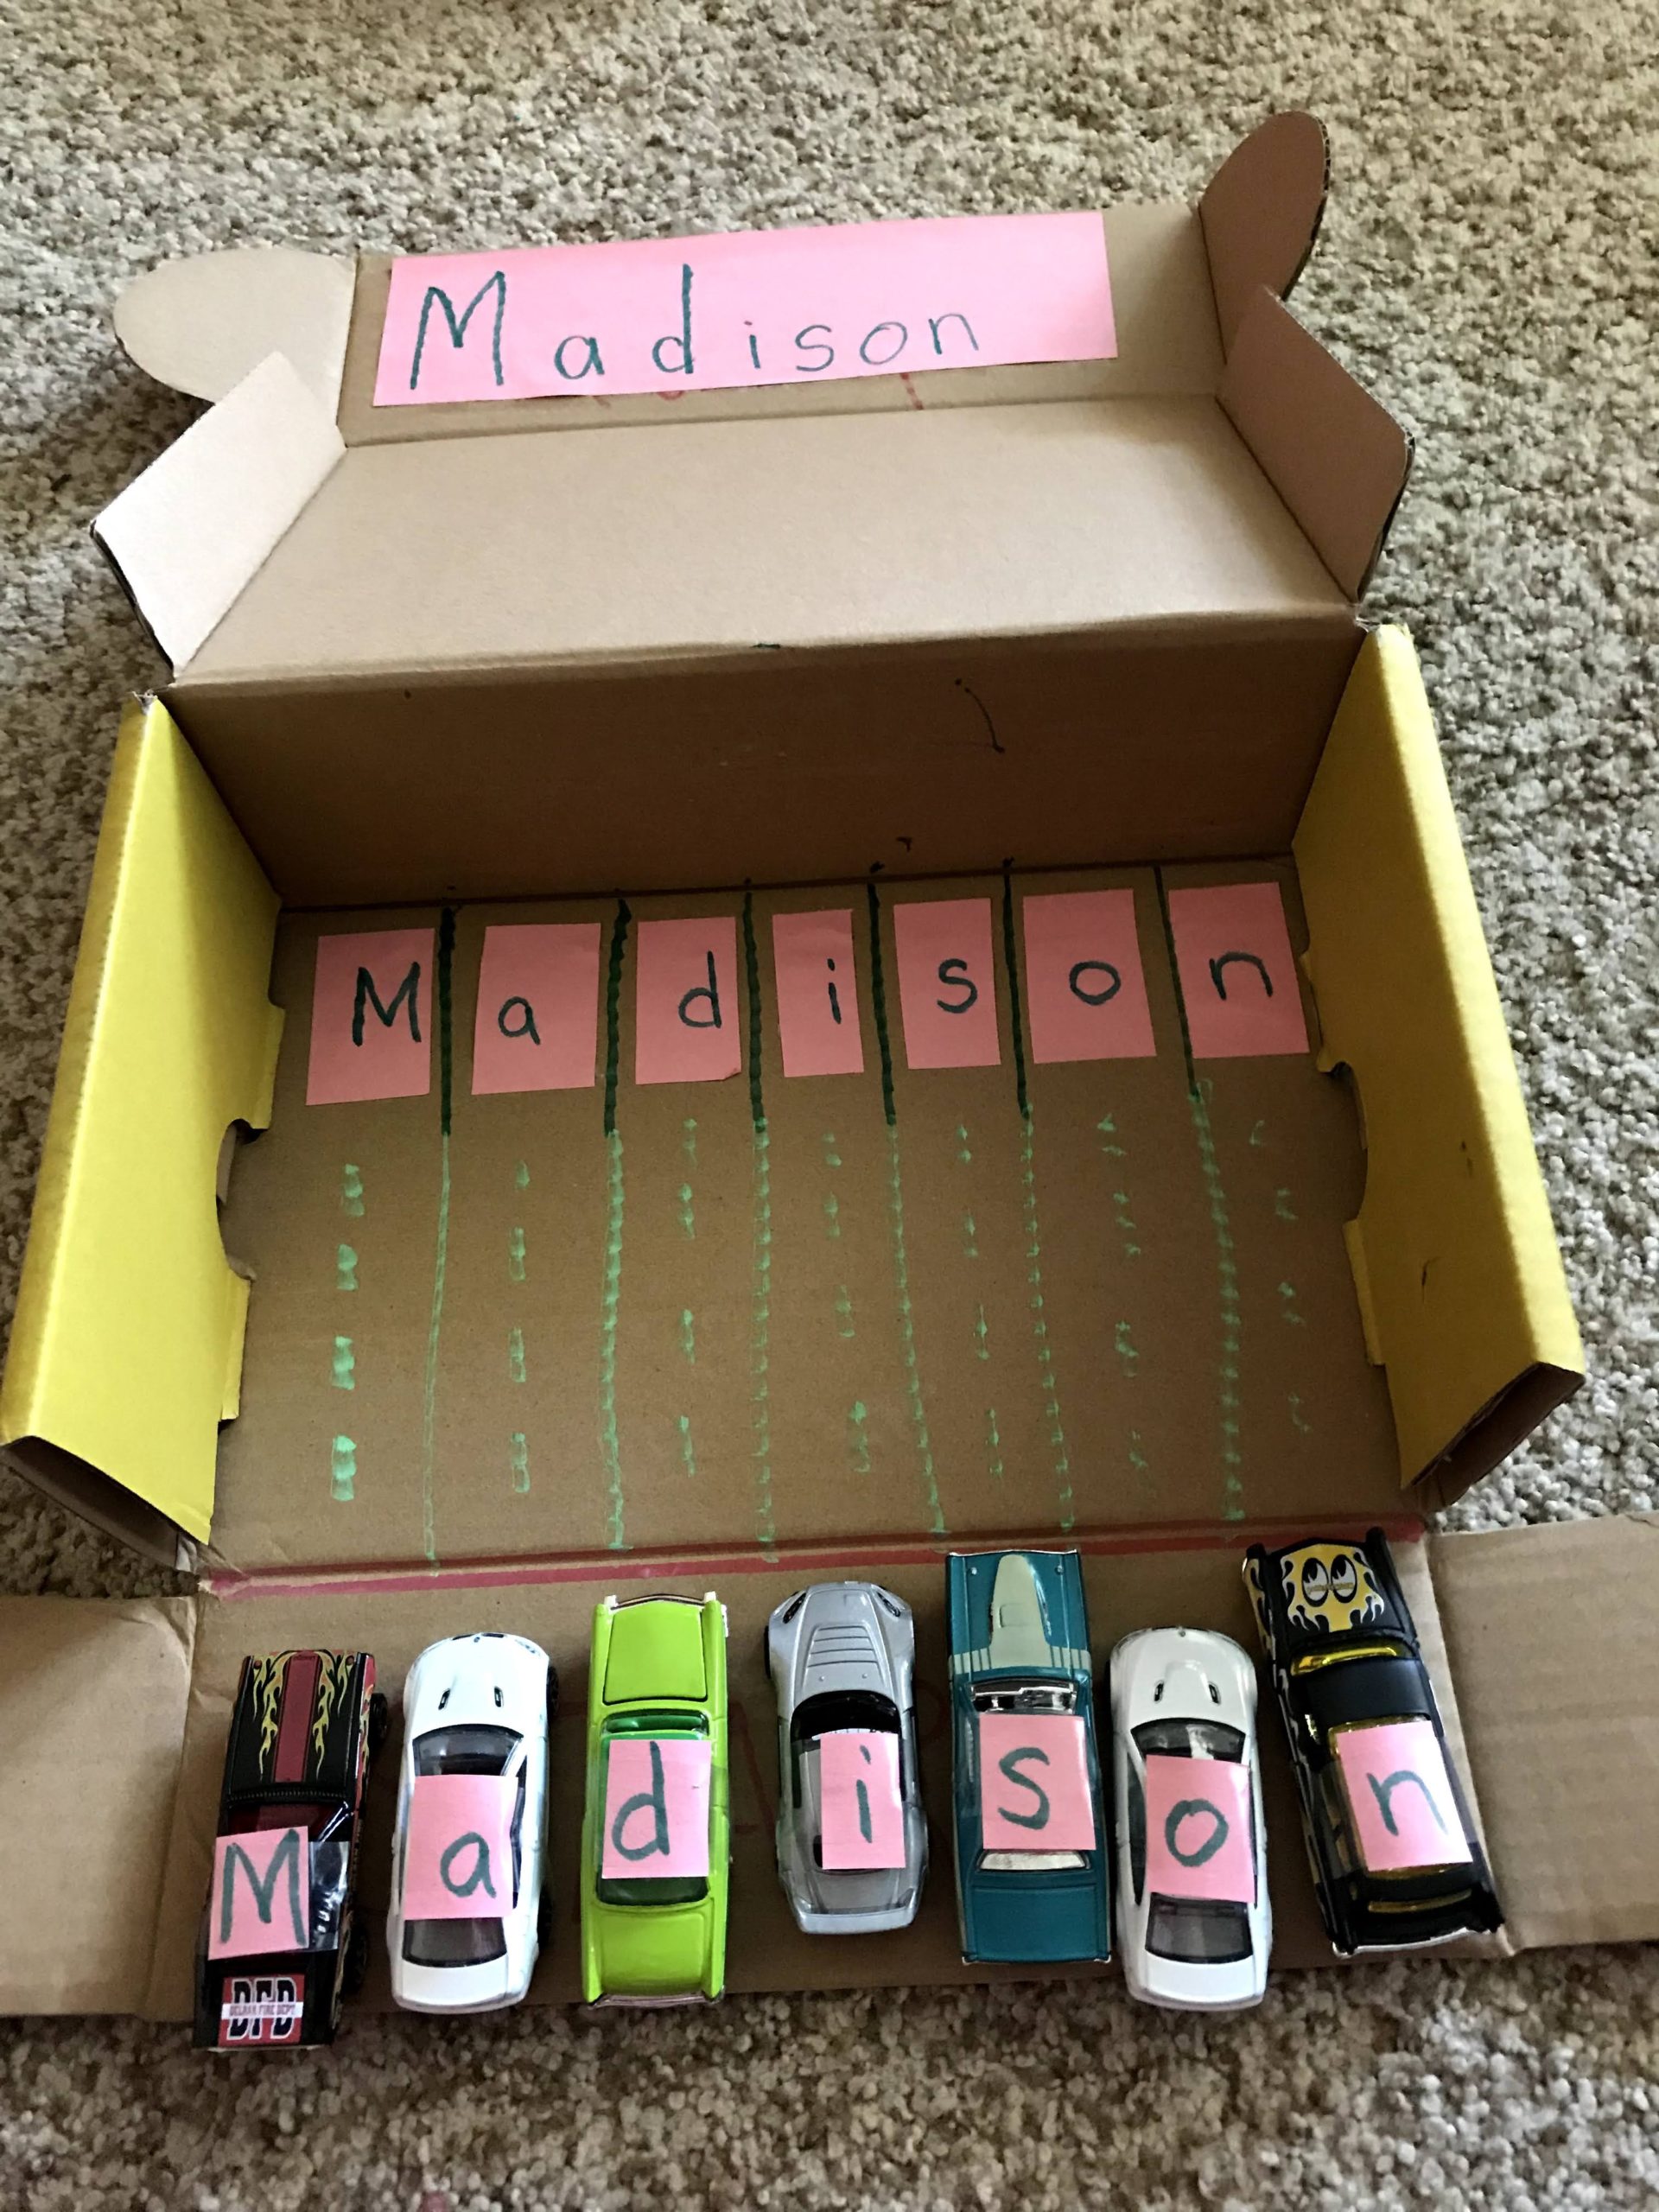
Next, I wrote start and made a line. I also made lanes for the cars to go to their parking spots. I figured Madison can then have them go on the ramp and race down to the letters at the bottom. Just a fun, quick, and easy activity if your kiddo likes cars!

IMG_4687

FollowFacebookpinterestrssyoutube
ShareFacebookpinterest

Dress up a dress!

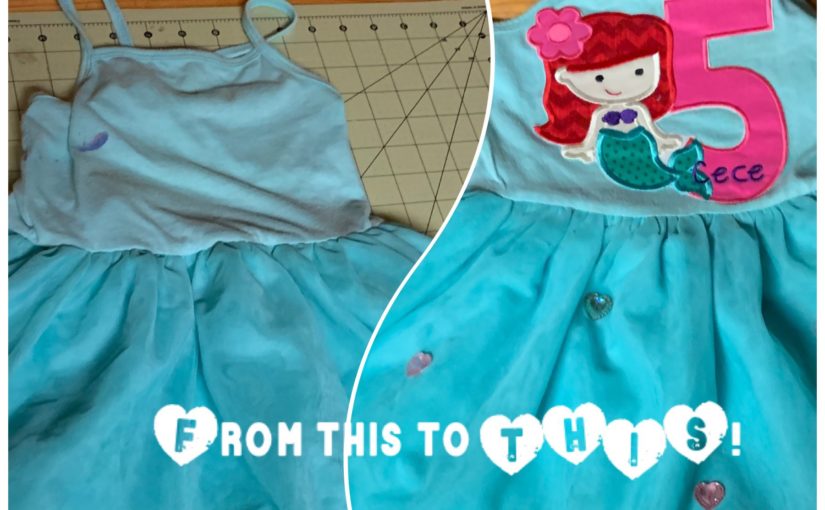
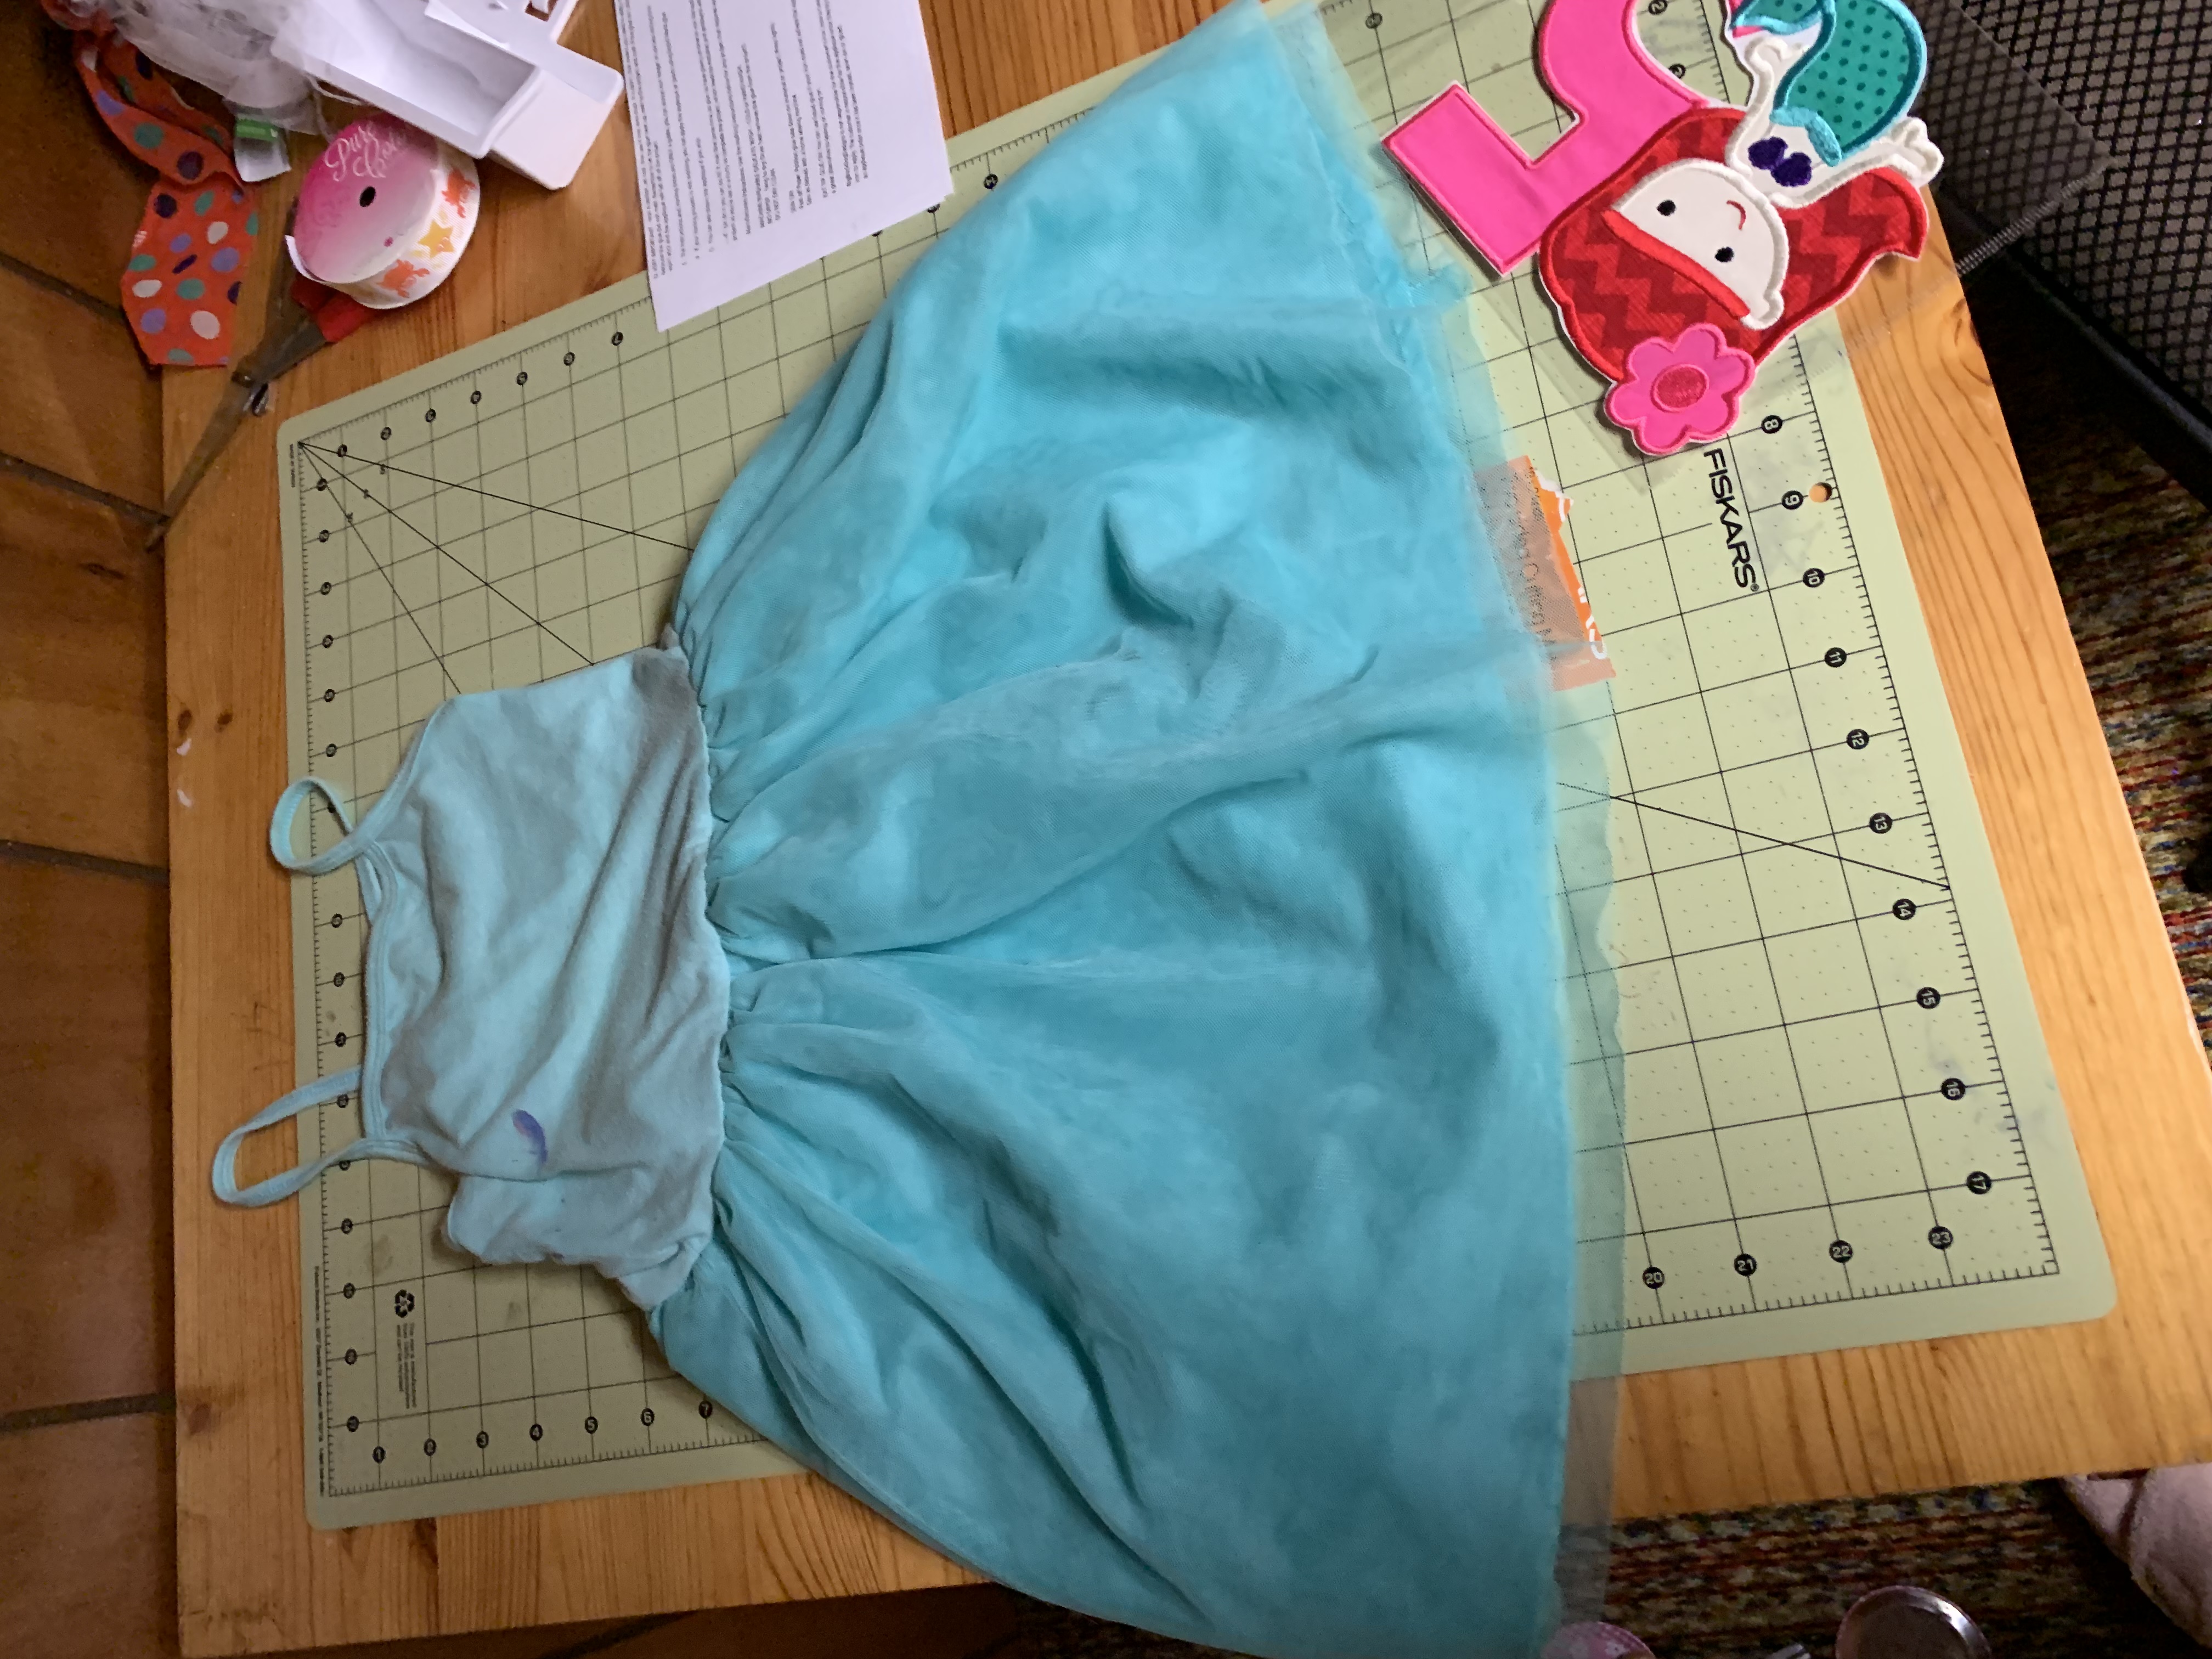
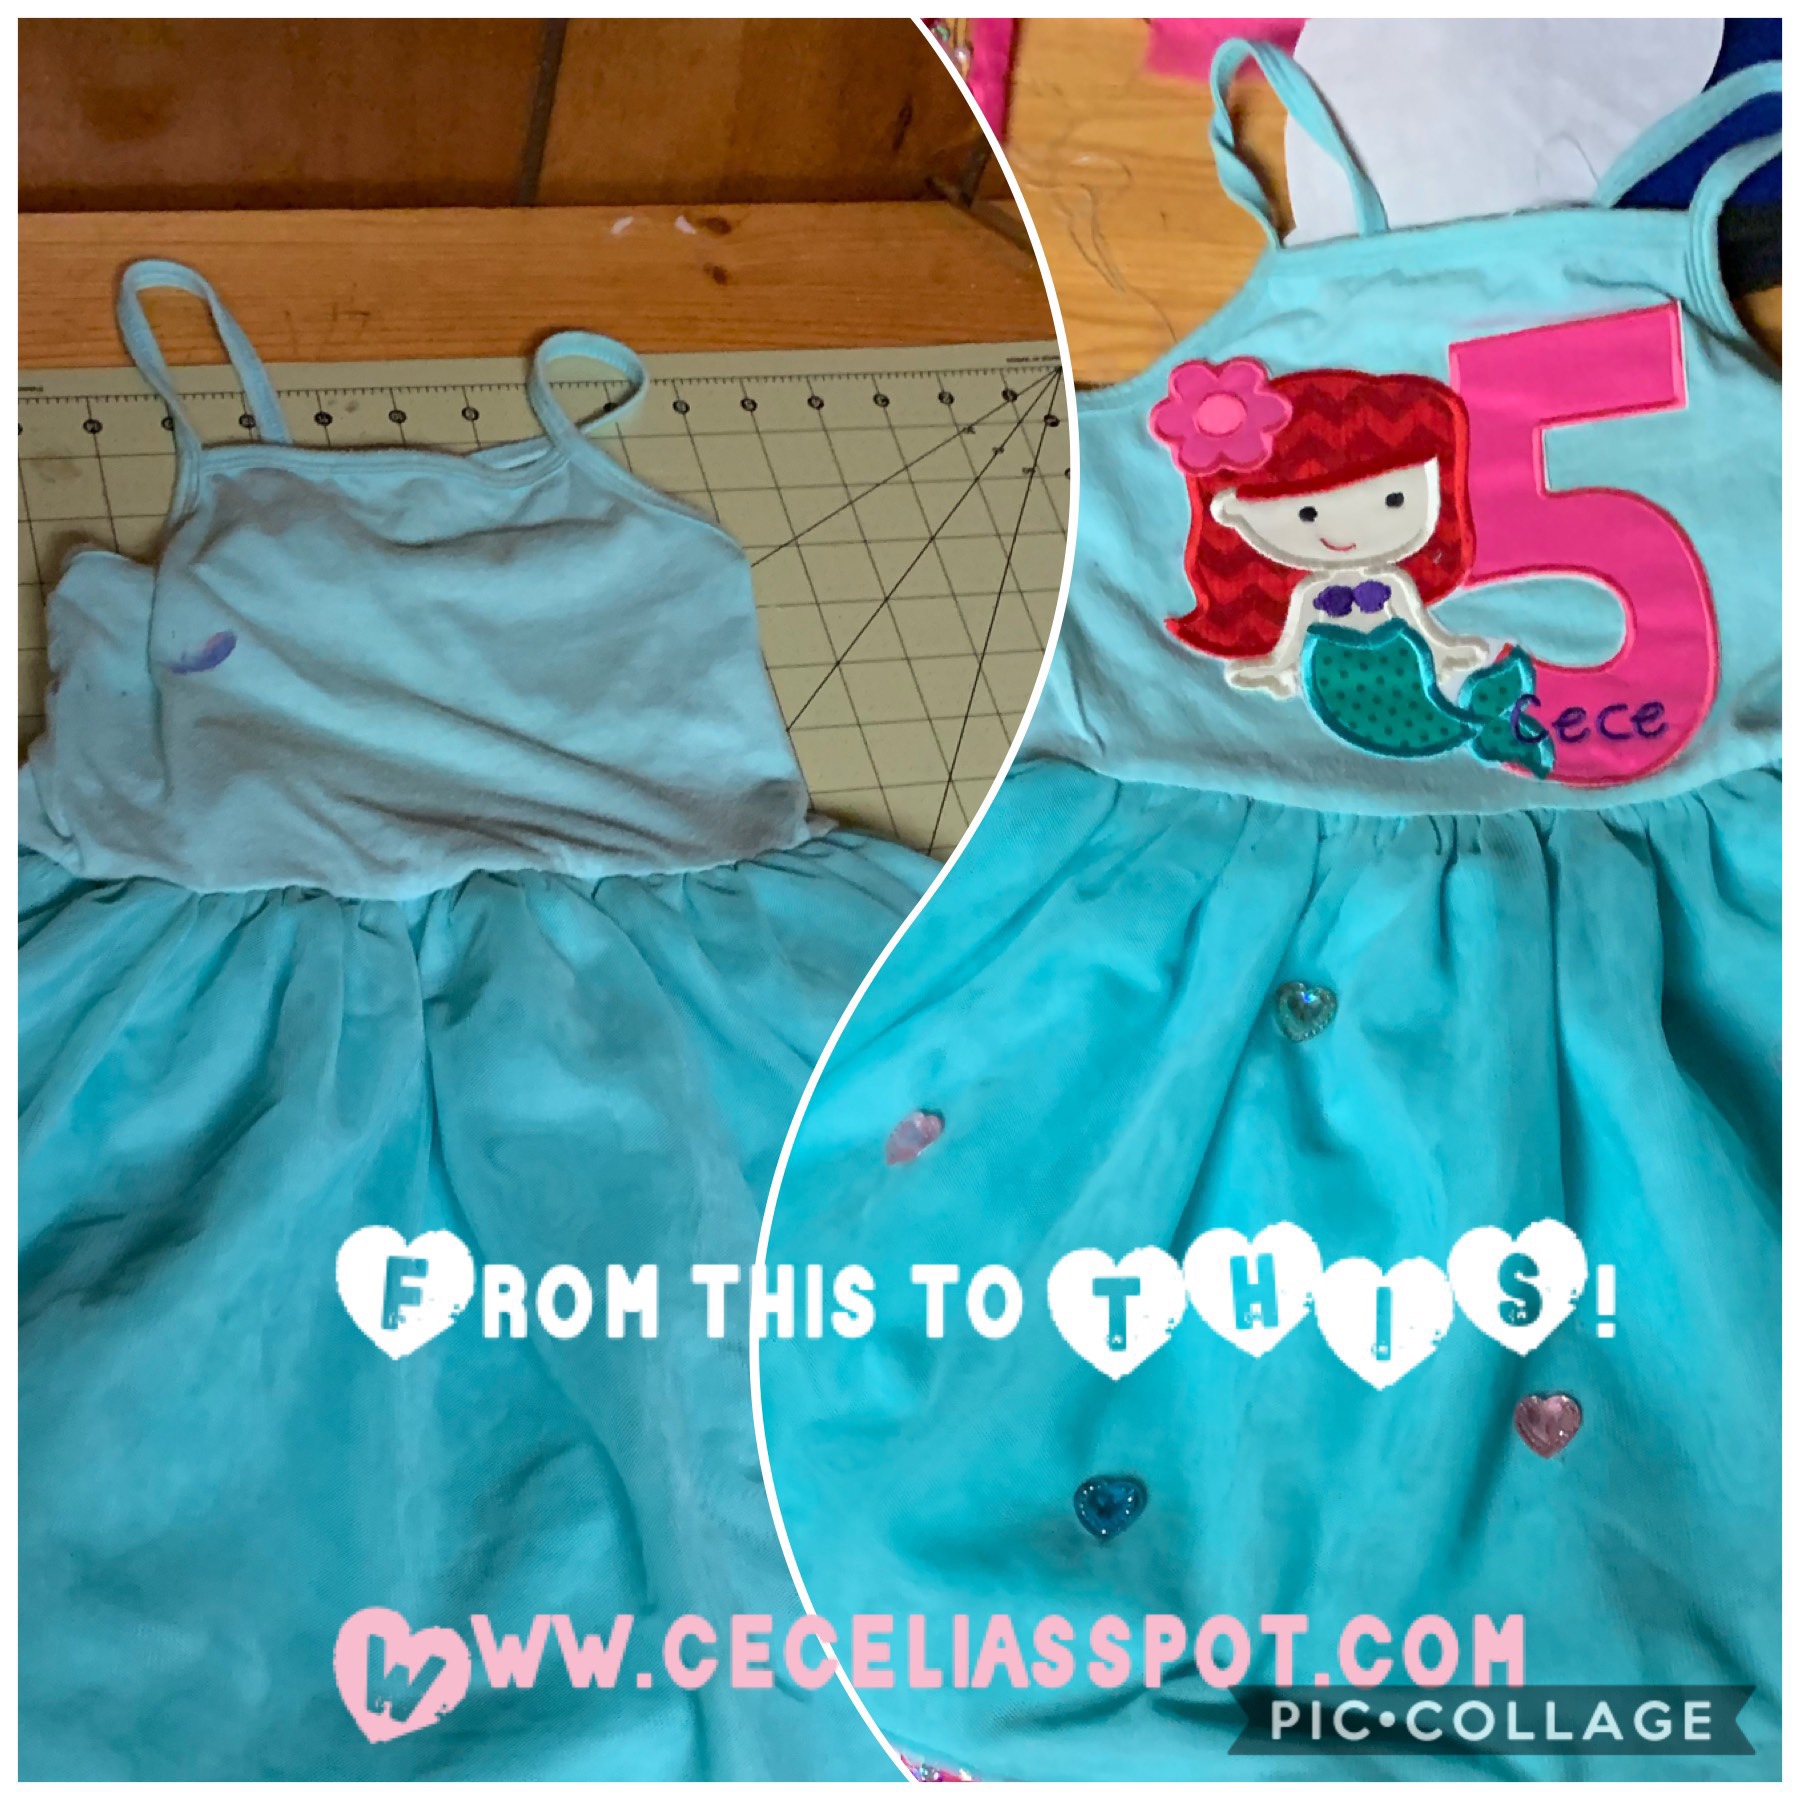
This time I just didn’t have time to make a full princess dress, who does when the kids are little? So last minute I used a plain tutu dress that actually has paint stains I couldn’t get out on it! Don’t worry, they get covered up!

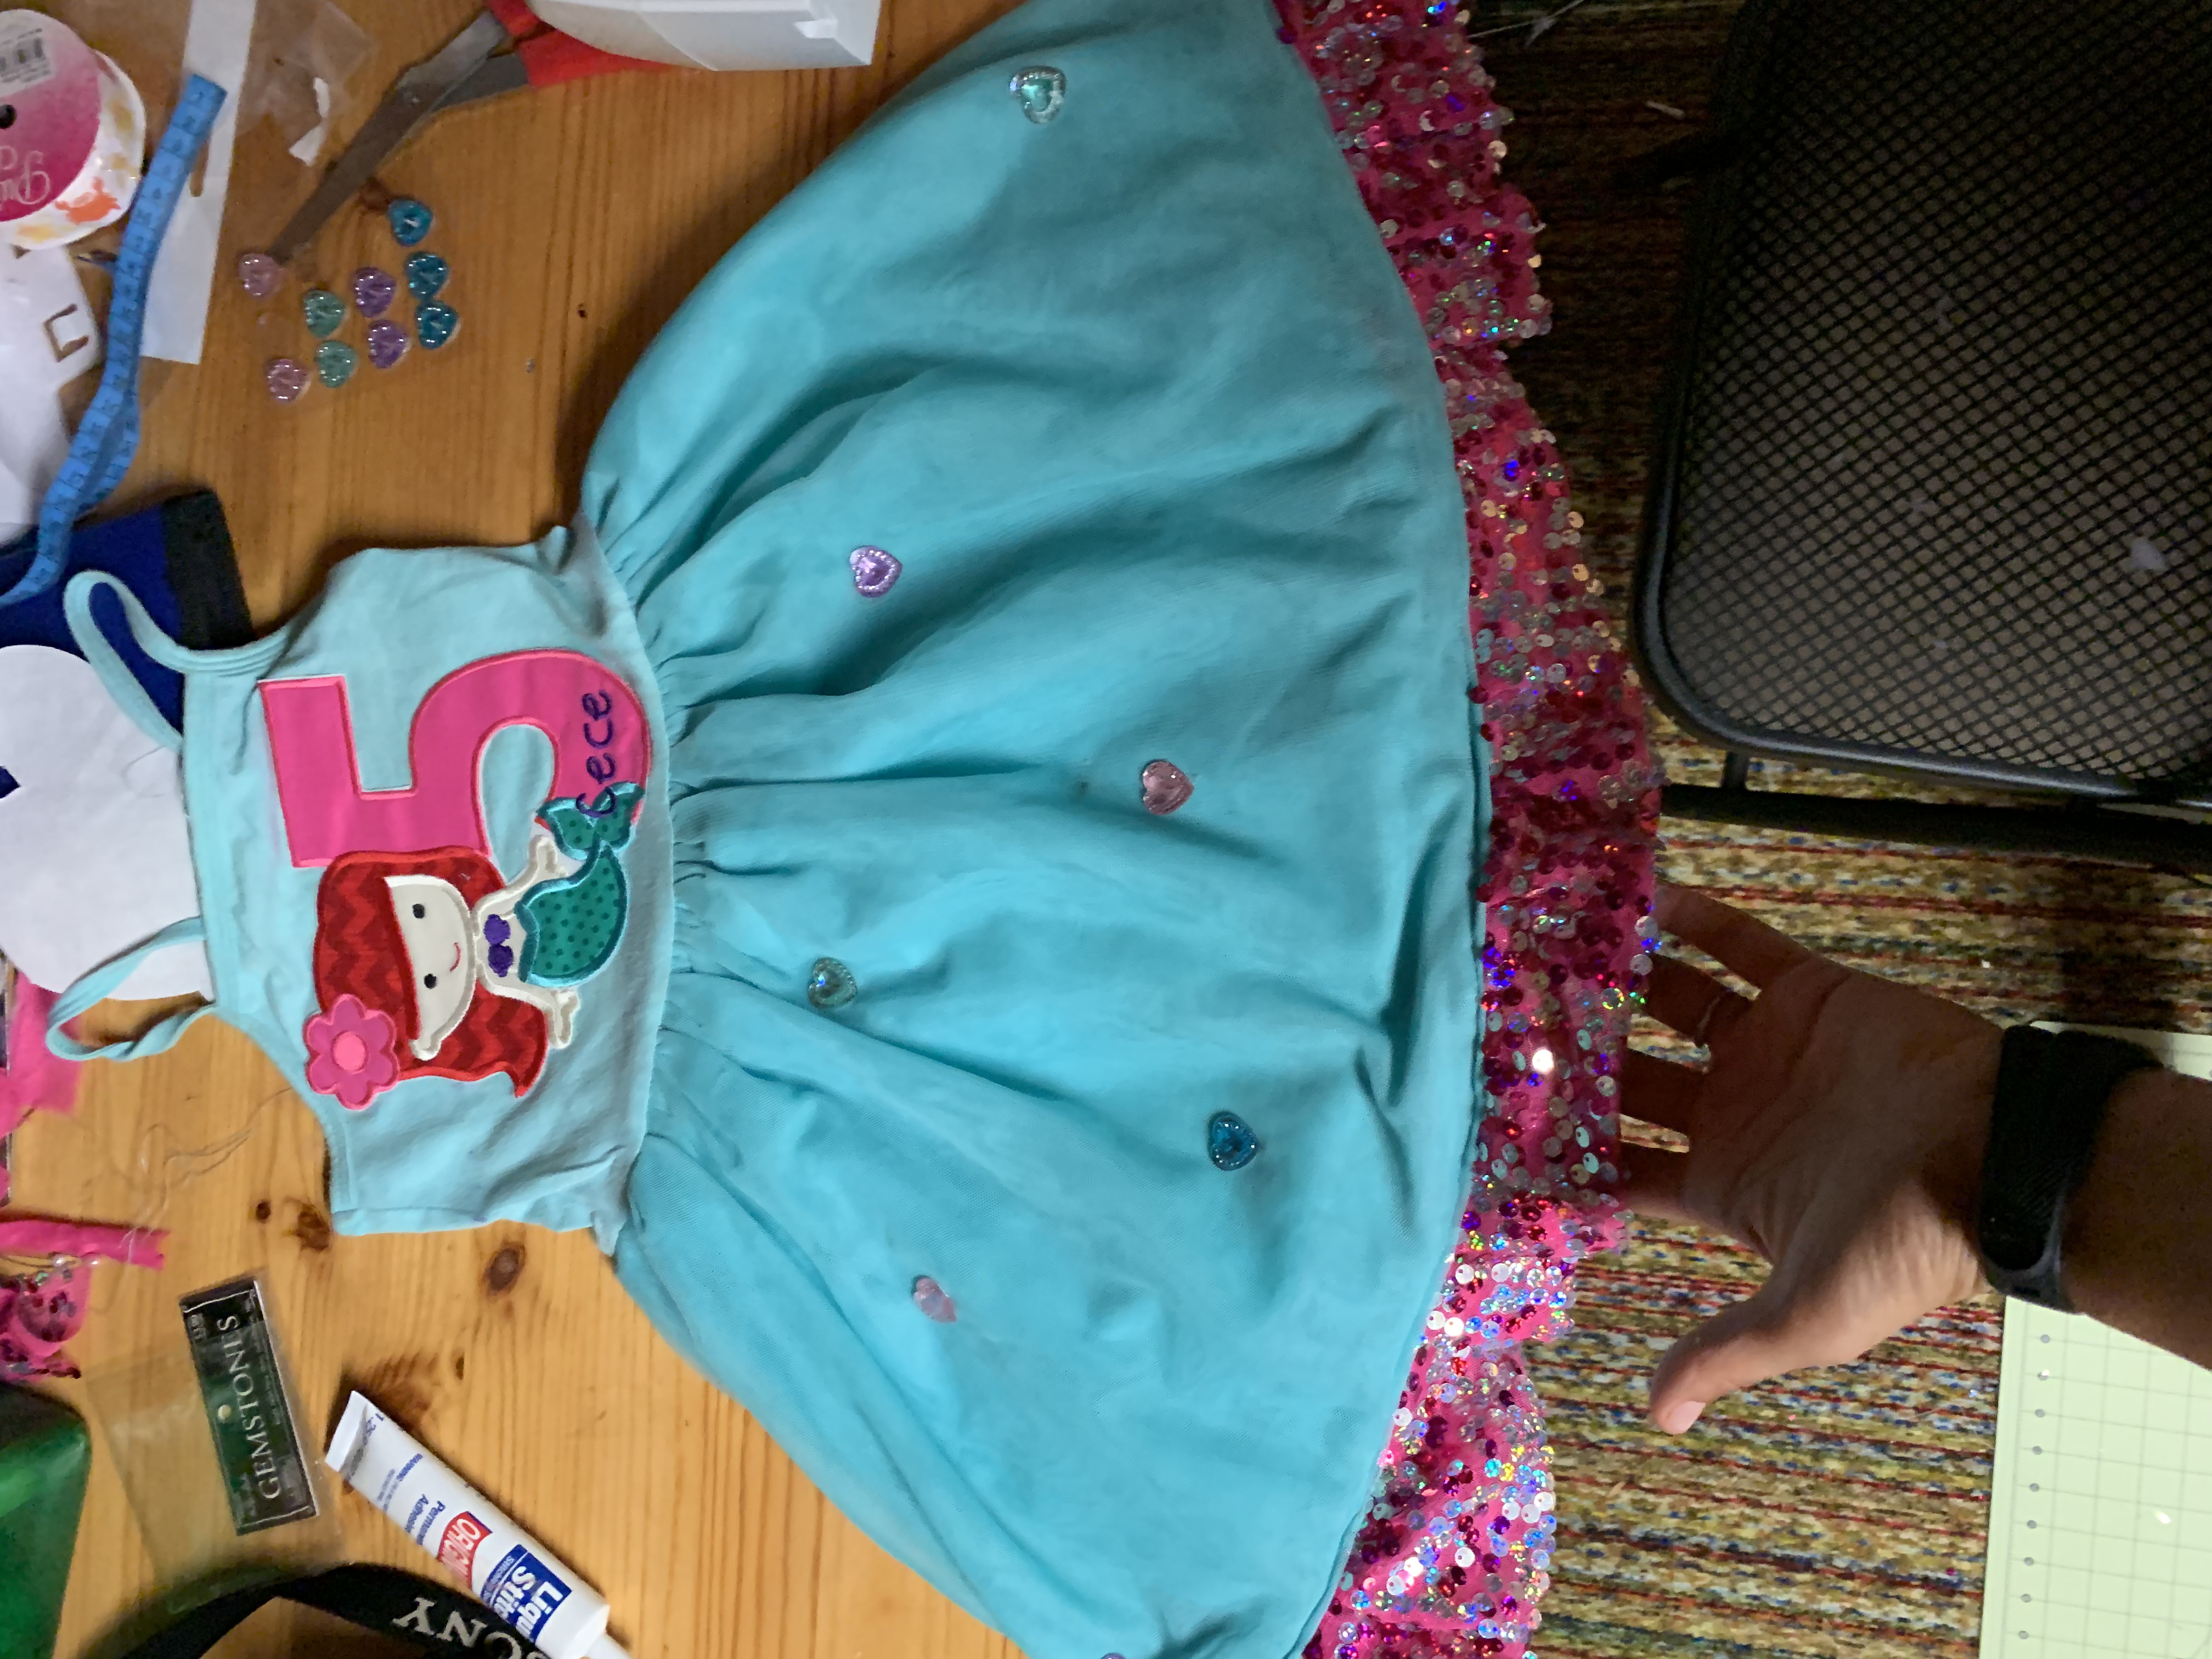
Then I ordered a special mermaid appliqué with the number 5 for my daughters birthday off of Etsy. I also had some leftover sequin fabric I wanted to add to the dress.

I used the sequin fabric and sewed it all

Around the bottom inner layer of the dress. Then I added the patch and wow what a difference with that easy change! I was going to add some puff sleeves but the weather was warm so I ended up keeping it sleeveless.

Purchased an assortment of gem heart stickers and used fabric stitch glue to place them on the dress!

This can be done easily and quickly and you have a birthday dress! You can add sleeves, bows, a sash or belt!

FollowFacebookpinterestrssyoutube
ShareFacebookpinterest

Fall Wreath Fun

IMG_1968

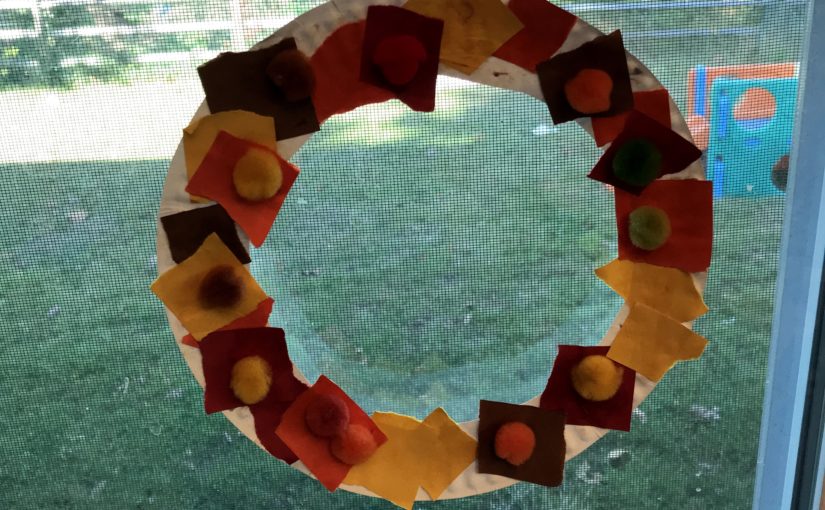
We always hang a wreath on our door for each season or holiday. Madison wanted in on the fun, so we decided to make our own fall wreath! It’s very simple and easy!

Materials:

  • paper plate
  • glue
  • assorted fall construction paper colors
  • string
  • pom poms (optional)
  • You could also add glitter or any other extras!

IMG_1958  IMG_1954

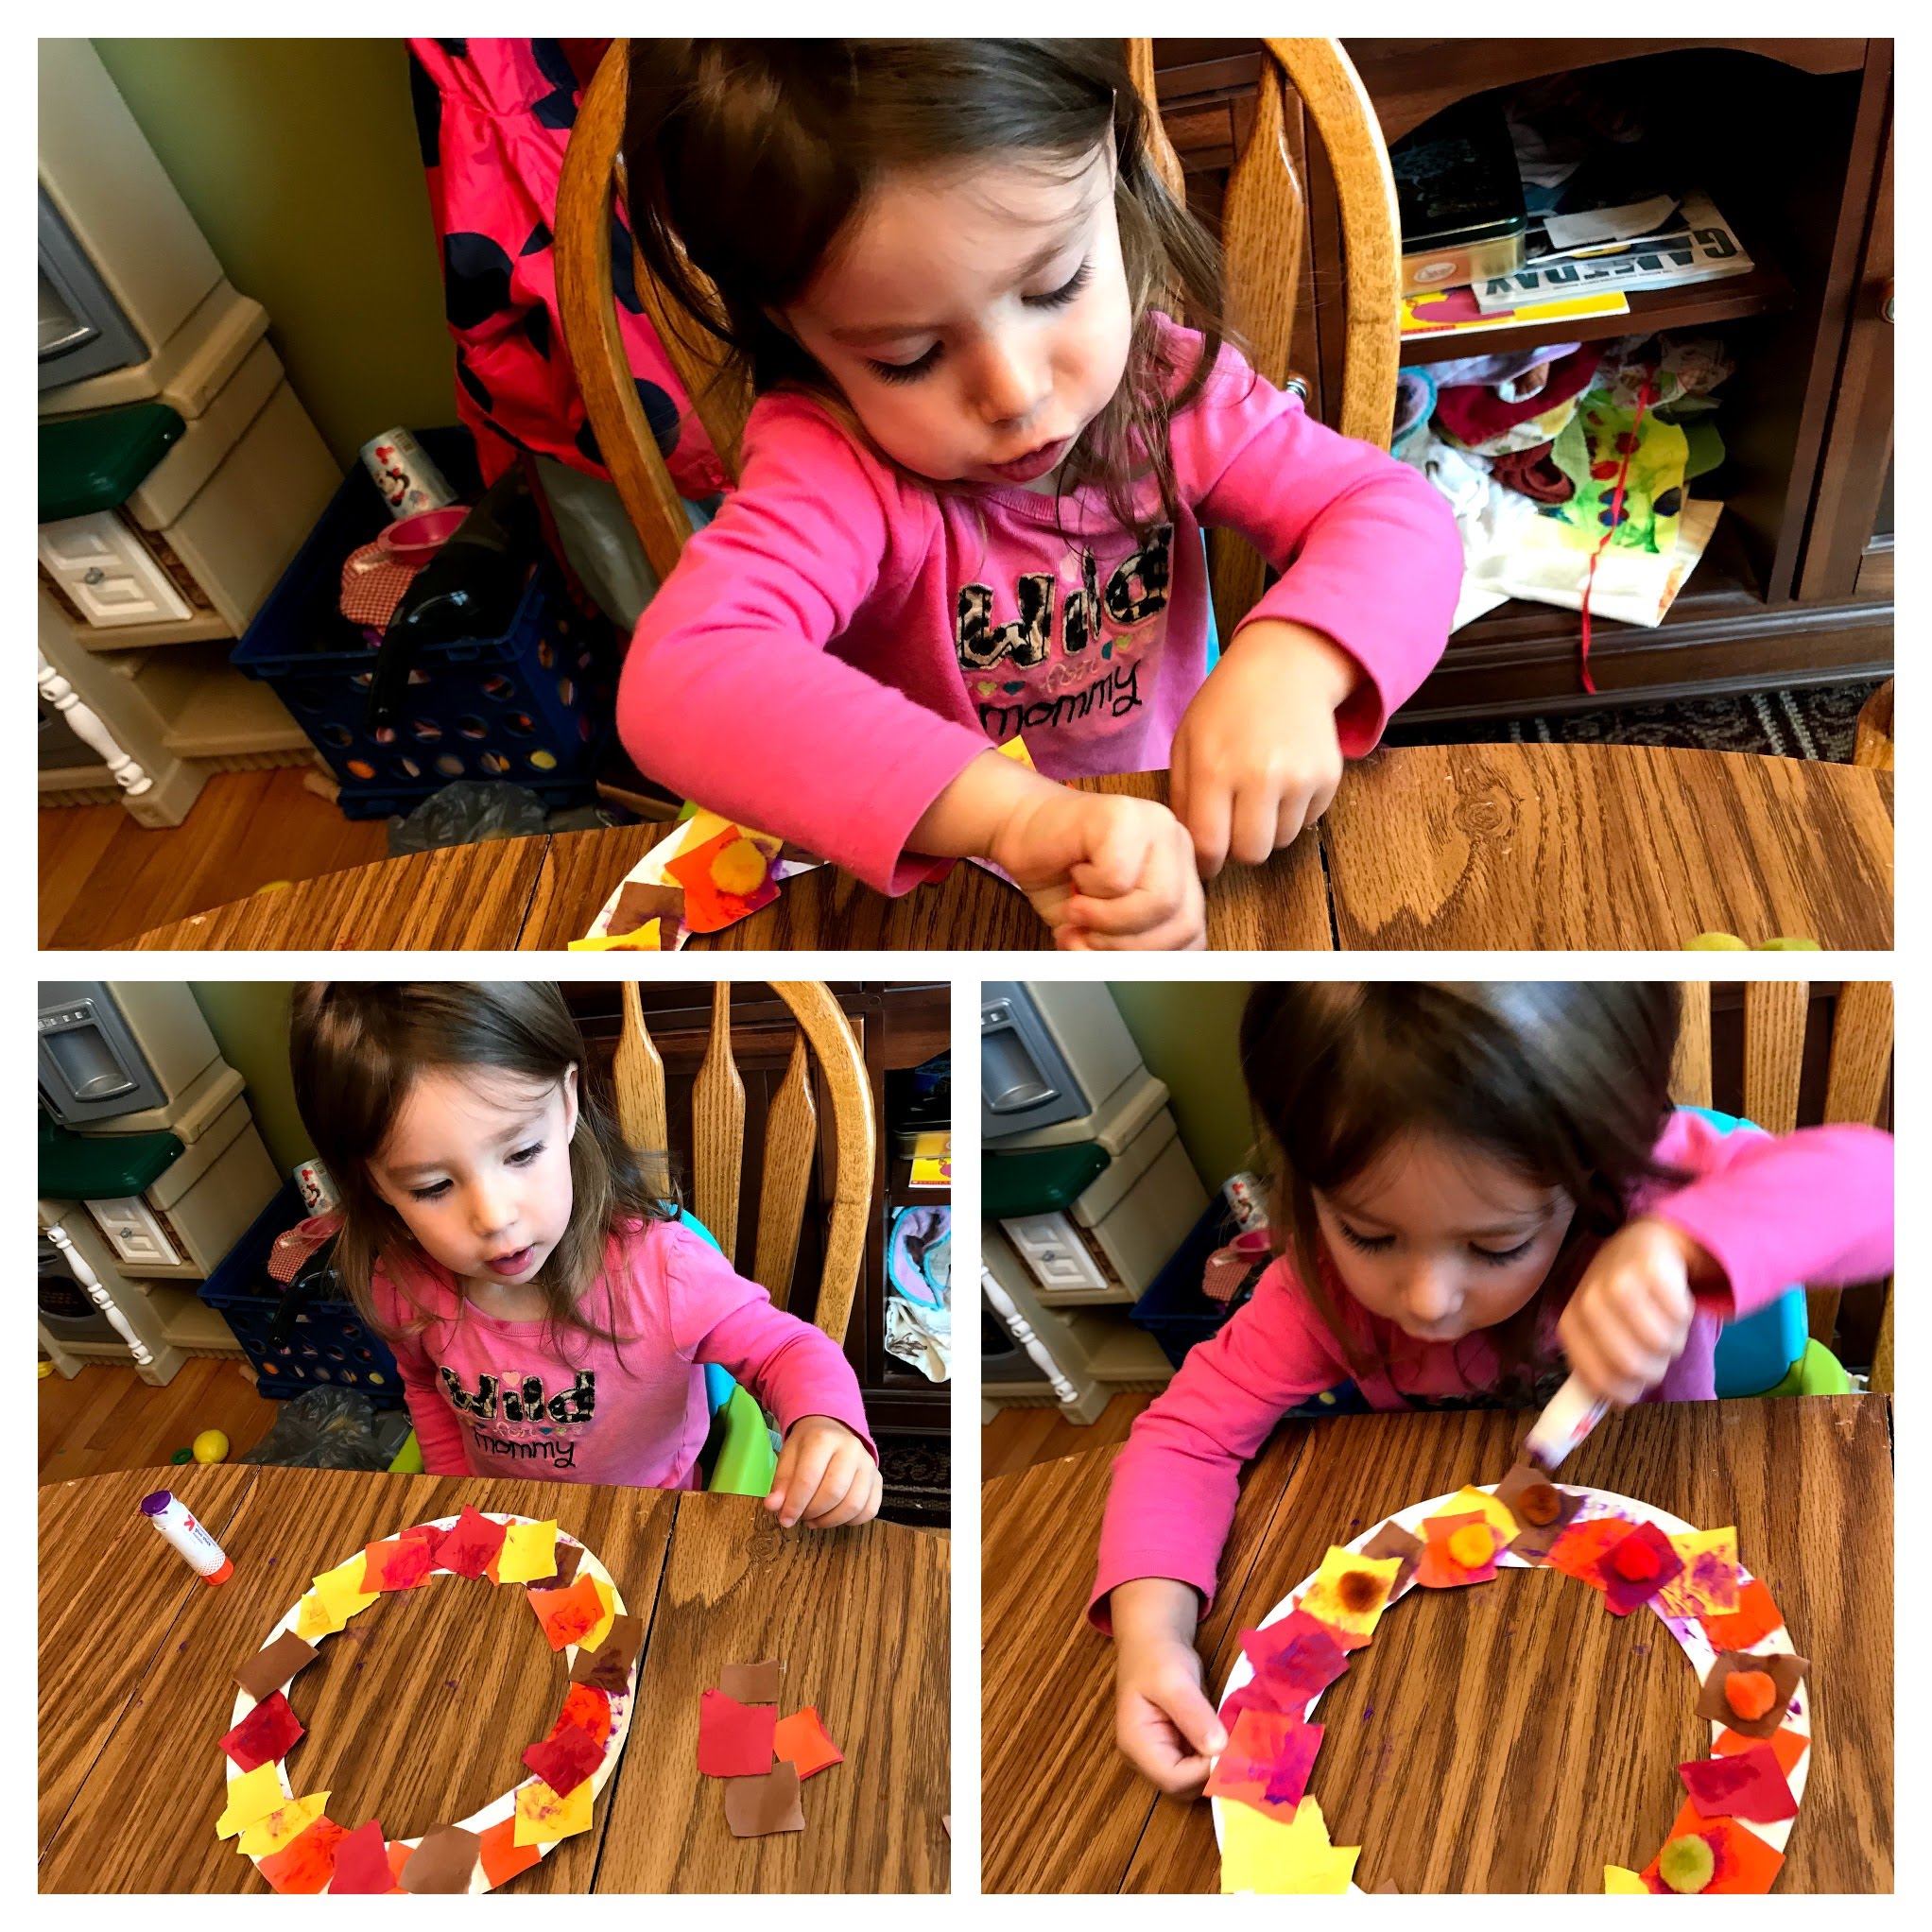
First, cut out the middle of the paper plate so you have a circle left. Next, I cut the construction paper in strips, then cut it into small squares she could glue onto the “wreath”. We pretended the squares of construction paper were leaves. You can use your scissors for this or if you want more of a messy look you can rip the paper or have your child do it.

IMG_1961-COLLAGE

Madison had a lot of fun gluing on all of the pieces. She loved using the glue stick. We covered the paper plate then we added fall colored pom poms on top of the “leaves” (construction paper). She LOVED this project and after it dried we hung it up on the window. She points it out proudly every time we go by!

IMG_2013

FollowFacebookpinterestrssyoutube
ShareFacebookpinterest

Felt Weather Board

A felt weather board is a great way for a toddler/preschooler to learn the days of the week and the weather! I ended up having a few pieces of felt, some thread, and ribbon left over from other projects so I thought, why not? Weather board time!

IMG_0772

The first thing I did was fold a piece of felt in half, horizontally. I decided to make 2 pockets to hold the weather icons. Sew the two sides together, going through both layers of felt, then do the same in the middle.

Next, decide on a background color. Lay the felt pockets on the bottom overlapping the background color. I overlapped 2 inches then hand sewed the sides 2 inches down (only on the inner layer which you can’t see) and along the top.IMG_0773              IMG_0774

IMG_0775

Next, I used a sharpie and wrote  “Today is” at the top. I didn’t intend to do the days of the week as my girl is only 2, so she won’t really grasp that, but I had more felt and space! This weather chart can grow with her. Not only will I add more weather icons such as hail, sleet, moon phases, but I will also add the days of the week as she gets older. For now I will store them to the side to focus on weather!

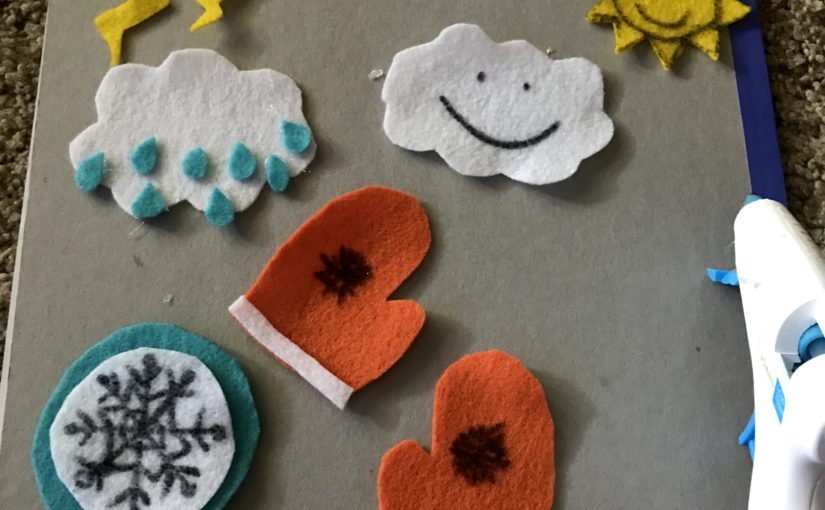
Time for the fun part, making the weather symbols! There are countless ways to create them, I decided on these.IMG_0777

I also added a partly sunny symbol which you will see in later pictures. I did all of these by hand, sometimes outlining the pattern I wanted on the felt first, then cutting them out. I used the glue gun to add some different colors such as the white on the snowflake, the mittens, wind, lightning and rain.

IMG_0779

I bought some velcro from Michaels. You can use the scratchy side on the back of the weather symbols. This scratchy side will stick to the felt that is the background, you don’t need the soft side of the velcro at all.

I also added a partly sunny symbol you can see at the top of the picture. I did not use the hot glue for the velcro, it just happens to be in the picture. The velcro has a sticky side that will adhere to the felt.

IMG_0780

I had extra felt so I made days of the week!

My daughter won’t really grasp the days of the week but we can practice anyway. I can also store them until she’s ready. I might have to do that! She loves the felt weather board so much she puts them all up and takes them all down. Her favorite symbols are the sun and partly sunny. She had to take them to my sister’s house. Luckily I convinced her to leave them in the car so we didn’t lose them and I returned them to her board!


IMG_0782


I ended up adding ribbon by making a stitch at the top. To make it extra sturdy I decided to hot glue the bottom of the ribbon to the felt too! You can use string, small ribbon, or anything you choose for this! I hung it above her work table using the clear command hooks that will easily come off of the wall if I want to remove them.


You can make the weather board a daily routine! Do it in the morning, or change it throughout the day based on the weather. Enjoy!!! IMG_0783


FollowFacebookpinterestrssyoutube
ShareFacebookpinterest

Felt Snowman Fun!

1.jpg

What’s that? A foot in the corner of the picture? Yes! Madison couldn’t wait to get her hands on the felt snowman and decorate him!

My pile of felt was stacking up after doing a few projects and Christmas was over…what to do with it? I took down the amazing felt tree my sister made after the holidays and felt a bit depressed. Noooo Christmas can’t be over! Winter isn’t over, so why not make a felt snowman similar to the felt tree Madison loved so much?

The project is very simple & super cheap!

You need:

  • Felt in various colors: white, orange, black and a few other colors for the hat, buttons, and mouth.
  • Velcro
  • scissors

First, I cut out the 3 circles for the snowman out of white felt purchased at a local craft store (you can also get cheap felt at Walmart). I didn’t use any patterns, but just cut everything free hand. You could also use a marker to draw the shapes first, then cut them out.

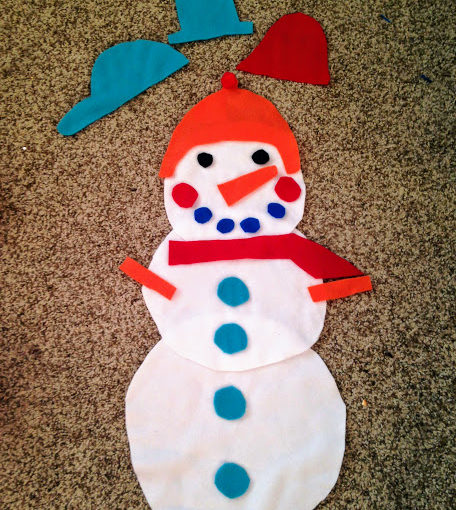
3.jpgI went with simple features, a carrot nose, 2 arms, and a scarf. You can choose whatever colors suit you. I made 4 buttons, a mouth, rosy cheeks, eyes, and 4 hats.

Why 4 hats you ask? Madison likes to dress up different dolls and I thought she would like to make the snowman not only something she puts together, but gets to switch the different features. Plus, I had lots of extra fabric and time. After cutting everything out I hot glued the 3 white circles that make up the snowman together.

Another option would be to put velcro on the bottom of the top 2 white circles and your child could put the snowman together that way. I know my toddler, and she likes to pull on things, so gluing it together was the best option for us.

4I bought velcro with sticky back so I wouldn’t have to glue it. I simply  used the hook side of the velcro. Yes, I had to look that up, the hook side aka the rough side. I cut each piece depending on what I was using the velcro on. For example, the scarf is long so I used at least 5 inches of the hook side of the velcro. 1.jpg

For the buttons I used about an inch each. You don’t need the soft side, the loop. If you use felt then the rough side of the velcro will stick to the velcro. After you cut the hook velcro just peel off the sticky side and put it on your snowman accessory. Do this for each accessory. When you are all done putting velcro on, you can have your child decorate!
1.jpg

If you wish you can put dots on the buttons and lines on the carrot nose with a sharpie marker! You can lay this on the floor or hang it up for your little one to decorate. It also makes a great present!

FollowFacebookpinterestrssyoutube
ShareFacebookpinterest