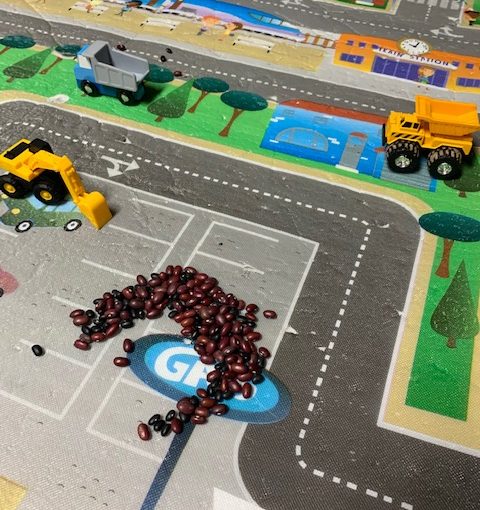
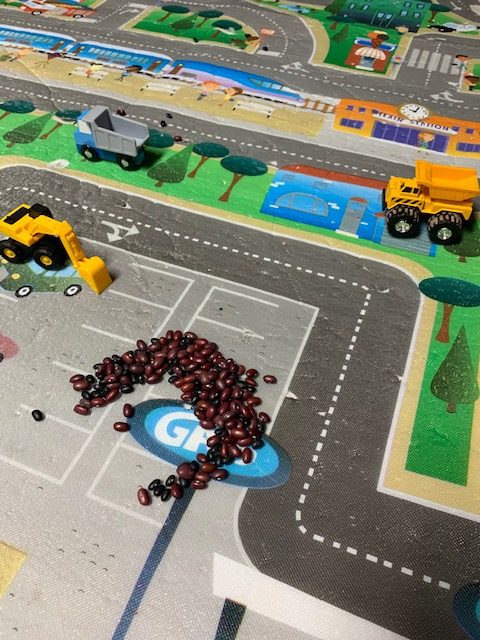
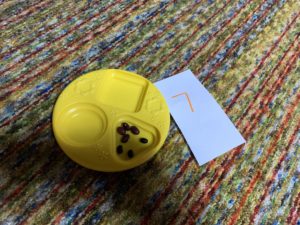
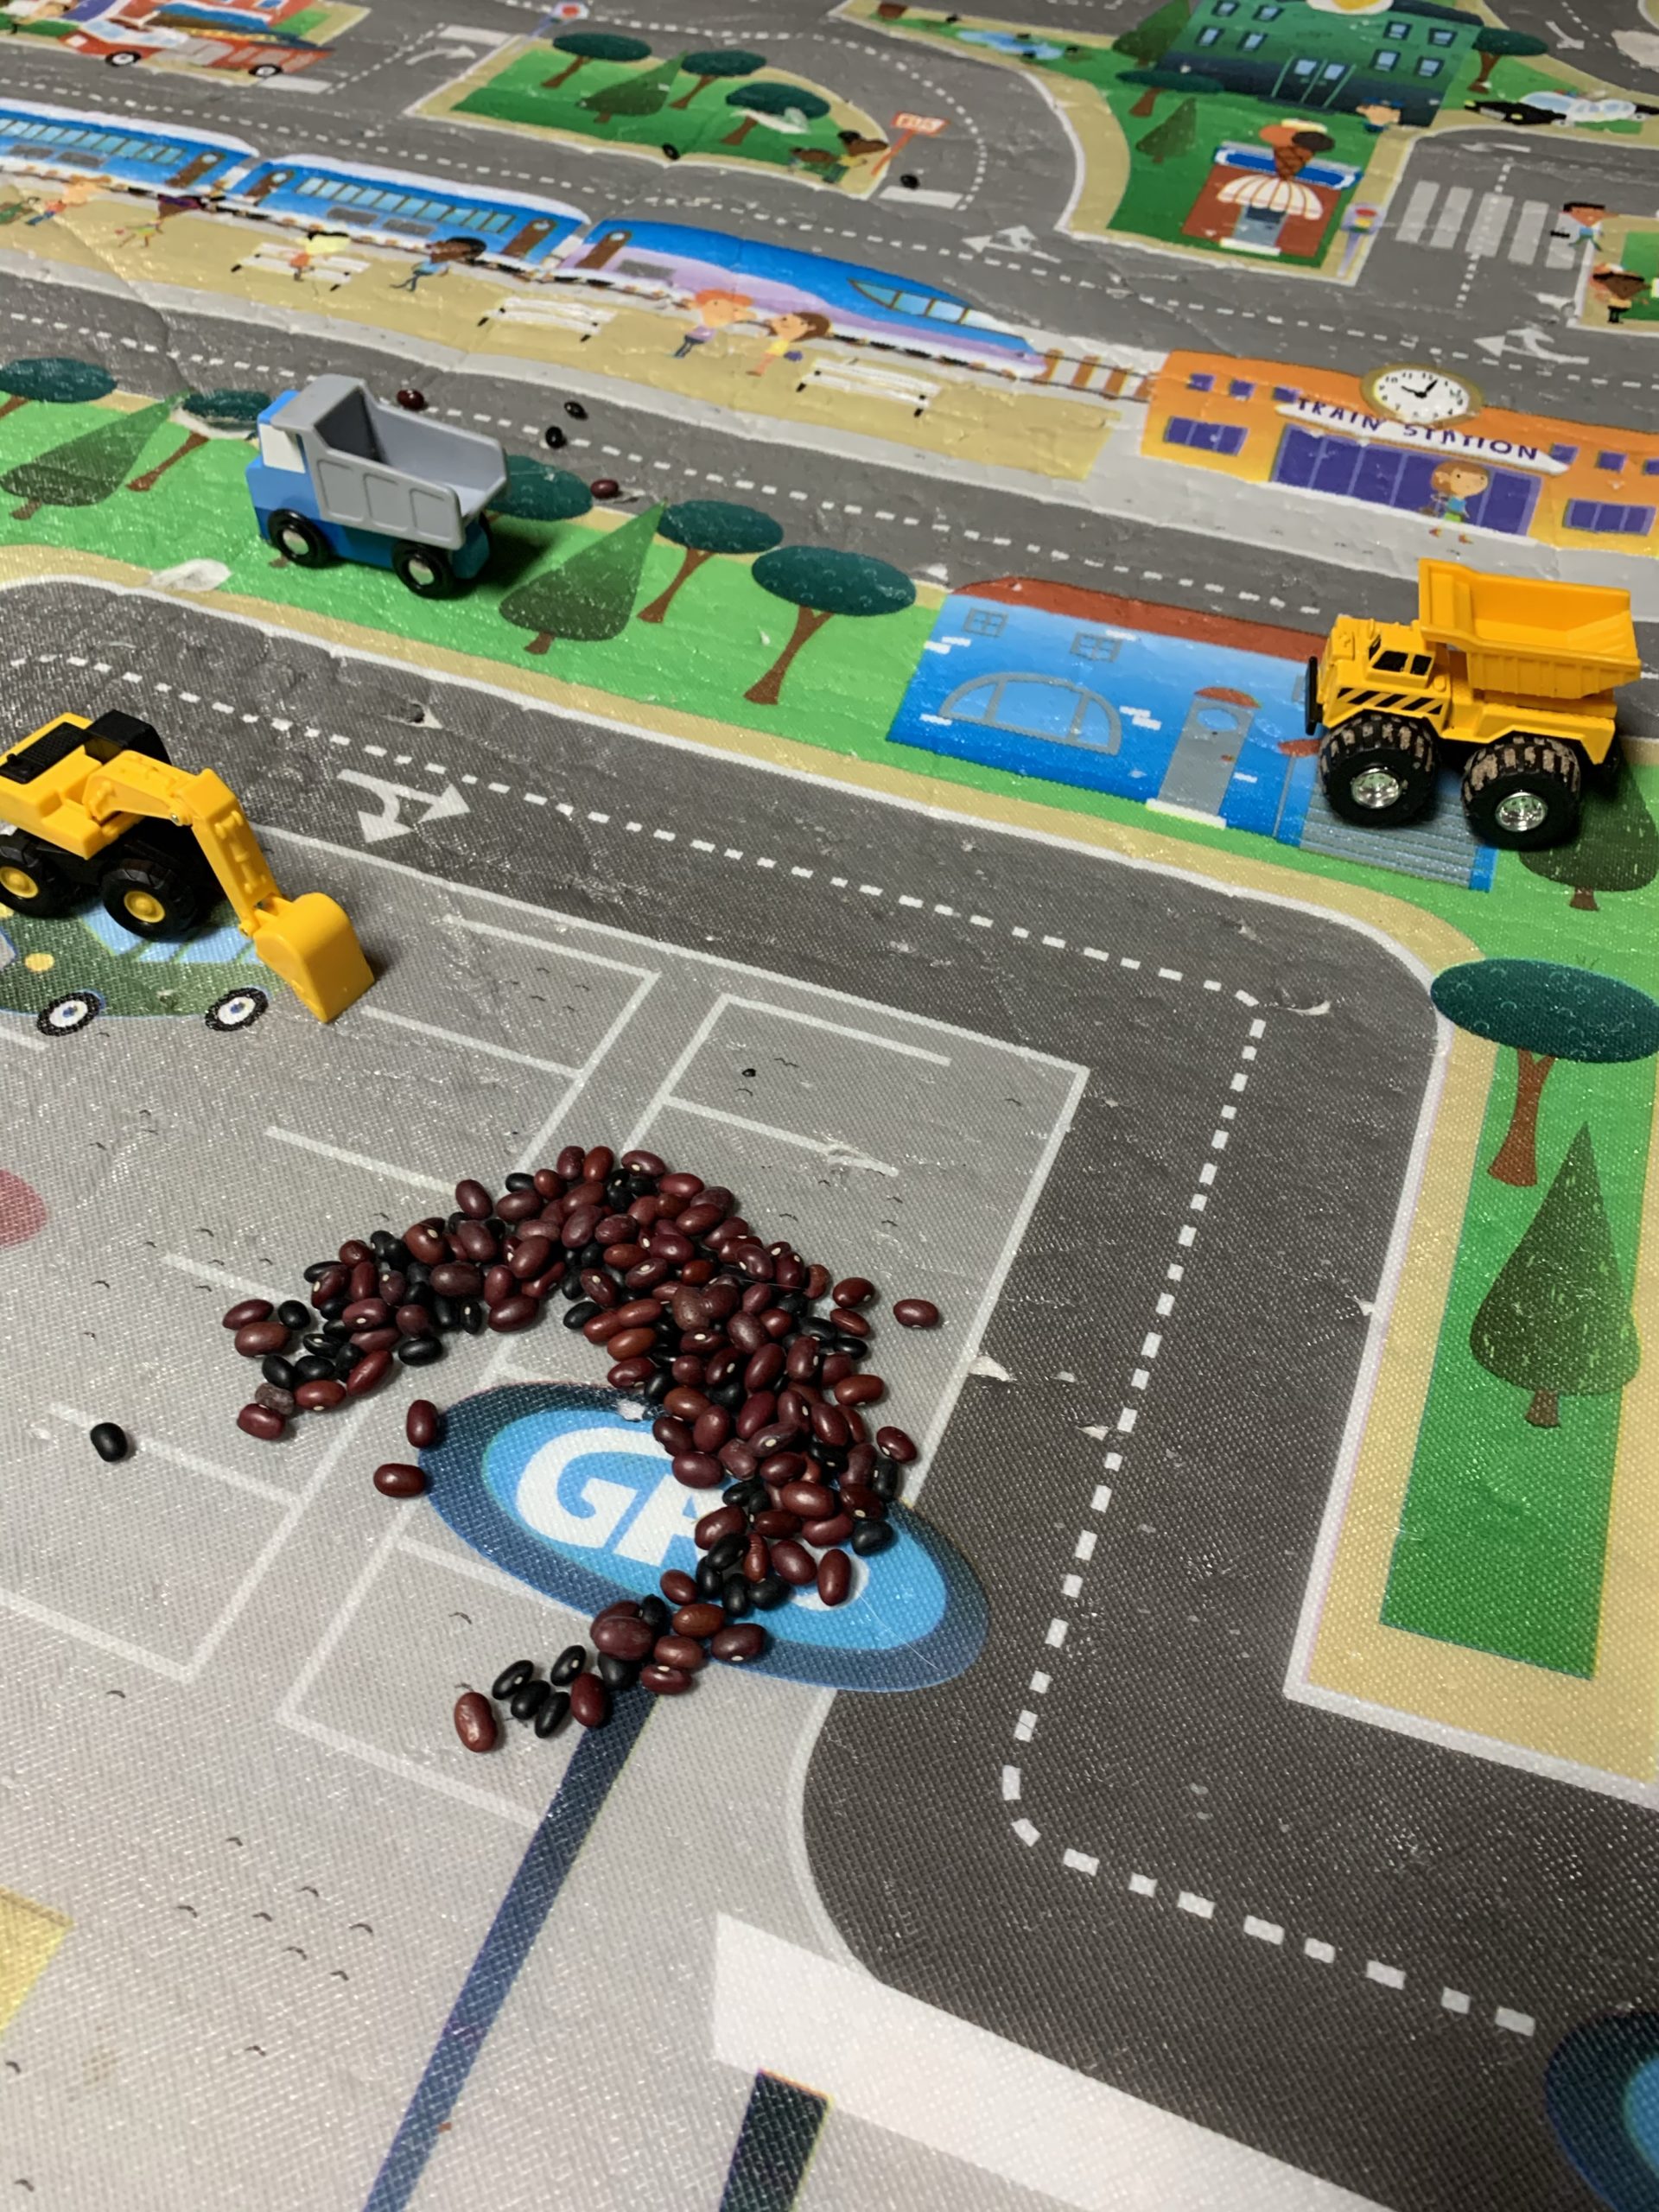
If you have a boy or girl who loves construction vehicles, then this activity is a fun counting activity! Not only do young ones like using their front end loaders or excavators to lift up the beans, they also learn their numbers!
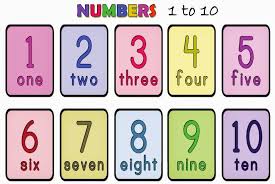
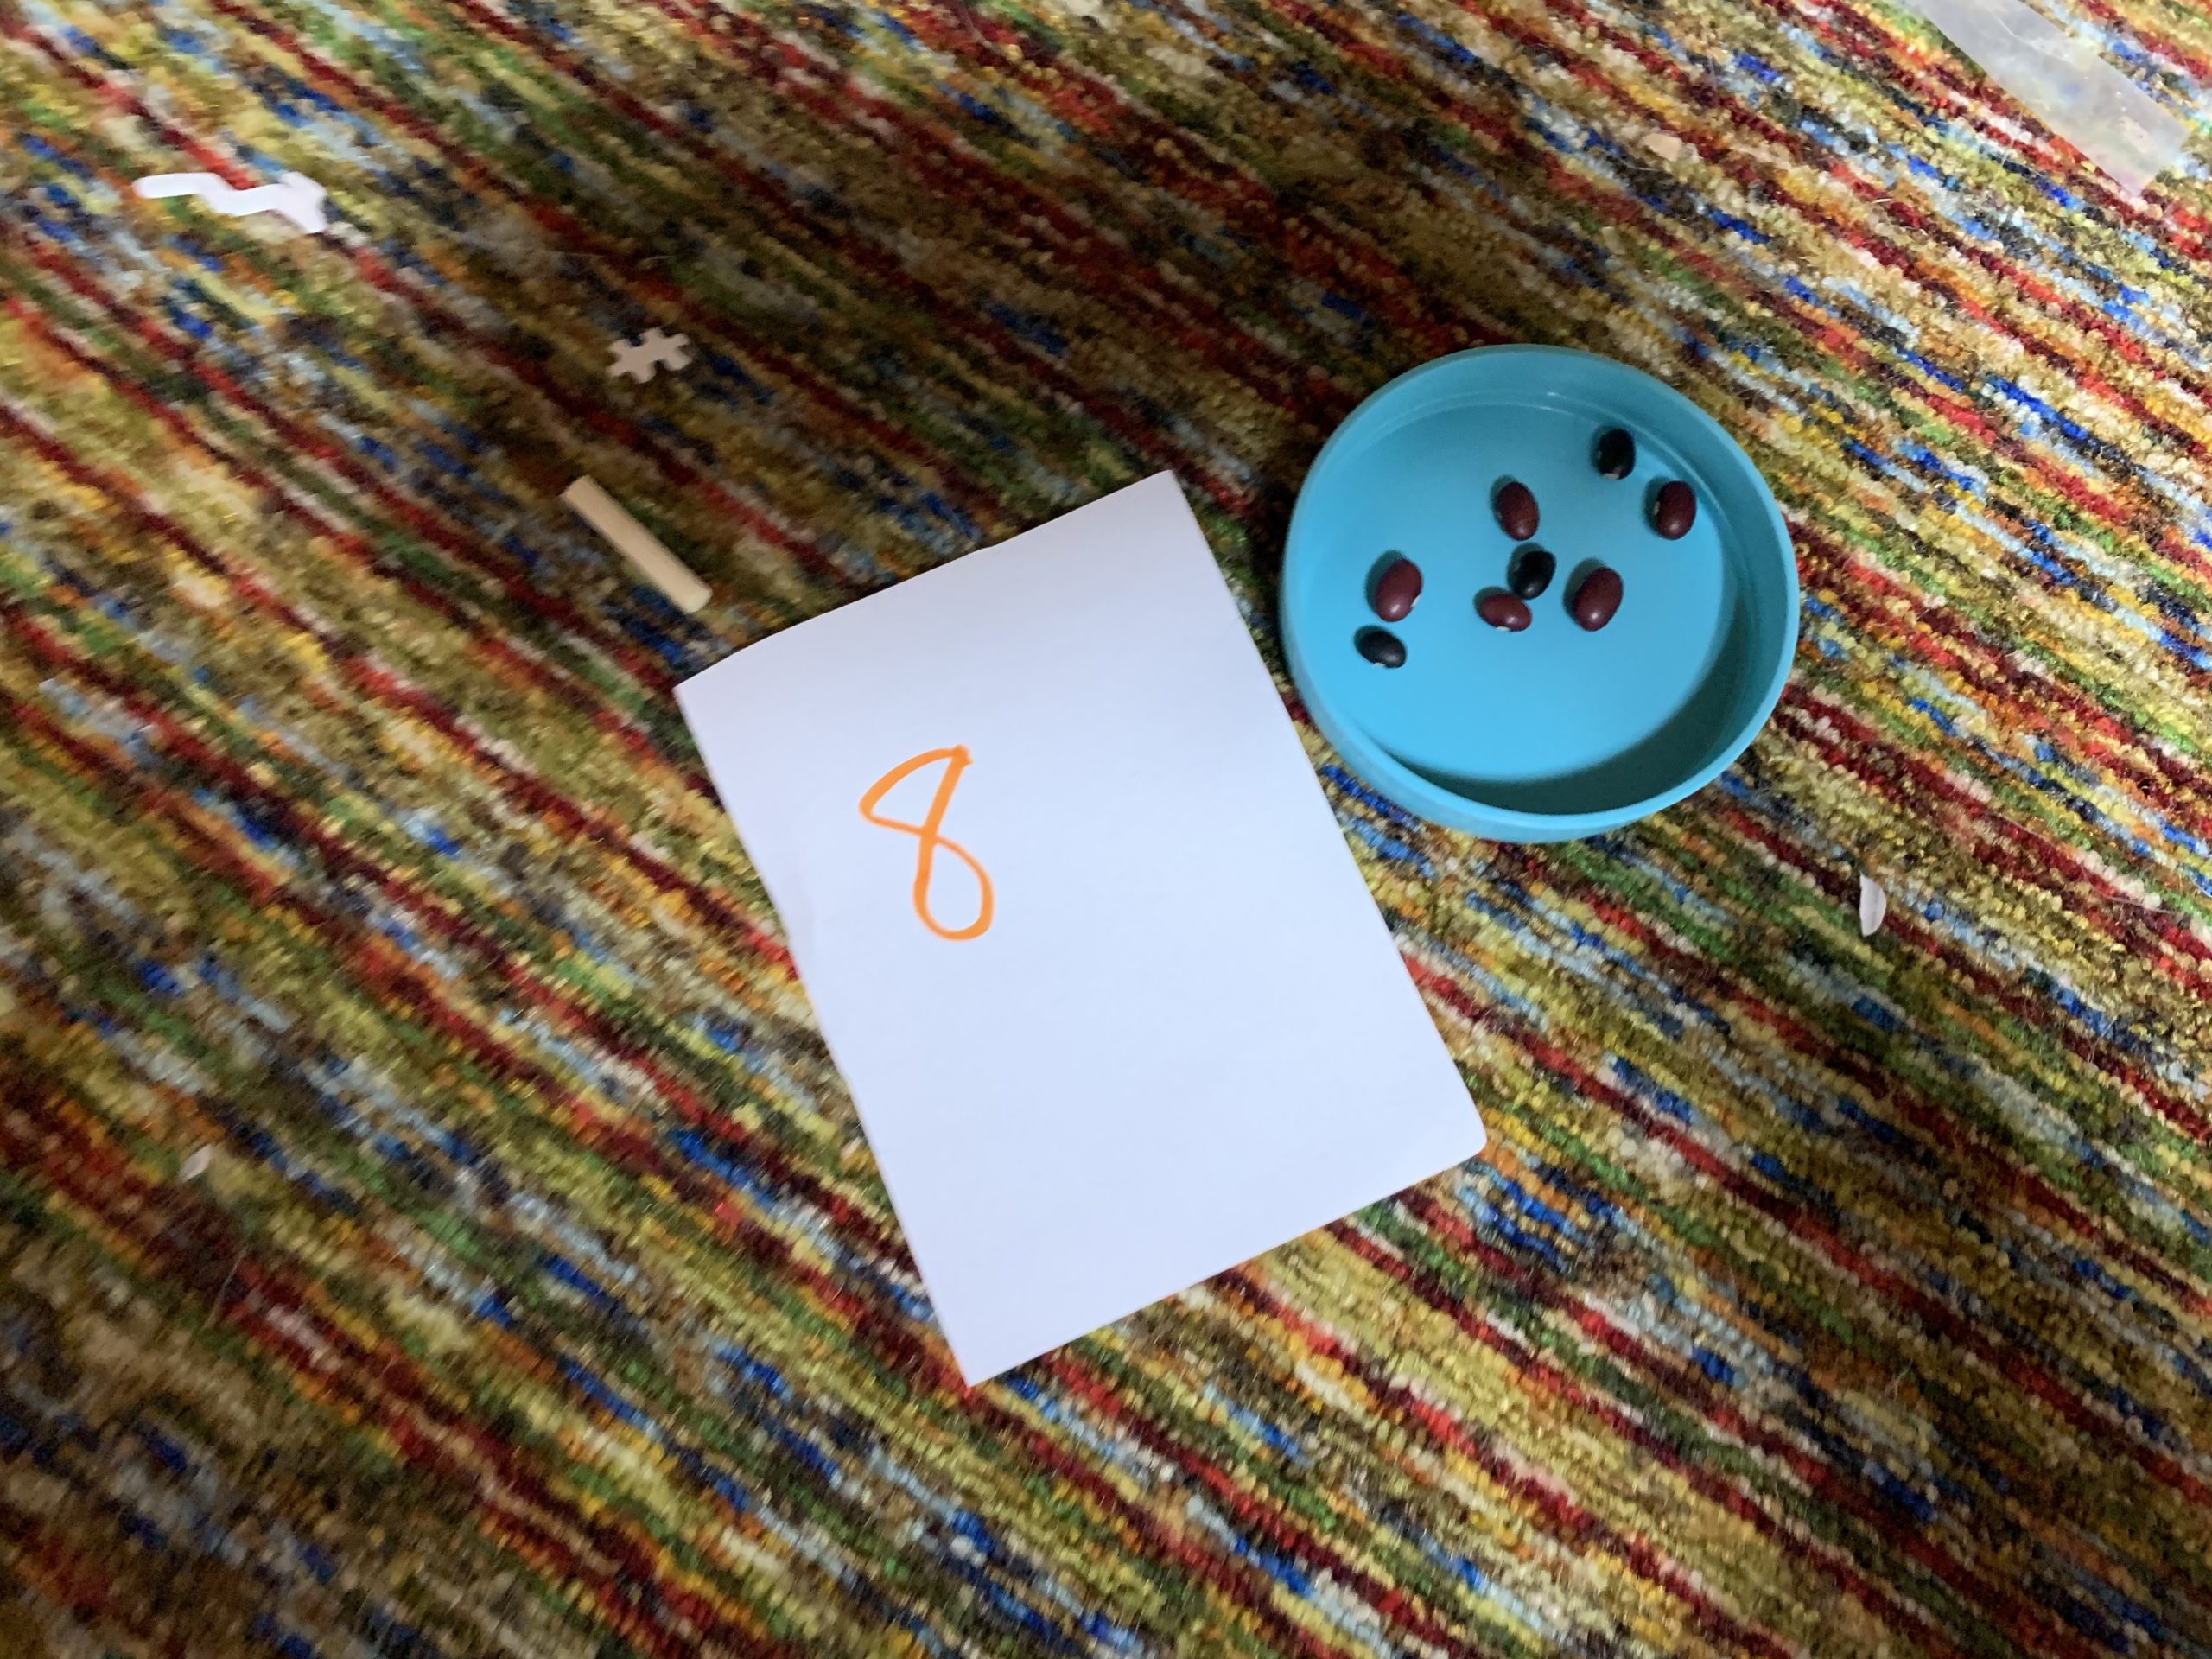
I used 1-10 and put out their play kitchen plates or bowls next to the number of beans. Then, my son and daughter used their scoopers and other vehicles to scoop them up into the dump trucks and empty the right amount into each station. I also hid the numbers and stations around the room. You can use higher numbers for your children if they are older.
You can use uncooked beans such as I did, or anything that can be scooped up. Examples include rocks, beans, beads, food items, and others. Obviously, you do NOT want to use something small for children under 3 or children who still put things in their mouth. Supervising the activity is important as well.
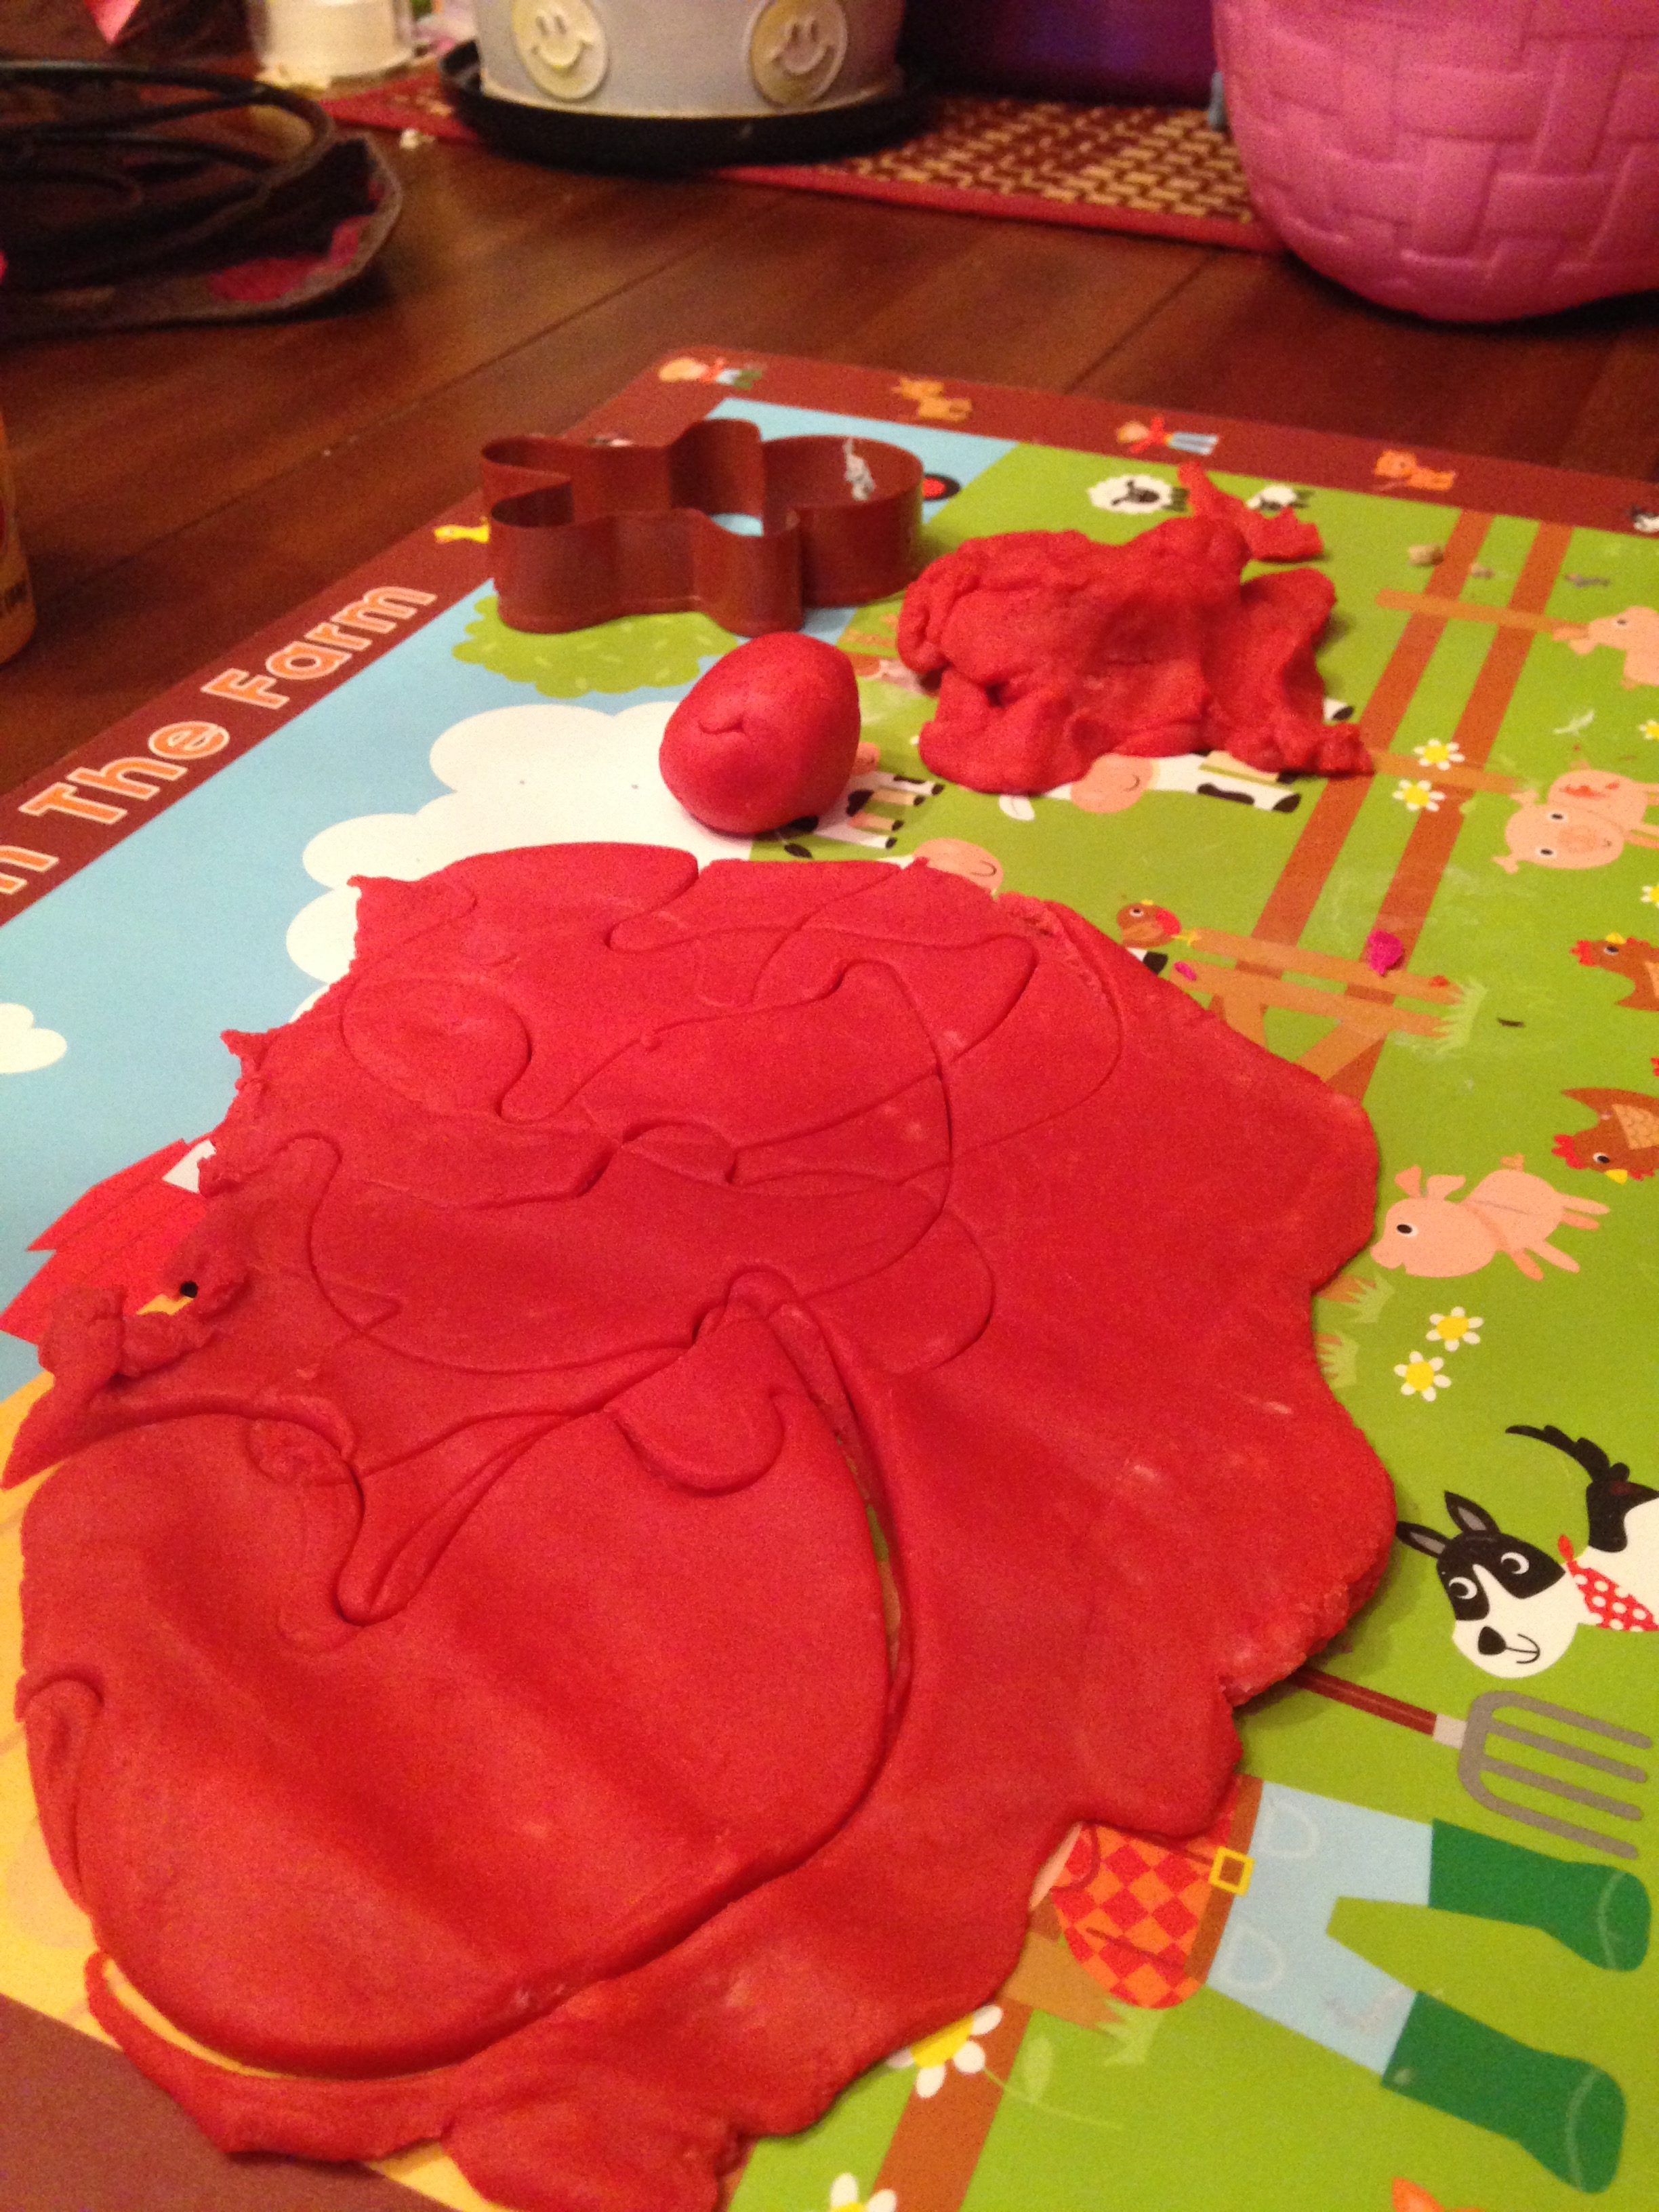
I’m sure you have seen the advertisements and blogs about making your own play dough, I sure have. I always think, “That cannot be good play dough and how long does it even last?” Well, one day I decided to make it for myself. Actually, my 2 1/2 year old and I made it.
First things first, let me give you some advice:
It is messy to make (especially with a toddler)
Use an old pan (it can be hard to get the dye out!) and an older wooden spoon if possible
It is totally worth it! The play dough is awesome. Much smoother, easier to work with, and does not dry out as easily. I was very impressed.
The play dough will last longer if you keep it in the fridge and can last 6+ months. You can leave it out in an air tight container as well, but it will not last as long.
Okay, lets get to it!
What you will need:
1 Cup of all purpose flour
1/2 cup of salt
2 teaspoons of cream of tartar
1 cup water
Food coloring (or natural or any dyes you would like to use)
2 tablespoons of any cooking oil (even coconut oil works!) I used canola
Warning** Once you start the process it goes quickly so I suggest you read the directions once or twice and have everything ready before you start**
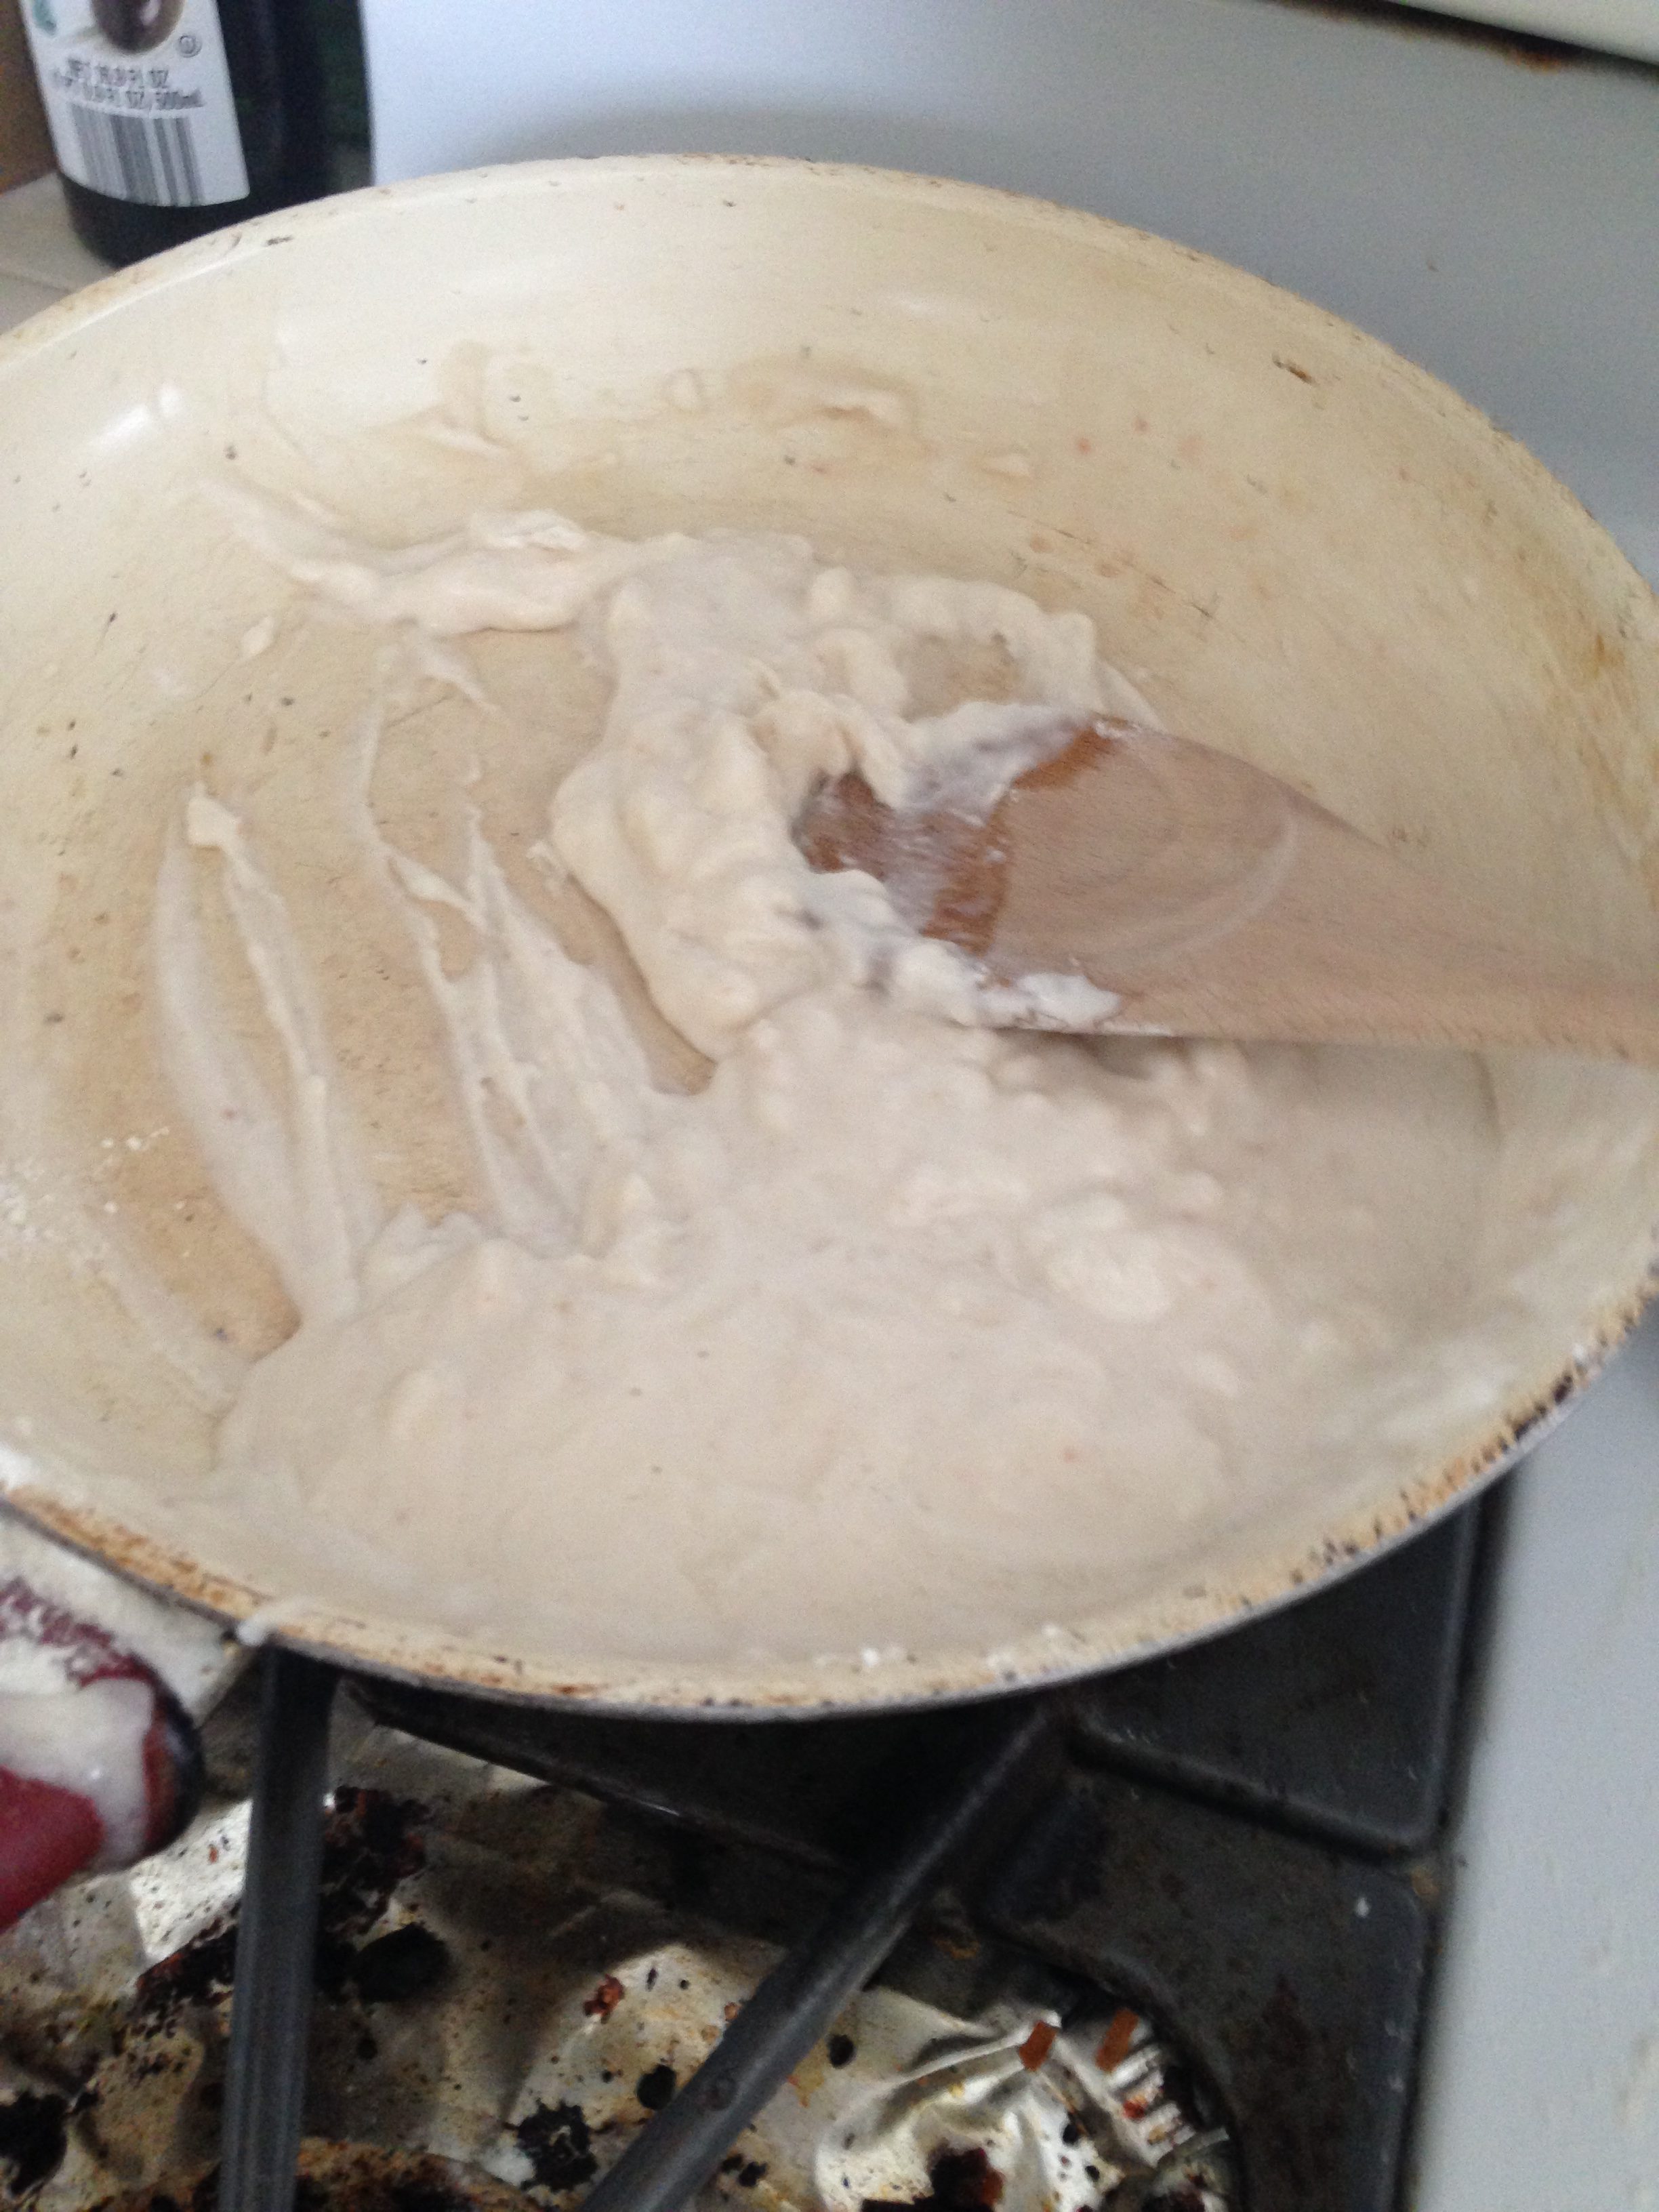
Combine the flour, cream of tartar, salt to a saucepan and mix (the heat is off)
Add the water, oil, and food coloring
Turn the heat on low to medium and stir away (a wooden spoon seems to work best) (it may get stained!)
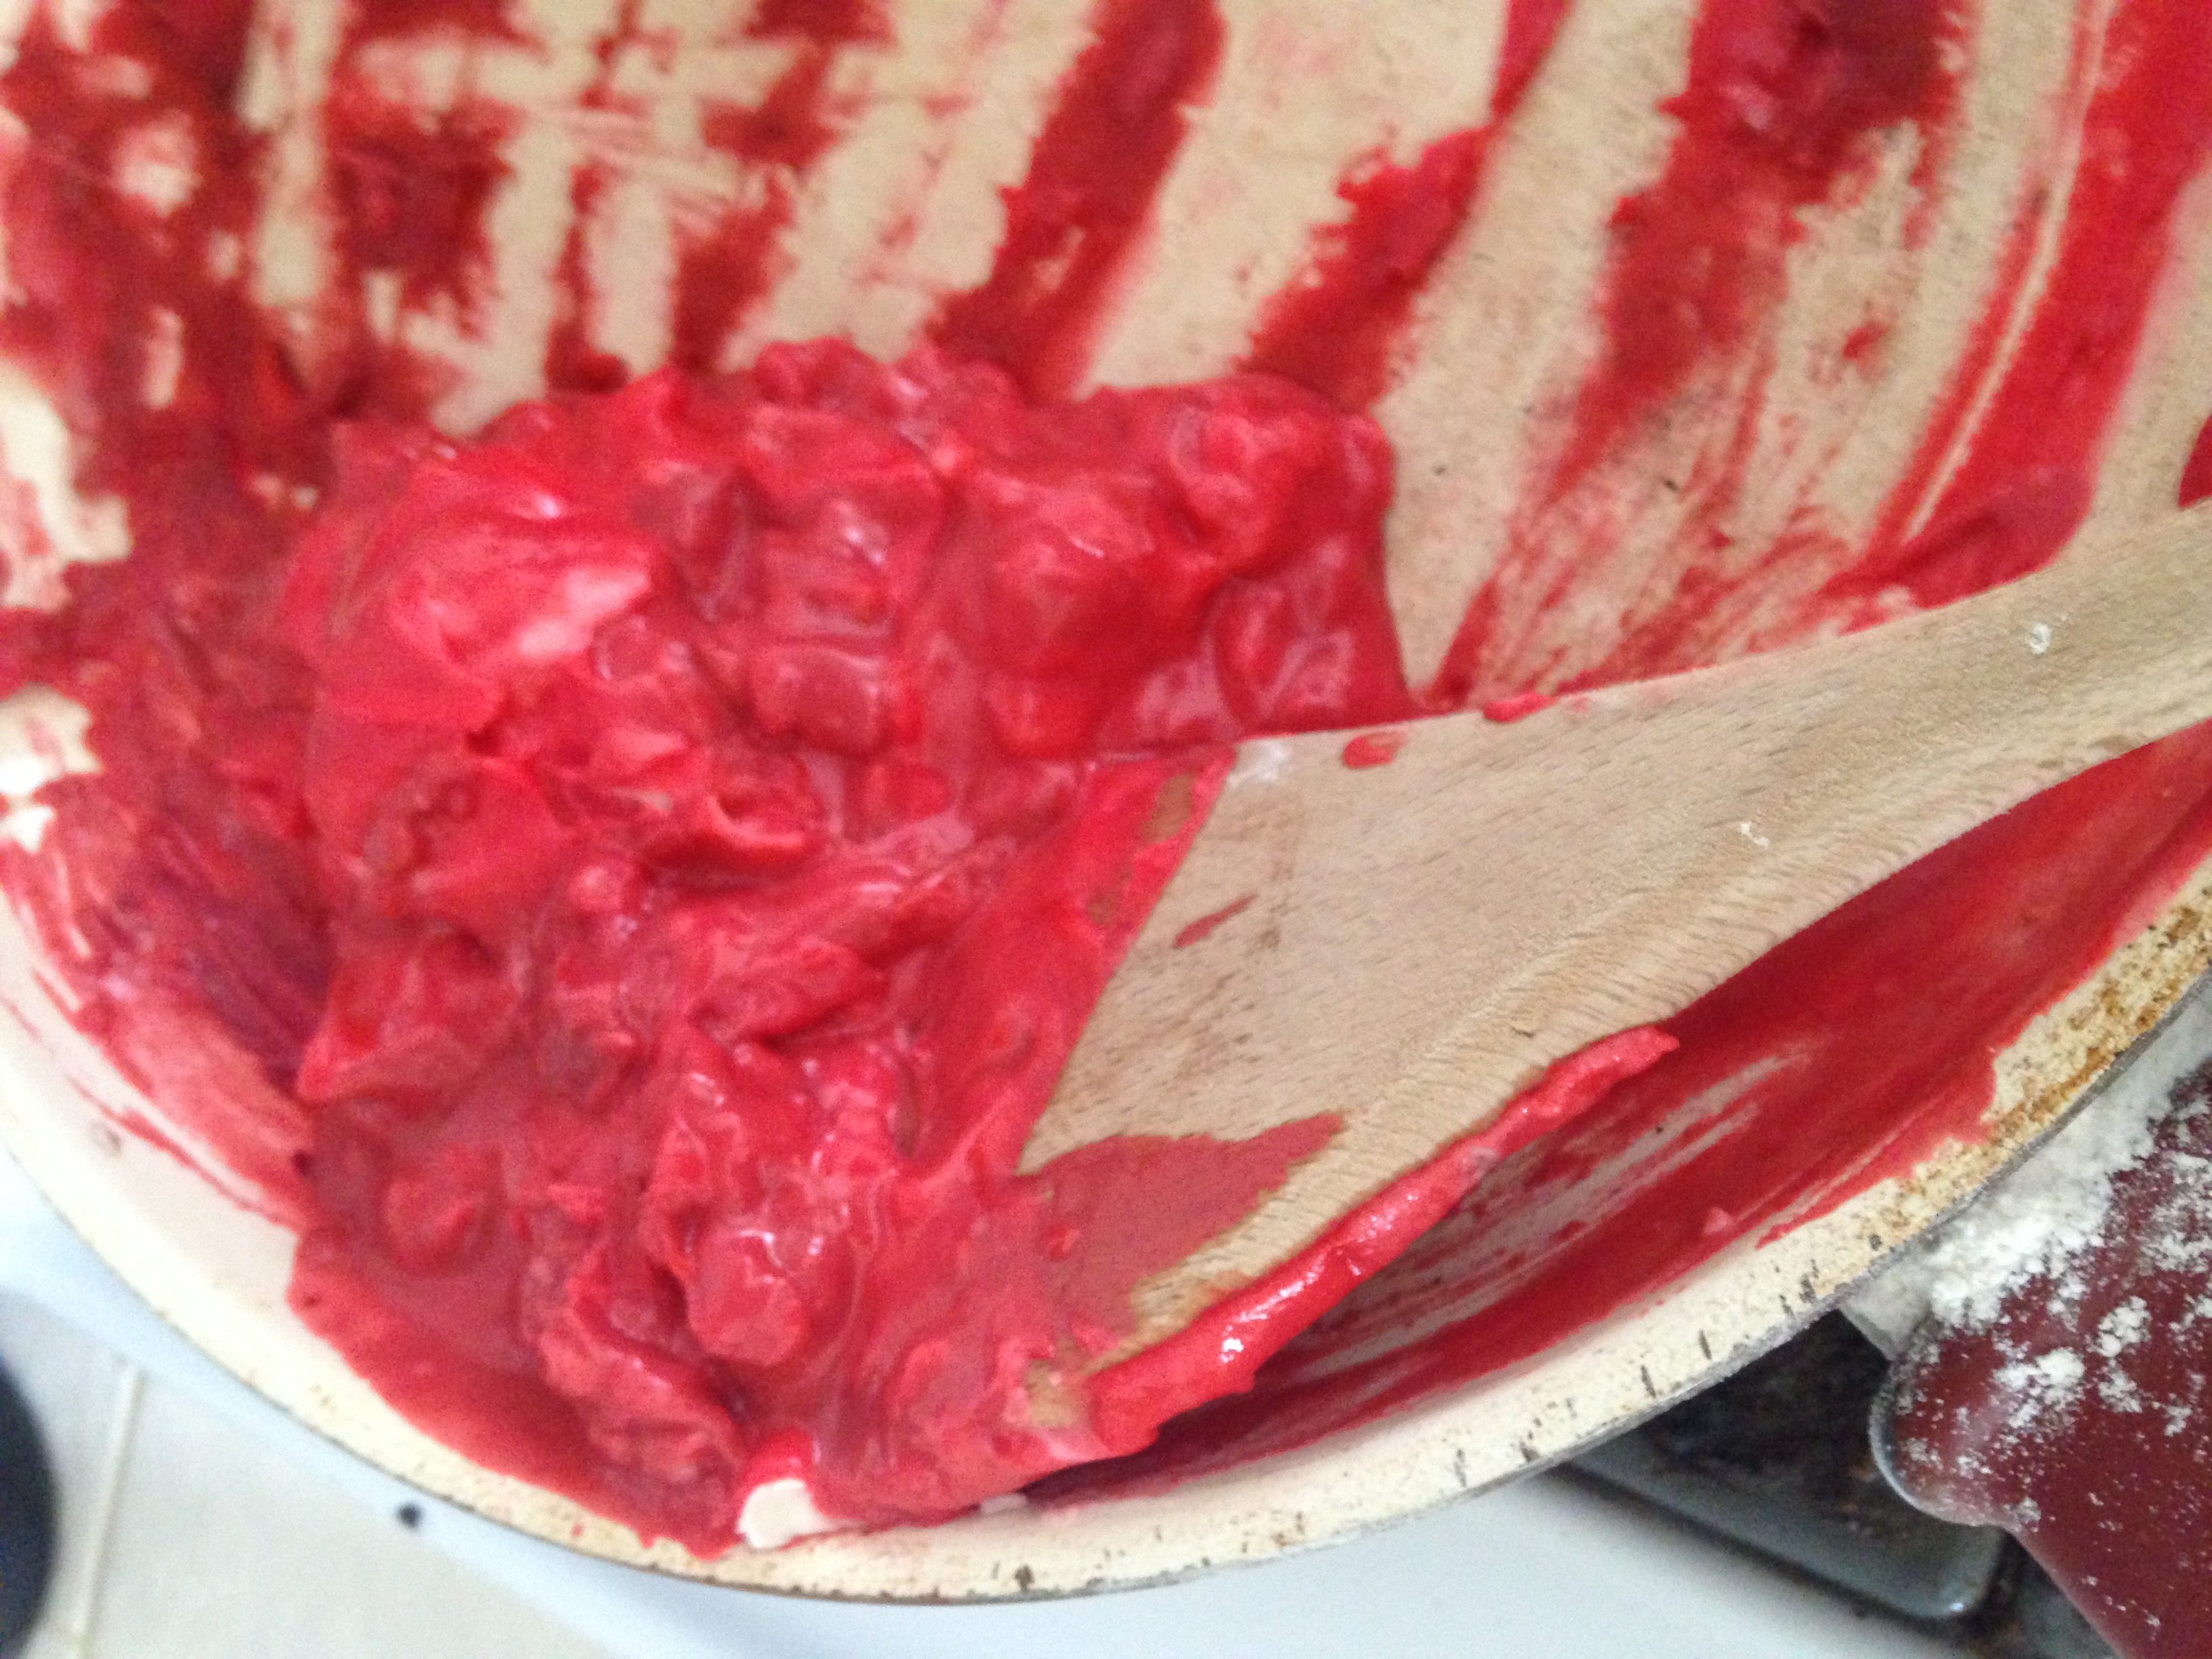
Stir it until it gets thicker like play dough or like sugar cookies
Then turn the heat off and let it cool a couple minutes
Knead it a little and it should roll easily into a ball. Store in the fridge for it to last 6+ months in an airtight container or ziplock bag. You can leave it out in an air tight container but it will last longest if its in the fridge.
Okay enjoy!
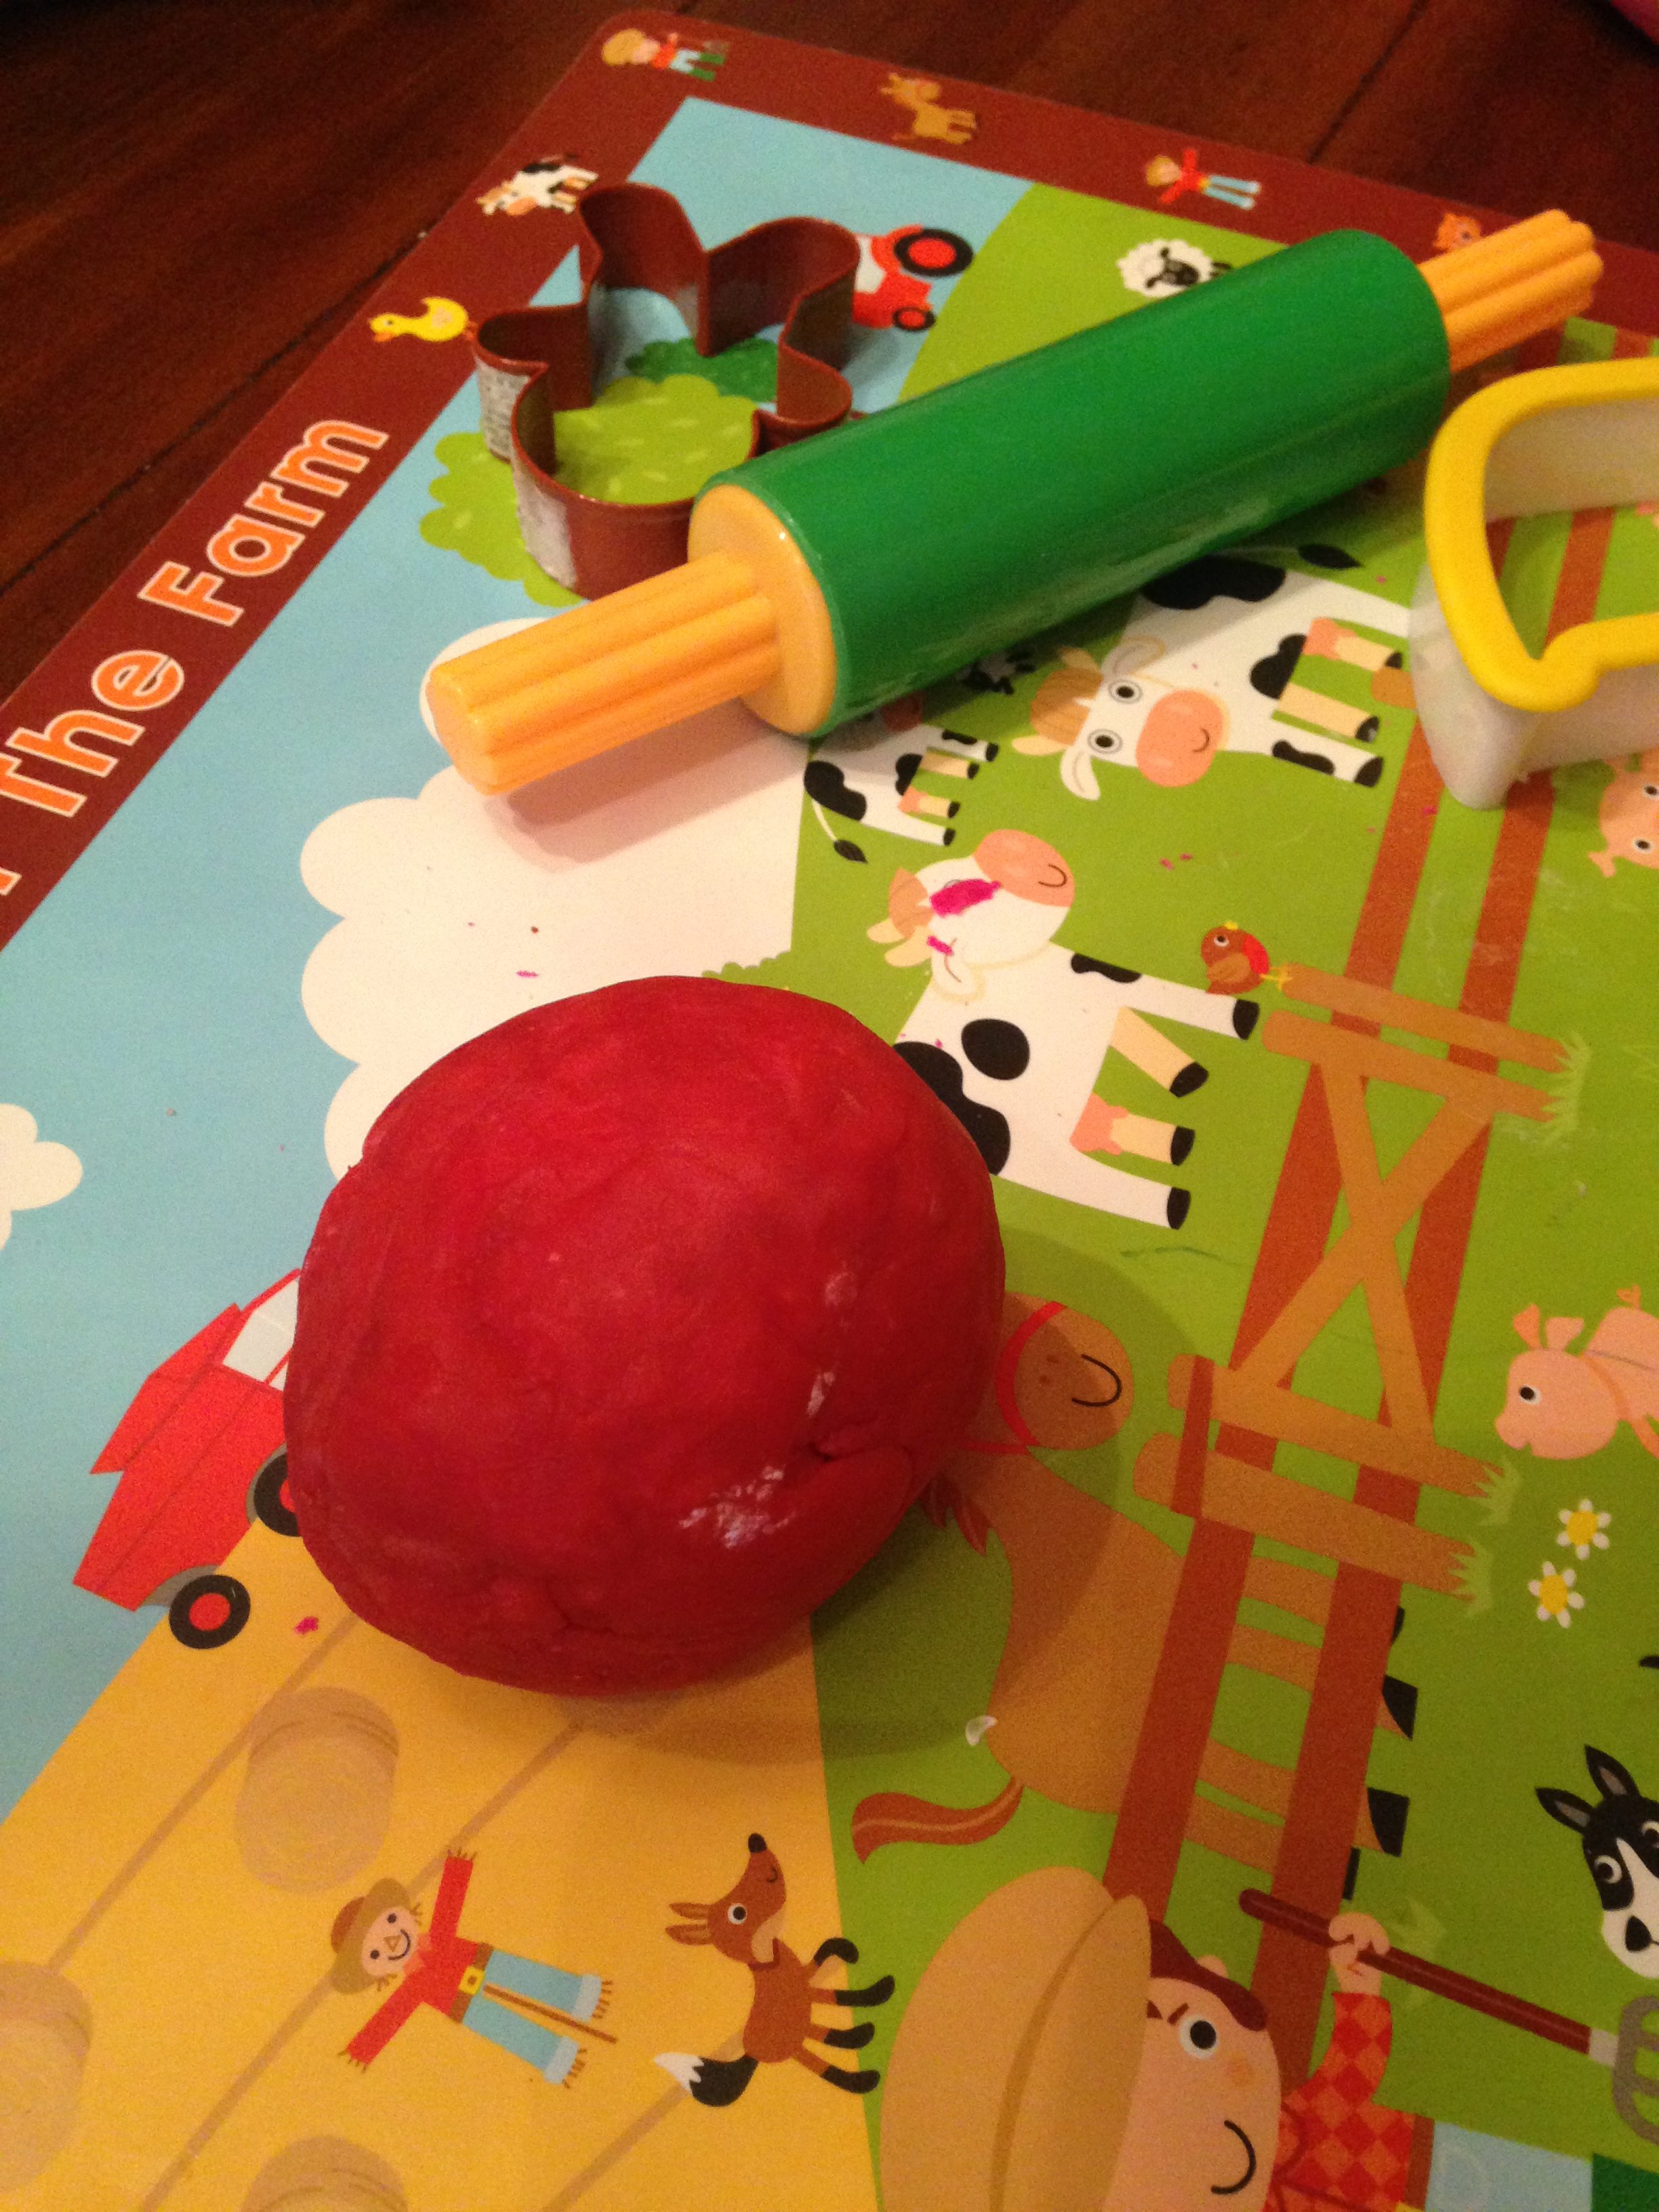
The quality of the play dough was much better than store brand and easier to roll. I love it, and so does Cece!!
Cece enjoys using a rolling pin and cookie cutters to make shapes!
Cloth baby books are an easy sewing project that your little one will enjoy! You can also embellish and make it more interactive. Cloth books are great toys as well!
There are several places to purchase panel fabric for cloth books; however, it is very hard to find in actual stores. They are mostly sold online. You can also make your own cloth book! The following tutorial is how to make a panel cloth book. If you would like to make your own cloth book that is not from printed panels, I would suggest the following sites for ideas: Color book , animal book ideas
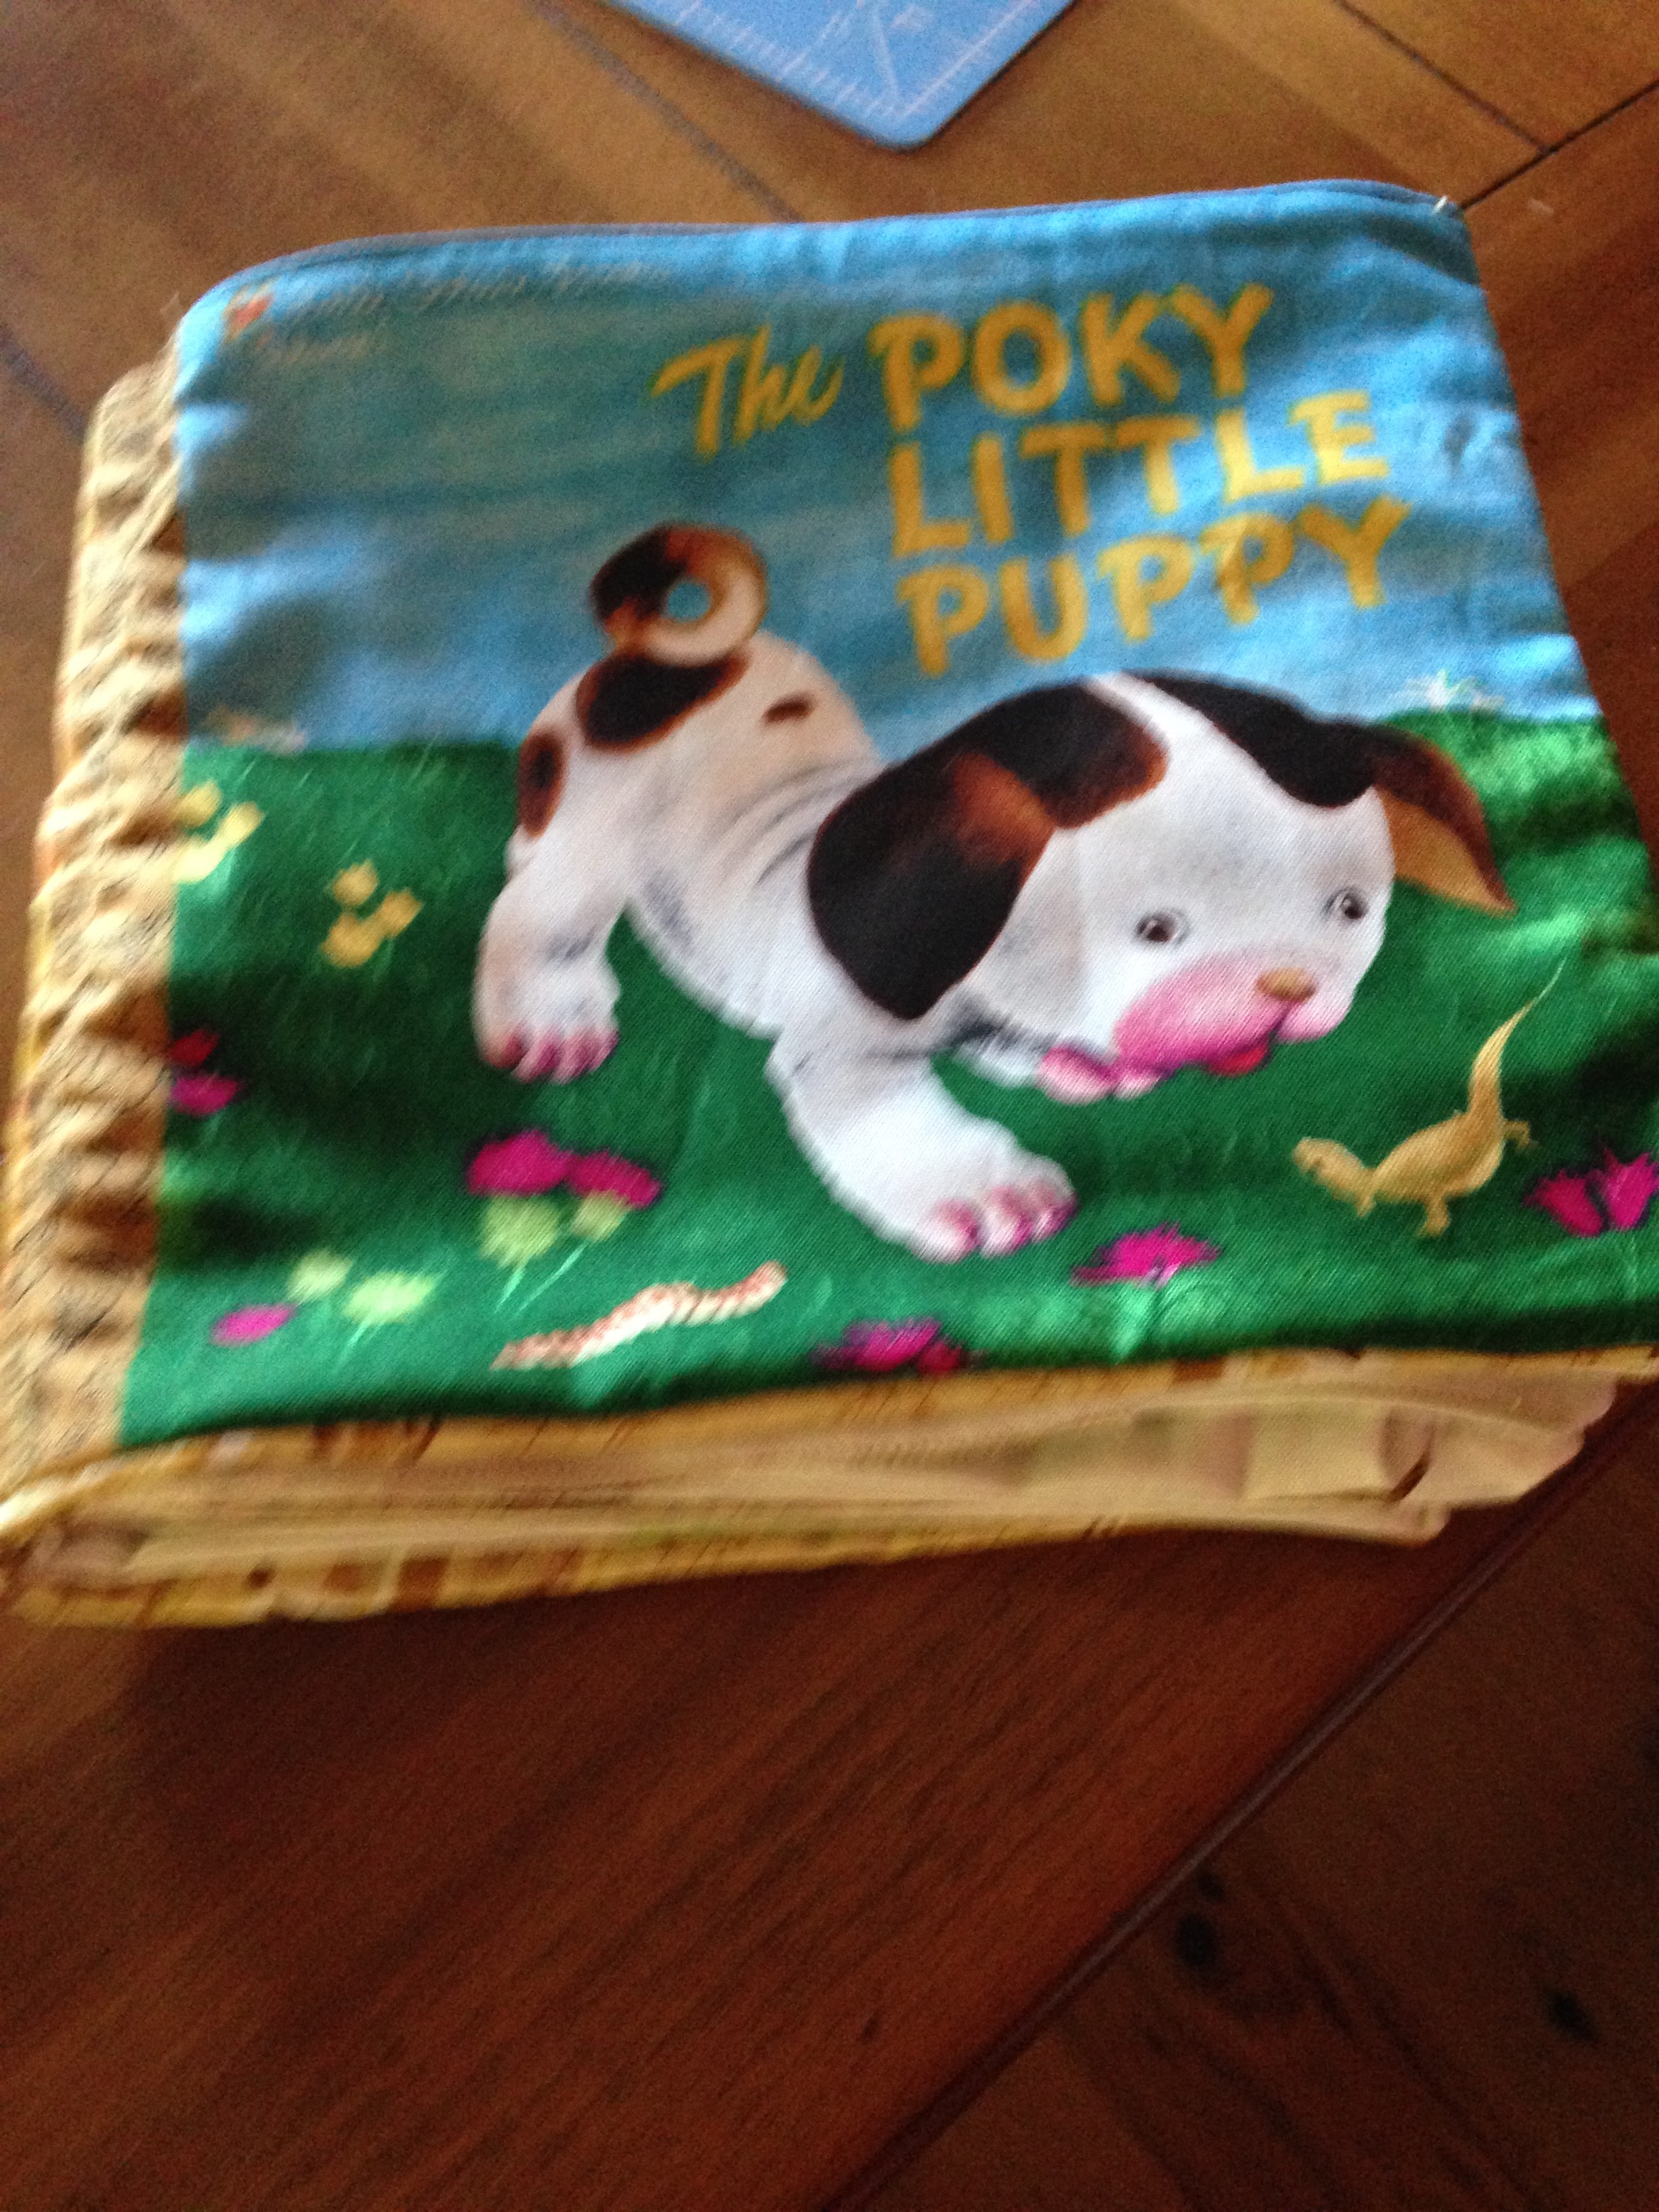
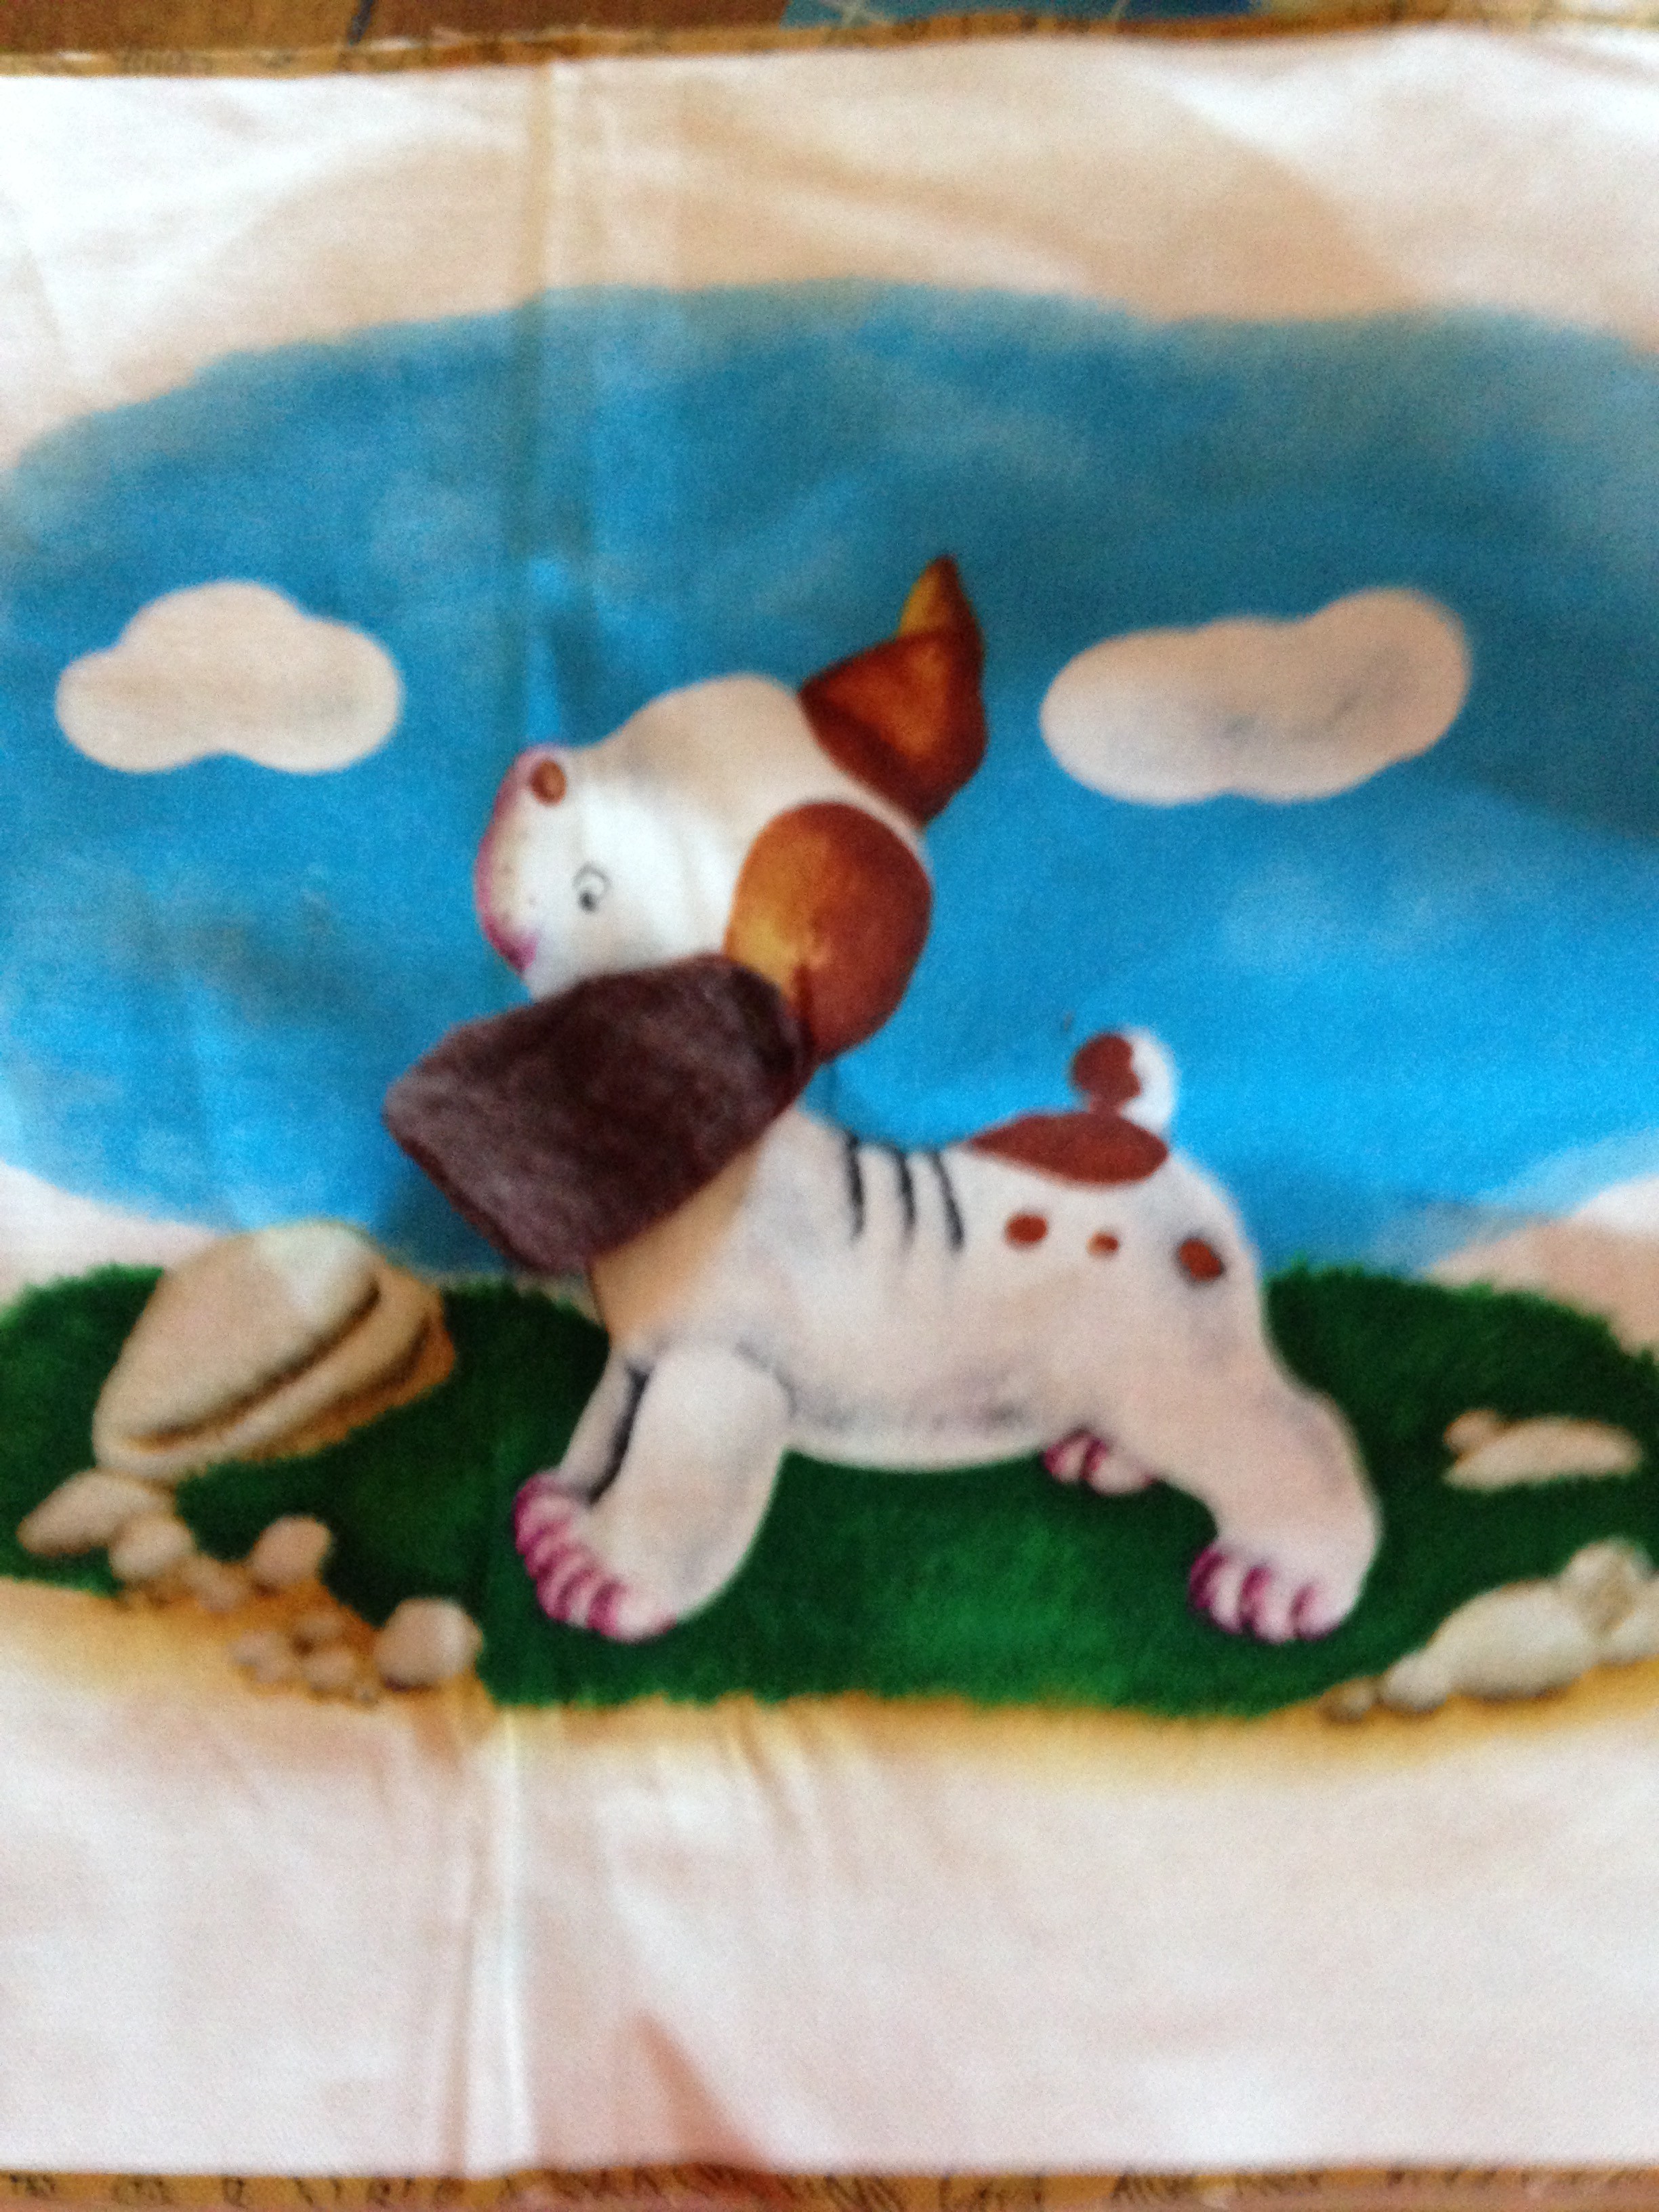
Today, I put together the classic The Poky Little Puppy cloth book. It is quick, easy, and you can customize it as well!
Here’s a quick Youtube tutorial for all those audio visual learners (and below is the written method):
Okay, so let’s get started! You have your panel, you have your scissors, thread, machine, and batting for in between. Now as far as batting goes, you can use almost anything! It depends if you like your cloth books thicker or thin, crinkly or quiet.
I actually used leftover fleece I had from another project which made my book nice and thick.
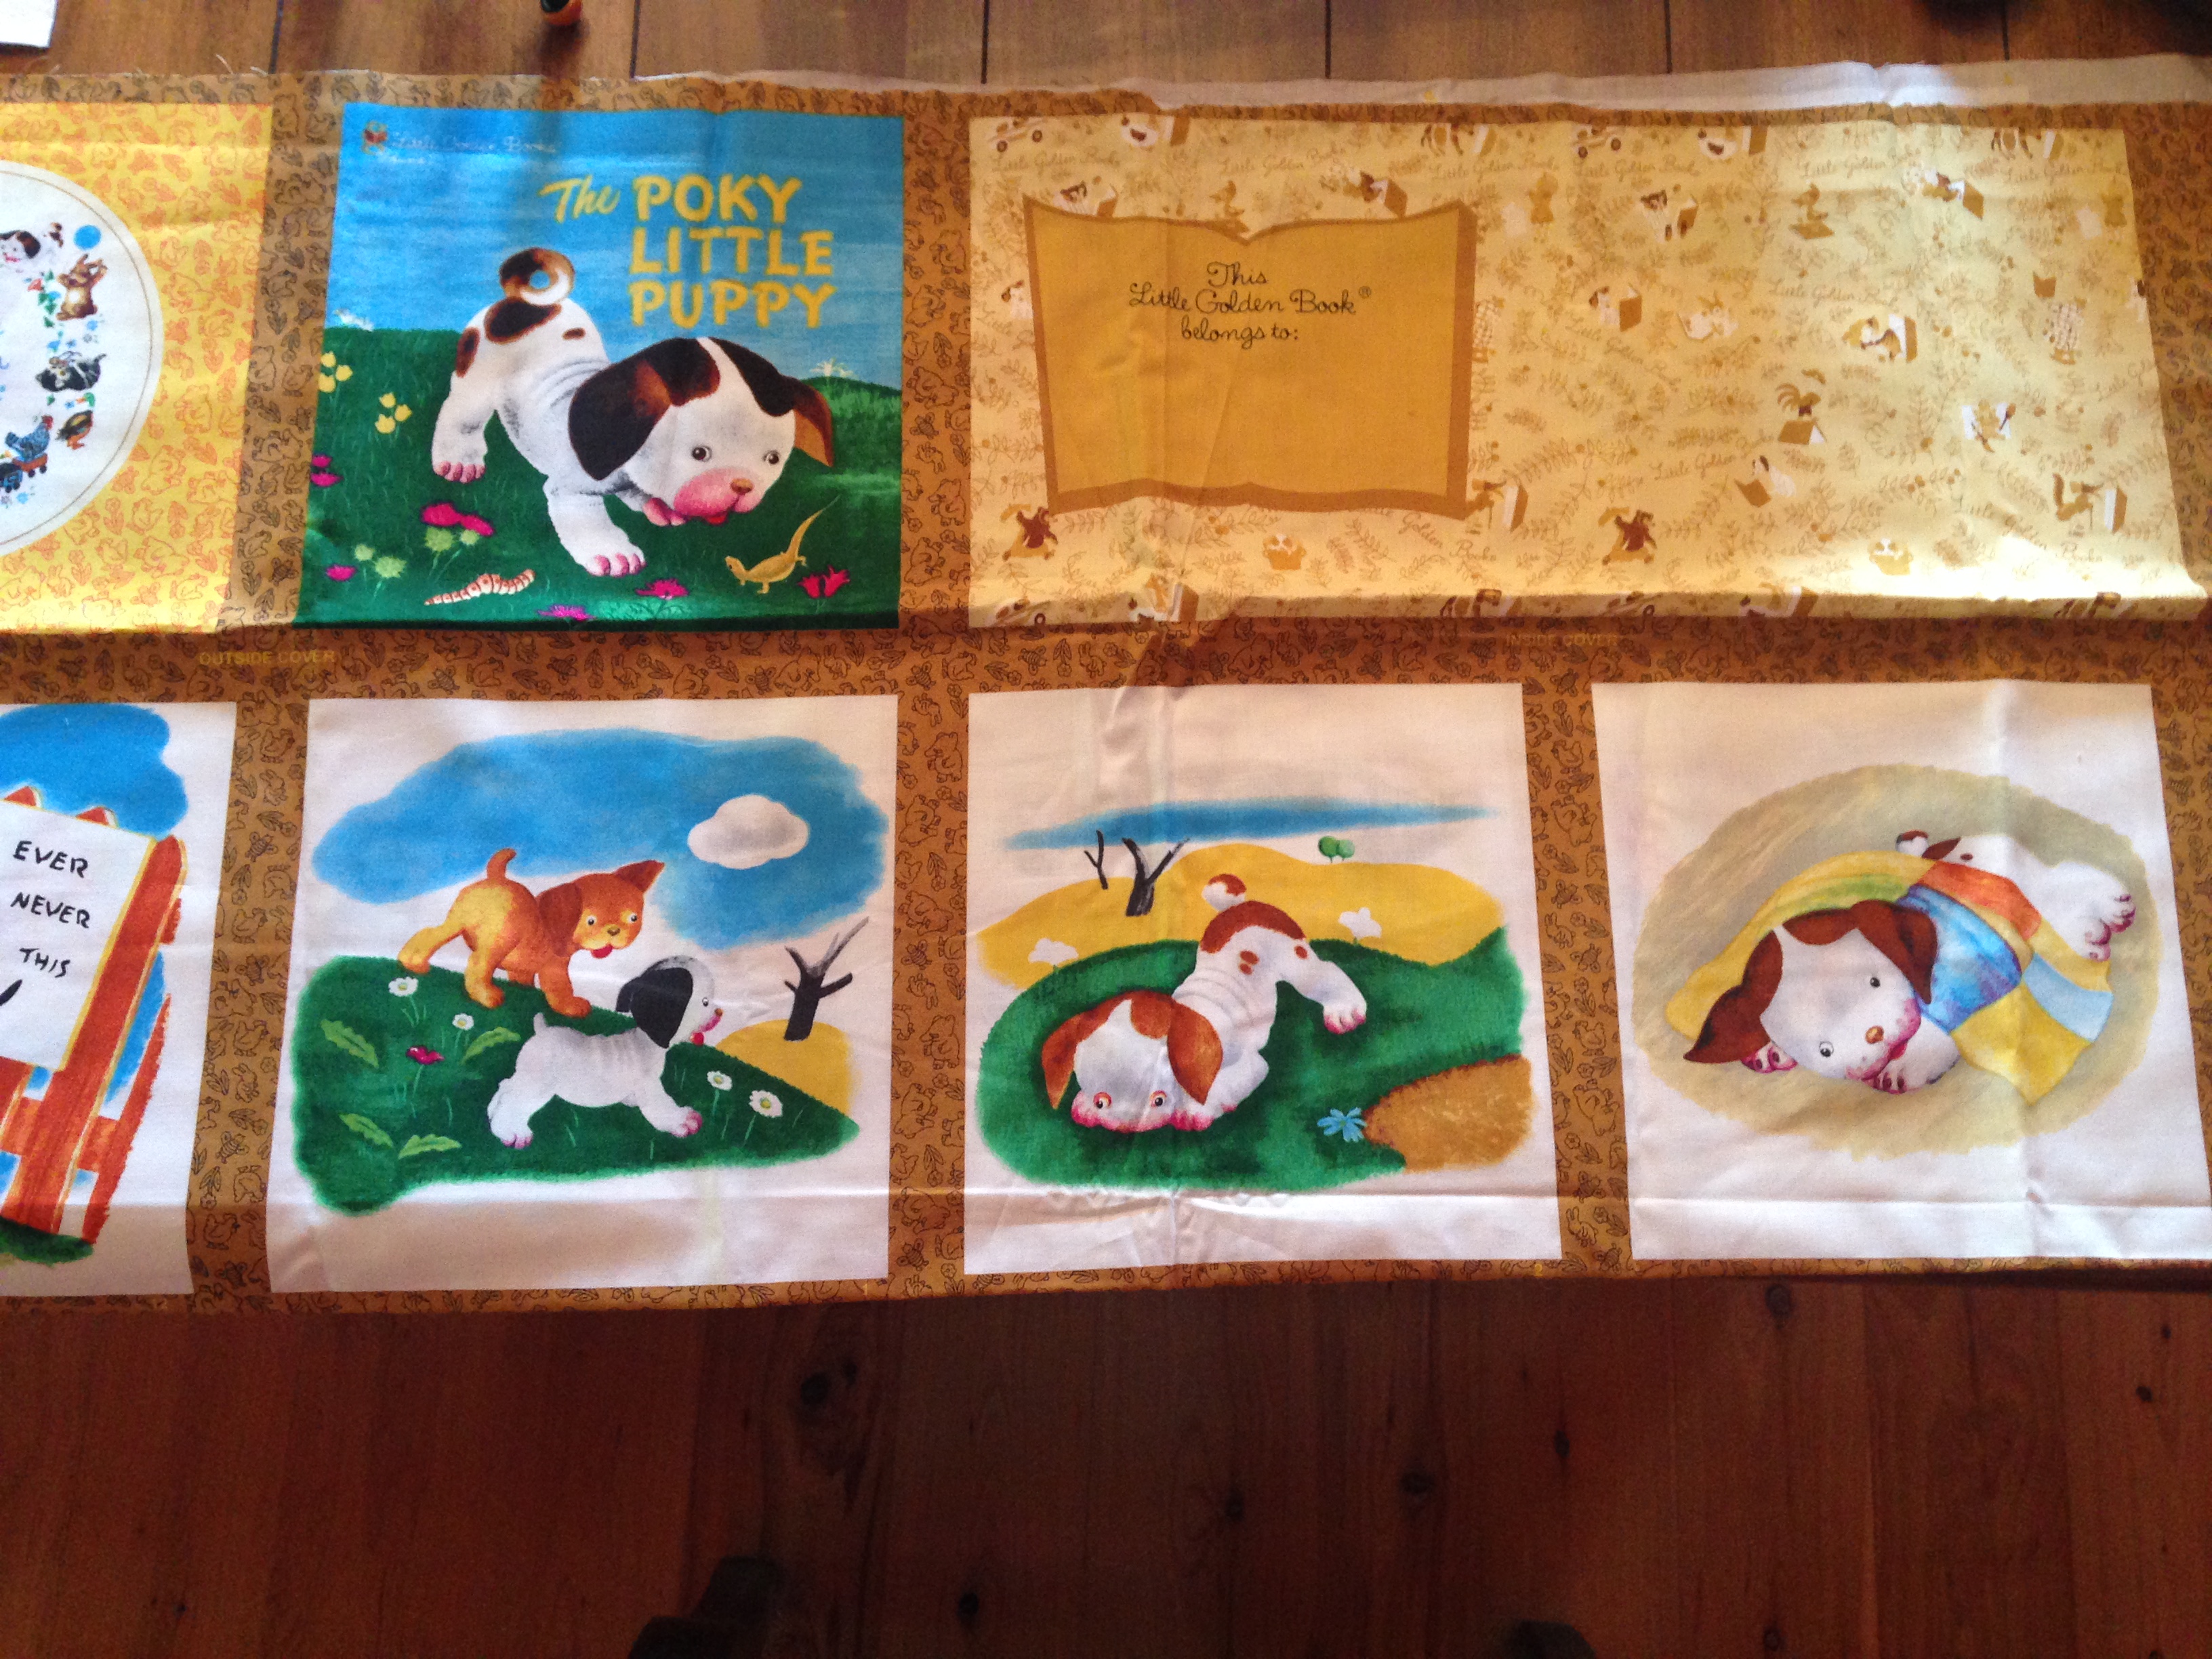
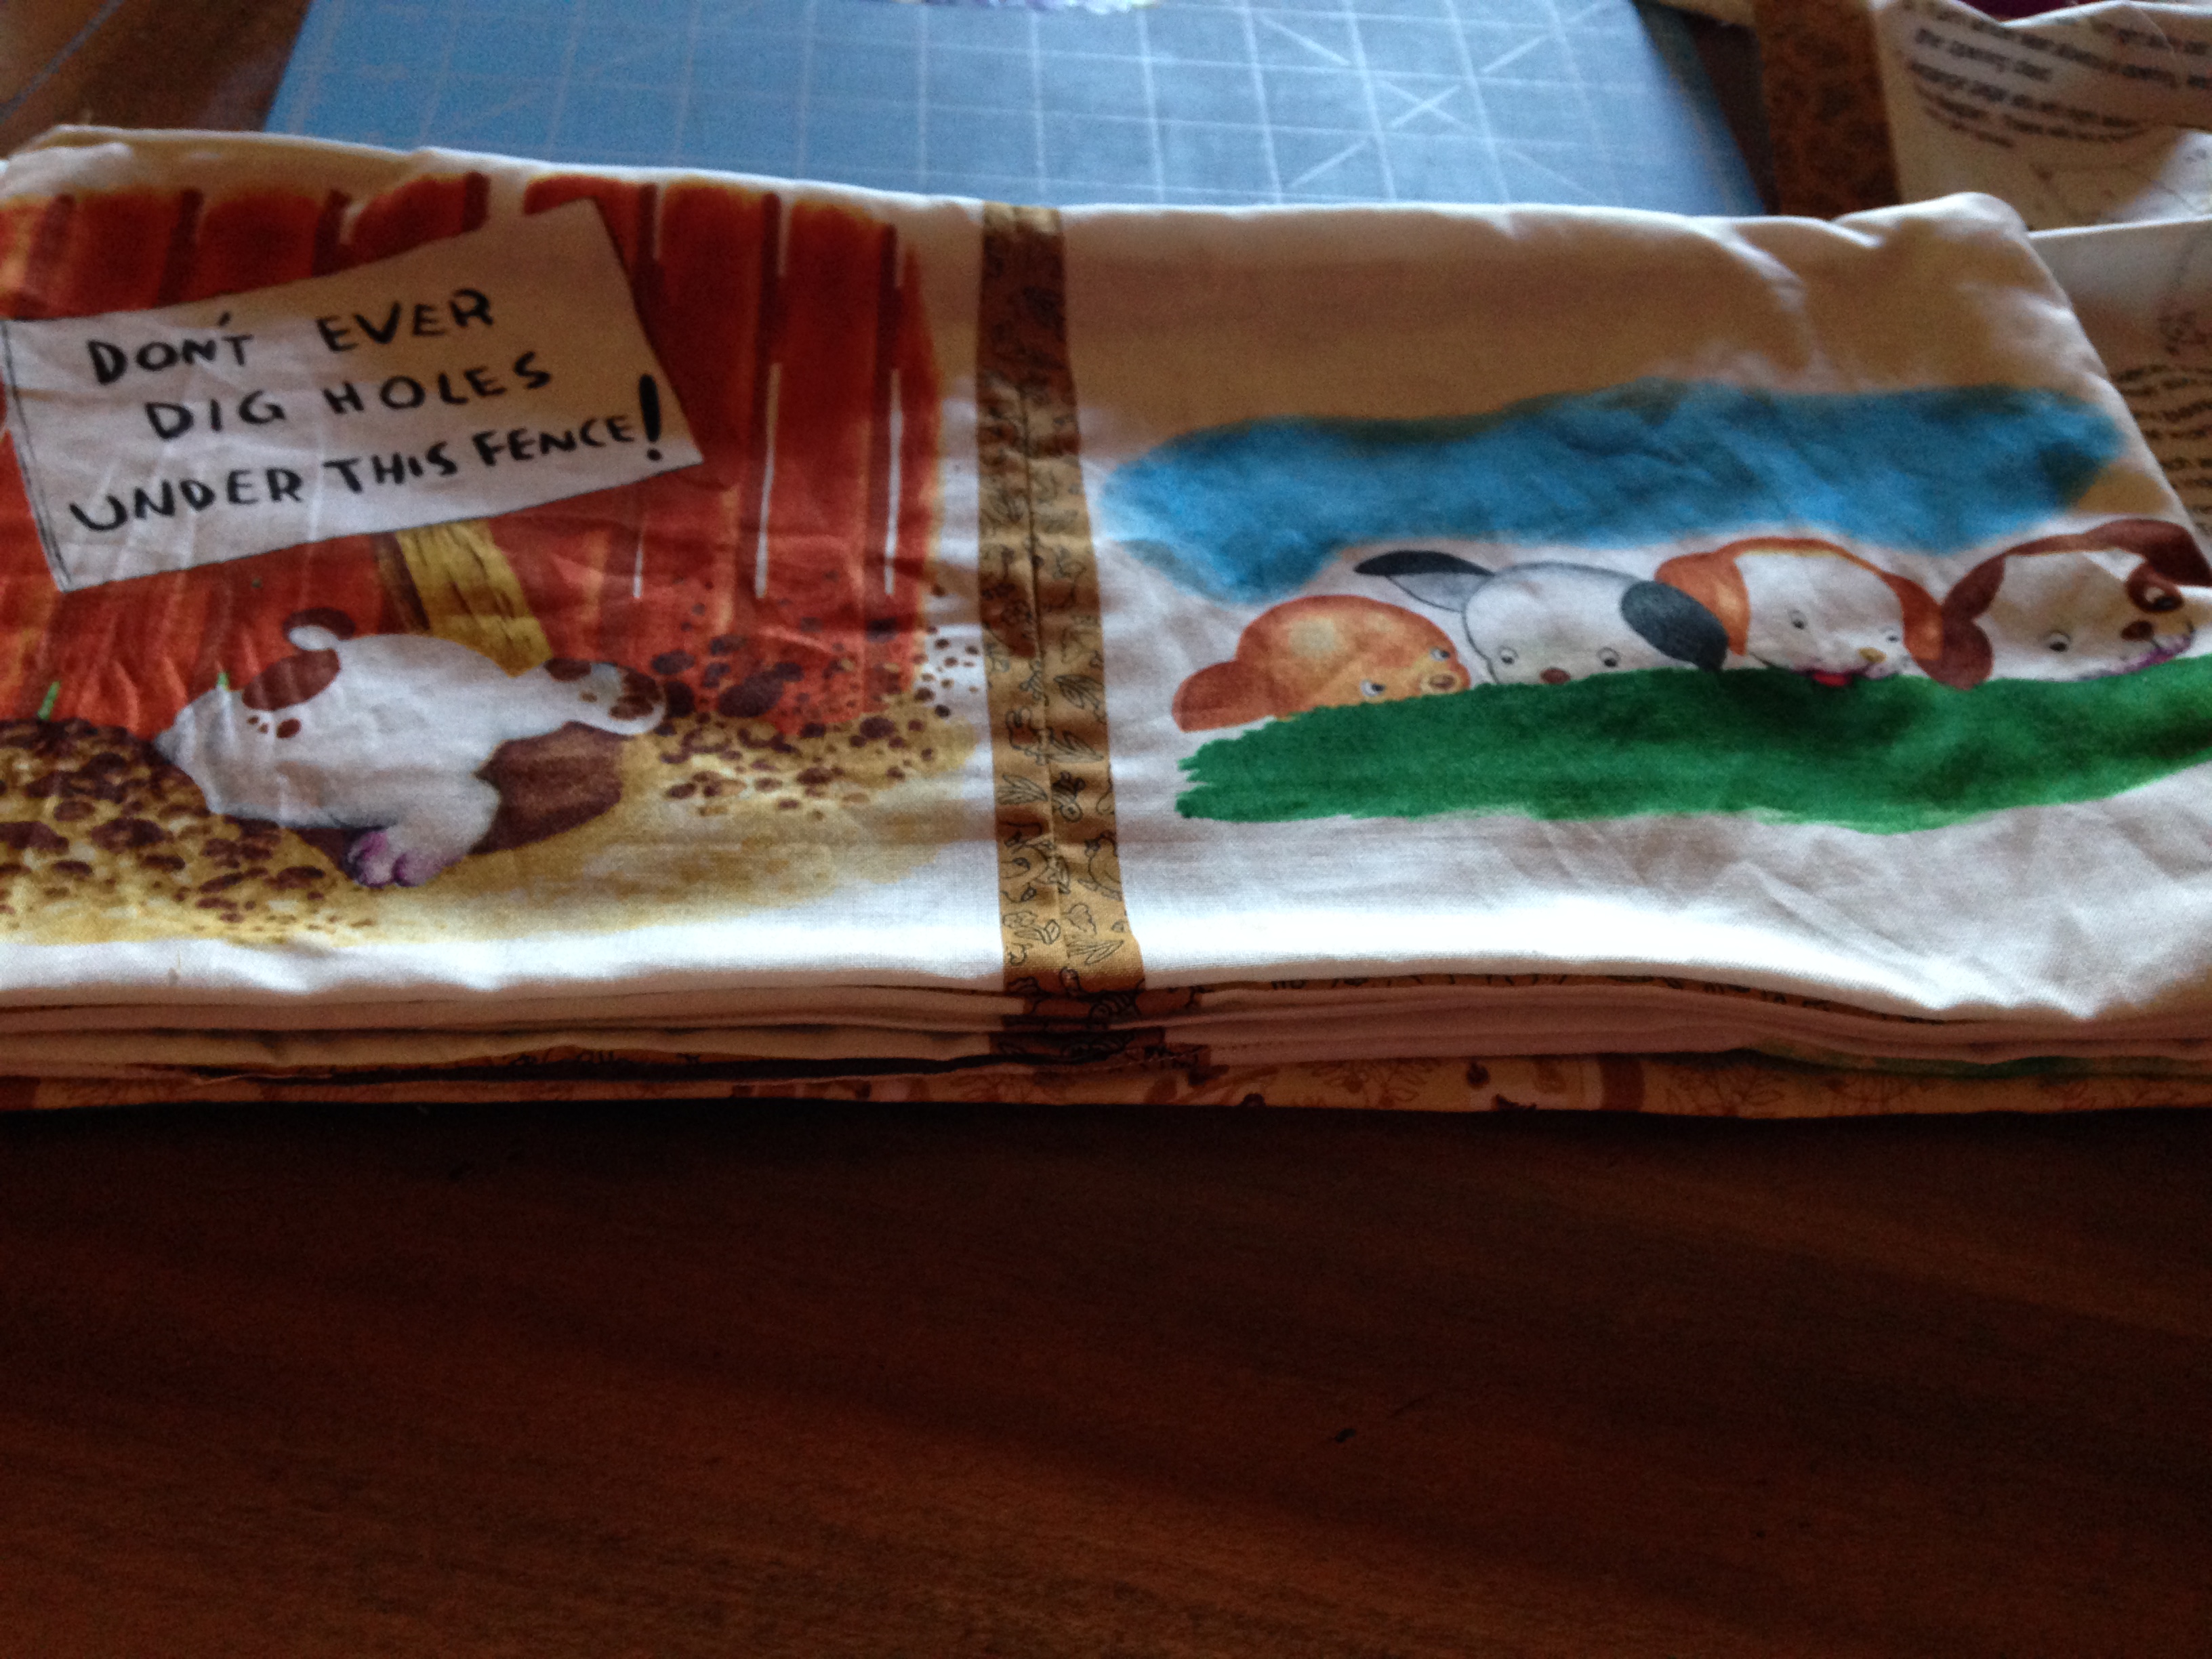
You panel will most likely come with instructions that are easy to follow. Just make sure you remember to mark your page numbers so when it’s all cut you know which page is which.
So cut the panels out as instructed. Usually you want to cut two of the panels (pictures for the book) out in one large rectangle. Do this for all the two pages as instructed.
Next, you want to cut your batting or interface to the same size as one of the two page sets. You usually cut one batting per two sets of panels cut (follow your instructions). You want to take your batting or interface then and sew it on the back of the panel piece (Sew all the way around it will be the backside of the panel pages). So you should have half of your panel sets that are cut out with batting sewed to the back.
You may also want to add some interactive pieces to the cloth book such as large buttons, ribbons, or other pieces of fabric. This is the time to do this. Just make sure it is sewn very tight and secure. Also use very large buttons or pieces. For this project I just cut out some of the fleece and attached it to the dogs ears so my little one can pull at the ears in the book.
Then, you want to sew the page that corresponds as instructed face down to the other page cut out with batting sewed on. You want to sew all the way around but leave a 2 inch opening so you can pull it right side out.
Then pull right side out and close the hole with a simple loop stitch or your stitch of choice. And WALLAH you have four pages complete! Good job! Follow the rest of the instructions as to what pages line up with sewing and complete them.
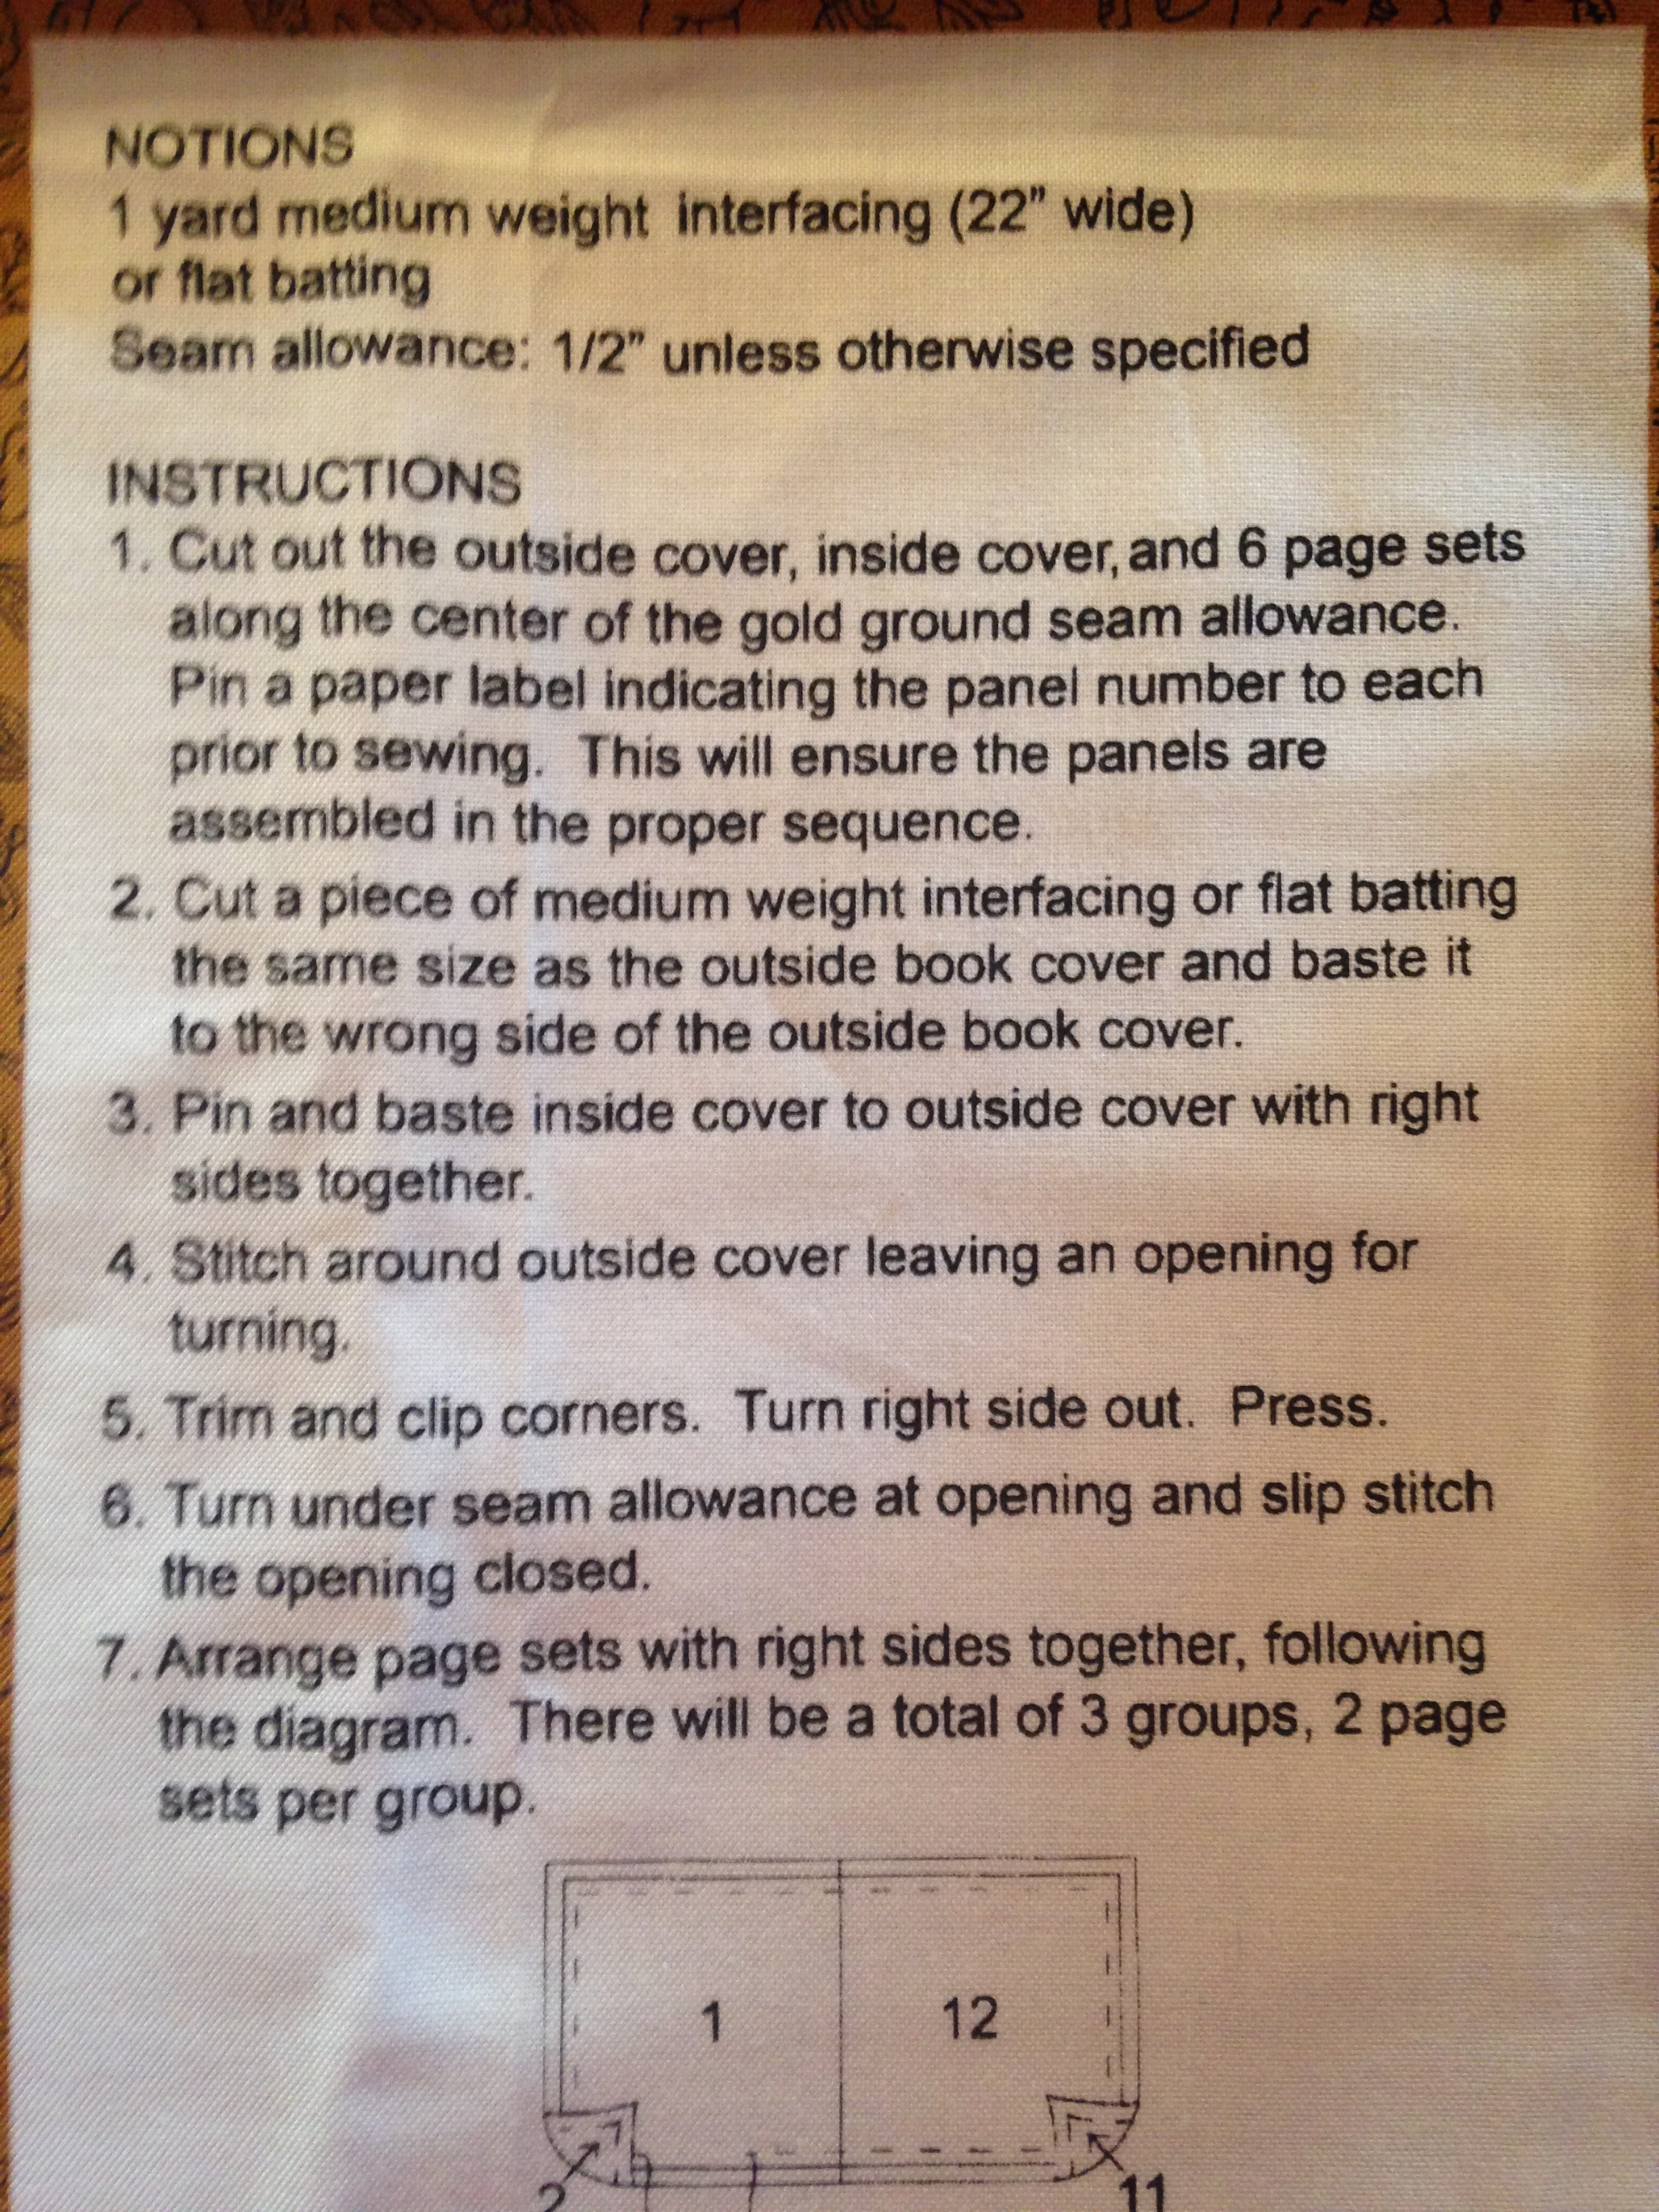
Lastly, you want to line up your pages as instructed by your instructions. Lay them all flat as shown above and you will sew right down the middle. Don’t forget to backstitch! Your cover tends to be larger than the inside pages.
That’s it, very simple, quick, easy, you just have to follow instructions! Good Job! Now go enjoy it!

