A Family of Superheroes

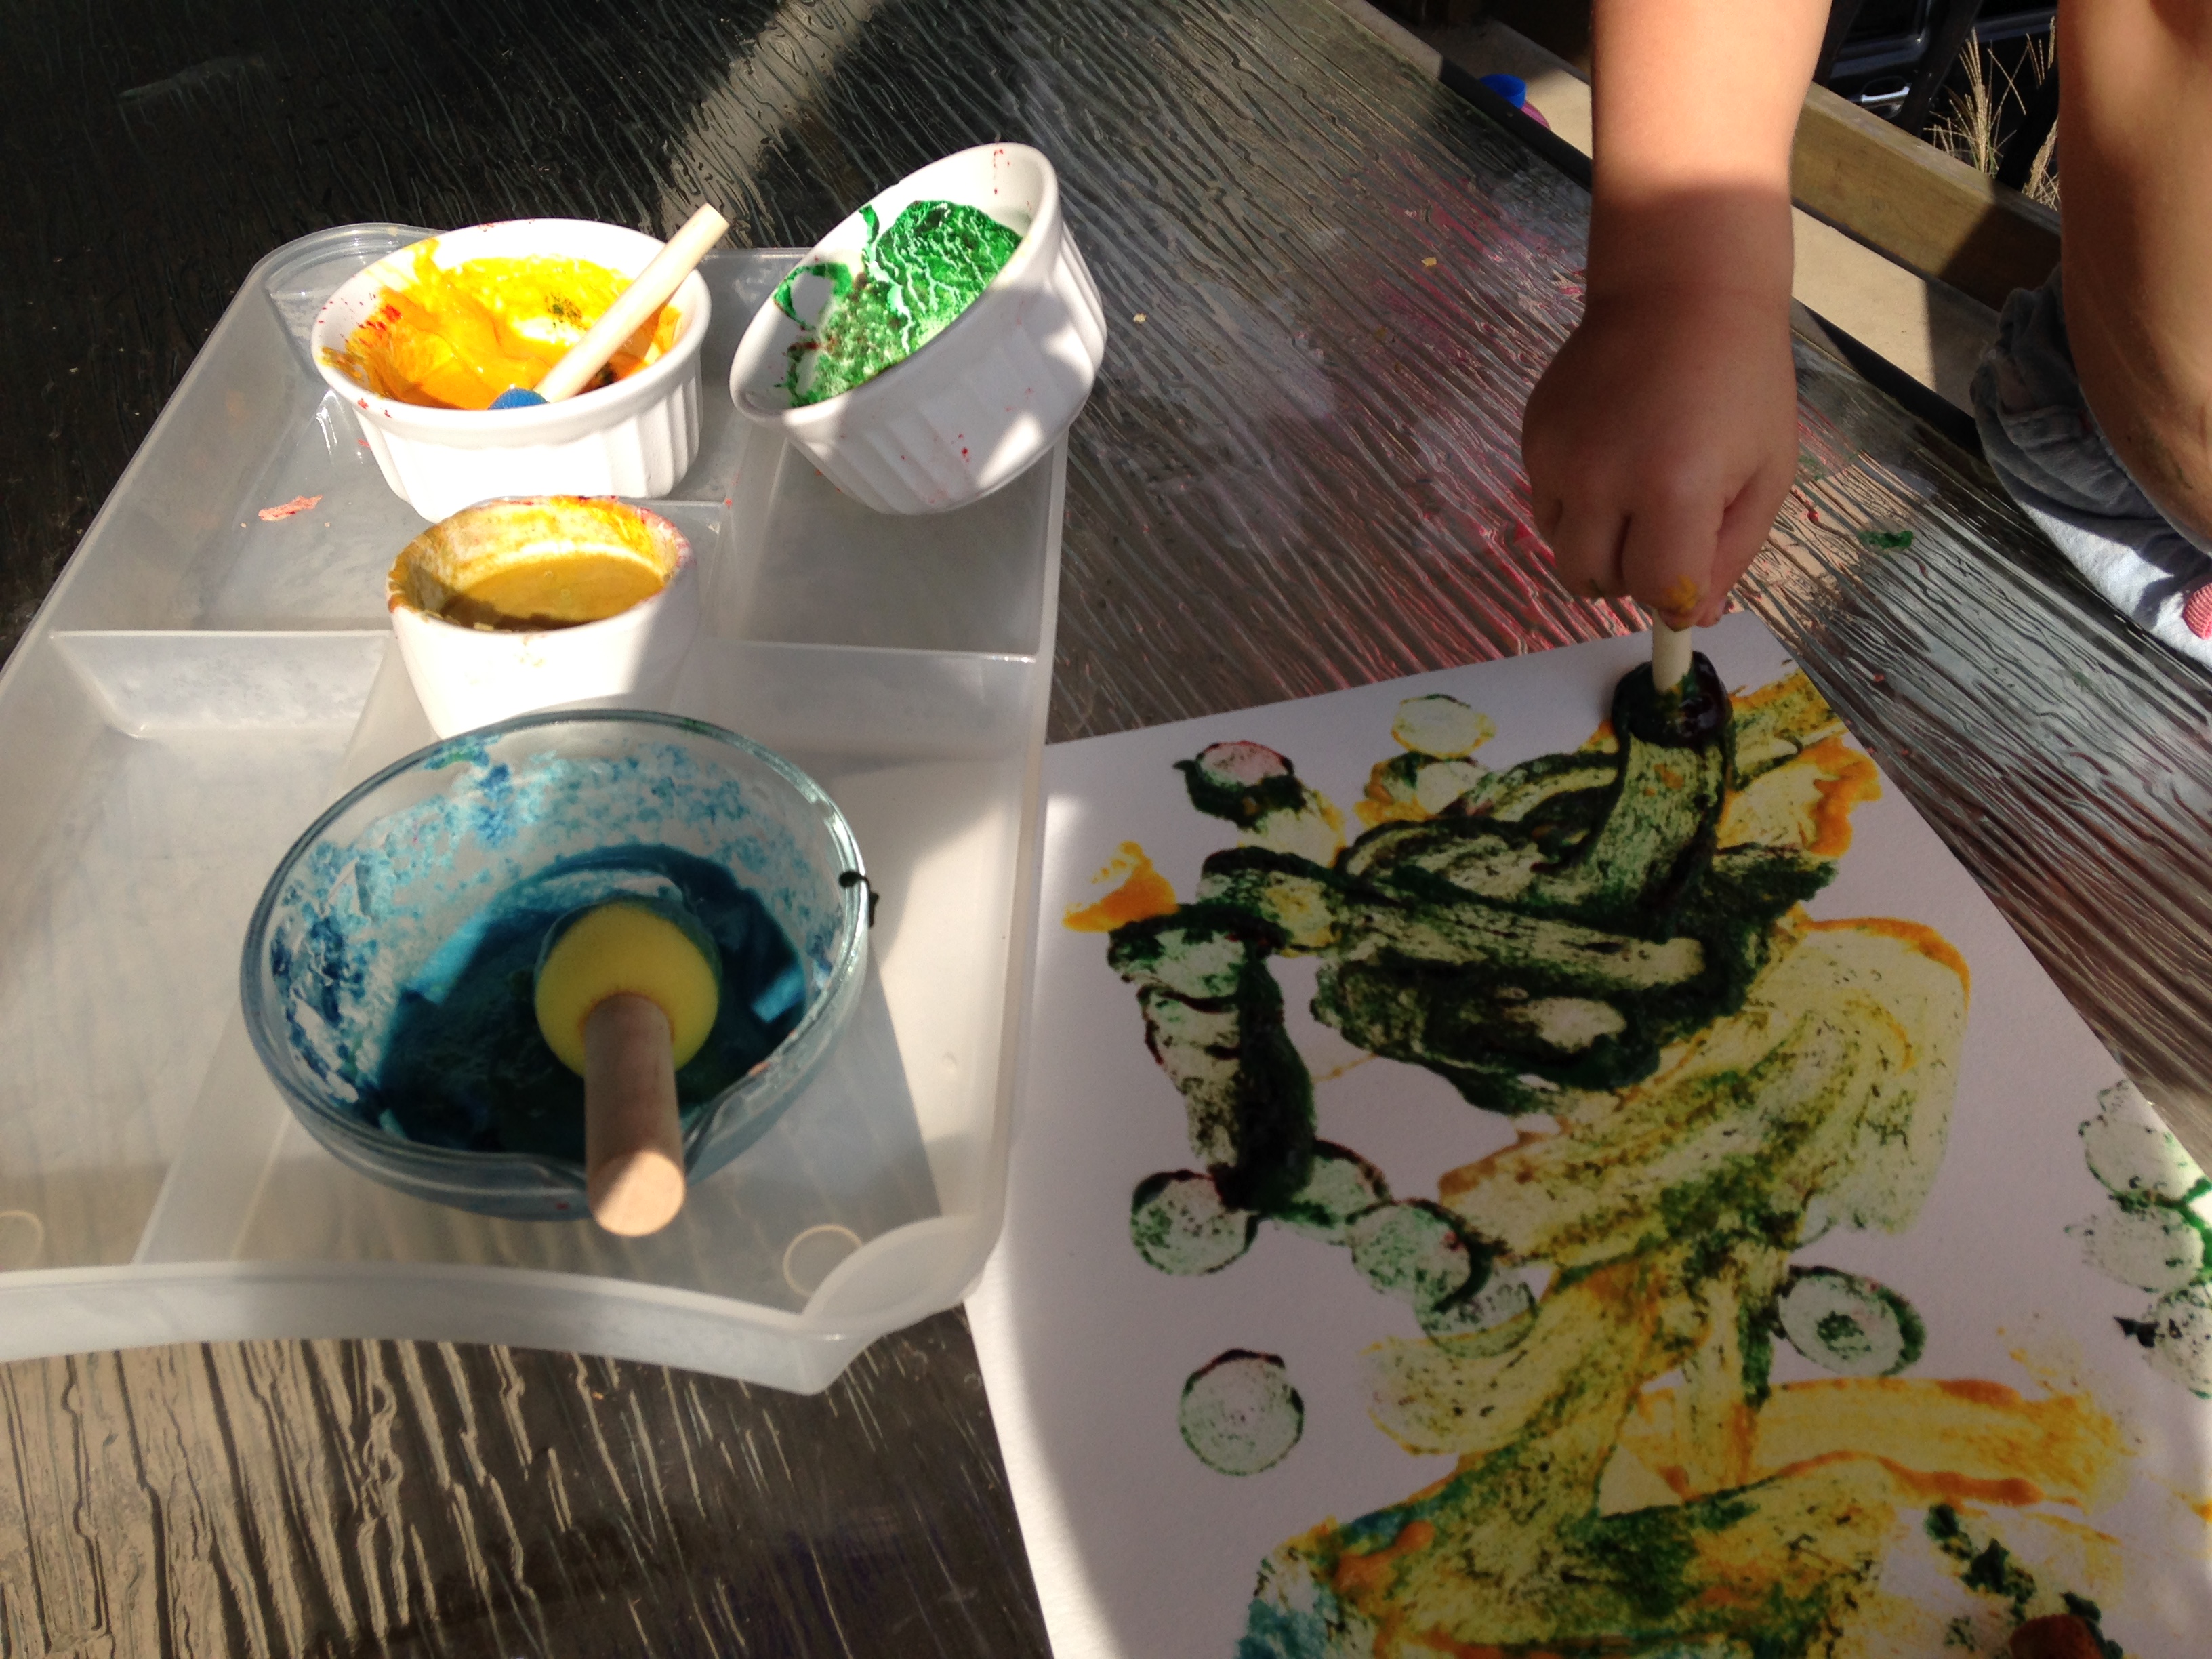
Does your child like to play make believe? Ours is just getting into it at almost 2 years old. How do I know? We went to story time at the library last week and one of the songs, “The Ants Go Marching” includes pretending to pick up sticks. She was great at pretending to pick them up and continues to do it at home! She loves playing with tea and pretending to have picnics and play in the “sand” inside.

We’ve been stuck inside for a few days and the dreaded day I am to return to work from my child rearing leave keeps getting delayed due to snow days (hey, I’m okay with that). So what do we do? We pretend we are a family of superheroes!

85

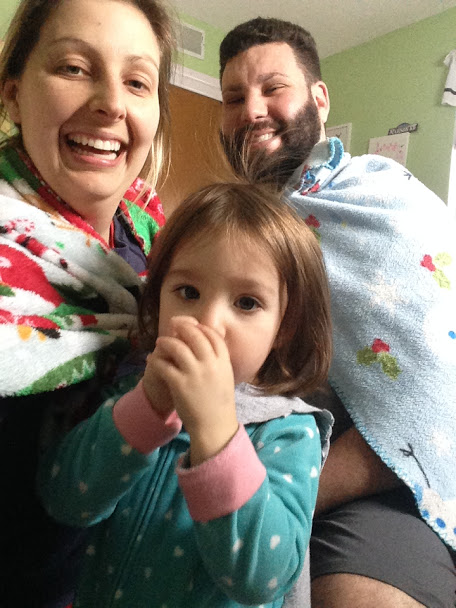
My husband and I used blankets, but knew they were too long and wouldn’t stay on our little girl. I did a quick google search and found out how to make a t-shirt no sew cape for Madison. All you need to do is take an old adult t-shirt (that you don’t want anymore) and cut it a few inches under the collar in the front. Continue cutting around to the back a few inches from the collar and down the back (the sleeves get cut off). Do the same on both sides and you will have a cape that simply slips over your child’s head.

84.JPG


If you want to be fancy you can add a design on the back with fabric markers, iron on images and so on. We happened to have an image on the shirt already.

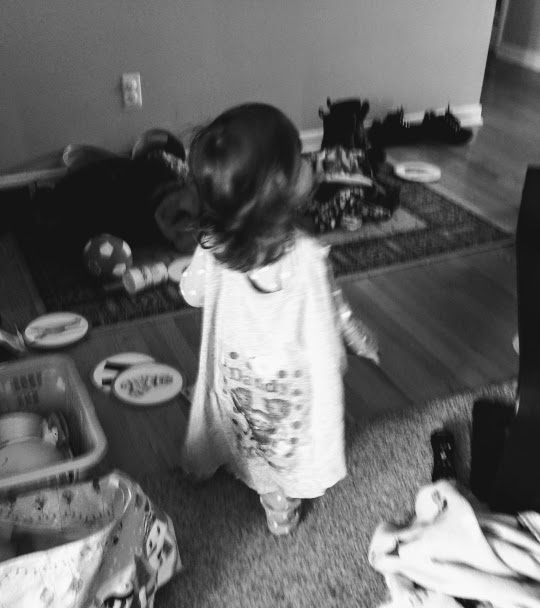
We pretended that the snow was piling up in her room and we had to save all of her stuffed animals by putting them on the couch in the living room. She loved racing down the hall while we shouted, “Fly to the room, save the stuffies! Super Maddy saves the day!” Singing also helps and humming superhero ballads. She loved this so much we did it multiple times today and putting that cape together took about one minute (as you an tell by my hasty cutting).

86

It’s definitely priceless to see your toddler stretch her arms out in front of her in the flying pose while yelling, “Save the stuffies!” Start a family of superheroes today!

FollowFacebookpinterestrssyoutube
ShareFacebookpinterest

DIY Masks and patterns! 


My daughter loves running around in her cat mask saying she’s Cece cat. She also wanted to be Cece dinosaur, cece giraffe, and many other cece animals.  So I had a couple extra crafting materials nearby and we created these easy masks!  Also, masks are great for parties or as a craft at a party! 


There are many ways to make many different masks, the first way is simply with 

1) popsicle sticks or tongue depressor sticks (or you can use elastic or string) 

2) construction paper

3) scissors and glue 

4) crayons, ribbons, stickers or any other decoration you would like to add


I absolutely love this new glue I got from crayola, it is so easy for my toddler to use herself and its washable! 

I simply held the construction paper up and estimated where the eye holes needed to be and cut them out then made my own design and let her glue the pieces together and decorate! Such a simple and easy project for your little one. 

Now if you are looking for a particular pattern or don’t know how to make an animal let me suggest a couple tutorials I found:

Animal masks by Hoosier
These cute masks are perfect for your little fall creature! There’s a pattern for them too! 

Next are easy felt masks that are perfect for Halloween costumes! 

Felt masks by prettyprudent

Free patterns again!! Enjoy

Here is a tutorial for the little superheroes:

Superhero masks
These masks are simply made from paper plates! 

For the older kid Mask that can be decorated with little jewels! 
Halloween masks! Boo! 

Halloween time
These masks are just a cut out and wear mask, however you can easy trace it and have your little one color and paint.  Paper plate masks

I love these paper plate masks! So easy! 

Animal masks
Lastly, is a group of animal masks you can print off and color or paint! 

Hope you enjoyed these ideas, now get crafting! 

FollowFacebookpinterestrssyoutube
ShareFacebookpinterest

Homemade Paint!

Looking for an easy homemade nontoxic paint for your little one to be creative?  Well, look no further!  We experimented with several types of homemade paint and below are our favorite recipes!


Kids of all ages love painting!  You can have your little one finger paint, use brushes, sponges, or even potatoes!

So we started off making completely edible finger paint with only a couple ingredients!

img_5388

Here is what you will need: (this makes enough for about 4-5 different colors depending on how much you want for each)…

img_5362

  • 1 cup water
  • 1/2 cup of flour
  • extra water to thin out
  • food coloring, watercolors, or natural colors such as beet, carrot, tumeric

Instructions:

img_5363

  1. Place pot over medium heat and pour flour and water into pot and continuously stir the ingredients until it becomes a thick paste.
  2. Take the pot away from the heat when it no longer sticks to the sides
  3. Add cold water to the blob until it reaches the consistency you like and place the amount you desire into separate bowls to color.
  4. Add food coloring, watercolors, natural colorants such as beet or carrot juice, turmeric spice
  5. img_5364
  6. These can be enjoyed right away or stored in the fridge!!

img_5390img_5391

This paint works well for fingerpainting or sponge painting.  You can also use brushes but as you see in the photo, the colors come out thinner and lighter than traditional paint.  The color dries on without fading. We used the paint several days in a row.


And who doesn’t love watercolors?  The problem with watercolors is that the colors can mix and you only get very small amounts of each color.  However, this can all change with homemade watercolor paints!

photo by factorydirectcraft
tbsp. baking soda
2 tsp. white vinegar
1/2 tsp. light corn syrup
2 tsp. corn starch
food colors*
containers for storing paints*
something to stir with (toothpicks)

photo from happyhooligans

You can use a muffin pain, disposable cups, egg cartons, or any other container that you aren’t going to use for a couple days.

Instructions:

1)Mix baking soda & vinegar in a cup with a spout.  I used my Pyrex measuring glass.  Let the kids watch as it fizzes

2) Add in light corn syrup and stir.

3) Stir in the corn starch until well combined.  (If it gets too thick, add a little more vinegar.)

4)Pour into your paint containers- not too full, you need room for the food colors.

5)Add the food colors and stir until you reached your desired color!

6) Now if you want them to harden into hockey pucks you have to let them sit almost two days!  If you plan on using it right away that’s fine too!


Sponges and potatoes!! 


You can cut out designs in potatoes or out of sponges and dip into paint and press just like a stamp! I remember doing this as a child! 


You can also use cookie cutters and paint the potato. This picture was taken from Fun stuff
Dollar store sponges are great to cut out designs for painting! 

Enjoy! 

FollowFacebookpinterestrssyoutube
ShareFacebookpinterest

Time to get started!

Welcome to Cecelia’s Spot, where creativity and fun collide! I decided to create this blog to inspire others to sew, craft, and enjoy life with their little munchkins!  I hope the blog inspires you to make your own heirlooms and fun activities for your family and little ones!

IMG_1387

FollowFacebookpinterestrssyoutube
ShareFacebookpinterest