Homemade Paint!

Looking for an easy homemade nontoxic paint for your little one to be creative?  Well, look no further!  We experimented with several types of homemade paint and below are our favorite recipes!


Kids of all ages love painting!  You can have your little one finger paint, use brushes, sponges, or even potatoes!

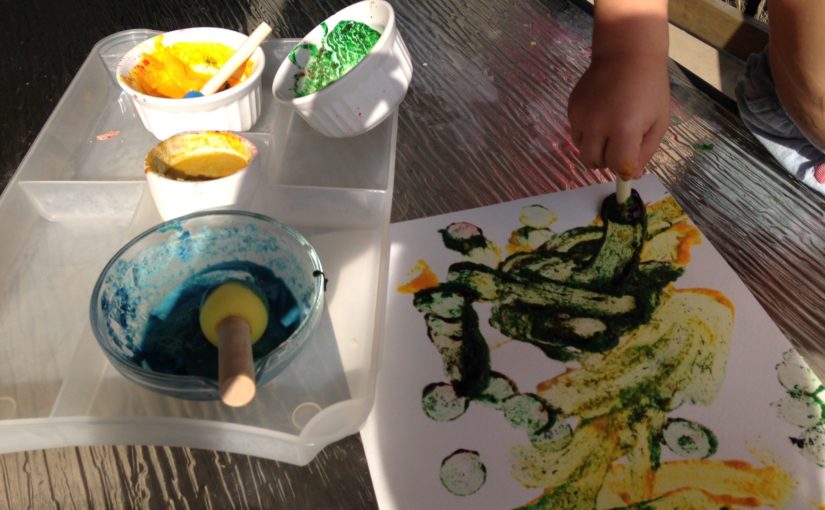
So we started off making completely edible finger paint with only a couple ingredients!

img_5388

Here is what you will need: (this makes enough for about 4-5 different colors depending on how much you want for each)…
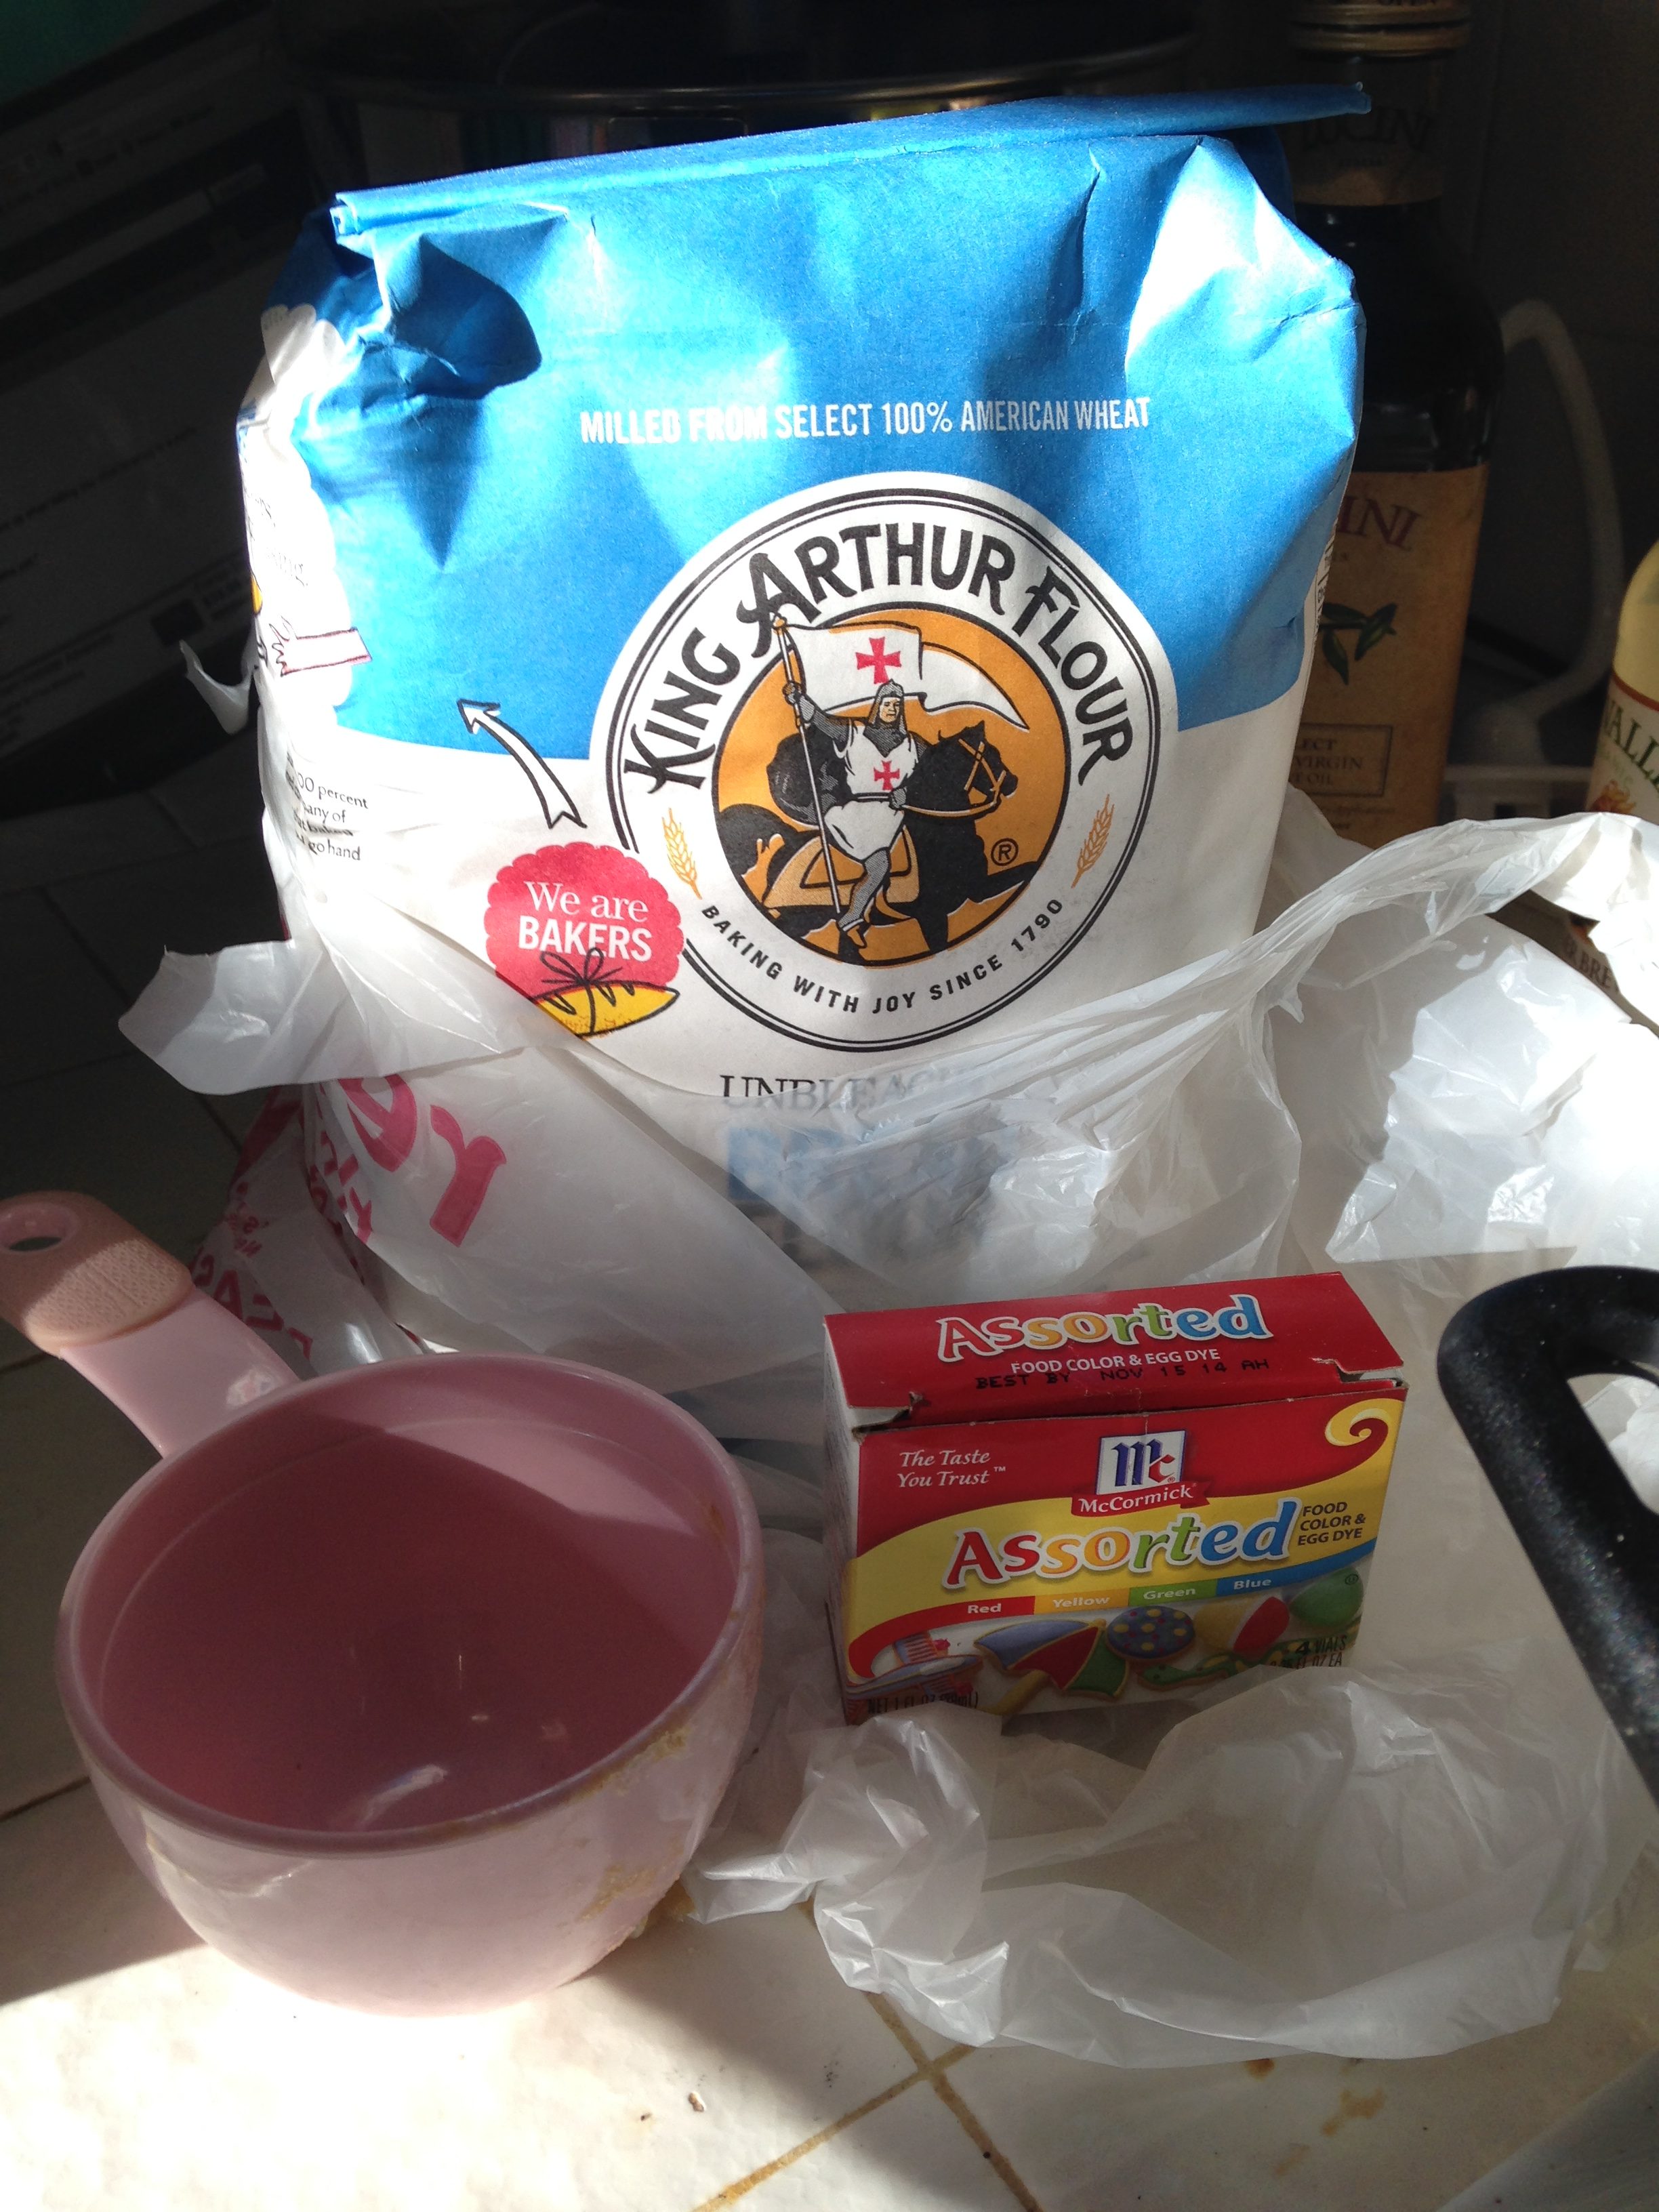
img_5362

  • 1 cup water
  • 1/2 cup of flour
  • extra water to thin out
  • food coloring, watercolors, or natural colors such as beet, carrot, tumeric

Instructions:

img_5363

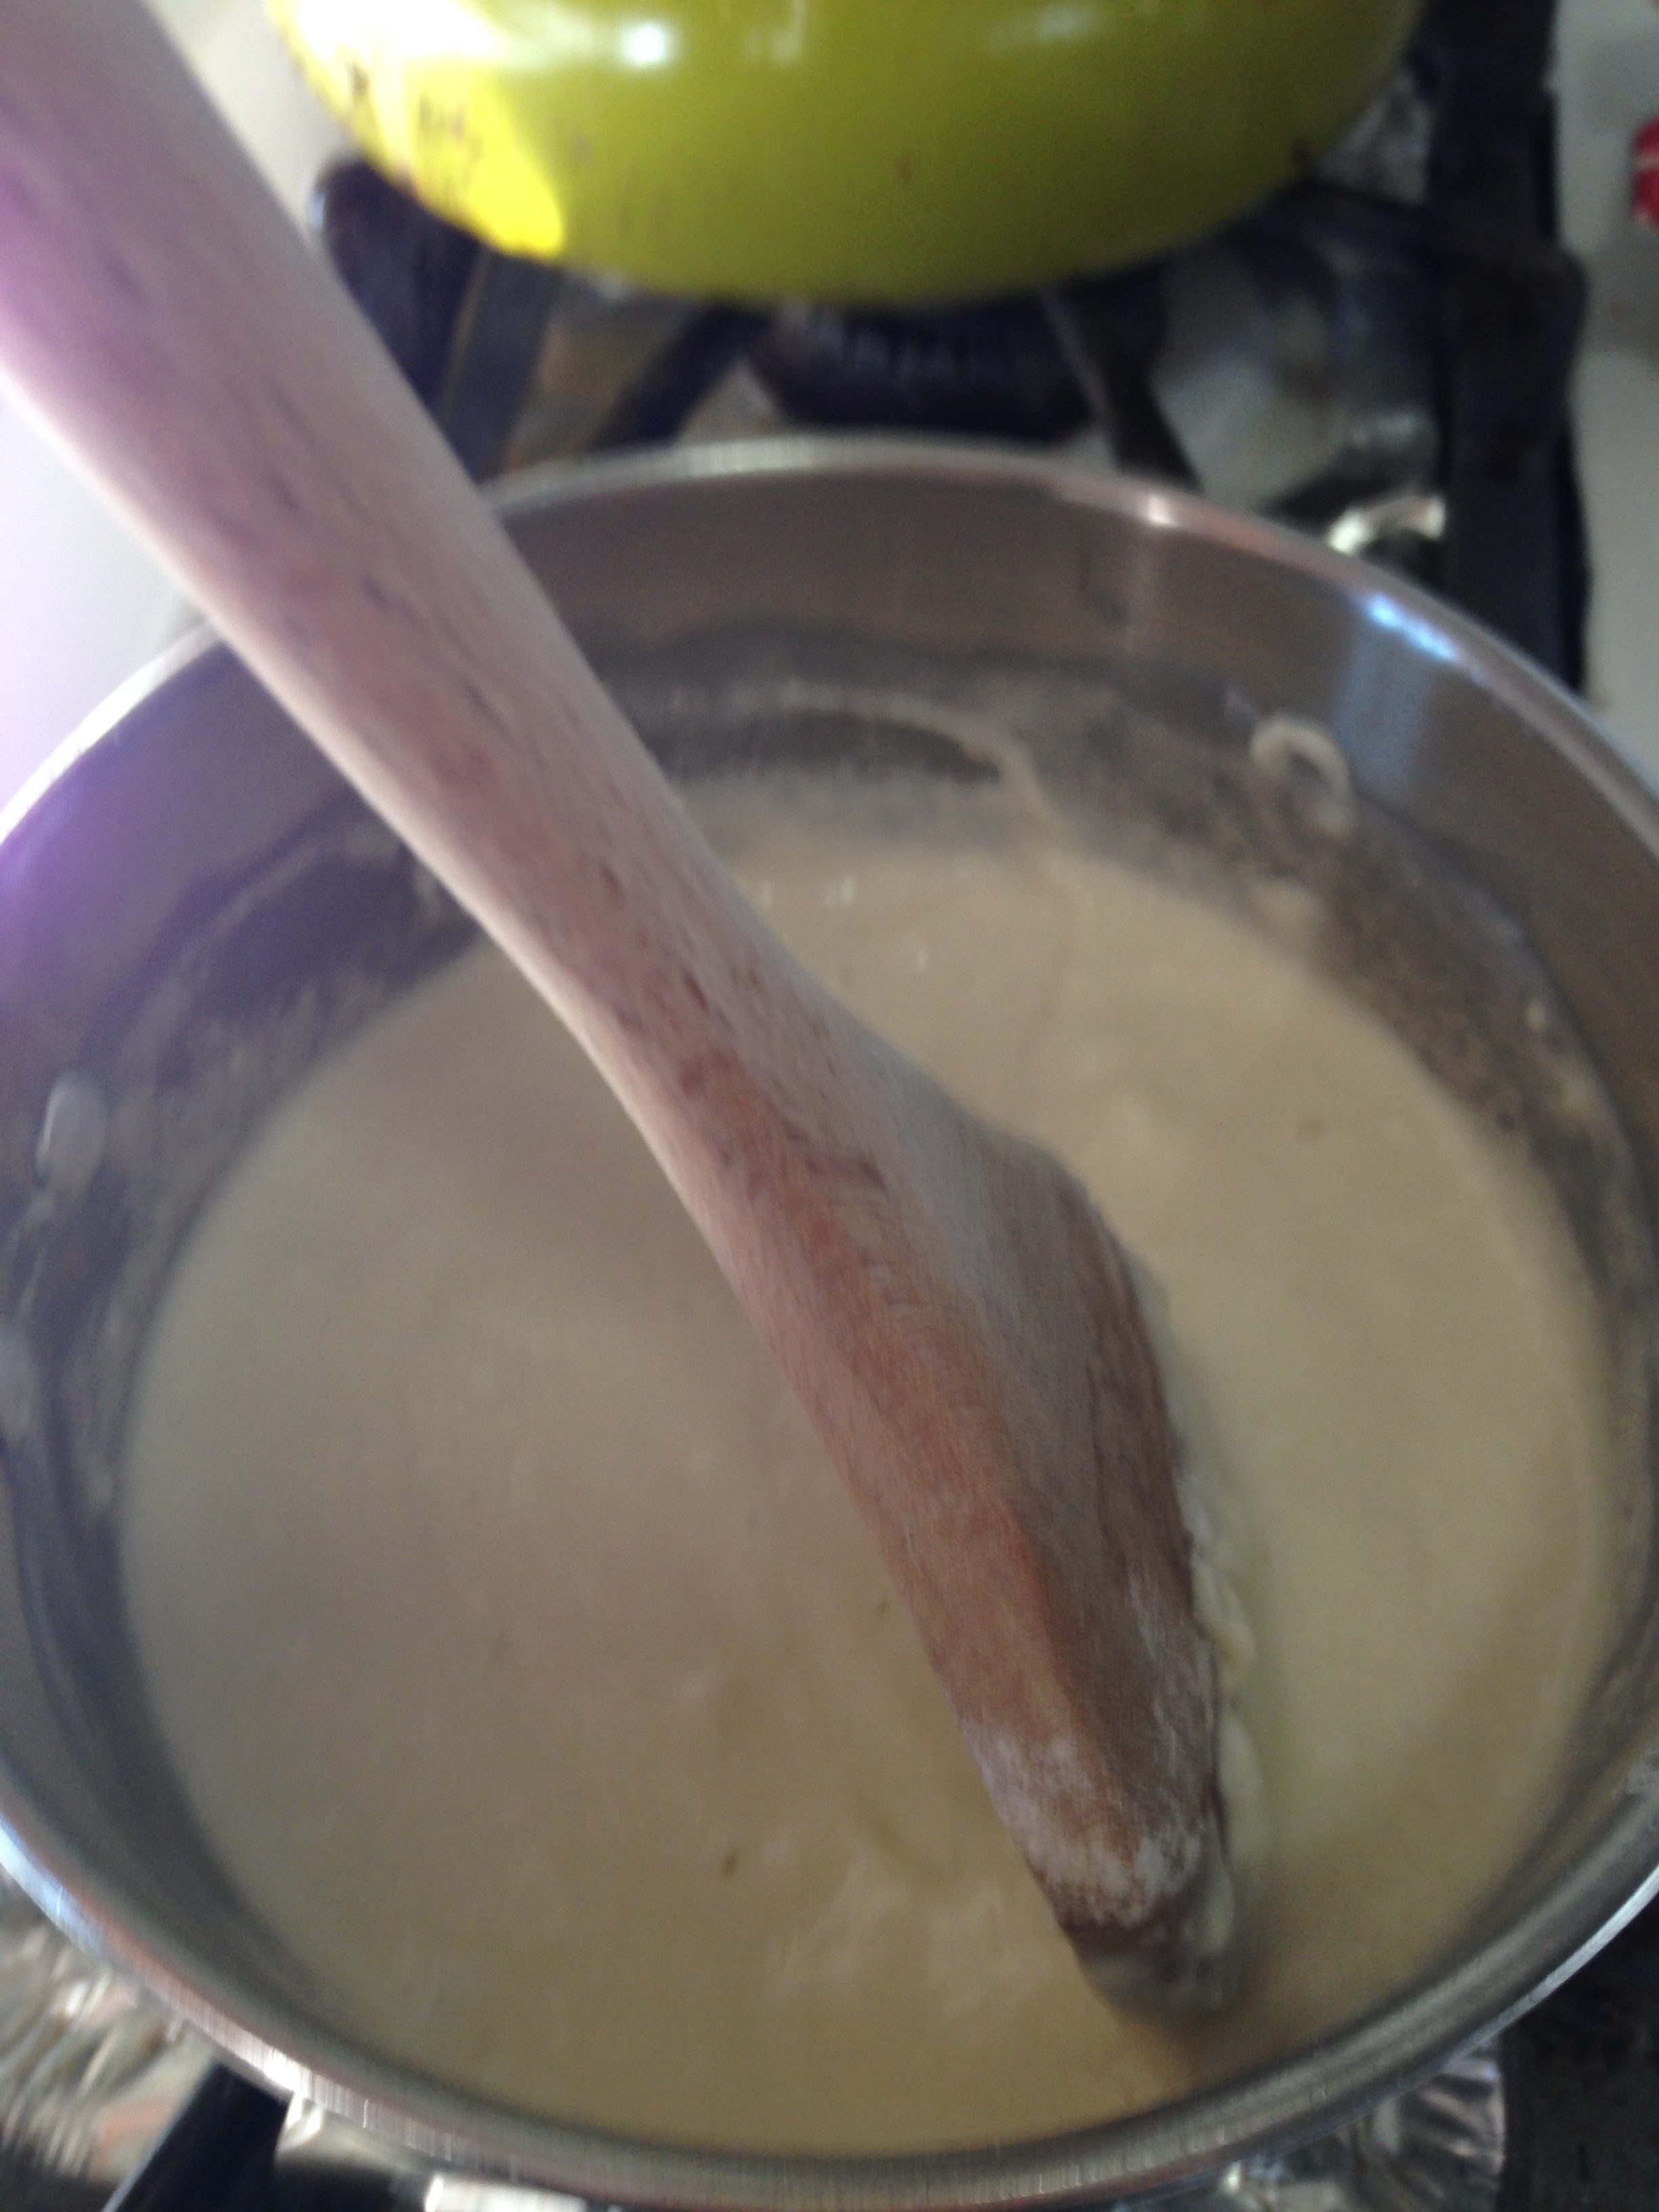
  1. Place pot over medium heat and pour flour and water into pot and continuously stir the ingredients until it becomes a thick paste.
  2. Take the pot away from the heat when it no longer sticks to the sides
  3. Add cold water to the blob until it reaches the consistency you like and place the amount you desire into separate bowls to color.
  4. Add food coloring, watercolors, natural colorants such as beet or carrot juice, turmeric spice
  5. img_5364
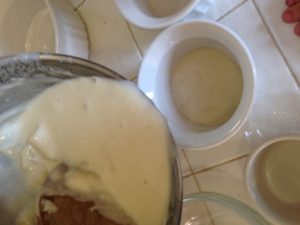
  6. These can be enjoyed right away or stored in the fridge!!

img_5390img_5391

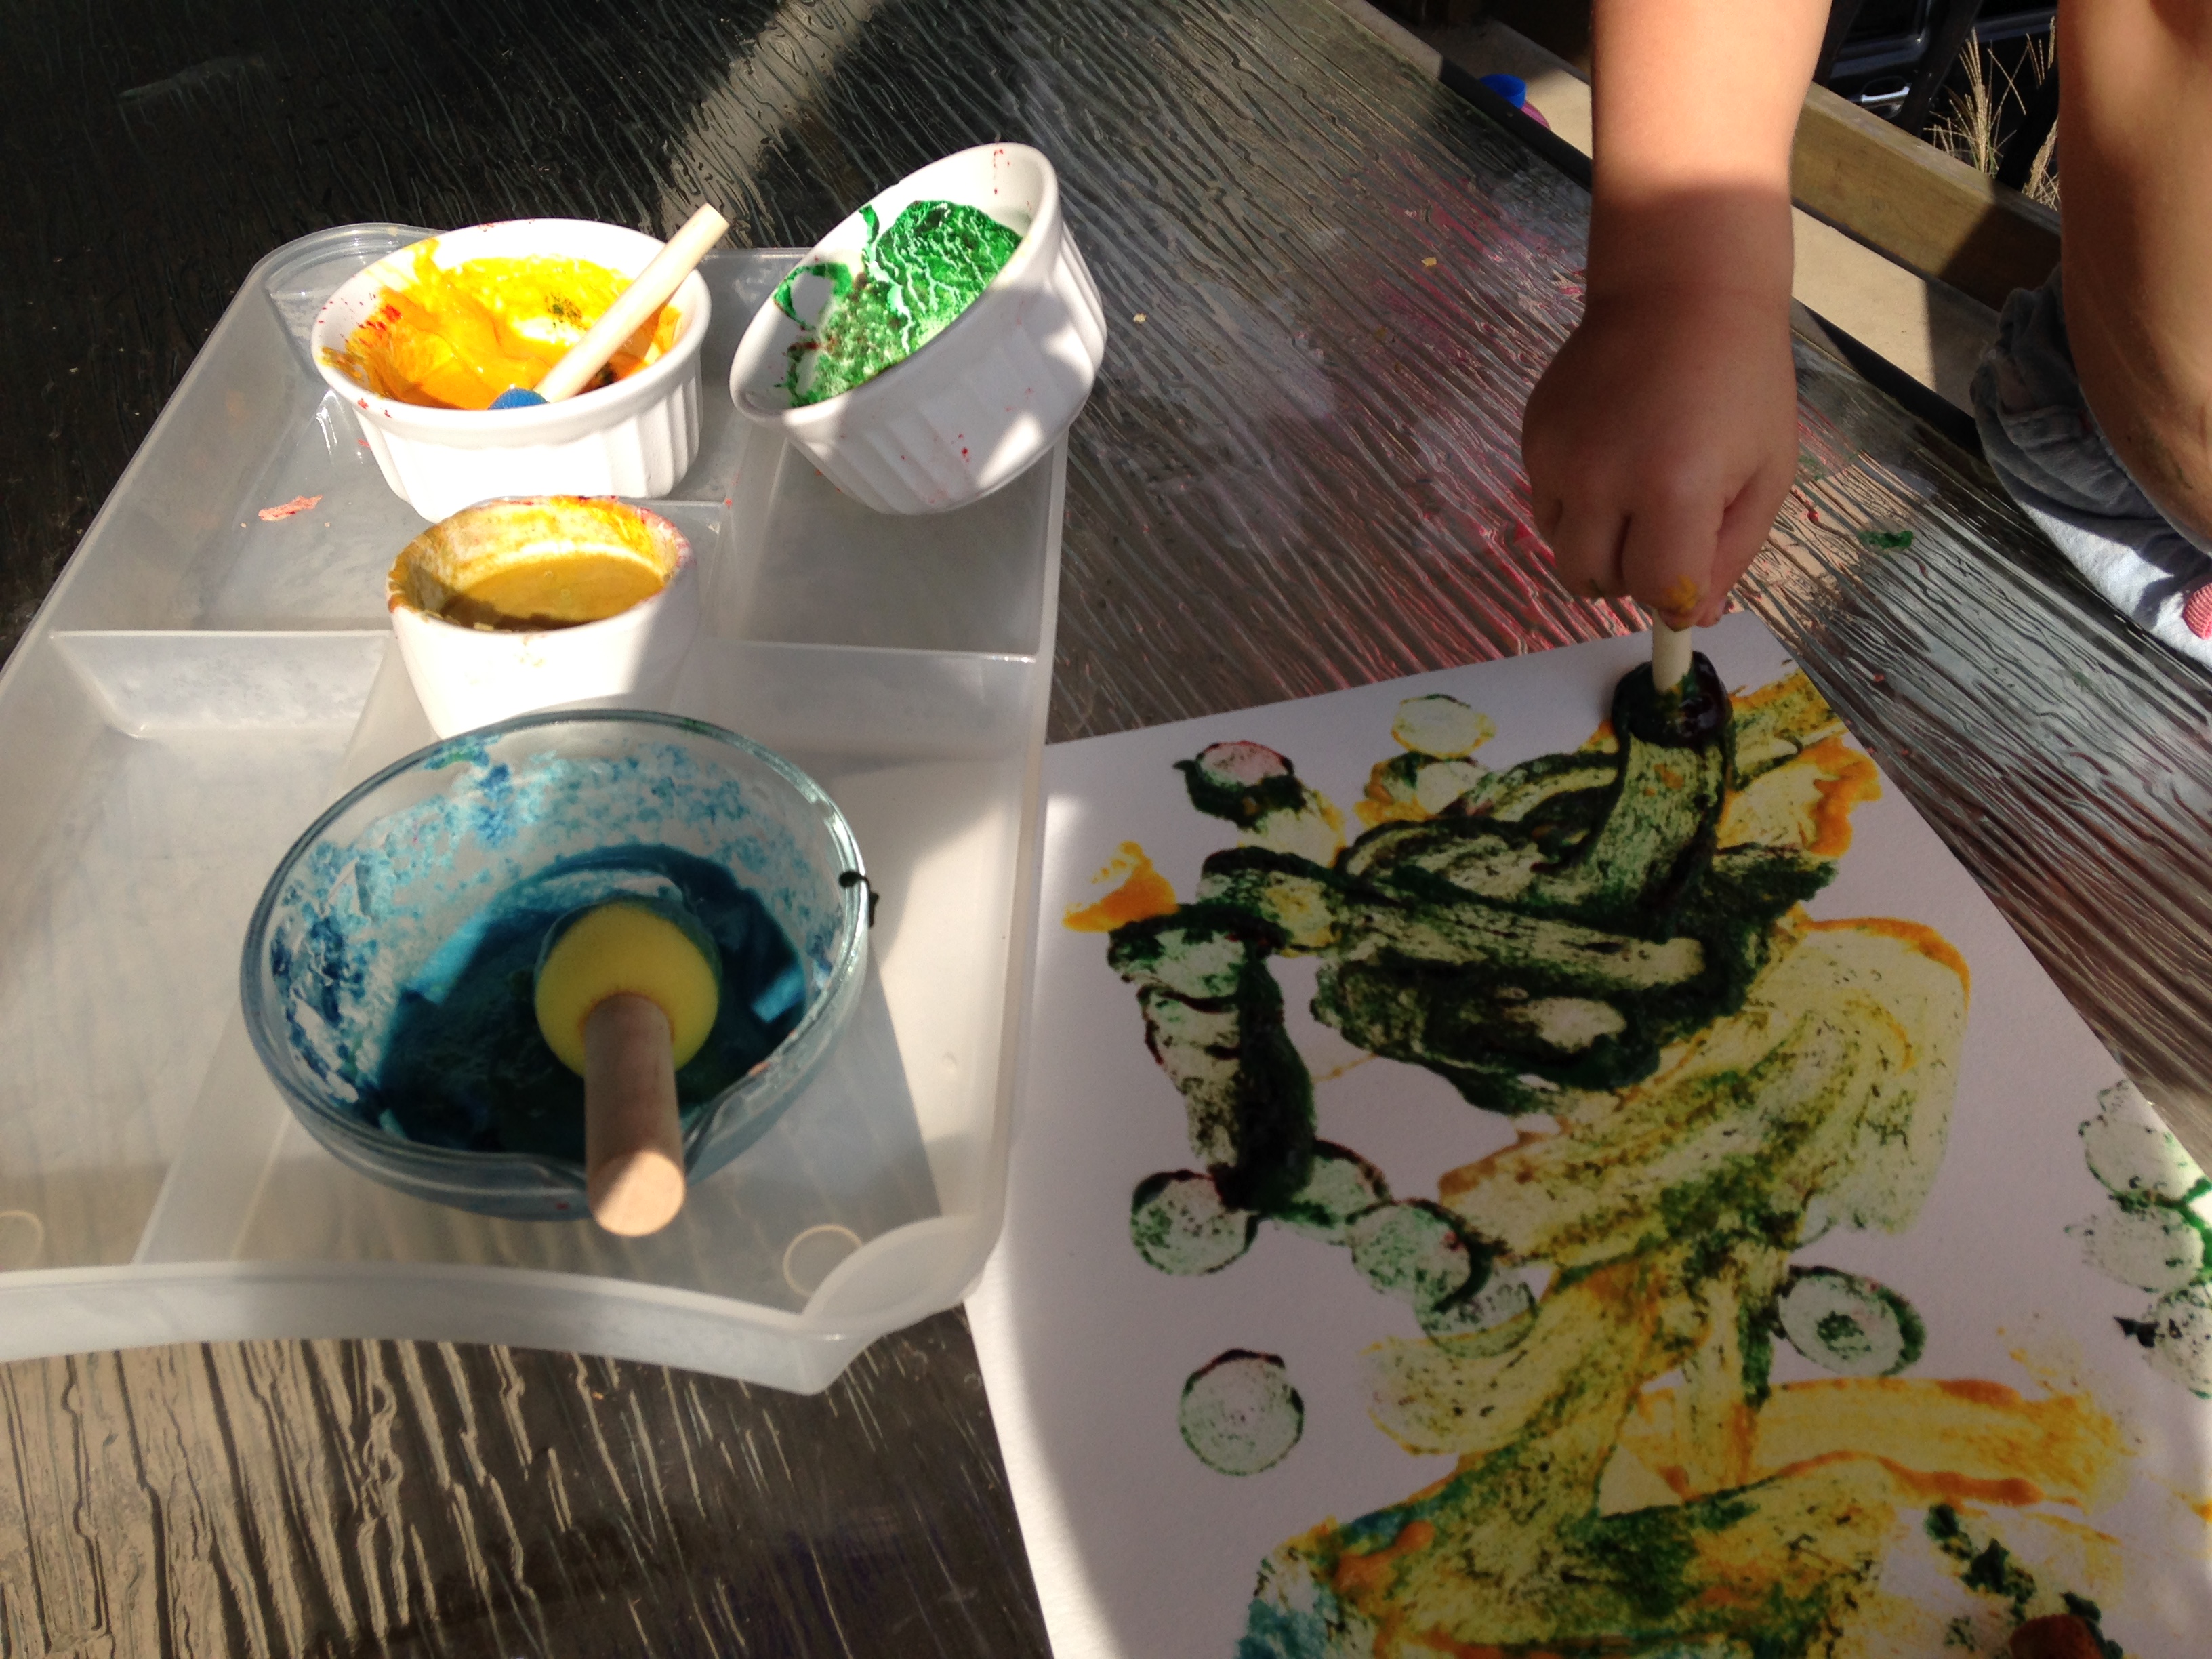
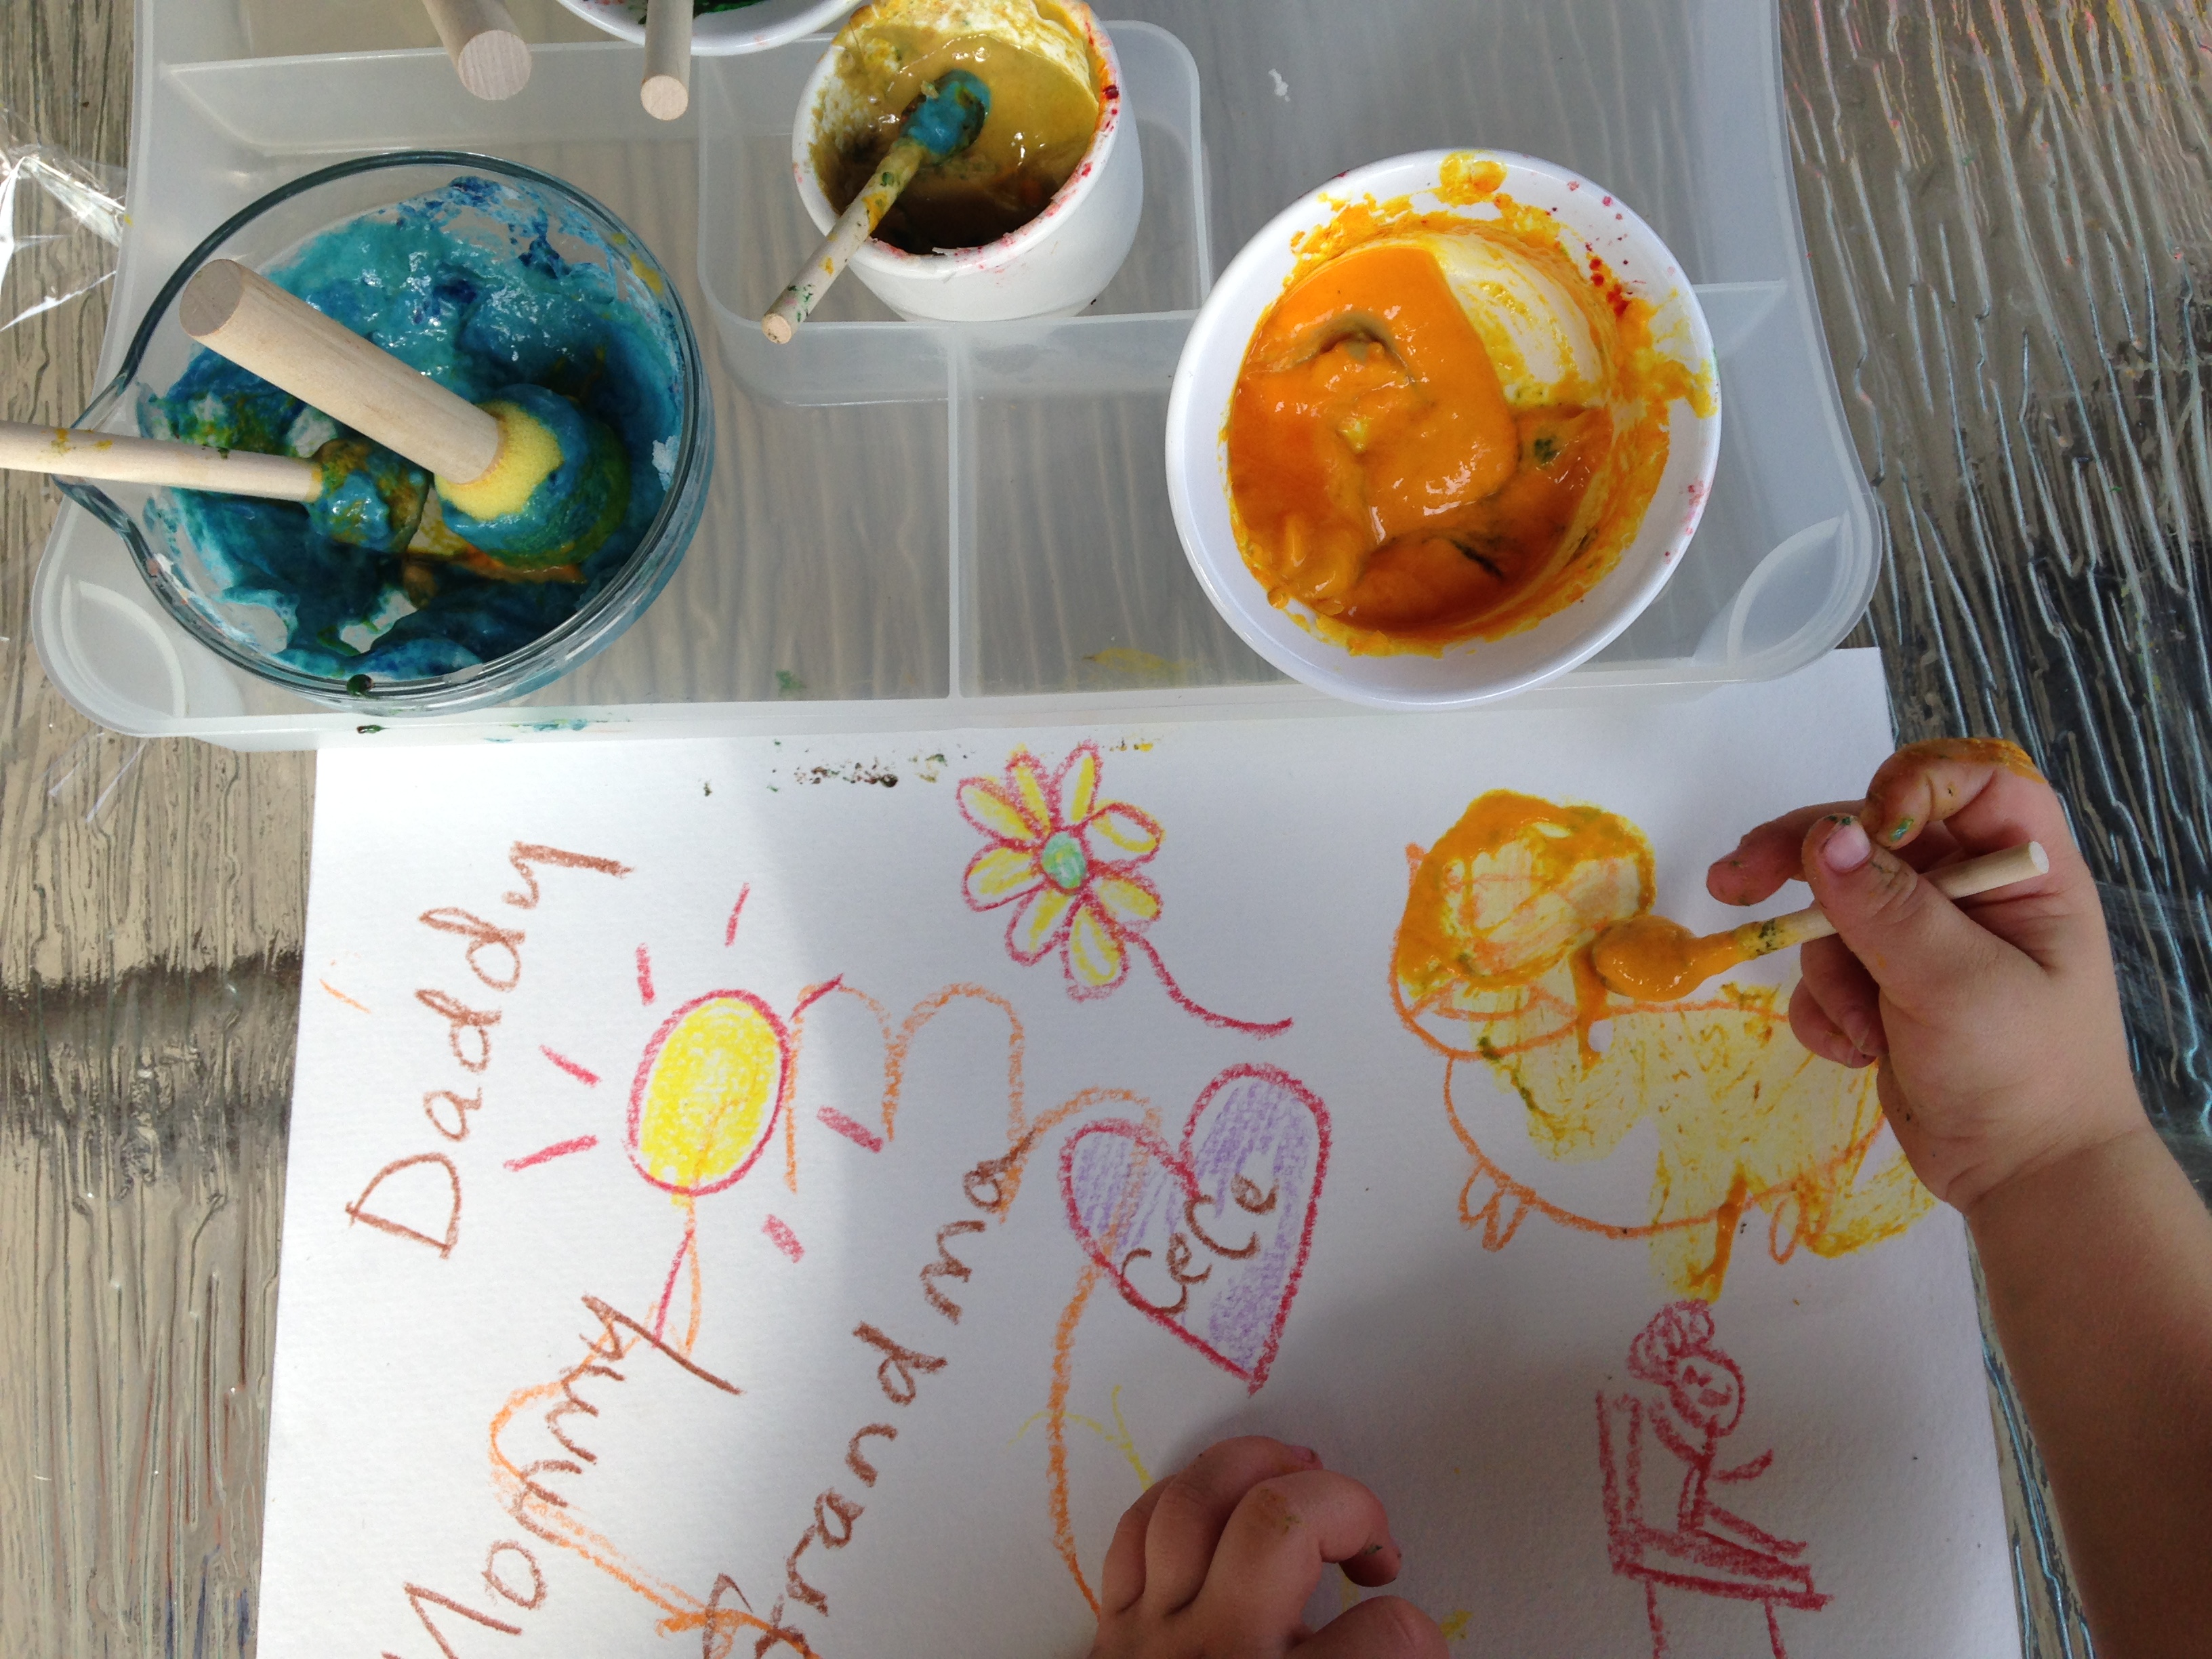
This paint works well for fingerpainting or sponge painting.  You can also use brushes but as you see in the photo, the colors come out thinner and lighter than traditional paint.  The color dries on without fading. We used the paint several days in a row.


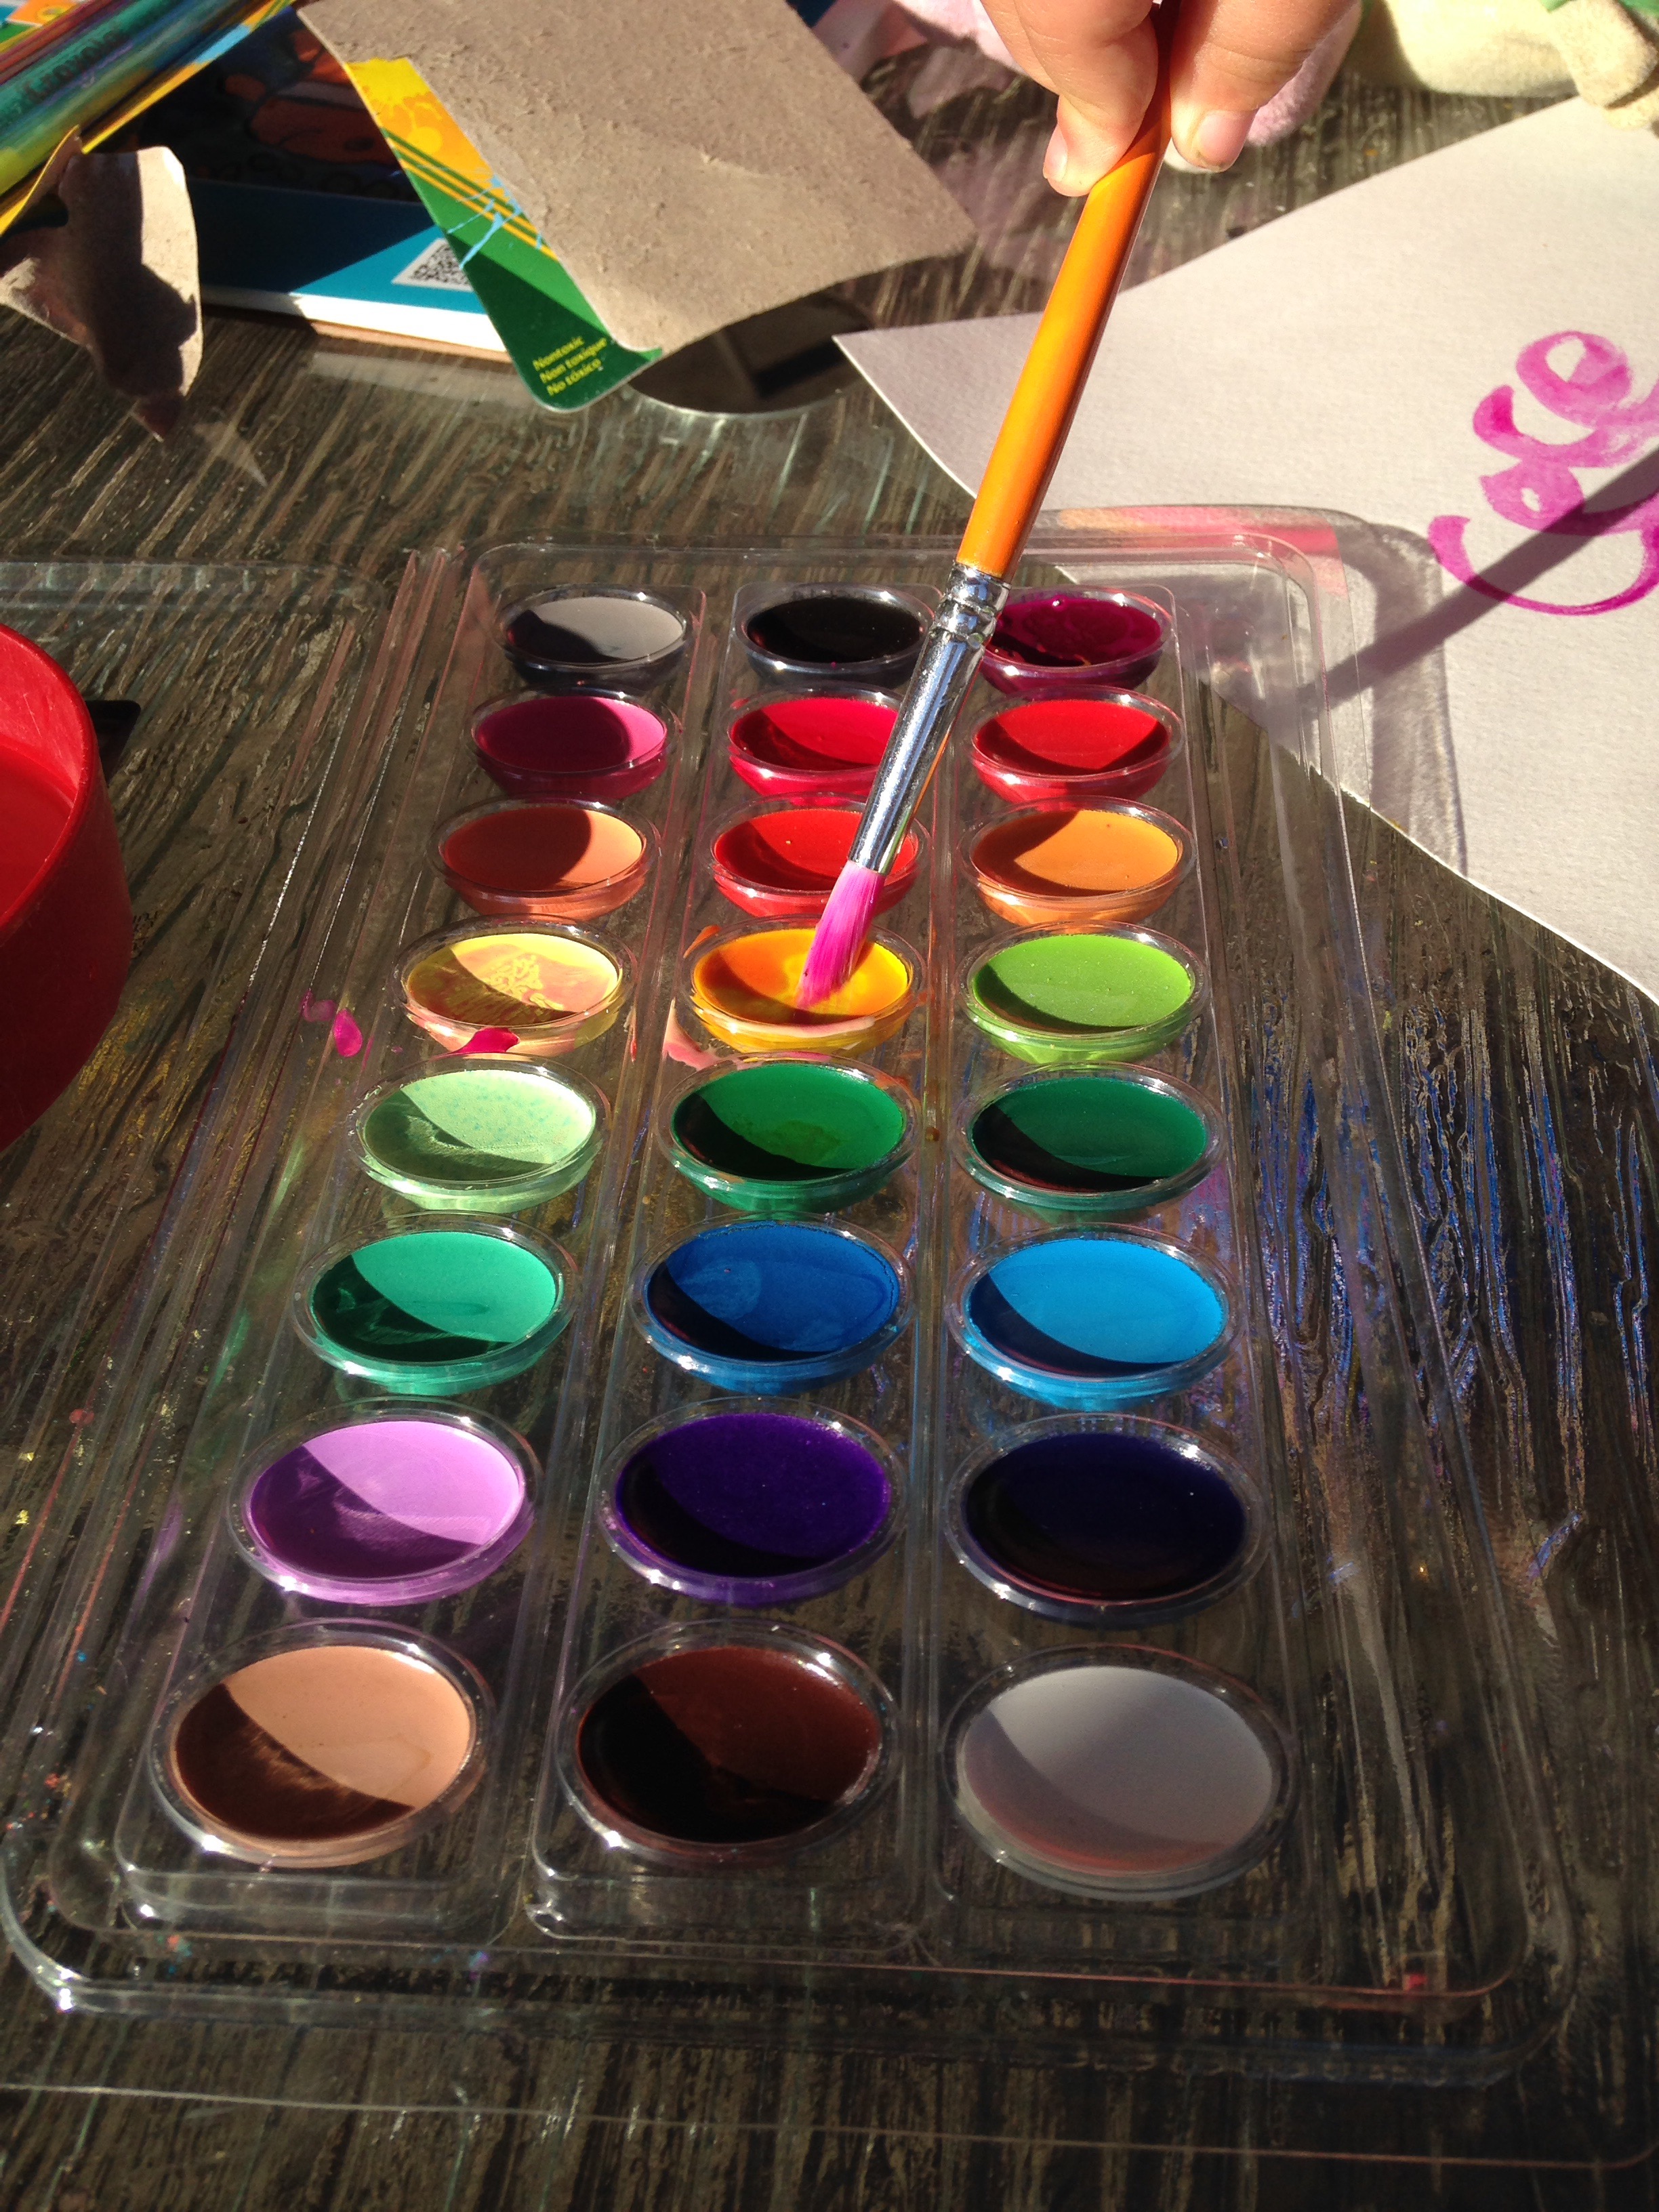
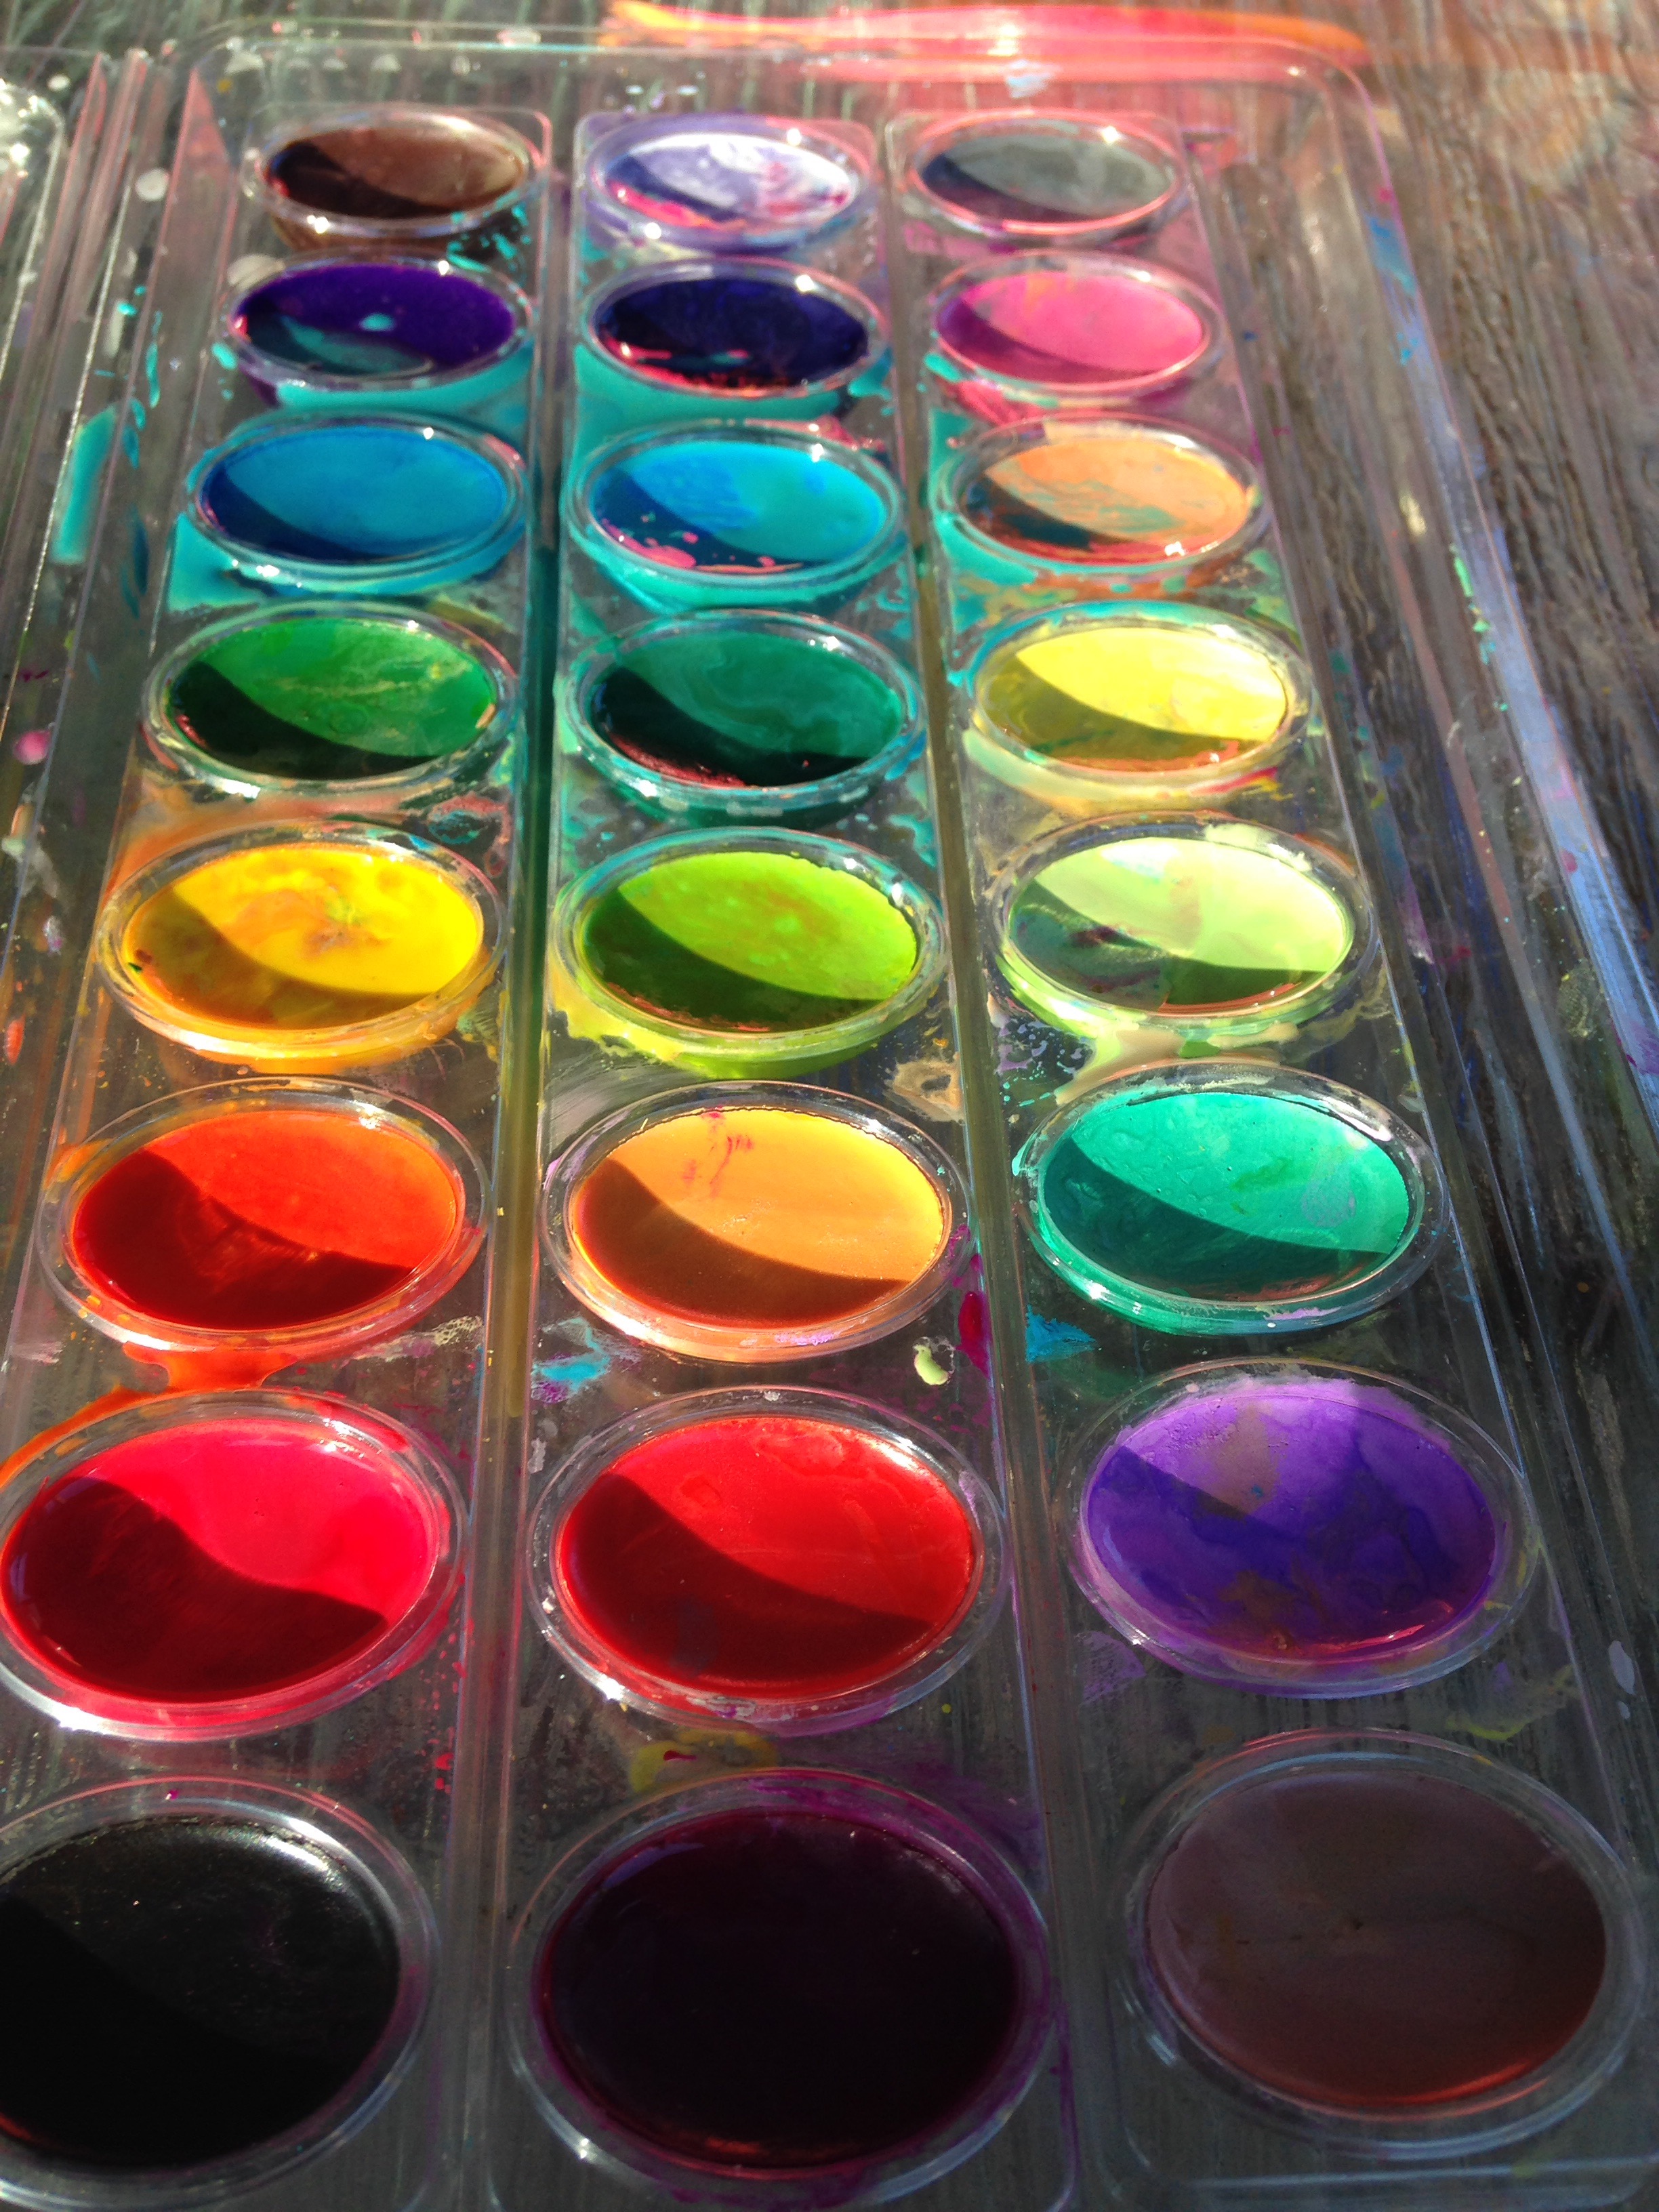
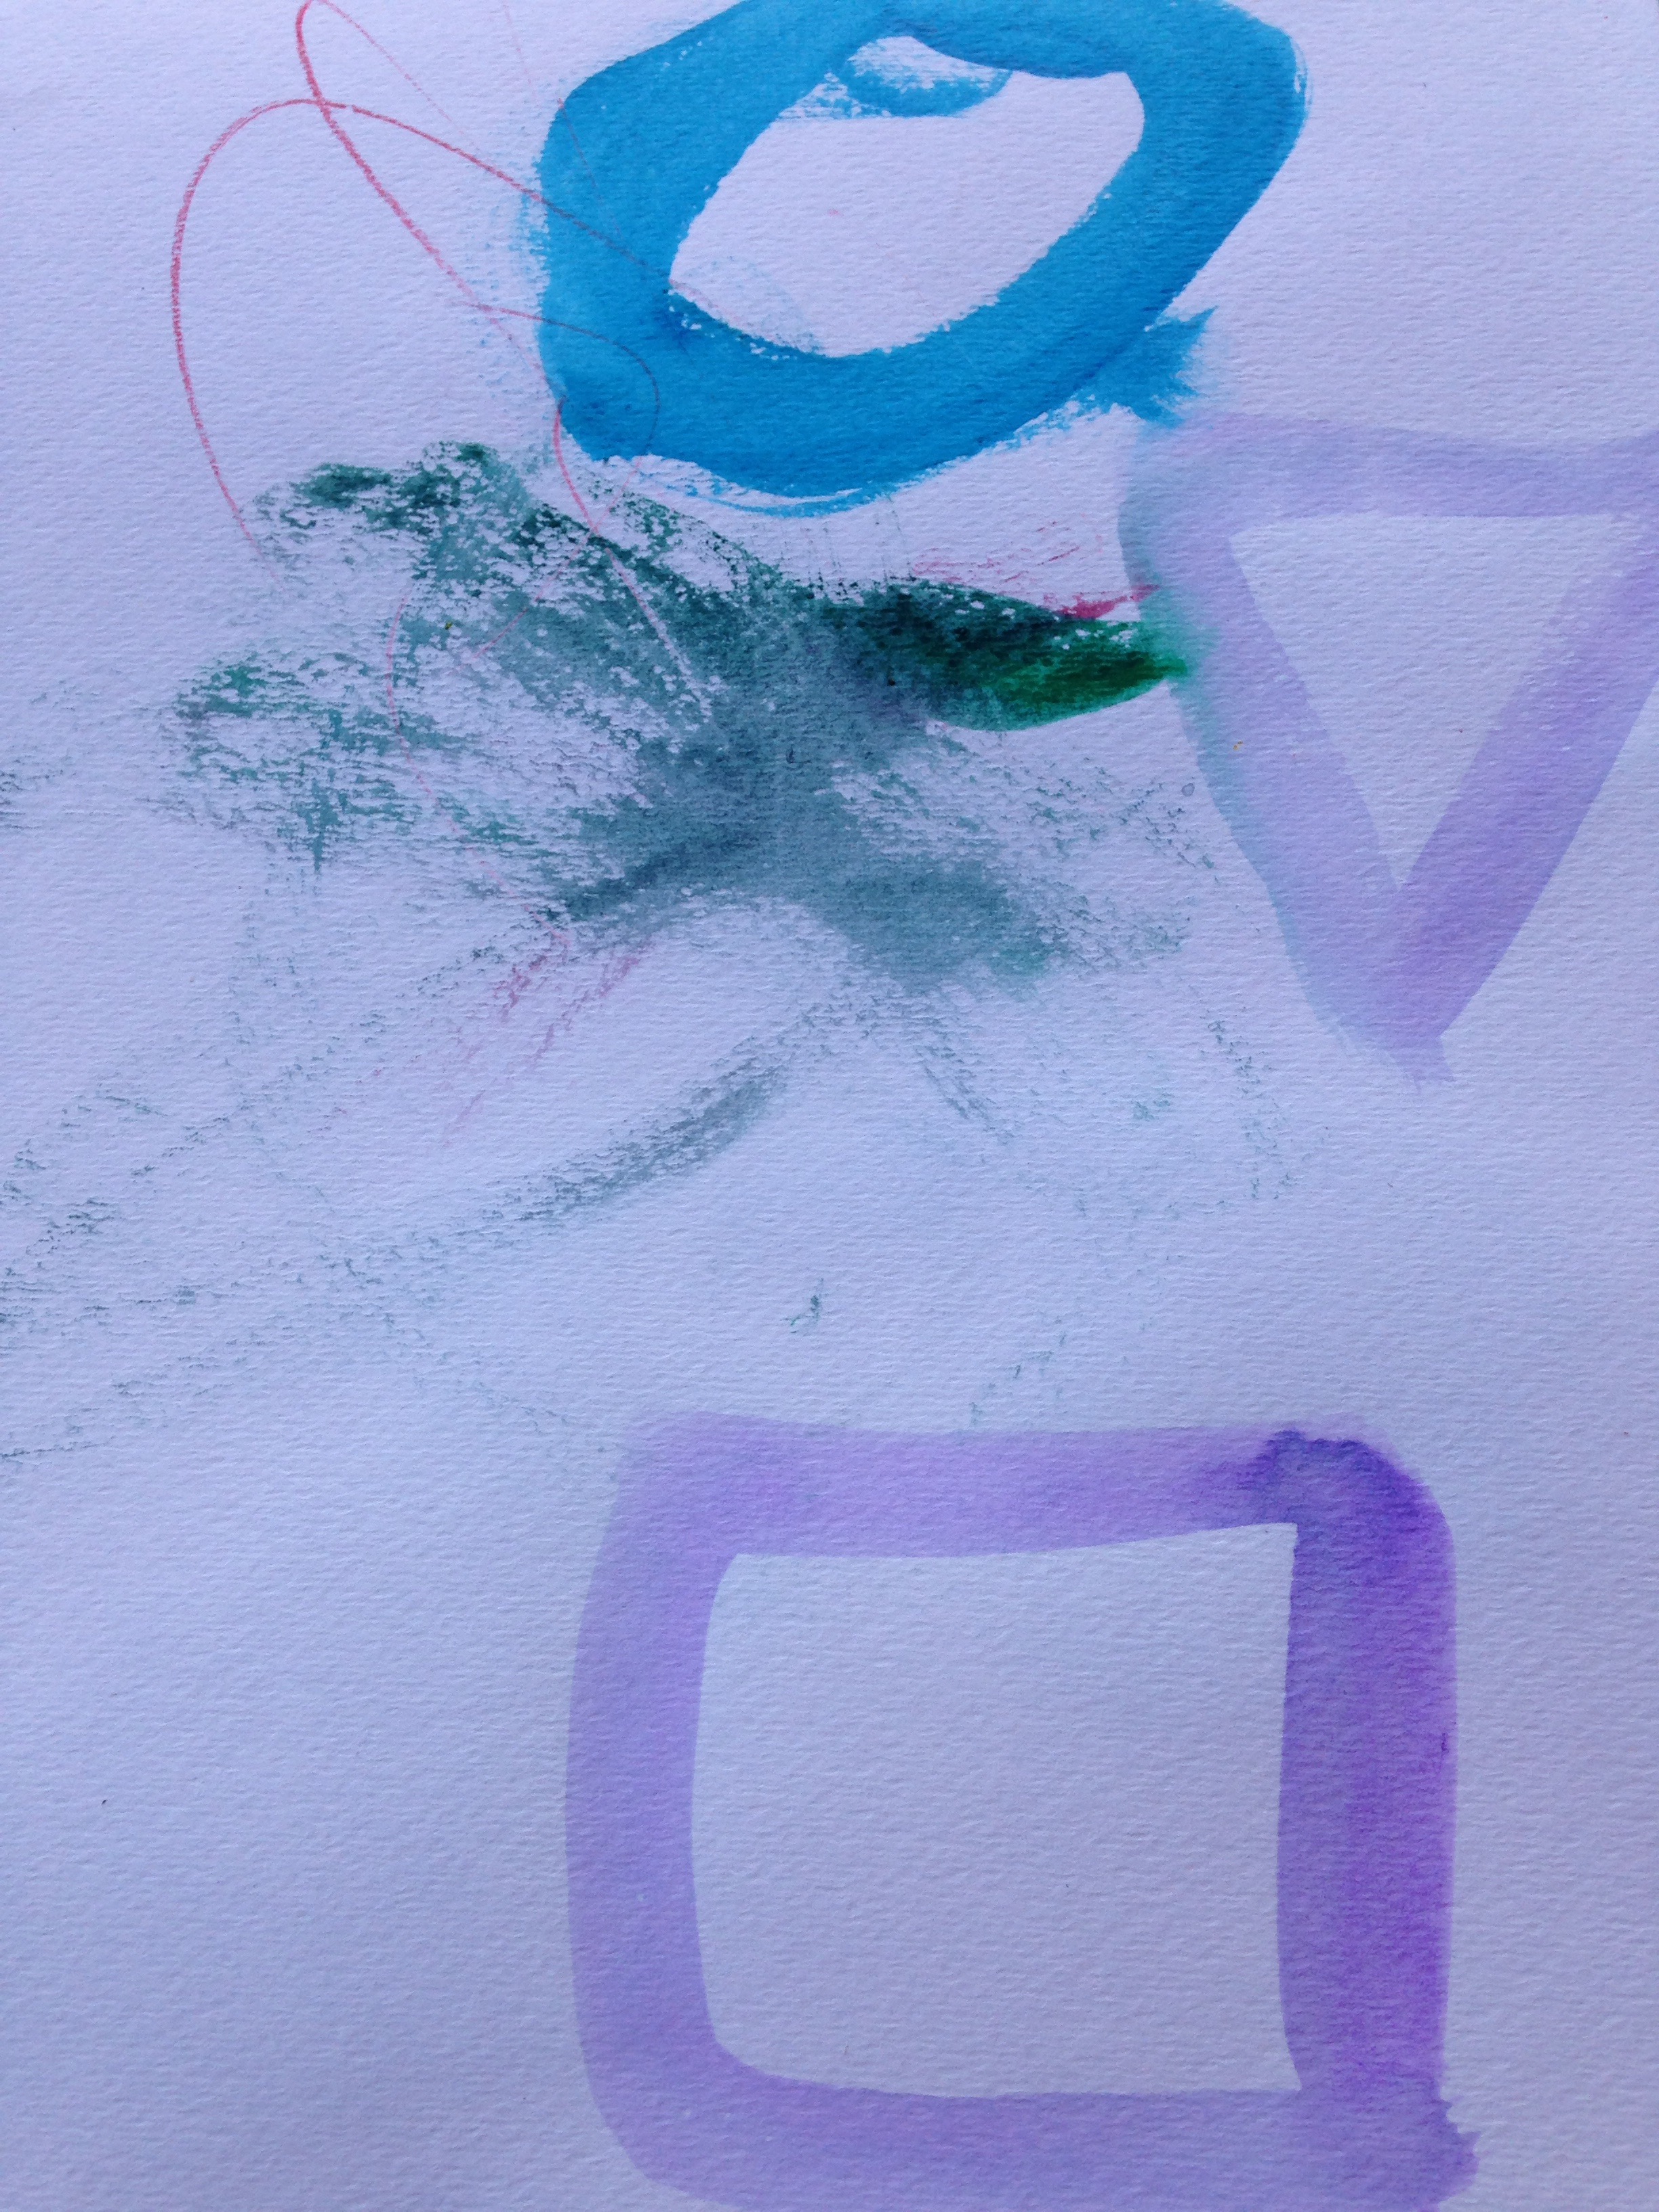
And who doesn’t love watercolors?  The problem with watercolors is that the colors can mix and you only get very small amounts of each color.  However, this can all change with homemade watercolor paints!

photo by factorydirectcraft
tbsp. baking soda
2 tsp. white vinegar
1/2 tsp. light corn syrup
2 tsp. corn starch
food colors*
containers for storing paints*
something to stir with (toothpicks)

photo from happyhooligans

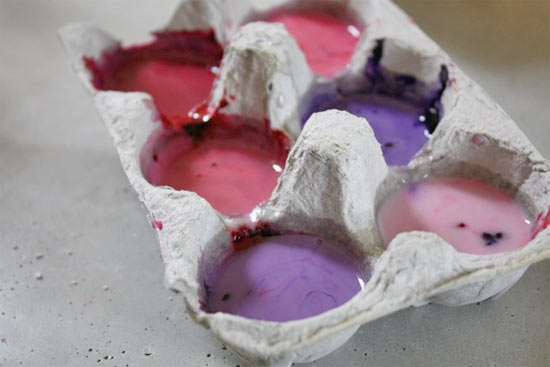
You can use a muffin pain, disposable cups, egg cartons, or any other container that you aren’t going to use for a couple days.

Instructions:

1)Mix baking soda & vinegar in a cup with a spout.  I used my Pyrex measuring glass.  Let the kids watch as it fizzes

2) Add in light corn syrup and stir.

3) Stir in the corn starch until well combined.  (If it gets too thick, add a little more vinegar.)

4)Pour into your paint containers- not too full, you need room for the food colors.

5)Add the food colors and stir until you reached your desired color!

6) Now if you want them to harden into hockey pucks you have to let them sit almost two days!  If you plan on using it right away that’s fine too!


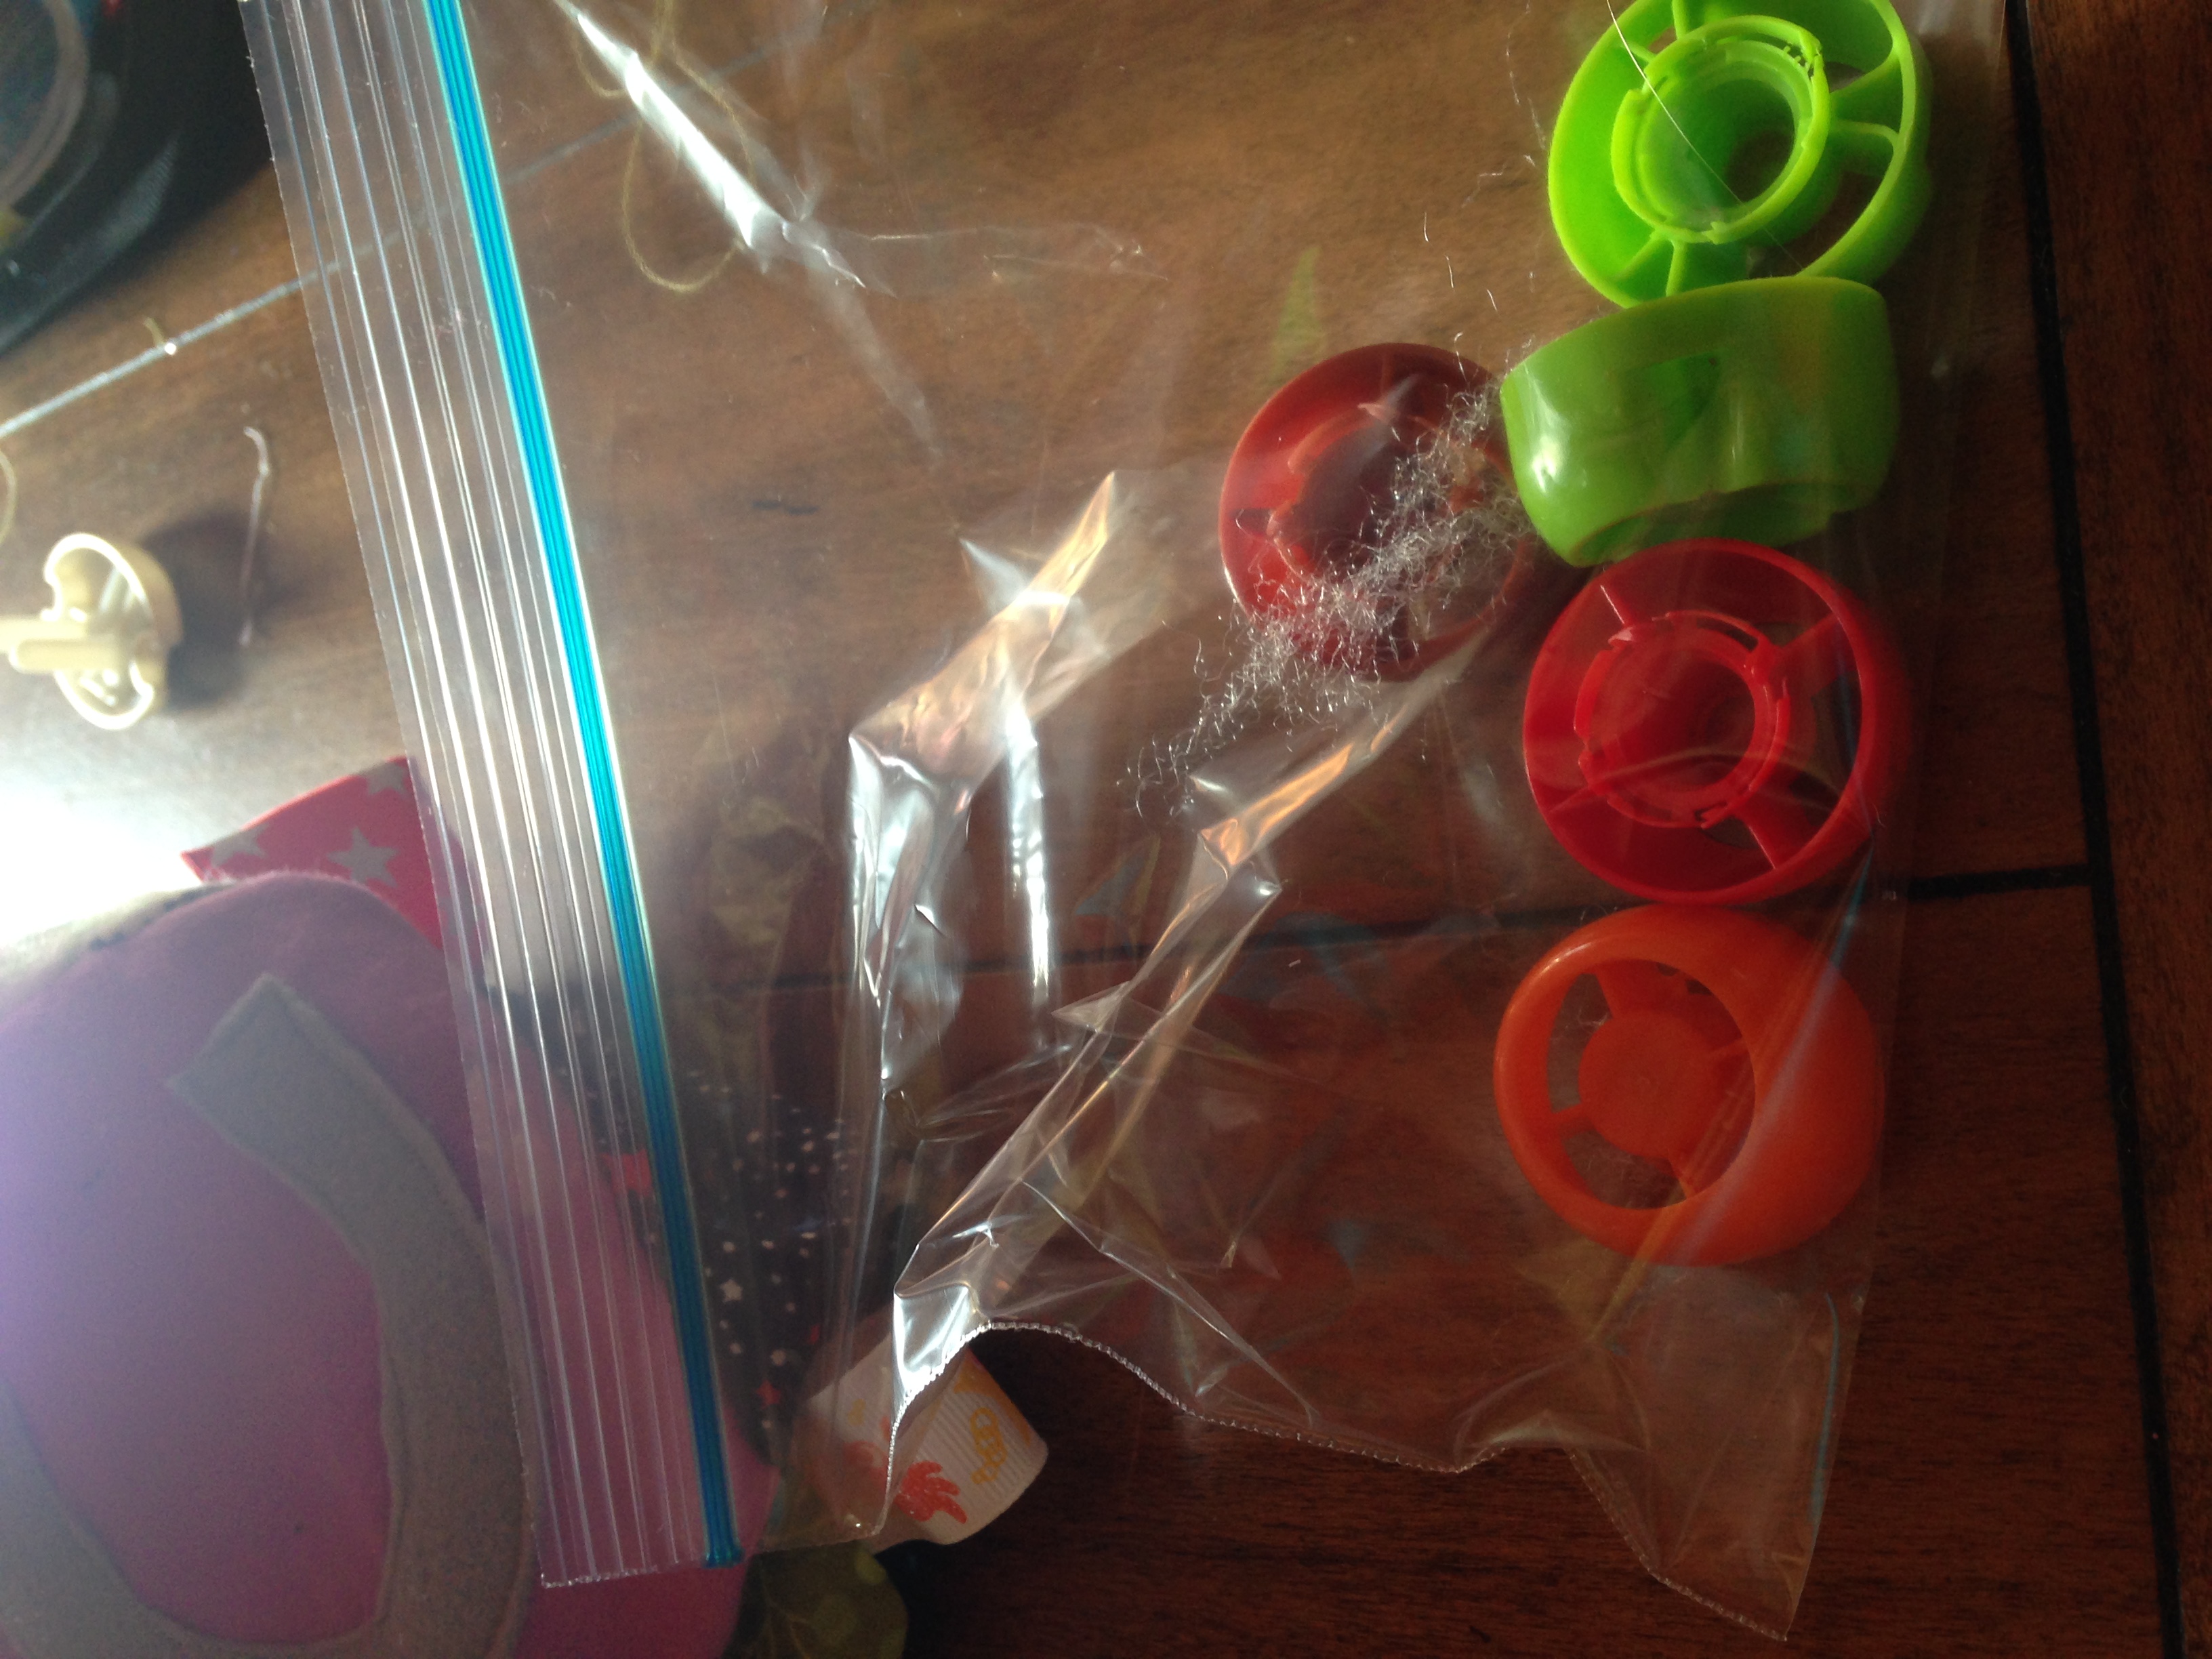
Sponges and potatoes!! 


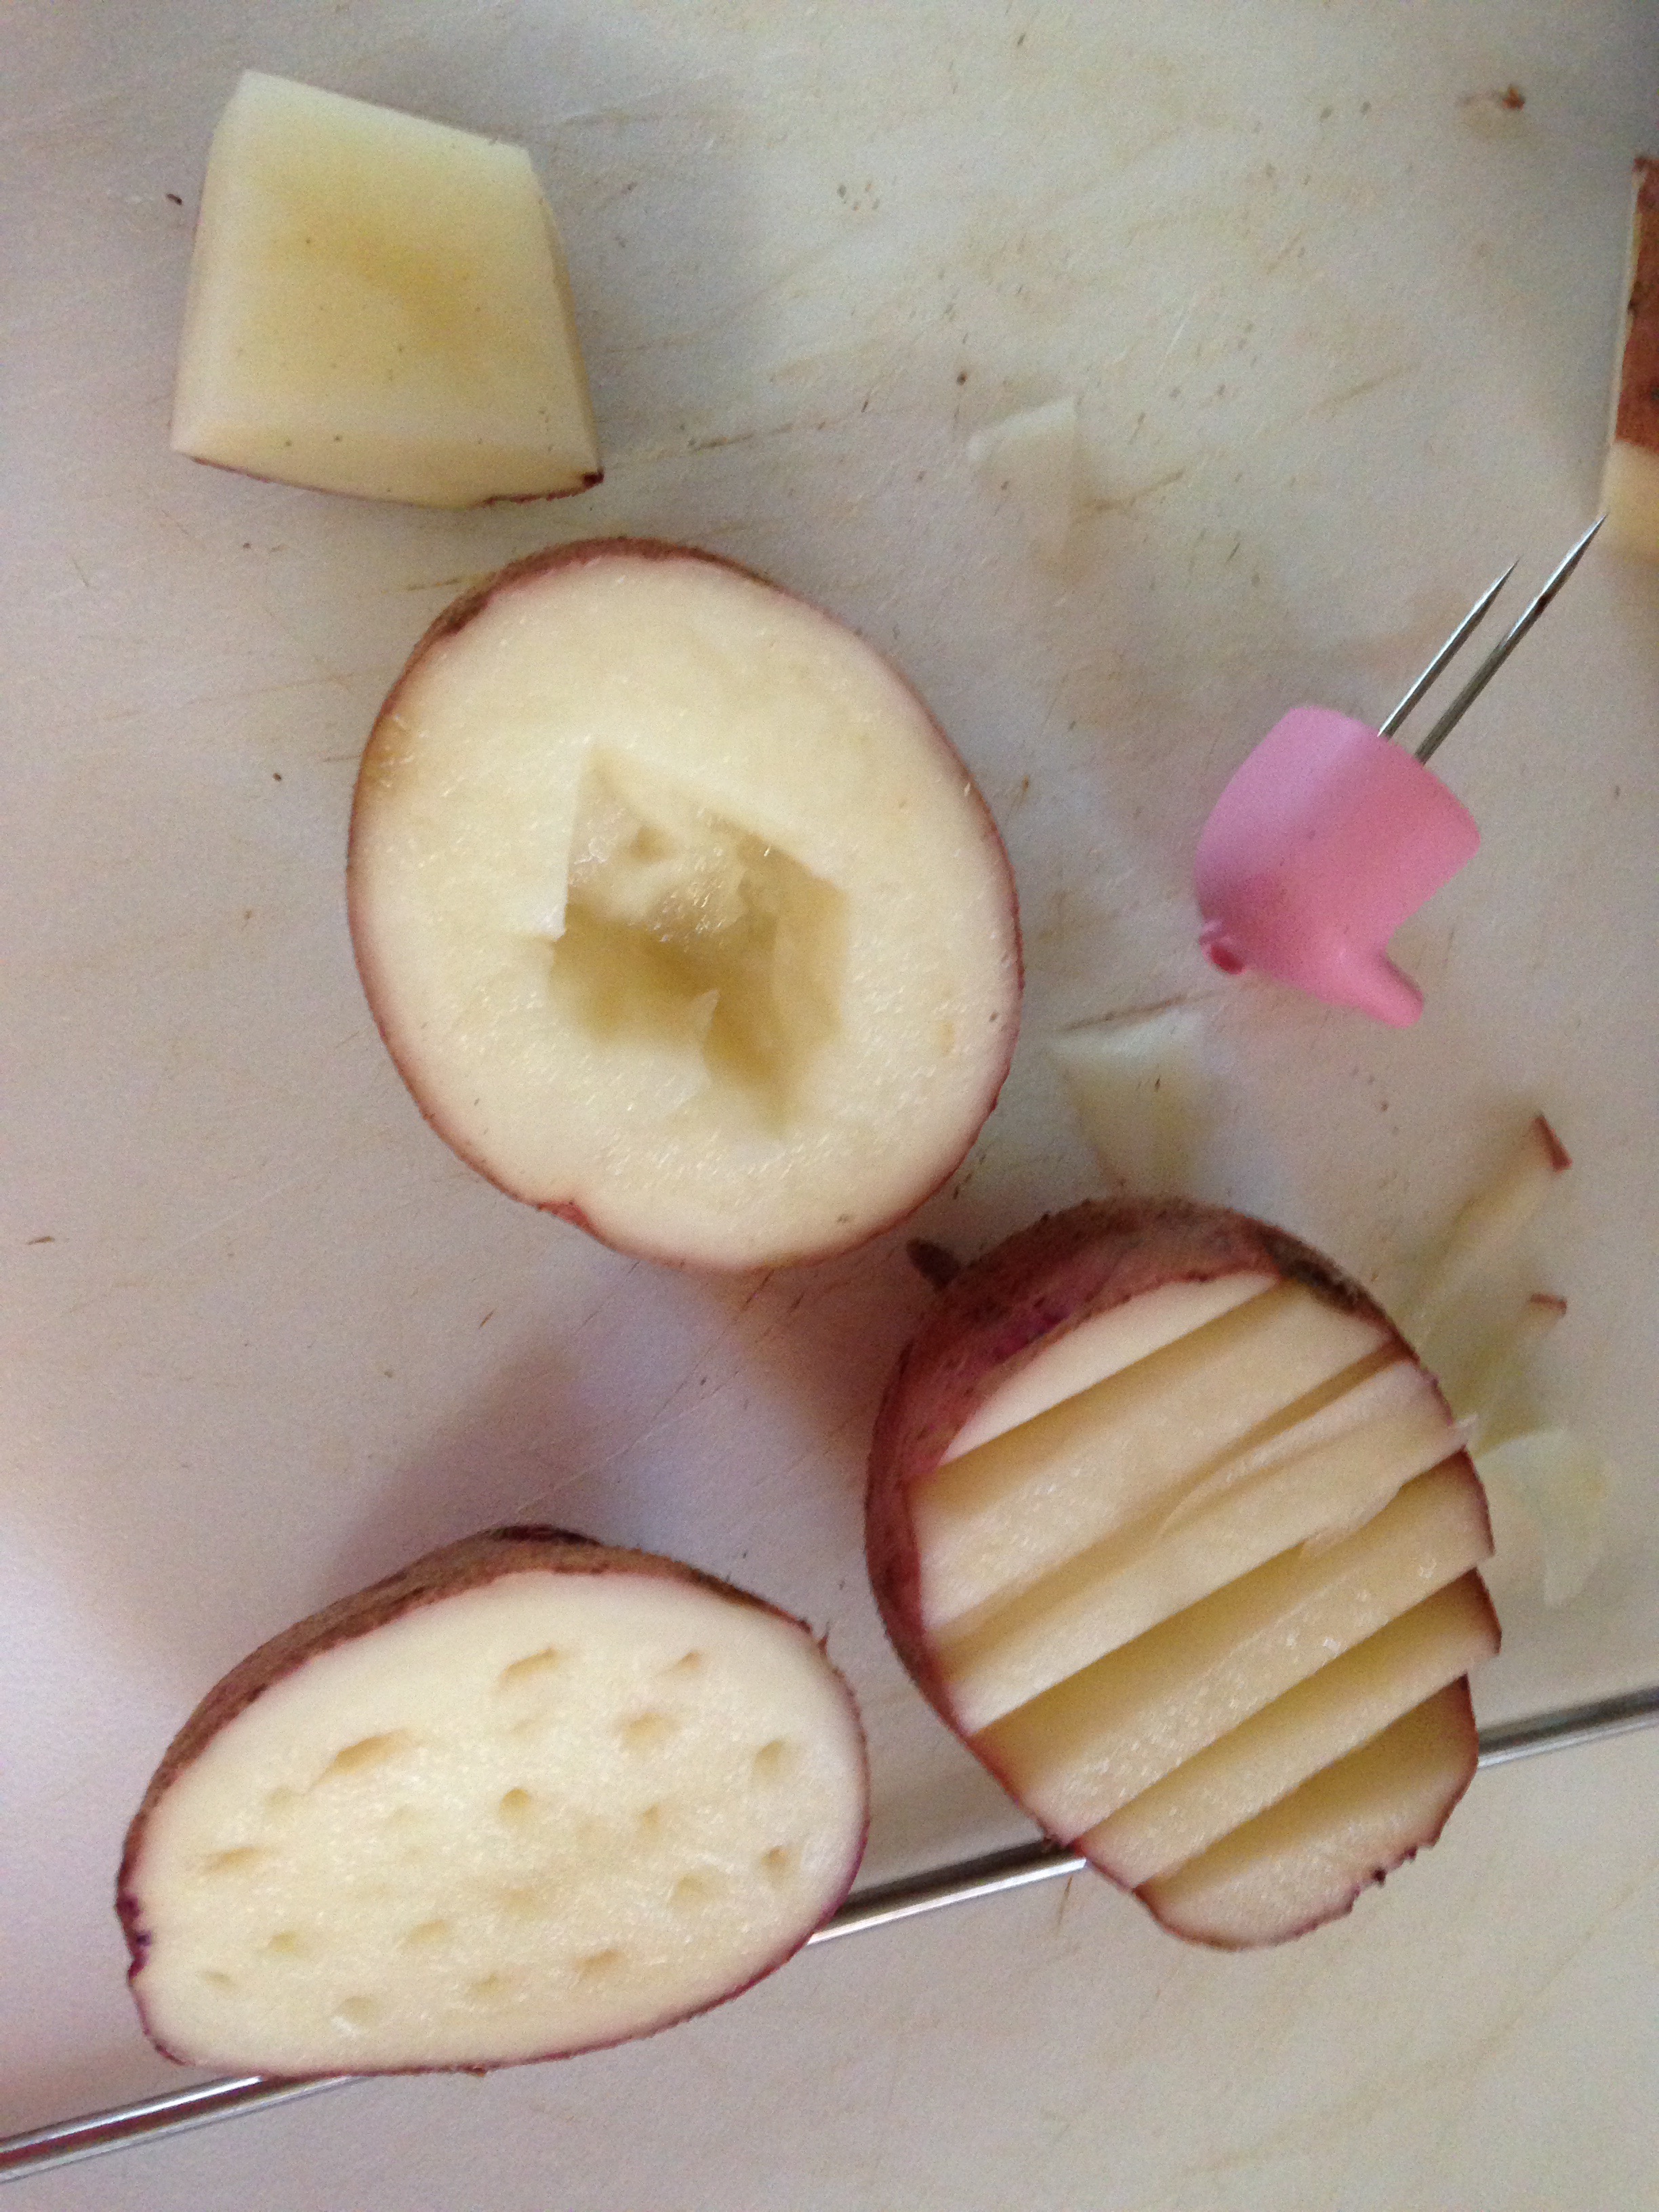
You can cut out designs in potatoes or out of sponges and dip into paint and press just like a stamp! I remember doing this as a child! 


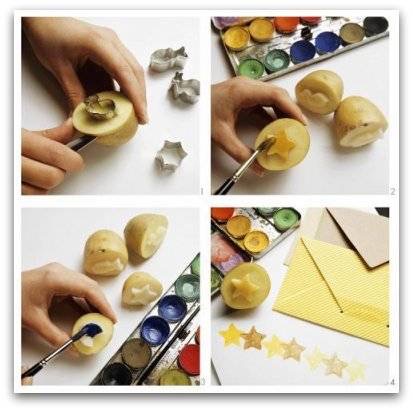
You can also use cookie cutters and paint the potato. This picture was taken from Fun stuff
Dollar store sponges are great to cut out designs for painting! 

Enjoy! 

FollowFacebookpinterestrssyoutube
ShareFacebookpinterest

Fun and Stimulating Toy Name Blocks!

I’ve been looking for a toy that offers a variety of sensory activities through textures, sounds, and touch.

IMG_1968

After making these squares, which by the way are FABULOUS for pictures, my little one couldn’t stop playing with all the ribbons, buttons, and laughing at the fabric and textures while sitting in her car seat.  What a great toy not only for entertainment, but for learning and increasing intelligence!  Not to mention it makes an amazing gift!

IMG_1999

Here is the Youtube tutorial:


If you would also like to follow the written then here goes:

What you will need: FABRIC, buttons, ribbons, polyfil, optional bells or rattle

  1. fabric: There are six sides to each square.  You can chose your colors and textures. You will need six squares for each letter you are making.  In this case, I used four letters for four blocks and six different pattern pieces with all different textures and patterns.  This is the fun part!  You can of course color coordinate for a boy or girl; however, I chose to do fun patterns that I knew my little one would love to look at, catch her attention, and also advance her imagination.
  2. IMG_1933
  3. So there are six sides to the blocks so I picked those fabrics and chose my size for the blocks to be 6×6 and cut out four of each fabric I wanted to use.   This is also great if you have extra scrap pieces you want to use up.
  4. Next, you want to cut out your letters.  I did this free hand.  I used extra felt I had sitting around!  Once completed, sew them on the fabric you would like for each block.
  5. IMG_1936IMG_1937
  6. Now you want to setup your pieces to
    make your block. Put the letter in the
    center and surround it as shown with your
    other fabrics. You may want to have the same pattern
    for each block or different spots for each
    fabric square
  7. IMG_1939
  8. Start sewing pattern pieces facing
    each other.  Take top piece and put pattern facing inside on the letter and sew the top edge, then continue until they are all sew together as shown below. Do this for all your blocks.
  9. IMG_1940IMG_1941IMG_1942
  10. If you want to add ribbons, buttons, or
    any other accessories this is the time to get
    those together! So now you want to decide where to sew them.  You can choose different spots on each block or the same!
  11. Sew the ribbons on facing towards the inside of the block.  If you do the opposite they will be on the inside instead of the out!
  12. IMG_1943 IMG_1944
  13. Start by sewing right sides together of two
    blocks. Take the top square and fold down and to the left. You will line up the left side of the top block to the top side of the left block.  Then sew.  Continue this around using the letter piece as the bottom part of the block.  The pattern of the fabric should end up in the inside of the block.
  14. IMG_1953 IMG_1955
  15. Continue around until you have all sides except one sewn together.
  16. For the last square, Sew each side around but for one side leave a 2-3 inch opening so you can pull the right side out.  Don’t forget to back stitch well!
  17. IMG_1956
  18. Okay!  Almost there!  So now you want to turn your block right side out.  So reach in there and pull the fabric through.  Then use a pencil, pen, crochet needle or what not to poke out the corners and make them shapely.
  19. Next, grab your stuffing, in this case polyfil, and start filling.
  20. You can put a bell or rattle in the inside of the block!
    To do this I put it in a small ziplock bag that is sealed with some air so that it has room to rattle around instead of being stuck in the polyfil. I actually have been saving the twist off tops of the food pouches and used them in a bag to make some noise!  So if you are going to do this try and put this in the center of the block then stuff around it.
  21. IMG_1966
  22. Lastly, close up that hole!  You can do a whip stitch or invisible stitch or even use your machine.
  23. IMG_1976
  24. Ta-Da you are done!  Great job….take some pictures and share!


FollowFacebookpinterestrssyoutube
ShareFacebookpinterest