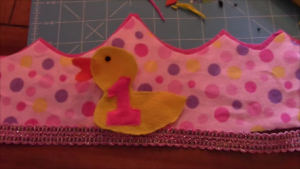
Want to sew quick and easy crowns for a party or get together? Then you’ve come to the right place! I made a last minute decision days before my daughters’ first birthday party that we needed crowns! The theme was rubber ducky, so I decided to make birthday crowns instead of hats! Young kids and babies don’t enjoy hard hats on their head and also shouldn’t have a rubber band or elastic around their neck.
As you can see they are very cute for photo shoots as well! She didn’t particularly like keeping it on, but I got a couple good shots!
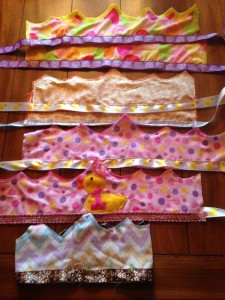
As usual, there is a YouTube video and also a written explanation below. I didn’t have a lot of time to embellish the other crowns but you can always spice things up with some ribbons, bows, glitter, rhinestones, or buttons!
To get started you need:
1) Choice of fabric and design
2) Scisscors
3)Thread
4) Closure for crown (velcro, button, ribbon) or you can sew all the way around if you know the exact size
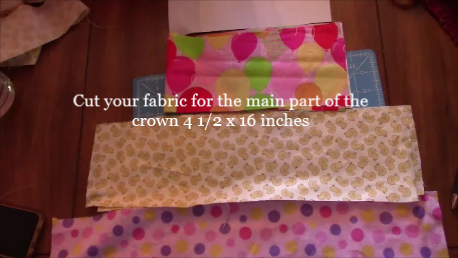
Cut your fabric for the main part of the crown 4 1/2 x 18 inches
Make your own crown pattern by drawing the top on a piece of paper and cutting it out!
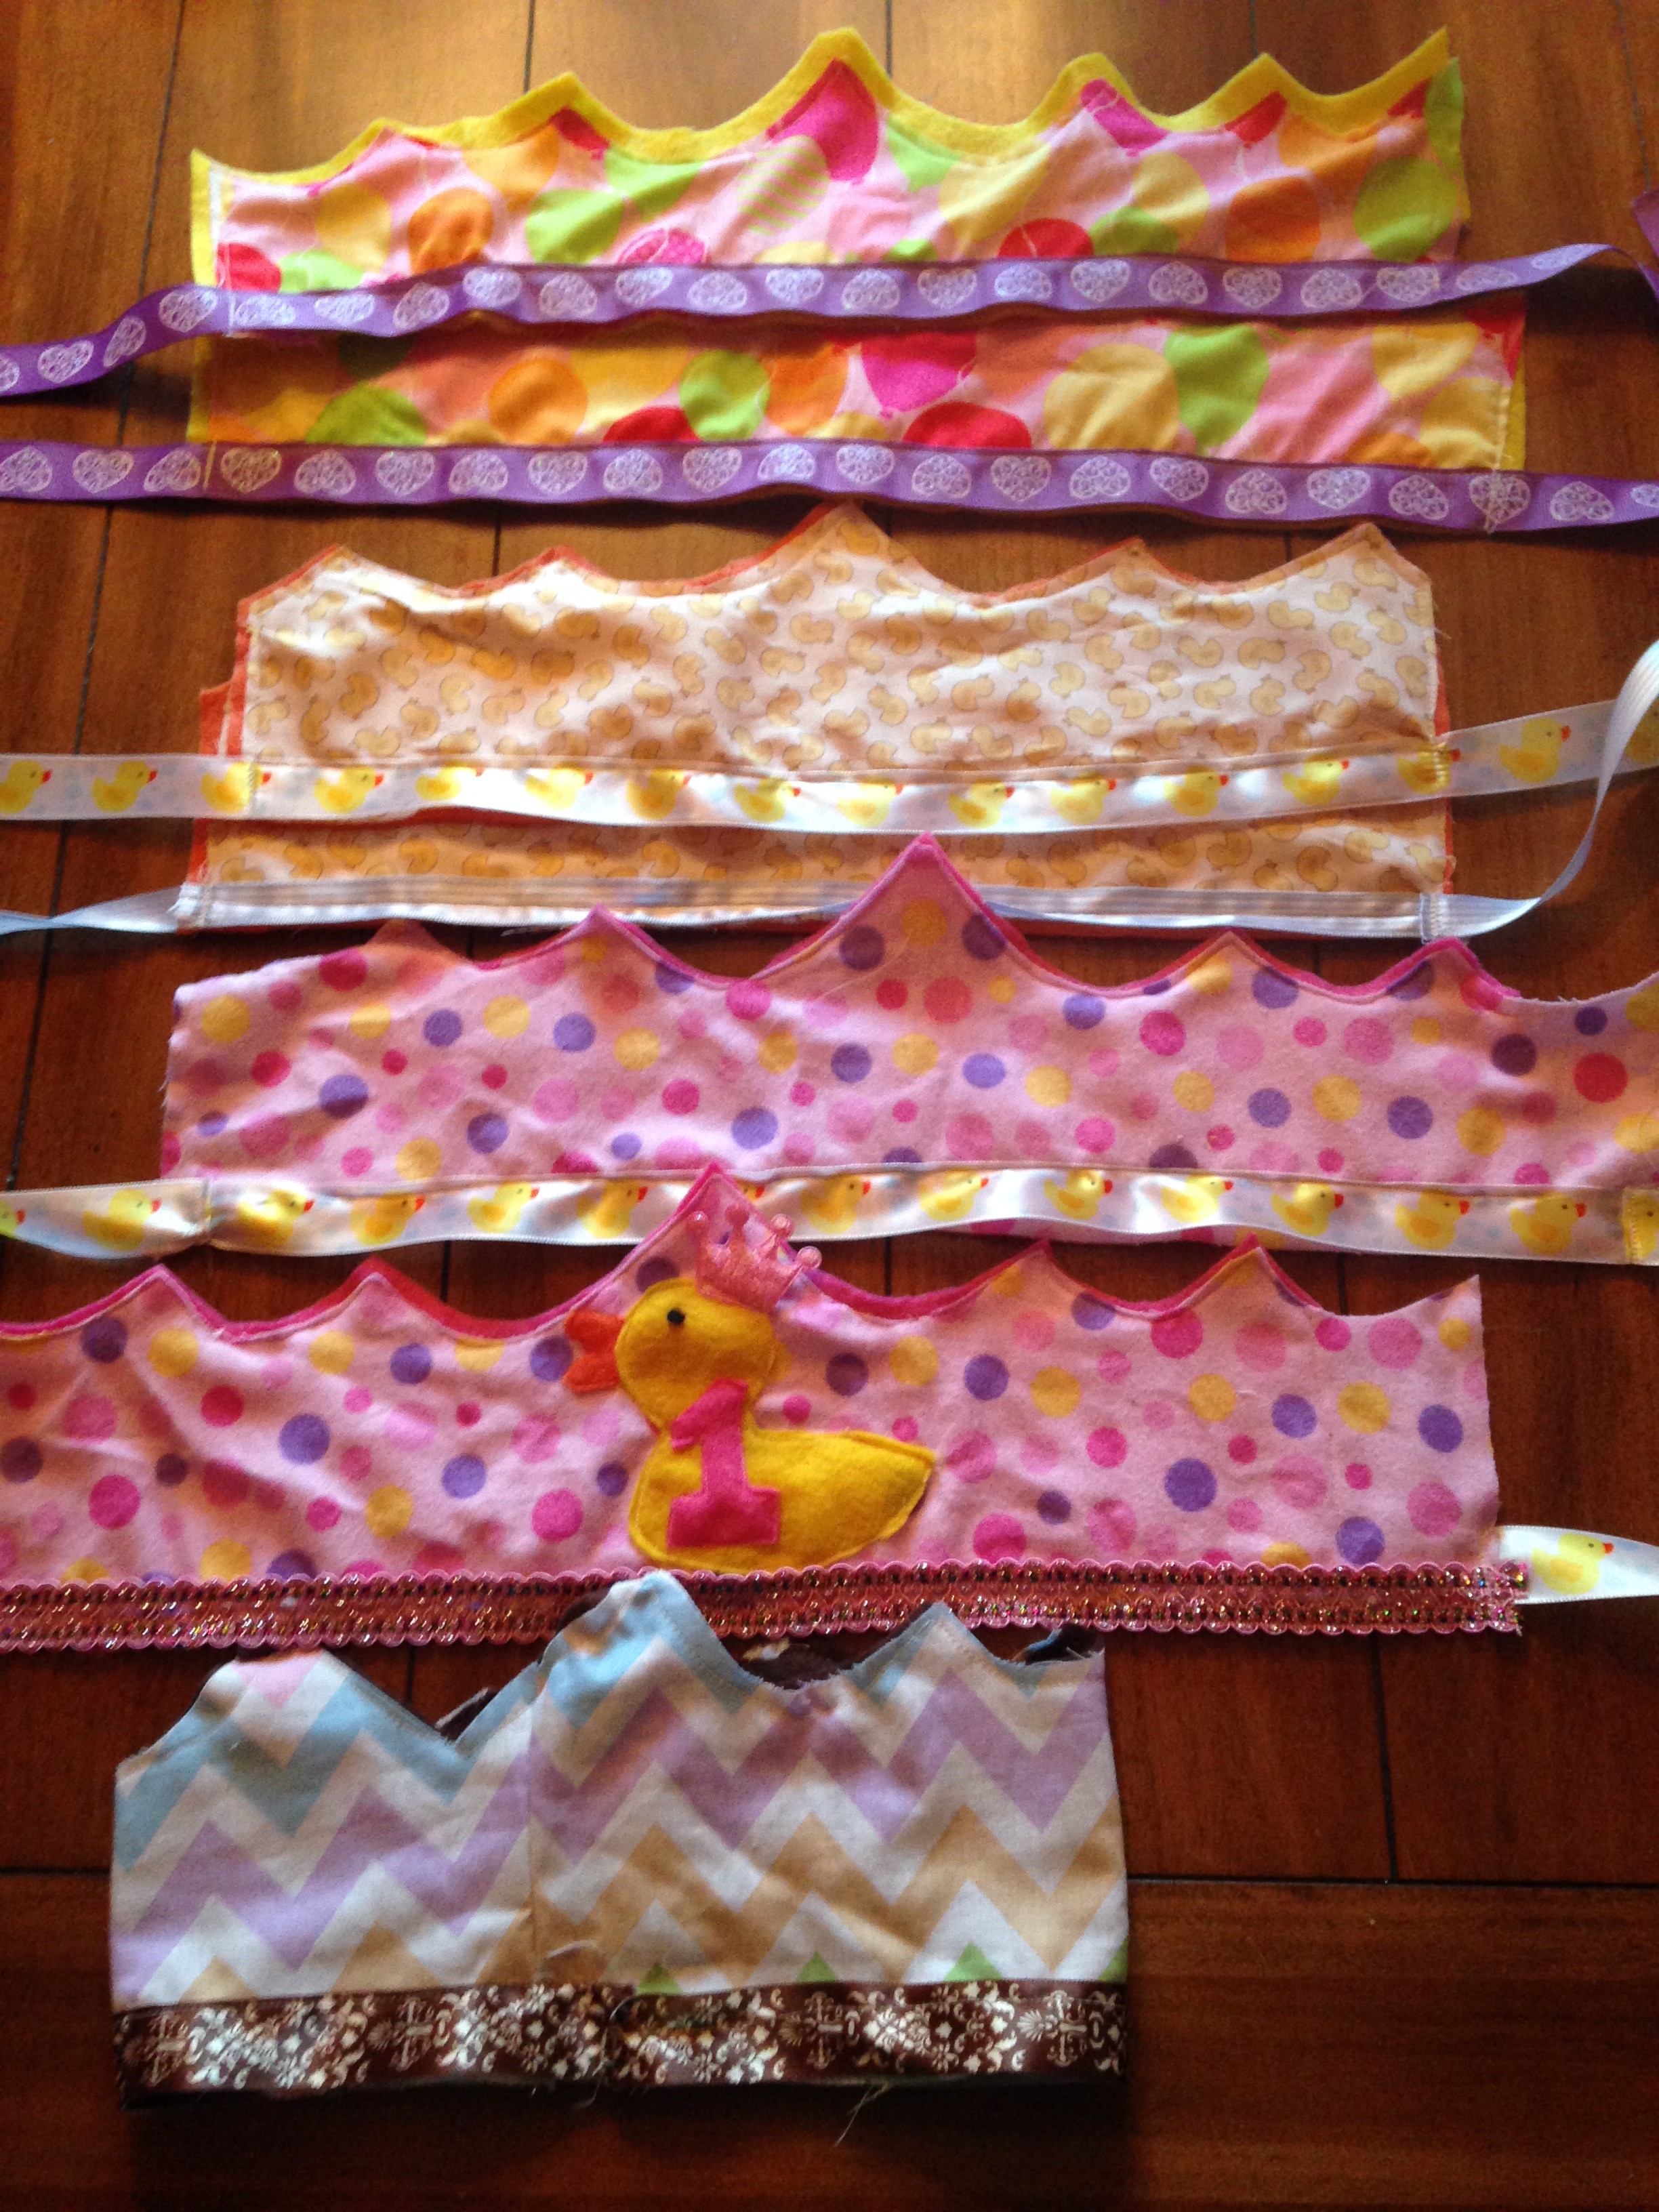
Cut your design onto your fabric to make the shape of your crown! If you want a felt backing with another color cut that out as well.
Next, pick out your ribbon if you are using one, if you want any other embellishments get them ready! I made a felt duck that I sewed onto
the crown.
Line up your crown pieces and sew all the way around! Then you are done! If you want to add button loops and buttons you can sew them on as well.
Congrats and enjoy the party! Check back often for new crafts or subscribe below!
I’ve been looking for a toy that offers a variety of sensory activities through textures, sounds, and touch.
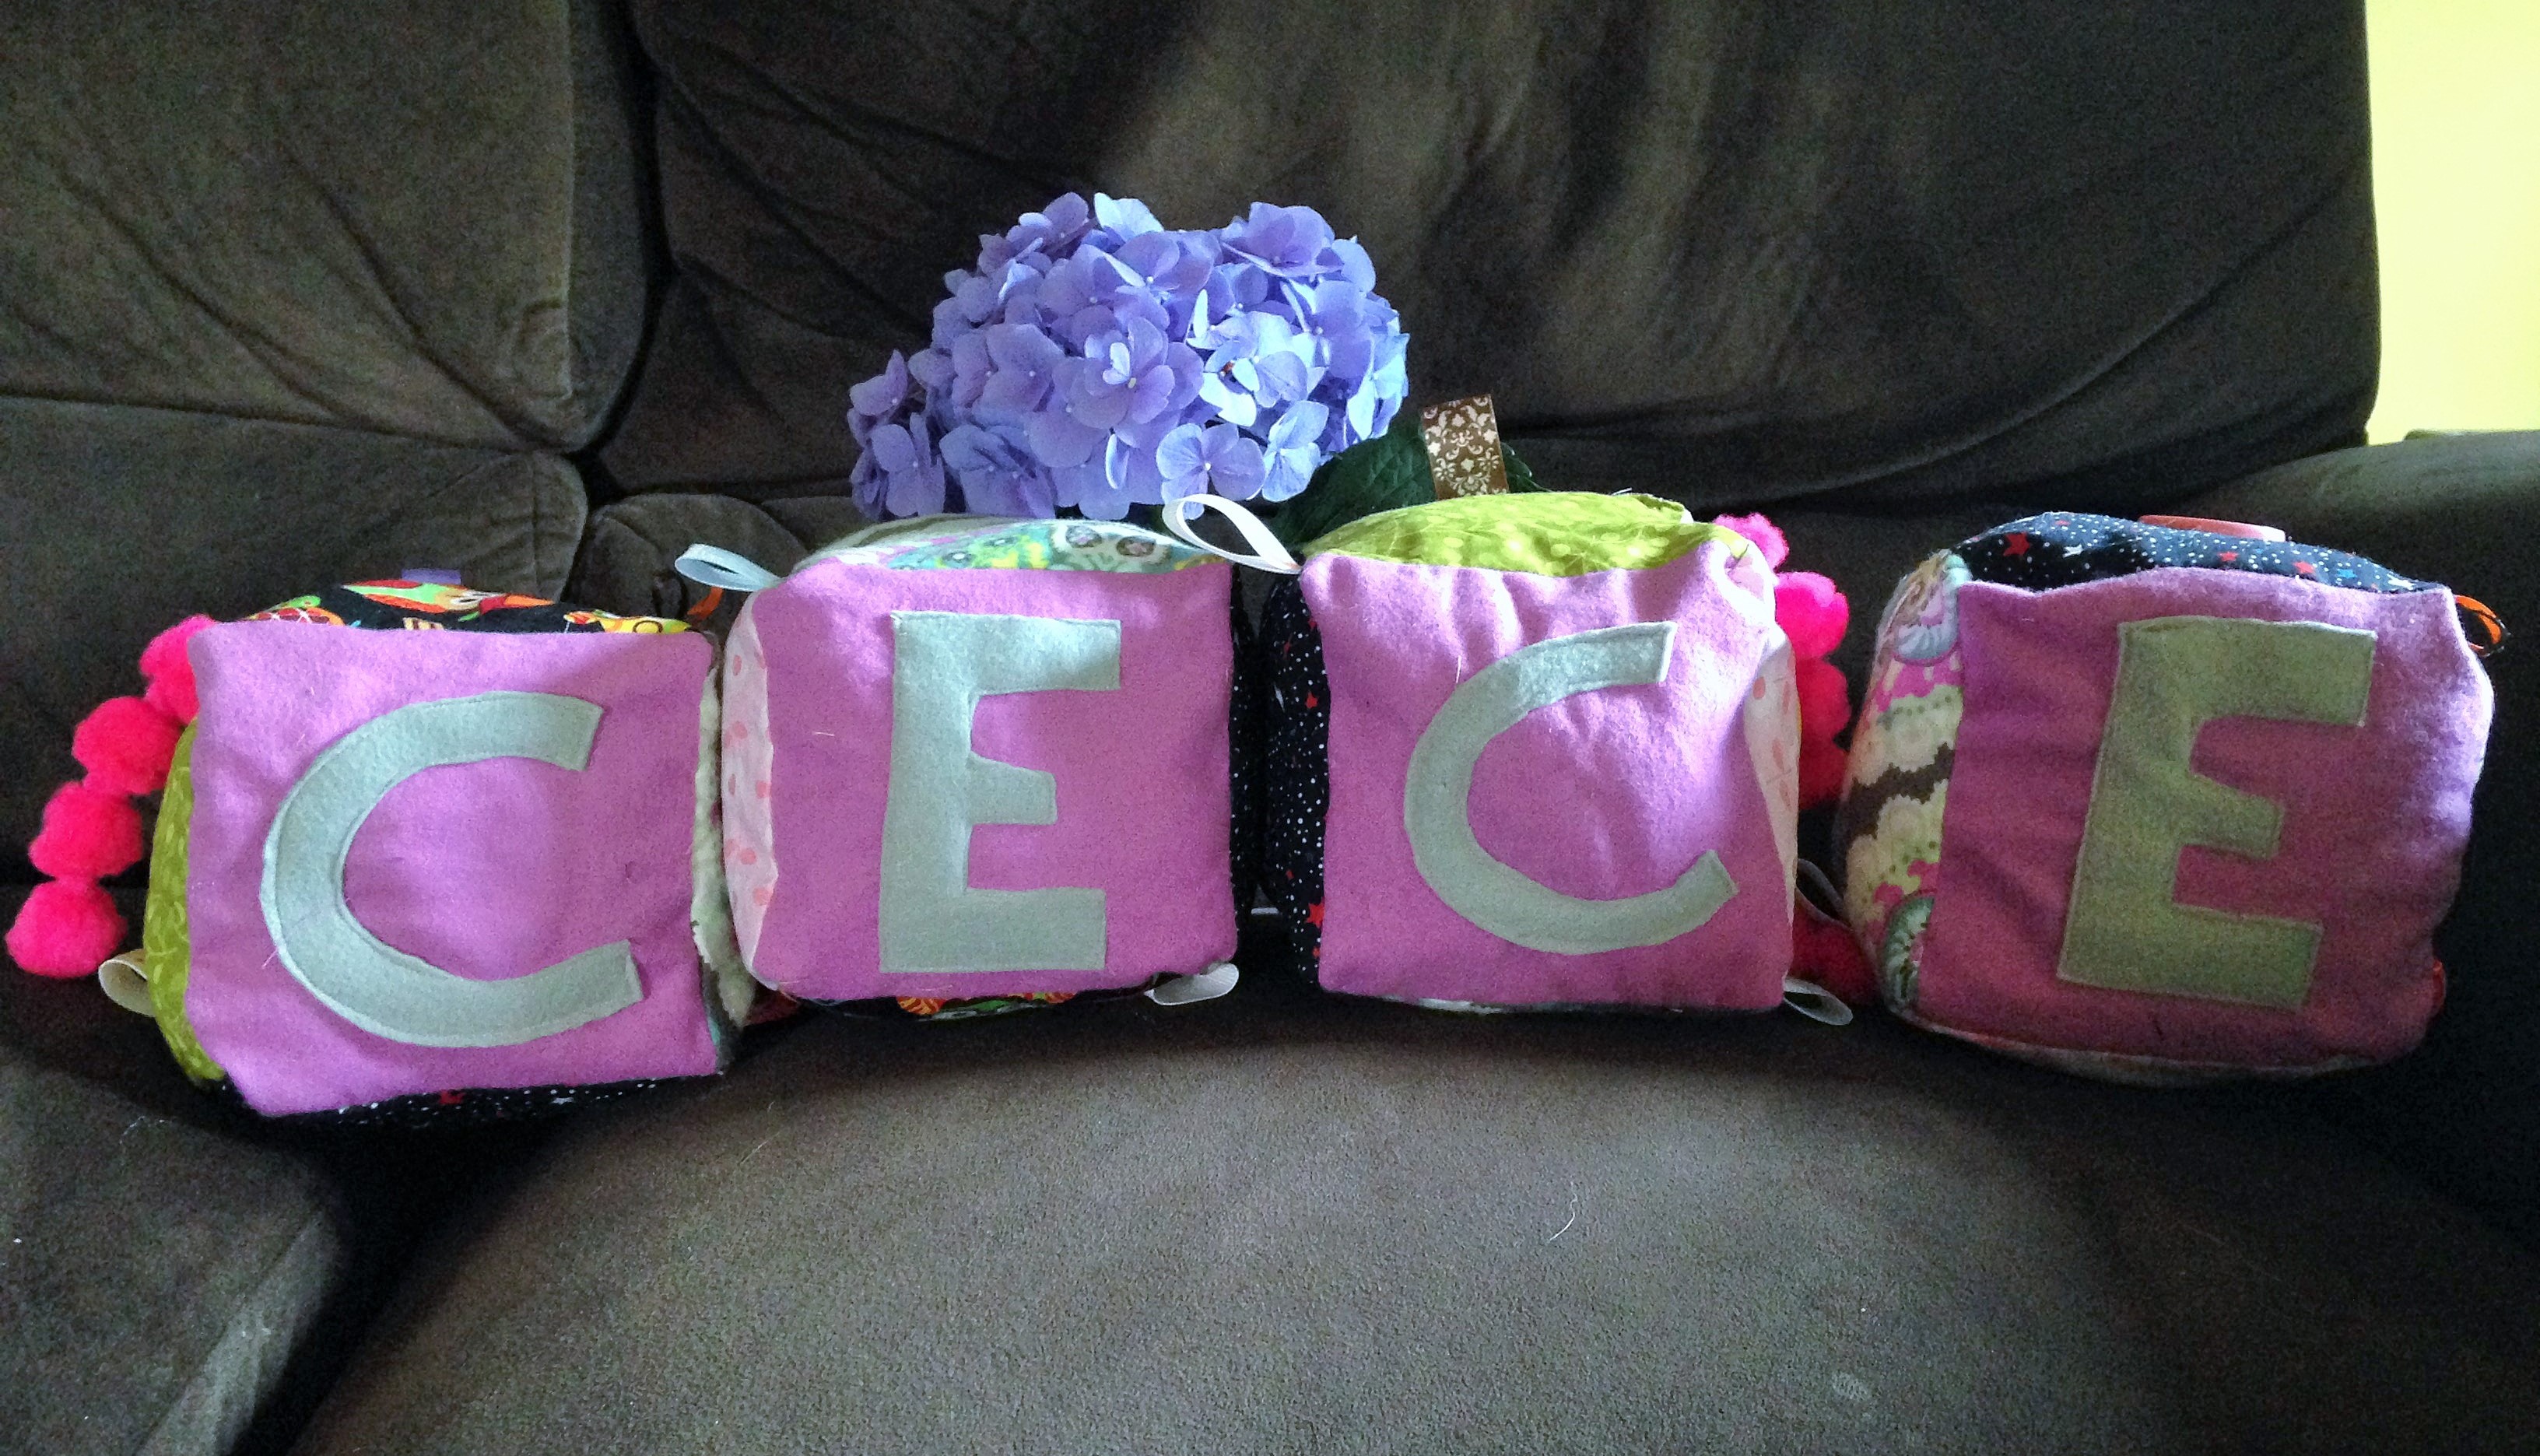
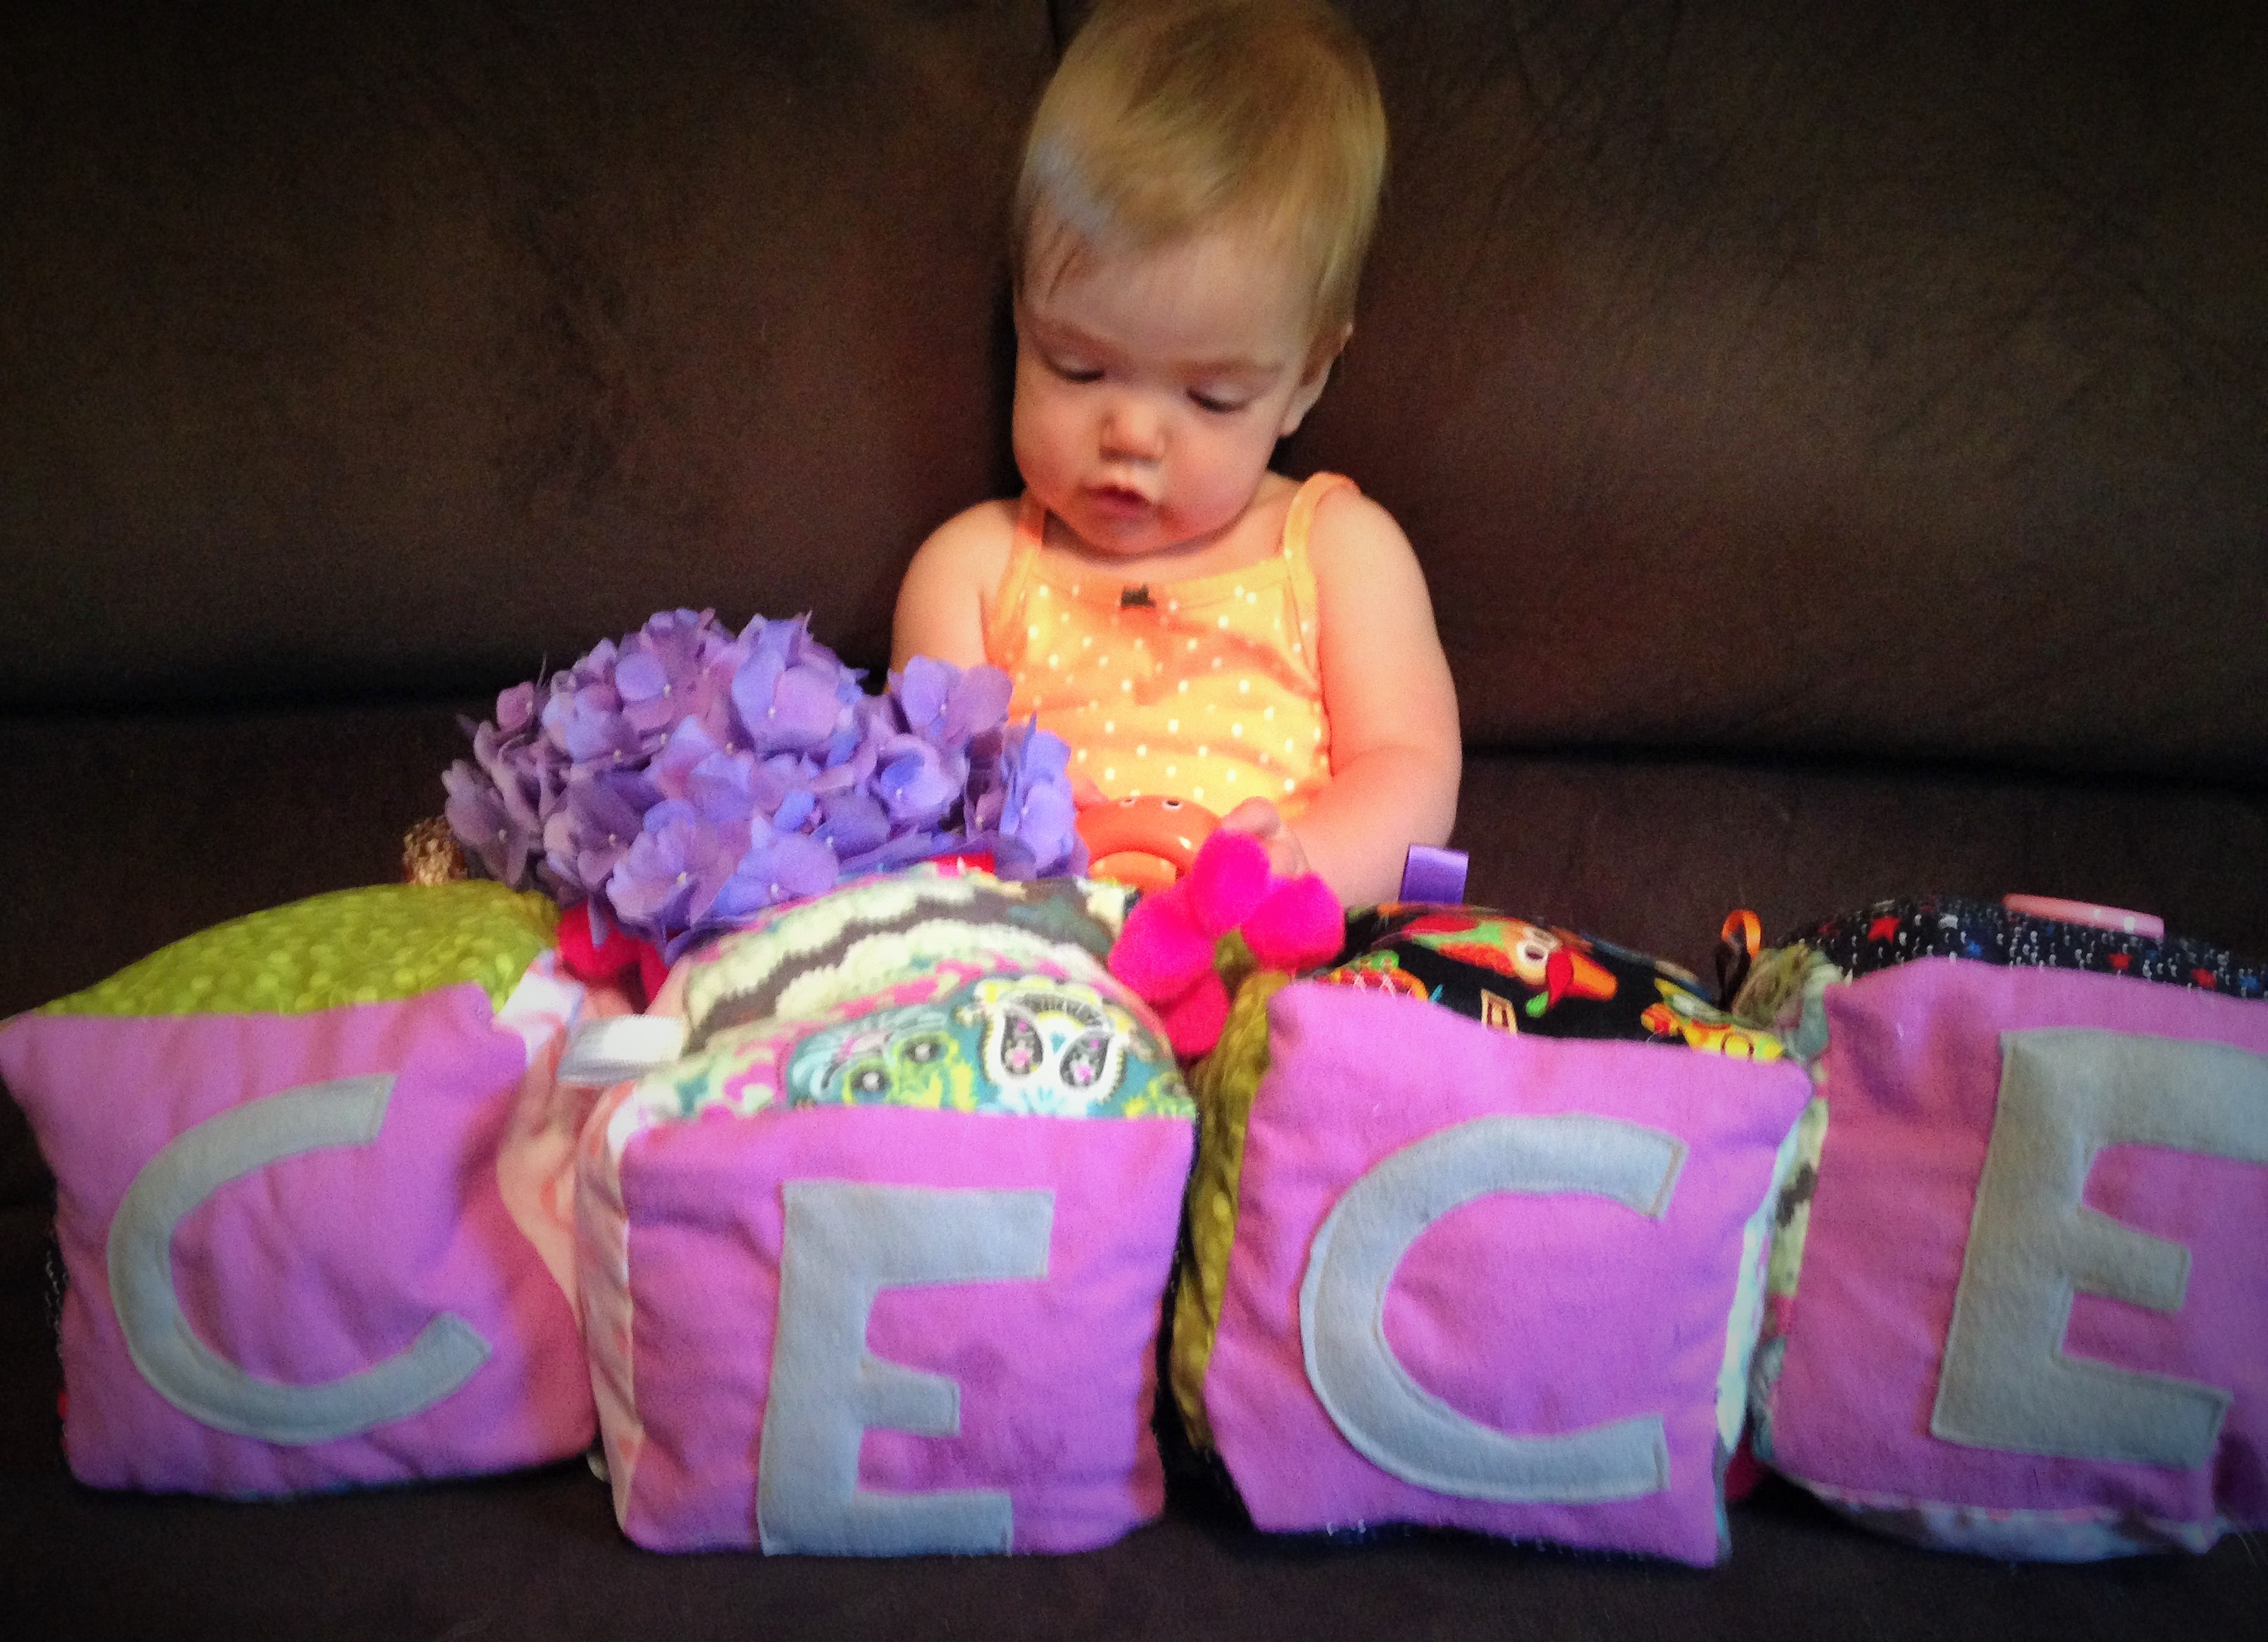
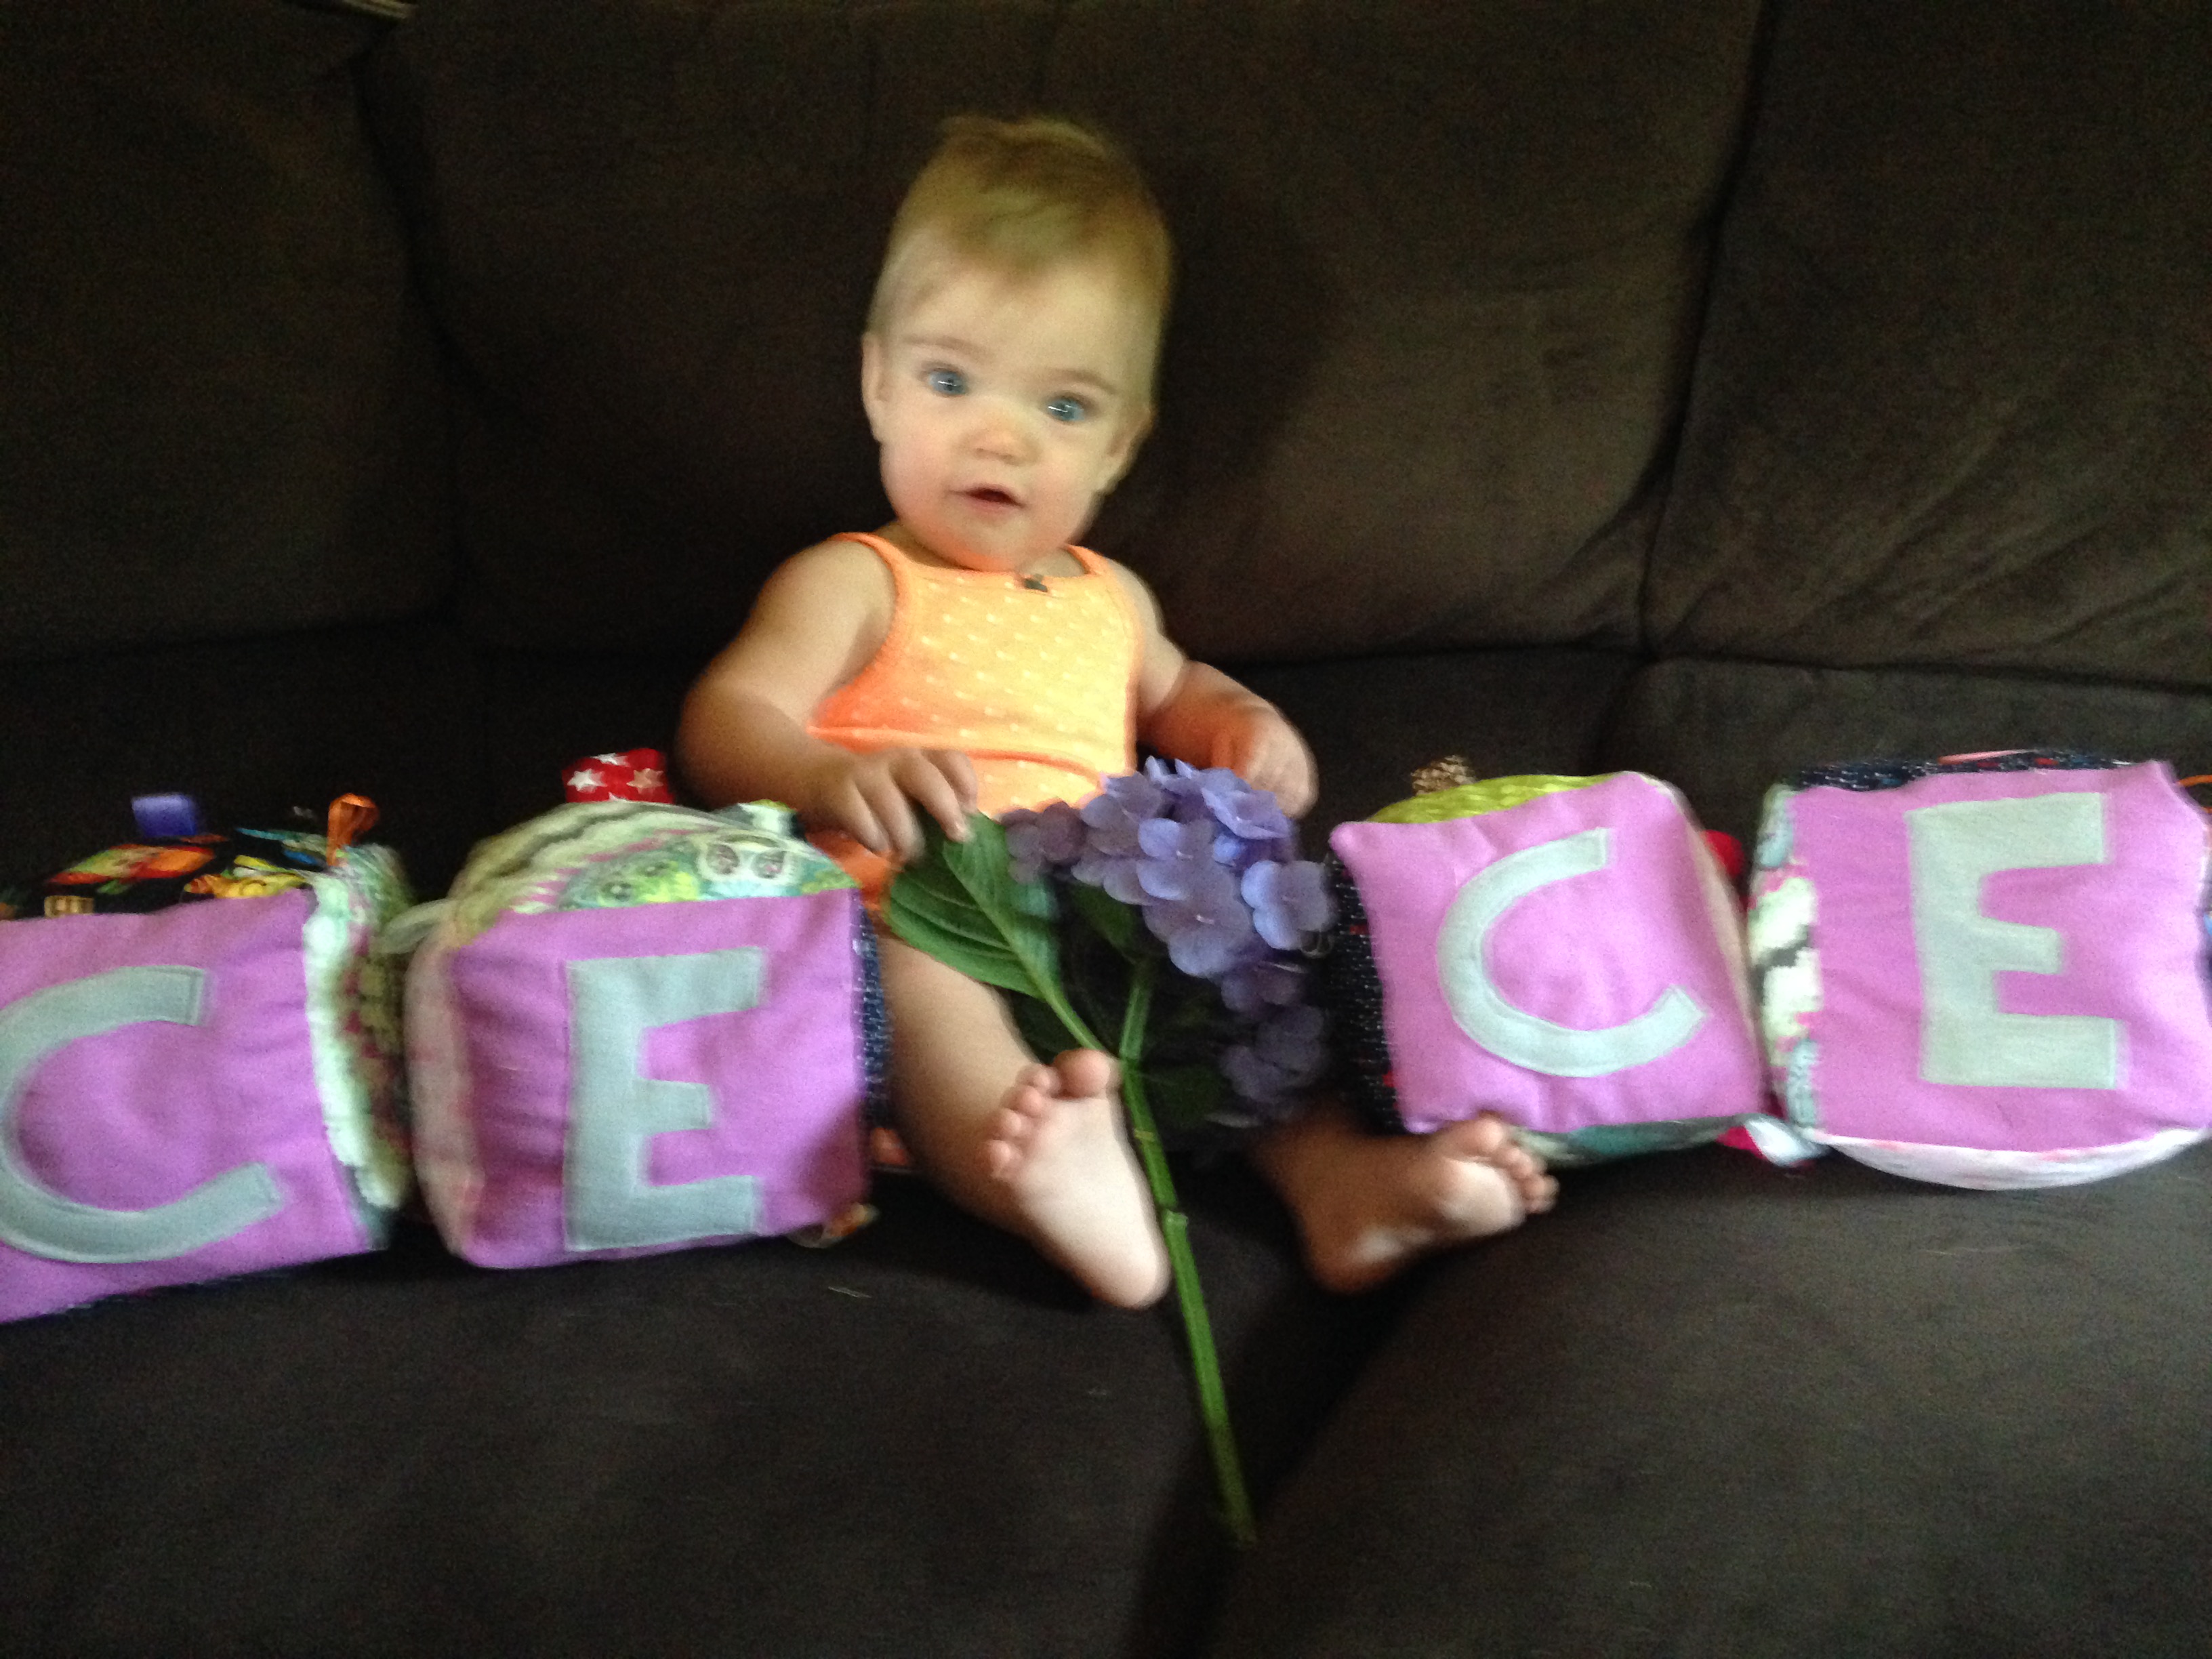
After making these squares, which by the way are FABULOUS for pictures, my little one couldn’t stop playing with all the ribbons, buttons, and laughing at the fabric and textures while sitting in her car seat. What a great toy not only for entertainment, but for learning and increasing intelligence! Not to mention it makes an amazing gift!
Here is the Youtube tutorial:
If you would also like to follow the written then here goes:
What you will need: FABRIC, buttons, ribbons, polyfil, optional bells or rattle
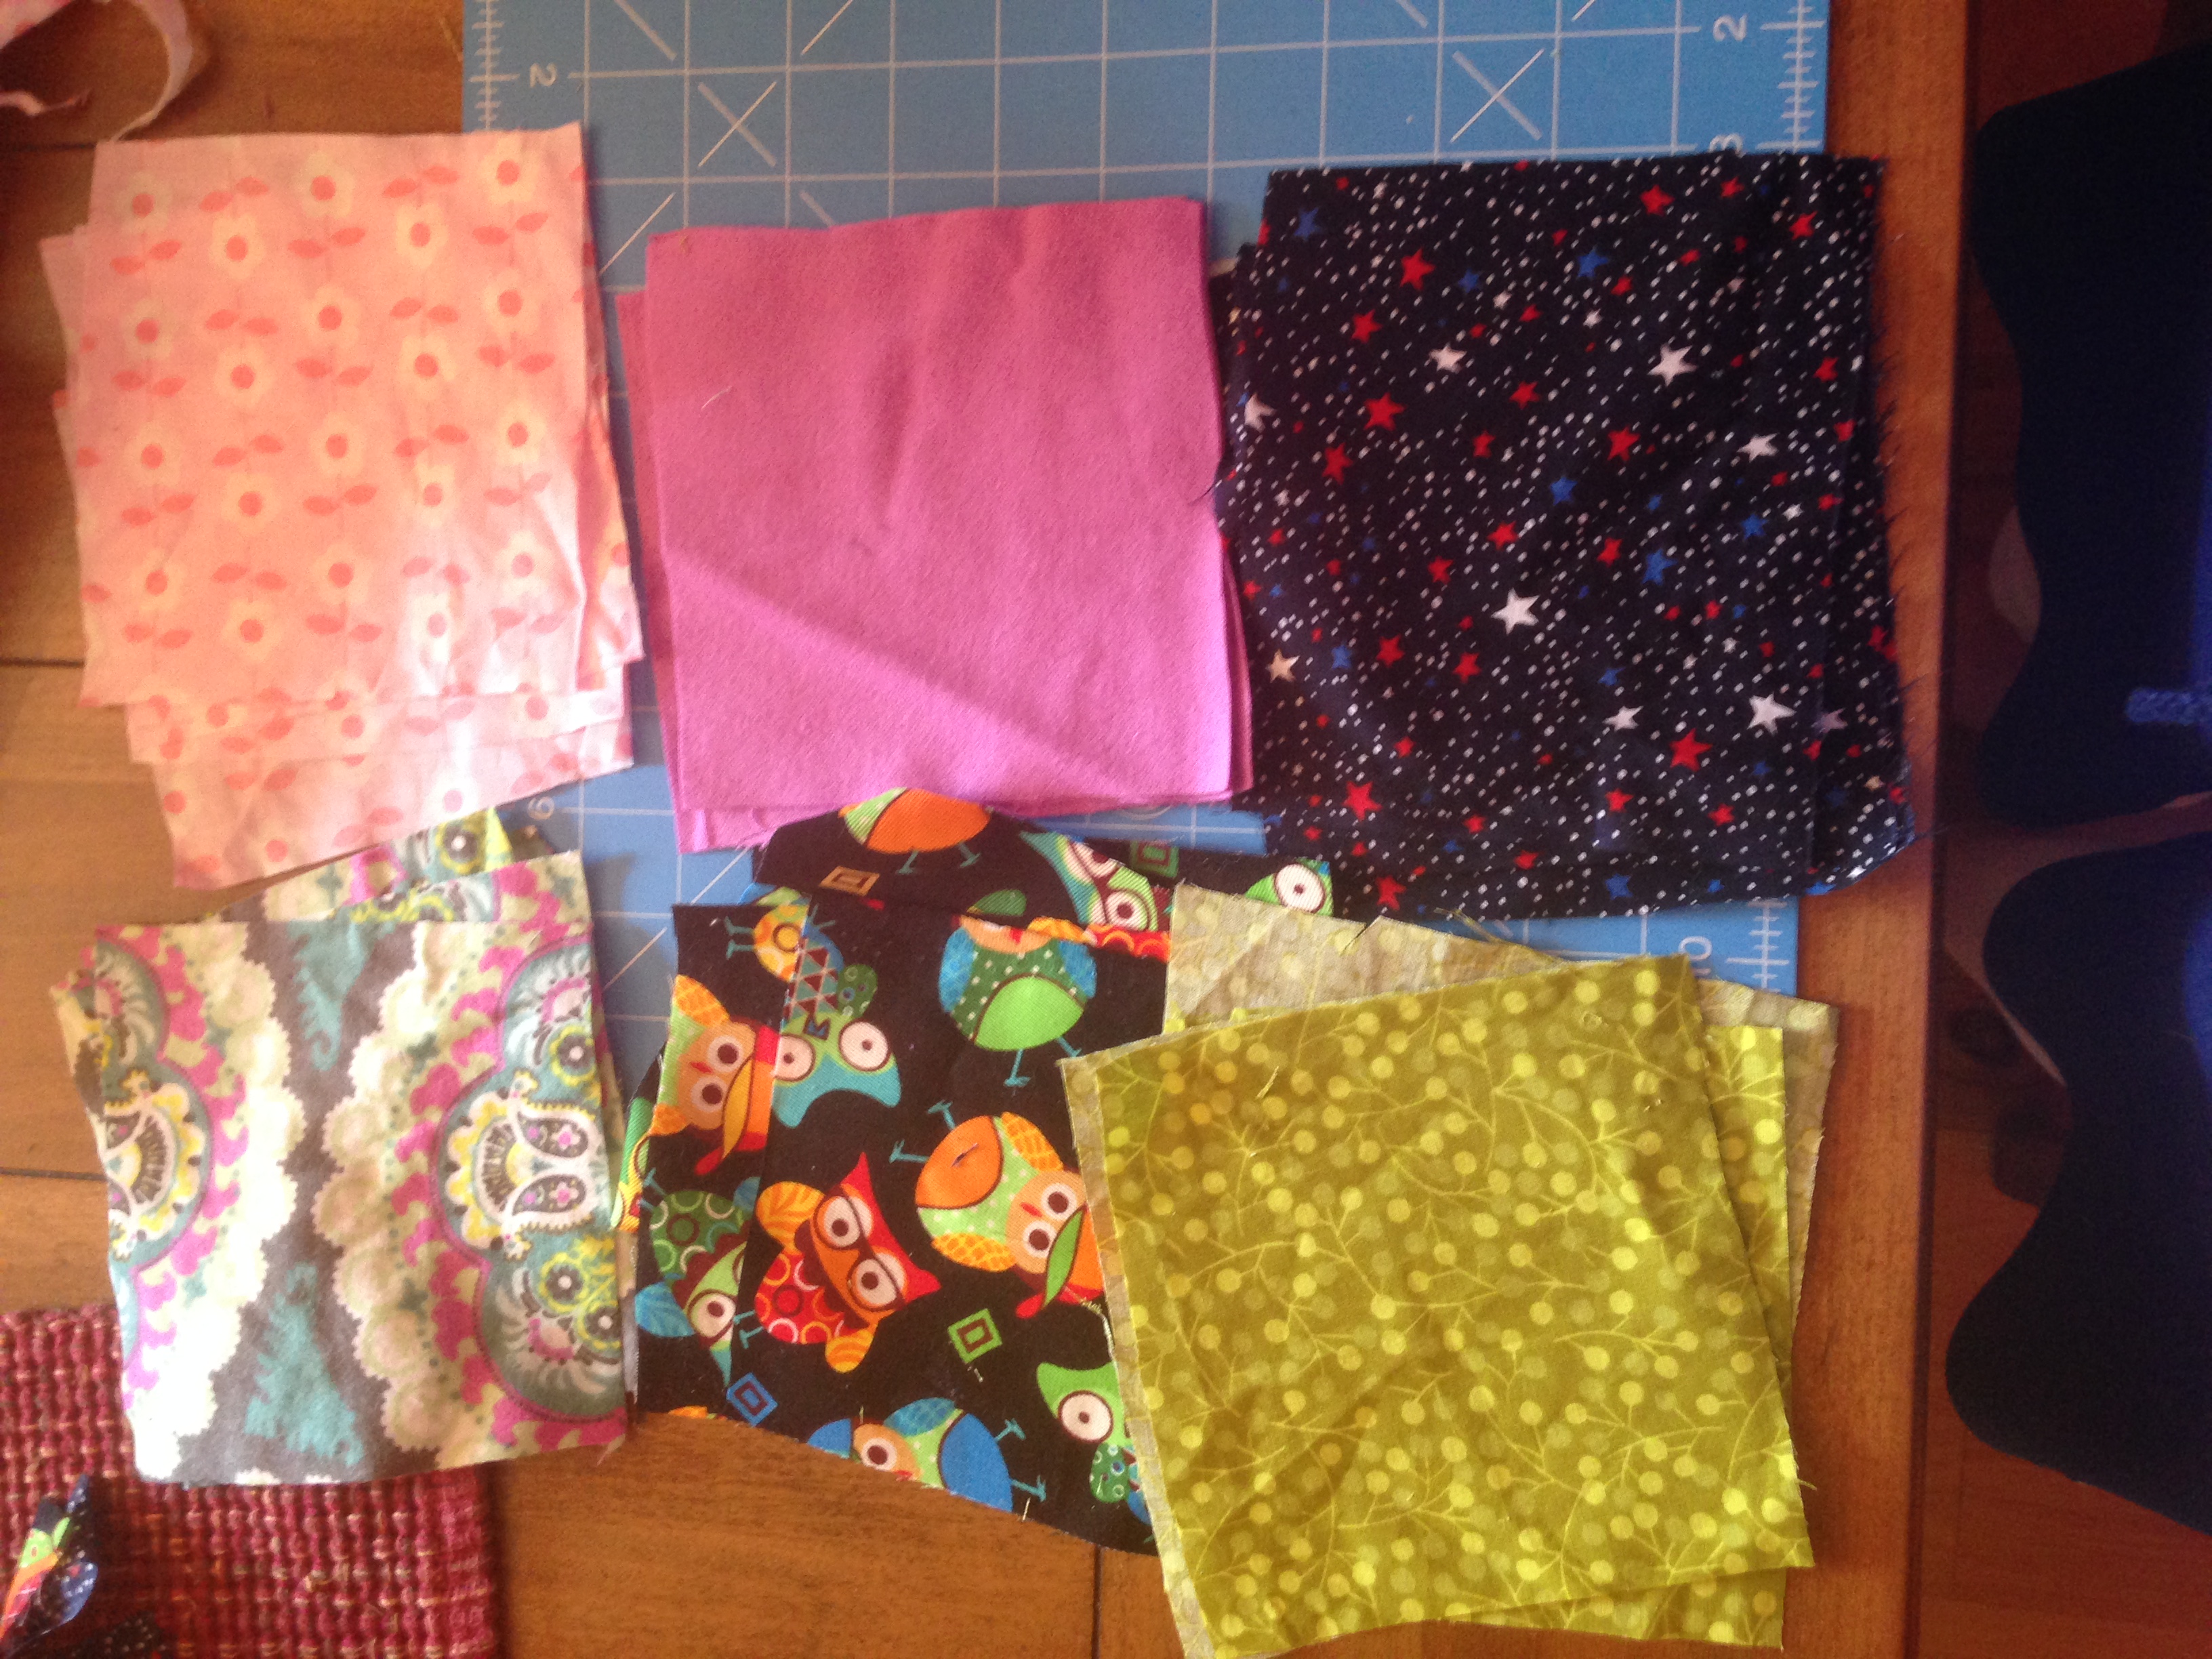
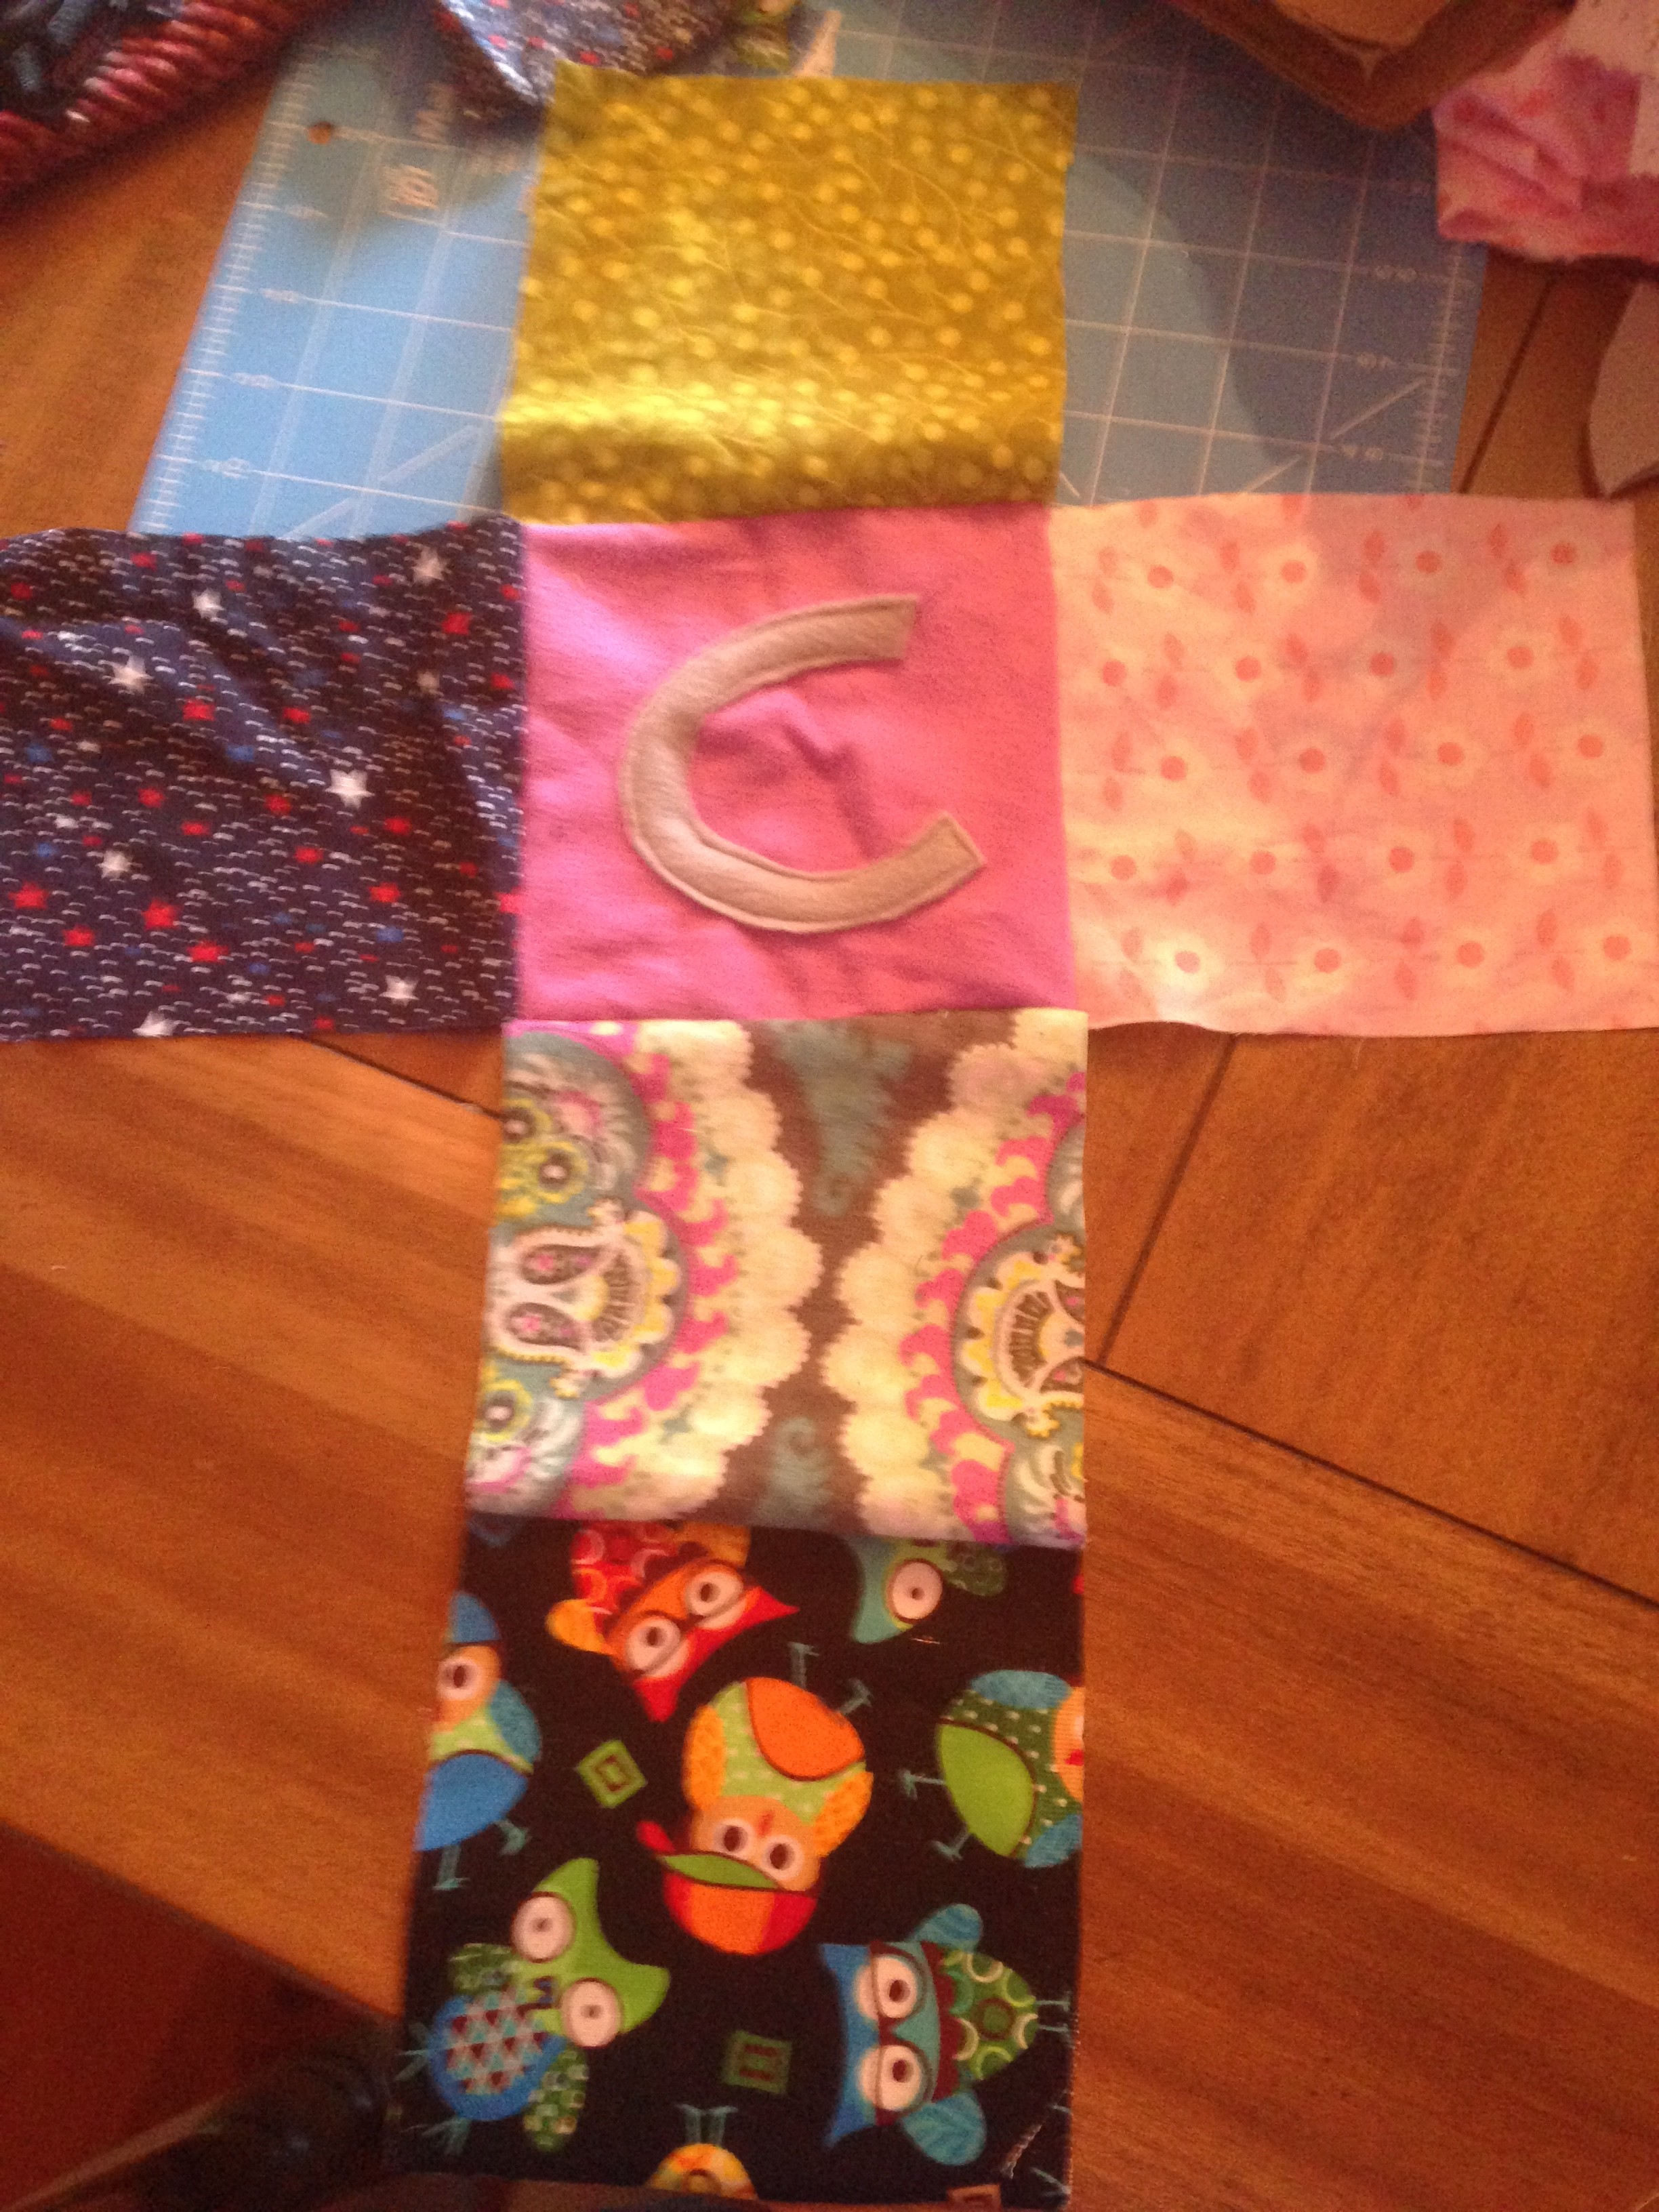
fabric: There are six sides to each square. You can chose your colors and textures. You will need six squares for each letter you are making. In this case, I used four letters for four blocks and six different pattern pieces with all different textures and patterns. This is the fun part! You can of course color coordinate for a boy or girl; however, I chose to do fun patterns that I knew my little one would love to look at, catch her attention, and also advance her imagination.
So there are six sides to the blocks so I picked those fabrics and chose my size for the blocks to be 6×6 and cut out four of each fabric I wanted to use. This is also great if you have extra scrap pieces you want to use up.
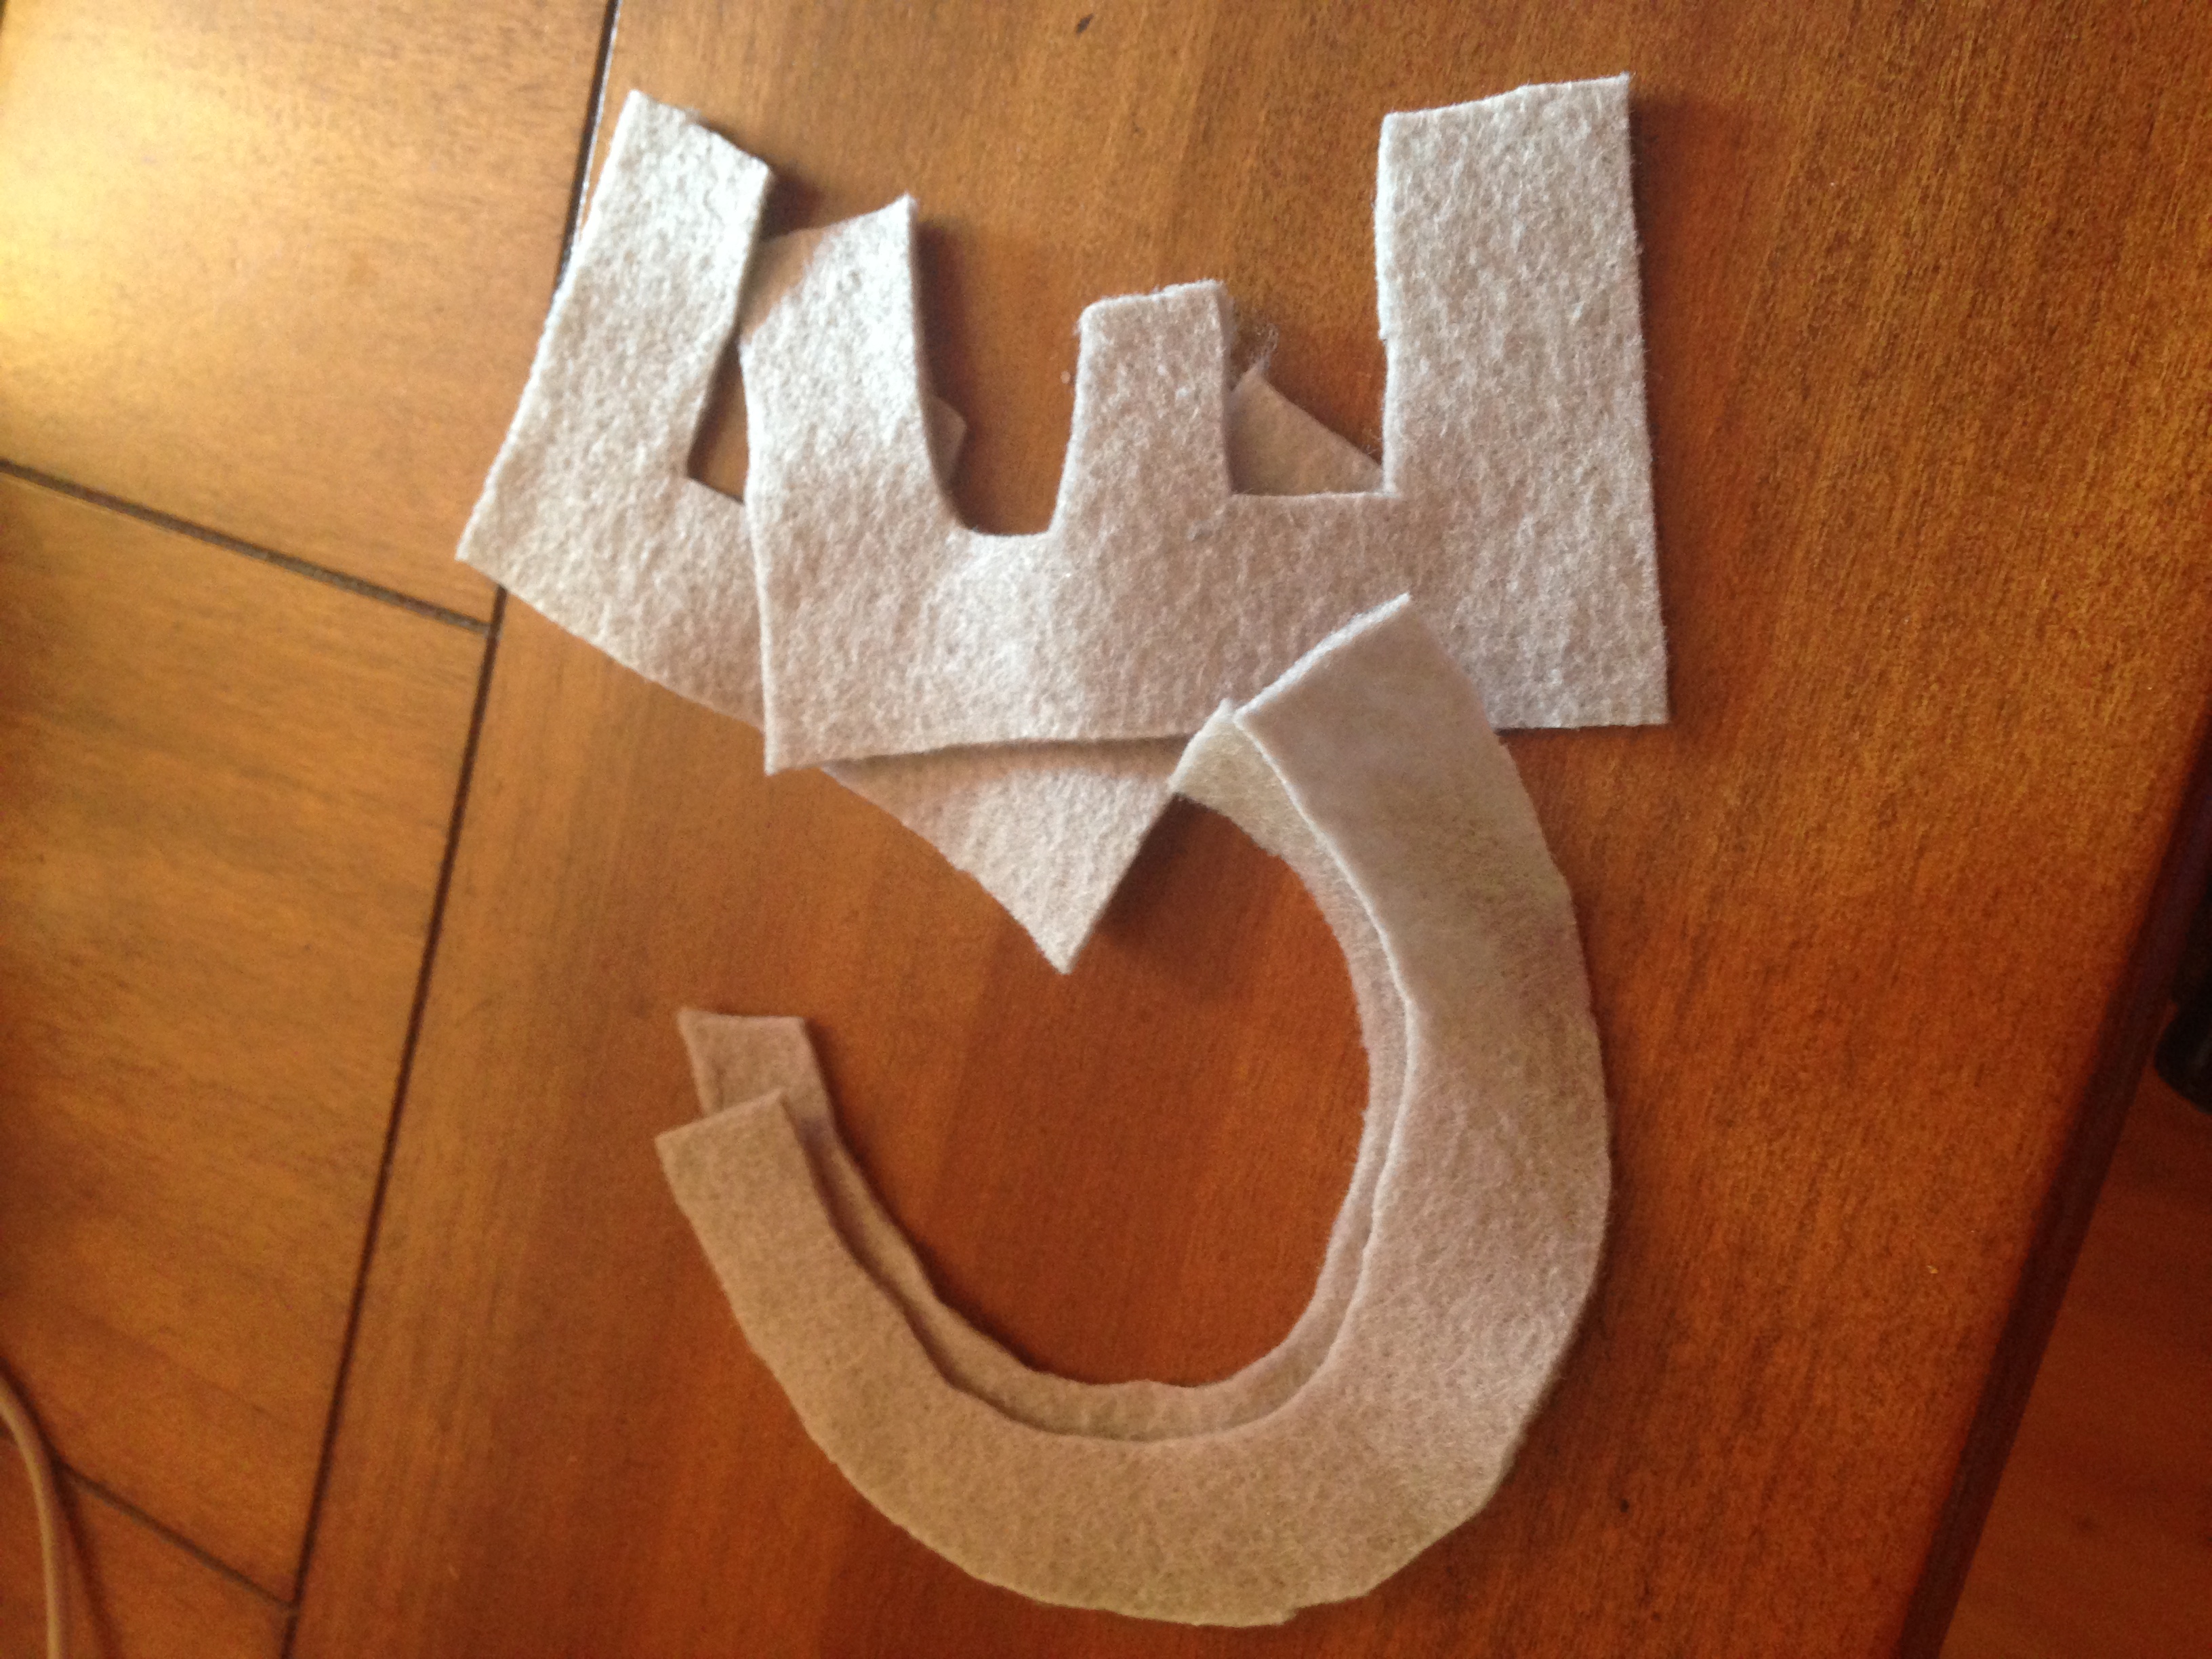
Next, you want to cut out your letters. I did this free hand. I used extra felt I had sitting around! Once completed, sew them on the fabric you would like for each block.
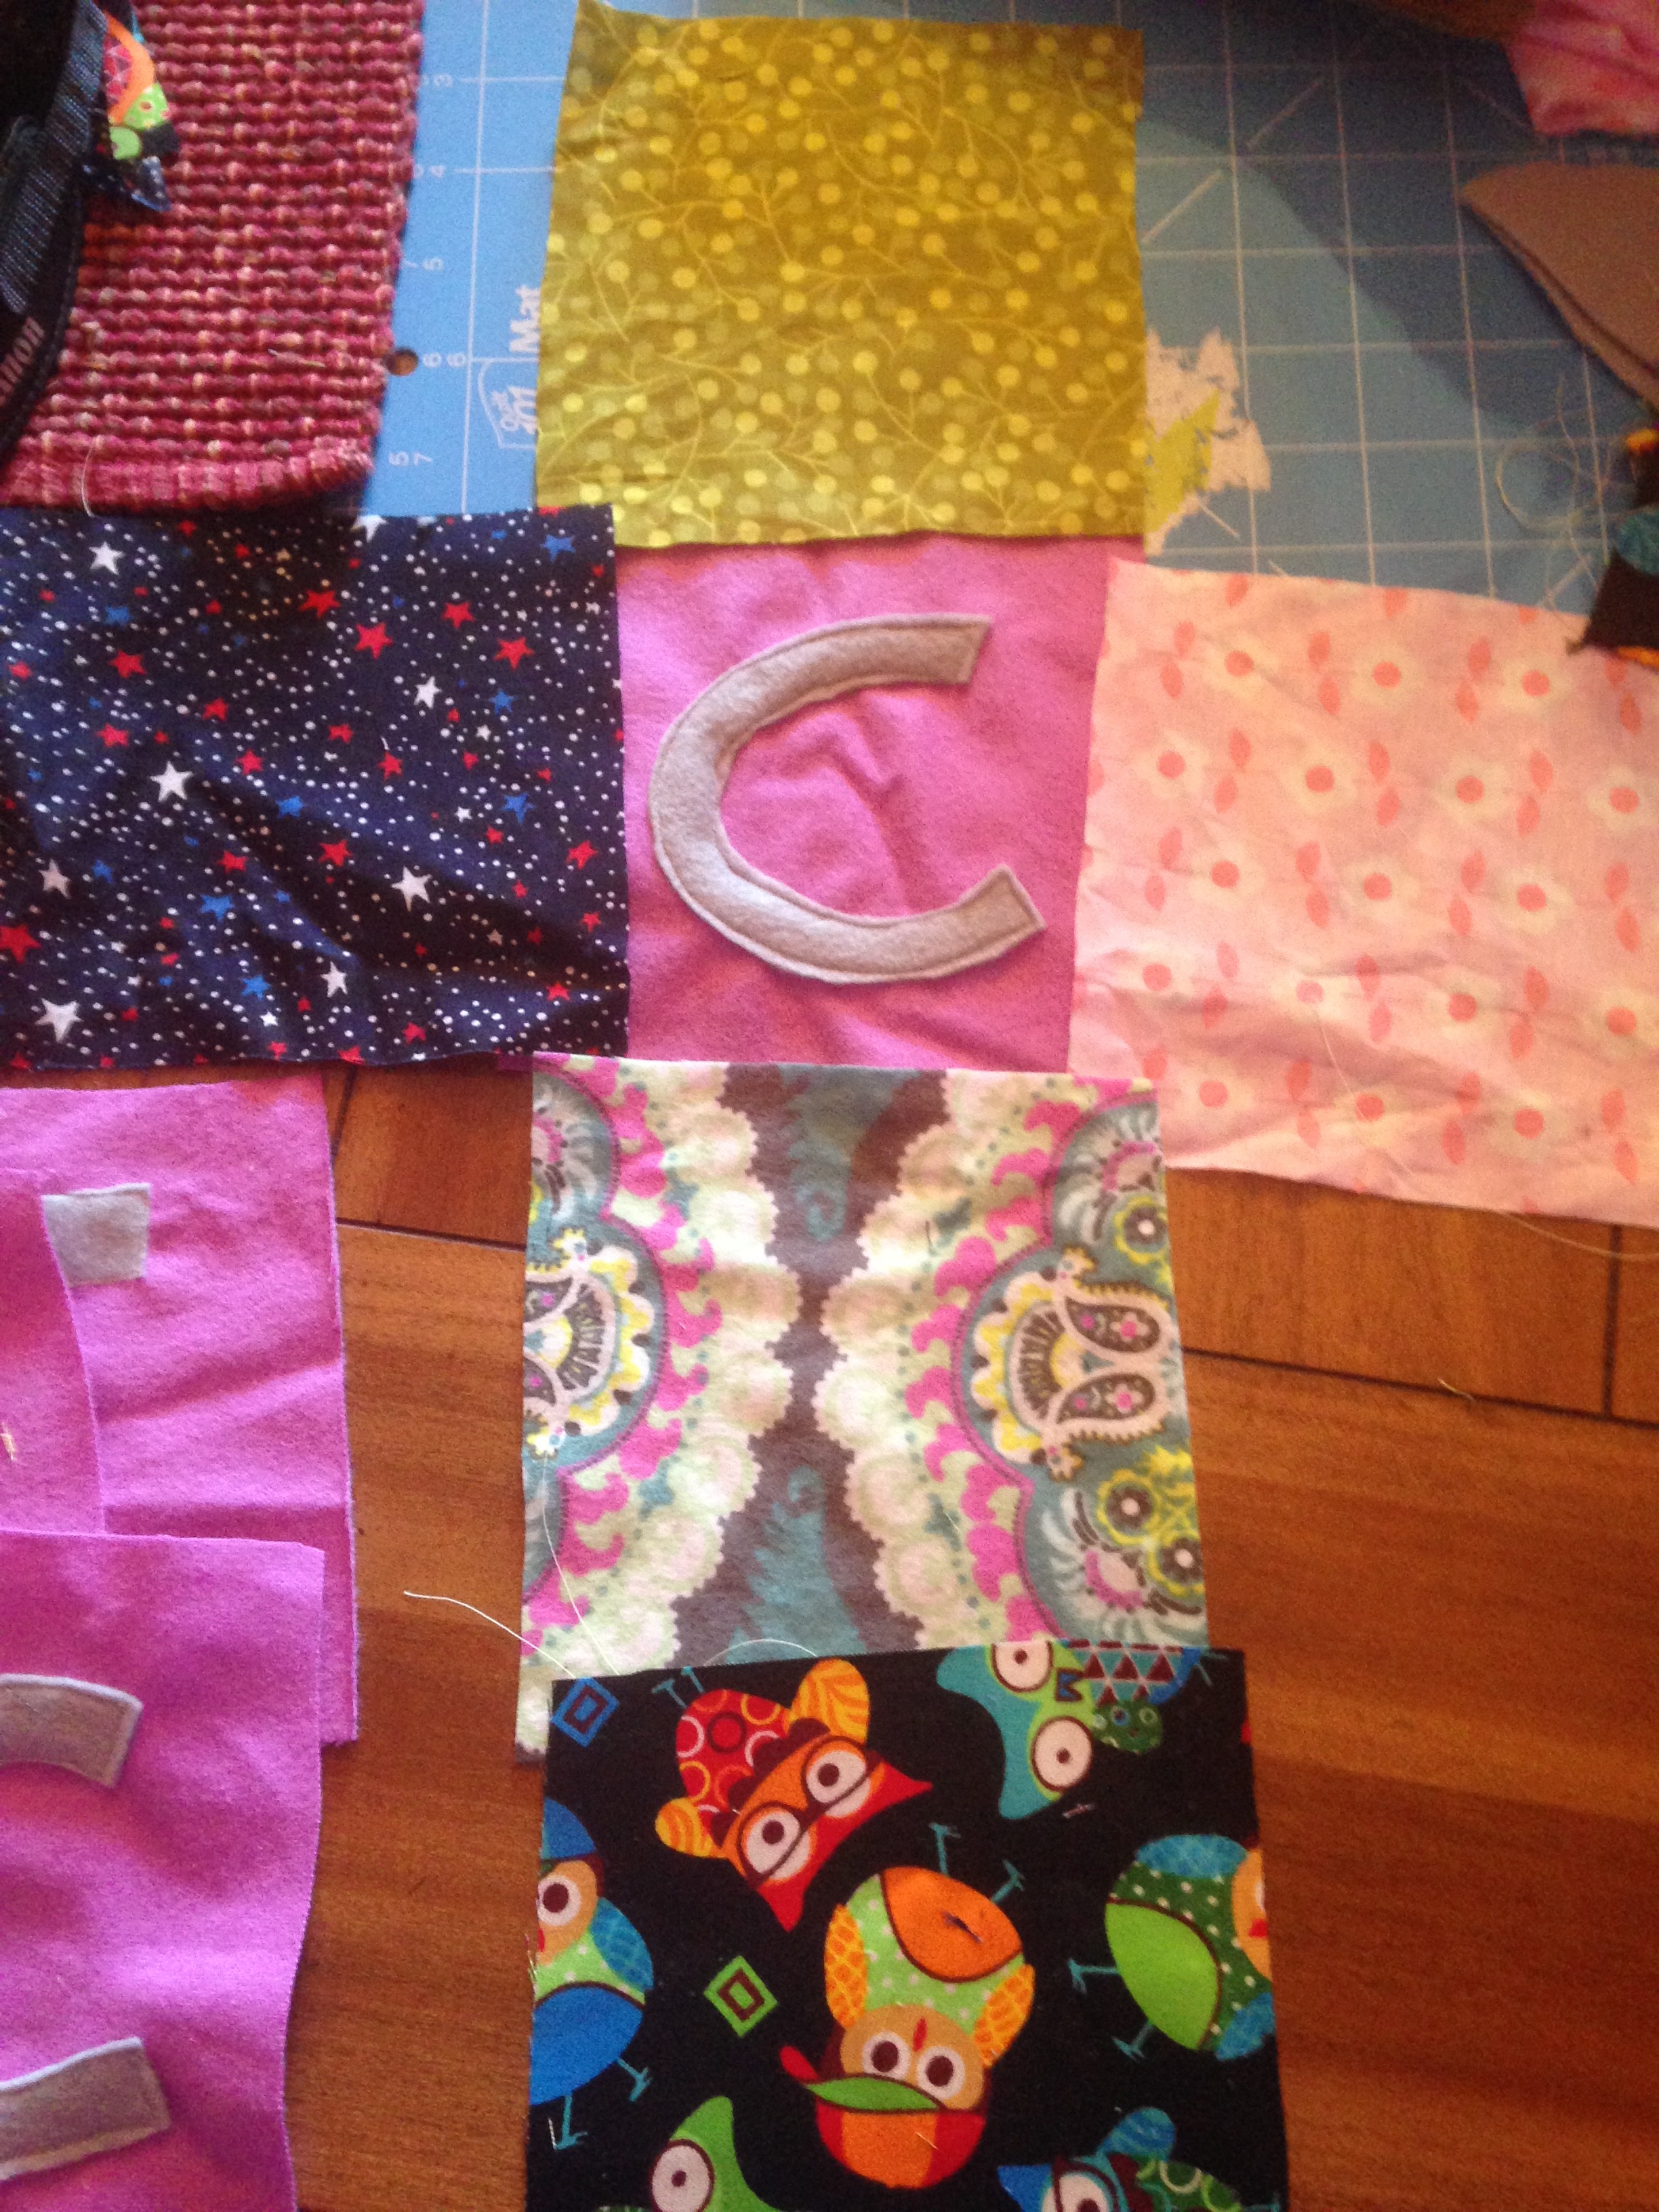
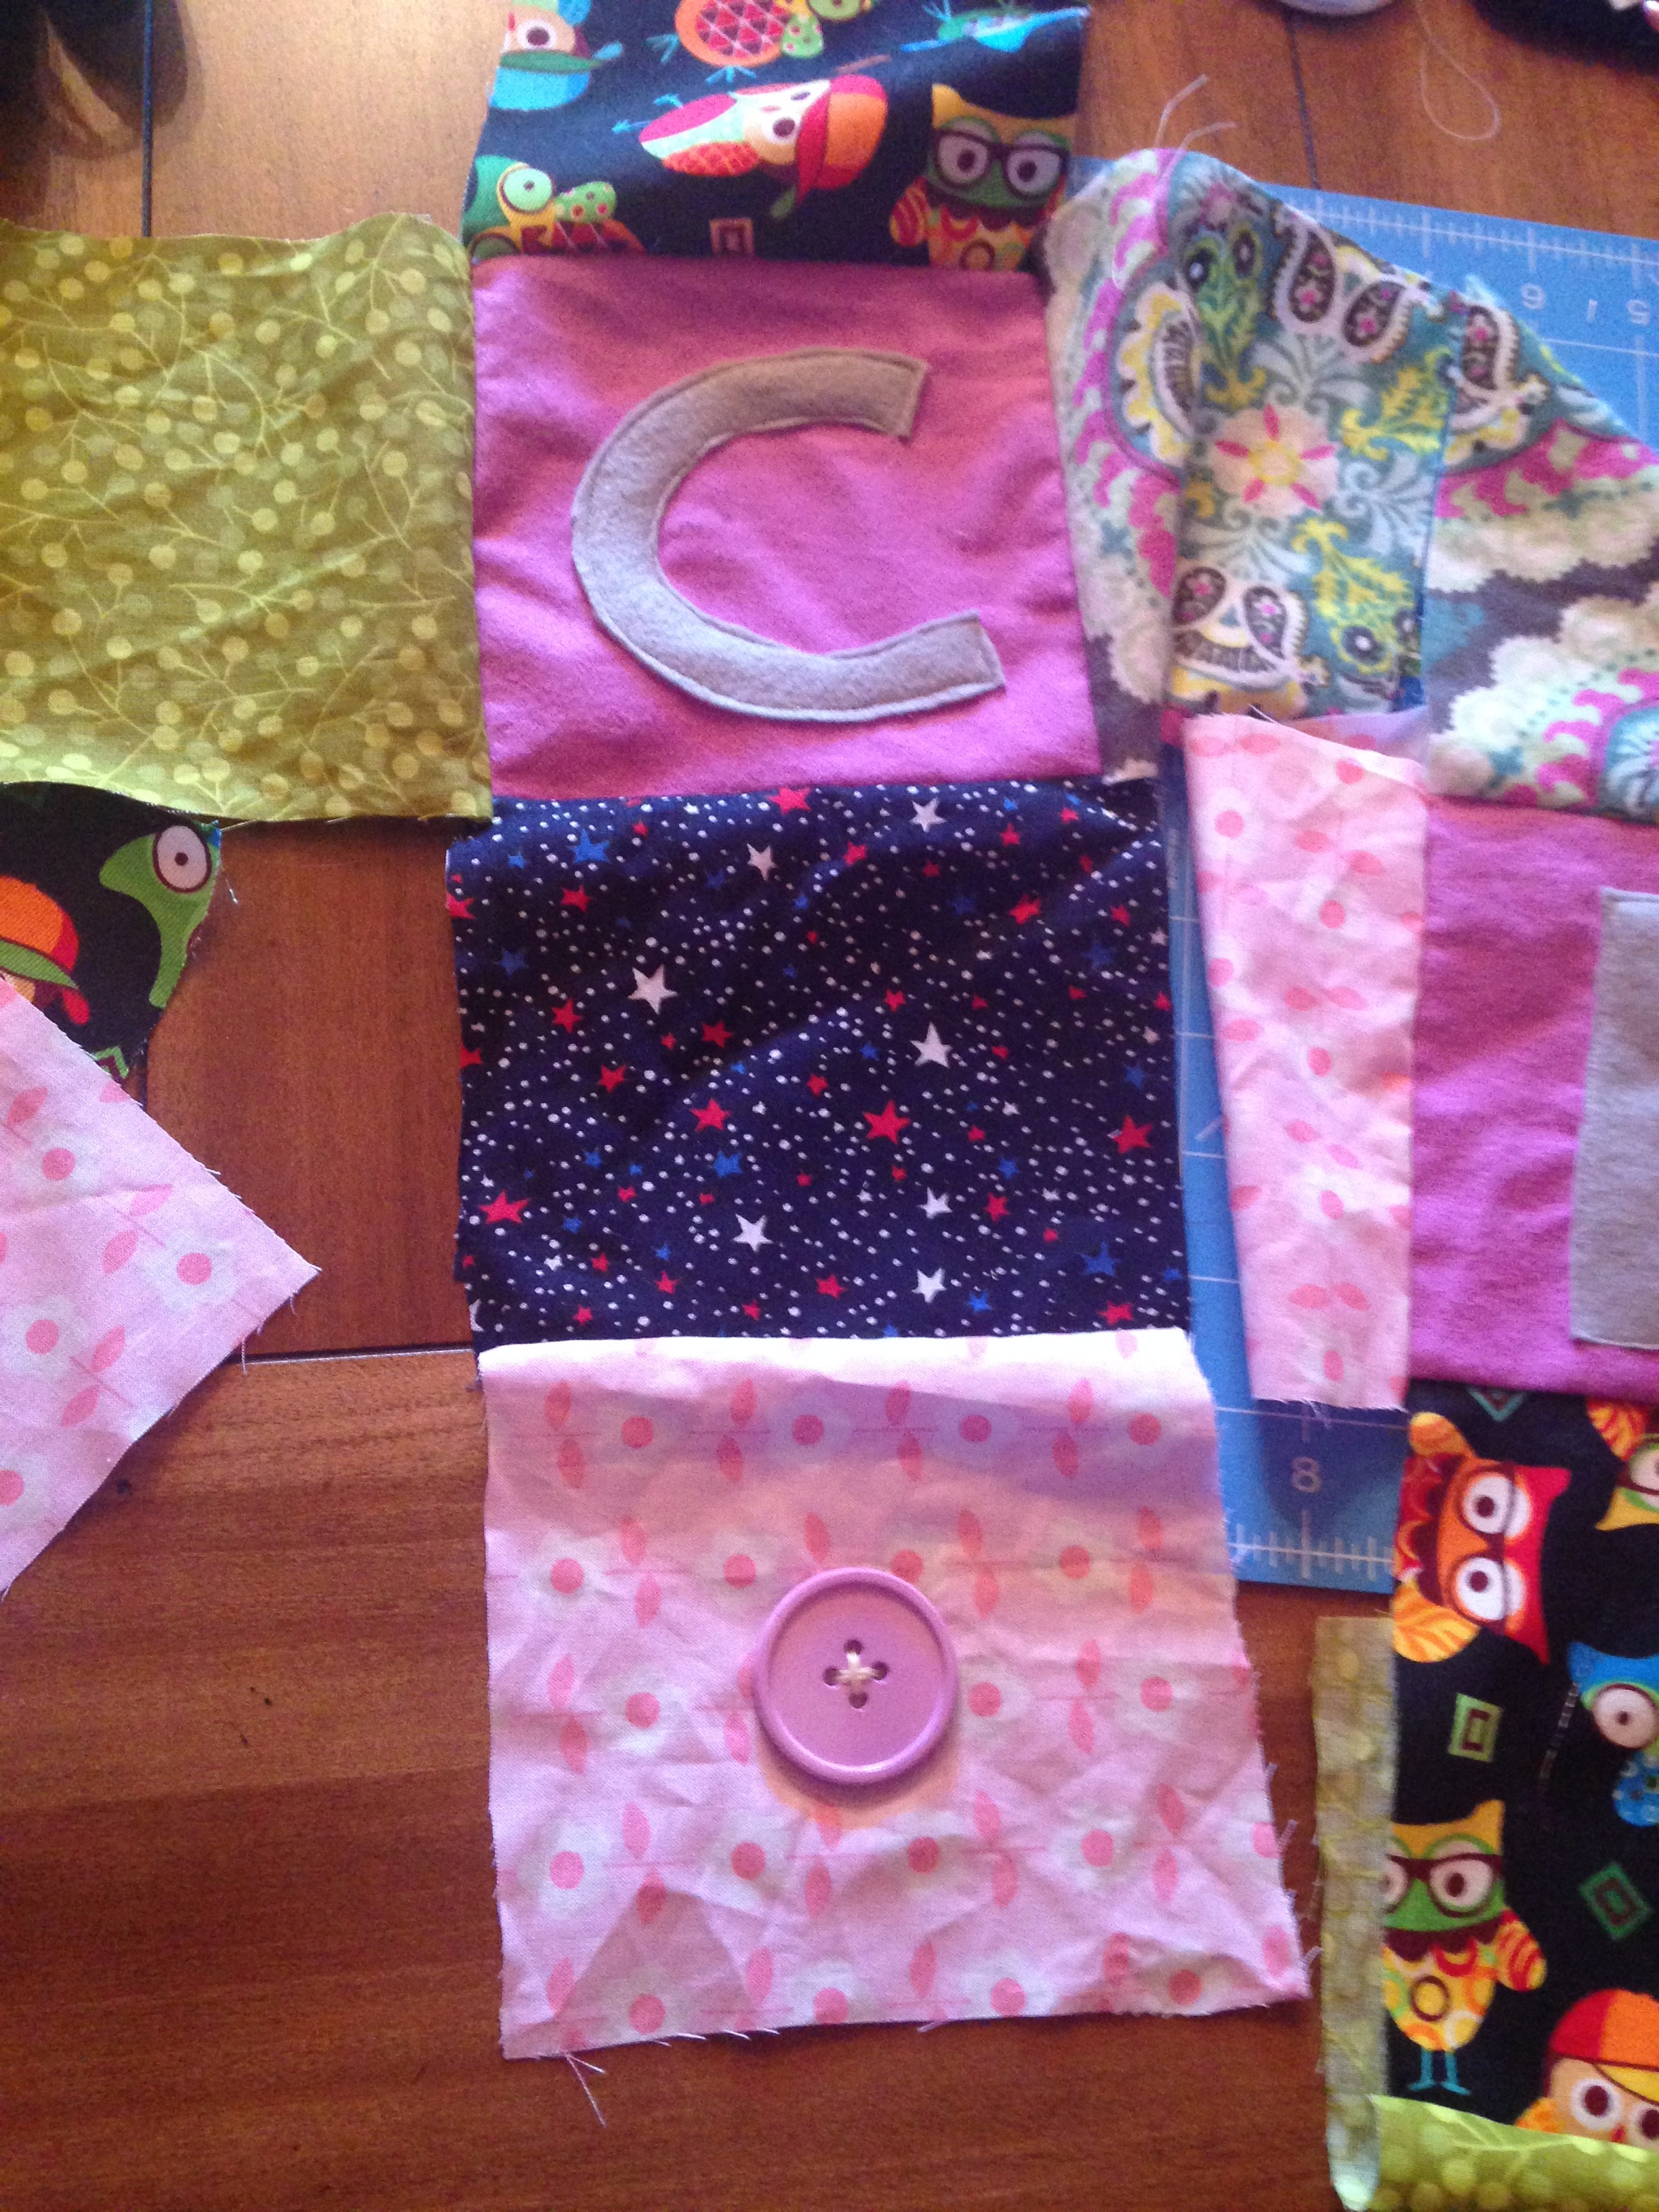
Now you want to setup your pieces to
make your block. Put the letter in the
center and surround it as shown with your
other fabrics. You may want to have the same pattern
for each block or different spots for each
fabric square
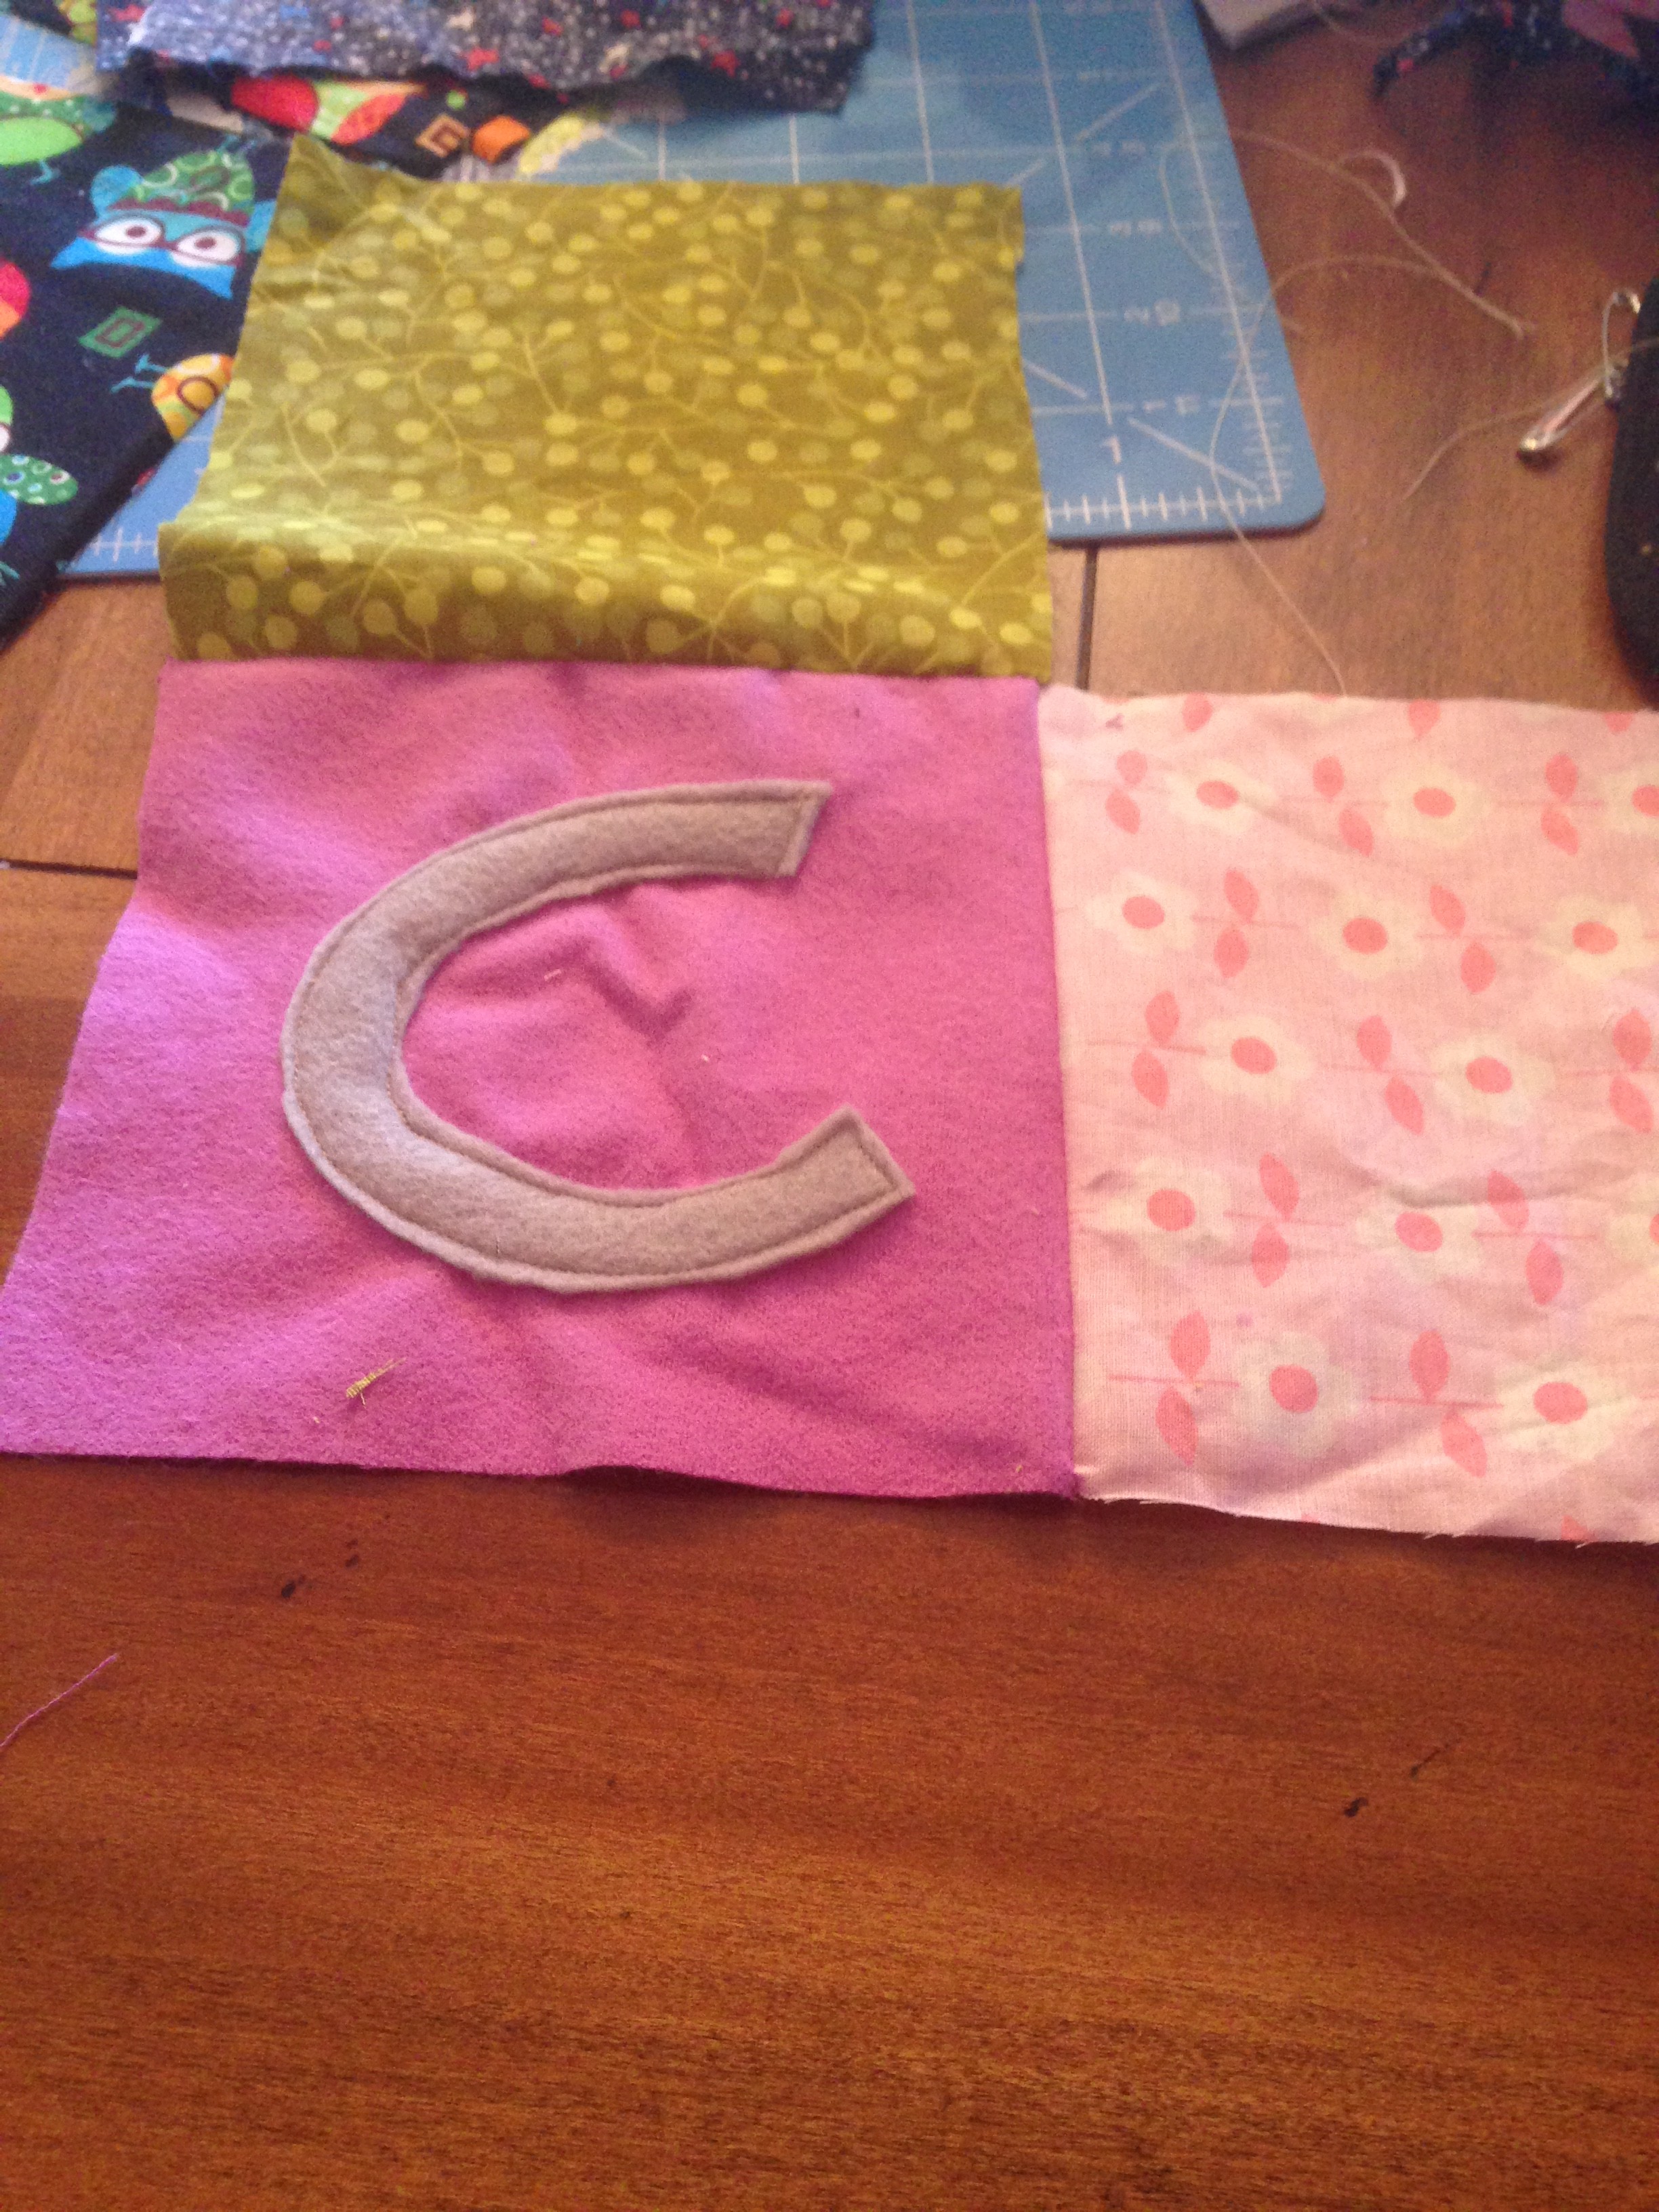
Start sewing pattern pieces facing
each other. Take top piece and put pattern facing inside on the letter and sew the top edge, then continue until they are all sew together as shown below. Do this for all your blocks.
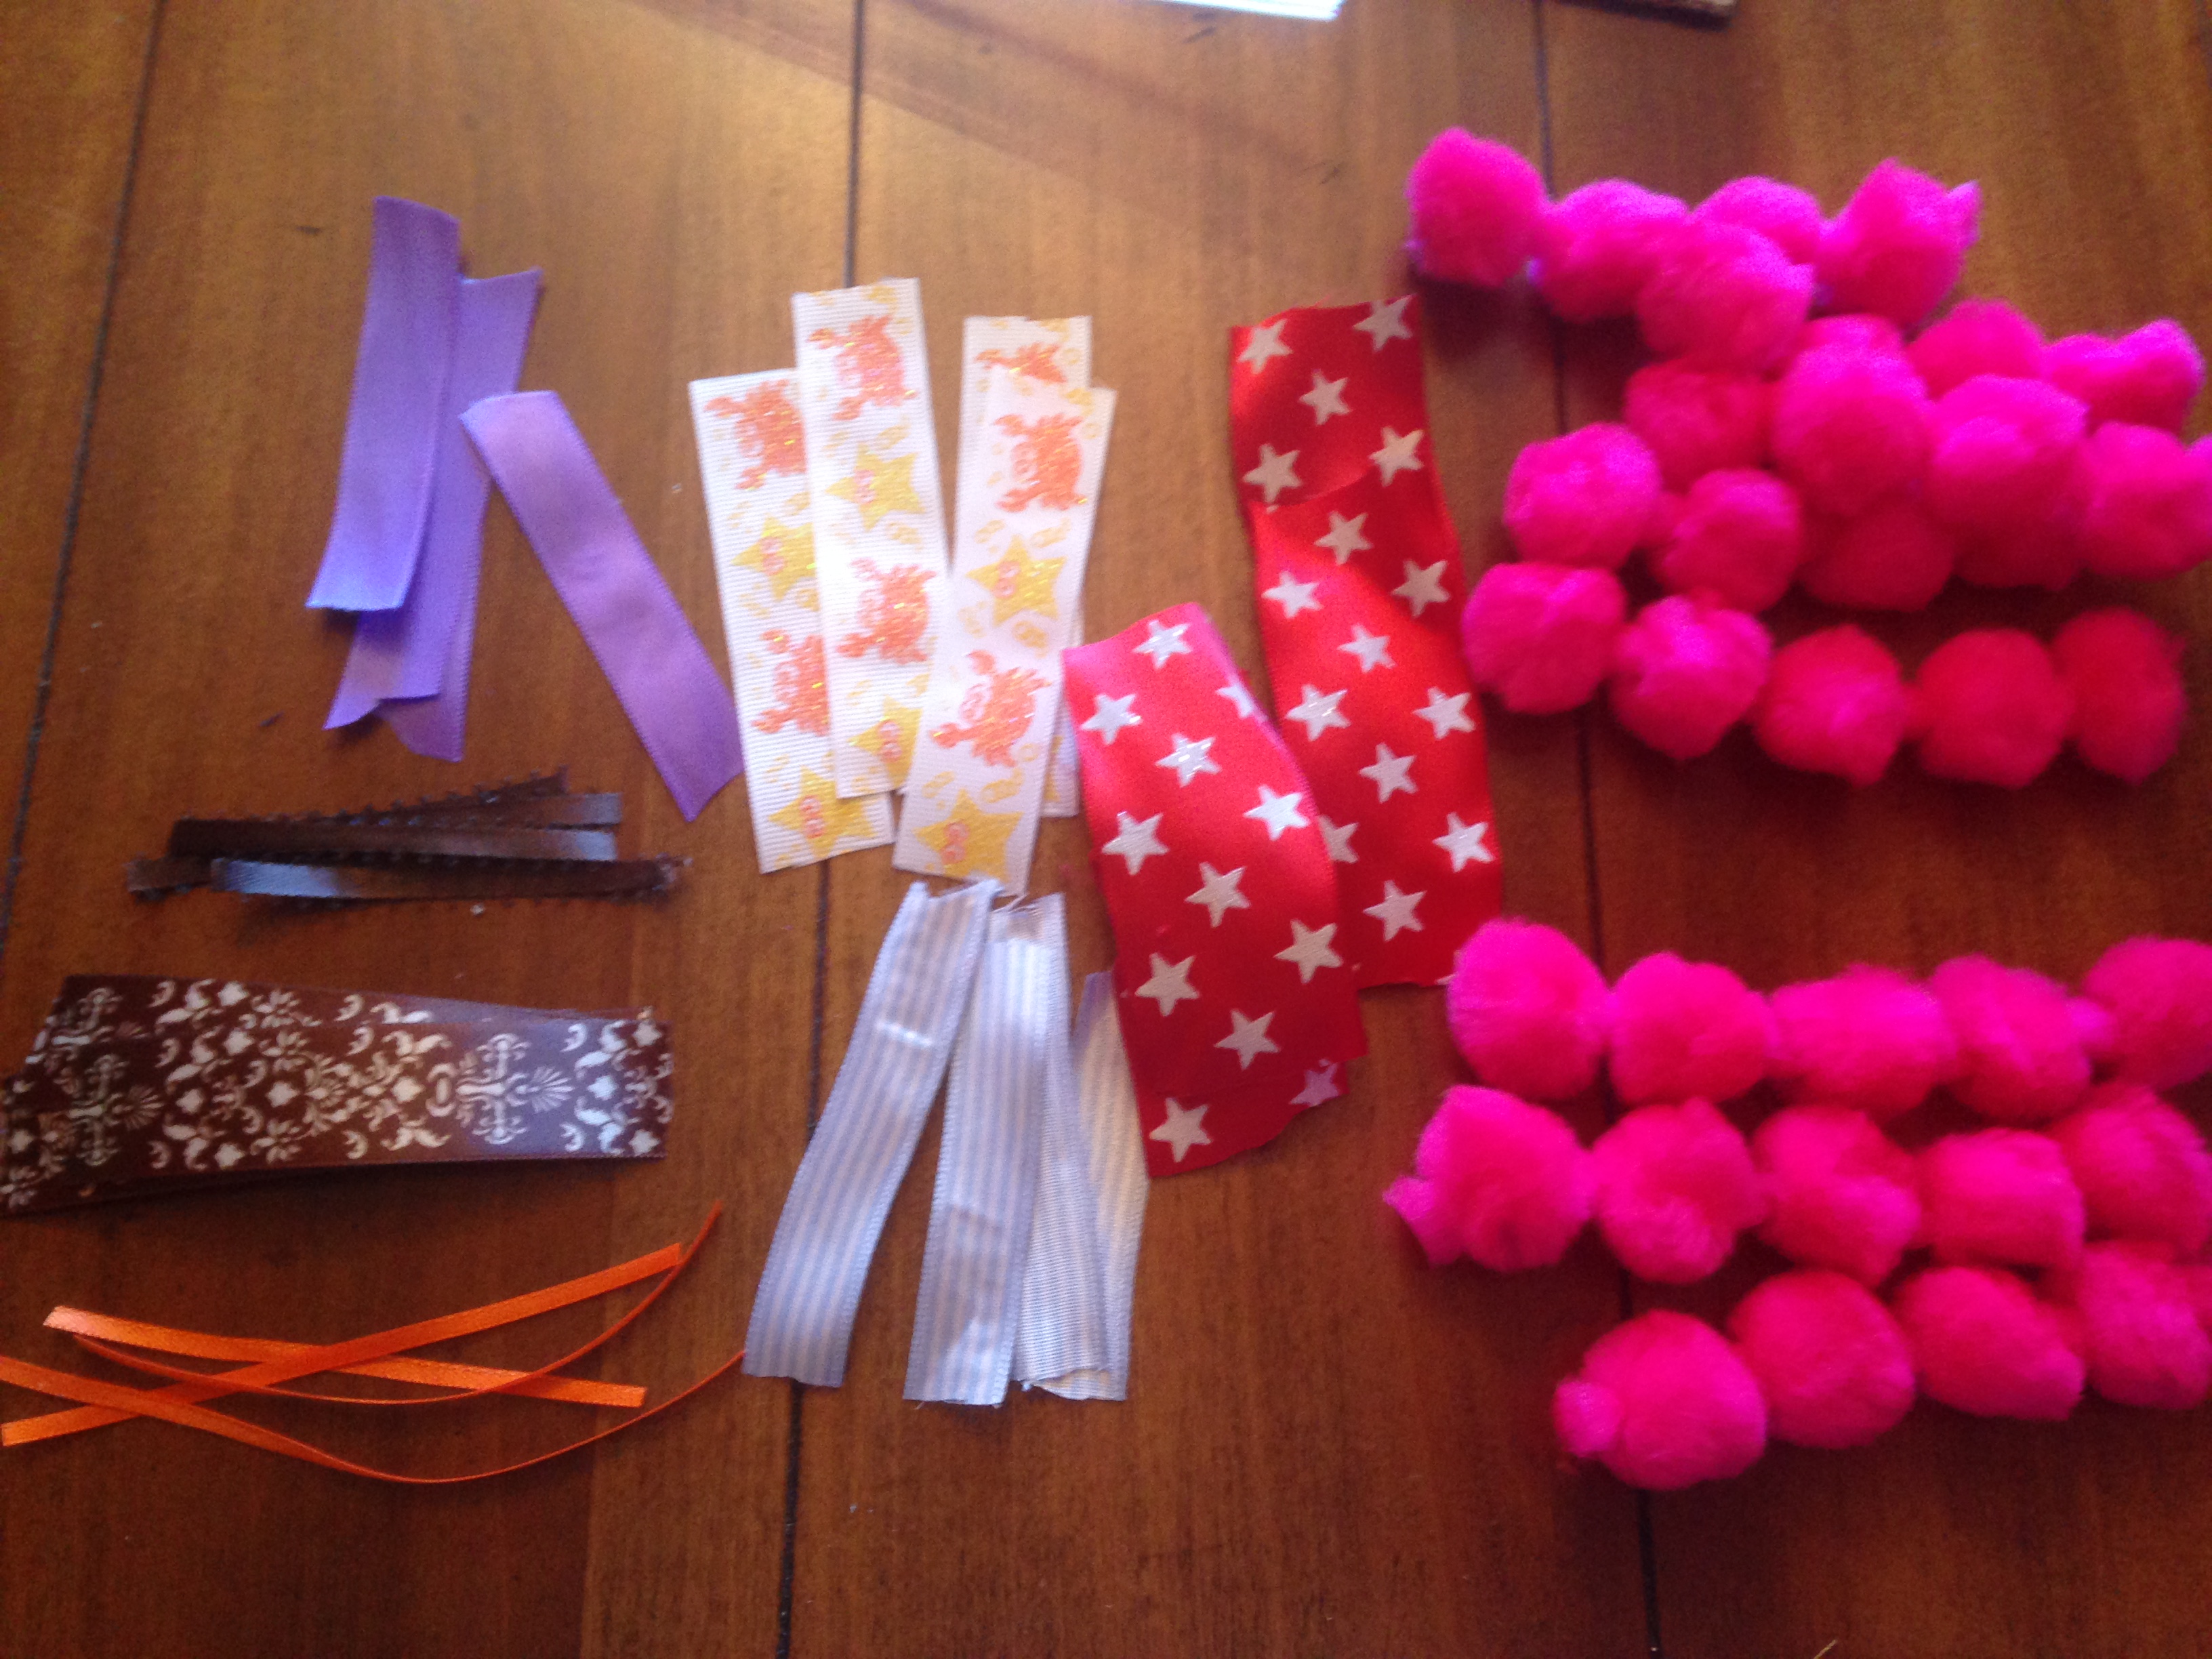
If you want to add ribbons, buttons, or
any other accessories this is the time to get
those together! So now you want to decide where to sew them. You can choose different spots on each block or the same!
Sew the ribbons on facing towards the inside of the block. If you do the opposite they will be on the inside instead of the out!
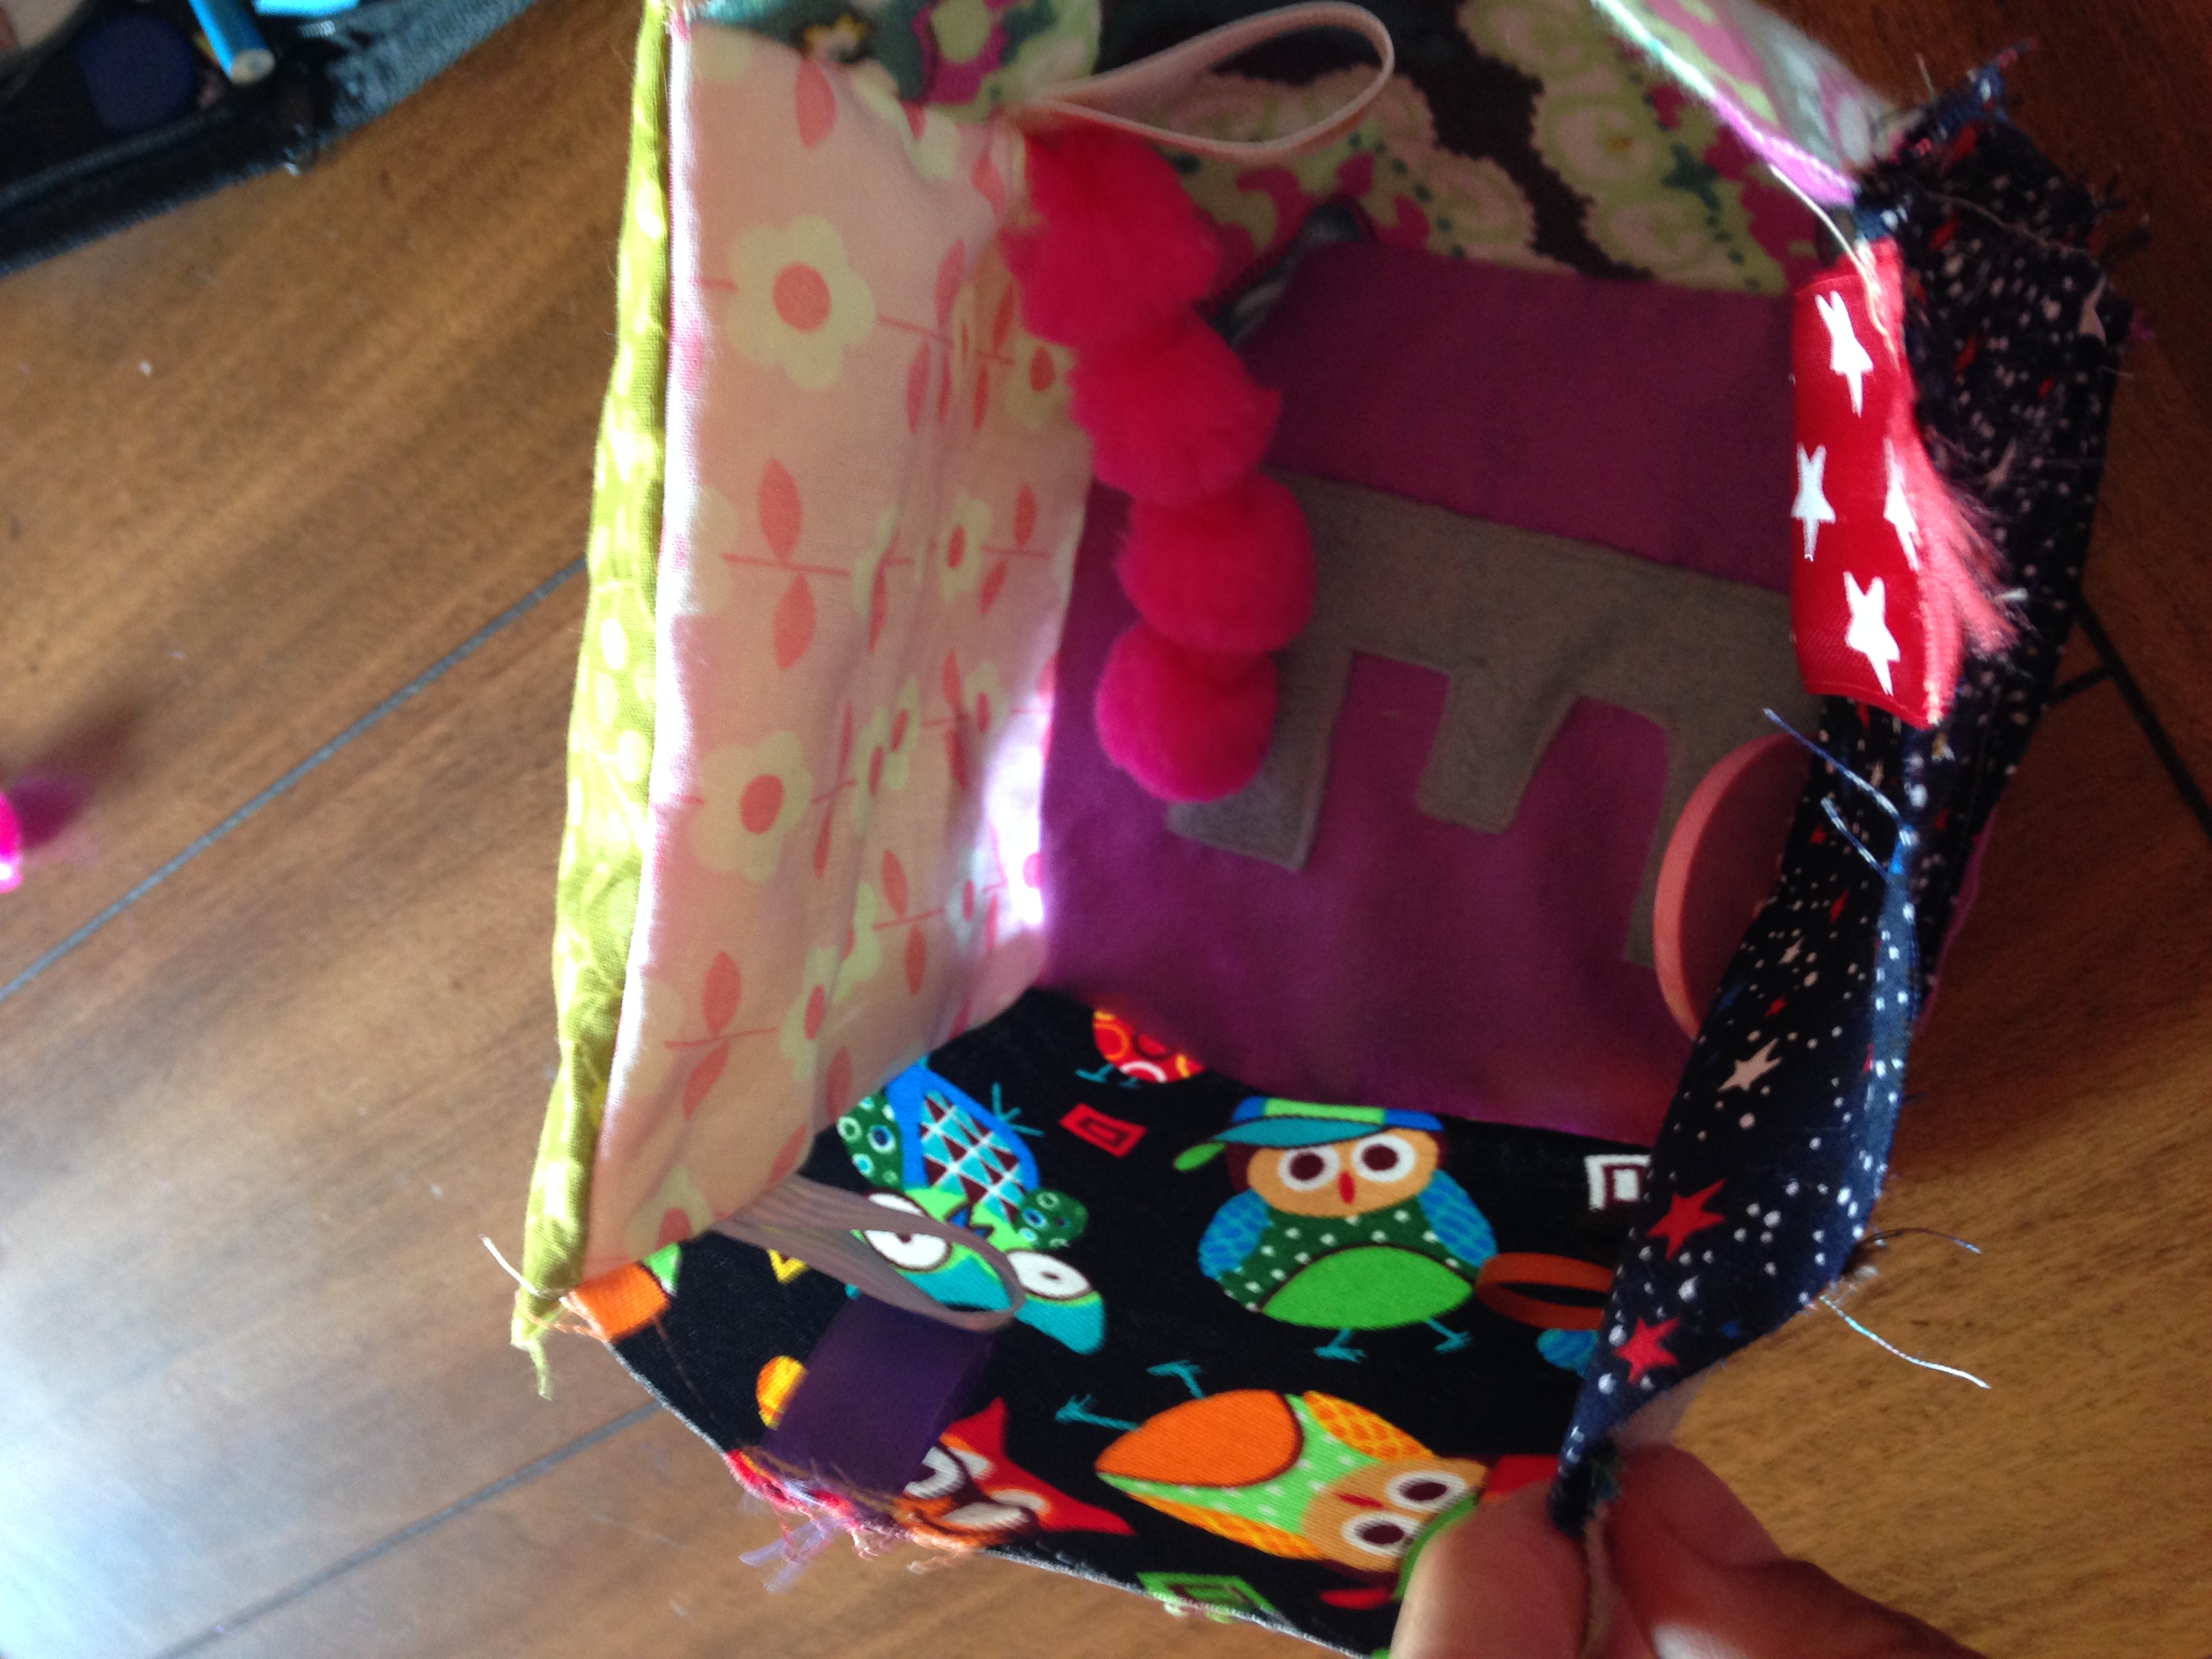
Start by sewing right sides together of two
blocks. Take the top square and fold down and to the left. You will line up the left side of the top block to the top side of the left block. Then sew. Continue this around using the letter piece as the bottom part of the block. The pattern of the fabric should end up in the inside of the block.
Continue around until you have all sides except one sewn together.
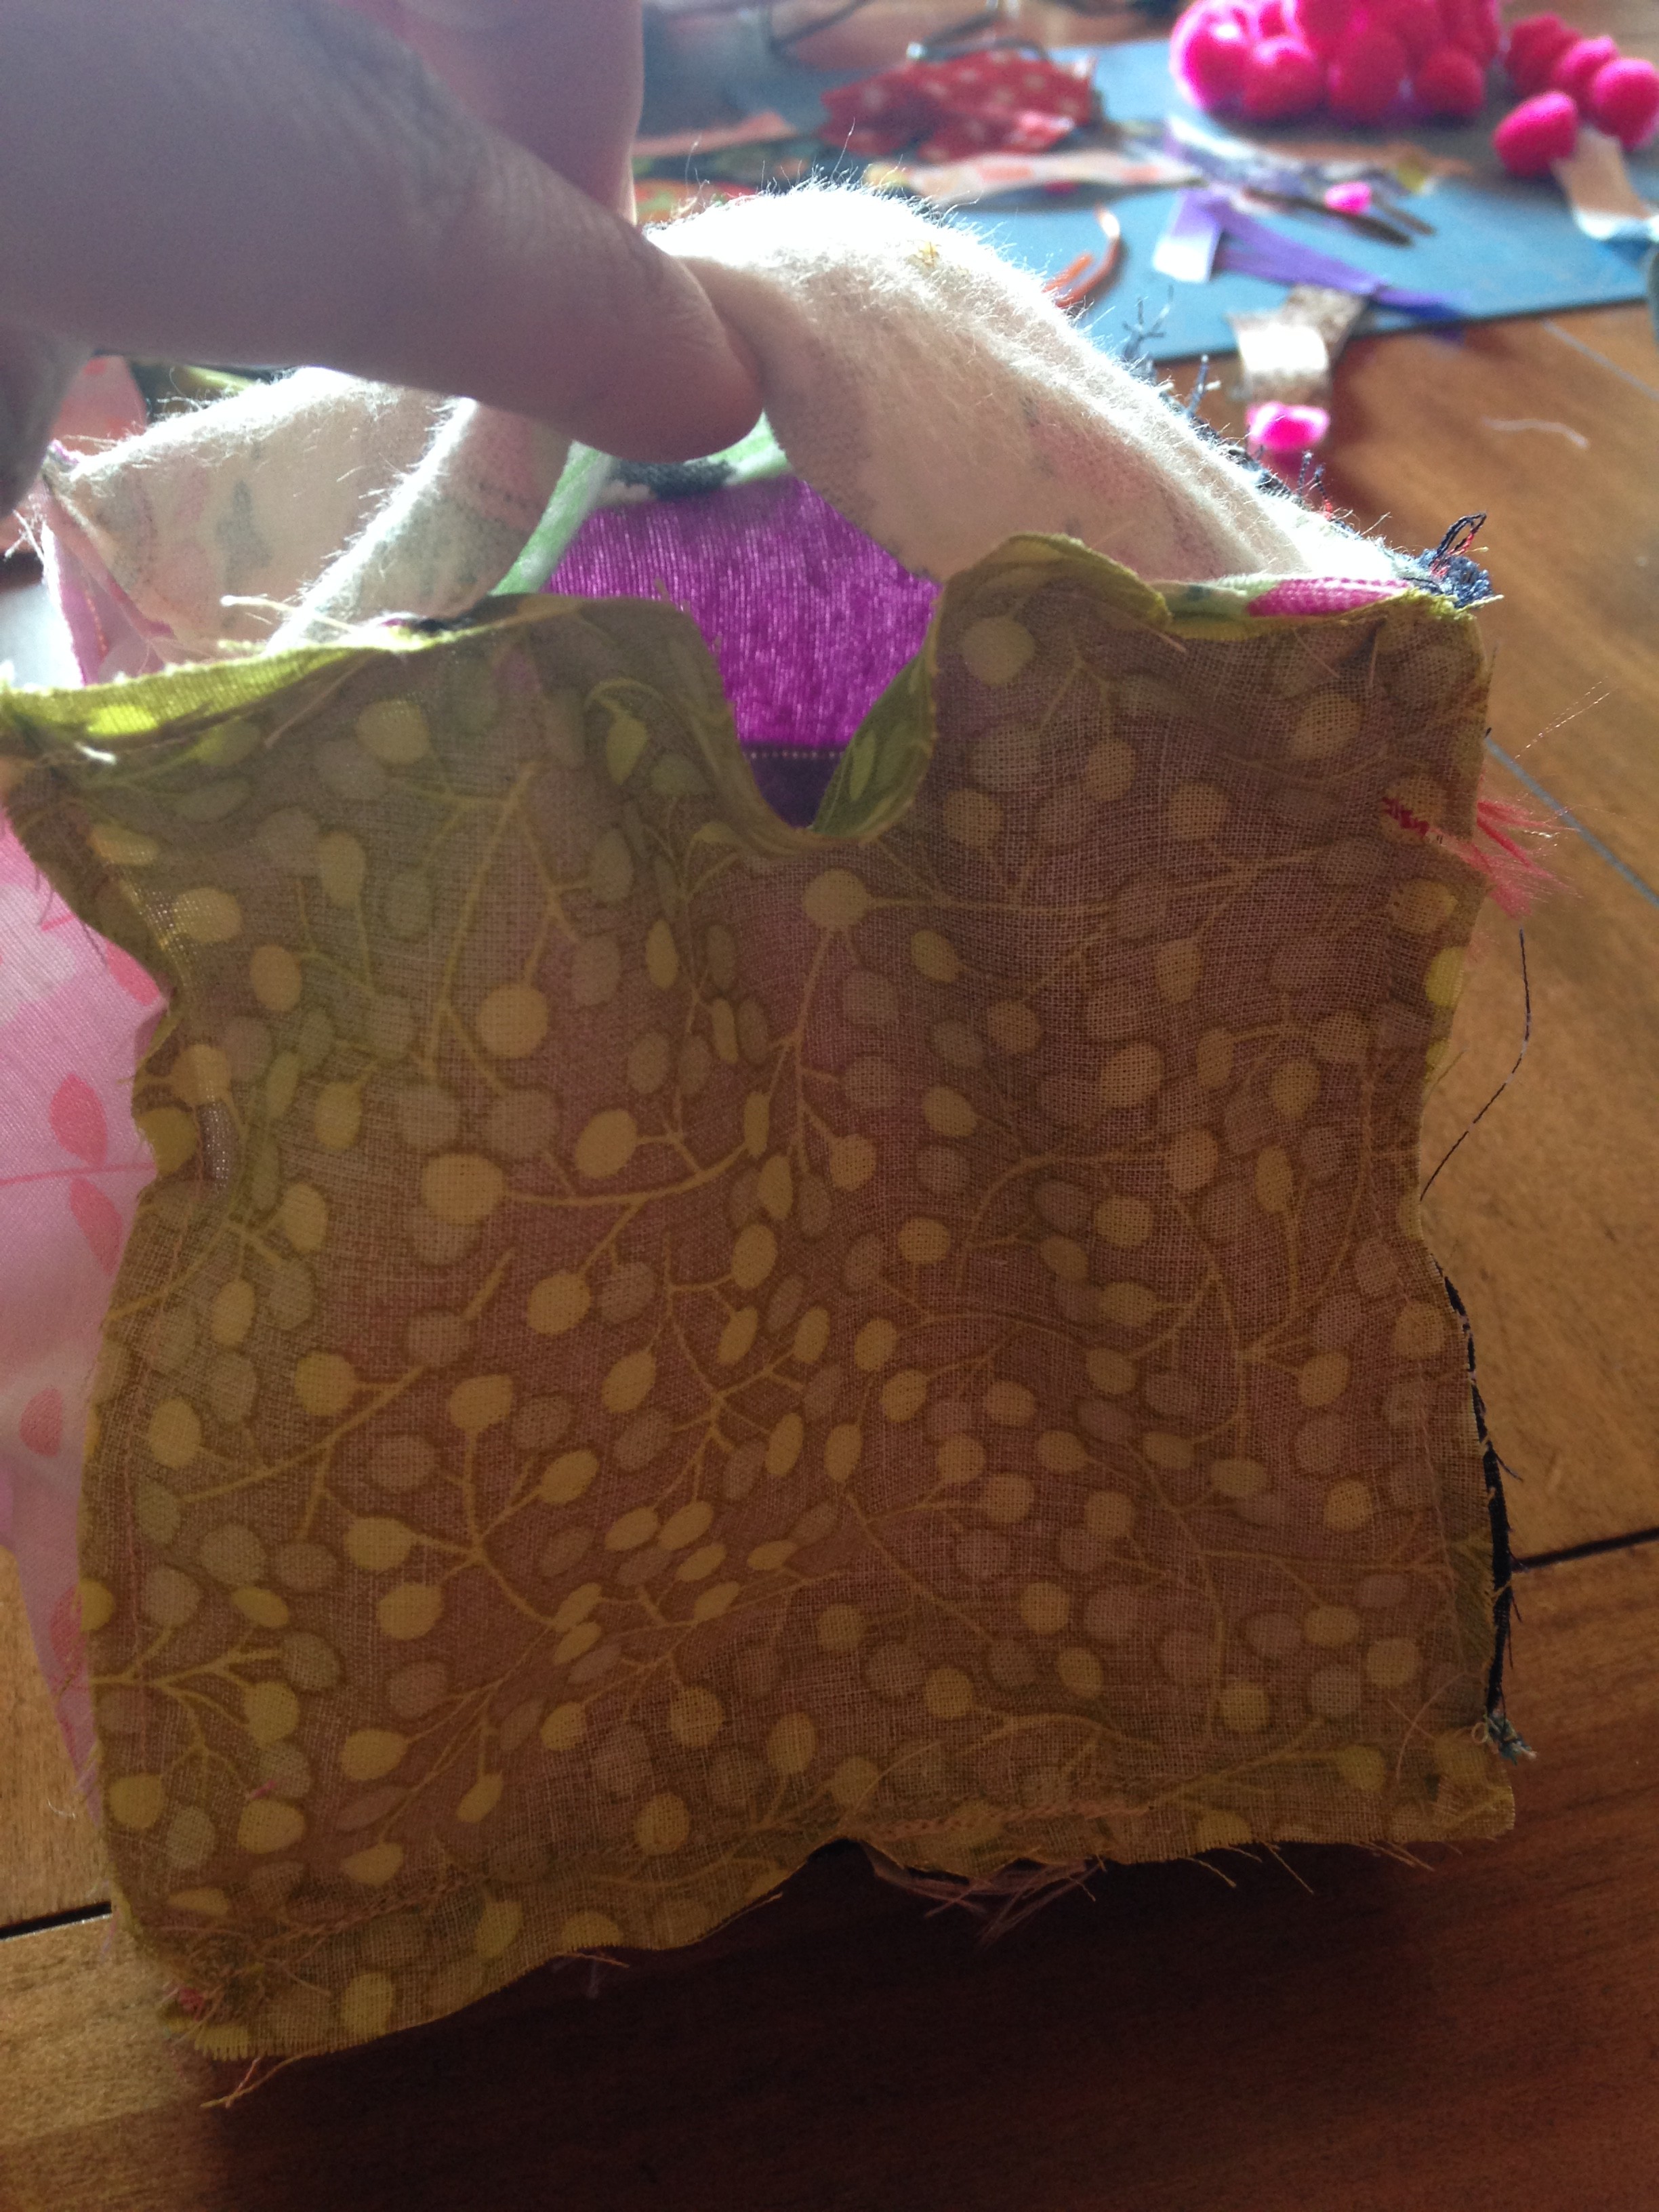
For the last square, Sew each side around but for one side leave a 2-3 inch opening so you can pull the right side out. Don’t forget to back stitch well!
Okay! Almost there! So now you want to turn your block right side out. So reach in there and pull the fabric through. Then use a pencil, pen, crochet needle or what not to poke out the corners and make them shapely.
Next, grab your stuffing, in this case polyfil, and start filling.
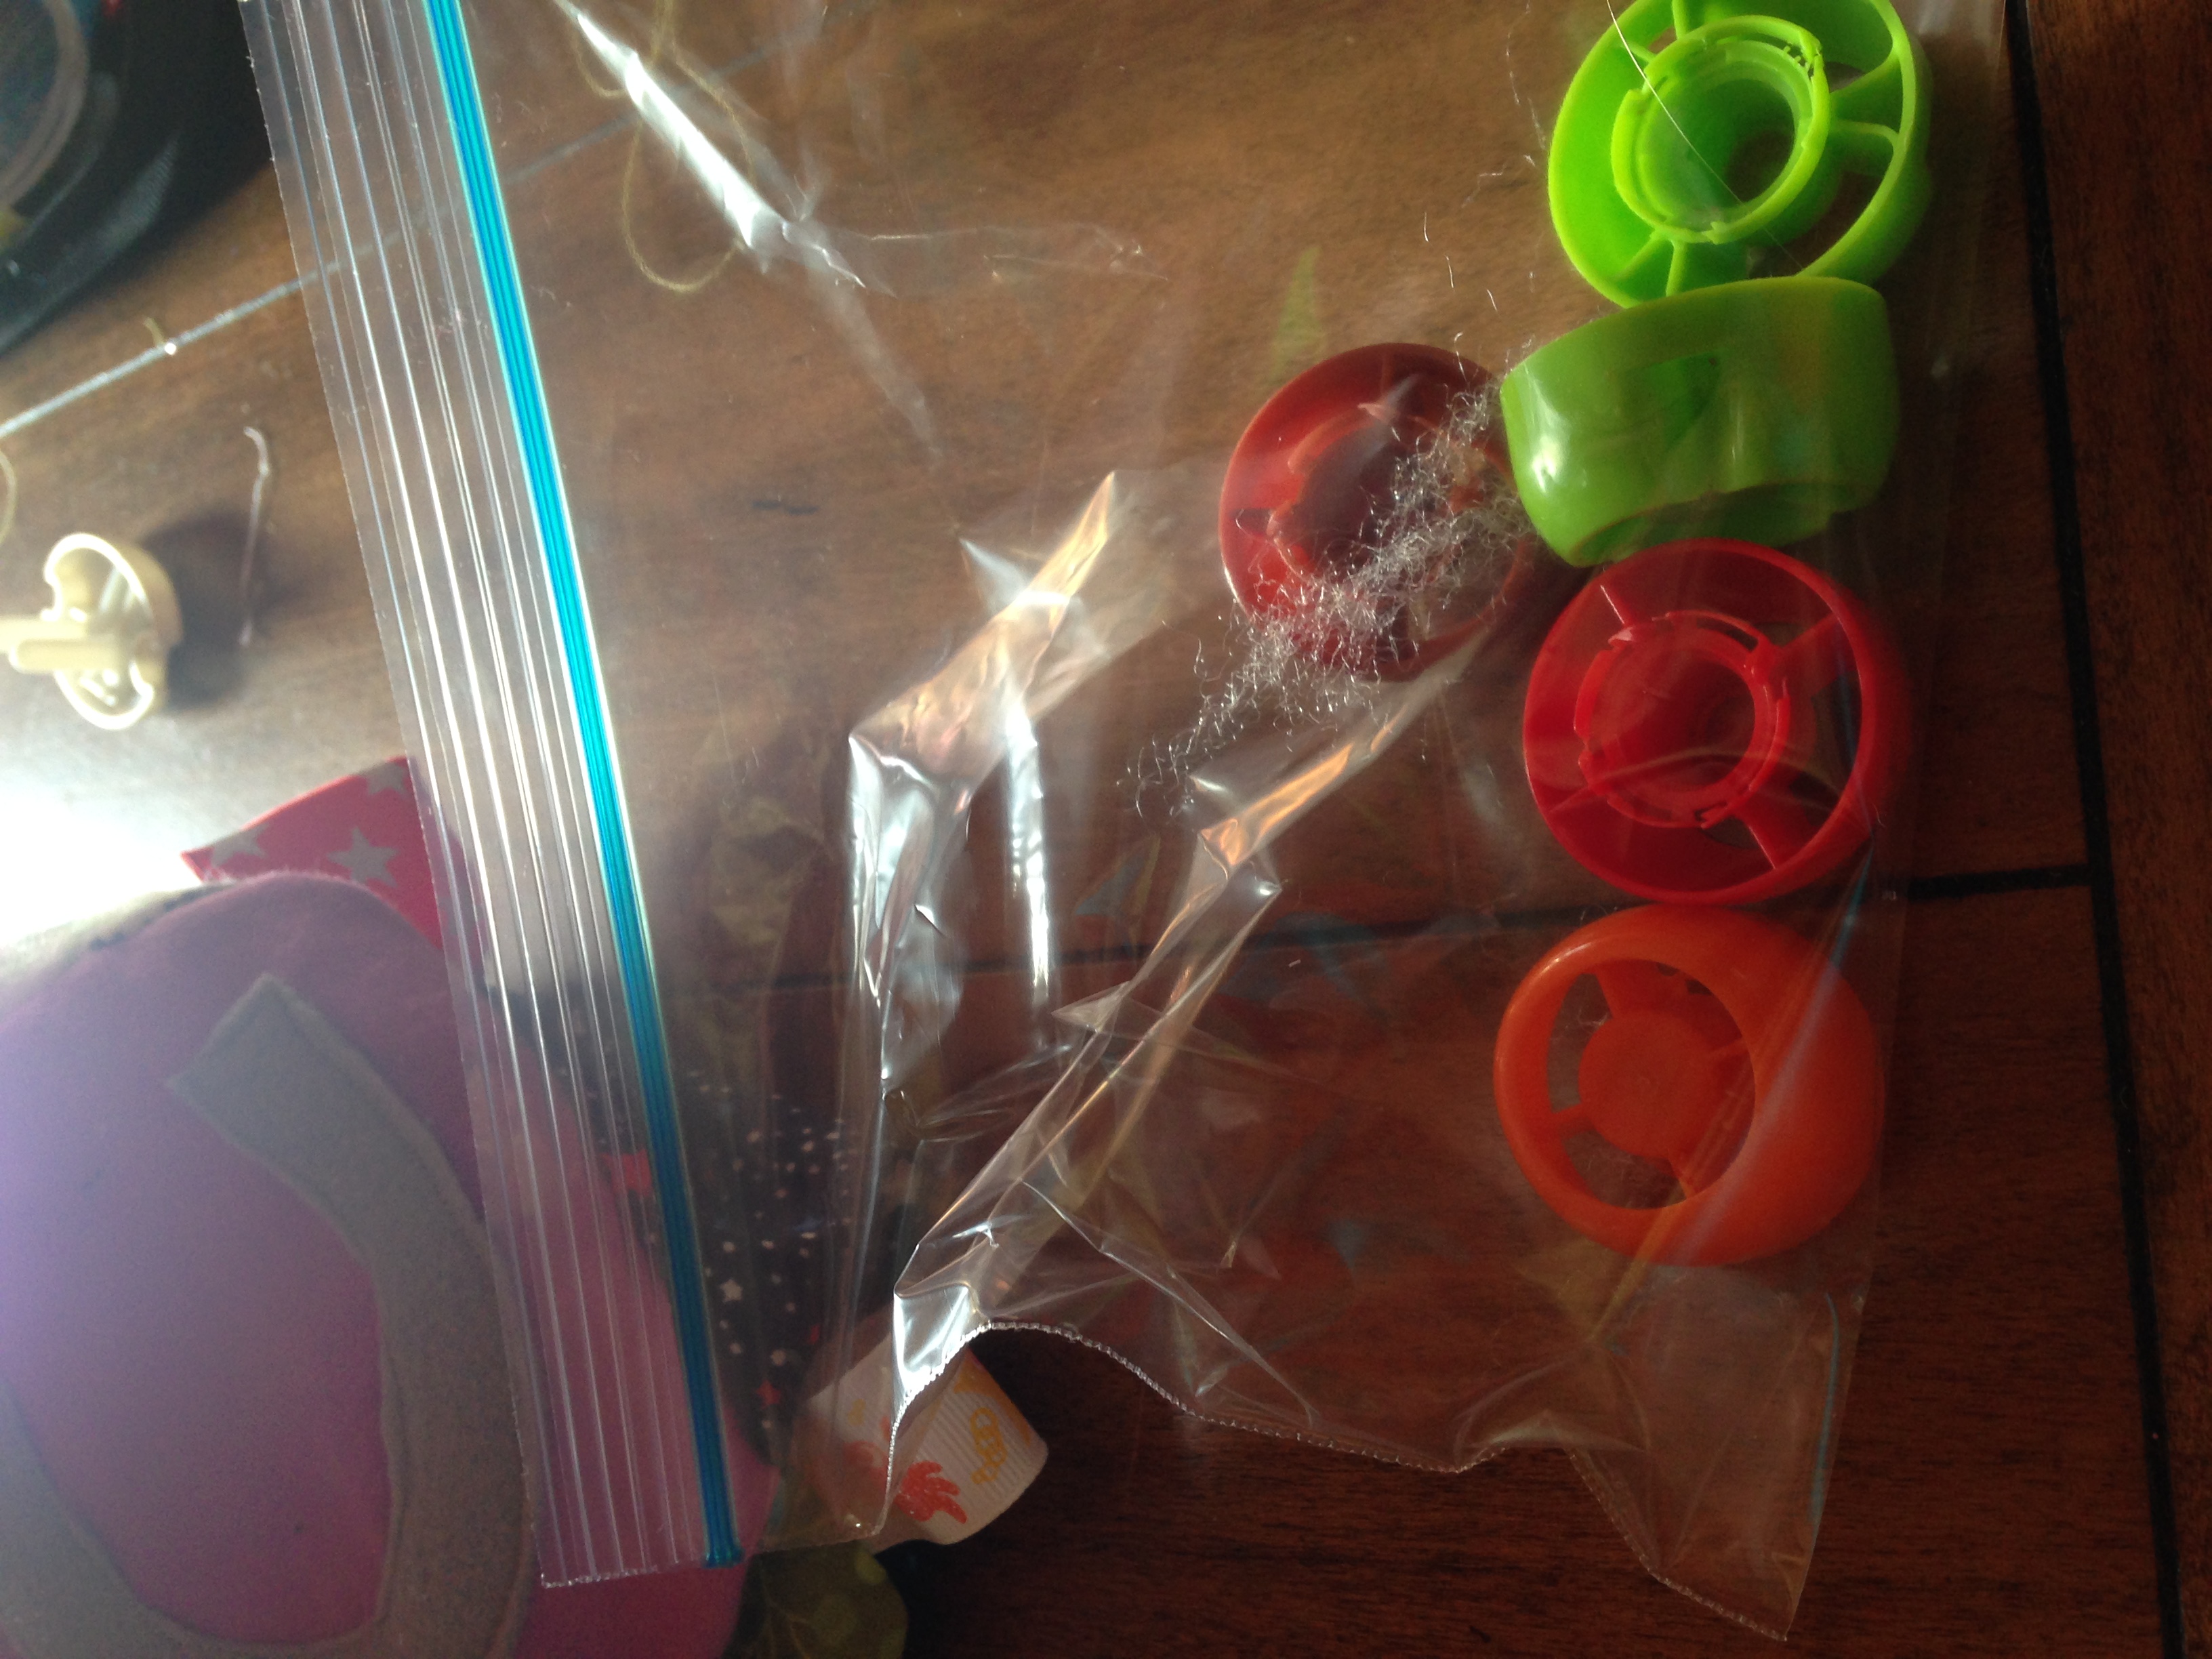
You can put a bell or rattle in the inside of the block!
To do this I put it in a small ziplock bag that is sealed with some air so that it has room to rattle around instead of being stuck in the polyfil. I actually have been saving the twist off tops of the food pouches and used them in a bag to make some noise! So if you are going to do this try and put this in the center of the block then stuff around it.
Lastly, close up that hole! You can do a whip stitch or invisible stitch or even use your machine.
Ta-Da you are done! Great job….take some pictures and share!
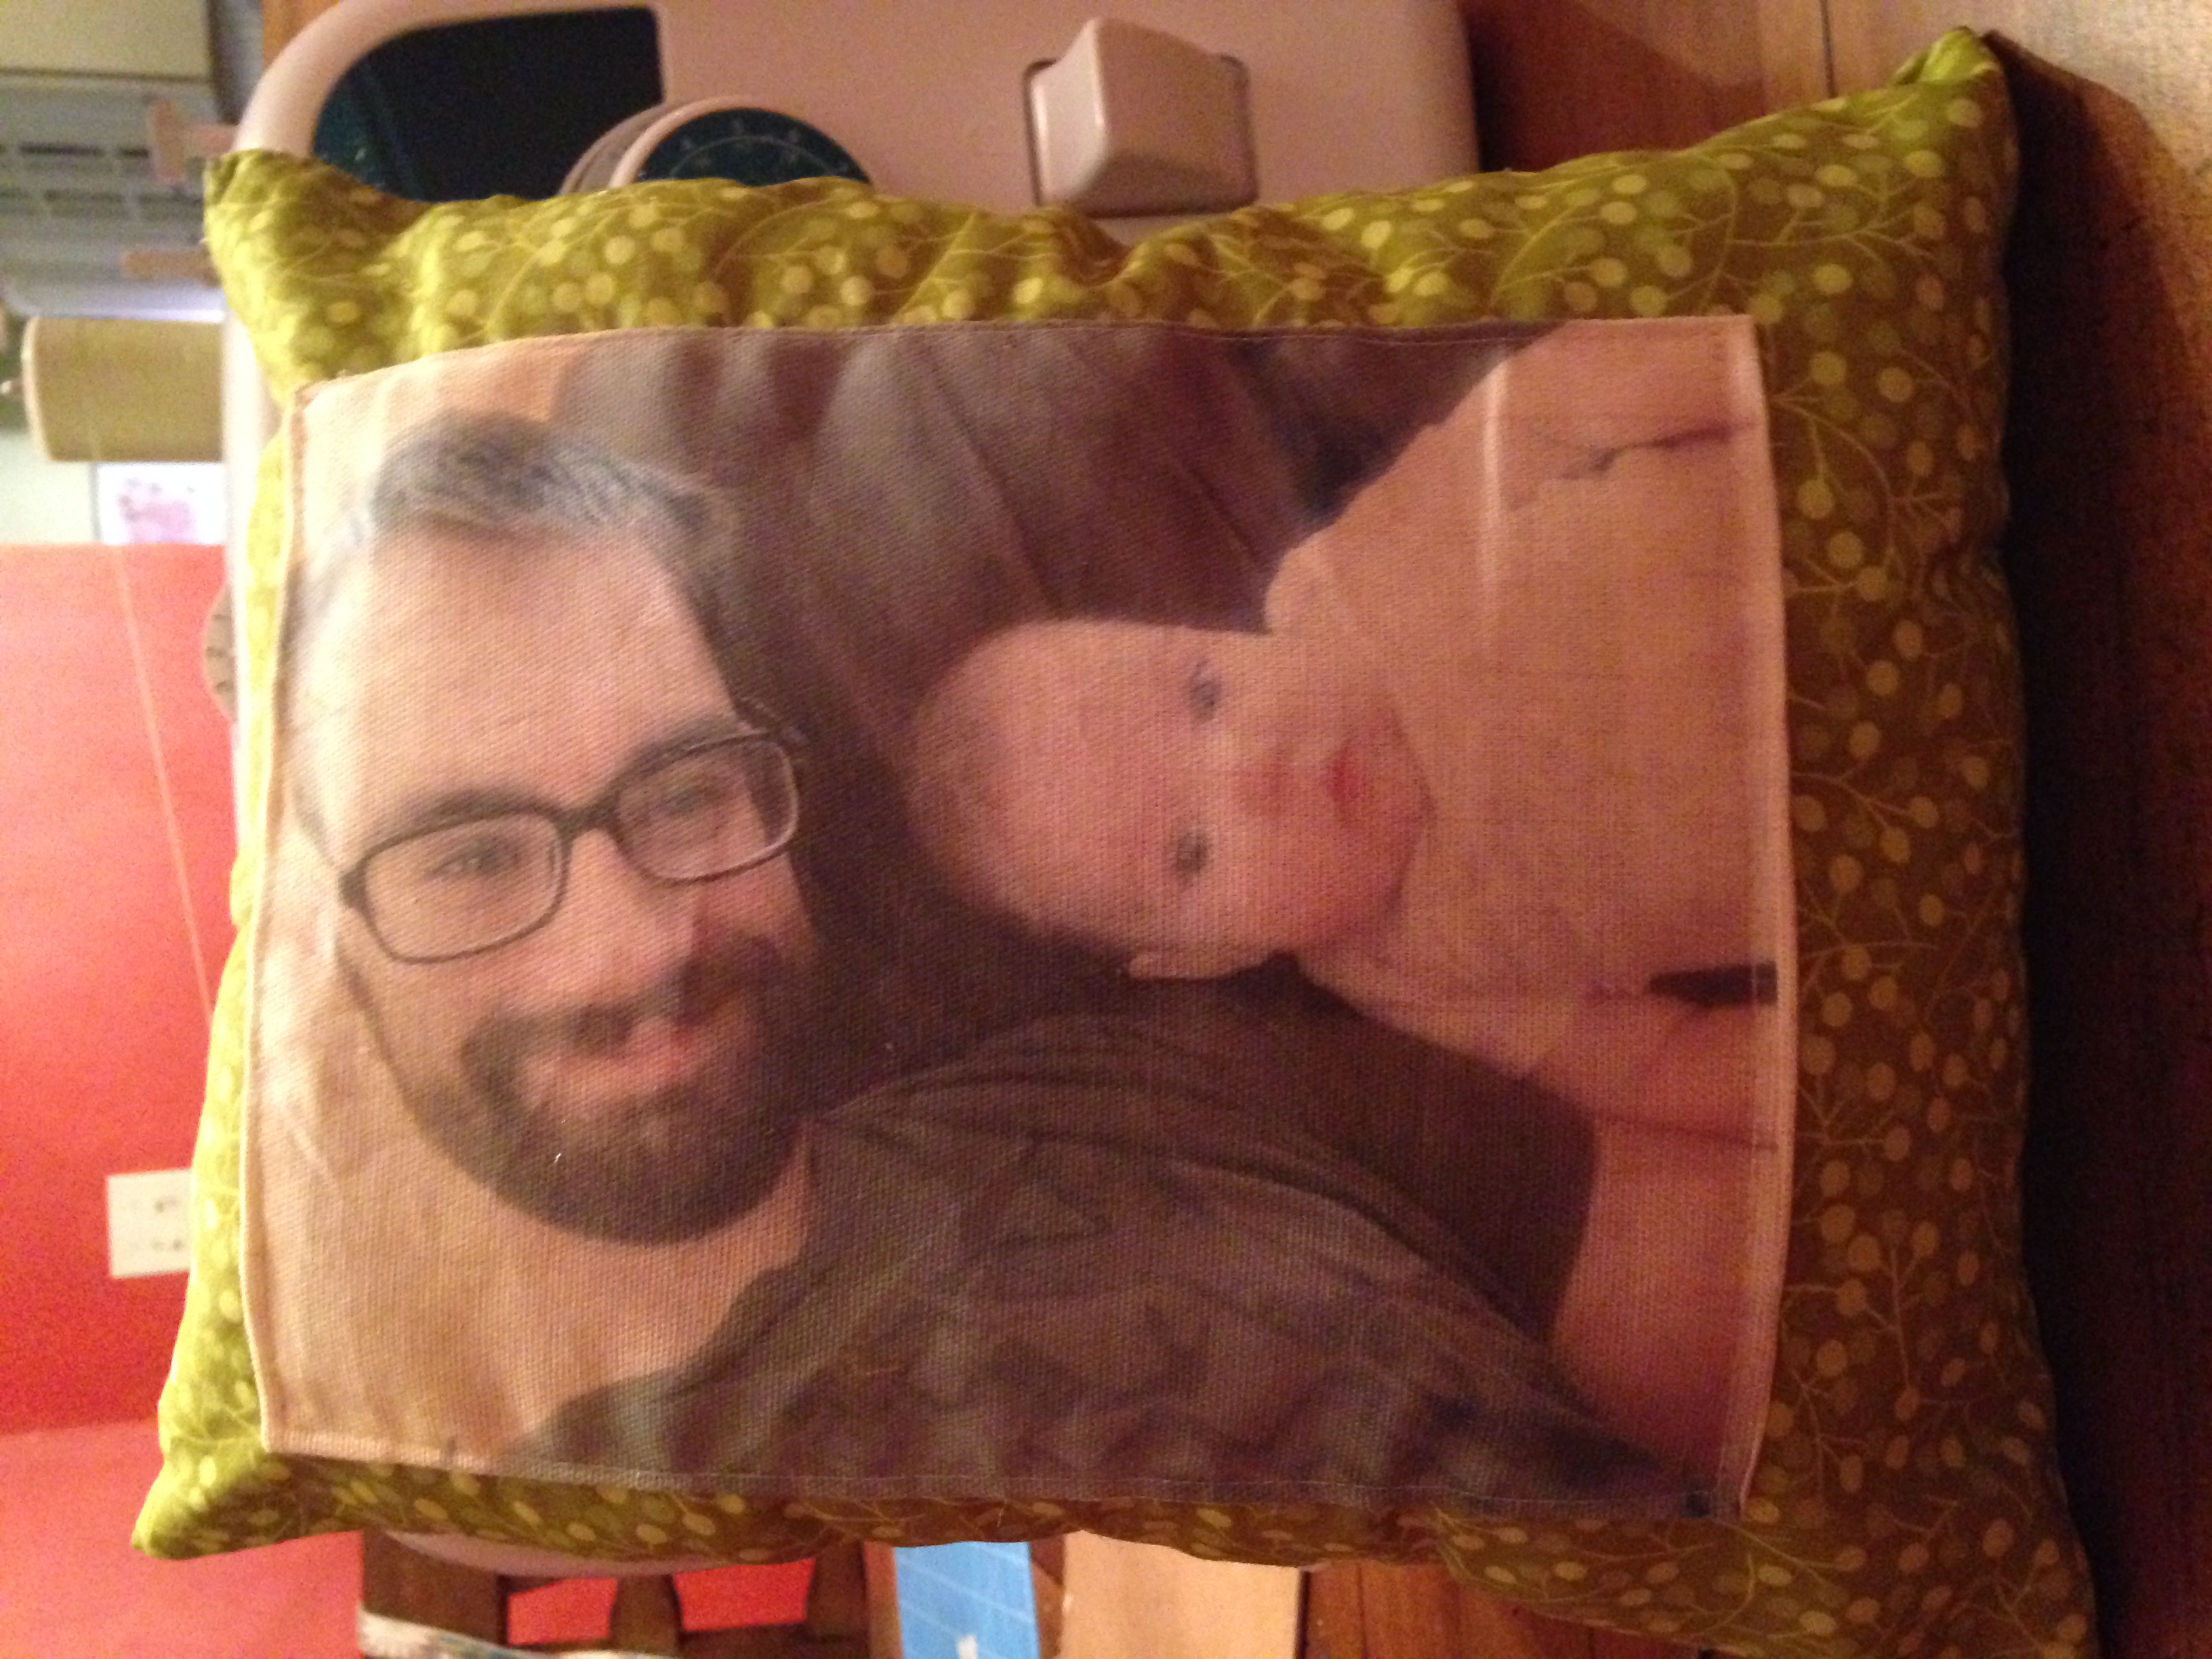
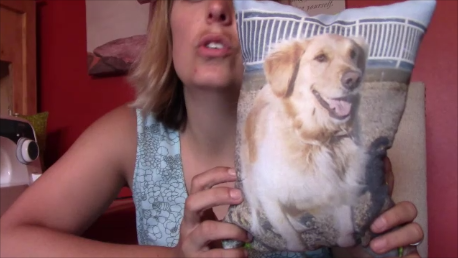
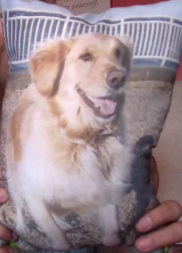
Looking for that perfect gift for someone? Maybe for a holiday or special occasion? Possibly a housewarming gift? Or maybe just an I’m thinking of you gift, the photo pillow is a perfect easy sewing project! The pillow below always gives my little one a smile when she picks it up on the couch! I know my husband enjoys it too because sometimes I find drool on it :op
Follow the You-tube tutorial here:
You can also follow along here:
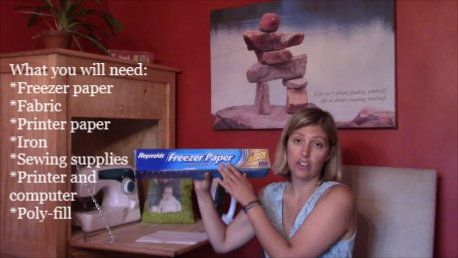
For this tutorial you will need:
Freezer paper the size of a piece of printer paper (8.5×11″)
Computer and printer (choose your photos or photos)
Fabric (sizes vary on size of the pillow you would like)
Sewing machine and accessories
Poly-fill
Iron
1. Start by cutting a piece of freezer paper to the size of a piece of a paper (8.5×11′). Also cut the piece of fabric you are going to print the photo on to that size. Remember you most likely want to print on a light thin colored fabric so the picture stands out.2. Next, take your fabric you want the photo printed on and put it on your ironing surface with the side you want the photo printed on down. Then put your freezer paper shiny side down against the fabric. Have your iron on medium high and iron on top of the freezer paper. You can also turn it over and iron the fabric with the freezer paper on the bottom. Do not leave it on one spot too long or the fabric will develop a burn mark. Make sure the corners are well ironed and the sheet should stick to the fabric.
3. Take the fabric and freezer paper that are now one to your printer. Place it in the paper tray and print your photo. Make sure there aren’t any loose strings hanging on the side of your fabric, this could catch in your printer. Also make sure you put your paper in the way your printer will print on the fabric and not the freezer paper. If you are unsure, take a piece of regular printer paper and mark one side. Put it in the tray and check and see which side it prints on.
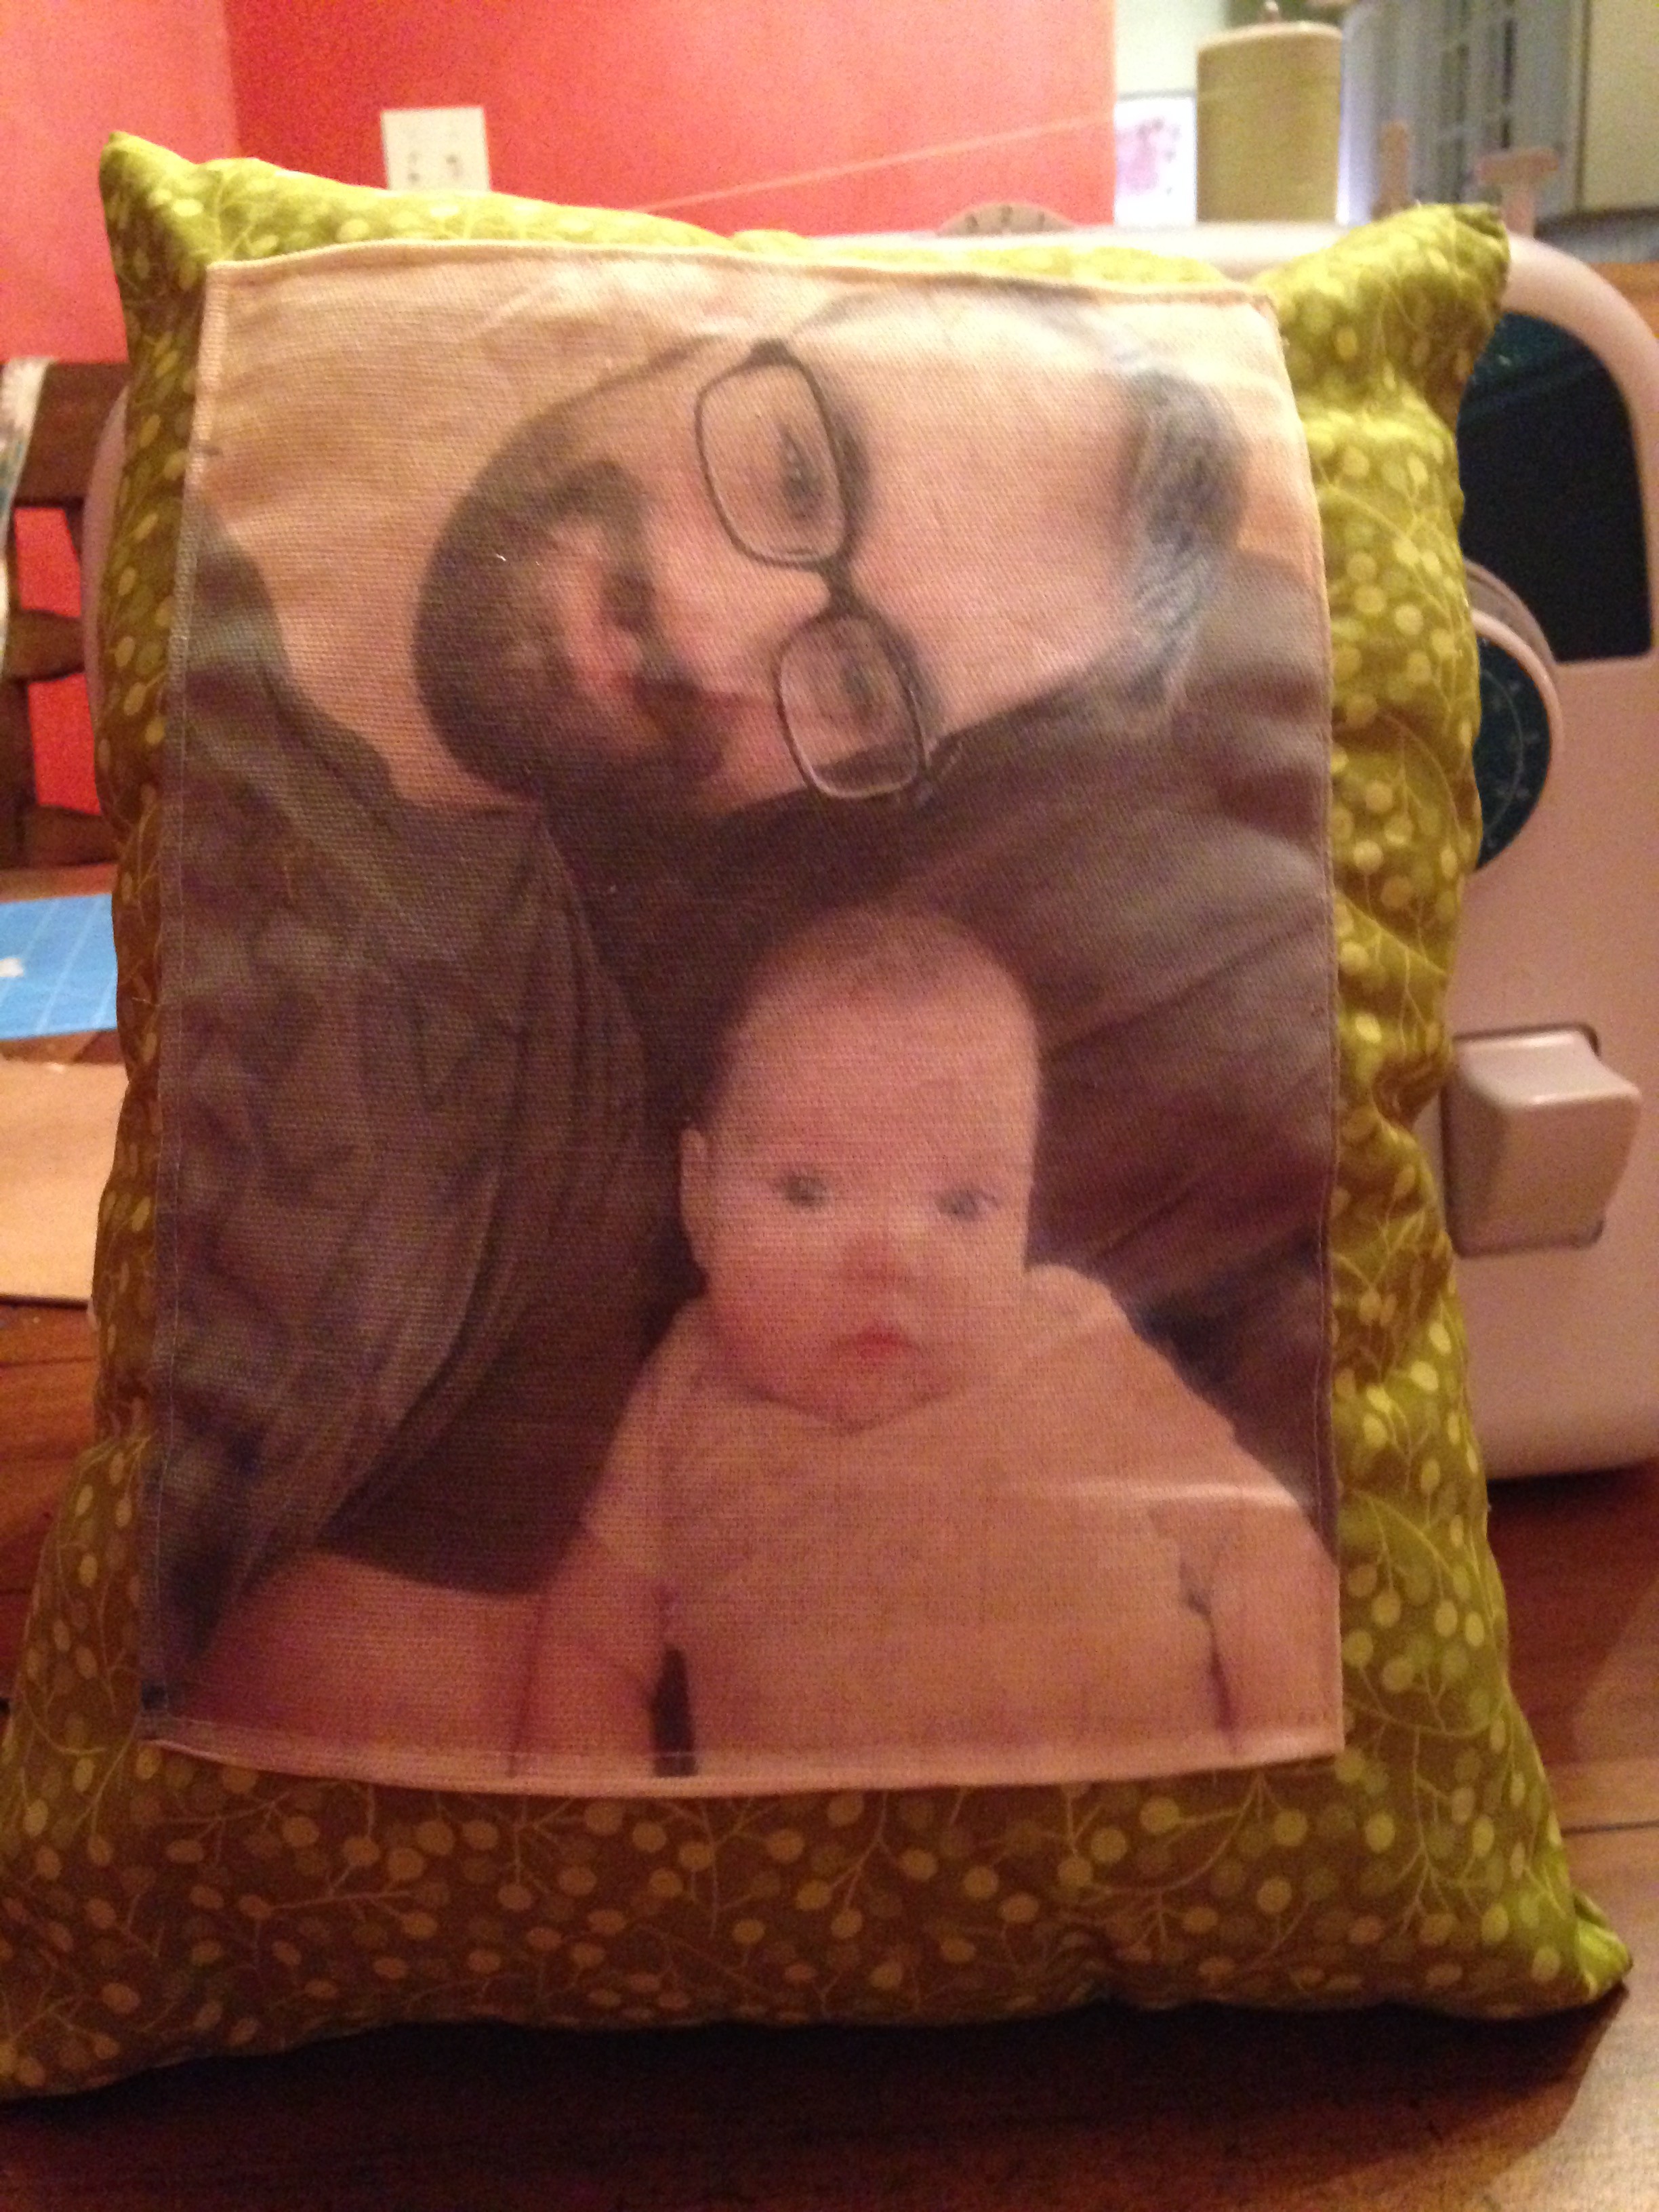
4. Once you have your photo printed, you can easily peel off the freezer paper. You can save the freezer paper to use one or two more times; quite economical if I should say so myself! Then, if you are planning on putting the photo fabric on a larger piece of fabric to have a bigger pillow, you want to fold a hem around the edges of your fabric and pin and sew it onto the larger piece of fabric. Below is an example.
However, if you would like to make a small decorative pillow (the size of a piece of paper), you would skip this step.
5. Next take your photo fabric or front of the pillow and place it facing side up. Take the back fabric for your pillow and place it on top facing in. So now the fabric pieces you want to be on the outside of the pillow are now facing the inside. Pin them together. Then you want to stitch all the way around the outside except for a three inch opening. So make sure you back-stitch when you start and end. I suggest you do not do this on the corner because it will be harder to hand sew at the end. This opening will be used to turn the pillow right side out and then stuff with poly-fill.
6. After sewing, turn it right side out. Stuff it with poly-fill to your desired fullness.
7. Now you will have to decide what stitch you want to use to close it. You can close it on the machine however it will be noticeable. You can do the regular loop stitch which is easiest. Another option which is used in my video is the blind stitch. The blind stitch is used for hems and closures that you want “blind.
8. And Viola! You are finished, congrats and enjoy!
 As you can see they are very cute for photo shoots as well! She didn’t particularly like keeping it on, but I got a couple good shots!
 Congrats and enjoy the party! Check back often for new crafts or subscribe below!