Truck Pillow Tutorial

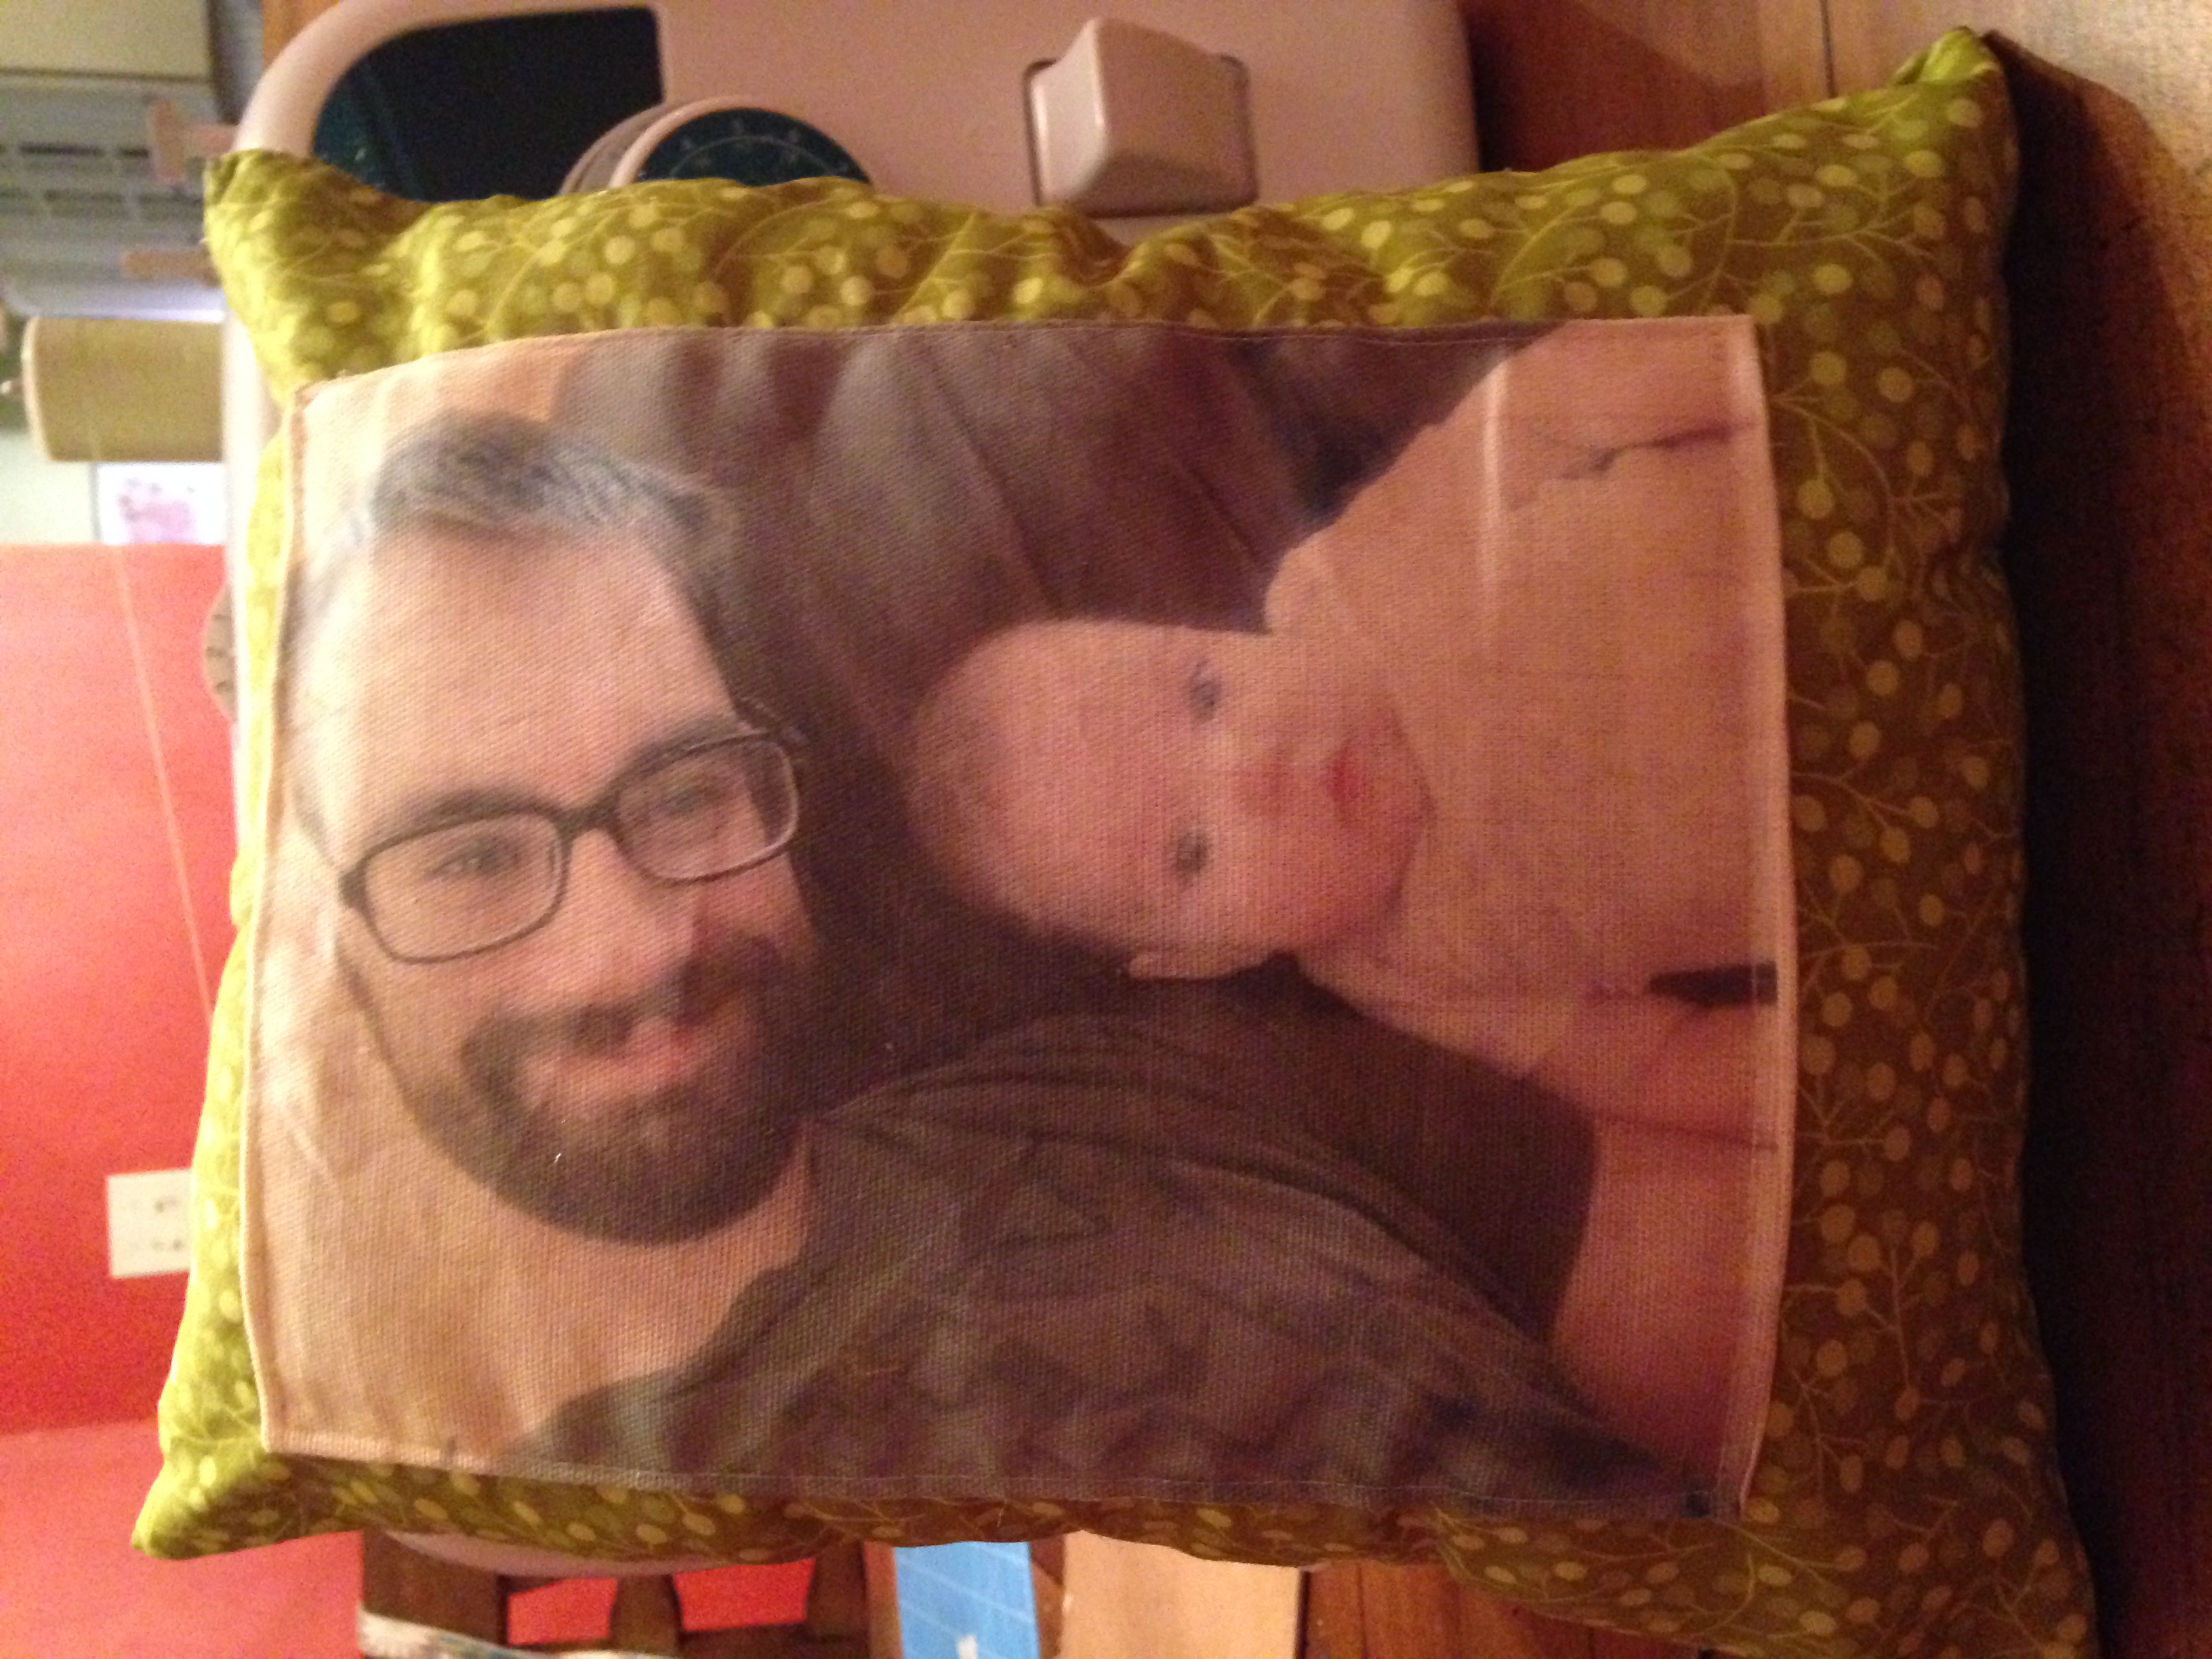
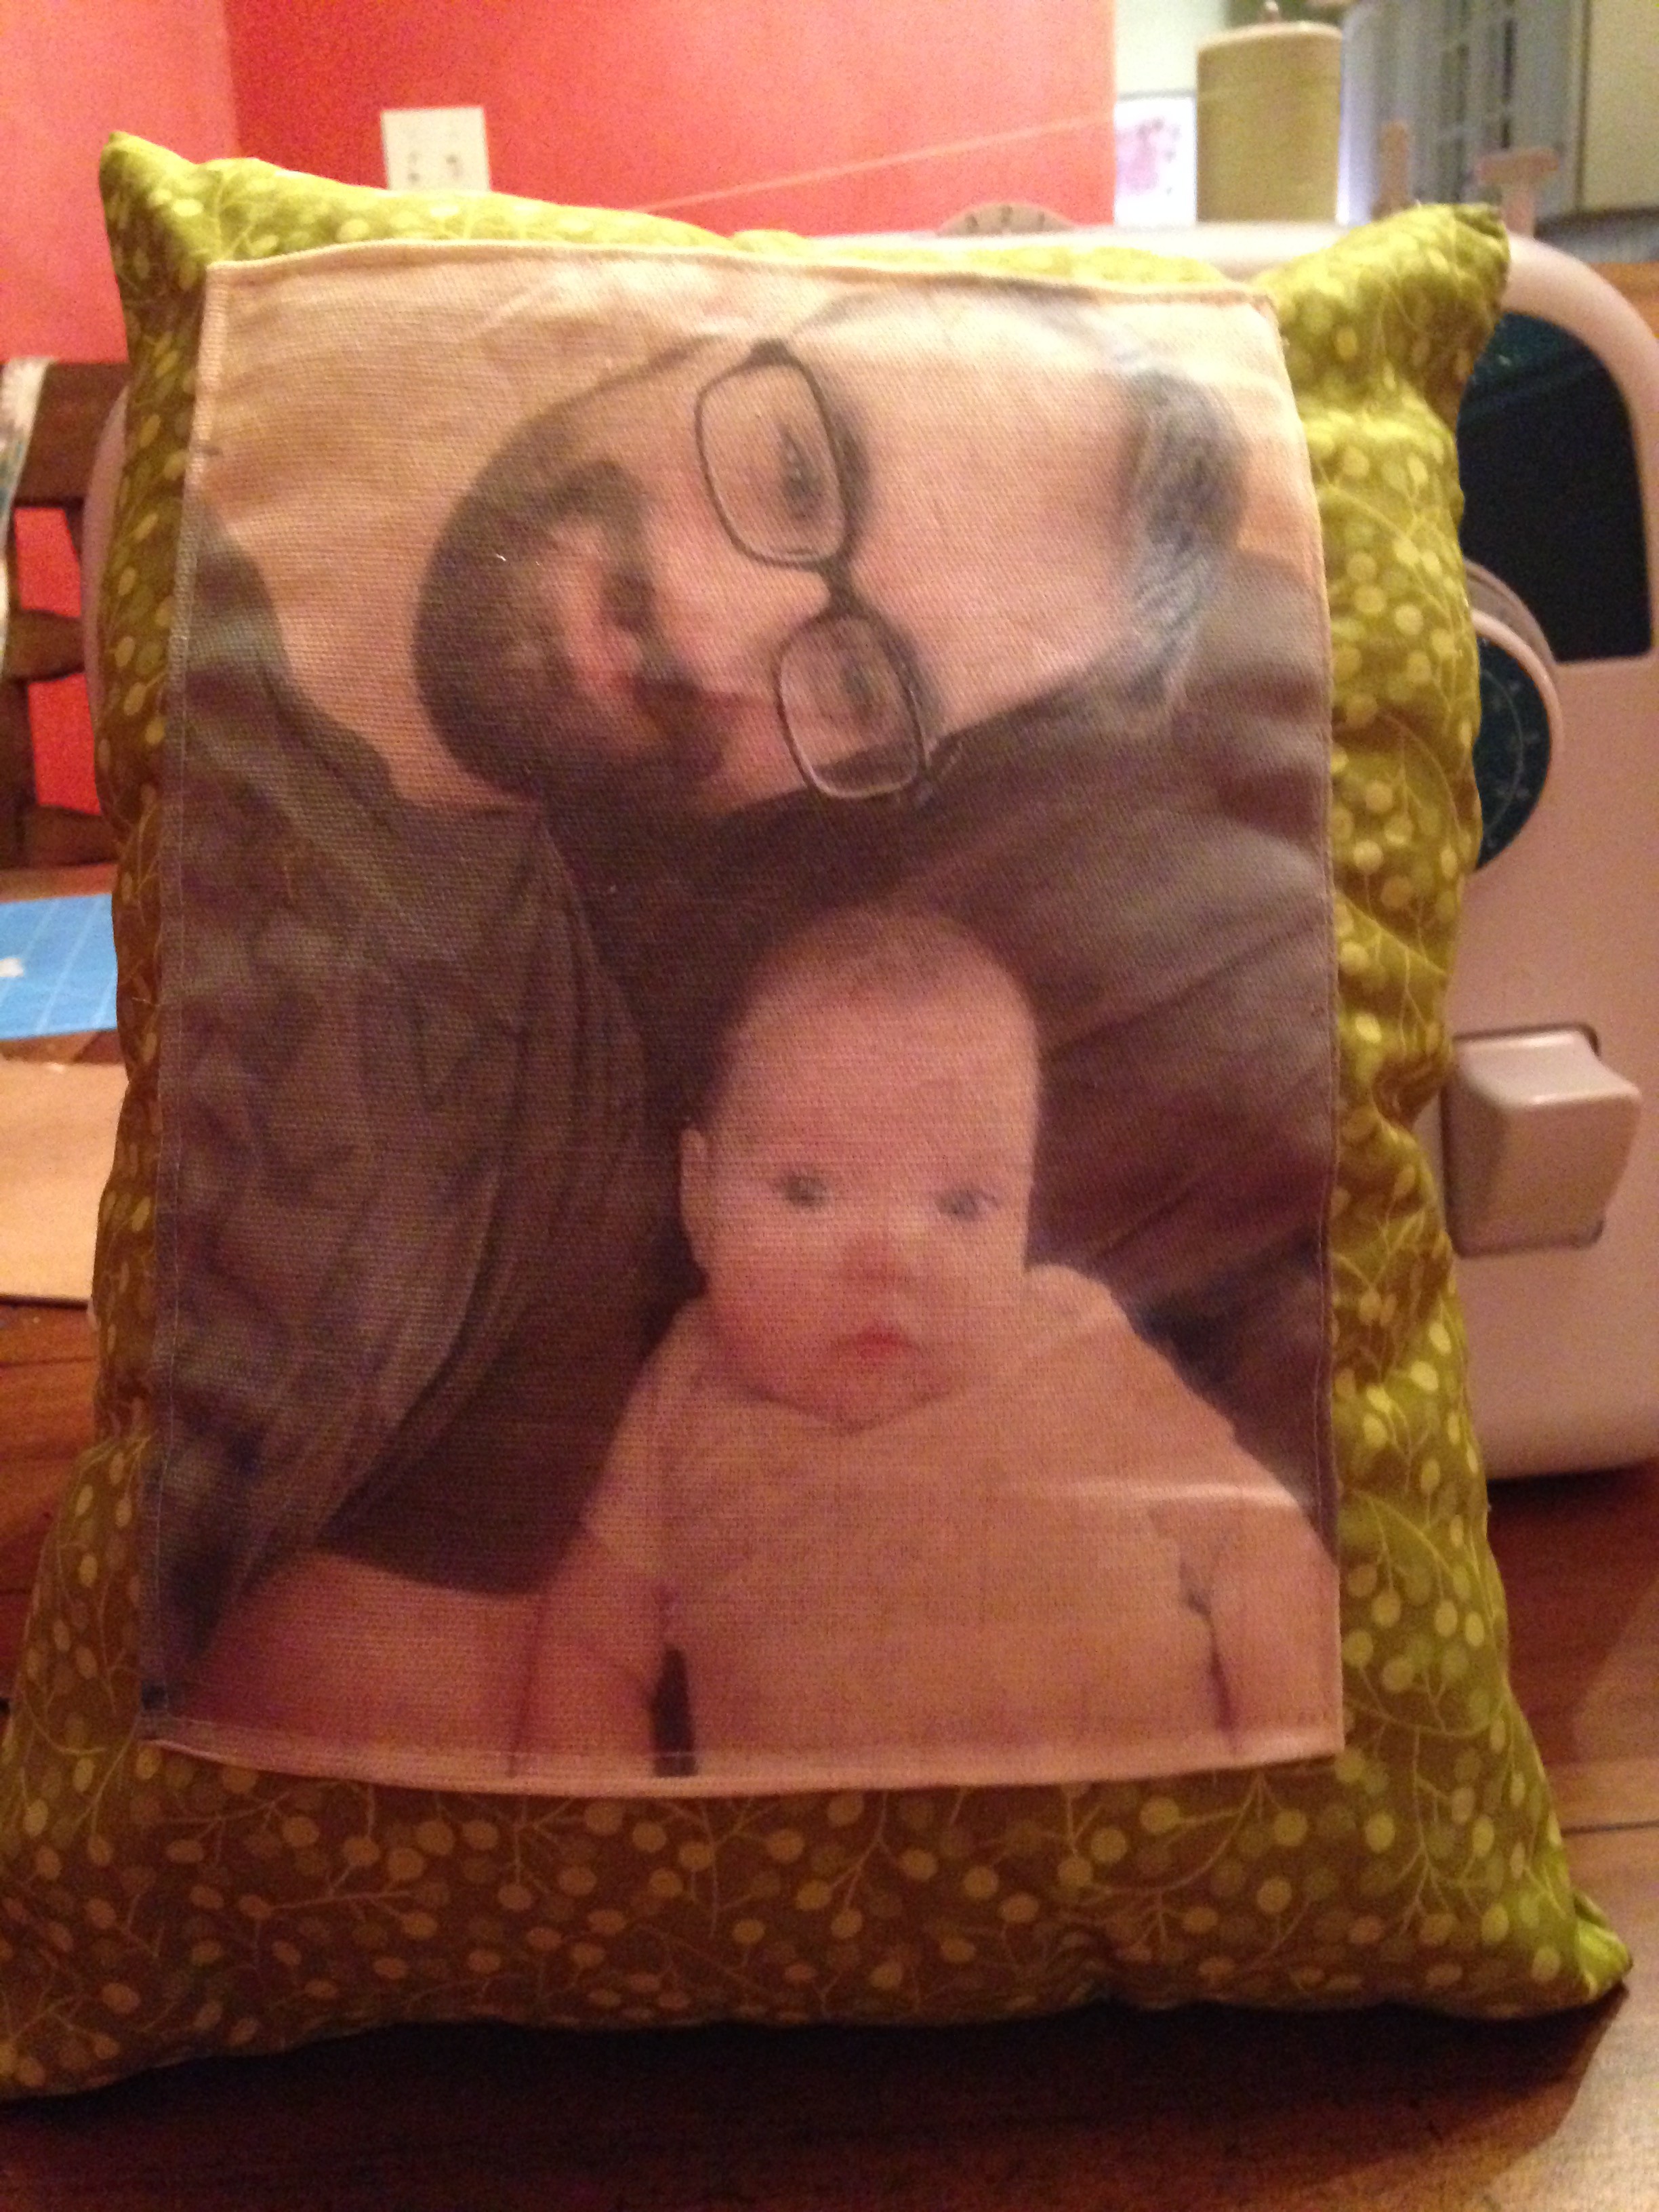
I have a nephew who absolutely loves trucks, cars, and any other type of vehicle.  As Christmas approached I was unsure of what to get my nephew.  I searched the internet for ideas of sewing projects with trucks, but it was only to my dismay. None of the projects peaked my interest.  I found a car tutorial but that was it.  So I decided to make my own pattern and tutorial on a truck pillow.  I also decided that putting his name on with iron on letters would be fantastic!IMG_3727

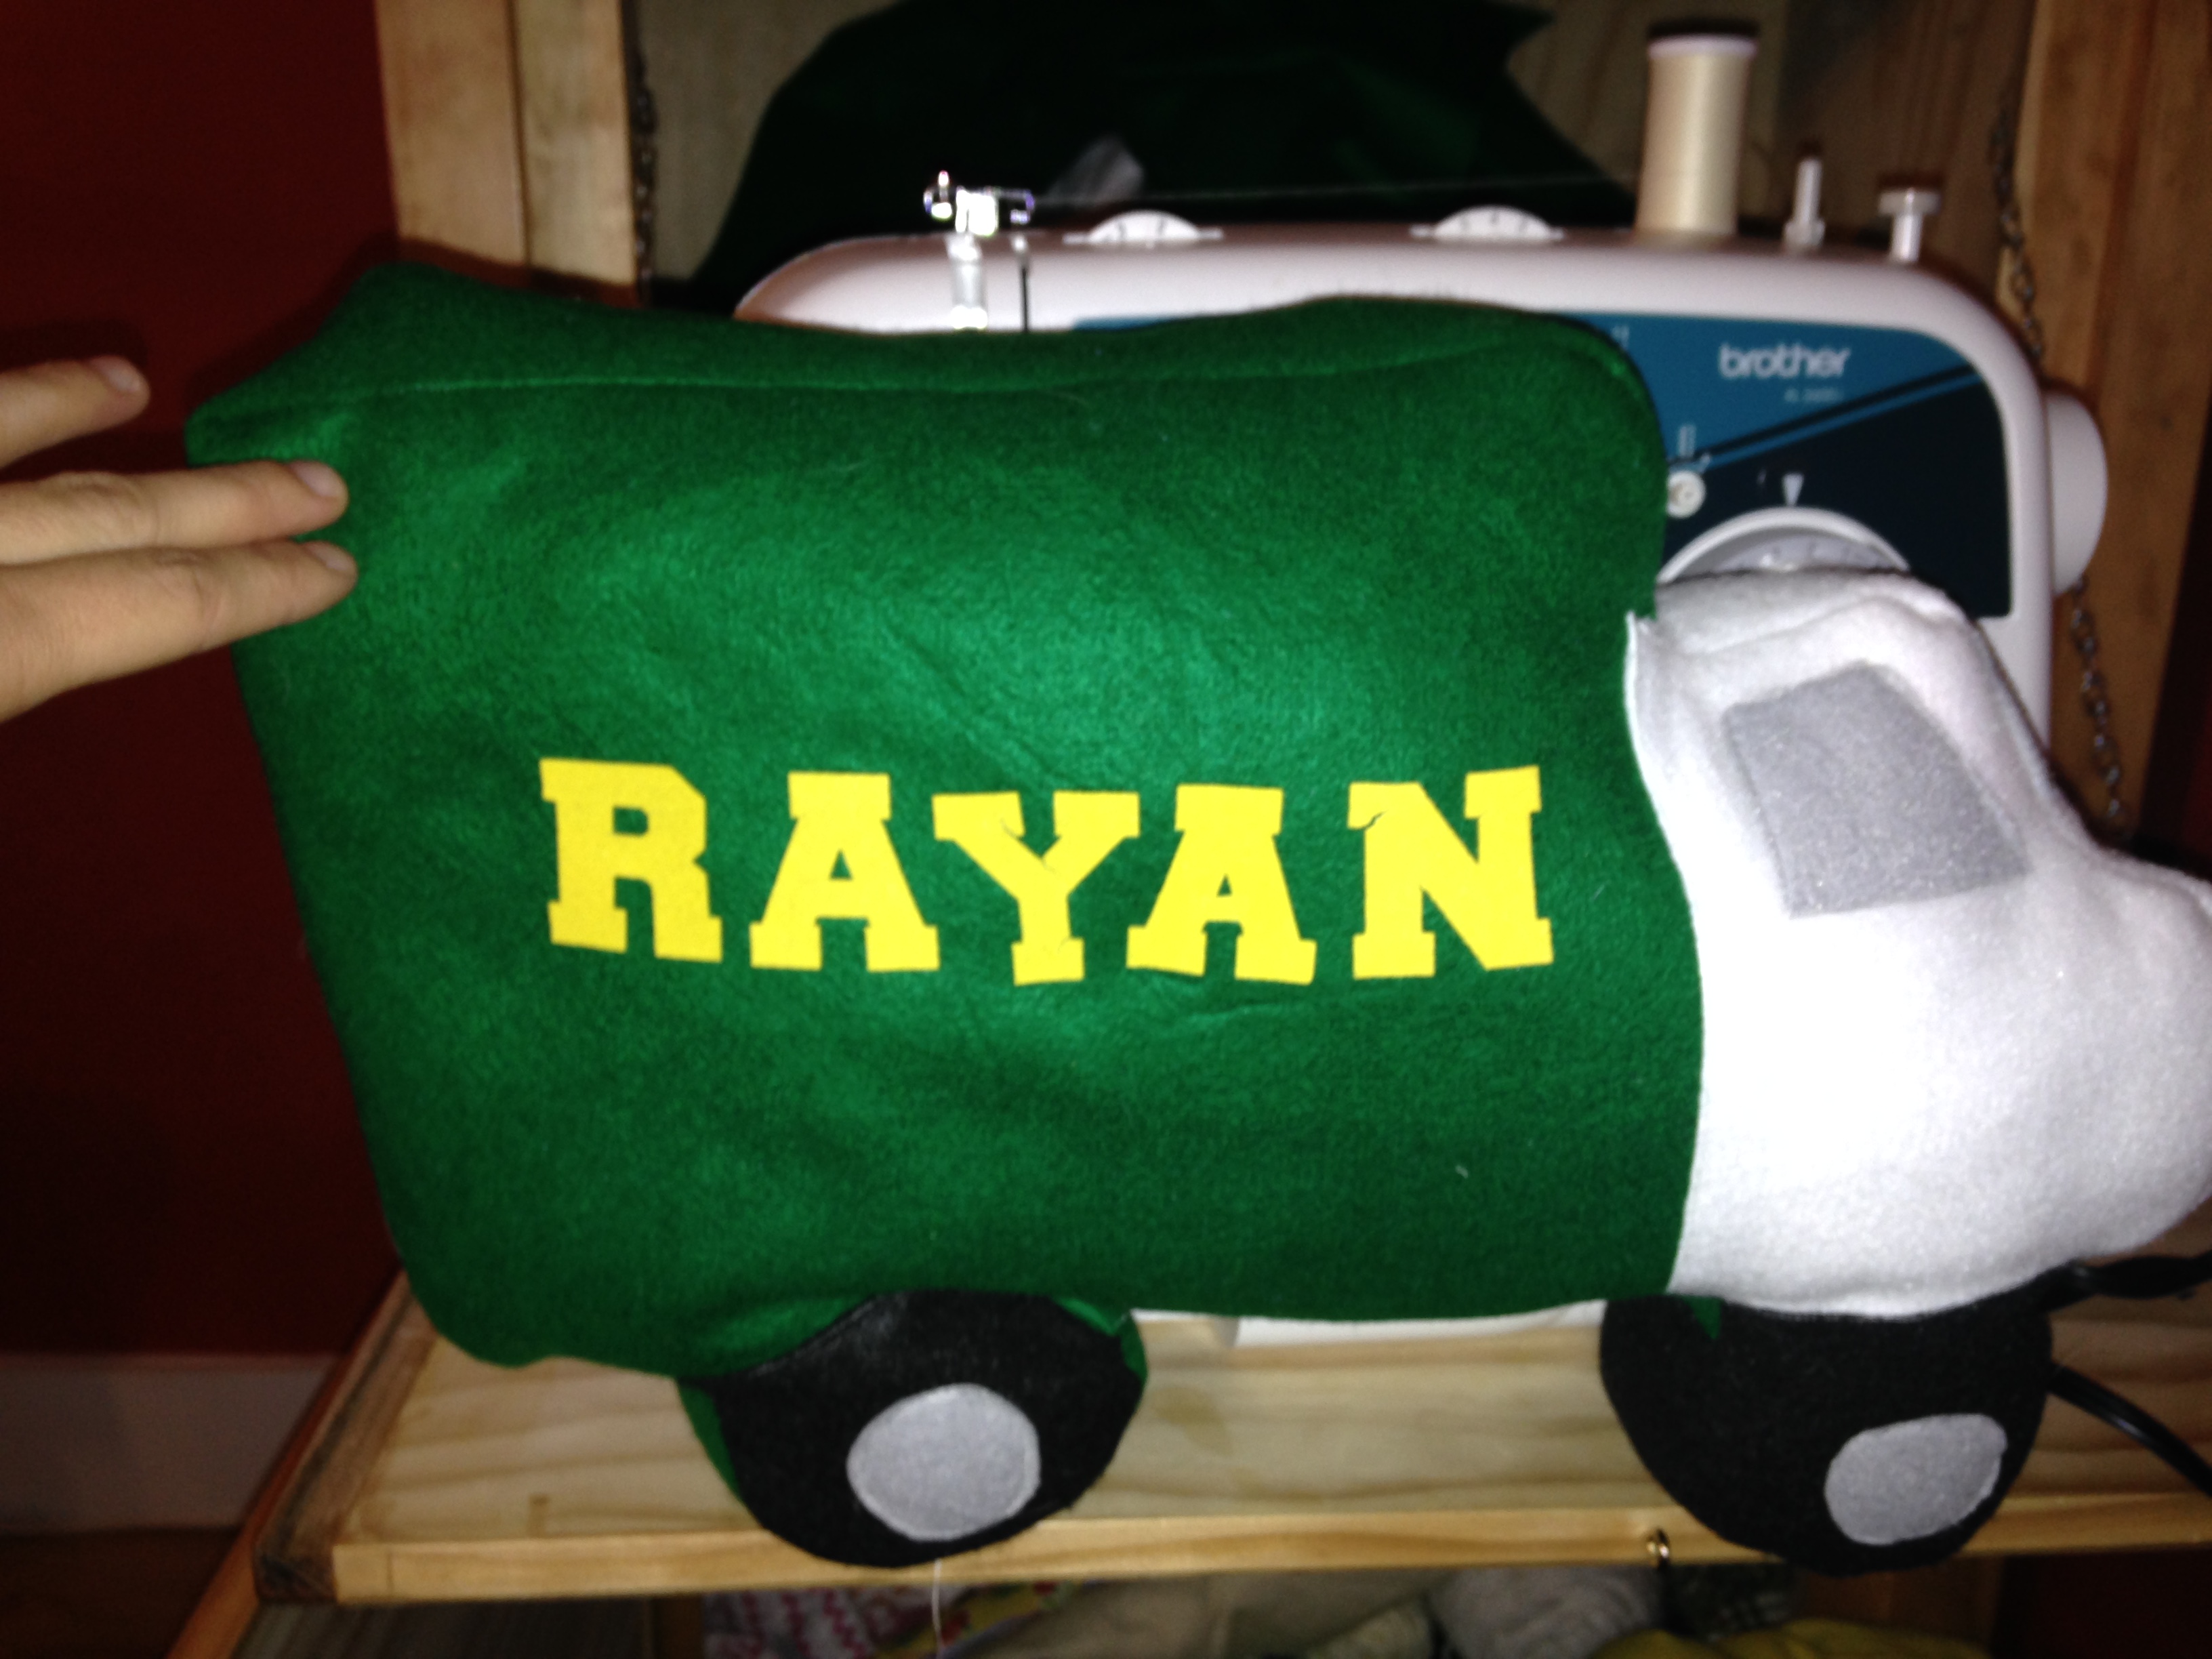
As usual, there is a video tutorial on my youtube site, and written instructions with pictures below.
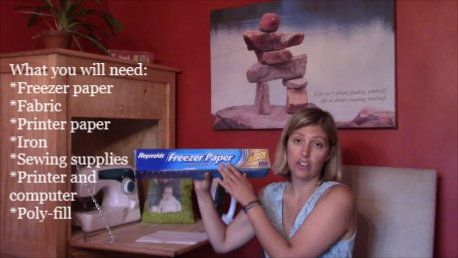
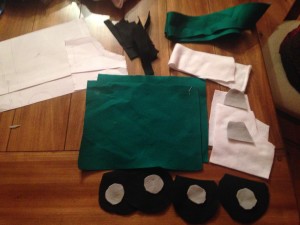
What you will need:
*Your choice of fabric colors
*poly-fil or any type of stuffing
*Choice of thread colors
*Optional: Iron on letters

Pattern: Use one whole piece of printer paper 8x10inches as the trailer part.  Make a circle for the wheels.  And make a from cab as you like.  The pattern I made is so easy I’m not even going to try and retrace it and scan it and turn it into a pdf because it takes much longer…if you are really having issues please let me know and I will take the time do that for you.

  1. Cut out your fabric pieces
  2. IMG_3717
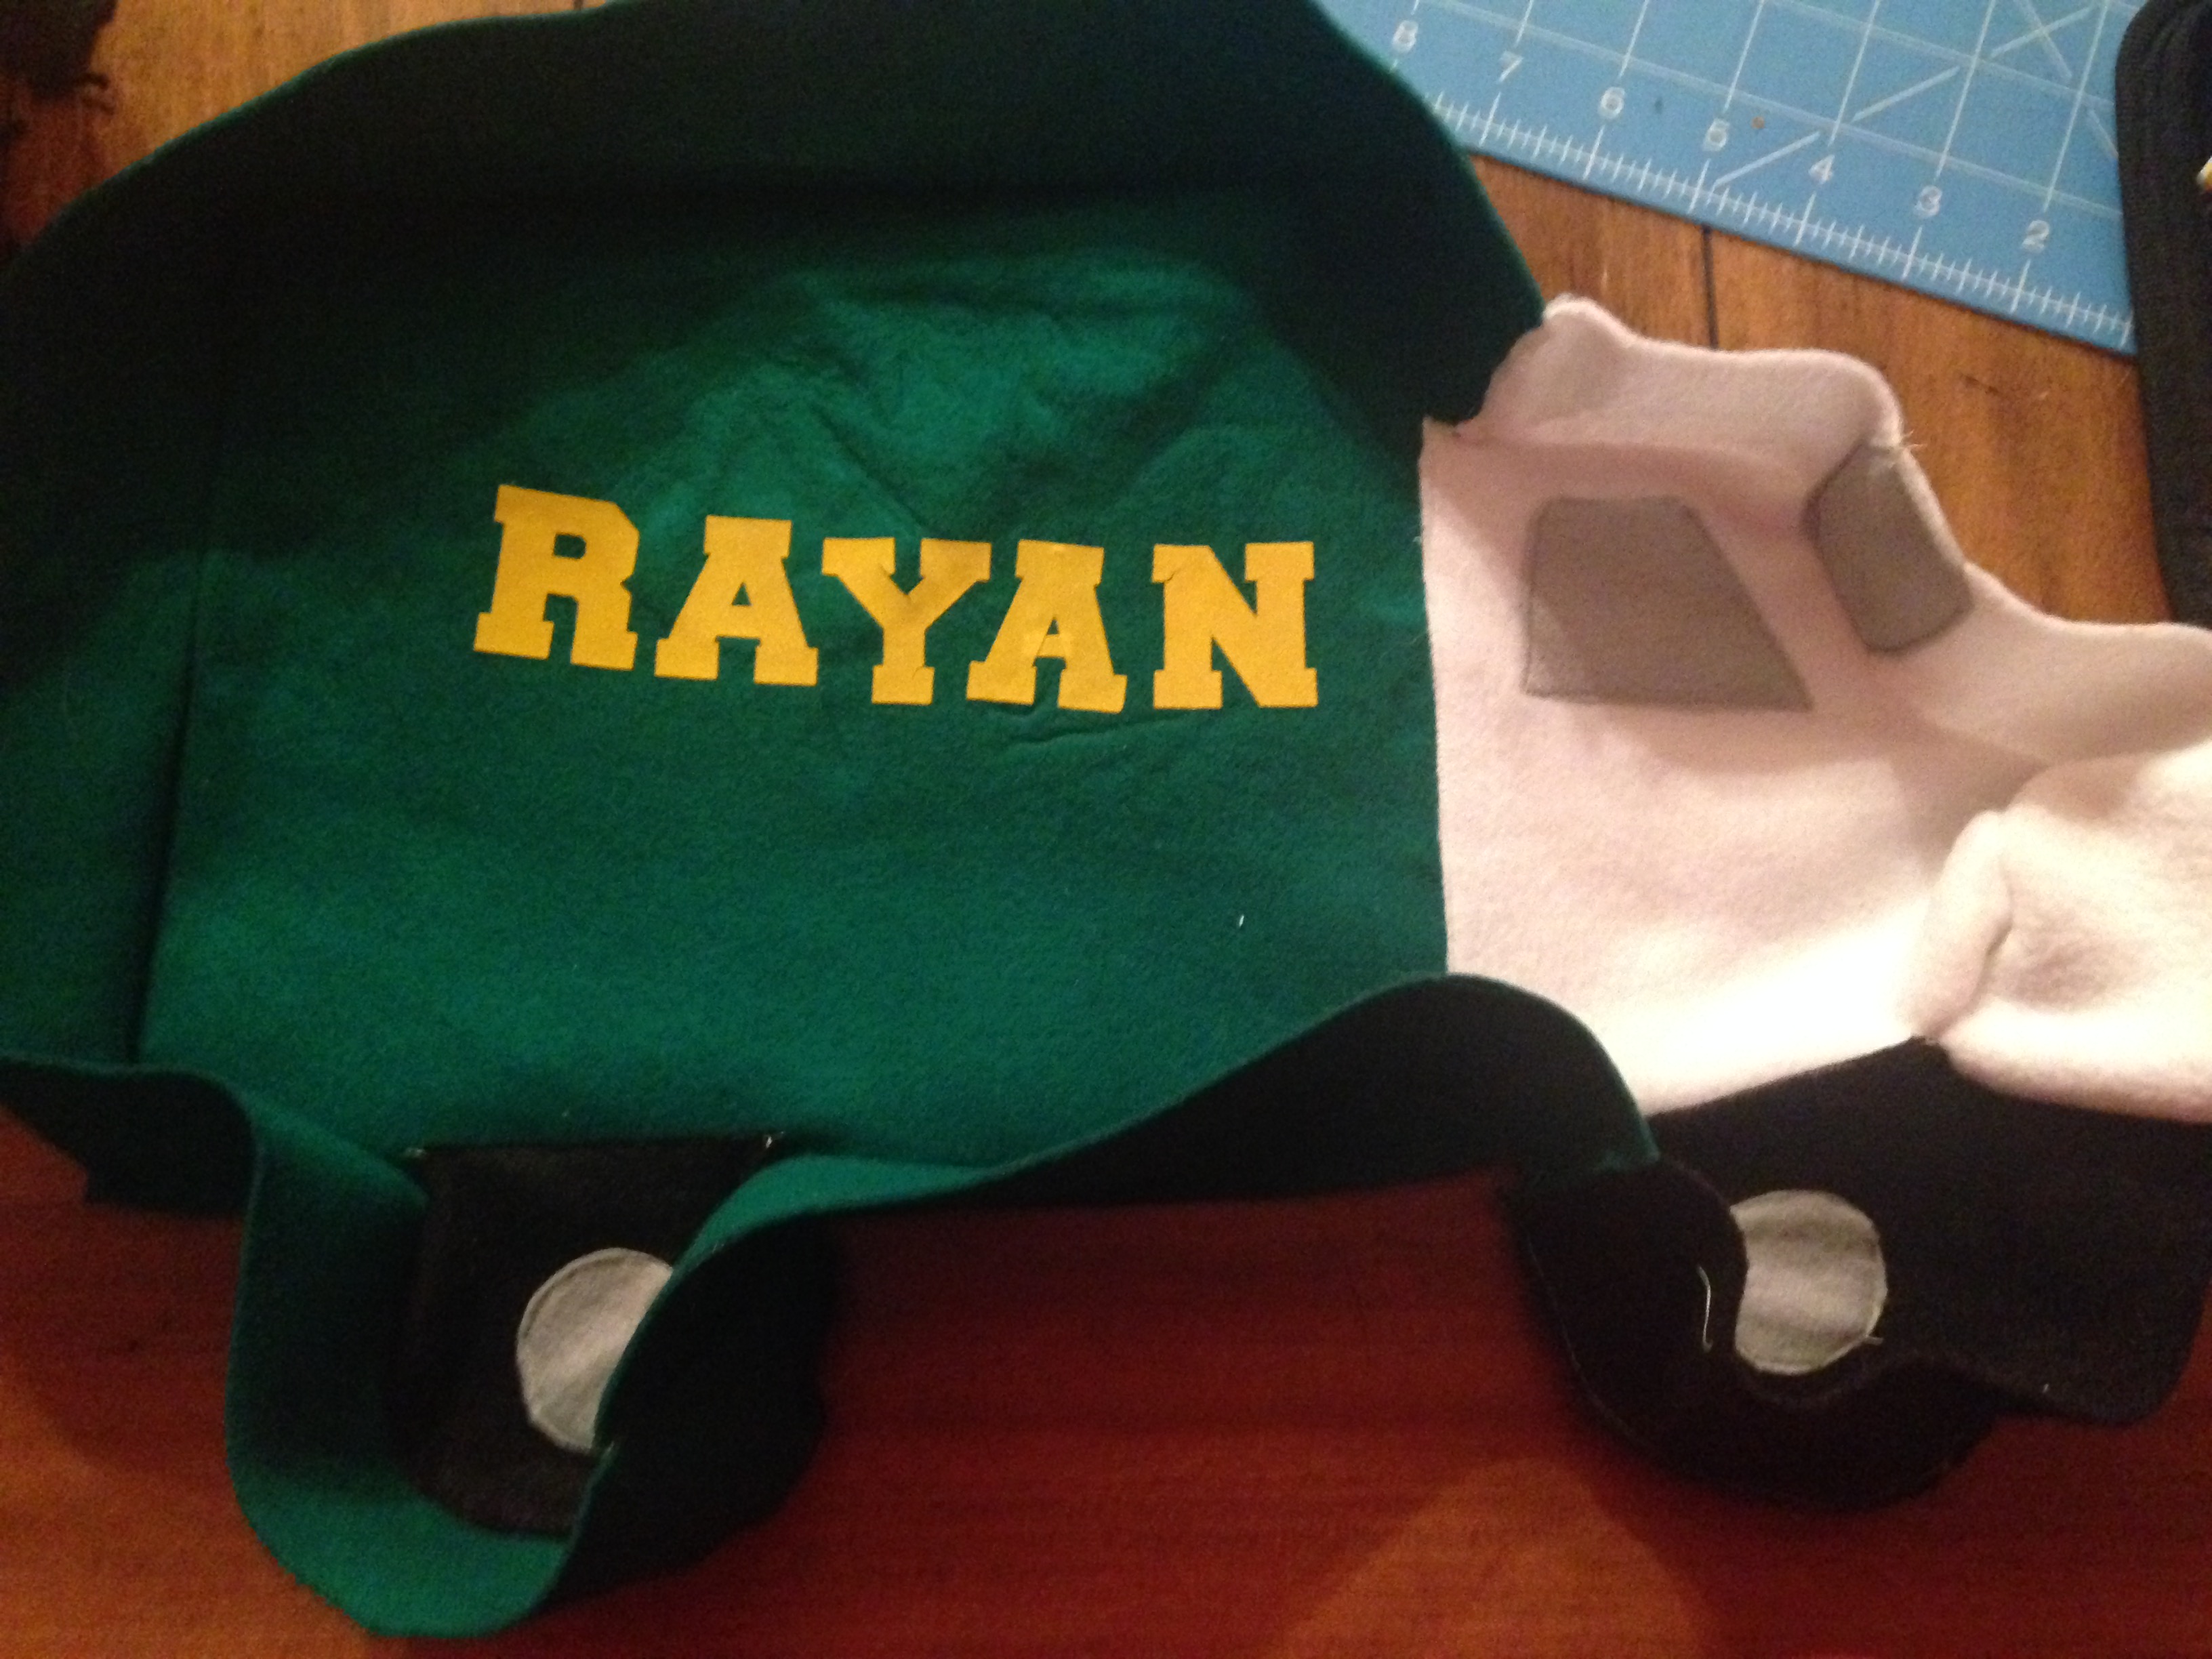
  3. Iron on letters or if you want to sew on letters that works as well!
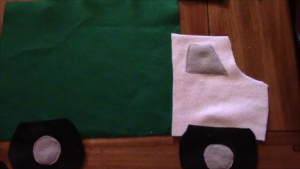
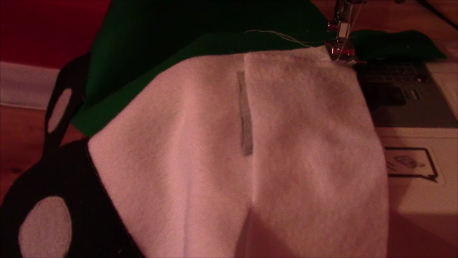
  4. Sew on your hubcaps, windows and any other details you want to add
  5. Sew each side together.  The front cab to the trailer and the wheelsSnapshot 1 (1-4-2016 9-28 PM)
  6. Time to sew the middle strip part! I made mine 2 inches thick but you can make it as big as you like!
  7. You can switch colors to match or just use one color.
  8. If you do not want to do the middle section then you can just take the two truck sides facing each other (inside) and sew around leaving a 3 inch opening.  Turn right side out, stuff, and hand-sew shut.
  9. To do the middle strip, line it up with the truck where you want to start and back-stitch and go forward all the way around switch colors as needed.  Curve the middle strip around the corners.
  10. Snapshot 2 (1-4-2016 9-32 PM)
  11. Now take the other side of the truck and have the sides facing inwards towards
    each other, and sew the second side to the strips on the first side.
  12. IMG_3726
  13. Turn right side out and make sure there are no holes in the outside, if there are turn inside out and fix them.
  14. Fill with your choice of stuffing and hand-sew shut.
  15. Congrats you are done!
  16. If you have any questions or concerns please leave them below.  If you have trouble with the middle strip please watch the youtube tutorial.
FollowFacebookpinterestrssyoutube
ShareFacebookpinterest

Creating A Photo Pillow

Looking for that perfect gift for someone?  Maybe for a holiday or special occasion?  Possibly a housewarming gift? Or maybe just an I’m thinking of you gift, the photo pillow is a perfect easy sewing project!  The pillow below always gives my little one a smile when she picks it up on the couch!  I know my husband enjoys it too because sometimes I find drool on it :op

 IMG_0709

Follow the You-tube tutorial here:

You can also follow along here:

pillowFor this tutorial you will need:

  • Freezer paper the size of a piece of printer paper (8.5×11″)
  • Computer and printer (choose your photos or photos)
  • Fabric (sizes vary on size of the pillow you would like)
  • Sewing machine and accessories
  • Poly-fill
  • Iron

1. Start by cutting a piece of freezer paper to the size of a piece of a paper (8.5×11′).  Also cut the piece of fabric you are going to print the photo on to that size.  Remember you most likely want to print on a light thin colored fabric so the picture stands out.freezerpaper2. Next, take your fabric you want the photo printed on and put it on your ironing surface with the side you want the photo printed on down.  Then put your freezer paper shiny side down against the fabric.  Have your iron on medium high and iron on top of the freezer paper.  You can also turn it over and iron the fabric with the freezer paper on the bottom.  Do not leave it on one spot too long or the fabric will develop a burn mark.  Make sure the corners are well ironed and the sheet should stick to the fabric.

3. Take the fabric and freezer paper that are now one to your printer.  Place it in the paper tray and print your photo.  Make sure there aren’t any loose strings hanging on the side of your fabric, this could catch in your printer.  Also make sure you put your paper in the way your printer will print on the fabric and not the freezer paper.  If you are unsure, take a piece of regular printer paper and mark one side. Put it in the tray and check and see which side it prints on.

4. Once you have your photo printed, you can easily peel off the freezer paper.  You can save the freezer paper to use one or two more times; quite economical if I should say so myself!  Then, if you are planning on putting the photo fabric on a larger piece of fabric to have a bigger pillow, you want to fold a hem around the edges of your fabric and pin and sew it onto the larger piece of fabric.  Below is an example.

  pillow

However, if you would like to make a small decorative pillow (the size of a piece of paper), you would skip this step.

5. Next take your photo fabric or front of the pillow and place it facing side up.  Take the back fabric for your pillow and place it on top facing in.  So now the fabric pieces you want to be on the outside of the pillow are now facing the inside.  Pin them together.  Then you want to stitch all the way around the outside except for a three inch opening.  So make sure you back-stitch when you start and end.  I suggest you do not do this on the corner because it will be harder to hand sew at the end.  This opening will be used to turn the pillow right side out and then stuff with poly-fill.

6. After sewing, turn it right side out.  Stuff it with poly-fill to your desired fullness.

7. Now you will have to decide what stitch you want to use to close it.  You can close it on the machine however it will be noticeable.  You can do the regular loop stitch which is easiest.  Another option which is used in my video is the blind stitch.  The blind stitch is used for hems and closures that you want “blind.

8. And Viola!  You are finished, congrats and enjoy!

cooltext124722308895836


FollowFacebookpinterestrssyoutube
ShareFacebookpinterest