10 DIY Baby Costumes under 10 dollars! 

Since you generally don’t take a baby trick or treating, you don’t want an expensive costume. You also want a costume they won’t immediately pull off or scream because it’s uncomfortable. 

So here are 10 costumes you can make for under 10 dollars! 

1. For your newborn! Prisoner. Make yourself with a sharpie or sticker. Use a black hat. 


You can also use a striped outfit if you have it and a black hat.

2. Biker baby! 


3. Harry Potter!! 

Picture from tumblr 

Just use felt and draw ears on! 

4.Popcorn baby holder- how cute! Just buy some felt and glue or sew it together! 

Photo is from this placeisnowahome 
5. Here’s and idea- Charlie Brown!!! Although I don’t think I’d draw on my baby’s head, still a cute idea. You can use a hat to draw on

Picture from the meta picture

6. I had to include this one since I love Dwightschrute from the office 

 Picture from meta picture 

7. Animals! Animals! Animals! 

You only need a white onesie, some disposable nipples and felt! Moooo! 

From really awesome costumes. Again, you need felt and some glue or sewing 

You can also take advantage of any winter animal outfit you were given! Such as the bear….

Again, green outfit and some felt. You need a green hat and either fake eyes or make your own! 

8. Garden nome

Costume-works

9. Farmer! Overalls and a straw hat! I had a toy hat I used! 


10. Gum ball machine! All you need is a hat and glue or hot glue on colored cotton balls! You need the red shirt and black pants. 

This one is cute too so I put it in…ghost! You need a white nightgown and felt 

Whats you little one going to be?

FollowFacebookpinterestrssyoutube
ShareFacebookpinterest

My PPROM experience..and crocheting

You may be thinking, “Did she spell prom wrong?”  No, not that type of fun prom.  I’m talking about the preterm premature rupture of the membranes type (PPROM).  The not fun, not good, and potentially fatal for your baby type.

IMG_4719

What is PPROM? Essentially, pprom occurs when your water breaks before 37 weeks gestation.  Generally, your water breaks and you will go into labor within 48hours.  If your water breaks before 37 weeks you will have gushes of clear or light yellow fluid with a sweet or no scent.  You need to immediately call your ob doctor and/or go to the emergency/labor delivery room.  Your fluid will be tested to see if it is in fact amniotic fluid.  If so, you most likely will be admitted to your perinatal floor until delivery.

What are the complications of your water breaking early?  Besides premature labor and delivery, there is a very high risk for infection for baby and mom.  Prolapse or compression of the umbilical cord and placenta abruption are also possible complications.

Why does PROM or PPROM occur?

In most cases, the cause of PROM is unknown. Some causes or risk factors may be:  Infections of the uterus, cervix, or vagina, Too much stretching of the amniotic sac (this may happen if there is too much fluid, or more than one baby putting pressure on the membranes), Smoking, if you have had surgery or biopsies of the cervix, if you were pregnant before and had a PROM or PPROM

Or, like me, there is no known cause.

What happens next?  It is essential that you receive a set of two steriod shots to mature your baby’s lungs.  These take at least 24 hours to take full affect.  However, most women give birth before then.  Anywhere from 75-90% of women give birth within one week of their water breaking.  You will also be on bedrest and be given antibiotics intravenously and pills.  Ultrasounds will be done weekly to measure fluid which can vary greatly from day to day. If you start having contractions your doctors may give you magnesium sulfate through your IV to try and stop them.

IMG_0003

My Story:

So I wake up around 2am and noticed a puddle in my bed.  Very unusual since I have had no leaking problems.  Then I proceeded to get up and go to the toilet.  Of course I was concerned; however, I thought maybe I just peed my pants for some reason.  I heard that happens with pregnant women.  Nope.  I walked around and each time I stood up a gush of fluid came out.  I had no cramping or pain anywhere and ended up going back to sleep after my husband sleepily mumbled to call the Dr in the morning.  I was tired, so I agreed.


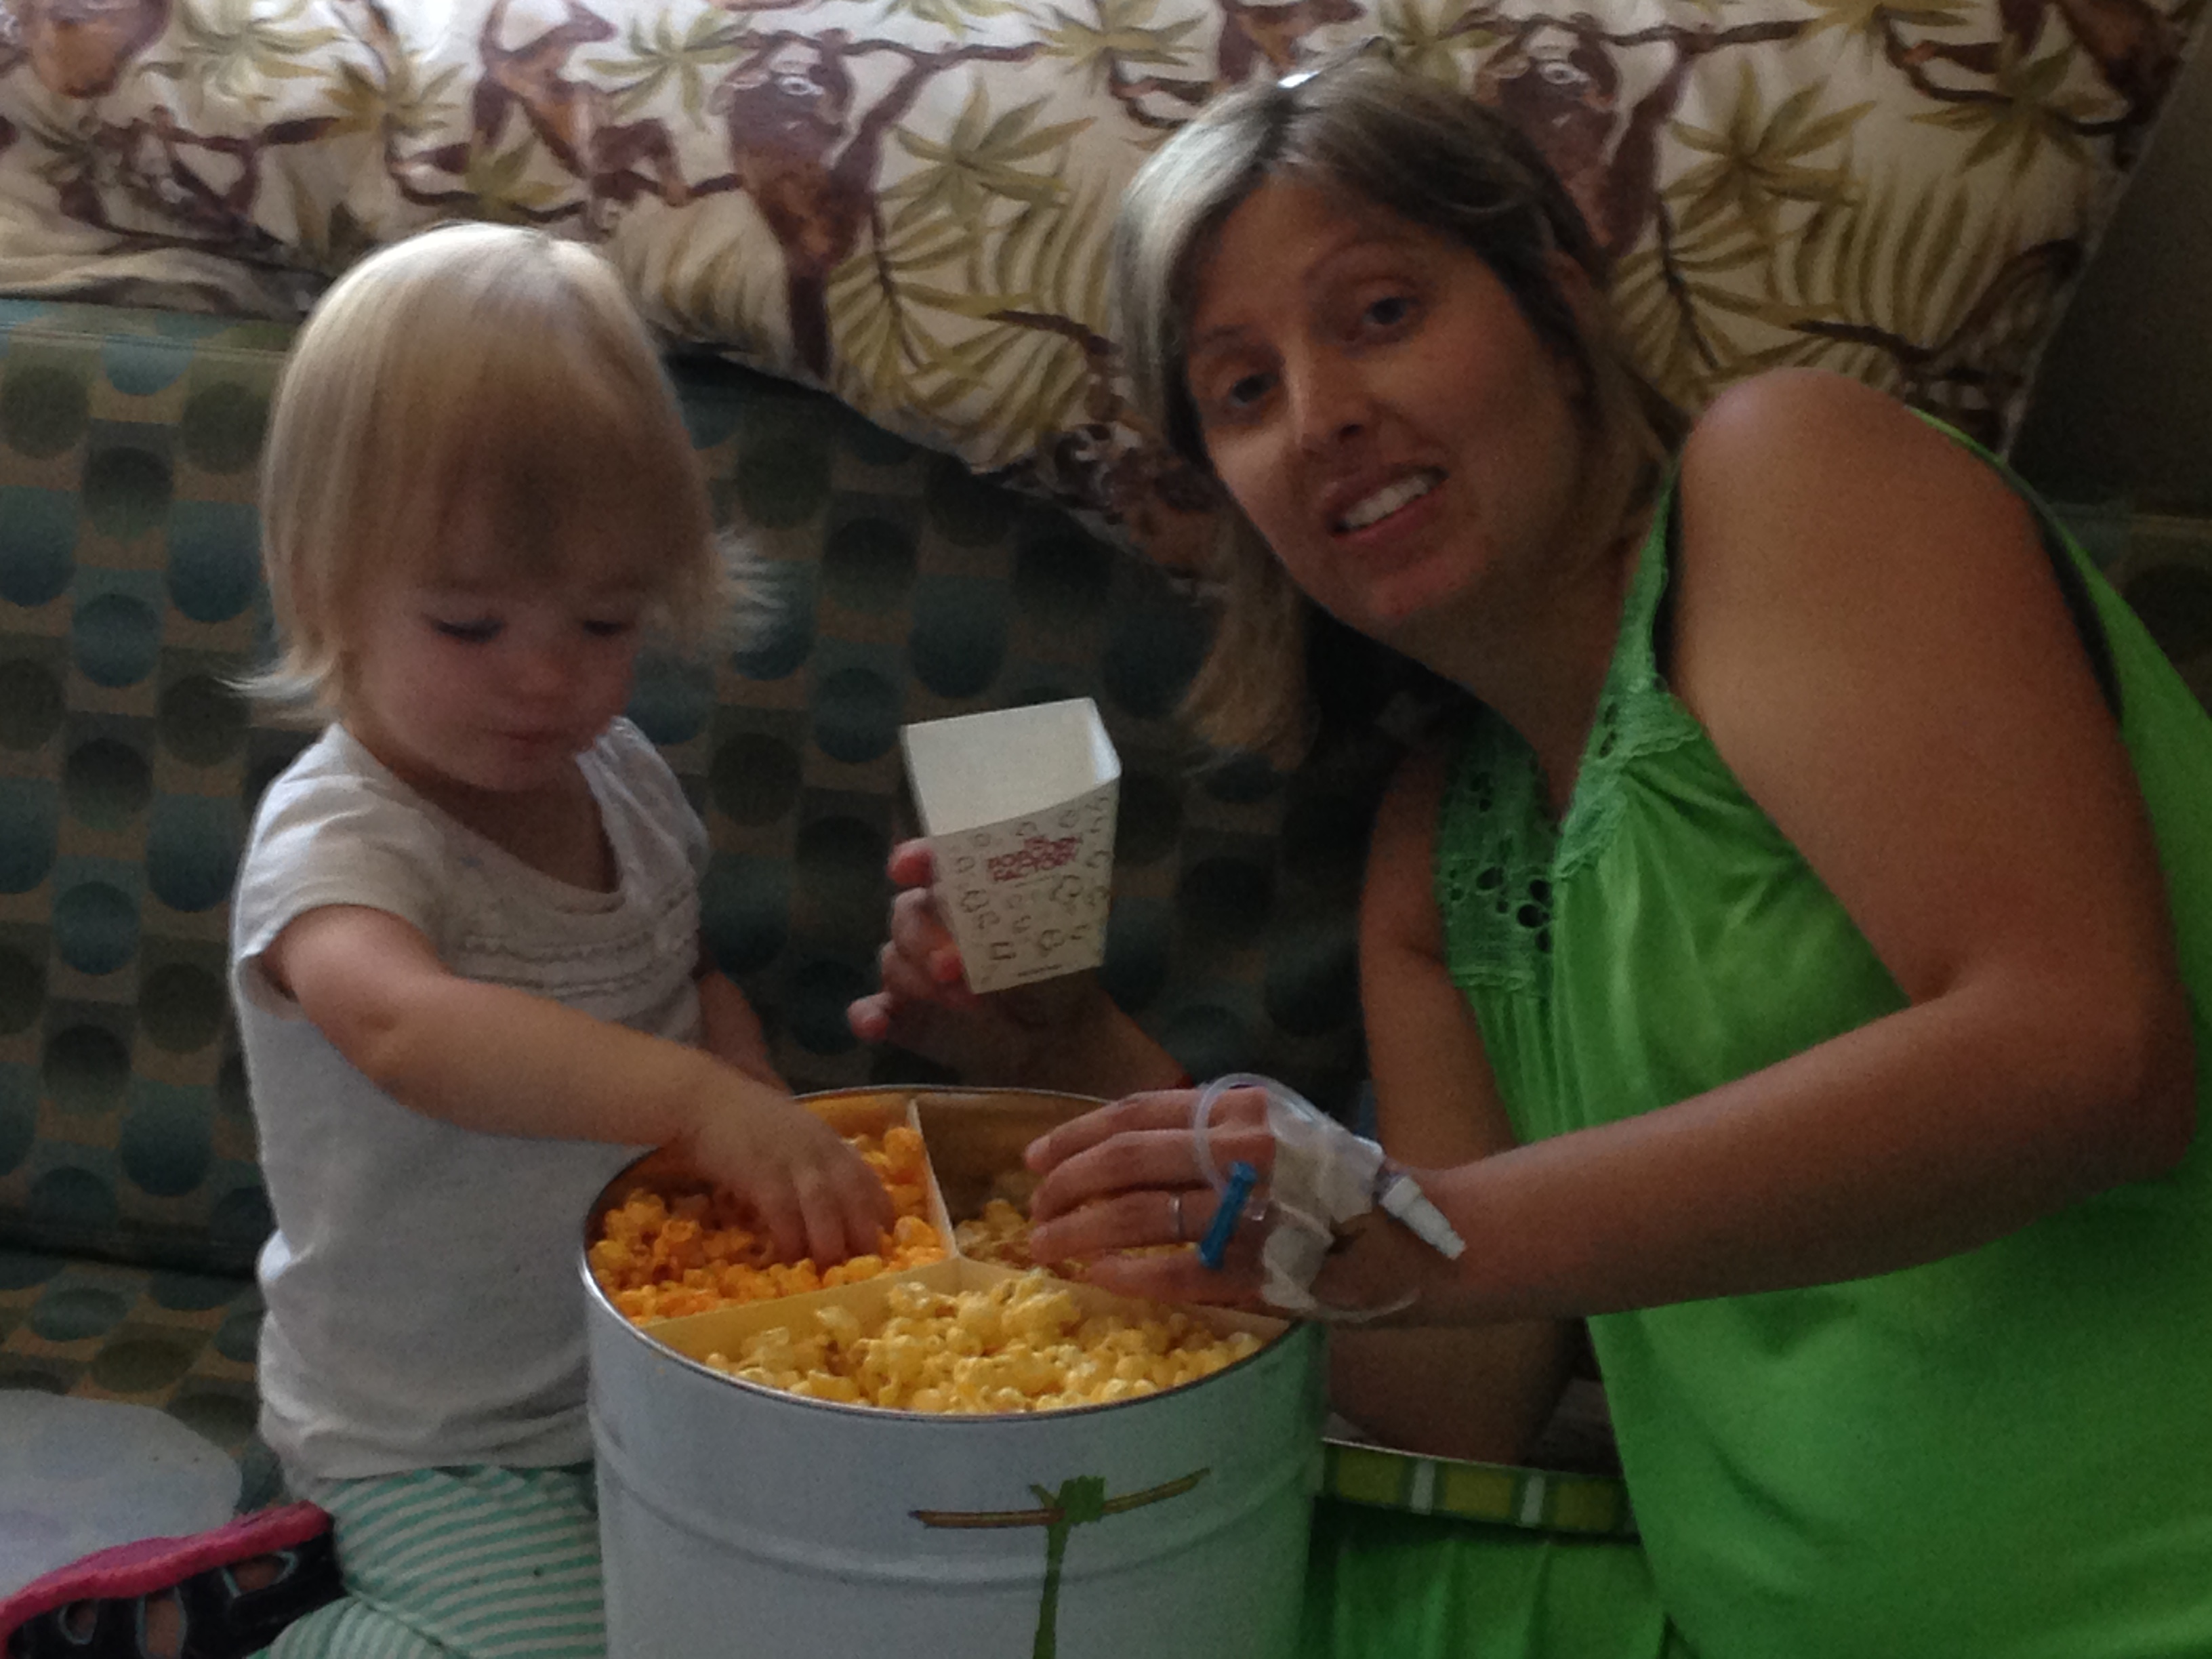
Having a medical background, I figured this could be my water that broke so in the morning I packed a small backpack of basic supplies and clothes as well as a bag for my 22 month old daughter who I was going to hand off to my parents at the hospital entrance.  My ob doctor of course informed me to go to the triage department in the hospital for labor/delivery.  Luckily, my husband was able to meet me there and I had support.  The Dr tested the fluid and informed me I would have to stay until delivery which was likely within 48 hours.  I received an IV, fluids, ultrasound (my fluid level was 4 at admission) and a steroid shot.  At first, this was all very overwhelming.


So, I expected my baby boy to be born within 48 hours at the gestational age of 30 weeks.  However, days past, then a week, then two weeks.  The antibiotics were finished, the iv was removed, and I was informed if I make it to 34 weeks I will be induced.


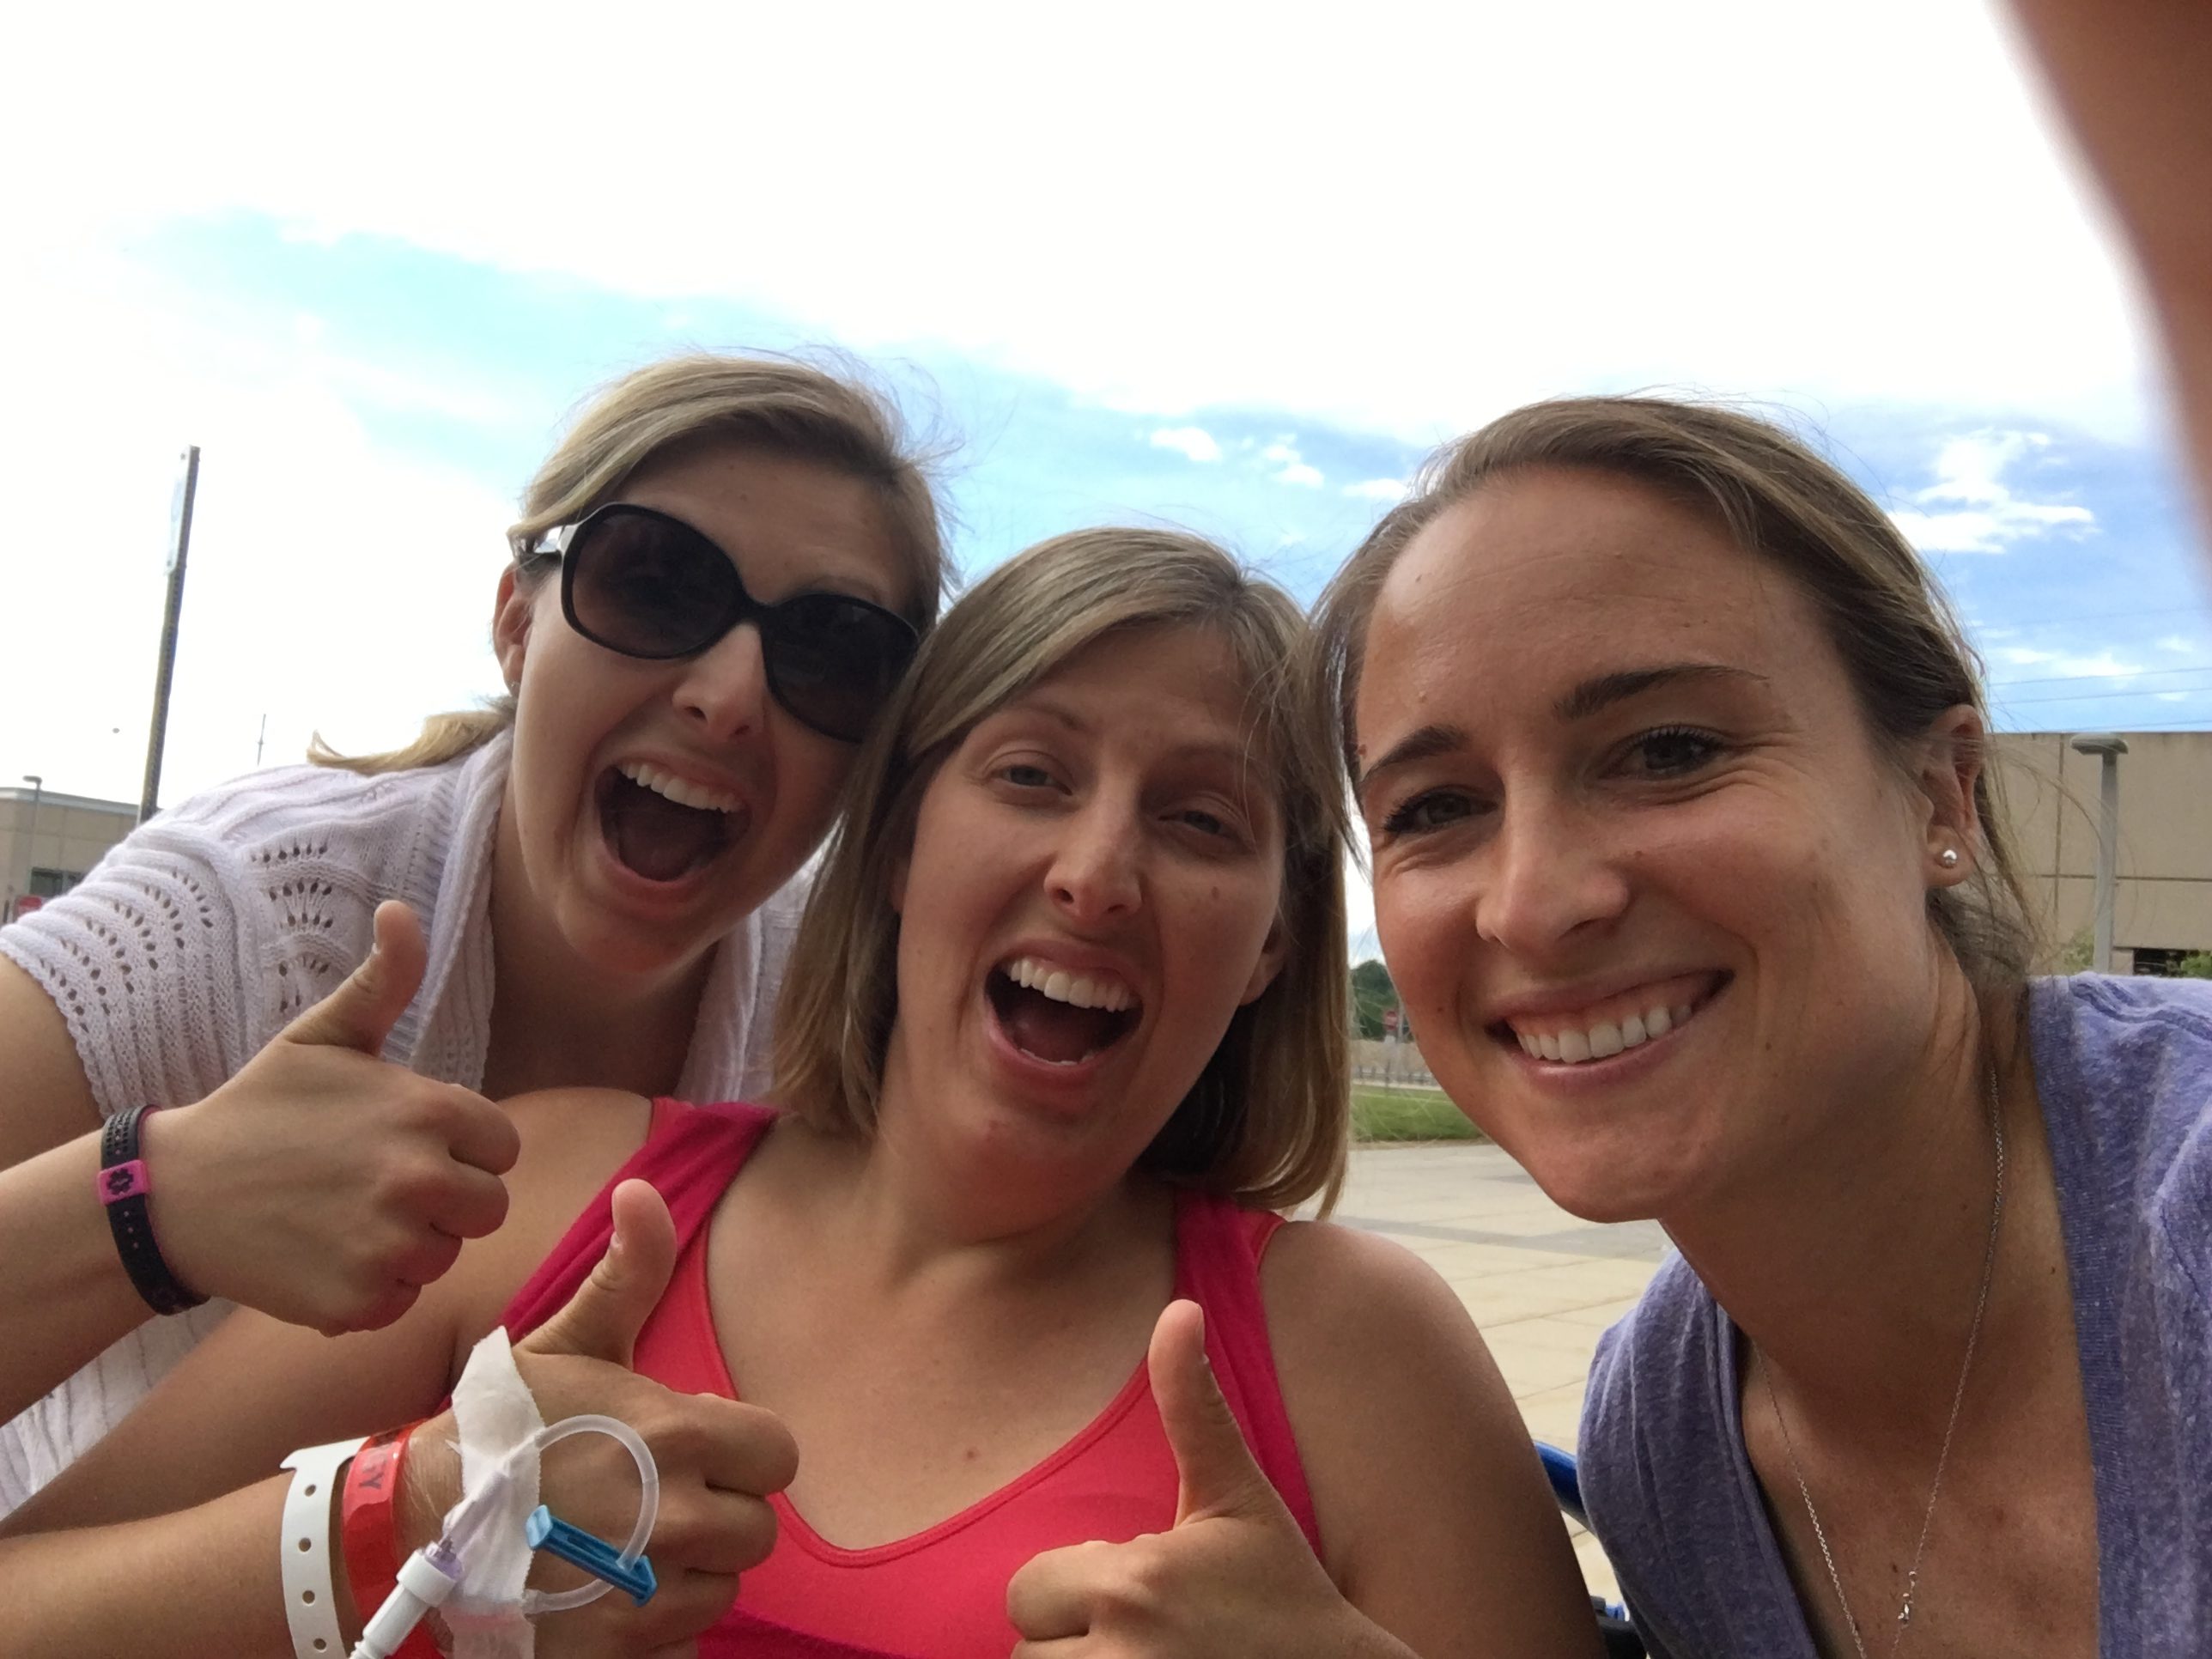
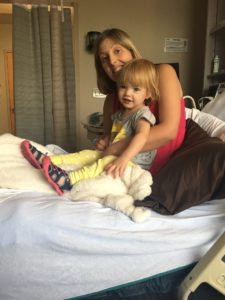
The first few days I was mostly in bed except using the bathroom.  The baby’s heart rate was listened to four times a day with a nonstress test every morning. I had weekly ultrasounds for just fluid measurement.  After a couple days, I was allowed to take wheelchair rides outside to get some sunshine!  I am lucky to have great family and friends who kept me entertained, took me on rides, brought food and entertainment for me.  I sorely missed my daughter, but luckily she was able to visit daily and got into the routine.

IMG_4764Today I am 33 weeks and 2 days.  I am set to be induced at 34 weeks since after then the risk of infection is very high and would cause the baby and mom to possibly be very sick.


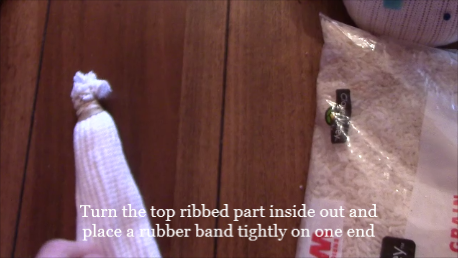
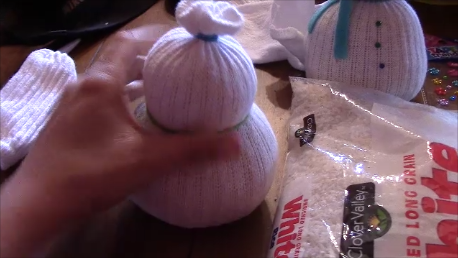
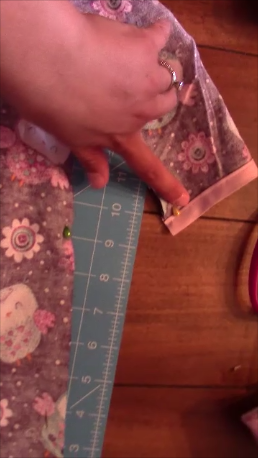
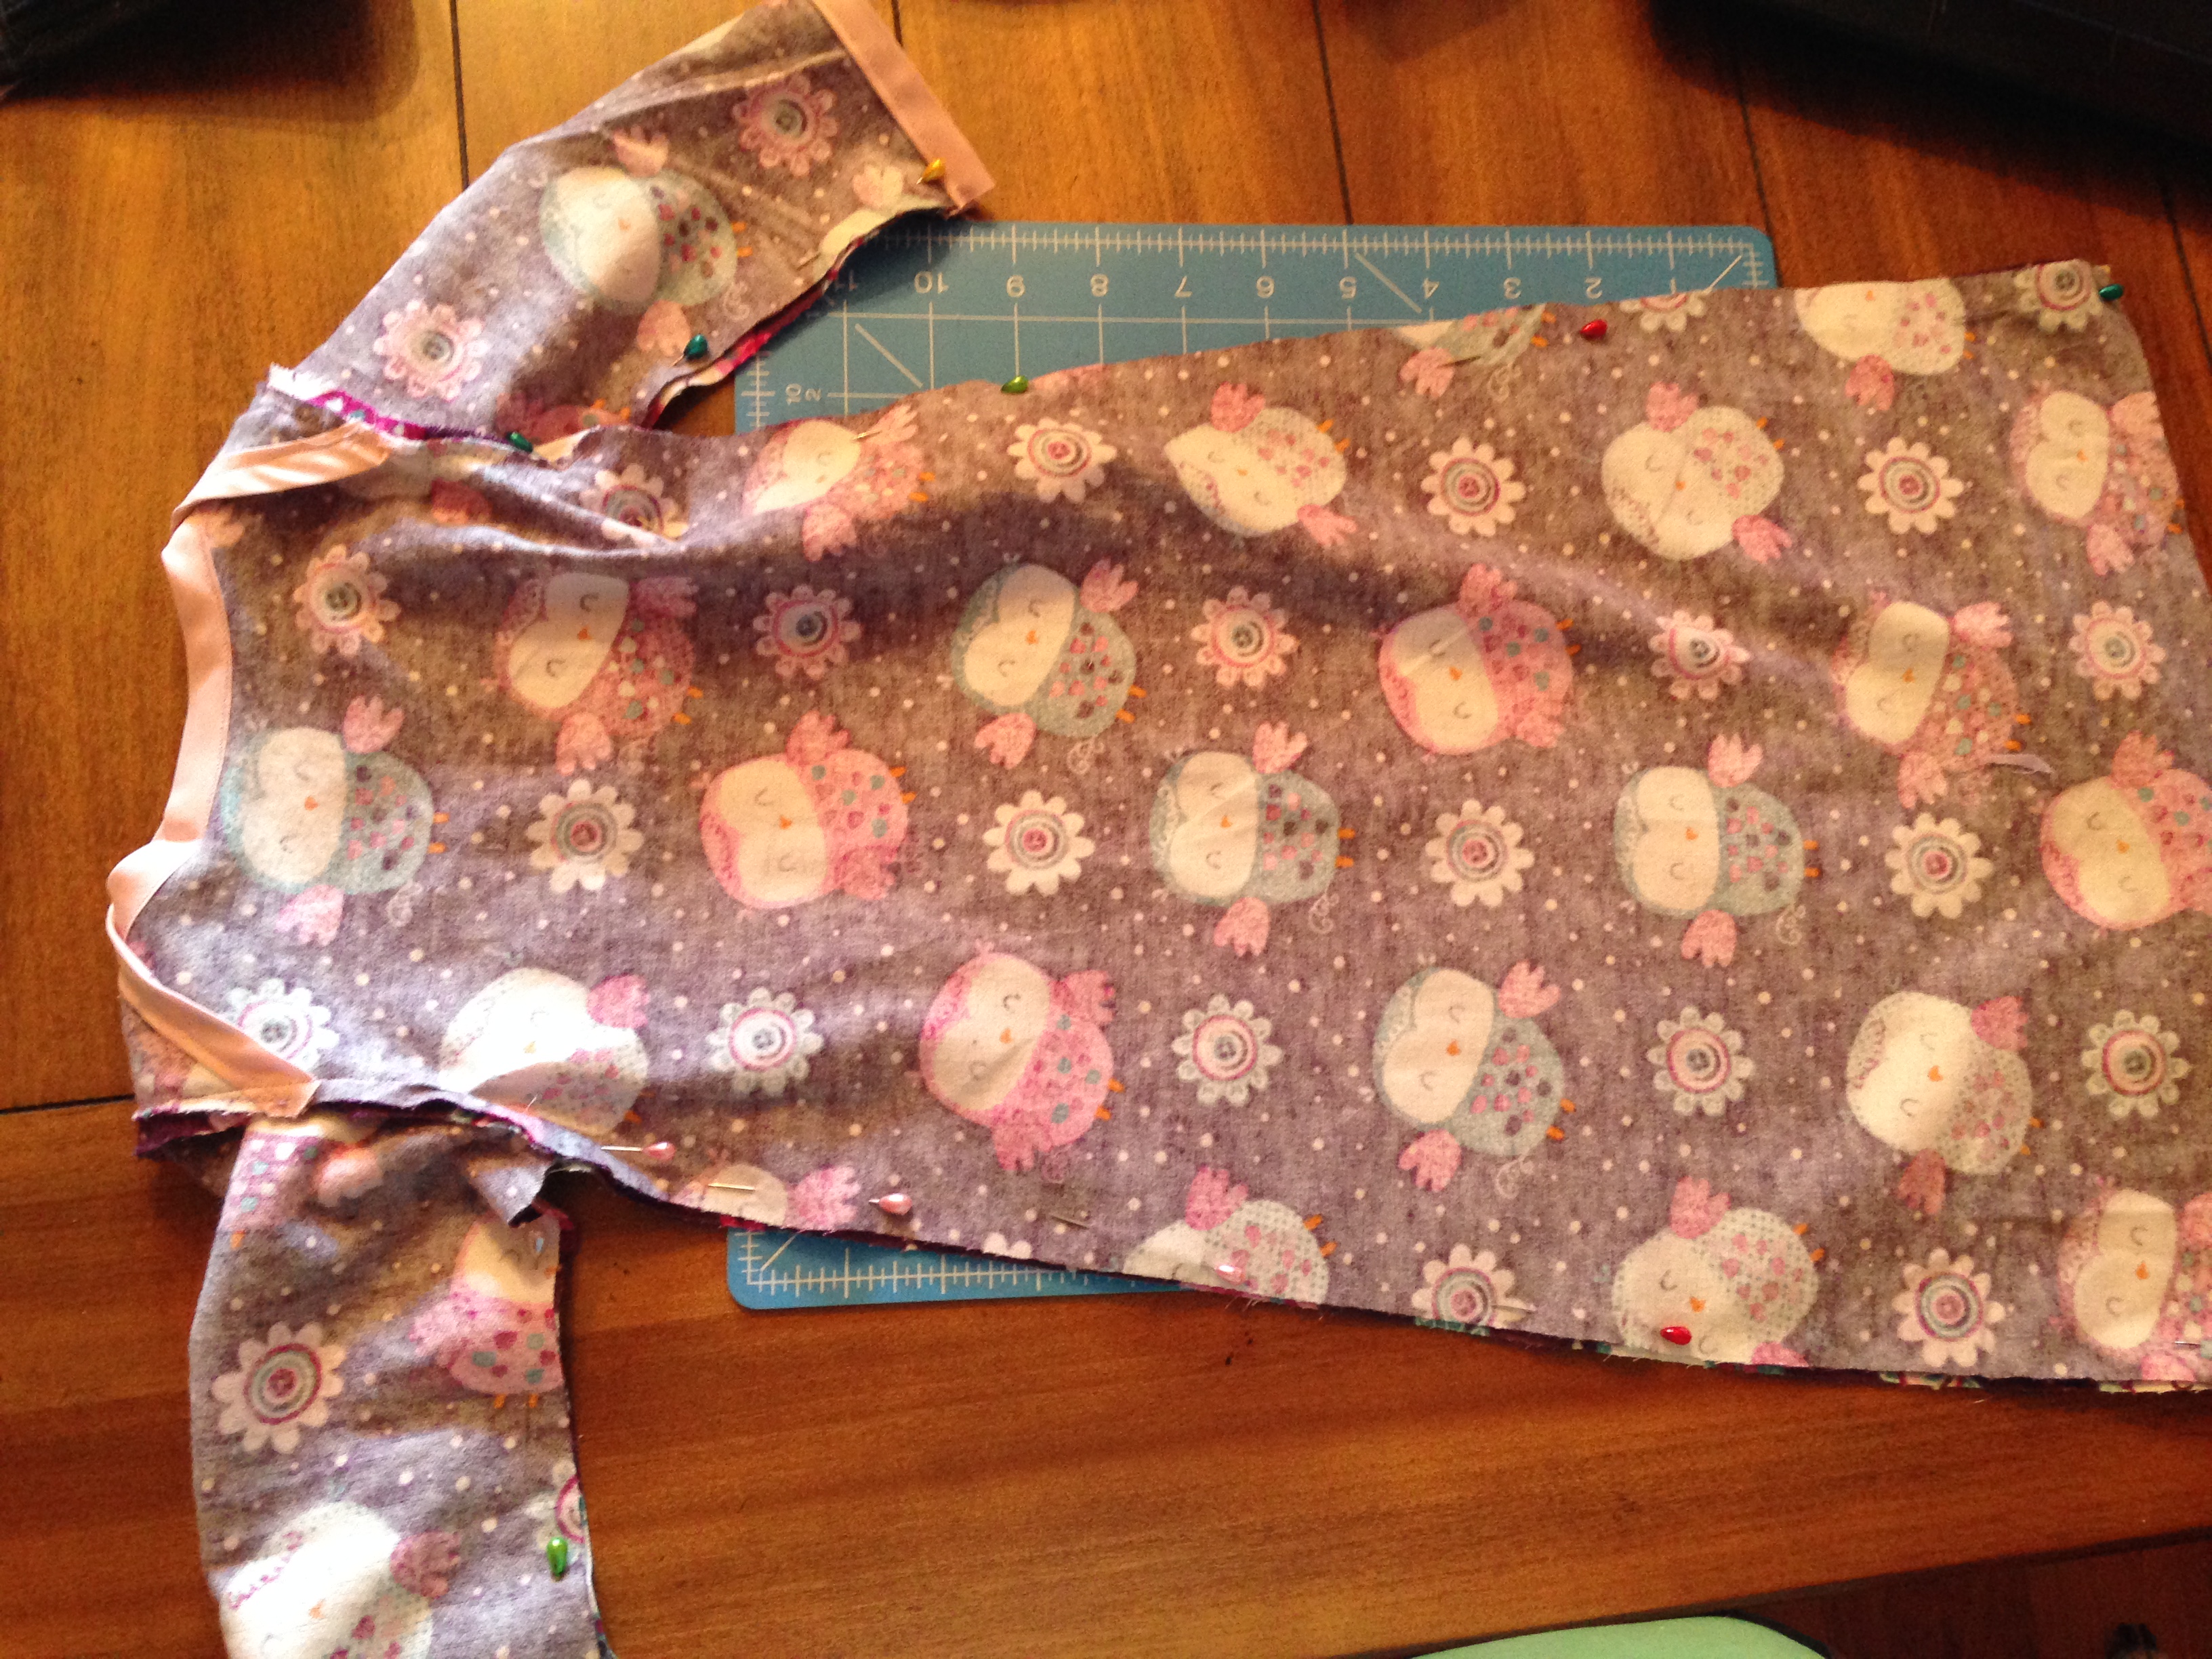
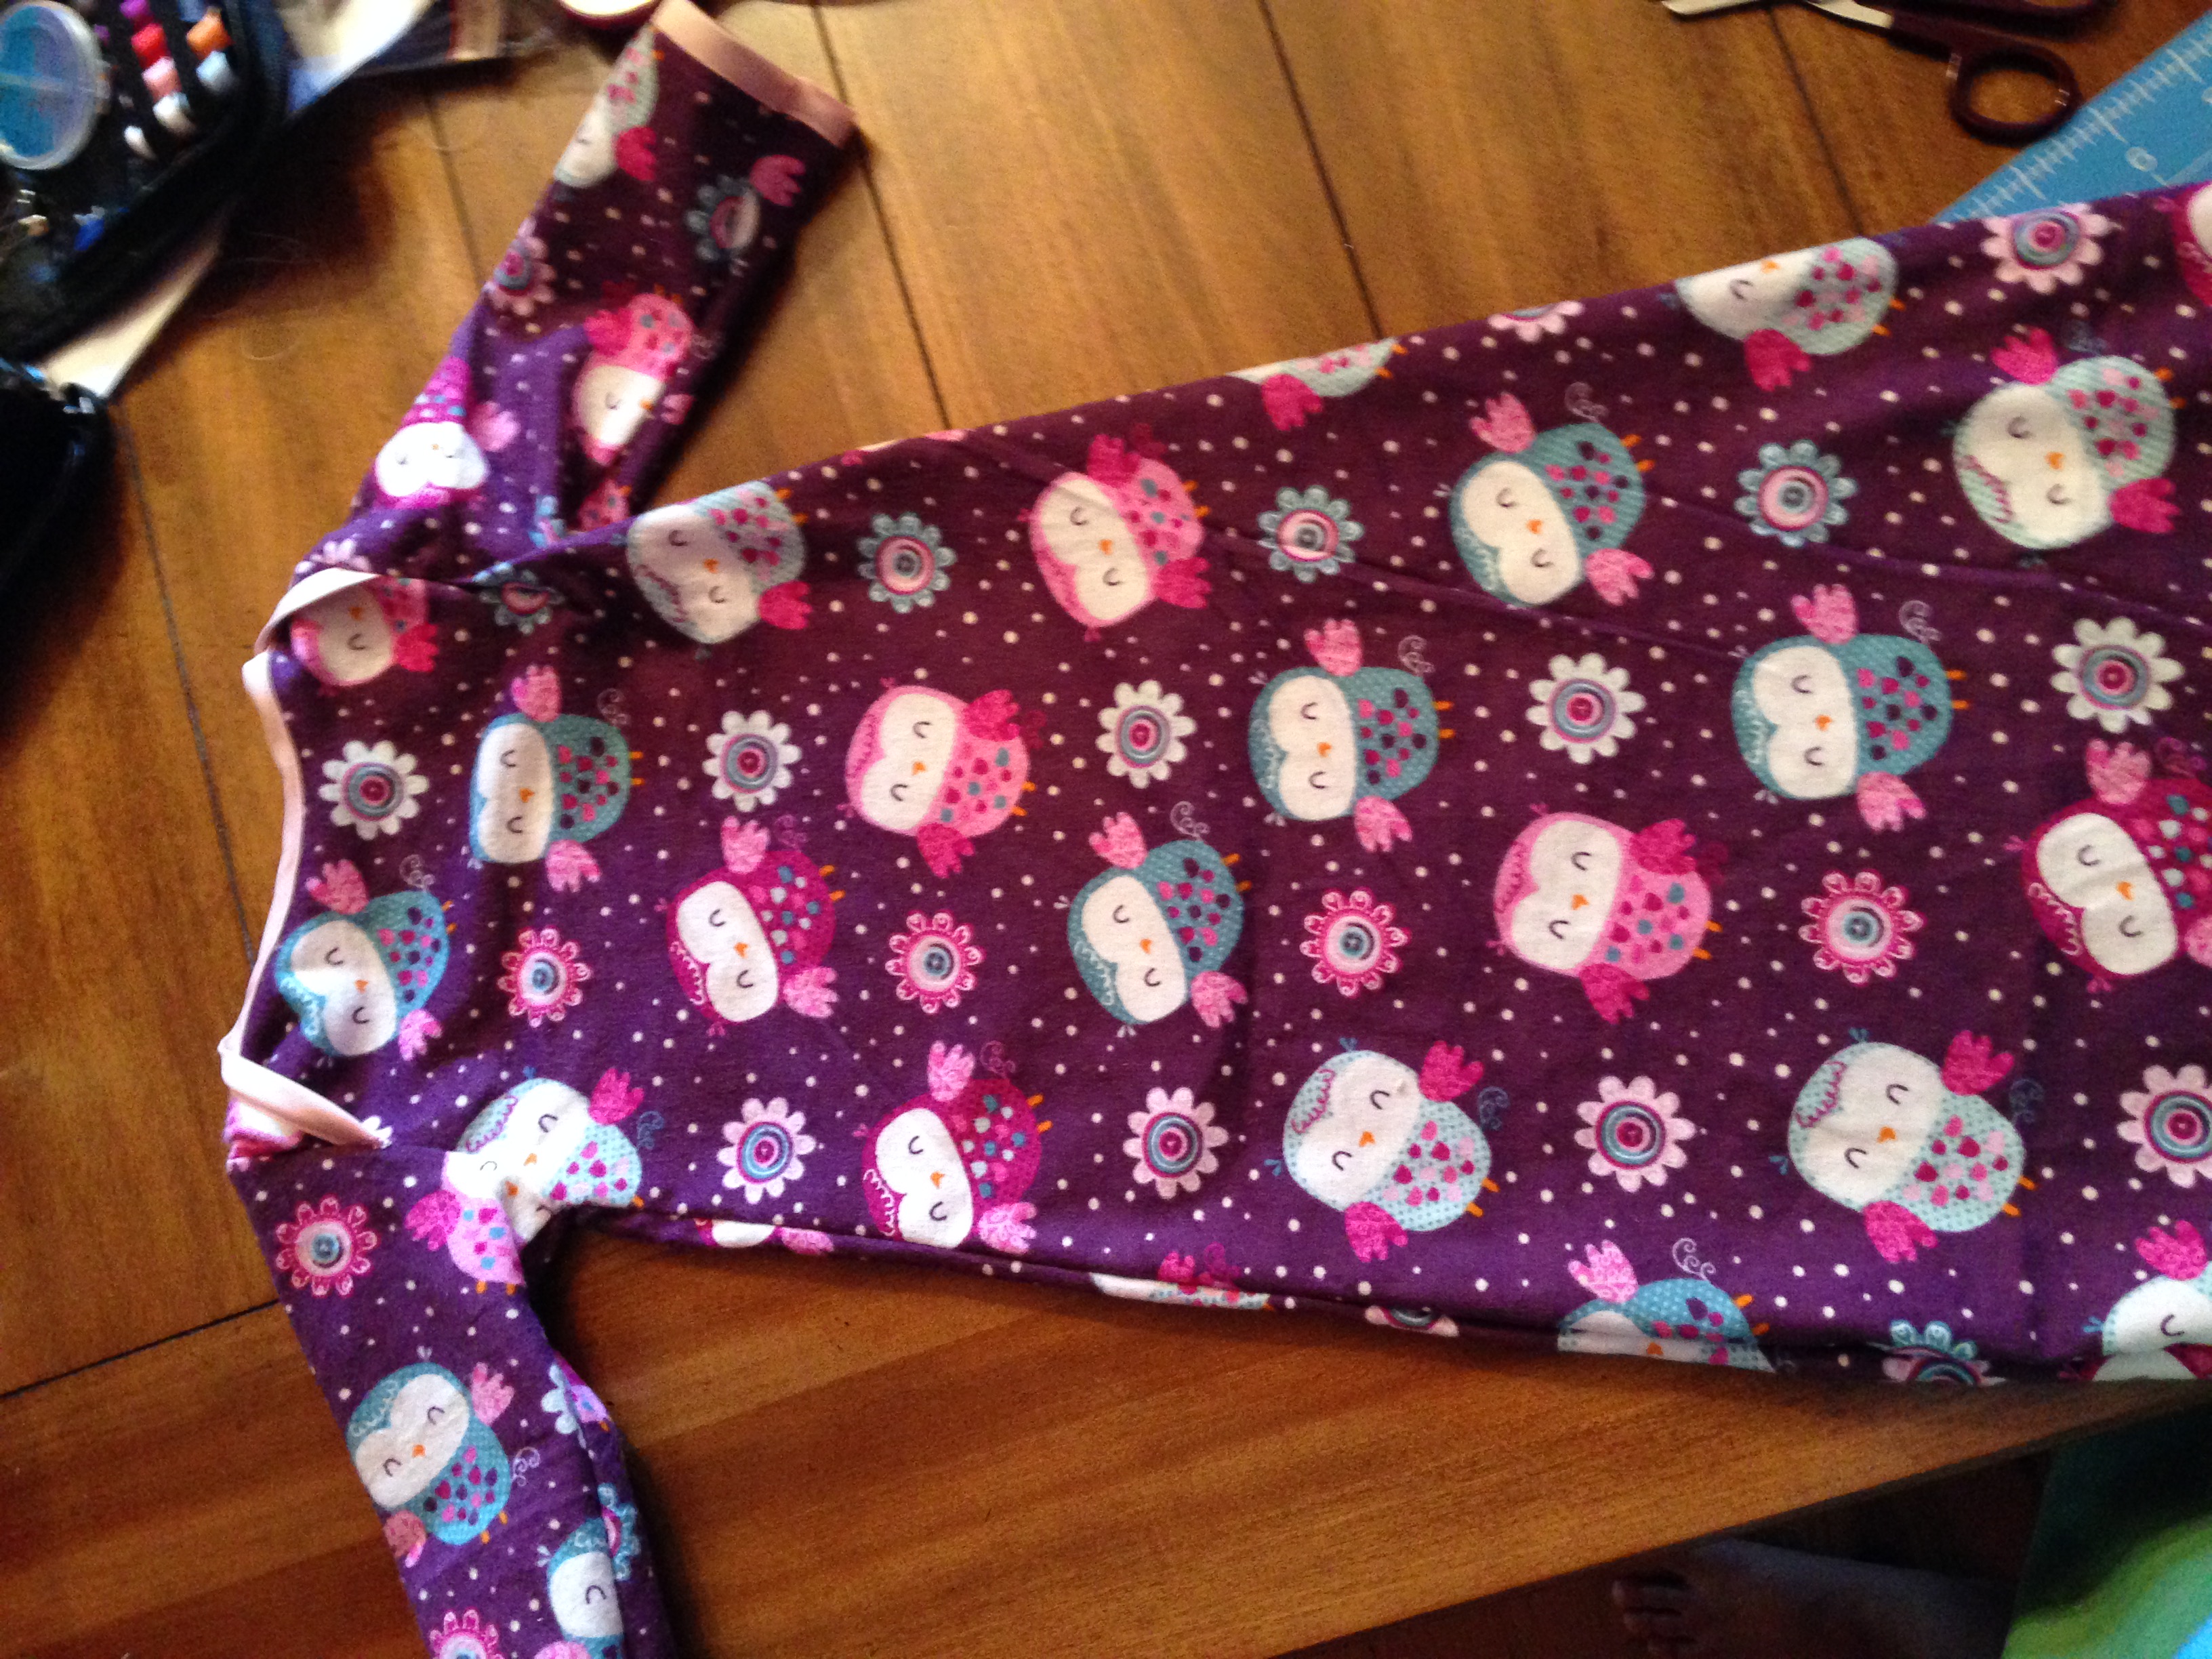
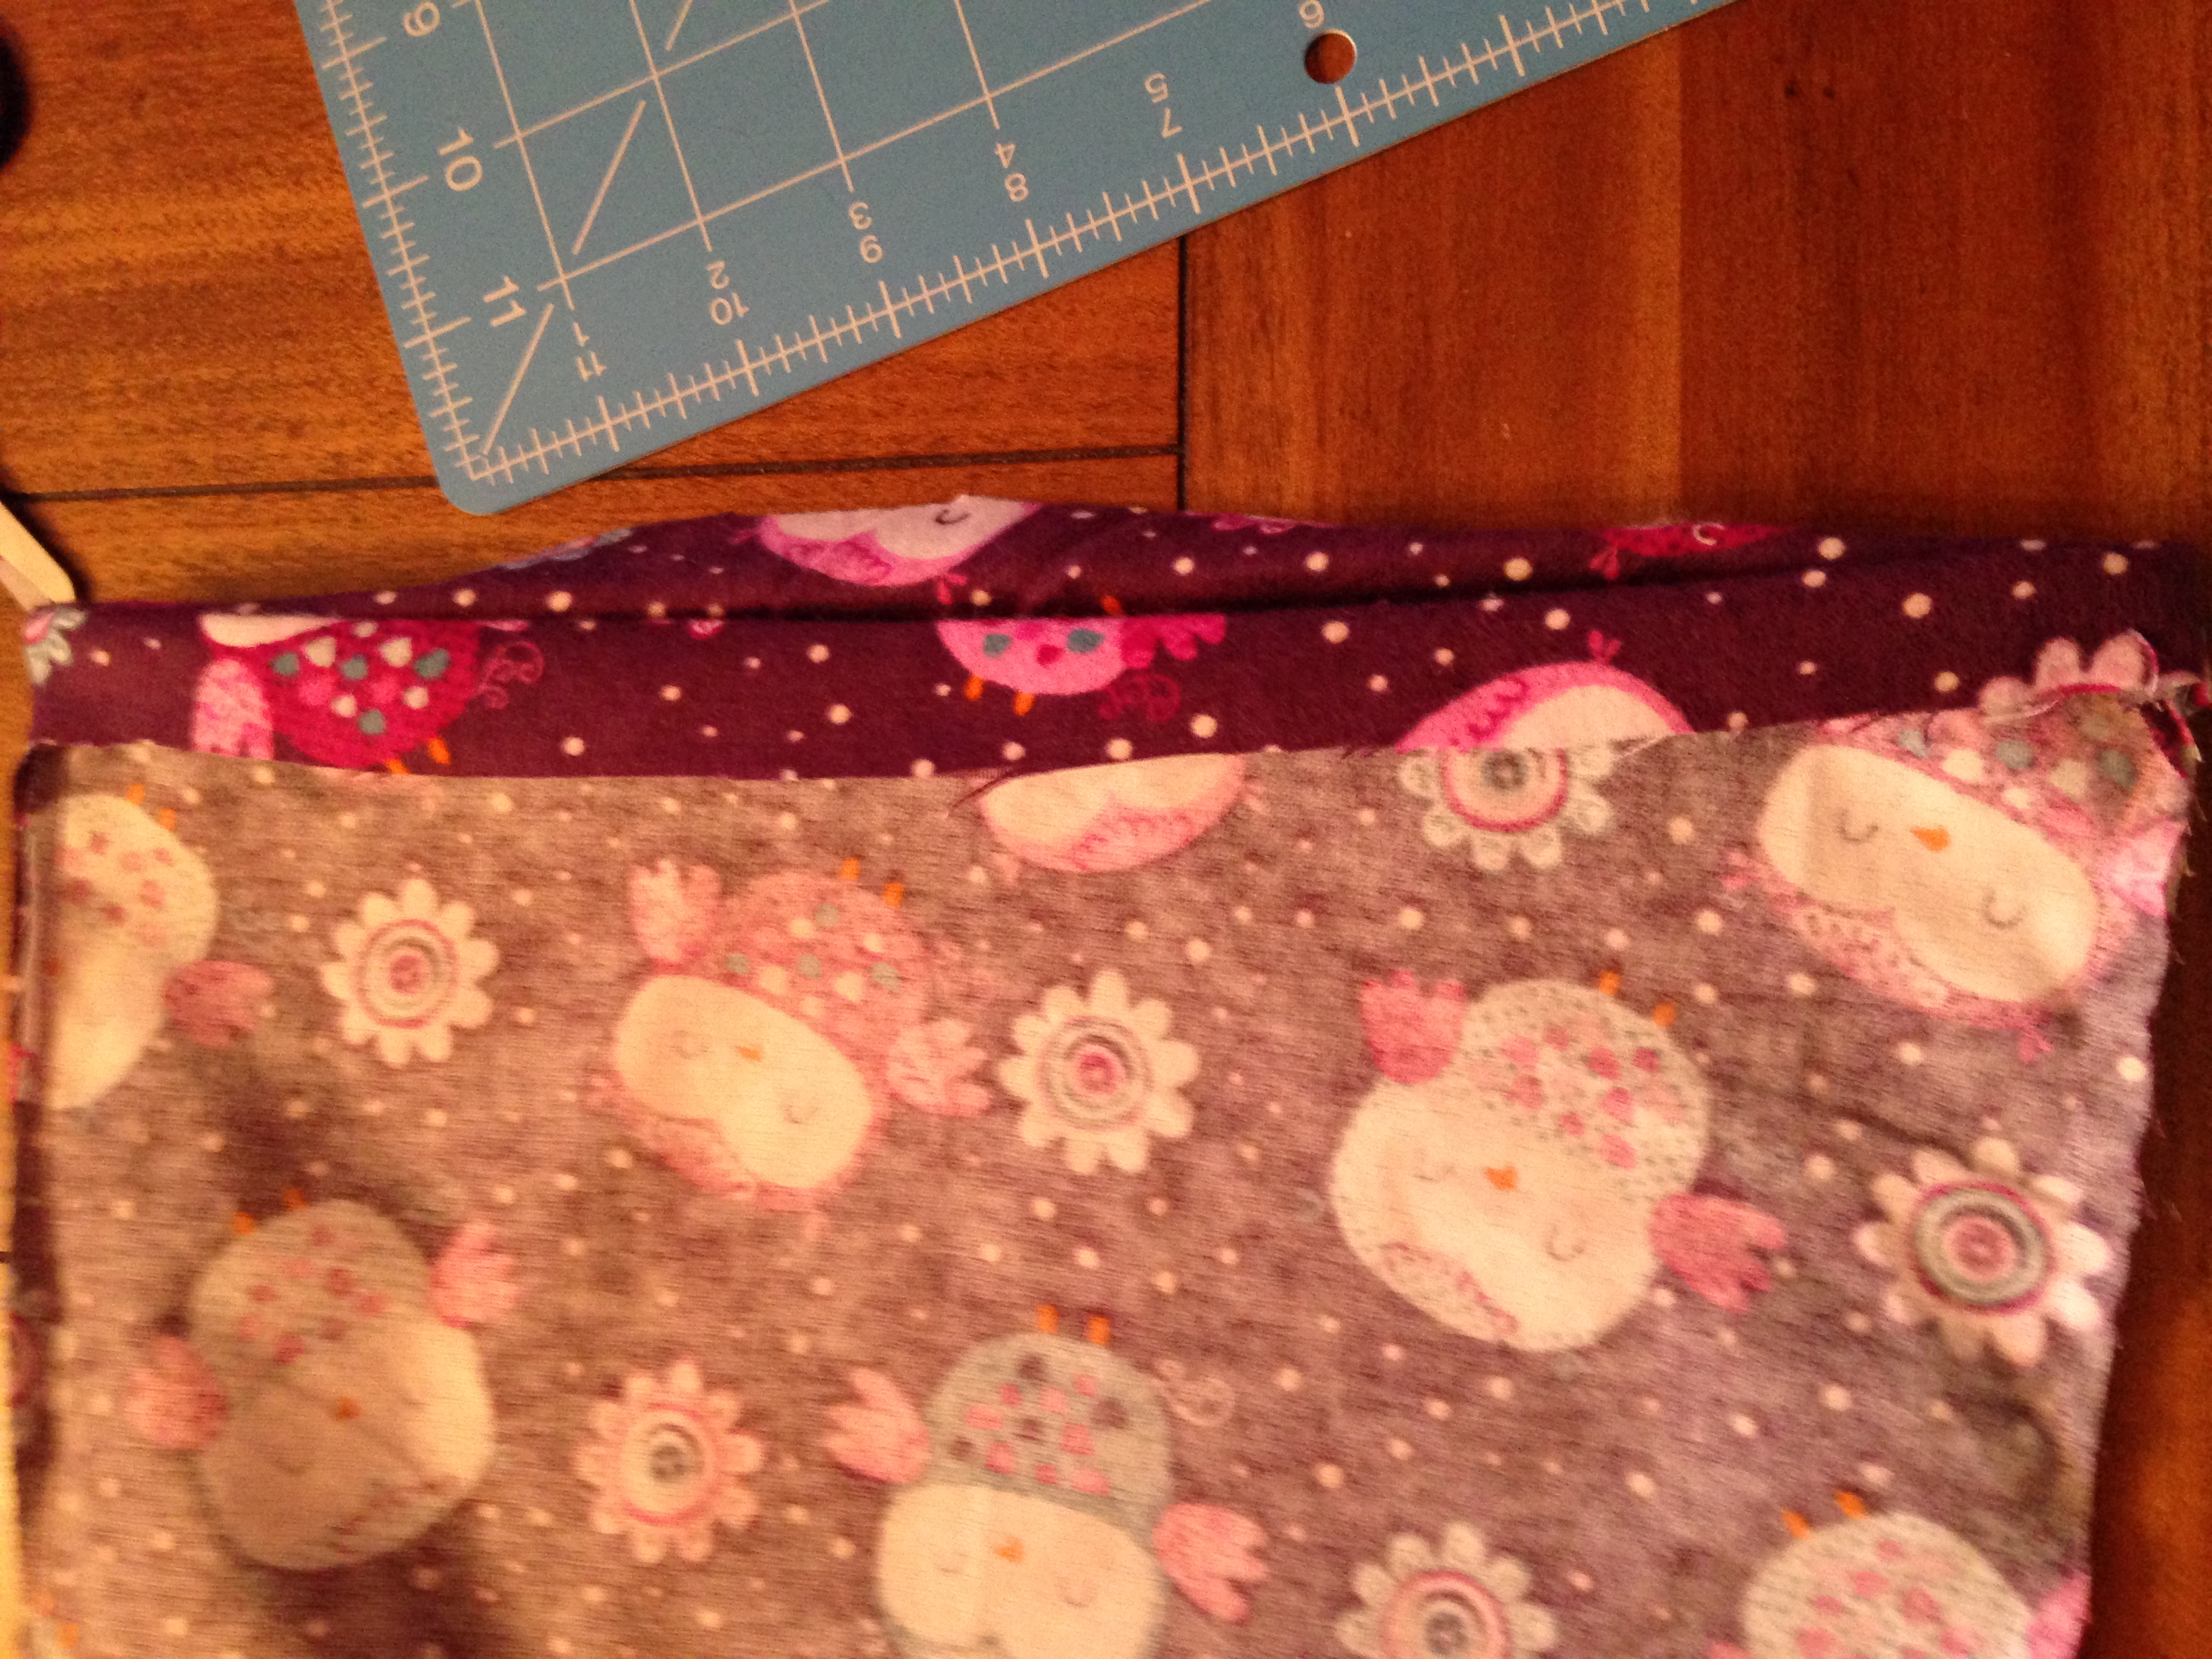
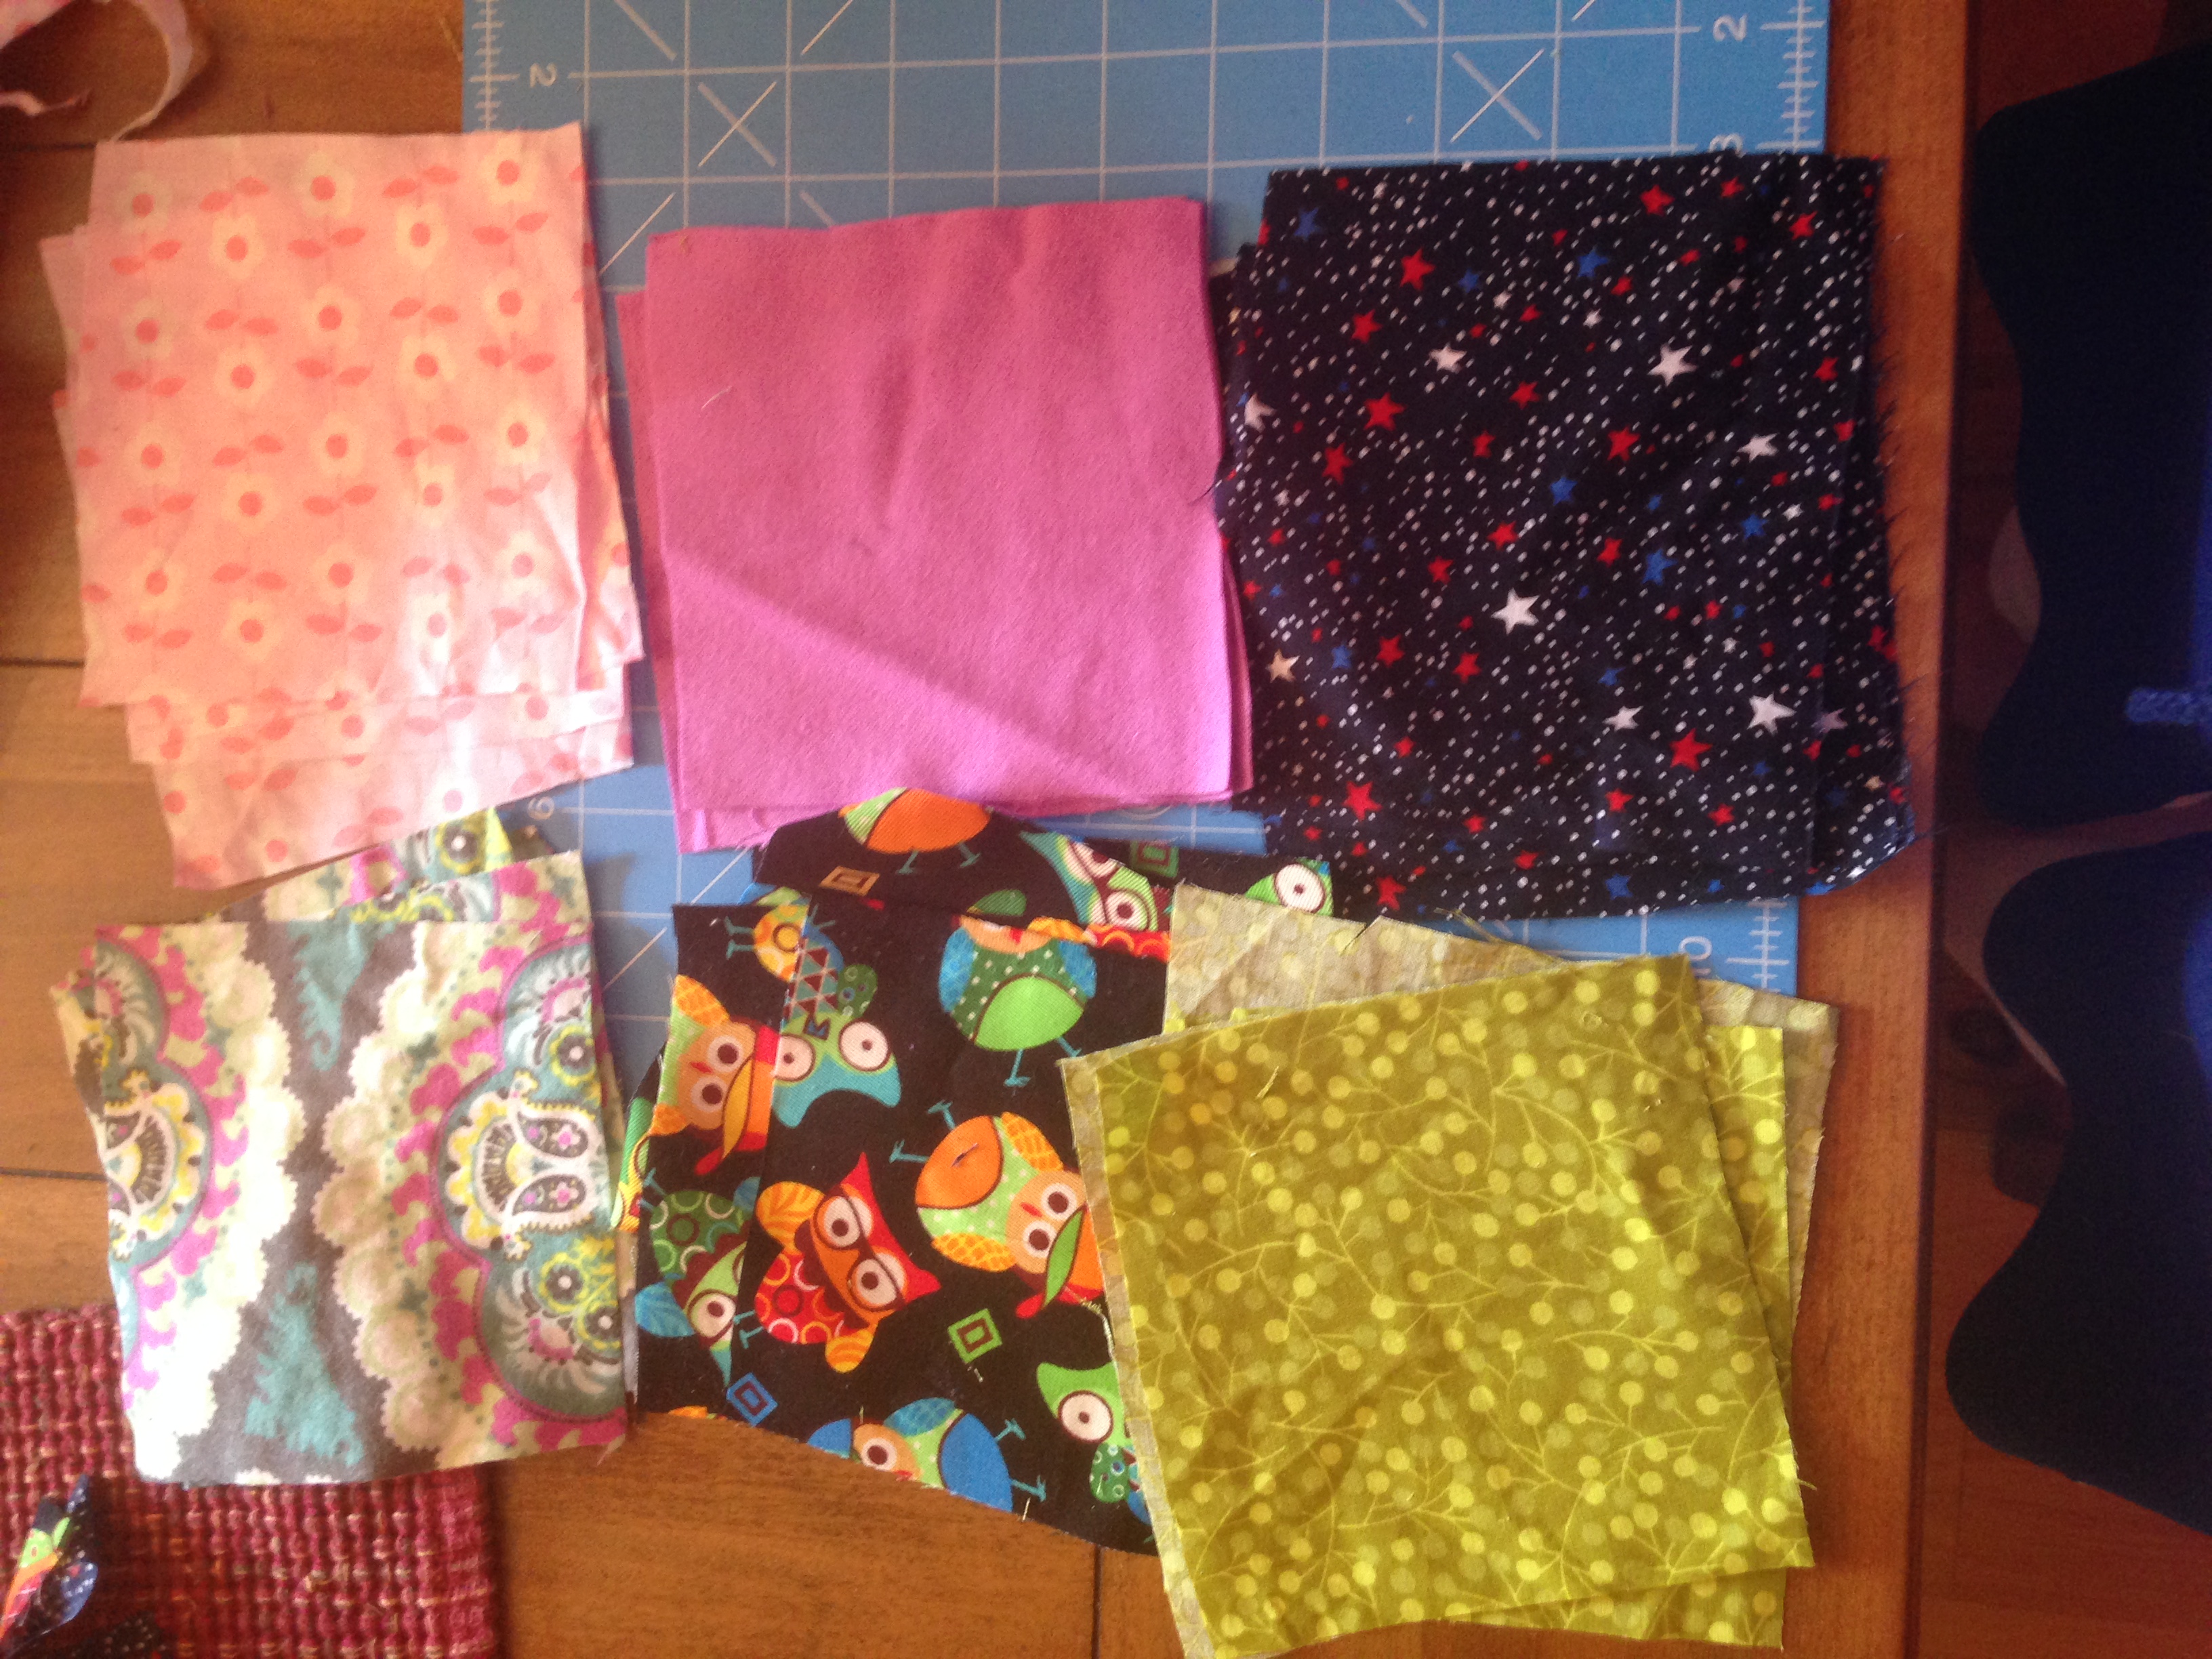
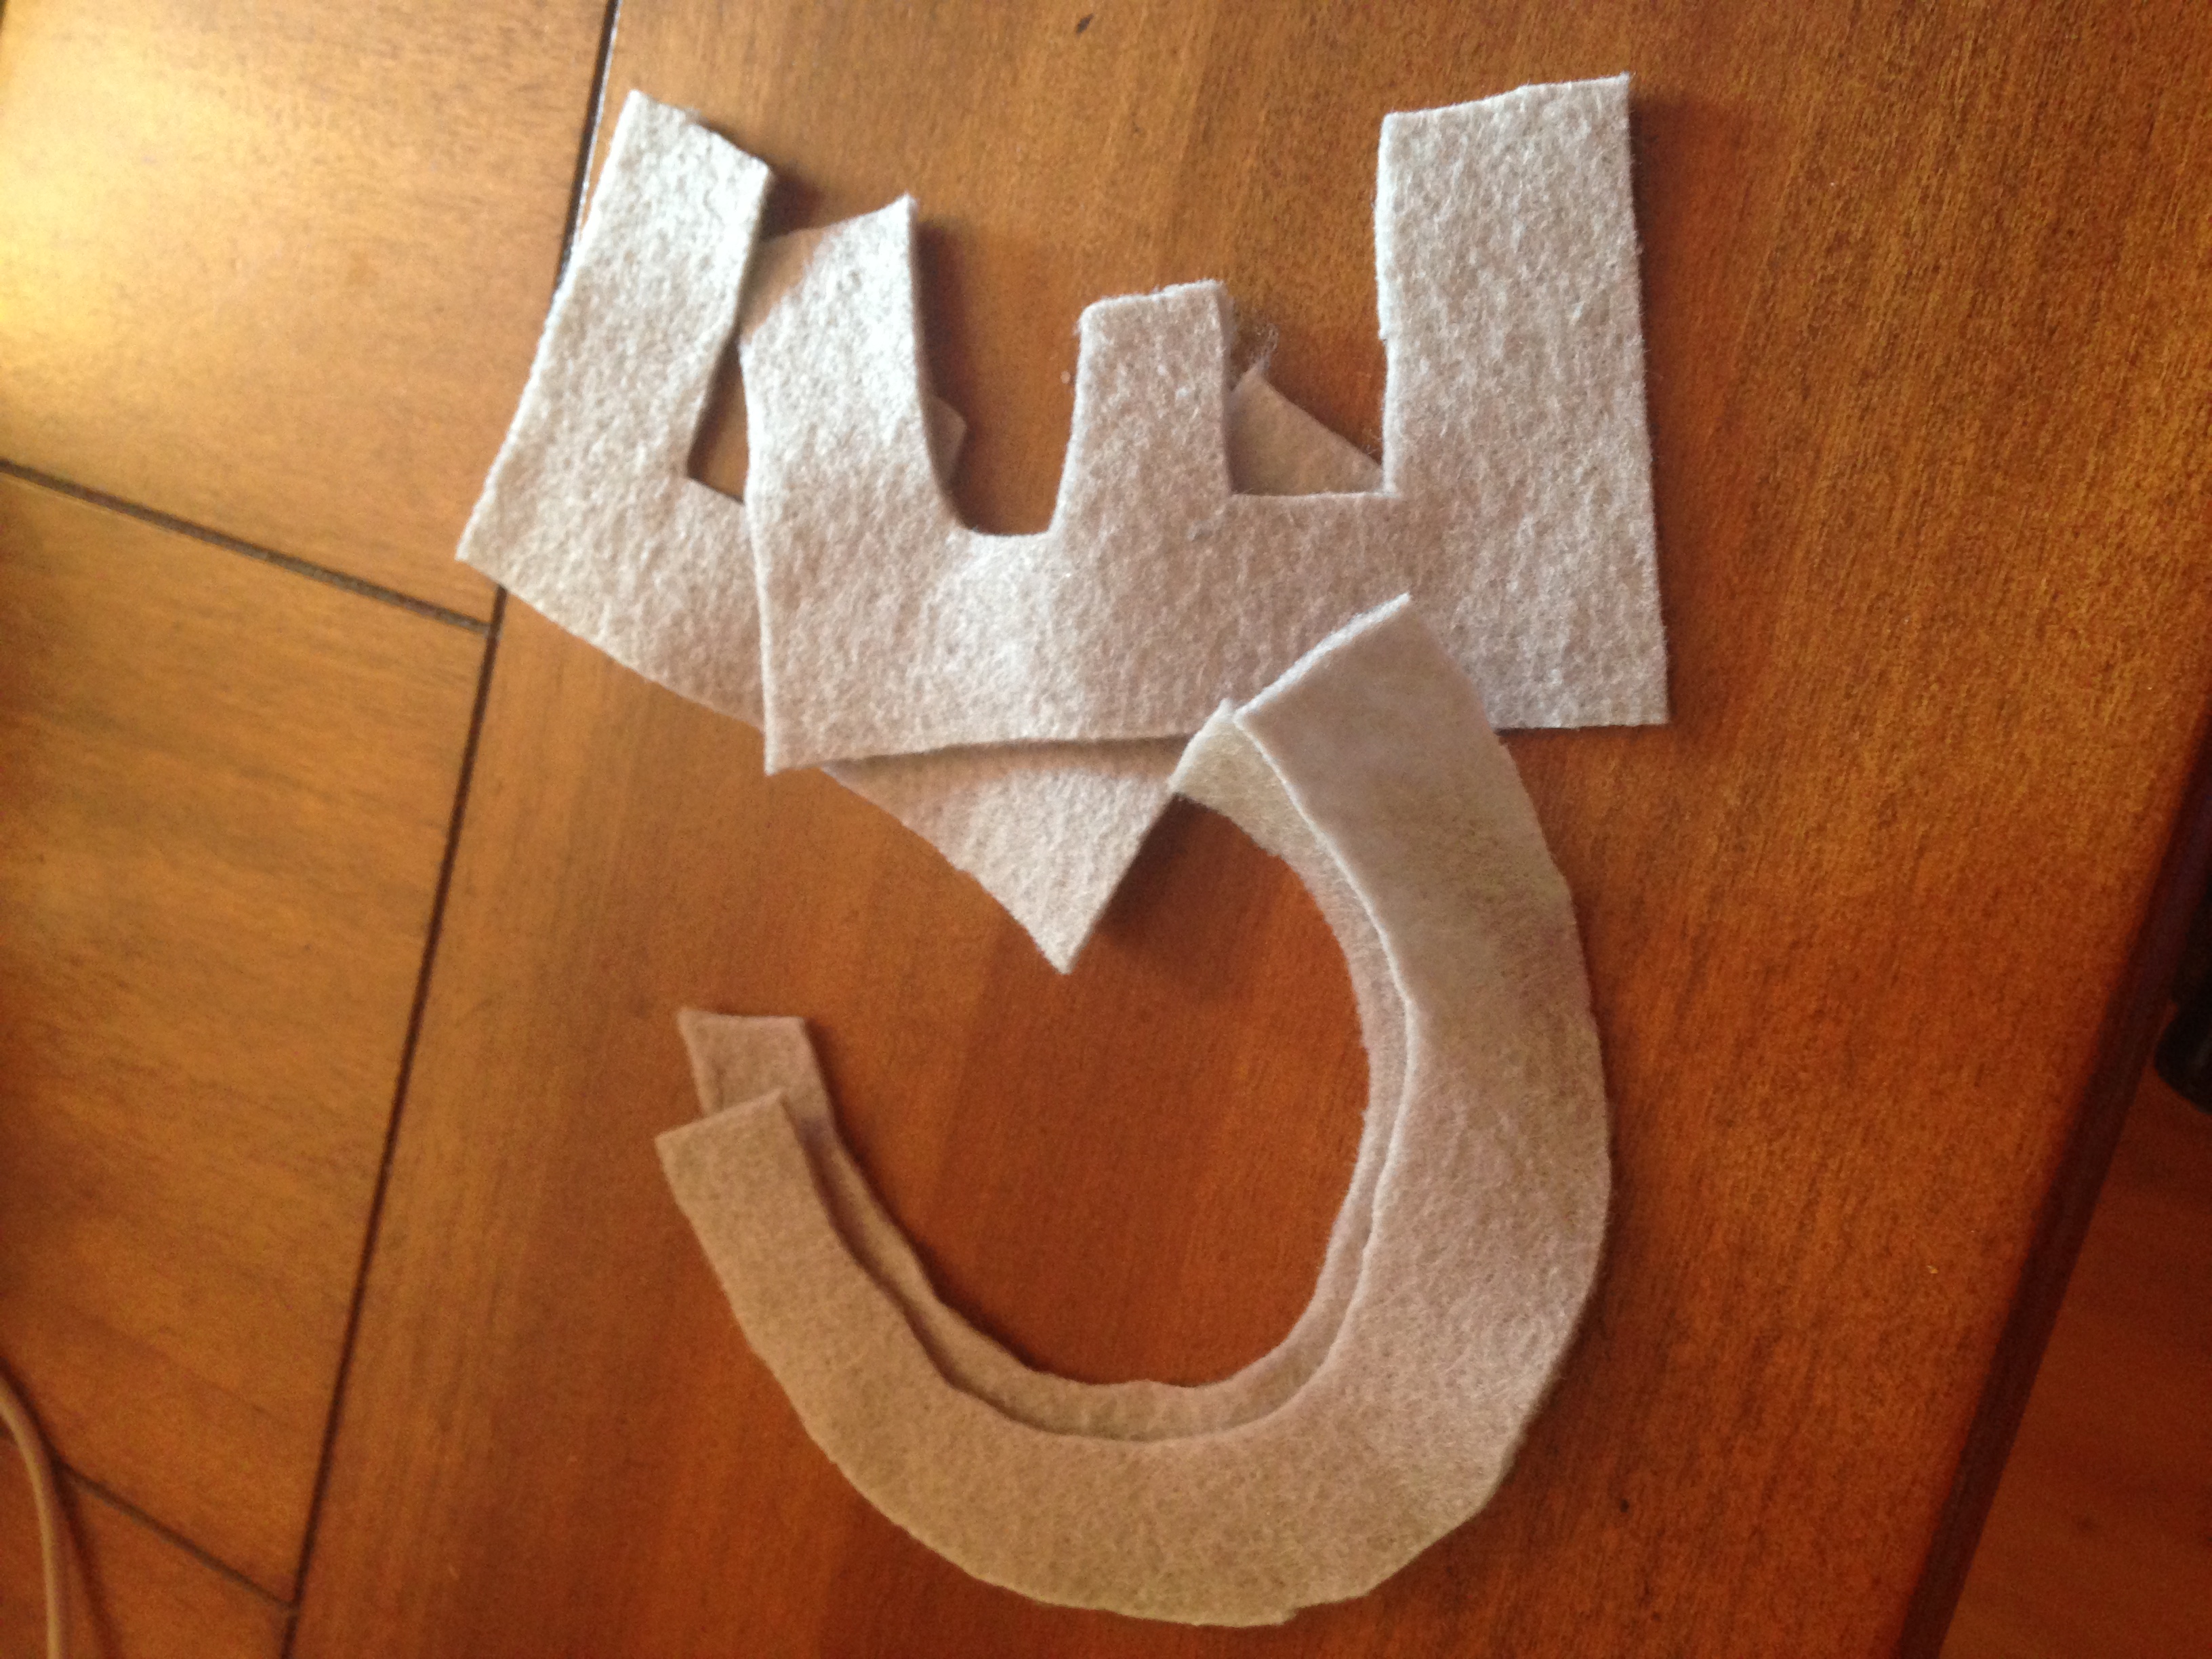
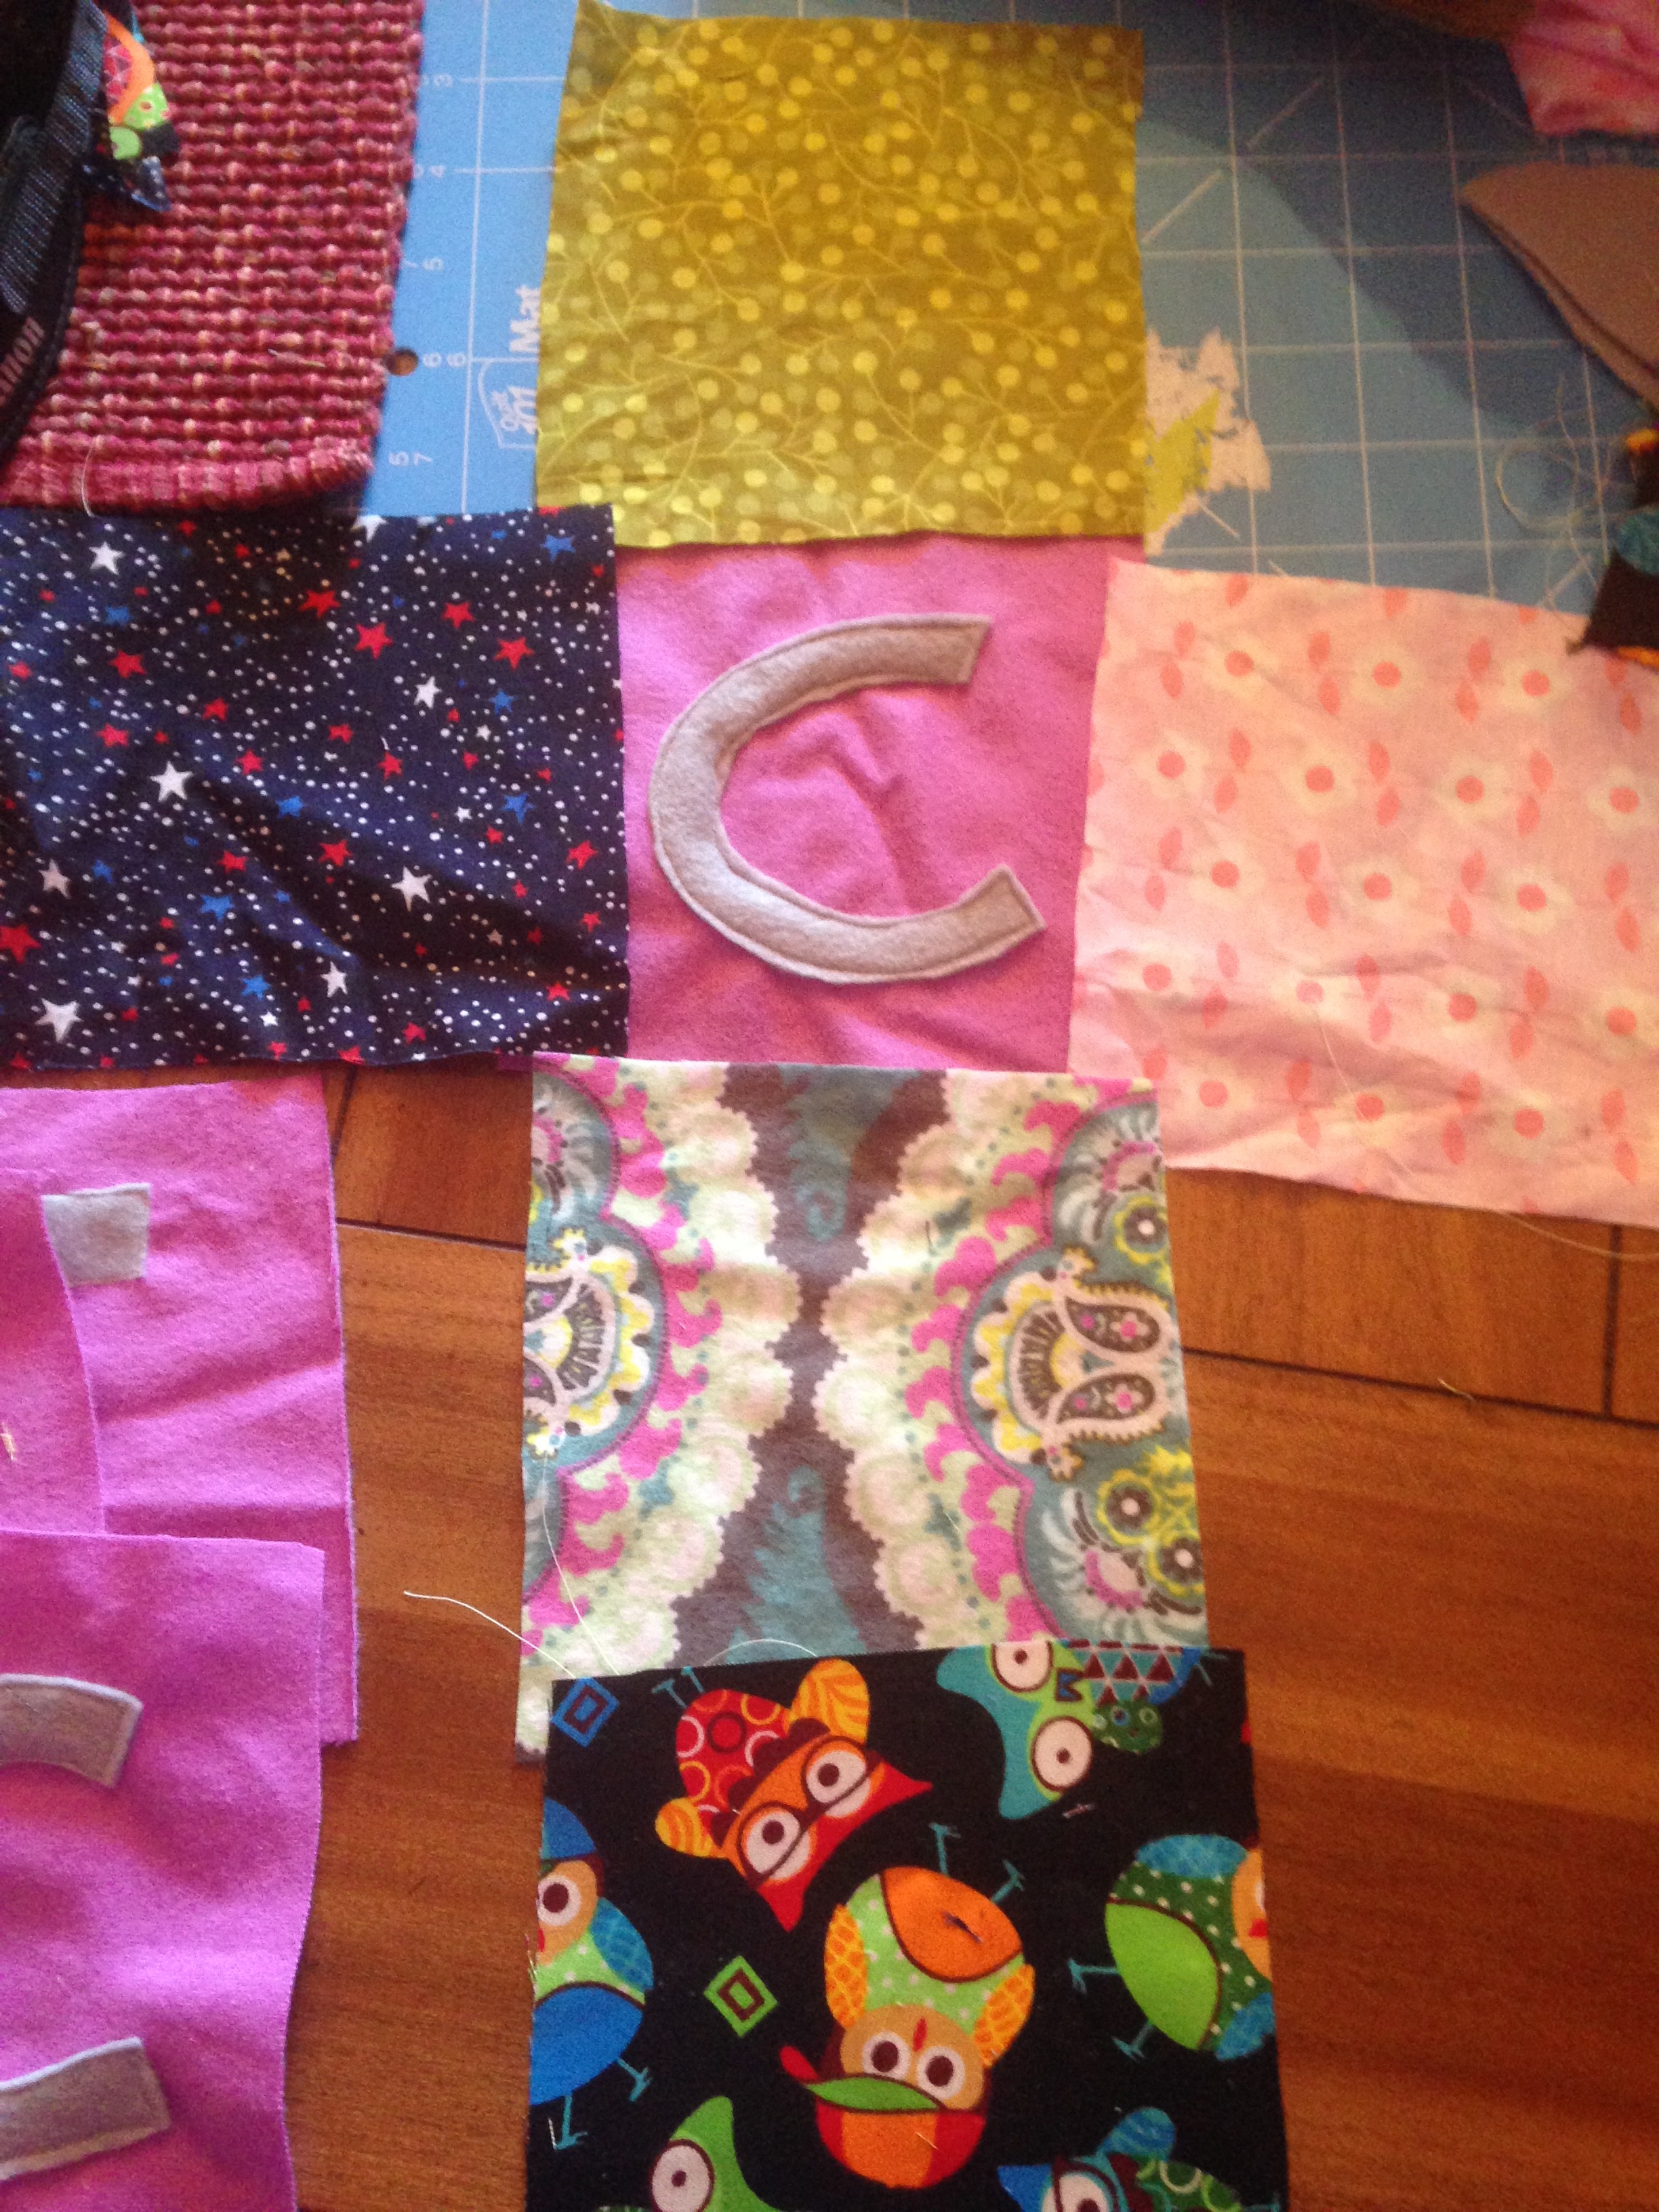
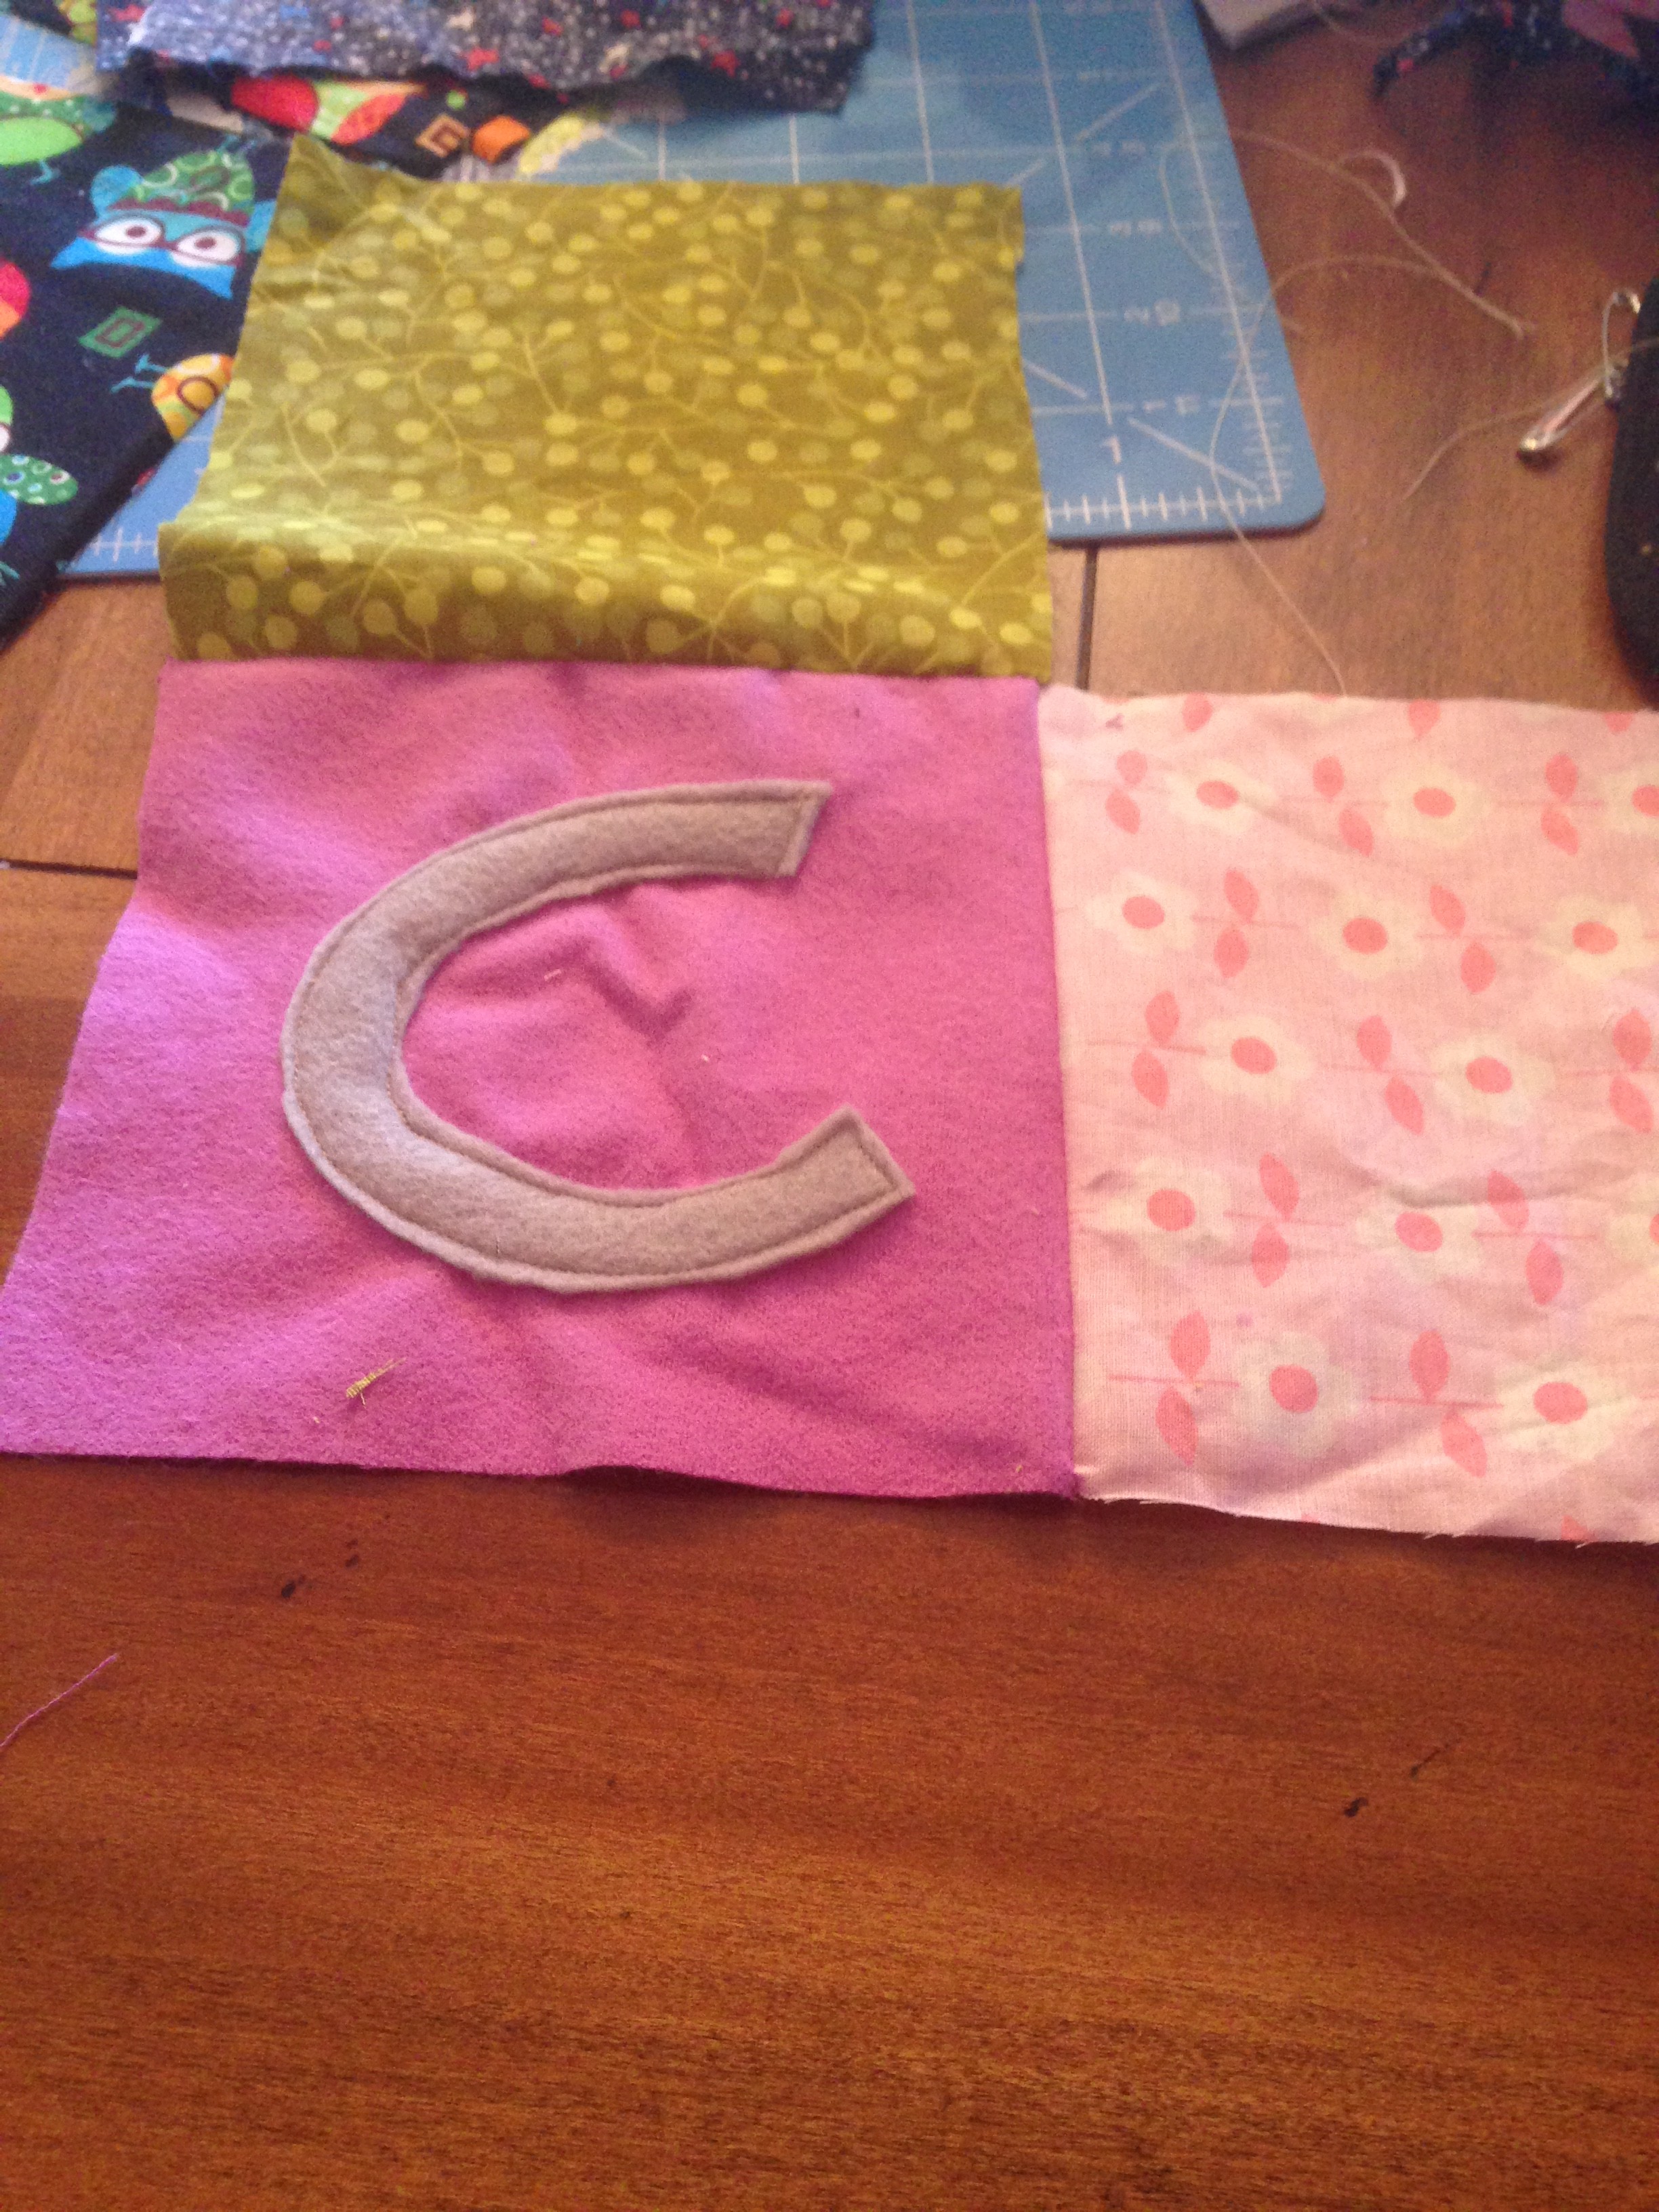
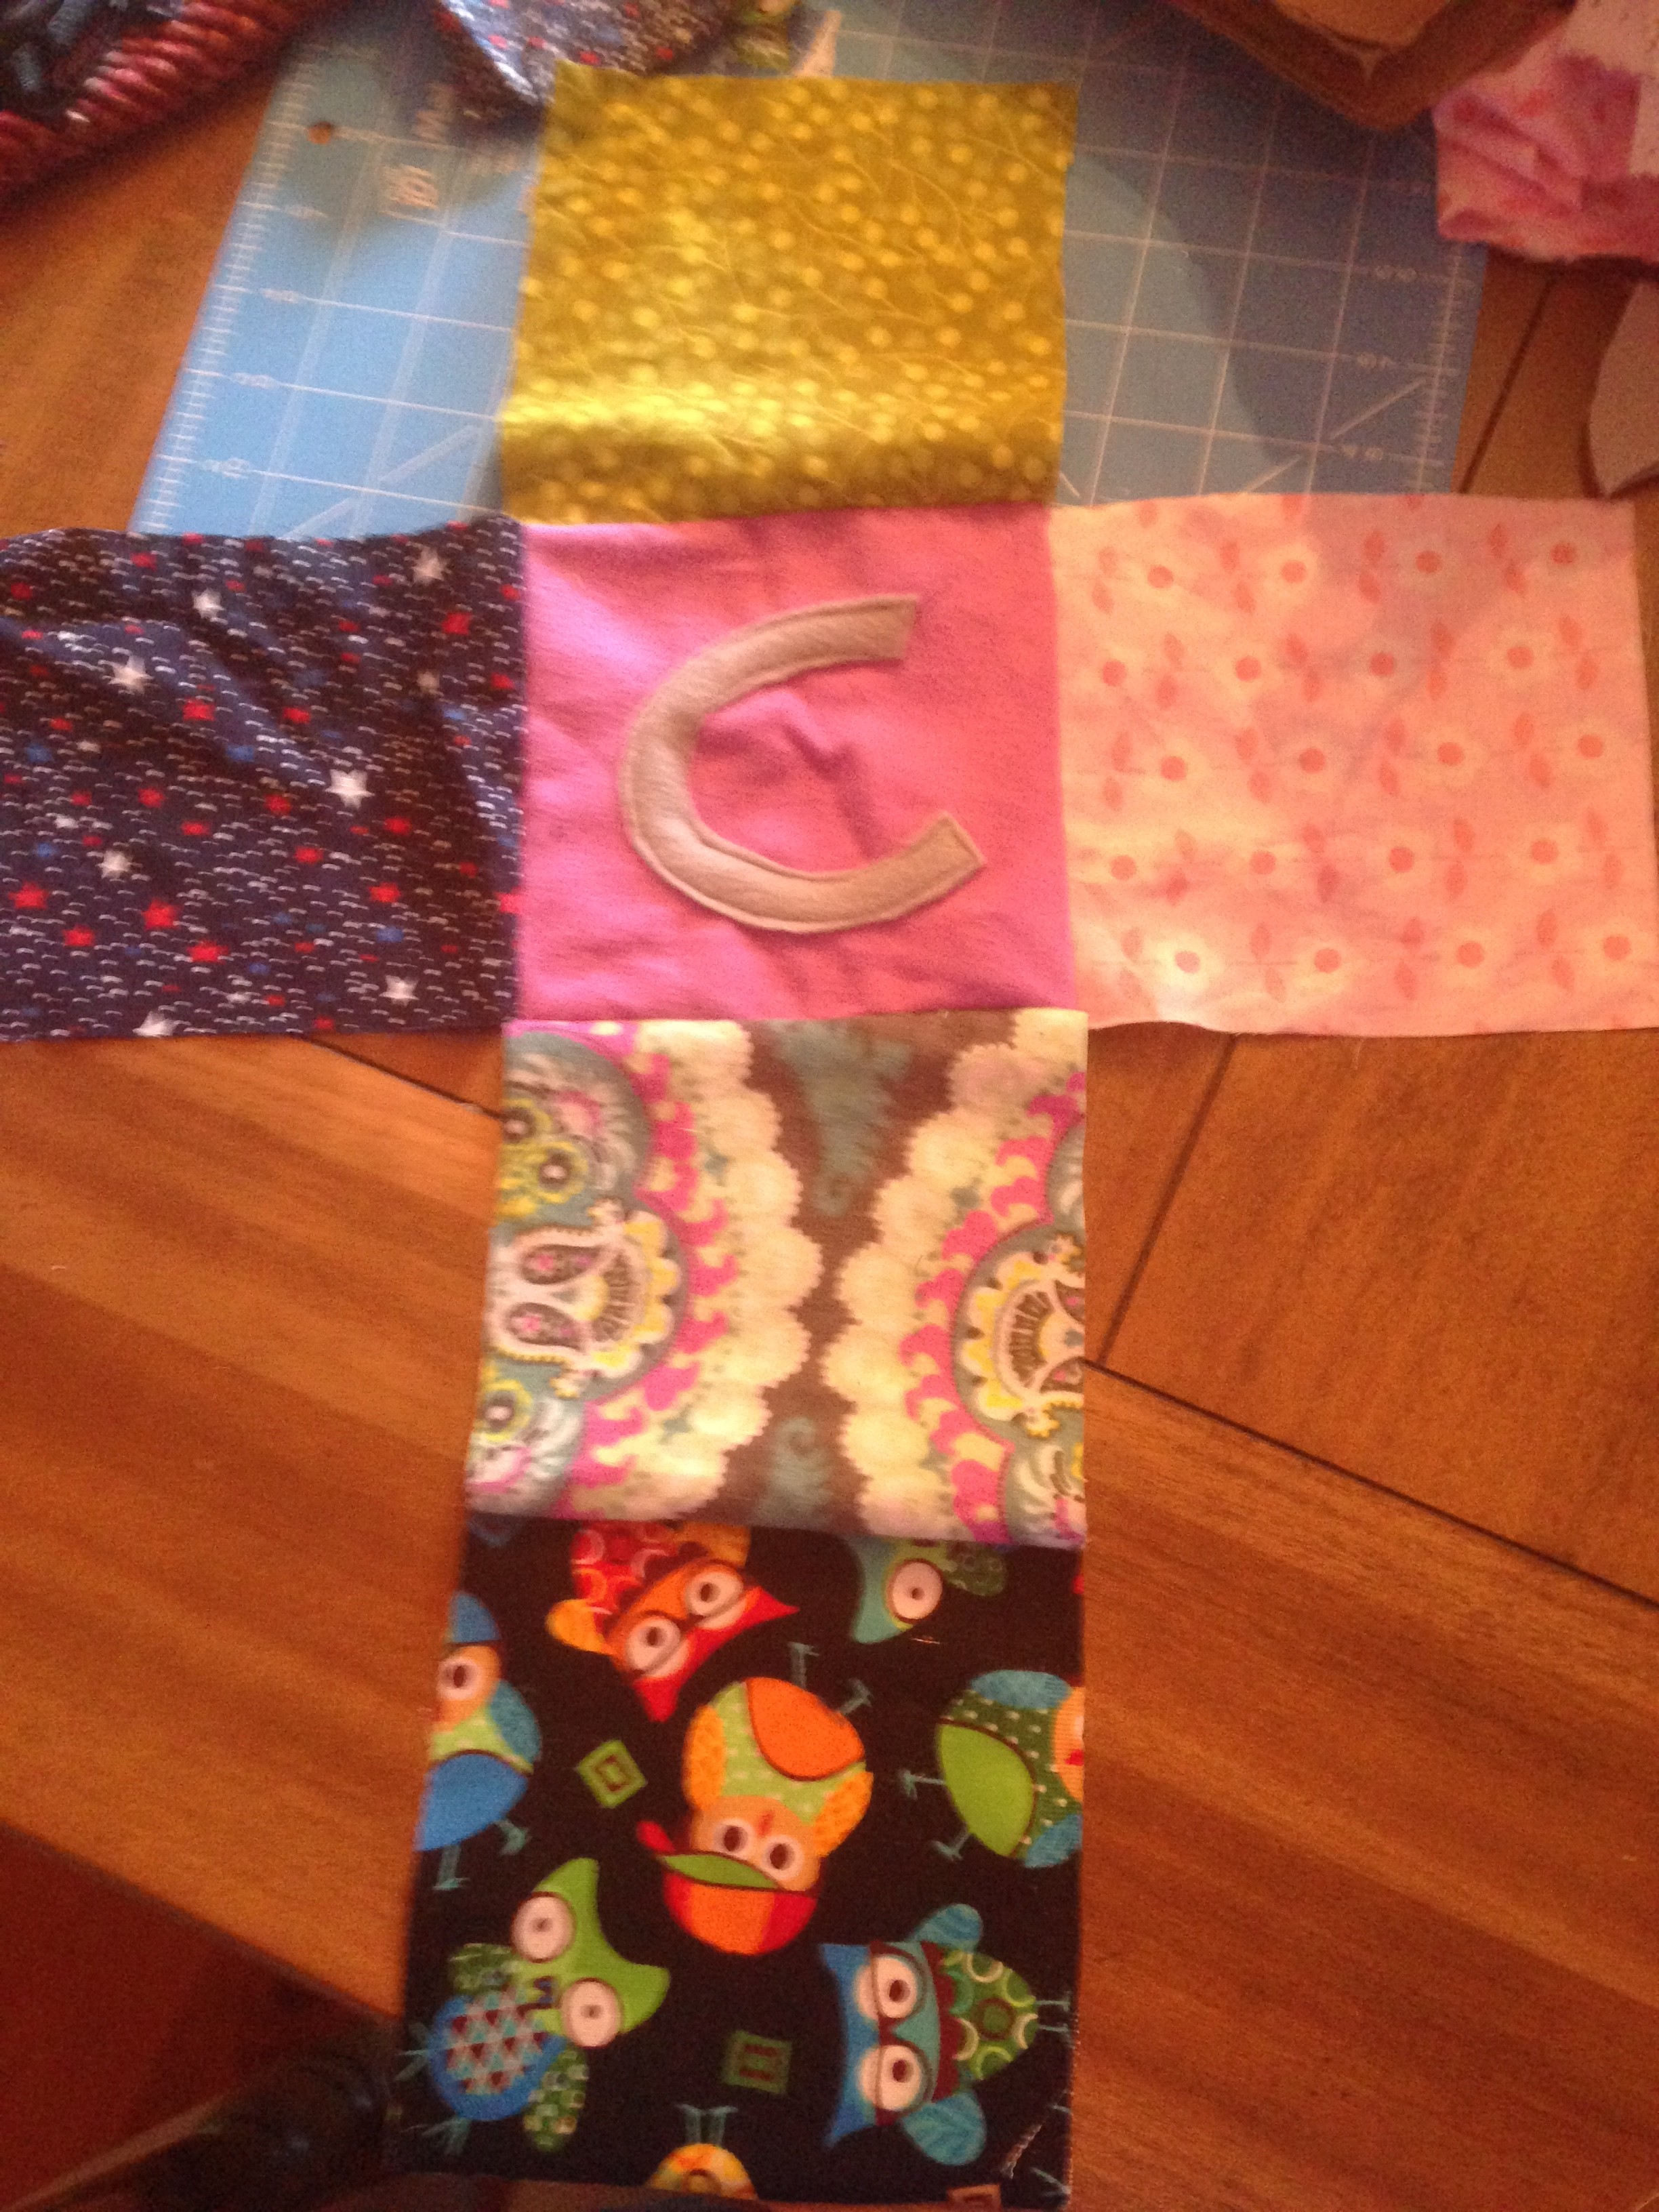
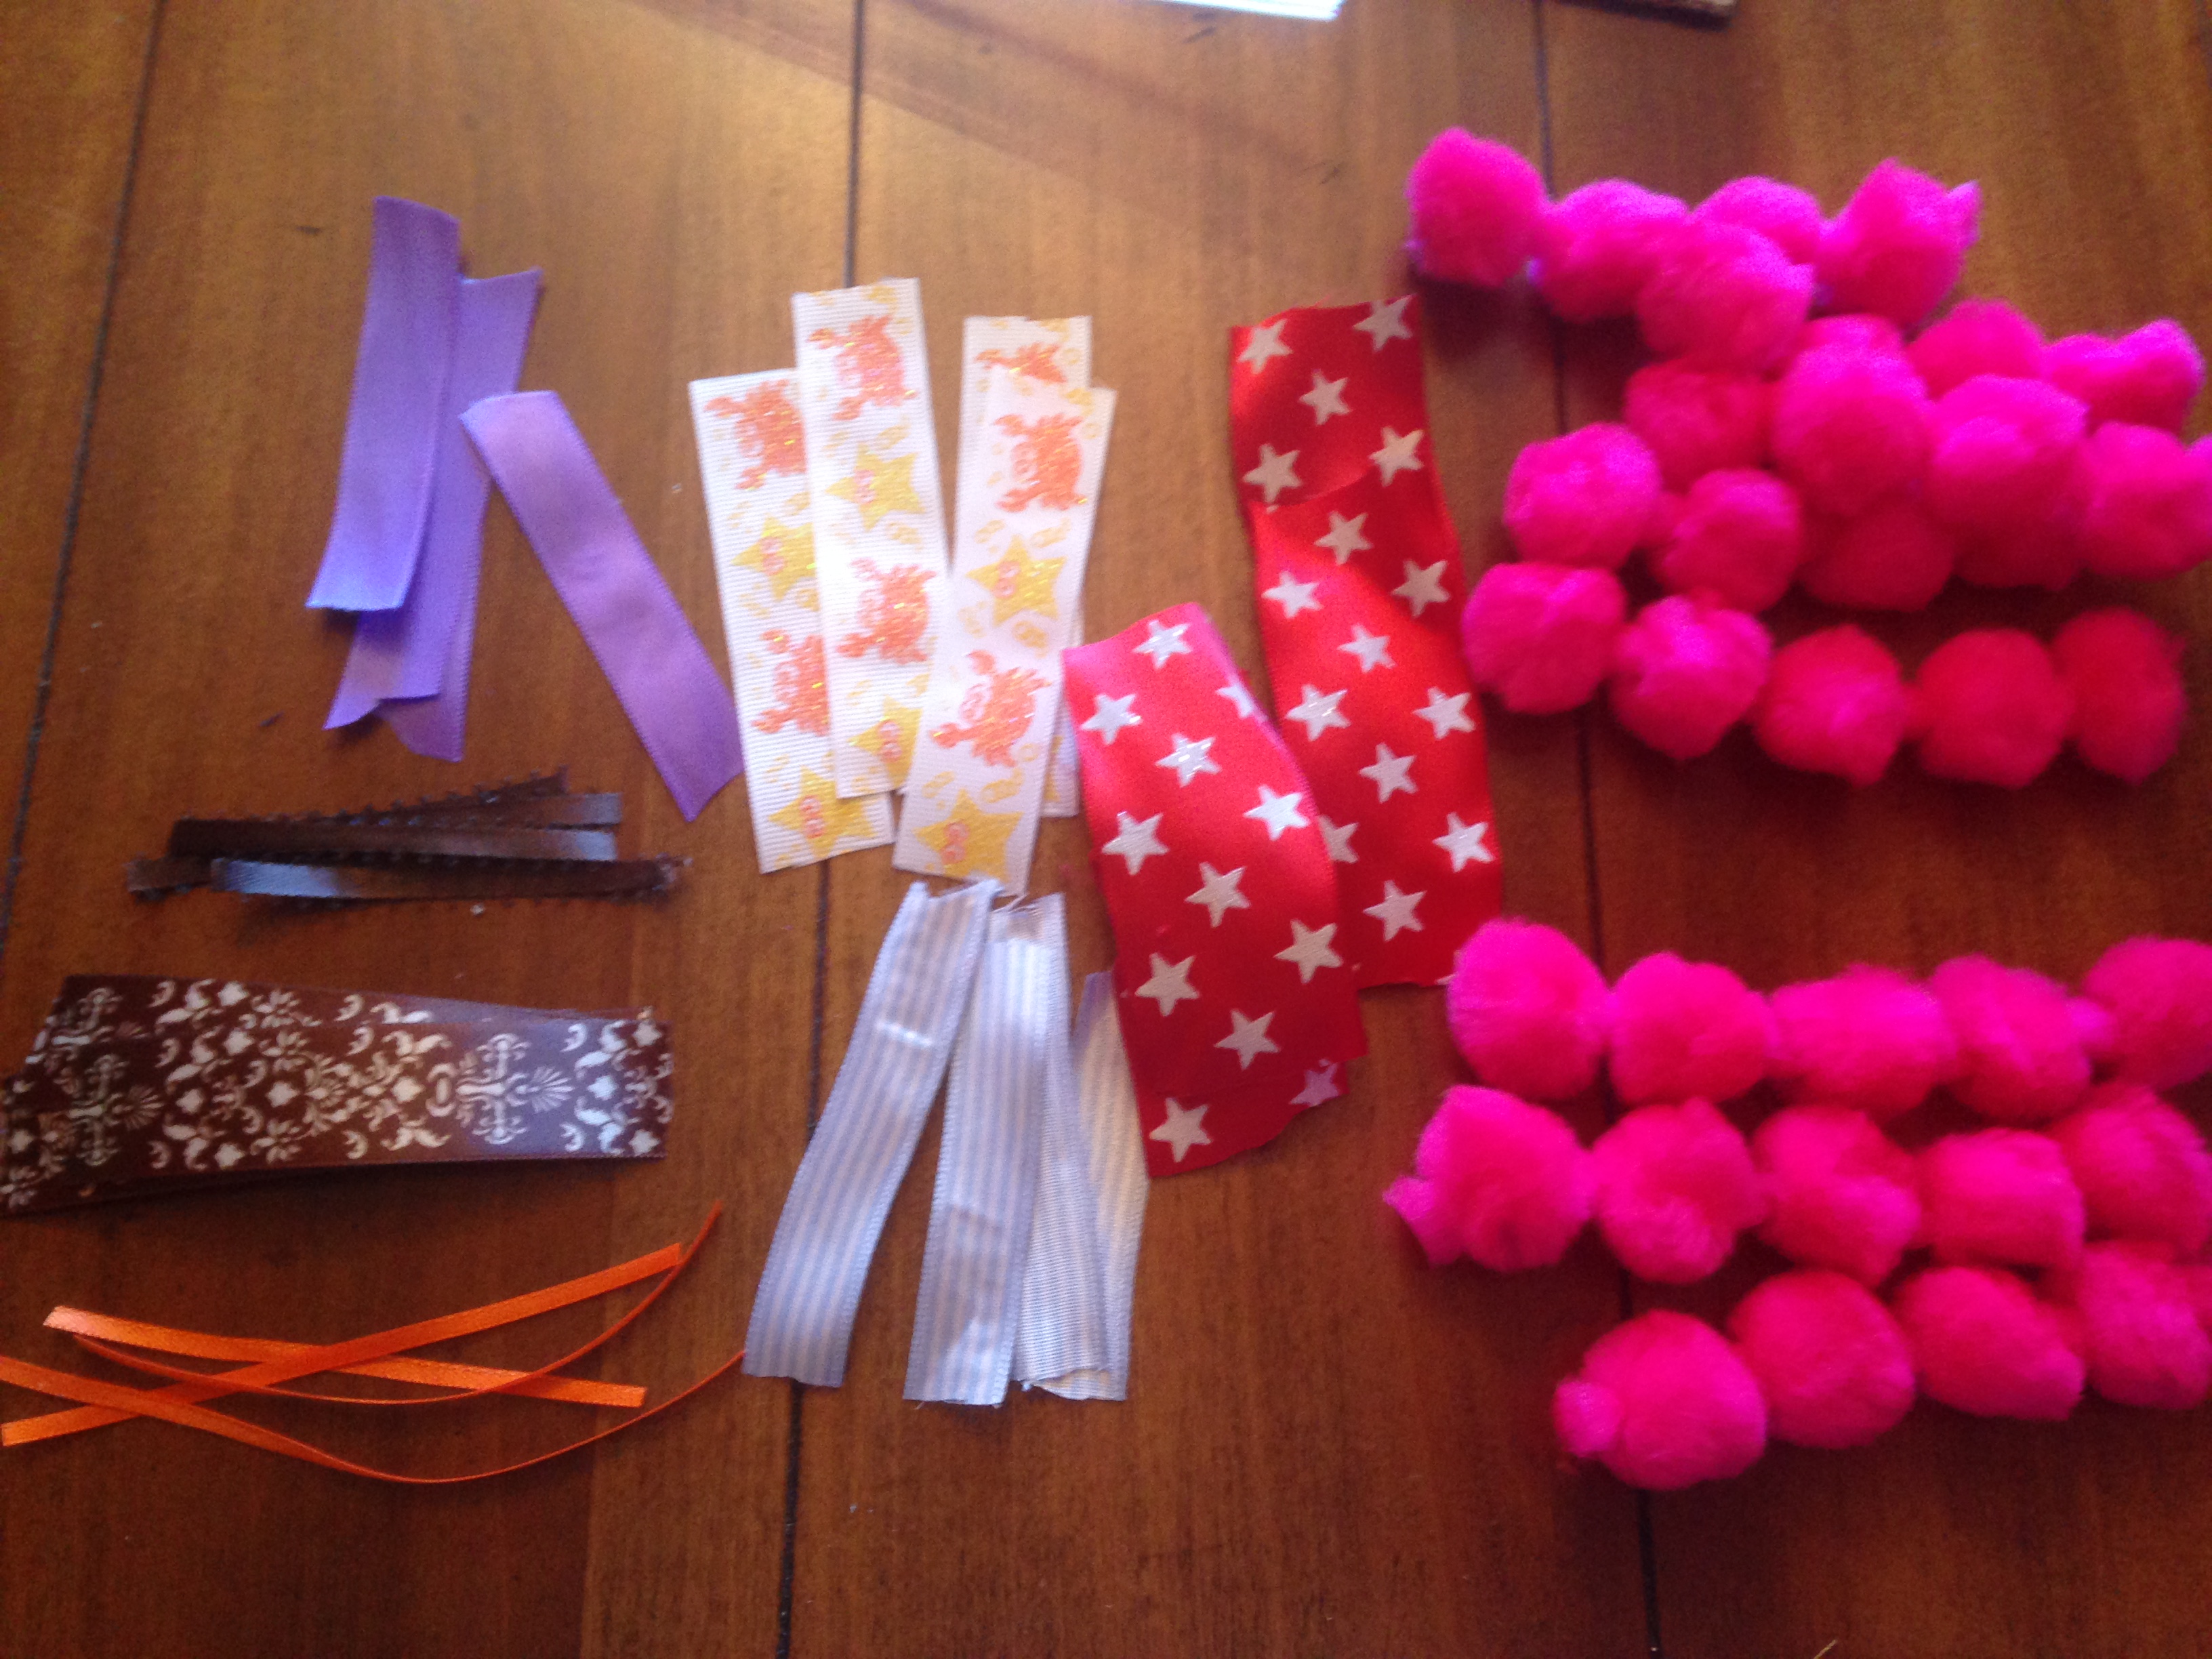
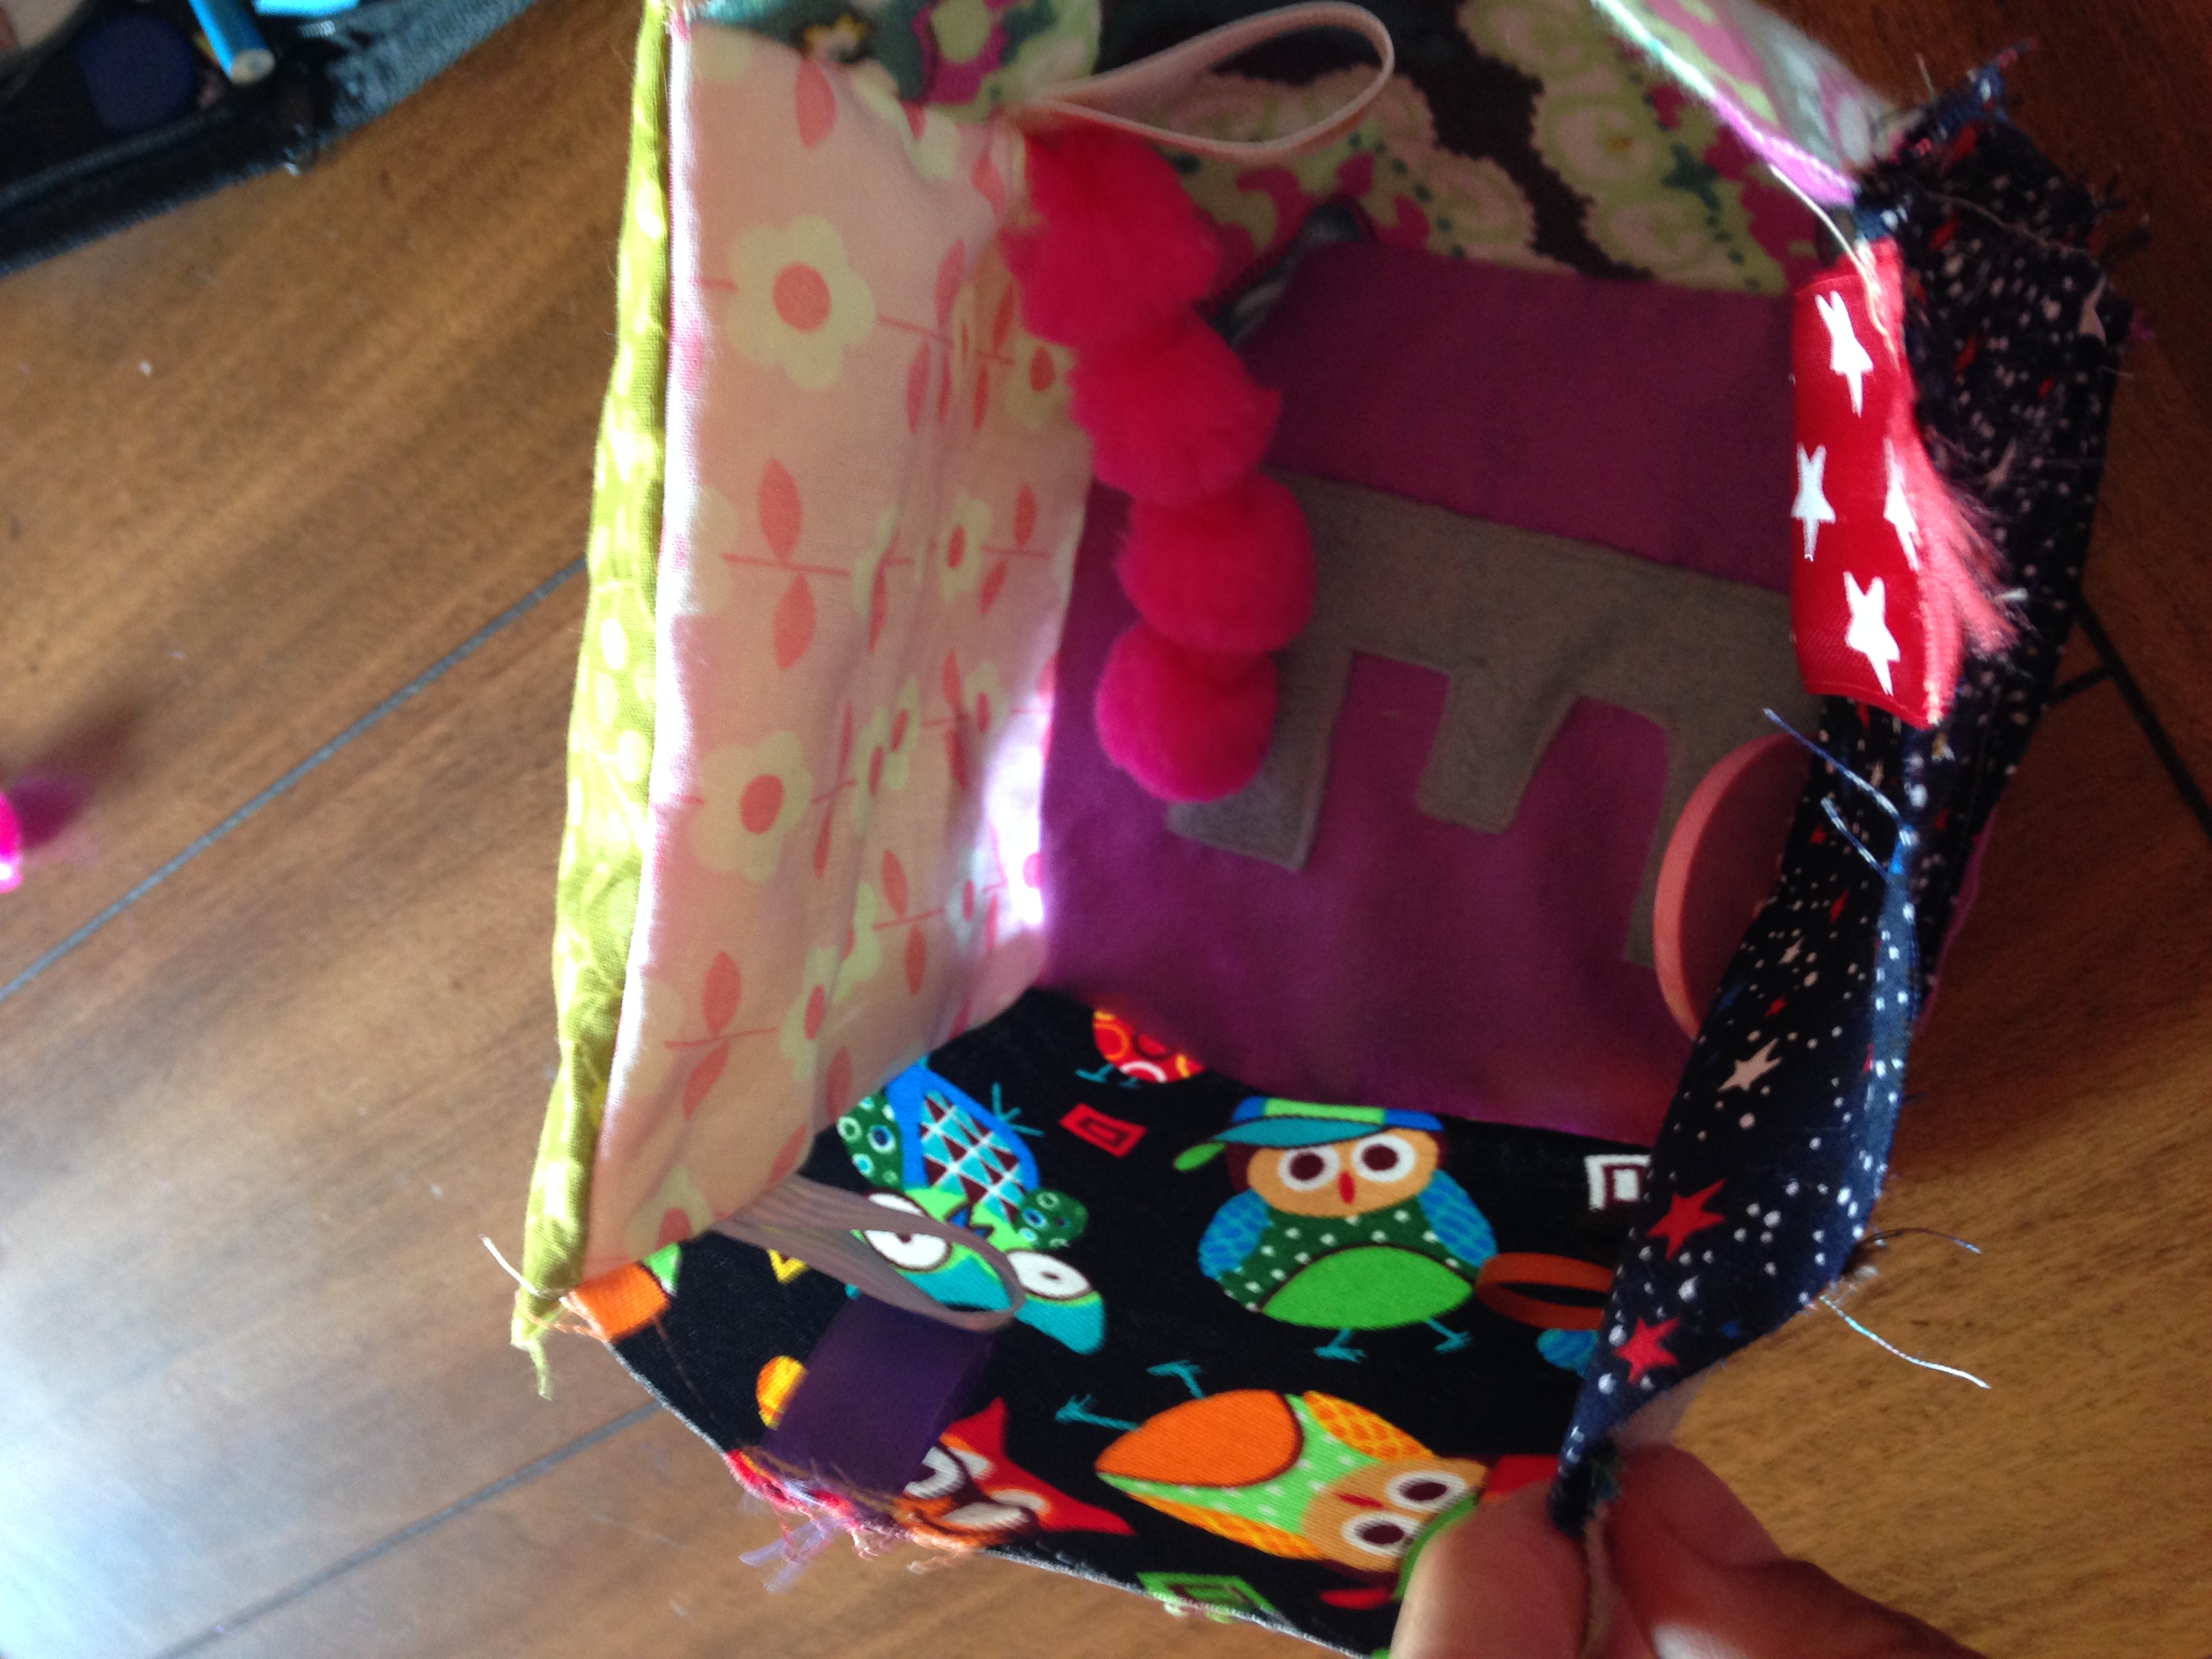
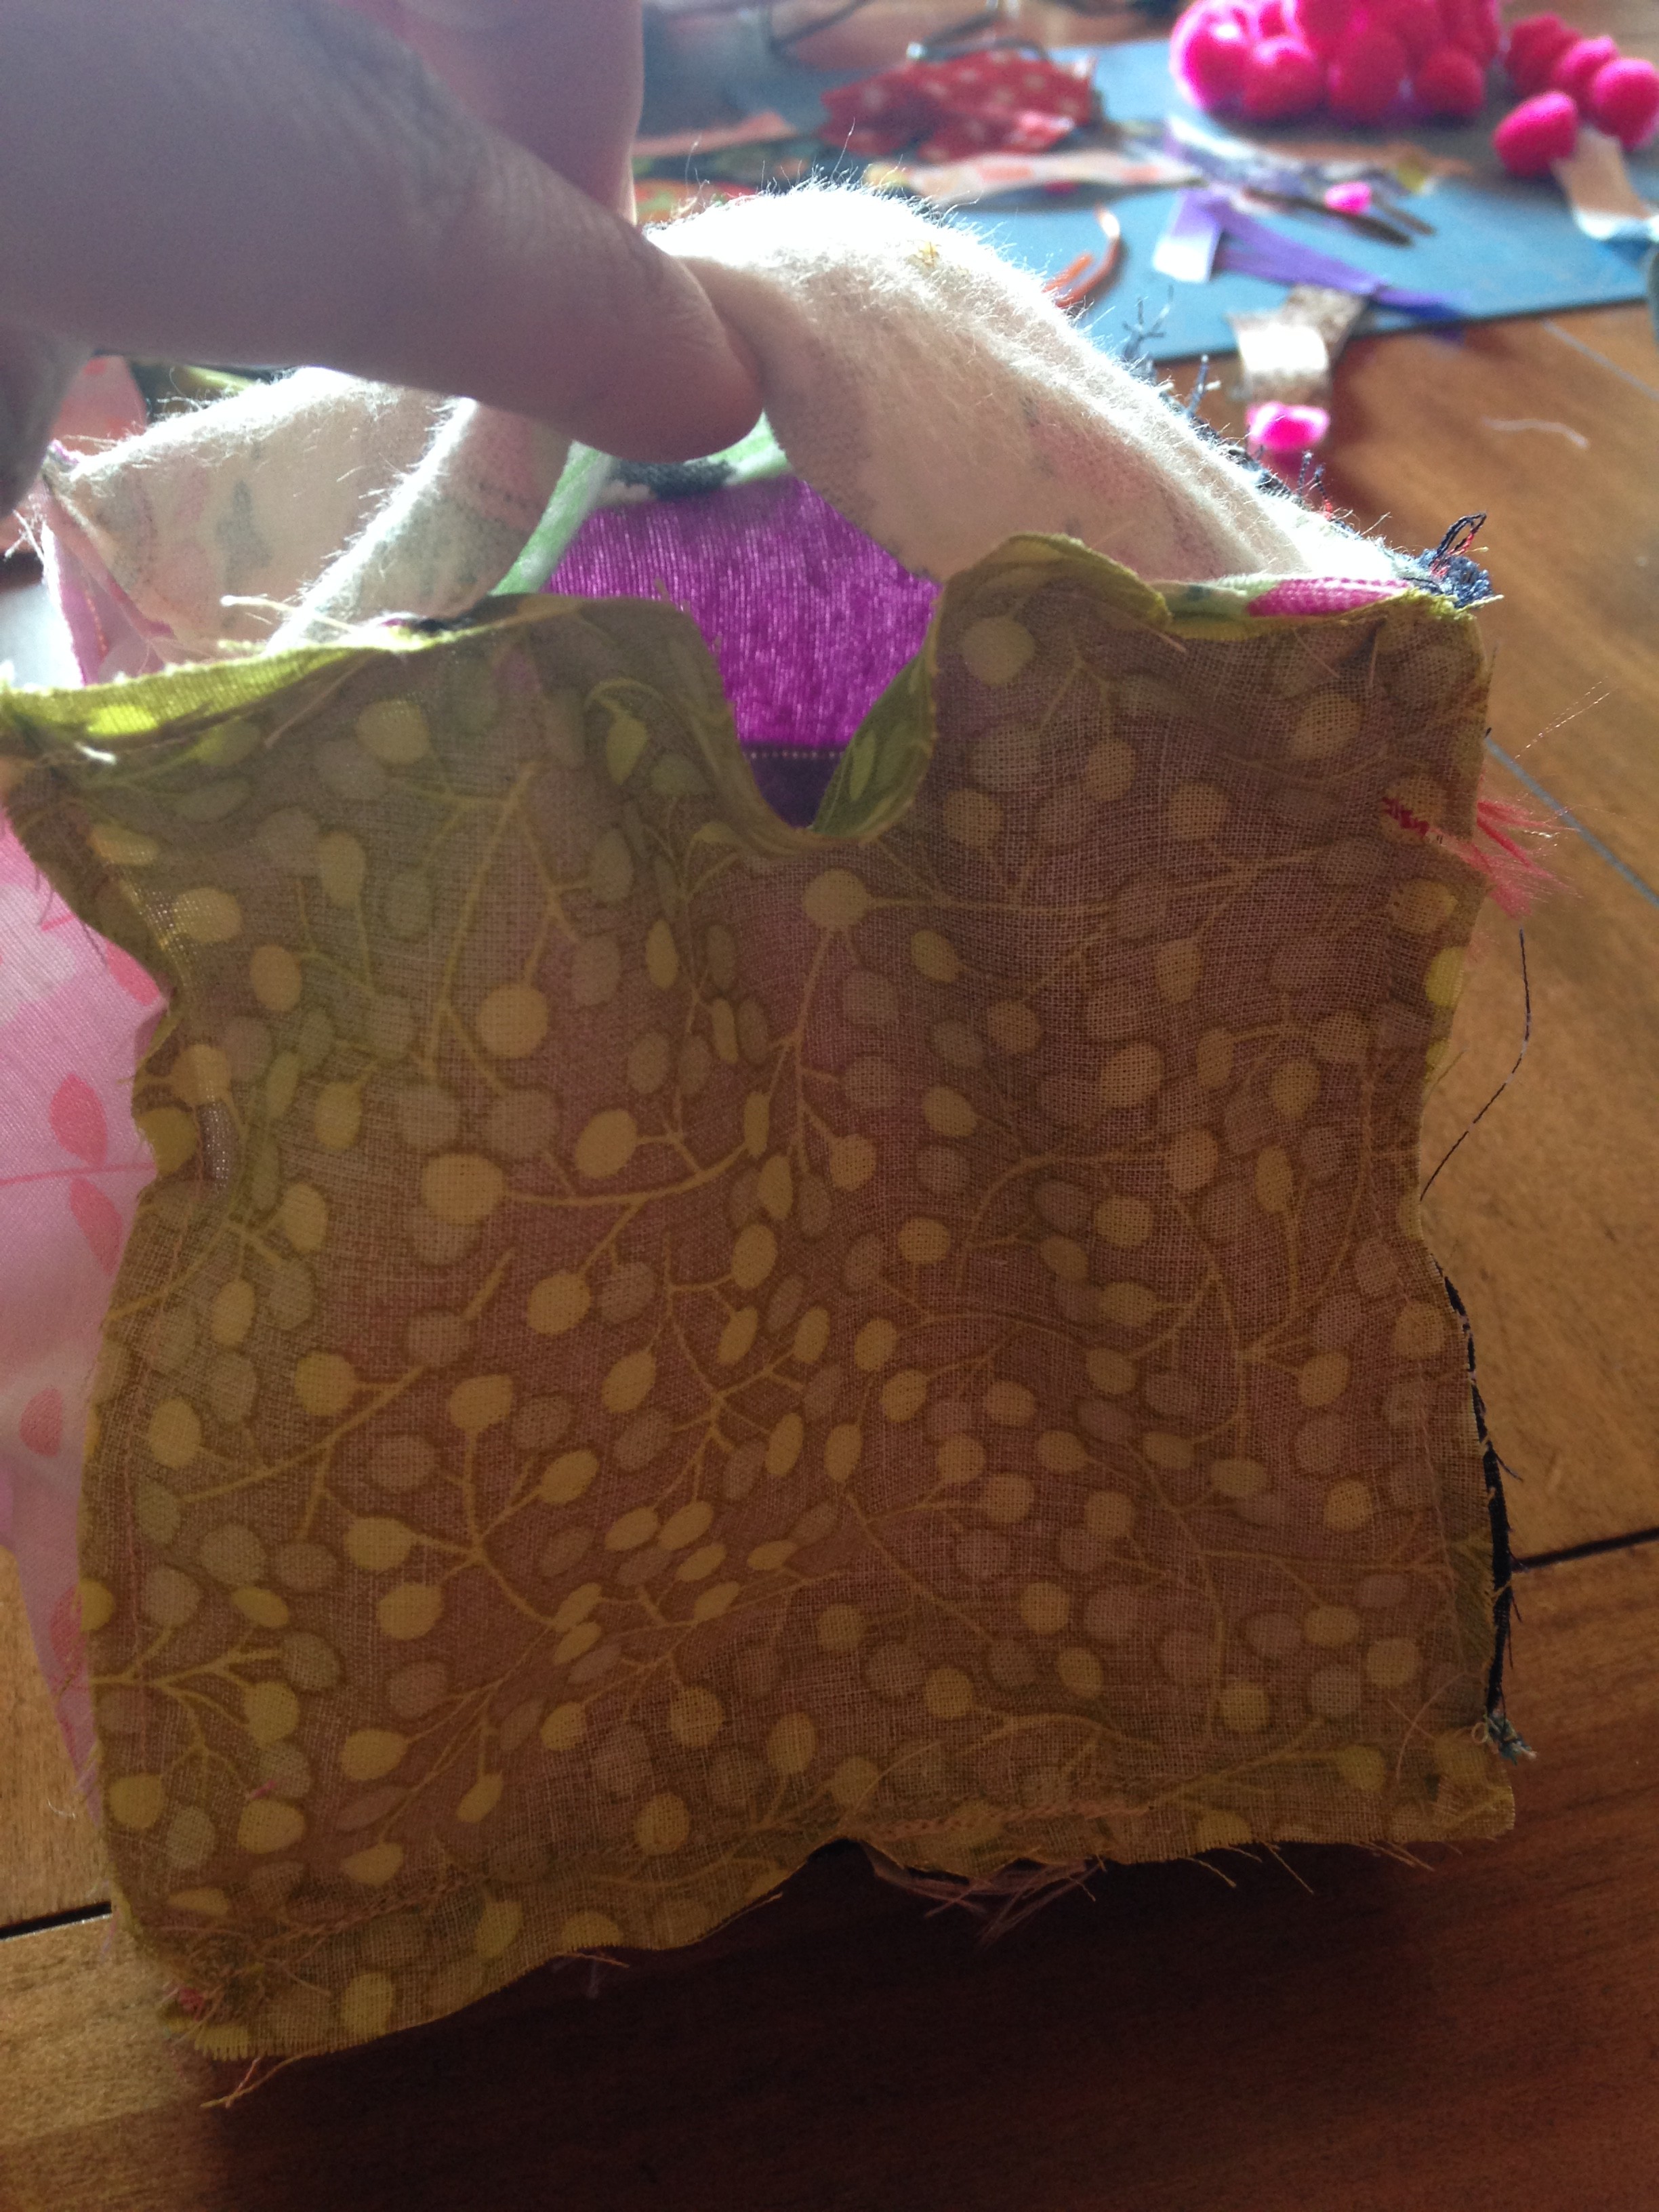
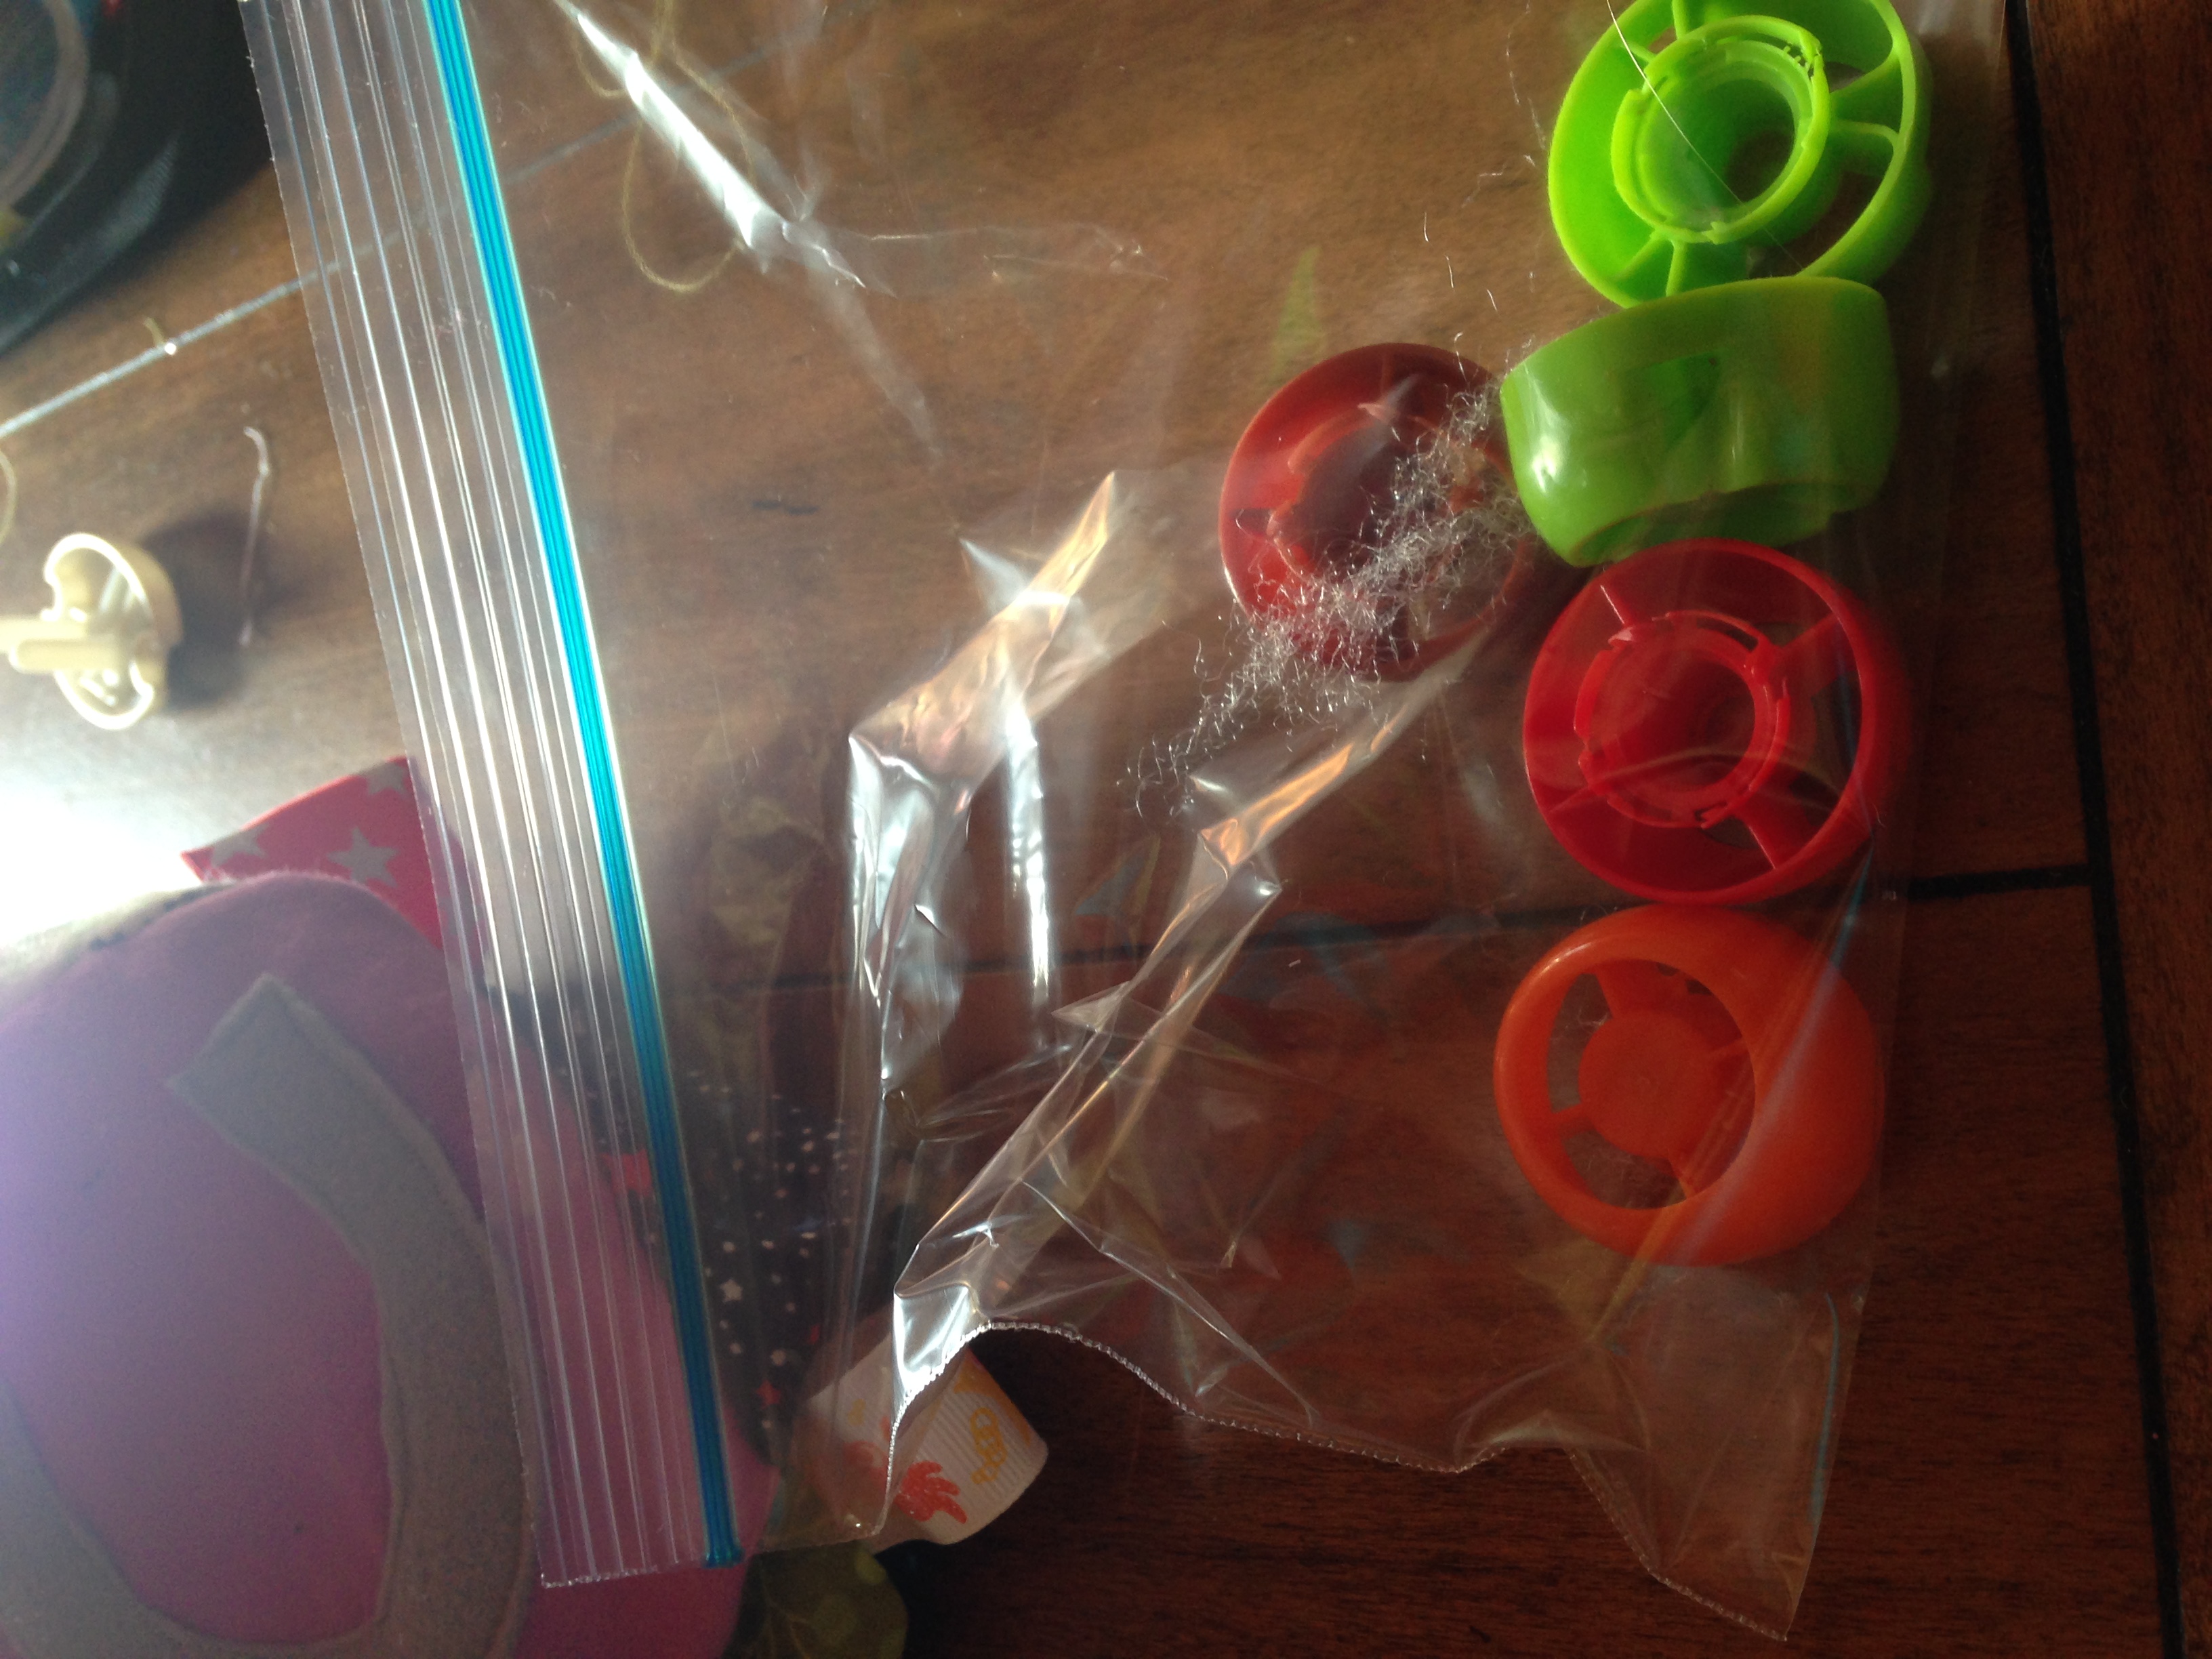
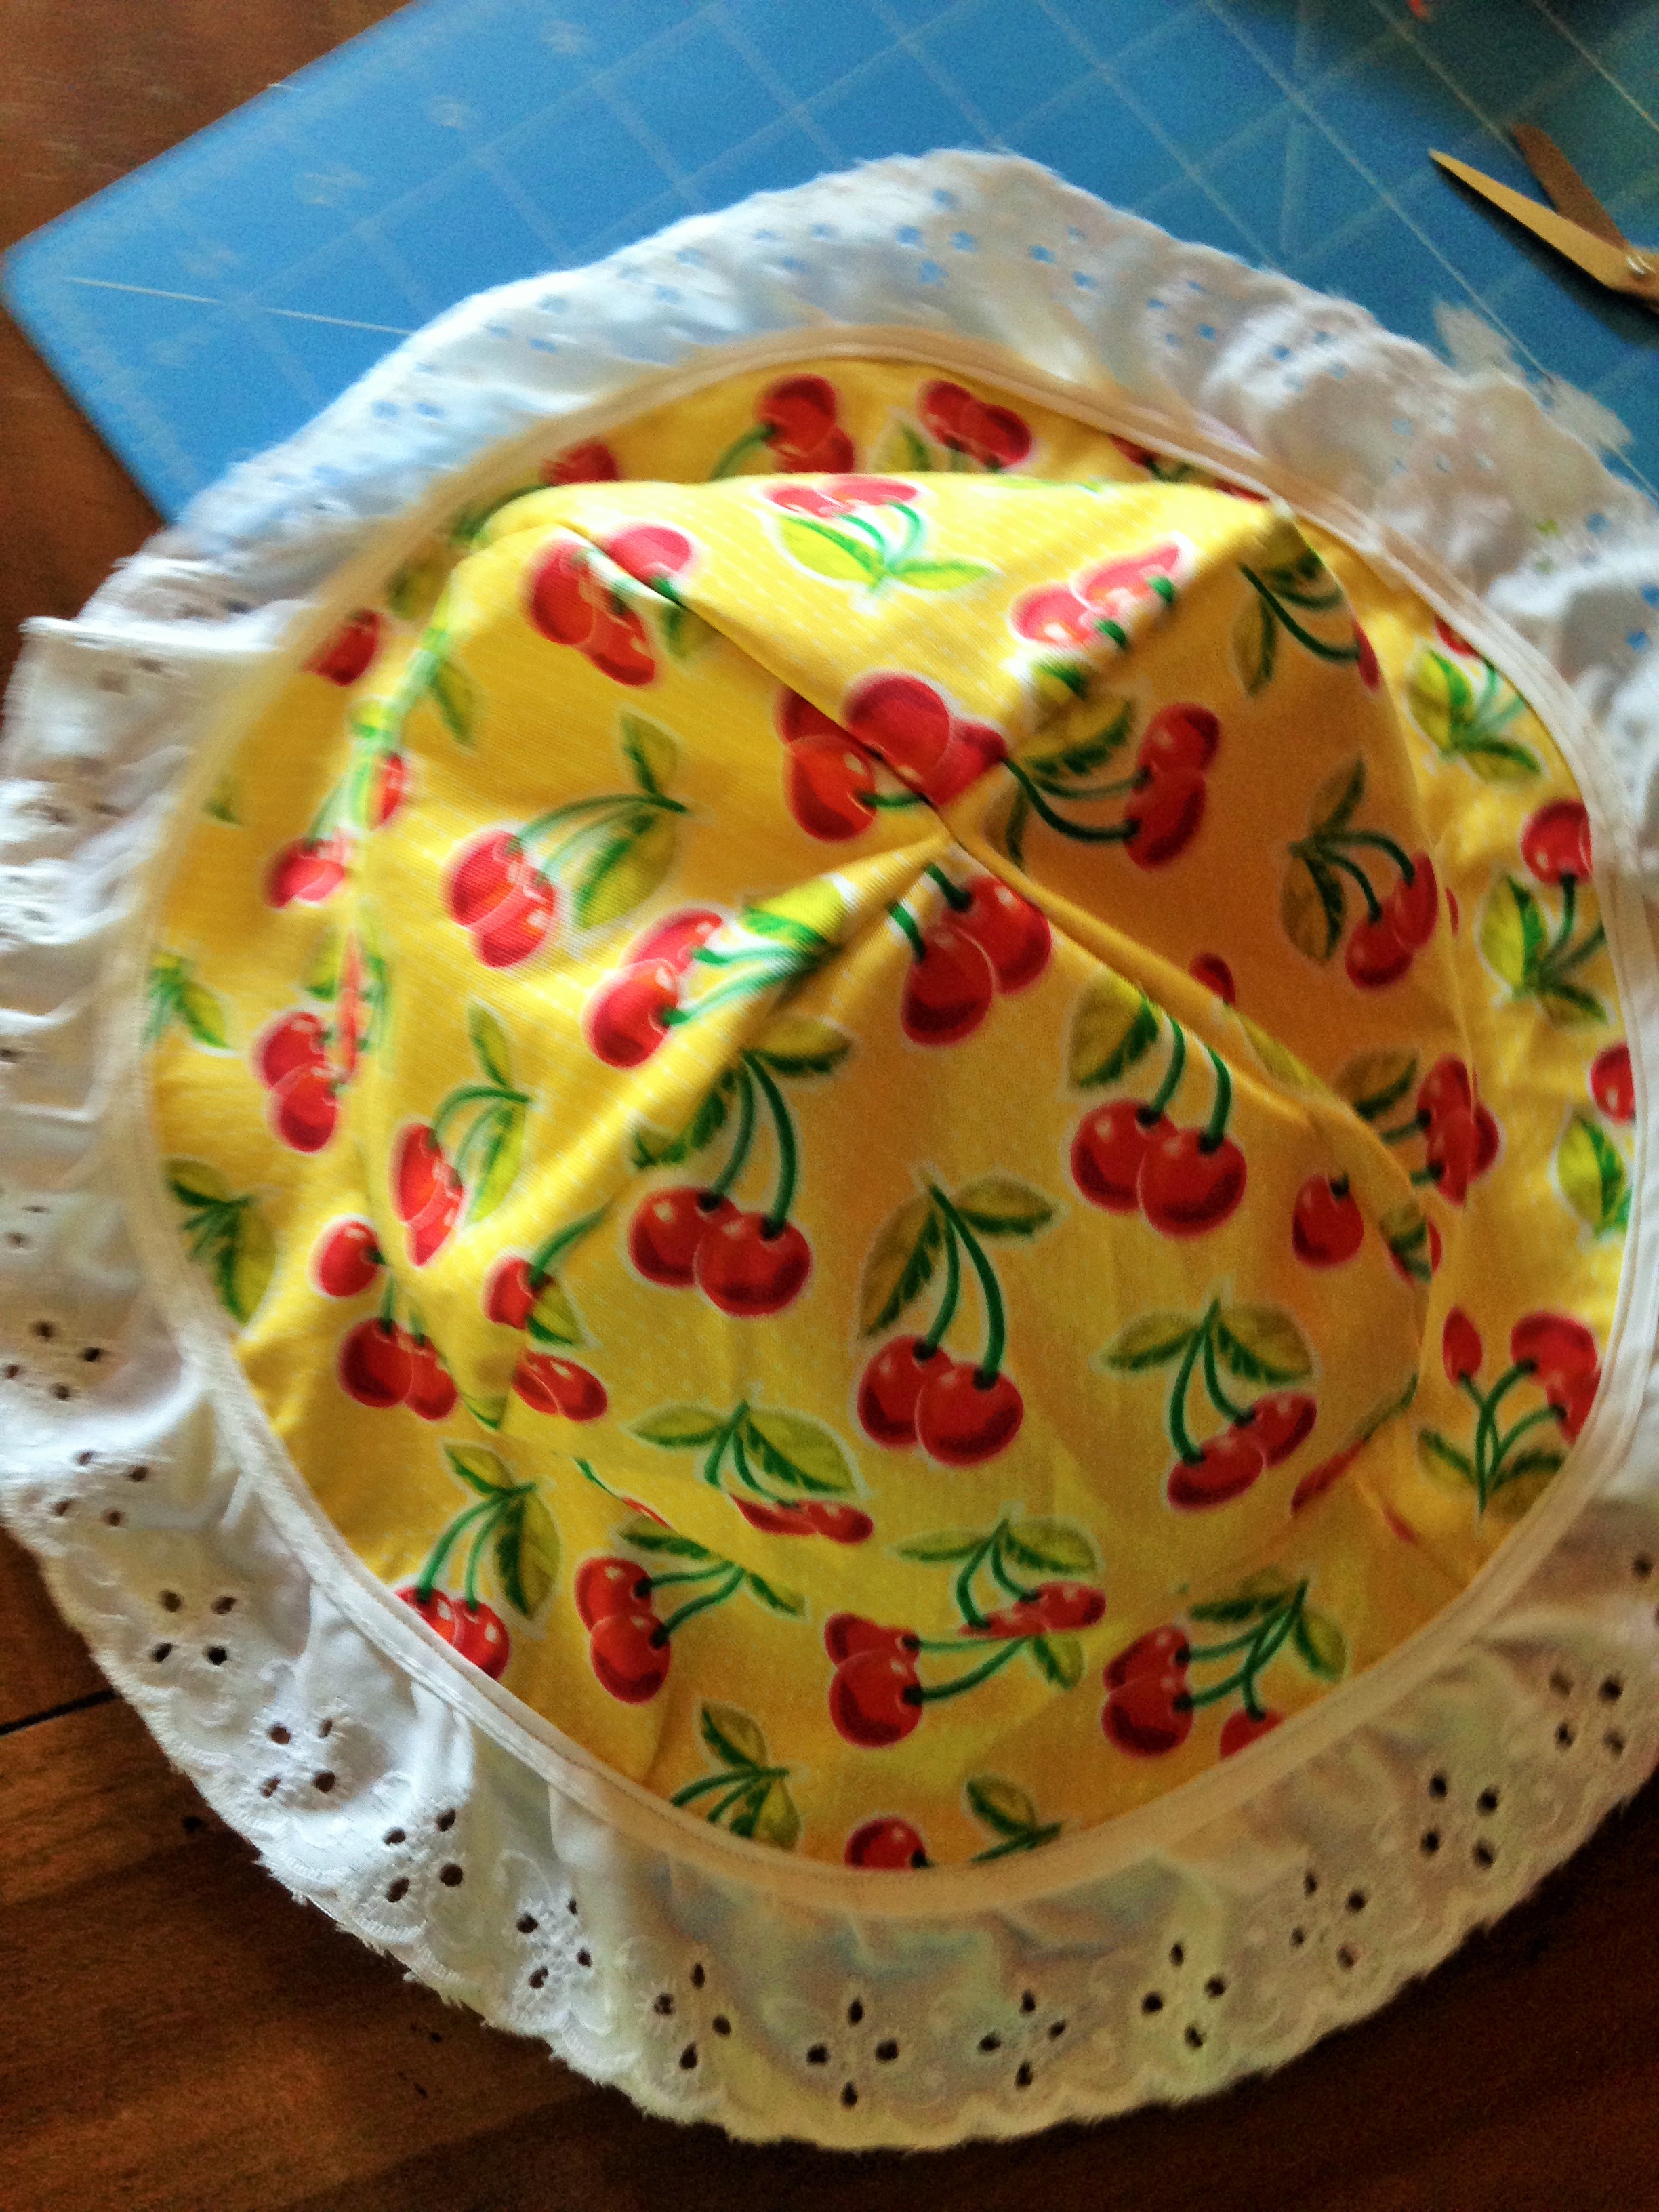
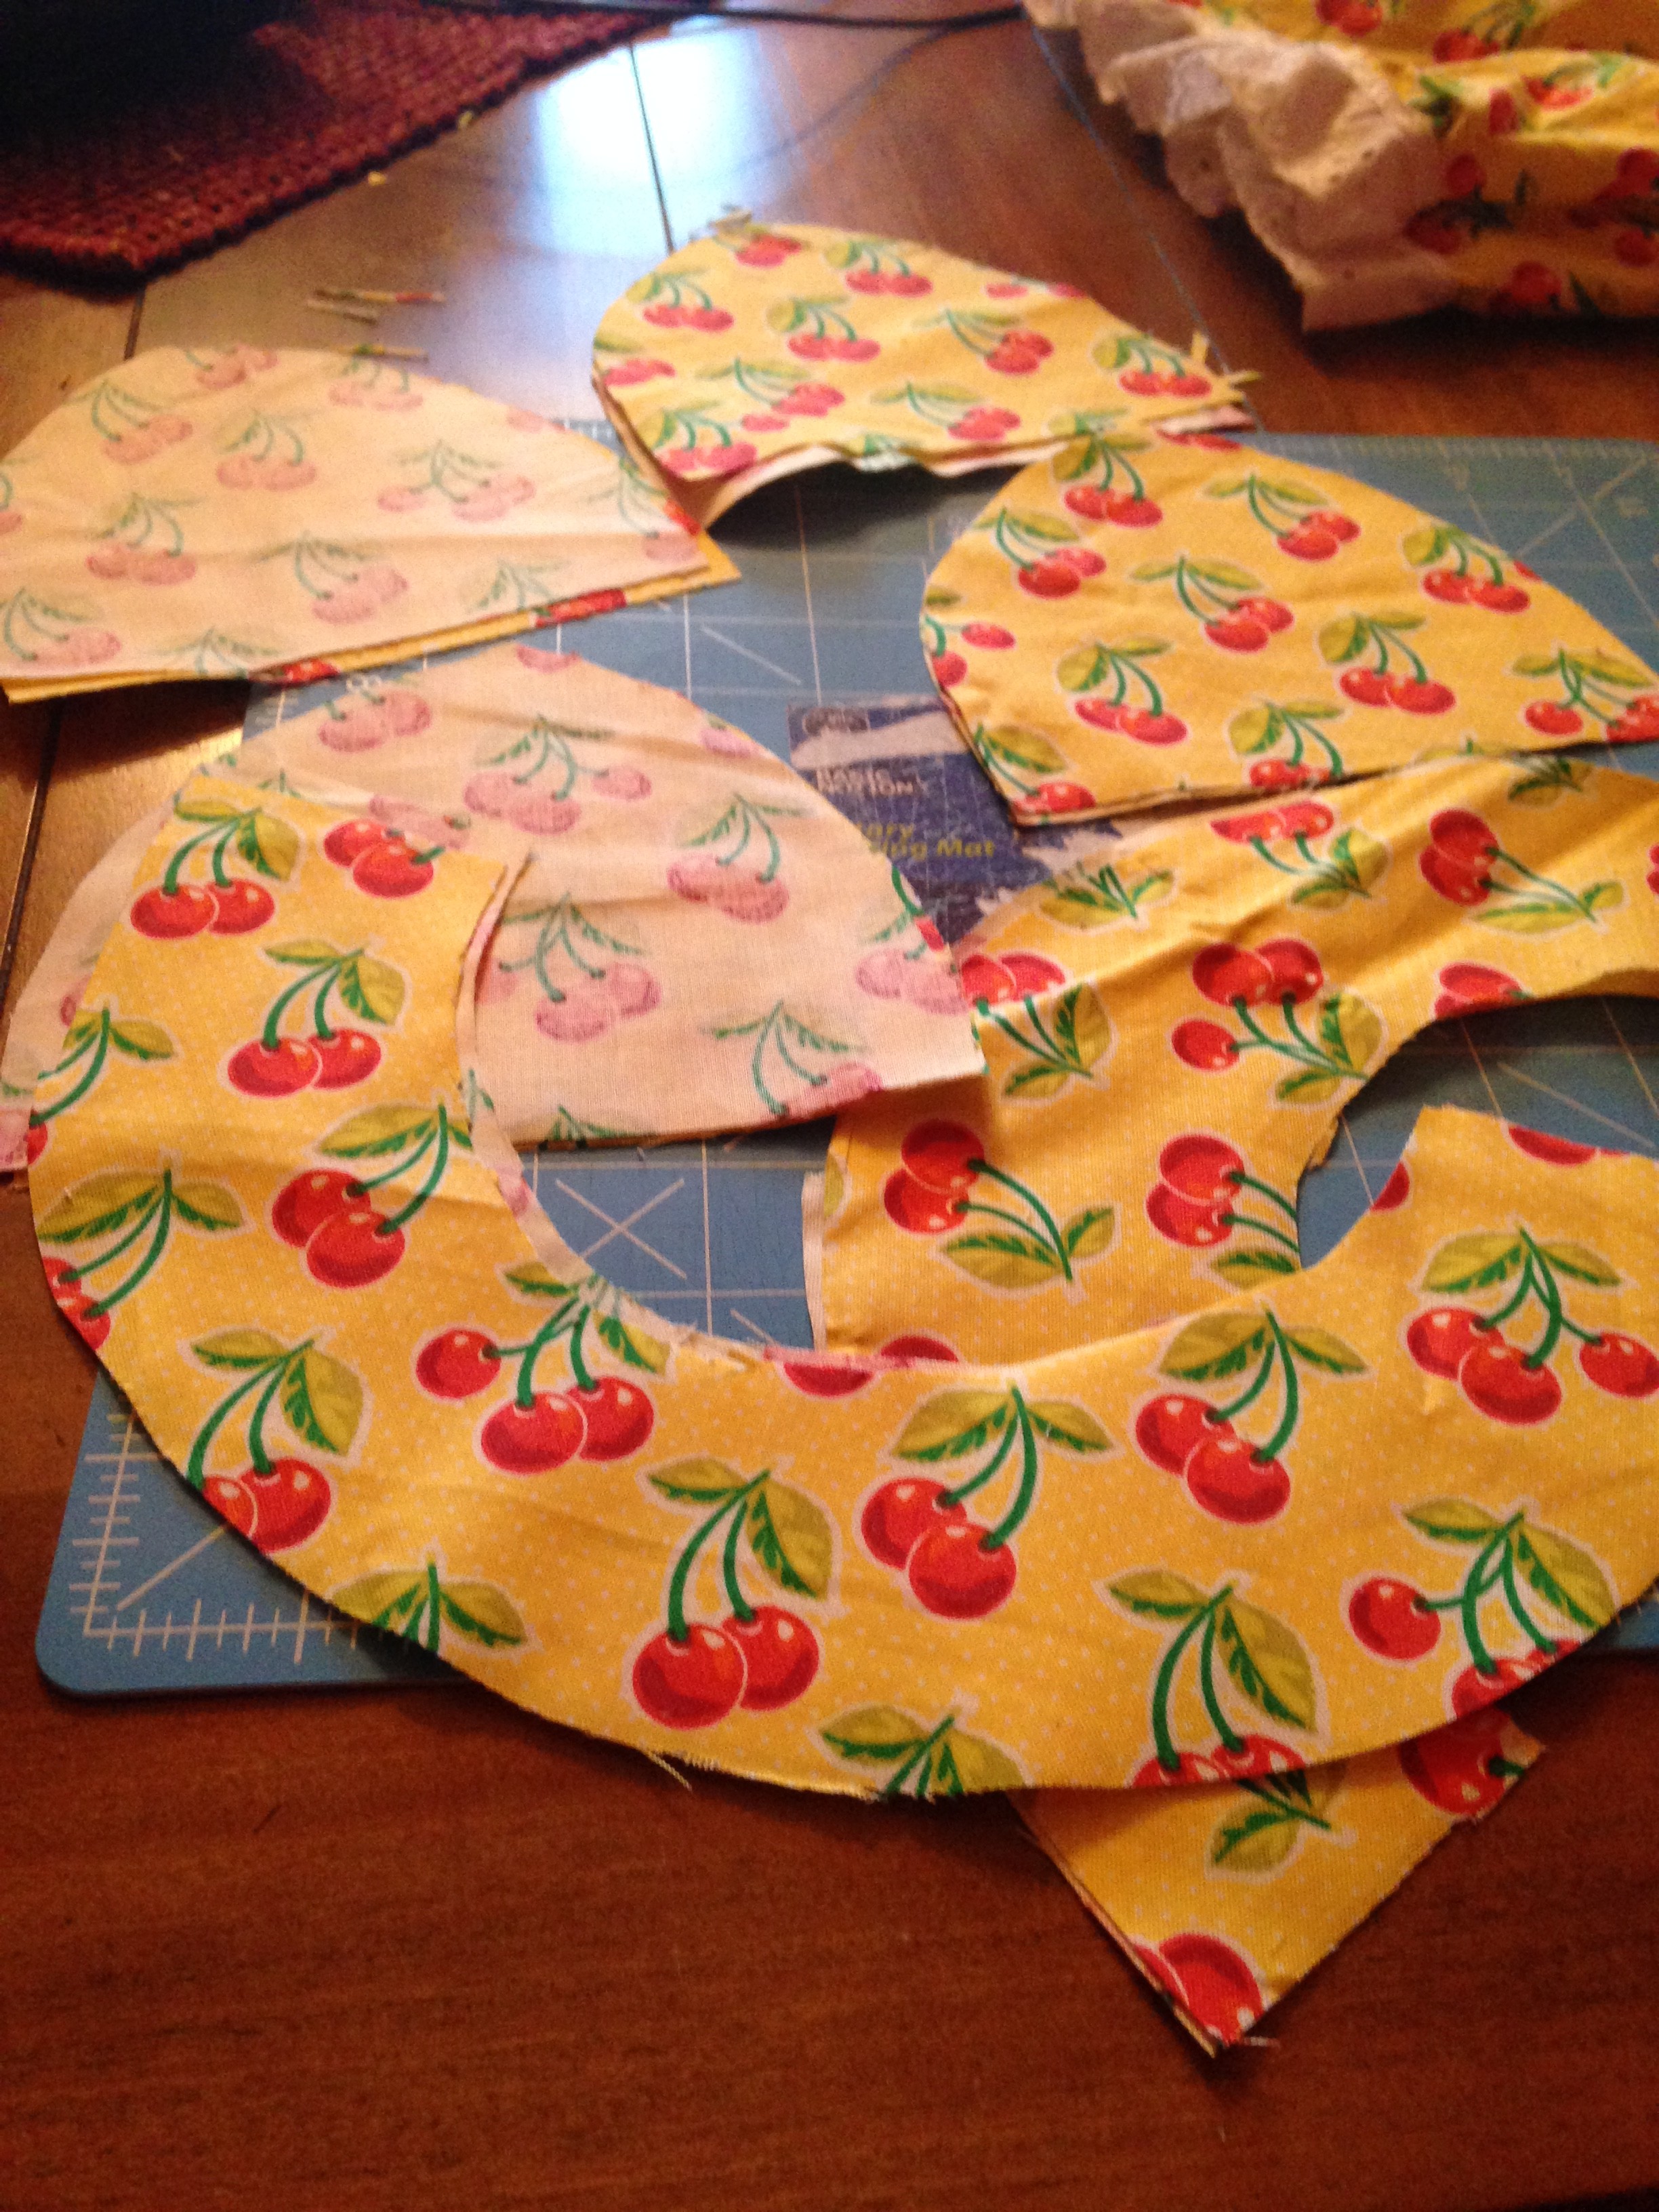
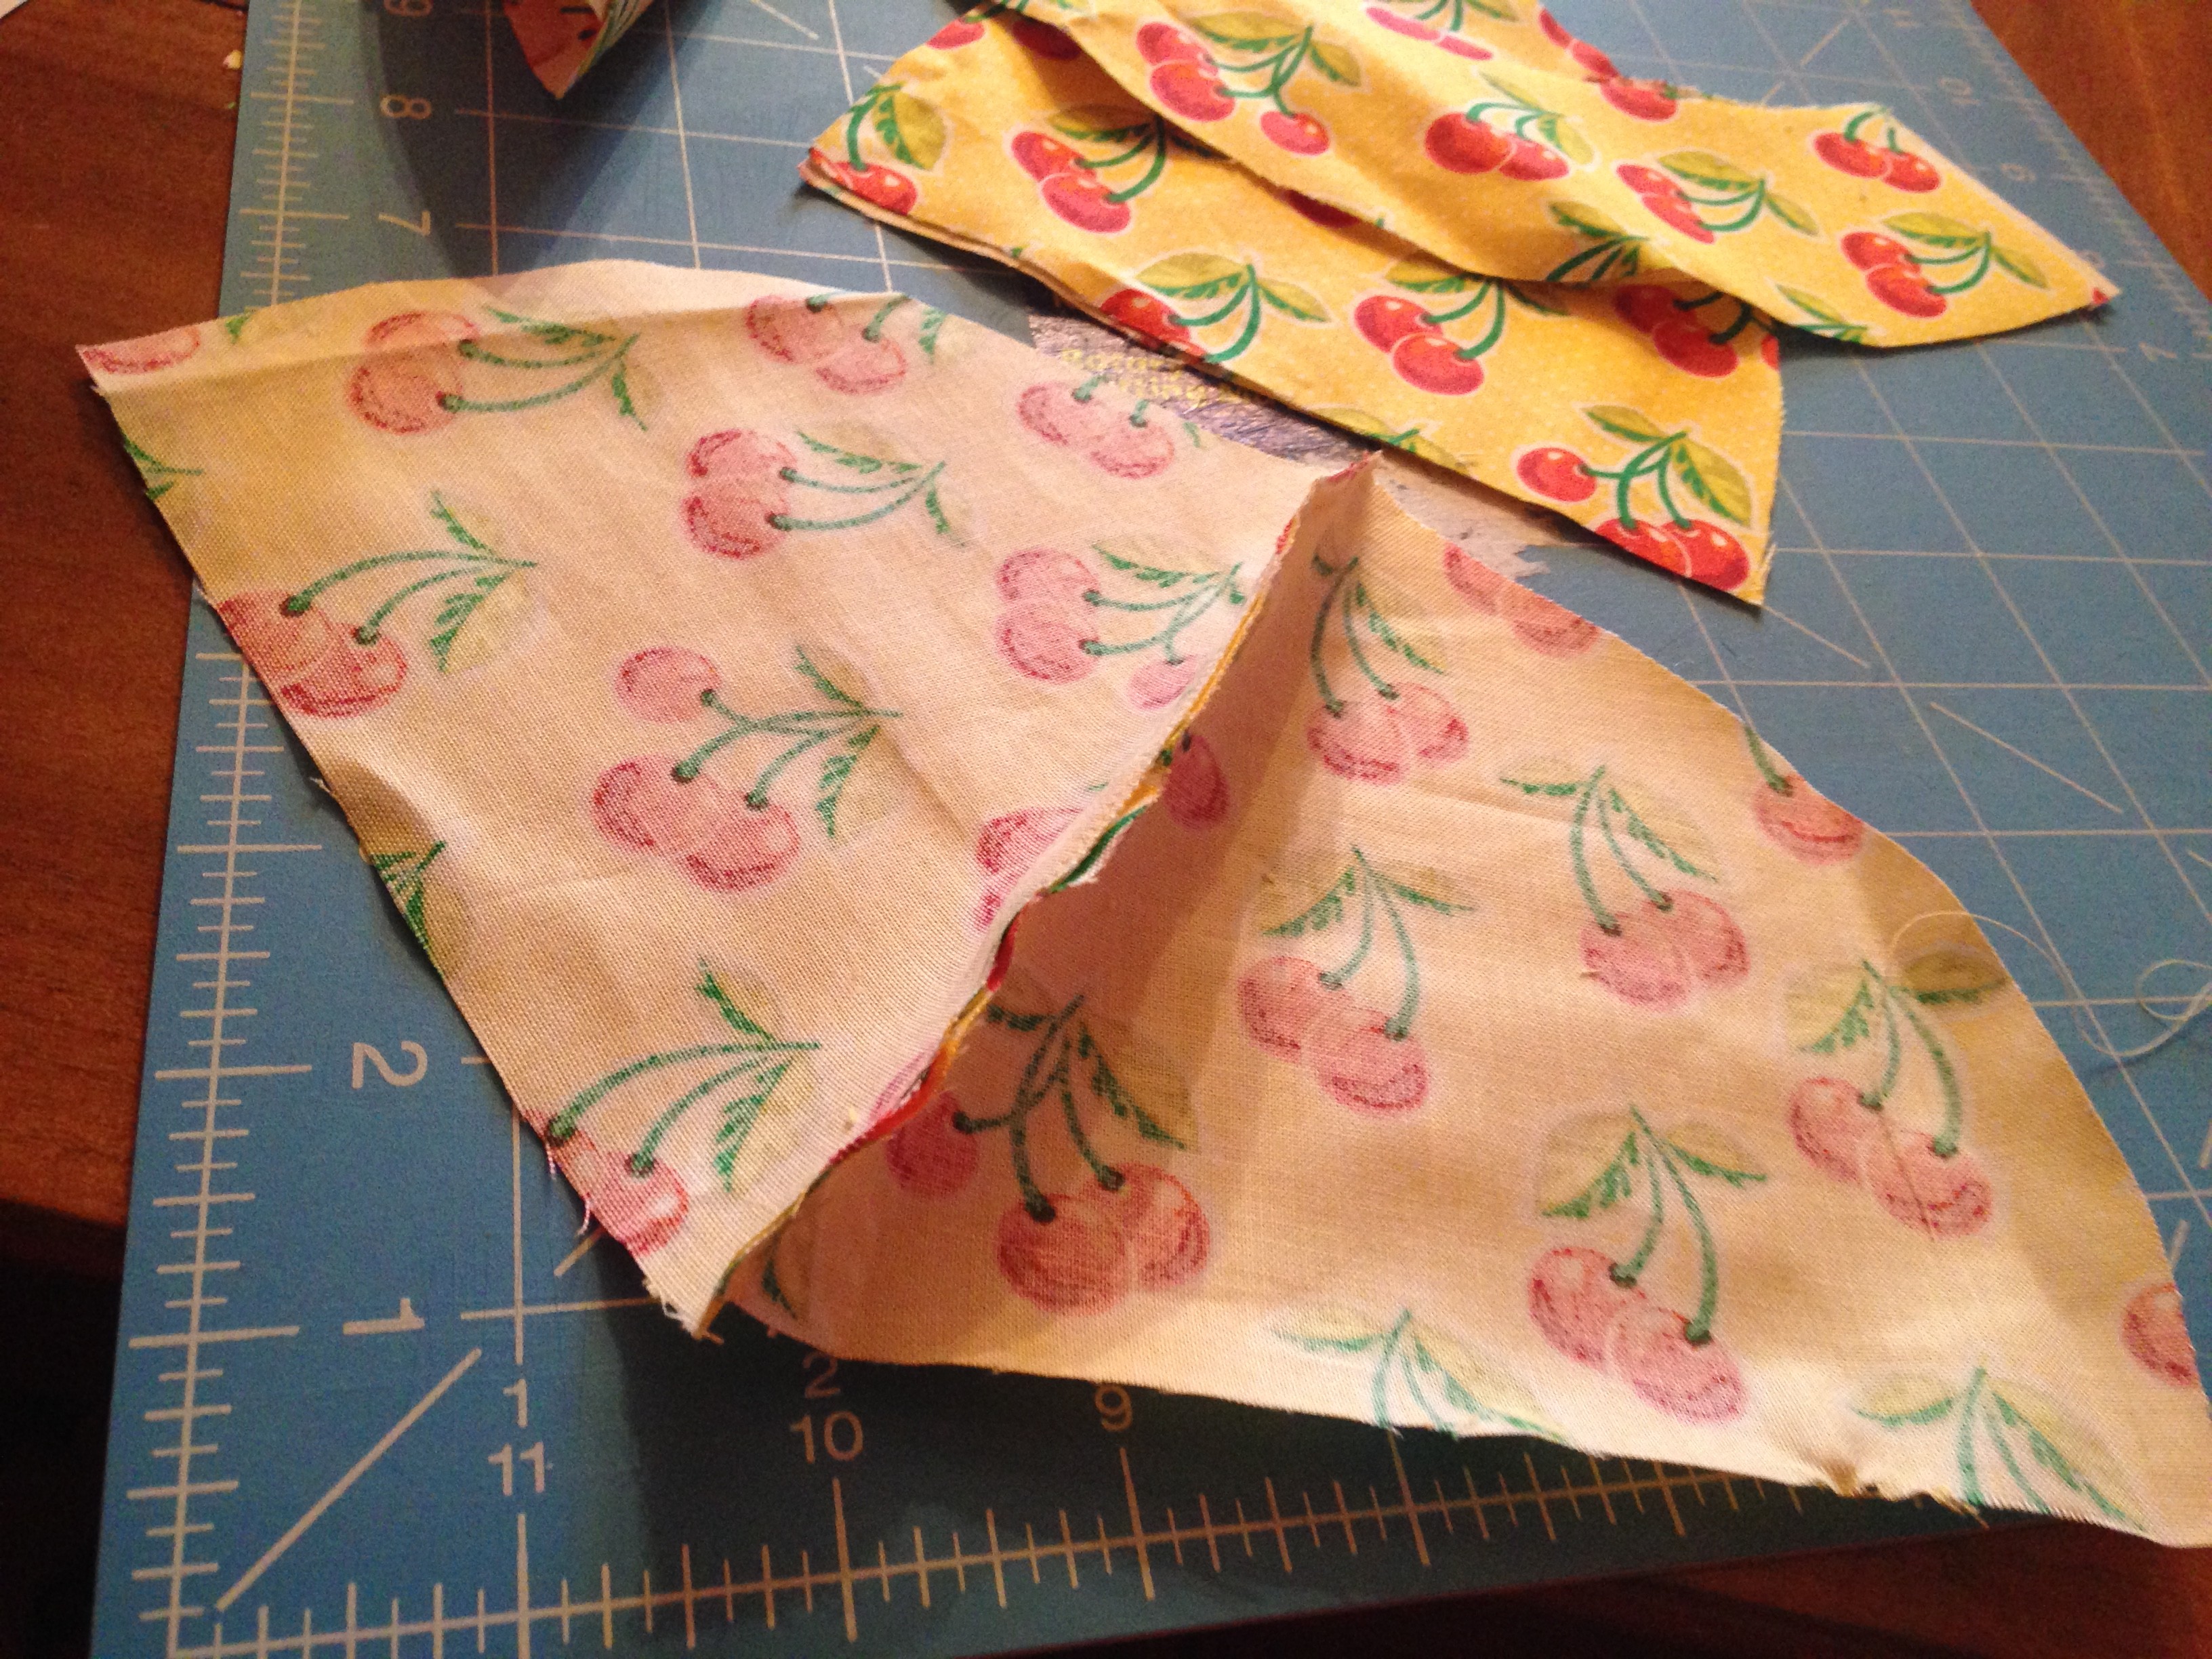
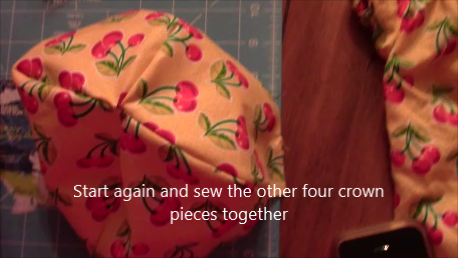
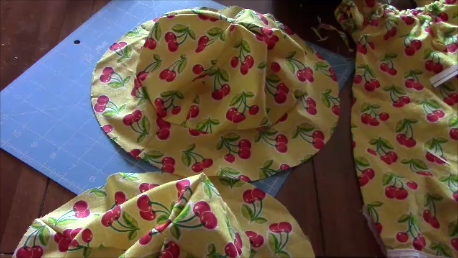
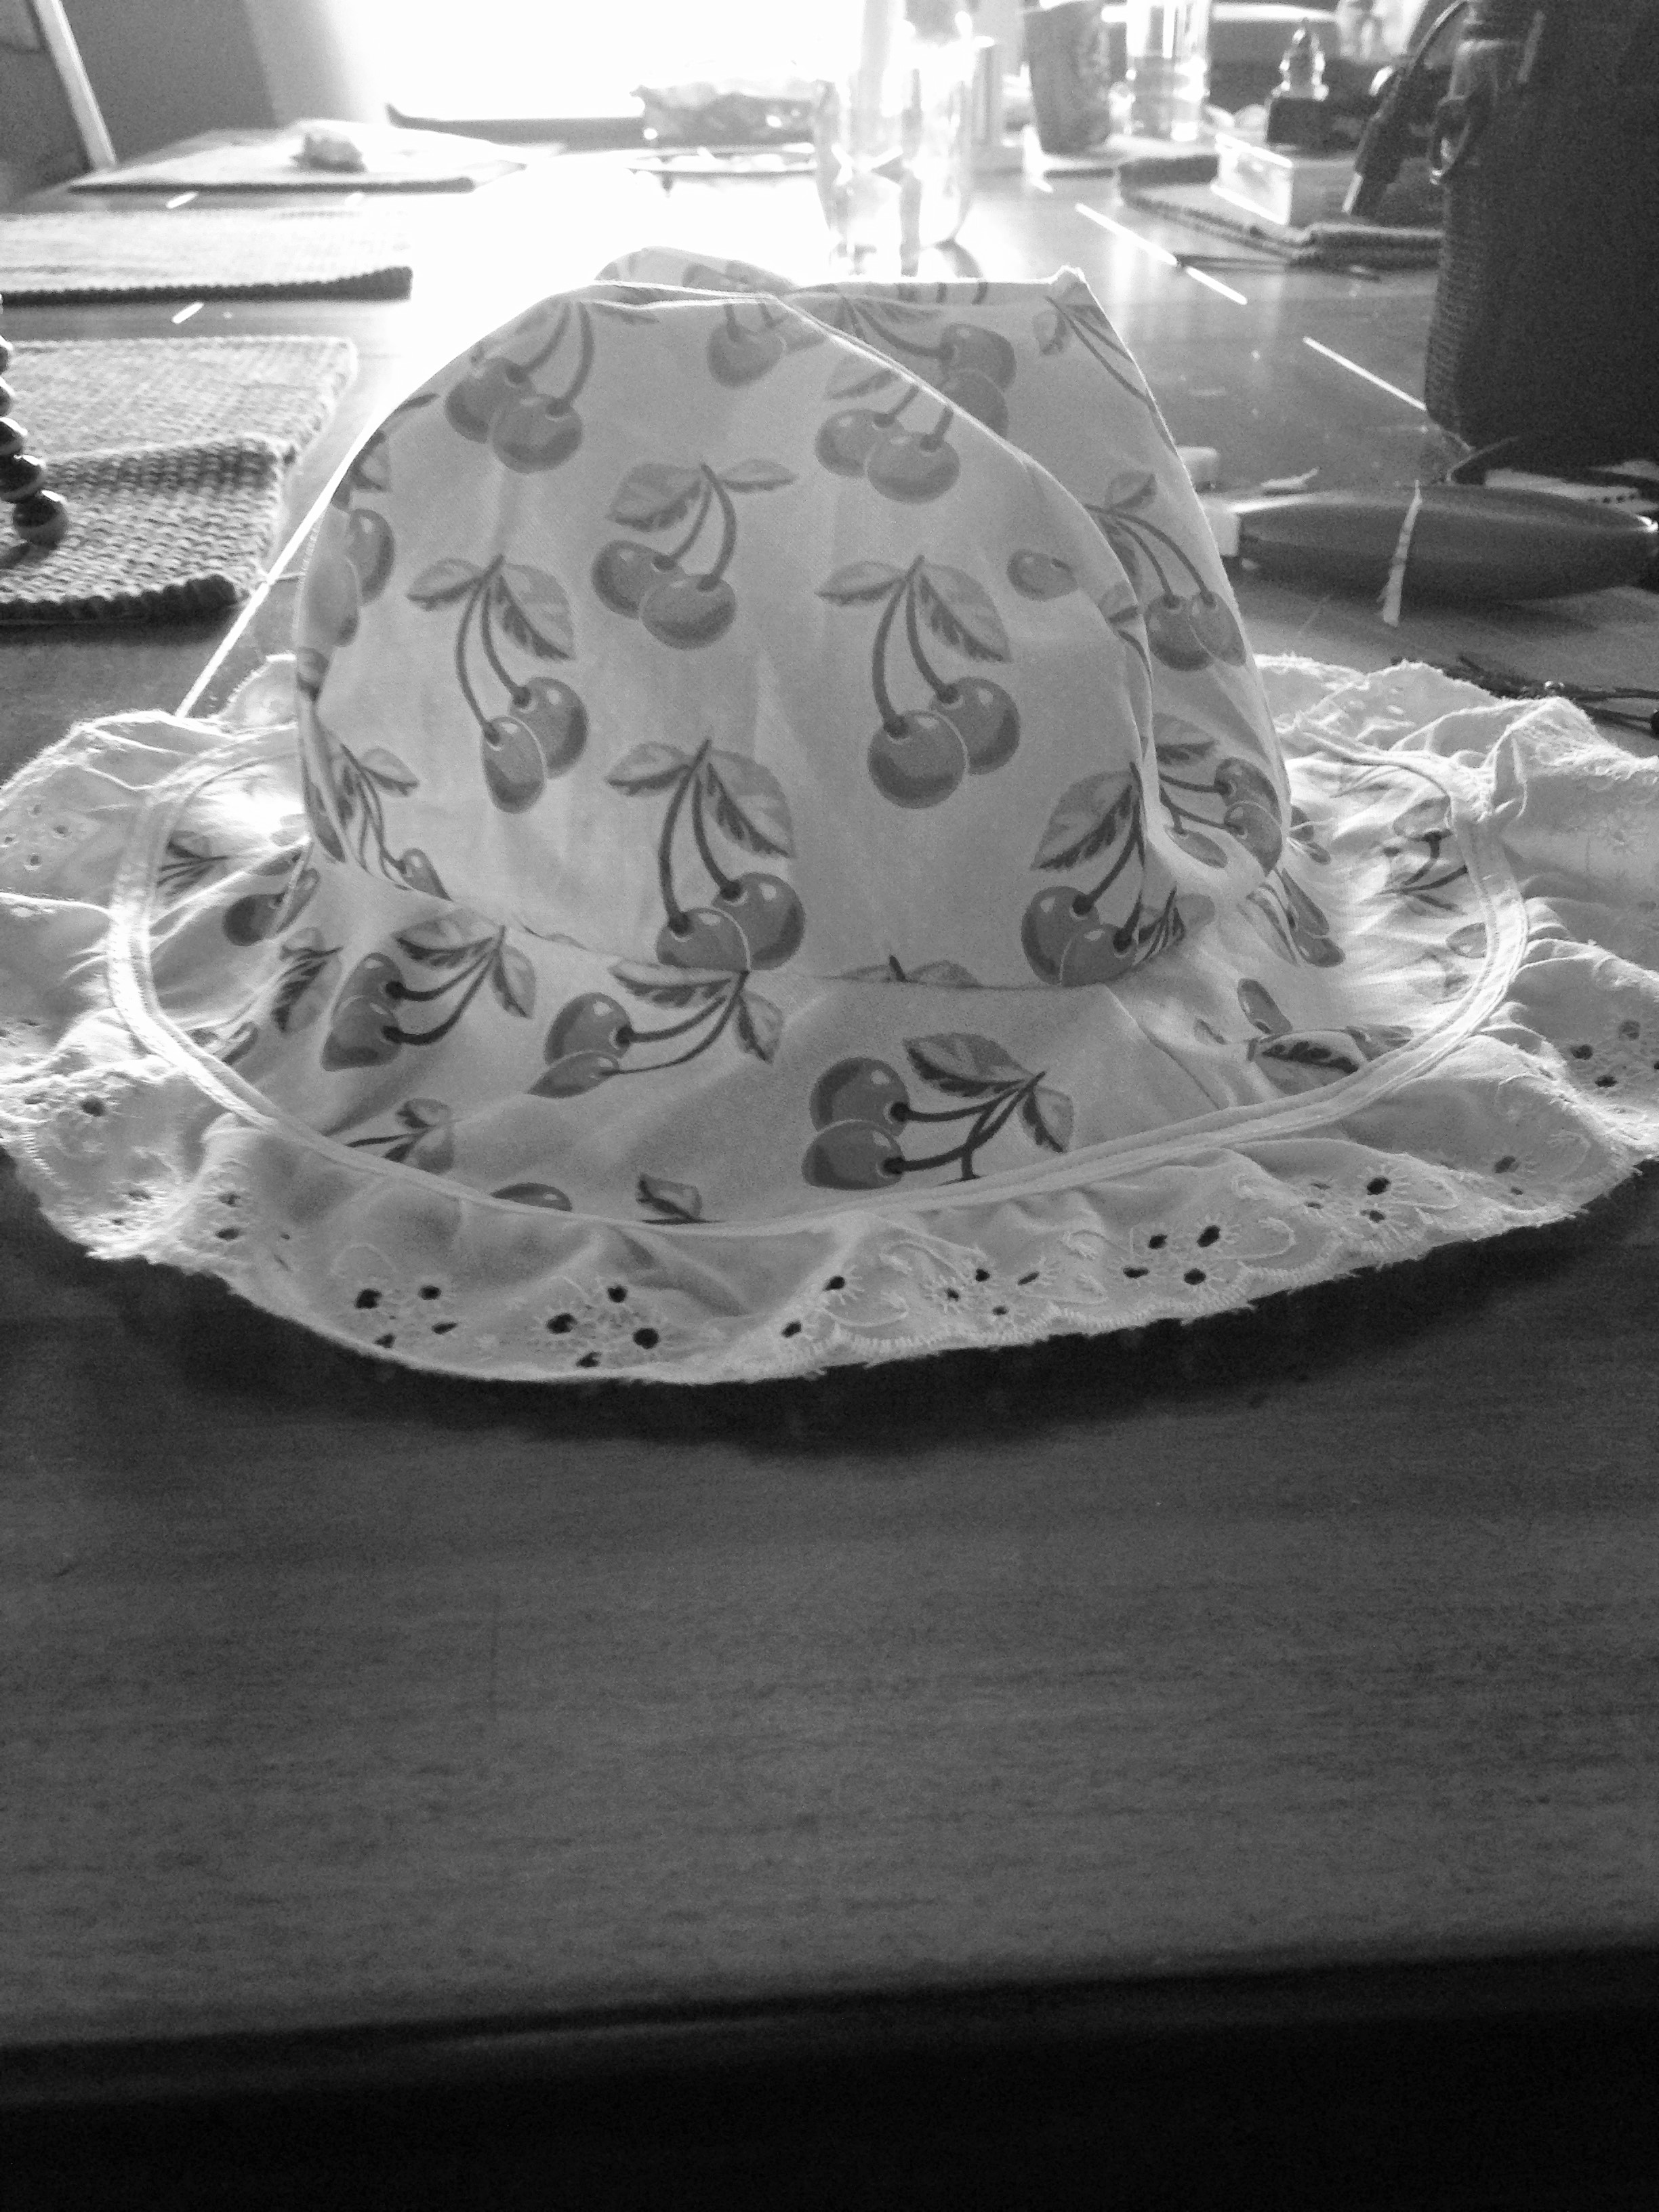
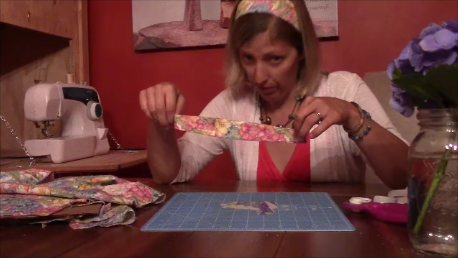
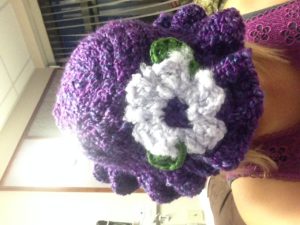
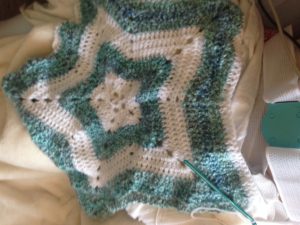
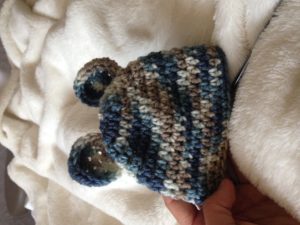
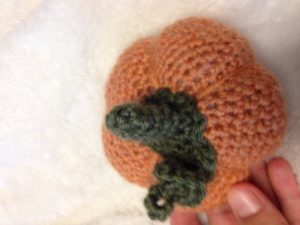
So the biggest help was keeping busy.  I crocheted away, hot air balloons for a mobile, baby hats, gifts, butterflies, blankets, hearts, and other creations.  If you have little to no experience, well use YOUTUBE!  That is what I did!  I have crocheted in the past; however, I decided to try many other new projects and simply watched videos on youtube to make the creations! Also, make your room friendly, put up pictures, wear your own pjs and clothes, and get comfy.

IMG_4813IMG_4720

Another activity is adult coloring! I was given several books and colored pencils.  Word puzzels, reading, tv, computer games, whatever you need to do to keep busy!  The staff was very friendly and answered any questions.

IMG_4815 IMG_4735 IMG_4723 IMG_4722 IMG_4800 IMG_4801 IMG_4806

So far that is my experience with PPROM (no, not the fancy get a nice dress and dance type), but I thought I would share in case anyone else is going through it!  There are also support groups out there on facebook, babycenter, and many other places if you need to reach out and join.  Word of caution: googling it too much will cause anxiety and you may find all negative things instead of positive!

IMG_0006
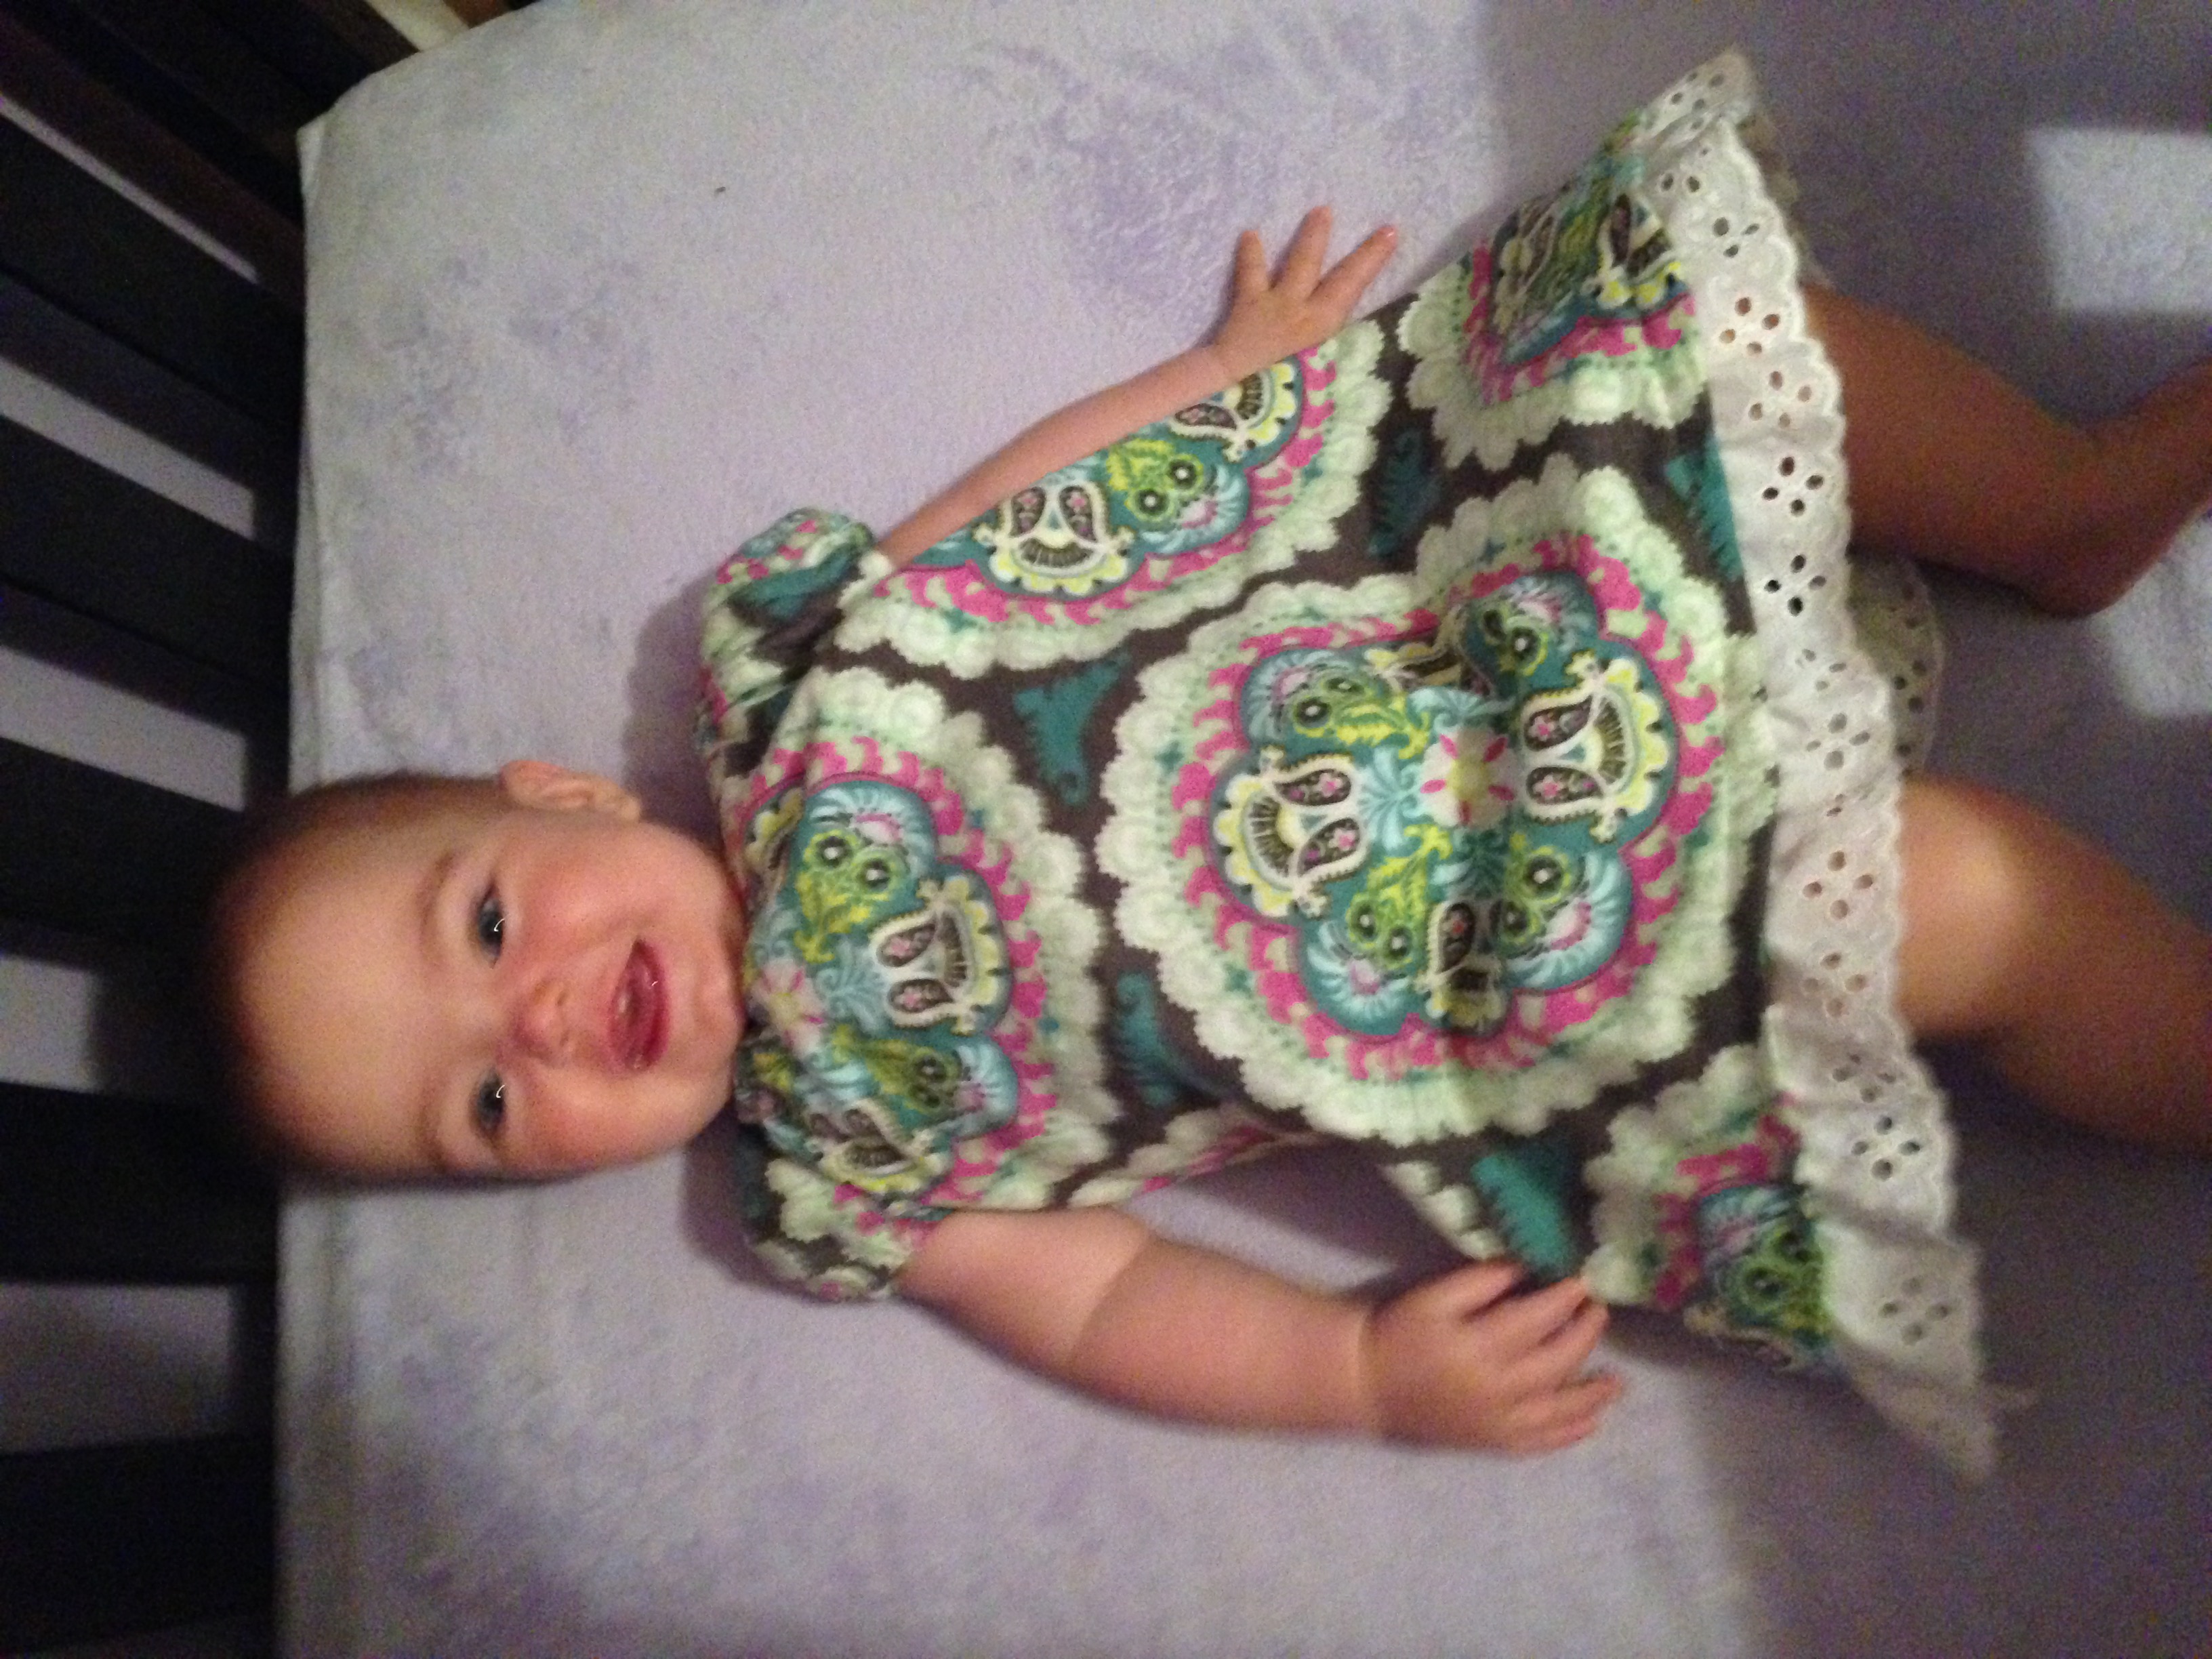
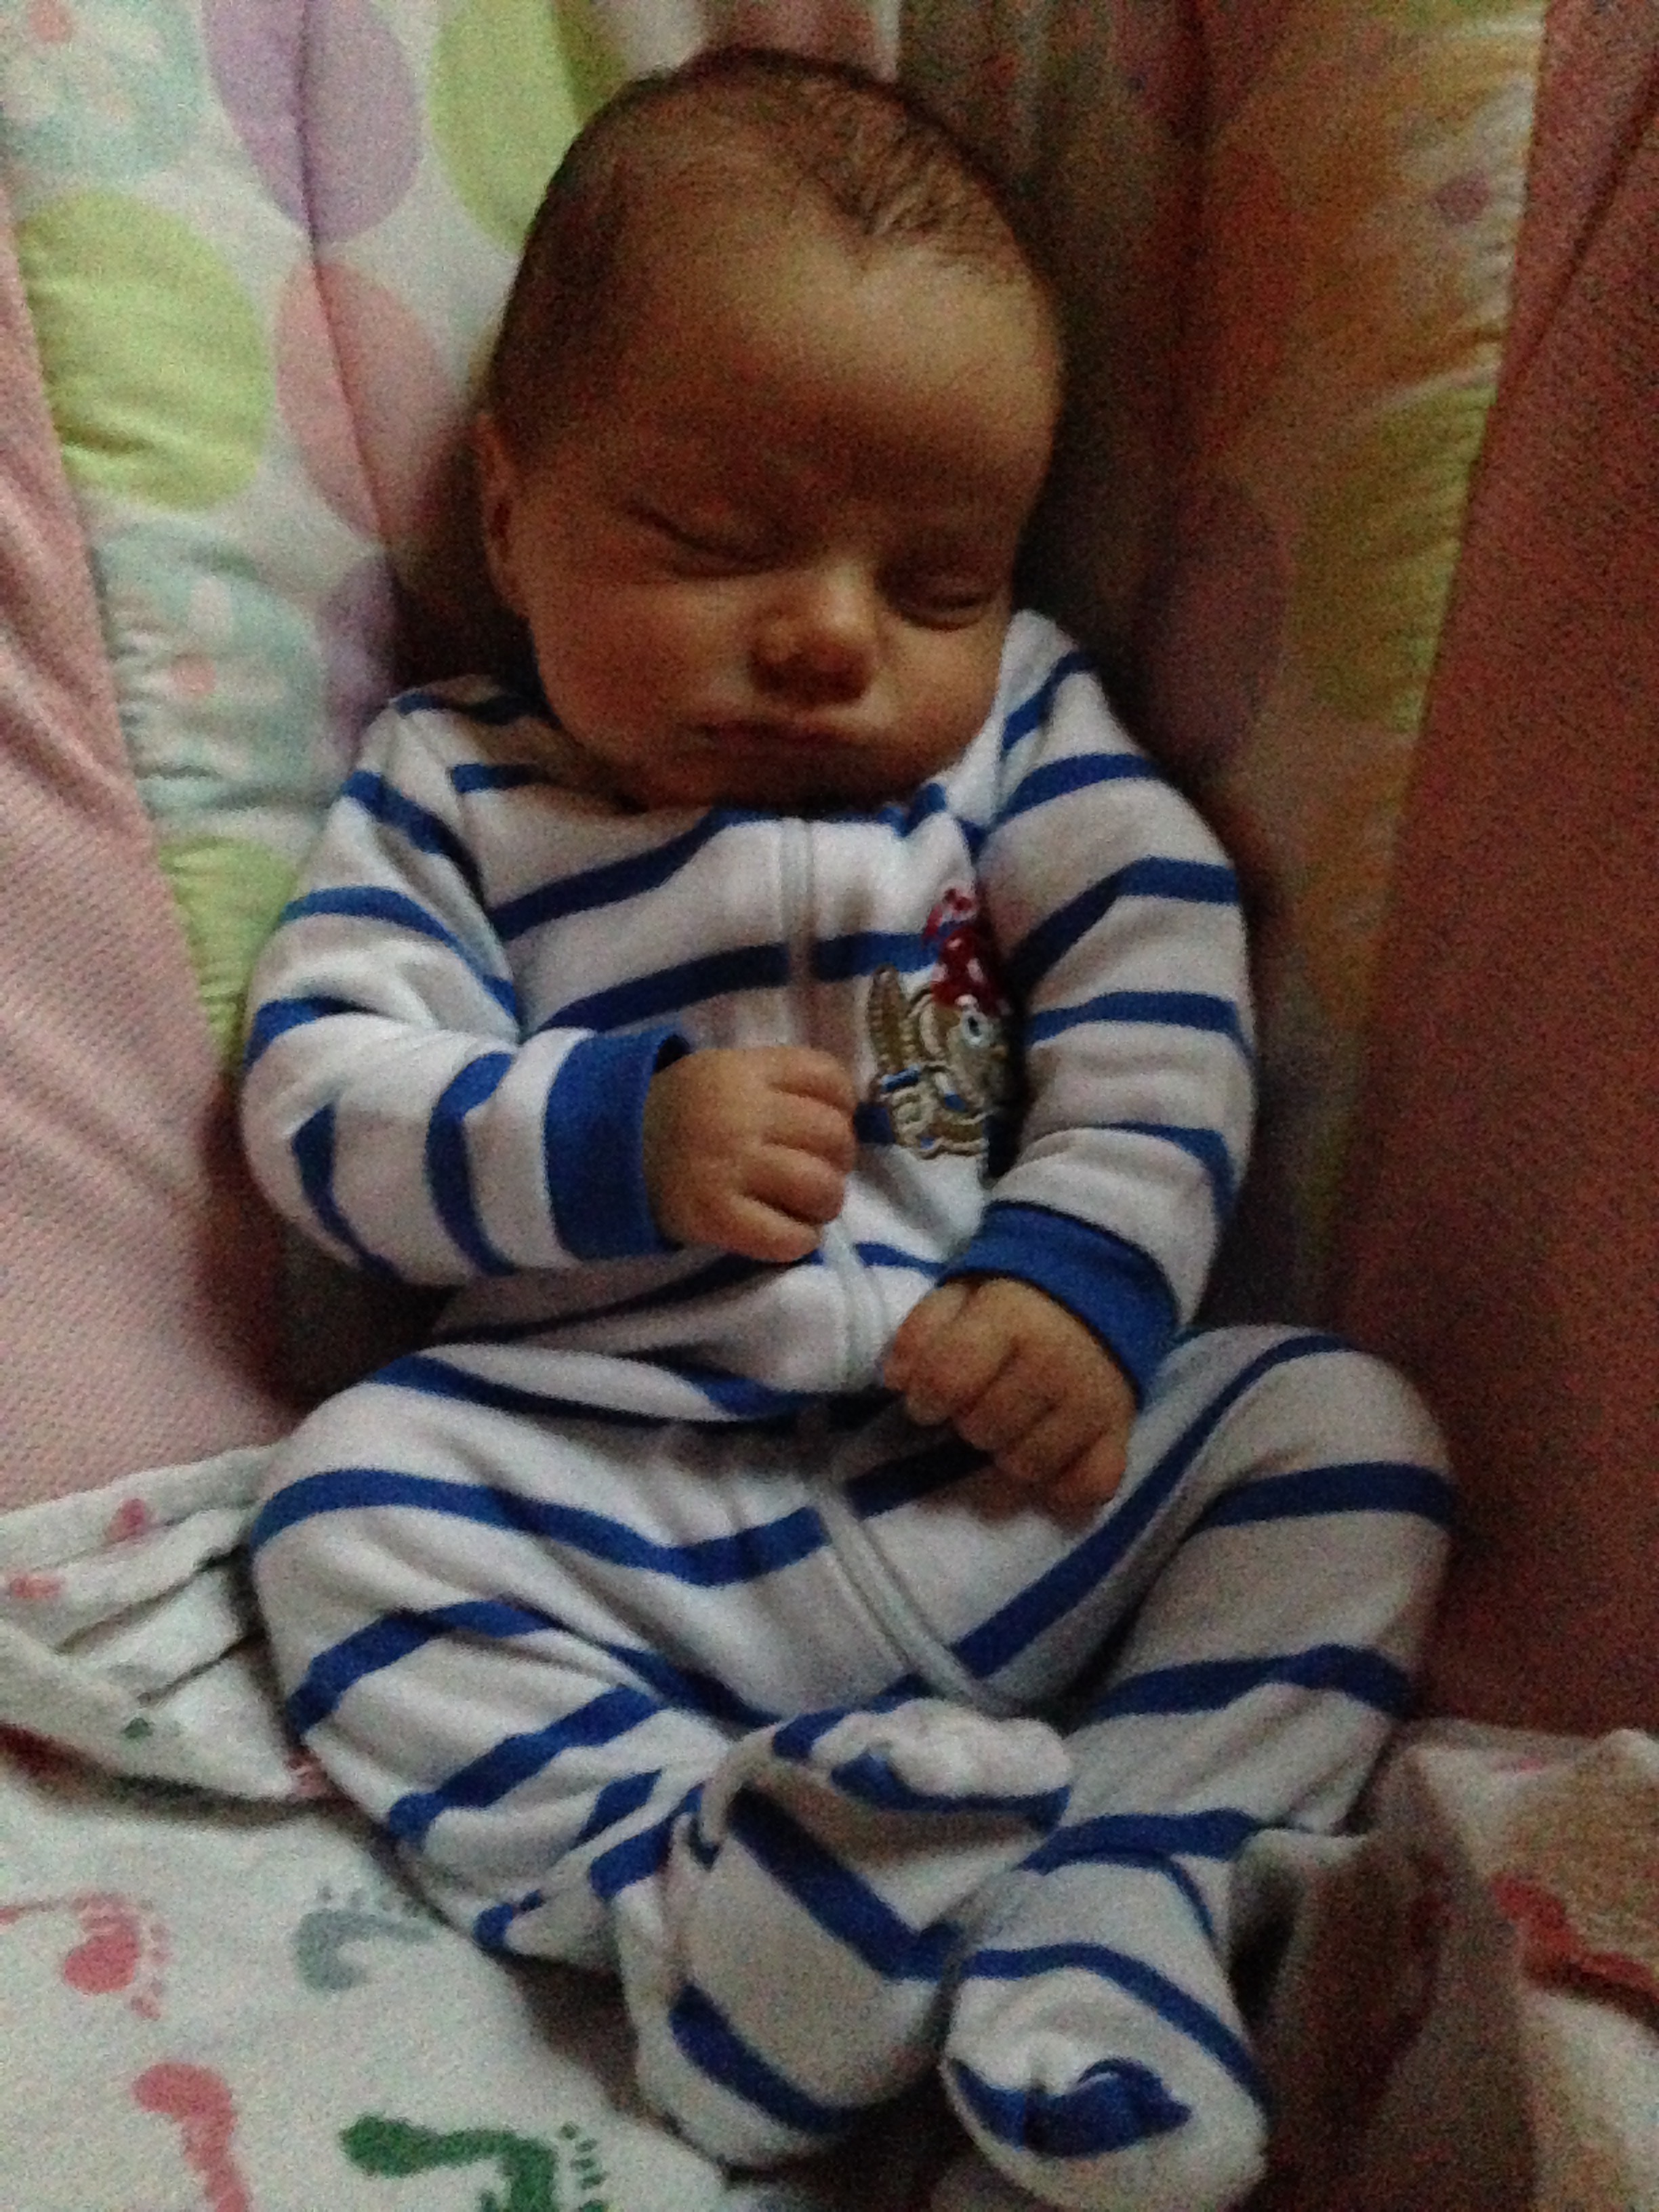
I was induced at 11pm August 31st and gave birth at 924am to our son Kodiak!  So glad I went with a vbac!

img_5298

P.S. this is why I haven’t posted any new projects lately!  It may be a little while yet!  But keep tuned!

Disclamer: This is not medical advice and is only an experience by one person that is shared on this blog and is not meant to be used in any medical way.


Save

Save

Save

FollowFacebookpinterestrssyoutube
ShareFacebookpinterest

Easy Sock Snowmen!

What’s an easy gift that can be personalized and made in 15mins?  A sock snowman of course!

IMG_3866A what?  A Sock Snowman? What is that????

Well, let me tell you.  A sock snowman is a snowman made with rubber bands, rice, men’s socks, a hot glue gun, and personalized items.  It is easy, fast, and I love that you can personalize it any way you want for any time of the year!  I made 10 of them for Christmas gifts.  You can see the harry potter and eagles one above.  I also made a hunter, patriots, and princess snowman.  Then I made the usual Christmas snowman for decorations as well.  I even got most of my supplies at the dollar store!

Snapshot 1 (1-23-2016 2-55 PM)

As usual, there is a youtube video tutorial and the written instructions below.  These make great gifts for any occasion and are quick and easy! Enjoy!


What you need:

-Hot glue gun
-Crew socks or longer
-Any type of rice
-Rubber bands
-Decorations such as eyes, stick ons, felt, buttons, bows, pins

  1. Take your crew sock and cut below the ribbed area (the bigger the snowman the lower you want to cut (the bottom part will be the hat of the snowman).
  2. Turn the top ribbed part inside out and place a rubber band tightly on one end
  3. Snapshot 1 (1-23-2016 6-23 PM)
  4. Turn it right side out and pack with rice. Make sure you continuously pack it down with your hands to give the snowman a fuller shape.  Leave a small area on the top and then close it with another rubber band.
  5. Put a rubber band on the top then 1/3 of the way down place another rubber band as tight as you can and adjust the rice to form the body and head of the snowman.
  6. Snapshot 1 (1-23-2016 6-33 PM)
  7. Now time for the fun part- decorating!
  8. The scarf can be made out of felt, scrap fabric, or even a crocheted or knitted scarf!  I did this with camo yarn for a hunter snowman.
  9. I used the hot glue gun to make sure everything stayed in place including the scarf and hat!
  10. IMG_3865
  11. Take the bottom part of the sock and fold top of it and place on top of the snowman’s head for the hat!  Feel free to decorate the hat as well.
  12. Snapshot 2 (1-23-2016 6-49 PM)
  13. I made my sister a harry potter snowman.  I also made a hunter camo snowman, princess snowman, patriots snowman, soccer player, and Christmas themed
    snowmen.
  14. Congrats you are done!  Good job!  Post your pics!
FollowFacebookpinterestrssyoutube
ShareFacebookpinterest

Sew An Easy Baby Sleeper!

Ever love that oh so cute baby sleepers with the elastic on the bottom?  I sure do, in fact I miss them now that my little one is getting older!  However, I have many showers to go to and it is a great gift!  The slip on sleeper with the elastic on the bottom is great for babies because you can easily change the babies diaper without fussing with all the buttons, snaps, or zippers.  It also keeps the baby warm and comfortable; not to mention how cute he or she will look!

IMG_2318First off, you need the pattern.  For this one, I used a neighboring sewing blog’s pattern since there are so many out there:

Stitched Together Pattern

So print your pattern making sure you unclick the fit to page (you want it letter size).

What you need:
*Fabric of chose
*Thread
*Elastic 1/4inch or
1/8inch
*Optional: bias tape (can
also make or just hem)

Below is the link to the Youtube video tutorial.  Below that is written instructions with pictures…enjoy!

  1. Print your pattern.  Cut your fabric as instructed on pattern

IMG_2259 IMG_2260

You should now have one front and one
back piece, and two sleeves.

2. Next, you use your bias tape. If you don’t have bias tape you can hem the ends instead or you can make your own bias tape. Here is directions to make your own bias tape

IMG_22643. Fold your bias tape on the ends of the sleeves, pin on
and sew straight on both sleeves.  Do this also to the neckline of the front and back piece.

4.  Next, You want to overlap your front and back gown pieces by either looking at the mark you made from the pattern or you can measure 4 inches of overlap from the top down.  So you want to pin and sew the overlapping sides (the 4 inches)

IMG_2266

IMG_2267

5. Find the middle of the overlap and the middle of the sleeves. This can be done by measuring 2 inches in for the overlap or folding.  The sleeve can be folded as well if you didn’t mark it. Line up the middle of the sleeve and middle of the overlap place pattern on pattern and pin and sew.

IMG_2265Snapshot 2 (9-8-2015 1-51 PM)Snapshot 1 (9-8-2015 1-51 PM)

You have to bunch it and pin it for it to stay.

IMG_2274

6. Turn your sleeper inside out and pin from the bias tape bottom all the way down to the bottom of the sleep.  Then sew!

Snapshot 3 (9-8-2015 1-57 PM)

 IMG_2276 IMG_2278

Almost there!

7.  Turn inside out and make elastic casing by folding up the bottom 1/4 inch for 1/8elastic or 1/2inch for 1/4elastic. Iron or pin the area to make it easier to
sew.  Don’t forget to leave a 1-2 inch opening to put the elastic through!
Remember to back stitch!

IMG_2280

8. To get your elastic through use a safety pin on the end and put in the opening
and pull through by bunching the fabric and then pulling the safety pin.

IMG_2281

9. Choose the tightness you need for your little one on the bottom and then sew your two pieces of elastic together.  Then sew the opening closed!

IMG_2318

That’s it!  Congrats you have finished!  Great job.  Any suggestions questions please let me know.  Look for the next post to be the matching slippers!

FollowFacebookpinterestrssyoutube
ShareFacebookpinterest

Cloth baby book!

Cloth baby books are an easy sewing project that your little one will enjoy!  You can also embellish and make it more interactive.  Cloth books are great toys as well!

IMG_2101

There are several places to purchase panel fabric for cloth books; however, it is very hard to find in actual stores.  They are mostly sold online. You can also make your own cloth book!  The following tutorial is how to make a panel cloth book. If you would like to make your own cloth book that is not from printed panels, I would suggest the following sites for ideas: Color book , animal book ideas


Today, I put together the classic The Poky Little Puppy cloth book. It is quick, easy, and you can customize it as well!

Here’s a quick Youtube tutorial for all those audio visual learners (and below is the written method):

Okay, so let’s get started!  You have your panel, you have your scissors, thread, machine, and batting for in between.  Now as far as batting goes, you can use almost anything!  It depends if you like your cloth books thicker or thin, crinkly or quiet.

IMG_2067

I actually used leftover fleece I had from another project which made my book nice and thick.

IMG_2093

You panel will most likely come with instructions that are easy to follow.  Just make sure you remember to mark your page numbers so when it’s all cut you know which page is which.

IMG_2068

So cut the panels out as instructed.  Usually you want to cut two of the panels (pictures for the book) out in one large rectangle.  Do this for all the two pages as instructed.

IMG_2093

Next, you want to cut your batting or interface to the same size as one of the two page sets.  You usually cut one batting per two sets of panels cut (follow your instructions).  You want to take your batting or interface then and sew it on the back of the panel piece (Sew all the way around it will be the backside of the panel pages).  So you should have half of your panel sets that are cut out with batting sewed to the back.

You may also want to add some interactive pieces to the cloth book such as large buttons, ribbons, or other pieces of fabric.  This is the time to do this.  Just make sure it is sewn very tight and secure.  Also use very large buttons or pieces.  For this project I just cut out some of the fleece and attached it to the dogs ears so my little one can pull at the ears in the book.

IMG_2098

Then, you want to sew the page that corresponds as instructed face down to the other page cut out with batting sewed on.  You want to sew all the way around but leave a 2 inch opening so you can pull it right side out.

IMG_2094

Then pull right side out and close the hole with a simple loop stitch or your stitch of choice.  And WALLAH you have four pages complete!  Good job!  Follow the rest of the instructions as to what pages line up with sewing and complete them.

IMG_2099

Lastly, you want to line up your pages as instructed by your instructions.  Lay them all flat as shown above and you will sew right down the middle.  Don’t forget to backstitch!  Your cover tends to be larger than the inside pages.

IMG_2101

That’s it, very simple, quick, easy, you just have to follow instructions! Good Job!  Now go enjoy it!


FollowFacebookpinterestrssyoutube
ShareFacebookpinterest

Fun and Stimulating Toy Name Blocks!

I’ve been looking for a toy that offers a variety of sensory activities through textures, sounds, and touch.

IMG_1968

After making these squares, which by the way are FABULOUS for pictures, my little one couldn’t stop playing with all the ribbons, buttons, and laughing at the fabric and textures while sitting in her car seat.  What a great toy not only for entertainment, but for learning and increasing intelligence!  Not to mention it makes an amazing gift!

IMG_1999

Here is the Youtube tutorial:


If you would also like to follow the written then here goes:

What you will need: FABRIC, buttons, ribbons, polyfil, optional bells or rattle

  1. fabric: There are six sides to each square.  You can chose your colors and textures. You will need six squares for each letter you are making.  In this case, I used four letters for four blocks and six different pattern pieces with all different textures and patterns.  This is the fun part!  You can of course color coordinate for a boy or girl; however, I chose to do fun patterns that I knew my little one would love to look at, catch her attention, and also advance her imagination.
  2. IMG_1933
  3. So there are six sides to the blocks so I picked those fabrics and chose my size for the blocks to be 6×6 and cut out four of each fabric I wanted to use.   This is also great if you have extra scrap pieces you want to use up.
  4. Next, you want to cut out your letters.  I did this free hand.  I used extra felt I had sitting around!  Once completed, sew them on the fabric you would like for each block.
  5. IMG_1936IMG_1937
  6. Now you want to setup your pieces to
    make your block. Put the letter in the
    center and surround it as shown with your
    other fabrics. You may want to have the same pattern
    for each block or different spots for each
    fabric square
  7. IMG_1939
  8. Start sewing pattern pieces facing
    each other.  Take top piece and put pattern facing inside on the letter and sew the top edge, then continue until they are all sew together as shown below. Do this for all your blocks.
  9. IMG_1940IMG_1941IMG_1942
  10. If you want to add ribbons, buttons, or
    any other accessories this is the time to get
    those together! So now you want to decide where to sew them.  You can choose different spots on each block or the same!
  11. Sew the ribbons on facing towards the inside of the block.  If you do the opposite they will be on the inside instead of the out!
  12. IMG_1943 IMG_1944
  13. Start by sewing right sides together of two
    blocks. Take the top square and fold down and to the left. You will line up the left side of the top block to the top side of the left block.  Then sew.  Continue this around using the letter piece as the bottom part of the block.  The pattern of the fabric should end up in the inside of the block.
  14. IMG_1953 IMG_1955
  15. Continue around until you have all sides except one sewn together.
  16. For the last square, Sew each side around but for one side leave a 2-3 inch opening so you can pull the right side out.  Don’t forget to back stitch well!
  17. IMG_1956
  18. Okay!  Almost there!  So now you want to turn your block right side out.  So reach in there and pull the fabric through.  Then use a pencil, pen, crochet needle or what not to poke out the corners and make them shapely.
  19. Next, grab your stuffing, in this case polyfil, and start filling.
  20. You can put a bell or rattle in the inside of the block!
    To do this I put it in a small ziplock bag that is sealed with some air so that it has room to rattle around instead of being stuck in the polyfil. I actually have been saving the twist off tops of the food pouches and used them in a bag to make some noise!  So if you are going to do this try and put this in the center of the block then stuff around it.
  21. IMG_1966
  22. Lastly, close up that hole!  You can do a whip stitch or invisible stitch or even use your machine.
  23. IMG_1976
  24. Ta-Da you are done!  Great job….take some pictures and share!


FollowFacebookpinterestrssyoutube
ShareFacebookpinterest

Reversible Lace Baby Sunhat!

IMG_1868

Are you looking for a cute sunhat to shade your little one from the sun?
Well, this matching reversible hat is the perfect one!  It works great for pictures and photo shoots as well.  The hat is also an easy pattern that can be completed in under an hour.  The hat really completes the outfit as you can see above!!!

You can look back at my last tutorial on how to make a peasant dress to make a matching dress.

IMG_1885

What you will need:

  • The free pattern here:    sunhat 001
  • fabric (can do one color or two)
  • lace and or buttons (optional)
  • scissor
  • matching thread

For the people who enjoy a visual demonstration, below is the YouTube video.  Following that, is the written and picture directions.


Okay, first you need to cut out your pattern pieces.  You need 8 crown pieces and 4 brim pieces.  If you want two different colors for each side then its half in one color half in the other!

IMG_1829

Next, you take two of your crown pieces and place them together with fabric patterns facing each other.  Pin and sew down one side.  This is what it will look like unfolded.

IMG_1830

Then take another piece and place on one of the two pieces sewn together.  You again want fabric pattern to fabric pattern facing each other.  Then sew the one side.  Do this until you have four pieces.  Once you have all four pieces sew the four side together as well.

IMG_1832

And WA-La!  You have your first crown hat completed. Now start the process again with either the same color, or if you are using a different color scheme on the other side of the hat use that.  Complete another crown.

crown

One you have the two crowns, you want to line up two of your brim pieces with the patterns facing each other.  Sew the small short ends together as indicated on the pattern pieces.  Then do this for the other two pieces as well so you have two full circle brim pieces.

Next, you want to connect the brim pieces to the crown pieces.  You do this by magic.  Hah, no just kidding, you face fabric to fabric again and sew around the edges.

hatpinned

Then you will end up with two formed hats!  Trim around the seems.

hats

Next you want to make 2 into 1!!!  So to do this, you need to place fabric to fabric again. So put one hat inside out and line up the outside brim pieces again.  Remember to match up the seems of the crown and brim to each other.  Pin, then sew around the outside leaving a 3 inch opening.  This opening will allow you to turn the hat right side out.

hatss

Once completed turn right side out by pulling the fabric through the opening.

hathat

Now, you want to sew that hole closed.  To do this, fold in the edges and either press or pin to stay.  Then sew it closed baby!  Press the seems

So this is your hat.  If you want to add a button or lace continue on.

I decided to add lace to match the peasant dress tutorial completed last week.

Line the lace up with the brim and pin.  Then just sew on!  AND WA=la!  Beautiful matching hat complete!

IMG_1886 (2)IMG_1863IMG_1885

FollowFacebookpinterestrssyoutube
ShareFacebookpinterest

Peasant dress tutorial!

Peasant dresses are perfect for any age!  The elastic on the top and through the sleeves allows the dress to fit for much longer than most clothes.  There are also many ways to customize the peasant dress.

IMG_1868 IMG_1863

I love the dress because it’s easy to put on my little one. It stretches right over her head and I dont have to deal with the fuss and fight that sometimes comes with putting on onesies.  Also, at home I use cloth diapers and it’s easy to just throw the dress on and she just needs the diaper underneath!  Of course I do this with regular diapers as well, but it looks so cute with the colored cloth diapers!  She seems to really enjoy the fabric too!  She enjoys playing with the design and discovering her feet and how the two things she is learning are her feet can kick the lace :op

So, lets get started…

IMG_1066 IMG_1078

Here is the free pattern for sizes 4-10months (it stretches).  If you want a bigger or smaller size you can scale it down or hold the pieces up to one of your child’s dresses and adjust the sizing

.IMG_1759

Below are the four components- don’t forget set printer option to print to actual size.

Here is the youtube tutorial for you to follow:


Or you can follow below:

  1. Print out the pattern and trace and cut as directed.  If using a pattern on the fabric make sure it is all going in the correct directions.
  2. fabric
  3. Line up one body piece with pattern facing up to one sleeve with pattern facing down.  Pin and sew.  Do the same for the other sleeve.
  4. fabric2
  5. Next you want to take the other side of the sleeve and line it up with the other body piece.  Put pattern side to pattern side so it fits. Sew both sleeves.  Now you should have looking like this:
  6. IMG_1744
  7. If you want to zigzag stitch on all edges to prevent fraying when washing, now is the time.  If you have a serger, by all means use that now. This is not required but is helpful to prevent fraying.  See the video for more information on zigzag stitches.
  8. IMG_1743
  9. Next you want to form the pockets for the elastic for the sleeve and necklines.  I am using 1/2 inch elastic and folding the fabric edges about an inch in.  If using 1/4 elastic then you can fold in 1/2 inch.  I also press to make it much easier to sew.  See picture below.
  10. IMG_1746
  11. Now you want to sew the bottom part of the sleeves down the long side but leave the small edge sides open for the elastic.  Then sew the neckline leaving 1 inch or so open.  Usually I do this towards one of the seems so its not as noticeable when you close it. This will be to put the elastic in.  So sew all the way around leaving a one inch opening.  Remember to backstitch.
  12. Next, use a safety pin and pin the end of the elastic.  Put the pin through the opening at the end of the sleeve and pull through.  Bunch the fabric over the safety pin and pull the elastic through.  When to the end you want to adjust the bunching to the appropriate size for your little one’s arm.  Then sew the ends of the elastic to the fabric then cut the extra elastic.  Do not cut before sewing or you may lose your elastic.
  13. fabric3
  14. Now do the neckline.  Find your hole and pull elastic through.  Then adjust to appropriate size (which you can measure your muchkins neckline).  Then I cut the elastic holding it carefully and put a quick stitch in the two elastic pieces by stretching it outside the fabric area.  Then I let that go back into the fabric and stitch the hole shut.  You can also sew the elastic on the two sides of the opening on the holes (which may be easier).
  15. Now you should have your elastic all completed!  We are almost there.
  16. Next, you want to sew both sides of the dress closed.  to do this, put your dress inside out and pin sides together starting at bottom of the sleeves.  I usually do a zigzag stitch down the outside then a straight stitch on the inner side of the fabric.  This makes it stronger.  Do this for both sides making sure you sew the bottom of the end of the sleeve.
  17. fabric4
  18. Now you should have both sides completed.  What’s left you say?  The bottom of course!  So decide if you want a plain hemline or lace. You can hem and then lace as well.
  19. So either hem, or continue and take your lace and line it up on the outside.  I have zigzag stitched the bottom already in a previous step to prevent fraying  If you have not done so, I suggest you do this or hem the bottom before adding the lace.
  20. Line up the lace on the bottom and pin.  Sew it and WaaaLa!  You are done!  Congrats!
  21. Optional is adding buttons or a bow!
  22. IMG_1760IMG_1769
  23. Stay tuned for the hat tutorial!
  24. IMG_1885


FollowFacebookpinterestrssyoutube
ShareFacebookpinterest

2 Ways to Make an Easy Headband!

Need a stylish way to keep the hair out of your face?  Want it cheap?  Well, believe it or not, you can sew a quick headband in almost under 5 minutes!  This is great to match your little one’s dress or outfit.  Also, you can match your own outfit or dress for a stylish design.  I made a neat flower dress for my munchkin and made myself a matching headband!  It looks great for pictures but it’s not the overboard matching outfits :op

Here’s how:

What you need:

  • Fabric (15×3 two pieces or 15 x6 or one piece folded)
  • Matching Thread
  • Elastic (1/4-1/2 inch)

headbandpicheadbands

1) First you want to cut out your fabric.  You can either make the headband with two pieces of fabric at 15×3 and cut on a slant.  Or you can do one piece with the fold on the long side (the 15 inch long side).

2) Following that you want to turn it with fabric sides facing each other and sew the sides (or side if you are folding) and leave ends open.  Turn inside out.

3) Fold the ends inwards.

4) Cut your elastic to 7 inches long (or if for younger you can measure ear to ear in the back and cut elastic)

5) Put elastic in end and sew up and down several times ! If you are doing the folded headband then take the corners of the fabric and fold in and sew.

6) And wala! You are done! Don’t be afraid to add buttons, glitter, bows, and other neat accessories!

Awesome!  Quick and easy, Enjoy and check back for more activities each week!


Lastly, do you think having matching outfits to your little one is too much?  I’d like to see the debate begin!

FollowFacebookpinterestrssyoutube
ShareFacebookpinterest

Sewing machine tutorials!

New to sewing?  Want to learn how to thread your machine?  Then, you have come to the right place.  Yes this may be a little boring for some, but I found similar help at different sites and decided to put it all together in my own way for anyone new to nursing.

So if you don’t fall asleep along the way, you may learn something!  :op

Below are three tutorials on using your sewing machine.  This particular tutorial features the brother xl model, which I highly recommend as an affordable and easy to use first machine that has more advanced properties as well.  However, if you have another machine, it may be quite similar so you can follow along!

machineSo here is a basic diagram of the machine I made that outlines the important components.


This is a video on the basic parts of the machine and what buttons are used most.


Next, is a video on how to thread your bobbin!  Don’t worry it gets much easier each time!


Lastly, how to put everything together!  This tutorial demonstrates how to thread the machine and start up!


Good Luck and Enjoy!  More tutorials to come…

FollowFacebookpinterestrssyoutube
ShareFacebookpinterest