As I searched the internet for ideas for my munchkins first birthday, I noticed a lack of imagination for the rubber ducky birthday theme! So I have decided to share what I came up with in hopes of giving others ideas as well.

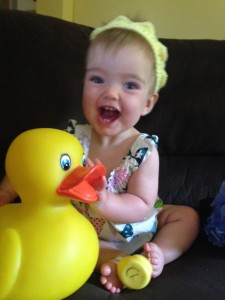
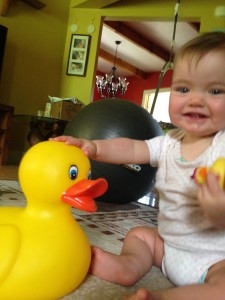
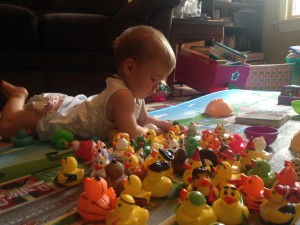
My little Cecelia loves rubber duckies. She has since she was introduced in the bathtub to them. Now, besides just the rubber duckies, she loves everything ducky! She crawls right over to any books that contain ducks; especially, the duck and goose series! I even got her a large rubber duck down at the shore.
So I didn’t want to go overboard on her first birthday since she won’t remember it, but…of course we had to have rubber ducks everywhere!
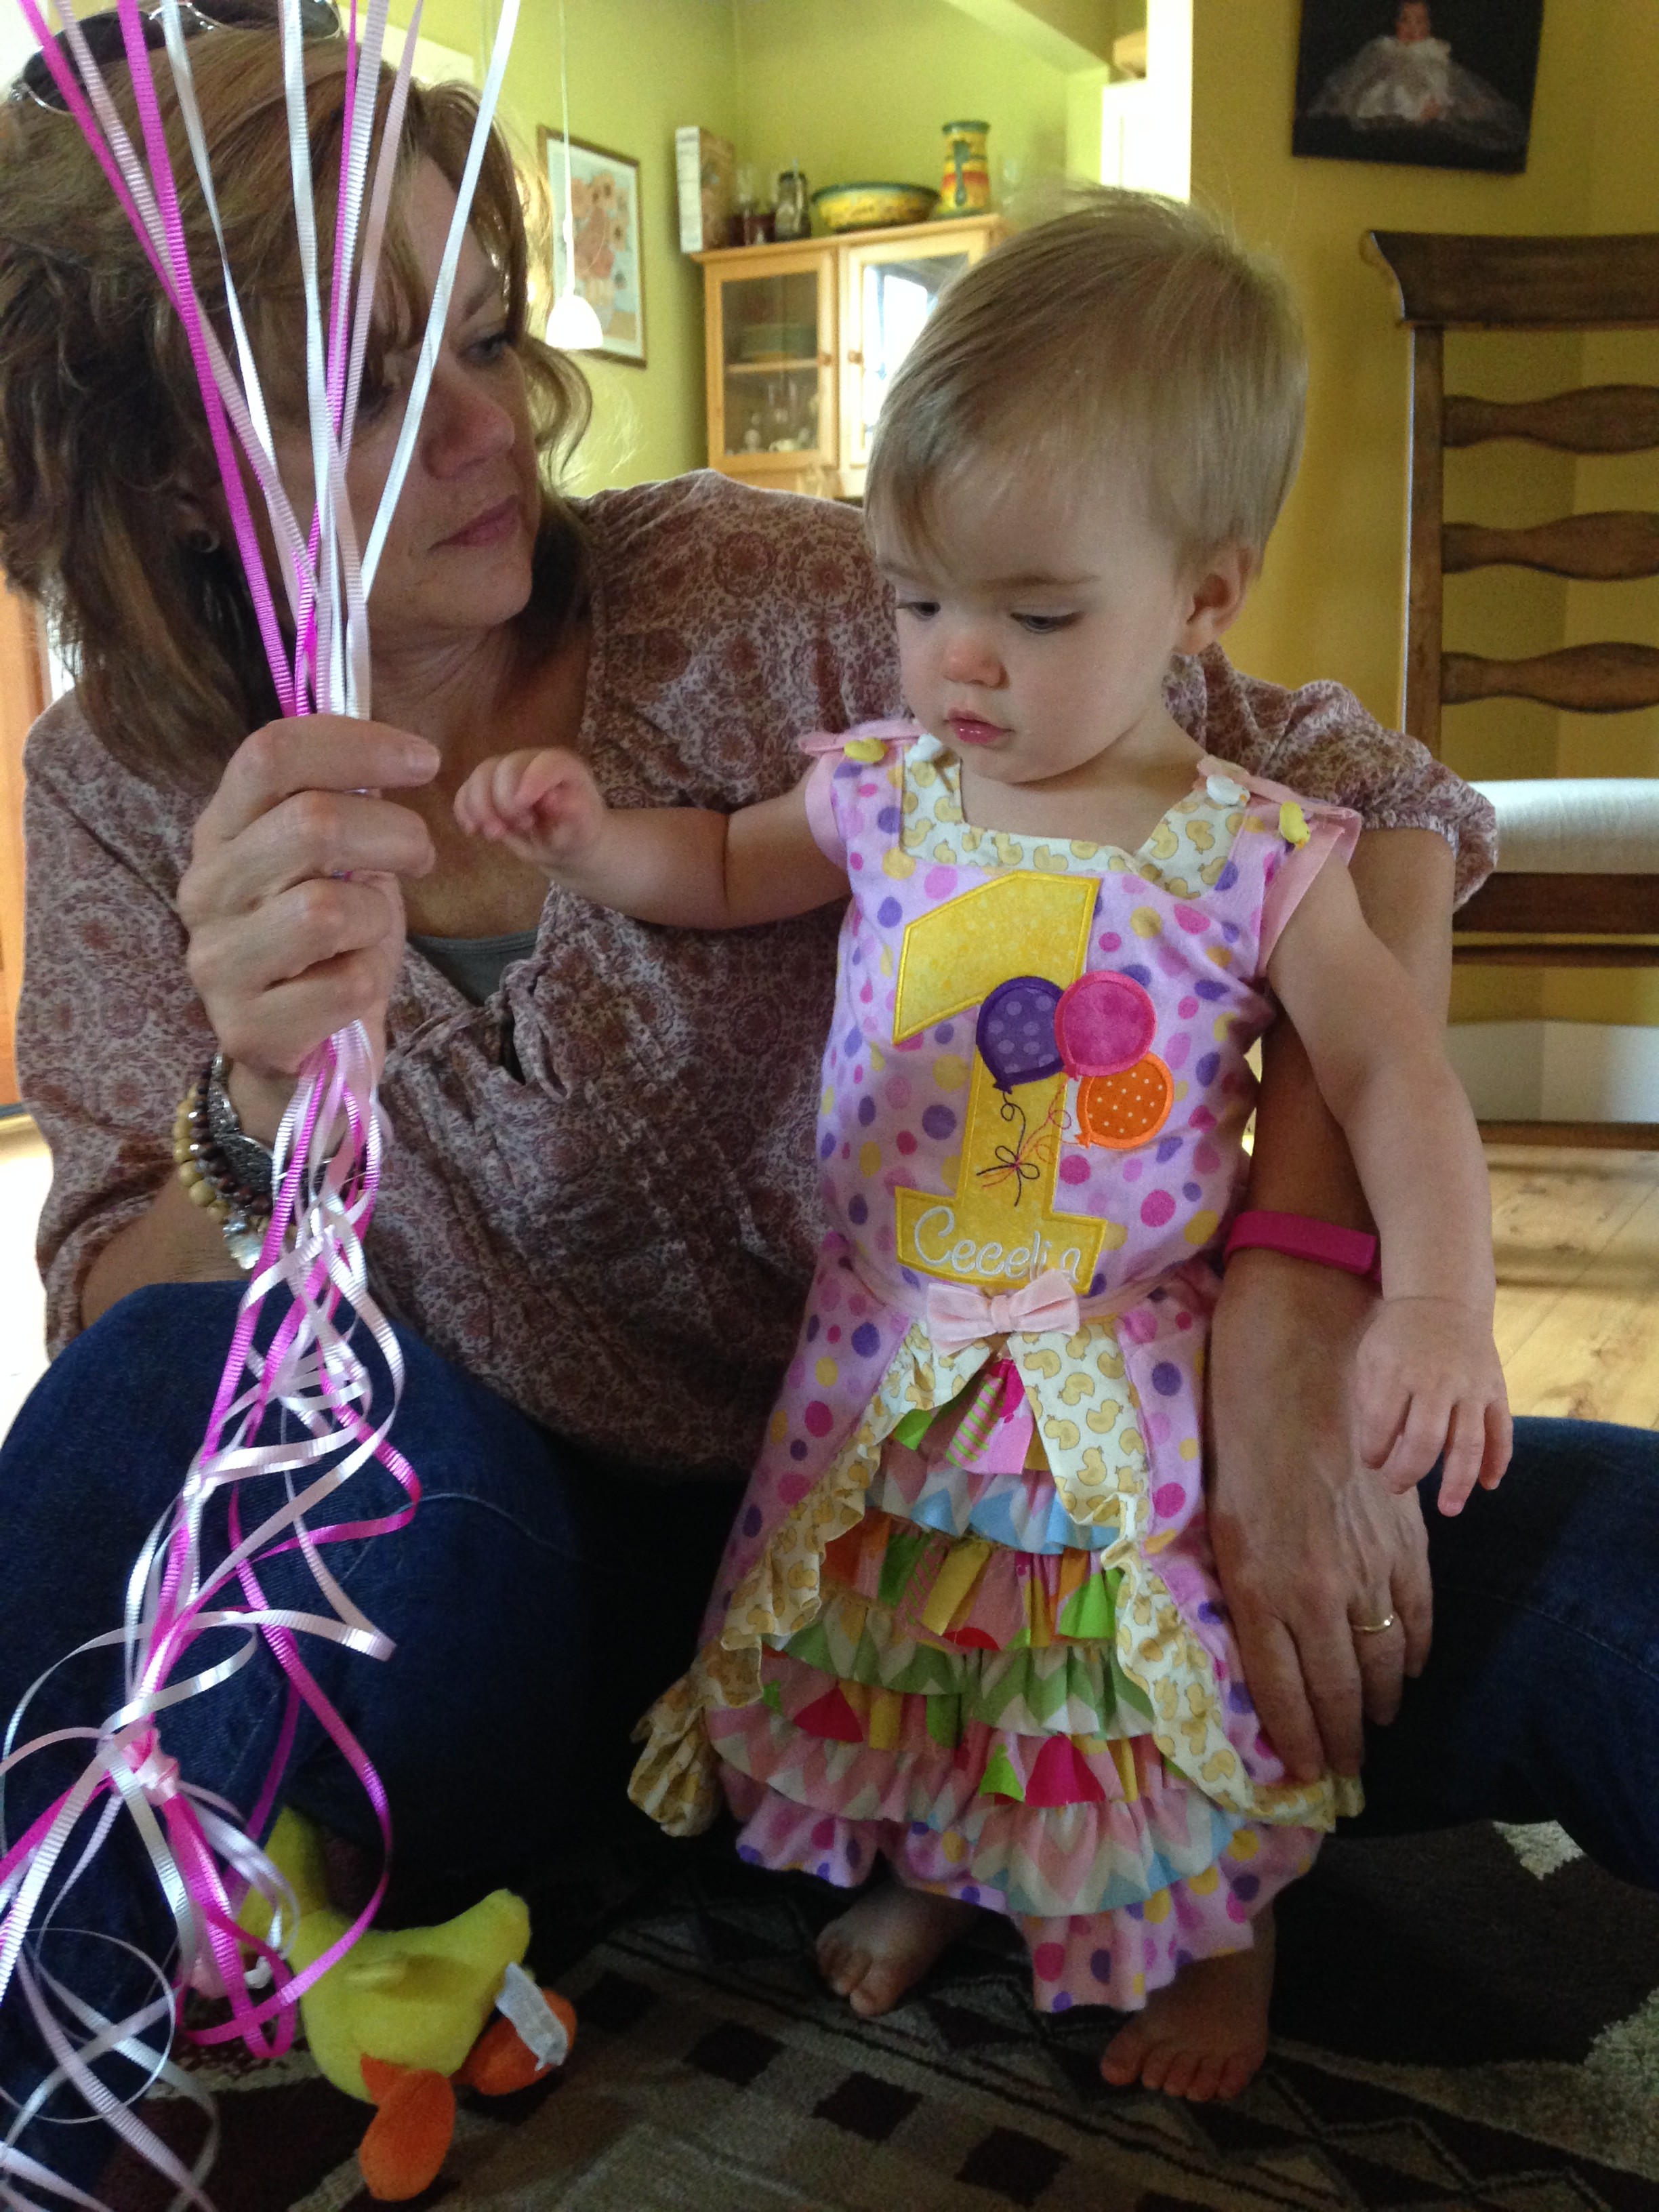
First, I made Cece a 1st birthday dress. You can click here to see some of the details however right now I do not have a full tutorial. If you are interested in purchasing one you can private message me. My Etsy site is upcoming.

First I thought to myself, well if it is a rubber duck party, then I definitely need rubber ducks for favors! So I searched the web for the cheapest, yet best rubber duckies for about 35 people. I ended up going with an assortment of 2 inch rubber ducks from amazon. There were some bad reviews that they were not a good assortment; however, I found them very varied in theme.
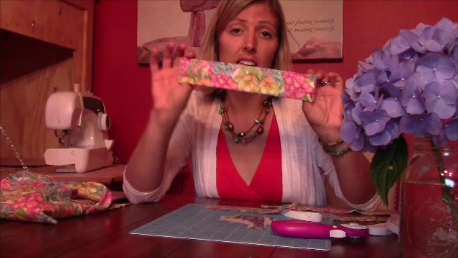
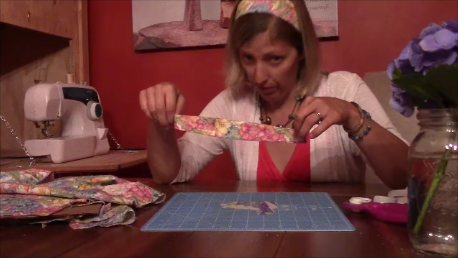
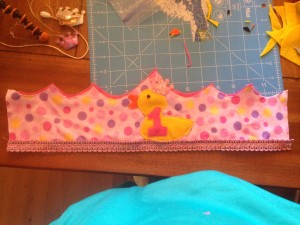
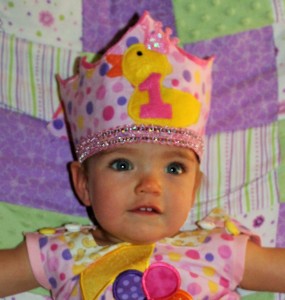
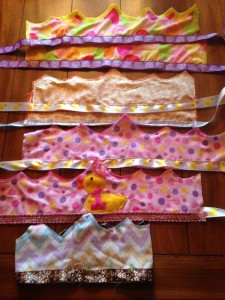
Last minute, I decided to make birthday crowns! This tutorial can show you how to make easy quick crowns! Of course, if you have a large amount of kids coming you may want to just buy party hats or completely skip this. I used scrap pieces to make the crowns and just did ribbon along the bottom that could be tied. You of course can do buttons, Velcro, or if you know the head size, sew it all the way around.
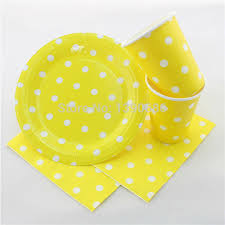
Next, of course I needed party decorations! I didn’t want to spend 10 dollars for 8 fancy paper plates with cute ducks on them. So, I made a trip to my dollar store and bought yellow napkins, plates, cups, and silverware. They also had cute I’m one plates, so I bought a couple of those as well. Since the weather is nice, we had lots of tables outside and I bought yellow tablecloths.
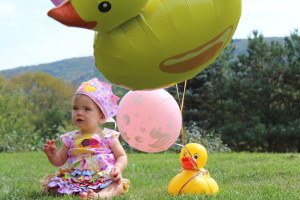
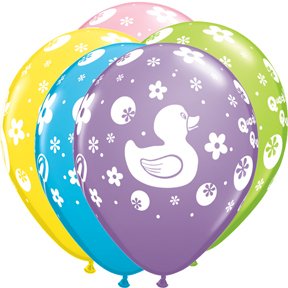
As far as balloons, I ended up buying balloons on amazon, ones with little ducks on them and then two large Mylar duck balloons. They did not carry these type at my local stores. The only place around to fill the balloons was the dollar store. Do you see a theme here? **Note: it does cost more to have Mylar balloons filled, so if you are saying a buck or two you can skip the Mylar and go for the regular smaller balloons.

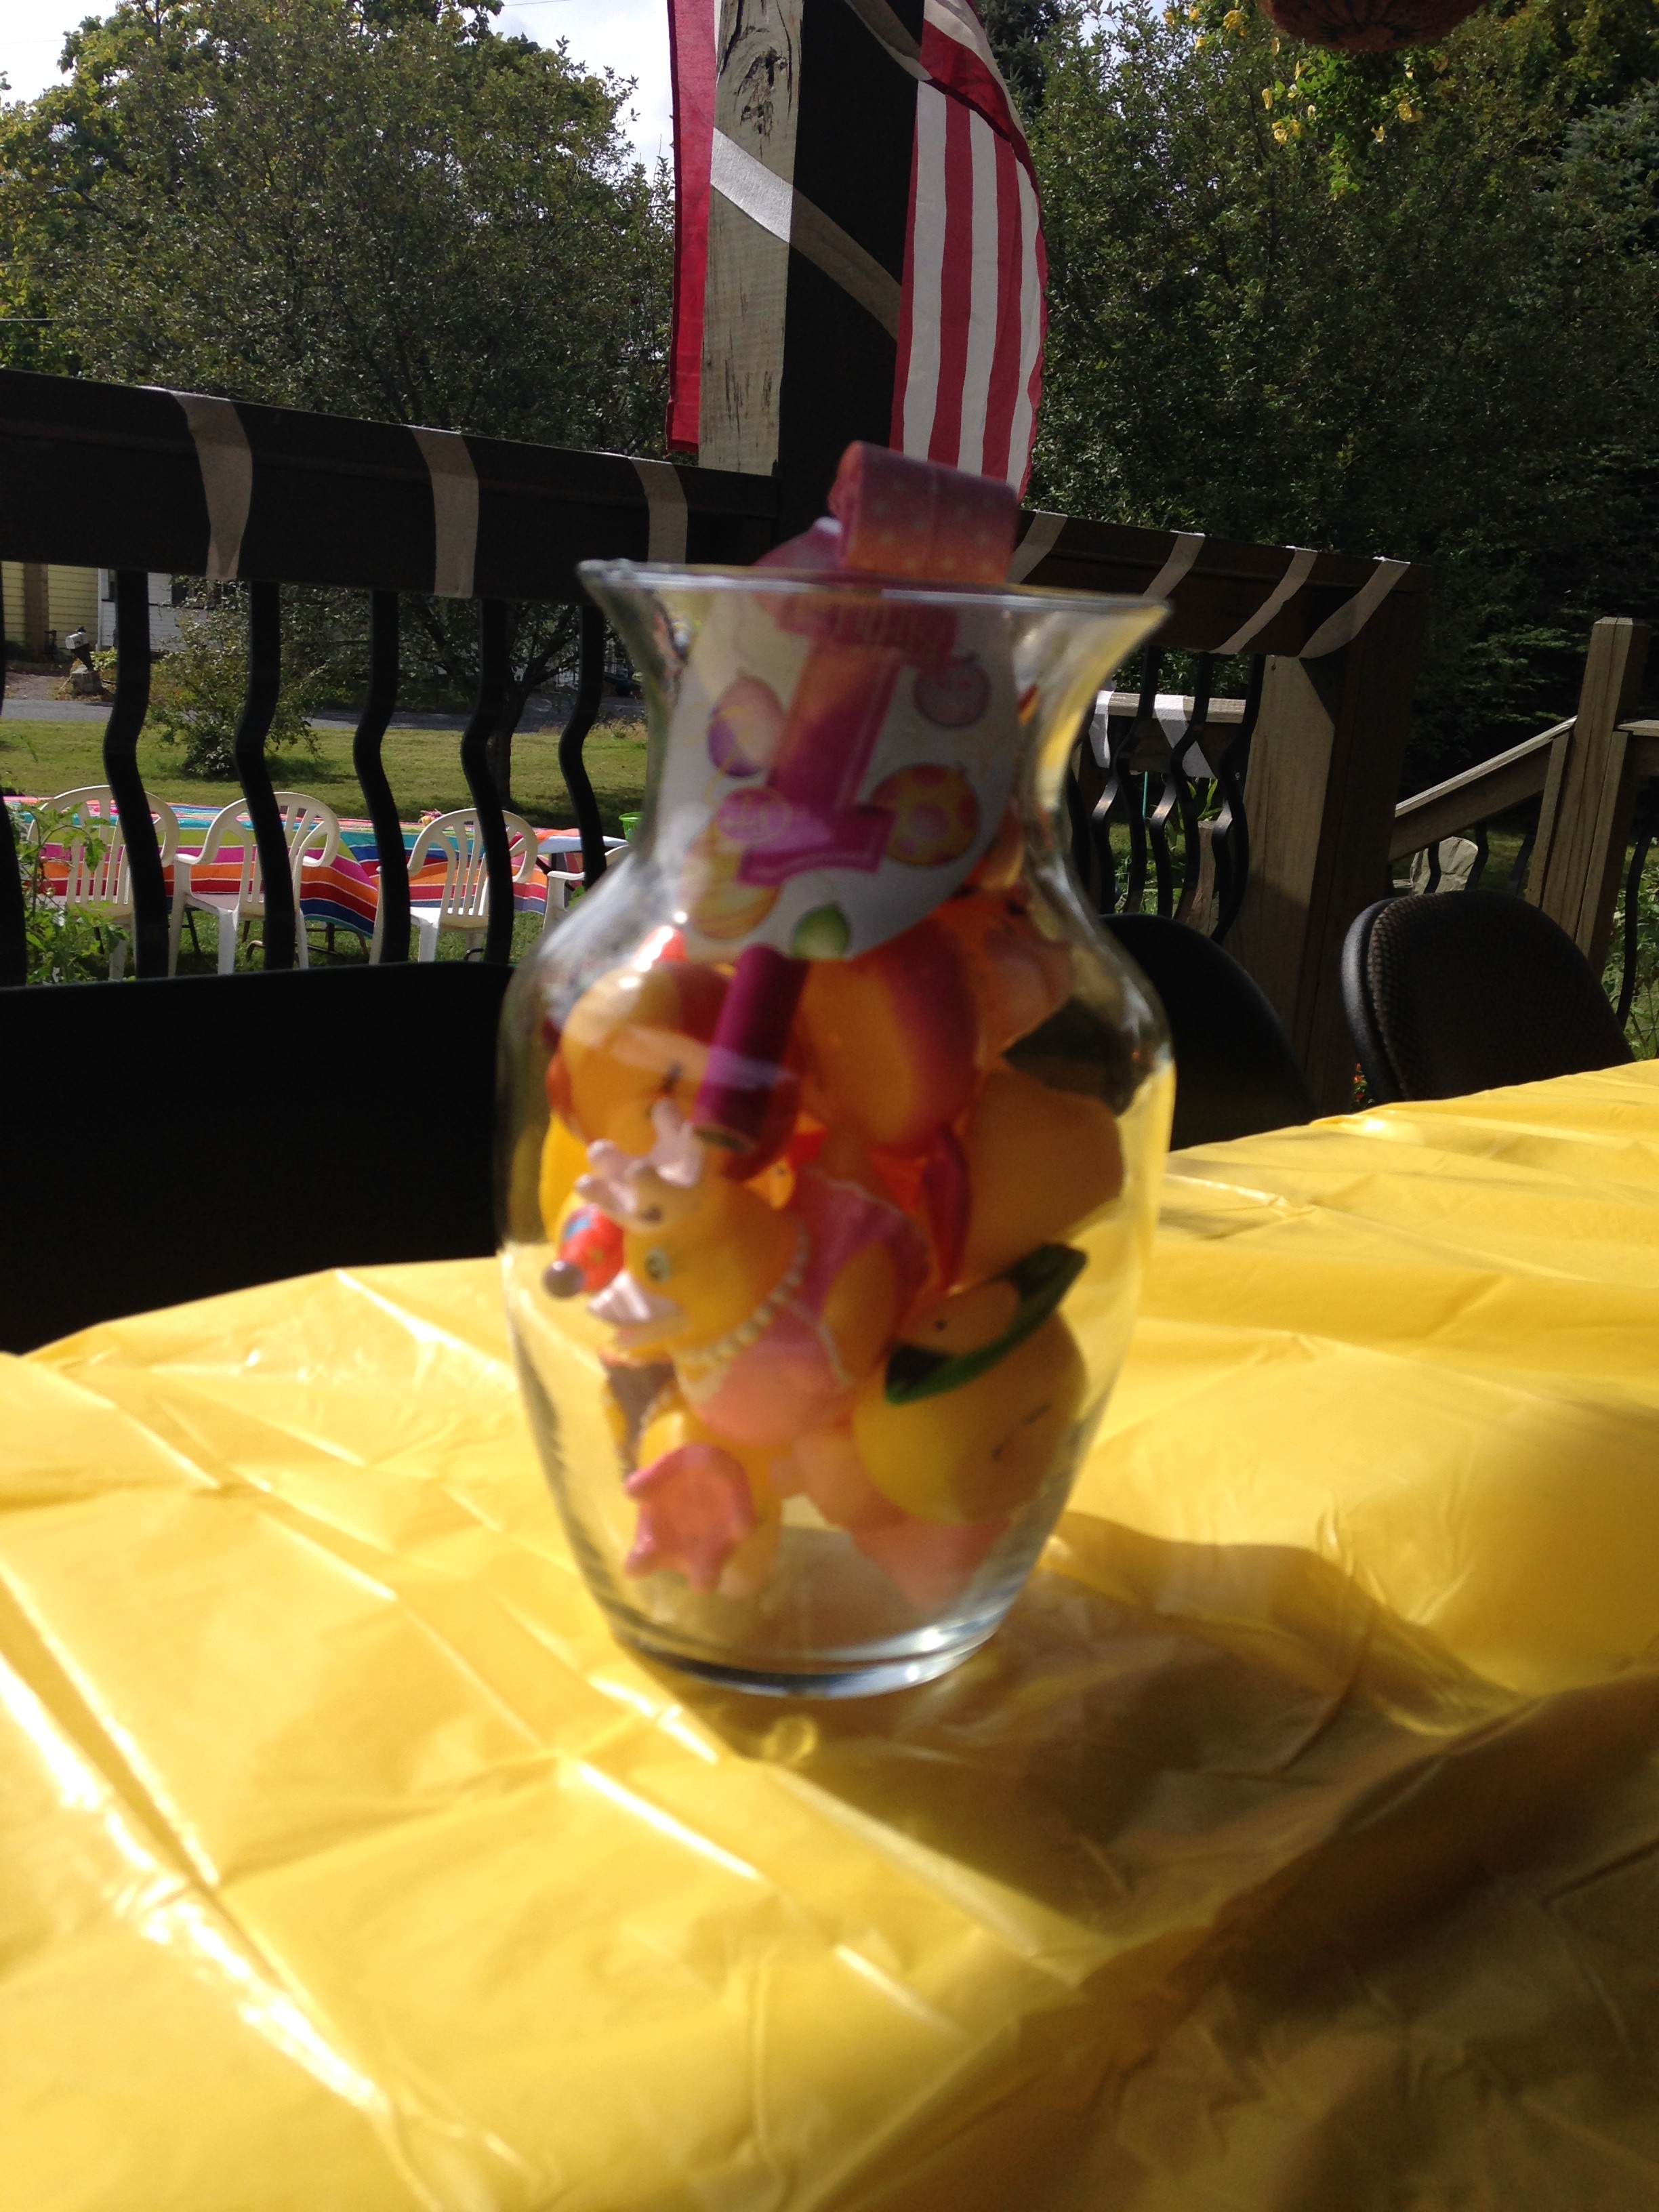
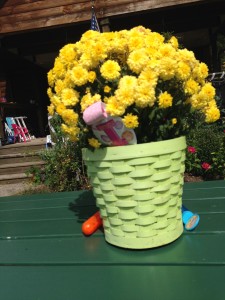
I also used the rubber duckies to decorate everywhere! I had a couple mums and vases in the house and added little ducks to them!
 Food…of course this is key for a party. I wanted to save some time but not spend too much money either. So, I decided to order a couple small party trays and then do crock pot recipes. I didn’t go crazy with the duck theme food since there weren’t a lot of kids coming to the party. However, if you want to see some duck themed food check out pinterest for lots of ideas. Yes, we did deviled eggs and some quacky snack mix that I used small duck cups for. Cake. Originally I was thinking of making my own cake, there are tons of ideas on pinterest. However, with more than 40 people coming, and cheap but tasty sheet cakes with a free smash cake included, I decided to save myself the stress and space in my fridge, and order a cake with a duck theme. However, let me show you some of the ideas I picked up from pinterest.


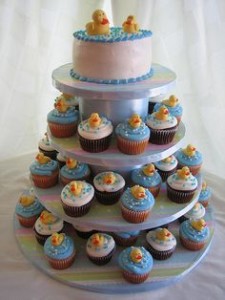 Duck Birthday Ideas: click for more pinterest ideas.
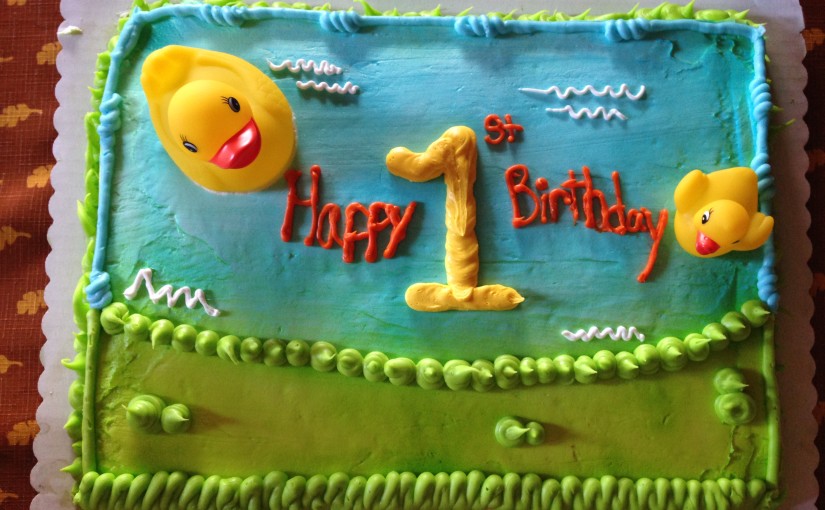
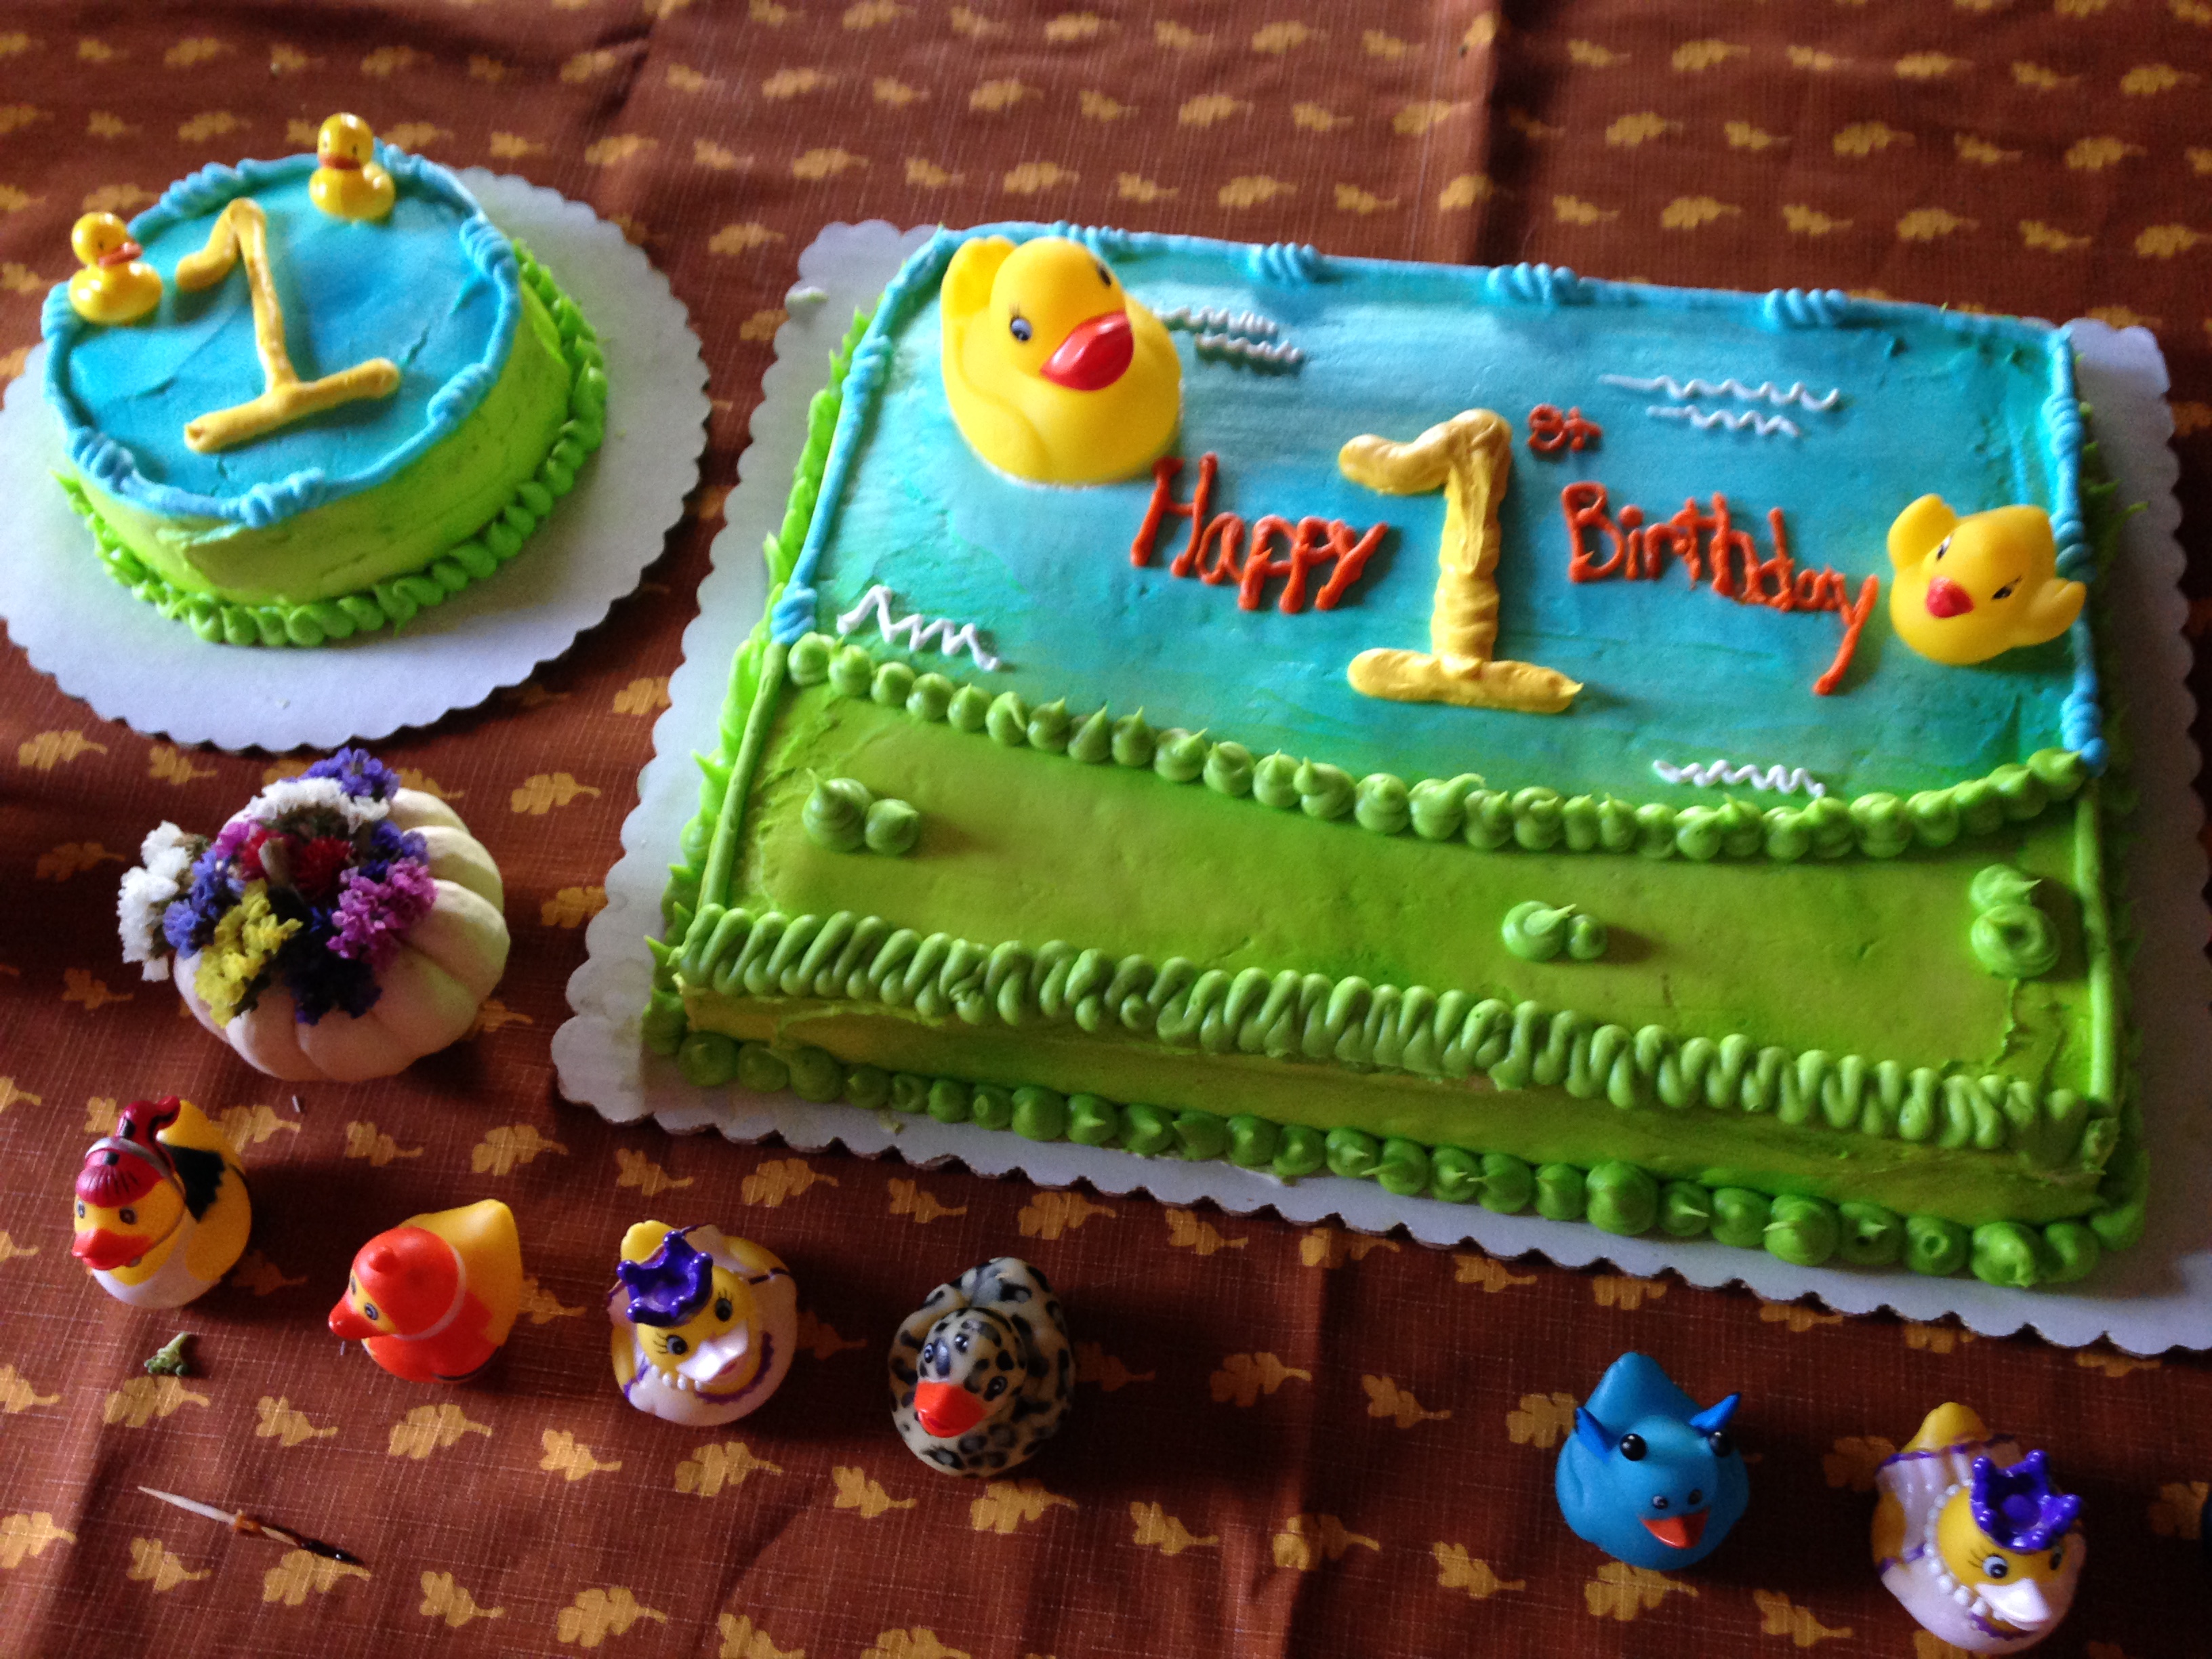
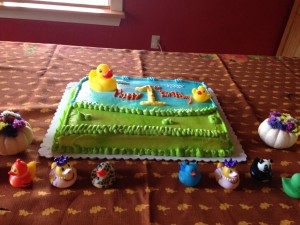
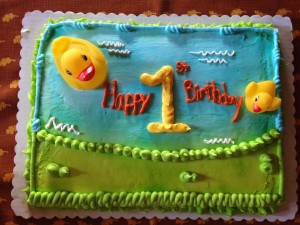
I was GIVEN THE WRONG CAKE WITH NO SMASH CAKE when I went to pickup the cake two hours before the party! I was given a mere 1/4 sheet cake (wrong size) with the wrong duck design on it, and NO smash cake! Don’t panic I told myself as my mind reminded me I only ordered this a month in advance to make it was done right! After several minutes of panic, the manager apologized and stated they could make my cake and smash cake in about two hours. I agreed but would have to send someone else back to pick it up. Lukily, my brother in law agreed to pick it up and got fifty percent off the cake. Phew, added stress you don’t need!
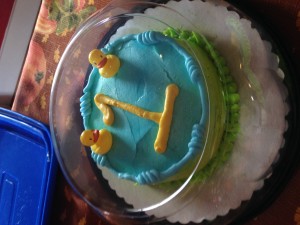
I ended up addin some small ducks to the smash cake! Note: it was a HUGE SMASH CAKE!


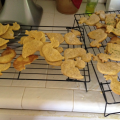
I also made duck shaped cookies with a duck cookie cutter! And then I used yellow icing to make the number one of them! Half were pumpkin sugar cookies and the other half regular sugar cookies
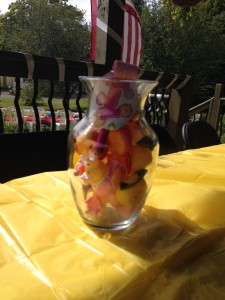
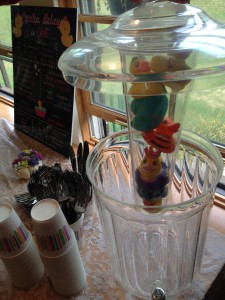
Drinks. Duck punch of course! There are a variety of recipes to make blue punch. I ended up doing half blue hawiian punch, half 7up, and then putting in vanilla ice cream to make it look like bubbles! You can clean rubber ducks up well and put them in, or freeze them in ice! I also had a punch server that I put ice and ducks in the middle and then put water in it!

Play.
Since there were a handful or two of kids coming, I decided to buy a couple items and also set up items for the kids to play with. Of course we had games such as bean bag toss, bacchi ball, redneck golf, and Frisbee setup for adults.
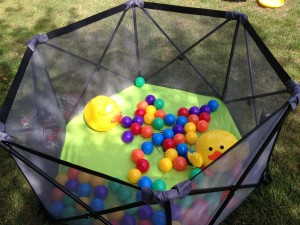
I bought some duck beach balls off amazon. They came in a 12 pack so I got them cheap enough and gave them away as favors too.
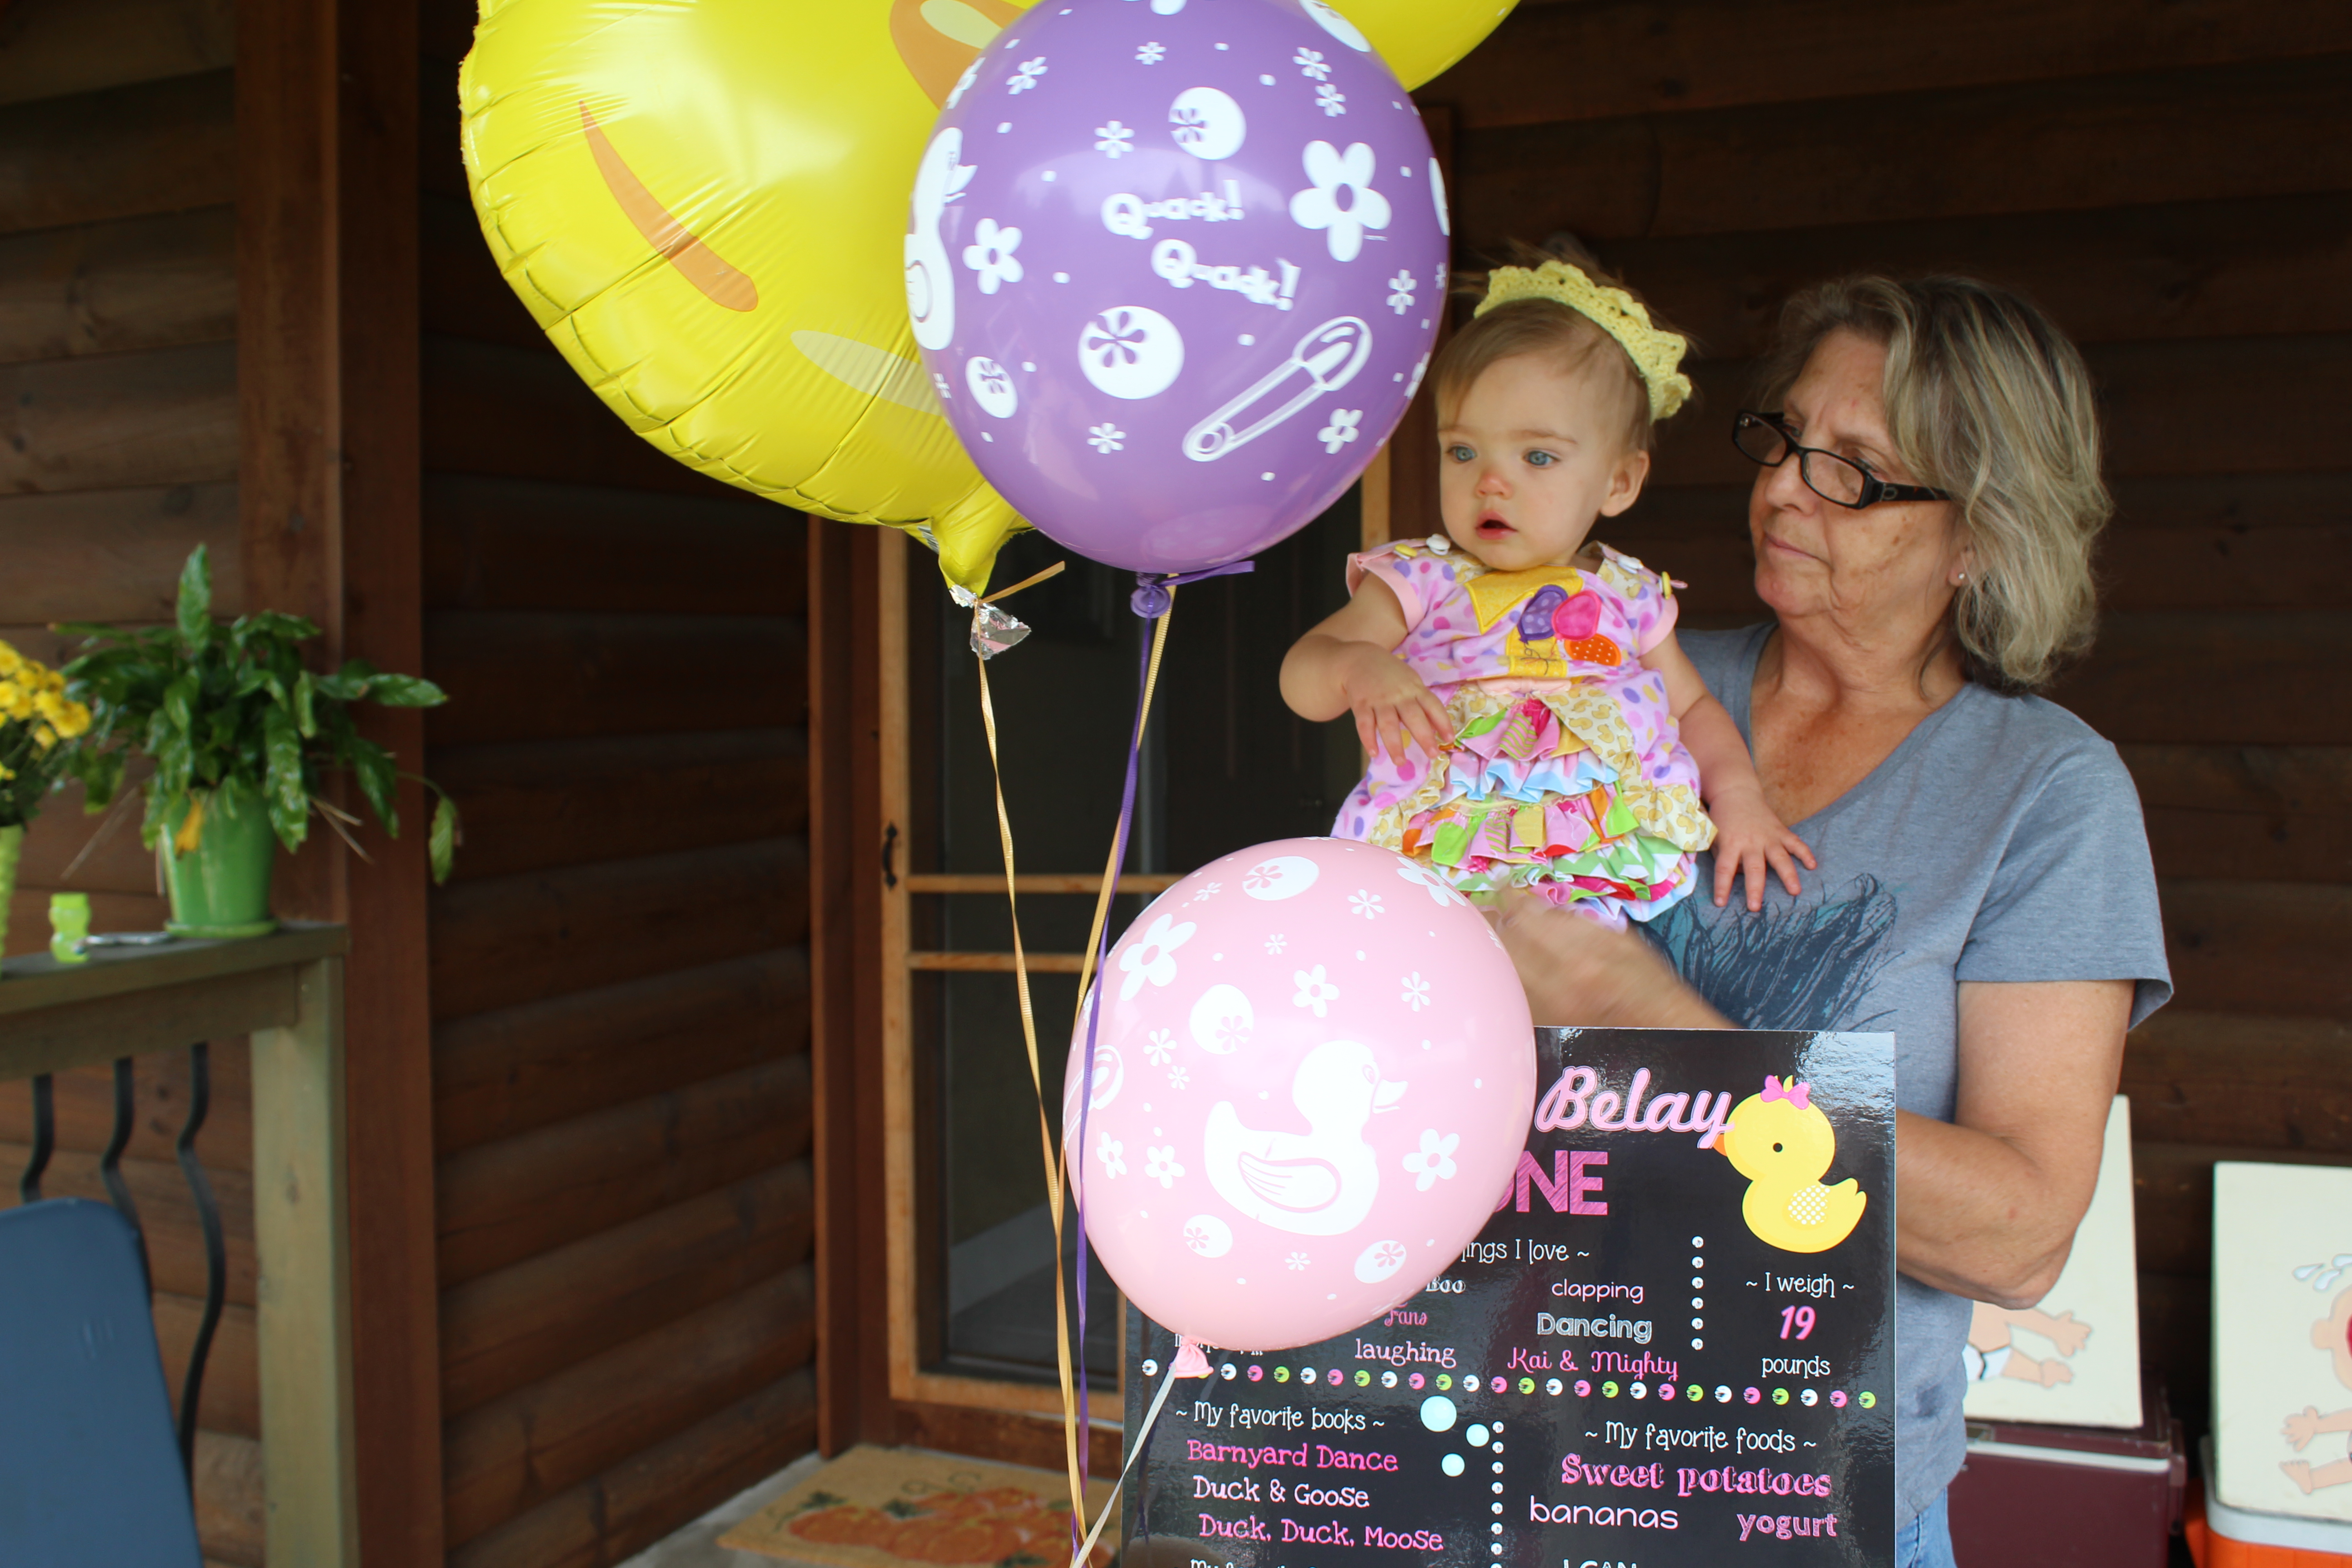
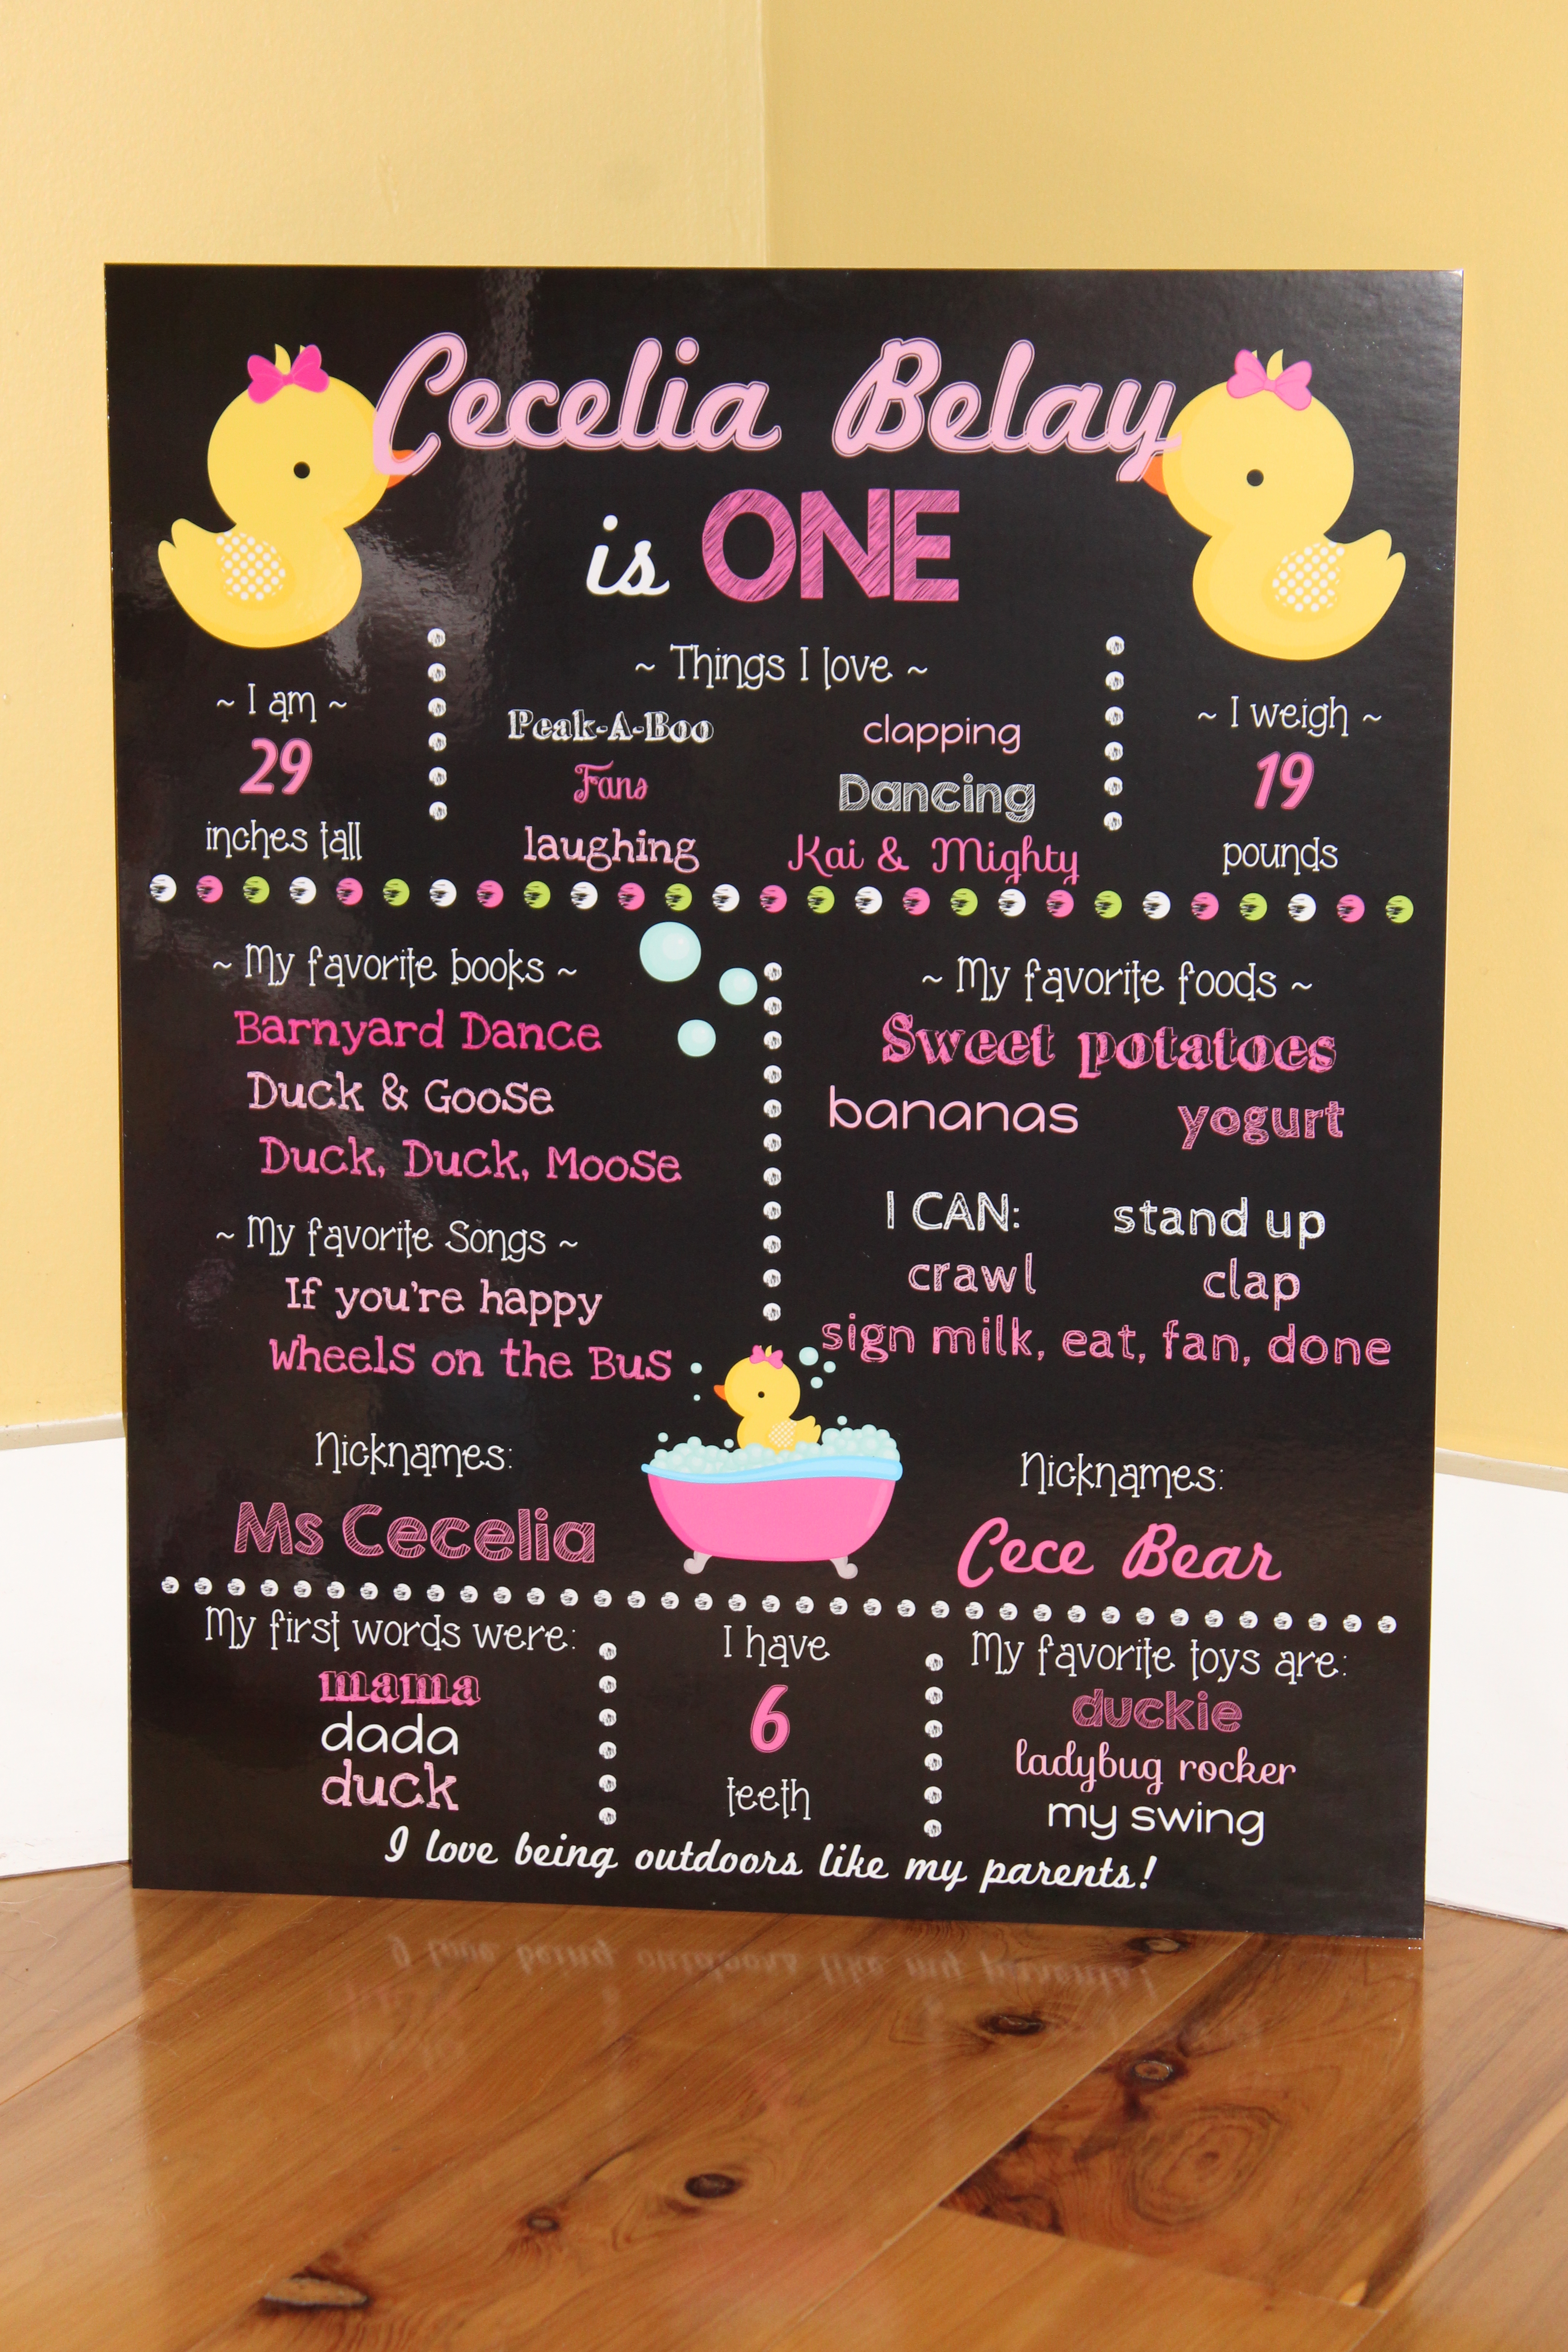
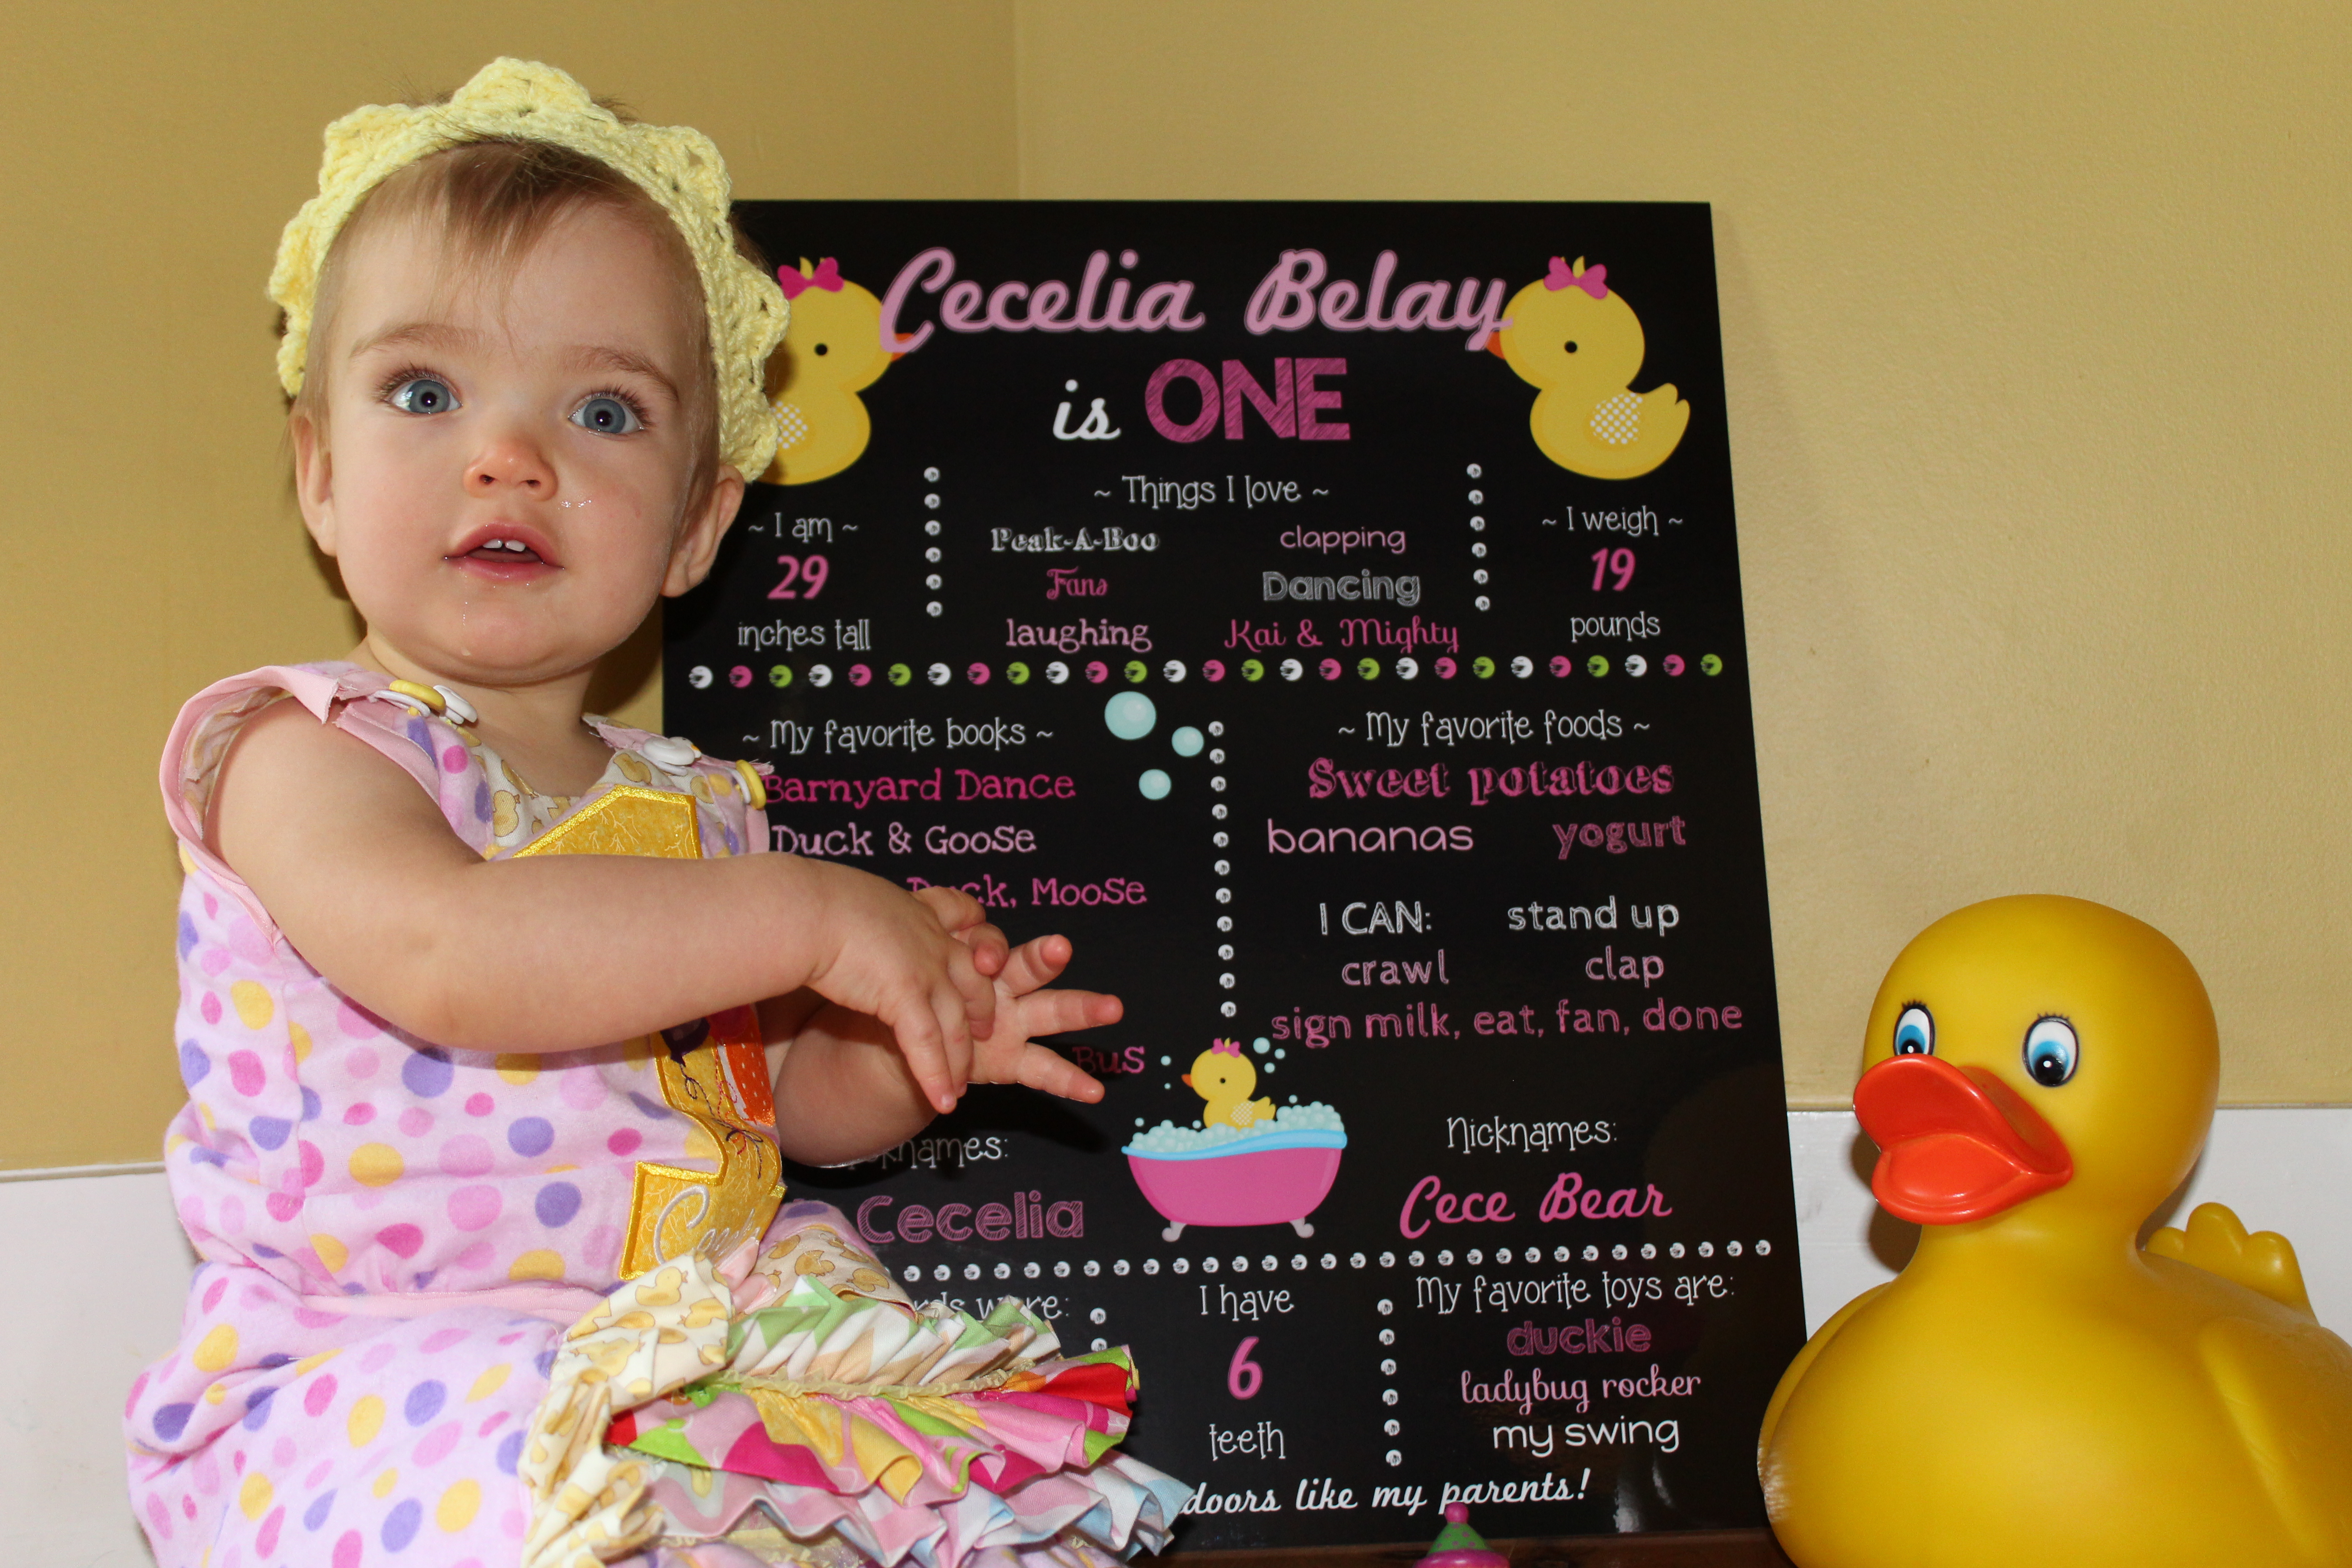
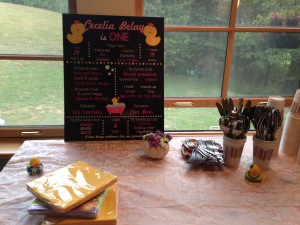
Birthday chalkboard! I love this idea! And it is so easy to make! Now again, I needed to save myself some time with this project, but also not spend too much money. My handwriting is awful, so making a chalkboard myself was out of the question. I also wanted it on a poster board to have it as a keepsake. So if you are into graphic design you can make your own up and have it printed at an office store. However, I am not into graphic design so I investigated the options at etsy. I ended up going with a 5.99 graphic for ducks and edited the sections myself with adobe. I took it to staples to have it mounted on a poster board and enlarged.

HOWEVER, **Note: the file was locked due to the seller having a password. The staples I went to could not print it so I had to have it turned into a JPEG. The seller offered to do it, but I didn’t want to wait, so I just changed it myself on a free online program. Just type in change to JPEG and you can easily find a free site. For these pre-made designs you cannot change the pictures or the design, only the words can be edited. For mounting on a thick foam poster board and enlarging to 16×20, it cost me 16.99 online. I am very pleased with the way it turned out and now it is displayed in her room as a great keepsake!

You can of course buy a chalkboard and make your own. You can even print out different fonts and trace them onto the board. You can also buy a cheap graphic design program and make your own. Again, for the price, and since it was last minute, it was easiest for me to order it.
So that is it folks! Although she won’t remember this, I have lots of pictures and we had lots of fun!
Hope you enjoyed the post and I hope it gave you some good ideas! You can check out my pinterest site for more ideas! Follow us on facebook too!
Follow


Share