I feel you mamas…

Day who knows what of quarantining, and it’s another rainy day. The previous night was unlike many others, with one or both children up several times at night for no particular reason, maybe overtired, nightmares, thirsty, the list could go on and on.

For those parents with kids who sleep through the night since they are little and have no trouble getting their kids to sleep, please, do not tell me that. Since we had our second child after being in the hospital for 4 weeks on bed rest due to my water breaking early, our little 34weeker at 4lbs something ounces has absolutely hated sleeping. When I say hates sleeping, I mean he’s almost four years old and still wakes up at least four evenings or more a week multiple times a night (I’m talking he will wake up then go back to sleep for five to ten mins and then up again just when u fell asleep and continue this for hours on end).

He is adorable, kind hearted (when he’s not utterly exhausted), lovable, and has that cute face that my husband jokes keeps him from going to the orphanage (he is really joking). He also has the nickname of destructo. We have heard boys are different from raising girls and now we know. I’m not sure how you moms with multiple boys handle them. As my husband says, “if you want your house completely destroyed in ten mins we can bring him over for you and he will have the walls down to the studs before you know it.”

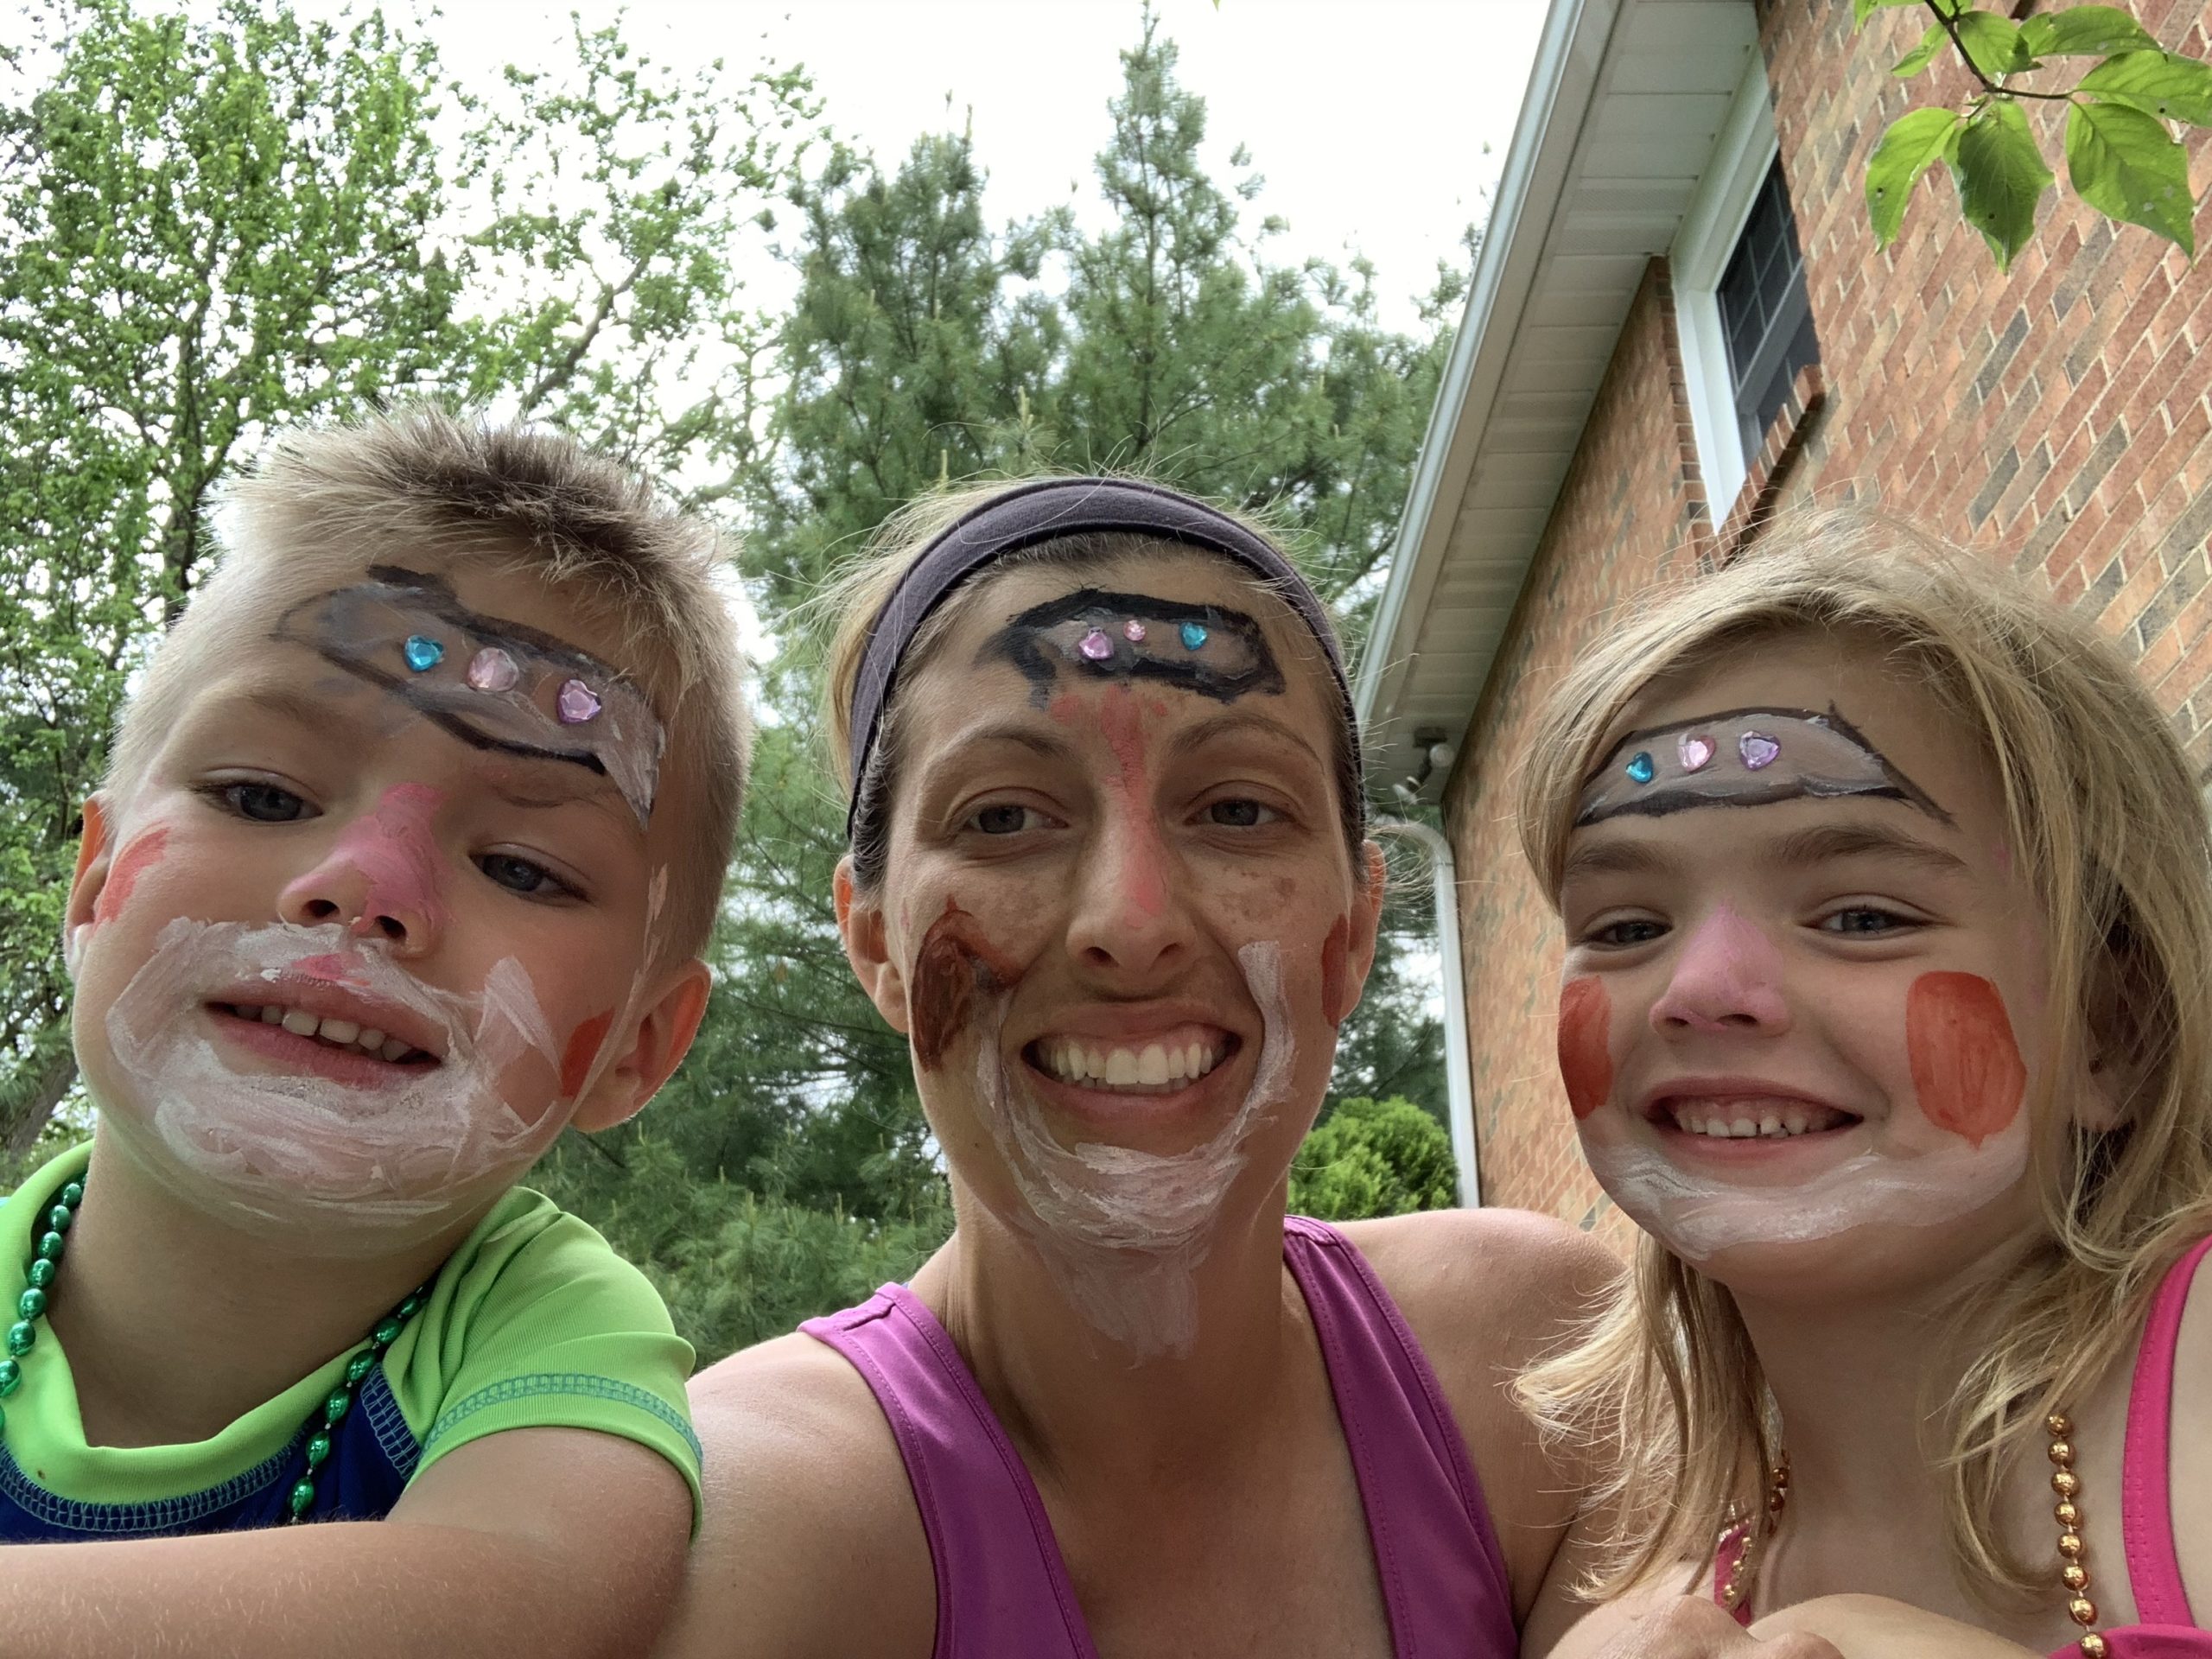
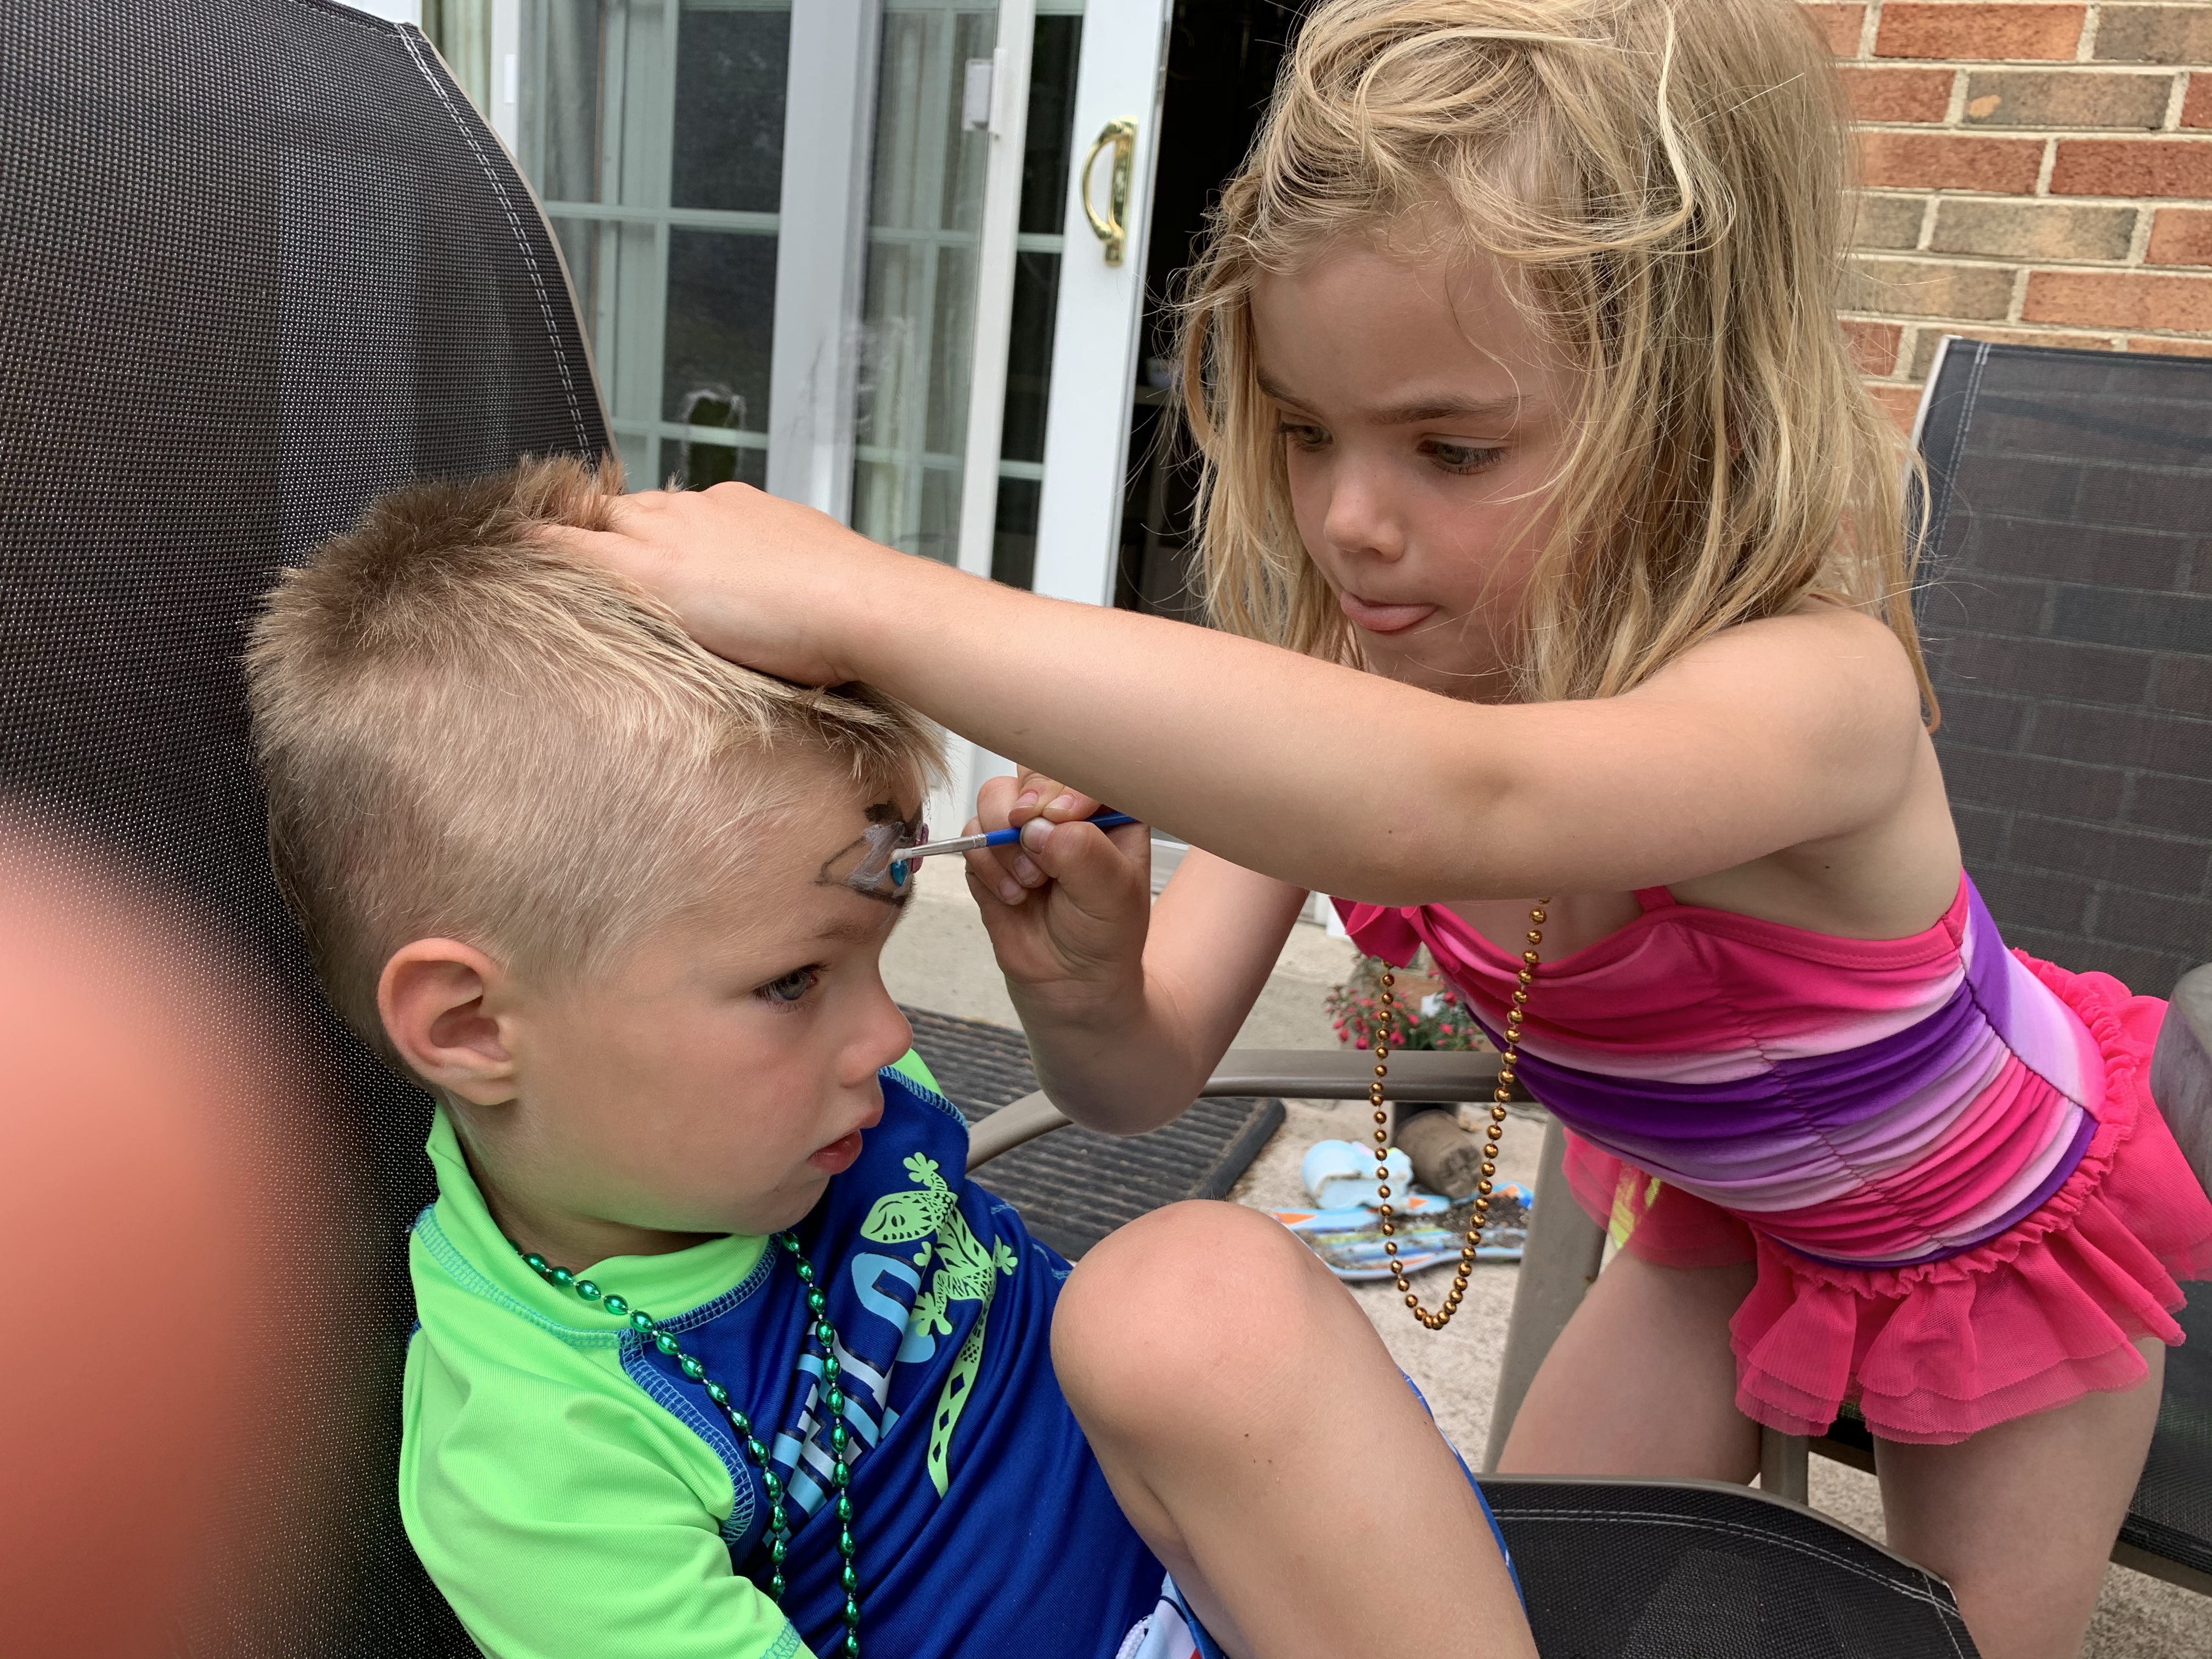
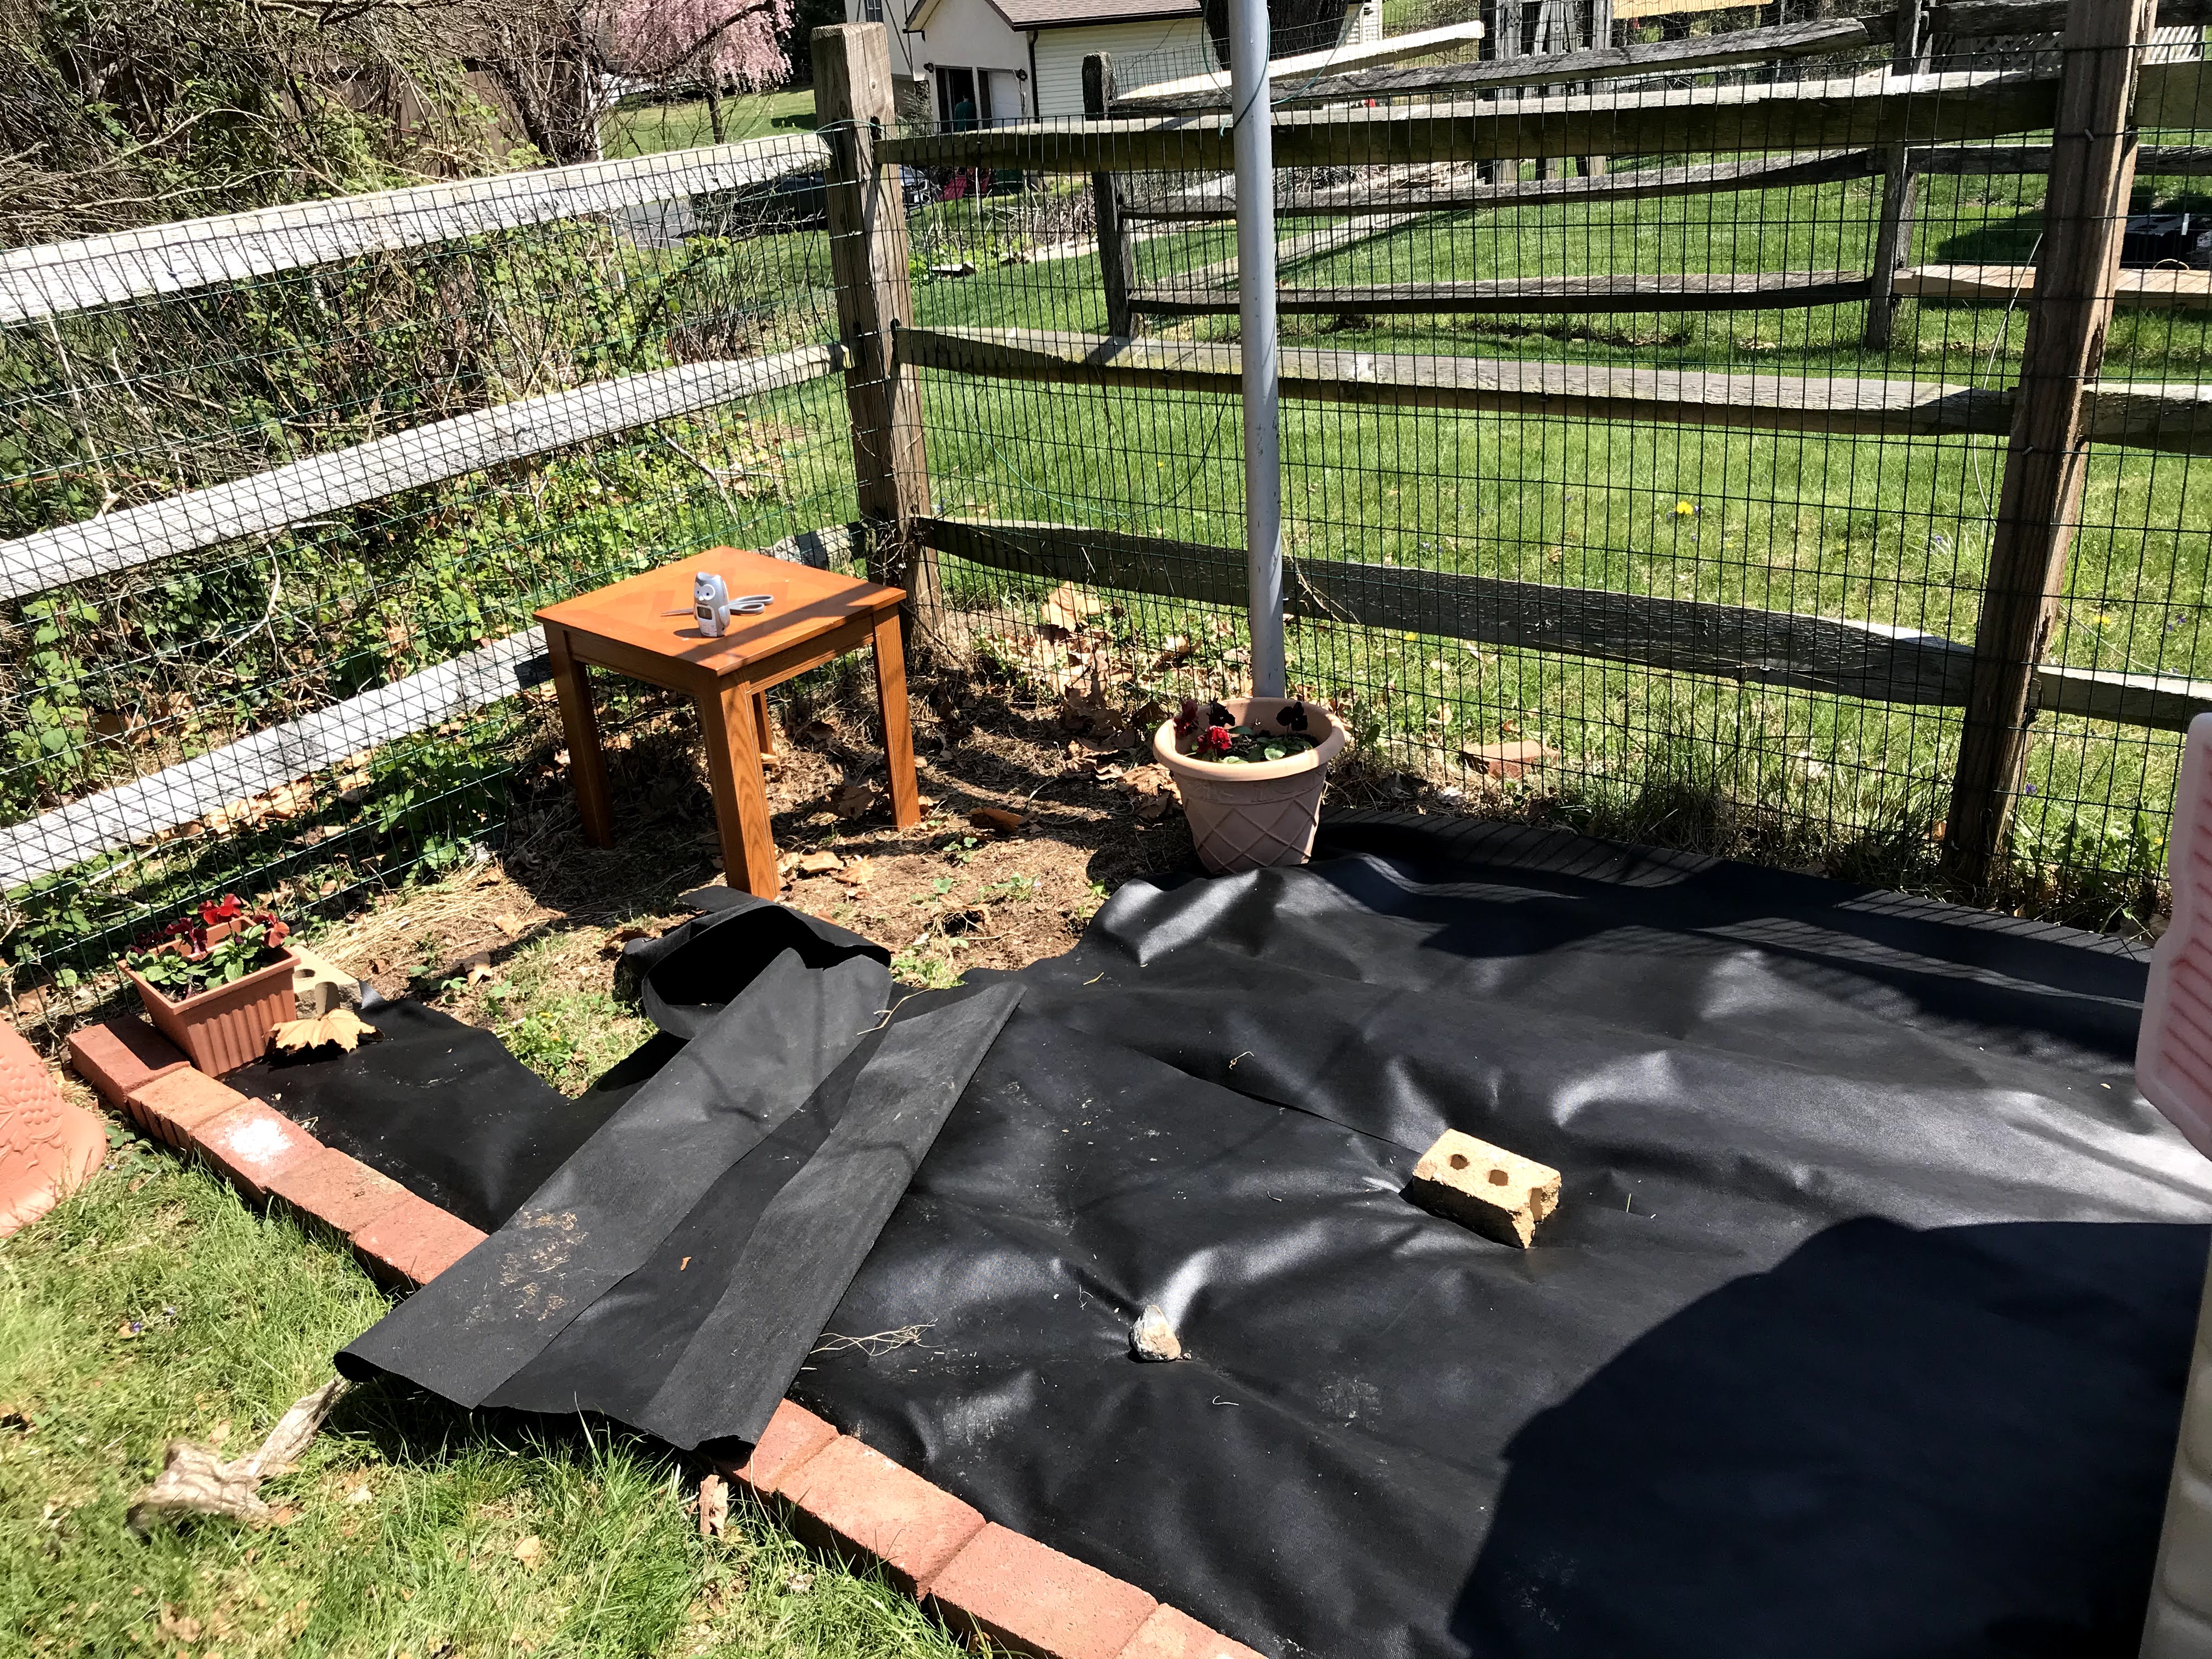
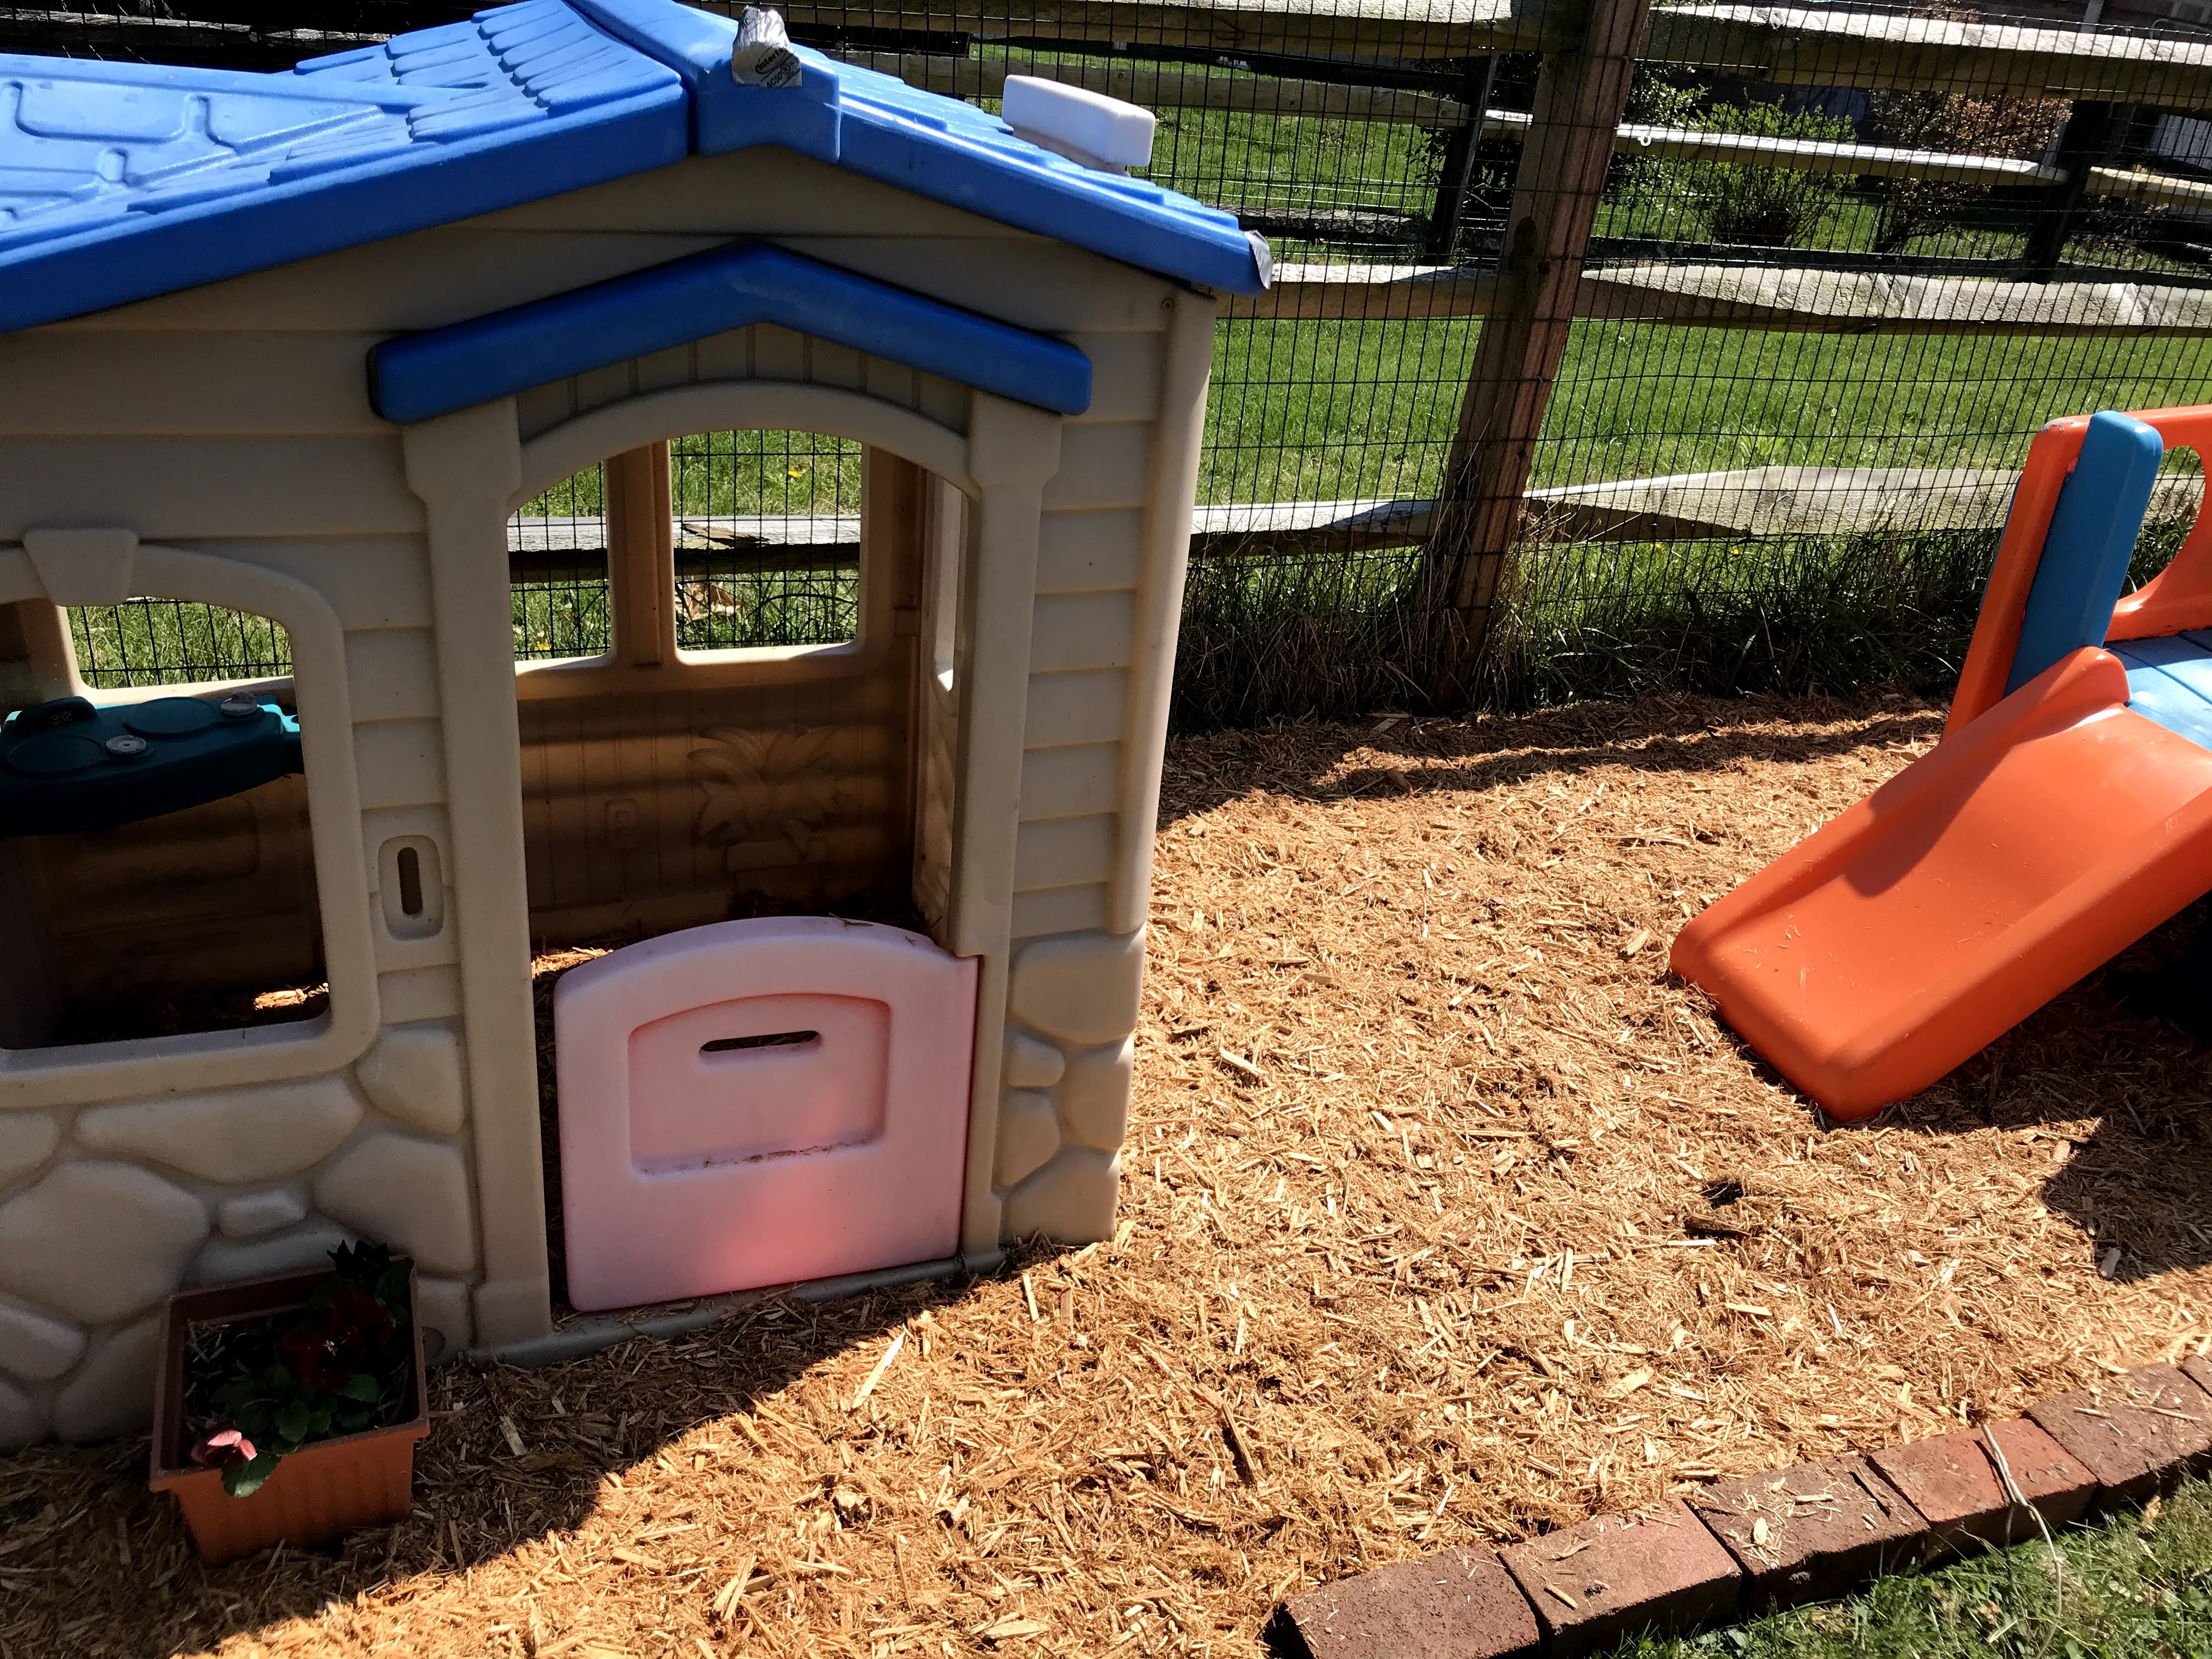
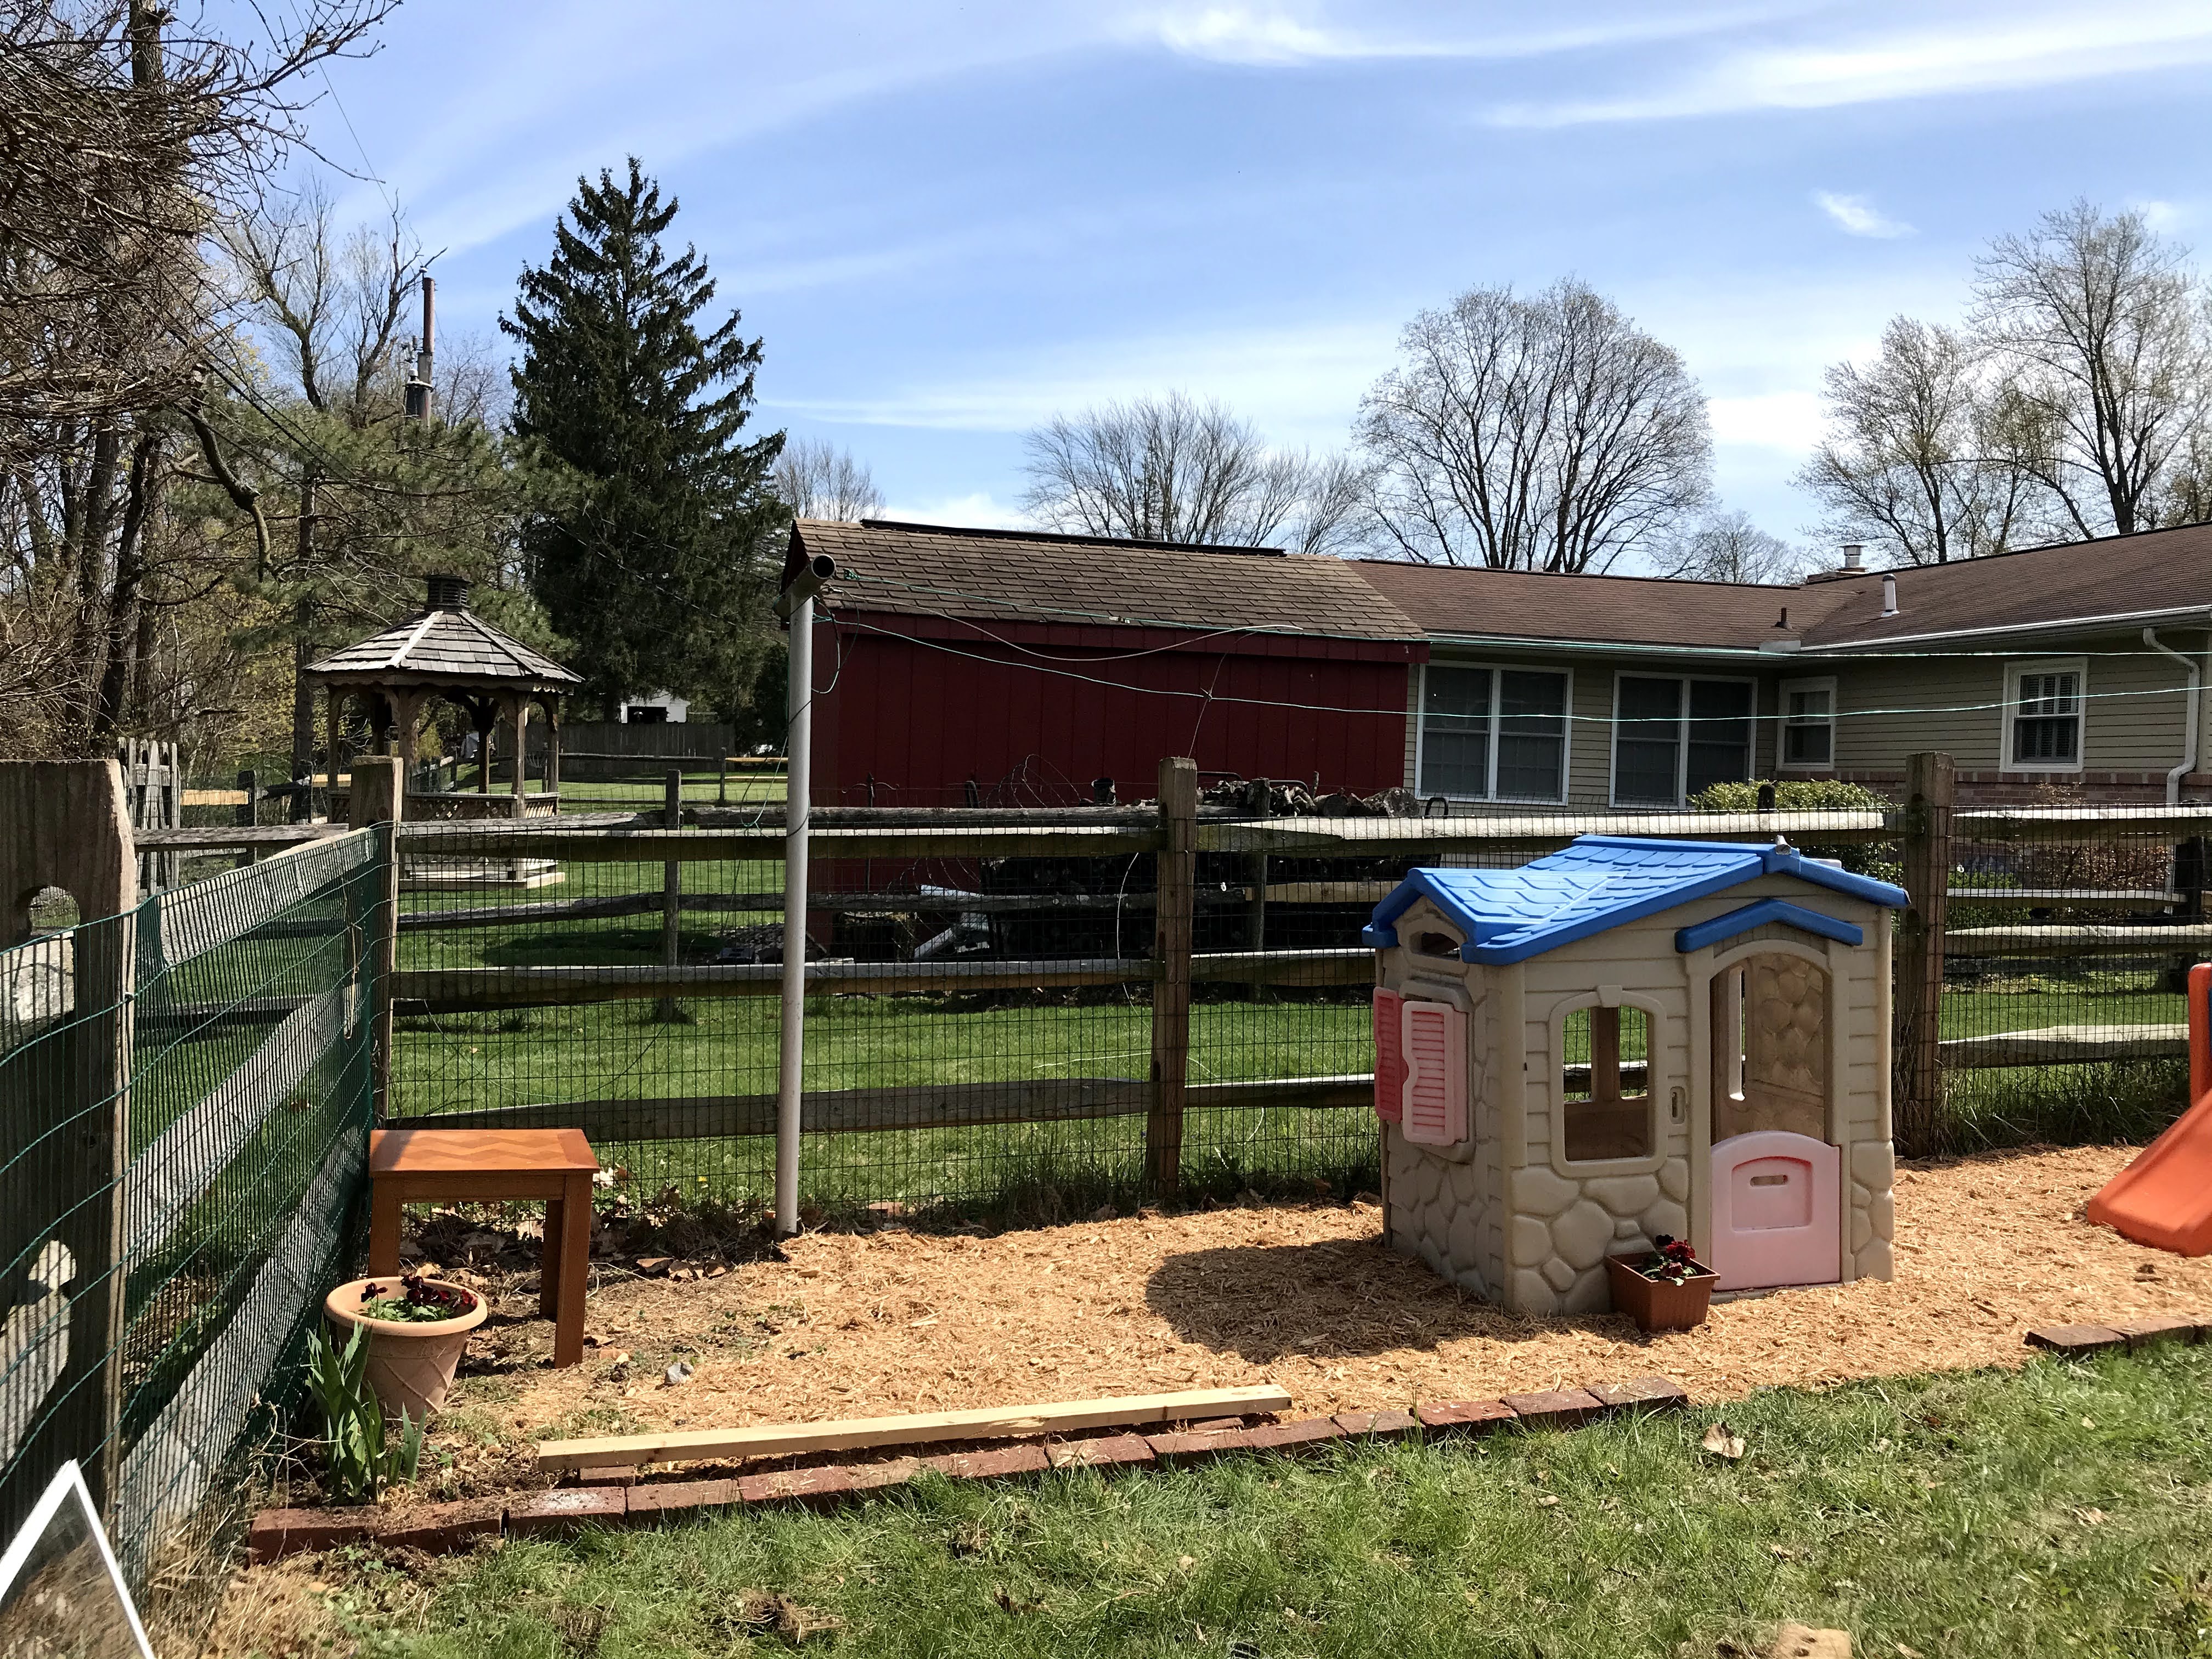
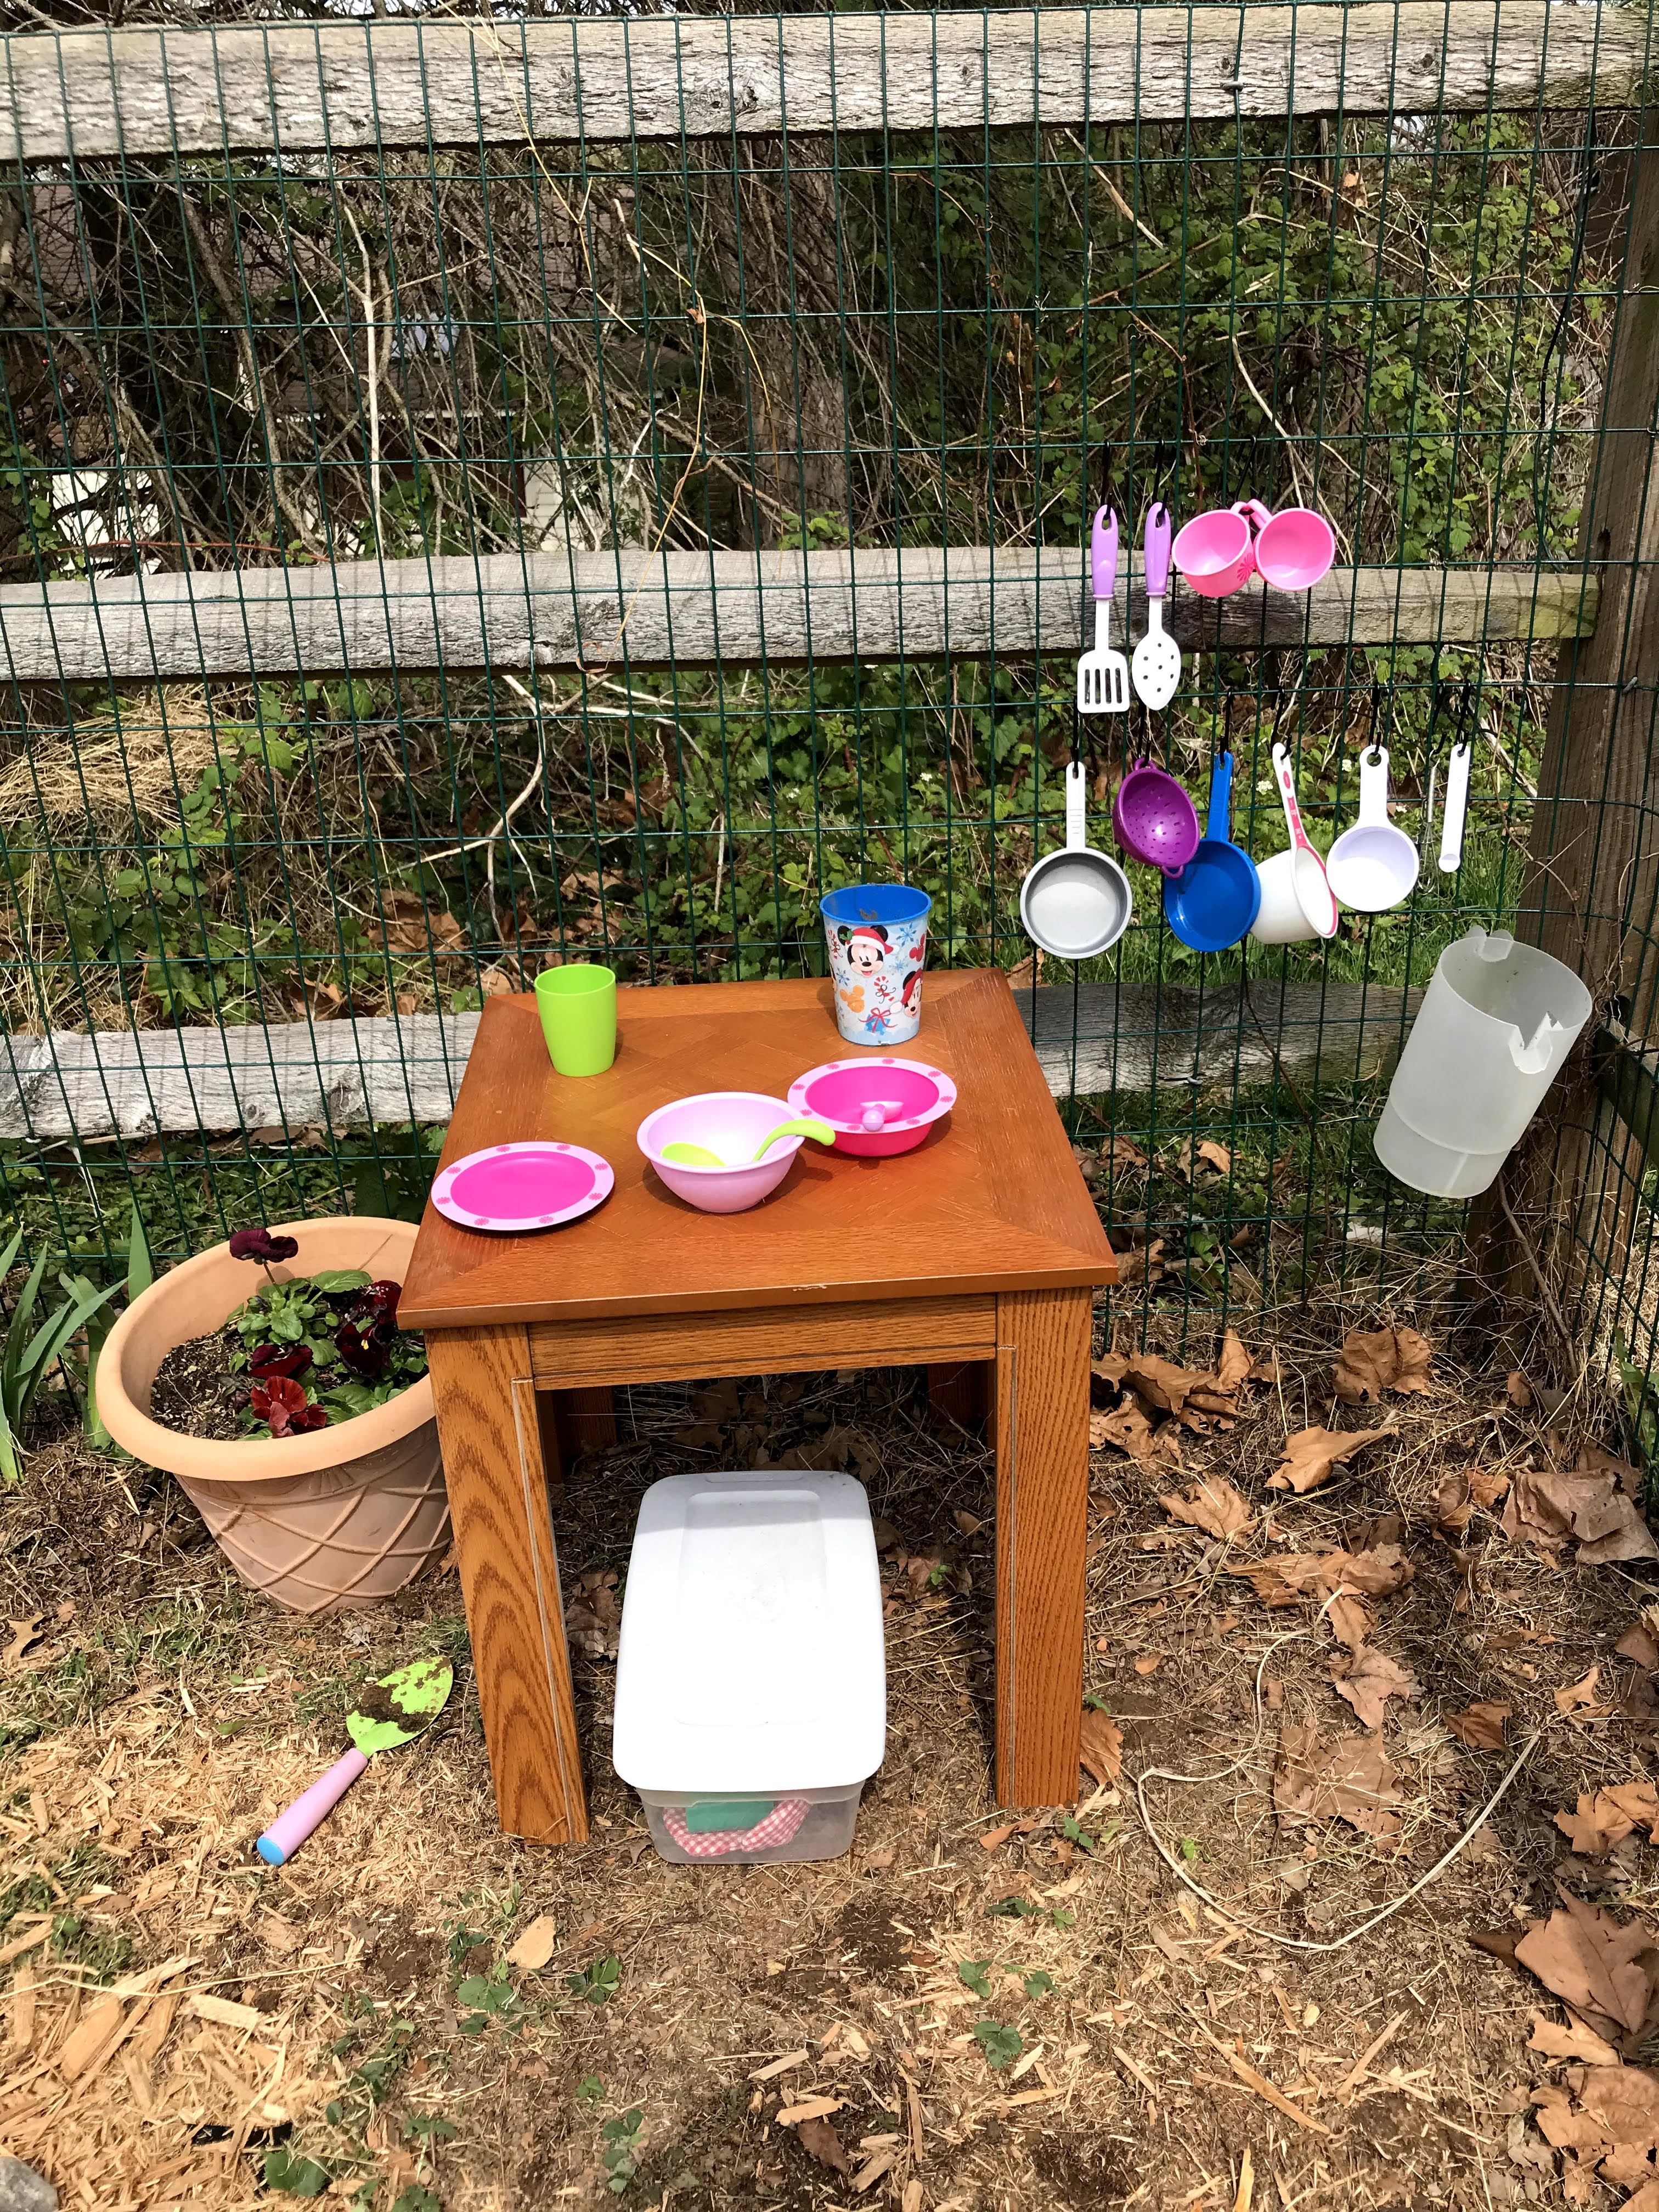
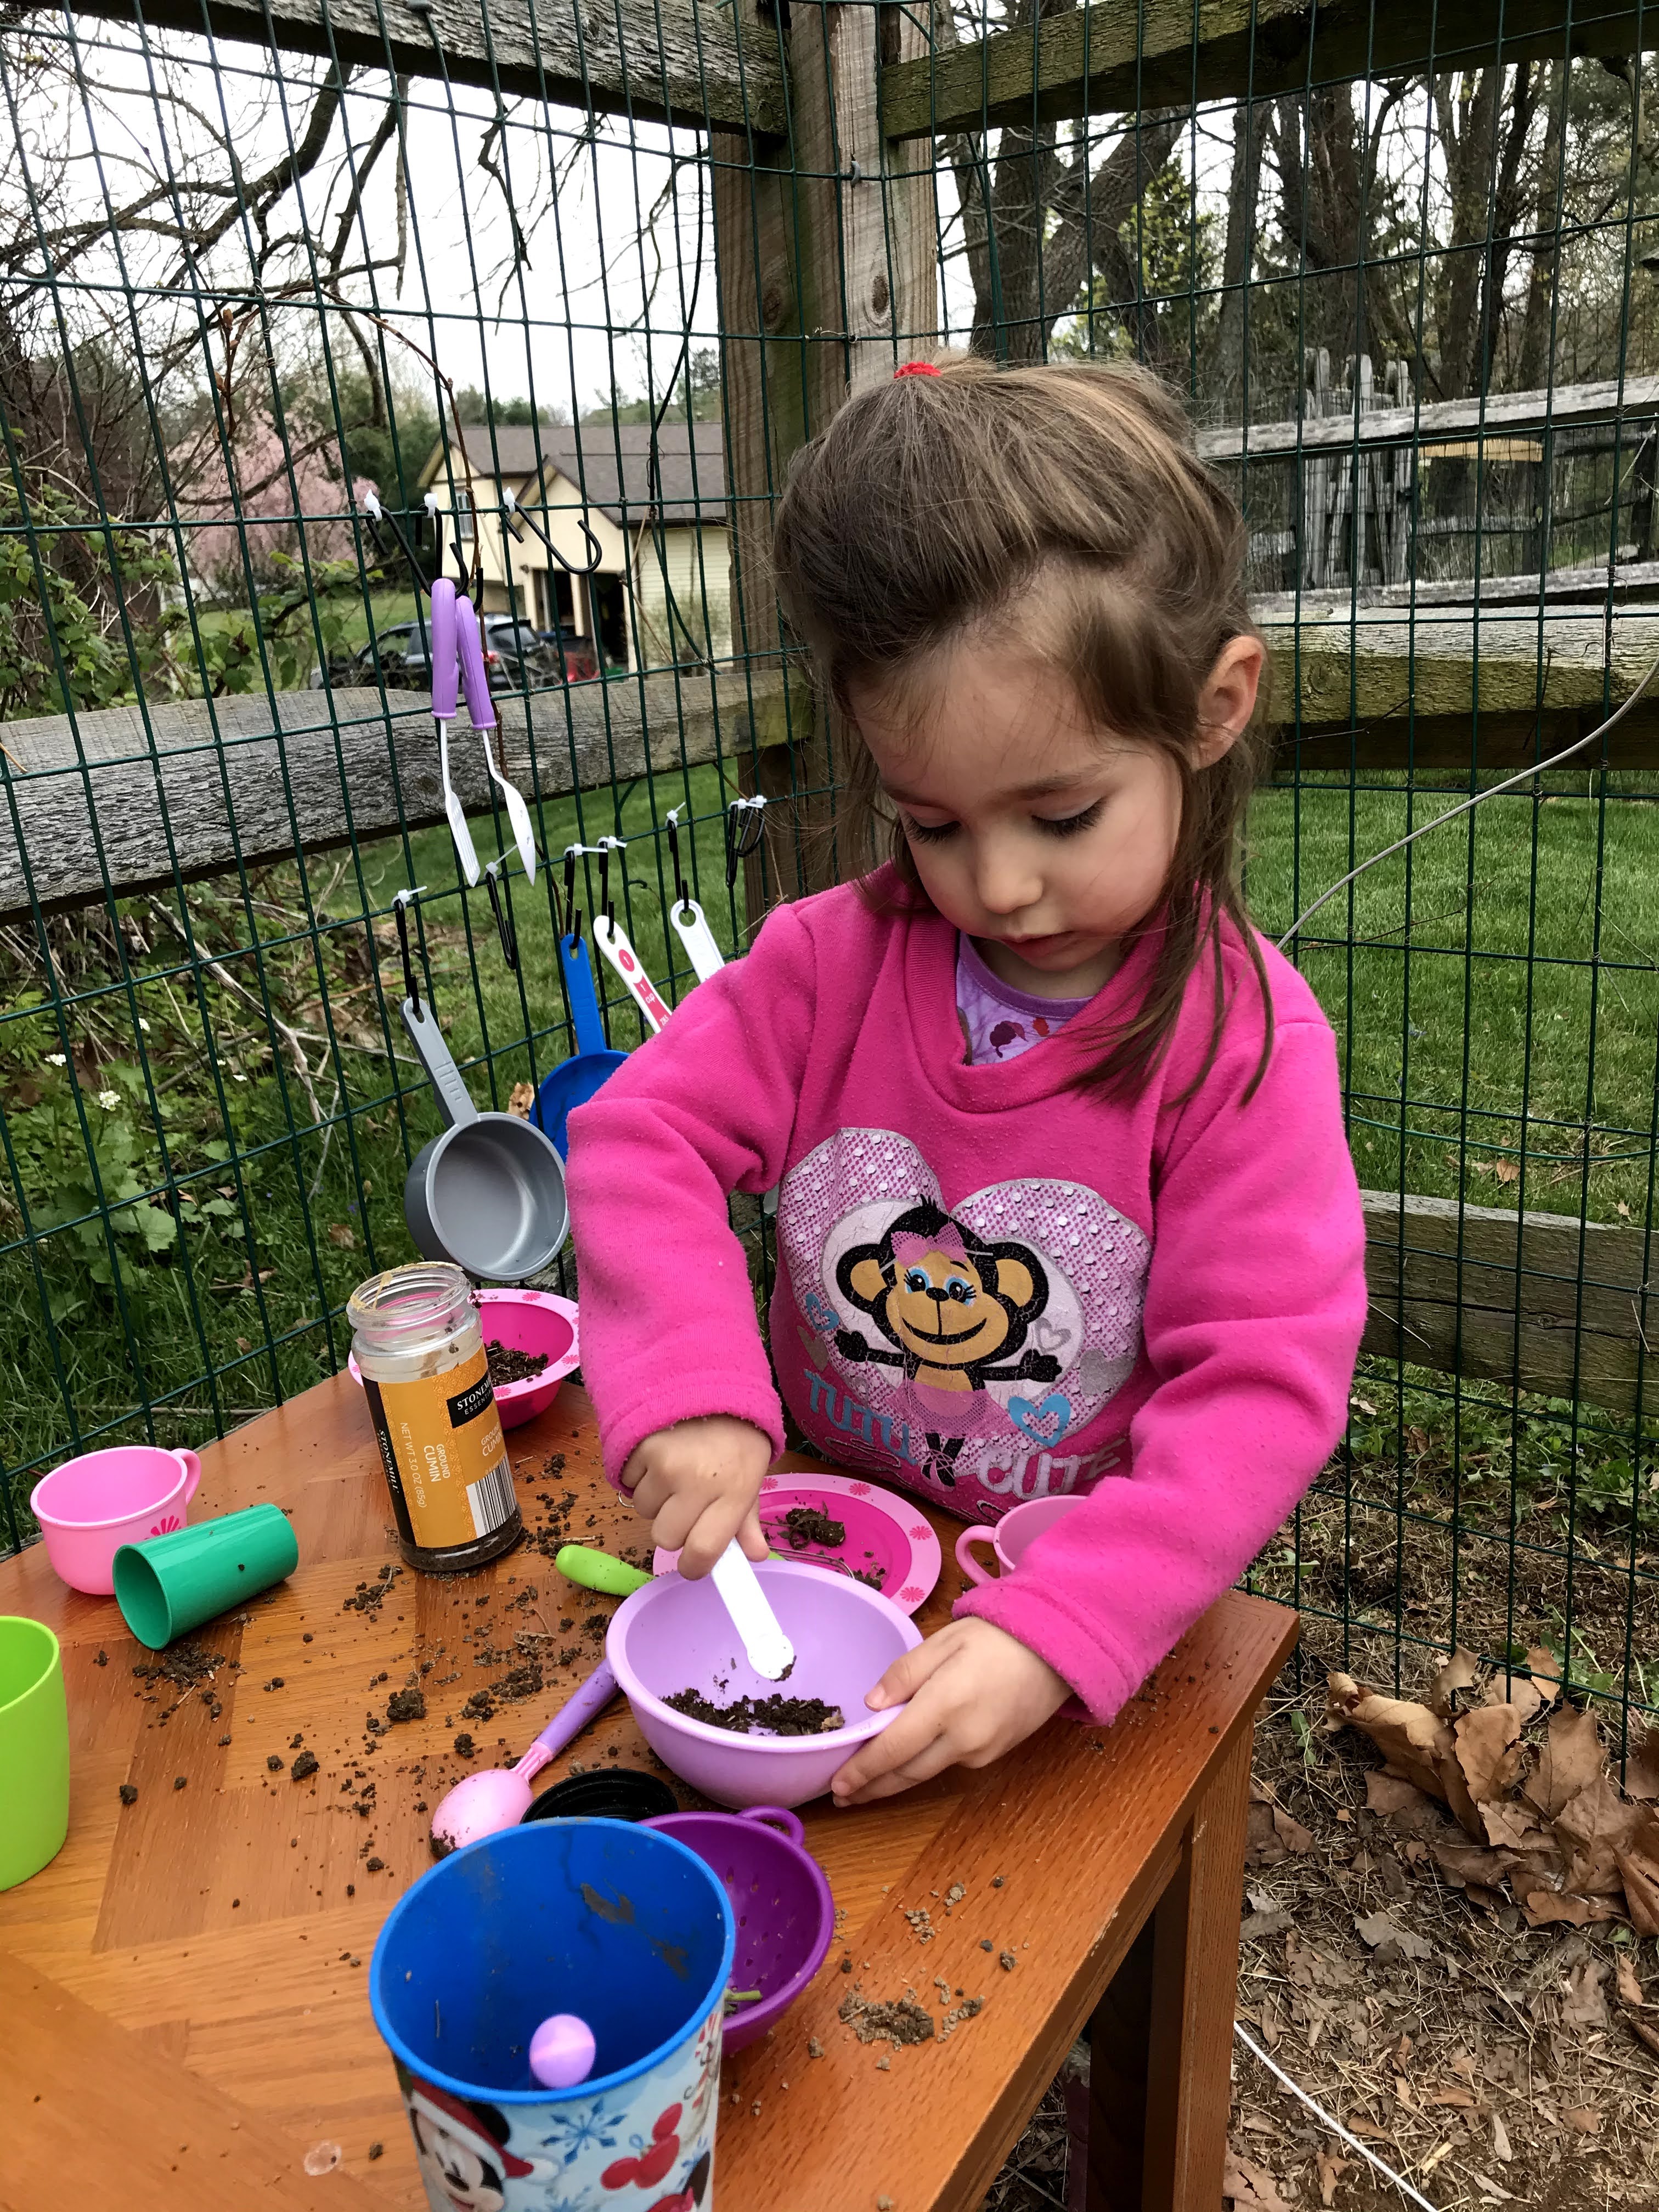
It had been particularly hard for us and for the kids with the quarantining. We usually go out and do lots of activities the stimulate their brains and bodies, and also to avoid total destruction. Luckily, we have a beautiful field behind us and a creek nearby and plenty of outdoor activities to enjoy with the warmer weather now. The routine had changed since preschool stopped and my little boy keeps saying he misses school and his friend Jack.

In the last couple weeks he has gone from potty trained with both poop and pee (yes that’s the technical terms when you’re a mom) during the day to holding in his poop. He was constipated and it hurt to poop and now it’s plainly awful. He holds it for days and when he gets uncomfortable for at least 24 hours before he goes, he screams and yells and says his butt hurts but will not go on the potty or even a diaper until he literally cannot possibly hold it in any longer. Yes, we have talked to his pediatrician and added probiotics, prunes, and many other things which eventually make him go, but the terrified look and screams he has is awful. Once he finally goes he says he feels much better and he is proud of himself. We tried the bribing for anything, literally anything if he goes on the potty, didn’t work. We tried not mentioning pooping, didn’t work. And now every 3rd or so day the night and the next day are terrible, the kind where I’d rather be working during quarantine as a nurse then be stuck at home (for the most part).

img_3468

Today was particularly hard as we haven’t gotten a good nights sleep for a couple years now (almost 4), and all day he was crying and yelling off and on that his butt hurt, or his belly hurt, and he couldn’t sit still. My friend had told me her son was going through this a long time ago, and I thought, ugh that must be hard. Well, if you haven’t experienced this fun, then you are really missing out. Poor little guy is so uncomfortable and just literally pushes it back in my clenching and grunting to hold it in. And before you say something else could be going on, again we talked to the pediatrician, and we work in the healthcare field. Also, this is very common in boys (if you look it up you will see).

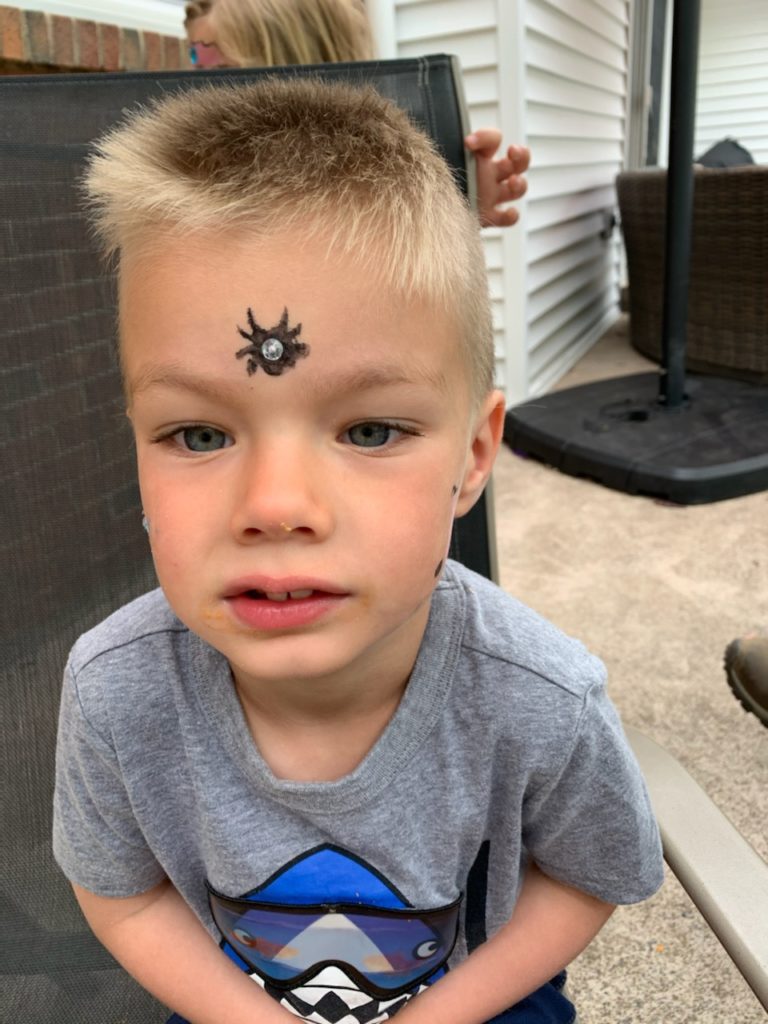
I was so grateful my husband was home from work so I could breath for two mins and use the bathroom in privacy (I had to lock the door of course). My husband is good at distracting and playing with the kiddos. My son was good for a bit but started putting his hands on his butt (which we explained is not hygienic). Eventually we got the kids upstairs for bedtime. Earlier in the day we made giant forts in their rooms with king size blankets and mommy promised a goodnight show with the stuffed animals. So I begin the show and my son cannot with still since he will poop in his pants if he does. He is constantly moving while I have the stuffed animals talking to each other. About two mins in my daughter is yelling at my son to sit still. He starts swinging his ladybug night light stuffed animal, which consists of a stuffed head and a plastic big body with star holes that light project out of it. He swings it fast and hard and nails me right in the eye. This will be my second black eye from my son, with the first being him whacking his head back into my eye at full force as little toddlers do when sitting with you.

I went downstairs and iced my cheek as my husband took over (thank you). More than the pain, I’m emotionally drained. I feel terrible for my child going through this, and I’m exhausted as a parent trying to keep it together. I feel bad for my daughter who yells this is the worst light show ever (little kids don’t have the capacity to care for others as much yet). I know she could be learning and doing more, but I’m constantly paying attention to my son who begs for attention throughout the day. Now I’ll be going to see patients with a nice big black eye, hopefully my mask and goggles will cover it this weekend!

This post is meant for be a venting post, of course not all days are like this and we have tons of fun and tons of love. As you can see from all of the other posts we absolutely love and adore our family and will do anything for them! We have a great family and friends and are blessed.

I just want other moms to know you are not alone out there (looking at you Kimberly), and I’m sorry if I haven’t been as compassionate to other moms with their own issues. You honestly don’t know what anything is really like until you personally experience it. I’m also still not sure how our parents survived!


FollowFacebookpinterestrssyoutube
ShareFacebookpinterest

Face painting fun!

It all started with my daughter using a marker on my son’s face. She said she simply wanted to paint his face! Well, obviously, this wasn’t going to work. So I searched for face painting supplies. At first I thought face paint would be way too messy and not worth the money. However, I found that face paint is super fun, easy, and the kids just love it!

An easy and fun activity is face painting! My daughter loves painting faces and my son loves having his face painted.

img_3547

We got this easy set from amazon. Bowitzki Face Paint Kit

Bowitzki Face Paint Kit with 10 Colors,32 Stencils,2 Brushes,2 Chunky Glitters,2 Sponges,1 Body Glue

When we first started I had to remind my daughter not to go near the eyes, but since then no problems at all!

Daddy even got his face painted by Cece!

img_3505

Grammy did a little face painting as well…

They love this activity and it’s fun, easy, and inexpensive! I hope you try it too!!

FollowFacebookpinterestrssyoutube
ShareFacebookpinterest

An Outside Play Area

I have been using pinterest a lot lately. Since being home due to the coronavirus crisis, I have more time on my hands and I love being outdoors and doing projects for my little one. I really wanted an area for a mud kitchen and a place for her play house and slide. I found many really cool ideas on pinterest but I had to use materials I already had or that I could get with contactless delivery to my home or car. I ordered landscaping fabric and picked out a spot in my yard along the fence.

IMG_5717

I ended up cutting away some of the fabric as you can see in the picture. I did this so my daughter can dig for dirt near her mud kitchen. I ended up having lots of extra bricks at home which I used to line the outside. I left 2 openings near the playhouse and the slide to get into the area. You could also use edging for the project.

Next I added mulch on top. I went with cedar natural mulch. You definitely don’t want dyed mulch because it will only be a mess. Some people used rubber mulch but I figured that might get too hot in the summer.

60901038882__5FAB6EAD-ED60-4BCC-A765-4746DCAD8804

I added some potted plants around the house.

IMG_5721

I plan to add some stepping stones (which will be tree stump slices) and paint numbers on them.

IMG_5726

I also added a little balance beam (made with bricks and a long piece of wood I had sitting in the garage.

IMG_5729

I used tools from her play set and extra kitchen tools for her mud kitchen. What is a mud kitchen? It’s just an area where kids can create and make “food” out of outdoor materials. Some people buy them, some use old wood, crates, or tables. I had an old side table I was going to get rid of so I used that. I ended up ordering hooks to attach to the fence for her materials and a container with a lid. Before summer I will probably try to add an umbrella or shade to the area using the fence or clothes line for shade.

IMG_5732

She loves her new play area, especially her mud kitchen. She makes “salamander tea” and soup. She heats it up on her stove in her playhouse.

I’d say it’s a hit!FollowFacebookpinterestrssyoutube
ShareFacebookpinterest

Learn Names by Cars

Hi everyone!

The schools in Pennsylvania will be closed for at least 2 weeks due to the coronavirus, so I am home with my family.  I hope to do a lot of crafts and activities with my toddler to keep her busy & happy! You can look at previous posts and check back for more frequent posts during this time on things to do with your child! Today’s craft/activity will help your child learn letters and the spelling of their name (it will also be fun for them to play with)!

IMG_4688

All you need is a box, marker, cars, and some paper and glue or tape.

IMG_4681


You can use any box you have, I just happened to have one with a folding cover so added a ramp to it.


IMG_4683


Next, I wrote the letters of her name on construction paper and cut them out. Remember to space each letter out so you can cut them into rectangles or squares.


Next, I wrote start and made a line. I also made lanes for the cars to go to their parking spots. I figured Madison can then have them go on the ramp and race down to the letters at the bottom. Just a fun, quick, and easy activity if your kiddo likes cars!

IMG_4687FollowFacebookpinterestrssyoutube
ShareFacebookpinterest

Almost perfect winter clothes ad…

If you haven’t seen the new SNL skit for Macy’s winter clothes, you need to!!!! Some of the scenes are so easy to relate to you laugh and cringe at the same time.

I never understood why snow boots are all zippered down the inside, otherwise it’s an hour struggle to get boots on yelling, “just push your foot in harder!”

That and the snaps for baby onesies. For the love of gosh, please tell me who thought buttoning a moving target who needs diaper changes hourly was a great idea?

And we can’t forget the itchy sweaters and clothes that you spent a fortune on because you thought they would look oh so adorable on your little one….

The jacket reference is funny; however, as we know, jackets should never be worn in a car seat, they get taken off before buckling up!

So if you haven’t enjoyed this ad yet, check it out!

FollowFacebookpinterestrssyoutube
ShareFacebookpinterest

Sparkle Pumpkins!

IMG_2254

It’s finally fall and pumpkin time! Toddlers LOVE holidays and what a great way to get ready for trick-or-treating by decorating pumpkins! Obviously, toddlers shouldn’t be holding knives to make jack-o-lanterns so there are many fun alternatives!

You can have your toddler paint a pumpkin, add stickers, pom-poms, and many other accessories instead of the normal jack-o-lantern.

Or….you can have them make sparkle pumpkins! My daughter LOVES glitter, I mean who doesn’t? Okay, maybe we don’t, especially when you have to clean it. However, this is a perfect activity for outside in the cool, crisp fall weather.

IMG_2244

What do you need for this activity?

A pumpkin of course! Other materials you need are paint, glitter, glue, and brushes. You may want a paper plate or something you are using to put the paint on to mix it with glue. Glitter is a very important part of this activity! We used various colors.

First ask your child what color they want to start with! Add HALF glue and HALF paint concoction together. Mix them with the brush. The glue helps the paint stay on the pumpkin and not flake off. It also helps the glitter stay on. Your child can have fun painting their pumpkin!

IMG_2247


Let them paint to their heart’s content, then have them pick a glitter color or two.


IMG_2257


Madison spread the paint pretty thin, so I went ahead and put some liquid glue on the plate and had her brush the glue over the paint. This allowed the glitter to stick better. She just shook the glitter over the pumpkin (and all over the sidewalk).


I recommend you keep the pumpkin out of the rain!

IMG_2261

ENJOY!FollowFacebookpinterestrssyoutube
ShareFacebookpinterest

Fall Wreath Fun

IMG_1968

We always hang a wreath on our door for each season or holiday. Madison wanted in on the fun, so we decided to make our own fall wreath! It’s very simple and easy!

Materials:

  • paper plate
  • glue
  • assorted fall construction paper colors
  • string
  • pom poms (optional)
  • You could also add glitter or any other extras!

IMG_1958  IMG_1954

First, cut out the middle of the paper plate so you have a circle left. Next, I cut the construction paper in strips, then cut it into small squares she could glue onto the “wreath”. We pretended the squares of construction paper were leaves. You can use your scissors for this or if you want more of a messy look you can rip the paper or have your child do it.

IMG_1961-COLLAGE

Madison had a lot of fun gluing on all of the pieces. She loved using the glue stick. We covered the paper plate then we added fall colored pom poms on top of the “leaves” (construction paper). She LOVED this project and after it dried we hung it up on the window. She points it out proudly every time we go by!

IMG_2013FollowFacebookpinterestrssyoutube
ShareFacebookpinterest

Felt Weather Board

A felt weather board is a great way for a toddler/preschooler to learn the days of the week and the weather! I ended up having a few pieces of felt, some thread, and ribbon left over from other projects so I thought, why not? Weather board time!

IMG_0772

The first thing I did was fold a piece of felt in half, horizontally. I decided to make 2 pockets to hold the weather icons. Sew the two sides together, going through both layers of felt, then do the same in the middle.

Next, decide on a background color. Lay the felt pockets on the bottom overlapping the background color. I overlapped 2 inches then hand sewed the sides 2 inches down (only on the inner layer which you can’t see) and along the top.IMG_0773              IMG_0774

IMG_0775

Next, I used a sharpie and wrote  “Today is” at the top. I didn’t intend to do the days of the week as my girl is only 2, so she won’t really grasp that, but I had more felt and space! This weather chart can grow with her. Not only will I add more weather icons such as hail, sleet, moon phases, but I will also add the days of the week as she gets older. For now I will store them to the side to focus on weather!

Time for the fun part, making the weather symbols! There are countless ways to create them, I decided on these.IMG_0777

I also added a partly sunny symbol which you will see in later pictures. I did all of these by hand, sometimes outlining the pattern I wanted on the felt first, then cutting them out. I used the glue gun to add some different colors such as the white on the snowflake, the mittens, wind, lightning and rain.

IMG_0779

I bought some velcro from Michaels. You can use the scratchy side on the back of the weather symbols. This scratchy side will stick to the felt that is the background, you don’t need the soft side of the velcro at all.

I also added a partly sunny symbol you can see at the top of the picture. I did not use the hot glue for the velcro, it just happens to be in the picture. The velcro has a sticky side that will adhere to the felt.

IMG_0780

I had extra felt so I made days of the week!

My daughter won’t really grasp the days of the week but we can practice anyway. I can also store them until she’s ready. I might have to do that! She loves the felt weather board so much she puts them all up and takes them all down. Her favorite symbols are the sun and partly sunny. She had to take them to my sister’s house. Luckily I convinced her to leave them in the car so we didn’t lose them and I returned them to her board!


IMG_0782


I ended up adding ribbon by making a stitch at the top. To make it extra sturdy I decided to hot glue the bottom of the ribbon to the felt too! You can use string, small ribbon, or anything you choose for this! I hung it above her work table using the clear command hooks that will easily come off of the wall if I want to remove them.


You can make the weather board a daily routine! Do it in the morning, or change it throughout the day based on the weather. Enjoy!!! IMG_0783

 FollowFacebookpinterestrssyoutube
ShareFacebookpinterest

A Daniel Tiger 2nd Birthday Party!

1
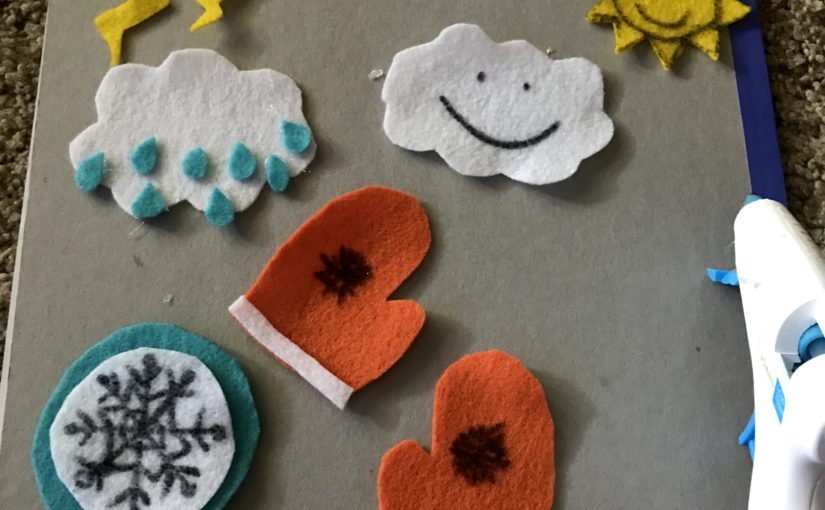
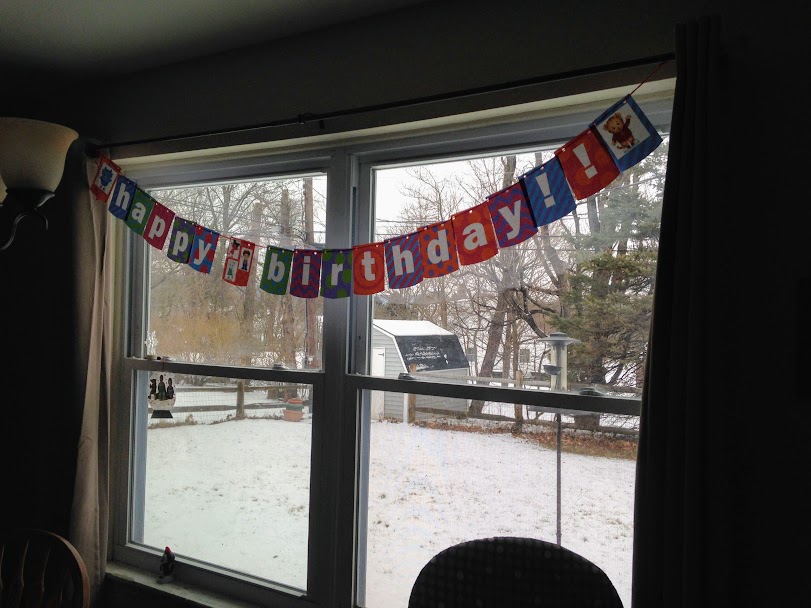
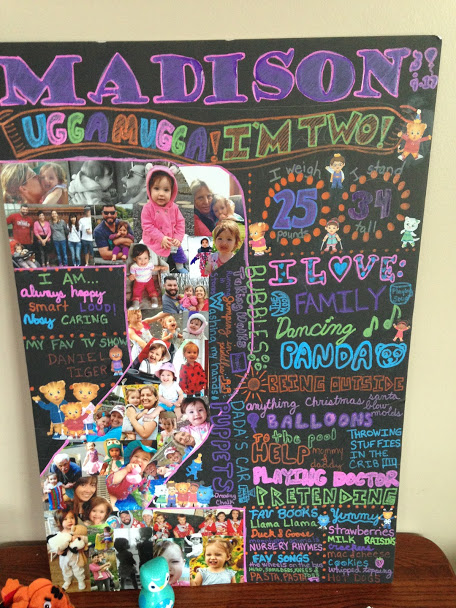
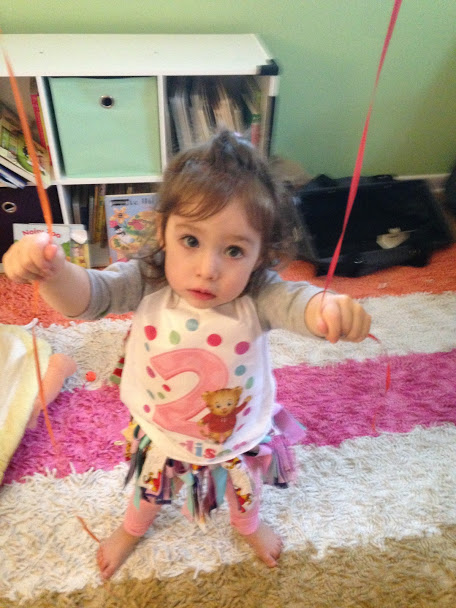
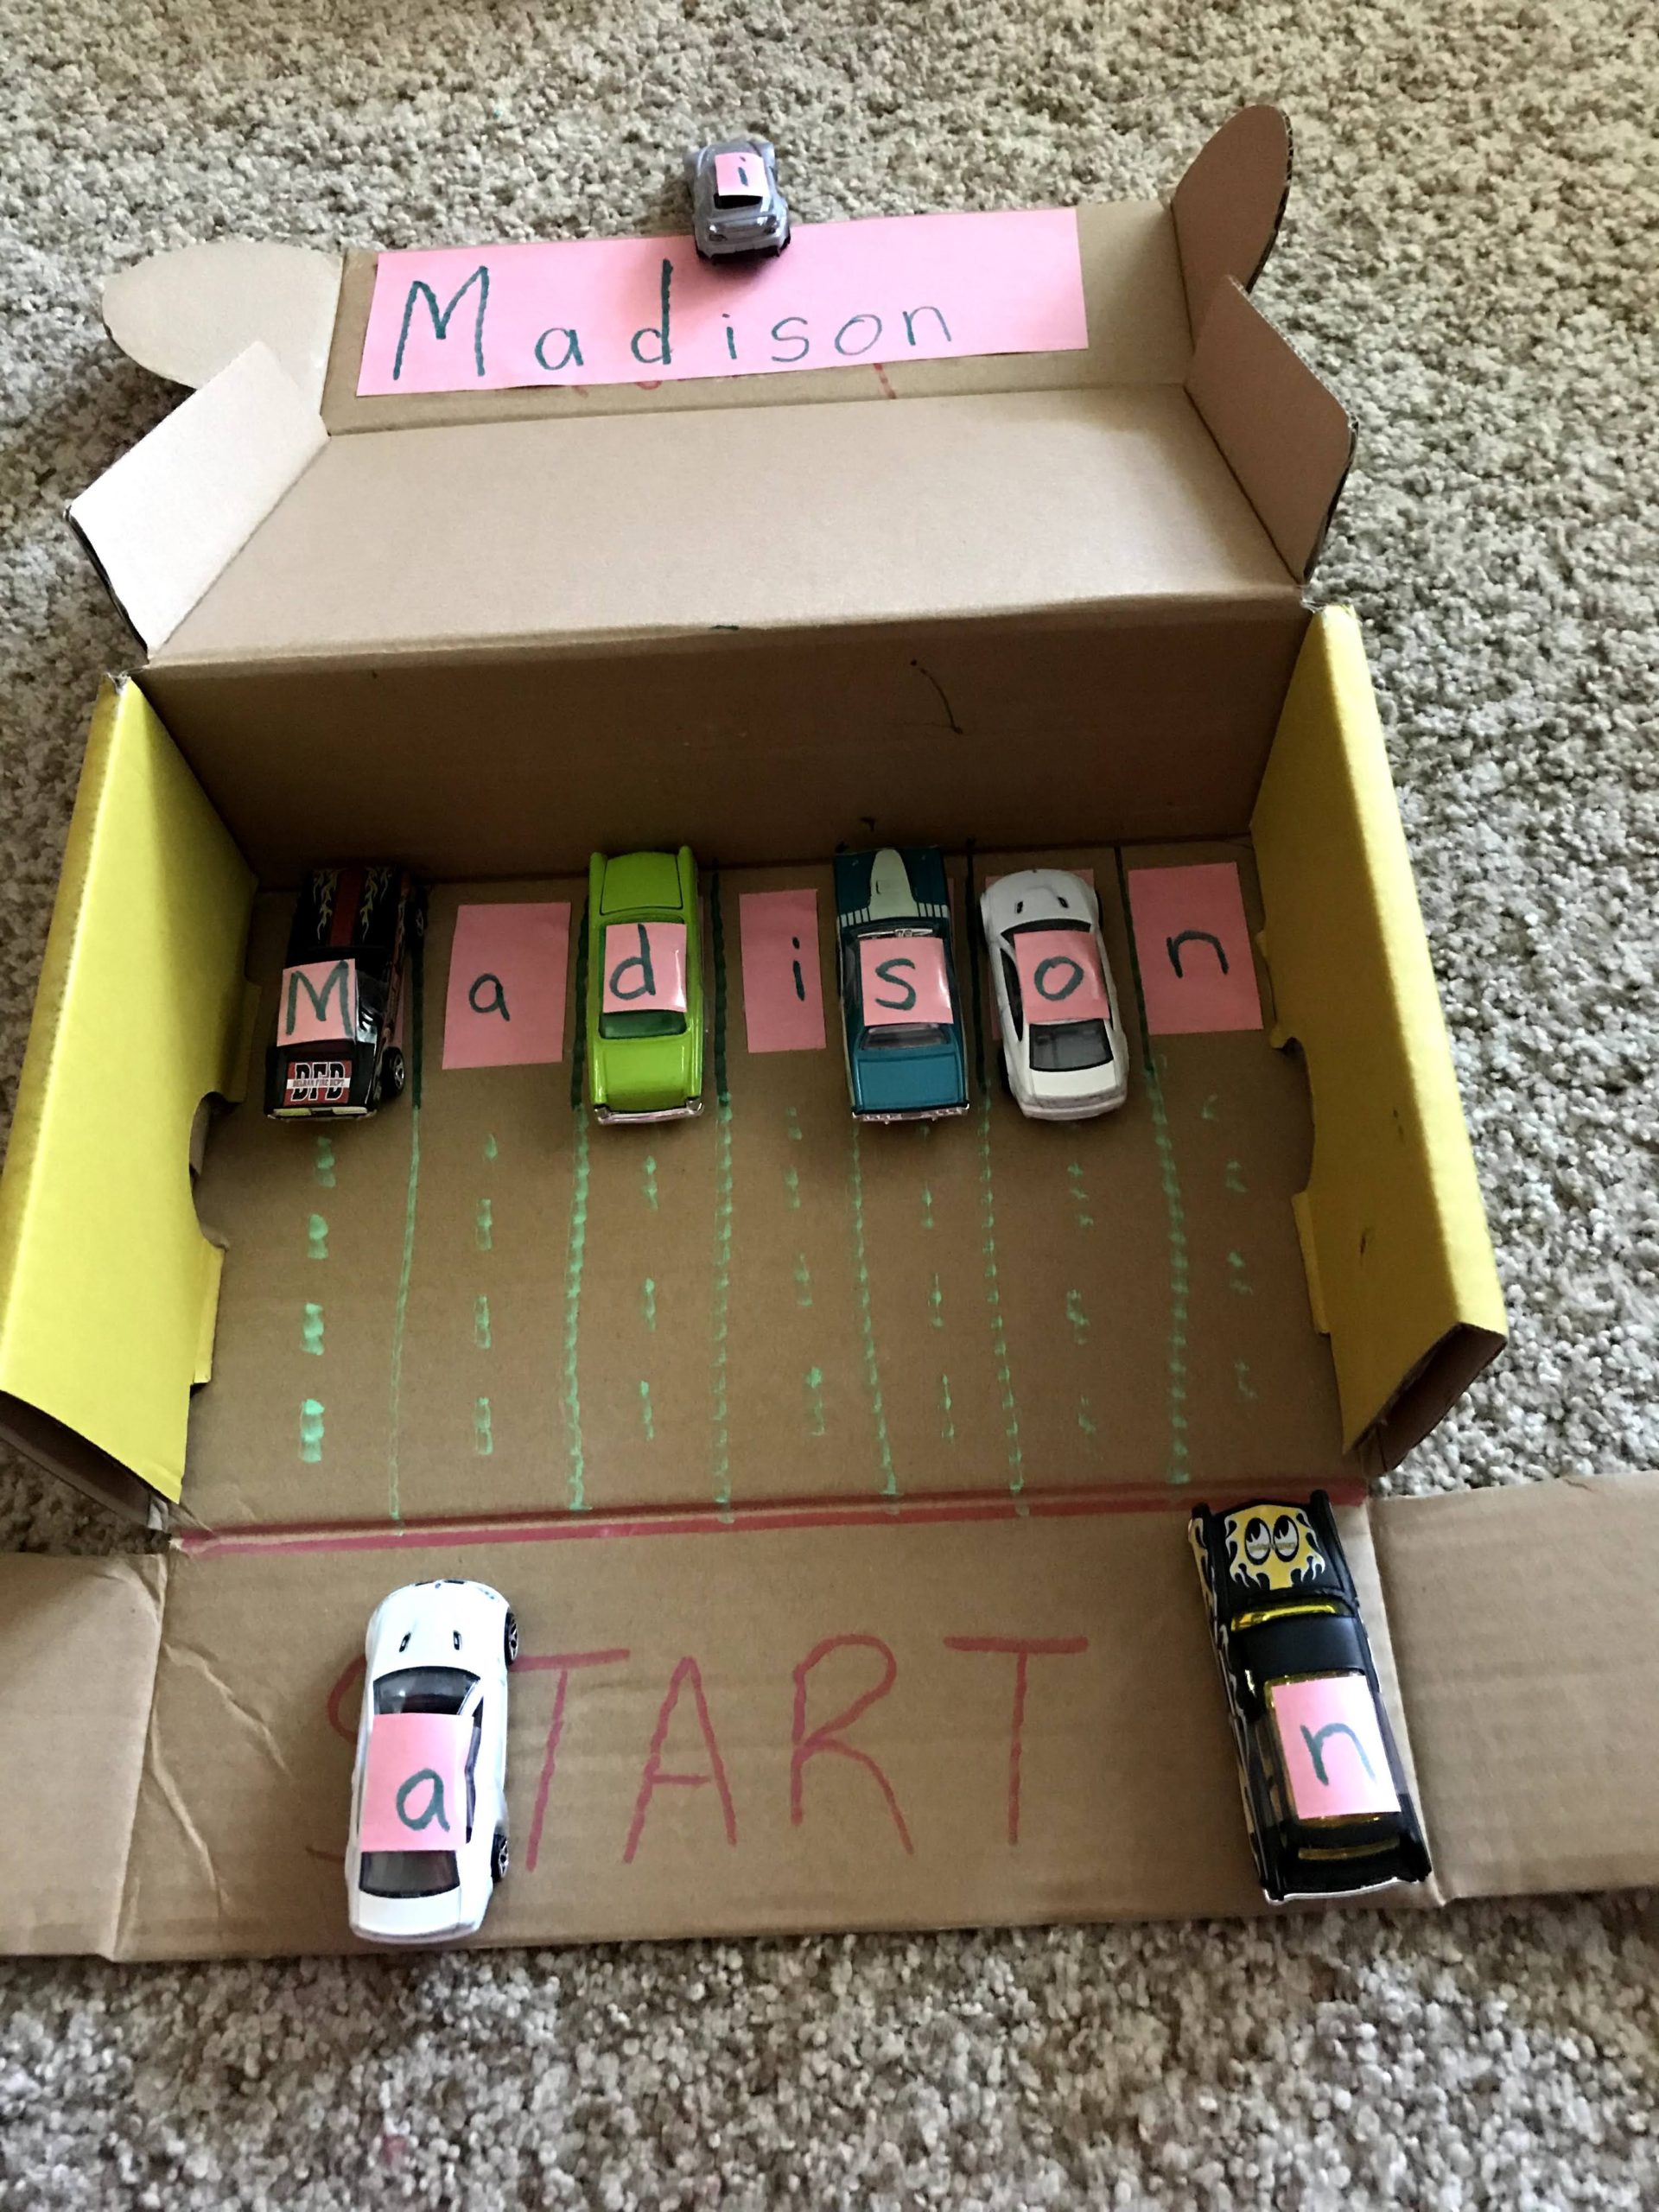
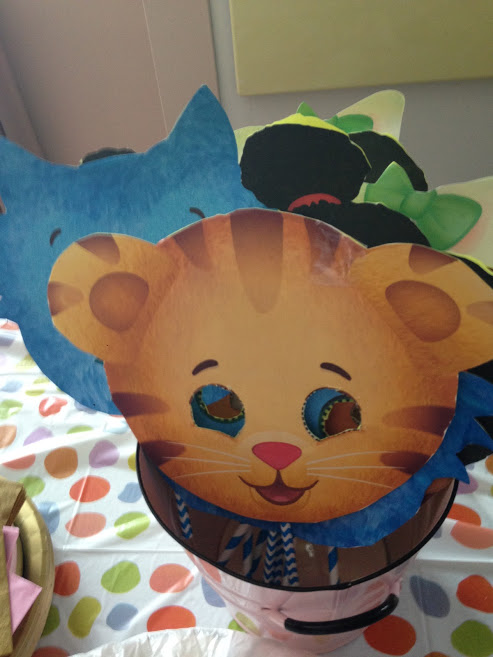
Ugga Mugga! It was Madison’s 2nd birthday and she LOVES Daniel Tiger. First thing you need to know if your little one loves Daniel is to visit the PBS site! Follow this PBS link and you will find TONS of FREE printables and crafts to make for the perfect party! These Daniel Tiger masks were made from the site. All you have to do is print them on card stock and attach a tongue depressor. However, I decided to add my own twist since I didn’t have the capability of printing on card stock. I printed on regular paper, cut it out and glued it onto card stock. Next, I taped recycled straws onto the bottom. It worked perfectly and was a hit with adults and children alike!

2.jpg
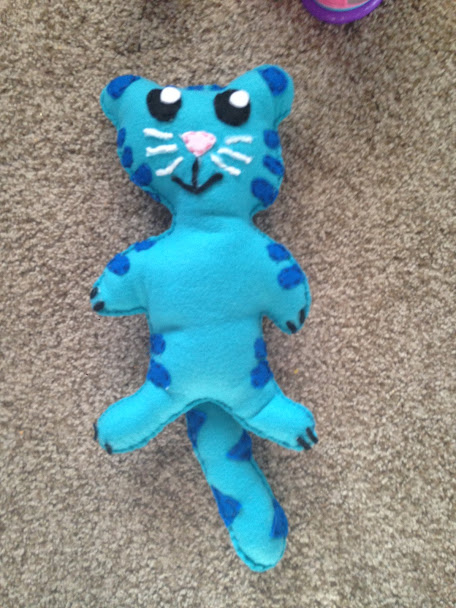
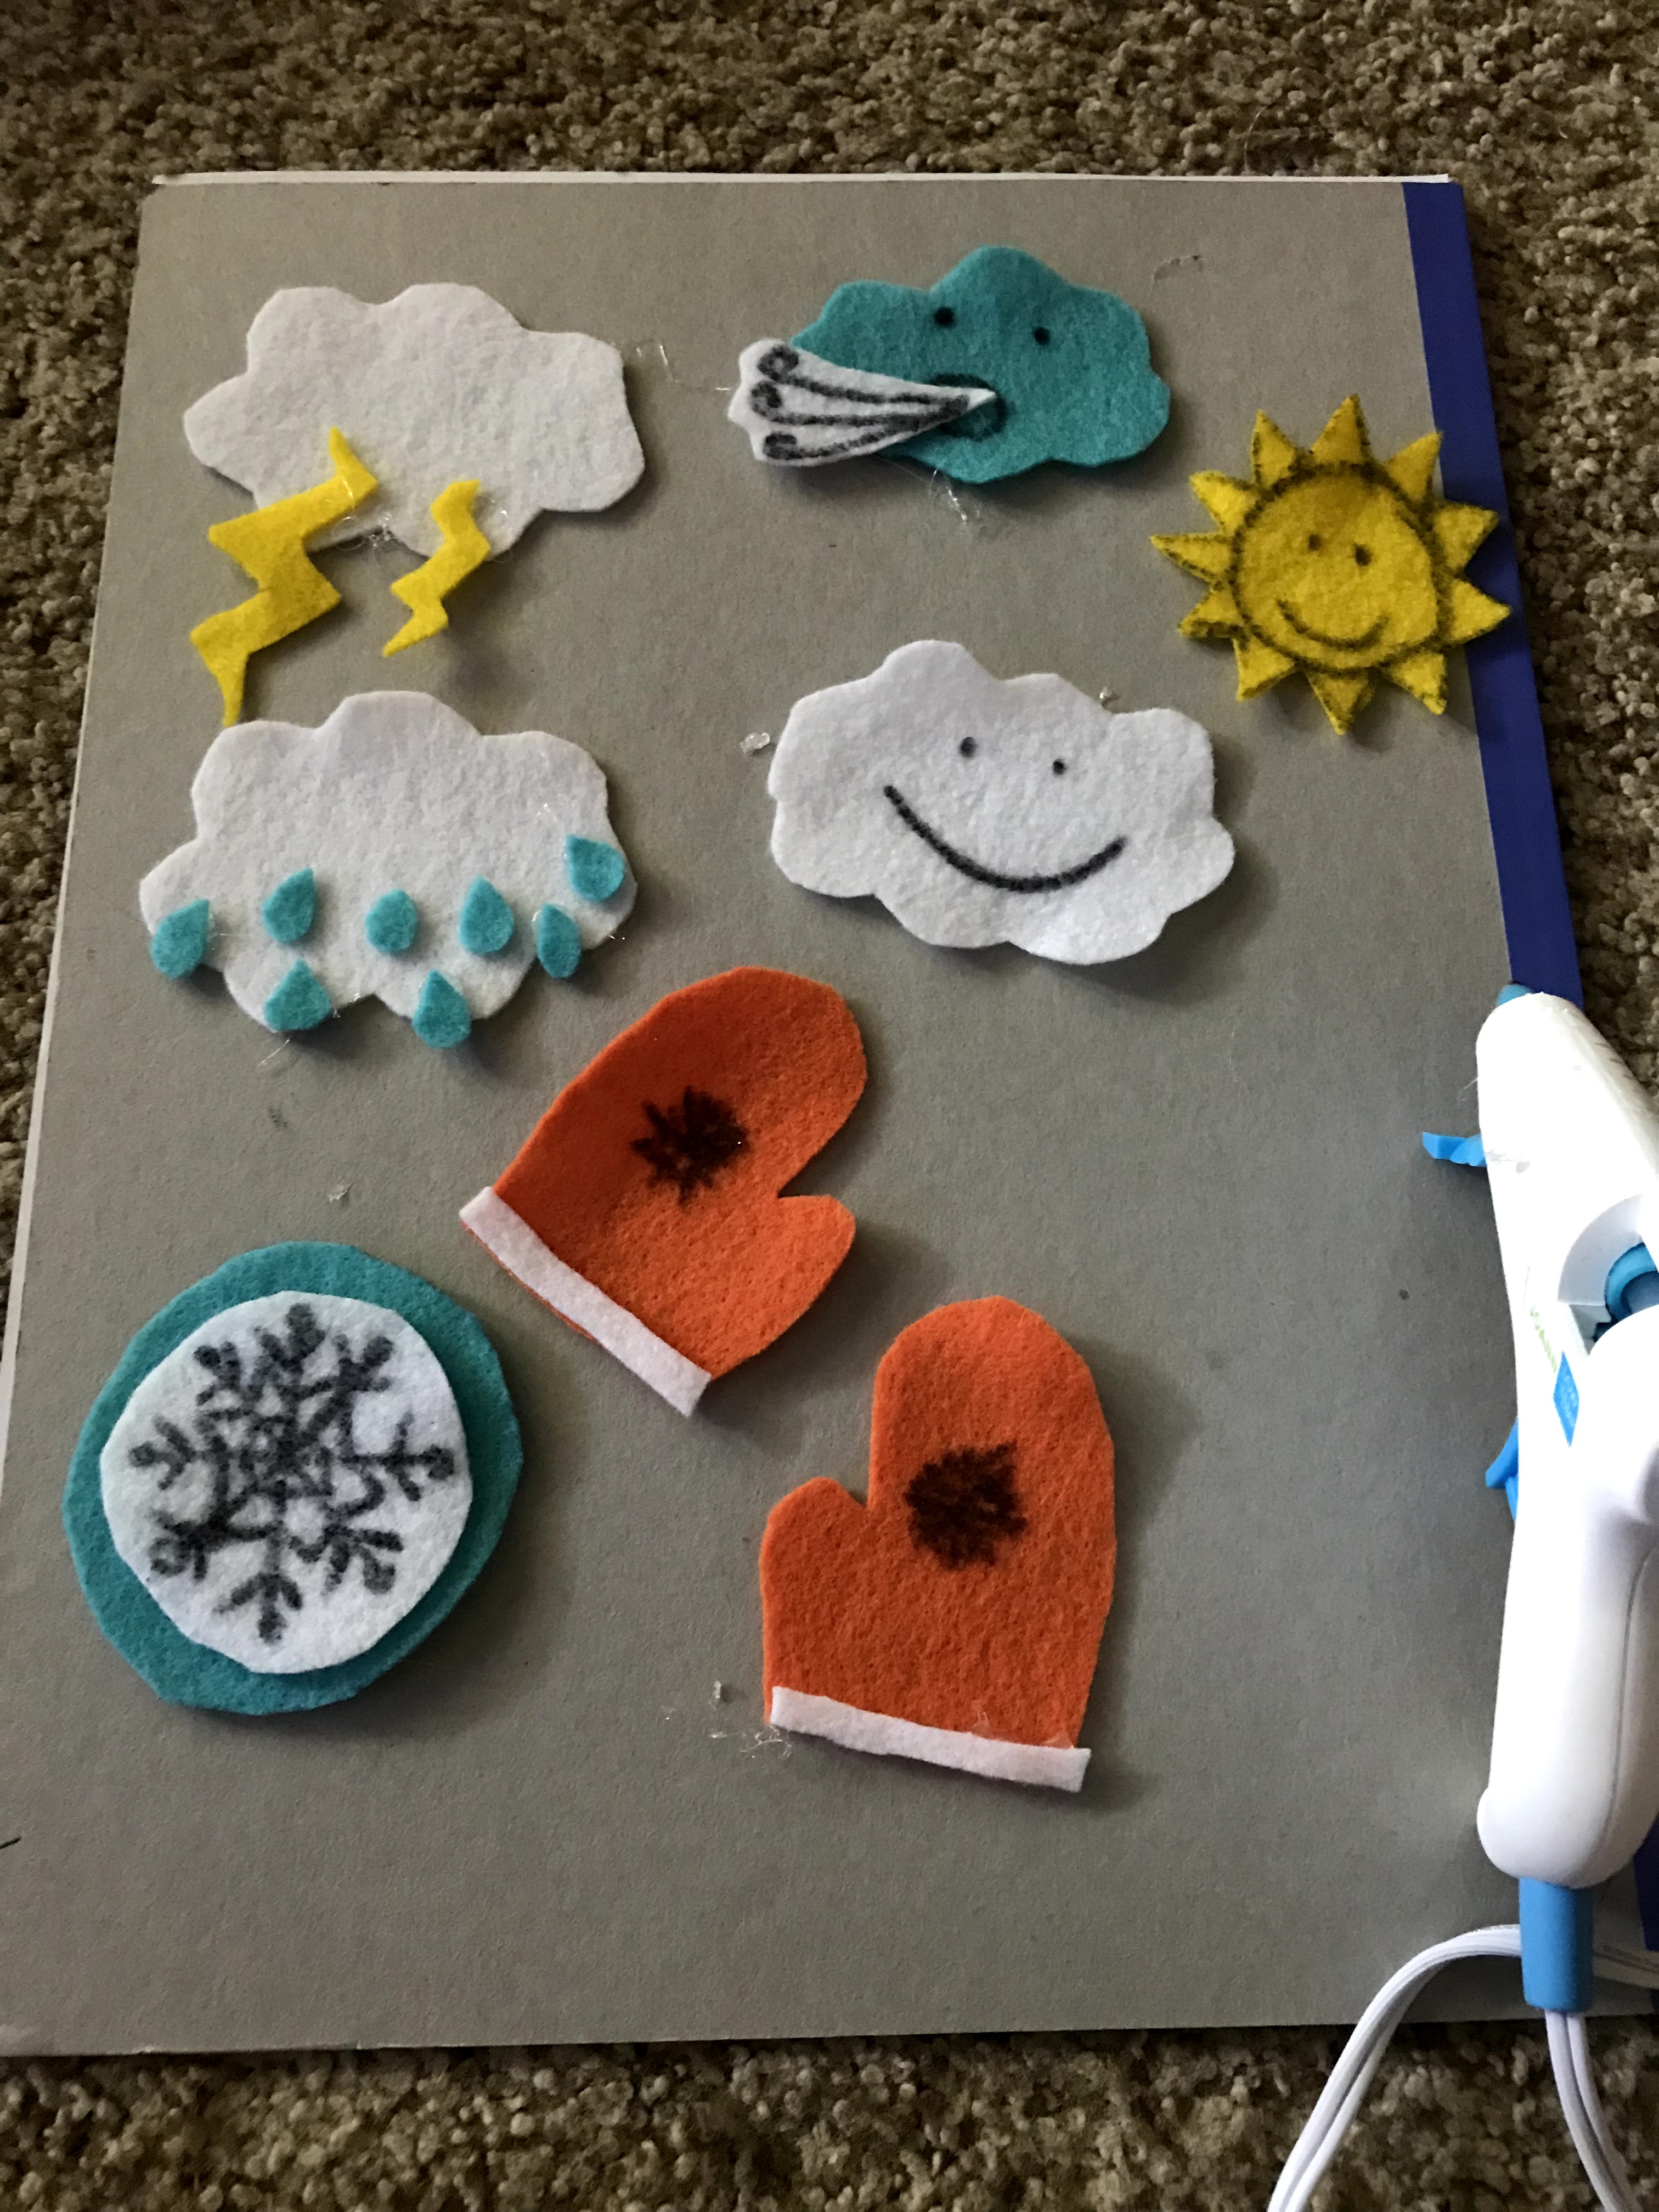
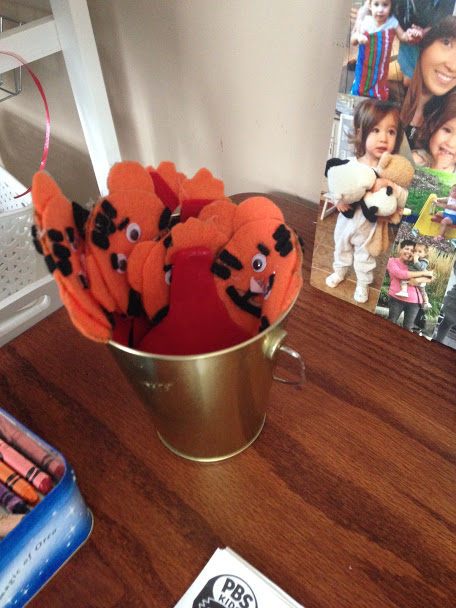
I also made these super cute and easy finger puppets from the PBS site that will give you step-by-step directions. We used them as favors! As for food we kept it simple. We went to costco and got her favorite-marconi and cheese! The party only had 10 people there so we decided to go with pot pie and shepard’s pie from Costco already made, with salad as a side. It kept us warm on a cold day!

11.JPG


As for cake, we went to Weis and they had 4 different Daniel Tiger cake designs. We decided on the cake with all four characters! They had lots of different flavors to pick from and the cake was delicious!


5


I made her birthday banner with Microsoft Publisher. I simply used the preset example of a birthday banner and added a few more pages. I saved some Daniel photos and put them on the banner and printed it. Next, I laminated the banner and cut it out. I used a hole punch to make holes and strung it up with yarn I had around the house.

4.jpg


Last year I spent quite a bit of money making her a chalkboard first birthday poster. This year I made her a poster myself. The poster itself only cost $1 from the dollar store! I couldn’t find a Daniel Tiger Chalkboard poster with the number 2 with pictures so I created one myself.


I also got a tablecloth, plates, cups, napkins and balloons. The balloons were perfect! I found them here at Amazon.  The cups were great for apple cider and the plates were very sturdy. I found them on Amazon too!Weis filled the balloons, which was awesome! Coloring pages are from the PBS site.

6.jpg  7.JPG

I made Madison a Tigey stuffed animal using felt.

1.jpg

Lastly, I made Daniel Tiger shirts for my husband, the birthday girl, and myself. I saw many ideas on pinterest and etsy, so I used Powerpoint to make the images and then bought Iron on paper. I also made Madison’s tutu with fabric.

8.JPG 9.JPG

Your little boy or girl will love their Daniel party with little touches! We even played Daniel Tiger songs while the kids danced with the balloons. We wrapped up the party by watching the Daniel Tiger Birthday episode (first episode ever)! It was GRRRR-RIFIC!FollowFacebookpinterestrssyoutube
ShareFacebookpinterest

Yummy Yogurt Drops

86.JPG

I don’t know about you, but we always have extra yogurt around the house. When Madison was younger, she would gobble it down. Not so much anymore. One thing to do with extra yogurt is freeze it. I make them into drops and now she can’t get enough of them! It’s not only delicious but nutritious.

84.JPG

First, you get a baking sheet and put parchment paper on it. You can use any kind of yogurt, greek, whole milk, whatever you choose.

Next, you put the yogurt in a ziploc bag and cut the bottom corner so you can make perfect circles of yogurt on your parchment. Who am I kidding here? Madison doesn’t care if they are perfect shapes or not, so I used a spoon. It was quicker.

Next, you get to decorate. Your child can help you with this! 85

You can add all kinds of things to make them extra yummy if you like or leave them plain. Sprinkles, fruit, and anything else you think might be delicious you can add on top of your yogurt bites. I happened to have a giant bag of frozen fruit, so we added some of that.

Finally, put the whole baking sheet in the freezer for at least 4 hours. Remove and put in airtight container in freezer. I just popped mine into a freezer bag for a quick snack!83

Other variations include blending the fruits or veggies into the bites, almost like a smoothie and then piping it or spooning it onto the baking sheet. Good for toddler, kids, and adults alike! They will be saying, “More, more more!”

FollowFacebookpinterestrssyoutube
ShareFacebookpinterest