A Happy COVID Halloween!

This year’s Halloween was quite different than others. We decided to skip trick-or-treating due to the pandemic and do a very small family gathering with our own version of trick-or-treating.

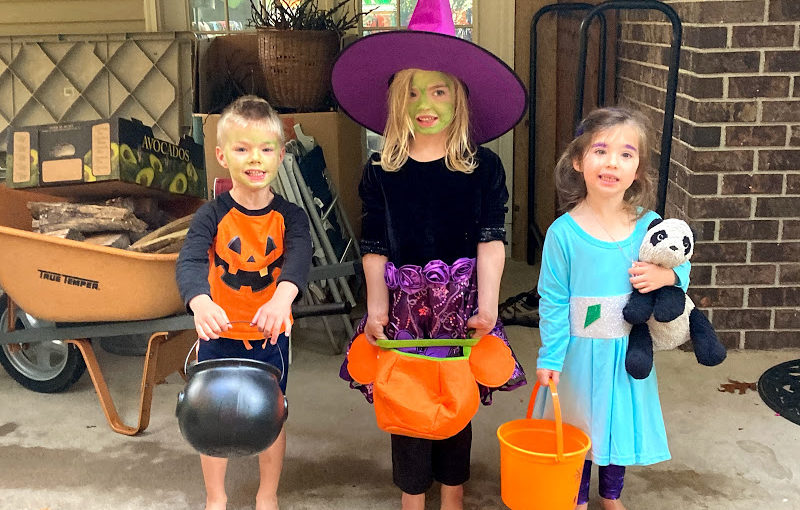
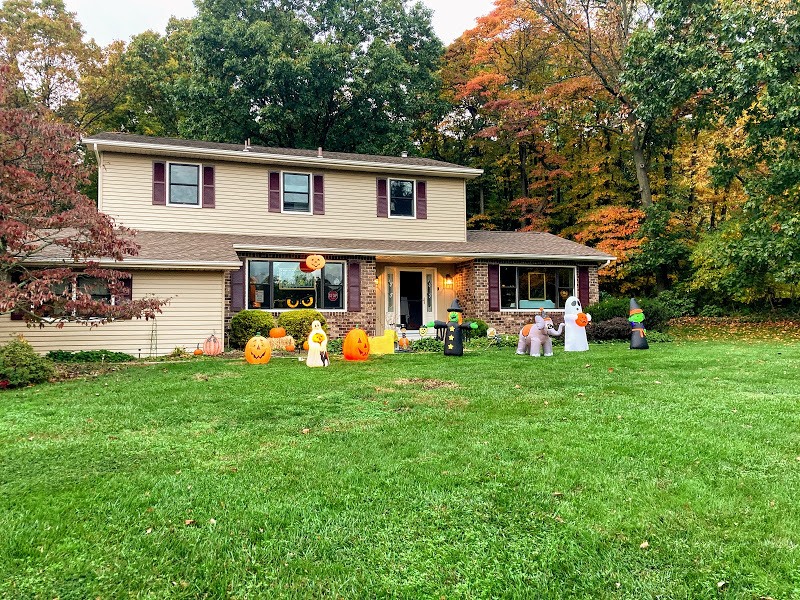
Start by decorating the house and getting in costumes!

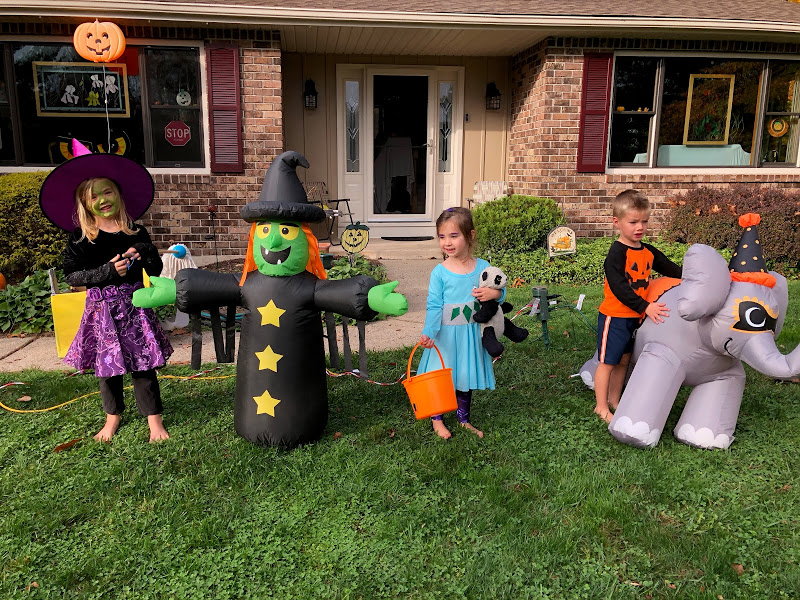
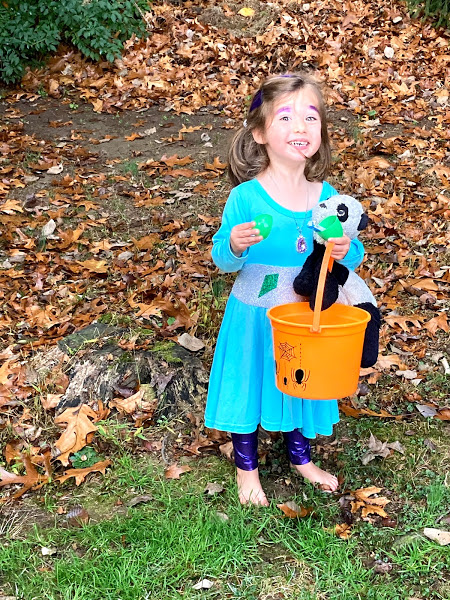
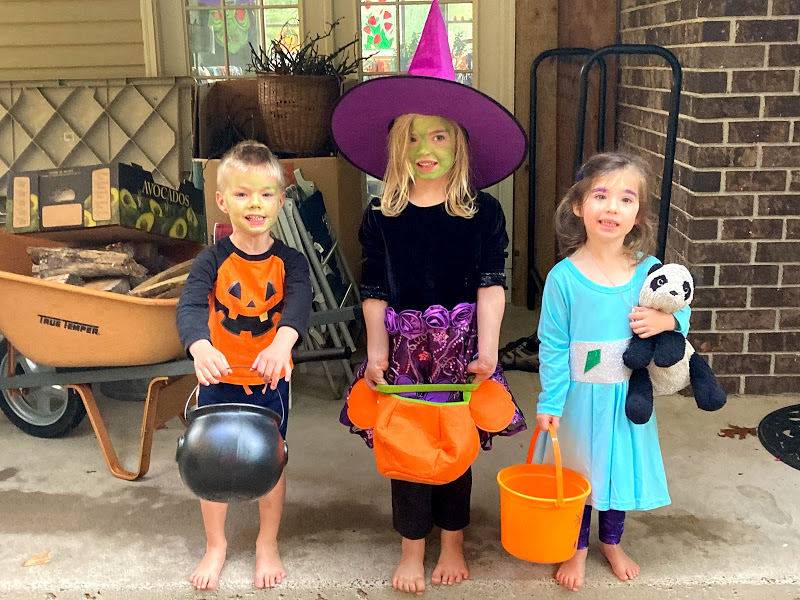
Next, add the kiddos!


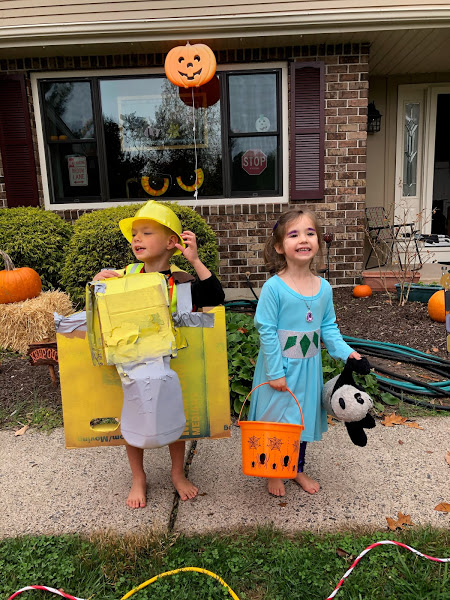
Time for fun, games, and crafts!

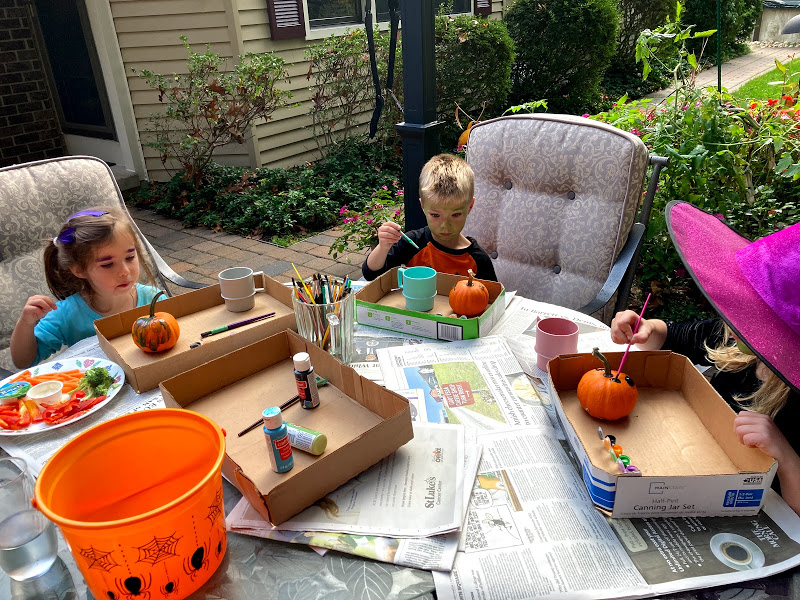
A great activity is painting pumpkins! To keep it clean and organized have a paint set and brush for each kiddo with their own cup of water. You can use cardboard box lids to keep it clean.


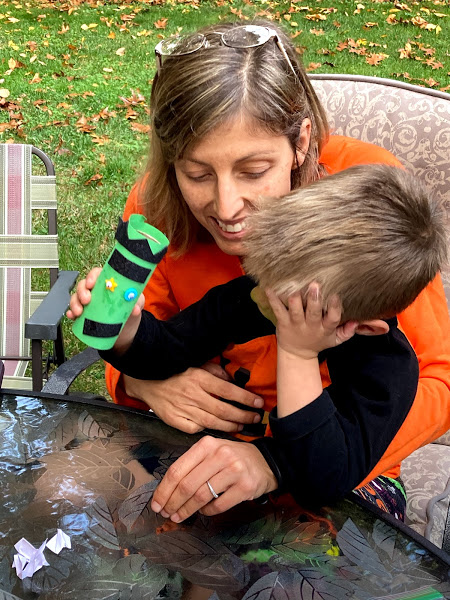
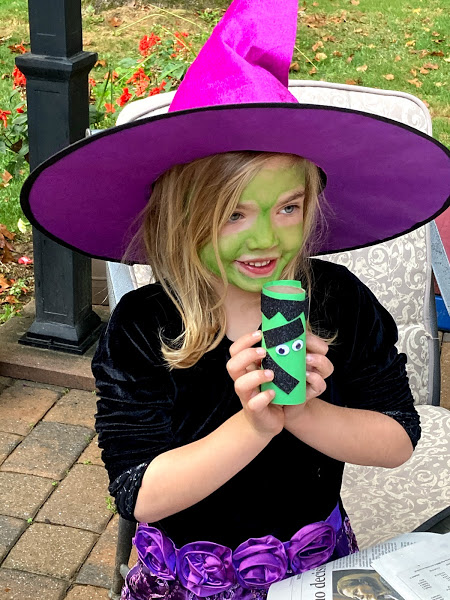
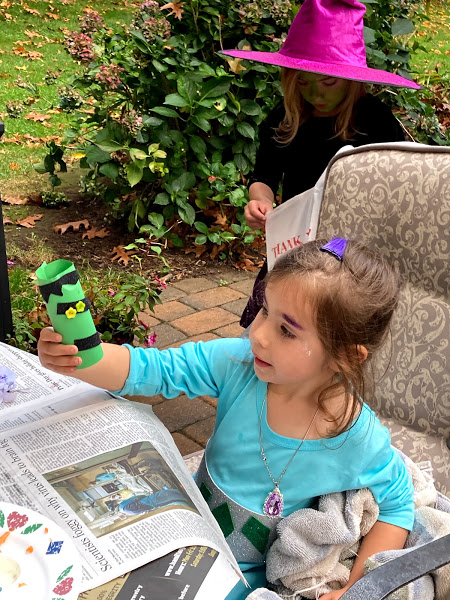
For the next craft we used paper toilet rolls to make Frankenstein (or Frankie as my daughter likes to call him).

You will need: toilet paper rolls, googly eyes or buttons, glue, tape, black construction paper or foam sticky paper.

I cut out the black hair, eyebrows and mouth ahead of time and stuck each one in a plastic baggy with the green construction paper. Each kid got a bag and pulled out the green construction paper and taped it over the toilet paper roll. Next they pressed on the stick foam hair, eyebrow and mouth. If you don’t have sticky foam colors then you can use construction paper. They chose their own eyes by using googly eyes or buttons and glued them on!

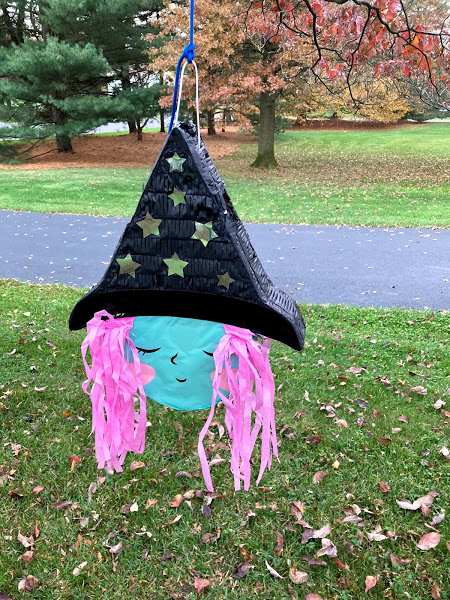
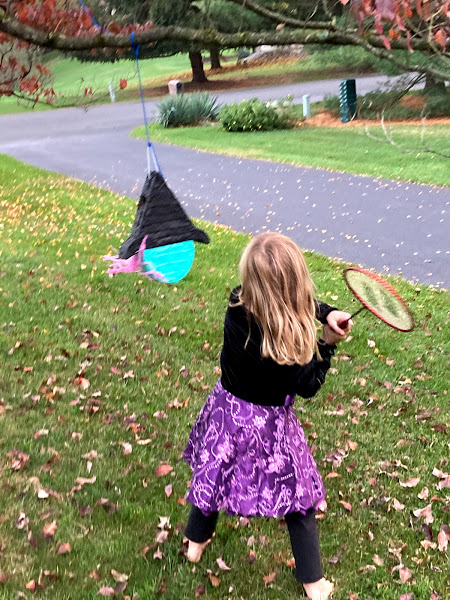
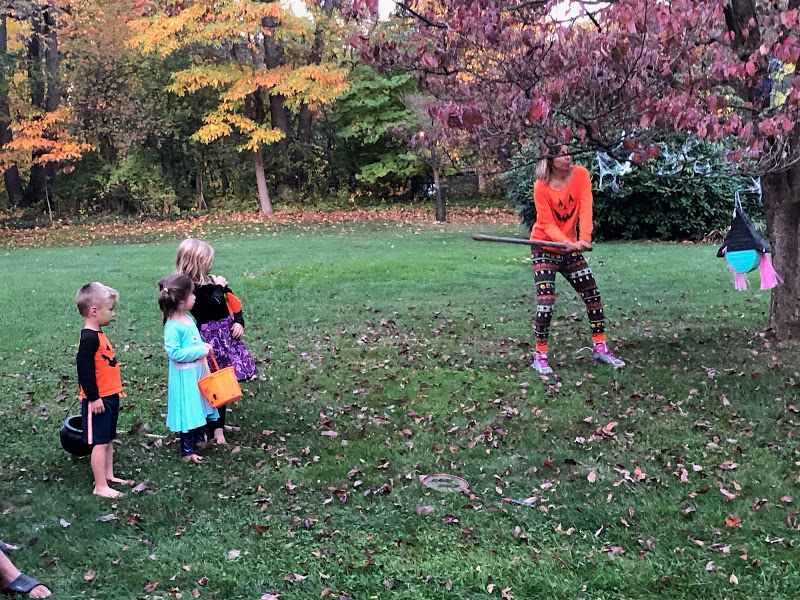
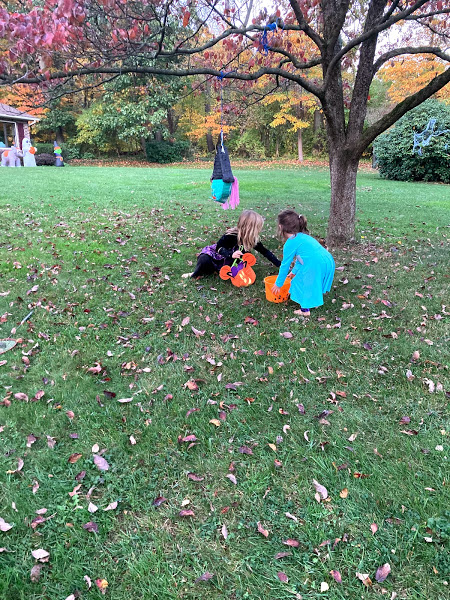
Next we did a Halloween piñata! The kids used a badminton to hit it then Aunt Amanda helped out with a big pole. Once it spilled open the kids got playdough, bubbles, and candy…yum!!

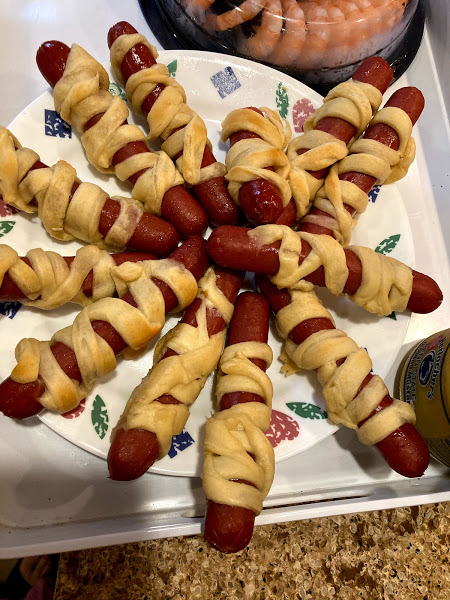
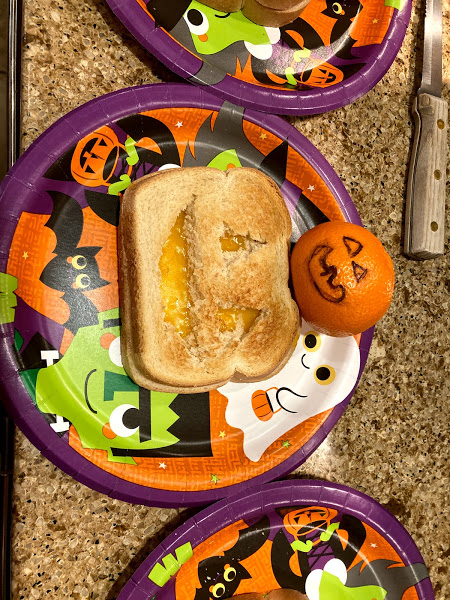
Next we made lots of spooky treats like meatballs, jack-o-lantern grilled cheese & clementines and mummy hot dogs!

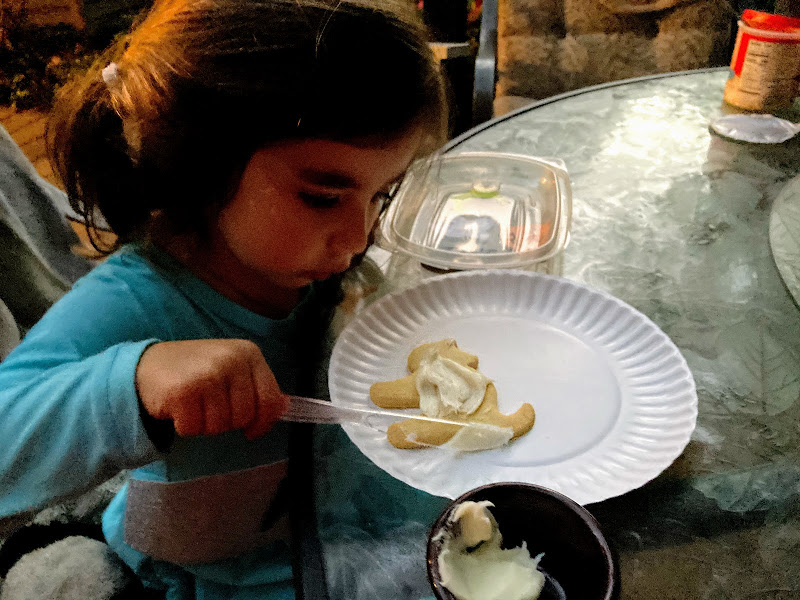
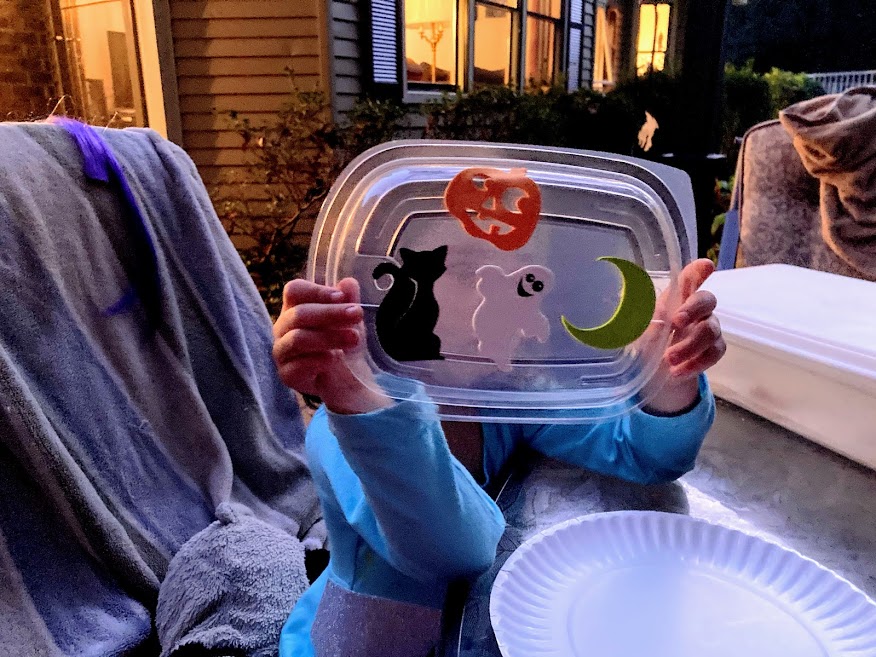
Grandma baked sugar cookies & had each kid decorate their own box to hold them with foam stickers (leftover takeout containers). They used icing and sprinkles…yum!!

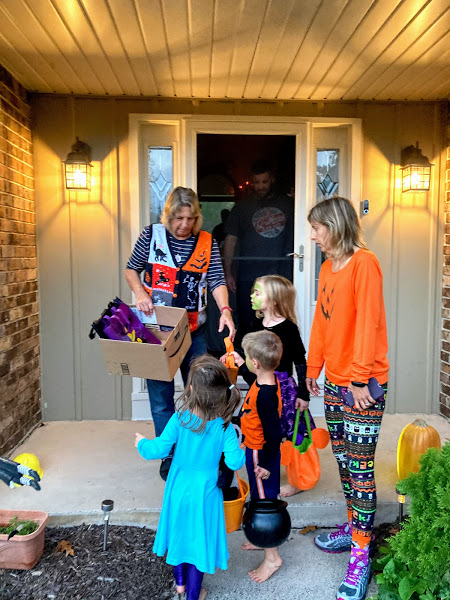
Instead of trick-or-treating around the neighborhood, we went trick-or-treating around the house to each door! The kids LOVED it and ran to each door multiple times!


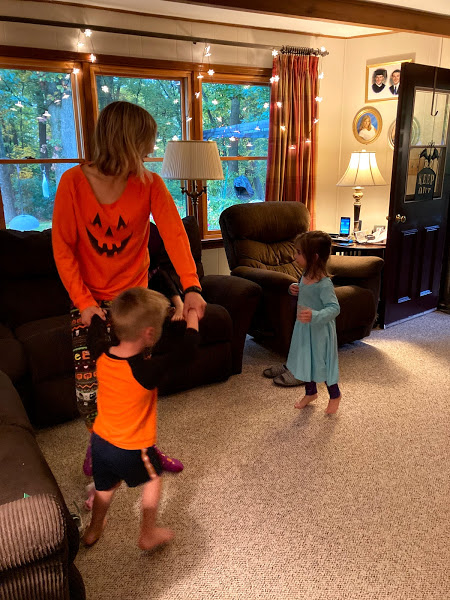
As if this wasn’t enough, we did a Halloween dance party and Halloween egg hunt (Easter eggs filled with Halloween goodies and pennies).

To end the night we had a campfire & smores! Happy Halloween everyone and stay safe!


FollowFacebookpinterestrssyoutube
ShareFacebookpinterest

Construction Counting Fun!

Construction Counting Fun!

If you have a boy or girl who loves construction vehicles, then this activity is a fun counting activity!  Not only do young ones like using their front end loaders or excavators to lift up the beans, they also learn their numbers!


You can use uncooked beans such as I did, or anything that can be scooped up. Examples include rocks, beans, beads, food items, and others. Obviously, you do NOT want to use something small for children under 3 or children who still put things in their mouth.  Supervising the activity is important as well.


FollowFacebookpinterestrssyoutube
ShareFacebookpinterest

Leaf tracing fun

Leaf tracing is easy, fun, and inexpensive! I might even enjoy it more than my kids!

All you need is white paper, crayons, and leaves!


Go outside and collect all different fall leaves, even strawberry plant leaves, tall grasses, any leaf will work!


Then, place the leaf underneath the white paper and use the crayon to rub on it! Make sure you hold the paper down and leaf with one hand while you are coloring.

I also find the stems and veins of the leaves show up much clearer if you flip the leaf to the back and trace it.


Enjoy this easy creative craft and post your pictures below! 


FollowFacebookpinterestrssyoutube
ShareFacebookpinterest

Letter Activities

If you have a preschooler or even a toddler you can do some fun craft activities with them! Today we focused on the letter “M” since my daughter’s name is Madison.

We read an ABC book and focused on the letter M. Next we did Madison’s favorite: crafts!

M is for marshmallows! This activity is fun because your child not only gets to eat some marshmallows but starts to learn letter recognition.

Yes, those are yard sale stickers. We didn’t have any blank ones left so we used what we had!

For this activity you will need to cut the letter M out of construction paper and glue it onto another paper. Next, use dot stickers and have your child put them on the letter m. Finally, have your child or yourself put glue dots on each sticker and stick on marshmallows. If you have an older child you can have them do patterns with marshmallows in different colors and count marshmallows.

All you need for this craft is buttons, glue, and paper. If you don’t have buttons you could use other items like stickers or pom poms. Use the glue to draw the letter M and then have your child put on the buttons!

She had so much fun she kept asking for more M arts and crafts. Other M activities could include drawing 2 moose antlers and stapling/taping them to make them into headband. Making M monsters by writing the letter M and adding googly eyes and many hands/legs/tentacles, whatever your child wants would work too!

We decided to end the day with movement!

FollowFacebookpinterestrssyoutube
ShareFacebookpinterest

Rescue the Numbers!

There are many simple ways to get your child to start to recognize numbers without drilling them. One activity is called, “Rescue the Numbers!”

Materials: a bucket/bowl/container with water, spoon, numbers (I used foam), paper, plastic sleeve (I had a lamination sleeve)

I traced the numbers onto a blank paper and put it in a lamination sleeve, this way it stayed dry. Next, I put all of the numbers into the container with water & she got to have fun taking them out! If you have numbers and you can draw faces on them your child would like that even more!

I had the numbers saying, “Help!” and when she got each one out I’d say the number (or she would) and she would match them on the paper. When they were all done we counted them while pointing to each one.

She ended up putting in some rocks and making them sink, then pretending they were stuck and she had to rescue them again. We also talked about sinking and floating. She loved it so much she asked to do more (next time I’ll do the alphabet).

FollowFacebookpinterestrssyoutube
ShareFacebookpinterest

Crayon candle making!

As a child I remember making many candles from crayons at my grandparents house. I also remember how much fun we had making candles from crayons.  So, during the quarantine, I decided why not try it?

img_3449

Of course the kids are still young and can’t work with the melted wax, but they can find broken crayons or pieces of crayons too small to use.  I put them hard at work finding these crayons and then taking all the wrappers off of them.  Next, they categorized them by colors.

Crayon Candle Supplies

Next, I had little jars I had previously saved from baby foods that we could use for candles.  Make sure its a glass jar and not plastic!  We also had Popsicle sticks, wicks, and a boiling pan and thermometer for melting the wax. We have small holes in the Popsicle sticks, but you can also wrap it around the stick if needed.  Have your container and wick ready.

img_3443

Next, decide if you are going to do just one color candle or multiple.  If you choose to do multiple you have to let the candle wax dry in between which can take a while.  I ended up getting a big pan of ice and putting it around the outside of the candle after pouring the wax in order to cool it quicker.

Another factor is if you want a scent.  If you have different scents you can add them, or you can use essential oils to add a scent.

Now, you do need some regular wax as well!  I happened to have some white wax shavings from a long time ago we used and added the crayons for coloring.  You can also use the small tea candles that are cheap at the store and take them out of the tin wrapper.  Depending on the size of your jar you are filling, you will need a different amount of candles.  We melted the wax and coloring in the special candle pot we have and poured it out into the containers.  Some people also like to put the wax and crayon right into the jar and put 3 inches of water into a pan and place the jar in the pan and let it melt.  Warning–your jar will get very hot this way!  Also make sure u have your wick in when you do it this way.  If you want to try that method I found a great website for you to follow Click here

Crayon Candle Melt and Dip

I tilted the candle wax pan for you to see.  As you can see the pot below has water in it and it melts the wax and crayon.  When its all liquid you can pour it directly and carefully into your jar and make sure your wick is centered.  Then you allow it to dry!

img_3444

Following that, if you are doing another color, repeat the melting process and make sure the bottom layer is completely dry before adding the next color in the candle.

img_3445

After its all dry you can cut your wick to the proper size and enjoy your candle!  Of course you should light the candle and not the kiddos!

img_3448

Enjoy!

img_3449FollowFacebookpinterestrssyoutube
ShareFacebookpinterest

4th of July Fun Banner Craft

Whether you are celebrating in quarantine or with a small group of people, this banner will be a hit! You can use this activity to make cards, artwork, or even use the stamping to make paper headband hats!

Materials:

Large piece of paper for the banner (we used her easel paper)

Red, White & blue paint

Pipe cleaners

Star cookie cut out (or you could cut a sponge or potato in the shape of a star)

IMG_0903

I put paint on a plate and used a star cookie cutter. Madison dipped it in the paint & had fun doing red, white & blue stars!

If you don’t want to make a banner, you can do this on a paper, card, or cut a sheet of paper in half and tape it to the other half to make a “crown” or stars for 4th of July!


After doing the stars we decided to make fireworks. We bent pipe cleaners around each other to create a firework shape, then added a handle for easy dipping.

IMG_0900 IMG_0902

IMG_0910


She had so much fun! I wrote “Happy 4th of July” to complete the banner. If your kiddo is a little older they could write it or you could do bubble letters they can paint!


Have a happy & safe 4th of July!


IMG_0909

 FollowFacebookpinterestrssyoutube
ShareFacebookpinterest

Tree Prints!

Madison loves painting and gluing, so this craft is the perfect combination! I wanted something that we could easily mail to grandparents and this fit the bill!

Materials:

  • construction paper in the color of your choice for the “trunk” of the tree
  • white paper
  • paint in various colors for the “leaves”
  • assorted markers or crayons
  • glue

3

Trace your child’s hand and arm for the branches and trunk of the tree.


Next, cut out the trunk and branches and glue them to the white paper.


1 - Copy


Choose different colors of paint and have your child use their thumb or fingers to make “leaves.” Madison liked making the leaves all over the place. You can vary the colors based on the season you are creating.

For summer, use lots of different green colors. For fall, use browns, reds and yellows. For winter ,use a different color background like blue and do white snowflake prints. For spring, choose colors like pink, purple, green, and yellow!


4

If your child is a little older then they can draw different scenery, animals and clouds. Your child could also add stickers. We sent these to her grandparents and they loved them!FollowFacebookpinterestrssyoutube
ShareFacebookpinterest

Face painting fun!

It all started with my daughter using a marker on my son’s face. She said she simply wanted to paint his face! Well, obviously, this wasn’t going to work. So I searched for face painting supplies. At first I thought face paint would be way too messy and not worth the money. However, I found that face paint is super fun, easy, and the kids just love it!

An easy and fun activity is face painting! My daughter loves painting faces and my son loves having his face painted.

img_3547

We got this easy set from amazon. Bowitzki Face Paint Kit

Bowitzki Face Paint Kit with 10 Colors,32 Stencils,2 Brushes,2 Chunky Glitters,2 Sponges,1 Body Glue

When we first started I had to remind my daughter not to go near the eyes, but since then no problems at all!

Daddy even got his face painted by Cece!

img_3505

Grammy did a little face painting as well…

They love this activity and it’s fun, easy, and inexpensive! I hope you try it too!!

FollowFacebookpinterestrssyoutube
ShareFacebookpinterest

An Outside Play Area

I have been using pinterest a lot lately. Since being home due to the coronavirus crisis, I have more time on my hands and I love being outdoors and doing projects for my little one. I really wanted an area for a mud kitchen and a place for her play house and slide. I found many really cool ideas on pinterest but I had to use materials I already had or that I could get with contactless delivery to my home or car. I ordered landscaping fabric and picked out a spot in my yard along the fence.

IMG_5717

I ended up cutting away some of the fabric as you can see in the picture. I did this so my daughter can dig for dirt near her mud kitchen. I ended up having lots of extra bricks at home which I used to line the outside. I left 2 openings near the playhouse and the slide to get into the area. You could also use edging for the project.

Next I added mulch on top. I went with cedar natural mulch. You definitely don’t want dyed mulch because it will only be a mess. Some people used rubber mulch but I figured that might get too hot in the summer.

60901038882__5FAB6EAD-ED60-4BCC-A765-4746DCAD8804

I added some potted plants around the house.

IMG_5721

I plan to add some stepping stones (which will be tree stump slices) and paint numbers on them.

IMG_5726

I also added a little balance beam (made with bricks and a long piece of wood I had sitting in the garage.

IMG_5729

I used tools from her play set and extra kitchen tools for her mud kitchen. What is a mud kitchen? It’s just an area where kids can create and make “food” out of outdoor materials. Some people buy them, some use old wood, crates, or tables. I had an old side table I was going to get rid of so I used that. I ended up ordering hooks to attach to the fence for her materials and a container with a lid. Before summer I will probably try to add an umbrella or shade to the area using the fence or clothes line for shade.

IMG_5732

She loves her new play area, especially her mud kitchen. She makes “salamander tea” and soup. She heats it up on her stove in her playhouse.

I’d say it’s a hit!FollowFacebookpinterestrssyoutube
ShareFacebookpinterest