Cecelia’s Summer Bee Dress
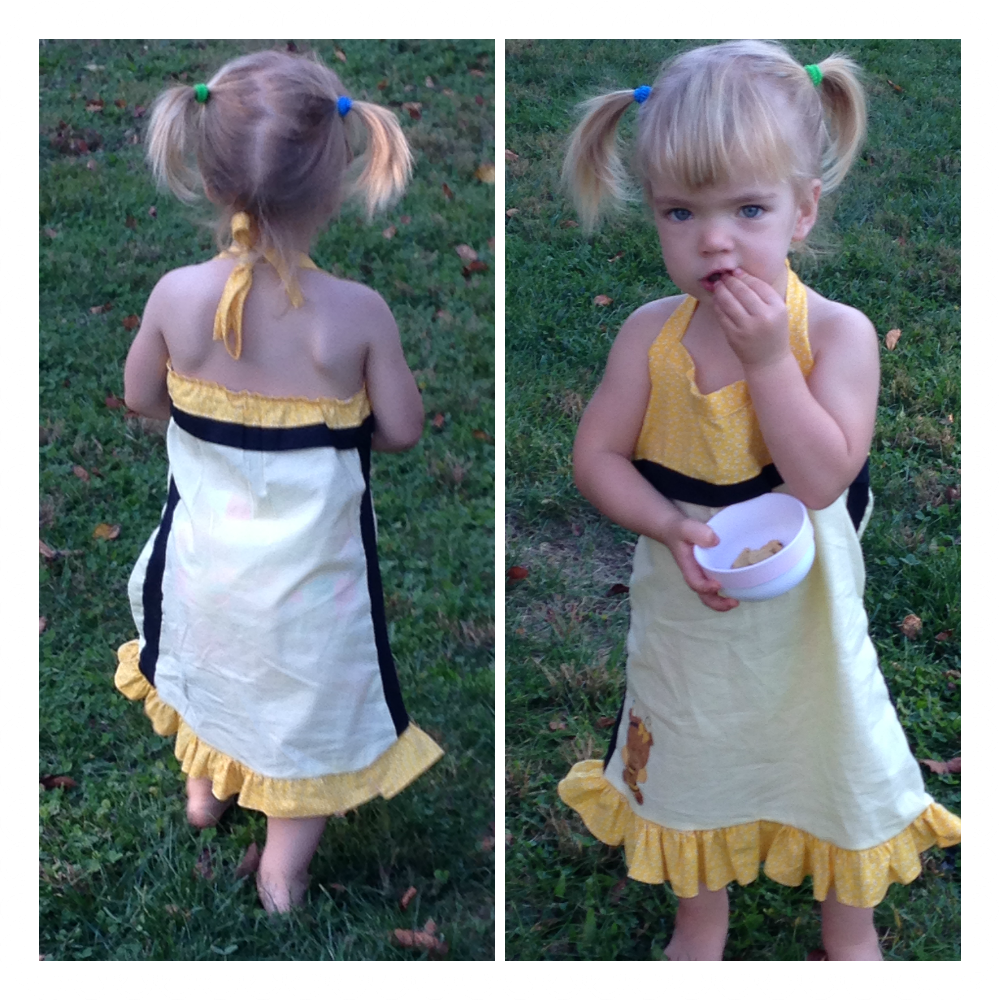
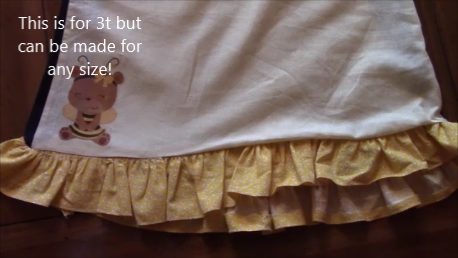
This lovely summer spaghetti strap dress was suppose to be made in time for my sister in laws baby shower in June. However, I was unable to finish it due to my water breaking early and being hospitalized. I finally finished it and love how it turned out! I free handed the design and sizing. I meant for it to end up as a 2t size, but as you can see it’s a bit big! This works out great since its winter and not summertime! She can wear it this upcoming summer. I can’t wait for the warm spring and summer to come! Bulbs and flowers emerging and gardening time, but let’s get back on track.
As always there is a youtube tutorial and this written one. I do not have a pattern as a freehanded it and designed the pattern myself as I went. I used one of my Cece’s dresses to size it and make part of the pattern to guess the sizing.
Unfortunately, a lot of the video tutorial was accidentally videotaped over with my baby boys arrival home (sorry more important anyways!). So I videotaped again trying to explain the best I could. If you have questions please let me know! More great videos to come soon!
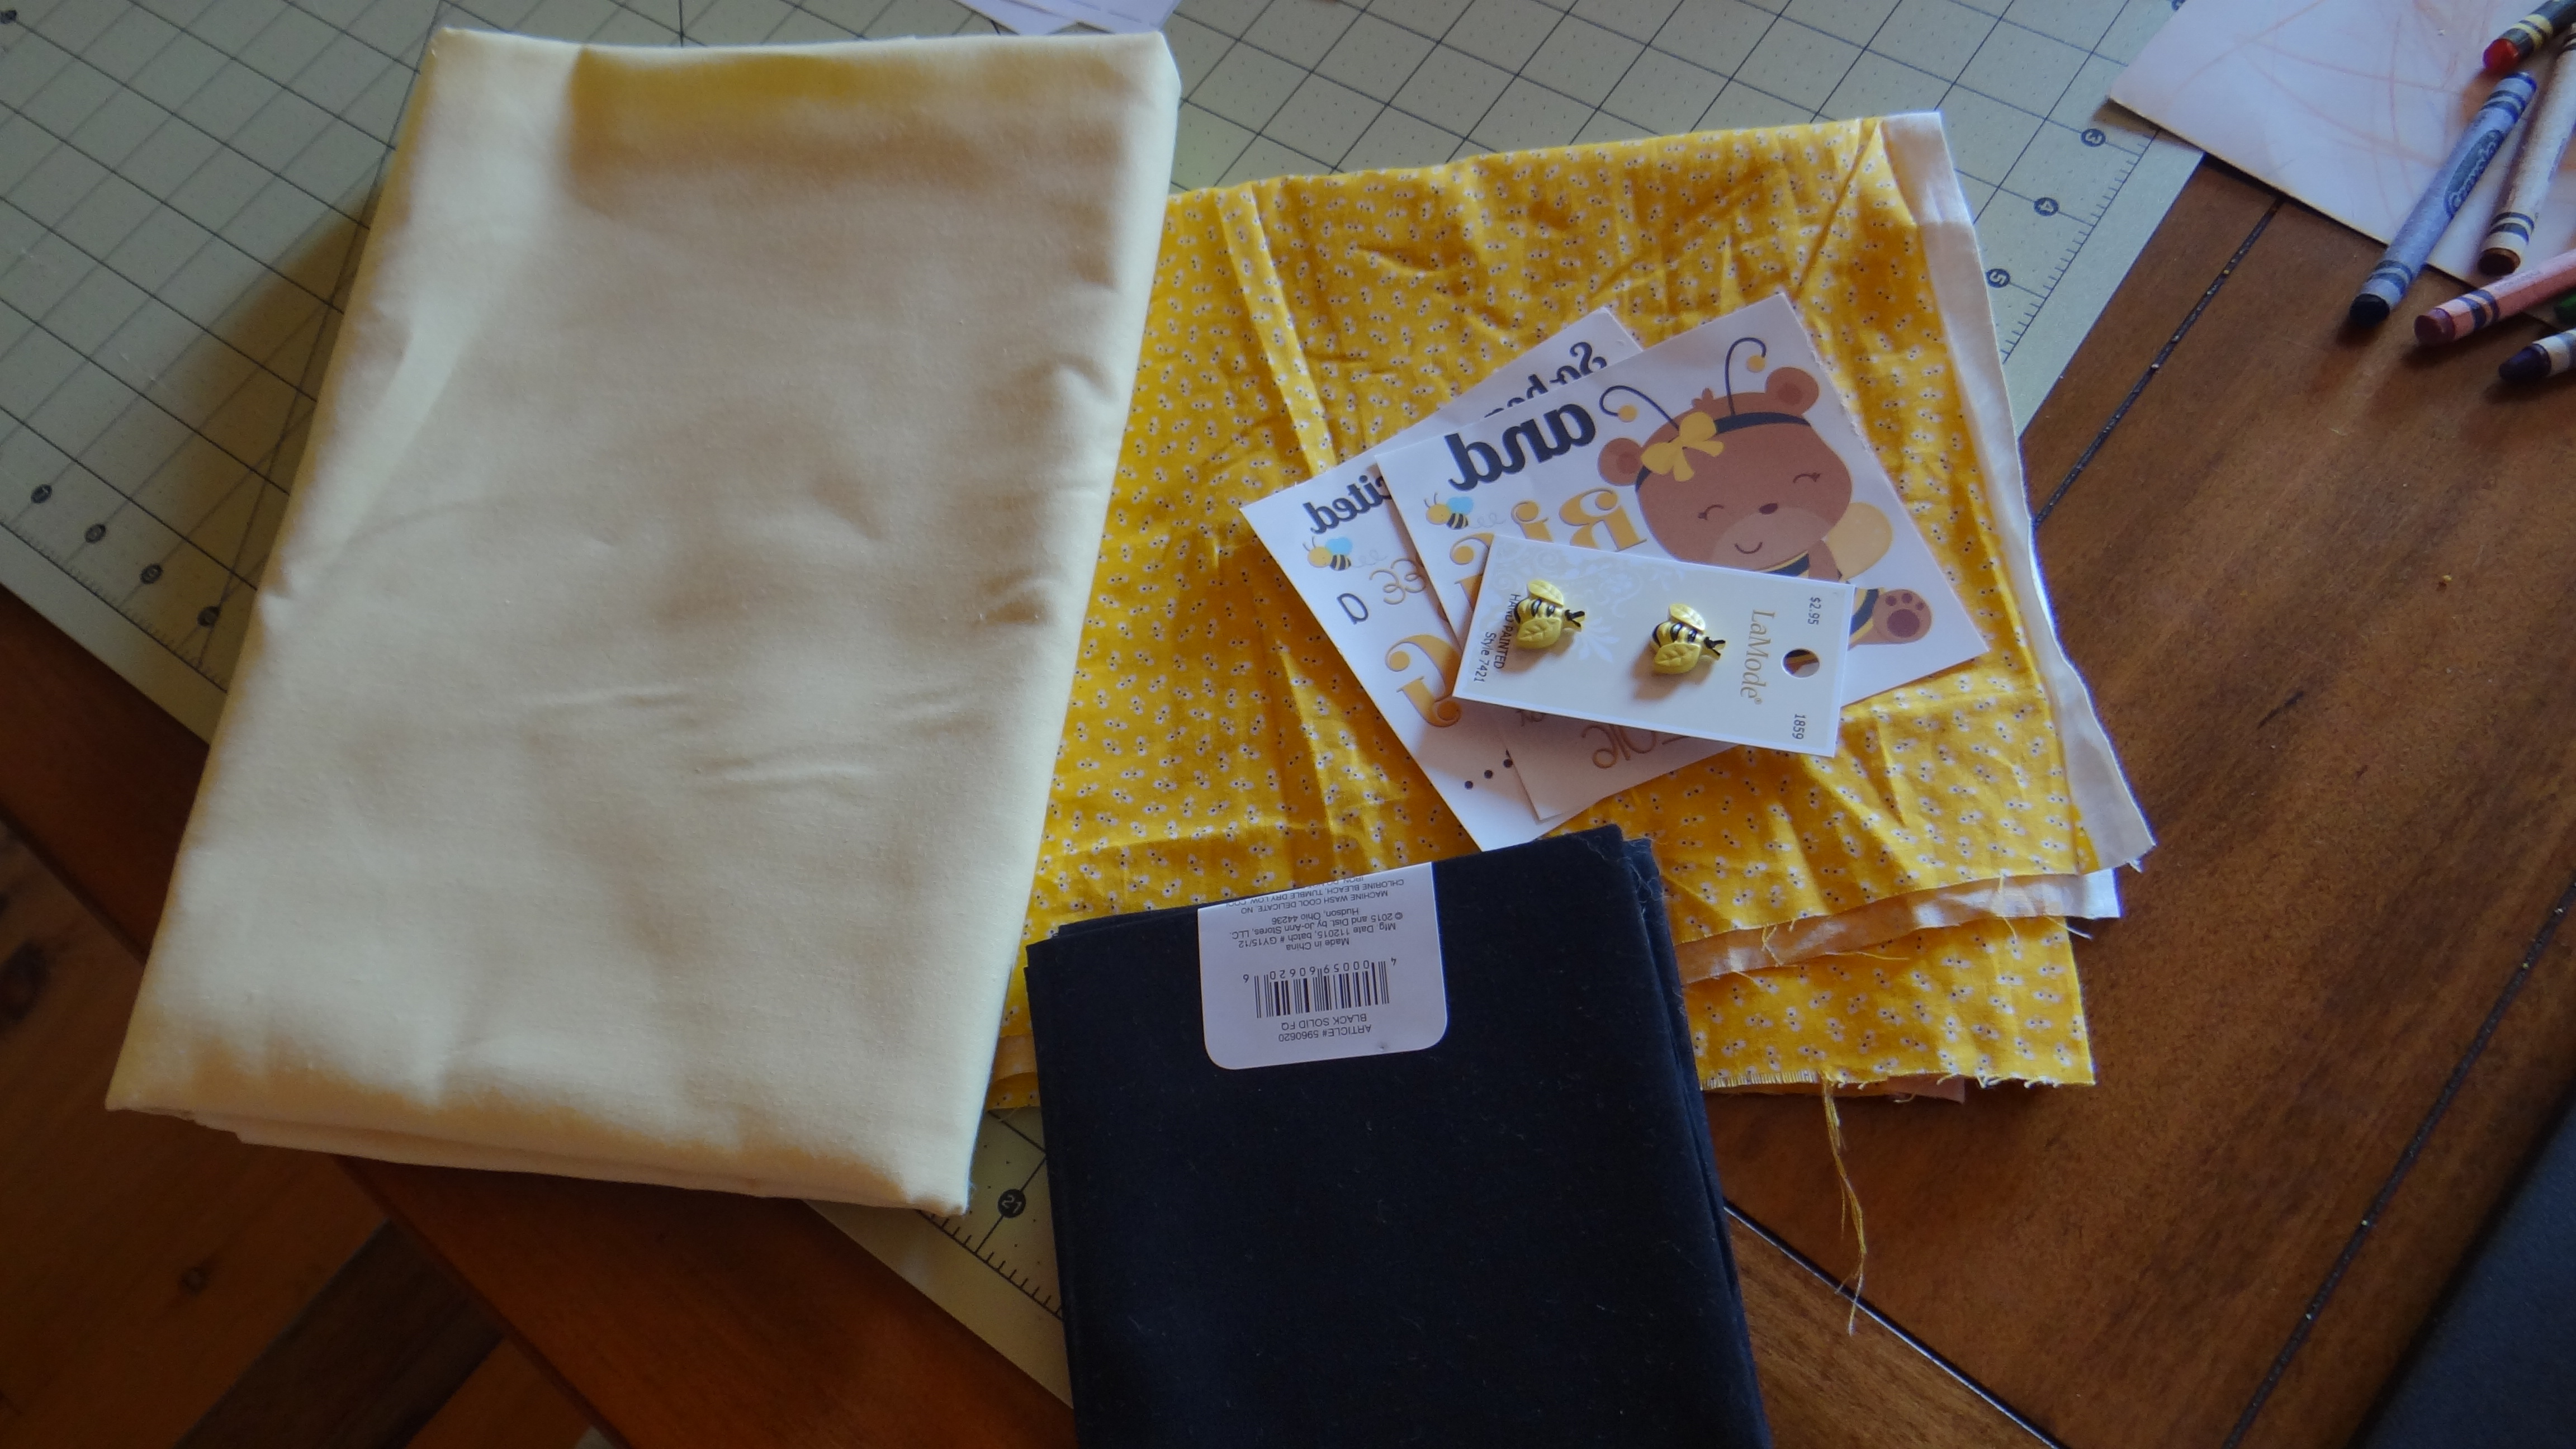
What you need:
- Chose of fabric colors and types (I chose three colors
- 1/4 inch elastic (for gathering of the top of back of the dress)
- Bias tape (or you can make your own like I did)
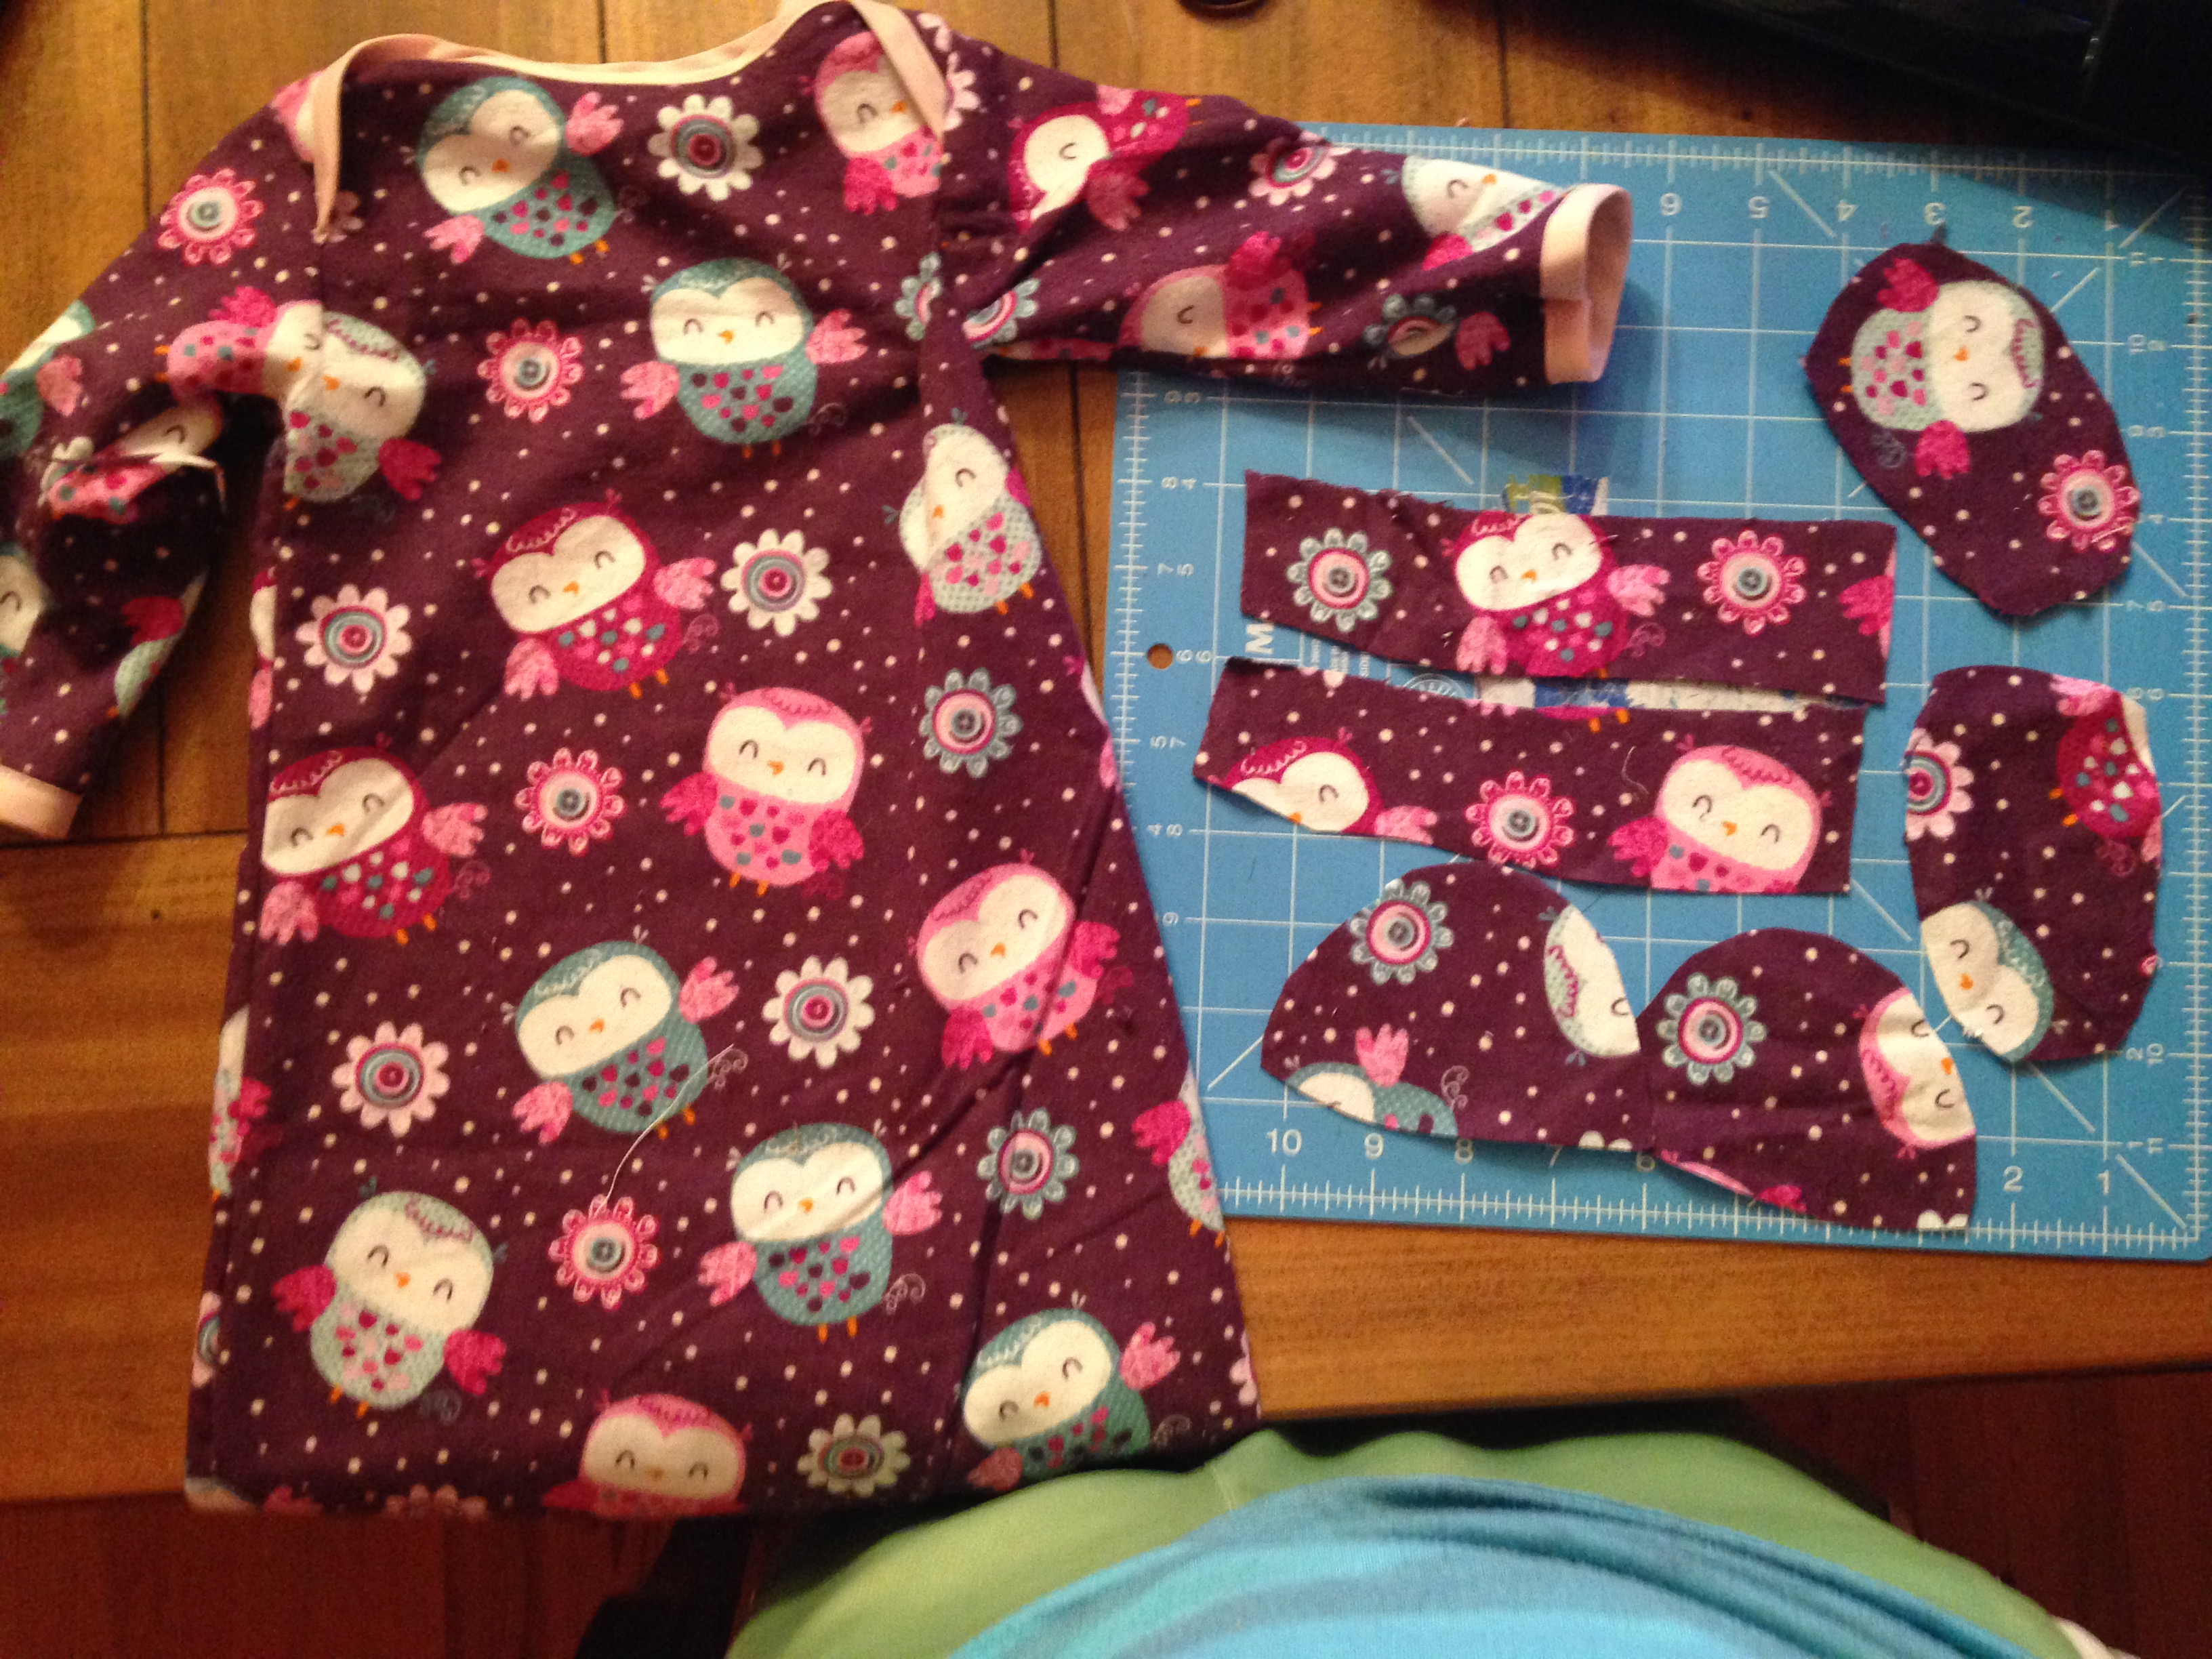
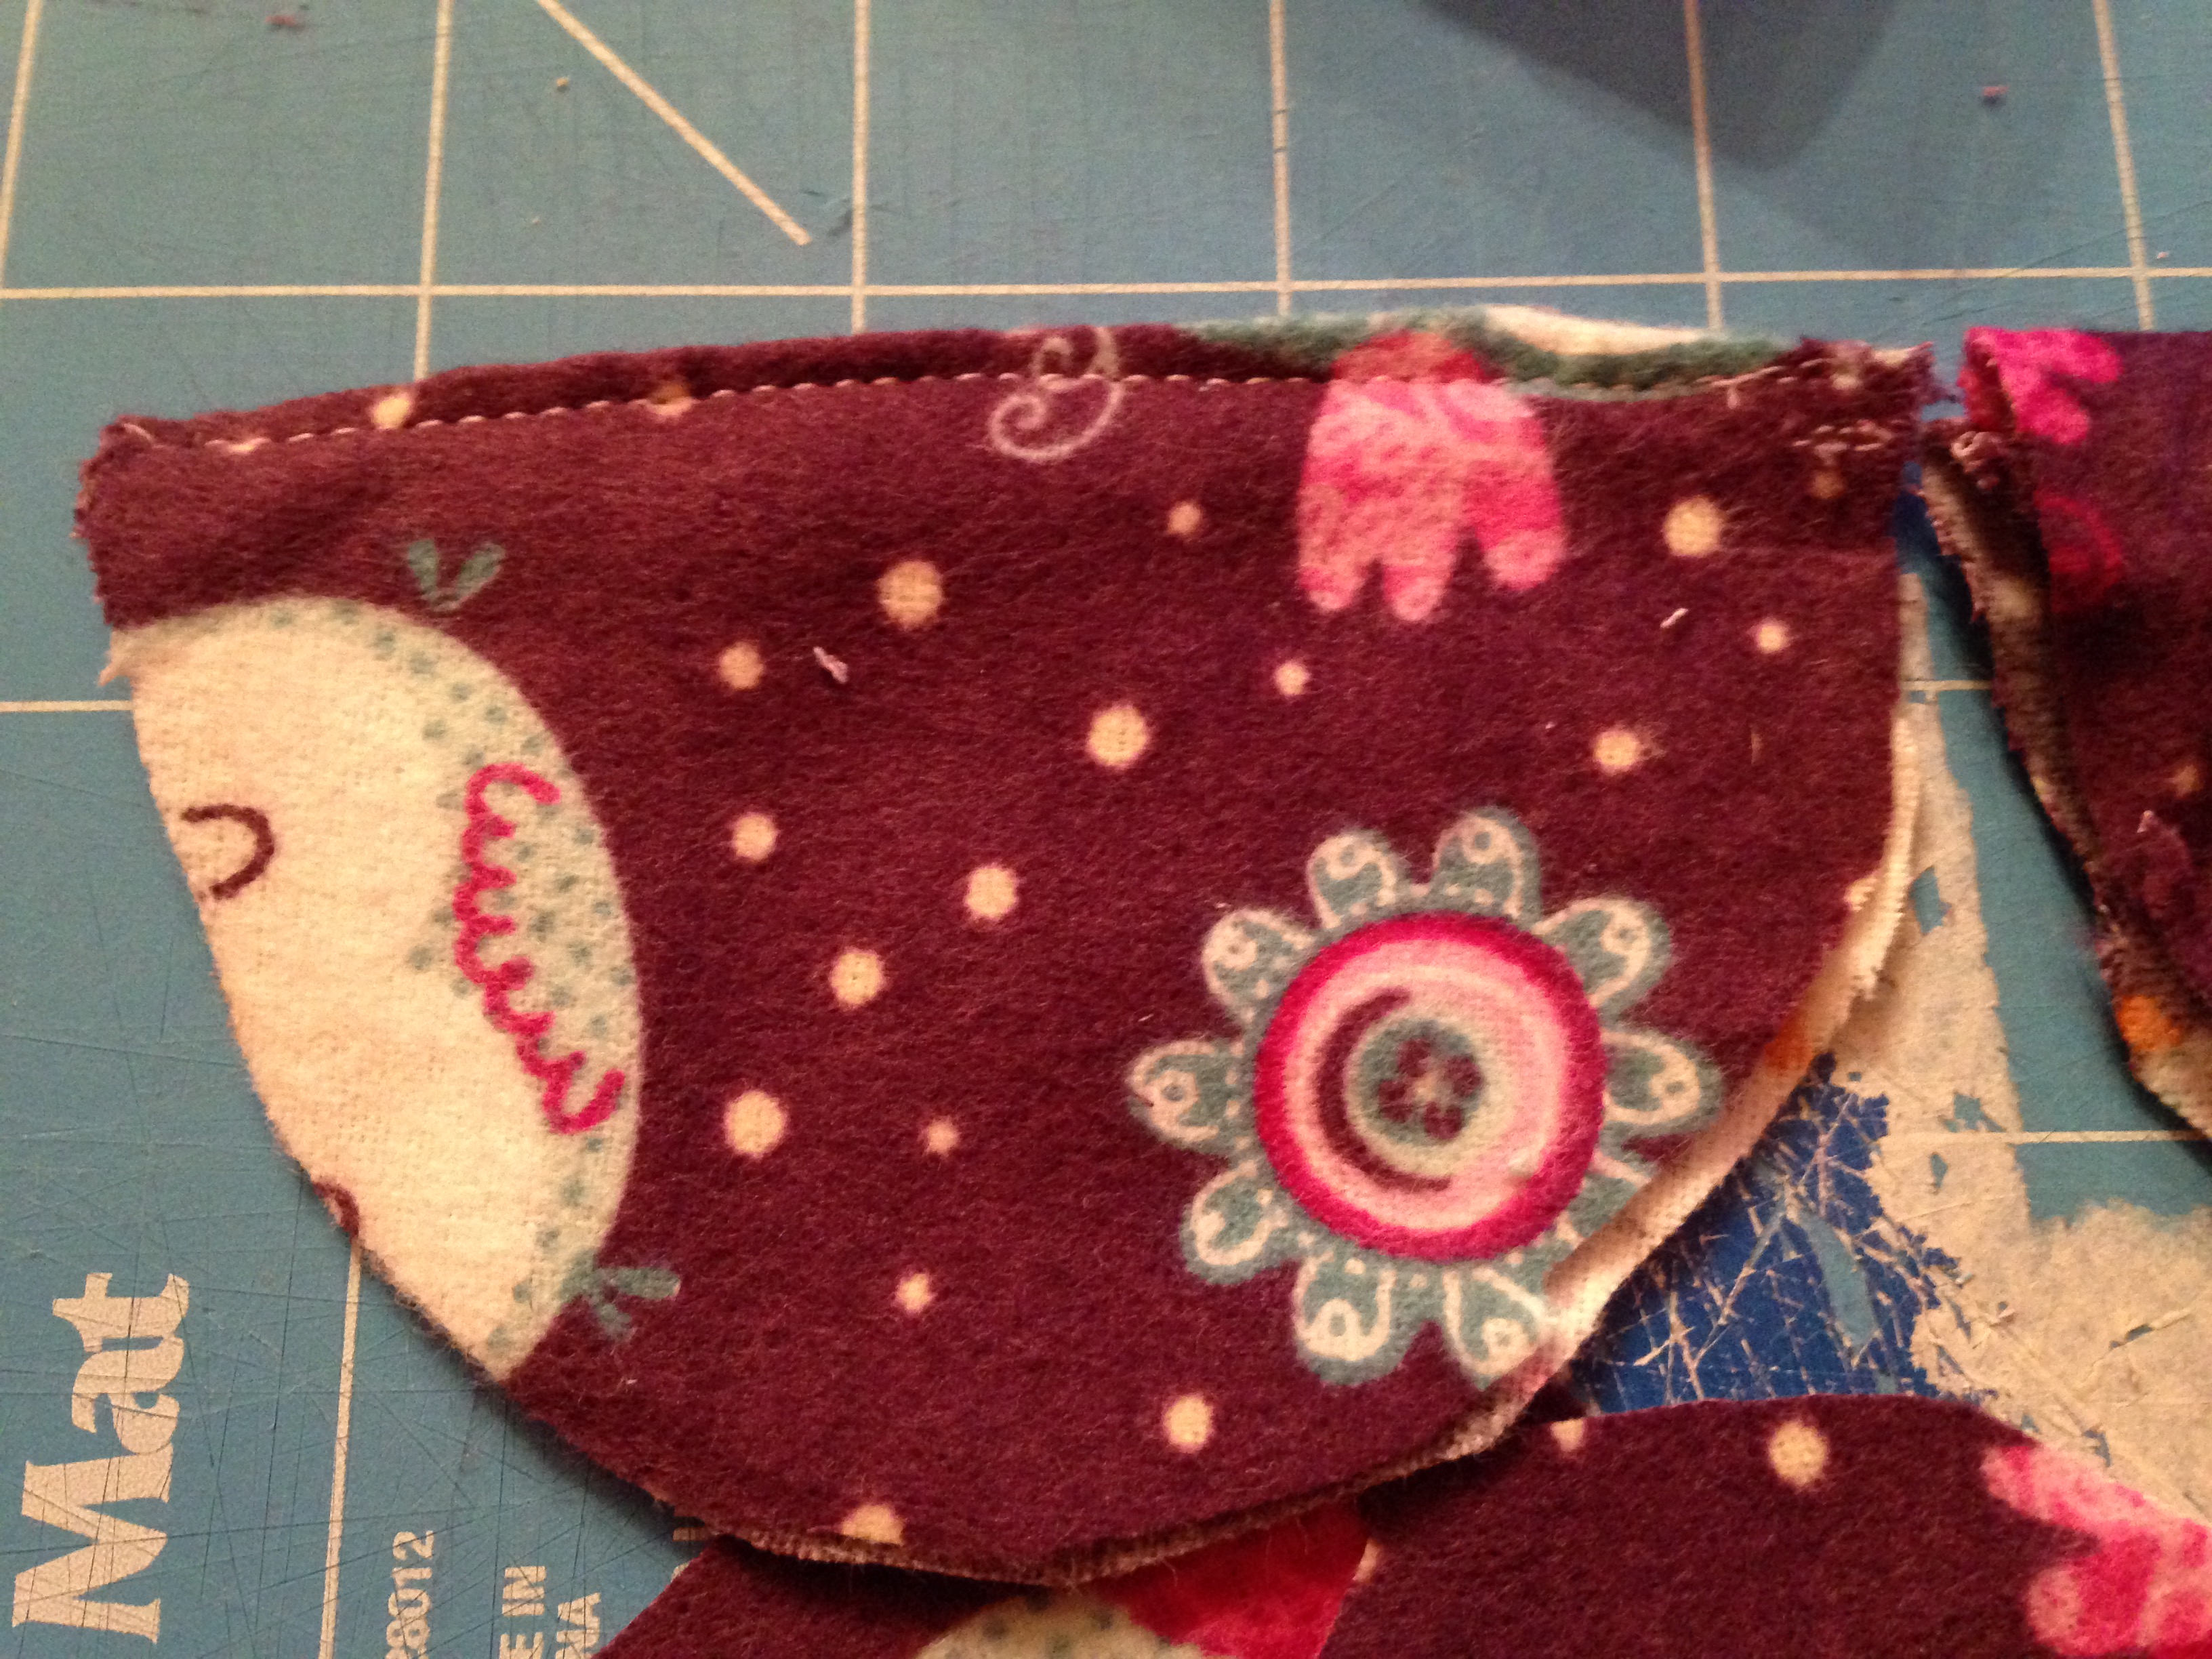
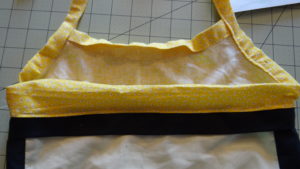
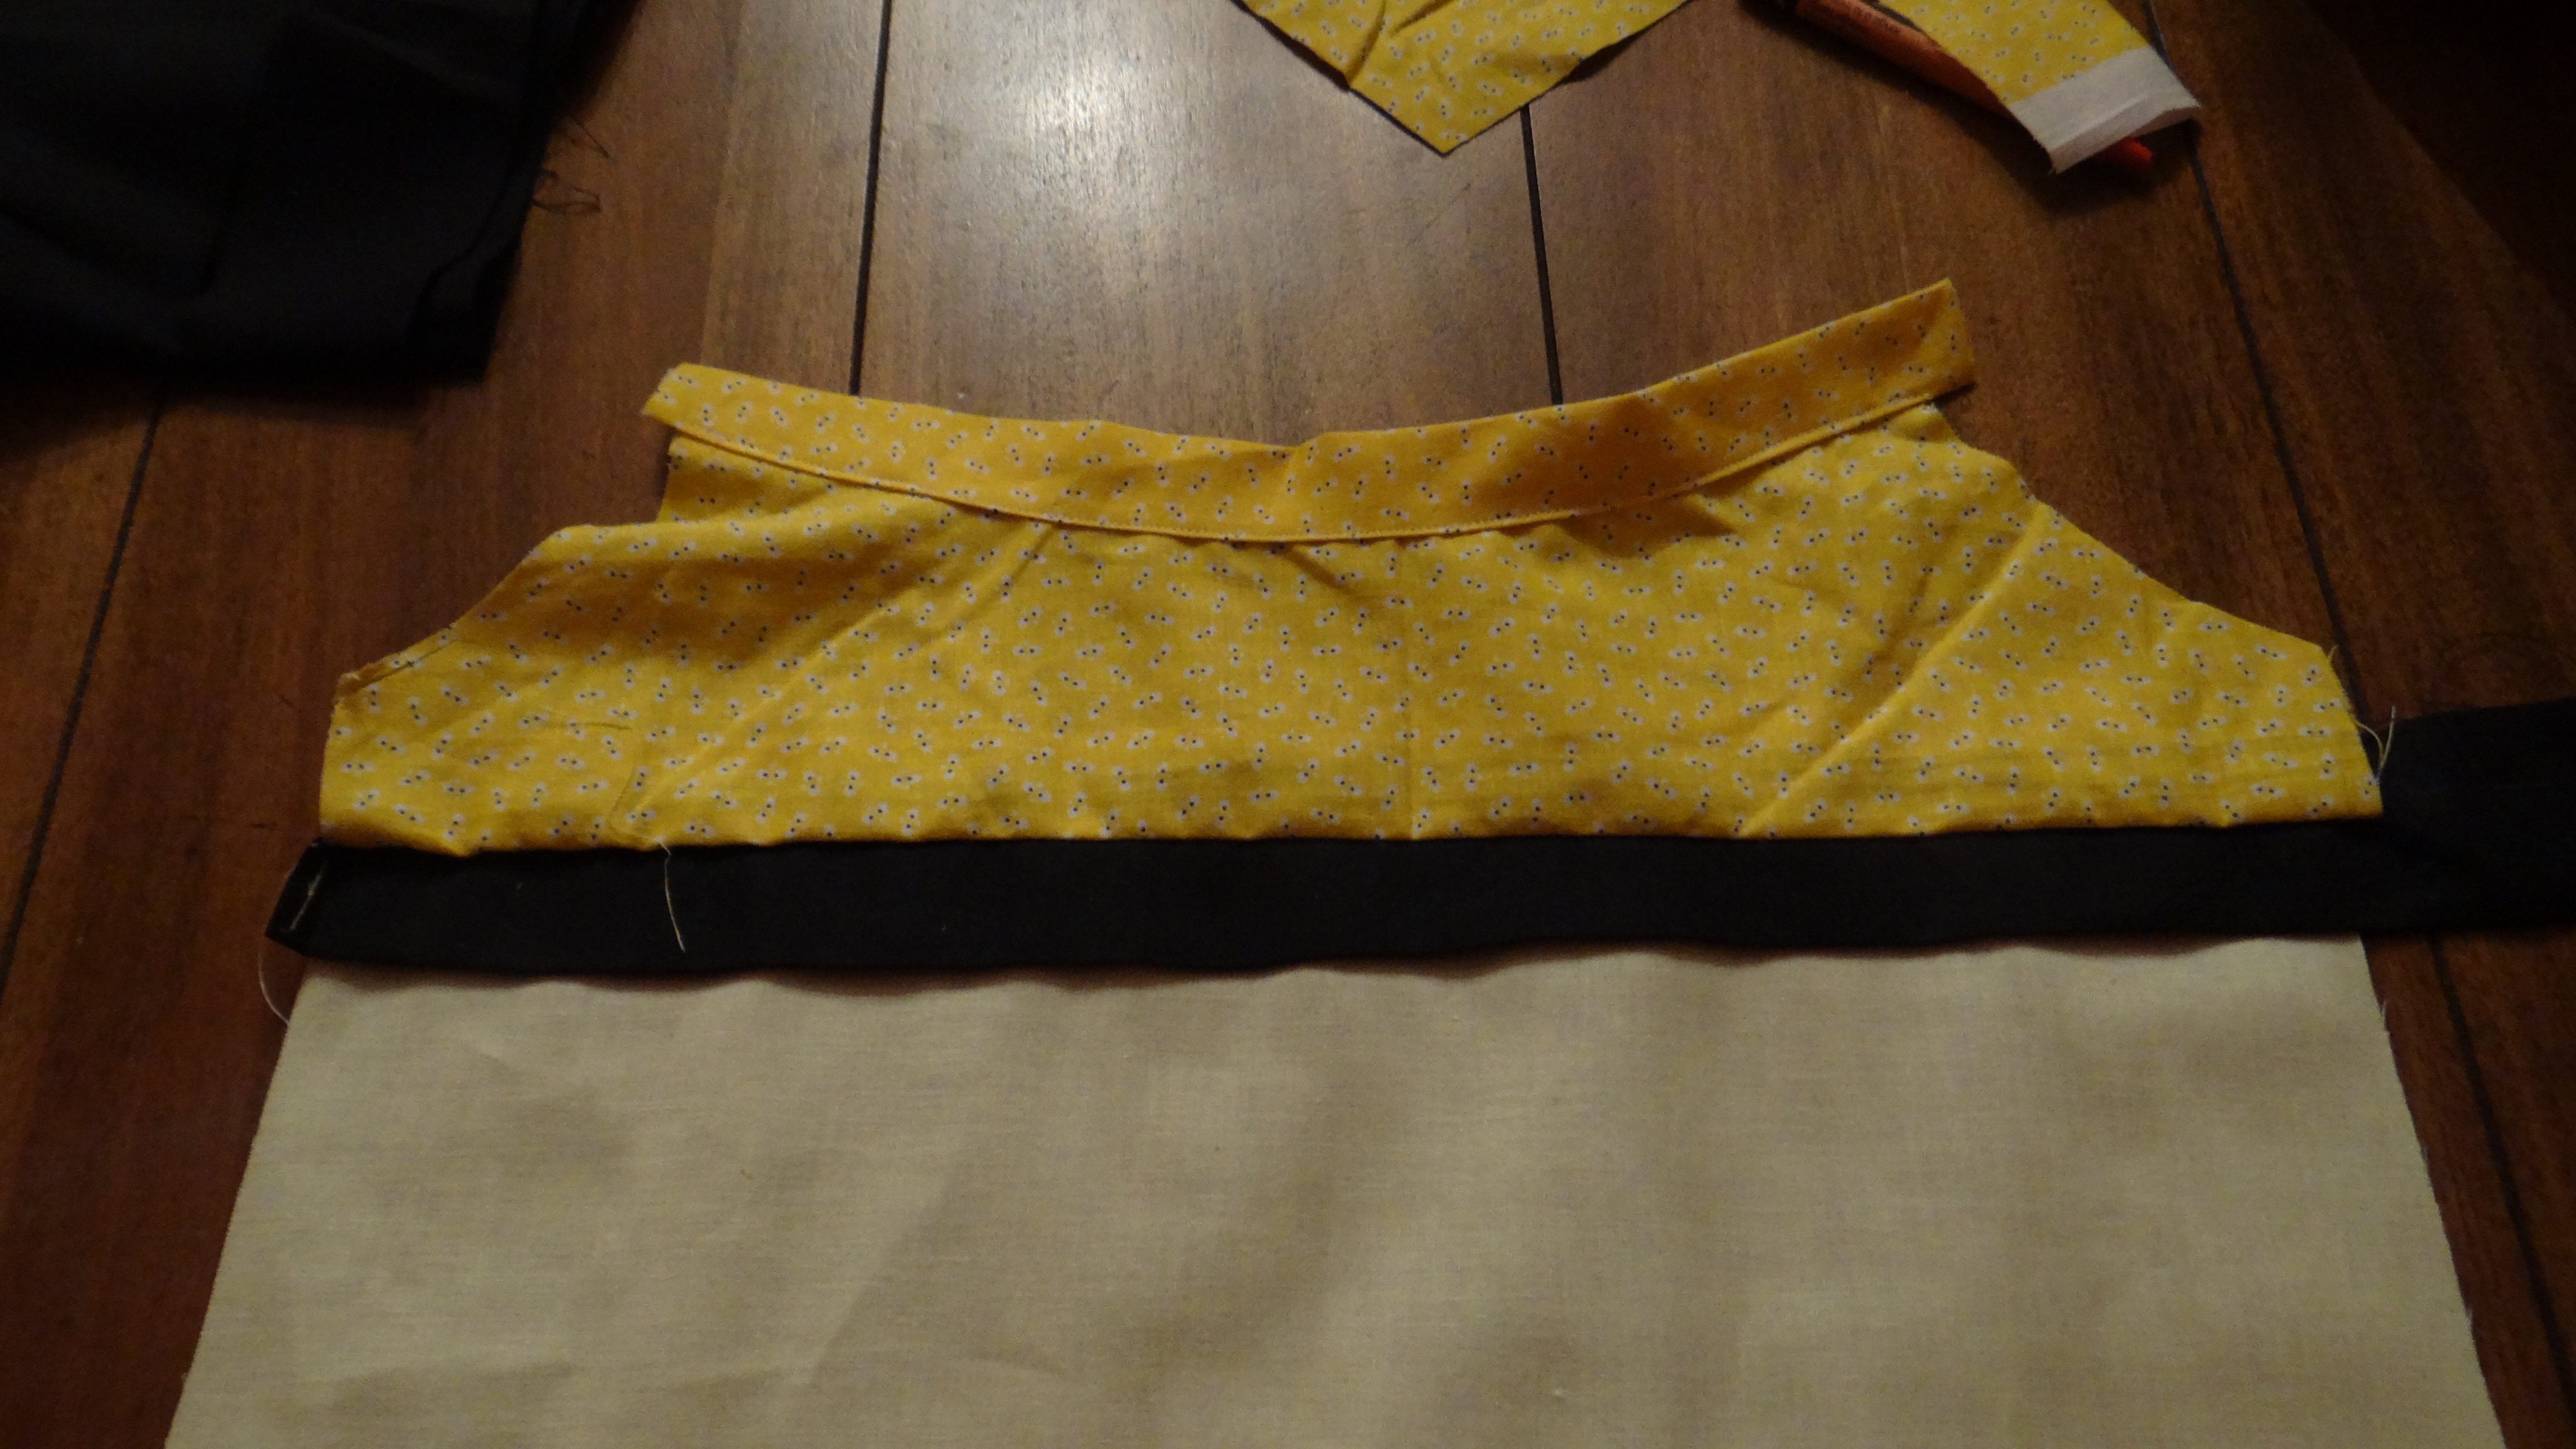
- First you want to cut out your fabric pieces. I looked at another dress I have for my little one and based the main front and back piece by measuring and estimating the sizing. Then I cut the bottom piece I needed which ended up being about 40inches long and 4 inches wide (for the ruffle on the bottom). I ended up added another color (black) on the two sides of the dress. Then I also cut out fabric to make bias tape (here is a good tutorial on making bias tape if you’ve never made it before..BIAS TAPE TUTORIAL. )
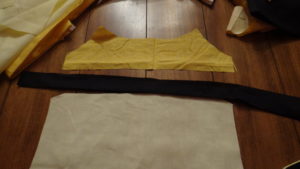
- Take your strap (black piece) and sew it to the top piece and bottom piece. Pattern piece to pattern piece (facing each other) sew the bottom to the strap
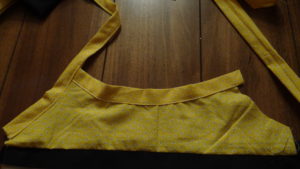
then the top. - I made my own bias tape by cutting and ironing the fabric. Then you proceed to use it to line the top of the dress (sew it on!). Then sew up the armholes and long to tie…estimate how long you want the straps to be to tie behind the neck (longer the better!)

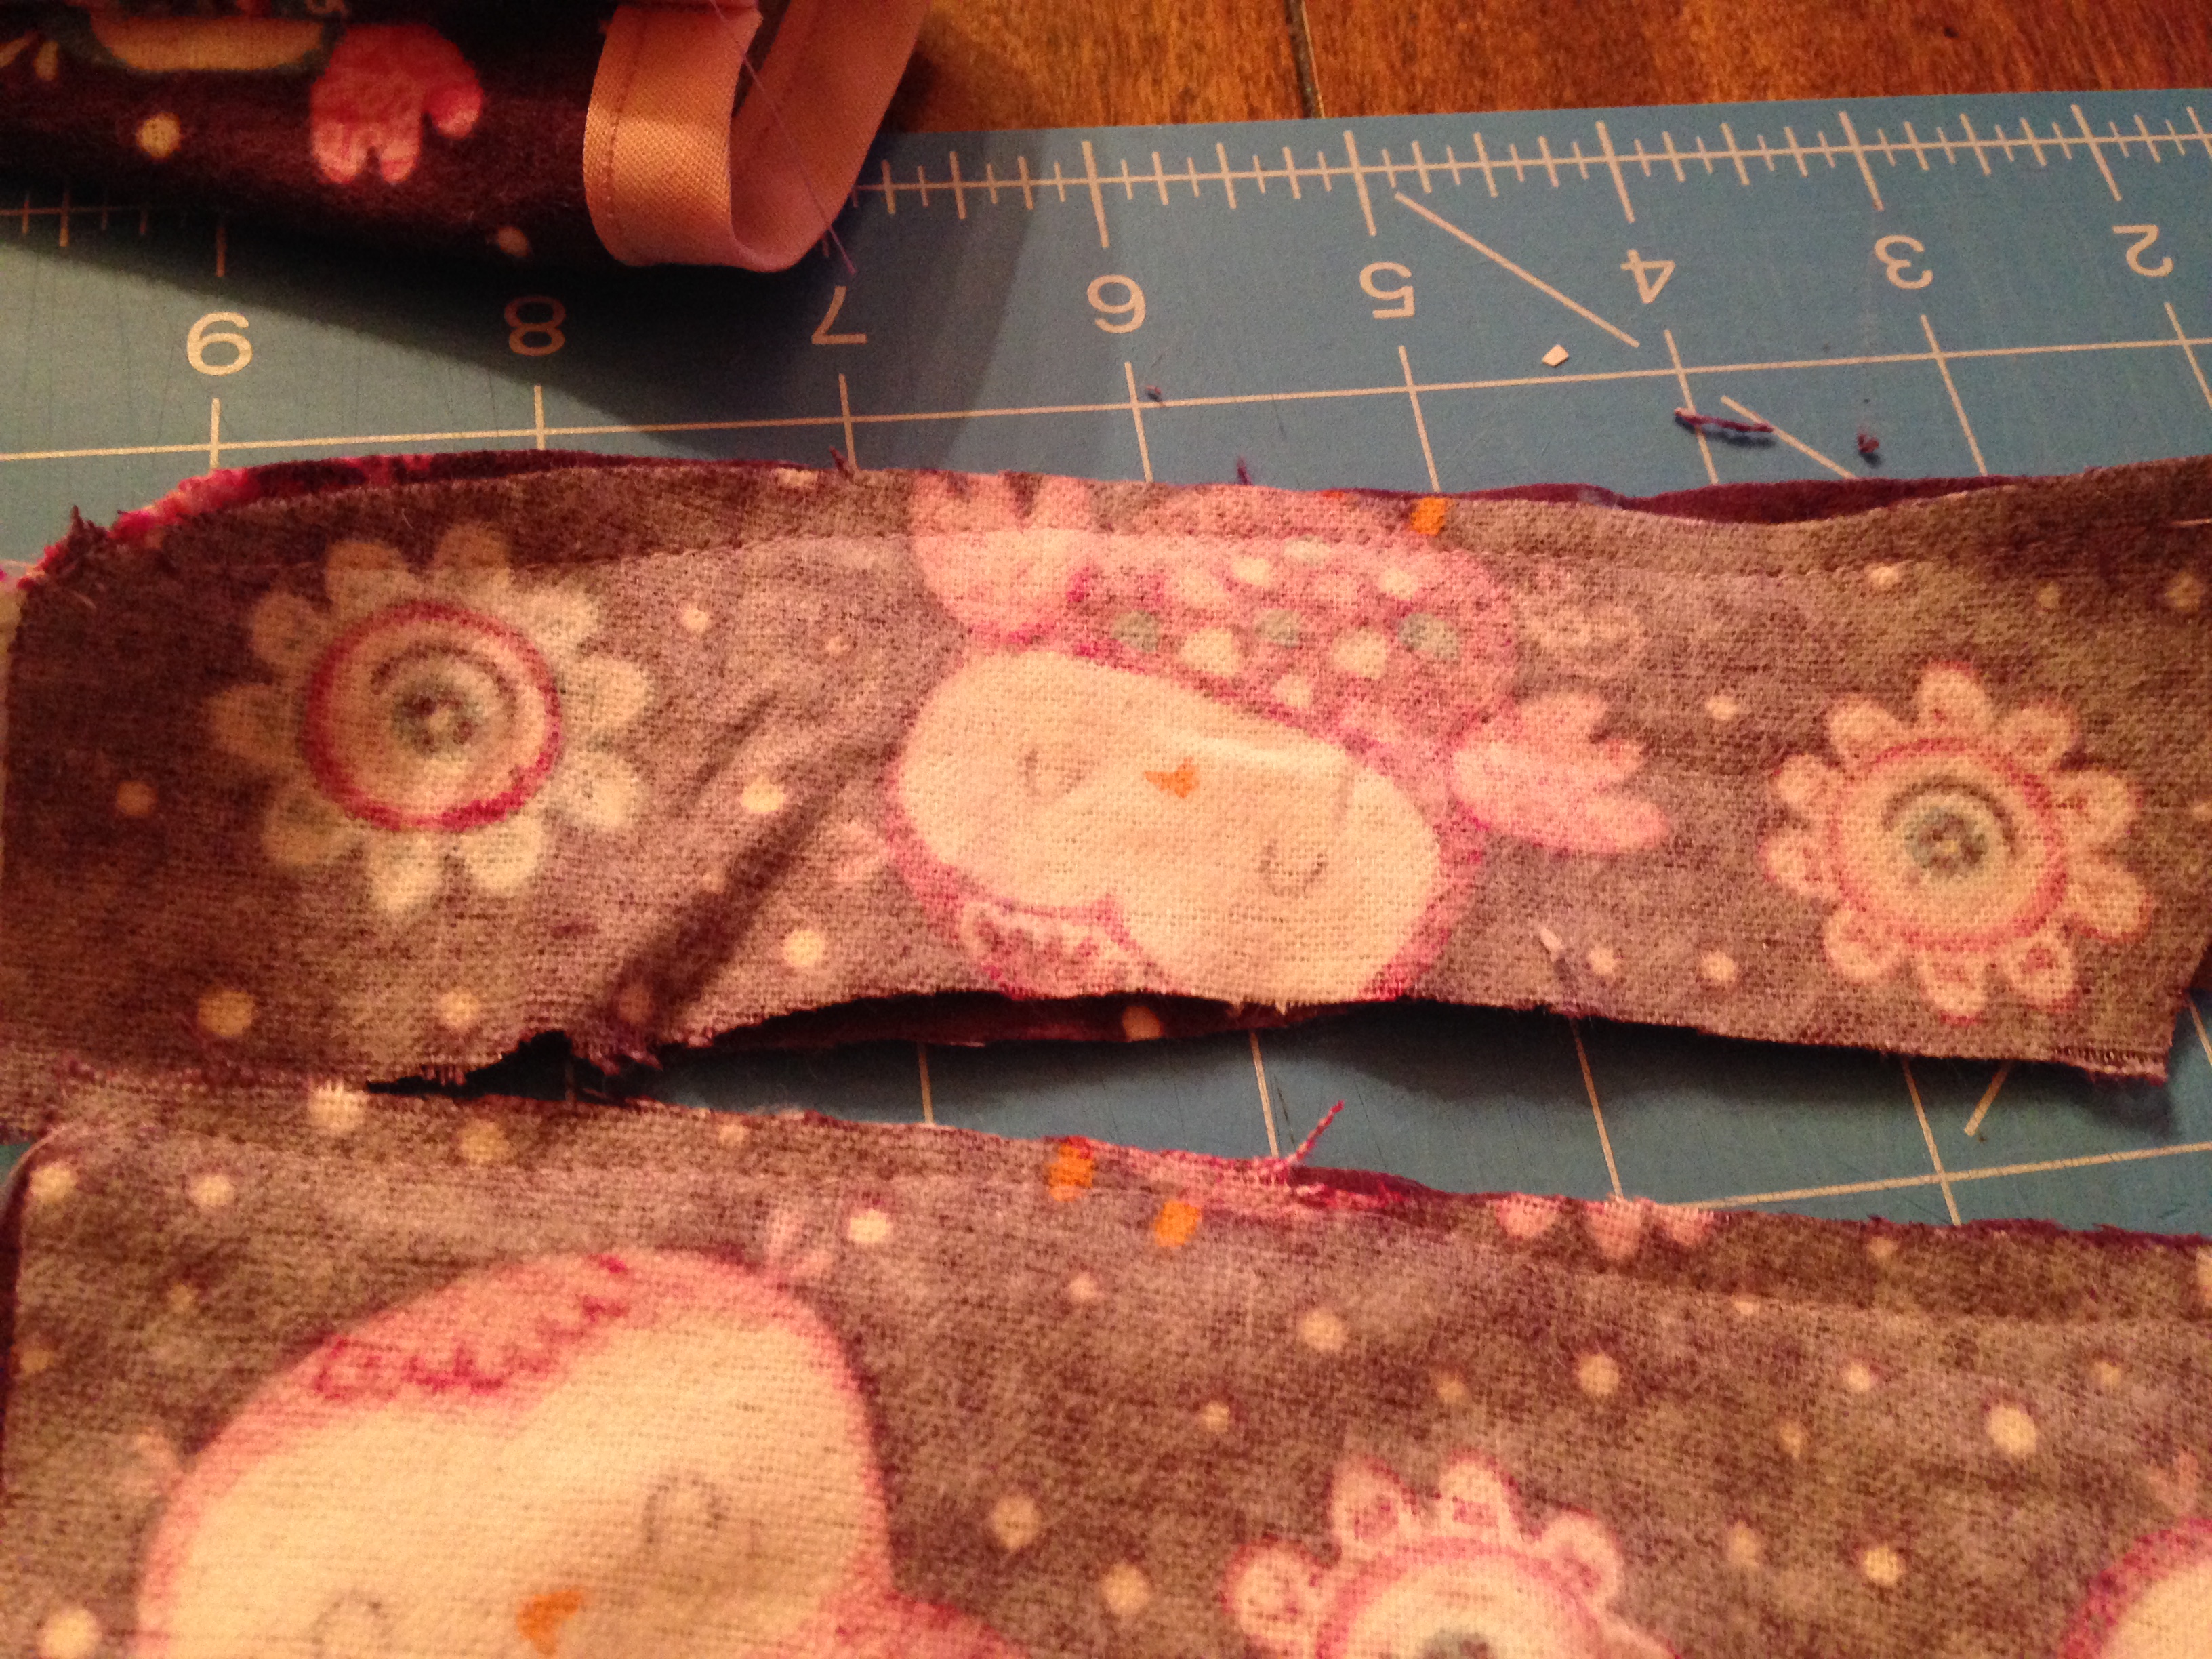
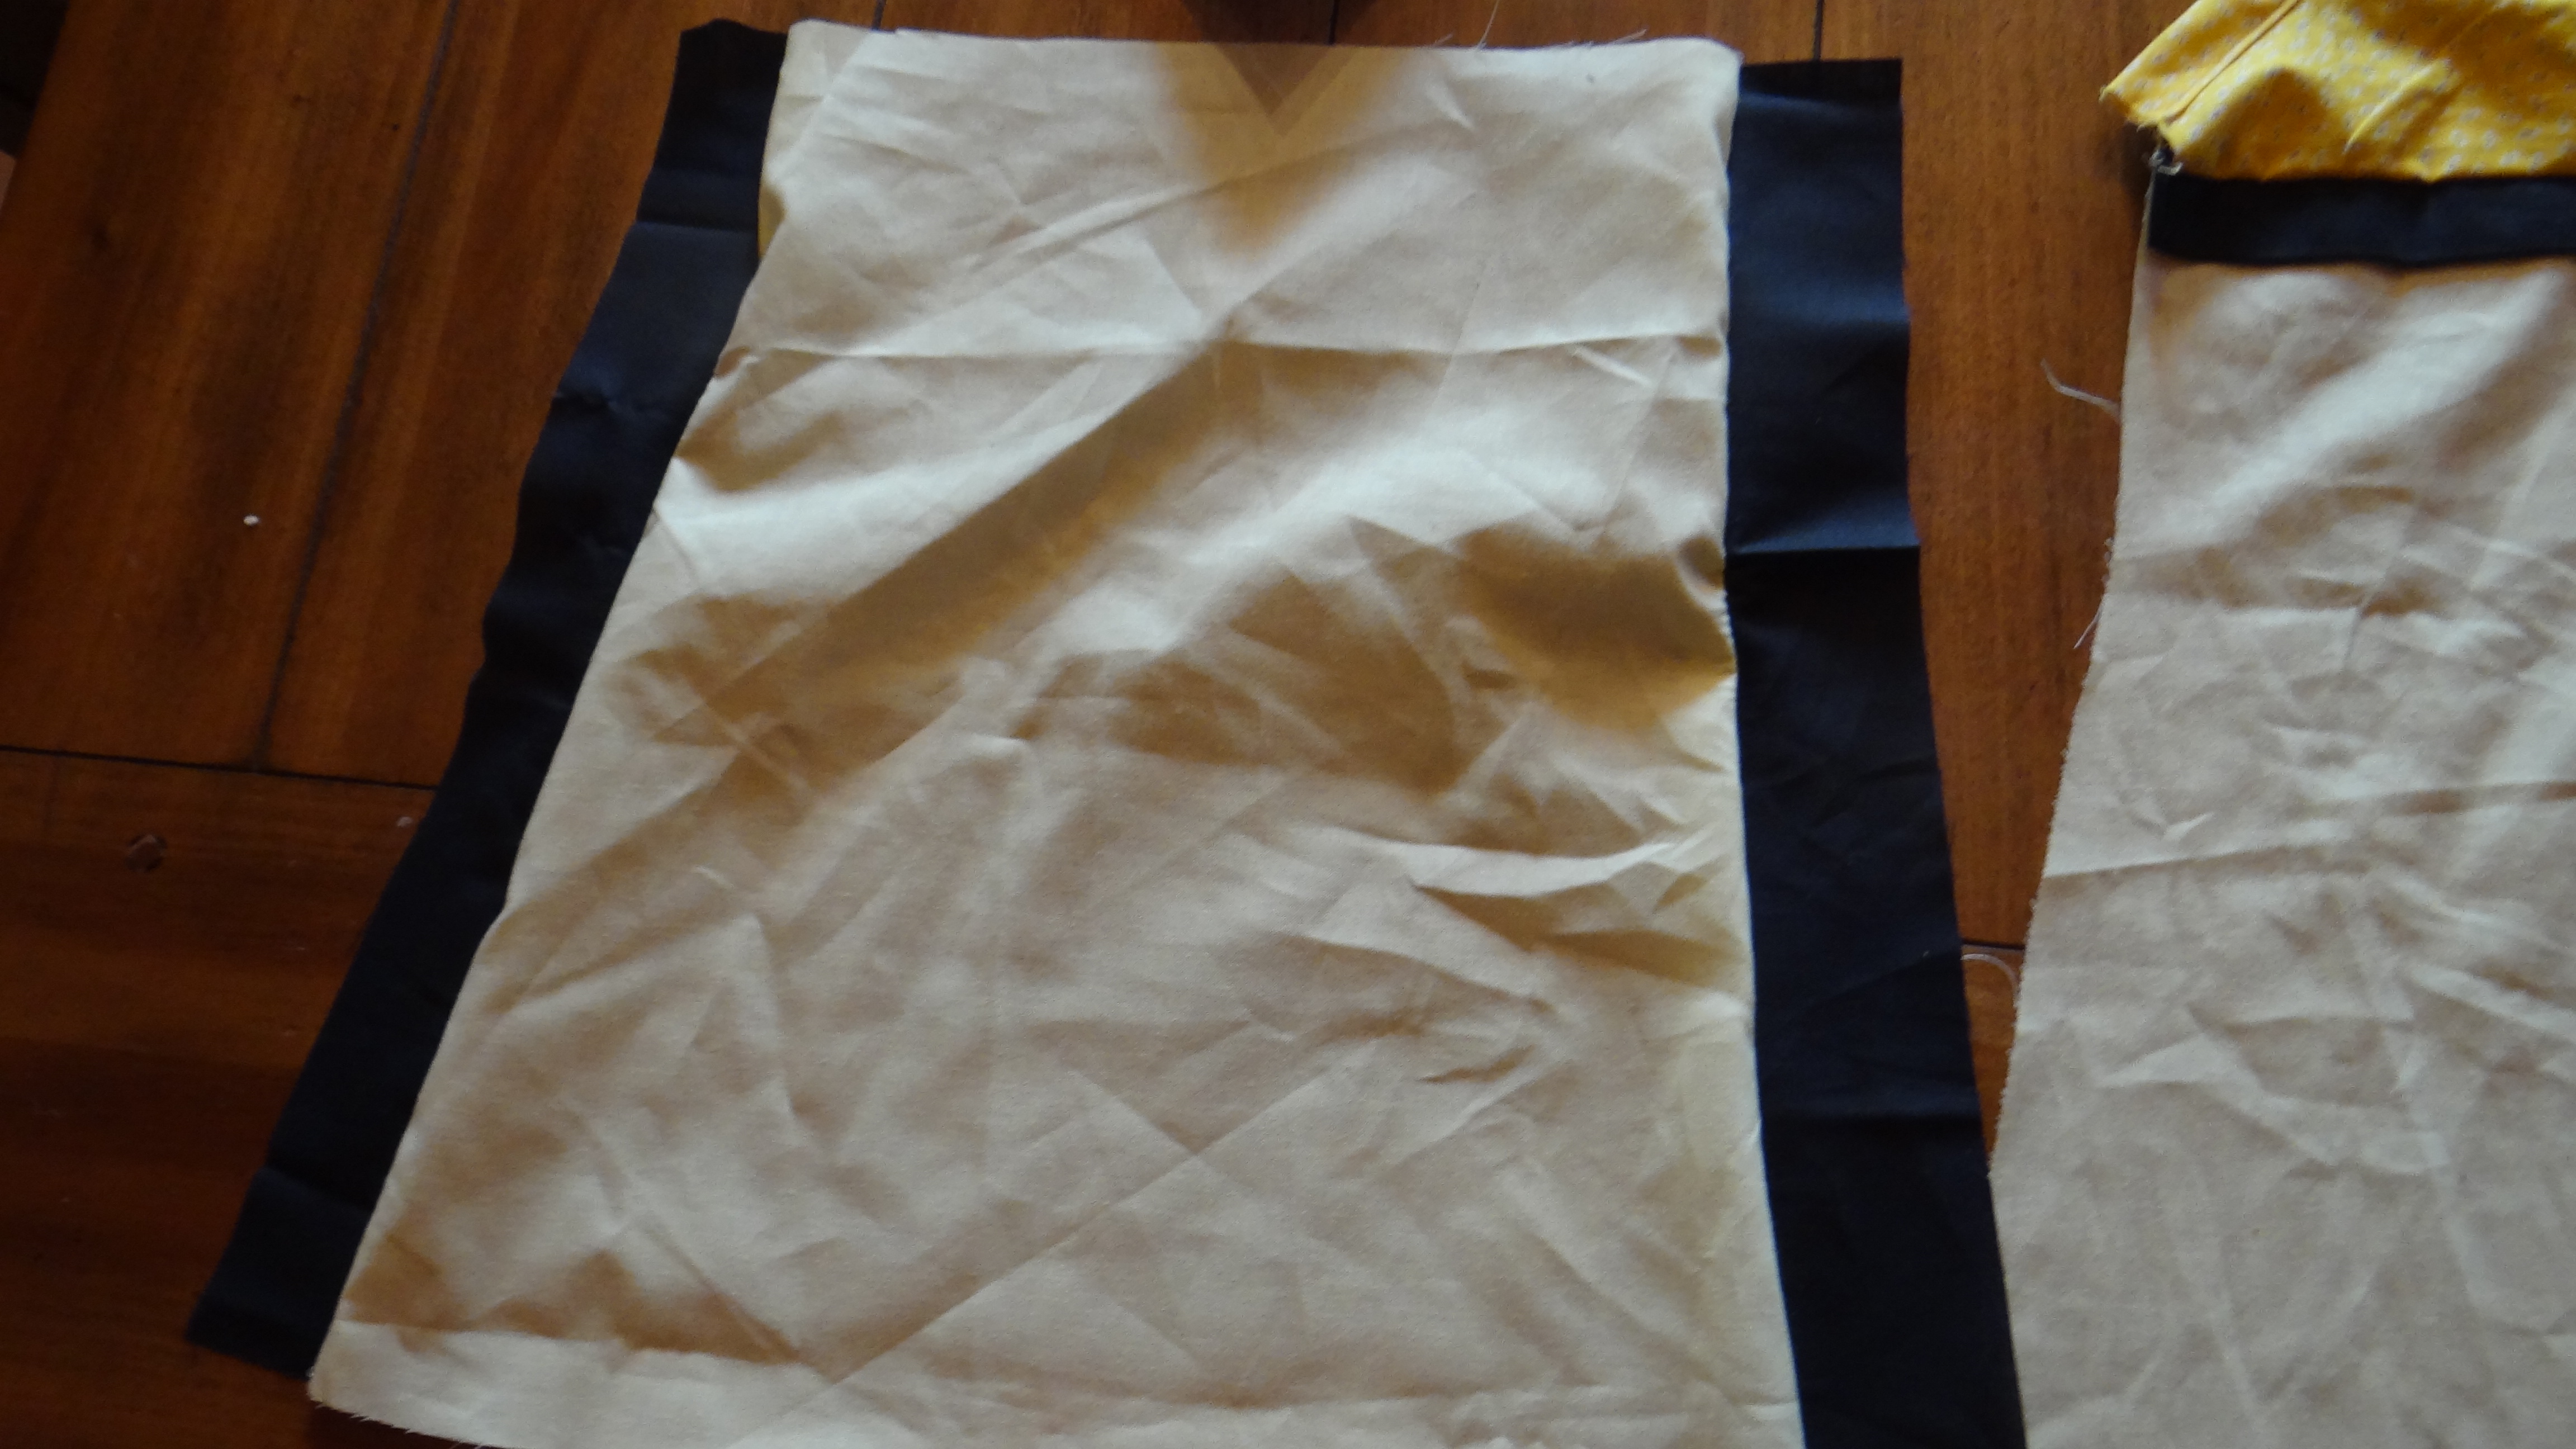
- Take the back side and sew two black (or whatever color you choose) by sewing
facing pattern sides together 
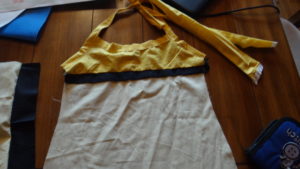
- I decided to add a small piece of fabric above the black strap to make it higher . If you want, sew and connect. Then place from and back piece facing each other and sew to connect from and back.
- Add elastic to back piece if you want it ruched and tighter.
- The last part is the bottom ruffled part.
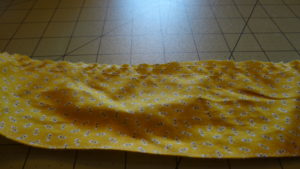
- Hem the bottom first about 1/8inch
- To gather your fabric put your machine on the longest thread setting make two
straight lines (Do not reverse!). Roughly 1/4 and 1/8 inch away from the top.
Leave long threads on the ends. - Next you knot the bottom of the back side of the threads so you can gather, just the two in the back (not the front).
- Pull the bottom threads from the other end and slide the cloth along the threads toward your knot making small folds. When your cloth has been
gathered the way you want it, knot the ends securely with each other. 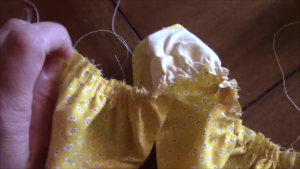
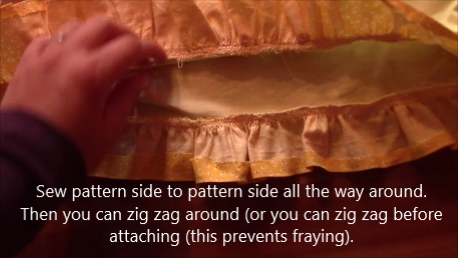
- Sew pattern side to pattern side all the way around. Then you can zig zag around (or you can zig zag before attaching (this prevents fraying).
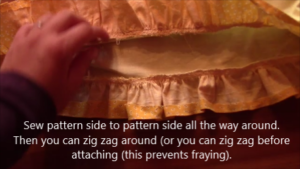
- Then you are finished! Great Job! Have fun! Post your pics!


Share