I’ve always seen those neat diy paint chalkboards in playroom pictures posted to Pinterest and thought, “they make it look so easy.”
Well I’m here to tell you it is easy! Beware though, it does take time (like days) until it can be used.
Since we just moved into a new house, we decided to make a playroom that we didn’t mind getting dirty! We have all our paint supplies and crafts in this room.
So what do you need?
1) chalkboard wall paint (this comes in many colors, we went with the original as not to confused our children and having them chalk up other walls). We used rustoleum black chalkboard paint.
2) blue painting tape to outline your area and protect the other walls and areas you may accidentally get paint on.
3) a level and measuring tape (to make sure everything is straight.
4) paint rollers or paint brush (3 inch)
Steps:
1) first make sure your area you are painting is ready. If there is already paint or primer on the area then you are almost ready. Just clean off the wall with a wet paper towel and let dry. If it’s not painted already you may need to sand the area as needed and prime.
2) use the blue painting tape around windows outlets and outlining the area. Place an old sheet or painting cloth on the ground.
3) get the paint ready according to instructions listed on the can.
4) paint around the edges of windows outlets and edge of inside of tape using a paint brush.
5) use your paint roller to paint the rest.
6) it will dry to touch within a half an hour but it’s not ready yet!!
7) wait overnight and if needed do a second coat (we did a second one!)
8) now you need to wait 3-4 days (I know, I know this is hard with kids!).
9) after you let it cure for a couple days, it’s time to season the wall. Use white chalk and fill up the board with it, using the side of the chalk. Then wipe it off with a wet paper towel.
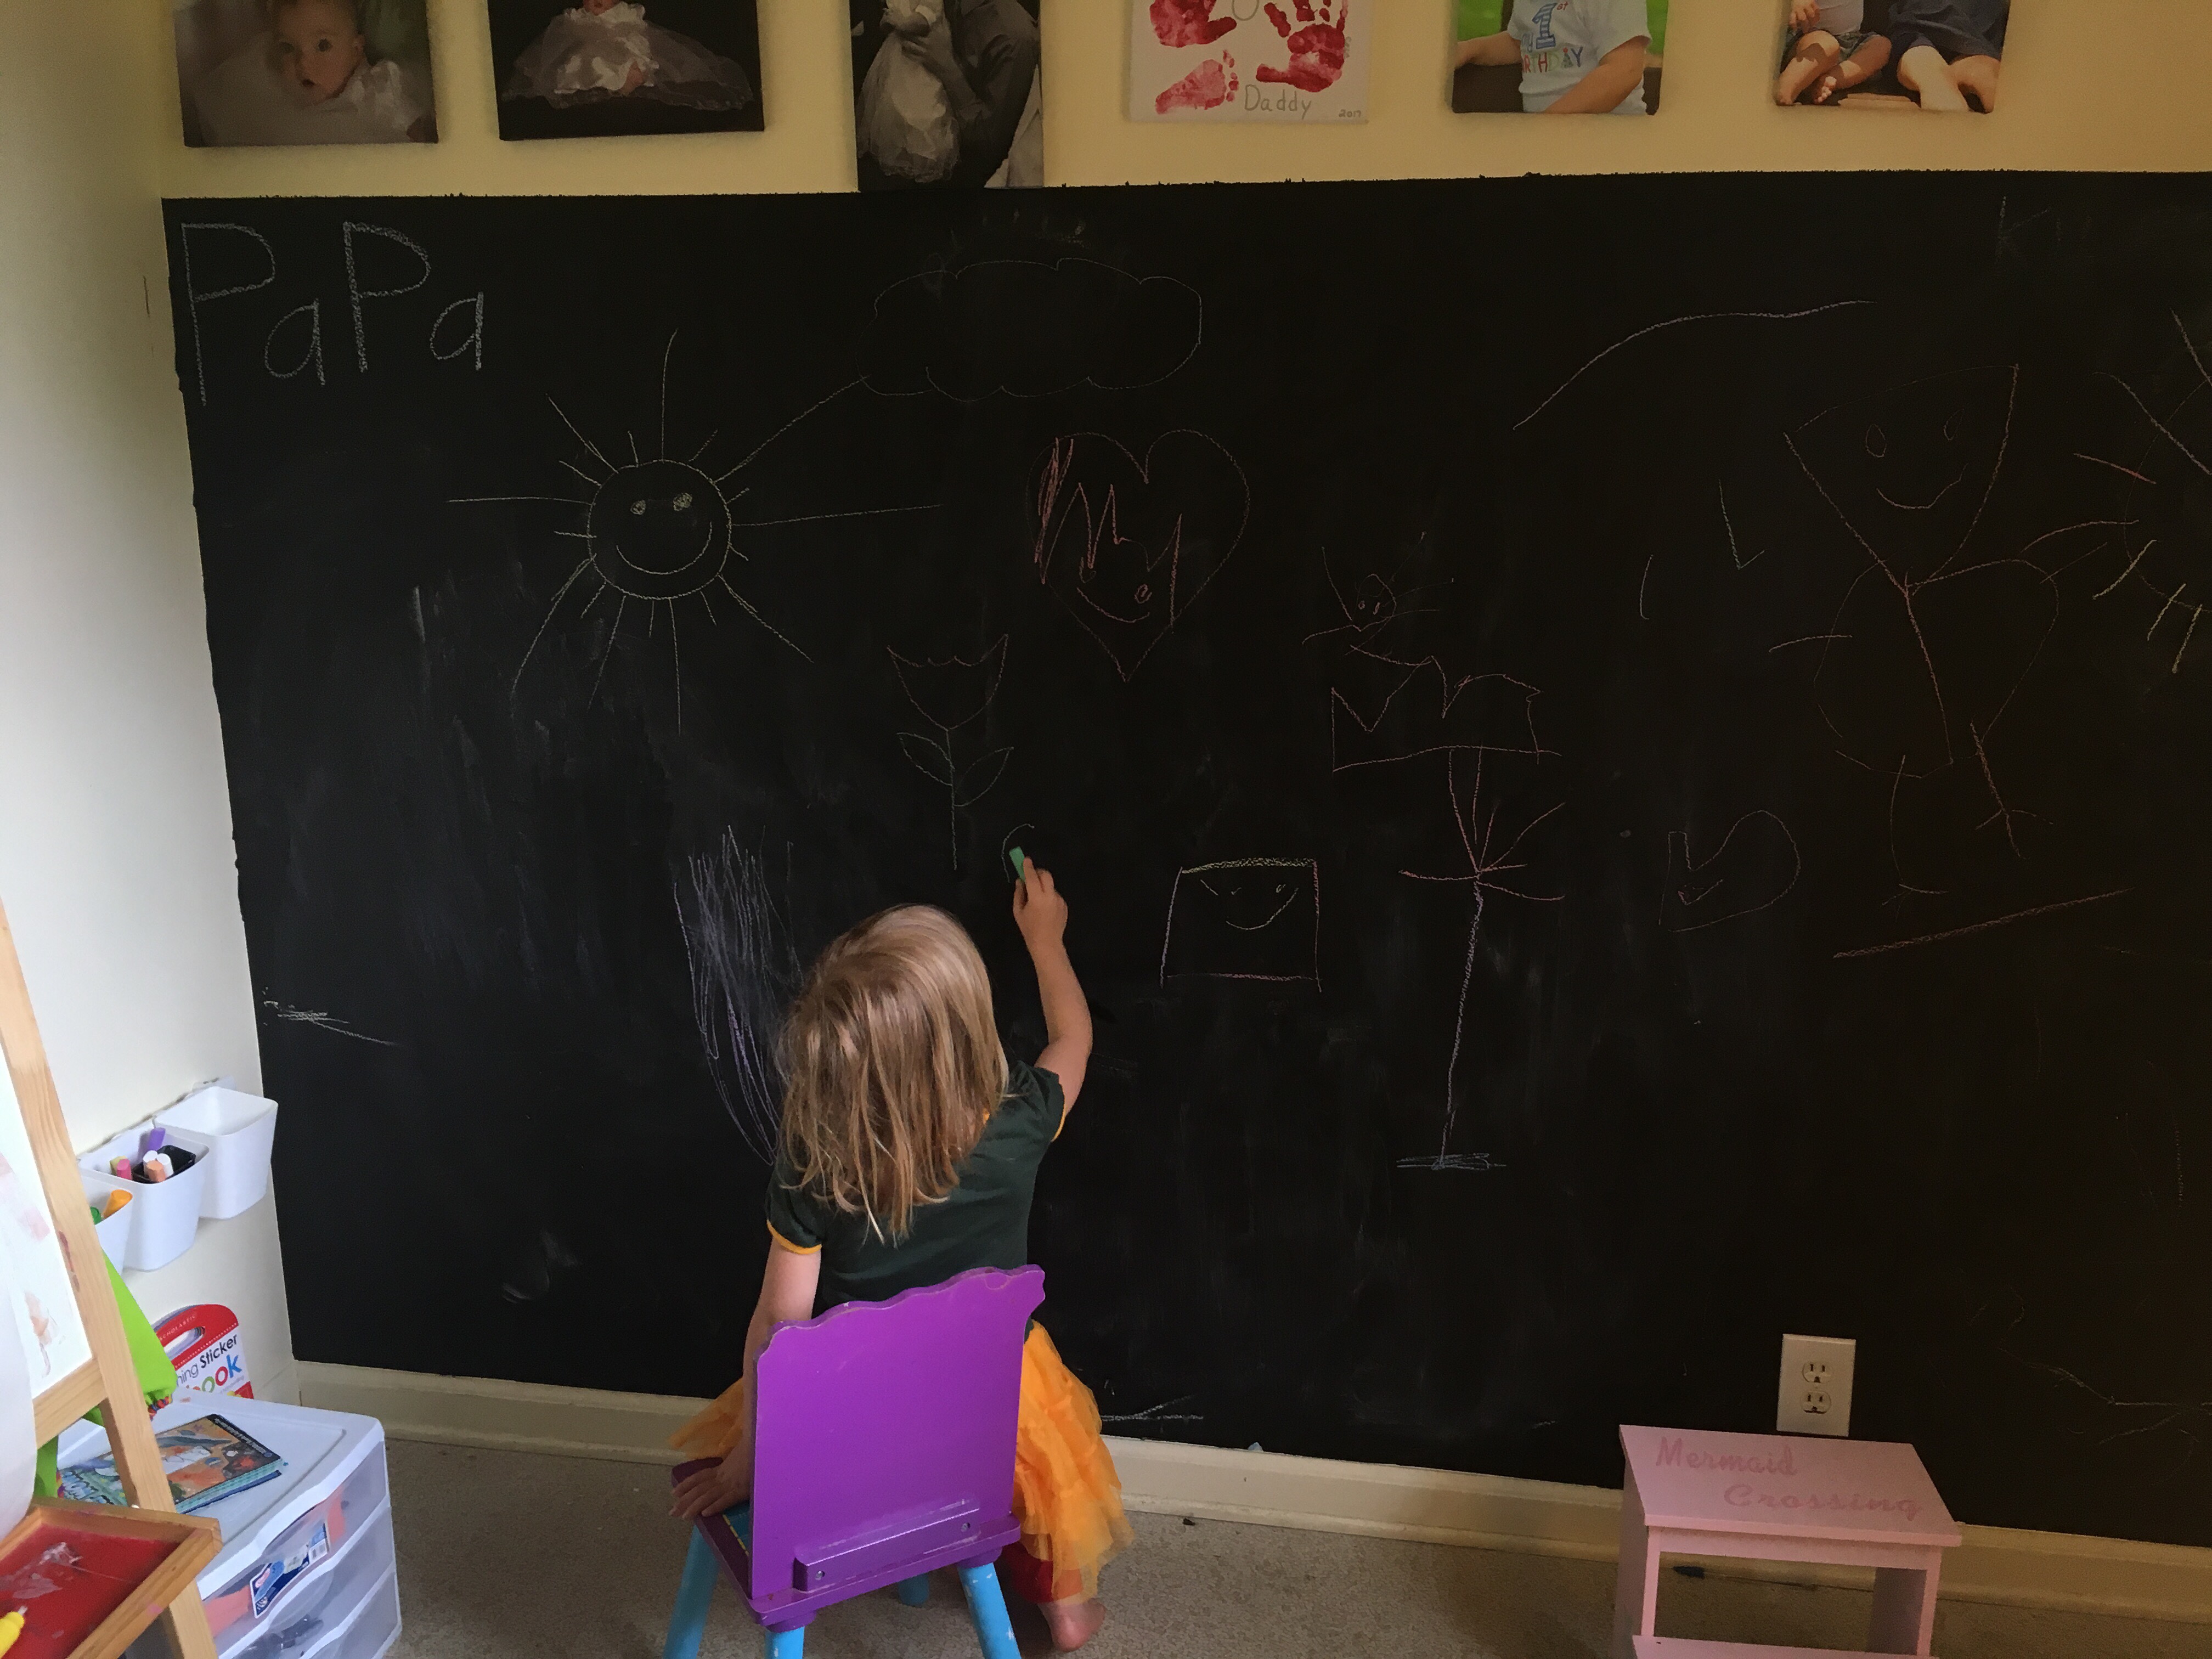
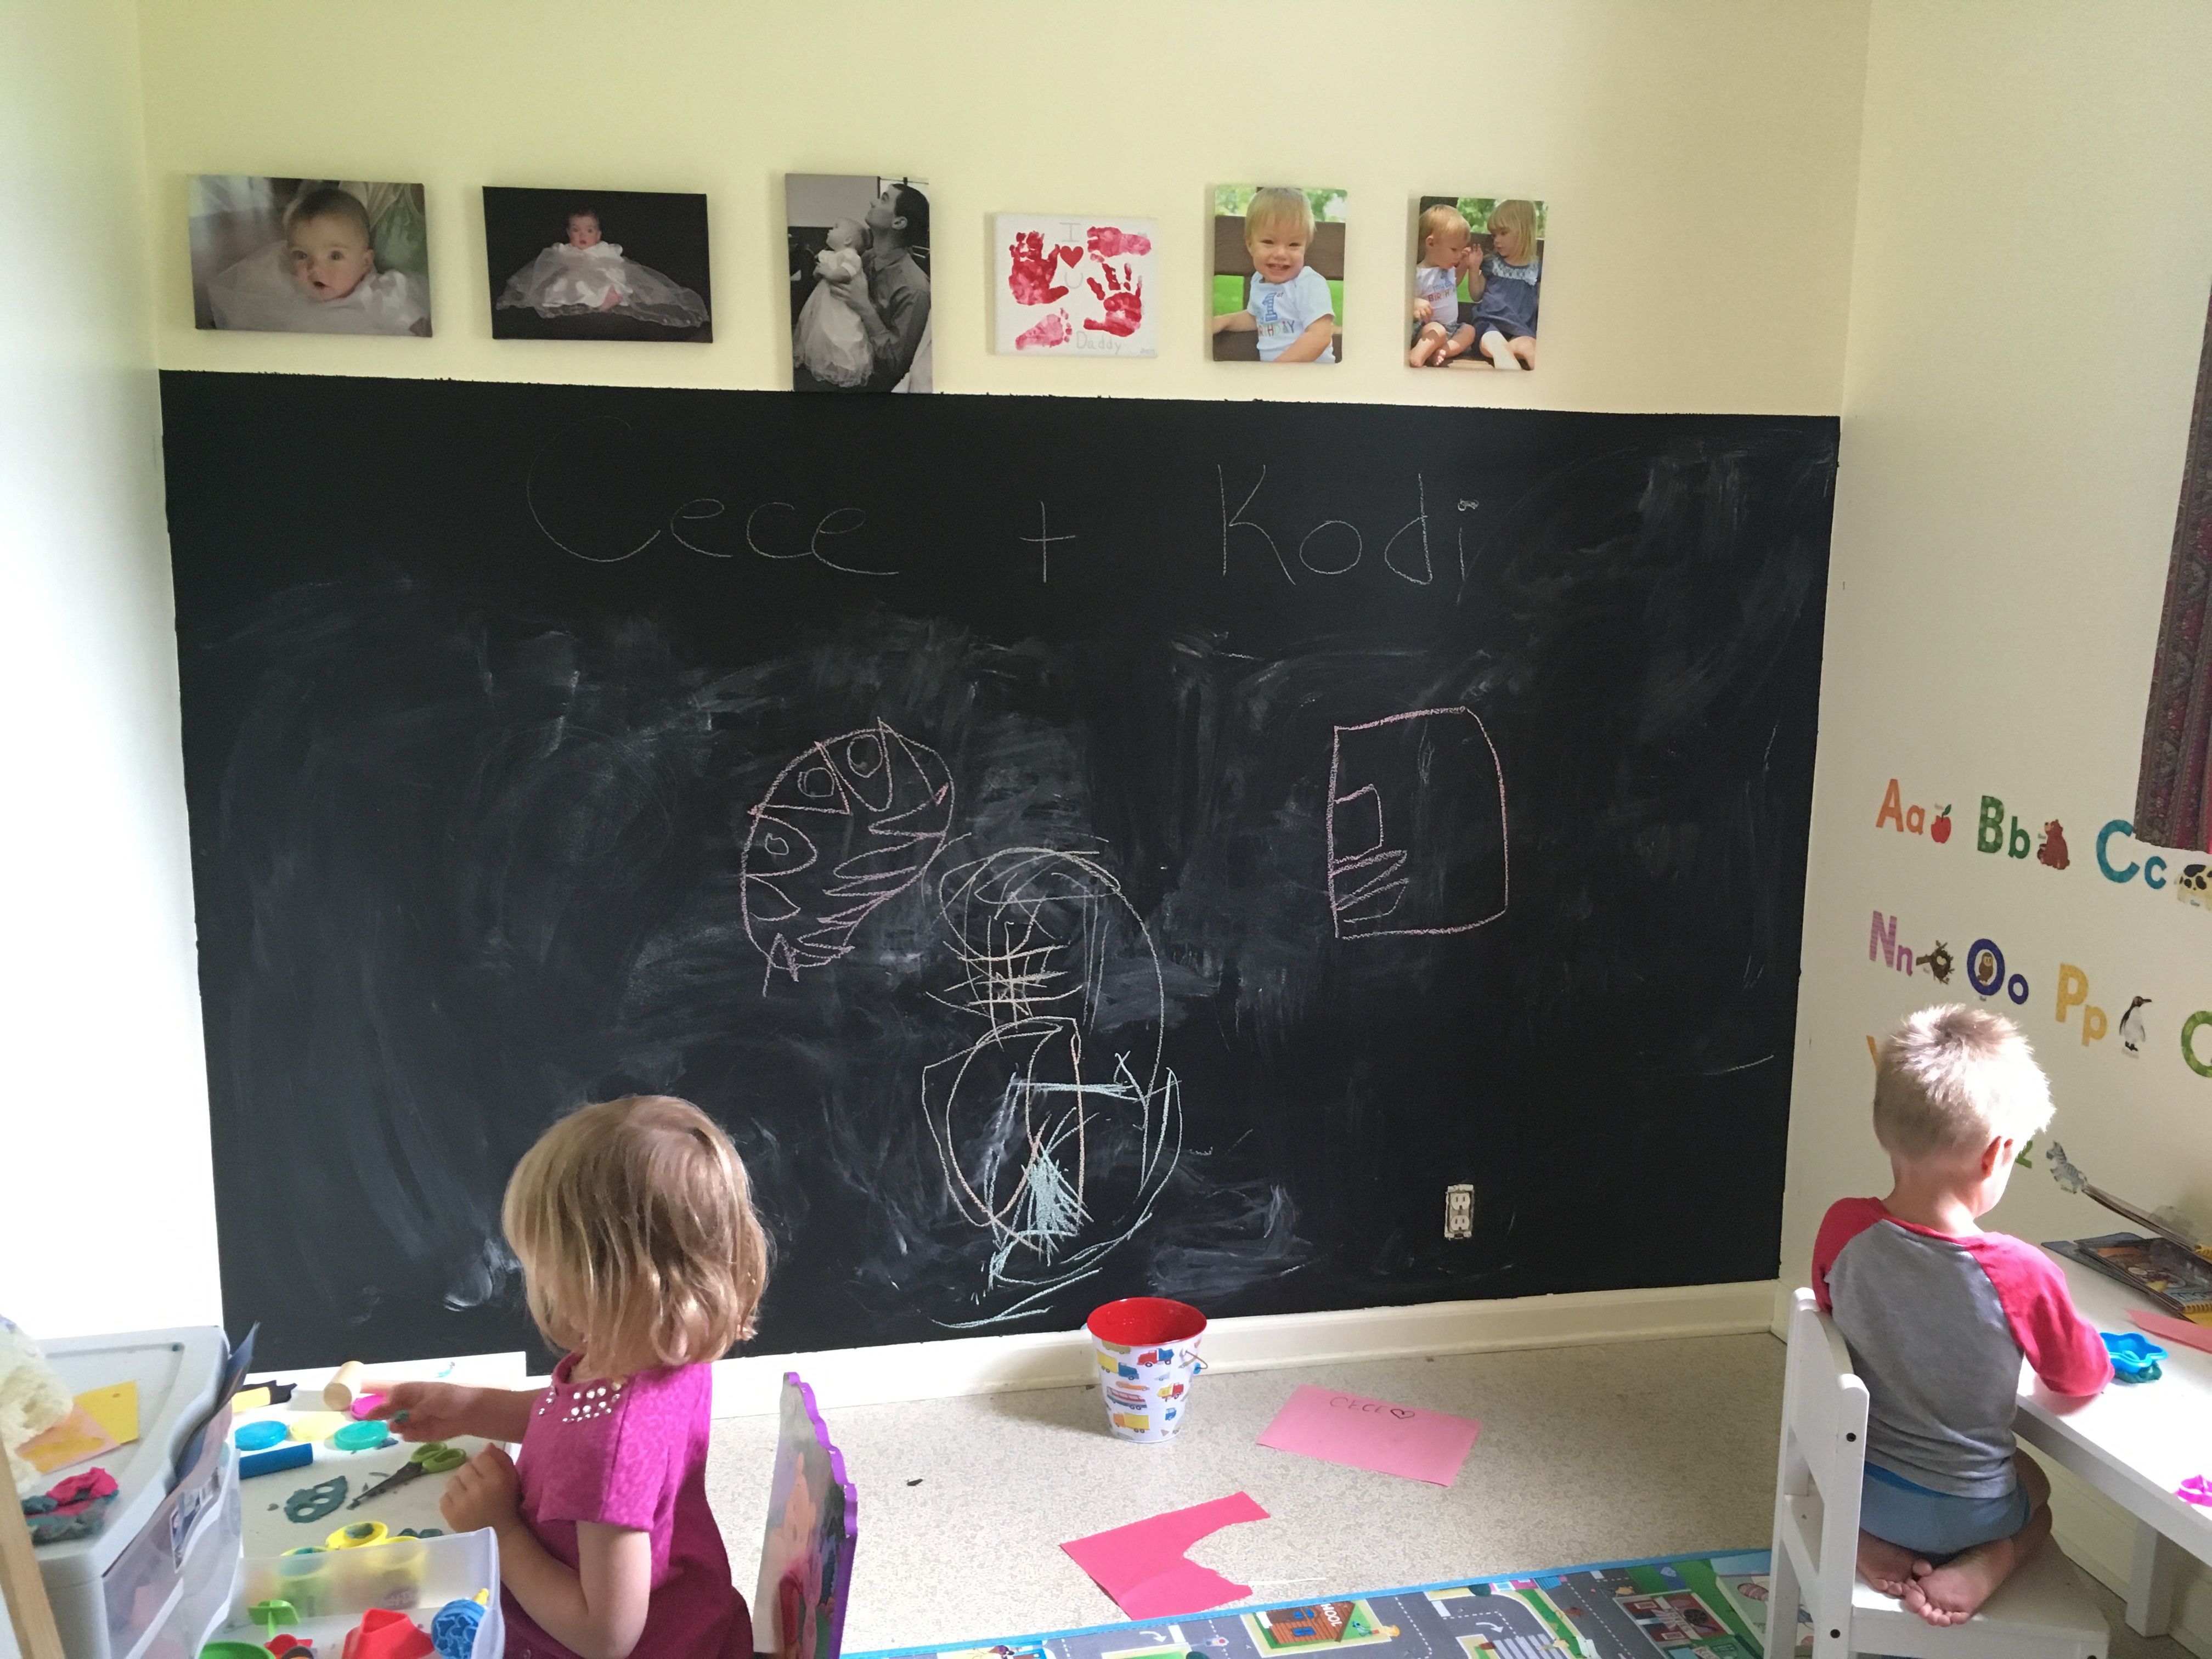
10) ready to use! Decorate as you like
FollowShare