Valentine’s Heart Suncatcher (SO EASY)!

I’ve had contact paper sitting around for quite a while and decided it was time to use it! I had a snow (ice) day today and wanted a fun valentine’s craft for my toddler.

You will need:

-tissue paper in different colors

-contact paper

-tape

-glitter

-construction paper

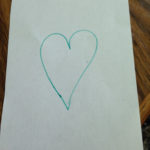
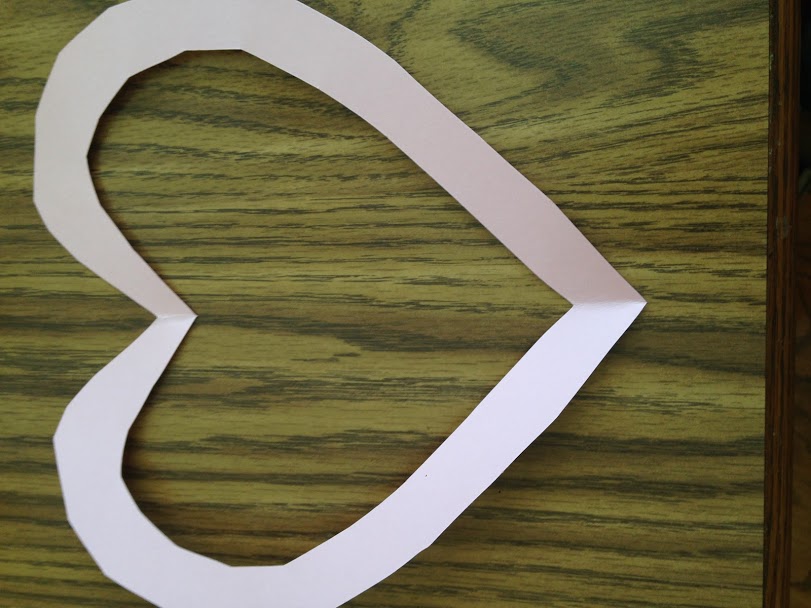
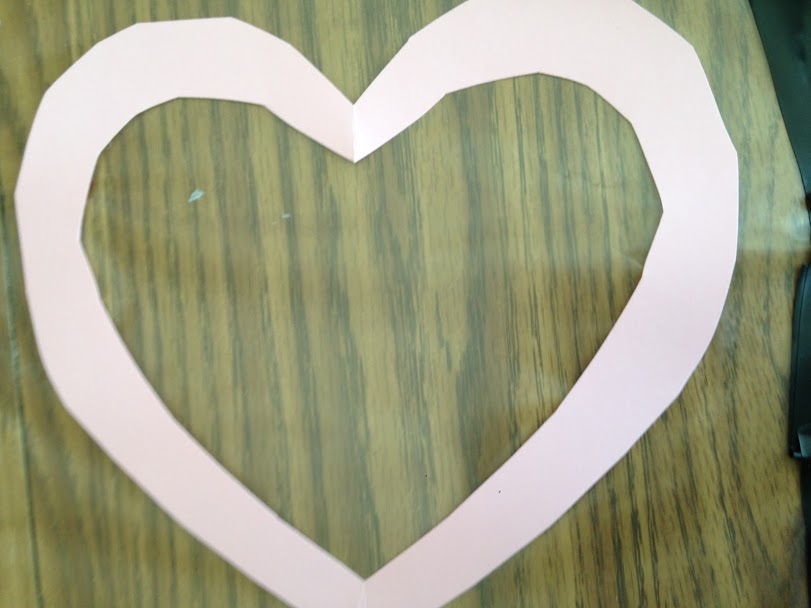
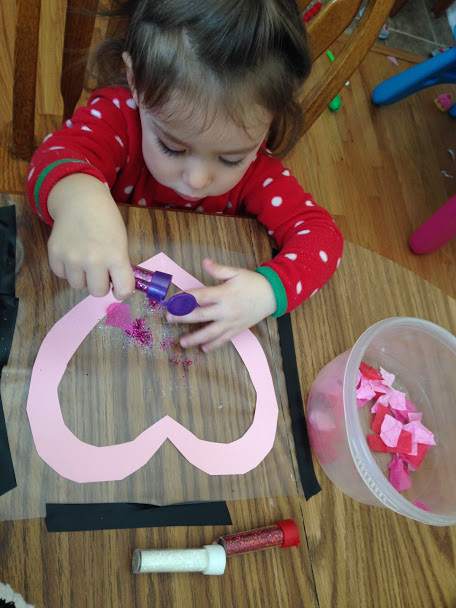
I used pink construction paper to cut out the heart. I simply folded the paper in half and cut out the heart shape.

1       2

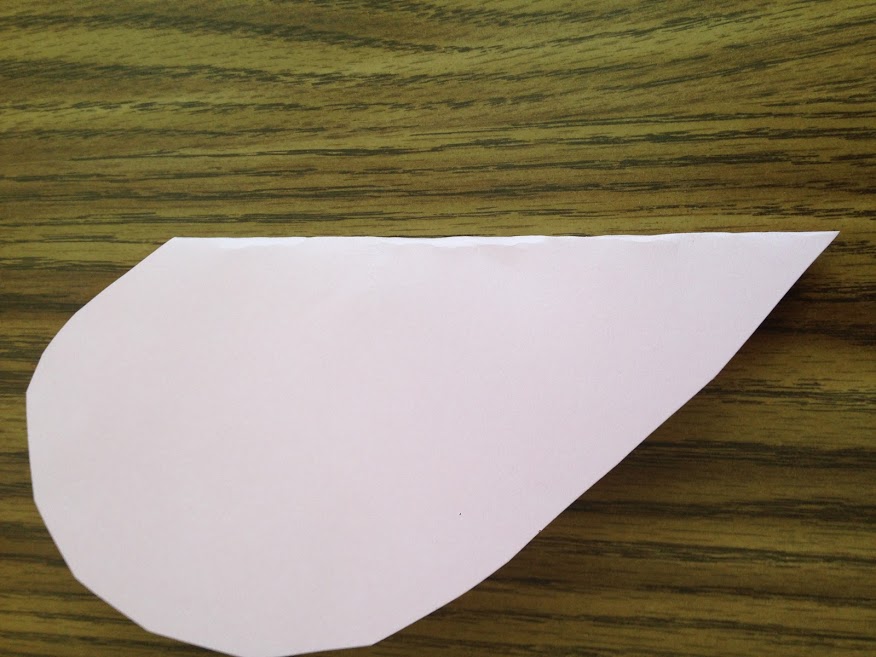
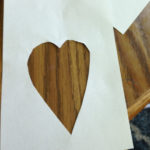
Next, I cut out a smaller heart from the middle of the heart. This made a nice border.

1

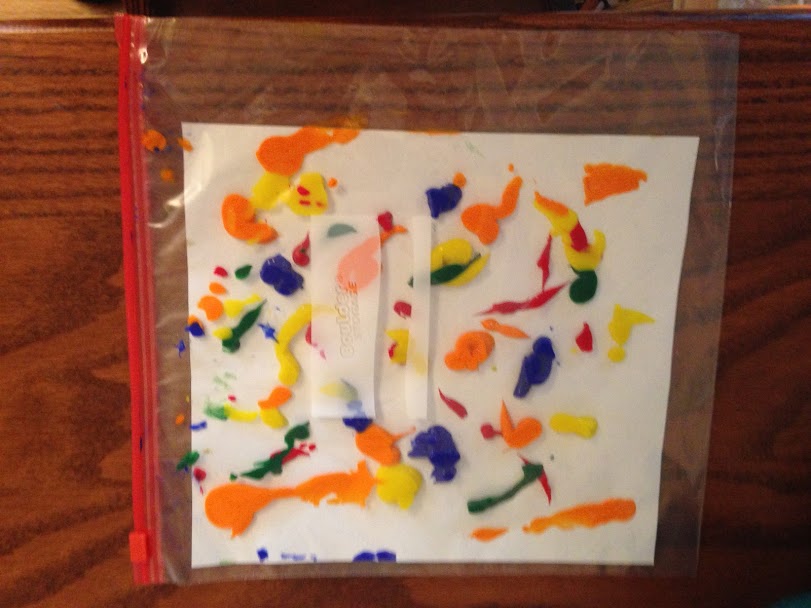
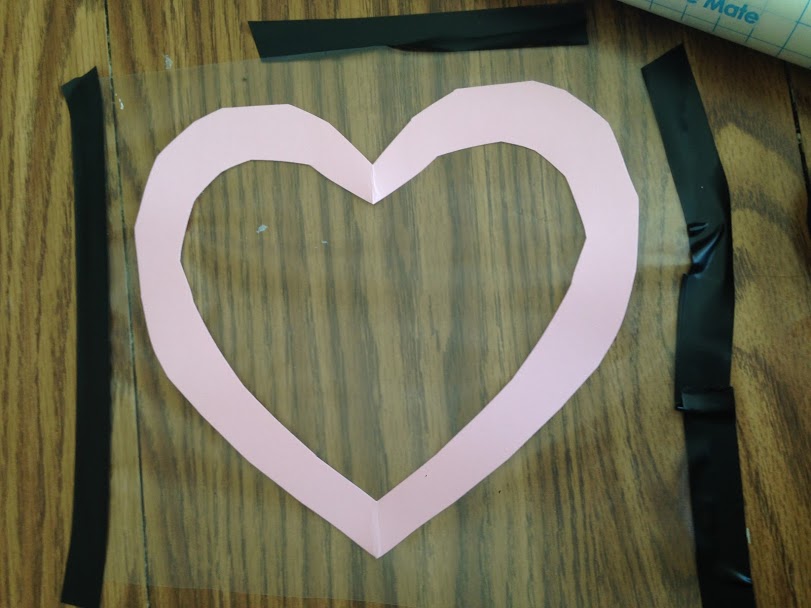
I cut out contact paper and put the heart on top of it. To get the contact paper to stay still and smooth, I put tape on the edges to keep it down.

1   2

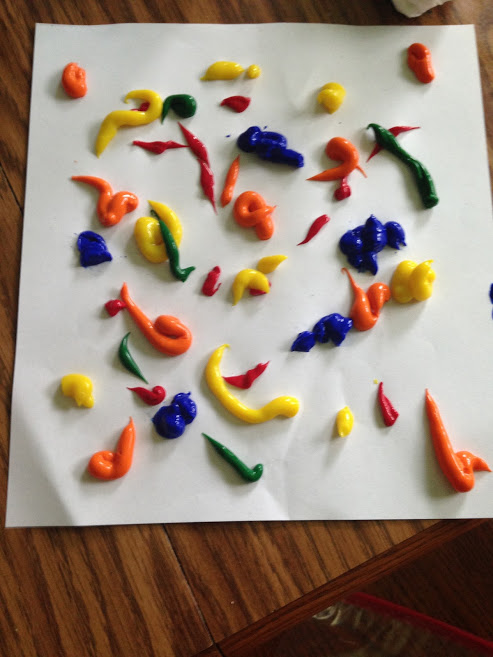
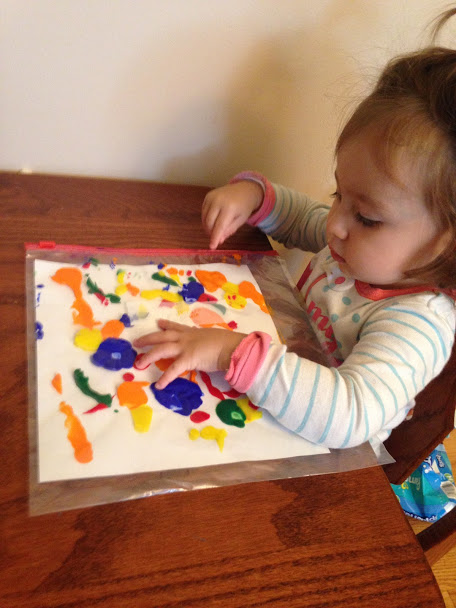
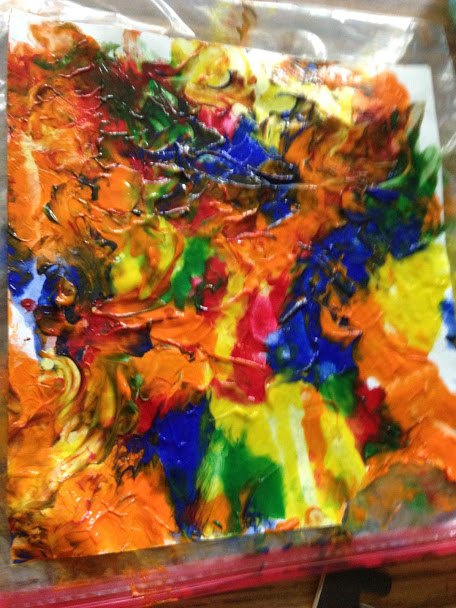
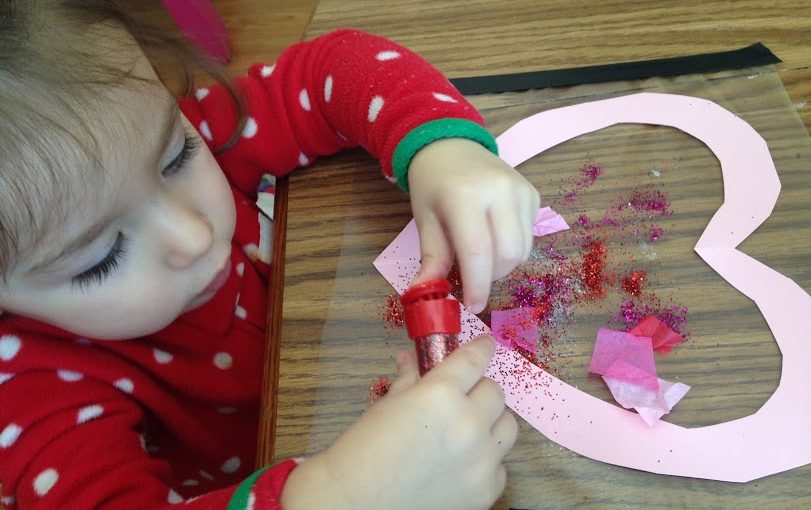
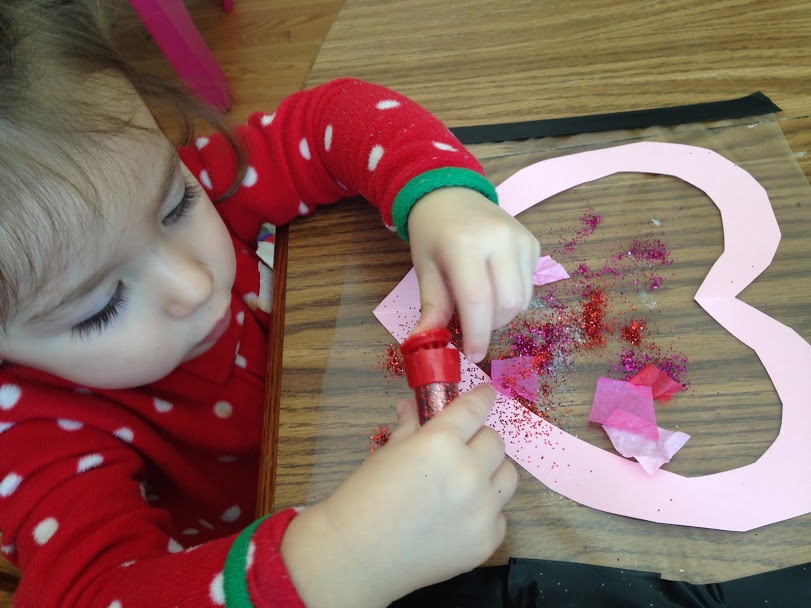
Here comes the fun part! Decorate! The heart is on the sticky contact paper, so anything will stick to it. My little girl used glitter and cut up pieces of tissue paper.

1.jpg

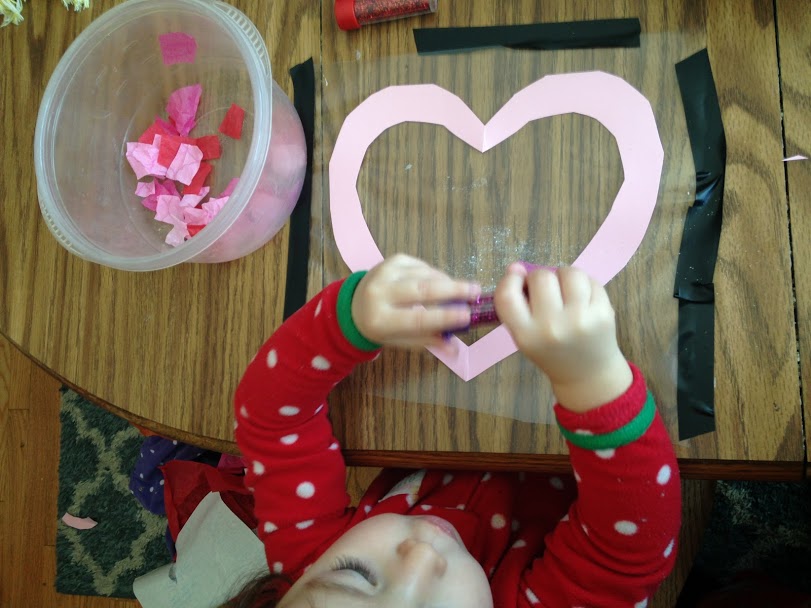
I underestimated how much she would love using glitter!

2.jpg

If she had a choice she would’ve just used glitter…all of it!

3.jpg

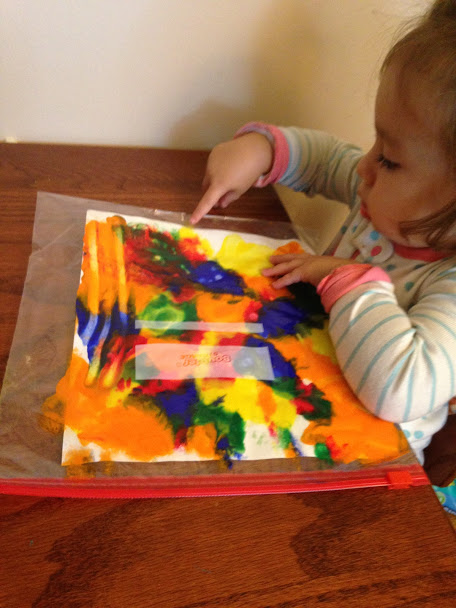
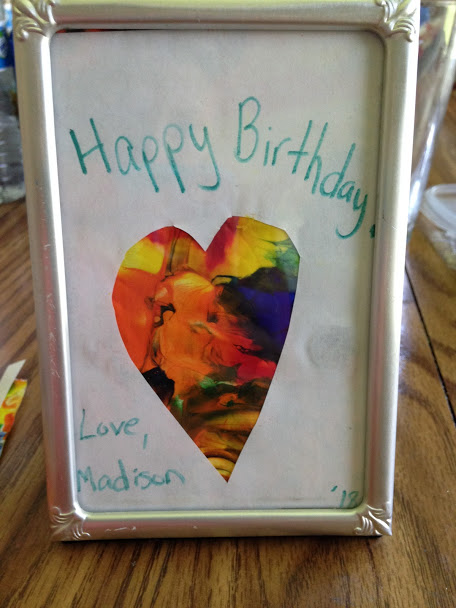
She LOVED this activity, so much that we made a few suncatchers! They make great presents for family 🙂

1.jpg


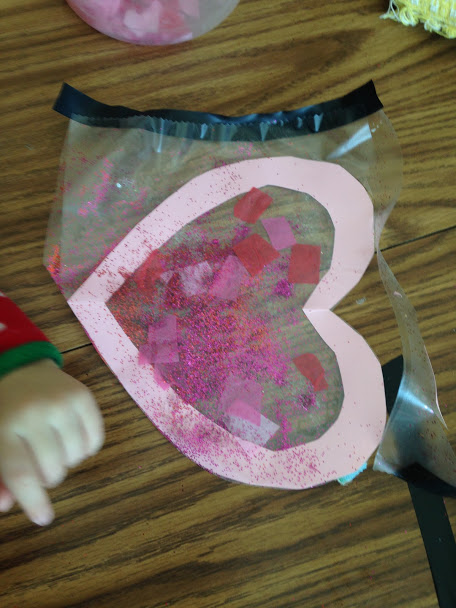
When your child is done decorating (or they’ve used all of the glitter), put another sheet of contact paper (sticky side down) on top of the heart. Cut out the extra contact paper around your heart.

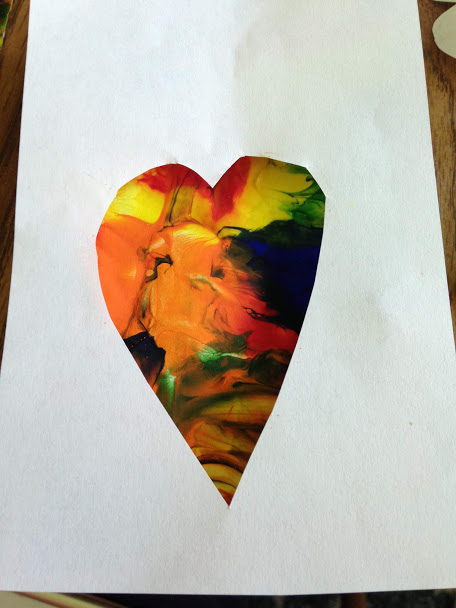
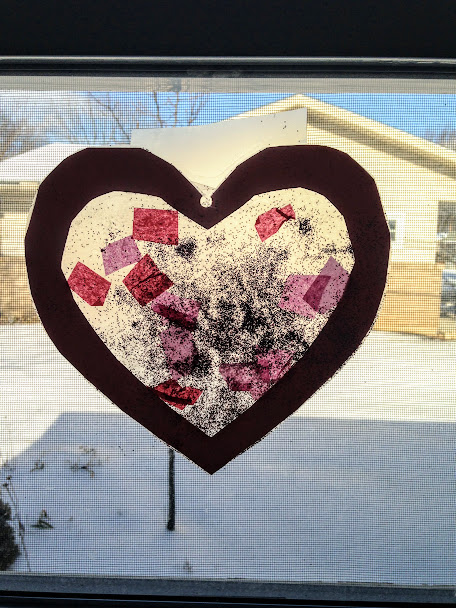
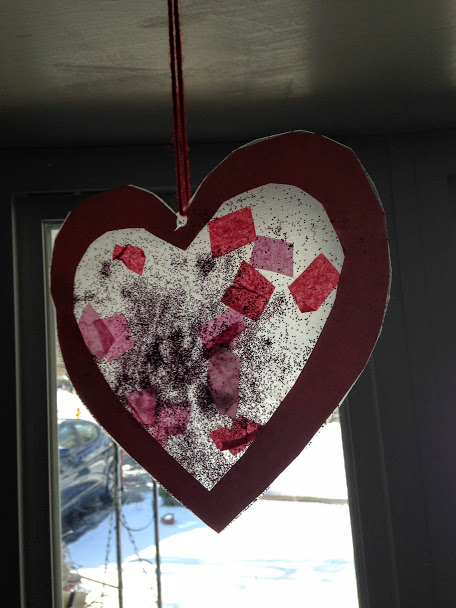
Then you are done! Hang it in a window that gets sunlight! You can hole punch and put a string on it or use contact paper to put it on the window. We will definitely make this again as she loved it soooo much! It’s a great craft idea for any age!

Since tomorrow is Valentine’s day and it’s currently snowing outside, the sky is cloudy. I couldn’t get a great picture of the finished product, but will post the pictures anyways. Keep in mind that the glitter is colored and will shine brightly when the sun is out but today it is cloudy!

1   2

FollowFacebookpinterestrssyoutube
ShareFacebookpinterest

Easy Peasy Paint Present

If you have a special occasion coming up and are looking for a gift from your baby, toddler, or child, I have an easy peasy present idea!

Paint…UGH PAINT! The word can invoke fear in any parent, except this is mess free! Okay, almost mess free.

My mom’s birthday was coming up and I wanted to give her something from her granddaughter. I searched online and found this simple craft. I will admit I improvised because I was missing some of the items and I will mention what worked & what didn’t as I go through the steps.

First, gather your materials. You will need:

-Paint in various colors (I used finger paint)

-cardstock (I used regular paper but it didn’t work so well)

-gallon ziplock bag

-picture frame (if you choose to use it as a gift)

-Heart stencil (or you could just draw it yourself)

-scissor

Next, put your choice of colors on your cardstock paper. Note: I didn’t use cardstock and it ripped easily and you could see through some of it. SO USE CARDSTOCK paper or thicker paper. If you are in a pinch you can use regular paper but you will have to be very gentle with it.

a

YES, I USED WAYYYYY TOO MUCH PAINT!!! My paint came jumping out of the bottle super fast, I’m really not sure how that happened (haha). It takes longer to dry with all that paint. It took days for it to dry when it should’ve taken overnight.

Take your cardstock paper and put it in a gallon sized ziplock. This insures your project will be mostly mess free! If you need to cut down the paper a little, go for it.b

Now it’s time for fun!!! Let your child smear the paint!

c

Your child will love smearing the paint and you will love that it’s mess free!

d

When you like the smeared look your child has made, carefully take it out of the bag and leave it in a safe place to dry.

e

Look at all of that paint!!! TOOO MUCH! If you put way too much on like me, you can either dab it off with a paper towel or give it days to dry.

Here’s where you can vary the project. I drew a heart on a new piece of paper (use cardstock) and cut it out. You can pick any shape you like! If you are super crafty you could even cut out a name or shape of an animal. Cut down the paper to whatever size you would like it to fit. I cut it down to fit a frame. However, you could also make this into wall art, a card, or anything you can imagine!

i.JPG

Place the cut out on top of your painted paper. I moved mine around to find which colors I wanted to show. Cut the back painted piece to fit the frame. If you would like to write a message on the paper, go for it! Put in it a frame or glue and fold for a card!

j

Easy Peasy Paint Present! Note: I used regular paper and you can see that there are places you can see through the top paper. I highly recommend cardstock or thicker paper.

This project is perfect for any occasion!!! This could be done for birthdays, anniversaries, and holidays.

I’m thinking green colors with a Christmas tree or wreath cutout for Christmas! You could also use the paint bag trick for ornaments. Instead of using a top layer, just let the painted paper dry, cut out a tree shape, hole punch and use a ribbon and wallah!

box celebrate celebration christmas
Photo by Pixabay on Pexels.com
FollowFacebookpinterestrssyoutube
ShareFacebookpinterest