Lights in the Lehigh Valley: Horvath Holiday House

If you live around the Lehigh Valley you know that driving around with a tin full of Christmas cookies and a cup of hot chocolate is a great way to enjoy the season! In the coming weeks I will feature different houses and their wonderful light displays on the blog! Feel free to share your favorites!

Horvath Holiday House :

4244 Briarcliff Road, Allentown Pa 18104

Reasons to love:

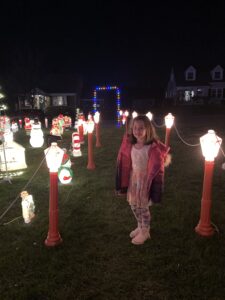
-Walk through display to the side and back of the house where you can meet Santa. Check their Facebook page for times that Santa will be there!

-There is a mailbox where you can write to Santa and he will send you a letter back (be sure to include a return address).

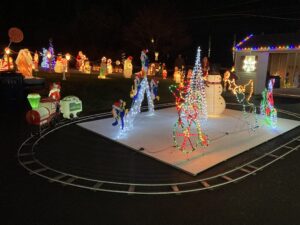
-You can see a blow mold Santa train go around in the backyard!

-They have an awesome area to take family pictures!

FollowFacebookpinterestrssyoutube
ShareFacebookpinterest

25 Ideas for Advent Calendars (&Crafts)

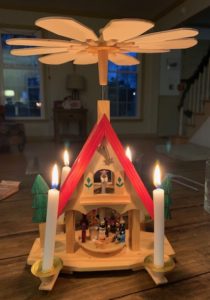
Today there are many advent calendars that can be bought, ranging from simple chocolates to complex lego advent calendars.  There are wine, book, superhero, and just about anything advent calendars that can be bought for a price.   I remember having certain Christmas traditions in my home as a child and want my children to experience similar fond memories when they are older. So I purchased a German Christmas pyramid second hand (as they can be very expensive and knowing children, it most likely will break).

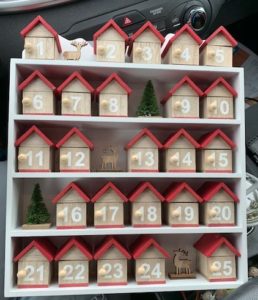
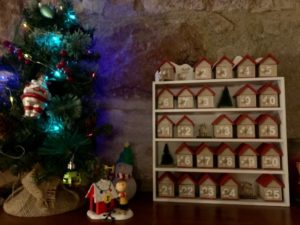
I also decided to buy an advent calendar for my children.  I decided one sturdy wooden advent calendar would do the trick!  I saw many beautiful lit ones for higher prices; however, I felt they could easily be broken.  I finally decided on one I purchased at Lowes.

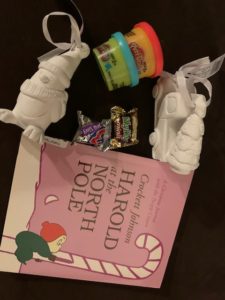
Now, the big question is, what should I fill each day with? So many options, but such a SMALL space. So, only very small items fit, such as two Hershey kisses or two small mini candy bars and the door wont completely shut. I didn’t want to start off with something too grand in the first door. My kids were excited about chocolate, so that’s what I did, two very small pieces of chocolate.

For the other doors, I will have some small chocolates in a couple, but I have many other cute and fun items for the kiddos. I’ll leave a very small piece of paper in the day that will have a clue to where their item is located. I was going to go into scavenger hunts, but lets be real, I would rather relax for a couple minutes after bed (or do this post), instead of trying to come up with an elaborate hunt they will be done with in 5 mins!  Since my children can’t completely read yet, I decided using pictures might be best.  So in day 2 I will put a picture of a christmas tree. They will run to the tree and see a pack of fruit flavored candy canes under the tree to hang up on the tree.

Here are some other ideas of items you can leave notes for:

  1. Candy
  2. Christmas books
  3. Plato
  4. wooden /ceramic projects
  5. Felt snowman fun
  6. any kind of christmas project including photo ornaments, easy glitter ornaments, and many other ones on this website
  7. ornaments for the tree
  8. Christmas clothing
  9. Christmas lights
  10. coloring books
  11. Christmas cookies
  12. Baking recipe to make cookies
  13. Sprinkles for cookies
  14. Hot cocoa packet/marshmallows..or homemade hot cocoa
  15. Christmas movie
  16. Christmas mask (2020)
  17. Christmas headband, clips, socks
  18. Small stuffed Christmas santa, elf etc.
  19. Sock Snowman (either made or have supplies to make)
  20. Felt Christmas tree (can make one, or if child is old enough they can make it!) or just an ornament to add to their current felt C
  21. Christmas tree!
  22. Tree Prints!
  23. Salt dough wreath, ornament, or garland!
  24. +Pomander Ball supplies
  25. Felt Snowman Fun!
  26. Singing holiday card/toy/Christmas solar bobble head

ENJOY AND HAVE FUN!!

FollowFacebookpinterestrssyoutube
ShareFacebookpinterest

The 12 Days of COVID Christmas Ideas

It looks like we will all be quarantined from our extended families for the holidays again as COVID is raging in our area. Having small children in the family makes it extra tough. Instead of the kids remembering not being with their uncles, aunts, cousins & grandparents, let’s have them remember the wonderful time they spent at home. Let’s have them remember it as a special time with the family.

Here are some ideas to try to make the time leading up to Christmas special.

The 12 Ideas of COVID Christmas…
On the 1st day of COVID Quarantining Christmas…

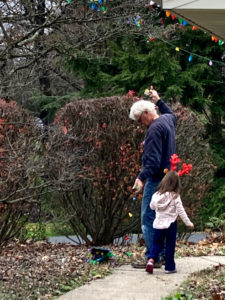
  1. Put up extra Christmas lights to add to the holiday cheer! Add a fun blowup or blow mold to surprise your kiddos! Have your kids help you place items or string the lights-they will LOVE it!



On the 2nd Day of COVID Christmas…

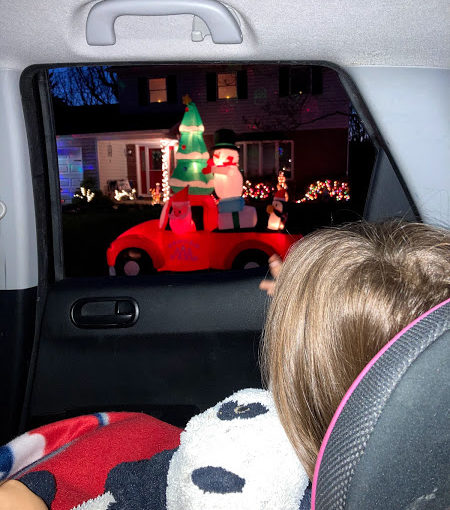
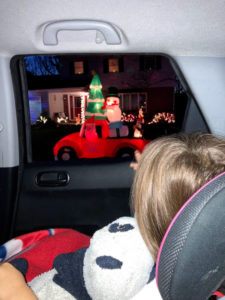
2. Do a light tour! Drive around to neighborhood displays. Take some hot chocolate in a thermos and cookies! Our local newspaper always features a light tour so we follow them. Many time local news also shares different homes to see. Check out to see if there are any light displays you can drive through in your area. Definitely a de-light!
On the 3rd Day of COVID Christmas…

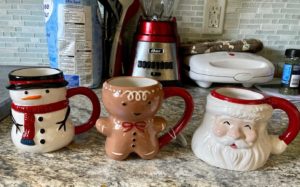
3. Get family Christmas mugs! My daughter woke up to run into the kitchen for a surprise. I let her pick which one she liked. She picked the gingerbread man mug and called him “cutie.” She told me she would leave him out for Santa to have milk in and he would LOVE it! We had hot chocolate as a family immediately!
On the 4th Day of COVID Christmas

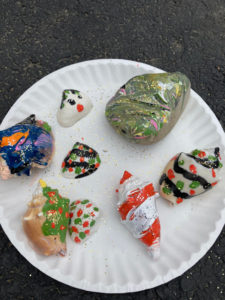
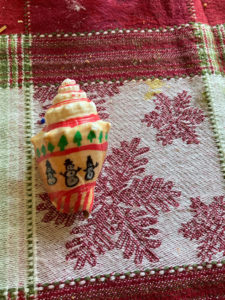
4. Paint Christmas rocks! My daughter and I have been painting rocks with regular acrylic paint for a while since COVID began.

The other day I discovered acrylic markers for painting rocks and shells and this was a game changer. They are so easy to use, less messy, and much better looking! Fun for the whole family!
On the 5th Day of COVID Christmas…

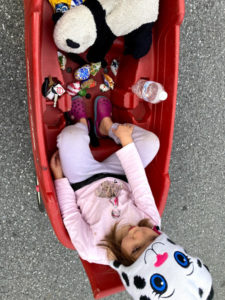
5. Give out the rocks! We love going around the neighborhood and leaving them on people’s doorsteps or tables in the front. Madison gets a thrill knowing she is making someone’s day.  They also teach kindness and that everyone can make a difference. Another option is to leave them in places around the community like parks. Many people trade rocks too.


On the 6th Day of COVID Christmas…

6. Make some special breakfasts! You must excuse my poor pancakes, I am a newbie at this. Madison loved them and they did taste good. Kids will LOVE your snowman pancakes…even if they turn out like mine!
 

On the 7th Day of COVID Christmas…

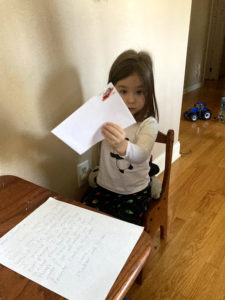
7. Write to Santa! Check with your local community, post office, and online to find where to write. Our local community has Santa write back! There are also many services online you can pay for and they will have Santa write back to you. Another option is a zoom or digital call with Santa!
 

On the 8th Day of COVID Christmas…

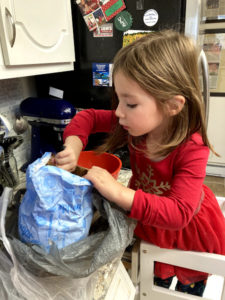
8. Make cookies! Each year you might make cookies-but try some new ones! Your little ones will love to help. Yes, we ended up with flour all over us and bellies full of yummy cookies, but it was great! As an extra bonus get your Christmas mugs and cookies and have a movie night!


On the 9th Day of COVID Christmas…

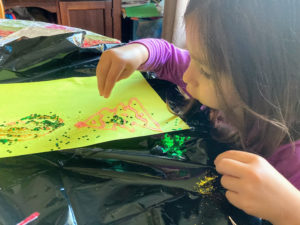
9. Make lots of crafts! Kids adore crafts and family loves getting them! Look up crafts on blogs and pinterest. Make ornaments, fun photo crafts, and smelly playdough! For extra fun make more for family and deliver it on their doorstep for a nice surprise!
On the 10th Day of COVID Christmas…

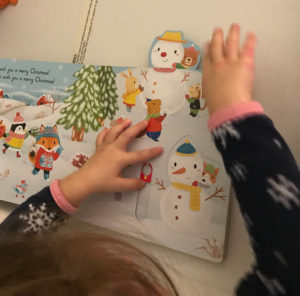
10. Read, read, read! Get more Christmas books! There are so many interactive, smelly, sound, and regular Christmas books! Madison has her favorites and talks about some of them year round!


On the 11th Day of COVID Christmas…

11. Wear matching PJS! It’s so much fun! They not only make matching pjs now, but matching sweaters and hats. It’s fun to wear cheesy and cute clothes and now you can match with your entire family! Turn on some Christmas music and dance in your matching clothes to a Christmas dance party!
 

On the 12th Day of COVID Christmas…

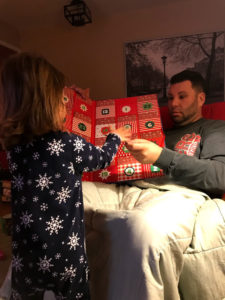
12. Get creative with your advent calendars! Some people do 24 days of books. Check a thrift shop online or marketplace to find cheap books. Stores & online sell all kinds of fun advent calendars with toys, chocolates, cheeses, and just about anything you can imagine. This year I have a wooden advent calendar with drawers. I plan on have a clue for a craft I will complete with Madison each day leading up to Christmas. My sister is going to have something similar for her kids, but have scavenger hunts to find their gifts. The first clue will be in the wooden drawer on the advent calendar.

No matter what you do for the holidays, stay safe and make the most of a crummy situation by turning it into a gift. You are home and make home a special place for you and your family this holiday season!

FollowFacebookpinterestrssyoutube
ShareFacebookpinterest

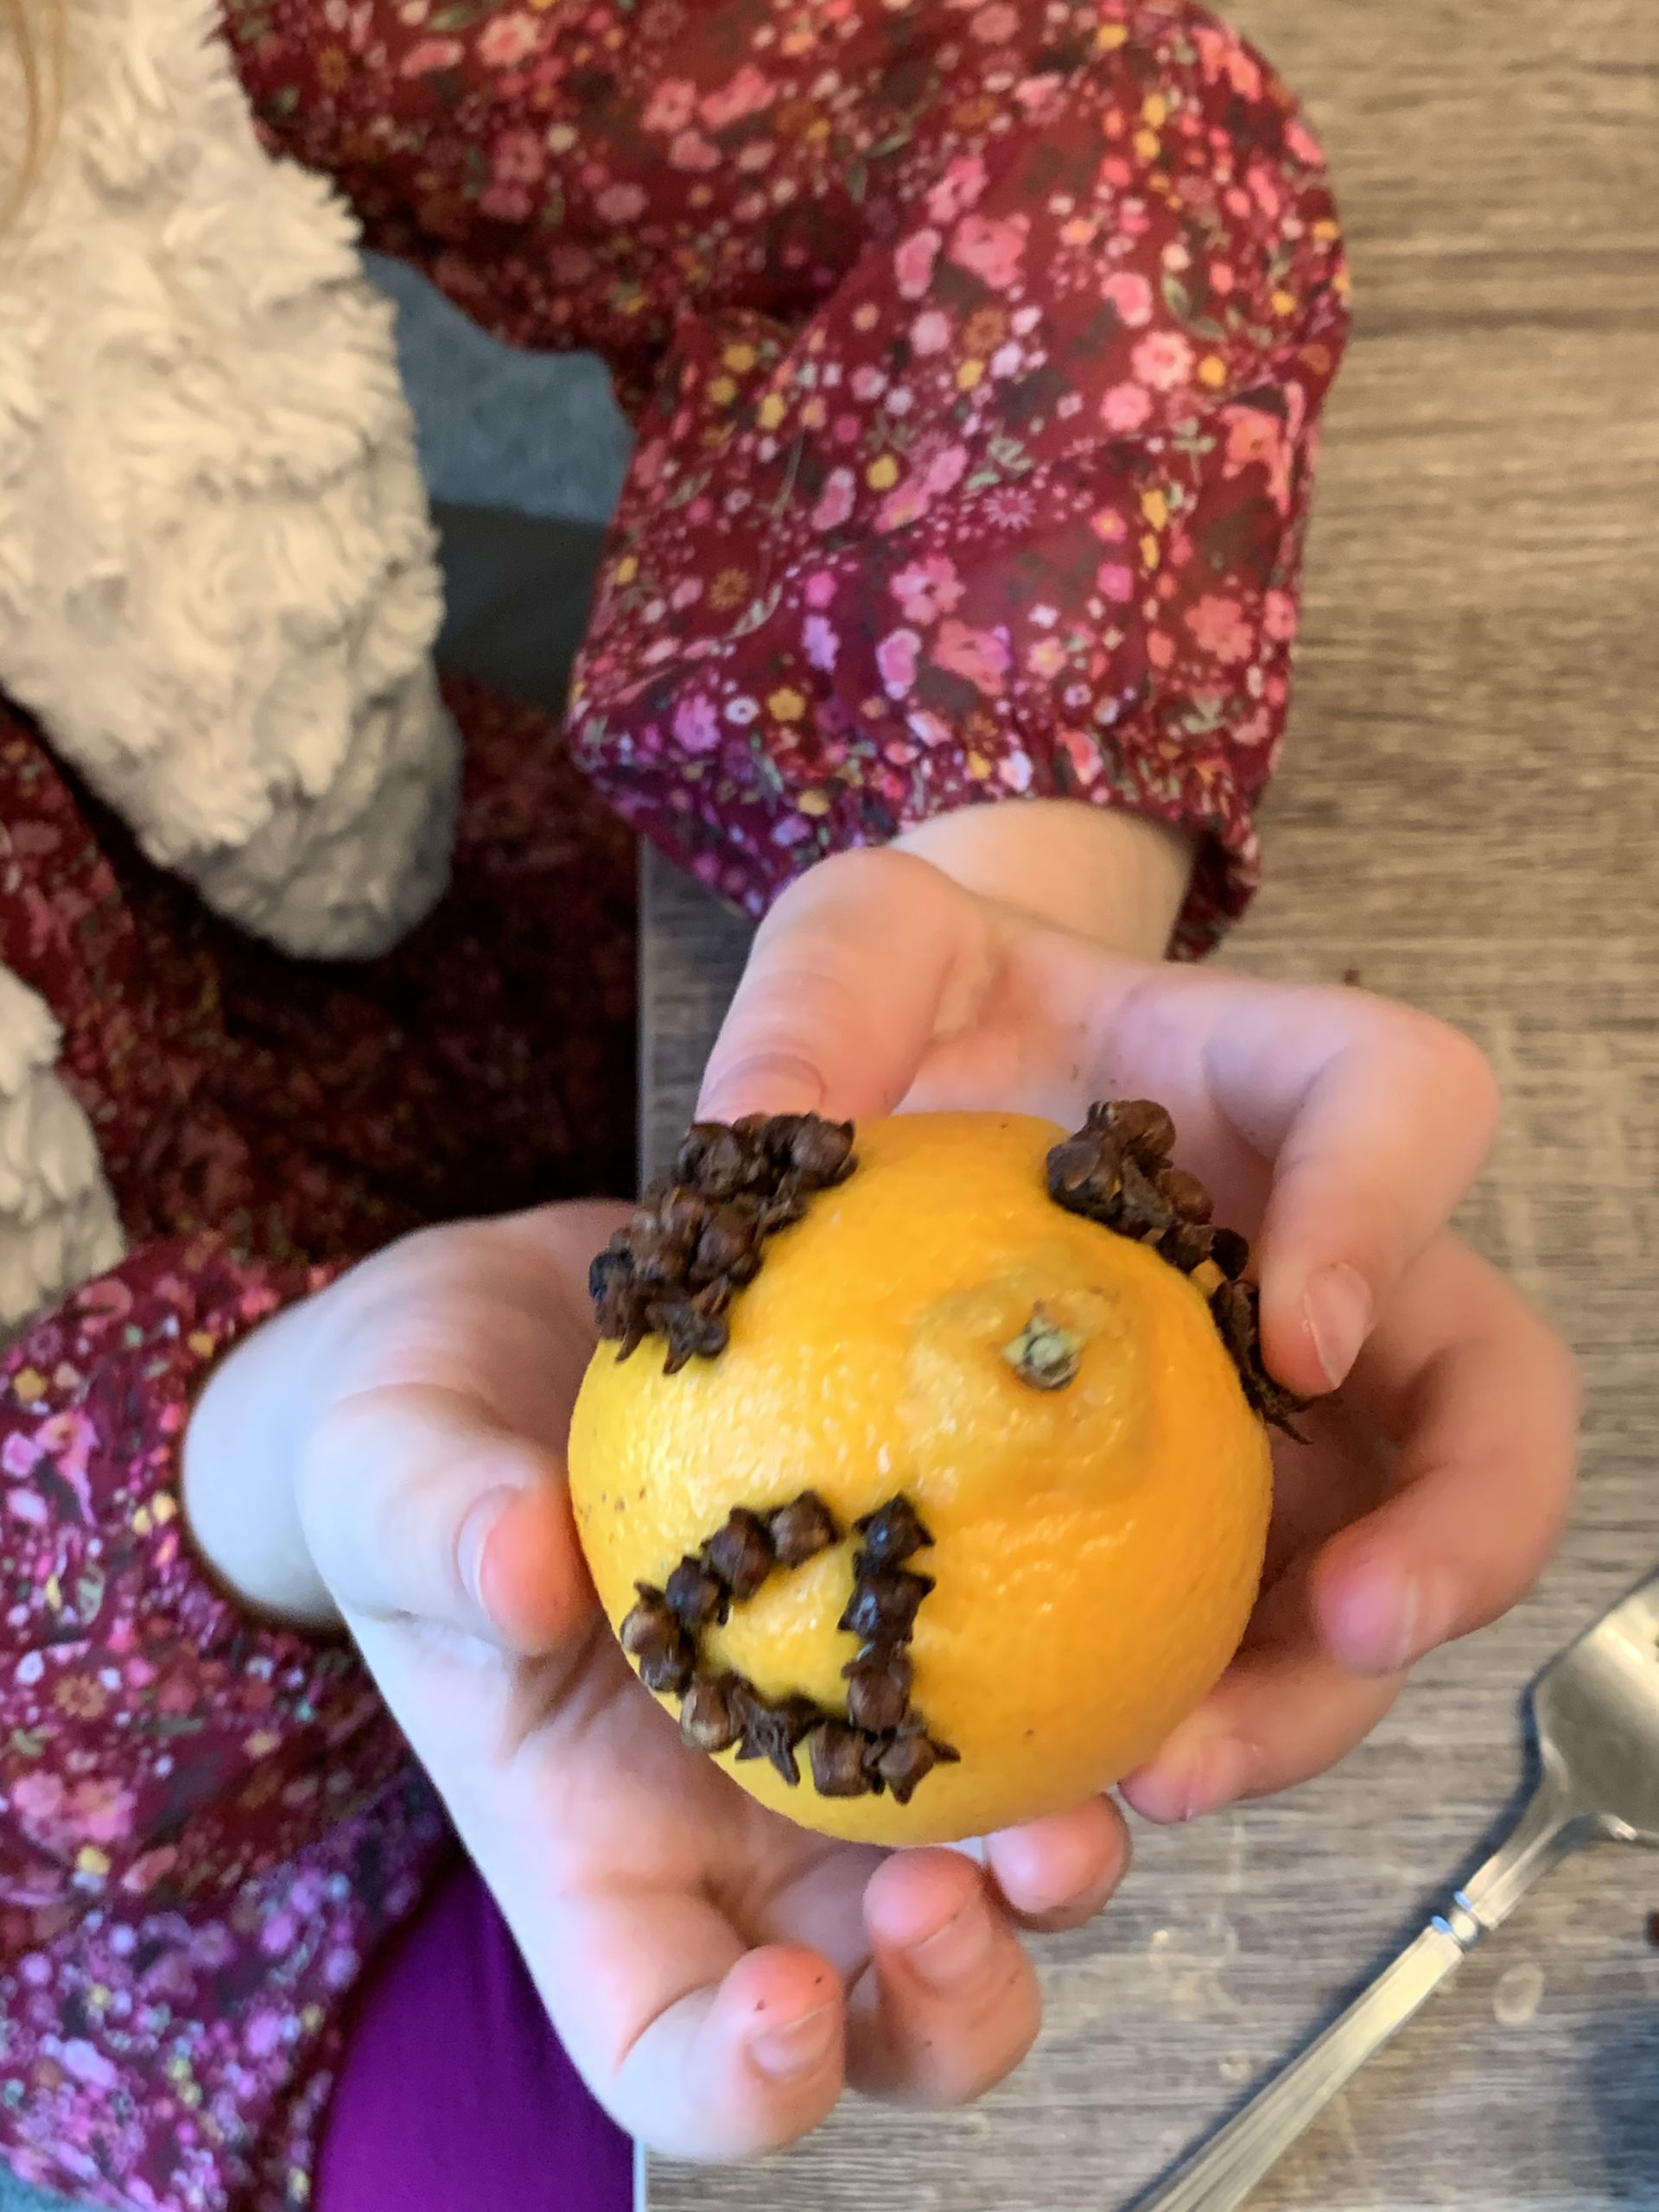
+Pomander Ball: A fun fine motor experience

A craft using fine motor skills, creativity, and your child’s senses is making a Christmas Pomander Ball!  There are several ways to make them and we will go through some examples!
img_2460

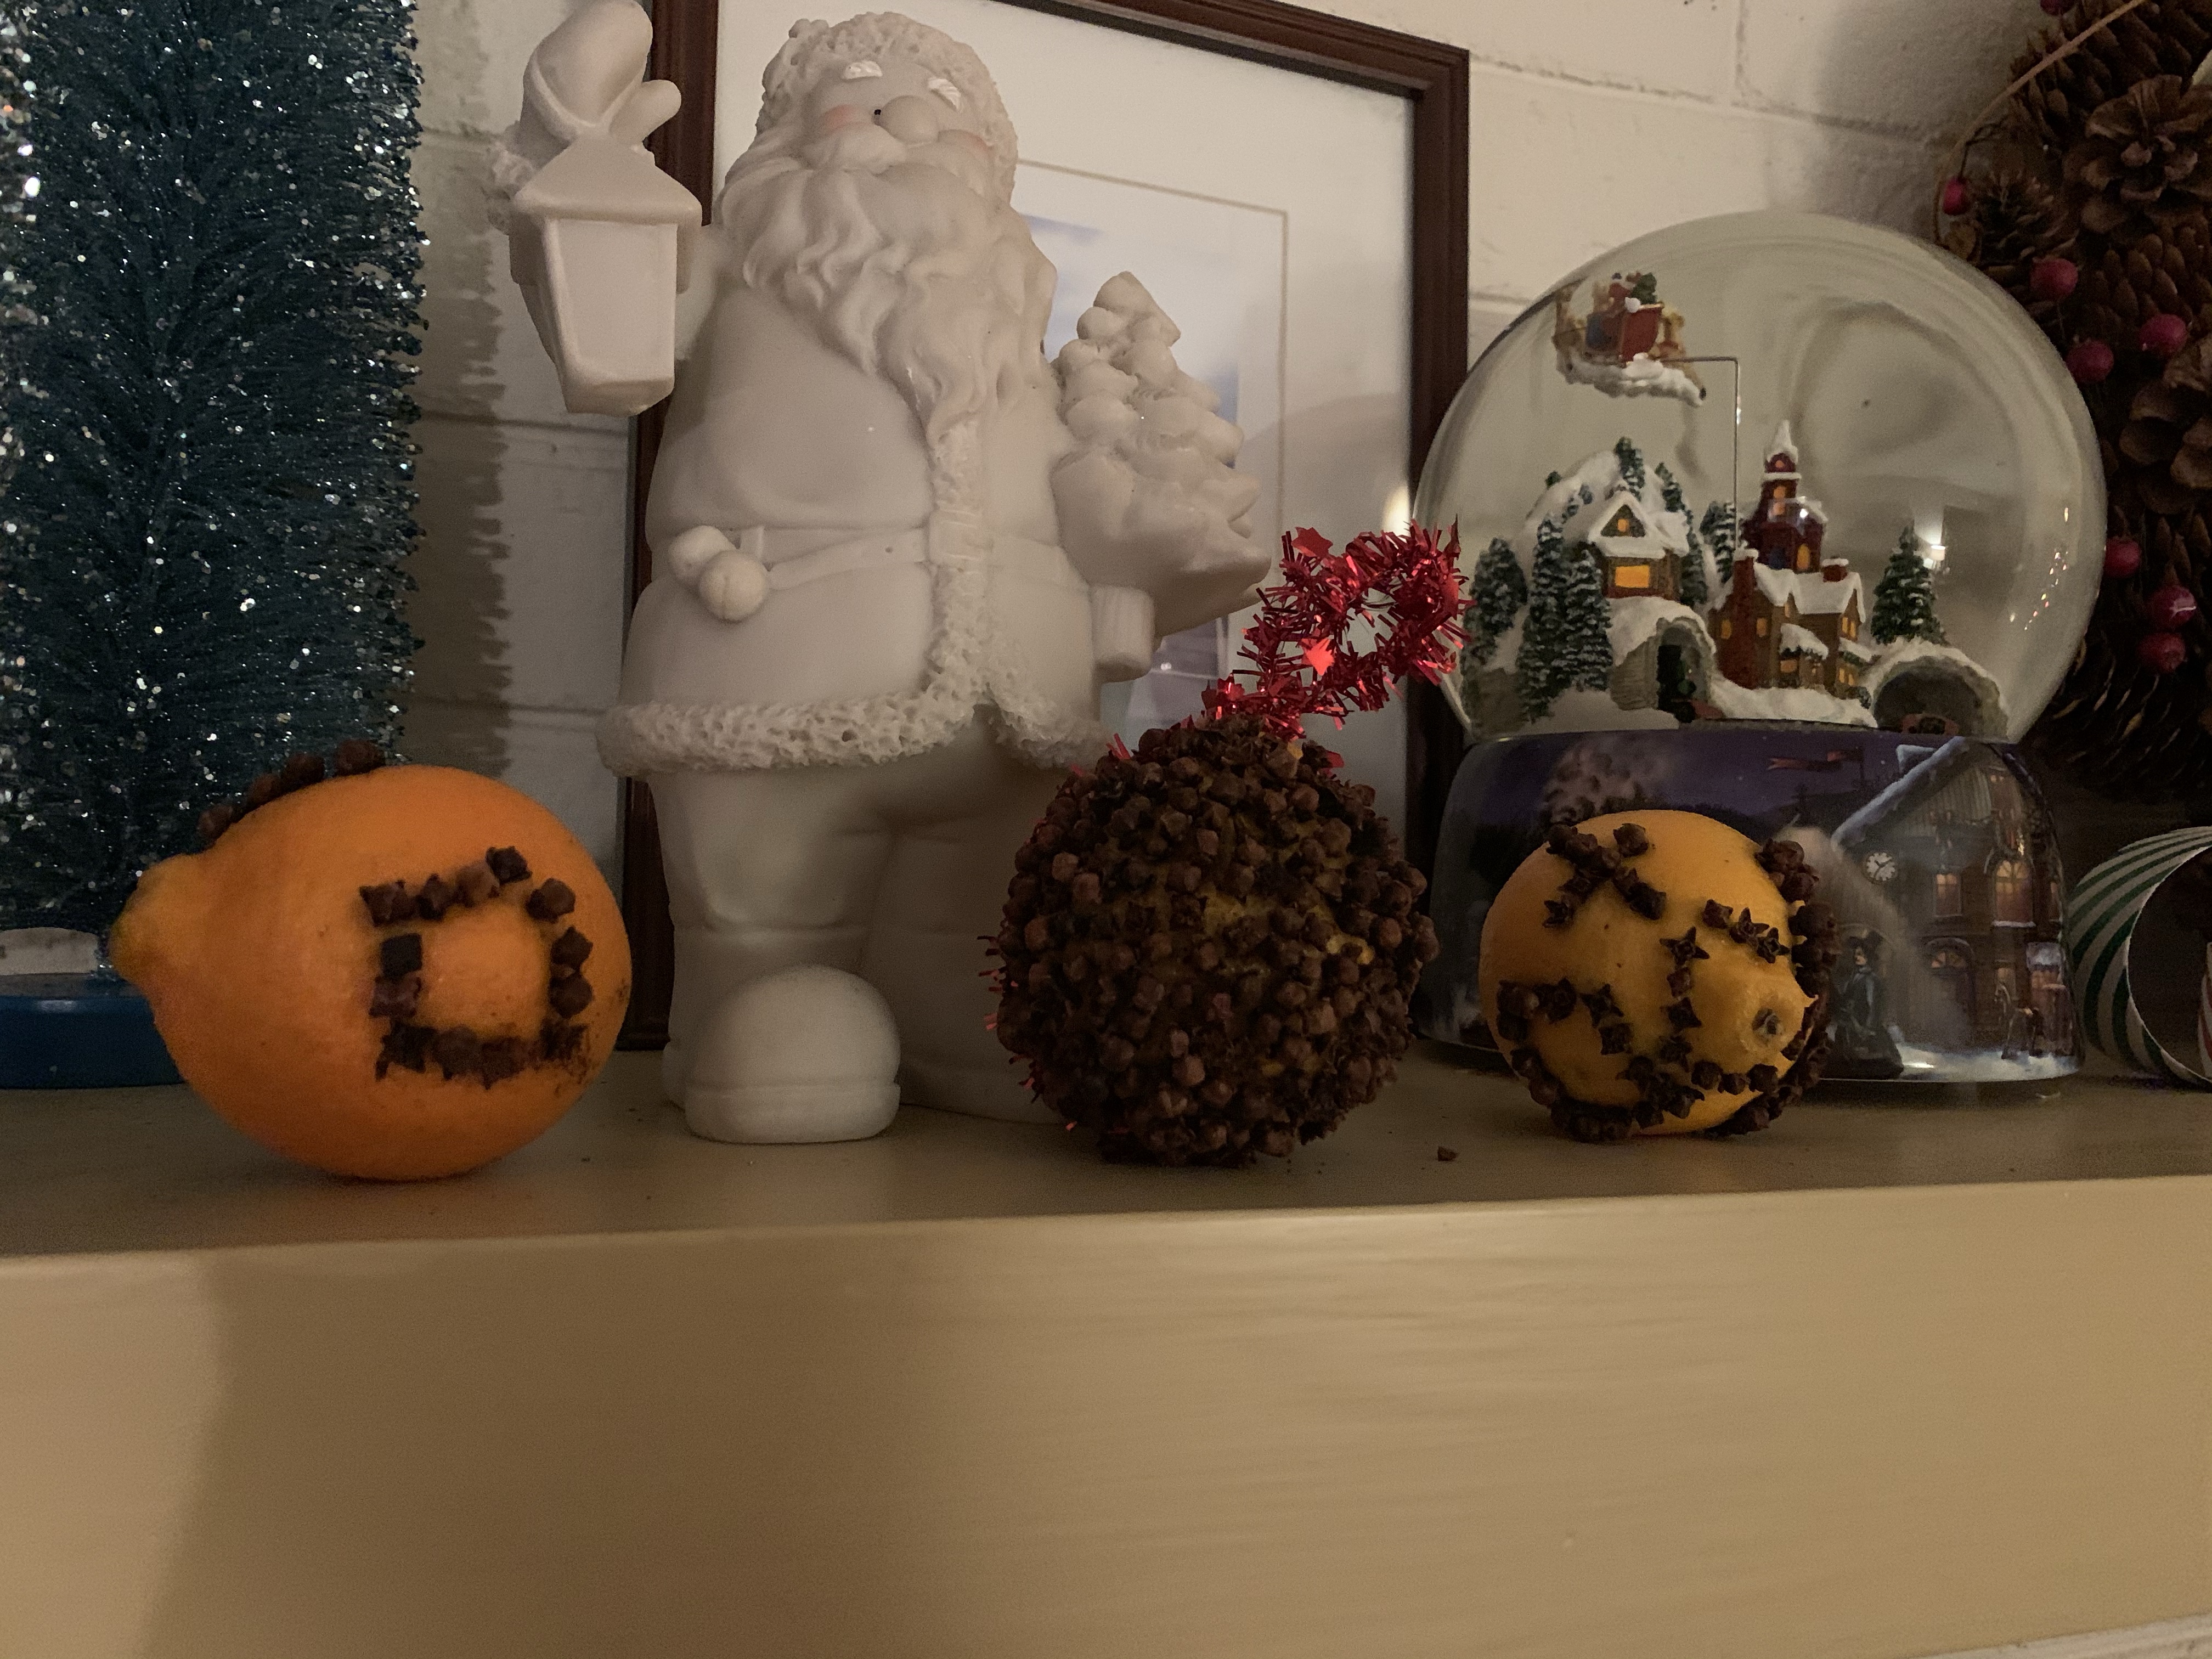
Pomander Balls were originally used to ward away illness with the strong scents of cloves and other spices.  Today, we make pomander balls with citrus fruits and cloves as a decoration, gift, centerpiece, or for scenting the room.

What you need:

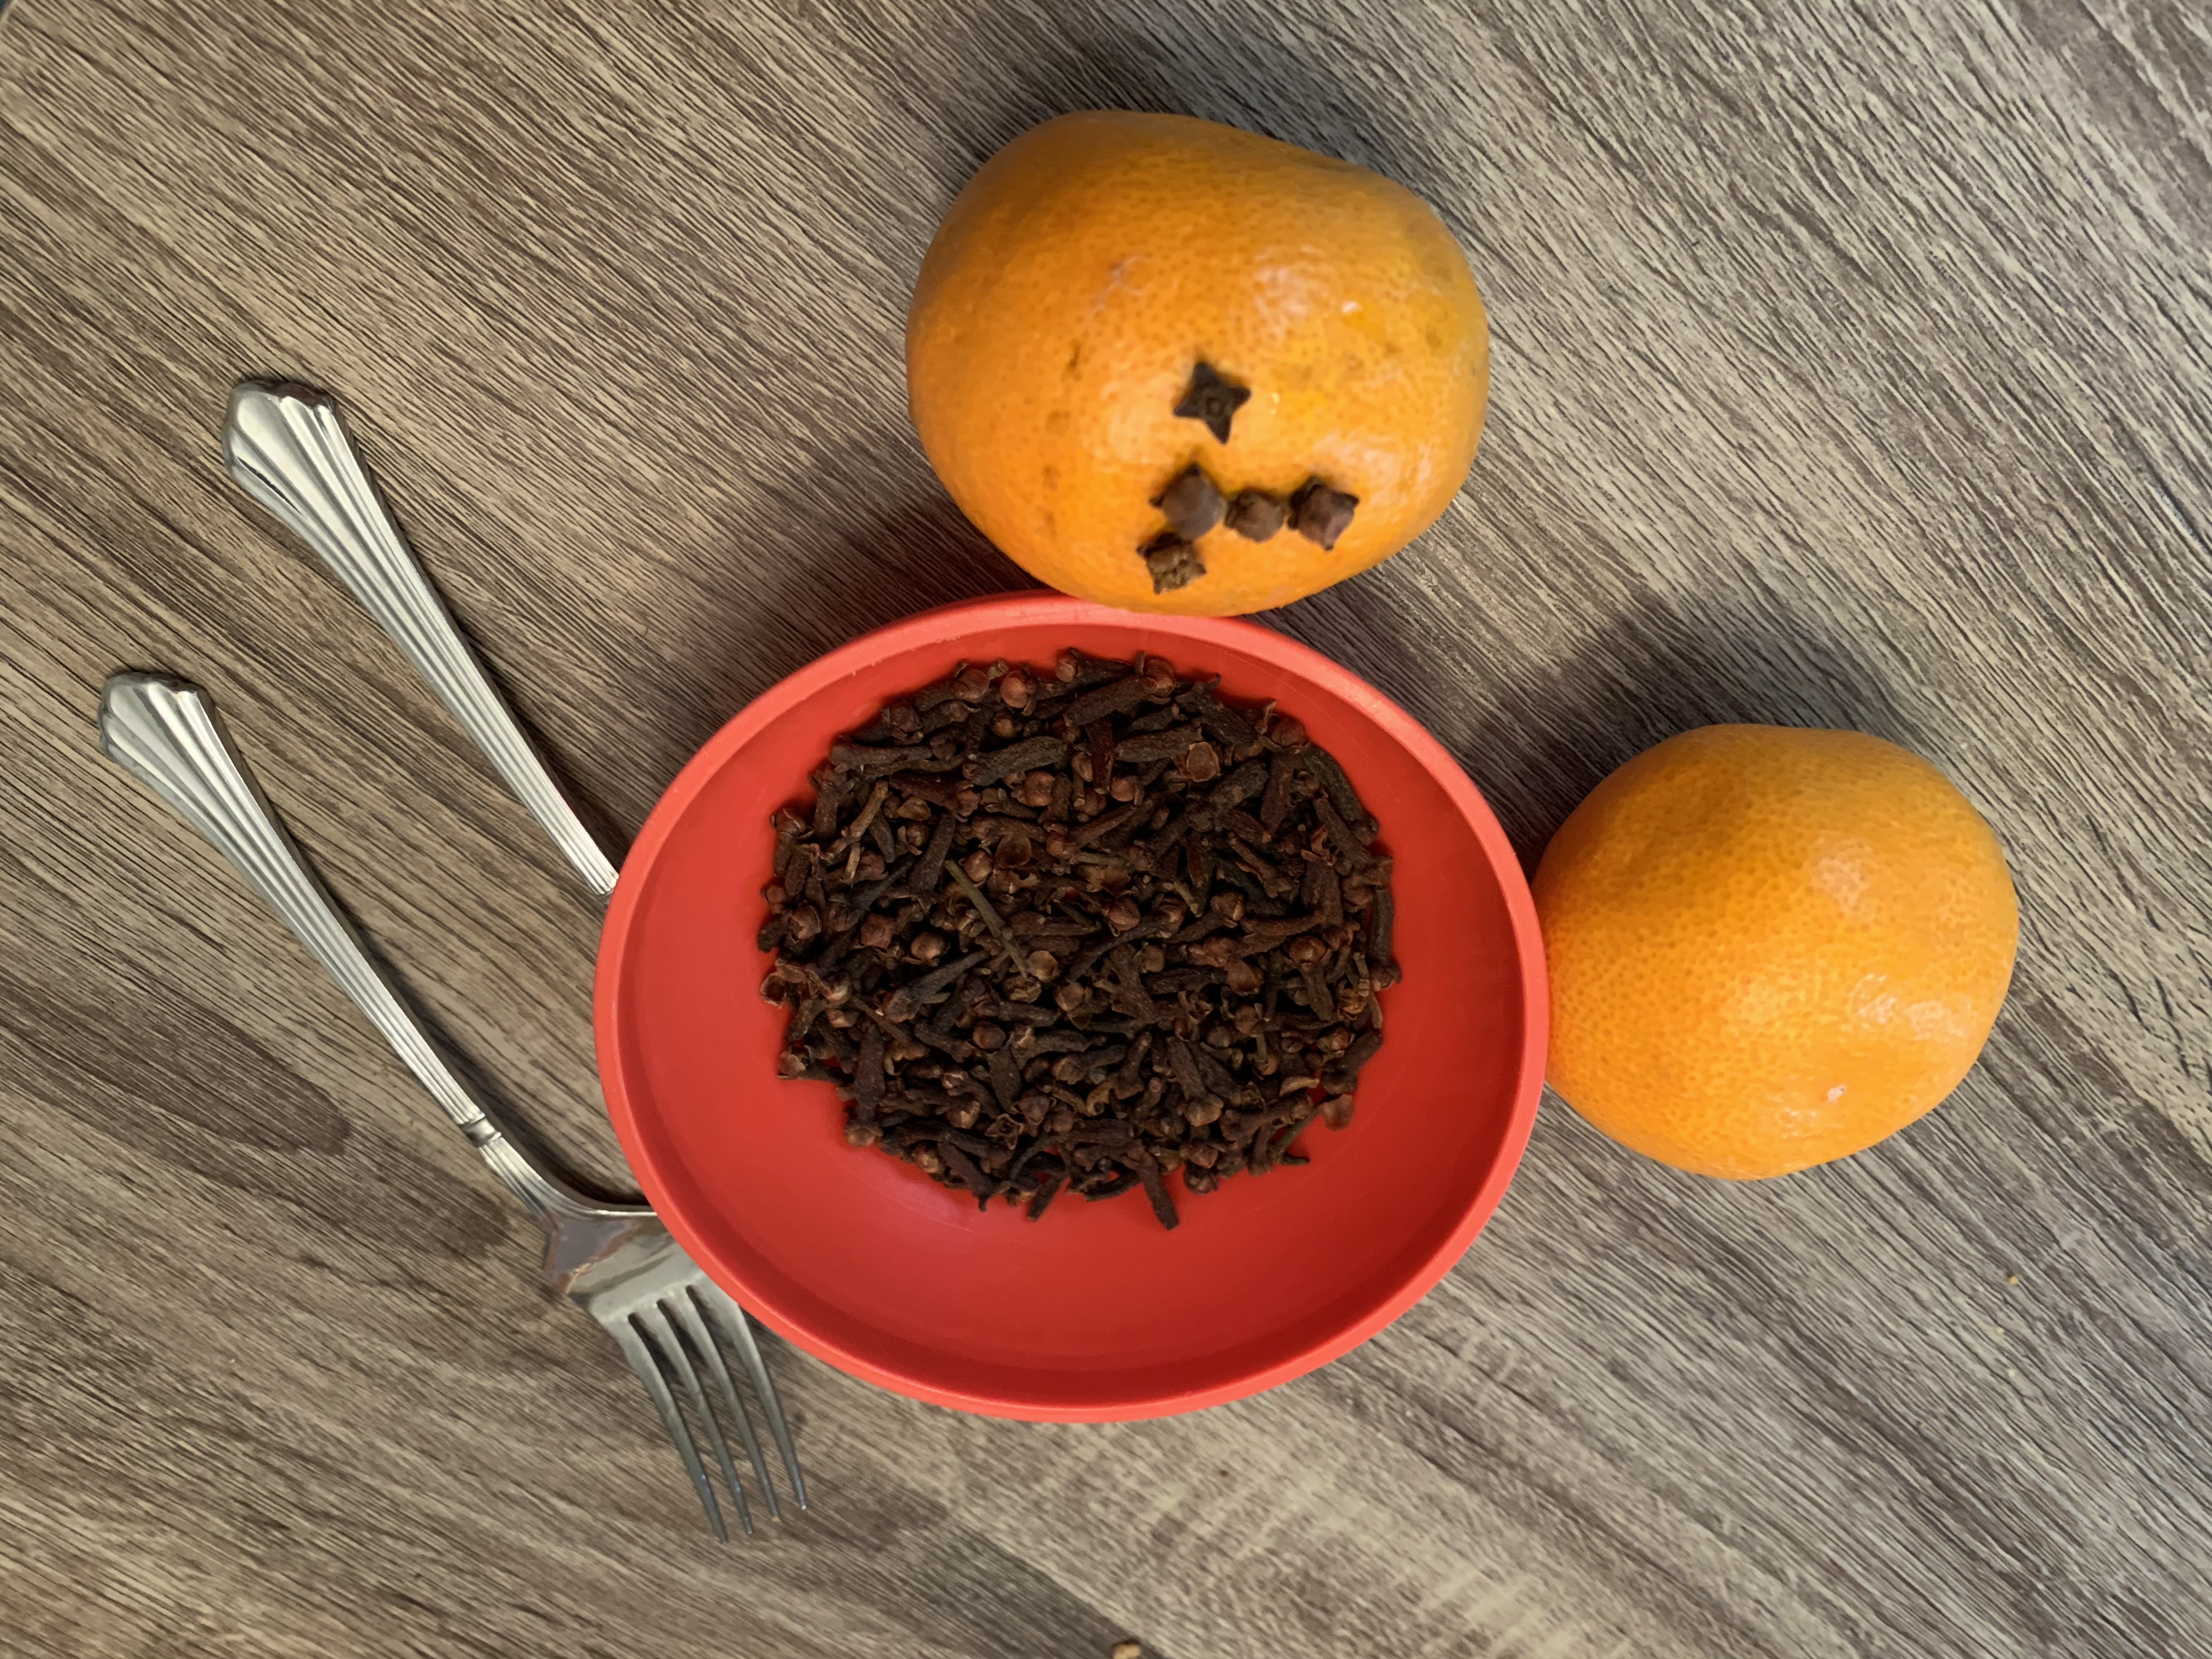
Citrus fruit: clementine or oranges work best (make sure they are on the harder side)

Whole cloves (you can get a large bag that will last for years at the food store)
Ribbon for decoration

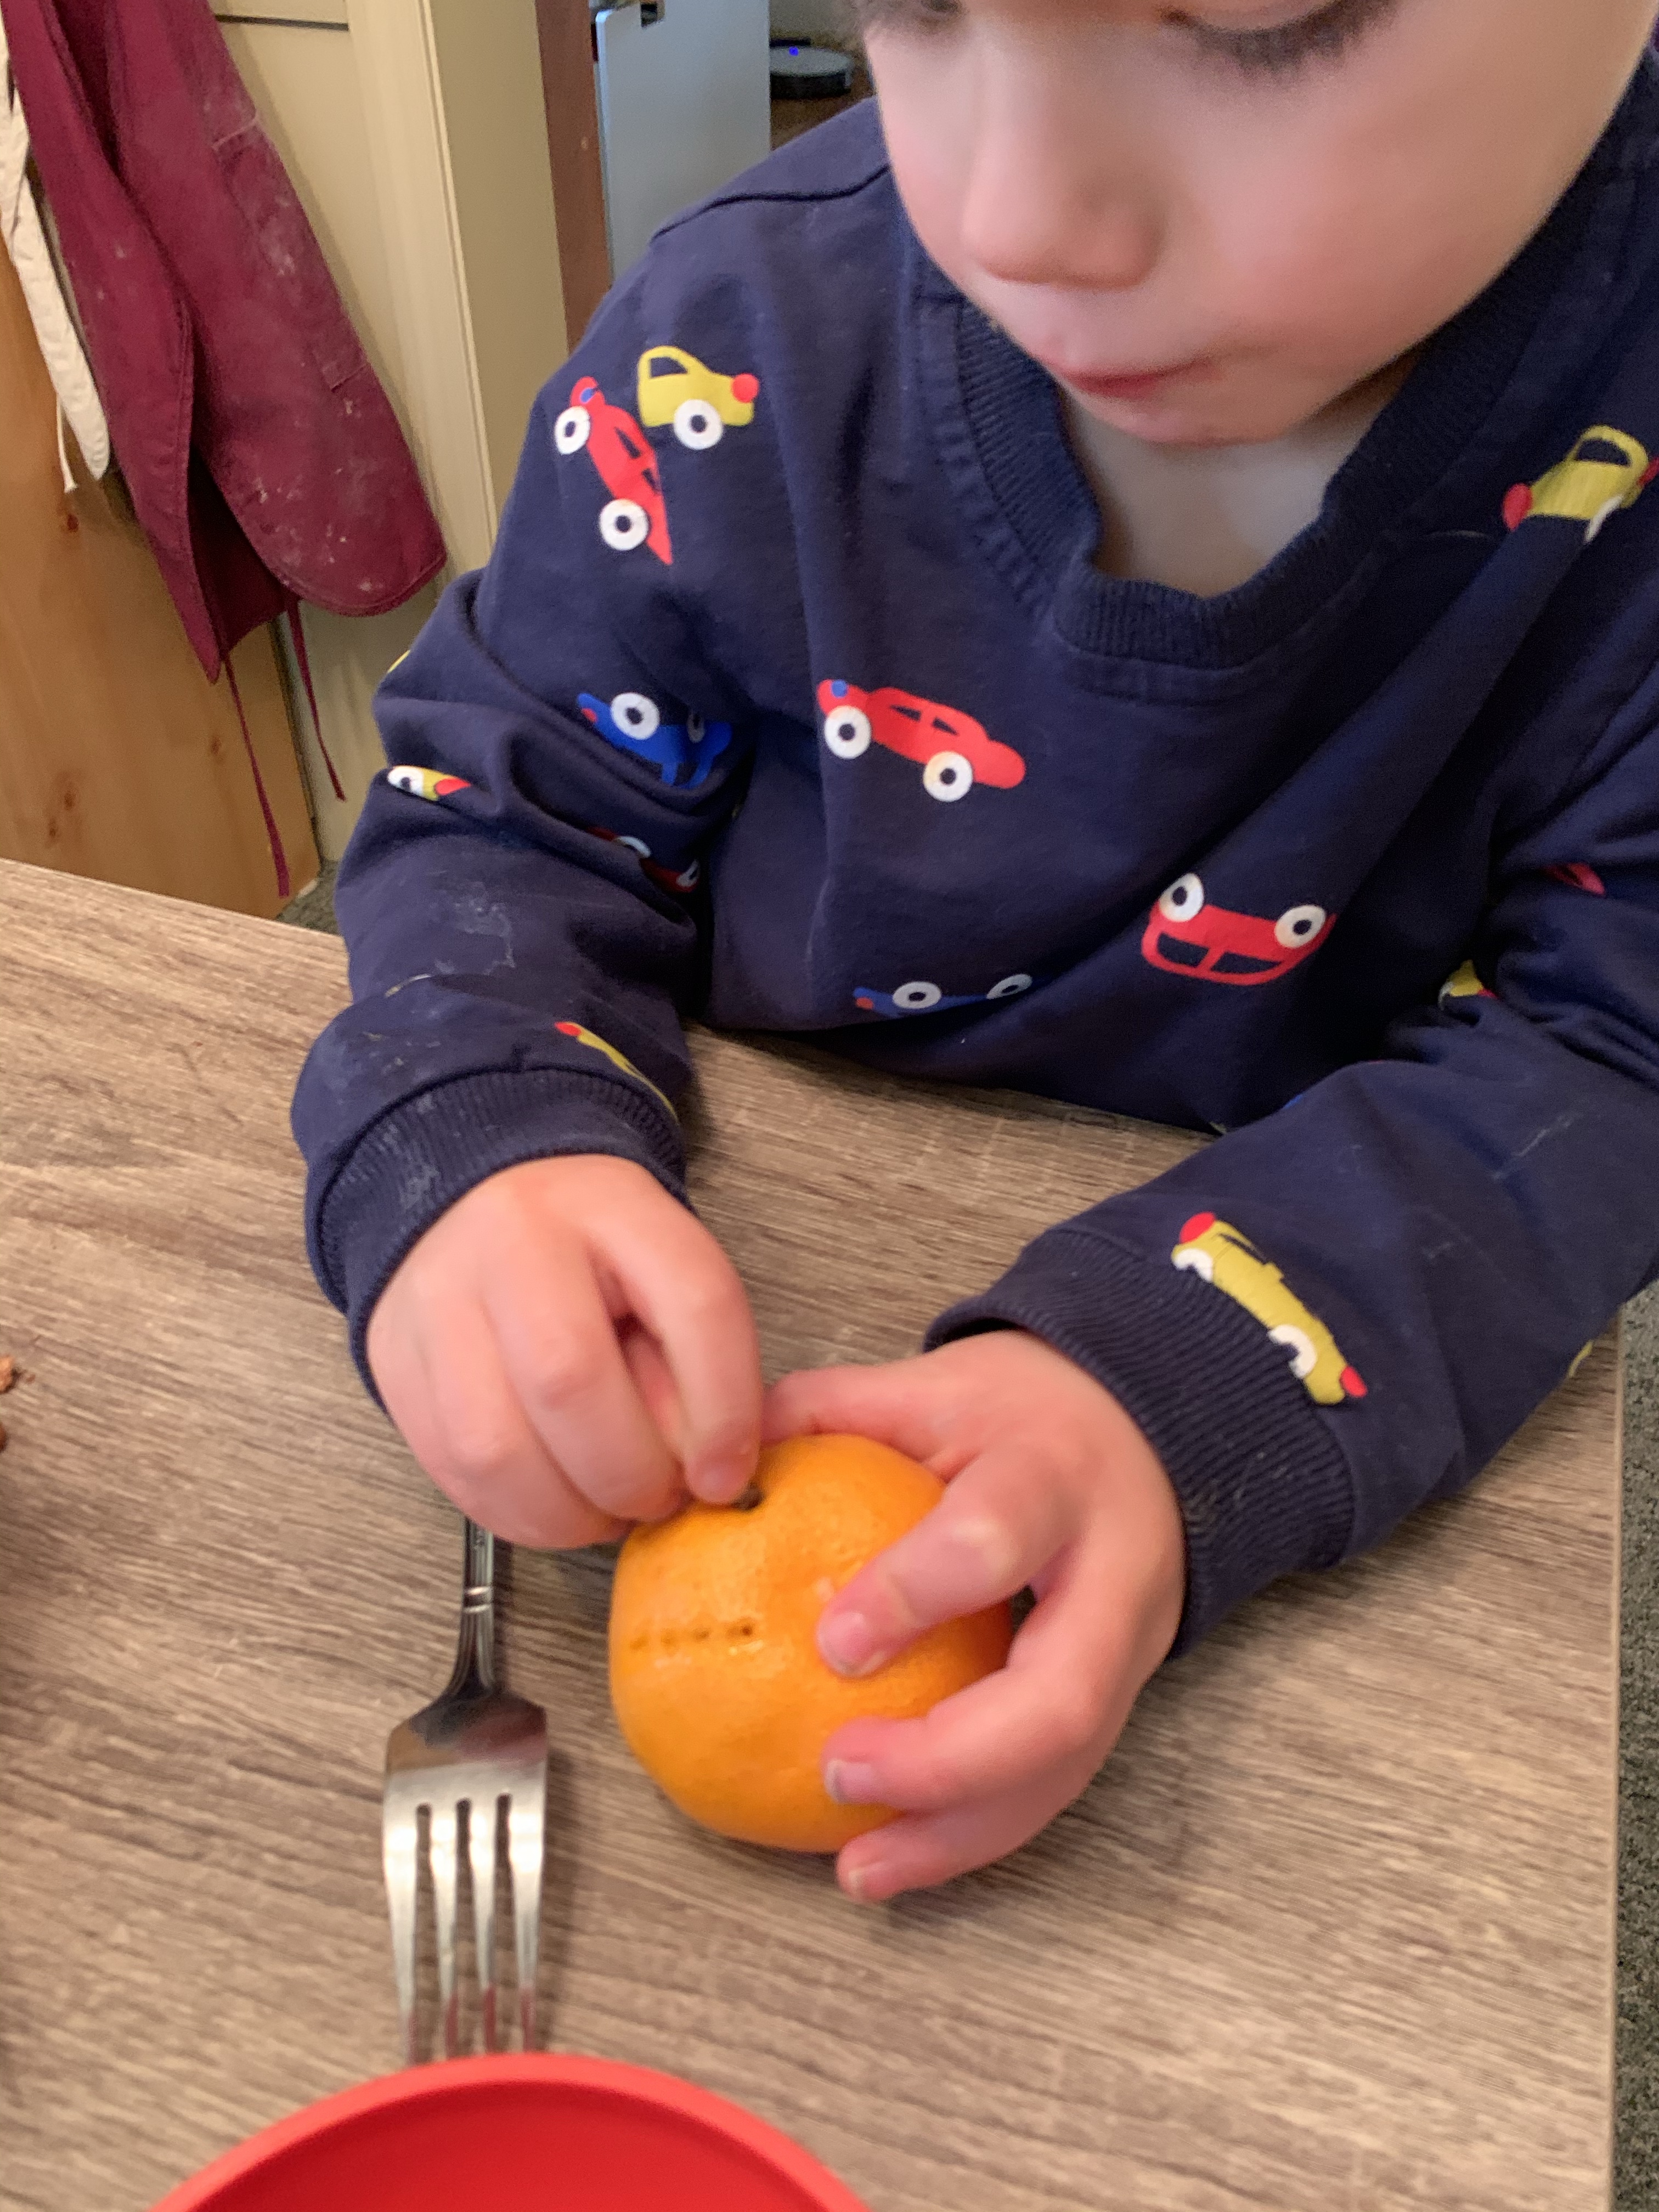
To make holes you can use a fork, pushpin, or toothpick (optional): my kids like to use a small fork to poke several holes at once

  1. Pour some whole cloves into a small bowl for the kids to chose fromimg_2440-1
  2. Next, have your child use a fork to poke holes
  3. img_2442-1
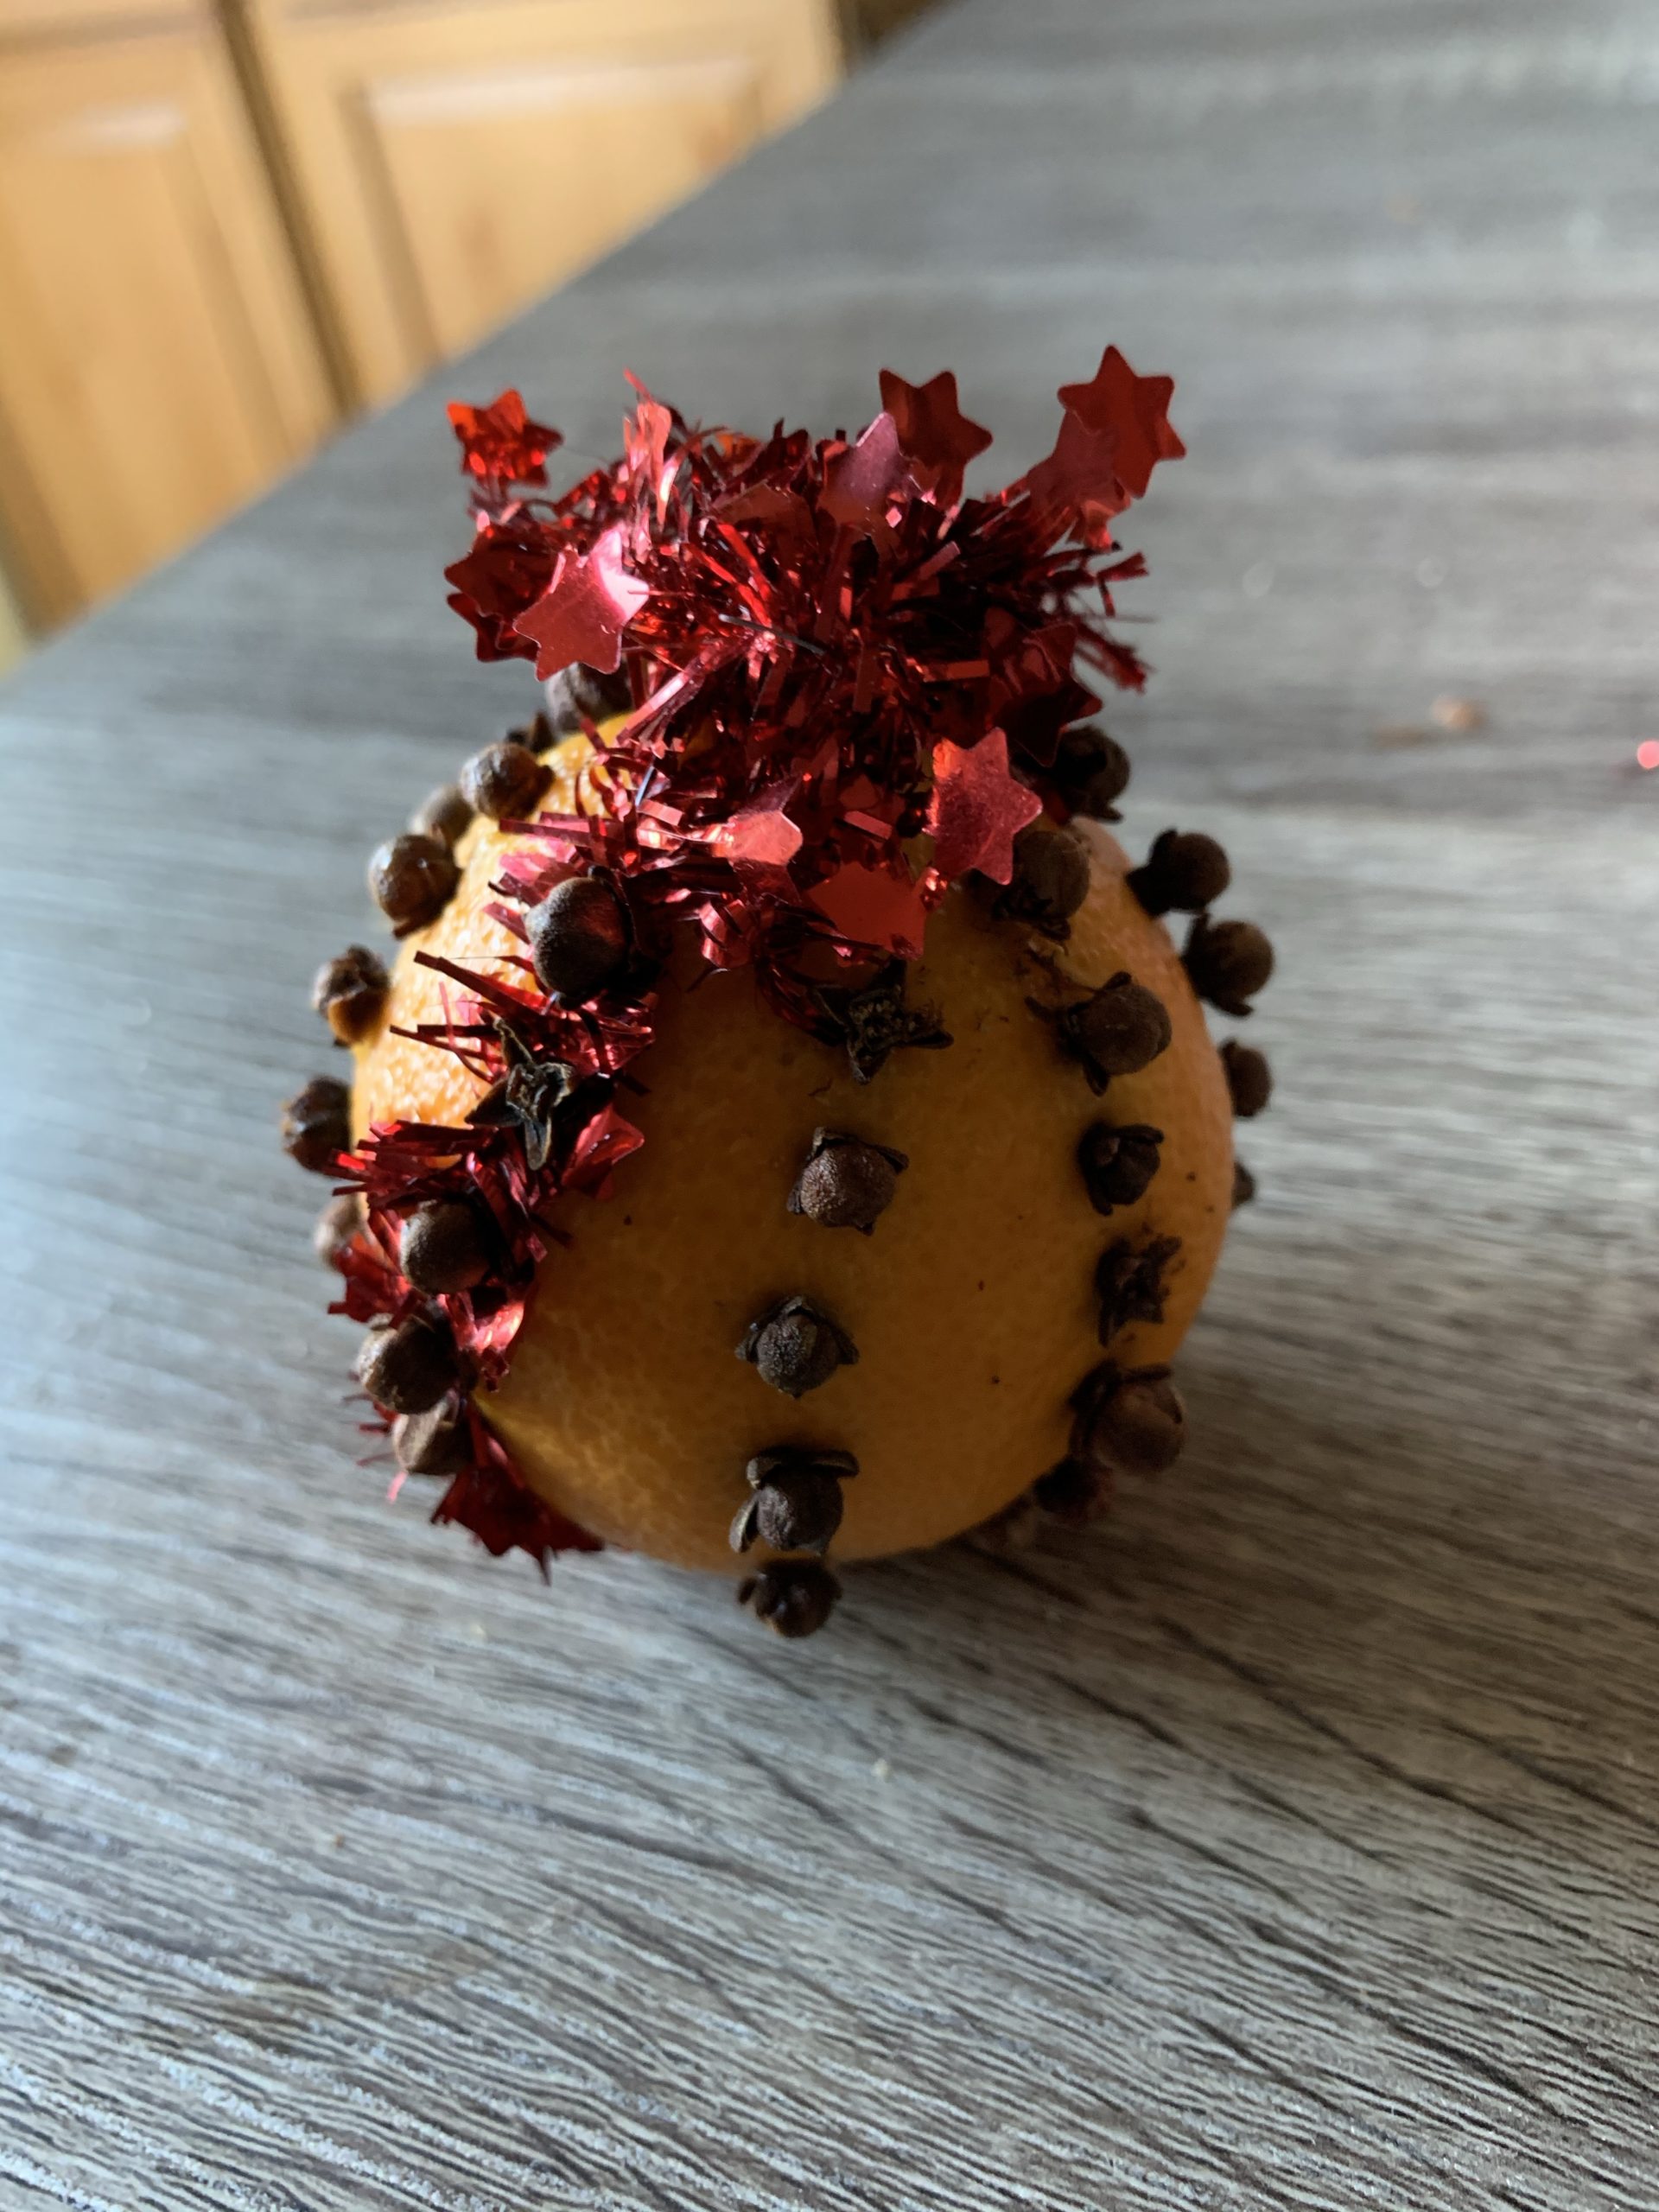
  4. Take the whole cloves and poke them through the holes
  5. Make a design as you chose, and hang with ribbon
  6. img_2453
  7. Dry out in a dark place, preferably in a brown bag for a week or two until dry then hang them or decorate with them!  If you chose not to dry them, then they usually last a week before they brown and get moldy. You can also place them in the fridge at night if you want them to last a little longer.
  8. img_2459
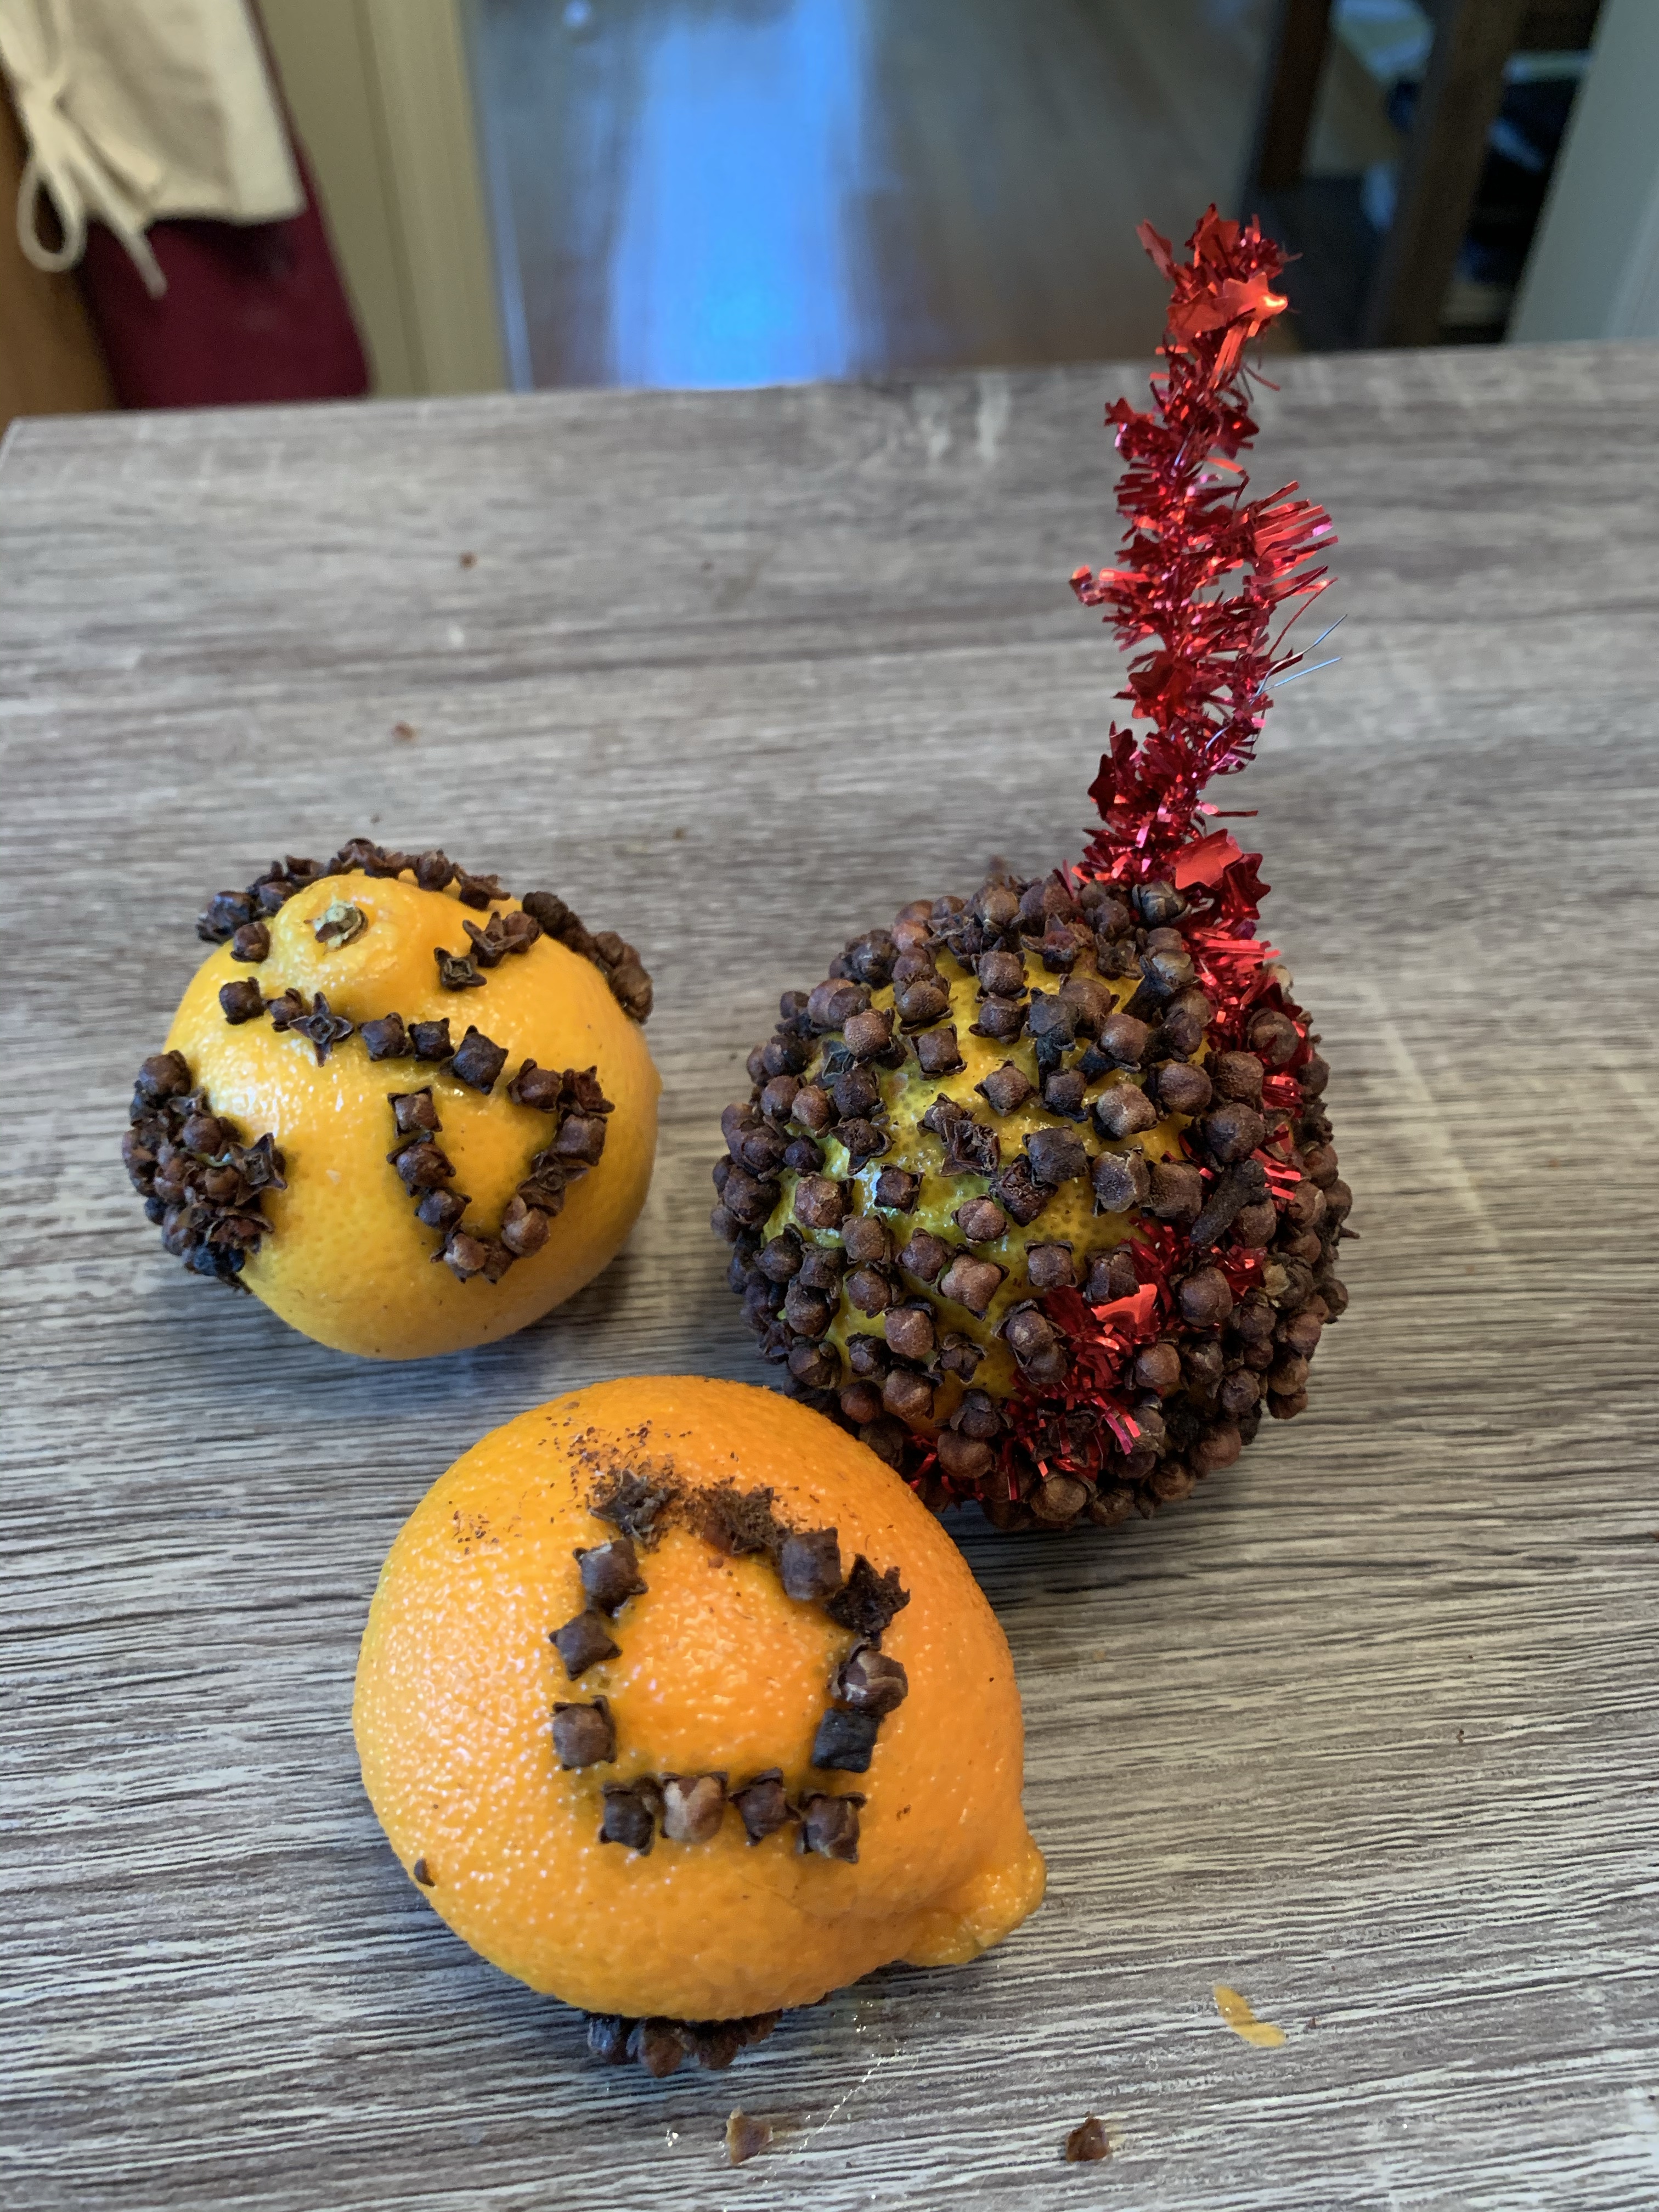
  9. If you fill the whole fruit with cloves completely, it will dehydrate the fruit and you wont need to place it in a bag at all (my kids don’t usually have the patience for this yet)

img_2458

My kids wanted to law shapes on their clementines with the cloves!

img_2460

Enjoy and let me know how they turn out!!!


FollowFacebookpinterestrssyoutube
ShareFacebookpinterest

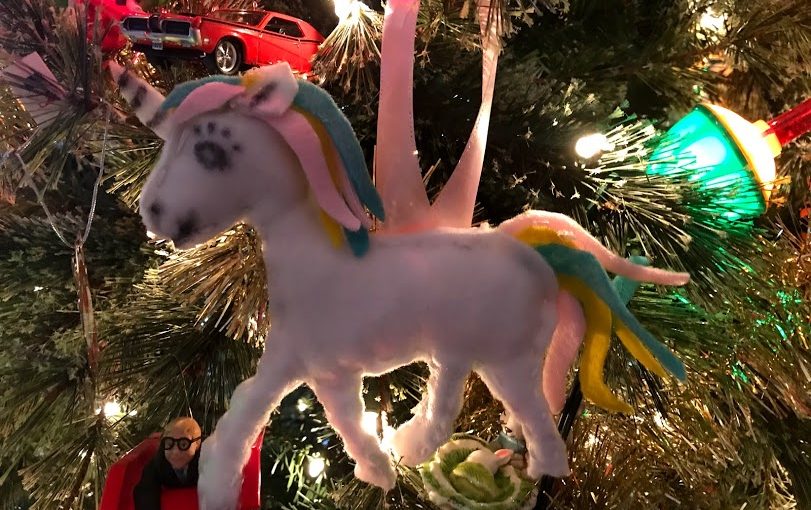
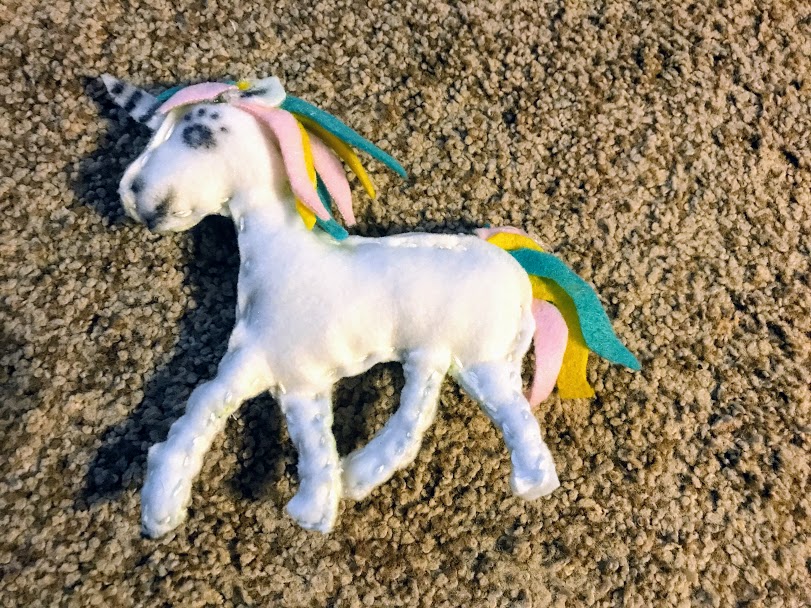
DIY Felt Unicorn Ornament

My daughter saw the cutest ornament at Boscov’s the other day…a unicorn. It was made from felt and I thought, “I can make that!” If you know anyone who loves unicorns then this simple felt ornament can be made for Christmas, or enlarged as a stuffed animal!

Materials needed:

-Felt in various colors: I used leftover felt I had from other projects. Any colors will work. I used white, yellow, blue, and pink.

-scissors, needle, thread

-hot glue gun, felt marker, cotton for stuffing

11 - Copy

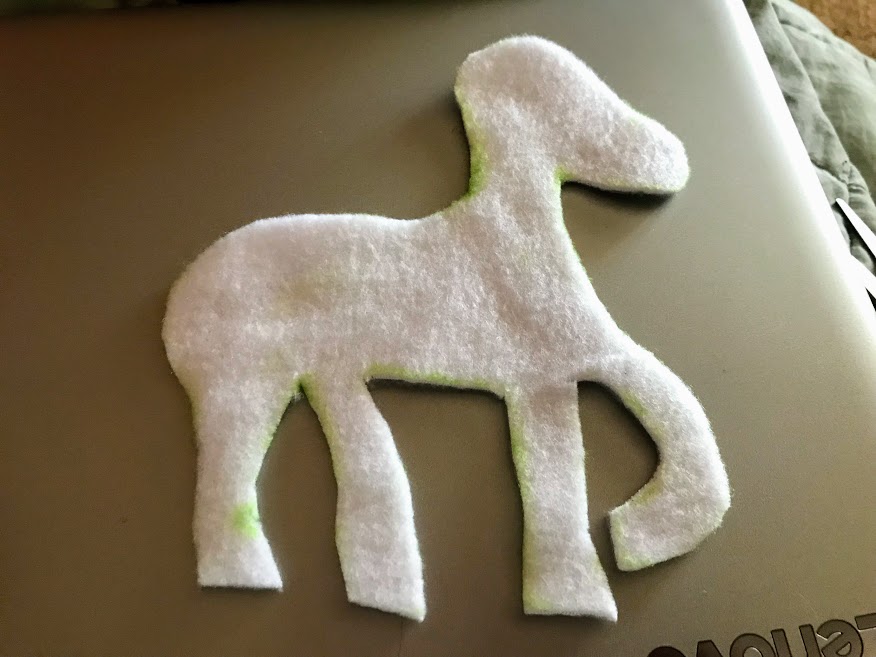
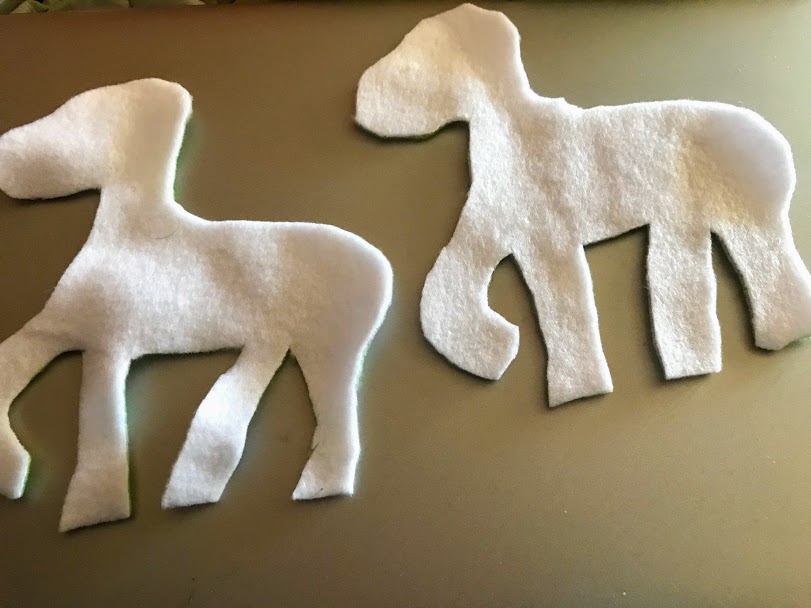
First I laid out a white piece of felt and drew the body. I didn’t use a printout or pattern, I just eyeballed it by looking at pictures. I cut it out, then laid it on top of another piece of white felt to trace and again cut out. This way I had both sides of the unicorn’s body.

11 - Copy

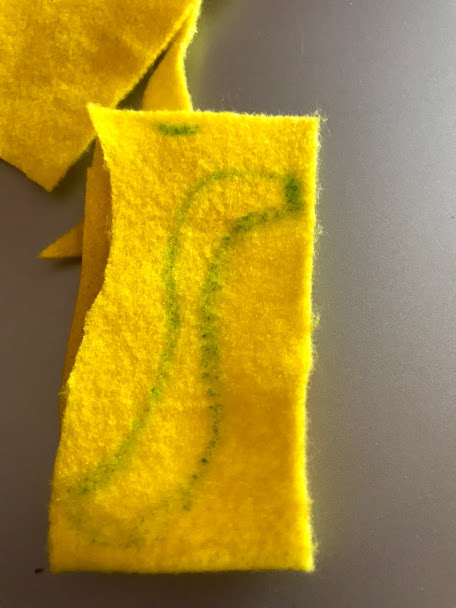
The second cut out of the unicorn body ended up a little larger, but I just cut and adjusted the size as I was sewing it. Next, I moved onto cutting out the hair for the mane and tail. I also cut out an ear and horn. I looked at pictures and drew it freehand on the colors of felt I desired. They ended up looking like little worms.

1 - Copy1 4

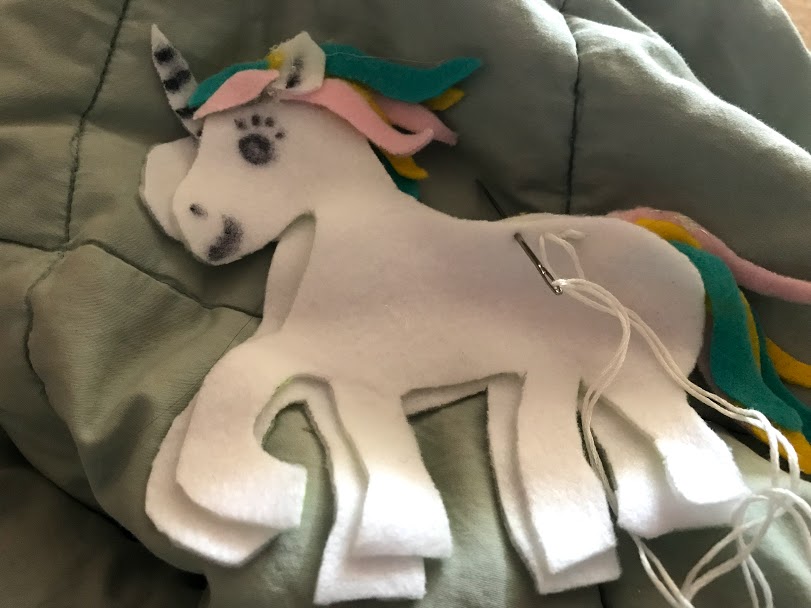
I placed my tail pieces on the back to make sure they looked okay and hot glued them to the back piece of the body. I did not glue them to BOTH body pieces, just the front of the back piece of the body (see picture).

3 2

Next,  I placed the hair and ear on the unicorn to make sure it looked correct. I didn’t glue it, but just placed it there to make sure it was to my liking. I drew on eyes, a mouth and nose with a felt marker.

51 - Copy

I hot glued the horn onto the front of the back piece of the body. I hot glued the mane and ear onto the front body piece. Next I sewed the unicorn together. As I was sewing, I stuffed it. Don’t wait until the end or your won’t be able to fill the smaller spaces like the legs.

1 - Copy.jpg

After sewing and stuffing the unicorn, I cut a piece of ribbon and hot glued it to the back of the unicorn.

21

Next, I hung it on the tree. Wallah! DONE!

4

3

Happy Ornament Making!!!!


FollowFacebookpinterestrssyoutube
ShareFacebookpinterest

My Toddler’s Favorite Christmas Books

My toddler’s favorite holiday is approaching fast…Christmas! She’s the kid you see in line screaming, “SANTA!!!!” like Buddy the Elf. She LOVES Santa and LOVES books, so I thought I’d write about her favorite books in case anyone is looking for toddler books!

IMG_2947

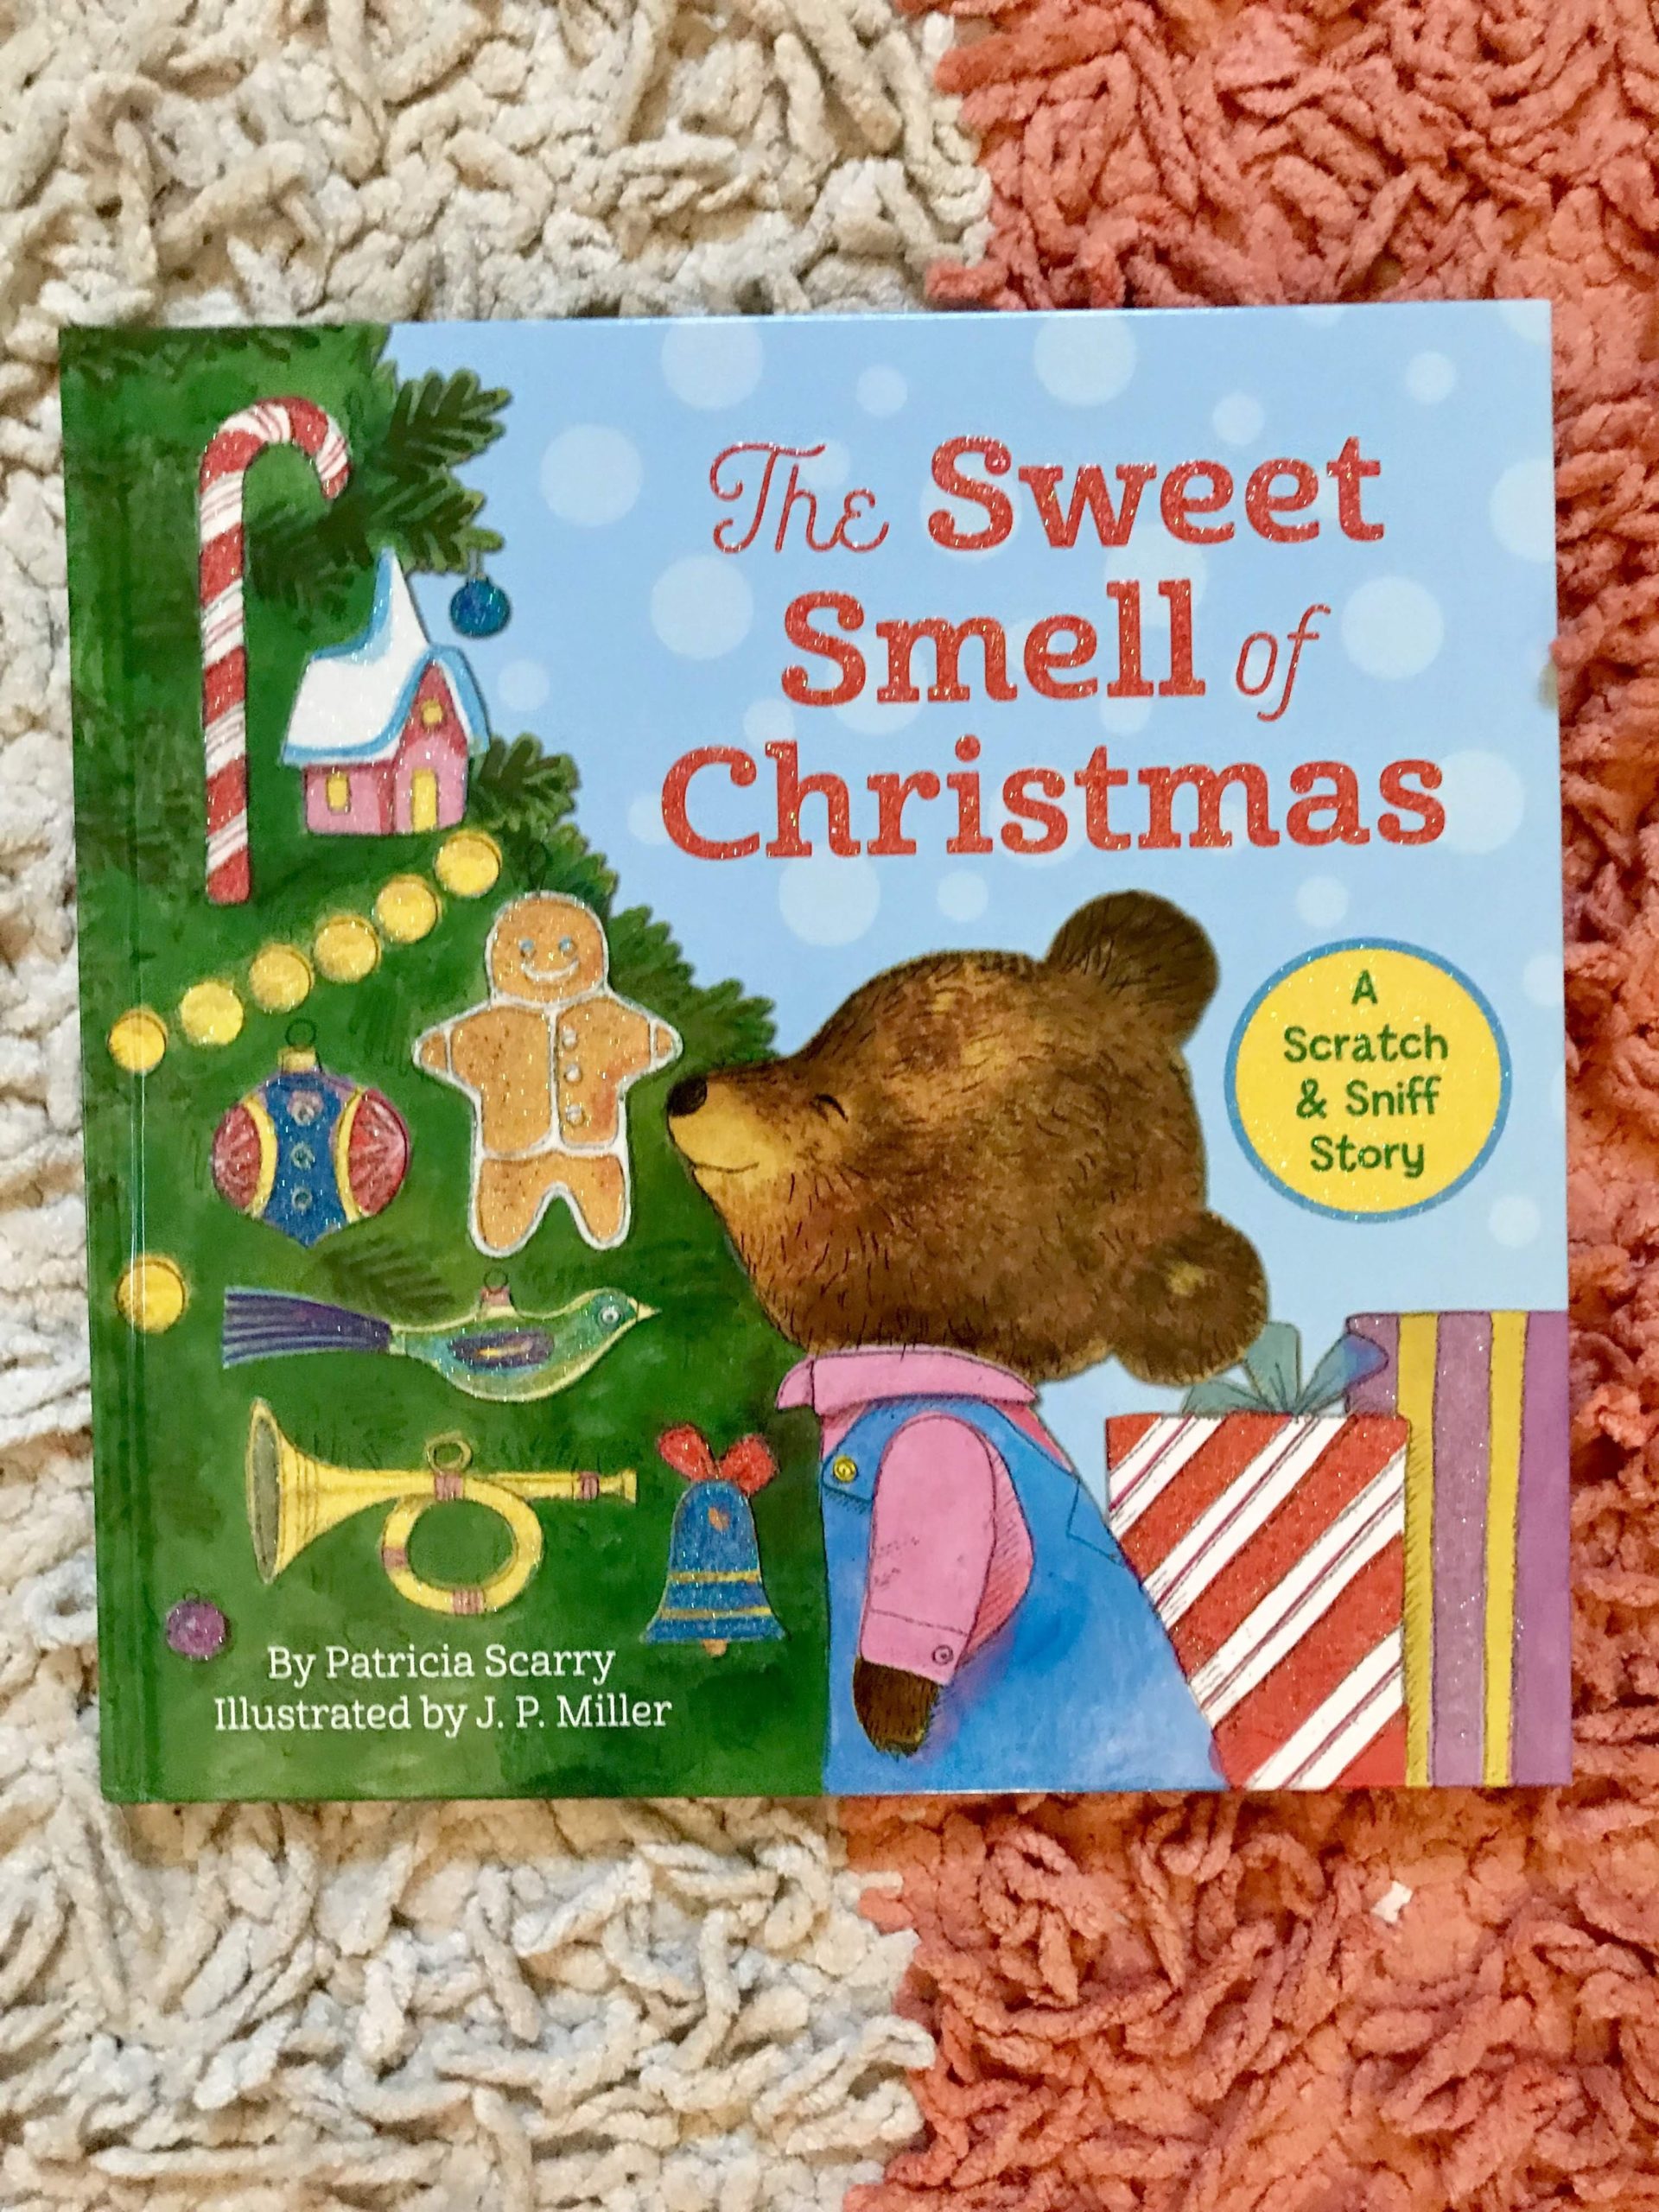
“The Sweet Smell of Christmas”warms our hearts.

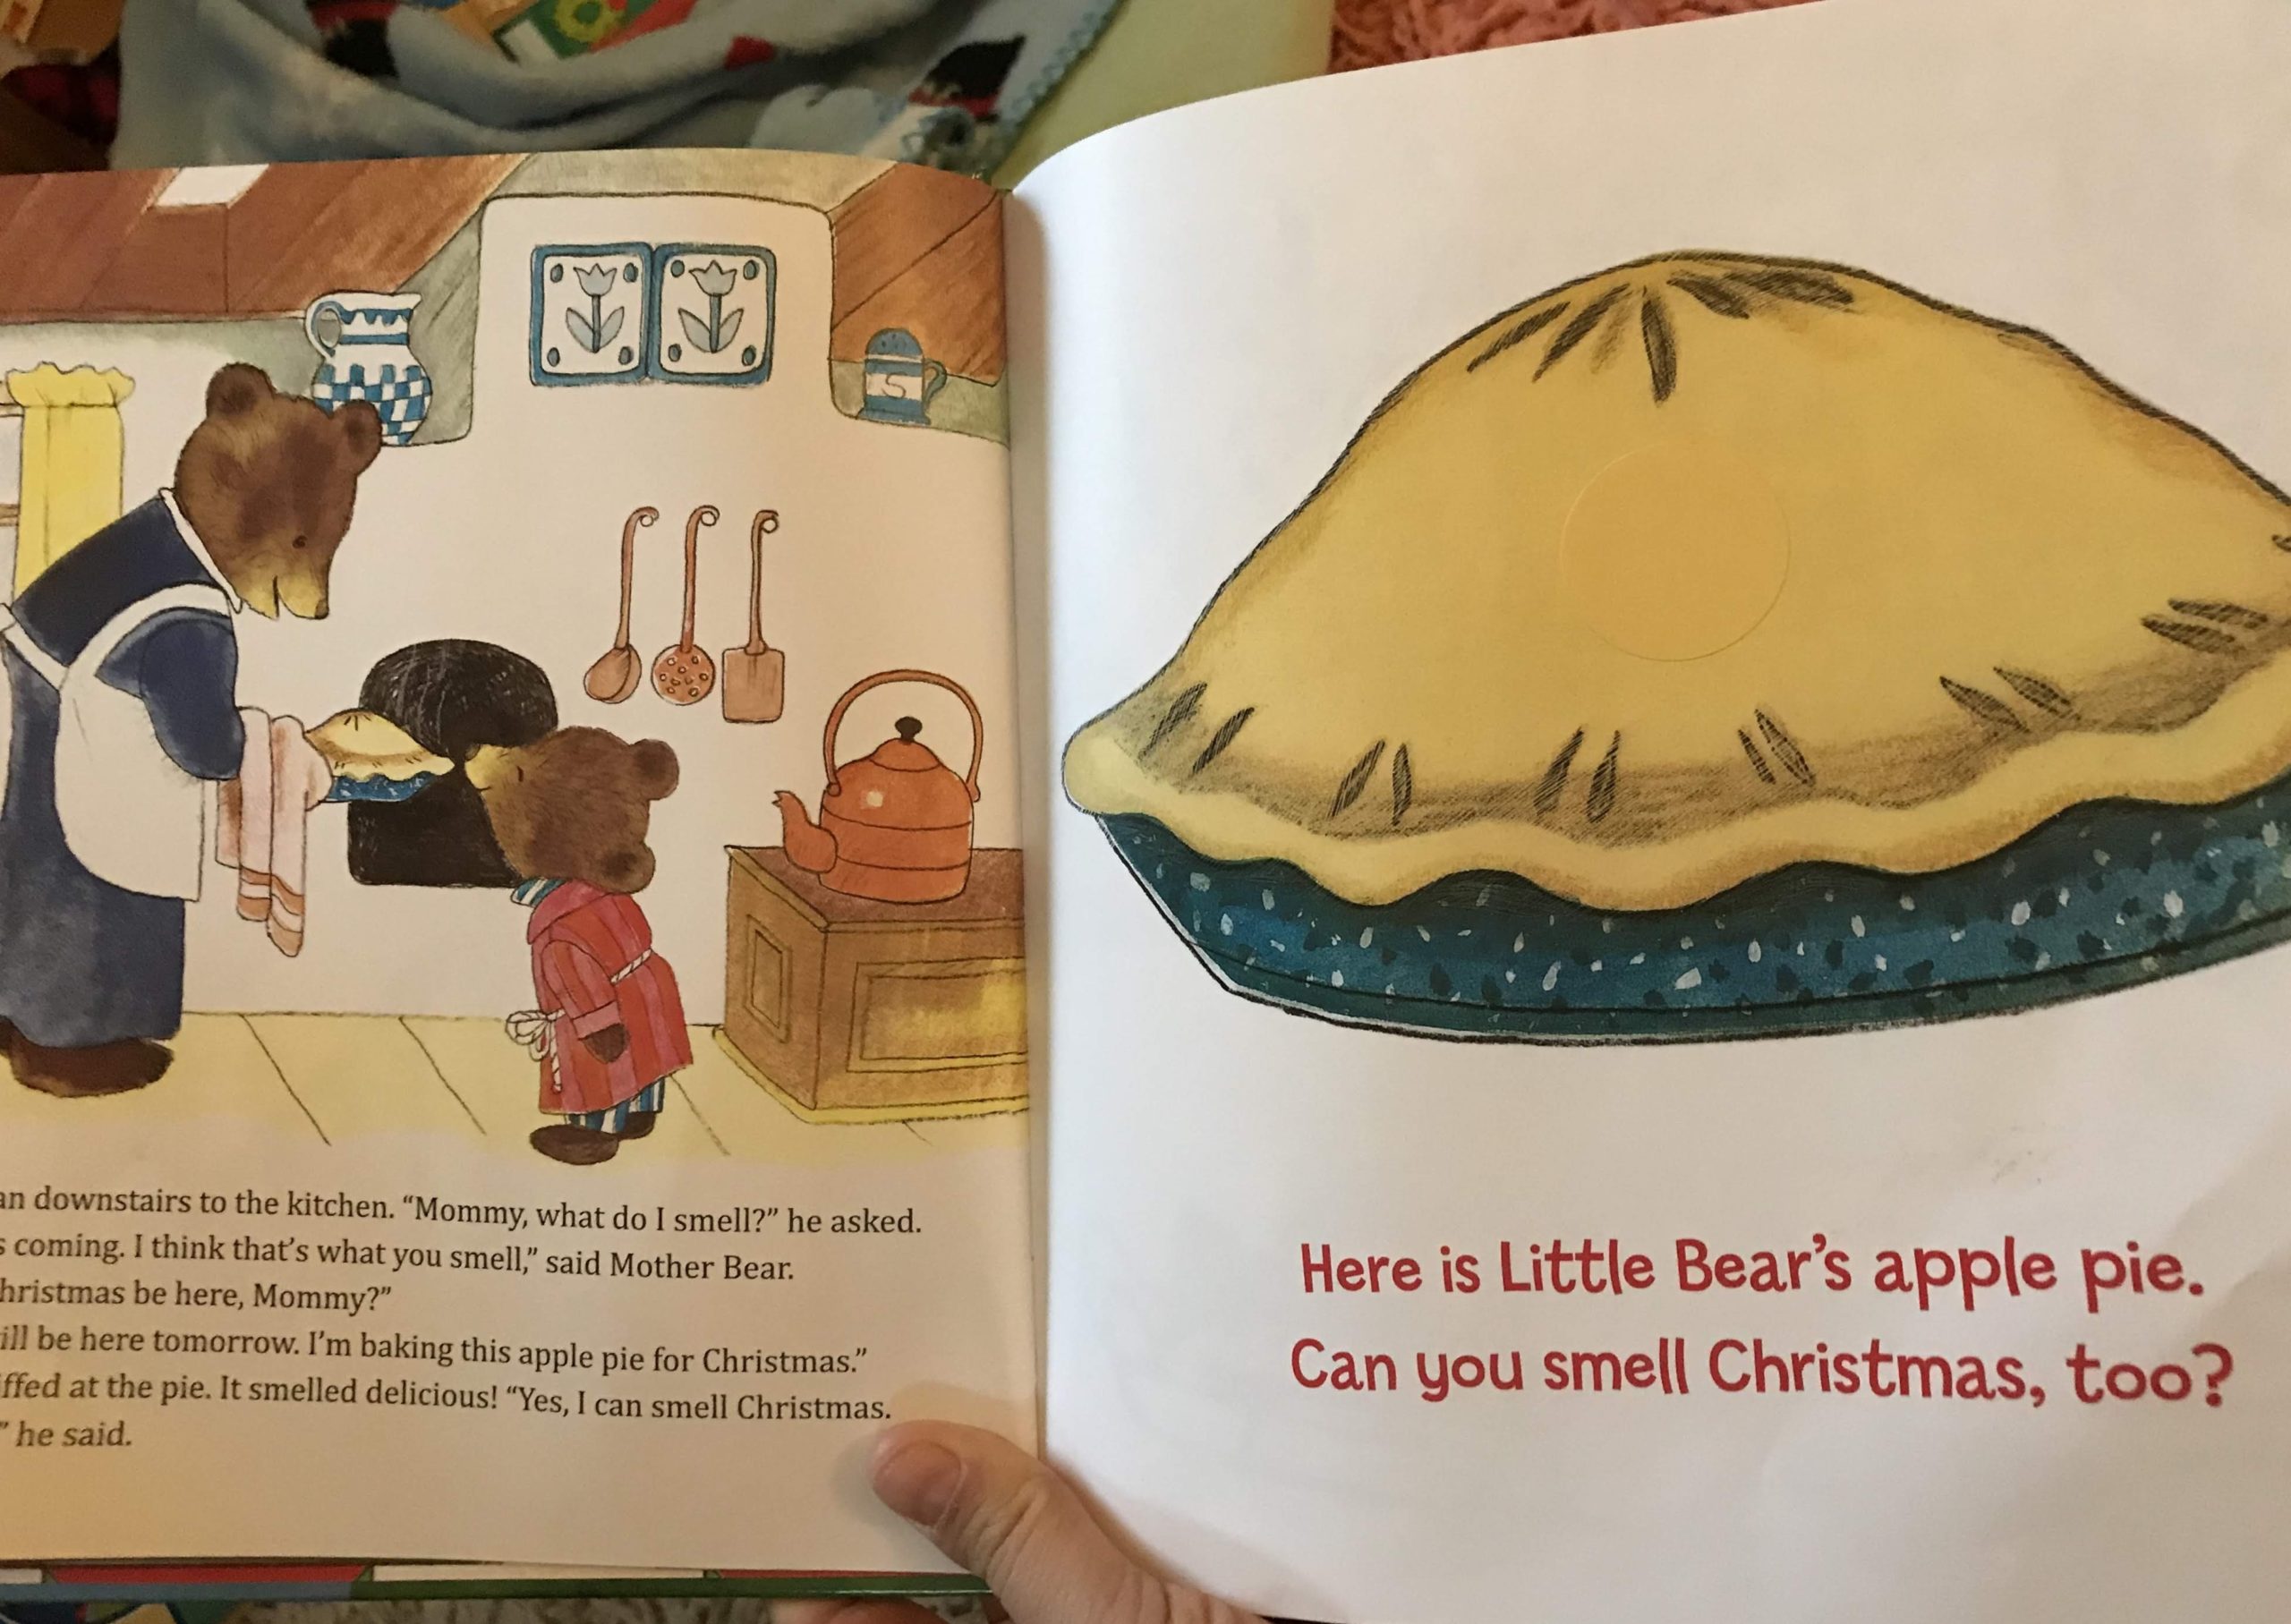
This is a scented book, or in my day they called them “scratch and sniff” books. Little Bear gets ready for Christmas with his family and the book centers around the smells of Christmas. He wakes up to smell something and asks his mom what the smell is. She responds by saying that the smell is Christmas. The family gets a tree, trims it, adds candy canes, hangs stockings, and enjoy Christmas day together.

IMG_2958 IMG_2959

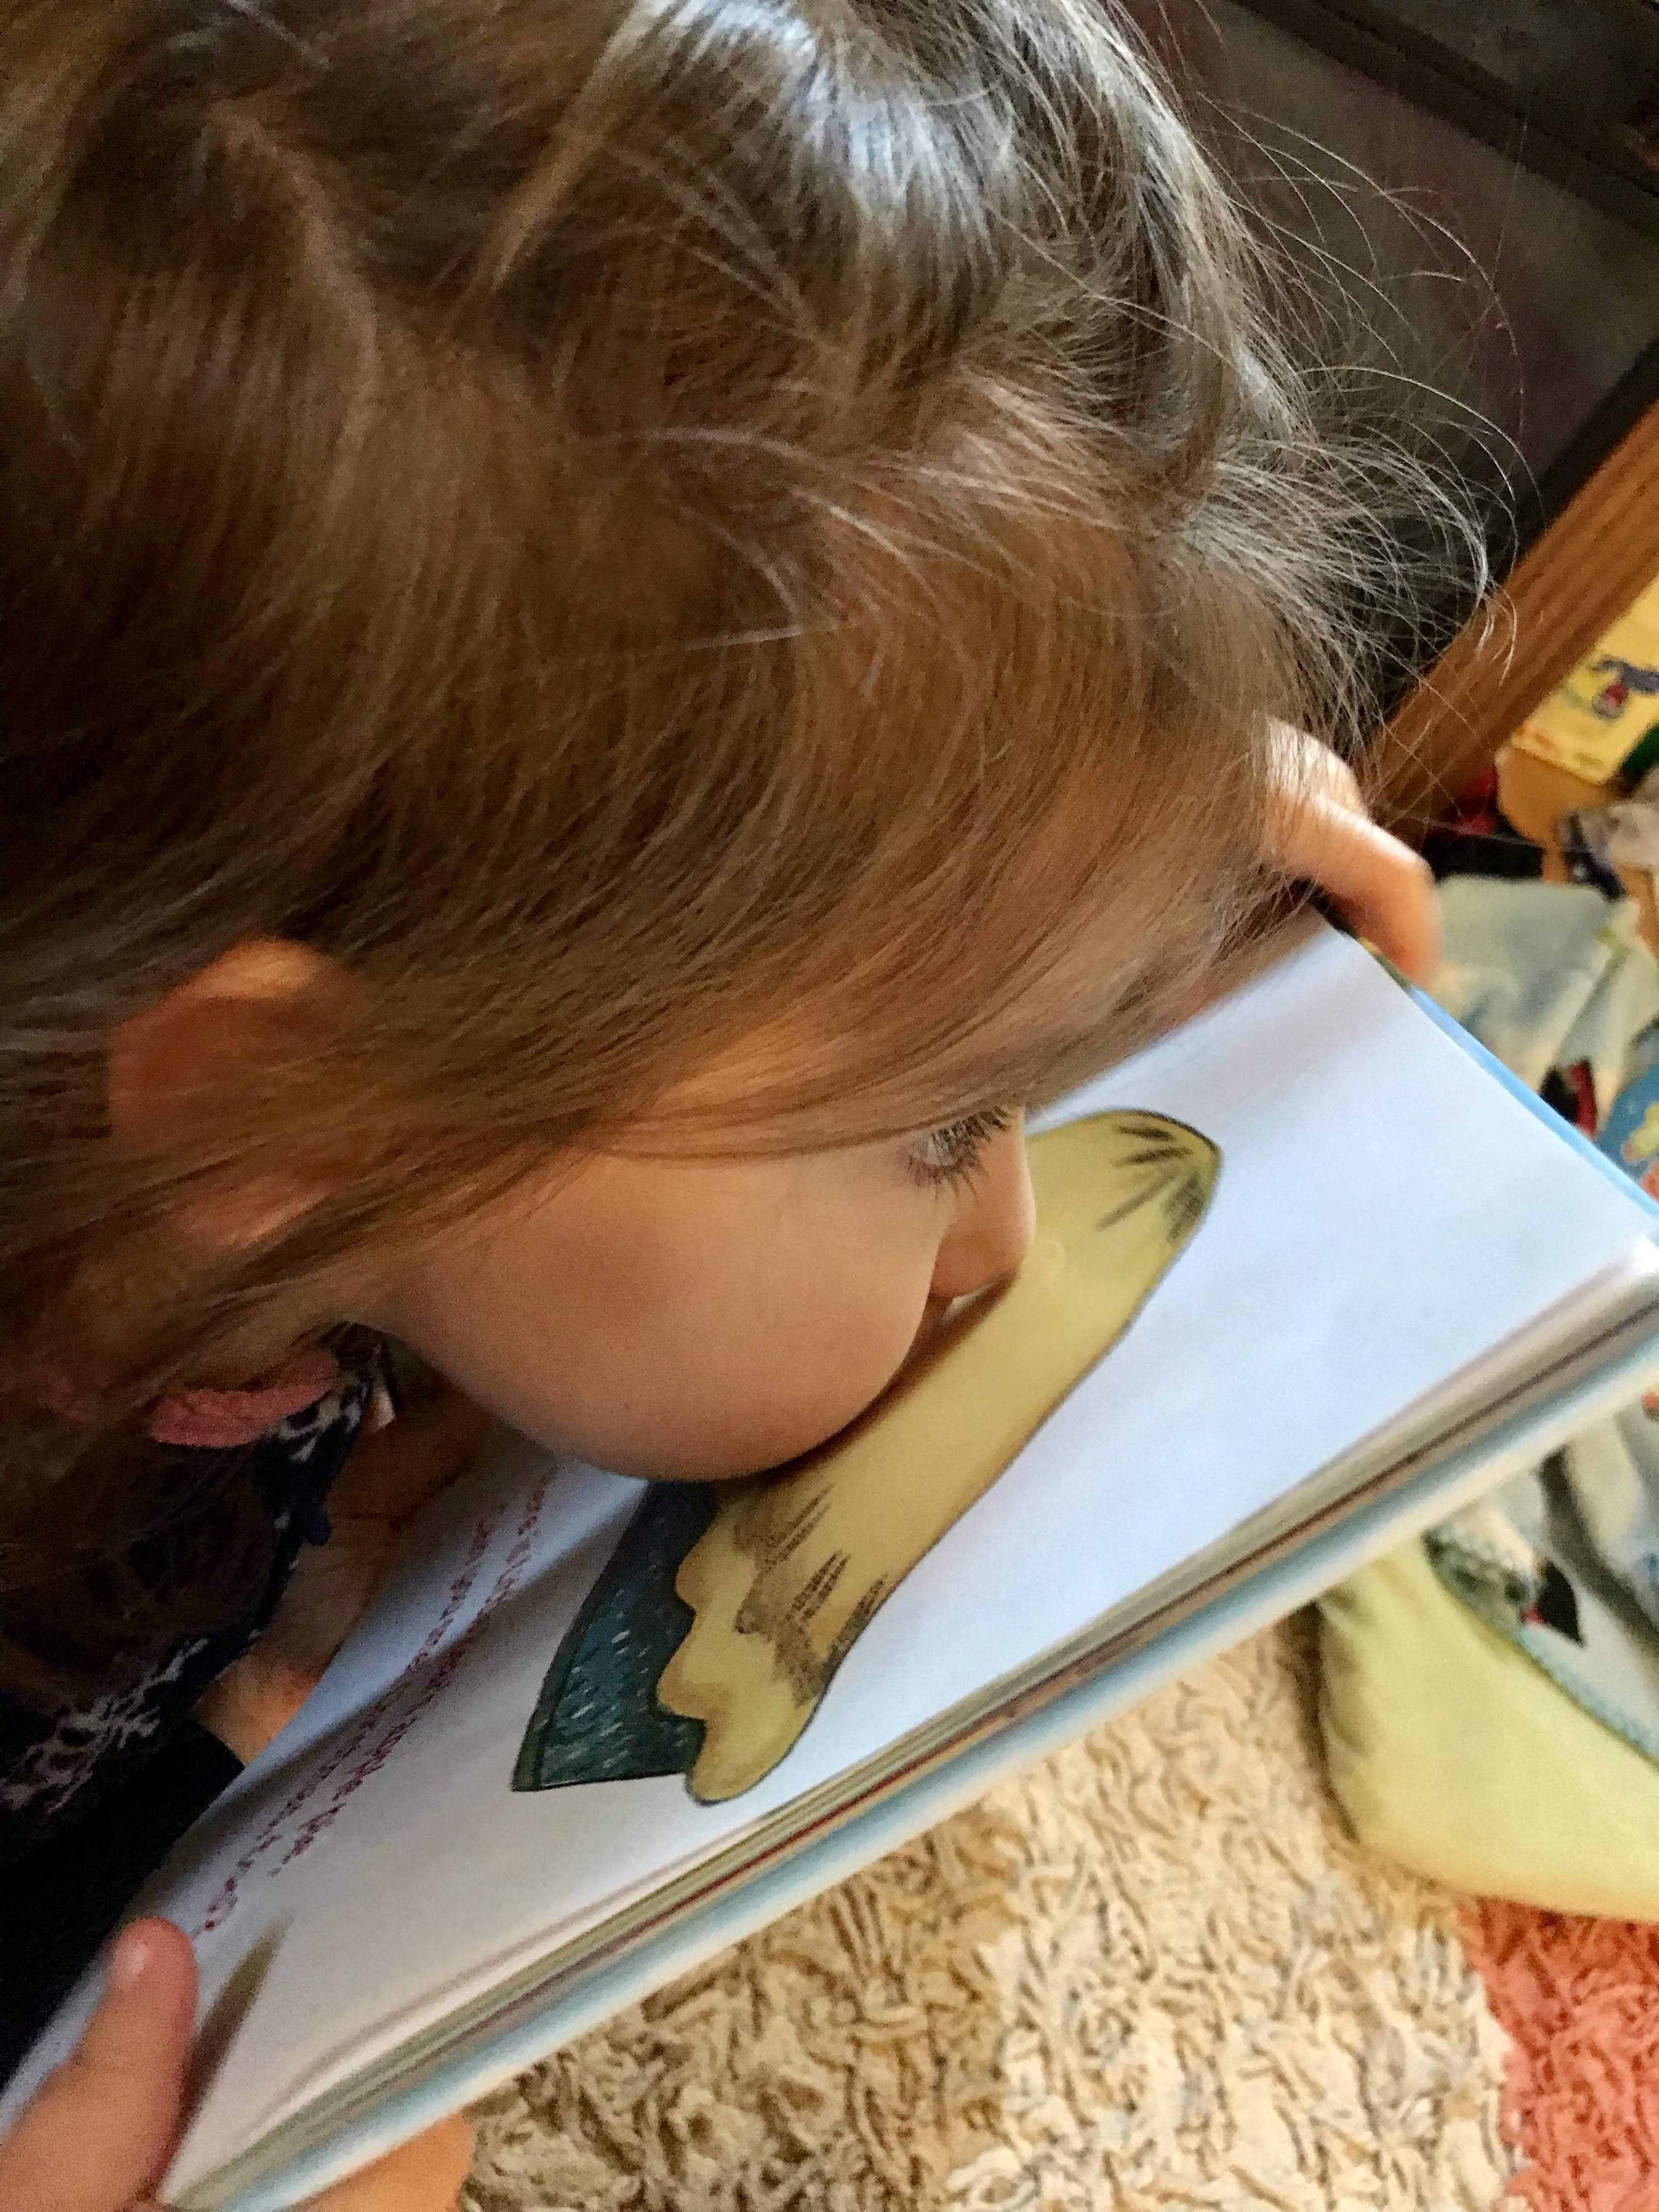
Yes, it looks like Madison is kissing the pie…maybe she’s actually trying to eat it since it smells so good! I love asking her, “Can you smell Christmas?” She looks at me with a smile and says, “YES! I smell Christmas!”

IMG_2948

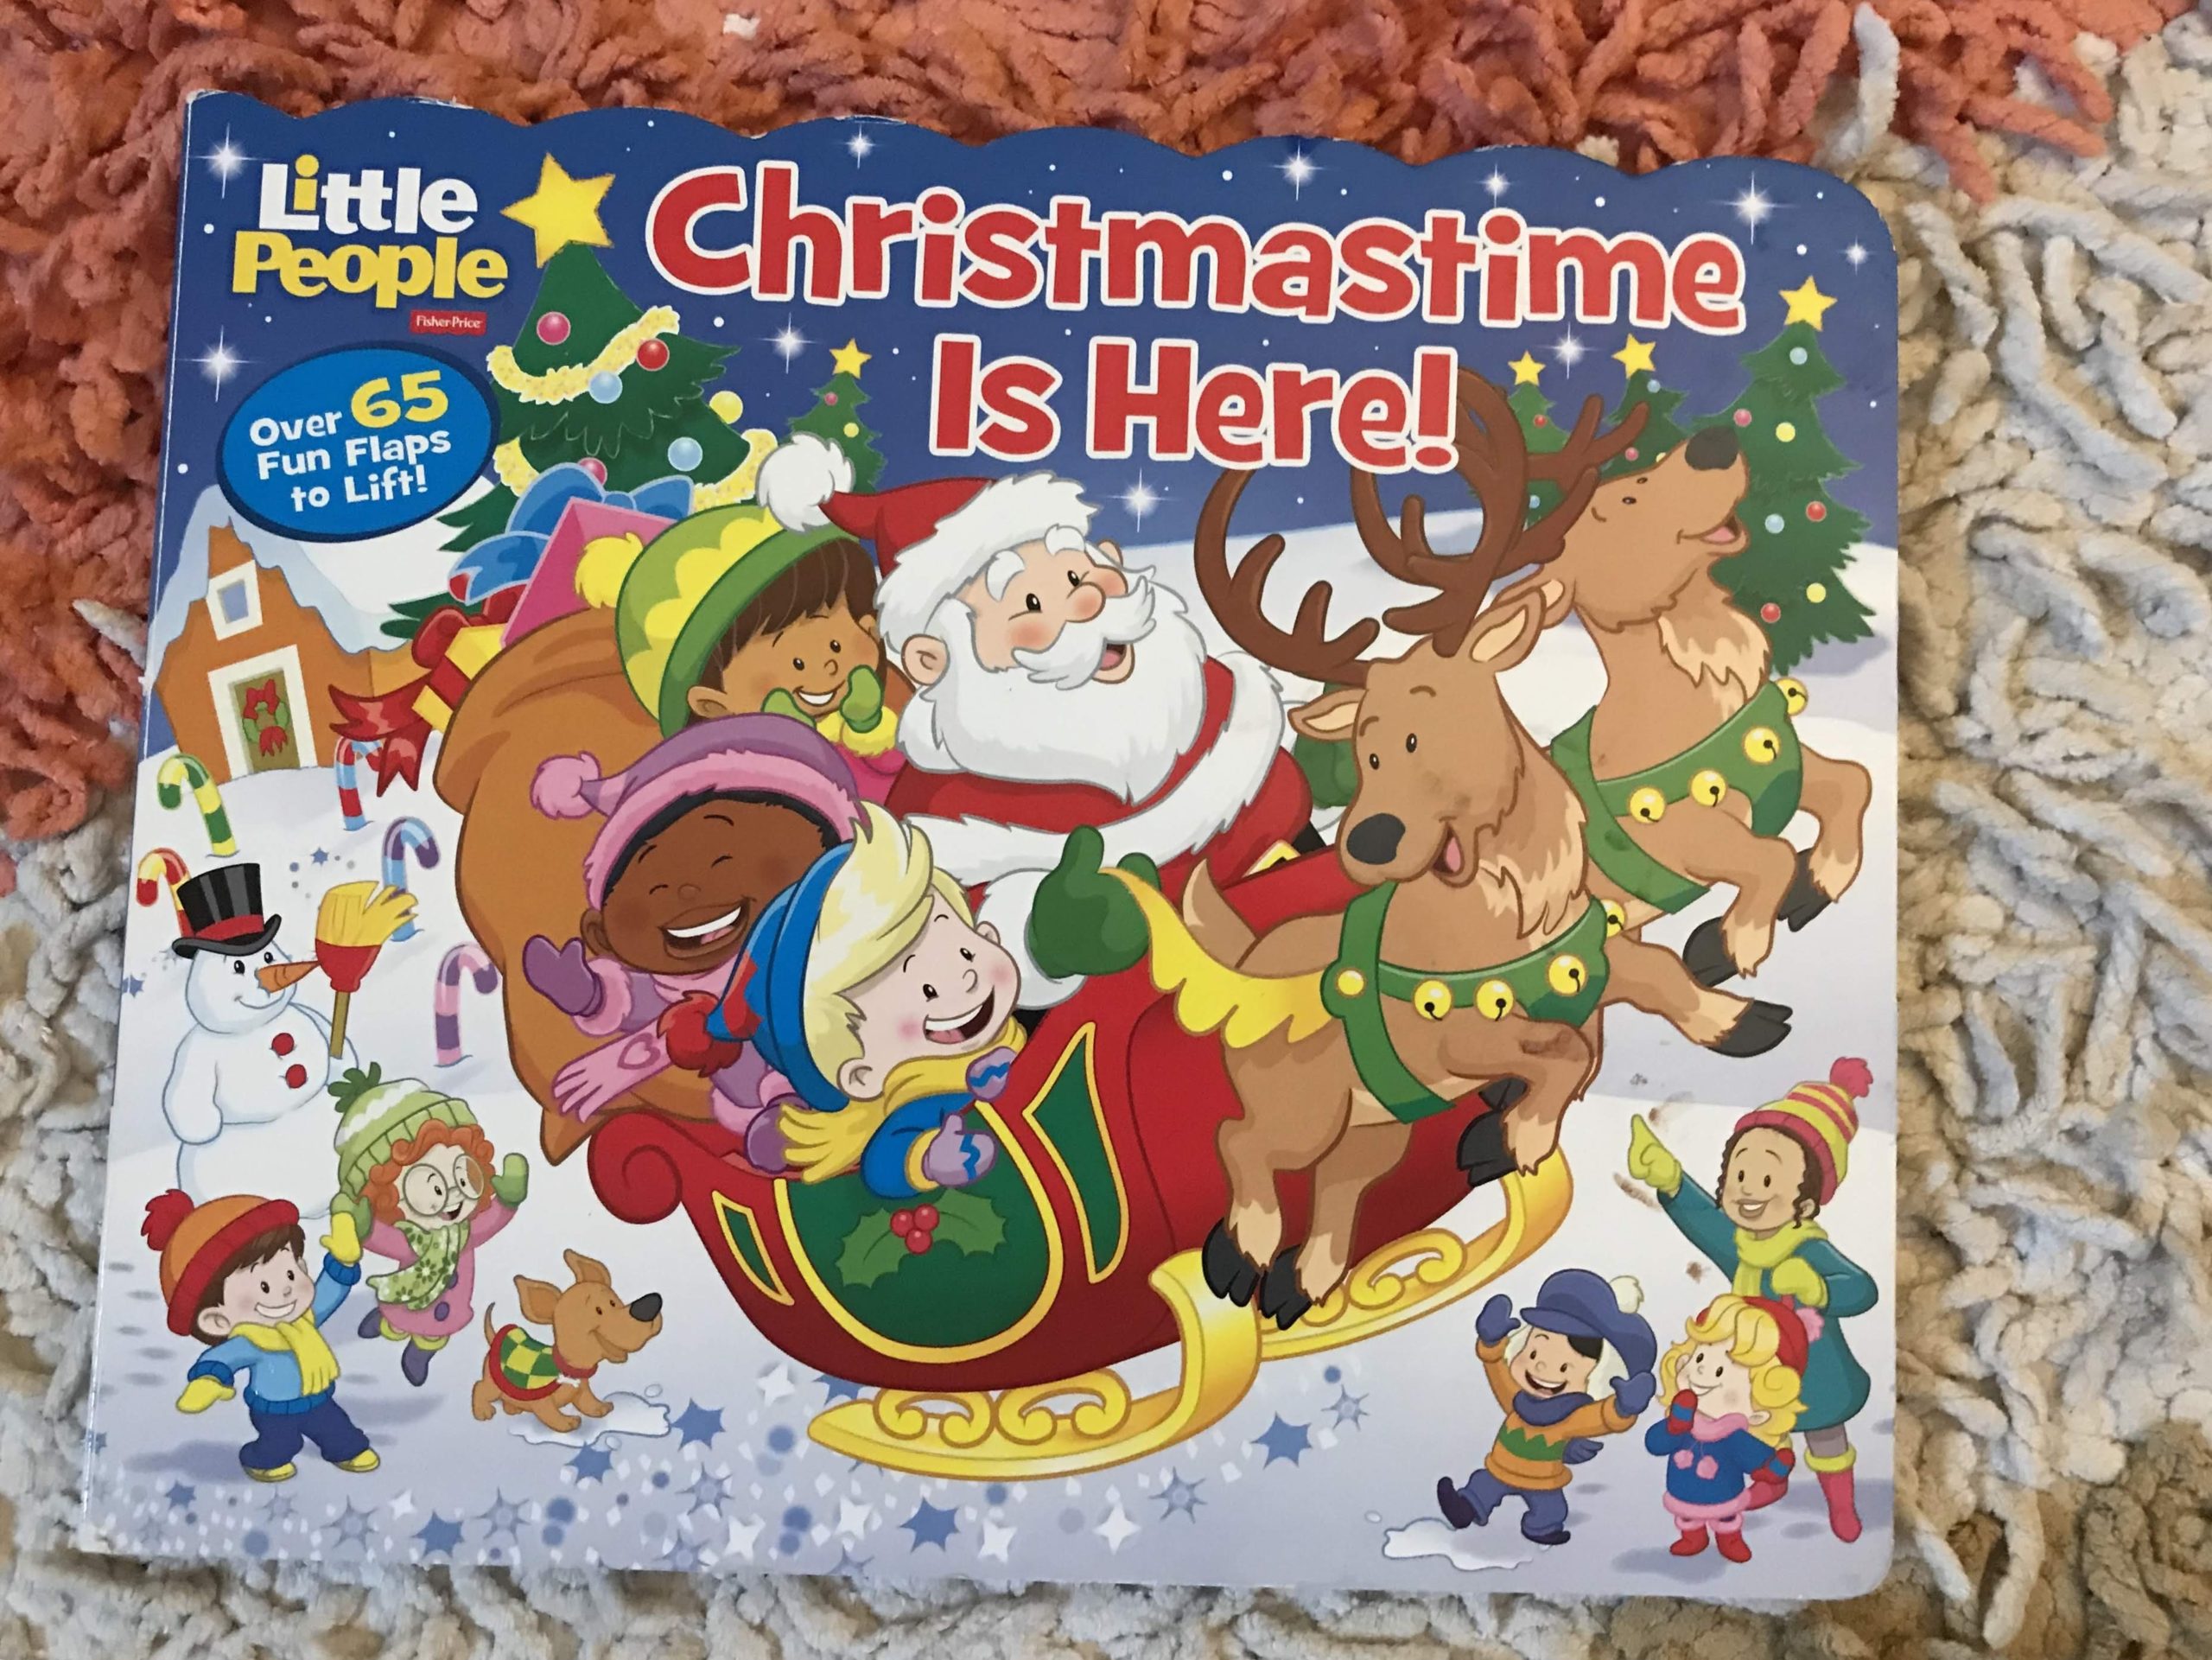
A tried and true favorite is Little People’s “Christmastime Is Here.” 

I’ve had this since she was a baby and she’s loved it every single year. There are over 65 flaps for your child to lift. The adventure starts in the classroom and the characters travel to Santa’s workshop with the elves and then home for the holidays. The characters are the same throughout the little people books so your child will squeal in delight at seeing them again.

IMG_2954IMG_2957IMG_2956

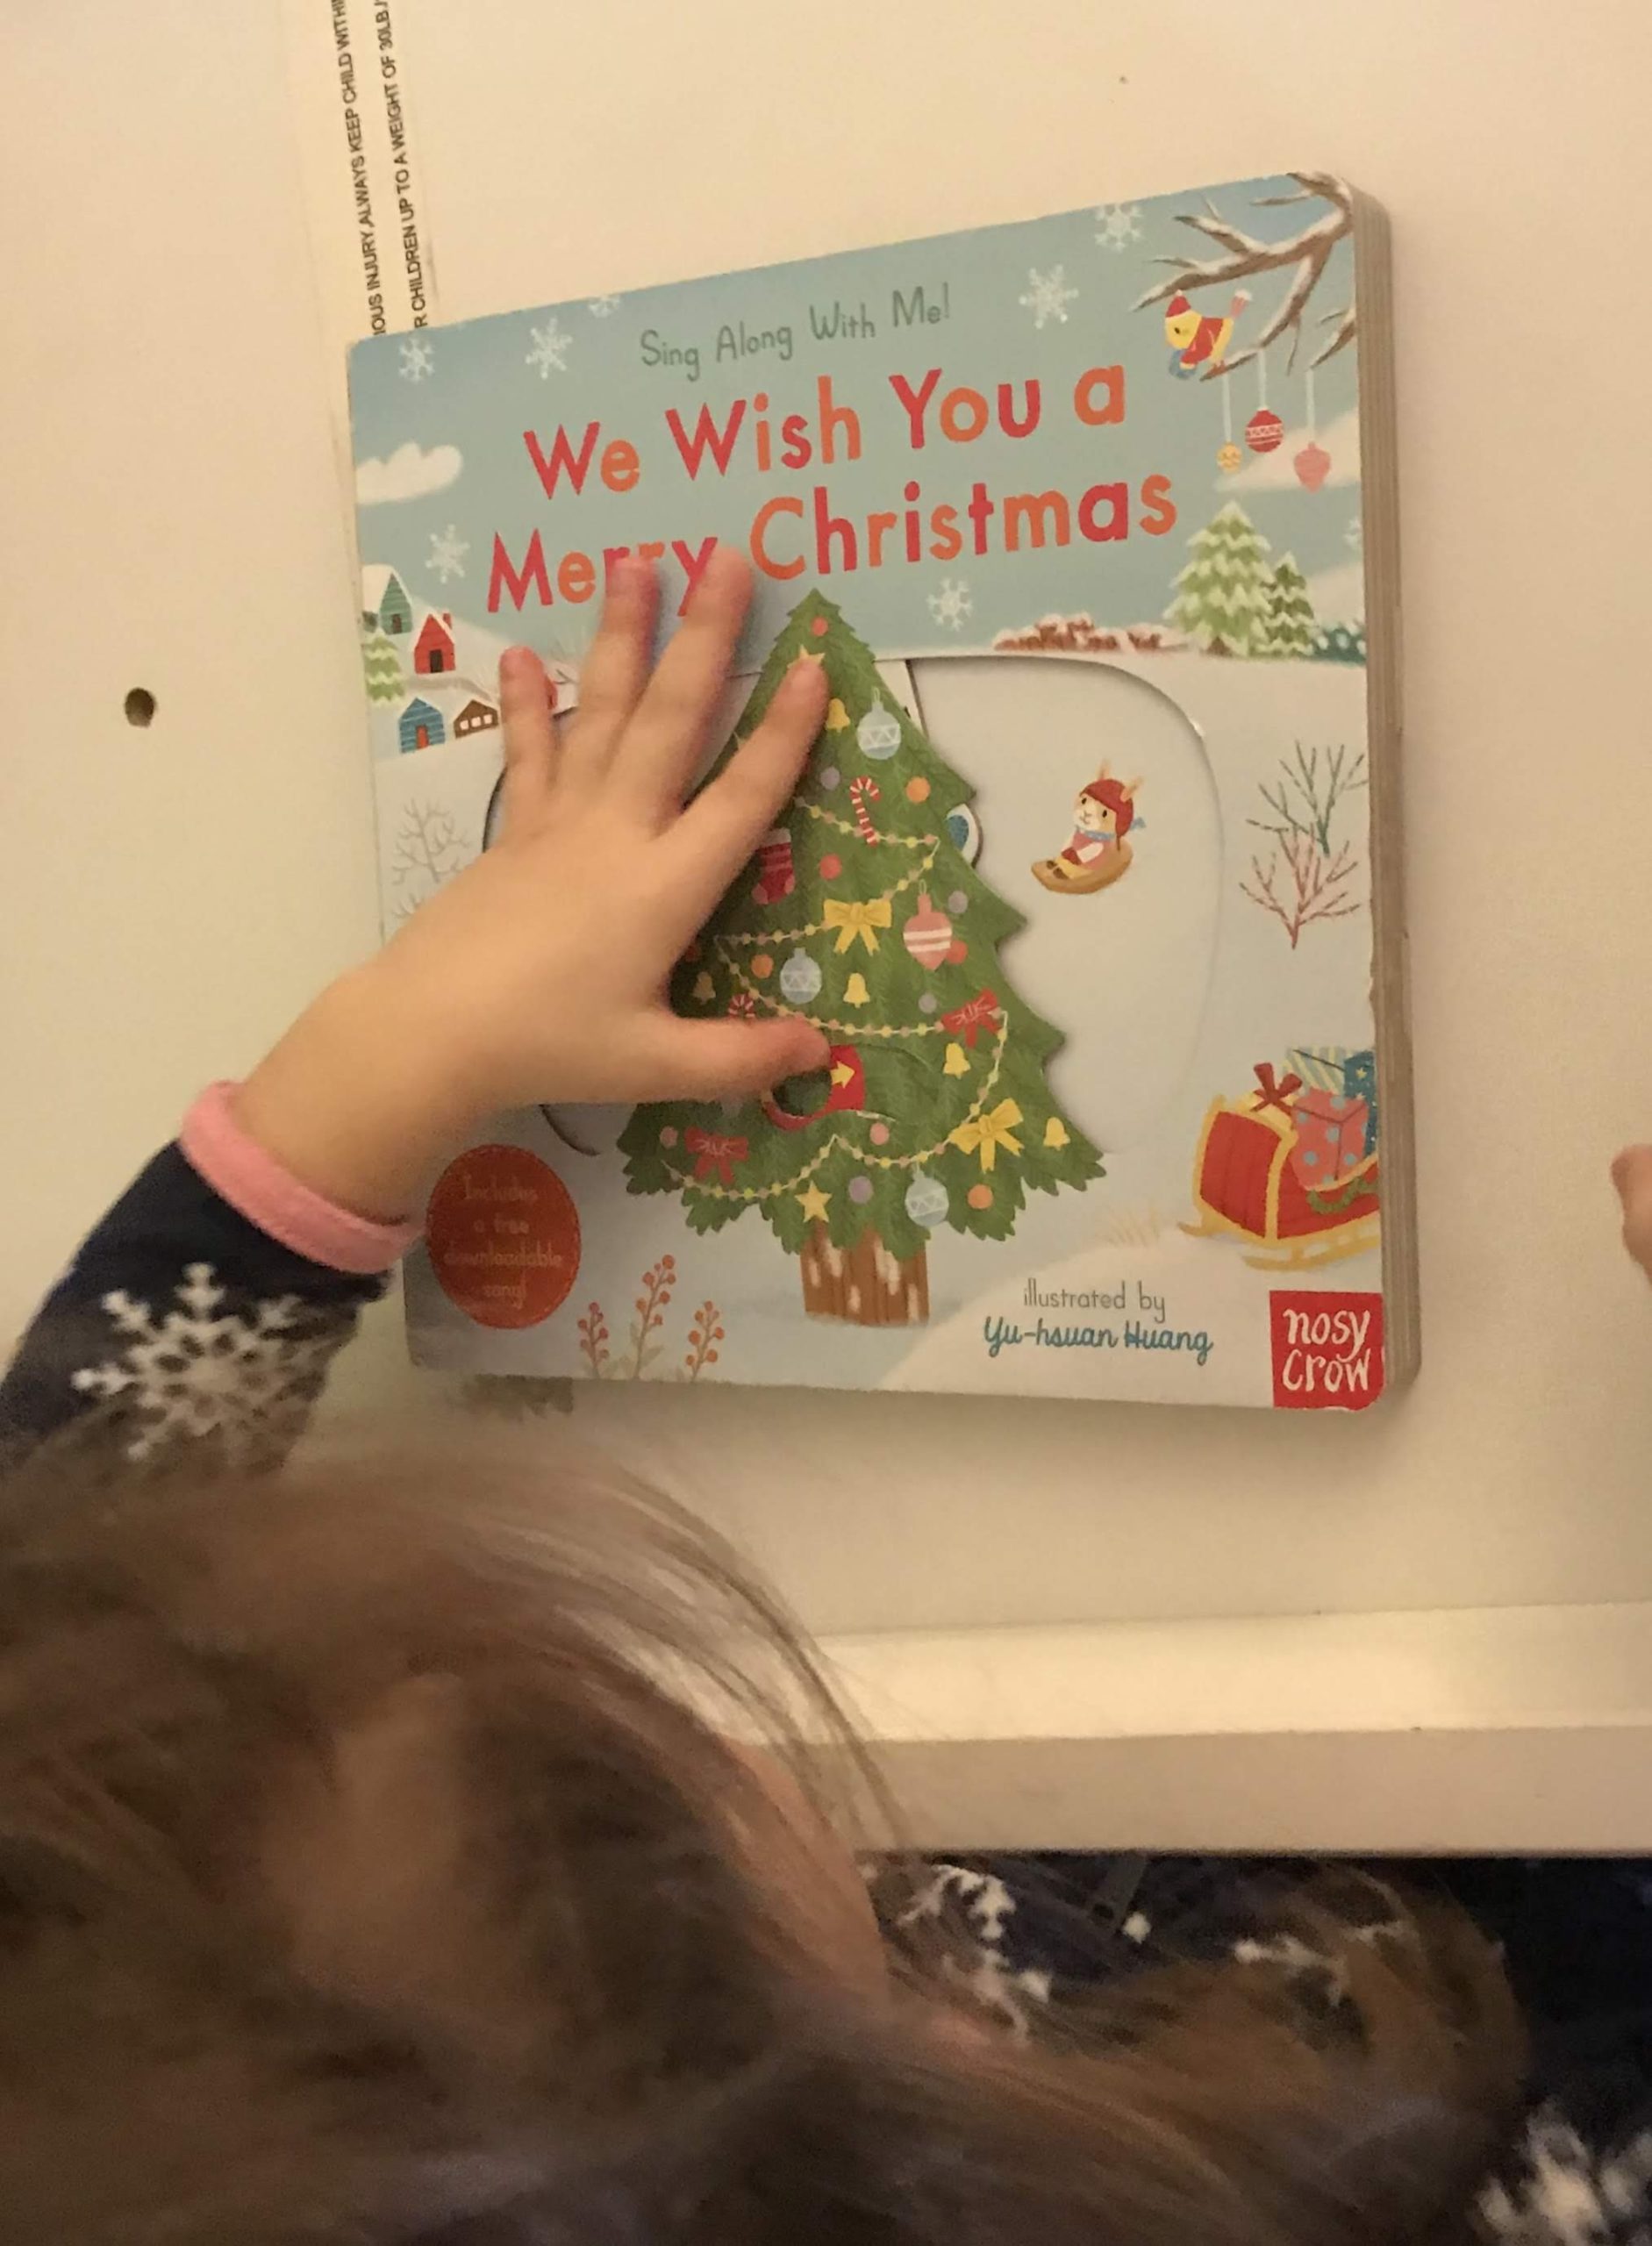
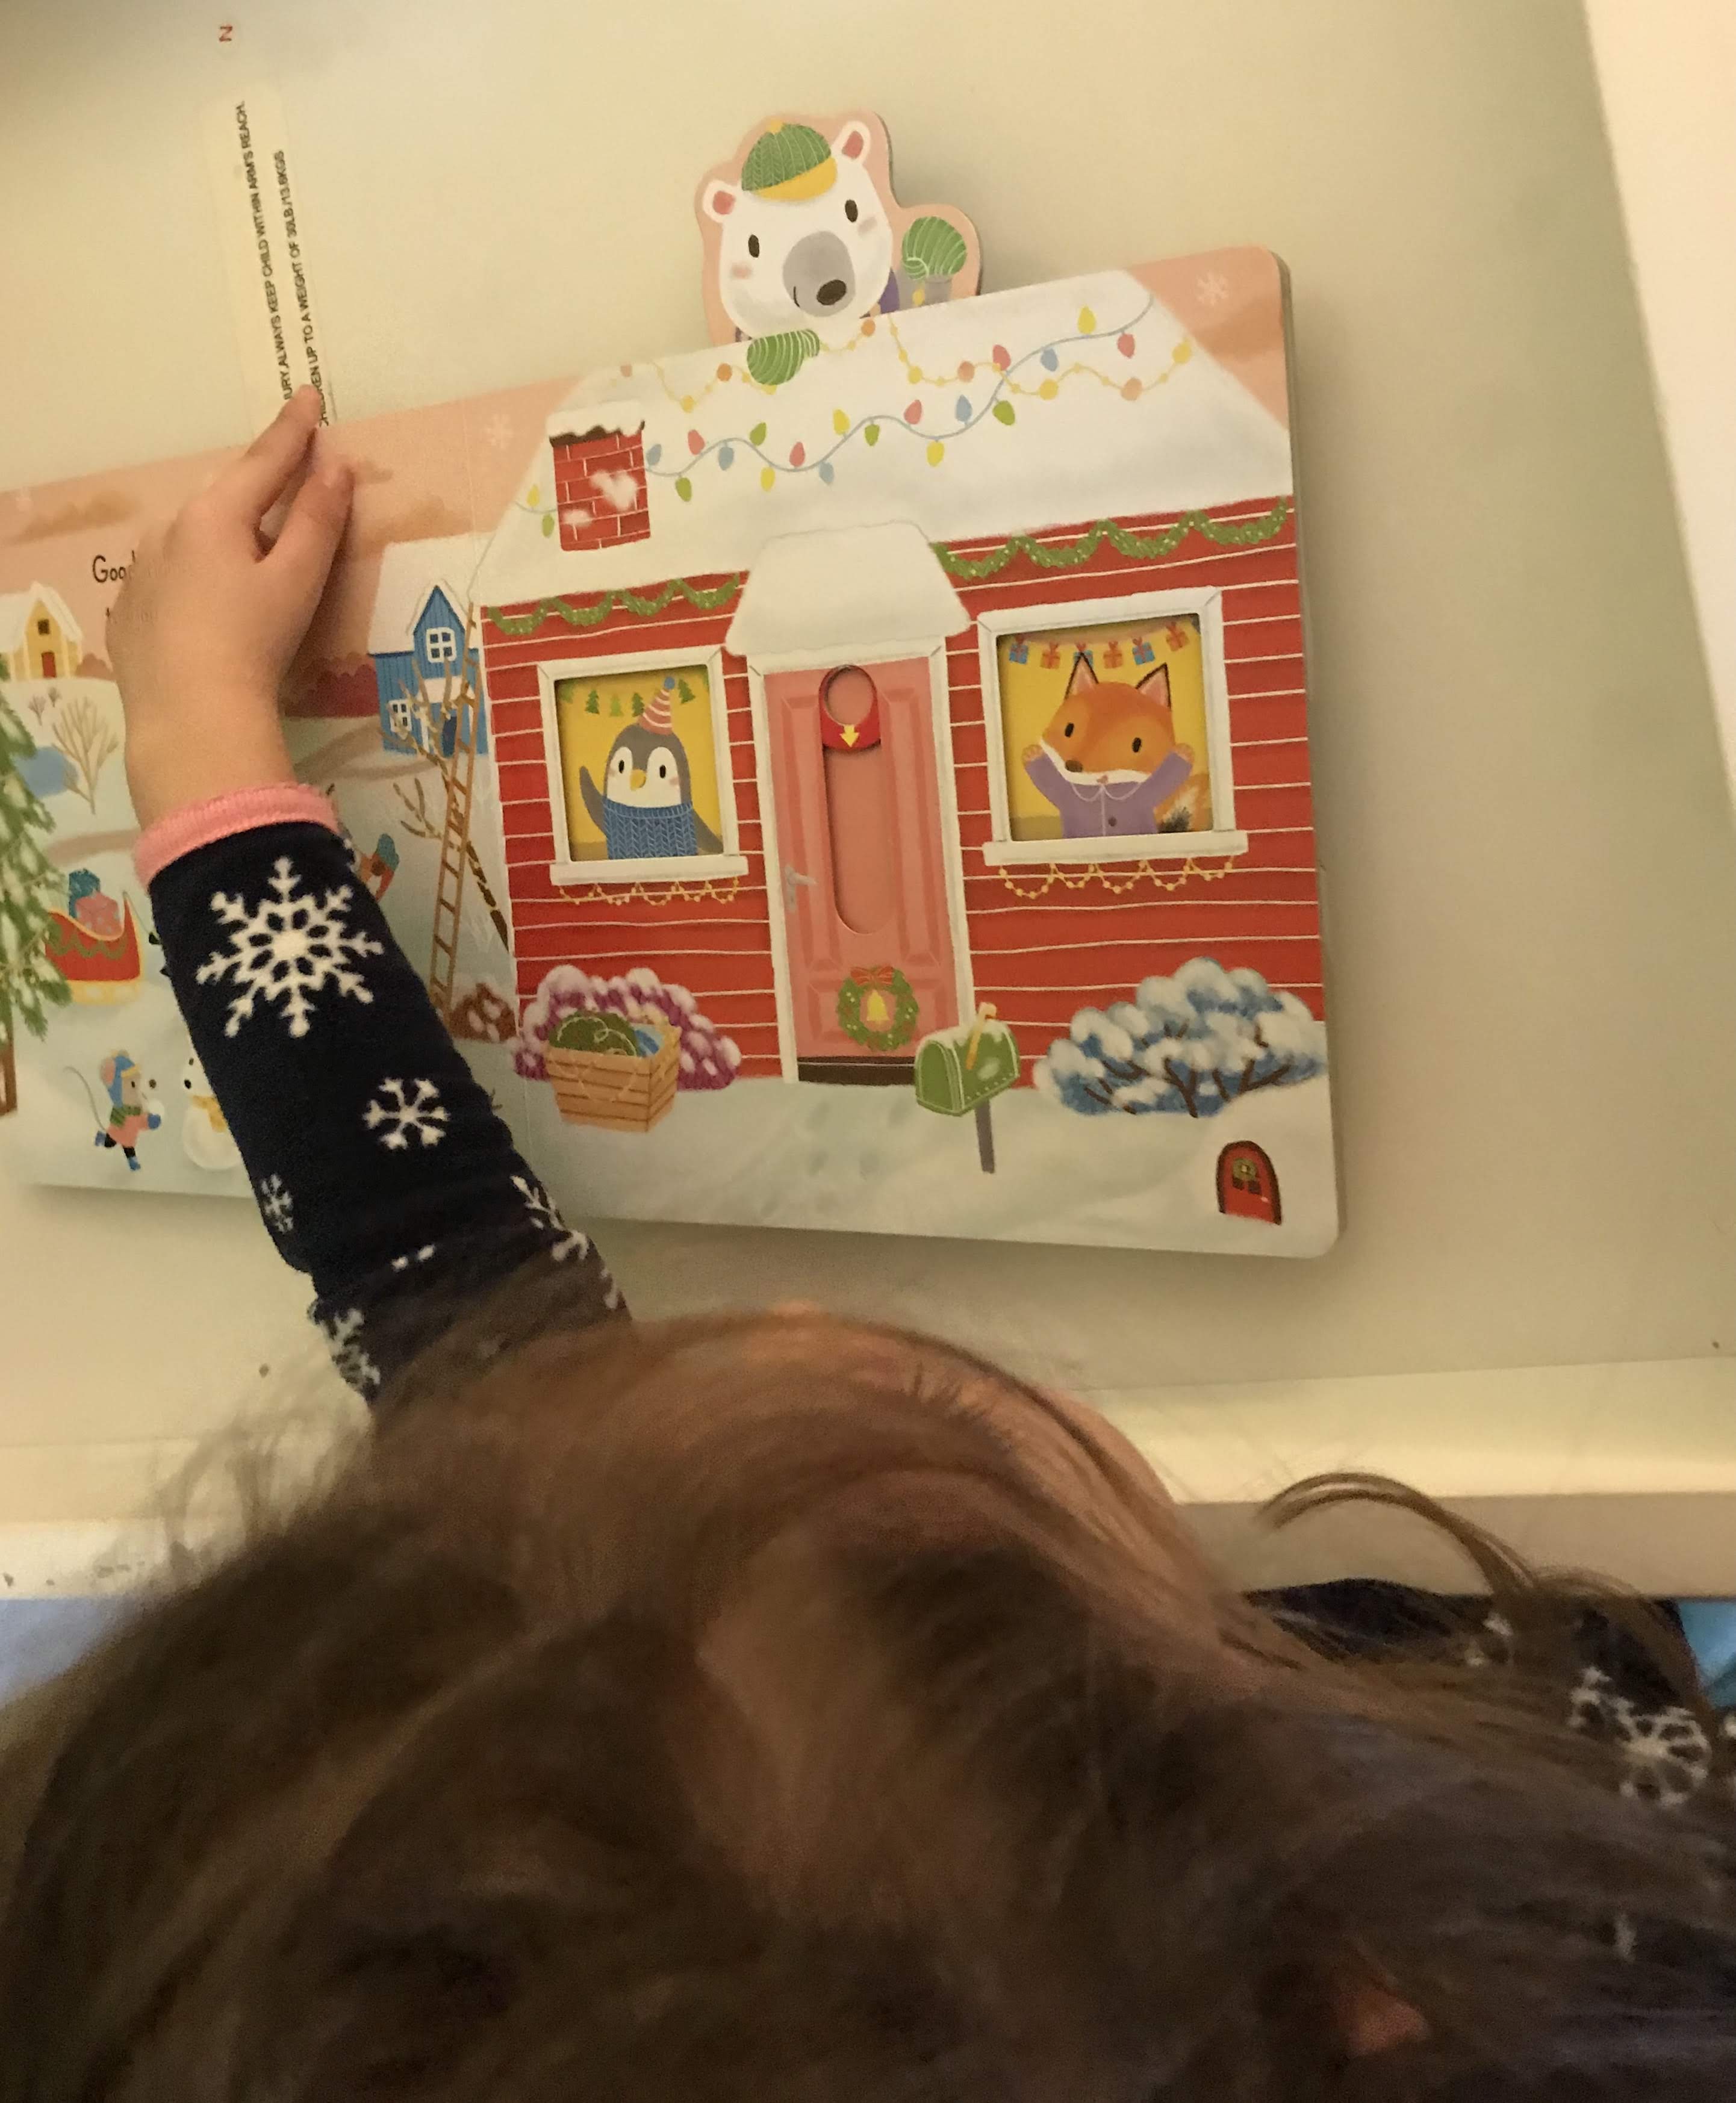
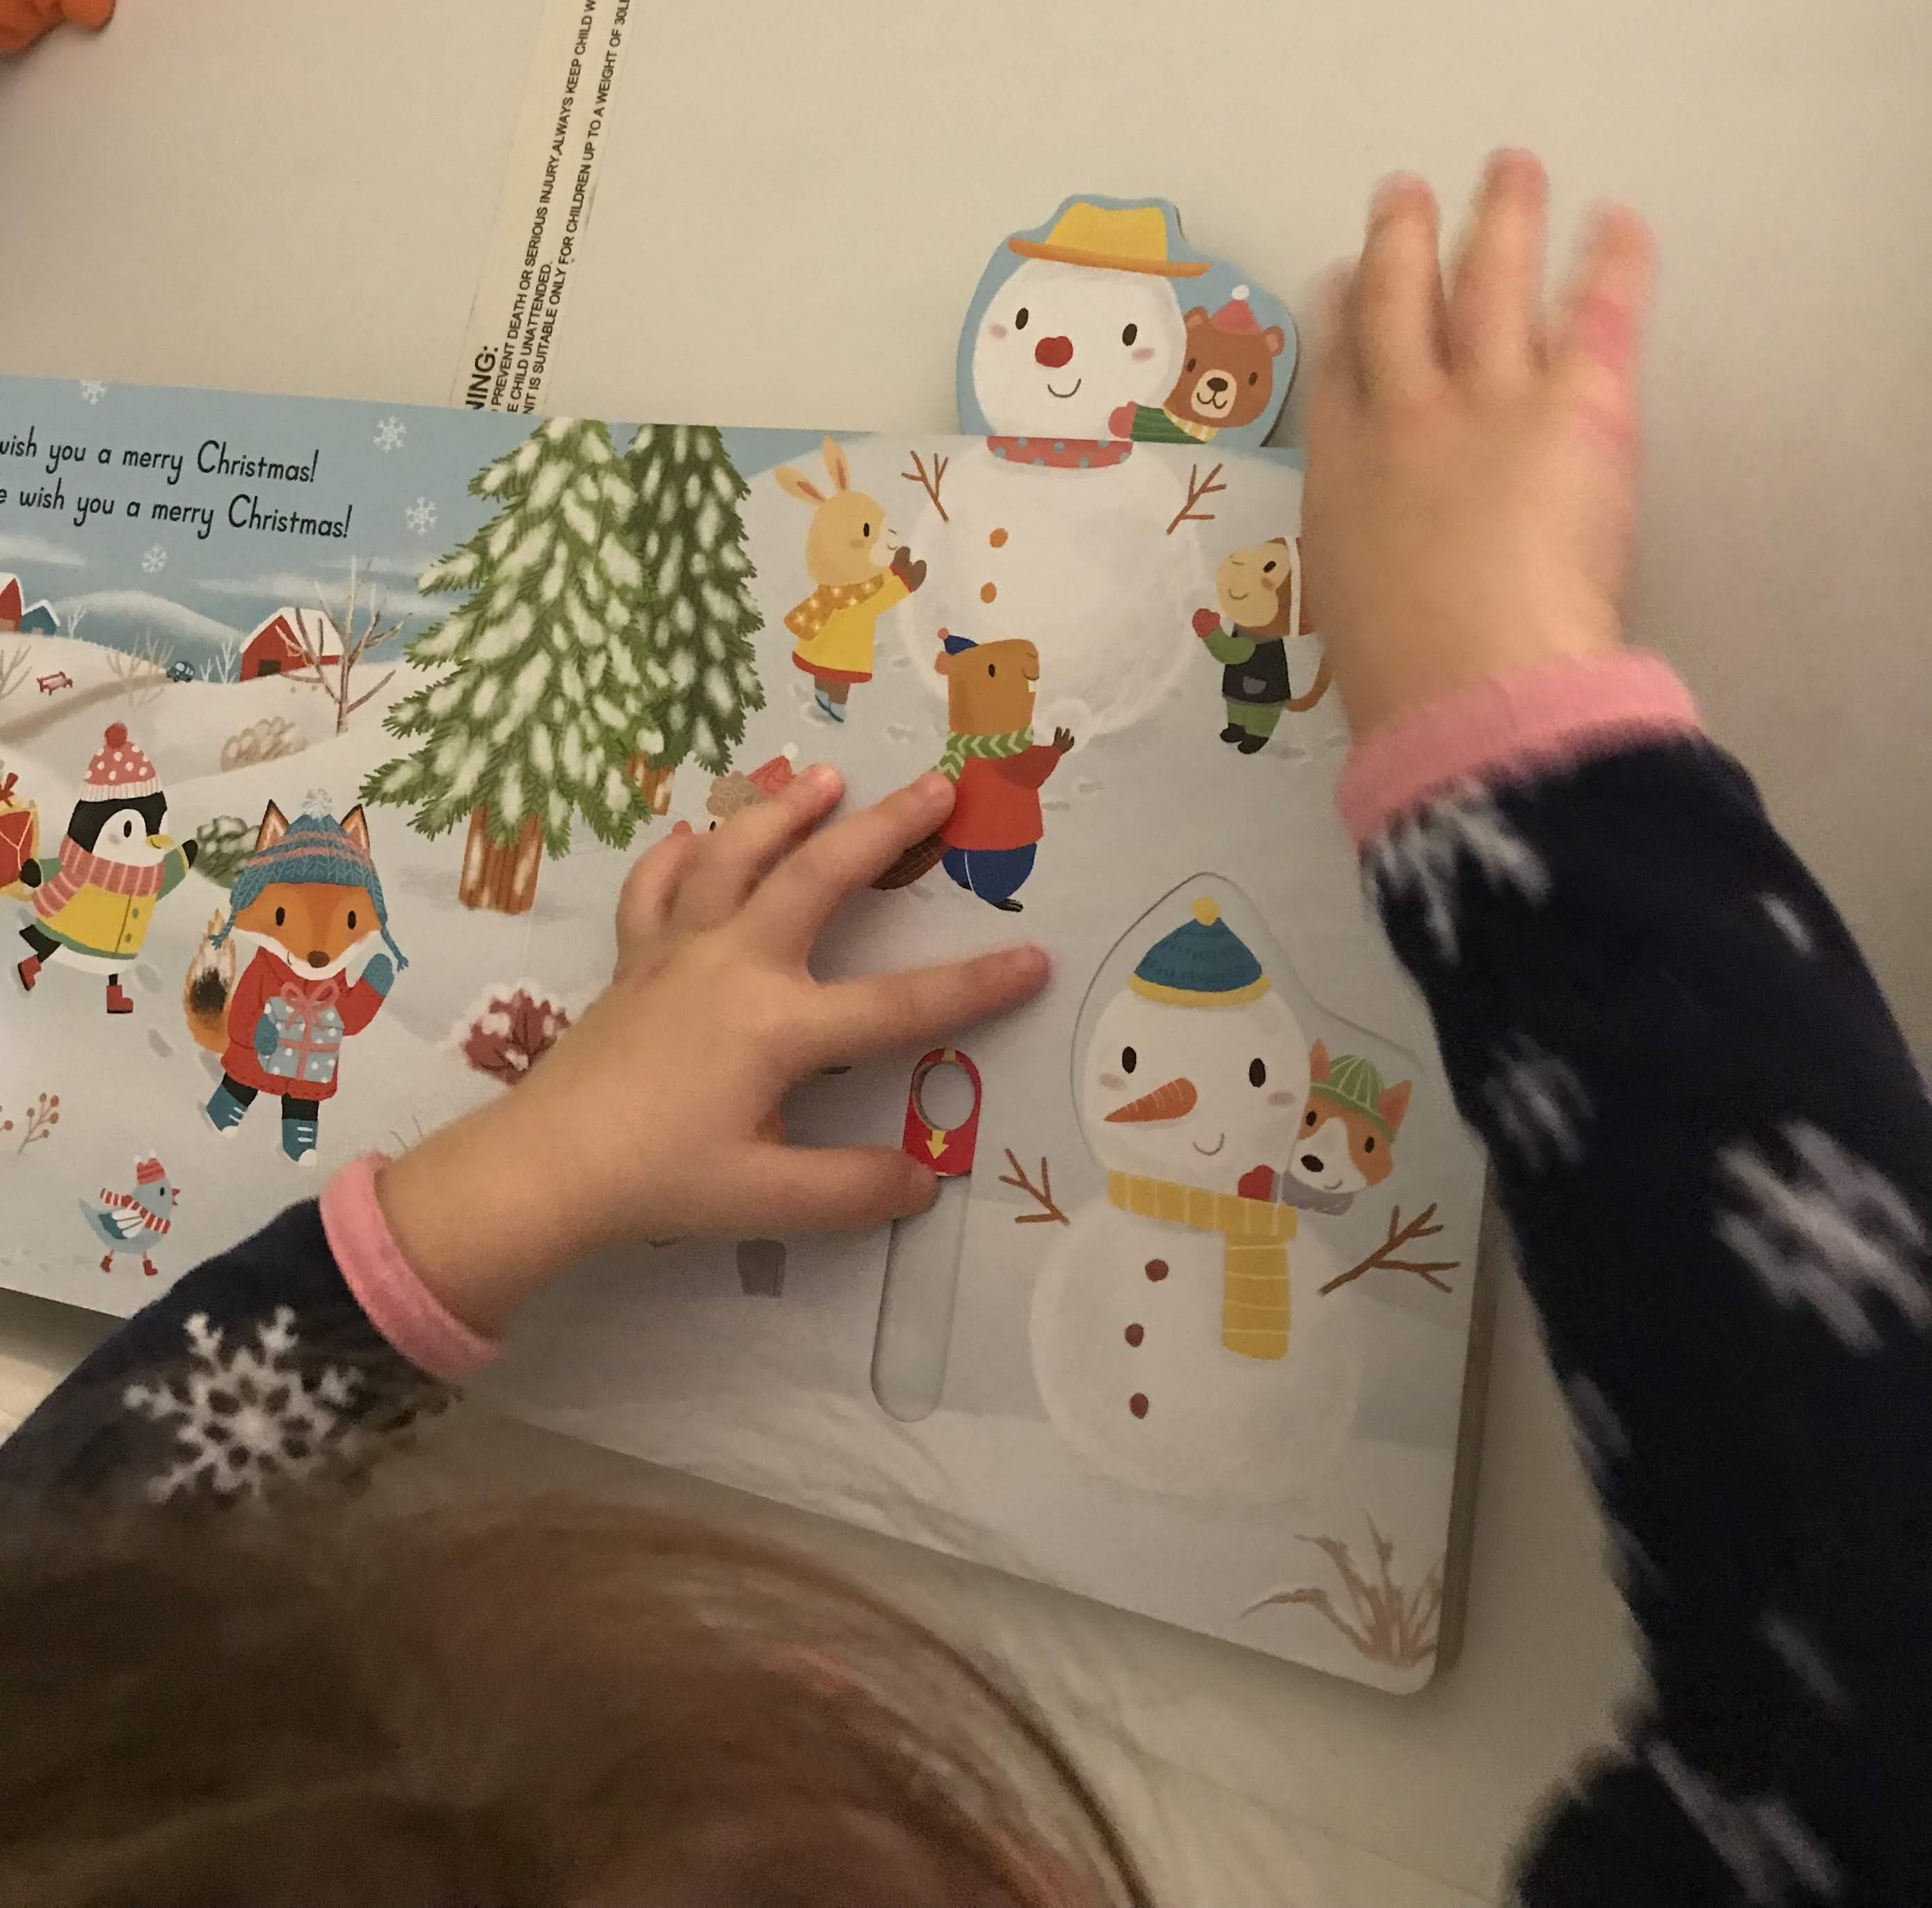
An interactive book called“We Wish You a Merry Christmas” is based on the song.

It has push, pulls, and slides that have your child discovering snowmen, sending sleds down a hill, and uncovering Santa and his sleigh! It’s a wonderful family book and a great way to learn the lyrics. It even has a QR code to scan that plays the song along with the book.

IMG_2949IMG_2953

The last book is “Sesame Street, A Christmas Story.” I searched for this online, but it looks like it’s not made anymore. However, I did see it on ebay and at local libraries. My daughter loves this book because all of the characters from sesame street are there and there are many sounds!

There are many sesame street stories, including scratch and sniff ones (which I’m sure my daughter would love).

As you can tell she LOVES interactive books and I’m sure your child would love these too!

Look for more blog entries coming up with favorite preschool books and books to buy your child this Christmas. Happy Holidays!

FollowFacebookpinterestrssyoutube
ShareFacebookpinterest

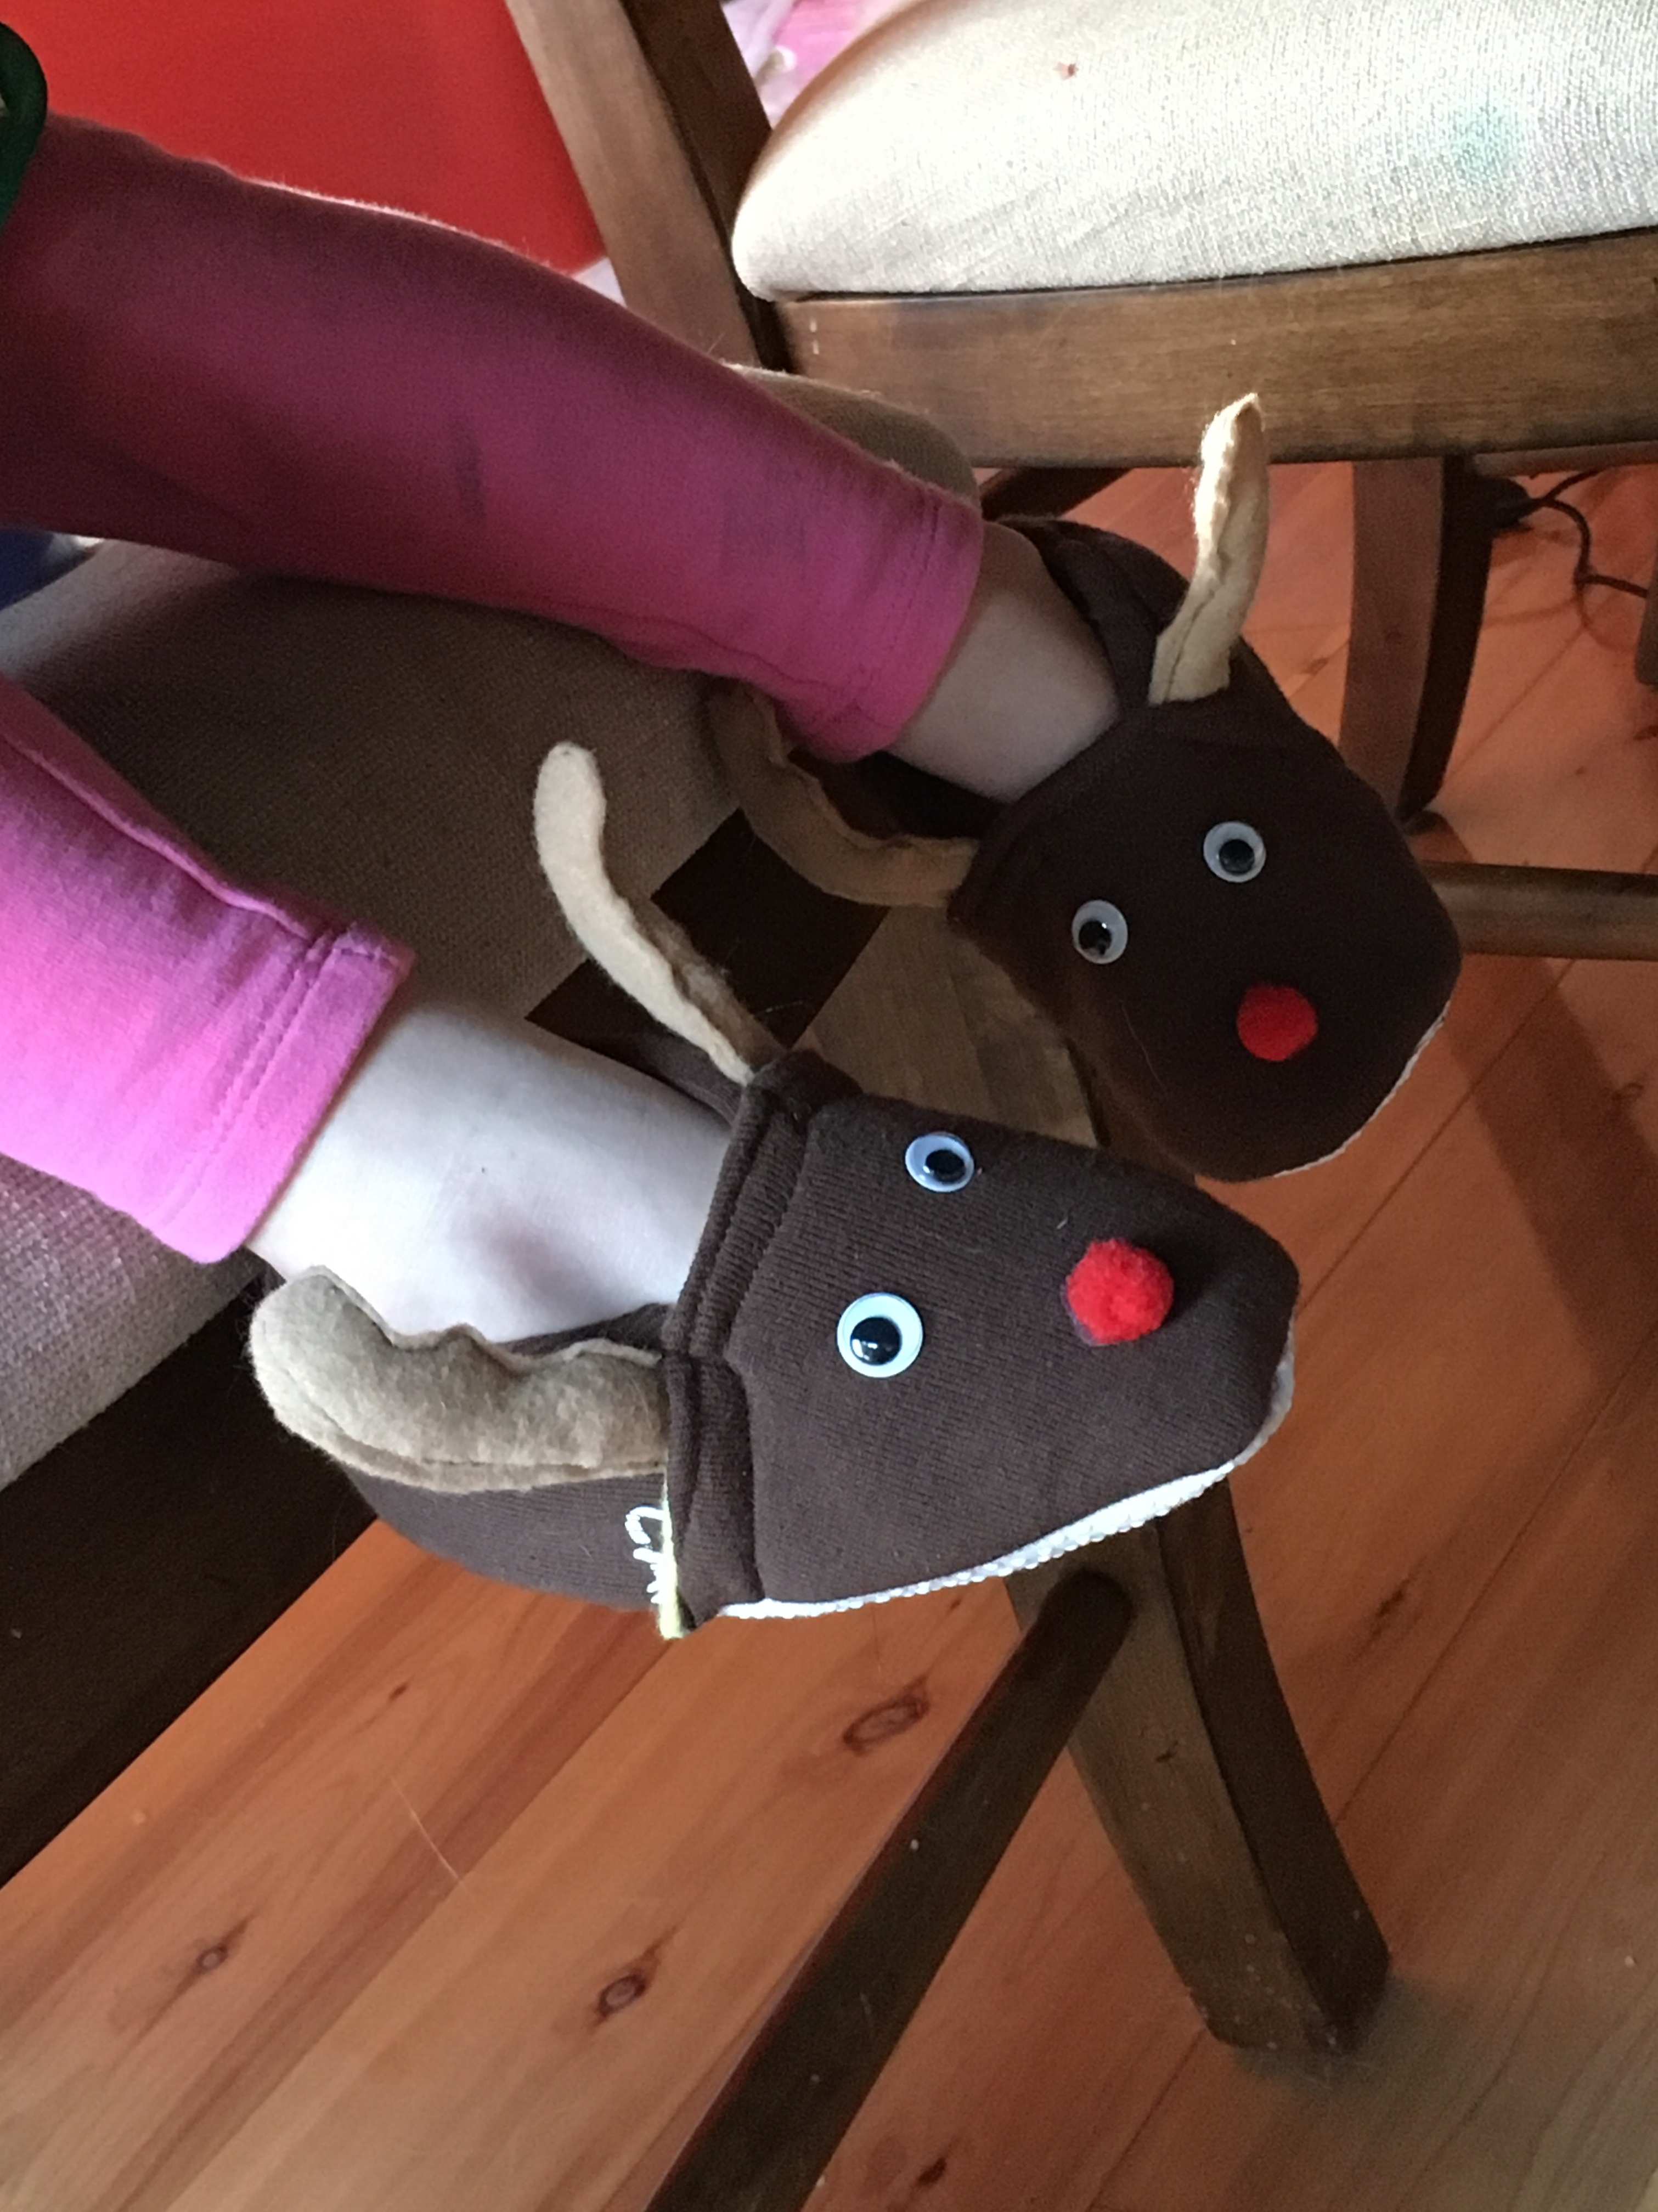
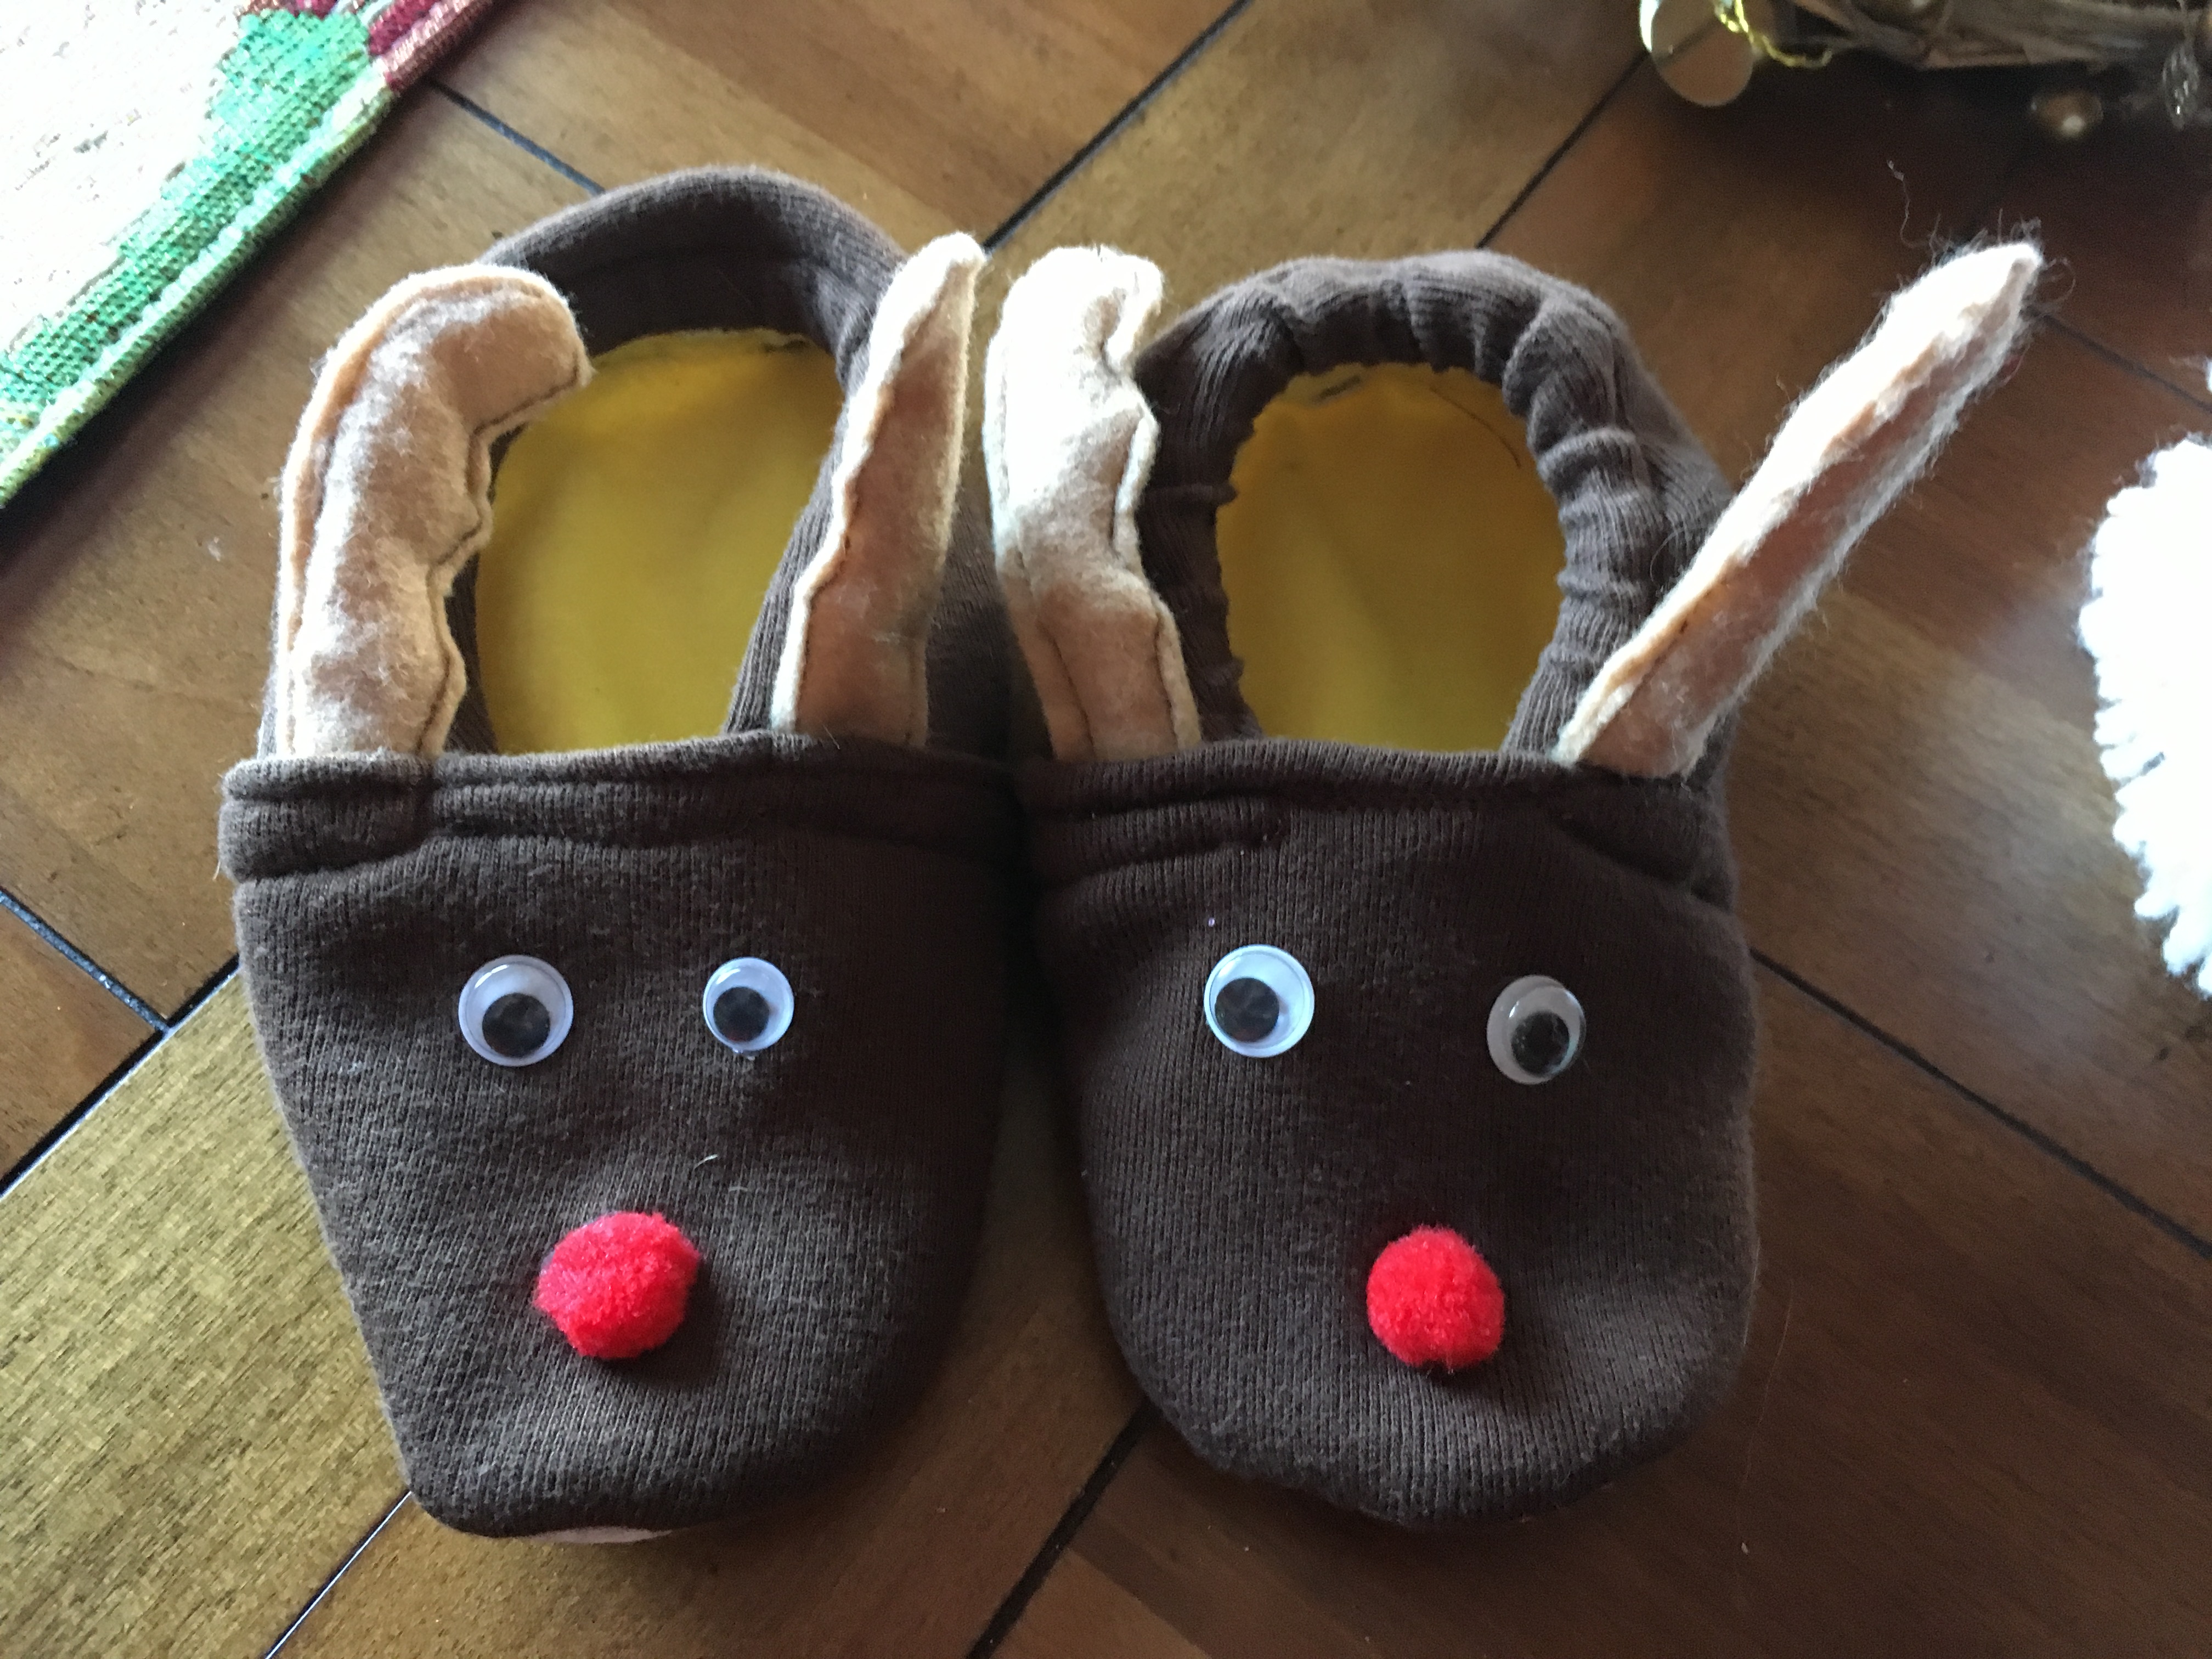
DIY Rudolph Slippers!


DIY RUDOLPH SLIPPERS

This easy DIY sewing project can be made for any size shoe!  All you need to do is trace the shoe (or foot) size and create!  Easy peezey Christmas fun! Also makes a great gift!

IMG_0405

As always, there is a video tutorial on the ceceliasspot channel and here is the link… 

rudolphslippers

Baby Slippers Tutorial! this has a pattern for baby slippers if you don’t want to trace a shoe or foot

And there is the written format below.  ENJOY AND HAPPY HOLIDAYS!


First, what you need for this project:

  1. Non-skid fabric
  2. Fabric colors (I used cotton and fleece)
  3. 1/4 or 1/8 elastic
  4. Sewing tools, googley eyes, red cotton ball, and any accessories you would like to add

IMG_0299

  1. Next, trace your subject’s shoe or foot (if you are using their actual foot add 1/2 inch all the way around).


2. Trace the top of your childs shoe to make the front of the slipper. Cut four of these pieces. Then trace the back and cut 4 of these (add 1 inch to the long length side so you can overlap)

IMG_0387 - Copy - Copy


3.  Take pattern facing pattern and sew the two front pieces together only on the straight side as shown (do this for both slippers).

IMG_0332

4. Trim excess and turn right side out, iron right side out and sew across the top you ant on outside (this makes it look nicer.

5. Take pattern facing pattern for both back pieces and sew across one long side for both slippers.

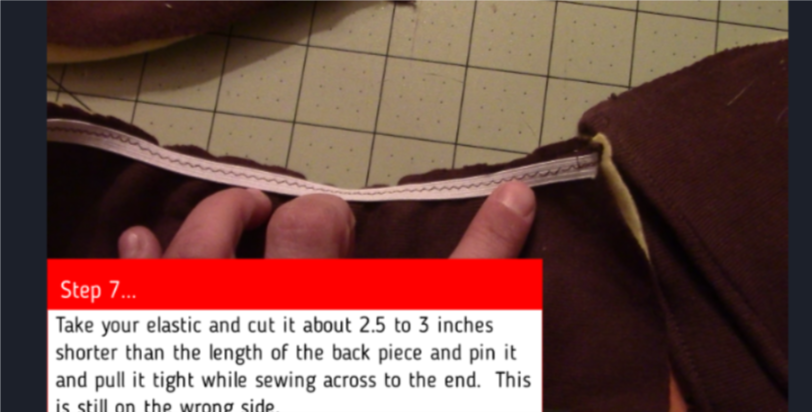
6. Take your elastic and cut it about 2.5 to 3 inches shorter than the length of the back piece and pin it and pull it tight while sewing across to the end. This is still on the wrong side. Sketch

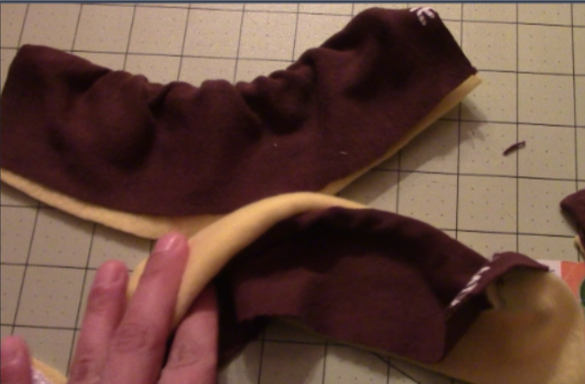
7. Flip the fabric over the elastic with right side out and iron and then sew right below the elastic and down the sidesSketch2

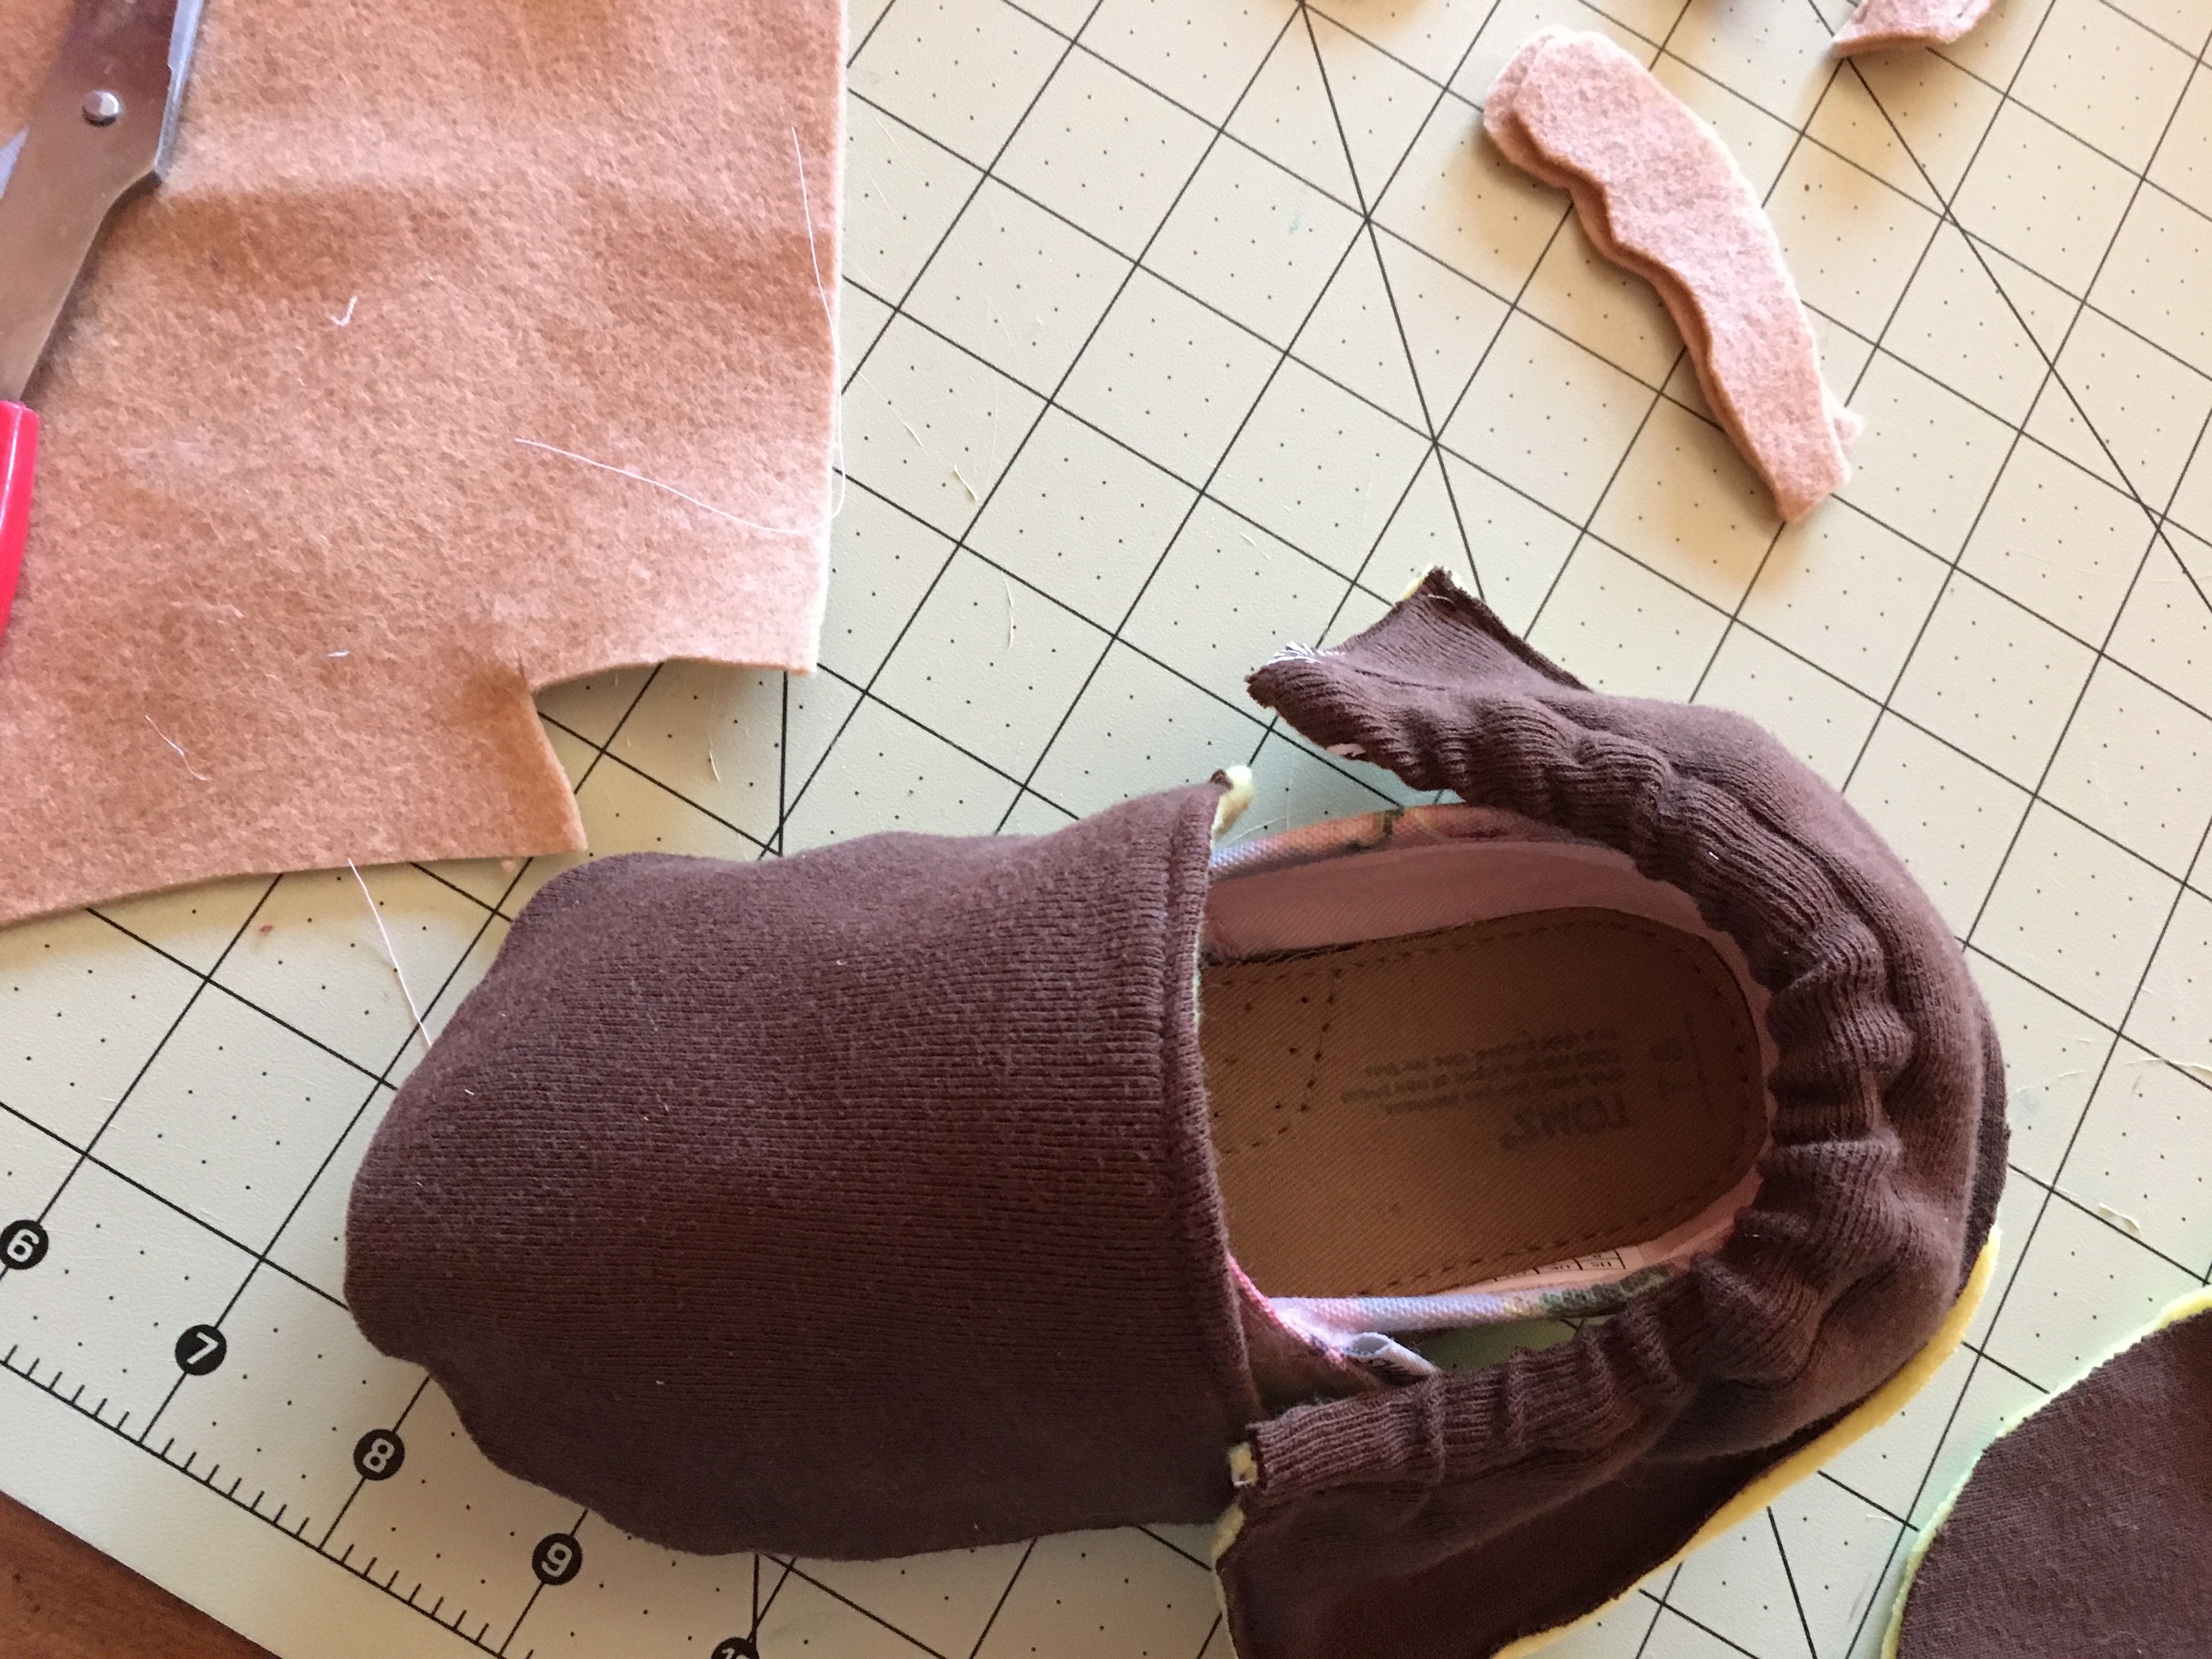
8. Freehanded antlers by looking at a picture of antlers. cut 4 sew around except bottom and stuff it.

IMG_0331


9. Check sizing and put front and back piece pinned together with pattern facing down (right now you should only see (the side that is up) what will be on the inside when you are finished done).

Sketch3

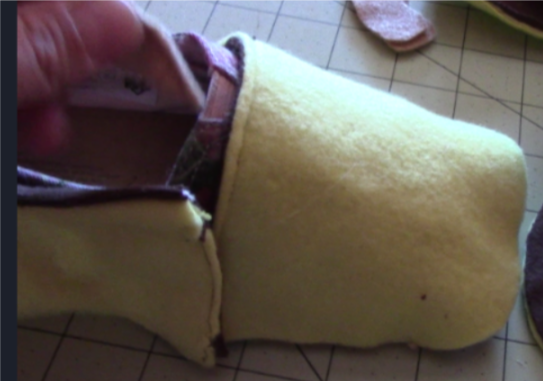
10. After pinning the front to the back and the antlers in between the front and back piece, sew across front to attach front and back piece

IMG_0389 - Copy - Copy

This is what it should look like now.

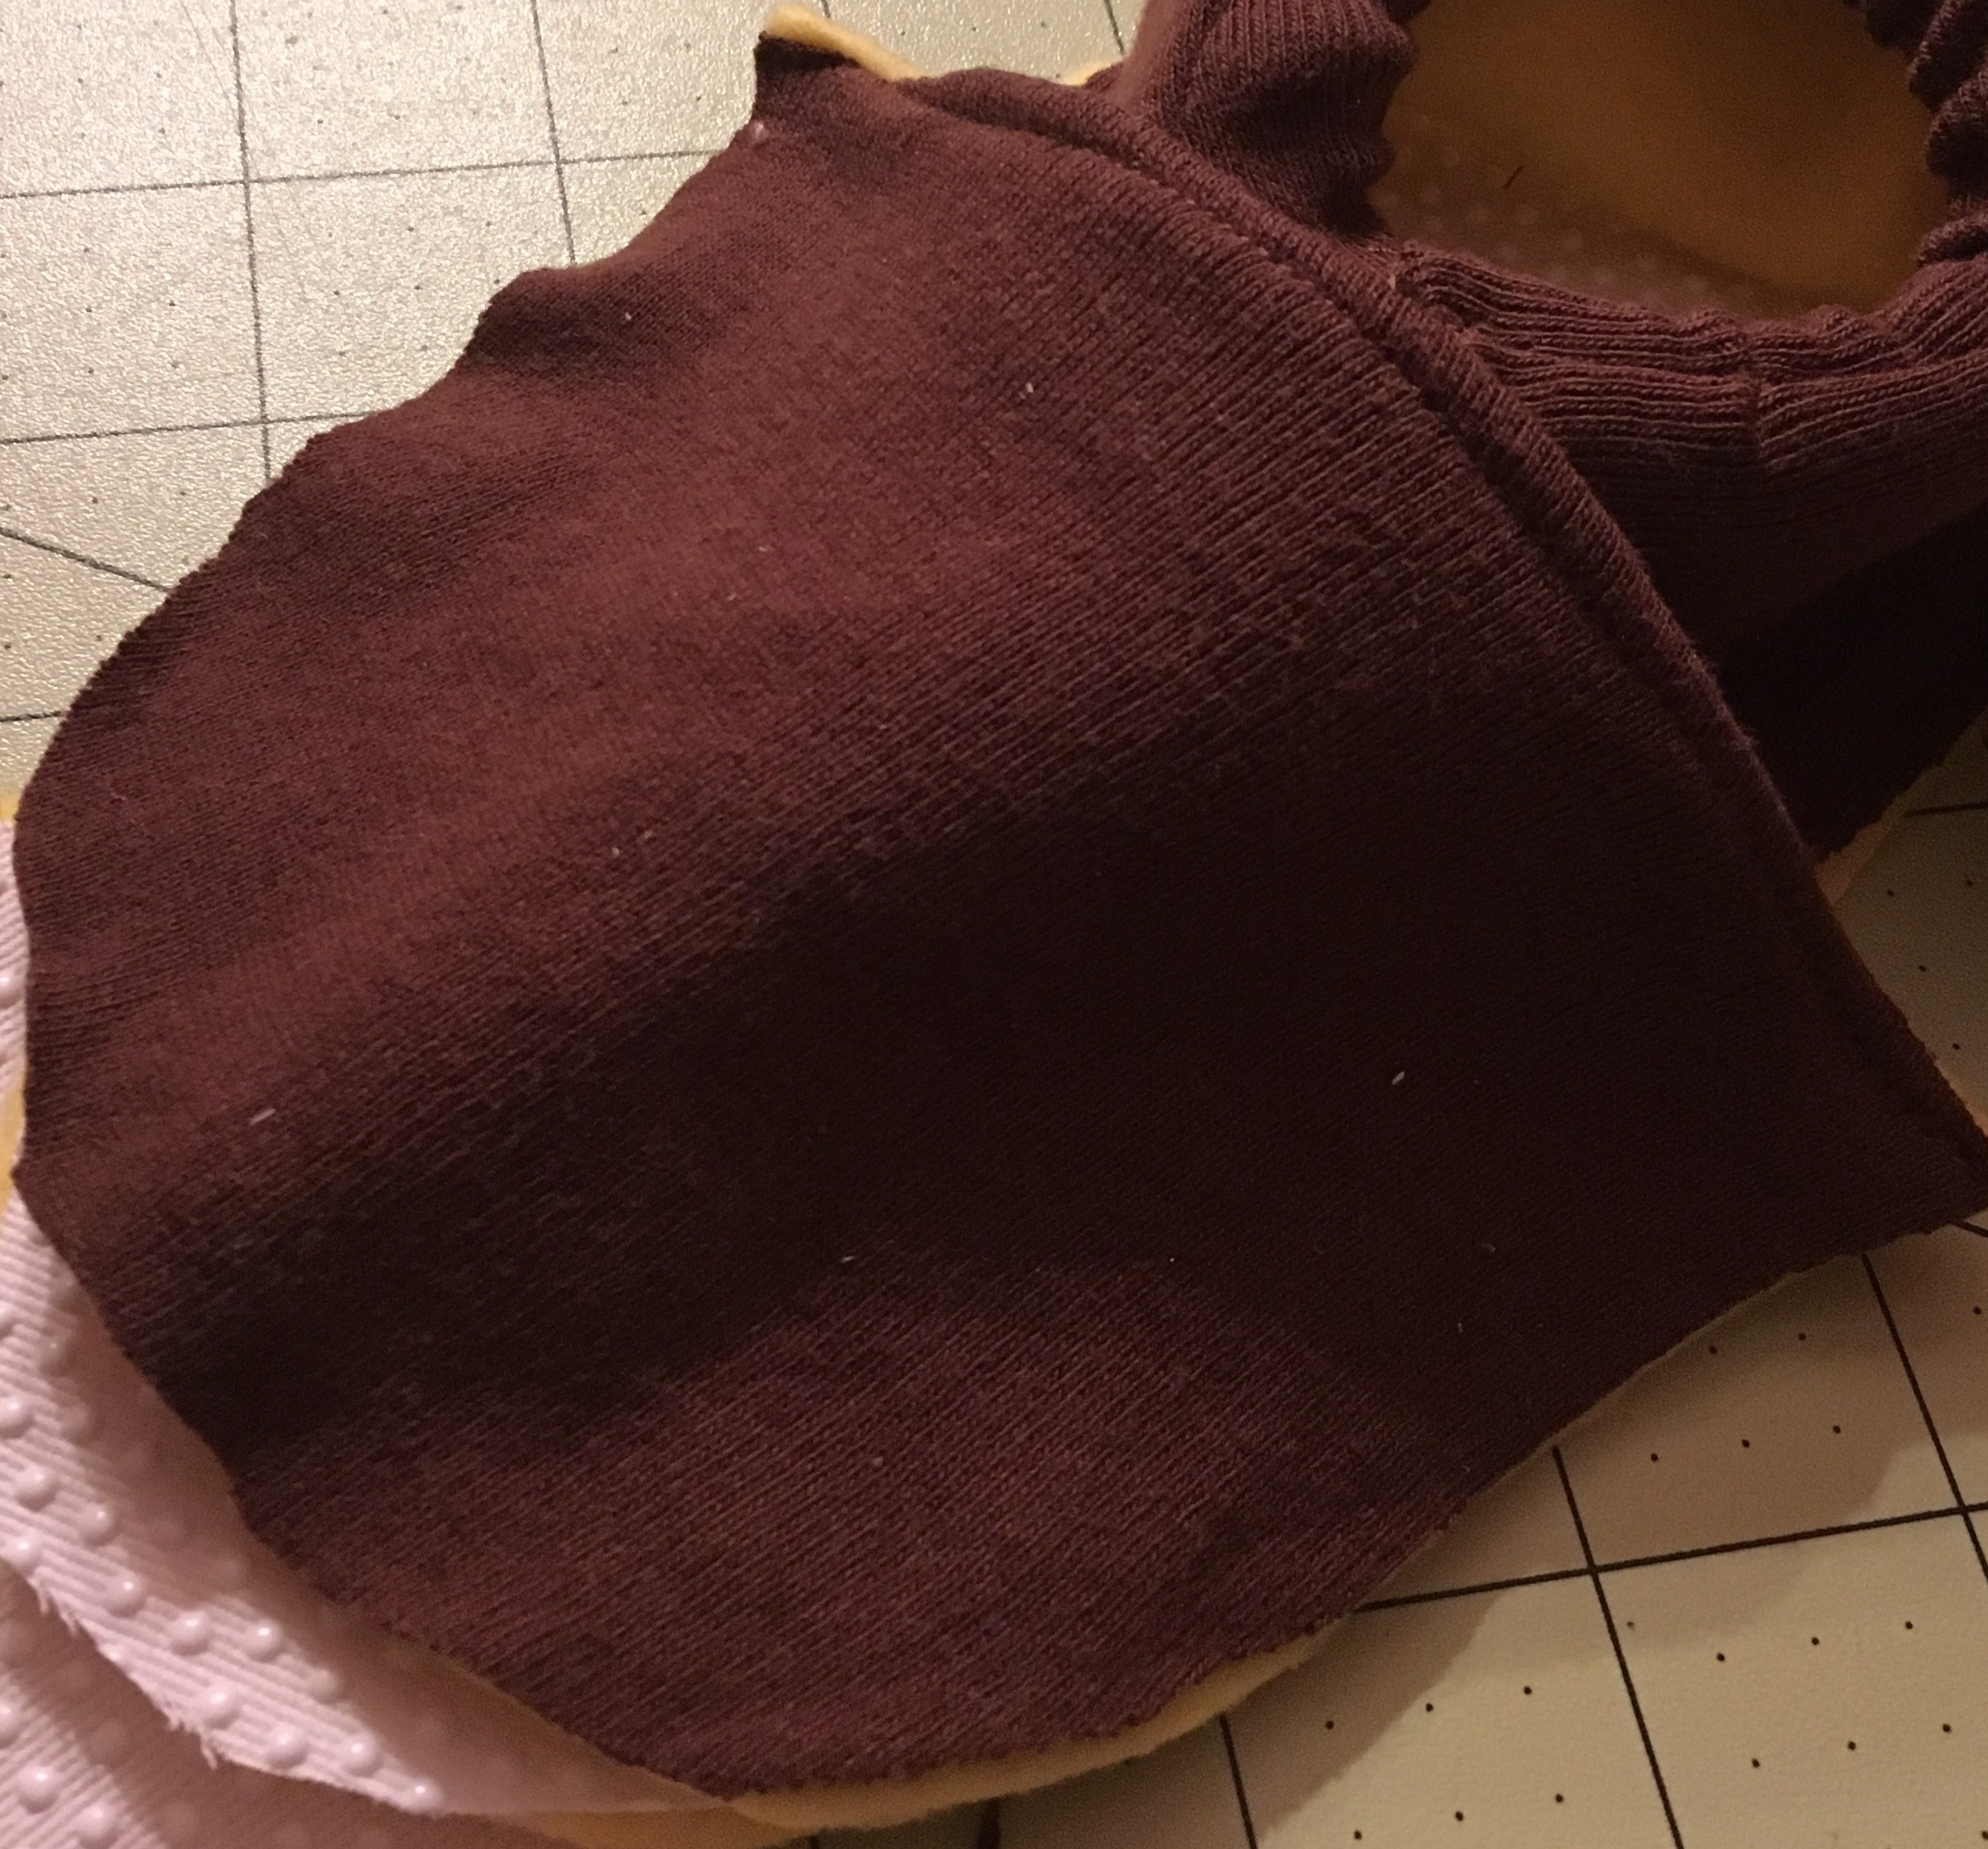
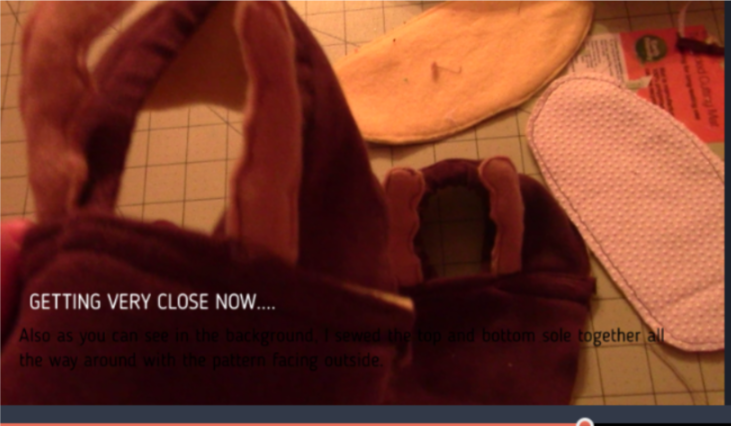
11. Line up the sole two pieces with the patterns on the outside (not the usual, but it doesn’t matter since its on the bottom) You can see it in the back there with the nonskid on top.

Sketch4

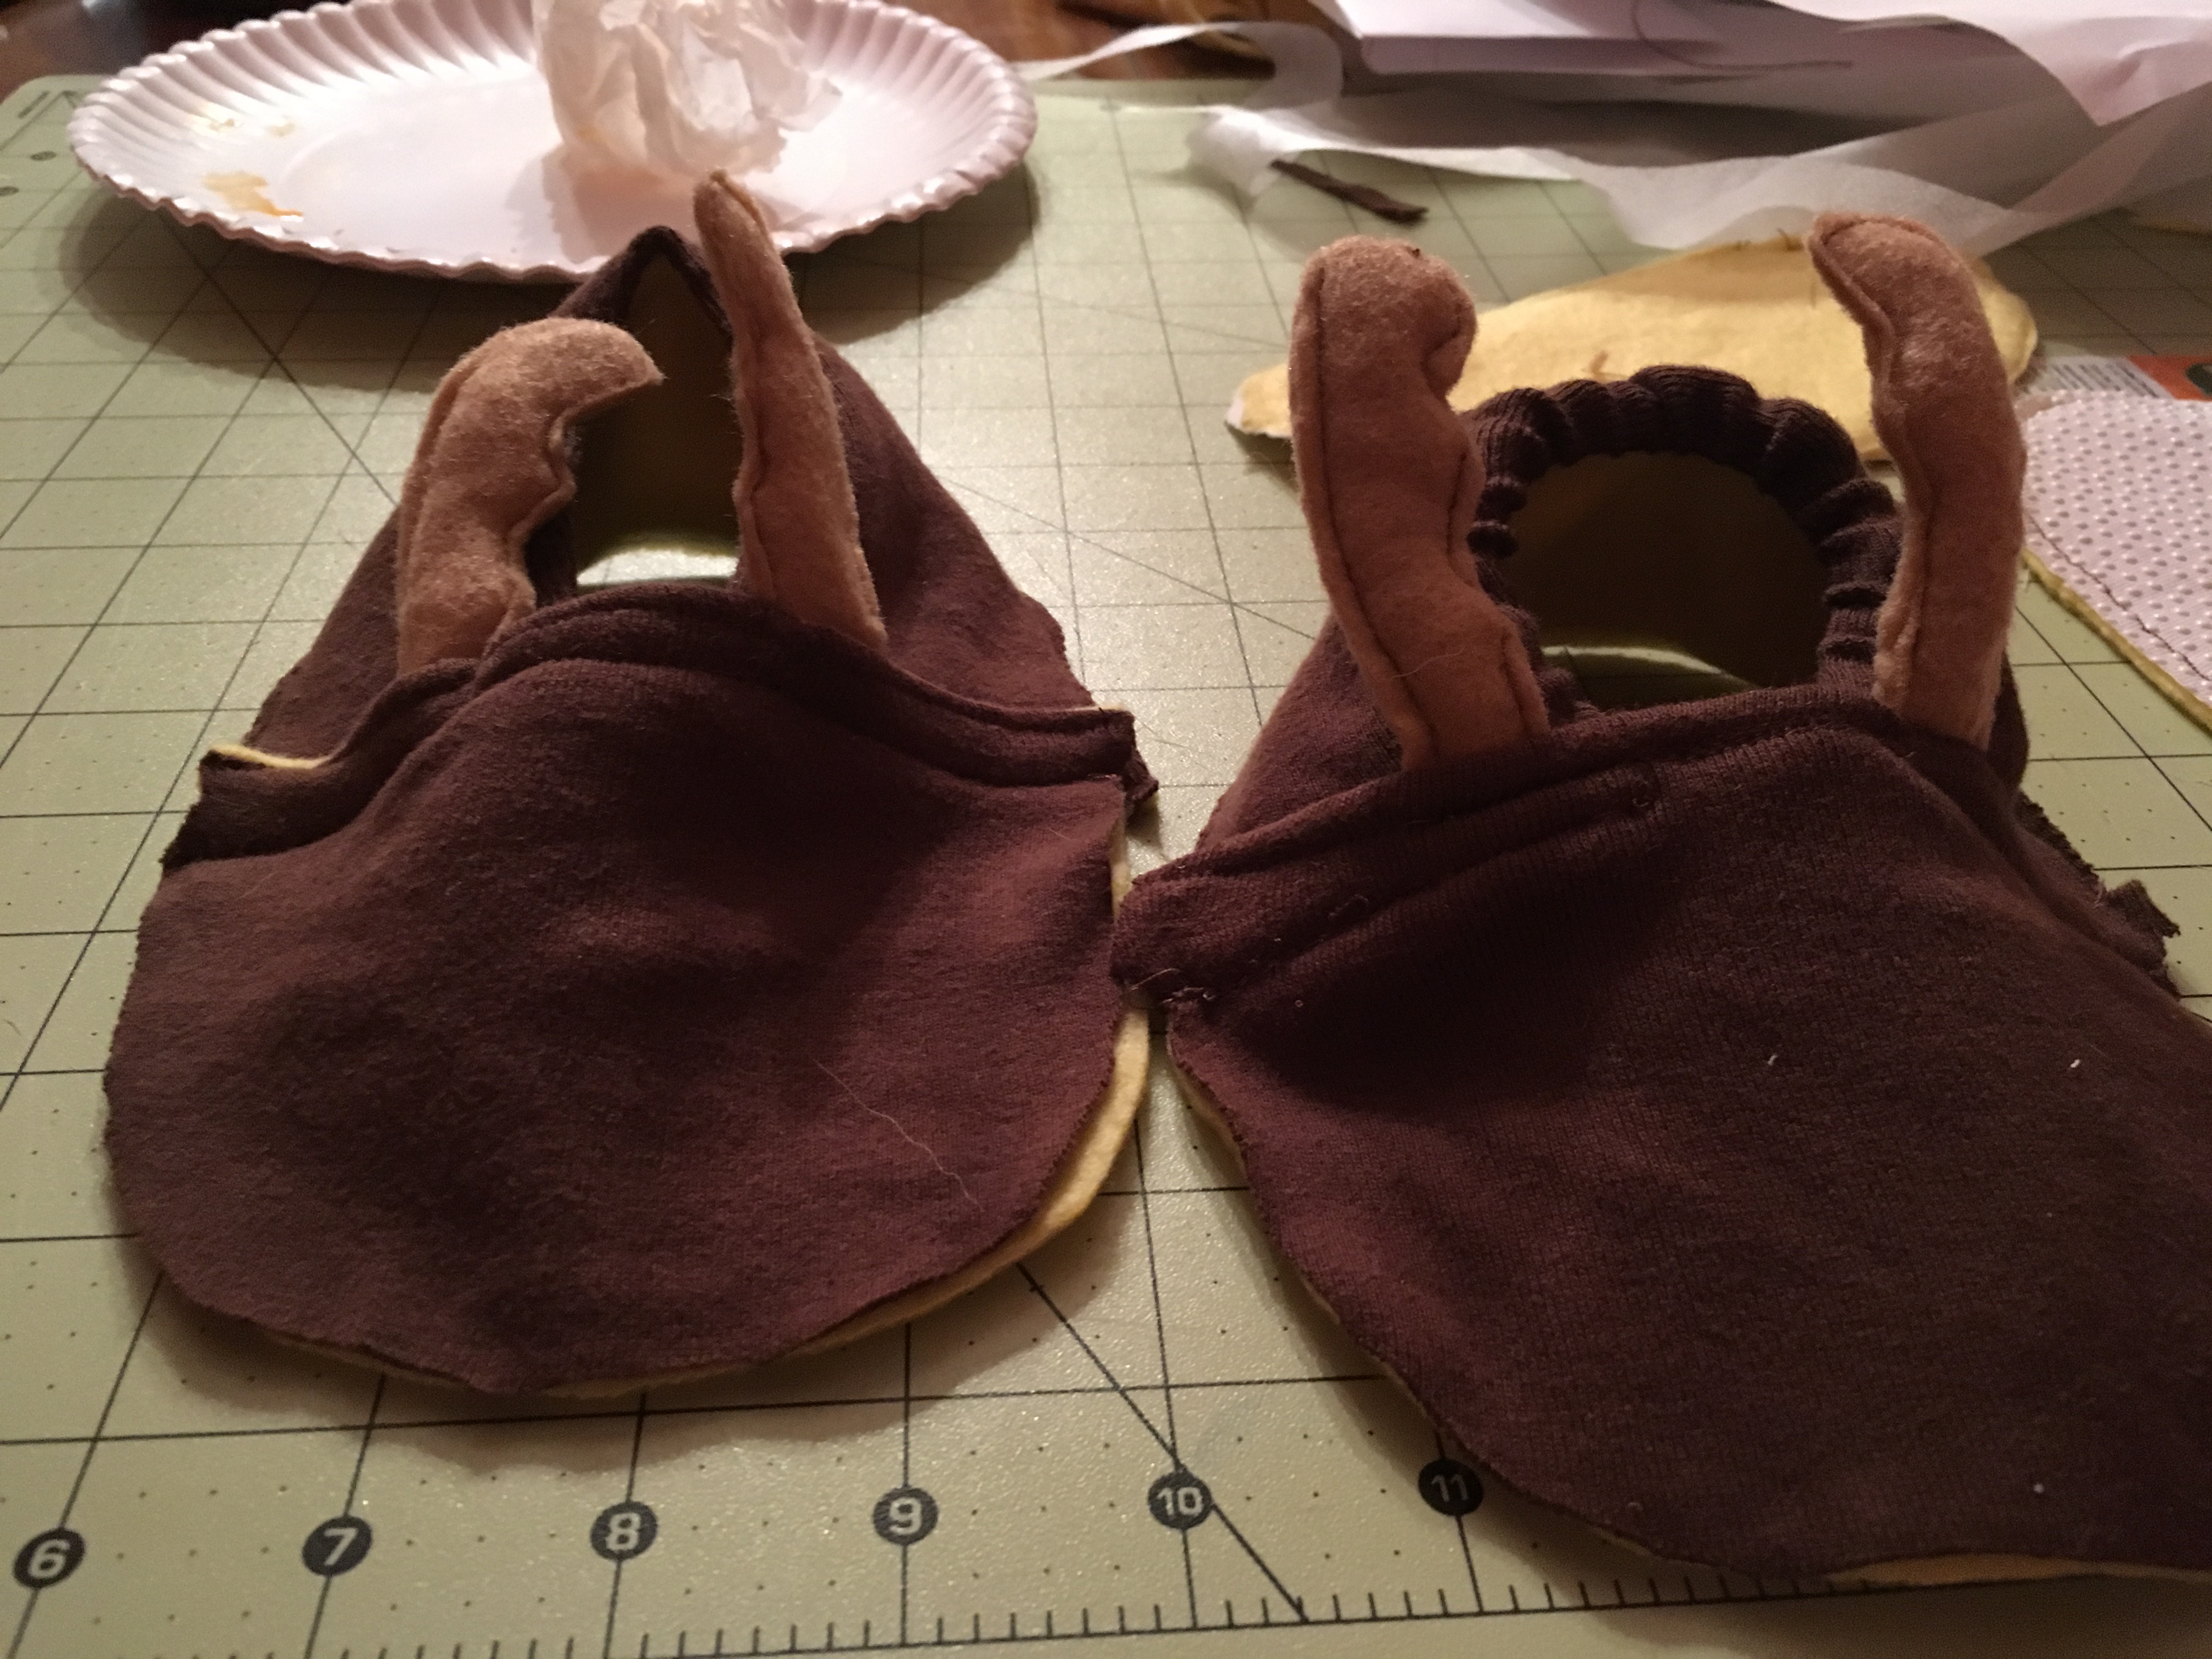
12. Line up the sole with the top piece (nonstick sole facing upwards to the reindeer face) by finding the middle of the front and back (you can fold to find this). Then sew all the way around. And turn right side out and WAH-LA!!IMG_0398 - Copy.JPG

I sewed on the red cotton ball nose and hot glue gunned the eyes on.  If you have a little one then please don’t use googely eyes since they might try and eat them!

Don’t forget to check out our facebook site and subscribe to our youtube videos!  ENJOY! MERRY CHRISTMAS!

FollowFacebookpinterestrssyoutube
ShareFacebookpinterest

Hooded Dress (Christmas Theme)

So I didn’t want the same old fancy dresses for Christmas that take FOREVER to make and are uncomfortable.  Therefore, I strolled around the fabric store looking for inspiration.  A tan plaid red and green pattern caught my eye.  For some time I have wanted to make a plaid dress for my little one, but haven’t found the right fit.  However, today, I thought to myself, “How about a comfy hooded dress in plaid?”  And so, the Christmas Plaid dress was born!!!

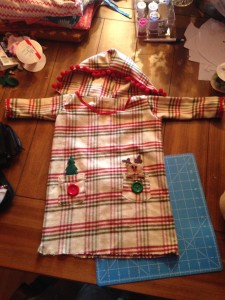
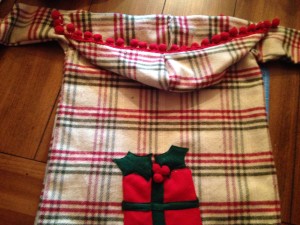
IMG_3377 IMG_3379 - Copy


I designed the dress myself, so be patient with the video since sometimes I change my mind after completing part of the dress.  Oh, you’ll see what I mean when you watch it!  As always, there is a youtube video tutorial and a written and picture form.  The dress pattern is listed below and is a sketch I made of it.  There are several sizes on there, but you can always adjust it by measuring your little one or making it bigger or smaller by moving the lines.


What you will need:

  1. The pattern found here–> dress.jpg
  2. Fabric (around 1 yard)
  3. Thread
  4. Sewing machine and scissors
  5. Optional: ribbon, bias tape, buttons, felt, any other decorations, Velcro for hood


Lets get started!

  1. Print the pattern and cut out the right size (note: make sure it is the right size for your little one by measuring)
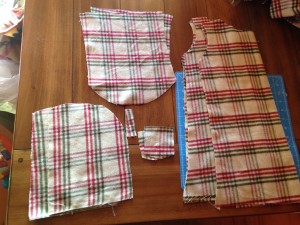
  2. Cut your fabric patterns out as instructed (decide if you want a hood and if you want it detachable.  Also decide if you want long sleeves or no sleeves)
  3. You can serge or zigzag stitch around all the pieces of fabric to prevent fraying. IMG_3287
  4. After zigzaging or serging, sew the top part of the pocket on the main pocket
    parts
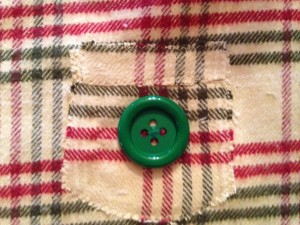
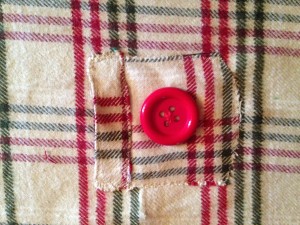
  5. If you want a button on your pocket sew them on now before you attach it
  6. Next, make sure you align your pockets on the dress front by measuring in from the sides and from the top and bottom to get them as even as possible.
  7. You can either fold your pocket edges and sew either a straight or zigzag stitch around the pocket leaving the top open, or you can just stitch around it as I have done since I liked the look for the plaid dress.
  8. IMG_3310 IMG_3311
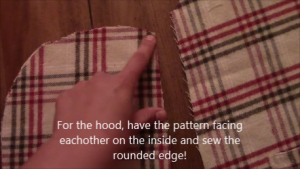
  9. For the hood, have the pattern facing each other on the inside and sew the rounded edge!
  10. Snapshot 1 (11-17-2015 10-01 AM)
  11. Flip right side out and hem or add bias tape to outside
  12. You can sew your hood on fabric pattern facing fabric pattern and sew across and flip right side out, or you can use buttons or velco. You will need to either make button holes or put velcro on the back of the dress to hold the hood.  I used iron on velco.  Note**If you are sewing it on wait until after you sew the front to back**
  13. The front collar of the dress needs to be hemmed or sew bias tape on it
  14. Snapshot 2 (11-17-2015 12-39 PM)
  15. Next, is to sew the front to back of the dress.  If you want the top of the dress to be velcro as well, you can have a jumper (but you wouldn’t have sleeves so skip the sleeve part).
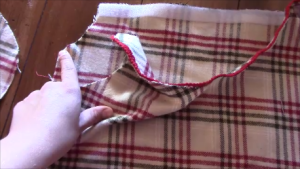
  16. To sew it together, turn patterns facing each other and sew . Also line up sides and pin and sew down underneath the sleeve opening. Then turn right side out.
  17. Snapshot 3 (11-17-2015 1-23 PM)
  18. If you are not doing sleeves, you want to hem or use bias tape on the sleeve holes after sewing down the side. If you are not doing sleeves then hem or use bias tape around the bottom and you are all done!
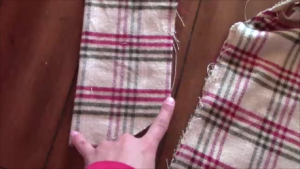
  19. If you are doing sleeves, turn pattern facing pattern and sew.  Then turn right side out.
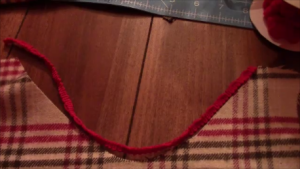
  20. Sew the sleeve sides together by facing pattern side to pattern inside. Do not sew the curved part as pointed to in the picture below. Then turn right side out
  21. Snapshot 4 (11-17-2015 7-51 PM)
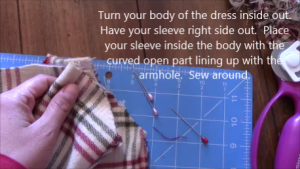
  22. Turn your body of the dress inside out. Have your sleeve right side out.  Place your sleeve inside the body with the curved open part lining up with the
    armhole.  Sew around.
  23. Snapshot 5 (11-17-2015 7-57 PM)
  24. This picture shows that you want the sleeve facing downward inside the body of the dress.  the larger end to the hole and the smaller end (where the hand comes out) facing downwards.
  25. You can hem or use bias tape on cuffs of sleeves and bottom of dress.  Then add any embellishments you want and wah-la you are done!IMG_3446
  26. Congrats! Feel free to post your pics below!
FollowFacebookpinterestrssyoutube
ShareFacebookpinterest