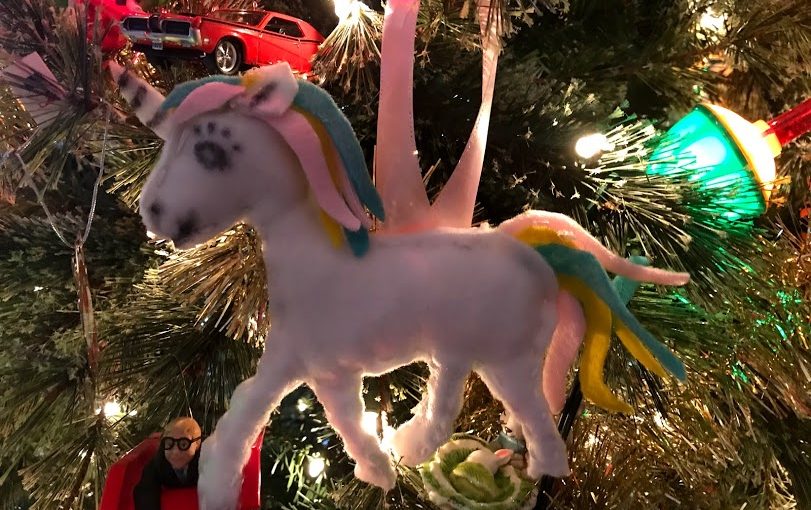
My daughter saw the cutest ornament at Boscov’s the other day…a unicorn. It was made from felt and I thought, “I can make that!” If you know anyone who loves unicorns then this simple felt ornament can be made for Christmas, or enlarged as a stuffed animal!
Materials needed:
-Felt in various colors: I used leftover felt I had from other projects. Any colors will work. I used white, yellow, blue, and pink.
-scissors, needle, thread
-hot glue gun, felt marker, cotton for stuffing
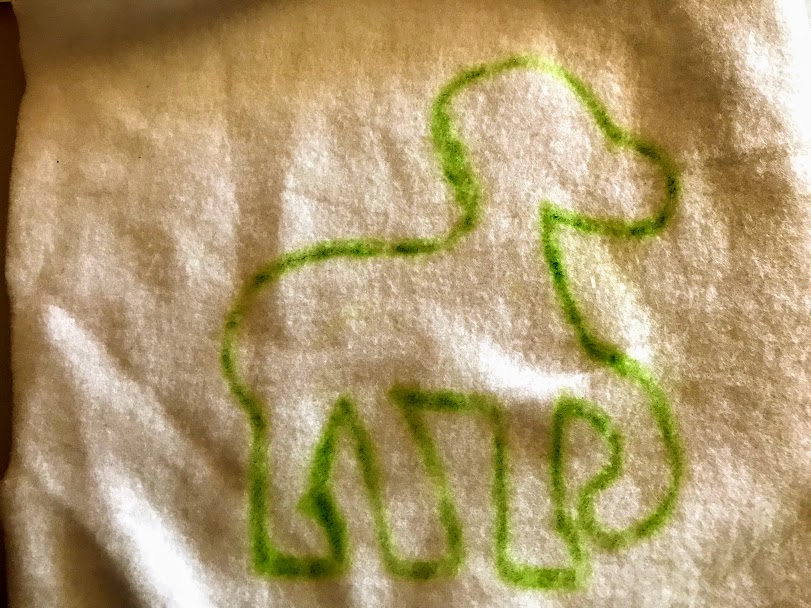
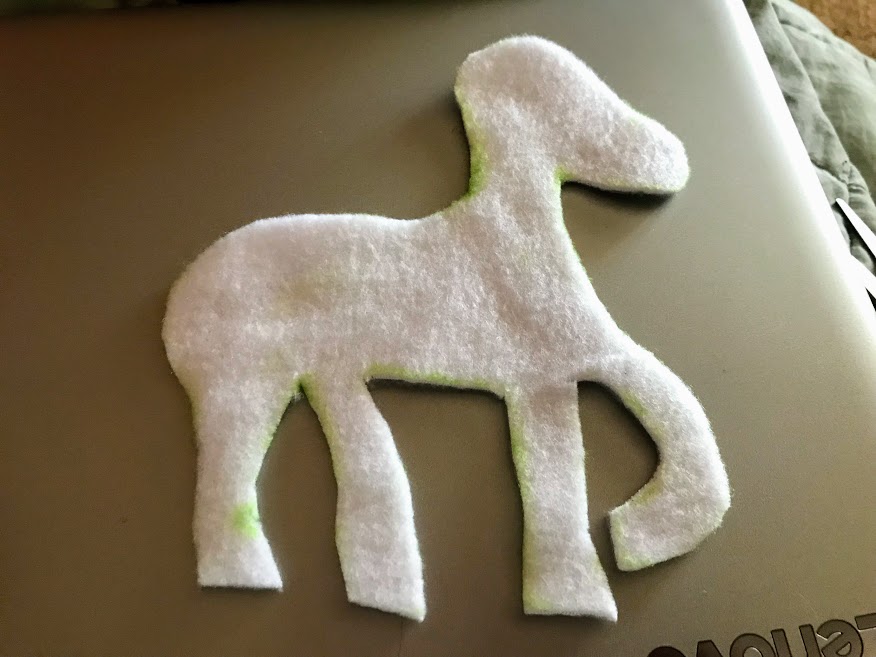
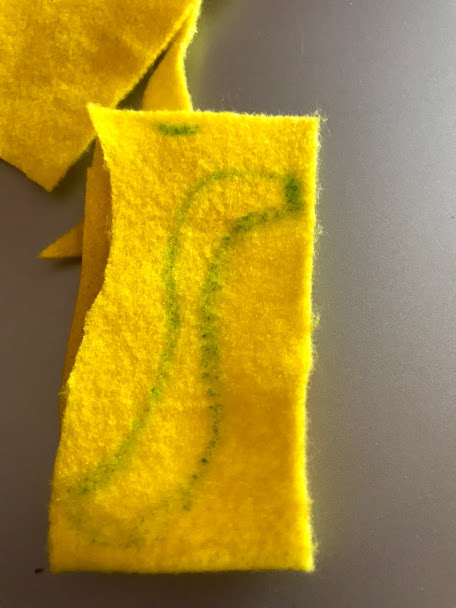
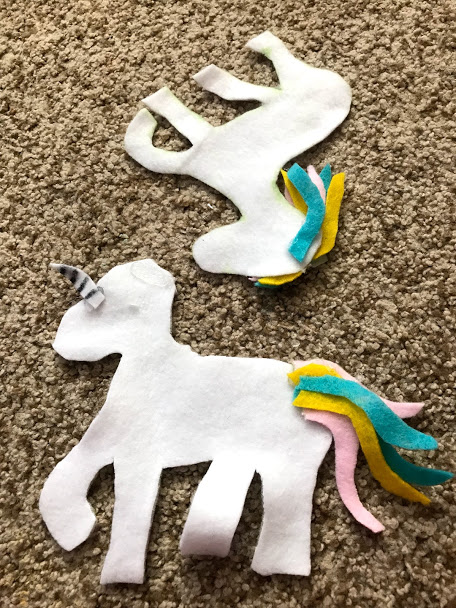
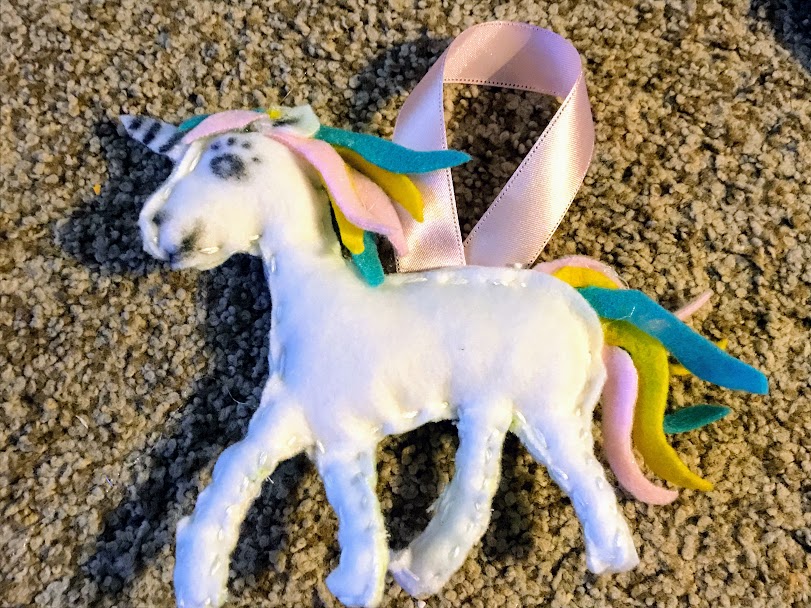
First I laid out a white piece of felt and drew the body. I didn’t use a printout or pattern, I just eyeballed it by looking at pictures. I cut it out, then laid it on top of another piece of white felt to trace and again cut out. This way I had both sides of the unicorn’s body.
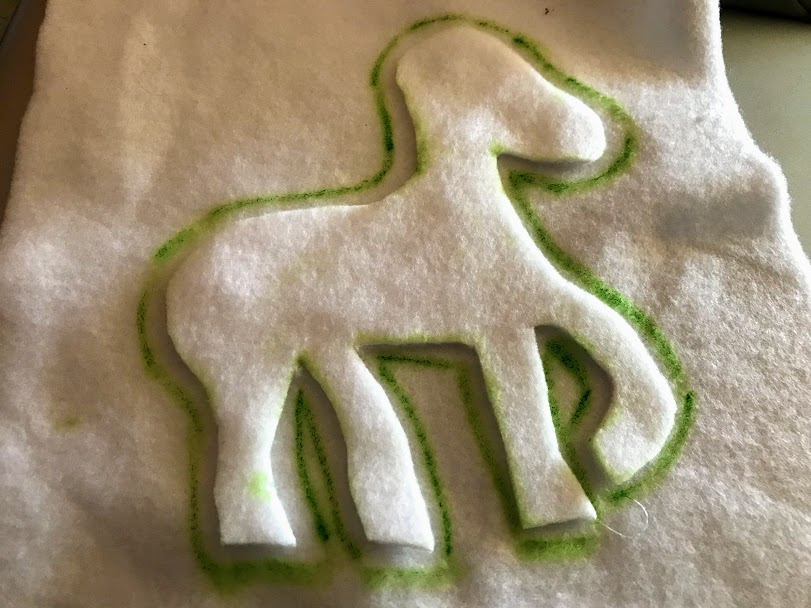
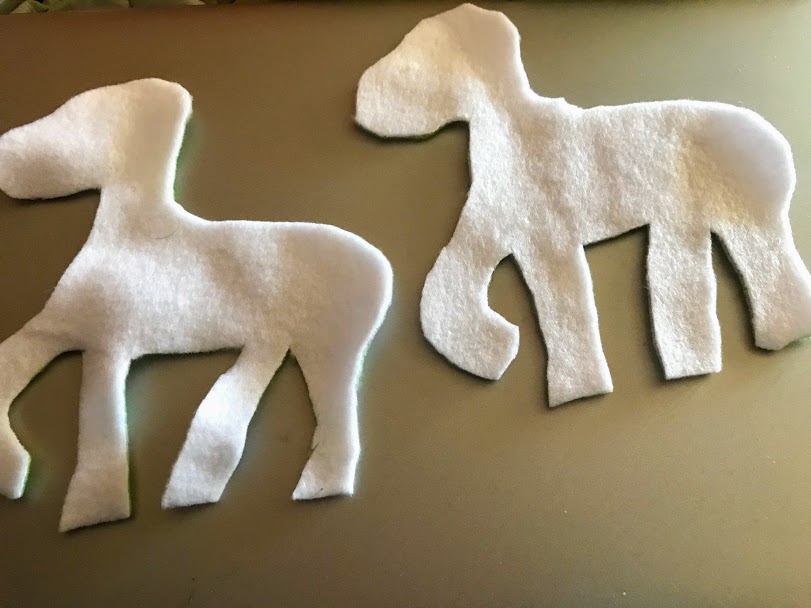
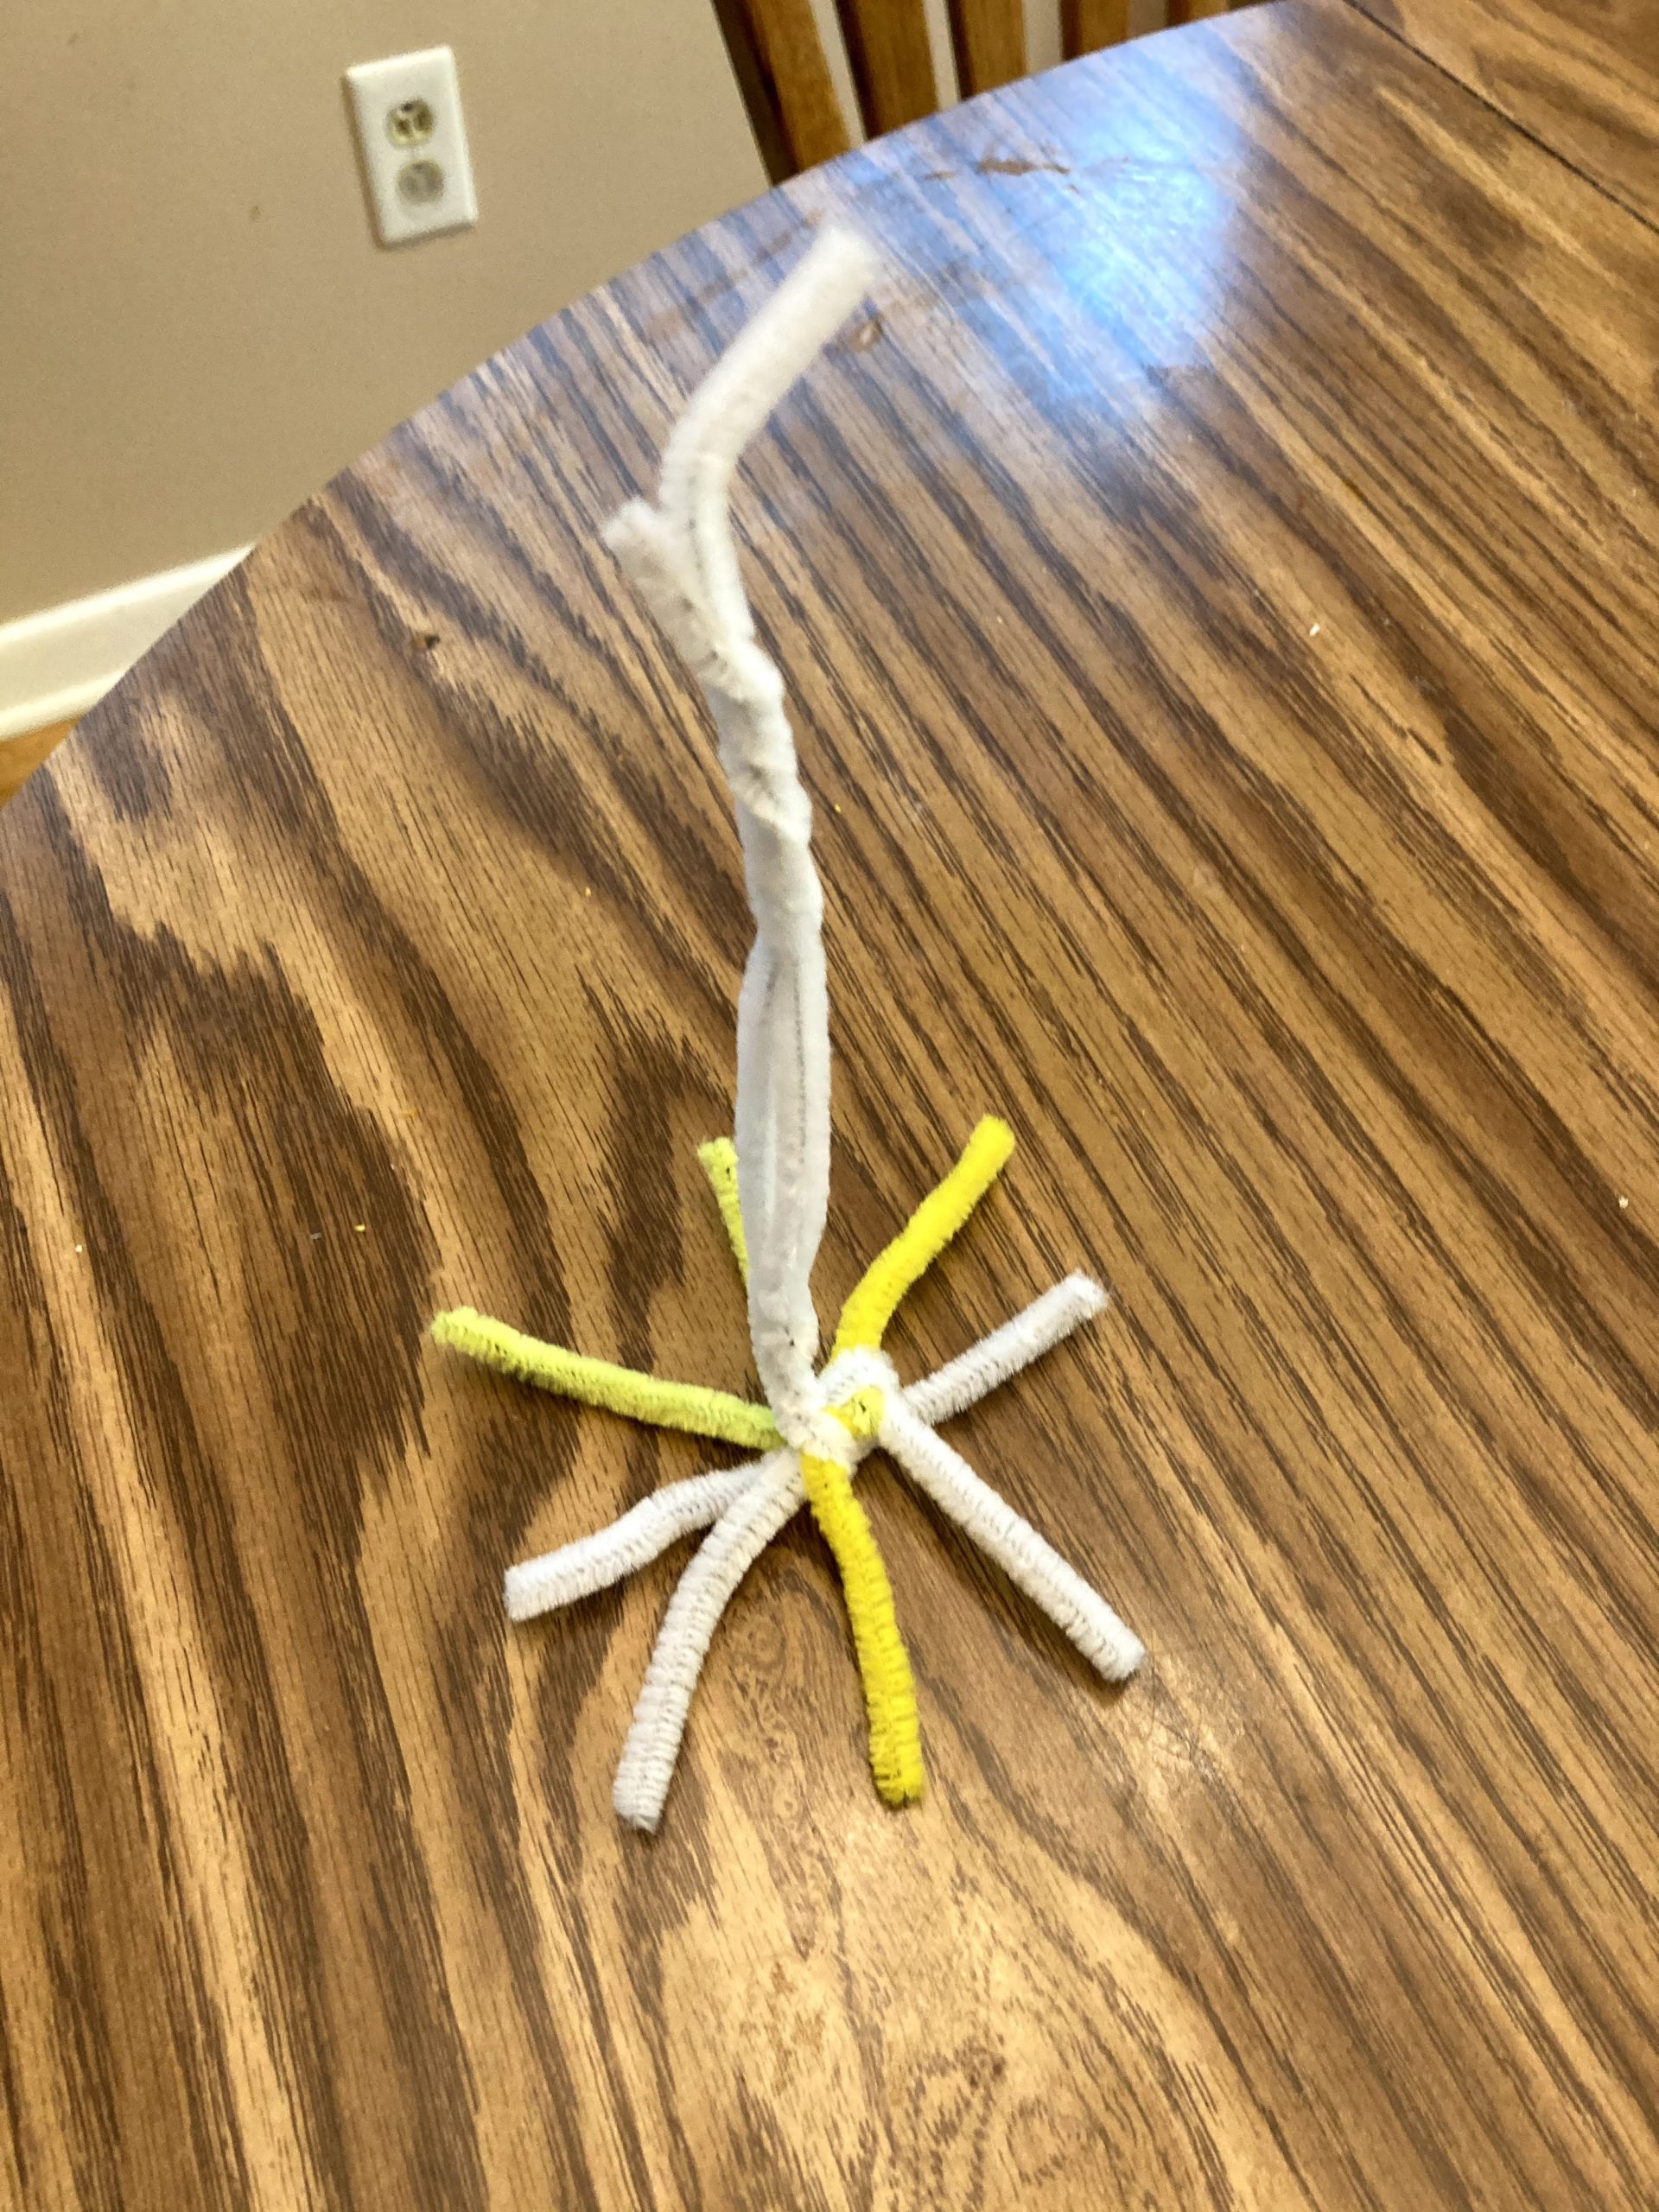
The second cut out of the unicorn body ended up a little larger, but I just cut and adjusted the size as I was sewing it. Next, I moved onto cutting out the hair for the mane and tail. I also cut out an ear and horn. I looked at pictures and drew it freehand on the colors of felt I desired. They ended up looking like little worms.

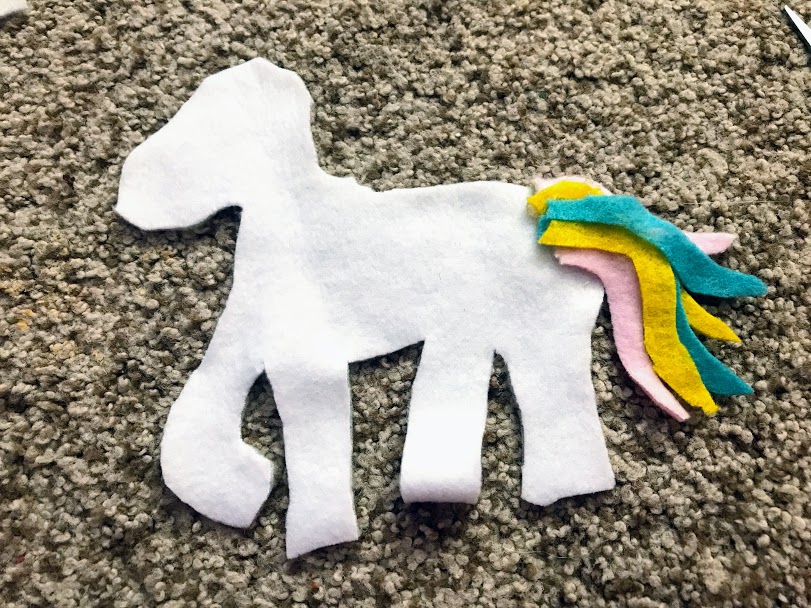
I placed my tail pieces on the back to make sure they looked okay and hot glued them to the back piece of the body. I did not glue them to BOTH body pieces, just the front of the back piece of the body (see picture).
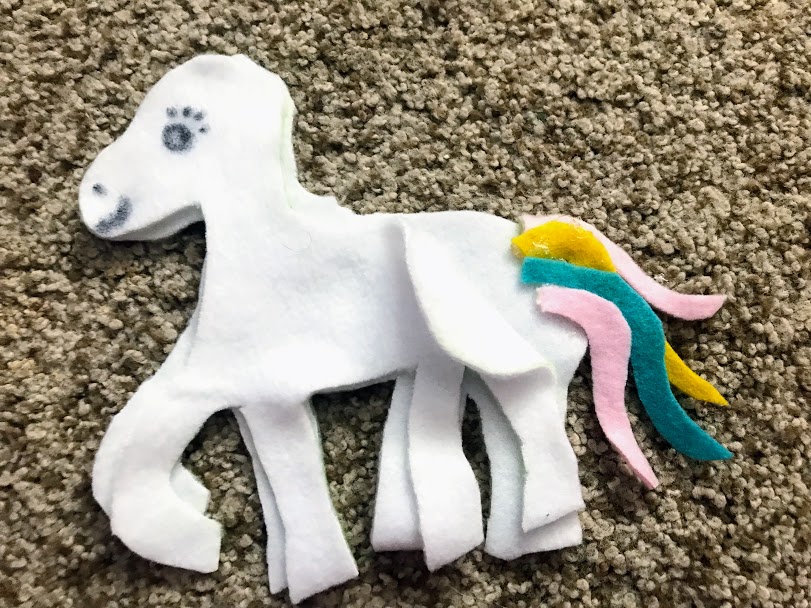
Next, I placed the hair and ear on the unicorn to make sure it looked correct. I didn’t glue it, but just placed it there to make sure it was to my liking. I drew on eyes, a mouth and nose with a felt marker.
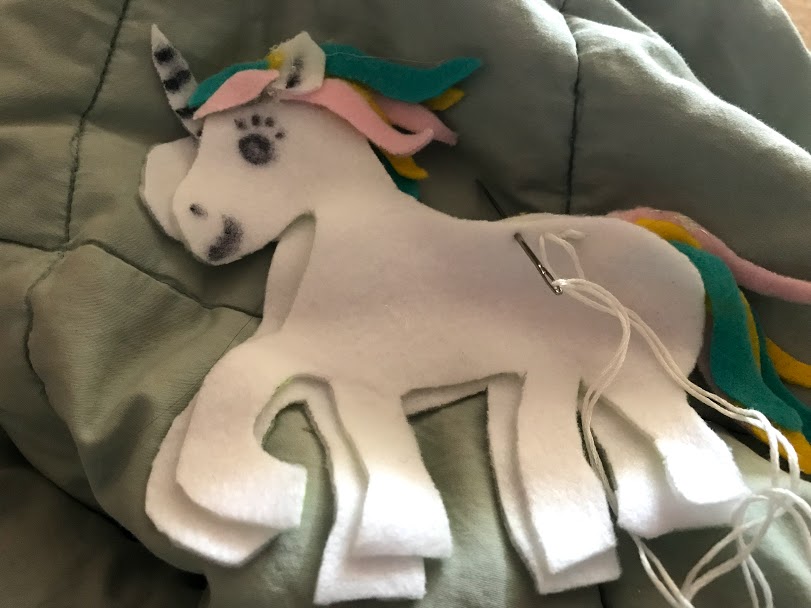
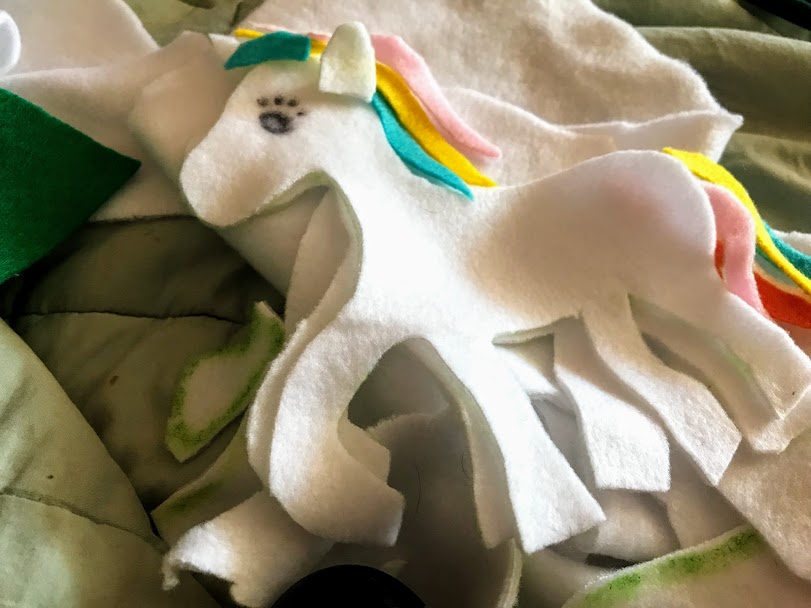
I hot glued the horn onto the front of the back piece of the body. I hot glued the mane and ear onto the front body piece. Next I sewed the unicorn together. As I was sewing, I stuffed it. Don’t wait until the end or your won’t be able to fill the smaller spaces like the legs.
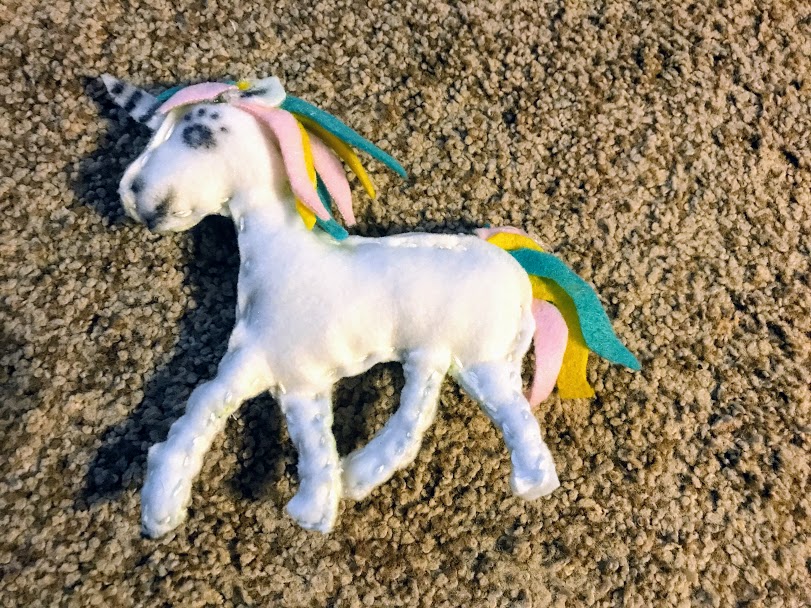
After sewing and stuffing the unicorn, I cut a piece of ribbon and hot glued it to the back of the unicorn.
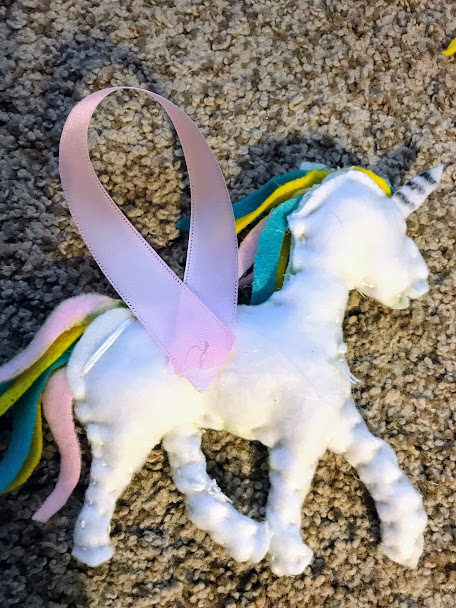
Next, I hung it on the tree. Wallah! DONE!
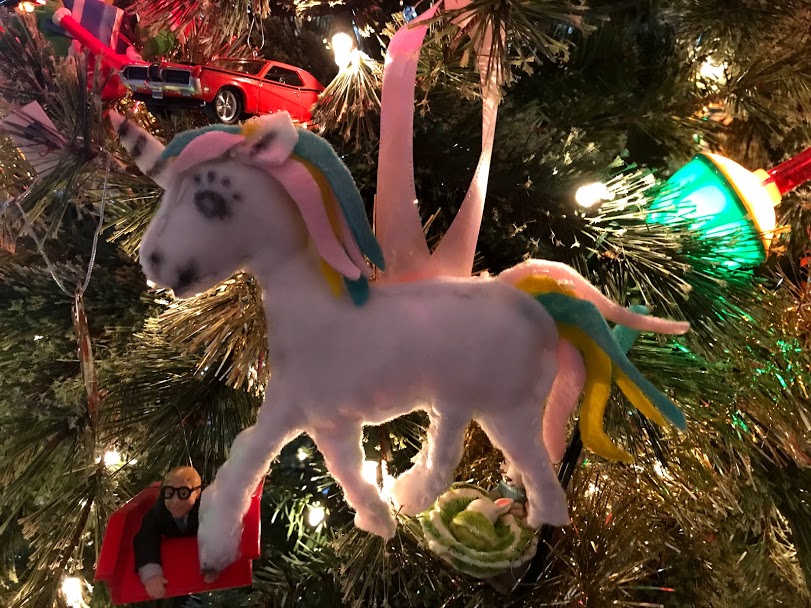

Happy Ornament Making!!!!
Follow


Share


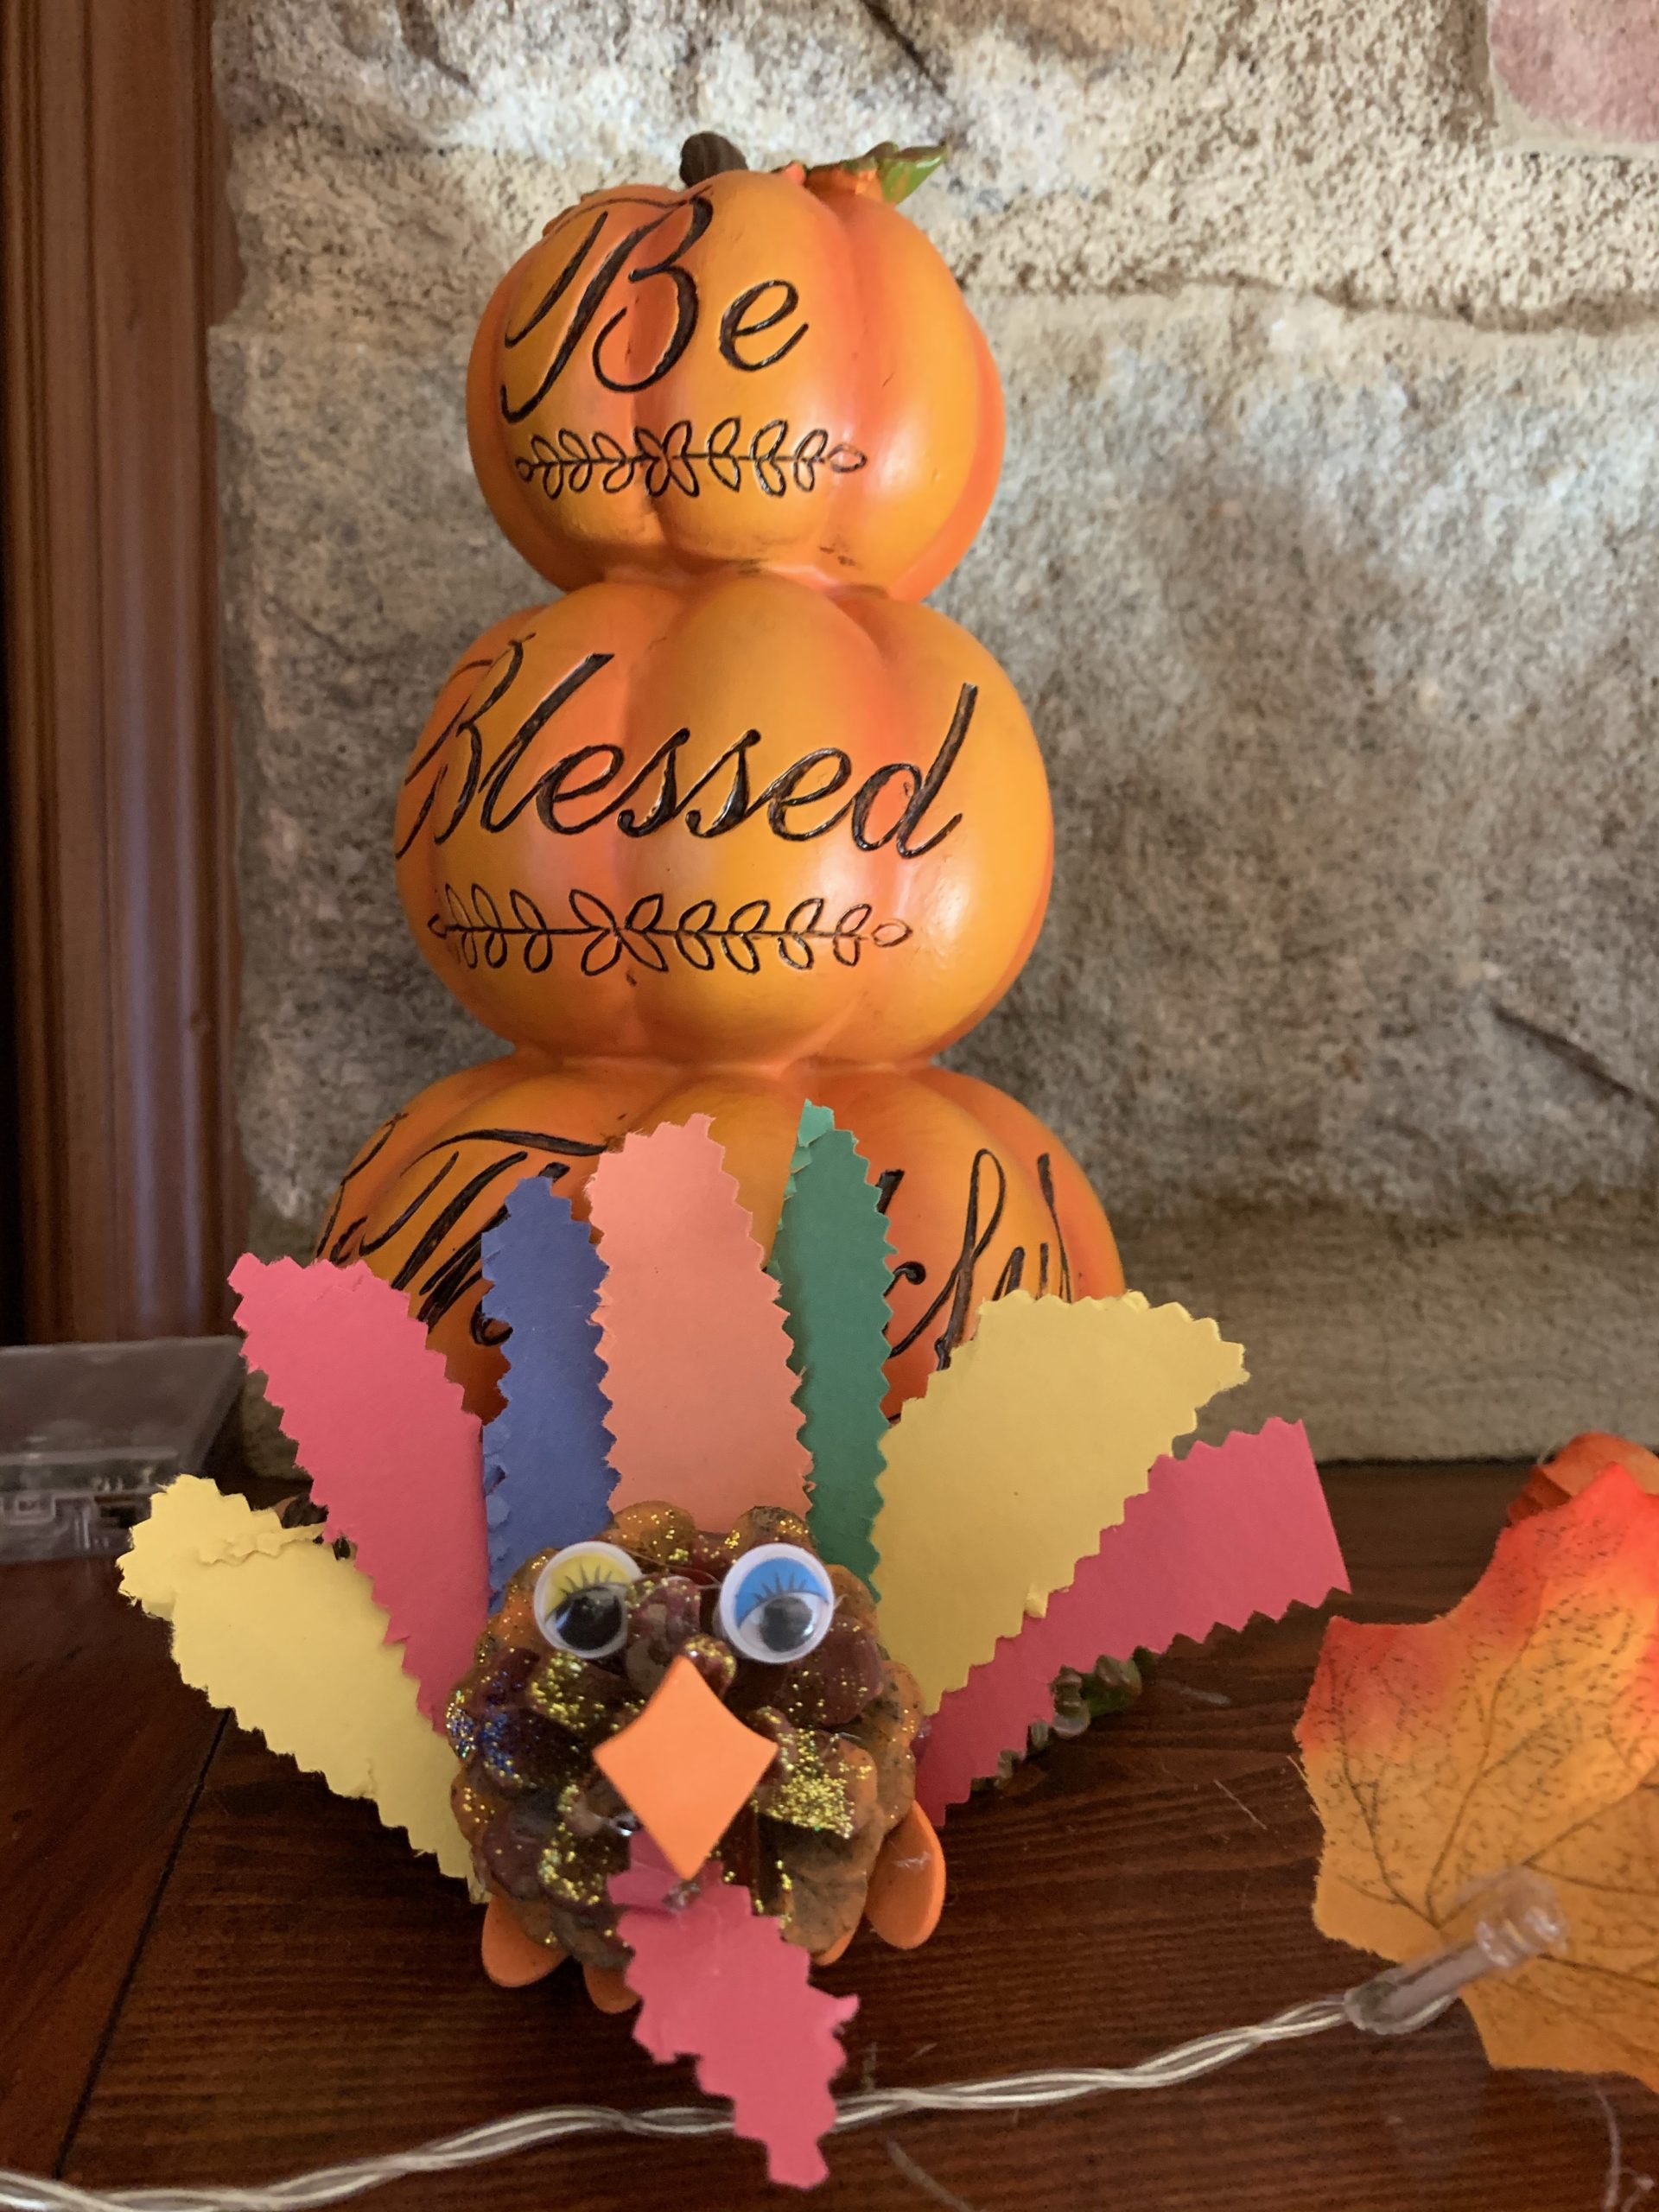

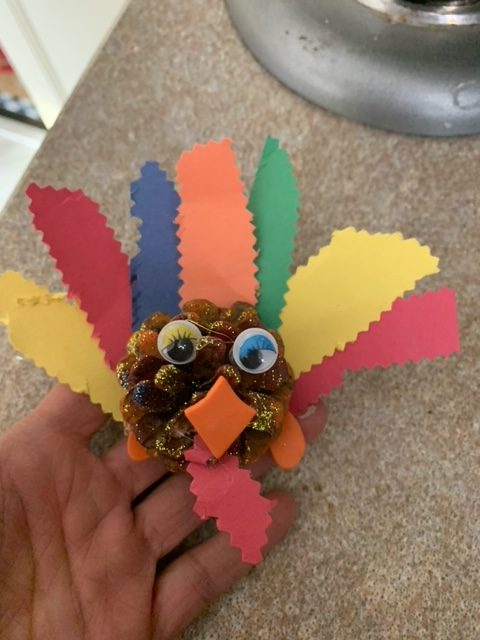
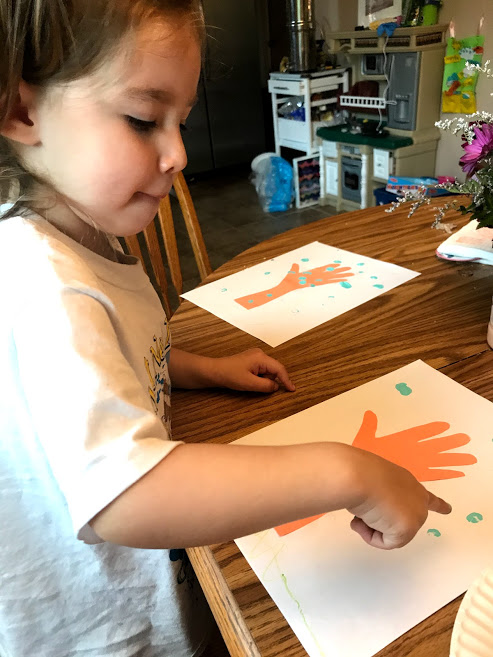
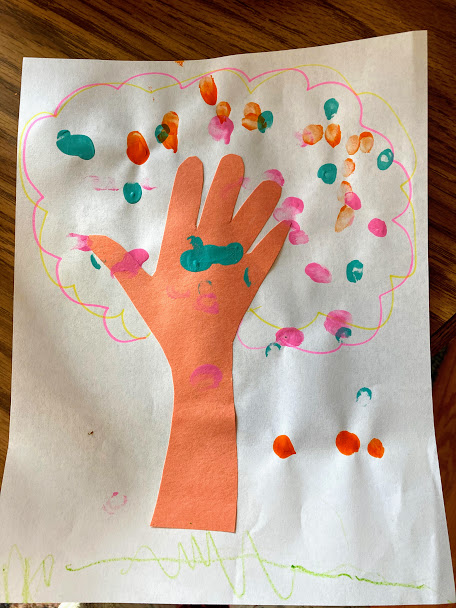
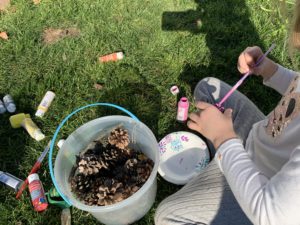 Since it was unseasonably warm here in Pennsylvania, we decided to paint outside so there wasn’t as big of a mess. Besides using a variety of paints, we used glitter of all colors! Some of the trees we purposefully painted blue and green for Christmas tree pinecones!
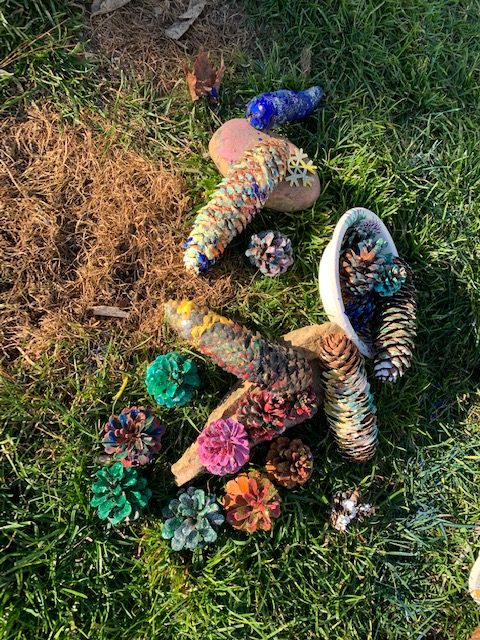
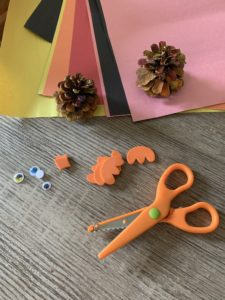 You can of course decorate your turkey any way you like with any materials! Get creative and enjoy!