Crushed Chalk Paint

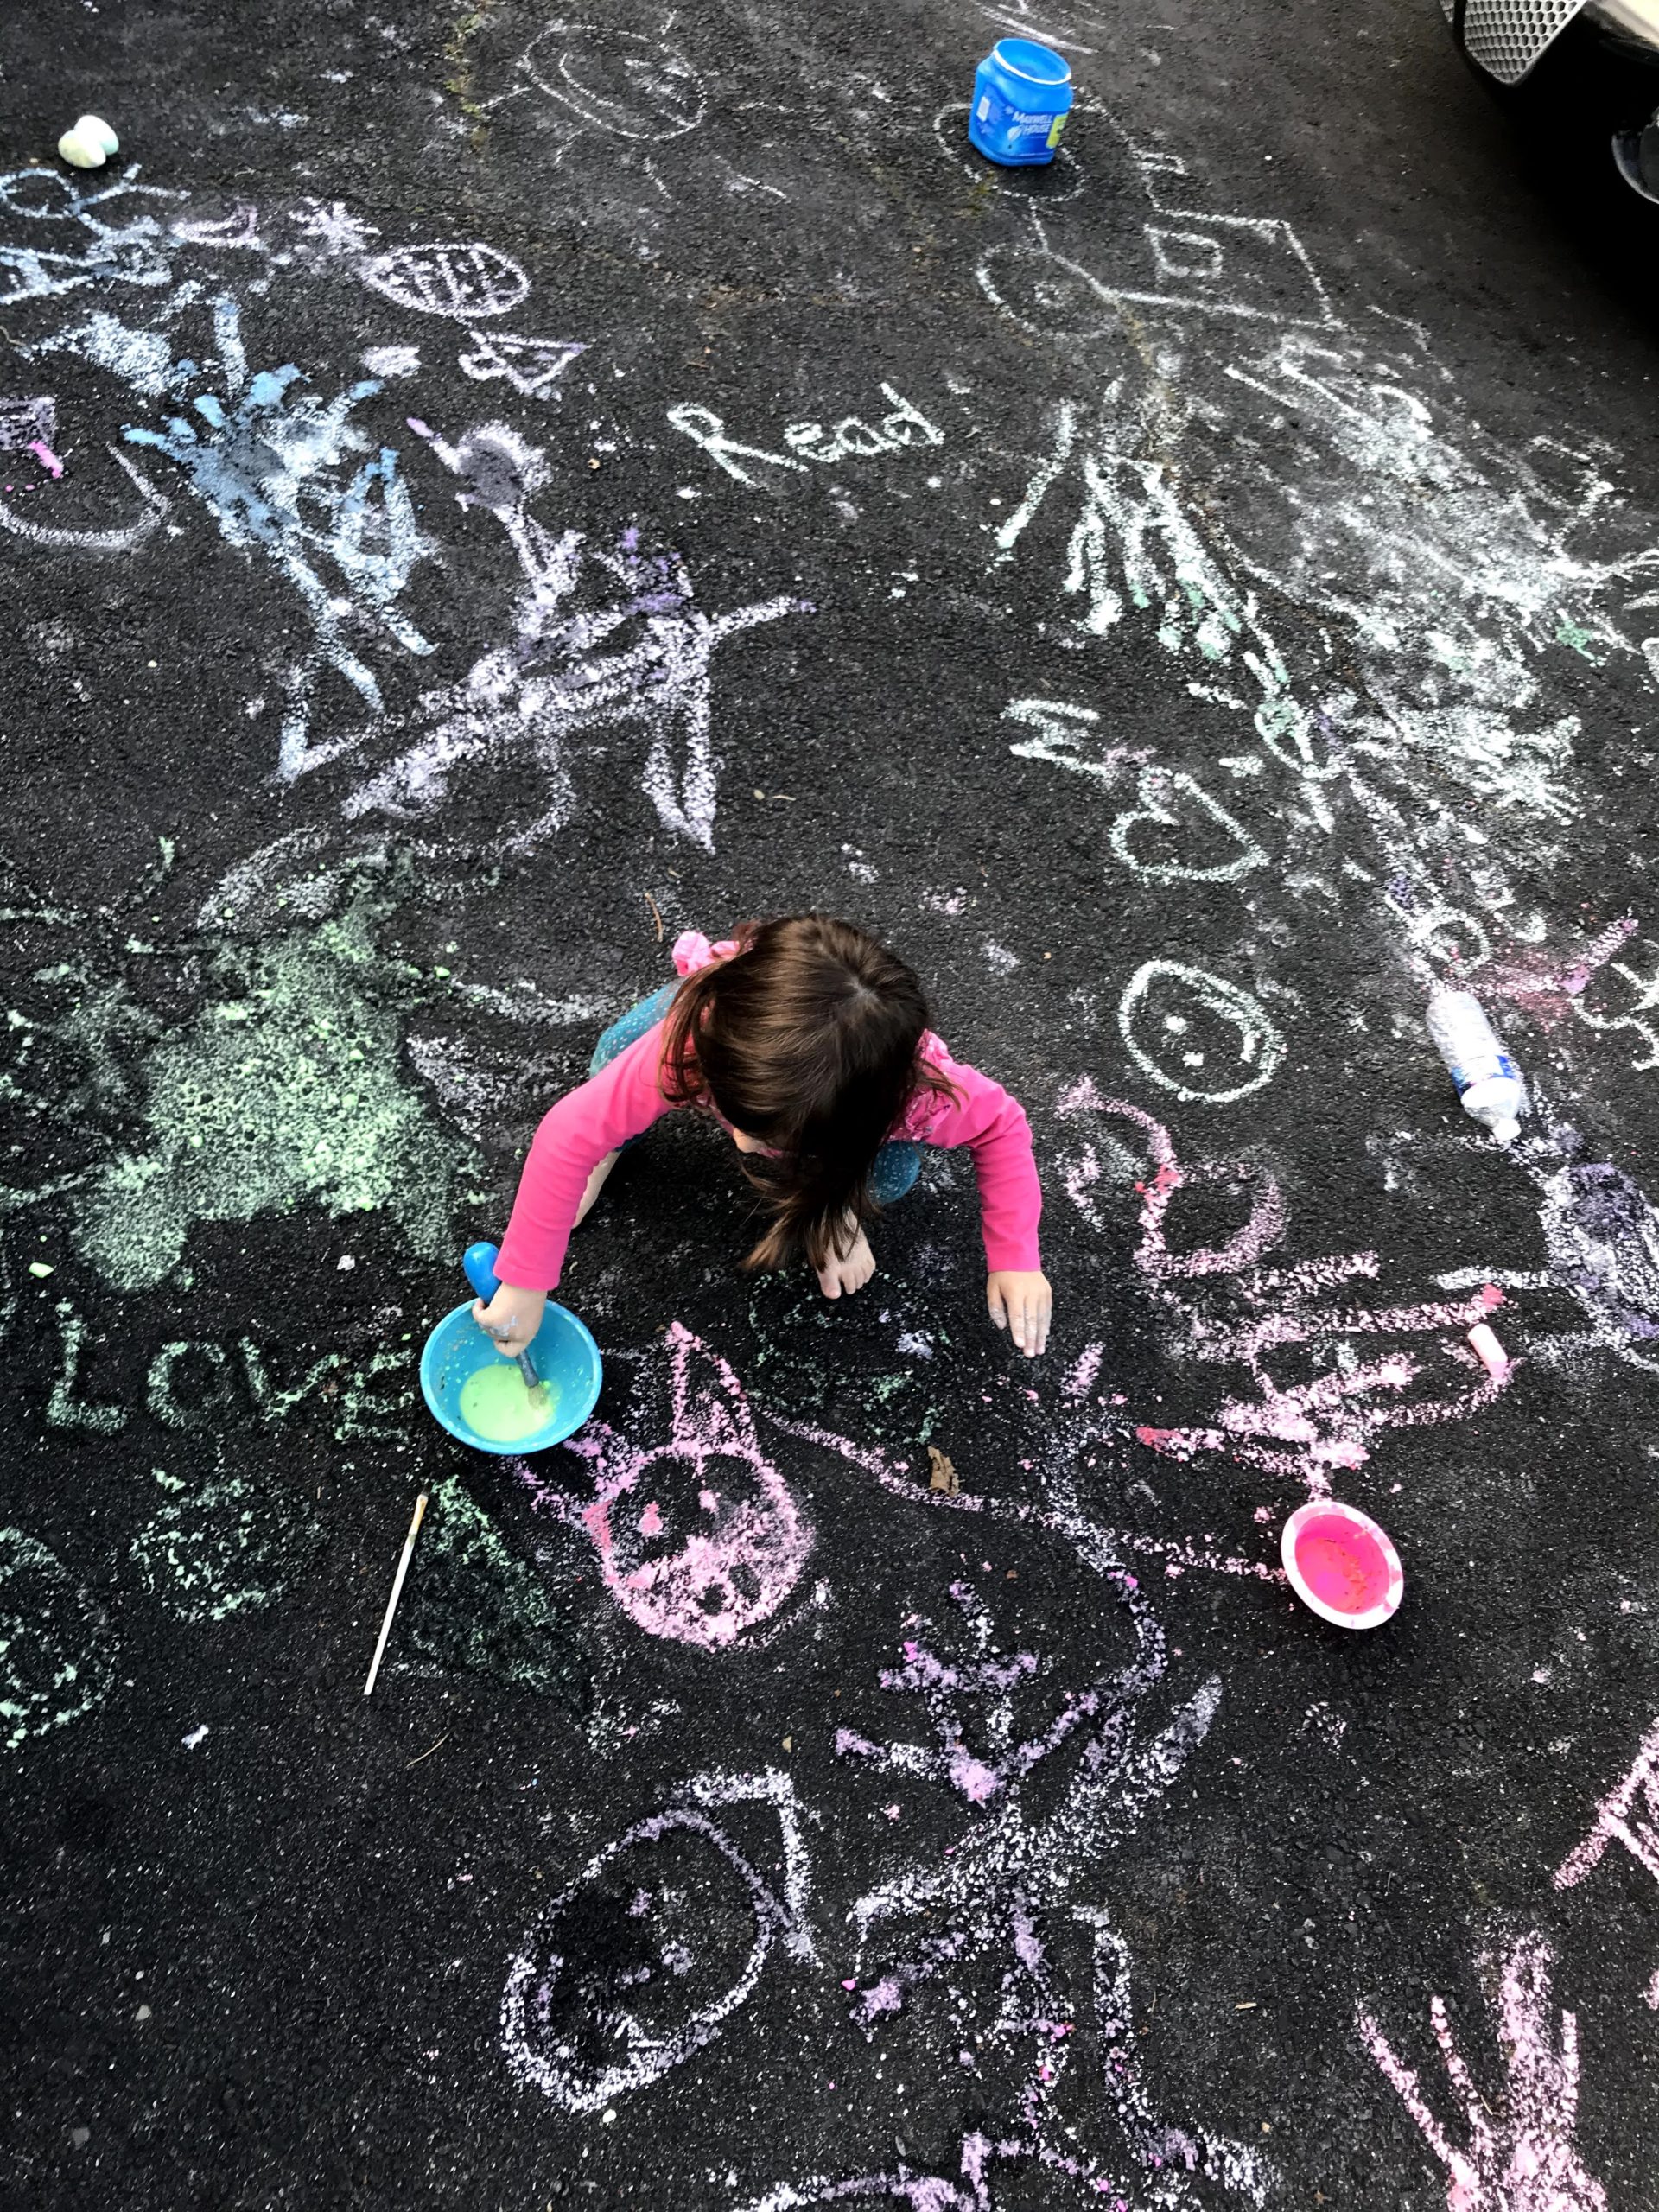
Have any old pieces of chalk laying around? If you have lots of chalk, you are bound to have small pieces here and there. Take those pieces and make chalk paint for the driveway or sidewalk! Your child will have fun mixing colors, smashing chalk, and painting up the driveway!

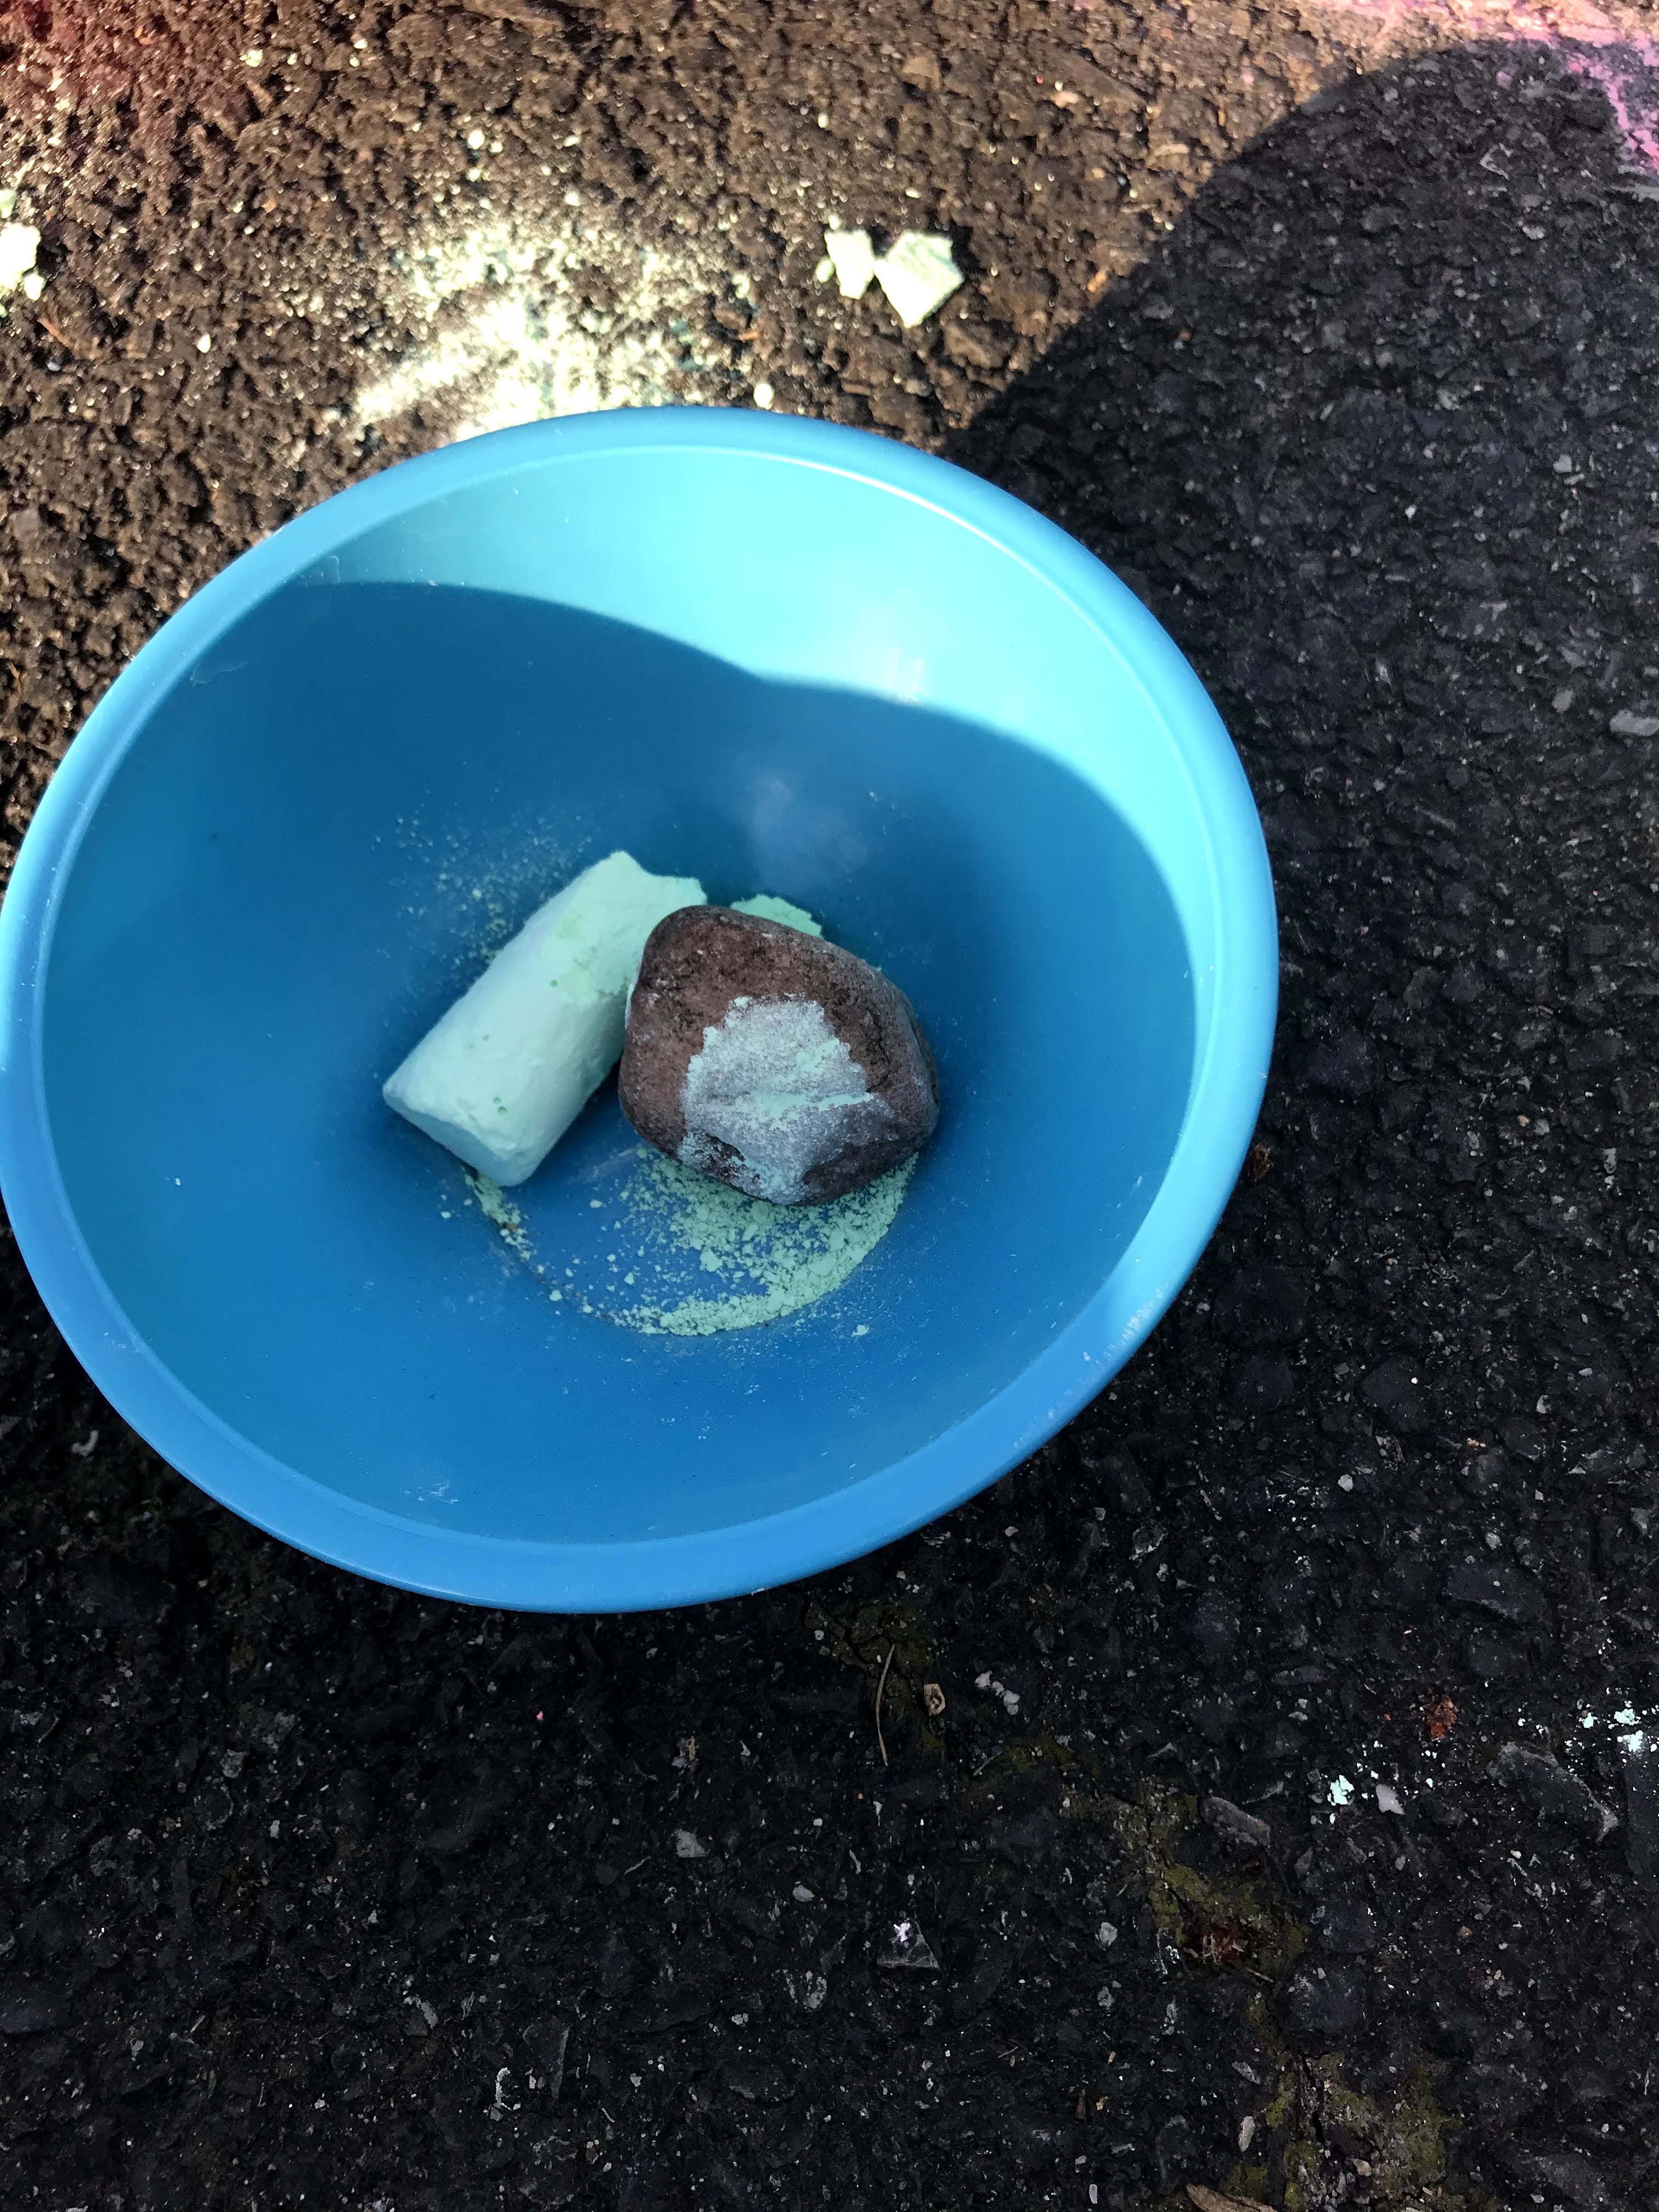
First, take the chalk and crush it into a powder. You can do this by putting it in ziploc bags and smashing it with a hammer. We did it by simply putting it in a bowl and smashing it with a rock (neanderthal style).

IMG_5335

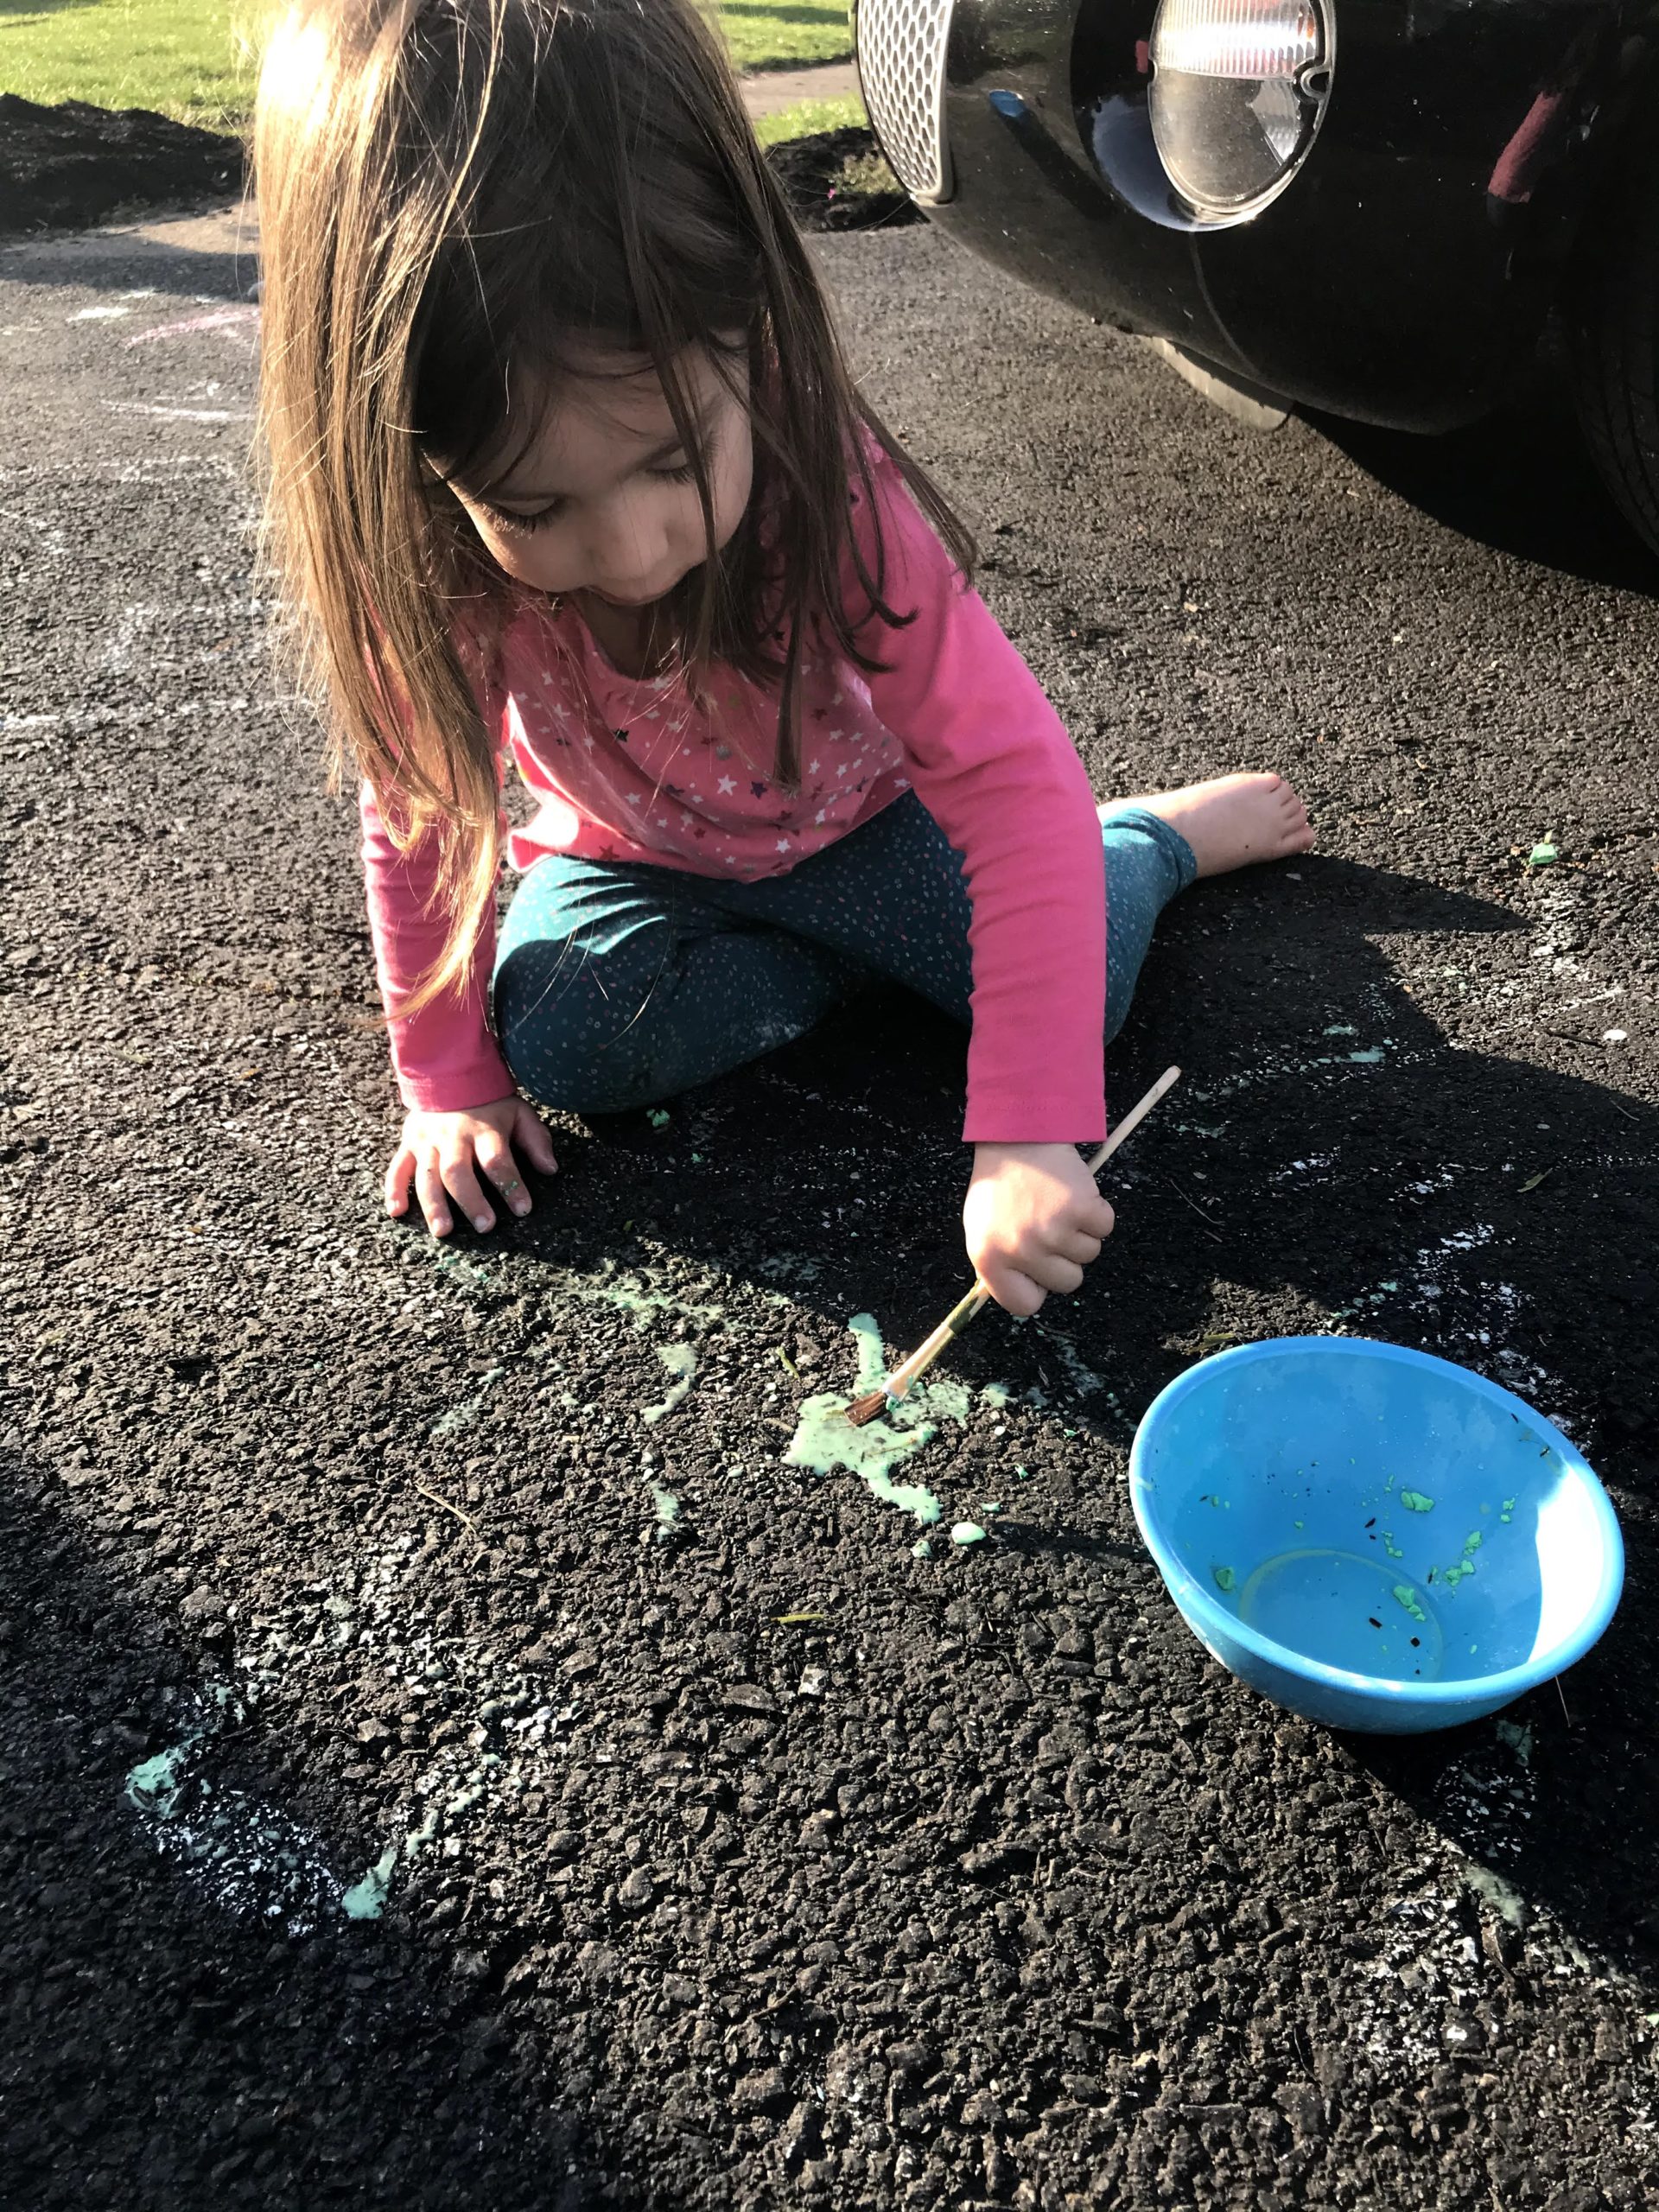
When you have all the chalk crushed add water to the consistency you like. BOOM! There you go! Mix it up. If you want to get rid of the smaller chunks you can use a whisk, but we just kept it simple and mixed it with our paintbrushes.

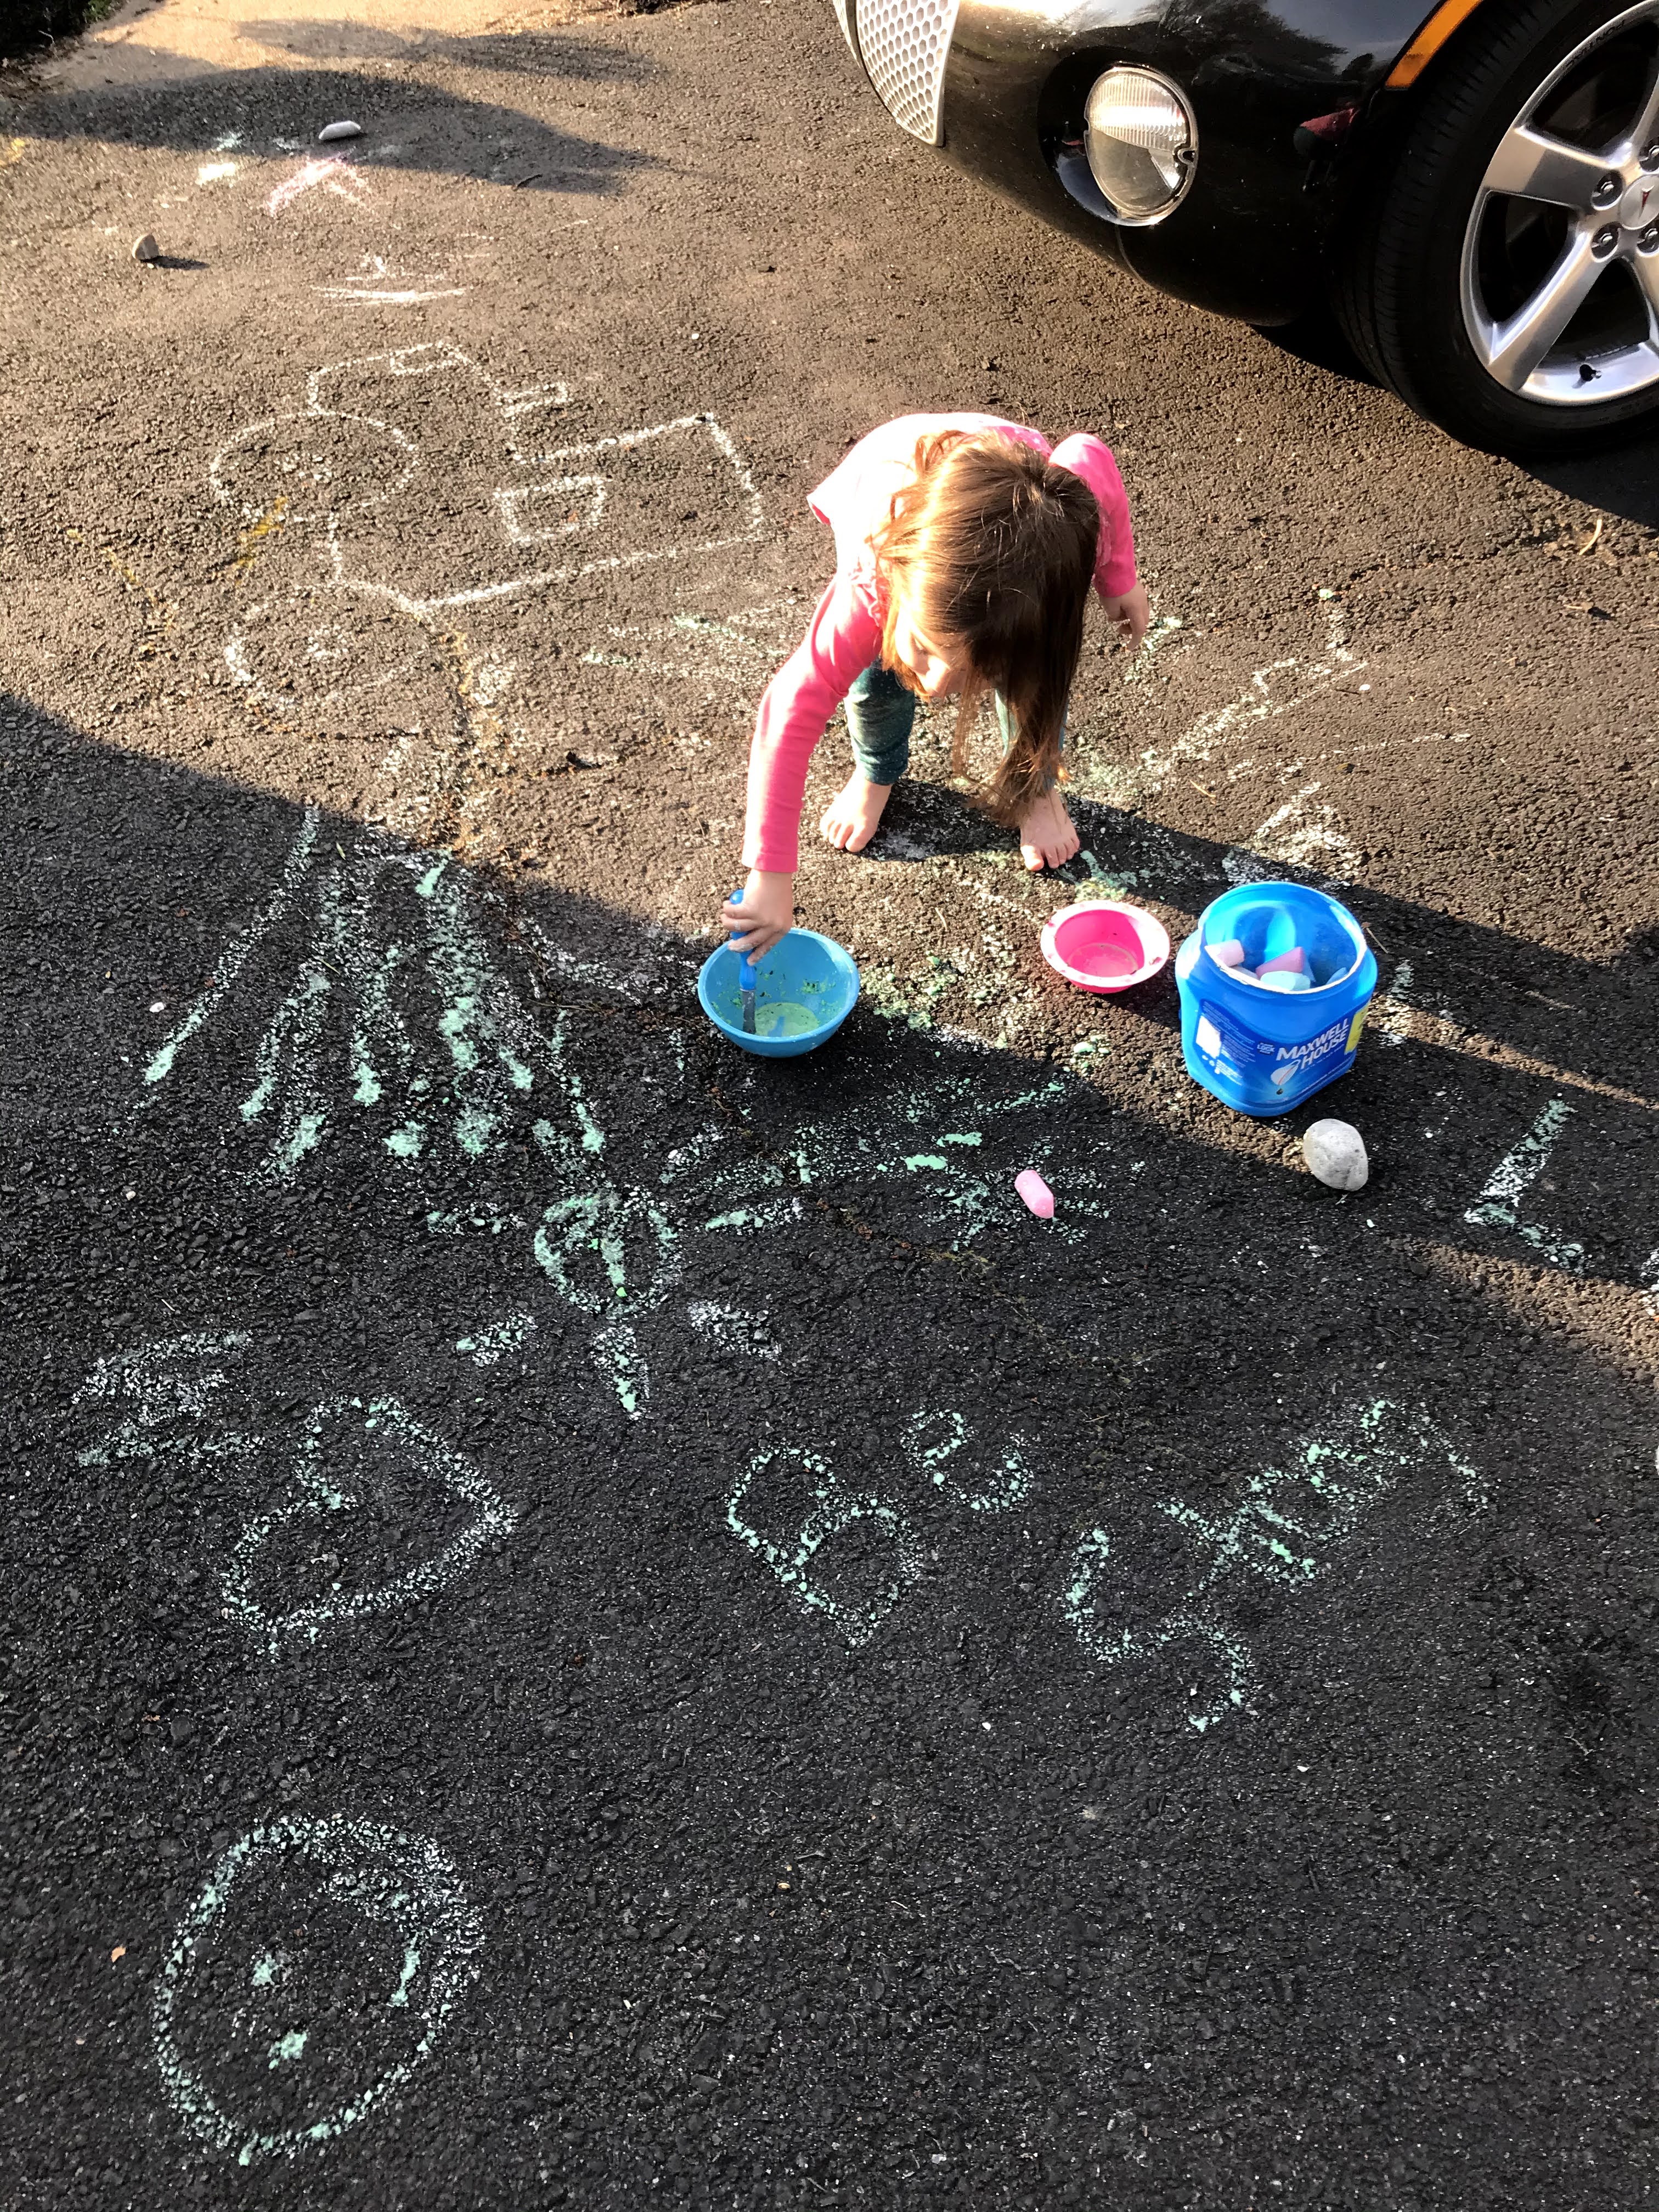
IMG_5339  IMG_5343

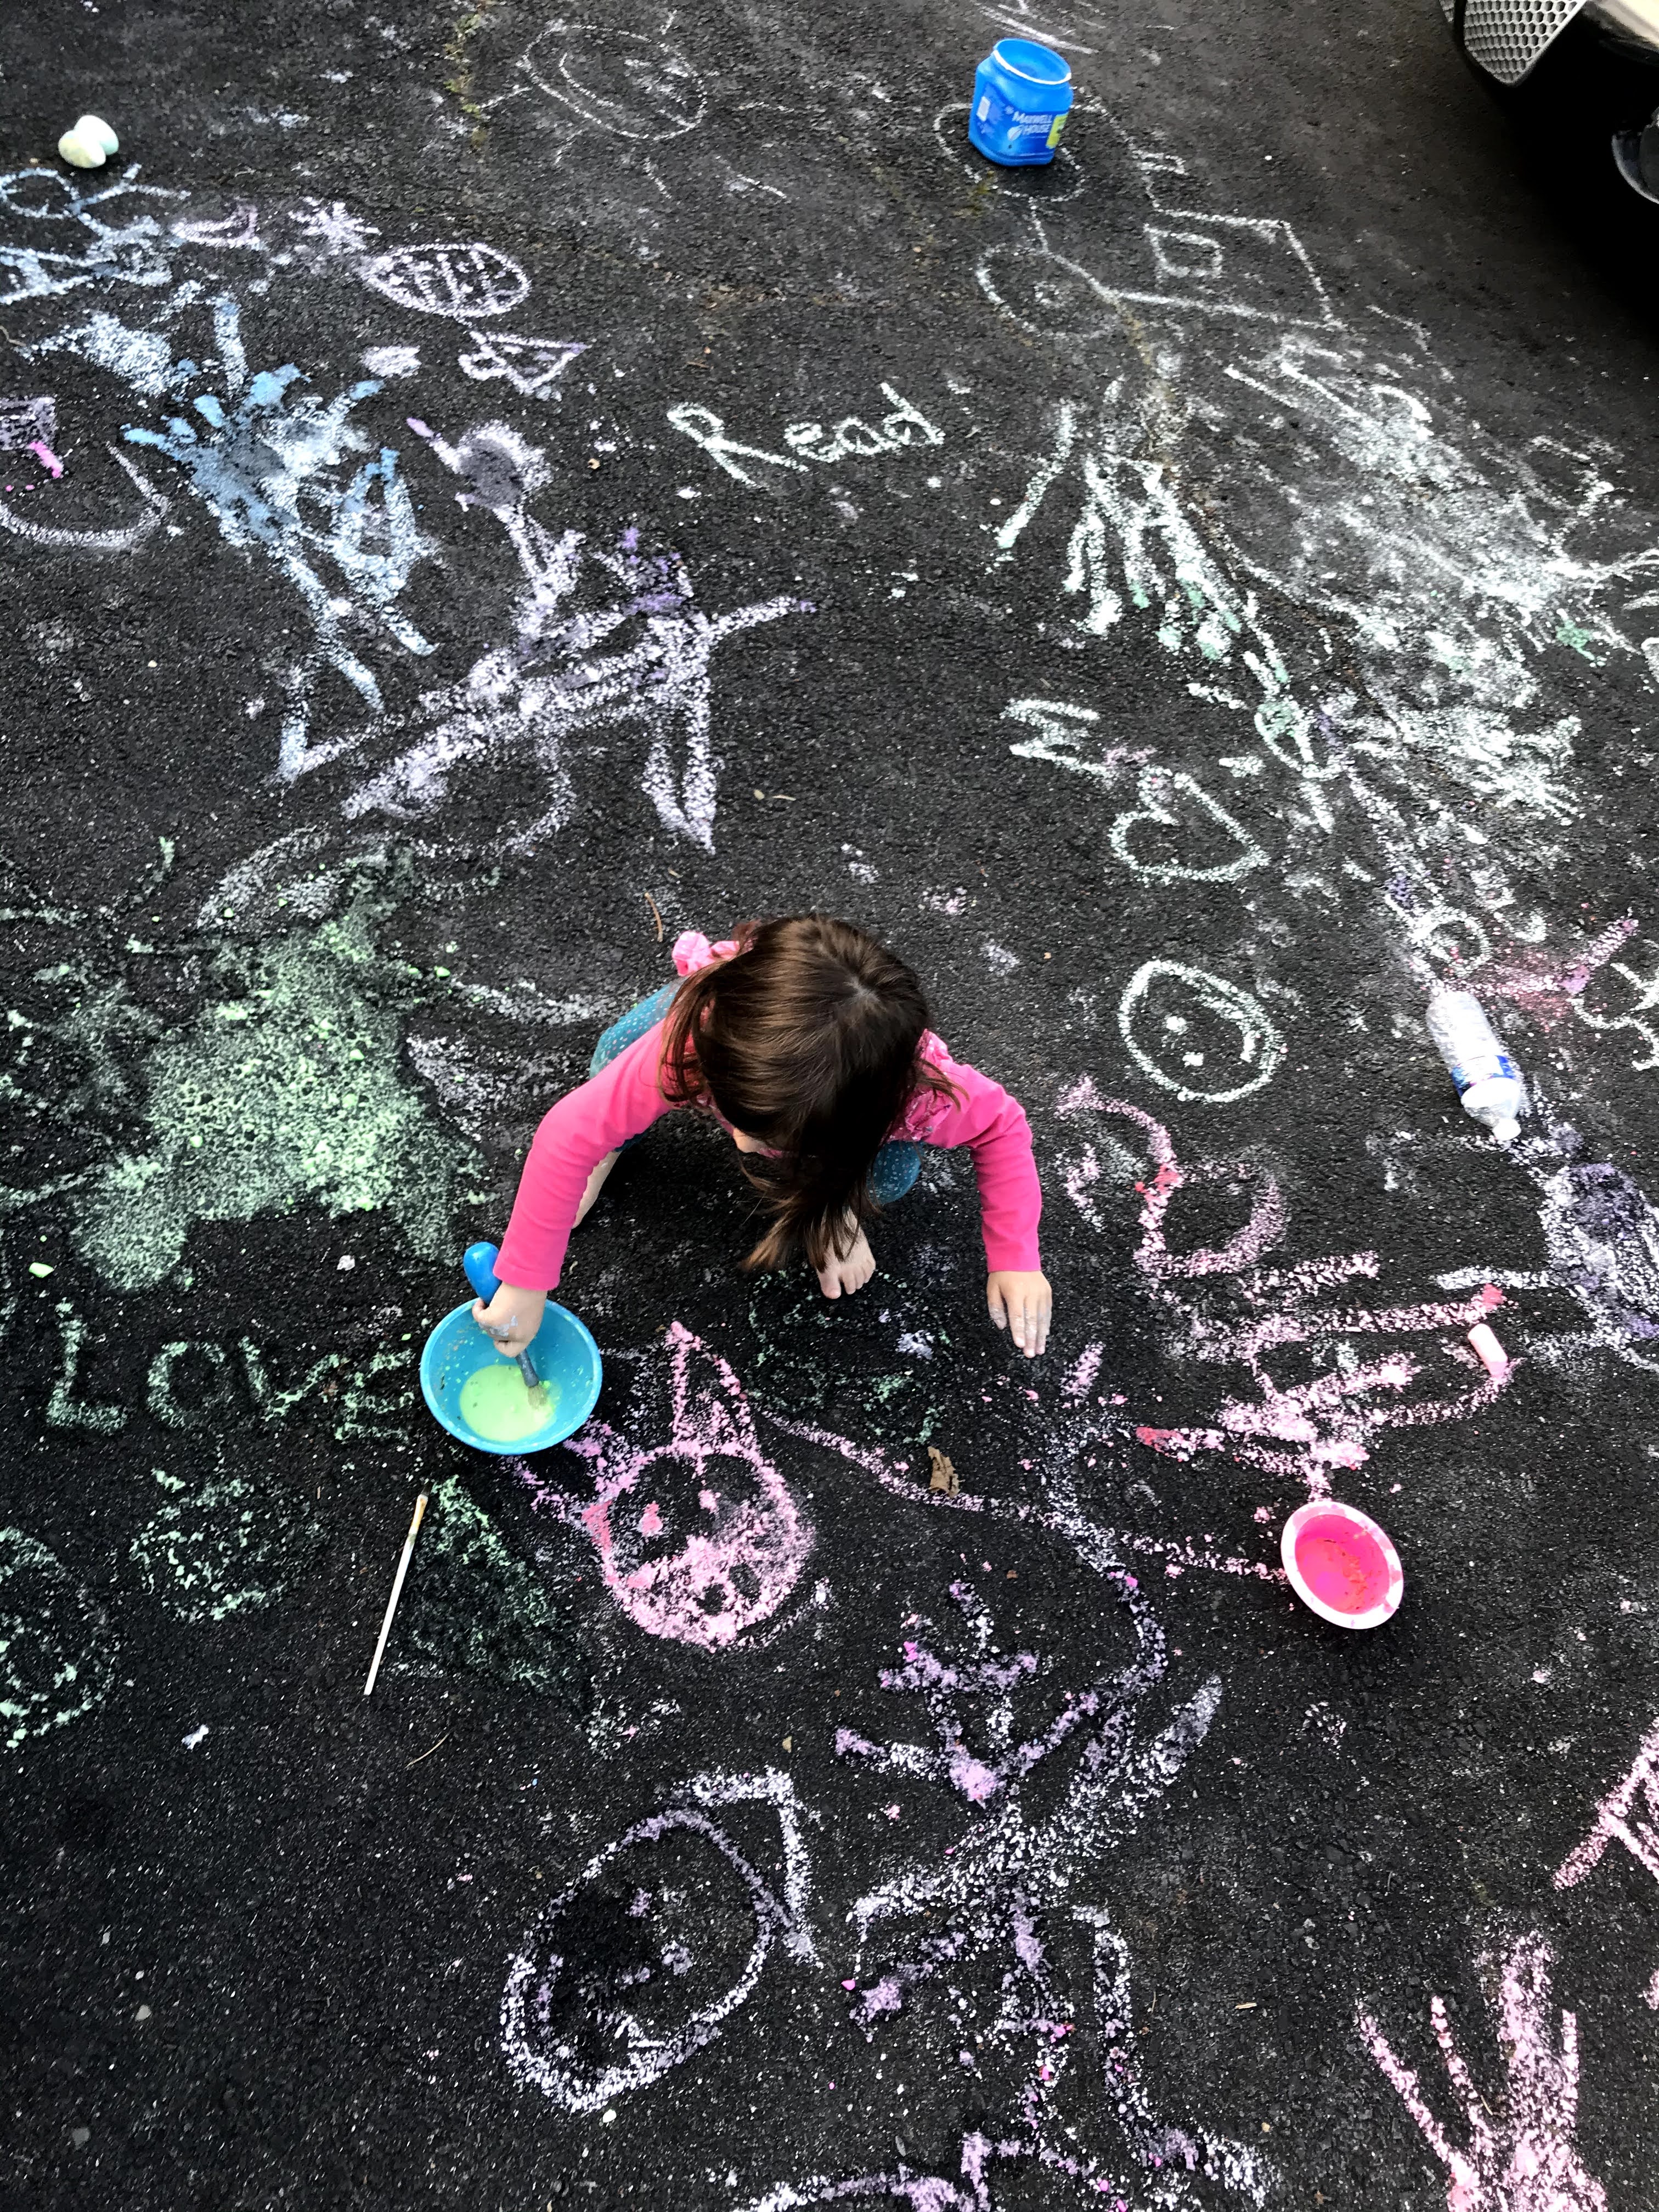
You can use all different sizes of paintbrushes and mix colors. My daughter played with this for over an hour and a half! She probably would’ve done it longer if it wasn’t getting dark outside.

IMG_5350

You might not think your child will love it, but give it a try! While painting the color is not very bright but dries brighter than regular chalk! Enjoy!!

FollowFacebookpinterestrssyoutube
ShareFacebookpinterest

Baking recipes with kids!

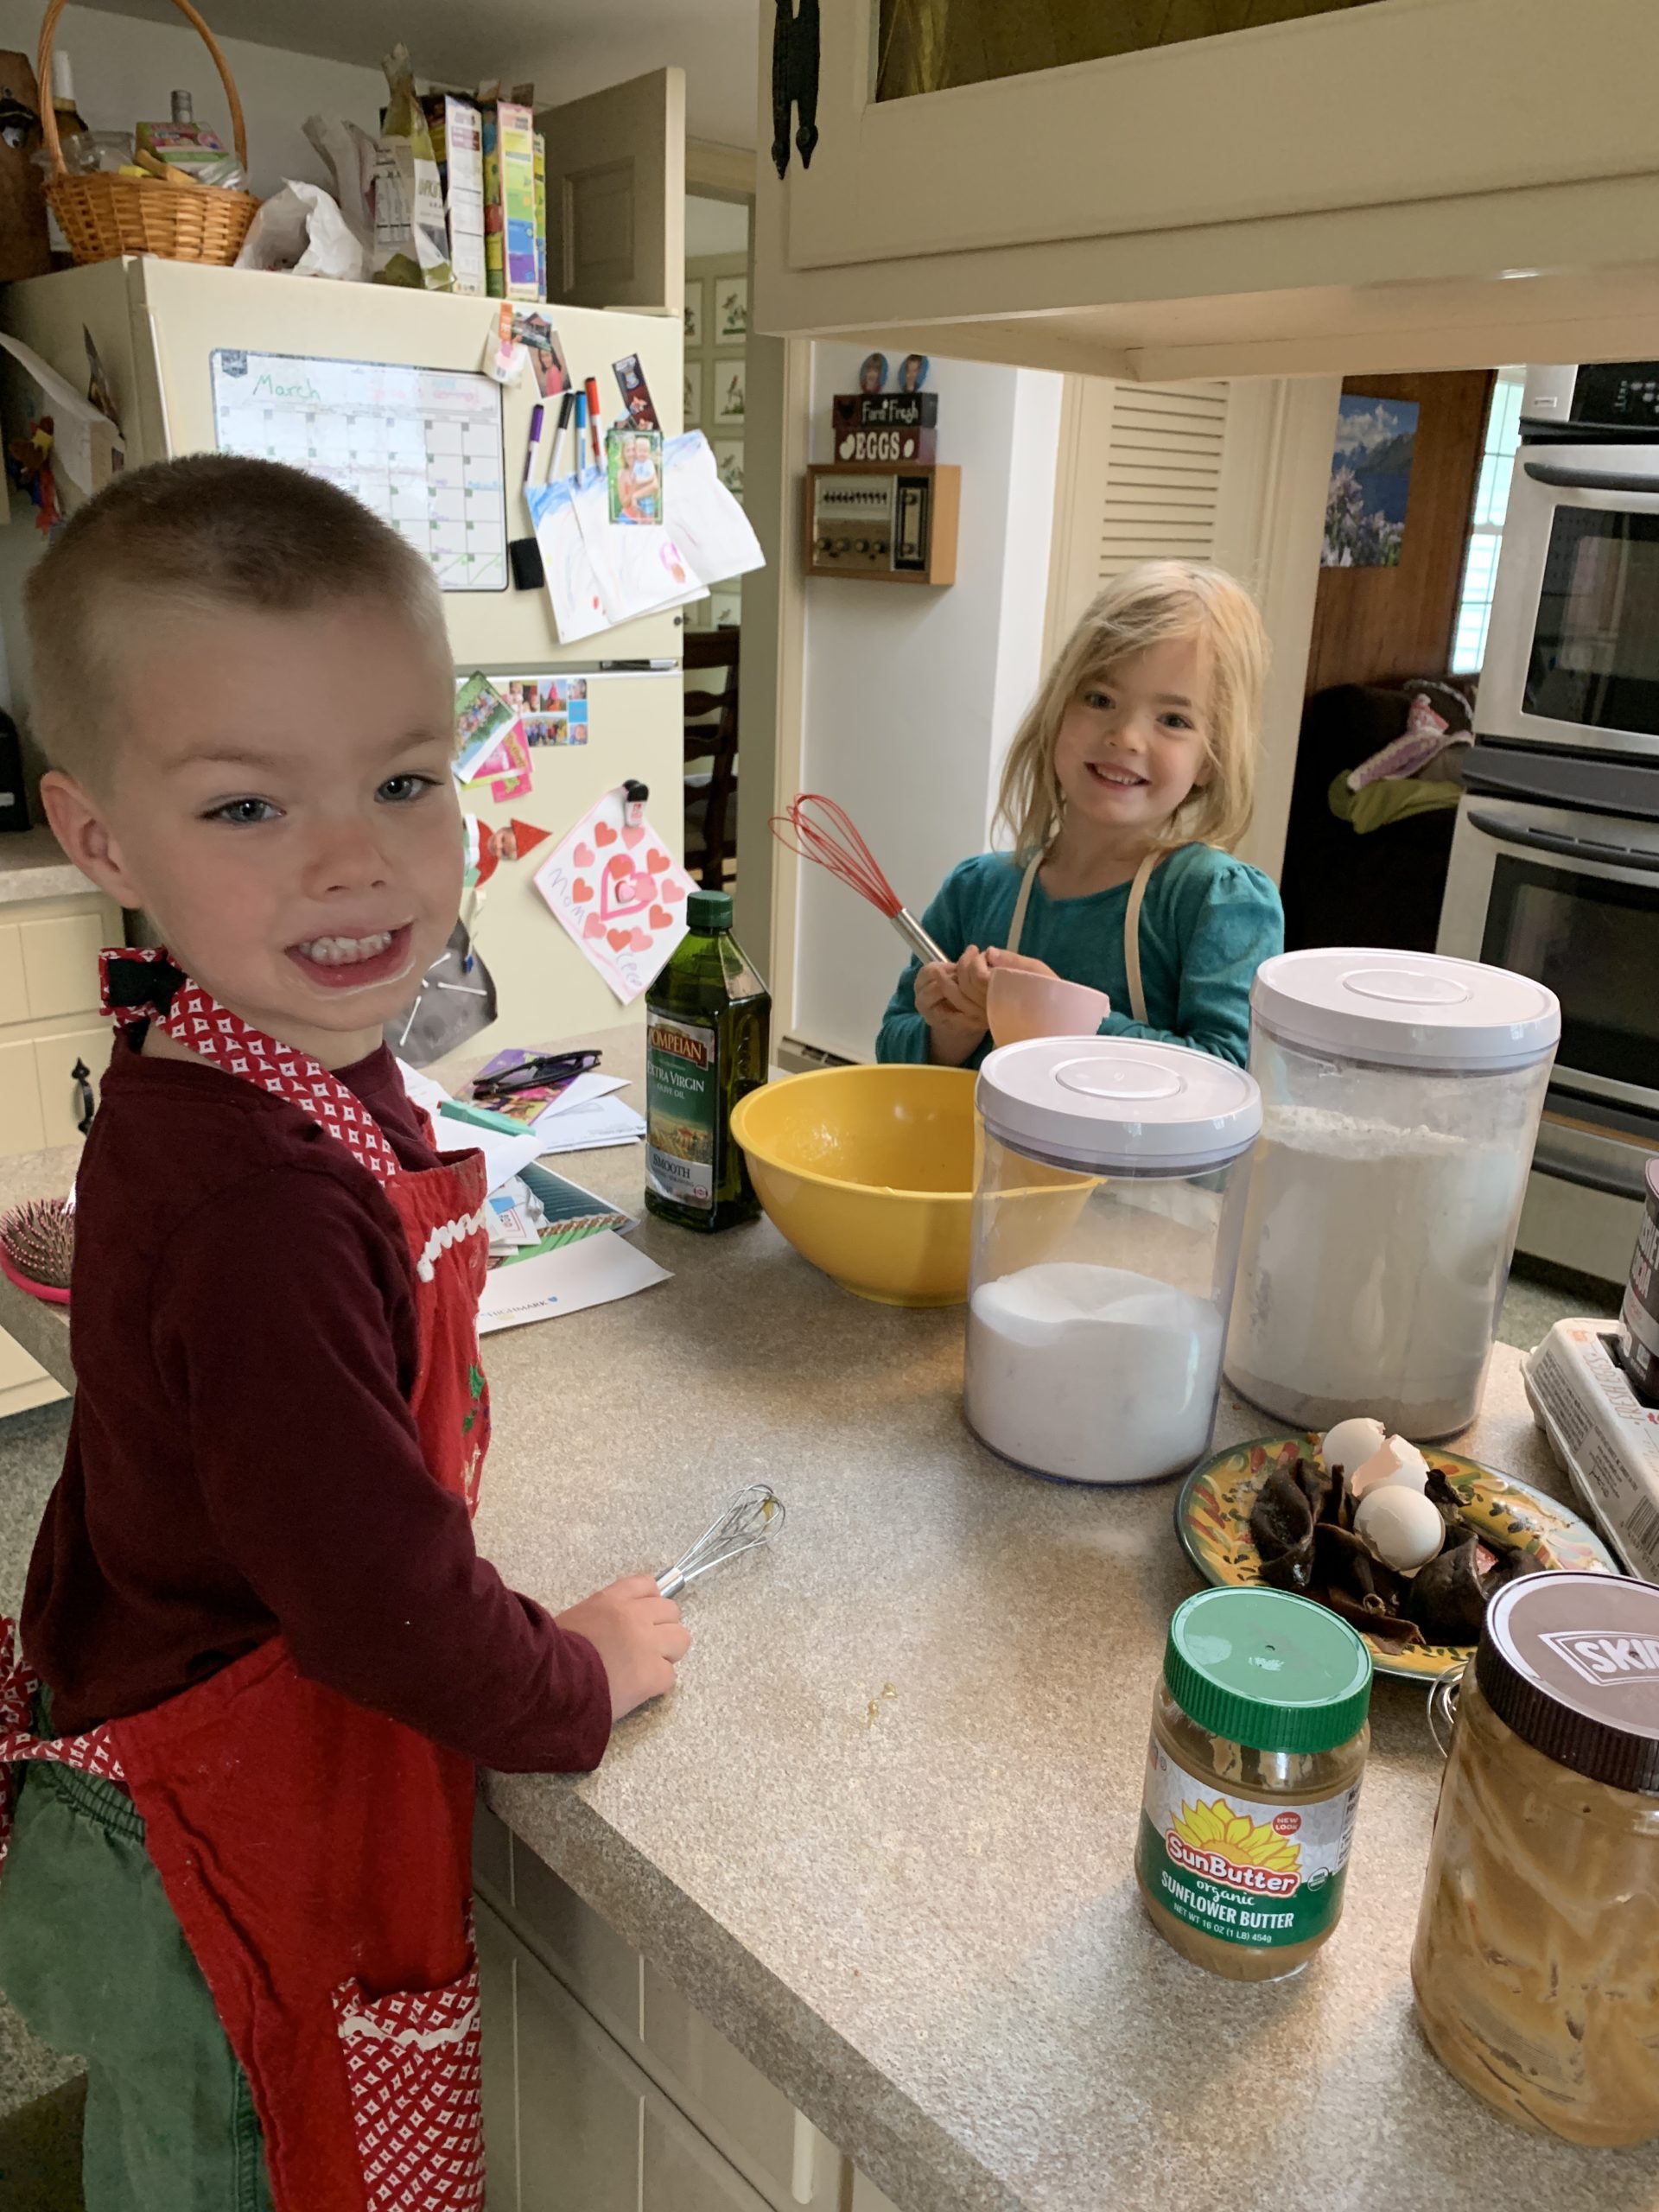
If you are on lockdown like our county is, and possibly soon to be state, you need some more activities to do with your kiddos!  My kids love baking!  Of course it gets messy, but that’s part of the fun (or that is what I tell myself).  My kids love baking and using measuring cups.  They prefer more ingredients so they can stir more together and also pour more (and make more of a mess!).  When I get a box of something to mix with one or two things, they are sorely disappointed. So, most of the time we make recipes not from a box (don’t worry its pretty easy!).

60685167137__82dd9f95-1353-4c31-9e96-d389e8dccf4b

Luckily, we had the ingredients this morning to make banana bread.  I always freeze bananas that are starting to go bad to save them for occasions like this (I mean when its raining not when there is a pandemic!)


So, I’m going to list some of the kids favorite things to bake on a rainy cold day.


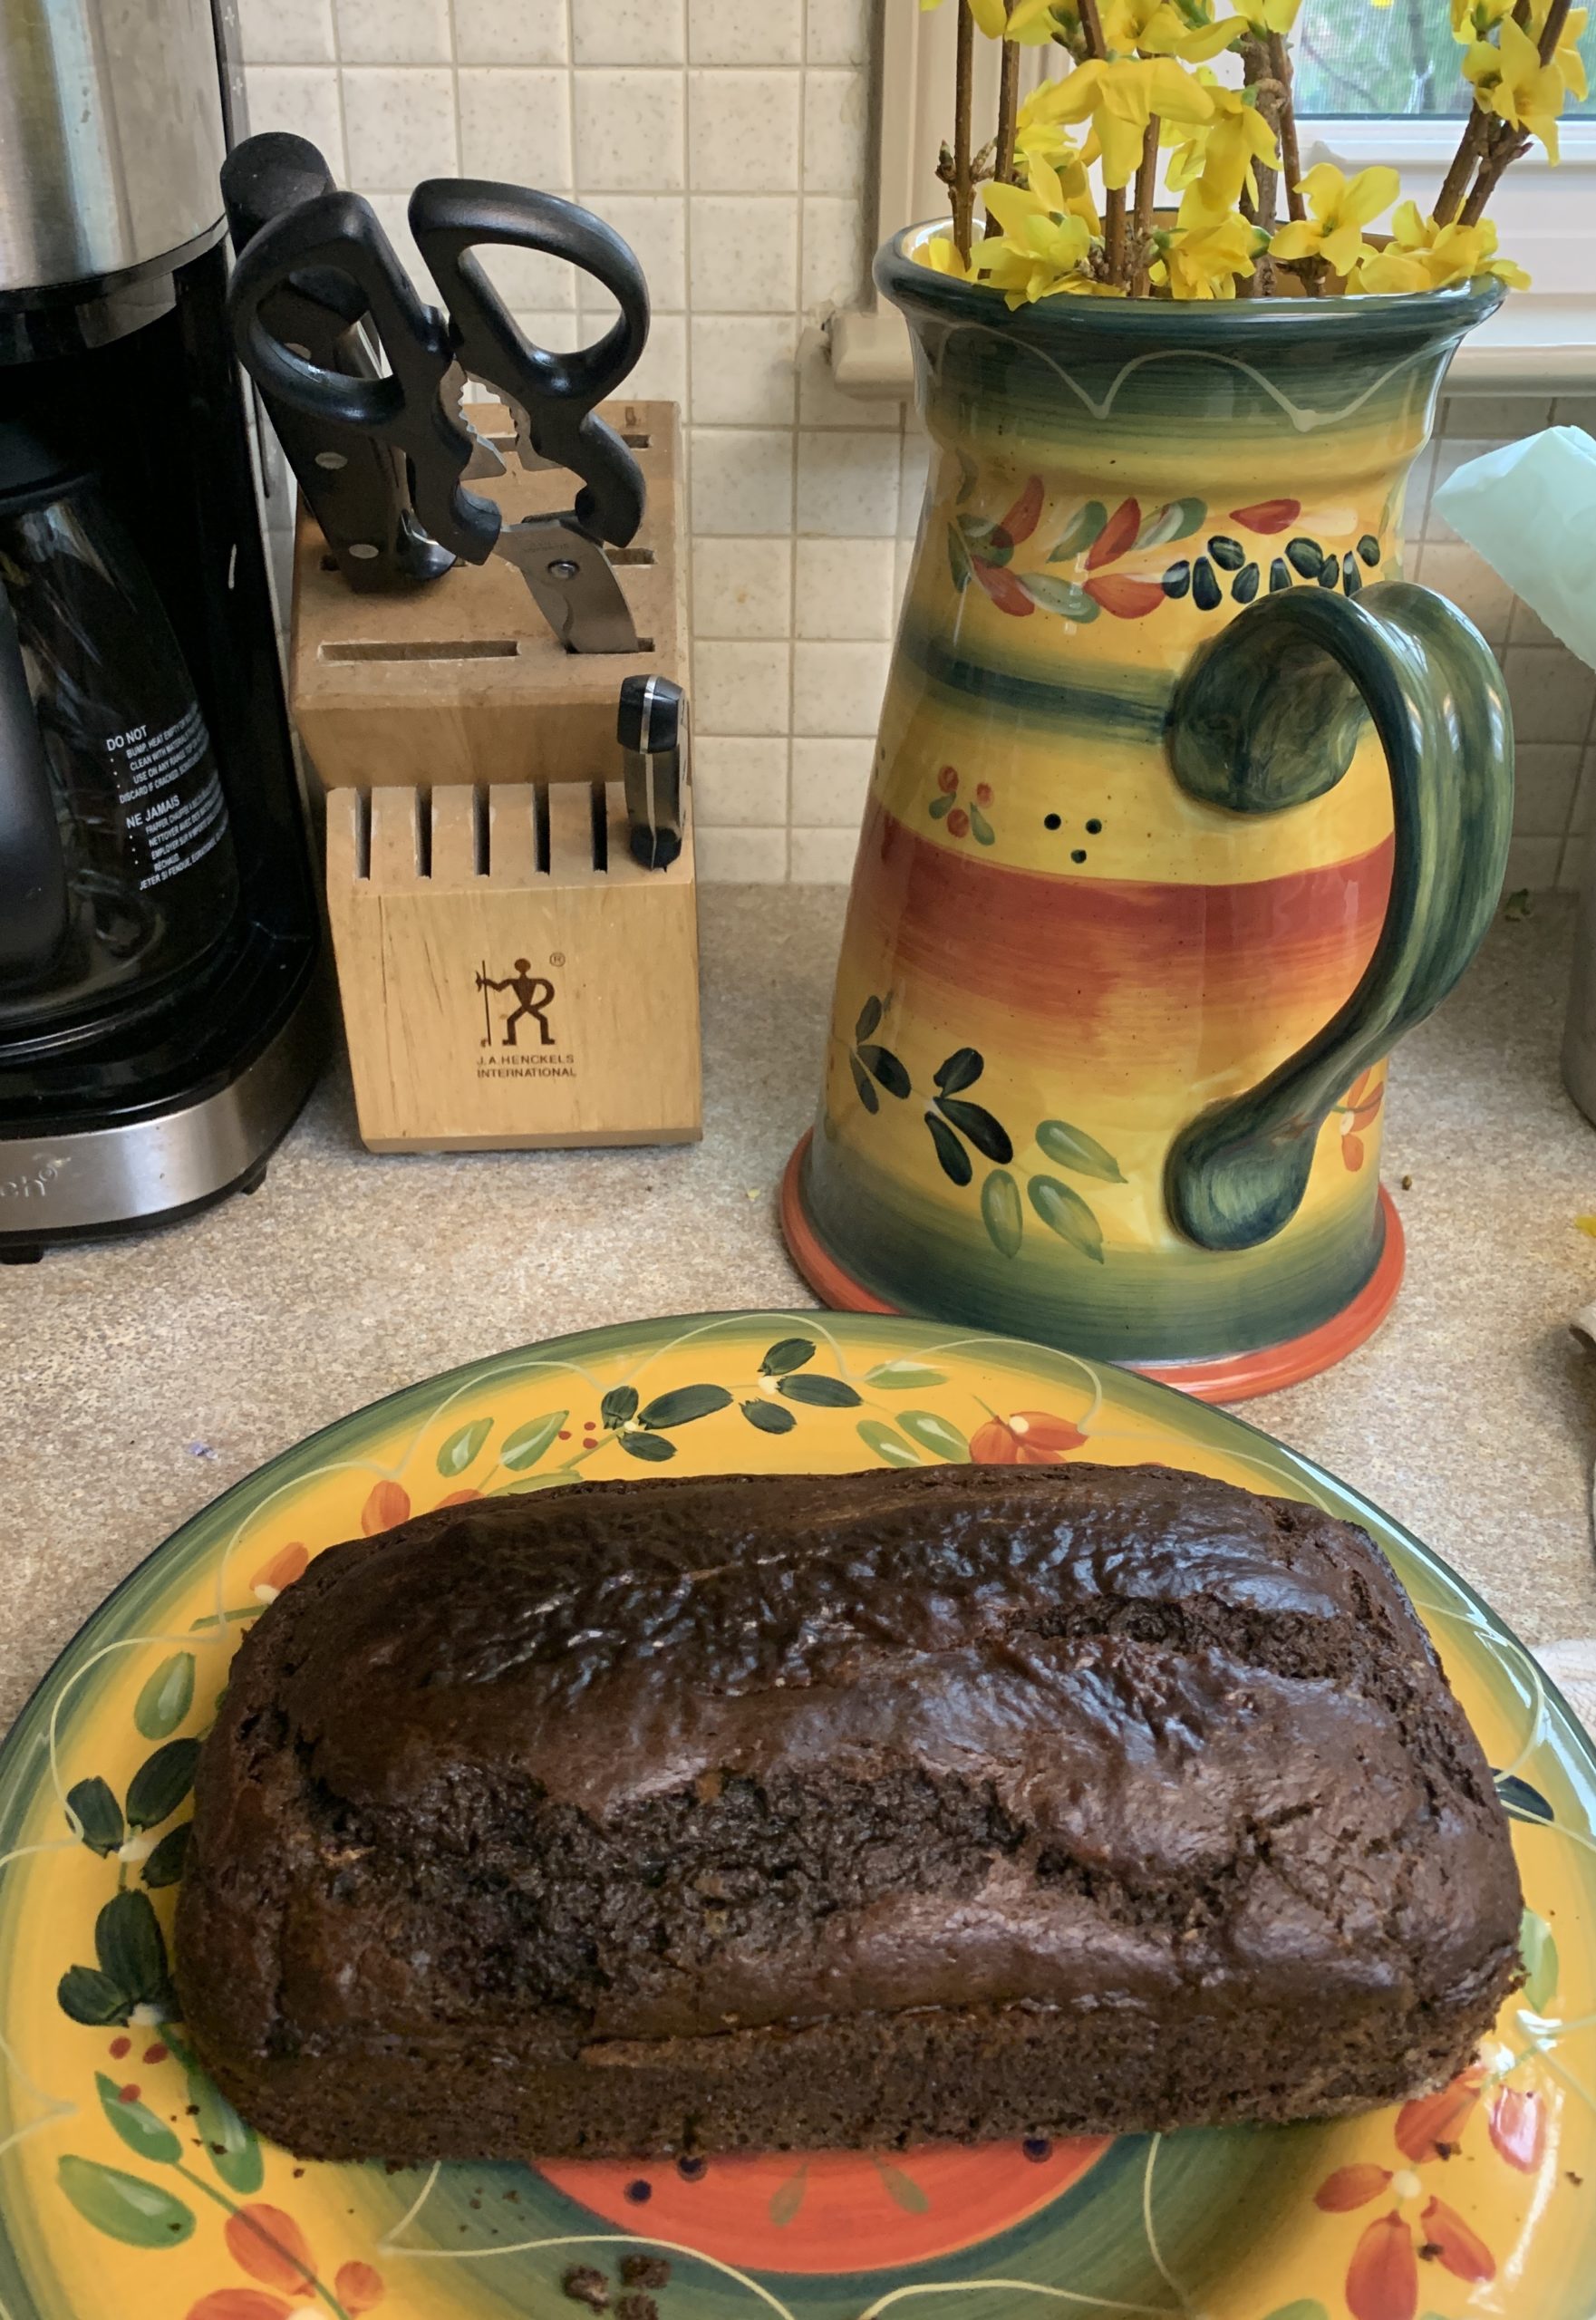
Today we made chocolate peanut butter banana bread (but just plain old banana bread with chocolate chips is what they usually like best!)

  1. Chocolate peanut butter banana bread

60685857541__8ffb8f80-e808-4abf-8f11-02935b289723


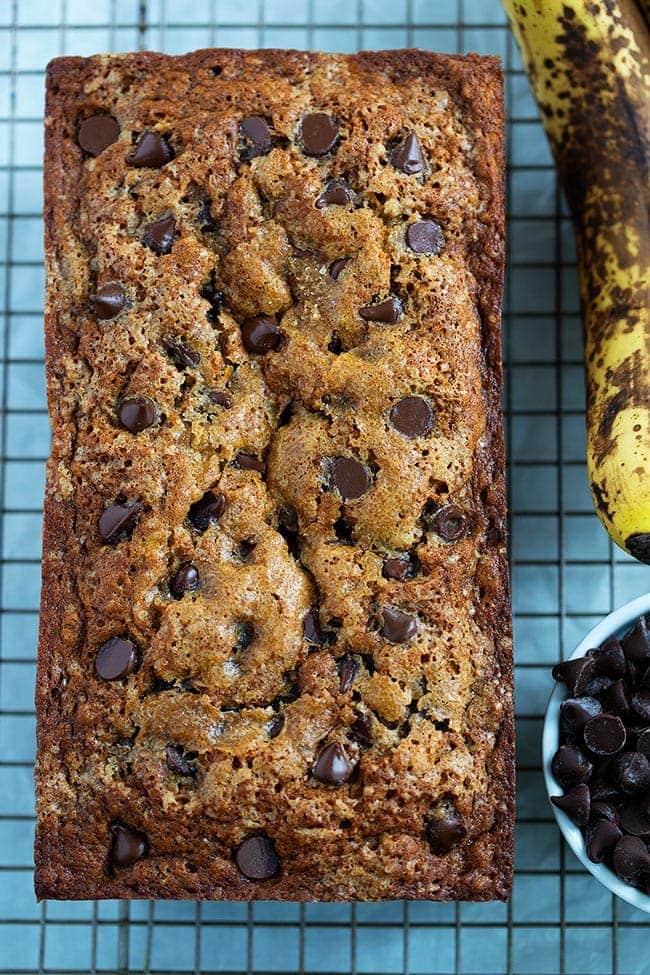
2. Chocolate chip banana bread

Chocolate Chip Banana Bread

3) Muffins! Muffins! and more muffins!

These are applesauce oat muffins(the kids actually liked them yes!)

how to make applesauce muffins step by step in grid of steps

Here are 14 muffins the kiddos will love- including blueberry, chocolate chip, chocolate

4) Cookies of all kinds of course!

Especially sugar cookies!  They love to decorate them!  I try to do a recipe that doesn’t have to be refrigerated before hand.  They love using cookie cutters and decorating each cookie (although expect for it to take a long time to get all the shapes cut out and expect way too make sprinkles!)

This Sugar Cookies Recipe requires no chill time!

5) This is my kids favorite chocolate cake (although we usually use a bunt pan and just put icing on the top)

Perfectly Chocolate Chocolate Cake


6) Here are some fun cupcake recipes!These are on the fancier side- we usually just ice the top with a knife and call it a day (the cupcakes are gone before you have a chance to make it fancy!)  I’ve wanted to try the ice cream cone cupcakes- that will be next on our list!)

Ice cream cone cakes


Any baking recipe the kiddos will love to make the memories with you! Don’t forget to take pictures!!!


FollowFacebookpinterestrssyoutube
ShareFacebookpinterest

Mixing fun

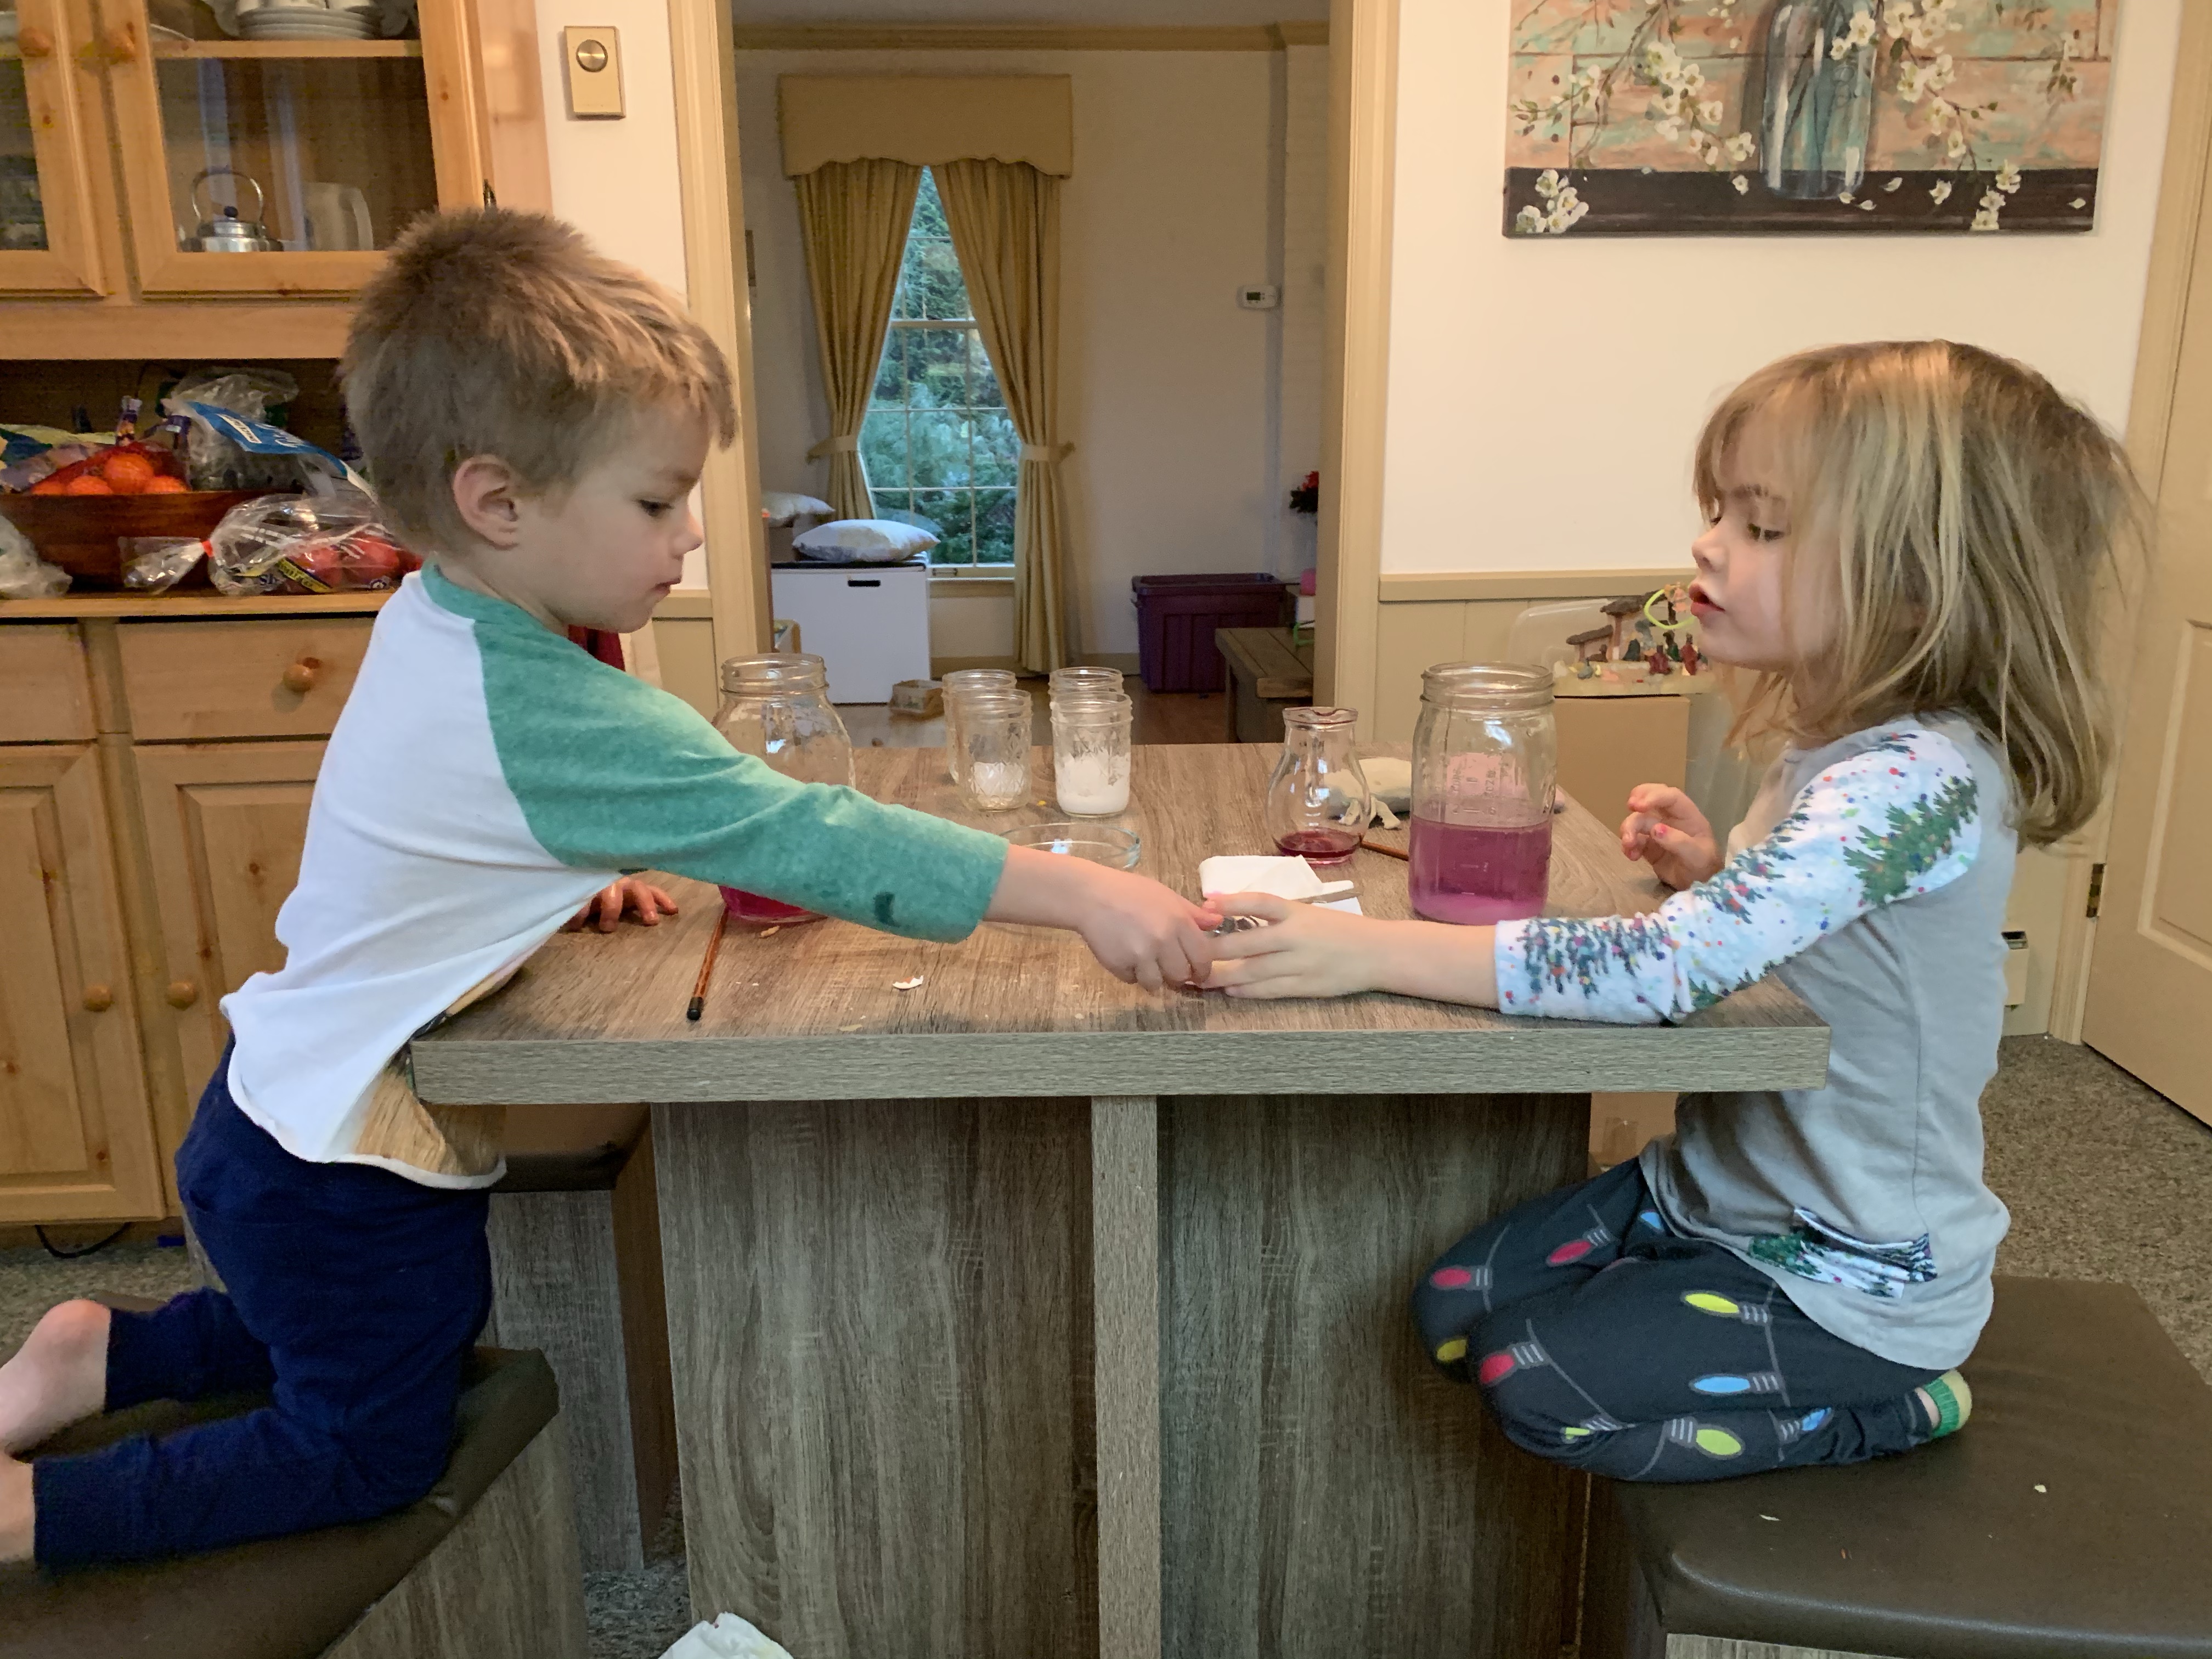
If you’re looking for an activity for your little ones to enjoy and also learn try this mixing fun. You can also use whatever you have in your kitchen! Just as an update, the kids ask to do this almost daily they love it that much!

img_2705

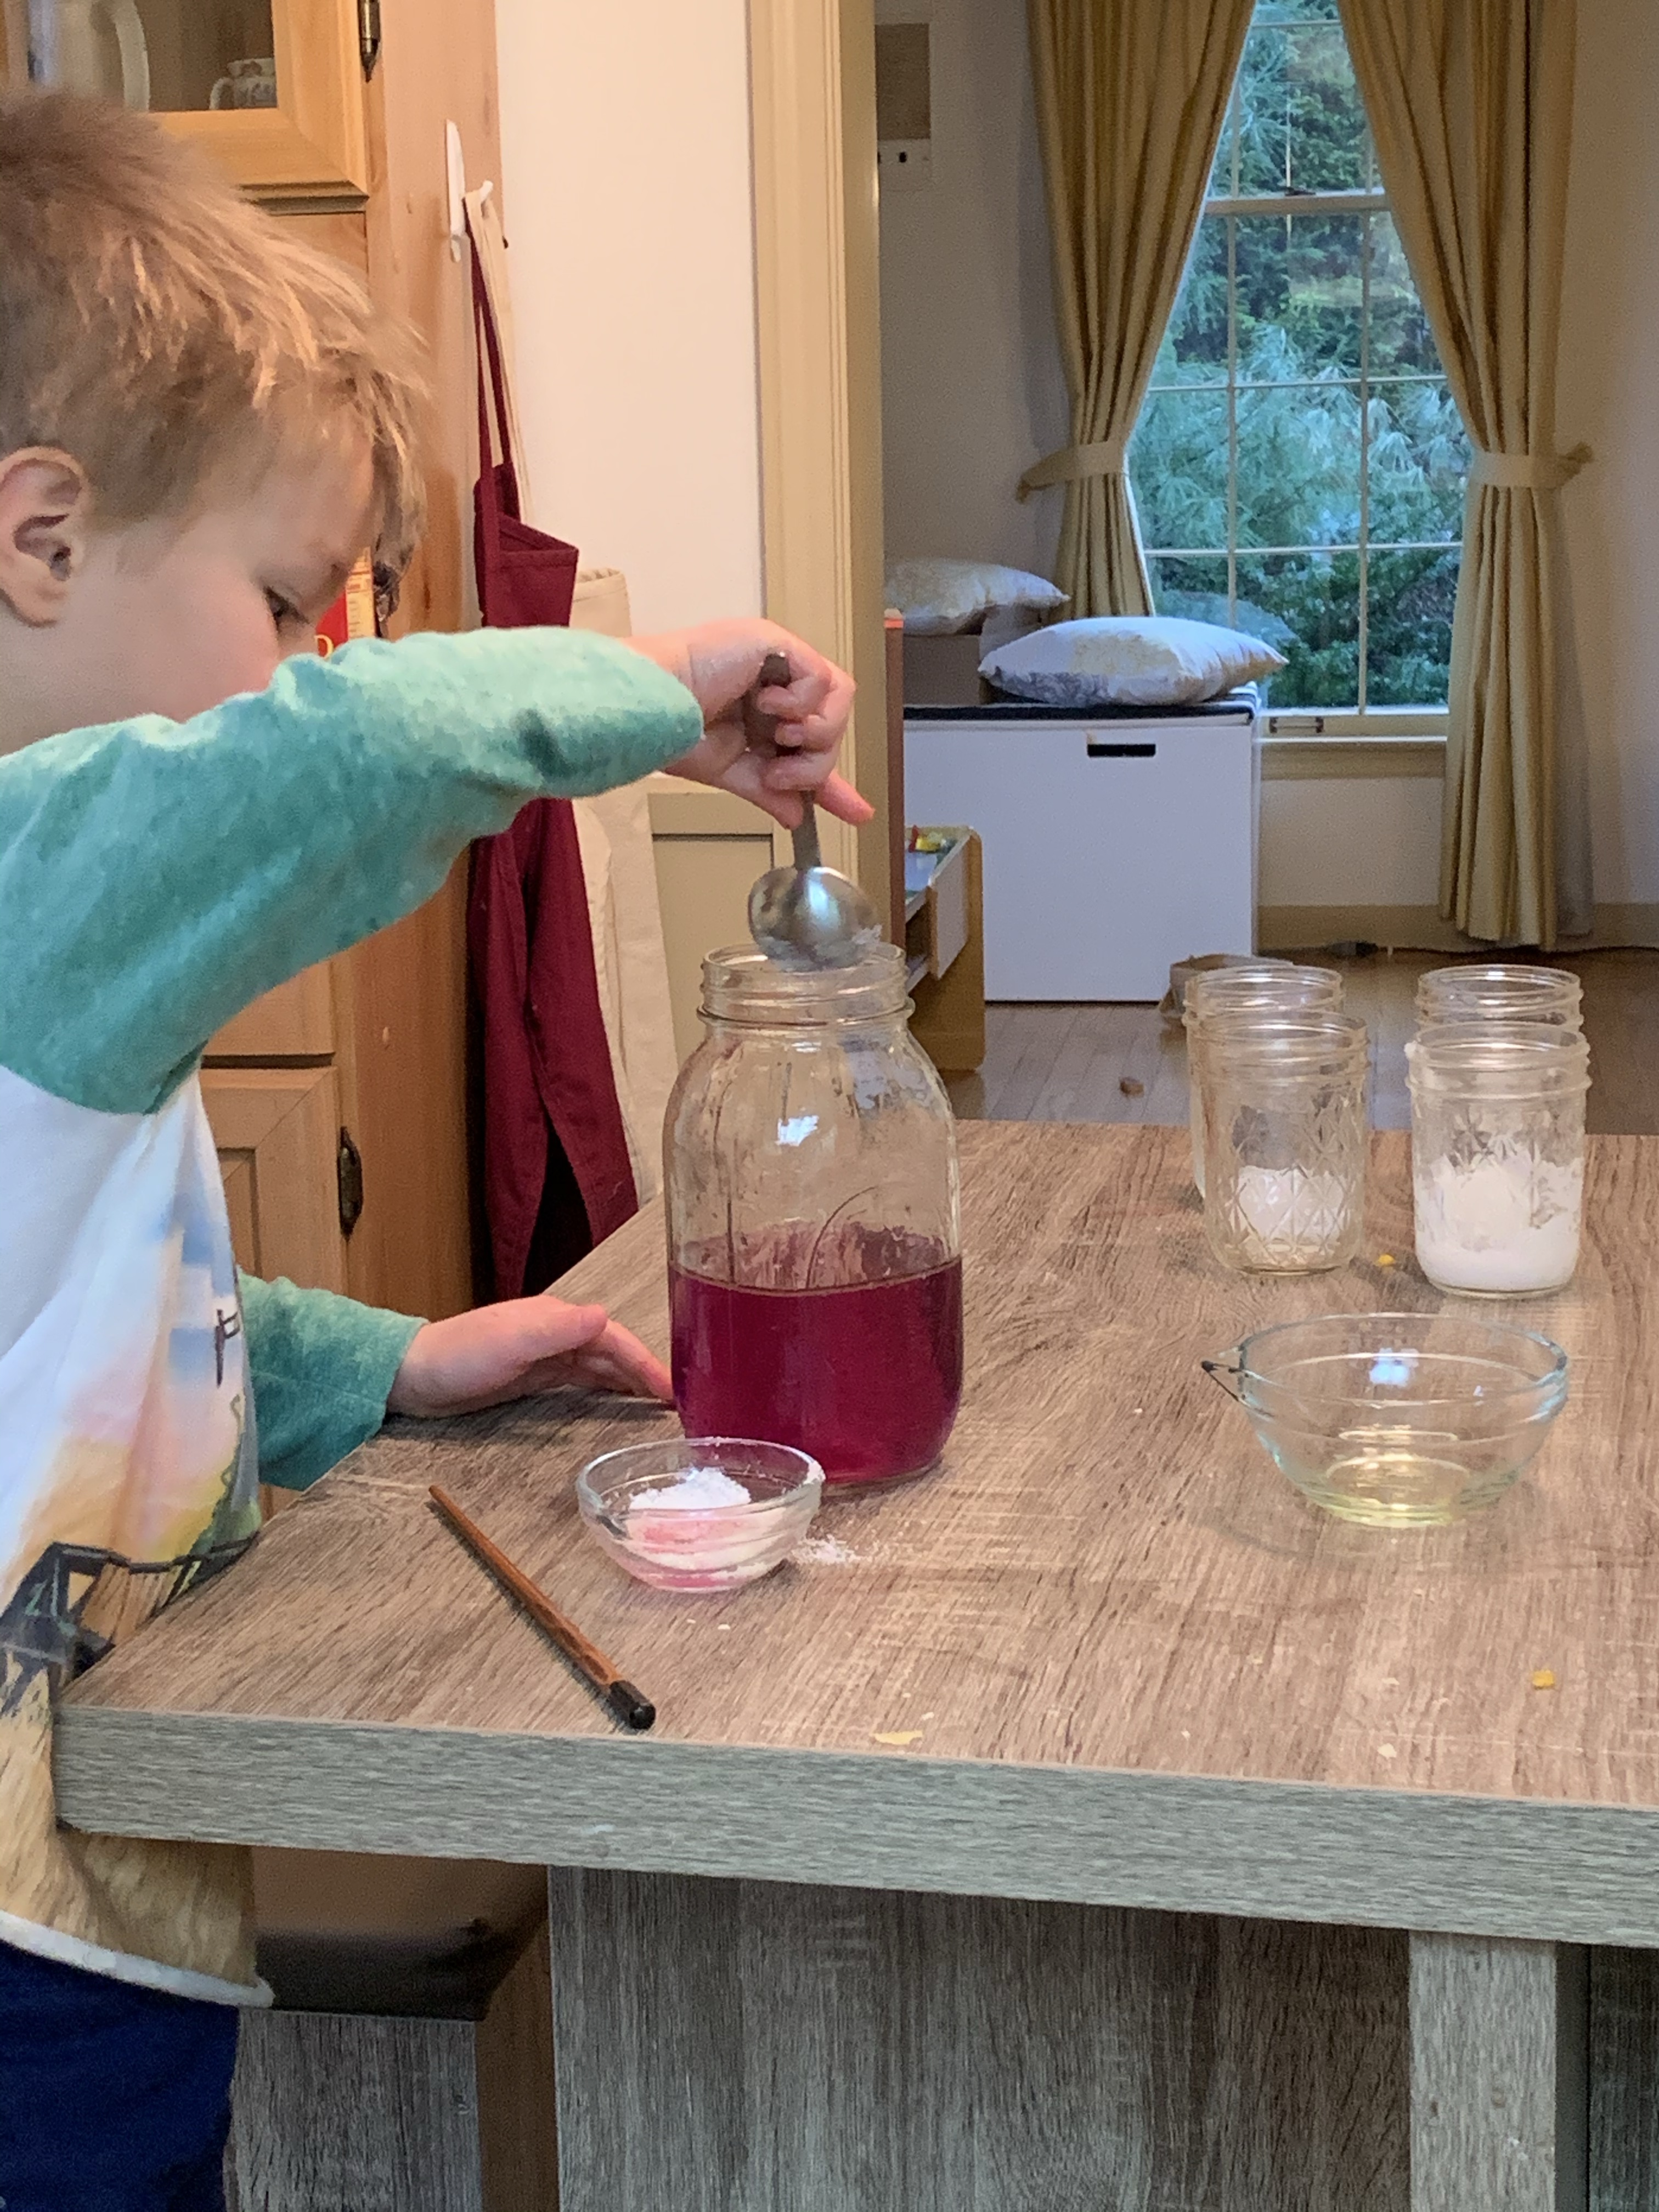
You need a container, preferably a tall see through one such as a large mason jar as shown. Fill the mason jar half way up with water.

Then you will need something to stir with (we grabbed a chopstick!)

Lastly, you need items to put in this mixture, so food coloring or natural coloring (we also used washable paint one time!

Coloring from beet juice etc.

Sprinkles can be used to see if they float or sink!

Ice cubes

Salt versus sugar-do they dissolve

Olive oil or any type of oil to see if it mixes with water

Croutons, cereal, some scraps from the compost bucket, lettuce leaf, onion (although you may want to hold off on too many food items with the quarantine right now!)

img_2707

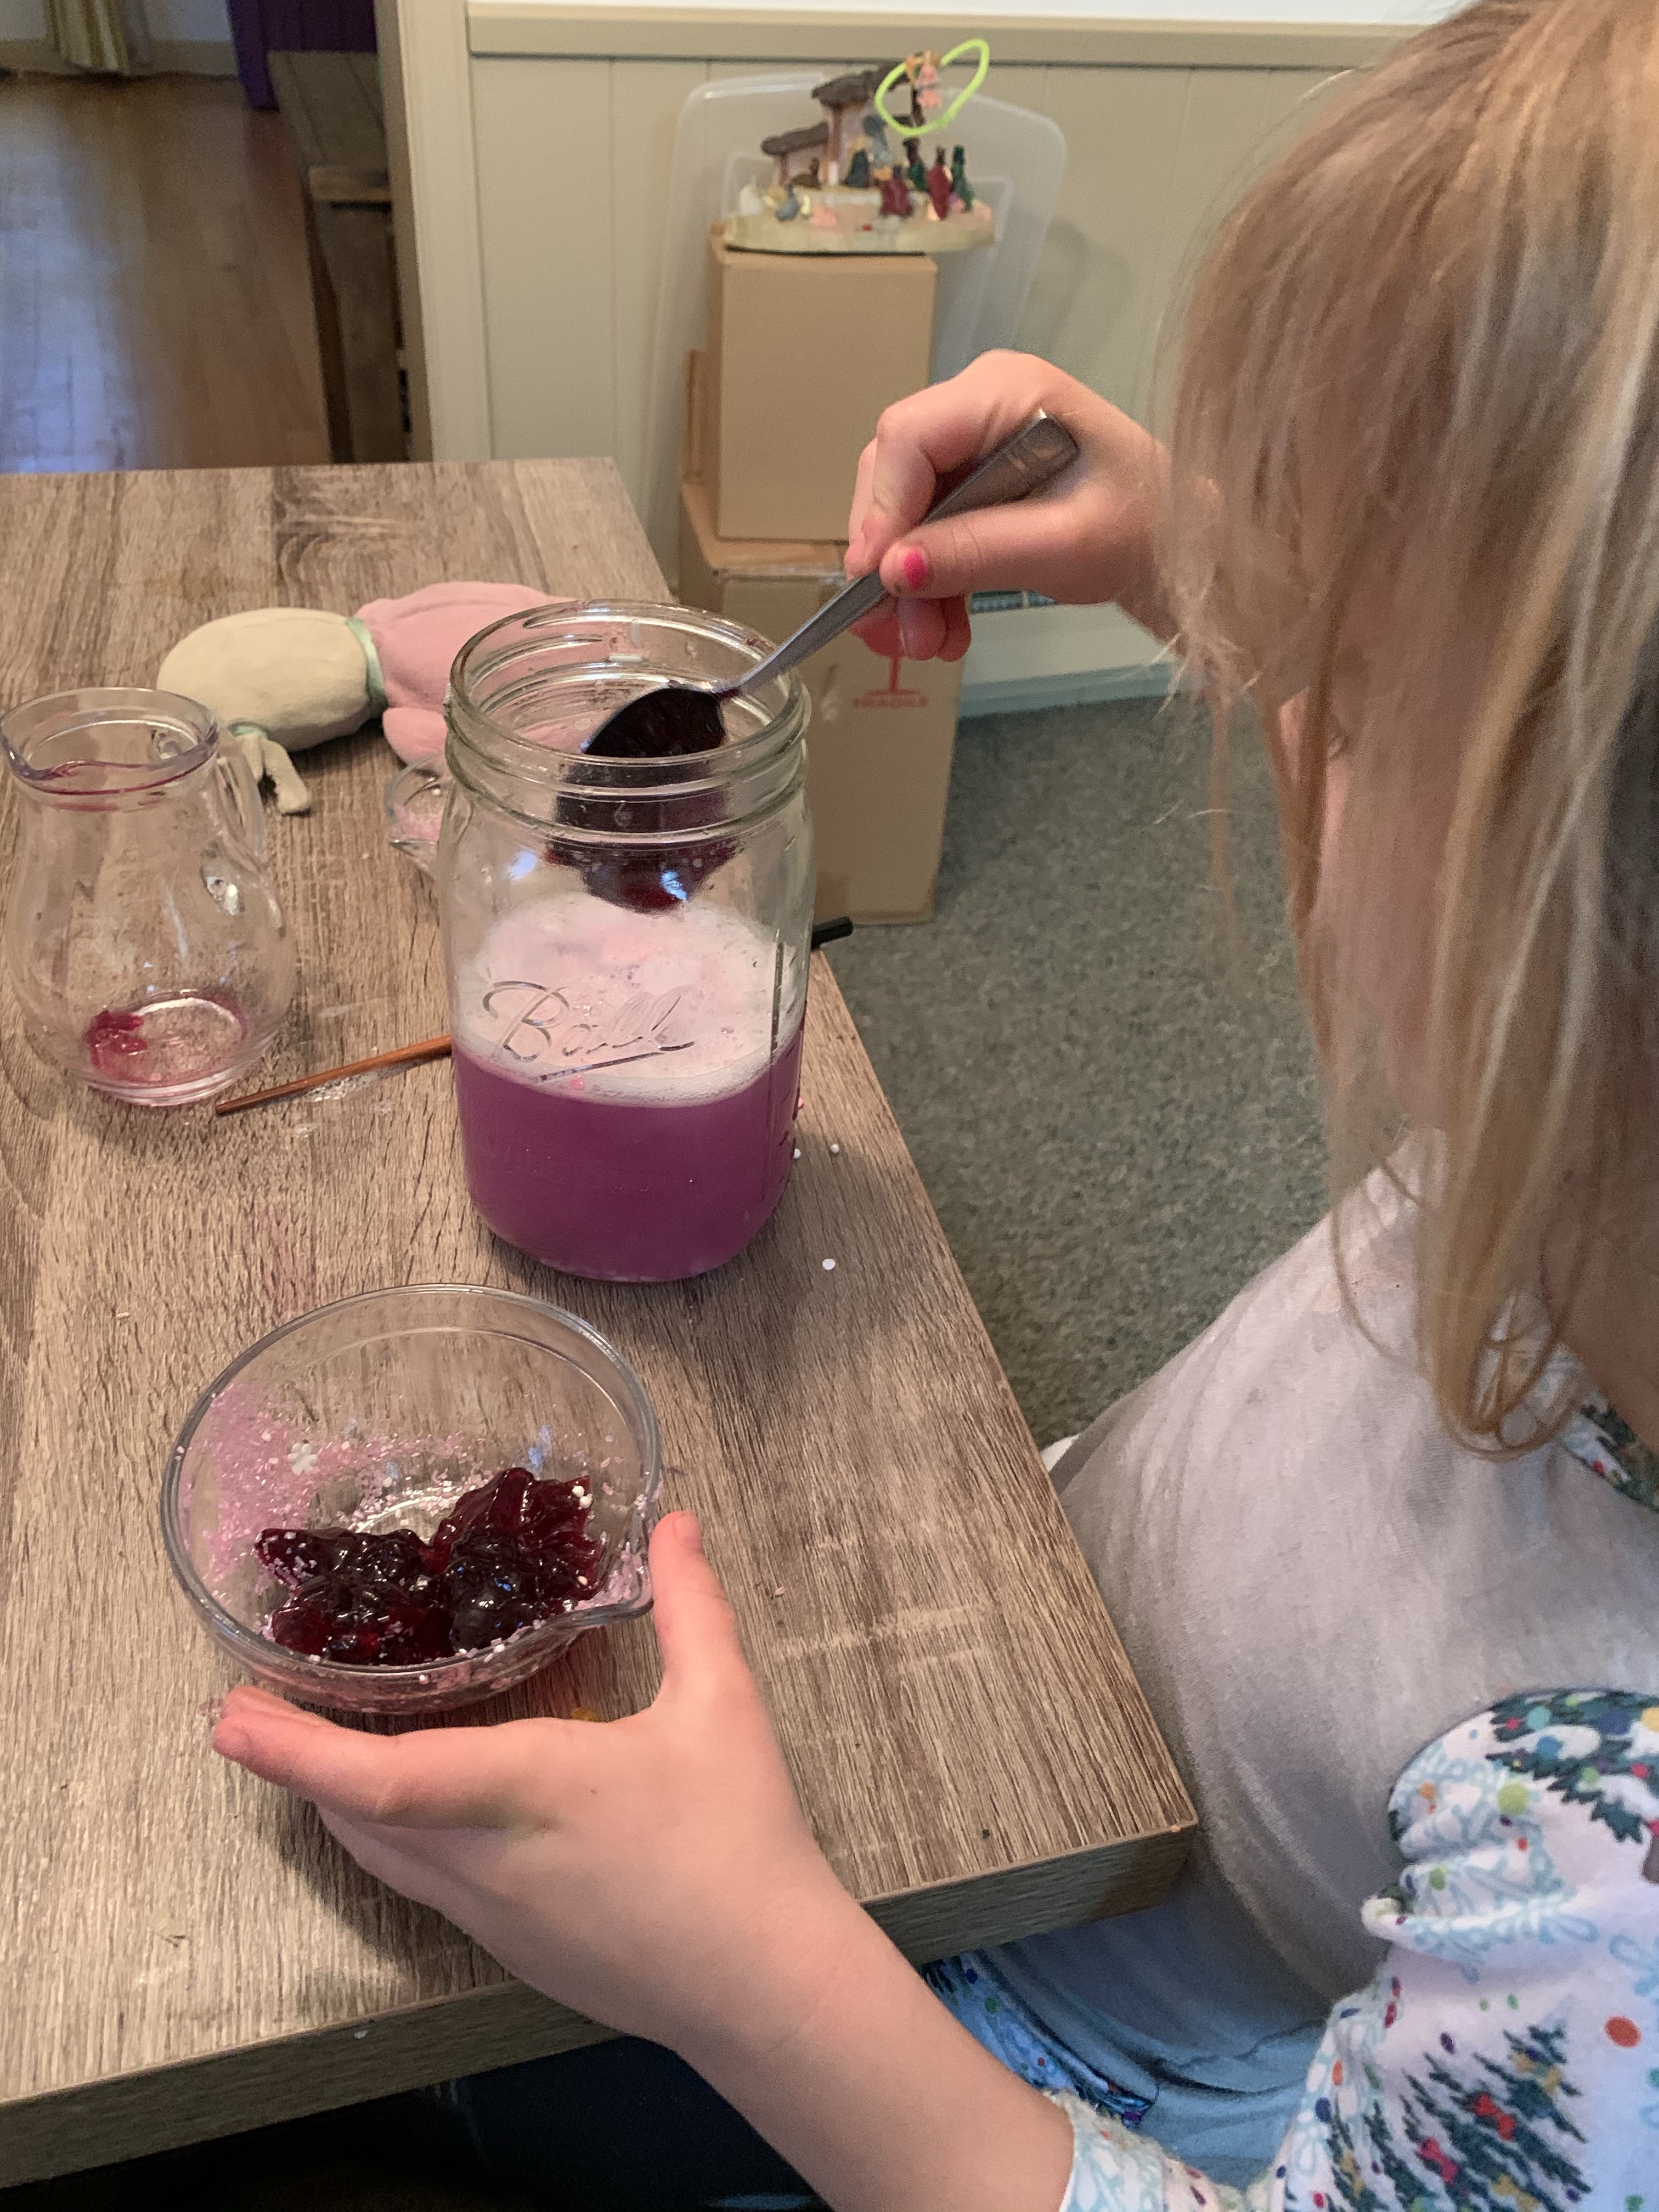
We even tried jelly to see if it would sink or mix into the concoction. Then have your child mix it real fast in a circle and see a cyclone happen!

Dish soap and the bubbles it causes is fun as well!

img_2704

Pretty much try anything!


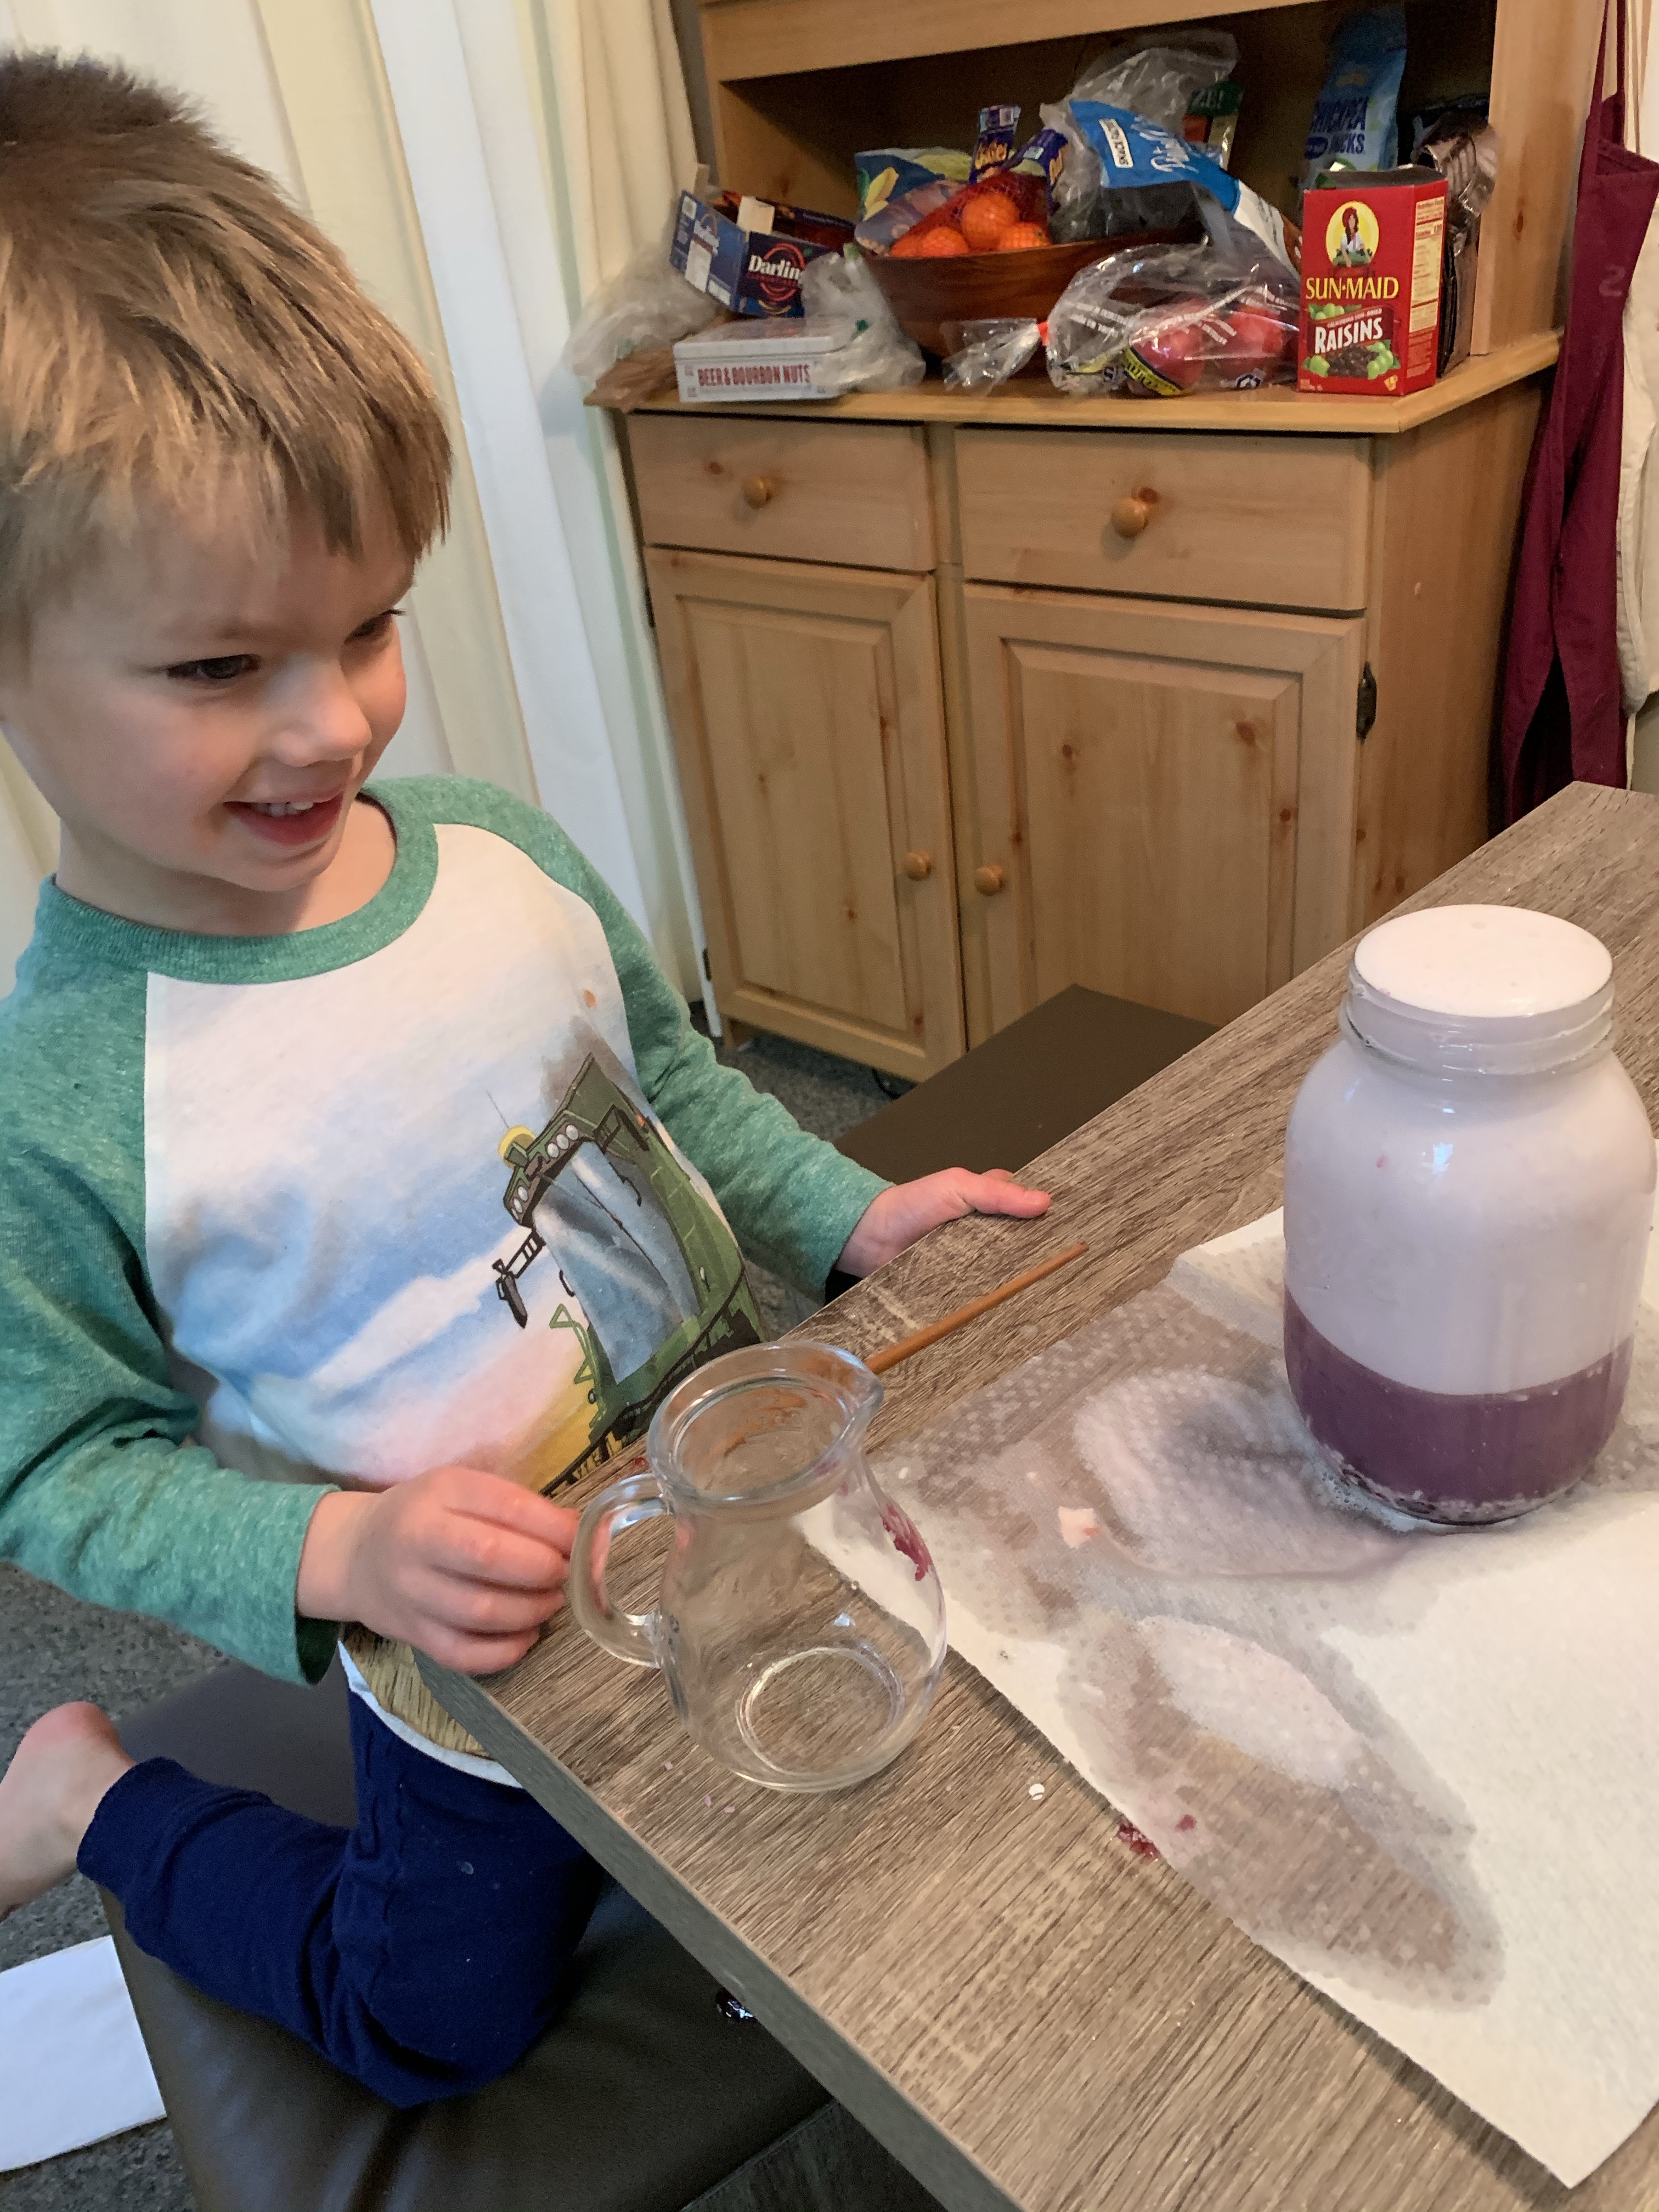
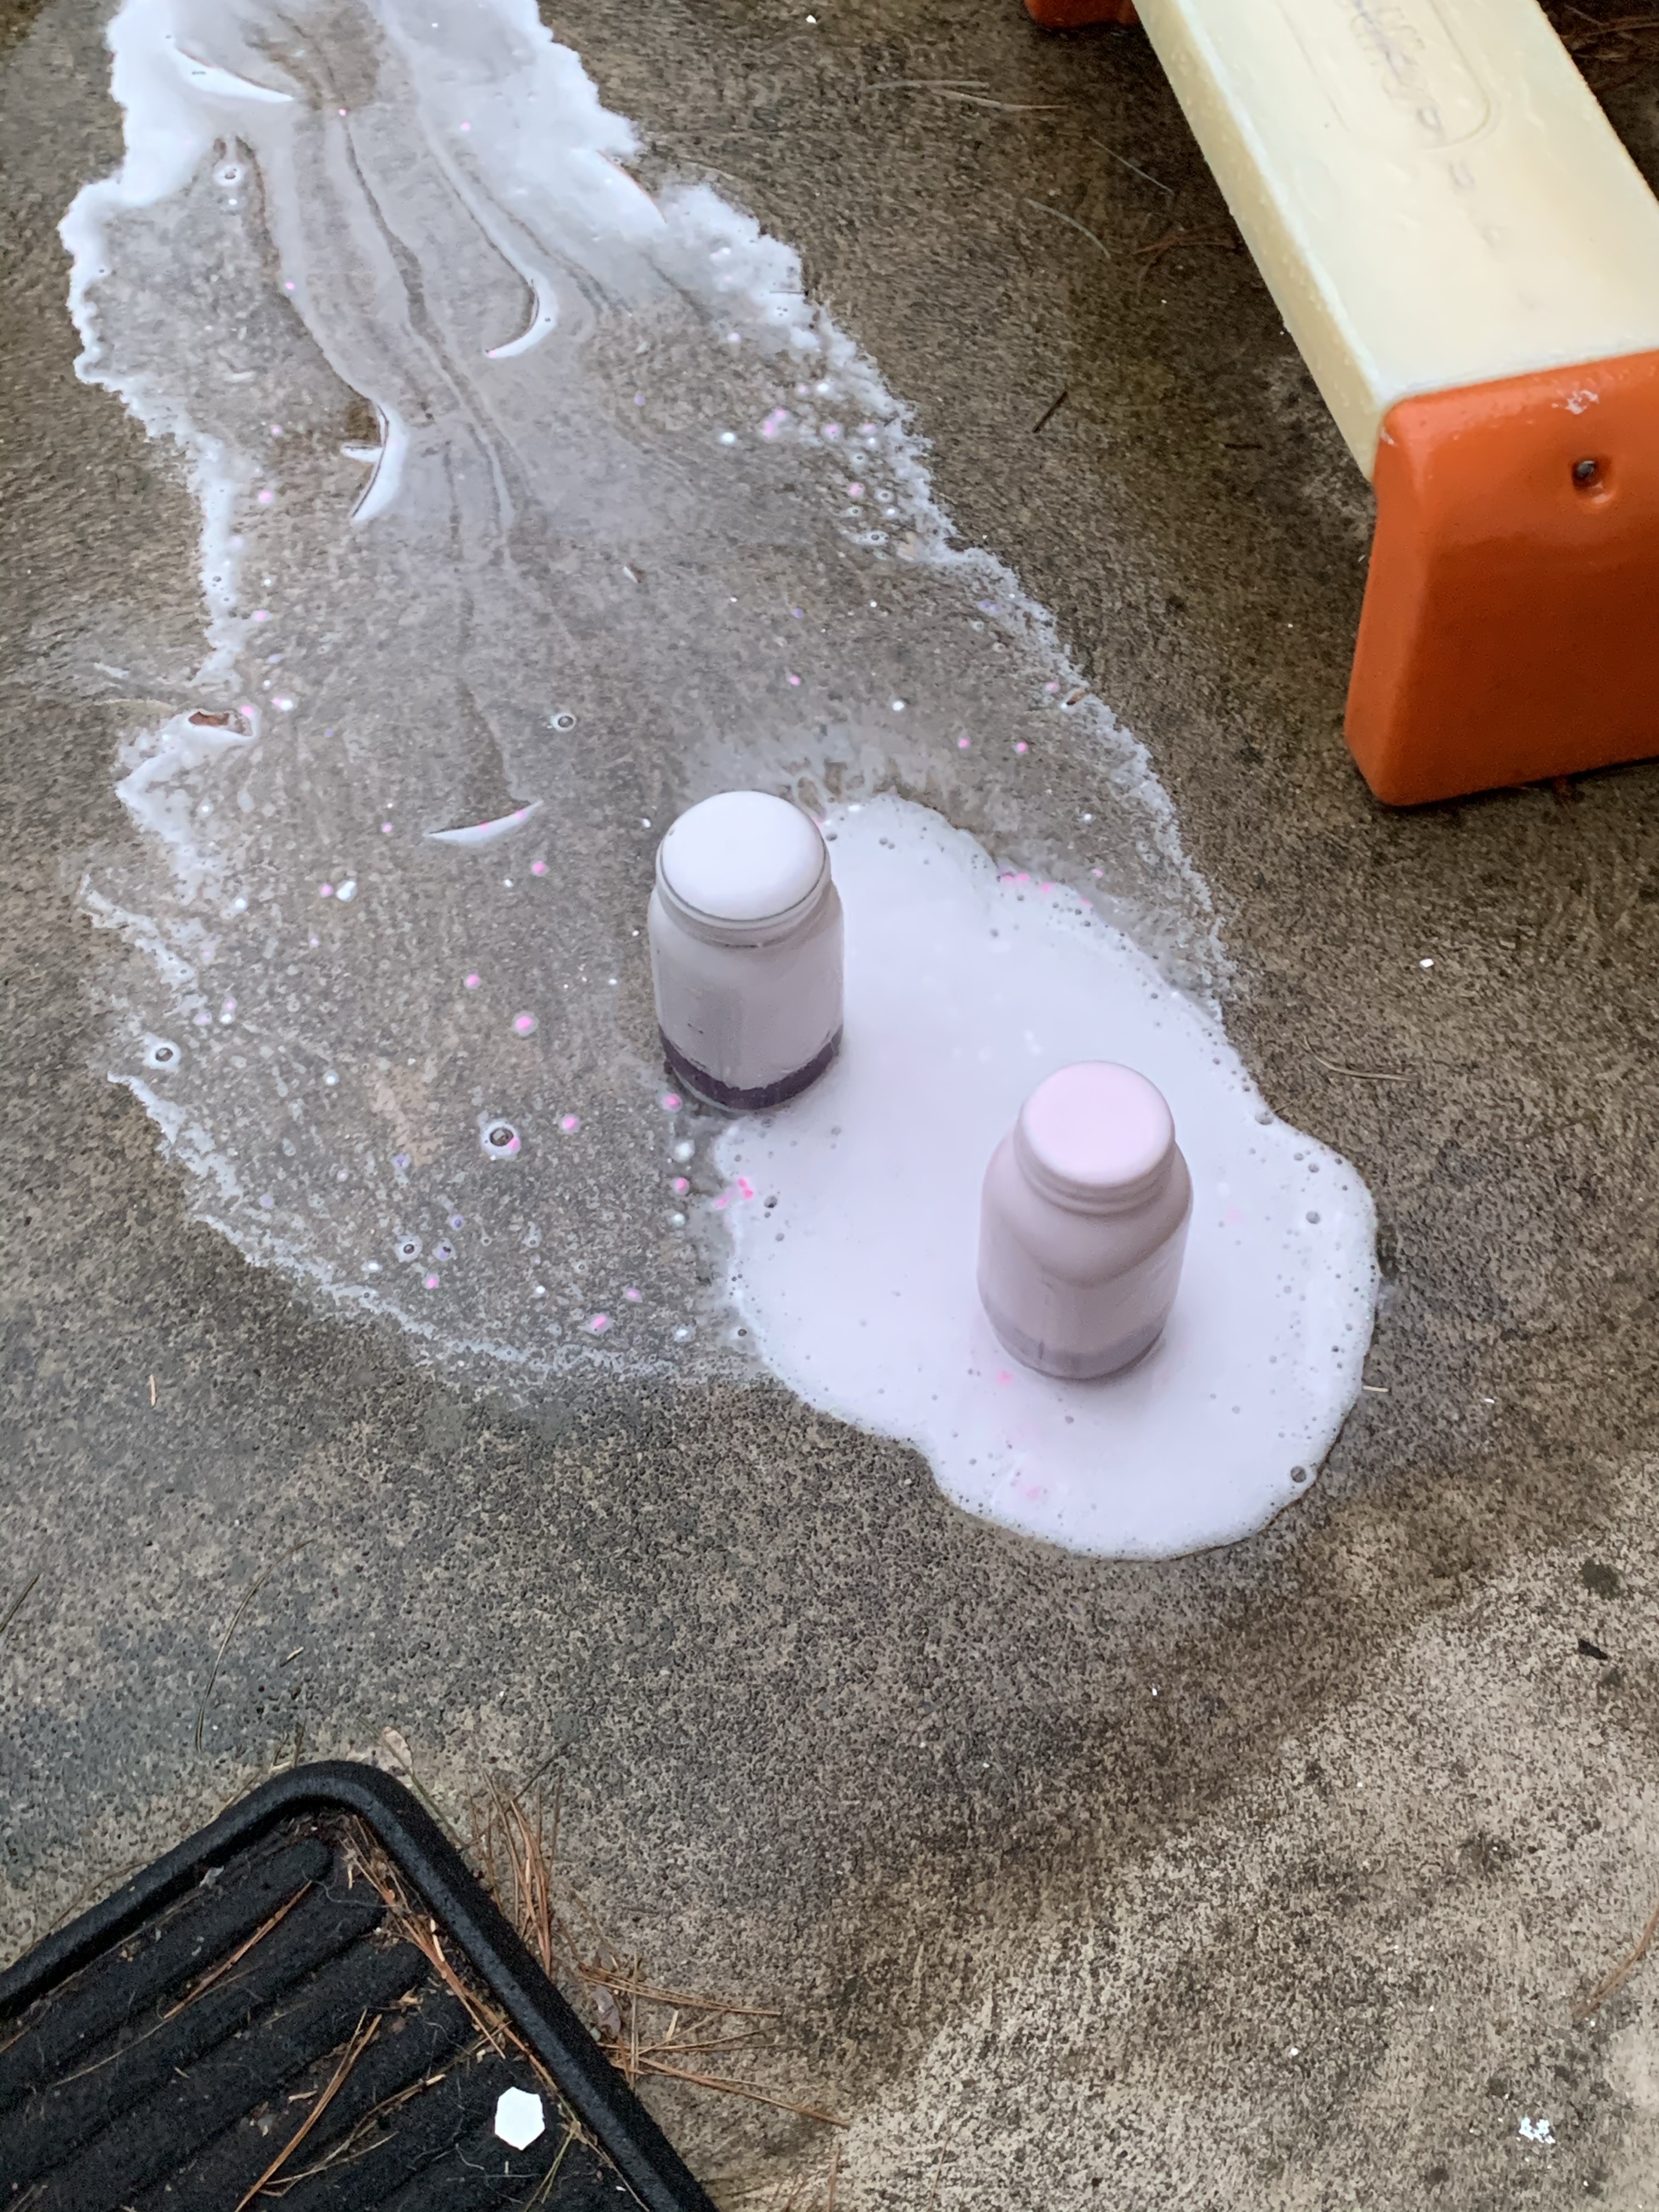
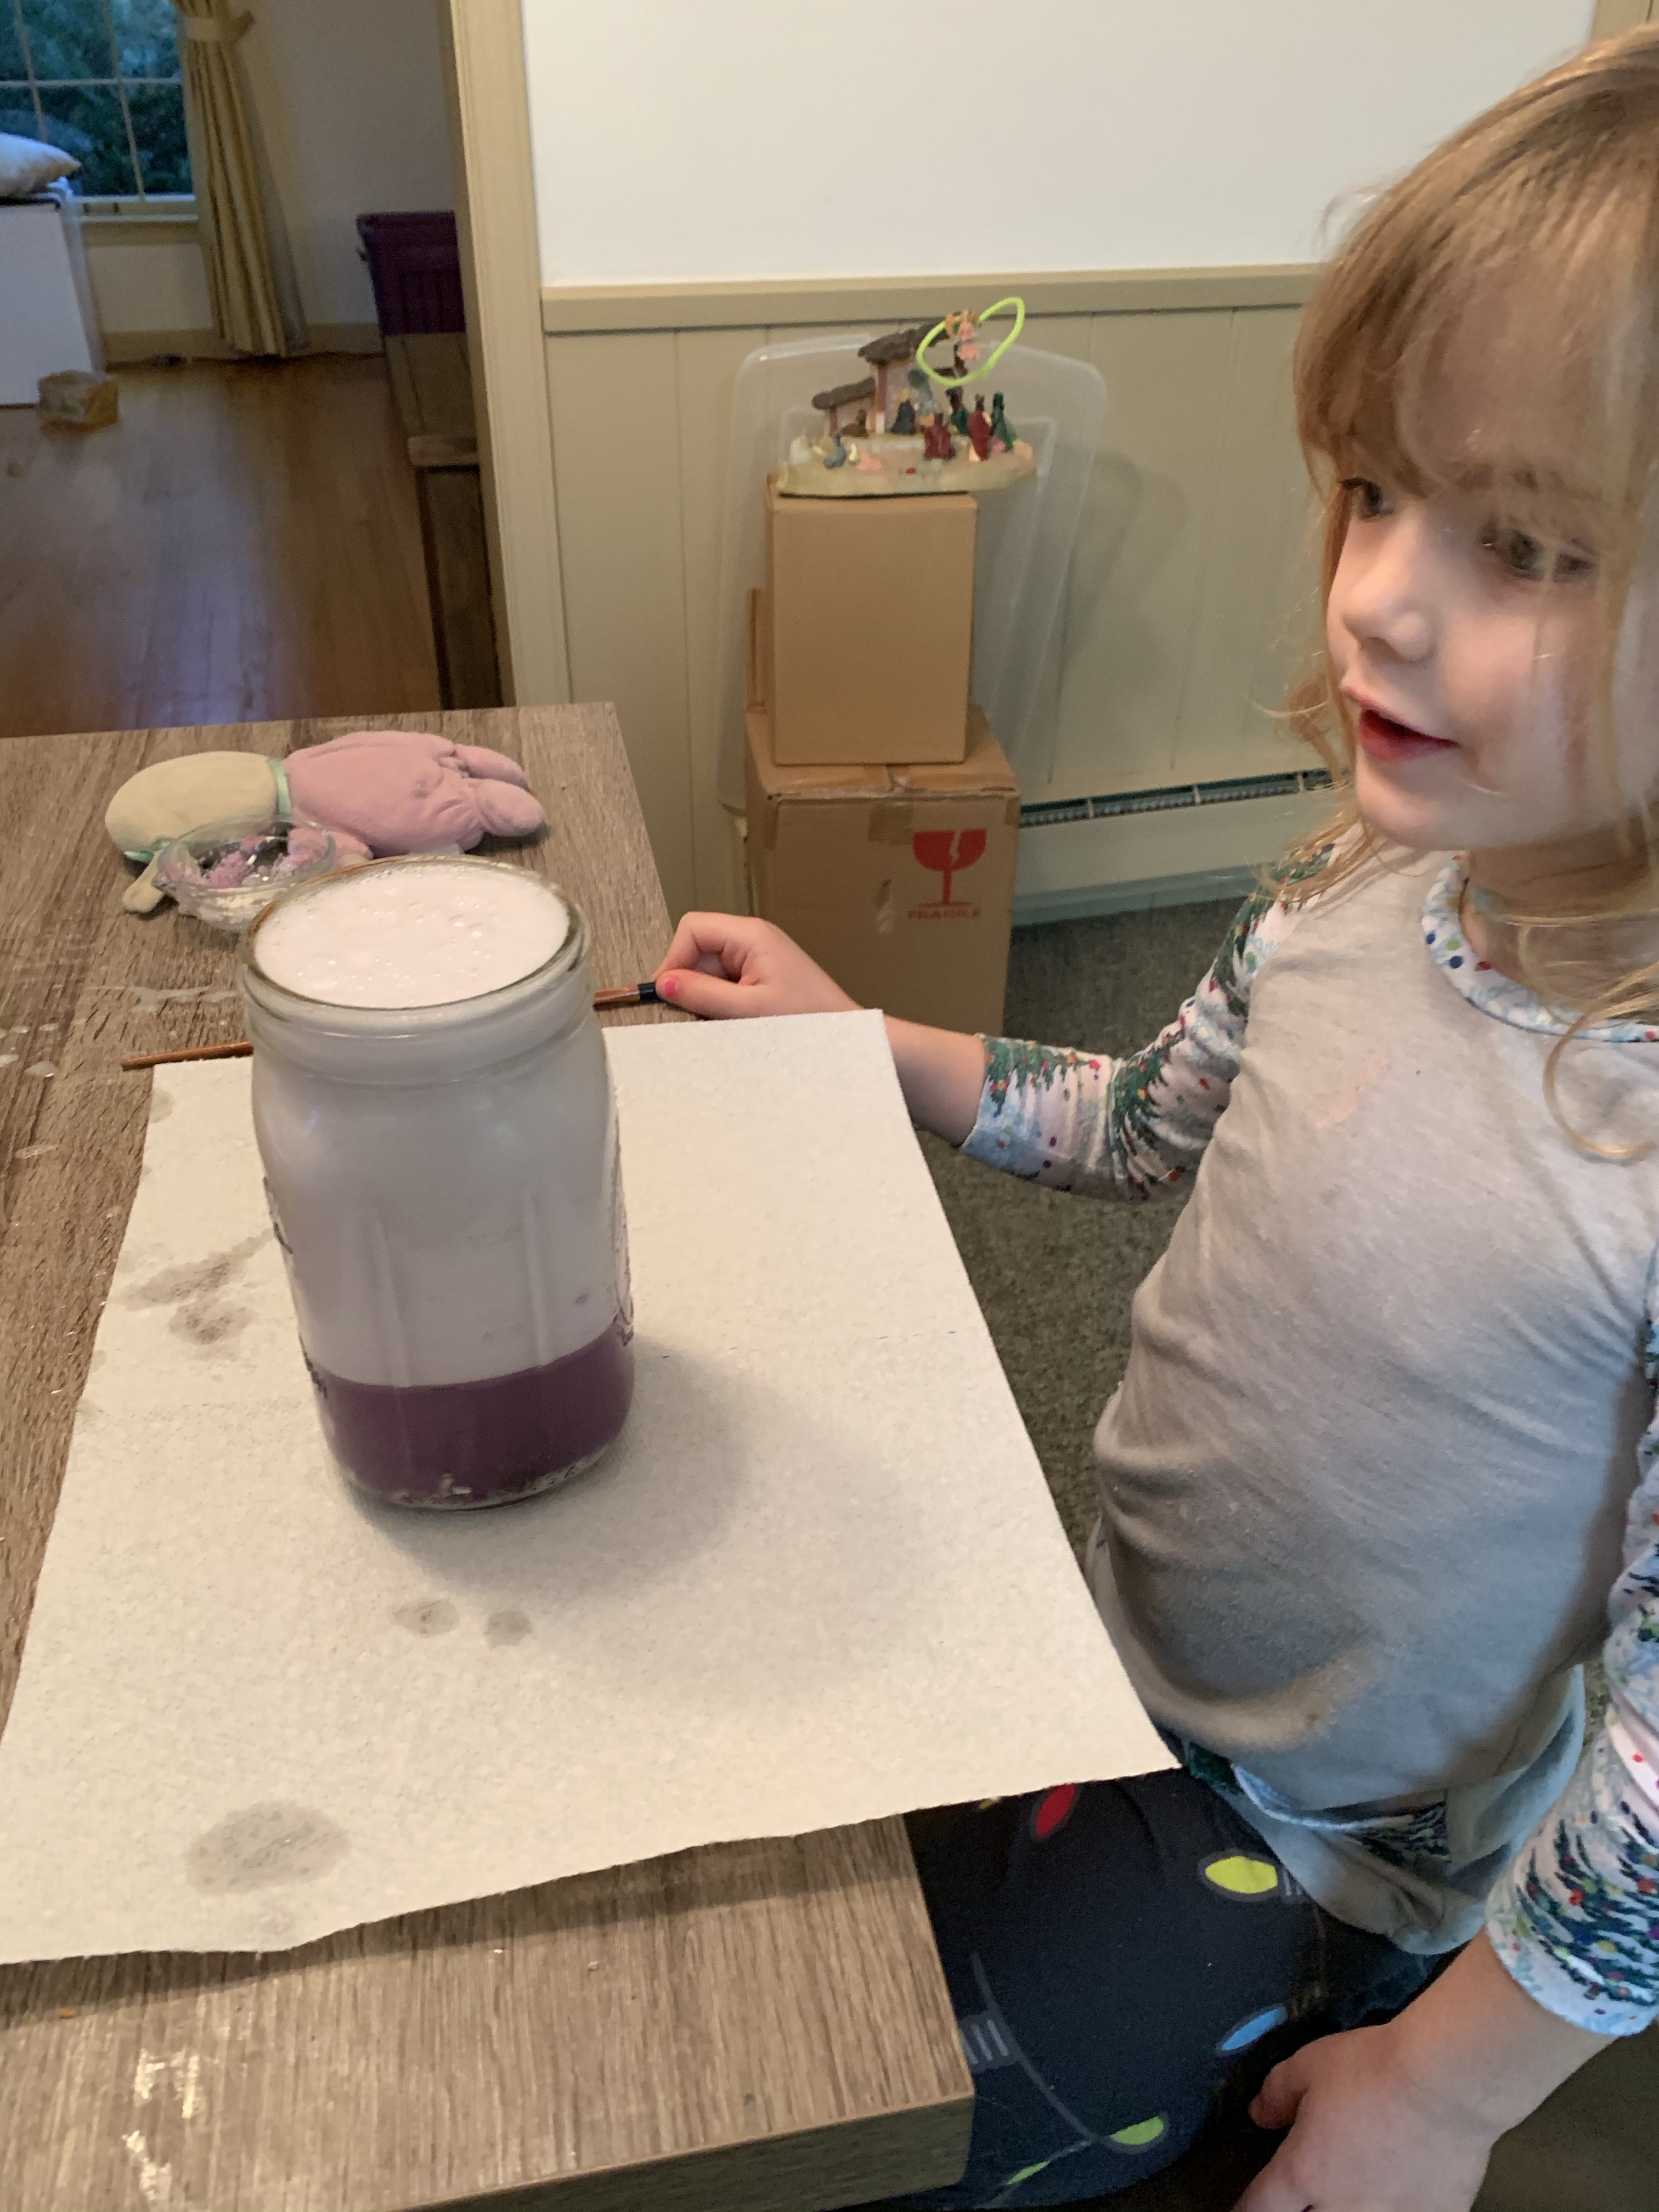
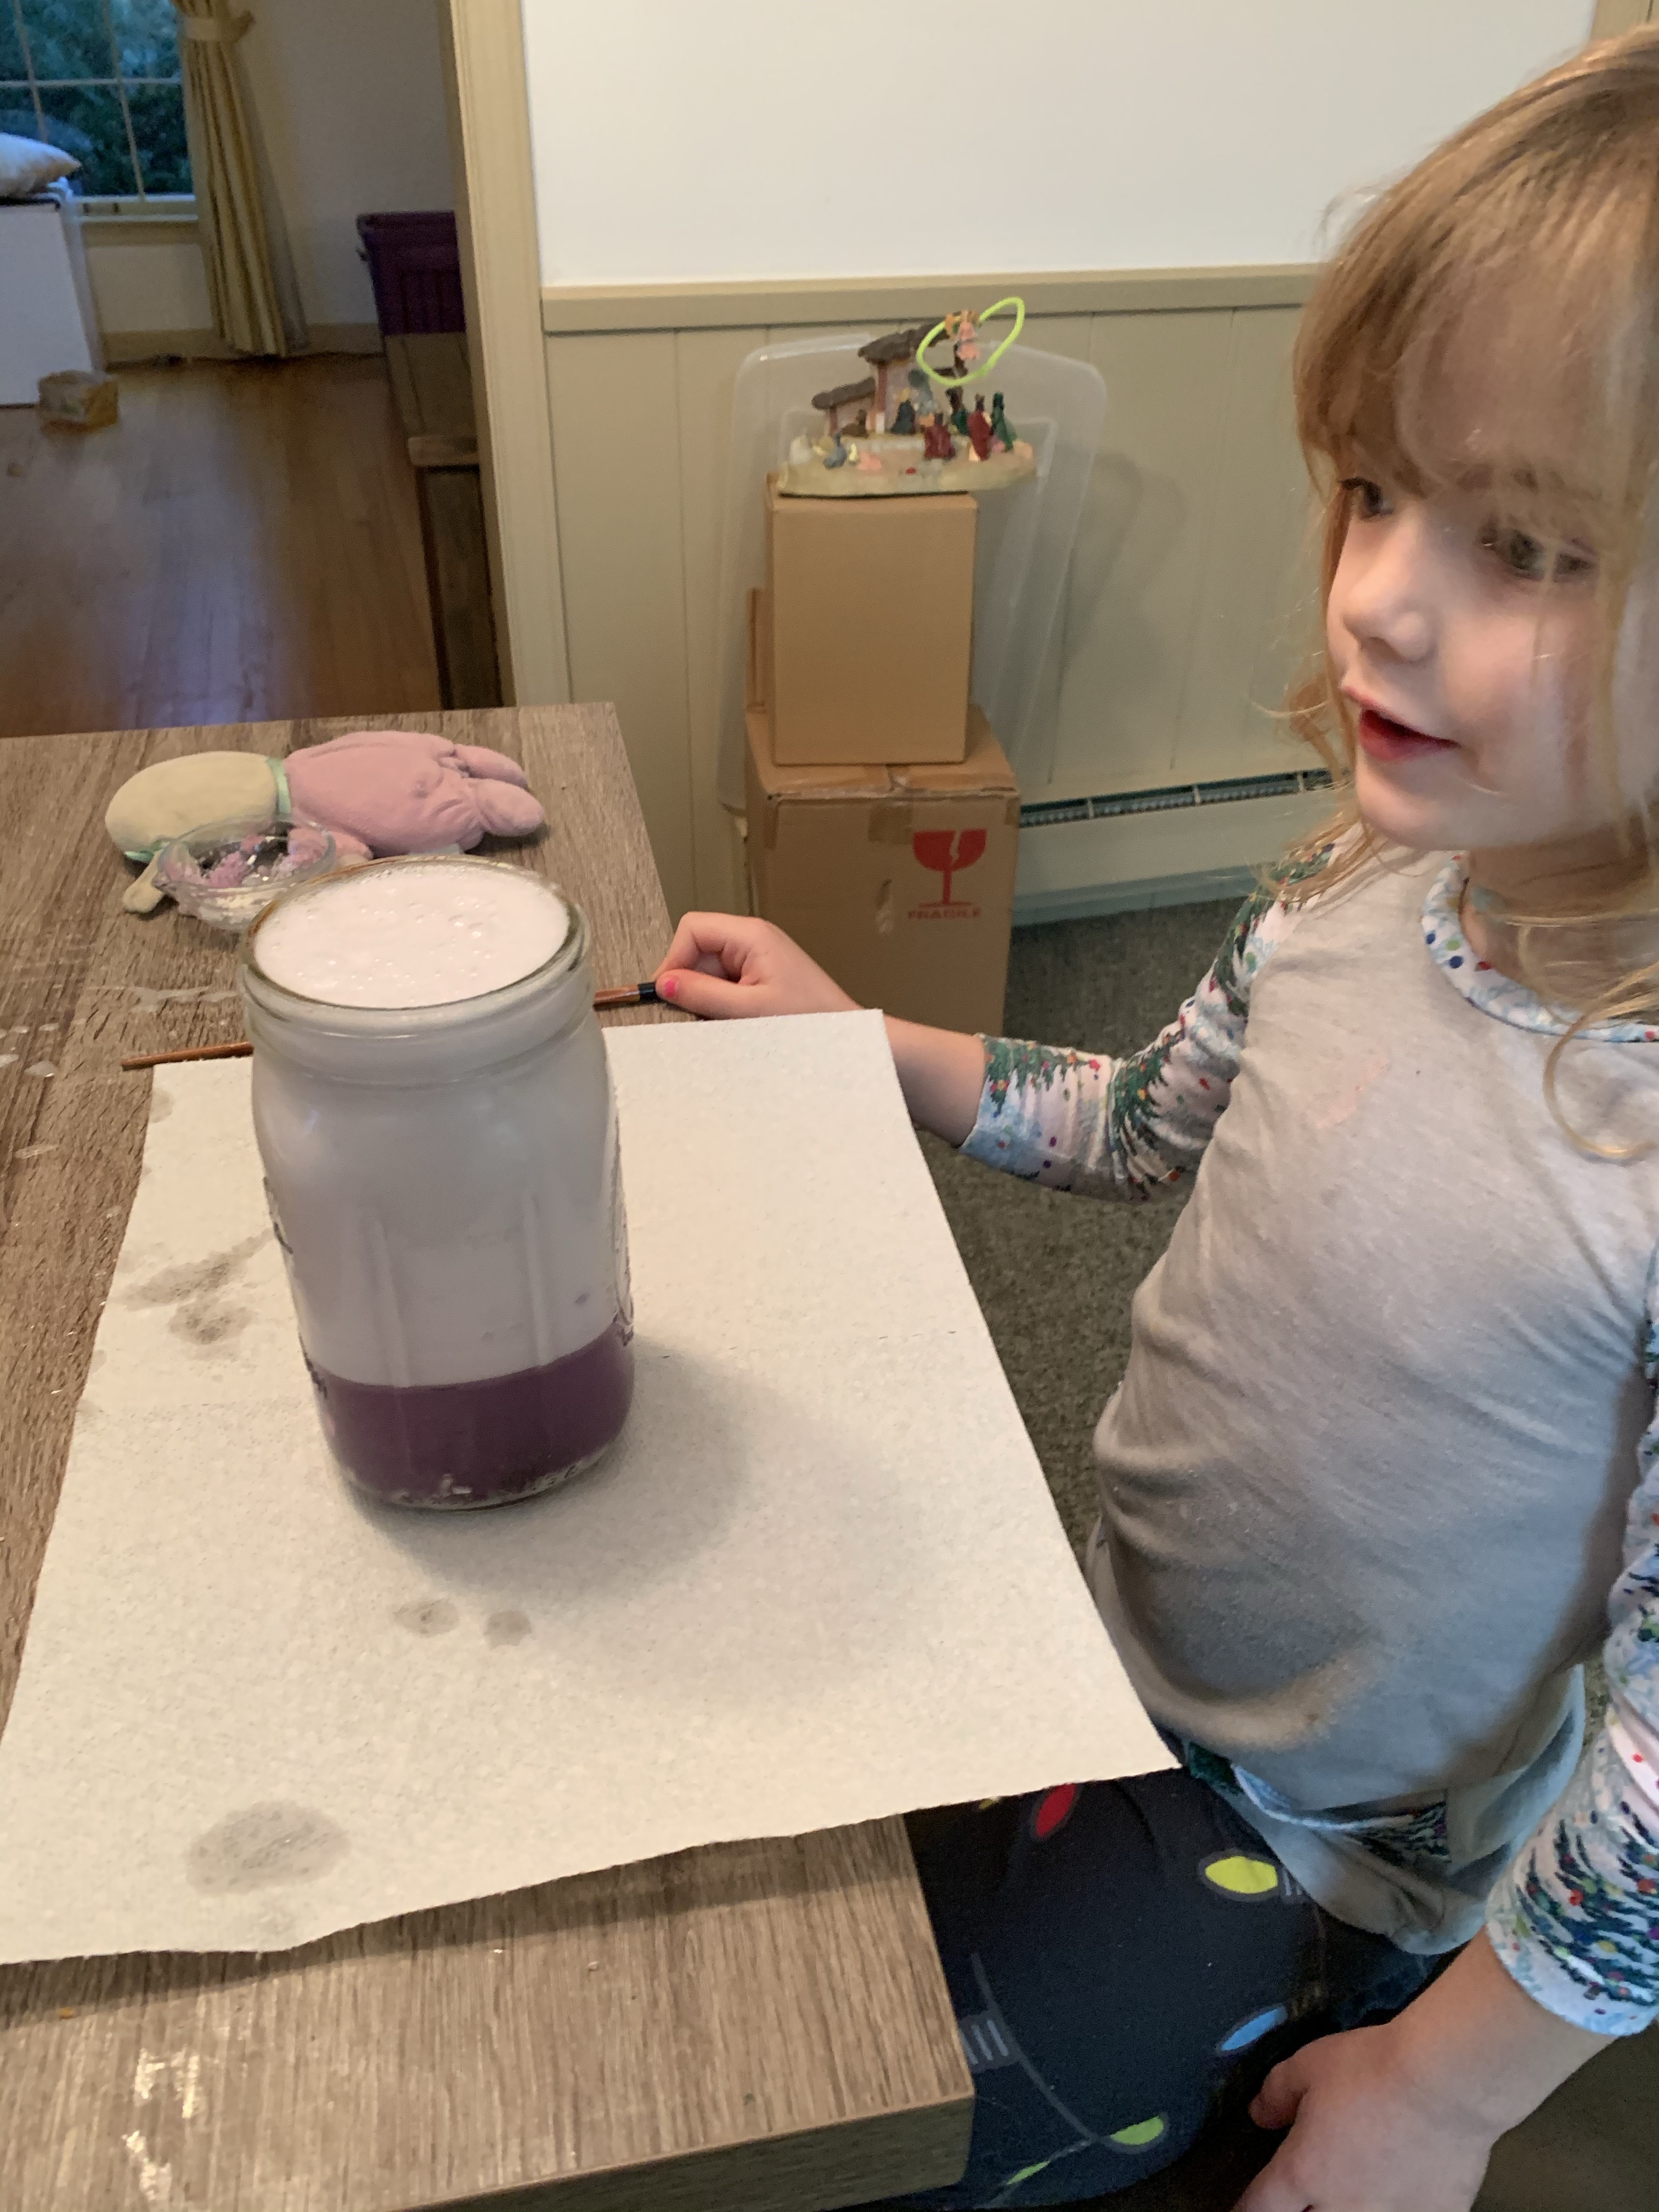
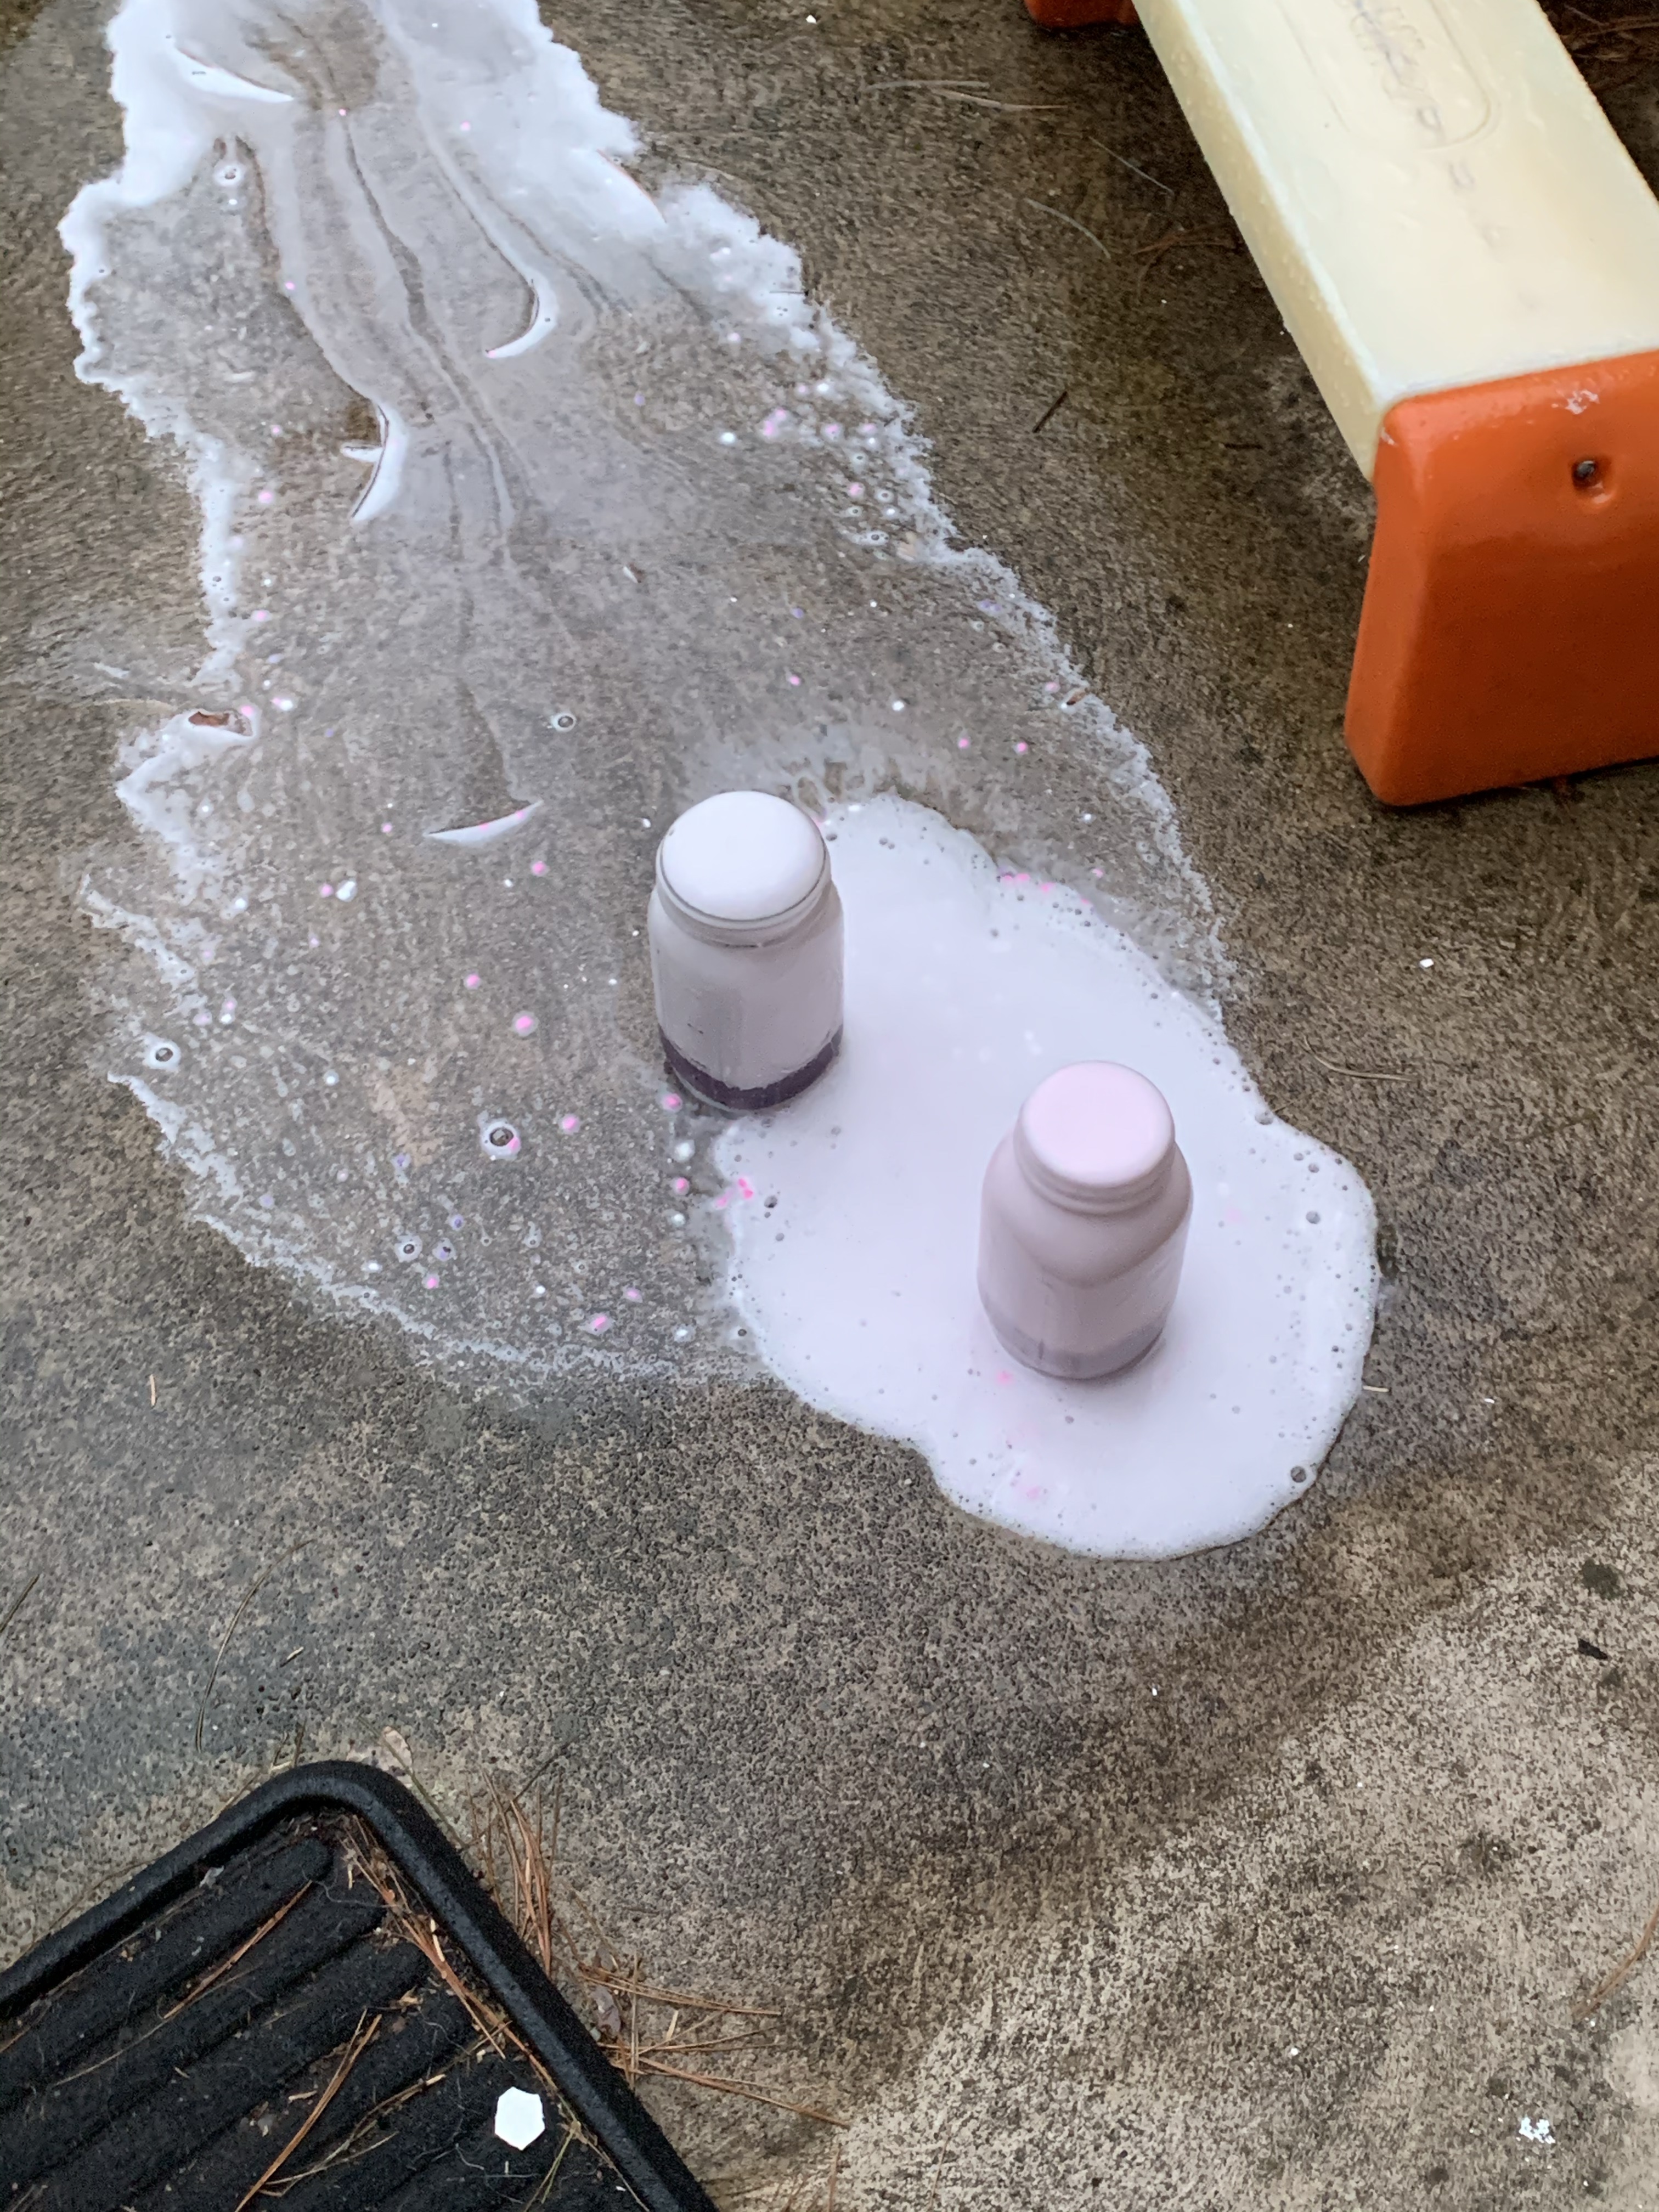
Vinegar and baking soda which you want to save for last! The acid base pair will cause a volcanoes explosion! We did those outside then to have a huge overflow!

img_2708

You can keep adding more vinegar to make it continue exploding!  Just bring it outside lol. img_2709

img_2710

ENJOY!!!!


FollowFacebookpinterestrssyoutube
ShareFacebookpinterest

Almost perfect winter clothes ad…

If you haven’t seen the new SNL skit for Macy’s winter clothes, you need to!!!! Some of the scenes are so easy to relate to you laugh and cringe at the same time.

I never understood why snow boots are all zippered down the inside, otherwise it’s an hour struggle to get boots on yelling, “just push your foot in harder!”

That and the snaps for baby onesies. For the love of gosh, please tell me who thought buttoning a moving target who needs diaper changes hourly was a great idea?

And we can’t forget the itchy sweaters and clothes that you spent a fortune on because you thought they would look oh so adorable on your little one….

The jacket reference is funny; however, as we know, jackets should never be worn in a car seat, they get taken off before buckling up!

So if you haven’t enjoyed this ad yet, check it out!

FollowFacebookpinterestrssyoutube
ShareFacebookpinterest

+Pomander Ball: A fun fine motor experience

A craft using fine motor skills, creativity, and your child’s senses is making a Christmas Pomander Ball!  There are several ways to make them and we will go through some examples!

img_2460

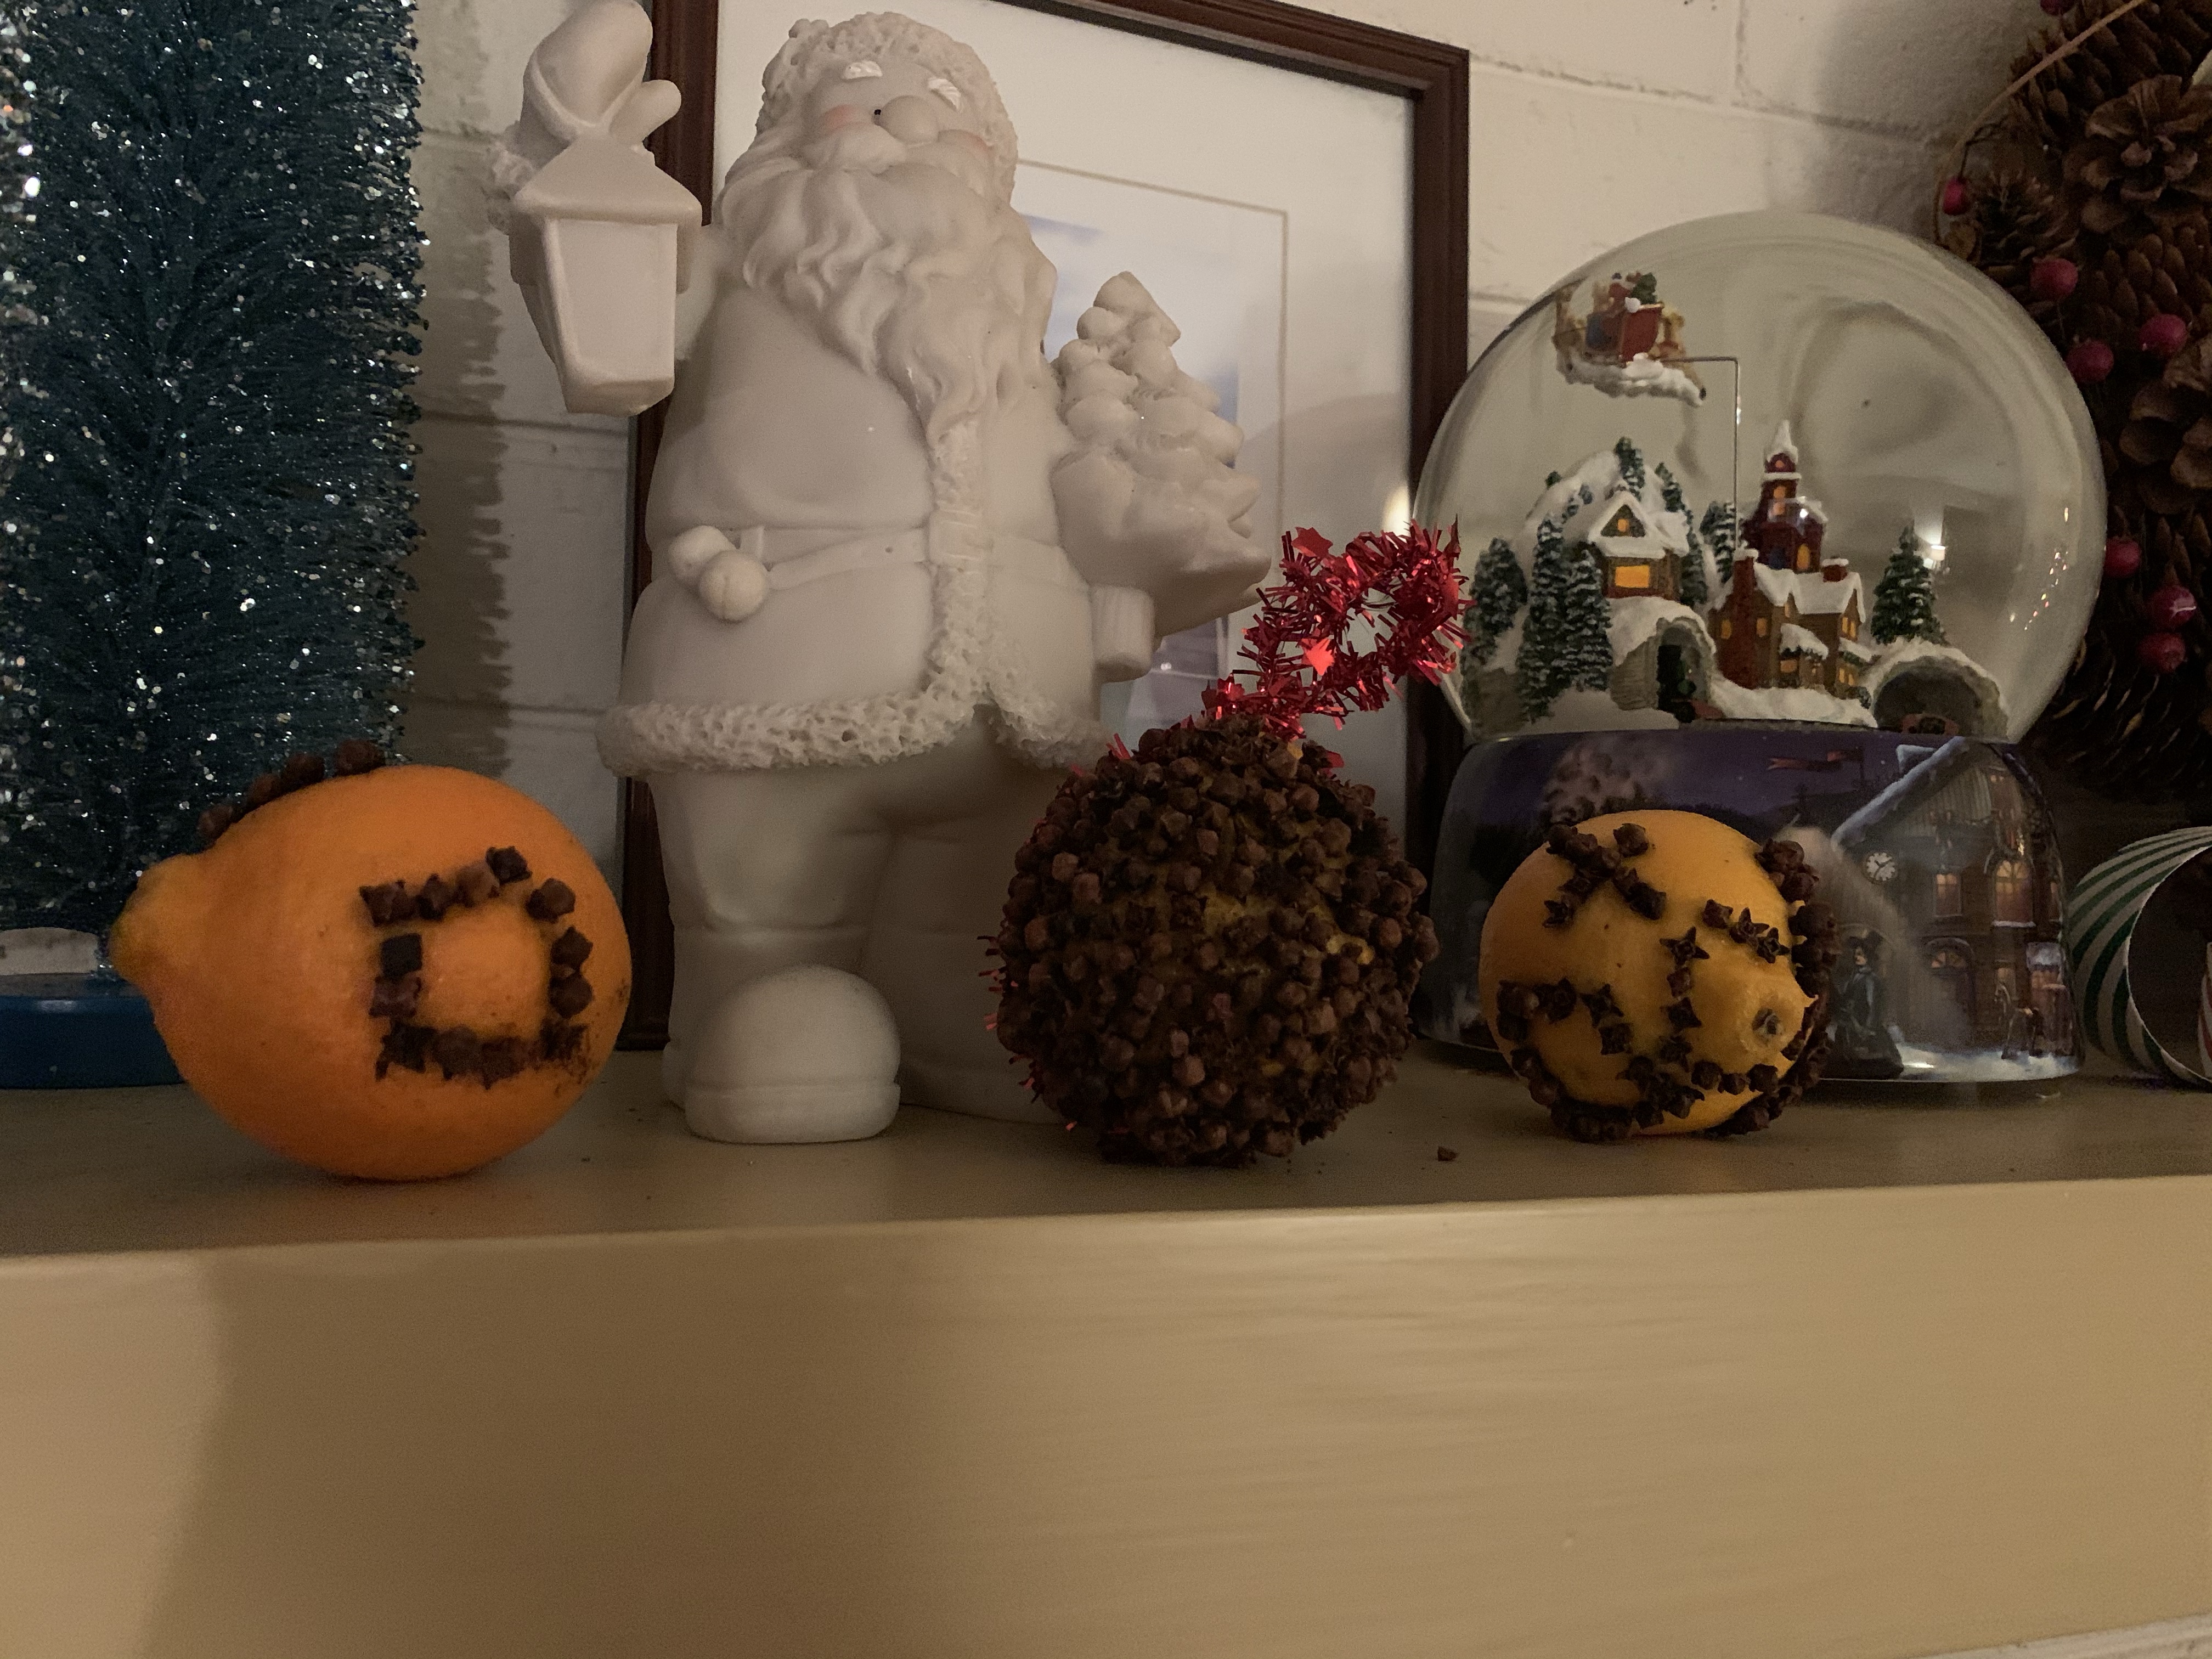
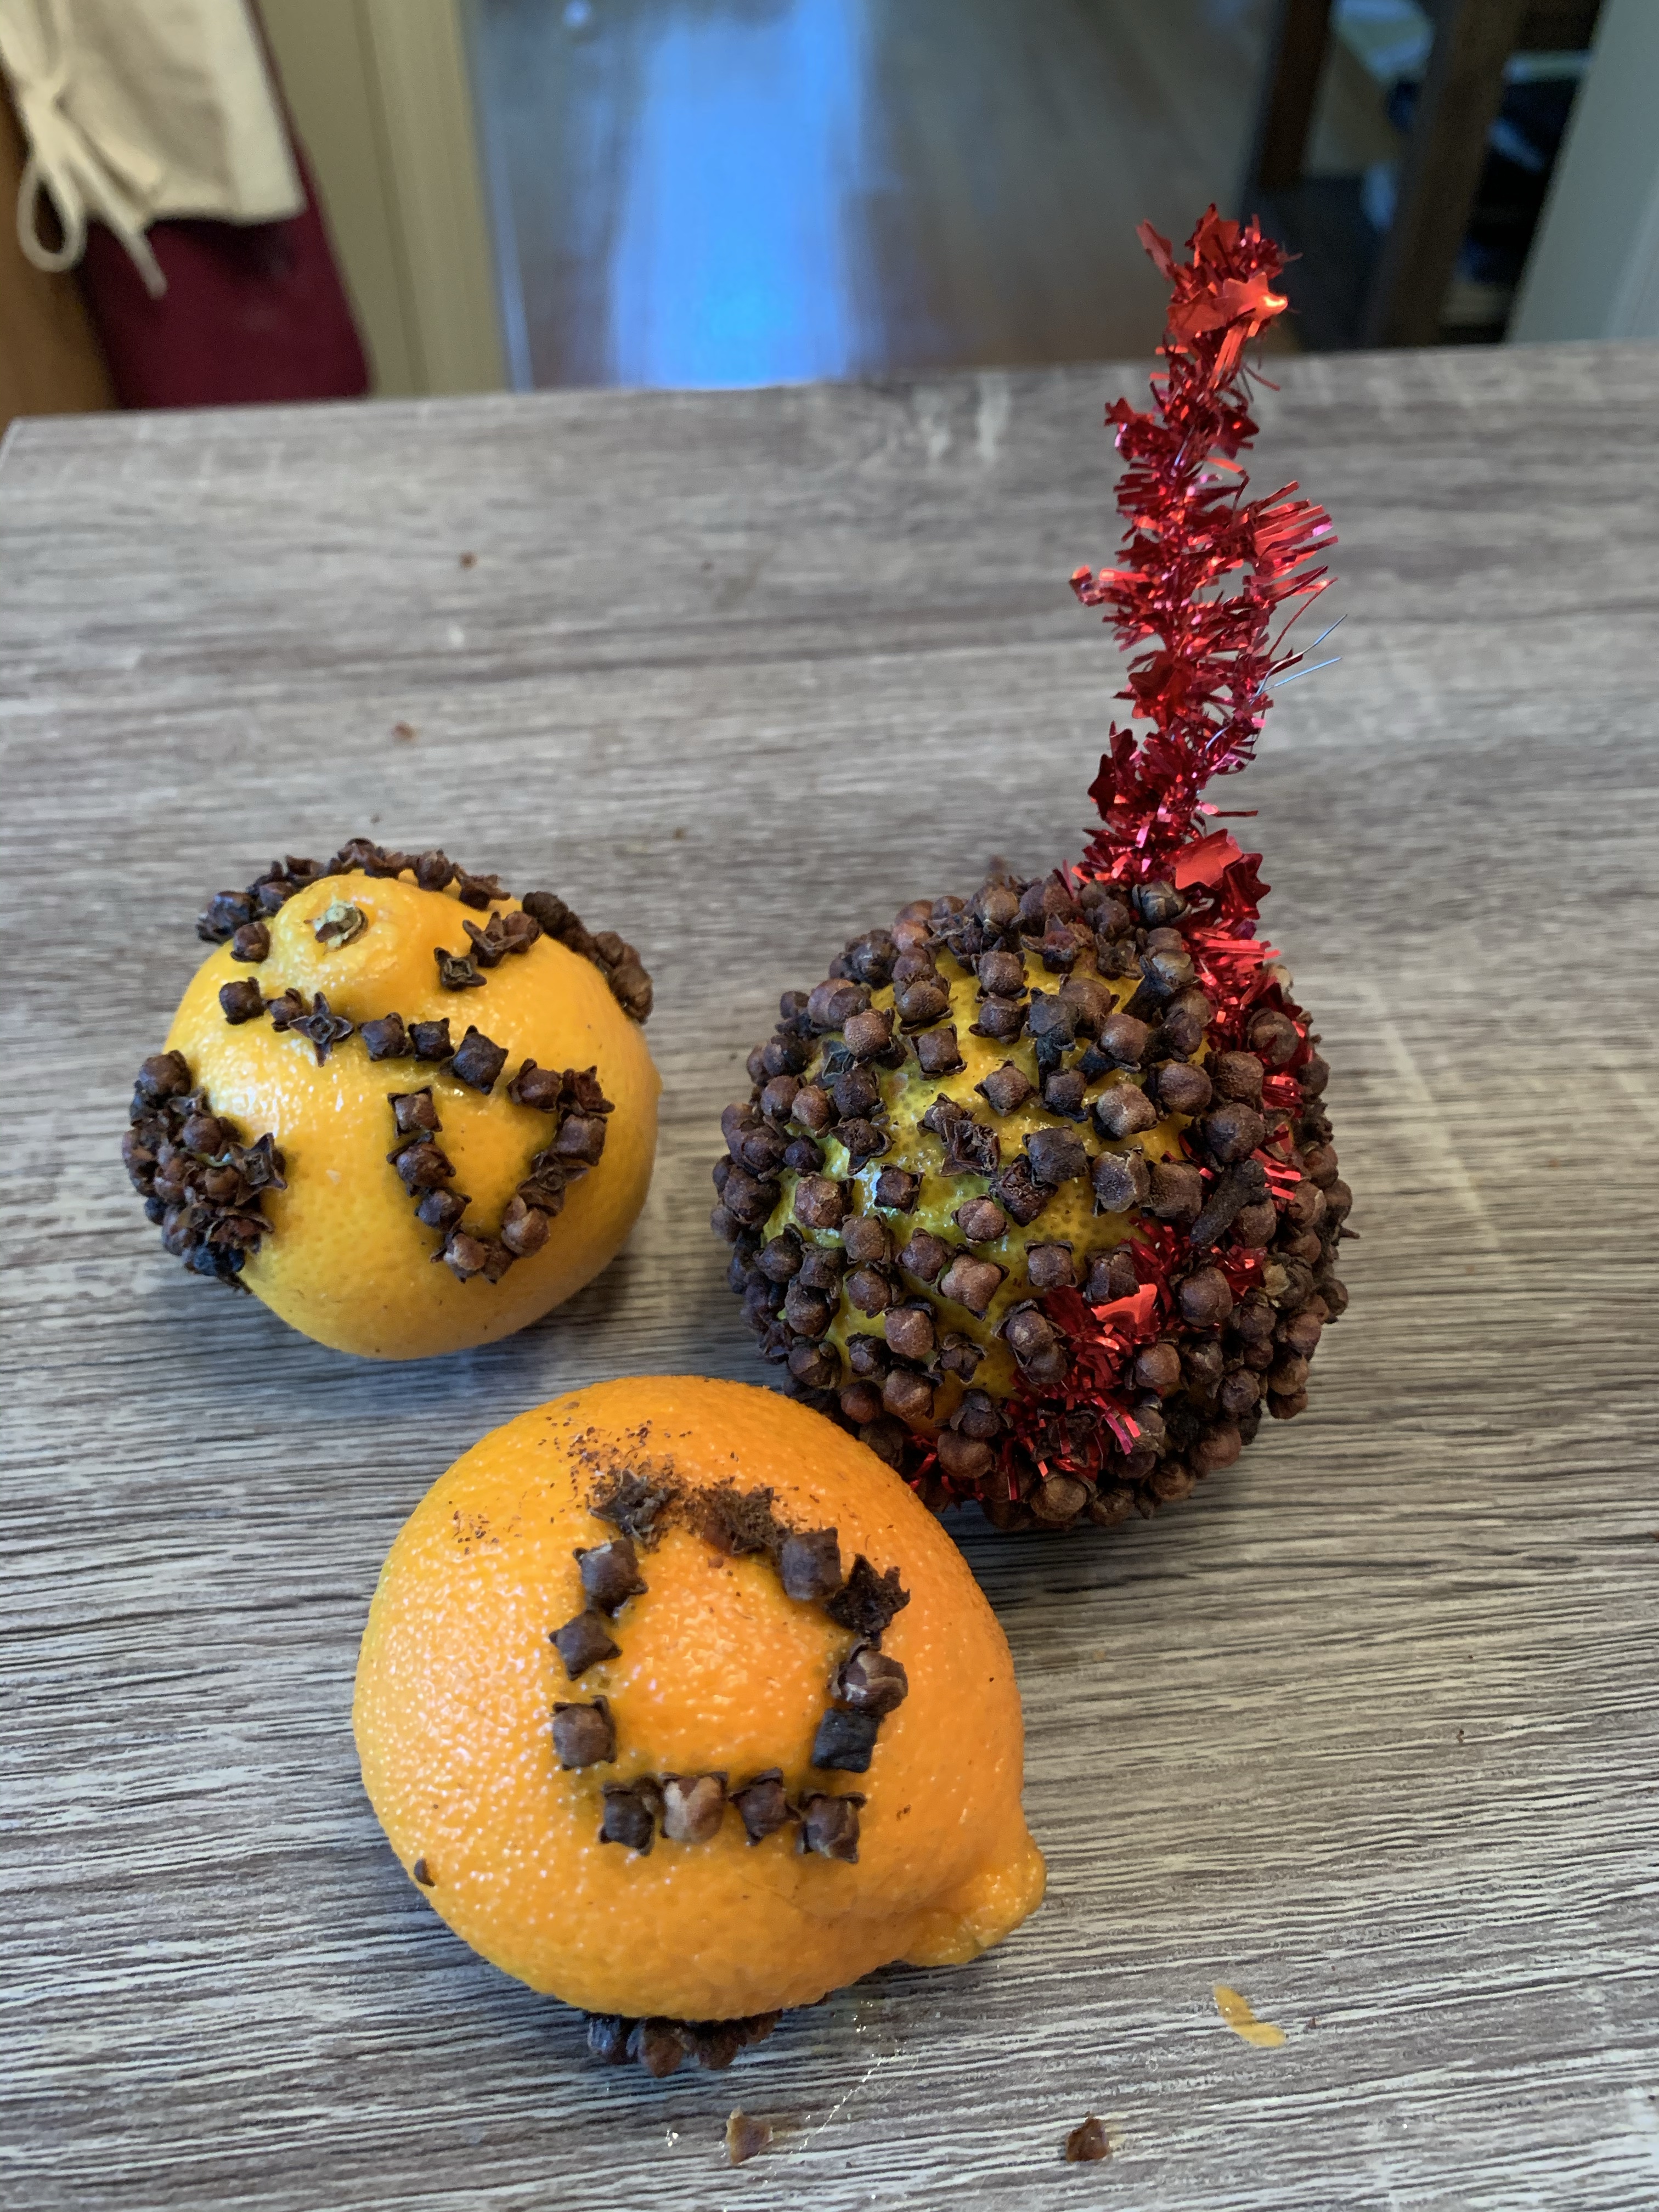
Pomander Balls were originally used to ward away illness with the strong scents of cloves and other spices.  Today, we make pomander balls with citrus fruits and cloves as a decoration, gift, centerpiece, or for scenting the room.

What you need:

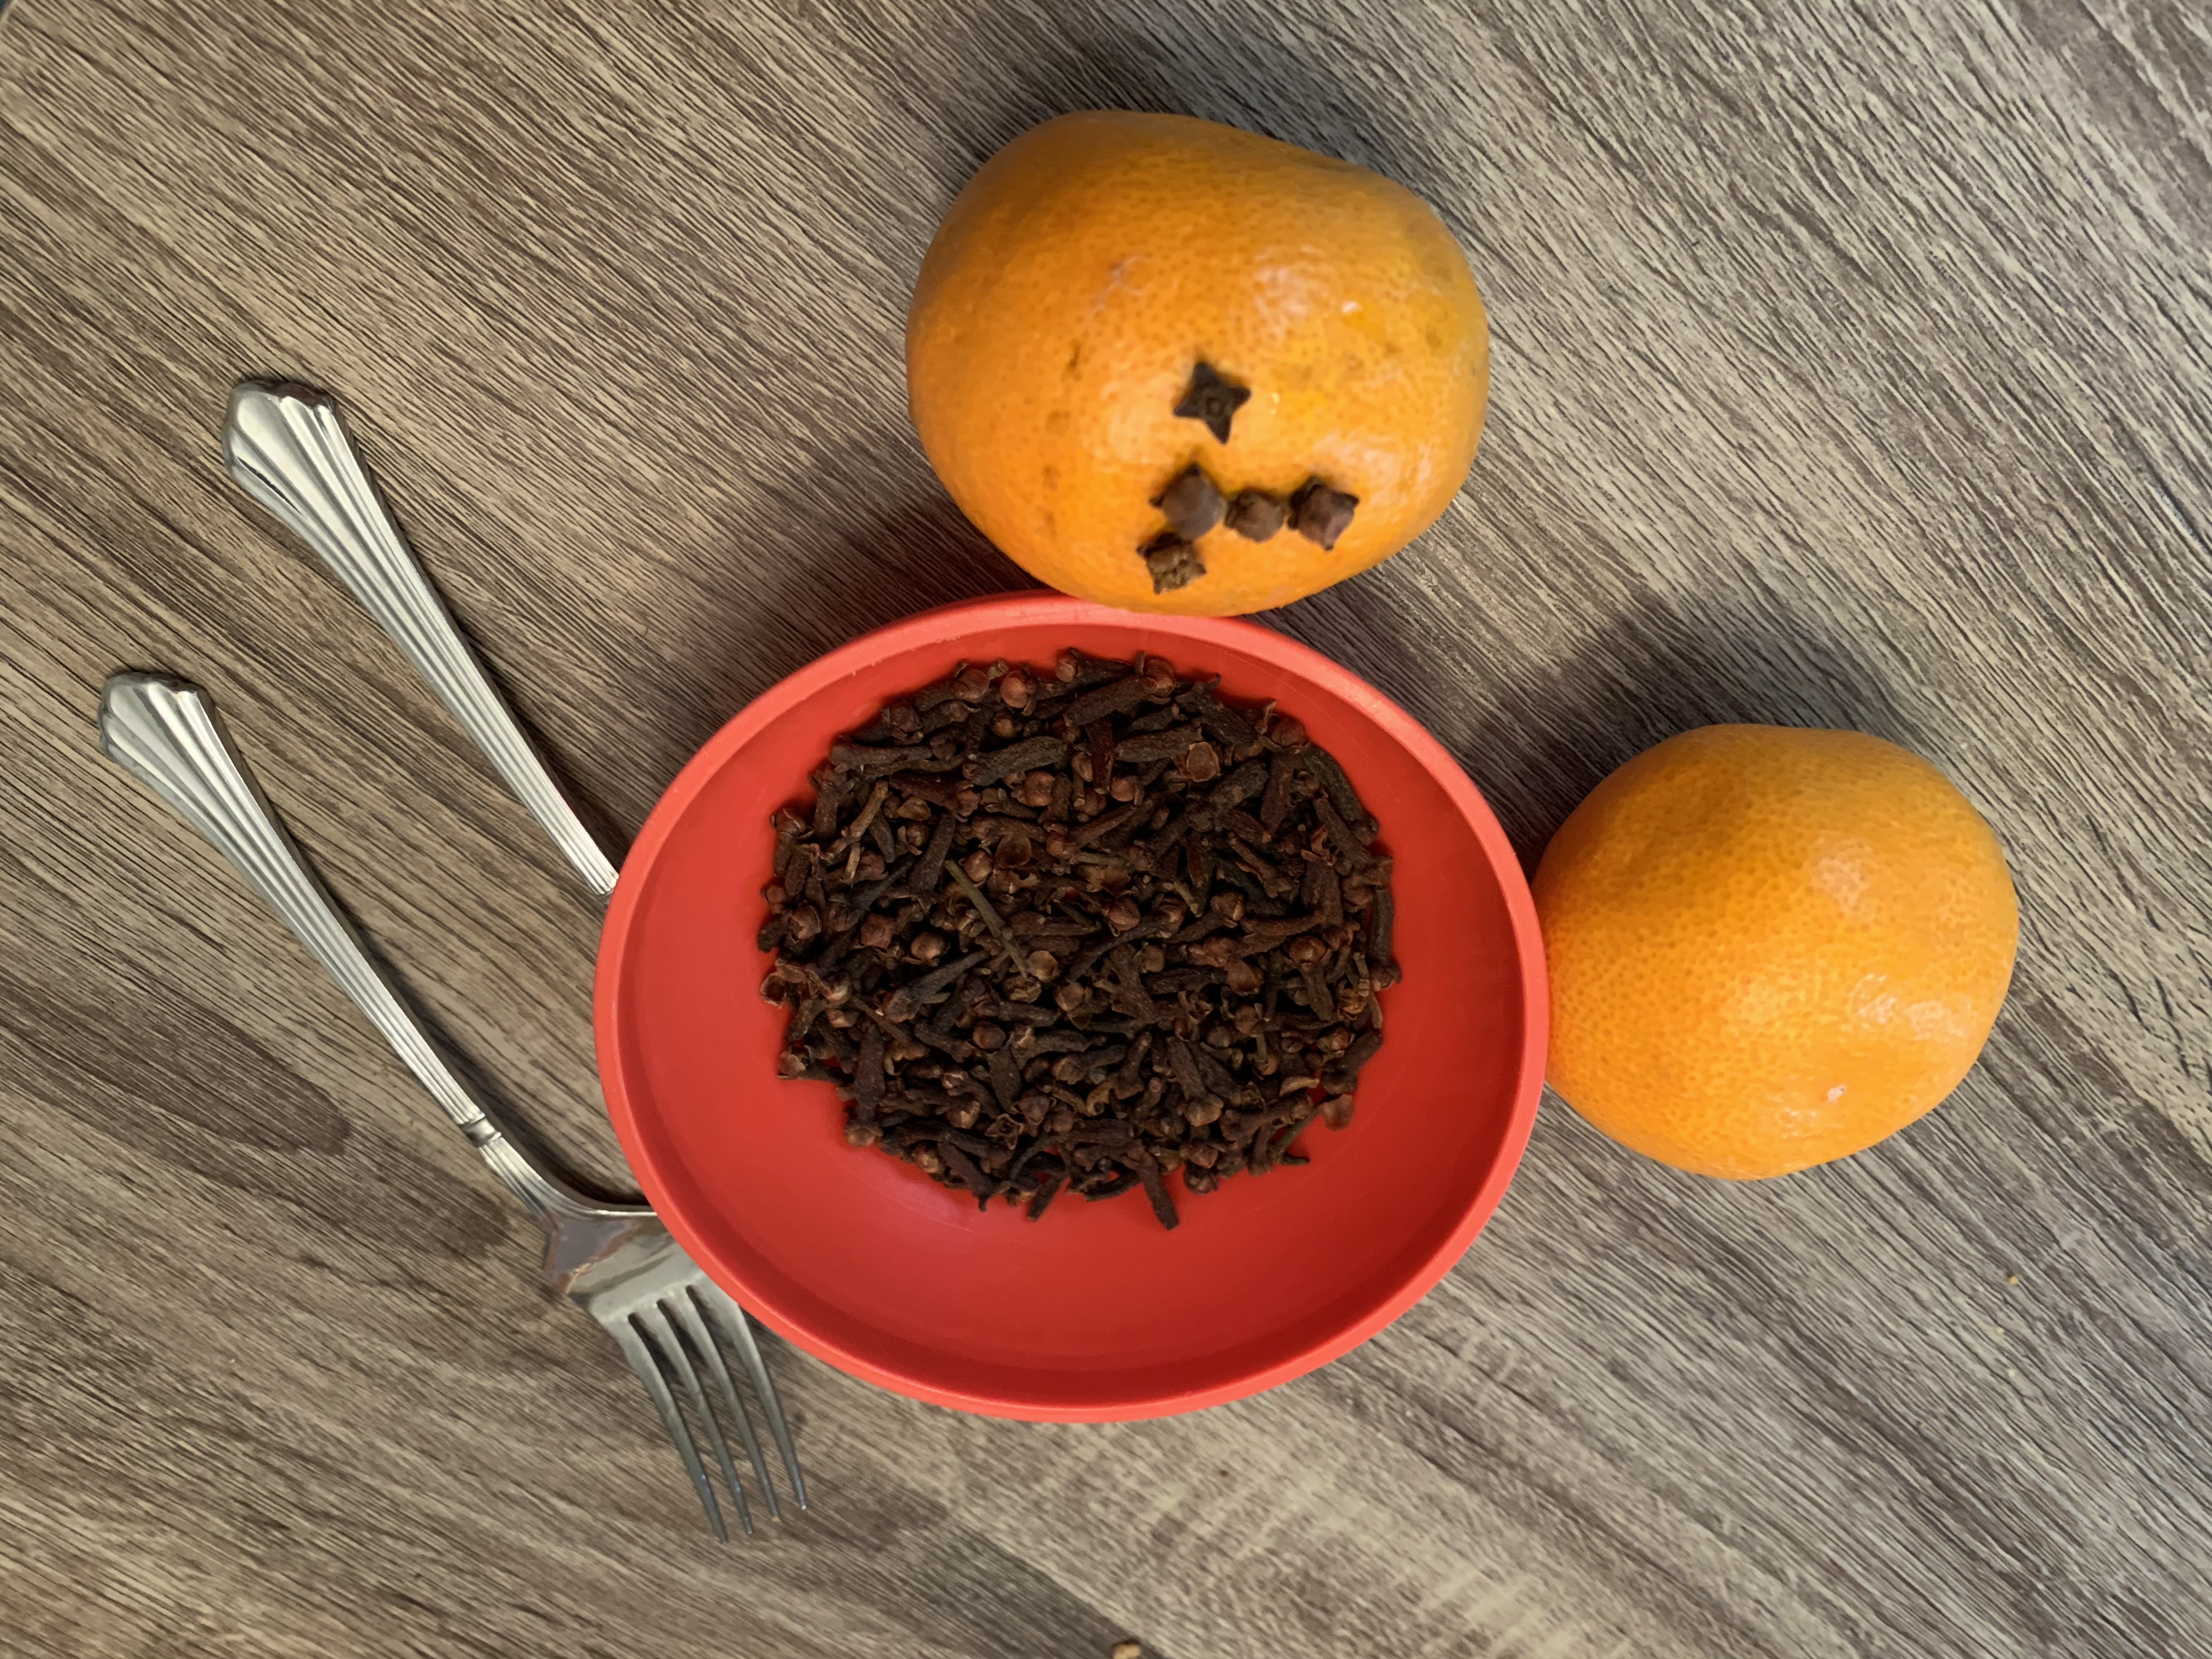
Citrus fruit: clementine or oranges work best (make sure they are on the harder side)

Whole cloves (you can get a large bag that will last for years at the food store)
Ribbon for decoration

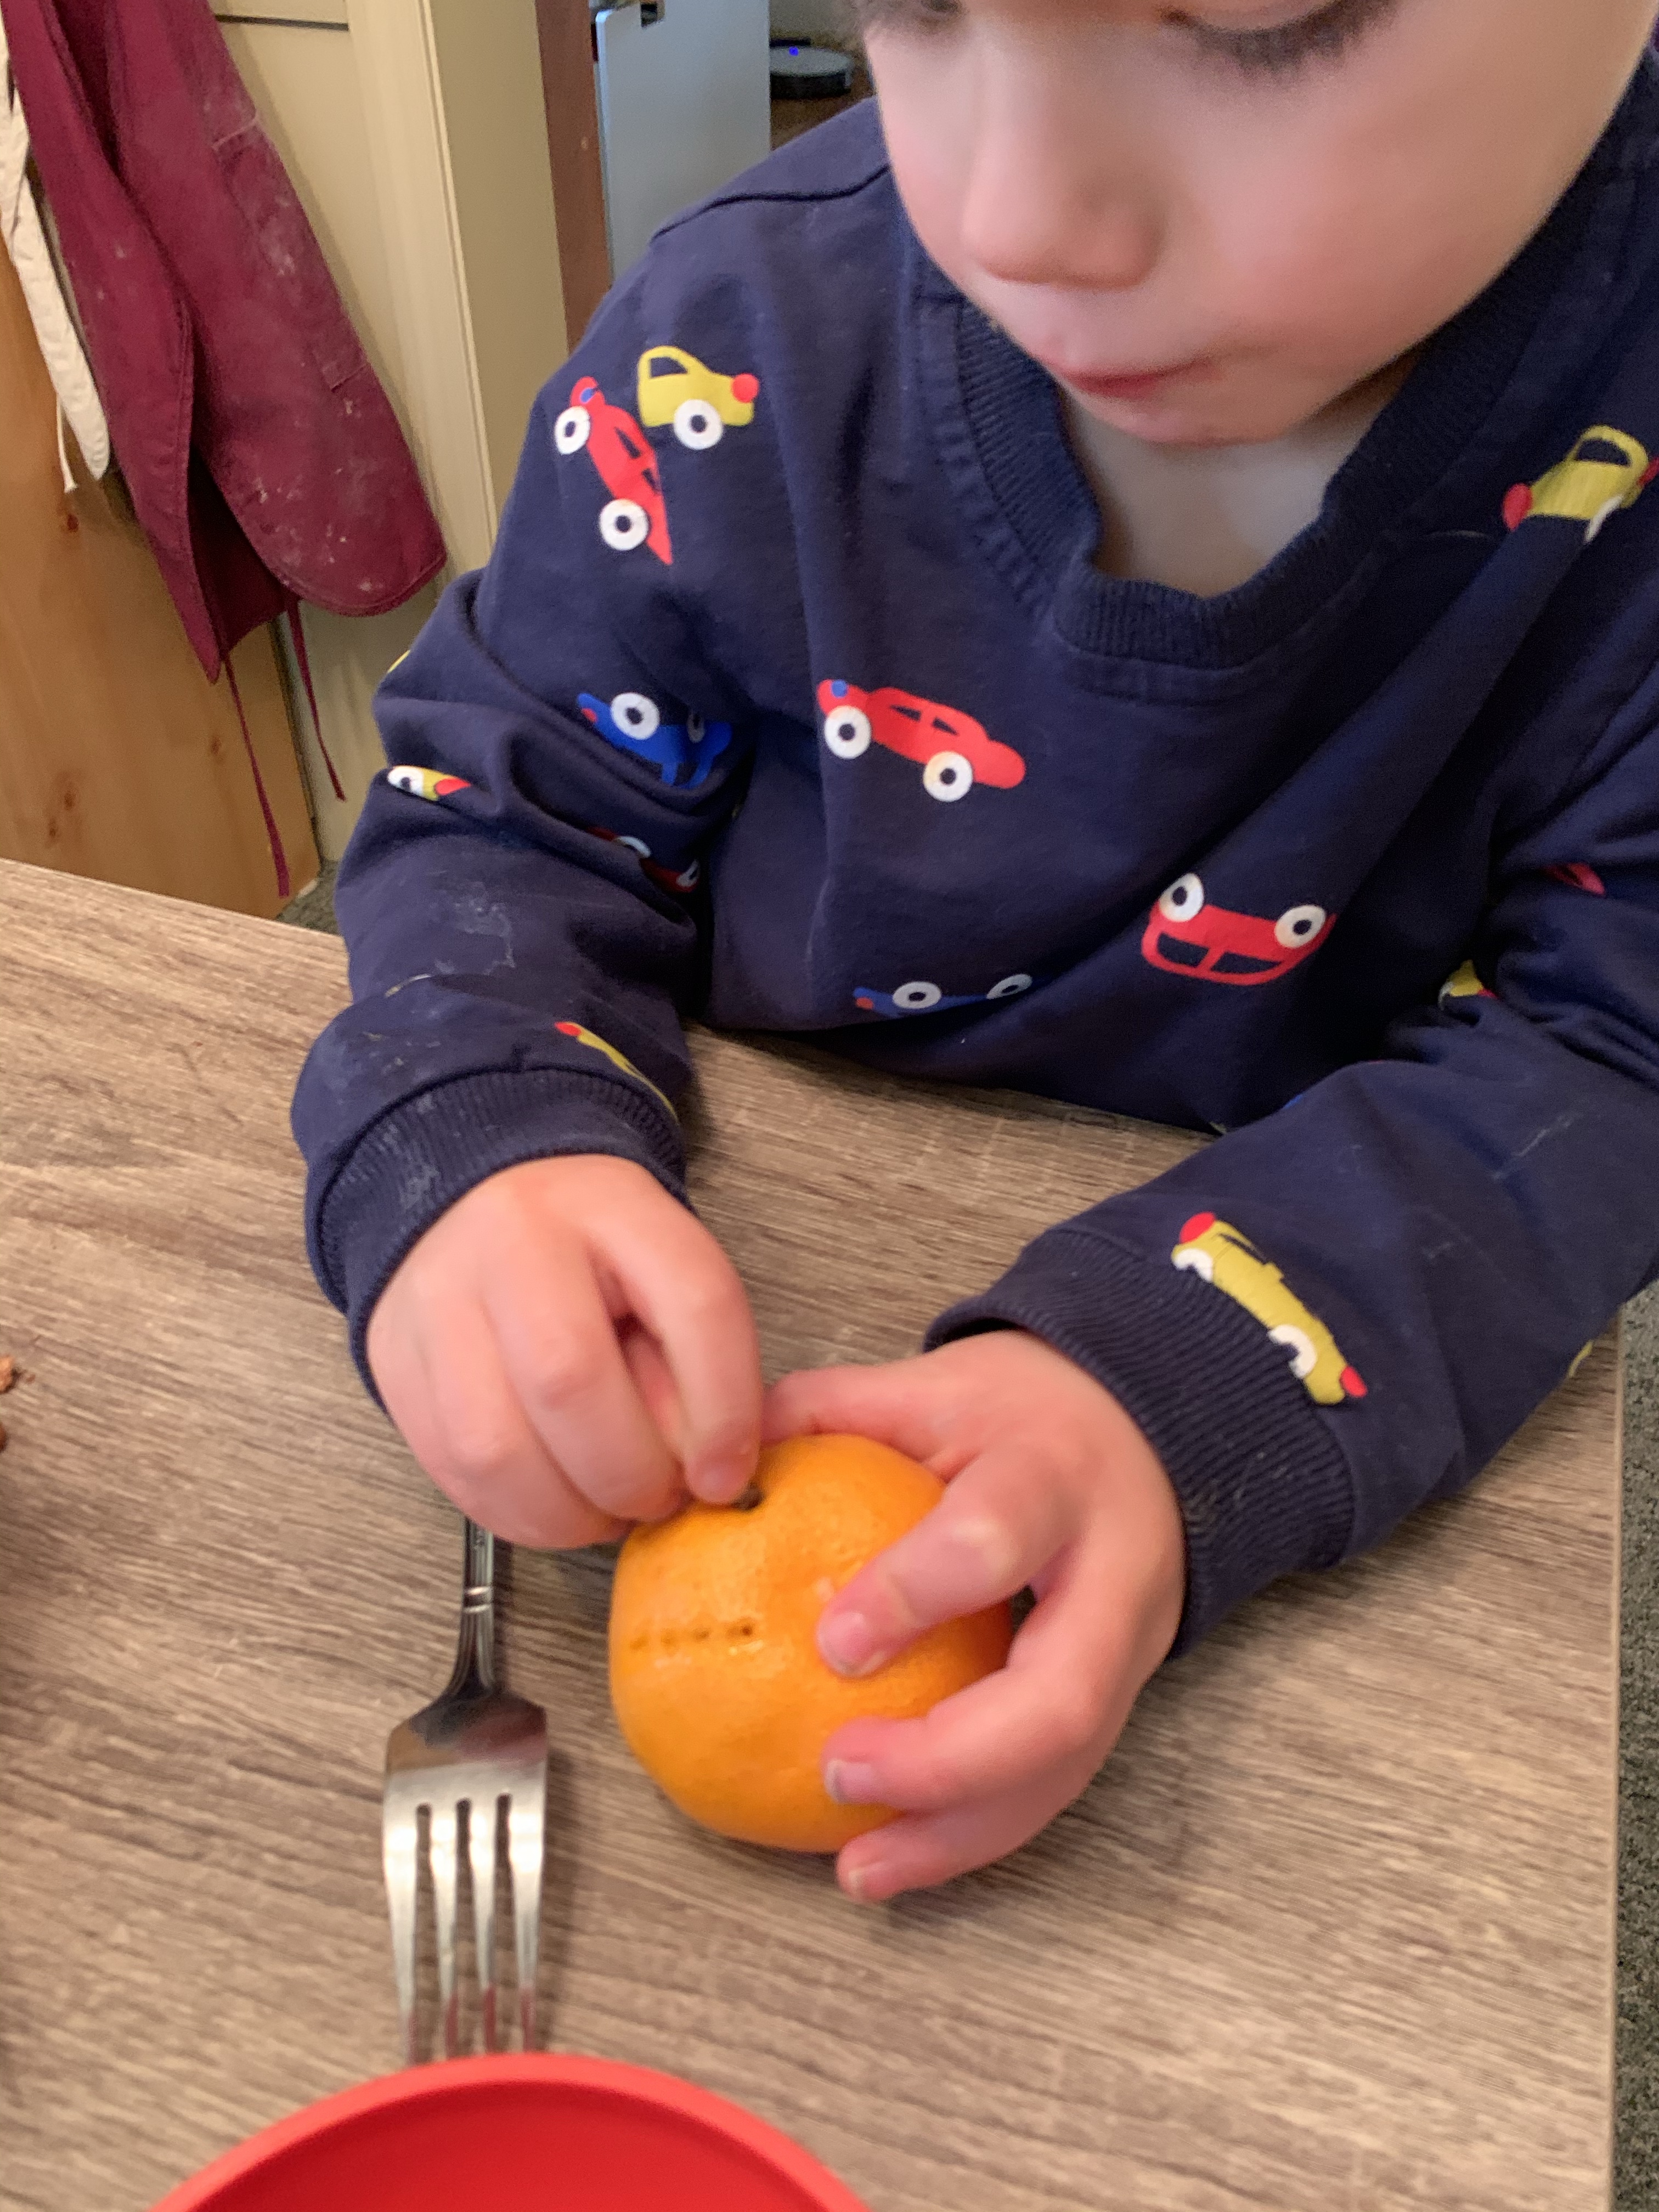
To make holes you can use a fork, pushpin, or toothpick (optional): my kids like to use a small fork to poke several holes at once

  1. Pour some whole cloves into a small bowl for the kids to chose fromimg_2440-1
  2. Next, have your child use a fork to poke holes
  3. img_2442-1
  4. Take the whole cloves and poke them through the holes
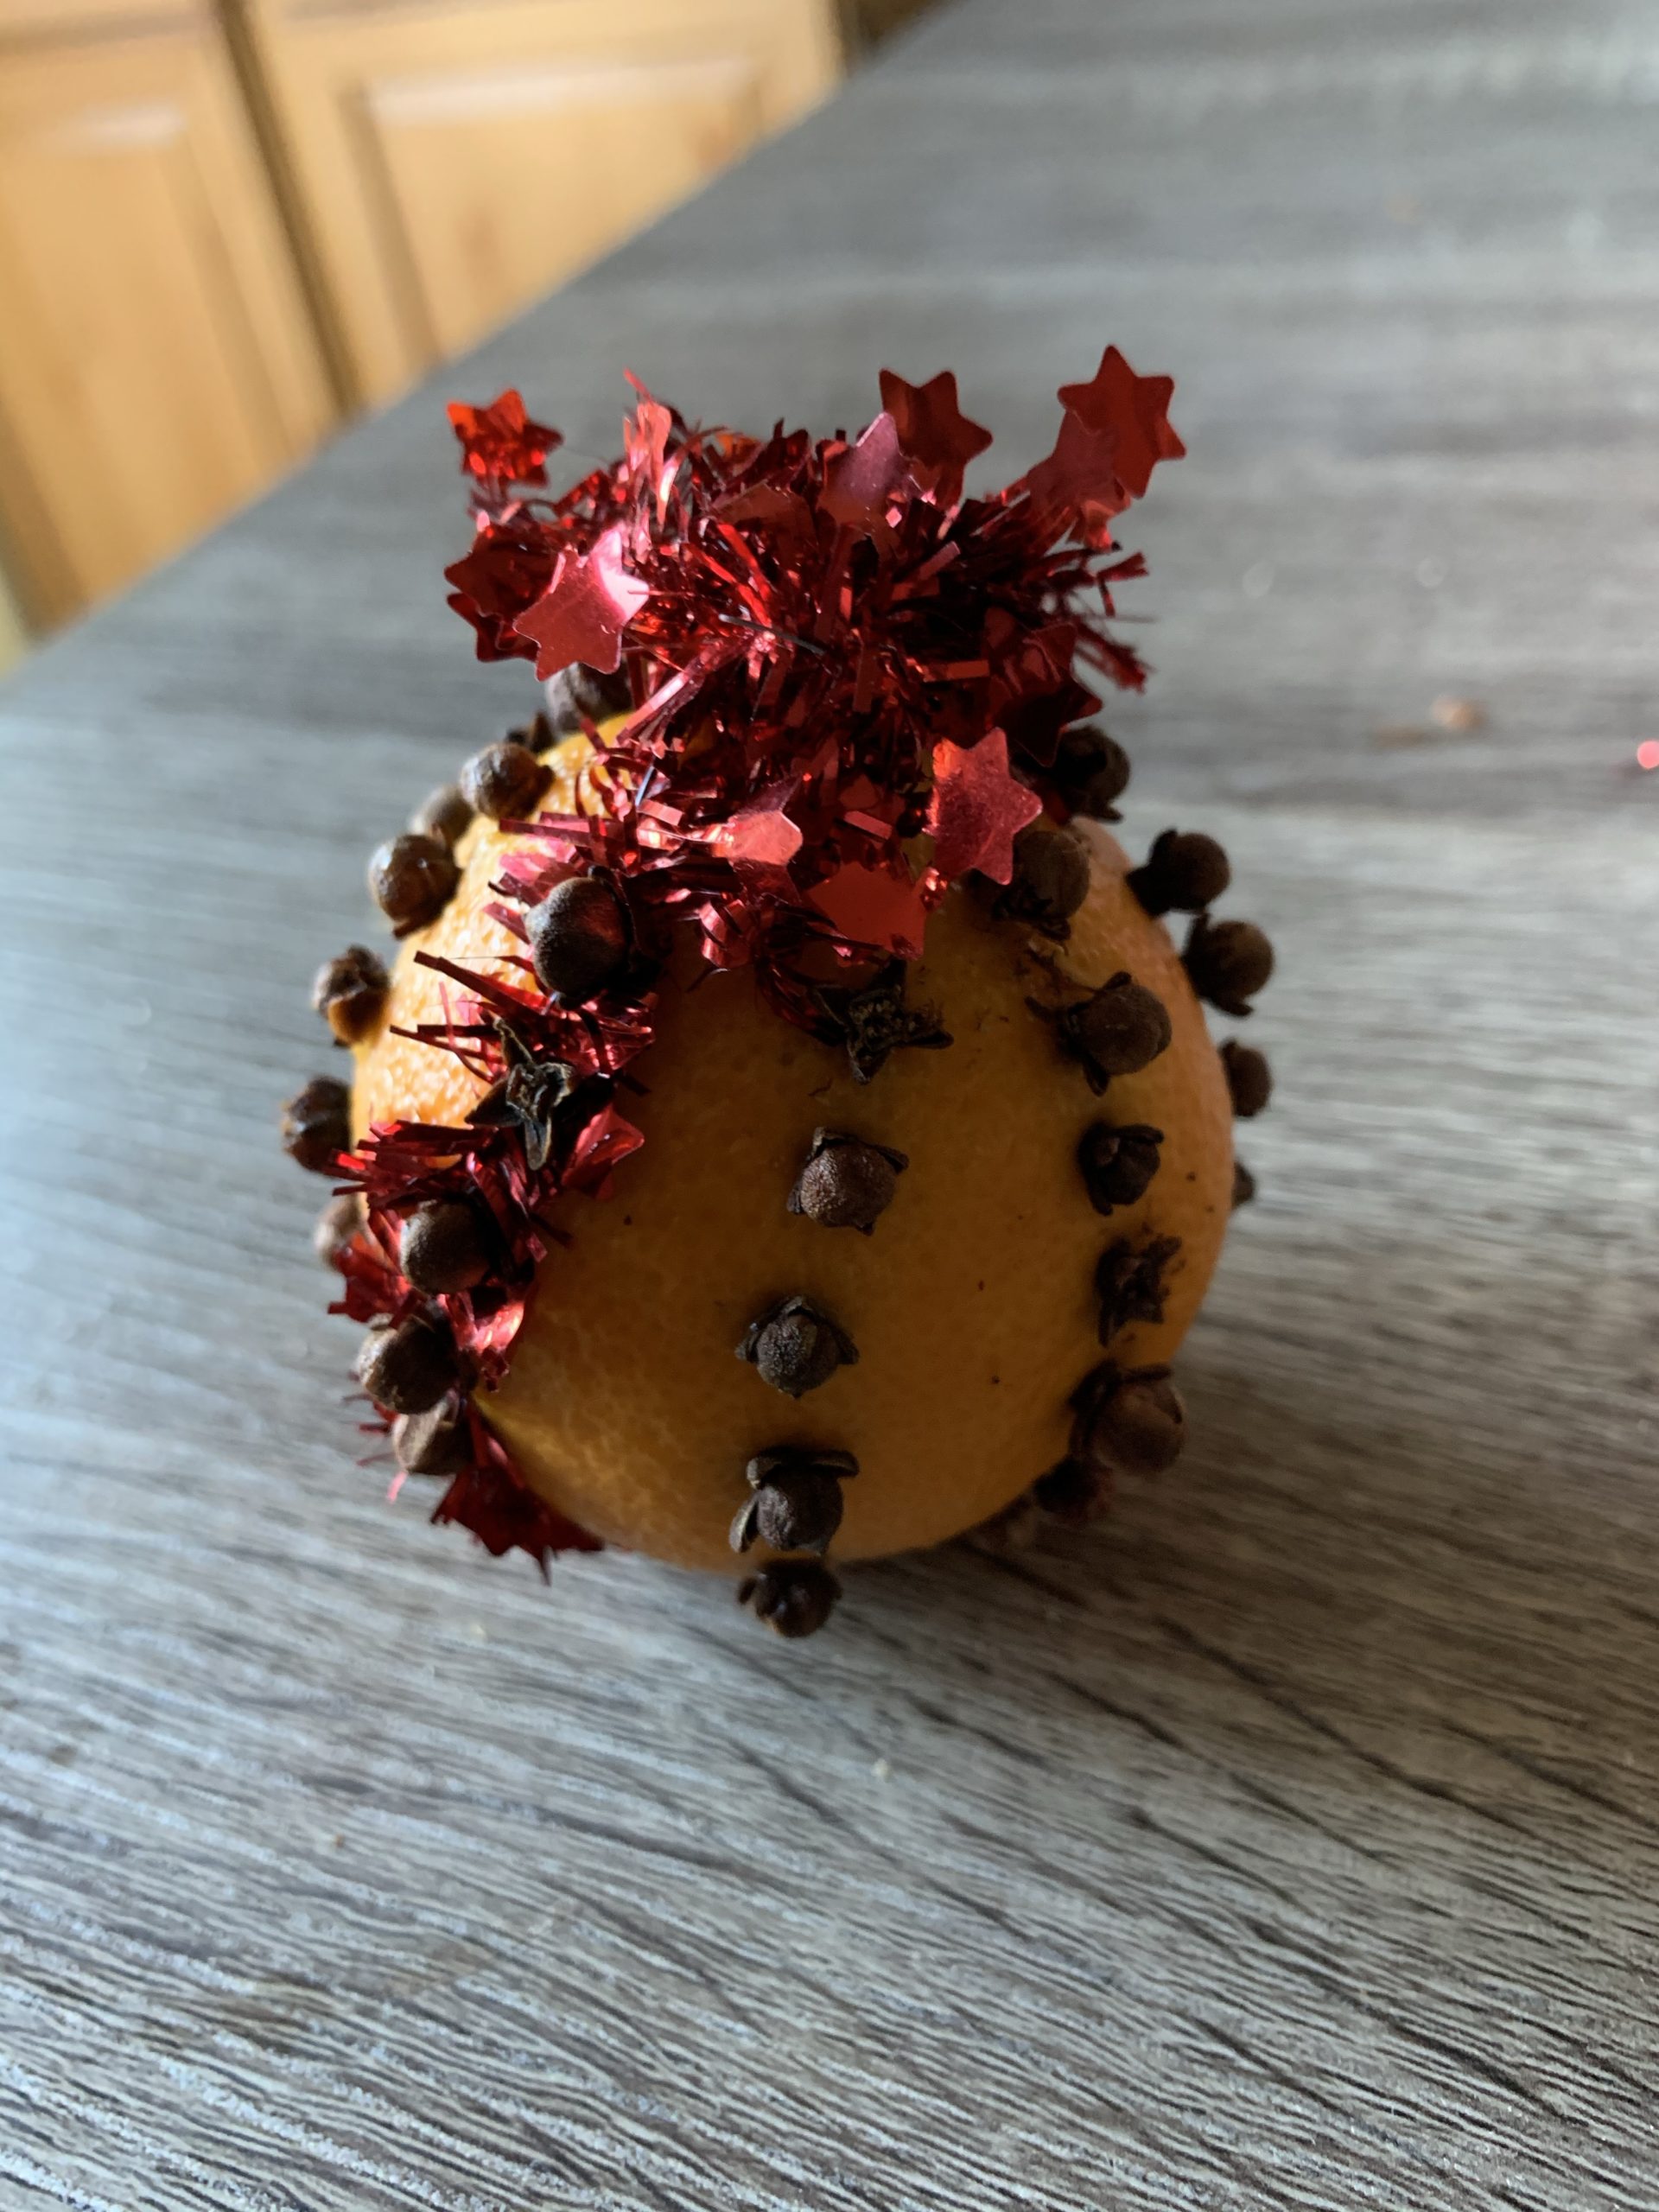
  5. Make a design as you chose, and hang with ribbon
  6. img_2453
  7. Dry out in a dark place, preferably in a brown bag for a week or two until dry then hang them or decorate with them!  If you chose not to dry them, then they usually last a week before they brown and get moldy. You can also place them in the fridge at night if you want them to last a little longer.
  8. img_2459
  9. If you fill the whole fruit with cloves completely, it will dehydrate the fruit and you wont need to place it in a bag at all (my kids don’t usually have the patience for this yet)

img_2458

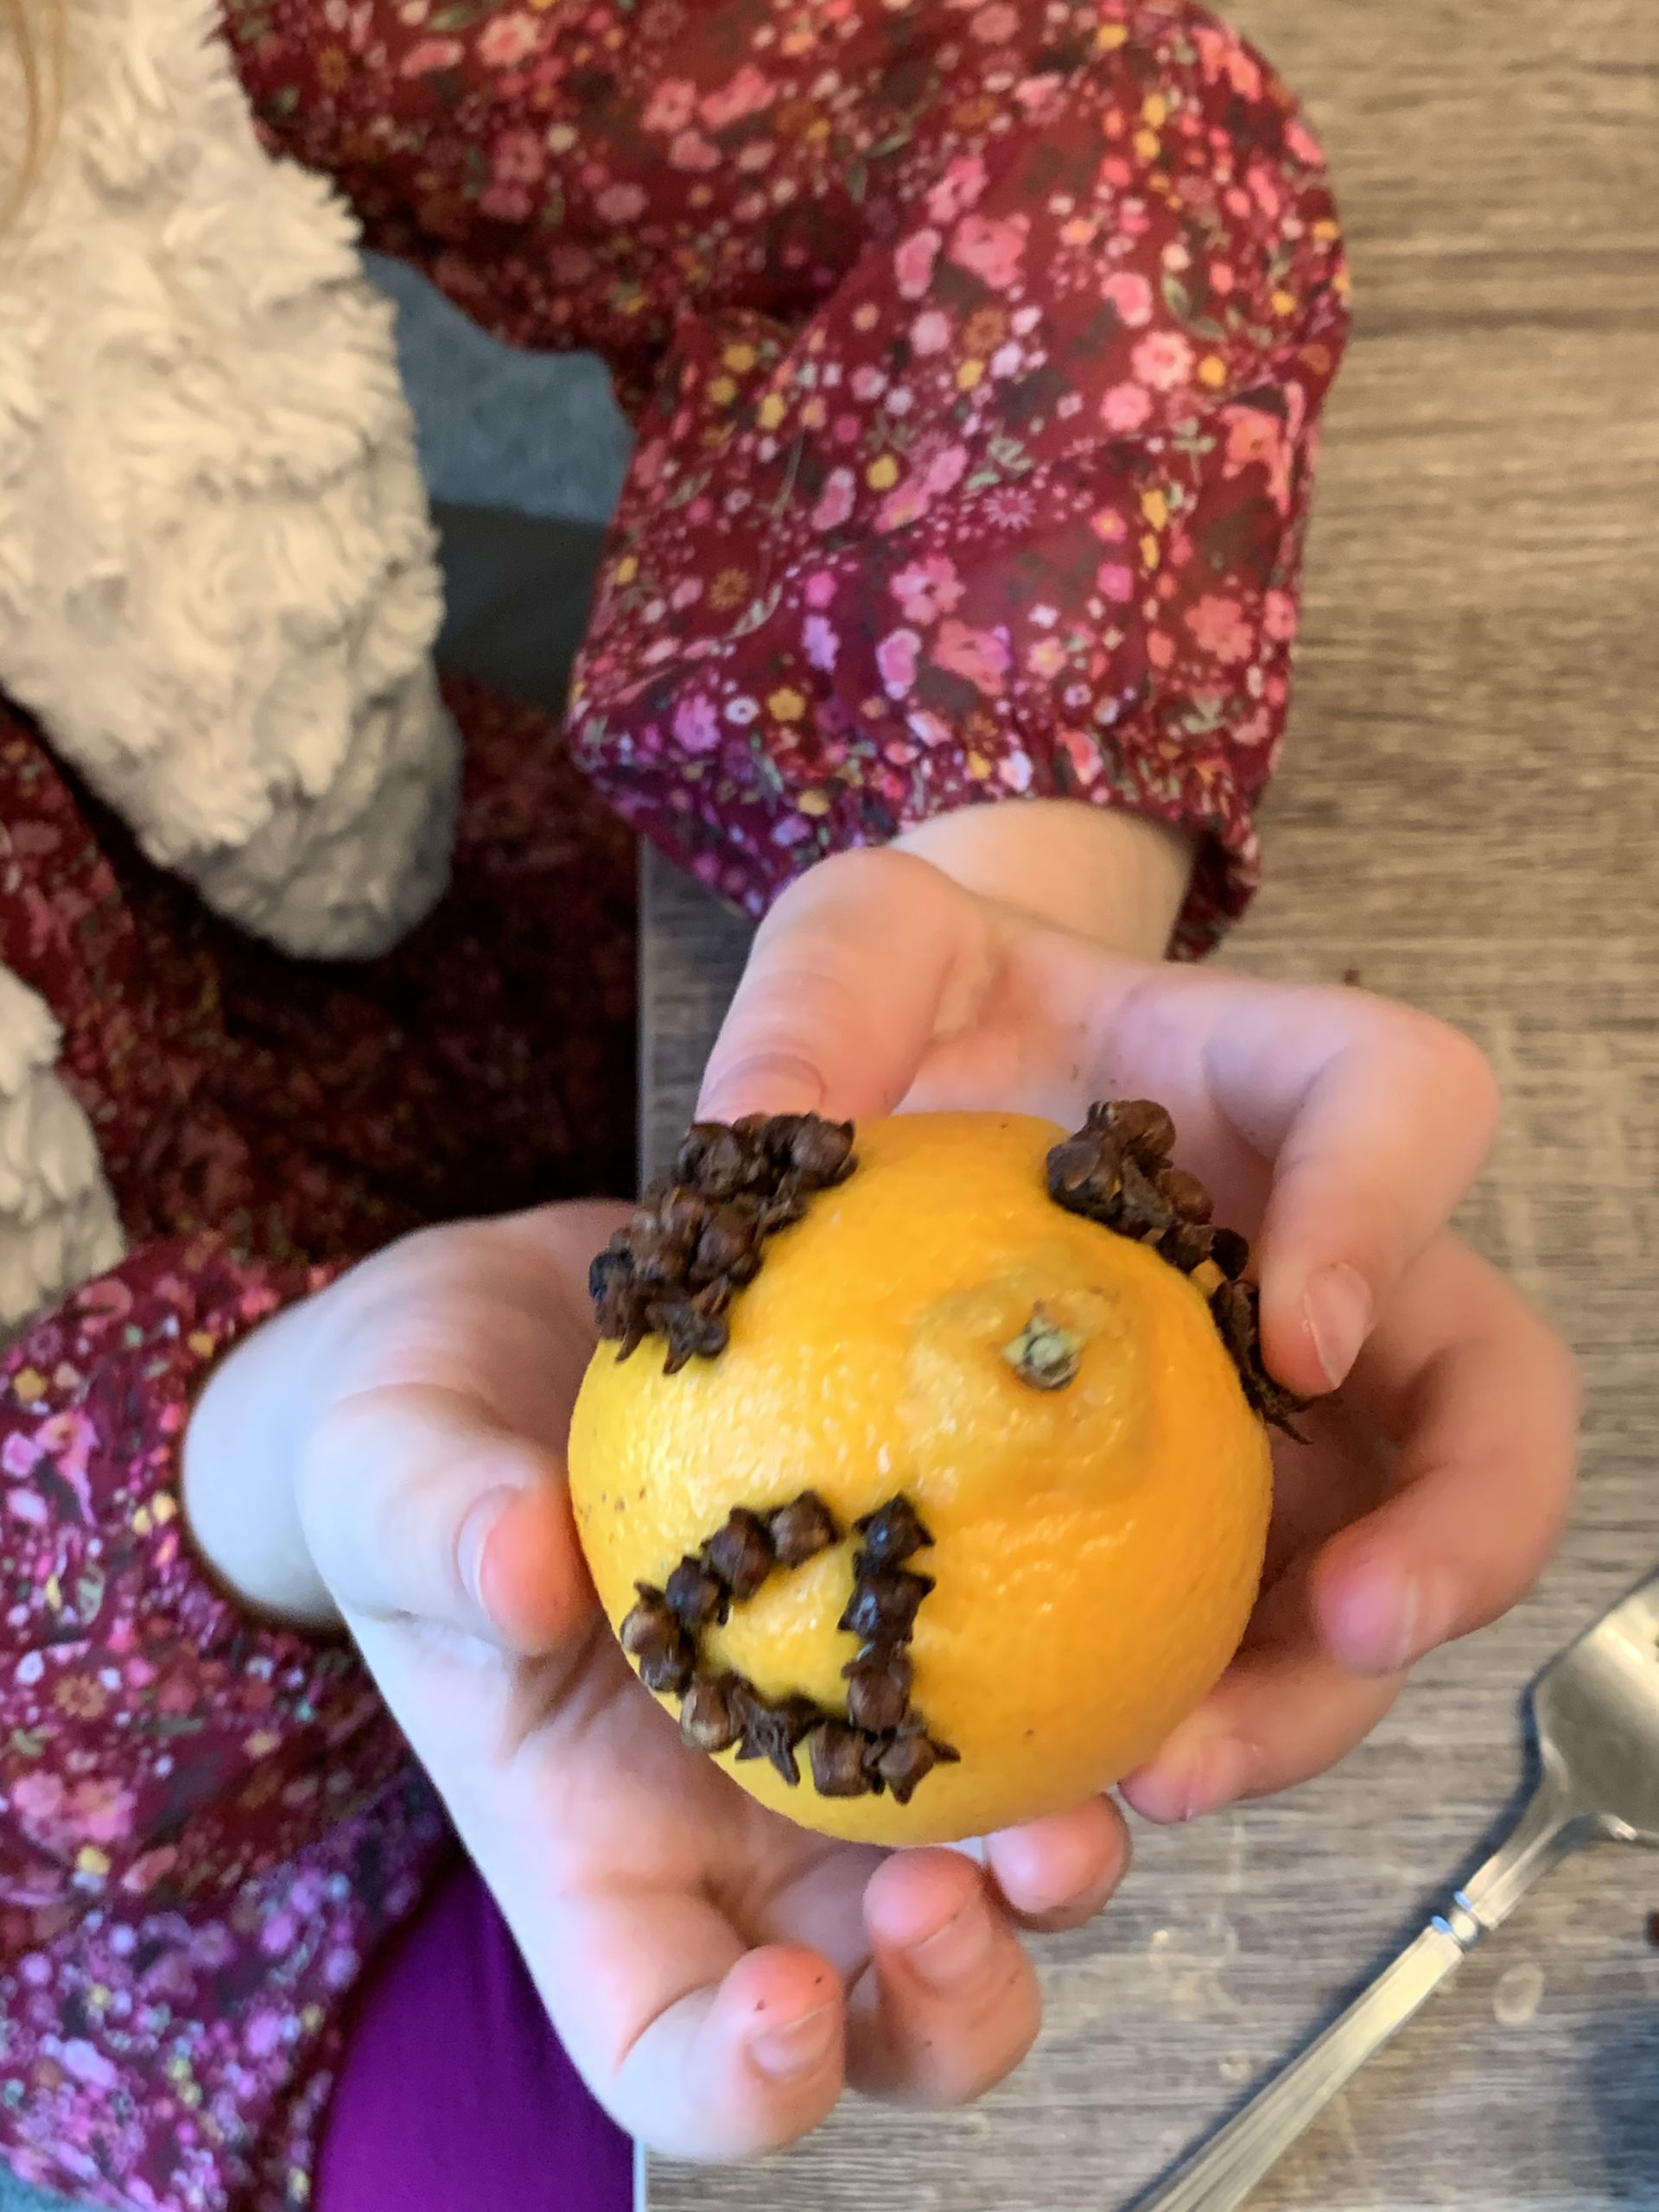
My kids wanted to law shapes on their clementines with the cloves!

img_2460

Enjoy and let me know how they turn out!!!


FollowFacebookpinterestrssyoutube
ShareFacebookpinterest

Sparkle Pumpkins!

IMG_2254

It’s finally fall and pumpkin time! Toddlers LOVE holidays and what a great way to get ready for trick-or-treating by decorating pumpkins! Obviously, toddlers shouldn’t be holding knives to make jack-o-lanterns so there are many fun alternatives!

You can have your toddler paint a pumpkin, add stickers, pom-poms, and many other accessories instead of the normal jack-o-lantern.

Or….you can have them make sparkle pumpkins! My daughter LOVES glitter, I mean who doesn’t? Okay, maybe we don’t, especially when you have to clean it. However, this is a perfect activity for outside in the cool, crisp fall weather.

IMG_2244

What do you need for this activity?

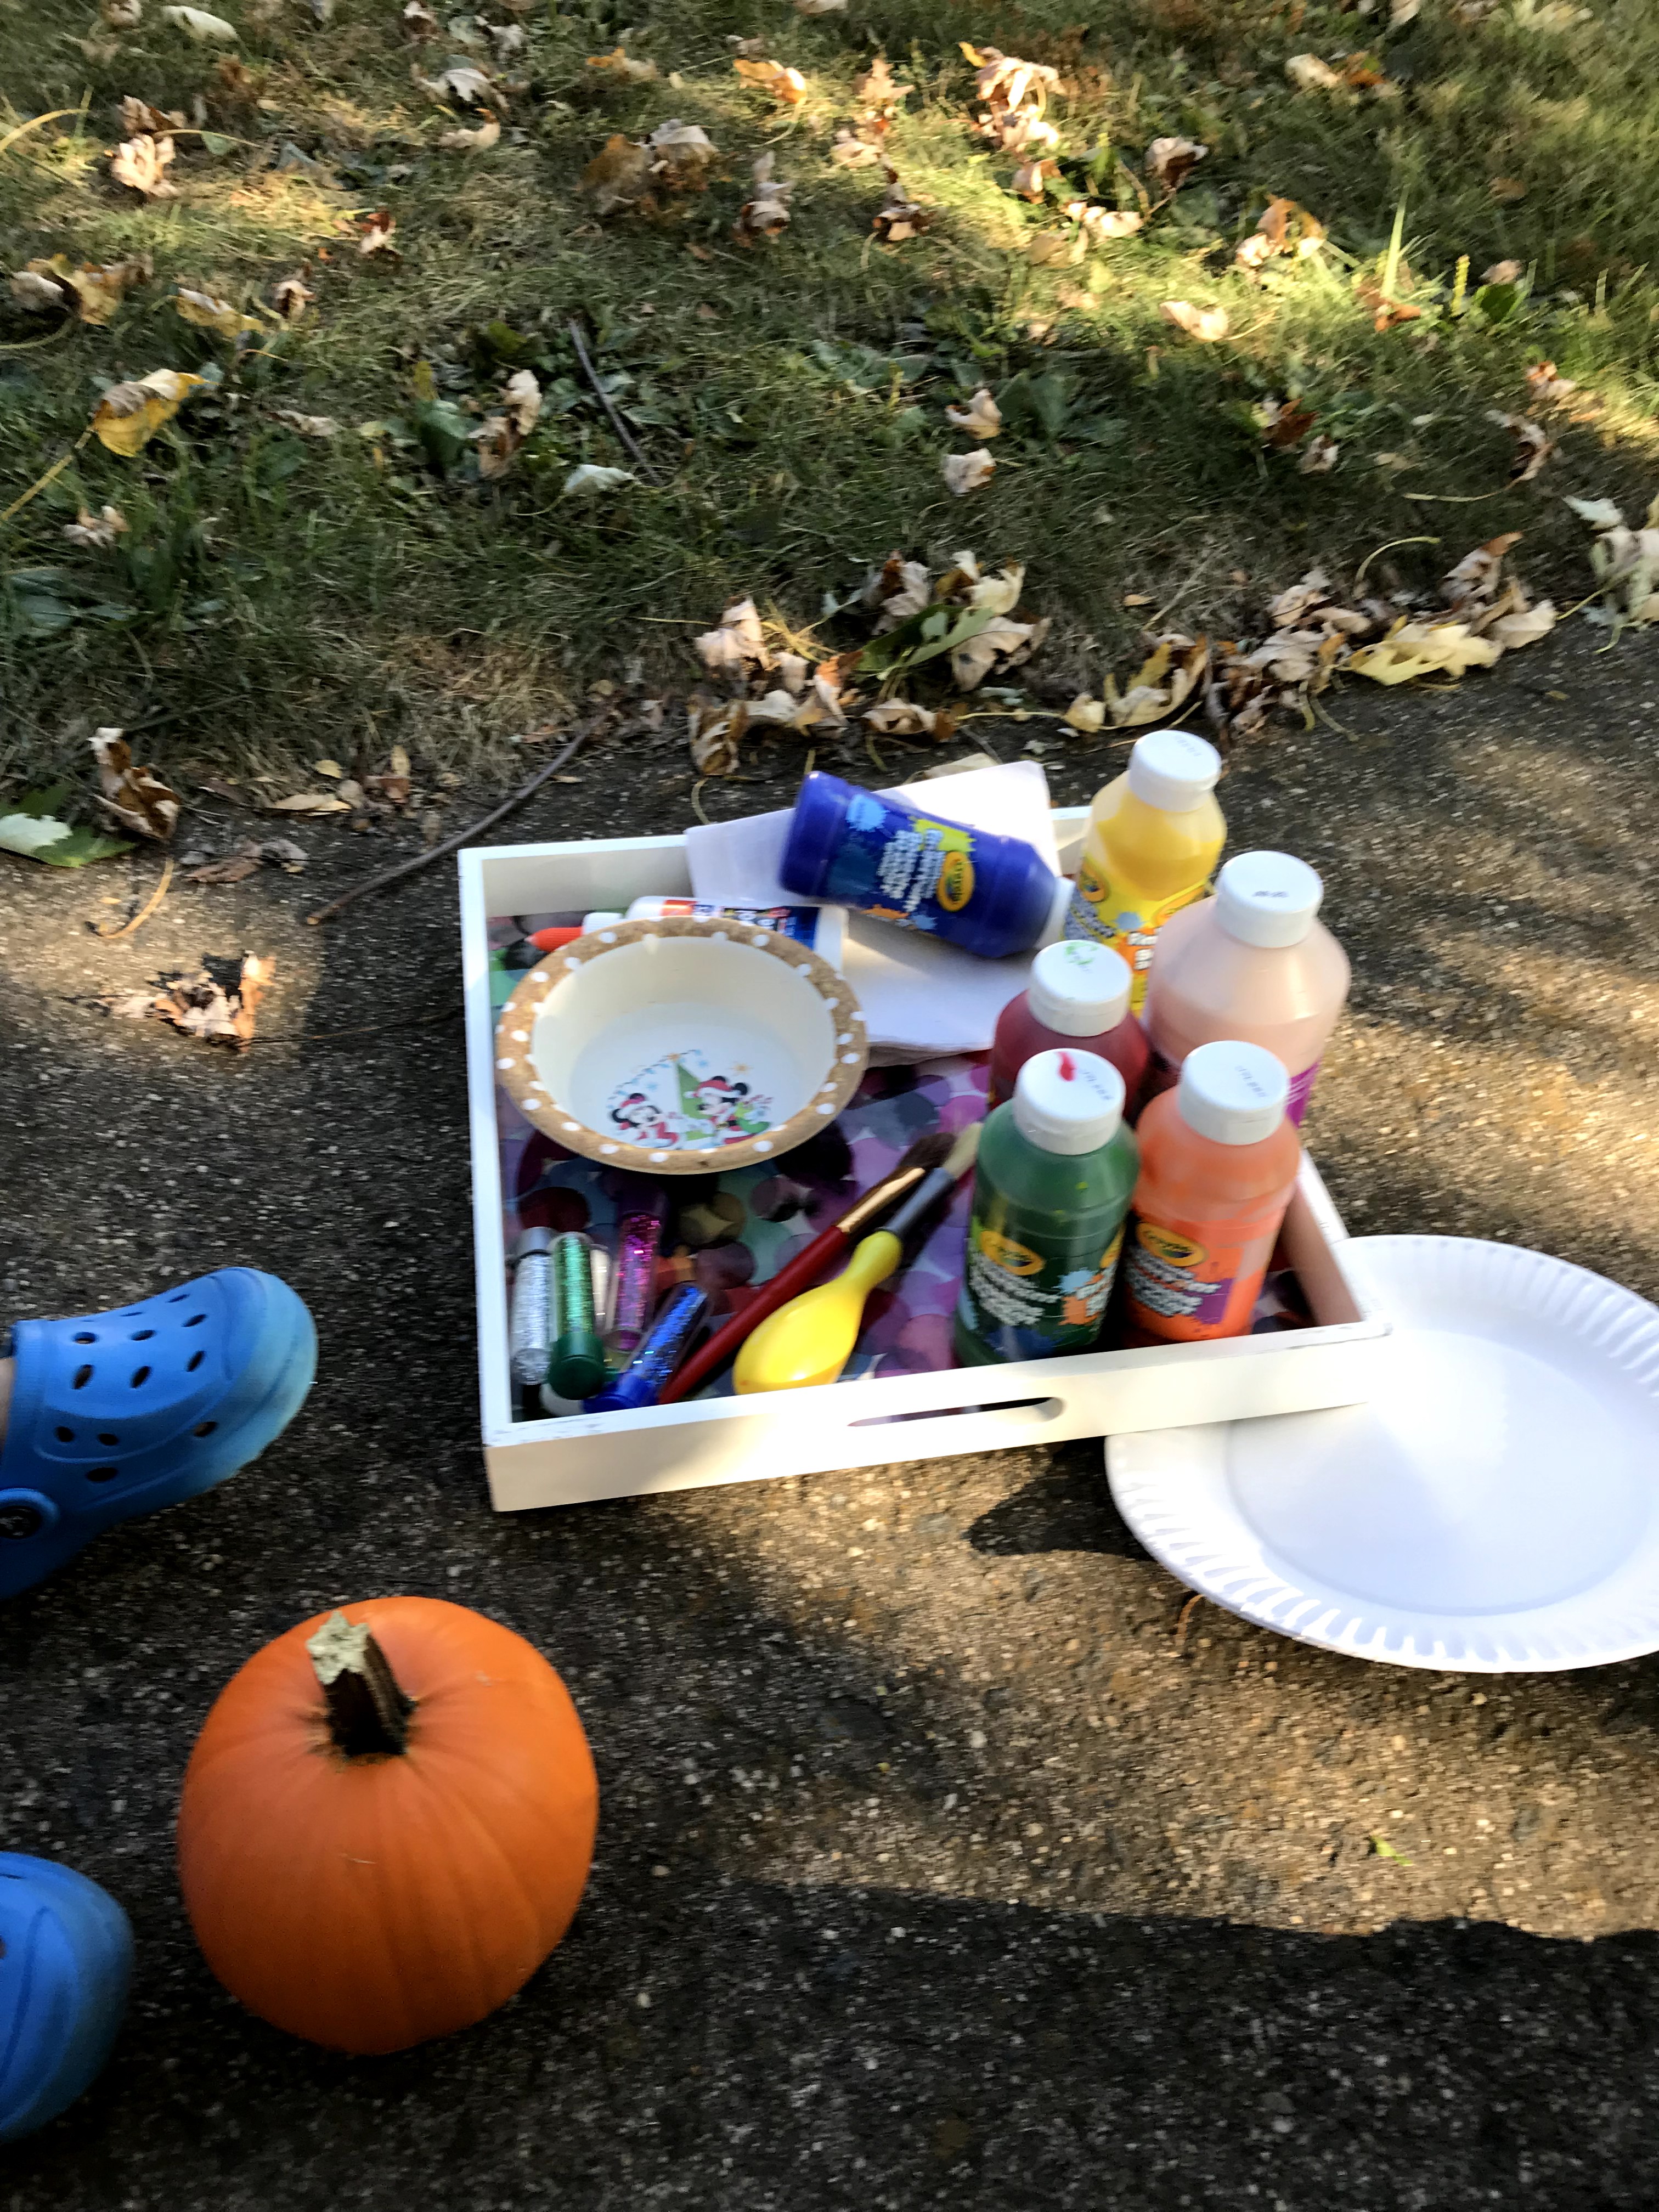
A pumpkin of course! Other materials you need are paint, glitter, glue, and brushes. You may want a paper plate or something you are using to put the paint on to mix it with glue. Glitter is a very important part of this activity! We used various colors.

First ask your child what color they want to start with! Add HALF glue and HALF paint concoction together. Mix them with the brush. The glue helps the paint stay on the pumpkin and not flake off. It also helps the glitter stay on. Your child can have fun painting their pumpkin!

IMG_2247


Let them paint to their heart’s content, then have them pick a glitter color or two.


IMG_2257


Madison spread the paint pretty thin, so I went ahead and put some liquid glue on the plate and had her brush the glue over the paint. This allowed the glitter to stick better. She just shook the glitter over the pumpkin (and all over the sidewalk).


I recommend you keep the pumpkin out of the rain!

IMG_2261

ENJOY!

FollowFacebookpinterestrssyoutube
ShareFacebookpinterest

A Family of Superheroes

Does your child like to play make believe? Ours is just getting into it at almost 2 years old. How do I know? We went to story time at the library last week and one of the songs, “The Ants Go Marching” includes pretending to pick up sticks. She was great at pretending to pick them up and continues to do it at home! She loves playing with tea and pretending to have picnics and play in the “sand” inside.

We’ve been stuck inside for a few days and the dreaded day I am to return to work from my child rearing leave keeps getting delayed due to snow days (hey, I’m okay with that). So what do we do? We pretend we are a family of superheroes!

85

My husband and I used blankets, but knew they were too long and wouldn’t stay on our little girl. I did a quick google search and found out how to make a t-shirt no sew cape for Madison. All you need to do is take an old adult t-shirt (that you don’t want anymore) and cut it a few inches under the collar in the front. Continue cutting around to the back a few inches from the collar and down the back (the sleeves get cut off). Do the same on both sides and you will have a cape that simply slips over your child’s head.

84.JPG


If you want to be fancy you can add a design on the back with fabric markers, iron on images and so on. We happened to have an image on the shirt already.

We pretended that the snow was piling up in her room and we had to save all of her stuffed animals by putting them on the couch in the living room. She loved racing down the hall while we shouted, “Fly to the room, save the stuffies! Super Maddy saves the day!” Singing also helps and humming superhero ballads. She loved this so much we did it multiple times today and putting that cape together took about one minute (as you an tell by my hasty cutting).

86

It’s definitely priceless to see your toddler stretch her arms out in front of her in the flying pose while yelling, “Save the stuffies!” Start a family of superheroes today!

FollowFacebookpinterestrssyoutube
ShareFacebookpinterest

Felt Snowman Fun!

1.jpg

What’s that? A foot in the corner of the picture? Yes! Madison couldn’t wait to get her hands on the felt snowman and decorate him!

My pile of felt was stacking up after doing a few projects and Christmas was over…what to do with it? I took down the amazing felt tree my sister made after the holidays and felt a bit depressed. Noooo Christmas can’t be over! Winter isn’t over, so why not make a felt snowman similar to the felt tree Madison loved so much?

The project is very simple & super cheap!

You need:

  • Felt in various colors: white, orange, black and a few other colors for the hat, buttons, and mouth.
  • Velcro
  • scissors

First, I cut out the 3 circles for the snowman out of white felt purchased at a local craft store (you can also get cheap felt at Walmart). I didn’t use any patterns, but just cut everything free hand. You could also use a marker to draw the shapes first, then cut them out.

3.jpgI went with simple features, a carrot nose, 2 arms, and a scarf. You can choose whatever colors suit you. I made 4 buttons, a mouth, rosy cheeks, eyes, and 4 hats.

Why 4 hats you ask? Madison likes to dress up different dolls and I thought she would like to make the snowman not only something she puts together, but gets to switch the different features. Plus, I had lots of extra fabric and time. After cutting everything out I hot glued the 3 white circles that make up the snowman together.

Another option would be to put velcro on the bottom of the top 2 white circles and your child could put the snowman together that way. I know my toddler, and she likes to pull on things, so gluing it together was the best option for us.

4I bought velcro with sticky back so I wouldn’t have to glue it. I simply  used the hook side of the velcro. Yes, I had to look that up, the hook side aka the rough side. I cut each piece depending on what I was using the velcro on. For example, the scarf is long so I used at least 5 inches of the hook side of the velcro. 1.jpg

For the buttons I used about an inch each. You don’t need the soft side, the loop. If you use felt then the rough side of the velcro will stick to the velcro. After you cut the hook velcro just peel off the sticky side and put it on your snowman accessory. Do this for each accessory. When you are all done putting velcro on, you can have your child decorate!

1.jpg

If you wish you can put dots on the buttons and lines on the carrot nose with a sharpie marker! You can lay this on the floor or hang it up for your little one to decorate. It also makes a great present!

FollowFacebookpinterestrssyoutube
ShareFacebookpinterest

Tv tv everywhere…

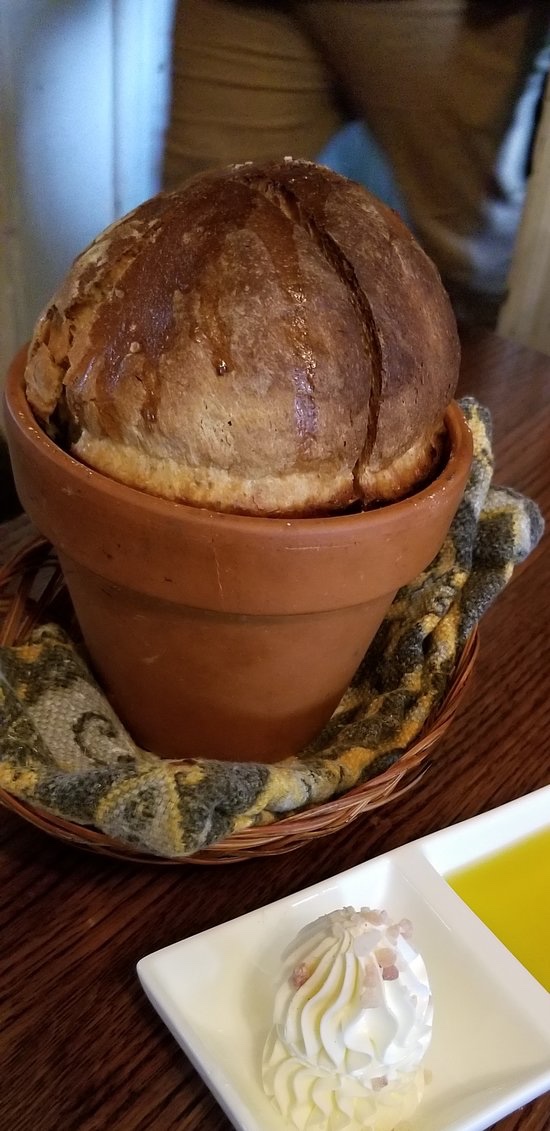
This evening my husband, my two and four year old children, and myself went to a nice restaurant together. Actually, my favorite restaurant, and the one we had our Wedding rehearsal at 7 years ago. I was nervous that our children would become bored and loud so I brought a coloring book, crayons and a couple stickers. Unlike many restaurants, this one is quiet, in an old farmhouse, and has classical music on and no televisions. You are meant to enjoy one another’s company with local fantastic fresh food. There is no overstimulation with many TVs, too loud music, or too many distractions. The food may take longer to be made, but that’s because it’s fresh. The bread comes out in the clay pot it was cooked in, it’s amazing!
But back to my story, a couple comes in with their 3-4 year old son who they sit in a chair. Immediately, a large iPad is placed in front of him and we can hear blippi playing. If you don’t know the show Blippi, you should check it out, as it is a real person doing real things in the real world (it’s my sons favorite show when I do let him watch anything). Luckily, my kids weren’t too distracted, I thought my son might start yelling blippi, but he went back to eating his bread. Next, the sons father went on his phone for the entire dinner. I had missed this as I was paying attention to my family, however my husband pointed out that he was on his phone the entire time.

Through the entire dinner, the family next to us had the iPad or whatever device it was placed in front of him and could hardly see his parents. No wonder this kid was crawling under the table screaming periodically and trying to run around the restaurant! His parents weren’t paying any attention to him except to reference the show he was watching. The mother even said look at those children behaving over there that is how you should behave. I felt badly for this child because his parents were blocking him out by trying to turn him into the zoning zombie to “enjoy” their dinner. Which in this case, was the father on his phone the whole time anyways.

I see children everywhere I go on their parents phones or iPads zoning out instead of interacting, developing relationships, communicating and learning. Even at the food stores, kids are plopped into a cart and given a phone to play with instead of interacting and watching interactions taking place. The children are learning how to behave from the show instead of reality. I’m guilty of letting my children watch tv, I think I might lose my sanity sometimes if I tried to make a decent dinner with two toddlers trying to help and almost burning themselves or cutting themselves every couple seconds. Granted sometimes they play with their puzzles and legos and such and it’s great. Even better, they play together a lot more these days. I do have them bake with me frequently since they love helping (toddlers love helping, even if it makes more of a mess!).

Sometimes I’m guilty of trying to catch a couple more z’s by letting my daughter come into my bed in the morning to watch a pbs show or two. This may let me sleep a couple minutes longer; however I pay the price when it’s time to turn it off. No matter how many times I’ve told her only one show and then breakfast, she throws a mini tantrum or full tantrum and just wants to watch more. This sets a bad tone for the whole day and I immediately regret letting her watch a show.
Another thing that bothers me is when parents post online what type of device they should get their 4 or 5 year old to watch shows before bed or in bed or for restaurants car rides and so on. Children should be interacting with real people, especially their family to build the bonds for their lifetime instead of glued to a screen. If you need to catch your breath once and a whole, I totally get it! Just remember, when you let your daughter watch a show in your bed or take that iPhone out at the store, your child makes that connection that you let him or her do this so they will expect it again and will be persistent. One thing I’ve definitely learned with a toddler is that if you think I’ll pick my battles and let them do something once, they will expect it again and again. More on positive discipline in the future, but that’s all for now!

Of course this is all just my opinion, and everyone has their own opinions, this is America after all, but next time think about actually having a discussion with your kids over dinner instead of bringing out the constant “entertainment.”

FollowFacebookpinterestrssyoutube
ShareFacebookpinterest

DIY Placemat Place Setting

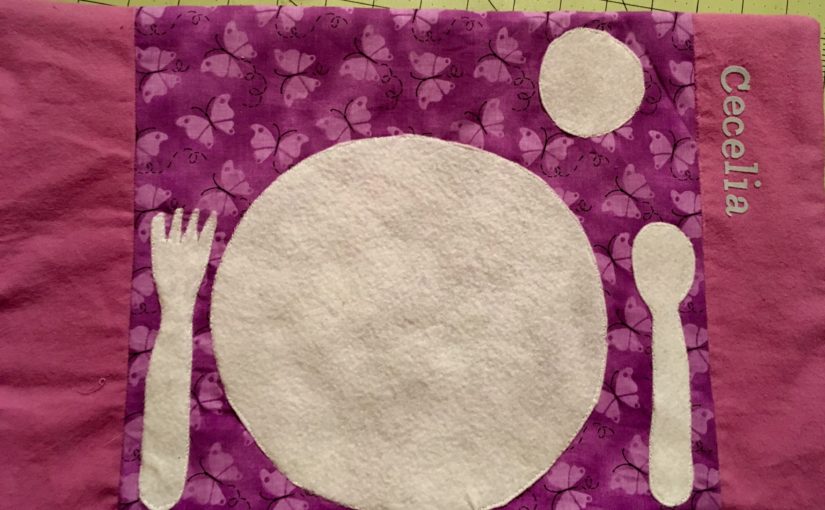
IMG_1805

My daughter loves to assert her independence, even at meal time! So I thought, why not make a placemat that she can set her own place setting at? There are many ways to make placemats.

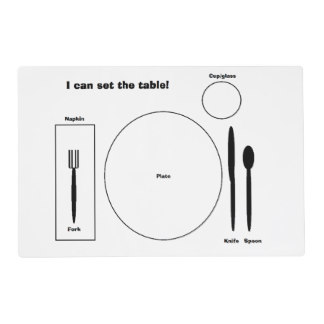
One way is simply laminating a printed out version of a placemat setting such as this…

placematHowever, my laminator is only big enough for a regular printer sized paper. You can take it to your local staples or office store to get laminated. You can even make your own placemat out of fabric and have it laminated.
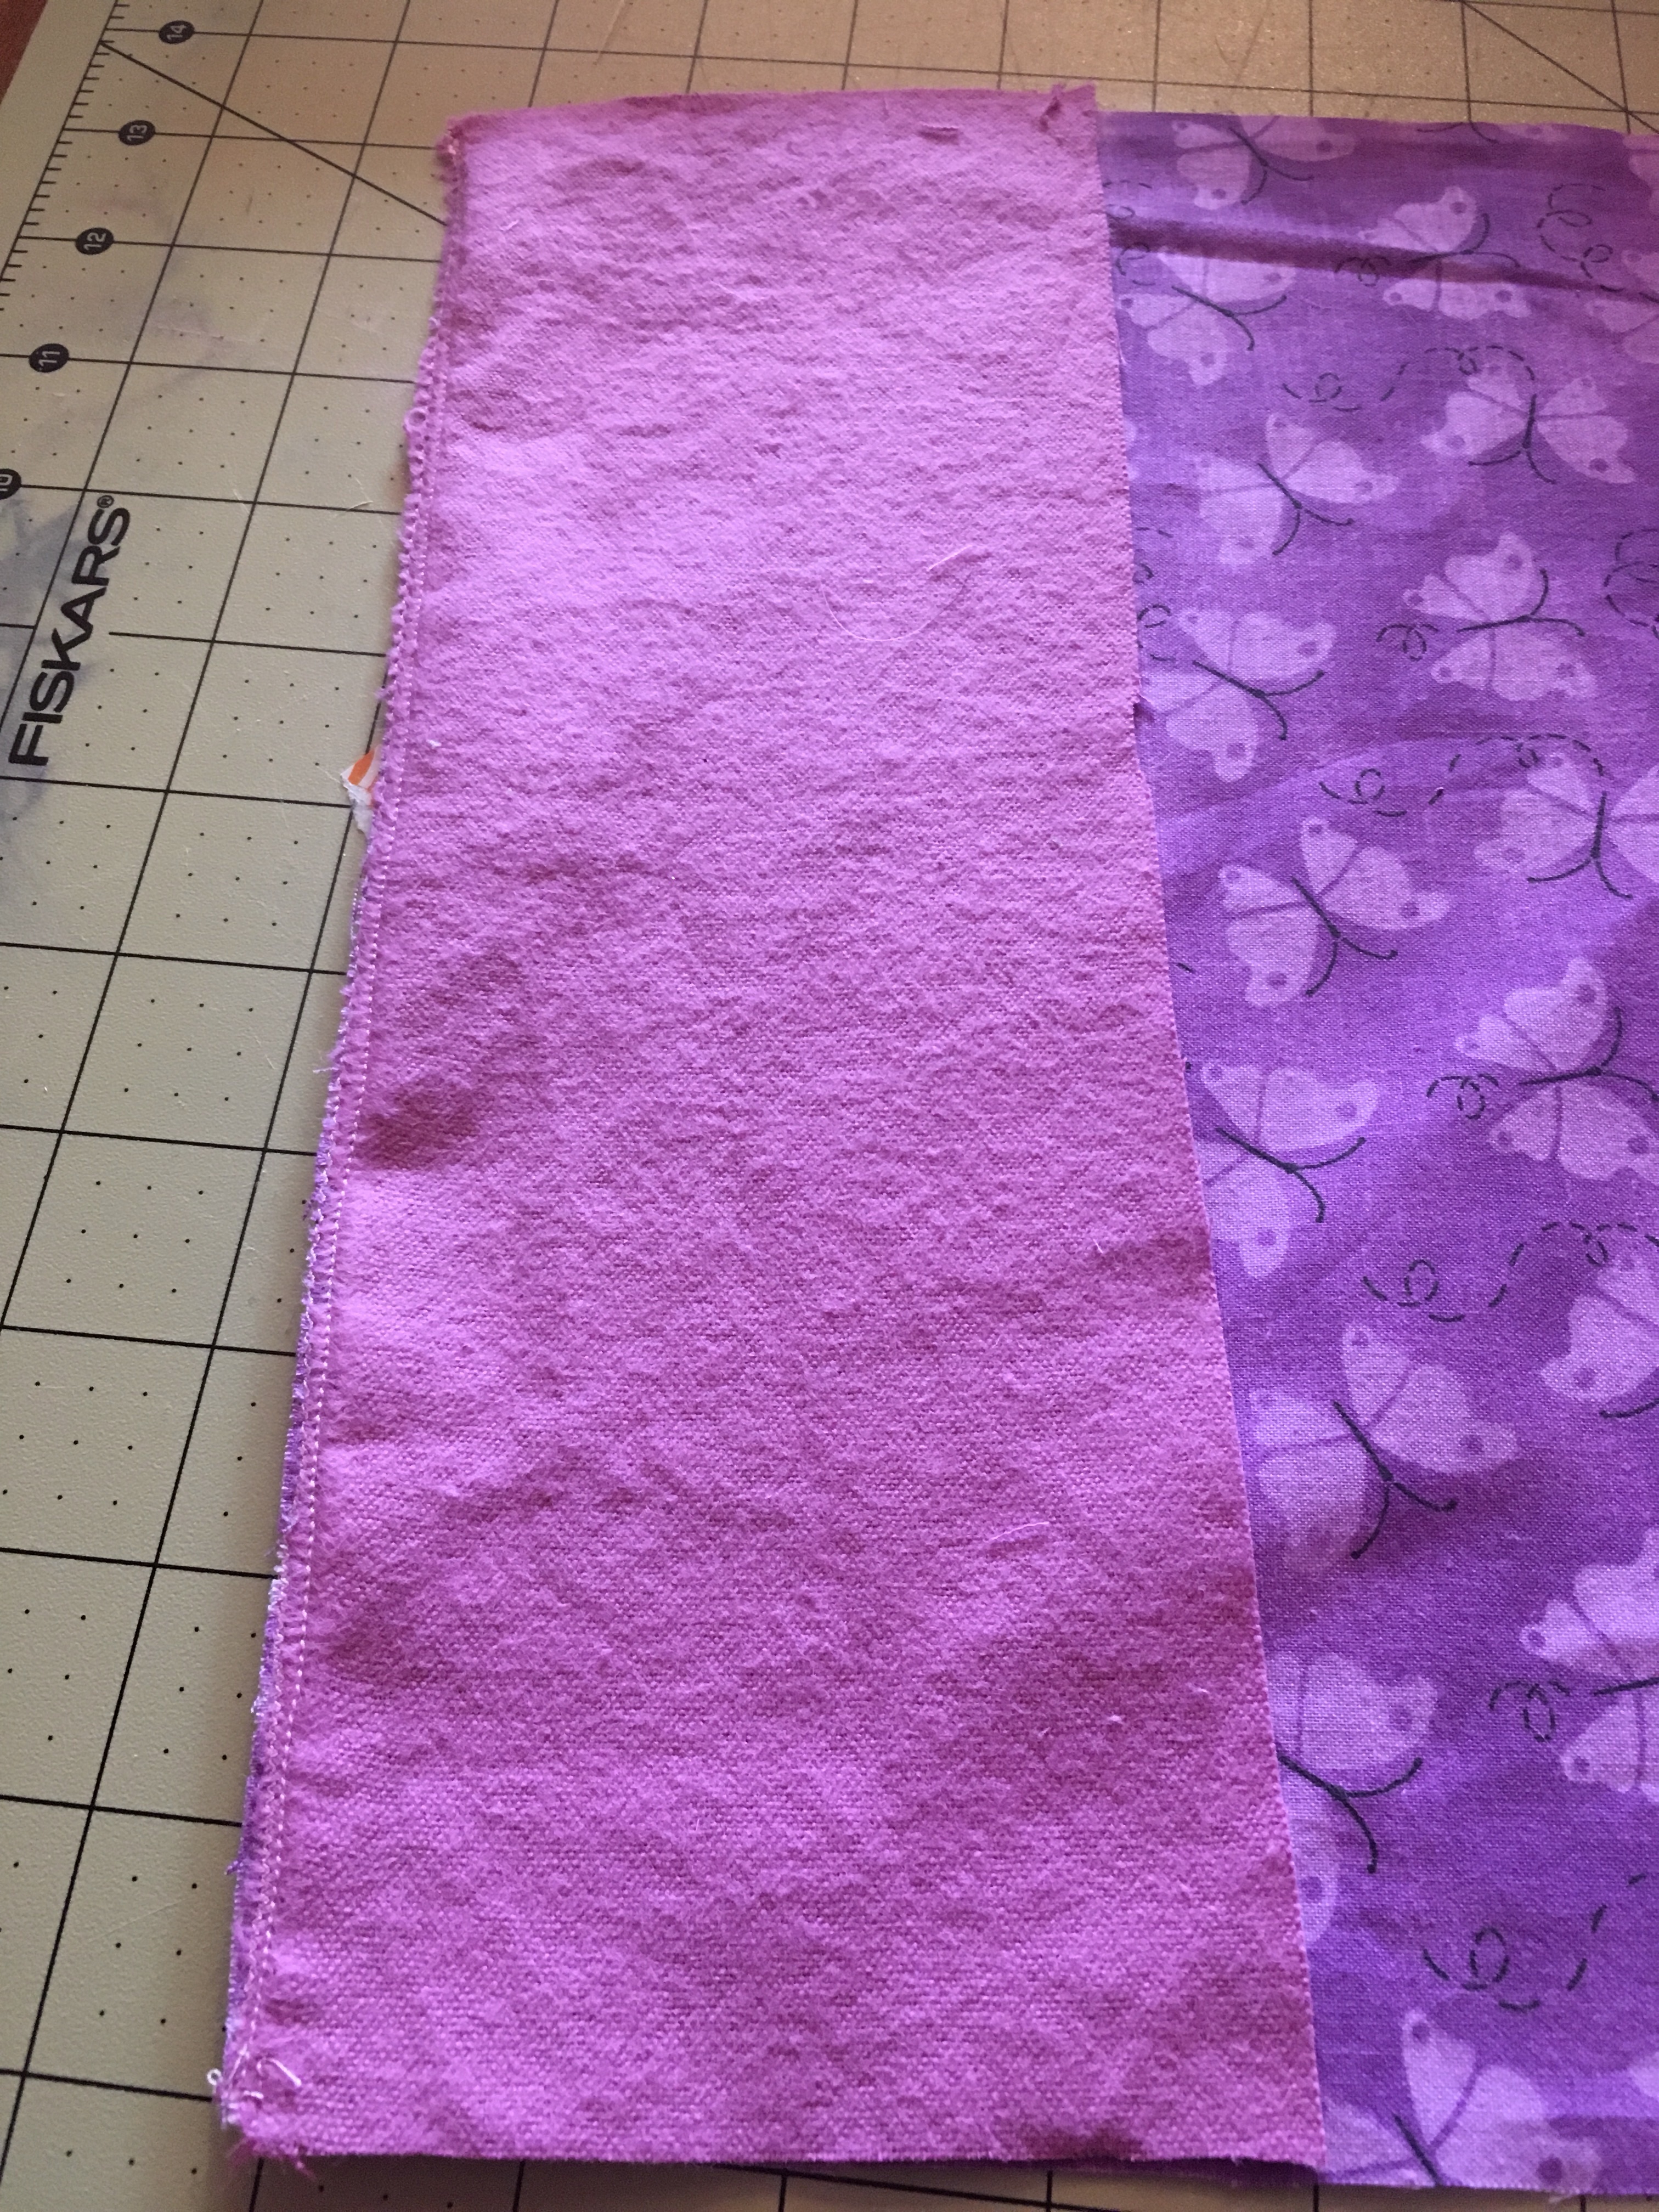
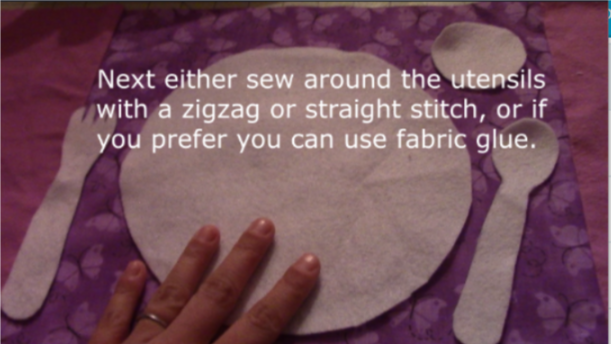
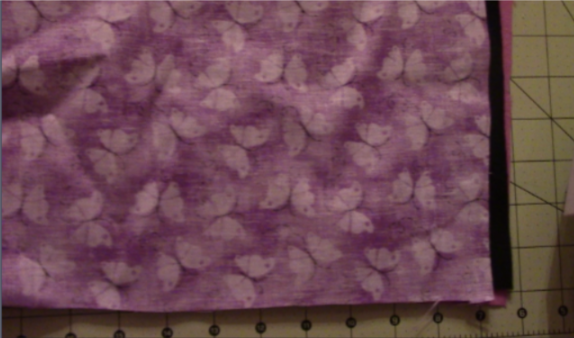
I decided to go with the fabric version and just use the washer to clean it.

So you want to prewash the fabric to make sure it does not shrink.

IMG_1805

As always there is a video youtube tutorial and a written one below.

What you need for this placemat place setting is…

1) fabric: it will end up being 12×16 inches.

  • 1 batting or felt for the middle or back side 12×16
  • 1 center front piece 12×12
  • 2 outside front pieces 4×12
  • 1 back side
  • felt or non fraying material to cut out fork, spoon, cup, and plate

2) Next, take your front center piece and your side front pieces and pin them fabric facing fabric on the sides and sew. Then iron the seems.

3) Following that, you want to use your felt or nonfraying material to outline a plate, cup, fork, spoon, and any other utensils that you want on your placemat.  Then cut them out and sew them directly on the front piece.  You can also use fabric glue if you like.

Sketch

4) ***You want to put the piece of fabric you want as the backing down first facing the front fabric and then the basting or felt behind that (as you can see I did it opposite and ended up with my black fabric as the back outside as you will see). However, if you are using felt, it ends up rather nice as a backing since it prevents sliding.

Sketch2

5) Sew all the way around leaving a 3-4 inch opening so you can pull it out the right way. Don’t forget to backstitch. Once this is done, pull the inside out and make sure all the sides and corners are all the way out.  Iron it all out and sew the remaining opening with either a hand stitch, or if you want to use your machine then sew around the whole placemat to give it that look.

IMG_1805

You can add any other embellishments, I used my daughter’s name on the side. Enjoy and check out the other videos and tutorials!  Let me know if you have any questions!


FollowFacebookpinterestrssyoutube
ShareFacebookpinterest