DIY Romper Time!

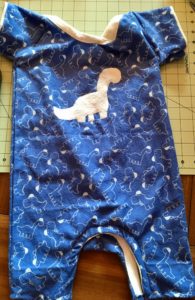
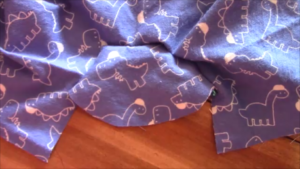
I decided it was time for the classic romper tutorial to come out.  I decided to make my first one with a free pattern of dinosaurs for my little cute nephew for his first birthday!  Now the size is 2-3t since he is not so little.  But you can easily adjust the pattern to your little ones size, just size it up with one of your little one (or big ones) outfit and adjust!  Easy Peazy!

Here are the parts of the free pattern..this is a 2-3t however just hold up a onesie or romper to the pattern and adjust for smaller or larger!

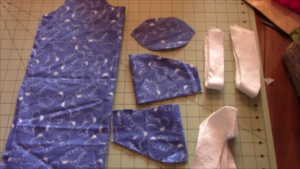
Also see the photo with the pieces cut out or the tutorial to see how they go together if you can’t tell!

  1. pieces

2. TopBody

3. BodyMain

4. BottomMain

And here is the link to the youtube tutorial as always!


Here is the written one besides what is written on the tutorial:

What you need:

  1. Fabric choice 1-2 yards depending on size. I used flannel fabric
  2. If you want an alternate color/fabric for for neckline and bottom (a stretcher fabric is best)
  3. Snaps/buttons/or velcro depending on what you want to use

Steps:

  1. Cut out fabric pieces as written out on the pieces.
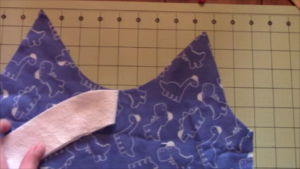
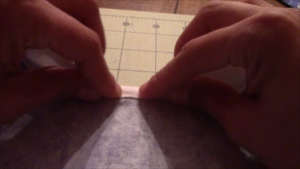
  2. Take one main body piece and find the center by folding in half and one neckline piece (and fold it in half and mark the middle) and place pattern facing
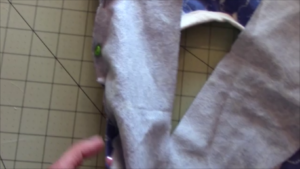
    pattern and stretch and sew. Look at the pictures below to see how you need to stretch it and sew (it is not easy if you are a beginner but it just takes practice! Also, if the neckline is a stretchy fabric it is much easier)
  3. Line center to center


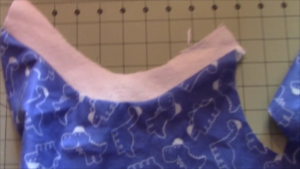
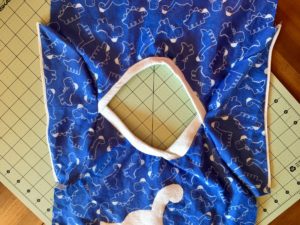
  4. This is the end result, do for both main pieces
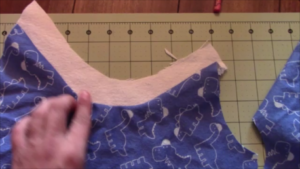
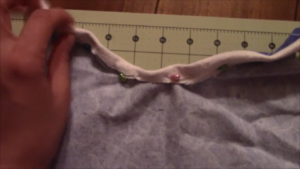
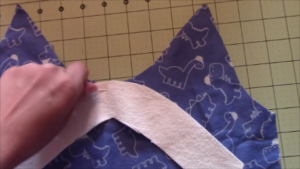
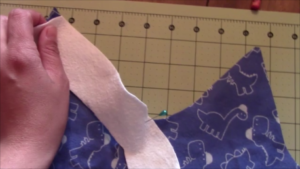
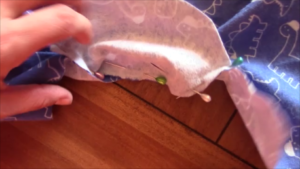
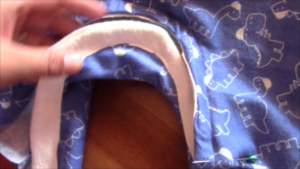
  5. Turn to the backside of the main body piece and fold up and iron the seam line as shown below.  Then fold the top down and iron to make it easier to sew and pin.
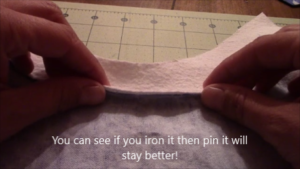
  6. Turn it right side and either change pins to the front or be careful and take pins out as you sew bottom of collar
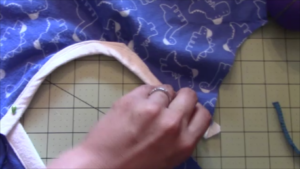
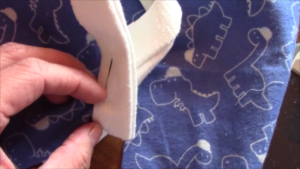
  7. Sew both necklines like this then we will create an envelope neckline.
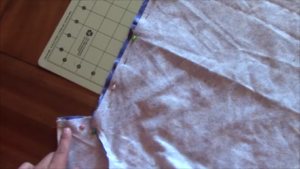
  8. You are going to line up your front and  back body piece with finished necklines and measure from the top of each side 1 to2 in down and this is where the top of one side touches the other side and you pin together (this may not be true if you need a bigger opening or smaller based on head size, adjust opening based on head size). Pin this on both sides
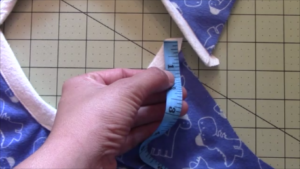
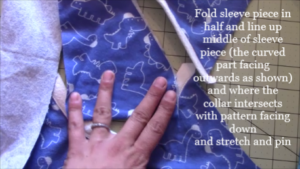
  9. Fold sleeve piece in half and line up middle of sleeve piece (the curved part facing outwards as shown) and where the collar intersects with pattern facing
    down and stretch and pin (see pics)
  10. Then sew using a zig zag stitch (which keeps it strong).  Do this for both sides and it will look like…

I then added double sided bias tape, for convenience and time saving, to the outside of the sleeve edge.

19. Body pieces and sleeve pattern facing pattern, pin around sleeve and down straight to bottom again I used the zig zag stitch. Then I trimmed the sides. Then you can iron it out.

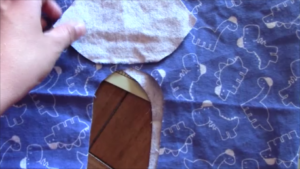
20. Turn your project to the backside and take your football piece and fold in half and line up middle of football with middle of opening pattern facing pattern, pin middle and stretch and pin around then sew.  Make sure the front piece is pushed out of the way (you don’t want to sew it shut! Just sew onto the back piece


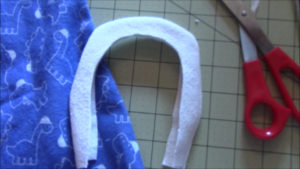
21. Take two of your leg banding strips and line up pattern facing pattern and sew the outside 1/8th straight stitch and then do this for the other two as well and turn right side out and iron.

22. The binding piece ends up in the inside and it is used for the buttons or snaps (you can alternatively use fusible interface)

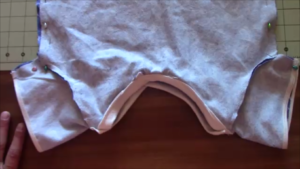
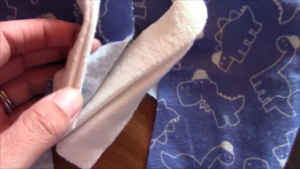
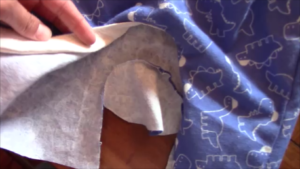
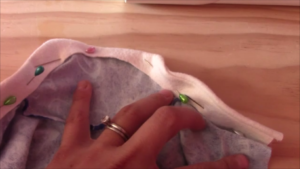
23. Next take your one banding piece and line it up with the front bottom with the fold on the inside and then stretch and sew (see video if this is too confusing!) You pin the outside and sew 1/8th zig zag around

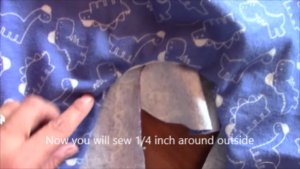
24. Now you will sew 1/4 inch around (the white part as shown will now be in the inside after you do step 23.

25. Next (phew we are getting there- keep going!) is the back banding strip, Same method for the back piece, except you just sew the one time and not the second sew around as in setp 24 because of the flap (you will see what I mean after you do the first sew.

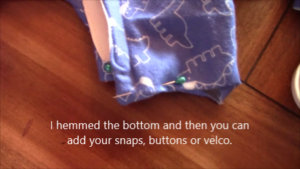
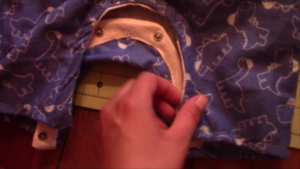
26. I hemmed the bottom leg openings and then did my snap buttons using the hammer method!  I used thick material for the banding which I regret (also that it was not stretchy!) I had to use bigger than normal snaps to get it through the fabric!

Congrats you did it!  Let’s see some pics!


FollowFacebookpinterestrssyoutube
ShareFacebookpinterest

DIY Bandana Drool Bib

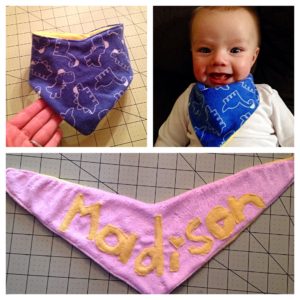
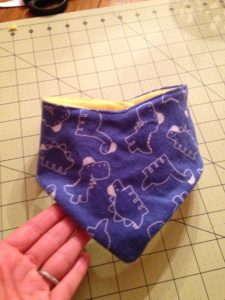
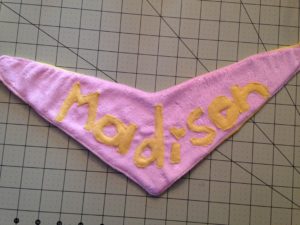
Once the drool starts it doesn’t stop!  I saw an adorable bandana drool bib in a store and thought, I could easily make that!  And you can too!  It is a simple 5 to 10 minute project that makes a great gift and a fantastic accent and cute and functional accessory for your little one.


As always, there is a youtube tutorial and the written steps on here!  Hope you enjoy!


This is for size 6months to 12months.

What you will need:
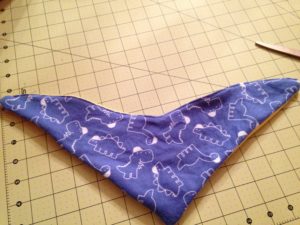
1) Two Fabrics (one side needs to be absorbent). I used a cute flannel fabric and then a yellow fleece material for the back.
2) Velcro or snaps to hold it shut

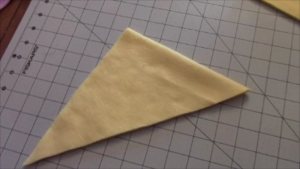
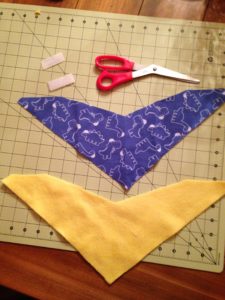
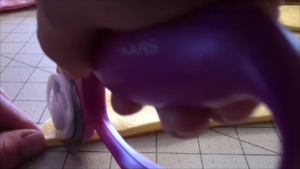
  1.  Fold your fabric in half. Cut out two triangles, one with each fabric (you can use my measurements or compare to your bib size for your little one) .  I used the measurements of  9in long and 7 1/2in on the fold.
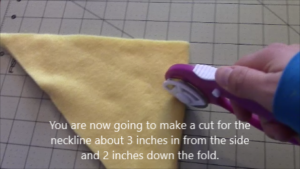
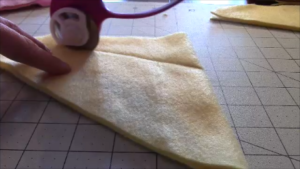
  2. Next, you are going to make a cut for the neckline about 3 inches in from the side
    and 2 inches down the fold.
  3. Cut the little triangle off the very end, abut half an inch, this is where the velcro will connect.
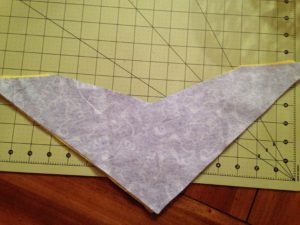
  4. Take pattern side facing pattern side and sew all the way around leaving a small
    opening around 2 inches (this is where you will pull it right side out)
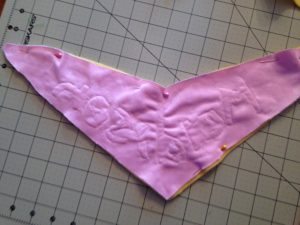
  5. Now pull it right side out and hand sew the hole shut and VOILA! drool bib
    complete!
  6. Iron press it!  You can also go around the whole outside and sew it if you like for the design look!
  7. Next you want to attach either your velcro or snaps.  I have iron on velcro I used.

Hope you enjoyed this tutorial, if you have questions just post! Thanks


FollowFacebookpinterestrssyoutube
ShareFacebookpinterest

Truck Pillow Tutorial

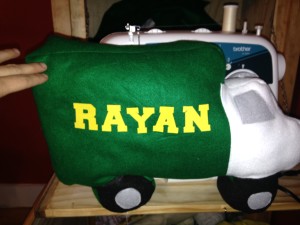
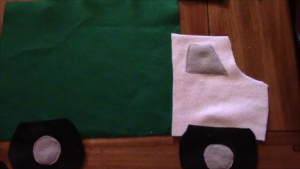
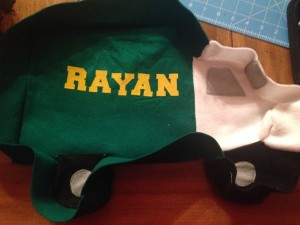
I have a nephew who absolutely loves trucks, cars, and any other type of vehicle.  As Christmas approached I was unsure of what to get my nephew.  I searched the internet for ideas of sewing projects with trucks, but it was only to my dismay. None of the projects peaked my interest.  I found a car tutorial but that was it.  So I decided to make my own pattern and tutorial on a truck pillow.  I also decided that putting his name on with iron on letters would be fantastic!IMG_3727

As usual, there is a video tutorial on my youtube site, and written instructions with pictures below.

What you will need:
*Your choice of fabric colors
*poly-fil or any type of stuffing
*Choice of thread colors
*Optional: Iron on letters

Pattern: Use one whole piece of printer paper 8x10inches as the trailer part.  Make a circle for the wheels.  And make a from cab as you like.  The pattern I made is so easy I’m not even going to try and retrace it and scan it and turn it into a pdf because it takes much longer…if you are really having issues please let me know and I will take the time do that for you.

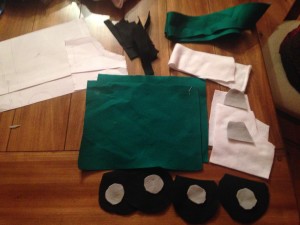
  1. Cut out your fabric pieces
  2. IMG_3717
  3. Iron on letters or if you want to sew on letters that works as well!
  4. Sew on your hubcaps, windows and any other details you want to add
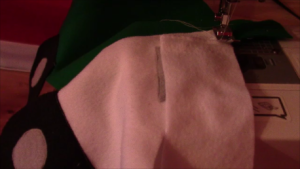
  5. Sew each side together.  The front cab to the trailer and the wheelsSnapshot 1 (1-4-2016 9-28 PM)
  6. Time to sew the middle strip part! I made mine 2 inches thick but you can make it as big as you like!
  7. You can switch colors to match or just use one color.
  8. If you do not want to do the middle section then you can just take the two truck sides facing each other (inside) and sew around leaving a 3 inch opening.  Turn right side out, stuff, and hand-sew shut.
  9. To do the middle strip, line it up with the truck where you want to start and back-stitch and go forward all the way around switch colors as needed.  Curve the middle strip around the corners.
  10. Snapshot 2 (1-4-2016 9-32 PM)
  11. Now take the other side of the truck and have the sides facing inwards towards
    each other, and sew the second side to the strips on the first side.
  12. IMG_3726
  13. Turn right side out and make sure there are no holes in the outside, if there are turn inside out and fix them.
  14. Fill with your choice of stuffing and hand-sew shut.
  15. Congrats you are done!
  16. If you have any questions or concerns please leave them below.  If you have trouble with the middle strip please watch the youtube tutorial.
FollowFacebookpinterestrssyoutube
ShareFacebookpinterest