A Family of Superheroes

Does your child like to play make believe? Ours is just getting into it at almost 2 years old. How do I know? We went to story time at the library last week and one of the songs, “The Ants Go Marching” includes pretending to pick up sticks. She was great at pretending to pick them up and continues to do it at home! She loves playing with tea and pretending to have picnics and play in the “sand” inside.

We’ve been stuck inside for a few days and the dreaded day I am to return to work from my child rearing leave keeps getting delayed due to snow days (hey, I’m okay with that). So what do we do? We pretend we are a family of superheroes!

85

My husband and I used blankets, but knew they were too long and wouldn’t stay on our little girl. I did a quick google search and found out how to make a t-shirt no sew cape for Madison. All you need to do is take an old adult t-shirt (that you don’t want anymore) and cut it a few inches under the collar in the front. Continue cutting around to the back a few inches from the collar and down the back (the sleeves get cut off). Do the same on both sides and you will have a cape that simply slips over your child’s head.

84.JPG


If you want to be fancy you can add a design on the back with fabric markers, iron on images and so on. We happened to have an image on the shirt already.

We pretended that the snow was piling up in her room and we had to save all of her stuffed animals by putting them on the couch in the living room. She loved racing down the hall while we shouted, “Fly to the room, save the stuffies! Super Maddy saves the day!” Singing also helps and humming superhero ballads. She loved this so much we did it multiple times today and putting that cape together took about one minute (as you an tell by my hasty cutting).

86

It’s definitely priceless to see your toddler stretch her arms out in front of her in the flying pose while yelling, “Save the stuffies!” Start a family of superheroes today!

FollowFacebookpinterestrssyoutube
ShareFacebookpinterest

DIY Superhero Cape!

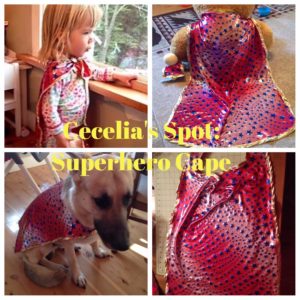
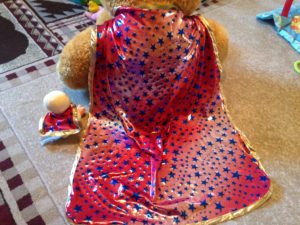
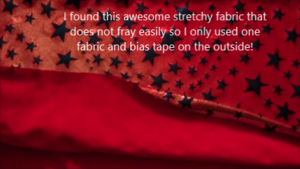
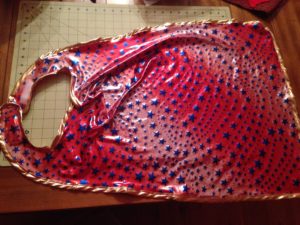
Superhero cape time!  You can make an easy superhero cape in less than 15 minutes!  My daughter needed to be distracted in a fun way while I needed to care for her baby brother, so we pretend to be superheros who fetch diapers, plastic bags, and bottles for baby brother!  Also, her dolly had to have a super cape too! So I went to the fabric store and found the perfect superhero fabric!  The fabric has a great design and also is very stretchy and does not fray easily.  I also bought double sided bias tape in gold for the outside.  Her dolly also needed a superhero cape so I designed a small one for dolly.

As usual, there is a written and youtube tutorial for this cape.  I only used one side of material but you can easily do two fabrics (this is outlined below). Enjoy!


What you need:
1) Fabric (one or 2 different cuts 1/2 yard each)
2) Velcro or your preferred method to connect
around neck
3) Optional: Bias tape and/or monogram


You can decide on the best size by either knowing your childs height and how wide you would like it, or you can always look at their clothes! I do outline the length and design in my video and written tutorial.

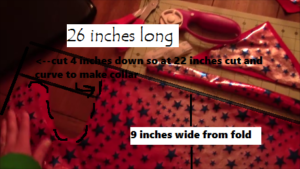
  1. I made the cape for my 2.5year old but it ended up being very big, big enough my German Shepard dog could wear it!  The sizes I use could most likely fit up to a 4t.  Fold 1/2 yard of fabric in half.  Measure long way 26inches long (this was a bit big for my 2.5yr old but still worked) and cut straight across. If you are using two fabrics (one for front and one for back), repeat this whole cutting process.
  2. Then measure about 4 inches down from the 26inch top and cut in and up for the connecting part of the cape (mine was a bit big for my 2.5 year old but she will grow into it!)
  3.   If you are using two fabrics take both sides and cut and then face each other and sew all the way around except leave a 3 inch opening (as with all other projects with two fabrics).  Then pull the fabric through the hole and sew hole shut (make sure you push out corners).
  4. Next, I took the bias tape and sewed all the way around (pinning it first).
  5. Lastly, I ironed on the Velcro sections with the softer side facing on side downwards (that way if its too big at one point it is not rough on the skin). You can also use snaps or any other closing you would like.
  6. And that is it!  Pretty easy just eyeball the size or you can measure your little one!  Enjoy!
FollowFacebookpinterestrssyoutube
ShareFacebookpinterest