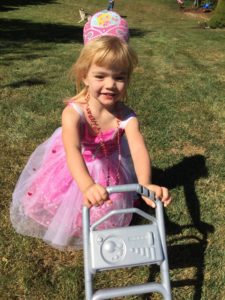
 Ugga Mugga! It was Madison’s 2nd birthday and she LOVES Daniel Tiger. First thing you need to know if your little one loves Daniel is to visit the PBS site! Follow this PBS link and you will find TONS of FREE printables and crafts to make for the perfect party! These Daniel Tiger masks were made from the site. All you have to do is print them on card stock and attach a tongue depressor. However, I decided to add my own twist since I didn’t have the capability of printing on card stock. I printed on regular paper, cut it out and glued it onto card stock. Next, I taped recycled straws onto the bottom. It worked perfectly and was a hit with adults and children alike!
 I also made these super cute and easy finger puppets from the PBS site that will give you step-by-step directions. We used them as favors! As for food we kept it simple. We went to costco and got her favorite-marconi and cheese! The party only had 10 people there so we decided to go with pot pie and shepard’s pie from Costco already made, with salad as a side. It kept us warm on a cold day!

As for cake, we went to Weis and they had 4 different Daniel Tiger cake designs. We decided on the cake with all four characters! They had lots of different flavors to pick from and the cake was delicious!

I made her birthday banner with Microsoft Publisher. I simply used the preset example of a birthday banner and added a few more pages. I saved some Daniel photos and put them on the banner and printed it. Next, I laminated the banner and cut it out. I used a hole punch to make holes and strung it up with yarn I had around the house.

Last year I spent quite a bit of money making her a chalkboard first birthday poster. This year I made her a poster myself. The poster itself only cost $1 from the dollar store! I couldn’t find a Daniel Tiger Chalkboard poster with the number 2 with pictures so I created one myself.
I also got a tablecloth, plates, cups, napkins and balloons. The balloons were perfect! I found them here at Amazon. The cups were great for apple cider and the plates were very sturdy. I found them on Amazon too!Weis filled the balloons, which was awesome! Coloring pages are from the PBS site.


I made Madison a Tigey stuffed animal using felt.

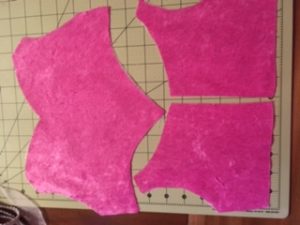
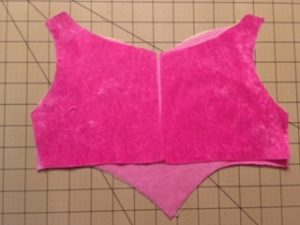
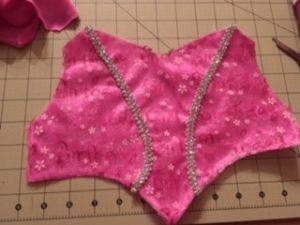
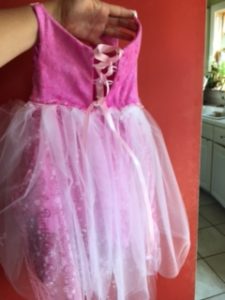
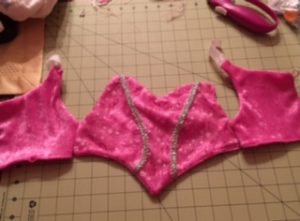
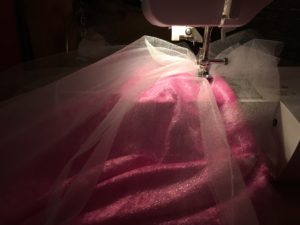
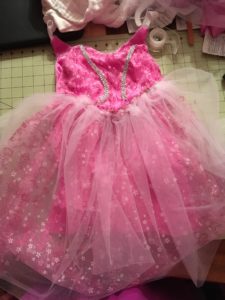
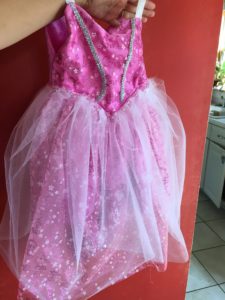
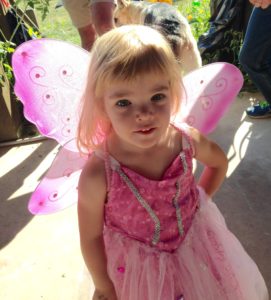
Lastly, I made Daniel Tiger shirts for my husband, the birthday girl, and myself. I saw many ideas on pinterest and etsy, so I used Powerpoint to make the images and then bought Iron on paper. I also made Madison’s tutu with fabric.


Your little boy or girl will love their Daniel party with little touches! We even played Daniel Tiger songs while the kids danced with the balloons. We wrapped up the party by watching the Daniel Tiger Birthday episode (first episode ever)! It was GRRRR-RIFIC!
FollowShare
