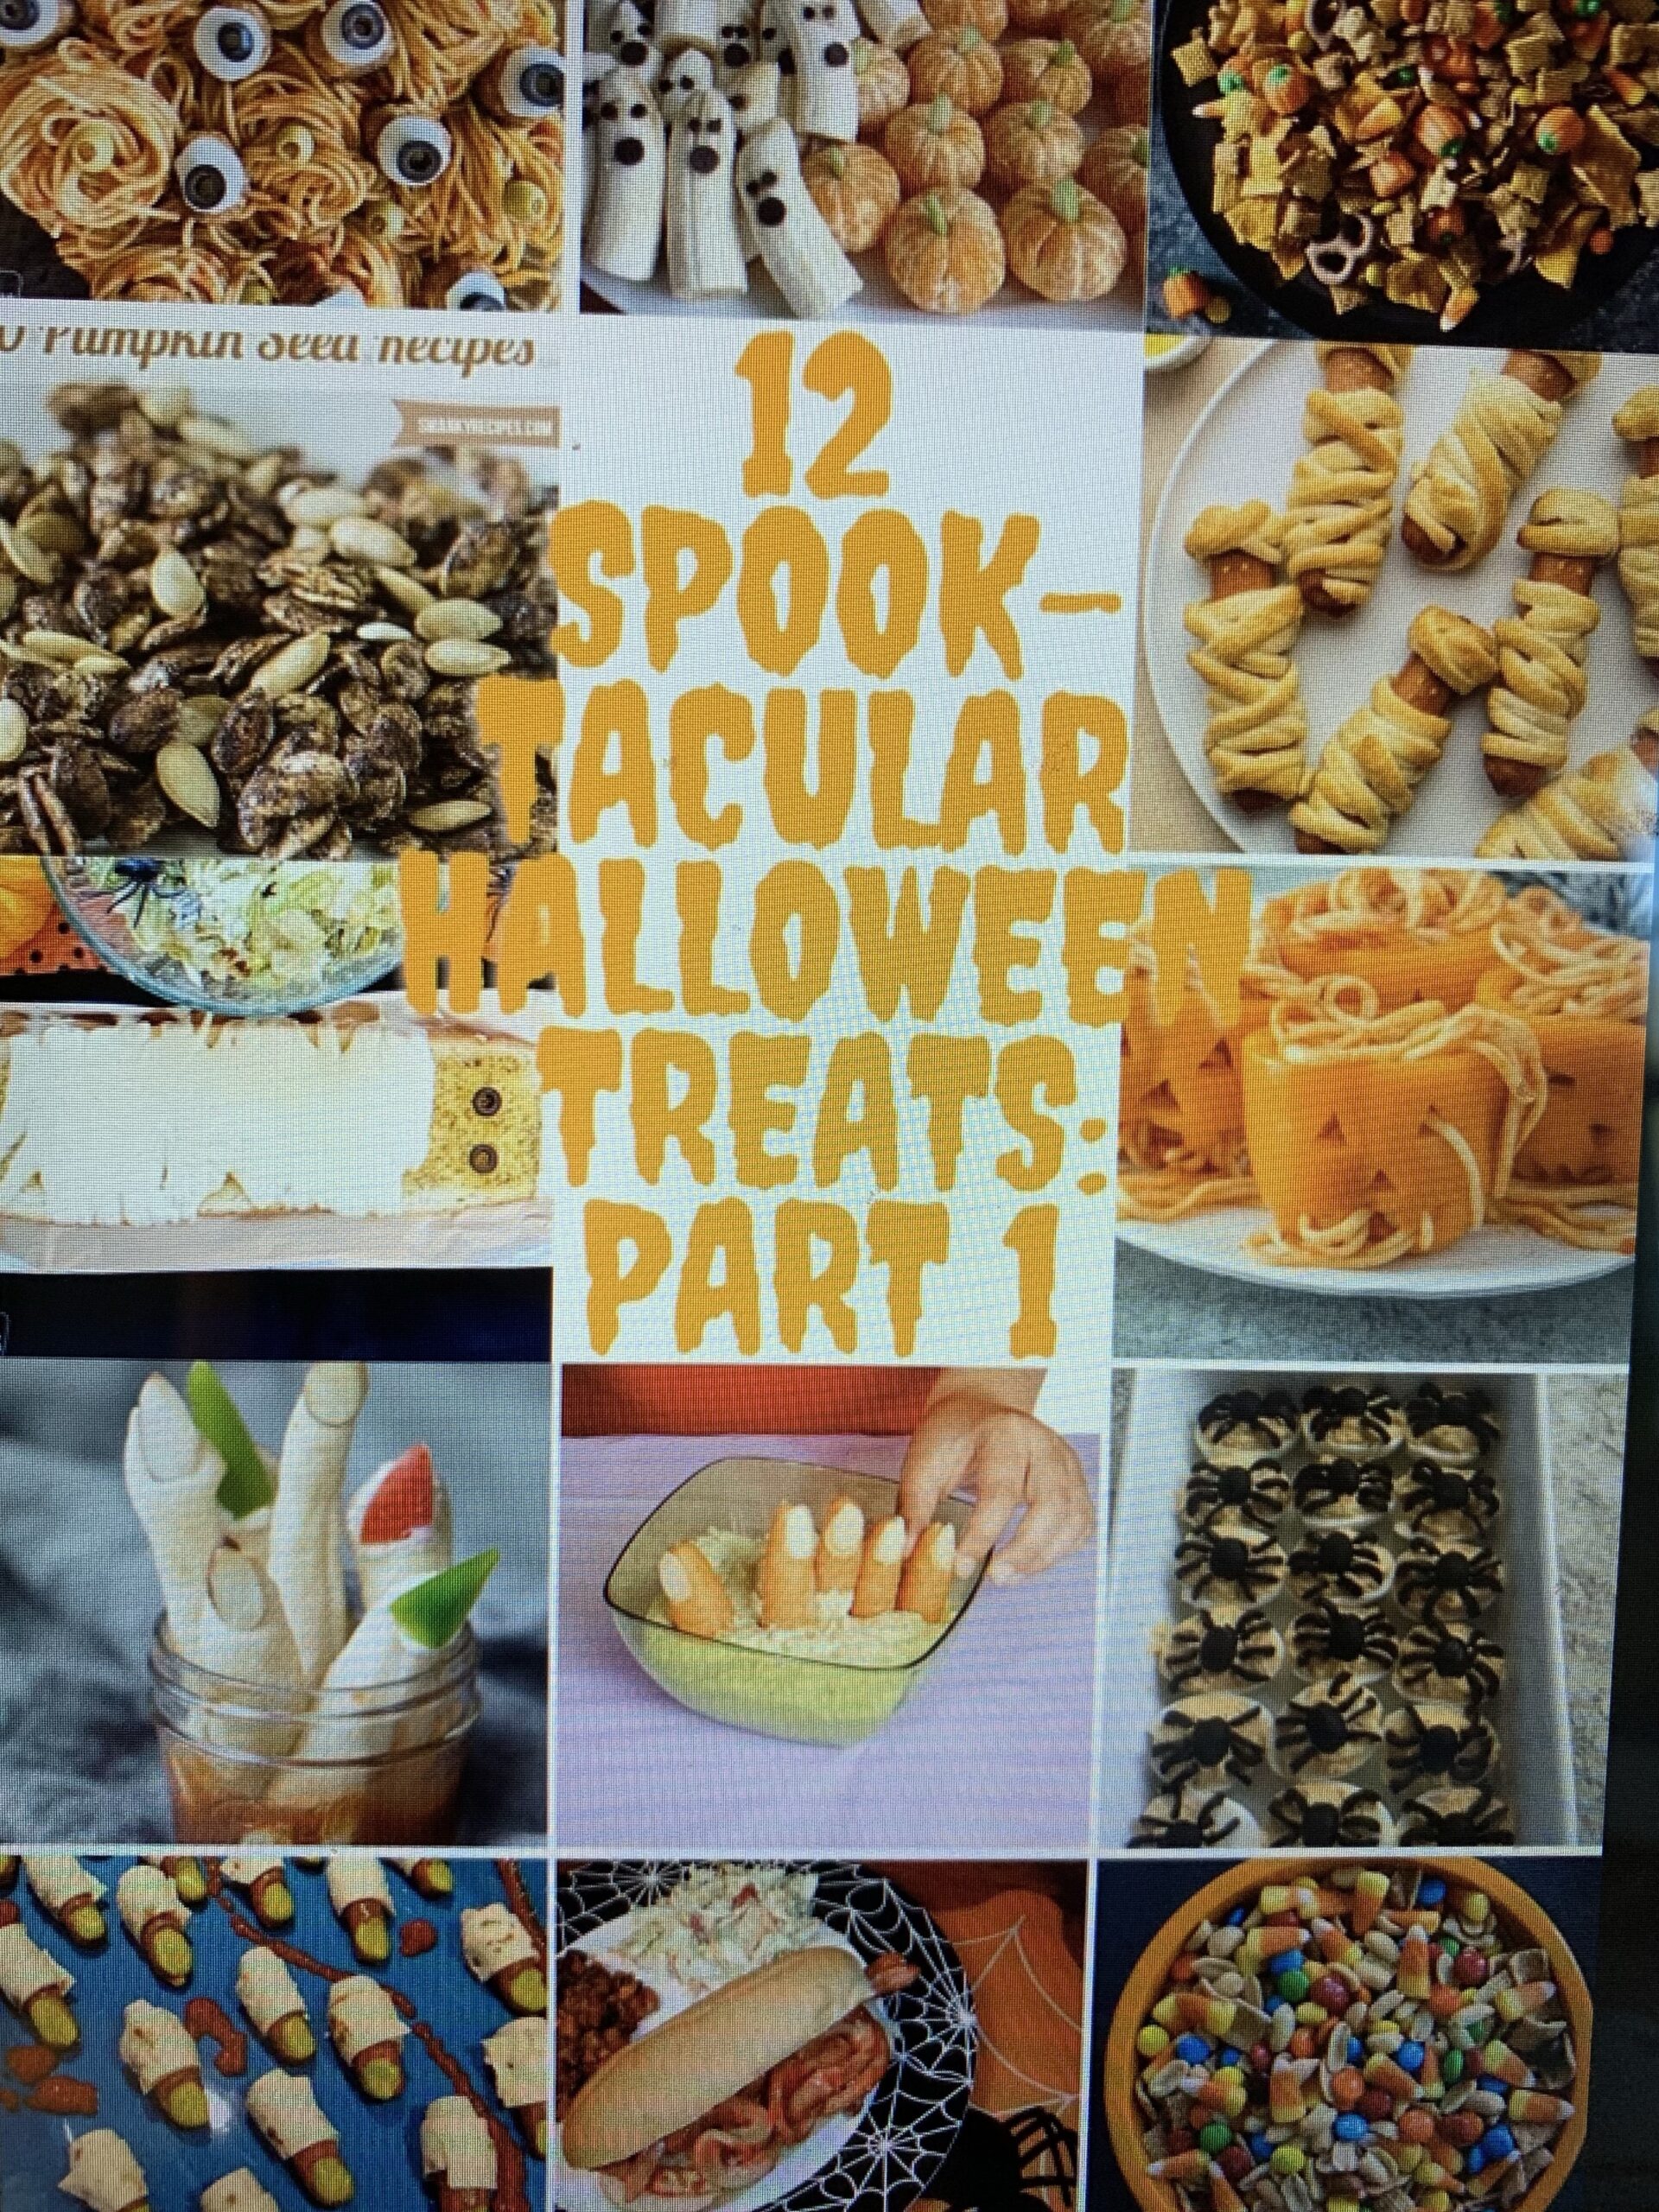
12 Spooktacular Treats:part1


Halloween is a great time to get creative with spooktacular foods! Some foods take more effort than others. I will start by listing the treats that are easier to make with their recipe link. On another post I will put more extravagant recipes that take longer to concoct.

Add a little candy corn to your chex mix treat! You can easily add candy corn and pumpkins, gummies, or any other Halloween treats. The one below also has honey bears- yum!
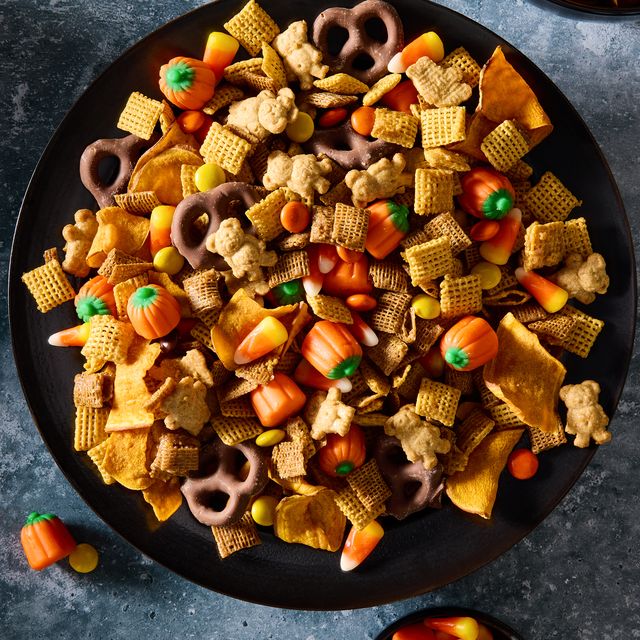
a bowl of halloween themed chex mix with chex cereal, chocolate pretzels, reese's pieces, candy corn, and sweet potato chips

Ingredients:

  • 4 cups Corn Chex and 4 cups wheat chex
  • 2 Cups of cinnamon Teddy Grahams
  • 1/2 cup of unsalted butter (melted)
  • 6 tablespoons of brown sugar
  • 1 tablespoon of cinnamon
  • 1 tsp of salt
  • 1 tsp of vanilla extract
  • 2 cups of candy corn/pumpkins or whatever amount you like!
  • 2 cups of chocolate covered pretzels (or regular)
  • 2 cups sweet potato chips (or whatever type you prefer)
  • 1 cups of reese’s pieces or m&ms

Directions

    1. Preheat oven to 250°. In a large bowl, combine Corn Chex, Wheat Chex, and Teddy Grahams. In a small bowl, mix butter, brown sugar, cinnamon, salt, and vanilla.
    2. Drizzle about one-third of butter mixture over Chex mixture. Toss to coat, then repeat with remaining butter mixture until every component is coated.
    3. Divide Chex mixture between 2 unlined rimmed baking sheets; spread in an even layer.
    4. Bake Chex Mix, tossing every 15 minutes, until toasted and crisp, 30 to 45 minutes.
    5. Let cool, then mix in candy corn, pretzels, sweet potato chips, and Reese’s pieces.
    6. Make Ahead: Chex Mix can be made 2 weeks ahead. Store in an airtight container at room temperature.
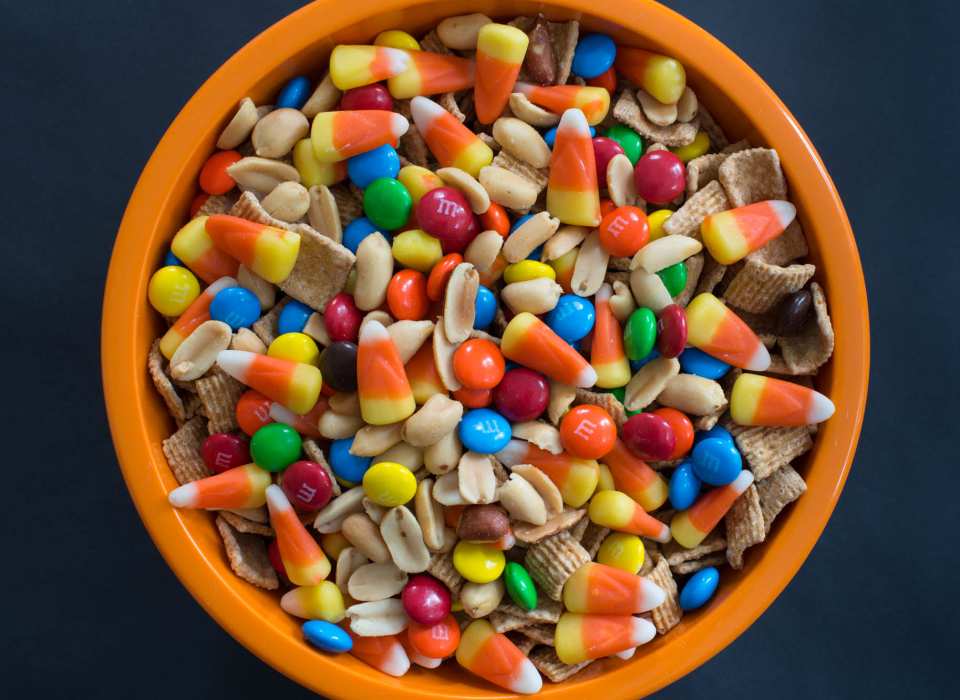
photo by Robin and Sue

If you prefer nuts and cinnamon toast cereal- then this bowl is for you!
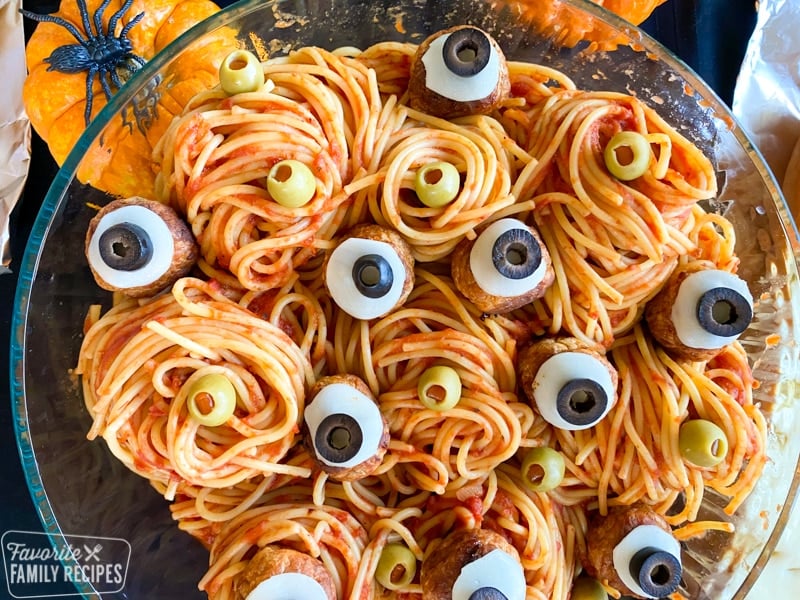
Spaghetti with meatballs that look like eyes

Spaghetti with eyes! AHHH

  • Make your spaghetti and meatballs and sauce as usual.
  • To give the spaghetti the twirled “nest” look, just twist big scoops spaghetti with a fork in a ladle
  • Use olives and canned black cut up olives on top of mozzarella slices.
  • Serve with a side of parmesan cheese for sprinkling.
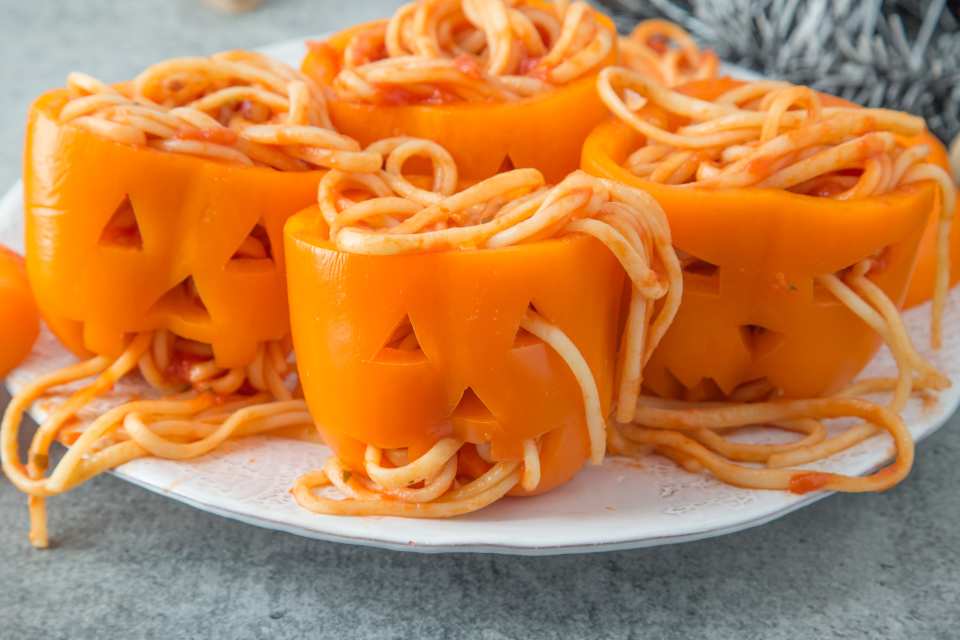
photo by anniesnomsblog

Pasta pumpkins! Cut the top of the pepper off and carve in the features! Then cook the pasta and sauce and scoop it all into the pepper.
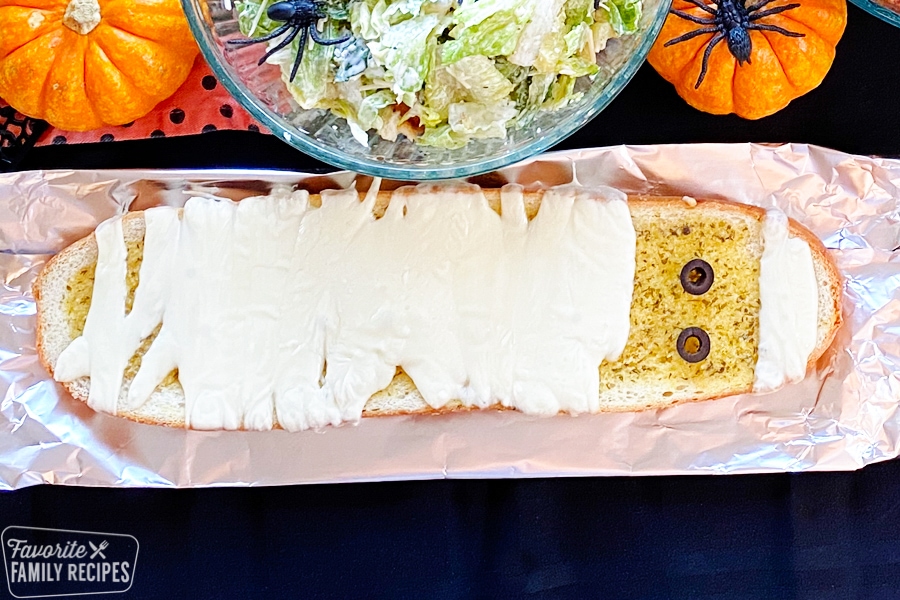
Garlic bread with cheese that looks like a mummy

Mummy Garlic Bread!

  • Pre-heat oven to 375 degrees
  • Use italian bread cut in half long way (of buy premade garlic bread). If making own you can smother it in butter and place garlic powder/garlic precut on the bread.
  • cut up some strips of mozzarella cheese (strips of string cheese work well too).
  • Place them on a bakery garlic bread or home made
  • Heat the bread in the oven at 375 degrees for about 5 minutes.
  • Finally, add a couple olive slices for “eyes”.

May be an image of fruitGhost Bananas and clementine pumpkins!

  • All you need to do is use celery of the clementine and mini chocolate chips for the eyes of the ghost and a regular sized chocolate chip for the mouth! Kids love them!
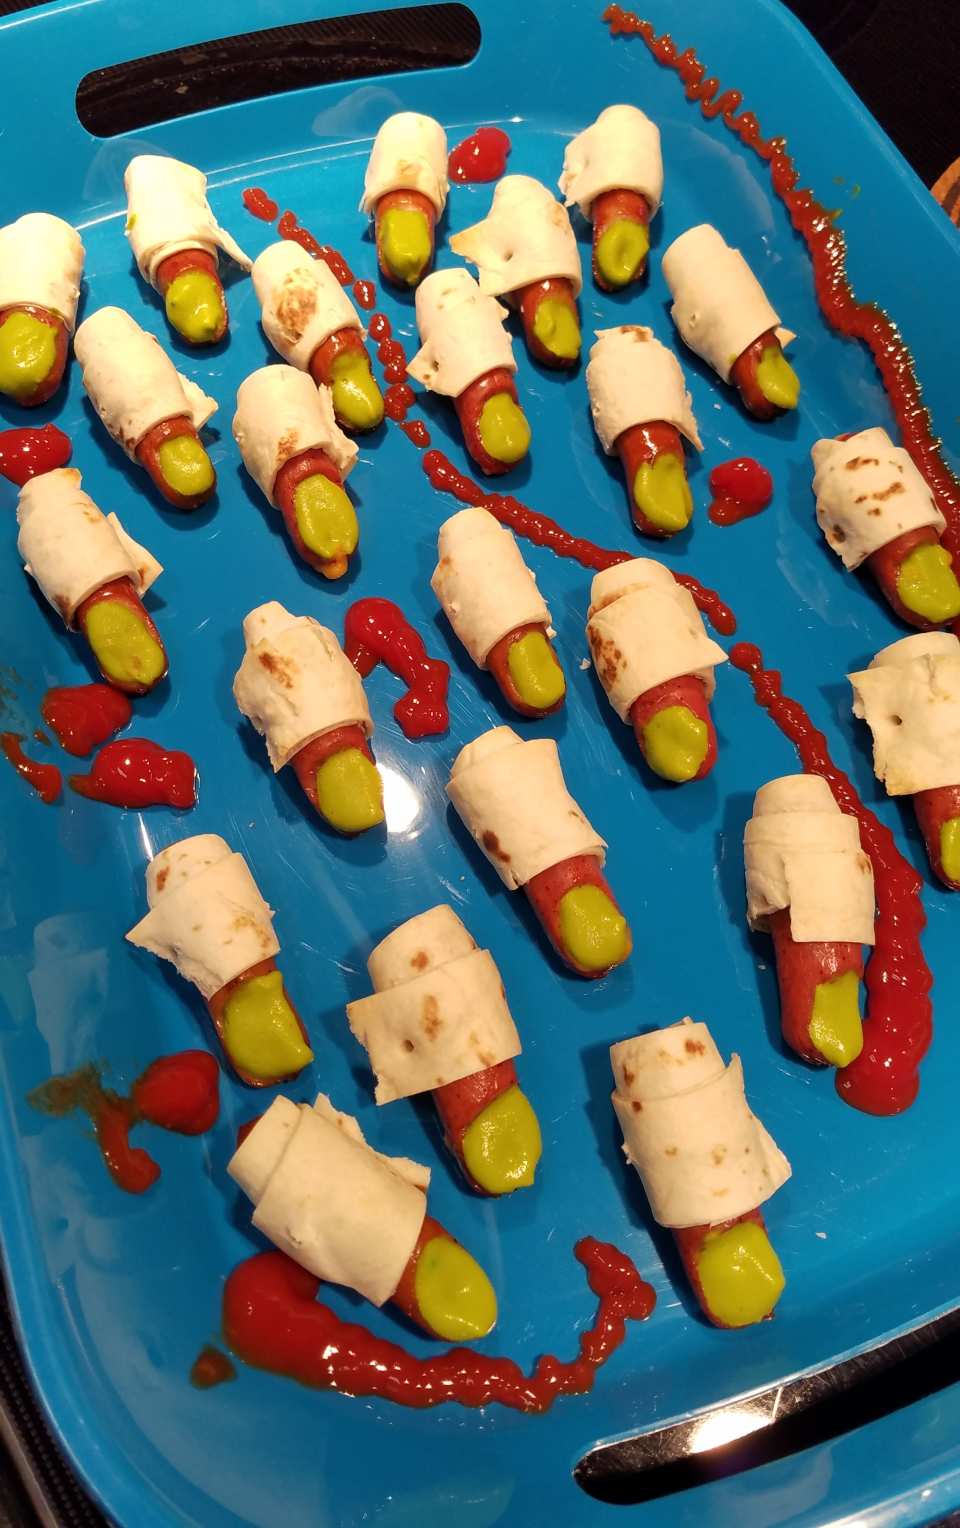
photo by Rebekah W.Toes! Just use hot dogs- either cut up regular size or mini hot dogs. Cook them up and wrap them with cut up tortillas! You can also cook them in the oven with crescent rolls like the next recipe of mummy hot dogs!  Then place mustard on strategically to make nails!

Mummy Hot Dogs

If you prefer to go healthier, you can make fingers or toes from carrots with cutting s small area on the top or bottom of the carrot and using hummus and putting on a sliced almond! You can also use cream cheese and cut up peppers!
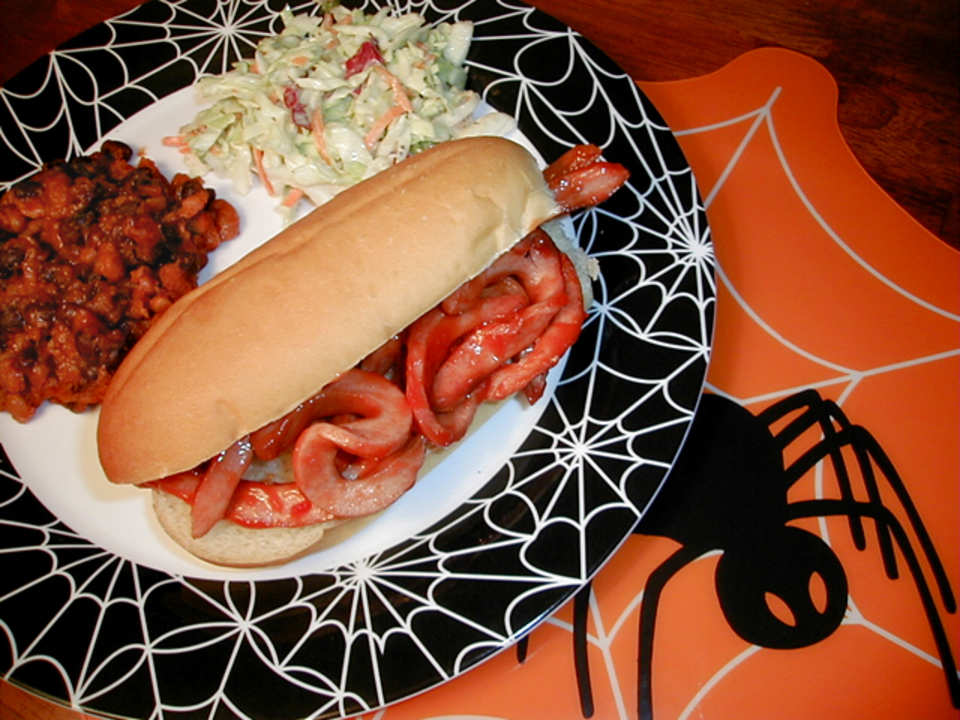
photo by Ms B.

Another hot dog recipe! This time it is for a worm sandwich! This time you slice the hot dogs into long strips and boil them until they curl- then add ketchup!
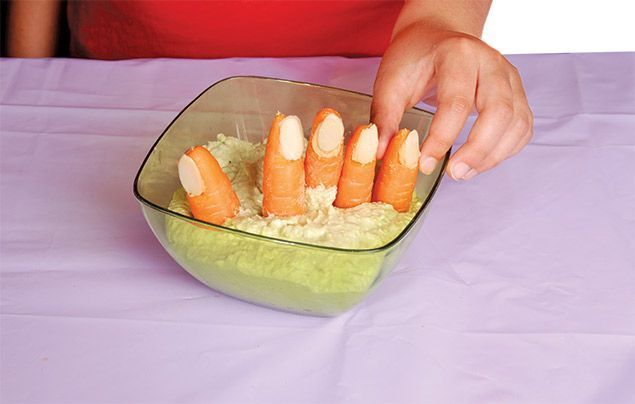
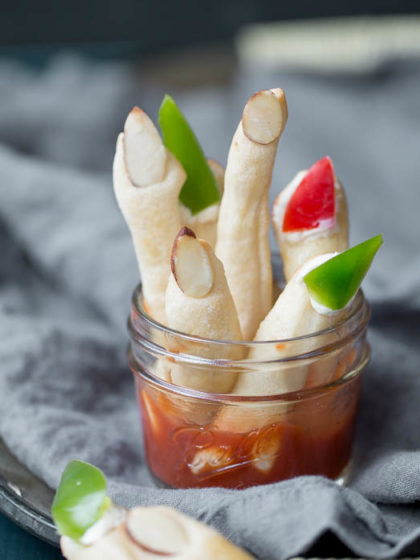
 

Spooky witches' fingers Halloween recipe | National ...Easiest Halloween Witch Finger Breadsticks


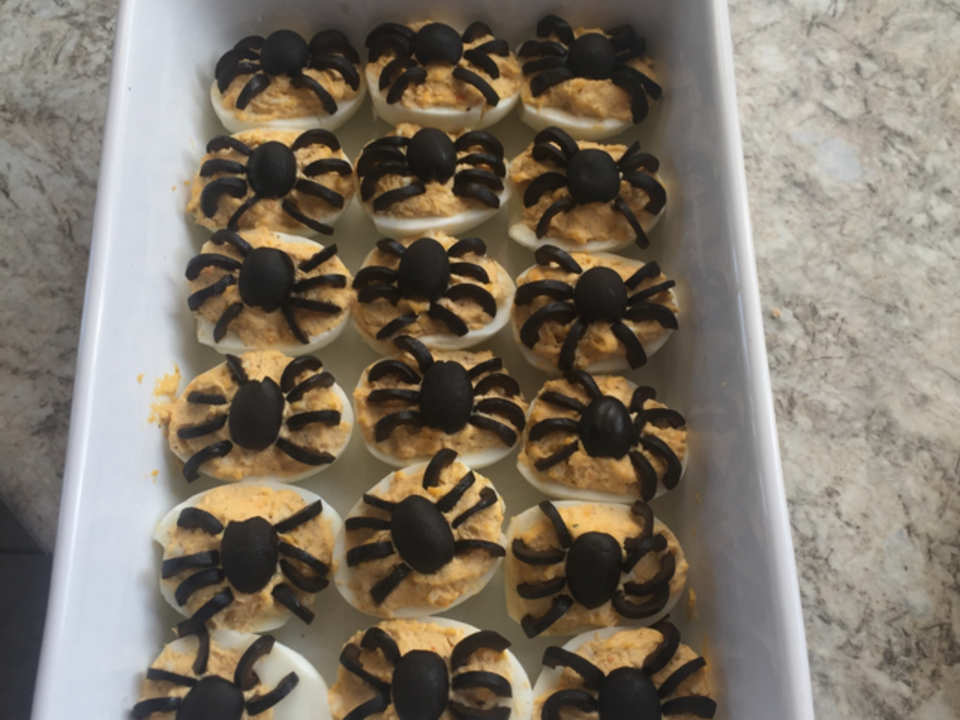
photo by AnonymousSpider Deviled eggs!

  • Make your deviled eggs as you usually do, then add olives to make the spiders- such a cute and easy idea!

Pumpkin seeds take a little more work as you dig them out of your pumpkin, clean them and let them dry- but well worth it! This website has 10 great seasonings and ways to roast them- try it this year- you won’t regret it!


More recipes coming in the next post!

FollowFacebookpinterestrssyoutube
ShareFacebookpinterest

A Happy COVID Halloween!

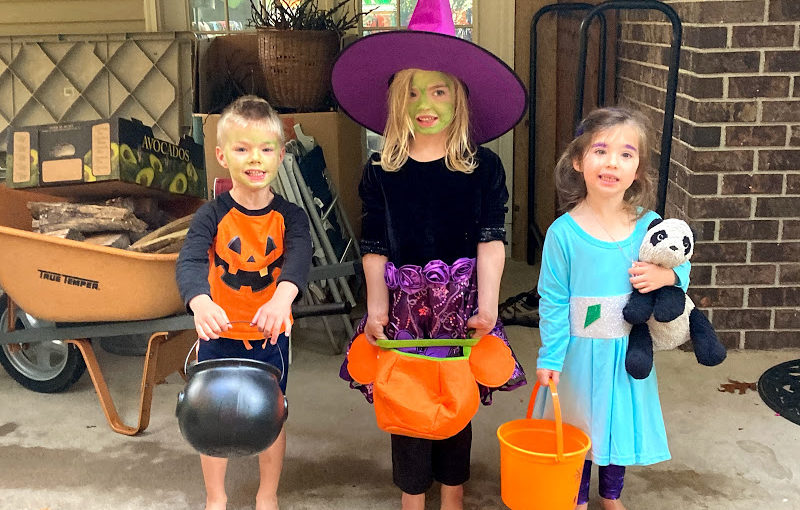
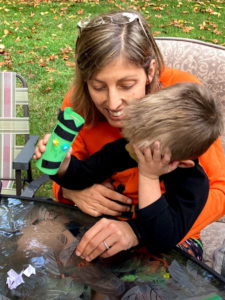
This year’s Halloween was quite different than others. We decided to skip trick-or-treating due to the pandemic and do a very small family gathering with our own version of trick-or-treating.

Start by decorating the house and getting in costumes!

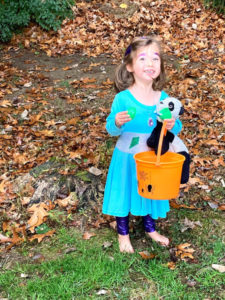
Next, add the kiddos!


Time for fun, games, and crafts!

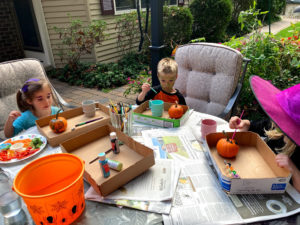
A great activity is painting pumpkins! To keep it clean and organized have a paint set and brush for each kiddo with their own cup of water. You can use cardboard box lids to keep it clean.


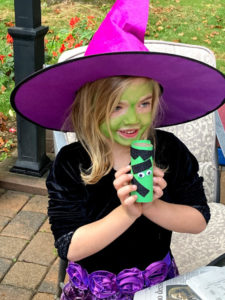
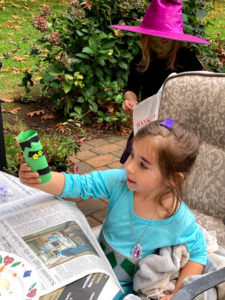
For the next craft we used paper toilet rolls to make Frankenstein (or Frankie as my daughter likes to call him).

You will need: toilet paper rolls, googly eyes or buttons, glue, tape, black construction paper or foam sticky paper.

I cut out the black hair, eyebrows and mouth ahead of time and stuck each one in a plastic baggy with the green construction paper. Each kid got a bag and pulled out the green construction paper and taped it over the toilet paper roll. Next they pressed on the stick foam hair, eyebrow and mouth. If you don’t have sticky foam colors then you can use construction paper. They chose their own eyes by using googly eyes or buttons and glued them on!

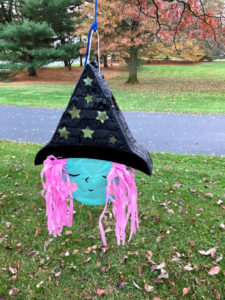
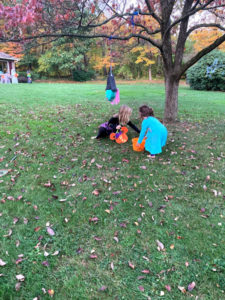
Next we did a Halloween piñata! The kids used a badminton to hit it then Aunt Amanda helped out with a big pole. Once it spilled open the kids got playdough, bubbles, and candy…yum!!

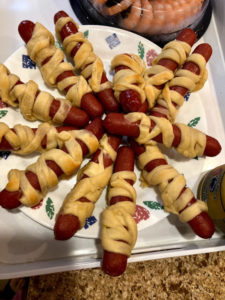
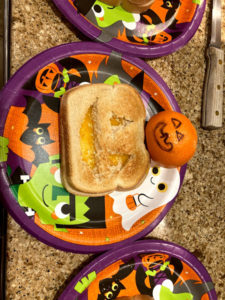
Next we made lots of spooky treats like meatballs, jack-o-lantern grilled cheese & clementines and mummy hot dogs!

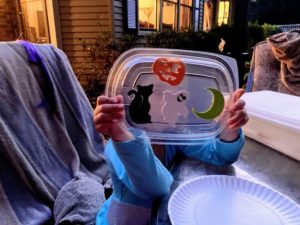
Grandma baked sugar cookies & had each kid decorate their own box to hold them with foam stickers (leftover takeout containers). They used icing and sprinkles…yum!!

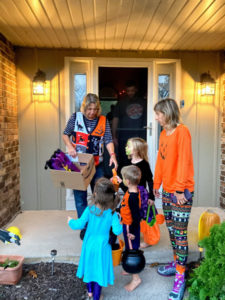
Instead of trick-or-treating around the neighborhood, we went trick-or-treating around the house to each door! The kids LOVED it and ran to each door multiple times!


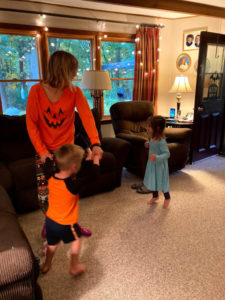
As if this wasn’t enough, we did a Halloween dance party and Halloween egg hunt (Easter eggs filled with Halloween goodies and pennies).

To end the night we had a campfire & smores! Happy Halloween everyone and stay safe!


FollowFacebookpinterestrssyoutube
ShareFacebookpinterest

Alternative Trick or Treating 2020

We all love trick or treating! I can remember trick or treating in high school with a group of my soccer friends! I personally think trick or treating is great for older children as well (as long as they behave and aren’t too scary for the little ones!). There were neighbors who said, “How old are you?” or “Don’t you think you’re too old for trick or treating?” NO is the answer. If a teenager is responsible and behaving, then by all means go trick or treating instead of the many other negative things that could be done.
I remember running home and spreading the treats all over the floor with my brother and sister. We would compare our stockpile and trade our treats! Oh what fun trick or treating was! However, 2020 is different. With the COVID virus going around (rate dependent in your state/county), we are minimizing this high risk activity by avoiding the traditional trick or treating. As disappointing as this is, there are some other super fun alternatives (and hopefully next year we can do the old school trick or treating)!

This image has an empty alt attribute; its file name is img_4586-1024x821.jpg
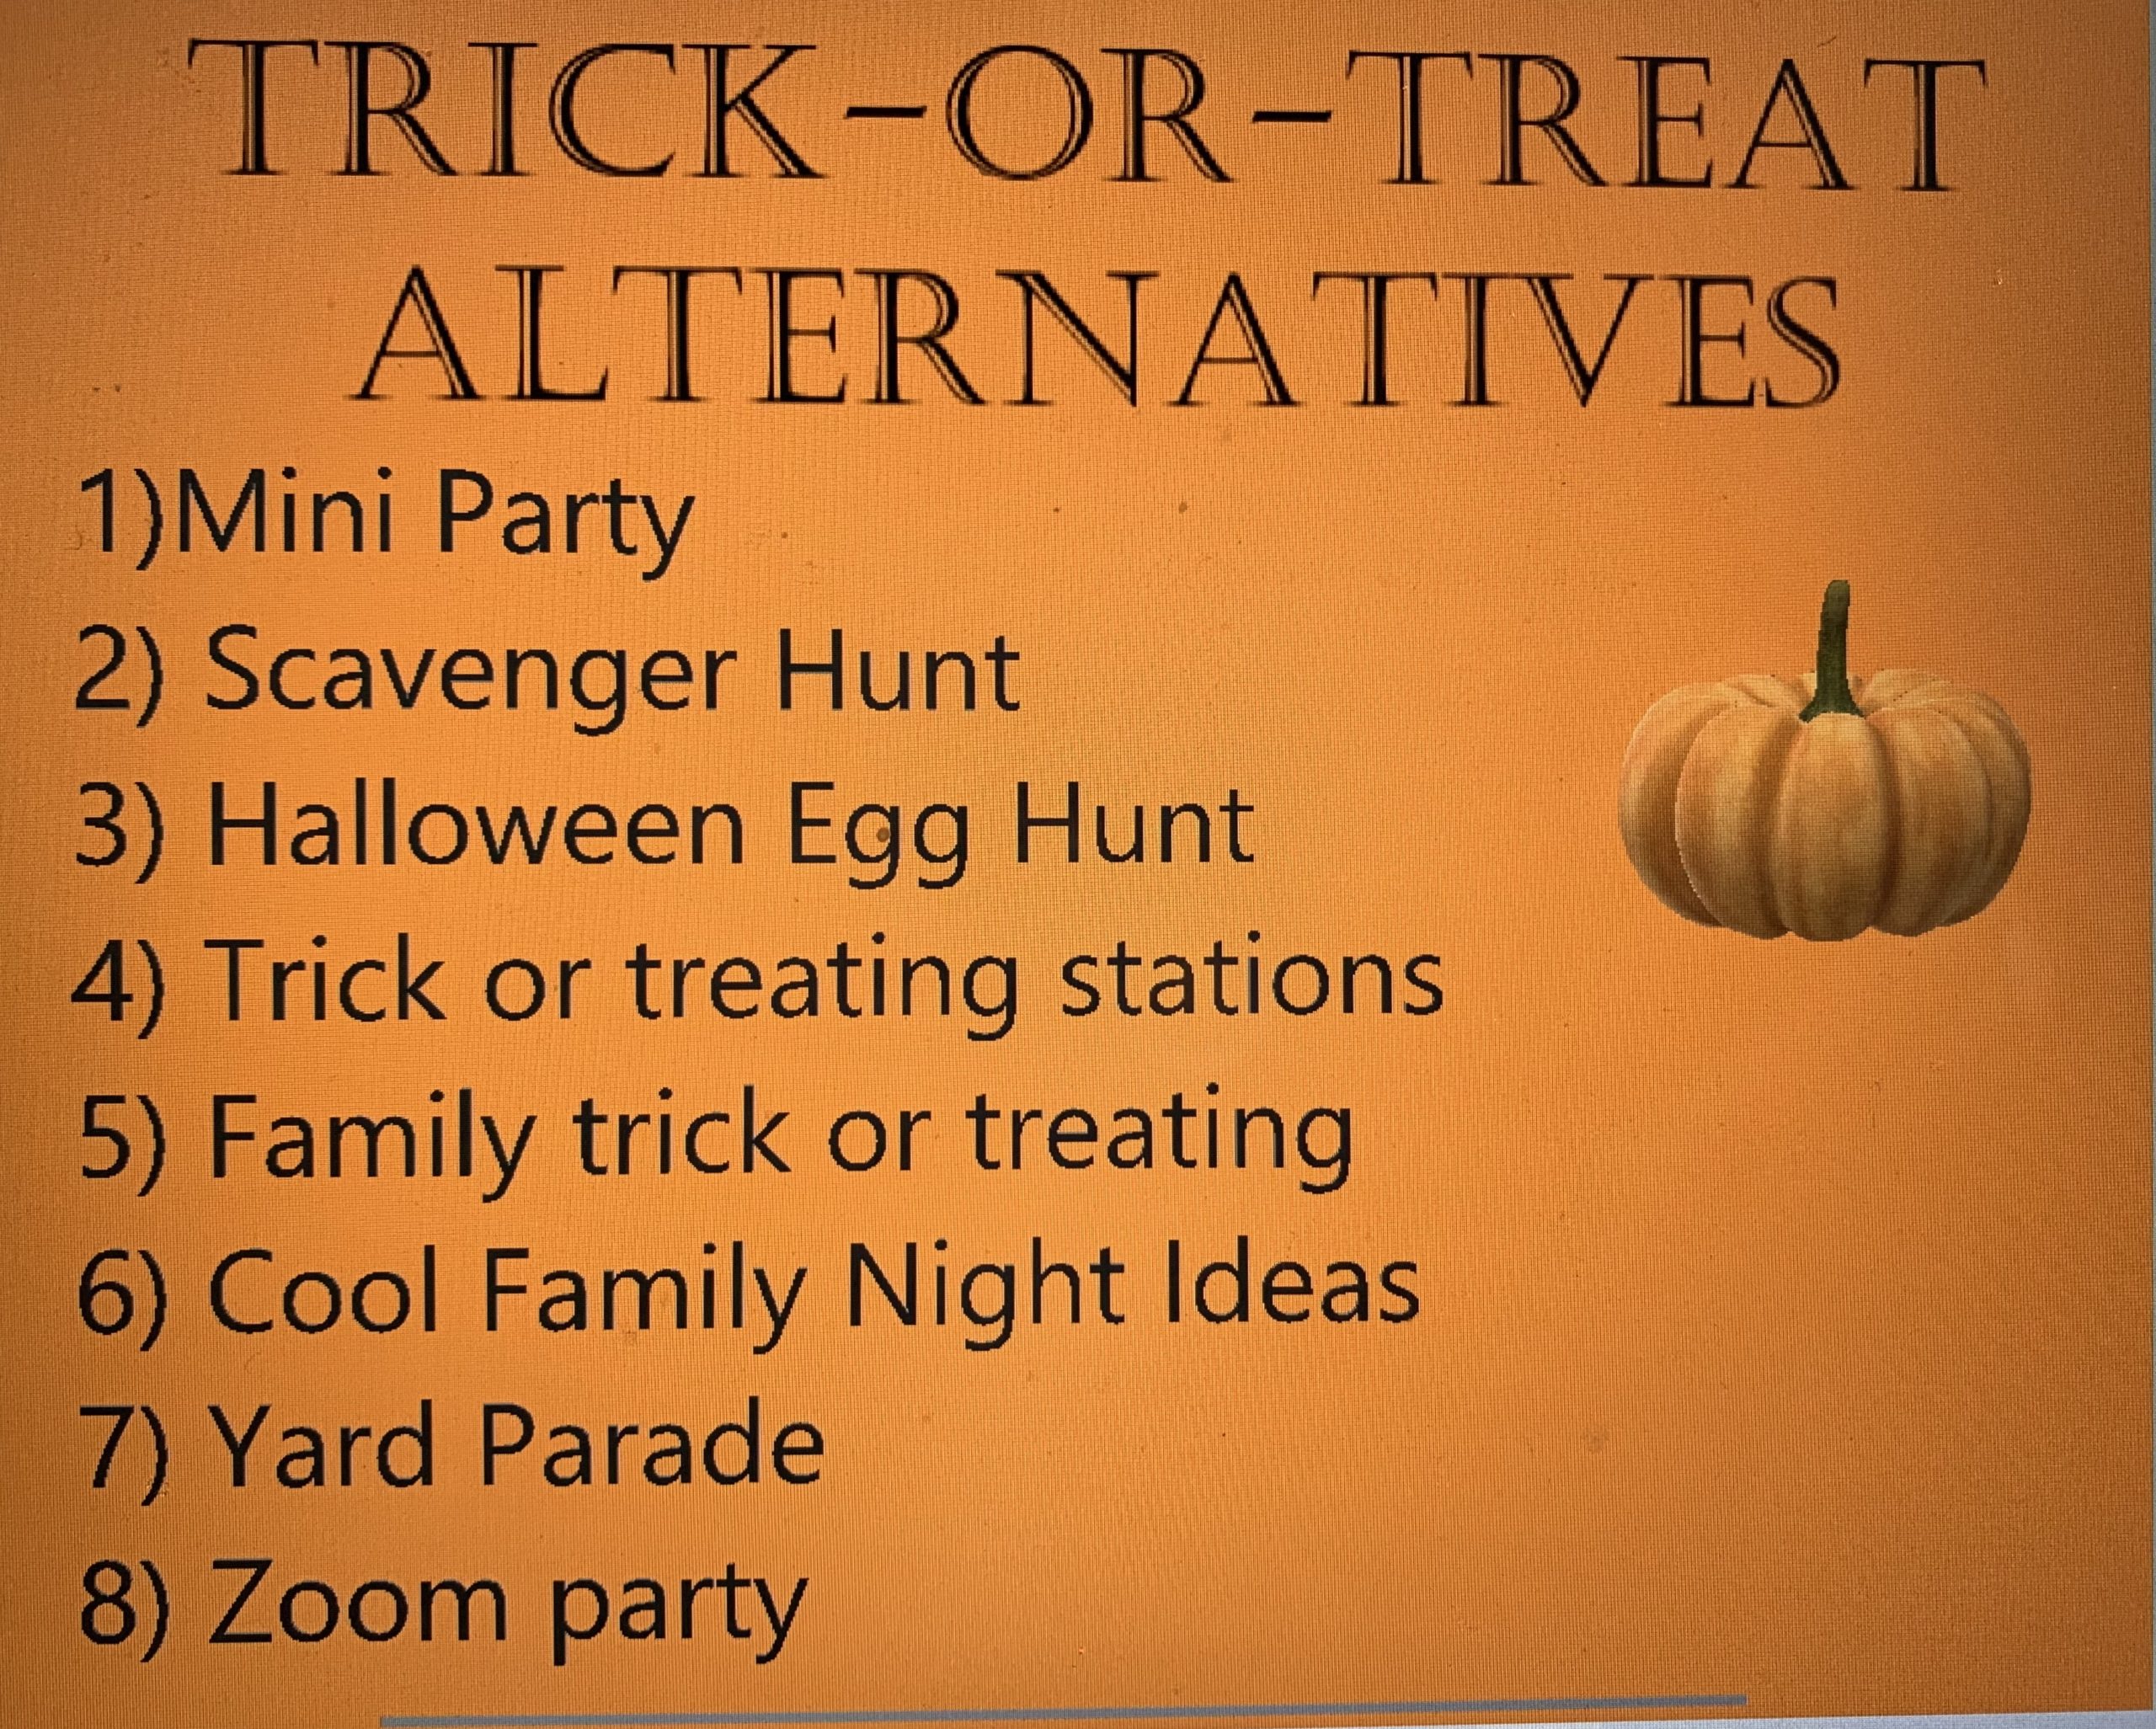
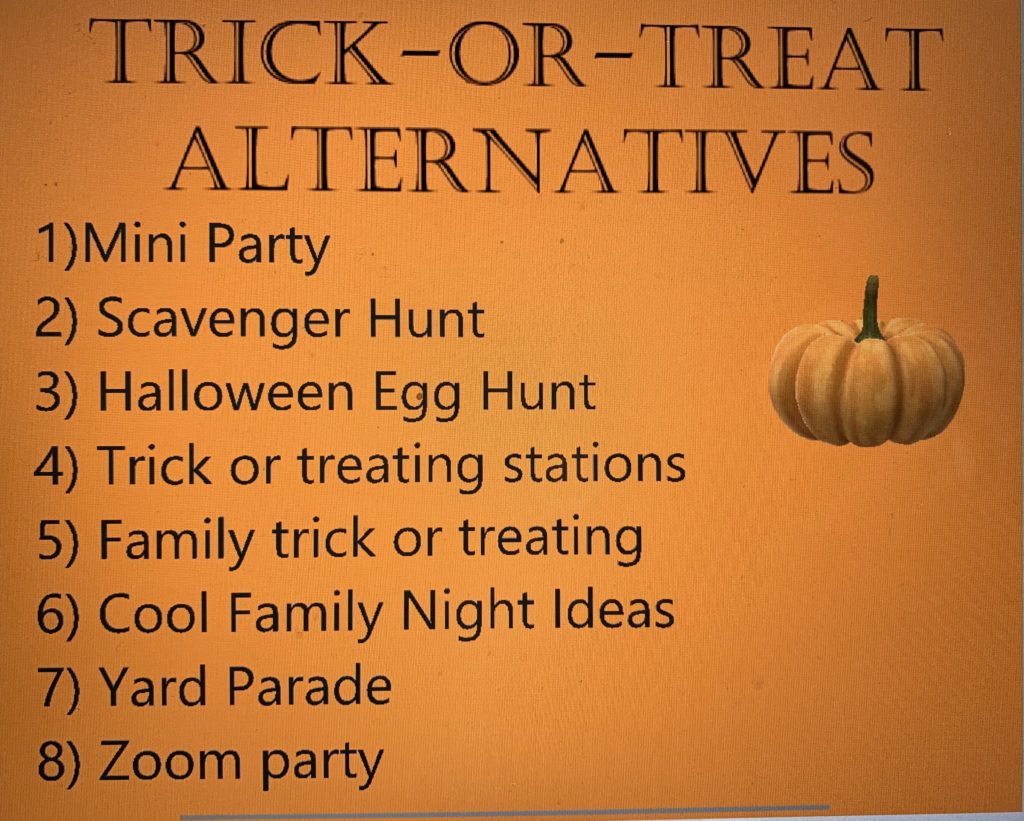
  1. Mini Party!!!!!! Mini party essential means a small party, usually under ten people, with trusted low risk covid people. This can encompass many activities such as
    1. A Piñata
    2. Movie night
    3. Campfire night with smores
    4. Fun Halloween snacks and food
    5. Carving/painting pumpkins
    6. Halloween crafts/face painting
    7. Board games
    8. Crafts
    9. How many candy corns are in the container
    10. And any of the other activities on the list!
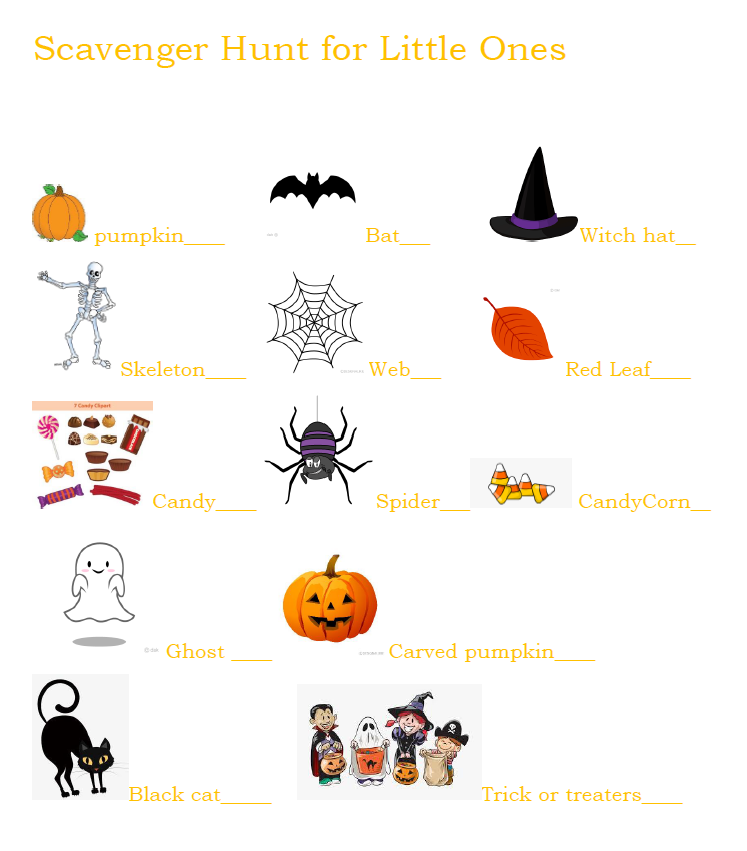
  2. Scavenger hunt time! Who doesn’t love a good scavenger hunt? Well, maybe your kids if they don’t want to work for their candy! There are many scavenger Halloween hunts, I made one for kids who aren’t quite reading yet so they can look at the pictures and words and understand. The one below you can download. If you need another type you can find many online!
This image has an empty alt attribute; its file name is scav.png

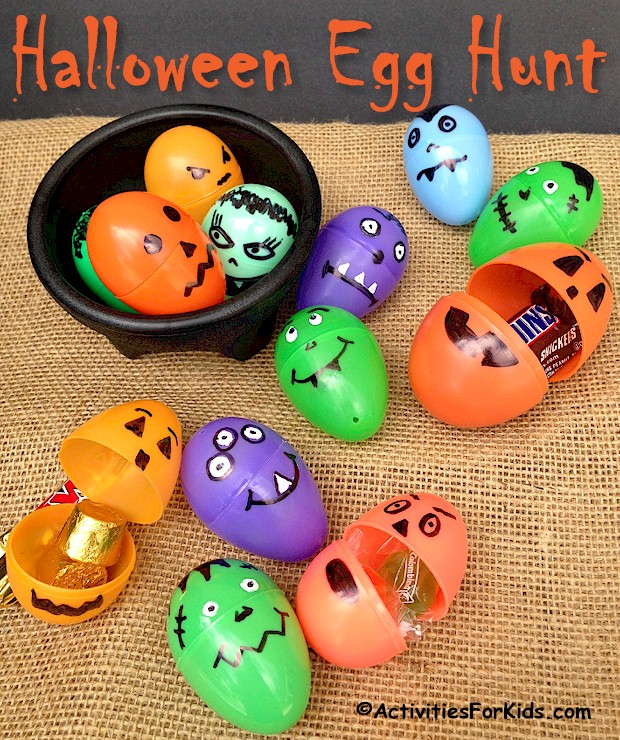
3. Halloween Egg Hunt: You can easily use marker and draw faces on eggs, or you can use puffy paint! Another option is glow in the dark eggs and a night egg hunt…SPOOKY! You can also paint eggs with glow in the dark paint. Put your favorite candies, stickers, tattoos, rings, or whatever you child enjoys in the eggs! Use your pumpkin or usual trick or treat bags to collect them.

Halloween party games for kids - Upcycle plastic Easter Eggs for a Halloween Egg Hunt.

4. Trick or Treat Stations: Setup stations in your yard, or at each of your doors. Each adult is dressed up and has a scene behind them. For example, one adult has spider webs behind them and the kids come up and say trick or treat. The idea is that its safe since it is your mom and dad or family member you live with and its similar to trick or treating. We may do the door idea. So the kids can run from door to door (maybe more than once), and knock for trick or treating.

5. Family trick or treating: this is similar to the one above. However, you can drive to grandparents house or aunt or uncle house and do trick or treat at just a select couple houses to lower the risk.

6. Family Ideas: So besides all the other ideas, there are many other Halloween things that can be done. Family board games, campfires, Halloween movies, pin the spider on the spiderweb, mummy toilet paper roll game (although you may not want to waste the toilet paper!!), painting pumpkins or carving them, Halloween bingo, ring witch hat toss

17+ Halloween Party Games for Kids
Halloween Bingo - Perfect halloween party games for kids

7. Yard Parade: have your little ones dress up and walk around the yard and do a parade! You can walk down the road dressed up as well (not on trick or treat day of course!). Kids love dressing up and having a pretend parade!

8. Zoom party! So have a family/friend zoom party. You can vote on the best costumes, each show off your spooky treats and your pumpkins. Do crafts together or drawing contests

FollowFacebookpinterestrssyoutube
ShareFacebookpinterest

Sparkle Pumpkins!

IMG_2254

It’s finally fall and pumpkin time! Toddlers LOVE holidays and what a great way to get ready for trick-or-treating by decorating pumpkins! Obviously, toddlers shouldn’t be holding knives to make jack-o-lanterns so there are many fun alternatives!

You can have your toddler paint a pumpkin, add stickers, pom-poms, and many other accessories instead of the normal jack-o-lantern.

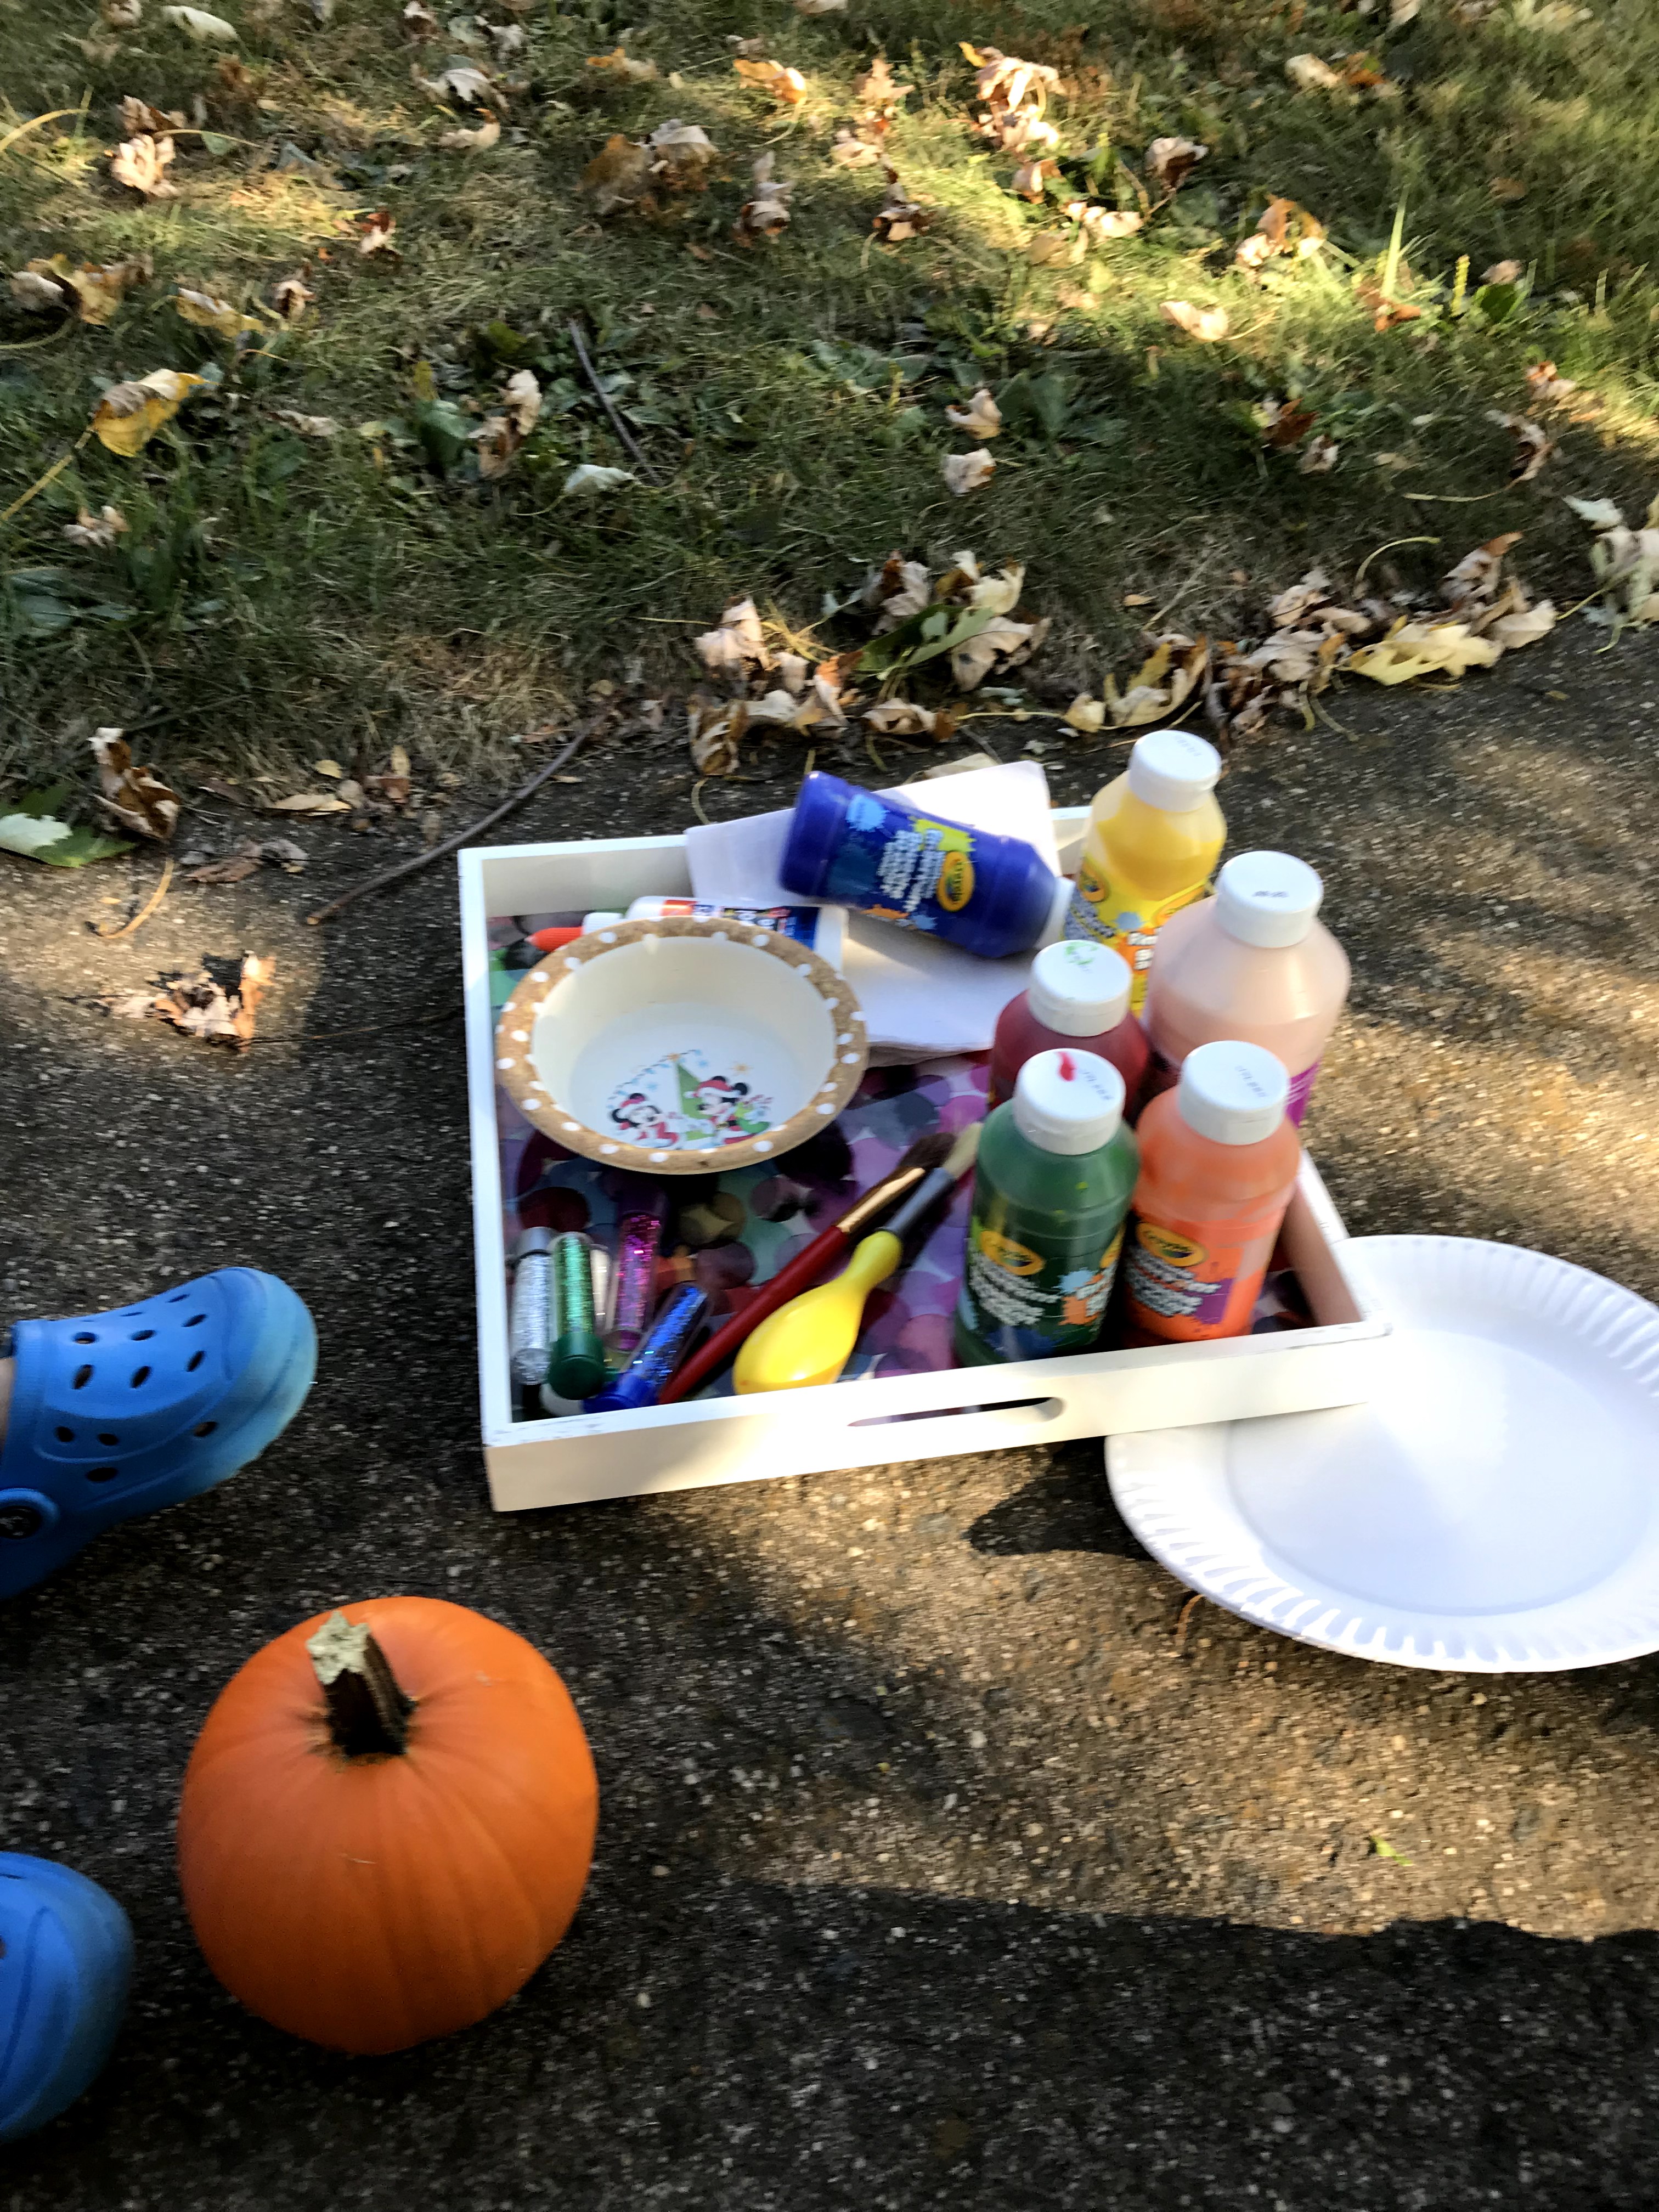
Or….you can have them make sparkle pumpkins! My daughter LOVES glitter, I mean who doesn’t? Okay, maybe we don’t, especially when you have to clean it. However, this is a perfect activity for outside in the cool, crisp fall weather.

IMG_2244

What do you need for this activity?

A pumpkin of course! Other materials you need are paint, glitter, glue, and brushes. You may want a paper plate or something you are using to put the paint on to mix it with glue. Glitter is a very important part of this activity! We used various colors.

First ask your child what color they want to start with! Add HALF glue and HALF paint concoction together. Mix them with the brush. The glue helps the paint stay on the pumpkin and not flake off. It also helps the glitter stay on. Your child can have fun painting their pumpkin!

IMG_2247


Let them paint to their heart’s content, then have them pick a glitter color or two.


IMG_2257


Madison spread the paint pretty thin, so I went ahead and put some liquid glue on the plate and had her brush the glue over the paint. This allowed the glitter to stick better. She just shook the glitter over the pumpkin (and all over the sidewalk).


I recommend you keep the pumpkin out of the rain!

IMG_2261

ENJOY!

FollowFacebookpinterestrssyoutube
ShareFacebookpinterest

Fall Wreath Fun

IMG_1968

We always hang a wreath on our door for each season or holiday. Madison wanted in on the fun, so we decided to make our own fall wreath! It’s very simple and easy!

Materials:

  • paper plate
  • glue
  • assorted fall construction paper colors
  • string
  • pom poms (optional)
  • You could also add glitter or any other extras!

IMG_1958  IMG_1954

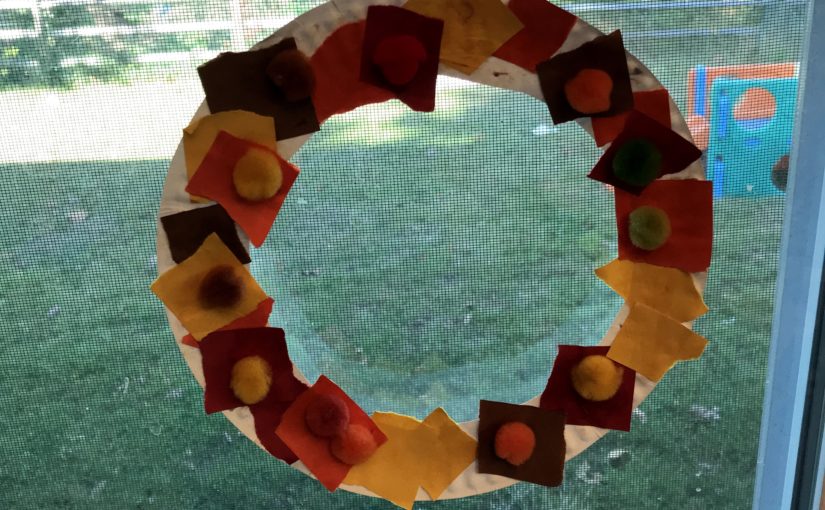
First, cut out the middle of the paper plate so you have a circle left. Next, I cut the construction paper in strips, then cut it into small squares she could glue onto the “wreath”. We pretended the squares of construction paper were leaves. You can use your scissors for this or if you want more of a messy look you can rip the paper or have your child do it.

IMG_1961-COLLAGE

Madison had a lot of fun gluing on all of the pieces. She loved using the glue stick. We covered the paper plate then we added fall colored pom poms on top of the “leaves” (construction paper). She LOVED this project and after it dried we hung it up on the window. She points it out proudly every time we go by!

IMG_2013

FollowFacebookpinterestrssyoutube
ShareFacebookpinterest

How to Make an Owl Costume, It’s a Hoot!

1.jpg

What a hoot! I made this owl costume for my toddler girl for Halloween. This costume can be adapted for any age! Not only is it soooo cute, but it’s also soft, comfortable, and easy to make!

Let’s start with the materials. If you are making this for a larger toddler, child, or adult, you will need more material. You will need:

  • Felt, 3 or 4 colors or more, I ordered half a yard of each and it was more than enough
  • Hot glue and hot glue gun (I got a cheaper version at Michaels and it worked great!)
  • Scissors
  • A piece of cardstock or thicker paper

Let’s start with the cape (aka wings).

14.JPG

I didn’t have cardstock so I used a flier in the mail for my pattern. I simply drew a teardrop design and cut it out. To make all of the feathers for the owl, you must trace the teardrop design over and over.

13

I ended up tracing over 80 feathers in each color. I did this because I wanted to do wings (the cape) and put feathers on the front of the sweatshirt (optional). Trace the feathers in each color and cut them out.

12.JPG

I used 3 colors, but I recommend 4. If you have 4 feathers it will be easier to vary the pattern the feathers are glued in, so that there is no repetitions. 3 colors definitely works though.

Next, measure the wingspan of your toddler (or adult). You can use a measuring tape or eyeball it with the fabric like I did. I held up the white felt with my daughter’s arms outstretched and make a mark from fingertip to fingertip. You can also adjust and cut the cape when you are finished, so if you are unsure make it a little larger.

Next, warm up your glue gun and choose a pattern for your feathers and glue them on. I put glue on the top half of the feather, so that when I did the next row I could snuggle a feather underneath the bottom of the feather. Check out the picture to see what I’m talking about.

9.JPG

The feathers overlap so don’t put glue on the bottom half of your feathers. You’ll notice the first row I did very straight, as I was working I realized I wanted to tilt feathers a bit to the side so they looked more natural. Continue gluing until you have filled up the wings!

8.JPG

Beautiful! Now it’s time to add a tie to the top sides. You want the wings to be able to tie around your toddler’s neck. I wanted something that wasn’t tight, would hang down, and very comfy, so I used felt. I cut some extra pieces of felt. I simply used my scissors and in the upper right and left hand corner of the large piece of white felt (that the feathers are glued to), I made a hole with the scissor. I tied the shoelace type felt piece on each and wallah! Then I could tie the cape together.

The cape is done. I happened to have an owl hat. If you don’t have a hat, you can make one. If you like to crochet, then simply google and find a video and pattern. If you want to make the hat from felt (which is easier), then simply google “diy toddler owl felt hat.”

Here is where options come into place. You can do the wings and hat and leave it at that. I bought a pink sweatshirt and pants at walmart for $10 for the costume, but you can use any clothes you like.

4.jpg

This is a picture without doing the feathers on the front of the sweatshirt. This is very cute and if it’s cold weather in your area, will work great with a winter coat.

I went ahead and did the front of the sweatshirt, but as you can see in the picture below, ended up covering it anyway because of the cold weather. The cape (wings) can easily go over a large winter coat.

3

If you want to cover the front of a shirt, then simply cut out more feathers. I wanted to reuse my sweatshirt, so I didn’t glue the feathers to the sweatshirt. I measured the front of the shirt, used a large piece of white felt and glued feathers to the felt (just like the cape). Next, I put it on top of the shirt and sewed it on in the corners. This way I can simply cut the thread and take the felt off and use the sweatshirt again. If you don’t want to use the shirt again, gluing is easier.

2

Happy Halloween! I hope you have a hoot of a time!!! 

FollowFacebookpinterestrssyoutube
ShareFacebookpinterest

You’ve Been Booed!

Have you ever been booed? If not, now’s the time to start the booing in your neighborhood!

1

Am I talking about hanging outside your neighbor’s house and jumping out in a ghost costume the minute they get out the door? No! I’m talking about the contagious spread of joy! Whether you are a little kid or an older adult, this is so much fun! I love sneaking up to neighbors’ houses and dropping off the treats. The key is to make sure no one sees you!

Here’s how it works. Find a free printable online, you can search “you’ve been booed” and countless links come up. Here is the one we used: https://www.happinessishomemade.net/free-youve-been-booed-printables/

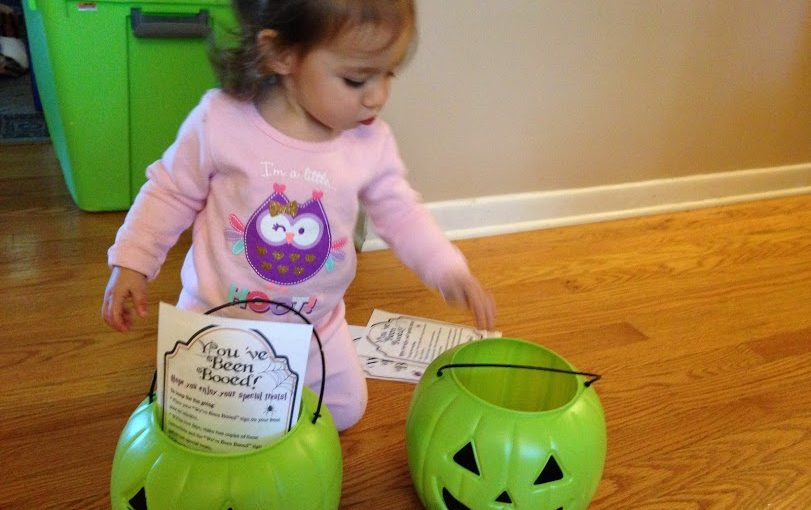
You can use paper lunch bags, or any containers you like to hold treats for 2 houses. Madison and I had fun going to target and getting green pumpkins for $1!

2

Include the printables so people know they have been booed. Make sure you check the doors of your neighbors to confirm they haven’t been booed yet! You can include any kind of treats you want. We decided to include Halloween goodies we already had for trick or treaters: pretzel bags, reese’s, kit kats, and pencils.

3  4

Your little one, or you will enjoy filling a treat bag or pumpkin knowing it’s going to surprise a neighbor!

5

If they have already been booed, you will see the “We’ve Been Booed” signs on their door. Now here is the fun part, make sure they don’t see you! You can do this when it’s dark, or when you notice they aren’t home. I’m home during work hours, so it wasn’t hard to see who wasn’t home. We got to deliver in the daylight!

6

Sneak up to their door and place the treats outside their door. Then run away! Kids and adults will be wondering who placed the unexpected treats at their door! Then it’s their turn. They will read the paper in the treat bag and boo 2 more people!
7It’s so much fun to watch the we’ve been booed signs go up in the neighborhood, knowing you started a fun game of giving!

If you don’t live in a neighborhood, but still have houses in sight, you can still do this! Give it a try, it’s even more fun to give than to receive!

FollowFacebookpinterestrssyoutube
ShareFacebookpinterest