Crayon candle making!

As a child I remember making many candles from crayons at my grandparents house. I also remember how much fun we had making candles from crayons.  So, during the quarantine, I decided why not try it?
img_3449

Of course the kids are still young and can’t work with the melted wax, but they can find broken crayons or pieces of crayons too small to use.  I put them hard at work finding these crayons and then taking all the wrappers off of them.  Next, they categorized them by colors.
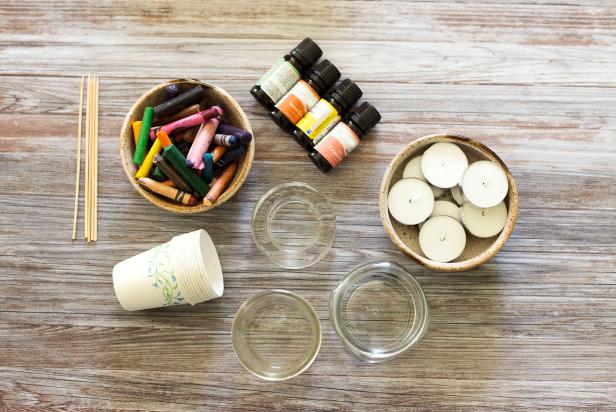
Crayon Candle Supplies

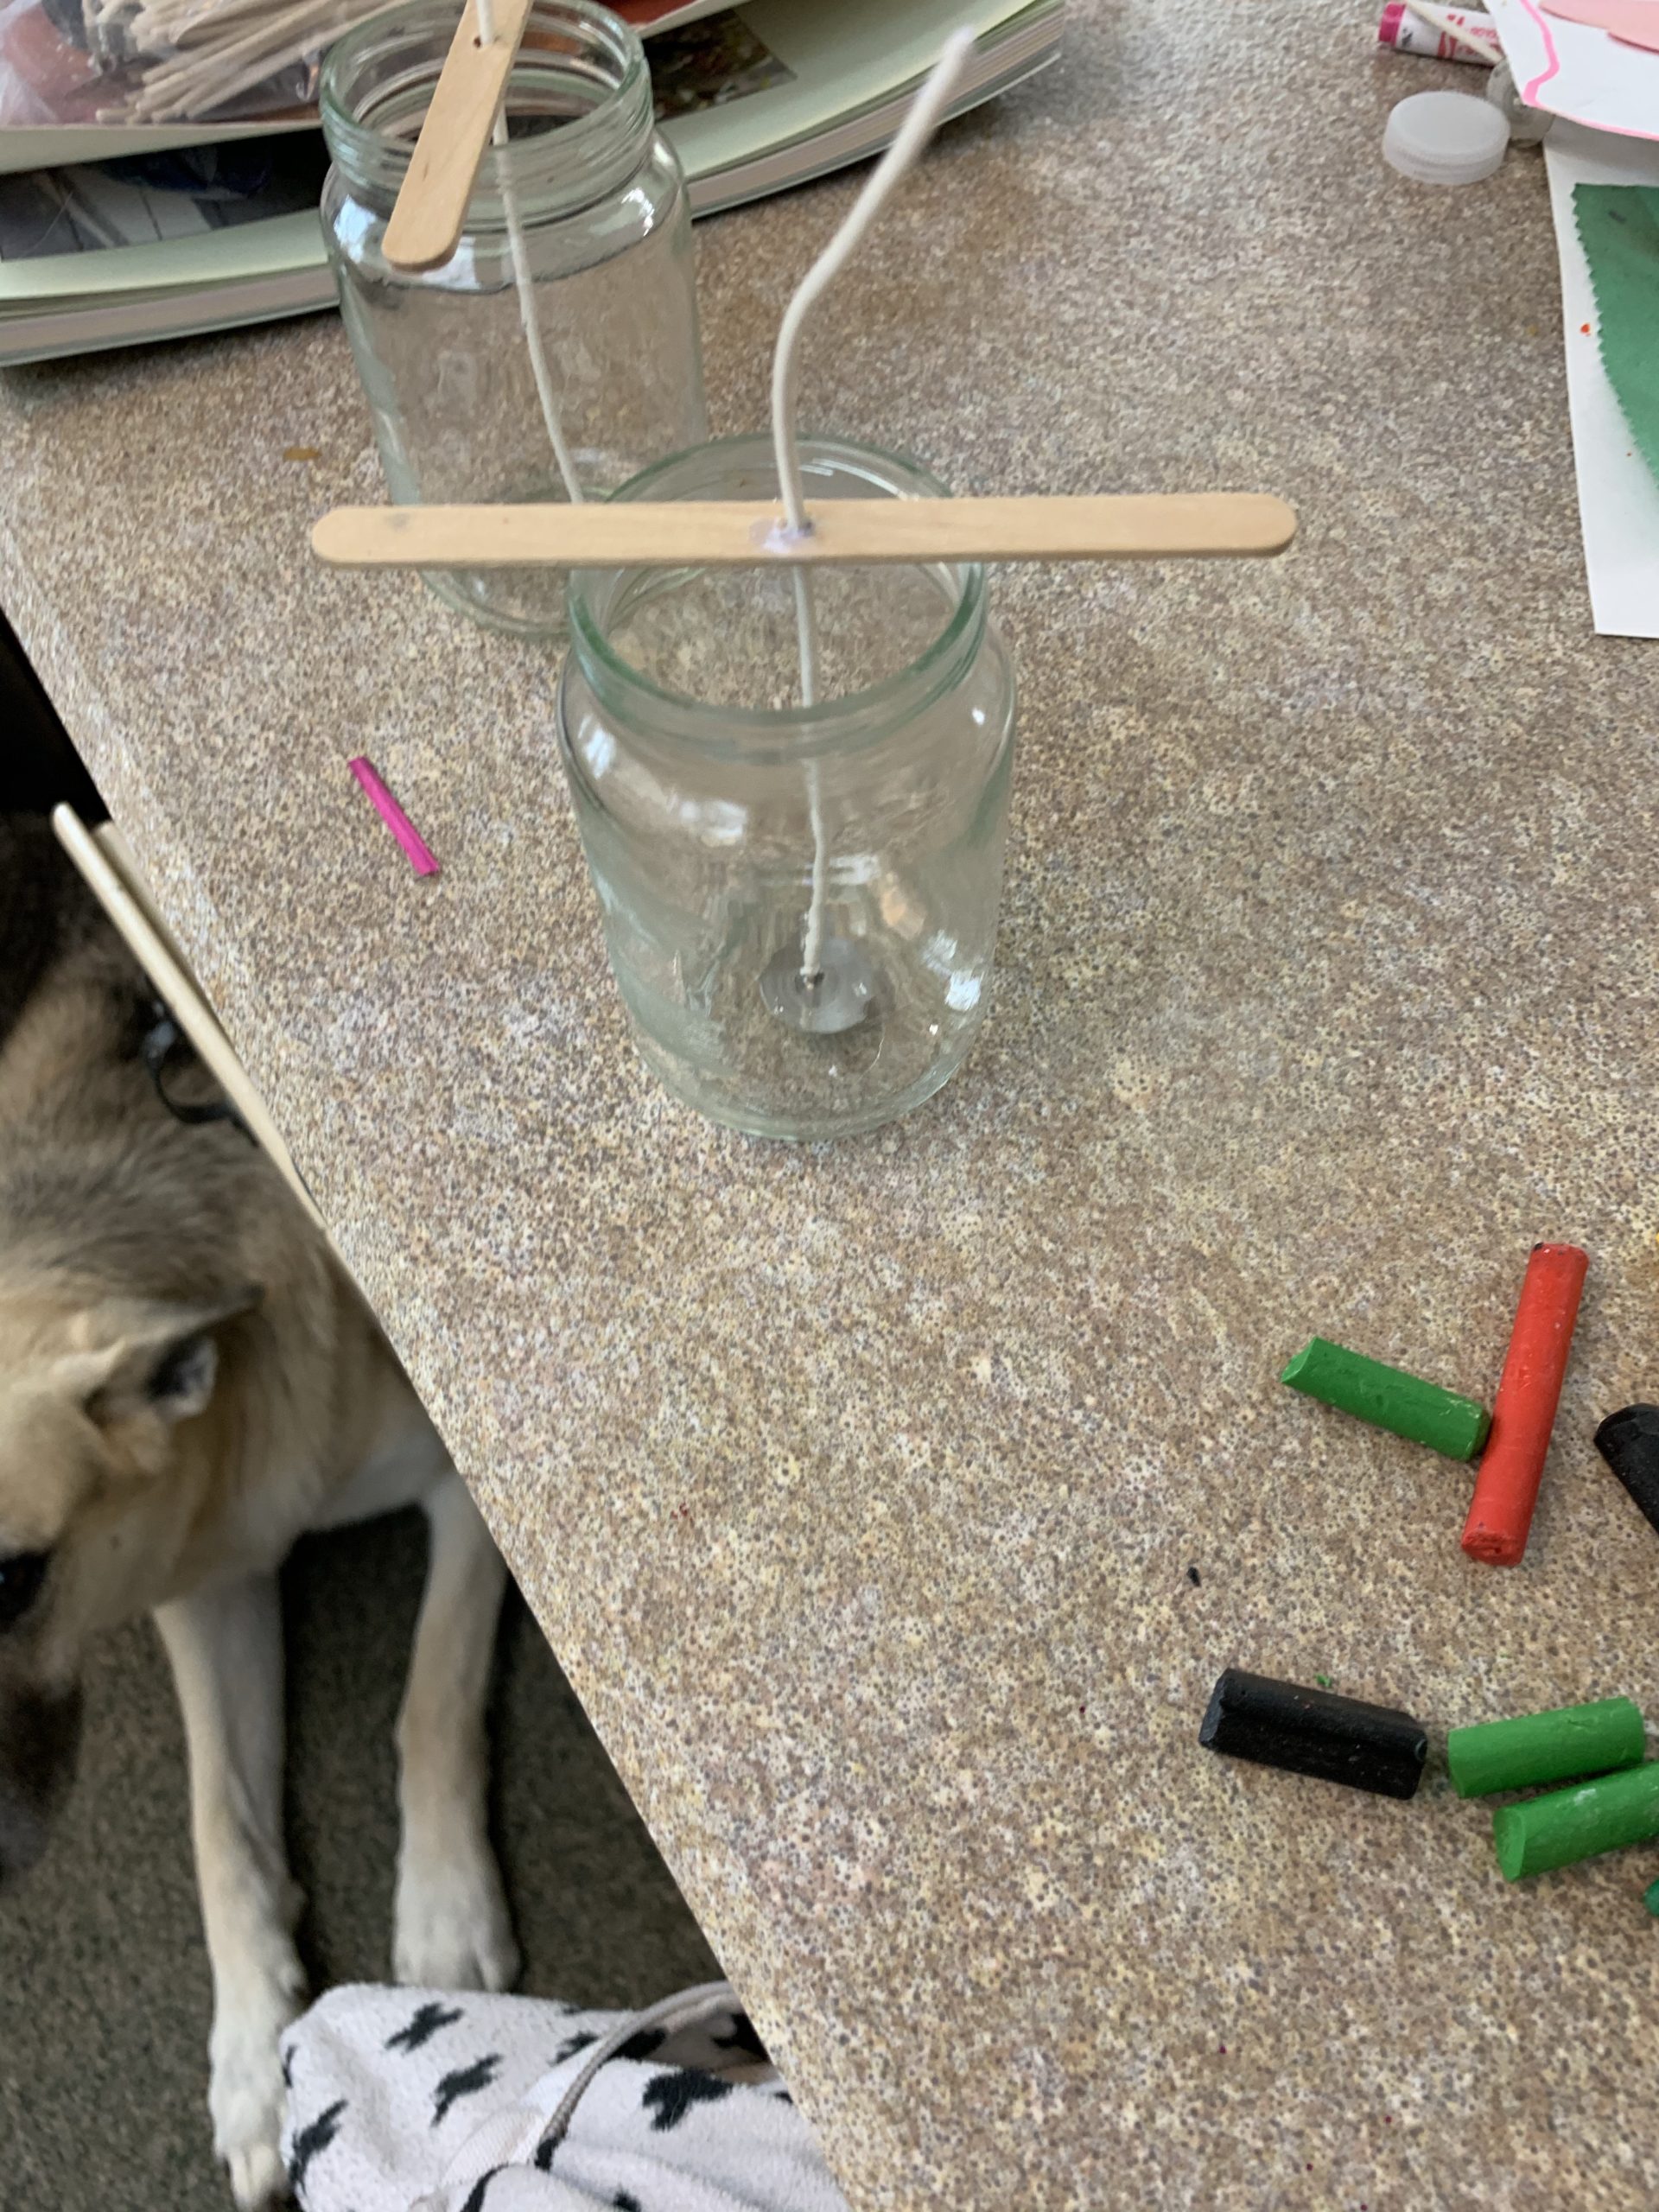
Next, I had little jars I had previously saved from baby foods that we could use for candles.  Make sure its a glass jar and not plastic!  We also had Popsicle sticks, wicks, and a boiling pan and thermometer for melting the wax. We have small holes in the Popsicle sticks, but you can also wrap it around the stick if needed.  Have your container and wick ready.
img_3443

Next, decide if you are going to do just one color candle or multiple.  If you choose to do multiple you have to let the candle wax dry in between which can take a while.  I ended up getting a big pan of ice and putting it around the outside of the candle after pouring the wax in order to cool it quicker.

Another factor is if you want a scent.  If you have different scents you can add them, or you can use essential oils to add a scent.

Now, you do need some regular wax as well!  I happened to have some white wax shavings from a long time ago we used and added the crayons for coloring.  You can also use the small tea candles that are cheap at the store and take them out of the tin wrapper.  Depending on the size of your jar you are filling, you will need a different amount of candles.  We melted the wax and coloring in the special candle pot we have and poured it out into the containers.  Some people also like to put the wax and crayon right into the jar and put 3 inches of water into a pan and place the jar in the pan and let it melt.  Warning–your jar will get very hot this way!  Also make sure u have your wick in when you do it this way.  If you want to try that method I found a great website for you to follow Click here

Crayon Candle Melt and Dip

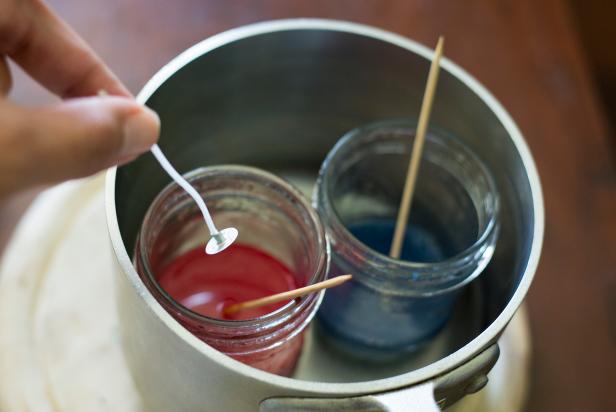
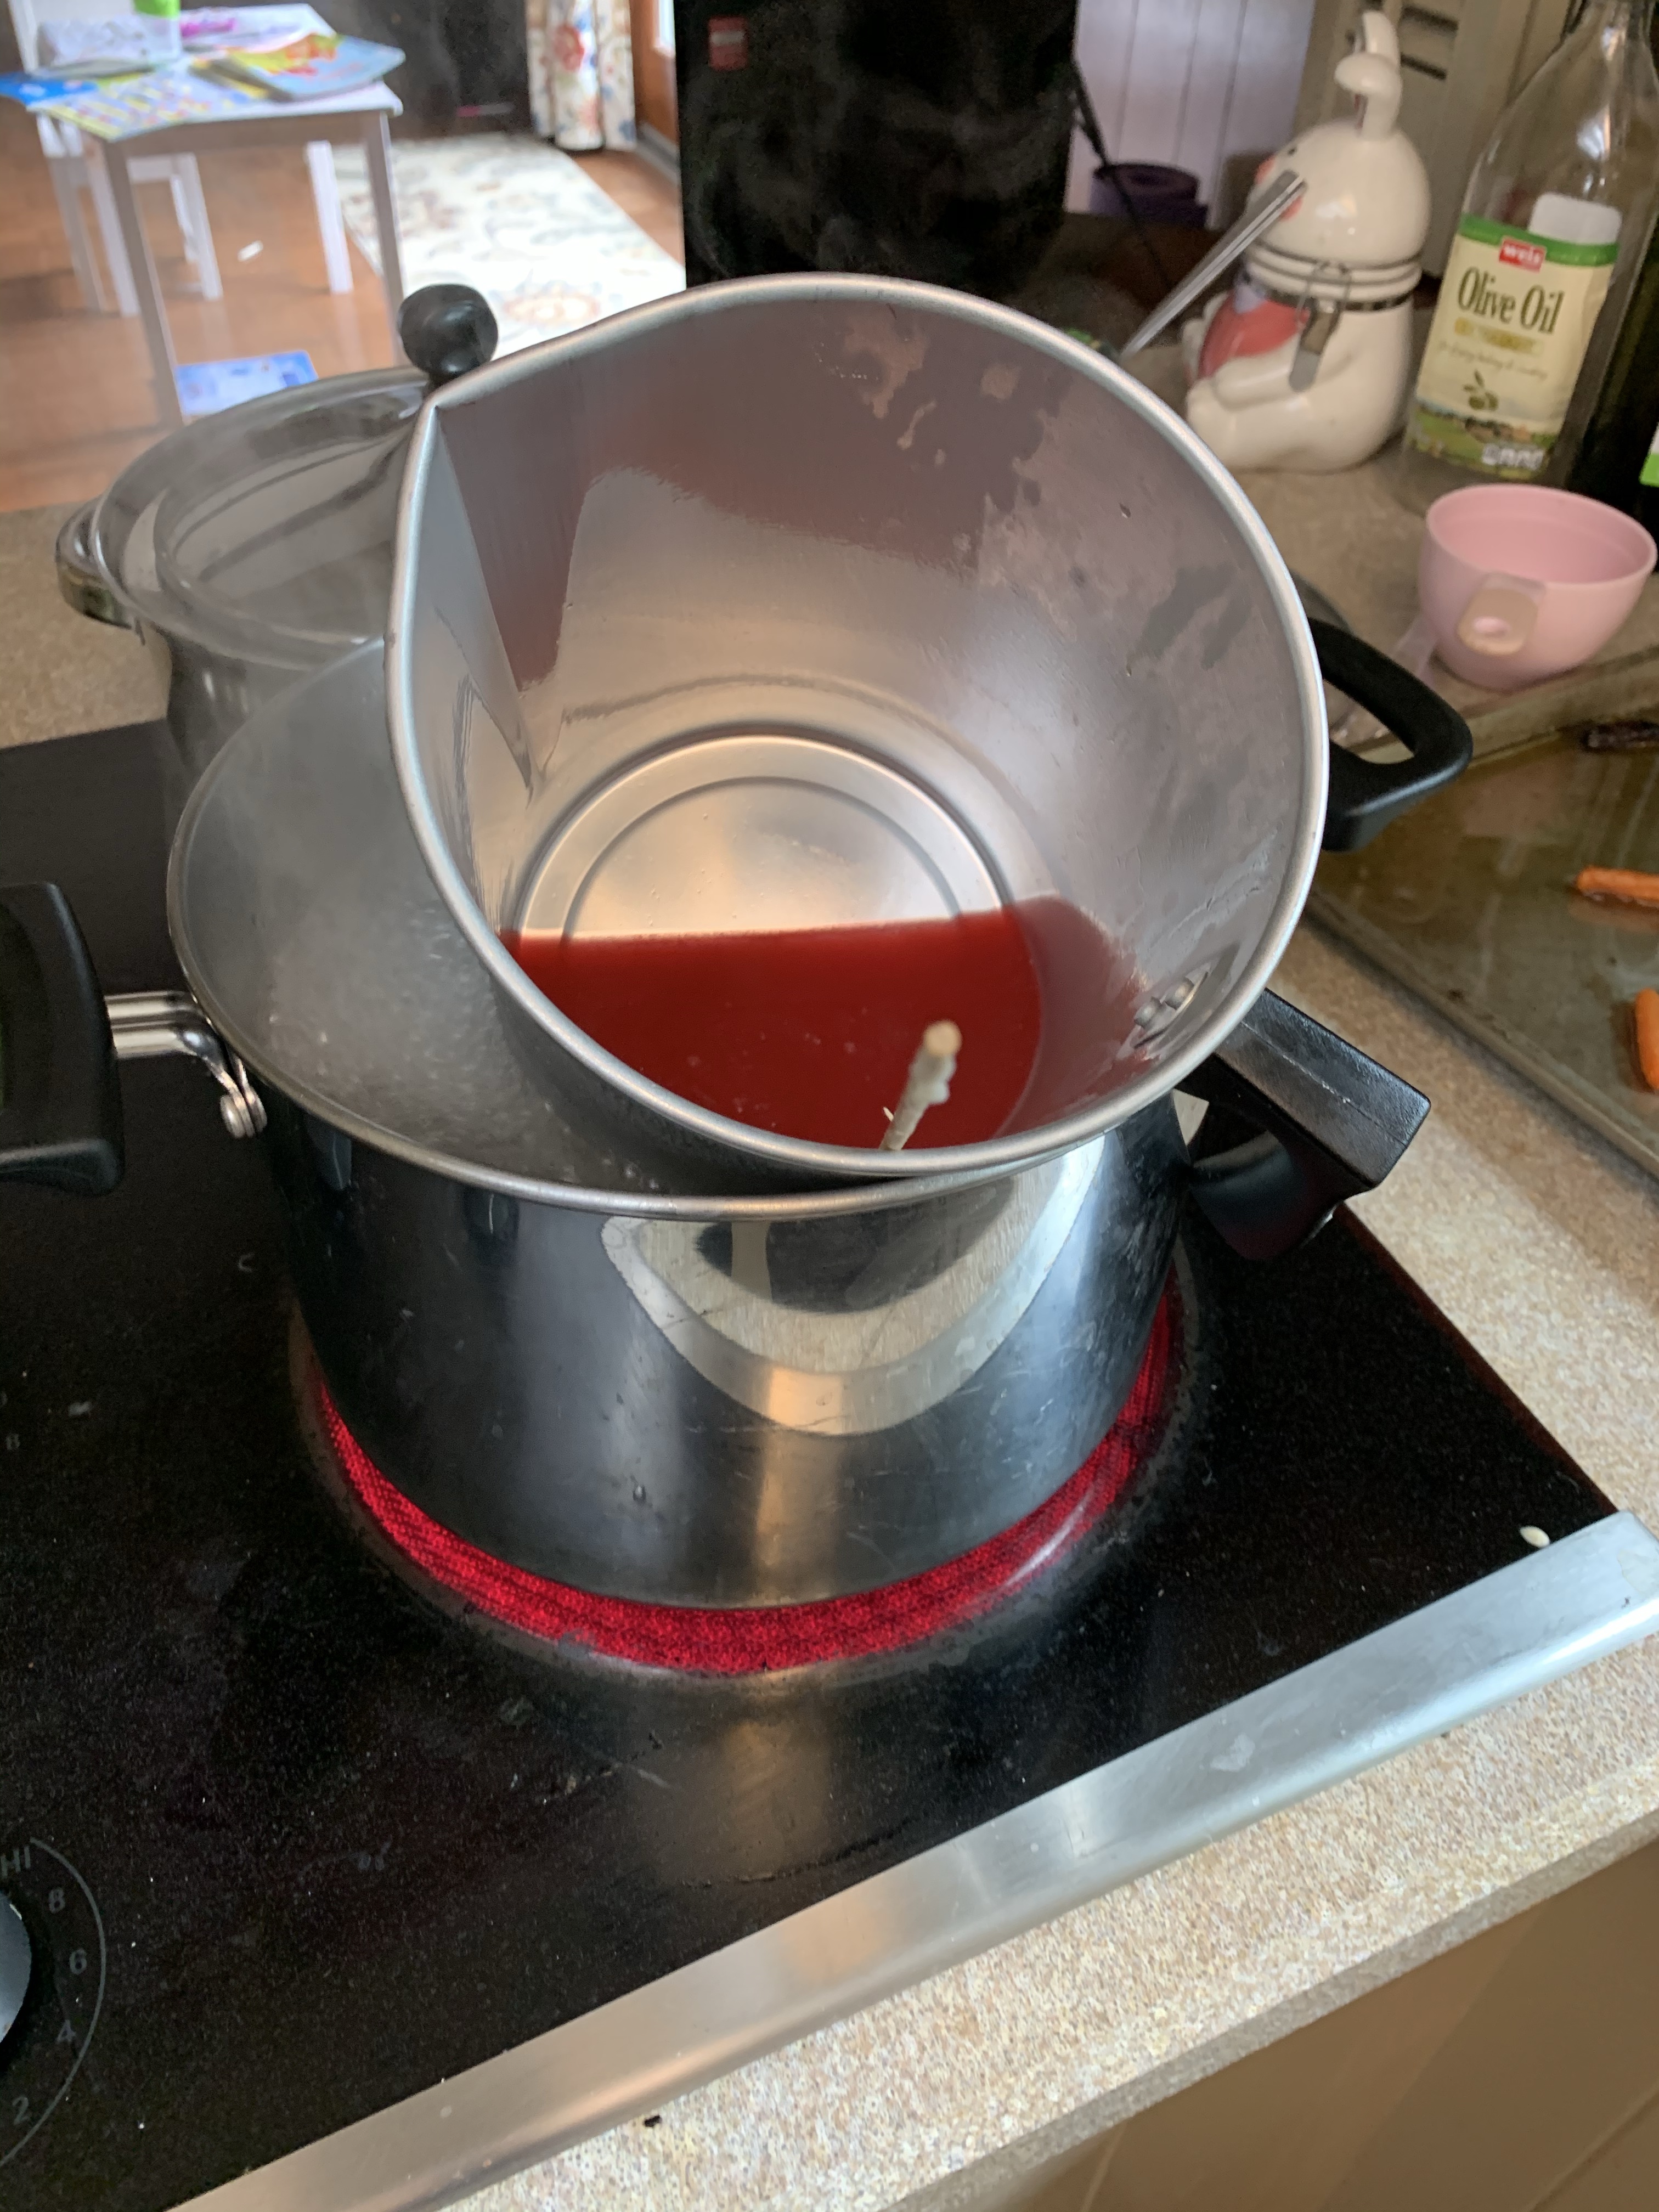
I tilted the candle wax pan for you to see.  As you can see the pot below has water in it and it melts the wax and crayon.  When its all liquid you can pour it directly and carefully into your jar and make sure your wick is centered.  Then you allow it to dry!
img_3444

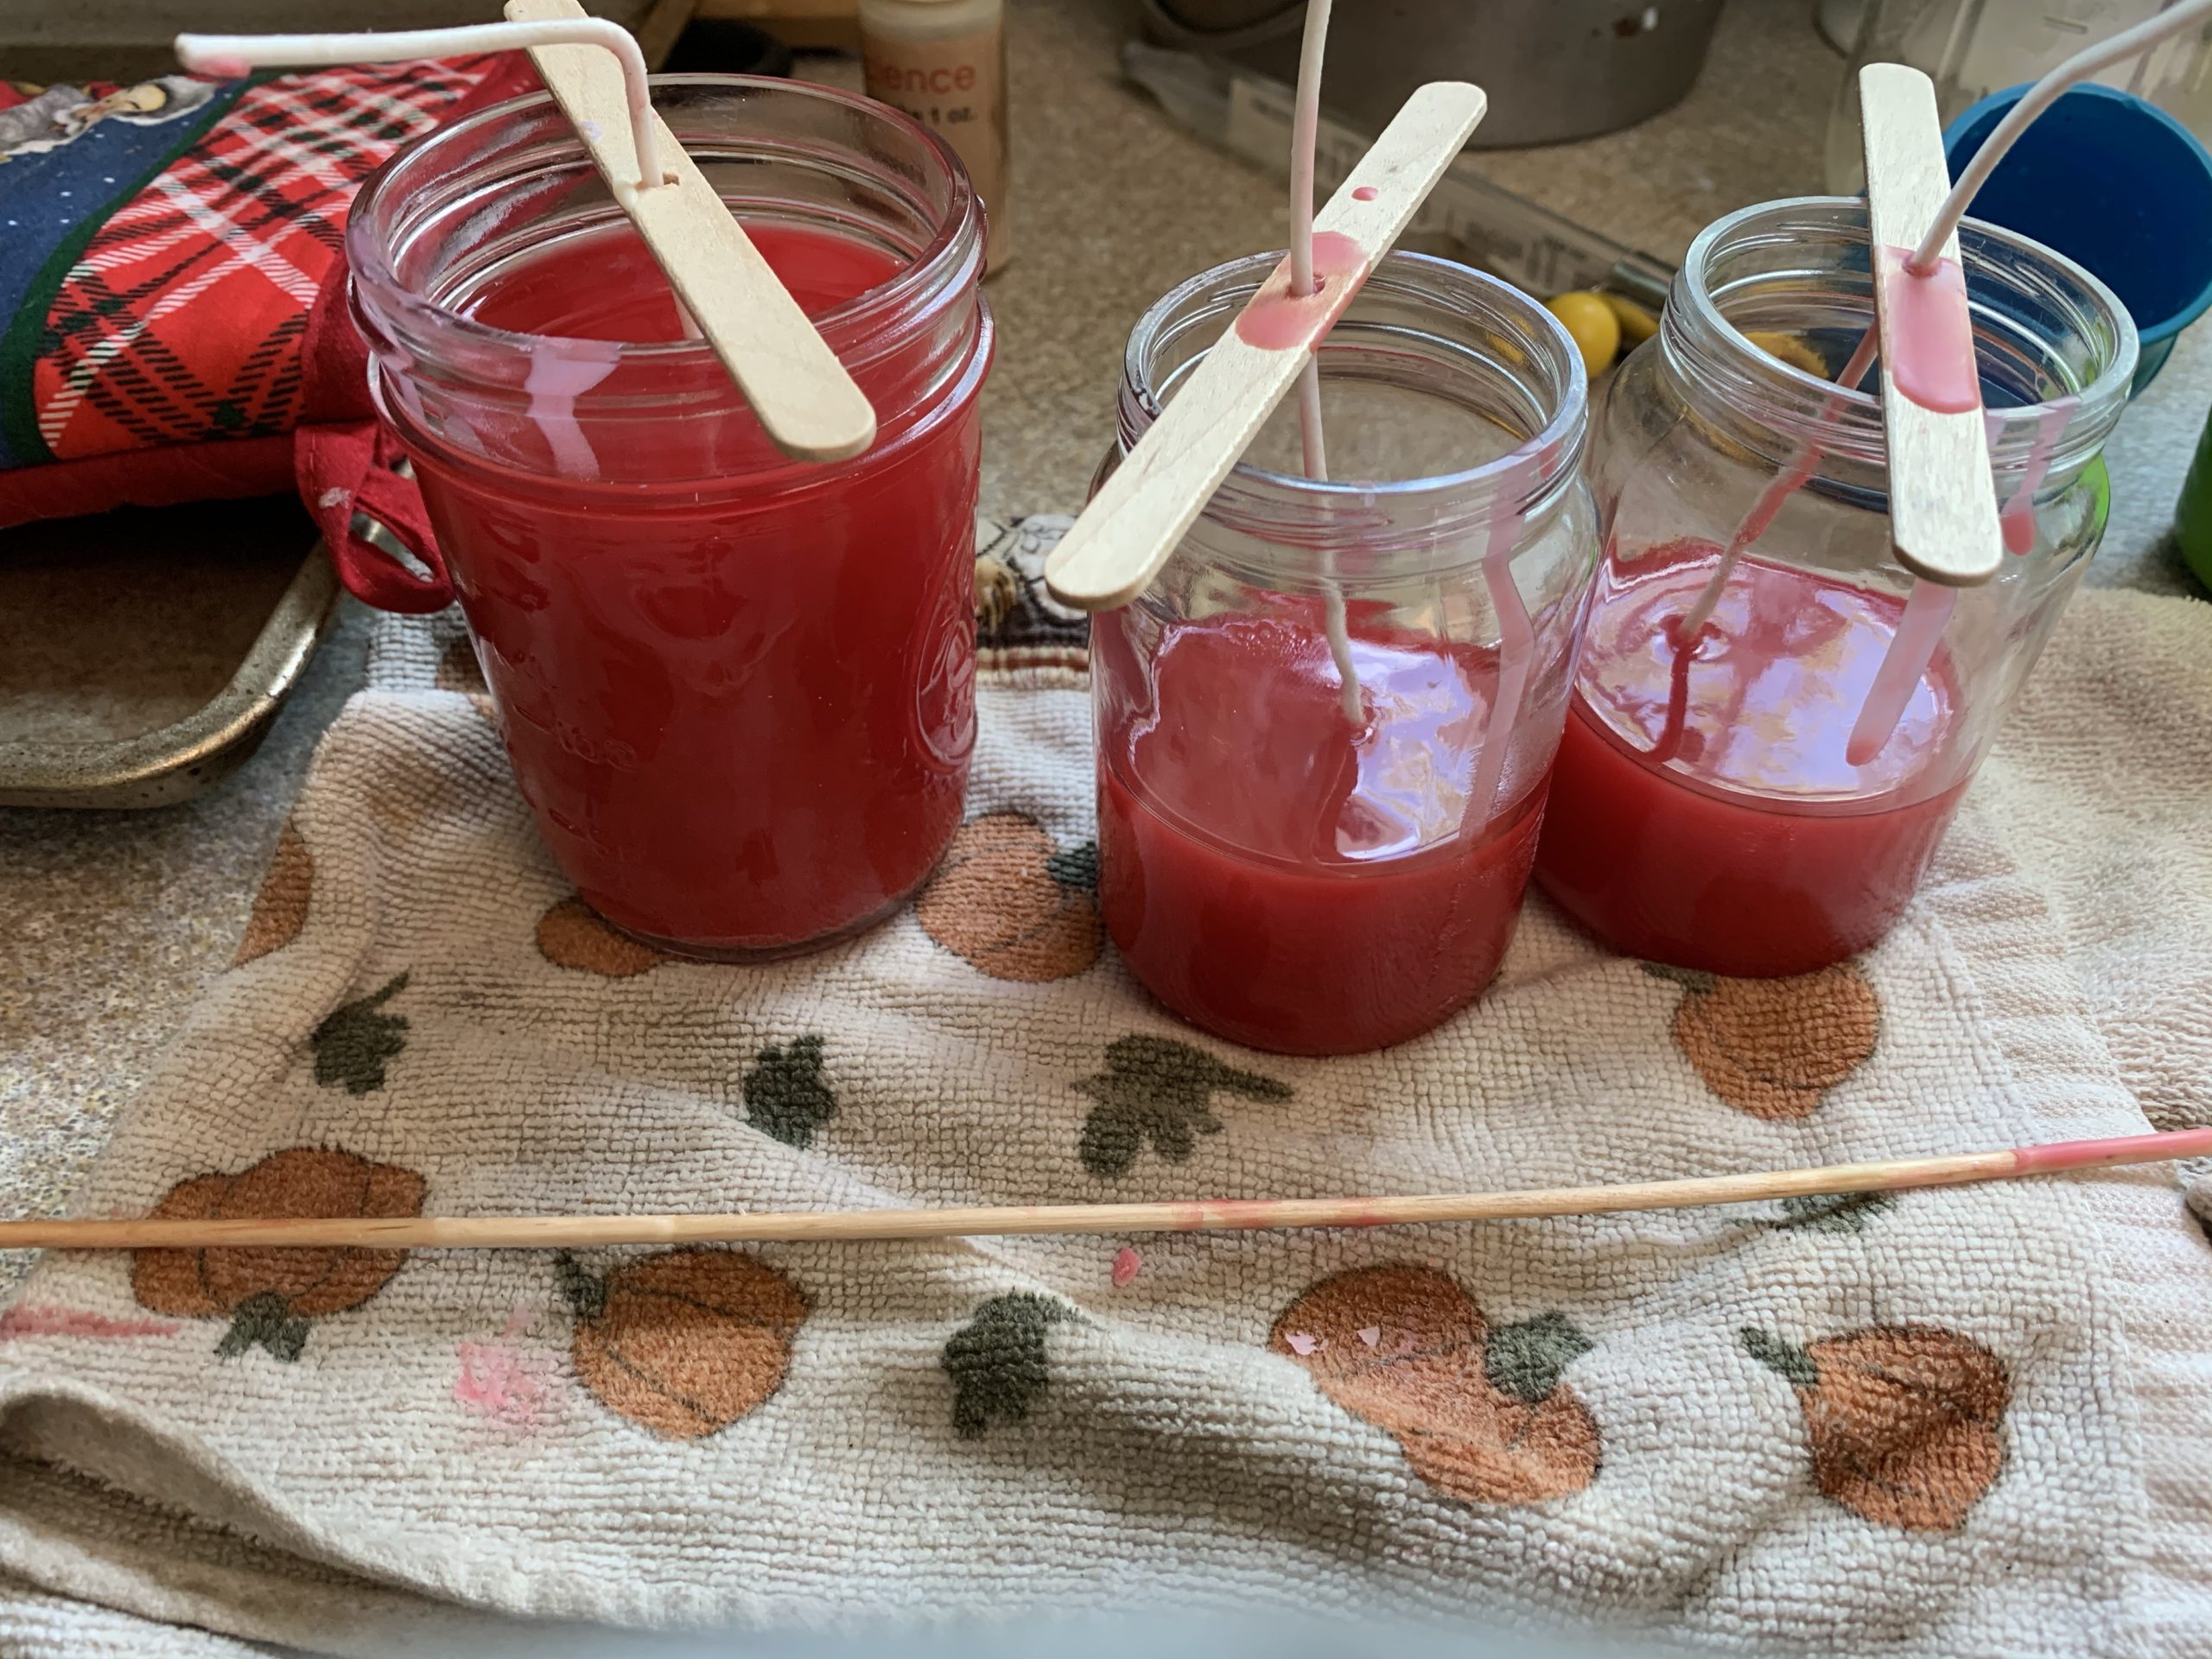
Following that, if you are doing another color, repeat the melting process and make sure the bottom layer is completely dry before adding the next color in the candle.
img_3445

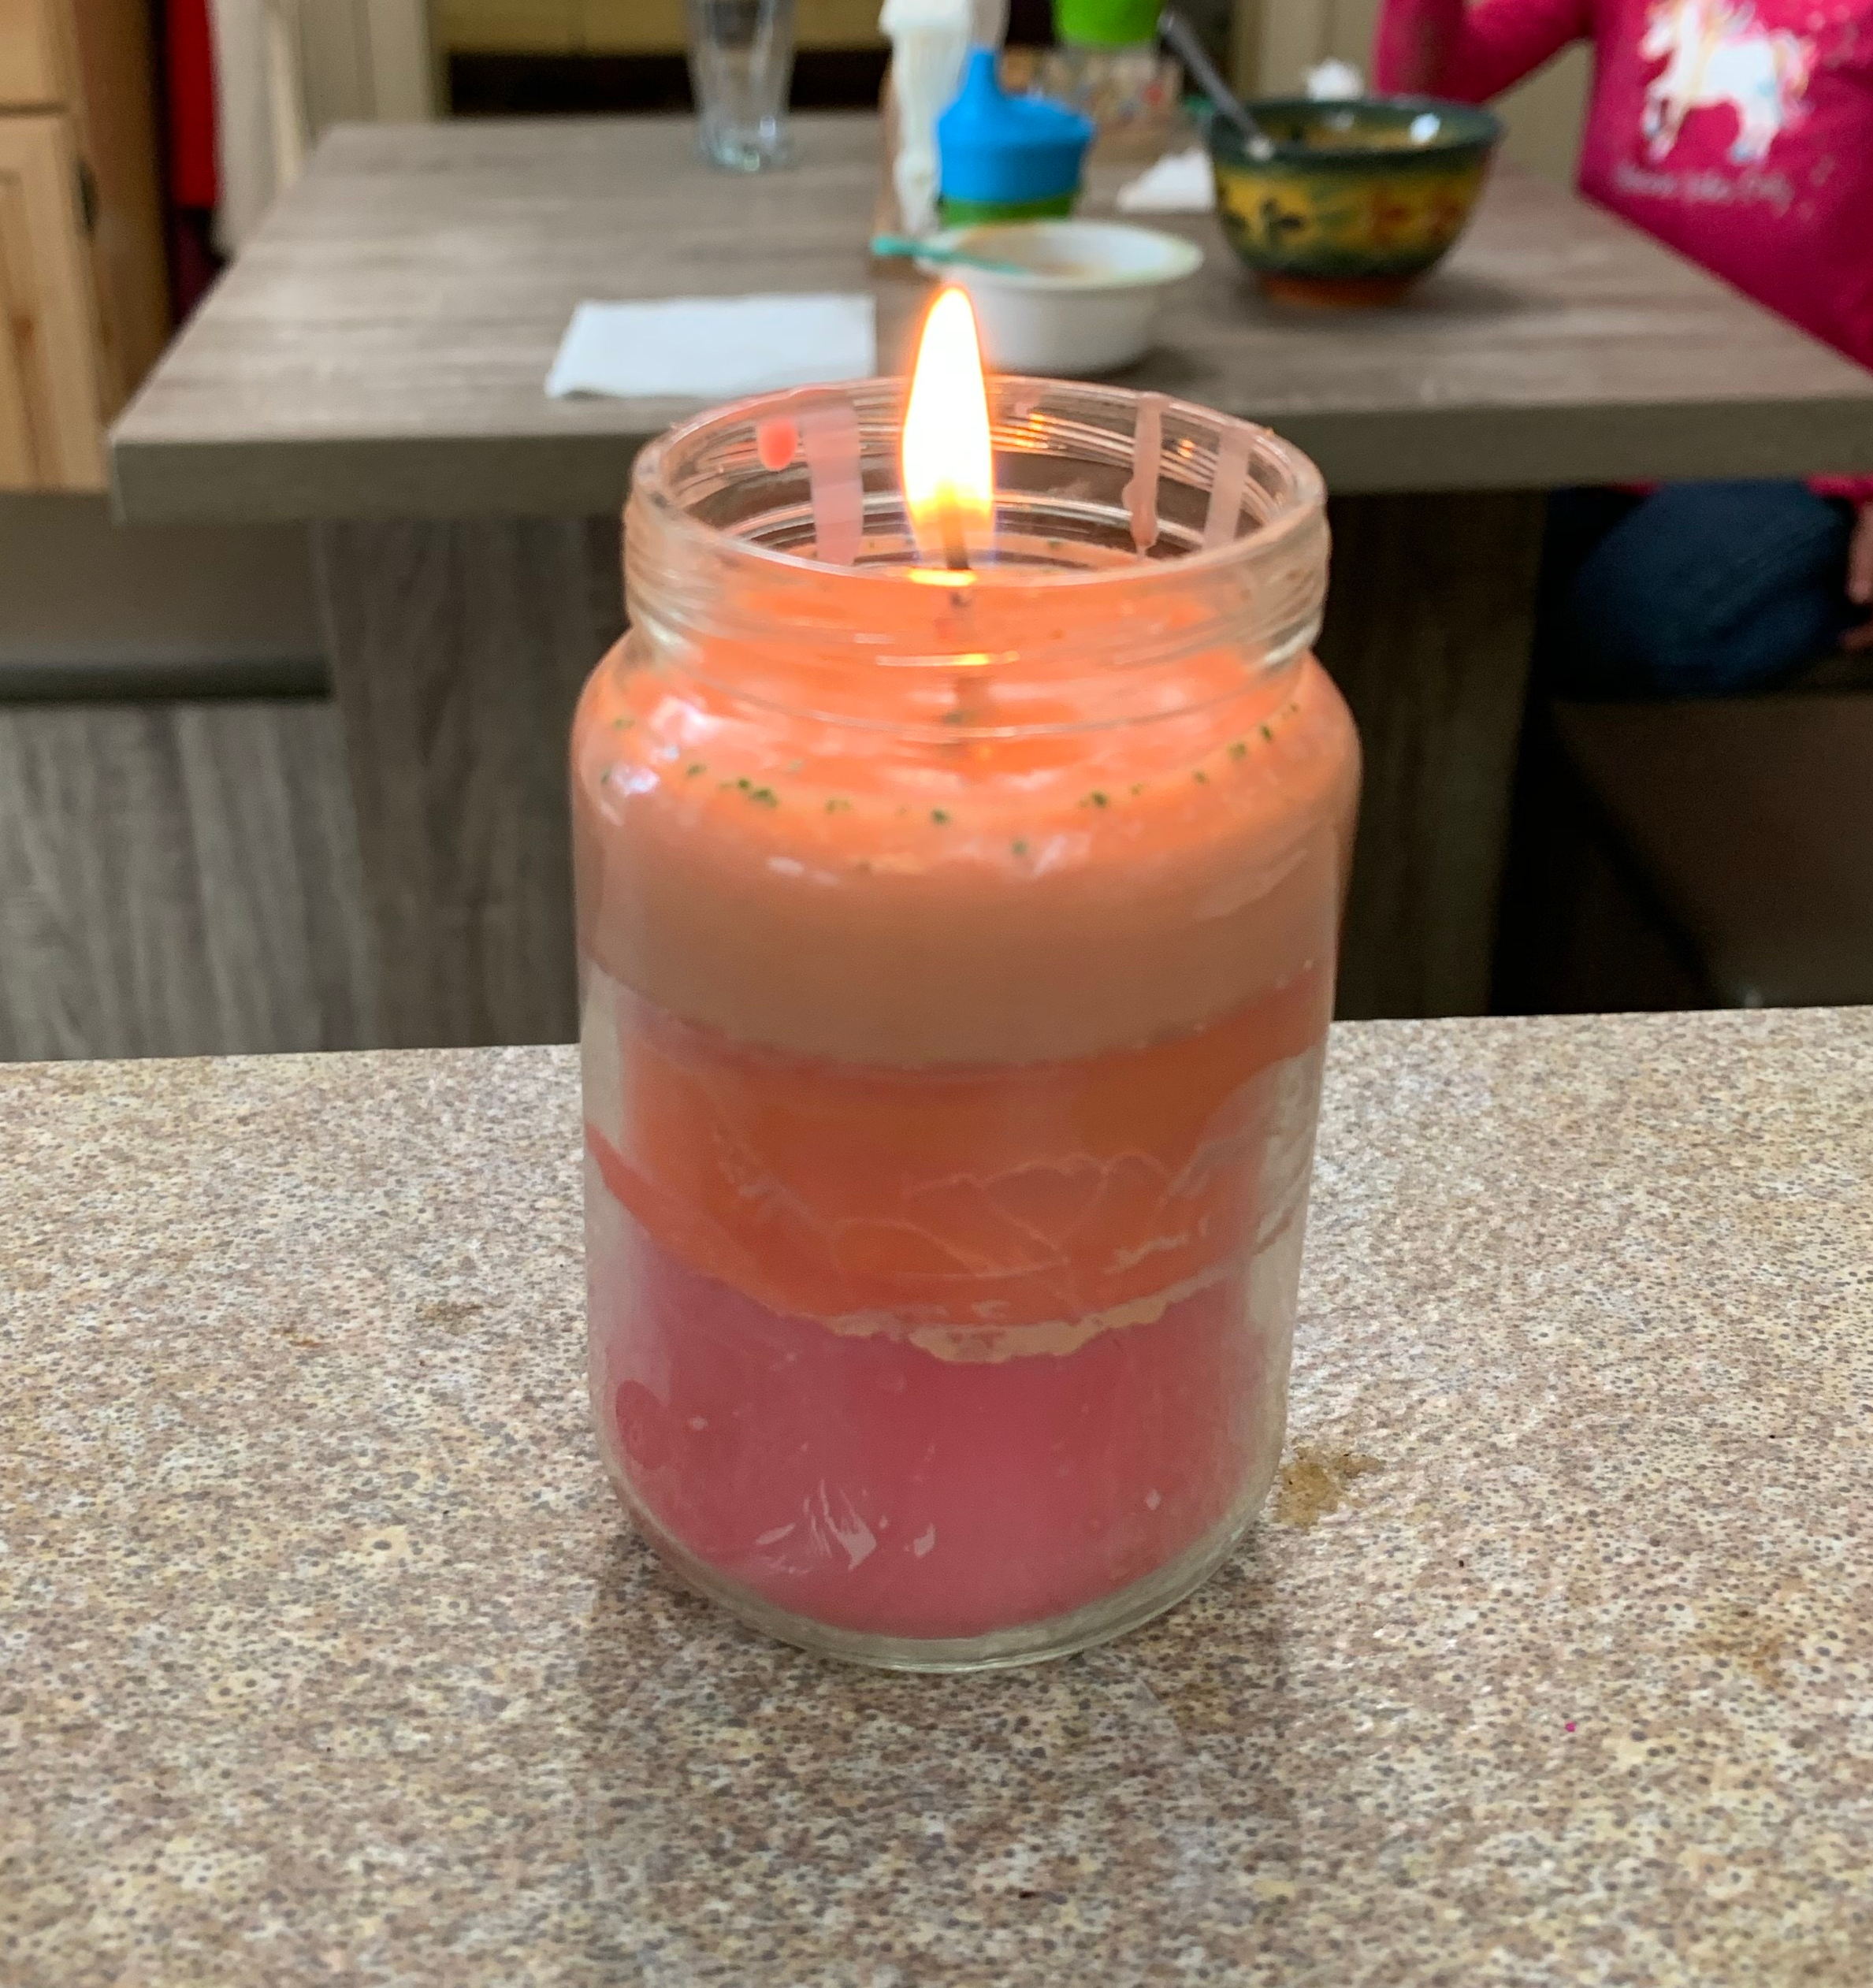
After its all dry you can cut your wick to the proper size and enjoy your candle!  Of course you should light the candle and not the kiddos!
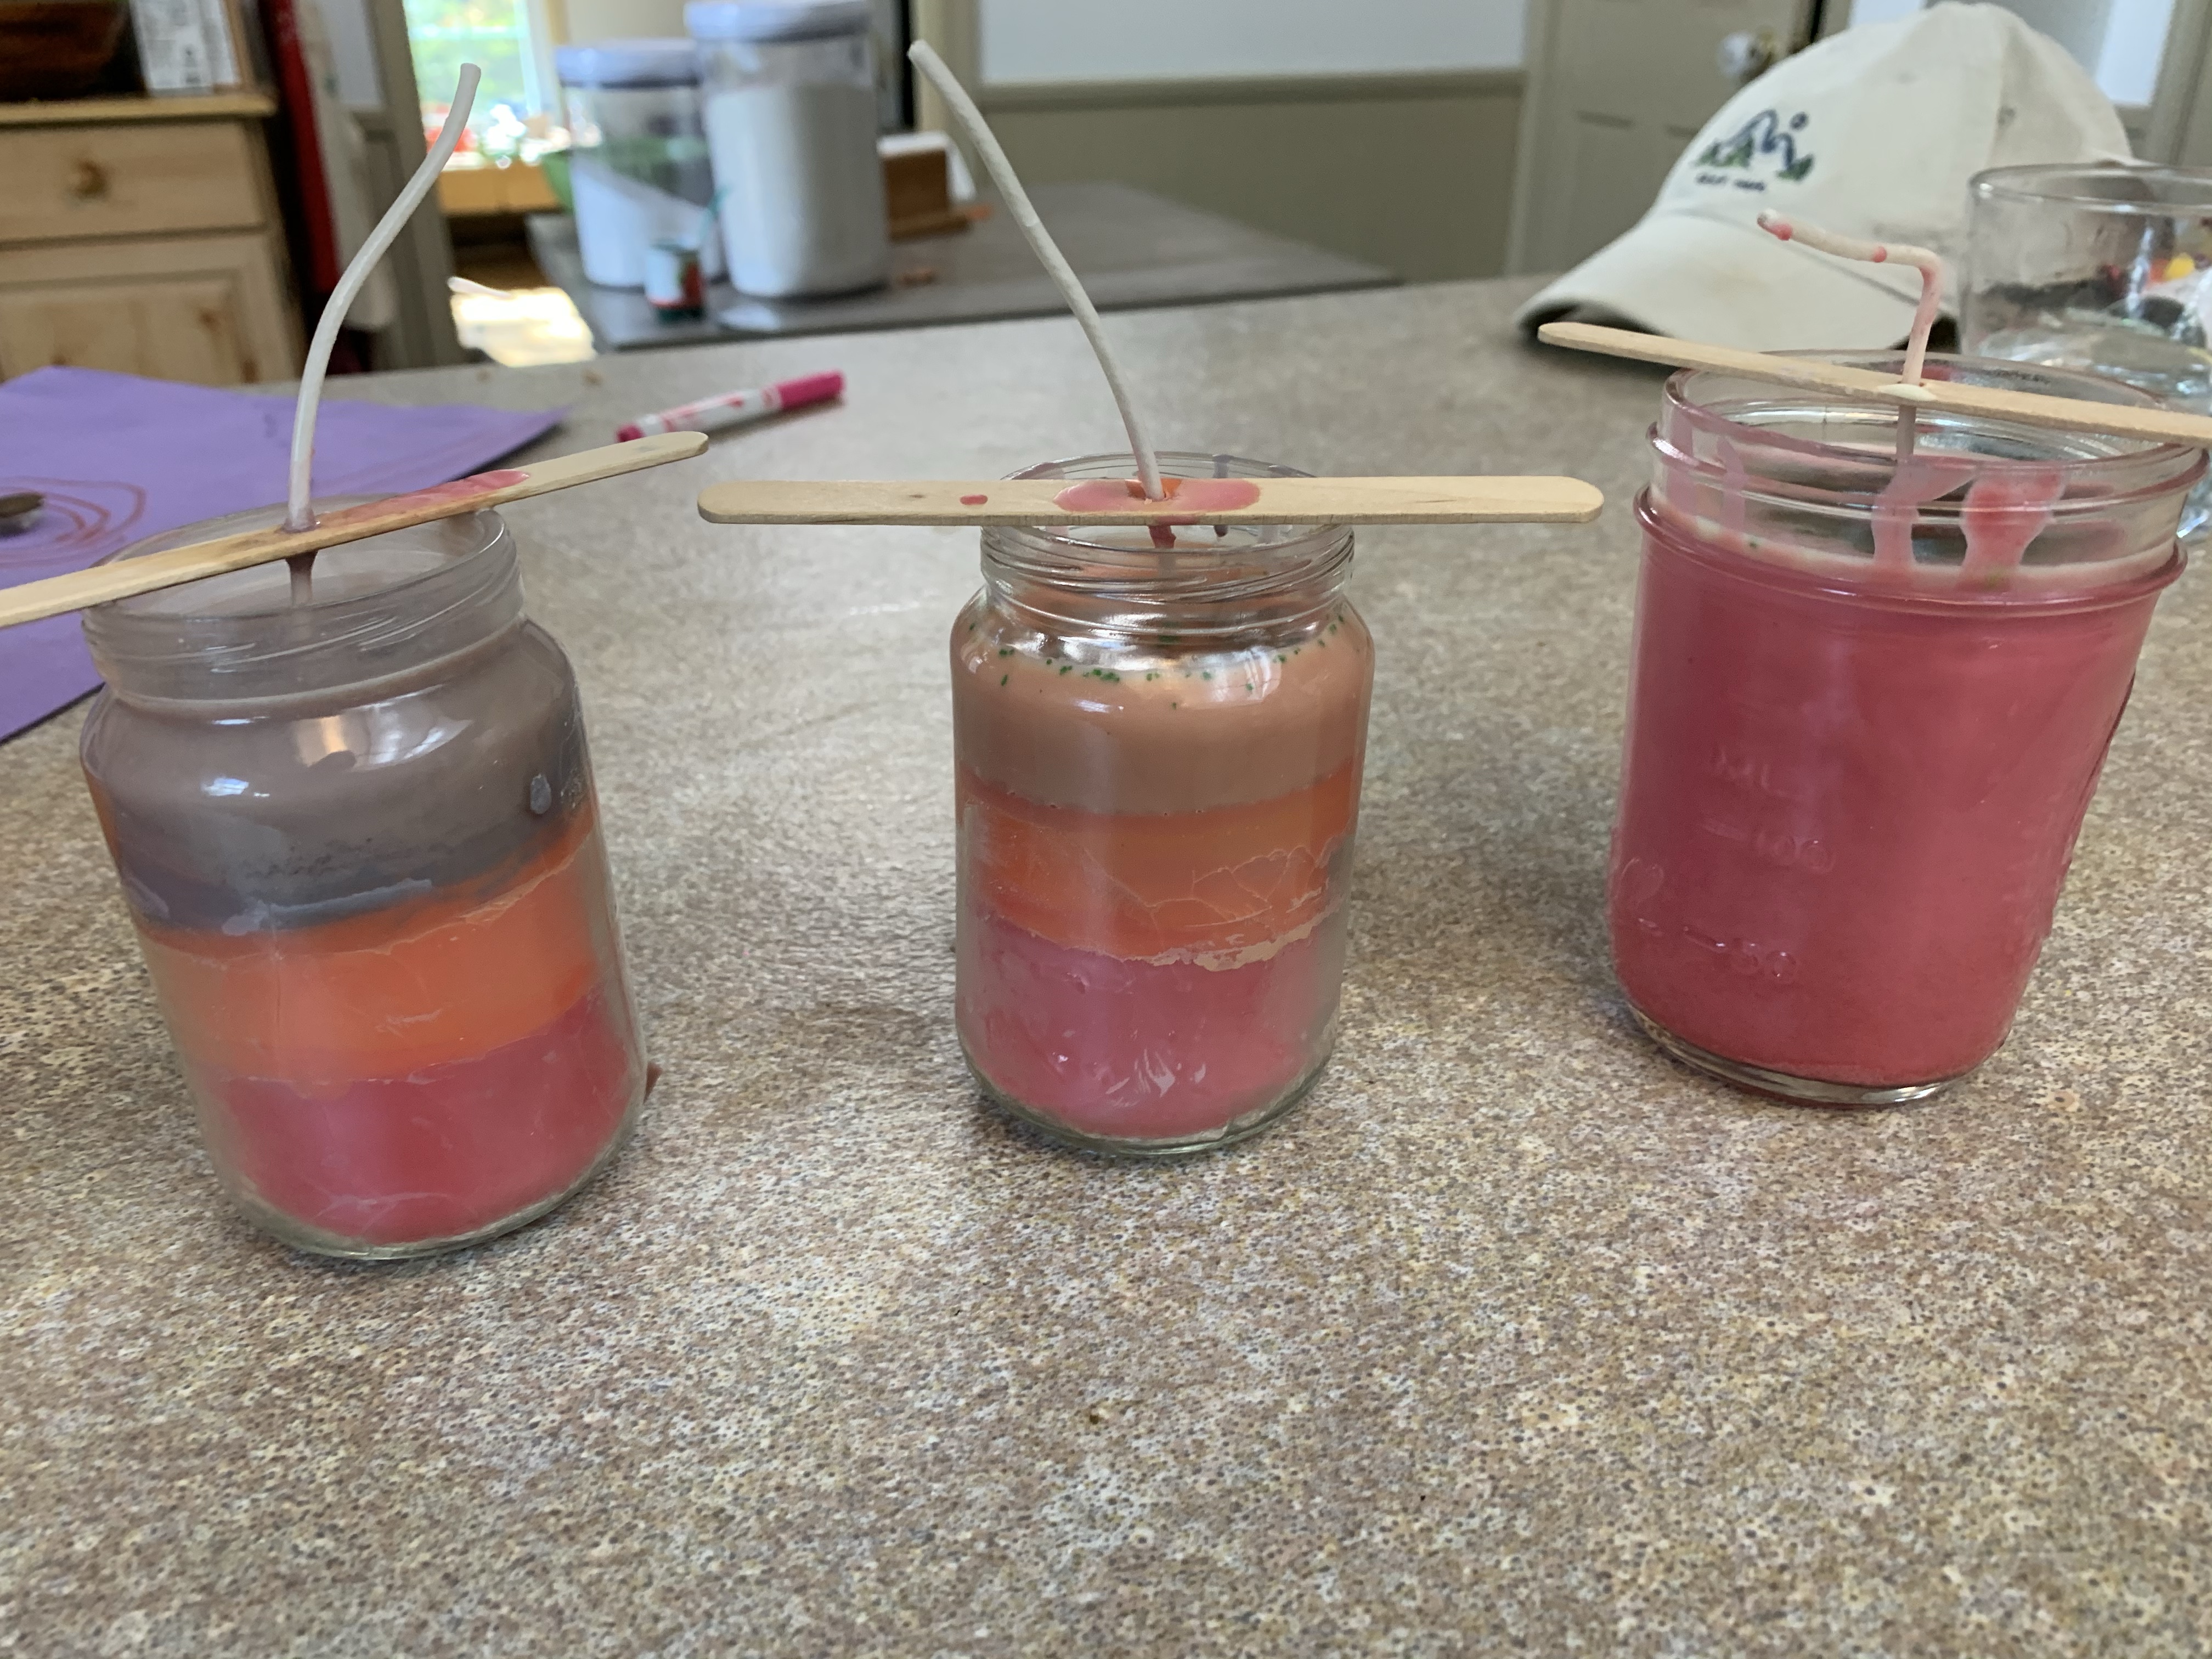
img_3448

Enjoy!

img_3449

FollowFacebookpinterestrssyoutube
ShareFacebookpinterest

4th of July Fun Banner Craft

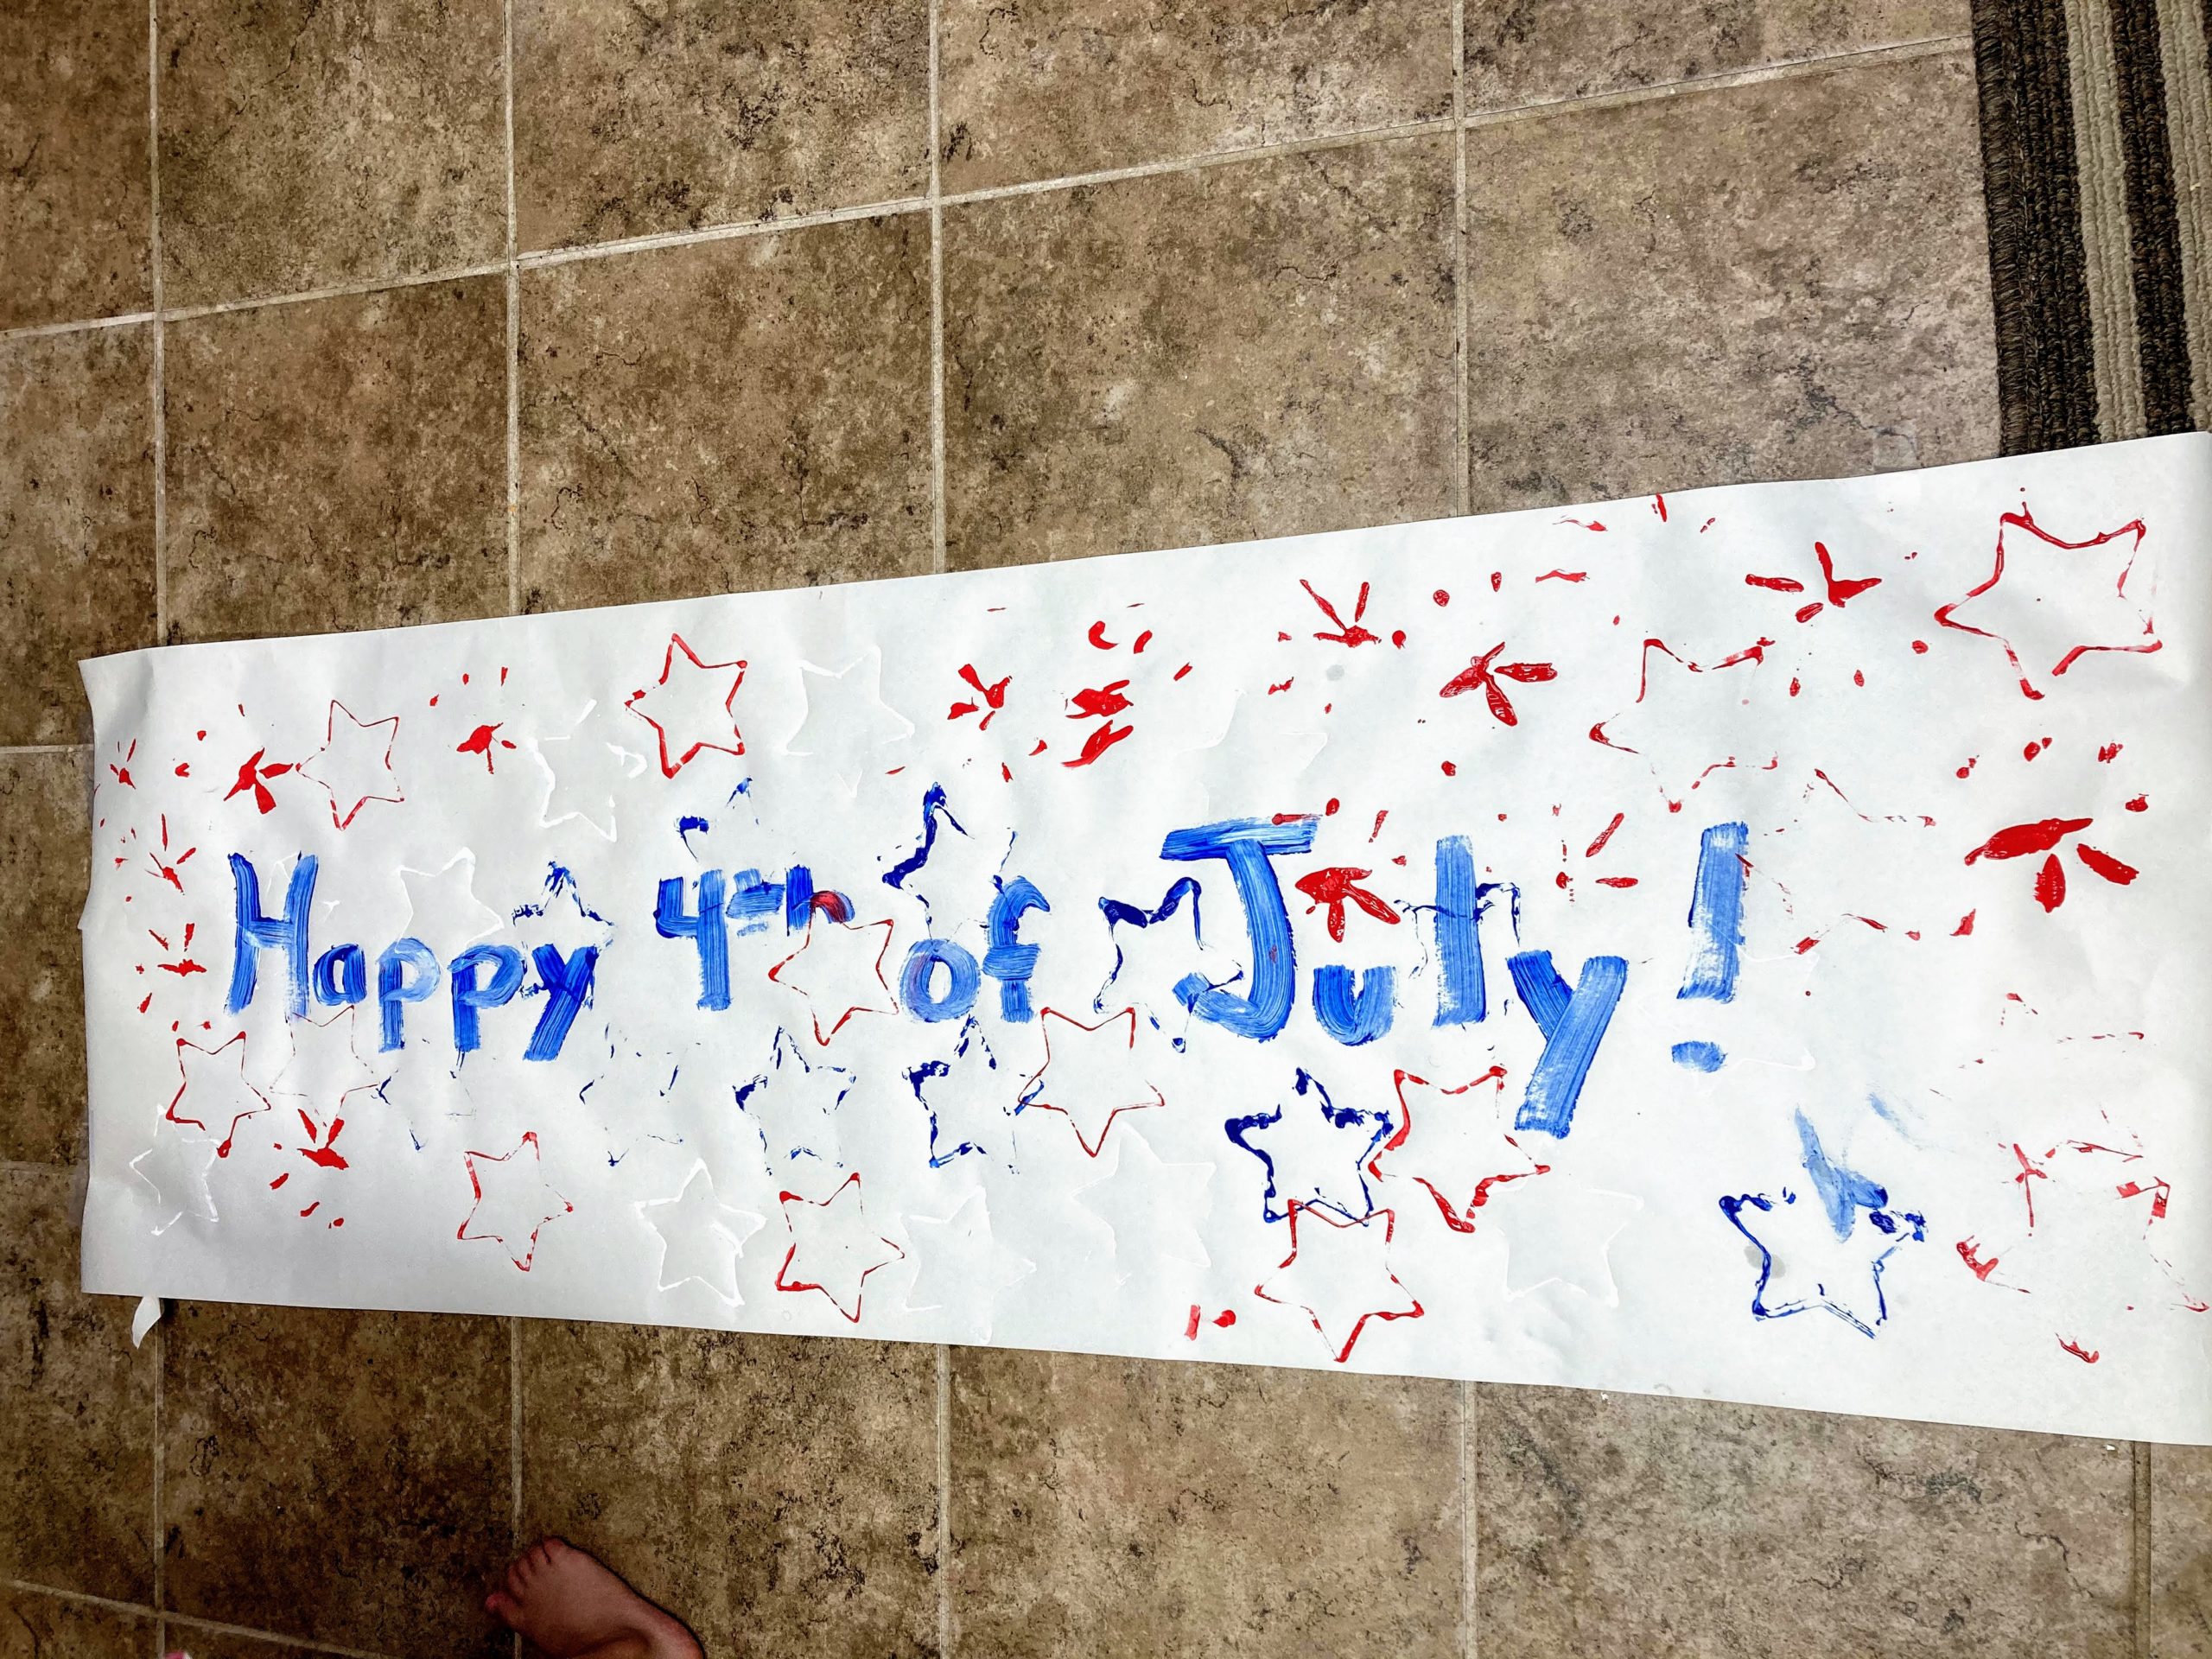
Whether you are celebrating in quarantine or with a small group of people, this banner will be a hit! You can use this activity to make cards, artwork, or even use the stamping to make paper headband hats!

Materials:

Large piece of paper for the banner (we used her easel paper)

Red, White & blue paint

Pipe cleaners

Star cookie cut out (or you could cut a sponge or potato in the shape of a star)

IMG_0903

I put paint on a plate and used a star cookie cutter. Madison dipped it in the paint & had fun doing red, white & blue stars!

If you don’t want to make a banner, you can do this on a paper, card, or cut a sheet of paper in half and tape it to the other half to make a “crown” or stars for 4th of July!


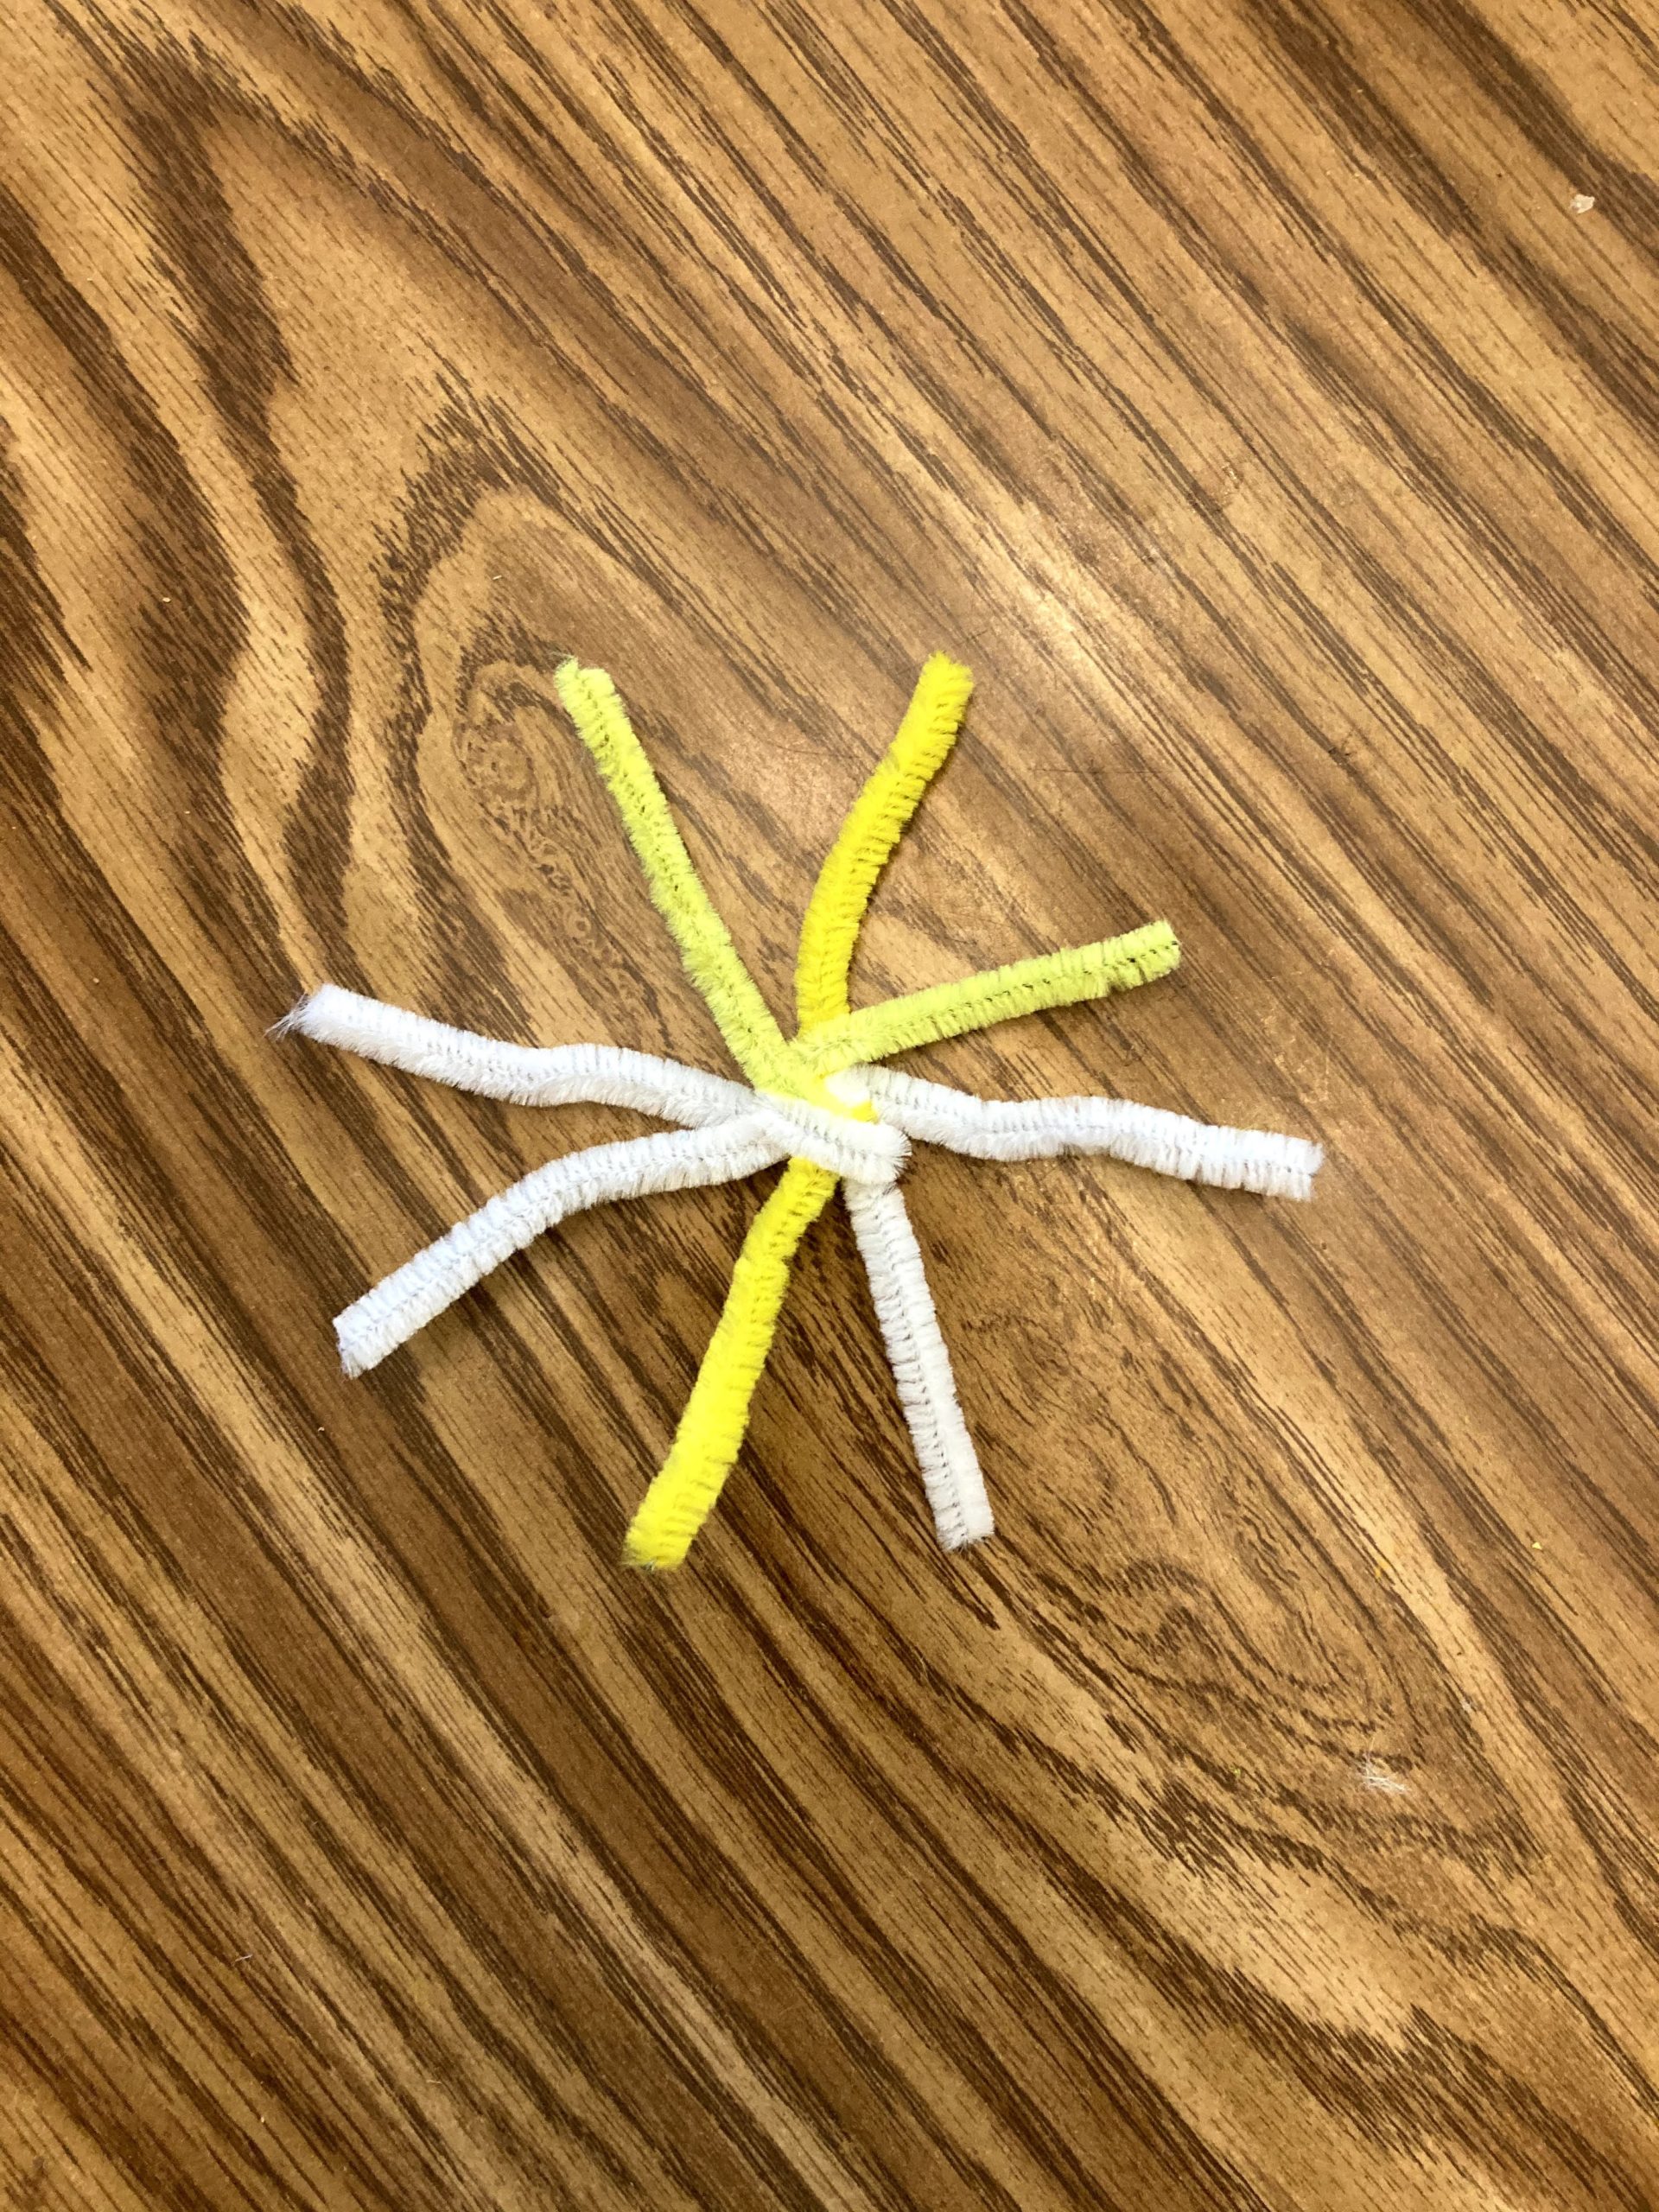
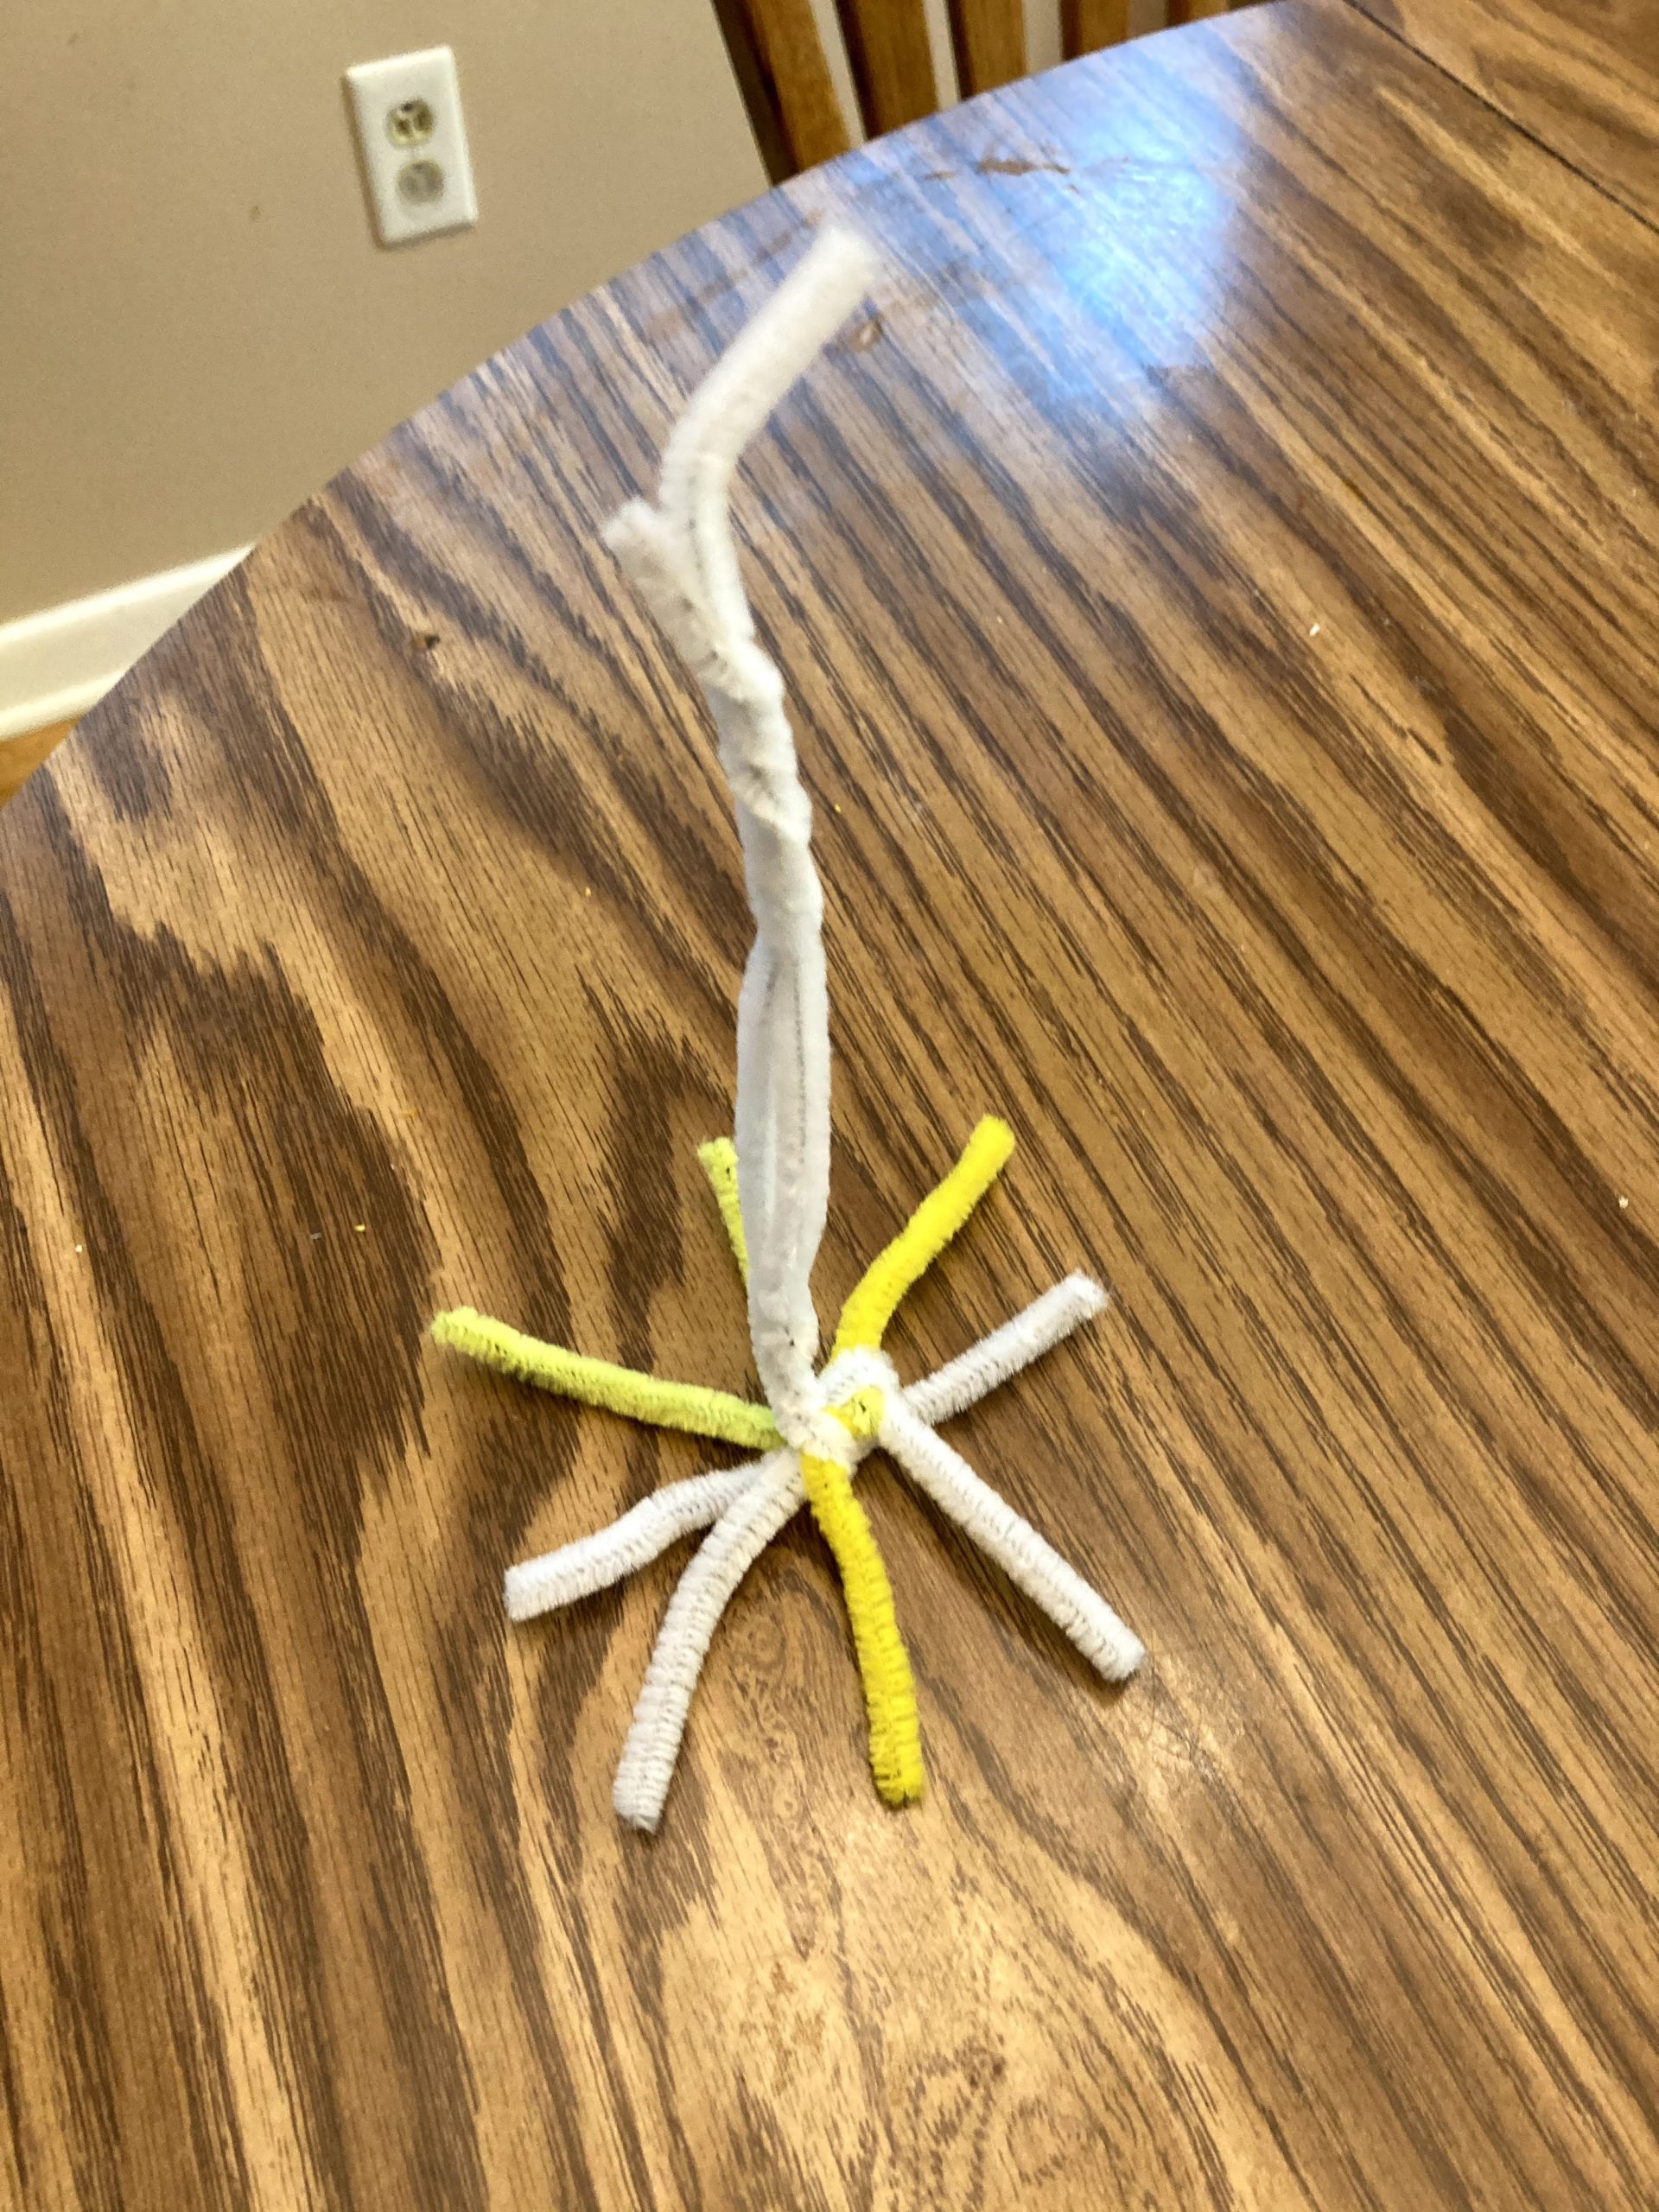
After doing the stars we decided to make fireworks. We bent pipe cleaners around each other to create a firework shape, then added a handle for easy dipping.

IMG_0900 IMG_0902

IMG_0910


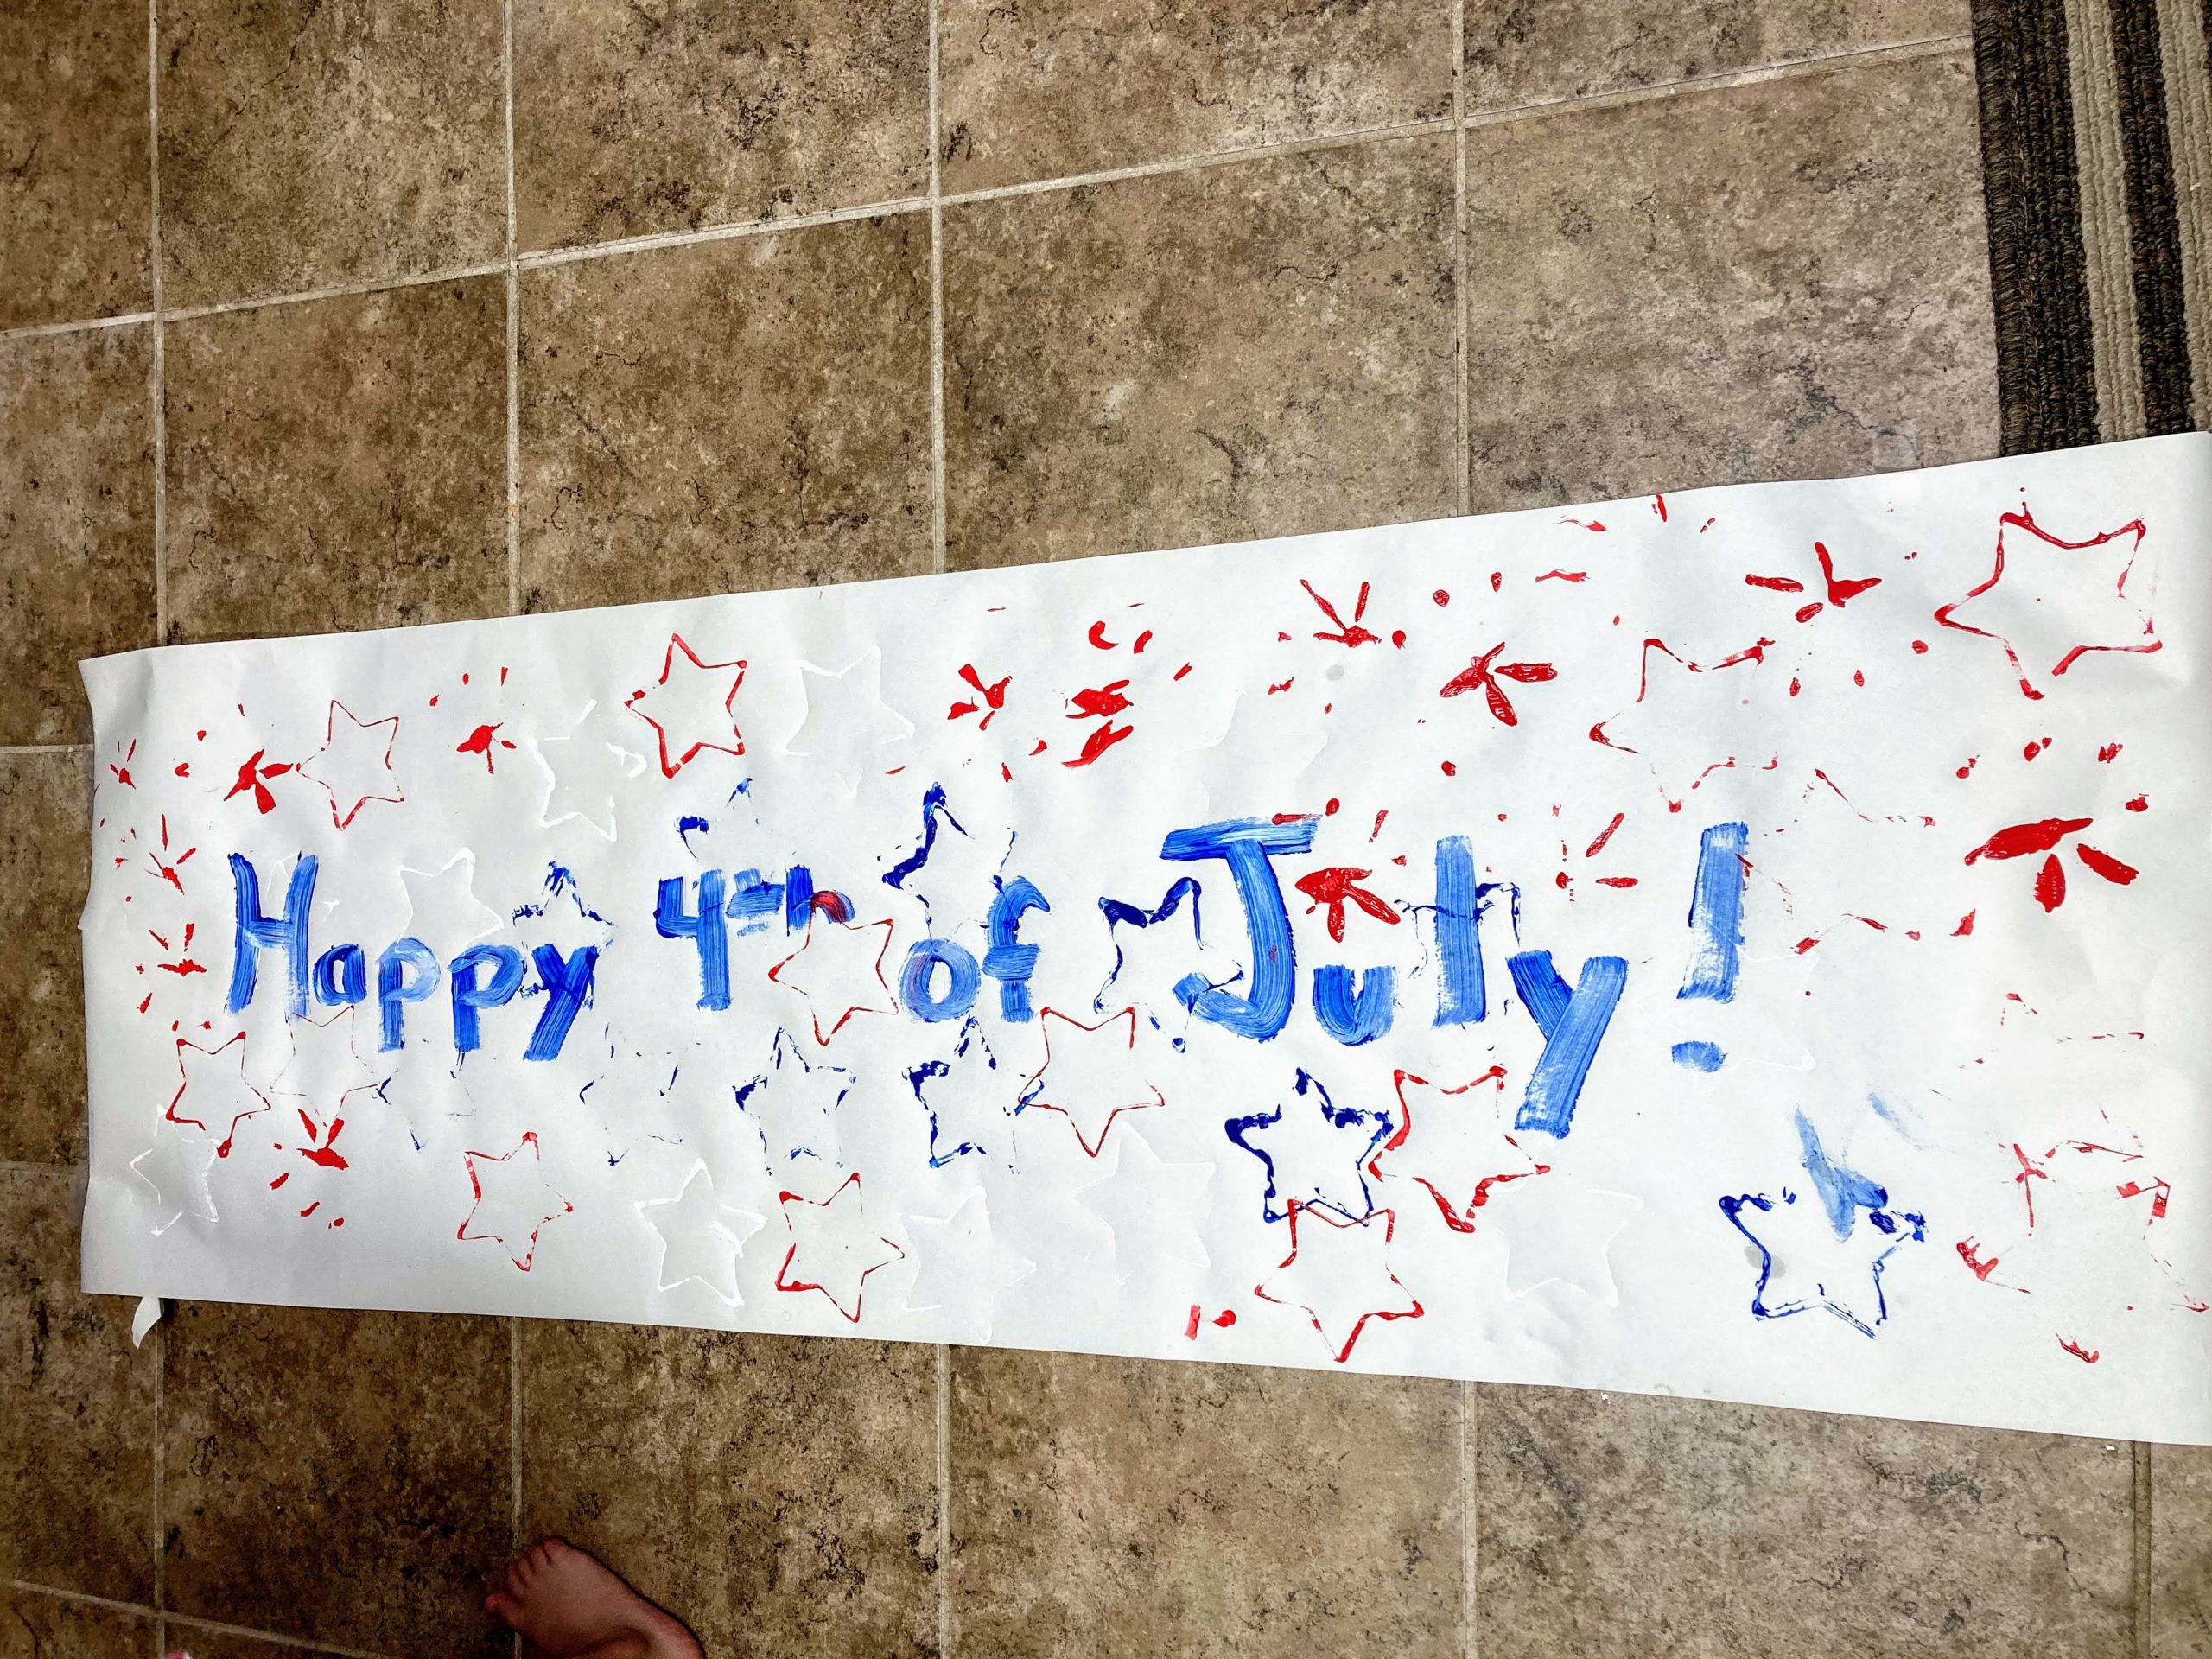
She had so much fun! I wrote “Happy 4th of July” to complete the banner. If your kiddo is a little older they could write it or you could do bubble letters they can paint!


Have a happy & safe 4th of July!


IMG_0909


FollowFacebookpinterestrssyoutube
ShareFacebookpinterest

Tree Prints!

Madison loves painting and gluing, so this craft is the perfect combination! I wanted something that we could easily mail to grandparents and this fit the bill!

Materials:

  • construction paper in the color of your choice for the “trunk” of the tree
  • white paper
  • paint in various colors for the “leaves”
  • assorted markers or crayons
  • glue

3

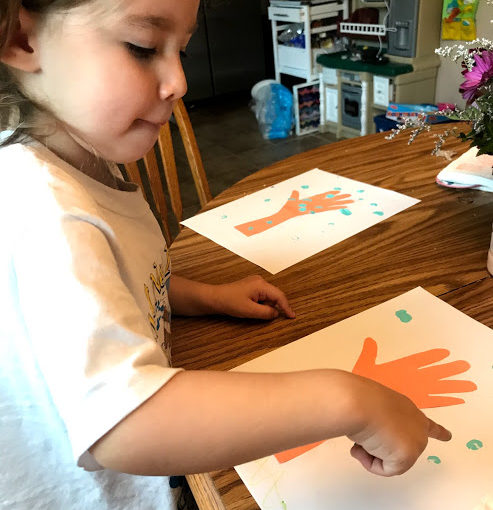
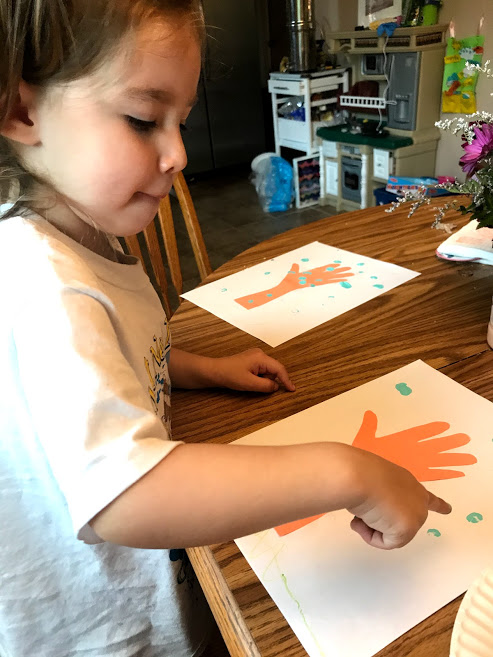
Trace your child’s hand and arm for the branches and trunk of the tree.


Next, cut out the trunk and branches and glue them to the white paper.


1 - Copy


Choose different colors of paint and have your child use their thumb or fingers to make “leaves.” Madison liked making the leaves all over the place. You can vary the colors based on the season you are creating.

For summer, use lots of different green colors. For fall, use browns, reds and yellows. For winter ,use a different color background like blue and do white snowflake prints. For spring, choose colors like pink, purple, green, and yellow!


4

If your child is a little older then they can draw different scenery, animals and clouds. Your child could also add stickers. We sent these to her grandparents and they loved them!

FollowFacebookpinterestrssyoutube
ShareFacebookpinterest

Face painting fun!

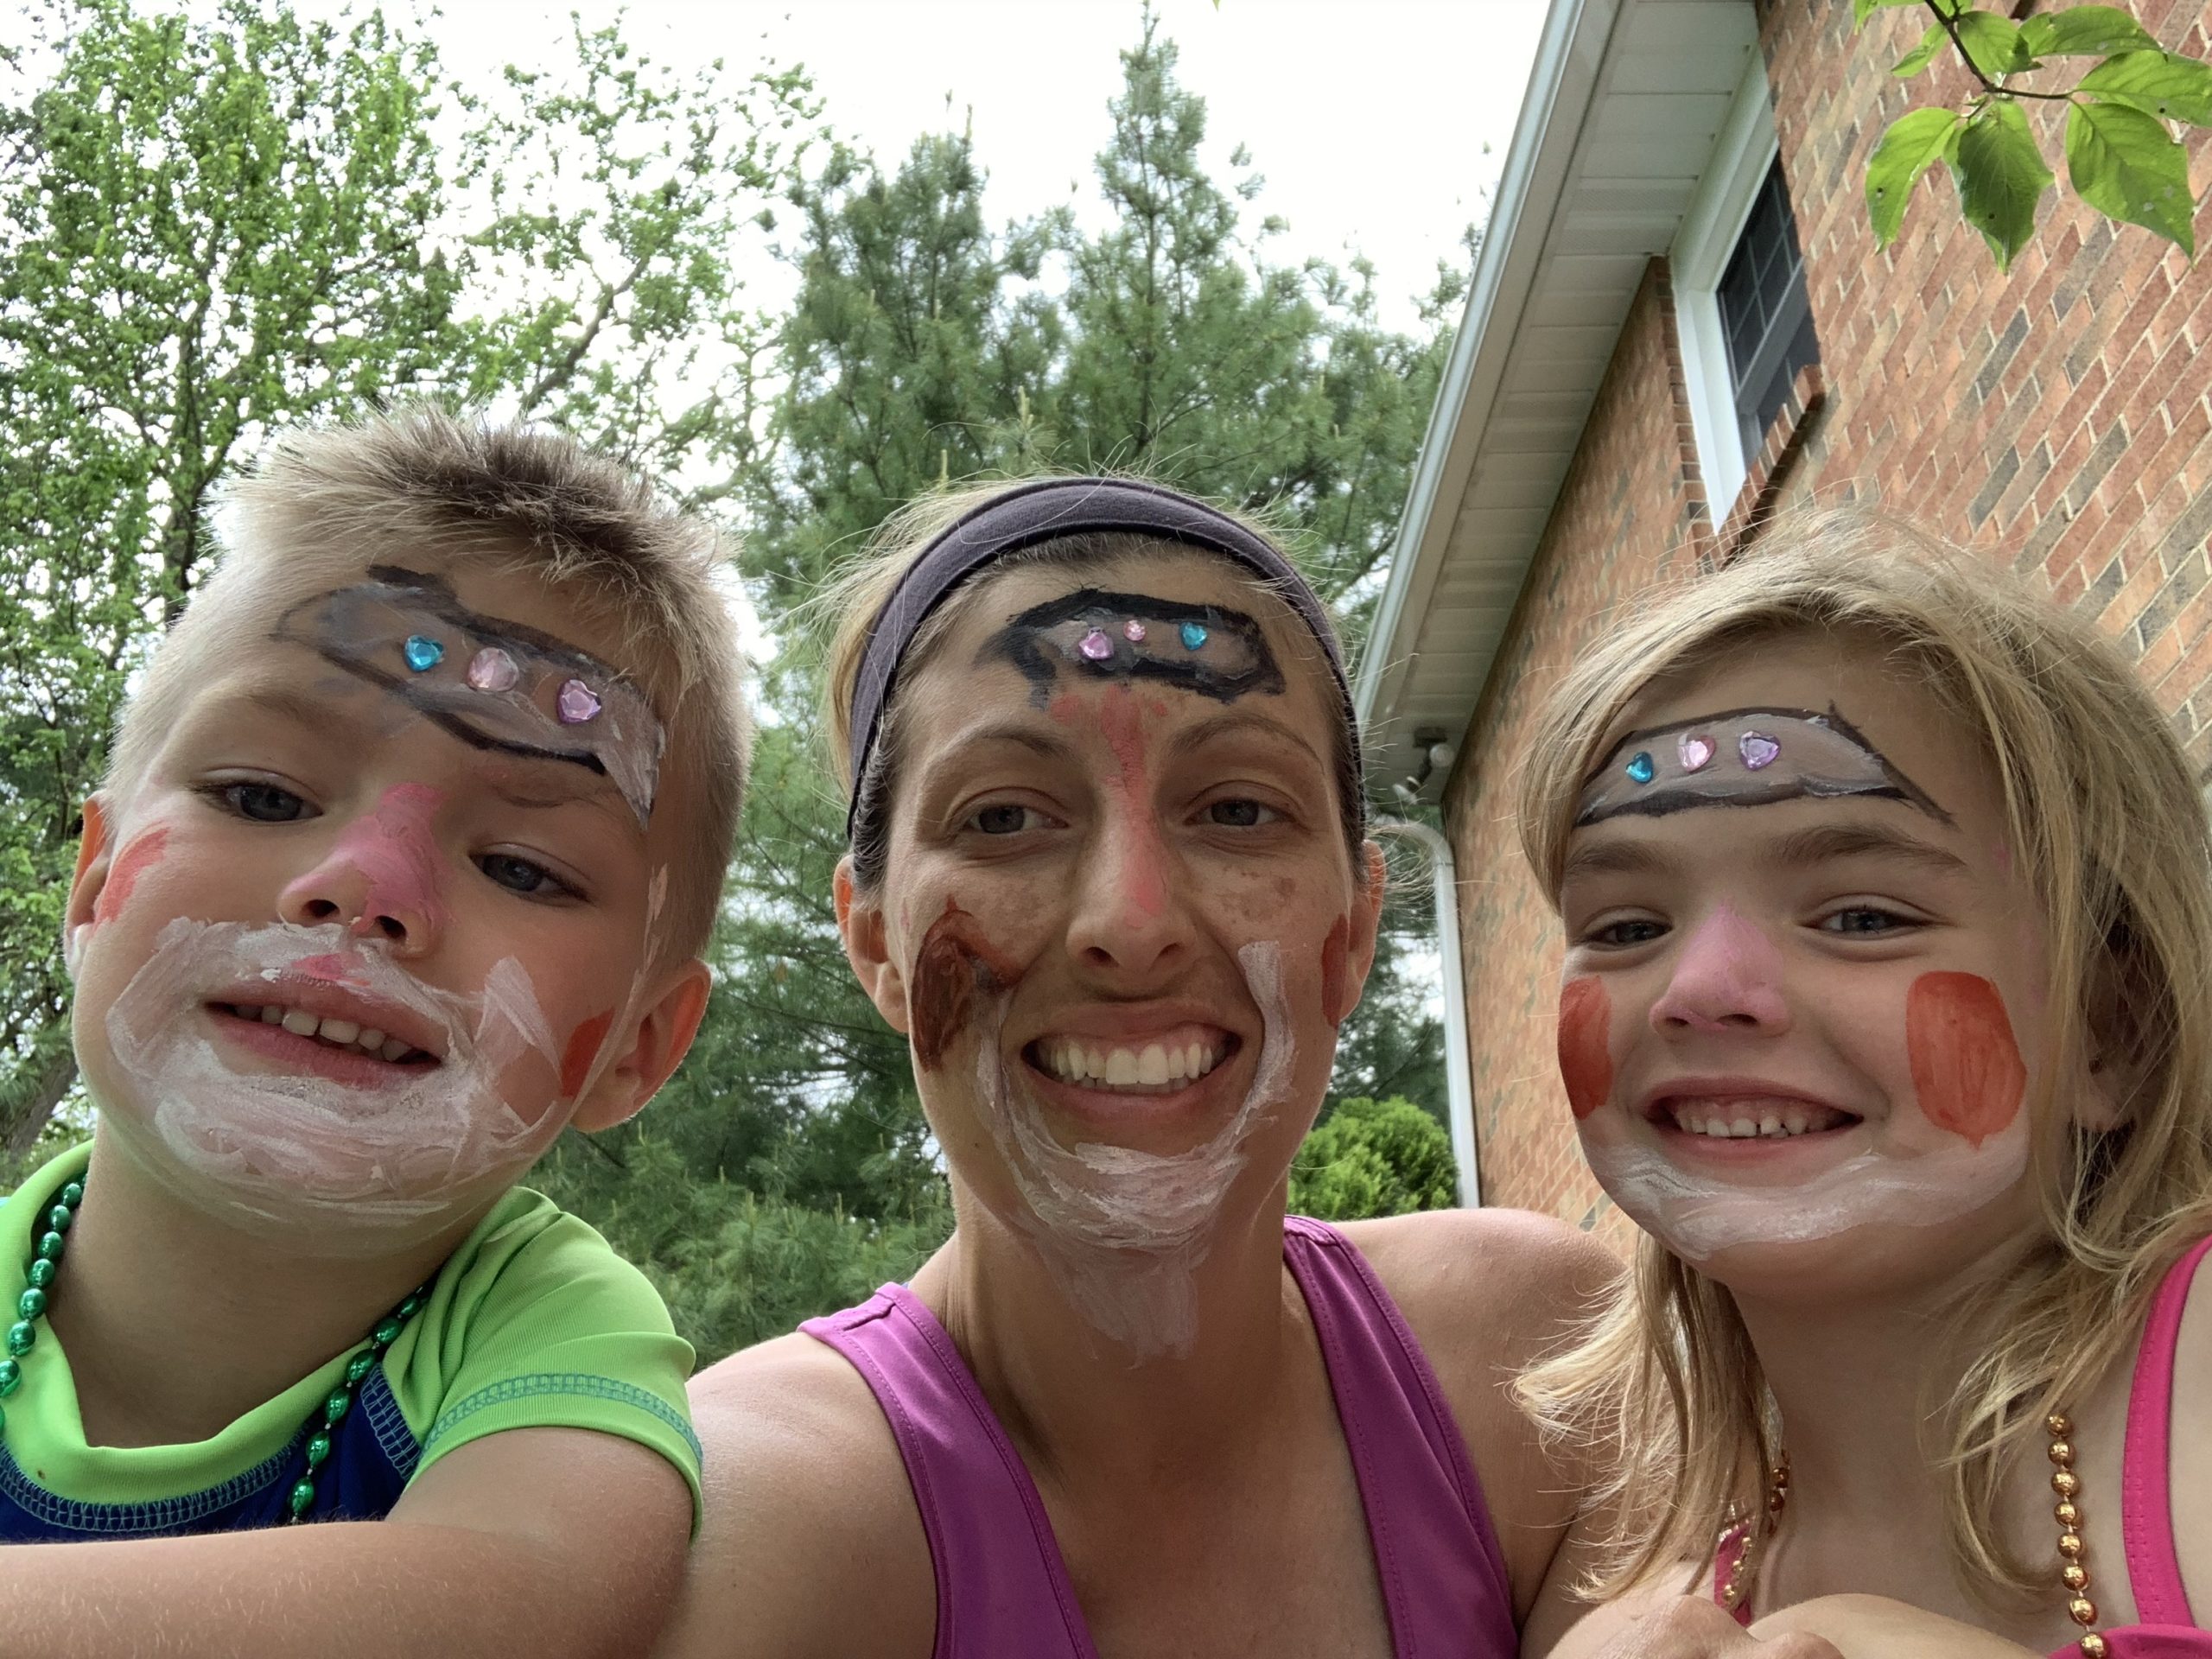
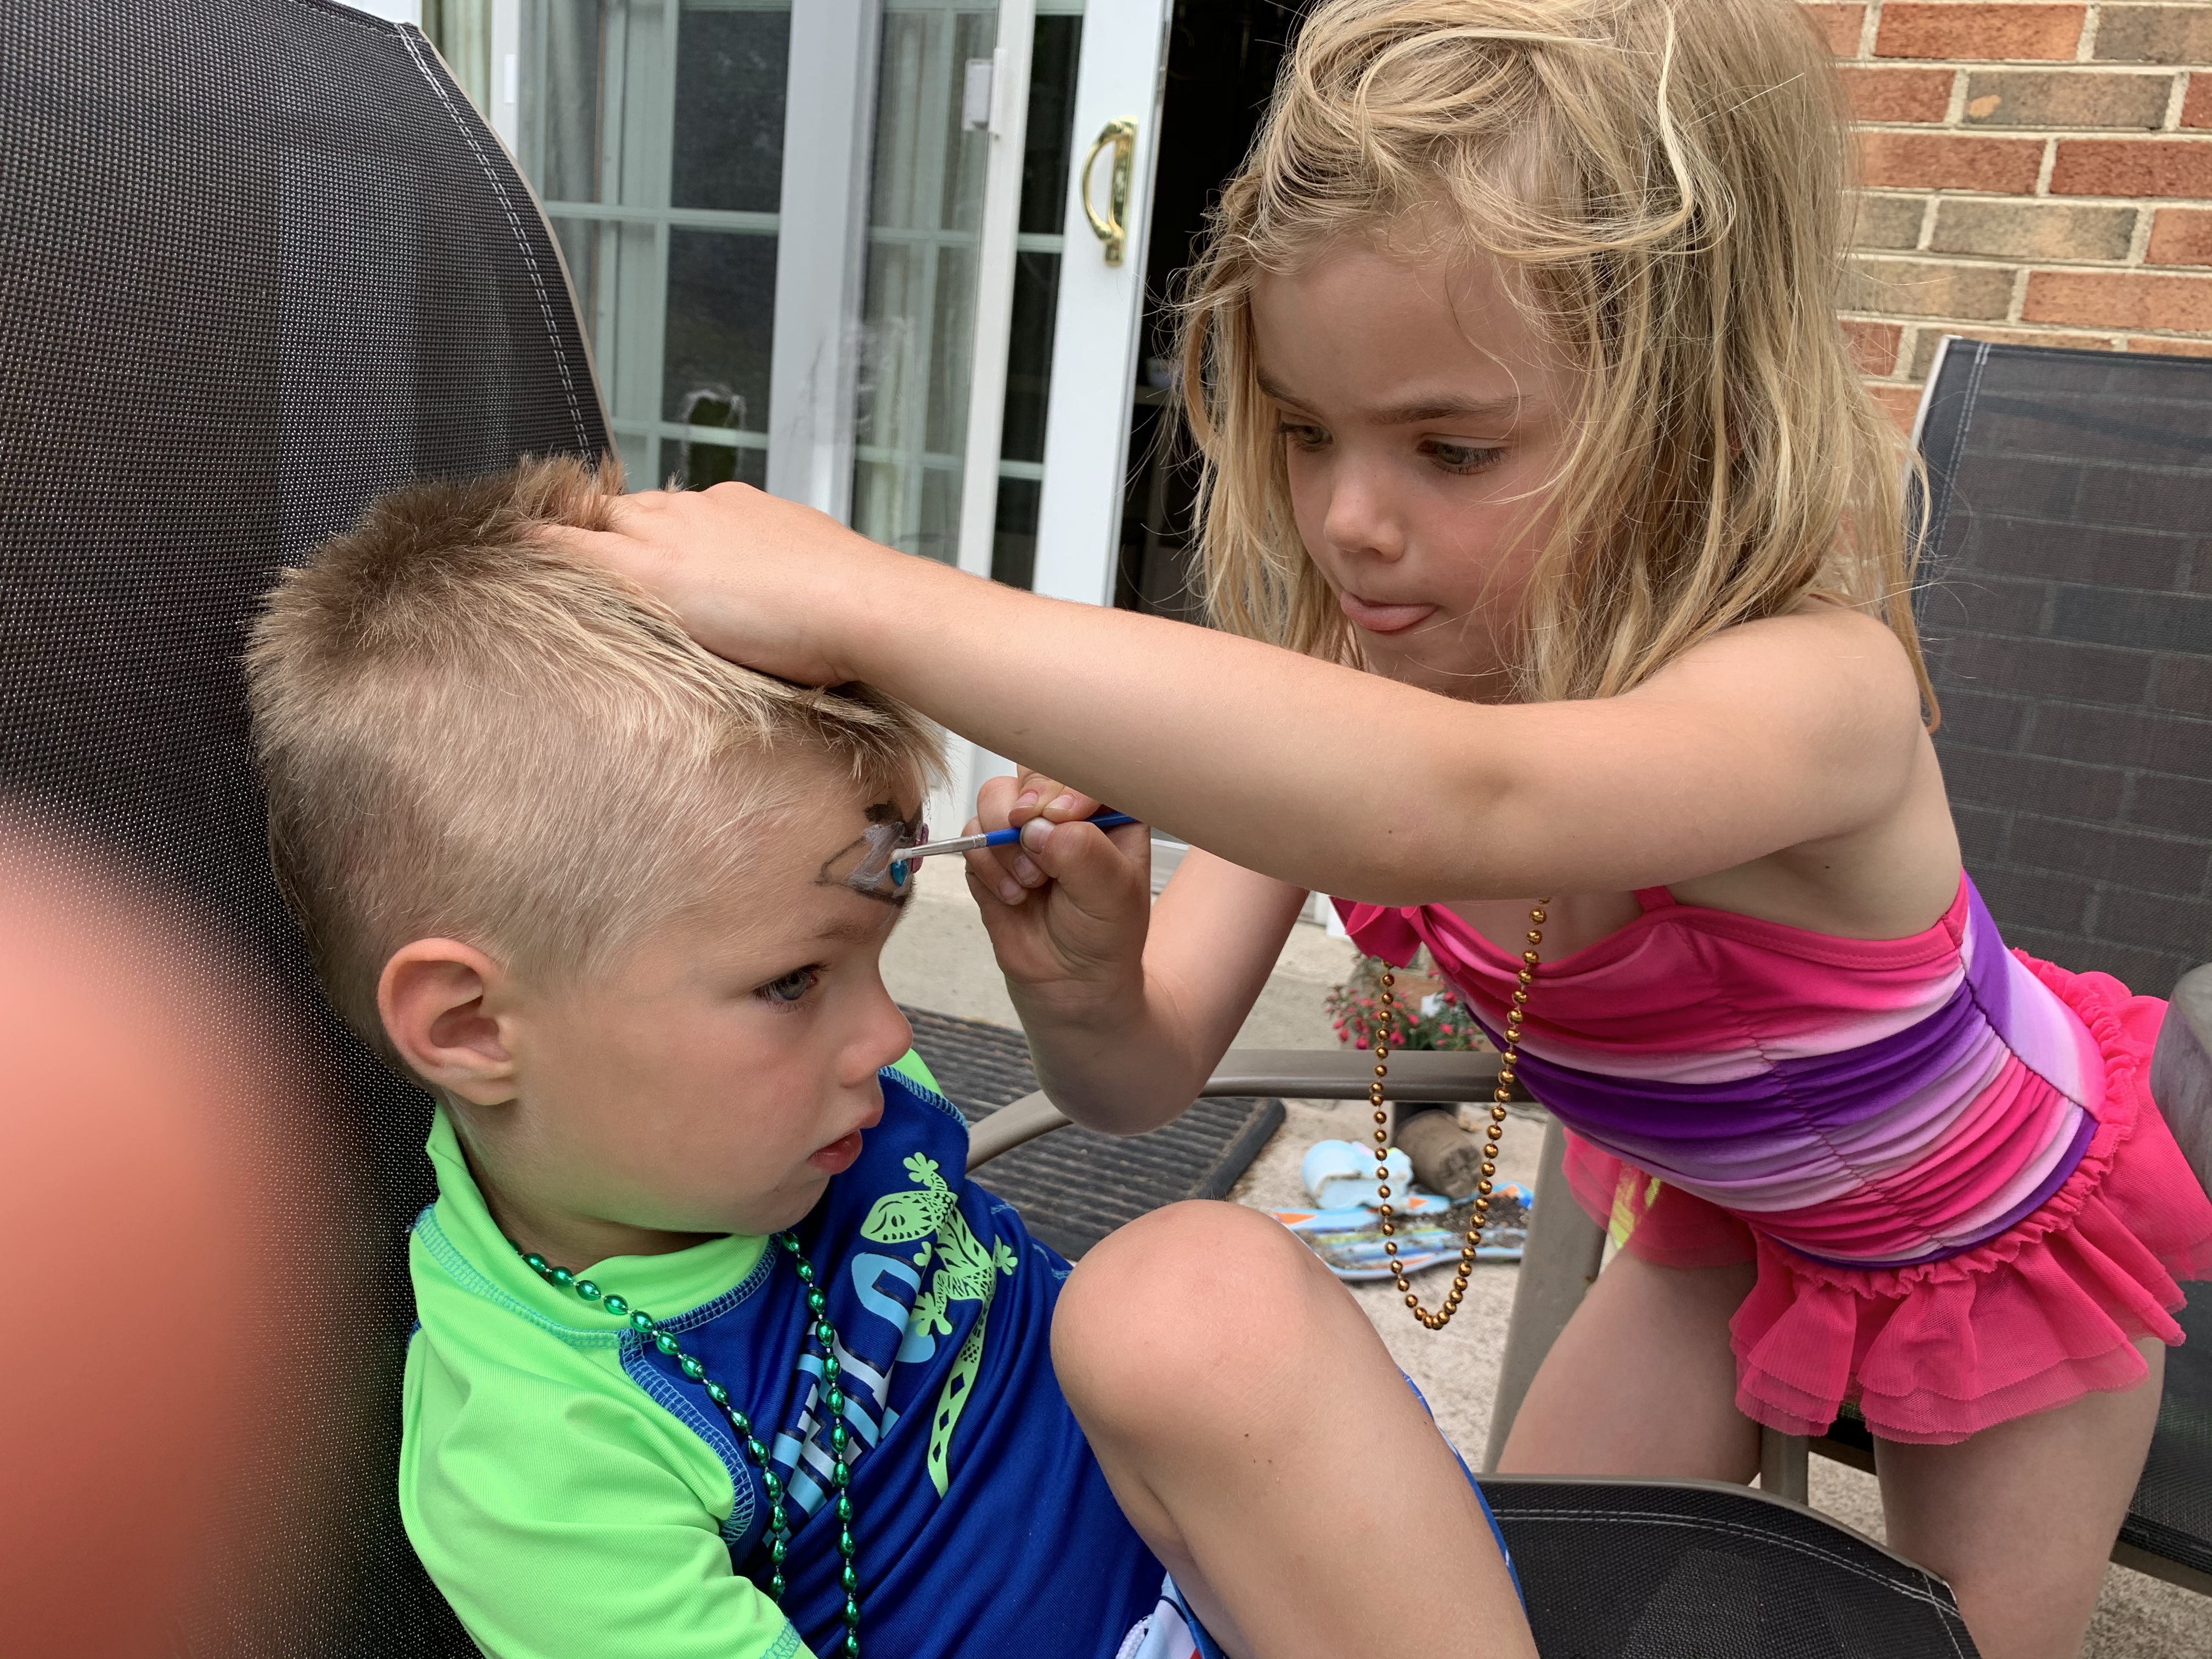
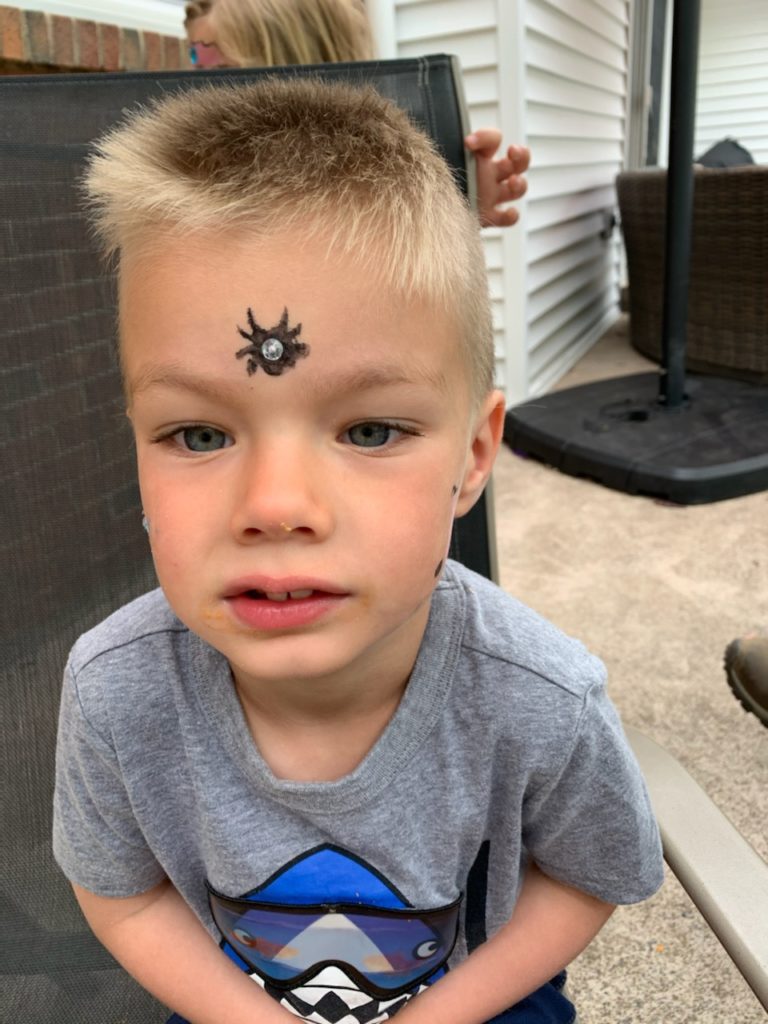
It all started with my daughter using a marker on my son’s face. She said she simply wanted to paint his face! Well, obviously, this wasn’t going to work. So I searched for face painting supplies. At first I thought face paint would be way too messy and not worth the money. However, I found that face paint is super fun, easy, and the kids just love it!

An easy and fun activity is face painting! My daughter loves painting faces and my son loves having his face painted.

img_3547

We got this easy set from amazon. Bowitzki Face Paint Kit

Bowitzki Face Paint Kit with 10 Colors,32 Stencils,2 Brushes,2 Chunky Glitters,2 Sponges,1 Body Glue

When we first started I had to remind my daughter not to go near the eyes, but since then no problems at all!

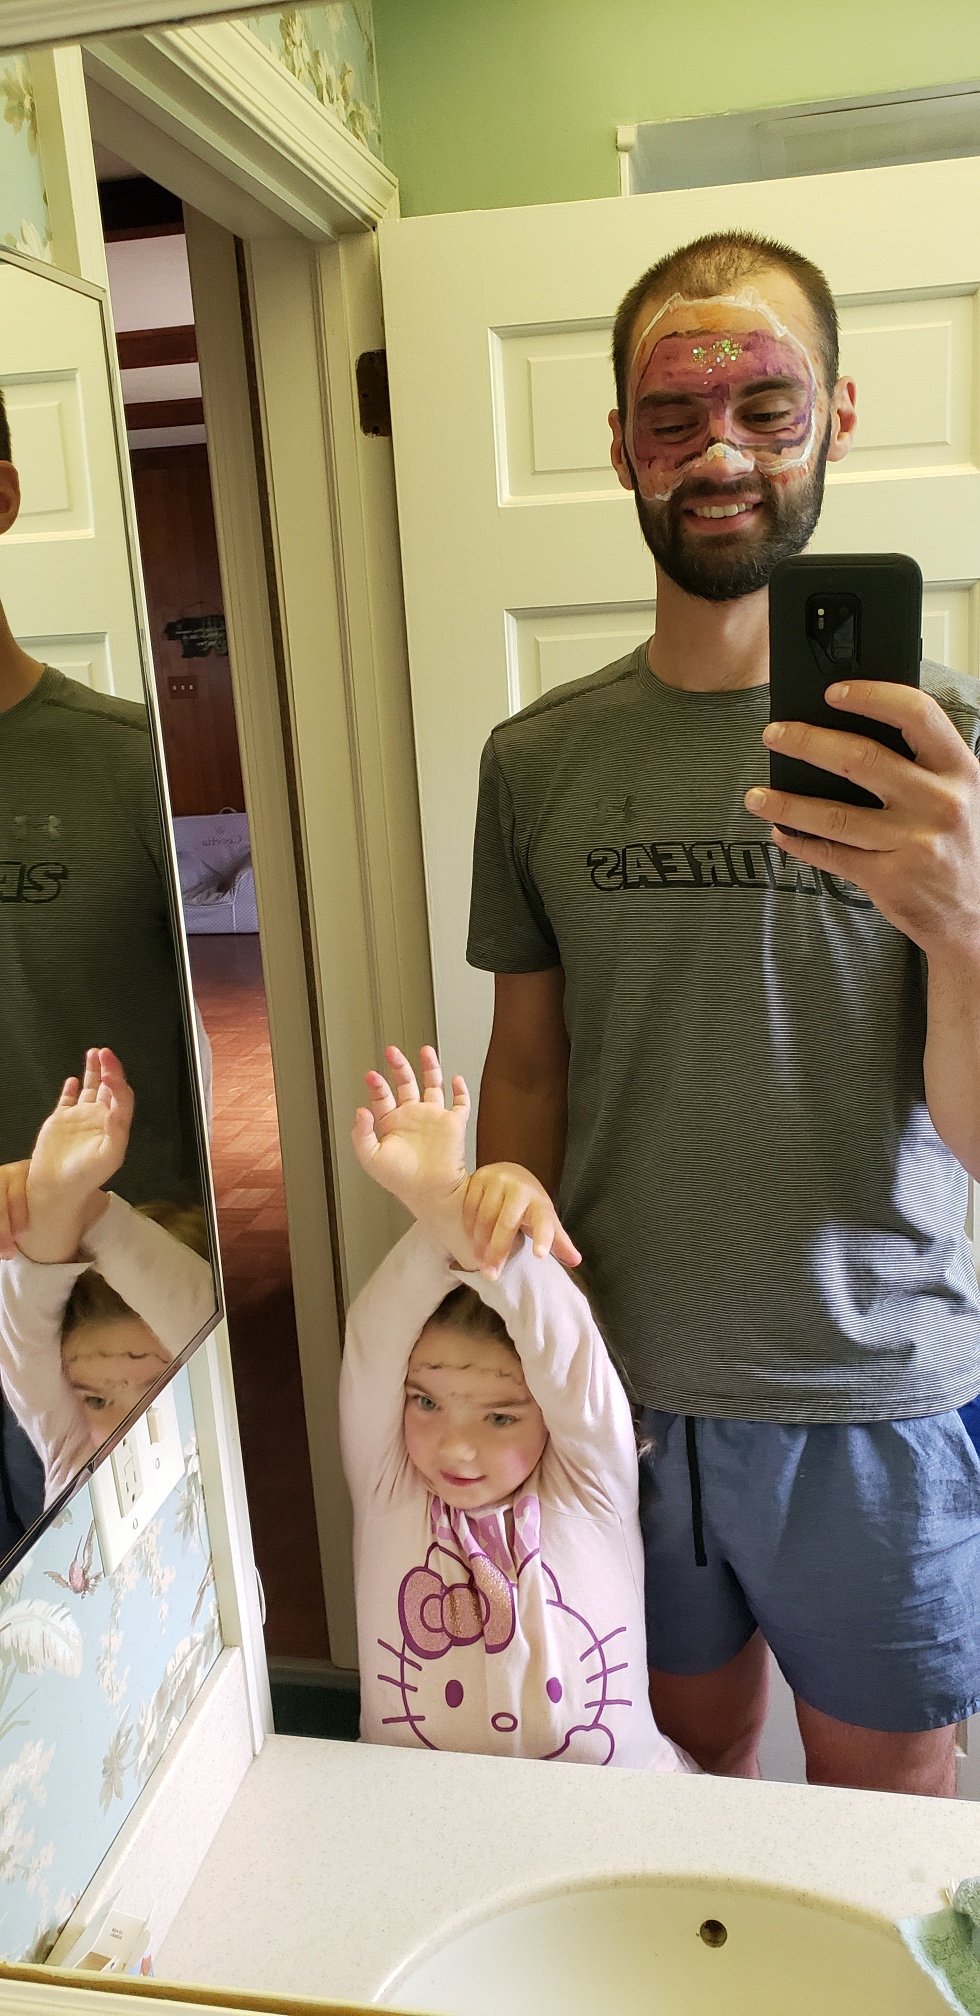
Daddy even got his face painted by Cece!

img_3505

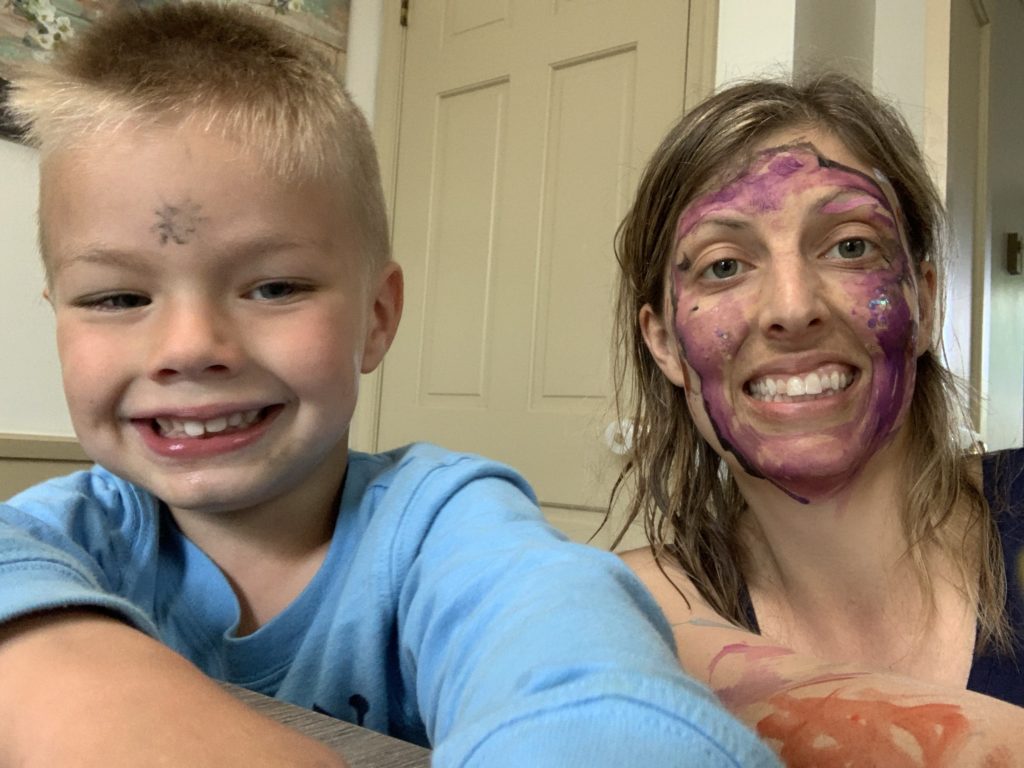
Grammy did a little face painting as well…

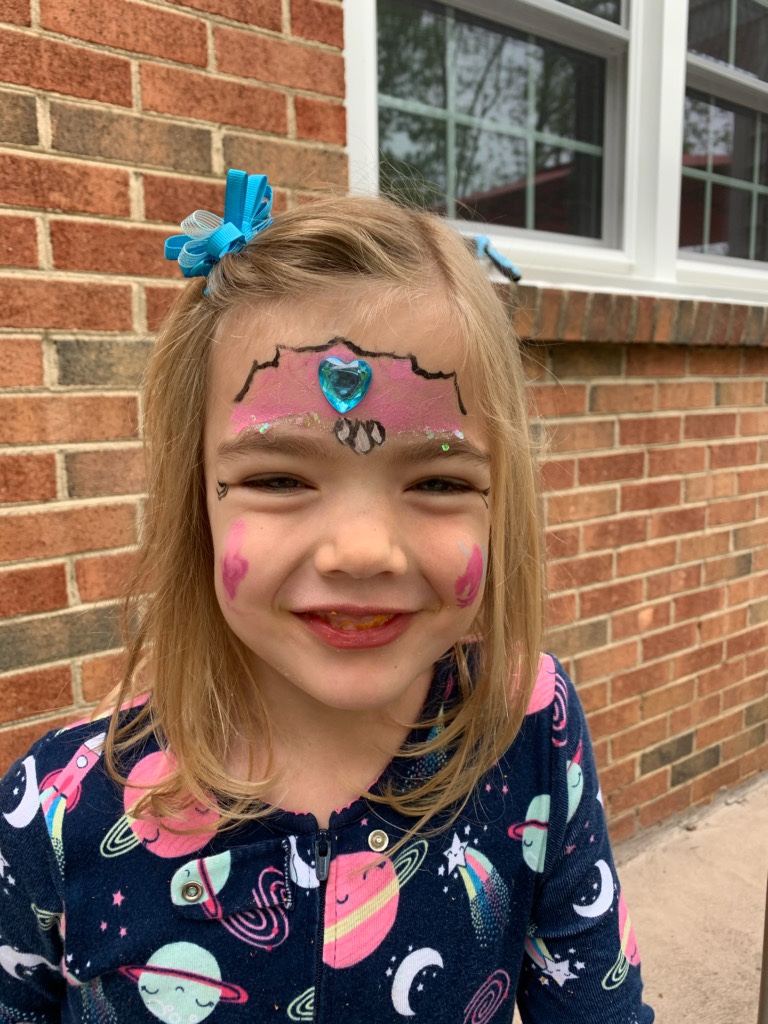
They love this activity and it’s fun, easy, and inexpensive! I hope you try it too!!

FollowFacebookpinterestrssyoutube
ShareFacebookpinterest

Salt dough wreath, ornament, or garland!

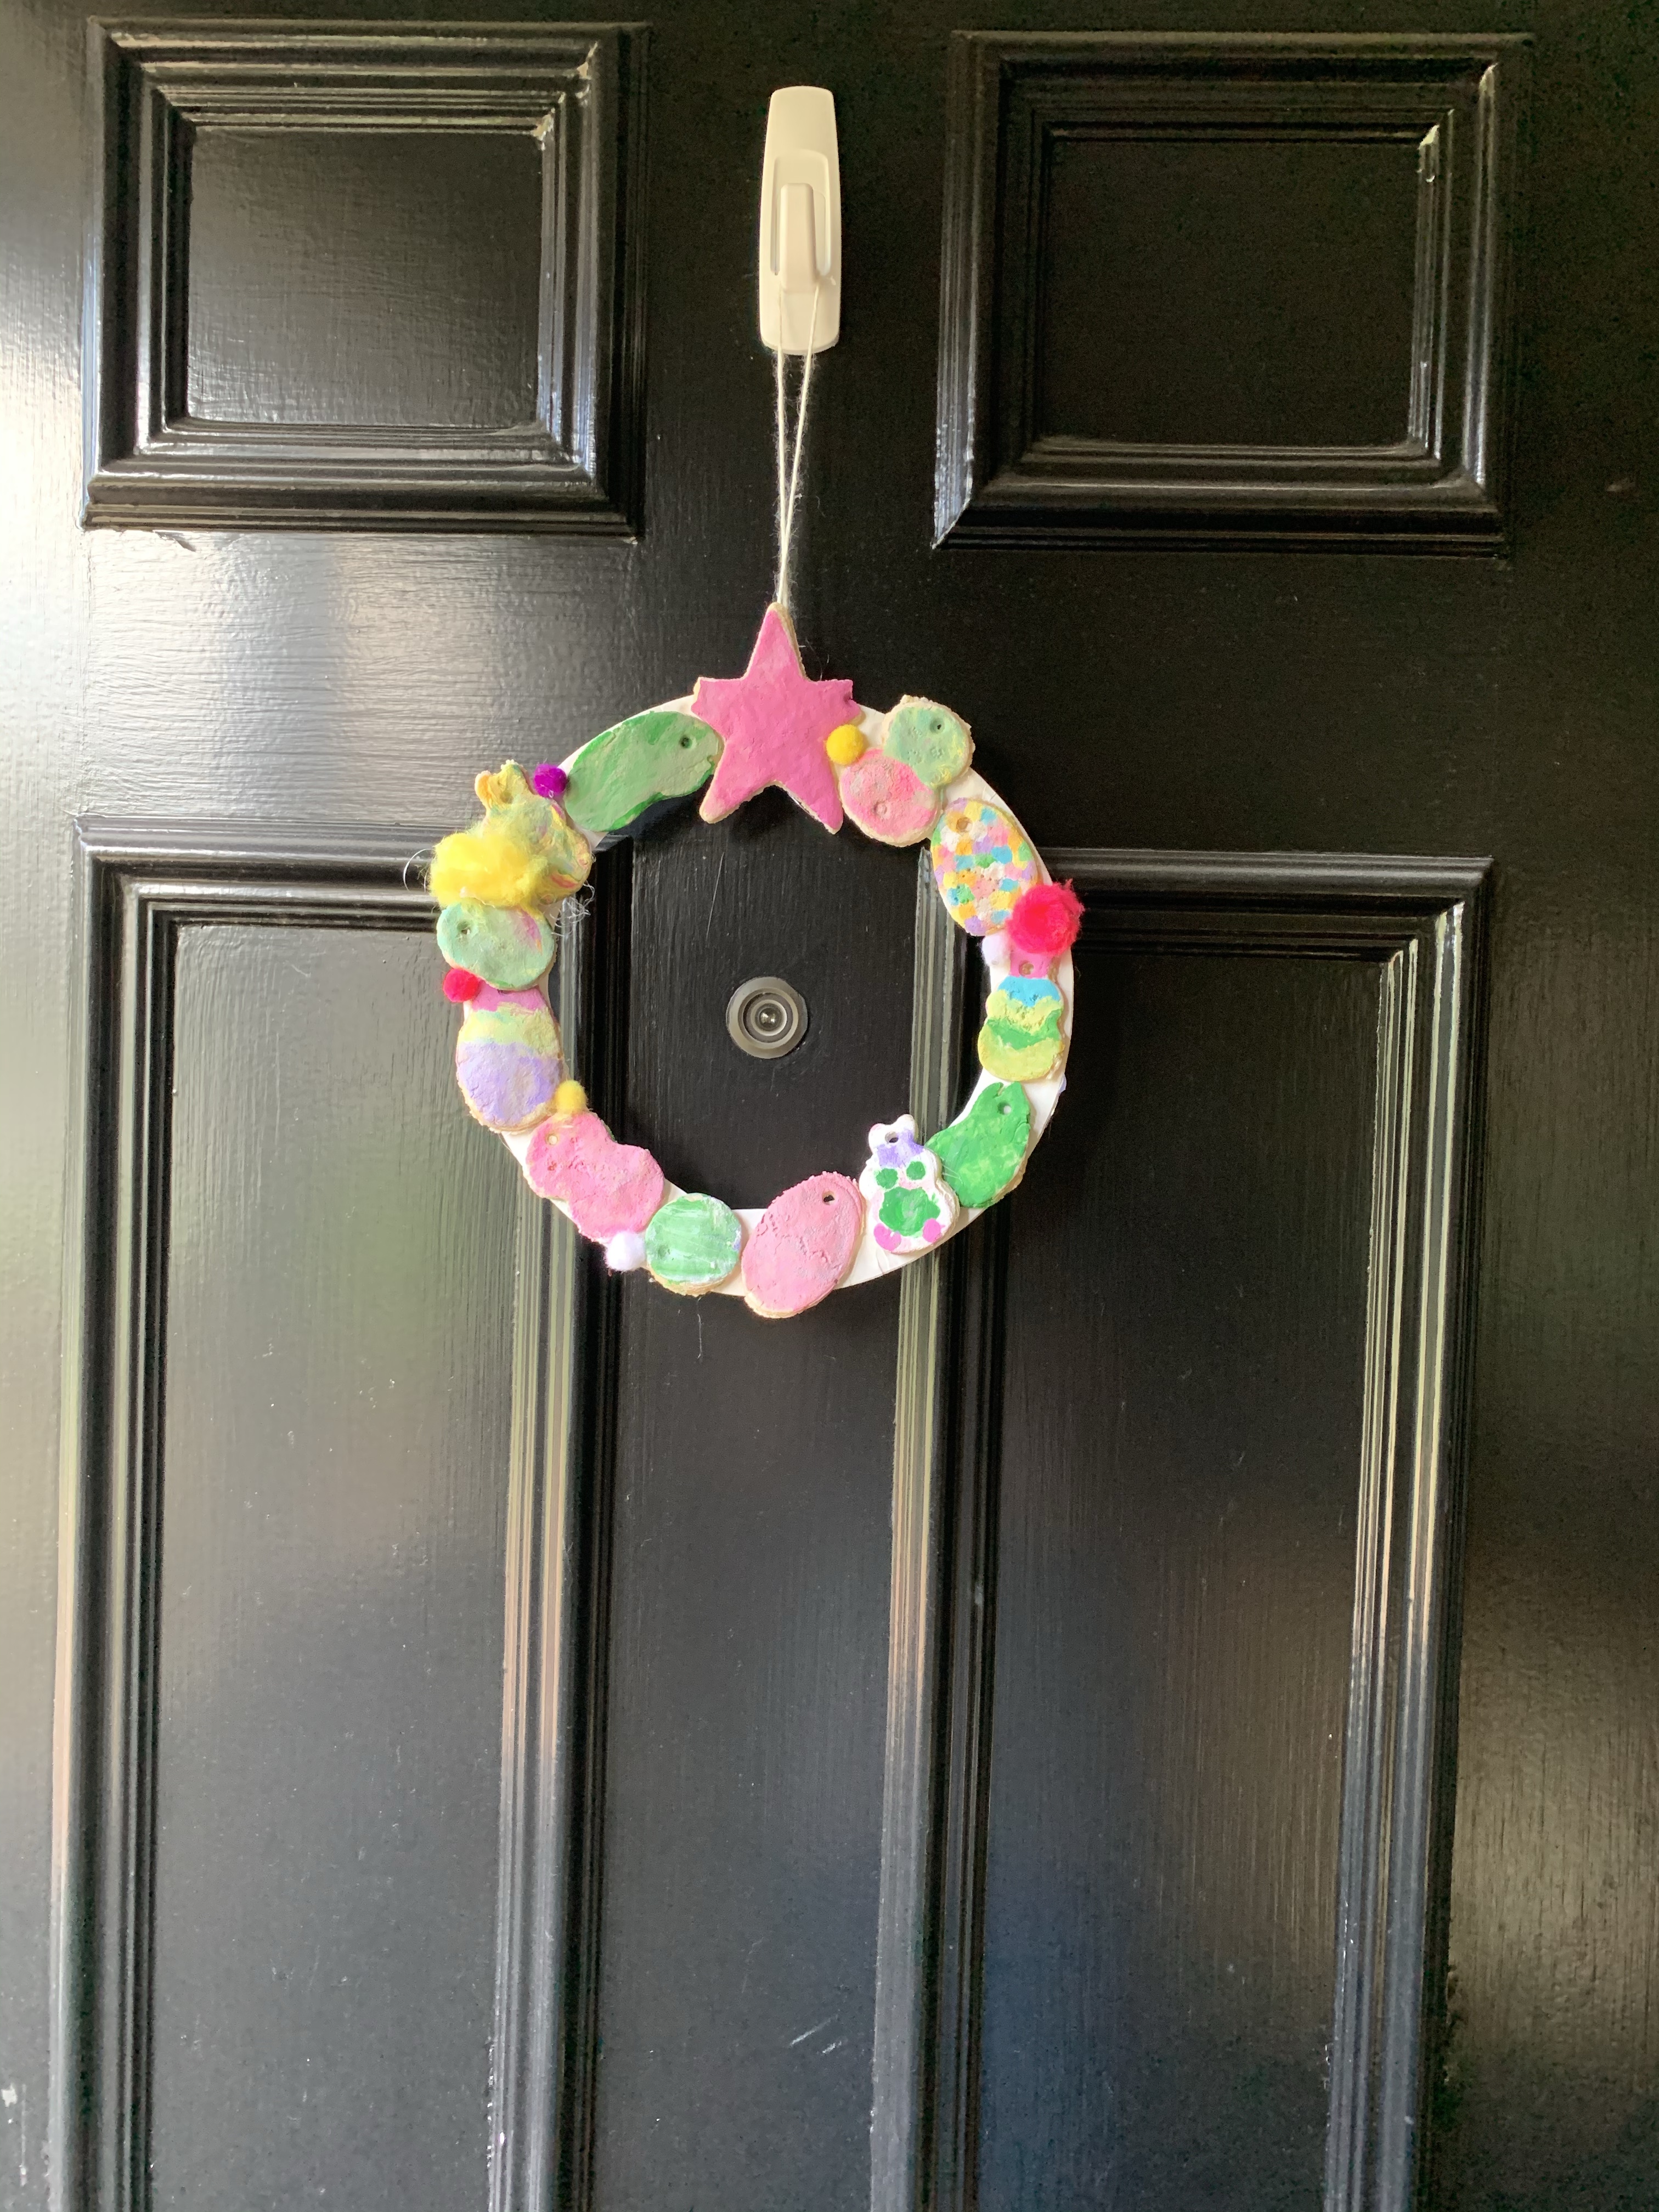
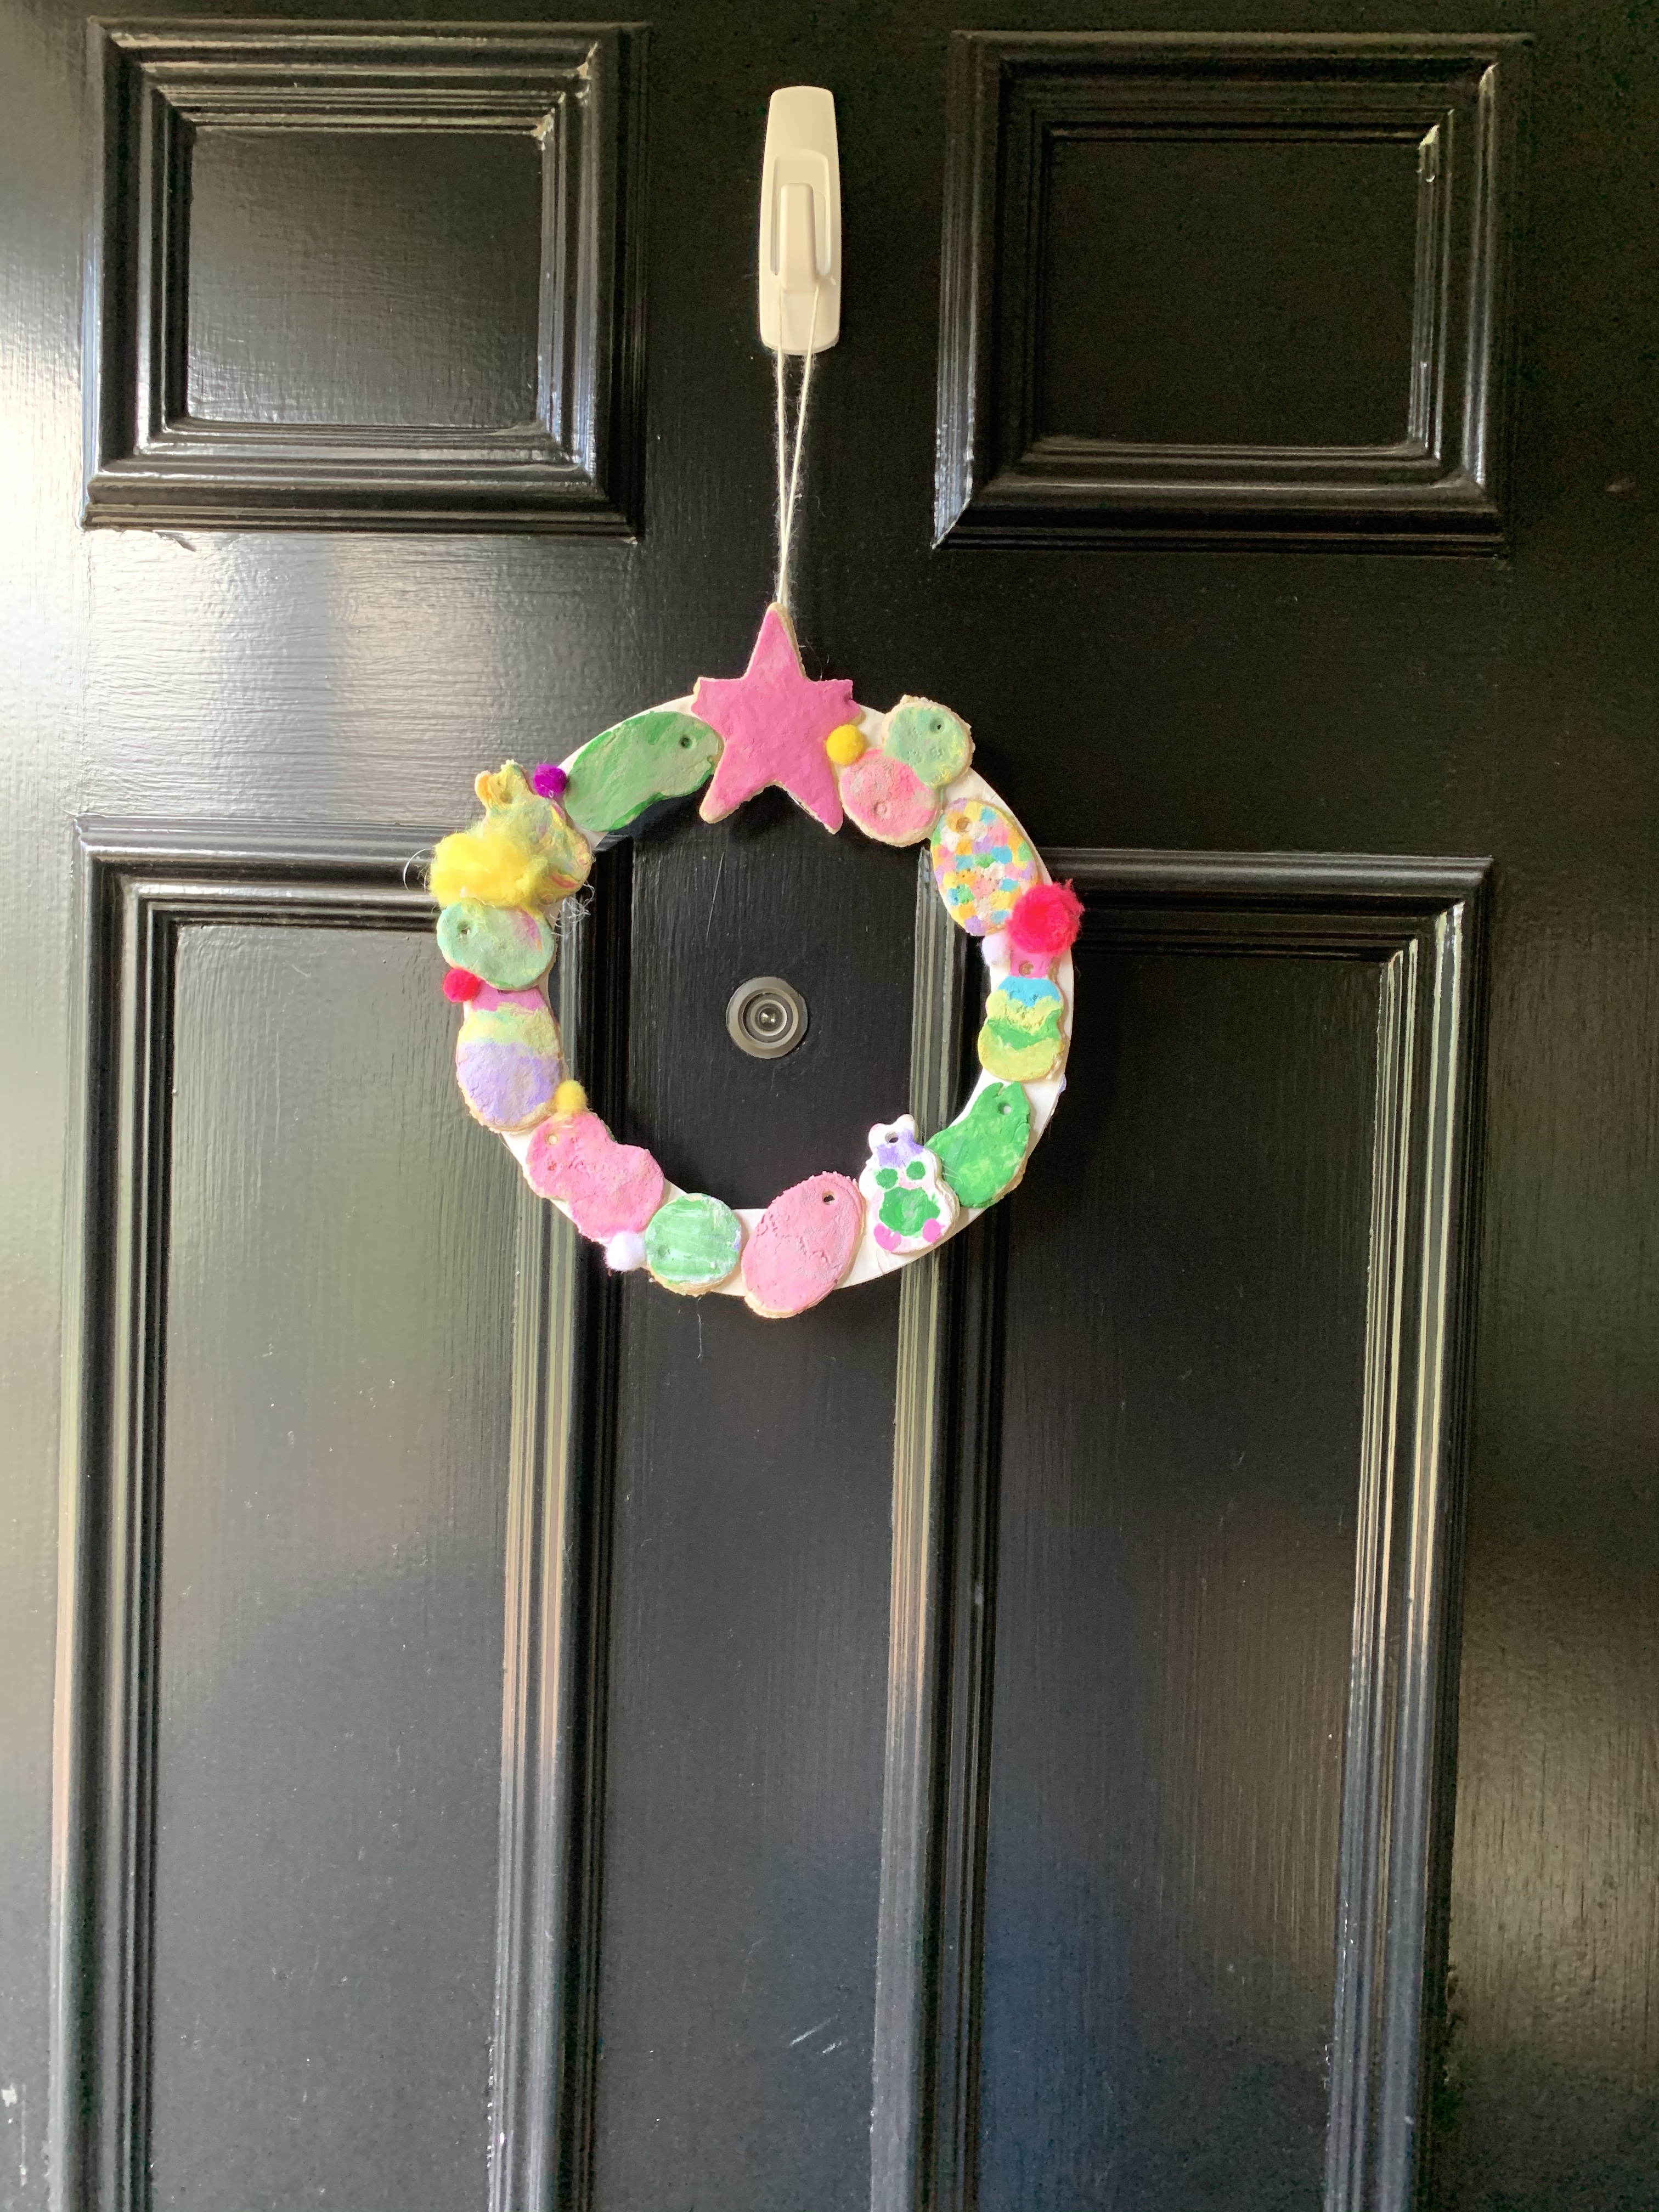
So we have done the salt dough ornaments before, but this time we made garland and a wreath out of our painted Easter ones!

img_3244-1

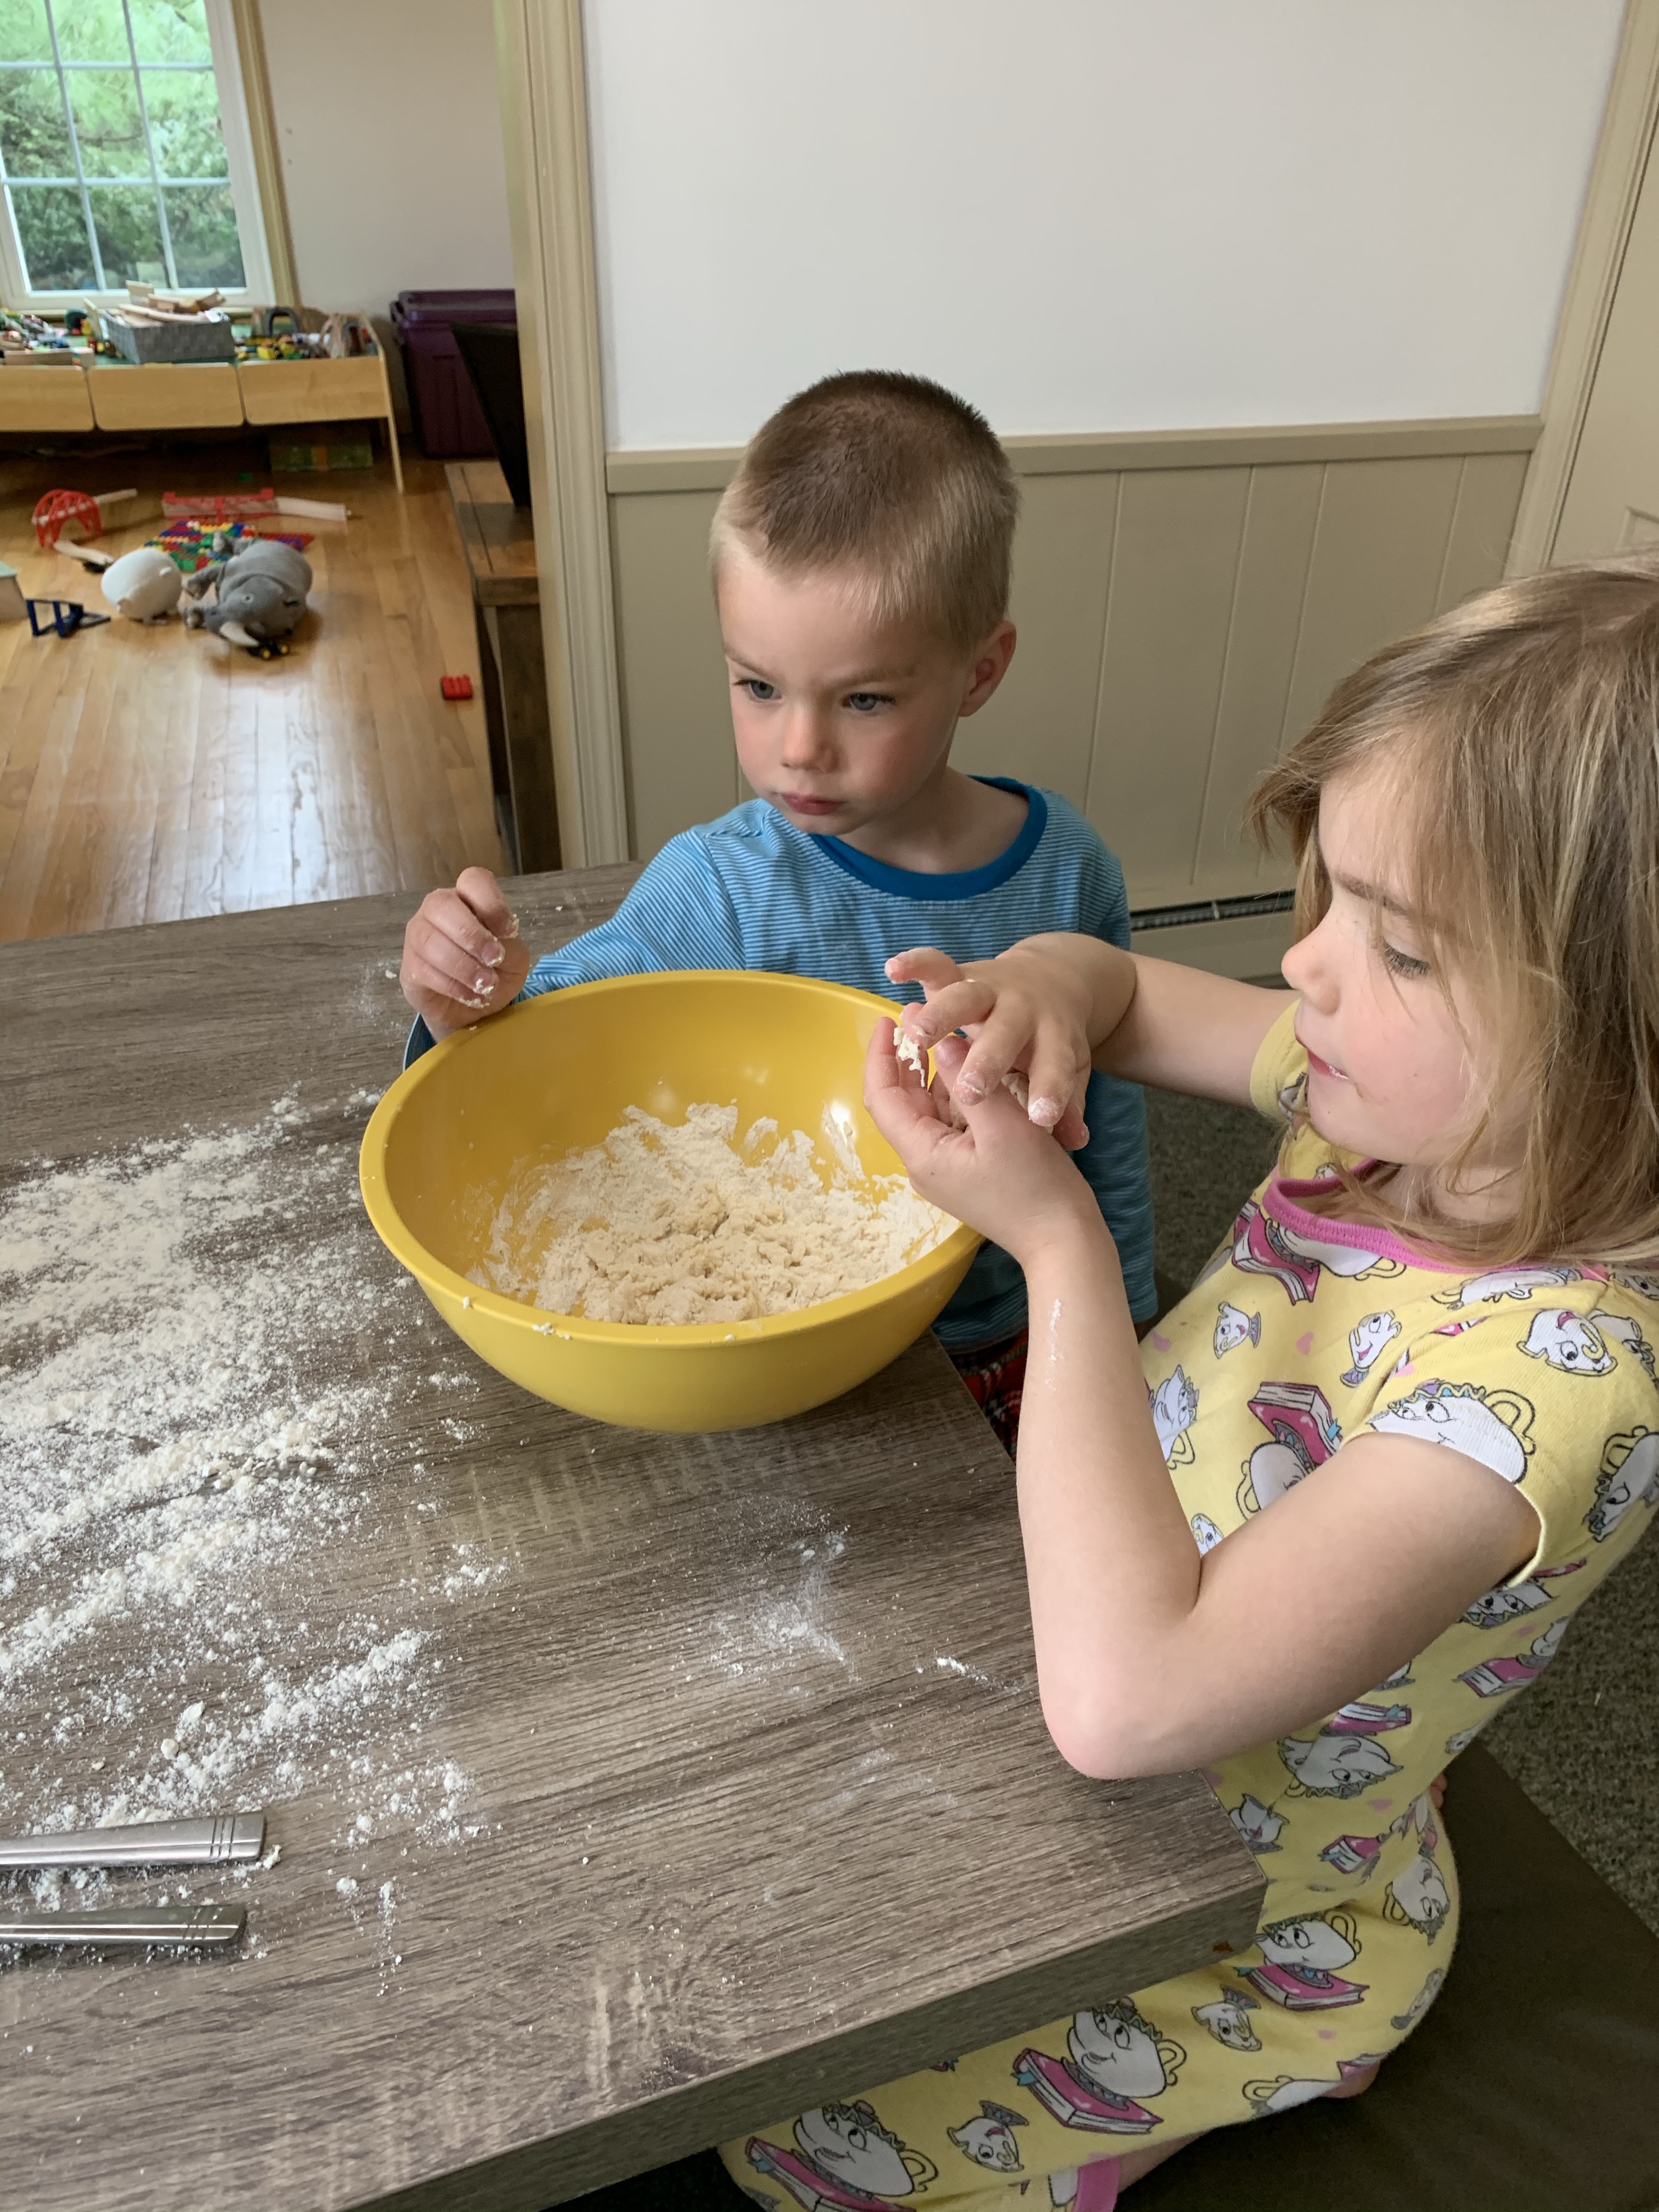
All you need to make salt dough ornaments is flour, water, and salt. So, start with two cups of flour, 1 cup and salt and mix. Then add water slowly until it is a play dough like consistency.  We ended up using our hands to mix it up. If it is too sticky, add more flour, too dry add more water.

img_3147

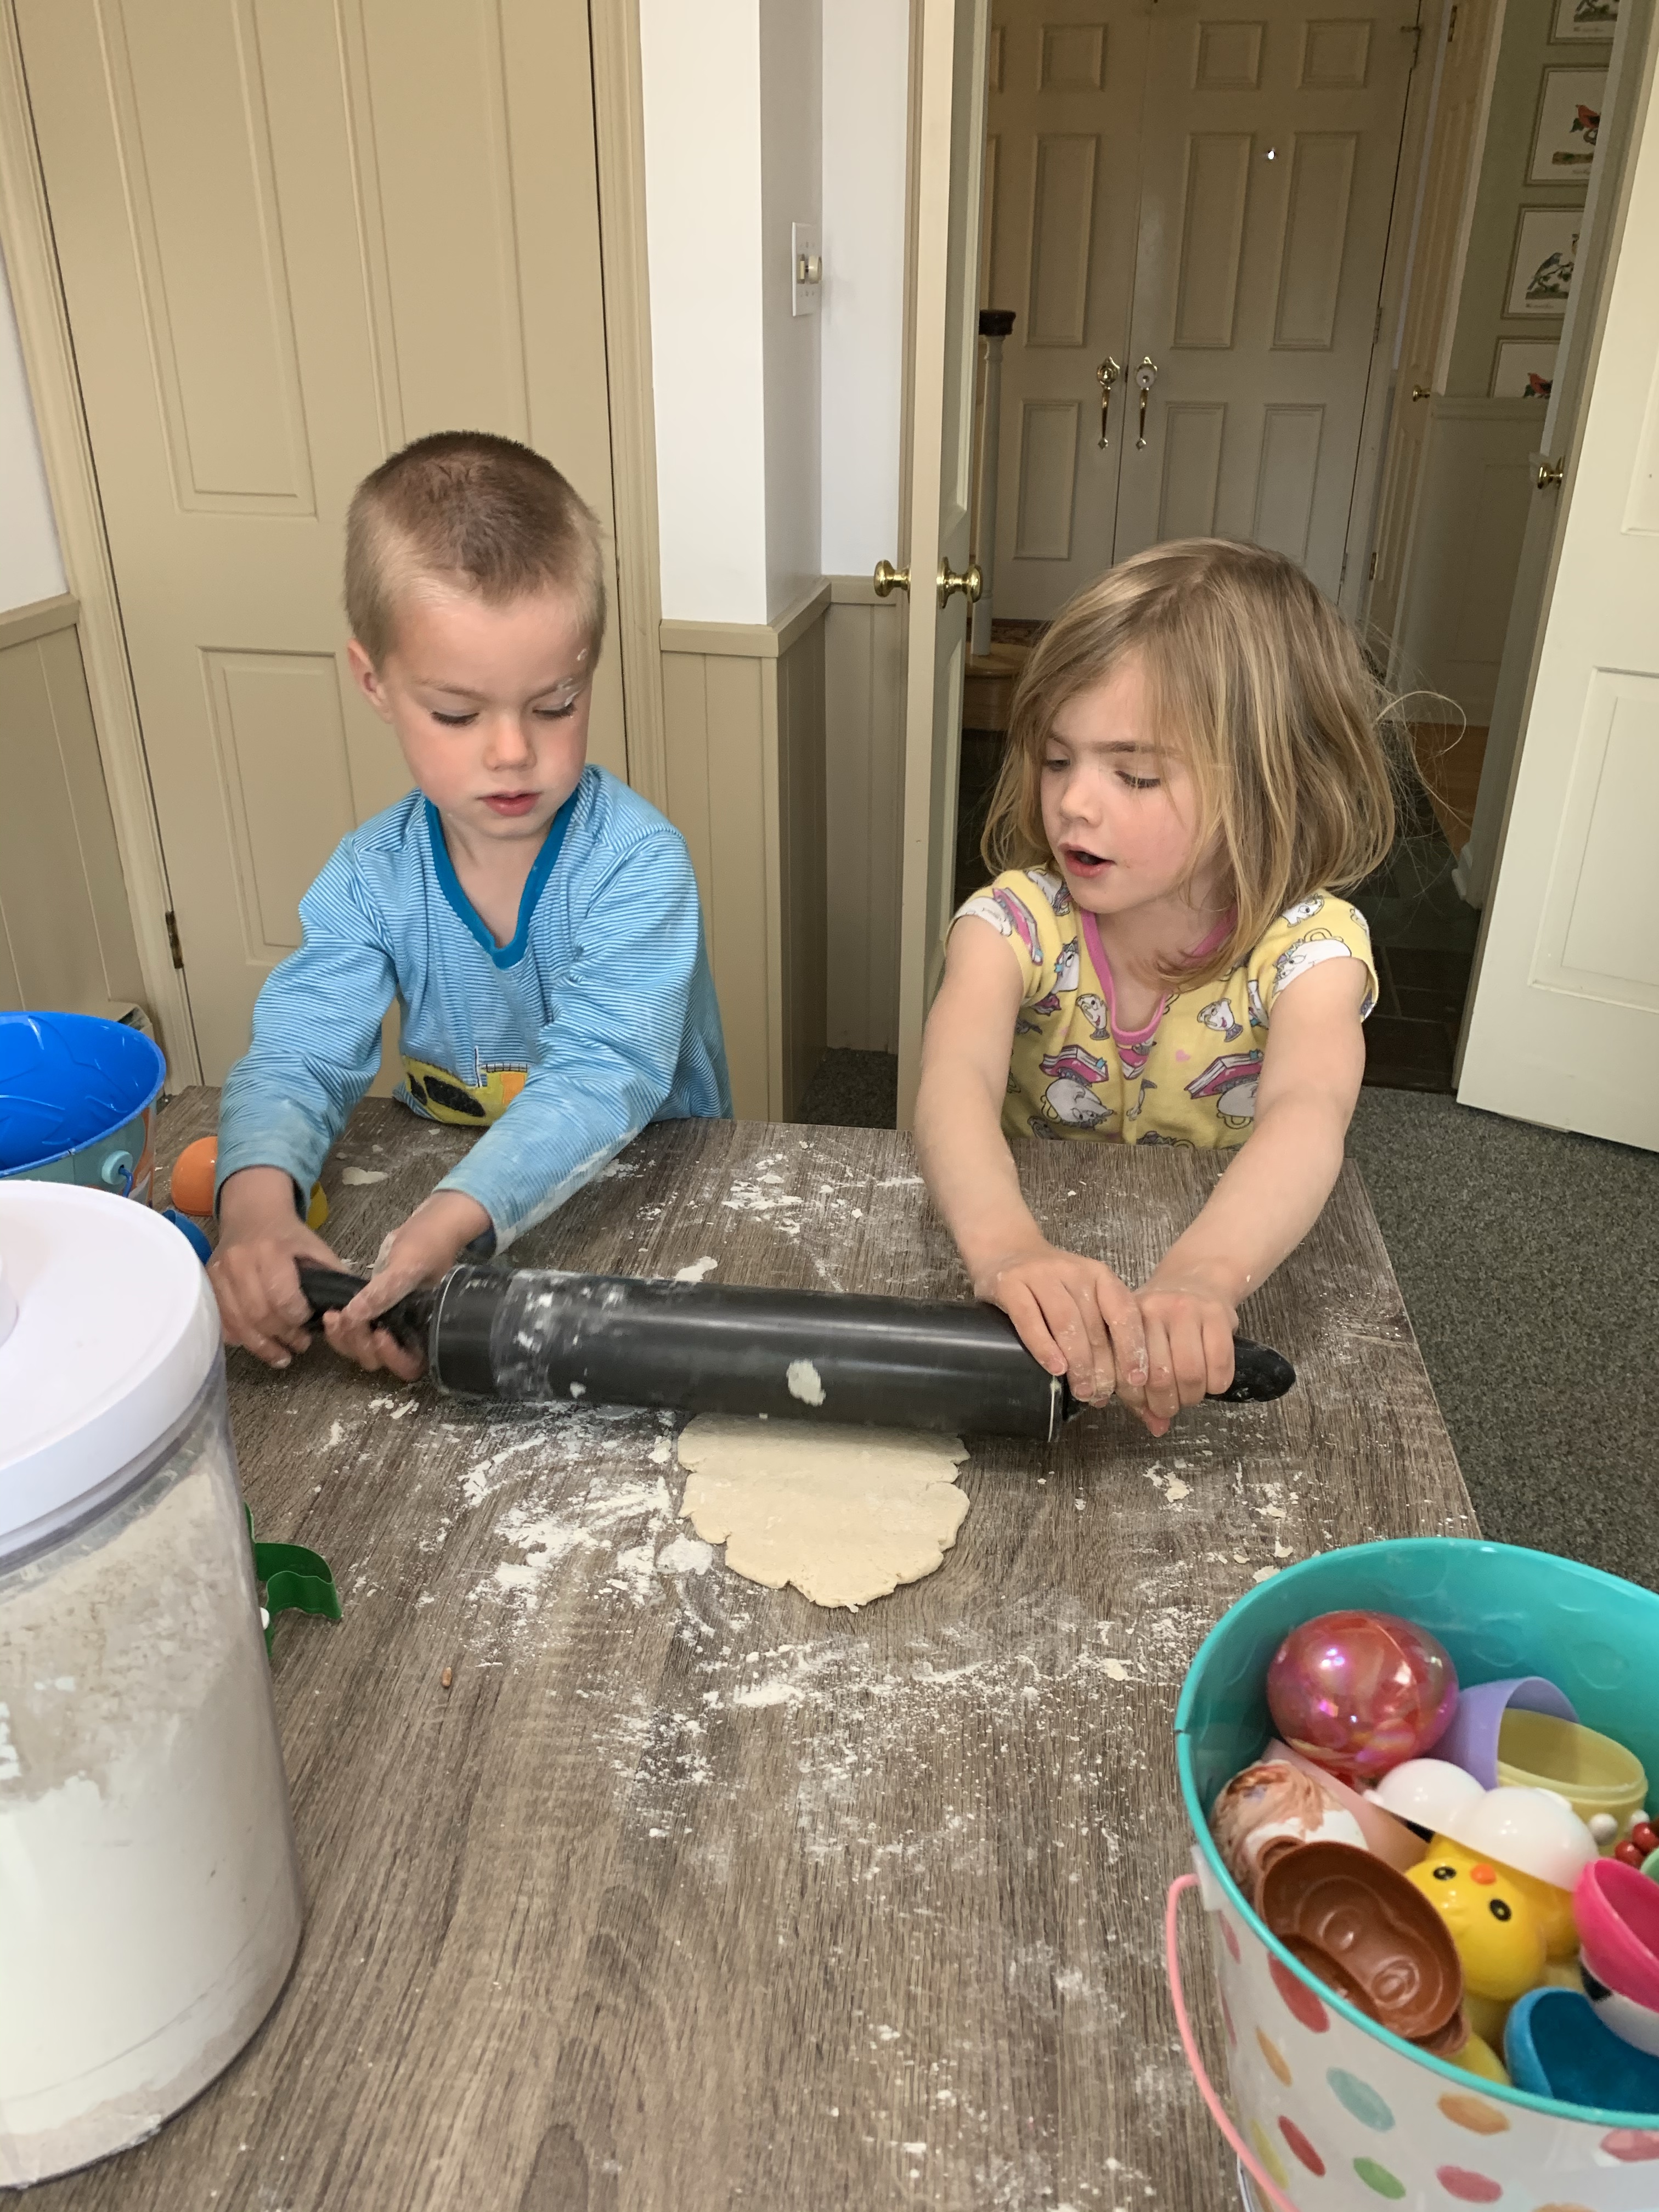
Then we rolled out the dough to a 1/4 inch thin, and used some Easter egg halves, including a bunny, chick, and jelly bean shape. You can of course just use cookie cutters as well. Use a straw to make a circle hole at the top of each ornament so you can add string later.

img_3148

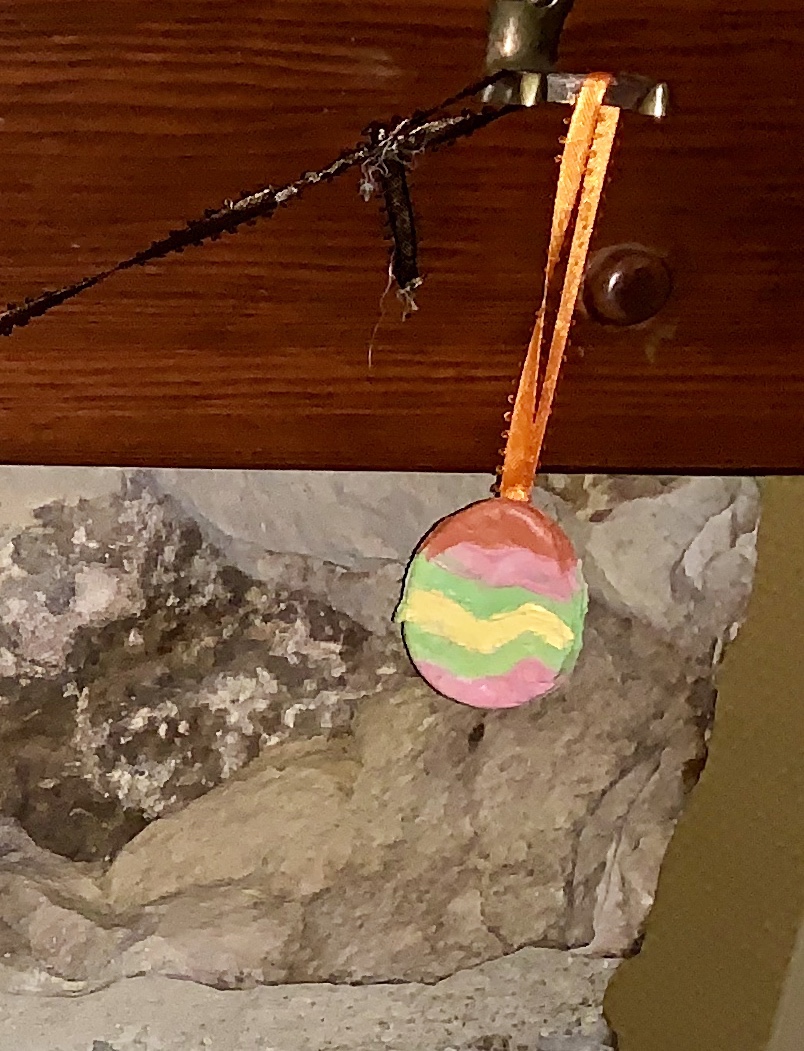
Turn the oven on at 200 degrees and put parchment paper on the tray and leave in the oven for 2-3 hours. If you don’t have parchment paper just move the ornaments with a pie lifter to make sure they don’t stick about an hour in. Time depends on how thick the ornaments are. Once cooled and dried, paint them as you wish.  You can add sparkles if you want. Once all dried, use string or ribbon through the hole and tie.  After that hang them up!

img_3249

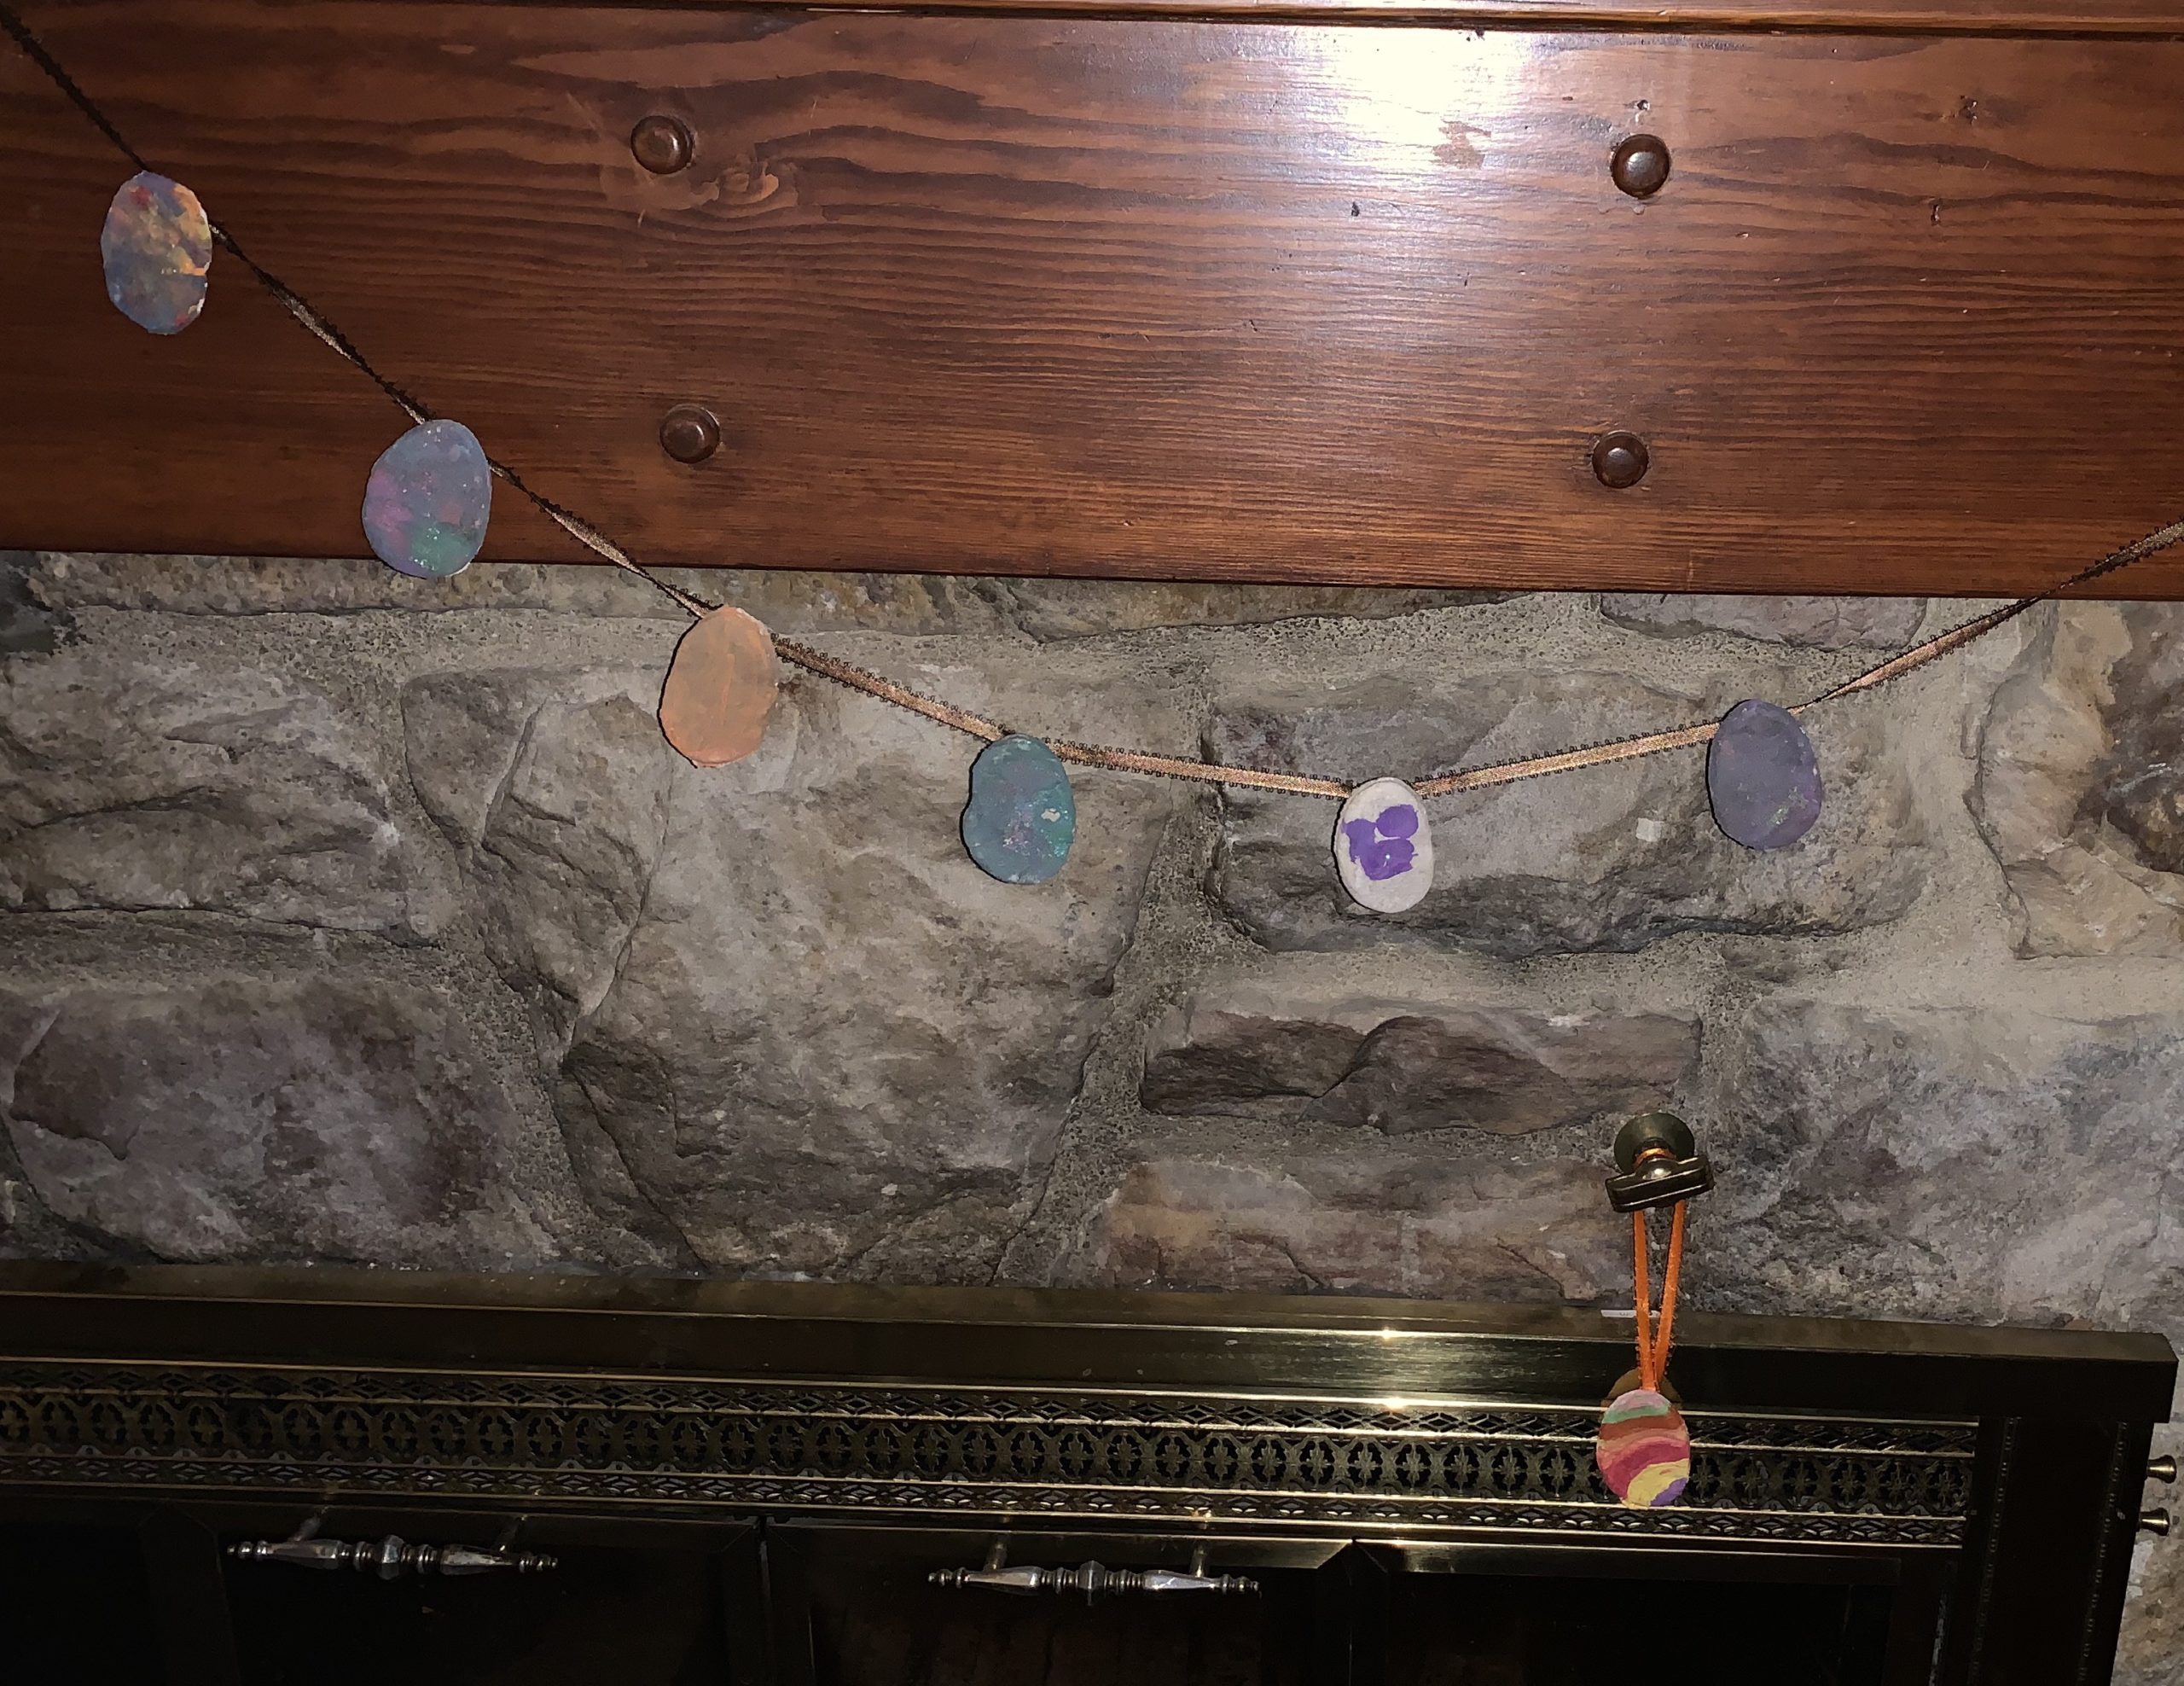
Or, you can make garland by putting one ornament through the string and then tying it in place and continuing until desired effect.

img_3249-1

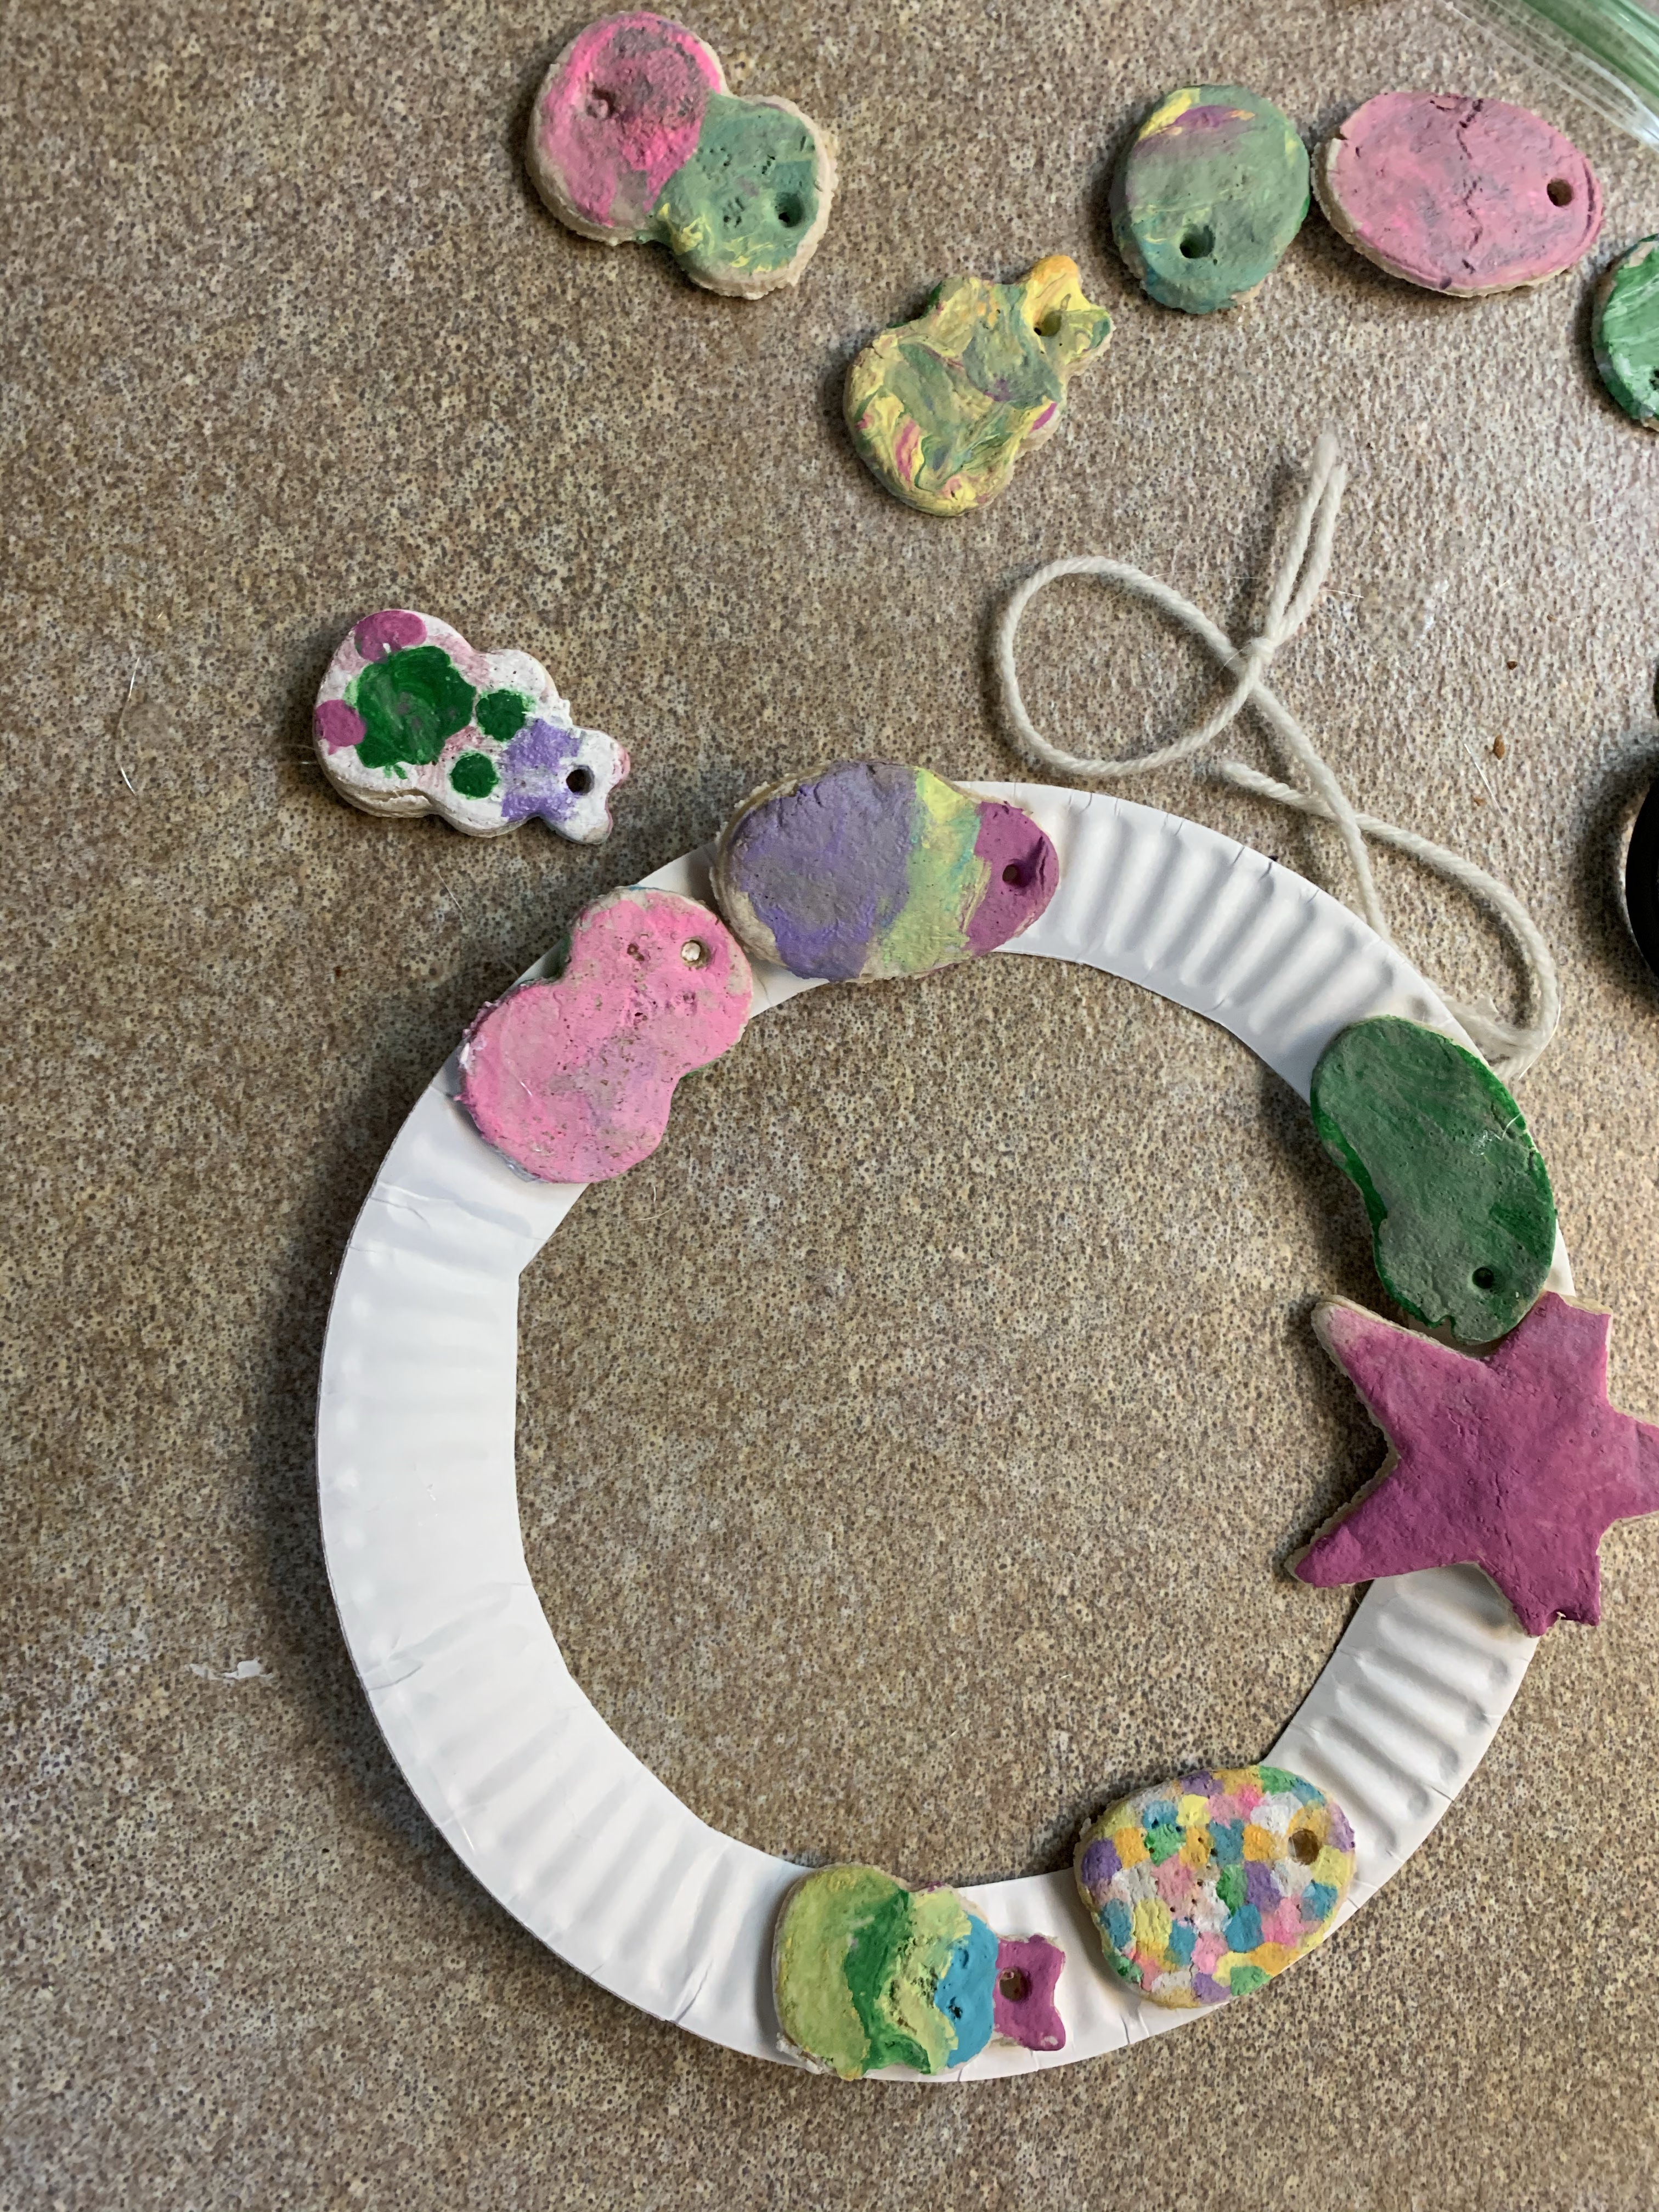
If you want to make a wreath, we just used 2 paper plates glued together and cut out the inner circle then used a hot glue gun. Of course you can use cardboard or other material, but this is what we had on hand with the quarantine.

img_3242

We used the glue gun to glue on some ribbon and add pom poms.

img_3244FollowFacebookpinterestrssyoutube
ShareFacebookpinterest

Baking recipes with kids!

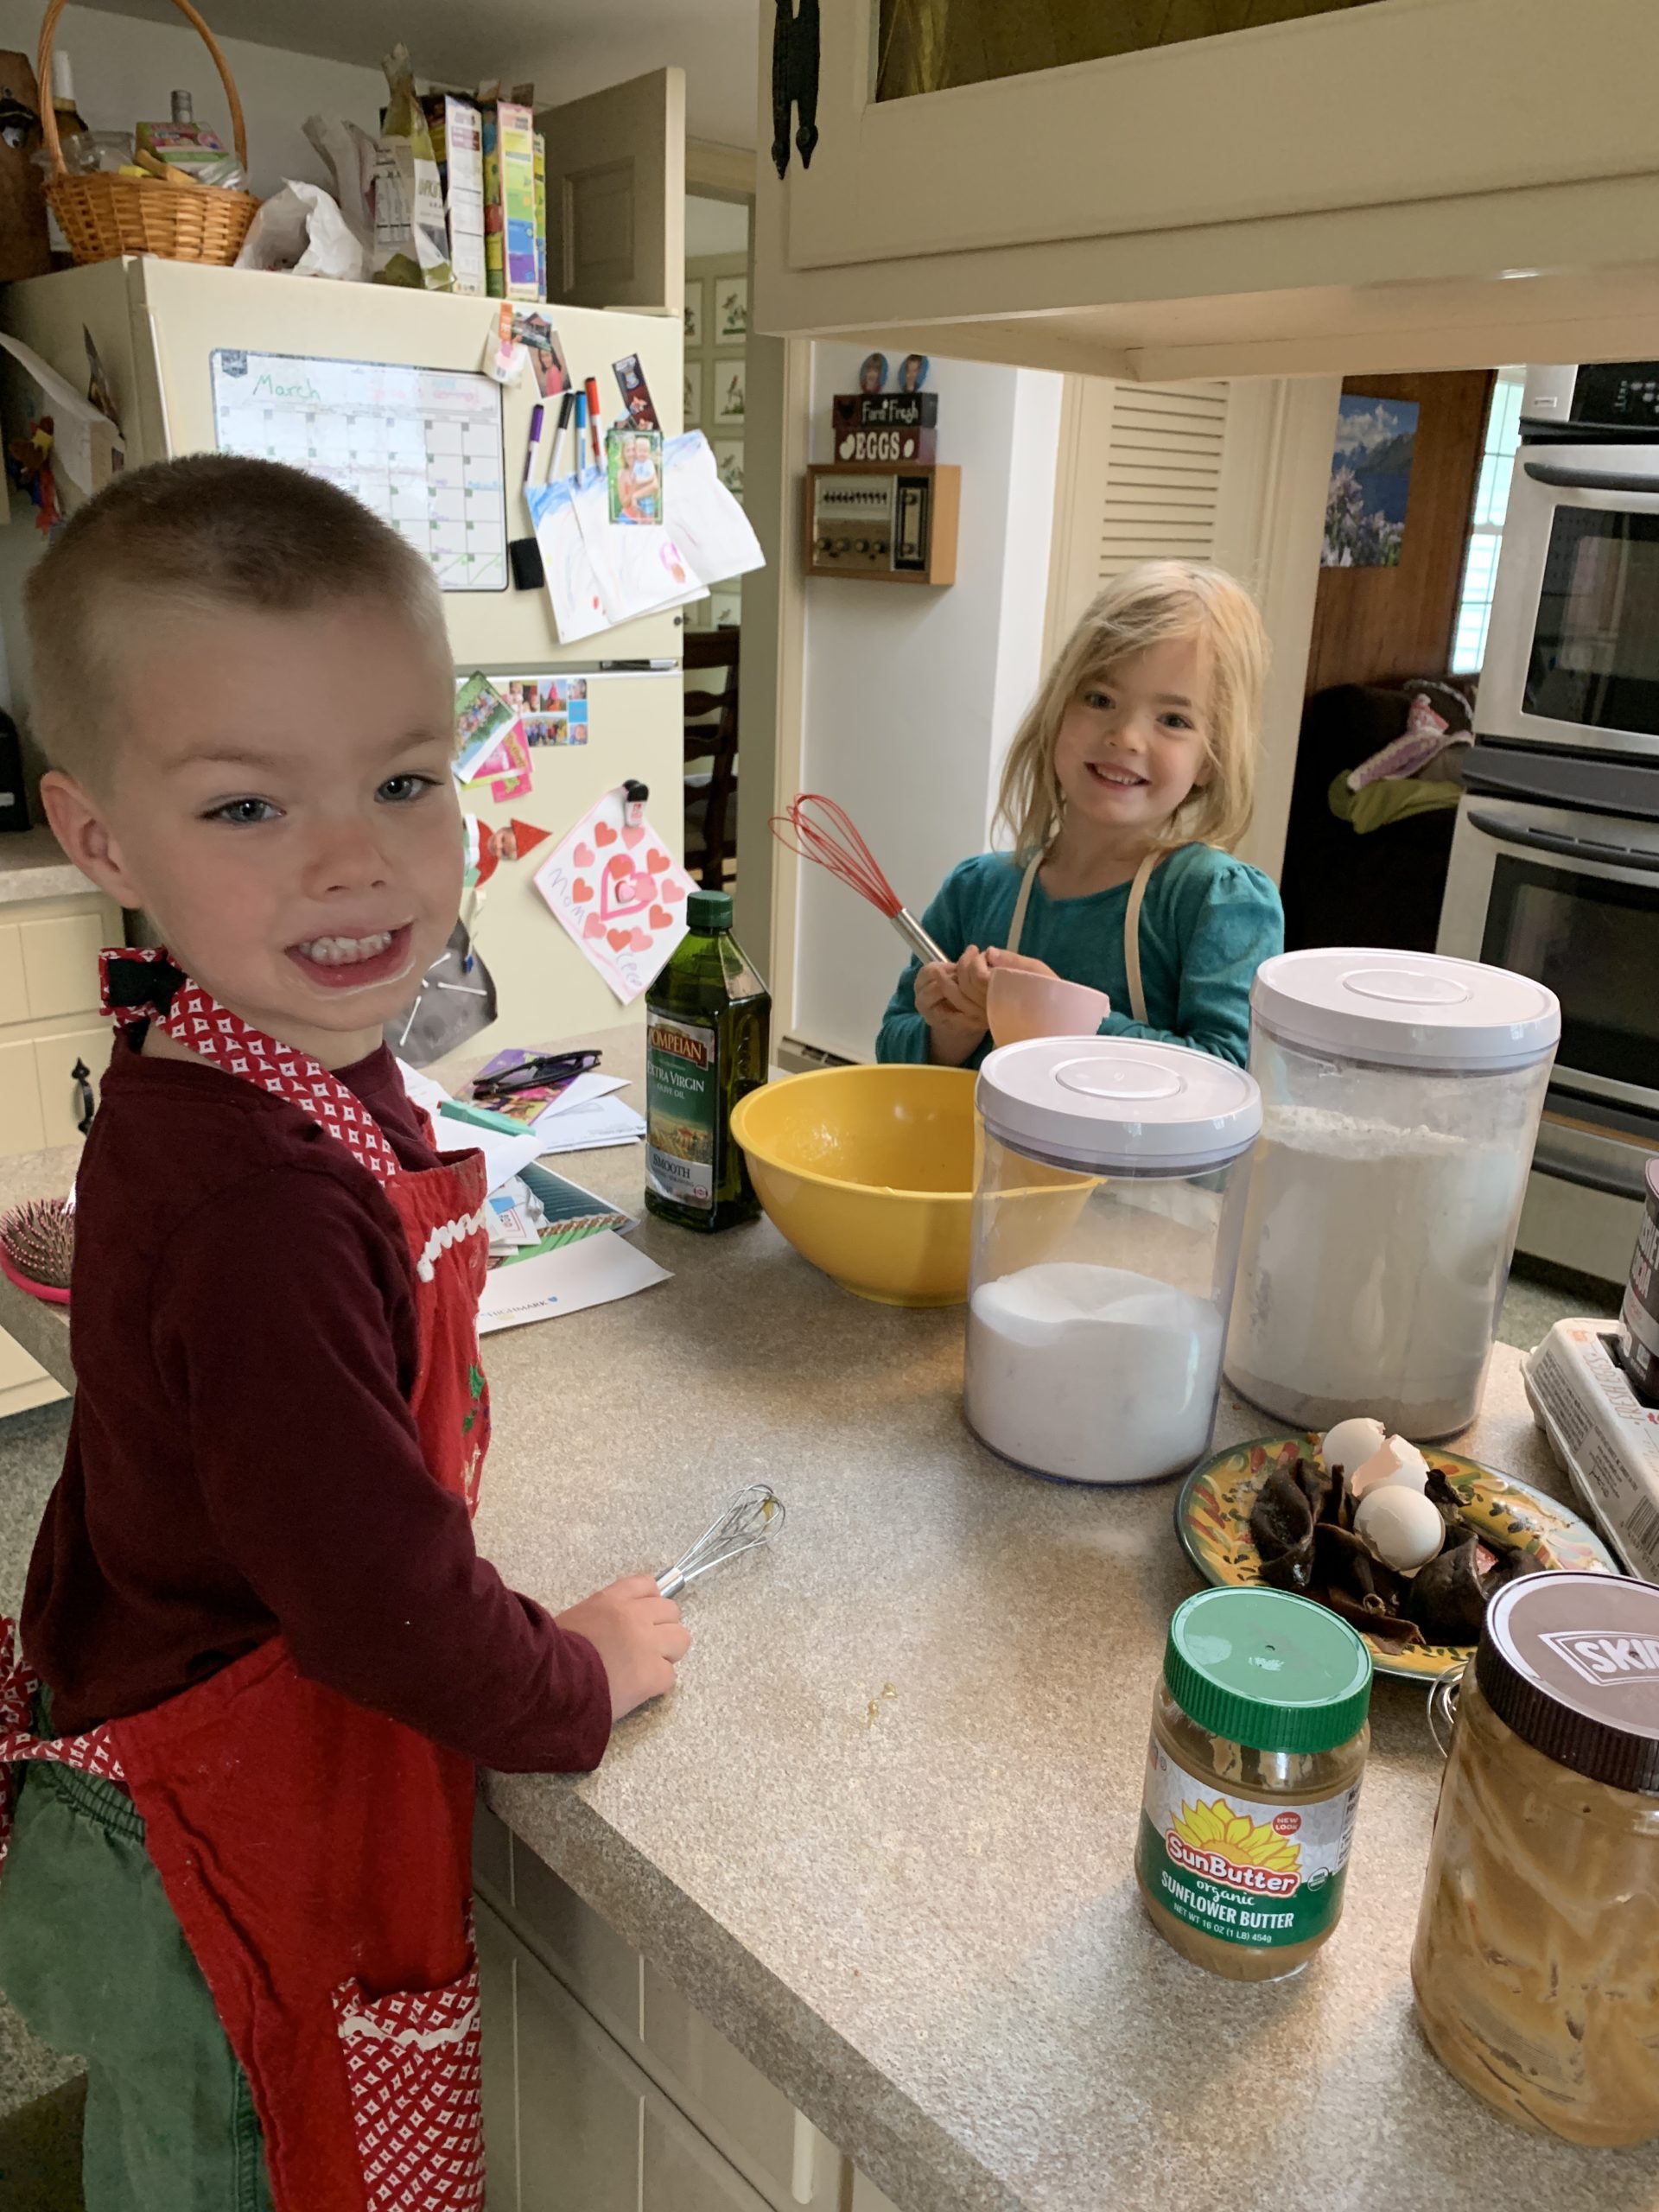
If you are on lockdown like our county is, and possibly soon to be state, you need some more activities to do with your kiddos!  My kids love baking!  Of course it gets messy, but that’s part of the fun (or that is what I tell myself).  My kids love baking and using measuring cups.  They prefer more ingredients so they can stir more together and also pour more (and make more of a mess!).  When I get a box of something to mix with one or two things, they are sorely disappointed. So, most of the time we make recipes not from a box (don’t worry its pretty easy!).

60685167137__82dd9f95-1353-4c31-9e96-d389e8dccf4b

Luckily, we had the ingredients this morning to make banana bread.  I always freeze bananas that are starting to go bad to save them for occasions like this (I mean when its raining not when there is a pandemic!)


So, I’m going to list some of the kids favorite things to bake on a rainy cold day.


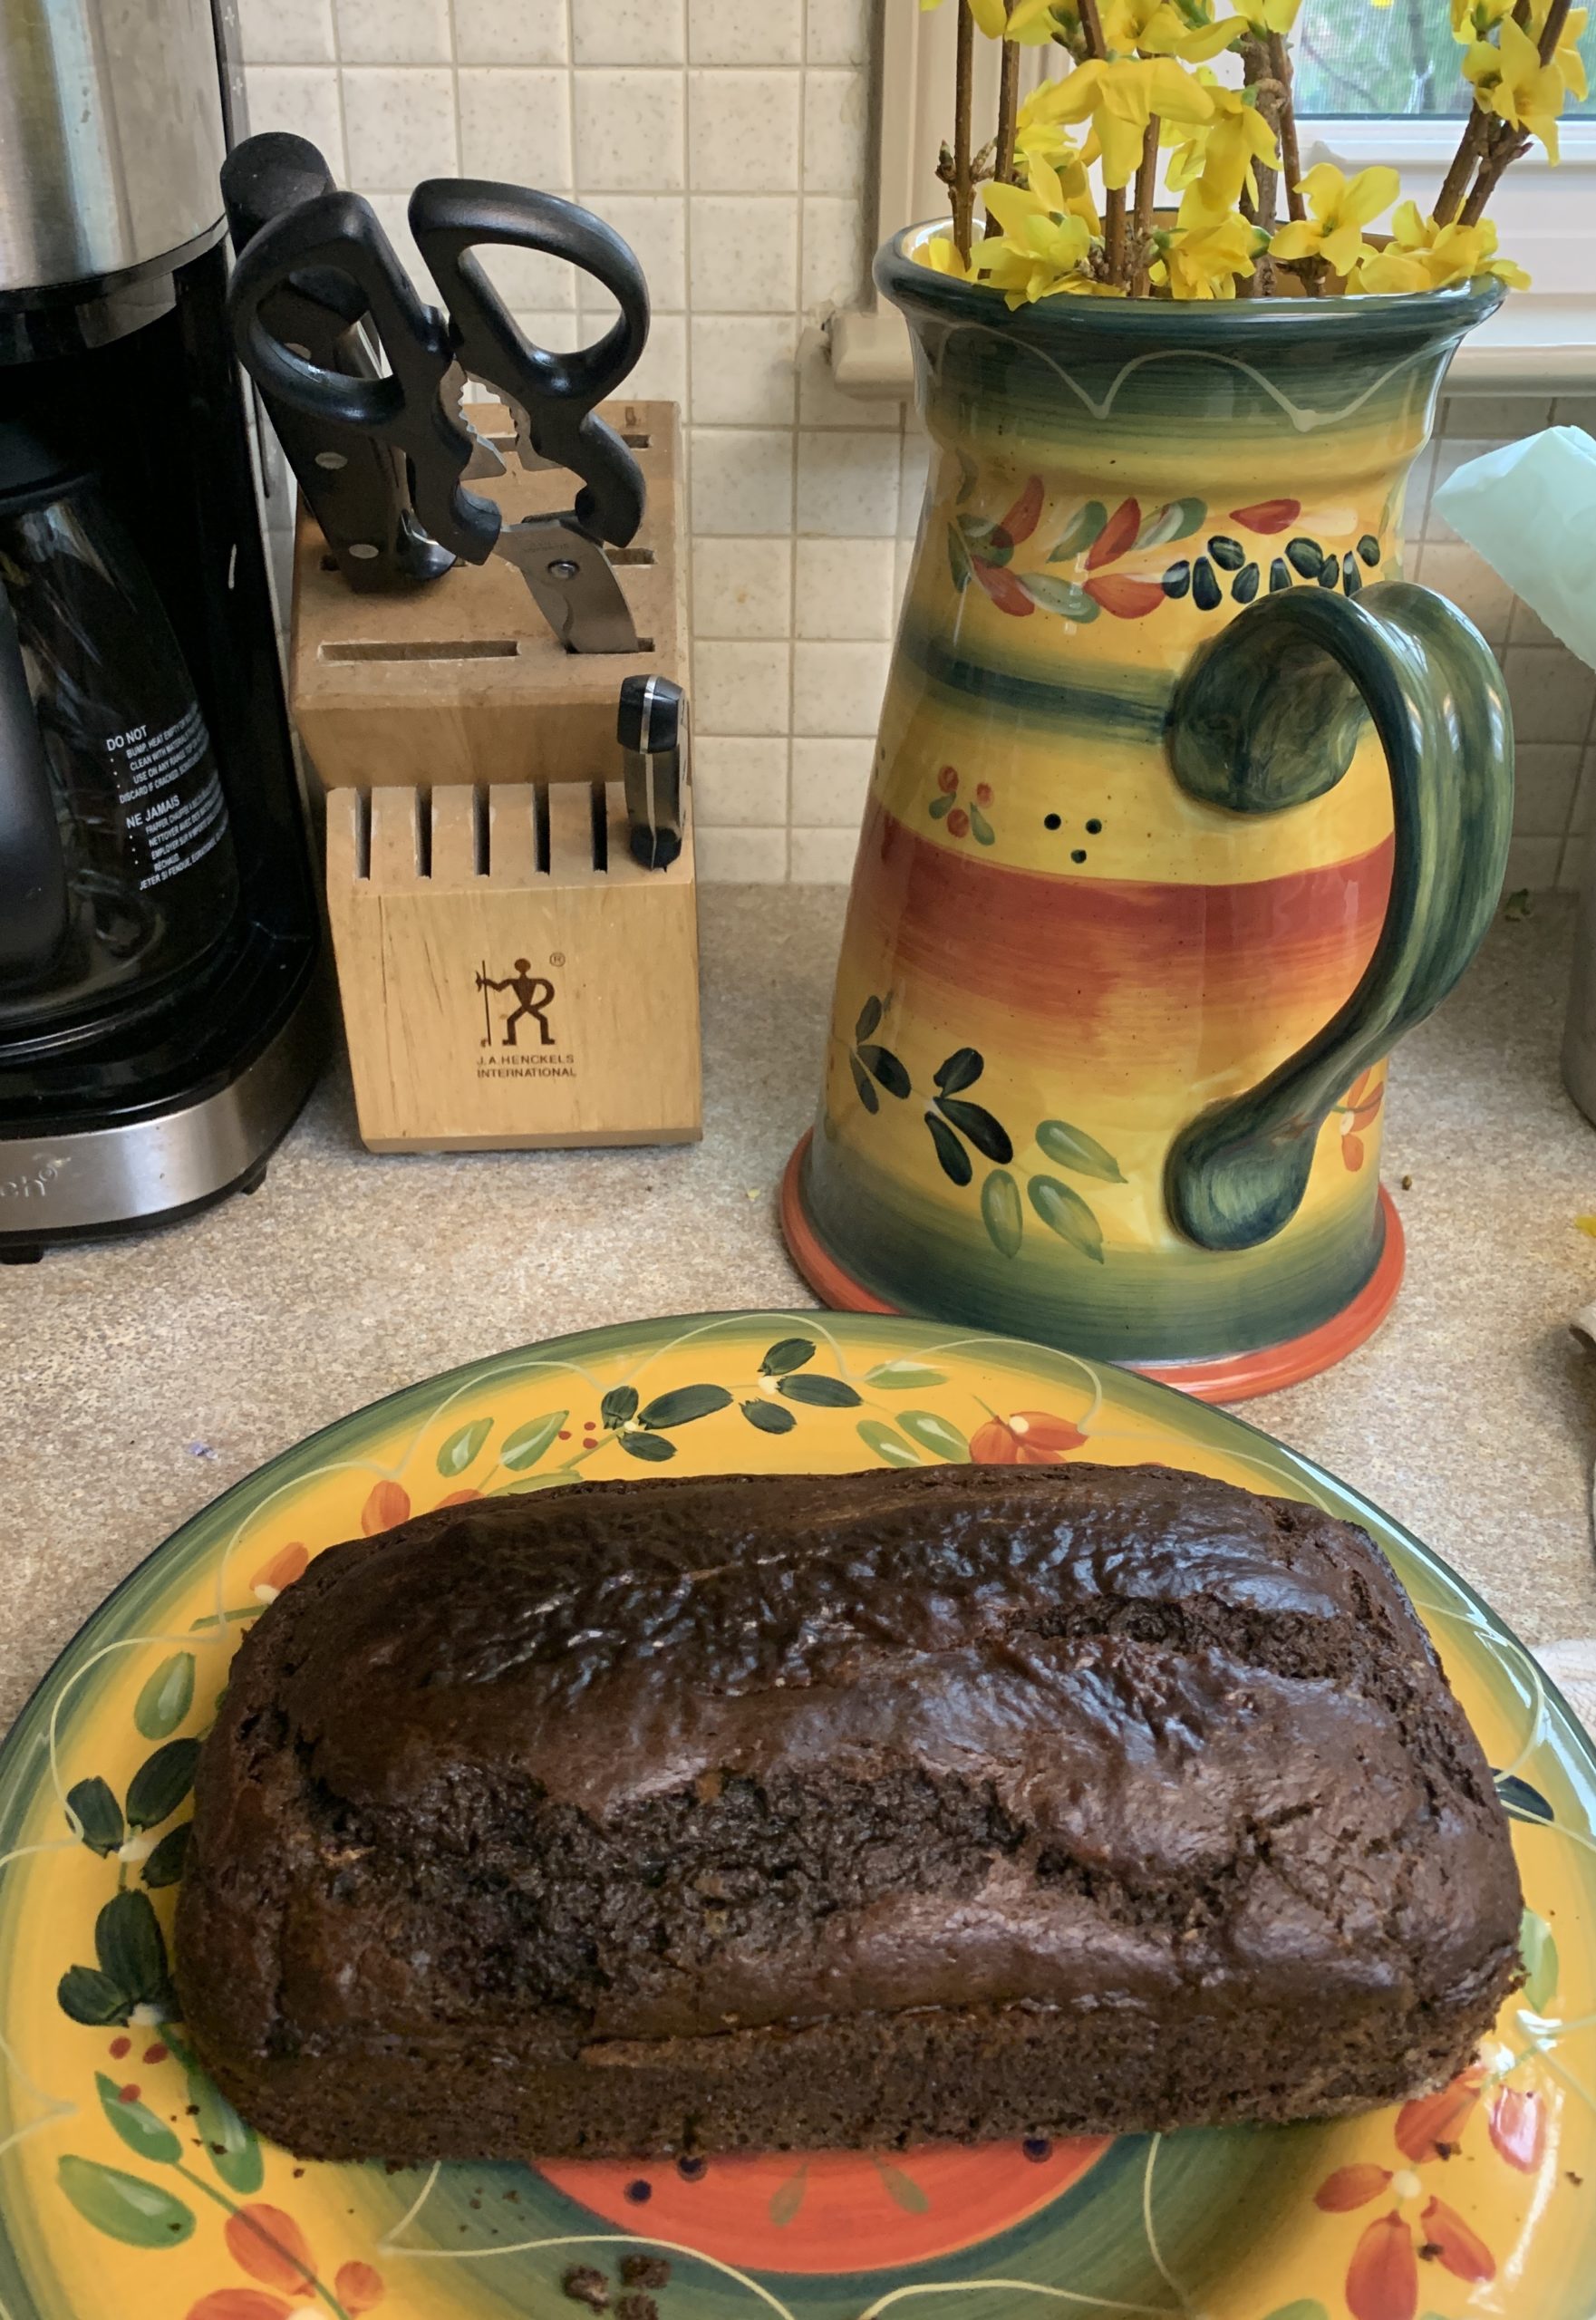
Today we made chocolate peanut butter banana bread (but just plain old banana bread with chocolate chips is what they usually like best!)

  1. Chocolate peanut butter banana bread

60685857541__8ffb8f80-e808-4abf-8f11-02935b289723


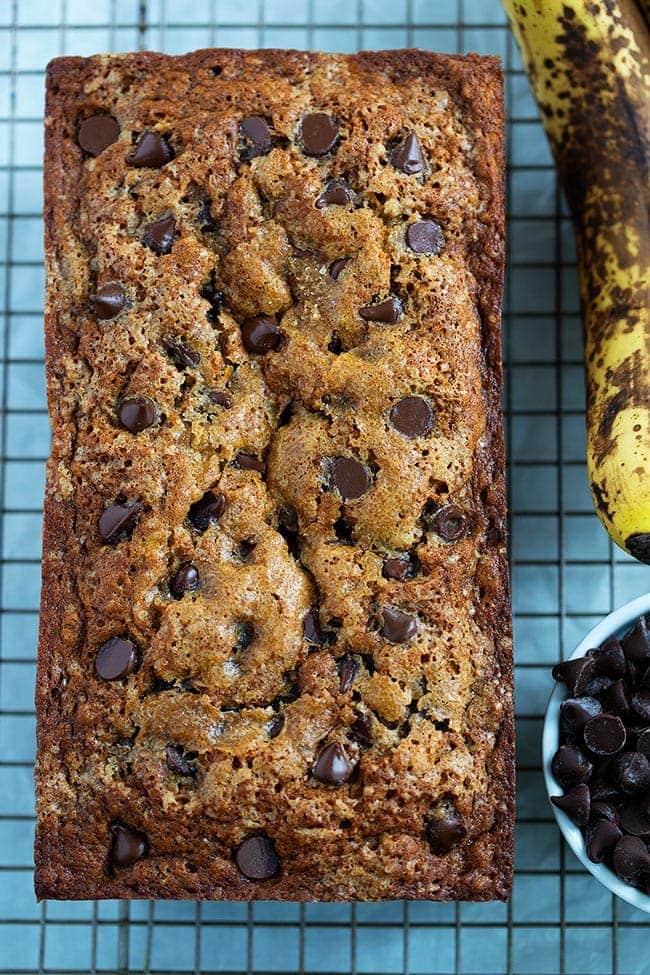
2. Chocolate chip banana bread

Chocolate Chip Banana Bread

3) Muffins! Muffins! and more muffins!

These are applesauce oat muffins(the kids actually liked them yes!)

how to make applesauce muffins step by step in grid of steps

Here are 14 muffins the kiddos will love- including blueberry, chocolate chip, chocolate

4) Cookies of all kinds of course!

Especially sugar cookies!  They love to decorate them!  I try to do a recipe that doesn’t have to be refrigerated before hand.  They love using cookie cutters and decorating each cookie (although expect for it to take a long time to get all the shapes cut out and expect way too make sprinkles!)

This Sugar Cookies Recipe requires no chill time!

5) This is my kids favorite chocolate cake (although we usually use a bunt pan and just put icing on the top)

Perfectly Chocolate Chocolate Cake


6) Here are some fun cupcake recipes!These are on the fancier side- we usually just ice the top with a knife and call it a day (the cupcakes are gone before you have a chance to make it fancy!)  I’ve wanted to try the ice cream cone cupcakes- that will be next on our list!)

Ice cream cone cakes


Any baking recipe the kiddos will love to make the memories with you! Don’t forget to take pictures!!!

 FollowFacebookpinterestrssyoutube
ShareFacebookpinterest

Mixing fun

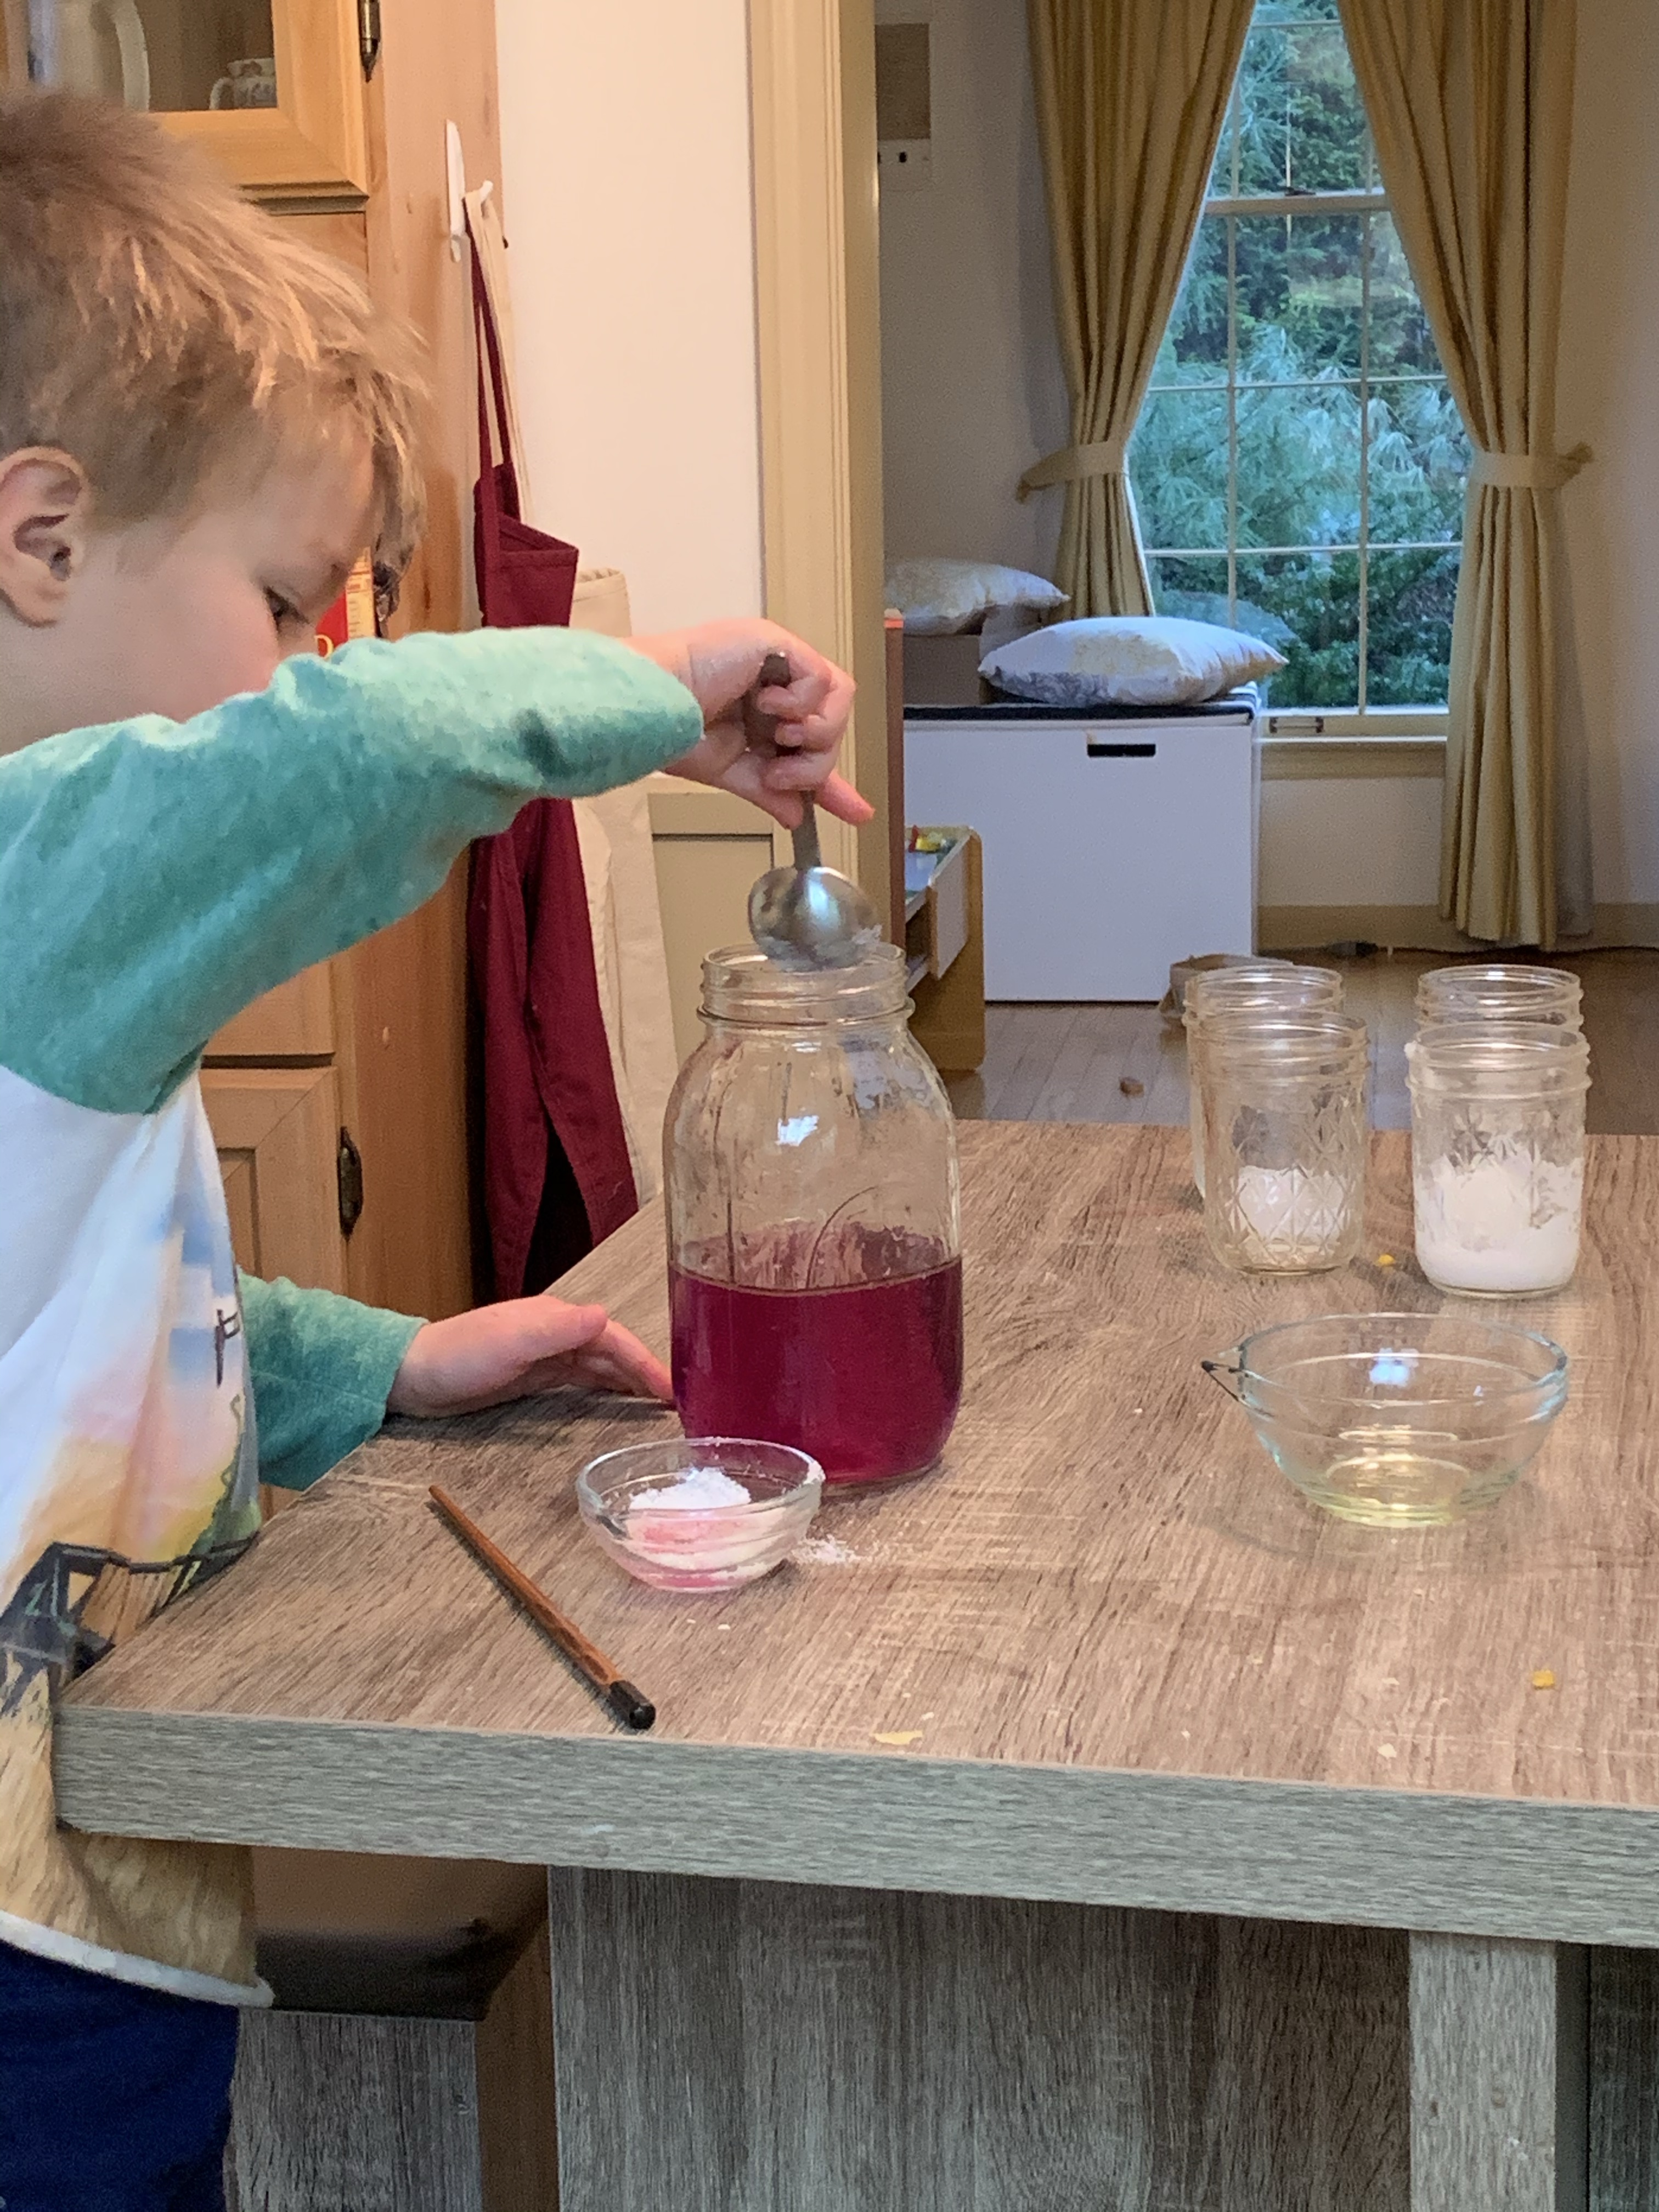
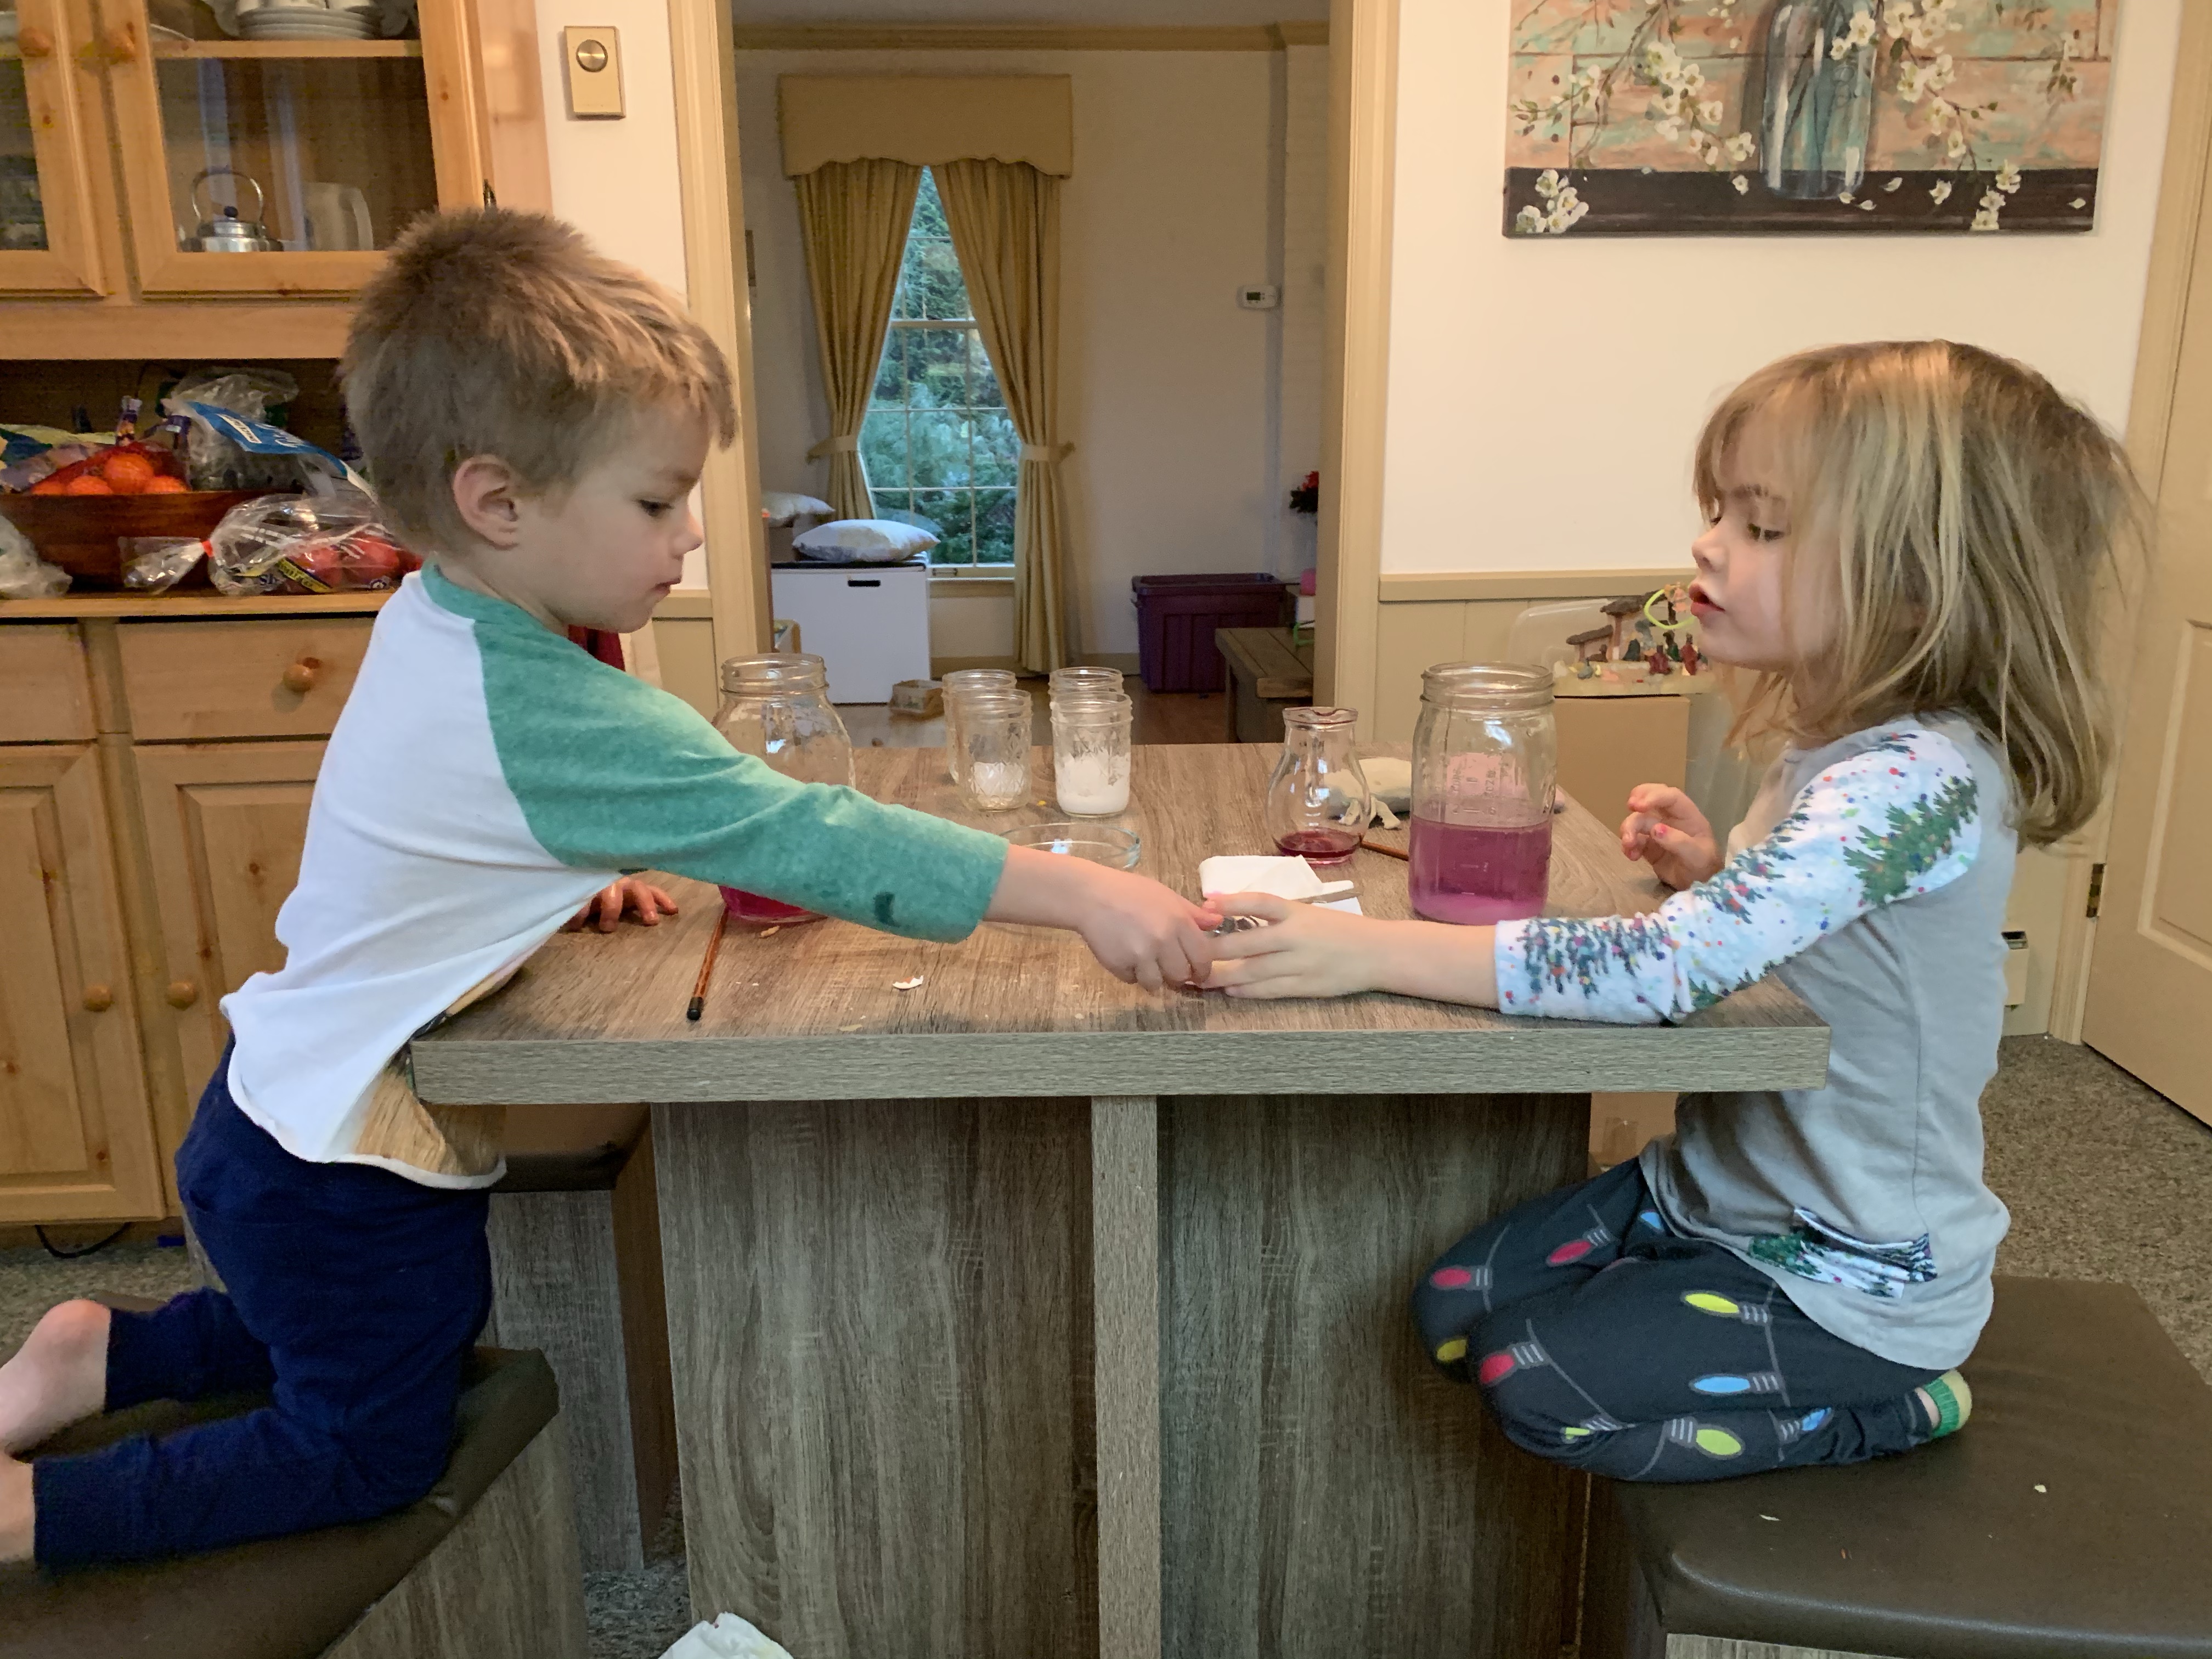
If you’re looking for an activity for your little ones to enjoy and also learn try this mixing fun. You can also use whatever you have in your kitchen! Just as an update, the kids ask to do this almost daily they love it that much!

img_2705

You need a container, preferably a tall see through one such as a large mason jar as shown. Fill the mason jar half way up with water.

Then you will need something to stir with (we grabbed a chopstick!)

Lastly, you need items to put in this mixture, so food coloring or natural coloring (we also used washable paint one time!

Coloring from beet juice etc.

Sprinkles can be used to see if they float or sink!

Ice cubes

Salt versus sugar-do they dissolve

Olive oil or any type of oil to see if it mixes with water

Croutons, cereal, some scraps from the compost bucket, lettuce leaf, onion (although you may want to hold off on too many food items with the quarantine right now!)

img_2707

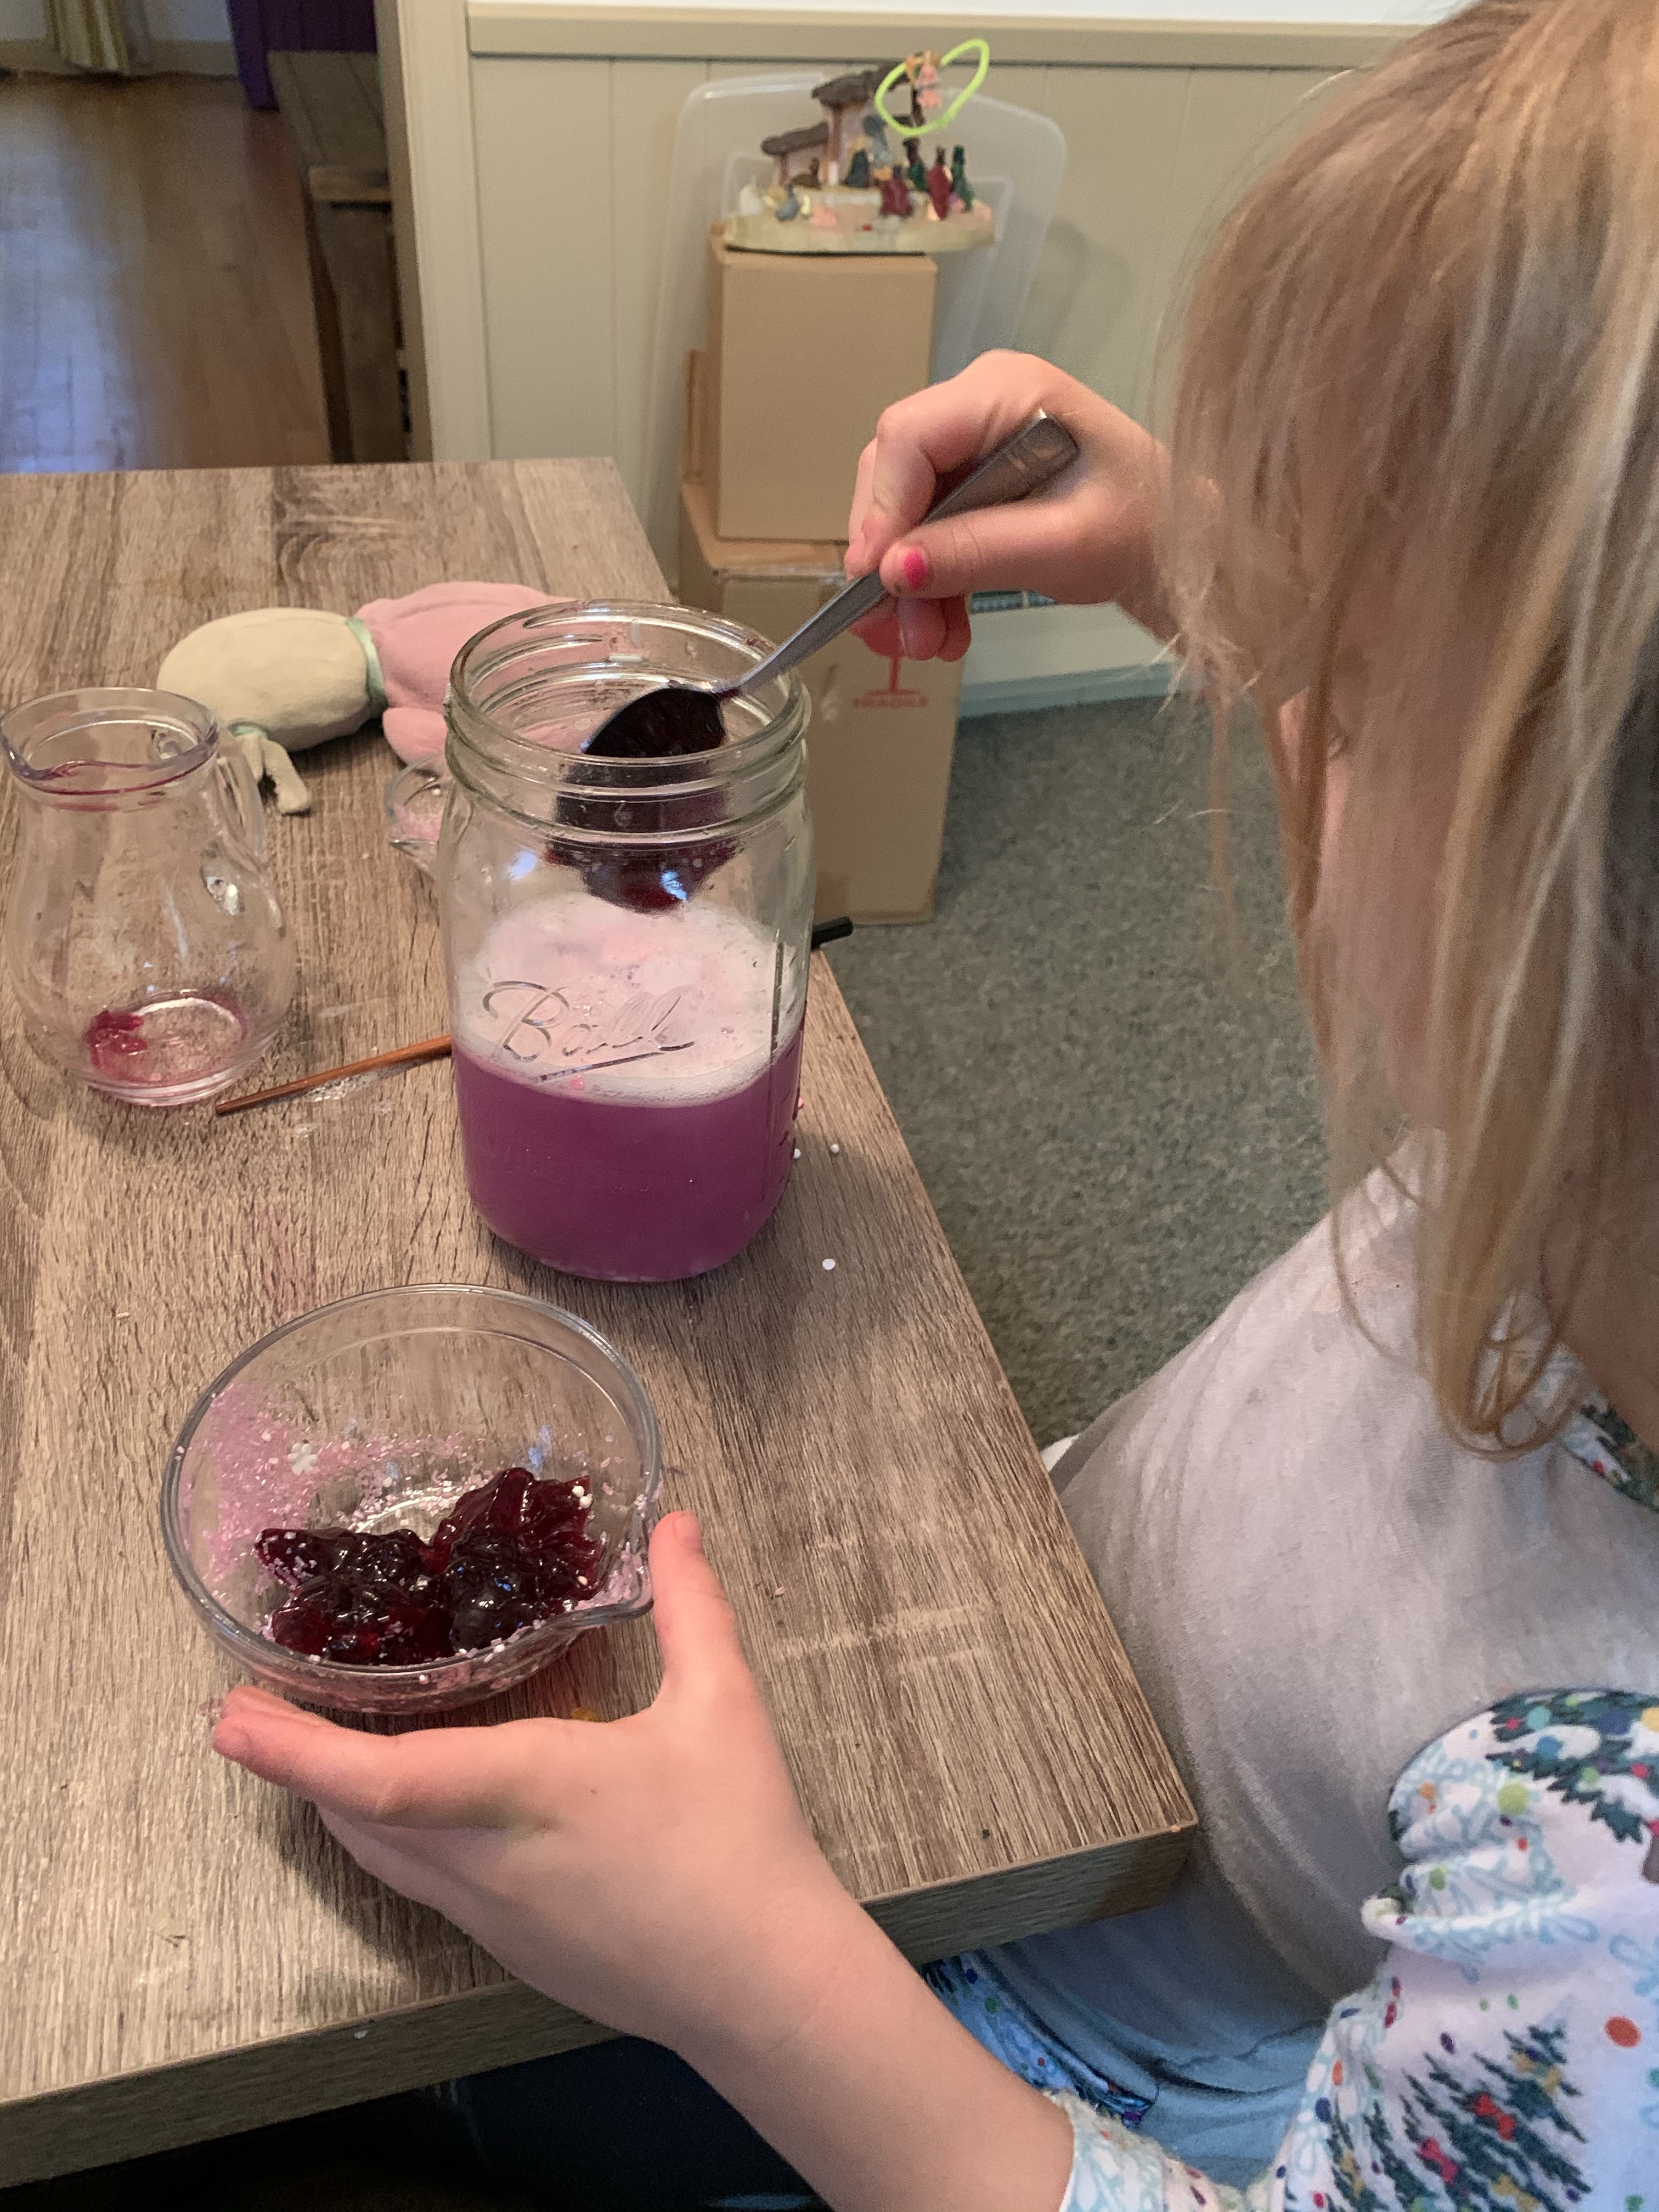
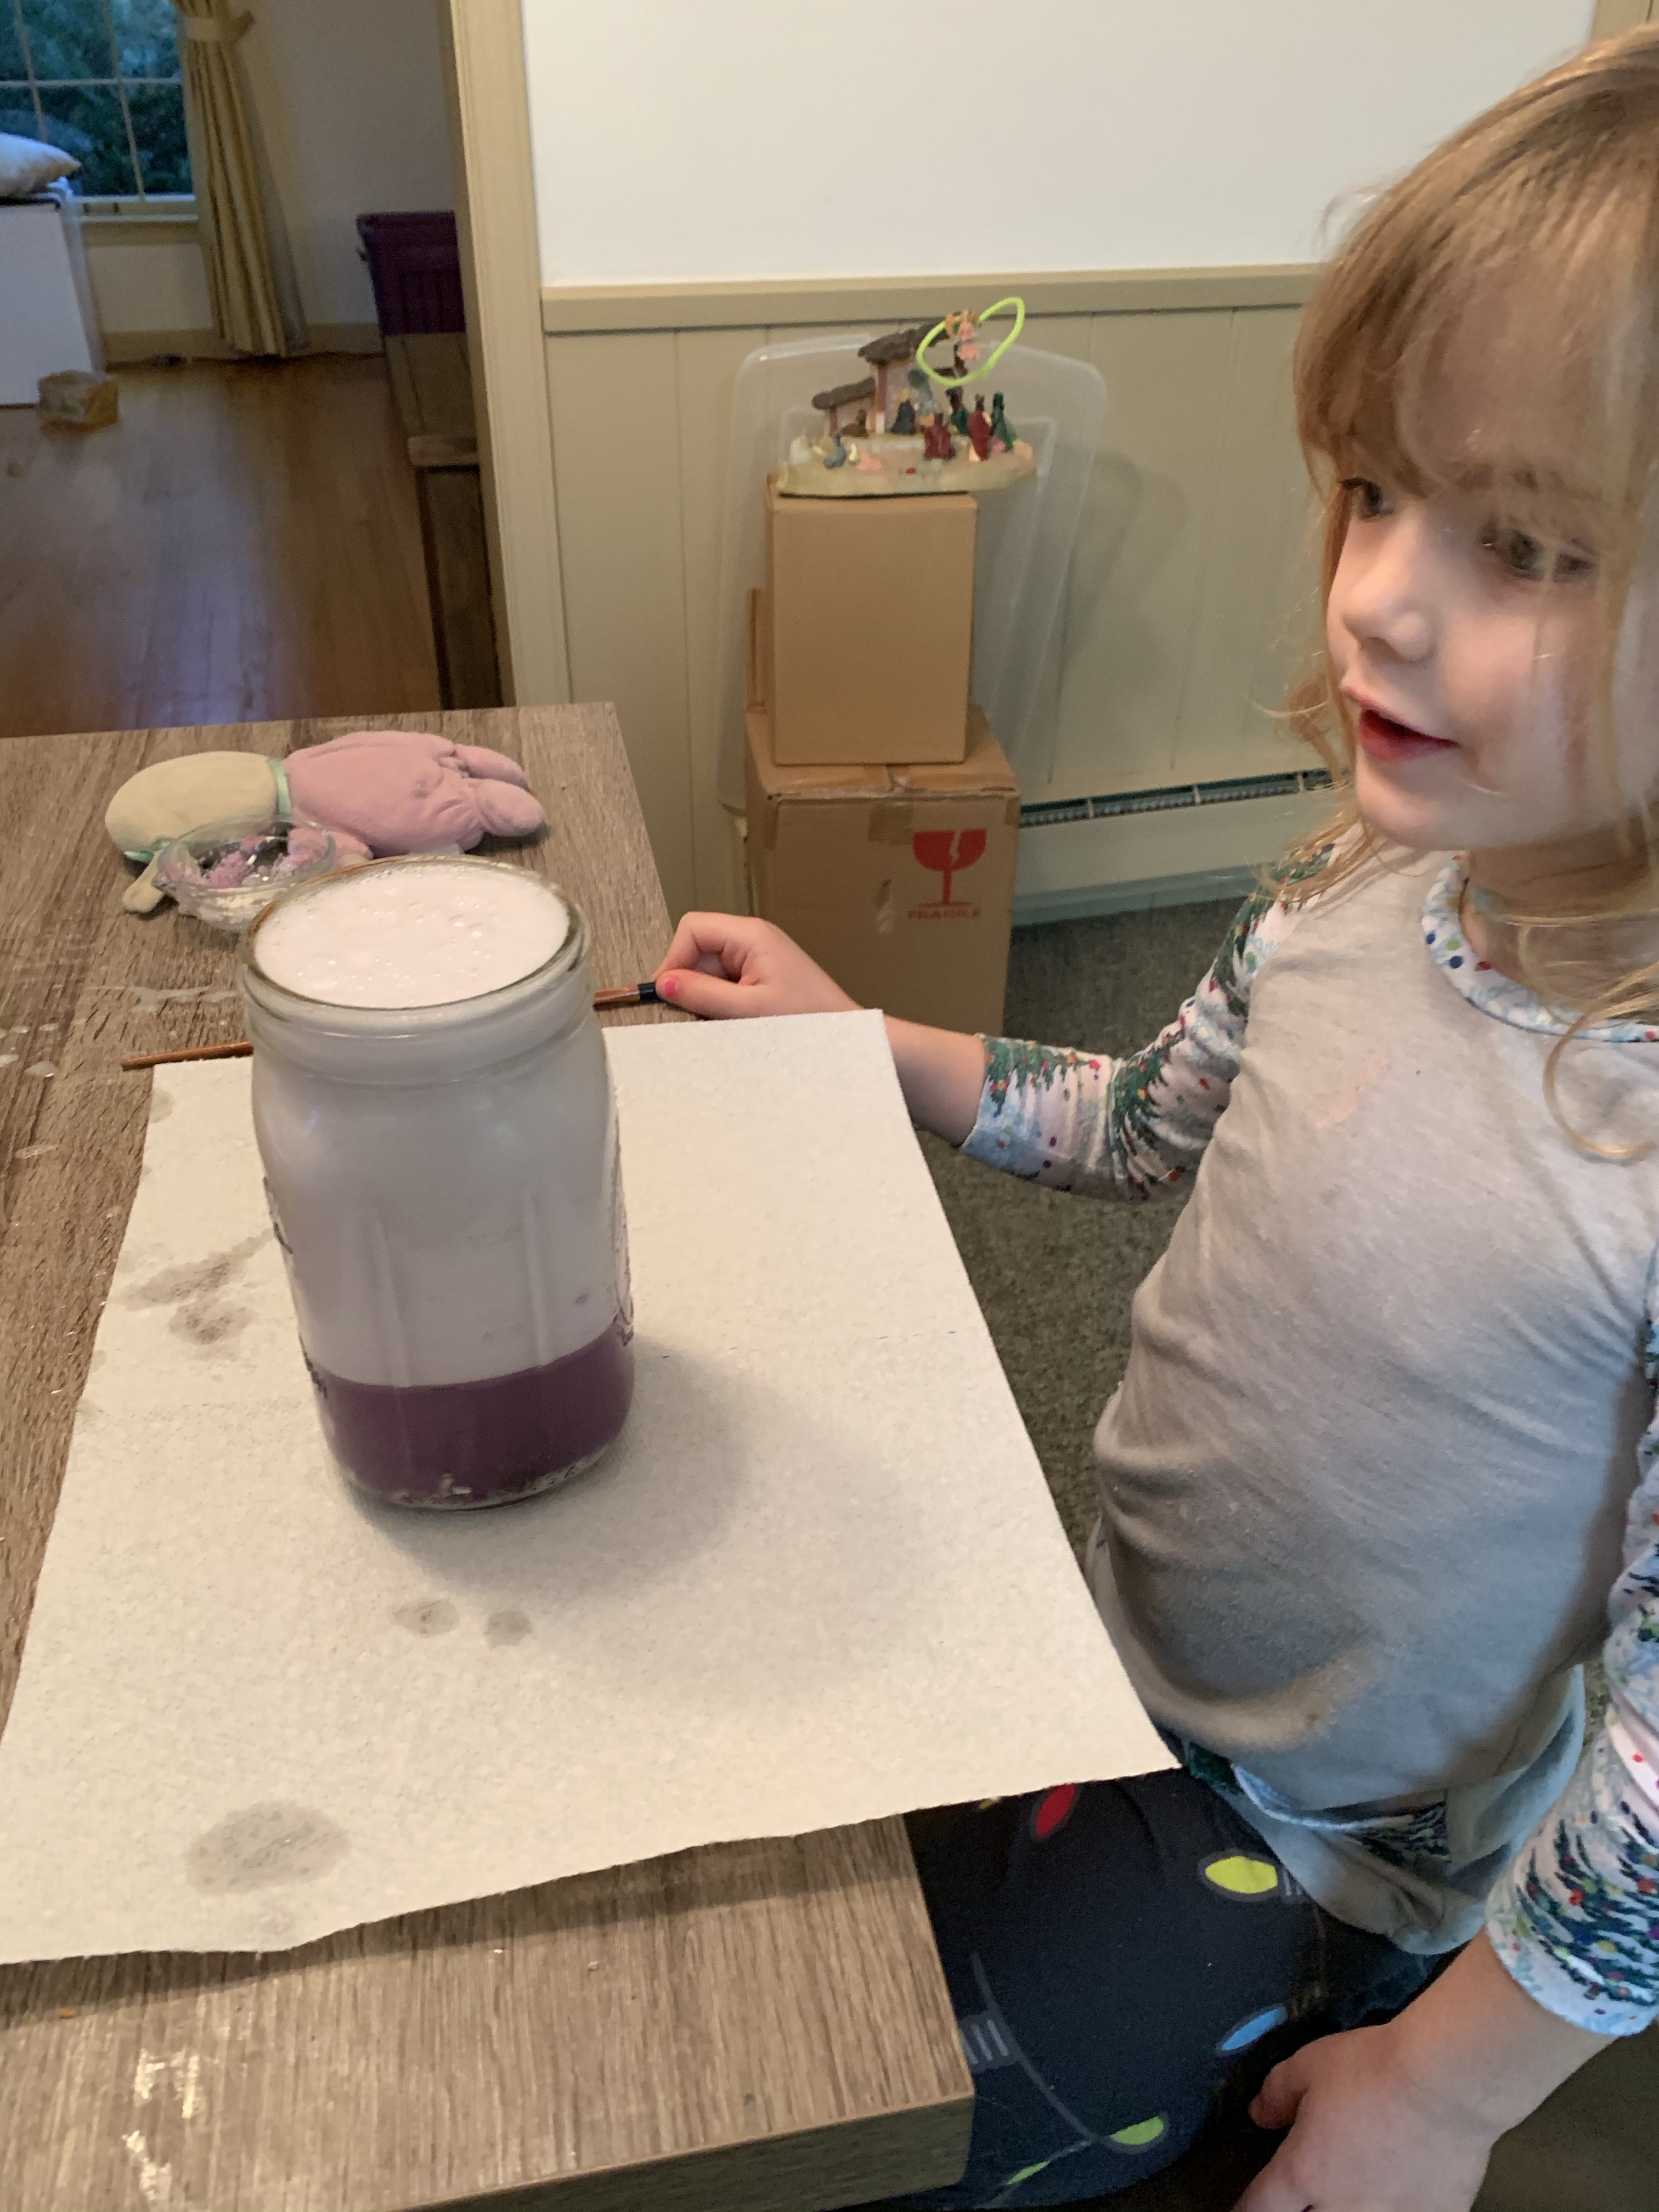
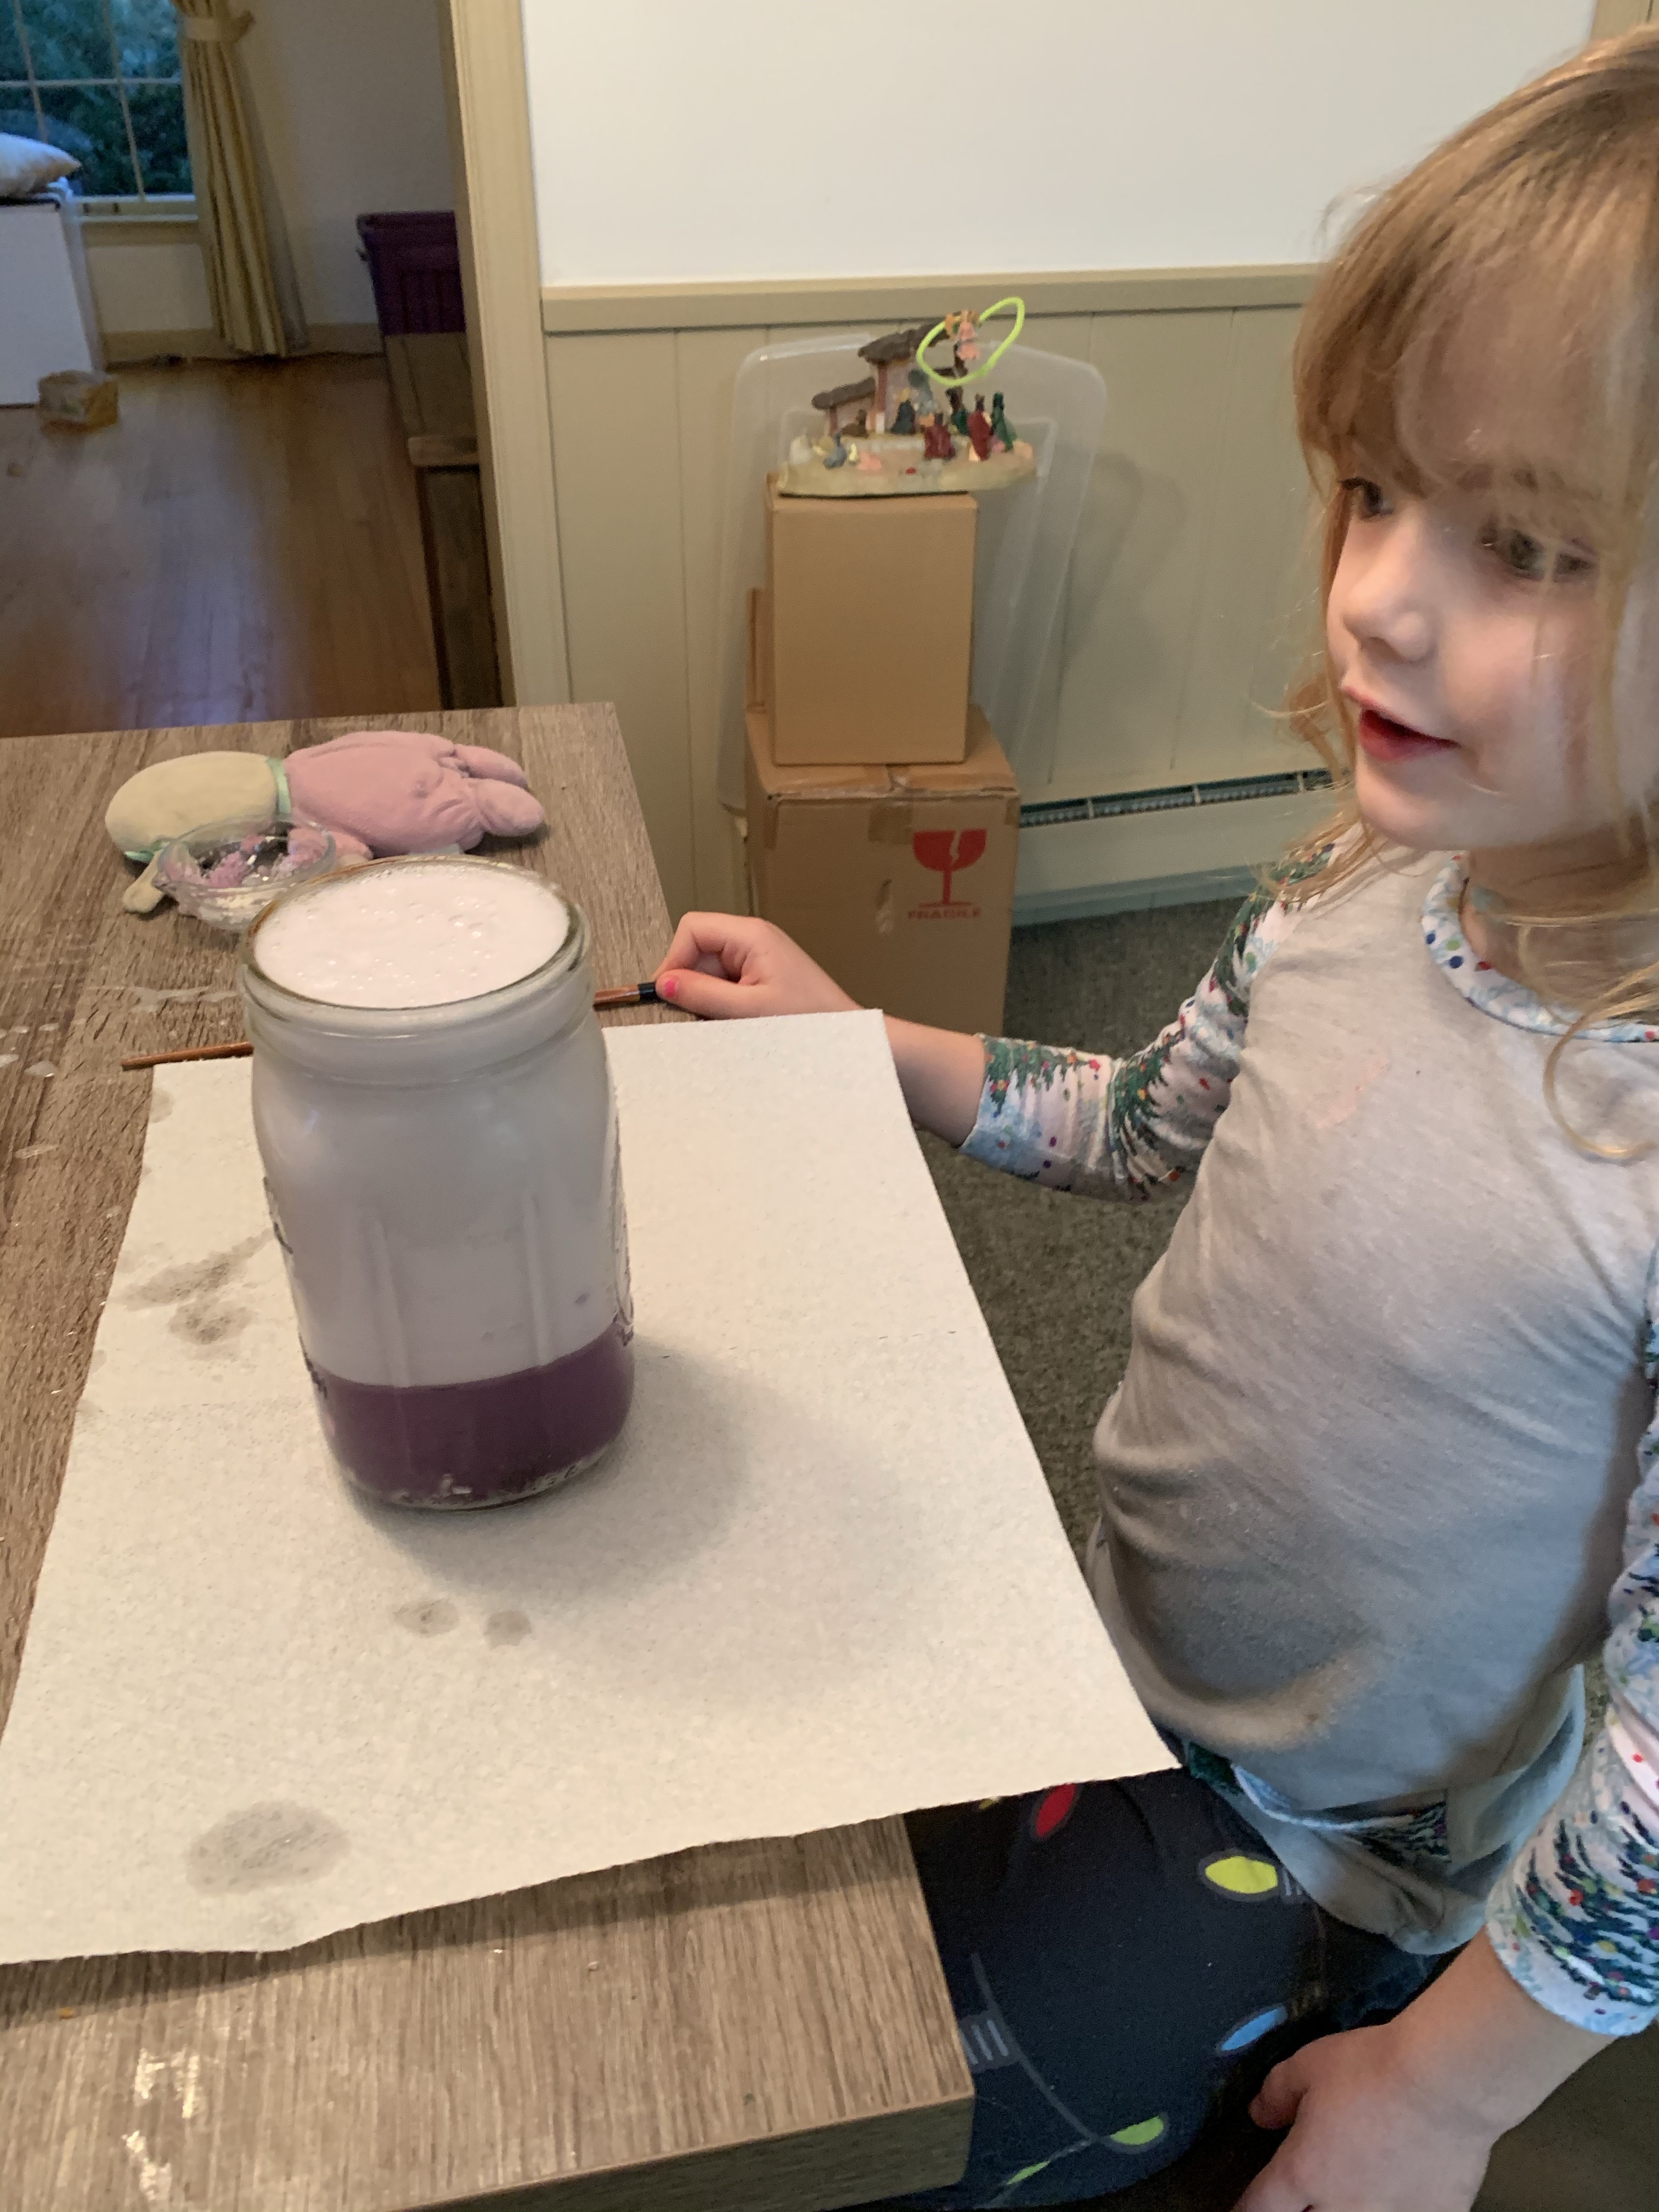
We even tried jelly to see if it would sink or mix into the concoction. Then have your child mix it real fast in a circle and see a cyclone happen!

Dish soap and the bubbles it causes is fun as well!

img_2704

Pretty much try anything!


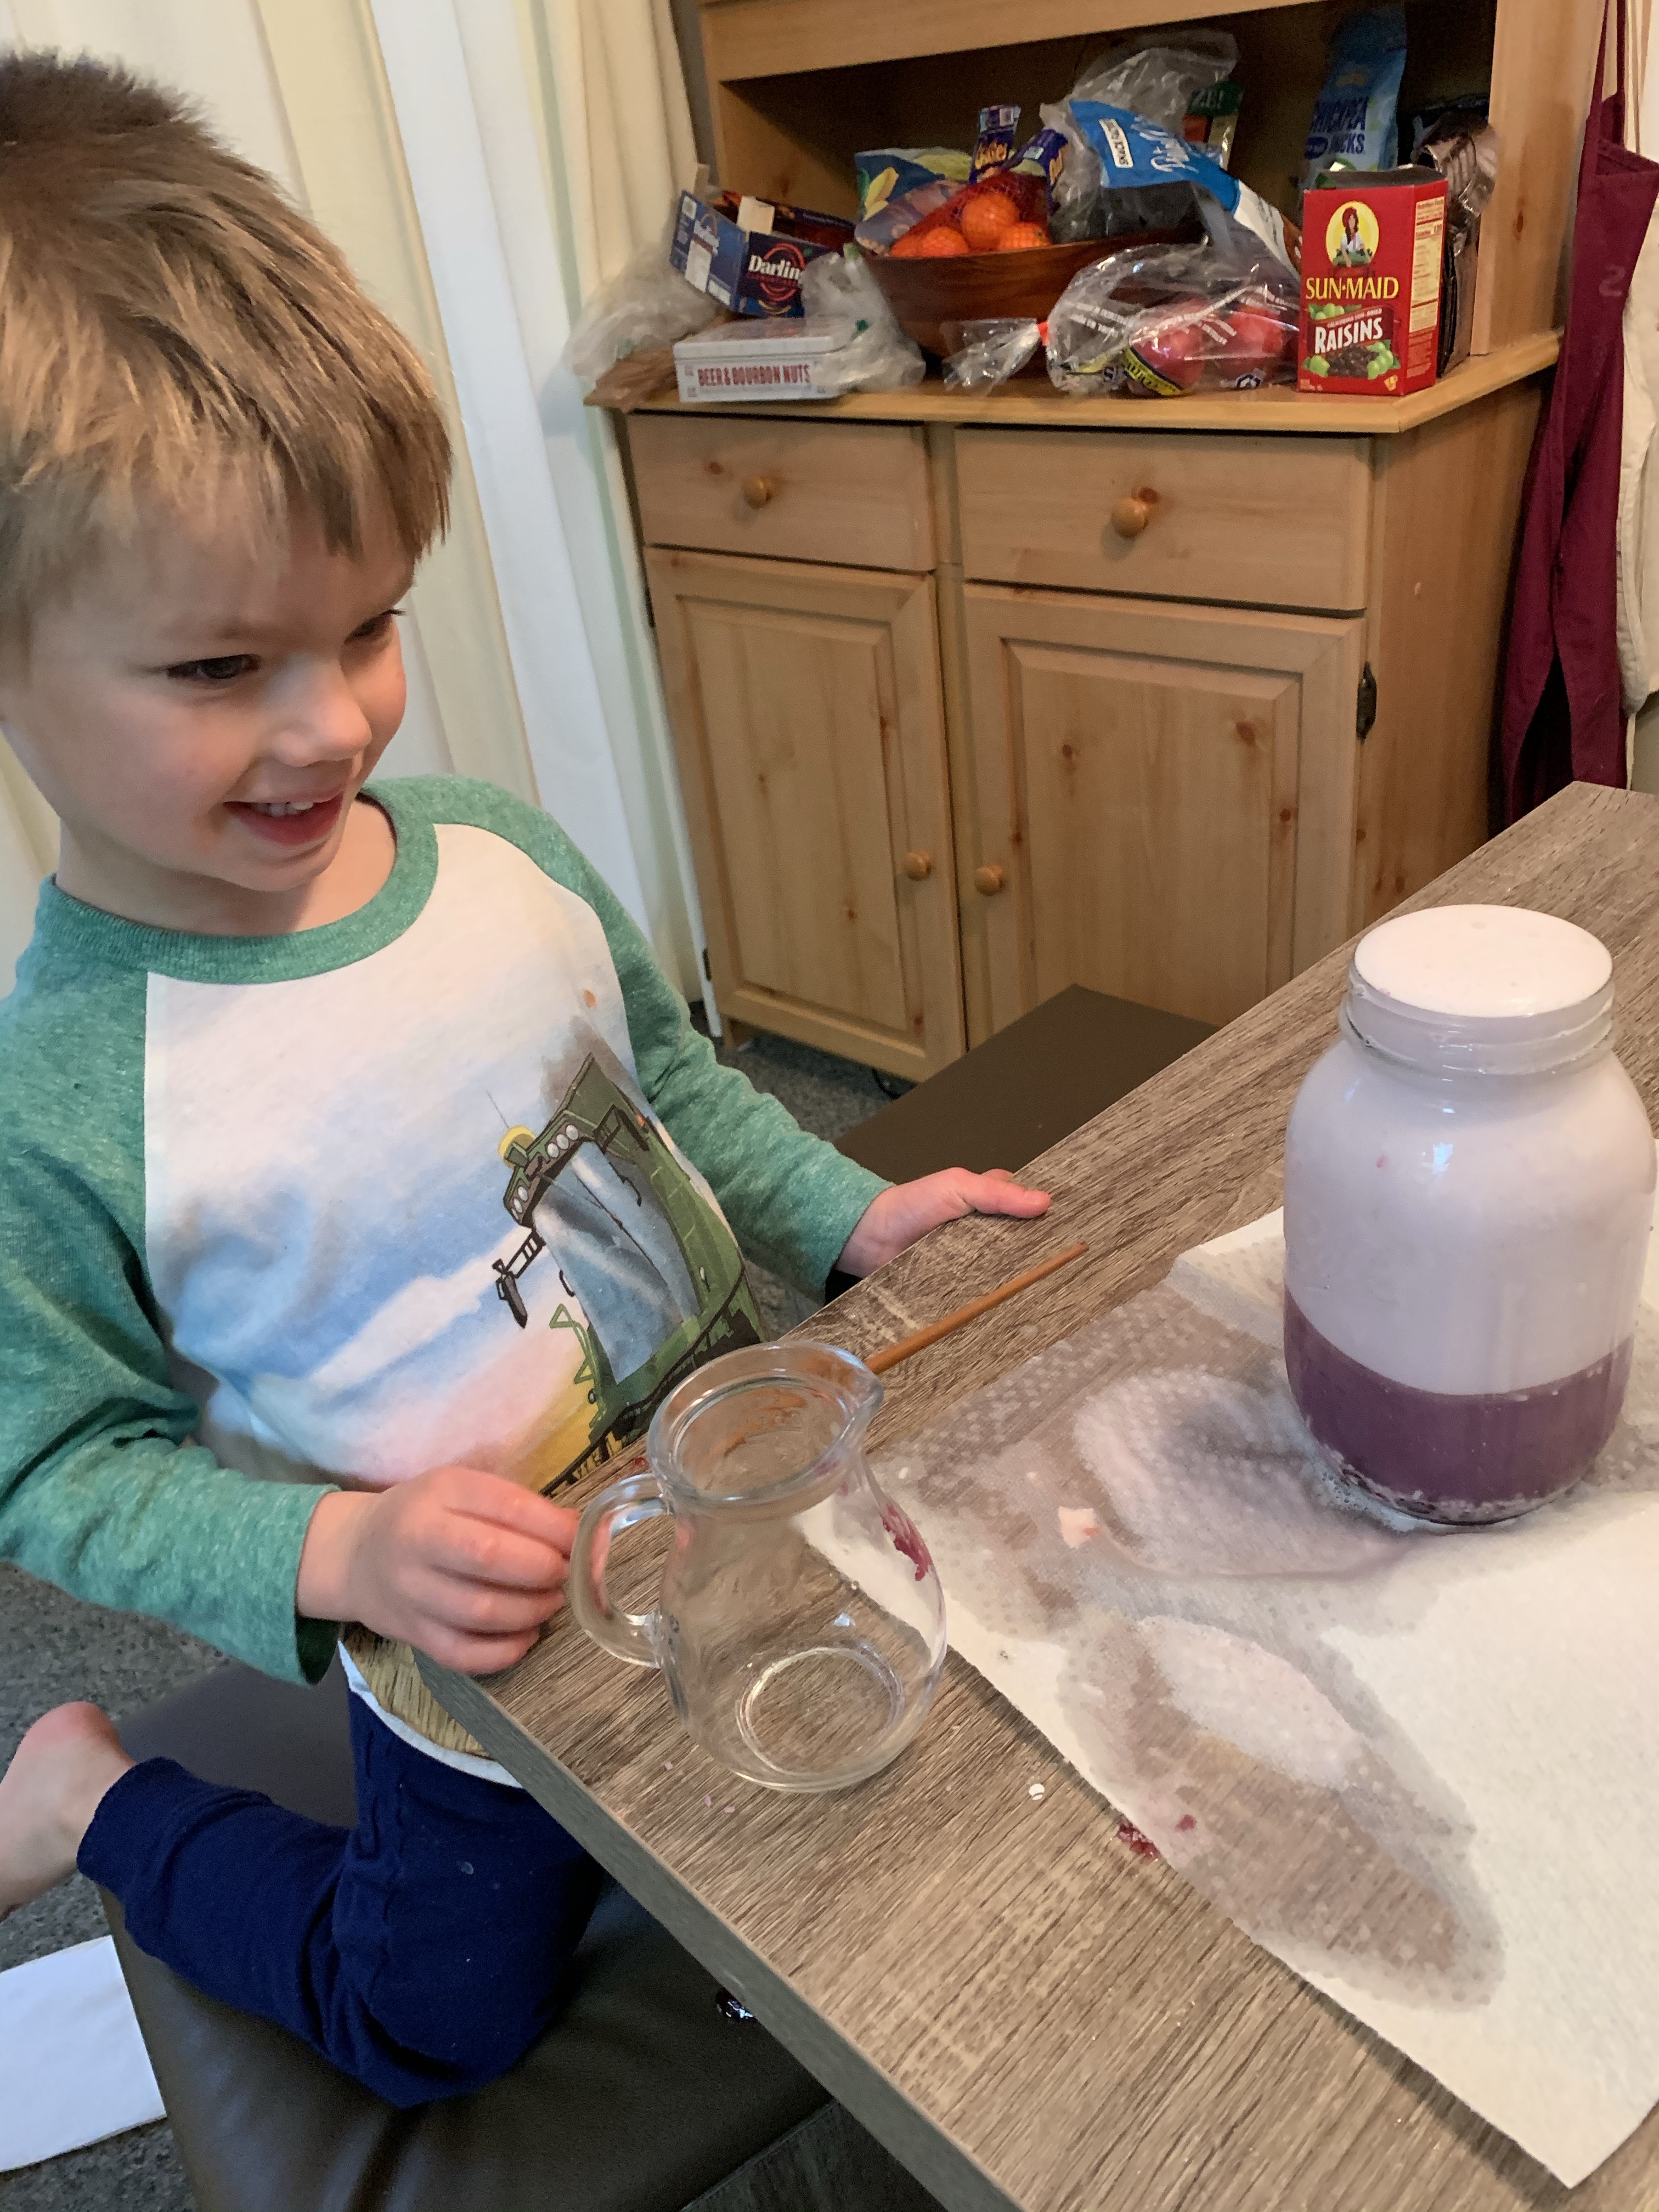
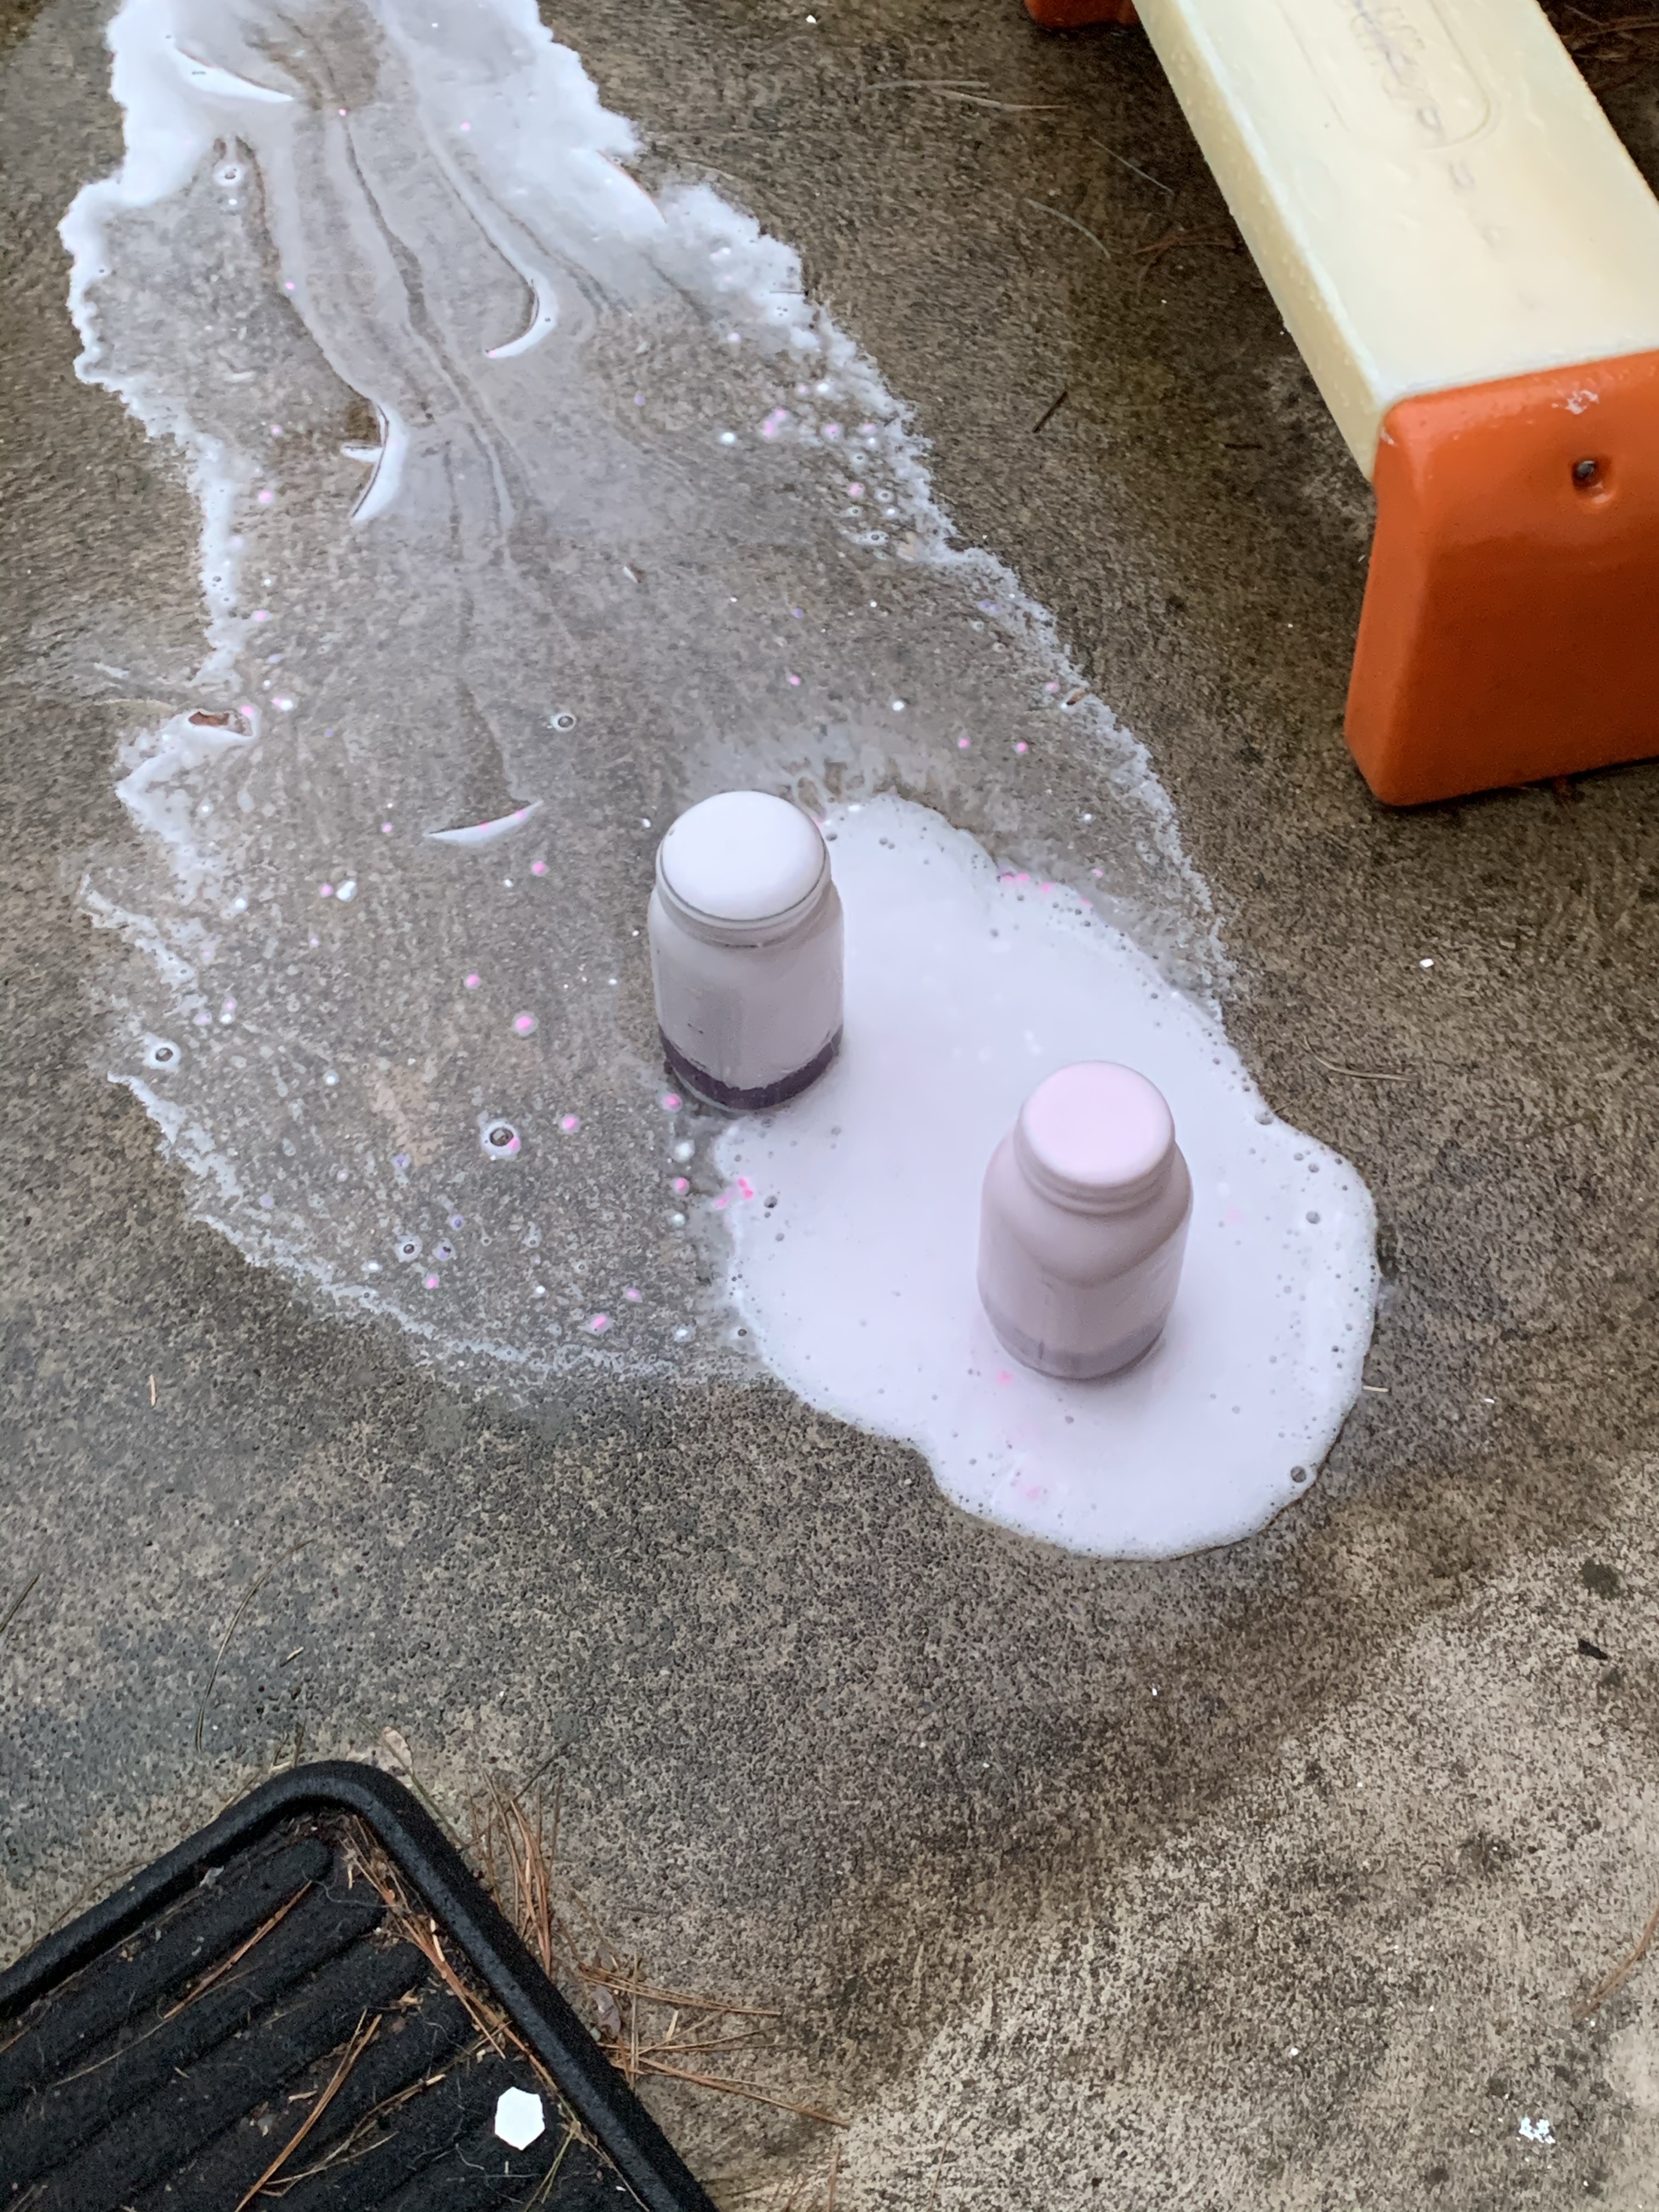
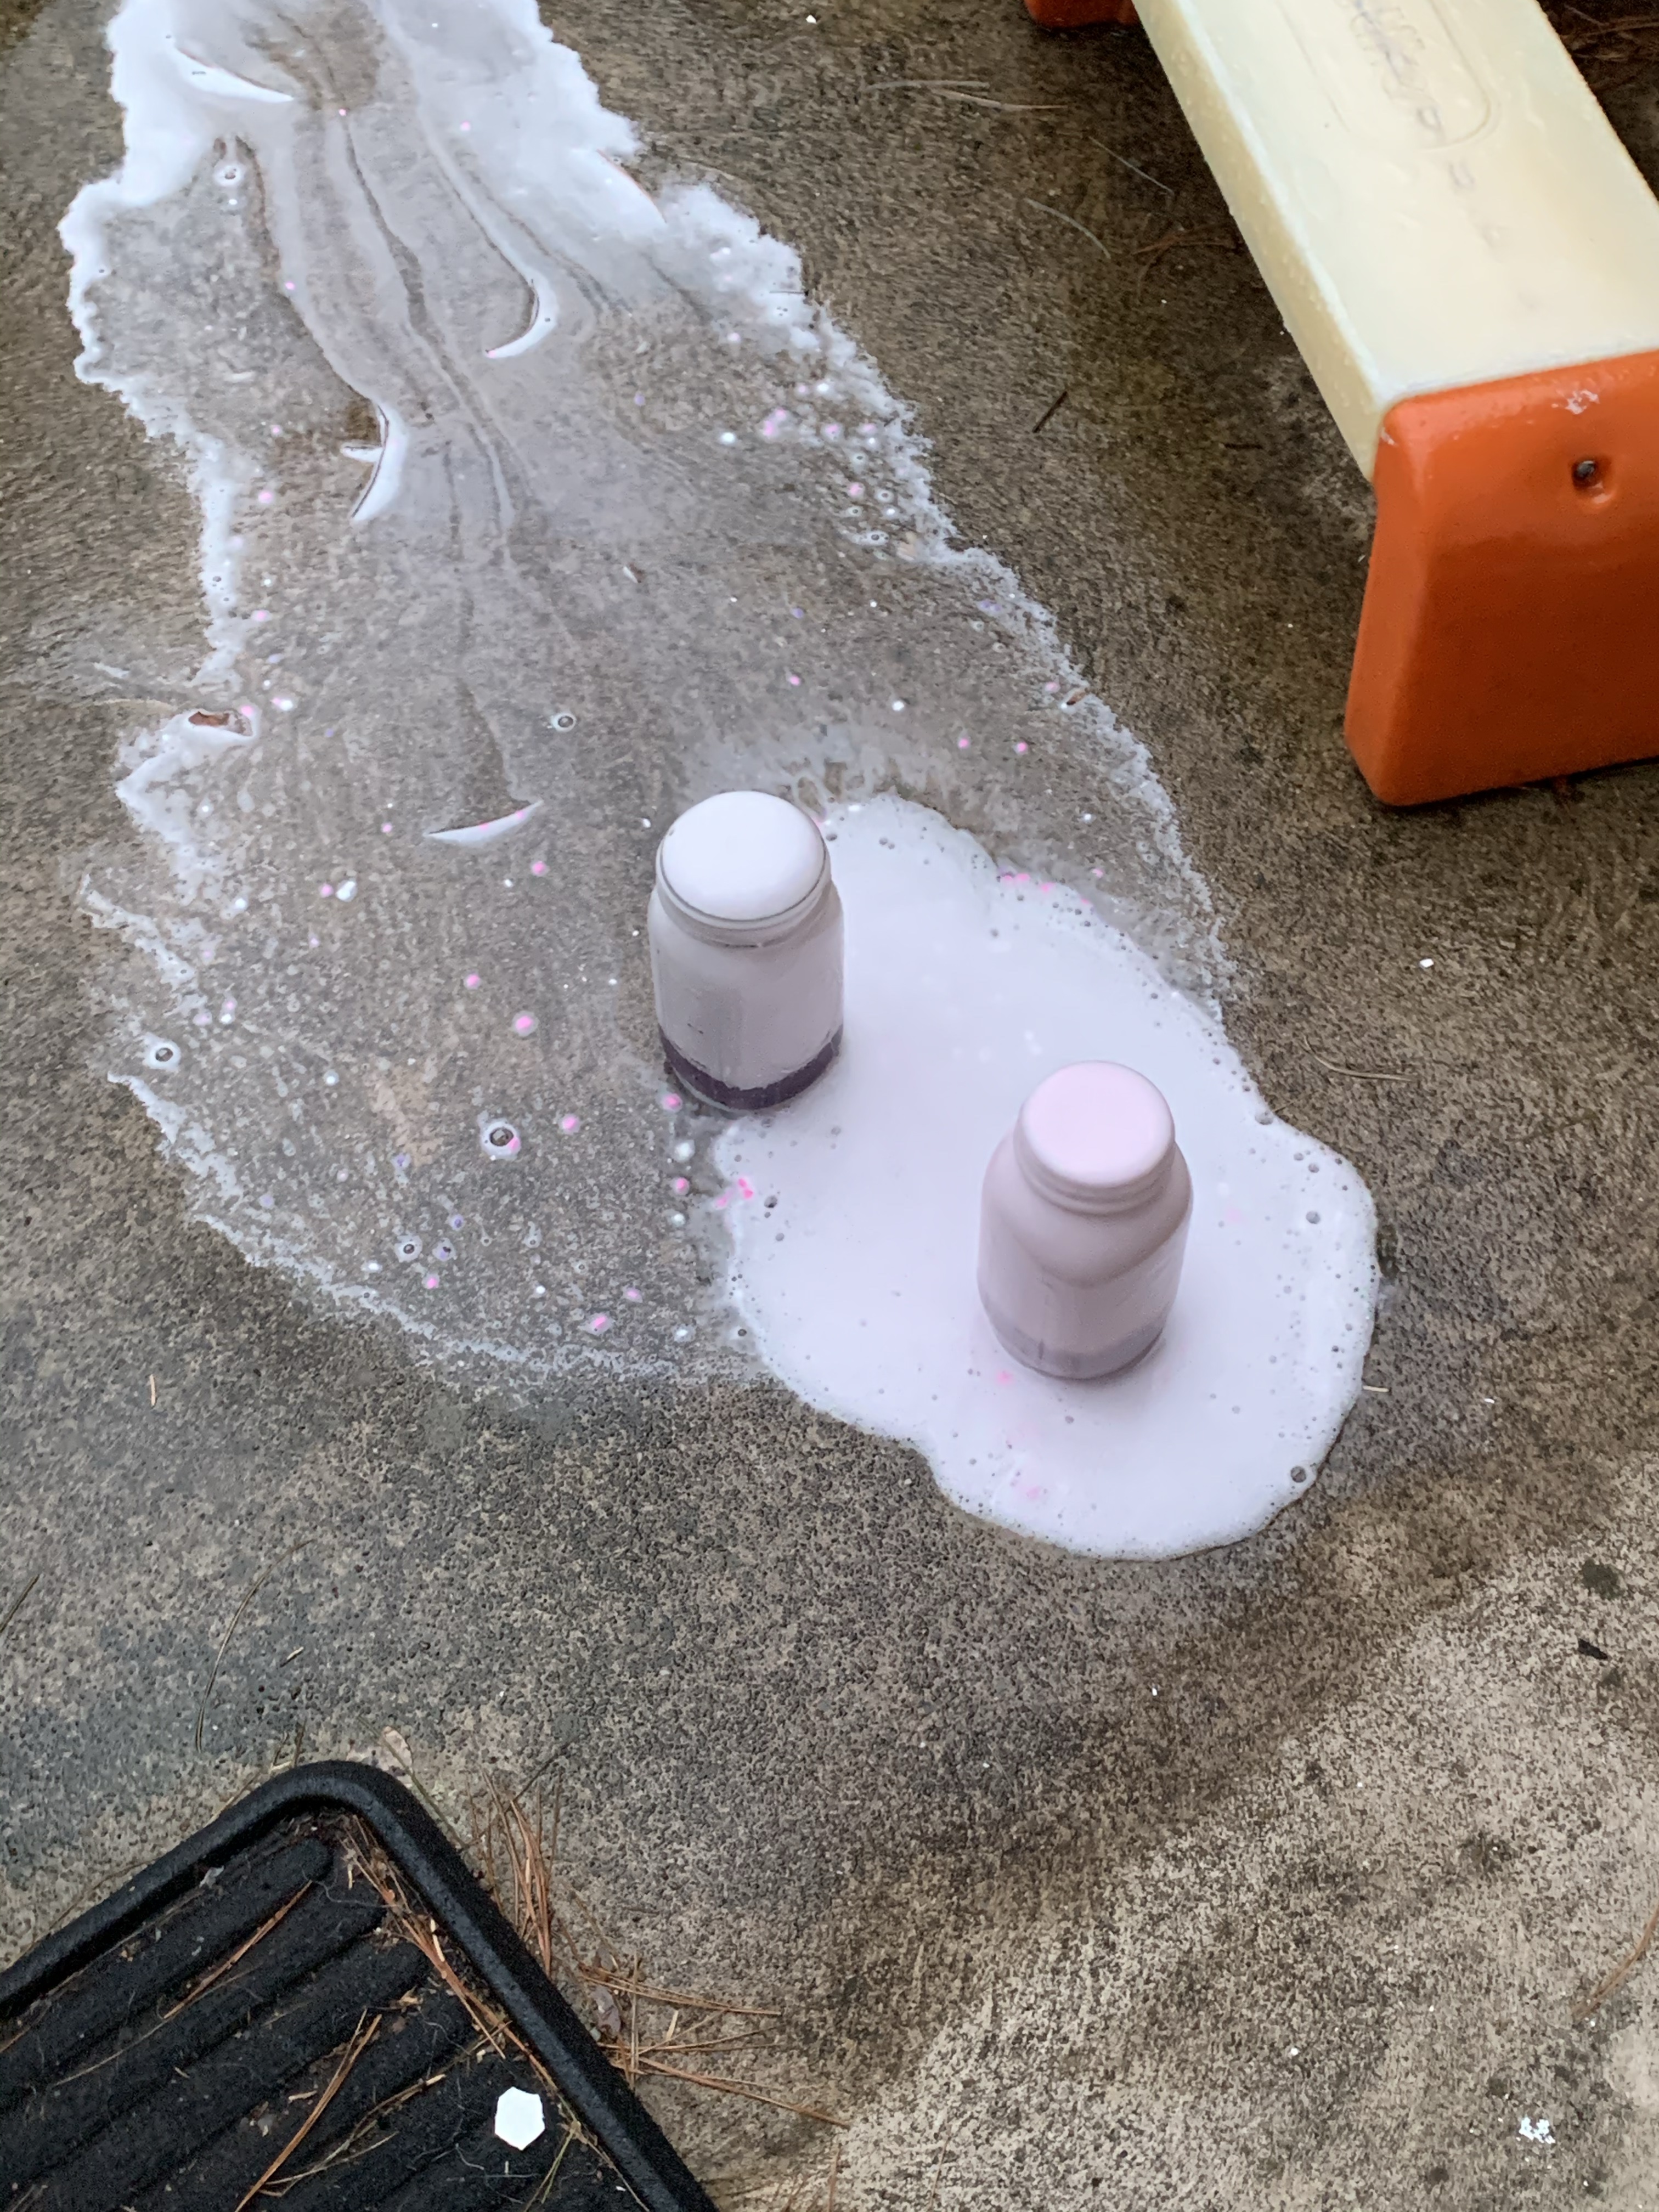
Vinegar and baking soda which you want to save for last! The acid base pair will cause a volcanoes explosion! We did those outside then to have a huge overflow!

img_2708

You can keep adding more vinegar to make it continue exploding!  Just bring it outside lol. img_2709

img_2710

ENJOY!!!!

 FollowFacebookpinterestrssyoutube
ShareFacebookpinterest

Learn Names by Cars

Hi everyone!

The schools in Pennsylvania will be closed for at least 2 weeks due to the coronavirus, so I am home with my family.  I hope to do a lot of crafts and activities with my toddler to keep her busy & happy! You can look at previous posts and check back for more frequent posts during this time on things to do with your child! Today’s craft/activity will help your child learn letters and the spelling of their name (it will also be fun for them to play with)!

IMG_4688

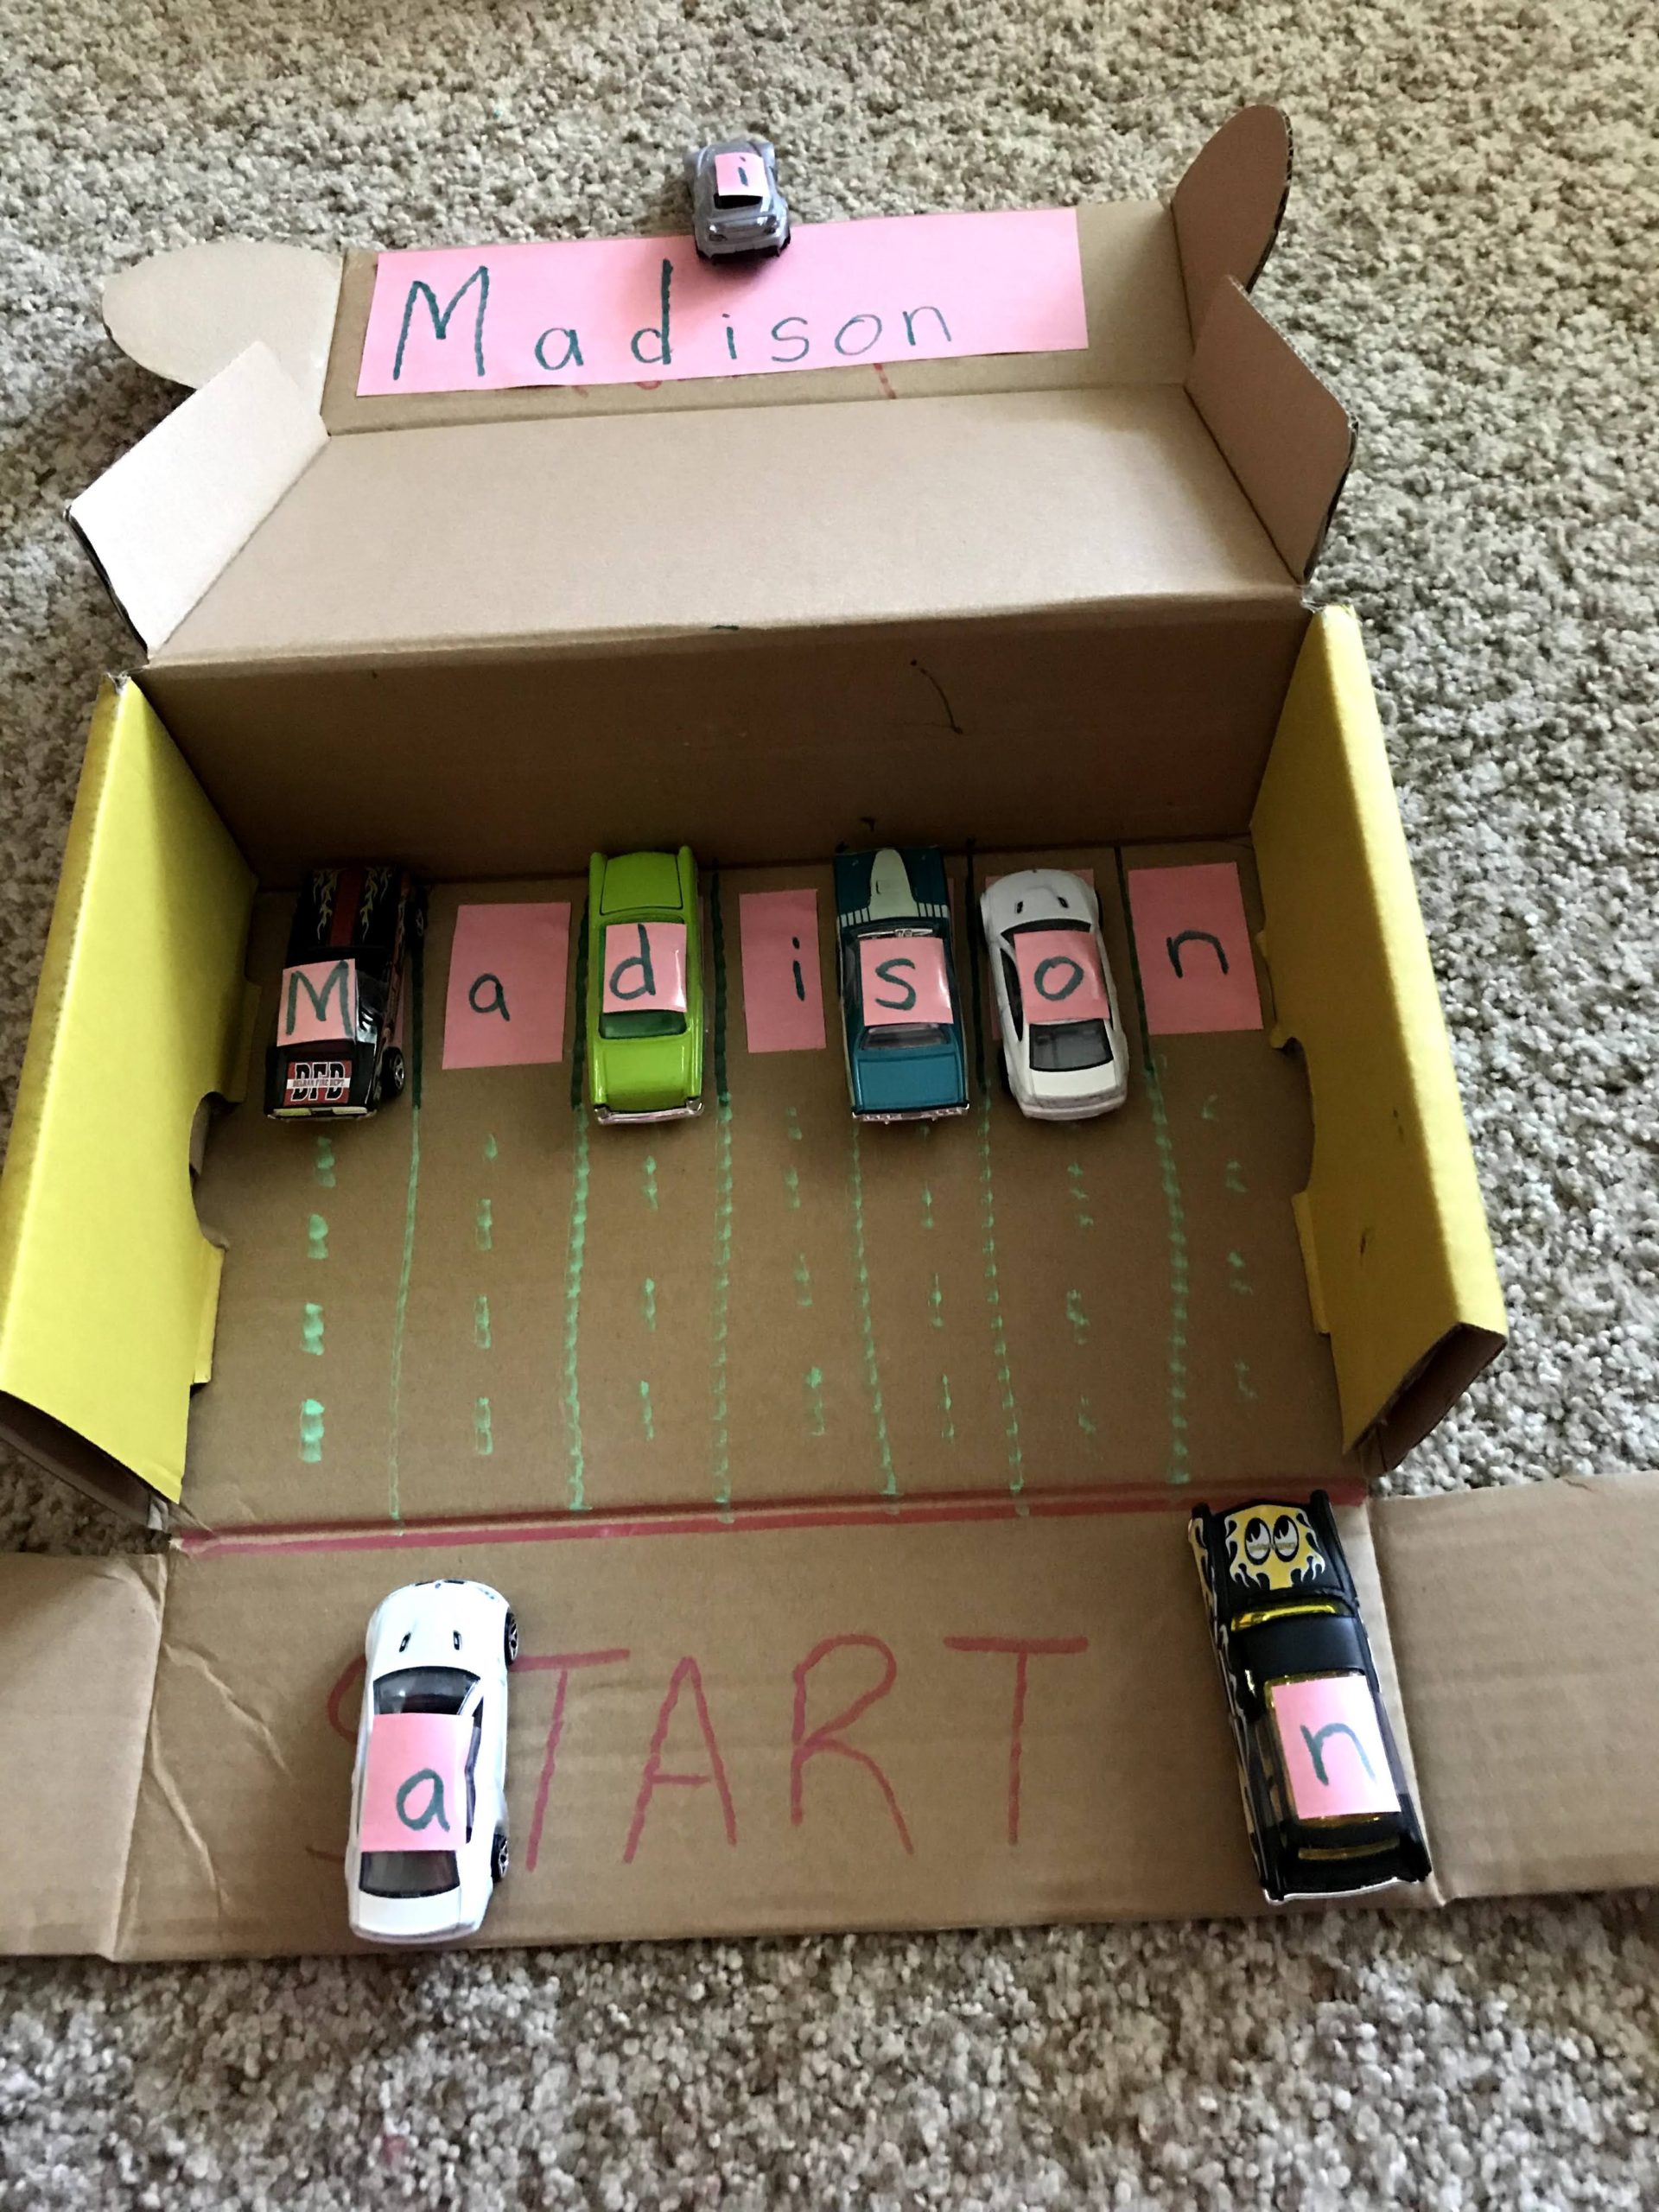
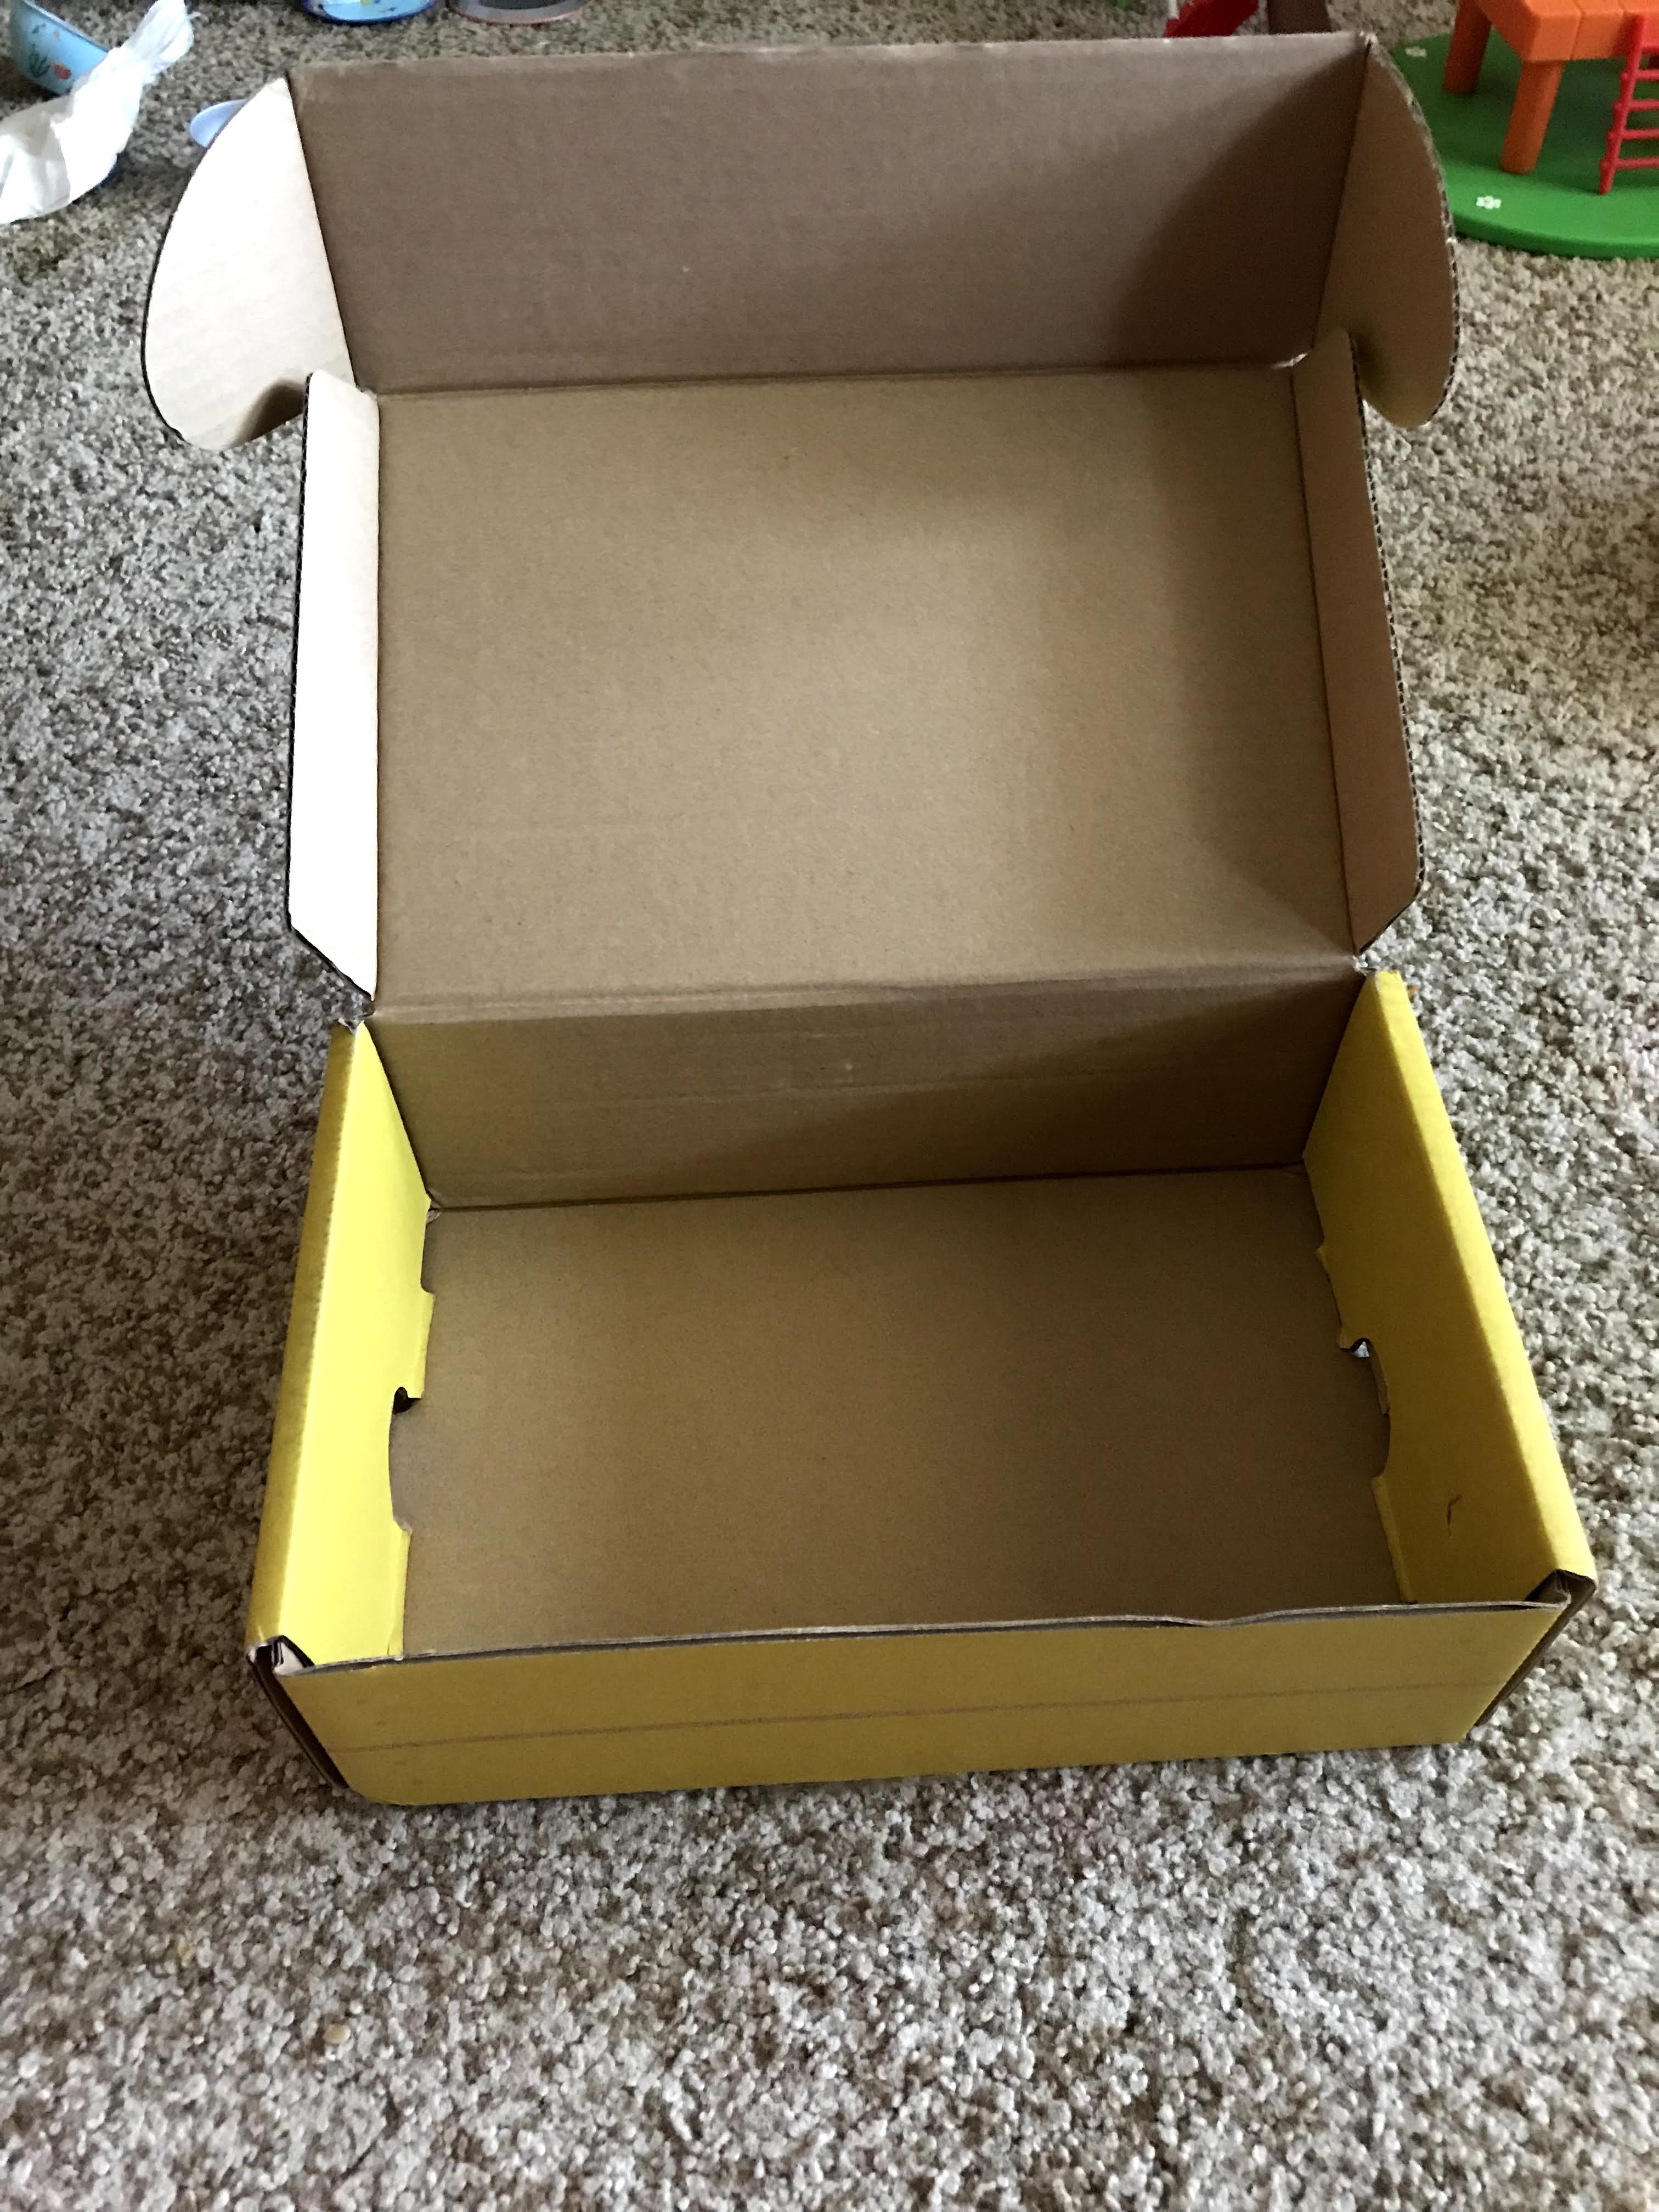
All you need is a box, marker, cars, and some paper and glue or tape.

IMG_4681


You can use any box you have, I just happened to have one with a folding cover so added a ramp to it.


IMG_4683


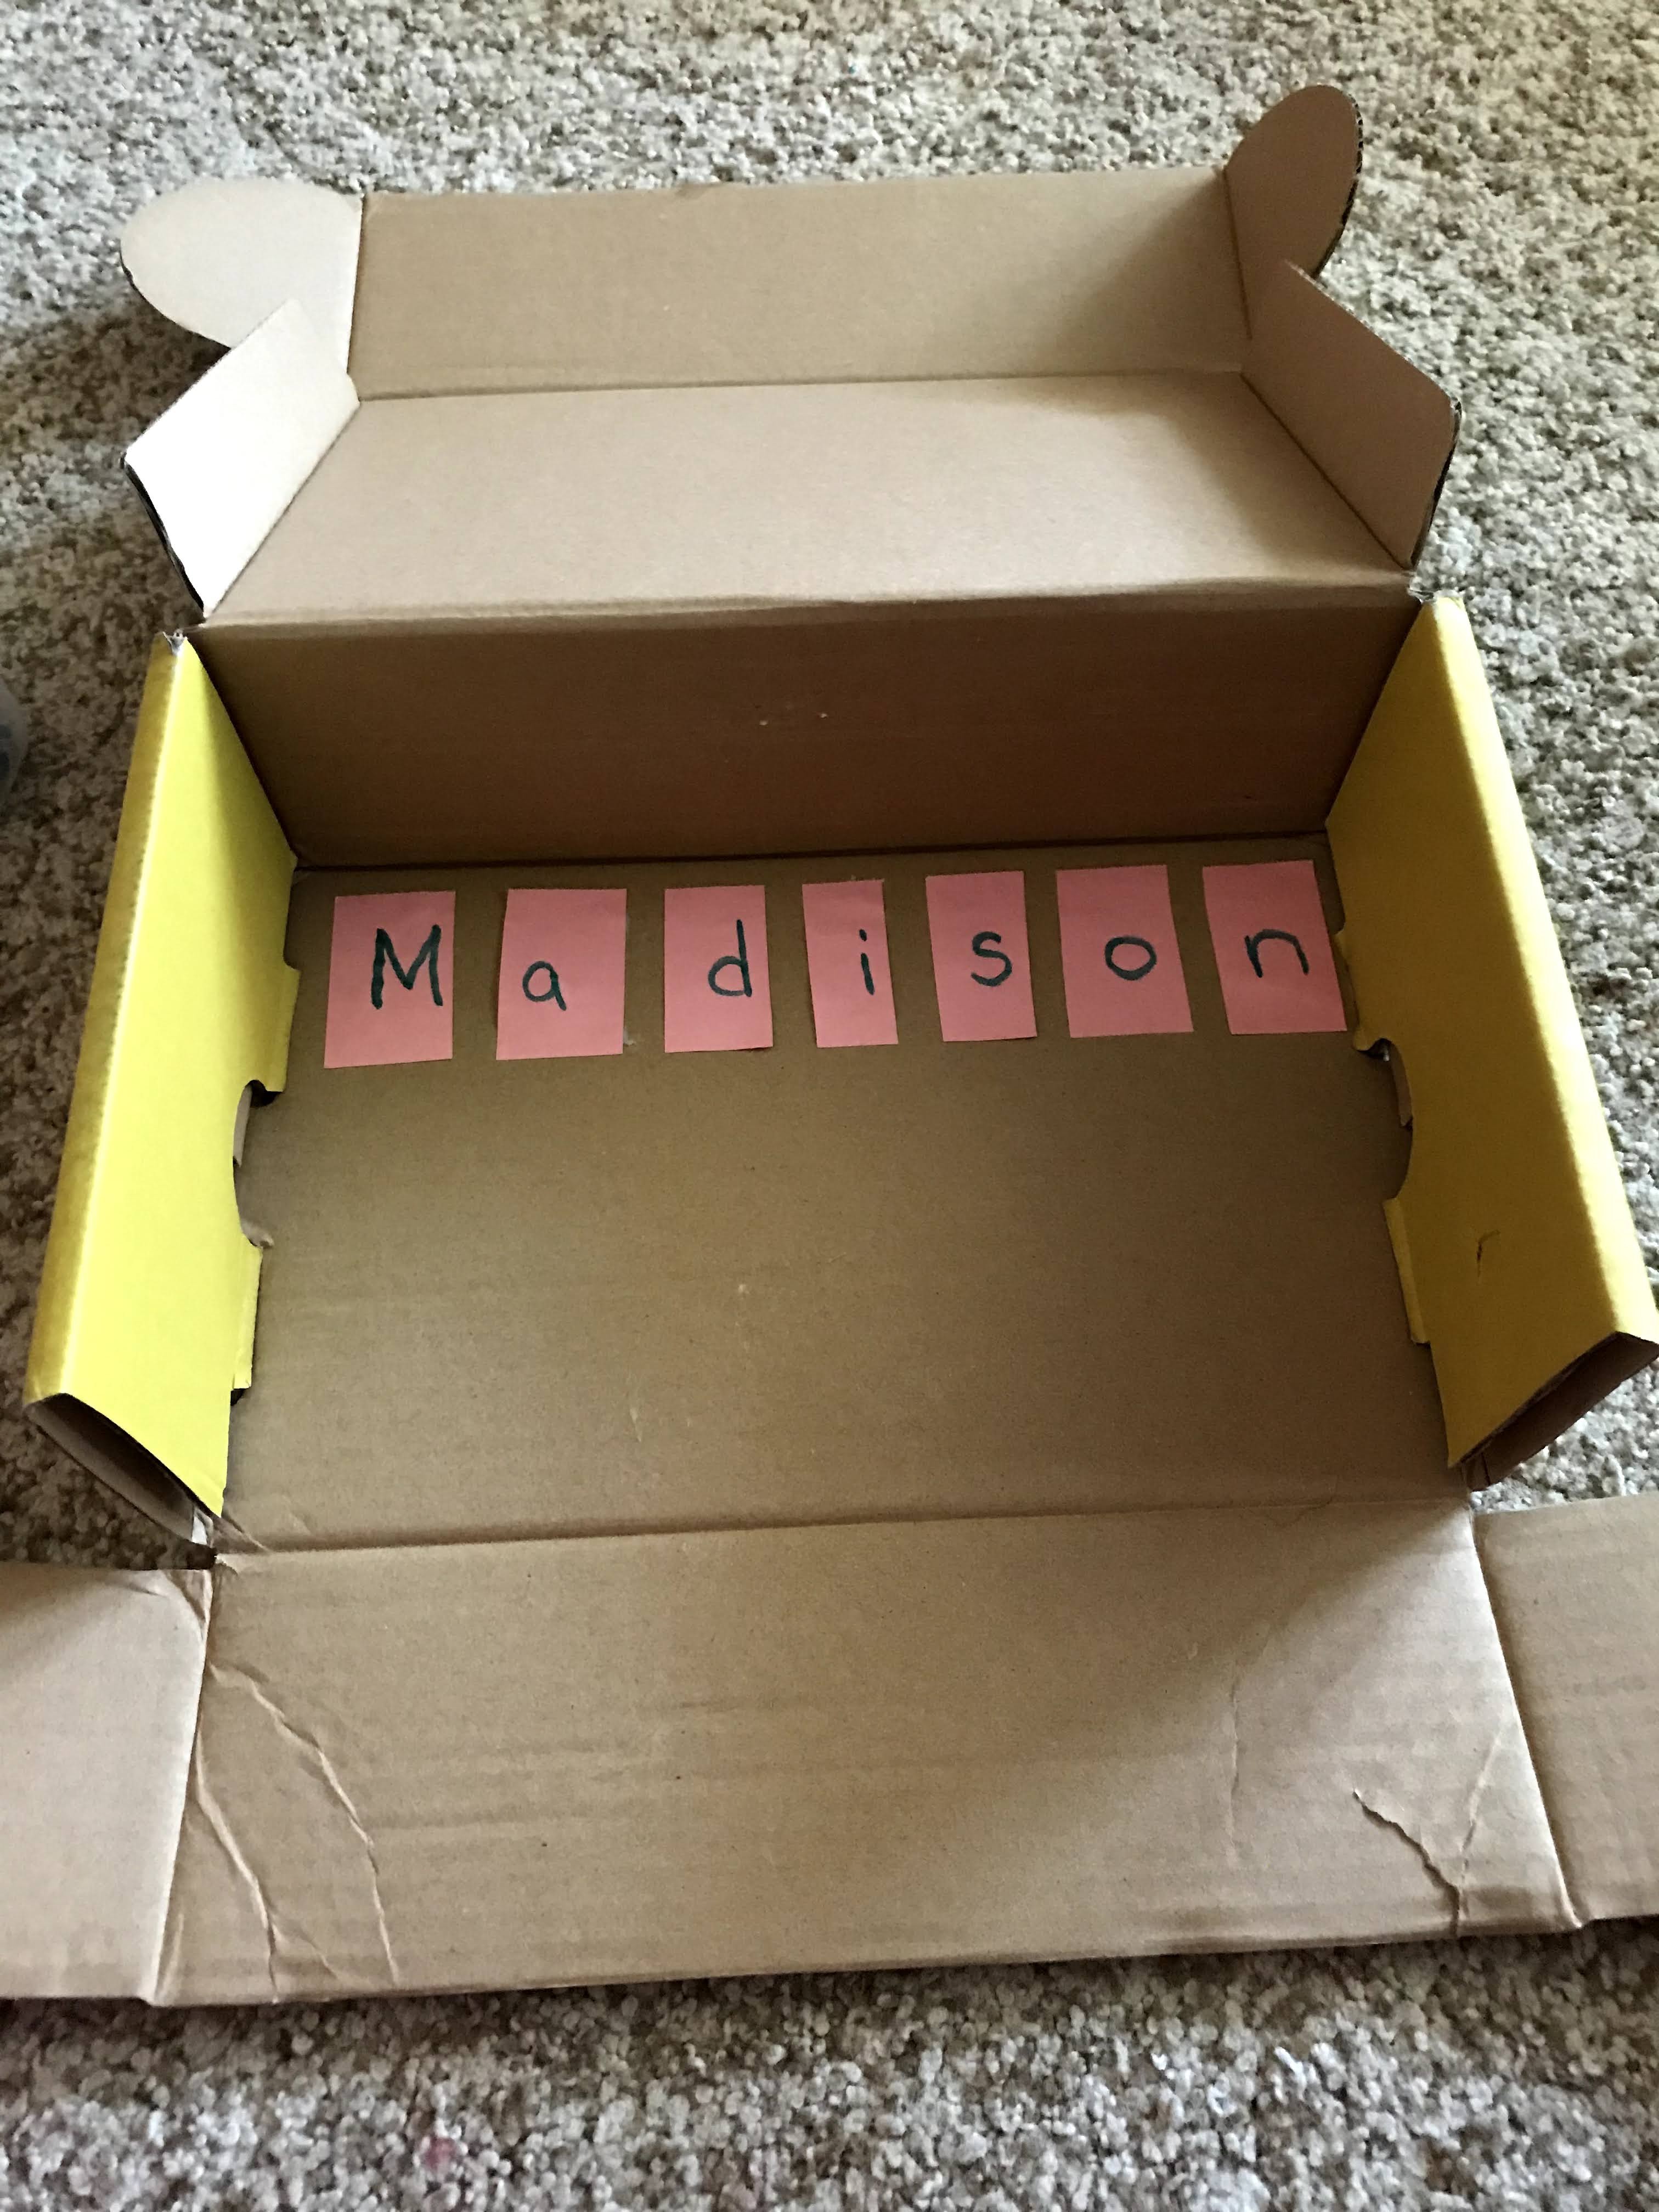
Next, I wrote the letters of her name on construction paper and cut them out. Remember to space each letter out so you can cut them into rectangles or squares.


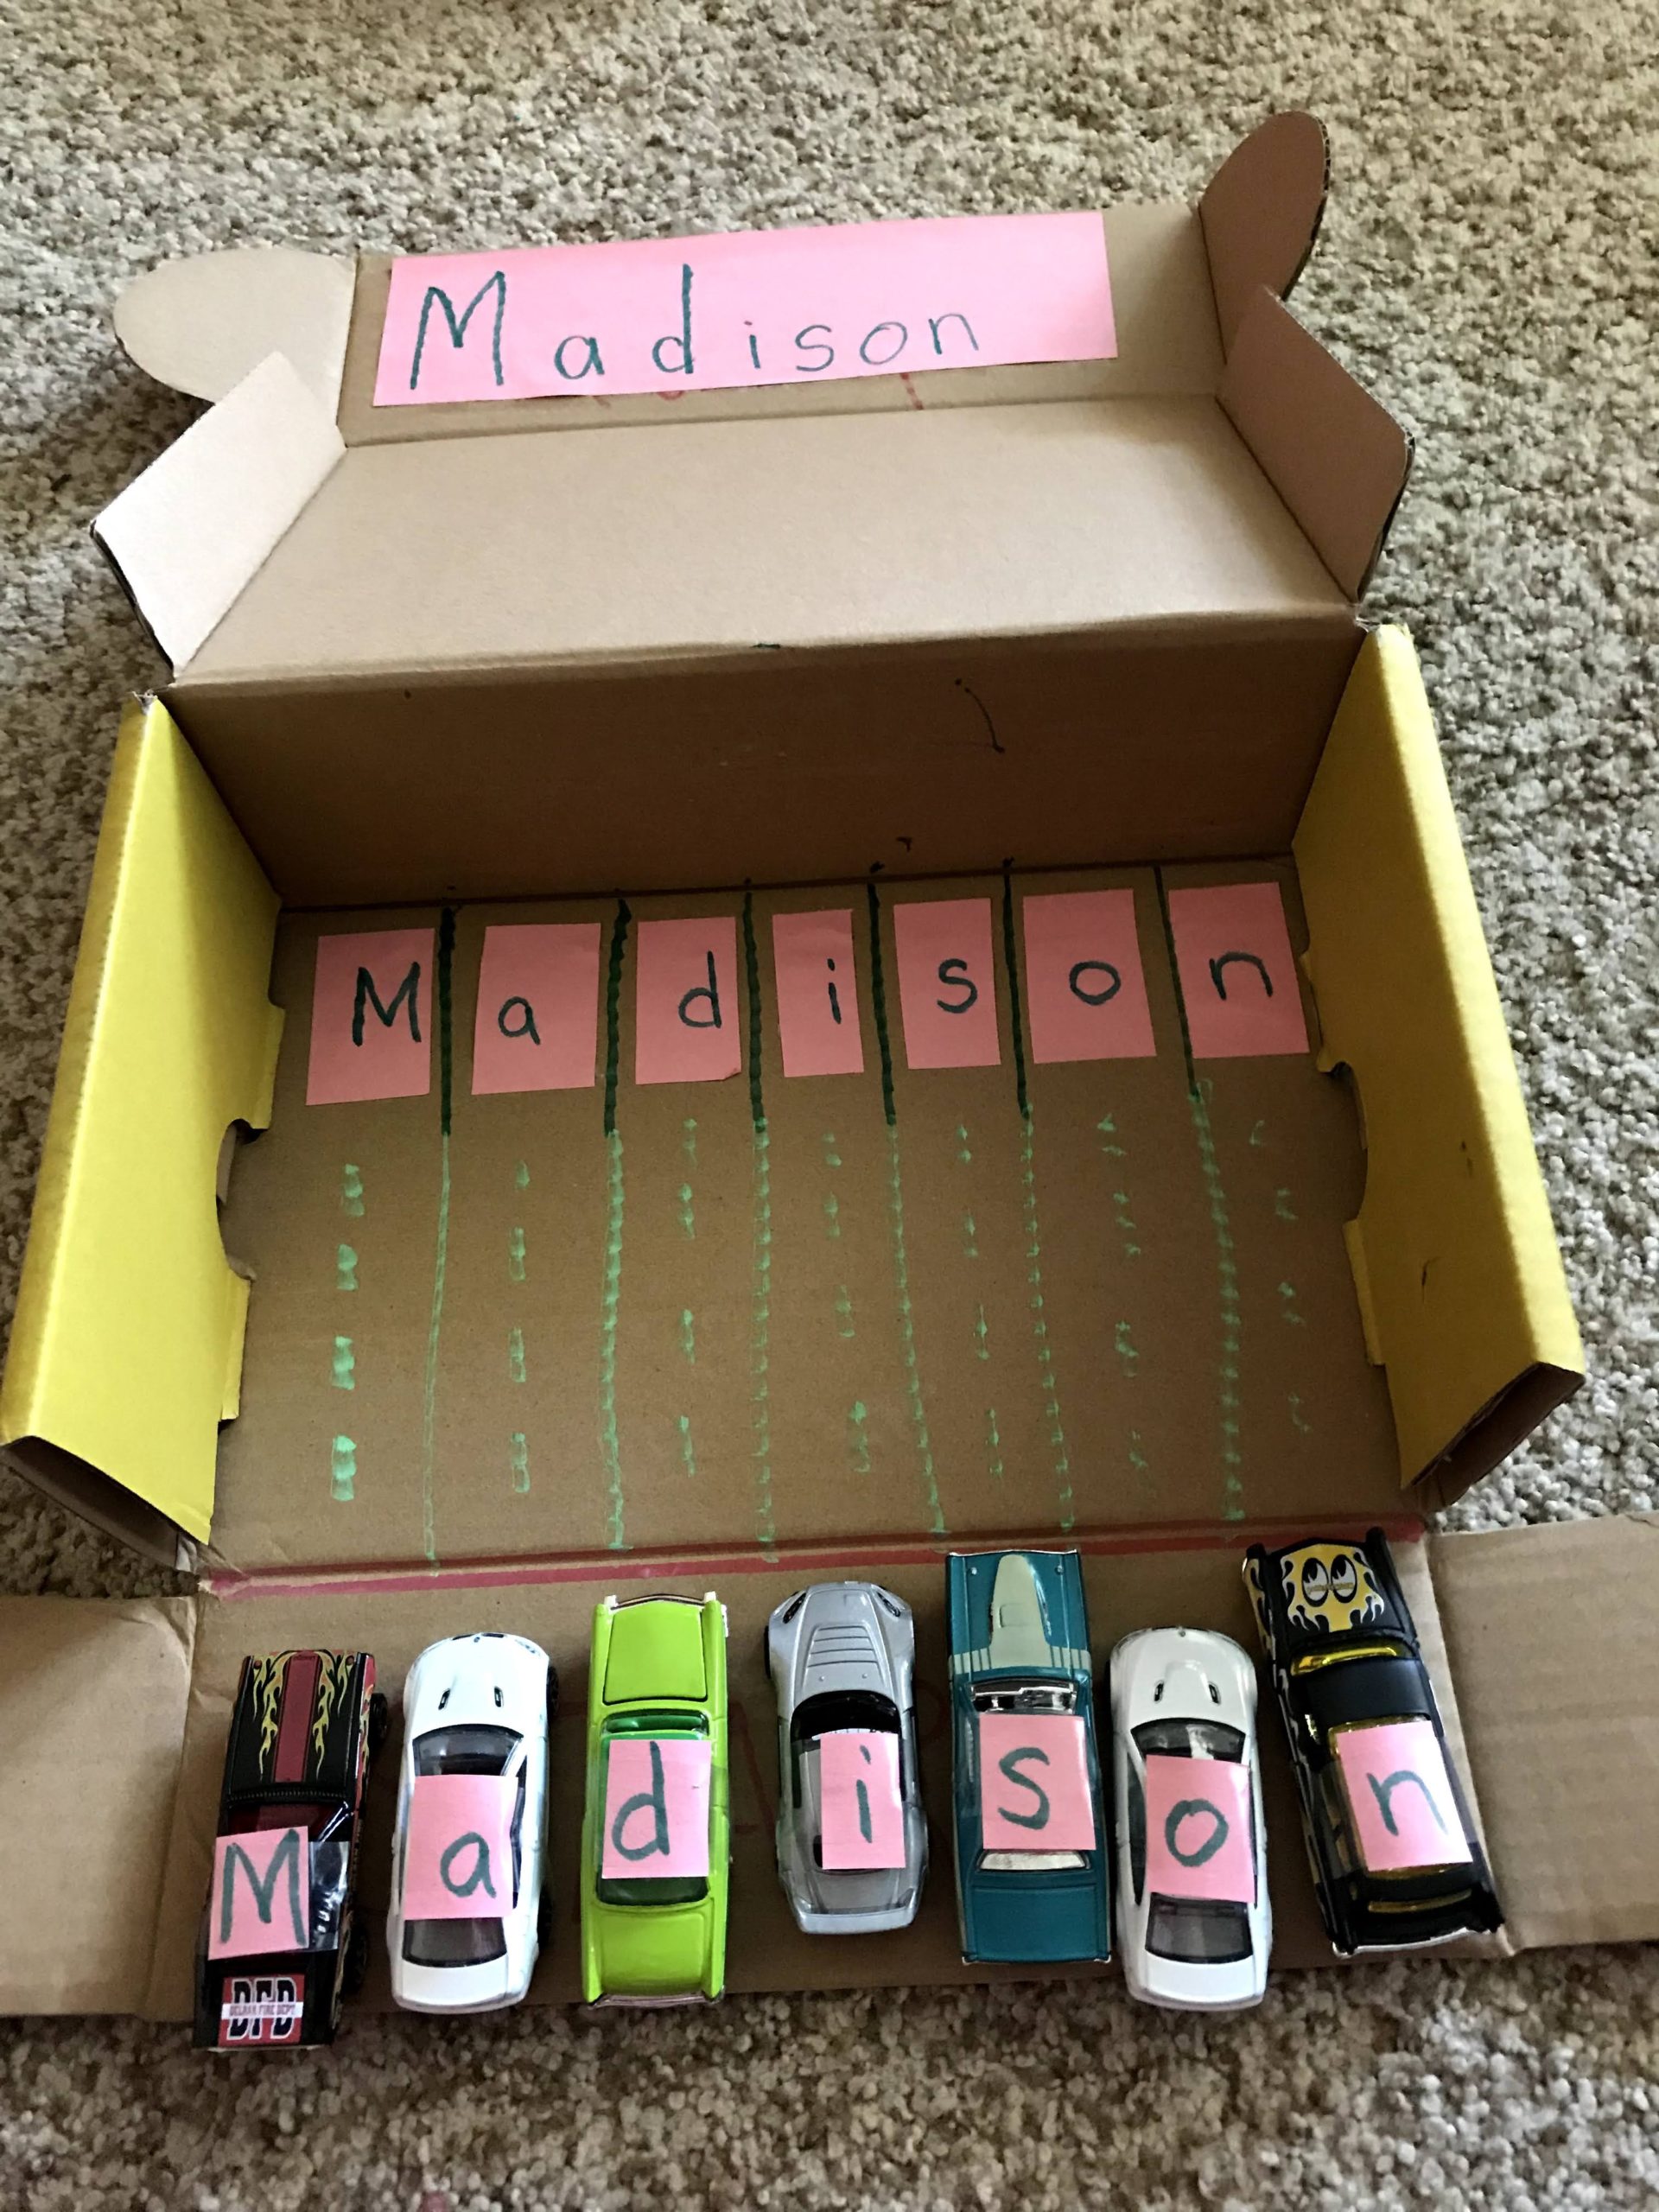
Next, I wrote start and made a line. I also made lanes for the cars to go to their parking spots. I figured Madison can then have them go on the ramp and race down to the letters at the bottom. Just a fun, quick, and easy activity if your kiddo likes cars!

IMG_4687FollowFacebookpinterestrssyoutube
ShareFacebookpinterest

+Pomander Ball: A fun fine motor experience

A craft using fine motor skills, creativity, and your child’s senses is making a Christmas Pomander Ball!  There are several ways to make them and we will go through some examples!

img_2460

Pomander Balls were originally used to ward away illness with the strong scents of cloves and other spices.  Today, we make pomander balls with citrus fruits and cloves as a decoration, gift, centerpiece, or for scenting the room.

What you need:

Citrus fruit: clementine or oranges work best (make sure they are on the harder side)

Whole cloves (you can get a large bag that will last for years at the food store)
Ribbon for decoration

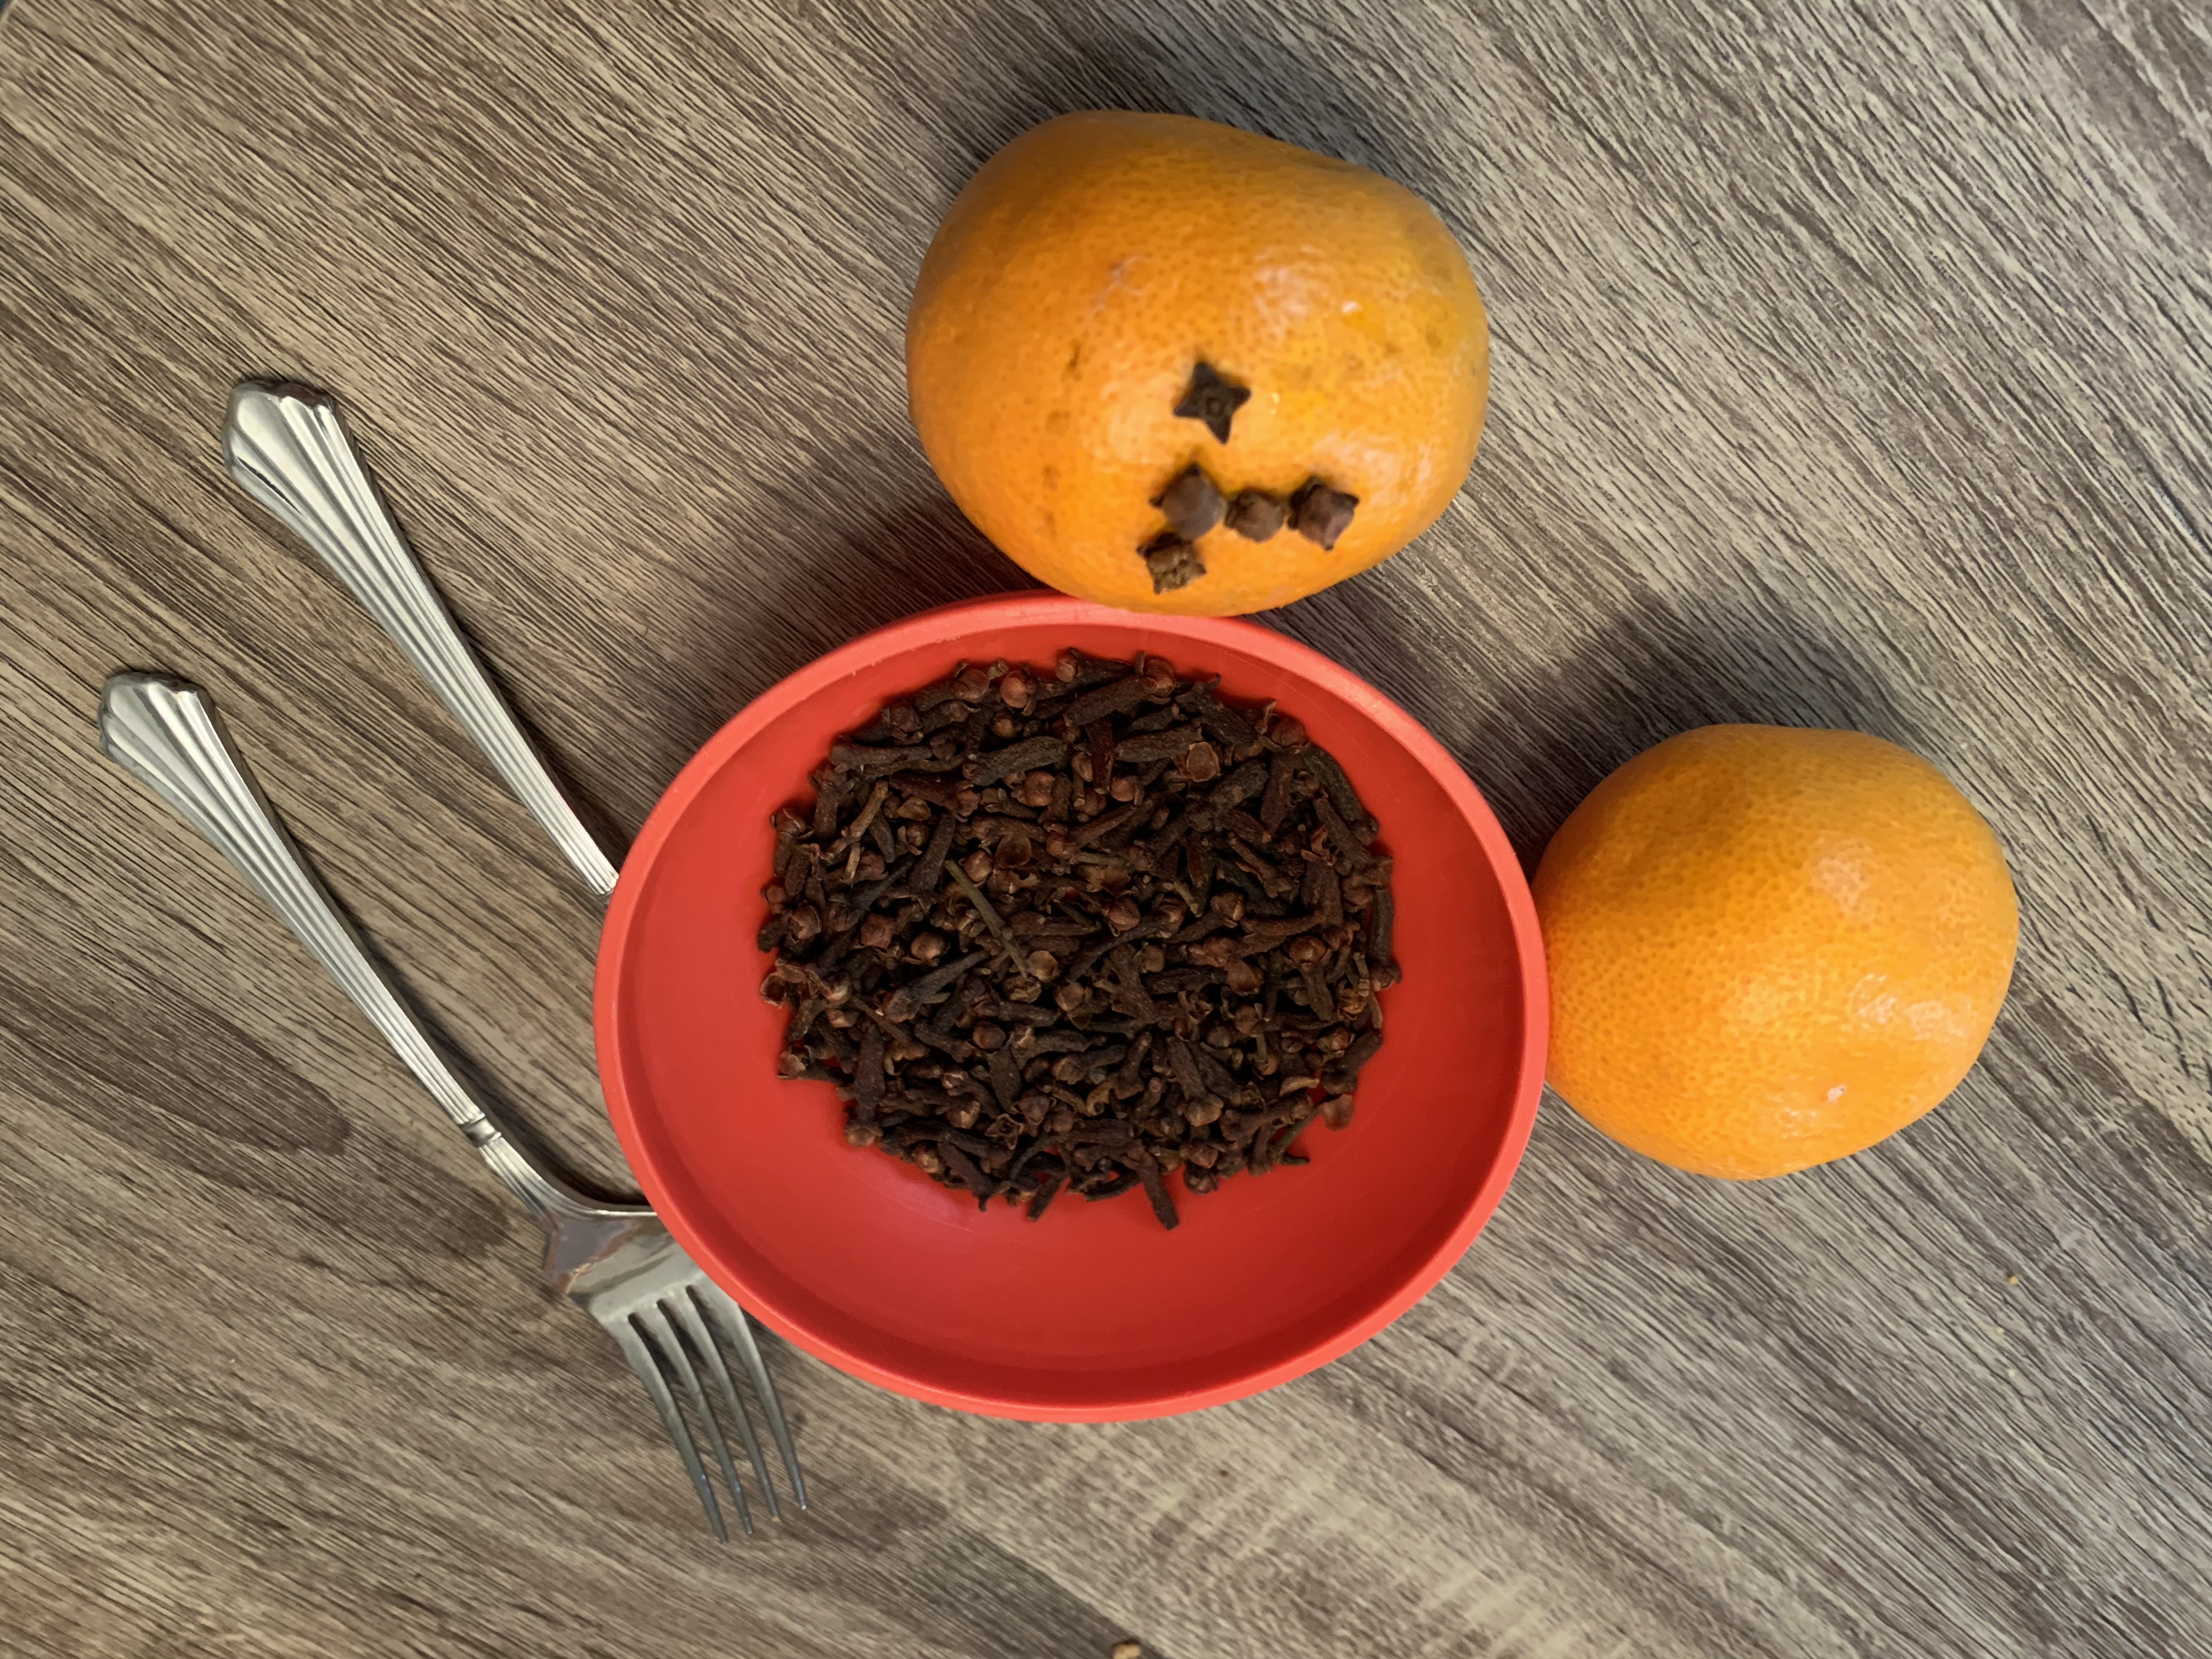
To make holes you can use a fork, pushpin, or toothpick (optional): my kids like to use a small fork to poke several holes at once

  1. Pour some whole cloves into a small bowl for the kids to chose fromimg_2440-1
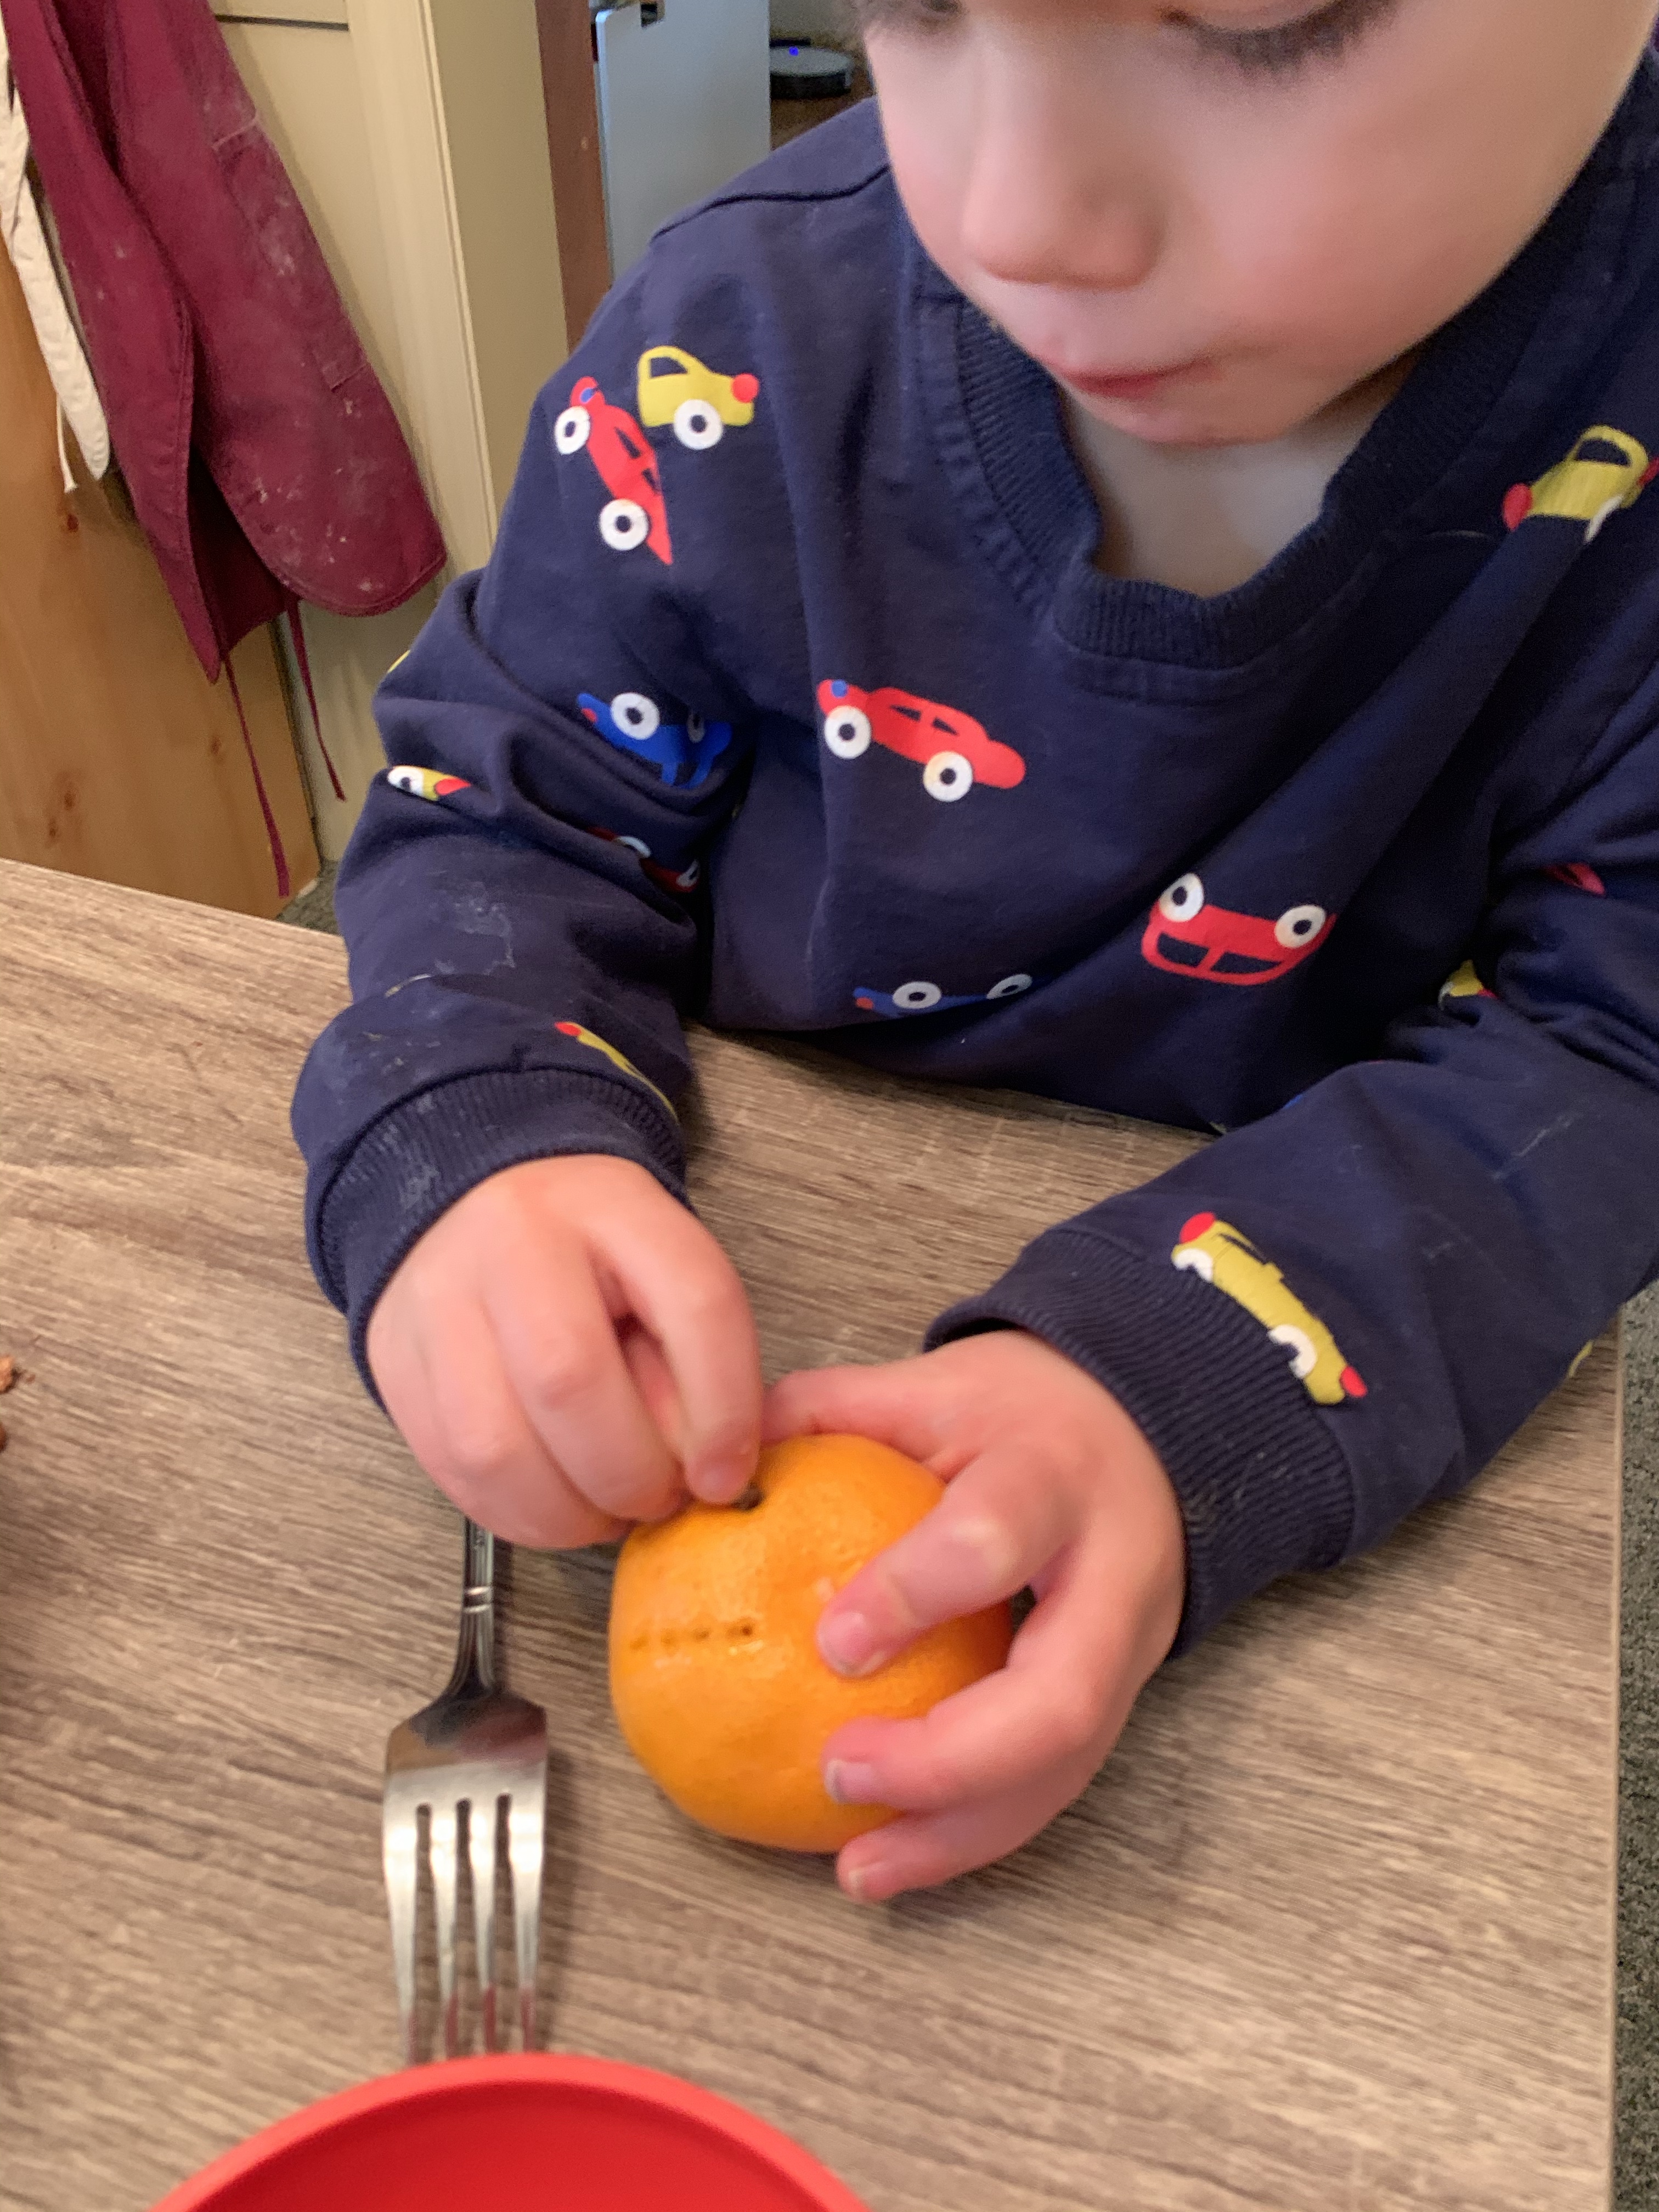
  2. Next, have your child use a fork to poke holes
  3. img_2442-1
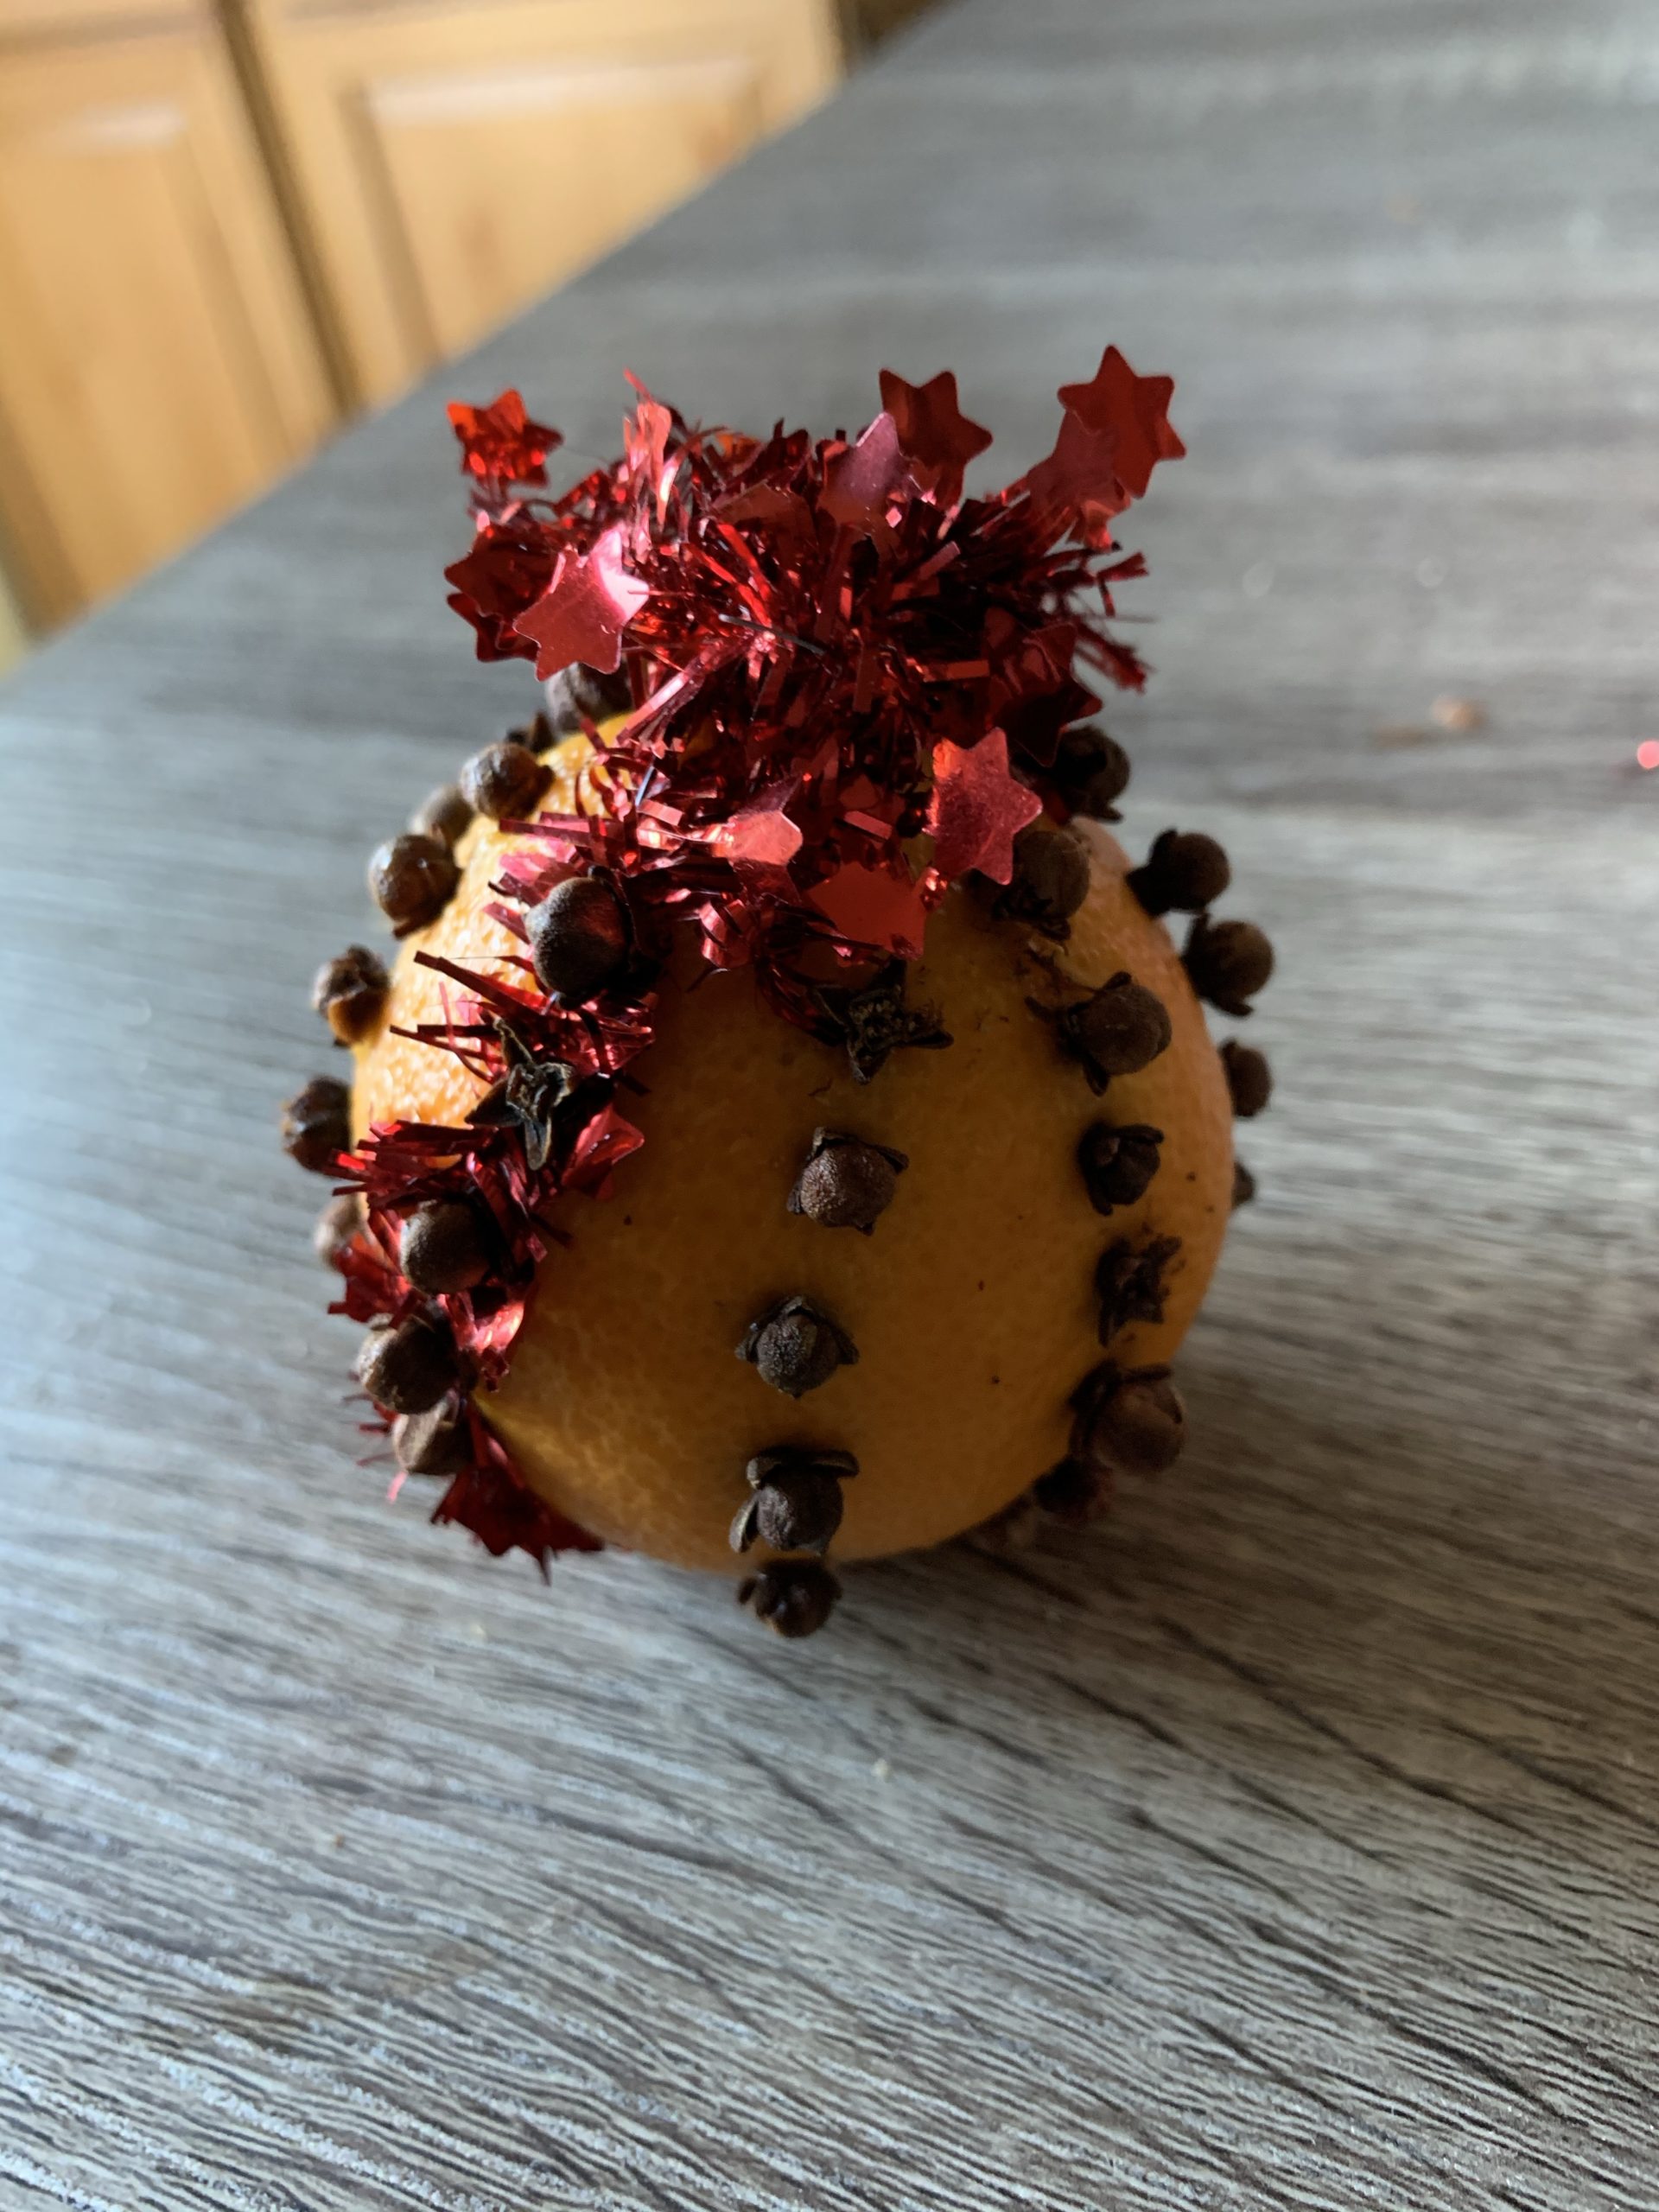
  4. Take the whole cloves and poke them through the holes
  5. Make a design as you chose, and hang with ribbon
  6. img_2453
  7. Dry out in a dark place, preferably in a brown bag for a week or two until dry then hang them or decorate with them!  If you chose not to dry them, then they usually last a week before they brown and get moldy. You can also place them in the fridge at night if you want them to last a little longer.
  8. img_2459
  9. If you fill the whole fruit with cloves completely, it will dehydrate the fruit and you wont need to place it in a bag at all (my kids don’t usually have the patience for this yet)

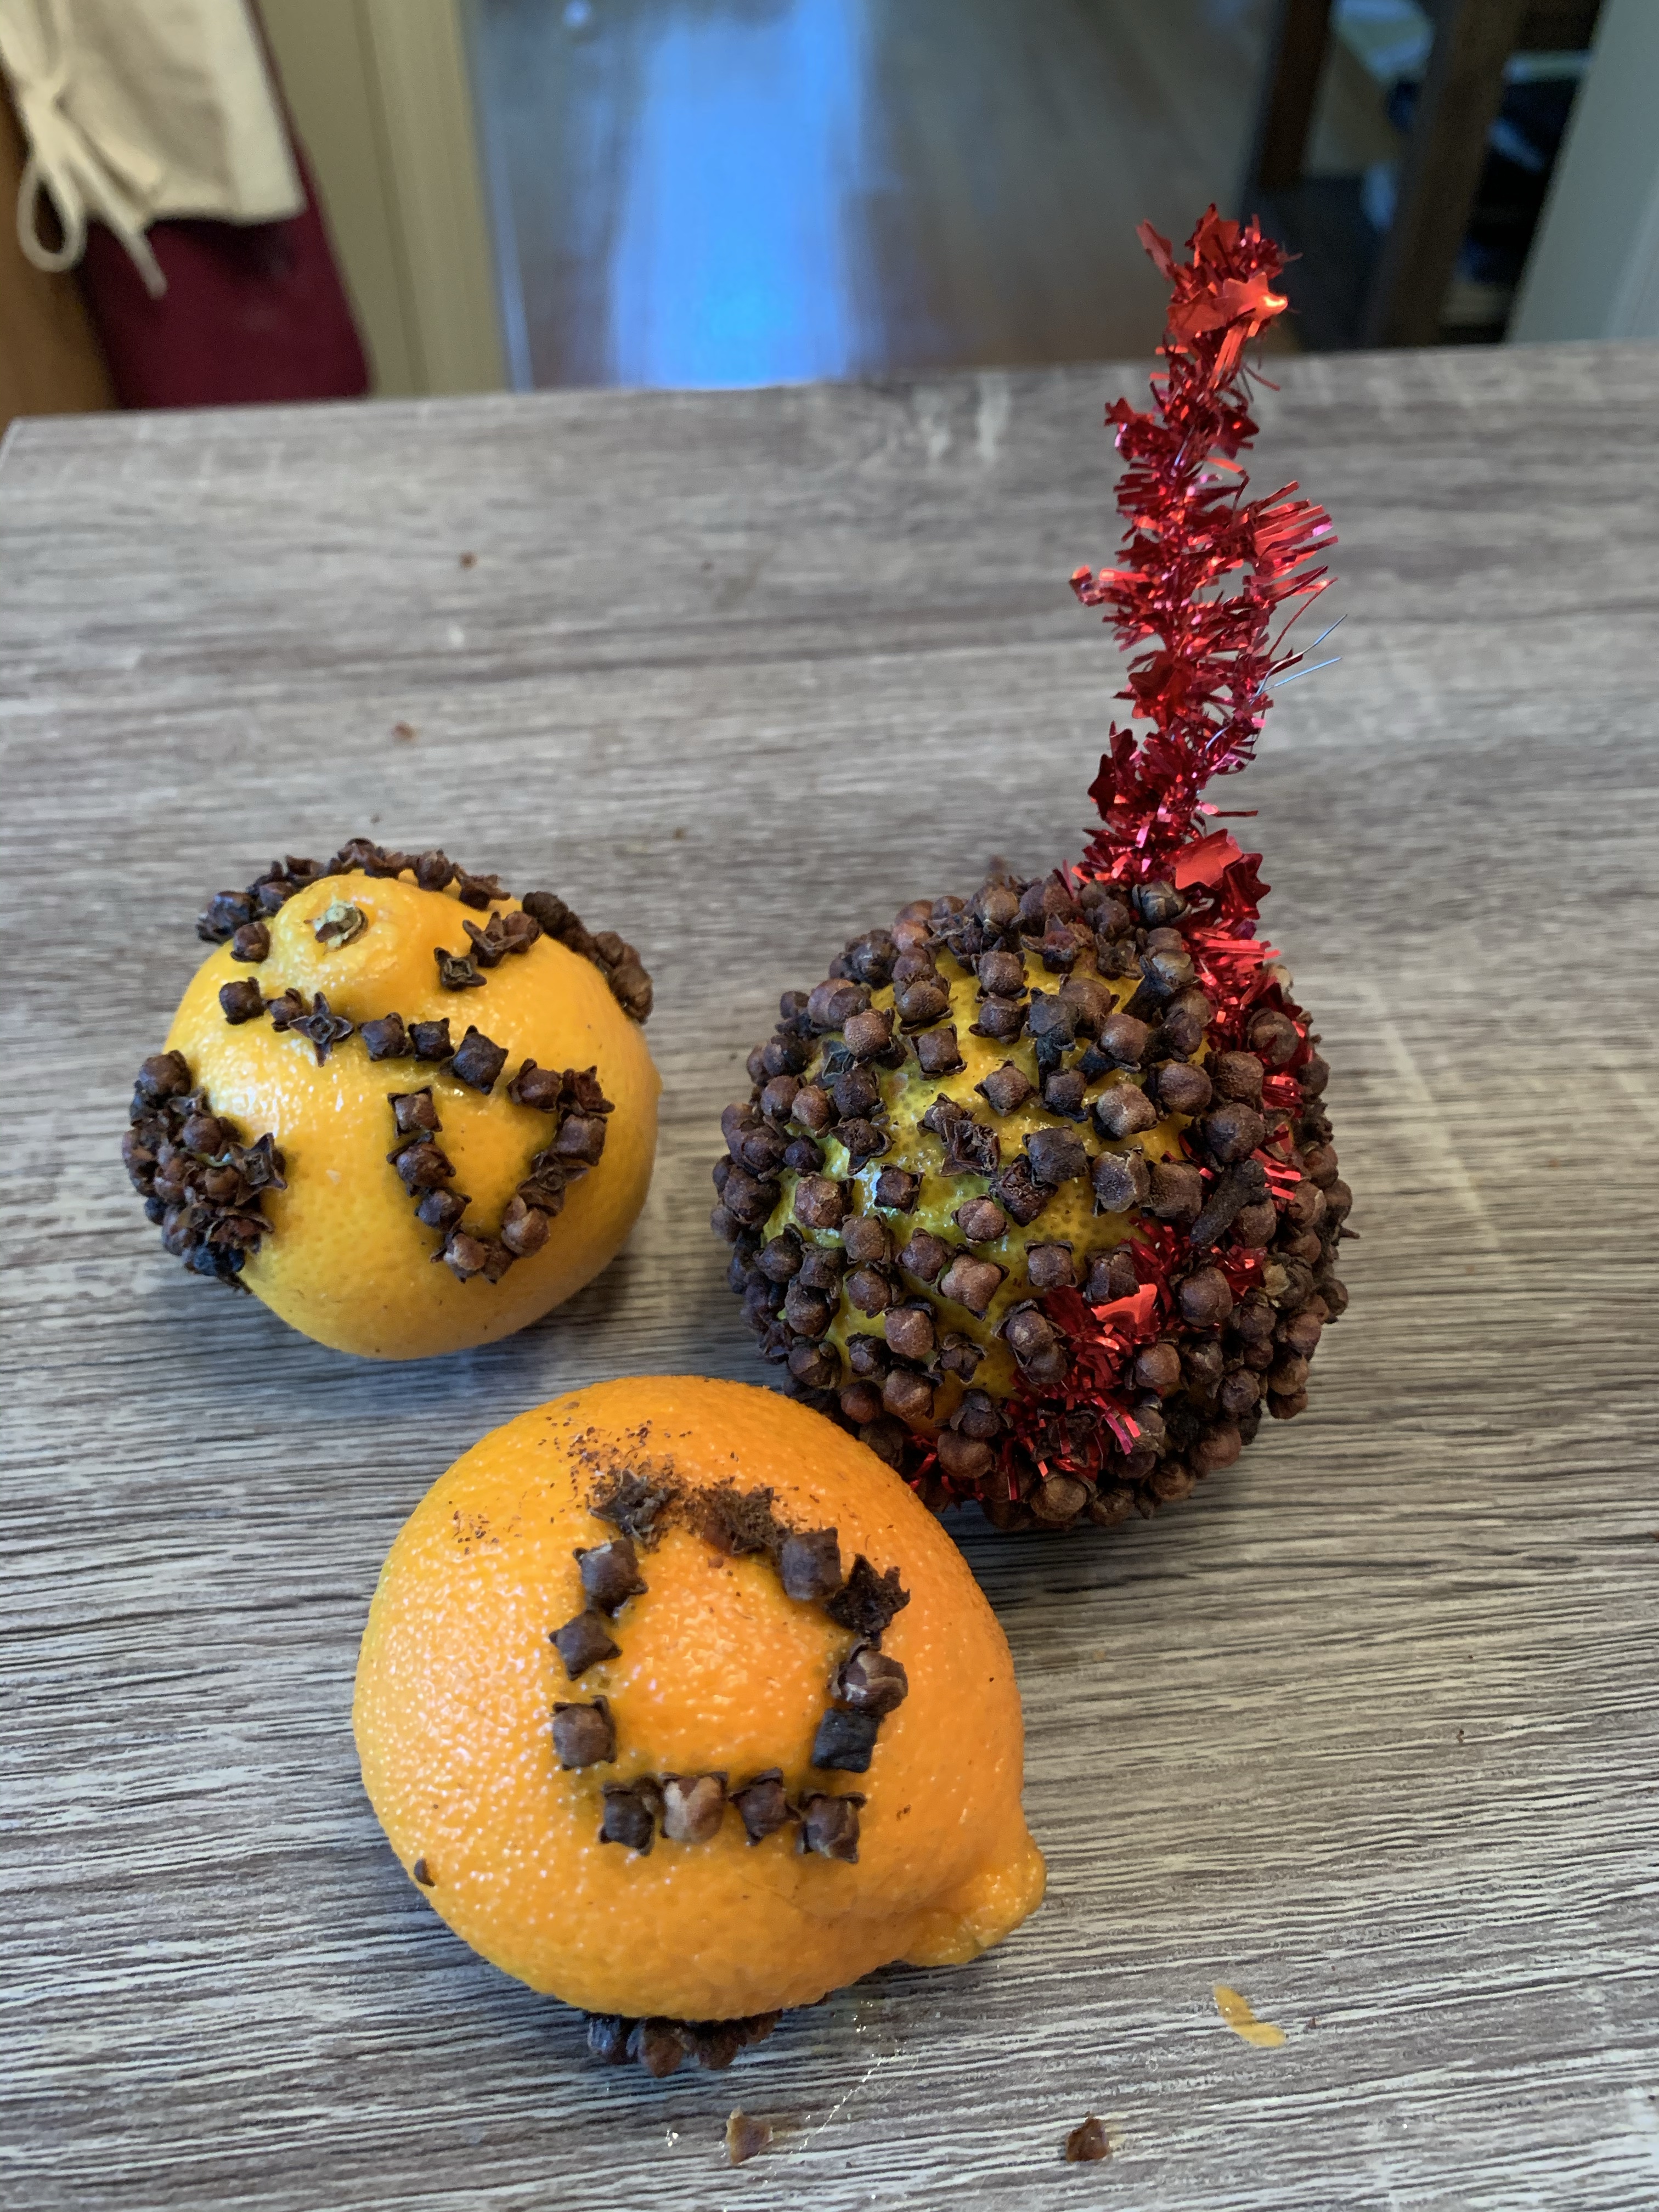
img_2458

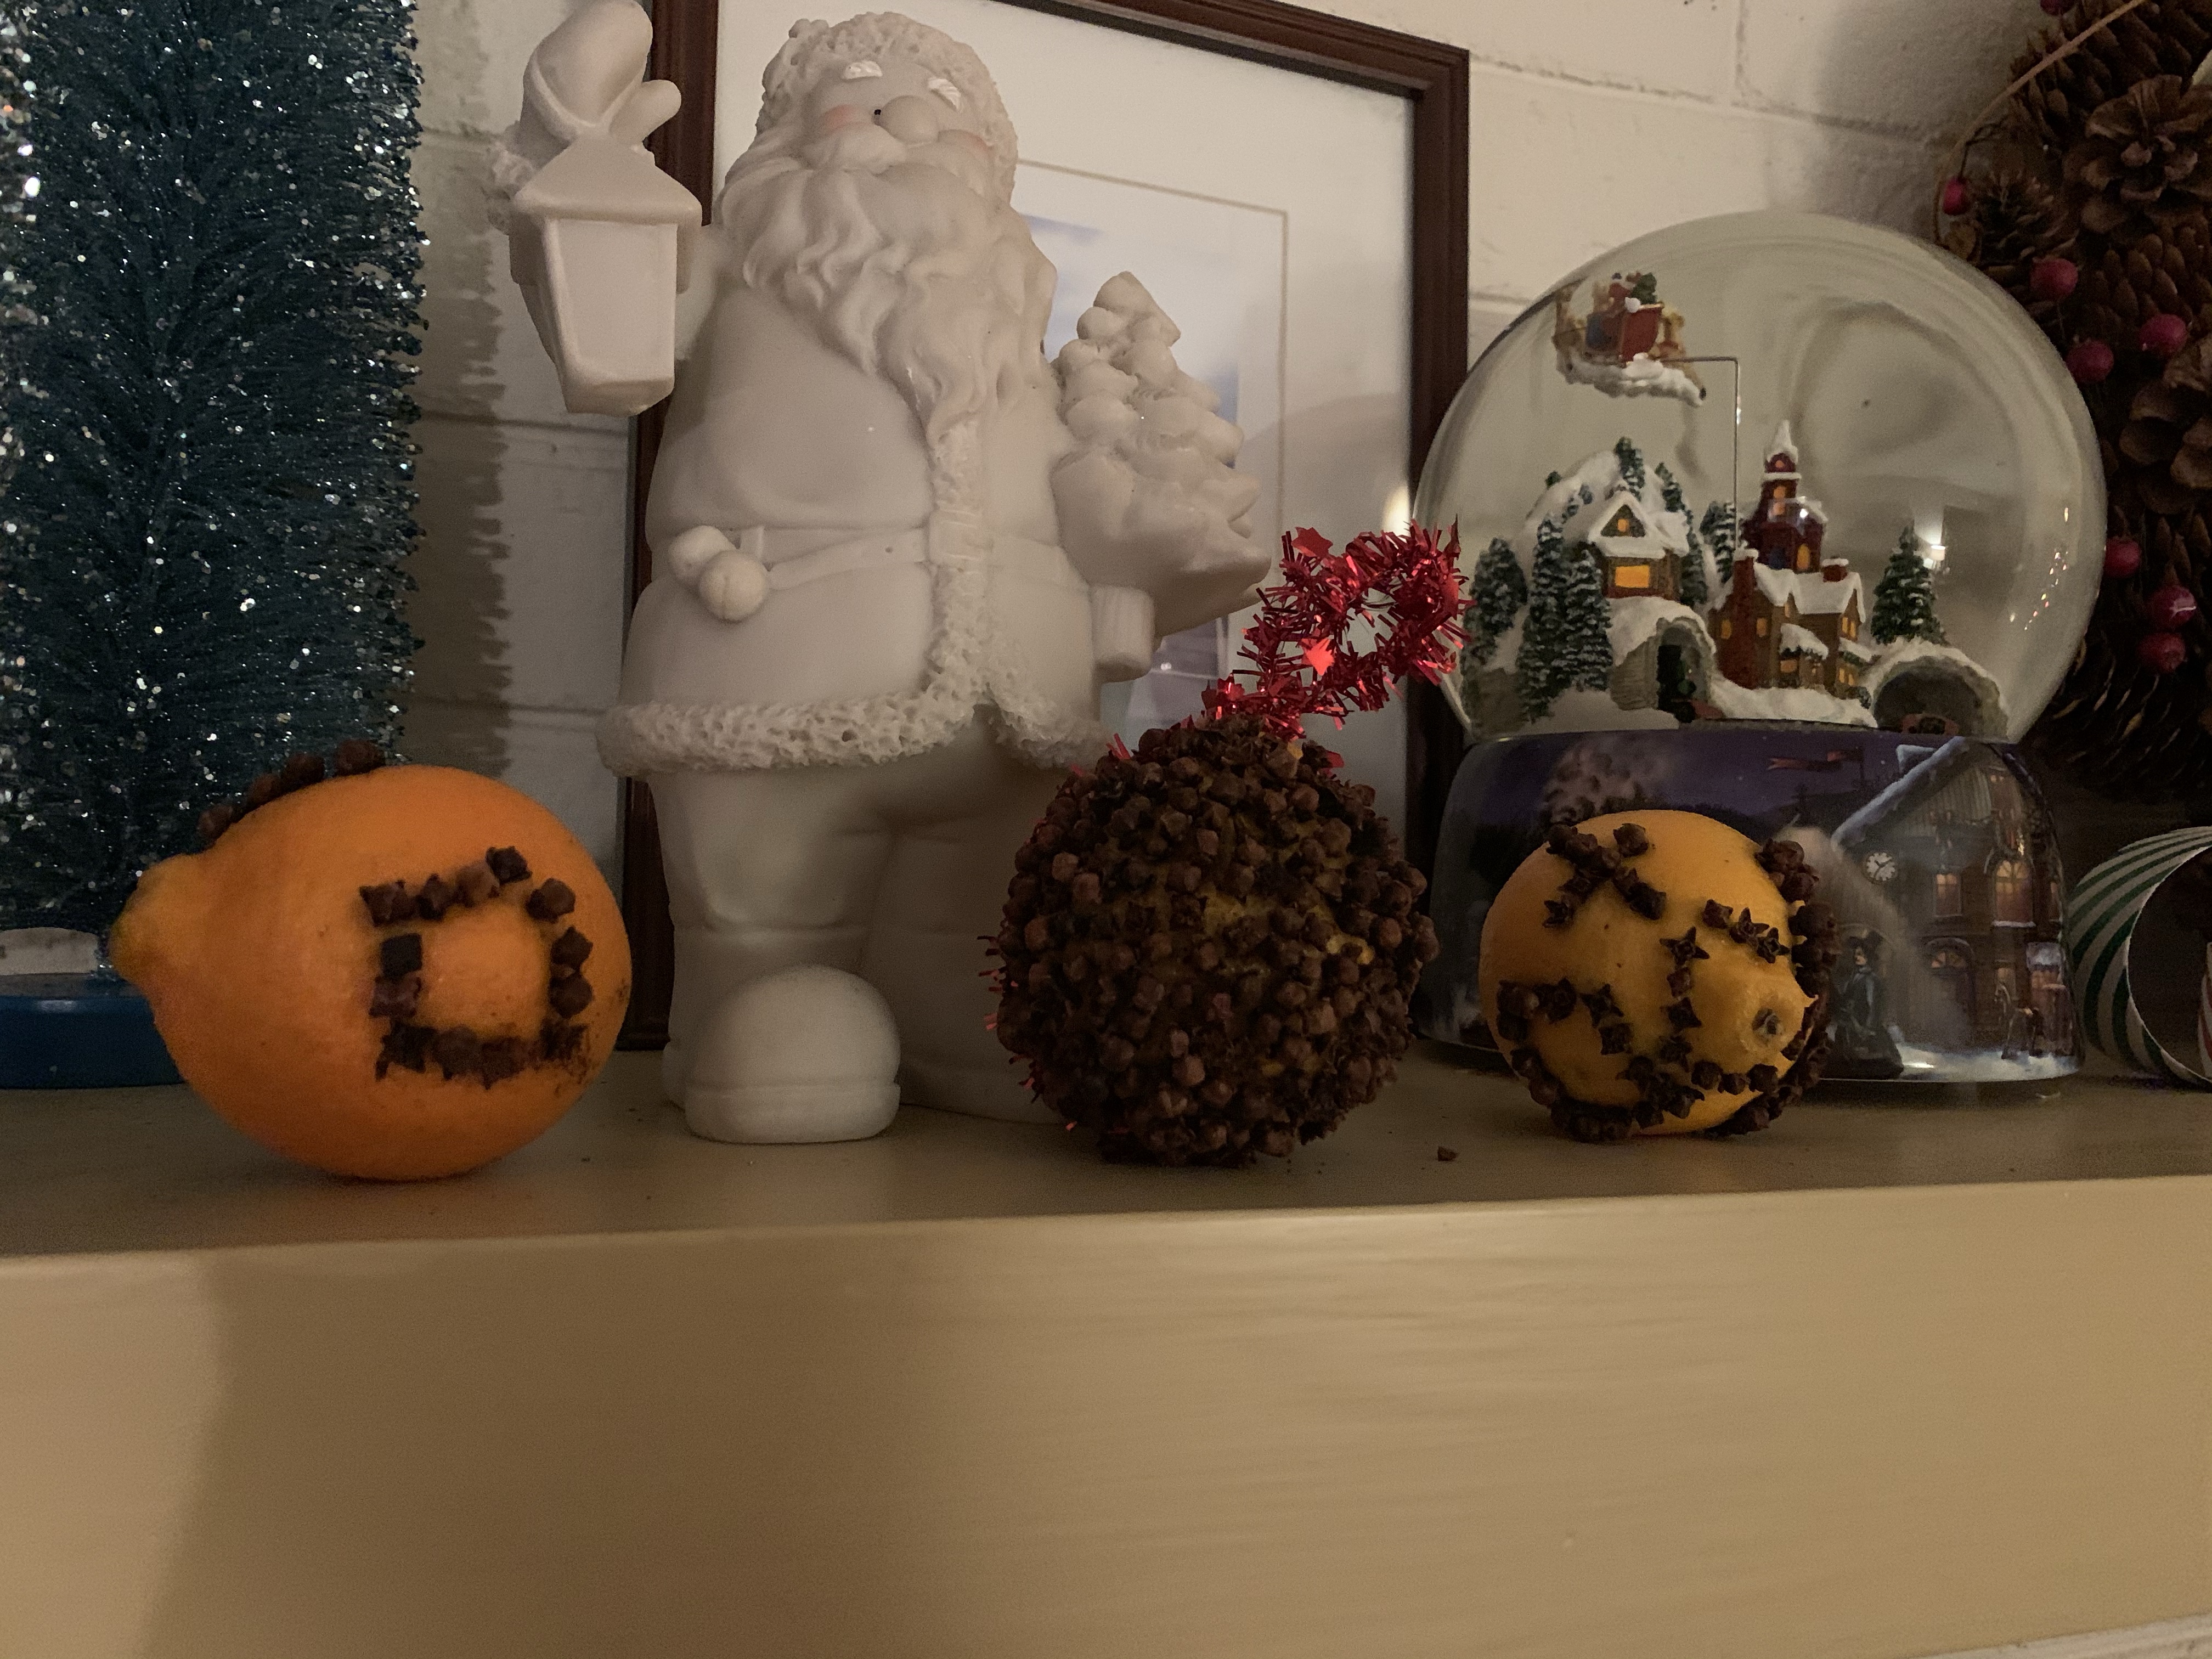
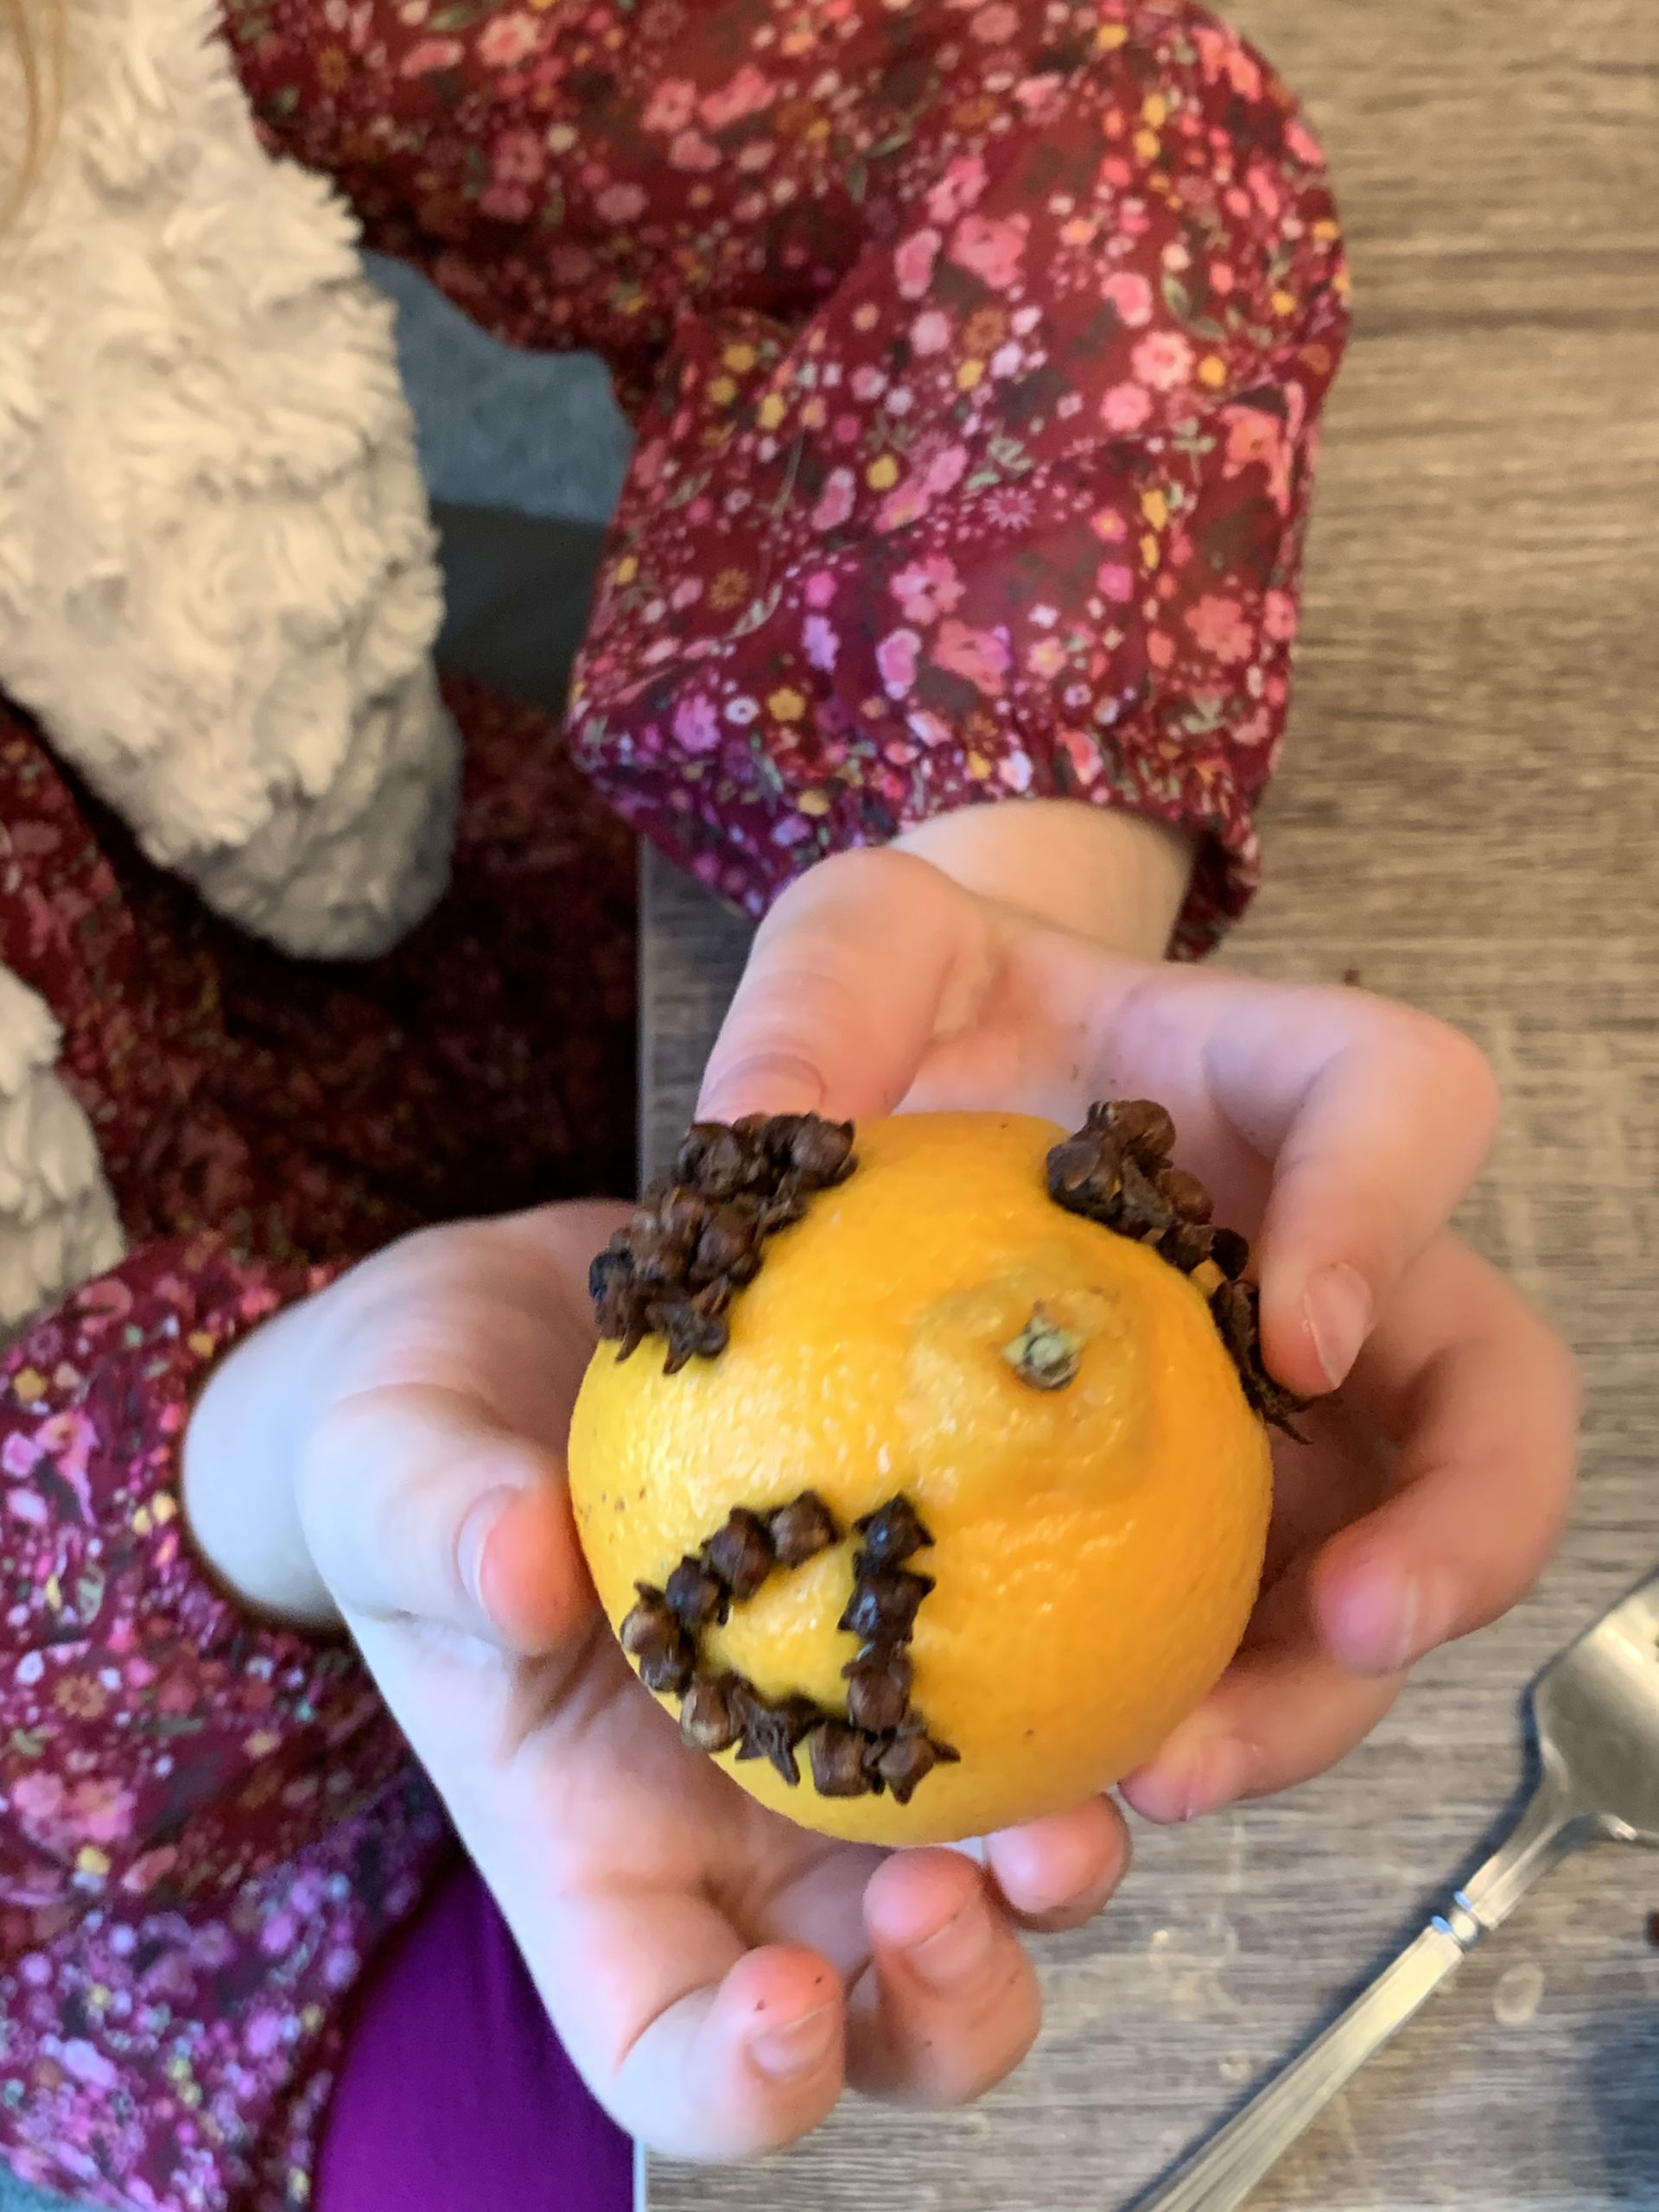
My kids wanted to law shapes on their clementines with the cloves!

img_2460

Enjoy and let me know how they turn out!!!

 FollowFacebookpinterestrssyoutube
ShareFacebookpinterest

DIY Felt Unicorn Ornament

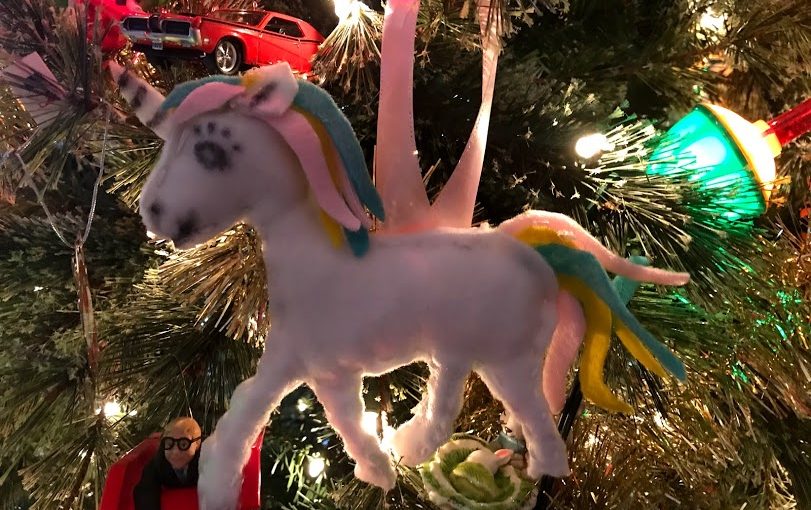
My daughter saw the cutest ornament at Boscov’s the other day…a unicorn. It was made from felt and I thought, “I can make that!” If you know anyone who loves unicorns then this simple felt ornament can be made for Christmas, or enlarged as a stuffed animal!

Materials needed:

-Felt in various colors: I used leftover felt I had from other projects. Any colors will work. I used white, yellow, blue, and pink.

-scissors, needle, thread

-hot glue gun, felt marker, cotton for stuffing

11 - Copy

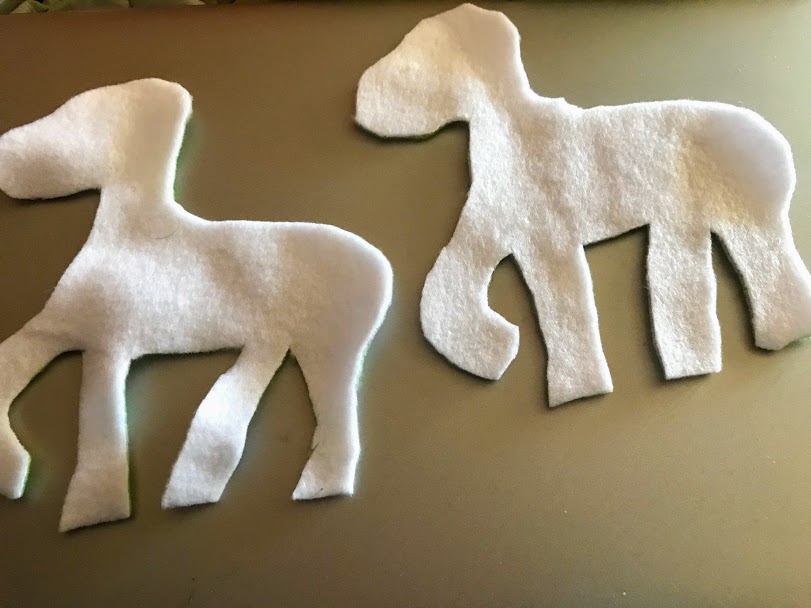
First I laid out a white piece of felt and drew the body. I didn’t use a printout or pattern, I just eyeballed it by looking at pictures. I cut it out, then laid it on top of another piece of white felt to trace and again cut out. This way I had both sides of the unicorn’s body.

11 - Copy

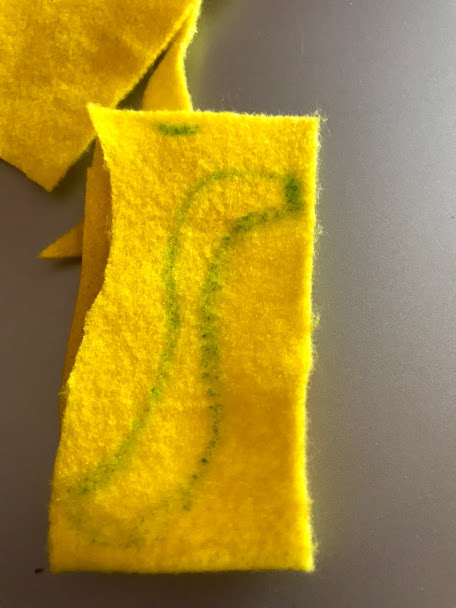
The second cut out of the unicorn body ended up a little larger, but I just cut and adjusted the size as I was sewing it. Next, I moved onto cutting out the hair for the mane and tail. I also cut out an ear and horn. I looked at pictures and drew it freehand on the colors of felt I desired. They ended up looking like little worms.

1 - Copy1 4

I placed my tail pieces on the back to make sure they looked okay and hot glued them to the back piece of the body. I did not glue them to BOTH body pieces, just the front of the back piece of the body (see picture).

3 2

Next,  I placed the hair and ear on the unicorn to make sure it looked correct. I didn’t glue it, but just placed it there to make sure it was to my liking. I drew on eyes, a mouth and nose with a felt marker.

51 - Copy

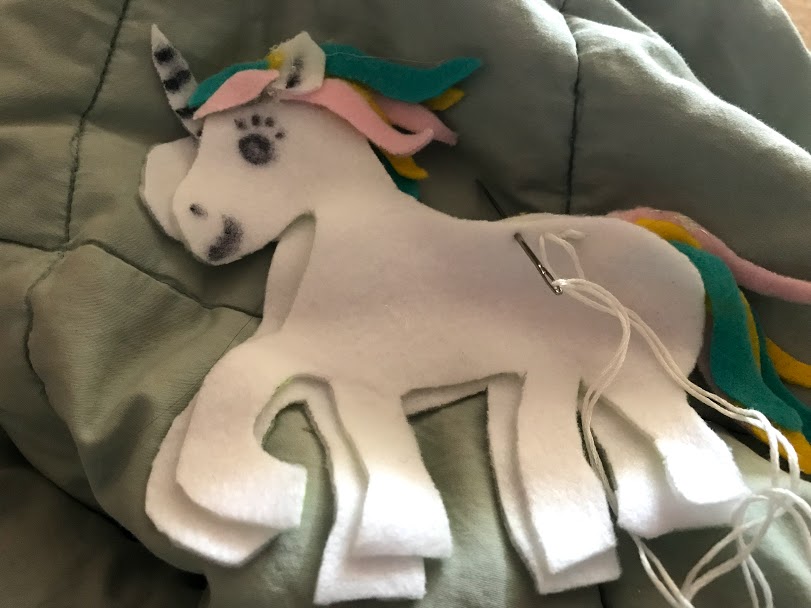
I hot glued the horn onto the front of the back piece of the body. I hot glued the mane and ear onto the front body piece. Next I sewed the unicorn together. As I was sewing, I stuffed it. Don’t wait until the end or your won’t be able to fill the smaller spaces like the legs.

1 - Copy.jpg

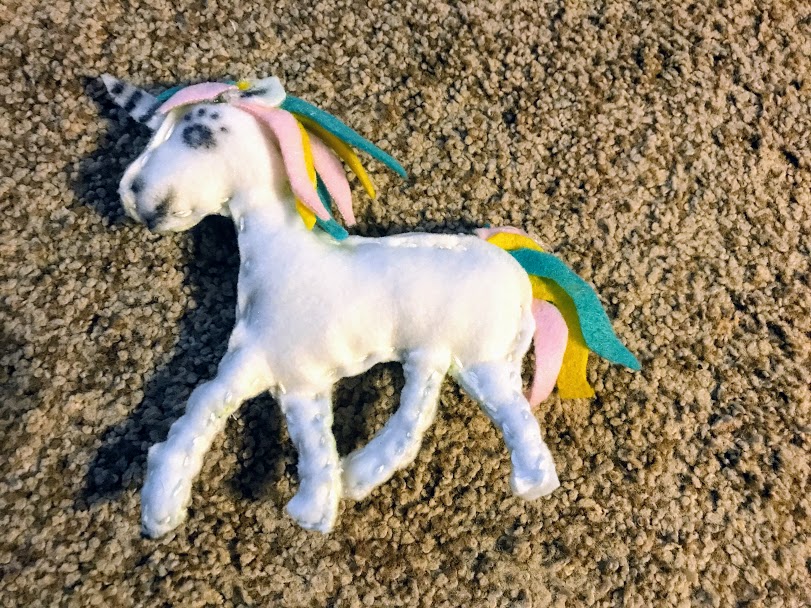
After sewing and stuffing the unicorn, I cut a piece of ribbon and hot glued it to the back of the unicorn.

21

Next, I hung it on the tree. Wallah! DONE!

4

3

Happy Ornament Making!!!!

 FollowFacebookpinterestrssyoutube
ShareFacebookpinterest