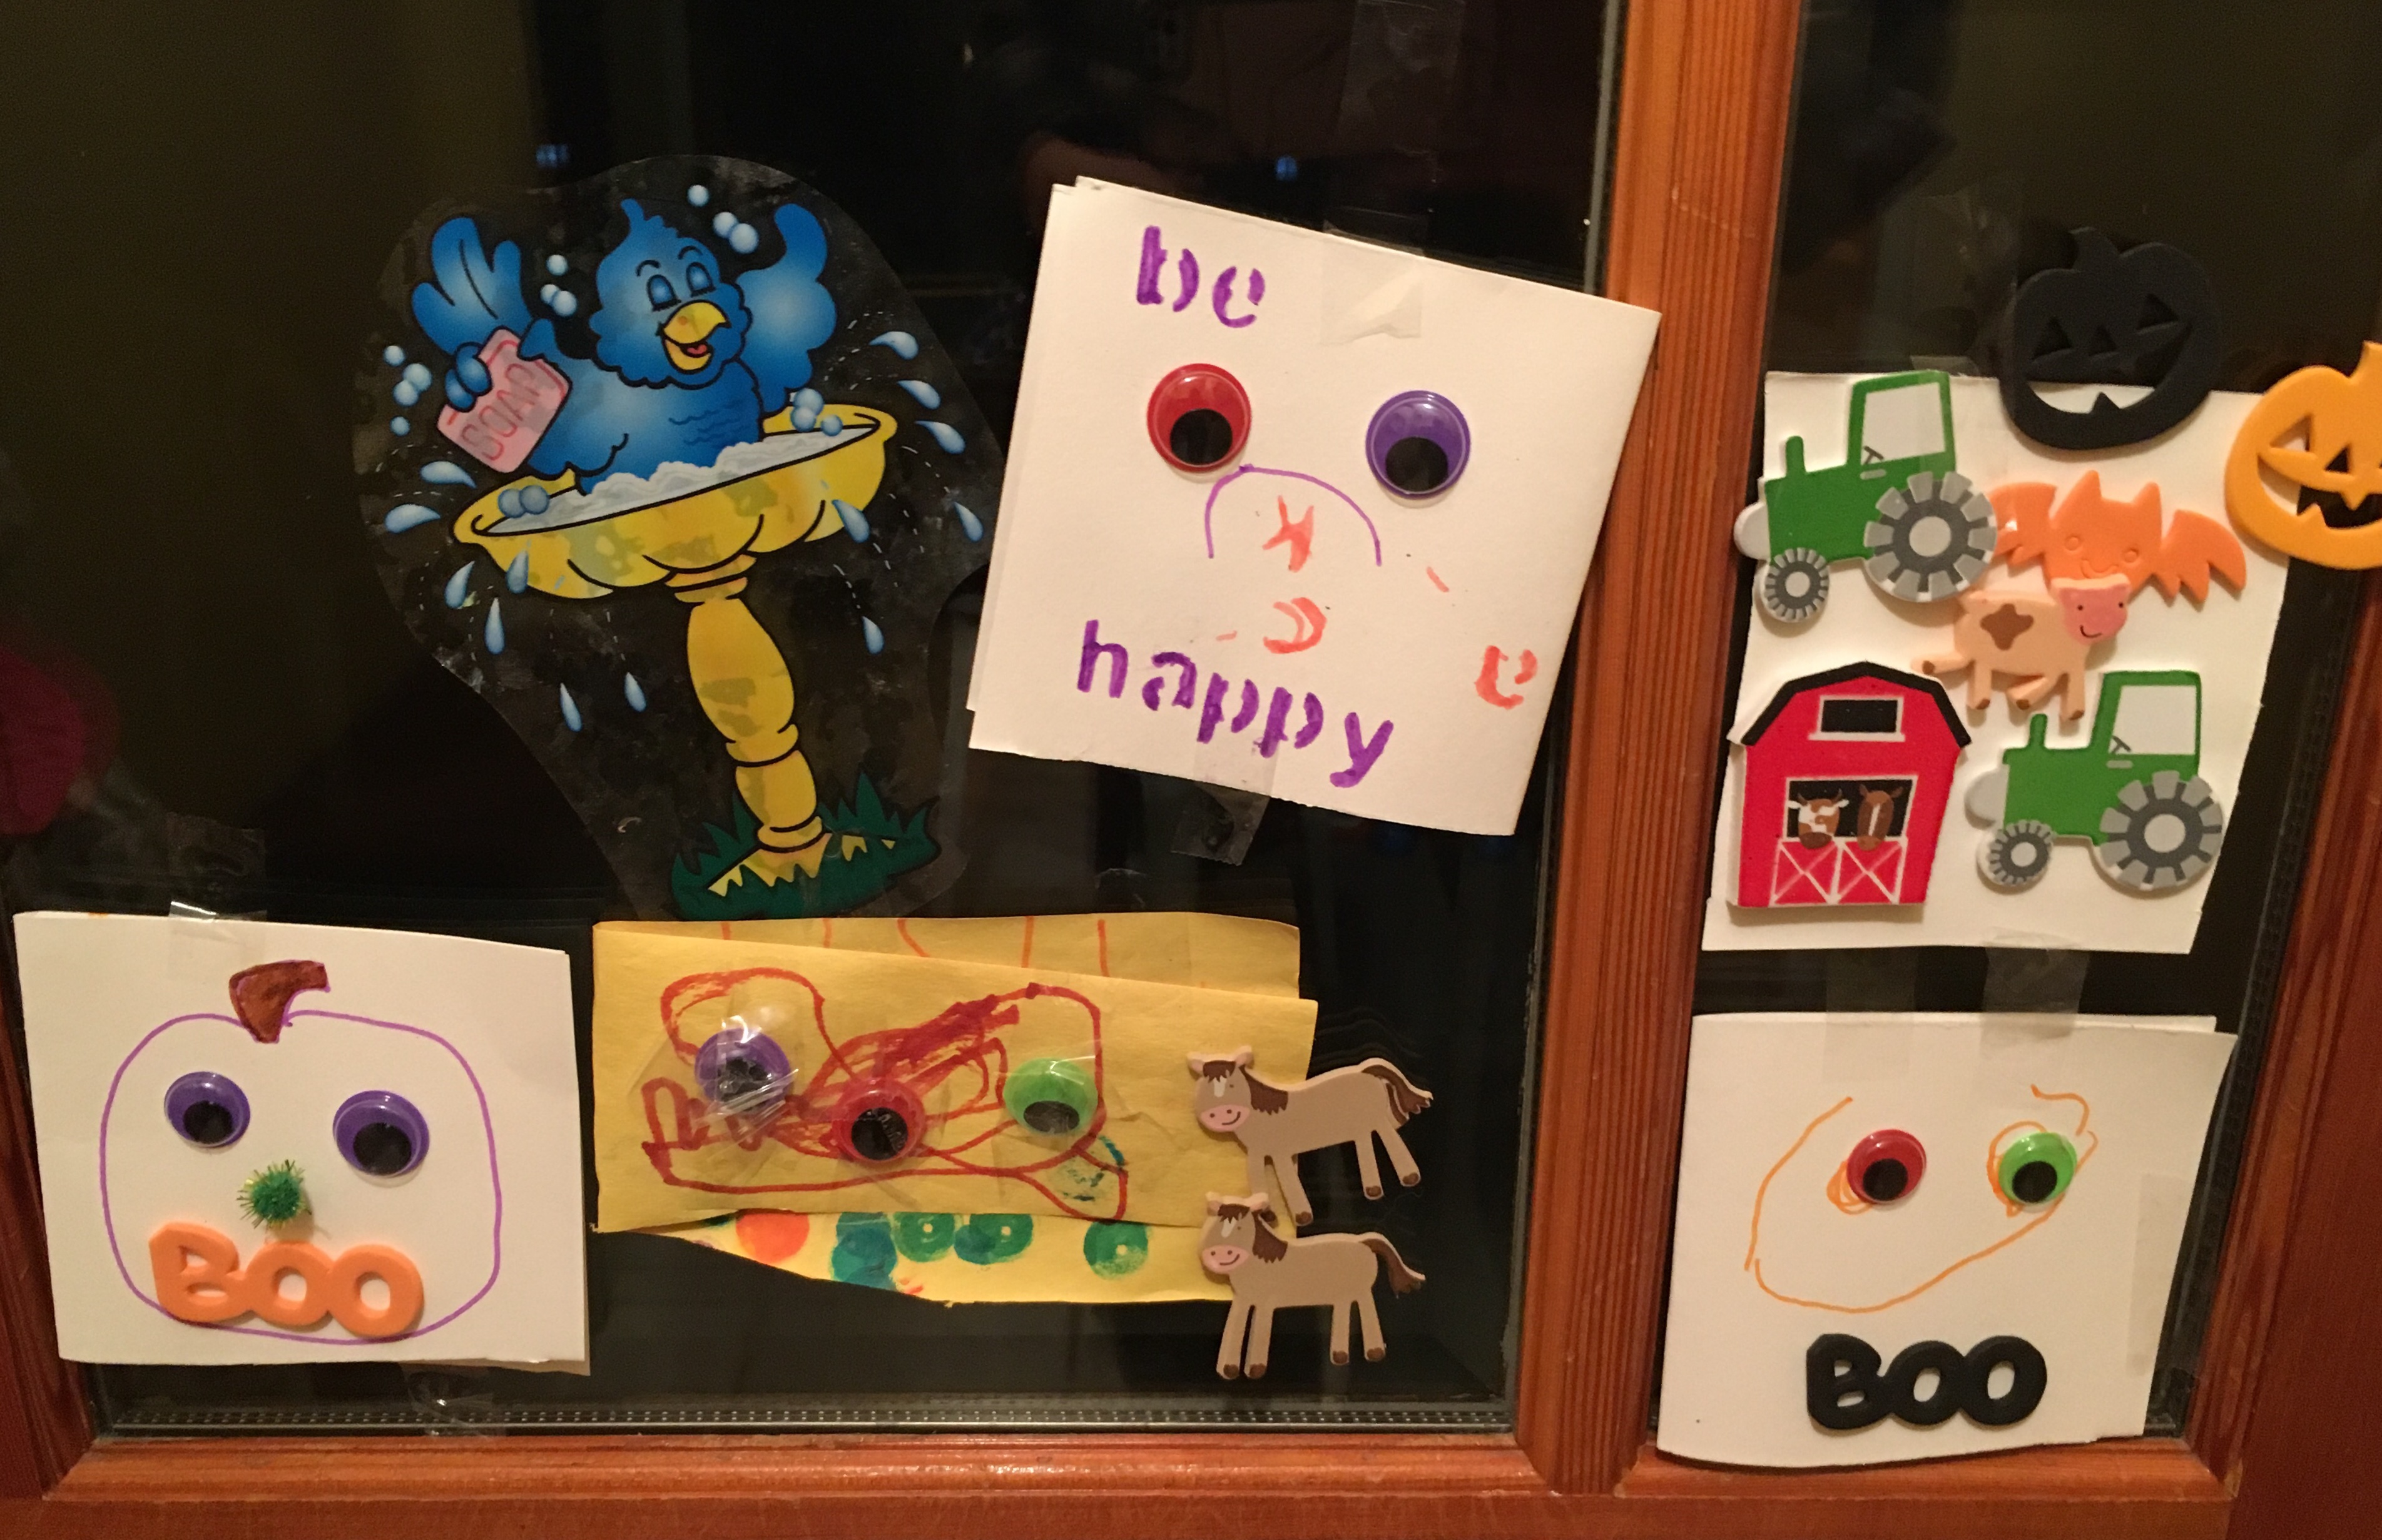
Preschool toddler Halloween crafts!

Looking for fun easy Halloween crafts? There’s so much you can do and spend little cash.

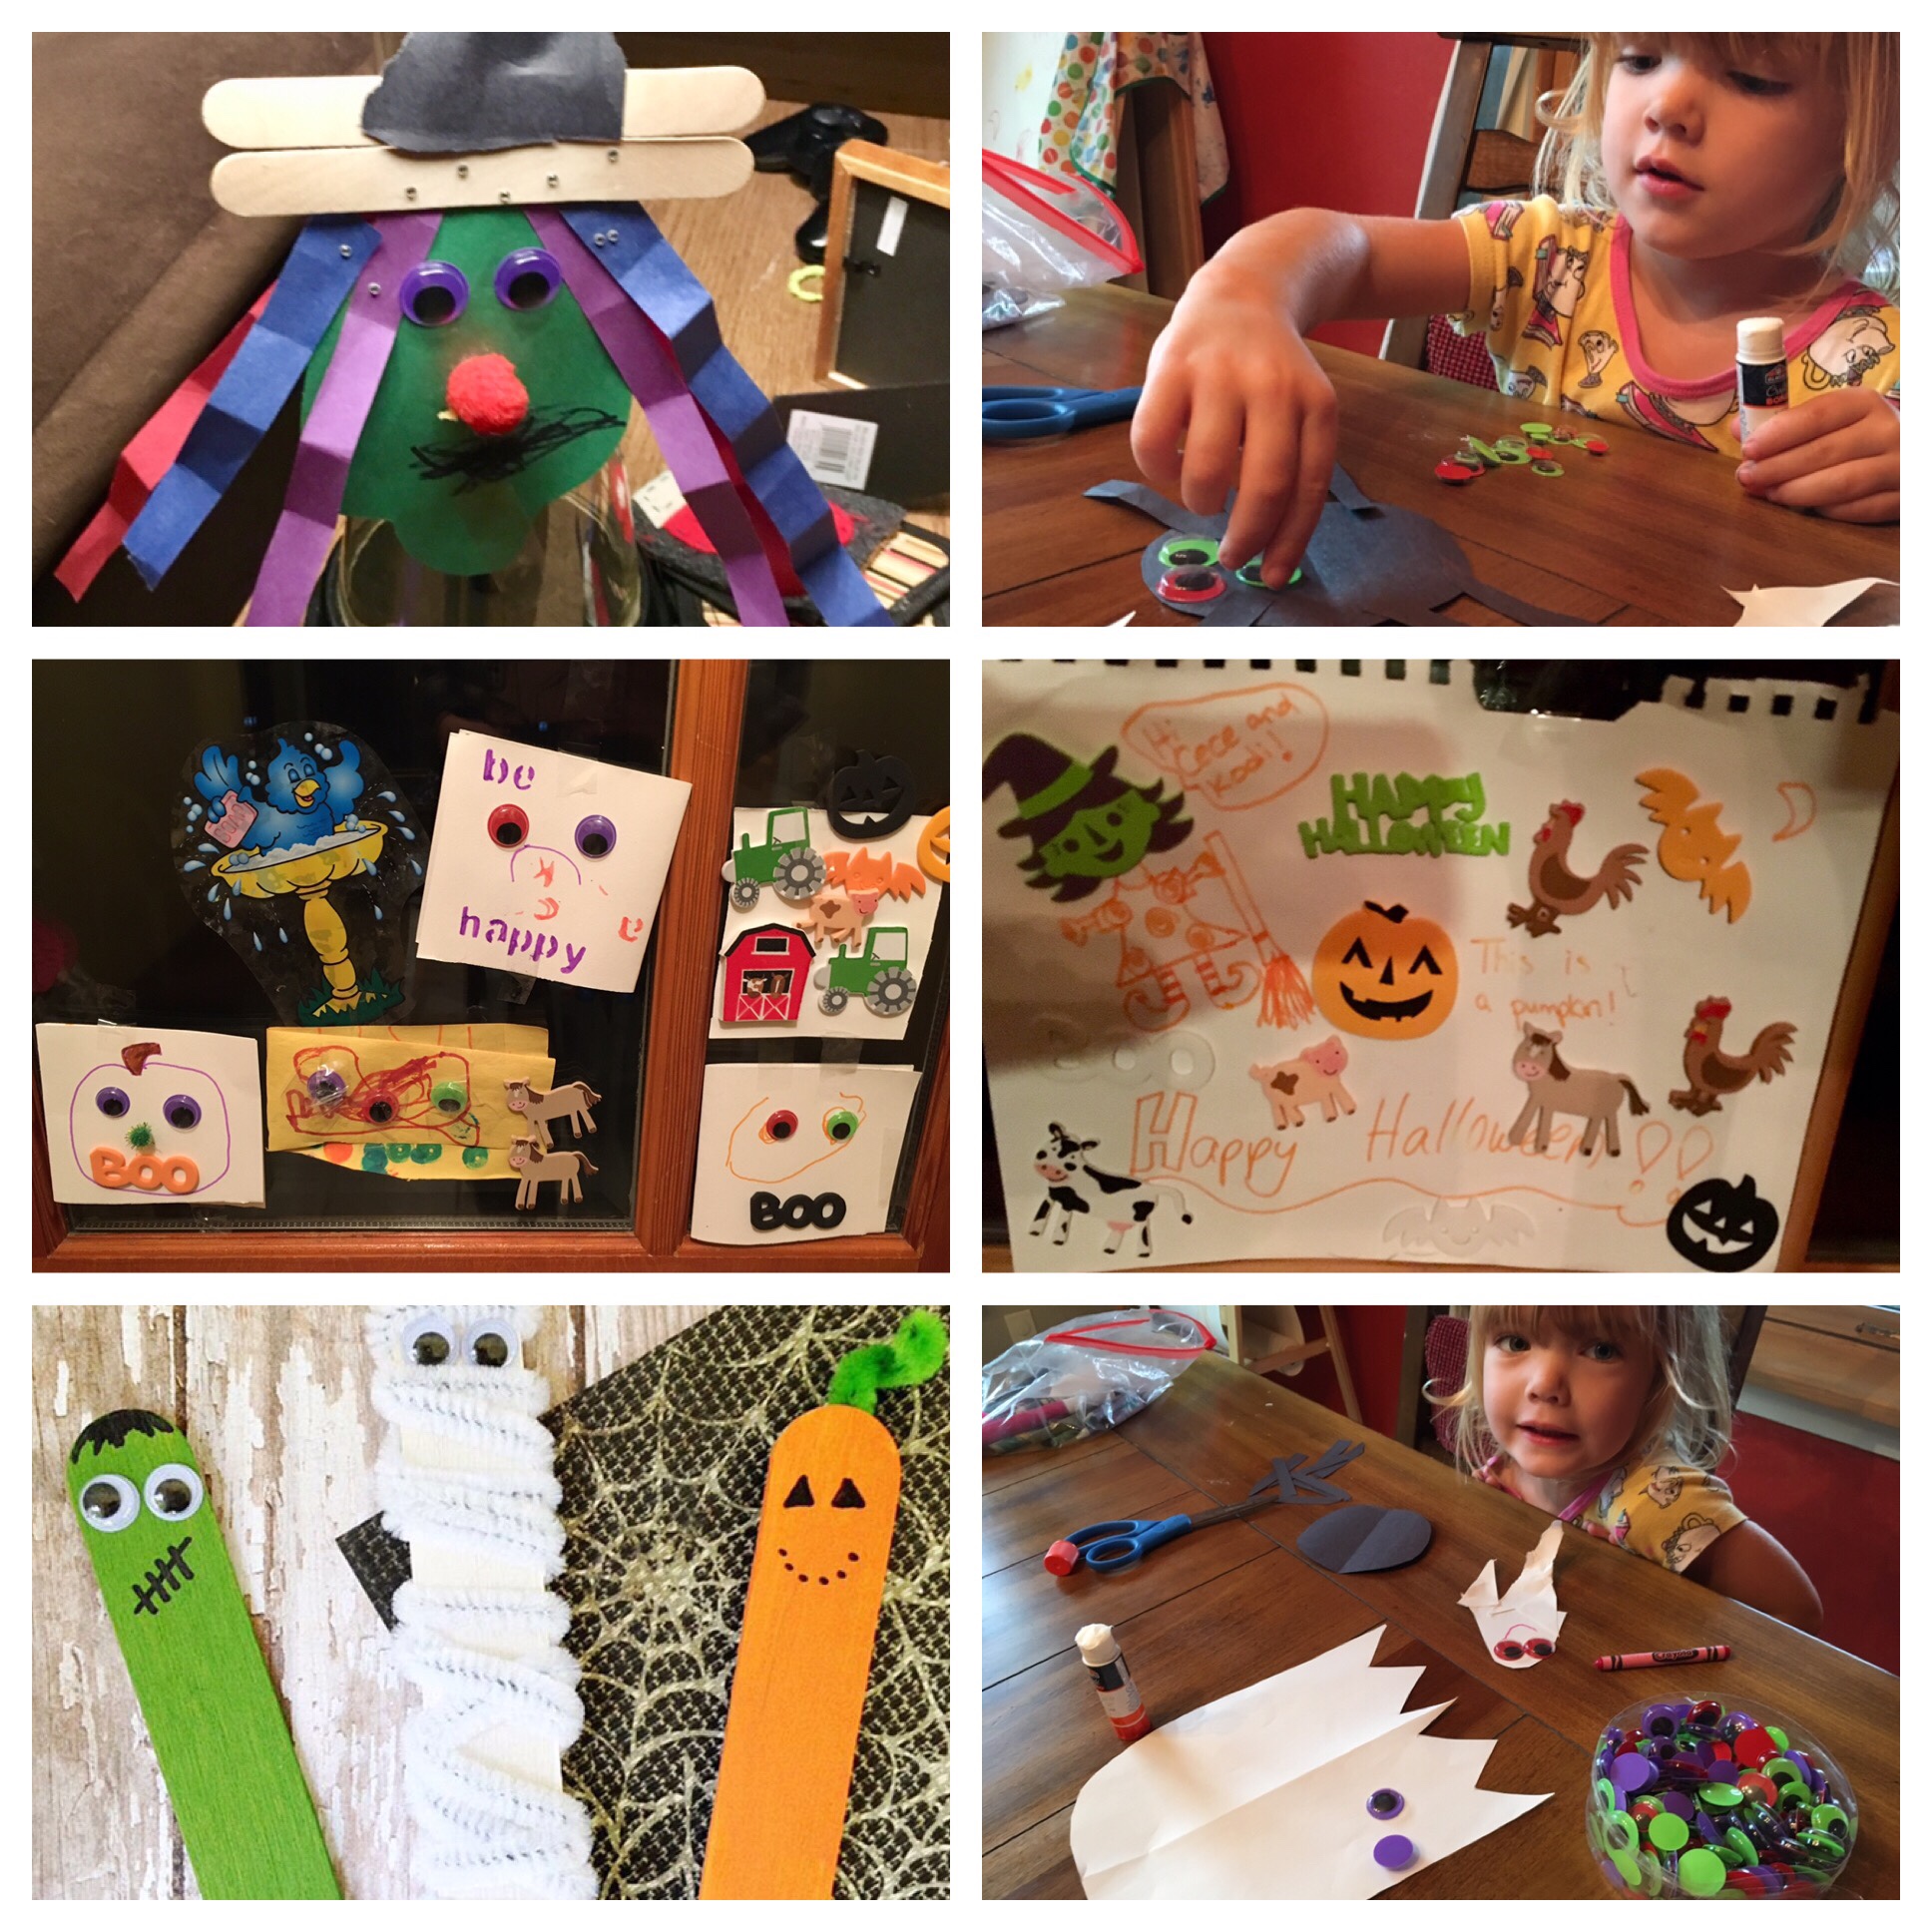
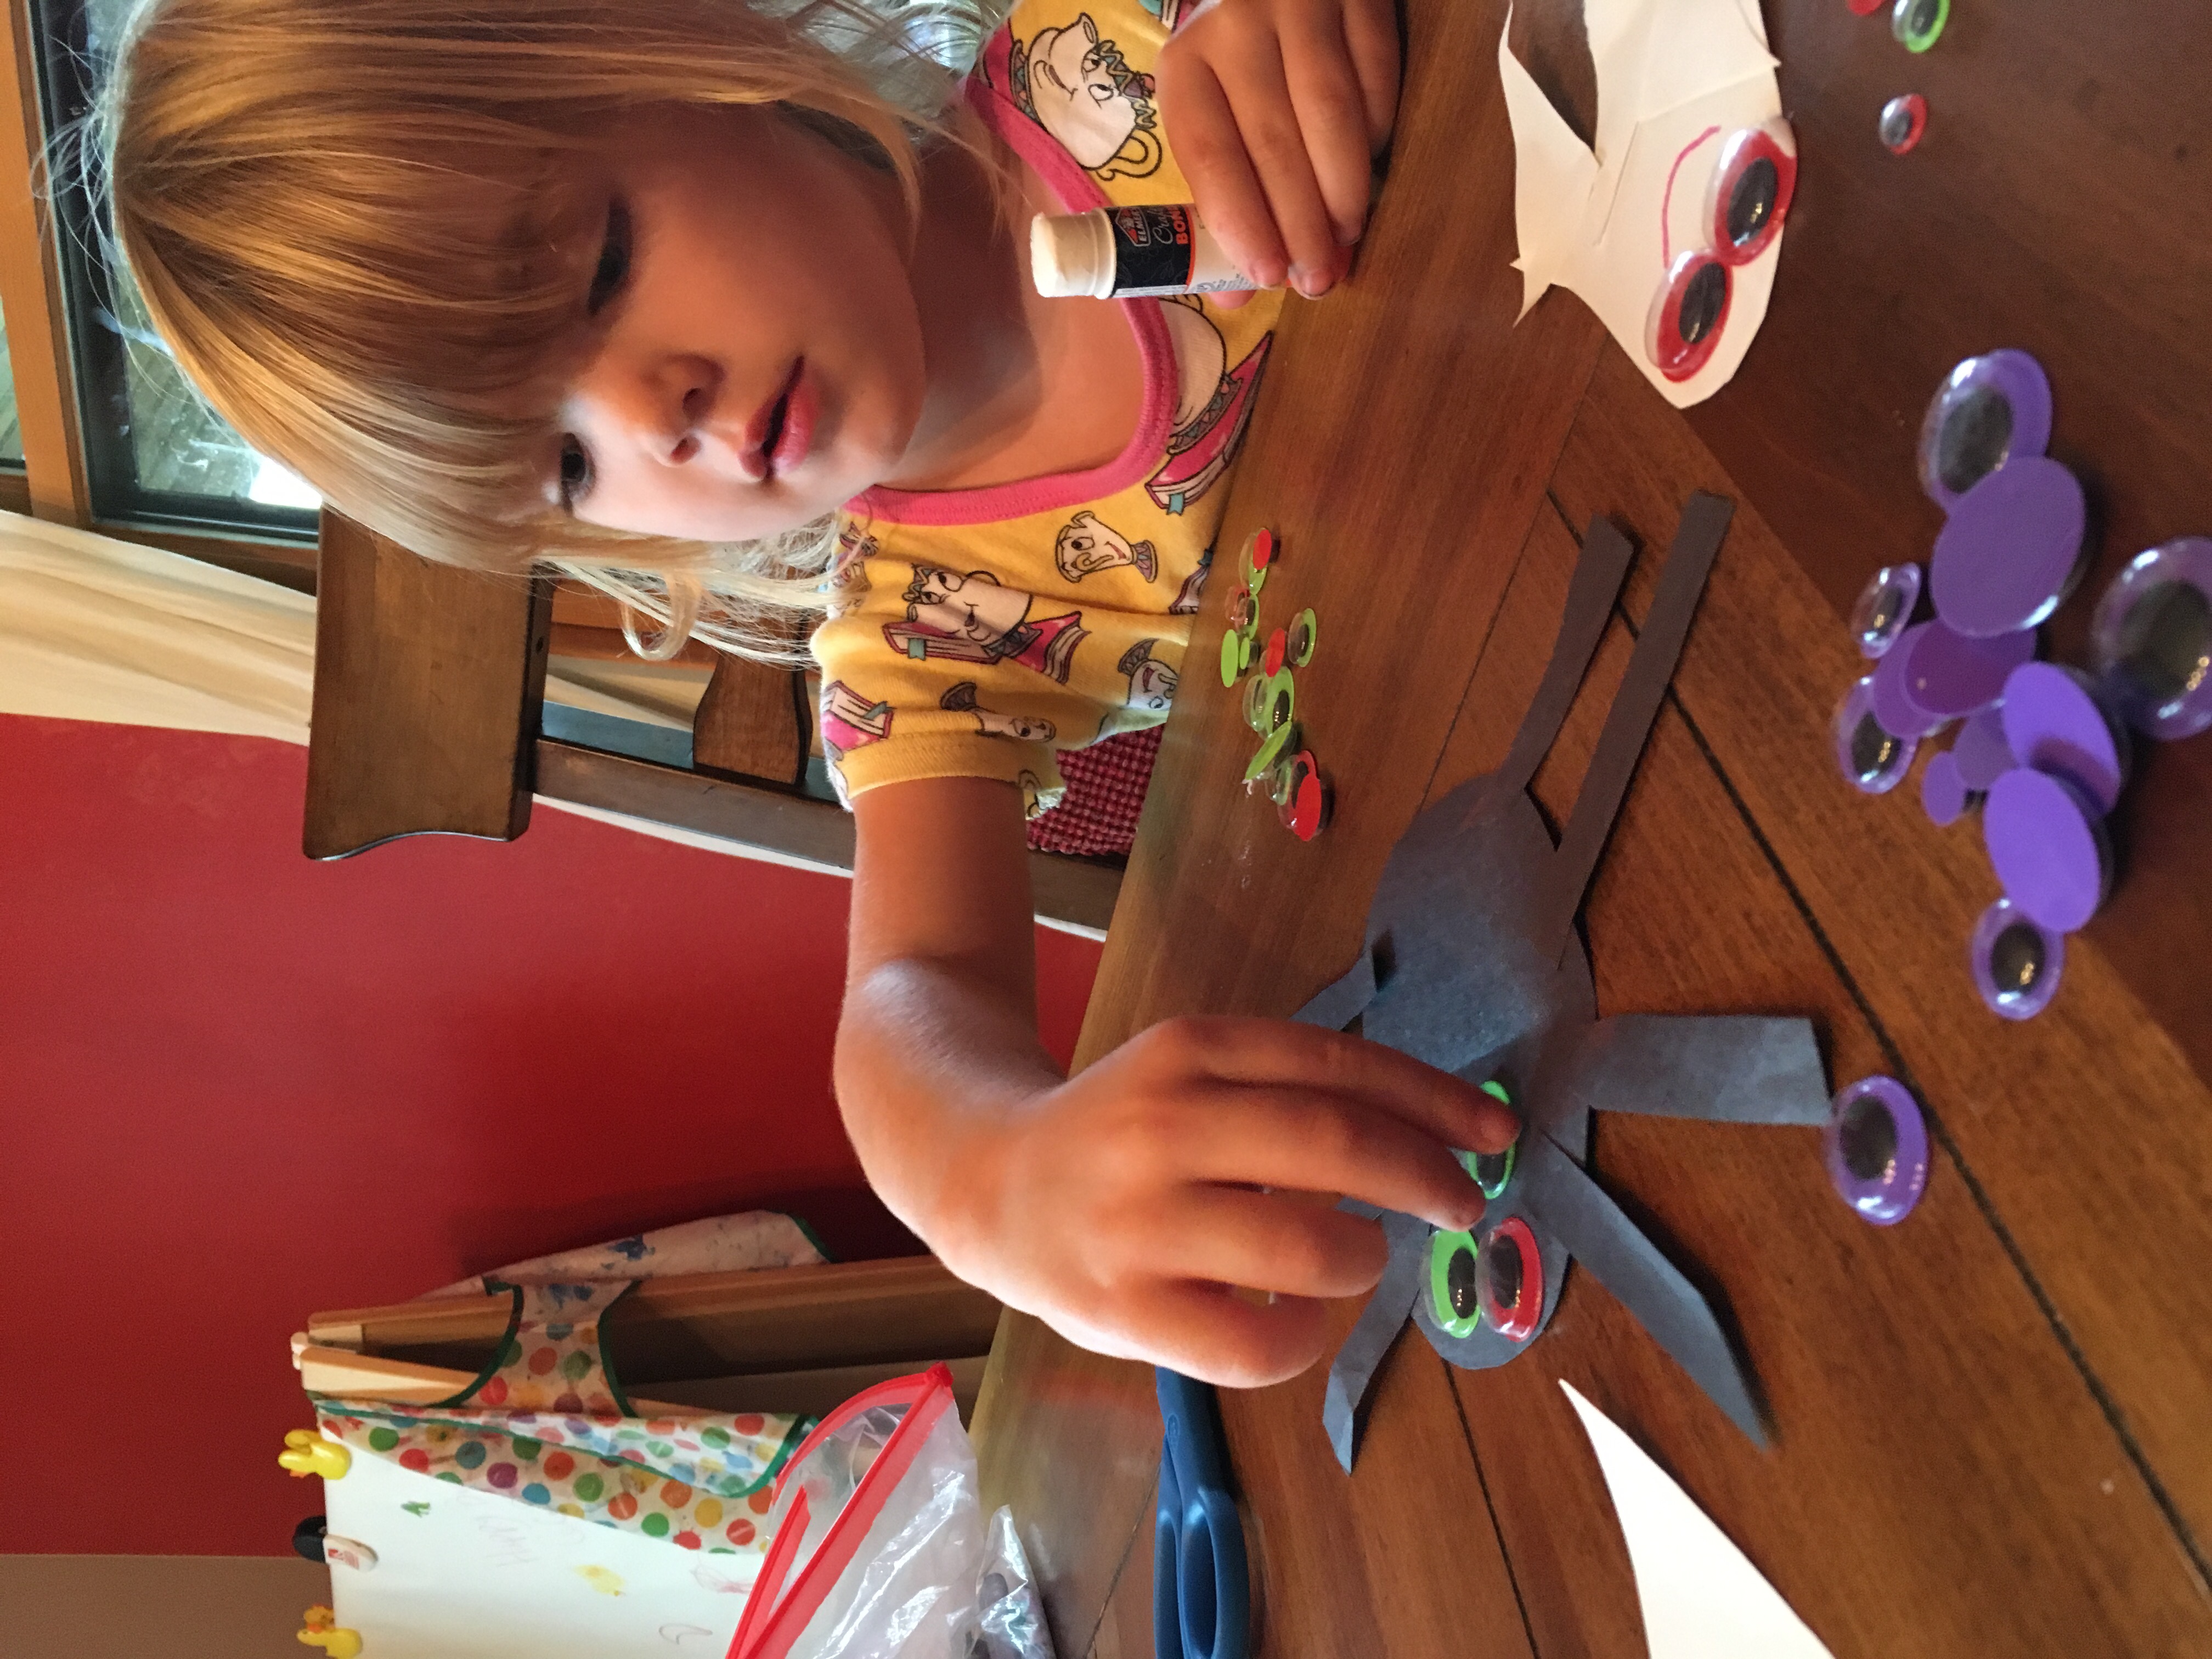
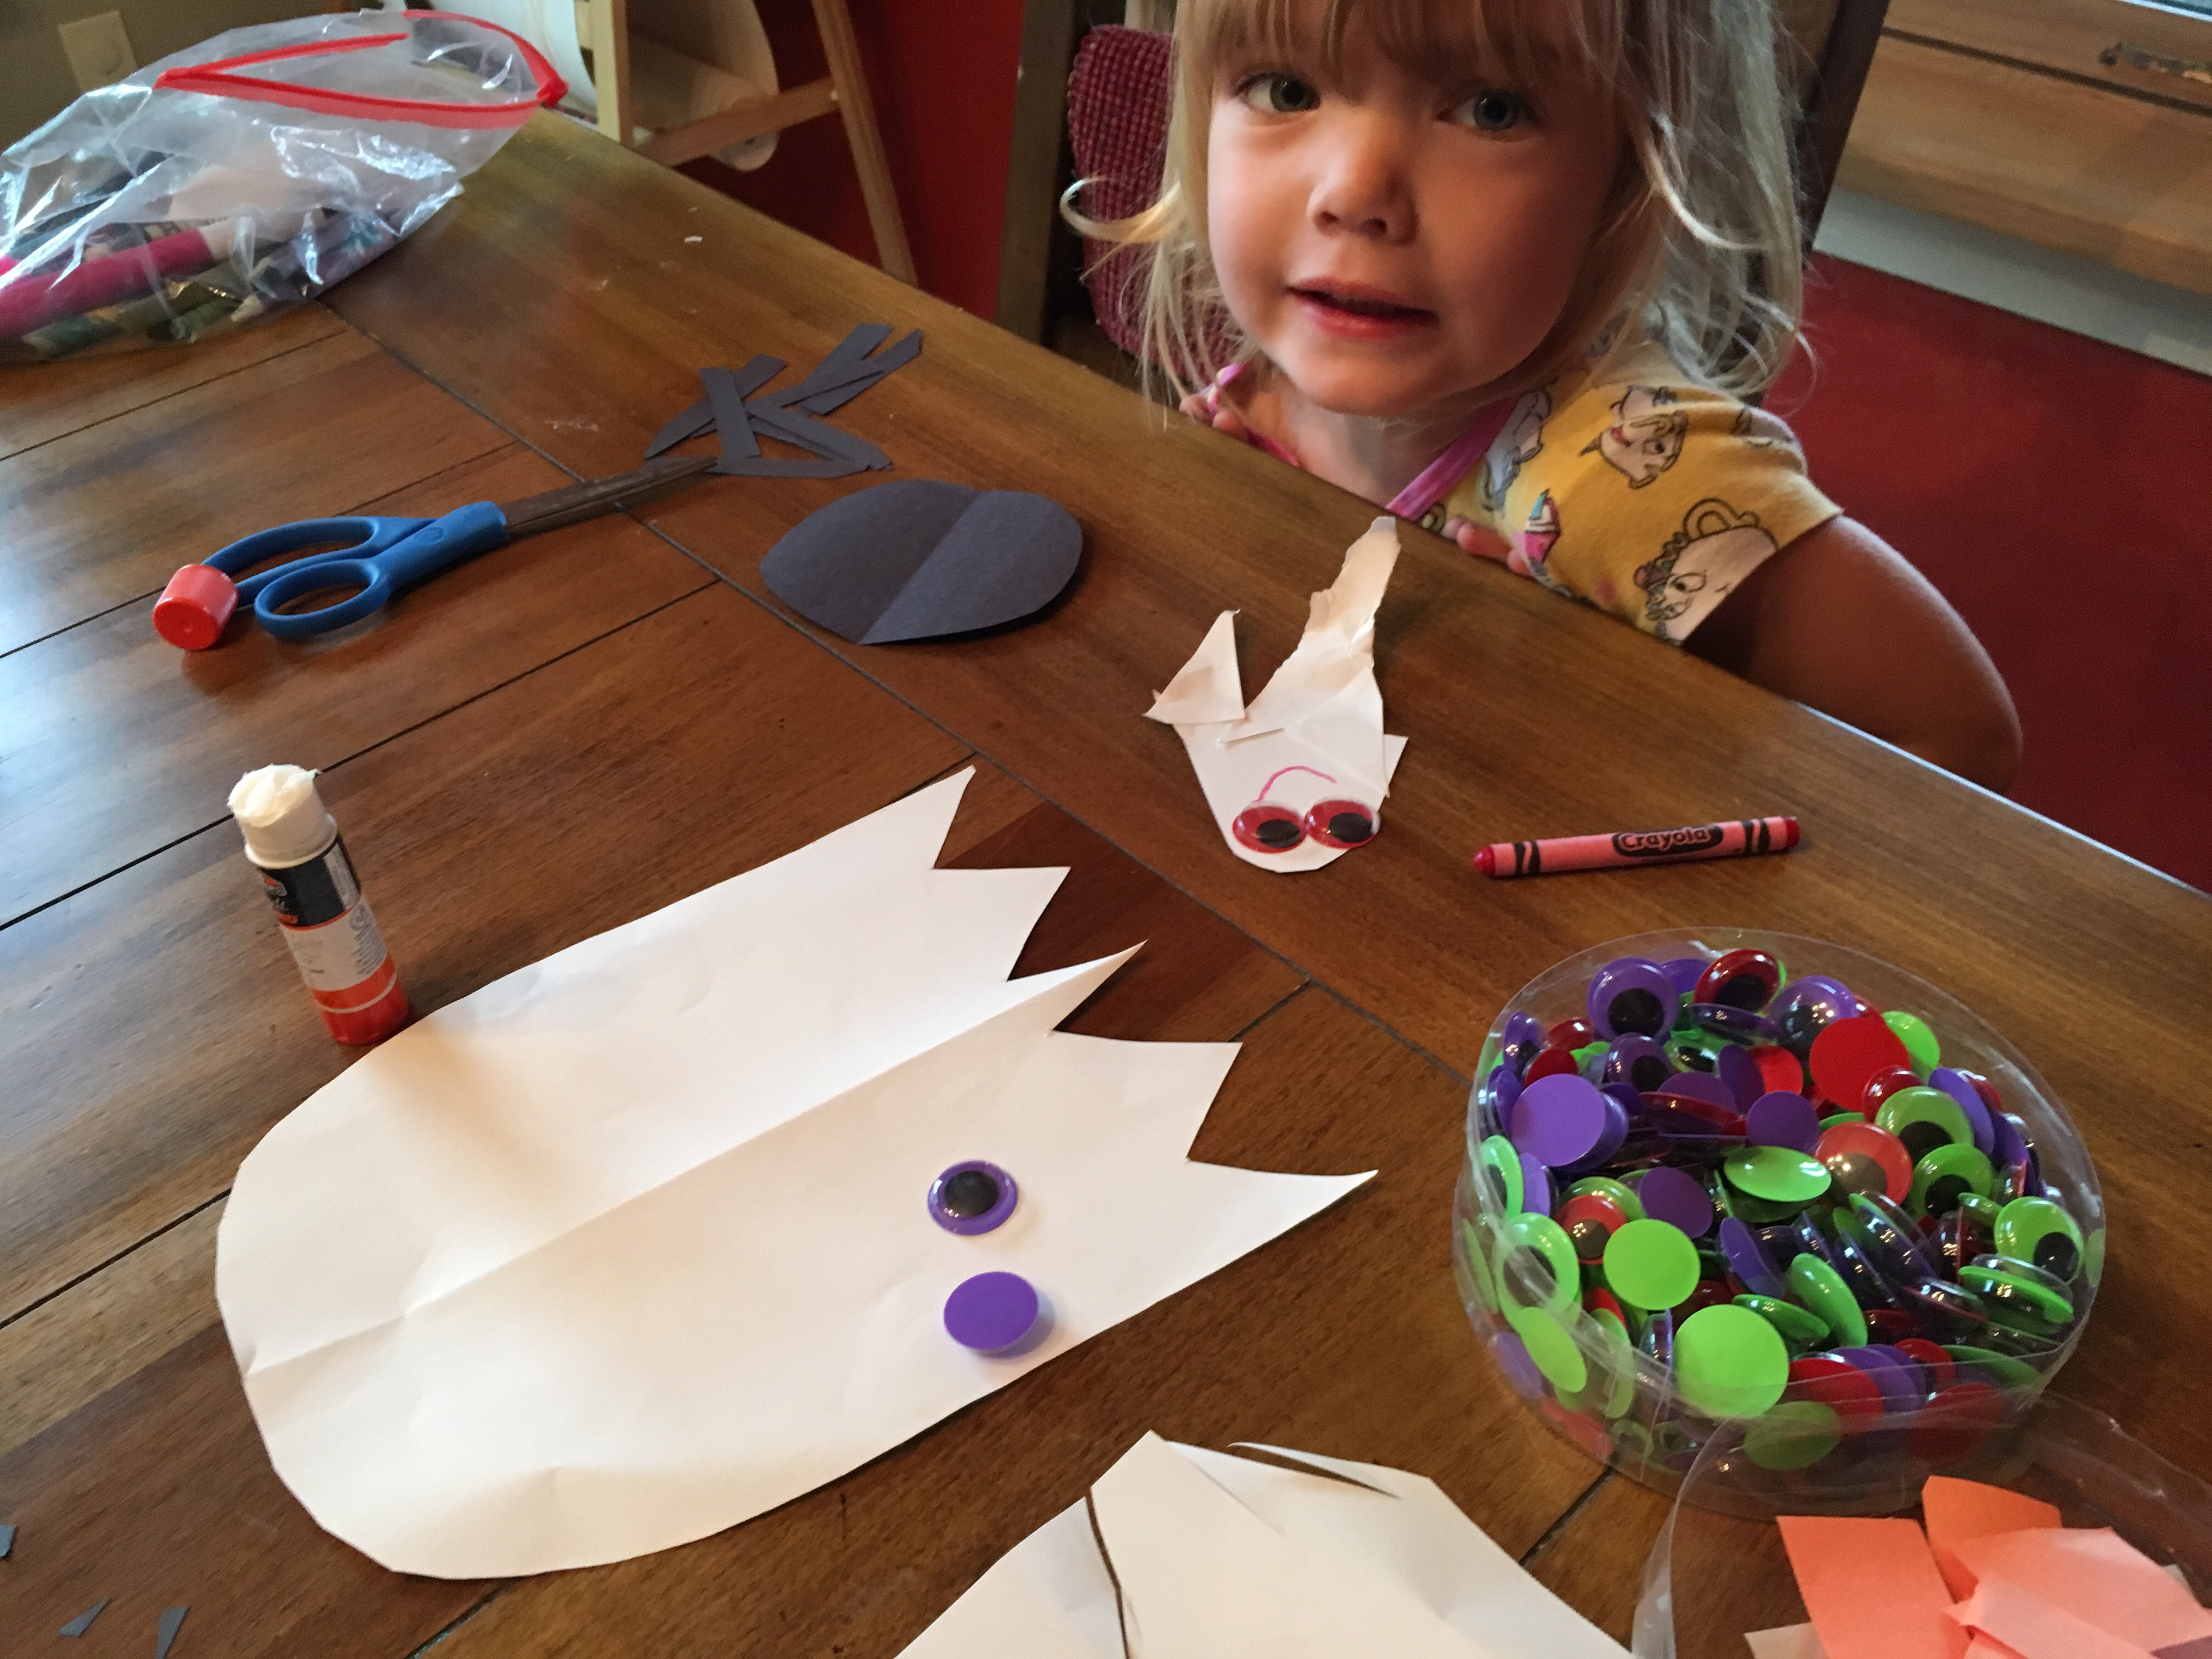
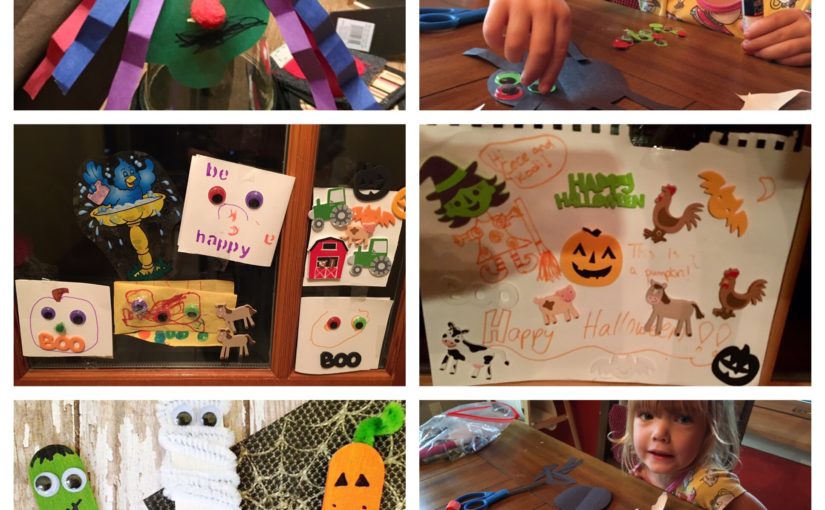
My 4 year old LOVES googley eyes, she can’t get enough! She uses glue and glue sticks and puts them on all Halloween crafts! You can have your preschool cut on lines to make spider legs, or a pumpkin stem or a ghost and you can help cut the rest!

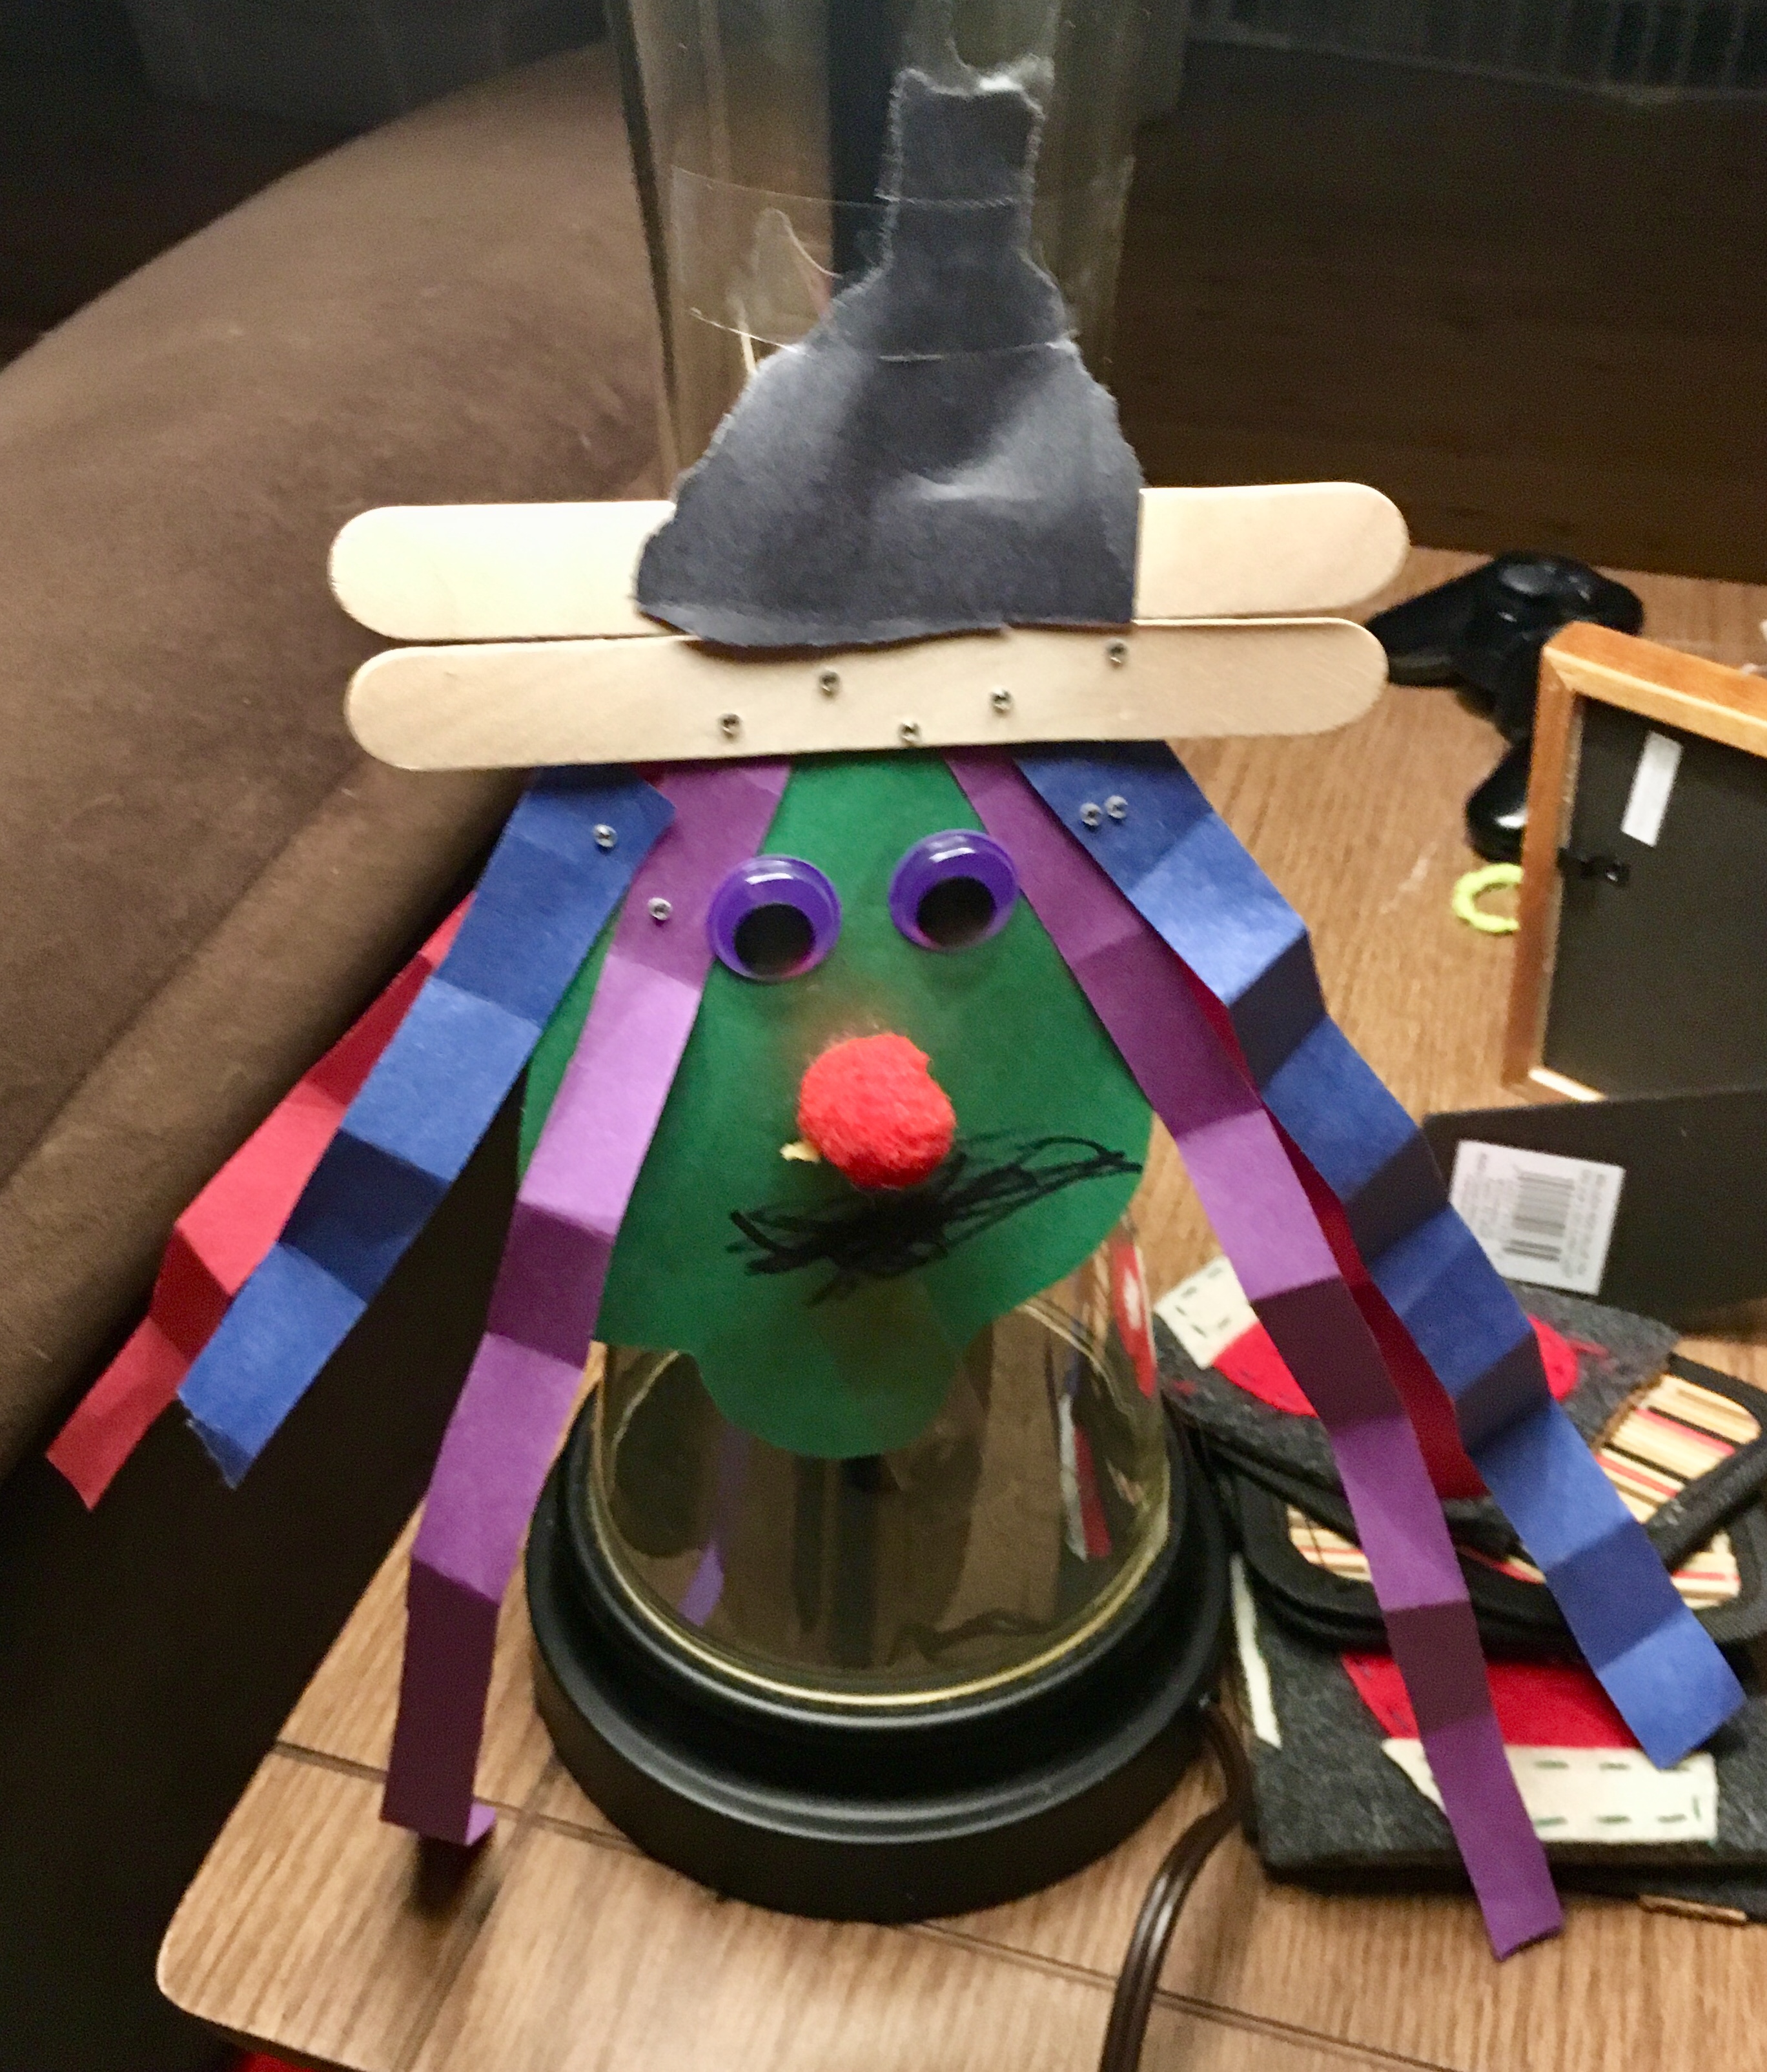
Add in crayons, markers, paint, stickers, and pom Pom’s or ribbons and it’s great!

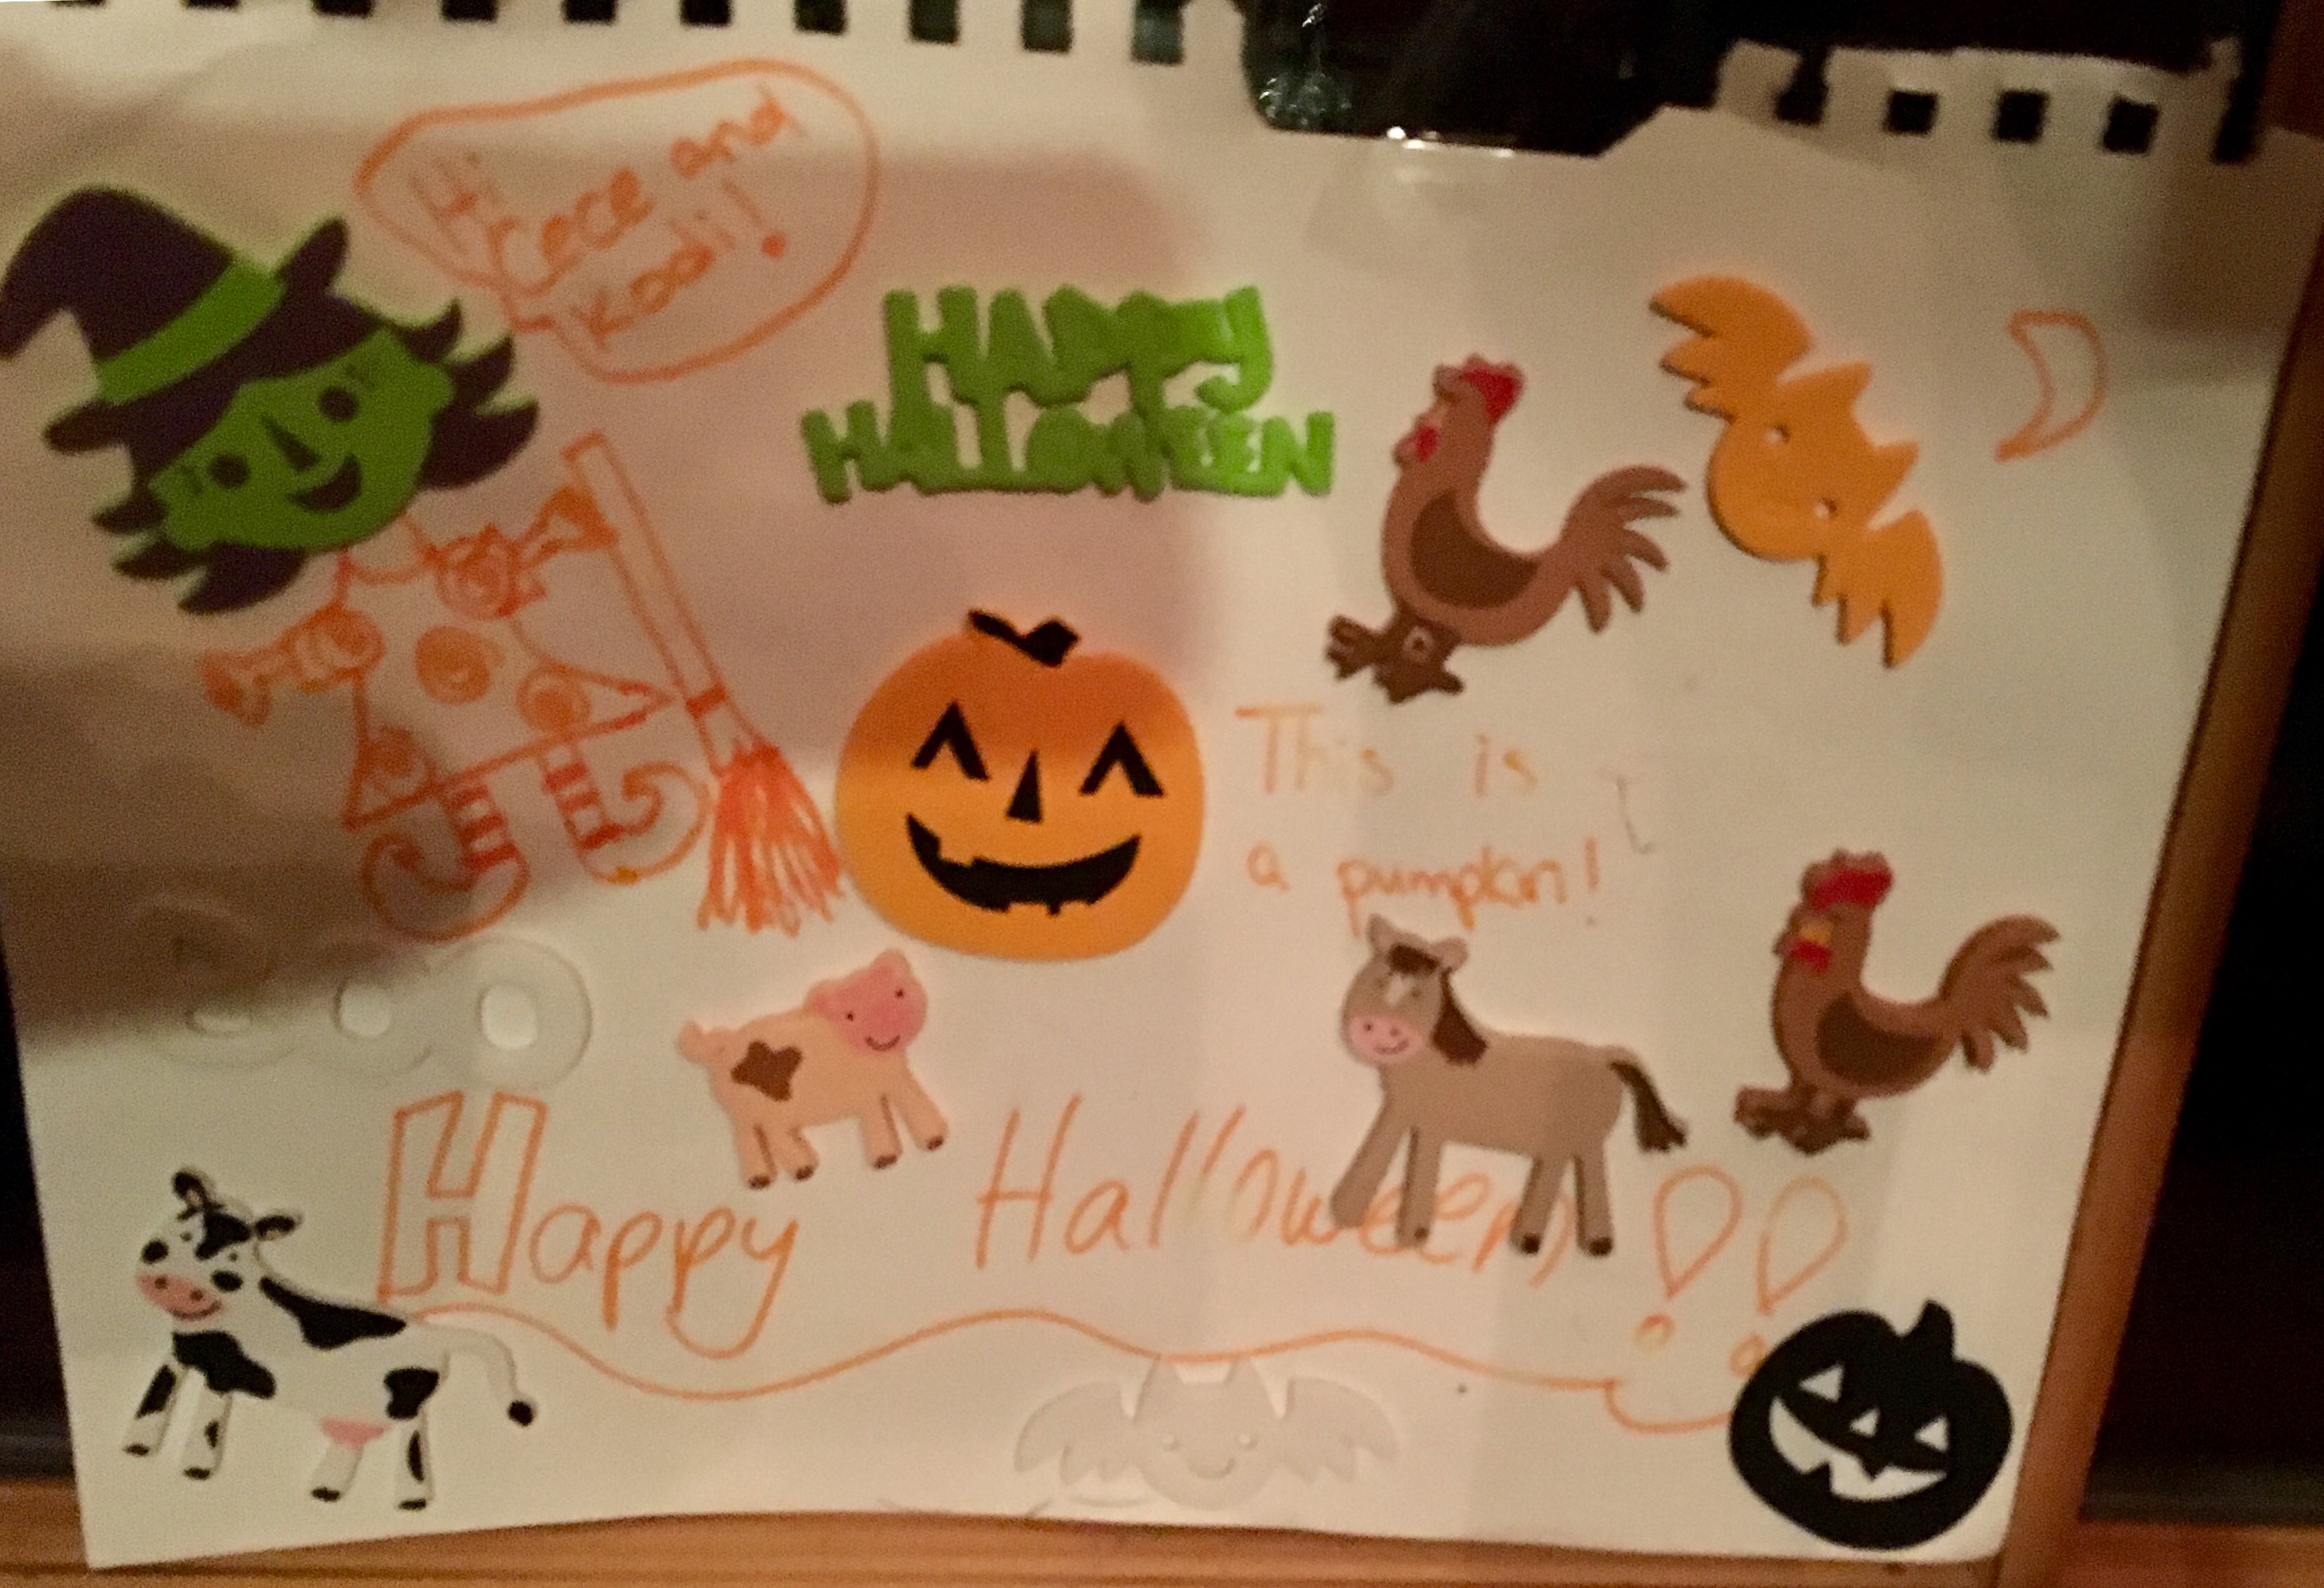
I love getting Halloween foam stickers and using them for everything!

Stencils stencils stencils! You can tape them down and color. Or you can cut out a shape and tape it down and let your younger one paint then remove it later for the cutout to show up.

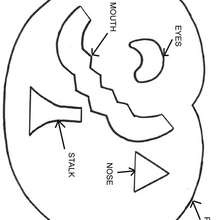
Free Halloween cut outs! clickClick here

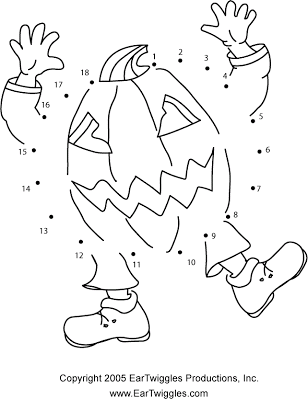
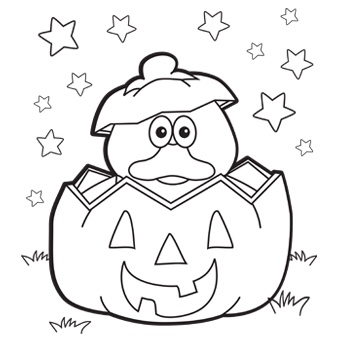
Free printable coloring pages! You can find numerous pages online searching. This one I really like…cClick here

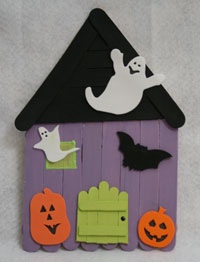
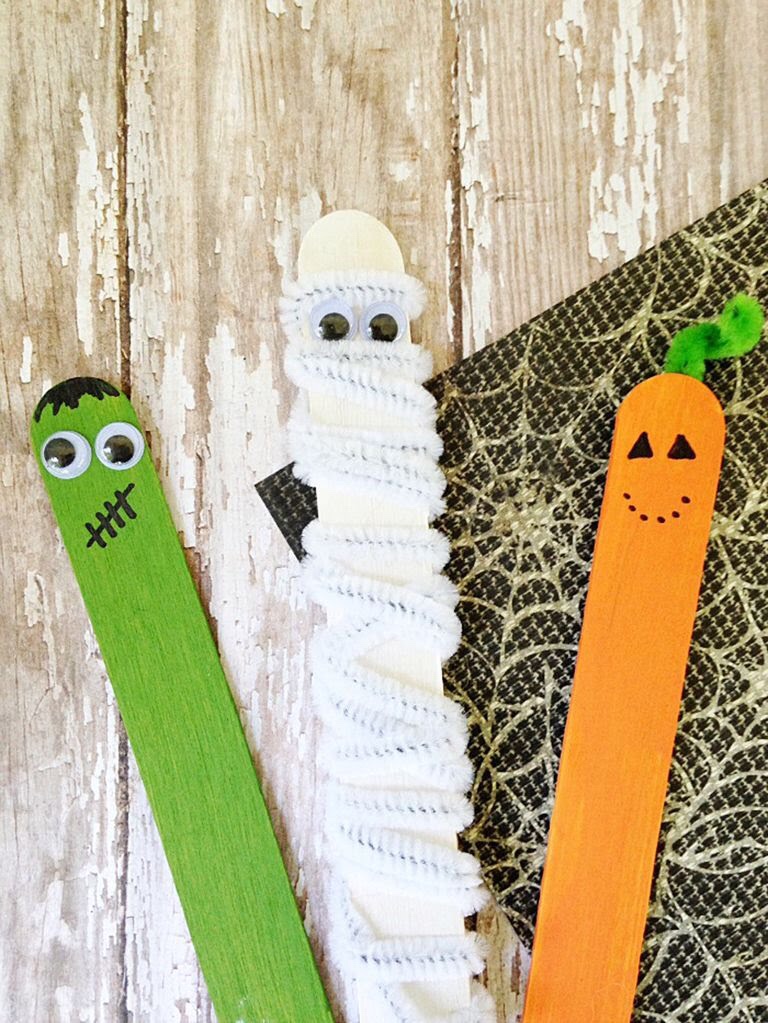
Popsicle sticks!

More Halloween crafts

Hope you enjoy these ideas! You can go to your local craft store and find lots of ideas and craft supplies and get creative!

FollowFacebookpinterestrssyoutube
ShareFacebookpinterest

Easy Peasy Paint Present

If you have a special occasion coming up and are looking for a gift from your baby, toddler, or child, I have an easy peasy present idea!

Paint…UGH PAINT! The word can invoke fear in any parent, except this is mess free! Okay, almost mess free.

My mom’s birthday was coming up and I wanted to give her something from her granddaughter. I searched online and found this simple craft. I will admit I improvised because I was missing some of the items and I will mention what worked & what didn’t as I go through the steps.

First, gather your materials. You will need:

-Paint in various colors (I used finger paint)

-cardstock (I used regular paper but it didn’t work so well)

-gallon ziplock bag

-picture frame (if you choose to use it as a gift)

-Heart stencil (or you could just draw it yourself)

-scissor

Next, put your choice of colors on your cardstock paper. Note: I didn’t use cardstock and it ripped easily and you could see through some of it. SO USE CARDSTOCK paper or thicker paper. If you are in a pinch you can use regular paper but you will have to be very gentle with it.

a

YES, I USED WAYYYYY TOO MUCH PAINT!!! My paint came jumping out of the bottle super fast, I’m really not sure how that happened (haha). It takes longer to dry with all that paint. It took days for it to dry when it should’ve taken overnight.

Take your cardstock paper and put it in a gallon sized ziplock. This insures your project will be mostly mess free! If you need to cut down the paper a little, go for it.b

Now it’s time for fun!!! Let your child smear the paint!

c

Your child will love smearing the paint and you will love that it’s mess free!

d

When you like the smeared look your child has made, carefully take it out of the bag and leave it in a safe place to dry.

e

Look at all of that paint!!! TOOO MUCH! If you put way too much on like me, you can either dab it off with a paper towel or give it days to dry.

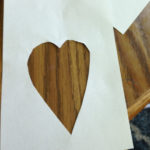
Here’s where you can vary the project. I drew a heart on a new piece of paper (use cardstock) and cut it out. You can pick any shape you like! If you are super crafty you could even cut out a name or shape of an animal. Cut down the paper to whatever size you would like it to fit. I cut it down to fit a frame. However, you could also make this into wall art, a card, or anything you can imagine!

i.JPG

Place the cut out on top of your painted paper. I moved mine around to find which colors I wanted to show. Cut the back painted piece to fit the frame. If you would like to write a message on the paper, go for it! Put in it a frame or glue and fold for a card!

j

Easy Peasy Paint Present! Note: I used regular paper and you can see that there are places you can see through the top paper. I highly recommend cardstock or thicker paper.

This project is perfect for any occasion!!! This could be done for birthdays, anniversaries, and holidays.

I’m thinking green colors with a Christmas tree or wreath cutout for Christmas! You could also use the paint bag trick for ornaments. Instead of using a top layer, just let the painted paper dry, cut out a tree shape, hole punch and use a ribbon and wallah!

box celebrate celebration christmas
Photo by Pixabay on Pexels.com
FollowFacebookpinterestrssyoutube
ShareFacebookpinterest

Salt dough Easter crafts!

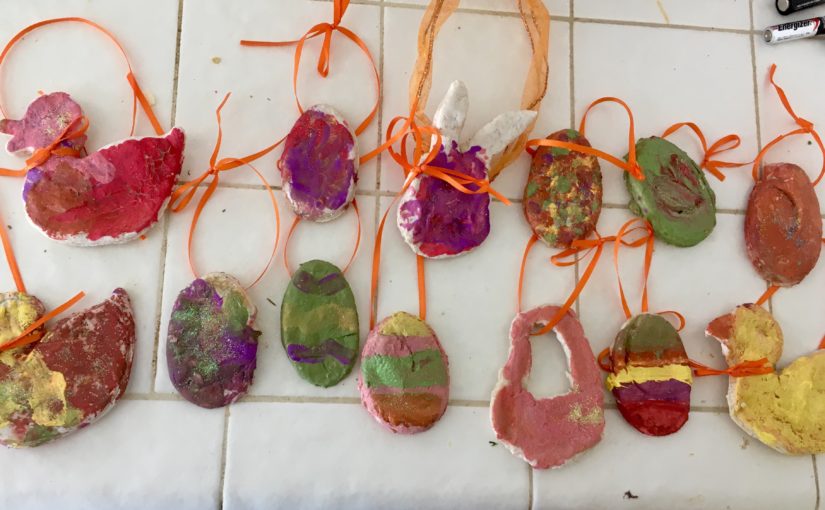
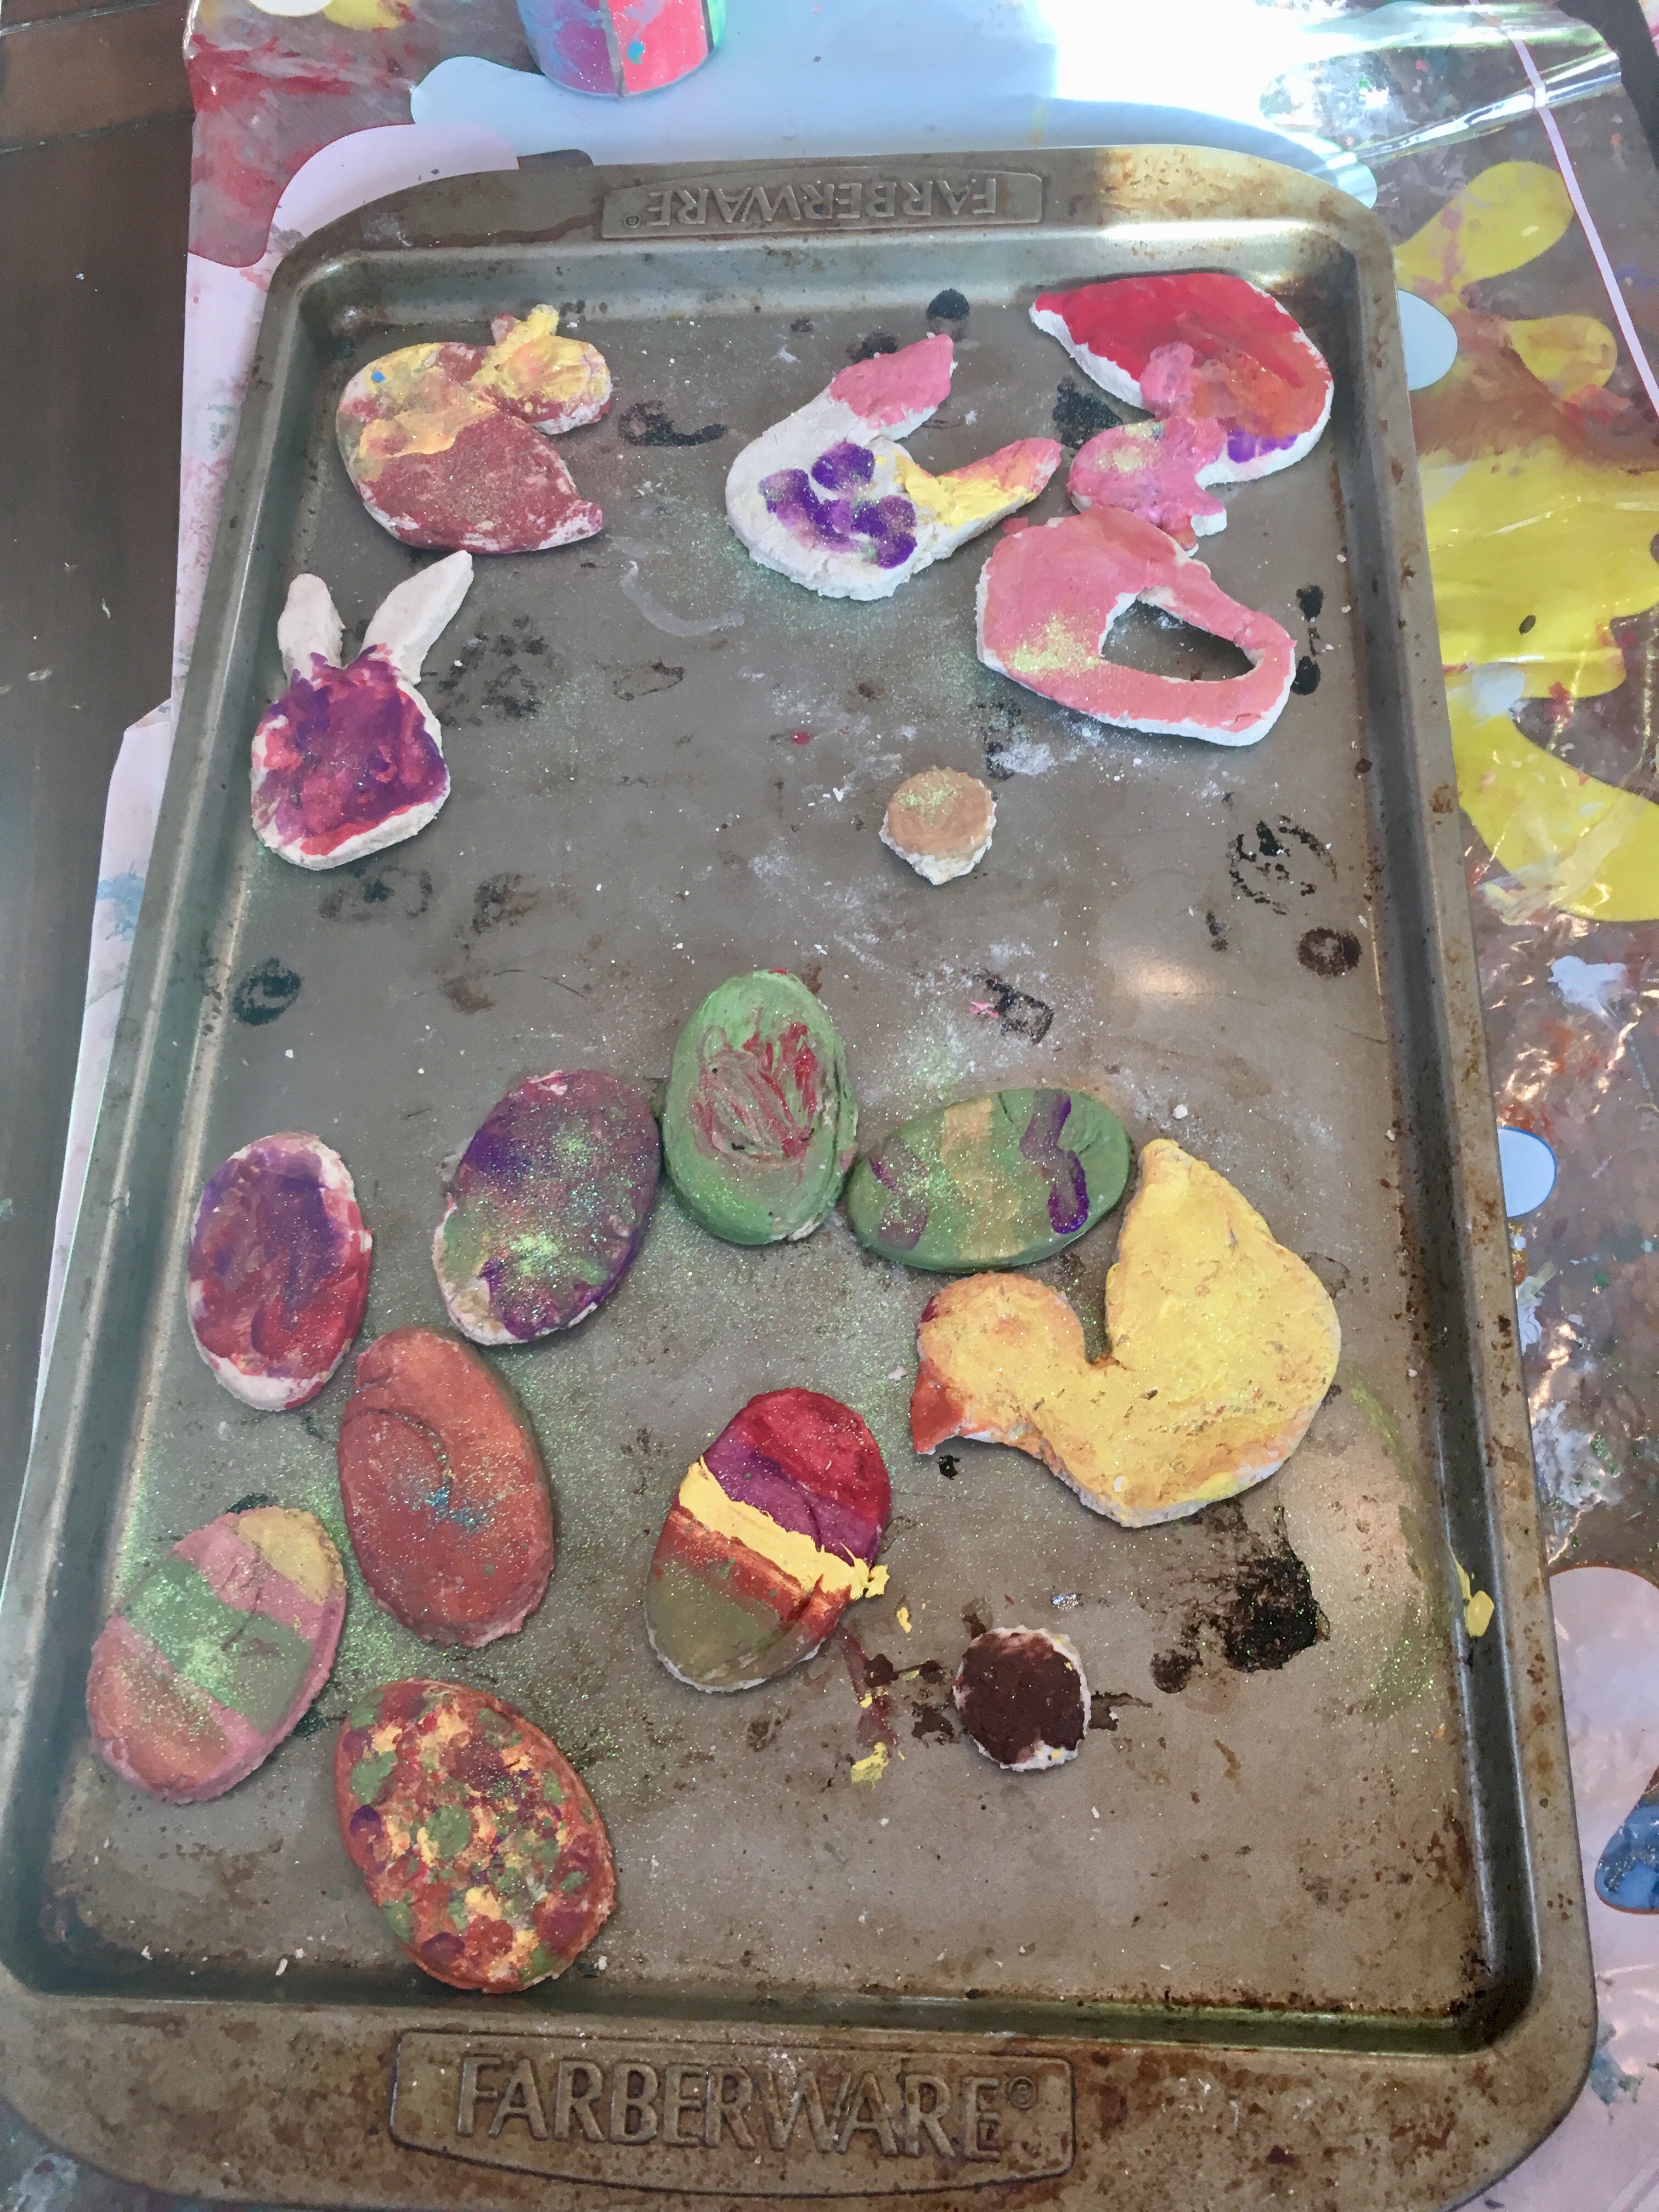
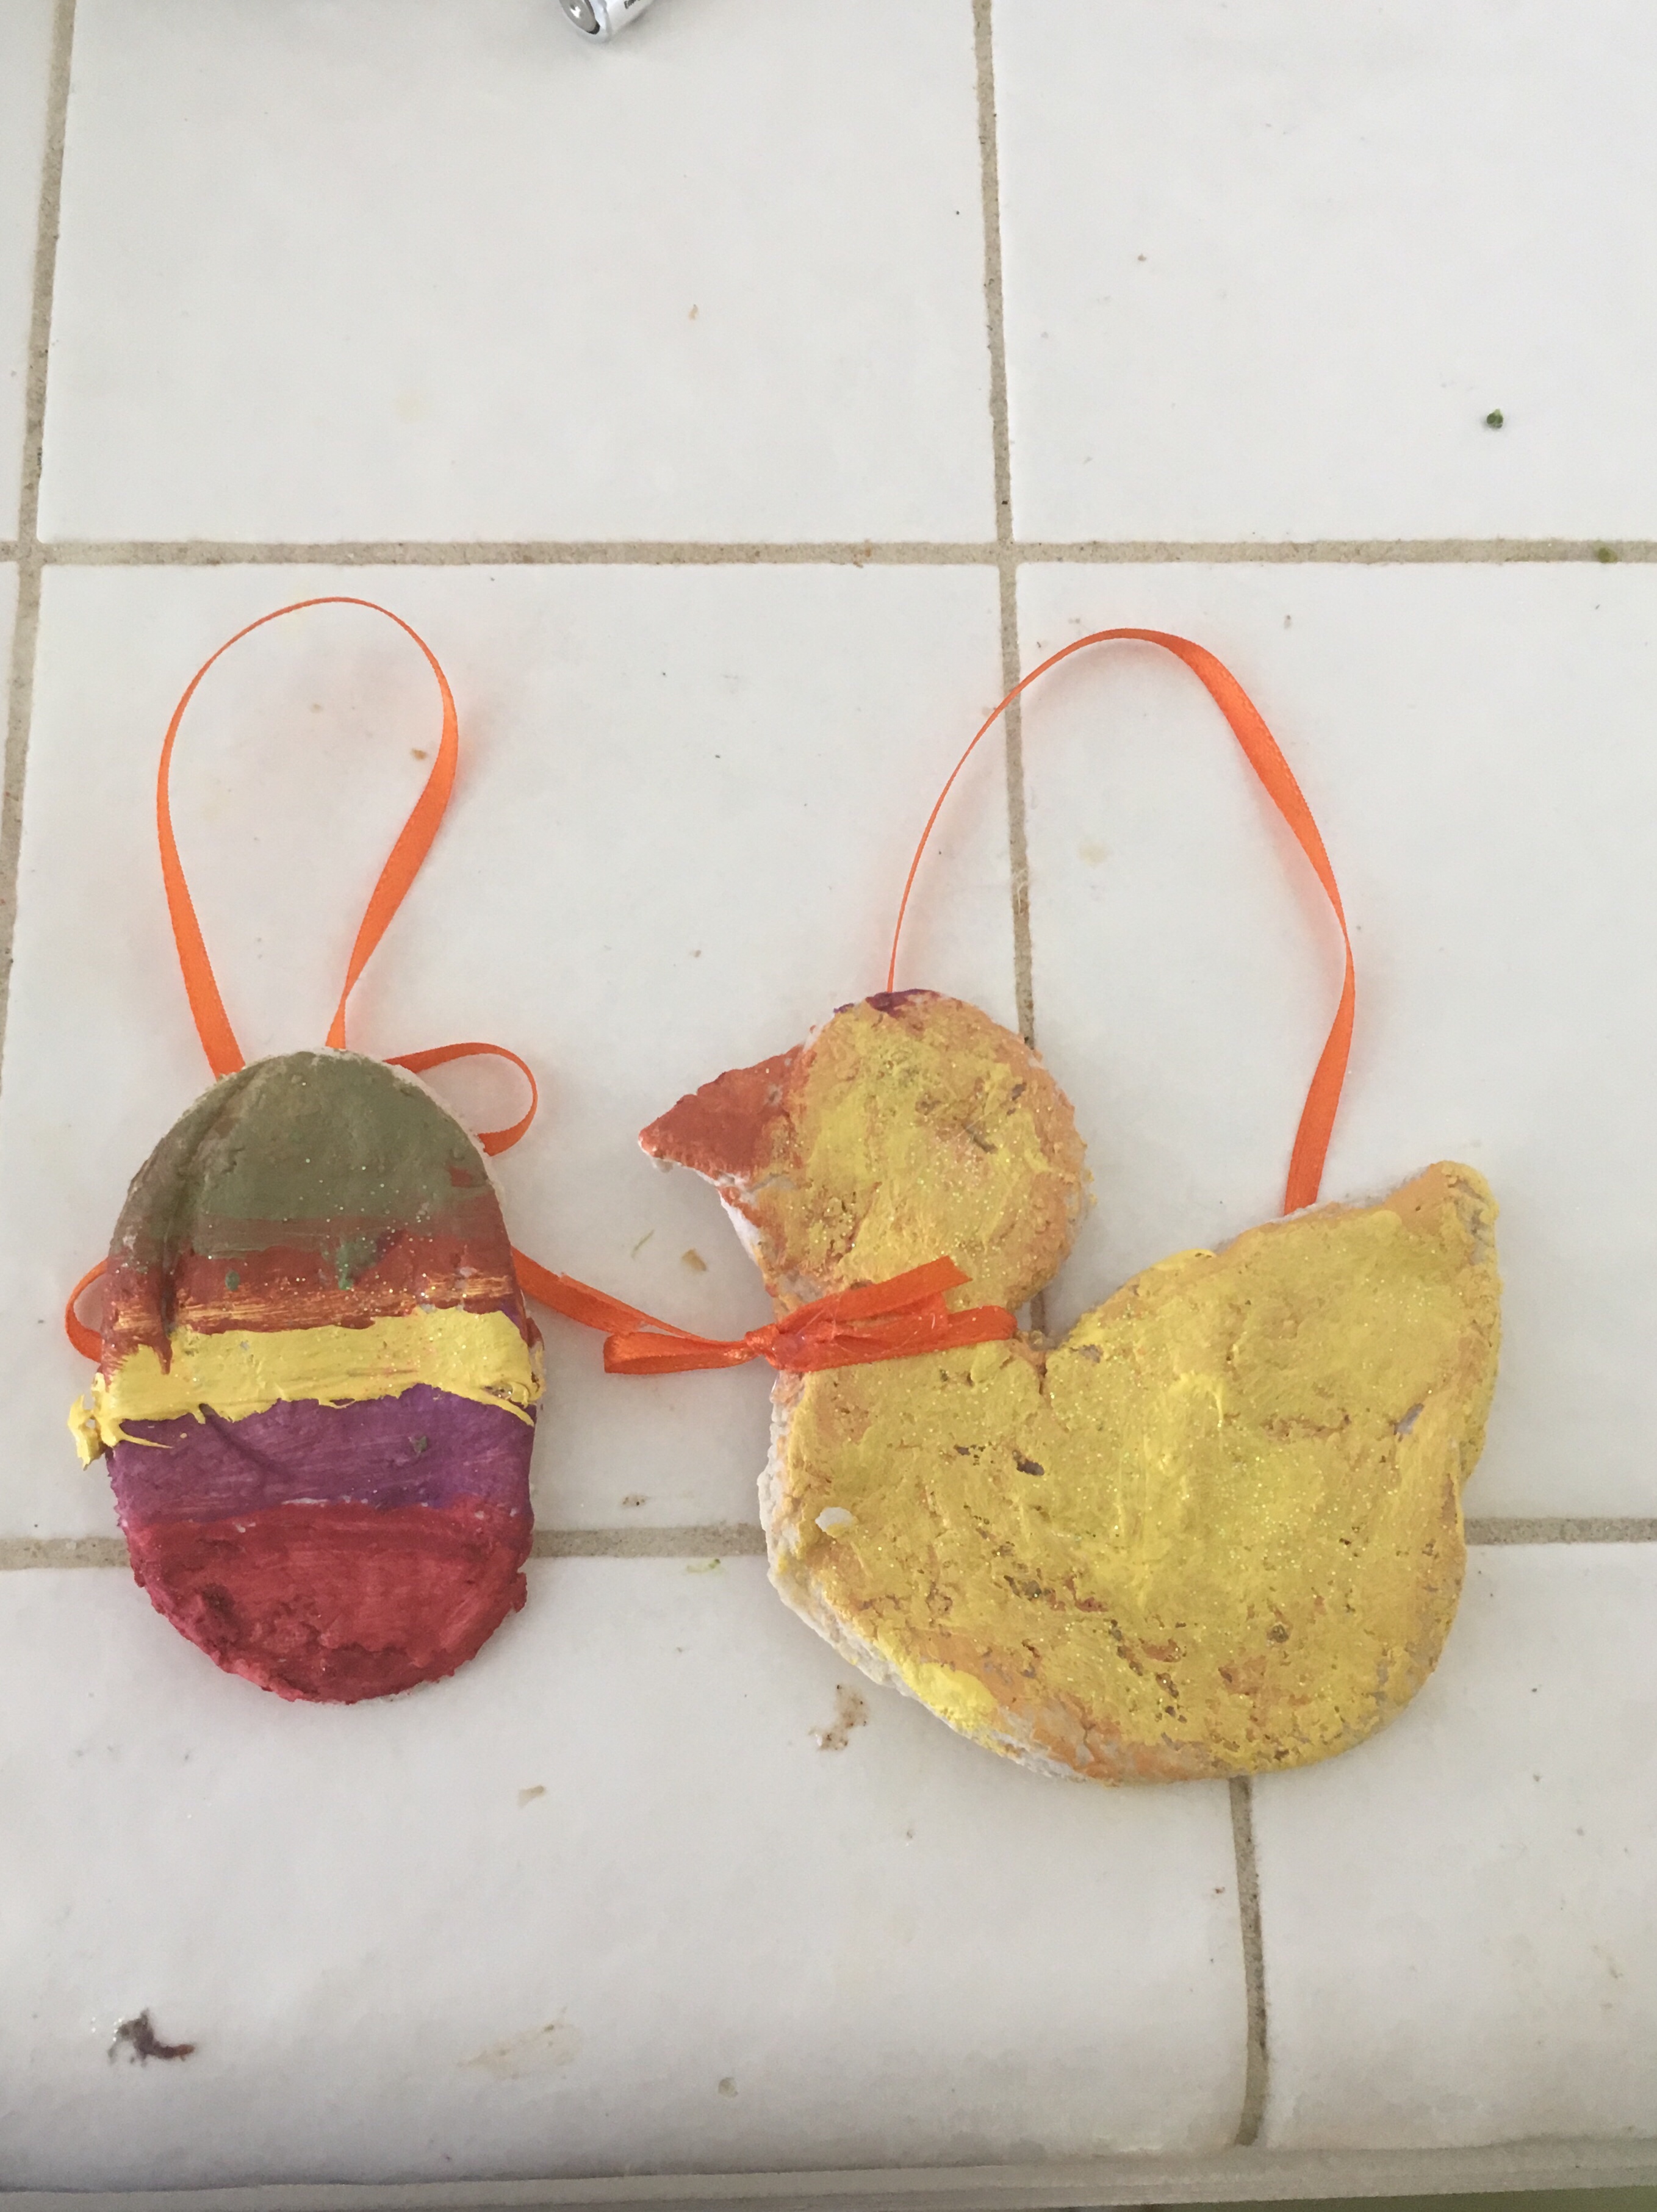
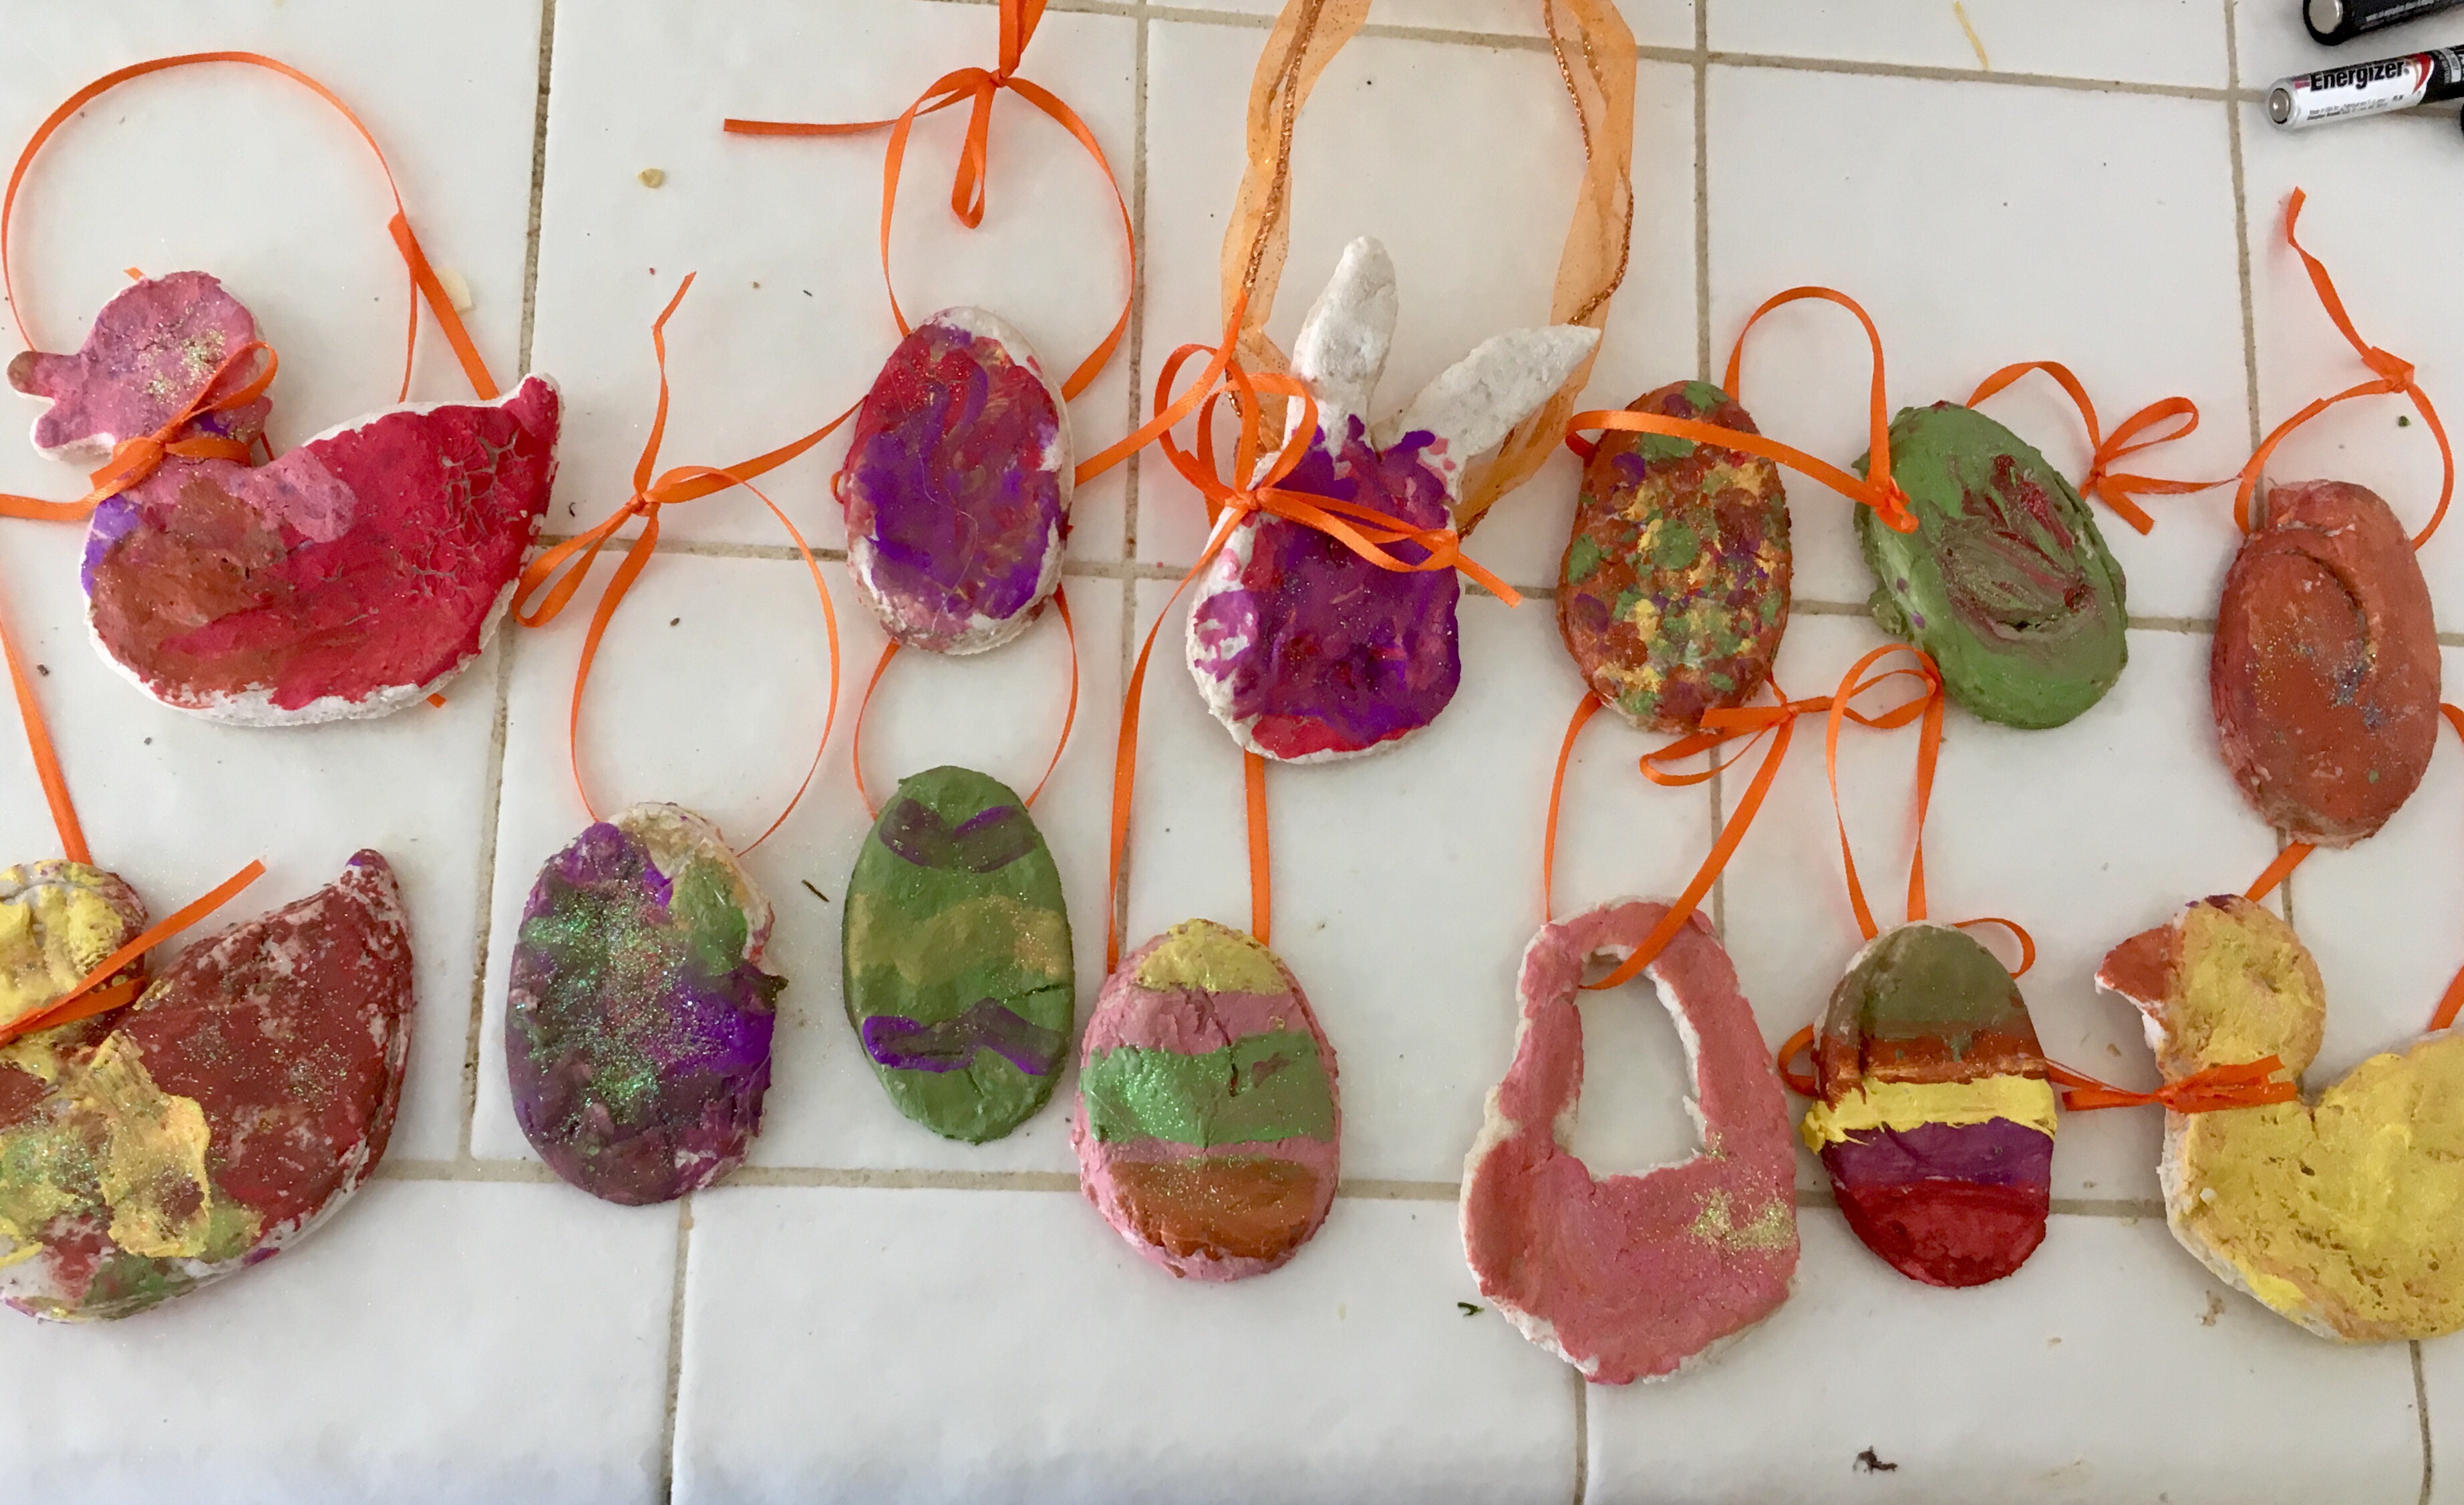
My daughter loves painting! However, she was growing tired of painting paper. So this year, we made cookie cutter Easter shapes! Actually, we had a duck and used a half of a plastic egg as a cutout. I also used a knife to create bunny faces and baskets.

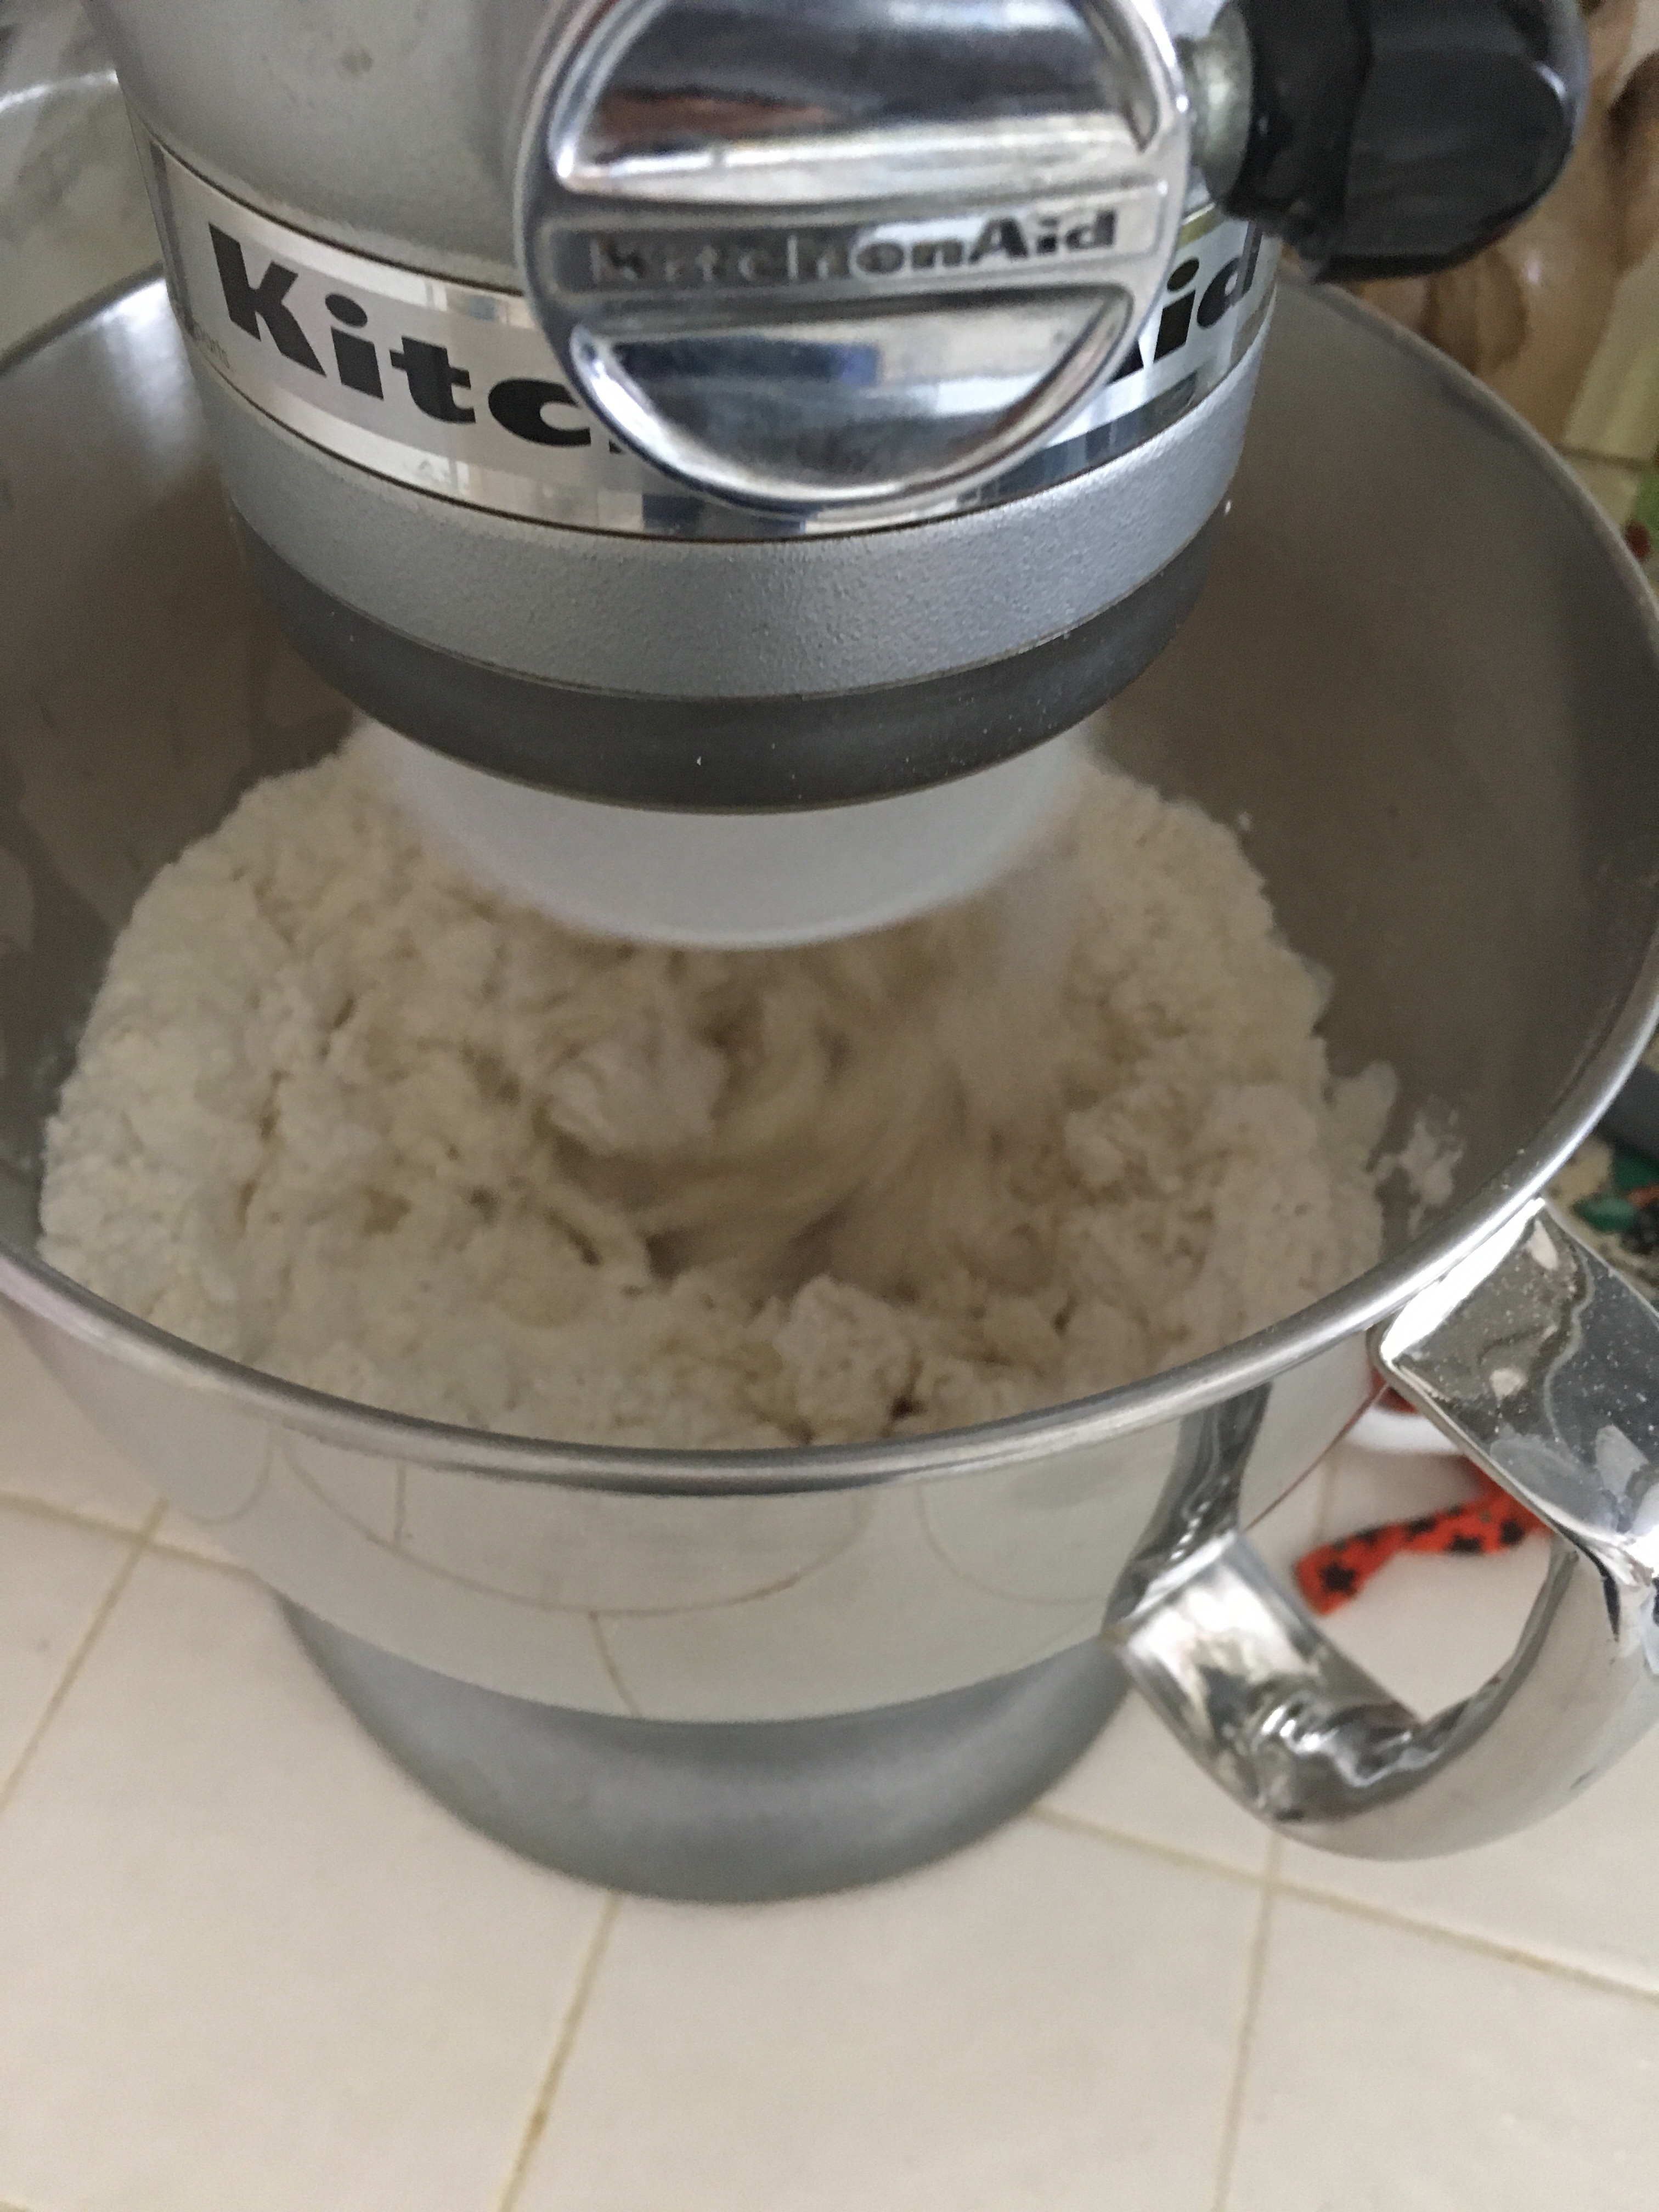
First things first, you have to make the salt dough! This is super simple. all you need is salt, flour, and warm water. You can knead the dough by hand, or use a mixer with the kneading attachment like I did.

So here is the recipe I used:

*this made a lot more than I expected! So you may want to make only half!

•4 cups all purpose flour

•1 cup salt

•1 3/4 cup warm water (add more of its too dry)

Combine the ingredients and knead for about 6 minutes. If it’s not forming into a nice soft ball add more water (or if it’s too sticky add more flour).

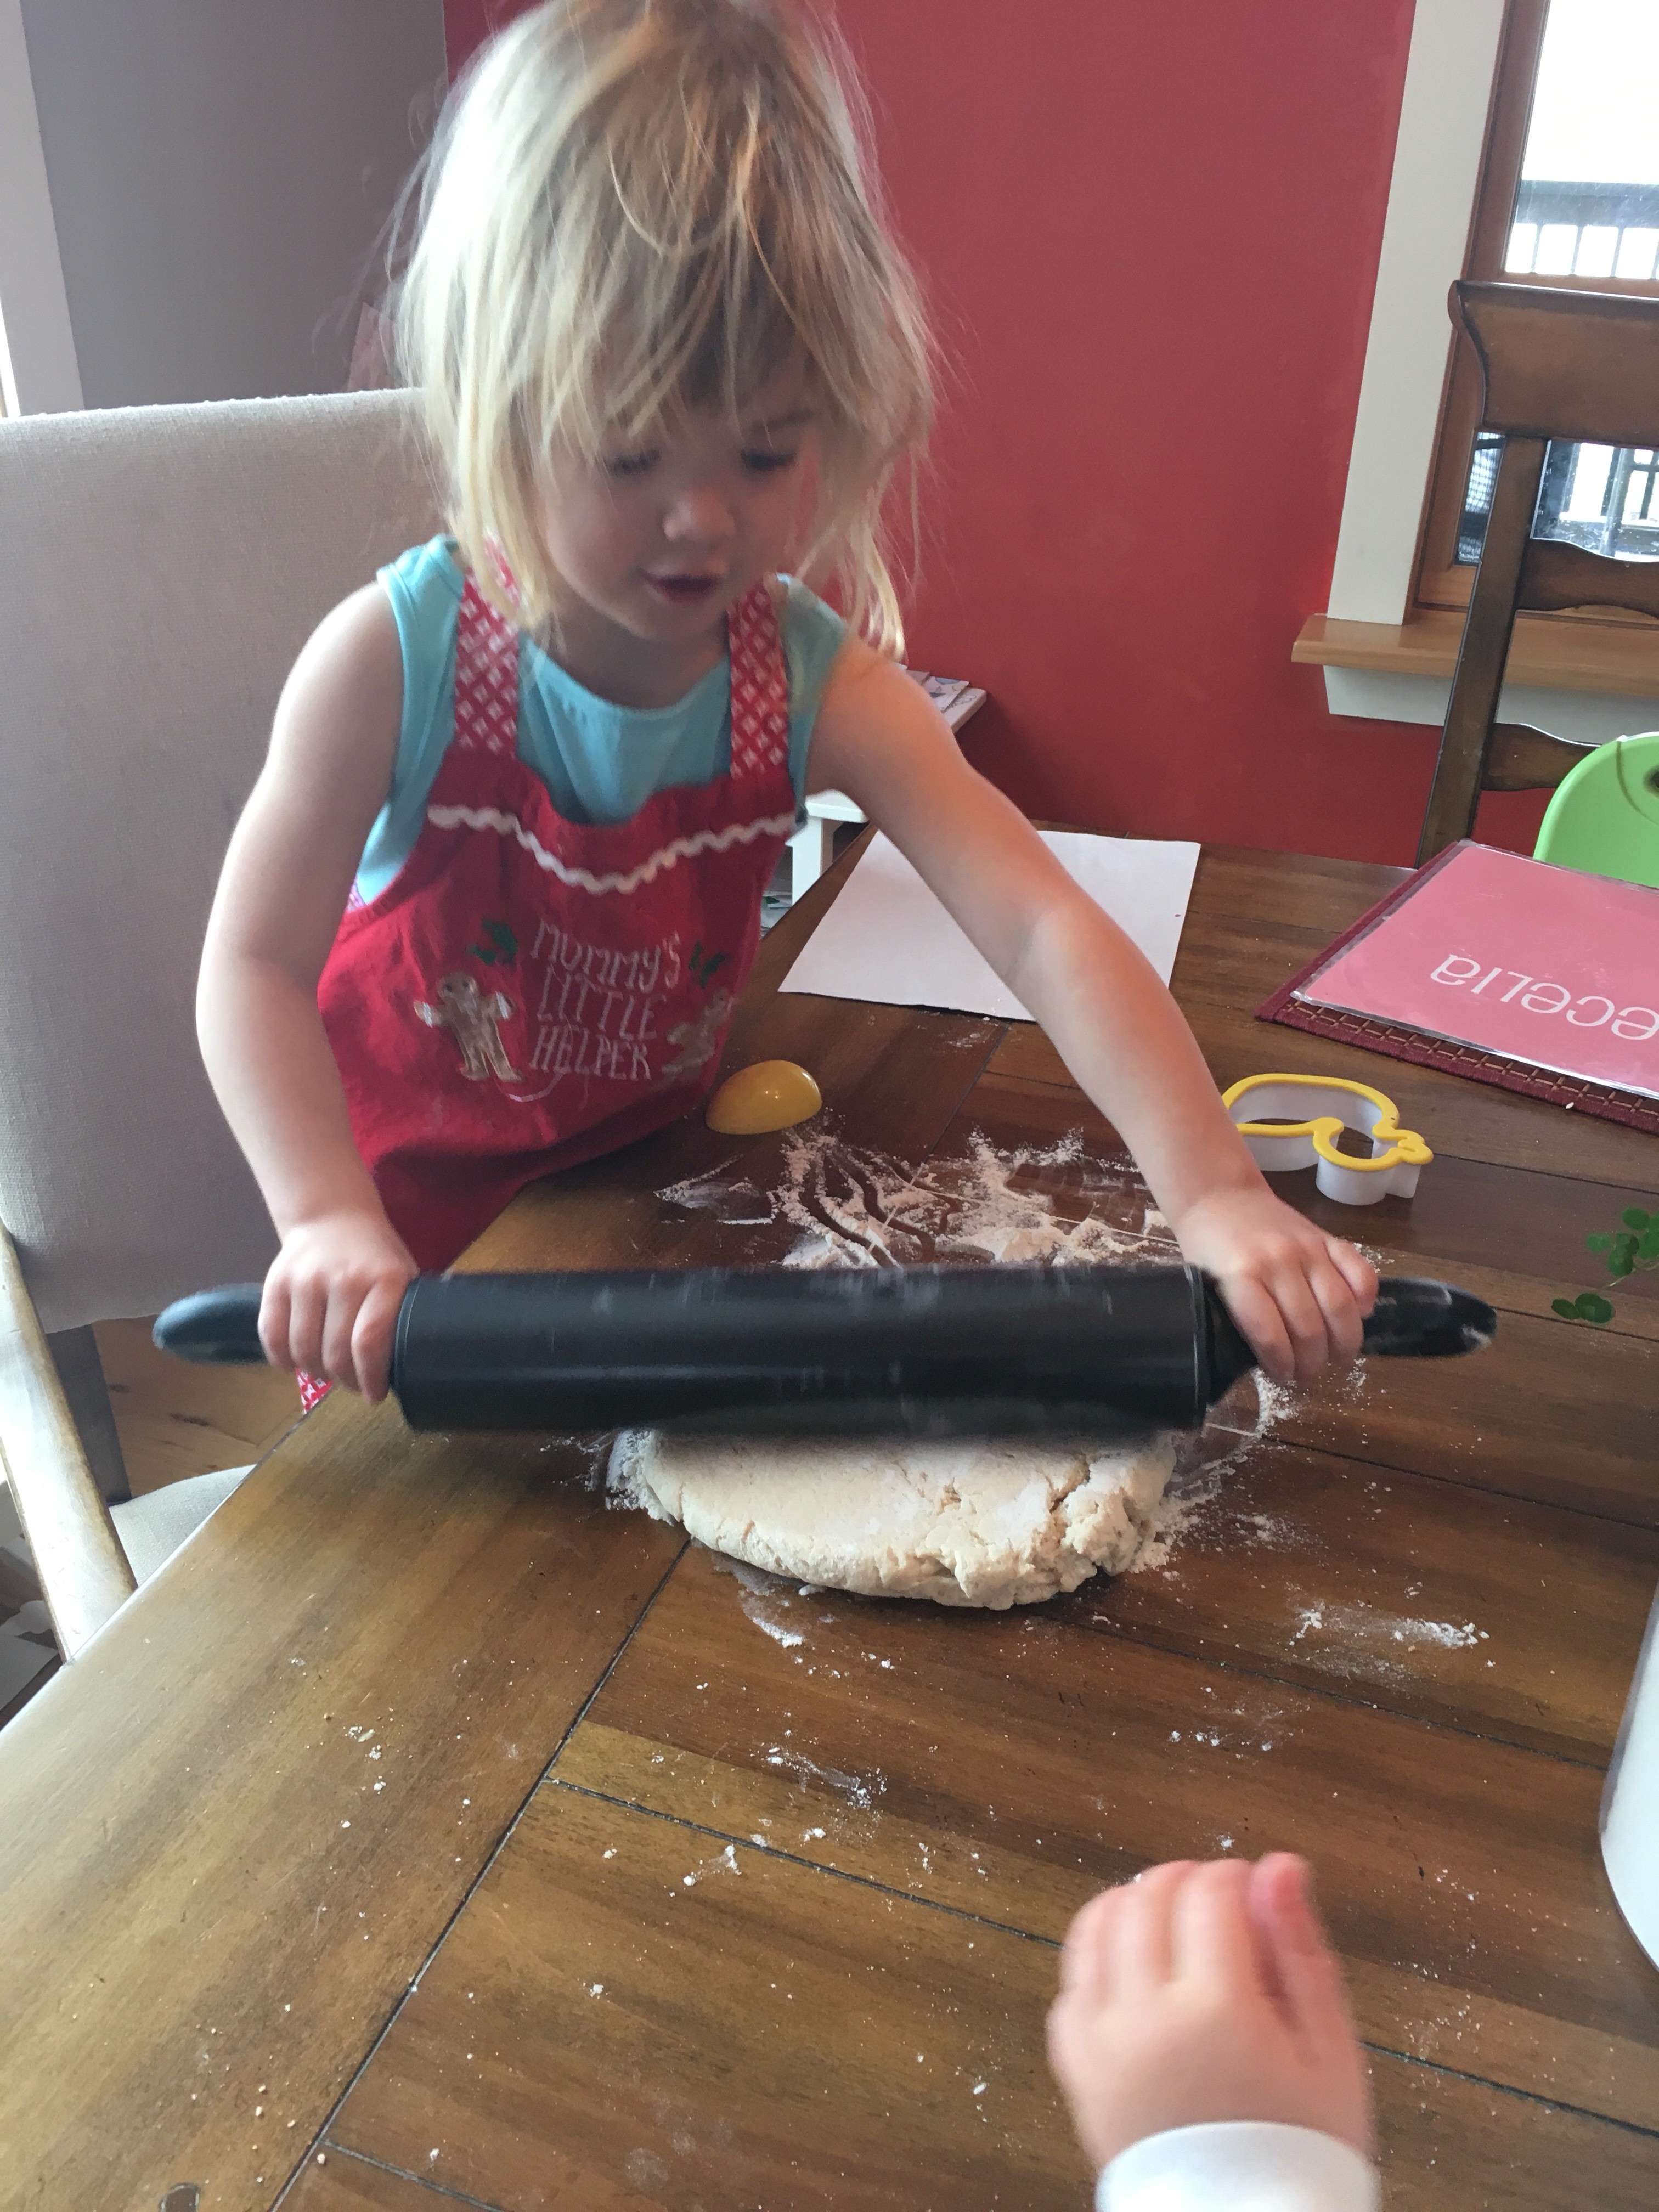
Then it’s time to roll out the dough! Just like you would for sugar cookies! Beware, your child may think you are making cookies! My 19 month old just kept pointing yelling cook-ies!

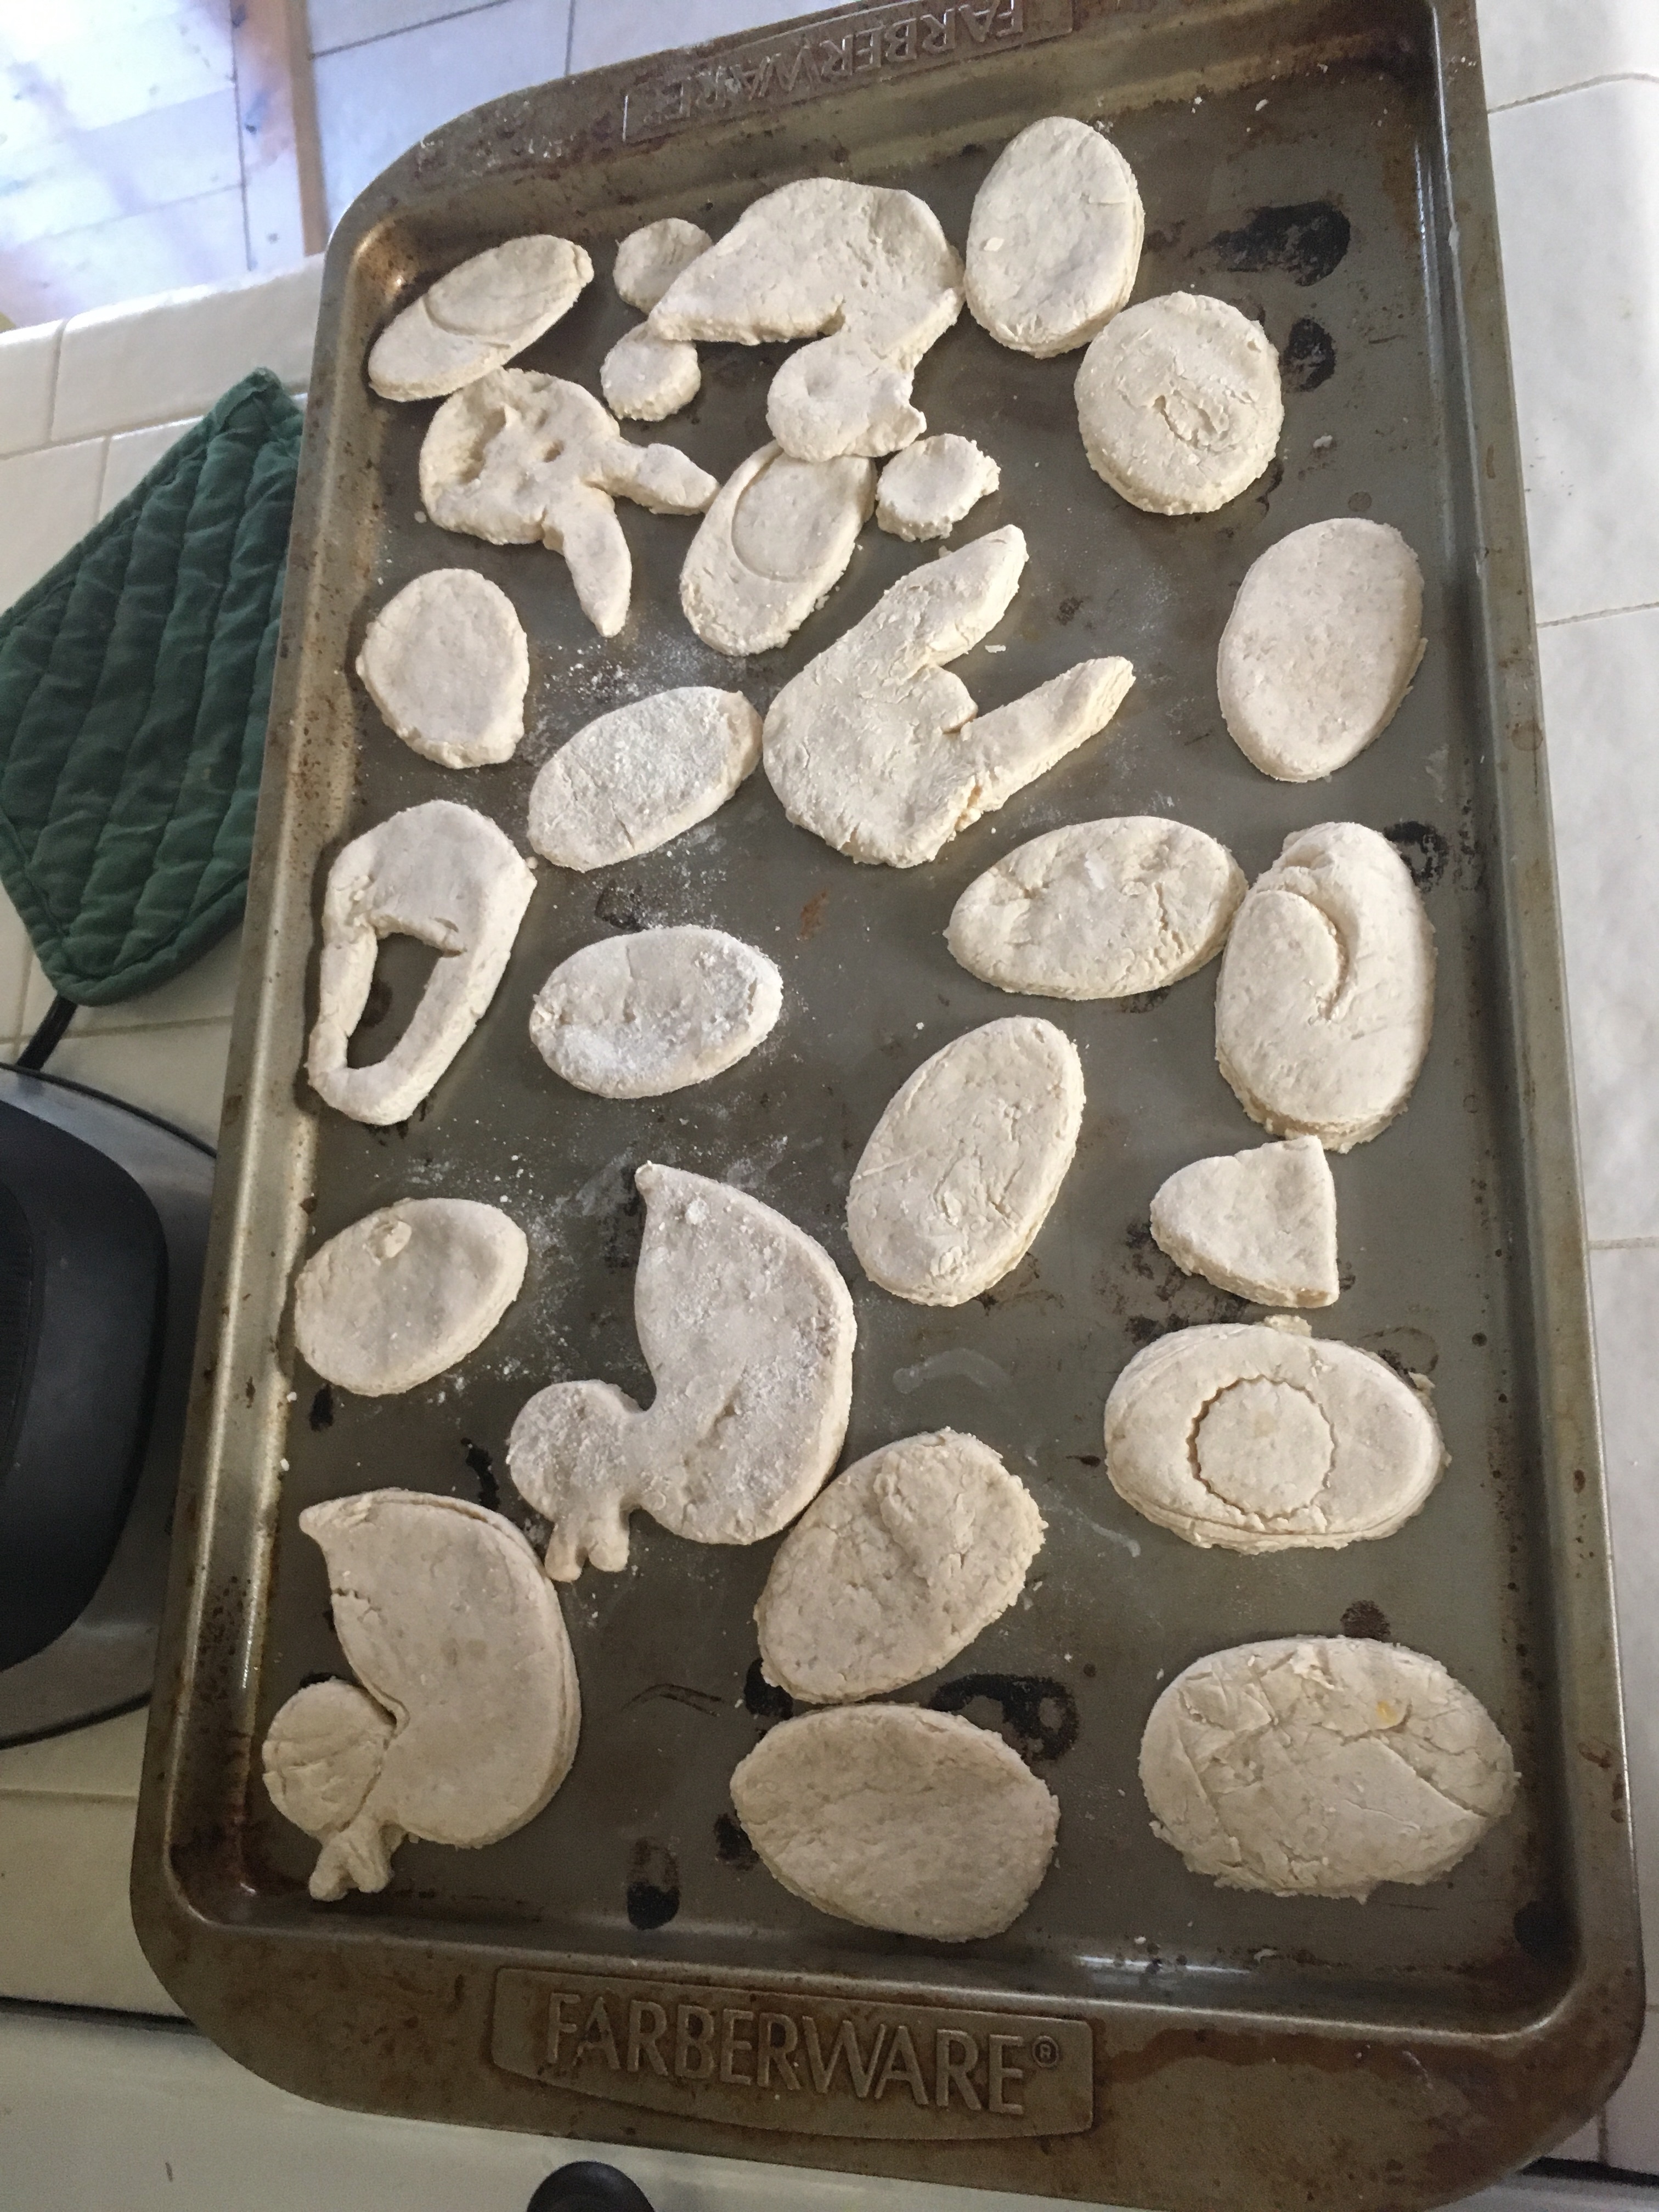
This is a great activity for your toddler to help you with. Next, get out your cookie cutters or Easter shapes and start making those eggs! I used a half of an Easter egg that opened sideways, a duck mold, and then made a couple baskets and bunny heads using a knife. **one thing I forgot to do was to use a straw to make a hole on the top of the eggs for the string to go through. So I ended up hot glue gunning ribbon.

Put your oven on 200 degrees. Place your salt doughs on a cookie sheet and place them in the oven for 2 hours (depending on the thickness you may need a little less or a little more). Once they are done they should be rock hard.

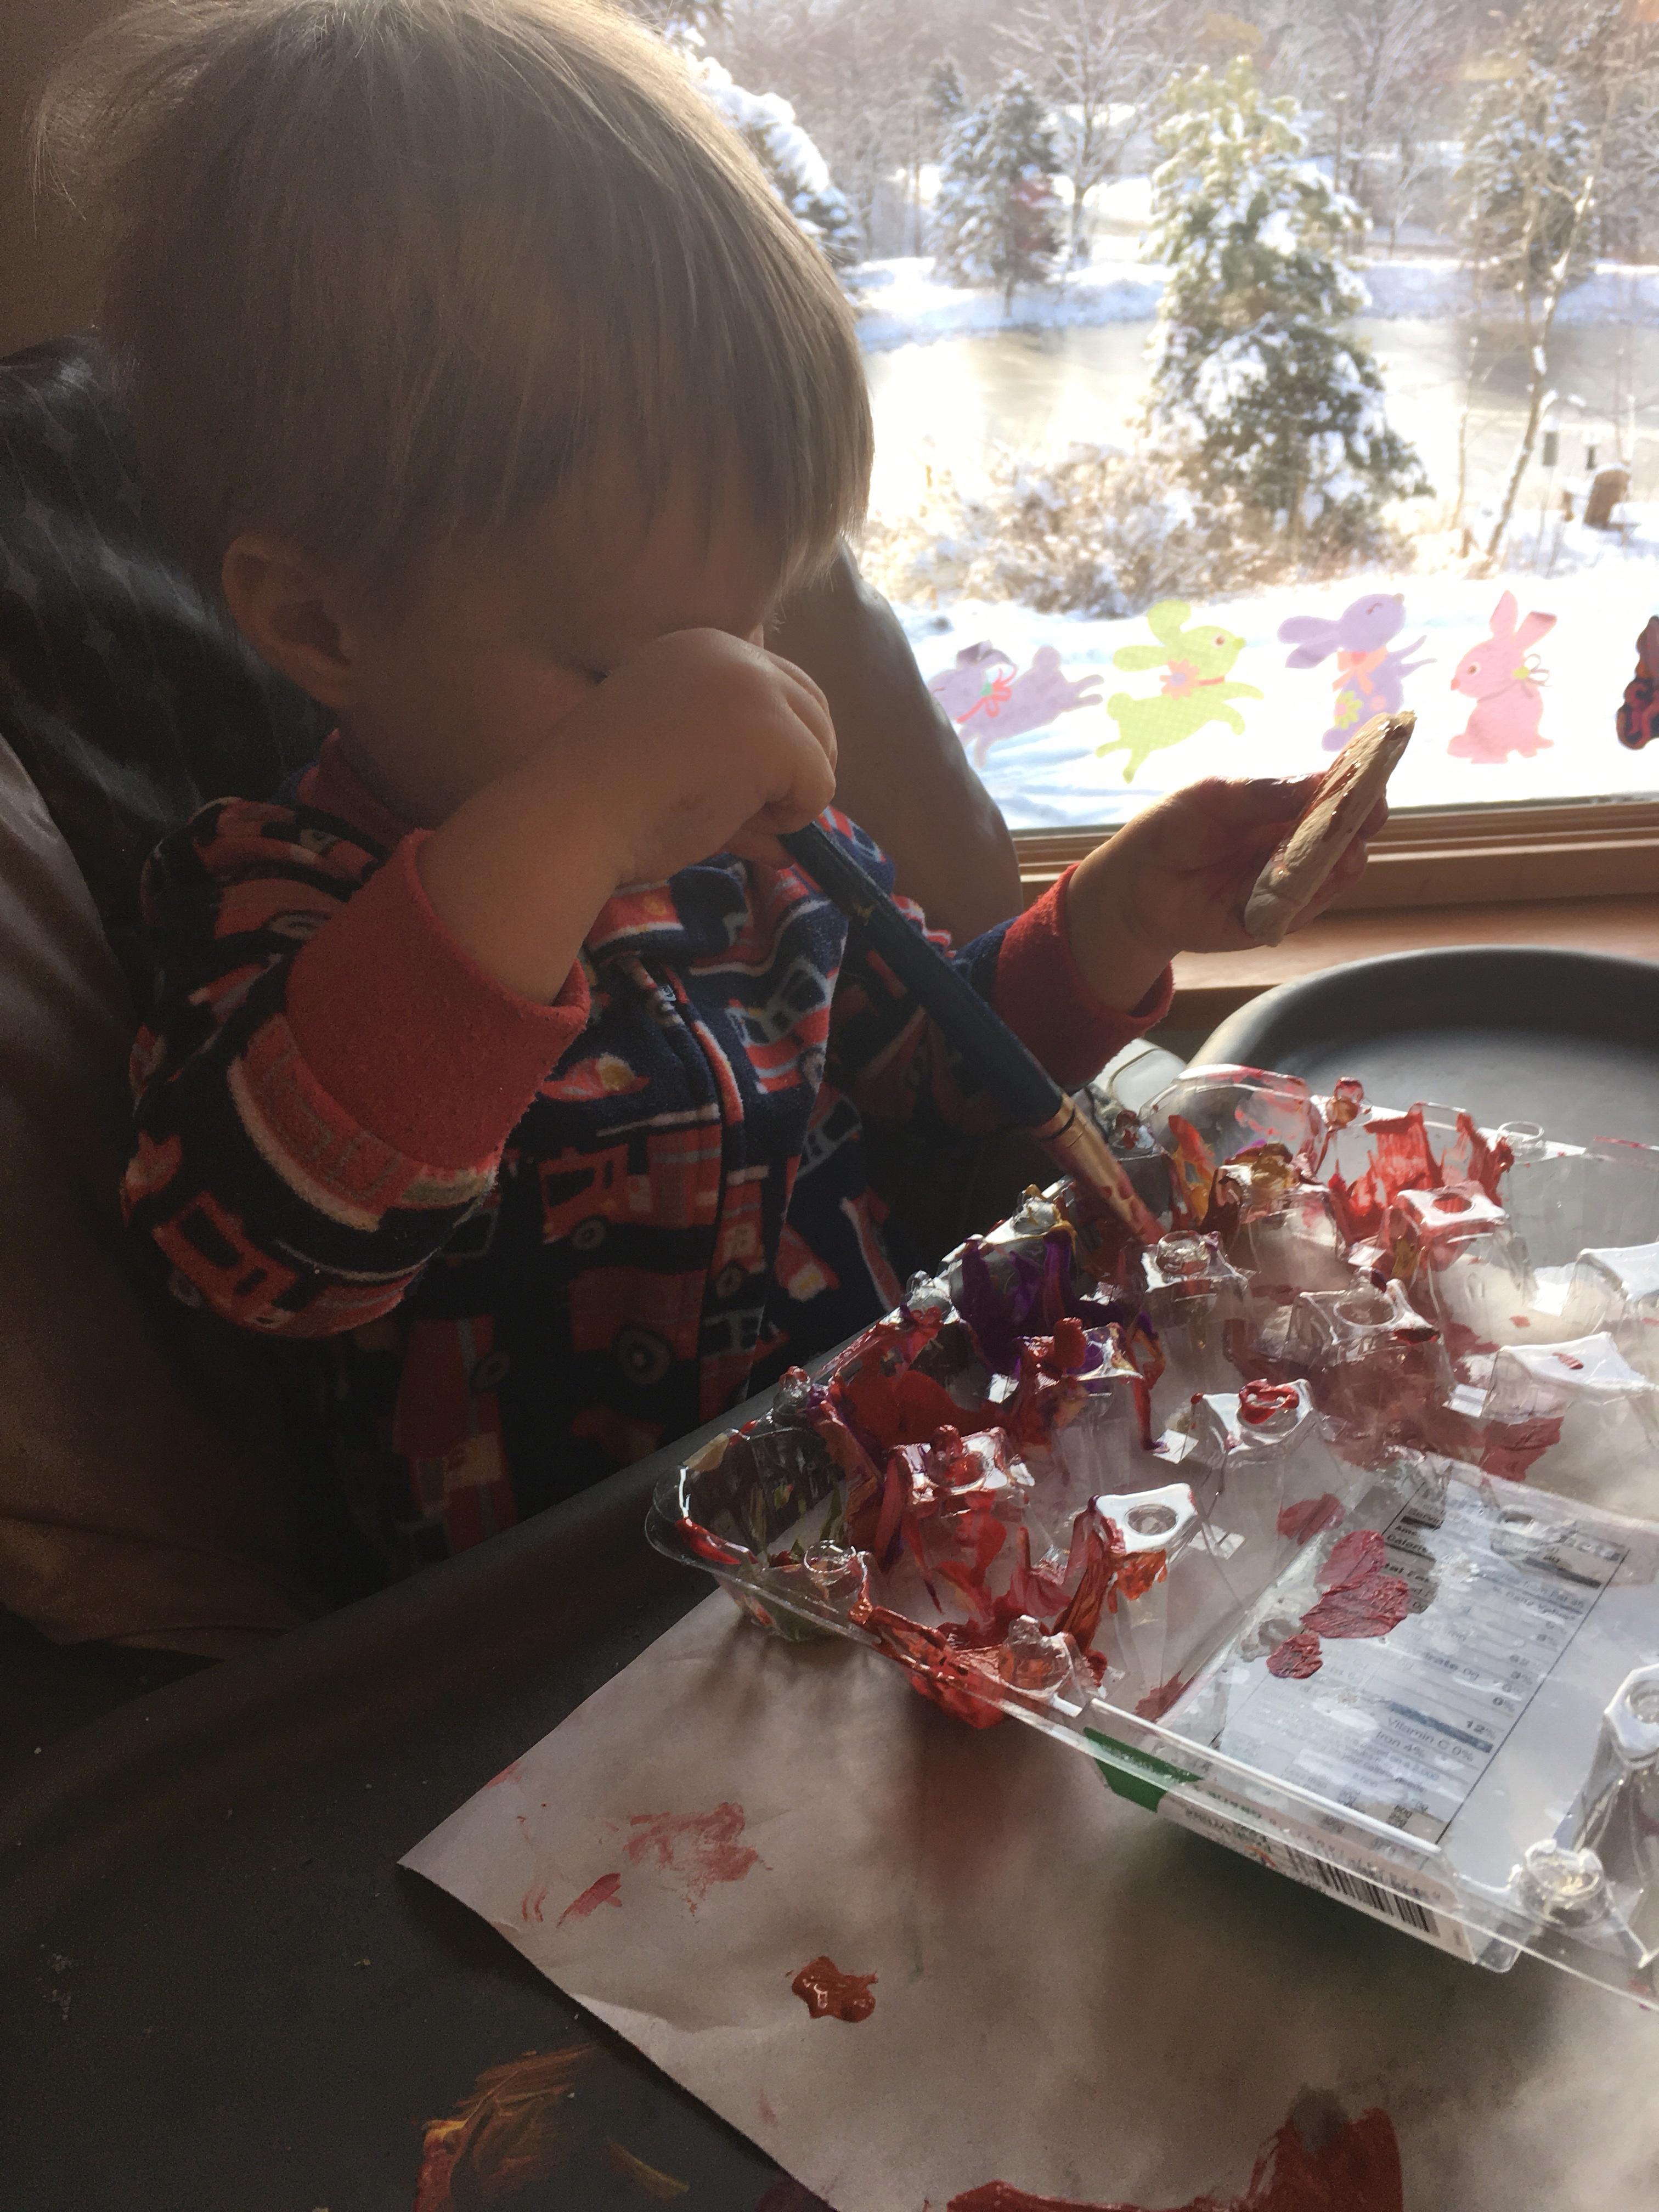
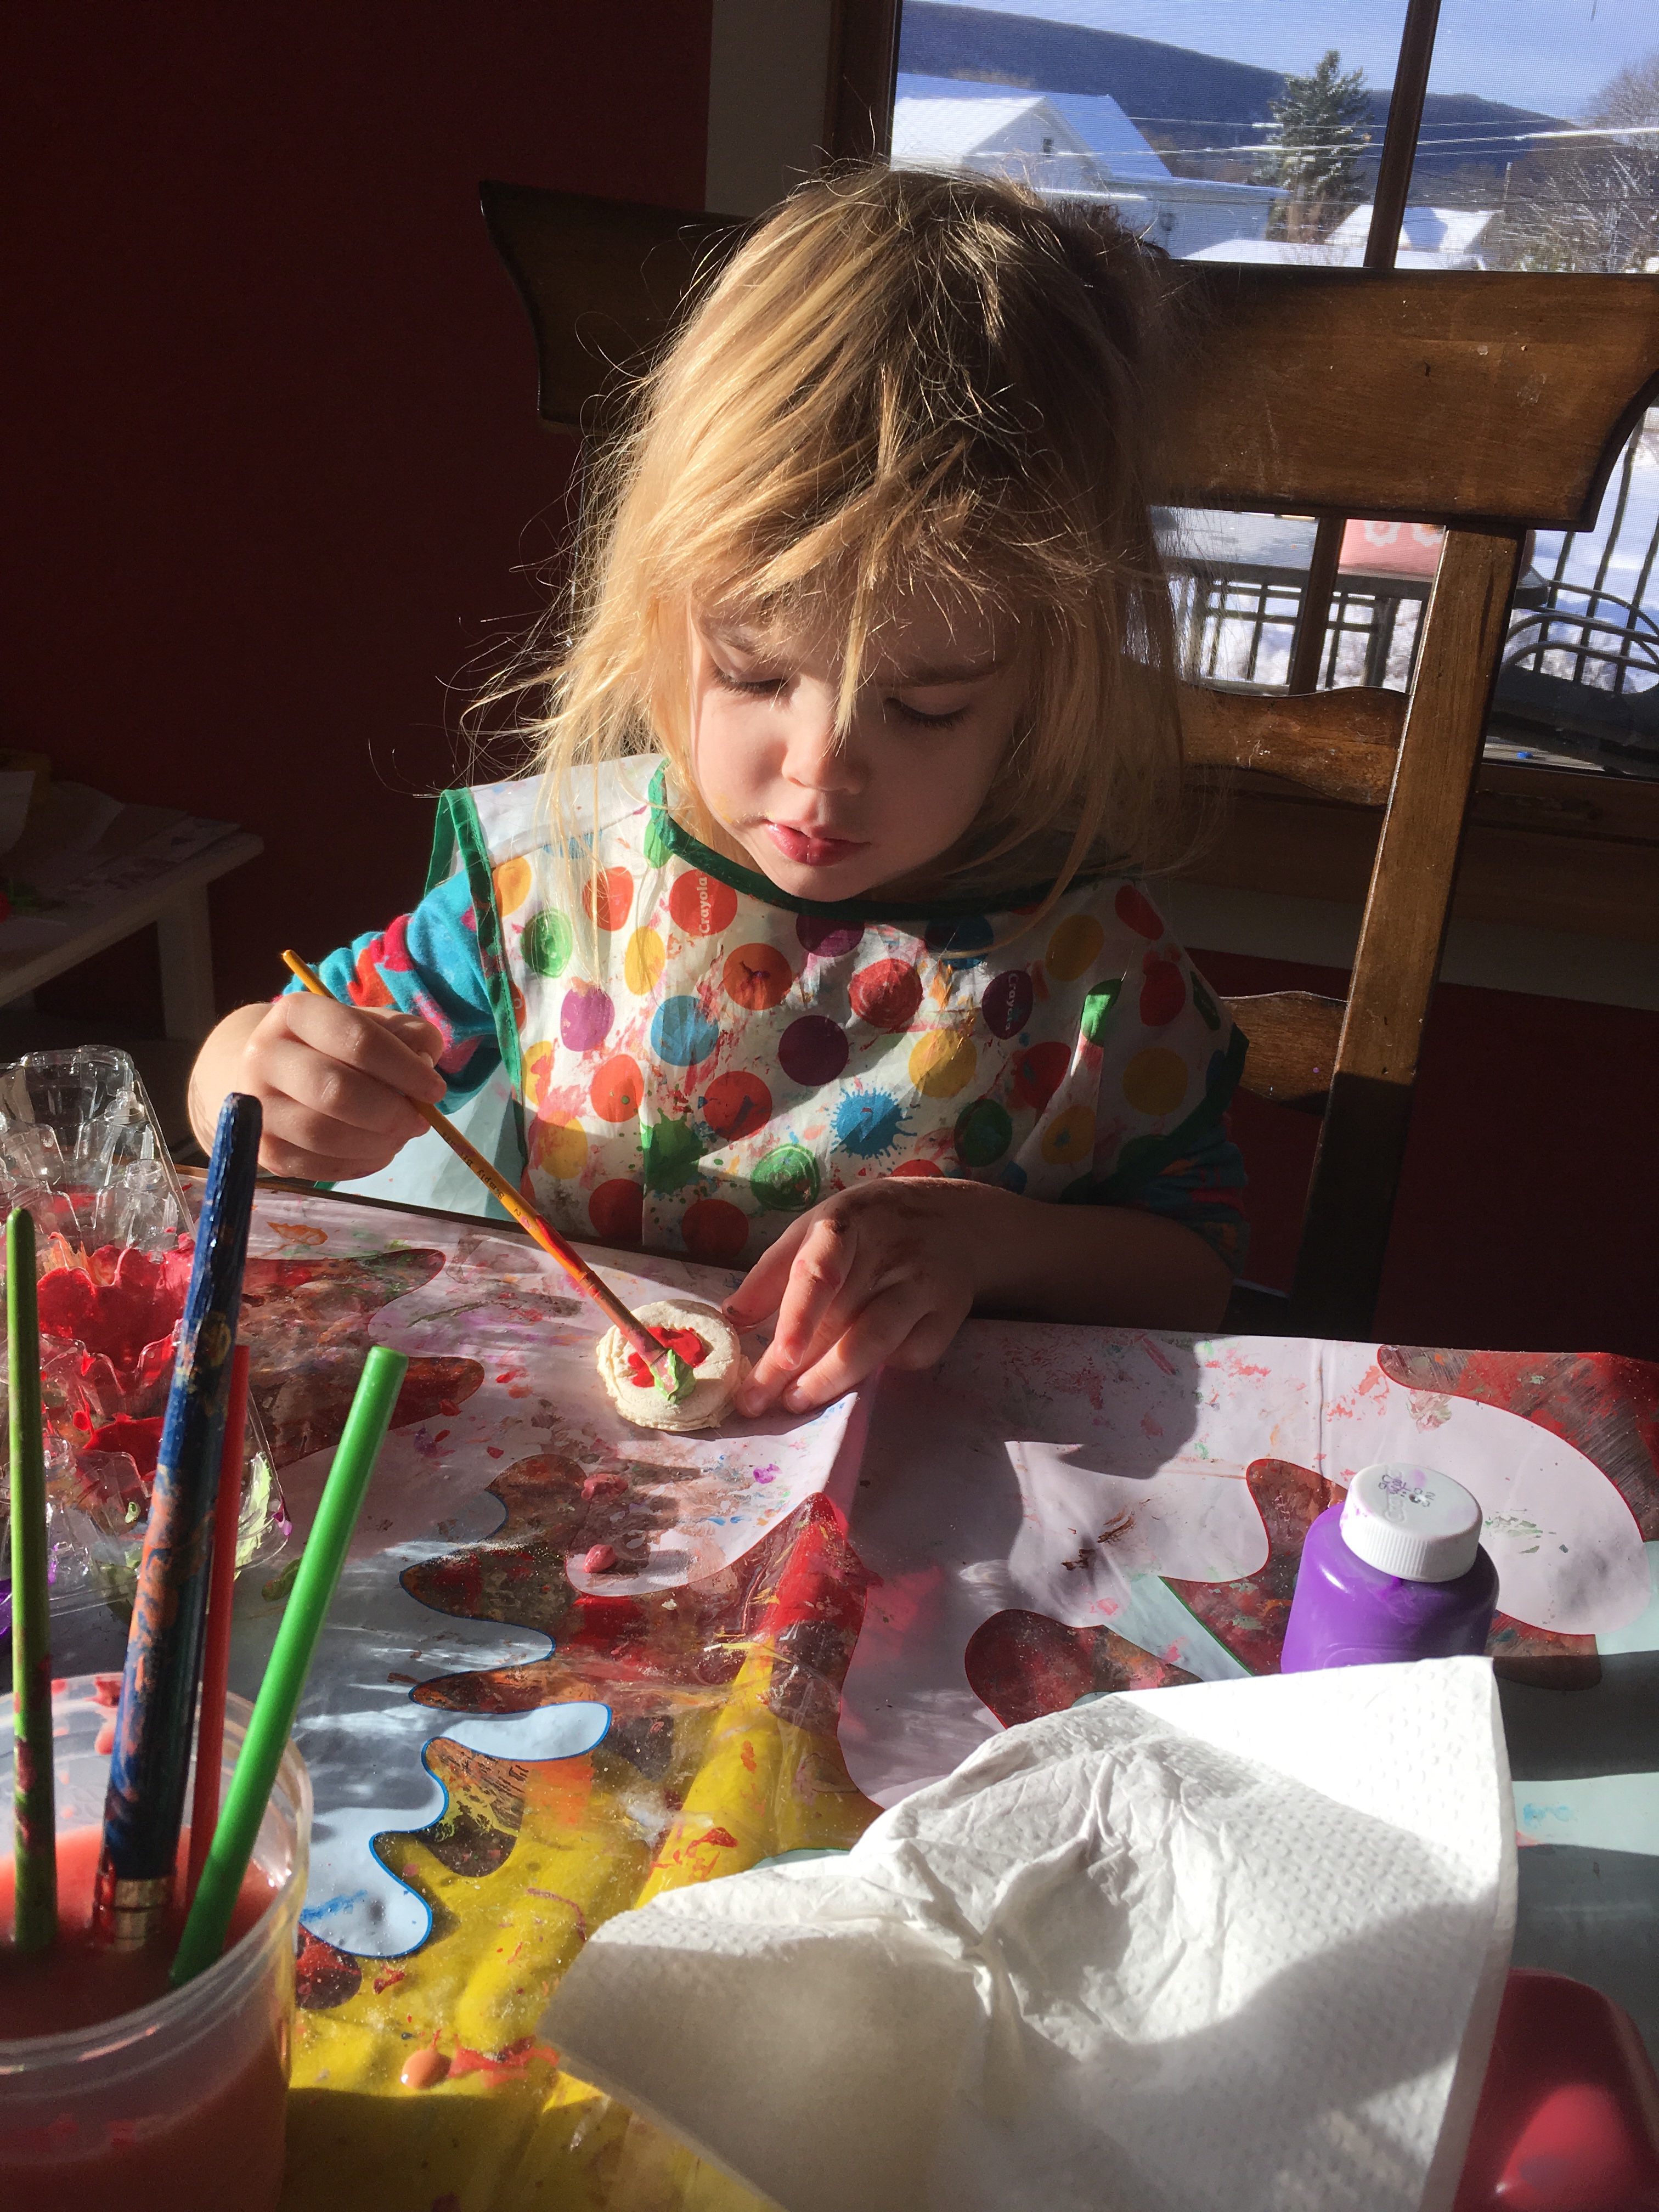
Then the fun, painting time! We used a combination of acrylic paint (which is best but hardest to come off and not non toxic) and water proof fingerprint. My son attempted to paint and did decent for his age, but when he kept trying to eat the painted cookies we had to end the painting time.

my daughter likes to squirt the paint in an old egg carton that way the colors stay separated.

Once we finished painting she sprinkled on some glitter. Unfortunately we don’t have any mod podge or clear finish to put on top right now, but we still love them!

If you have any clear finish or modge podge this is the time to coat it in that for a nice shiny finish!

Since we forgot to make the holes for the ribbon, I used the hot glue gun to attach the ribbons. Then we hung them around the house (high enough that my son couldn’t reach these “cookies.”

Enjoy!!!

FollowFacebookpinterestrssyoutube
ShareFacebookpinterest

DIY Masks and patterns! 


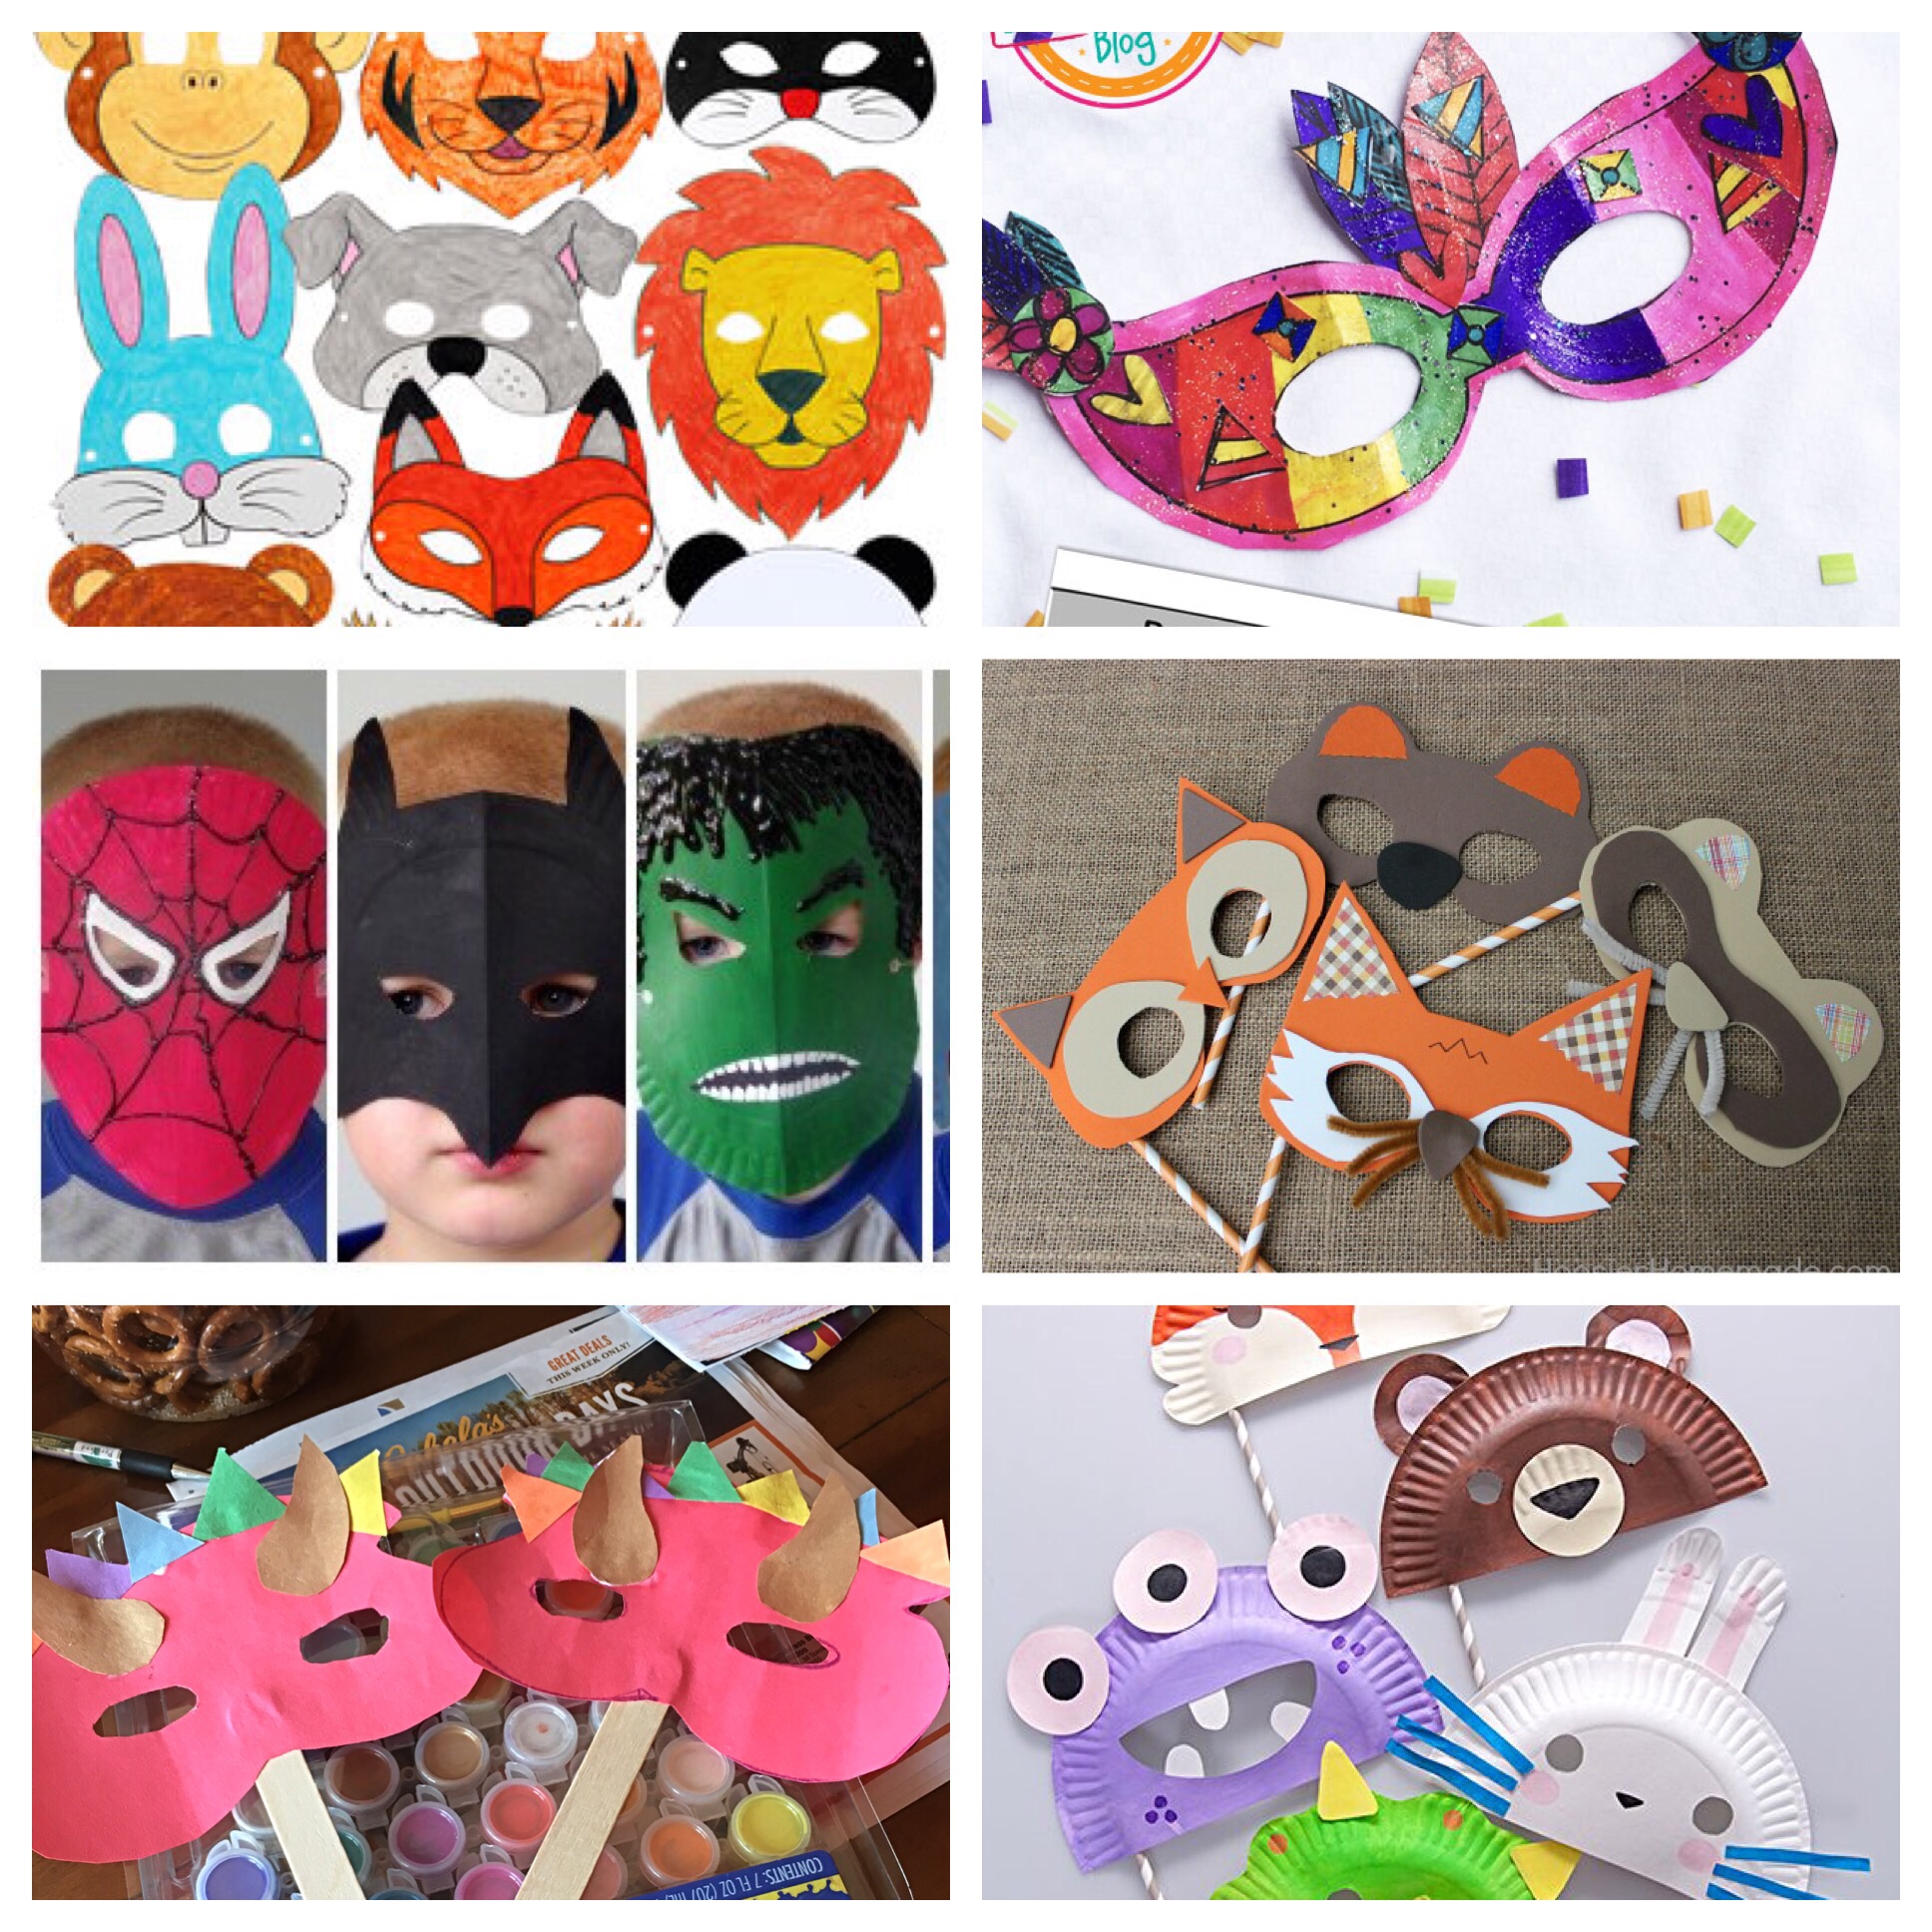
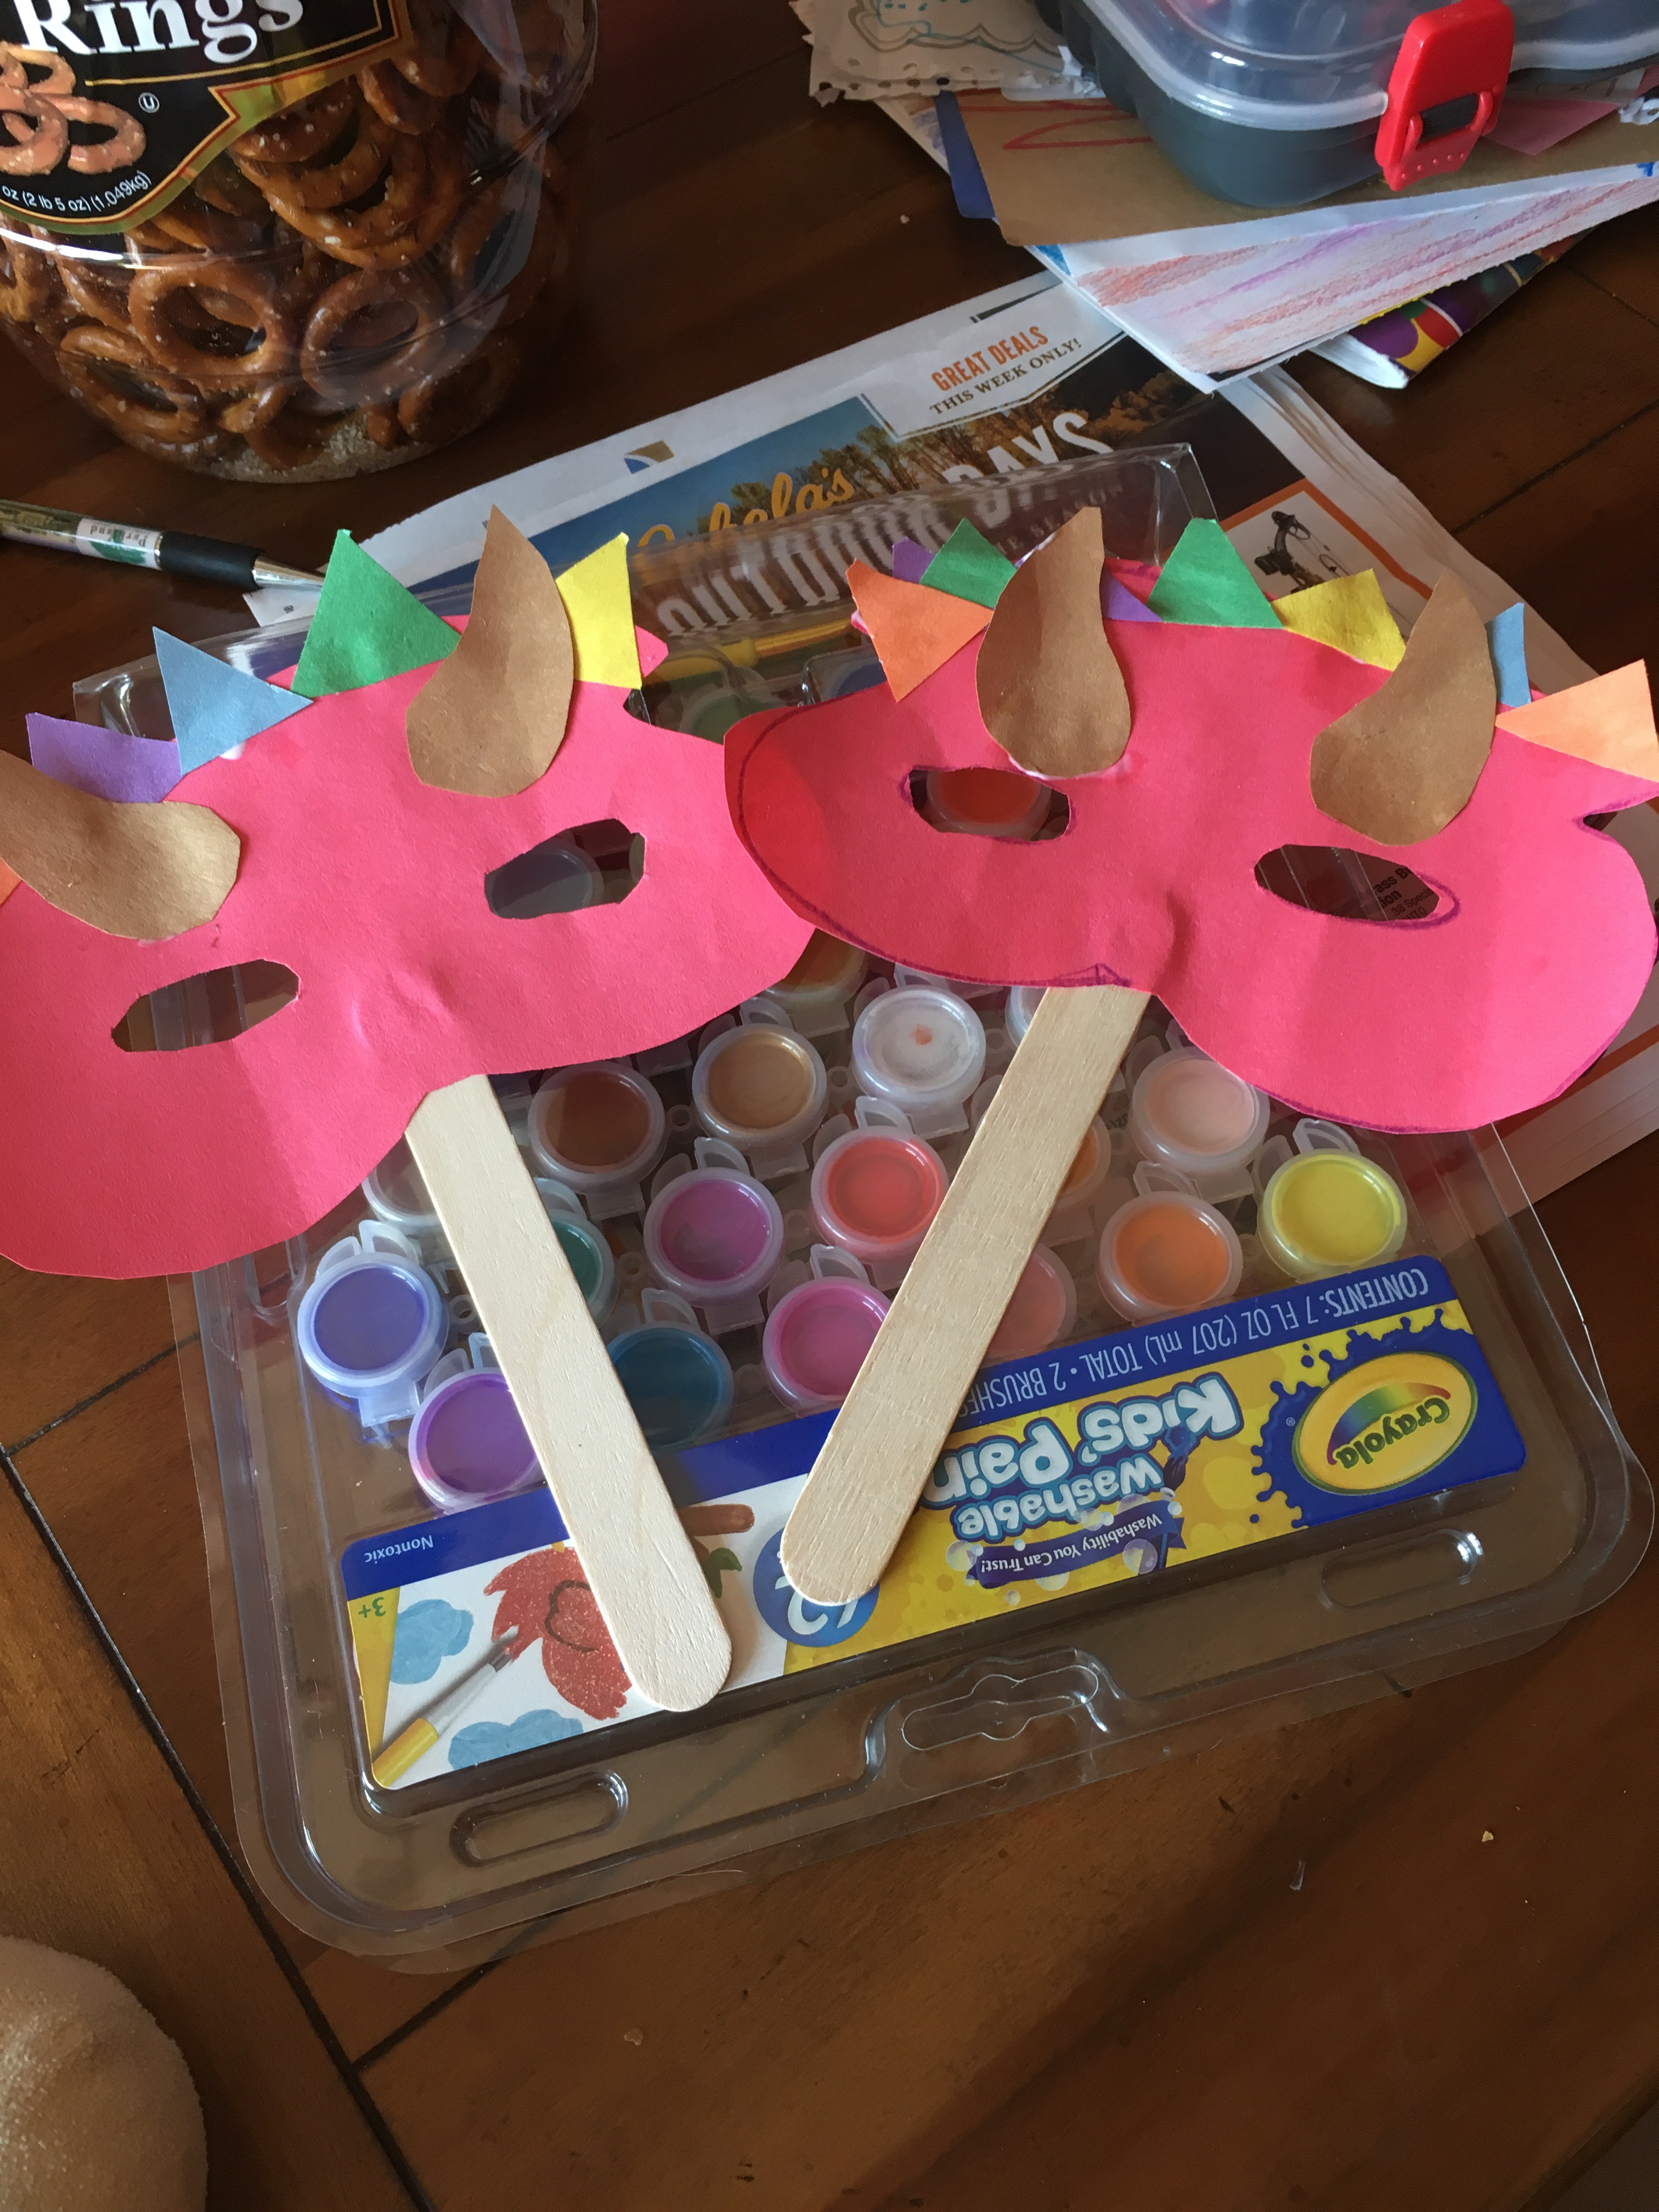
My daughter loves running around in her cat mask saying she’s Cece cat. She also wanted to be Cece dinosaur, cece giraffe, and many other cece animals.  So I had a couple extra crafting materials nearby and we created these easy masks!  Also, masks are great for parties or as a craft at a party! 


There are many ways to make many different masks, the first way is simply with 

1) popsicle sticks or tongue depressor sticks (or you can use elastic or string) 

2) construction paper

3) scissors and glue 

4) crayons, ribbons, stickers or any other decoration you would like to add


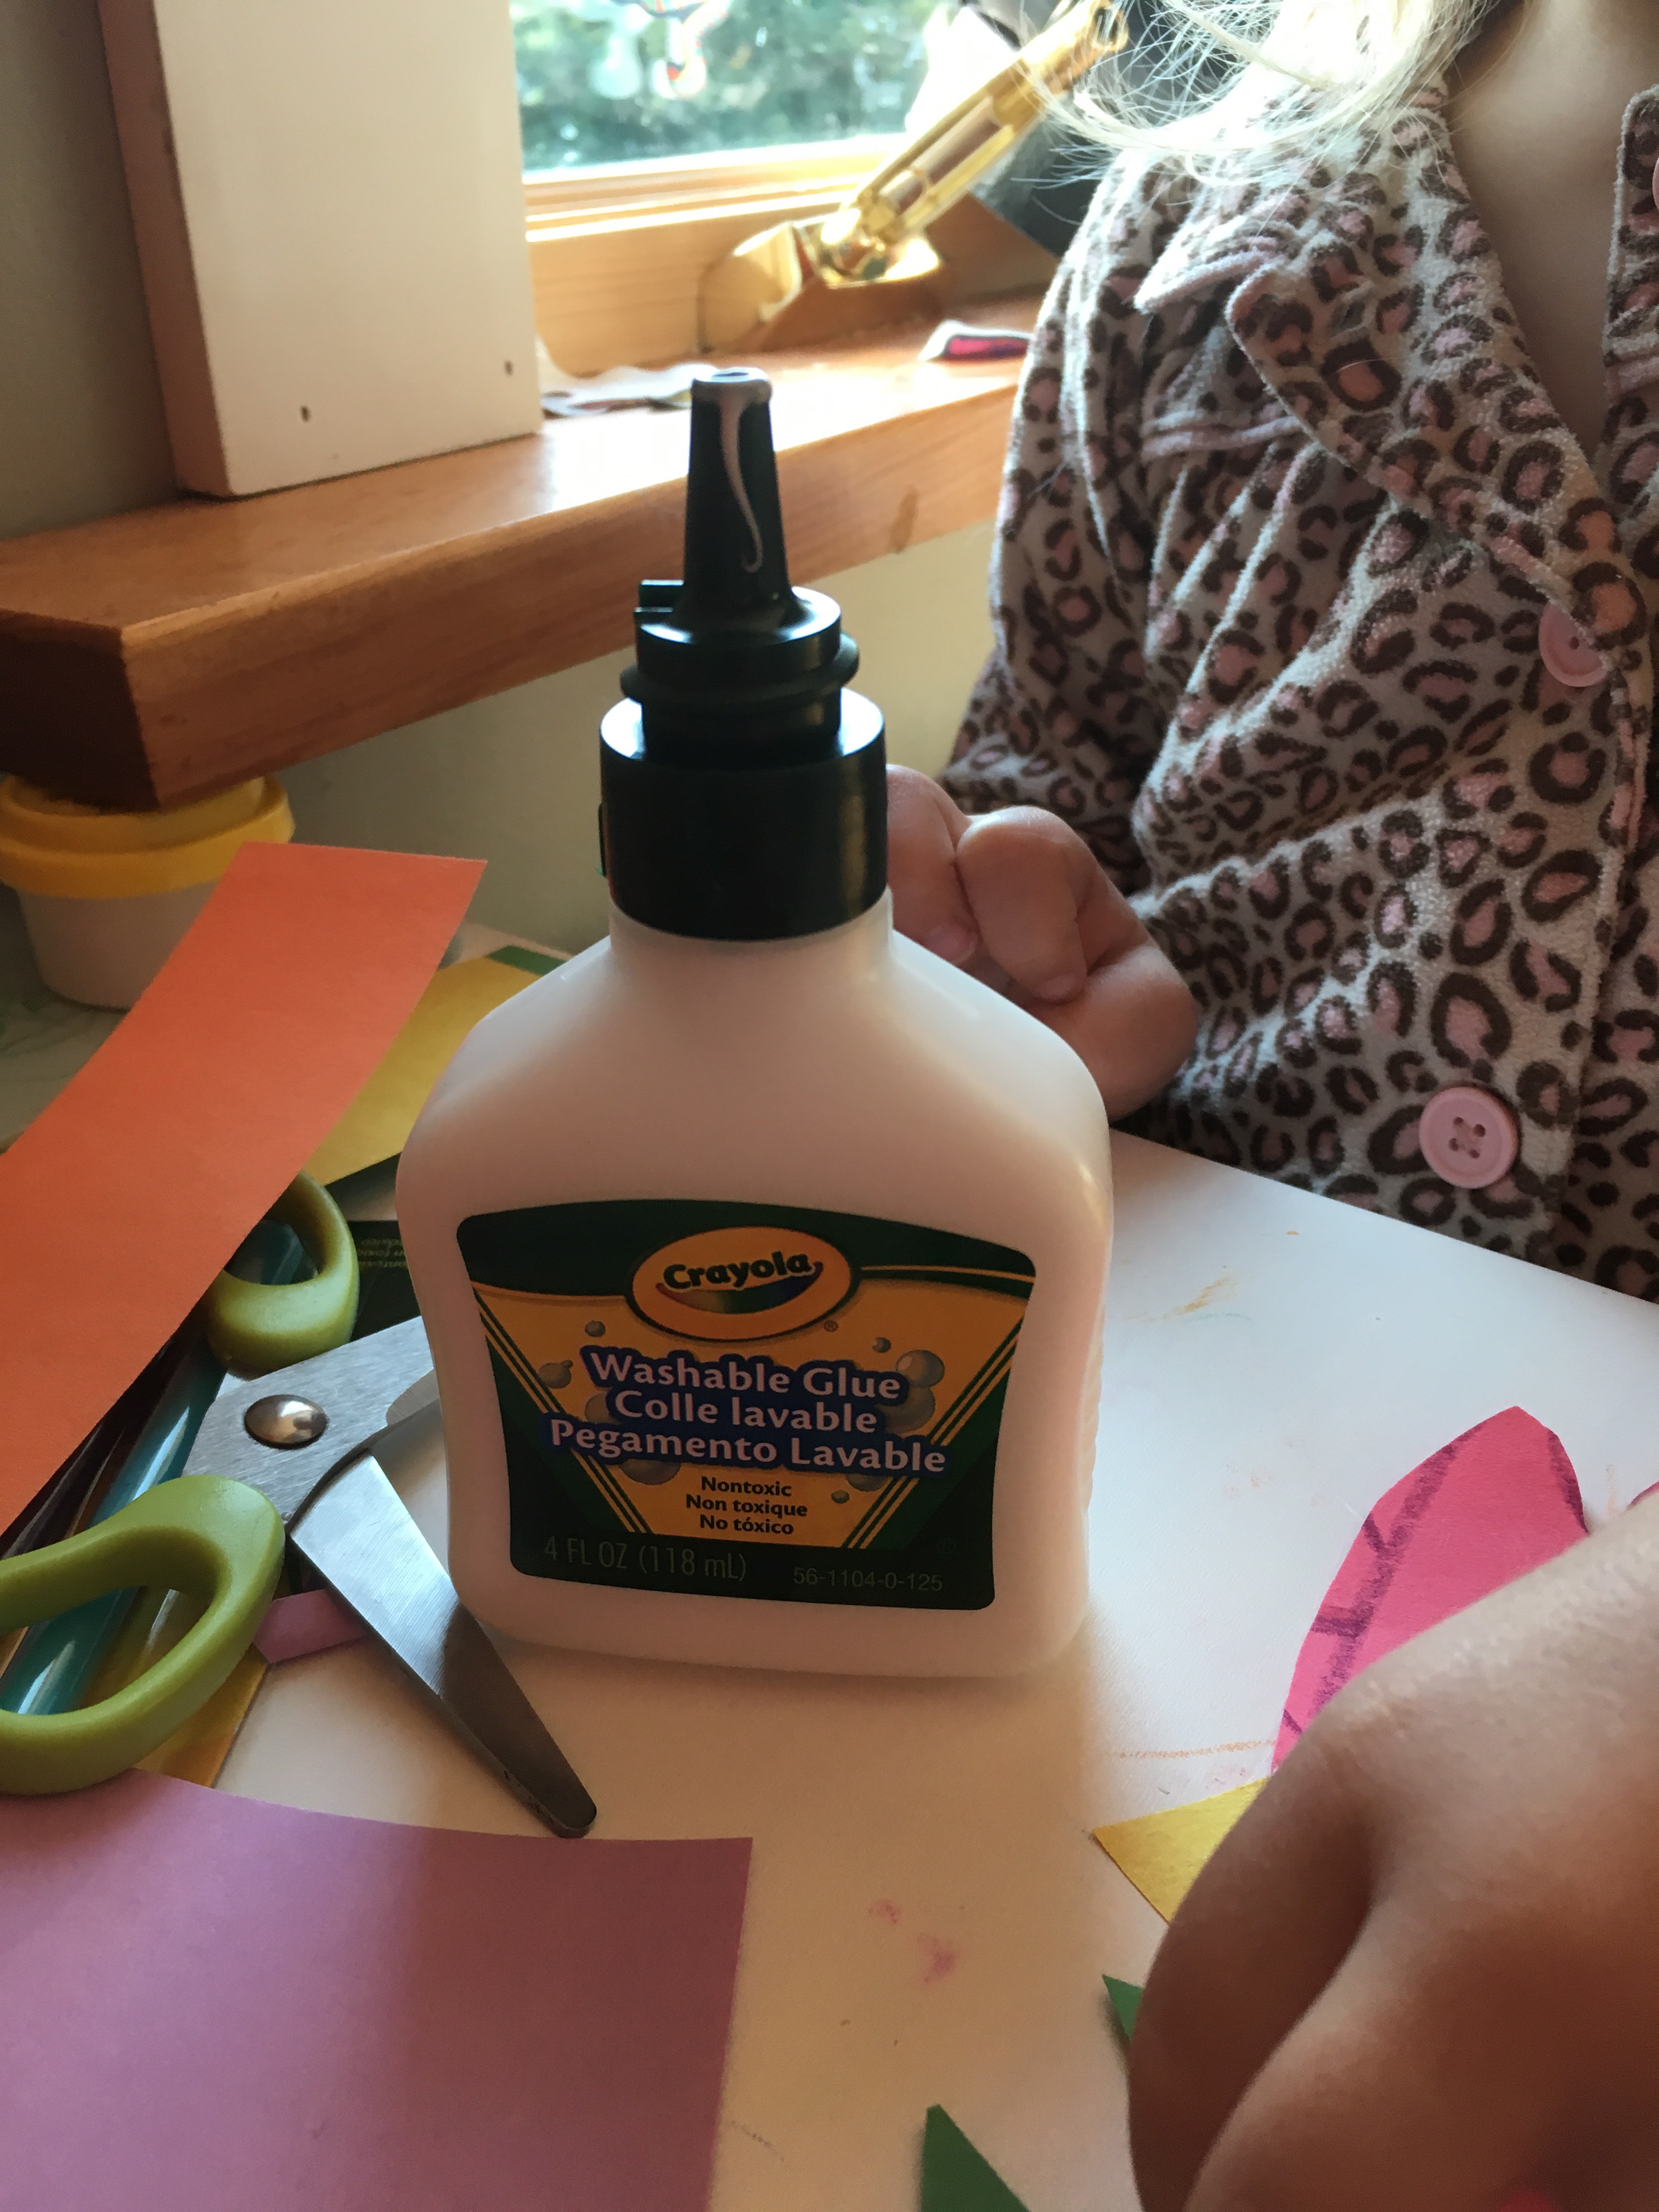
I absolutely love this new glue I got from crayola, it is so easy for my toddler to use herself and its washable! 

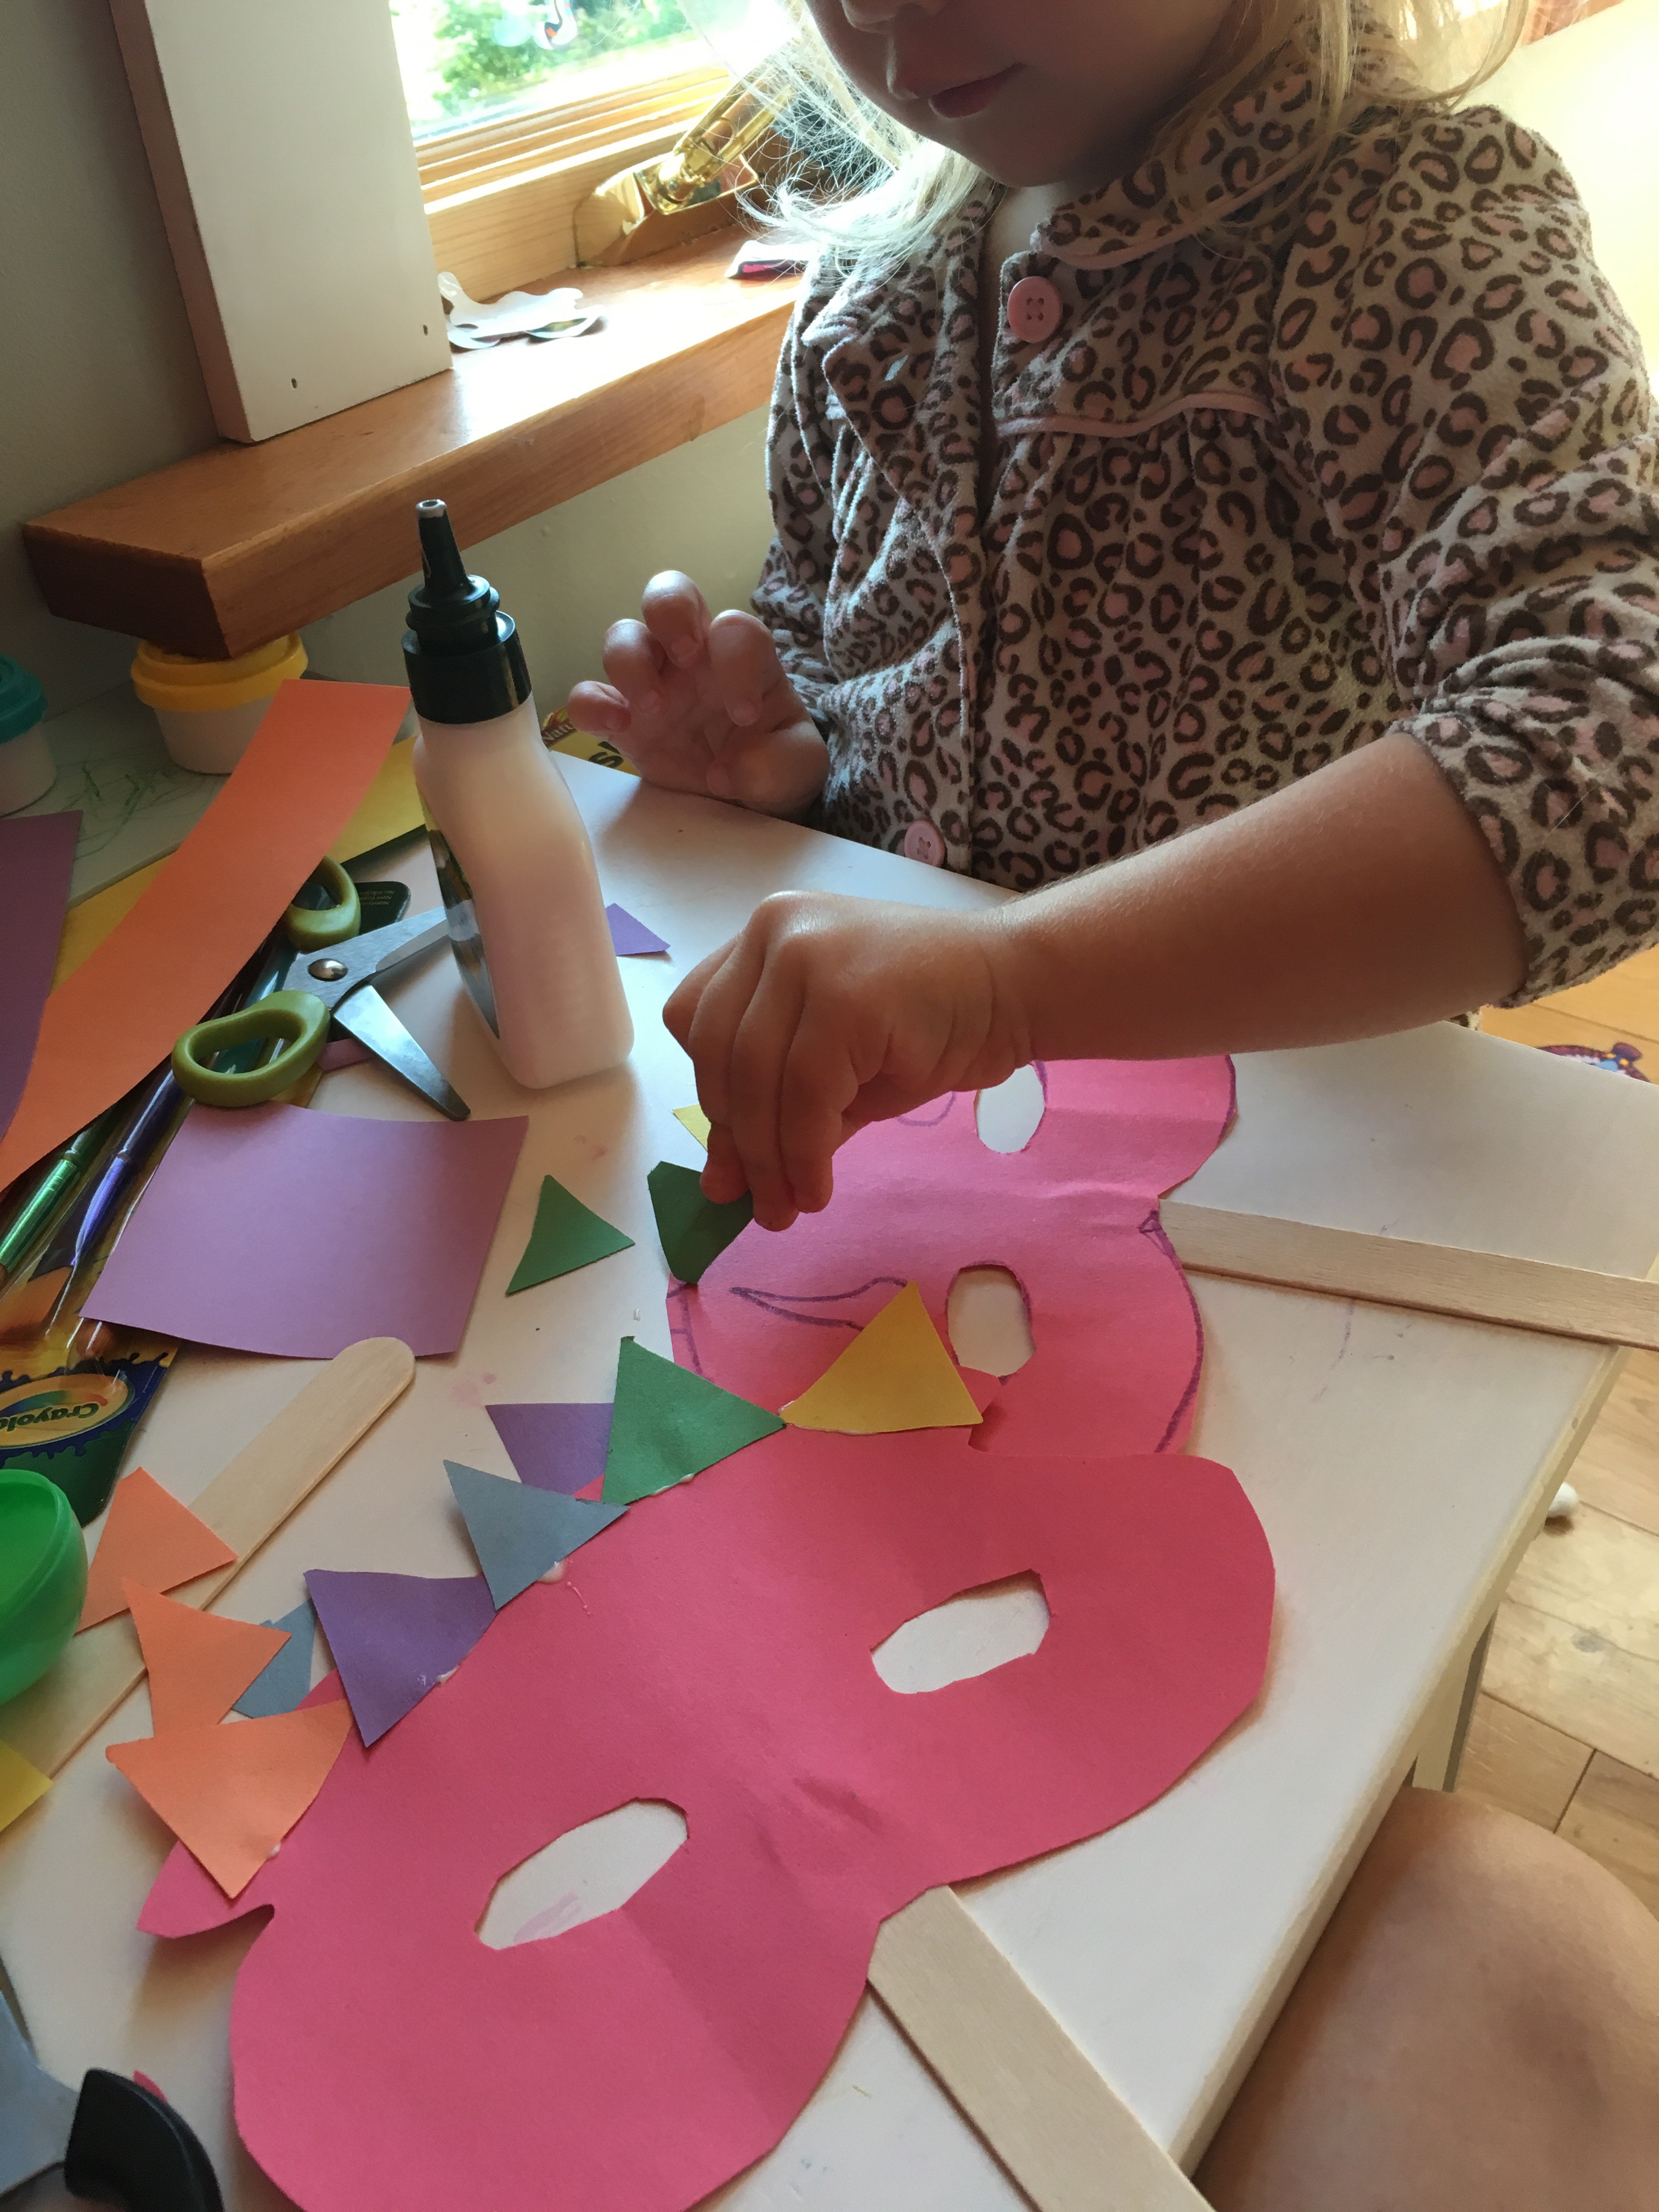
I simply held the construction paper up and estimated where the eye holes needed to be and cut them out then made my own design and let her glue the pieces together and decorate! Such a simple and easy project for your little one. 

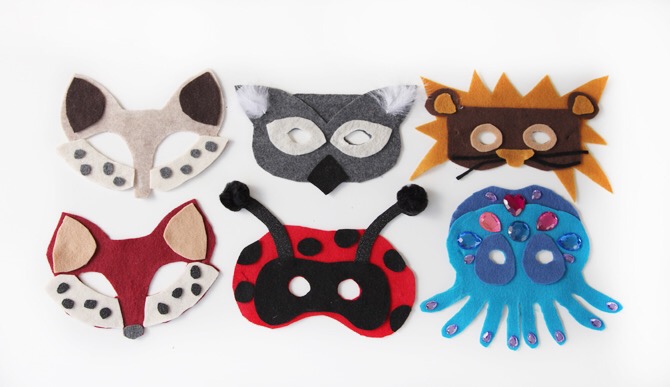
Now if you are looking for a particular pattern or don’t know how to make an animal let me suggest a couple tutorials I found:

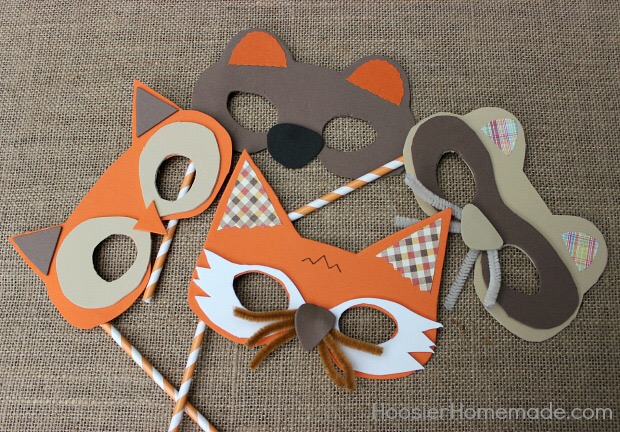
Animal masks by Hoosier
These cute masks are perfect for your little fall creature! There’s a pattern for them too! 

Next are easy felt masks that are perfect for Halloween costumes! 

Felt masks by prettyprudent

Free patterns again!! Enjoy

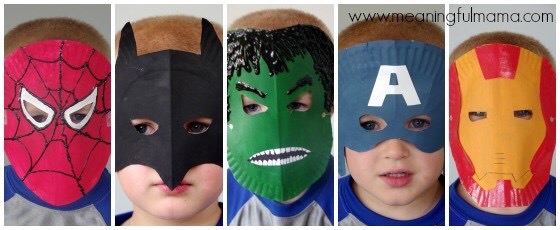
Here is a tutorial for the little superheroes:

Superhero masks
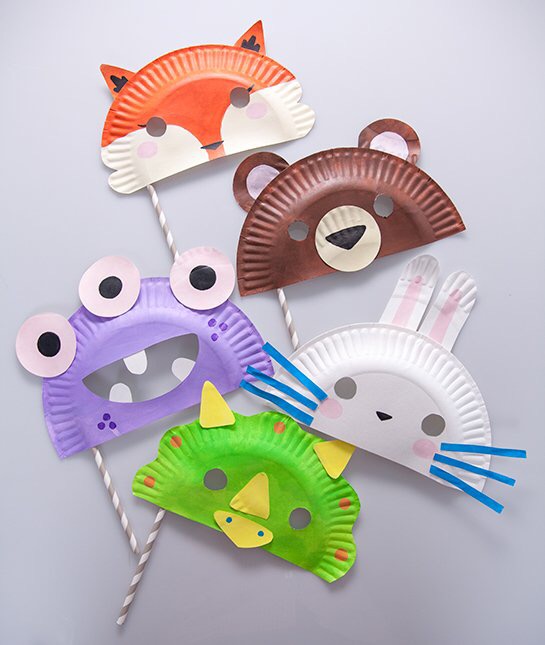
These masks are simply made from paper plates! 

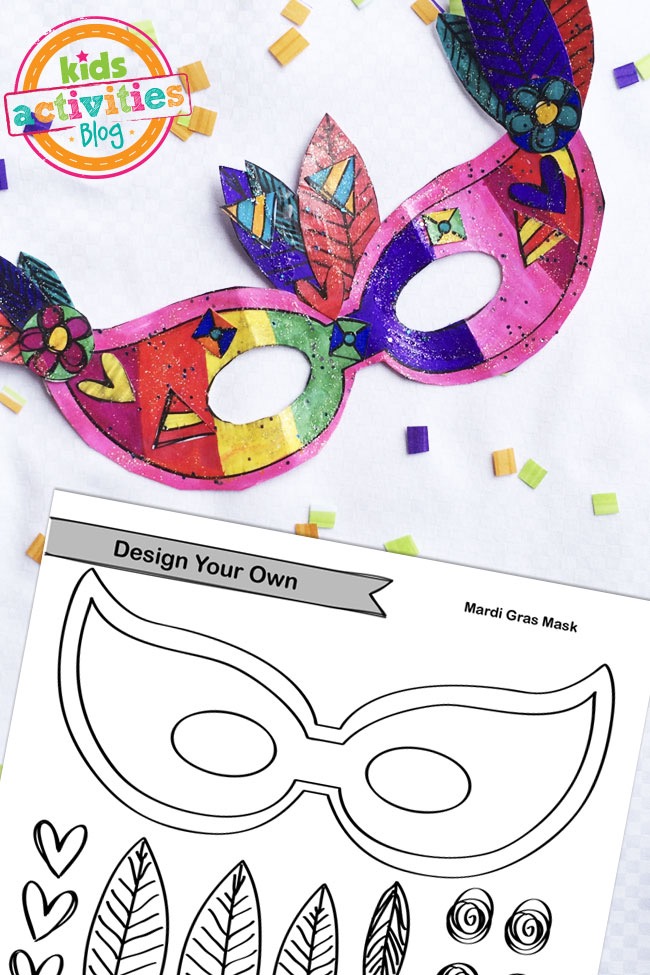
For the older kid Mask that can be decorated with little jewels! 
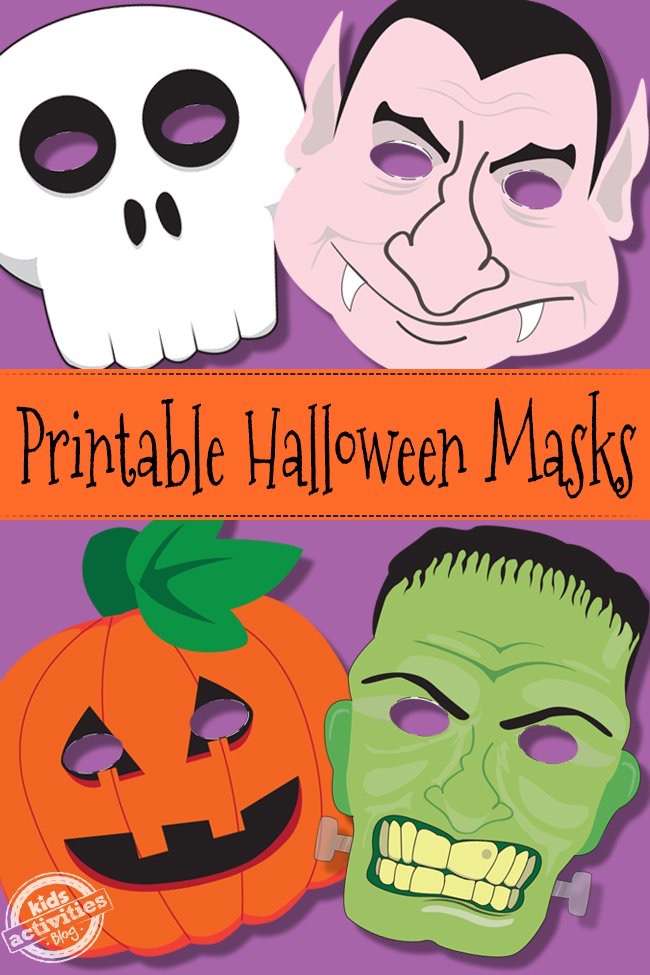
Halloween masks! Boo! 

Halloween time
These masks are just a cut out and wear mask, however you can easy trace it and have your little one color and paint.  Paper plate masks

I love these paper plate masks! So easy! 

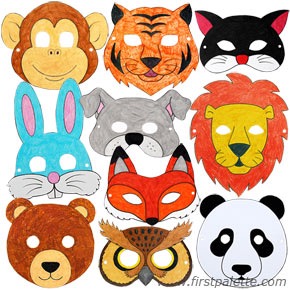
Animal masks
Lastly, is a group of animal masks you can print off and color or paint! 

Hope you enjoyed these ideas, now get crafting! 

FollowFacebookpinterestrssyoutube
ShareFacebookpinterest

DIY Superhero Cape!

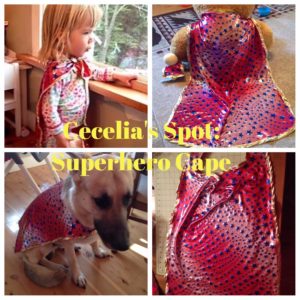
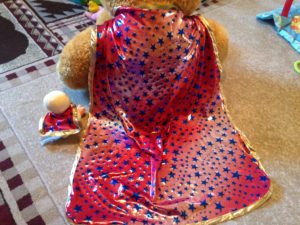
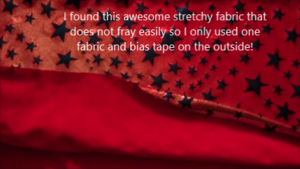
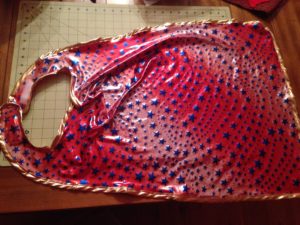
Superhero cape time!  You can make an easy superhero cape in less than 15 minutes!  My daughter needed to be distracted in a fun way while I needed to care for her baby brother, so we pretend to be superheros who fetch diapers, plastic bags, and bottles for baby brother!  Also, her dolly had to have a super cape too! So I went to the fabric store and found the perfect superhero fabric!  The fabric has a great design and also is very stretchy and does not fray easily.  I also bought double sided bias tape in gold for the outside.  Her dolly also needed a superhero cape so I designed a small one for dolly.

As usual, there is a written and youtube tutorial for this cape.  I only used one side of material but you can easily do two fabrics (this is outlined below). Enjoy!


What you need:
1) Fabric (one or 2 different cuts 1/2 yard each)
2) Velcro or your preferred method to connect
around neck
3) Optional: Bias tape and/or monogram


You can decide on the best size by either knowing your childs height and how wide you would like it, or you can always look at their clothes! I do outline the length and design in my video and written tutorial.

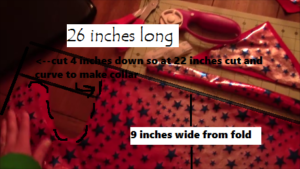
  1. I made the cape for my 2.5year old but it ended up being very big, big enough my German Shepard dog could wear it!  The sizes I use could most likely fit up to a 4t.  Fold 1/2 yard of fabric in half.  Measure long way 26inches long (this was a bit big for my 2.5yr old but still worked) and cut straight across. If you are using two fabrics (one for front and one for back), repeat this whole cutting process.
  2. Then measure about 4 inches down from the 26inch top and cut in and up for the connecting part of the cape (mine was a bit big for my 2.5 year old but she will grow into it!)
  3.   If you are using two fabrics take both sides and cut and then face each other and sew all the way around except leave a 3 inch opening (as with all other projects with two fabrics).  Then pull the fabric through the hole and sew hole shut (make sure you push out corners).
  4. Next, I took the bias tape and sewed all the way around (pinning it first).
  5. Lastly, I ironed on the Velcro sections with the softer side facing on side downwards (that way if its too big at one point it is not rough on the skin). You can also use snaps or any other closing you would like.
  6. And that is it!  Pretty easy just eyeball the size or you can measure your little one!  Enjoy!
FollowFacebookpinterestrssyoutube
ShareFacebookpinterest

Way Better Than Store Play Dough!

I’m sure you have seen the advertisements and blogs about making your own play dough, I sure have.  I always think, “That cannot be good play dough and how long does it even last?”  Well, one day I decided to make it for myself.  Actually, my 2 1/2 year old and I made it.

First things first, let me give you some advice:

  1. It is messy to make (especially with a toddler)
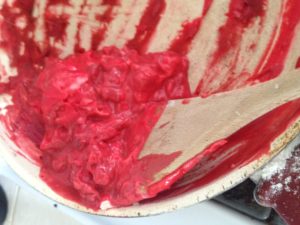
  2. Use an old pan (it can be hard to get the dye out!) and an older wooden spoon if possible
  3. It is totally worth it!  The play dough is awesome.  Much smoother, easier to work with, and does not dry out as easily.  I was very impressed.
  4. The play dough will last longer if you keep it in the fridge and can last 6+ months. You can leave it out in an air tight container as well, but it will not last as long.


Okay, lets get to it!

What you will need:

  • 1 Cup of all purpose flour
  • 1/2 cup of salt
  • 2 teaspoons of cream of tartar
  • 1 cup water
  • Food coloring (or natural or any dyes you would like to use)
  • 2 tablespoons of any cooking oil (even coconut oil works!) I used canola

Warning** Once you start the process it goes quickly so I suggest you read the directions once or twice and have everything ready before you start**


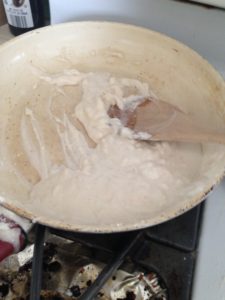
  1. Combine the flour, cream of tartar, salt to a saucepan and mix (the heat is off)
  2. Add the water, oil, and food coloring
  3. Turn the heat on low to medium and stir away (a wooden spoon seems to work best) (it may get stained!)
  4. Stir it until it gets thicker like play dough or like sugar cookies
  5. Then turn the heat off and let it cool a couple minutes
  6. Knead it a little and it should roll easily into a ball.  Store in the fridge for it to last 6+ months in an airtight container or ziplock bag.  You can leave it out in an air tight container but it will last longest if its in the fridge.
  7. Okay enjoy!
  8. The quality of the play dough was much better than store brand and easier to roll.  I love it, and so does Cece!!

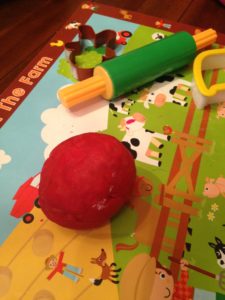
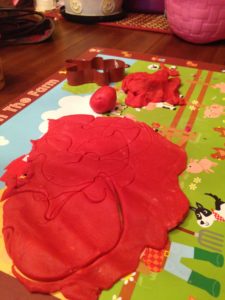
Cece enjoys using a rolling pin and cookie cutters to make shapes!

FollowFacebookpinterestrssyoutube
ShareFacebookpinterest

10 DIY Baby Costumes under 10 dollars! 

Since you generally don’t take a baby trick or treating, you don’t want an expensive costume. You also want a costume they won’t immediately pull off or scream because it’s uncomfortable. 

So here are 10 costumes you can make for under 10 dollars! 

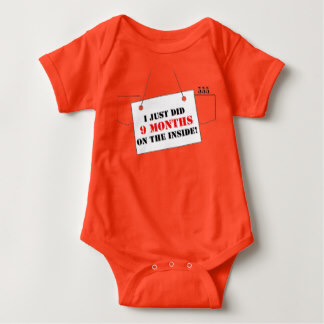
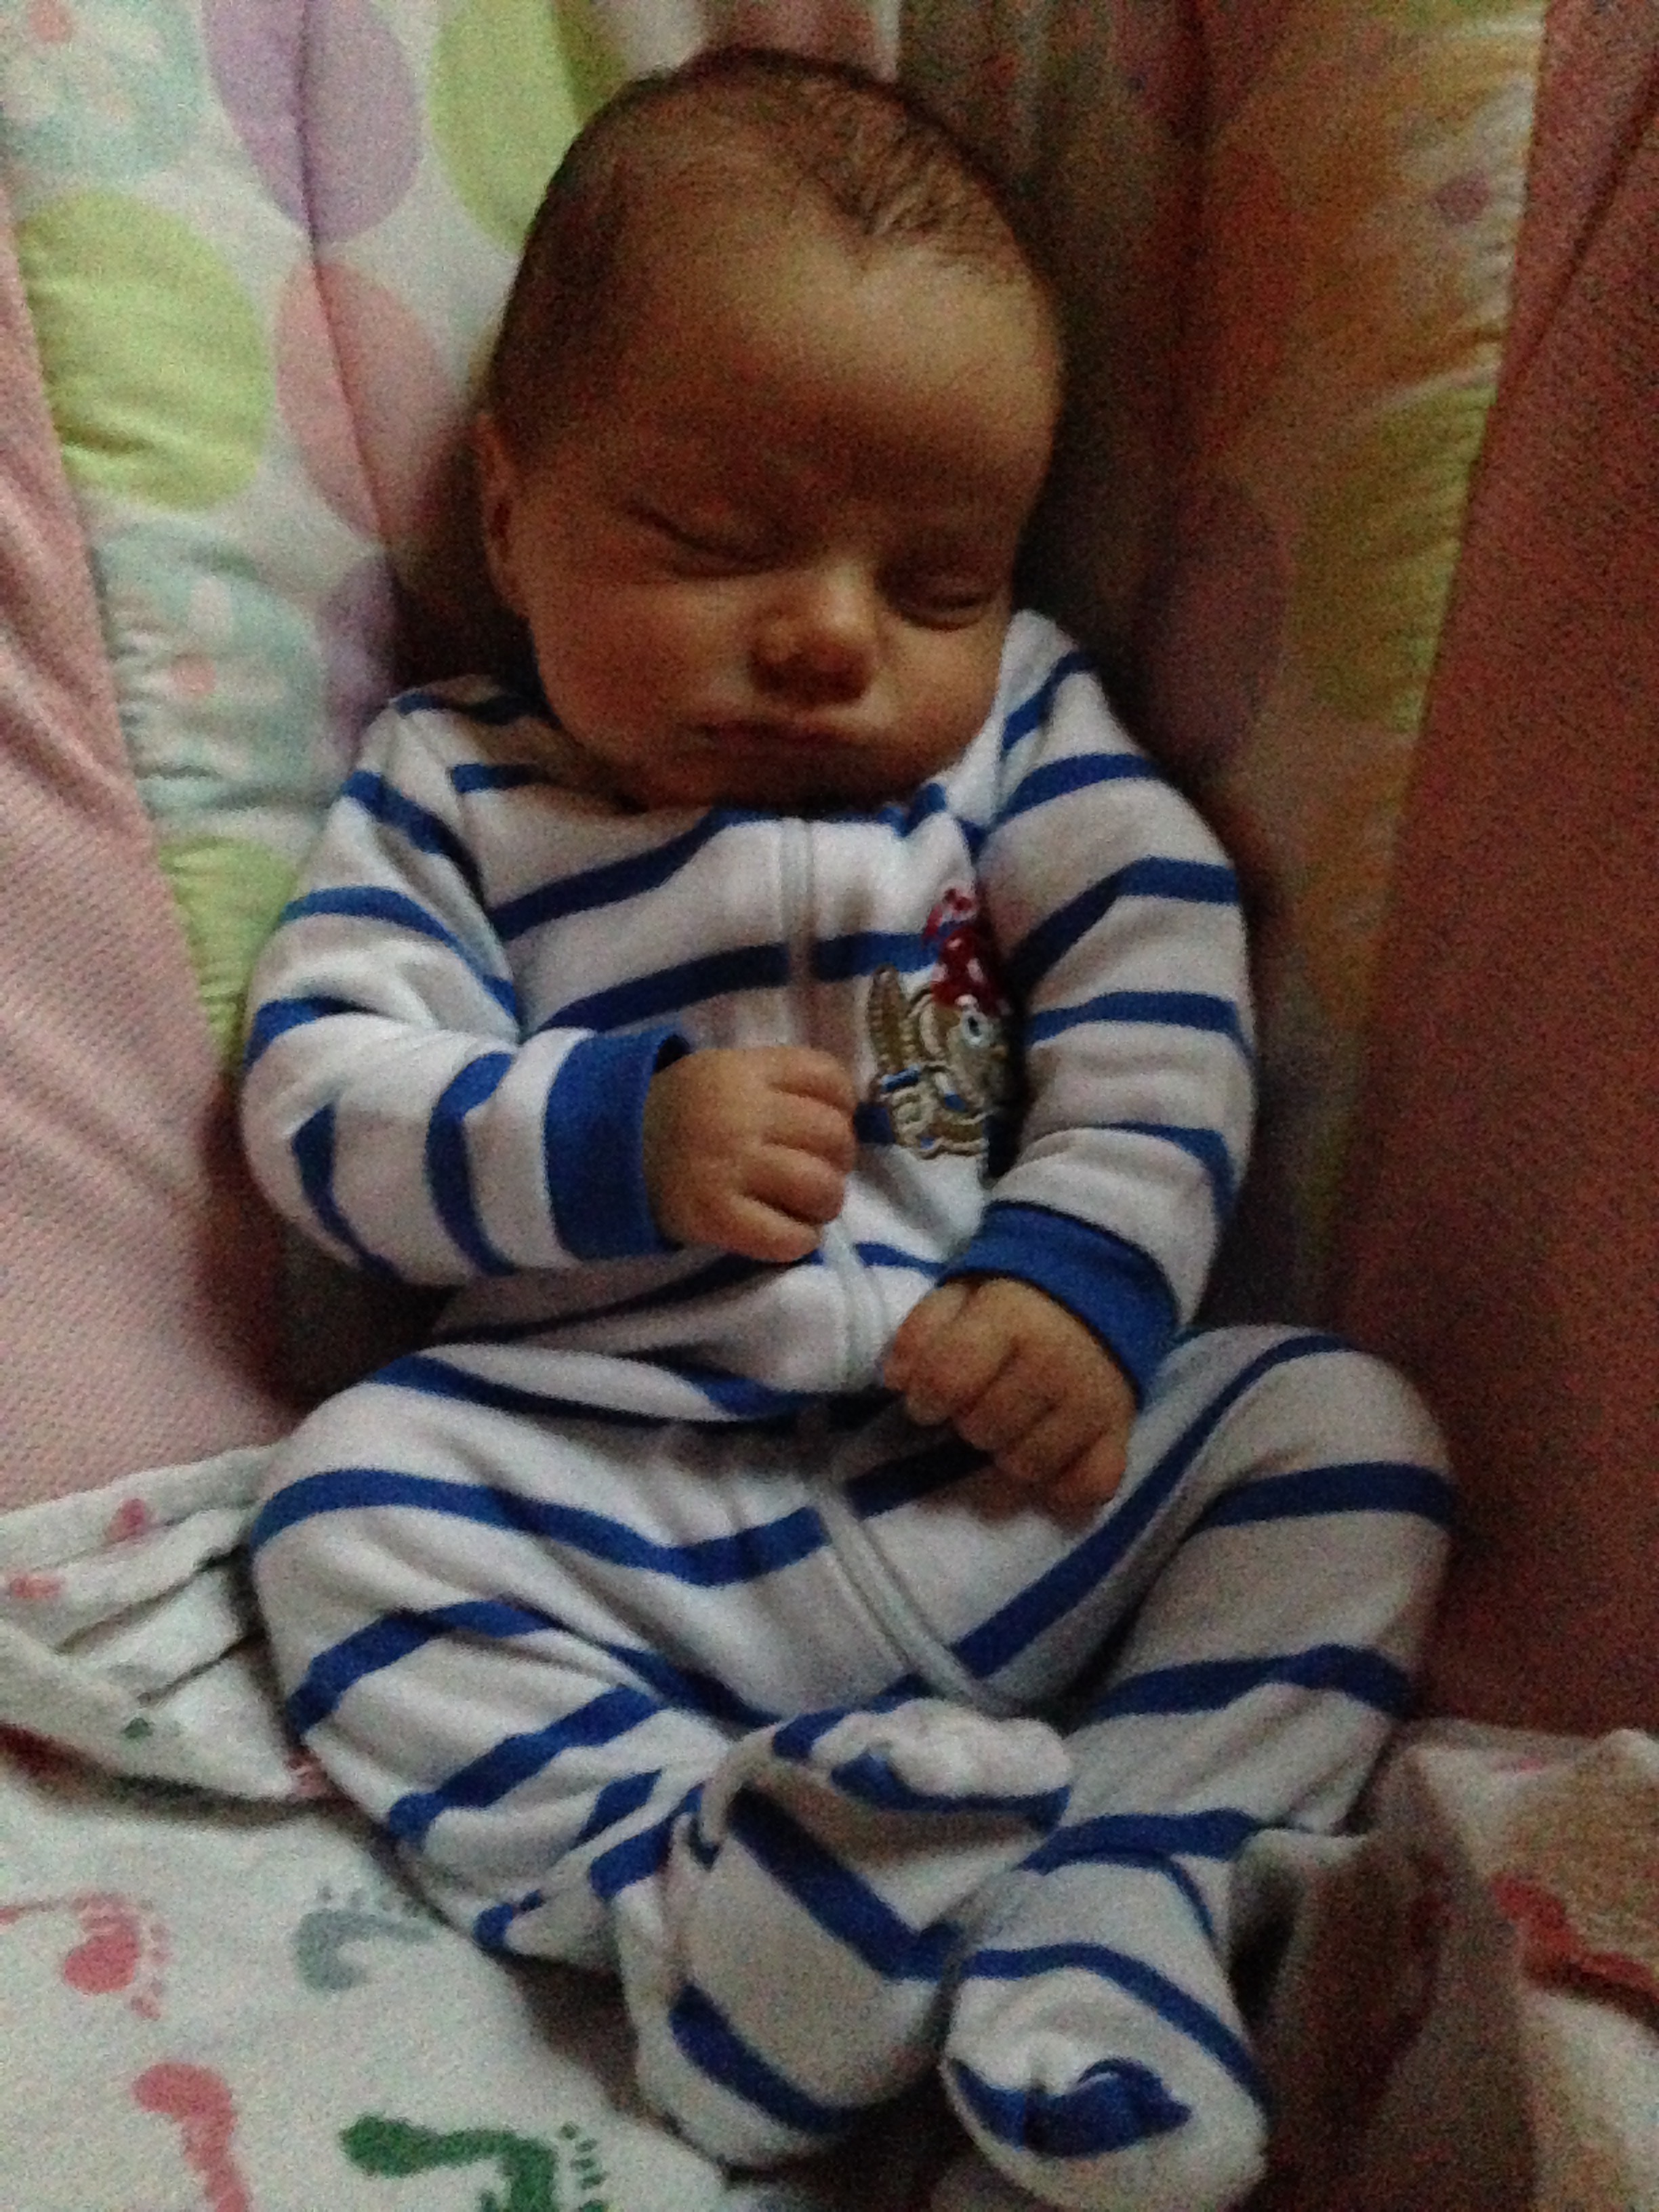
1. For your newborn! Prisoner. Make yourself with a sharpie or sticker. Use a black hat. 


You can also use a striped outfit if you have it and a black hat.

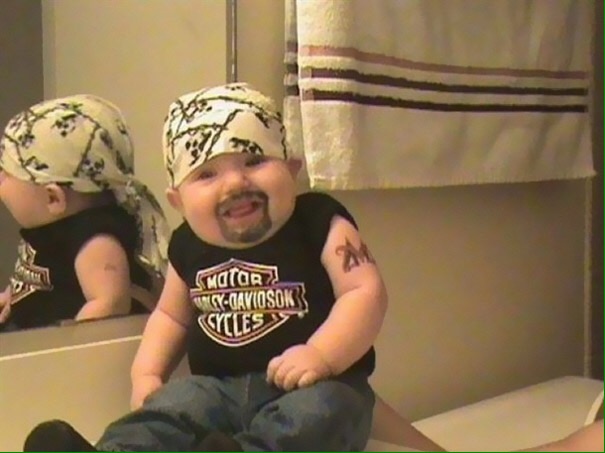
2. Biker baby! 


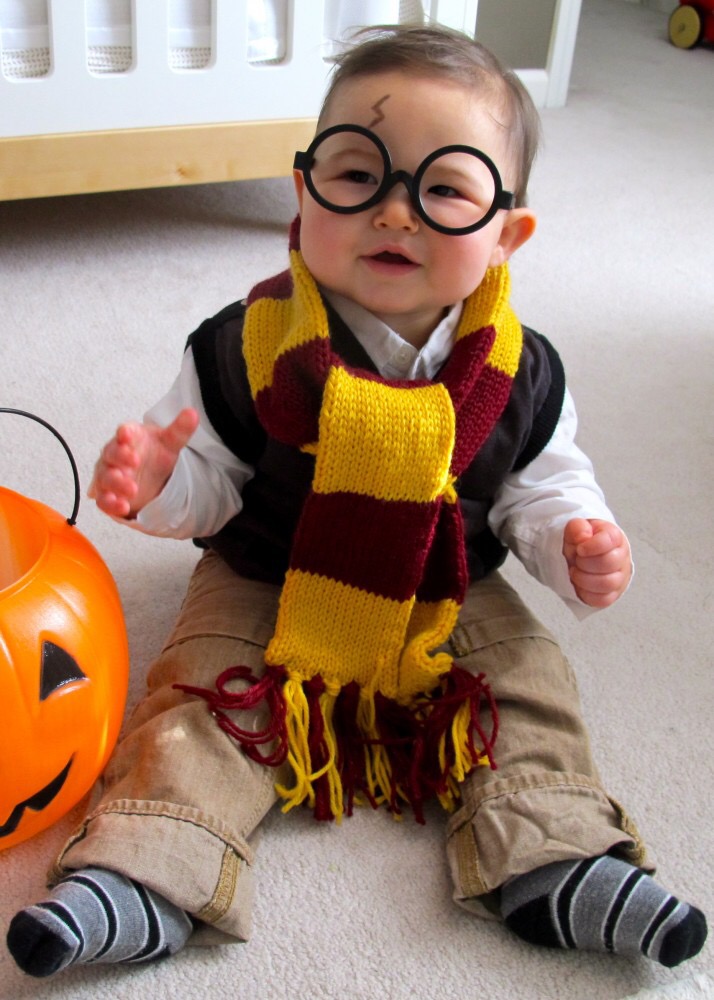
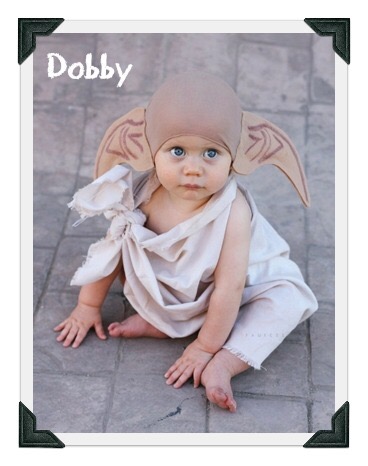
3. Harry Potter!! 

Picture from tumblr 

Just use felt and draw ears on! 

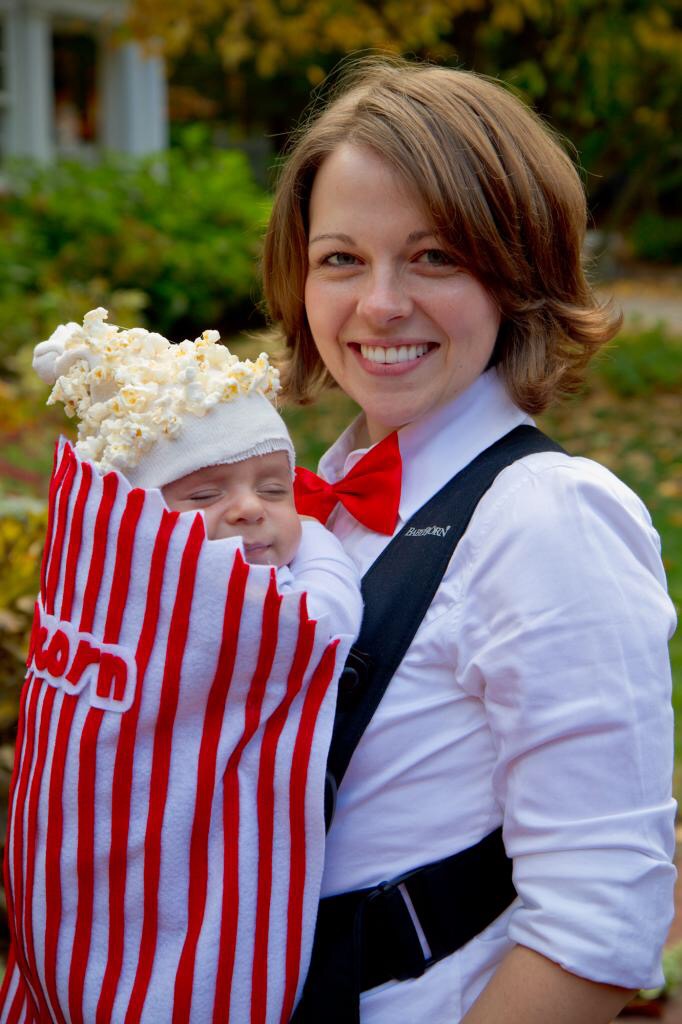
4.Popcorn baby holder- how cute! Just buy some felt and glue or sew it together! 

Photo is from this placeisnowahome 
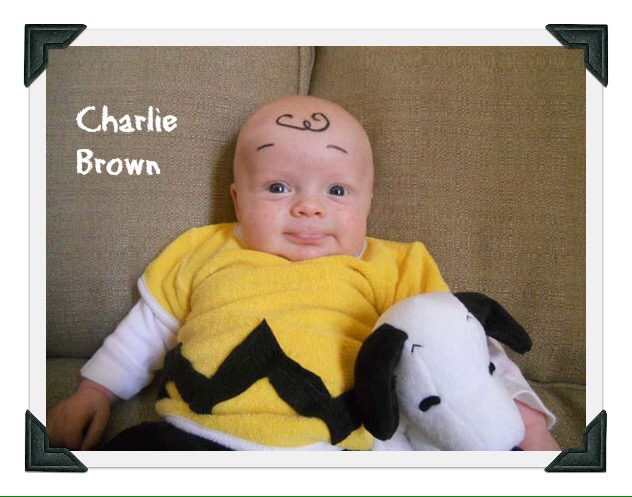
5. Here’s and idea- Charlie Brown!!! Although I don’t think I’d draw on my baby’s head, still a cute idea. You can use a hat to draw on

Picture from the meta picture

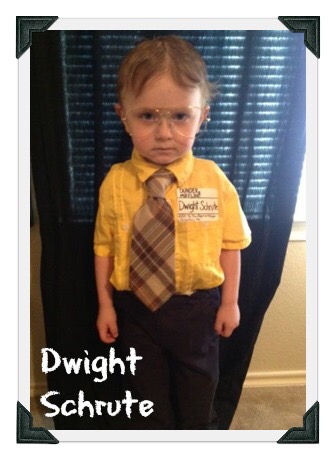
6. I had to include this one since I love Dwightschrute from the office 

 Picture from meta picture 

7. Animals! Animals! Animals! 

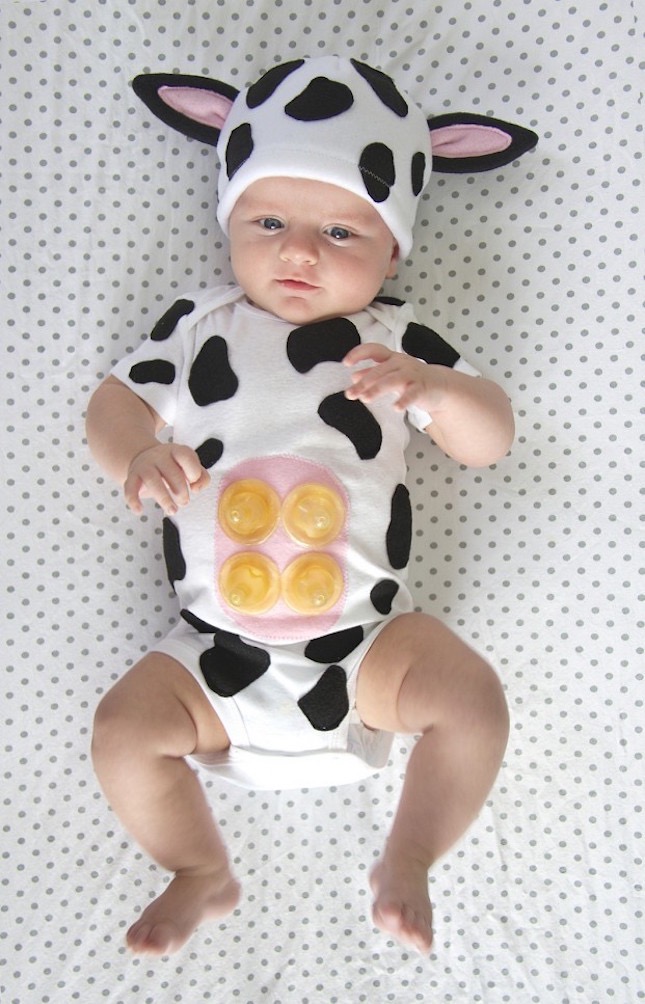
You only need a white onesie, some disposable nipples and felt! Moooo! 

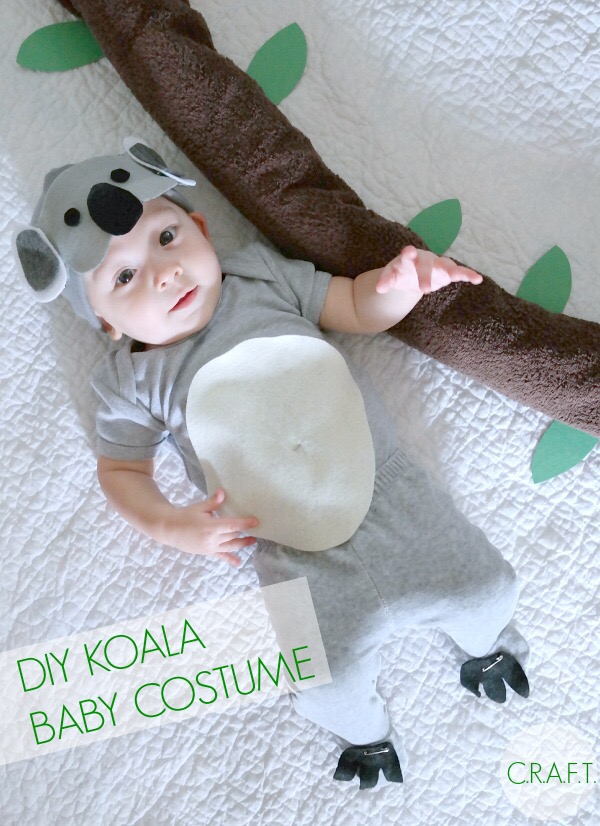
From really awesome costumes. Again, you need felt and some glue or sewing 

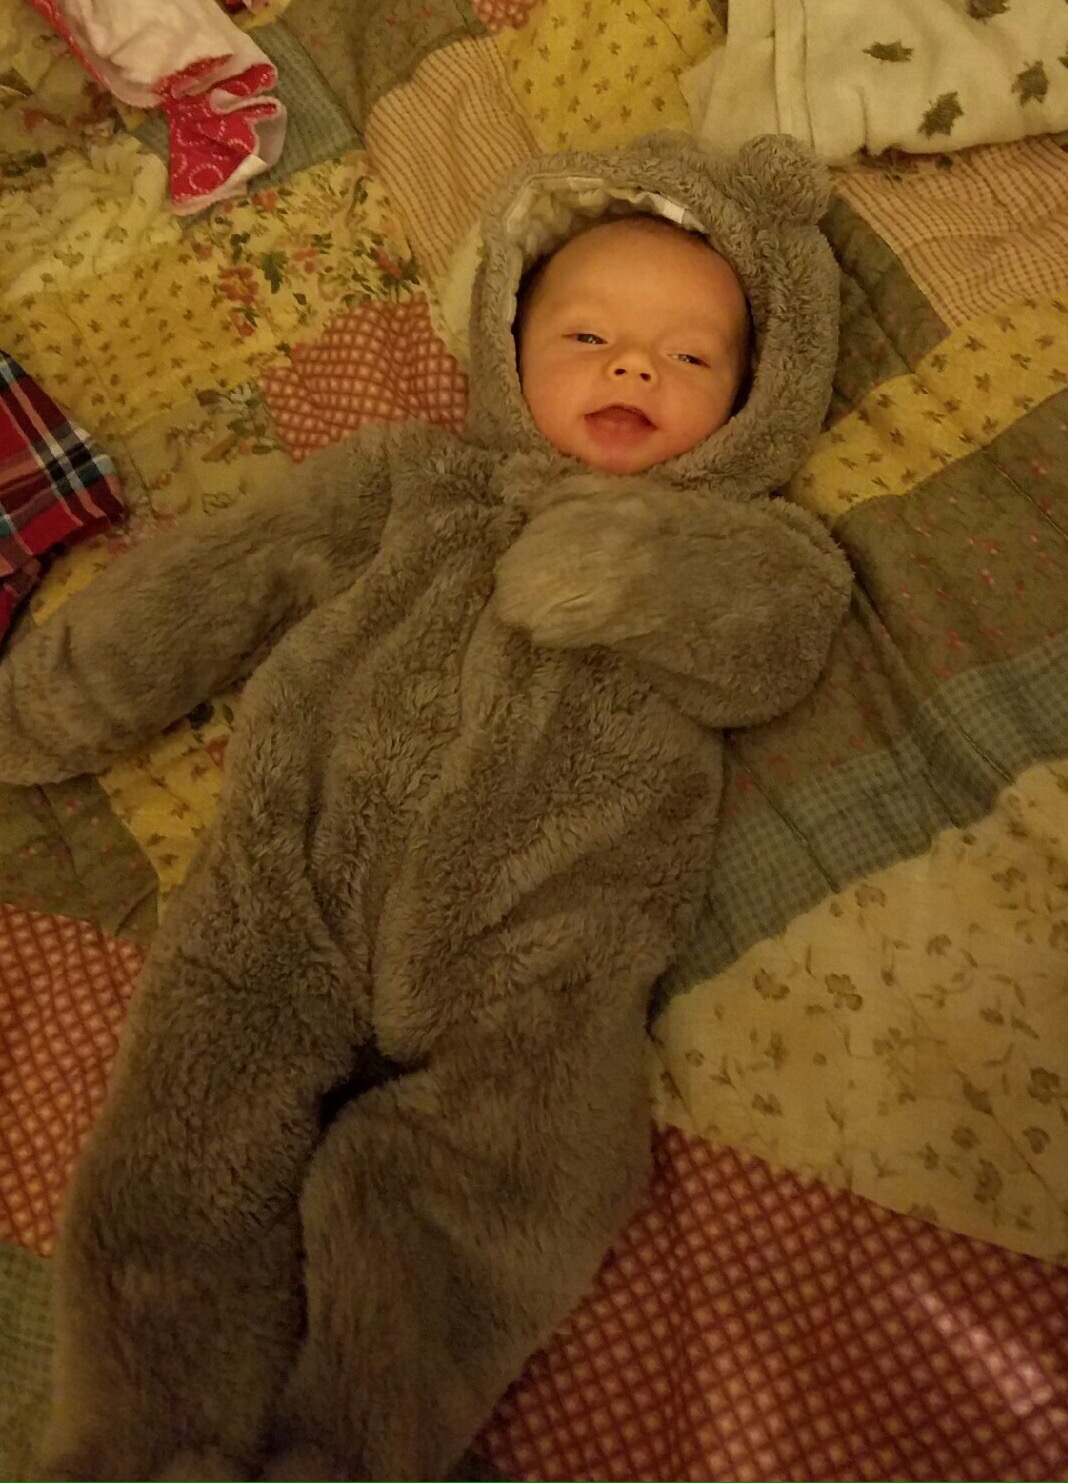
You can also take advantage of any winter animal outfit you were given! Such as the bear….

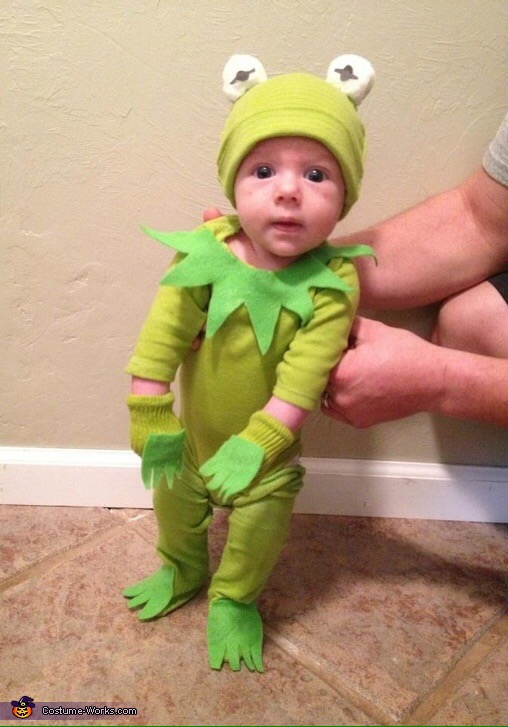
Again, green outfit and some felt. You need a green hat and either fake eyes or make your own! 

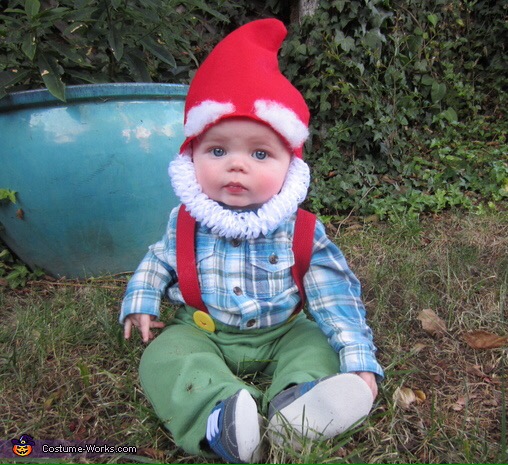
8. Garden nome

Costume-works

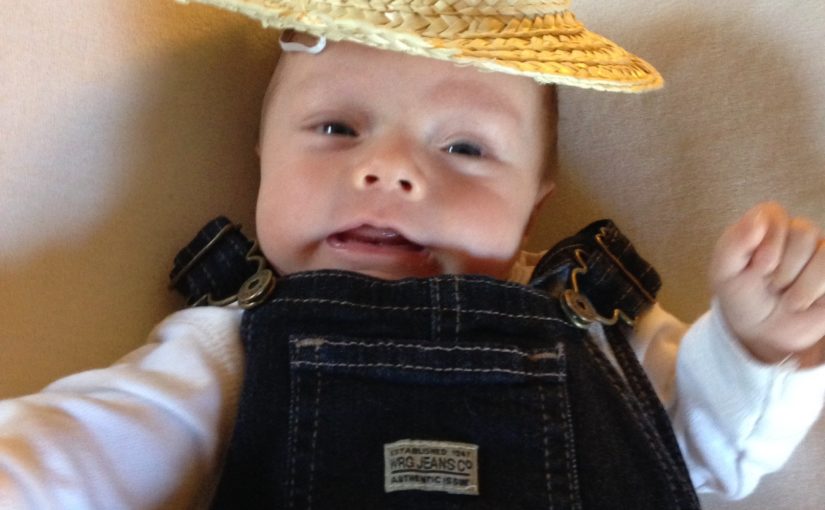
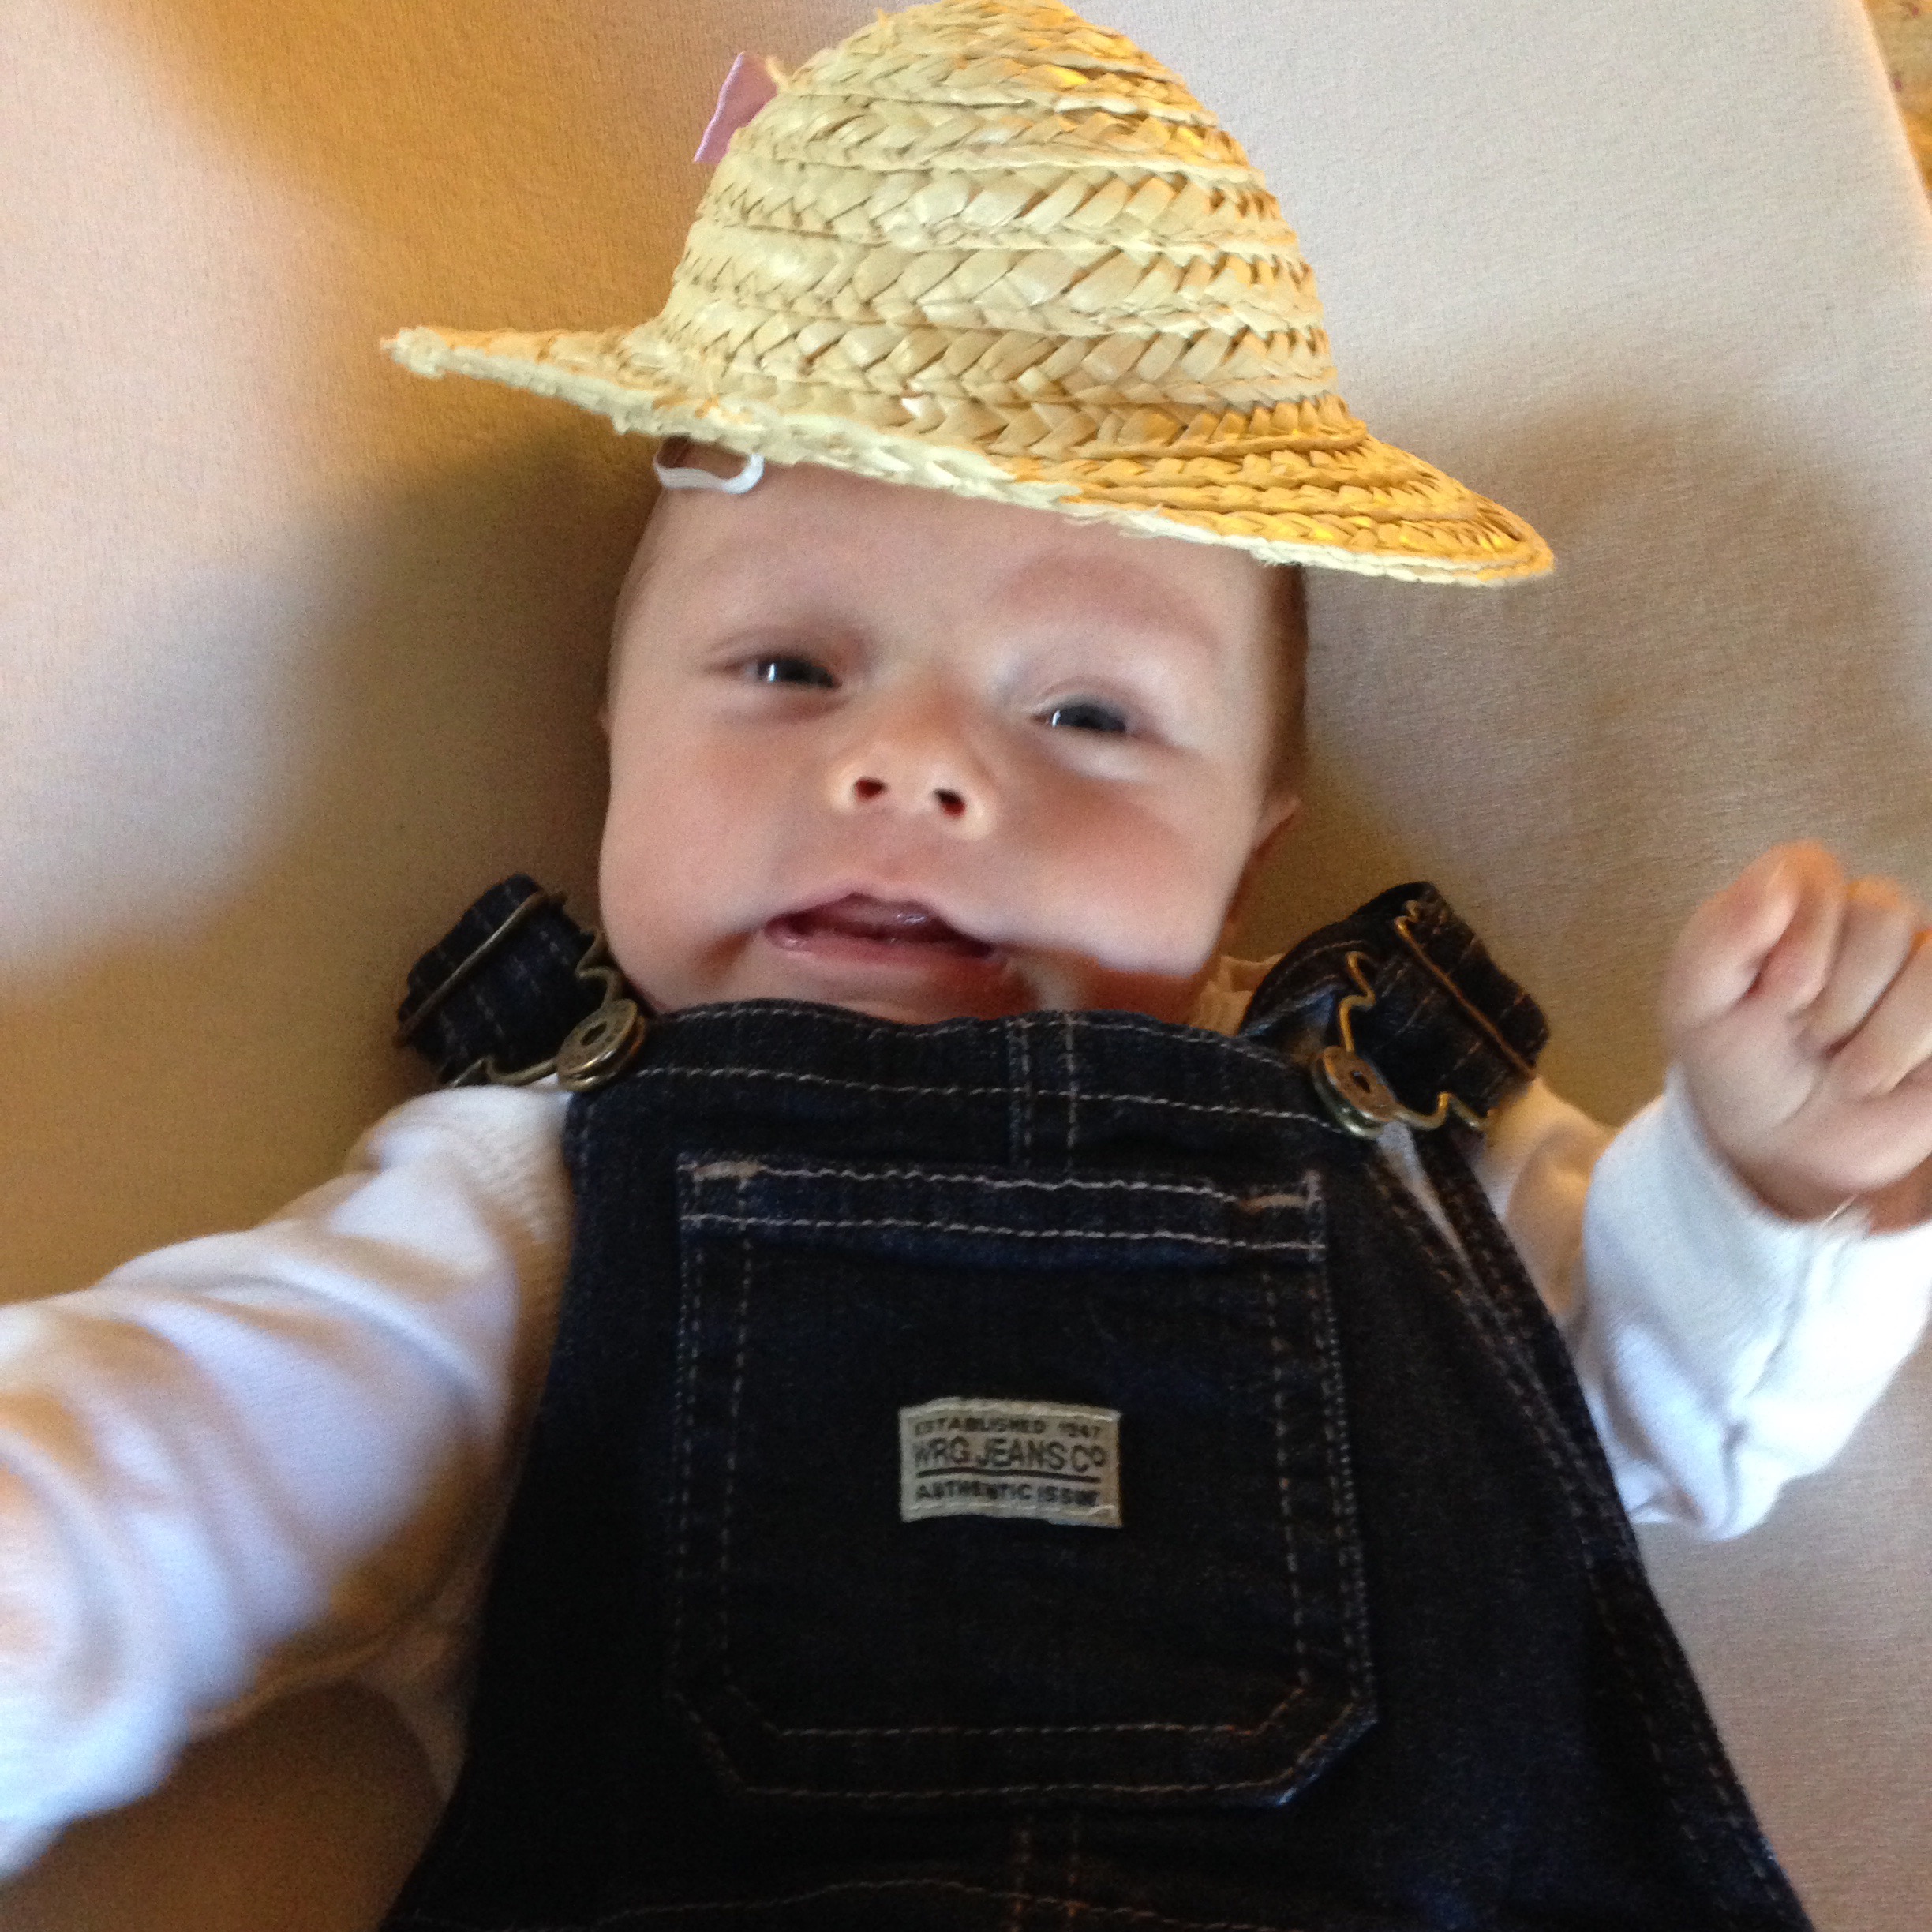
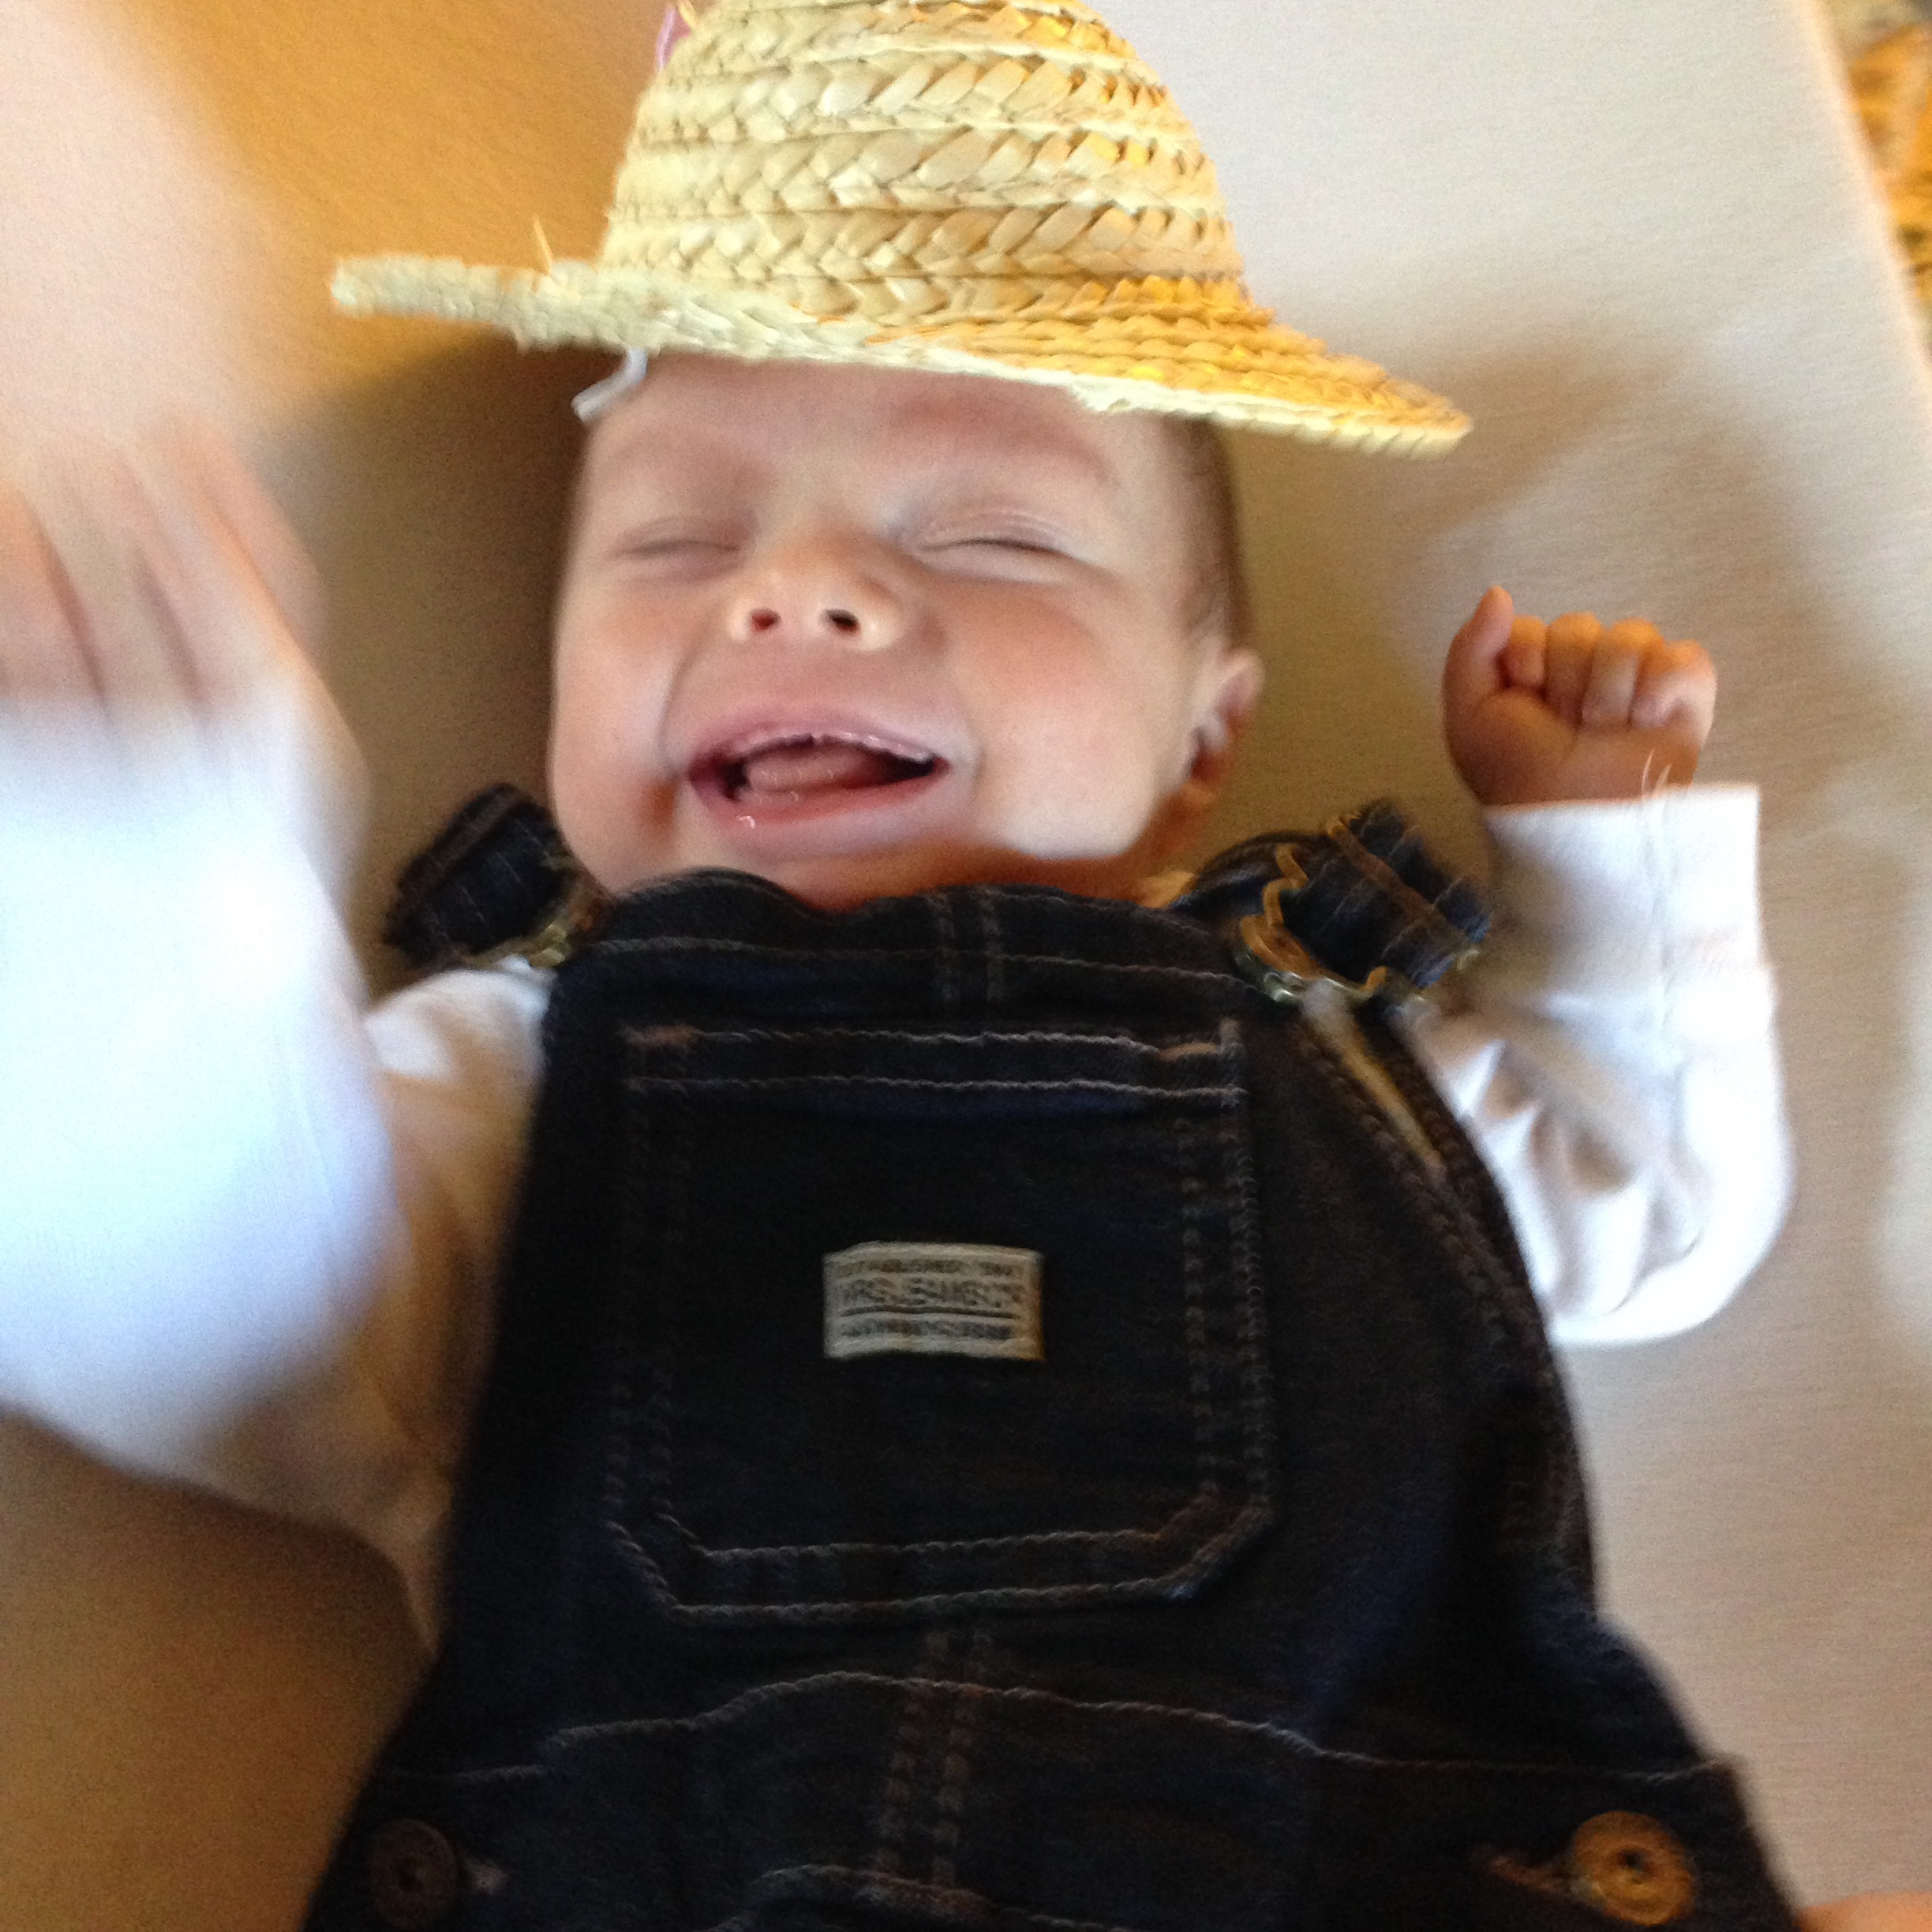
9. Farmer! Overalls and a straw hat! I had a toy hat I used! 


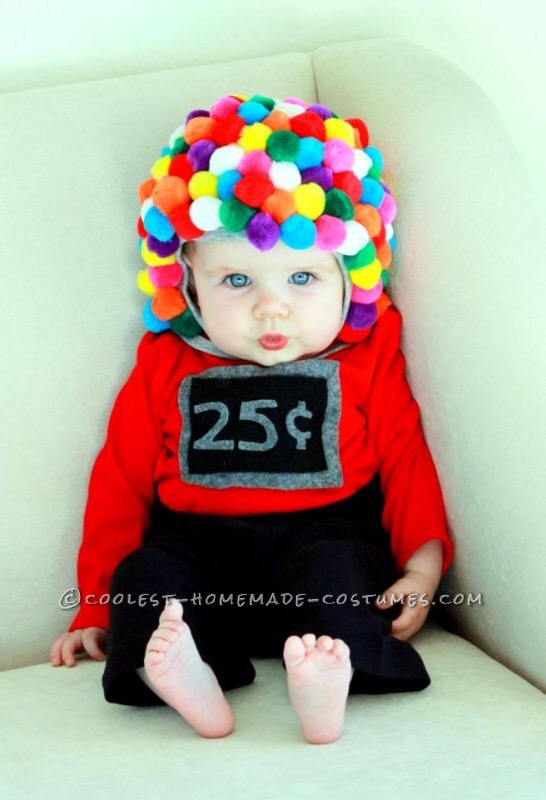
10. Gum ball machine! All you need is a hat and glue or hot glue on colored cotton balls! You need the red shirt and black pants. 

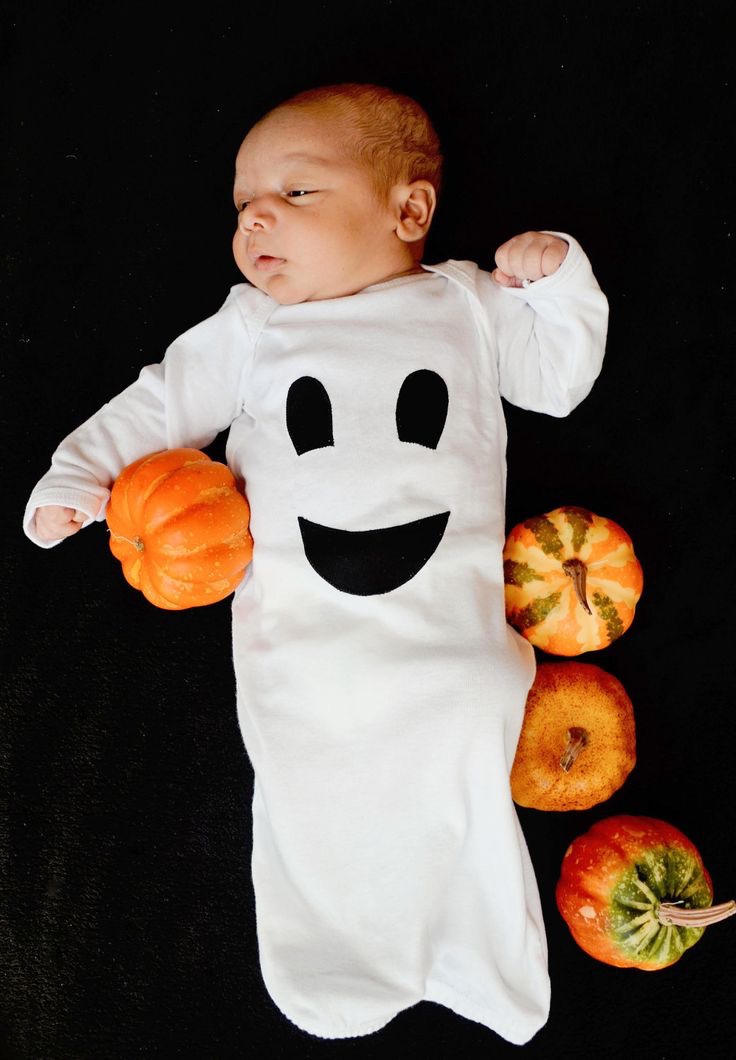
This one is cute too so I put it in…ghost! You need a white nightgown and felt 

Whats you little one going to be?

FollowFacebookpinterestrssyoutube
ShareFacebookpinterest

Truck Pillow Tutorial

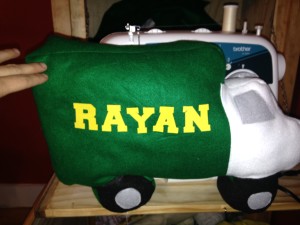
I have a nephew who absolutely loves trucks, cars, and any other type of vehicle.  As Christmas approached I was unsure of what to get my nephew.  I searched the internet for ideas of sewing projects with trucks, but it was only to my dismay. None of the projects peaked my interest.  I found a car tutorial but that was it.  So I decided to make my own pattern and tutorial on a truck pillow.  I also decided that putting his name on with iron on letters would be fantastic!IMG_3727

As usual, there is a video tutorial on my youtube site, and written instructions with pictures below.

What you will need:
*Your choice of fabric colors
*poly-fil or any type of stuffing
*Choice of thread colors
*Optional: Iron on letters

Pattern: Use one whole piece of printer paper 8x10inches as the trailer part.  Make a circle for the wheels.  And make a from cab as you like.  The pattern I made is so easy I’m not even going to try and retrace it and scan it and turn it into a pdf because it takes much longer…if you are really having issues please let me know and I will take the time do that for you.

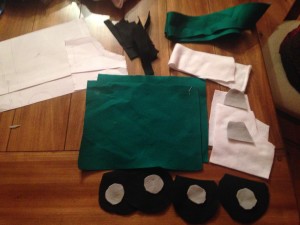
  1. Cut out your fabric pieces
  2. IMG_3717
  3. Iron on letters or if you want to sew on letters that works as well!
  4. Sew on your hubcaps, windows and any other details you want to add
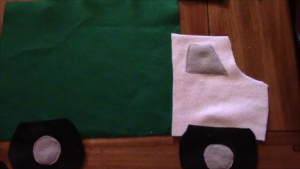
  5. Sew each side together.  The front cab to the trailer and the wheelsSnapshot 1 (1-4-2016 9-28 PM)
  6. Time to sew the middle strip part! I made mine 2 inches thick but you can make it as big as you like!
  7. You can switch colors to match or just use one color.
  8. If you do not want to do the middle section then you can just take the two truck sides facing each other (inside) and sew around leaving a 3 inch opening.  Turn right side out, stuff, and hand-sew shut.
  9. To do the middle strip, line it up with the truck where you want to start and back-stitch and go forward all the way around switch colors as needed.  Curve the middle strip around the corners.
  10. Snapshot 2 (1-4-2016 9-32 PM)
  11. Now take the other side of the truck and have the sides facing inwards towards
    each other, and sew the second side to the strips on the first side.
  12. IMG_3726
  13. Turn right side out and make sure there are no holes in the outside, if there are turn inside out and fix them.
  14. Fill with your choice of stuffing and hand-sew shut.
  15. Congrats you are done!
  16. If you have any questions or concerns please leave them below.  If you have trouble with the middle strip please watch the youtube tutorial.
FollowFacebookpinterestrssyoutube
ShareFacebookpinterest

DIY Felt Christmas Tree!

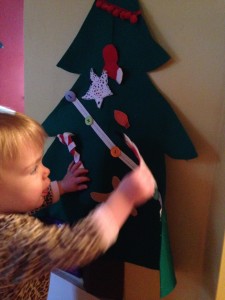
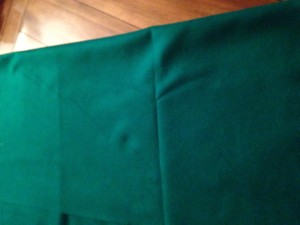
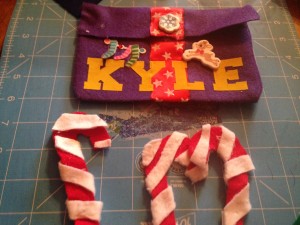
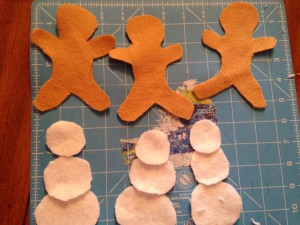
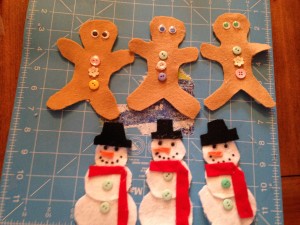
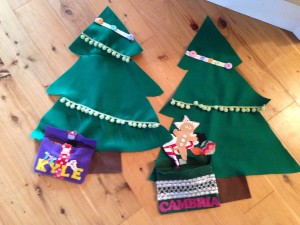
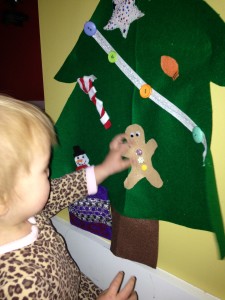
Cece bear loves to pull toys out of baskets and put them back in.  She also likes to build blocks and figure out other puzzles.  So I thought to myself, what can I make for Christmas that she can play with?  And a mini Christmas tree came to mind.  Eventually, I figured out a felt Christmas tree with all sorts of sensory stimulation and Velcro ornaments would work!  So I decided to get to work.

IMG_3608

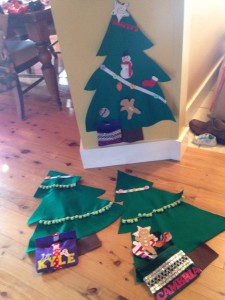
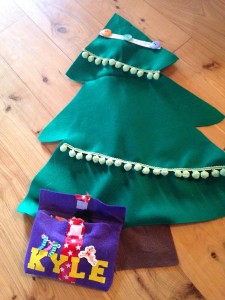
I decided to make three trees, one for each of Cece’s friends.  It also made a great birthday gift for her friend Kyle’s first birthday!  This is a great activity to do with older children as well.  They can make their own ornaments and decorate the tree!  There are a variety of ways to put the tree, ribbons, buttons, and ornaments together.  The two I used were sewing and hot glue gun, but you can do one or the other as well.  Just make sure if you have a baby, infant, or toddler, to make sure everything is very secure so they can’t pull it off!

IMG_3625

As always, there is a youtube video and written steps and pictures.  Feel free to add your own creativity and pizzazz!!!

If you have an older child, instead of using velcro to stick the ornaments on, you can use string or twine looped on the ornament and they can put them around buttons on the tree!


What you need:
*Green felt fabric (I used 1.5
yards for three trees)
*velcro
*Brown felt fabric (stump)
*Felt fabrics of various colors for
ornaments of your choice and design
*optional: buttons, ribbons,
and other accessories

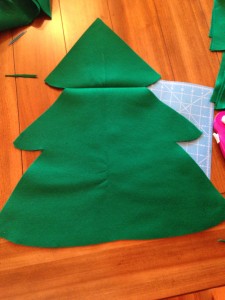
IMG_35381) Fold your green felt and make a tree outline on the fold (so half of it traced on).  Then cut your tree out!

IMG_3539

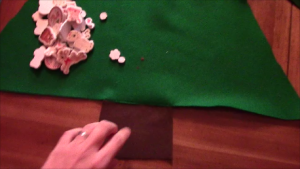
2) Next, if you want a stump, use brown fabric to cut one out!  Once again you can trace it out.  You can either sew it on the bottom or hot glue gun.

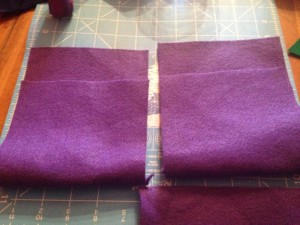
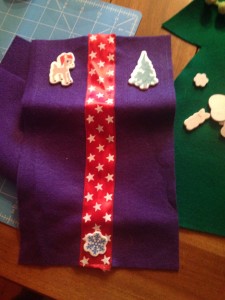
Snapshot 1 (12-8-2015 1-58 PM)3) I wanted to make something to hold the ornaments besides just having them stick to the tree.  So I decided a present with the child’s name on it would be perfect!  So next I chose a color of felt I had and cut about 11x 7 inches.

IMG_3552

4) Next, for one of the presents I made I wanted the bow long ways down so I sewed a piece of ribbon straight down the piece. (the other two I made have it across the box which you can sew on now or later)

IMG_3553

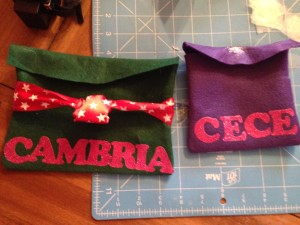
5) The next step would be to turn it right sides facing inwards and sew to the length you want so you have the top of the present flap long enough.  Check out the picture to see what I mean. Then turn right side out.

IMG_3581

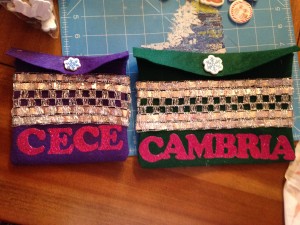
6) As you can see, I decided to iron on letters for the name of the child.  These two presents are different sizes.  Also, if you want to put a piece of iron on or sew on or glue gun on Velcro to the top of the present to have it stick now is the time.

7)  Then decorate the present at will.  I added some adhesive Rudolph stickers.  I did hot glue them so they would be more secure.

IMG_3582

8) Follow that, I sewed the present onto the tree.  This is optional, you can have it separate or not have a present at all.  I opened the top flap and sewed right along the fold to the tree.  You can also hot glue gun it.


IMG_3612

8) Now, back to the tree.  Now is the time to get even more creative!  Use ribbons, garland, buttons, or whatever you want on the tree!  You can sew or hot glue gun them on.  If you have an older child and want to have hanging ornaments on buttons then align your buttons!

9) Next, it is time to make ornaments.  If your child is older they can help decorate and make ornaments.  I chose actually Christmas items and one ornament and one light bulb.  I used whatever felt scraps I had to make them.  I also made a star at the end.  Remember to Velcro your ornaments on the back using the hard side of the Velcro.  You want to iron them on before you decorate the front!  Otherwise you might melt or damage your decorations.

IMG_3555

IMG_3583IMG_3584

To hang the tree, I used 3m adhesive strips, but I have heard that the blue paint tape works well on walls.  You can also use suction cups if its on the window or door.  Ok enjoy!  Feel free to post your tree below!

IMG_3609IMG_3627


FollowFacebookpinterestrssyoutube
ShareFacebookpinterest

1st Birthday Ducky Theme!

As I searched the internet for ideas for my munchkins first birthday, I noticed a lack of imagination for the rubber ducky birthday theme!  So I have decided to share what I came up with in hopes of giving others ideas as well.
duck

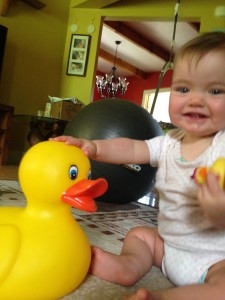
My little Cecelia loves rubber duckies.  She has since she was introduced in the bathtub to them.  Now, besides just the rubber duckies, she loves everything ducky!  She crawls right over to any books that contain ducks; especially, the duck and goose series!  I even got her a large rubber duck down at the shore.

IMG_1693

So I didn’t want to go overboard on her first birthday since she won’t remember it, but…of course we had to have rubber ducks everywhere!
 IMG_1456

First, I made Cece a 1st birthday dress. You can click here to see some of the details however right now I do not have a full tutorial. If you are interested in purchasing one you can private message me.  My Etsy site is upcoming.
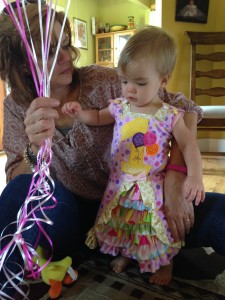
IMG_2545IMG_2457IMG_0192

First I thought to myself, well if it is a rubber duck party, then I definitely need rubber ducks for favors!  So I searched the web for the cheapest, yet best rubber duckies for about 35 people.  I ended up going with an assortment of 2 inch rubber ducks from amazon.  There were some bad reviews that they were not a good assortment; however, I found them very varied in theme.
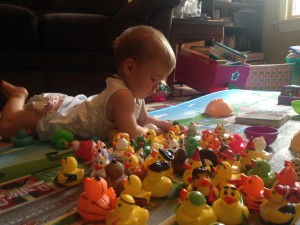
IMG_2020

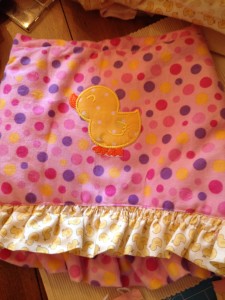
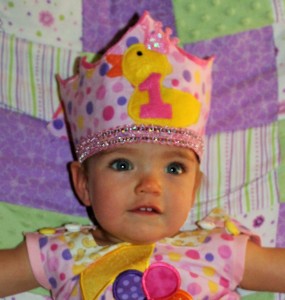
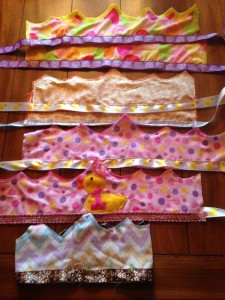
Last minute, I decided to make birthday crowns!  This tutorial can show you how to make easy quick crowns!  Of course, if you have a large amount of kids coming you may want to just buy party hats or completely skip this.  I used scrap pieces to make the crowns and just did ribbon along the bottom that could be tied.  You of course can do buttons, Velcro, or if you know the head size, sew it all the way around.
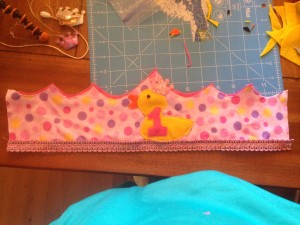
IMG_2475IMG_0058 (2) IMG_2478

Next, of course I needed party decorations!  I didn’t want to spend 10 dollars for 8 fancy paper plates with cute ducks on them.  So, I made a trip to my dollar store and bought yellow napkins, plates, cups, and silverware.  They also had cute I’m one plates, so I bought a couple of those as well.  Since the weather is nice, we had lots of tables outside and I bought yellow tablecloths.

plates

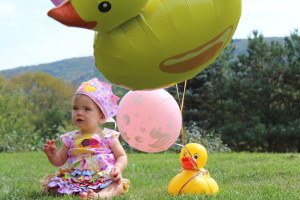
As far as balloons, I ended up buying balloons on amazon, ones with little ducks on them and then two large Mylar duck balloons.  They did not carry these type at my local stores.  The only place around to fill the balloons was the dollar store.  Do you see a theme here?  **Note: it does cost more to have Mylar balloons filled, so if you are saying a buck or two you can skip the Mylar and go for the regular smaller balloons.

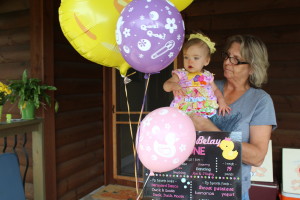
 balloons

IMG_0145

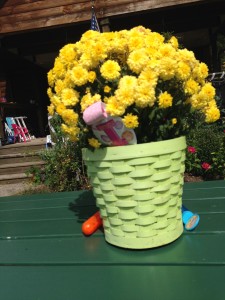
I also used the rubber duckies to decorate everywhere!  I had a couple mums and vases in the house and added little ducks to them!
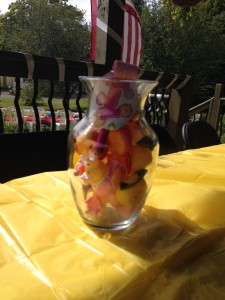
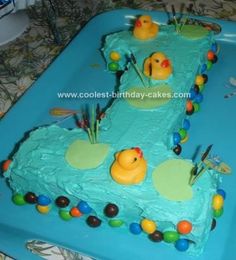
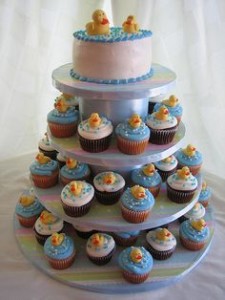
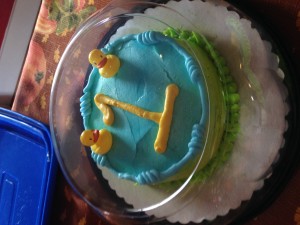
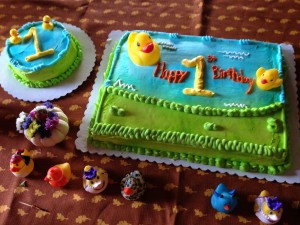
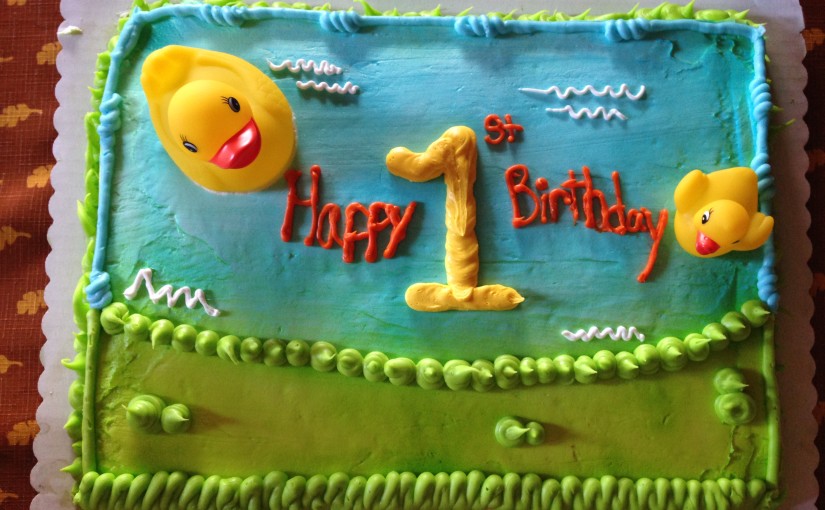
IMG_2559 IMG_2560Food…of course this is key for a party.  I wanted to save some time but not spend too much money either.  So, I decided to order a couple small party trays and then do crock pot recipes.  I didn’t go crazy with the duck theme food since there weren’t a lot of kids coming to the party.  However, if you want to see some duck themed food check out pinterest for lots of ideas.  Yes, we did deviled eggs and some quacky snack mix that I used small duck cups for.  Cake. Originally I was thinking of making my own cake, there are tons of ideas on pinterest.  However, with more than 40 people coming, and cheap but tasty sheet cakes with a free smash cake included, I decided to save myself the stress and space in my fridge, and order a cake with a duck theme.  However, let me show you some of the ideas I picked up from pinterest. 

cake2 cake3Duck Birthday Ideas: click for more pinterest ideas.

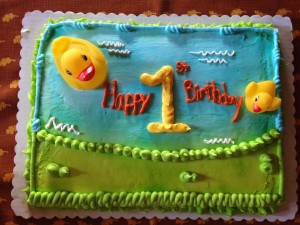
I was GIVEN THE WRONG CAKE WITH NO SMASH CAKE when I went to pickup the cake two hours before the party!  I was given a mere 1/4 sheet cake (wrong size) with the wrong duck design on it, and NO smash cake!  Don’t panic I told myself as my mind reminded me I only ordered this a month in advance to make it was done right!  After several minutes of panic, the manager apologized and stated they could make my cake and smash cake in about two hours.  I agreed but would have to send someone else back to pick it up.  Lukily, my brother in law agreed to pick it up and got fifty percent off the cake.  Phew, added stress you don’t need!

I ended up addin some small ducks to the smash cake! Note: it was a HUGE SMASH CAKE!
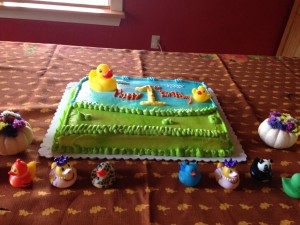
IMG_2576 IMG_2577 IMG_2578 IMG_2579IMG_0257

I also made duck shaped cookies with a duck cookie cutter!  And then I used yellow icing to make the number one of them!  Half were pumpkin sugar cookies and the other half regular sugar cookies
4c8a5e03-6c2c-44c9-be3f-3adc2c0edd95

Drinks. Duck punch of course!  There are a variety of recipes to make blue punch.  I ended up doing half blue hawiian punch, half 7up, and then putting in vanilla ice cream to make it look like bubbles!  You can clean rubber ducks up well and put them in, or freeze them in ice!  I also had a punch server that I put ice and ducks in the middle and then put water in it! 
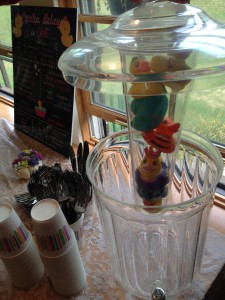
IMG_2532punch

Play.
Since there were a handful or two of kids coming, I decided to buy a couple items and also set up items for the kids to play with.  Of course we had games such as bean bag toss, bacchi ball, redneck golf, and Frisbee setup for adults.
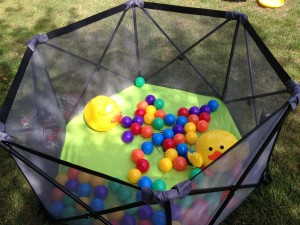
IMG_2555

I bought some duck beach balls off amazon.  They came in a 12 pack so I got them cheap enough and gave them away as favors too.

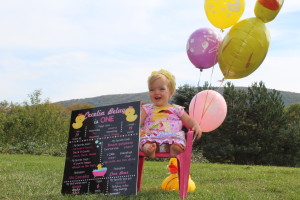
Birthday chalkboard!  I love this idea!  And it is so easy to make!  Now again, I needed to save myself some time with this project, but also not spend too much money.  My handwriting is awful, so making a chalkboard myself was out of the question.  I also wanted it on a poster board to have it as a keepsake.  So if you are into graphic design you can make your own up and have it printed at an office store.  However, I am not into graphic design so I investigated the options at etsy.  I ended up going with a 5.99 graphic for ducks and edited the sections myself with adobe.  I took it to staples to have it mounted on a poster board and enlarged.
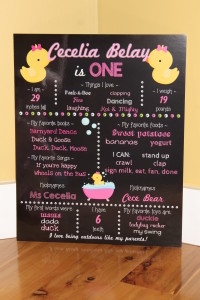
IMG_0084

HOWEVER, **Note: the file was locked due to the seller having a password.  The staples I went to could not print it so I had to have it turned into a JPEG.  The seller offered to do it, but I didn’t want to wait, so I just changed it myself on a free online program.  Just type in change to JPEG and you can easily find a free site.  For these pre-made designs you cannot change the pictures or the design, only the words can be edited.  For mounting on a thick foam poster board and enlarging to 16×20, it cost me 16.99 online.  I am very pleased with the way it turned out and now it is displayed in her room as a great keepsake!IMG_0108 IMG_0154
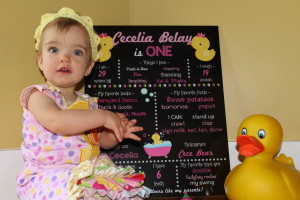
You can of course buy a chalkboard and make your own.  You can even print out different fonts and trace them onto the board.  You can also buy a cheap graphic design program and make your own.  Again, for the price, and since it was last minute, it was easiest for me to order it.
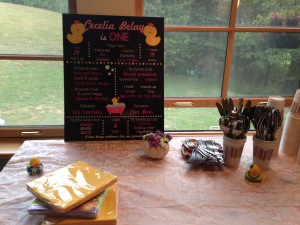
IMG_2528

So that is it folks!  Although she won’t remember this, I have lots of pictures and we had lots of fun!

Hope you enjoyed the post and I hope it gave you some good ideas!  You can check out my pinterest site for more ideas!  Follow us on facebook too!


FollowFacebookpinterestrssyoutube
ShareFacebookpinterest